# Catalyst Documentation Last Updated: 2026-11-13 # GETTING STARTED -------------------------------------------------------------------------------- title: "Introduction to Catalyst" description: "Learn about Zoho's flagship, pro-code, serverless platform, Catalyst, built on tried-and-tested infrastructure to create highly-scalable solutions." last_updated: "2026-11-04T10:10:44.000Z" source: "https://docs.catalyst.zoho.com/en/getting-started/introduction-to-catalyst/" service: "All Services" -------------------------------------------------------------------------------- # Introduction to Catalyst by Zoho ### Overview Catalyst by Zoho is a full stack, cloud-based, scalable platform that provides developer functionalities to build software services and applications of any scale in various programming environments. You can build solutions ranging from simple microservices and independent software modules to interactive and dynamic cloud apps, enterprise software, robust business suites, and more for an array of industry verticals, use cases, and requirements. Catalyst is backed by Zoho's powerful, resilient, tried-and-tested infrastructure that ensures the solutions you build are consistent, reliable, and efficient in their performance, and are highly secure. Catalyst powers you by providing a host of features through various services, all aimed at providing comprehensive end-to-end support throughout the application building process. You benefit from a platform that offers you the precise tools required to optimize your development, deployment, and post-production phases, enabling you to produce effective business solutions. These server-side programmable services are all available in a unified, accessible, user-friendly interface in a cloud console. With Catalyst, you get to build solutions in a cost-effective manner by selecting between two different pricing models (a Subscription model or a Pay-as-you-go model) based on your business requirements and usage. You can also utilize free-tiers and benefits that enable you to work with Catalyst for free of cost until you exceed the hard limits imposed on these benefits. This, along with a serverless infrastructure, facilitates optimal cost efficiency with zero downtime. Ultimately, Catalyst is designed to allow programmers to focus more on designing the user experience and business logic of their serverless applications and solutions, instead of investing time and effort into setting up and maintaining the server-side components. Developers don't need to build and manage servers or storage solutions manually, or worry about the infrastructure their applications are built on. You can avail various development tools such as ready-to-use SDKs for a supported programming environment of your choice or RESTful APIs to access various Catalyst components and functionalities. You can also choose to build with Catalyst from your local environment with Catalyst CLI, and deploy them to cloud when needed. These developer tools help you customize the already functional server-side behavior to your needs, build on the ready-made components, and seamlessly integrate these backend features into your solutions. Catalyst therefore presents a significantly faster, hassle-free, and cost-effective software development experience. ### Catalyst Services Catalyst by Zoho offers the following services: 1. [**Catalyst Serverless:**](https://docs.catalyst.zoho.com/en/serverless/) Catalyst Serverless is a fully-managed, cloud-computing platform that provides a powerful infrastructure for your application building needs. Catalyst Serverless provides FaaS and PaaS solutions, and supports multiple programming environments. 2. [**Catalyst CloudScale:**](https://docs.catalyst.zoho.com/en/cloud-scale/) Catalyst CloudScale includes components that enable you to securely build and host robust serverless applications and microservices. You can access end-to-end solutions for your application storage, security, integration, and deployment needs. 3. [**Catalyst Zia Services:**](https://docs.catalyst.zoho.com/en/zia-services/) Catalyst Zia Services offer a host of ML and AI-powered microservices that you can readily incorporate in the programming environment of your choice. Catalyst Zia services includes features like OCR, AutoML, Text Analytics, Image Moderation, and more. 4. [**Catalyst DevOps:**](https://docs.catalyst.zoho.com/en/devops/) Catalyst DevOps enables you to implement a DevOps model in your software building process. This provides components that allow you to operate your code at scale, and perform application monitoring, iterative testing, and quality checks with ease. 5. [**Catalyst SmartBrowz:**](https://docs.catalyst.zoho.com/en/smartbrowz/) Catalyst SmartBrowz allows you to configure and access a headless browser programmatically using popular browser automation libraries. You can crawl and scrape permitted websites, and design templates with dynamic content to generate visual documents of them. 6. [**Catalyst QuickML:**](https://docs.catalyst.zoho.com/en/quickml/) Catalyst QuickML allows you to create machine-learning pipelines with end-to-end solutions in a fully no-code ML pipeline builder service. You can access a host of pre-built ML algorithms, operations, and data preprocessing techniques, and connect with datasets to build ML models. 7. [**Catalyst ConvoKraft:**](https://docs.catalyst.zoho.com/en/convokraft/) Catalyst ConvoKraft enables you to build text-based conversational bots that can be embedded into your Catalyst solutions. You can configure tasks for your bot and define the underlying business logic to govern its actions. ### Supported Environments You can develop web and mobile applications using Catalyst and utilize the following SDKs for your needs: 1. [Web](https://docs.catalyst.zoho.com/en/sdk/web/v4/overview/) 2. [Android](https://docs.catalyst.zoho.com/en/sdk/android/v2/overview/) 3. [iOS](https://docs.catalyst.zoho.com/en/sdk/ios/v2/overview/) 4. [Flutter](https://docs.catalyst.zoho.com/en/sdk/flutter/v2/overview/) ### Supported Programming Languages and Frameworks You can develop serverless functions in the following programming languages and frameworks: 1. [Java](https://docs.catalyst.zoho.com/en/sdk/java/v1/overview/) 2. [Node.js](https://docs.catalyst.zoho.com/en/sdk/nodejs/v2/overview/) 3. [Python](https://docs.catalyst.zoho.com/en/sdk/python/v1/overview/) -------------------------------------------------------------------------------- title: "Quick Start Guide" description: "The Quick Start Guide teaches you the basics of developing an application or a microservice in Catalyst and setting up your work environment." last_updated: "2026-11-04T10:10:44.000Z" source: "https://docs.catalyst.zoho.com/en/getting-started/quick-start-guide/" service: "All Services" -------------------------------------------------------------------------------- # Quick Start Guide This quick start guide will familiarize you with setting up the Catalyst work environment in under ten minutes. With this guide, you can quickly learn the basic steps involved in developing a Catalyst application in a generic way, with the most popular services. **You can access detailed step-by-step tutorials on building applications and microservices involving different Catalyst services and components from [the Tutorials section](https://docs.catalyst.zoho.com/en/tutorials/).** **[Access all Catalyst resources](https://docs.catalyst.zoho.com/en/)** and check out the various help resources available. > **Note:** Refer to the links provided in this guide for detailed help on various topics.
### Prerequisites 1. [Node.js and NPM](https://nodejs.org/en/download/) for your platform to install Catalyst CLI and to develop Node.js functions 2. [Java SE Development Kit](https://www.oracle.com/technetwork/java/javase/downloads/index.html) to develop Java functions 3. [Python](https://www.python.org/) for your platform to develop Python functions 4. Any IDE tool for coding the [client](https://docs.catalyst.zoho.com/en/cli/v1/project-directory-structure/client-directory/), [functions](https://docs.catalyst.zoho.com/en/cli/v1/project-directory-structure/functions-directory/), or [AppSail](https://docs.catalyst.zoho.com/en/serverless/help/appsail/introduction/). ### Step 1: Create a Catalyst project The first step in developing a Catalyst application is to [create a Catalyst project](https://docs.catalyst.zoho.com/en/getting-started/catalyst-projects/) for it. 1. Log in to the Catalyst console and click **Create a new Project**. 2. Enter the project's name in the pop-up window. 3. Click **Access Project** to open it. You can now set up and work with the Catalyst services and components from the console. Refer to each service's index page from the [help resources](https://docs.catalyst.zoho.com/en/) to learn about it and the components in detail. ### Step 2: Install Catalyst CLI [Install Catalyst CLI](https://docs.catalyst.zoho.com/en/getting-started/installing-catalyst-cli/) to develop, test, and deploy Catalyst applications from your local system. Execute this command in your terminal: ```sh npm install -g zcatalyst-cli ``` Execute this command to verify if the CLI is properly installed: ```sh catalyst --version ``` > **Note:** If you are unable to install Catalyst CLI, execute the install command using `sudo`. You will now be able to access the `catalyst` command from your terminal. Refer to the [**CLI help resources**](https://docs.catalyst.zoho.com/en/cli/v1/cli-command-reference/) for detailed help with the CLI commands and actions. ### Step 3: Log in from your CLI 1. Execute this command to [log in to your Zoho account](https://docs.catalyst.zoho.com/en/cli/v1/login/login-from-cli/) from the CLI: ```sh catalyst login ``` 2. Press **Y** to allow Catalyst to collect CLI error reports and press **Enter**. 3. Sign in using your credentials in the Zoho accounts login page. 4. Click **Accept** to provide data access permissions to the CLI. 5. Close the browser window and continue using the CLI in your terminal. ### Step 4: Initialize the project from the CLI 1. Create a folder for the project on your local machine and navigate to it from the terminal. 2. Execute this command from that directory to [initialize a Catalyst project](https://docs.catalyst.zoho.com/en/cli/v1/initialize-resources/introduction/) in it: ```sh catalyst init ``` > **Note:** The first Catalyst project can only be created from the web console, and not from the CLI. However, you can create subsequent projects directly from the CLI. 3. Select the components that you need to set up for your Catalyst application and press **Enter**. You can initialize Serverless [functions](https://docs.catalyst.zoho.com/en/serverless/help/functions/introduction/) and CloudScale client. > **Note:** You can also initialize Serverless [AppSail](https://docs.catalyst.zoho.com/en/serverless/help/appsail/introduction/) and deploy your app's build files onto the PaaS. 4. Associate the directory with a Catalyst project by selecting a project from the list and press **Enter**. 5. If you initialize a function, select a function type and the stack, and press **Enter**. * If you initialize a Java function, provide the reference name and the main class name, then install the Catalyst Java SDK package. * If you initialize a Node.js function, provide the values for the package name, the entry point file name, and the author's email address. Install the dependencies when prompted. * If you initialize a Python function, provide the values for the package name and the entry point file name. 6. If you initialize the client, provide a name for the client package. The components will be installed and the project directory will be set up with the necessary dependencies and configuration. Refer to the [standard project directory structure help page](https://docs.catalyst.zoho.com/en/cli/v1/project-directory-structure/introduction/) for details. ### Step 5: Develop the application You can now work with the components you initialized in your Catalyst project and use any IDE tool of your choice to code the functions or the client. Refer to the following help documentations for detailed help on working with the Catalyst SDK and API resources, and incorporating Catalyst components in your business logic: * [Java SDK help documentation](https://docs.catalyst.zoho.com/en/sdk/java/v1/overview/) * [Node.js SDK help documentation](https://docs.catalyst.zoho.com/en/sdk/nodejs/v2/overview/) * [Python SDK help documentation](https://docs.catalyst.zoho.com/en/sdk/python/v1/overview/) * [Web SDK help documentation](https://docs.catalyst.zoho.com/en/sdk/web/v4/overview/) * [Android SDK help documentation](https://docs.catalyst.zoho.com/en/sdk/android/v2/overview/) * [iOS SDK help documentation](https://docs.catalyst.zoho.com/en/sdk/ios/v2/overview/) * [Flutter SDK help documentation](https://docs.catalyst.zoho.com/en/sdk/flutter/v2/overview/) * [API help documentation](https://docs.catalyst.zoho.com/en/api/introduction/overview-and-prerequisites/#OverviewandPrerequisites) ### Step 6: Test the application locally After you develop the Catalyst application or microservice, you can [test it locally](https://docs.catalyst.zoho.com/en/cli/v1/serve-resources/introduction/) from the CLI before deploying it to the Catalyst web console. Execute this command from your project directory: ```sh catalyst serve ``` > **Note:** You can also [launch an exclusive Node shell from the CLI](https://docs.catalyst.zoho.com/en/cli/v1/working-with-functions/functions-shell/) to test the functions. You can access the functions, client, and AppSail from its local URL displayed in the CLI, and test them. ### Step 7: Deploy the project After you test the application, you can [deploy it to the remote console](https://docs.catalyst.zoho.com/en/cli/v1/deploy-resources/introduction/) by executing this command from your project directory: ```sh catalyst deploy ``` Your application can now be accessed from its web app URL in the [Development environment](https://docs.catalyst.zoho.com/en/deployment-and-billing/environments/introduction/). To access the application in the Production environment, you must set up [Catalyst payments](https://docs.catalyst.zoho.com/en/deployment-and-billing/billing/introduction/) and [deploy the project to production](https://docs.catalyst.zoho.com/en/deployment-and-billing/environments/initial-deployment/). > **Note:** You can also host web applications directly from the console through [web client hosting](https://docs.catalyst.zoho.com/en/cloud-scale/help/web-client-hosting/introduction/) or [upload function bundles](https://docs.catalyst.zoho.com/en/serverless/help/functions/implementation/) in the console. You can host and distribute a mobile application using [Mobile Device Management](https://docs.catalyst.zoho.com/en/cloud-scale/help/mobile-device-management/introduction/). [**Access Tutorials**](https://docs.catalyst.zoho.com/en/tutorials/) to try out some sample applications. -------------------------------------------------------------------------------- title: "Install Catalyst CLI" description: "Catalyst CLI contains a set of tools that enable you to initialize projects, and develop, test, and deploy your applications from your local machine." last_updated: "2026-11-04T10:10:44.000Z" source: "https://docs.catalyst.zoho.com/en/getting-started/installing-catalyst-cli/" service: "All Services" -------------------------------------------------------------------------------- # Install Catalyst CLI ### Introduction Catalyst CLI contains a set of tools that enable you to initialize projects, and develop, test, and deploy the components of your applications and microservices from your local machine. The CLI includes commands and operations applicable to most Catalyst services, such as CloudScale, Serverless, or SmartBrowz. You can learn about the CLI commands available and access detailed help with the CLI from the [**CLI Documentation**](https://docs.catalyst.zoho.com/en/cli/v1/cli-command-reference/). > **Note:** The CLI works with the development environment of your Catalyst project. Therefore, the activities that you perform using the CLI, such as creating a function or deploying a client to the [remote console](https://docs.catalyst.zoho.com/en/getting-started/navigating-in-the-console/), are not reflected in the live production environment of the project. To enable them in the production environment of your application, you must [deploy your project](https://docs.catalyst.zoho.com/en/deployment-and-billing/environments/initial-deployment/) to the production environment. #### Supported OS: * **Windows** * **macOS** * **Linux** You can install Catalyst CLI in any of the supported operating systems in the same way as discussed in this help page. Catalyst CLI offers the same CLI functionalities across all platforms. After you have installed Catalyst CLI, you can work with your Catalyst projects and build applications directly from your system's terminal. ### Pre-requisites Before you install Catalyst CLI, you must have the following prerequisites installed in your system. #### Node.js and Node Package Manager (NPM): Catalyst CLI can be installed through NPM or the Yarn package manager. You can therefore install NPM on your system to install the CLI directly, or install the Yarn package manager using NPM and then install the CLI with it. To check if you already have Node.js and NPM installed, execute the following commands in your terminal which display their installed versions, if present: ```sh node -v ``` ```sh npm -v ``` If you don't have them installed, you can [download Node.js](https://nodejs.org/en/download/) for your platform from their official website, or use a Node version manager like NVM to install Node.js and NPM. NPM comes bundled with Node.js when you install it. Refer to the [Node.js help documentation](https://nodejs.org/en/docs/) or [NPM documentation](https://docs.npmjs.com/getting-started/installing-node) for further help. > **Note:** Catalyst CLI will only run on **Node.js v14 or later**. Ensure that you install an appropriate version. For security, we recommend Node.js 22.23.4, 24.22.1 or later. #### Programming Language Support: You can develop [server-side functions](https://docs.catalyst.zoho.com/en/serverless/help/functions/introduction/) in the following language environments in Catalyst: 1. Node.js 2. Java 3. Python Before you do so, you must ensure that you have installed all the required components of these language environments in your local system. > **Note:** You can install these programming language prerequisites only if you plan on initializing Catalyst functions from the CLI, and for the stacks you require. Because you have installed Node.js in the previous step, the components required to develop Node.js functions will already be available in your system. You can also manually install a supported runtime of Node.js and the corresponding supported SDK package to develop functions in that runtime. **Java:** To develop Java functions, install the relevant Java Development Kit (JDK) in your system for your platform. You must install: * [Version 8 of the Java Standard Edition (SE)](https://www.oracle.com/technetwork/java/javase/downloads/index.html) platform's JDK * [Version 11 of the Java Standard Edition (SE)](https://www.oracle.com/in/java/technologies/javase/jdk11-archive-downloads.html) platform's JDK * [Version 17 of the Java Standard Edition (SE)](https://www.oracle.com/java/technologies/downloads/#java17) platform's JDK Refer to the [JDK documentation](https://docs.oracle.com/en/java/) for further help. > **Note:** Catalyst currently only offers support for version **8**, **11**, and **17** of the Java SE Development Kit. If you do not have the exact version installed in your machine, we recommend that you install the exact JDK for optimum performance. **Python:** To develop Python functions, install **Python version 3.10** from their [official website](https://www.python.org/) for your platform and the Python Package Manager, Pip. The [Pip package manager](https://pip.pypa.io/en/stable/installation/#) will be auto-installed in your local system if you install Python from their official source. ### Install the CLI You must install Catalyst CLI in your system using the terminal in the administrator mode, as this command execution requires admin privileges. You can run the terminal as administrator in your Windows environment, or execute the installation command using `sudo` in a UNIX command like, such as in macOS or Linux systems. You must execute the following command in your terminal to install Catalyst CLI: ```sh npm install -g zcatalyst-cli ``` If you are installing it through the [Yarn package manager](https://yarnpkg.com/), execute the following command in your terminal: ```sh yarn add zcatalyst-cli ``` This will initiate the installation process and your terminal will display the progress. ![](https://catalyst-docs-development.zohostratus.in/images/getting-started/installing-cli/catalyst_cli_install_progress.webp) After the installation is complete, the CLI will display these details. ![](https://catalyst-docs-development.zohostratus.in/images/getting-started/installing-cli/catalyst_cli_installed.webp) You can verify if the CLI was properly installed by executing the following command: ```sh catalyst --version ``` If there were no issues with the installation, the command will return the version of the CLI installed in your system. You will now be able to access the `catalyst` command from your terminal. You can refer to the [**CLI documentation**](https://docs.catalyst.zoho.com/en/cli/v1/cli-command-reference/) from the Catalyst resources page for help with the CLI commands. ### Update Catalyst CLI to the Latest Version When a newer version of the Catalyst CLI is available, your terminal will display a message alerting you of it, after you execute a CLI command successfully. ![](https://catalyst-docs-development.zohostratus.in/images/getting-started/installing-cli/catalyst_cli_update_available.webp) To update your CLI, execute the following command in your terminal: ```sh npm install -g zcatalyst-cli ``` This will initiate the installation process for the latest version. > **Note:** * In some cases, your system's registry values might not reflect the latest version of Catalyst CLI. This might cause your system to retain the older version of the CLI. To avoid this, mention the version number while executing the command. For example, to update to the version 1.9.0, run **$ `npm install -g zcatalyst-cli@1.9.0`** * If you are unable to update Catalyst CLI, execute the command using `sudo`. -------------------------------------------------------------------------------- title: "Catalyst Projects" description: "The solutions you build on Catalyst are built as individual projects that you can create and work with from a remote console or using Catalyst CLI" last_updated: "2026-09-28T11:04:26.000Z" source: "https://docs.catalyst.zoho.com/en/getting-started/catalyst-projects/" service: "All Services" -------------------------------------------------------------------------------- # Catalyst Projects ### The Index Page You can begin your Catalyst application development from the Catalyst console. Sign in with your Zoho account or with your Catalyst account, if prompted to do so. You will then be redirected to this index page in the console. Access the Catalyst console based on your Zoho account's data center (DC): [EU](https://console.catalyst.zoho.eu/baas/index), [IN](https://console.catalyst.zoho.in/baas/index), [US and others](https://console.catalyst.zoho.com/baas/index). ![Catalyst Console- Index Page](https://catalyst-docs-development.zohostratus.in/images/getting-started/catalyst-projects-and-console/catalyst_console_index_page.webp) The index page lists all Catalyst projects that you create in your Catalyst account, and enables you to create new projects. The [notifications and settings](https://docs.catalyst.zoho.com/en/getting-started/navigating-in-the-console/#header) icons in the top-right corner display the notifications and [general settings](https://docs.catalyst.zoho.com/en/getting-started/set-up-a-catalyst-project/introduction/) that are common to all your Catalyst projects. You can access the project-specific settings from inside a project. The index page also lists all the help resources for various services, development tools, and more. ### Introduction to Catalyst Projects Before you begin working with Catalyst by creating a project, keep in mind the following points about Catalyst projects: * Catalyst projects are not service-specific. You can access all Catalyst services and components within a project and build any solution of any scale or vertical such as web apps, microservices, enterprise solutions, and more. * You can create one application of each platform in a single Catalyst project. That is, you can create one web app, one Android app, and one iOS app in a single Catalyst project. You can create multiple functions and AppSail solutions in a project. * When you create a project, it is not platform-specific. You can download the [SDK](https://docs.catalyst.zoho.com/en/getting-started/catalyst-sdk/) for a platform and include it in your business logic and application building process later. Catalyst also supports cross-platform development within a single project. * All solutions in the same project can access the same backend data from the Catalyst services and components, such as CloudScale's Data Store and Serverless Functions. The features configured in Catalyst apply to all solutions in the same project, and you can view common analytics data. This enables users to access the same data while switching between different platform versions of the app. * If you intend to build different solutions that do not share the same data or functionalities between them, you can create individual projects for them. * When you create a new project, a unique `Project ID` will be generated for it. You can view it from the [_General Settings_](https://docs.catalyst.zoho.com/en/getting-started/set-up-a-catalyst-project/general-settings/) section. * You can build and test solutions in your project in the development environment sandbox, then deploy them to production by [deploying your project](https://docs.catalyst.zoho.com/en/deployment-and-billing/environments/deployment-types/). * You can also create a project from the Catalyst CLI by executing `catalyst init`. However, you cannot create your first ever Catalyst project from the CLI. You can only do that from the console. Refer to the [CLI documentation](https://docs.catalyst.zoho.com/en/cli/v1/cli-command-reference/) for more information. > **Note:** You can create upto 50 projects in your account. You can reach out to Catalyst to request an increase to this limit support@zohocatalyst.com. We will address each request on a case-by-case basis. ### Create a Catalyst Project Next, let's create a Catalyst project from the index page in the console: 1. Click **Create New Project**. ![Catalyst Console- Create a Project](https://catalyst-docs-development.zohostratus.in/images/getting-started/catalyst-projects-and-console/catalyst_console_index_page_create_project.webp) 2. Enter the project's name in the pop-up window. ![Catalyst Console- Create a Project](https://catalyst-docs-development.zohostratus.in/images/getting-started/catalyst-projects-and-console/catalyst_console_create_project.webp) > **Note:** The project name can only contain alphanumeric characters, underscores and hyphens. Do not include white spaces or other special characters in it. 3. Click **Create**. After your project is created, click **Access Project** to open it. ![Catalyst Console- Access Project](https://catalyst-docs-development.zohostratus.in/images/getting-started/catalyst-projects-and-console/catalyst_console_index_page_access_project.webp) This will redirect you to your project's page where you can now access Catalyst services, components, settings, and other developer tools for your project. -------------------------------------------------------------------------------- title: "Navigating in the Console" description: "The Catalyst remote console enables you to configure components and project settings, add data and code, perform testing, and deploy your projects." last_updated: "2026-11-04T10:10:44.000Z" source: "https://docs.catalyst.zoho.com/en/getting-started/navigating-in-the-console/" service: "All Services" -------------------------------------------------------------------------------- # Navigating in the Console ### Services and Components After you [create your project](https://docs.catalyst.zoho.com/en/getting-started/catalyst-projects/) and open it, you will be redirected to the project's index. You can access all the [services](https://docs.catalyst.zoho.com/en/) inside the project by navigating to them from the left menu. You can access [CodeLib](https://docs.catalyst.zoho.com/en/codelib/introduction/) at the bottom of the left pane. ![Catalyst Console- Project Page](https://catalyst-docs-development.zohostratus.in/images/getting-started/catalyst-projects-and-console/catalyst_console_project_page.webp) You can click **Start Exploring** to access the components in each service. > **Note:** You will not be able to [deploy a service to production](https://docs.catalyst.zoho.com/en/deployment-and-billing/environments/initial-deployment/) in the project until you explore it in the console with this button. The components in each service will be grouped into various categories based on their functionalities, features, and purpose. ![Catalyst Console- Explored](https://catalyst-docs-development.zohostratus.in/images/getting-started/catalyst-projects-and-console/catalyst_console_explored.webp) You can access a dashboard from the [Serverless](https://docs.catalyst.zoho.com/en/serverless/) and [CloudScale](https://docs.catalyst.zoho.com/en/cloud-scale/) services by clicking on the service name at the top. ![Catalyst Console- Serverless](https://catalyst-docs-development.zohostratus.in/images/getting-started/catalyst-projects-and-console/catalyst_console_serverless.webp) You can also navigate to other projects from the drop-down at the top and clicking on a project. ![Catalyst Console- Navigate to Projects](https://catalyst-docs-development.zohostratus.in/images/getting-started/catalyst-projects-and-console/catalyst_console_collapsible_menu.webp) You can return to your account's index page by clicking on the Catalyst logo at the top. ### Dashboard The Serverless and CloudScale dashboards contain certain metrics for the day of your project, and directions to [install the Catalyst CLI](https://docs.catalyst.zoho.com/en/getting-started/installing-catalyst-cli/), as well as links to various Catalyst help resources. ![Catalyst Console- Dashboard](https://catalyst-docs-development.zohostratus.in/images/getting-started/catalyst-projects-and-console/catalyst_console_dashboard.webp) The _Today's Metrics_ section displays this usage information about your project: * **Sync Functions Executions:** Number of synchronous [functions](https://docs.catalyst.zoho.com/en/serverless/help/functions/introduction/) that have been executed on the current day. * **Async Functions Executions:** Number of asynchronous functions that have been executed on the current day. * **Total Component Calls:** Total number of component calls made from functions on the current day. * **Cron Executions:** Number of [cron jobs](https://docs.catalyst.zoho.com/en/cloud-scale/help/cron/introduction/) executed on the current day. ### Header Catalyst provides a [development sandbox and a production environment](https://docs.catalyst.zoho.com/en/deployment-and-billing/environments/introduction/) for your project. You can deploy your project to the production environment by clicking **Deploy to Production** from the header after you [set up your payment method](https://docs.catalyst.zoho.com/en/deployment-and-billing/billing/setting-up-payment/). ![Catalyst Console- Header](https://catalyst-docs-development.zohostratus.in/images/getting-started/catalyst-projects-and-console/catalyst_console_right_icons.webp) Once deployed, you can use the environment drop-down on the top to switch between the development and production environments in Catalyst and work in them. ![Catalyst Console- Environment Dropdown](https://catalyst-docs-development.zohostratus.in/images/getting-started/catalyst-projects-and-console/catalyst_console_env_dropdown.webp) You can also find notifications common to all your projects by clicking the **notifications** icon. You will receive notifications about various events or processes occurring in each service, after their completion or during their execution. Some examples include: [Deploying a GitHub repository](https://docs.catalyst.zoho.com/en/devops/help/github-integration/implementation/#deploying-a-github-repository-from-catalyst), [enabling the search index](https://docs.catalyst.zoho.com/en/cloud-scale/help/data-store/columns/#column-characteristics) for a column in a table in the Data Store, deploying your project resources from one environment to the other, or training an AutoML model. ![Catalyst Console- Notifications](https://catalyst-docs-development.zohostratus.in/images/getting-started/catalyst-projects-and-console/catalyst_console_notifications.webp) You can customize your Catalyst project features, account preferences, or certain component specifications from the settings. We will discuss the **settings** in the [Setting up a Catalyst Project section](https://docs.catalyst.zoho.com/en/getting-started/set-up-a-catalyst-project/introduction/). You can access your Zoho user information by clicking on the display picture in your account. You can also find your unique Catalyst [user ID](https://docs.catalyst.zoho.com/en/cloud-scale/help/authentication/user-management/users/introduction/) here. ![Catalyst Console- User Account](https://catalyst-docs-development.zohostratus.in/images/getting-started/catalyst-projects-and-console/catalyst_console_user_account.webp) When you click **My Account** you will be redirected to your [Zoho accounts page](https://accounts.zoho.com/home) from where you can customize your Zoho account information. Catalyst enables you to create and be a part of [multiple organizations](https://docs.catalyst.zoho.com/en/getting-started/catalyst-organizations/) from the same account, and maintain different sets of projects in each. You can access your multi-org portal from the **Organizations** drop-down in this section. This menu also contains links to download various SDKs that you can use in your application. You can also download these SDKs for your project from the [Developer Tools settings](https://docs.catalyst.zoho.com/en/getting-started/set-up-a-catalyst-project/developer-tools/). -------------------------------------------------------------------------------- title: "Catalyst Organizations" description: "Create and manage multiple organizations with a single Catalyst account and maintain different sets of projects in each." last_updated: "2026-08-28T06:26:16.000Z" source: "https://docs.catalyst.zoho.com/en/getting-started/catalyst-organizations/" service: "All Services" -------------------------------------------------------------------------------- # Catalyst Organizations ### Introduction Catalyst enables you to create and be a part of multiple organizations in your account using the same email address. When you create a new organization in your account, you will be the owner of that org by default. You can create and maintain different sets of [projects](https://docs.catalyst.zoho.com/en/getting-started/catalyst-projects/#introduction-to-catalyst-projects) in each organization that you create. For example consider a freelance developer who works for multiple clients belonging to different organizations with a different set of customer base, revenue sources, and organizational hierarchy in each of them. In such cases, to manage multiple organizations would be a tedious task, requiring you to log in each time into two different accounts. Catalyst enables you to switch between your organizations with the same Catalyst account and also add [collaborators](https://docs.catalyst.zoho.com/en/getting-started/set-up-a-catalyst-project/collaborators) from different organizations contributing to a single project within a particular organization. #### Points to remember: * If you create an organization of your own, you will be its owner. You can add collaborators for the projects you create in it, either as admins or project members, and grant permissions for the entire org or for specific projects in it. You can perform these actions for each organization that you create individually. * If you are added to an organization by another org owner or admin, you will be a collaborator in that org, based on the collaborator type (admin or project member) you are added as. The permissions for you to create projects or perform other actions will be based on your collaborator type. * An organization will be referred to by a unique ID automatically generated for it called the **Org ID**. The org ID will be a part of the console URL used to access that org. ### Access the Multi-Org Portal You can access the multi-org work portal in your Catalyst console and manage your organizations by clicking the profile icon on the top left corner. ![Multi-Org Portal](https://catalyst-docs-development.zohostratus.in/images/getting-started/catalyst-projects-and-console/catalyst_console_access_org.webp) The organizations drop-down will display the list of organizations you are a part of. Catalyst allows you to easily switch between organizations directly from this drop-down menu. Click Manage Organizations to access the multi-org portal. ![manage-organizations](https://catalyst-docs-development.zohostratus.in/images/getting-started/catalyst-projects-and-console/catalyst_console_access_org_2.webp) This will open a portal that displays the details of all the organizations you have access to, which include the ones you create and the ones you were added to. You can search for an organization by its name using the search bar. The portal displays details of an organization, such as its unique org ID and its console URL for easy access. The URL is in the format of: `https://console.catalyst.zoho.com/baas/{{OrgID}}/index` ![multi-org-portal](https://catalyst-docs-development.zohostratus.in/images/getting-started/catalyst-projects-and-console/catalyst_console_multiorg_portal.webp) ### Create a New Organization 1. You can create a new organization by clicking Create Organization. ![catalyst_console_create_org](https://catalyst-docs-development.zohostratus.in/images/getting-started/catalyst-projects-and-console/catalyst_console_create_org_1.webp) 2. Provide a name for your organization. You can also enable this organization to be the [default](https://docs.catalyst.zoho.com/en/getting-started/catalyst-organizations/#the-default-organization), if required. ![create-new-org](https://catalyst-docs-development.zohostratus.in/images/getting-started/catalyst-projects-and-console/catalyst_console_create_org_2.webp) 3. Click Create Organization. The organization will be created and displayed in the portal with its corresponding details. You can now create projects, add collaborators, and perform other actions in this org. ### The Default Organization One of the organizations that you are a part of will be the default organization. When you sign up for a Catalyst account for the first time, Catalyst will create an organization and assign you to it, which will be the default. If you create more organizations in your account, you can enable a different org to be the default. When you make an organization the default, the following actions are observed : * Every time you log in to your Catalyst account through the console, [CLI](https://docs.catalyst.zoho.com/en/cli/v1/login/login-from-cli/), or through other sources, you will be logged in to the default organization. * Every time you execute a Catalyst API, it will be executed for a project or a resource in the default organization, unless you explicitly pass the Org ID of another organization to execute it for. You can refer [here](https://docs.catalyst.zoho.com/en/api/introduction/multi-org-support/#Multi-OrgSupport) for details. * You will not be able to delete an organization that you set as the default. ### Set an Organization as the Default You can set an organization as the default in the following way: 1. Click the ellipsis icon for the org to be set as the default from the multi-org portal, then click **Set as Default**. ![catalyst_console_org_default](https://catalyst-docs-development.zohostratus.in/images/getting-started/catalyst-projects-and-console/catalyst_console_org_default_1.webp) 2. Click **Yes, Proceed** in the confirmation pop-up. ![catalyst_console_org_default](https://catalyst-docs-development.zohostratus.in/images/getting-started/catalyst-projects-and-console/catalyst_console_org_default_2.webp) ### Delete an Organization You can only delete the organization from Catalyst if you are its owner. You will not be able to delete an org that you were added to by another org owner. > **Note:** * If you delete an org, the organization and all the projects created in it will be deleted permanently. The deleted resources cannot be retrieved again. You must therefore ensure that you only delete an org if it is not required permanently. * If you need to delete an org that is currently the default, you will need to set another organization as the default before deleting this. 1. Click the ellipsis icon for the org to be set as the default from the multi-org portal, then click **Remove Org**. ![catalyst_console_org_delete](https://catalyst-docs-development.zohostratus.in/images/getting-started/catalyst-projects-and-console/catalyst_console_org_delete_1.webp) 2. Click **Yes, Proceed** in the confirmation pop-up. ![Delete Organization](https://catalyst-docs-development.zohostratus.in/images/getting-started/catalyst-projects-and-console/catalyst_console_org_delete_2.webp) -------------------------------------------------------------------------------- title: "Introduction to Catalyst SDK" description: "Catalyst SDK packages provide a host of tools and functionalities that enable you to build reliable and secure applications with Catalyst components." last_updated: "2026-11-04T10:10:44.000Z" source: "https://docs.catalyst.zoho.com/en/getting-started/catalyst-sdk/" service: "All Services" -------------------------------------------------------------------------------- # Introduction to Catalyst SDK Software Development Kit (SDK) is a set of tools and libraries that allow developers to create software applications on a specific platform that the SDK targets. The contents of an SDK package include everything that is necessary for developers to successfully build software applications for that platform. Catalyst SDK packages provide a host of tools and functionalities that enable you to build functionally-rich, reliable, robust, and secure applications, by incorporating various Catalyst services such as CloudScale, Serverless, Zia Services and their components such as Data Store, Functions, Authentication, and more in them. You can easily handle backend jobs in your application by implementing the ready-made functionalities for each service provided by the SDK package, and building on them as per your requirements. This saves you from investing time and effort into coding the backend from scratch, and helps you focus more on designing the user experience of the app. Catalyst provides SDK packages for the following languages and development environments: * [**Java SDK**](https://docs.catalyst.zoho.com/en/sdk/java/v1/overview/) * [**Node.js SDK**](https://docs.catalyst.zoho.com/en/sdk/nodejs/v2/overview/) * [**Python SDK**](https://docs.catalyst.zoho.com/en/sdk/python/v1/overview/) * [**Web SDK**](https://docs.catalyst.zoho.com/en/sdk/web/v4/overview/) * [**Android SDK**](https://docs.catalyst.zoho.com/en/sdk/android/v2/overview/) * [**iOS SDK**](https://docs.catalyst.zoho.com/en/sdk/ios/v2/overview/) * [**Flutter SDK**](https://docs.catalyst.zoho.com/en/sdk/flutter/v2/overview/) You can access the resources provided to easily understand the process of developing interactive web and mobile applications using Catalyst. The SDK documentation guides provide detailed help on setting up the environments for the specific platform, prerequisites, setup procedures, code syntaxes, and well-explained code samples for integrating each Catalyst service and component in your application’s code. You can also access the [**Catalyst API Documentation**](https://docs.catalyst.zoho.com/en/api/introduction/overview-and-prerequisites/#OverviewandPrerequisites) for detailed help on the API available for various services, components and functionalities. ## Setting up a Catalyst Project -------------------------------------------------------------------------------- title: "Introduction" description: "Catalyst settings allow you to configure features relevant to your Catalyst project and console, from adding collaborators to managing billing." last_updated: "2026-11-04T10:10:44.000Z" source: "https://docs.catalyst.zoho.com/en/getting-started/set-up-a-catalyst-project/introduction/" service: "All Services" -------------------------------------------------------------------------------- # Catalyst Settings ### Introduction Catalyst settings allow you to configure, personalize, and set up features that are relevant to your Catalyst project and your console. After you [create your Catalyst project](https://docs.catalyst.zoho.com/en/getting-started/catalyst-projects/), you can configure the settings for it and access project-specific details any time. You can also easily access the required SDK packages for your application from the settings, manage billing, or perform migrations. To access settings, click on the **settings icon** on the top-right corner of your Catalyst console. ![catalyst_console_settings_icon](https://catalyst-docs-development.zohostratus.in/images/getting-started/set-up-a-catalyst-project/catalyst_console_settings_icon.webp) ### Settings Sections Catalyst settings are displayed under three sections. ![catalyst_console_settings](https://catalyst-docs-development.zohostratus.in/images/getting-started/set-up-a-catalyst-project/catalyst_console_settings.webp) 1. **General Settings:** General settings enable you to set up features that are common to all projects of your Catalyst account. You can access General settings from the [index page](https://docs.catalyst.zoho.com/en/getting-started/catalyst-projects/) as well. 2. **Project Settings:** Project settings enable you to set up features that are specific to the current project. These can be accessed only within the project. 3. **Billing:** Billing settings enable you to manage your billing and payments for your Catalyst account. You can access Billing settings from the index page as well. We will discuss each group of Catalyst settings in this help section. -------------------------------------------------------------------------------- title: "Collaborators" description: "Catalyst settings allow you to configure features relevant to your Catalyst project and console, from adding collaborators to managing billing." last_updated: "2026-11-04T10:10:44.000Z" source: "https://docs.catalyst.zoho.com/en/getting-started/set-up-a-catalyst-project/collaborators/" service: "All Services" -------------------------------------------------------------------------------- # Collaborators ### Introduction A collaborator is a co-developer who works with you on building a Catalyst application. You can add collaborators in your organization for the projects in it, and they will be able to access a specific project or all projects in the organization from the Catalyst console or the Catalyst CLI, based on the nature of their collaboration. Catalyst enables you to be a part of multiple [organizations](https://docs.catalyst.zoho.com/en/getting-started/catalyst-organizations) and create different sets of projects in each of them. You can therefore add different collaborators for each organization you create. You can also add collaborators in the orgs you did not create, with [necessary permissions](https://docs.catalyst.zoho.com/en/getting-started/set-up-a-catalyst-project/profiles-and-permissions). There are two types of collaborators: * **Project Member** A project member has access to the specific project that they have been added to. The access permissions to the project are based on the [profiles](https://docs.catalyst.zoho.com/en/getting-started/set-up-a-catalyst-project/profiles-and-permissions) that they have been assigned to. > **Note:** A project member can be added by another project member with the [necessary permission](https://docs.catalyst.zoho.com/en/getting-started/set-up-a-catalyst-project/profiles-and-permissions#permissions), or an admin of the Catalyst account. * **Admin of an account** An admin of a Catalyst account has access to all the projects created in the specific organizations they belong to in an account. The admin will have all the permissions of a [Project Owner profile](https://docs.catalyst.zoho.com/en/getting-started/set-up-a-catalyst-project/profiles-and-permissions#default-profiles) enabled for all the projects in the account, and some additional exclusive privileges. The exclusive privileges and permissions of a Catalyst account admin are specified in the following table:
Category Permissions
Projects Create Projects Update Projects Delete Projects
Profiles Create Profiles Update Profiles Delete Profiles and Permissions
Collaborators Delete Collaborators Permanently
Git Manage Git Integration
Billing Manage Billing
> **Note:** These are only the additional privileges of a Catalyst account admin. The permissions available for a [Project Owner](https://docs.catalyst.zoho.com/en/getting-started/set-up-a-catalyst-project/profiles-and-permissions#default-profiles), which are also available to the admin, are not included in this table. #### Super Admin Catalyst also recognizes a special administrator called the Super Admin. By default, the super admin is the individual who signed up for the Catalyst account. There can only be one super admin for an account. A super admin has all the privileges and permissions of a Catalyst account admin, and the additional exclusive permission to permanently delete the [Catalyst account permanently](https://docs.catalyst.zoho.com/en/getting-started/set-up-a-catalyst-project/collaborators/#delete-a-catalyst-account-permanently). > **Note:** The Super Admin of a Catalyst account can [create new organizations](https://docs.catalyst.zoho.com/en/getting-started/catalyst-organizations/#create-a-new-organization) within their account. The person who creates an organization will be the owner of that particular organization by default. However, an org owner need not necessarily be the Super Admin of that Catalyst account. The Super Admin of a Catalyst account and the owner of an organization are different roles. In short, the hierarchy of the collaborator types can be depicted as follows: ![catalyst_collaborators_hierarchy_1](https://catalyst-docs-development.zohostratus.in/images/getting-started/set-up-a-catalyst-project/catalyst_collaborators_hierarchy_1.webp) #### Points to remember: * Any individual can be directly invited to become a project member by an admin of that account, or another project member with the necessary [permission](https://docs.catalyst.zoho.com/en/getting-started/set-up-a-catalyst-project/profiles-and-permissions#permissions). * A project member can be changed to an admin only by another admin. Similarly, an admin can be changed to a project member by another admin. * A project member cannot be directly changed to a super admin. They must first be made an admin, then be changed to super admin. * If you are the current super admin of an account, you can change the super admin from yourself to another admin. This will change your account to an admin, and you will no longer have the permission to delete the Catalyst account and its associated orgs permanently. Once the transfer is complete, only the new super admin will have the permission to delete the account and the orgs, and also change the super admin again. * A super admin cannot be directly invited by anyone. They must first become an admin of the account, and then be changed by the current super admin. > **Note:** * A collaborator's access to Catalyst projects also applies if they use [Catalyst CLI](https://docs.catalyst.zoho.com/en/cli/v1/cli-command-reference/). A project member can only use projects, pull resources from projects, or deploy to projects that they have been assigned to using the CLI. An admin can access all the projects created in that Catalyst account from the CLI as well. * Catalyst allows up to 100 collaborators in an account. You can request Catalyst for an increase in this limit by contacting our support at support@zohocatalyst.com. We will address each request on a case-by-case basis. ### Add a Collaborator You can invite collaborators or assign new projects to existing members of other projects in an organization as follows: 1. Navigate to **Settings** in your Catalyst console. ![catalyst_collaborators_settings_icon](https://catalyst-docs-development.zohostratus.in/images/getting-started/set-up-a-catalyst-project/catalyst_console_settings_icon.webp) The _Collaborators_ section will open under the General Settings. 2. Click **Add or Assign** from the _Collaborators_ section. ![catalyst_collaborators](https://catalyst-docs-development.zohostratus.in/images/getting-started/set-up-a-catalyst-project/catalyst_collaborators.webp) 3. Select whether you want to add a project member or an admin for the whole account. If you select **Project Member**, you must choose the project from the dropdown list below. ![catalyst_collaborators_add_1](https://catalyst-docs-development.zohostratus.in/images/getting-started/set-up-a-catalyst-project/catalyst_collaborators_add_1.webp) > **Note:** You can also [assign](https://docs.catalyst.zoho.com/en/getting-started/set-up-a-catalyst-project/collaborators/#assign-a-new-project-to-a-project-member) other projects to a project member from their details section, after they have been invited for the first time. 4. Enter the email addresses of the people you wish to invite. ![catalyst_collaborators_add_2](https://catalyst-docs-development.zohostratus.in/images/getting-started/set-up-a-catalyst-project/catalyst_collaborators_add_2.webp) The console will list existing members of the organization that you can select to invite. You can also manually add members from other organizations. This is another way of assigning a new project to an existing member of the organization, or adding an existing project member as an admin. 5. If you selected **Project Member**, select a profile to assign each member to for the chosen project. All [default profiles and custom profiles](https://docs.catalyst.zoho.com/en/getting-started/set-up-a-catalyst-project/profiles-and-permissions) will be listed in the dropdown list. ![catalyst_collaborators_add_3](https://catalyst-docs-development.zohostratus.in/images/getting-started/set-up-a-catalyst-project/catalyst_collaborators_add_3.webp) You can add more project members or remove added members by clicking the **\+** and **\-** icons. > **Note:** You can only invite 10 members at a time. ![catalyst_collaborators_add_4](https://catalyst-docs-development.zohostratus.in/images/getting-started/set-up-a-catalyst-project/catalyst_collaborators_add_4.webp) The option to select a project or a profile will not appear if you select **Admin for the Whole Account**. ![catalyst_collaborators_add_5](https://catalyst-docs-development.zohostratus.in/images/getting-started/set-up-a-catalyst-project/catalyst_collaborators_add_5.webp) 6. Click **Confirm**. Catalyst will then send them email invites to access the project or the entire organization that they were added into. When the collaborator clicks on the link in the email, they will be redirected to a sign-in page to access their Catalyst console. If the collaborator does not have a Zoho account, they will be redirected to a sign-up page where they must first create an account. The collaborator's details, such as their first and last name, will be populated automatically from their Zoho account details. > **Note:** You can assign up to a 100 collaborators to a single Catalyst organization within your Catalyst account. The distribution of admins and members of the project is flexible based on your requirements. For example, you can have 1 admin and 99 project members or 50 admins and 50 project members. However, the total number cannot exceed 100. If you specifically require more than a hundred collaborators for a project, write to us at support@zohocatalyst.com with the details of your request. The collaborators that you invite will be listed in the _Collaborators_ section. You can click on their name to view their details. ![catalyst_collaborators_page_1](https://catalyst-docs-development.zohostratus.in/images/getting-started/set-up-a-catalyst-project/catalyst_collaborators_page_1.webp) Until a collaborator accepts the invitation and joins the project, an 'Invitation Pending' banner will be displayed. You can resend the email invite by clicking the **Reinvite** button. An admin's details section will list all the projects of that Catalyst organization as their assigned projects by default. ![catalyst_collaborators_page_2](https://catalyst-docs-development.zohostratus.in/images/getting-started/set-up-a-catalyst-project/catalyst_collaborators_page_2.webp) You can search for a collaborator by their name or email using the search bar at top of the section. You can also filter the collaborators listed in the section by selecting one of these categories. ![catalyst_collaborators_search](https://catalyst-docs-development.zohostratus.in/images/getting-started/set-up-a-catalyst-project/catalyst_collaborators_search.webp) After a collaborator accepts their invite, their status will be moved from _Pending Invites_ to _Active Members_ or _Admins_, based on their collaboration type. The admins will be marked with a yellow star and the Super Admins will be marked with an orange star in their details section. You can find all the admins of the account, including the Super Admin, in the _Admins_ list, and the project members in the _Active Members_ list. You can select _Deleted Collaborators_ to view the list of [collaborators that were deleted](https://docs.catalyst.zoho.com/en/getting-started/set-up-a-catalyst-project/collaborators/#delete-a-collaborator) from an account in the section. You can also select a project to view just the collaborators for that project. The admins of the account will be listed under each project, as they have access to all the projects. **Points to remember:** * The **Add or Assign** and **Reinvite** options will only be available to the members of the project who have the necessary [permissions](https://docs.catalyst.zoho.com/en/getting-started/set-up-a-catalyst-project/profiles-and-permissions#permissions). These options will be available to all the admins by default. * A project member will only see a list of project members and admins for the projects that they have access to. * Any information about other projects or their members that a project member does not have access to will not be shown anywhere in their console. ### Assign a New Project to a Project Member You can assign any number of projects in an organization to an existing project member with the necessary permissions in the following way : 1. Navigate to the project member's details section in _Settings_, then click **Assign New Project**. ![catalyst_collaborators_assign_new_1](https://catalyst-docs-development.zohostratus.in/images/getting-started/set-up-a-catalyst-project/catalyst_collaborators_assign_new_1.webp) 2. Select a project to assign the project member to and their role in that project from the dropdown lists. Click **Assign**. ![catalyst_collaborators_assign_new_2](https://catalyst-docs-development.zohostratus.in/images/getting-started/set-up-a-catalyst-project/catalyst_collaborators_assign_new_2.webp) All projects that a project member is assigned to will be listed in their details section. ![catalyst_collaborators_details](https://catalyst-docs-development.zohostratus.in/images/getting-started/set-up-a-catalyst-project/catalyst_collaborators_details.webp) ### Remove a Project Member from a Project You can remove a project member from a specific project in the following way: 1. Click the ellipsis icon for the project that the project member must be removed from, in the list in the collaborator's details section. Click **Remove from Project**. ![catalyst_collaborators_remove_project_1](https://catalyst-docs-development.zohostratus.in/images/getting-started/set-up-a-catalyst-project/catalyst_collaborators_remove_project_1.webp) > **Note:** Only project members with the [Add/Update/Remove Collaborators permission](https://docs.catalyst.zoho.com/en/getting-started/set-up-a-catalyst-project/profiles-and-permissions#permissions) or admins can do this. 2. Click **Yes, Proceed** in the confirmation pop-up. ![catalyst_collaborators_remove_project_2](https://catalyst-docs-development.zohostratus.in/images/getting-started/set-up-a-catalyst-project/catalyst_collaborators_remove_project_2.webp) > **Note:** An admin cannot be removed from a project in the org they belong to. They will have access to all projects created in that org. ### Change a Collaborator's Type As mentioned in the introduction section, you can change a project member to an admin, an admin to a super admin or a project member, or change the super admin. The options to make these changes will be available in a collaborator's details section, depending on their current type. > **Note:** A collaborator's type can only be changed by another collaborator on a [higher level of hierarchy](https://docs.catalyst.zoho.com/en/getting-started/set-up-a-catalyst-project/collaborators/#introduction). #### Change a Project Member to an Account Admin You can change a project member to an account admin in the following way: 1. Click on the project member's details section from the _Collaborators_ list, then click **Change to Admin**. ![catalyst_collaborators_change_1](https://catalyst-docs-development.zohostratus.in/images/getting-started/set-up-a-catalyst-project/catalyst_collaborators_change_1.webp) 2. Click **Confirm** in the pop-up. ![catalyst_collaborators_change_2](https://catalyst-docs-development.zohostratus.in/images/getting-started/set-up-a-catalyst-project/catalyst_collaborators_change_2.webp) This collaborator will now have project owner access to all the projects in that organization and the [additional privileges of a Catalyst account admin](https://docs.catalyst.zoho.com/en/getting-started/set-up-a-catalyst-project/collaborators/#introduction). ![catalyst_collaborators_change_3](https://catalyst-docs-development.zohostratus.in/images/getting-started/set-up-a-catalyst-project/catalyst_collaborators_change_3.webp) #### Change a Catalyst Account Admin to Super Admin As mentioned earlier, there can be only be one Super Admin for a Catalyst account. Changing the Super Admin from yourself to another admin will change your account to an admin. > **Note:** Only the current Super Admin can perform this operation. You can change a Catalyst account Admin to a Super Admin in the following way: 1. Click on an admin's details section from the _Collaborators_ list, then click **Change to Super Admin**. ![catalyst_collaborators_change_4](https://catalyst-docs-development.zohostratus.in/images/getting-started/set-up-a-catalyst-project/catalyst_collaborators_change_4.webp) 2. Click **Confirm** in the confirmation pop-up. ![catalyst_collaborators_change_5](https://catalyst-docs-development.zohostratus.in/images/getting-started/set-up-a-catalyst-project/catalyst_collaborators_change_5.webp) The new super admin will now have the additional permission to delete the Catalyst account permanently. ![catalyst_collaborators_change_6](https://catalyst-docs-development.zohostratus.in/images/getting-started/set-up-a-catalyst-project/catalyst_collaborators_change_6.webp) #### Change a Catalyst Account Admin to a Project Member Changing an admin to a project member will remove their access to all the projects in the Catalyst organization immediately. They can then be assigned to the required projects individually as explained in [this section](https://docs.catalyst.zoho.com/en/getting-started/set-up-a-catalyst-project/collaborators/#introduction). You can change a Catalyst account admin to a project member in the following way: 1. Open the admin's details section from the _Collaborators_ list. Click the ellipsis icon, then click **Change to Project Member**. ![catalyst_collaborators_change_7](https://catalyst-docs-development.zohostratus.in/images/getting-started/set-up-a-catalyst-project/catalyst_collaborators_change_7.webp) 2. Click **Confirm** in the confirmation pop-up. ![catalyst_collaborators_change_8](https://catalyst-docs-development.zohostratus.in/images/getting-started/set-up-a-catalyst-project/catalyst_collaborators_change_8.webp) You can now assign the project member individual projects that they need access to. ![catalyst_collaborators_change_9](https://catalyst-docs-development.zohostratus.in/images/getting-started/set-up-a-catalyst-project/catalyst_collaborators_change_9.webp) ### Delete a Collaborator As specified in the [exclusive permissions of a Catalyst account admin](https://docs.catalyst.zoho.com/en/getting-started/set-up-a-catalyst-project/collaborators/#introduction), an admin or a super admin can delete a project member or another admin permanently from an organization. This will revoke their access to the Catalyst console for that Catalyst organization, and they will be removed from that organization permanently. They will also not be able to access any Catalyst projects of that organization from the CLI. To add them back to the organization, a project member with the [necessary permission](https://docs.catalyst.zoho.com/en/getting-started/set-up-a-catalyst-project/profiles-and-permissions#permissions) or an admin must invite them again from the console as described in [this section](https://docs.catalyst.zoho.com/en/getting-started/set-up-a-catalyst-project/collaborators/#add-a-collaborator). > **Note:** * You can remove a collaborator from each project individually, if needed, and retain their Catalyst organization, instead of deleting them permanently. * Even if a collaborator is removed from an organization they were added to, they will still be a part of organizations they have created in their own account and can access the projects in them. * Deleting a collaborator from all organizations will not delete their Zoho account. Their [Zoho Accounts page](https://accounts.zoho.com/home) will still show other Zoho services that they use. * If you delete a collaborator who has not accepted the invitation to access the Catalyst project or organization, the invite link sent to them by email will become invalid. To delete a collaborator from Catalyst permanently: 1. Open the admin's details section from the _Collaborators_ list. Click the ellipsis icon, then click **Delete**. ![catalyst_collaborators_delete_1](https://catalyst-docs-development.zohostratus.in/images/getting-started/set-up-a-catalyst-project/catalyst_collaborators_delete_1.webp) 2. Type "DELETE" in the confirmation pop-up and click **Confirm**. ![catalyst_collaborators_delete_2](https://catalyst-docs-development.zohostratus.in/images/getting-started/set-up-a-catalyst-project/catalyst_collaborators_delete_2.webp) The deleted collaborator will still be listed in the _Collaborators_ section. ![catalyst_collaborators_delete_3](https://catalyst-docs-development.zohostratus.in/images/getting-started/set-up-a-catalyst-project/catalyst_collaborators_delete_3.webp) You can select the **Deleted Collaborators** filter under the search bar in this section to view a list of deleted collaborators in the account. ### Delete a Catalyst Account Permanently As mentioned before, the Super Admin of a Catalyst account can delete the account permanently. This will delete all projects and resources created from the account. > **Note:** * Before you delete a Catalyst account, you must delete all the collaborators in the account individually. This includes members of all the projects and admins of that account. You can then proceed to delete the account. * If you delete a Catalyst account permanently, all applications and microservices hosted from that Catalyst account will be deleted and become inaccessible to the end users. You must therefore proceed with caution before deleting an account. To delete a Catalyst account permanently: 1. Click on the ellipsis icon on the bottom of the _Collaborators_ section in _Settings_, then click **Delete Catalyst Account**. ![catalyst_collaborators_account_delete_1](https://catalyst-docs-development.zohostratus.in/images/getting-started/set-up-a-catalyst-project/catalyst_collaborators_account_delete_1.webp) 2. Type "DELETE" in the confirmation pop-up and click **Confirm**. ![catalyst_collaborators_account_delete_2](https://catalyst-docs-development.zohostratus.in/images/getting-started/set-up-a-catalyst-project/catalyst_collaborators_account_delete_2.webp) The account will be permanently deleted. > **Note:** If you have pending bill payments in your Catalyst account, you must clear all dues before you delete the account. The account will not be deleted until all pending bill payments are made. -------------------------------------------------------------------------------- title: "Profiles and Permissions" description: "Catalyst settings allow you to configure features relevant to your Catalyst project and console, from adding collaborators to managing billing." last_updated: "2026-11-04T10:10:44.000Z" source: "https://docs.catalyst.zoho.com/en/getting-started/set-up-a-catalyst-project/profiles-and-permissions/" service: "All Services" -------------------------------------------------------------------------------- # Profiles and Permissions ### Introduction A profile represents a collection of permissions and privileges that gives project members access to various components and features inside a project. When you add a new project member, you must assign them to a specific profile for each project that they are added to. You can assign them to one of the default profiles, or define custom profiles based on your needs and use them instead. All profiles and permissions are project specific, and not account specific. You can assign the same individual to different profiles in different projects, and thereby grant different levels of access in each project. This enables you to provide only the relevant authorization to project members based on your organization's requirements. > **Note:** * Profiles do not apply to Catalyst account admins or the Super Admin. Only project members can be assigned to profiles for each project. * Catalyst provides permissions to project members in compliance with all relevant and applicable data protection laws and privacy guidelines, such as [GDPR](https://gdpr-info.eu/) and [HIPAA](https://www.hhs.gov/hipaa/index.html) regulations. This helps you readily implement user data protection regulations and build applications in accordance with them. ### Permissions The permissions defined by Catalyst are grouped into several categories. A Catalyst account admin can grant or deny any individual permission for a custom profile while creating it. Any default or custom profile can be assigned to a project member by an admin or another member with the _Add/Update/Remove Collaborators_ permission. Before you learn about the permissions defined in Catalyst, you must understand the **Access Types** available for those permissions: * **Editor** Editor access enables the project member to modify the configurations and data of the components they have permission to access. Editor access is available for all permissions defined in Catalyst. * **Viewer** Viewer access enables the project member to only view the configurations and data of the components they have permission to access. Viewer access is only available for four permissions from the permissions listed below: _Development Environment_, _Production Environment_, _Manage Settings and Configuration_. The details are explained in the table below. The following permissions are defined and available in Catalyst for the **Editor Access Type**:
Permissions Group Permissions Description
Manage Collaborators Add/Update/Remove Collaborators This provides permission to invite a project member or an admin, assign other projects to a project member, change the collaboration type for a lower level of hierarchy, or remove a project member from a project.
Development Environment Data Store Logs Signals Other Components If Editor access to the Data Store, Signals, Logs, or Other Components is granted, the project member can configure the respective components and add data in them in the development environment of that project.
Note: Catalyst enables you to provide access to the Data Store, Signals, and Logs independently, and groups other components such as Circuits, Functions, Cron etc under "Other Components" because, the independent components can contain sensitive user data that you might require exclusive control on. This is done to adhere to all applicable data protection laws and privacy guidelines, such as GDPR and HIPAA. You will not be able to unselect the permission for "Other Components" in the development environment, because that is the minimum level of permission that can be granted to a project member.
Production Environment Data Store Logs Signals Other Components If Editor access to the Data Store, Logs, Signals, or Other Components is granted, the project member can configure the respective components and add data in them in the production environment of that project.
Note: Similar to the development environment, Catalyst lists out the first three components independently as they can contain sensitive user data. If you select Data Store, Signals, or Logs in the production environment, "Other Components" will be selected by default. To unselect it, you will need to unselect any/all of the three independent components.
Manage Add-On Services Enable/Disable Add-On Services This provides the permission to enable or disable any of the Catalyst Add-On Services for that project.
Manage Settings and Configurations Perform Migrations This provides the permission to migrate the project from development to production or production to development, and perform all migration actions.
Enable/Disable Production Environment This provides the permission to enable or disable the production environment any time after the project has been deployed to production.
Access Billing Components If Editor access to this permission is granted, the project member can access the Billing settings (except the Overview and Manage Billing sections), create budgets, and view reports and breakdowns of that project. Viewer: If Viewer access to this permission is granted, the project member can only view reports and breakdowns of that project, but cannot create or manage budgets.
Note: Only the admins of a Catalyst account can access the Overview section under the Billing settings because that section displays information from all projects of that Catalyst account. Only the admins of a Catalyst account can access the Manage Billing or Payments Portal section. This means that only admins can set up the payment method, add credit cards, and manage all payment and transaction related activities for the Catalyst account. A project member cannot perform these activities.
Add/Delete Mobile Packages This provides the permission to add or delete Android or iOS SDK packages for the project from the Developer Tools settings in the console.
Access Audit Logs This provides the permission to view the audit logs of all the projects in your Catalyst account. Note: If you choose to provide permission to access Audit Logs, you must provide permission to access Data Store, Signals, Logs, and Other Components prior to that. This is because, Catalyst shows the configurations and data of these components in the Audit Logs settings in the console, and therefore project members must already have permissions to those components.
### Default Profiles Catalyst has three default profiles, each of which has predefined sets of permissions. You can view the default profiles by clicking the **Profiles & Permissions** section in _General Settings_. ![catalyst_profiles](https://catalyst-docs-development.zohostratus.in/images/getting-started/set-up-a-catalyst-project/catalyst_profiles.webp) > **Note:** These default profiles cannot be modified or deleted. The default profiles and the permissions included in them are: * **Project Owner** A project member assigned to the Project Owner profile will have Editor access to **all the permissions** for that project, as specified in the table in the previous section. A Project Owner is the highest privilege granted to a project member and makes all permissions and access available to them. You can click **Project Owner** from the _Profiles and Permissions_ section to view the details. ![catalyst_profiles_project_owner](https://catalyst-docs-development.zohostratus.in/images/getting-started/set-up-a-catalyst-project/catalyst_profiles_project_owner.webp) > **Note:** A project owner will still not have the exclusive privileges granted to a Catalyst account admin. This is in the highest level of hierarchy for project member type only. * **Contributor** A project member assigned to the Contributor profile will have Editor access to work with all the components and data of the development and production environments. They can also perform migrations, and enable or disable the production environment. However, they will not have any other permissions specified in the table in the previous section. ![catalyst_profiles_contributor](https://catalyst-docs-development.zohostratus.in/images/getting-started/set-up-a-catalyst-project/catalyst_profiles_contributor.webp) You can assign the Contributor profile to members who are involved in developing the application, but do not manage the Catalyst account or project settings. * **Viewer** A project member assigned to the Viewer profile will have Viewer access to the development and production environments. This means that they can view the configurations and data of all the components in the developer and production environment of that project, but will not be able to modify any components or data. ![catalyst_profiles_viewer](https://catalyst-docs-development.zohostratus.in/images/getting-started/set-up-a-catalyst-project/catalyst_profiles_viewer.webp) You can assign the Viewer profile to members from a different department of your organization, or anyone who is not actively involved in developing the application but would like to observe the schema and data. > **Note:** The Viewer profile is not the same as the Viewer access type. You can grant the Viewer access type to any custom profile and include only some of those permissions available for it. ### Create a New Custom Profile A Catalyst account admin or the Super Admin can create custom profiles and define the permissions to be included in them. A project member will not be able to create or manage custom profiles. > **Note:** Catalyst allows you to create up to 50 custom profiles in an account. You can request Catalyst for an increase in this limit by contacting our support at support@zohocatalyst.com. We will address each request on a case-by-case basis. To create a new custom profile for a Catalyst account: 1. Click **Profiles & Permissions** under _General Settings_, then click **Add New Profile** from that section. ![catalyst_profiles_create_1](https://catalyst-docs-development.zohostratus.in/images/getting-started/set-up-a-catalyst-project/catalyst_profiles_create_1.webp) 2. Provide a name and a description for the custom profile. Select the **Access Type** of the profile. ![catalyst_profiles_create_2](https://catalyst-docs-development.zohostratus.in/images/getting-started/set-up-a-catalyst-project/catalyst_profiles_create_2.webp) 3. Select the required permissions that must be included in the profile. You can click the **Select All** checkbox in the top-right corner to select all the permissions. ![catalyst_profiles_create_3](https://catalyst-docs-development.zohostratus.in/images/getting-started/set-up-a-catalyst-project/catalyst_profiles_create_3.webp) > **Note:** The Other Components permission in Development Environments permission is available to both Editor and Viewer access types for any profile that you create by default. This is the minimum level of permission that you can include in a profile and grant to a project member. You will not be able to unselect this or remove this permission. 4. Click **Confirm**. The profile will be created and listed in the _Profiles and Permissions_ section. You can click on it to view the details. ![catalyst_profiles_created](https://catalyst-docs-development.zohostratus.in/images/getting-started/set-up-a-catalyst-project/catalyst_profiles_created.webp) A Catalyst account admin or a project member with the _Add/Update/Remove Collaborators_ permission can assign a profile to another project member while inviting them, as [discussed previously](https://docs.catalyst.zoho.com/en/getting-started/set-up-a-catalyst-project/collaborators/#add-a-collaborator). ### Change a Project Member's Profile You can also change the profile assigned to a project member for a project, with the necessary permission, in the following way: 1. Navigate to the **Collaborators** section in **General Settings** and click the project member from the list to open their details. Click the ellipsis icon for the project that their profile must be changed in, then click **Change Profile**. ![catalyst_collaborators_change_profile_1](https://catalyst-docs-development.zohostratus.in/images/getting-started/set-up-a-catalyst-project/catalyst_collaborators_change_profile_1.webp) 2. Select a profile from the dropdown list. Then select the check icon. ![catalyst_collaborators_change_profile_2](https://catalyst-docs-development.zohostratus.in/images/getting-started/set-up-a-catalyst-project/catalyst_collaborators_change_profile_2.webp) The project member's permissions to access that project will now be changed based on the profile you selected. ![catalyst_collaborators_change_profile_3](https://catalyst-docs-development.zohostratus.in/images/getting-started/set-up-a-catalyst-project/catalyst_collaborators_change_profile_3.webp) ### Edit a Custom Profile To edit a custom profile or modify the permissions included in it: 1. Click the ellipsis icon for the profile in the _Profiles and Permissions_ section, then click **Edit**. Alternatively, you can click **Edit** from the profile's details page. ![catalyst_profiles_edit_1](https://catalyst-docs-development.zohostratus.in/images/getting-started/set-up-a-catalyst-project/catalyst_profiles_edit_1.webp) 2. Make the necessary changes to the profile. Click **Update**. ![catalyst_profiles_edit_2](https://catalyst-docs-development.zohostratus.in/images/getting-started/set-up-a-catalyst-project/catalyst_profiles_edit_2.webp) ### Delete a Custom Profile When you delete a custom profile, you must replace it with another profile. This will migrate all the project members assigned to that profile to the replacement profile. Their permissions to access the projects will be changed accordingly. To delete a custom profile: 1. Click the ellipsis icon for the profile in the _Profiles and Permissions_ section, then click **Delete**. ![catalyst_profiles_delete_1](https://catalyst-docs-development.zohostratus.in/images/getting-started/set-up-a-catalyst-project/catalyst_profiles_delete_1.webp) 2. Select the profile to replace this with, from the dropdown list. Click **Yes, Delete**. ![catalyst_profiles_delete_2](https://catalyst-docs-development.zohostratus.in/images/getting-started/set-up-a-catalyst-project/catalyst_profiles_delete_2.webp) -------------------------------------------------------------------------------- title: "IaC Settings" description: "Catalyst settings allow you to configure features relevant to your Catalyst project and console, from adding collaborators to managing billing." last_updated: "2026-11-04T10:10:44.000Z" source: "https://docs.catalyst.zoho.com/en/getting-started/set-up-a-catalyst-project/iac-settings/" service: "All Services" -------------------------------------------------------------------------------- # IaC Settings ### Introduction The Infrastructure as Code (IaC) settings enable you to perform project exports and imports easily from the Catalyst console. You can export the schema of a [Catalyst project](https://docs.catalyst.zoho.com/en/getting-started/catalyst-projects), including the configurations of its components and the code, as an external ZIP file. You can import this ZIP file as a new project into any Catalyst account. The ZIP file is created in a specific format when you export a project, and it can only be imported in this format. The project export and import feature enables easy transfers of projects between data centers or between Catalyst accounts. It also enables easy access and testing of a project from an external environment, such as a GitHub repository. You can simply clone a Git repo containing a Catalyst project's components, generate its ZIP file to import it, and test the project. You can also perform these actions through a remote system, such as a CI system, or write scripts to automate these tasks. This feature also allows you to easily duplicate existing projects and branch them for different use cases. You can access the IaC project exports and imports feature under the _**General settings**_ in the Catalyst console. > **Note:** You can also perform these IaC operations from the CLI. The CLI enables you to export a project into your local directory, import a new project in the remote console and/or the local environment, or generate an import-ready ZIP file of any project. Refer to [CLI Export and Import help documentation](https://docs.catalyst.zoho.com/en/cli/v1/export-and-import-projects/introduction/) for more information. ### Export/Import ZIP File Format The IaC operations enable you to export and import the configurations of a project without the data. Data, such as the records in the Data Store tables, the list of the application's users, will not be included in the ZIP file. However, the metadata of each table in the Data Store will be included. This will be the same for every feature. The ZIP file will also contain all the [functions](https://docs.catalyst.zoho.com/en/serverless/help/functions/introduction/) and the client component code in their [respective directories](https://docs.catalyst.zoho.com/en/cli/v1/project-directory-structure/introduction/). The structure of the ZIP file that is generated when a project is exported is shown below: ![catalyst_console_iac_export_zip](https://catalyst-docs-development.zohostratus.in/images/getting-started/set-up-a-catalyst-project/catalyst_console_iac_export_zip.webp) * **ZIP File of the Functions Directory:** The `[functions directory](https://docs.catalyst.zoho.com/en/cli/v1/project-directory-structure/functions-directory/)` of the project in its standard structure. All functions created in the project will be present as individual ZIP files in this directory, along with their configuration files and SDK components. * **ZIP File of the Client Directory:** The `[webclient directory](https://docs.catalyst.zoho.com/en/cli/v1/project-directory-structure/client-directory/)` of the project in its standard structure. The web client initialized in the project, with all the client files, will be present as a ZIP file in this folder. * **Project-Template JSON File:** The configurations of the project's components will be present in a single JSON file. The JSON file contains the project settings and component definitions. These include Data Store metadata, Cache segments, Cron jobs, Circuit configurations, Security rules, email domains and addresses, Signals rules, APIs in API Gateway, email templates, user profiles, and more. An extract from a sample project-template JSON is given below: ```json { "name" : "project-template", "version" : "1.0.0", "parameters" : { }, "components" : { "Circuits" : [ { "type" : "circuit", "name" : "InvoiceGen", "properties" : { "name" : "InvoiceGen", "states" : { "State1" : { "next" : "End", "start" : true, "type" : "pass" } } }, "dependsOn" : [ ] } ], "Functions" : [ { "type" : "function", "name" : "warehouseportal", "properties" : { "stack" : "node24", "code" : { "path" : "functions/warehouseportal.zip" }, "configuration" : { "memory" : 256 }, "type" : "basicio", "name" : "warehouseportal" }, "dependsOn" : [ ] } ], "WebClient" : [ { "type" : "client", "name" : "warehousePortal", "properties" : { "app_name" : "warehousePortal", "code" : { "path" : "webclient/warehousePortal.zip" } }, "dependsOn" : [ ] } ], "Cron" : [ { "type" : "cron", "name" : "dailyBackup", "properties" : { "cron_url_details" : { "headers" : { }, "request_body" : "", "request_method" : "POST", "params" : { }, "url" : "https://catalyst.zoho.com/help/index.html" }, "end_time" : -1, "description" : "", "cron_name" : "dailyBackup", "job_detail" : { "hour" : 1, "timezone" : "America/Los_Angeles", "minute" : 0, "second" : 0, "repetition_type" : "Daily" }, "cron_type" : "Calendar", "status" : true }, "dependsOn" : [ ] } ], "Datastore" : [ { "type" : "table", "name" : "InventoryDB", "properties" : { "table_name" : "InventoryDB" }, "dependsOn" : [ ] }, { "type" : "column", "name" : "InventoryDB-ProductID", "properties" : { "decimal_digits" : 2, "column_name" : "ProductID", "data_type" : "int", "is_unique" : false, "is_mandatory" : false, "search_index_enabled" : false, "table_id" : "InventoryDB", "table_name" : "InventoryDB", "max_length" : 10 }, "dependsOn" : [ "Datastore.table.InventoryDB" ] }, { "type" : "tableScope", "name" : "InventoryDB-App Administrator", "properties" : { "role_name" : "App Administrator", "table_scope" : "GLOBAL", "type" : "App Administrator", "table_name" : "InventoryDB" }, "dependsOn" : [ "Datastore.table.InventoryDB" ] }, { "type" : "tableScope", "name" : "InventoryDB-App User", "properties" : { "role_name" : "App User", "table_scope" : "GLOBAL", "type" : "App User", "table_name" : "InventoryDB" }, "dependsOn" : [ "Datastore.table.InventoryDB" ] }, { "type" : "tablePermission", "name" : "InventoryDB-App Administrator", "properties" : { "role_name" : "App Administrator", "type" : "App Administrator", "table_permissions" : [ "SELECT", "UPDATE", "INSERT", "DELETE" ], "table_name" : "InventoryDB" }, "dependsOn" : [ "Datastore.table.InventoryDB" ] }, { "type" : "tablePermission", "name" : "InventoryDB-App User", "properties" : { "role_name" : "App User", "type" : "App User", "table_permissions" : [ "SELECT" ], "table_name" : "InventoryDB" }, "dependsOn" : [ "Datastore.table.InventoryDB" ] }] } } ``` > **Note:** Catalyst will not be able to import a project if the ZIP file does not contain the project-template JSON file. This is a mandatory file that defines the project's settings. ### Export a Project You can export any project from the _General Settings_ section, as these are common settings applicable to your entire Catalyst account. Catalyst will write all the component definitions and the project settings into the project-template JSON file. If no components have been configured, the default configurations will be written to the JSON file. > **Note:** If you worked with a project in the local environment, ensure that you deploy the updated code or setups to the remote console using the CLI before you export the project from the console. You can export a project from its [development or production environment](https://docs.catalyst.zoho.com/en/deployment-and-billing/environments/introduction/), if production has been enabled for it. After the export is complete, you can download the ZIP file that will be generated. You can then import this ZIP file as is into a new project from a different account, data center, or the same account if you need the project to be duplicated. > **Note:** After the ZIP file is generated, Catalyst will save the file for download for **15 days**. The download link will become invalid after 15 days. You will need to re-export the project to generate a new ZIP file for download after its expiration. To export a project: 1. Navigate to **Infrastructure as Code** under _General Settings_, then click the **IaC Exports** tab. ![catalyst_console_iac_exports](https://catalyst-docs-development.zohostratus.in/images/getting-started/set-up-a-catalyst-project/catalyst_console_iac_exports.webp) 2. Click **Export a Project**. 3. Select a project to export from the list of projects in the drop-down. All projects in your Catalyst account will be shown here. Select the environment of the project to export. ![catalyst_console_iac_export_1](https://catalyst-docs-development.zohostratus.in/images/getting-started/set-up-a-catalyst-project/catalyst_console_iac_export_1.webp) 4. Click **Export**. Catalyst will begin the project export process. The console will display the status of the export. ![catalyst_console_iac_export_2](https://catalyst-docs-development.zohostratus.in/images/getting-started/set-up-a-catalyst-project/catalyst_console_iac_export_2.webp) When the export is initialized, an **Export ID** is generated for it automatically. You can use the Export ID to [check the status of the export job from the CLI](https://docs.catalyst.zoho.com/en/cli/v1/export-and-import-projects/export-import-job-status/). The console will also display other details of the export. After the export is complete, it will display a **Download ZIP** link, where you can download the project ZIP file from. ![catalyst_console_iac_export_done](https://catalyst-docs-development.zohostratus.in/images/getting-started/set-up-a-catalyst-project/catalyst_console_iac_export_done.webp) If there were any issues in the export process and Catalyst was unable to export the project, the console will display a **View Error Log** link. ![catalyst_console_iac_error_log_1](https://catalyst-docs-development.zohostratus.in/images/getting-started/set-up-a-catalyst-project/catalyst_console_iac_error_log_1.webp) You can click on this link to view the error details. You can resolve the error and export the project again. ![catalyst_console_iac_error_log_2](https://catalyst-docs-development.zohostratus.in/images/getting-started/set-up-a-catalyst-project/catalyst_console_iac_error_log_2.webp) #### Re-Export a Project You can export a project again that was exported previously, if the ZIP download link has expired or if the project's components or code have been updated. > **Note:** * Catalyst will always export the latest definitions and code of a project. * If you re-export a project that you previously exported, the _Download ZIP_ link for the latest export of that project will only be available. This is because Catalyst only stores the latest export of a project, and none of its previous exports. To export a project again that was previously exported, click the ellipsis icon for the exported project, then click **Export Again**. ![catalyst_console_iac_export_again](https://catalyst-docs-development.zohostratus.in/images/getting-started/set-up-a-catalyst-project/catalyst_console_iac_export_again.webp) The project will be exported in the same manner as described in the last section. You can then download the latest export using the **Download ZIP** link. ### Import a Project The IaC import option enables you to import a new Catalyst project from an existing project ZIP file. Catalyst will configure each component based on the definitions specified in the project-template JSON. The functions and client code will be populated in the project as well, if present. After the import job is completed, the new project will be available with the configurations and code populated in it. > **Note:** * The source ZIP file containing the project definitions, and the functions and client code must be in the [standard format](https://docs.catalyst.zoho.com/en/cli/v1/export-and-import-projects/export-import-zip-file/) to be imported. * The project-template JSON file must be mandatorily present in the root of the ZIP file. A project cannot be imported without this file. The `functions` or `webclient` directories are not mandatory. * You cannot import a project directly into the [production environment](https://docs.catalyst.zoho.com/en/deployment-and-billing/environments/development-environment). You can import a new project in the following way: 1. Navigate to **Infrastructure as Code** under _General Settings_. ![catalyst_console_iac_imports](https://catalyst-docs-development.zohostratus.in/images/getting-started/set-up-a-catalyst-project/catalyst_console_iac_imports.webp) 2. Click **Import New Project** from the _IaC Imports_ section. 3. Enter a name for the new project in the pop-up window. Select the source ZIP file of the project to be imported. ![catalyst_console_iac_import_1](https://catalyst-docs-development.zohostratus.in/images/getting-started/set-up-a-catalyst-project/catalyst_console_iac_import_1.webp) 4. Click **Import**. Catalyst will begin the project import process. The console will display the status of the process. ![catalyst_console_iac_import_2](https://catalyst-docs-development.zohostratus.in/images/getting-started/set-up-a-catalyst-project/catalyst_console_iac_import_2.webp) When the import is initialized, an **Import ID** is generated for it automatically. You can use the Import ID to [check the status of the import job from the CLI](https://docs.catalyst.zoho.com/en/cli/v1/export-and-import-projects/export-import-job-status/). The console will also display other details of the import job. If the import is successful, you will find a new project created in the console with the components configured based on the ZIP file. The console will display an **Access Project** link for the import job. You can click this link to open the new project. ![catalyst_console_iac_import_done](https://catalyst-docs-development.zohostratus.in/images/getting-started/set-up-a-catalyst-project/catalyst_console_iac_import_done.webp) If there were any issues in the import process and Catalyst was unable to import the project, the console will display a **View Error Log** link. ![catalyst_console_iac_import_error_log_1](https://catalyst-docs-development.zohostratus.in/images/getting-started/set-up-a-catalyst-project/catalyst_console_iac_import_error_log_1.webp) You can click on it to view the error details. You can resolve the error and import the project again. ![catalyst_console_iac_import_error_log_2](https://catalyst-docs-development.zohostratus.in/images/getting-started/set-up-a-catalyst-project/catalyst_console_iac_import_error_log_2.webp) -------------------------------------------------------------------------------- title: "Audit Logs" description: "Catalyst settings allow you to configure features relevant to your Catalyst project and console, from adding collaborators to managing billing." last_updated: "2026-11-04T10:10:44.000Z" source: "https://docs.catalyst.zoho.com/en/getting-started/set-up-a-catalyst-project/audit-logs/" service: "All Services" -------------------------------------------------------------------------------- # Audit Logs ### Introduction The _Audit Logs_ section displays the logs of all the projects of your Catalyst account. It enables you to keep track of a host of different activities performed in your projects by various collaborators. Access to the audit logs is based on the [permissions](https://docs.catalyst.zoho.com/en/getting-started/set-up-a-catalyst-project/profiles-and-permissions)granted to a [project member's](https://docs.catalyst.zoho.com/en/getting-started/set-up-a-catalyst-project/collaborators) profile. That is, if the permission to access the Audit Logs is granted in the Editor or Viewer access type for a project member, they will be able to view the logs in the console. An admin of a Catalyst account can access all audit logs by default. Audit Logs include two different types of logs: * **Console Logs:** Includes the logs of activities performed in various components and the configurations of metadata. For example, if a new column is added in the Data Store, a rule is updated in Event Listeners, or a cron job is deleted in your project, the details of these activities will be displayed in this section. * **Application Logs:** Includes the logs of activities performed at the application level, that is the addition, modification, and deletion of sensitive data in the Data Store components. For example, if data is inserted or updated into a column that is marked as sensitive, or a file is deleted from a folder marked as sensitive, the details of these activities will be displayed in this section. > **Note:** Catalyst enables you to [mark columns in the DataStore](https://docs.catalyst.zoho.com/en/cloud-scale/help/data-store/columns/#create-a-new-column) as "sensitive" while creating or updating them to adhere to all relevant and applicable data protection laws and privacy guidelines, such as [GDPR](https://gdpr-info.eu/) and [HIPAA](https://www.hhs.gov/hipaa/index.html) regulations, because user data can contain sensitive information. The application logs display all activities performed in these sensitive columns or folders to be in compliance with these data protection regulations. Catalyst displays the logs of the last one year for all projects in the console. However, you can fetch logs from up to six years ago by [exporting them](https://docs.catalyst.zoho.com/en/getting-started/set-up-a-catalyst-project/audit-logs/#export-logs). This will generate a downloadable ZIP file that will contain logs of the last six years. ### Console Logs You can access _Audit Logs_ from the settings in your Catalyst console. As mentioned earlier, the console logs will only include logs of component configurations such as cache, cron, or API Gateway configurations, and logs of metadata activities, such as the creation or deletion of Data Store columns, Folder role permissions. ![catalyst_console_audit](https://catalyst-docs-development.zohostratus.in/images/getting-started/set-up-a-catalyst-project/catalyst_console_audit.webp) You can select the project for the console logs to be displayed from the **_Project_** drop-down. The _**Features**_ drop-down shows the features that you can filter the logs based on, such as, Datastore Table, Datastore Column, Cache, Sign-in Method, Email Domain, Table Row Permissions, etc. You can filter the logs based on one of the three operations: Create, Update, or Delete, from the **_Operations_** drop-down. Click **Apply** after you select the filters to view the results. The logs display details such as the date and time of the activity and the collaborator that performed the activity besides the operation, feature, and project name. > **Note:** The console logs will only be applicable to the [development environment](https://docs.catalyst.zoho.com/en/deployment-and-billing/environments/development-environment) as component configurations cannot be performed in the production environment. ### Application Logs The application logs enable admins, and project members with the necessary permissions, to keep a track of all sensitive user data, to comply with standard data protection laws and privacy guidelines. These logs will therefore only display the following activities: * Any creation, updation, or deletion of rows in a column marked as "sensitive" in the Data Store ![catalyst_console_audit_application](https://catalyst-docs-development.zohostratus.in/images/getting-started/set-up-a-catalyst-project/catalyst_console_audit_application.webp) Similar to the Console Logs, you can select the project for the application logs to be displayed from the _**Project**_ drop-down. You can filter the feature as "Datastore Row" or "File" from the _**Features**_ drop-down, and the operation as Create, Update, or Delete, from the _**Operations**_ drop-down to display only relevant results. Application logs are available in both development and production environments as sensitive data can be added, modified, or removed in both. You can therefore also filter the logs based on the environment from the _**Environment**_ drop-down. Click **Apply** after you select the filters to view the results. The logs display details such as the date and time of the activity and the collaborator that performed the activity besides the operation, feature, and project name. ### Export Logs You can export the logs of all projects in your account from up to six years ago and download a ZIP file of these logs into your local system. > **Note:** Only [Catalyst account admins](https://docs.catalyst.zoho.com/en/getting-started/set-up-a-catalyst-project/collaborators/#introduction) will be able to view the Export Logs link in their console, and be able to export audit logs and download them. This feature will not be available to project members. 1. Click **Export Logs** to begin exporting. ![catalyst_console_audit_export_1](https://catalyst-docs-development.zohostratus.in/images/getting-started/set-up-a-catalyst-project/catalyst_console_audit_export_1.webp) 2. You can choose to export the **Console Logs** or **Application Logs**, or both, and click **Export**. ![catalyst_console_audit_export_2](https://catalyst-docs-development.zohostratus.in/images/getting-started/set-up-a-catalyst-project/catalyst_console_audit_export_2.webp) Catalyst will then begin the export process. ![catalyst_console_audit_export_3](https://catalyst-docs-development.zohostratus.in/images/getting-started/set-up-a-catalyst-project/catalyst_console_audit_export_3.webp) 3. You will receive a notification when the export is done. You will find an info at the bottom of your screen with the download link. You can download the logs from it. ![catalyst_console_audit_export_4](https://catalyst-docs-development.zohostratus.in/images/getting-started/set-up-a-catalyst-project/catalyst_console_audit_export_4.webp) You can also open the Export Logs pop-up window again to access the download link. ![catalyst_console_audit_export_5](https://catalyst-docs-development.zohostratus.in/images/getting-started/set-up-a-catalyst-project/catalyst_console_audit_export_5.webp) The downloaded ZIP file will contain individual CSV files of each year from the last six years, with 2 files per year indicating the first half and second half of the year respectively, of the console logs or application logs or both based on your choice. ![catalyst_console_audit_exported](https://catalyst-docs-development.zohostratus.in/images/getting-started/set-up-a-catalyst-project/catalyst_console_audit_exported.webp) For the current year, there will be separate CSV files of both the development and production environments for the application logs, and a single file for the console logs. After you export logs for the first time, the download link of the last exported logs will always be shown in the _Export Logs_ pop-up window anytime you open it. You can download them again, if required. -------------------------------------------------------------------------------- title: "General Settings" description: "Catalyst settings allow you to configure features relevant to your Catalyst project and console, from adding collaborators to managing billing." last_updated: "2026-11-04T10:10:44.000Z" source: "https://docs.catalyst.zoho.com/en/getting-started/set-up-a-catalyst-project/general-settings/" service: "All Services" -------------------------------------------------------------------------------- # General Settings ### Introduction The _General_ section displays your project details, and enables you to change the timezone of your current project and also delete the project, if required. This section displays the project name, Project ID, your Catalyst account name, and the date, time, and the time zone of your project. ![catalyst_console_general_settings_updated](https://catalyst-docs-development.zohostratus.in/images/getting-started/set-up-a-catalyst-project/catalyst_console_general_settings_updated.webp) The **Project ID** is the unique ID of your project that was created automatically during the project's creation. This ID is used to refer to your project in various CLI, SDK, and API operations. You can access the General settings of any of your projects from this section, by changing the project using the dropdown list on the top. This will switch the active project in the console as well. ![catalyst_console_general_change_project](https://catalyst-docs-development.zohostratus.in/images/getting-started/set-up-a-catalyst-project/catalyst_console_general_change_project.webp) ### Change the Time Zone of the Project You can define and store a time zone for your project from this section, and this will override the default time zone set based on the data center you access. The time zone you set for your project here will be applicable across all components and features of your project. For example, the time shown for the function execution logs in the Logs component will be based on this time zone. However, you can choose to change the time zone for individual components such as [Cron](https://docs.catalyst.zoho.com/en/cloud-scale/help/cron/implementation/) and [Logs](https://docs.catalyst.zoho.com/en/devops/help/logs/access-logs/) independently if you require, by configuring their time zones in their respective sections. The default time zone of the project will still remain the one that is configured under the General Settings. 1. You can also change the time zone of your Catalyst project by clicking the ellipsis icon, then clicking **Change Time Zone**.![change_timezone_menu_updated](https://catalyst-docs-development.zohostratus.in/images/getting-started/set-up-a-catalyst-project/change_timezone_menu_updated.webp) 2. Select your preferred time zone from the list displayed.![select_timezone](https://catalyst-docs-development.zohostratus.in/images/getting-started/set-up-a-catalyst-project/select_timezone.webp) 3. Click **Yes, Proceed** to continue.![save_timezone](https://catalyst-docs-development.zohostratus.in/images/getting-started/set-up-a-catalyst-project/save_timezone.webp) The selected time zone will be reflected under the General Settings.![project_timezone_updated](https://catalyst-docs-development.zohostratus.in/images/getting-started/set-up-a-catalyst-project/project_timezone_updated.webp) ### Delete a Project 1. You can also delete your project from this page by clicking **Delete Project**. ![delete_project_updated](https://catalyst-docs-development.zohostratus.in/images/getting-started/set-up-a-catalyst-project/delete_project_updated.webp) 2. Type "DELETE" in the pop-up window for confirmation, then click **Confirm**. ![catalyst_console_general_delete_project_confirmation_updated](https://catalyst-docs-development.zohostratus.in/images/getting-started/set-up-a-catalyst-project/catalyst_console_general_delete_project_confirmation_updated.webp) Your project and its resources will be permanently deleted from the console. > **Note:** * Deleting a project will delete all applications created in the project, which includes web, Android, iOS, Flutter apps. If you have deployed your project to production, the applications will be deleted from the live environment as well. You must therefore proceed with caution. * You will also not be able to initialize this project from the CLI or perform API operations on it, after it is deleted. -------------------------------------------------------------------------------- title: "Integrations Settings" description: "Catalyst settings allow you to configure features relevant to your Catalyst project and console, from adding collaborators to managing billing." last_updated: "2026-11-04T10:10:44.000Z" source: "https://docs.catalyst.zoho.com/en/getting-started/set-up-a-catalyst-project/integrations-settings/" service: "All Services" -------------------------------------------------------------------------------- # Integrations Settings ### Introduction The Integrations settings section enables you to configure and manage Catalyst integrations with other Zoho services or third-party services. Catalyst handles the backend processes involved in implementing the integrations solely, and enables you to easily integrate your Catalyst account with any of the available external services with a few steps from this section. You can view the details of the integrated accounts, modify them, and also delete the integrations permanently, if required from this section. Catalyst also provides you with the benefit of associating different accounts in the Zoho services for the [development and production environments](https://docs.catalyst.zoho.com/en/deployment-and-billing/environments/introduction/) environments of your project individually. You can add and manage integrations for both environments from this section. Catalyst provides integration with the following Zoho and third-party services: * **[Zoho CRM](https://www.zoho.com/en-in/crm/)** * **[OpenAI**](https://openai.com/) * **[GitHub**](https://github.com/) * **[GitLab**](https://about.gitlab.com//) * **[Bitbucket**](https://bitbucket.org/) ### Zoho CRM Integration The Zoho CRM integration allows you to establish a connection between your Catalyst project and your existing Zoho CRM accounts. This integration uses [**Zoho Publishers**](https://docs.catalyst.zoho.com/en/signals/help/publishers/create-publisher/zoho-publishers/) in Catalyst Signals to listen for events occurring in CRM and invoke the associated target functions upon their occurrence. You can add Catalyst integrations with your existing accounts in Zoho CRM directly, while configuring [Signals rules](https://docs.catalyst.zoho.com/en/signals/help/rules/key-aspects/), or from the _Integrations_ settings section. You can also temporarily revoke a configured account, delete an account, or delete integration with an entire service from this section. > **Note:** * You must already have an account in Zoho CRM to be able to integrate it with Catalyst. You can have any tier or edition of account in these services, such as the Standard, Professional, or even the free tiers. * Please refer to the [Catalyst Signals help documentation](https://docs.catalyst.zoho.com/en/signals/) for details about Zoho Publishers and configuring Signals rules. #### Add an Integration with Zoho CRM in the Development Environment To add a Catalyst integration with an account in Zoho CRM for the development environment: 1. Navigate to **Integrations** under _General Settings_ from the settings in the console. Click on **Zoho CRM** to integrate an account in it with Catalyst. ![](https://catalyst-docs-development.zohostratus.in/images/help/event-listeners/catalyst_console_integrations_settings_updated.webp) 2. Click **Add account** from the _Development_ tab for the service. ![](https://catalyst-docs-development.zohostratus.in/images/help/event-listeners/catalyst_console_integrations_add_1.webp) This will redirect you to a permissions page where you can add an account already created in CRM. 3. Select an account from the drop-down to integrate Catalyst with. Then, click **Accept** to provide the request permissions to Catalyst. ![](https://catalyst-docs-development.zohostratus.in/images/help/event-listeners/catalyst_console_integrations_add_2.webp) Catalyst will schedule an org synchronization with the newly integrated account. You will be alerted with a pop-up window. ![](https://catalyst-docs-development.zohostratus.in/images/help/event-listeners/catalyst_console_integrations_add_3.webp) The synchronization will take 2-4 minutes to complete. The service page in the _Integrations_ settings will display the status. ![](https://catalyst-docs-development.zohostratus.in/images/help/event-listeners/catalyst_console_integrations_add_4.webp) After the sync is completed, the status will be shown as _Granted_, indicating Catalyst's authorization to access this service account for the allowed permissions. ![](https://catalyst-docs-development.zohostratus.in/images/help/event-listeners/catalyst_console_integrations_add_5.webp) You will now be able to associate Signals rules with this account through Zoho Publishers. This account will be displayed as an option to integrate with, while [configuring a rule](https://docs.catalyst.zoho.com/en/signals/help/rules/key-aspects/). The console will display all rules associated with a service account after you configure them. ![](https://catalyst-docs-development.zohostratus.in/images/help/event-listeners/catalyst_console_integrations_rules_added.webp) You can also click on the account name to view the details. ![](https://catalyst-docs-development.zohostratus.in/images/help/event-listeners/catalyst_console_integrations_details.webp) #### Add an Integration with Zoho CRM in the Production Environment Catalyst requires you to configure accounts for the production environment in the supported Zoho services for all existing Signals rules before or when you deploy your project to production. You can manually add integrations with your Zoho CRM account for the production environment in _Integrations_ settings. That is, you can configure production account even before you deploy your project to production and manage this account from the settings. To add a Catalyst integration with a Zoho CRM account for the production environment: 1. Click on **Zoho CRM** from the Integrations settings page, then click the **Production** tab. ![](https://catalyst-docs-development.zohostratus.in/images/help/event-listeners/catalyst_console_integrations_prod_1.webp) 2. Click **Add account** from the _Production_ section. 3. Select a project from the drop-down to add the integration for. Because _General_ settings are common for all projects, you will need to specify the project through this step. Click **Add account**. ![](https://catalyst-docs-development.zohostratus.in/images/help/event-listeners/catalyst_console_integrations_prod_2.webp) 4. You can then select an account from the drop-down to integrate Catalyst with, and click **Accept** to provide the requested permissions. ![](https://catalyst-docs-development.zohostratus.in/images/help/event-listeners/catalyst_console_integrations_prod_3.webp) The process will be the same as [adding an integration in the development environment](https://docs.catalyst.zoho.com/en/getting-started/set-up-a-catalyst-project/integrations-settings/#add-an-integration-with-zoho-crm-in-the-development-environment) from here on. An org synchronization will be scheduled and the status of the sync will be displayed in the _Production_ section of the service. ![](https://catalyst-docs-development.zohostratus.in/images/help/event-listeners/catalyst_console_integrations_prod_4.webp) The rules associated with the account in production will also be displayed after they are configured. > **Note:** Catalyst will ask you to associate each existing Signals rule with a production account before or during your project [deployment to production](https://docs.catalyst.zoho.com/en/deployment-and-billing/environments/deployment-types/). This will be handled by a pop-up that will ask you to associate production accounts for each rule during the deployment process. The pop-up will display the accounts that have been added in the Production section, and will also enable you to add new accounts. You can refer to the [Signals rules help documentation](https://docs.catalyst.zoho.com/en/signals/help/rules/key-aspects/) for details. #### Revoke an Integrated Account with Zoho CRM Catalyst enables you to revoke the permissions granted for it to access an account in Zoho CRM that was integrated for the development or production environment. Revoking is a temporary hold that will stop the Signals rules associated with that account from being executed, until the permissions are granted again. > **Note:** You will still be able to add Signals rules associating with an account even after you revoke that account. However, the rules will not get executed until the permissions are granted again. To revoke an integrated account in the development or production environment: 1. Click the ellipsis icon for the account, then click **Revoke**. ![](https://catalyst-docs-development.zohostratus.in/images/help/event-listeners/catalyst_console_integrations_revoke_1.webp) 2. Click **Yes, Proceed** in the confirmation pop-up. ![](https://catalyst-docs-development.zohostratus.in/images/help/event-listeners/catalyst_console_integrations_revoke_2.webp) The status of the account will be shown as _Revoked_. You can grant permissions to access this account again by clicking the ellipsis icon, then clicking **Grant**. ![](https://catalyst-docs-development.zohostratus.in/images/help/event-listeners/catalyst_console_integrations_revoke_3.webp) The rules associated with this account will then be executed as configured. #### Delete an Integrated Account with Zoho CRM You can permanently delete an account in Zoho CRM that you integrated with Catalyst for the development or production environment. > **Note:** * If you delete an account that has been configured with any Signals rules, all associations with the rules will be removed. The rules will be disabled and will therefore not be executed until you configure them again. You must ensure that you do not delete any accounts that are associated with any active Signals rules. * If you add a previously deleted account again, the rules that were associated with that account earlier will not be re-associated with it again automatically. You will need to manually re-configure the rules. To delete an integrated account in the development or production environment: 1. Click the ellipsis icon for the account, then click **Delete**. ![](https://catalyst-docs-development.zohostratus.in/images/help/event-listeners/catalyst_console_integrations_delete_1.webp) 2. Click **Yes, Proceed** in the confirmation pop-up. ![](https://catalyst-docs-development.zohostratus.in/images/help/event-listeners/catalyst_console_integrations_delete_2.webp) The account will be removed from the service. Catalyst Signals will display a "Configuration Needed" error for all rules that were associated with the deleted account. ![](https://catalyst-docs-development.zohostratus.in/images/help/event-listeners/catalyst_console_integrations_deleted.webp) You can associate these rules with a different account by clicking on the error message. You can also integrate the deleted account again in the same manner as explained [earlier](https://docs.catalyst.zoho.com/en/getting-started/set-up-a-catalyst-project/integrations-settings/#add-an-integration-with-zoho-crm-in-the-production-environment). #### Delete Zoho CRM Service Catalyst enables you to remove all accounts in Zoho CRM by deleting the entire service. This action will unlink all added accounts in that service in both the development and production environments. > **Note:** If you delete a Zoho service: * The _Integrations_ settings will still display the service in its index page. However, all accounts and configurations added for that service will be removed permanently. * All Signals rules associated with the accounts in that service will be disabled and will therefore not be executed until you configure them again. You must therefore ensure that you do not delete a service that includes accounts that are associated with any active Signals rules. To delete a Zoho service: 1. Click the ellipsis icon for the service from the top-right corner, then click **Delete**. ![](https://catalyst-docs-development.zohostratus.in/images/help/event-listeners/catalyst_console_integrations_service_delete_1.webp) 2. Type "DELETE" for confirmation, then click **Confirm** in the pop-up. ![](https://catalyst-docs-development.zohostratus.in/images/help/event-listeners/catalyst_console_integrations_service_delete_2.webp) All integrated accounts in the service will be removed from it. Catalyst Signals will display a "Configuration Needed" error for all rules that were associated with the accounts from the deleted service. You can associate these rules with a different service or integrate new accounts in the service. ### OpenAI Integration Catalyst integrates with [OpenAI](https://openai.com/) to provide a host of AI-powered automation features that aid in your software development journey through Zia AI Assistant. These features include: Code Converter, Code Generator, Code Debugger, Code Docs Generator, and Test Case Generator. Refer to the [Zia AI Assistant help docs](https://docs.catalyst.zoho.com/en/integrations/openai-integration/introduction/) to learn more. Catalyst enables users to perform these supported operations through OpenAI's API endpoint. To avail the API through Catalyst, you will be required to generate an API secret key with OpenAI and configure it in Catalyst. This key allows Catalyst users to prompt the AI and obtain results, and authenticates these operations. Catalyst's integration with OpenAI servers is built upon a **Bring Your Own Key (BYOK)** configuration that requires Catalyst user to register for an API key with OpenAI through their OpenAI account, and configure it in Catalyst to authenticate their actions. There are no API keys provided by Zoho for the integration. > **Note:** You can configure a single API key for an entire [Catalyst organization](https://docs.catalyst.zoho.com/en/getting-started/catalyst-organizations/). Each [Catalyst collaborator](https://docs.catalyst.zoho.com/en/getting-started/set-up-a-catalyst-project/collaborators/) need not register for or configure their own individual key. For example, if the Super Admin of a Catalyst org registers for an API key with OpenAI and configures it in Catalyst for that org, all other admins and project members of that org can avail OpenAI services with that key. After you configure the key in Catalyst, all the input prompts you enter in Catalyst Zia AI, such as in the Code Converter, Code Generator, etc., will be shared with OpenAI, and the result will be fetched and rendered in Catalyst, as received from OpenAI without any manipulation or customization. #### Configure API Key for OpenAI Integration The steps to generate an API secret key for your OpenAI account and configure the key for your Catalyst account are described below. 1. Click **OpenAI Integration** from the *Integrations* settings section. ![Integration settings](https://catalyst-docs-development.zohostratus.in/images/integrations/openai/openai-integ-1_updated.webp) 2. Click **OpenAI Integration**. 3. You will be asked to configure the OpenAI API Key. If you had previously configured an OpenAI key with another Zoho product with your Zoho account, or in Catalyst, select the **Existing API Key** option. Else, select the **New API Key** option to configure a new key. ![OpenAI Integration](https://catalyst-docs-development.zohostratus.in/images/integrations/openai/openai-integ-2.webp) 4. If you select the *New API Key option*, follow the steps displayed in the console to generate a new secret key from the OpenAI platform. After the key is generated, paste it in the text box to configure it in Catalyst. Then, click **Configure Key**. If you had selected the *Existing API Key* option, directly click **Configure Key**. 5. Read the *Data Privacy Notice* and additionally go through *OpenAI's Terms and Conditions* from the link provided. Then, click **Proceed**. ![OpenAI Integration](https://catalyst-docs-development.zohostratus.in/images/integrations/openai/openai-integ-3.webp) The API key will be configured with Catalyst. You can now refer to the details of the API key, as well as its status and usage from this section. ![OpenAI Integration](https://catalyst-docs-development.zohostratus.in/images/integrations/openai/openai-integ-4.webp) #### Edit API Key Catalyst enables you to easily edit the OpenAI API key that you have configured and update it as required. This is beneficial in case you re-generate your API secret key or create a new one for your OpenAI account at any point of time. To edit the configured API key in Catalyst: 1. In the **OpenAI Integration** section of the Integrations settings in your console, click the ellipsis icon, then click **Edit**. ![Edit OpenAI Integration](https://catalyst-docs-development.zohostratus.in/images/integrations/openai/openai-integ-edit-1.webp) 2. Modify your API key, then click **Update** to confirm. ![Edit OpenAI Integration](https://catalyst-docs-development.zohostratus.in/images/integrations/openai/openai-integ-edit-2.webp) #### Disable API Key If you don't require an active configuration of an OpenAI API key in Catalyst for any specific reason, you can disable the key for as long as you need. If the API key is disabled, you will not be able to access any of OpenAI's features, such as Code Generator or Test Case Generator, or provide any prompts. You will be able to access the Zia AI features in Catalyst only after you enable the API key again. > **Note:** * Catalyst currently does not provide the functionality to permanently delete an OpenAI integration by deleting the API key. You can disable the configured key and re-enable it, as required. You can also update the key to configure a newly generated key. * Catalyst does not support the configuration of multiple API keys simultaneously. Therefore, you will not be able to disable a key and configure another one. To disable the configured API key in Catalyst: 1. In the **OpenAI Integration** section of the *Integrations* settings in your console, click the ellipsis icon, then click **Disable**. ![Disable OpenAI Integration](https://catalyst-docs-development.zohostratus.in/images/integrations/openai/openai-integ-disable-1.webp) 2. Click **Yes, Proceed** in the confirmation pop-up. ![Disable OpenAI Integration](https://catalyst-docs-development.zohostratus.in/images/integrations/openai/openai-integ-disable-2.webp) The key will be shown as disabled. ![Disable OpenAI Integration](https://catalyst-docs-development.zohostratus.in/images/integrations/openai/openai-integ-disable-3.webp) You can re-enable a disabled key in a similar manner: 1. In the **OpenAI Integration** section, click the ellipsis icon, then click **Enable**. ![Disable OpenAI Integration](https://catalyst-docs-development.zohostratus.in/images/integrations/openai/openai-integ-disable-4.webp) 2. Click **Yes, Proceed** in the confirmation pop-up. ![Disable OpenAI Integration](https://catalyst-docs-development.zohostratus.in/images/integrations/openai/openai-integ-disable-5.webp) ### GitHub Integration The GitHub Integration feature allows you to connect your **[GitHub**](https://github.com/) account with Catalyst seamlessly, enabling access to the repositories(both public and private), organizations and teams, webhooks, and personal user data. With this integration, you can perform essential operations such as committing, pushing, and pulling code directly within Catalyst. #### Supported Services This integration is available for the following Catalyst service: * **[Catalyst Pipelines](https://docs.catalyst.zoho.com/en/pipelines/)** > **Note:** You can explore our new service, [Catalyst Pipelines](https://docs.catalyst.zoho.com/en/pipelines/getting-started/introduction/), an advanced version of the Git component. Catalyst Pipelines enables you to define the entire end-to-end build-to-deployment workflow using commands in a YAML file. To learn more, refer to the [help documentation](https://docs.catalyst.zoho.com/en/pipelines/help/pipelines/introduction/). #### Benefits of Integration **Catalyst Pipelines** [Catalyst Pipelines](https://docs.catalyst.zoho.com/en/pipelines/getting-started/introduction/) is the CI/CD service that helps to streamline and automate your software development and deployment process. By integrating your GitHub account with Catalyst Pipelines, the service automatically clones the code from your selected repository. When the pipeline is triggered, the defined commands in your [YAML configuration](https://docs.catalyst.zoho.com/en/pipelines/help/catalyst-pipelines.yaml/introduction) are executed on the cloned codebase seamlessly, ensuring smooth automation of your workflows from build to deployment.. You can learn more about pipelines in [this help documentation](https://docs.catalyst.zoho.com/en/pipelines/getting-started/introduction/). > **Note:** This integration functions in accordance with GitHub's terms and conditions and is not exclusive to Catalyst. #### Integrate a GitHub Account 1. Click on the **GitHub** tile. ![choose-github](https://catalyst-docs-development.zohostratus.in/images/integrations/git/choose-github.webp) 2. Click **Add Account** to integrate your GitHub account with Catalyst. ![add-github-account](https://catalyst-docs-development.zohostratus.in/images/integrations/git/add-github-account.webp) 3. Click **Agree** to accept the terms and conditions of GitHub. ![agree-github](https://catalyst-docs-development.zohostratus.in/images/integrations/git/agree-github.webp) 4. Provide your username or email address and the password of your GitHub account. Click **Sign in**. ![signin-github](https://catalyst-docs-development.zohostratus.in/images/integrations/git/signin-github.webp) 5. Click **Authorize ZohoCorporation** to proceed. ![authorize-github](https://catalyst-docs-development.zohostratus.in/images/integrations/git/authorize-github.webp) 6. The integration is successful, and the GitHub account will be listed as shown in the screenshot below. ![github-successful](https://catalyst-docs-development.zohostratus.in/images/integrations/git/github-successful.webp) You can add any number of accounts by clicking on the **Add Account** button. #### Revoke a GitHub Account To revoke a GitHub account, please make sure to follow the below mentioned steps: 1. Click on the ellipsis icon on the right corner and then click **Revoke**. ![revoke-button-github](https://catalyst-docs-development.zohostratus.in/images/integrations/git/revoke-button-github.webp) 2. Click Revoke to delete the integration permanently. ![revoke-github](https://catalyst-docs-development.zohostratus.in/images/integrations/git/revoke-github.webp) > **Note:**You can add the same Git account again to enable the integration at any point of time. ### GitLab Integration The GitLab Integration feature allows you to connect your **[GitLab**](https://about.gitlab.com//) account with Catalyst seamlessly, enabling access to the repositories (both public and private), organizations and teams, webhooks, and personal user data. With this integration, you can perform essential operations such as committing, pushing, and pulling code directly within Catalyst. #### Supported Services This integration is available for the following Catalyst service: * **[Catalyst Pipelines](https://docs.catalyst.zoho.com/en/pipelines/)** > **Note:** You can explore our new service, [Catalyst Pipelines](https://docs.catalyst.zoho.com/en/pipelines/getting-started/introduction/), an advanced version of the Git component. Catalyst Pipelines enables you to define the entire end-to-end build-to-deployment workflow using commands in a YAML file. To learn more, refer to the [help documentation](https://docs.catalyst.zoho.com/en/pipelines/help/pipelines/introduction/). #### Benefits of Integration **Catalyst Pipelines** [Catalyst Pipelines](https://docs.catalyst.zoho.com/en/pipelines/getting-started/introduction/) is the CI/CD service that helps to streamline and automate your software development and deployment process. By integrating your GitLab account with Catalyst Pipelines, the service automatically clones the code from your selected repository. When the pipeline is triggered, the defined commands in your [YAML configuration](https://docs.catalyst.zoho.com/en/pipelines/help/catalyst-pipelines.yaml/introduction) are executed on the cloned codebase seamlessly, ensuring smooth automation of your workflows from build to deployment.. You can learn more about pipelines in [this help documentation](https://docs.catalyst.zoho.com/en/pipelines/getting-started/introduction/). > **Note:** This integration functions in accordance with GitLab's terms and conditions and is not exclusive to Catalyst. #### Integrate a GitLab Account 1. Click on the **GitLab** tile. ![choose-gitlab](https://catalyst-docs-development.zohostratus.in/images/integrations/git/choose-gitlab.webp) 2. Click **Add Account** to integrate your GitLab account with Catalyst. ![add-gitlab-account](https://catalyst-docs-development.zohostratus.in/images/integrations/git/add-gitlab-account.webp) 3. Click **Agree** to accept the terms and conditions of GitLab. ![agree-gitlab](https://catalyst-docs-development.zohostratus.in/images/integrations/git/agree-gitlab.webp) 4. Provide your username or email address and the password of your GitLab account. Click **Sign in**. You can also sign in using any providers as shown in the screenshot below. ![signin-gitlab](https://catalyst-docs-development.zohostratus.in/images/integrations/git/signin-gitlab.webp) 5. Click **Authorize Zoho Catalyst - US** to proceed. ![authorize-gitlab](https://catalyst-docs-development.zohostratus.in/images/integrations/git/authorize-gitlab.webp) 6. The integration is successful, and the GitLab account will be listed as shown in the screenshot below. ![gitlab-successful](https://catalyst-docs-development.zohostratus.in/images/integrations/git/gitlab-successful.webp) You can add any number of accounts by clicking on the **Add Account** button. #### Revoke a GitLab Account To revoke a GitLab account, please make sure to follow the below mentioned steps: 1. Click on the ellipsis icon on the right corner and then click **Revoke**. ![revoke-button-gitlab](https://catalyst-docs-development.zohostratus.in/images/integrations/git/revoke-button-gitlab.webp) 2. Click Revoke to delete the integration permanently. ![revoke-gitlab](https://catalyst-docs-development.zohostratus.in/images/integrations/git/revoke-gitlab.webp) > **Note:**You can add the same Git account again to enable the integration at any point of time. ### Bitbucket Integration The Bitbucket Integration feature allows you to connect your **[Bitbucket**](https://bitbucket.org/) account with Catalyst seamlessly, enabling access to the repositories (both public and private), organizations and teams, webhooks, and personal user data. With this integration, you can perform essential operations such as committing, pushing, and pulling code directly within Catalyst. #### Supported Services This integration is available for the following Catalyst service: * **[Catalyst Pipelines](https://docs.catalyst.zoho.com/en/pipelines/)** > **Note:** You can explore our new service, [Catalyst Pipelines](https://docs.catalyst.zoho.com/en/pipelines/getting-started/introduction/), an advanced version of the Git component. Catalyst Pipelines enables you to define the entire end-to-end build-to-deployment workflow using commands in a YAML file. To learn more, refer to the [help documentation](https://docs.catalyst.zoho.com/en/pipelines/help/pipelines/introduction/). #### Benefits of Integration **Catalyst Pipelines** [Catalyst Pipelines](https://docs.catalyst.zoho.com/en/pipelines/getting-started/introduction/) is the CI/CD service that helps to streamline and automate your software development and deployment process. By integrating your Bitbucket account with Catalyst Pipelines, the service automatically clones the code from your selected repository. When the pipeline is triggered, the defined commands in your [YAML configuration](https://docs.catalyst.zoho.com/en/pipelines/help/catalyst-pipelines.yaml/introduction) are executed on the cloned codebase seamlessly, ensuring smooth automation of your workflows from build to deployment.. You can learn more about pipelines in [this help documentation](https://docs.catalyst.zoho.com/en/pipelines/getting-started/introduction/). > **Note:** This integration functions in accordance with Bitbucket's terms and conditions and is not exclusive to Catalyst. #### Integrate a Bitbucket Account 1. Click on the **Bitbucket** tile. ![choose-bitbucket](https://catalyst-docs-development.zohostratus.in/images/integrations/git/choose-bitbucket.webp) 2. Click **Add Account** to integrate your Bitbucket account with Catalyst. ![add-bitbucket-account](https://catalyst-docs-development.zohostratus.in/images/integrations/git/add-bitbucket-account.webp) 3. Click **Agree** to accept the terms and conditions of Bitbucket. ![agree-bitbucket](https://catalyst-docs-development.zohostratus.in/images/integrations/git/agree-bitbucket.webp) 4. Provide your username or email address and the password of your Bitbucket account and click **Continue**. You can also sign-in using any providers as shown in the screenshot below. ![signin-bitbucket](https://catalyst-docs-development.zohostratus.in/images/integrations/git/signin-bitbucket.webp) 5. The integration is successful, and the Bitbucket account will be listed as shown in the screenshot below. ![bitbucket-successful](https://catalyst-docs-development.zohostratus.in/images/integrations/git/bitbucket-successful.webp) You can add any number of accounts by clicking on the **Add Account** button. #### Revoke a Bitbucket Account To revoke a Bitbucket account, please make sure to follow the below mentioned steps: 1. Click on the ellipsis icon on the right corner and then click **Revoke**. ![revoke-button-bitbucket](https://catalyst-docs-development.zohostratus.in/images/integrations/git/revoke-button-bitbucket.webp) 2. Click Revoke to delete the integration permanently. ![revoke-bitbucket](https://catalyst-docs-development.zohostratus.in/images/integrations/git/revoke-bitbucket.webp) > **Note:**You can add the same Git account again to enable the integration at any point of time. -------------------------------------------------------------------------------- title: "Developer Tools" description: "Catalyst settings allow you to configure features relevant to your Catalyst project and console, from adding collaborators to managing billing." last_updated: "2026-11-04T10:10:44.000Z" source: "https://docs.catalyst.zoho.com/en/getting-started/set-up-a-catalyst-project/developer-tools/" service: "All Services" -------------------------------------------------------------------------------- # Developer Tools ### Introduction The _Developer Tools_ section in settings contains the links to access and download the SDK packages offered by Catalyst for the applications in your project. ![catalyst_console_devtools](https://catalyst-docs-development.zohostratus.in/images/getting-started/set-up-a-catalyst-project/catalyst_console_devtools_updated.webp) You can develop web, iOS, and Android applications using Catalyst. To associate a project with one of these platforms, you must download or initialize its SDK package and use it in your application building process. You can develop the backend of your application and include server side functions in the Java, Node.js or Python environments. You must download or initialize the Java SDK or Node.js SDK or Python SDK packages in your application's code. > **Note:** You can select a different project using the dropdown list at the top and download the SDKs for that project. The steps to download or initialize each developer tool are described in this help page. ### Java SDK When you click **Java** from this section, it will automatically initiate the download of the Catalyst Java SDK package. A zip folder containing the Java SDK JAR files will be downloaded to your system. ![catalyst_console_java_sdk_package](https://catalyst-docs-development.zohostratus.in/images/getting-started/set-up-a-catalyst-project/catalyst_console_java_sdk_package.webp) You must include this Java SDK package in your Java server side functions and initialize the project. You can then obtain instances of each component and code the functionalities of your application. For detailed help on initializing the Catalyst Java SDK package, its features, and sample code snippets for various components, refer to the [**Java SDK documentation**](https://docs.catalyst.zoho.com/en/sdk/java/v1/overview/). ### Node.js SDK When you click **Node.js** from the _Developer Tools_ section, a pop-up window will open from which you can copy the command to install the Catalyst Node SDK package in your system using your terminal. ![catalyst_console_node_sdk](https://catalyst-docs-development.zohostratus.in/images/getting-started/set-up-a-catalyst-project/catalyst_console_node_sdk.webp) You must execute this command from the [project directory of your application](https://docs.catalyst.zoho.com/en/cli/v1/project-directory-structure/introduction), after you [install Catalyst CLI](https://docs.catalyst.zoho.com/en/getting-started/installing-catalyst-cli/) and [associate the directory with a project](https://docs.catalyst.zoho.com/en/cli/v1/initialize-resources/introduction/). Alternatively you can execute `$ npm install --save zcatalyst-sdk-node` to save it in your `package.json`. The Node.js SDK package will be installed to the directory as a node module. You can then initialize the SDK in your Node.js server side functions, and code the backend of your application. For detailed help on initializing the Catalyst Node.js SDK package, its features, and sample code snippets for various components, refer to the [**Node.js SDK documentation**](https://docs.catalyst.zoho.com/en/sdk/nodejs/v2/overview/). ### Python SDK When you click **Python** from the _Developer Tools_ section, a pop-up window will open from which you can copy the command to install the Catalyst Python SDK package in your system using your terminal. ![catalyst_console_python_sdk](https://catalyst-docs-development.zohostratus.in/images/getting-started/set-up-a-catalyst-project/catalyst_console_python_sdk.webp) You can execute this command from any location in your local, after you [install Catalyst CLI](https://docs.catalyst.zoho.com/en/getting-started/installing-catalyst-cli/) and [associate the directory with a project](https://docs.catalyst.zoho.com/en/cli/v1/initialize-resources/introduction/). The Python SDK package will be installed to the directory and then you can initialize the SDK in your Python server side functions, and code the backend of your application. For detailed help on initializing the Catalyst Python SDK package, its features, and sample code snippets for various components, refer to the [**Python SDK documentation**](https://docs.catalyst.zoho.com/en/sdk/python/v1/overview/). ### Web SDK When you click **Web**, a pop-up window will open, from which you can copy the code to initialize the Web SDK for your project. ![catalyst_console_web_sdk](https://catalyst-docs-development.zohostratus.in/images/getting-started/set-up-a-catalyst-project/catalyst_console_web_sdk.webp) You must paste the copied code in the main script of your application. You can enable user login for your application and embed the sign-in form as an iFrame, by passing the div of the login element in `catalyst.auth.signIn()`. This code refers to an `init.js` file which will automatically populate the essential details of your project, such as the [Project ID](https://docs.catalyst.zoho.com/en/getting-started/set-up-a-catalyst-project/general-settings) and [ZAID](https://docs.catalyst.zoho.com/en/getting-started/set-up-a-catalyst-project/environment-settings) for the environment you are working on. For detailed help on initializing the Catalyst Web SDK package, its features, and sample code snippets for various components, refer to the [**Web SDK documentation**](https://docs.catalyst.zoho.com/en/sdk/web/v4/overview/). > **Note:** You can also access an older version (v 1.0.0) of the web initialization script from the _Sign-in Method_ section in Authentication. Refer to the [Sign-in Method help page](https://docs.catalyst.zoho.com/en/cloud-scale/help/authentication/introduction/) for details. ### Android and iOS SDKs You can currently host one Android app and one iOS app for each project in Catalyst. You can create a package for the Android or iOS app in the _Developer Tools_ section, and download the configuration file provided by Catalyst for your mobile app. You must then include this file in the folder structure of your Android or iOS app. For detailed information on the Android and iOS SDK packages, the configuration file structure, and sample code snippets for various components, refer to the **[Android SDK documentation](https://docs.catalyst.zoho.com/en/sdk/android/v2/overview/)** or **[iOS SDK documentation](https://docs.catalyst.zoho.com/en/sdk/ios/v2/overview/)**. > **Note:** The permission to create or delete a mobile SDK package is based on the [role that a project member is associated with](https://docs.catalyst.zoho.com/en/getting-started/set-up-a-catalyst-project/profiles-and-permissions/#permissions). An admin of a Catalyst account can create or delete packages in all projects by default. Any collaborator can view the details of the packages or download the configuration files. #### Create a Mobile SDK Package To create a mobile SDK package for your mobile app in Catalyst: 1. Click the **Android** or **iOS** tiles depending on the SDK you need. Alternatively, you can click the **Add Package** button below. ![catalyst_console_devtools_2](https://catalyst-docs-development.zohostratus.in/images/getting-started/set-up-a-catalyst-project/catalyst_console_devtools_2.webp) This will open a pop-up window. You can select the mobile OS from the pop-up as well. 2. Enter an Android or iOS package name that will uniquely identify the package. Provide the URL to redirect the end-user to after they log in to the mobile app, as the Redirect URL. ![catalyst_console_mobile_sdk_1](https://catalyst-docs-development.zohostratus.in/images/getting-started/set-up-a-catalyst-project/catalyst_console_mobile_sdk_1.webp) The values that you enter here will be auto-filled in the configuration files in the SDK package. > **Note:** A package name will be uniquely associated with that OS. Therefore, you cannot create packages with the same name for both Android and iOS apps. You must provide unique values. 3. Click **Create** to create the mobile SDK package. 4. The console will then display a window from where you can download the configuration file. Click **Download** to download the file. ![catalyst_console_mobile_sdk_2](https://catalyst-docs-development.zohostratus.in/images/getting-started/set-up-a-catalyst-project/catalyst_console_mobile_sdk_2.webp) > Note: When you create a package, only the development environment's configuration file will be available for download initially, irrespective of the environment you are currently working in. You can download the configuration files for any environment any time after the package is created. This is explained in the [next section](https://docs.catalyst.zoho.com/en/getting-started/set-up-a-catalyst-project/developer-tools/#download-the-configuration-file-for-a-mobile-sdk-package). The _Developer Tools_ section will display the mobile SDK packages you create for your project. After you develop the mobile app, you can host it in Catalyst and distribute it using [Mobile Device Management](https://docs.catalyst.zoho.com/en/cloud-scale/help/mobile-device-management/introduction). #### Download the Configuration file for a Mobile SDK Package You can download the development or production configuration file for a mobile SDK package any time in the following way: 1. Click on the package displayed in the _Mobile SDK_ section. ![catalyst_console_mobile_sdk_3](https://catalyst-docs-development.zohostratus.in/images/getting-started/set-up-a-catalyst-project/catalyst_console_mobile_sdk_3.webp) This will open a window with the details of the package, and the option to download the development or production configuration files. The value for the environment variable, as well as other variables such as [ZAID](https://docs.catalyst.zoho.com/en/getting-started/set-up-a-catalyst-project/environment-settings), will be populated accordingly in the files of different environments. 2. Click **Download** in the required environment's tab to download the file. ![catalyst_console_mobile_sdk_download_1](https://catalyst-docs-development.zohostratus.in/images/getting-started/set-up-a-catalyst-project/catalyst_console_mobile_sdk_download_1.webp) If you have not [deployed the app to Production](https://docs.catalyst.zoho.com/en/deployment-and-billing/environments/production-environment) yet, you must first do so to access the production configuration file. ![catalyst_console_mobile_sdk_download_2](https://catalyst-docs-development.zohostratus.in/images/getting-started/set-up-a-catalyst-project/catalyst_console_mobile_sdk_download_2.webp) Refer to the [Android](https://docs.catalyst.zoho.com/en/sdk/android/v2/setup/) and [iOS](https://docs.catalyst.zoho.com/en/sdk/ios/v2/setup/) SDK documentations for steps on including the file in your app's structure. #### Delete a Mobile SDK Package Deleting a mobile SDK package from the Developer Tools section will delete the mobile app from both the Development and Production environments. Your app will therefore become inaccessible to the production end-users. You will need to proceed with caution before deleting an app's package. You can delete a mobile SDK package that you created from this section in the following way: 1. Click on the ellipsis icon next to the mobile SDK package, then click **Delete**. ![catalyst_console_mobile_sdk_delete_1](https://catalyst-docs-development.zohostratus.in/images/getting-started/set-up-a-catalyst-project/catalyst_console_mobile_sdk_delete_1.webp) 2. Enter the package name again to confirm the action, then click **Confirm**. ![catalyst_console_mobile_sdk_delete_2](https://catalyst-docs-development.zohostratus.in/images/getting-started/set-up-a-catalyst-project/catalyst_console_mobile_sdk_delete_2.webp) -------------------------------------------------------------------------------- title: "Environment Settings" description: "Catalyst settings allow you to configure features relevant to your Catalyst project and console, from adding collaborators to managing billing." last_updated: "2026-11-04T10:10:44.000Z" source: "https://docs.catalyst.zoho.com/en/getting-started/set-up-a-catalyst-project/environment-settings/" service: "All Services" -------------------------------------------------------------------------------- # Environment Settings ### Introduction Catalyst provides two work environments in the Catalyst web console for developing your applications: 1. **Development:** Enables you to create, configure, test, and host Catalyst features and components in a local development mode, similar to a sandbox 2. **Production:** Live mode that is accessible to the end users of your application, when you deploy your application from the Development environment You can learn about the Catalyst environments in detail from the [**Environments help page**](https://docs.catalyst.zoho.com/en/deployment-and-billing/environments/introduction/). The _Environments_ section in settings provides you environment-specific information about your project, and also enables you to perform deployments between both the environments. ![catalyst_console_environments_1](https://catalyst-docs-development.zohostratus.in/images/getting-started/set-up-a-catalyst-project/catalyst_console_environments_1.webp) The permissions to access the production environment, enable or disable production for a Catalyst application, and perform deployments is granted to a project member [based on their profile](https://docs.catalyst.zoho.com/en/getting-started/set-up-a-catalyst-project/profiles-and-permissions/#permissions). An admin of a Catalyst account has these permissions by default. ### General Tab The following environment-specific information about your project is displayed under the _General_ tab: * **ZAID**: The unique identifier that maps an application to a project. The ZAID is different in the Development and Production environments of a project. * **API Key:** An authentication key for the API Gateway feature, that is common for the Development environment of all your projects, but different for the Production environments of each project. You can learn more about it from the [API Gateway help page](https://docs.catalyst.zoho.com/en/cloud-scale/help/api-gateway/key-concepts/#authentication-request-processor). * **Application URL:** The default URL of your Catalyst application that is automatically generated when you host a web client in your Catalyst project. The URL is generated for the Development environment when you host your application. After you deploy your application to Production, a Production URL is generated. The Development and Production URLs slightly differ in their formats. Both URLs contain the same: * **Project Domain Name:** The unique domain name that is generated for your project when you host it in [Web Client Hosting](https://docs.catalyst.zoho.com/en/cloud-scale/help/web-client-hosting/implementation/#host-a-web-application). Example: _shipmenttracking-57673975_. * **Domain Name:** The domain for all the Catalyst applications you host, which is**catalystserverless.com**. However, the Development web app URL also contains the **environment type**, and its value is `development`. For example, '_https://shipmenttracking-57673975.**development**.catalystserverless.com_'. The environment type is not specified in the Production URL. That is, the production URL will be '_https://shipmenttracking-57673975.catalystserverless.com_'. ### Deployments Tab The _Deployments_ tab in the _Environments_ settings enables you to deploy your Catalyst project from one environment to the other, and manage the deployments. ![catalyst_console_environments_2](https://catalyst-docs-development.zohostratus.in/images/getting-started/set-up-a-catalyst-project/catalyst_console_environments_2.webp) You can learn about deploying your project in detail from the [Environments help page](https://docs.catalyst.zoho.com/en/deployment-and-billing/environments/introduction/). -------------------------------------------------------------------------------- title: "Push Notifications Settings" description: "Catalyst settings allow you to configure features relevant to your Catalyst project and console, from adding collaborators to managing billing." last_updated: "2026-11-04T10:10:44.000Z" source: "https://docs.catalyst.zoho.com/en/getting-started/set-up-a-catalyst-project/push-notifications-settings/" service: "All Services" -------------------------------------------------------------------------------- # Push Notifications Settings The _Push Notifications_ section in settings enables you to configure push notifications for the iOS app hosted in your project. You can easily authenticate your app's APNs configuration with Catalyst, and allow it to forward the push messages you create to Apple on your behalf and fetch the response. ![catalyst_console_push_notifications](https://catalyst-docs-development.zohostratus.in/images/getting-started/set-up-a-catalyst-project/catalyst_console_push_notifications.webp) You must provide the necessary information to enrol for Catalyst Push Notification services, and upload the APNS certificate of your iOS app. You can learn about the key concepts, architecture, and the detailed step-by-step configuration procedure of iOS push notifications from the [**Push Notifications help page**](https://docs.catalyst.zoho.com/en/cloud-scale/help/push-notifications/ios). -------------------------------------------------------------------------------- title: "Billing Settings" description: "Catalyst settings allow you to configure features relevant to your Catalyst project and console, from adding collaborators to managing billing." last_updated: "2026-11-04T10:10:44.000Z" source: "https://docs.catalyst.zoho.com/en/getting-started/set-up-a-catalyst-project/billing-settings/" service: "All Services" -------------------------------------------------------------------------------- # Billing Settings The _Billing_ section in settings enables you to manage the billing and payment for your Catalyst account. > **Note:** Catalyst enables you to choose between two different pricing models. The billing data will be available after you [deploy](https://docs.catalyst.zoho.com/en/deployment-and-billing/environments/) at least one project to production in the [pay-as-you-go pricing model](https://docs.catalyst.zoho.com/en/deployment-and-billing/billing/pay-as-you-go-model/). If you had opted for the [subscription pricing model](https://docs.catalyst.zoho.com/en/deployment-and-billing/billing/subscription-model/), the billing data will be available as soon as your subscription is confirmed. You can set up and manage payments, keep a track of your Catalyst usage, view reports and cost breakdowns, check forecasts, create budgets, and more from this section. ![catalyst_console_billing](https://catalyst-docs-development.zohostratus.in/images/getting-started/set-up-a-catalyst-project/catalyst_console_billing.webp) You can learn about the Billing settings and Catalyst payments in detail from the [**Billing help page**](https://docs.catalyst.zoho.com/en/deployment-and-billing/billing/billing-settings).# SERVICES # Serverless ## Getting Started -------------------------------------------------------------------------------- title: "Introduction" description: "Learn about getting started with Catalyst Serverless that provides powerful FaaS and PaaS solutions for multiple environments." last_updated: "2026-11-03T07:48:52.000Z" source: "https://docs.catalyst.zoho.com/en/serverless/getting-started/introduction/" service: "Serverless" -------------------------------------------------------------------------------- # Catalyst Serverless Serverless, powered by Catalyst, allows you to experience powerful **Function-as-a-Service (FaaS)** and **Platform-as-a-Service (PaaS)** cloud services. This pro-code, cloud-powered service provides the components and backend support for engineering anything from basic microservices and data processing workloads to robust enterprise-level applications. This secure and scalable infrastructure, powered by Catalyst, enables you to build your entire application with ease and manage monitoring and operations through [Catalyst DevOps](https://docs.catalyst.zoho.com/en/devops/getting-started/introduction/). In the Catalyst Serverless application building environment, the infrastructure is automatically tailored to your requirements. Serverless will automatically scale up or scale down depending on the load to ensure your application has the optimum server infrastructure required to always run smoothly, and this enables you to manage your solution in a cost effective manner. Catalyst also eliminates the risk of incurring costs for server downtime, and ensures you only pay for the services you avail by only billing you for the API calls made to your application's endpoints. Using Serverless components, you can code your business logic in a manner that is tightly coupled with the rest of the application's code or as independent software modules, based on your business needs. Catalyst provides you with high-end security, a powerful and reliable infrastructure, and a well-integrated and accesible development platform that cater to enhance your coding experience. Catalyst Serverless aims to ease your efforts in building and hosting a service end-to-end by providing you with essential toolkits that enable you to easily incorporate all other [Catalyst services](https://docs.catalyst.zoho.com/en/) and components in your business logic. You can build your logic in a Catalyst-specific structure through [Catalyst Serverless Functions](https://docs.catalyst.zoho.com/en/serverless/help/functions/introduction/) where your coding efforts are reduced, or in own independent structure and host it through [AppSail's](https://docs.catalyst.zoho.com/en/serverless/help/appsail/introduction) platform. Serverless also provides end-to-end security to protect the access to the functions, services, and applications you build with Catalyst, preventing your efforts from implementing and maintaining security, such as with [Security Rules](https://docs.catalyst.zoho.com/en/serverless/help/security-rules/introduction). You can additionally orchestrate workflows in your applications with the Serverless component called [Circuits](https://docs.catalyst.zoho.com/en/serverless/help/circuits/introduction). You can code the backend of your applications and services in the following [programming environments](https://docs.catalyst.zoho.com/en/serverless/help/functions/stack/) in Catalyst and avail their SDK toolkits: * [**Java**](https://docs.catalyst.zoho.com/en/sdk/java/v1/overview/) * [**Node.js**](https://docs.catalyst.zoho.com/en/sdk/nodejs/v2/overview/) * [**Python**](https://docs.catalyst.zoho.com/en/sdk/python/v1/overview/) You can host your applications as web apps or mobile apps by availing the following SDK toolkits: * [**Web**](https://docs.catalyst.zoho.com/en/sdk/web/v4/overview/) * [**Android**](https://docs.catalyst.zoho.com/en/sdk/android/v2/overview/) * [**iOS**](https://docs.catalyst.zoho.com/en/sdk/ios/v2/overview/) * [**Flutter**](https://docs.catalyst.zoho.com/en/sdk/flutter/v2/overview/) You can plug the SDK toolkits into your business logic and utilize all Catalyst features for an efficient, secure development experience. You can initialize Functions and AppSail services remotely using [Catalyst's powerful CLI](https://docs.catalyst.zoho.com/en/cli/v1/cli-command-reference/) and code them using an IDE of your preference. You can also use the highly-integrated Catalyst console to work with Serverless components and manage your projects. Using our extensive collection of [Catalyst APIs](https://docs.catalyst.zoho.com/en/api/introduction/overview-and-prerequisites/), you can quickly access various Catalyst components and implement their functionalities, not only of Serverless' components, but of other Catalyst services as well, like [Catalyst CloudScale](https://docs.catalyst.zoho.com/en/cloud-scale/getting-started/introduction/) and [Catalyst DevOps](https://docs.catalyst.zoho.com/en/devops/getting-started/introduction/). You can also familiarize yourself with Serverless Functions and other Catalyst services by trying out some of our [tutorials](https://docs.catalyst.zoho.com/en/tutorials/). Get started with Catalyst Serverless, using this [Quick Start Guide](https://docs.catalyst.zoho.com/en/serverless/getting-started/quick-start-guide). -------------------------------------------------------------------------------- title: "Components of Catalyst Serverless" description: "Learn about getting started with Catalyst Serverless that provides powerful FaaS and PaaS solutions for multiple environments." last_updated: "2026-11-03T07:48:52.000Z" source: "https://docs.catalyst.zoho.com/en/serverless/getting-started/components-of-serverless/" service: "Serverless" -------------------------------------------------------------------------------- # Components of Catalyst Serverless **FAAS** - [Functions](https://docs.catalyst.zoho.com/en/serverless/help/functions/introduction/)Custom-built coding structures which contain the intense business logic of your application. - [Security Rules](https://docs.catalyst.zoho.com/en/serverless/help/security-rules/introduction/)Define the invocation and access rules of your Serverless Basic I/O and Advanced I/O functions **COMPUTE** - [AppSail](https://docs.catalyst.zoho.com/en/serverless/help/appsail/introduction/) Build and host solutions of any scale in any framework of Java, Node.js, or Python, with this powerful PaaS. **ORCHESTRATION** - [Circuits](https://docs.catalyst.zoho.com/en/serverless/help/circuits/introduction/)Orchestrate tasks and automate workflows in Catalyst. As represented above, Catalyst Serverless includes the following components: * Functions * AppSail * Circuits * Security Rules ### Functions [Serverless Functions](https://docs.catalyst.zoho.com/en/serverless/help/functions/introduction/) are custom-built coding structures that contain the core backend logic of your application or service. Using Serverless Functions reduces your code setup, building, and maintenance efforts and the time you would typically spend before starting to code your logic. - Serverless offers the following functions types and templates for various purposes: - [**Basic I/O Function**](https://docs.catalyst.zoho.com/en/serverless/help/functions/basic-io/): Code basic input/output operations and simple HTTP operations between the various components of Catalyst services. - [**Advanced I/O Function**](https://docs.catalyst.zoho.com/en/serverless/help/functions/advanced-io/): Access the ideal code structure to use multiple APIs and handle native HTTP responses between the components of various Catalyst services. You can also code complex server-client operations, and parse and channel large volumes of data. - [**Integration Function**](https://docs.catalyst.zoho.com/en/serverless/help/functions/integration-functions/): These functions offers you the advantage of using a Serverless function on the backend to perform operations in other Zoho services by establishing an integration with them. - [**Event Function**](https://docs.catalyst.zoho.com/en/serverless/help/functions/event-functions/): This type of function can be used to handle event-based logic triggered by [Catalyst Signals](https://docs.catalyst.zoho.com/en/signals/). You can use this function to execute an operation, or a set of operations, after the occurrence of a configured event. - [**Cron Function**](https://docs.catalyst.zoho.com/en/serverless/help/functions/cron-functions/): [Cron](https://docs.catalyst.zoho.com/en/cloud-scale/help/cron/introduction/), a component of [Catalyst CloudScale](https://docs.catalyst.zoho.com/en/cloud-scale/getting-started/introduction/), is an automatable job scheduler. This type of function can be coded as a periodic function associated with a configured Cron. - [**Browser Logic**](https://docs.catalyst.zoho.com/en/smartbrowz/help/browser-logic/introduction/): You can code [browser logic](https://docs.catalyst.zoho.com/en/smartbrowz/help/browser-logic/implementation/) functions that can be used to perform any task you would manually do in a browser. The [SmartBrowz](https://docs.catalyst.zoho.com/en/smartbrowz/getting-started/introduction/) Catalyst service lets you control and manage a browser through code and the Browser functions lets you code in the business logic to ensure the same. Each of these function types can be initialized in [**Java**](https://docs.catalyst.zoho.com/en/sdk/java/v1/overview/), [**Node.js**](https://docs.catalyst.zoho.com/en/sdk/nodejs/v2/overview/), or [**Python**](https://docs.catalyst.zoho.com/en/sdk/python/v1/overview/), and when you initialize these functions you will be provided with a customizable boilerplate for coding your logic faster. ### AppSail The [AppSail](https://docs.catalyst.zoho.com/en/serverless/help/appsail/introduction/) component is a powerful platform-as-a-service (**PaaS**) offering, with which you can build and host any scale of applications from simple microservice to large enterprise solutions, even independently of Catalyst, in the supported development environments. You have the flexibility to code using any framework without any restrictions, incorporate and manage any dependencies, and efficiently manage the platform of your service after you deploy it. AppSail will ensure the required server instances are generated and are scaled based on the needs. The platform management feature enables you to view the generated instances, set thresholds, view statistics and reports of the instances, and terminate them manually, when needed. These reports offer crucial aid during the debugging stages. ### Circuits With [Circuits](https://docs.catalyst.zoho.com/en/serverless/help/circuits/introduction/), you can orchestrate and automate workflows in your Catalyst application directly from the console. Use circuits to implement concurrent or sequential executions of [Serverless' Basic I/O Functions](https://docs.catalyst.zoho.com/en/serverless/help/functions/basic-io/). You can manage and execute multiple parallel processing tasks, configure conditions, incorporate data, and design workflows that repeatedly execute tasks for any desired outcome. There are several [Circuit states](https://docs.catalyst.zoho.com/en/serverless/help/circuits/key-concepts/#circuit-states-1), flow control options, and input and output paths you can utilize to design a comprehensive workflow. Catalyst enables you to use the drag-and drop builder to construct complex workflows in a few simple steps from the console. You can design a workflow with any scale of functionality, and as elaborate or as simple as you require based on your requirements. ### Security Rules The [Security Rules](https://docs.catalyst.zoho.com/en/serverless/help/security-rules/introduction/) component fulfills fundamental requirements for securing [Basic I/O](https://docs.catalyst.zoho.com/en/serverless/help/functions/basic-io/) and [Advanced I/O](https://docs.catalyst.zoho.com/en/serverless/help/functions/advanced-io/) endpoints. Security Rules is a `JSON` file which contains the security definitions of the function, including the HTTP methods that can be accessed by a function, and whether authentication is necessary to access the function's endpoint. You can configure these based on your requirements. Security Rules is automatically enabled by Serverless when a Basic I/O or an Advanced I/O function is created in the console, or initialized locally using the [Catalyst CLI](https://docs.catalyst.zoho.com/en/getting-started/installing-catalyst-cli/) and deployed to the console. -------------------------------------------------------------------------------- title: "Benefits" description: "Learn about getting started with Catalyst Serverless that provides powerful FaaS and PaaS solutions for multiple environments." last_updated: "2026-08-17T12:16:04.000Z" source: "https://docs.catalyst.zoho.com/en/serverless/getting-started/benefits/" service: "Serverless" -------------------------------------------------------------------------------- # Benefits * Serverless components, like [Functions](https://docs.catalyst.zoho.com/en/serverless/help/functions/introduction/) and AppSail , help you build, host, and manage your applications without concerning yourself with infrastructure requirements, server setup and management, resource allocation, or server downtime. * Serverless [Circuits](https://docs.catalyst.zoho.com/en/serverless/help/circuits/introduction/) optimize and expedite the creation of complex workflows that automate redundant tasks. * With Serverless Functions, you can access and implement the functionalities of multiple Catalyst service components using [Catalyst SDKs](https://docs.catalyst.zoho.com/en/getting-started/catalyst-sdk/). You also benefit from a range of platform-agnostic access points through [Catalyst APIs](https://docs.catalyst.zoho.com/en/api/introduction/overview-and-prerequisites/). * Serverless' [Integration Functions](https://docs.catalyst.zoho.com/en/serverless/help/functions/integration-functions/) enable you to integrate with other Zoho services and utilize their functionalities in your Catalyst application. * Manage event-driven architecture in your applications through [Event Functions](https://docs.catalyst.zoho.com/en/serverless/help/functions/event-functions/), that also enable you to handle events occurring in other Zoho services through [Zoho Publishers](https://docs.catalyst.zoho.com/en/signals/help/publishers/create-publisher/zoho-publishers/) in Catalyst Signals. * Using AppSail, you can seamlessly and securely host independent applications built using any frameworks and dependencies you require, with ease. AppSail allows you to manage the server instances and the platform where your service is hosted. -------------------------------------------------------------------------------- title: "Use Cases" description: "Learn about getting started with Catalyst Serverless that provides powerful FaaS and PaaS solutions for multiple environments." last_updated: "2026-11-03T07:48:52.000Z" source: "https://docs.catalyst.zoho.com/en/serverless/getting-started/usecases/" service: "Serverless" -------------------------------------------------------------------------------- # Examples of How Catalyst Serverless Can Improve Businesses * When organizations change their platform provider, either for an upgrade or for financial reasons, they often find that their options for exact alternatives are limited. They require their new providers to be compatible with their existing codebase and setup, and to keep data loss to a minimum. Using the Serverless component AppSail, developers can easily migrate and host applications in a few simple steps and manage running instances with zero data loss, and severely minimize the operational downtime typically caused during migration. * You can accelerate your application's output and optimize its processing time by designing and implementing workflows using [Serverless' Circuits](https://docs.catalyst.zoho.com/en/serverless/help/circuits/introduction/). Consider a company that has a huge CSV file consisting of millions of cold lead records. Instead of manually sorting and distributing the records, you can utilize [Basic I/O functions](https://docs.catalyst.zoho.com/en/serverless/help/functions/basic-io/). Create a Circuit where once the file is uploaded to the CloudScale [Data Store](https://docs.catalyst.zoho.com/en/cloud-scale/help/data-store/introduction/), [Catalyst Signals](https://docs.catalyst.zoho.com/en/signals/) triggers an [event function](https://docs.catalyst.zoho.com/en/serverless/help/functions/event-functions/). This event function can start a circuit where the records are split into manageable numbers and distributed amongst the lead managers as individual CSV files using the [Mail](https://docs.catalyst.zoho.com/en/cloud-scale/help/mail/introduction/) component. You can find out more on how Catalyst Serverless has benefited several businesses across various sectors by clicking [here](https://catalyst.zoho.com/customers/). -------------------------------------------------------------------------------- title: "Quick Start Guide" description: "Learn about getting started with Catalyst Serverless that provides powerful FaaS and PaaS solutions for multiple environments." last_updated: "2026-10-30T17:47:18.000Z" source: "https://docs.catalyst.zoho.com/en/serverless/getting-started/quick-start-guide/" service: "Serverless" -------------------------------------------------------------------------------- # Catalyst Serverless - A Quick Start Guide This section covers the overall steps involved in creating and developing your Catalyst applications by leveraging the Catalyst Serverless components. You can engineer, test, and deploy robust applications and microservices of any scale using the various components of Serverless. 1. **Create a Project** - Access the [Catalyst console](https://console.catalyst.zoho.com/baas/index) to [create a new project](https://docs.catalyst.zoho.com/en/getting-started/quick-start-guide/#step-1-create-a-catalyst-project). After the project creation is complete, you will be able to access all components of Serverless and other Catalyst services from the console. > **Note:** You can familiarize yourself with the various services and components and gain a more practical understanding of Catalyst by using the step-by-step guide present in the [Tutorials section](https://docs.catalyst.zoho.com/en/tutorials/). Additionally, you can also create a new project in the local environment by [initializing it from the CLI](https://docs.catalyst.zoho.com/en/getting-started/quick-start-guide/#step-4-initialize-the-project-from-the-cli). You can initialize project resources like functions, or client services along with the project. You must first [install Catalyst CLI](https://docs.catalyst.zoho.com/en/getting-started/quick-start-guide/#step-2-install-catalyst-cli) and [log in](https://docs.catalyst.zoho.com/en/getting-started/quick-start-guide/#step-3-log-in-from-your-cli) to your remote account before you can access the Catalyst commands and work with your application locally. 2. **Engineer your application** - You can initialize your function components as a [**Basic I/O**](https://docs.catalyst.zoho.com/en/serverless/help/functions/basic-io/),[**Advanced I/O**](https://docs.catalyst.zoho.com/en/serverless/help/functions/advanced-io/), [**Event**](https://docs.catalyst.zoho.com/en/serverless/help/functions/event-functions/), [**Cron**](https://docs.catalyst.zoho.com/en/serverless/help/functions/cron-functions/), [**Integration**](https://docs.catalyst.zoho.com/en/serverless/help/functions/integration-functions/), or [**Browser Logic**](https://docs.catalyst.zoho.com/en/smartbrowz/help/browser-logic/introduction/). You can then code your application locally using an IDE of your preference. > **Note:** You can also add new functions in an existing project directory using the Catalyst CLI command: [`catalyst functions:add`](https://docs.catalyst.zoho.com/en/cli/v1/working-with-functions/add-functions/). Catalyst Serverless functions can be coded in: * [Java](https://docs.catalyst.zoho.com/en/sdk/java/v1/overview/) * [Node.js](https://docs.catalyst.zoho.com/en/sdk/nodejs/v2/overview/) * [Python](https://docs.catalyst.zoho.com/en/sdk/python/v1/overview/) When you initialize your functions, you can choose the stack and install the required dependencies. A few configuration files pertaining to Catalyst will also be installed in your [local project directory](https://docs.catalyst.zoho.com/en/cli/v1/project-directory-structure/introduction/). You can refer the code templates present in [Catalyst SDKs](https://docs.catalyst.zoho.com/en/getting-started/catalyst-sdk/) to incorporate Catalyst CloudScale components in your application, such as for backend functionalities like database, storage, caching, etc and build anything from a simple microservice to a robust enterprise application. There are exclusive SDKs present for each of the supported programming languages, and you also have SDKs available for engineering [Web](https://docs.catalyst.zoho.com/en/sdk/web/v4/overview/), [Android](https://docs.catalyst.zoho.com/en/sdk/android/v2/overview/), [iOS](https://docs.catalyst.zoho.com/en/sdk/ios/v2/overview/), and [Flutter](https://docs.catalyst.zoho.com/en/sdk/flutter/v2/overview/) applications. Addionally, you can employ [Circuits](https://docs.catalyst.zoho.com/en/serverless/help/circuits/introduction/) to orchestrate your applications workflow from the console. [Security Rules](https://docs.catalyst.zoho.com/en/serverless/help/security-rules/introduction/) will contain default security definitions for your [Basic I/O](https://docs.catalyst.zoho.com/en/serverless/help/functions/basic-io/) and [Advanced I/O](https://docs.catalyst.zoho.com/en/serverless/help/functions/advanced-io/) functions. You can also build and deploy your application or service as an [AppSail solution](https://docs.catalyst.zoho.com/en/serverless/help/appsail/introduction) as an entire package. The PaaS component enables you to develop solutions independent of Catalyst and simply host them onto the platform. 3. **Test your application** - You can test your project resources like the functions or AppSail locally using the [`catalyst serve` CLI command](https://docs.catalyst.zoho.com/en/cli/v1/serve-resources/serve-all-resources/). You can also test the endpoints of your application by accessing them through their catalyst-generated URLs, or test functions by [launching a shell for functions](https://docs.catalyst.zoho.com/en/cli/v1/working-with-functions/functions-shell/#functions-shell-command-execution) by using the CLI command `catalyst functions: shell`. 4. **Deploy to console** - Deploy your project resources to the console from the CLI using the [`catalyst deploy`](https://docs.catalyst.zoho.com/en/cli/v1/deploy-resources/introduction/) command after you test them locally. You can also upload functions directly in the console. 5. **Log and Monitor** - You can now avail the components of [Catalyst DevOps](https://docs.catalyst.zoho.com/en/devops/getting-started/introduction/) to log and monitor your function. You can also secure your function endpoints, and perform all operations management tasks with DevOps. 6. **Deploy to production** - When your application or microservice is ready to be deployed, you can [migrate your resources to the production environment](https://docs.catalyst.zoho.com/en/deployment-and-billing/environments/production-environment/). You can continue to monitor your applications with [Catalyst DevOps](https://docs.catalyst.zoho.com/en/devops/getting-started/introduction/). > **Note:** The sequence of steps specified here might differ based on your business or application logic, or your specific use case. The flow mentioned in the deploying and testing phases of the application can be altered based on your requirements. This is a generic set of guidelines that is suitable for a typical small to mid-scale, client-based application or microservice. ## Help Components ### AppSail -------------------------------------------------------------------------------- title: "Introduction" description: "Catalyst AppSail is a fully-managed platform to deploy web services in managed runtimes of Java, Node.js, and Python, or custom runtimes as OCI images." last_updated: "2026-11-04T10:10:44.000Z" source: "https://docs.catalyst.zoho.com/en/serverless/help/appsail/introduction/" service: "Serverless" -------------------------------------------------------------------------------- # AppSail ## Introduction ### Overview Catalyst AppSail, a component of [Catalyst Serverless](https://docs.catalyst.zoho.com/en/serverless/), is a fully-managed, independent, platform for deploying web services to the cloud with ease. AppSail provides you with a powerful and highly-scalable platform to deploy anything from simple web apps to large enterprise applications, without any infrastructure setup or management concerns. You can deploy a web service to Catalyst AppSail in one of these ways- * **As a Catalyst-Managed Runtime:** Catalyst provides native support for web applications of specific **Java, Node.js, and Python** runtimes. You can directly deploy the build files of your application to AppSail in this case, to host it on the cloud. AppSail supports any frameworks, libraries, plugins, or dependencies of these supported runtimes that you might use in your application, provided they are not platform-dependant. * **As a Custom Runtime:** You can deploy a container image (OCI image) of your application from any of these container registry services- [Docker Hub](https://hub.docker.com/), [AWS Elastic Container Registry](https://aws.amazon.com/ecr/), or [Google Artifact Registry](https://cloud.google.com/artifact-registry/docs/overview), or a container image from your local registry. This custom runtime support enables you to develop and **deploy web services of any runtime or framework of your choice**. For example, you can deploy applications in PHP, Go, Ruby, or any runtime of Python, Java, or Node.js that are not supported natively by Catalyst. > **Note:** Catalyst only supports the deployment of [OCI-compliant images](https://github.com/opencontainers/image-spec) built for the Linux AMD64 (x86-64) platform. Unlike [Catalyst Serverless functions](https://docs.catalyst.zoho.com/en/serverless/help/functions/introduction/) that you code following a Catalyst-specific template based on the function type, AppSail services can be completely independent of any Catalyst-specific coding requirements. You can still employ any Catalyst component in your AppSail service through its [platform-specific SDK](https://docs.catalyst.zoho.com/en/serverless/help/appsail/implement-catalyst-sdk). ### Deployment Methods You can deploy an AppSail service using any of these tools- #### Deploy from the Catalyst CLI * **Catalyst-managed runtime:** You can [initialize](https://docs.catalyst.zoho.com/en/cli/v1/initialize-resources/initialize-appsail/) or [add](https://docs.catalyst.zoho.com/en/cli/v1/add-appsail/) an AppSail service from the CLI, and [deploy](https://docs.catalyst.zoho.com/en/cli/v1/deploy-resources/deploy-appsail/) it to the cloud from your local system for all Catalyst-managed runtimes. The CLI also supports a standalone deploy without prior initialization. * **Custom runtime:** You can deploy a container image of your app to the cloud from your local registry by initializing or adding it as an AppSail service similarly. Catalyst supports two protocols (as a Docker image or a Docker archive) for this purpose. You can do a standalone deploy as well. > **Note:** You can also [test your app through a localhost](https://docs.catalyst.zoho.com/en/cli/v1/serve-resources/serve-all-resources/#serve-appsail-applications) before deploying it from the CLI. This is supported for apps deployed directly or as container images. #### Deploy from the Catalyst Console * **Catalyst-managed runtime:** You can upload the build file of your application directly in the console in the Serverless section, configure the necessary details, and [deploy it instantly](https://docs.catalyst.zoho.com/en/serverless/help/appsail/catalyst-managed-runtimes/deploy-from-console). * **Custom runtime:** Catalyst enables you to [deploy a container image](https://docs.catalyst.zoho.com/en/serverless/help/appsail/custom-runtimes/deploy-from-console/) hosted on one of the supported cloud container registry services on AppSail by providing its URL and other details, after integrating with the registry service. ### Instance and Platform Management AppSail offers you complete control over your app's coding structure and execution. Catalyst enables you to perform a variety of [configurations](https://docs.catalyst.zoho.com/en/serverless/help/appsail/console/configurations/) on your web service's execution environment, such as defining the memory and disk size to be allocated for its execution, the port it must be run on, environment variables required for your app, or the app's startup command. You can access all the apps you deploy through the [AppSail URL](https://docs.catalyst.zoho.com/en/serverless/help/appsail/console/overview/#appsail-url) that Catalyst will generate automatically. Additionally, you have the option to map your own domain to an AppSail service and access it through your [custom domain URL](https://docs.catalyst.zoho.com/en/cloud-scale/help/domain-mappings/introduction/). When your service is run, Catalyst spawns server instances for its execution as needed, and scales them up or down based on the traffic, ensuring minimal latency. You will be able to view the spawned instances for your service from the console when it is run, and perform activities such as deleting service instances. Catalyst also offers detailed reports, stats, and execution logs of all your AppSail services that were executed, which helps you make informed business decisions. This help document covers the entirety of deploying software services onto AppSail, directly or as container images through the console or CLI. It also includes [helpful guides](https://docs.catalyst.zoho.com/en/serverless/help/appsail/help-guides/introduction/) for simple applications that you can build in various frameworks of each Catalyst-managed runtimes, along with sample code and the steps to associate them with AppSail. You can also find examples to [debug an AppSail service](https://docs.catalyst.zoho.com/en/serverless/help/appsail/debug-appsail/) in different IDEs. -------------------------------------------------------------------------------- title: "AppSail Basics" description: "Catalyst AppSail is a fully-managed platform to deploy web services in managed runtimes of Java, Node.js, and Python, or custom runtimes as OCI images." last_updated: "2026-11-04T10:10:44.000Z" source: "https://docs.catalyst.zoho.com/en/serverless/help/appsail/appsail-basics/" service: "Serverless" -------------------------------------------------------------------------------- ### Comparing Catalyst Serverless Functions and AppSail Services Both Catalyst Functions and AppSail are Serverless offerings that enable you to build the backend logic of your solution containing the main functionalities. Given below are some note-worthy points about the differences and similarities between Catalyst Serverless functions and AppSail services. You will need to understand these to ensure you use the right component for your needs.
Catalyst Serverless Functions AppSail Services
Use Catalyst serverless functions to build backend logic for basic or elaborate HTTP operations, event-driven flows, scheduled job executions, or integrations. Use AppSail services to build and deploy independent web services for any requirements.
Functions generally pack a tightly-coupled application logic that incorporate Catalyst components through language-specific SDKs. You can implement component SDKs in your AppSail applications as well. However, you will be required to manage the implementation on your own.
Catalyst functions cannot work independently outside the Catalyst platform, as they implement predefined coding structures specific to Catalyst. AppSail services are independent entities that can be engineered in any way you require, without any Catalyst-specific restrictions on the format.
Catalyst handles the implementation and maintenance of the dependencies that serverless functions are pre-engineered with. For example, the node modules that are included by default when you initialize a Node.js function are implemented by Catalyst. With AppSail, you must entirely handle all the implementation and maintenance of all frameworks, libraries, plugins, dependencies, and overheads that you might use in your code for all the supported platforms.
With Serverless functions, you incur costs when API calls are made to invoke function endpoints. The billing model works based on the number of API calls made to access a function endpoint. AppSail services incur costs based on the number of server instances that are actively running. In other words, you will be billed for instance uptime, and not for the number of requests made directly to access an app endpoint.
You will not be required to perform any infrastructure, backend, or platform management for serverless functions. You will not be able to perform any infrastructure management. However, you can manage the platform of your app instances after you deploy it.
You can deploy multiple functions of any supported stack or type in a single project through Serverless functions. You can deploy multiple apps of any supported stack or custom stack in a single project through AppSail.
### Comparing Deployments of AppSail Services as Catalyst-Managed Runtimes vs Custom Runtime The following table explains the differences between deploying AppSail services as [Catalyst-managed runtime](https://docs.catalyst.zoho.com/en/serverless/help/appsail/catalyst-managed-runtimes/key-concepts/) and as [custom runtimes](https://docs.catalyst.zoho.com/en/serverless/help/appsail/custom-runtimes/container-registry-services/). After they are deployed on Catalyst, you can configure and manage all AppSail services and their platform in the same way, and obtain statistics and reports for all apps.
Catalyst-Managed Runtimes Custom Runtimes
Deploy the build files of your application directly on AppSail. In this method, you only ship your code to Catalyst, and we handle its execution on a platform built for Catalyst-managed runtimes. Deploy a container image of your application to host it on Catalyst. You can deploy an image from your local registry, or one that is hosted on a supported container registry service.
The runtime is completely managed by Catalyst. This means that you need not handle the runtime executable files or the stack dependencies for your app's execution. You will still need to manage the dependencies your app's codebase includes. You must manage all dependencies, including the runtime dependencies. You will need to install the binaries your application needs, and manage your runtime and OS dependencies by yourself.
You can only deploy web services that are of the natively supported runtimes of Java, Node, and Python by Catalyst. You can deploy web services of any programming environments and runtimes, such as Go or PHP, and even the runtimes of Java, Node.js, Python that are not natively supported by Catalyst.
### AppSail Execution Basics AppSail enables you to manage the execution platform of your app after its deployment. When your application is invoked, it would be running on one or many instances based on the number of requests being served. The logic of spawning service instances for an invoked application is explained below: * When the first request is made to access an inactive application, AppSail has an initial cold start time to spawn a brand new server instance for it. This is a feature of serverless platforms, wherein instances are only generated on demand. * The memory and disk size you configure for your app's execution are utilized after the app is invoked. * When 80% of the request threshold of an active instance is utilized, AppSail will automatically scale up and spawn a new instance to serve new requests. When the load reduces, AppSail will scale down and kill excess instances. * An app instance, when spawned, will be active for 5 minutes in total. Even if a single request is made to access the app, the instance will be active to serve it through its duration. * You can perform a manual override to kill server instances in situations where your app experiences bugs or malfunctions, or is stuck in a deadlock. For example, an infinite loop bug. You can also manage your app in other ways, such as temporarily disabling an app or permanently deleting it. Refer [to the console help section](https://docs.catalyst.zoho.com/en/serverless/help/appsail/console/overview/) for details about deployment and execution logs, or the steps to manage your AppSail services. #### Key Points to Remember Catalyst observes certain restrictions for the AppSail services that you create, in terms of resources or instance executions. Given below are some of the key limitations that you must remember: * You can only create 5 AppSail services in a single Catalyst project. * Inactive app instances will be scaled down after 5 minutes of uptime* * AppSail will only generate 5 instances for a single app in total* * Catalyst can execute 100 requests concurrently per app instance.* * AppSail will scale and spawn a new instance when 80% of the request threshold of an active instance is utilized. That is, after an instance serves 80 requests concurrently, a new instance will be spawned. * Your app will need to start listening in the listening port within 10 seconds. When no process in that port is found to be active within this duration, the user instance that will be created past the threshold will be killed, and the next request will trigger a new cold start instance. * An app request needs to be completed in 30 seconds. Otherwise, the request will be timed out. > **Note:** For the limitations indicated with an **\\***, we can increase the defined limits on a case-by-case basis, based on your requirements. Please contact Catalyst support at support@zohocatalyst.com with your specific requirements to make requests. -------------------------------------------------------------------------------- title: "AppSail Configurations" description: "Catalyst AppSail is a fully-managed platform to deploy web services in managed runtimes of Java, Node.js, and Python, or custom runtimes as OCI images." last_updated: "2026-11-04T10:10:44.000Z" source: "https://docs.catalyst.zoho.com/en/serverless/help/appsail/appsail-configurations/" service: "Serverless" -------------------------------------------------------------------------------- # AppSail Configurations ### Startup Commands You can configure startup commands for your AppSail services that specify starting up the app based on the programming stack, framework, application files, and the web server used. Essentially, this is the command that you would provide in your local environment to start up an application with your configured server. Startup commands can be configured while deploying the app from the CLI during the deployment, or directly in the console after the app is deployed in the cloud. > **Note:** Configuring startup commands are optional for apps deployed as custom runtimes. This is because, you can add the startup command directly in the OCI image's definition. However, you can still configure it after the app is deployed in the console and override the pre-defined command. The startup command can be configured for an app in two ways: * **Apps deployed from the CLI:** Configure this in the [`app-config.json`](https://docs.catalyst.zoho.com/en/serverless/help/appsail/catalyst-managed-runtimes/key-concepts/#the-app-configjson-file) file for the key `command`, if you [initialize](https://docs.catalyst.zoho.com/en/cli/v1/initialize-resources/initialize-appsail/) or [add](https://docs.catalyst.zoho.com/en/cli/v1/add-appsail/) the app before [deploying](https://docs.catalyst.zoho.com/en/cli/v1/deploy-resources/deploy-appsail/) it. If you do a standalone deploy, you can provide this as an input during the deploy process. You can still configure this directly in the console after deploying it. * **Apps deployed in the console:** [Configure this directly in the console. ](https://docs.catalyst.zoho.com/en/serverless/help/appsail/console/configurations/#startup-command) #### Startup Commands for Catalyst-Managed Runtimes **Java**: Java applications typically include embedded servers in the app's code, based on the framework used. For example, Spring Boot apps come bundled with web servers by default. However, certain frameworks or formats might not include servers by default, and you will need to configure an embedded server independently in your Java code. Some common web servers that are used are [Eclipse Jetty](https://www.eclipse.org/jetty/) or [Apache Tomcat](https://tomcat.apache.org/). > **Note:** Catalyst supports two formats for Java applications: **Java WAR** and **Java SE**. When you initialize a Java app as a WAR file, you need not provide any embedded server for your app, as Catalyst bundles it with the Jetty server by default. You therefore need not provide any startup commands either. Catalyst will handle the application startup. However, you will need to embed a server if you select the Java SE option and provide startup commands accordingly. You can go through the [Java Help Guide](https://docs.catalyst.zoho.com/en/serverless/help/appsail/help-guides/java/overview/) for some examples. **Node.js and Python**: For Node.js and Python applications, depending on the frameworks you use, deployment servers might be included as a part of the framework. You will need to configure and manage application servers accordingly, and provide appropriate startup commands for your apps. Catalyst does not provide any built-in support for any servers for these programming environments. Certain frameworks expect the [HTTP listen port](https://docs.catalyst.zoho.com/en/serverless/help/appsail/appsail-configurations/#ports-for-app-executions) to be specified in the command line while starting the server. For example: ```json python3 -m http.server ${X_ZOHO_CATALYST_LISTEN_PORT} ``` However, in AppSail, the startup commands are executed directly without any involving any shell operations. Therefore, when needed, you must specify the startup command to be executed as a shell command for any shell completions. For example: ```json sh -c 'python3 -m http.server ${X_ZOHO_CATALYST_LISTEN_PORT}' ``` ### Environment Variables Environment variables are declared outside of the main source code and can be referred to, when needed. Catalyst enables you to store and manage variables for both the [development and production environments](https://docs.catalyst.zoho.com/en/deployment-and-billing/environments/introduction/). Declare a single variable and configure values for both these environments. For example, if you need to declare an auth token variable that will hold different values in both environments, you can do so. You can configure environment variables for Catalyst-managed runtime apps and for custom runtime apps. These will be pushed to the platform instance when your service is spawned, and they can be accessed with runtime-specific code. > **Notes:** * If you want to declare a production variable, you must have [deployed your project to the Production environment](https://docs.catalyst.zoho.com/en/deployment-and-billing/environments/deployment-types/). You will not be able to access production variables if your project is not deployed, or if the production environment is disabled. * Environment variables are encrypted and stored in Catalyst. These values appear in plain text in the console and in API responses only to you and your project’s collaborators. AppSail allows you to configure environment variables in two ways: * **Apps deployed from the CLI:** Configure this in the [`app-config.json`](https://docs.catalyst.zoho.com/en/serverless/help/appsail/catalyst-managed-runtimes/key-concepts/#the-app-configjson-file) file for the key `env_variables`, if you if you [initialize](https://docs.catalyst.zoho.com/en/cli/v1/initialize-resources/initialize-appsail/) or [add](https://docs.catalyst.zoho.com/en/cli/v1/add-appsail/) the app before [deploying](https://docs.catalyst.zoho.com/en/cli/v1/deploy-resources/deploy-appsail/) it. If you do a standalone deploy, configure this in the console. * **Apps deployed in the console:** [Configure this directly in the console. ](https://docs.catalyst.zoho.com/en/serverless/help/appsail/console/configurations/#environmental-variables) #### Use an Environment Variable After you create an environmental variable, you can call it in your app's code by its keyname in different ways in different programming environments. The syntax for each programming environment is given below: * **Java:** ```json System.getenv(variable_name) ``` * **Node.js:** ```json process.env.[variable_name] ``` * **Python:** ```json os.getenv(variable_name) ``` `variable_name`: The keyname declared for the variable > **Note:** The variable's value is fetched based on the environment the app is invoked in. That is, if the [development URL of the app](https://docs.catalyst.zoho.com/en/serverless/help/appsail/console/overview/#appsail-url) is invoked, the development value of the variable is fetched, and vice versa. ### Memory and Disk Allocation You can allocate memory for your app's execution based on its load and performance requirements. If you do not specifically configure a memory for your app, the default memory of 512 MB will be allocated for its execution. You can also allocate the disk space needed for your app based on its size. The default storage allocated for your app will be 256 MB as well. You can always edit and re-configure the memory and storage after you analyze your app's requirements based on its performance, and optimize it further. AppSail allows you to configure the memory in two ways: * **Apps deployed from the CLI:** Configure this in the [`app-config.json`](https://docs.catalyst.zoho.com/en/serverless/help/appsail/catalyst-managed-runtimes/key-concepts/#the-app-configjson-file) file for the key `memory`, [initialize](https://docs.catalyst.zoho.com/en/cli/v1/initialize-resources/initialize-appsail/) or [add](https://docs.catalyst.zoho.com/en/cli/v1/add-appsail/) the app before [deploying](https://docs.catalyst.zoho.com/en/cli/v1/deploy-resources/deploy-appsail/) it. If you do a standalone deploy, configure this in the console. * **Apps deployed in the console:** [Configure this directly in the console. ](https://docs.catalyst.zoho.com/en/serverless/help/appsail/console/configurations/#app-execution-settings) ### Ports for App Executions AppSail listens through HTTP ports and grants network access in your application. That is, all the incoming connections to the app will be listened for through a specific port. You can configure the listening port in Catalyst by referring to the [environment variable](https://docs.catalyst.zoho.com/en/serverless/help/appsail/appsail-configurations/#environment-variables) key `X_ZOHO_CATALYST_LISTEN_PORT` in your application code and connect to the Internet. Catalyst will check for the process listening on this port. Refer to the [Help Guide](https://docs.catalyst.zoho.com/en/serverless/help/appsail/help-guides/introduction/) section for examples of configuring the AppSail listen port in your application's code. > **Note:** You can assign a port you need for your AppSail service. Ports within the range of 0 to 1024 are reserved, with the exception of ports 80 and 443. You can use any port other than these. Port 9000 will be used by default. Depending on the framework of your runtime, you might need to specify the HTTP listen port in your [startup command](https://docs.catalyst.zoho.com/en/serverless/help/appsail/appsail-configurations/#startup-commands) while starting the server. -------------------------------------------------------------------------------- title: "Implement Catalyst SDK" description: "Catalyst AppSail is a fully-managed platform to deploy web services in managed runtimes of Java, Node.js, and Python, or custom runtimes as OCI images." last_updated: "2026-11-04T10:10:44.000Z" source: "https://docs.catalyst.zoho.com/en/serverless/help/appsail/implement-catalyst-sdk/" service: "Serverless" -------------------------------------------------------------------------------- # Implement Catalyst SDK in AppSail Catalyst enables you to implement the SDK packages of the supported development environments in your AppSail applications for [Catalyst-managed runtimes](https://docs.catalyst.zoho.com/en/serverless/help/appsail/catalyst-managed-runtimes/key-concepts/). This enables you to avail other Catalyst services and components in your app's functionality. You can implement the development SDKs of various programming environments in your app as specified below. > **Note:** * This is only available for web services built for a supported Catalyst-managed runtime. You will not be able to implement Catalyst SDK for apps deployed as OCI images through [custom runtime](https://docs.catalyst.zoho.com/en/serverless/help/appsail/custom-runtimes/container-registry-services/). * Please note that when configuring write permissions for a Function or AppSail profile, the configured Function or AppSail will have privileges to perform all SDK operations within its project. ### Implement Catalyst Java SDK You can download the Catalyst Java SDK package from the [Developer Tools settings](https://docs.catalyst.zoho.com/en/getting-started/set-up-a-catalyst-project/developer-tools/) in your Catalyst console and include it in your app's source code. You can then implement the Catalyst Java SDK in your application's code and initialize it. Refer [Catalyst Java SDK help](https://docs.catalyst.zoho.com/en/sdk/java/v1/overview/) for details about the various functionalities of the SDK toolkit and sample code snippets. The steps to implement and initialize the Catalyst SDK for different API versions of Java servlets are demonstrated with sample codes below. In all cases, Catalyst requires you to implement the `AuthHeaderProvider` interface from the Catalyst Java SDK package. The implementation defines the `getHeader()` method that returns the value of the request header. You can then pass an object of the implementation class to the `init()` method, to initialize the SDK. #### Java Servlet API versions <=4 Sample code for Java applications that use Java servlets of API versions lesser than or equal to 4.0 (`[javax.servlet](https://docs.oracle.com/javaee%2F7%2Fapi%2F%2F/javax/servlet/package-summary.html)`): **Implementation Class:** ```java package com.zoho.catalyst.appsail.demo.utils; import javax.servlet.http.HttpServletRequest; import com.zc.auth.AuthHeaderProvider; public class AuthProviderImpl implements AuthHeaderProvider { HttpServletRequest request; public AuthProviderImpl(HttpServletRequest request) { this.request = request; } @Override public String getHeaderValue(String key) { return request.getHeader(key); } } ``` **Initialization:** ```json AuthProviderImpl authProviderImpl = new AuthProviderImpl(req); CatalystSDK.init(authProviderImpl) ``` #### Java Servlet API versions >=5 Sample code for Java applications that use Java servlets of API versions greater than or equal to 5.0 (`[jakarta.servlet](https://mvnrepository.com/artifact/jakarta.servlet)`): **Implementation Class:** ```java import com.zc.auth.AuthHeaderProvider; import jakarta.servlet.http.HttpServletRequest; public class AuthProviderImpl implements AuthHeaderProvider { private HttpServletRequest request; AuthProviderImpl(HttpServletRequest request) { this.request = request; } @Override public String getHeaderValue(String s) { return request.getHeader(s); } } ``` **Initialization:** ```json CatalystSDK.init(new AuthProviderImpl((HttpServletRequest) servletRequest)); ``` If you are developing a Java application with the [Maven](https://maven.apache.org/) build tool, you can include the Catalyst Java SDK as a dependency in the Maven configuration file ([`pom.xml`](https://maven.apache.org/guides/introduction/introduction-to-the-pom.html)), instead of downloading and adding the SDK in your source code manually. To add the Catalyst SDK in a Maven project, simply add the Zoho repository (published in [MvnRepository](https://mvnrepository.com/)) in the `pom.xml` file as shown below: ```json <repositories> <repository> <id>java-sdk</id> <url>https://maven.zohodl.com</url> </repository> </repositories> ``` You can then add the Java SDK as a dependency in pom.xml as shown below: ```json <dependencies> <dependency> <groupId>com.zoho.catalyst</groupId> <artifactId>java-sdk</artifactId> <version>1.15.0</version> </dependency> </dependencies> ``` ### Implement Catalyst Node.js SDK You can install the Catalyst Node.js SDK package by executing the following command in your terminal and including it in your app's source code: ```json npm install zcatalyst-sdk-node --save ``` This will install the latest supported version of the Node.js SDK. You can also install a specific supported version in this way: ```json npm install zcatalyst-sdk-node@2.1.1 --save ``` You can then initialize the Node.js SDK in your application's code as shown in the sample code below. This passes the request object to the `initialize()` method. ```javascript const catalyst = require('zcatalyst-sdk-node') const express = require('express') const app = express() app.get((req, res) => { let catalystApp = catalyst.initialize(req); //Your code goes here }) app.listen(process.env("X_ZOHO_CATALYST_LISTEN_PORT") || 9000) ``` Refer [Catalyst Node.js SDK help](https://docs.catalyst.zoho.com/en/sdk/nodejs/v2/overview/) for details. The SDK documentation also provides sample code snippets for all supported functionalities. ### Implement Catalyst Python SDK You can install Catalyst Python SDK for your AppSail solution by executing the following command in your terminal and including it in your app's source code: ```json pip install zcatalyst-sdk -t . ``` You can then import the Python SDK in your code for your Catalyst app. The SDK will need to be initialized with the request object before each request. An example code snippet for importing and initializing Python SDK in a Flask web app is shown below: ```python from flask import Flask, request, g import os import zcatalyst_sdk from zcatalyst_sdk.catalyst_app import CatalystApp app = Flask(__name__) @app.before_request def before_request(): if request.path.startswith('/admin'): return 'Unauthorized', 401 # if authorized user g.zc_app = zcatalyst_sdk.initialize(req=request) @app.route('/') def index(): return 'Web App with Python Flask!' @app.route('/cache') def cache(): app: CatalystApp = g.zc_app resp = app.cache().segment().put('key', 'value') return resp, 200 listen_port = os.getenv('X_ZOHO_CATALYST_LISTEN_PORT', 9000) app.run(host='0.0.0.0', port = listen_port) ``` Refer to [Catalyst Python SDK help](https://docs.catalyst.zoho.com/en/sdk/python/v1/overview/) for details about the various functionalities of the SDK toolkit and sample code snippets. -------------------------------------------------------------------------------- title: "Debug AppSail Services" description: "Catalyst AppSail is a fully-managed platform to deploy web services in managed runtimes of Java, Node.js, and Python, or custom runtimes as OCI images." last_updated: "2026-11-04T10:10:44.000Z" source: "https://docs.catalyst.zoho.com/en/serverless/help/appsail/debug-appsail/" service: "Serverless" -------------------------------------------------------------------------------- # Debug AppSail Services This section contains examples to debug sample AppSail services built on specific frameworks of [Catalyst-managed runtimes](https://docs.catalyst.zoho.com/en/serverless/help/appsail/catalyst-managed-runtimes/key-concepts/) on popular IDEs. Depending on the programming environment and the framework, appropriate IDEs are used to demonstrate the steps. ## Java ### Debug a Spring MVC application in Visual Studio Code Follow the steps provided in this section to debug and test a Java application built on the [Spring MVC framework](https://docs.spring.io/spring-framework/docs/3.2.x/spring-framework-reference/html/mvc.html) in the [Visual Studio Code](https://code.visualstudio.com/) environment. **Prerequisites:** A Spring MVC application created and available in VSCode 1. Open the Spring application project in your VSCode IDE. 2. Install the following extension in your VSCode: [Debugger for Java](https://marketplace.visualstudio.com/items?itemName=vscjava.vscode-java-debug). ![appsail-debug-mvc-vscode](https://catalyst-docs-development.zohostratus.in/images/help/appsail/appsail-mvc-vscode-1.webp) 3. After the extension is installed, click on **Run**, then **Add Configuration...** Select **Java** from the tool bar. ![appsail-debug-mvc-vscode](https://catalyst-docs-development.zohostratus.in/images/help/appsail/appsail-mvc-vscode-2.webp) This will open the `launch.json` file. 4. Now click on **Add Configuration...** shown in the file and select the **Java: Attach to Remote Program** option. ![appsail-debug-mvc-vscode](https://catalyst-docs-development.zohostratus.in/images/help/appsail/appsail-mvc-vscode-3.webp) 5. Update the value of the "**hostName**" key as "**localhost**". Then update the value of the "**port**" key as "**5005**". ![appsail-debug-mvc-vscode](https://catalyst-docs-development.zohostratus.in/images/help/appsail/appsail-mvc-vscode-4.webp) 6. Now navigate to **Run** from the toolbar and click **Start Debugging** to debug your application. ![appsail-debug-mvc-vscode](https://catalyst-docs-development.zohostratus.in/images/help/appsail/appsail-mvc-vscode-5.webp) ### Debug a Spring MVC application in IntelliJ IDEA Follow the steps provided in this section to debug and test a Java application built on the [Spring MVC framework](https://docs.spring.io/spring-framework/docs/3.2.x/spring-framework-reference/html/mvc.html) in the [IntelliJ IDEA environment](https://www.jetbrains.com/idea/). **Prerequisites:** A Spring MVC application created and available in IntelliJ IDEA 1. Open the Spring application project in your IntelliJ IDEA. 2. Run the Spring application using the following command in the IDE's terminal: ```java mvn spring-boot:run -Dspring-boot.run.jvmArguments="-Xdebug -Xrunjdwp:transport=dt_socket,server=y,suspend=n,address=5005" ``` 3. Right click on the **Run** option in the toolbar and click **Debug**. ![cli-appsail-add-4](https://catalyst-docs-development.zohostratus.in/images/help/appsail/appsail-mvc-idea-1.webp) 4. Now either click **Edit Configurations** and click on the **\+ ** icon to create a new configuration, or click **Add New Configuration** and click **Remote JVM Debug**. ![cli-appsail-add-4](https://catalyst-docs-development.zohostratus.in/images/help/appsail/appsail-mvc-idea-2.webp) 5. You can change the port number as per your requirements. In this example, we will port "**5005**". Now verify that the "**Use module classpath**" points to your Spring application, then click **Debug**. ![cli-appsail-add-4](https://catalyst-docs-development.zohostratus.in/images/help/appsail/appsail-mvc-idea-3.webp) 6. Verify if the Debug Console displays the following: "**Connected to the target VM, address: 'localhost:5005', transport: 'socket'**" ![cli-appsail-add-4](https://catalyst-docs-development.zohostratus.in/images/help/appsail/appsail-mvc-idea-4.webp) > **Note:** Ensure that the "**Mute Breakpoints**" are not enabled. 7. You can now create breakpoints in your Spring application and start debugging it. #### AppSail in the Console -------------------------------------------------------------------------------- title: "Overview" description: "Catalyst AppSail is a fully-managed platform to deploy web services in managed runtimes of Java, Node.js, and Python, or custom runtimes as OCI images." last_updated: "2026-11-04T10:10:44.000Z" source: "https://docs.catalyst.zoho.com/en/serverless/help/appsail/console/overview/" service: "Serverless" -------------------------------------------------------------------------------- # AppSail in the Console ## The Overview Section The *Overview* tab contains the general details of the app service, the [deployment URL](https://docs.catalyst.zoho.com/en/serverless/help/appsail/console/overview/#appsail-url), and a live dashboard of the instances that are actively running. ![appsail-app](https://catalyst-docs-development.zohostratus.in/images/help/appsail/appsail-docker-image-deployed.png) These include the details of the [admin or collaborator](https://docs.catalyst.zoho.com/en/getting-started/set-up-a-catalyst-project/collaborators/) that deployed the app, the date and time of the app's creation and last deployment, and a **unique AppSail ID** created for your app automatically after you deploy it. This will also specify if the app is a Catalyst-managed runtime or a custom runtime, and if the source is the CLI, console, or a container registry service. You can find the Image Path or URL of the image from its container registry service, in the last case. ### AppSail URL After your AppSail service is deployed, Catalyst hosts your app on a sub-domain with which you can access it. You can access the various endpoints that you configure in your app from this base URL. The default base URL of your AppSail service will be of this format for development environment: ```json https://appsailservicename-ZAID.development.catalystappsail.com ``` For example: ```json https://demoservice-1011034735.development.catalystappsail.com ``` This will be the format for the production environment: ```json https://appsailservicename-ZAID.catalystappsail.com ``` * **AppSail service name:** The name you provide while initializing or deploying the app * **ZAID:** The unique identifier that maps an application to a project > **Note:** The "development" indicates the development environment of your project. After you [deploy your project to production](https://docs.catalyst.zoho.com/en/deployment-and-billing/environments/introduction/), the URL will not include that key. #### Custom AppSail URL Catalyst provides you with the convenience of editing the AppSail service name and ZAID part of the URL, and adding any sub-domain name of your choice for the AppSail URL. The "catalystappsail" domain will remain the same in this method, along with the "development" key for the apps in the development environment. 1. You can edit the AppSail URL by clicking the **Edit AppSail URL** from the Overview section. ![appsail-app](https://catalyst-docs-development.zohostratus.in/images/help/appsail/appsail-edit-url-1.png) 2. Enter the sub-domain name that you require, then click **Update**. ![appsail-app](https://catalyst-docs-development.zohostratus.in/images/help/appsail/appsail-edit-url-2.png) ### Live dashboard The dashboard displays every currently running instance of the app after it is invoked. ![appsail-dash-1](https://catalyst-docs-development.zohostratus.in/images/help/appsail/appsail-live-instance-1.png) AppSail spawns a new instance for your app after a running instance is almost entirely consumed. You will be able to see the percentage of consumption of each instance, and details such as the unique **Instance ID** and the duration it has been running for. You can click **Refresh** to get an updated status of the active instances, in case there are lags. ### Delete an Active Instance You can manually delete an active instance if you require, in cases when you experience a bug or a deadlock situation, such as an infinite loop bug. 1. Click the ellipsis icon for an instance, then click **Delete**. ![appsail-dash-2](https://catalyst-docs-development.zohostratus.in/images/help/appsail/appsail-live-instance-2.png) 2. Click **Yes, Proceed** in the confirmation pop-up. ![appsail-dash-2](https://catalyst-docs-development.zohostratus.in/images/help/appsail/appsail-live-instance-3.png) -------------------------------------------------------------------------------- title: "Instances" description: "Catalyst AppSail is a fully-managed platform to deploy web services in managed runtimes of Java, Node.js, and Python, or custom runtimes as OCI images." last_updated: "2026-11-04T10:10:44.000Z" source: "https://docs.catalyst.zoho.com/en/serverless/help/appsail/console/instances/" service: "Serverless" -------------------------------------------------------------------------------- # The Instances Section The Instances section provides valuable insights about the instances that were executed in the form of simple graphs, the execution history details, as well as execution logs. ### Analytics ![appsail-instance-1](https://catalyst-docs-development.zohostratus.in/images/help/appsail/appsail-analytics-1.png) In the **Analytics** section, you can select a duration for the stats you would like to see using the duration drop-down. The graphs will be refreshed to depict stats accordingly. ![appsail-instance-1](https://catalyst-docs-development.zohostratus.in/images/help/appsail/appsail-analytics-2.png) The graphs in this section include: * **Max Instances and No. of Requests vs Time:** Depicts the maximum number of instances that were spawned in parallel and the number of requests that were served with these instances through the line graph at specific points of time. Based on the duration you select, the time intervals will vary in the graph. * **Total Instances and Run Duration vs Time:** Depicts the total number of instances that were active and the total duration of the execution of all instances through the line graph at specific points of time. Based on the duration you select, the time intervals will vary in the graph. You can hover over any part of the graphs to see details. ![appsail-instance-1](https://catalyst-docs-development.zohostratus.in/images/help/appsail/appsail-analytics-3.png) ### History Click the **History** tab to view the execution history of your app. ![appsail-instance-4](https://catalyst-docs-development.zohostratus.in/images/help/appsail/appsail-history-1.png) You can select a duration for the logs you would like to see through the duration drop-down on the right hand side. The execution logs will be refreshed accordingly. ![appsail-instance-5](https://catalyst-docs-development.zohostratus.in/images/help/appsail/appsail-history-2.png) The details shown here include the total number of instances run, then the Instance ID, start date and time, end date and time, and the duration of each instance execution. You can also filter the results by clicking the **Filter** button. Click **Search by ID** to filter by Instance ID. You can also select the Duration box, then select a comparison type and pick hours and minutes from the drop-downs to find matches accordingly. ![appsail-instance-7](https://catalyst-docs-development.zohostratus.in/images/help/appsail/appsail-history-3.png) Click **Apply** after you configure the filters to view results. Additionally, you can access the **execution logs** of each instance by clicking the respective logs icon. This will redirect you to [Catalyst Logs](https://docs.catalyst.zoho.com/en/devops/help/logs/introduction/) in the DevOps service. The filters for the logs come automatically applied. ![appsail-instance-8](https://catalyst-docs-development.zohostratus.in/images/help/appsail/appsail-history-4.png) -------------------------------------------------------------------------------- title: "Deployments" description: "Catalyst AppSail is a fully-managed platform to deploy web services in managed runtimes of Java, Node.js, and Python, or custom runtimes as OCI images." last_updated: "2026-11-04T10:10:44.000Z" source: "https://docs.catalyst.zoho.com/en/serverless/help/appsail/console/deployments/" service: "Serverless" -------------------------------------------------------------------------------- # Deployments The Deployments section displays all the deployments of the specific AppSail service, along with its deployment details, and links to the deployment logs as applicable. ![appsail-download](https://catalyst-docs-development.zohostratus.in/images/help/appsail/appsail-deployments-1.png) You can view details such as the source of a particular deployment, the [admin or collaborator](https://docs.catalyst.zoho.com/en/getting-started/set-up-a-catalyst-project/collaborators/) that deployed it, the date and time of deployment, and the status. > **Note:** When you create a new deployment for an existing AppSail service, you can deploy the app from the CLI, the console, or from a container-registry service, essentially changing the type of app as a Catalyst-managed runtime or a custom runtime as you prefer. An individual AppSail service is not tied to one of these types, as the type and source can be different for each of its deployments. Because each deployment is different, the Deployments section will mention if a particular deployment is a Catalyst-managed runtime or a custom runtime, and if the source is the CLI, console, or a container registry service. You can find the Image Path or URL of the image from its container registry service, in the last case. ### Deployment Logs The Deployment logs are available only for container images deployed directly from the container registry service. To view the log of a particular deployment, click the logs icon shown for it. ![appsail-download](https://catalyst-docs-development.zohostratus.in/images/help/appsail/appsail-deployments-2.png) #### Create a New Deployment You can create a new deployment for an existing AppSail service from the Deployments section, by clicking the **Create Deployment** button on the top-right corner. This will initiate the process of deploying the app from the console for [Catalyst-managed runtime](https://docs.catalyst.zoho.com/en/serverless/help/appsail/console/overview/#appsail-url) or a [custom runtime](https://docs.catalyst.zoho.com/en/serverless/help/appsail/console/overview/#appsail-url), and the steps will be the same. As mentioned earlier, you have the flexibility to change the source and the type of app (Catalyst-managed runtime or custom runtime) from its previous deployments by clicking **Edit** for the source. ![appsail-download](https://catalyst-docs-development.zohostratus.in/images/help/appsail/appsail-create-deployment-1.png) -------------------------------------------------------------------------------- title: "Configurations" description: "Catalyst AppSail is a fully-managed platform to deploy web services in managed runtimes of Java, Node.js, and Python, or custom runtimes as OCI images." last_updated: "2026-11-04T10:10:44.000Z" source: "https://docs.catalyst.zoho.com/en/serverless/help/appsail/console/configurations/" service: "Serverless" -------------------------------------------------------------------------------- # The Configuration Section The *Configuration* section enables you to perform configurations for your AppSail services from the console. These configurations can be done through the `[app-config.json](https://docs.catalyst.zoho.com/en/serverless/help/appsail/catalyst-managed-runtimes/key-concepts/#the-app-configjson-file)` file of your app for the [Catalyst-managed runtime](https://docs.catalyst.zoho.com/en/serverless/help/appsail/catalyst-managed-runtimes/key-concepts/) apps and then be deployed, or directly during deploying the app from the console for Catalyst-managed or [custom runtimes](https://docs.catalyst.zoho.com/en/serverless/help/appsail/custom-runtimes/container-registry-services/). You could also configure the startup command in a container image depending on its setup for the apps deployed as a container image. > **Note:** All configurations you do in the `app-config.json` file, in the console, or in your container image will be reflected in this section in the console after you deploy your app. If you choose to edit the configurations from this section, that will override the configurations in your code or binaries. ![appsail-startup-1](https://catalyst-docs-development.zohostratus.in/images/help/appsail/appsail-configuration.png) The steps to configure these values from the console are explained below. ### Environmental Variables You can create and store [environmental variables](https://docs.catalyst.zoho.com/en/serverless/help/appsail/appsail-configurations/#environment-variables) as key-value pairs for your app outside of the main code, for both the [development and production environments](https://docs.catalyst.zoho.com/en/deployment-and-billing/environments/introduction/). To create a new environmental variable: 1. Click **Create Variable** in the *Environmental Variables* section. ![appsail-env-1](https://catalyst-docs-development.zohostratus.in/images/help/appsail/appsail-env-variables-1.png) 2. Enter the keyname and value of the variable. If you're working from the development environment, the value you enter will be the development value, and vice-versa. ![appsail-env-2](https://catalyst-docs-development.zohostratus.in/images/help/appsail/appsail-env-variables-2.png) 3. Click **Save**. The variable will be saved and listed in the section. You can search for variables by their keyname from the search bar, or add more variables. ![appsail-env-3](https://catalyst-docs-development.zohostratus.in/images/help/appsail/appsail-env-variables-3.png) If you're working from the development environment, the development value is shown. If you switch to production environment, you can configure and view production values. > **Note:** You will be able to add Production variables only if your app has been deployed to production previously. You can click the **Usage Syntax** button to check the syntax for each programming environment. This is explained in [this section](https://docs.catalyst.zoho.com/en/serverless/help/appsail/appsail-configurations/#use-an-environment-variable). ![appsail-env-4](https://catalyst-docs-development.zohostratus.in/images/help/appsail/appsail-env-variables-usage.png) #### Edit an Environmental Variable You can edit an environment variable's development or production values from that environment in the following way: 1. Click the ellipsis icon for the variable, then click **Edit**. ![appsail-env-5](https://catalyst-docs-development.zohostratus.in/images/help/appsail/appsail-env-variables-edit-1.png) 3. Edit the values, then click **Save**. ![appsail-env-6](https://catalyst-docs-development.zohostratus.in/images/help/appsail/appsail-env-variables-edit-1.png) #### Delete an Environmental Variable You can delete the development or the production value of an environment variable from that environment. When you delete it from one environment, the value in the other environment is still available. To delete an environmental variable: 1. Click the ellipsis icon for the variable, then click **Delete**. ![appsail-env-7](https://catalyst-docs-development.zohostratus.in/images/help/appsail/appsail-env-variables-delete-1.png) 3. Click **Yes, Proceed** to confirm. ![appsail-env-8](https://catalyst-docs-development.zohostratus.in/images/help/appsail/appsail-env-variables-delete-2.png) ### Startup Command You can configure the startup command for your app, or edit the command already present, from this section. Refer to the [Startup Command section](https://docs.catalyst.zoho.com/en/serverless/help/appsail/appsail-configurations/#startup-commands) for details about this. To configure or edit a startup command for your app: 1. Click the **Edit** button in the *Startup Command* section. ![appsail-startup-1](https://catalyst-docs-development.zohostratus.in/images/help/appsail/appsail-startup-1.png) 2. Enter the startup command, then click **Update**. ![appsail-startup-2](https://catalyst-docs-development.zohostratus.in/images/help/appsail/appsail-startup-2.png) ### App Execution Settings You can allocate the [memory and disk size](https://docs.catalyst.zoho.com/en/serverless/help/appsail/appsail-configurations/#memory-and-disk-allocation) for your AppSail's execution based on its performance requirements in this section. You can also configure the [port](https://docs.catalyst.zoho.com/en/serverless/help/appsail/appsail-configurations/#ports-for-app-executions) for your app's execution here. Refer to the links for details. > **Note:** * The memory can be configured in the [`app-config.json`](https://docs.catalyst.zoho.com/en/serverless/help/appsail/catalyst-managed-runtimes/key-concepts/#the-app-configjson-file) file for a Catalyst-managed runtime app while initializing or adding it from the CLI. * Catalyst assigns 256 MB for the disk size and 512 MB for the memory by default. * Configuring the port for a custom-runtime app is optional, as it can be configured while defining the container image as well. The values configured here will override these internal configurations. To configure the memory, disk size, and port for an AppSail service: 1. Navigate to the **App Execution Settings** tab, then click **Edit**. ![appsail-mem-1](https://catalyst-docs-development.zohostratus.in/images/help/appsail/appsail-exec-settings-1.png) 2. Select the required memory and disk size for the app from the drop-down. Enter the port for the AppSail service. Click **Save** after configuring these details. ![appsail-mem-2](https://catalyst-docs-development.zohostratus.in/images/help/appsail/appsail-exec-settings-2.png) > **Note:** You can assign a port you need for your AppSail service. Ports within the range of 0 to 1024 are reserved, with the exception of ports 80 and 443. You can use any port other than these. Port 9000 will be used by default. If you have not configured the port in your code, ensure that you configure the same port to listen to while starting the server in the startup command of your app. -------------------------------------------------------------------------------- title: "Manage AppSail" description: "Catalyst AppSail is a fully-managed platform to deploy web services in managed runtimes of Java, Node.js, and Python, or custom runtimes as OCI images." last_updated: "2026-11-04T10:10:44.000Z" source: "https://docs.catalyst.zoho.com/en/serverless/help/appsail/console/manage-appsail/" service: "Serverless" -------------------------------------------------------------------------------- # Manage AppSail ### Disable an App You can temporarily disable an AppSail service, if required. When an app is disabled, it cannot be invoked through its development or production [deployment URL](https://docs.catalyst.zoho.com/en/serverless/help/appsail/console/overview/#appsail-url) until you enable it again. > **Note:** You can still create or modify configurations for the app, or deploy changes from your local environment even when the app is disabled. To disable an app in AppSail: 1. Click the ellipsis icon for an app from the AppSail index page, then click **Disable**. ![appsail-disable-1](https://catalyst-docs-development.zohostratus.in/images/help/appsail/appsail-disable-1.png) 2. Enter "DISABLE" in the pop-up to confirm, then click **Confirm**. ![appsail-disable-2](https://catalyst-docs-development.zohostratus.in/images/help/appsail/appsail-disable-2.png) This will change the status of the app to "Inactive" in the index page. #### Enable the App You can enable a disabled app again by navigating to the index page. 1. Click the ellipsis icon, and then click **Enable**. ![appsail-disable-4](https://catalyst-docs-development.zohostratus.in/images/help/appsail/appsail-disable-3.png) 2. Click **Yes, Proceed** to confirm. ![appsail-disable-5](https://catalyst-docs-development.zohostratus.in/images/help/appsail/appsail-disable-4.png) ### Delete an App You can permanently delete an AppSail app from the remote console. This will remove the app from being hosted in AppSail. To delete an app in AppSail: 1. Navigate to the AppSail's index page. Then, click the ellipsis icon for the app, and click **Delete**. ![appsail-delete-1](https://catalyst-docs-development.zohostratus.in/images/help/appsail/appsail-delete-1.webp) 2. Enter "DELETE" in the pop-up to confirm, then click **Confirm**. ![appsail-delete-2](https://catalyst-docs-development.zohostratus.in/images/help/appsail/appsail-delete-2.webp) You will need to deploy the app again after it is deleted, if you require it. ### Download an App's Code Catalyst enables you to download the source code of a deployed AppSail service from the console to your local system for **Catalyst-managed runtime apps only**. This will download a ZIP file of the entire directory that was deployed to the console, which includes the application files and any configuration files that were bundled and uploaded. This is not available for a custom runtime app. You can download an AppSail app's source code by clicking the ellipsis icon of an app from the AppSail index page, then clicking **Download**. ![appsail-download](https://catalyst-docs-development.zohostratus.in/images/help/appsail/appsail-download.png) #### Catalyst-Managed Runtimes -------------------------------------------------------------------------------- title: "Key Concepts" description: "Catalyst AppSail is a fully-managed platform to deploy web services in managed runtimes of Java, Node.js, and Python, or custom runtimes as OCI images." last_updated: "2026-11-04T10:10:44.000Z" source: "https://docs.catalyst.zoho.com/en/serverless/help/appsail/catalyst-managed-runtimes/key-concepts/" service: "Serverless" -------------------------------------------------------------------------------- # Catalyst-Managed Runtimes ## Key Concepts ### Overview You can deploy an application as a Catalyst-managed runtime if its stack is one of the supported runtimes. You can develop this web service using any frameworks, libraries, plugins, or dependencies as needed. As the term suggests, it is only the runtime that is managed by Catalyst. You will still need to manage the dependencies your code includes. You can directly deploy the build files of your application, either through the CLI or from the console. Catalyst currently manages the following runtimes: * **Java**: Java 25, Java 21, Java 17, Java 11, Java 8 in the Java SE and Java WAR formats * **Node.js**: Node 24, Node 22, Node 20 (Deprecated), Node 18 (Retirement period; support ends December 11, 2026) * **Python**: Python 3.13, Python 3.12, Python 3.11, Python 3.10 Although AppSail does not include many Catalyst-specific configurations or format restrictions, there are certain definitions that are bundled with your app that contain information about hosting and executing the app. These are discussed below. ### The app-config.json File When you [initialize](https://docs.catalyst.zoho.com/en/cli/v1/initialize-resources/initialize-appsail/) or [add](https://docs.catalyst.zoho.com/en/cli/v1/add-appsail/) an AppSail service as a Catalyst-managed runtime from the CLI, Catalyst creates a configuration file app-config.json and includes your app configuration in it. This file is created in the directory you initialize the app in, otherwise called the [source directory](https://docs.catalyst.zoho.com/en/serverless/help/appsail/catalyst-managed-runtimes/key-concepts/#source-directory-and-build-path). > **Note:** The `app-config.json` file is not created when you do a [standalone deploy](https://docs.catalyst.zoho.com/en/cli/v1/deploy-resources/deploy-appsail/) without initializing or adding the app first. The configuration that this file carries is directly fetched as input from you in the CLI during the deployment. This file is also not created for apps initialized as a custom runtime. A sample `app-config.json` created for a Java app is shown below: ```json { "command": "java -jar demo-0.0.1-SNAPSHOT.jar", "buildPath": "/Users/emma-426/CatalystDirectories/DemoApp", "stack": "java8", "env_variables": { "clientid":xxxxxxx, "clientsecret":xxxxxx }, "memory": 256, "platform": "javase" "scripts": { "preserve": "mvn install -DskipTests" "predeploy": "mvn install -DskipTests" } } ``` * `command`: The [startup command](https://docs.catalyst.zoho.com/en/serverless/help/appsail/appsail-configurations/#startup-commands) for your app * `buildPath`: The directory that contains the [build files](https://docs.catalyst.zoho.com/en/serverless/help/appsail/catalyst-managed-runtimes/key-concepts/#common-build-files) of your app * `stack`: The Catalyst-managed runtime of your app * `env_variables`: The [environment variables](https://docs.catalyst.zoho.com/en/serverless/help/appsail/appsail-configurations/#environment-variables) for your app * `memory`: The [memory](https://docs.catalyst.zoho.com/en/serverless/help/appsail/appsail-configurations/#memory-and-disk-allocation) allocated for your app's execution * `platform`: Defines if your app is of the `javase` or `javawar` format, applicable only to the Java stack * `scripts`: The [scripts](https://docs.catalyst.zoho.com/en/cli/v1/scripts/introduction/) that can be executed before serving or deploying your app through `preserve` and `predeploy` The values for the parameters `stack`, `buildPath`, and `platform` are fetched mandatorily while initializing or adding the app. You can configure the other values in this file before deploying your app to the cloud. You can also [configure](https://docs.catalyst.zoho.com/en/serverless/help/appsail/console/overview/) the environment variables, memory, and the startup command directly in the console after the deployment. ### Source Directory and Build Path * By default, the source directory of your application is the directory that you execute the app [initialize](https://docs.catalyst.zoho.com/en/cli/v1/initialize-resources/initialize-appsail/) or [add](https://docs.catalyst.zoho.com/en/cli/v1/add-appsail/) command from. You can also select another directory besides the current directory to be the source during the initialization. * You must add the source files of your app to the source directory. * The `[app-config.json](https://docs.catalyst.zoho.com/en/serverless/help/appsail/catalyst-managed-runtimes/key-concepts/#the-app-configjson-file)` file gets created in the source directory of your app. * The target directory is the directory that will contain the build files of your deployable web service. * You can specify the target directory of your app when you initialize or add the app, or add it for the parameter `build-path` in the `app-config.json` file. * When you do a standalone deploy, the current directory will be the build directory. * You need not bundle or zip all the build files together, as AppSail will automatically bundle them during the application serve or deployment from the `build-path` specified. * You can name the main file of your app's build anything you prefer. However, when you build your app as a Java WAR file, you will need to name the main file `root.war`. This is to ensure further configurations are prevented from your end when the endpoint URL is generated for your application. If you name your WAR file anything else, you will need to add some necessary controllers in your code accordingly. ### Common Build Files For Catalyst-Managed runtimes, based on the runtime and framework, your compiled or deployable code could be of any format in any structure. Some common formats are mentioned below: * **Java**: The final build file of a Java WAR app is of the `.war` format. A WAR file is essentially a standard deployable format that can be readily run on any application server. It is a container for JAR files, JavaServer Pages, Java Servlets, Java classes, XML files, HTML, CSS etc of the application's source. If your build files are of any other format besides a *.war* file, you can select the Java SE template. Some other formats include `.jar` or compiled class files, `.class`. If you use any Java frameworks or libraries, you must include those files in the build path. * **Node.js**: The main deployable file is typically a `.js` file. Based on the standards of the framework or the dependencies you add, there will be node modules and configuration files included in your app's directory. You must ensure that you add all node modules and configuration files, along with the main file and native client files in the build path. * **Python**: The deployable main file is typically a `.py` file. Based on the standards of the framework, plugins, or dependencies you add, there will be Python and configuration files included in your app's directory. You must ensure that you add all modules and configuration files, along with the main file and native client files in the build path. You can refer to the [Help Guide on building sample apps](https://docs.catalyst.zoho.com/en/serverless/help/appsail/help-guides/introduction/) on building sample apps to learn more about using popular frameworks in each stack and deploying them as AppSail services. -------------------------------------------------------------------------------- title: "Deploy from the CLI" description: "Catalyst AppSail is a fully-managed platform to deploy web services in managed runtimes of Java, Node.js, and Python, or custom runtimes as OCI images." last_updated: "2026-11-04T10:10:44.000Z" source: "https://docs.catalyst.zoho.com/en/serverless/help/appsail/catalyst-managed-runtimes/deploy-from-cli/" service: "Serverless" -------------------------------------------------------------------------------- # Deploy AppSail as a Catalyst-Managed Runtime from the CLI ### Initialize or Add an AppSail Service You can [initialize an AppSail service](https://docs.catalyst.zoho.com/en/cli/v1/initialize-resources/initialize-appsail/) for a Catalyst-managed runtime directly in your app's directory, or from a new directory using the [Catalyst CLI](https://docs.catalyst.zoho.com/en/cli/v1/cli-command-reference/). You can also [add an AppSail service](https://docs.catalyst.zoho.com/en/cli/v1/add-appsail/) to an existing Catalyst project directory, where other resources have been initialized. You can [deploy the AppSail service](https://docs.catalyst.zoho.com/en/serverless/help/appsail/catalyst-managed-runtimes/deploy-from-cli/#deploy-an-appsail-service) after you initialize or add it. Catalyst creates an **[`app-config.json](https://docs.catalyst.zoho.com/en/serverless/help/appsail/catalyst-managed-runtimes/key-concepts/#the-app-configjson-file)`** file when an AppSail service is initialized in this method. To initialize an AppSail service in a new directory, create a folder for your project in your local machine and navigate to it from your terminal. Initialize a project by executing the following command from that directory: ```sh catalyst init ``` You can add an AppSail service in an existing Catalyst project directory by executing this CLI command: ```sh catalyst appsail:add ``` The steps to initialize or add the AppSail service will be the same as described below: 1. The CLI will prompt you to select the runtime type as **Catalyst-Managed Runtime** or **Docker Image** when AppSail is initialized or added. Select the first option. ![catalyst_cli_appsail_init_1](https://catalyst-docs-development.zohostratus.in/images/cli/initialize-resources/catalyst_cli_appsail_init_0.webp) 2. You can now choose to get started with a readymade sample project by entering "Y" and pressing **Enter**, then selecting a sample app from the list. ![catalyst_cli_appsail_init_1](https://catalyst-docs-development.zohostratus.in/images/cli/initialize-resources/catalyst_cli_appsail_init_1.png) The sample app will be downloaded to the directory. Provide a name for it when prompted. ![catalyst_cli_appsail_init_1](https://catalyst-docs-development.zohostratus.in/images/cli/initialize-resources/catalyst_cli_appsail_init_2.png) If you want to initialize your own app, enter "N" , then press **Enter**. 3. Select if this will be your [source directory](https://docs.catalyst.zoho.com/en/serverless/help/appsail/catalyst-managed-runtimes/key-concepts/#source-directory-and-build-path) of your app by entering "Y". If you enter "N", the CLI will prompt you to type in the absolute path for your app's source in your directory. Press **Enter** after the entries. ![catalyst_cli_appsail_init_1](https://catalyst-docs-development.zohostratus.in/images/cli/initialize-resources/catalyst_cli_appsail_init_3.png) 4. Enter a name for your app. You can name the main file of your app's build anything you prefer. ![catalyst_cli_appsail_init_1](https://catalyst-docs-development.zohostratus.in/images/cli/initialize-resources/catalyst_cli_appsail_init_4.png) > **Note:** When you build your app as a Java WAR file, you will need to name the main file `root.war` or add specific controllers according to your code. 5. Enter the absolute [build path](https://docs.catalyst.zoho.com/en/serverless/help/appsail/catalyst-managed-runtimes/key-concepts/#source-directory-and-build-path) for your app, then press **Enter**. ![catalyst_cli_appsail_init_1](https://catalyst-docs-development.zohostratus.in/images/cli/initialize-resources/catalyst_cli_appsail_init_5.png) 6. Select a stack and runtime for your app and press **Enter**. ![catalyst_cli_appsail_init_1](https://catalyst-docs-development.zohostratus.in/images/cli/initialize-resources/catalyst_cli_appsail_init_6.png) If you select Java, the CLI will further prompt you to pick either Java SE or the Java WAR as your app's deployable format. You can learn more about this [here](https://docs.catalyst.zoho.com/en/serverless/help/appsail/catalyst-managed-runtimes/key-concepts/). ![catalyst_cli_appsail_init_1](https://catalyst-docs-development.zohostratus.in/images/cli/initialize-resources/catalyst_cli_appsail_init_7.png) If you select any other stack, this will be skipped. AppSail is now initialized or added in the source directory you selected, and the app is now associated with the Catalyst project. The configurations will be updated in [`catalyst.json`](https://docs.catalyst.zoho.com/en/cli/v1/project-directory-structure/catalyst-json/) file accordingly. ![catalyst_cli_appsail_init_1](https://catalyst-docs-development.zohostratus.in/images/cli/initialize-resources/catalyst_cli_appsail_init_8.webp) This process will only create the [`app-config.json](https://docs.catalyst.zoho.com/en/serverless/help/appsail/catalyst-managed-runtimes/key-concepts/#the-app-configjson-file)` configuration file that is specific to AppSail in your app's source directory. You can edit the values such as the startup command, environment variables, or memory in this file before deploying. ![catalyst_cli_appsail_init_1](https://catalyst-docs-development.zohostratus.in/images/cli/initialize-resources/catalyst_cli_appsail_init_9.webp) ### Deploy an AppSail Service Catalyst enables you to deploy [AppSail services](https://docs.catalyst.zoho.com/en/serverless/help/appsail/introduction/) in two different ways: * **Regular Deploy:** The regular deploy execution applies when you have already initialized an AppSail resource either during the [project initialization](https://docs.catalyst.zoho.com/en/cli/v1/initialize-resources/initialize-appsail/) or by [adding it in an existing project directory](https://docs.catalyst.zoho.com/en/cli/v1/add-appsail/). * **Standalone Deploy:** You can do a standalone deploy of an app directly without initializing it as an AppSail service in prior. Catalyst will deploy all the executable files of your app present in the build path that you specified during the app initialization, in this case along with project configurations. > **Note:** You need not bundle or zip all the build files together, as AppSail will automatically bundle them during the application serve or deployment from the [build path](https://docs.catalyst.zoho.com/en/serverless/help/appsail/catalyst-managed-runtimes/key-concepts/#source-directory-and-build-path) specified. ### Regular Deploy If the AppSail app is already initialized in the project directory, the CLI will automatically deploy the app with the rest of the project resources when you execute the `catalyst deploy` command. The CLI will display the endpoint URL of the app after it is deployed, that you can open it with. ![Deploy AppSail](https://catalyst-docs-development.zohostratus.in/images/cli/deploy-resources/cli-appsail-deploy-proj-init-1.png) If you have multiple AppSail apps in your project directory, you can access all of their URL endpoints from the CLI. You can also execute the following command to deploy the AppSail service alone from your app's source directory. ```sh catalyst deploy appsail ``` The deployment process is the same. ![Deploy AppSail](https://catalyst-docs-development.zohostratus.in/images/cli/deploy-resources/cli-appsail-deploy-proj-init-2.webp) ### Standalone Deploy You must execute the standalone deploy command from a Catalyst project directory's root. That is, `catalyst.json` and other [project dependency files](https://docs.catalyst.zoho.com/en/cli/v1/project-directory-structure/introduction/) must be present in the directory. > **Note:** If you execute the standalone deploy command without any of the [options specific to deploying container images](https://docs.catalyst.zoho.com/en/serverless/help/appsail/catalyst-managed-runtimes/deploy-from-cli/#standalone-deploy-appsail-options), the CLI will prompt you for inputs related to Catalyst-managed runtime apps only by default. You must remember the following points about the standalone deployment: * You must ensure your app's deployable build files are present in the directory you execute the command from. This is because that directory will be considered the [build directory](https://docs.catalyst.zoho.com/en/serverless/help/appsail/catalyst-managed-runtimes/key-concepts/#source-directory-and-build-path) automatically. * The [`app-config.json`](https://docs.catalyst.zoho.com/en/serverless/help/appsail/catalyst-managed-runtimes/key-concepts/#the-app-configjson-file) file is not created when you do a standalone deploy to deploy an app without initializing it. The information that this file carries is fetched as input from you in the CLI during the deployment. You can do the standalone deploy of an AppSail app in the following way: 1. Navigate to the directory the app's deployable files are present in, and executing the following command: ```sh catalyst deploy appsail ``` 2. Enter a name for your app. You can name the main file of your app’s build anything you prefer. ![Deploy AppSail](https://catalyst-docs-development.zohostratus.in/images/cli/deploy-resources/catalyst-appsail-standalone-deploy-1.webp) > **Note:** However, when you build your app as a Java WAR file, you will need to name the main file root.war or add specific controllers according to your code. 3. Select the build path for your app from the list and press **Enter**. ![Deploy AppSail](https://catalyst-docs-development.zohostratus.in/images/cli/deploy-resources/catalyst-appsail-standalone-deploy-2.webp) 4. Select a stack for your app and press **Enter**. ![Deploy AppSail](https://catalyst-docs-development.zohostratus.in/images/cli/deploy-resources/catalyst-appsail-standalone-deploy-3.webp) If you select Java, the CLI will further prompt you to pick either Java SE or the Java WAR as your app's deployable format. You can learn more about this here. ![Deploy Functions](https://catalyst-docs-development.zohostratus.in/images/cli/deploy-resources/catalyst-appsail-standalone-deploy-4.webp) If you select any other stack, this will be skipped. 5. You must additionally specify the startup command for your app based on the stack, framework, and web server used. This information will be directly deployed and will be available in the Configurations section of your console after the app deployment. ![Deploy Functions](https://catalyst-docs-development.zohostratus.in/images/cli/deploy-resources/catalyst-appsail-standalone-deploy-5.webp) Your app is now directly deployed to the associated remote project without requiring you to initialize it as an AppSail resource. You can now access it with its endpoint URL displayed in the CLI. ![Deploy Functions](https://catalyst-docs-development.zohostratus.in/images/cli/deploy-resources/catalyst-appsail-standalone-deploy-6.webp) ### Standalone Deploy AppSail Options The catalyst deploy appsail standalone command supports the following options. Some of these are applicable to both Catalyst-managed runtime and container images apps, while some are specific to only one of them. **--name <name>** Use this to specify the name of your app. This is applicable to both Catalyst-managed runtime and container image apps. Example: ```sh --name DemoApp ``` **--build-path <path>** Use this to specify the [build path](https://docs.catalyst.zoho.com/en/serverless/help/appsail/catalyst-managed-runtimes/key-concepts/#source-directory-and-build-path) of your app. Provide an absolute path value. This is applicable only to Catalyst-managed runtime apps. Example: ```sh --build-path /users/amelia/catalystapp/demoapp/ ``` **--stack <stack>** Use this to specify the stack or runtime of your app. You must only specify the runtimes that are supported by Catalyst. This is applicable only to Catalyst-managed runtime apps. Example: ```sh --stack NodeJS 24 ``` **--platform <javase|war>** Use this to specify the platform of the Java stack alone that are supported in Catalyst: `javase` or `war`. This is applicable only to Catalyst-managed runtime apps. Example: ```sh --platform javase ``` **--command <command>** Use this to specify the [startup command](https://docs.catalyst.zoho.com/en/serverless/help/appsail/appsail-configurations/#startup-commands) for your app. This is applicable to both Catalyst-managed runtime and container image apps. This will override any values already configured in the container image definition. Example: ```sh --command npm start ``` -------------------------------------------------------------------------------- title: "Deploy from the Console" description: "Catalyst AppSail is a fully-managed platform to deploy web services in managed runtimes of Java, Node.js, and Python, or custom runtimes as OCI images." last_updated: "2026-11-04T10:10:44.000Z" source: "https://docs.catalyst.zoho.com/en/serverless/help/appsail/catalyst-managed-runtimes/deploy-from-console/" service: "Serverless" -------------------------------------------------------------------------------- # Deploy AppSail as a Catalyst-Managed Runtime from the Console AppSail enables you to deploy an app as a Catalyst-managed runtime from the Catalyst remote console directly in the following manner: 1. Navigate to the **Serverless** service in your Catalyst project that you wish to deploy your app in, then click **AppSail** under *Compute*. ![appsail-empty-page](https://catalyst-docs-development.zohostratus.in/images/help/appsail/appsail-empty-page.png) Upon clicking **Deploy from CLI**, a pop-up will show you the instructions to deploy an AppSail service from the CLI. Refer the [CLI help section](https://docs.catalyst.zoho.com/en/serverless/help/appsail/catalyst-managed-runtimes/deploy-from-cli/) for detailed steps. 2. Click **Deploy from Console** to directly deploy your app here. 3. Select the deployment type as **Catalyst-Managed Runtime**, and provide a name for your AppSail service. Select the runtime that your app uses from a list of the runtimes supported by Catalyst. Provide a [startup command](https://docs.catalyst.zoho.com/en/serverless/help/appsail/appsail-configurations/#startup-commands) for your app based on your app's runtime. Upload a ZIP file of your AppSail's build directory. > **Note:** When you deploy the app on the console directly, the build directory need not include the [`app-config.json`](https://docs.catalyst.zoho.com/en/serverless/help/appsail/catalyst-managed-runtimes/key-concepts/#the-app-configjson-file) file, as it is only required while deploying from the CLI. You can provide the configuration details here. If the `app-config.json` file is present, the values you provide here will override the ones in that file. ![appsail-deploy](https://catalyst-docs-development.zohostratus.in/images/help/appsail/appsail-deploy-catalyst-runtime-1.png) 4. You can configure advanced settings for your app. * Configure a [custom port](https://docs.catalyst.zoho.com/en/serverless/help/appsail/appsail-configurations/#ports-for-app-executions) for your app's execution, if needed. Ports within the range of 0 to 1024 are reserved, with the exception of ports 80 and 443. You can use any other ports outside this range. Port 9000 will be used by default. > **Note:** If you have not configured the port in your code, ensure that you configure the same port to listen to while starting the server in the [startup command](https://docs.catalyst.zoho.com/en/serverless/help/appsail/appsail-configurations/#startup-commands) of your app. * Configure the required [memory](https://docs.catalyst.zoho.com/en/serverless/help/appsail/appsail-configurations/#memory-and-disk-allocation) for your app's execution, based on your requirements. You can select 128, 256, 512, 1024, or 2048 MB. > **Info:** You can also configure the disk size for your app's execution after you deploy the app from the [Configuration section](https://docs.catalyst.zoho.com/en/serverless/help/appsail/console/overview/). * Configure [environment variables](https://docs.catalyst.zoho.com/en/serverless/help/appsail/appsail-configurations/#environment-variables) for your AppSail service as needed. ![appsail-deploy](https://catalyst-docs-development.zohostratus.in/images/help/appsail/appsail-deploy-catalyst-runtime-2.png) You can add multiple environment variables by clicking the **+** icon, and remove them by clicking the **—** icon. > **Info:** The environment variable will be added to the [Catalyst environment](https://docs.catalyst.zoho.com/en/deployment-and-billing/environments/introduction/) (development or production) that you're currently working in. You can change the environment from the drop-down at the top of the console, and add variables as required. ![appsail-deploy](https://catalyst-docs-development.zohostratus.in/images/help/appsail/appsail-deploy-catalyst-runtime-3.png) 5. After you configure the details, click **Deploy**. Your app will be deployed to the console. You will now be able to view and manage your app from the console. ![appsail-deploy](https://catalyst-docs-development.zohostratus.in/images/help/appsail/appsail-catalyst-runtime-deployed.png) [Refer here for help on managing your AppSail service](https://docs.catalyst.zoho.com/en/serverless/help/appsail/console/manage-appsail/). #### Custom Runtimes -------------------------------------------------------------------------------- title: "Container Registry Services" description: "Catalyst AppSail is a fully-managed platform to deploy web services in managed runtimes of Java, Node.js, and Python, or custom runtimes as OCI images." last_updated: "2026-11-04T10:10:44.000Z" source: "https://docs.catalyst.zoho.com/en/serverless/help/appsail/custom-runtimes/container-registry-services/" service: "Serverless" -------------------------------------------------------------------------------- # Container Registry Services ### Docker Hub Catalyst facilitates an easy integration with [Docker Hub](https://hub.docker.com/), one of the leading container registry services. After you configure the integration, you can easily deploy images from your Docker Hub account to AppSail from the console. You can also manage your Docker Hub connection from the console. #### Integrate Docker Hub with Catalyst Perform a one-time configuration to integrate your Docker Hub account with Catalyst in the following way: 1. Navigate to **Settings** in the console, then select **Integrations** under *General Settings*. Click **Docker Hub** from the list. ![appsail-integration](https://catalyst-docs-development.zohostratus.in/images/help/appsail/appsail-settings-integration.png) 2. Click **Add Docker Account** to add a new connection. ![appsail-add-docker](https://catalyst-docs-development.zohostratus.in/images/help/appsail/appsail-dockerhub-integration-1.png) 3. Provide a name for the connection. Then, add your Docker Hub account's username ([Docker ID](https://docs.docker.com/accounts/general-faqs/)) and the Personal Access Token. You can create and fetch access tokens from Docker Home as explained in [this help page](https://docs.docker.com/security/access-tokens/). ![appsail-add-docker](https://catalyst-docs-development.zohostratus.in/images/help/appsail/appsail-dockerhub-integration-2.png) 4. Click **Add**. Your connection will be created and listed on the *Docker Hub Integrations* page. You can now use this connection to [deploy a Docker image](https://docs.catalyst.zoho.com/en/serverless/help/appsail/custom-runtimes/deploy-from-console/) from Docker Hub on AppSail. ![appsail-add-docker](https://catalyst-docs-development.zohostratus.in/images/help/appsail/appsail-dockerhub-integration-3.png) #### Edit Docker Hub Connection You can edit an individual Docker Hub connection as described below. 1. Click the ellipsis icon of the connection that you wish to edit, then click **Edit**. ![appsail-edit-docker](https://catalyst-docs-development.zohostratus.in/images/help/appsail/appsail-dockerhub-integration-edit-1.png) 2. Edit the required information. You can update the connection name, your account's username, or the personal access token. Click **Save**. ![appsail-edit-docker](https://catalyst-docs-development.zohostratus.in/images/help/appsail/appsail-dockerhub-integration-edit-2.png) #### Delete Docker Hub Connection You can delete an individual Docker Hub connection as described below. 1. Click the ellipsis icon of the connection that you wish to delete, then click **Delete**. ![appsail-delete-docker](https://catalyst-docs-development.zohostratus.in/images/help/appsail/appsail-dockerhub-integration-delete-1.png) 2. Click **Delete** from the confirmation pop-up. ![appsail-delete-docker](https://catalyst-docs-development.zohostratus.in/images/help/appsail/appsail-dockerhub-integration-delete-2.png) ### Amazon Elastic Container Registry Catalyst facilitates an easy integration with AWS that enables you to access the [Amazon Elastic Container Registry](https://aws.amazon.com/ecr/). After you configure the integration, you can easily deploy images from your Amazon ECR to AppSail from the console. You can also manage your AWS connection from the console. #### Integrate AWS with Catalyst Perform a one-time configuration to integrate your AWS account with Catalyst in the following way: 1. Navigate to **Settings** in the console, then select **Integrations** under *General Settings*. Click **AWS** from the list. ![appsail-integration](https://catalyst-docs-development.zohostratus.in/images/help/appsail/appsail-settings-integration.png) 2. Click **Add AWS** to add a new connection. ![appsail-add-aws](https://catalyst-docs-development.zohostratus.in/images/help/appsail/appsail-aws-integration-1.png) 3. Provide a name for the connection. Then, add your AWS account's Access Key ID and Access Key Secret. You can create and manage access key credentials in AWS as explained in [this help page](https://docs.aws.amazon.com/IAM/latest/UserGuide/id_credentials_access-keys.html). ![appsail-add-aws](https://catalyst-docs-development.zohostratus.in/images/help/appsail/appsail-aws-integration-2.png) 4. Click **Add**. Your connection will be created and listed on the *AWS Integrations* page. You can now use this connection to [deploy an OCI Image](https://docs.catalyst.zoho.com/en/serverless/help/appsail/custom-runtimes/deploy-from-console/) from AWS ECR on AppSail. ![appsail-add-aws](https://catalyst-docs-development.zohostratus.in/images/help/appsail/appsail-aws-integration-3.png) #### Edit AWS Connection You can edit an individual AWS connection as described below. 1. Click the ellipsis icon of the connection that you wish to edit, then click **Edit**. ![appsail-edit-aws](https://catalyst-docs-development.zohostratus.in/images/help/appsail/appsail-aws-integration-edit-1.png) 2. Edit the required information. You can update the connection name, your Access Key ID and Access Key Secret. Click **Save**. ![appsail-edit-aws](https://catalyst-docs-development.zohostratus.in/images/help/appsail/appsail-aws-integration-edit-2.png) #### Delete AWS Connection You can delete an individual AWS connection as described below. 1. Click the ellipsis icon of the connection that you wish to delete, then click **Delete**. ![appsail-delete-aws](https://catalyst-docs-development.zohostratus.in/images/help/appsail/appsail-aws-integration-delete-1.png) 2. Click **Delete** from the confirmation pop-up. ![appsail-delete-aws](https://catalyst-docs-development.zohostratus.in/images/help/appsail/appsail-aws-integration-delete-2.png) ### Google Artifact Registry Catalyst facilitates an easy integration with [Google Artifact Registry](https://cloud.google.com/artifact-registry/docs/overview). After you configure the integration, you can easily deploy images from your GCP account to AppSail from the console. You can also manage your GCP connection from the console. #### Integrate Google Cloud Platform with Catalyst Perform a one-time configuration to integrate your GCP account with Catalyst in the following way: 1. Navigate to **Settings** in the console, then select **Integrations** under *General Settings*. Click **Google Cloud Platform** from the list. ![appsail-integration](https://catalyst-docs-development.zohostratus.in/images/help/appsail/appsail-settings-integration.png) 2. Click **Add GCP Account** to add a new connection. ![appsail-add-gcp](https://catalyst-docs-development.zohostratus.in/images/help/appsail/appsail-gcp-integration-1.png) 3. Provide a name for the connection. Then, upload your GCP account's [Service Account Credentials JSON](https://cloud.google.com/iam/docs/service-account-creds) file which will contain your credentials information. You can get a service account key and download it as a JSON file from the Google Cloud console as explained in [this help page](https://cloud.google.com/iam/docs/keys-list-get). ![appsail-add-gcp](https://catalyst-docs-development.zohostratus.in/images/help/appsail/appsail-gcp-integration-2.png) 4. Click **Add**. Your connection will be created and listed on the *GCP Integrations* page. You can now use this connection to [deploy an OCI Image from GCP Artifact Registry](https://docs.catalyst.zoho.com/en/serverless/help/appsail/custom-runtimes/deploy-from-console/) on AppSail. ![appsail-add-gcp](https://catalyst-docs-development.zohostratus.in/images/help/appsail/appsail-gcp-integration-3.png) #### Edit GCP Connection You can edit an individual GCP connection as described below. 1. Click the ellipsis icon of the connection that you wish to edit, then click **Edit**. ![appsail-edit-gcp](https://catalyst-docs-development.zohostratus.in/images/help/appsail/appsail-gcp-integration-edit-1.png) 2. Edit the required information. You can update the connection name or upload a new Service Account Credentials JSON file. Click **Save**. ![appsail-edit-gcp](https://catalyst-docs-development.zohostratus.in/images/help/appsail/appsail-gcp-integration-edit-2.png) #### Delete GCP Connection You can delete an individual GCP connection as described below. 1. Click the ellipsis icon of the connection that you wish to delete, then click **Delete**. ![appsail-delete-gcp](https://catalyst-docs-development.zohostratus.in/images/help/appsail/appsail-gcp-integration-delete-1.png) 2. Click **Delete** from the confirmation pop-up. ![appsail-delete-gcp](https://catalyst-docs-development.zohostratus.in/images/help/appsail/appsail-gcp-integration-delete-2.png) -------------------------------------------------------------------------------- title: "Deploy from CLI" description: "Catalyst AppSail is a fully-managed platform to deploy web services in managed runtimes of Java, Node.js, and Python, or custom runtimes as OCI images." last_updated: "2026-11-04T10:10:44.000Z" source: "https://docs.catalyst.zoho.com/en/serverless/help/appsail/custom-runtimes/deploy-from-cli/" service: "Serverless" -------------------------------------------------------------------------------- # Deploy AppSail as a Custom Runtime from the CLI ### Initialize or Add an AppSail Service You can [initialize an AppSail service](https://docs.catalyst.zoho.com/en/cli/v1/initialize-resources/initialize-appsail/) for a custom runtime app directly in your app's directory, or from a new directory using the [Catalyst CLI](https://docs.catalyst.zoho.com/en/cli/v1/cli-command-reference/). You can also [add an AppSail service](https://docs.catalyst.zoho.com/en/cli/v1/add-appsail/) to an existing Catalyst project directory, where other resources have been initialized. You can [deploy the AppSail service](https://docs.catalyst.zoho.com/en/serverless/help/appsail/custom-runtimes/deploy-from-cli/#deploy-an-appsail-service) after you initialize or add it. To initialize an AppSail service in a new directory, create a folder for your project in your local machine and navigate to it from your terminal. Initialize a project by executing the following command from that directory: ```sh catalyst init ``` You can add an AppSail service in an existing Catalyst project directory by executing this CLI command: ```sh catalyst appsail:add ``` Catalyst supports two protocols for custom runtime apps that you can use to associate your app's image with AppSail. Each protocol has a distinct schema for identification and functioning. * **Docker Image Protocol:** Use this to associate a pre-built image of your app present in the local docker registry. The image must be built and [tagged](https://docs.docker.com/reference/cli/docker/image/tag/) to point to the local registry. Example: *docker://localhost/expres-hw:latest* * **Docker Archive Protocol:** Use this to point to an archive file (.tar or .tar.gz) of a pre-built image of your app in your system's directory. Example: *docker-archive://test.tar* > **Note:** The `.tar` file can be typically generated with the [`docker save` command](https://docs.docker.com/reference/cli/docker/image/save/). You need not provide any other details except the name for the AppSail for container images. The source or build path of the app, stack, and startup command are not required to be configured for OCI images, as they are already defined in the images. The steps to initialize or add the AppSail service will be the same as described below: 1. The CLI will prompt you to select the runtime type as Catalyst-Managed Runtime or **Docker Image** when AppSail is initialized. Select the second option. ![catalyst_cli_appsail_init_1](https://catalyst-docs-development.zohostratus.in/images/cli/initialize-resources/catalyst_cli_appsail_init_01.png) 2. Select the protocol as **Docker Image** or **Docker Archive**. ![catalyst_cli_appsail_init_1](https://catalyst-docs-development.zohostratus.in/images/cli/initialize-resources/catalyst_cli_appsail_init_02.png) 3. **Docker Image Protocol:** If you select **Docker Image**, the CLI will list all the available images with tags in the local docker registry. Select the image you need. ![catalyst_cli_appsail_init_1](https://catalyst-docs-development.zohostratus.in/images/cli/initialize-resources/catalyst_cli_appsail_init_03.png) **Docker Archive Protocol:** If you select **Docker Archive**, the CLI will prompt you to enter the absolute path to the TAR file image of your app in your local system. ![catalyst_cli_appsail_init_1](https://catalyst-docs-development.zohostratus.in/images/cli/initialize-resources/catalyst_cli_appsail_init_04.png) > **Note:** When the AppSail configuration is stored in the [`catalyst.json`](https://docs.catalyst.zoho.com/en/cli/v1/project-directory-structure/catalyst-json/) file, the path will be stored relative to that file's location. 4. Provide a name for the AppSail service. You can name it anything you prefer. ![catalyst_cli_appsail_init_1](https://catalyst-docs-development.zohostratus.in/images/cli/initialize-resources/catalyst_cli_appsail_init_05.png) AppSail is now initialized in your local directory, and the app's image is now associated with the AppSail service. The configurations will be updated in [`catalyst.json`](https://docs.catalyst.zoho.com/en/cli/v1/project-directory-structure/catalyst-json/) file accordingly. ![catalyst_cli_appsail_init_1](https://catalyst-docs-development.zohostratus.in/images/cli/initialize-resources/catalyst_cli_appsail_init_06.png) > **Note:** The [`app-config.json](https://docs.catalyst.zoho.com/en/serverless/help/appsail/catalyst-managed-runtimes/key-concepts/#the-app-configjson-file)` file will not be created when you initialize AppSail with a container image. All the app specifications will be stored in the `catalyst.json` file. You can add certain custom configurations of your app in this file. Refer [here](https://docs.catalyst.zoho.com/en/serverless/help/appsail/appsail-configurations/) for details. You can now code your business logic in your app, then [serve the AppSail service](https://docs.catalyst.zoho.com/en/serverless/help/appsail/catalyst-managed-runtimes/key-concepts/#the-app-configjson-file) through a localhost to [debug](https://docs.catalyst.zoho.com/en/serverless/help/appsail/catalyst-managed-runtimes/key-concepts/#the-app-configjson-file) and test it, or [deploy it](https://docs.catalyst.zoho.com/en/serverless/help/appsail/catalyst-managed-runtimes/key-concepts/#the-app-configjson-file) to the remote console directly. ### Deploy an AppSail Service Catalyst enables you to deploy [AppSail services](https://docs.catalyst.zoho.com/en/serverless/help/appsail/introduction/) in two different ways: * **Regular Deploy:** The regular deploy execution applies when you have already initialized an AppSail resource either during the [project initialization](https://docs.catalyst.zoho.com/en/cli/v1/initialize-resources/initialize-appsail/) or by [adding it in an existing project directory](https://docs.catalyst.zoho.com/en/cli/v1/add-appsail/). * **Standalone Deploy:** You can do a standalone deploy of an app directly without initializing it as an AppSail service in prior. The OCI image of your app that is associated with Appsail is deployed, along with the configuration file of your project. > **Note:** Catalyst only supports the deployment of [OCI-compliant images](https://github.com/opencontainers/image-spec) built for the Linux AMD64 (x86-64) platform. ### Regular Deploy If the AppSail app is already initialized in the project directory, the CLI will automatically deploy the app with the rest of the project resources when you execute the `catalyst deploy` command. The CLI will display the endpoint URL of the app after it is deployed, that you can open it with. ![Deploy AppSail](https://catalyst-docs-development.zohostratus.in/images/cli/deploy-resources/cli-appsail-deploy-proj-init-1.png) If you have multiple AppSail apps in your project directory, you can access all of their URL endpoints from the CLI. You can also execute the following command to deploy the AppSail service alone from your app's source directory. ```sh catalyst deploy appsail ``` The deployment process is the same. ![Deploy AppSail](https://catalyst-docs-development.zohostratus.in/images/cli/deploy-resources/cli-appsail-deploy-proj-init-2.webp) ### Standalone Deploy You must execute the standalone deploy command from a Catalyst project directory's root. That is, `catalyst.json` and other [project dependency files](https://docs.catalyst.zoho.com/en/cli/v1/project-directory-structure/introduction/) must be present in the directory. > **Note:** If you execute the standalone deploy command without any of the [options specific to deploying container images](https://docs.catalyst.zoho.com/en/serverless/help/appsail/custom-runtimes/deploy-from-cli/#standalone-deploy-appsail-options), the CLI will prompt you for inputs related to Catalyst-managed runtime apps only by default. You can use the standalone deploy command with these options to deploy apps as container images: `--name <name>`, `--source <image>`, `--command <command>`, `--port <port>`. The first two are mandatory, while the last two are optional and can be used to override any startup commands or ports already configured in the container image definition. The options are explained in detail below. You can do the standalone deploy of an AppSail app in the following way: 1. Navigate to the directory the app's deployable files are present in, and executing the following command: ```sh catalyst deploy appsail ``` 2. Enter a name for your app. You can name the main file of your app’s build anything you prefer. ![Deploy AppSail](https://catalyst-docs-development.zohostratus.in/images/cli/deploy-resources/catalyst-appsail-standalone-deploy-1.webp) > **Note:** However, when you build your app as a Java WAR file, you will need to name the main file root.war or add specific controllers according to your code. 3. Select the build path for your app from the list and press **Enter**. ![Deploy AppSail](https://catalyst-docs-development.zohostratus.in/images/cli/deploy-resources/catalyst-appsail-standalone-deploy-2.webp) 4. Select a stack for your app and press **Enter**. ![Deploy AppSail](https://catalyst-docs-development.zohostratus.in/images/cli/deploy-resources/catalyst-appsail-standalone-deploy-3.webp) If you select Java, the CLI will further prompt you to pick either [Java SE or the Java WAR](https://docs.catalyst.zoho.com/en/serverless/help/appsail/catalyst-managed-runtimes/key-concepts/) as your app's deployable format. ![Deploy Functions](https://catalyst-docs-development.zohostratus.in/images/cli/deploy-resources/catalyst-appsail-standalone-deploy-4.webp) If you select any other stack, this will be skipped. 5. You must additionally specify the startup command for your app based on the stack, framework, and web server used. This information will be directly deployed and will be available in the Configurations section of your console after the app deployment. ![Deploy Functions](https://catalyst-docs-development.zohostratus.in/images/cli/deploy-resources/catalyst-appsail-standalone-deploy-5.webp) Your app is now directly deployed to the associated remote project without requiring you to initialize it as an AppSail resource. You can now access it with its endpoint URL displayed in the CLI. ![Deploy Functions](https://catalyst-docs-development.zohostratus.in/images/cli/deploy-resources/catalyst-appsail-standalone-deploy-6.webp) ### Standalone Deploy AppSail Options The catalyst deploy appsail standalone command supports the following options. Some of these are applicable to both Catalyst-managed runtime and container images apps, while some are specific to only one of them. **--name <name>** Use this to specify the name of your app. This is applicable to both Catalyst-managed runtime and container image apps. Example: ```sh --name DemoApp ``` **--command <command>** Use this to specify the [startup command](https://docs.catalyst.zoho.com/en/serverless/help/appsail/appsail-configurations/#startup-commands) for your app. This is applicable to both Catalyst-managed runtime and container image apps. This will override any values already configured in the container image definition. Example: ```sh --command npm start ``` **--source <image>** Use this to specify the source of the docker image to be deployed. This is applicable only to container image apps. You must start with '*docker://*' for Docker image protocol and '*docker-archive://*' for Docker archive protocol. [Refer here for details](https://docs.catalyst.zoho.com/en/cli/v1/initialize-resources/initialize-appsail/#initialize-appsail-as-a-custom-runtime). Example: ```sh --source docker://example-voting-app-worker:latest ``` **--port <port>** Use this to specify the port for the AppSail. This is applicable only to container image apps. This will override any values already configured in the container image definition. Example: ```sh --port 8000 ``` -------------------------------------------------------------------------------- title: "Deploy from the Console" description: "Catalyst AppSail is a fully-managed platform to deploy web services in managed runtimes of Java, Node.js, and Python, or custom runtimes as OCI images." last_updated: "2026-11-04T10:10:44.000Z" source: "https://docs.catalyst.zoho.com/en/serverless/help/appsail/custom-runtimes/deploy-from-console/" service: "Serverless" -------------------------------------------------------------------------------- # Deploy AppSail as a Custom Runtime from the Console AppSail enables you to deploy an app as a container image from the Catalyst console directly. The steps given here are common for all the Container Registry services. 1. Navigate to the **Serverless** service in your Catalyst project that you wish to deploy your app in, then click **AppSail** under *Compute*. ![appsail-empty-page](https://catalyst-docs-development.zohostratus.in/images/help/appsail/appsail-empty-page.png) Upon clicking **Deploy from CLI**, a pop-up will show you the instructions to deploy an AppSail service from the CLI. Refer the [CLI help section](https://docs.catalyst.zoho.com/en/serverless/help/appsail/custom-runtimes/deploy-from-cli/) for detailed steps. 2. Click **Deploy from Console** to directly deploy your app here. 3. Select the deployment type as **Docker Image**, and provide a name for your AppSail service. Select the deployment type as Docker Image, and select the Container Registry Service from the list: [Docker Hub](https://hub.docker.com/), [AWS ECR](https://aws.amazon.com/ecr/), or [Google Artifact Registry](https://cloud.google.com/artifact-registry/docs/overview). Enter the following according to the service you choose- * Docker Hub- [Image URL](https://docs.docker.com/get-started/docker-concepts/building-images/build-tag-and-publish-an-image/) * Amazon ECR- [Image URI](https://docs.aws.amazon.com/AmazonECR/latest/userguide/image-info.html) * GCP Artifact Registry- [Image Path](https://cloud.google.com/artifact-registry/docs/container-concepts) Refer to the help links on details to fetch them. ![appsail-deploy-docker](https://catalyst-docs-development.zohostratus.in/images/help/appsail/appsail-deploy-docker-image-1.png) 4. You must select the credentials of the Container Registry Service that you will use for your OCI image deployment. The drop-down will list all the credentials that you have configured with the container service. You can select an existing credential or click the **Create Integration** button below to add a new credential. This will redirect you to [Integration Settings](https://docs.catalyst.zoho.com/en/getting-started/set-up-a-catalyst-project/integrations-settings/) . ![appsail-deploy-docker](https://catalyst-docs-development.zohostratus.in/images/help/appsail/appsail-deploy-docker-image-2.png) > **Note:** The steps to add and manage Catalyst integrations for [Docker Hub](https://docs.catalyst.zoho.com/en/serverless/help/appsail/custom-runtimes/container-registry-services/#docker-hub), [AWS](https://docs.catalyst.zoho.com/en/serverless/help/appsail/custom-runtimes/container-registry-services/#amazon-elastic-container-registry), or [Google Cloud Platform](https://docs.catalyst.zoho.com/en/serverless/help/appsail/custom-runtimes/container-registry-services/#google-artifact-registry) are covered in their respective help sections. ![appsail-deploy-docker](https://catalyst-docs-development.zohostratus.in/images/help/appsail/appsail-deploy-docker-image-3.png) 5. You can configure advanced settings for your app. i. Provide a [startup command](https://docs.catalyst.zoho.com/en/serverless/help/appsail/appsail-configurations/#startup-commands) for your app based on your app's runtime. > **Note:** If you have already d the startup command in your container image, the command you provide in Catalyst will take priority. ii. Configure a [custom port](https://docs.catalyst.zoho.com/en/serverless/help/appsail/appsail-configurations/#ports-for-app-executions) for your app's execution, if needed. Ports within the range of 0 to 1024 are reserved, with the exception of ports 80 and 443. You can use any other ports outside this range. Port 9000 will be used by default. > **Note:** If you have not configured the port in your code, ensure that you configure the same port to listen to while starting the server in the startup command of your app. iii. Configure the required [memory](https://docs.catalyst.zoho.com/en/serverless/help/appsail/appsail-configurations/#memory-and-disk-allocation) for your app's execution, based on your requirements. You can select 128, 256, 512, 1024, or 2048 MB. > **Info:** You can also configure the disk size for your app's execution after you deploy the app from the [Configuration section](https://docs.catalyst.zoho.com/en/serverless/help/appsail/console/overview/). iv. Configure [environment variables](https://docs.catalyst.zoho.com/en/serverless/help/appsail/appsail-configurations/#environment-variables) for your AppSail service as needed. ![appsail-deploy-docker](https://catalyst-docs-development.zohostratus.in/images/help/appsail/appsail-deploy-docker-image-4.png) You can add multiple environment variables by clicking the **+** icon, and remove them by clicking the **—** icon. > **Info:** The environment variable will be added to the [Catalyst environment](https://docs.catalyst.zoho.com/en/deployment-and-billing/environments/introduction/) (development or production) that you're currently working in. You can change the environment from the drop-down at the top of the console, and add variables as required. 6. After you configure the details, click **Deploy**. Your app will be deployed to the console. You will now be able to view and manage your app from the console. ![appsail-deploy](https://catalyst-docs-development.zohostratus.in/images/help/appsail/appsail-docker-image-deployed.png) [Refer here for help on managing your AppSail service](https://docs.catalyst.zoho.com/en/serverless/help/appsail/console/manage-appsail/). #### Quick Start for Catalyst-Managed Runtimes -------------------------------------------------------------------------------- title: "Introduction" description: "Catalyst AppSail is a fully-managed PaaS component of Catalyst Serverless that enables you to develop and deploy services in Java, Node.js, and Python." last_updated: "2026-11-04T10:10:44.000Z" source: "https://docs.catalyst.zoho.com/en/serverless/help/appsail/help-guides/introduction/" service: "Serverless" -------------------------------------------------------------------------------- # Quick Start for Catalyst-Managed Runtimes of Java, Node.js, and Python ### Introduction This section covers examples of building sample applications with popular frameworks of each programming environment of a [Catalyst-managed runtime](https://docs.catalyst.zoho.com/en/serverless/help/appsail/catalyst-managed-runtimes/key-concepts/). Catalyst defines no restrictions on the frameworks that you might use for the supported programming environments, Java, Node.js, and Python to build your apps. Based on the language and framework you use, you can incorporate plugins, libraries, extensions, or any other dependencies that you might require. > **Note:** When you build your Catalyst-managed runtime app in your local environment, you might incorporate operating system-specific dependencies in it. However, after you deploy your app as an AppSail service, the dependencies might not work as Catalyst might use different OS and architecture specifications to run your app. Therefore, it is best to avoid using any OS-specific dependencies in your app bundle. ##### Java -------------------------------------------------------------------------------- title: "Overview" description: "Catalyst AppSail is a fully-managed PaaS component of Catalyst Serverless that enables you to develop and deploy services in Java, Node.js, and Python." last_updated: "2026-11-04T10:10:44.000Z" source: "https://docs.catalyst.zoho.com/en/serverless/help/appsail/help-guides/java/overview/" service: "Serverless" -------------------------------------------------------------------------------- # Java ### Overview The Java programming environment includes a variety of frameworks that contain pre-written classes, templates, packages, and structure upon which you can build your own code. As mentioned earlier, Catalyst enables you to [initialize](https://docs.catalyst.zoho.com/en/cli/v1/initialize-resources/initialize-appsail/) or [add](https://docs.catalyst.zoho.com/en/cli/v1/add-appsail/) an AppSail service in one of these two formats: * [Java- WAR](https://docs.oracle.com/cd/E19199-01/816-6774-10/a_war.html) * [Java- SE](https://www.oracle.com/cis/java/technologies/java-se-glance.html) After you select the Java stack while initializing an app service, you can select one of these options. However, you can still build your Java application with any frameworks; incorporate any libraries, modules, or dependencies; generate it as any standard package; and follow any editions you require. > **Note:** When you use the Java WAR template for deploying your Java application exported as a WAR file, you need not embed a Java web server in your application, as AppSail will bundle your application with a server by default. If you choose Java SE as your template for all other Java application formats, such as a JAR file, you will need to include an embedded server in your application. The Java help guide contains step-by-step instructions on building basic sample apps with some of the most popular frameworks, using popular Java web servers in them, and deploying these apps as AppSail services, and configuring [startup commands](https://docs.catalyst.zoho.com/en/serverless/help/appsail/appsail-configurations/#startup-commands) as required. ### Prerequisites Depending on the framework, server, and edition you use in these examples, you will need to ensure that you have all the prerequisites installed in your local machine. -------------------------------------------------------------------------------- title: "Embedded Jetty" description: "Catalyst AppSail is a fully-managed PaaS component of Catalyst Serverless that enables you to develop and deploy services in Java, Node.js, and Python." last_updated: "2026-11-04T10:10:44.000Z" source: "https://docs.catalyst.zoho.com/en/serverless/help/appsail/help-guides/java/embedded-jetty/" service: "Serverless" -------------------------------------------------------------------------------- # Simple Java App with Embedded Jetty This example illustrates the steps to build a simple Java app with a [Jetty server](https://docs.oracle.com/cd/E19199-01/816-6774-10/a_war.html) embedded in it. Eclipse Jetty is a lightweight Java web server as well as a servlet container. This application will then be compiled, bundled, and associated with an AppSail service as a Java SE type, and deployed to the console. 1. Create a new Java project from an IDE of your choice. 2. Include the following libraries in your source directory. We have created a new folder in this example and named it deps. These JAR files include all the servlets, utility files, and other dependencies that will embed the Jetty server into your application. You can fetch these dependencies from the [official Maven repository](https://mvnrepository.com/). You can also add these as Maven dependencies. ```json javax.servlet-api-3.1.0.jar jetty-io-9.4.50.v20221201.jar jetty-server-9.4.50.v20221201.jar jetty-util-9.4.50.v20221201.jar jetty-http-9.4.50.v20221201.jar jetty-security-9.4.50.v20221201.jar jetty-servlet-9.4.50.v20221201.jar jetty-util-ajax-9.4.50.v20221201.jar ``` 3. To create an embedded Jetty application, you will need to create an instance of org.eclipse.jetty.server.Server class and refer to the [listening port](https://docs.catalyst.zoho.com/en/serverless/help/appsail/appsail-configurations/#ports-for-app-executions) with the environment variable `X_ZOHO_CATALYST_LISTEN_PORT` in your main code. You must add a Servlet handler to handle these requests. Create the following Java files in your main directory and add the sample code snippets given below: **CustomJettyServer.java** ```java import org.eclipse.jetty.server.Server; import org.eclipse.jetty.servlet.ServletContextHandler; public class CustomJettyServer { public static void main( String[] args ) throws Exception { String port = System.getenv("X_ZOHO_CATALYST_LISTEN_PORT"); int listenPort; if(port != null && !port.isEmpty()) { listenPort = Integer.parseInt(System.getenv("X_ZOHO_CATALYST_LISTEN_PORT")); } else { listenPort = 9000; } Server server = new Server(listenPort); ServletContextHandler handler = new ServletContextHandler(); handler.addServlet(ServletHandler.class.getName(), "/"); server.setHandler(handler); server.start(); } } ``` **ServletHandler.java** ```java import java.io.IOException; import java.nio.charset.StandardCharsets; import javax.servlet.ServletException; import javax.servlet.http.HttpServlet; import javax.servlet.http.HttpServletRequest; import javax.servlet.http.HttpServletResponse; public class ServletHandler extends HttpServlet{ @Override protected void doPost(HttpServletRequest req, HttpServletResponse resp) throws ServletException, IOException { String path = req.getServletPath(); System.out.println(path); try { resp.getWriter().write("Hello ABC"); resp.getWriter().close(); } catch (Exception e) { e.printStackTrace(); } } @Override protected void doGet(HttpServletRequest req, HttpServletResponse resp) throws ServletException, IOException { this.doPost(req, resp); } @Override protected void doDelete(HttpServletRequest req, HttpServletResponse resp) throws ServletException, IOException { this.doPost(req, resp); } @Override protected void doPut(HttpServletRequest req, HttpServletResponse resp) throws ServletException, IOException { this.doPost(req, resp); } @Override protected void doHead(HttpServletRequest req, HttpServletResponse resp) throws ServletException, IOException { this.doPost(req, resp); } @Override protected void doOptions(HttpServletRequest req, HttpServletResponse resp) throws ServletException, IOException { this.doPost(req, resp); } } ``` 4. Compile the application by executing the command given below: ```json javac -cp ".:./*:./deps/*" *.java ``` 5. You can now [initialize an AppSail service](https://docs.catalyst.zoho.com/en/cli/v1/initialize-resources/initialize-appsail/) in the same directory from the CLI or [add it](https://docs.catalyst.zoho.com/en/cli/v1/add-appsail/) in an existing project directory. The app's source must be your application's directory. Provide the following values while initializing the app service: **Stack:** Java 8 **Platform:** Java SE 6. Ensure the compiled file, along with the JAR files in the deps folder, are added in the build directory you specify during initialization. Catalyst will automatically ZIP your app files during deployment to the remote console. 7. [Deploy the app service](https://docs.catalyst.zoho.com/en/cli/v1/deploy-resources/deploy-appsail/) to the console. 8. You can then configure the [startup command](https://docs.catalyst.zoho.com/en/serverless/help/appsail/appsail-configurations/#startup-commands) given below from the console: ```java java -cp ".:./*:./deps/*" *.java ``` You can also configure this in the `app-config.json` file before deploying. Access the deployed app service from its [endpoint URL](https://docs.catalyst.zoho.com/en/serverless/help/appsail/console/overview/#appsail-url). -------------------------------------------------------------------------------- title: "Spring MVC" description: "Catalyst AppSail is a fully-managed PaaS component of Catalyst Serverless that enables you to develop and deploy services in Java, Node.js, and Python." last_updated: "2026-11-04T10:10:44.000Z" source: "https://docs.catalyst.zoho.com/en/serverless/help/appsail/help-guides/java/spring-mvc/" service: "Serverless" -------------------------------------------------------------------------------- # Spring- MVC The [Spring Web MVC](https://docs.spring.io/spring-framework/docs/3.2.x/spring-framework-reference/html/mvc.html) framework is a module of the popular [Spring framework](https://spring.io) that follows a Model-View-Controller architecture. This framework allows for the creation of web applications, incorporating the advantages of the Spring framework along with loose coupling of components in the MVC design pattern. It is built around a `DispatcherServlet` that handles HTTP requests and responses, and dispatches the requests to necessary handlers and controllers. This example explains the steps to build a sample app in the Spring MVC framework, export it as a WAR file, and deploy it to AppSail. 1. Create a new Maven project using an IDE of your choice. You must select the following [Archetype](https://maven.apache.org/guides/introduction/introduction-to-archetypes.html) for the project: `org.apache.maven.archetypes maven-archetype-webapp`. 2. In the `pom.xml` file of your project, add the spring dependencies given below. ```java <dependency> <groupId>org.springframework</groupId> <artifactId>spring-core</artifactId> <version>5.2.19.RELEASE</version> </dependency> <dependency> <groupId>org.springframework</groupId> <artifactId>spring-context</artifactId> <version>5.2.19.RELEASE</version> </dependency> <dependency> <groupId>org.springframework</groupId> <artifactId>spring-aop</artifactId> <version>5.2.19.RELEASE</version> </dependency> <dependency> <groupId>org.springframework</groupId> <artifactId>spring-webmvc</artifactId> <version>5.2.19.RELEASE</version> </dependency> <dependency> <groupId>org.springframework</groupId> <artifactId>spring-web</artifactId> <version>5.2.19.RELEASE</version> </dependency> <dependency> <groupId>javax.servlet</groupId> <artifactId>jstl</artifactId> <version>1.2</version> </dependency> ``` 3. Add the dependencies below in a build enclosure to compile and generate the WAR file. ```java <plugins> <plugin> <artifactId>maven-compiler-plugin</artifactId> <version>3.8.0</version> <configuration> <source>1.8</source> <target>1.8</target> </configuration> </plugin> <plugin> <artifactId>maven-war-plugin</artifactId> <version>3.2.1</version> <configuration> <warSourceDirectory>WebContent</warSourceDirectory> </configuration> </plugin> </plugins> ``` 4. Create a [Spring XML configuration file](https://docs.spring.io/spring-framework/docs/4.2.x/spring-framework-reference/html/xsd-configuration.html) in your project, and add the bean configurations given below. ```java <beans xmlns="http://www.springframework.org/schema/beans" xmlns:context="http://www.springframework.org/schema/context" xmlns:xsi="http://www.w3.org/2001/XMLSchema-instance" xmlns:mvc="http://www.springframework.org/schema/mvc" xsi:schemaLocation="http://www.springframework.org/schema/beans http://www.springframework.org/schema/beans/spring-beans-2.5.xsd http://www.springframework.org/schema/mvc http://www.springframework.org/schema/mvc/spring-mvc-3.0.xsd http://www.springframework.org/schema/context http://www.springframework.org/schema/context/spring-context-2.5.xsd "> ``` Your Spring configuration file should look something like this: ```java <?xml version="1.0" encoding="UTF-8"?> <beans xmlns="http://www.springframework.org/schema/beans" xmlns:context="http://www.springframework.org/schema/context" xmlns:xsi="http://www.w3.org/2001/XMLSchema-instance" xmlns:mvc="http://www.springframework.org/schema/mvc" xsi:schemaLocation="http://www.springframework.org/schema/beans http://www.springframework.org/schema/beans/spring-beans-2.5.xsd http://www.springframework.org/schema/mvc http://www.springframework.org/schema/mvc/spring-mvc-3.0.xsd http://www.springframework.org/schema/context http://www.springframework.org/schema/context/spring-context-2.5.xsd "> <mvc:annotation-driven/> <mvc:default-servlet-handler/> <context:component-scan base-package="com.amelia.example.controller" /> <bean class="org.springframework.web.servlet.view.InternalResourceViewResolver"> <property name="prefix" value="/"></property> <property name="suffix" value=".jsp"></property> </bean> </beans> ``` 5. Add a server runtime to the project. For example, if you are working in the Eclipse IDE, you can add a targeted runtime for the Apache Tomcat server in the following way: Right click on the **project -> Properties -> Targeted Runtime**. Here, you can add the required runtime, then click **Apply**. 6. You can now add the required controller and error page handling, as well as a servlet mapping in the `web.xml` file of your project. For example, you can use the configuration given below: ```java <welcome-file-list> <welcome-file>index.jsp</welcome-file> </welcome-file-list> <servlet> <servlet-name>helloworld</servlet-name> <servlet-class>org.springframework.web.servlet.DispatcherServlet</servlet-class> <load-on-startup>1</load-on-startup> </servlet> <servlet-mapping> <servlet-name>helloworld</servlet-name> <url-pattern>/</url-pattern> </servlet-mapping> <error-page> <error-code>404</error-code> <location>/error.jsp</location> </error-page> <error-page> <error-code>401</error-code> <location>/error.jsp</location> </error-page> <error-page> <error-code>500</error-code> <location>/error.jsp</location> </error-page> <error-page> <error-code>400</error-code> <location>/error.jsp</location> </error-page> <error-page> <error-code>403</error-code> <location>/error.jsp</location> </error-page> <error-page> <error-code>408</error-code> <location>/error.jsp</location> </error-page> <error-page> <error-code>413</error-code> <location>/error.jsp</location> </error-page> <error-page> <error-code>414</error-code> <location>/error.jsp</location> </error-page> <error-page> <error-code>505</error-code> <location>/error.jsp</location> </error-page> <error-page> <error-code>405</error-code> <location>/error.jsp</location> </error-page> <error-page> <error-code>409</error-code> <location>/error.jsp</location> </error-page> <error-page> <exception-type> java.lang.Throwable </exception-type> <location>/error.jsp</location> </error-page> ``` 7. You can upload the application to Catalyst by exporting it as a WAR file. In the Eclipse example, you can right click on the project and choose **Export As -> WAR**. You must do the following: a. Choose a destination with file name as `ROOT.war` b. Uncheck the Optimize for specific server runtime option. 8. You can now [initialize an AppSail service](https://docs.catalyst.zoho.com/en/cli/v1/initialize-resources/initialize-appsail/) in the same directory from the CLI or [add it](https://docs.catalyst.zoho.com/en/cli/v1/add-appsail/) in an existing project directory. The app's source must be your application's directory. Provide the following values while initializing the app service: **Stack:** Java 8 **Platform:** Java WAR 9. Ensure the compiled files are added in the build directory you specify during initialization. Catalyst will automatically ZIP your app files during deployment to the remote console. 10. [Deploy the app service](https://docs.catalyst.zoho.com/en/cli/v1/deploy-resources/deploy-appsail/) to the console. Access the deployed app service from its [endpoint URL](https://docs.catalyst.zoho.com/en/serverless/help/appsail/console/overview/#appsail-url). -------------------------------------------------------------------------------- title: "Spring Boot" description: "Catalyst AppSail is a fully-managed PaaS component of Catalyst Serverless that enables you to develop and deploy services in Java, Node.js, and Python." last_updated: "2026-11-04T10:10:44.000Z" source: "https://docs.catalyst.zoho.com/en/serverless/help/appsail/help-guides/java/spring-boot/" service: "Serverless" -------------------------------------------------------------------------------- # Spring Boot [Spring Boot](https://spring.io/projects/spring-boot) is built on top of the popular [Spring framework](https://spring.io), and includes a wide range of enhancements that allow you to easily build production-grade microservices, web applications, and standalone Spring projects with reduced development efforts. Spring Boot typically includes embedded HTTP servers like Jetty or Apache Tomcat, without the complex XML configurations of Spring. > **Note:** When you export a Spring Boot app as a JAR file in the example below, you can retain the embedded server included in it. However, when you export the Spring Boot app as a WAR file, you will need to exclude the embedded server included in it, if you initialize it as Java WAR in AppSail. This is because AppSail offers native support for WAR files and bundles them with the Jetty server by default. ### Spring Boot- JAR This example illustrates the steps to build a sample Spring Boot app, export it as a JAR file, and deploy it to AppSail. 1. Open [Spring Initializr](https://start.spring.io/) to create a new project. 2. Choose the following configurations for your project: a. Project - Maven Project b. Language - Java c. Spring Boot Version - 2.7.10 d. Package - JAR e. Java Version - 8 f. Click **Add Dependencies** and select **Spring Web**. 3. Click **Generate**. 4. Unzip the project and open it in any IDE of your choice. 5. Add necessary controllers to the project. For example, create a file named `DemoController.java` in the main Java file's directory of your project, and add the controller specified below in the file. ```java package com.example.demo; import org.springframework.web.bind.annotation.GetMapping; import org.springframework.web.bind.annotation.RestController; @RestController public class DemoController { @GetMapping("/") public String index() { return "Greetings from Spring Boot!"; } } ``` 6. Catalyst will check the [port configured for listening](https://docs.catalyst.zoho.com/en/serverless/help/appsail/appsail-configurations/#ports-for-app-executions) with the environment variable `X_ZOHO_CATALYST_LISTEN_PORT` and the app must listen to that port on all interfaces (host 0.0.0.0). Therefore, you will need to customize the port. You can do this by creating a file named `ServerPortCustomizer.java` in the main Java file's directory of your project, and adding the code specified below in it: ```java package com.example.demo; import org.springframework.boot.web.server.ConfigurableWebServerFactory; import org.springframework.boot.web.server.WebServerFactoryCustomizer; import org.springframework.stereotype.Component; @Component public class ServerPortCustomizer implements WebServerFactoryCustomizer { @Override public void customize(ConfigurableWebServerFactory factory) { String port = System.getenv("X_ZOHO_CATALYST_LISTEN_PORT"); int listenPort; if(port != null && !port.isEmpty()) { listenPort = Integer.parseInt(System.getenv("X_ZOHO_CATALYST_LISTEN_PORT")); } else { listenPort = 9000; } factory.setPort(listenPort); } } ``` You can now save the application and run it in Catalyst. 7. You can run this application on your local machine by executing the following command from your terminal: ```java ./mvnw spring-boot:run ``` 8. You can then compile the source code, run tests, and package the compiled code by executing the following command: ```java ./mvnw clean package ``` This will generate the JAR file of the application in the target folder. 9. You can now [initialize an AppSail service](https://docs.catalyst.zoho.com/en/cli/v1/initialize-resources/initialize-appsail/) in the same directory from the CLI or [add it](https://docs.catalyst.zoho.com/en/cli/v1/add-appsail/) in an existing project directory. The app's source must be your application's directory. Provide the following values while initializing the app service: **Stack:** Java 8 **Platform:** Java SE 10. Ensure the JAR file is added in the build directory you specified during initialization. Catalyst will automatically ZIP your app file during deployment to the remote console. 11. [Deploy the app service](https://docs.catalyst.zoho.com/en/cli/v1/deploy-resources/deploy-appsail/) to the console. 12. You can then configure the [startup command](https://docs.catalyst.zoho.com/en/serverless/help/appsail/appsail-configurations/#startup-commands) given below from the console: ```java java -jar demo-0.0.1-SNAPSHOT.jar ``` You can also configure this in the `app-config.json` file before deploying. Access the deployed app service from its [endpoint URL](https://docs.catalyst.zoho.com/en/serverless/help/appsail/console/overview/#appsail-url). ### Spring Boot - WAR This example explains the steps to build a sample Spring Boot app, export it as a WAR file, and deploy it to AppSail: 1. Open [Spring Initializr](https://start.spring.io/) to create a new project. 2. Choose the following configurations for your project: a. Project - Maven Project b. Language - Java c. Spring Boot Version - 2.7.10 d. Package - WAR e. Java Version - 8 f. Click **Add Dependencies** and select **Spring Web**. 3. Click **Generate**. 4. Unzip the project and open in any IDE of your choice. 5. You must now add necessary controllers to the project. For example, create a file named `DemoController.java` in the main Java file's directory of your project, and add the controller specified below in the file. ```java package com.example.demo; import org.springframework.web.bind.annotation.GetMapping; import org.springframework.web.bind.annotation.RestController; @RestController public class DemoController { @GetMapping("/") public String index() { return "Greetings from Spring Boot WAR!"; } } ``` 6. You must now modify the `pom.xml` file in your project to exclude the embedded Tomcat server while generating the WAR file, as explained in the overview. You can do this by adding the snippet given below in the `spring-boot-maven-plugin enclosure` in the XML file: ```json <configuration> <mainClass>${main_class_name}</mainClass> <classifier>exec</classifier> </configuration> ``` 7. You can run this application on your local machine by executing the following command from your terminal: ```java ./mvnw spring-boot:run ``` 8. You can upload the application to Catalyst with this command: ```java ./mvnw clean package ``` This will generate the WAR file of the application in the target folder. 9. You can now [initialize an AppSail service](https://docs.catalyst.zoho.com/en/cli/v1/initialize-resources/initialize-appsail/) in the same directory from the CLI or [add it](https://docs.catalyst.zoho.com/en/cli/v1/add-appsail/) in an existing project directory. The app's source must be your application's directory. Provide the following values while initializing the app service: **Stack:** Java 8 **Platform:** Java WAR 10. Ensure the WAR file is added in the build directory you specify during initialization. Catalyst will automatically ZIP your app file during deployment to the remote console. 11. [Deploy the app service](https://docs.catalyst.zoho.com/en/cli/v1/deploy-resources/deploy-appsail/) to the console. Access the deployed app service from its [endpoint URL](https://docs.catalyst.zoho.com/en/serverless/help/appsail/console/overview/#appsail-url). ##### Node.js -------------------------------------------------------------------------------- title: "Overview" description: "Catalyst AppSail is a fully-managed PaaS component of Catalyst Serverless that enables you to develop and deploy services in Java, Node.js, and Python." last_updated: "2026-11-04T10:10:44.000Z" source: "https://docs.catalyst.zoho.com/en/serverless/help/appsail/help-guides/nodejs.md/overview/" service: "Serverless" -------------------------------------------------------------------------------- # Node.js ### Overview The Node.js programming environment boasts of a variety of frameworks for both server-side and web client development, and even a host of full-stack frameworks. These frameworks are equipped with pre-written libraries, templates, plugins, and features upon which you can build your own code. Some frameworks are MVC-oriented, some contribute to building end-to-end dynamic web apps or REST APIs, while some are mounted on top of other frameworks. Based on your application needs, you can opt for the right framework. AppSail does not provide any templates for specific Node.js frameworks, and therefore does not contain any framework restrictions. You can build your app service using any Node.js technology that you prefer, and incorporate any libraries, modules, or dependencies. You can then directly select a Node.js runtime while initializing the app service in the CLI, and deploy it to AppSail. The Node.js help guide contains step-by-step instructions on building basic sample apps with some of its most popular frameworks, deploying these apps as AppSail services, and configuring [startup commands](https://docs.catalyst.zoho.com/en/serverless/help/appsail/appsail-configurations/#startup-commands) as required. ### Prerequisites [Download](https://nodejs.org/en/download) and install Node.js on your local machine. -------------------------------------------------------------------------------- title: "Express" description: "Catalyst AppSail is a fully-managed PaaS component of Catalyst Serverless that enables you to develop and deploy services in Java, Node.js, and Python." last_updated: "2026-11-04T10:10:44.000Z" source: "https://docs.catalyst.zoho.com/en/serverless/help/appsail/help-guides/nodejs.md/express/" service: "Serverless" -------------------------------------------------------------------------------- # Express Framework [Express](https://expressjs.com/) is a highly robust and minimalist framework that comes bundled with a host of HTTP utility methods and middleware. This example illustrates the steps to build a simple Node.js app with the Express framework. This application will then be bundled and associated with an AppSail service, and deployed to the console. 1. Create a new folder in your local system for the Express app. 2. Navigate to the directory from your terminal and initialize Node with the following command: ```javascript npm init ``` Follow the steps in the terminal and provide the required details. 3. Now, add the express module to your application using the [npm](https://www.npmjs.com/) package manager by executing the command: ```javascript npm install --save express ``` 4. You can now add the logic you require in the application's code in the main file. Given below is a sample code for a basic "Hello World" program. ```javascript const express = require('express') const app = express() app.all('/', (req, res) => { res.status(200).send("Hello World") }) app.listen(process.env.X_ZOHO_CATALYST_LISTEN_PORT || 9000, () => { console.log("Server Started") }) ``` 5. You can now [initialize an AppSail service](https://docs.catalyst.zoho.com/en/cli/v1/initialize-resources/initialize-appsail/) in the same directory from the CLI or [add it](https://docs.catalyst.zoho.com/en/cli/v1/add-appsail/) in an existing project directory. The app's source must be your application's directory. Provide the following value while initializing the app service: **Stack:** Node24 6. Ensure the main file, configuration files, and the node modules are present in the build directory you specify during initialization. Catalyst will automatically ZIP your app files during deployment to the remote console. 7. [Deploy the app service](https://docs.catalyst.zoho.com/en/cli/v1/deploy-resources/deploy-appsail/) to the console. 8. You can then configure the [startup command](https://docs.catalyst.zoho.com/en/serverless/help/appsail/appsail-configurations/#startup-commands) given below from the console: ```javascript node index.js ``` You can also configure this in the `app-config.json` file before deploying. Access the deployed app service from its [endpoint URL](https://docs.catalyst.zoho.com/en/serverless/help/appsail/console/overview/#appsail-url). -------------------------------------------------------------------------------- title: "Express with NPM" description: "Catalyst AppSail is a fully-managed PaaS component of Catalyst Serverless that enables you to develop and deploy services in Java, Node.js, and Python." last_updated: "2026-11-04T10:10:44.000Z" source: "https://docs.catalyst.zoho.com/en/serverless/help/appsail/help-guides/nodejs.md/express-npm/" service: "Serverless" -------------------------------------------------------------------------------- # Express Framework With NPM This example illustrates the steps to build a Node.js app with the Express framework, then configuring a [Node Package Manager](https://www.npmjs.com/) (npm) [startup command](https://docs.catalyst.zoho.com/en/serverless/help/appsail/appsail-configurations/#startup-commands) in one of the configuration files through scripts. This application will be bundled and associated with an AppSail service, and deployed to the console, before you configure the startup command in the console. 1. Create a new folder in your local system for the Express app. 2. Navigate to the directory from your terminal and initialize Node with the following command: ```javascript npm init ``` Follow the steps in the terminal and provide the required details. 3. Now, add the express module to your application using the npm package manager by executing the command: ```javascript npm install --save express ``` 4. You can now add the logic you require in the application's code in the main file. Given below is a sample code for a basic "Hello World" program. ```javascript const express = require('express') const app = express() app.all('/', (req, res) => { res.status(200).send("Hello World") }) app.listen(process.env.X_ZOHO_CATALYST_LISTEN_PORT || 9000, () => { console.log("Server Started") }) ``` 5. Open the [`package.json`](https://docs.npmjs.com/cli/v9/configuring-npm/package-json) configuration file in the application's directory. Inside the `scripts` key in the file, you must add a new key: `start` and configure its value as: `node index.js`. This defines the startup command for the application. You can then refer to this key while adding the startup command. 6. You can now [initialize an AppSail service](https://docs.catalyst.zoho.com/en/cli/v1/initialize-resources/initialize-appsail/) in the same directory from the CLI or [add it](https://docs.catalyst.zoho.com/en/cli/v1/add-appsail/) in an existing project directory. The app's source must be your application's directory. Provide the following value while initializing the app service: **Stack:** Node24 7. Ensure the main file, configuration files, and the node modules are present in the build directory you specify during initialization. Catalyst will automatically ZIP your app files during deployment to the remote console. 8. [Deploy the app service](https://docs.catalyst.zoho.com/en/cli/v1/deploy-resources/deploy-appsail/) to the console. 9. You can then configure the [startup command](https://docs.catalyst.zoho.com/en/serverless/help/appsail/appsail-configurations/#startup-commands) given below from the console: ```javascript npm start ``` You can also configure this in the `app-config.json` file before deploying. Access the deployed app service from its [endpoint URL](https://docs.catalyst.zoho.com/en/serverless/help/appsail/console/overview/#appsail-url). -------------------------------------------------------------------------------- title: "Hapi" description: "Catalyst AppSail is a fully-managed PaaS component of Catalyst Serverless that enables you to develop and deploy services in Java, Node.js, and Python." last_updated: "2026-11-04T10:10:44.000Z" source: "https://docs.catalyst.zoho.com/en/serverless/help/appsail/help-guides/nodejs.md/hapi/" service: "Serverless" -------------------------------------------------------------------------------- # Hapi Framework [Hapi.js](https://hapi.dev/) is a Node framework that helps you build scalable web applications, HTTP-proxy applications, APIs, and more. Hapi offers a robust plugin system, a comprehensive and integrated authentication architecture, end-to-end high security, and more. This example illustrates the steps to build a simple Node.js app with the Hapi framework. This application will then be bundled and associated with an AppSail service, and deployed to the console. 1. Create a new folder in your local system for the Hapi app. 2. Navigate to the directory from your terminal and initialize Node with the following command: ```javascript npm init ``` Follow the steps in the terminal and provide the required details. 3. Add the Hapi module to your application using [npm](https://www.npmjs.com/) by executing the command: ```javascript npm install --save @hapi/hapi ``` 4. You can now add the logic you require in the application's code in the main file. Given below is a sample code for a basic "Hello World" program. ```javascript 'use strict'; const Hapi = require('@hapi/hapi'); const init = async () => { const server = Hapi.server({ port: process.env.X_ZOHO_CATALYST_LISTEN_PORT | 9000, host: '0.0.0.0' }); server.route({ method: 'GET', path: '/', handler: (request, h) => { return 'Hello World!'; } }); await server.start(); console.log('Server running on %s', server.info.uri); }; process.on('unhandledRejection', (err) => { console.log(err); process.exit(1); }); init(); ``` 5. You can now [initialize an AppSail service](https://docs.catalyst.zoho.com/en/cli/v1/initialize-resources/initialize-appsail/) in the same directory from the CLI or [add it](https://docs.catalyst.zoho.com/en/cli/v1/add-appsail/) in an existing project directory. The app's source must be your application's directory. Provide the following value while initializing the app service: **Stack:** Node24 6. Ensure the main file, configuration files, and the node modules are present in the build directory you specify during initialization. Catalyst will automatically ZIP your app files during deployment to the remote console. 7. [Deploy the app service](https://docs.catalyst.zoho.com/en/cli/v1/deploy-resources/deploy-appsail/) to the console. 8. You can then configure the [startup command](https://docs.catalyst.zoho.com/en/serverless/help/appsail/appsail-configurations/#startup-commands) given below from the console: ```javascript node index.js ``` You can also configure this in the `app-config.json` file before deploying. Access the deployed app service from its [endpoint URL](https://docs.catalyst.zoho.com/en/serverless/help/appsail/console/overview/#appsail-url). -------------------------------------------------------------------------------- title: "Koa" description: "Catalyst AppSail is a fully-managed PaaS component of Catalyst Serverless that enables you to develop and deploy services in Java, Node.js, and Python." last_updated: "2026-11-04T10:10:44.000Z" source: "https://docs.catalyst.zoho.com/en/serverless/help/appsail/help-guides/nodejs.md/koa/" service: "Serverless" -------------------------------------------------------------------------------- # Koa Framework [Koa](https://koajs.com/) is a Node.js middleware framework that is minimal and expressive in nature, and enables you to build robust web applications and APIs. Koa uses async functions that remove the need for callbacks, handles errors efficiently, and substantially reduces your time in building servers through a multitude of other features it offers. This example illustrates the steps to build a simple Node.js app with the Koa framework. This application will then be bundled and associated with an AppSail service, and deployed to the console. 1. Create a new folder in your local system for the Koa app. 2. Navigate to the directory from your terminal and initialize Node with the following command: ```javascript npm init ``` Follow the steps in the terminal and provide the required details. 3. Add the Koa module to your application using [npm](https://www.npmjs.com/) by executing the command: ```javascript npm install --save koa npm install --save @koa/router ``` 4. You can now add the logic you require in the application's code in the main file. Given below is a sample code for a basic "Hello World" program. ```javascript var Koa = require('koa'); var Router = require('@koa/router'); const app = new Koa(); const router = new Router(); router.get('/', (ctx, next) => { ctx.body = "Hello World" }); app.use(router.routes()) app.listen(process.env.X_ZOHO_CATALYST_LISTEN_PORT | 9000); ``` 5. You can now [initialize an AppSail service](https://docs.catalyst.zoho.com/en/cli/v1/initialize-resources/initialize-appsail/) in the same directory from the CLI or [add it](https://docs.catalyst.zoho.com/en/cli/v1/add-appsail/) in an existing project directory. The app's source must be your application's directory. Provide the following value while initializing the app service: **Stack:** Node24 6. Ensure the main file, configuration files, and the node modules are present in the build directory you specify during initialization. Catalyst will automatically ZIP your app files during deployment to the remote console. 7. [Deploy the app service](https://docs.catalyst.zoho.com/en/cli/v1/deploy-resources/deploy-appsail/) to the console. 8. You can then configure the [startup command](https://docs.catalyst.zoho.com/en/serverless/help/appsail/appsail-configurations/#startup-commands) given below from the console: ```javascript node index.js ``` You can also configure this in the `app-config.json` file before deploying. Access the deployed app service from its [endpoint URL](https://docs.catalyst.zoho.com/en/serverless/help/appsail/console/overview/#appsail-url). -------------------------------------------------------------------------------- title: "Fastify" description: "Catalyst AppSail is a fully-managed PaaS component of Catalyst Serverless that enables you to develop and deploy services in Java, Node.js, and Python." last_updated: "2026-11-04T10:10:44.000Z" source: "https://docs.catalyst.zoho.com/en/serverless/help/appsail/help-guides/nodejs.md/fastify/" service: "Serverless" -------------------------------------------------------------------------------- # Fastify [Fastify](https://www.fastify.io/) is a high-performance, highly-extensible Node.js framework with minimal overhead, that helps you create reliable and efficient applications and APIs. Fastify brings in a host of convent features, such as affordable logging, Schema support, TypeScript-readiness, and various other developer-friendly features. This example illustrates the steps to build a simple Node.js app with the Fastify framework. This application will then be bundled and associated with an AppSail service, and deployed to the console. 1. Create a new folder in your local system for the Fastify app. 2. Navigate to the directory from your terminal and initialize Node with the following command: ```javascript npm init ``` Follow the steps in the terminal and provide the required details. 3. Add the Fastify framework to your application using [npm](https://www.npmjs.com/) by executing the command: ```javascript npm install --save fastify ``` 4. You can now add the logic you require in the application's code in the main file. Given below is a sample code for a basic "Hello World" program. ```javascript // Require the framework and instantiate it const fastify = require('fastify')({ logger: true }) // Declare a route fastify.get('/', async (request, reply) => { return { hello: 'world' } }) // Run the server! const start = async () => { try { await fastify.listen({ port: process.env.X_ZOHO_CATALYST_LISTEN_PORT | 9000 , host: "0.0.0.0" }) } catch (err) { fastify.log.error(err) process.exit(1) } } start() ``` 5. You can now [initialize an AppSail service](https://docs.catalyst.zoho.com/en/cli/v1/initialize-resources/initialize-appsail/) in the same directory from the CLI or [add it](https://docs.catalyst.zoho.com/en/cli/v1/add-appsail/) in an existing project directory. The app's source must be your application's directory. Provide the following value while initializing the app service: **Stack:** Node24 6. Ensure the main file, configuration files, and the node modules are present in the build directory you specify during initialization. Catalyst will automatically ZIP your app files during deployment to the remote console. 7. [Deploy the app service](https://docs.catalyst.zoho.com/en/cli/v1/deploy-resources/deploy-appsail/) to the console. 8. You can then configure the [startup command](https://docs.catalyst.zoho.com/en/serverless/help/appsail/appsail-configurations/#startup-commands) given below from the console: ```javascript node index.js ``` You can also configure this in the `app-config.json` file before deploying. Access the deployed app service from its [endpoint URL](https://docs.catalyst.zoho.com/en/serverless/help/appsail/console/overview/#appsail-url). -------------------------------------------------------------------------------- title: "Restify" description: "Catalyst AppSail is a fully-managed PaaS component of Catalyst Serverless that enables you to develop and deploy services in Java, Node.js, and Python." last_updated: "2026-11-04T10:10:44.000Z" source: "https://docs.catalyst.zoho.com/en/serverless/help/appsail/help-guides/nodejs.md/restify/" service: "Serverless" -------------------------------------------------------------------------------- # Restify Framework [Restify](http://restify.com/) is a Node.js framework that helps you build RESTful web services specifically with a focus on high performance, and provides features that facilitate optimal error handling, versioning, and semantics-support. Restify also offers router introspection, datastore support with popular SQLs, and many other additional conveniences. This example illustrates the steps to build a simple Node.js app with the Restify framework. This application will then be bundled and associated with an AppSail service, and deployed to the console. 1. Create a new folder in your local system for the Restify app. 2. Navigate to the directory from your terminal and initialize Node with the following command: ```javascript npm init ``` Follow the steps in the terminal and provide the required details. 3. Add the Restify framework to your application using [npm](https://www.npmjs.com/) by executing the command: ```javascript npm install --save restify ``` 4. You can now add the logic you require in the application's code in the main file. Given below is a sample code for a basic "Hello World" program. ```javascript var restify = require('restify'); var server = restify.createServer(); server.get('/', function respond(req, res, next) { res.send('hello world'); next(); }); server.listen(process.env.X_ZOHO_CATALYST_LISTEN_PORT | 9000, '0.0.0.0', function () { console.log('%s listening at %s', server.name, server.url); }); ``` 5. You can now [initialize an AppSail service](https://docs.catalyst.zoho.com/en/cli/v1/initialize-resources/initialize-appsail/) in the same directory from the CLI or [add it](https://docs.catalyst.zoho.com/en/cli/v1/add-appsail/) in an existing project directory. The app's source must be your application's directory. Provide the following value while initializing the app service: **Stack:** Node24 6. Ensure the main file, configuration files, and the node modules are present in the build directory you specify during initialization. Catalyst will automatically ZIP your app files during deployment to the remote console. 7. [Deploy the app service](https://docs.catalyst.zoho.com/en/cli/v1/deploy-resources/deploy-appsail/) to the console. 8. You can then configure the [startup command](https://docs.catalyst.zoho.com/en/serverless/help/appsail/appsail-configurations/#startup-commands) given below from the console: ```javascript node index.js ``` You can also configure this in the `app-config.json` file before deploying. Access the deployed app service from its [endpoint URL](https://docs.catalyst.zoho.com/en/serverless/help/appsail/console/overview/#appsail-url). ##### Python -------------------------------------------------------------------------------- title: "Overview" description: "Catalyst AppSail is a fully-managed PaaS component of Catalyst Serverless that enables you to develop and deploy services in Java, Node.js, and Python." last_updated: "2026-11-04T10:10:44.000Z" source: "https://docs.catalyst.zoho.com/en/serverless/help/appsail/help-guides/python/overview/" service: "Serverless" -------------------------------------------------------------------------------- # Python ### Overview Python is one of the leading and most in-demand programming languages in the world, used in a wide variety of domains for numerous applications. Python's popularity is reflected in the vast collection of frameworks available for the programming environment, which can be broadly grouped into full-stack frameworks, microframeworks, or asynchronous frameworks. Each group of frameworks, and each individual framework, serves specific requirements with their unique features and advantages. Python frameworks are equipped with pre-written libraries, templates, plugins, and features upon which you can build your own code. Based on your application needs, you can opt for the right framework. AppSail does not provide any templates for specific Python frameworks, and therefore does not contain any framework restrictions. You can build your app service using any Python technology that you prefer, and incorporate any libraries, plugins, extensions, or dependencies. You can then directly select a Python runtime while initializing the app service in the CLI, and deploy it to AppSail. The Python help guide contains step-by-step instructions on building basic sample apps with some of its most popular frameworks, deploying these apps as AppSail services, and configuring [startup commands](https://docs.catalyst.zoho.com/en/serverless/help/appsail/appsail-configurations/#startup-commands) as required. ### Prerequisites [Download](https://www.python.org/downloads/) and install Python on your local machine. -------------------------------------------------------------------------------- title: "Flask" description: "Catalyst AppSail is a fully-managed PaaS component of Catalyst Serverless that enables you to develop and deploy services in Java, Node.js, and Python." last_updated: "2026-11-04T10:10:44.000Z" source: "https://docs.catalyst.zoho.com/en/serverless/help/appsail/help-guides/python/flask/" service: "Serverless" -------------------------------------------------------------------------------- # Flask App with zcatalyst-sdk [Flask](https://flask.palletsprojects.com/en/2.2.x/) is a popular, lightweight microframework of Python that developers can use to build highly functional applications. It does not use any libraries or tools, but supports a wide range of extensions for a variety of functionalities. Flask comes with a fast and built-in debugger and development server, as well as offers secure cookies, Unicode support and more. This example illustrates the steps to build a simple Python app with the Flask framework and Catalyst Python SDK. This application will then be bundled and associated with an AppSail service, and deployed to the console. > **Note:** Catalyst offers a built-in support for the Flask framework through the [Catalyst Python SDK](https://docs.catalyst.zoho.com/en/sdk/python/v1/overview). You can create [Catalyst serverless functions](https://docs.catalyst.zoho.com/en/serverless/help/functions/introduction/) using this SDK package. 1. Create a new folder in your local system for the Flask app. 2. Navigate to the directory from your terminal and execute the following command to install Flask and the [Python `zcatalyst-sdk`](https://docs.catalyst.zoho.com/en/sdk/python/v1/setup/#installing-the-sdk): ```python python3 -m pip install flask -t . python3 -m pip install --pre zcatalyst-sdk -t . ``` 3. You can now create your python index file and name it `app.py` or anything of your choice. Add the logic you require in the application's code. Given below is a sample code for a basic "Hello World" program. ```python import os from flask import Flask, request app = Flask(__name__) @app.route('/') def hello(): return 'Hello, World!' @app.route('/sdk') def sdk(): try: import zcatalyst_sdk as zcatalyst app = zcatalyst.initialize(req=request) cache_resp = app.cache().segment().put('Key', 'value') return cache_resp, 200 except Exception as e: return 'Got exception: ' + repr(e) if __name__ == '__main__': listen_port = int(os.getenv('X_ZOHO_CATALYST_LISTEN_PORT', 9000)) app.run(host="0.0.0.0", port=listen_port) ``` 4. You can now [initialize an AppSail service](https://docs.catalyst.zoho.com/en/cli/v1/initialize-resources/initialize-appsail/) in the same directory from the CLI or [add it](https://docs.catalyst.zoho.com/en/cli/v1/add-appsail/) in an existing project directory. The app's source must be your application's directory. Provide the following value while initializing the app service: **Stack**: Python_3_9 5. Ensure all the Python application files along with the `flask` and `zcatalyst-sdk` modules are present in the build directory you specify during initialization. Catalyst will automatically ZIP your app files during deployment to the remote console. 6. [Deploy the app service](https://docs.catalyst.zoho.com/en/cli/v1/deploy-resources/deploy-appsail/) to the console. 7. You can then configure the [startup command](https://docs.catalyst.zoho.com/en/serverless/help/appsail/appsail-configurations/#startup-commands) given below from the console: ```python python3 -u app.py ``` You can also configure this in the `app-config.json` file before deploying. Access the deployed app service from its [endpoint URL](https://docs.catalyst.zoho.com/en/serverless/help/appsail/console/overview/#appsail-url). -------------------------------------------------------------------------------- title: "Django" description: "Catalyst AppSail is a fully-managed PaaS component of Catalyst Serverless that enables you to develop and deploy services in Java, Node.js, and Python." last_updated: "2026-11-04T10:10:44.000Z" source: "https://docs.catalyst.zoho.com/en/serverless/help/appsail/help-guides/python/django/" service: "Serverless" -------------------------------------------------------------------------------- # Django Framework [Django](https://www.djangoproject.com/) is a highly popular, full-stack, open-sourced framework of Python that includes all Python features by default. This high-level framework handles much of the intricacies of web development in a built-in manner, and allows developers to focus on the logic of their apps. Django also offers inherent support for commonly-used database systems and ORM support to map objects to tables, which facilitates easy data migration. This example illustrates the steps to build a simple Python app with the Django framework. This application will then be bundled and associated with an AppSail service, and deployed to the console. 1. Create a new folder in your local system for the Django app. 2. Navigate to the directory from your terminal and execute the following command to install Django: ```python python3 -m pip install django -t . ``` 3. Create a [Django project](https://docs.djangoproject.com/en/4.1/intro/tutorial01/#creating-a-project) by executing the following command. ```python python3 -m django startproject mysite ``` > **Note:** You will need to configure your AppSail domain in `ALLOWED_HOSTS` as mentioned in [this help section](https://docs.djangoproject.com/en/4.2/ref/settings/#allowed-hosts). 4. You can now [initialize an AppSail service](https://docs.catalyst.zoho.com/en/cli/v1/initialize-resources/initialize-appsail/) in the same directory from the CLI or [add it](https://docs.catalyst.zoho.com/en/cli/v1/add-appsail/) in an existing project directory. The app's source must be your application's directory. Provide the following value while initializing the app service: **Stack**: Python_3_9 5. Ensure all the Python application files along with the `django` modules are present in the build directory you specify during initialization. Catalyst will automatically ZIP your app files during deployment to the remote console. 6. [Deploy the app service](https://docs.catalyst.zoho.com/en/cli/v1/deploy-resources/deploy-appsail/) to the console. 7. You can then configure the [startup command](https://docs.catalyst.zoho.com/en/serverless/help/appsail/appsail-configurations/#startup-commands) given below from the console: ```python sh -c 'python3 -u mysite/manage.py runserver 0.0.0.0:${X_ZOHO_CATALYST_LISTEN_PORT}' ``` You can also configure this in the `app-config.json` file before deploying. Access the deployed app service from its [endpoint URL](https://docs.catalyst.zoho.com/en/serverless/help/appsail/console/overview/#appsail-url). -------------------------------------------------------------------------------- title: "Bottle" description: "Catalyst AppSail is a fully-managed PaaS component of Catalyst Serverless that enables you to develop and deploy services in Java, Node.js, and Python." last_updated: "2026-11-04T10:10:44.000Z" source: "https://docs.catalyst.zoho.com/en/serverless/help/appsail/help-guides/python/bottle/" service: "Serverless" -------------------------------------------------------------------------------- # Bottle Framework [Bottle](https://bottlepy.org/docs/dev/) is a fast and simple microframework of Python for building APIs, small-scale personal applications without the requirement of any dependencies. Bottle comes with a host of features like a built-in development server, plugins for various databases, request-dispatching routing, and several utilities. This example illustrates the steps to build a simple Python app with the Bottle framework. This application will then be bundled and associated with an AppSail service, and deployed to the console. 1. Create a new folder in your local system for the Bottle app. 2. Navigate to the directory from your terminal and execute the following command to install Bottle: ```python python3 -m pip install bottle -t. ``` 3. You can now create your python index file and name it `app.py` or anything of your choice. Add the logic you require in the application's code. Given below is a sample code for a basic "Hello World" program. ```python import os import bottle app = bottle.Bottle() @app.route('/') def hello(): return "Hello, World!" if __name__ == '__main__': listen_port = int(os.getenv('X_ZOHO_CATALYST_LISTEN_PORT', 9000)) bottle.run(app, host='0.0.0.0', port=listen_port) ``` 4. You can now [initialize an AppSail service](https://docs.catalyst.zoho.com/en/cli/v1/initialize-resources/initialize-appsail/) in the same directory from the CLI or [add it](https://docs.catalyst.zoho.com/en/cli/v1/add-appsail/) in an existing project directory. The app's source must be your application's directory. Provide the following value while initializing the app service: **Stack**: Python_3_9 5. Ensure all the Python application files along with the `bottle` modules are present in the build directory you specify during initialization. Catalyst will automatically ZIP your app files during deployment to the remote console. 6. [Deploy the app service](https://docs.catalyst.zoho.com/en/cli/v1/deploy-resources/deploy-appsail/) to the console. 7. You can then configure the [startup command](https://docs.catalyst.zoho.com/en/serverless/help/appsail/appsail-configurations/#startup-commands) given below from the console: ```python python3 -u app.py ``` You can also configure this in the `app-config.json` file before deploying. Access the deployed app service from its [endpoint URL](https://docs.catalyst.zoho.com/en/serverless/help/appsail/console/overview/#appsail-url). -------------------------------------------------------------------------------- title: "CherryPy" description: "Catalyst AppSail is a fully-managed PaaS component of Catalyst Serverless that enables you to develop and deploy services in Java, Node.js, and Python." last_updated: "2026-11-04T10:10:44.000Z" source: "https://docs.catalyst.zoho.com/en/serverless/help/appsail/help-guides/python/cherrypy/" service: "Serverless" -------------------------------------------------------------------------------- # CherryPy Framework [CherryPy](https://cherrypy.dev/) is an open-source, minimalist microframework of Python used to build web applications similar to writing an object-oriented program. CherryPy offers a highly functional plugin system, built-in support for authentication, encoding, caching, multiple- HTTP servers, and more. 1. Create a new folder in your local system for the CherryPy app. 2. Navigate to the directory from your terminal and execute the following command to install CherryPy: ```python python3 -m pip install CherryPy -t. ``` 3. You can now create your python index file and name it `app.py` or anything of your choice. Add the logic you require in the application's code. Given below is a sample code for a basic "Hello World" program. ```python import os import cherrypy class HelloWorld: @cherrypy.expose def index(self): return "Hello, World!" if __name__ == "__main__": listen_port = int(os.getenv('X_ZOHO_CATALYST_LISTEN_PORT', 9000)) cherrypy.config.update({ "server.socket_host": "0.0.0.0", "server.socket_port": 9000 }) cherrypy.quickstart(HelloWorld()) ``` 4. You can now [initialize an AppSail service](https://docs.catalyst.zoho.com/en/cli/v1/initialize-resources/initialize-appsail/) in the same directory from the CLI or [add it](https://docs.catalyst.zoho.com/en/cli/v1/add-appsail/) in an existing project directory. The app's source must be your application's directory. Provide the following value while initializing the app service: **Stack**: Python_3_9 5. Ensure all the Python application files along with the `cherrypy` modules are present in the build directory you specify during initialization. Catalyst will automatically ZIP your app files during deployment to the remote console. 6. [Deploy the app service](https://docs.catalyst.zoho.com/en/cli/v1/deploy-resources/deploy-appsail/) to the console. 7. You can then configure the [startup command](https://docs.catalyst.zoho.com/en/serverless/help/appsail/appsail-configurations/#startup-commands) given below from the console: ```python python3 -u app.py ``` You can also configure this in the `app-config.json` file before deploying. Access the deployed app service from its [endpoint URL](https://docs.catalyst.zoho.com/en/serverless/help/appsail/console/overview/#appsail-url). -------------------------------------------------------------------------------- title: "Tornado" description: "Catalyst AppSail is a fully-managed PaaS component of Catalyst Serverless that enables you to develop and deploy services in Java, Node.js, and Python." last_updated: "2026-11-04T10:10:44.000Z" source: "https://docs.catalyst.zoho.com/en/serverless/help/appsail/help-guides/python/tornado/" service: "Serverless" -------------------------------------------------------------------------------- # Tornado Framework [Tornado](https://www.tornadoweb.org/en/stable/) is a Python web framework and an asynchronous networking library that relies on non-blocking network I/O to serve web applications. This framework is therefore ideal for handling a large number of active server connections, such as in websockets. Tornado also offers built-in internalization, quick request execution, and many other features. This example illustrates the steps to build a simple Python app with the Tornado framework. This application will then be bundled and associated with an AppSail service, and deployed to the console. 1. Create a new folder in your local system for the Tornado app. 2. Navigate to the directory from your terminal and execute the following command to install Tornado: ```python python3 -m pip install tornado -t. ``` 3. You can now create your python index file and name it `app.py` or anything of your choice. Add the logic you require in the application's code. Given below is a sample code for a basic "Hello World" program. ```python import os import tornado.ioloop import tornado.web class MainHandler(tornado.web.RequestHandler): def get(self): self.write("Hello, World!") if __name__ == "__main__": app = tornado.web.Application([ (r"/", MainHandler), ]) listen_port = int(os.getenv('X_ZOHO_CATALYST_LISTEN_PORT', 9000)) app.listen(listen_port, address='0.0.0.0') tornado.ioloop.IOLoop.current().start() ``` 4. You can now [initialize an AppSail service](https://docs.catalyst.zoho.com/en/cli/v1/initialize-resources/initialize-appsail/) in the same directory from the CLI or [add it](https://docs.catalyst.zoho.com/en/cli/v1/add-appsail/) in an existing project directory. The app's source must be your application's directory. Provide the following value while initializing the app service: **Stack**: Python_3_9 5. Ensure all the Python application files along with the `tornado` modules are present in the build directory you specify during initialization. Catalyst will automatically ZIP your app files during deployment to the remote console. 6. [Deploy the app service](https://docs.catalyst.zoho.com/en/cli/v1/deploy-resources/deploy-appsail/) to the console. 7. You can then configure the [startup command](https://docs.catalyst.zoho.com/en/serverless/help/appsail/appsail-configurations/#startup-commands) given below from the console: ```python python3 -u app.py ``` You can also configure this in the `app-config.json` file before deploying. Access the deployed app service from its [endpoint URL](https://docs.catalyst.zoho.com/en/serverless/help/appsail/console/overview/#appsail-url). ### Circuits -------------------------------------------------------------------------------- title: "Introduction" description: "Catalyst Circuits help you orchestrate and automate workflows and logic, and design their schematics through easy drag-and-drop." last_updated: "2025-09-16T18:51:08.000Z" source: "https://docs.catalyst.zoho.com/en/serverless/help/circuits/introduction/" service: "Serverless" -------------------------------------------------------------------------------- # Circuits ## Introduction Circuits is a Catalyst Serverless component that allows you to orchestrate tasks and automate workflows in Catalyst. A Catalyst circuit is essentially a JSON file that helps you systematically define and organize a sequence of tasks to be carried out automatically. With an execution engine powered by Catalyst, you can enable concurrent or sequential executions of Catalyst functions in a circuit, and additionally include conditions, data, and paths in the workflow to define a repeatable pattern of activities that achieves a business outcome. Circuits can be used to combine individual components of the application logic, manage multiple tasks in parallel, pass processed data between functions, or execute business actions based on a set of conditions. You can manage the coordination between the circuit components, and handle their dependencies, in accordance with the logical flow in the application. You can automate the execution of [Basic I/O functions](https://docs.catalyst.zoho.com/en/serverless/help/functions/basic-io/) in your Catalyst application using a circuit. You can either visually design the schematics of a circuit by dragging and dropping its elements, or build its JSON code in the Catalyst console. The console also enables you to test the execution of the circuit with different test cases and access detailed logs of each execution. > **Note:** * Circuits is currently not available to Catalyst users accessing from the EU, AU, IN, JP, SA or CA data centers. * You will not be able to execute Cron, Event, or Advanced I/O functions in a Catalyst circuit. This is because Catalyst supports the input and output of a circuit in the JSON format, that is supported by the Basic I/O functions alone. To practice working with Catalyst Circuits, refer to [this tutorial](https://docs.catalyst.zoho.com/en/tutorials/museum-finder/introduction/). ### SDK and API Documentation You can manually execute a circuit from the console, or trigger its execution using an API or through the Catalyst server SDKs. Refer to these SDK and API documentation for the code samples in Java, Node.js and Python environments, and the API details respectively. * [Circuits - Java SDK](https://docs.catalyst.zoho.com/en/sdk/java/v1/serverless/circuits/execute-circuit) * [Circuits - Node.js SDK](https://docs.catalyst.zoho.com/en/sdk/nodejs/v2/serverless/circuits/execute-circuit) * [Circuits - Python SDK](https://docs.catalyst.zoho.com/en/sdk/python/v1/serverless/circuits/execute-circuit) * [Circuits - API](https://docs.catalyst.zoho.com/en/api/code-reference/serverless/circuits/execute-circuit/#ExecuteCircuit) -------------------------------------------------------------------------------- title: "Key Concepts" description: "Catalyst Circuits help you orchestrate and automate workflows and logic, and design their schematics through easy drag-and-drop." last_updated: "2026-08-17T12:16:04.000Z" source: "https://docs.catalyst.zoho.com/en/serverless/help/circuits/key-concepts/" service: "Serverless" -------------------------------------------------------------------------------- # Key Concepts Before you learn about implementing Catalyst circuits, it is important to understand some fundamental concepts in detail. ### Components of a Circuit The workflow design of a Catalyst circuit contains various components that help you orchestrate the logic and data flow in it. #### Circuit States A state is a particular condition that the circuit is in, at a given point of time. It defines a specific task or process that is executed in that stage of the circuit. Circuit states can be broadly grouped under two categories: * **Flow Controls:** The flow control states orchestrate the flow of logic and data in the circuit. The following flow control states are available in Catalyst circuits: * Pass * Branch * Parallel * Wait * Batch * Success * Failure * **Functional:** The functional states define the actual operations that need to be executed in the circuit. The following functional control states are available in Catalyst circuits: * Function * Circuit We will discuss each of these states in detail in the [next section](https://docs.catalyst.zoho.com/en/serverless/help/circuits/key-concepts/#circuit-states-1). A circuit traverses from one state to the next during its execution in a step-by-step manner. Logic and data flow occurs between each state in the circuit. The following properties exist in the configuration of each state: * **Previous state:** The state that was traversed previous to the current state * **Next state:** The state that will be traversed after the current state The start of a circuit is marked by a key called **Start**, and the end of the circuit is marked by a key called **End**, in the [circuit's schematic flow diagram](https://docs.catalyst.zoho.com/en/serverless/help/circuits/key-concepts/#circuit-states-1). In the circuit's JSON code, if a state does not mention the `next` key, it is the last state, and if a state is not referred as `next` in any other states, it is the first state of the circuit. You can refer to [this section](https://docs.catalyst.zoho.com/en/serverless/help/circuits/key-concepts/#json-code) for a sample JSON code snippet. #### Input, Output, and Result A Catalyst circuit, in general, accepts an input when it is initiated and provides an output after it has executed. These are called the circuit input and circuit output. * **Circuit Input:** When you initiate the [execution of a circuit](https://docs.catalyst.zoho.com/en/serverless/help/circuits/implementation/#execute-a-circuit), you will need to provide input to the circuit as key-value pairs in the JSON format. Since Basic I/O functions, which are the functional elements of a circuit, process input in the JSON format, the circuit input supports the same. This input provided during the initiation is passed to the first state in the circuit. * **Circuit Output:** The input JSON is then processed and traversed through the states in the circuit, based on its workflow design and architecture. After the last state has been traversed, Catalyst generates the final output of the circuit obtained after its execution completes. You can view detailed execution logs and history of each execution from the console. You can manipulate the input JSON and provide custom input to each state for processing, or select a portion of the output from each state's processing to pass on to the next state based on your needs. You can also dynamically include the results of a processed state to the input JSON and pass it on. These are done by the following properties of a circuit state: * **Input path:** The input path allows you to select a portion of the state's input, and it passes it to the state's task for processing. For example, let the input JSON of a state be: ```json { name: Amelia Burrows gender: F age: 33 } ``` If you only want to send the `name` and `gender` variables as the input to a state, say a function, you can configure the input path of the function as `$.name,gender`. This refers to the JSON objects `name` and `gender` as the input path. Catalyst imports the external `JsonPath` library to define the input path, output path, and the result path of a state in a circuit. Therefore, you can use all the expressions supported by `JsonPath` in your path definitions. Refer to this [GitHub documentation on the `JsonPath` syntax](https://github.com/json-path/JsonPath). * **Output path:** The output path allows you to select a portion of the state's output, and it passes it on to the next state for processing. For example, let the output JSON of a state be: ```json [ 26, "John Kemper", { "streetAddress": "Sunshine Avenue", "city": "Austin", "postalCode": "630-0231" } ] ``` You can select only the values of the `age` and `name` objects (26, John Kemper) from the output to pass on to the next state, by configuring the output path of the state as `$.age,name`. * **Result path:** The result path allows you to combine parts of the state's input and the result of the state's execution, as the output of the state. In other words, you can append the state's result to the input JSON provided to the state, and modify the JSON. You can then pass this modified JSON as the state's output to the next state for processing. For example, let a function in a circuit process an input JSON that contains two objects called `presentDays` and `totalWorkingDays`. The output of the function's processing generates a new value that is assigned to a variable called `attendancePercentage` in its output. If you want to include the value obtained for `attendancePercentage` to the original JSON, you can provide the result path as `$.attendancePercentage`. The JSON will then be modified as: ```json [ 180, 200, 90 ] ``` Where the value for `presentDays` is 180, `totalWorkingDays` is 200, and `attendancePercentage` is 90. You can now pass this output to the next state for processing. > **Note:** Not all states support all three of these properties. The next section provides details about the specific properties and configuration available for each state. ### Circuit States As discussed previously, the circuit states can be grouped as flow control states or functional states. Let's learn about each state in detail, and the configurations available for them. This is the _Builder View_ of a circuit. This section displays images of the configurations available for each state for your reference. To learn about the steps involved in creating a circuit and adding states in it, refer to the [Implementation section](https://docs.catalyst.zoho.com/en/serverless/help/circuits/implementation/). ![Circuits- States](https://catalyst-docs-development.zohostratus.in/images/help/circuits/catalyst_circuits_sample_circuit.webp) #### Function The function state is a functional element that represents a Basic I/O function. The function states are the core elements of a circuit, where a large portion of the logic is processed. All the other flow control states help you manipulate and customize the functions processing in a circuit. You can enter names for all the states in a circuit, select their type, and select their next states while [configuring the circuit](https://docs.catalyst.zoho.com/en/serverless/help/circuits/implementation/#configure-a-circuit) in the console. You can delete a particular state by clicking **Delete State** below the configuration window. When you select a function state, you can link it with a Basic I/O function configured in your Catalyst project by selecting it from the dropdown list. ![Circuits- States Function](https://catalyst-docs-development.zohostratus.in/images/help/circuits/catalyst_circuits_function_1.webp) **Error Handling:** The function state supports error handling to handle frequently occurring errors during the function execution. You can configure the actions to be taken during **On TimeOut**, **On Authorization Failure**, or **On Execution Failure** errors. Click the checkbox of an error to enable it. All three error handlers support two default actions: Retry and Fallback. Click **Retry** or **Fallback** to enable them. ![Circuits- Function State](https://catalyst-docs-development.zohostratus.in/images/help/circuits/catalyst_circuits_function_2.webp) The retry option ensures that the function execution is re-tried if that particular error occurs. You can configure the following properties in retry: * **Delay:** Defines the time duration to wait before attempting the first retry * **Attempt:** Defines the number of retry attempts to be made * **Step Delay:** Defines the time duration to wait in between each attempt The fallback option is used to set the action to be performed when all retries fail. This allows you to choose another state in the circuit to fall back to, when the retries fail. Select a state from the drop down list to fallback to. Enter the path of the error trace under _Result_ in the [`JsonPath` syntax](https://github.com/json-path/JsonPath) while entering this value. If the retry attempts fail, the circuit is set to the state configured here, and the error trace is generated. Click **Save** to save the handler. The error handlers of all three default errors (On TimeOut, On Authorization Failure, On Execution Failure) have the same actions and configuration. In addition to these default error handlers, you can define custom errors and handle the actions to occur upon receiving that error. You can code the function to process the custom error handler for a specific error that is met. Click **Add Custom Error** under _Error Handling_ in the state's configuration. Enter a name for the custom error in the pop-up window's header. You can select either **Error Code** or **Error Message** as the exception type. Provide an exception value in both cases. This will be the error message or code displayed when the error occurs. ![Circuits- Function State](https://catalyst-docs-development.zohostratus.in/images/help/circuits/catalyst_circuits_function_3.webp) You can enable and configure both Retry and Fallback for a custom error, like the default error handlers. Click **Save** after configuring it. You can delete a custom error by clicking the **delete icon**. ![Circuits- Function State](https://catalyst-docs-development.zohostratus.in/images/help/circuits/catalyst_circuits_function_6.webp) Catalyst considers all HTTP status codes of the 200 series (200-299) as a successful execution for a Basic I/O function. If the function returns a status code in its response other than one of the 200 series, for example 502, Circuits will check the function's error handling configuration for a custom error handler match. If a match is found, the logic configured for it will be executed. If the error code has not been handled, the circuit execution will be considered as a failure. If you configure an error message, you can handle it however you need in the function's logic. **Input/Output:** You can configure the input, output, and result paths of a function state, as discussed [in this section](https://docs.catalyst.zoho.com/en/serverless/help/circuits/key-concepts/#components-of-a-circuit). You can also pass configure individual parameters to be passed to a function from this section. You can select a specific set of parameters from the JSON circuit input to be passed to the function using the input path. For example, let the input JSON passed to a circuit be: ```json "personalDetails":{ "name":"Patricia Boyle", "age" : 26, "address":"13, Orchid Lane, NY" }, "company":"Zylker Corporation", "empDetails":{ "department":"Sales", "designation":"Sales Manager" } ``` If you need to pass the entire input to a function that is configured in the circuit as its [payload](https://docs.catalyst.zoho.com/en/serverless/help/circuits/implementation/#execution-history-of-a-circuit), you can [pass it to the circuit](https://docs.catalyst.zoho.com/en/serverless/help/circuits/implementation/#configure-a-circuit) in the default way, while initiating the circuit. The key-value pairs in this input will be passed as the function's parameters automatically. If you require only a certain set of parameters to be passed to the function, you can configure the key of the parameter set, in the input path. For example, to pass the `company` and `empDetails` parameters alone, you can provide the input path to the function as: $.company,empDetails using the [`JsonPath` syntax](https://github.com/json-path/JsonPath). ![Circuits- Function State](https://catalyst-docs-development.zohostratus.in/images/help/circuits/catalyst_circuits_function_4.webp) You can also choose individual parameters to be passed to the function using the _Parameters_ option. This option also allows you to pass additional values to the function that are not present in the JSON circuit input. Click **Add Parameters** to add a parameter and value. ![Circuits- Function State](https://catalyst-docs-development.zohostratus.in/images/help/circuits/catalyst_circuits_function_5.webp) For example, you can choose to pass only the name and designation to the function as parameters by configuring `name` and `designation` as the parameter keys and entering their paths in the [`JsonPath` syntax](https://github.com/json-path/JsonPath) as parameter values. You can remove a parameter by clicking **Remove**. A [Catalyst Basic I/O function's response](https://docs.catalyst.zoho.com/en/serverless/help/functions/basic-io/) delivers the function's output using the key `output`. When you configure a function in a circuit, you need not provide the `output` key explicitly in the function's output path or result path. Catalyst handles it by default, and delivers the output value automatically. If the circuit is configured to pass the function's output to the next state after it, Catalyst automatically passes the output as the payload without any additional configurations. For example, this JSON output of a function, ```json [ 180, 90 ] ``` is passed as the JSON input to the next state in the circuit as the payload during the circuit execution. The [execution log](https://docs.catalyst.zoho.com/en/serverless/help/circuits/implementation/#execution-history-of-a-circuit) of the circuit provides links to the function that was executed and to the [Catalyst Logs](https://docs.catalyst.zoho.com/en/devops/help/logs/introduction/) that contains the log of that specific function, for a function state. #### Circuit The circuit state is a representation of a nested circuit. You can process another circuit inside the parent circuit. When a circuit state is triggered, the child circuit is executed as configured in Catalyst Circuits. You can also have nested circuits inside a child circuit. This enables you to configure simple and independent circuits for different purposes, and nest them within each other, rather than configuring one complex circuit for a complicated workflow pattern. You can select the child circuit using its [reference name](https://docs.catalyst.zoho.com/en/serverless/help/circuits/implementation/#create-a-circuit) from the _Circuit Name_ drop down box in a circuit state. You will also be able to select the parent circuit itself for a circuit state. This executes the same circuit in a loop, whose logic you can configure. ![Circuits- Circuit State](https://catalyst-docs-development.zohostratus.in/images/help/circuits/catalyst_circuits_circuit_1.webp) The circuit state also supports default error handlers, and custom error handlers, as the function state. However, unlike the function state, the circuit state has only one action for its default or custom error handler: Retry. Refer to the [Functions section](https://docs.catalyst.zoho.com/en/serverless/help/circuits/key-concepts/#function) for information about retry and custom error handlers. ![Circuits- Circuit State](https://catalyst-docs-development.zohostratus.in/images/help/circuits/catalyst_circuits_circuit_3.webp) You can write your own logic for the actions to be performed if all retry operations fail. For example, you code for the circuit to re-execute, or end it and send a notification about the issue. You can manipulate the JSON data that is passed through the circuit state by configuring its input path, output path, or the result path, as described in the [previous section](https://docs.catalyst.zoho.com/en/serverless/help/circuits/key-concepts/#components-of-a-circuit) and in the [Function state](https://docs.catalyst.zoho.com/en/serverless/help/circuits/key-concepts/#function). ![Circuits- Circuit State](https://catalyst-docs-development.zohostratus.in/images/help/circuits/catalyst_circuits_circuit_2.webp) The [execution log](https://docs.catalyst.zoho.com/en/serverless/help/circuits/implementation/#execution-history-of-a-circuit) of the circuit also provides a link to the nested circuit's log for easy reference. #### Pass The pass state is a flow control state that enables the data of a circuit to pass from one state to another. By default, it simply passes on the JSON input data from its previous state to its next state. ![Circuits- Pass State](https://catalyst-docs-development.zohostratus.in/images/help/circuits/catalyst_circuits_pass_1.webp) You can manipulate the JSON data that is passed through a pass state by configuring its input path, output path, or the result path, as described in the [previous section](https://docs.catalyst.zoho.com/en/serverless/help/circuits/key-concepts/#components-of-a-circuit). For example, you can select a portion of the JSON data alone to be passed on to its next state by configuring its input path. The pass state also has a new property called **result** in addition to the input, output, and result paths. This is not available for any other states. ![Circuits- Pass State](https://catalyst-docs-development.zohostratus.in/images/help/circuits/catalyst_circuits_pass_2.webp) The result property enables you to append a new object to the JSON, and pass the modified JSON to the next state. For example, in an input JSON that contains the objects `name`, `age`, and `gender`, you can append a new parameter called `location` as `$.location` in the pass state's result path. You can enter the value for location in the result box. The modified JSON will then contain the objects `name`, `age`, `gender`, and `location`. #### Branch The branch state enables you to set up conditions in the circuit's workflow, and execute tasks based on those conditions. You can create branches in the flow of the circuit if the input data meets a specific set of criteria, and execute different states in each branch. For example, assume that the output of the state prior to a branch in a circuit generates the values for a JSON object `status` as `complete` or `incomplete`. If the `status` is `complete`, you require the circuit to traverse to a [success state](https://docs.catalyst.zoho.com/en/serverless/help/circuits/key-concepts/#success). If the `status` is `incomplete`, you require the circuit to traverse to a [failure state](https://docs.catalyst.zoho.com/en/serverless/help/circuits/key-concepts/#failure). To achieve this outcome, you can add a condition as `$.status == 'complete'` and configure the 'Go To' to a success state. Similarly, you can add another condition as `$.status=='incomplete'` and set it to a failure state. ![Circuits- Branch State](https://catalyst-docs-development.zohostratus.in/images/help/circuits/catalyst_circuits_branch_1.webp) You can add a condition by clicking **Add Condition**, then you can enter the condition and select the next state of that branch. Configure that state as the type that you require. You can remove a condition by clicking **Remove**. The following operators are supported by Catalyst for the conditional statements in the branch state:
Operators Description
== Left is equal to right (note that 1 is not equal to ‘1’)
!= Left is not equal to right
< Left is less than right
<= Left is less than or equal to right
> Left is greater than right
>= Left is greater than or equal to right
=~ Left matches the regular expression [?(@.name =~ /foo.*?/i)]
in Left exists in right [?(@.size in [‘S’, ‘M’])
nin Left does not exist in right
size Size of left (array or string) should match right
empty Left (array or string) should be empty
The conditional statements also support the following built in functions:
Function Description Output
min() Provides the min value of an array of numbers Double
max() Provides the max value of an array of numbers Double
avg() Provides the average value of an array of numbers Double
stddev() Provides the standard deviation value of an array of numbers Double
length() Provides the length of an array Integer
sum() Provides the sum value of an array of numbers Double
You can also use the [`JsonPath`](https://github.com/json-path/JsonPath) syntax to access an object's path in the condition. The branch state has a default pathway that you can link with the next state of the entire branch state. If none of the configured conditions are met, the default branch is followed, and that state is executed. You can configure the [input and output paths](https://docs.catalyst.zoho.com/en/serverless/help/circuits/key-concepts/#components-of-a-circuit) of a branch state as described previously. ![Circuits- Branch State](https://catalyst-docs-development.zohostratus.in/images/help/circuits/catalyst_circuits_branch_2.webp) #### Parallel The parallel state enables you to process multiple states in parallel, instead of in a sequential manner. When you assign two states to be processed in parallel, both the processes are initiated at the same time, and their input, output, and results are processed and generated concurrently. The states are also exited at the same time. You can check the parallel processing from the [execution logs](https://docs.catalyst.zoho.com/en/serverless/help/circuits/implementation/#execution-history-of-a-circuit) after the circuit has been executed. For example, if you require two functions to be executed in parallel, you can add two states for them respectively, and configure them as paths in the parallel state. You can add paths in a parallel state for each state that needs to be executed in the parallel processing by clicking **Add Path**. You can enter the name of the paths and configure the state types. ![Circuits- Parallel State](https://catalyst-docs-development.zohostratus.in/images/help/circuits/catalyst_circuits_parallel_1.webp) > **Note:** You will not be able to configure a success, failure, or another parallel state within a parallel state. This is because the success and failure states are end states and do not perform any tasks, and Catalyst does not support nested parallel states. You can configure the [input, output, and result paths](https://docs.catalyst.zoho.com/en/serverless/help/circuits/key-concepts/#components-of-a-circuit) of a parallel state as discussed previously. ![Circuits- Parallel State](https://catalyst-docs-development.zohostratus.in/images/help/circuits/catalyst_circuits_parallel_2.webp) #### Wait The wait state enables you to pause the execution of the circuit for a particular duration of time, before resuming it again and traversing to the next state. For example, if you require a function's execution to be triggered with a delay of three seconds after the processing of the previous state, you can use this. You can set the duration of delay in seconds in its configuration. ![Circuits- Wait State](https://catalyst-docs-development.zohostratus.in/images/help/circuits/catalyst_circuits_wait_1.webp) You can configure the [input and output paths](https://docs.catalyst.zoho.com/en/serverless/help/circuits/key-concepts/#components-of-a-circuit) of a wait state as discussed previously. ![Circuits- Wait State](https://catalyst-docs-development.zohostratus.in/images/help/circuits/catalyst_circuits_wait_2.webp) #### Batch The batch state enables you to execute a function or a circuit in batches as multiple jobs in an iterative manner. Batch processing allows you to process a large volume of input or tasks in sets, so that the server is not overwhelmed with heavy loads. If the input contains an array of JSON objects, you can process each JSON object simultaneously using the batch state. This batch state enables the associated function or circuit to be triggered in parallel multiple times, based on the number of jobs configured. For example, if a Basic I/O function is configured to send an email to a large number of customers, you can process it in the batch state and set the number of jobs to 10, so that the function is executed 10 times simultaneously in a single iteration. When the 10 jobs have been executed, another 10 jobs are initiated in the next iteration. Since multiple instances of a function or a circuit are executed, this ensures that they do not face a timeout error. ![Circuits- Batch State](https://catalyst-docs-development.zohostratus.in/images/help/circuits/catalyst_circuits_batch_1.webp) You can bind the batch state to a specific function or circuit, by choosing the bind type and the [circuit reference name](https://docs.catalyst.zoho.com/en/serverless/help/circuits/implementation/#create-a-circuit) or function name from the drop down lists. You can configure the following properties of a batch state: * **Collection path:** The path that contains the JSON list, written in the [`JsonPath` syntax](https://github.com/json-path/JsonPath) * **Collection variable:** The variable that is assigned to contain the JSON output For example, a JSON input contains a list of two JSON objects as an array as follows: ```json { "userList":[{"name":"Paul"},{"name":"Max"}] } ``` We pass this input to a batch that is associated with a function. We define the collection path as `$.userlist`, indicating that the object containing the list array is available in that path. We enter the collection variable as `user`, assigning it as the variable to hold the output. If we enter the number of jobs as 2, the associated function, which returns the `name` object, is called two times parallelly and the input is passed to it. The output of the first iteration is generated as: ```json { "userList": [{"name": "Paul" },{"name": "Max"}], "user":{"name": "Paul"} } ``` The output of the second iteration contains the value of `Max` assigned to the name parameter: ```json { "userList": [{"name": "Paul" },{"name": "Max"}], "user":{"name": "Max"} } ``` Both iterations happen simultaneously. If you assign `$.userlist` in the result path of the batch, you can pass the output containing the JSON list to the next state. ![Circuits- Batch State](https://catalyst-docs-development.zohostratus.in/images/help/circuits/catalyst_circuits_batch_2.webp) Catalyst can execute a maximum of 10 jobs in a batch state. You can define this in the batch's configuration. The batch state supports default and custom error handlers similar to the [circuit state](https://docs.catalyst.zoho.com/en/serverless/help/circuits/key-concepts/#circuit). It has one action for its default or custom error handler: Retry. Refer to the [Function section](https://docs.catalyst.zoho.com/en/serverless/help/circuits/key-concepts/#function) for information about retry and custom error handlers. ![Circuits- Batch State](https://catalyst-docs-development.zohostratus.in/images/help/circuits/catalyst_circuits_batch_3.webp) You can write your own logic for the actions to be performed if all retry operations fail. For example, you code for the circuit to re-execute, or end it and send a notification about the issue. You can configure the [input, output, and result paths](https://docs.catalyst.zoho.com/en/serverless/help/circuits/key-concepts/#components-of-a-circuit) of a batch state. You can also pass parameters to the function being processed in the batch state dynamically, similar to the function state. Refer to the [Function section](https://docs.catalyst.zoho.com/en/serverless/help/circuits/key-concepts/#function) for details. ![Circuits- Batch State](https://catalyst-docs-development.zohostratus.in/images/help/circuits/catalyst_circuits_batch_6.webp) The [execution log](https://docs.catalyst.zoho.com/en/serverless/help/circuits/implementation/#execution-history-of-a-circuit) of the circuit provides links to the function or circuit that was executed, and to the [Catalyst Logs](https://docs.catalyst.zoho.com/en/devops/help/logs/introduction) that contains the log of that function, for a batch state. #### Success The success state is an end state that is used to determine the success of the previous operation or task executed in the circuit. It is used to represent a successful execution for the user's reference. For example, you could use the success state along with a failure state in a branch to mark the outcomes of two processes in it based on different conditions, or use it after a function execution to indicate the success of the execution. The success state does not have any configuration or properties, as it is the final state of that particular path in the circuit. You will not be able to set any next state after it. ![Circuits- Success State](https://catalyst-docs-development.zohostratus.in/images/help/circuits/catalyst_circuits_success_1.webp) You will also not be able to configure an input path or output path for a success state. #### Failure The failure state is also an end state that is used to determine the failure of the previous operation or task executed in the circuit. It is used to represent a failed execution for the user's reference. You can use the failure state similar to the success state, and in other scenarios to mark the failure of a process or a task execution. You will not be able to set a next state for a failure state, as it is the final state of that particular path in the circuit. You can provide an error message and an optional reason in the state for your reference, if this state is traversed. ![Circuits- Failure State](https://catalyst-docs-development.zohostratus.in/images/help/circuits/catalyst_circuits_failure_1.webp) You will not be able to configure an input path or output path for a failure state. ### JSON Code As mentioned earlier, you can also directly code a circuit in the JSON format from the console. The _Code View_ section enables you to work on the code directly. The code is automatically generated as you drag and drop states in the flow diagram. Refer to the [Implementation section](https://docs.catalyst.zoho.com/en/serverless/help/circuits/implementation/#configure-a-circuit) for more information. A state name is a JSON object and its properties are the key-value pairs of that object. Properties like `type` and `next` are commonly used for all states. If a state does not mention the `next` key, it is the last state in the circuit. If a state is not referred as `next` in any other states, it is the first state of the circuit. You must follow the standard JSON syntax while coding a circuit. A sample code snippet of circuit is shown below: ![Circuits- JSON Code](https://catalyst-docs-development.zohostratus.in/images/help/circuits/catalyst_circuits_sample_json.webp) ### Circuit URL When you create a circuit in your Catalyst project, a unique invocation URL will be generated for it automatically. You can trigger the circuit from this end point URL. You can implement this URL in your application's code or use it as you require. You can obtain the URL of a circuit [from the console](https://docs.catalyst.zoho.com/en/serverless/help/circuits/implementation/#configure-a-circuit). A Circuit URL is in the following format:

https://project_domain_name.environment_type.zohocatalyst.com/baas/v1/project/_project_ID_/circuit/circuit_ID/execute

This URL must be invoked with the HTTP `POST` method. The `project\_domain\_name` is the [domain name](https://docs.catalyst.zoho.com/en/getting-started/set-up-a-catalyst-project/environment-settings/) of your project. The `environment\_type` is `development`, if you are working in the [development environment](https://docs.catalyst.zoho.com/en/deployment-and-billing/environments/introduction/). Otherwise, the `environment\_type` is not present in the URL. -------------------------------------------------------------------------------- title: "Benefits" description: "Catalyst Circuits help you orchestrate and automate workflows and logic, and design their schematics through easy drag-and-drop." last_updated: "2023-06-07T13:01:04.000Z" source: "https://docs.catalyst.zoho.com/en/serverless/help/circuits/benefits/" service: "Serverless" -------------------------------------------------------------------------------- ### Benefits 1. **Orchestrate and Automate Tasks** Catalyst circuits are highly beneficial in automating major portions of your application logic in elaborately designed workflows. The circuit triggers each configured state automatically, passes customized data to the states based on its configuration, handles the flow of application logic at every step, performs error handling and more. Your Catalyst application therefore executes in order as you orchestrate it. You can coordinate various individual components of your microservice to work together as you need, and enable collaboration between them. 2. **Configure Complex Workflows Easily** The business requirements and workflows of a Catalyst application are translated into flow diagrams that are easy to comprehend and work on. The flow diagram of a circuit provides a quick glance over the application logic and helps you visualize it as a series of steps. It enables you to understand the circuit's flow without efforts, detect problem areas, modify its elements, arrange states or easily remove them without even writing code. Catalyst Circuits enhances your application design and evolves it as well-structured and organized. 3. **Diagnose Errors and View Detailed Logs** The error handling functionality in a circuit, combined with compilation errors feature and detailed logs, enable you to easily diagnose and debug problems in the workflow. You can define custom actions to be taken during errors in the function, batch, and circuit states. This enables Catalyst to manage errors like execution timeouts and failure, and authorization failure automatically. Catalyst also displays compilation errors in a circuit's configuration before you even execute it. The detailed logs of each execution also provide the status of each state's task execution, the payload and parameters passed, and the responses and exceptions generated. You can also refer to [Catalyst Logs](https://docs.catalyst.zoho.com/en/devops/help/logs/introduction/) for individual function logs. 4. **Write Less Code** Catalyst offloads responsibilities from Catalyst Basic I/O functions by implementing functionalities like conditional branching, delays, passing custom input, parallel execution, batch processing separately in circuits. This ensures that you build multi-step, feature-rich applications easily, by preventing you from writing extra or repeated code. You can assign repeatable actions and patterns in a circuit, orchestrate it according to your needs, and automate the execution of the circuit and all its task processes with less code. 5. **Execute Circuits from the Console** You can execute circuits from the console to test its flow and verify the generated output. This feature allows you to provide different input JSON data for different test cases, view the circuit's processing in the flow diagram, and check reports of each state's execution and response, and more. Based on the results generated, you can easily reorganize or swap states, rearrange the steps, provide different inputs, and perform tests for different conditions to achieve desired outcomes. You can then implement the circuit in your application after you finalize its workflow design. -------------------------------------------------------------------------------- title: "Use Cases" description: "Catalyst Circuits help you orchestrate and automate workflows and logic, and design their schematics through easy drag-and-drop." last_updated: "2023-06-07T13:01:04.000Z" source: "https://docs.catalyst.zoho.com/en/serverless/help/circuits/use-cases/" service: "Serverless" -------------------------------------------------------------------------------- ### Use Cases Catalyst Circuits can be used for a variety of purposes in your Catalyst application. The following are some use cases of Catalyst circuits: * A data processing application implements Catalyst circuits to execute jobs involving a large volume of input data and heavy computations, and generates a large volume of output data. It uses the batch processing feature in the circuits to perform a robust and effective execution of the Basic I/O functions. The complex workflow is also broken down into multiple circuits that are nested within each other for a better organization of the application's logic. * An application that performs routine backups, installations, and upgrades periodically uses Catalyst circuits to automate the tasks to be executed in the background. The scheduling is handled by [Catalyst Cron](https://docs.catalyst.zoho.com/en/cloud-scale/help/cron/introduction/) and cron functions, and they are coded to trigger the circuit's API. The circuit handles all the recurring tasks like data synchronization and patch management automatically. It also responds to timeouts and errors, and retries failed tasks. * An event-driven application that sends custom emails to clients, and performs tasks based on the occurrence of specific events or conditions implements Catalyst circuits. It uses the branch functionality to execute different actions based on the conditions, and processes functions in parallel to achieve multiple outcomes simultaneously. Catalyst Circuits can also be implemented in the following scenarios: * Applications that contain distributed microservices for performing independent operations requiring occasional collaboration * Tools that consolidate and refine datasets from multiple data sources and perform detailed analytics * Applications that train and generate machine learning models * DevOps and IT automation tools that perform continuous integration and continuous deployment * Automating tasks such as report generation, inventory tracking, order fulfilment and tracking, receipt generation in e-commerce applications * Automating tasks such as user management, sending custom push notifications based on specific conditions, and user-generated file management in applications -------------------------------------------------------------------------------- title: "Implementation" description: "Catalyst Circuits help you orchestrate and automate workflows and logic, and design their schematics through easy drag-and-drop." last_updated: "2026-10-29T09:21:03.000Z" source: "https://docs.catalyst.zoho.com/en/serverless/help/circuits/implementation/" service: "Serverless" -------------------------------------------------------------------------------- # Implementation The implementation section covers configuring and testing a Catalyst circuit from the console. To implement circuits in your Catalyst application, refer to the [Java SDK](https://docs.catalyst.zoho.com/en/sdk/java/v1/serverless/circuits/execute-circuit/), [Node.js SDK](https://docs.catalyst.zoho.com/en/sdk/nodejs/v2/serverless/circuits/execute-circuit/), [Python SDK](https://docs.catalyst.zoho.com/en/sdk/python/v1/serverless/circuits/execute-circuit/) and [API documentation](https://docs.catalyst.zoho.com/en/api/code-reference/serverless/circuits/execute-circuit/#ExecuteCircuit). ### Create a Circuit > **Note:** Catalyst allows you to create up to 50 circuits in a project. To create your first circuit in your project from the Catalyst console: 1. Navigate to **Circuits** under *Orchestration* in the Catalyst Serverless console and click **Create your first circuit**. ![Circuits- Create a Circuit](https://catalyst-docs-development.zohostratus.in/images/help/circuits/catalyst_circuits_create_circuit_1.webp) 2. Enter a name for the circuit and click **Create**. ![Circuits- Create a Circuit](https://catalyst-docs-development.zohostratus.in/images/help/circuits/catalyst_circuits_create_circuit_2.webp) The circuit will be created and the _Builder View_ will open. ![Circuits- Circuit Created](https://catalyst-docs-development.zohostratus.in/images/help/circuits/catalyst_circuits_builder_view.webp) You can click the arrow mark near the circuit's name to navigate to the _Circuits_ page. A unique **Circuit ID** and a unique **Circuit Reference Name** will be created for the circuit. This is the reference name that is used when you nest a circuit using the [circuit state](https://docs.catalyst.zoho.com/en/serverless/help/circuits/key-concepts/#circuit), or when you associate a [batch state](https://docs.catalyst.zoho.com/en/serverless/help/circuits/key-concepts/#batch) to a circuit. The circuit ID is used to refer to the circuit when working with the SDKs and API. ![Circuits- Circuit Created](https://catalyst-docs-development.zohostratus.in/images/help/circuits/catalyst_circuits_index_page.webp) ### Configure a Circuit Let us now configure the circuit that we created. Click the circuit's name from the Circuits page to open the _Builder View_. You can now drag and drop states from the left panel to the circuit. ![Circuits- Configure a Circuit](https://catalyst-docs-development.zohostratus.in/images/help/circuits/catalyst_circuits_left_panel.webp) When you drag and drop a state, a pop-up window will open. You can enter the details of the state, such as the state name, previous state, and next state in it. Click **Create** to create the state. ![Circuits- Configure a Circuit](https://catalyst-docs-development.zohostratus.in/images/help/circuits/catalyst_circuits_create_state.webp) The state will be displayed in the flow diagram. You can now configure the state, provide input and output paths, remove parameters, delete states, and more. ![Circuits- Configure a Circuit](https://catalyst-docs-development.zohostratus.in/images/help/circuits/catalyst_circuits_configure_state.webp) Refer to this [Key Concepts section on states](https://docs.catalyst.zoho.com/en/serverless/help/circuits/key-concepts/#circuit-states-1) for details about the configuration and properties available for each state. You can also change the view to horizontal, auto arrange the states in the flow diagram, zoom in, or zoom out using the icons on the right side. ![Circuits- Configure a Circuit](https://catalyst-docs-development.zohostratus.in/images/help/circuits/catalyst_circuits_builder_view_2.webp) You can also click **Code View** to view the auto-generated JSON code of the circuit. Any changes that you make in the code or in the diagram, will be reflected in the other automatically. You can click the **refresh icon** if the live reflection is delayed. ![Circuits- Configure a Circuit](https://catalyst-docs-development.zohostratus.in/images/help/circuits/catalyst_circuits_code_view.webp) You can access the Circuit URL by clicking **Get Invocation URL** from the bottom left corner. ![Circuits- Configure a Circuit](https://catalyst-docs-development.zohostratus.in/images/help/circuits/catalyst_circuits_url.webp) Once you have configured the circuit, click **Save**. ### Circuit Compilation Errors Before you execute a circuit, Catalyst performs a compilation error check in the circuit's configuration or structure. When you click **Save** or **Save and Execute** after configuring a circuit, Catalyst will immediately run a compilation check on the circuit, and list out the errors in its state configurations, design, and logic flow. These are non-dependant and possible errors that Catalyst identifies before running the circuit with the input you provide. This will enable you to verify and perform fixes in your circuit's design and configuration even before you execute it. For example, in the circuit shown below, the parameters of two branch states have not been defined. Additionally, the states are configured in a cyclical loop without defining any conditions to end the loop. When you click **Save** or **Save and Execute** here, Catalyst will immediately display these errors as shown below. ![Circuits- Compilation Errors](https://catalyst-docs-development.zohostratus.in/images/help/circuits/catalyst_circuits_execute_error.webp) After you initiate a circuit's execution, Catalyst will be able to detect dynamic errors related to the test condition, data flow, and other run time issues, and provide you detailed logs of each event. This will be explained in the next section. ### Execute a Circuit You can execute a circuit with different test conditions and inputs, and view the generated results. To execute a circuit: 1. Click **Save and Execute** from the bottom-right corner of the circuit's page. 2. Provide the [input for the circuit](https://docs.catalyst.zoho.com/en/serverless/help/circuits/key-concepts/#input-output-and-result) in the JSON format as key-value pairs and click **Next**. ![Circuits- Execute a Circuit](https://catalyst-docs-development.zohostratus.in/images/help/circuits/catalyst_circuits_execute.webp) 3. Provide a name for the test case and click **Run**. ![Circuits- Execute a Circuit](https://catalyst-docs-development.zohostratus.in/images/help/circuits/catalyst_circuits_execute_2.webp) You can view the live execution of the circuit from the **View Graph** section. ![Circuits- Execute a Circuit](https://catalyst-docs-development.zohostratus.in/images/help/circuits/catalyst_circuits_graph_1.webp) Once the circuit has been executed, you can view the execution details, such as the input, output, and the duration of the execution, from the right panel. You can click **Stop Execution** to stop it at any time. ![Circuits- Execute a Circuit](https://catalyst-docs-development.zohostratus.in/images/help/circuits/catalyst_circuits_graph_2.webp) You can view the paths that were traversed in the circuit, the status of each state represented by a color code mentioned at the top, and the overall status of the circuit execution as well. The _View Graph_ is a part of the execution history of the circuit. The next section covers details about it. ### Execution History of a Circuit You can access the execution history of a circuit any time by clicking **View Execution History** on the top right corner from the circuit's page. This opens a list of all the executions of the circuit, along with their unique Execution ID and other details. ![Circuits- Execute a Circuit](https://catalyst-docs-development.zohostratus.in/images/help/circuits/catalyst_circuits_exec_history.webp) You can open a particular execution to check its execution graph, the circuit's code, and the execution's logs. Click **View Logs** to view the logs of the execution. ![Circuits- Execute a Circuit](https://catalyst-docs-development.zohostratus.in/images/help/circuits/catalyst_circuits_logs.webp) The logs provide details of the task execution in each state. They display the following details: * **Timeline:** Displays the date and time of a particular event in a state, along with icons to indicate the event type * **State:** Refers to the [state](https://docs.catalyst.zoho.com/en/serverless/help/circuits/key-concepts/#circuit-states-1) in which a particular event is executed * **Event:** Refers to the specific event that occurred in the state. The common events of all states include: _State Entered_, _Input Processing_, _Result Processing_, _State Exited_. Some states have additional custom events. For example, the wait state has a _State Time Waiting_ event that lasts until the wait time ends. The function state has _Function Triggered_ and _Function Executed_ events after the _Input Processing_ event. The success and failure states only have _Success State Reached_ and _Failure State Reached_ events, since they are end states. The beginning and the end of the circuit executions are marked by _State Machine Triggered_ and _State Machine Executed_ events. * **Payload:** Refers to the input JSON that is transmitted from one state to the next in the circuit. The payload of a state is its input which will be processed by it. * **Parameter:** Refers to the additional parameters that are provided by the user. Parameters can be provided in the function and batch states. * **Response:** Refers to the output generated by the state after its processing. If any values are given in the output path or the result path of the state, the output is modified accordingly. * **Exception:** Refers to any exceptions that might be generated by the state. If the state's processing fails, you can view the exception details from here. The detailed log enables you to effectively assess failures and detect bugs in each state's execution in a circuit. As mentioned earlier, the logs of the function, circuit, and batch states contain links to the function's page, [Catalyst Logs](https://docs.catalyst.zoho.com/en/devops/help/logs/introduction/), or to the nested circuit's logs for easy access. The **View Code** section displays the circuit's code, along with the execution details. ![Circuits- Execute a Circuit](https://catalyst-docs-development.zohostratus.in/images/help/circuits/catalyst_circuits_view_code.webp) ### Rename a Circuit To rename a circuit from the Catalyst console: 1. Click the **ellipsis icon** for the circuit in the _Circuits_ page, and click **Rename**. ![Circuits- Rename a Circuit](https://catalyst-docs-development.zohostratus.in/images/help/circuits/catalyst_circuits_rename.webp) 2. Enter a new name for the circuit and press **Enter**. ![Circuits- Rename a Circuit](https://catalyst-docs-development.zohostratus.in/images/help/circuits/catalyst_circuits_rename_2.webp) > **Note:** You will not be able to modify the [reference name](https://docs.catalyst.zoho.com/en/serverless/help/circuits/implementation/#create-a-circuit) of the circuit. You can only modify the circuit's name. ### Delete a Circuit To delete a circuit from the Catalyst console: 1. Click the **ellipsis icon** for the circuit in the _Circuits_ page, and click **Delete**. ![Circuits- Delete a Circuit](https://catalyst-docs-development.zohostratus.in/images/help/circuits/catalyst_circuits_delete.webp) 2. Click **Yes, Proceed** in the confirmation window. ![Functions- Delete a Circuit](https://catalyst-docs-development.zohostratus.in/images/help/circuits/catalyst_circuits_delete_confirmation.webp) ### Functions -------------------------------------------------------------------------------- title: "Introduction" description: "Catalyst Functions are cloud-based, custom-built, serverless coding structures that contain the intense business logic of your application" last_updated: "2026-08-17T12:16:04.000Z" source: "https://docs.catalyst.zoho.com/en/serverless/help/functions/introduction/" service: "Serverless" -------------------------------------------------------------------------------- # Functions ### Introduction Functions is a Catalyst Serverless component that are custom-built coding structures which contain the intense business logic of your application. Functions allow you to store the functionality of the application in a centralized and secure place, rather than storing it within the application's main code. The application uses APIs to invoke functions from the Catalyst servers when needed. Catalyst offers support to develop server-side functions in three programming environments: 1. **Java** 2. **Node.js** 3. **Python** You can refer to [Java SDK documentation](https://docs.catalyst.zoho.com/en/sdk/java/v1/overview/), [Node.js SDK documentation](https://docs.catalyst.zoho.com/en/sdk/nodejs/v2/overview/) and [Python SDK documentation](https://docs.catalyst.zoho.com/en/sdk/python/v1/overview) to learn about these SDK packages. Catalyst Functions is one of the [ basic project components of a Catalyst application](https://docs.catalyst.zoho.com/en/cli/v1/project-directory-structure/introduction/), along with the client. You can seamlessly access Catalyst components with functions and provide the powerful backend that the application or microservice requires. You can use them to automate tasks, perform memory-intensive computations, integrate with third-party services, and more. You can create five types of server-side functions in Catalyst for different purposes. All five types of functions can be created in Java, Node.js and Python programming environments. * **Basic I/O Functions:** Simple functions used for basic input and output operations, passing a String as the I/O parameter * **Advanced I/O Functions:** Advanced HTTP functions that support Headers, and Native Request and Response objects * **Event Functions:** Event-driven functions that are invoked by specific events configured using [Catalyst Signals](https://docs.catalyst.zoho.com/en/signals/) * **Cron Functions: ** [Cron](https://docs.catalyst.zoho.com/en/cloud-scale/help/cron/introduction/) based functions that are invoked one time or periodically, based on the cron job's configured schedule * **Integration Functions:** Functions that enable you to integrate with other Zoho services and write backends for them easily > **Note:** * The main function file in Java, Node.js and Python are initialized with different default code for each function type, such as including different modules, when the function is created. Therefore, you must avoid copying code from a different function type. You must ensure that you initialize the appropriate modules for each function type. * Integration functions is currently not available to Catalyst users accessing from the EU, AU, IN, or CA data centers. Catalyst provides various components and tools to manage functions and view their performance statistics: * [**Security Rules](https://docs.catalyst.zoho.com/en/serverless/help/security-rules/introduction/):** Default security configuration of your Basic I/O and Advanced I/O functions that enables you to define their invocation and access rules * [**API Gateway](https://docs.catalyst.zoho.com/en/cloud-scale/help/api-gateway/introduction/):** Enables you to create APIs for your Basic I/O and Advanced I/O functions, and handle the routing, throttling, authentication of client requests * [**Logs](https://docs.catalyst.zoho.com/en/devops/help/logs/introduction/):** Provides logs of all function executions along with details of log levels, responses, statuses, and other information * [**Application Performance Monitoring](https://docs.catalyst.zoho.com/en/devops/help/apm/introduction/):** Provides in-depth stats and performance reports of all function executions that enable you to identify and resolve bugs * [**Circuits](https://docs.catalyst.zoho.com/en/serverless/help/circuits/introduction/):** Workflow automation tool that enables you to design and orchestrate Basic I/O function executions, and handle data flow between multiple functions You can either work with functions using the Catalyst CLI and an external IDE, or work with them directly from the Catalyst web console. This document explains the concepts related to functions and working with them from the Catalyst web console. To learn about working with them in a local environment, refer to [the next section](https://docs.catalyst.zoho.com/en/serverless/help/functions/introduction/#steps-to-work-with-functions-from-a-local-environment) for links to relevant CLI help pages. > **Note:** Catalyst Java and Python functions can only be created and coded using the Catalyst CLI and an external editor, and deployed or uploaded to the web console. You cannot code them directly in the web console as of now. ### Steps to work with Functions from a Local Environment You can create, build, and deploy a function from the local environment as described below. Refer to the links given in each step for detailed help on the CLI actions. 1. **Initialize the function from the CLI:** When you [initialize a function from the CLI](https://docs.catalyst.zoho.com/en/cli/v1/initialize-resources/initialize-functions/), the [function directory](https://docs.catalyst.zoho.com/en/cli/v1/project-directory-structure/functions-directory/) and the boilerplate code structure for each file are created based on its stack, type, and whether you chose to install the Catalyst SDK. 2. **Set up the function in your project directory any time:** You can choose to [set up the function](https://docs.catalyst.zoho.com/en/cli/v1/working-with-functions/set-up-functions/) any time after you initialize the project from the CLI. 3. **Code the function using an external editor:**If you initialize the function from the CLI, you can code it using an external editor. You can also [upload a function's bundle to the Catalyst console](https://docs.catalyst.zoho.com/en/serverless/help/functions/implementation/#create-a-function) any time and code it using Catalyst's editor. 4. **Test the function in the CLI:** You can test and debug functions of all types, except Advanced I/O functions, by [launching a Node shell](https://docs.catalyst.zoho.com/en/cli/v1/working-with-functions/functions-shell/) for it from the CLI. 5. **Serve the function from a local host:** Besides launching a Node shell, you can also [serve a Basic I/O or an Advanced I/O function](https://docs.catalyst.zoho.com/en/cli/v1/serve-resources/introduction/) from a local host, and test its execution. > **Note:** You will not be able to serve functions of the other types, as they are invoked internally. 6. **Deploy the function to the Catalyst console:** You can then [deploy the function](https://docs.catalyst.zoho.com/en/cli/v1/deploy-resources/introduction/) from your local machine to the Catalyst remote console from the CLI. 7. **Delete the function from the CLI:** You can also [delete the function remotely from the CLI](https://docs.catalyst.zoho.com/en/cli/v1/working-with-functions/delete-functions/). This will delete it from the console as well. > **Note:** * You can also work on a Catalyst function independently without initializing it in the Catalyst CLI, and upload it to the Catalyst remote console directly. In this case, you must ensure that you create the required configuration files in the function's directory manually, and include the necessary code in them in the standard structure. You can refer to the [Project Directory Structure help page](https://docs.catalyst.zoho.com/en/cli/v1/project-directory-structure/introduction/) for details. * You can also deploy functions to the Catalyst remote console from your GitHub repository directly. To learn more, refer to the [GitHub Integration help page](https://docs.catalyst.zoho.com/en/devops/help/github-integration/introduction/). Check out [Catalyst tutorials](https://docs.catalyst.zoho.com/en/tutorials/) to practice working with Functions. -------------------------------------------------------------------------------- title: "Functions Stack" description: "Catalyst Functions are cloud-based, custom-built, serverless coding structures that contain the intense business logic of your application" last_updated: "2026-10-23T10:20:21.000Z" source: "https://docs.catalyst.zoho.com/en/serverless/help/functions/stack/" service: "Serverless" -------------------------------------------------------------------------------- # Functions Stack As mentioned earlier, Catalyst supports three programming environments to develop the server-side functions in: Java,Node.js and Python. ### Java Functions Catalyst provides a rich Java SDK containing classes and methods that includes the definitions of each Catalyst component. Catalyst supports the following versions of [Java](https://docs.catalyst.zoho.com/en/sdk/java/v1/overview/): * **Java 25** * **Java 21** * **Java 17** * **Java 11** * **Java 8** When you initialize a Java function in the CLI, the Java SDK will be downloaded and installed in your local system. You can learn more about Java classes and writing a Java function in detail from the [Java SDK documentation](https://docs.catalyst.zoho.com/en/sdk/java/v1/overview/). You can also manually [download the Java SDK bundle](https://docs.catalyst.zoho.com/en/getting-started/set-up-a-catalyst-project/developer-tools/) from the Catalyst console and add it in your function's directory. A Java function's directory is set up with three basic components by default, when you initialize the function: 1. The main `.java` function file 2. The `catalyst-config.json` configuration file 3. The JAR library files in a folder named `lib` You can learn about these in detail from the [**Project Directory Structure help page**](https://docs.catalyst.zoho.com/en/cli/v1/project-directory-structure/functions-directory/). ### Node.js Functions Catalyst provides an efficient Node.js SDK package containing methods and other necessary elements that define the behavior of the Catalyst components in the Node.js environment. Catalyst supports the following versions of [Node.js](https://docs.catalyst.zoho.com/en/sdk/nodejs/v2/overview/): * **Node.js 24** * **Node.js 22** * **Node.js 20** (Deprecated) * **Node.js 18** (Retirement period; support ends December 11, 2026) The SDK package is installed as a part of the node modules folder, which also contains several Node packages with individual library files, license files, and configuration files, that are essential for the execution of your Node.js functions. You can learn more about the Node.js SDK package and writing a Node.js function from the [Node.js SDK documentation](https://docs.catalyst.zoho.com/en/sdk/nodejs/v2/overview/). When you initialize a Node.js function from the CLI, or create it from the console, you can choose to include the Node module dependencies. If you create the function without the dependencies, the function's directory will contain: 1. The main `.js` function file 2. The `catalyst-config.json` configuration file 3. `[package.json](https://docs.npmjs.com/files/package.json)` If you create the function with dependencies, the function's directory will contain: 1. The main `.js` function file 2. The `catalyst-config.json` configuration file 3. `[package.json](https://docs.npmjs.com/files/package.json)` 4. Node modules 5. `[package-lock.json](https://docs.npmjs.com/configuring-npm/package-lock-json.html)` You can learn about these in detail from the [Project Directory Structure help page](https://docs.catalyst.zoho.com/en/cli/v1/project-directory-structure/functions-directory/). You can also manually install the latest Node.js SDK package any time by executing this CLI command: ```sh npm install zcatalyst-sdk-node ``` You can also install a specific supported version in this way: ```sh npm install zcatalyst-sdk-node@2.1.1 ``` ### Python Functions Catalyst provides an efficient [Python SDK package](https://docs.catalyst.zoho.com/en/sdk/python/v1/overview) containing modules and classes that define the behaviour of the Catalyst components in the Python environment. Catalyst supports the following versions of [Python](https://docs.catalyst.zoho.com/en/sdk/python/v1/overview): * **Python 3.13** * **Python 3.12** * **Python 3.11** * **Python 3.10** On initialization of a Python function, the Python SDK package is automatically installed in the functions directory of your Catalyst project. When the package is installed, an entry is made in the [`requirements.txt`](https://docs.catalyst.zoho.com/en/cli/v1/project-directory-structure/functions-directory/#requirementstxt-file) file present within the functions directory. This file also contains the list of other installed dependencies that are mandatory for the execution of certain Python modules and classes. You can learn more about the Python SDK package and writing a Python function in detail from the [Python SDK documentation](https://docs.catalyst.zoho.com/en/sdk/python/v1/overview). The function's directory will contain the following files : 1. The `main.js` function file 2. The `catalyst-config.json` configuration file 3. `[requirements.txt](https://docs.catalyst.zoho.com/en/cli/v1/project-directory-structure/functions-directory/#requirementstxt-file)` You can learn about these in detail from the [Project Directory Structure](https://docs.catalyst.zoho.com/en/cli/v1/project-directory-structure/functions-directory/#python-modules-and-function-dependencies) help page. You can also manually install the Python SDK package any time by executing this CLI command : ```python pip install zcatalyst-sdk ``` -------------------------------------------------------------------------------- title: "Basic I/O Functions" description: "Catalyst Functions are cloud-based, custom-built, serverless coding structures that contain the intense business logic of your application" last_updated: "2026-08-17T12:16:04.000Z" source: "https://docs.catalyst.zoho.com/en/serverless/help/functions/basic-io/" service: "Serverless" -------------------------------------------------------------------------------- # Basic I/O Functions ### Introduction Basic I/O functions are used to perform basic input and output operations, computations, and simple HTTP operations between the various Catalyst components. Basic I/O functions process inputs and outputs in the JSON format. The endpoint of a Basic I/O function is directly accessible through its [Function URL](https://docs.catalyst.zoho.com/en/serverless/help/functions/basic-io/#function-url). The function URL is generated when the function is created, and it enables you to directly access the function and test it in different conditions. You can [create a Basic I/O function from the Catalyst console](https://docs.catalyst.zoho.com/en/serverless/help/functions/implementation/#create-a-function), code and test it there, or [use the CLI to initialize the function](https://docs.catalyst.zoho.com/en/serverless/help/functions/introduction/#steps-to-work-with-functions-from-a-local-environment) and deploy it to the console after testing it. The CLI also enables you to test Basic I/O functions through a Node shell or by serving the function through a localhost. You can use various tools to manage your Basic I/O functions and view their performance statistics such as Logs, Application Performance Monitoring, or API Gateway, as mentioned in the [Functions introduction page](https://docs.catalyst.zoho.com/en/serverless/help/functions/introduction/). You can refer to [this tutorial to practice working with Basic I/O functions.](https://docs.catalyst.zoho.com/en/tutorials/microservice/java/introduction/) ### Function Structure The main function file of Java, Node.js and Python are initialized with different default code and modules for each function type, when the function is created. As mentioned in the [Function Stack section](https://docs.catalyst.zoho.com/en/serverless/help/functions/stack/), the function structure of a Java, Node.js or Python function generally contains a main function file along with dependencies and configuration files. While creating the Basic I/O function in the Node.js environment, you can choose to create it with or without the Catalyst Node.js SDK. If you include it without the SDK, the Node modules and other Node dependency files will not be added. Refer to the [Project Directory Structure help page](https://docs.catalyst.zoho.com/en/cli/v1/project-directory-structure/functions-directory/) for details about the generic function directory structure and the configuration files of Catalyst functions. Before we discuss the modules that a Java, Node.js or Python main function contains, let's take a look at the default code the function is initialized with. Catalyst initializes a **Basic I/O Java function** with the following default code of a simple input and output operation. ![Functions- Basic I/O Function](https://catalyst-docs-development.zohostratus.in/images/help/functions/catalyst_functions_basicio_java.webp) A **Basic I/O Node.js function** also includes a default code containing a simple input and output operation. ![Functions- Basic I/O Function](https://catalyst-docs-development.zohostratus.in/images/help/functions/catalyst_functions_basicio_node.webp) A **Basic I/O Python function** includes the following default code containing a simple input and output operation. ```javascript def handler(context, basicio): basicio.write('Hello from {{_MAIN_}}') basicio.get_argument('name') context.log('Successfully executed basicio function') context.close() ``` ### Java, Node.js and Python Modules A Catalyst Basic I/O function contains two modules in the **Node.js** and **Python** platforms: `context` and `basicIO`. The `context` module in Node.js and Python includes the following built-in methods: 1. `context.close()`: To indicate the end of the function. You must use this at the end of the function. 2. `**log(*args)**`: This method is used to print the set of arguments passed in the function. To fetch the remaining execution time and maximum execution time of the event function, the `context` module includes the following methods : **Node.js:** 1. `context.getRemainingExecutionTimeMs()`: This can be used to fetch the remaining execution time of a function. 2. `context.getMaxExecutionTimeMs()`: This method can be used to get the maximum execution time of a function, which is a constant value of **30 seconds**. > **Note:** In Python, we have the methods `context.get_remaining_execution_time_ms()` and `context.get_max_execution_time_ms()` for the above mentioned functionalities respectively. The `basicIO` module in Node.js and Python includes the following built-in methods: 1. `basicIO.write()`: To print the output. You can only obtain a String output. You can use this method in only one place in the function. The maximum memory supported for the output is 1MB. 2. `basicIO.setStatus()`: Optional method to set an error status code. The default status codes are: status 200 for successful executions which returns the key output, status 500 for unsuccessful executions which is pushed to the error object and returns a JSON response. You can also set a custom status code. 3. `basicIO.getArgument()`: To get the individual parameters of the function. You can pass them as a query string in the URL or in a JSON body. If you pass them in both ways, the query string is considered as the priority. A Basic I/O function in Java contains the same modules and built-in methods as Node.js and Python. Some additional methods supported in **Java** are: 1. `context.getOrigin()`: To get the function type 2. `basicIO.getAllArguments()`: To get all the parameters of the function ### Function URL As mentioned earlier, a Basic I/O function endpoint is directly accessible through a unique invocation URL. You can manually invoke it through its URL, pass input if required, and obtain the response. You can implement this URL in your application's code, or use it as you require. This function URL is generated automatically when the function is created. A Basic I/O function's production URL is in the following format: **https://project_domain_name.catalystserverless.com/server/function_name/execute** In the [Development environment](https://docs.catalyst.zoho.com/en/deployment-and-billing/environments/introduction/), the URL mentions the key `development` as: **https://_project\_domain\_name_.development.catalystserverless.com/server/_function\_name_/execute** * _https://project\_domain\_name.catalystserverless.com_ is the [App Domain](https://docs.catalyst.zoho.com/en/getting-started/set-up-a-catalyst-project/environment-settings/) of your Catalyst application. * _/server_ indicates that it is a function. * The URL identifies the function by its name. * _/execute_ indicates that it is a Basic I/O function. You can obtain the URL of a function [from the console](https://docs.catalyst.zoho.com/en/serverless/help/functions/implementation/#code-editor), or [in your terminal](https://docs.catalyst.zoho.com/en/cli/v1/deploy-resources/introduction/) after you deploy the function from the Catalyst CLI. As Catalyst allows you to test Basic I/O functions from the console, you can directly add the keys and values for the parameters in the function and test it there. Refer to the [Working with Functions from the Console section](https://docs.catalyst.zoho.com/en/serverless/help/functions/implementation/#code-editor) for details. You can also invoke the Function URL through a browser and pass the parameters as a query string in the URL. For example, in a simple function that obtains a name and displays it, we pass the value for the parameter called _name_ as a query string and invoke the URL. ![Functions- Basic I/O URL](https://catalyst-docs-development.zohostratus.in/images/help/functions/catalyst_functions_basicio_url.webp) The output of the function is then displayed in the browser window. ### Push to Logs [Catalyst Logs](https://docs.catalyst.zoho.com/en/devops/help/logs/introduction/) display the logs of all your function executions along with necessary details. The function executions are automatically recorded in logs. However, you can also push the response data of a Basic I/O function's execution to the logs manually. Catalyst enables you to write upto 1500 characters to the logs. You can also push the responses to different log levels individually, such as to _Info_ or _Warning_. The response data of a Basic I/O function can be pushed to the logs using the following method: `context.log()`. You can see this statement in the default code that a Basic I/O function is initialized with, where the input received from the user is pushed to the logs and the logger level is also set manually. -------------------------------------------------------------------------------- title: "Advanced I/O Functions" description: "Catalyst Functions are cloud-based, custom-built, serverless coding structures that contain the intense business logic of your application" last_updated: "2026-08-17T12:16:04.000Z" source: "https://docs.catalyst.zoho.com/en/serverless/help/functions/advanced-io/" service: "Serverless" -------------------------------------------------------------------------------- # Advanced I/O Functions ### Introduction Advanced I/O functions handle native HTTP requests and responses for all your Catalyst components. You can use any number of APIs in a single Advanced I/O function, and pass large data streams in the function. These functions enable you to build complex routing mechanisms for your application between the server and the client. You can construct and maintain server-side tools quickly and efficiently using these functions. Advanced I/O functions also offer flexibility to perform a variety of actions and solve different use cases. For instance, you can stream or parse large volumes of data like image files or other attachments, render a view, embed files, or download a file using Advanced I/O functions. The Basic I/O function type is not suitable for routing or channelling data, since it executes only basic input and output operations and passes data through parameters. Therefore, you can use Advanced I/O functions for such purposes. You can also obtain any form of response, such as a JSON or a HTML response for an Advanced I/O function. Catalyst also offers support for the [Express Node.js framework](https://expressjs.com/) in Advanced I/O functions. Express is a popular Node.js framework that enables you to manage routing, rendering, and setting up middleware to handle HTTP functionalities robustly and easily. You can choose to import this framework in your functions, and access its packages. The endpoint of an Advanced I/O function is directly accessible through its [Function URL](https://docs.catalyst.zoho.com/en/serverless/help/functions/advanced-io/#function-url). The function URL is generated when the function is created, and it enables you to directly access the function and test it in different conditions. You can [create an Advanced I/O function from the Catalyst console](https://docs.catalyst.zoho.com/en/serverless/help/functions/implementation/#create-a-function), code it there, or [use the CLI](https://docs.catalyst.zoho.com/en/serverless/help/functions/introduction/#steps-to-work-with-functions-from-a-local-environment) to initialize the function and deploy it to the console after testing it. The CLI also enables you to test Advanced I/O functions by serving the function through a localhost. You can use various tools to manage your Advanced I/O functions and view their performance statistics such as Logs, Application Performance Monitoring, or API Gateway, as mentioned in the [Functions Introduction page](https://docs.catalyst.zoho.com/en/serverless/help/functions/introduction/). You can find several Catalyst tutorials that include Advanced I/O functions in their code. Refer to the [Tutorials section](https://docs.catalyst.zoho.com/en/tutorials/) to practice working with Advanced I/O functions. > **Note:** The maximum timeout of an Advanced I/O function is 30 seconds. ### Use Cases Some use cases for Advanced I/O functions are given below: * A local search application service that provides information about services and businesses in a particular region uses an Advanced I/O function to handle routing in its web and mobile application. When the end user executes a search query for information about services in their locality, such as restaurants or spas, the application fetches information about the available services along with their website links from the Data Store or Cache. When the user clicks on a link, they are redirected to the business's website. These data retrieving and redirection functionalities are entirely handled by Advanced I/O functions using the HTTP request and response methods. * An application hosts video files like movies, TV shows, and documentaries and allows the end users to download them to their devices. The application is written using the Express Node.js framework and it uses an Advanced I/O function to implement these functionalities. The function handles tasks such as executing search operations in the application, obtaining results from the Data Store, and prompting file downloads within seconds. Some other examples where Advanced I/O functions can be implemented include the following types of applications: * Real-time collaborative document editing, project management, or co-browsing applications * Live media streaming applications * Data-driven applications * Single-page applications * Independent microservices * Audio or video conferencing applications * Dynamic event-driven applications * Online chat applications ### Benefits * Enables you to build real-time applications and microservices that are functionally rich and dynamic in nature * Provides you an integrated space to handle routing for the entire application by including any number of APIs in a single function * Can build the request and response logic between the server and the client for all Catalyst components and perform complex routing * Enables you to implement any functionality of the Express framework when you include the package in your function ### Function Structure The main function file of Java, Node.js and Python are initialized with different default code and modules for each function type, when the function is created. As mentioned in the [Function Stack section](https://docs.catalyst.zoho.com/en/serverless/help/functions/stack/), the function structure of a Java,Node.js or Python function generally contains a main function file along with dependencies and configuration files. Refer to the [Project Directory Structure help page](https://docs.catalyst.zoho.com/en/cli/v1/project-directory-structure/functions-directory/) for details about the generic function directory structure and the configuration files of Catalyst functions. Let's take a look at the default code an Advanced I/O function is initialized with, in both Java, Node.js or Python environments. > **Note:** You can [refer to this tutorial](https://docs.catalyst.zoho.com/en/tutorials/alien-city/java/configure-advio-function/) for a sample Advanced I/O function in Java, Node.js and Python environments. #### Java Catalyst initializes an Advanced I/O function in the Java environment with the following default code of a simple input and output operation. ![Functions- Advanced I/O Java](https://catalyst-docs-development.zohostratus.in/images/help/functions/catalyst_functions_advancedio_java.webp) An Advanced I/O Java function imports the `javax.servlet` package to handle the requests and responses. It implements `CatalystAdvancedIOHandler` for the main class. The route definitions must be defined in the `public void runner()` function. #### Node.js An Advanced I/O function in Node.js can be created in two different templates from the console: The Express.js template which includes all the Express modules or a blank template which includes neither Express modules or Node modules. However, when you initialize the function from the CLI, you can only include the Node modules in its structure. You must install the Express modules separately. 1. **The Express.js template** The Express modules are added automatically when you create an Advanced I/O function in Node.js with the dependencies from the Catalyst console. This installs the Express framework in your function's directory. When you initialize an Advanced I/O function from the CLI, you can install Express independently by executing `[npm install express --save](https://expressjs.com/en/starter/installing.html)` in your function's directory. Catalyst Advanced I/O functions support the default request and response objects of Node.js HTTP functions, `req` and `res`. These objects handle the request and responses for the routes mapped to Catalyst components such as the Cache or the Data Store. ![Functions- Advanced I/O Node.js](https://catalyst-docs-development.zohostratus.in/images/help/functions/catalyst_functions_advancedio_express_index_js.webp) The route here is defined in the format: `app.METHOD(PATH, HANDLER)` and the actions are coded in the route definitions. 2. **The blank template** The blank template allows you to build native Node.js code from scratch to suit your requirements. This template does not include the Express.js modules. When you initialize the function without the SDK in the console, it is created in the blank template without the Node modules or the Express modules. The sample code for the blank template also includes the req and res objects, and defines different responses for each URL path. ![Functions- Advanced I/O Node.js](https://catalyst-docs-development.zohostratus.in/images/help/functions/catalyst_functions_advancedio_blank_index_js.webp) Since this is a blank template, you will have to create a HTTP server using the `createServer()` method and pass it to a `requestListener()` function that is executed each time the server receives a request. You can learn about writing a native HTTP function in Node.js from their [official documentation](https://nodejs.org/api/http.html). #### Python When you initialize an [Advanced I/O](https://docs.catalyst.zoho.com/en/serverless/help/functions/advanced-io) function from the CLI, the boilerplate code given below will automatically be included in the main.py file present within the Python function's directory. To handle the input and output operations of the Catalyst Advanced I/O functions efficiently, we have used the [flask](https://pypi.org/project/Flask) framework. This framework provides the tools and libraries that can be used to build robust Python applications with maximum flexibility for the developer. It also boosts the functional efficiency of the application by enabling it to be executed using a single Python file. Catalyst Advanced I/O functions support the request and response objects of the Python HTTP function. These objects handle the request and responses for the routes mapped to Catalyst components such as the Cache or the Data Store. ```javascript import json import zcatalyst-sdk import logging from flask import Request, make_response, jsonify def handler(request: Request): app = zcatalyst-sdk.initialize() logger = logging.getLogger() if request.path == "/": response = make_response(jsonify({ 'status': 'success', 'message': 'Hello from {{_MAIN_}}' }), 200) return response elif request.path == "/cache": default_segment = app.cache().segment() insert_resp = default_segment.put('Name', 'DefaultName') logger.info('Inserted cache : ' + str(insert_resp)) get_resp = default_segment.get('Name') return jsonify(get_resp), 200 else: response = make_response('Unknown path') response.status_code = 400 return response ``` ### Function URL As mentioned earlier, an Advanced I/O function's endpoint is directly accessible through a unique invocation URL. You can manually invoke it through its URL and obtain the response. You can implement this URL in your application's code, or use it as you require. This function URL is generated automatically when the function is created. An Advanced I/O function's production URL is in the following format: **https://_project\_domain\_name_.catalystserverless.com/server/_function\_name_/** In the [Development environment](https://docs.catalyst.zoho.com/en/deployment-and-billing/environments/introduction/), the URL mentions the key `development` as: https://*project_domain_name*.development.catalystserverless.com/server/*function_name*/ * _https://project\_domain\_name.catalystserverless.com_ is the [App Domain](https://docs.catalyst.zoho.com/en/getting-started/set-up-a-catalyst-project/environment-settings/) of your Catalyst application. * _/server_ indicates that it is a function. * The URL identifies the function by its name. * The absence of the _/execute_ keyword indicates that it is an Advanced I/O function. You can obtain the URL of a function [from the console](https://docs.catalyst.zoho.com/en/serverless/help/functions/implementation/#code-editor), or [in your terminal](https://docs.catalyst.zoho.com/en/cli/v1/deploy-resources/introduction/) after you deploy the function from the Catalyst CLI. You can append routes that you have defined in the Advanced I/O function's code after this base URL to execute the behavior that you have defined for them. For example, the following route definition fetches all data from the Data Store when the route `/item/all` is accessed through the GET method: ![Functions- Advanced I/O Function URL](https://catalyst-docs-development.zohostratus.in/images/help/functions/catalyst_functions_advancedio_routes.webp) When you append the route to the base URL as: _https://catly-687259092.development.catalystserverless.com/server/catly/item/all_ and invoke it, the Advanced I/O function will fetch all items from the Data Store. ![Functions- Advanced I/O Function URL](https://catalyst-docs-development.zohostratus.in/images/help/functions/catalyst_functions_advancedio_route_fetch.webp) ### Push to Logs [Catalyst Logs](https://docs.catalyst.zoho.com/en/devops/help/logs/introduction/) display the logs of all your function executions along with necessary details. The function executions are automatically recorded in logs. However, you can also push the response data of an Advanced I/O function's execution to the logs manually. Catalyst enables you to write upto 1500 characters to the logs. You can also push the responses to different log levels individually, such as to _Info_ or _Warning_. The response data of an Advanced I/O function can be pushed to the logs using the following method: `console.log()`. You can see this statement in the default code that an Advanced I/O function is initialized with, where data is pushed to the logs and the logger level is also set manually. -------------------------------------------------------------------------------- title: "Event Functions" description: "Catalyst Functions are cloud-based, custom-built, serverless coding structures that contain the intense business logic of your application" last_updated: "2026-08-17T12:16:04.000Z" source: "https://docs.catalyst.zoho.com/en/serverless/help/functions/event-functions/" service: "Serverless" -------------------------------------------------------------------------------- # Event Functions ### Introduction An Event function is an asynchronous task function that is triggered by [Catalyst Signals](https://docs.catalyst.zoho.com/en/signals/). An Event function is created to execute a task or a set of tasks on the occurrence of a specified event. Catalyst Publishers in Signals listen for events occurring in Catalyst components or Custom Publisher URLs. When these events occur, the event function associated with the Signals rule is automatically invoked and executed. You cannot invoke a Event function manually, or test it in the console. However, you can use the `[functions:shell](https://docs.catalyst.zoho.com/en/cli/v1/working-with-functions/functions-shell/#functions-shell-command-execution)` command to test it in the CLI. You can also generate sample input payload for an event function using the `[event:generate](https://docs.catalyst.zoho.com/en/cli/v1/event-generate/introduction/)` command in the CLI to test it. The endpoint of an Event function is not accessible through a Function URL like Basic I/O or Advanced I/O functions are. An Event function does not return any response other than determining if the function execution was a success or failure. You can [create an Event function from the Catalyst console](https://docs.catalyst.zoho.com/en/serverless/help/functions/implementation/#create-a-function), and code it there, or [use the CLI](https://docs.catalyst.zoho.com/en/serverless/help/functions/introduction/#steps-to-work-with-functions-from-a-local-environment) to initialize the function and deploy it to the console. You can use various tools to manage your Event functions and view their performance statistics such as Logs or Application Performance Monitoring, as mentioned in the [Functions Introduction page](https://docs.catalyst.zoho.com/en/serverless/help/functions/introduction/). You can practice working with Event functions with the [Event Function tutorial](https://docs.catalyst.zoho.com/en/tutorials/event-app/nodejs/introduction/) or the [WorkDrive Sync App tutorial](https://docs.catalyst.zoho.com/en/tutorials/workdrivesync/java/introduction/). ### Event Function Modules #### Java A Catalyst Event Function supports two modules in **Java**: `context` and `event`. The `context` module contains the following built-in methods: 1. `**context.getRemainingExecutionTimeMs()`**: This can be used to fetch the remaining execution time of a function. 2. `**context.getMaxExecutionTimeMs()`**: This method can be used to get the maximum execution time of a function, which is a constant value of **15 minutes**. The `event` module contains the following built-in methods: 1. `**event.getAction()`**: To get the action executed in the Catalyst components that triggered the event via Catalyst Signals, such as data insertion in a table or a user sign-up. 2. `**event.getSourceEntityId()`**: This can be used to get the ID of the source entity where the event occurred, such as the Table ID or a cache’s Segment ID. 3. `**event.getProjectDetails()`**: To get the project details, such as the project ID and project name. 4. `**event.getData()`**: To get the data about the event associated with the event function. 5. `**event.getTime()`**: To get the time of the event occurrence that invoked the event function. 6. `**event.getSource()`**: To get the name of the source that triggered the event, such as the Data Store, Cache, Authentication, Stratus, Github and web client. 7. `**event.getEventBusDetails()`**: To get the details of the event bus such as the configured event actions and rules. When you execute a java function, it returns the status of the execution as either `SUCCESS` or `FAILURE` at the end of its execution. The returned status is of type `com.catalyst.event.EVENT_STATUS`. #### Node.js A Catalyst Event Function supports two modules in **Node.js**: `context` and `event`. The `context` module contains the following built-in methods: 1. `**context.closeWithSuccess()`**: To indicate that the function executed successfully. You must use this at the end of the function. 2. `**context.closeWithFailure()`**: To indicate that the function’s execution was a failure. You must use this at the end of the function. 3. `**context.getRemainingExecutionTimeMs()`**: This can be used to fetch the remaining execution time of a function. 4. `**context.getMaxExecutionTimeMs()`**: This method can be used to get the maximum execution time of a function, which is a constant value of 15 minutes. The `event` module contains the following built-in methods: 1. `**event.getProjectDetails() `**: To get the project details, such as the project ID and project name 2. `**event.getData()`**: To get the data about the event associated with the function 3. `**event.getTime()`**: To get the time of the event occurrence that invoked the function 4. `**event.getSource()`**: This method is used to get the name of the source that triggered the event, such as the DataStore, Cache, Authentication, Stratus, Github and webclient. 5. `**event.getEventBusDetails()`**: To get the details of the event bus such as the configured event actions and rules. 6. `**event.getAction()`**: To get the action executed in the Catalyst components that triggered the event via Catalyst Signals, such as data insertion in a table or a user sign-up 7. `**event.getSourceEntityId()`**: To get the ID of the source entity where the event occurred, such as the Table ID or a cache’s Segment ID #### Python A Catalyst Event Function supports two modules in **Python** as well: `context` and `event`. The `context` module contains the following built-in methods: 1. `**context.close_with_success()`**: To indicate that the function executed successfully. You must use this at the end of the function. 2. `**context.close_with_failure()`**: To indicate that the function’s execution was a failure and you must use this at the end of the function. 3. `**context.get_remaining_execution_time_ms()`**: This can be used to fetch the remaining execution time of a function. 4. `**context.get_max_execution_time_ms()`**: This method can be used to get the maximum execution time of a function, which is a constant value of 15 minutes. The `event` module contains the following built-in methods: 1. `**event.get_event_bus_details()`**: To get the details of the event bus such as the configured event actions and rules. 2. `**event.get_project_details()`**: To get the project details, such as the project ID and project name. 3. `**event.get_data()`**: To get the data about the event associated with the event function. 4. `**event.get_time()`**: To get the time of the event occurrence that invoked the function. 5. `**event.get_source()`**: To get the name of the source that triggered the event, such as the DataStore, Cache, Authentication, Stratus, Github and webclient. 6. `**event.get_action()`**: To get the action executed in the Catalyst components that triggered the event via Catalyst Signals, such as data insertion in a table or a user sign-up. 7. `**event.get_source_entity_id()`**: To get the ID of the source entity where the event occurred, such as the Table ID or a cache’s Segment ID. -------------------------------------------------------------------------------- title: "Cron Functions" description: "Catalyst Functions are cloud-based, custom-built, serverless coding structures that contain the intense business logic of your application" last_updated: "2023-10-12T13:53:27.000Z" source: "https://docs.catalyst.zoho.com/en/serverless/help/functions/cron-functions/" service: "Serverless" -------------------------------------------------------------------------------- # Cron Functions ### Introduction A Cron function is a periodic function that is associated with a [Cron](https://docs.catalyst.zoho.com/en/cloud-scale/help/cron/introduction/). You can create a Cron function to execute a job that needs to be invoked one time or periodically. When you configure a cron in Catalyst, you can associate it with executing a function or invoking a third-party URL. When the cron is associated with a function, the cron job invokes the function automatically based on its schedule. If it is a one-time job, the cron invokes the function on the specified date and time. If it is periodic, the cron invokes the function at the configured intervals, such as every month on a specific date and time, or everyday on a specific time. You cannot invoke a Cron function manually, or test it in the console. However, you can use the `[functions:shell command](https://docs.catalyst.zoho.com/en/cli/v1/working-with-functions/functions-shell/#functions-shell-command-execution)` to test it in the CLI. A Cron function does not return any response other than determining if the function execution was a success or failure. ### Cron Function Modules #### Java A Catalyst Cron Function supports two modules in **Java**: `CronRequest` and `Context`. The `CronRequest` module contains the following built-in methods: 1. `**CronRequest.getCronParam()`**: This method is used to get the value of the particular parameter passed to the function. 2. `**CronRequest.getAllCronParams()`**: This method is used to get all the parameters passed to the function. 3. `**CronRequest.getRemainingExecutionCount()`**: This method is used to get the details about the remaining execution instances of a cron job. 4. `**CronRequest.getCronDetails()`**: This method is used to get the cron’s details such as the Cron ID and the cron name. 5. `**CronRequest.getProjectDetails()`**: Used to get the project details, such as the project ID and project name. The `Context` module contains the following built-in methods: 1. `**Context.getMaxExecutionTimeMs()`**: This method can be used to get the maximum execution time of a cron function, which is a constant value of **15 minutes**. 2. `**Context.getRemainingExecutionTimeMs()`**: This can be used to fetch the remaining execution time of a cron function. When you execute a Java function, it returns the status of the execution as either `SUCCESS` or `FAILURE` at the end of its execution. The returned status is of type `com.catalyst.cron.CRON_STATUS`. #### Node.js The Catalyst Cron Function supports two modules in **Node.js**: `cronDetails` and `context`. The `cronDetails` module contains the following built-in methods: 1. `**cronDetails.getCronParam()`**: This method is used to get the value of the particular parameter passed to the function. 2. `**cronDetails.getAllCronParam()`**: This method is used to get all the parameters passed to the function. 3. `**cronDetails.getRemainingExecutionCount()`**: To get the details about the remaining execution instances of the cron job. 4. `**cronDetails.getCronDetails()`**: To get the cron’s details such as the Cron ID and the cron name. 5. `**cronDetails.getProjectDetails()`**: To get the project details, such as the project ID and project name. The `context` module contains the following built-in methods: 1. `**context.getMaxExecutionTimeMs()`**: This method can be used to get the maximum execution time of a function, which is a constant value of 15 minutes. 2. `**context.getRemainingExecutionTimeMs()`**: This can be used to fetch the remaining execution time of a function. 3. `**context.closeWithSuccess()`**: This method is used to indicate that the function executed successfully. You must use this at the end of the function. 4. `**context.closeWithFailure()`**: This method is used to indicate that the function’s execution was a failure. You must use this at the end of the function. #### Python A Catalyst Cron Function supports two modules in **Python** as well: `cron_details` and `context`. The `cron_details` module contains the following built-in methods: 1. `**cron_details.get_cron_param()`** - This method is used to get the value of the particular parameter passed to the function. 2. `**cron_details.get_all_cron_params()`** - This method is used to get all the parameters passed to the function. 3. `**cron_details.get_remaining_execution_count()`** - To get the details about the remaining execution instances of the cron job. 4. `**cron_details.get_cron_details()`** - To get the cron’s details such as the Cron ID and the cron name. 5. `**cron_details.get_project_details()`** - To get the project details, such as the project ID and project name. The `context` module contains the following built-in methods: 1. `**context.get_max_execution_time_ms()`** - This method can be used to get the maximum execution time of a function. And the maximum execution time of a function is configured to be 15 mins. 2. `**context.get_remaining_execution_time_ms()`** - This can be used to fetch the remaining execution time of a function. 3. `**context.close_with_success()`** - This can be used to indicate that the function executed successfully. You must use this at the end of the function. 4. `**context.close_with_failure()`** - To indicate that the function’s execution was a failure. You must use this at the end of the function. -------------------------------------------------------------------------------- title: "Browser Logic Functions" description: "Catalyst Functions are cloud-based, custom-built, serverless coding structures that contain the intense business logic of your application" last_updated: "2026-08-17T12:16:04.000Z" source: "https://docs.catalyst.zoho.com/en/serverless/help/functions/browser-logic/" service: "Serverless" -------------------------------------------------------------------------------- # Browser Logic Functions ### Introduction [Browser Logic](https://docs.catalyst.zoho.com/en/smartbrowz/help/browser-logic/introduction/) is a [Catalyst Serverless](https://docs.catalyst.zoho.com/en/serverless/getting-started/introduction/) function type and a component of [Catalyst SmartBrowz](https://docs.catalyst.zoho.com/en/smartbrowz/getting-started/introduction/) service. Browser Logic contains the ideal coding structure you can use to code browser automation tasks and other browser operations. Using Browser Logic, you can code any browser interaction or operation without engineering your embedded browser. You can perform a wide range of browser tasks such as web scraping, [generating visual documents](https://docs.catalyst.zoho.com/en/smartbrowz/help/pdfnscreenshot/introduction/), and running performance and functionality tests on your application on [Headless Browsers](https://docs.catalyst.zoho.com/en/smartbrowz/help/headless/introduction/). When you set up your Browser Logic function, the embedded browser will be initialized. You can code Browser Logic functions in the following runtimes: * [Java](https://docs.catalyst.zoho.com/en/sdk/java/v1/smartbrowz/generate-pdfnscreenshot/) * [Node.js](https://docs.catalyst.zoho.com/en/sdk/nodejs/v2/smartbrowz/create-smartbrowz-instance/) Like the other *Serverless* Functions, you can create, initialize, serve, and deploy Browser Logic functions from the CLI. You can also upload your Browser Logic function as a zip file to the console. You can also view and monitor the performance of the Browser Logic functions using the following [Catalyst DevOps](https://docs.catalyst.zoho.com/en/devops/) components: * [Logs](https://docs.catalyst.zoho.com/en/devops/help/logs/introduction/): You can view, manage and monitor all executions pertaining to Browser Logic functions. * [Application Performance Monitoring](https://docs.catalyst.zoho.com/en/devops/help/apm/introduction/): You can use this component to gather in-depth insights on Browser Logic function's performance. > **Note:** Any Browser action or operation that you code using the Browser Logic function, or any browser automation or web scraping task that you perform using any component of Catalyst SmartBrowz is at your own risk. We strongly recommend you use the SmartBrowz components to perform operations on domains that permit the actions, or with proper approval. Additionally, while Catalyst does provide a secure infrastructure to code your functions, any consequence of the logic you code using Catalyst functions is yours alone. ### Benefits * Browser Logic offers you the ideal coding structure to code browser tasks of any scale. * You will just have to code the logic of any browser task using Browser Logic functions, and all the backend infrastructure management will be automatically handled by Catalyst. * You can create, initialize, serve, and deploy Browser Logic functions using Catalyt's robust [CLI](https://docs.catalyst.zoho.com/en/cli/v1/cli-command-reference/). This ensures that all dependencies that are required to deploy the function will be automatically installed when you [initialize the function through CLI](https://docs.catalyst.zoho.com/en/cli/v1/initialize-resources/initialize-functions/). ### Use Cases Browser Logic functions can be used to code any browser task; examples of some of them are: * You can code Browser Logic functions to perform customer satisfaction analysis of your products on retail platforms. Reviews are a preferred manner for consumers to share their feedback on the product and for prospective customers to decide if they require your product. If you are selling your product across several retail platforms, checking for positive or importantly negative reviews can be a tedious manual task. Instead, you can code a Browser Logic function that can hit your product URL on SmartBrowz's Headless browser and curate reviews that have the least amount of rating and store it in a `.csv` file for you to examine later. This allows you to get better understanding of your product and plan improvements and future updates to your product in a more efficient manner. * You can code functions using the [PDF & Screenshot SDK](https://docs.catalyst.zoho.com/en/smartbrowz/help/pdfnscreenshot/implementation/) and generate visual documents of websites that permit such activity to gather meaningful data. * You can code logic to perform fundamental UI testing. You can use the PDF & Screenshot SDK to and launch your application on [SmartBrowz's Headless browser](https://docs.catalyst.zoho.com/en/smartbrowz/help/headless/introduction/) and generate screenshots to capture the view of your application across a wide range of PDA devices. ### Function Structure Browser Logic functions can be coded using the following programming languages: **Node.js** **Node.js** The snippet below is an example of the Browser Logic coding structure if you initialize it using the **Playwright** browser automation library with `page` as the object. **Node.js - Playwright** ```javascript module.exports.playwright = async (request, response, page) => { await page.goto('https://example.com/',{waitUntil: "domcontentloaded"}); // You can code your logic here const pageTitle = await page.title(); response.setHeader('Content-Type', 'application/json'); response.write(JSON.stringify({ output: pageTitle })); response.end(); }; ``` **Java** **Java** The snippet below is an example of Browser Logic coding structure if you initialize using **Selenium** browser automation library. **Java - Selenium** ```java import java.util.logging.Level; import java.util.logging.Logger; import javax.servlet.http.HttpServletRequest; import javax.servlet.http.HttpServletResponse; import org.openqa.selenium.chrome.ChromeDriver; import com.catalyst.browserlogic.SeleniumHandler; import org.json.simple.JSONObject; public class BrowserAutomation implements SeleniumHandler { private static final Logger LOGGER = Logger.getLogger(BrowserAutomation.class.getName()); JSONObject responseData = new JSONObject(); @Override @SuppressWarnings("unchecked") public void runner(HttpServletRequest request, HttpServletResponse response,ChromeDriver driver) throws Exception { try { //Fetches the endpoint and method to which the call was made driver.get("https://catalyst.zoho.com"); responseData.put("message", "Title of the page "+driver.getTitle()); //Sends the response back to the Client response.setContentType("application/json"); response.getWriter().write(responseData.toString()); response.setStatus(200); } catch (Exception e) { //The actions are logged. You can check the logs from Catalyst Logs. LOGGER.log(Level.SEVERE, "Exception in BrowserAutomation", e); responseData.put("error", "Internal server error occurred. Please try again in some time."); response.getWriter().write(responseData.toString()); response.setStatus(500); } } } ``` You can add your business logic to the above code structure and directly implement it in your project. You do not have to provide any additional code to handle infrastructure. Any additional operations you would typically code to perform browser automations, such as opening or closing the browser, are not required as Catalyst handles it for you in the backend. ### Function URL A Browser Logic function endpoint is directly accessible through a unique invocation URL. You can manually invoke it through its URL, pass input if required, and obtain the response. You can implement this URL in your application’s code, or use it as you require. This function URL is generated automatically when the function is created. A Browser Logic function's URL is in the following format: **https://{project_domain}.development.catalystserverless.com/server/{function_name}/execute** In the [Development environment](https://docs.catalyst.zoho.com/en/deployment-and-billing/environments/introduction/), the URL mentions the key development as: * `https://project_domain_name.catalystserverless.com` is the [App Domain](https://docs.catalyst.zoho.com/en/getting-started/set-up-a-catalyst-project/environment-settings/) of your Catalyst application. * `/server` indicates that it is a function. * The URL identifies the function by its name. You can obtain the function URL [from the console](https://docs.catalyst.zoho.com/en/serverless/help/functions/implementation/#code-editor), or [in your terminal](https://docs.catalyst.zoho.com/en/cli/v1/deploy-resources/introduction/) after you deploy the function from the Catalyst CLI. You can also invoke the Function URL through a browser, as illustrated in the image below: ![catalyst_serverless_functions_browserlogic_function_url_depict](https://catalyst-docs-development.zohostratus.in/images/help/functions/catalyst_serverless_functions_browserlogic_function_url_depict.webp) You can learn more about Browser Logic and how to implement it for your applications from this [help section](https://docs.catalyst.zoho.com/en/smartbrowz/help/browser-logic/introduction/). -------------------------------------------------------------------------------- title: "Integration Functions" description: "Catalyst Functions are cloud-based, custom-built, serverless coding structures that contain the intense business logic of your application" last_updated: "2026-08-17T12:16:04.000Z" source: "https://docs.catalyst.zoho.com/en/serverless/help/functions/integration-functions/" service: "Serverless" -------------------------------------------------------------------------------- # Integration Functions ### Introduction Integration functions enable you to code and use a Catalyst function as the backend of other Zoho services, and establish an integration with them. You can code the business logic of any backend feature of the service that is supported, through Catalyst, in Java, Node.js or Python platforms. When that particular feature is accessed in the external service, it will automatically invoke the execution of the Integration function coded in the Catalyst through a HTTP call. > **Note:** Since an Integration function is invoked internally by another service, its endpoint is not directly accessible through any invocation URLs like Basic I/O or Advanced I/O functions. It can only be called by the service that you are integrating with. Although an Integration function is a type of an HTTP function, you will still not be able to invoke it even if you build an end-point for it. Creating Integration functions for external services enables you to store and manage the function in Catalyst, thereby allowing you to access various Catalyst features and tools for it, such as viewing the logs or reports of the function executions through [Catalyst Logs](https://docs.catalyst.zoho.com/en/devops/help/logs/introduction/) or [Application Performance Monitoring](https://docs.catalyst.zoho.com/en/devops/help/apm/introduction/). Catalyst provides exclusive individual SDK packages for the services that you can integrate with. The SDK contains code templates of classes, objects, and methods that you can incorporate in your application easily, and build powerful backends for the service. You can also generate sample payloads to test Integration functions in the CLI. Refer to the [Event Generate help page](https://docs.catalyst.zoho.com/en/cli/v1/event-generate/introduction/) to learn more. > **Note:** Integration Functions are not available to Catalyst users accessing from the EU, AU, IN, JP, SA or CA data centers. ### Cliq Integration Catalyst currently supports integration with [**Zoho Cliq**](https://www.zoho.com/in/cliq/) through Integration functions. Cliq facilitates team communication, and enables you to collaborate, organize conversations, schedule tasks, and more. It also provides a platform for developers to build internal tools that automate work activities and bring data from other applications inside the chat windows. You can distribute these tools you create, and the end-users in Cliq can install them to access the feature. Catalyst Integration Functions enable you to code the backend of **Cliq extensions** that can bundle the following Cliq internal tools: * **Bots:** Conversational interface that handles tasks or responds to queries * **Commands:** Slash commands that perform built-in or custom actions * **Message Actions:** Actions that are performed as the response to individual messages * **Widgets:** Enables you to customize your Cliq home screen * **Functions:** Custom functions that can execute tasks based on event occurrences You can learn more about these internal tools and extensions from the [Cliq developer documentation](https://www.zoho.com/cliq/help/platform/getting-started-with-cliq-platform.html). ### Benefits * Enables you to code bundled extensions in Java, Node.js or Python platforms, instead of in Deluge which is the default programming environment supported by Cliq * Access function execution logs and detailed performance reports of Cliq backend functions through Logs or APM, that enable you to identify problem areas and rectify them immediately * Functionally-rich SDK support exclusively for Cliq integration with pre-coded class files and code templates, making it easy for you to understand actions that can be performed * Ability to create custom handler classes for any Cliq component and write your logic based on your needs ### Create Integration Functions in Catalyst Similar to other function types, you can create an Integration function from the console or initialize it from the CLI. If you initialize it from the CLI, you can code it using an external IDE and deploy it to the Catalyst console. > **Note:** Refer to the [Functions Introduction page](https://docs.catalyst.zoho.com/en/serverless/help/functions/introduction/#steps-to-work-with-functions-from-a-local-environment) for the steps to work with functions from a local environment, and [Working with Functions from the Console](https://docs.catalyst.zoho.com/en/serverless/help/functions/implementation/#create-a-function) page for steps on creating a function from the console. While creating an Integration function either from the console or from the CLI, you can simply select the service that you want to create the function for. Unlike other function types, you will not have the option to create an Integration function without an SDK, as the SDK structure can help you understand the Cliq components better. Let's look at the Integration function structure in detail. ### Cliq Integration Function Structure An Integration function package contains different components when compared to the other function types. A [function's directory](https://docs.catalyst.zoho.com/en/cli/v1/project-directory-structure/functions-directory/) in Catalyst generally contains the main function file, along with the SDK components of Java, Node.js or Python and configuration files. As with the other function types, the boilerplate structure of an Integration function also contains all the necessary SDK components and configuration files. However, in addition to the JAR files or Node modules added to the directory, an Integration function's package also includes the **Catalyst Cliq SDK**. The SDK provides you the interfaces and objects required to create handler classes and develop service-specific business logic. The code template contains individual handler classes for each component of the Cliq extension. That is, individual handler class files for bots, commands, widgets, functions, and message actions. Let us first take a look at a sample Java, Node.js and Python function structure, before discussing handler classes. #### Java The Java file structure contains the main Java file, along with the handler classes, JAR files of the Catalyst Java SDK, and configuration files. ![Functions- Integrations Java](https://catalyst-docs-development.zohostratus.in/images/help/functions/catalyst_functions_integration_java.webp) The Cliq Java SDK is automatically included when you initialize the function from the CLI or create it in the console. You can also **obtain the Cliq Java SDK from [here](https://www.zoho.com/catalyst/downloads/sdk/java/cliq/catalyst%5Fjava%5Fcliq%5Fsdk%5Flatest.zip)**. #### Node.js The Node.js file structure also contains a main function along with the handler classes, the Node modules files of the Catalyst Node.js SDK, and configuration files. ![Functions- Integrations Java](https://catalyst-docs-development.zohostratus.in/images/help/functions/catalyst_functions_integration_node.webp) Similar to the Cliq Java SDK, the Cliq Node.js SDK is also automatically included when you initialize the function from the CLI or create it in the console. To install it manually, you must execute this command from the Node.js function's directory using your terminal: ```javascript npm install zcatalyst-integ-cliq ``` > **Note:** Refer to the [Project Directory Structure help page](https://docs.catalyst.zoho.com/en/cli/v1/project-directory-structure/functions-directory/) for details about the generic function directory structure and the configuration files of Catalyst functions. #### Python When you create a Python Integration function, in addition to the Python modules added to the functions directory, an Integration function's package called the Cliq Python SDK will also be included. The SDK provides you the interfaces and objects required to create handler classes and develop service-specific business logic. The code template contains individual handler classes for each component of the Cliq extension. That is, individual handler class files for bots, commands, widgets, functions, and message actions. > **Note:** You can also install the Cliq Python SDK manually, by executing this CLI command from the Python function's directory : ```javascript pip install zcatalyst-cliq ``` The Catalyst Cliq SDK package contains the sub-packages mentioned below that are specific to the internal tools in Cliq application. You can refer to [this](https://docs.catalyst.zoho.com/en/serverless/help/functions/integration-functions/#cliq-integration) section to know more about these tools. ![Functions- Integrations Python](https://catalyst-docs-development.zohostratus.in/images/help/functions/catalyst_functions_integration_python.webp) #### Cliq Handler Classes Cliq handlers contain the definitions of the business logic of a specific action in a Cliq component. Each component contains multiple handlers that define actions to handle specific actions or events. For example, some of the handlers of a Cliq bot are: * **Welcome handler:** Defines a custom message when a user subscribes to a bot * **Message handler:** Triggers when a bot receives a message * **Mention handler:** Renders a response when a bot is mentioned in a chat Similarly, each of the Cliq components supported by Catalyst- Commands, Message Actions, Widgets, Functions, have individual handlers. Refer to the [Cliq help pages](https://www.zoho.com/cliq/help/platform/getting-started-with-cliq-platform.html) for details on all handlers supported by each component. Catalyst provides templates for necessary objects and methods that would be useful in building an extension in each handler class. They help you understand handling various actions such as parsing Cliq calls, routing it to the appropriate implementation, or constructing the required response. For example, `BotClass.java`, `bot-handler.js` or `main.py` contains a sample code template for each individual handler of a bot handler class. ![Functions- Cliq Integration Function Handler Classes](https://catalyst-docs-development.zohostratus.in/images/help/functions/catalyst_functions_integration_bot_class.webp) You can refer to these definitions and use these methods to customize your own logic for the extension. You can modify the handler classes based on your requirements, and include only the necessary ones. The user can use this SDK for parsing the Cliq call, routing the call to corresponding implementation and to form output responses. ### Handler Class Files mapping #### Mapping in catalyst-config.json for Java and Node.js Functions All handler class files are mapped in the [`catalyst-config.json`](https://docs.catalyst.zoho.com/en/cli/v1/project-directory-structure/functions-directory/) configuration file of a function. The configuration file typically only includes basic execution and deployment details of a Catalyst function. However, for an Integration function, this file also maps the handler classes that are used in it. ![Cliq Integration Function Handler Classes](https://catalyst-docs-development.zohostratus.in/images/help/functions/catalyst_functions_integration_catalyst_config.webp) This mapping helps Catalyst execute the right set of actions, when the function is invoked. You can also create a new handler class file for a Cliq component and define your own logic in them. However, you must manually map the handler class file in the `catalyst-config.json` file. Ensure that you follow the same format in writing the key for the mapping. The default handler files created as a part of Catalyst Cliq SDK are already mapped, when you create the function from the console or the CLI. #### Mapping in main.py for Python Functions When you create an Integration function, the Cliq Python SDK will be automatically installed within your current project's function directory. For Python, all the handler class files are mapped in the `main.py` file of a function. This mapping helps Catalyst execute the right set of actions, when the function is invoked. You can also create a new handler class file for a Cliq component and define your own logic in them. However, you must manually map the handler class file in the `main.py` file. Ensure that you follow the same format in writing the key for the mapping. The default handler files created as a part of Cliq Python SDK are already mapped, when you create the function from the CLI. ```javascript import zcatalyst-cliq # your cliq handler files's mapping should be given here config = { "ZohoCliq": { "handlers": { "bot_handler": "handlers/bot_handler.py", "function_handler": "handlers/function_handler.py", "installation_validator": "handlers/installation_validator.py", "command_handler": "handlers/command_handler.py", "widget_handler": "handlers/widget_handler.py", "messageaction_handler": "handlers/message_action_handler.py", "installation_handler": "handlers/installation_handler.py" } }, } def handler(request, response): handler_resp = zcatalyst_cliq.execute(request, config) response.set_content_type('application/json') response.send(handler_resp) ``` The `request` object of type `IntegrationRequest` is sent as an argument to the `execute()` method and is parsed with information such as name of the Cliq's internal tool and the operation being performed with it. The `config` property contains the mappings of the handler class files with the respective handlers and is passed as another argument to the method. Based on the parameters, the `execute()` method proceeds with its operation of processing the request with the respective handler classes, and returns the response. After you create an Integration function in Catalyst, you can create an extension in Cliq to invoke the function. For creating extensions in Cliq, you can refer to [this](https://docs.catalyst.zoho.com/en/serverless/help/functions/integration-functions/#cliq-integration) section. ### Configure Extensions in Cliq After you develop the backend for a Cliq extension, you must add the function while you configure the extension in Cliq. This will be a unique Cliq Extension - Catalyst Integration function mapping. Whenever the components of that extension are invoked through Cliq, it will in turn trigger the Catalyst function mapped to it. The appropriate action defined for that request will be triggered through the handler classes. For example, if the end-user in Cliq sends a message to a bot whose backend is defined in Catalyst, the request will be passed to Catalyst after it is authenticated. The details of the component, user, and chat are attached in the request body of the HTTP request. Catalyst will then invoke the message handler defined in `BotClass.java`, `bot-handler.js` or `main.py` file, and will execute the appropriate action. Catalyst will send the response back to Cliq and it is rendered in the front-end of the Cliq component. #### Creating an Extension in Cliq You can create an extension in Cliq and configure components such as bots, widgets, or commands to be bundled in it from the [developer console in Cliq](https://prechat.zoho.com/developer). To configure a Catalyst Integration function in a Cliq extension, you must select the **Execution Type** as "**Catalyst Function**" when you create the extension in Cliq. ![Functions- Cliq Integration Functions Extensions](https://catalyst-docs-development.zohostratus.in/images/help/functions/catalyst_functions_integration_create_extension.webp) You must then choose the Catalyst project from the drop-down list. All projects from your Catalyst account will be listed here. You can also click **Create Project** which will redirect you to Catalyst to create a new project. You must then select the Integration function from the drop-down list that will be associated with this extension. After you configure other details and components of your extension, click **Create Extension**. This will create the integration with Catalyst and enable the Integration function to be executed each time the components are accessed. > **Note:** You can also build the backend for a Cliq extension using a Catalyst Basic or Advanced I/O function, and add its URL by selecting URL Invoke. However, since this will not include the Catalyst Cliq SDK package, you must define all actions manually. To learn about developing extensions for Catalyst in Cliq in detail, refer to the [**Catalyst Type Extension help documentation**](https://www.zoho.com/cliq/help/platform/catalyst.html). -------------------------------------------------------------------------------- title: "Job Functions" description: "Catalyst Functions are cloud-based, custom-built, serverless coding structures that contain the intense business logic of your application" last_updated: "2026-08-17T12:16:04.000Z" source: "https://docs.catalyst.zoho.com/en/serverless/help/functions/job-functions/" service: "Serverless" related: - Job Pool Documentation (/en/job-scheduling/help/jobpool/introduction/) - Create Job Pool (/en/job-scheduling/help/implementation/create-jobpool/) - Submit Job to Function Job Pool (/en/job-scheduling/help/implementation/submit-instant-job/) - Avoid Dispatch Delays When Executing Jobs (/en/job-scheduling/help/jobpool/key-concepts/#ideal-memory-allocation-to-avoid-dispatch-delay) - Java SDK (/en/sdk/java/v1/job-scheduling/overview/) - Node.js SDK (/en/sdk/nodejs/v2/job-scheduling/overview/) - Python SDK (/en/sdk/python/v1/job-scheduling/overview/) - Job Scheduling REST APIs (/en/api/code-reference/job-scheduling/jobpool/get-all-jobpool/#GetAllJobPools) -------------------------------------------------------------------------------- # Job Functions ### Introduction Job Functions are a function type that you can invoke when a [job](https://docs.catalyst.zoho.com/en/job-scheduling/help/job/introduction/) is executed in a [Function Job Pool](https://docs.catalyst.zoho.com/en/job-scheduling/help/implementation/submit-instant-job/). You will code your custom business logic in this function, and it will be invoked at a scheduled time when a job to trigger the function is executed in the [job pool](https://docs.catalyst.zoho.com/en/job-scheduling/help/jobpool/introduction/). A Job Function is a non-HTTPS function, like [Event Functions](https://docs.catalyst.zoho.com/en/serverless/help/functions/event-functions/). This function will not have an endpoint, and the function will only be invoked when a job is executed in the function job pool with this particular job function as its target type. You can code your Job Function in the following runtimes: * [Java](https://docs.catalyst.zoho.com/en/sdk/java/v1/job-scheduling/overview/) - `v7`, `v11`, and `v17` * [Node.js](https://docs.catalyst.zoho.com/en/sdk/nodejs/v2/job-scheduling/overview/) - `v18` * [Python](https://docs.catalyst.zoho.com/en/sdk/python/v1/job-scheduling/overview/) - `v3.10`, `v3.11`, `v3.12`, `v3.13` Like the other *Serverless Functions*, you can create, initialize, and deploy Job Functions functions from the CLI. You can also upload your Job Function as a zip file to the console. However, since Job Functions are non-HTTPS functions, its URL is not accessible like [Basic I/O](https://docs.catalyst.zoho.com/en/serverless/help/functions/basic-io/) or [Advanced I/O functions](https://docs.catalyst.zoho.com/en/serverless/help/functions/advanced-io/). To test a Job Function, you can use the following CLI command and use the [function shell](https://docs.catalyst.zoho.com/en/cli/v1/working-with-functions/functions-shell/). ```sh catalyst functions:shell ``` A Job Function does not return any response other than determining if the function execution was a **success** or **failure**. You can also view and monitor the performance of the Job Function using the following [Catalyst DevOps](https://docs.catalyst.zoho.com/en/devops/) components: * [Logs](https://docs.catalyst.zoho.com/en/devops/help/logs/introduction/): You can view, manage, and monitor all executions pertaining to Job Functions. * [Application Performance Monitoring](https://docs.catalyst.zoho.com/en/devops/help/apm/introduction/): You can use this component to gather in-depth insights on Job Function’s performance. > **Note:** To execute a *Job Function* successfully, without any dispatch delays, always ensure that the **allocated memory of the job function** is **less than** that of the **allocated memory of the job pool**. You can find out more about preventing dispatch delays from this [help section](https://docs.catalyst.zoho.com/en/job-scheduling/help/jobpool/key-concepts/#ideal-memory-allocation-to-avoid-dispatch-delay). ### Benefits * A Job Function can be created, initialized, and deployed using Catalyst's robust CLI. This ensures that all dependencies that are required to deploy the function will be automatically installed when you [initialize the function through CLI](https://docs.catalyst.zoho.com/en/cli/v1/initialize-resources/initialize-functions/). * Job functions can also be created in Catalyst's Serverless Console via the [Editor](https://docs.catalyst.zoho.com/en/serverless/help/functions/implementation/#create-a-function). * Job functions will contain the ideal boilerplate code using which you can code any custom business logic, and the rest of the backend requirements will be handled by Catalyst. ### Function Boilerplate Code The boilerplate code present in the Job Function when you create it in the console or initialize it using the CLI is shown below: **Java** **Java Job Function Boilerplate** ```java import java.util.logging.Level; import java.util.logging.Logger; import com.catalyst.Context; import com.catalyst.job.JOB_STATUS; import com.catalyst.job.JobRequest; import com.catalyst.job.CatalystJobHandler; import com.zc.common.ZCProject; import com.zc.component.cache.ZCCache; public class Sample implements CatalystJobHandler { private static final Logger LOGGER = Logger.getLogger(Sample.class.getName()); @Override public JOB_STATUS handleJobExecute(JobRequest request, Context arg1) throws Exception { try { ZCProject.initProject(); Object eventData = request.getAllJobParams(); if (eventData != null) { LOGGER.log(Level.SEVERE, "Data is" + eventData.toString()); } LOGGER.log(Level.SEVERE, "Project Details " + request.getProjectDetails().toString()); ZCCache.getInstance().putCacheValue("JobSample", "Working", 1 l); LOGGER.log(Level.SEVERE, "Inserted SucessFully:)"); } catch (Exception e) { LOGGER.log(Level.SEVERE, "Exception in Job Function", e); return JOB_STATUS.FAILURE; } return JOB_STATUS.SUCCESS; } } ``` **Node.js** **Node.js Job Function Boilerplate** ```javascript /** * * @param {import("./types/job").JobRequest} jobRequest * @param {import("./types/job").Context} context */ module.exports = (jobRequest, context) => { console.log('Hello from index.js'); // function input: { job_details: { job_meta_details: { params: { key: 'value' } } } } /** * JOB REQUEST FUNCTIONALITIES */ const projectDetails = jobRequest.getProjectDetails(); // to get the current project details const jobDetails = jobRequest.getJobDetails(); // to get the current job details const jobMetaDetails = jobRequest.getJobMetaDetails(); // to get the current job's meta details const jobpoolDetails = jobRequest.getJobpoolDetails(); // to get the current function job pool's details const getJobCapacityAttributes = jobRequest.getJobCapacityAttributes(); // to get the current jobs capacity const allJobParams = jobRequest.getAllJobParams(); // to get all the parameters supplied to the job function const jobParam = jobRequest.getJobParam('key'); // to get the value of a particular parameter supplied to the job function /** * CONTEXT FUNCTIONALITIES */ context.closeWithSuccess(); //end of application with success // context.closeWithFailure(); //end of application with failure }; ``` **Python** **Python Job Function Boilerplate** ```python import logging def handler(job_request, context): logger = logging.getLogger() logger.info('Hello from main.py') # function input: { job_details: { job_meta_details: { params: { key: 'value' } } } } '''JobRequest Functionalities''' job_details = job_request.get_job_details() # get the details of the current job project_details = job_request.get_project_details() # get the details of the current project job_meta_details = job_request.get_job_meta_details() # get the job meta of the current job job_pool_details = job_request.get_job_pool_details() # get the current functions job pool details job_capacity_attributes = job_request.get_job_capacity_attributes() # get the current jobs capacity all_job_params = job_request.get_all_job_params() # get all the parameters supplied to the job function job_param = job_request.get_job_param('key') # get the value of a particular parameter supplied to the job function '''Context Functionalities''' remaining_execution_time_ms = context.get_remaining_execution_time_ms() # get the maximum allowed execution time for the job functions max_execution_time_ms = context.get_max_execution_time_ms() # get the remaining execution time for this job function # context.close_with_failure() # conclude the function execution with a failure response context.close_with_success() # conclude the function execution with a success response ``` ### Testing Job Functions Using Catalyst CLI Job Functions are non-HTTPS functions like [Event](https://docs.catalyst.zoho.com/en/serverless/help/functions/event-functions/) and [Integrations](https://docs.catalyst.zoho.com/en/serverless/help/functions/integration-functions/) Functions. You cannot invoke a Job function manually, or test it in the console. However, you can generate sample payloads and test the function using the [Function Shell](https://docs.catalyst.zoho.com/en/cli/v1/working-with-functions/functions-shell/#functions-shell-command-execution) present in the [Catalyst CLI](https://docs.catalyst.zoho.com/en/cli/v1/cli-command-reference/). The following CLI command will generate a sample payload, and you can use it to test the function in the local environment. ```sh catalyst event:generate:job 10108000007982015 // Replace with the required Job Pool ID ``` ![catalyst_job_scheduling_job_functions_sample_payload](https://catalyst-docs-development.zohostratus.in/images/help/job-scheduling/catalyst_job_scheduling_job_functions_sample_payload.webp) You can feed this payload while you execute the required Job Function and validate the output. ### Job Function Arguments **Java** A Catalyst Job Function supports two arguments in **Java**: `JobRequest` and `Context`. The `JobRequest` argument contains the following built-in methods: * `JobRequest.getProjectDetails()`: Used to get the project details, such as the project ID and project name. * `JobRequest.getJobDetails()`: Used to get all the details of the Job including [Job ID](https://docs.catalyst.zoho.com/en/job-scheduling/help/job/key-concepts/#job-id), the Job Pool it is associated with, and Job Name. * `JobRequest.getJobMetaDetails()`: Used to get all the meta details of the Job including details on Execution Time, Dispatch Delay, and details on retry attempts. * `JobRequest.getJobpoolDetails()`: Used to get all the details of the Job Pool. The details include [Job Pool ID](https://docs.catalyst.zoho.com/en/job-scheduling/help/jobpool/key-concepts/#job-pool-id), Job Pool Name, and Job Pool Type. * `JobRequest.getJobCapacityAttributes()`: Used to get all the details about the memory allocated for the Function Job Pool. * `JobRequest.getAllJobParams()`: Used to get all the parameters (key-value pair) passed to the function. * `JobRequest.getJobParam(String key)`: Used to get all value of the params by passing the key as string to the function. The `Context` argument contains the following built-in methods: * `Context.getRemainingExecutionTimeMs()`: This can be used to fetch the remaining execution time of a job function. * `Context.getMaxExecutionTimeMs()`: This method can be used to get the maximum execution time of a job function, which is a constant value of **15 minutes**. **Node.js** A Catalyst Job Function supports two arguments in **Node.js**: `jobDetails` and `context`. The `jobDetails` argument contains the following built-in methods: * `jobDetails.getJobDetails()`: Used to get all the details of the Job including Job ID, the Job Pool it is associated with, and Job Name. * `jobDetails.getJobMetaDetails()`: Used to get all the meta details of the Job including details on Execution Time, Dispatch Delay, and details on retry attempts. * `jobDetails.getJobPoolDetails()`: Used to get all the details of the Job Pool. The details include Job Pool ID, Job Pool Name, and Job Pool Type. * `jobDetails.getProjectDetails()`: Used to get the project details, such as the project ID and project name. * `jobDetails.getJobCapacityAttributes()`: Used to get all the details about the memory allocated for the Function Job Pool. * `jobDetails.getAllJobParams()`: Used to get all the parameters (key-value pair) passed to the function. * `jobDetails.getJobParam(key)`: Used to get all value of the params by passing the key as string to the function. The `context` argument contains the following built-in methods: * `context.getRemainingExecutionTimeMs()`: This can be used to fetch the remaining execution time of a job function. * `context.getMaxExecutionTimeMs()`: This method can be used to get the maximum execution time of a job function, which is a constant value of 15 minutes. * `context.closeWithSuccess()`: This method can be used to mark a job's execution as successful. * `context.closeWithFailure()`: This method can be used to mark a job's execution as failure. **Python** A Catalyst Job Function supports two arguments in **Python**: `job_details` and `context`. The `job_details` argument contains the following built-in methods: * `job_details.get_job_details()`: Used to get all the details of the Job including Job ID, the Job Pool it is associated with, and Job Name. * `job_details.get_job_meta_details()`: Used to get all the meta details of the Job including details on Execution Time, Dispatch Delay, and details on retry attempts. * `job_details.get_job_pool_details()`: Used to get all the details of the Job Pool. The details include Job Pool ID, Job Pool Name, and Job Pool Type. * `job_details.get_project_details()`: Used to get the project details, such as the project ID and project name. * `job_details.get_job_capacity_attributes()`: Used to get all the details about the memory allocated for the Function Job Pool. * `job_details.get_all_job_params()`: Used to get all the parameters (key-value pair) passed to the function. * `job_details.get_job_param(key)`: Used to get all value of the params by passing the key as string to the function. The `context` argument contains the following built-in methods: * `context.get_remaining_execution_time_ms()`: This can be used to fetch the remaining execution time of a job function. * `context.get_max_execution_time_ms()`: This method can be used to get the maximum execution time of a job function, which is a constant value of 15 minutes. * `context.close_with_success()`: This method can be used to mark a job's execution as successful. * `context.close_with_failure()`: This method can be used to mark a job's execution as failure. -------------------------------------------------------------------------------- title: "Implementation" description: "Catalyst Functions are cloud-based, custom-built, serverless coding structures that contain the intense business logic of your application" last_updated: "2026-10-30T17:47:18.000Z" source: "https://docs.catalyst.zoho.com/en/serverless/help/functions/implementation/" service: "Serverless" -------------------------------------------------------------------------------- # Implementation ### Introduction The implementation help page acts as a procedure guide on working with Catalyst Functions from the Catalyst console. You can create Java, Node.js, or Python functions from the web console, and view their daily usage statistics and details. You can use the code editor to work on the files for Node.js functions. You can also perform easy configurations on the functions such as adding triggers for them, creating and managing environmental variables, or optimizing their memory configuration from the console. > **Note:** You will not be able to code Java and Python functions from the console editor. You will only be able to work on Node.js functions. You can work on Java and Python functions [from a local environment](https://docs.catalyst.zoho.com/en/serverless/help/functions/introduction/#steps-to-work-with-functions-from-a-local-environment), and upload the respective bundles to the console. ### Create a Function To create a function for your Catalyst project from the console: 1. Navigate to **Functions** component present under *FAAS* in the Catalyst *Serverless* console. 2. Click **Create Function**. ![Functions- Create a Function](https://catalyst-docs-development.zohostratus.in/images/help/functions/catalyst_functions_create.webp) The **Editor** tab will open in the pop-up box. ![Functions- Create a Function](https://catalyst-docs-development.zohostratus.in/images/help/functions/catalyst_functions_create_cli.webp) > **Note:** If you click the **CLI** tab, you can find commands for installing the CLI and initializing functions from it. 3. **Function Type:** Select a function type from the drop-down list. You can select a Basic I/O, Advanced I/O, Cron, Event, or an Integration function. > **Note:** Integration Functions is currently not available to Catalyst users accessing from the EU, AU, IN, or CA data centers. ![Functions- Create a Function](https://catalyst-docs-development.zohostratus.in/images/help/functions/catalyst_functions_create_1.webp) The default Function URL is displayed below the function name, if you select a Basic I/O or an Advanced I/O function. 4. **Function Name and URL:** Enter a name for the function. This will be the folder name (Java) or the package name (Node.js or Python) of the function. ![Functions- Create a Function](https://catalyst-docs-development.zohostratus.in/images/help/functions/catalyst_functions_create_2.webp) The function name will be appended in the Function URL automatically as you type, for the Basic I/O and Advanced I/O functions. 5. **Function Stack:** Select a function stack from the drop-down list. The drop-down displays the latest supported runtimes of Java, Node.js and Python languages, along with other older runtimes that are still supported by Catalyst. Catalyst currently supports: Java 25, Java 21, Java 17, Java 11, Java 8, Node.js 24, Node.js 22, Node.js 20, Node.js 18, Python 3.13, Python 3.12, Python 3.11, and Python 3.10. ![Functions- Create a Function](https://catalyst-docs-development.zohostratus.in/images/help/functions/catalyst_functions_create_stack-updated.webp) > **Note:** It is recommended that you build and maintain functions in the latest runtimes of these programming environments to avoid security or stability issues. Catalyst will phase out the end of support for runtimes that are approaching their end of life. You can learn more about this from our [Language Runtime Support Policy.](https://docs.catalyst.zoho.com/en/serverless/help/functions/runtime-support/) 6. **Function Bundle:** If you select a Node.js version as your stack, select the bundle from the options. ![Functions- Create a Function](https://catalyst-docs-development.zohostratus.in/images/help/functions/catalyst_functions_create_3.webp) * Select **Default Template** to create the function [without the Node dependencies](https://docs.catalyst.zoho.com/en/serverless/help/functions/stack/). * Select **Default Template with Catalyst SDK** to create the function with the Catalyst Node.js SDK package and the Node modules. * You can also upload the function by selecting **File Upload** and uploading the function's folder as a compressed zip file from your local system. If you select a Java or Python version as your stack, you can only upload the function bundle. You must upload the Java or Python function's folder as a zip file as well. ![Functions- Create a Function](https://catalyst-docs-development.zohostratus.in/images/help/functions/catalyst_functions_create_4.webp) > **Note:** While uploading a Java, Node.js or a Python function bundle in the console, you must ensure that: * Instead of compressing the function folder as a whole, you must navigate inside the function folder, select all the files in it, and then compress them together. This is because, when Catalyst extracts a Java, Node.js or Python function's zip file, the `[catalyst-config.json](https://docs.catalyst.zoho.com/en/cli/v1/project-directory-structure/functions-directory/)` file must be present in the root. * The function's directory contains all the required configuration files in the [standard structures](https://docs.catalyst.zoho.com/en/cli/v1/project-directory-structure/functions-directory/). * The function name you enter in the console matches the names configured in `package.json` for Node.js, and `catalyst-config.json` for Java, Node.js and Python. The zip file's name can be anything. * The stack version you select in the console matches the stack version configured in `catalyst-config.json` for all Java, Node.js and Python functions. * You select the right function type. Since each function type contains a different code structure, a type mismatch will occur if you select the wrong type. 7. **Function Memory Configuration:** Catalyst enables you to configure the memory for each of your functions. This memory will be allocated when the function is executed. The default memory allocated for a function is 256 MB. That is, if you don't configure the memory, or if you had created a function before this feature was made available, the memory would be set to 256 MB automatically. You can edit any of your existing functions and change this value as per your requirements. > **Note:** You can optimize the cost and performance of your application by selecting the optimal memory for a function based on the complexity of its code. Refer to the [Cost and Performance Optimization in Functions](https://docs.catalyst.zoho.com/en/serverless/help/functions/optimization/) page for details. Choose a memory between 128 MB to 512 MB, from the drop-down list. ![Functions- Create a Function](https://catalyst-docs-development.zohostratus.in/images/help/functions/catalyst_functions_create_5.webp) > **Note:** The CPU is allocated automatically based on the memory you configure for your function. You won't be able to view or configure this value. 8. After configuring the function's details, click **Create**. The function will be created and listed in the _Functions_ page. A unique **Function ID** will be created for it and displayed in the page, along with the function's details. ![Functions- Function Created](https://catalyst-docs-development.zohostratus.in/images/help/functions/catalyst_functions_page.webp) ### Function Overview and Statistics When you open a function from the _Funtions_ page, you will be redirected to the Overview section for that function. This section provides valuable daily statistics of that particular function's execution and its general details. ![Functions- Overview and Statistics](https://catalyst-docs-development.zohostratus.in/images/help/functions/catalyst_functions_overview.webp) The following daily statistics of the function are displayed: * **Total Invocations:** Total number of the function's invocations for the day * **Invocation Errors:** Total number of invocations with the HTTP status code in the 500 series * **Average Invocation Time:** Average response time of the successful invocations * **Time-Outs:** Number of invocations which exceeded the time-out limits You can also view the function's details such as its ID, stack, invocation URL, and more from this section. ### Code Editor After a function has been created, you can access the code editor to work on its files. You can open the code editor by clicking the **Code** tab for a function. ![Functions- Code Editor](https://catalyst-docs-development.zohostratus.in/images/help/functions/catalyst_functions_code.webp) The files in the function's directory will be created based on the stack and bundle, and displayed on the left. If you uploaded a zip file, you will find all the files in the directory. > **Note:** The code editor will not be available for Java and Python functions. But you can view all the daily statistics in the *Overview* section and perform configurations in the *Configuration* section. ![Functions- Code Editor](https://catalyst-docs-development.zohostratus.in/images/help/functions/catalyst_functions_code_java.webp) You can open a file from the files on the left and code it. Click **Save** to save the changes you make. ![Functions- Code Editor](https://catalyst-docs-development.zohostratus.in/images/help/functions/catalyst_functions_code_advanced_io.webp) The editor window enables auto-completion of your code, and also provides several tools that enrich your coding experience. **Right-click** on the editor window to access the tools. ![Functions- Code Editor](https://catalyst-docs-development.zohostratus.in/images/help/functions/catalyst_functions_editor.webp) The Code Navigation tools include: * **Go To Definition:** Navigates to the definition of the item * **Peek Definition:** Opens a peek editor inline and displays the definition of an item * **Peek References:** Opens a peek editor inline and displays the references of an item * **Go To Symbol:** Displays symbols in a function grouped into categories You can also modify all the occurrences of an item in a single step by selecting the item and using **Change All Occurrences**. The **Format Document** formats the code's structure to make it more readable. The **Command Palette** lists out all the commands that are frequently used. You can enable full screen mode or switch to a dark mode by clicking the respective icons in the bottom-right corner of the code window. You can search for a file in the function's directory using the search bar. You can obtain the [Function URL for Basic I/O](https://docs.catalyst.zoho.com/en/serverless/help/functions/basic-io/#function-url) and [Advanced I/O](https://docs.catalyst.zoho.com/en/serverless/help/functions/advanced-io/#function-url) functions by clicking **Get Function URL** in the bottom right corner. The URL of an Advanced I/O function is displayed below. ![Functions- Code Editor](https://catalyst-docs-development.zohostratus.in/images/help/functions/catalyst_functions_function_url_advanced_io.webp) The URL of a Basic I/O function is displayed below. ![Functions- Code Editor](https://catalyst-docs-development.zohostratus.in/images/help/functions/catalyst_functions_function_url_basicio.webp) You can copy the function URL and implement it in your code or use it as required. You can create new files and folders by right-clicking on any file or folder's name in the editor. Click **New File** to create a new file, or **New Folder** to create a new folder, in the current directory. ![Functions- Code Editor](https://catalyst-docs-development.zohostratus.in/images/help/functions/catalyst_functions_code_right_click.webp) Enter a name for the file or folder and press **Enter** to create it. ![Functions- Code Editor](https://catalyst-docs-development.zohostratus.in/images/help/functions/catalyst_functions_right_click_rename.webp) You can delete a file or a folder by clicking **Delete** for it in the right-click menu. ![Functions- Code Editor](https://catalyst-docs-development.zohostratus.in/images/help/functions/catalyst_functions_right_click_delete.webp) You can also upload a file to a folder in the function's directory. To do so, right-click on the folder and click **Upload**. ![Functions- Code Editor](https://catalyst-docs-development.zohostratus.in/images/help/functions/catalyst_functions_right_click_upload.webp) Select the file from your local machine and upload it. The console also allows you to test Basic I/O functions by passing input parameters. You will not be able to test functions of the other types because they do not return String responses like Basic I/O functions. To test a Basic I/O function, click **Test** from the bottom of the editor window. ![Functions- Code Editor](https://catalyst-docs-development.zohostratus.in/images/help/functions/catalyst_functions_code_test_basicio_1.webp) Select the HTTP method for your request. Enter the function's parameter name under _Key_ and the value under _Value_. You can add more parameters by clicking the **[+]** icon and delete a parameter by clicking the **[-]** icon. ![Functions- Code Editor](https://catalyst-docs-development.zohostratus.in/images/help/functions/catalyst_functions_code_test_basicio_2.webp) Click **Test** after providing the input values. The output is displayed below the editor. ![Functions- Code Editor](https://catalyst-docs-development.zohostratus.in/images/help/functions/catalyst_functions_code_test_basicio_output.webp) You can also switch the output window to the right side by clicking on the right icon. ![Functions- Code Editor](https://catalyst-docs-development.zohostratus.in/images/help/functions/catalyst_functions_code_test_basicio_output_2.webp) This value is also pushed to the logs by using the `context.log method`. You can view this by opening [Catalyst Logs](https://docs.catalyst.zoho.com/en/devops/help/logs/introduction/) and selecting the function. ![Functions- Code Editor](https://catalyst-docs-development.zohostratus.in/images/help/functions/catalyst_functions_logs.webp) #### Function Configurations The _Configuration_ section of a function enables you to perform configurations for the following features: Environmental Variables, Allocated Memory, Function Triggers. ![Functions- Configuration](https://catalyst-docs-development.zohostratus.in/images/help/functions/catalyst_functions_config.webp) Let's explore these in detail. ### Environmental Variables Environmental variables are variables of a function whose values are declared outside of the function's code. After an environmental variable is created, it can be called in any of the sub-functions in that function directory. Catalyst enables you to create, store, and manage variables for both the environments it offers: the [Development and Production environments](https://docs.catalyst.zoho.com/en/deployment-and-billing/environments/introduction/). You can declare a single variable name and configure values for both these environments. For example, if you need to declare an auth token variable that will hold different values in different environments, you can do so, and save the values in this section. > **Note:** If you want to declare a production variable, you must have [deployed your project to the Production environment](https://docs.catalyst.zoho.com/en/deployment-and-billing/environments/deployment-types/). You will only be able to create or access production variables if your project is available in the Production environment. You can then call the variable in your function's code as mentioned in [this section](https://docs.catalyst.zoho.com/en/serverless/help/functions/implementation/#use-an-environmental-variable). ### Create an Environmental Variable To create a new environmental variable for a function: 1. Click the **Configuration** tab after you open the function from the _Functions_ page. 2. Click **Create Variable** in the _Environment Variables_ section. ![Functions- Create an Environmental Variable](https://catalyst-docs-development.zohostratus.in/images/help/functions/catalyst_functions_config_env_1.webp) 3. Configure the key and the value(s) for the variable. If your project is not available in the Production environment, you will be able to add the variable key and its development value alone. ![Functions- Create an Environmental Variable](https://catalyst-docs-development.zohostratus.in/images/help/functions/catalyst_functions_config_env_2.webp) > **Note:** To use [ZCQL V2](https://docs.catalyst.zoho.com/en/cloud-scale/help/zcql/syntax-exceptions/) queries in your code, you need to create an environment variable with the following values: * **Key**: `ZOHO_CATALYST_ZCQL_PARSER` * **Development Value**: `V2` You can find out more on using ZCQL queries in code from this [help document](https://docs.catalyst.zoho.com/en/cloud-scale/help/zcql/zcql-console/#using-zcql-v2-in-function-code). If your project is available in the Production environment, you will be able to add both development and production values for the variable. ![Functions- Create an Environmental Variable](https://catalyst-docs-development.zohostratus.in/images/help/functions/catalyst_functions_config_env_3.webp) 4. Click **Save**. The variable will be saved and listed in the section. You can use the drop-down on the top to switch between the development and production variables list. That is, if you need to access development variables, select **Development** from the drop-down. ![Functions- Environmental Variable Created](https://catalyst-docs-development.zohostratus.in/images/help/functions/catalyst_functions_config_env_4.webp) > **Info:** Environmental variables are encrypted and stored in Catalyst. These values appear in plain text in the console and in API responses only to you and your project’s collaborators. ### Use an Environmental Variable After you create an environmental variable, you can call it in your function's code by its keyname in different ways for different function stacks. Each time you need to refer to the variable in the code, you must follow the syntax specified below based on the programming environment: **Java:** ```javascript System.getenv(keyname) ``` **Node.js** ```javascript process.env.keyname ``` `**keyname**:` The `keyname` declared for the variable. This syntax method is best used when `keyname` *contains no spaces*. ```javascript process.env[keyname] ``` `**keyname**:` The `keyname` declared for the variable. This syntax method is best used when `keyname` *contains spaces*. **Python:** ```javascript os.getenv("keyname") ``` **Web:** ```javascript catalyst.getCatalystEnv(key) ``` > **Note:** The variable's value is fetched based on the environment the function is executed in. That is, if the function is executed in the Development environment, the development value of the variable is fetched. If it is executed in the Production environment, the production value of the variable is fetched. #### Edit an Environmental Variable To edit an environmental variable's key or values: 1. Click the ellipsis icon for the variable, then click **Edit**. ![Functions- Edit an Environmental Variable](https://catalyst-docs-development.zohostratus.in/images/help/functions/catalyst_functions_config_env_edit_1.webp) 2. You can edit the key, the development or production value. Then click **Save**. ![Functions- Edit an Environmental Variable](https://catalyst-docs-development.zohostratus.in/images/help/functions/catalyst_functions_config_env_edit_2.webp) #### Delete an Environmental Variable You can delete the development or the production value of an environmental variable. When you delete it one environment, the value of the variable in the other environment is still available. To delete the development or the production value of an environmental variable: 1. Click the ellipsis icon for the variable, then click **Remove**. ![Functions- Delete an Environmental Variable](https://catalyst-docs-development.zohostratus.in/images/help/functions/catalyst_functions_config_env_delete_1.webp) 2. You can edit the key, the development or production value. Then click **Save**. ![Functions- Delete an Environmental Variable](https://catalyst-docs-development.zohostratus.in/images/help/functions/catalyst_functions_config_env_delete_2.webp) The variable will be deleted from the selected environment alone. ### Allocated Memory You can allocate memory for your function's execution based on its performance requirements, in this section. If you did not specifically configure the memory while creating the function, the default memory of 256 MB will be allocated for its execution. You can edit the default or previously configured memory after analysing its requirements, and optimize its performance and cost by selecting an optimal value. Refer to the [Functions Cost and Performance Optimization page](https://docs.catalyst.zoho.com/en/serverless/help/functions/optimization/) to learn more. > **Note:** The CPU is allocated automatically based on the memory you configure for your function. You won't be able to view or configure this value. To configure the memory allocated for a function: 1. Navigate to the **Allocated Memory** tab in the _Configuration_ tab, then click the edit icon. ![Functions- Allocate Memory](https://catalyst-docs-development.zohostratus.in/images/help/functions/catalyst_functions_config_memory_1.webp) 2. Select the required memory for the function, then click the check icon. ![Functions- Allocate Memory](https://catalyst-docs-development.zohostratus.in/images/help/functions/catalyst_functions_config_memory_2.webp) You can also edit the allocated memory by [editing the function](https://docs.catalyst.zoho.com/en/serverless/help/functions/implementation/#update-or-download-a-function). ### Function Triggers The _Function Triggers_ section provides you with an easy way to create and manage all triggers associated with a function. It allows you to view all the triggers that have been associated with a particular function in a single space, and enables you to easily disable, update, or delete a trigger. This saves you time from navigating to each component and searching for triggers associated with a function. Based on the function type, different component triggers can be associated with a function. > **Note:** Integration functions cannot be associated with any function triggers. #### Basic I/O and Advanced I/O Functions The Basic I/O and Advanced I/O functions of your project can be associated with [API Gateway triggers](https://docs.catalyst.zoho.com/en/cloud-scale/help/api-gateway/introduction/). You can create APIs to access the endpoints of these functions, and additionally configure authentication and throttling for them from this section. > **Note:** Basic I/O functions can also be orchestrated in [Circuits](https://docs.catalyst.zoho.com/en/serverless/help/circuits/introduction/) and used in defining workflows. You can perform this action by accessing Circuits in the console. To create an API Gateway function trigger for a Basic I/O or an Advanced I/O function: 1. Navigate to the _Functions Triggers_ section in the _Configuration_ tab. If you have not enabled API Gateway, you can click on **Access API Gateway** to enable it first. ![Functions- API Gateway Trigger](https://catalyst-docs-development.zohostratus.in/images/help/functions/catalyst_functions_config_trigger_apig_1.webp) If your API Gateway is enabled, all the APIs that have been configured for that specific function, if any, will be listed there. You can then click on **Create API Gateway Trigger** to configure a new API for the function. This API defines the access to that function. ![Functions- API Gateway Trigger](https://catalyst-docs-development.zohostratus.in/images/help/functions/catalyst_functions_config_trigger_apig_2.webp) 2. This will open an API creation pop-up. Configure the details of the API. You can learn more about this step from the [API Gateway help page](https://docs.catalyst.zoho.com/en/cloud-scale/help/api-gateway/introduction/). Then click **Create**. ![Functions- API Gateway Trigger](https://catalyst-docs-development.zohostratus.in/images/help/functions/catalyst_functions_config_trigger_apig_3.webp) The API for the function will be created and listed in this section along with its details. You will also find it listed on the API Gateway component page in your console. ![Functions- API Gateway Trigger](https://catalyst-docs-development.zohostratus.in/images/help/functions/catalyst_functions_config_trigger_apig_4.webp) We will discuss editing and deleting a function trigger after we discuss the triggers available for the function types. #### Event Functions The Event functions of your project can be triggered by [Catalyst Signals](https://docs.catalyst.zoho.com/en/signals/). You can configure a [Signals rule](https://docs.catalyst.zoho.com/en/signals/help/rules/key-aspects/) as a trigger for an Event function, in this section. Whenever the rule is invoked, the Event function will be executed. To create a function trigger for an Event function: 1. Navigate to the _Functions Triggers_ section in the _Configuration_ tab of the Event function, then click **Create Signals Rule**. ![Functions- Signals Rule Trigger](https://catalyst-docs-development.zohostratus.in/images/help/functions/catalyst_functions_config_trigger_event_1.webp) 2. This will open a Signals rule creation pop-up. You can create a rule for a Catalyst Publisher or a Custom Publisher. When you click on the text box for Publisher, you can choose a Catalyst Publisher (for Catalyst component events) or a Custom Publisher (for custom URL-based events). ![Functions- Signals Rule Trigger](https://catalyst-docs-development.zohostratus.in/images/help/functions/catalyst_functions_config_trigger_event_2.webp) 3. In the case of a Catalyst Publisher, you can associate the rule with specific actions of a Catalyst component instance. You can learn more from [here](https://docs.catalyst.zoho.com/en/signals/help/publishers/create-publisher/catalyst-publishers/). ![Functions- Signals Rule Trigger](https://catalyst-docs-development.zohostratus.in/images/help/functions/catalyst_functions_config_trigger_event_3.webp) In the case of a Custom Publisher, you can configure the relevant rule details. A unique URL will be generated for the Custom Publisher that can be invoked to trigger the rule. You can learn more from [here](https://docs.catalyst.zoho.com/en/signals/help/publishers/create-publisher/custom-publishers/). ![Functions- Signals Rule Trigger](https://catalyst-docs-development.zohostratus.in/images/help/functions/catalyst_functions_config_trigger_event_4.webp) The target function will be the function that you are creating the rule for, in both cases. 4. Click **Create** after configuring the details. The Signals rule trigger will be created and shown in the _Function Triggers_ section. The trigger will be enabled by default. All Signals rule triggers associated with this function will be listed here. ![Functions- Signals Rule Trigger](https://catalyst-docs-development.zohostratus.in/images/help/functions/catalyst_functions_config_trigger_event_5.webp) You can disable or re-enable this trigger, as well as edit and delete it from this section. We will discuss this after the Cron function trigger section. #### Cron Functions You can create a new [Cron job](https://docs.catalyst.zoho.com/en/cloud-scale/help/cron/introduction/) and associate it with a Cron function. Whenever the cron scheduler is invoked, the Cron function will be executed. > **Note:** Cron jobs can also be configured to invoke third-party URLs, instead of a Cron function. You can configure these crons by accessing the Cron component. To create a function trigger for a Cron function: 1. Navigate to the _Functions Triggers_ section in the _Configuration_ tab of the Cron function, then click **Create Cron**. ![Functions- Cron Trigger](https://catalyst-docs-development.zohostratus.in/images/help/functions/catalyst_functions_config_trigger_cron_1.webp) 2. Configure the details of the cron. You can pass parameter values during the cron function's execution. You can schedule it as a one-time or a recursive cron, and configure the time and date or the frequency of the execution respectively. You can learn more from [here](https://docs.catalyst.zoho.com/en/cloud-scale/help/cron/key-concepts/). ![Functions- Cron Trigger](https://catalyst-docs-development.zohostratus.in/images/help/functions/catalyst_functions_config_trigger_cron_2.webp) 3. After you configure the details, click **Save**. The cron trigger will be created and shown in the _Function Triggers_ section. The trigger will be enabled by default. All cron triggers associated with this function will be listed. ![Functions- Cron Trigger](https://catalyst-docs-development.zohostratus.in/images/help/functions/catalyst_functions_config_trigger_cron_4.webp) #### Disable/Enable a Signals Rule or Cron Trigger Catalyst enables you to enable or disable a Signals rule or a cron associated with an Event or a Cron function from the Function Triggers section directly. You need not navigate to the respective components to perform this action. To disable a Signals rule or a cron from the Function Triggers section: 1. Click the ellipsis icon of a Signals rule or a cron trigger, then click **Disable**. ![Functions- Disable Trigger](https://catalyst-docs-development.zohostratus.in/images/help/functions/catalyst_functions_config_trigger_event_disable_1.webp) 2. Click **Yes, Proceed** in the confirmation pop-up. ![Functions- Disable Trigger](https://catalyst-docs-development.zohostratus.in/images/help/functions/catalyst_functions_config_trigger_event_disable_2.webp) The Signals rule or the cron will be disabled. ![Functions- Disable Trigger](https://catalyst-docs-development.zohostratus.in/images/help/functions/catalyst_functions_config_trigger_event_disable_3.webp) You can re-enable a Signals rule or cron trigger by clicking the ellipsis icon again, then clicking **Enable**. ![Functions- Disable Trigger](https://catalyst-docs-development.zohostratus.in/images/help/functions/catalyst_functions_config_trigger_event_disable_4.webp) #### Edit an API Gateway, Signals Rule, or Cron Trigger You can easily update the details of a function trigger created for any of the function types from the _Function Triggers_ section. To edit an API Gateway, Signals rule, or a cron trigger: 1. Click the ellipsis icon of an API Gateway, Signals rule, or a cron trigger, then click **Edit**. ![Functions- Edit Trigger](https://catalyst-docs-development.zohostratus.in/images/help/functions/catalyst_functions_config_trigger_apig_edit_1.webp) 2. Make the necessary changes to the API, Signals rule, or cron configuration, then click **Update**. ![Functions- Edit Trigger](https://catalyst-docs-development.zohostratus.in/images/help/functions/catalyst_functions_config_trigger_apig_edit_2.webp) These changes will be reflected in the respective components. That is, the updates will be available if you access the API Gateway, Signals, or Cron component. #### Delete an API Gateway, Signals Rule, or Cron Trigger You can delete an API, Signals rule, or a cron associated with a function from the _Function Triggers_ section in the following way: 1. Click the ellipsis icon of an API Gateway, Signals rule, or a cron trigger, then click **Delete**. ![Functions- Delete Trigger](https://catalyst-docs-development.zohostratus.in/images/help/functions/catalyst_functions_config_trigger_cron_delete_1.webp) 2. Click **Yes, Proceed** in the confirmation pop-up. ![Functions- Delete Trigger](https://catalyst-docs-development.zohostratus.in/images/help/functions/catalyst_functions_config_trigger_cron_delete_2.webp) The API, Signals rule, or cron will be permanently deleted. > **Note:** Please note that when configuring write permissions for a Function or AppSail profile, the configured Function or AppSail will have privileges to perform all SDK operations within its project. ### Update or Download a Function You can upload an updated bundle of your function any time from your local system to the Catalyst console. You can also modify the memory configuration allocated to a function and update its runtime version. However, you will not be able to edit any other values of a function, such as its name or type, or change it to a different stack. When a runtime is nearing its end-of-life and is soon to be deprecated by Catalyst, you will find a warning displayed when you open the function. You must ensure that you upgrade the function to the latest supported version before Catalyst's end of support for the runtime. You can learn more about this from the [Language Runtime Support Policy](https://docs.catalyst.zoho.com/en/serverless/help/functions/runtime-support/) help section. You can experiment with a function's memory configuration to figure out the optimal memory it requires, based on the complexities of the code involved, and the observations you make from its execution history. You can then update the function's memory accordingly to optimize the cost and performance of your application. Learn more about this from the [Cost and Performance Optimization](https://docs.catalyst.zoho.com/en/serverless/help/functions/optimization/) help section. You can update a function in the following way: 1. Click the **ellipsis icon** from the _Overview_ or _Code_ section of the function and click **Update**. ![Functions- Update a Function](https://catalyst-docs-development.zohostratus.in/images/help/functions/catalyst_functions_update.webp) 2. Upload the updated function bundle or edit its memory configuration in the pop-up window. ![Functions- Update a Function](https://catalyst-docs-development.zohostratus.in/images/help/functions/catalyst_functions_update_2.webp) > **Note:** Ensure that you follow all the guidelines mentioned in the [Creating a Function](https://docs.catalyst.zoho.com/en/serverless/help/functions/implementation/#create-a-function) section while uploading the bundle. 3. Click **Save**. > **Note:** If you wish to modify the name of a function, you must do it in the [`catalyst-config.json`](https://docs.catalyst.zoho.com/en/cli/v1/project-directory-structure/functions-directory/) and `package.json` files. To download the function's bundle from the Catalyst console, click the **ellipsis icon** and click **Download**. ![Functions- Download a Function](https://catalyst-docs-development.zohostratus.in/images/help/functions/catalyst_functions_download.webp) The download will be initiated. You can also access this menu from the _Functions_ page. ![Functions- Download a Function](https://catalyst-docs-development.zohostratus.in/images/help/functions/catalyst_functions_page_2.webp) ### Delete a Function To delete the function from the Catalyst console permanently: 1. Click the **ellipsis icon** and click **Delete**. ![Functions- Delete a Function](https://catalyst-docs-development.zohostratus.in/images/help/functions/catalyst_functions_delete.webp) 2. Click **Yes, Proceed** to confirm. ![Functions- Delete a Function](https://catalyst-docs-development.zohostratus.in/images/help/functions/catalyst_functions_delete_confirmation.webp) -------------------------------------------------------------------------------- title: "Language Runtime Support Policy" description: "Catalyst Functions are cloud-based, custom-built, serverless coding structures that contain the intense business logic of your application" last_updated: "2026-10-23T10:20:21.000Z" source: "https://docs.catalyst.zoho.com/en/serverless/help/functions/runtime-support/" service: "Serverless" -------------------------------------------------------------------------------- # Language Runtime Support Policy Catalyst serverless entities are built on Java, Node.js, or Python and their runtimes rely on the runtime of the specific versions of the programming environments. Catalyst implements a phased reduction in its support of a language's runtime, and therefore provides you with plenty of time to plan, implement, and test upgrades in your serverless entities. Catalyst will begin implementing an end of support for a language version as soon as an end-of-life announcement is made for it by the community. It is always advisable to build and maintain your Catalyst serverless entities in the latest stable release of a programming environment. This ensures that high security and stability are retained in your Catalyst application performance. You must make appropriate changes in your function libraries and code to make them compatible with the version you upgrade them to. > **Note:** Catalyst's language runtime support policy currently applies to the Java, Node.js, and Python programming environments. This policy is applicable to Catalyst serverless entities, including [Functions](https://docs.catalyst.zoho.com/en/serverless/help/functions/introduction/), [AppSail](https://docs.catalyst.zoho.com/en/serverless/help/appsail/introduction/), and [Slate](https://docs.catalyst.zoho.com/en/slate/). Catalyst will end support for a runtime in four phases as explained in this document. ### Phase 1: Deprecation Announcement The deprecation announcement marks the start of the end of support of a language version. Catalyst will announce the deprecation of a runtime **six months before the official end-of-life** of the runtime. For example, if the official end-of-life of the runtime as announced by the community is on April 1, 2022, then we will make the deprecation announcement on October 1, 2021. The deprecation announcement will contain the details of the official retirement of the version and Catalyst's end of support for it. This provides you enough time to plan and prepare to upgrade your serverless entities to the latest stable version. ### Phase 2: Deprecation Period The deprecation period of Catalyst's support for a language version begins right after the deprecation announcement is made. The deprecation period of a runtime in Catalyst will last for **one year**. For example, if the deprecation announcement was made on October 1, 2021, the deprecation period will last until October 1, 2022. You will be **able to create and update serverless entities** in the deprecation period, and work with your existing Catalyst serverless entities of that version unhindered. However, you must use this period to upgrade all your serverless entities in your Catalyst applications to the latest stable version of the programming environment. ### Phase 3: Retirement Period The retirement period of a deprecated runtime begins right after the one year of the deprecated period. The retirement period will last for **three months**. For example, if the deprecation period ends on October 1, 2022, the retirement period lasts until January 1, 2023. You will **not be able to create new serverless entities** targeting the deprecated runtime of a language in the retirement period. You can still continue to run and make updates to the existing serverless entities of the deprecated version in your Catalyst applications. We strongly recommend you to make sure all your serverless entities are fully updated and functional in the latest runtime during this period. ### Phase 4: End of support The end of support for a deprecated runtime begins right after the three months of the retirement period. For example, if the retirement period ends on January 1, 2023, Catalyst will end its support for the runtime from then on. You will **no longer be able to create or update serverless entities** of the deprecated version after it reaches the end of support phase. We also **do not guarantee serverless entity invocations or application stability**, if you continue to maintain deprecated runtimes in your application. Catalyst will not apply the latest security patches and updates of a language runtime to a deprecated runtime. The serverless entities of a deprecated build may or may not continue to execute. However, we provide you the convenience of upgrading the version of the serverless entities alone at any time, after the end of support is reached. > **Note:** Catalyst retains the ability to make changes to the deprecation or retirement policies of a language runtime at any time, based on exceptions in rare cases. In case we decide to implement any changes to a prior announcement, we will communicate all the necessary details pertaining to these changes. These changes might include, but are not limited to, changes in the end-of-life as announced by a language community, or runtimes that reach their end of life but will continue to be supported on the platform until further notice. You can refer to the [Functions Implementation help page](https://docs.catalyst.zoho.com/en/serverless/help/functions/implementation/#update-or-download-a-function) to learn about updating an existing serverless entity from the remote console. ### Language Version Support Policies and Timeline You can always keep a track of a language release status, and their current or active versions from their official websites: **Java:** [Oracle Java SE Support Roadmap](https://www.oracle.com/java/technologies/java-se-support-roadmap.html) **Node.js:** [Node.js Releases document](https://nodejs.org/en/about/previous-releases) **Python:** [Python Developer's Guide — Version Status](https://devguide.python.org/versions/) ### Java Runtime Deprecations Catalyst currently supports Java versions 8, 11, 17, 21, and 25. You can [upgrade your existing functions](https://docs.catalyst.zoho.com/en/serverless/help/functions/implementation/#update-or-download-a-function) to the latest supported version from the remote console. You can also select the latest runtime when you [create Java functions](https://docs.catalyst.zoho.com/en/serverless/help/functions/implementation/#create-a-function), or [initialize them from the CLI](https://docs.catalyst.zoho.com/en/cli/v1/initialize-resources/introduction/). There are no active Java runtime deprecations at this time. Catalyst will follow the same phased deprecation policy outlined in this document when a Java runtime version approaches its end of life. Please refer to the [Oracle Java SE Support Roadmap](https://www.oracle.com/java/technologies/java-se-support-roadmap.html) to stay updated on the support status of each Java version. ### Node.js Runtime Deprecations Catalyst has implemented a phased end of support for older versions of Node.js. The versions below are listed in descending order. * **Node.js v18:** The deprecation phase of Node.js v18 began on September 11, 2025, coinciding with the community's official end-of-life announcement. Following the deprecation period of one year until September 11, 2026, Node.js v18 entered the retirement period on September 11, 2026, and Catalyst will end its support for the runtime on December 11, 2026. * **Node.js v16:** End of support completed. The deprecation phase of Node.js v16 began on April 30, 2025. Following the deprecation period of one year until April 30, 2026, Node.js v16 entered the retirement period on April 30, 2026, and Catalyst ended its support for the runtime on July 30, 2026. * **Node.js v14:** End of support completed. The deprecation phase of Node.js v14 began on April 30, 2025. Following the deprecation period of one year until April 30, 2026, Node.js v14 entered the retirement period on April 30, 2026, and Catalyst ended its support for the runtime on July 30, 2026. * **Node.js v12:** End of support completed. The deprecation phase of Node.js v12 began in April 2022. Following the deprecation period of one year until April 30, 2023, Node.js v12 was retired on July 31, 2023. Catalyst ended its support for the runtime on July 31, 2023. * **Node.js v10:** End of support completed. The deprecation phase of Node.js v10 began in April 2021. Following an extended deprecation period until October 31, 2022, Node.js v10 was retired on January 31, 2023. Catalyst ended its support for the runtime on January 31, 2023. Please ensure you upgrade the serverless entities in your Catalyst projects to the latest stable version of Node.js. > **Note:** Catalyst actively supports and patches **Node.js v22 and v24**. **Node.js v20 is deprecated** and will not receive further security patches. Catalyst recommends upgrading to Node.js v22 or v24. You can [upgrade your existing functions](https://docs.catalyst.zoho.com/en/serverless/help/functions/implementation/#update-or-download-a-function) to the latest supported version from the remote console. You can also select the latest runtime when you [create Node.js functions](https://docs.catalyst.zoho.com/en/serverless/help/functions/implementation/#create-a-function), or [initialize them from the CLI](https://docs.catalyst.zoho.com/en/cli/v1/initialize-resources/introduction/). ### Python Runtime Deprecations Catalyst currently supports Python versions 3.10, 3.11, 3.12, and 3.13. You can [upgrade your existing functions](https://docs.catalyst.zoho.com/en/serverless/help/functions/implementation/#update-or-download-a-function) to the latest supported version from the remote console. You can also select the latest runtime when you [create Python functions](https://docs.catalyst.zoho.com/en/serverless/help/functions/implementation/#create-a-function), or [initialize them from the CLI](https://docs.catalyst.zoho.com/en/cli/v1/initialize-resources/introduction/). * **Python 3.9:** The deprecation phase of Python 3.9 began on June 1, 2026. Following the deprecation period of one year until June 1, 2027, Python 3.9 will enter the retirement period on June 1, 2027, and Catalyst will end its support for the runtime on September 1, 2027. Please ensure you upgrade the serverless entities in your Catalyst projects to a supported version of Python (3.10 or later). > **Note:** Catalyst currently supports **Python 3.10, Python 3.11, Python 3.12, and Python 3.13**. You can [upgrade your existing functions](https://docs.catalyst.zoho.com/en/serverless/help/functions/implementation/#update-or-download-a-function) to the latest supported version from the remote console. You can also select the latest runtime when you [create Python functions](https://docs.catalyst.zoho.com/en/serverless/help/functions/implementation/#create-a-function), or [initialize them from the CLI](https://docs.catalyst.zoho.com/en/cli/v1/initialize-resources/introduction/). -------------------------------------------------------------------------------- title: "Cost and Performance Optimization" description: "Catalyst Functions are cloud-based, custom-built, serverless coding structures that contain the intense business logic of your application" last_updated: "2026-08-17T12:16:04.000Z" source: "https://docs.catalyst.zoho.com/en/serverless/help/functions/optimization/" service: "Serverless" -------------------------------------------------------------------------------- # Cost and Performance Optimization in Functions ### Introduction Catalyst enables memory provisioning for each function you create, based on your requirements. You can select a memory for your function when you are [creating it](https://docs.catalyst.zoho.com/en/serverless/help/functions/implementation/#create-a-function), or [edit its configurations](https://docs.catalyst.zoho.com/en/serverless/help/functions/implementation/#update-or-download-a-function) any time you need. The flexibility to customize a function's memory configuration over the default allocated memory allows you to optimize your Catalyst usage and manage resources better. You can monitor your application's performance, prioritize your needs, make informed decisions for each use case, and draw substantial benefits from it. This help page will explain the correlation between memory provisioning in functions and cost optimization, by explaining the pricing calculation methods of Catalyst functions with a few experiements. An increase in the memory provisioning of compute-intensive functions ideally results in a lower execution time, which in turn reduces your expenses in Catalyst. However, the optimal configuration varies from one use case to another, depending on the complexity of the operations performed in the function. ### Pricing Calculations This section explains the pricing model of Catalyst Functions. The table shown below displays the credits used for different function execution time range:

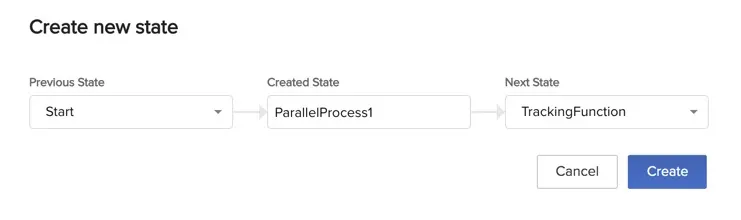
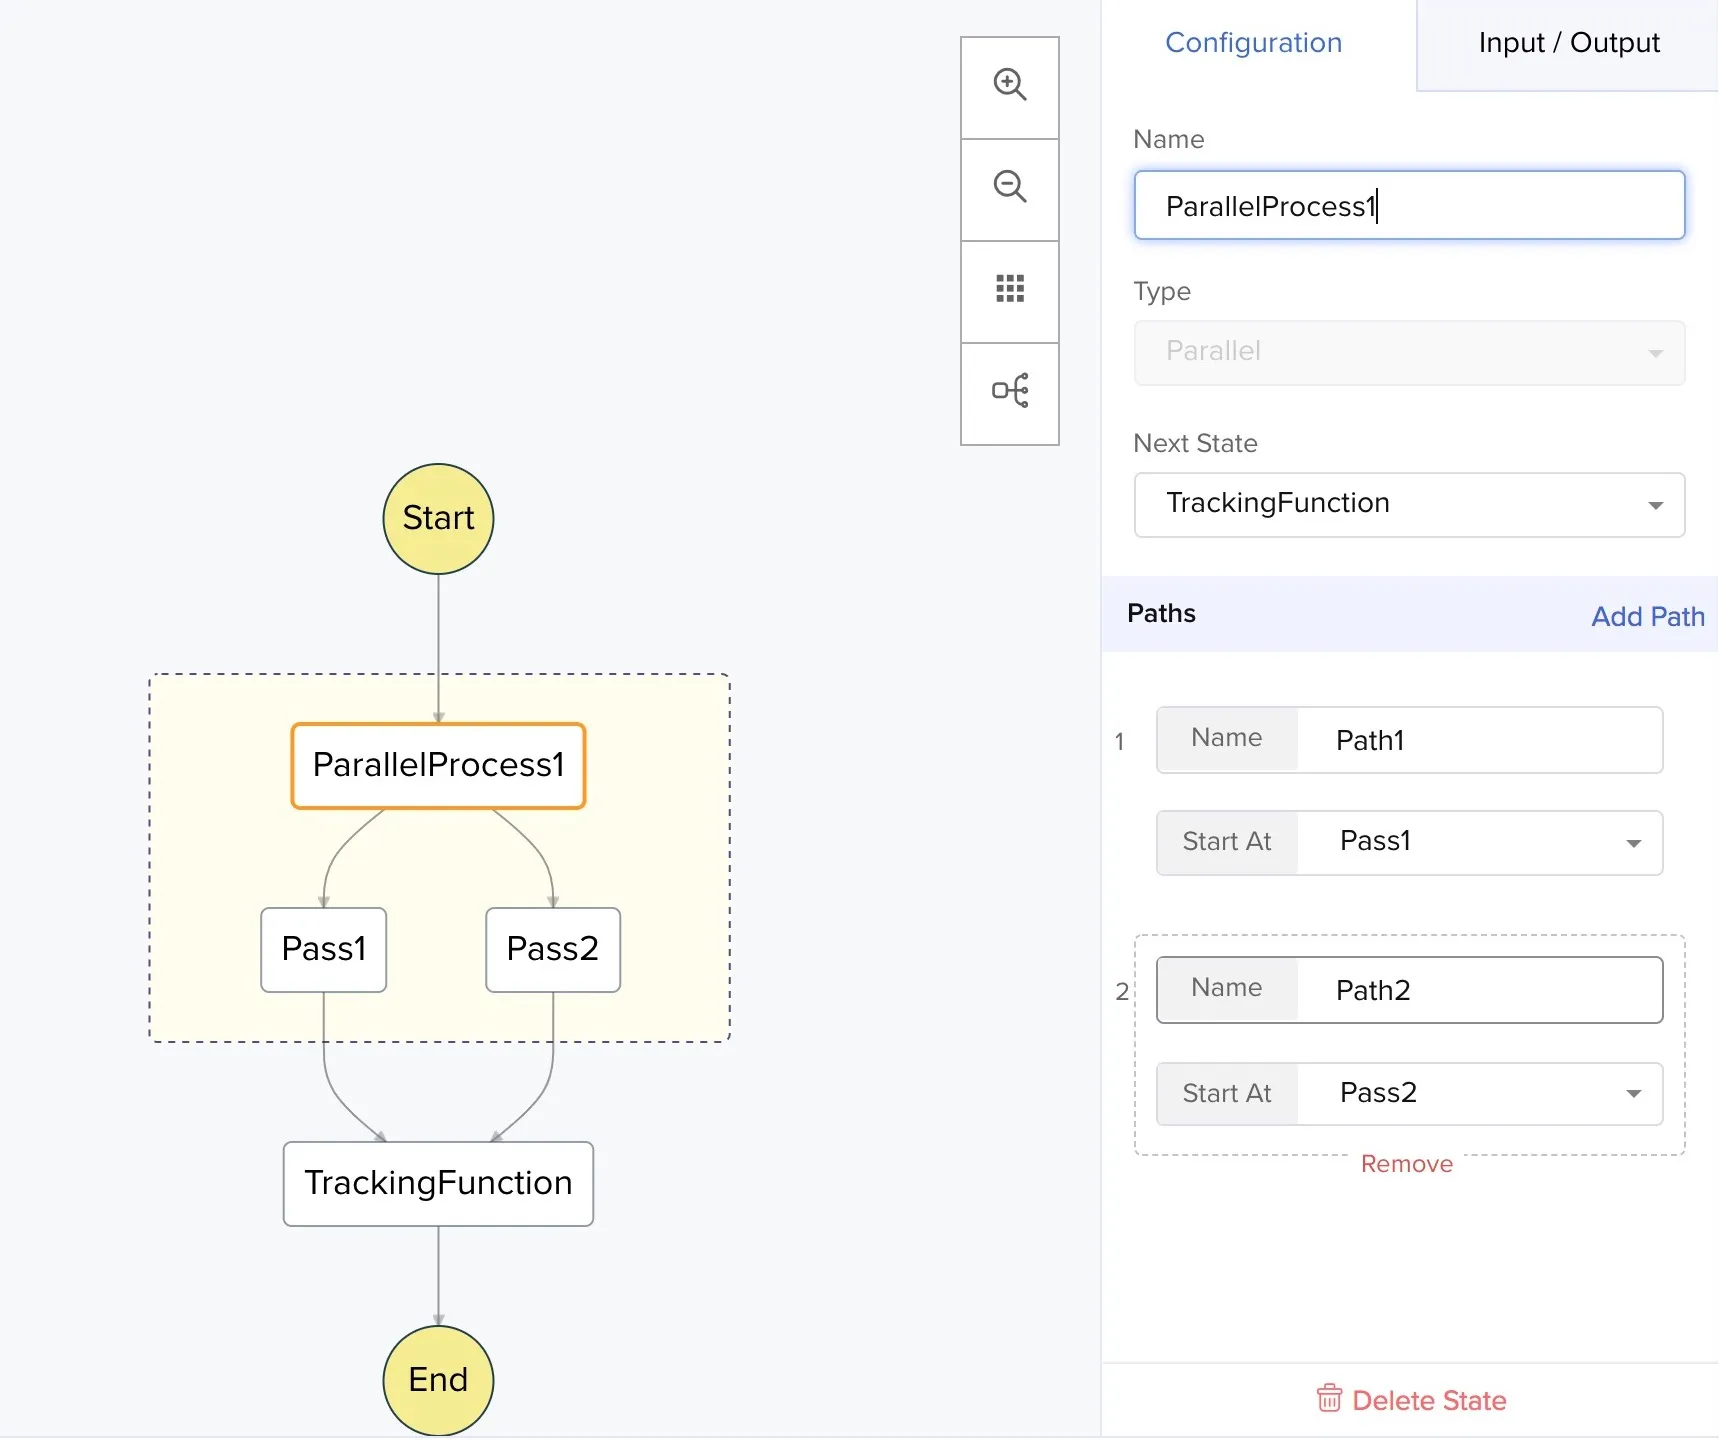
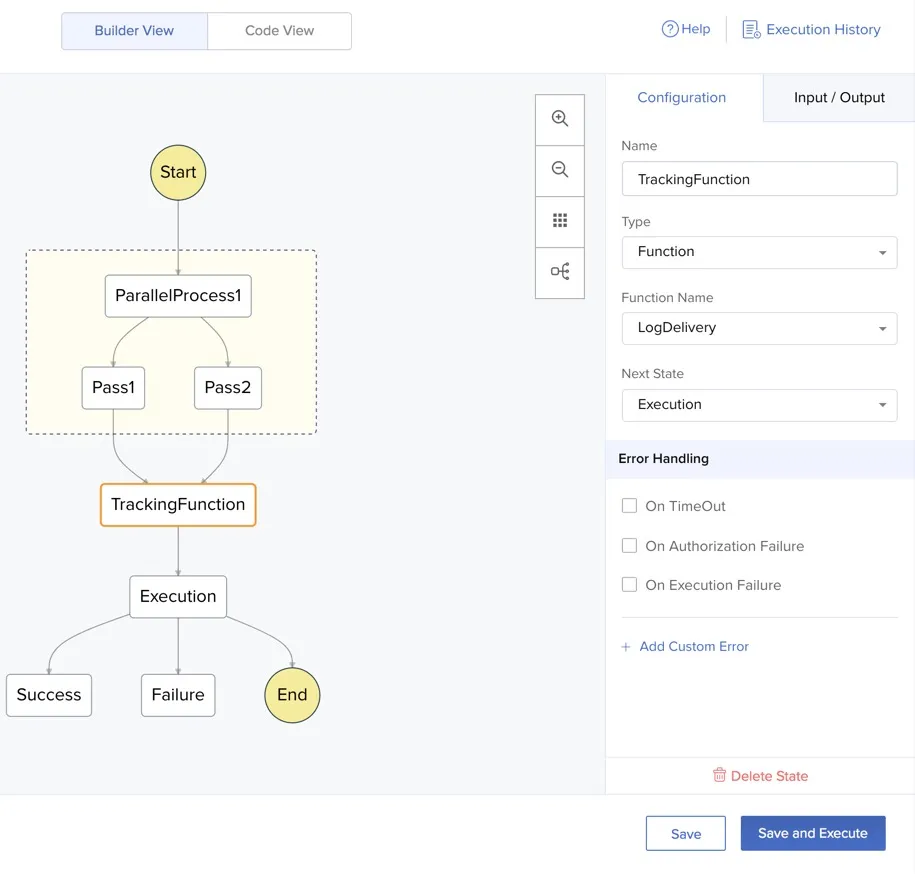
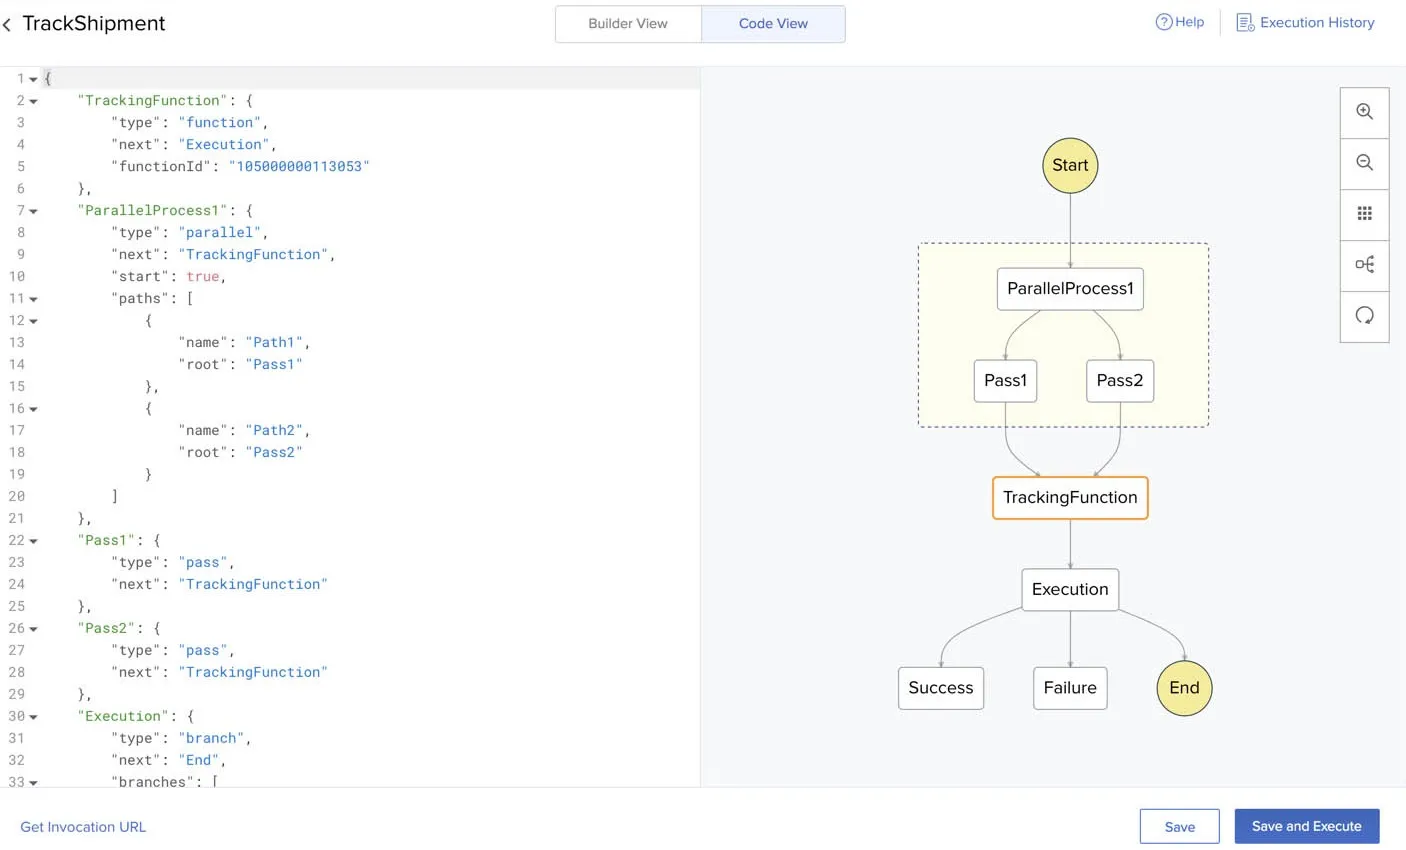
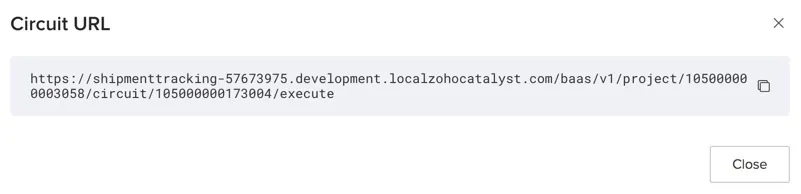
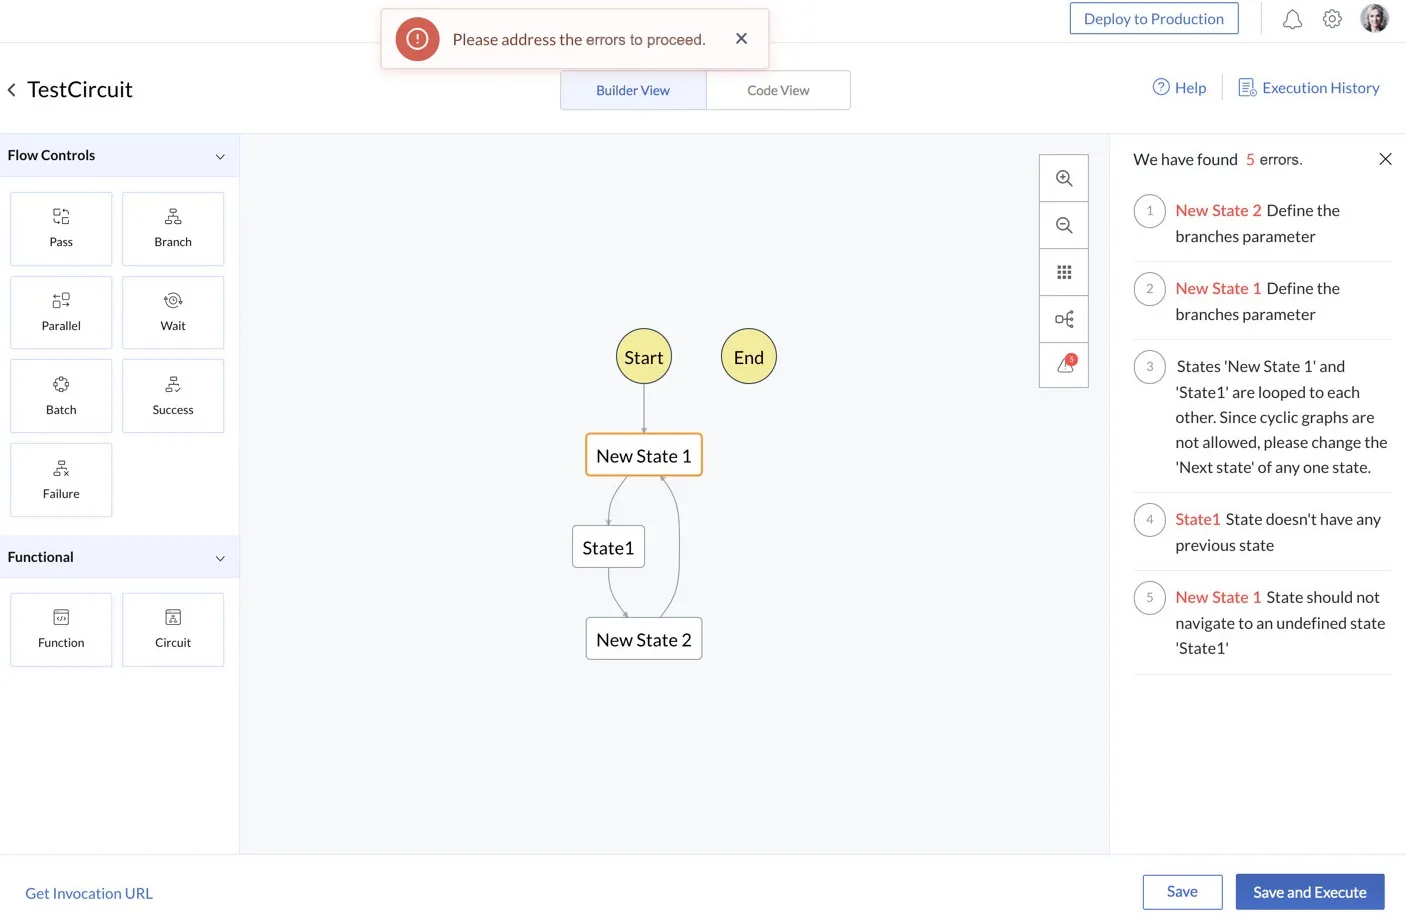
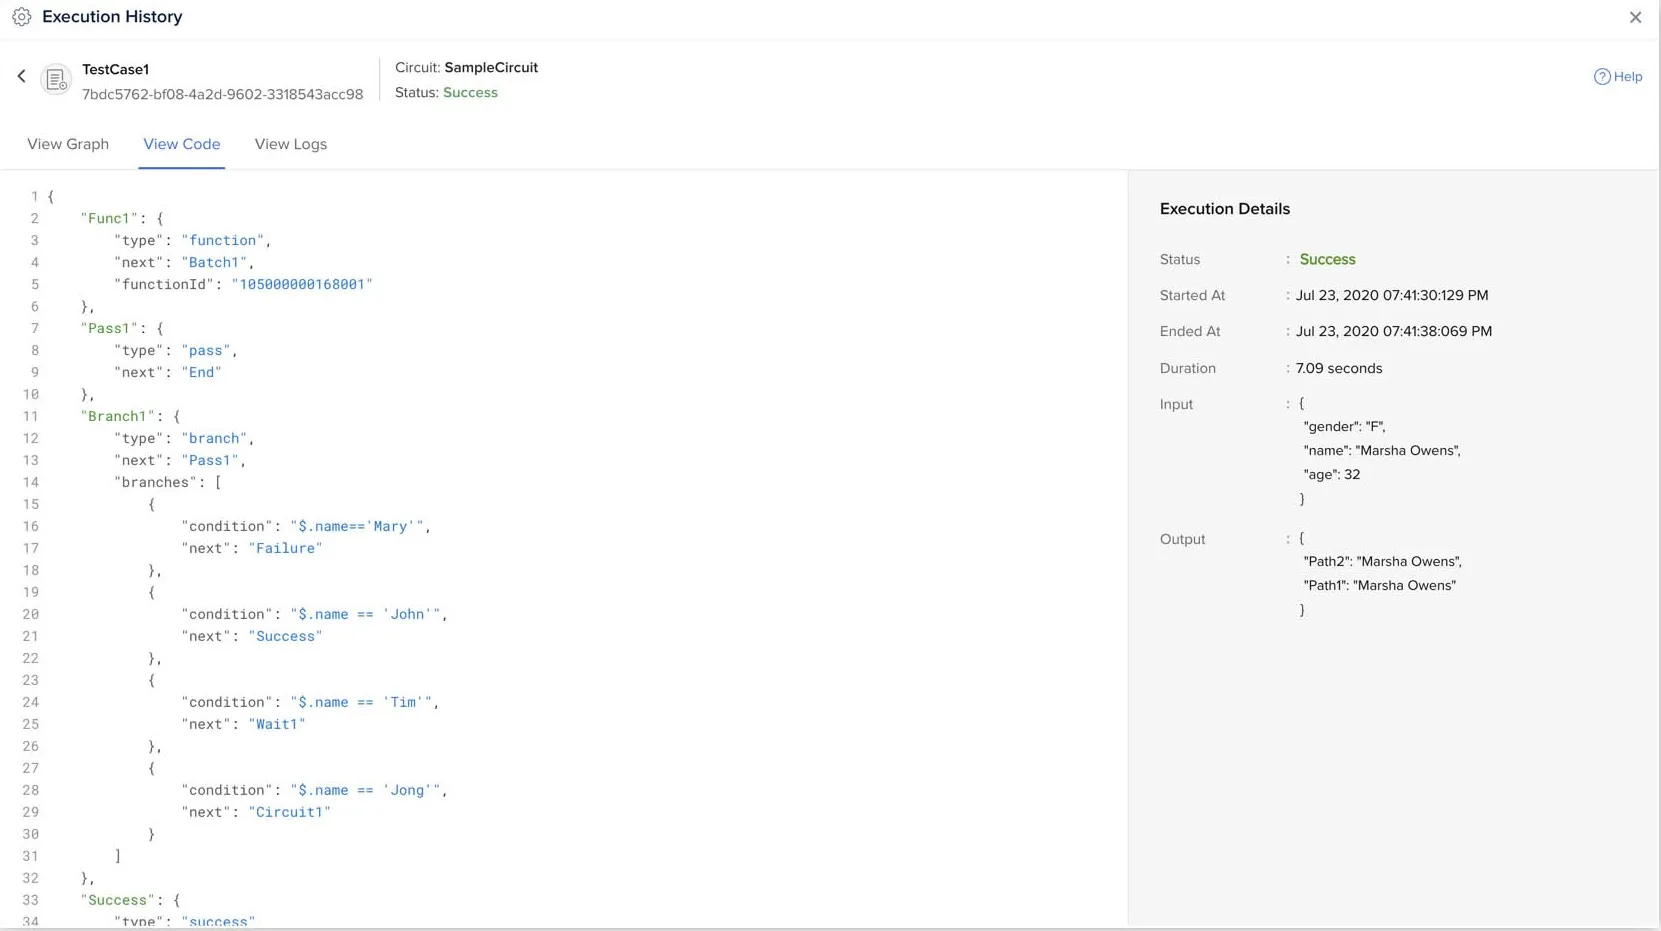



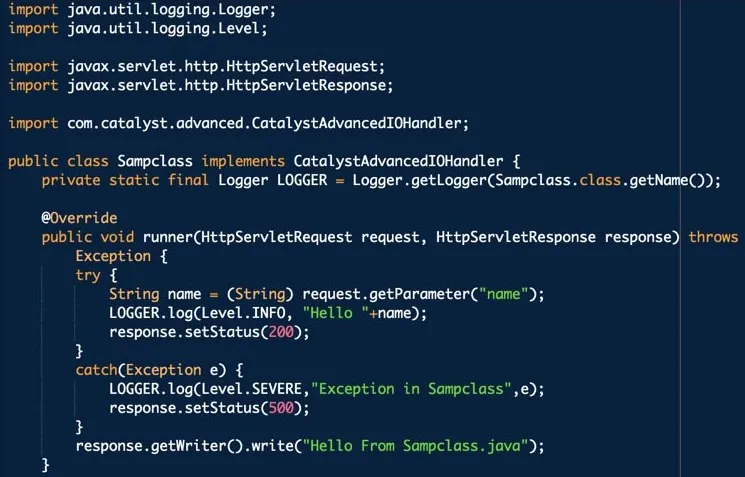
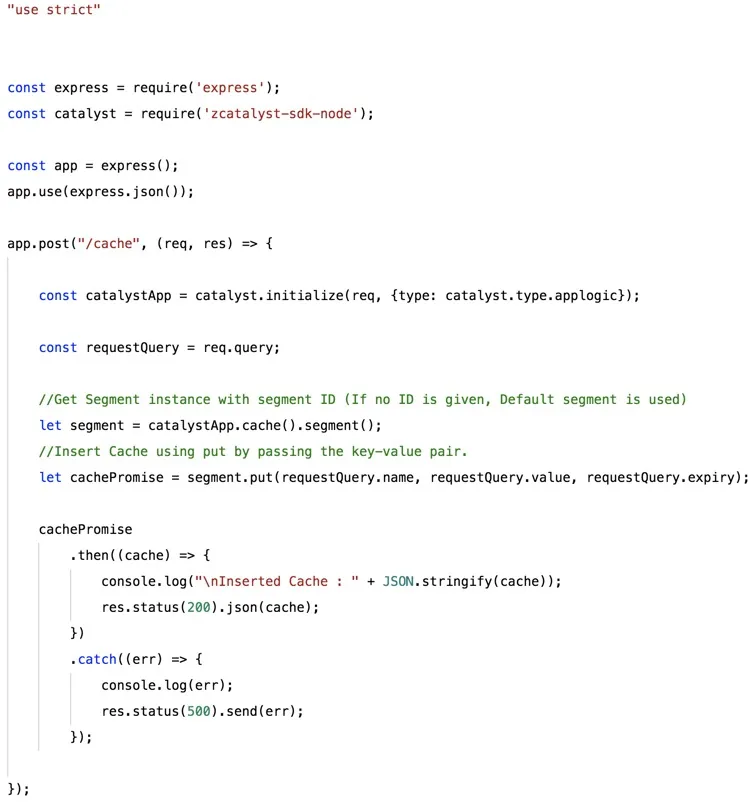
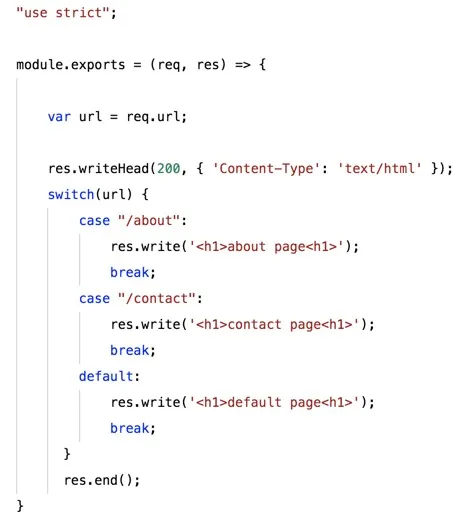
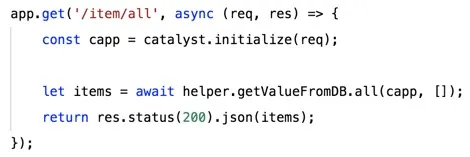

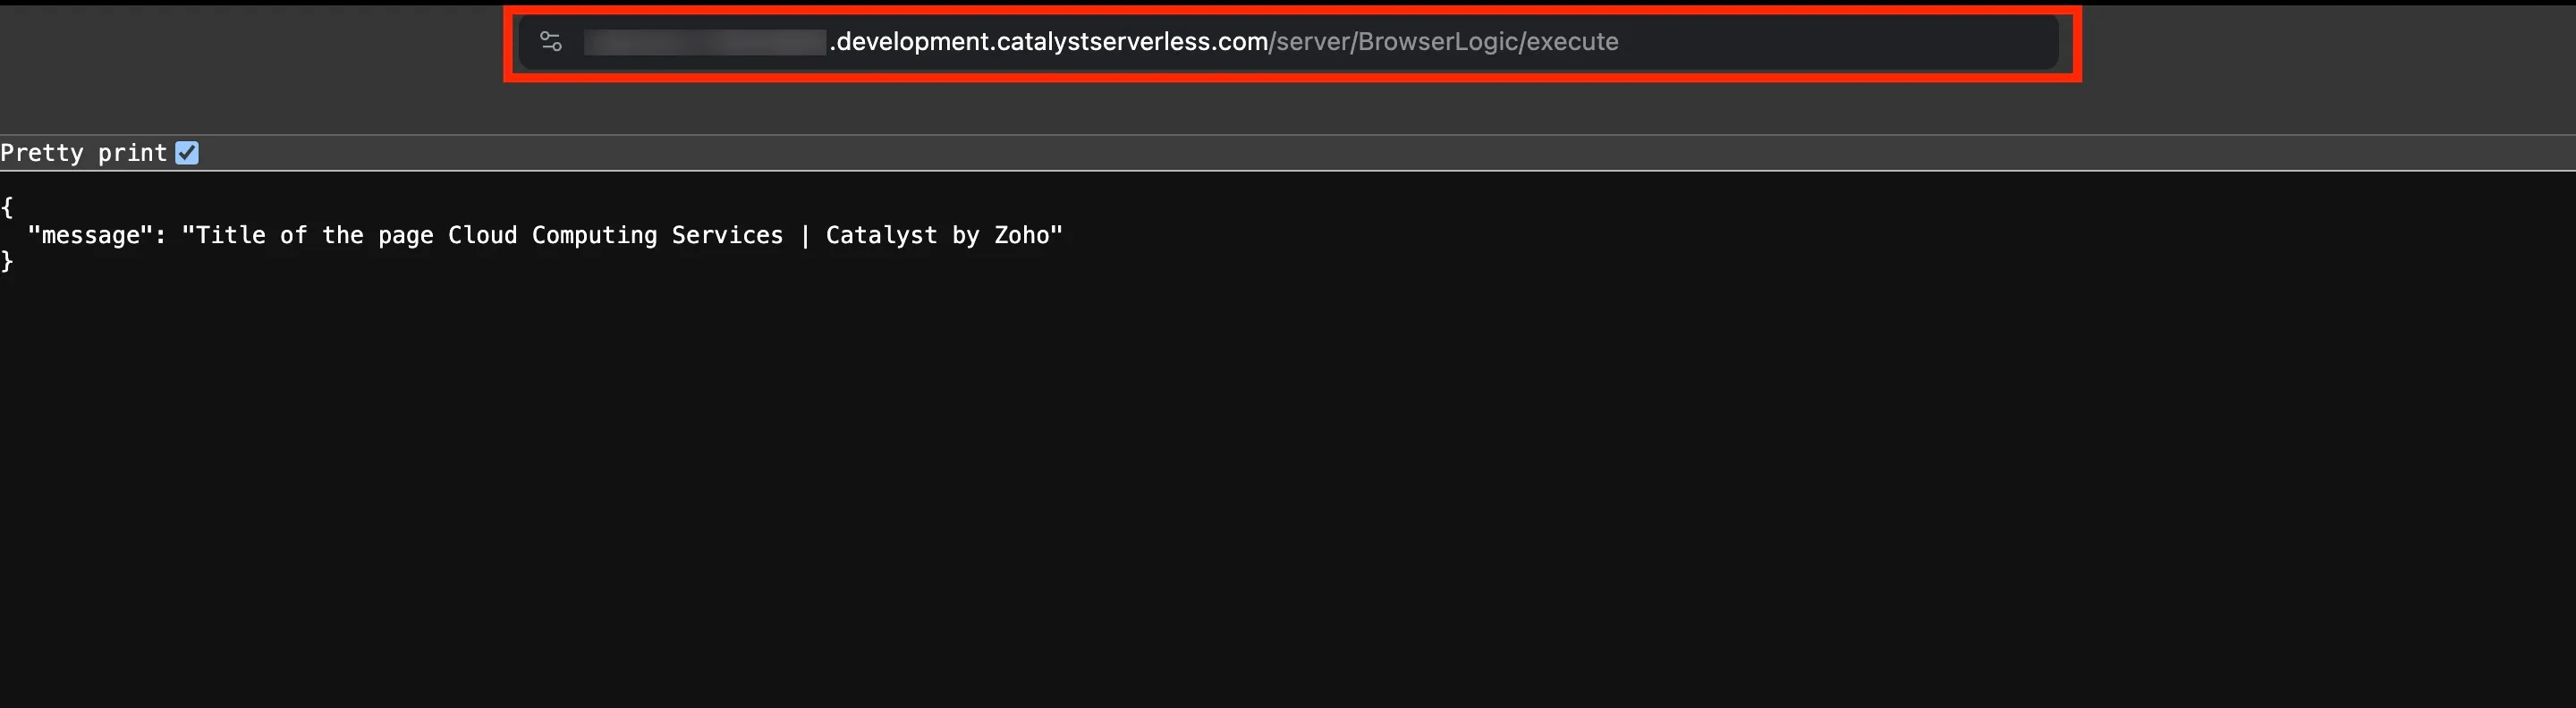
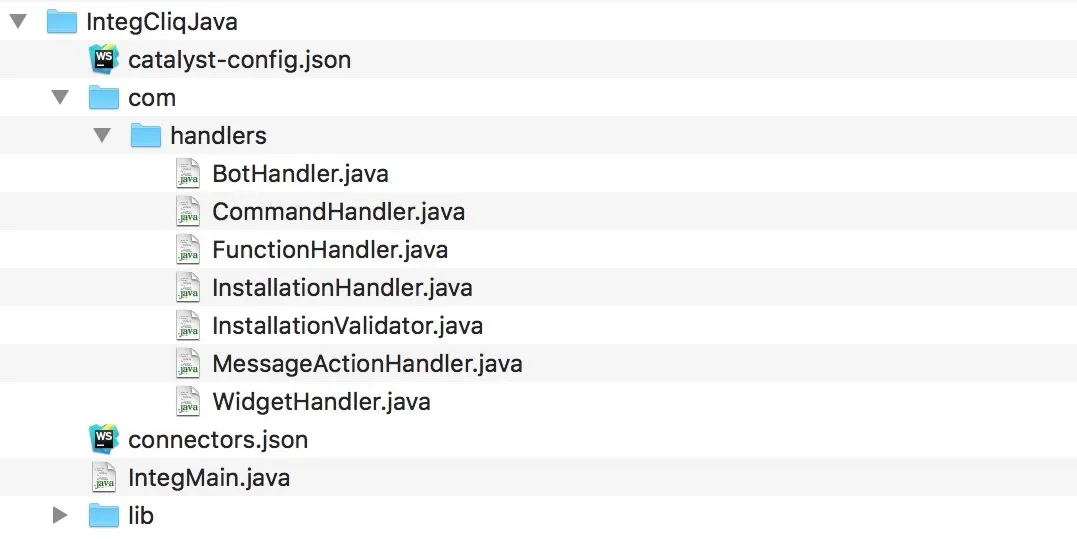
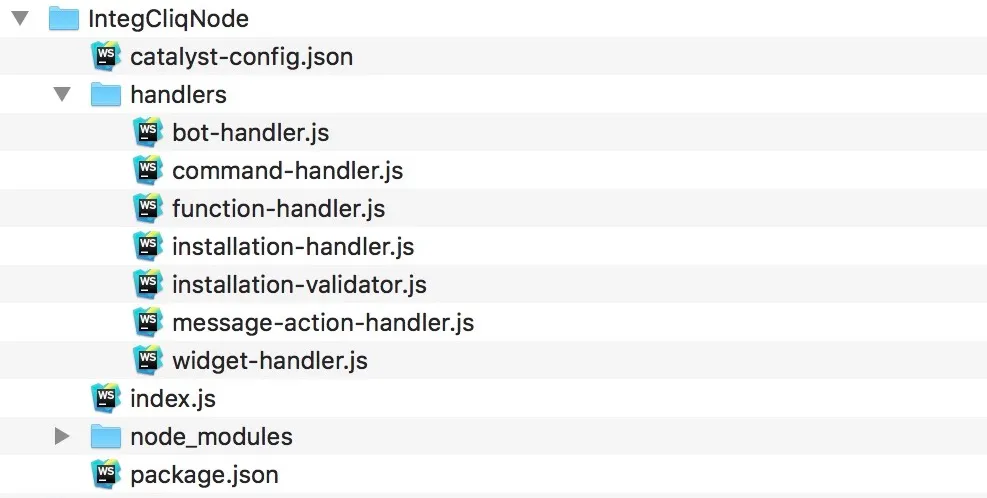
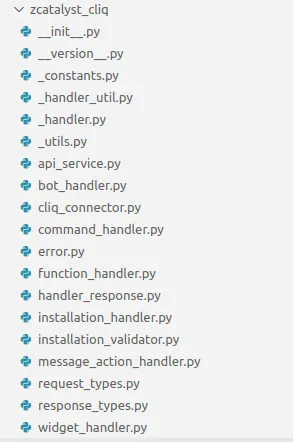
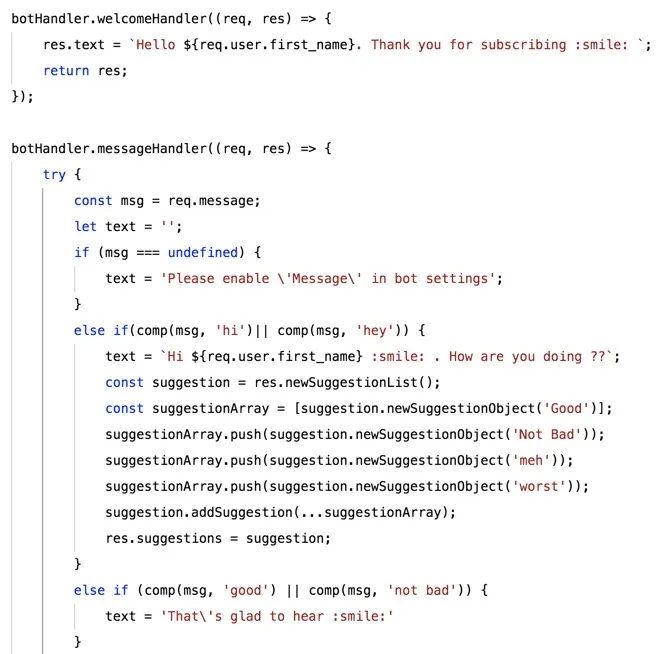
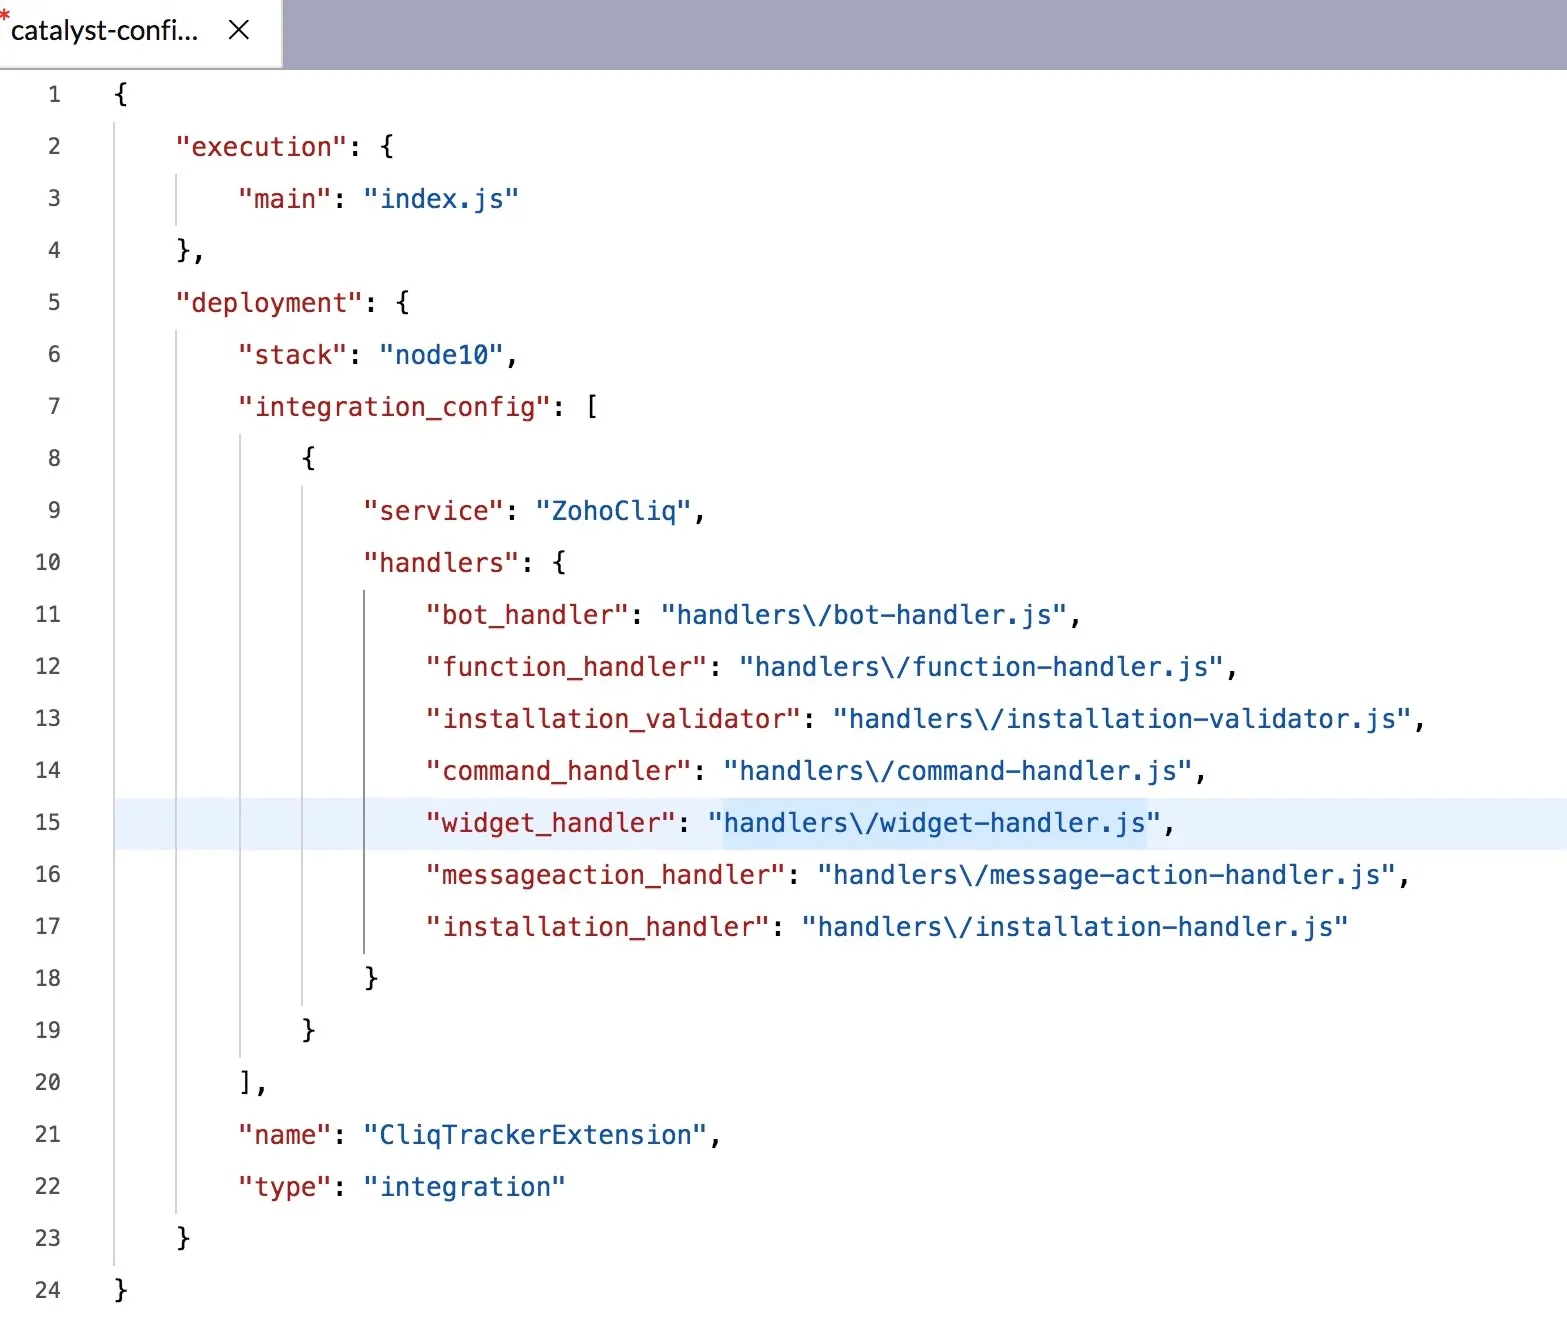
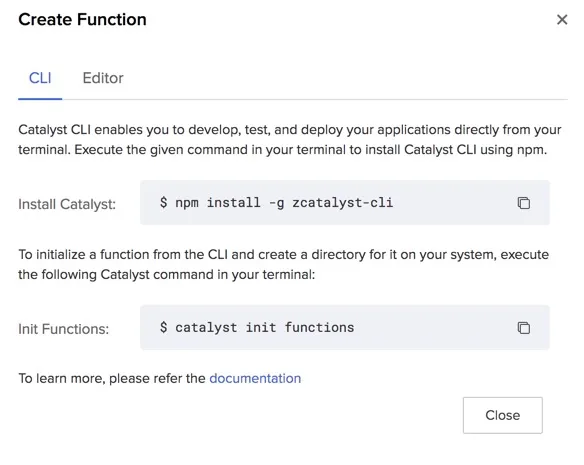
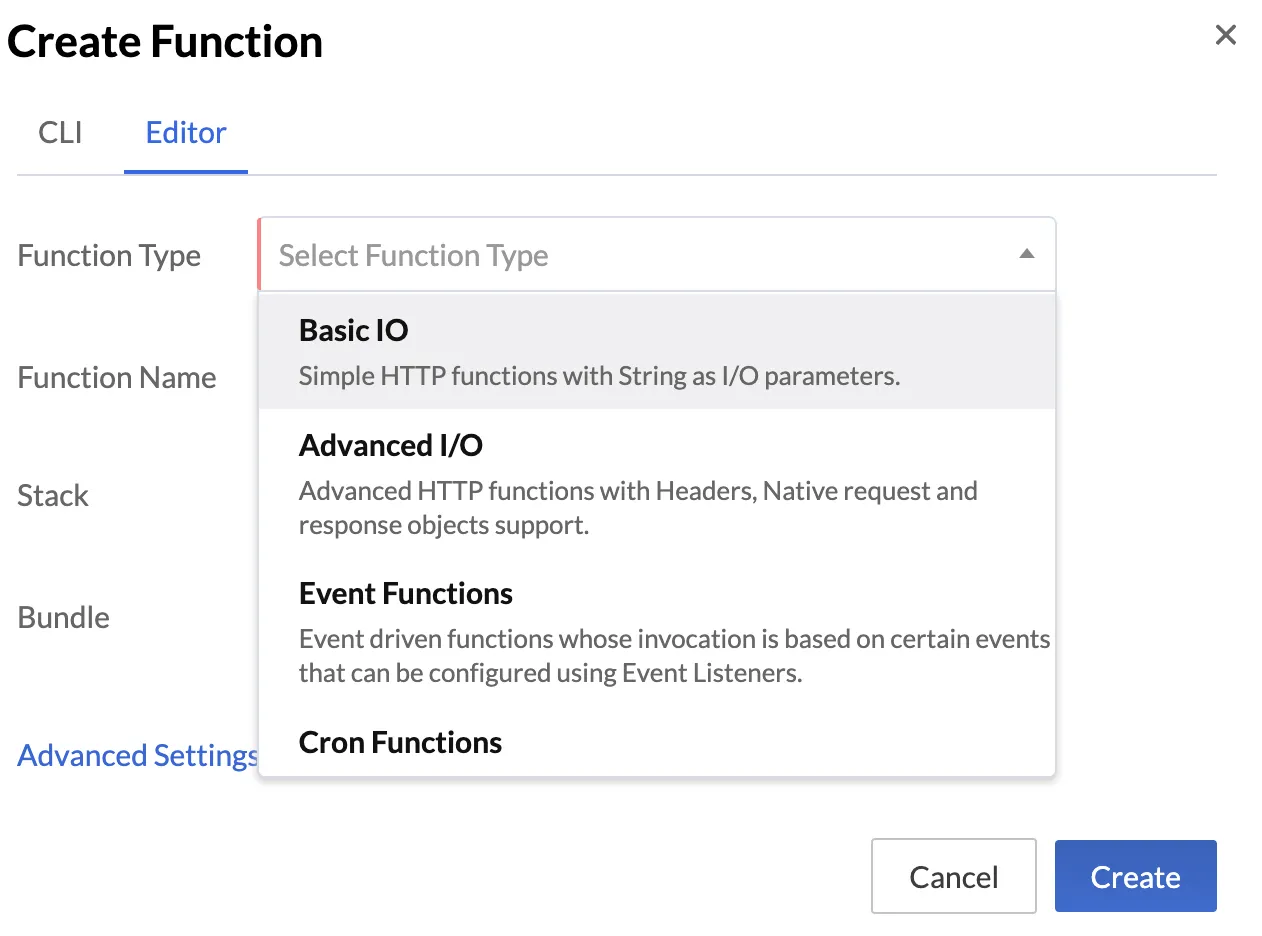
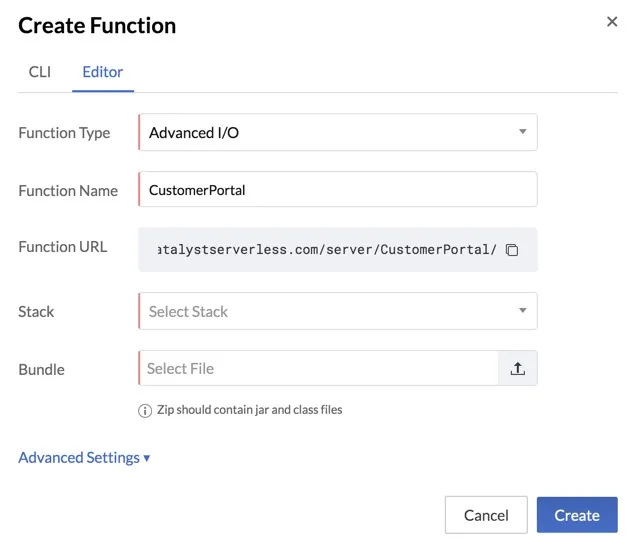
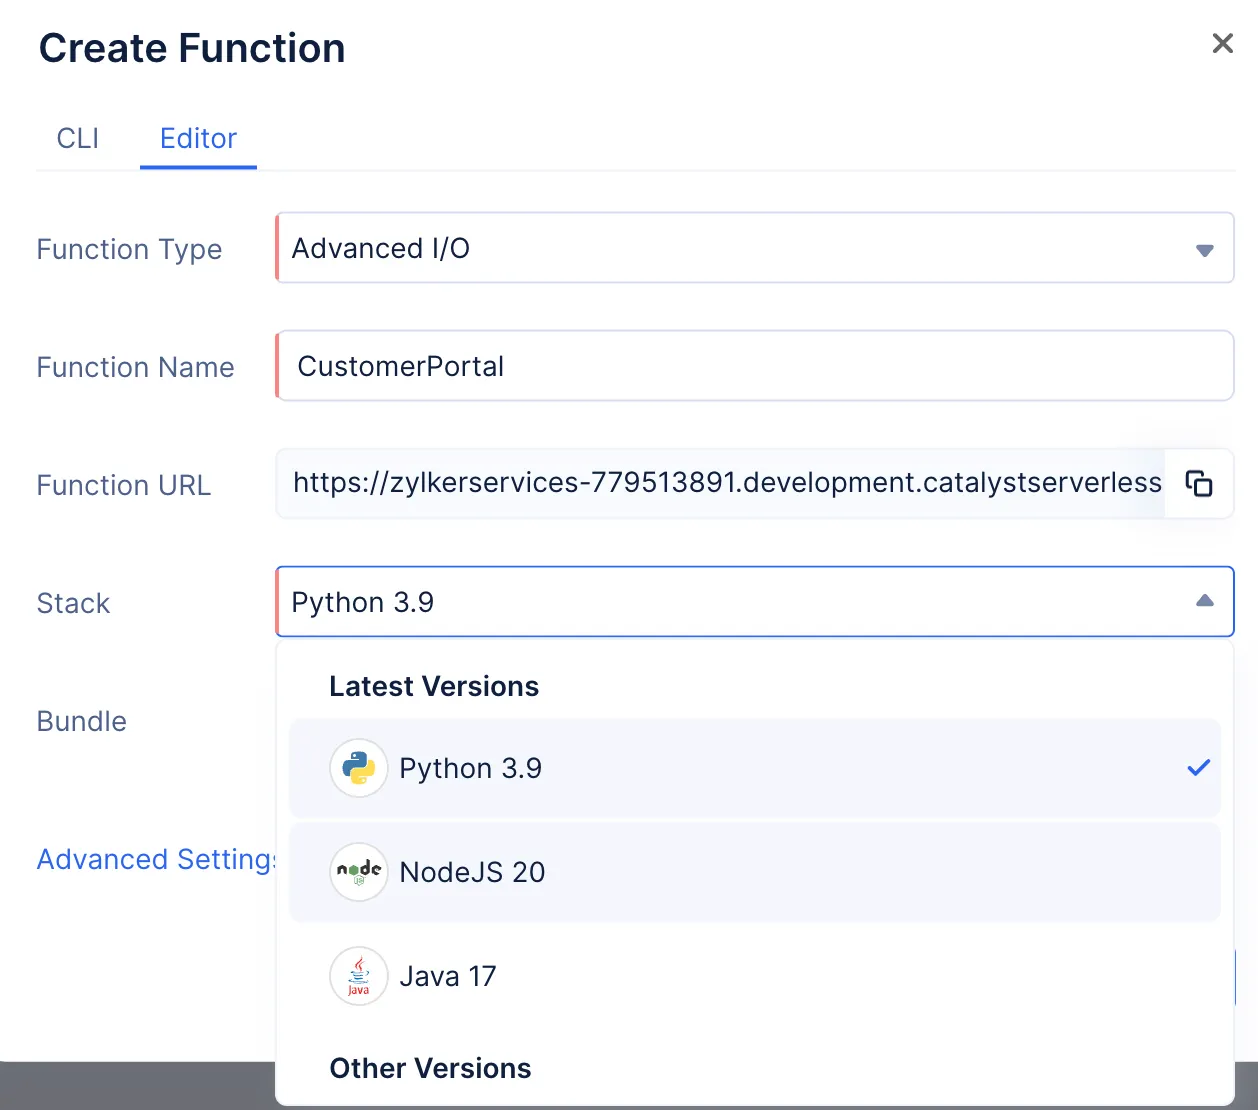
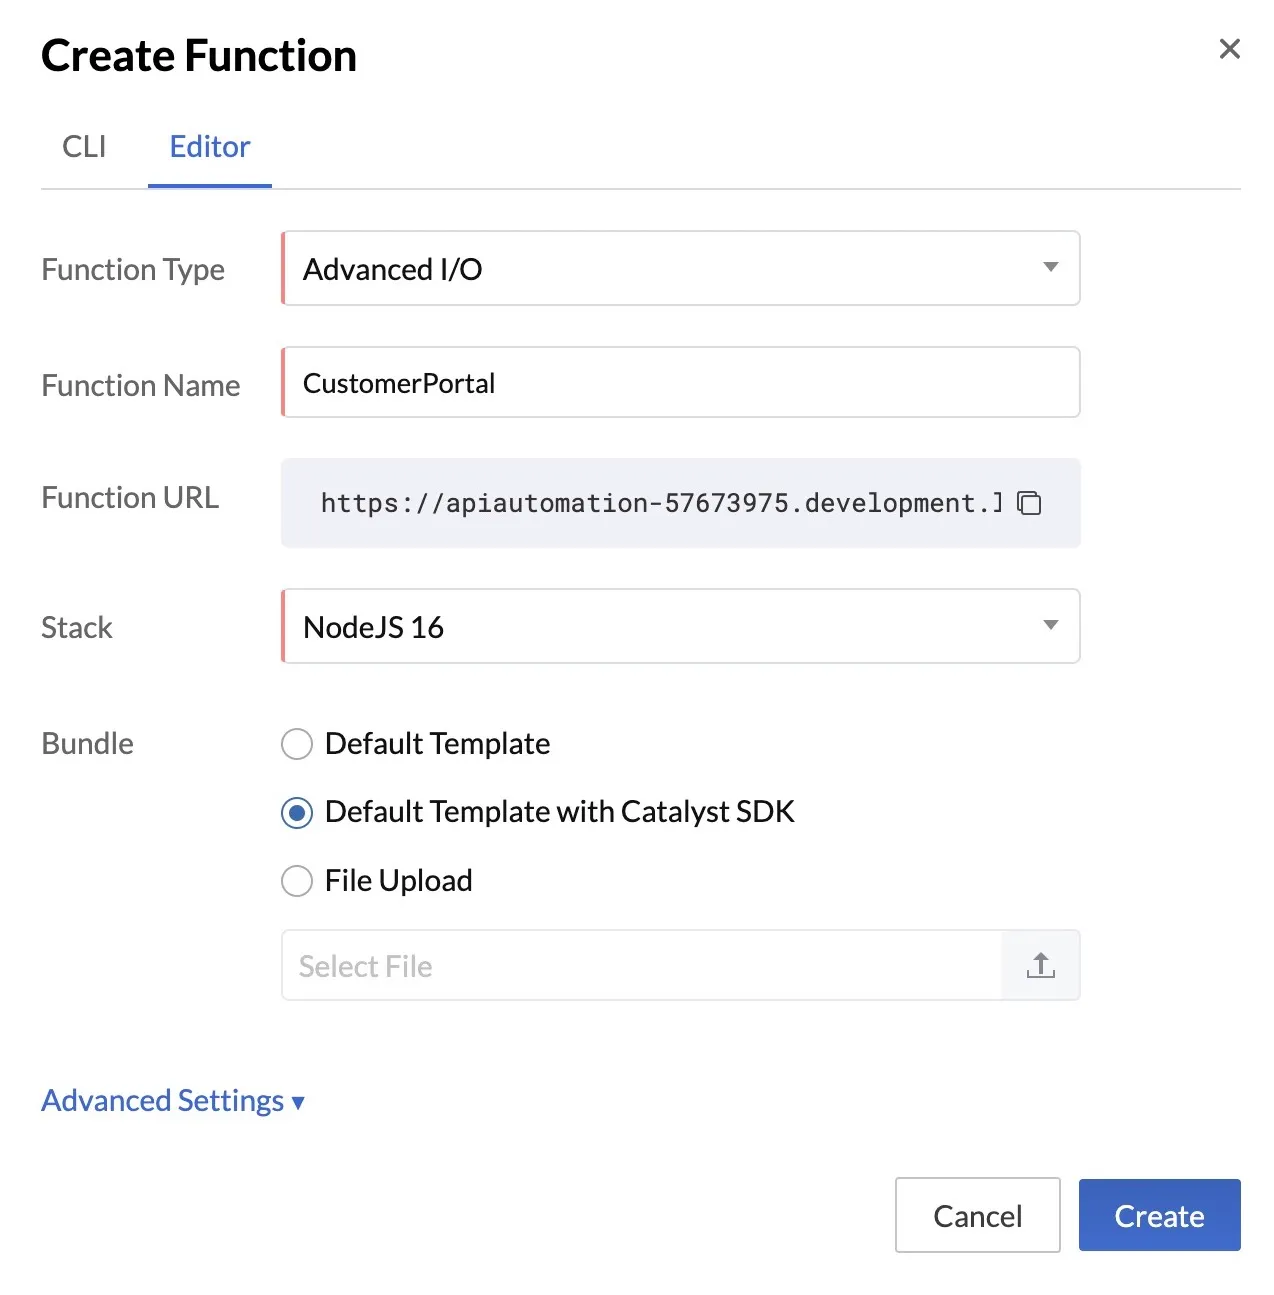
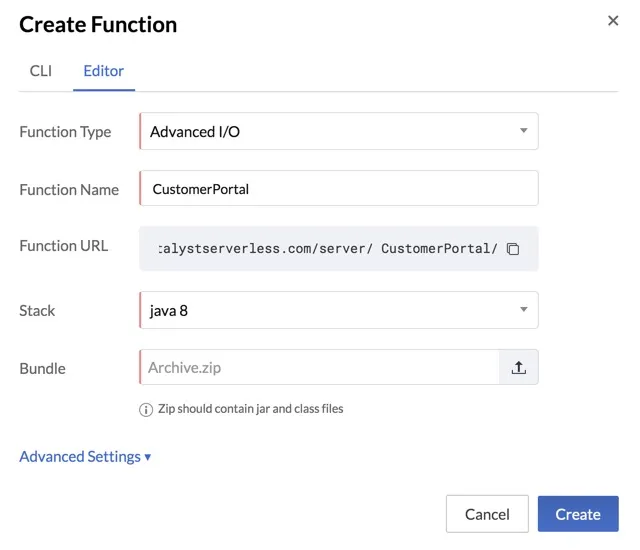
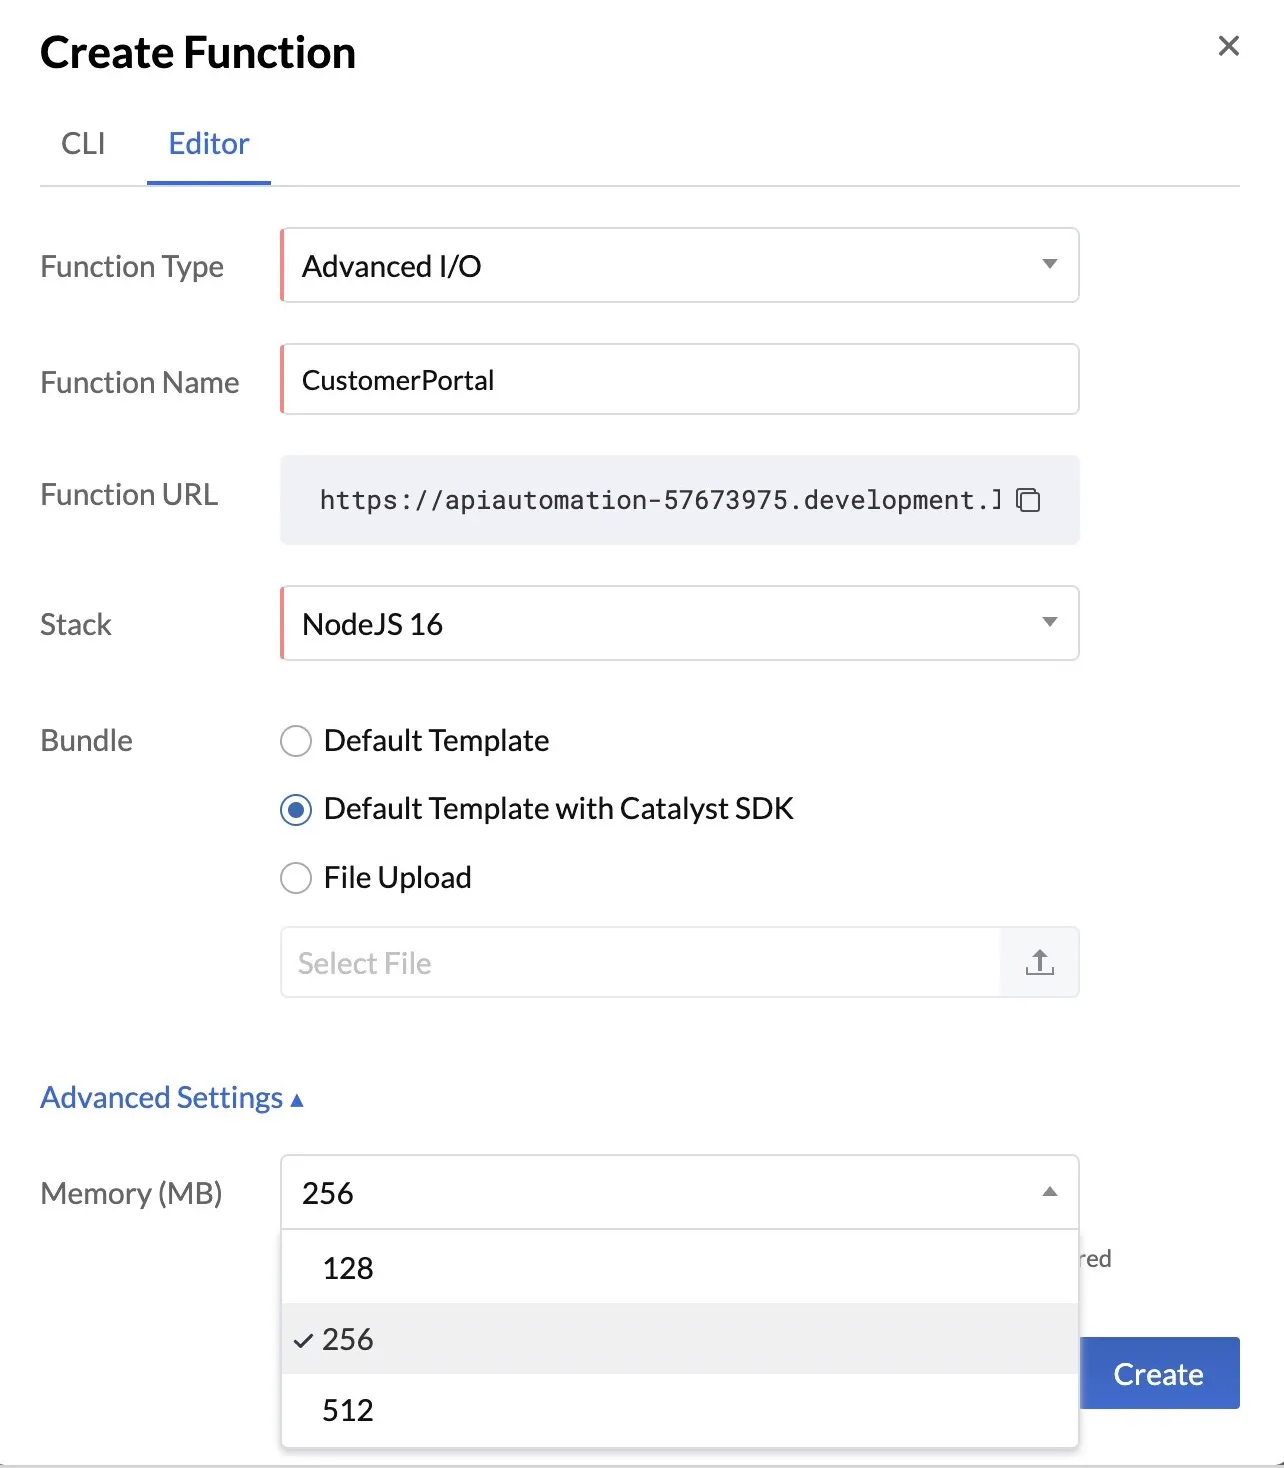
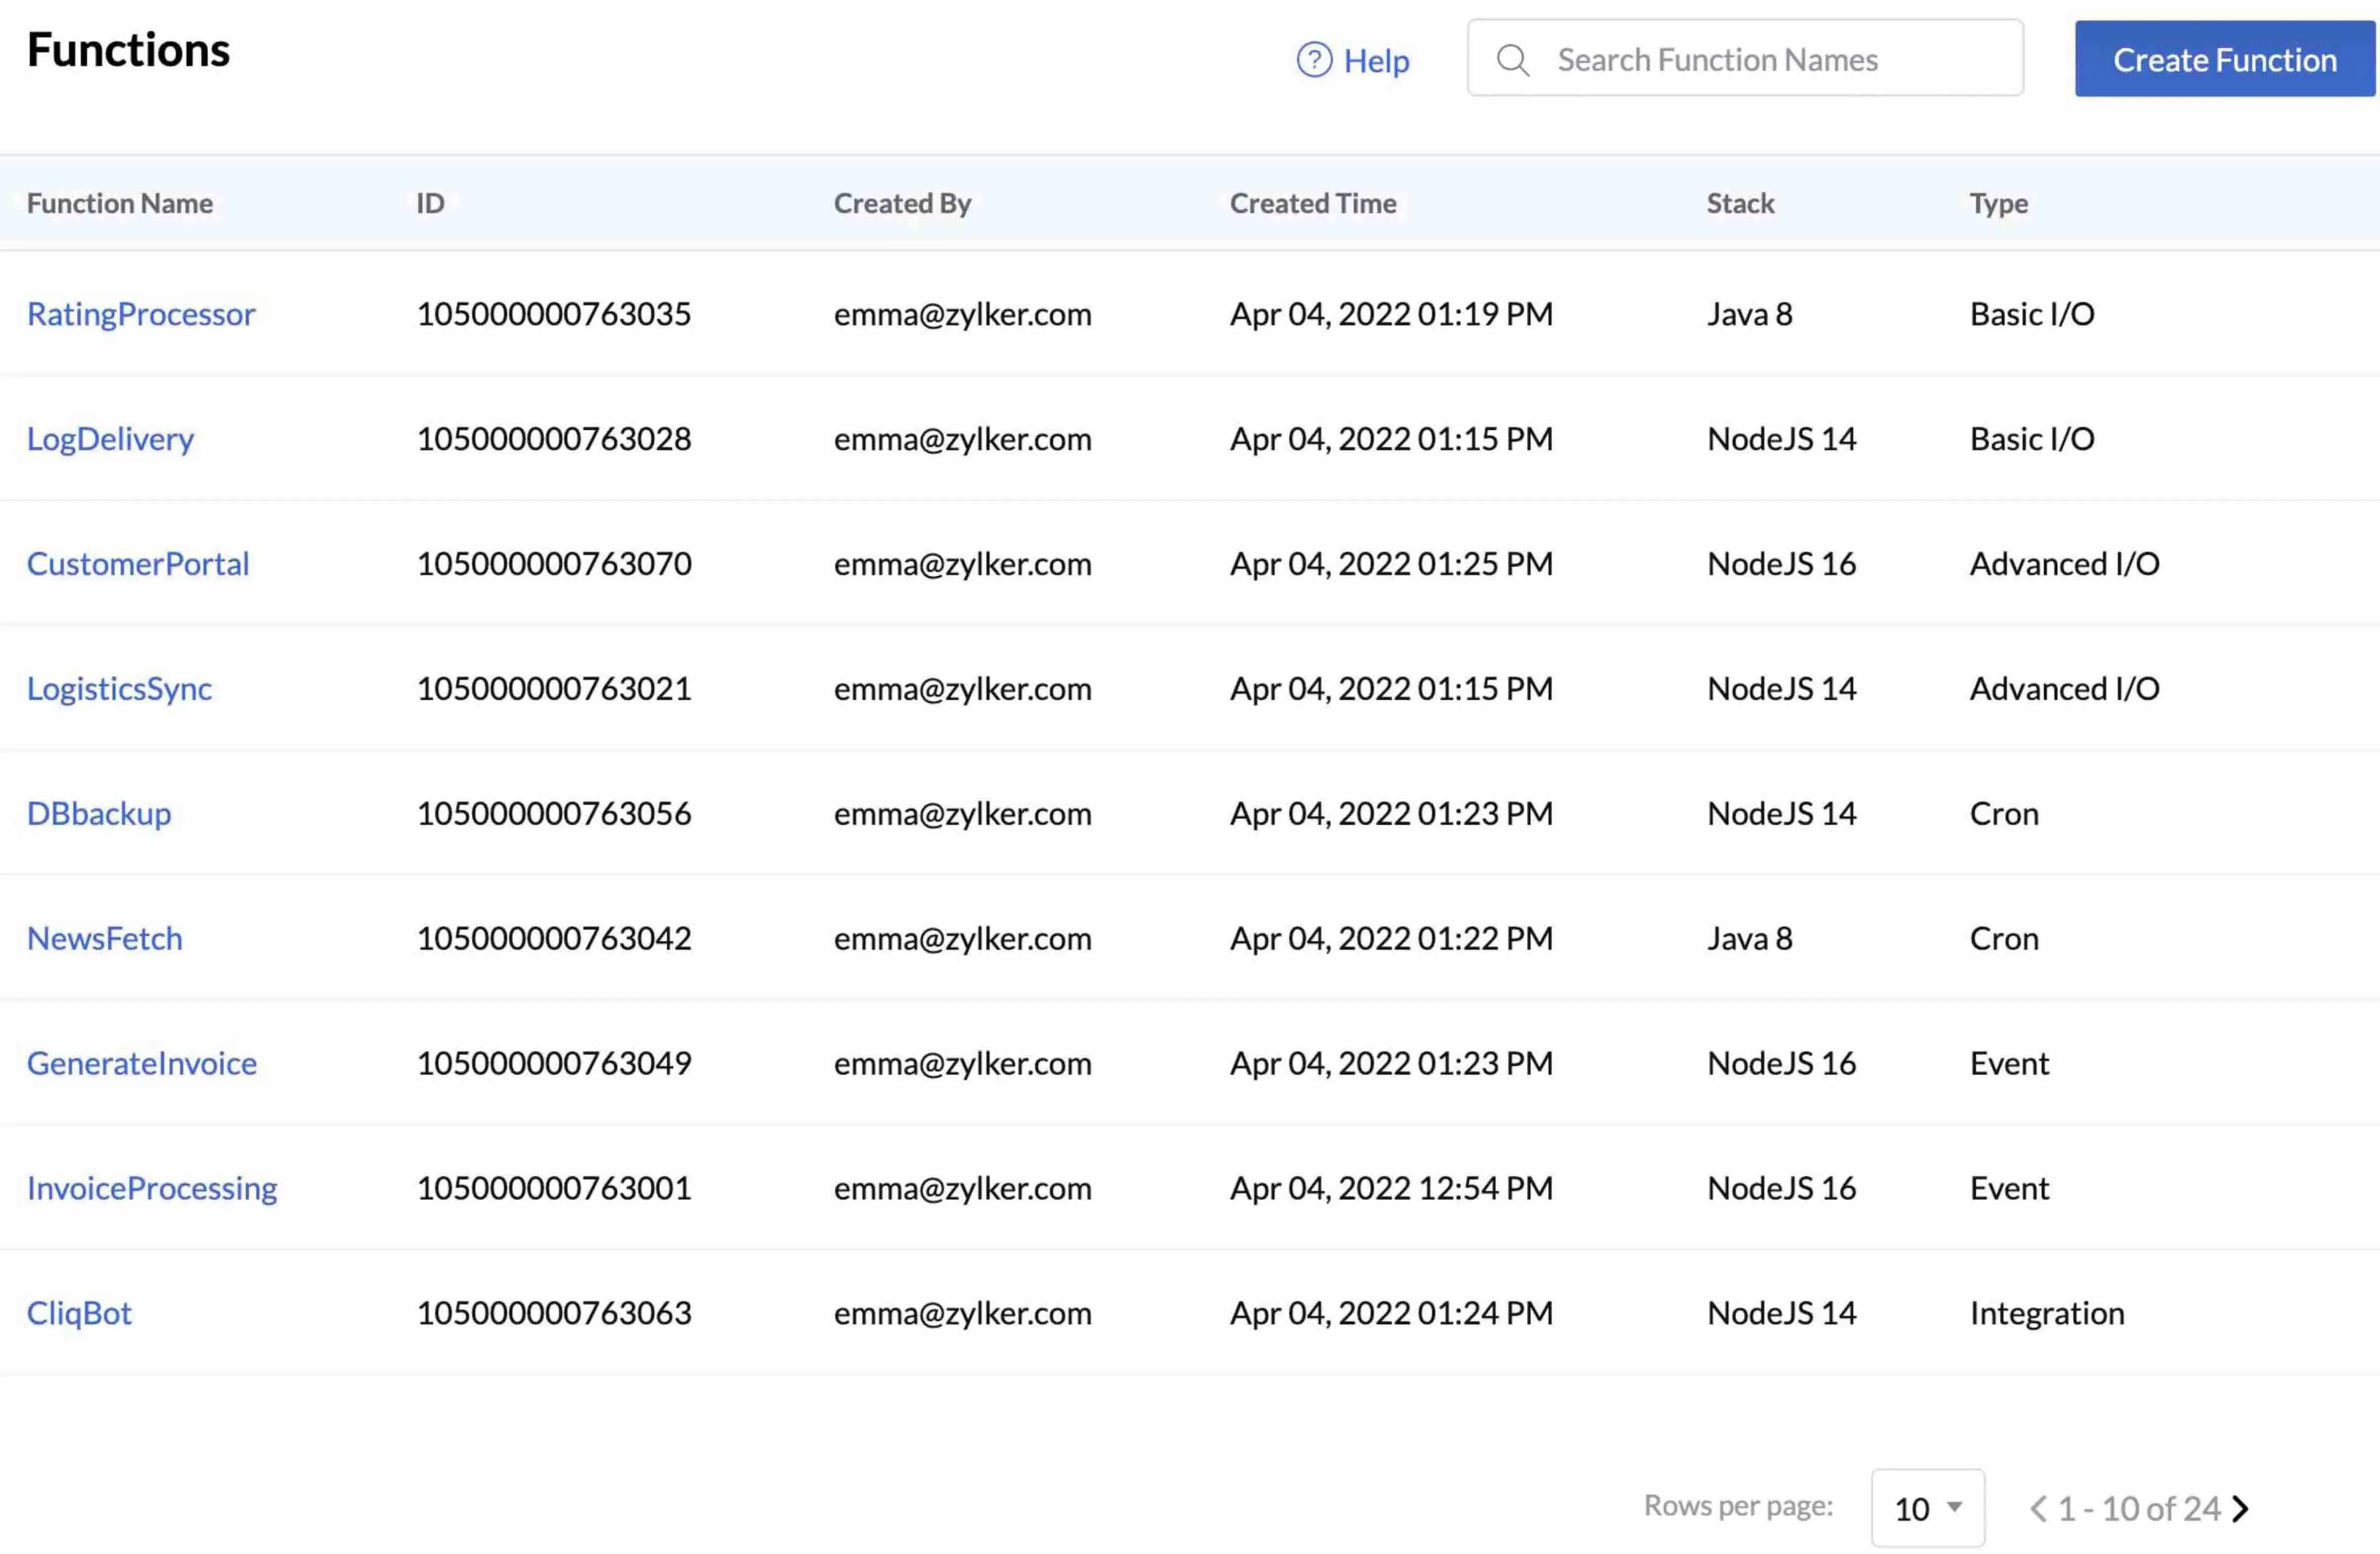
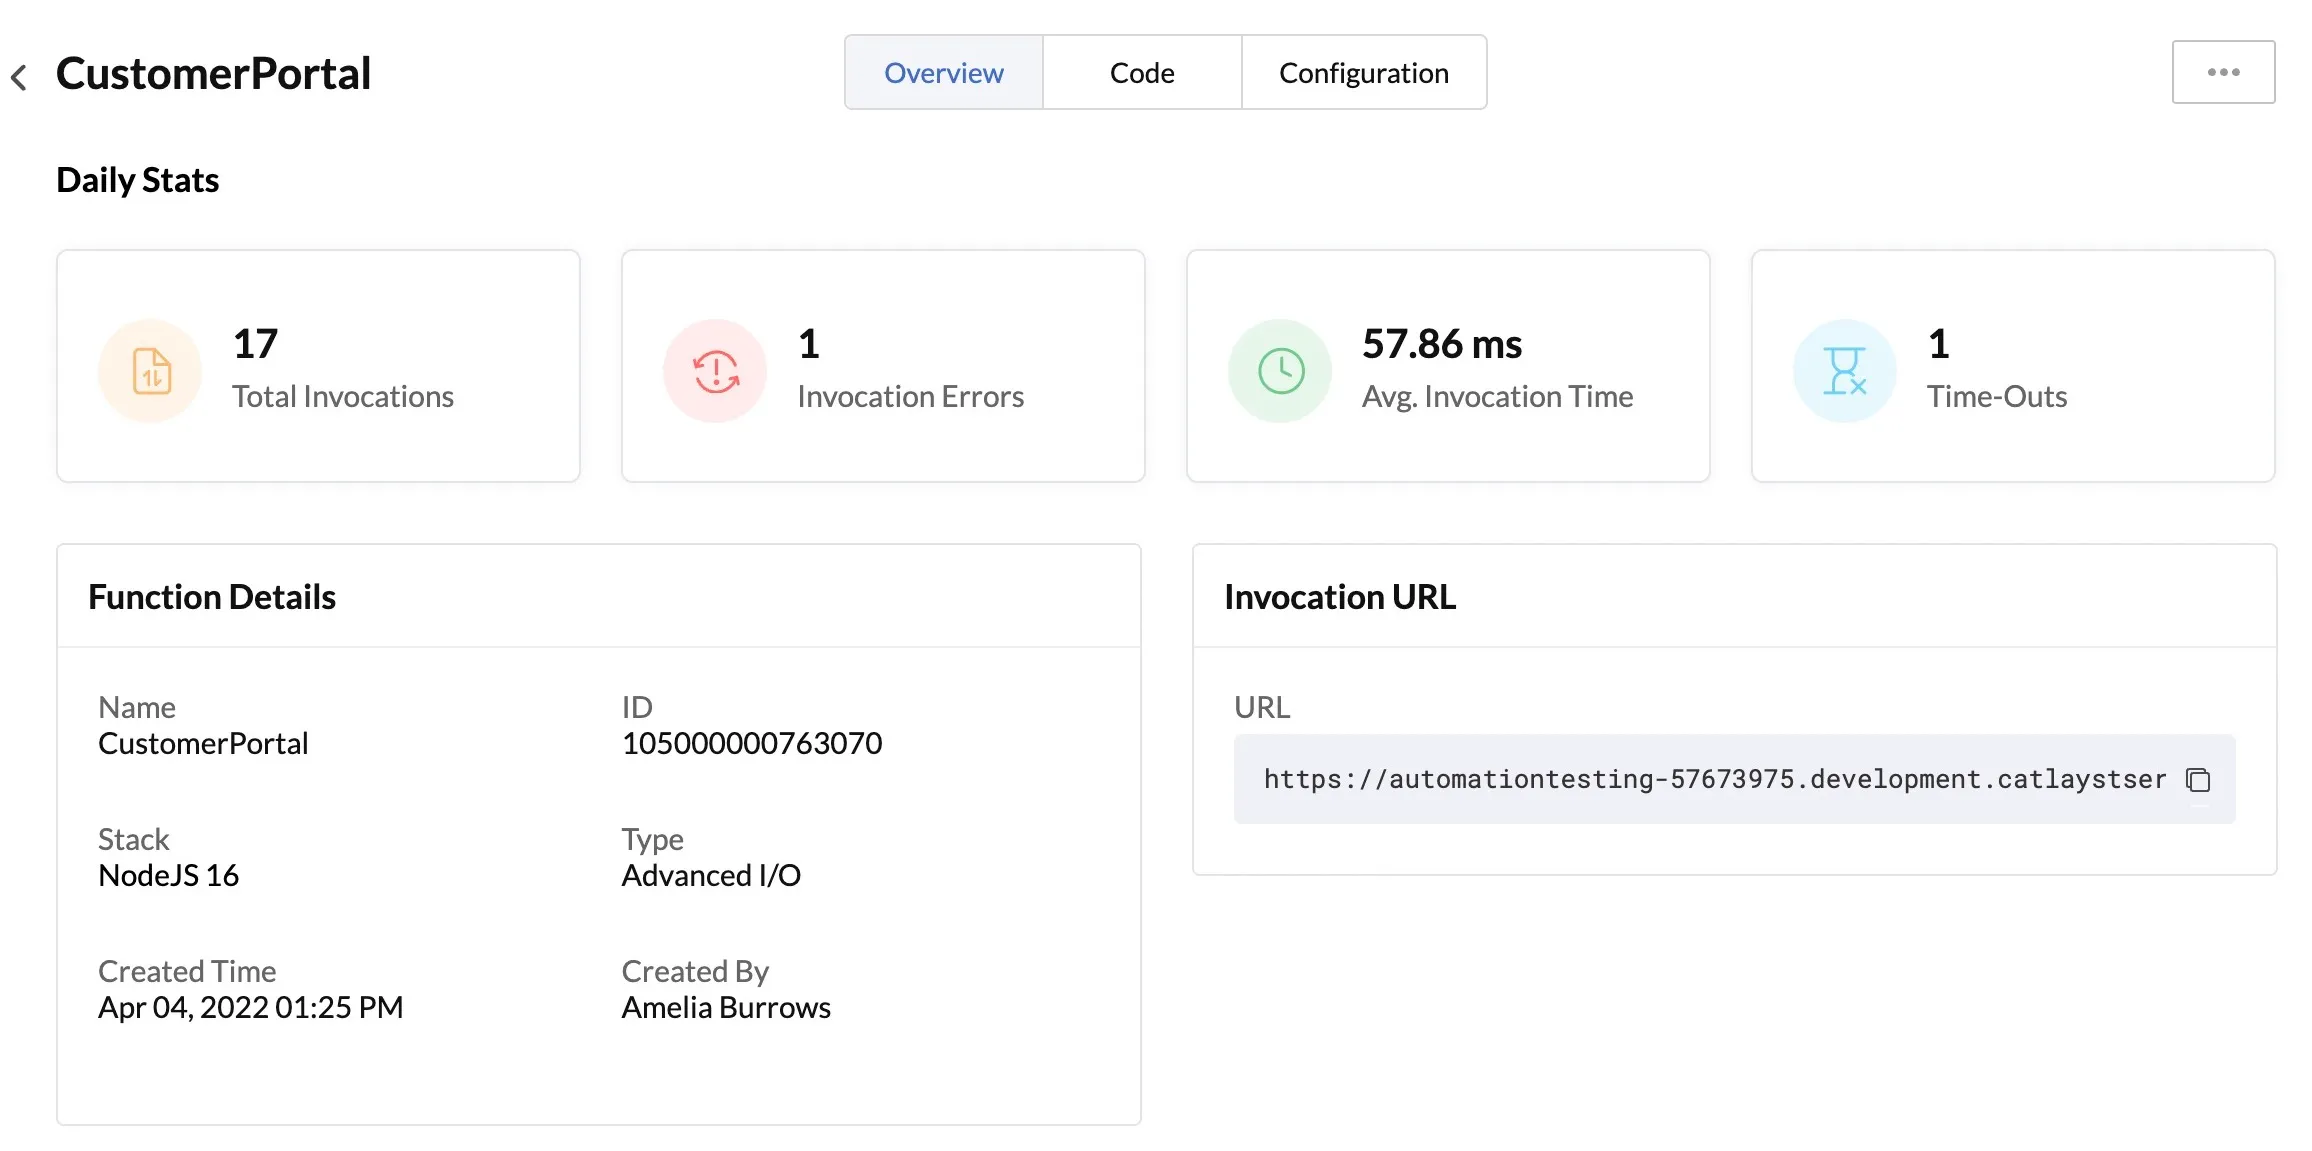
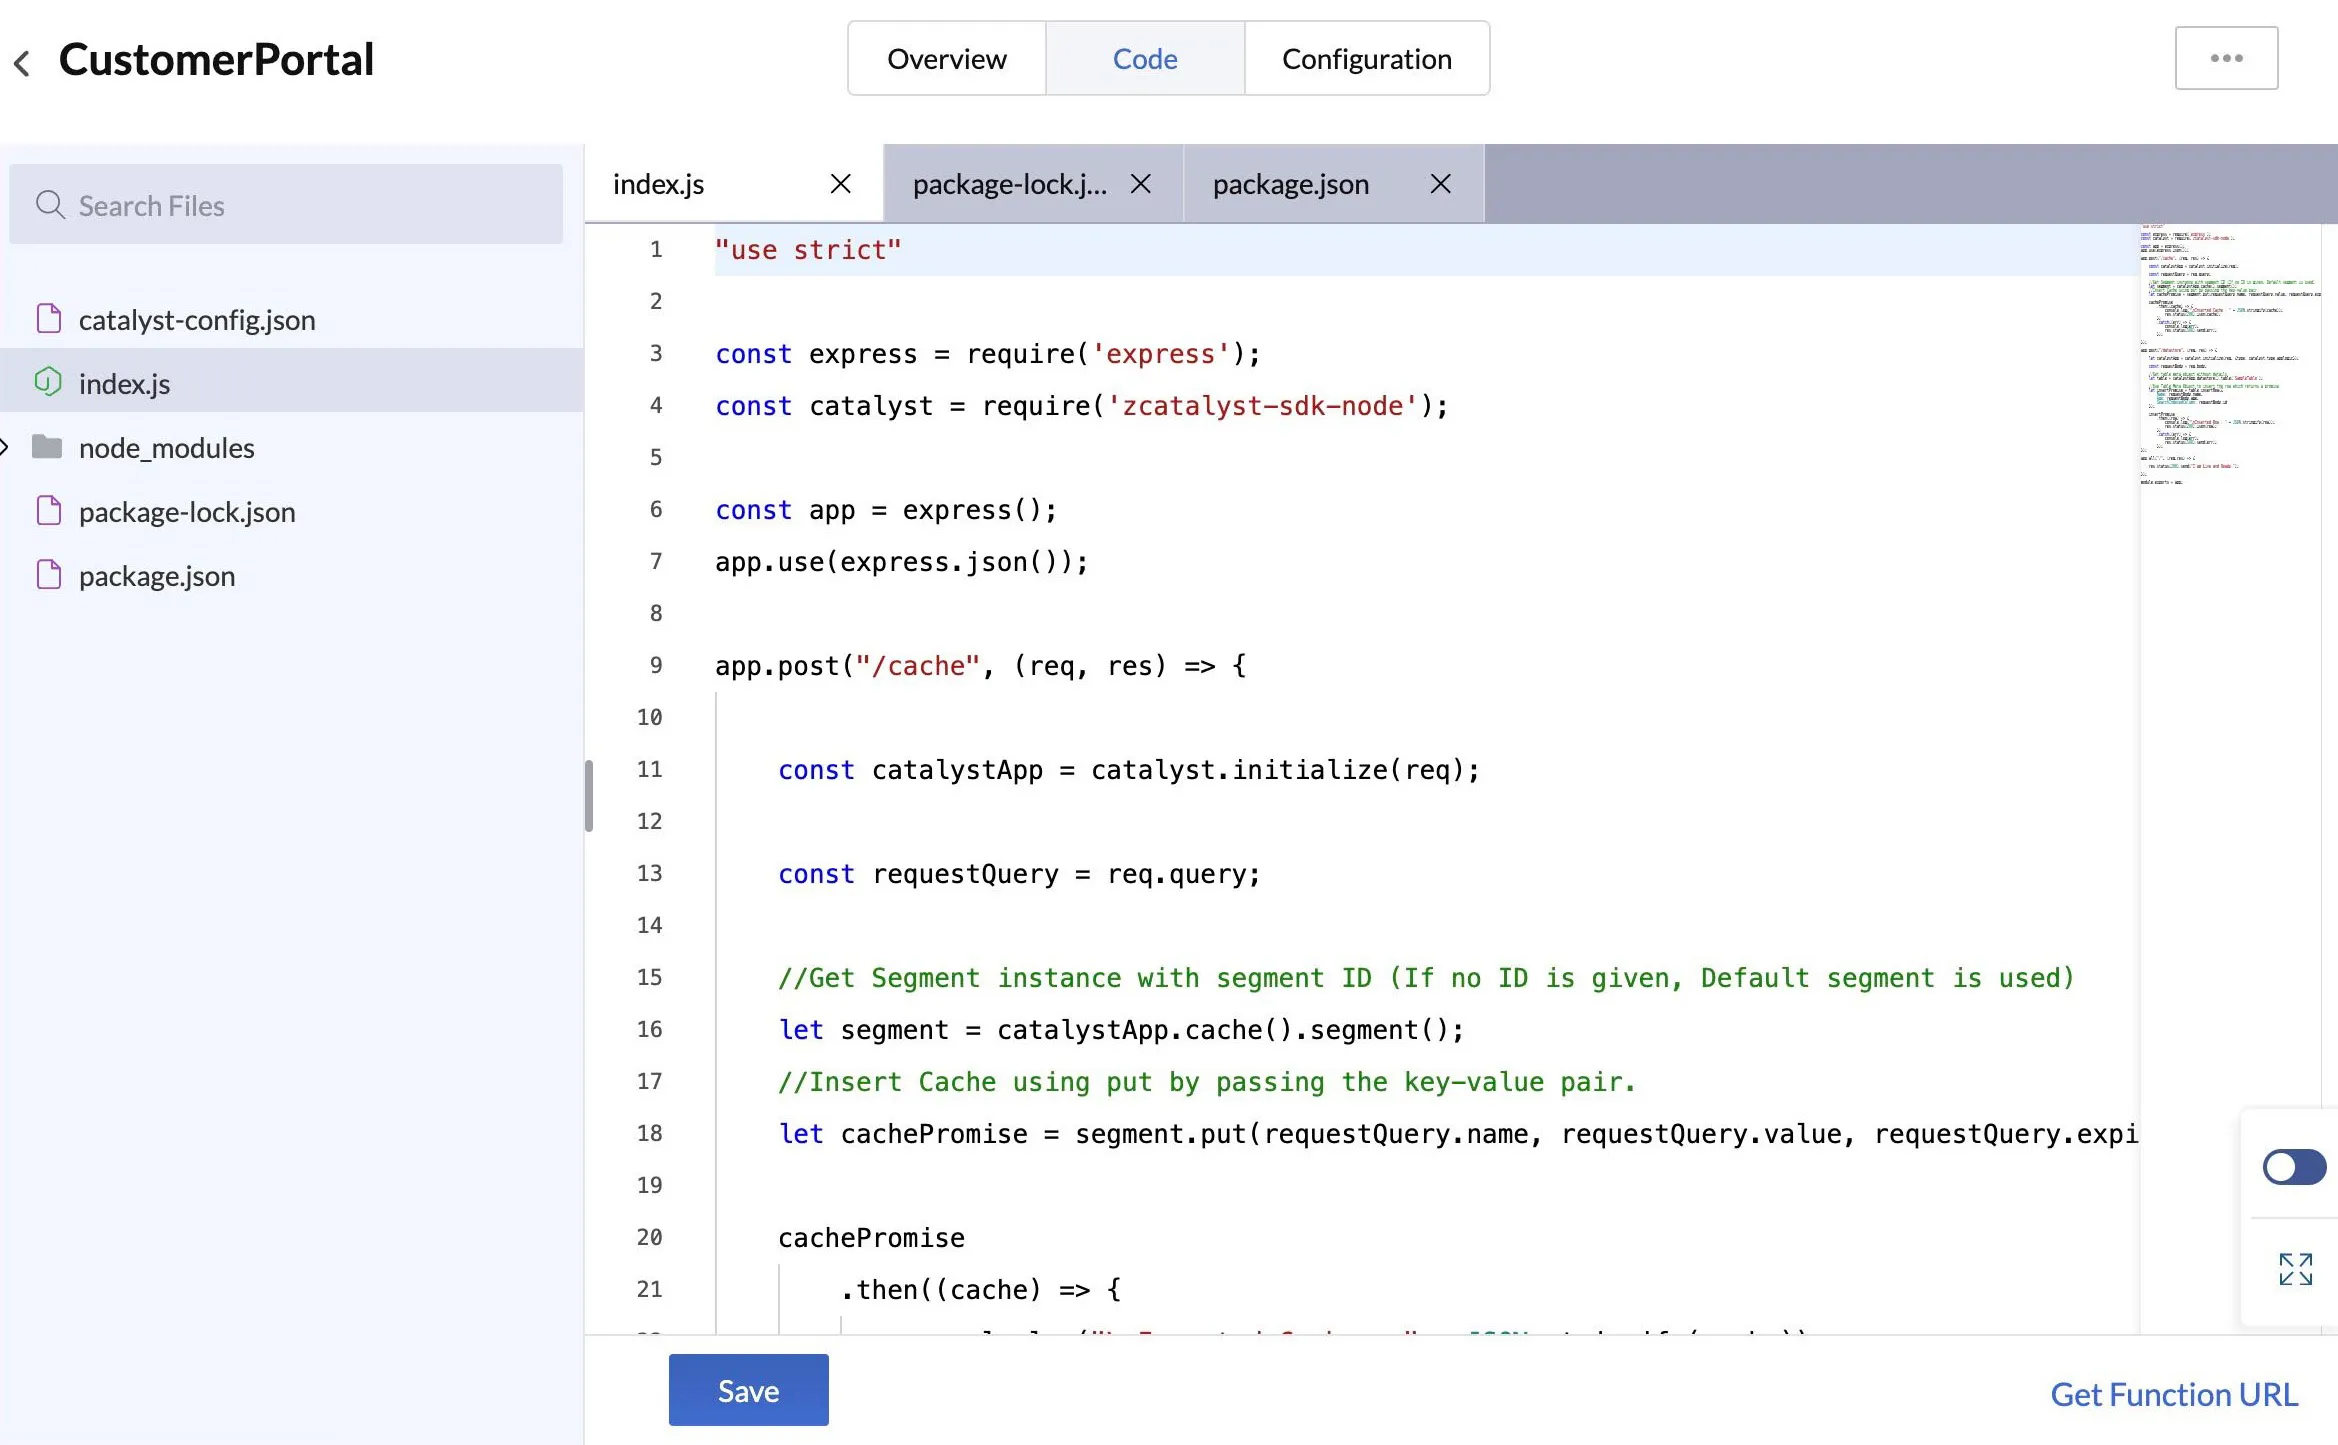
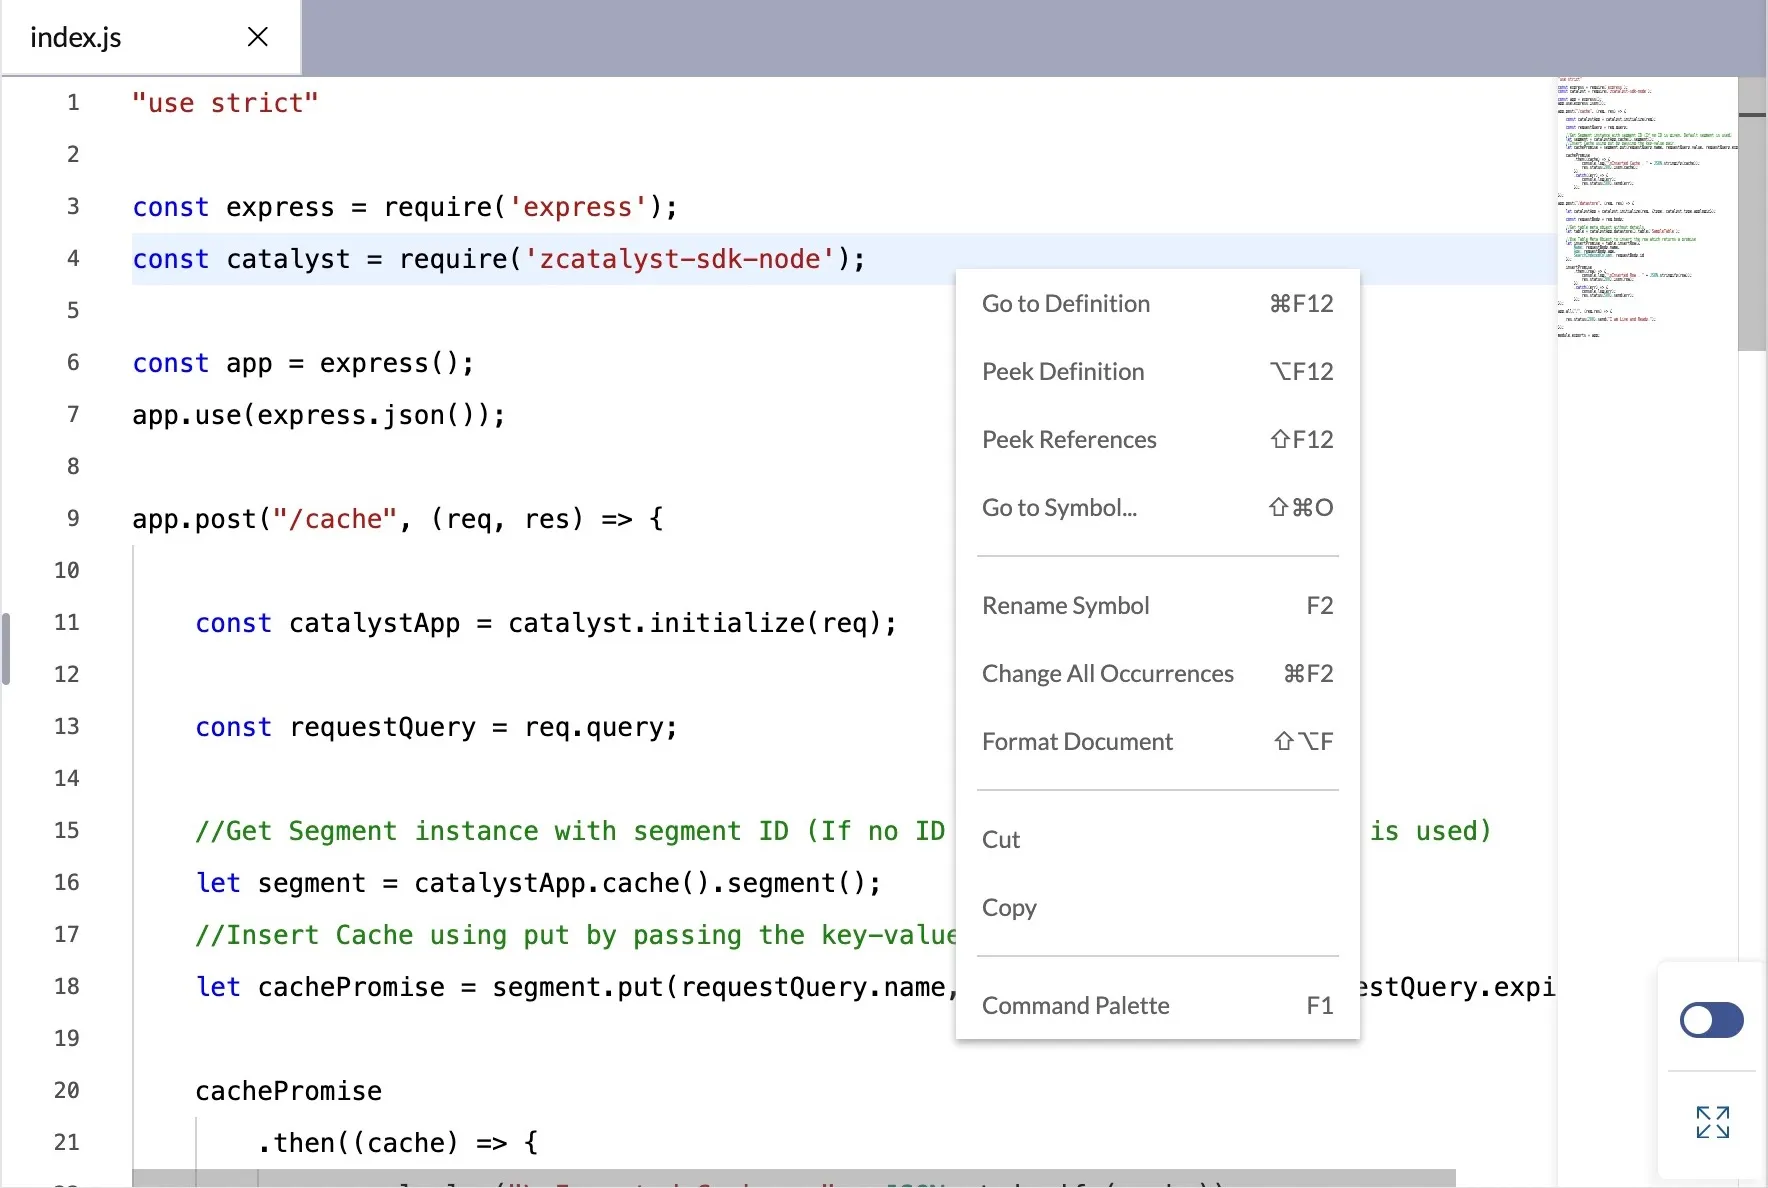
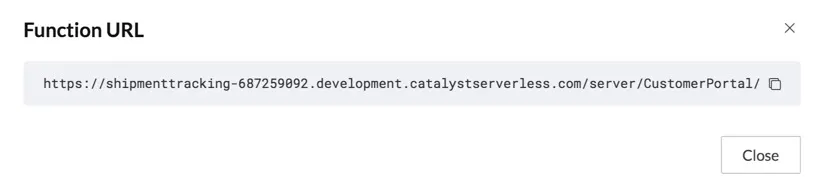
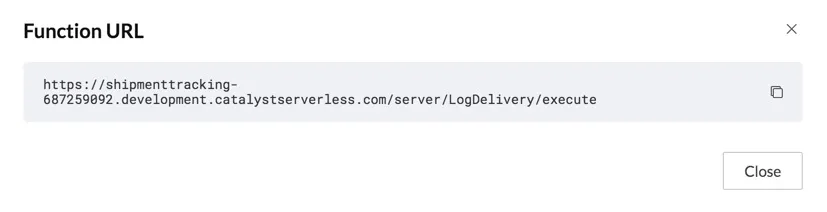
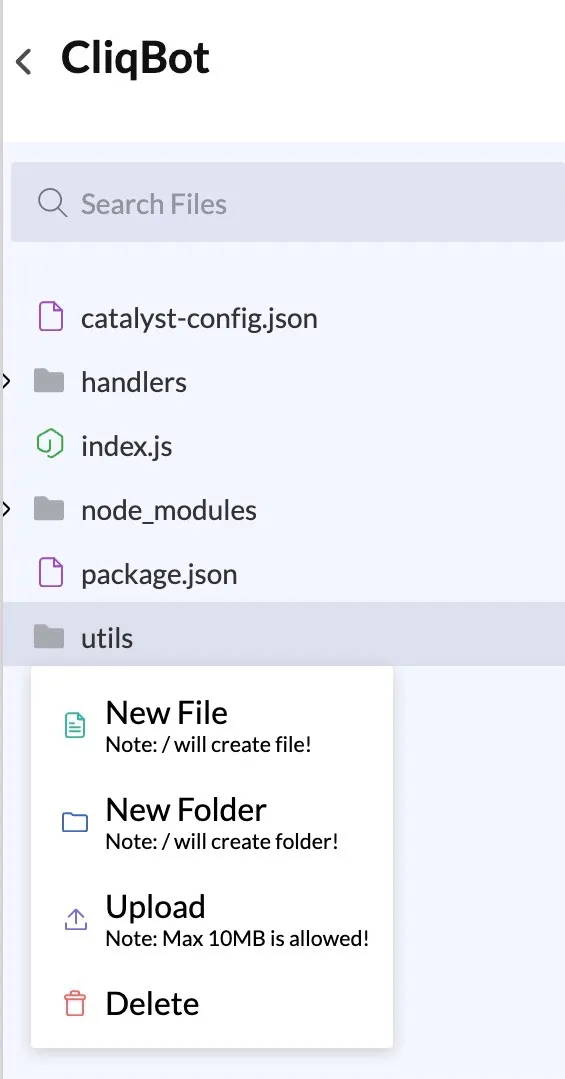
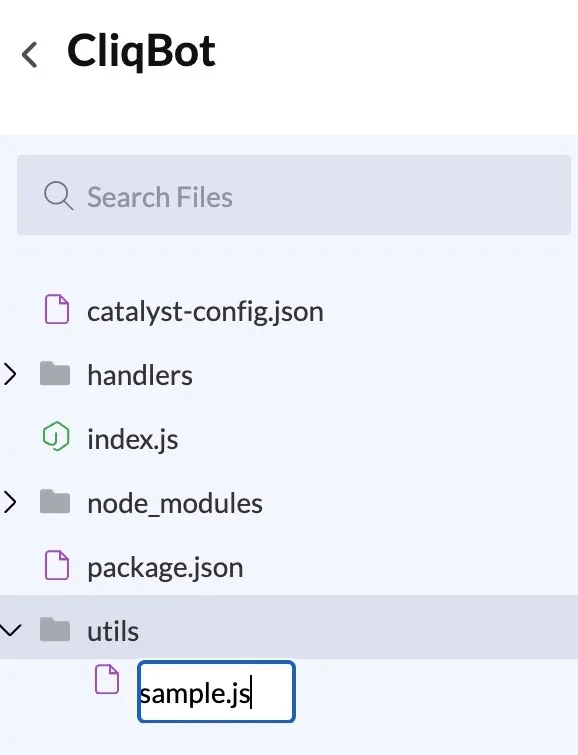
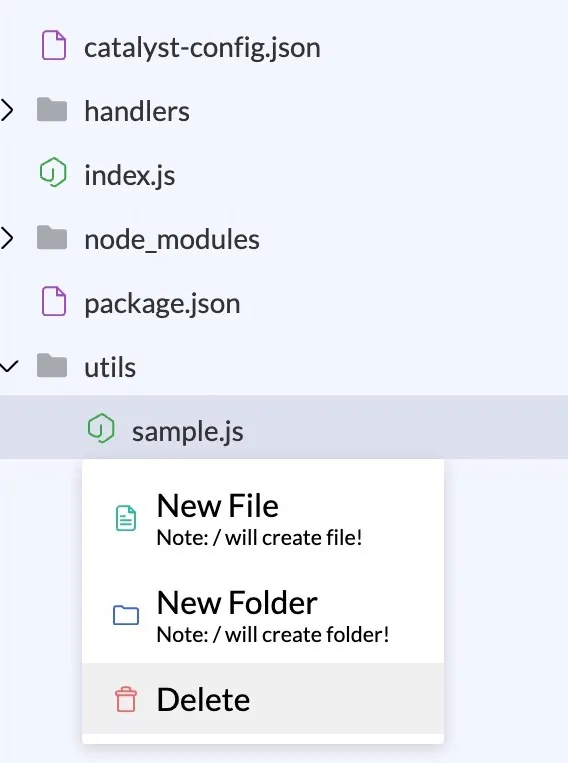
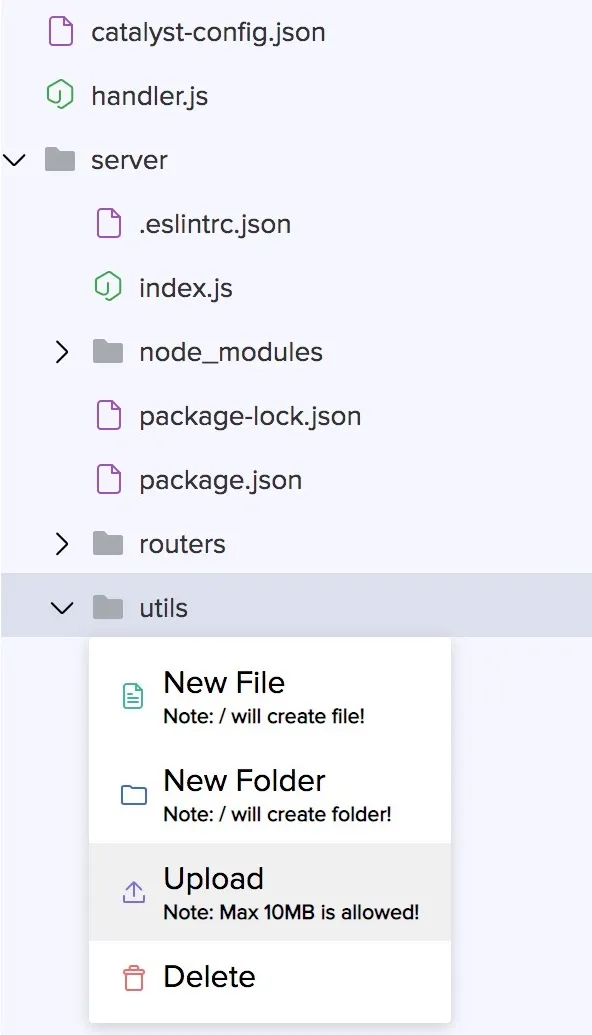
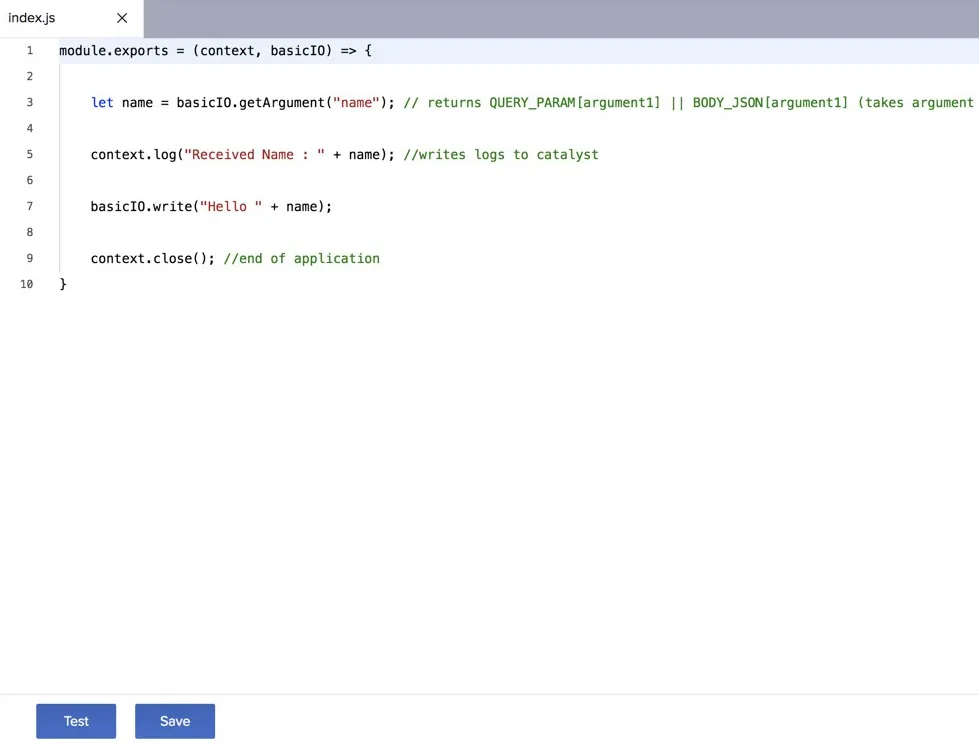
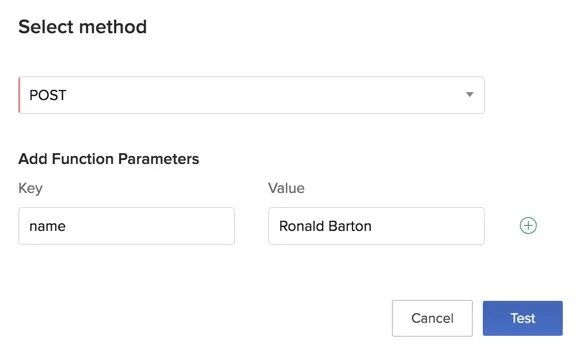
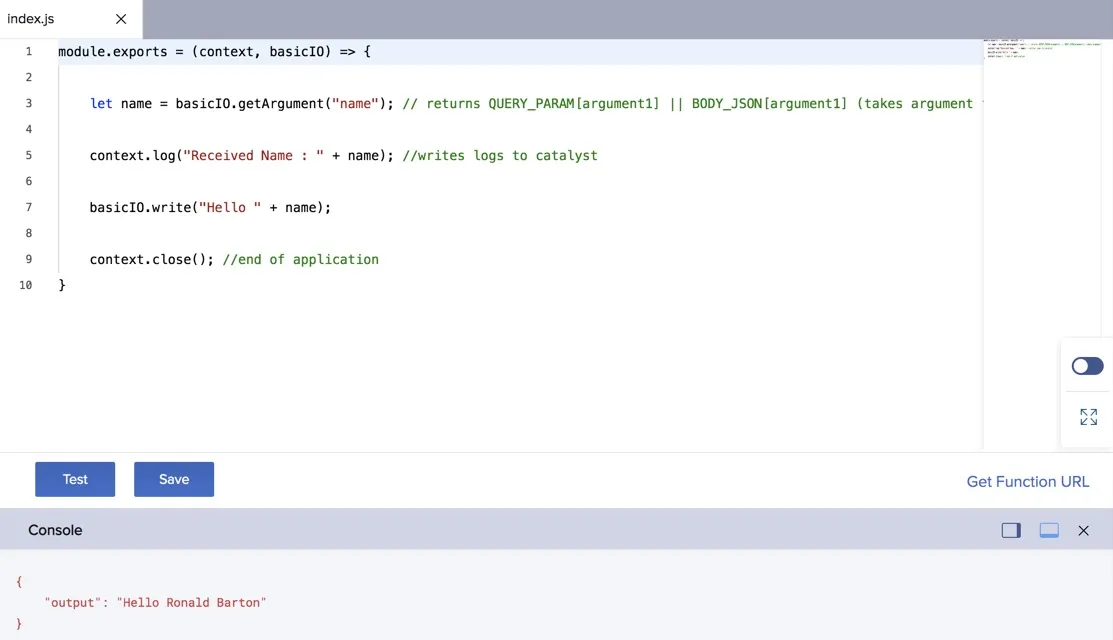
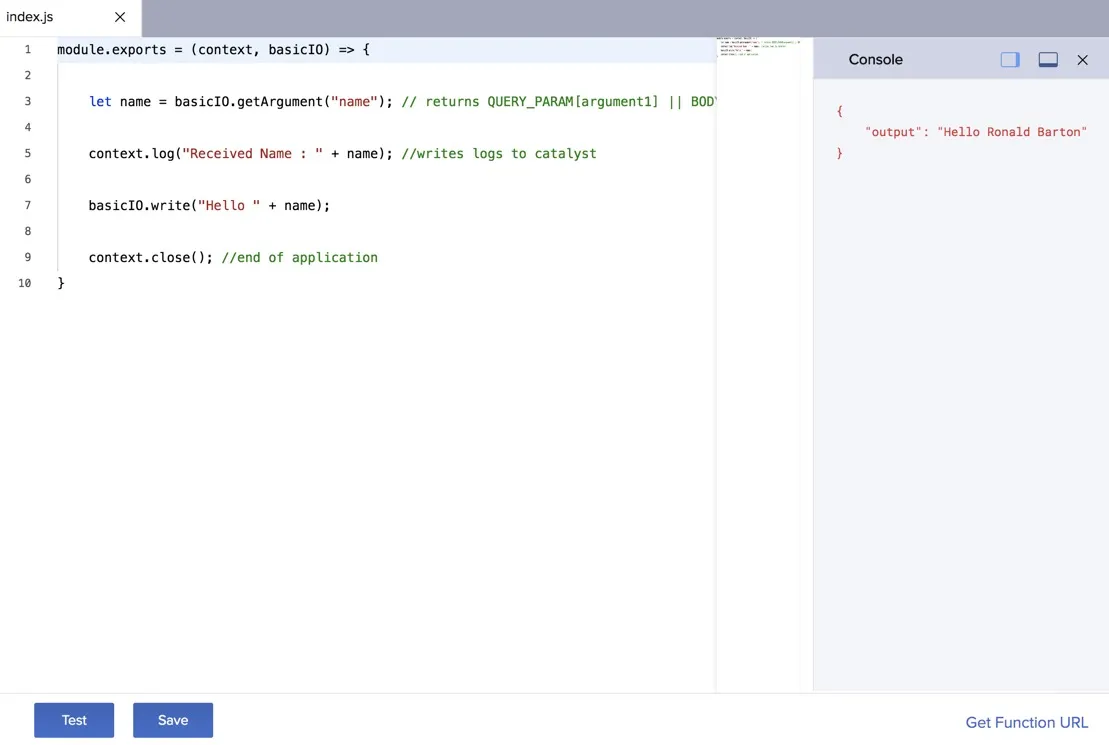
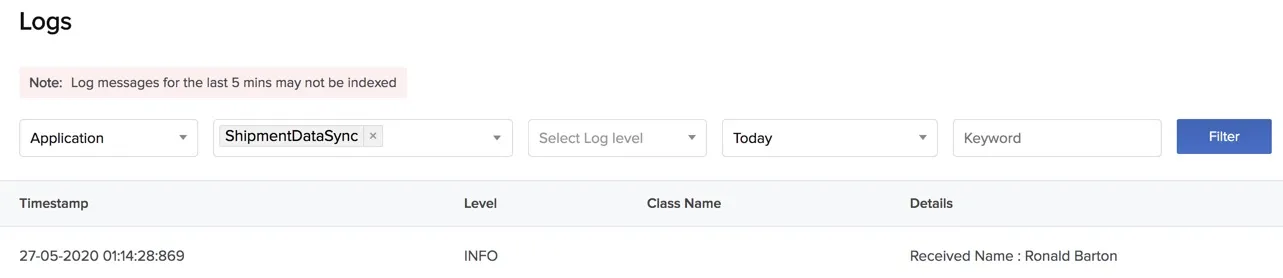
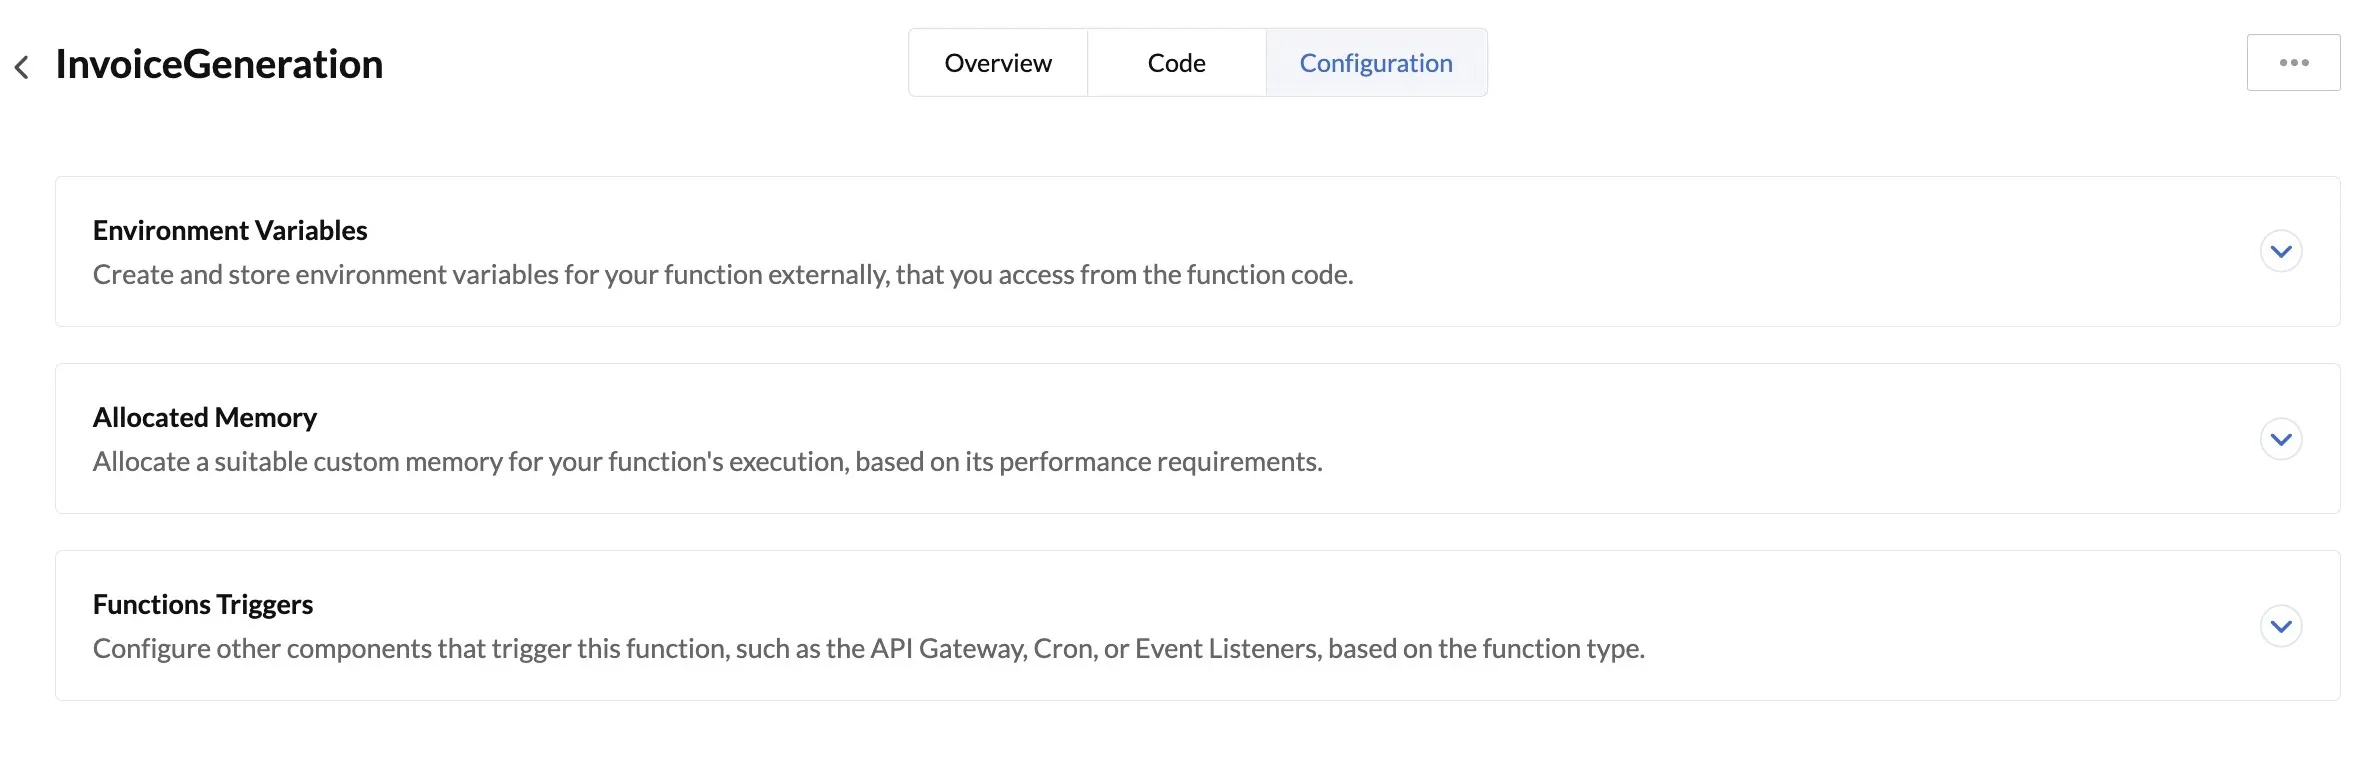
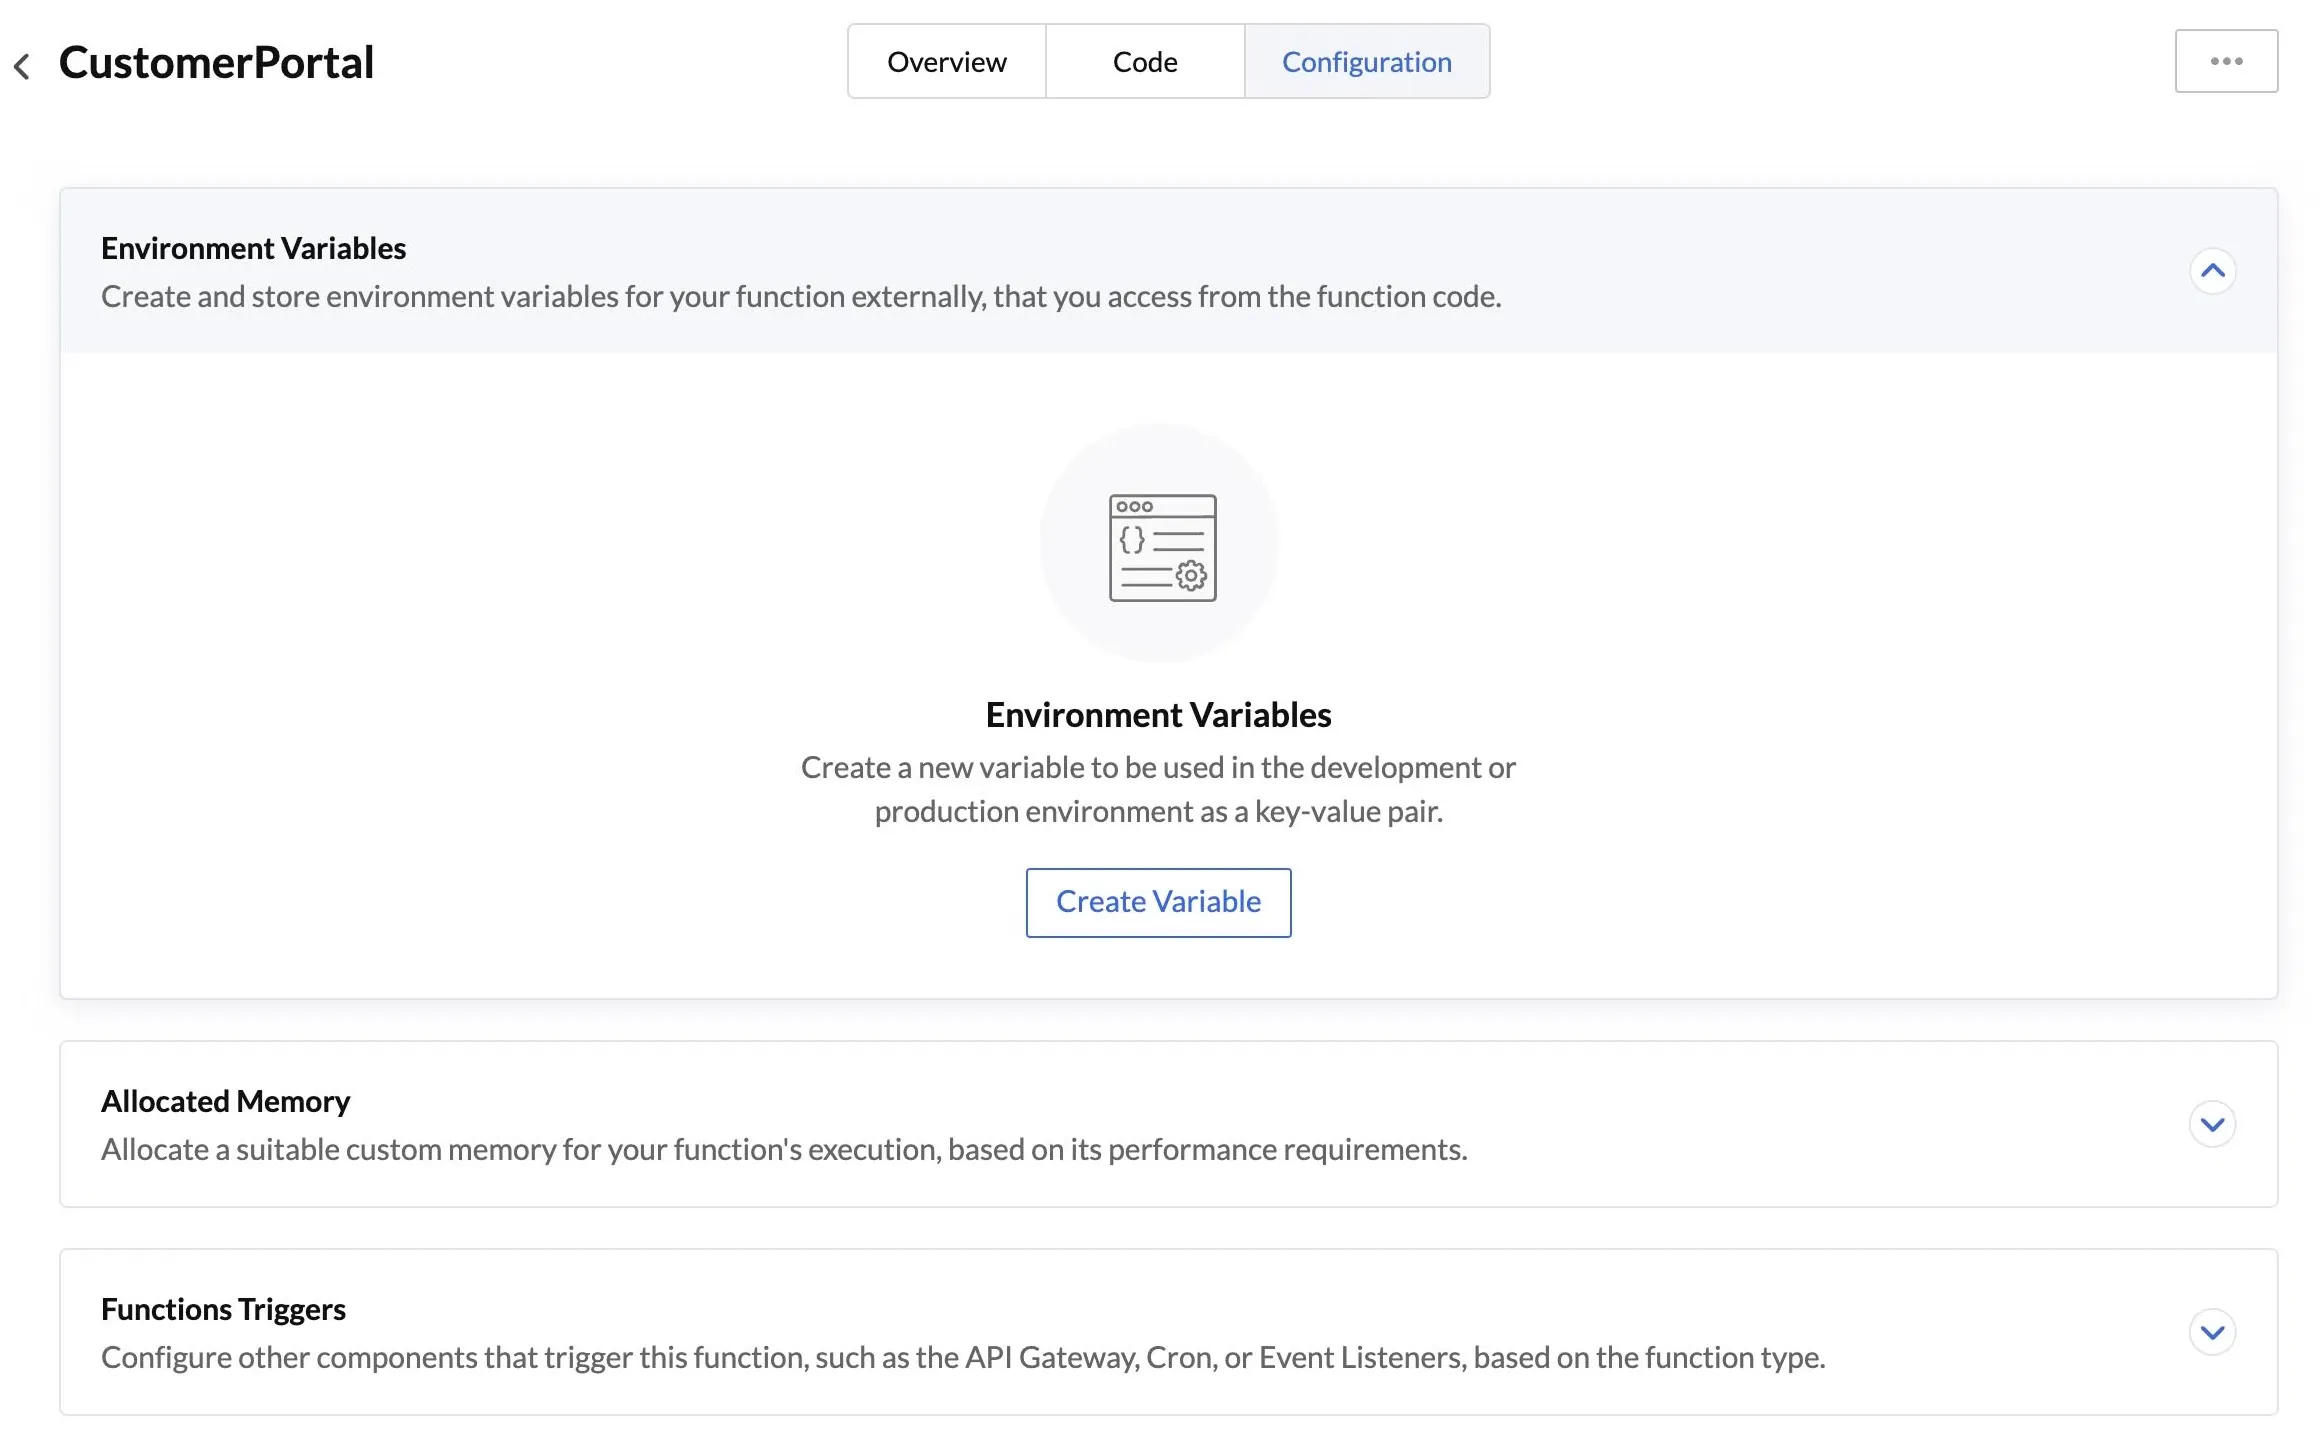
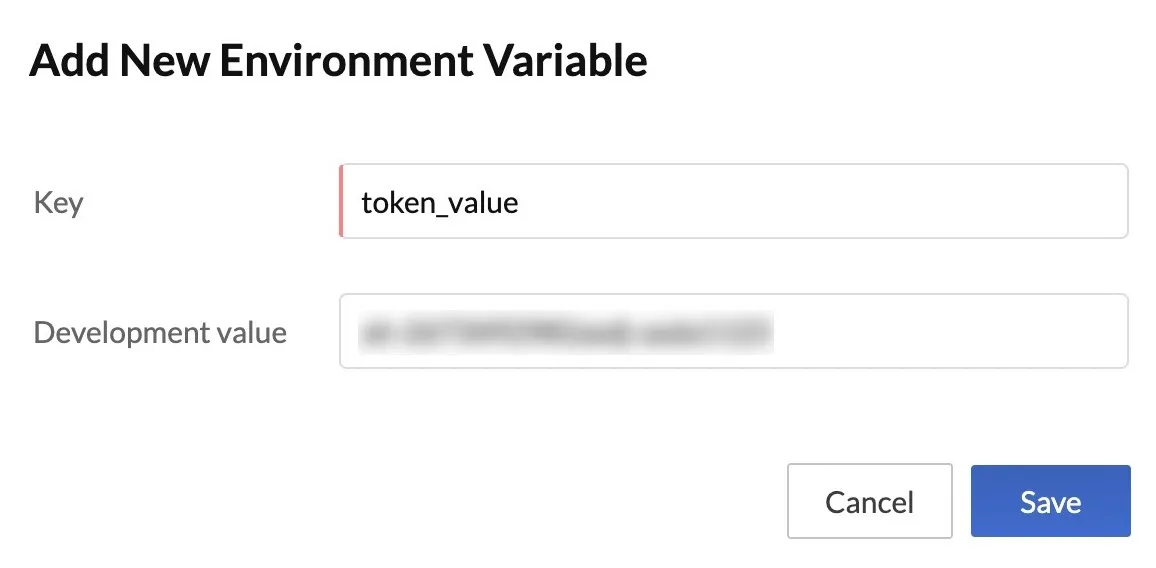
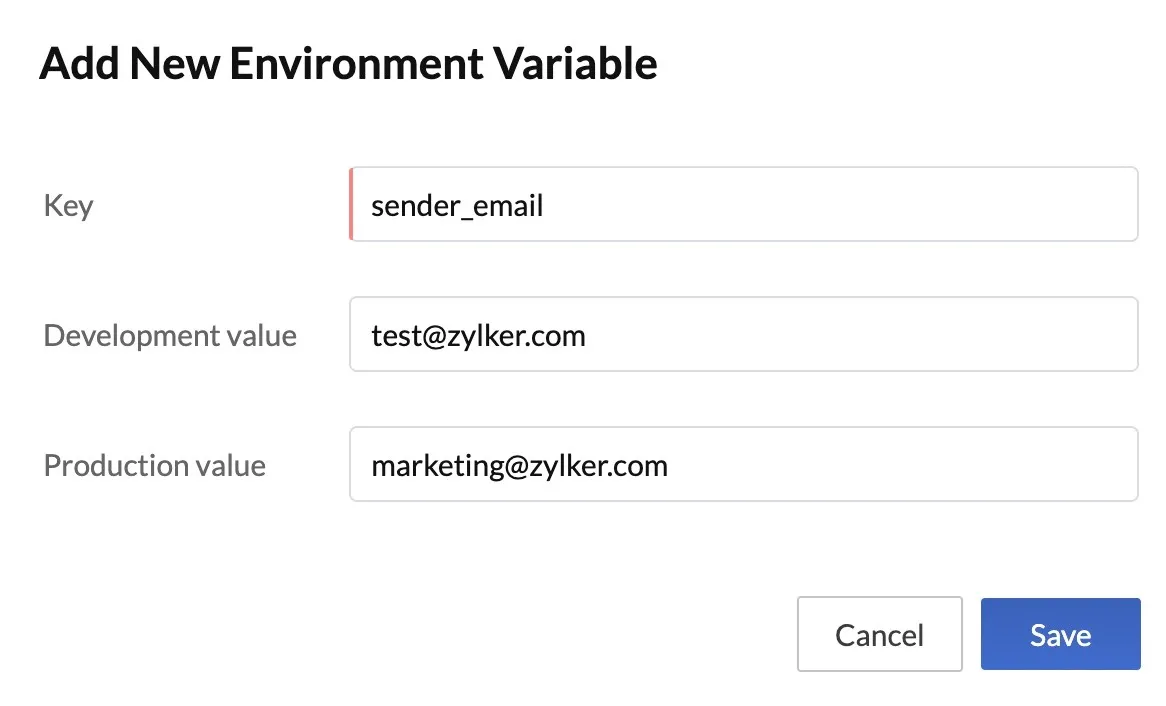
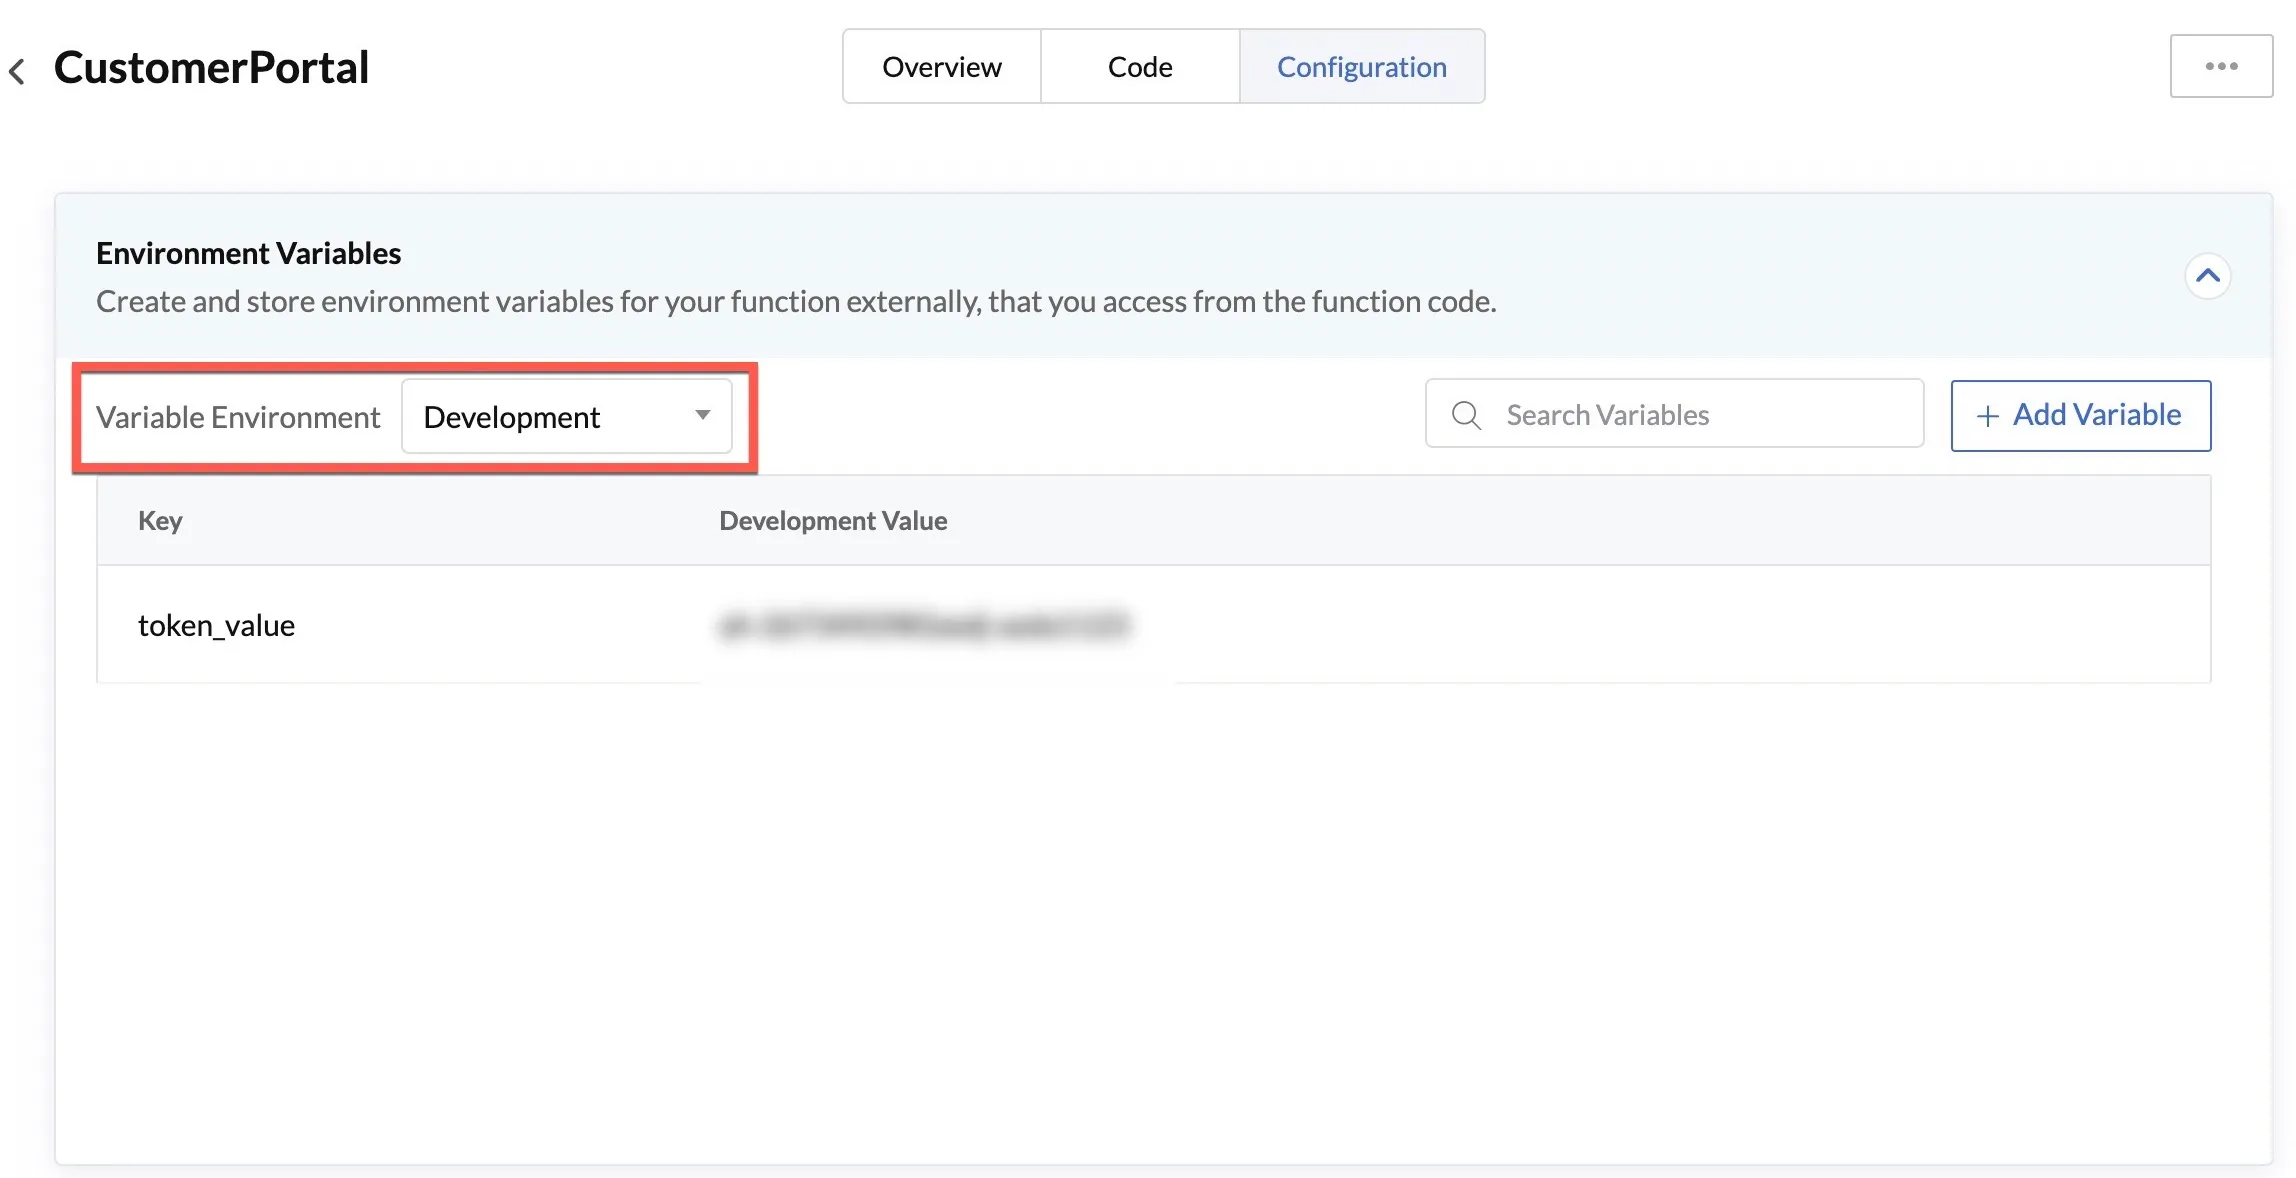
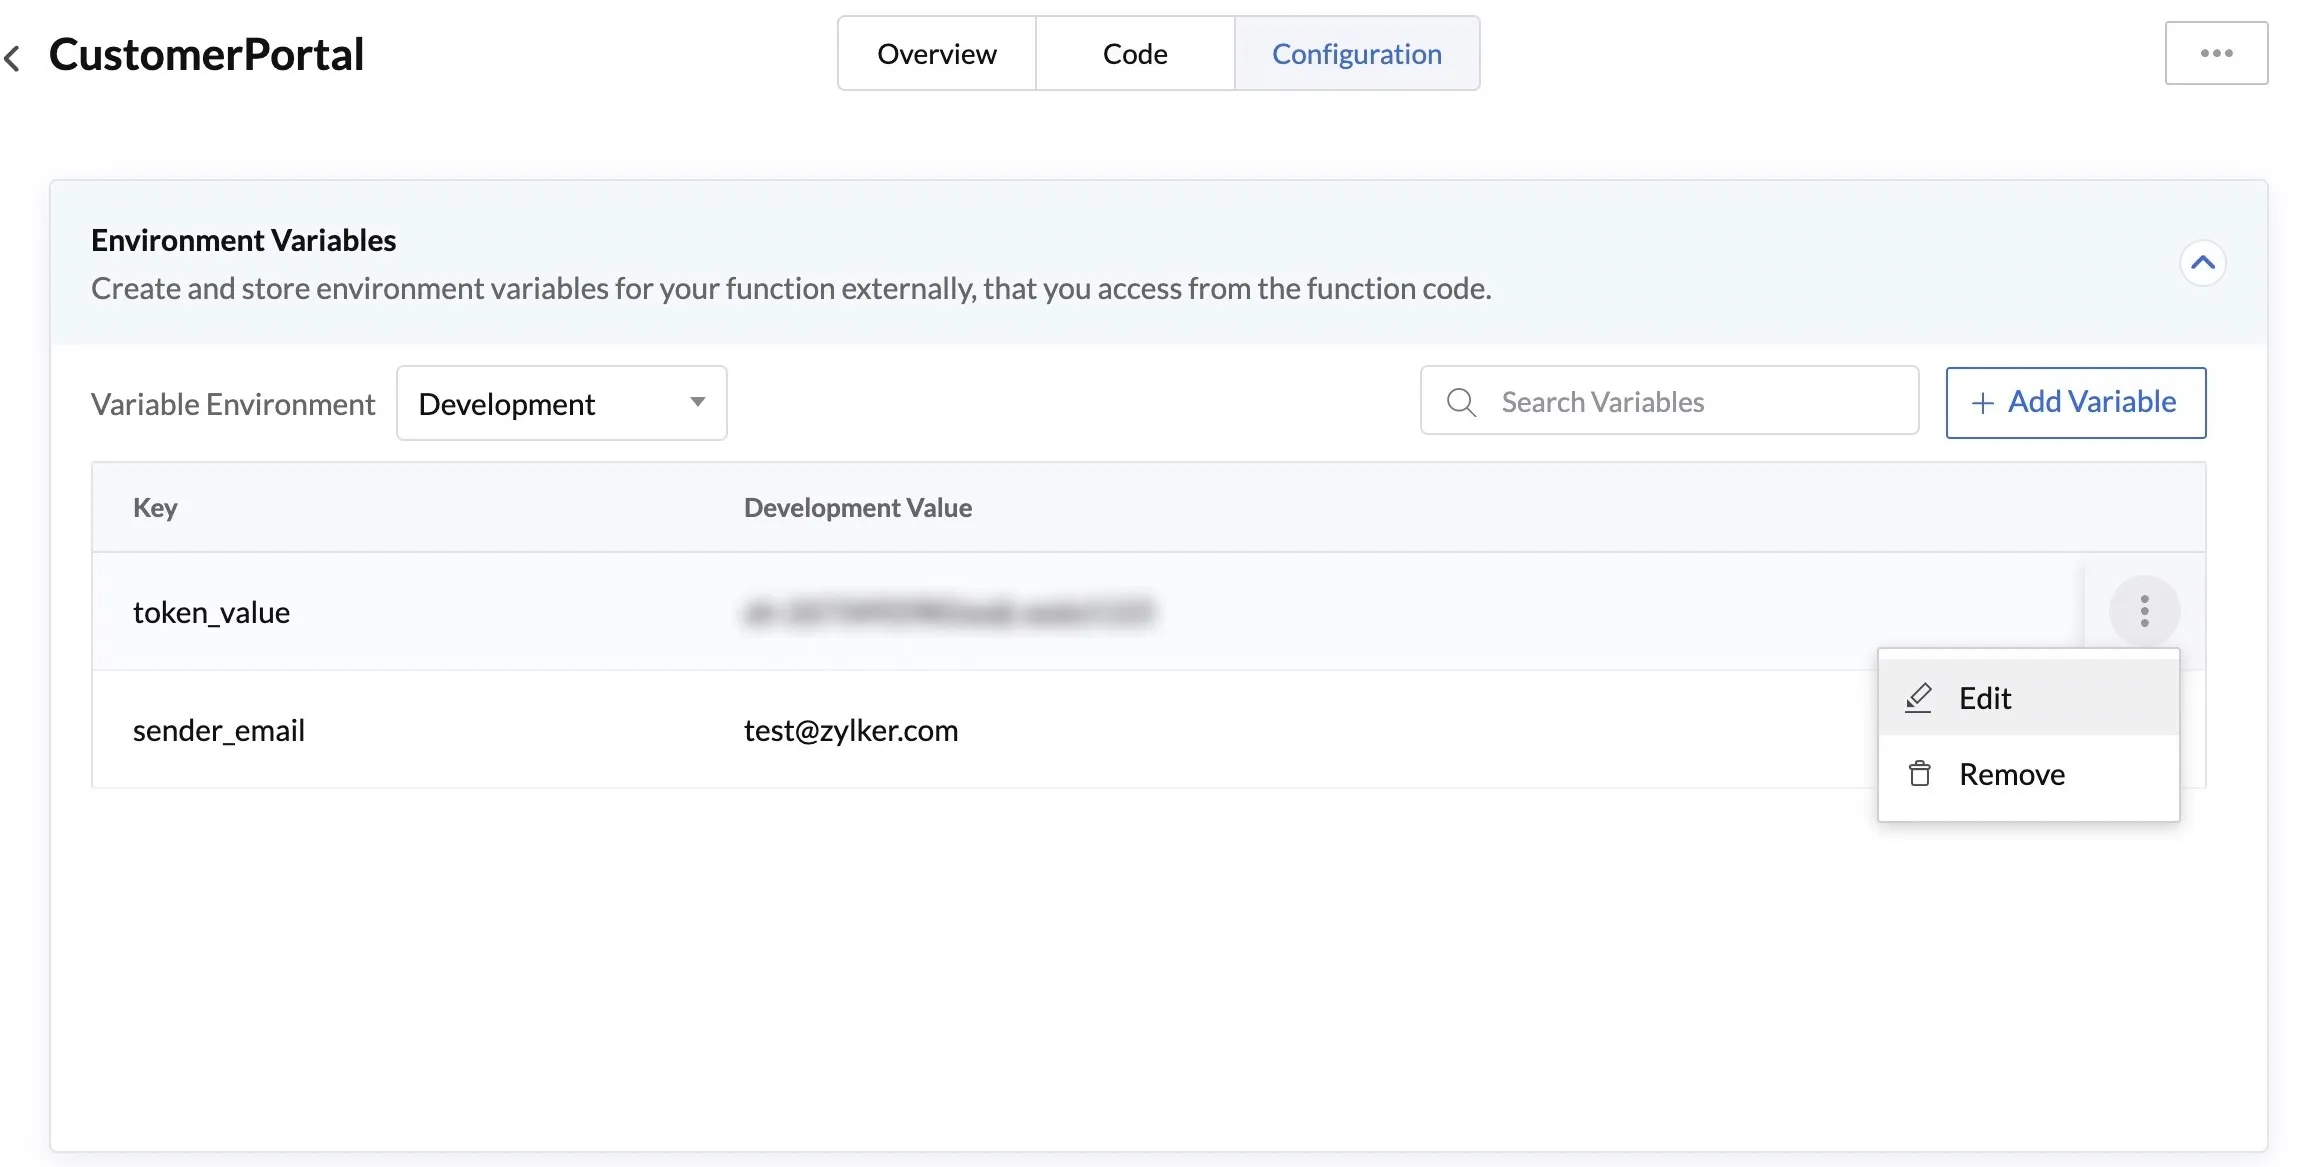
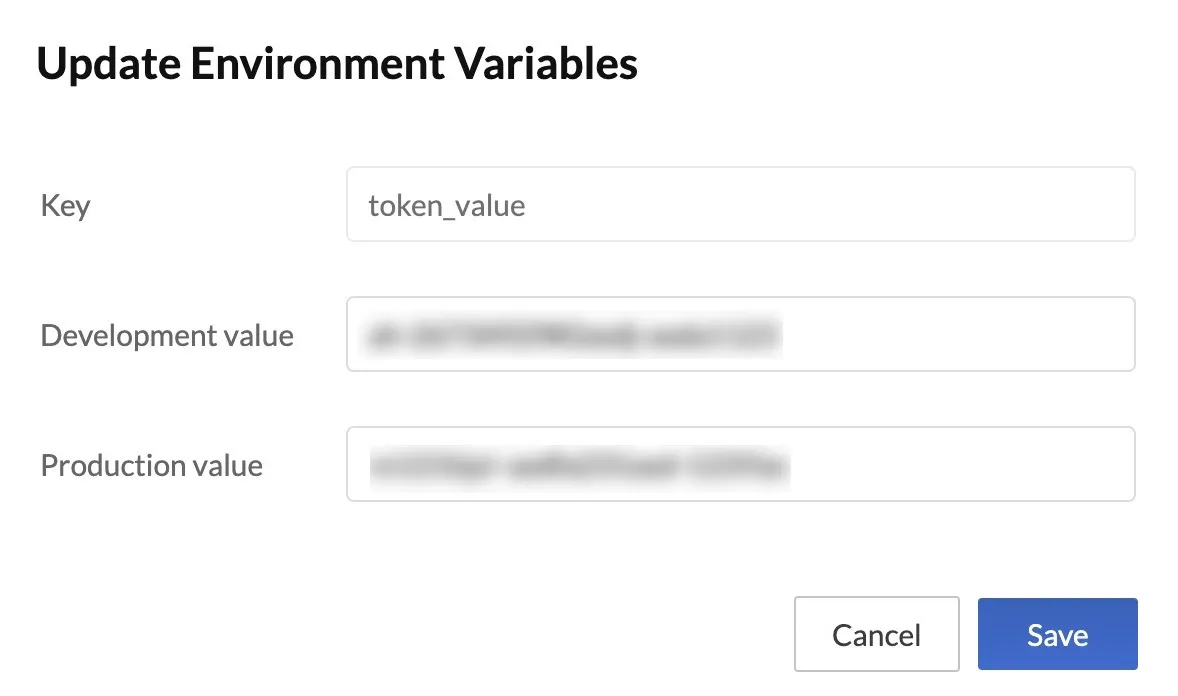
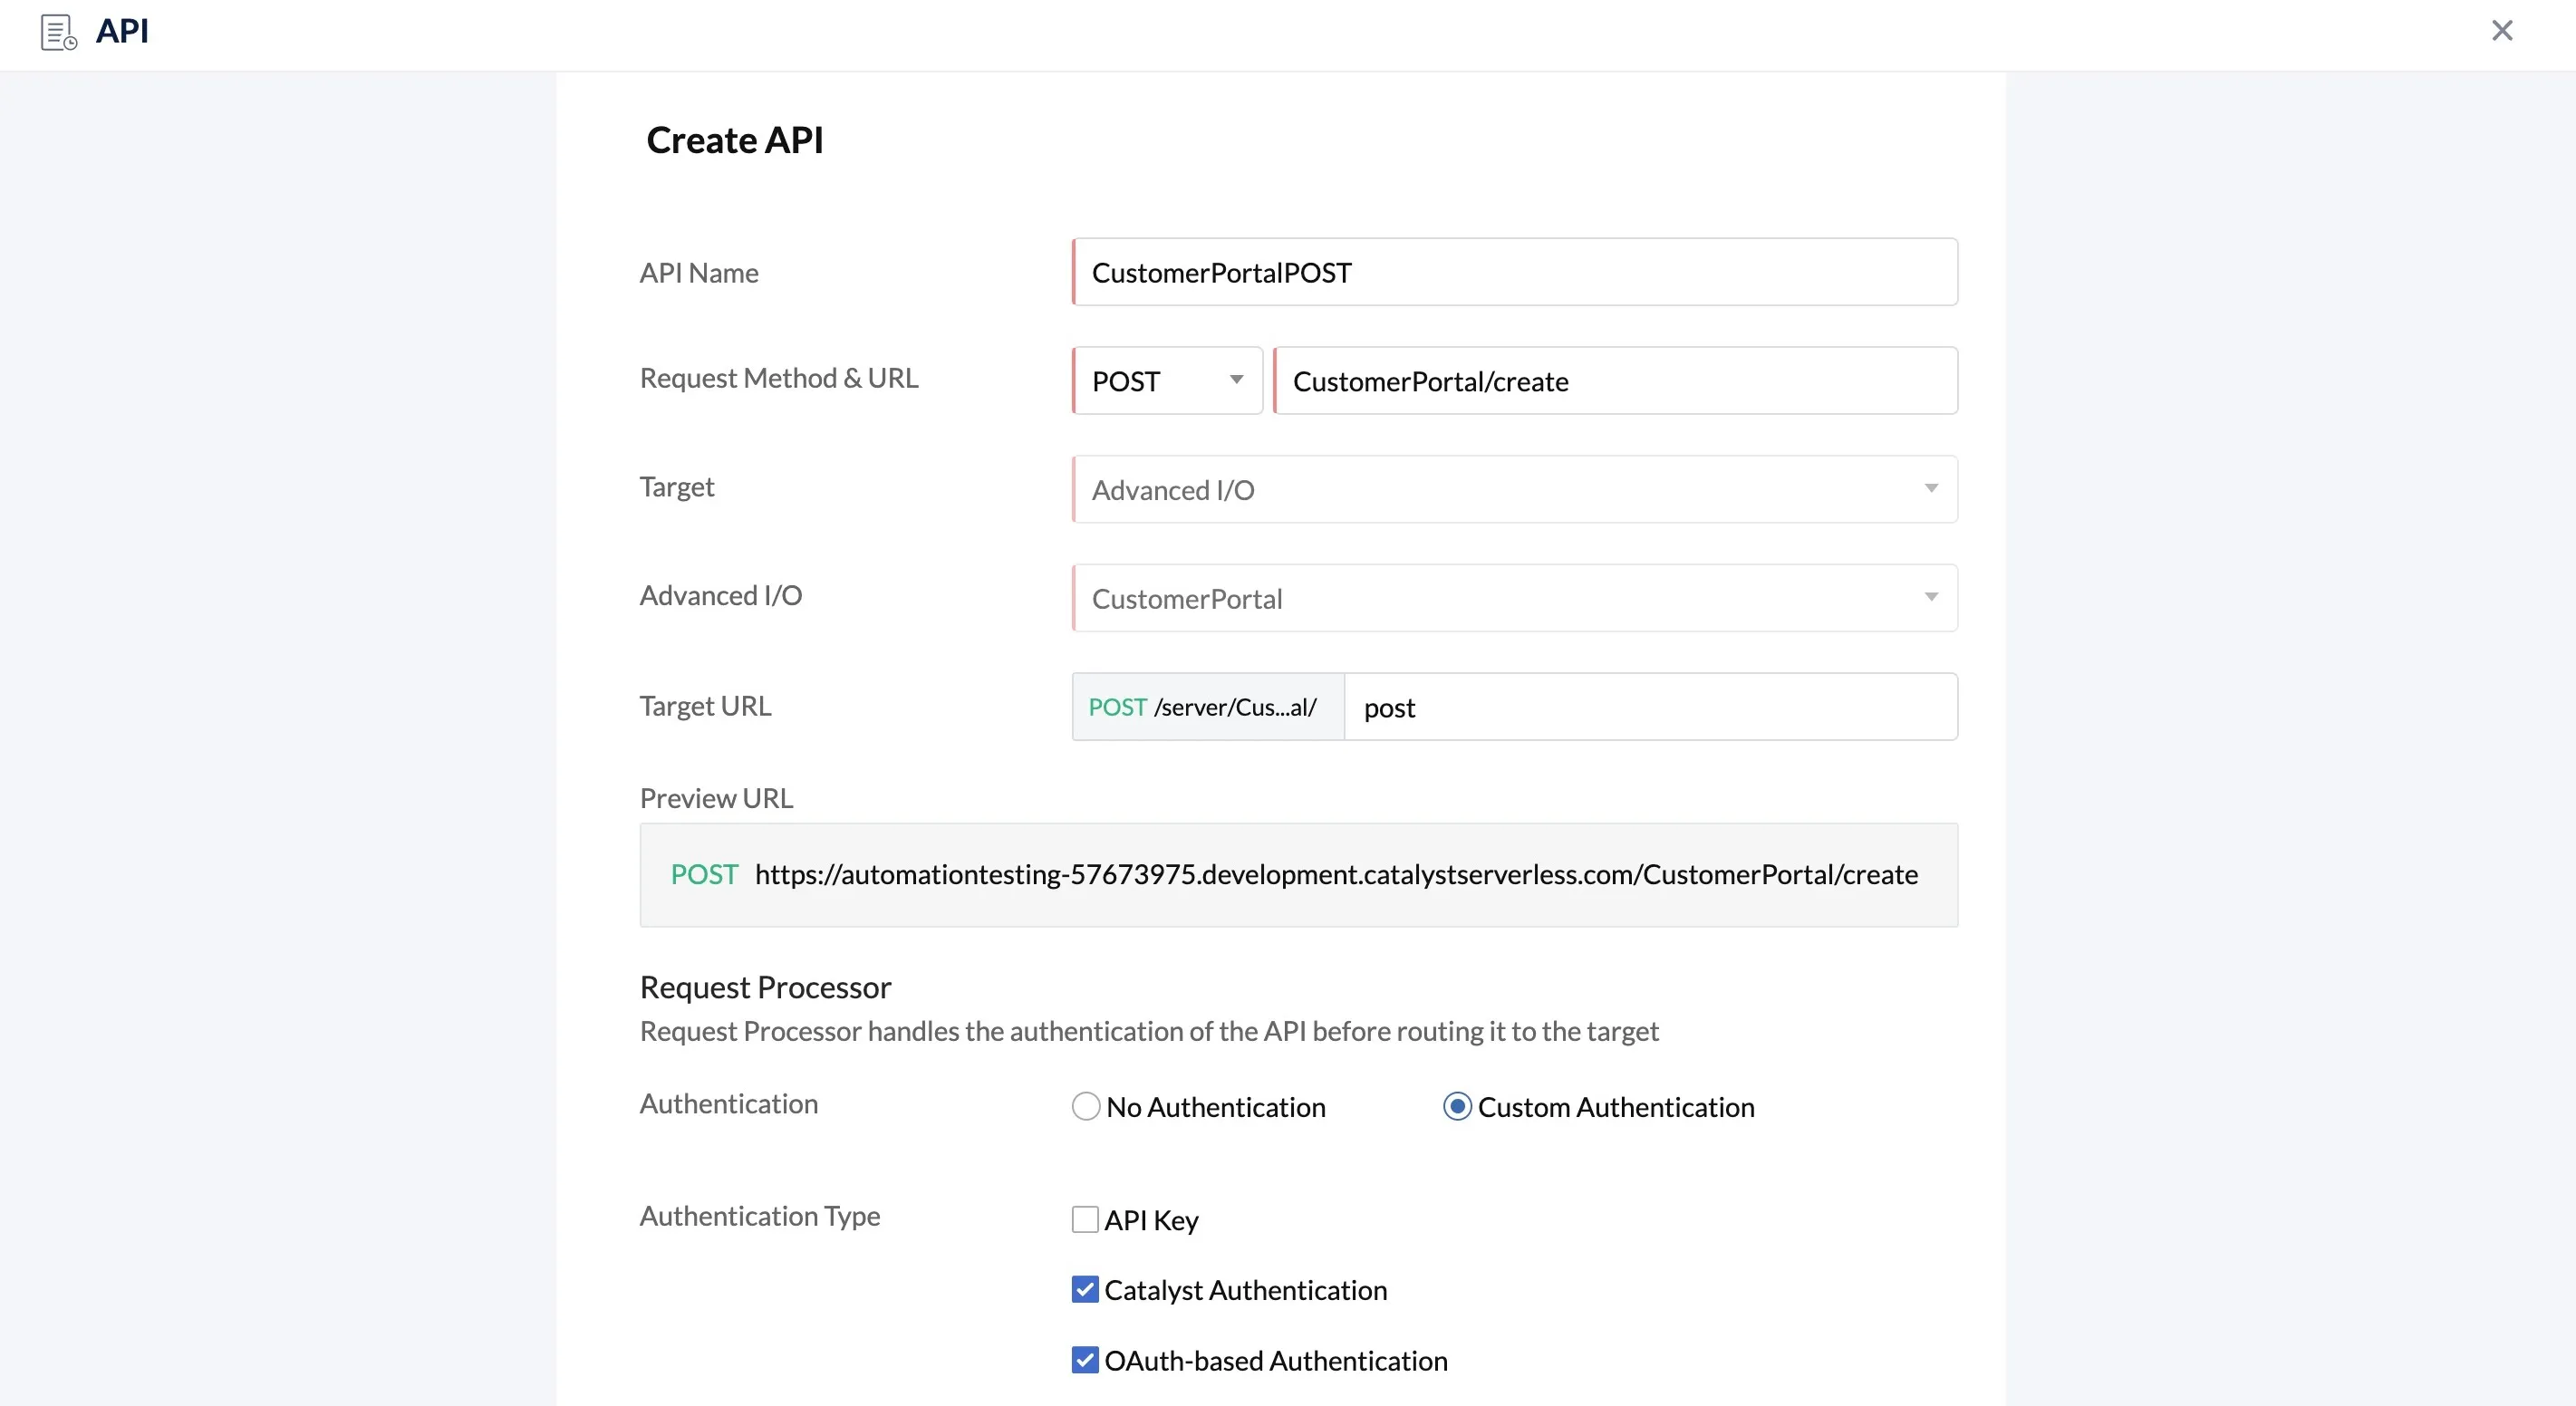
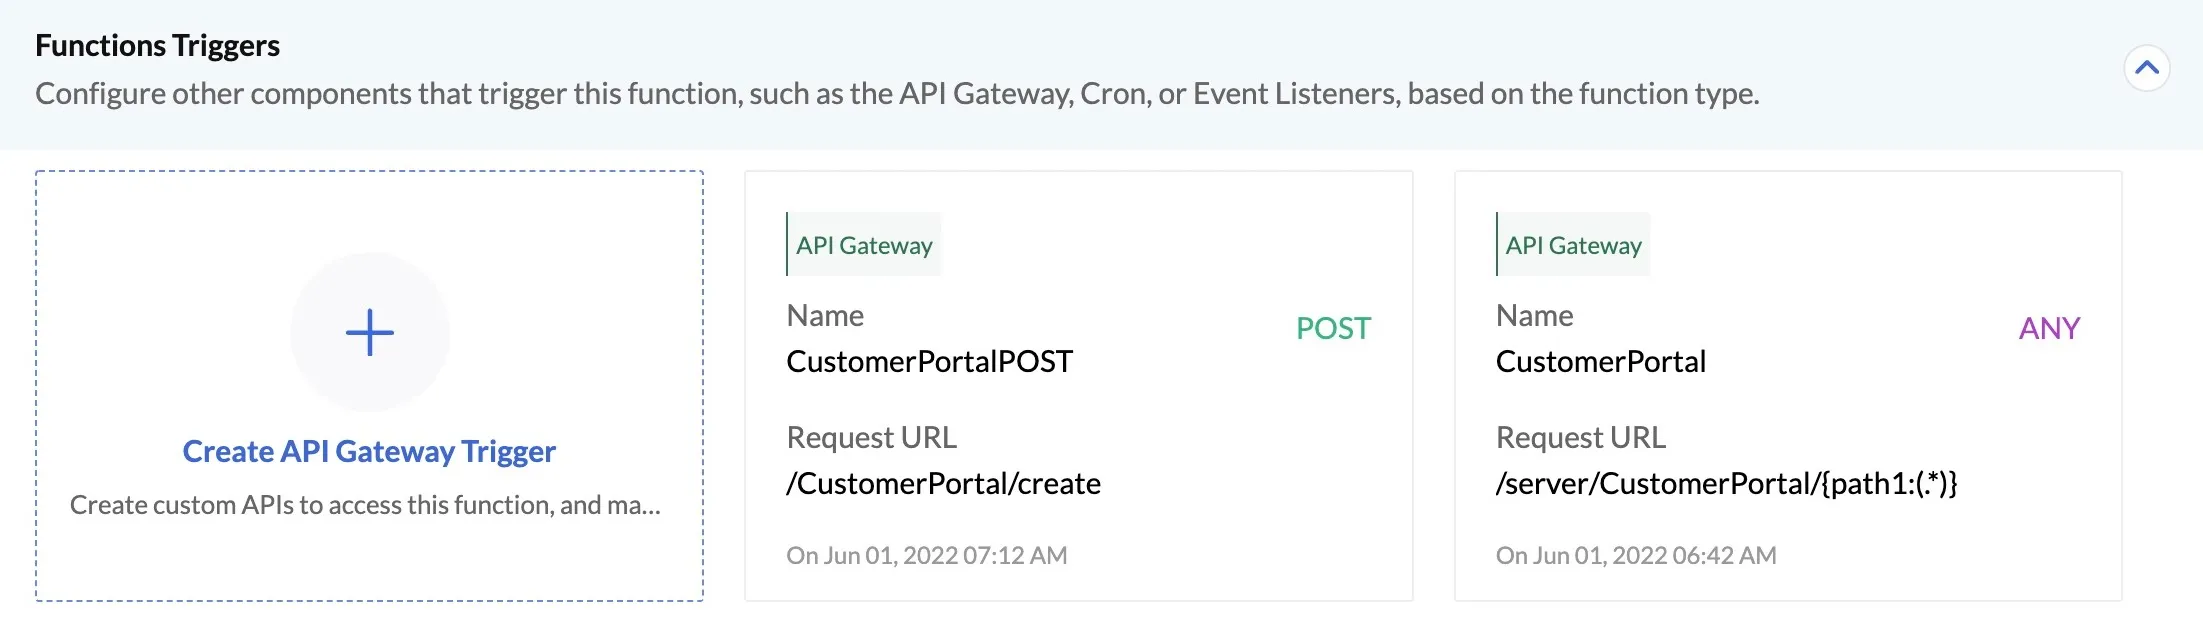
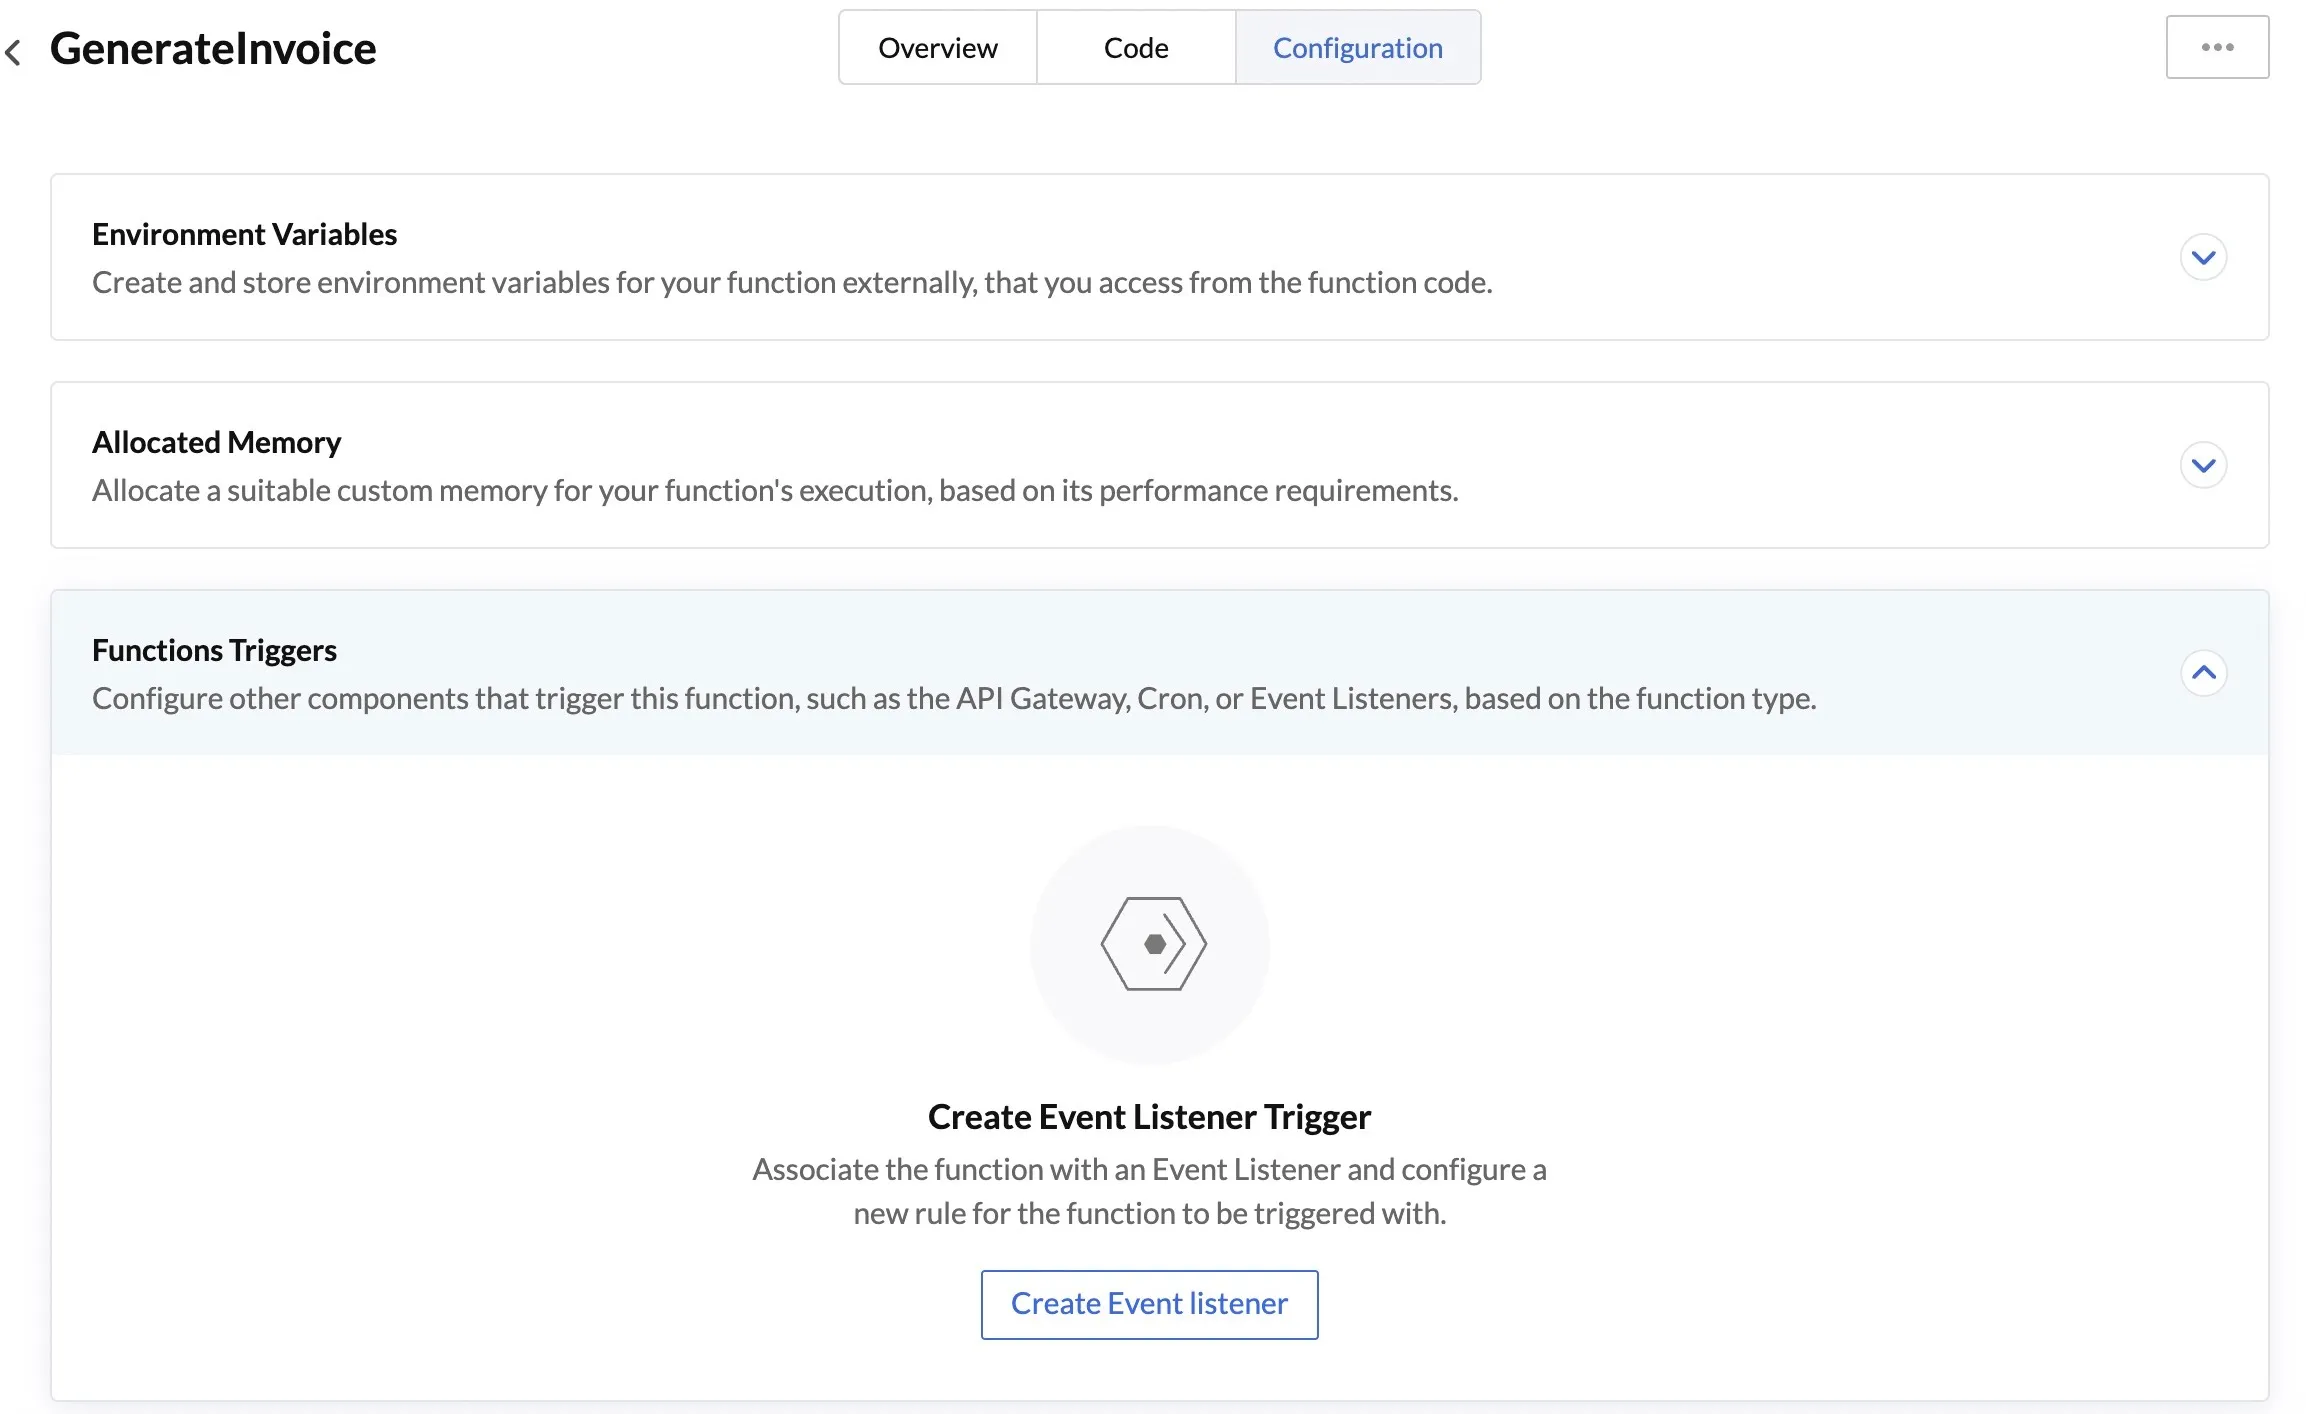
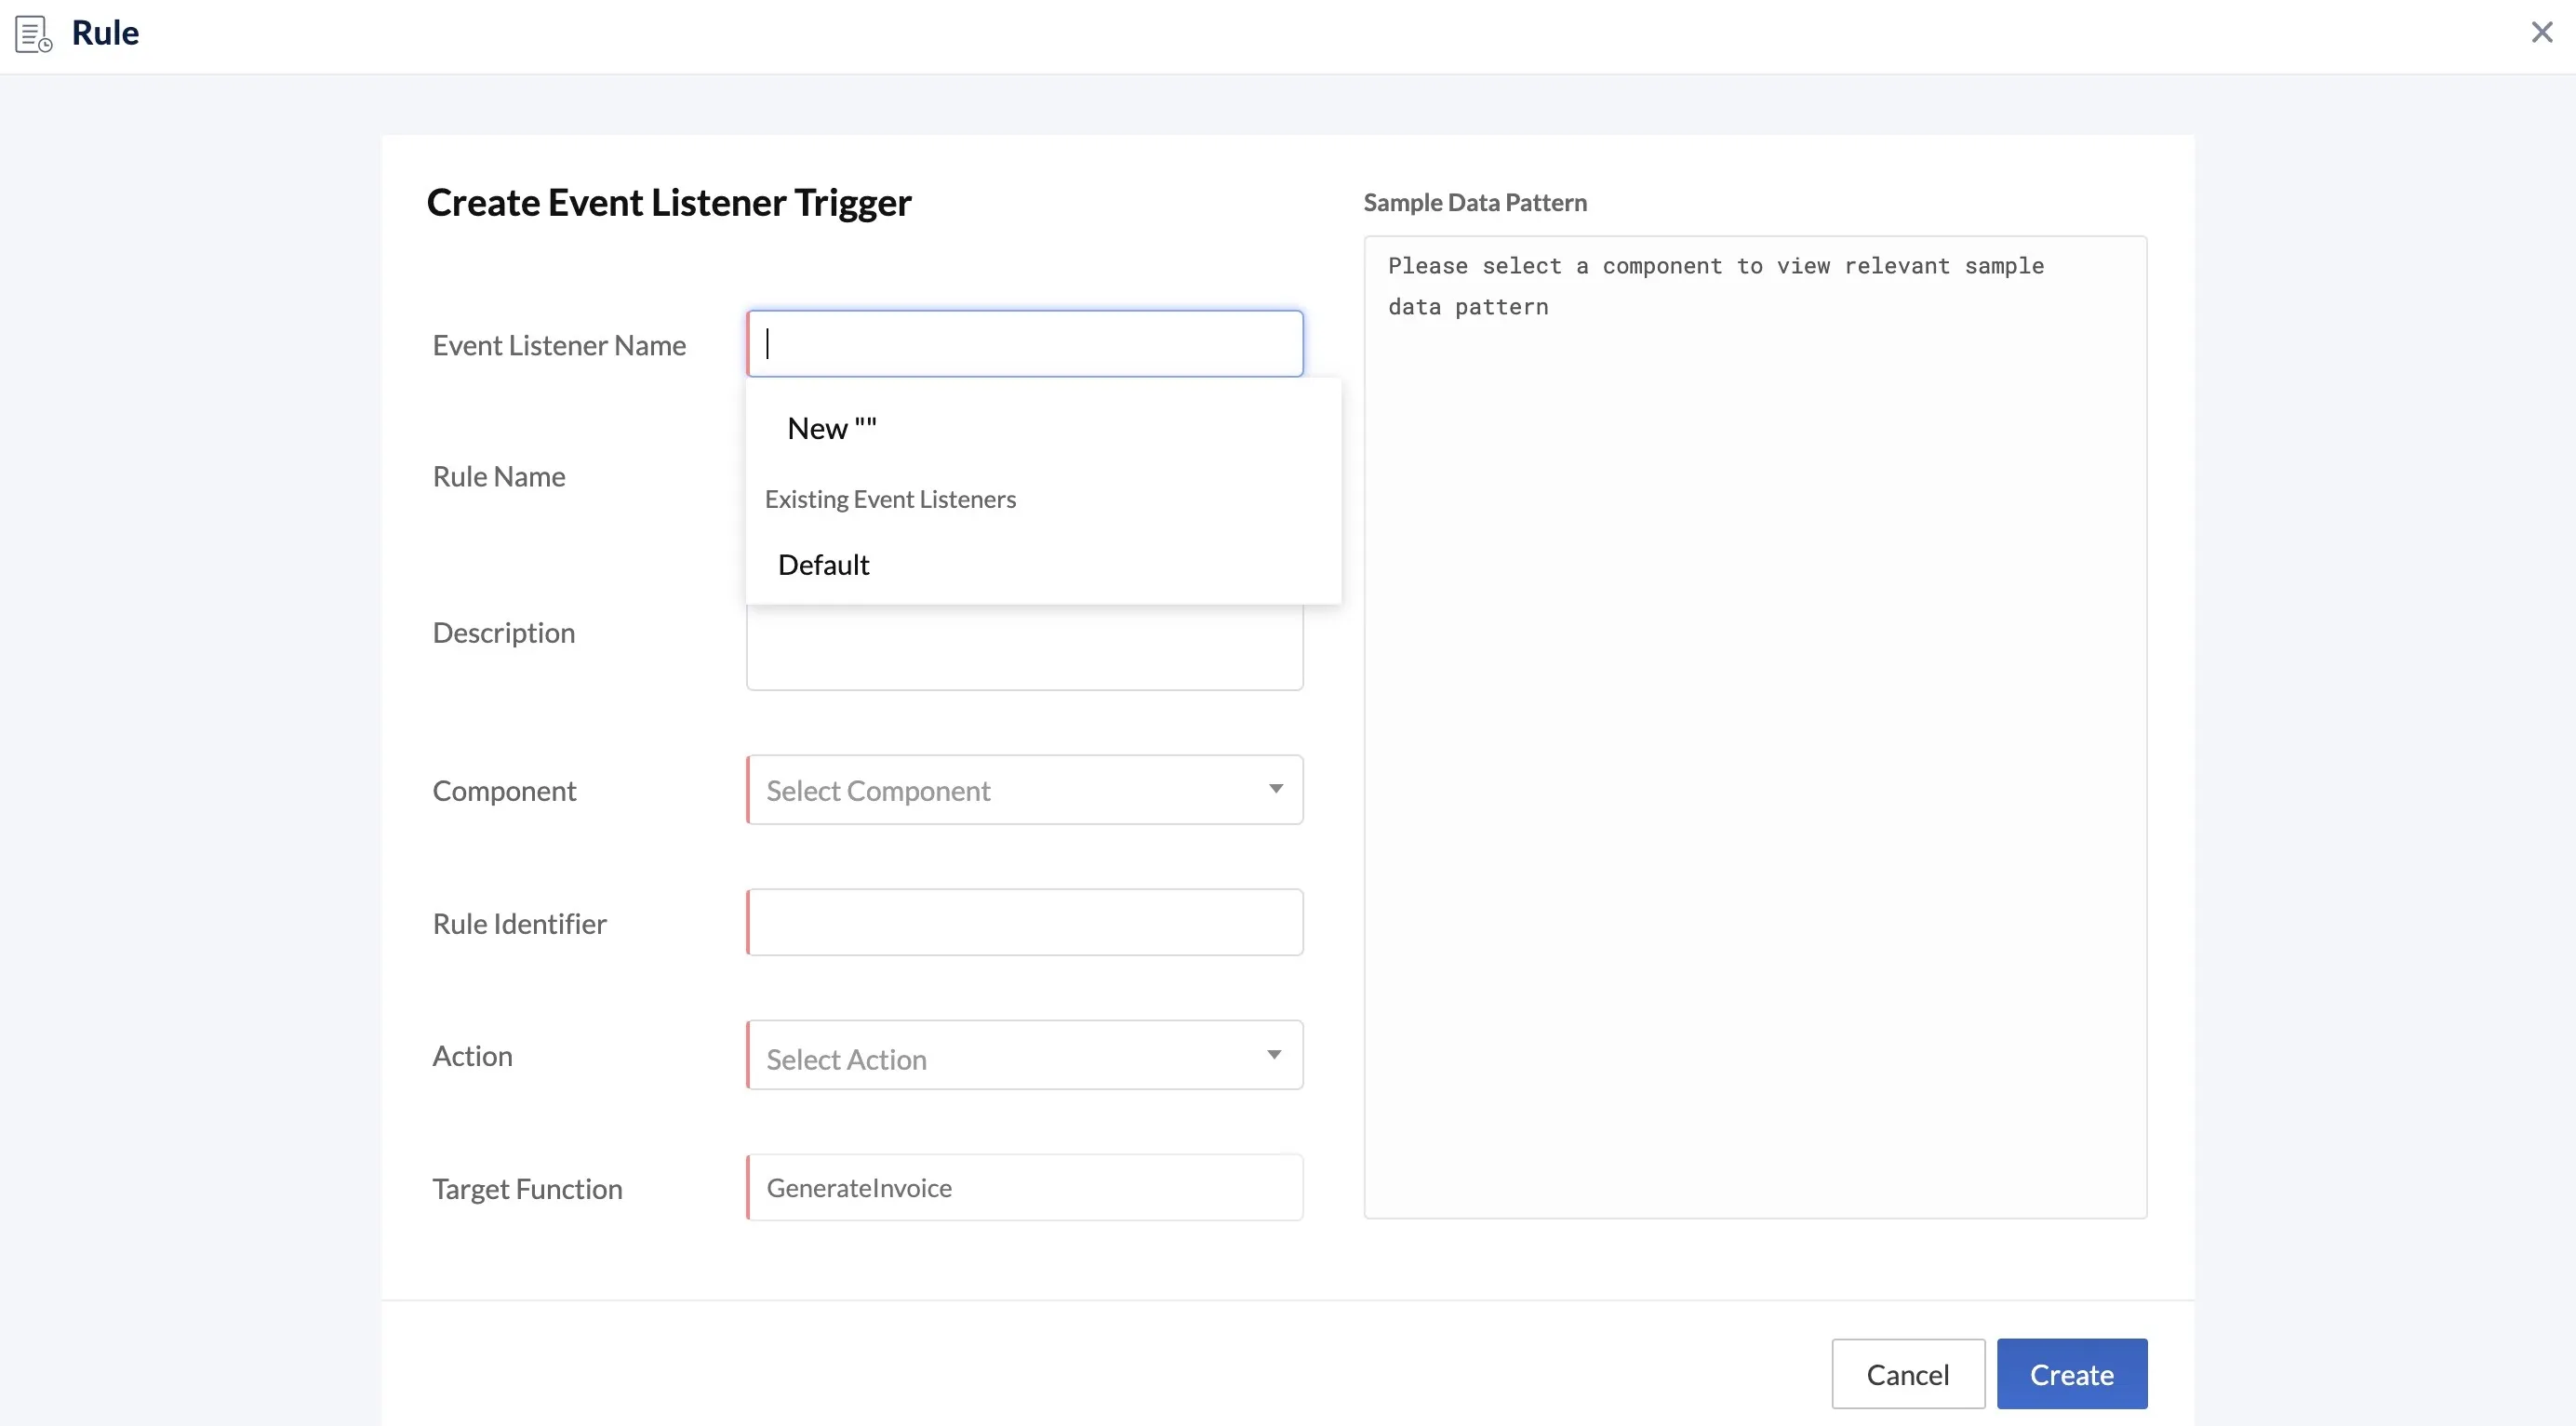
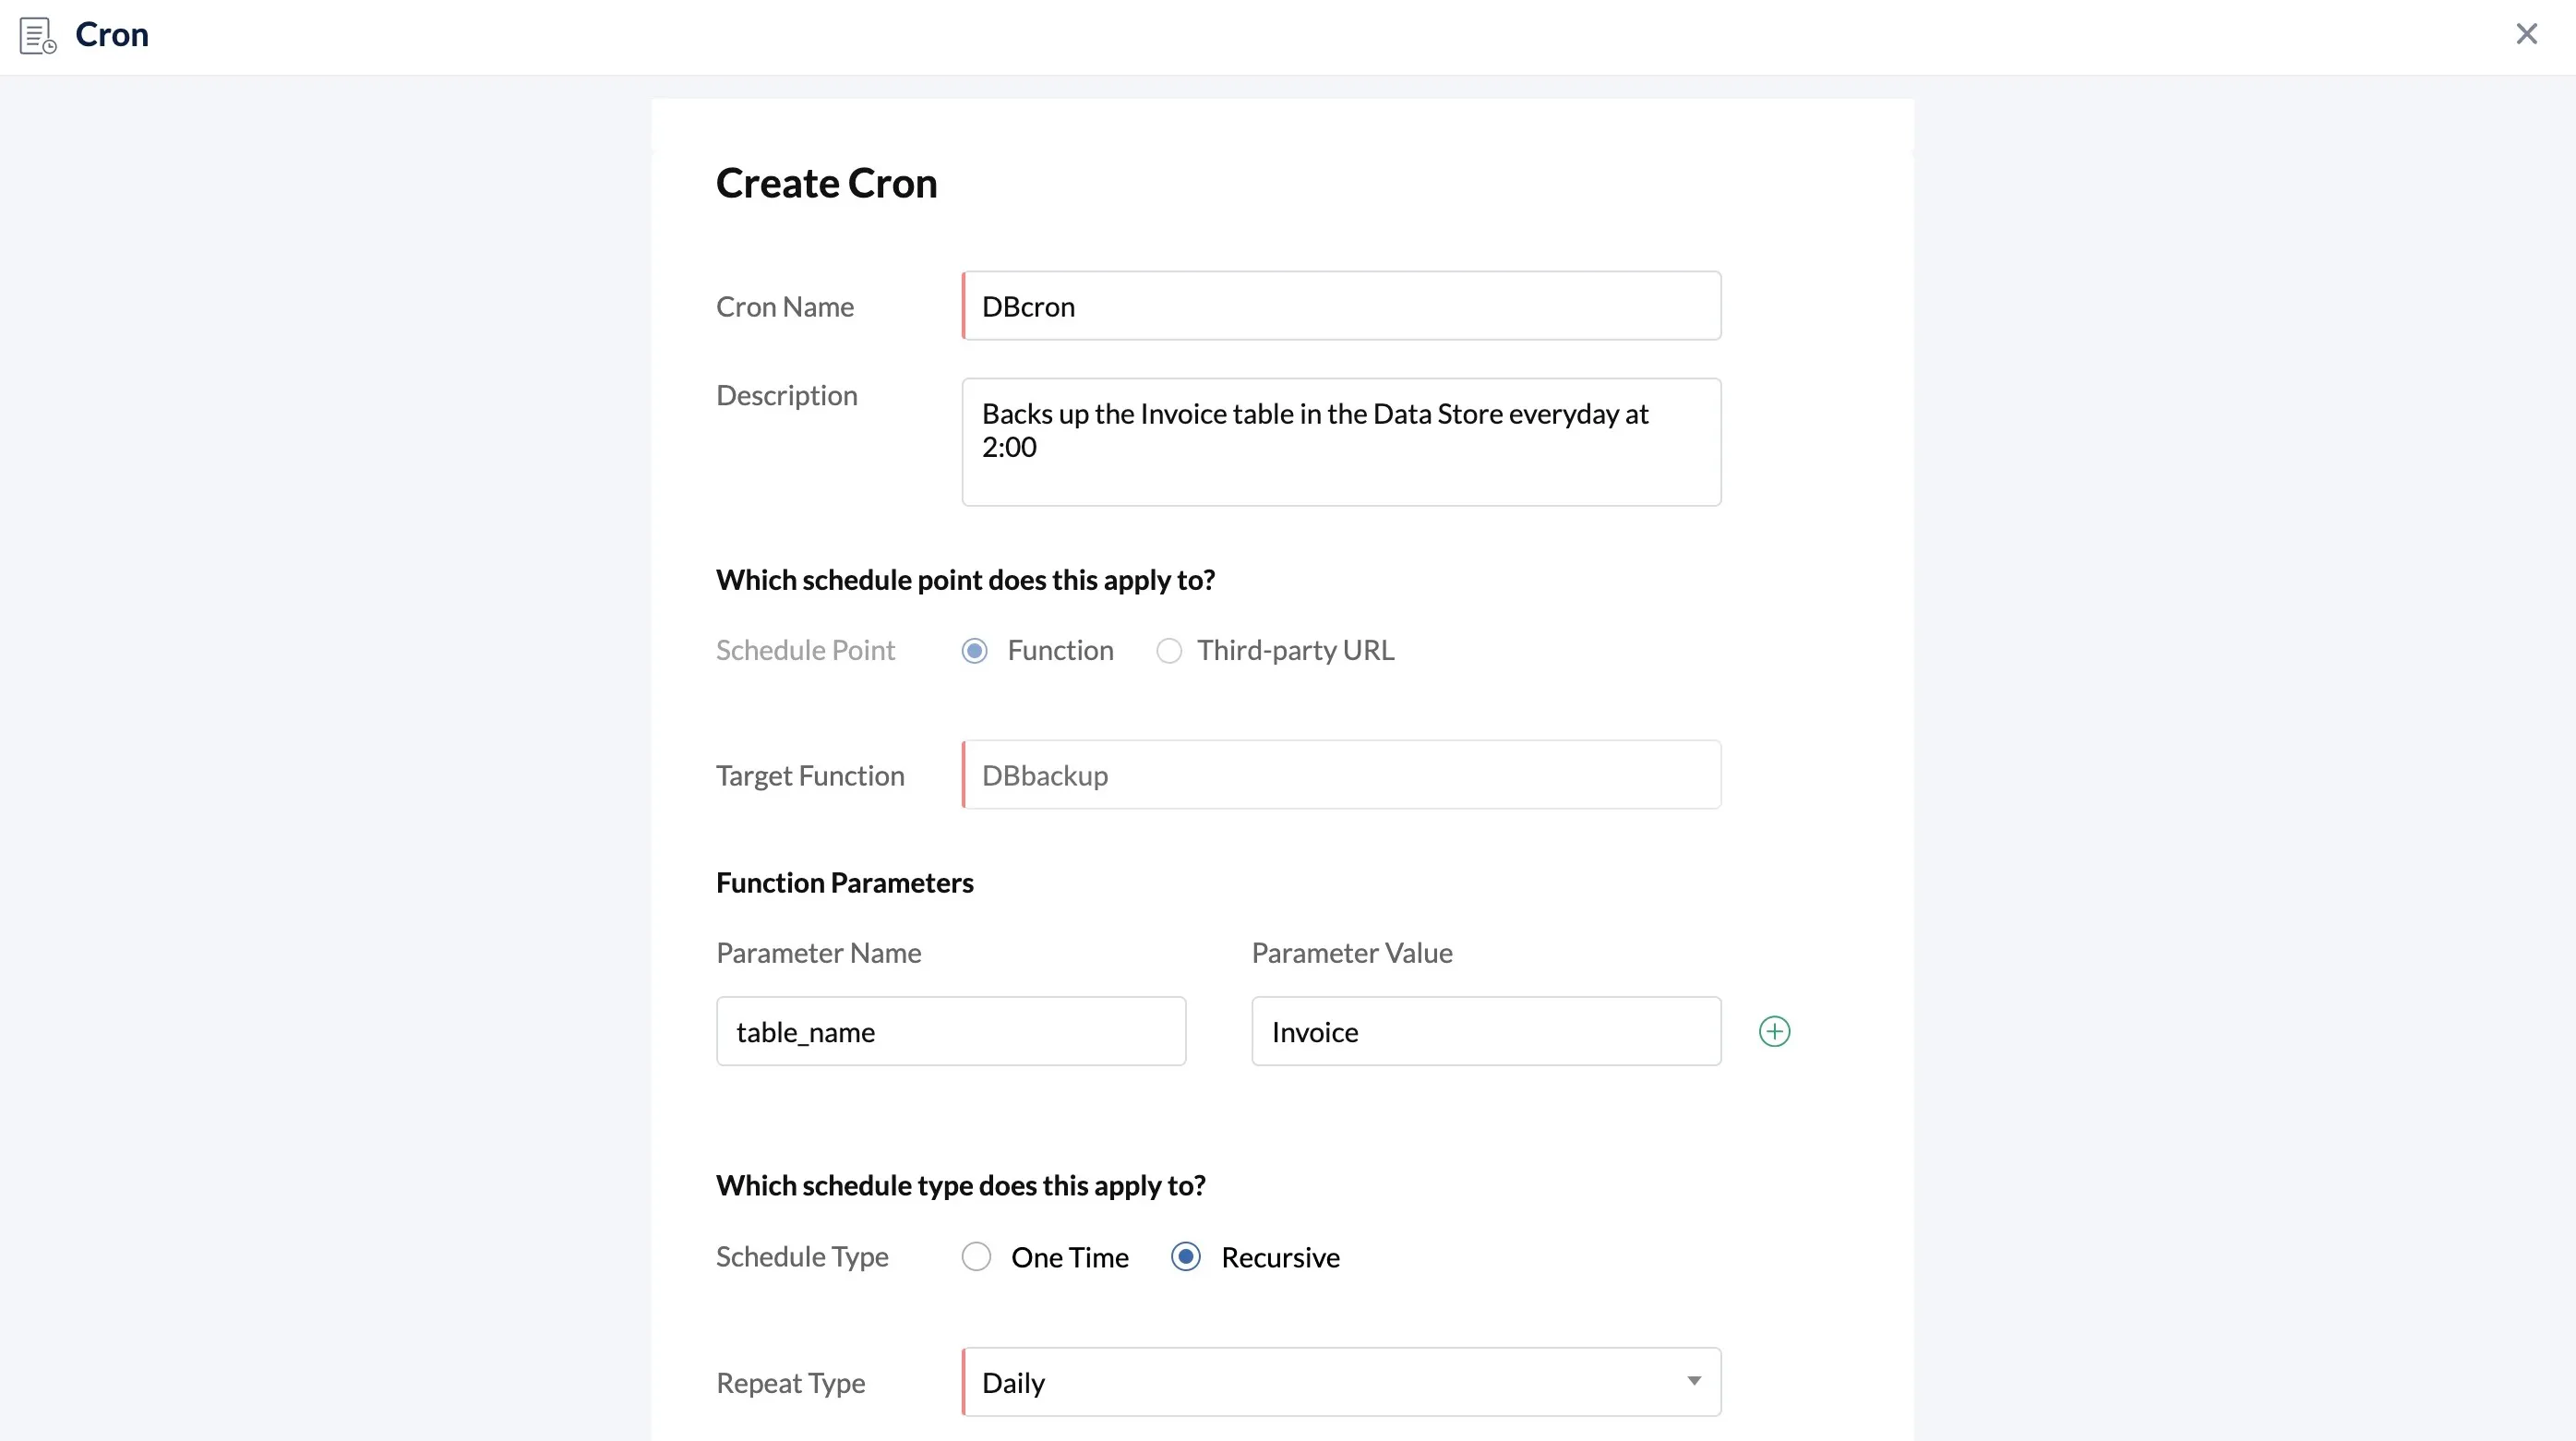
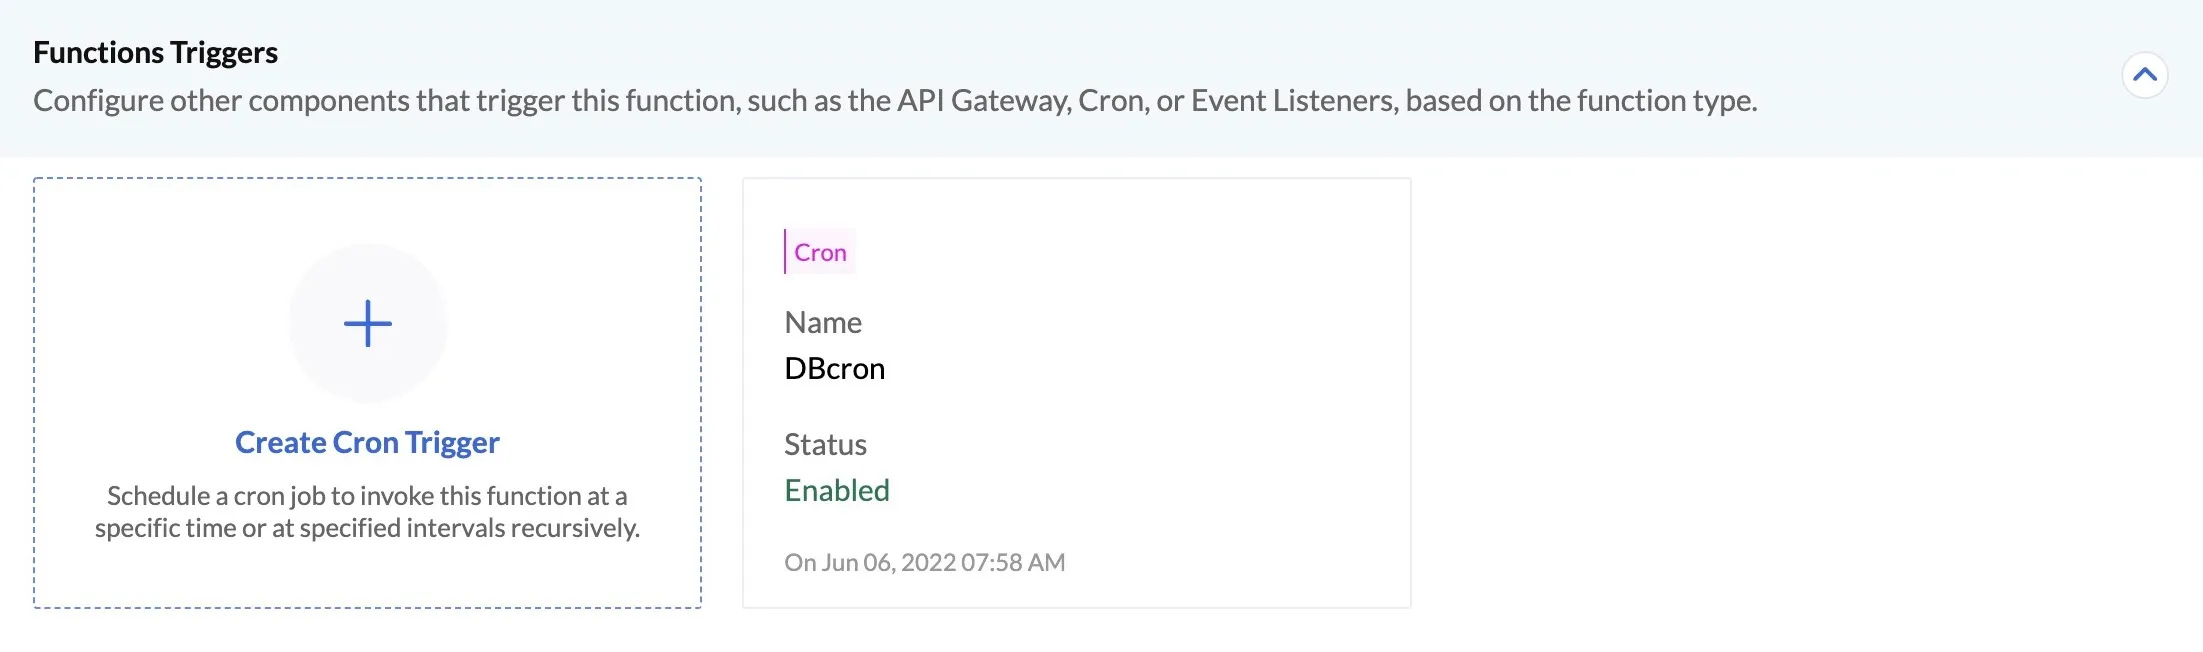
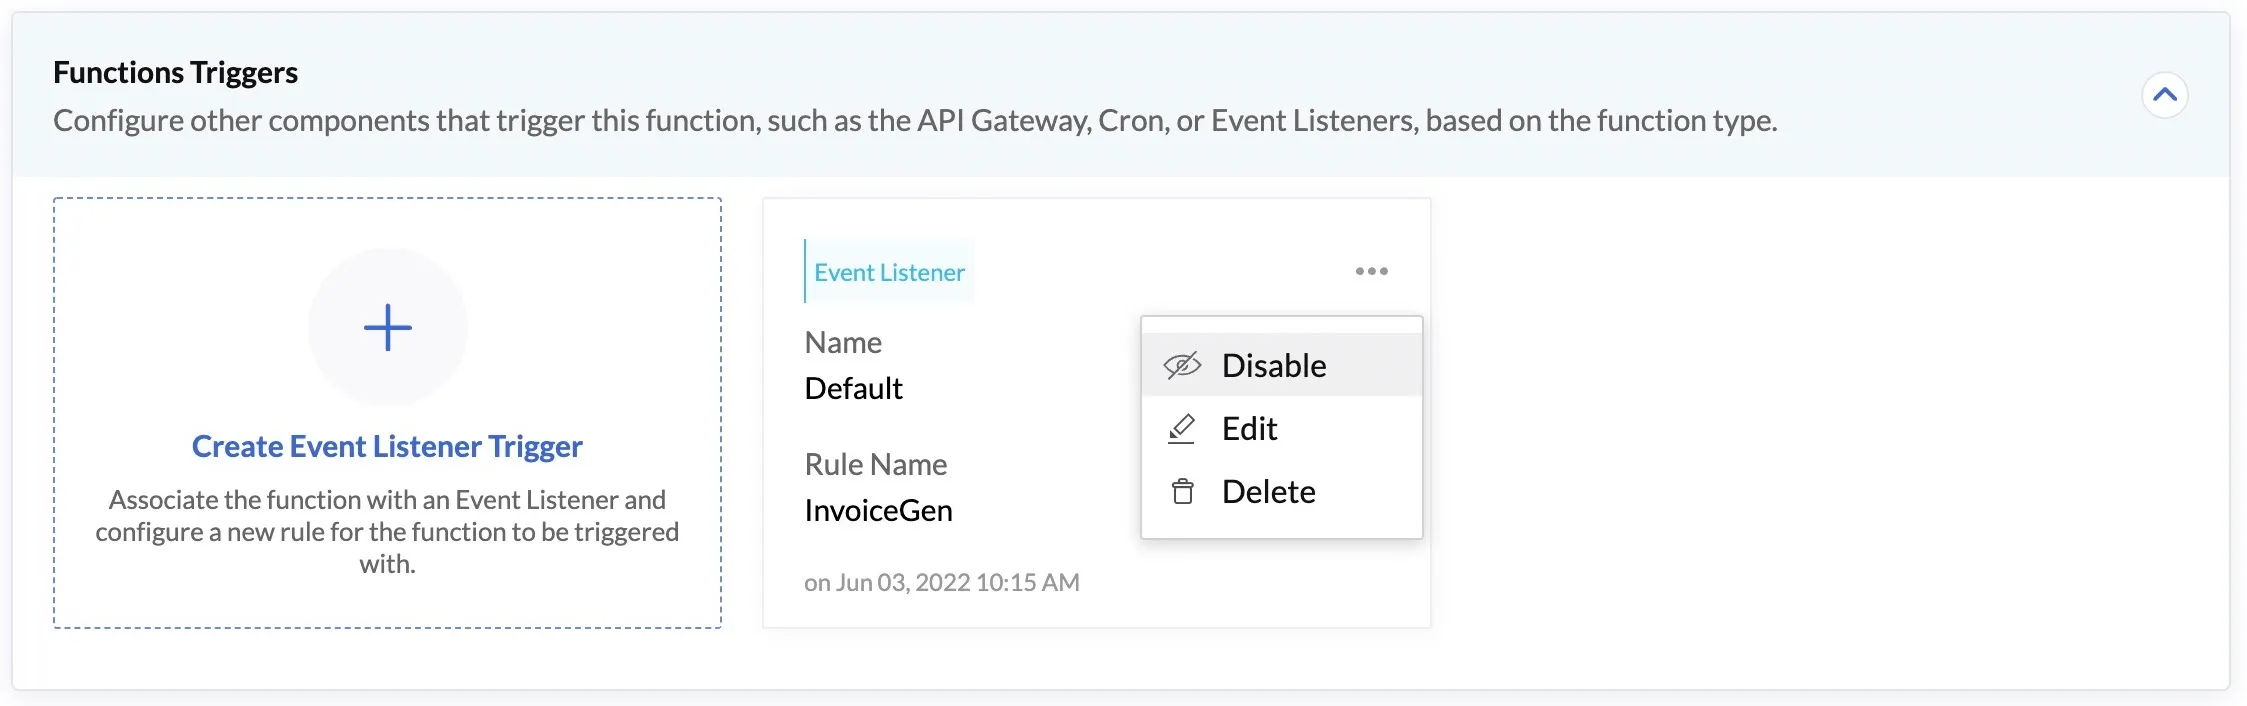
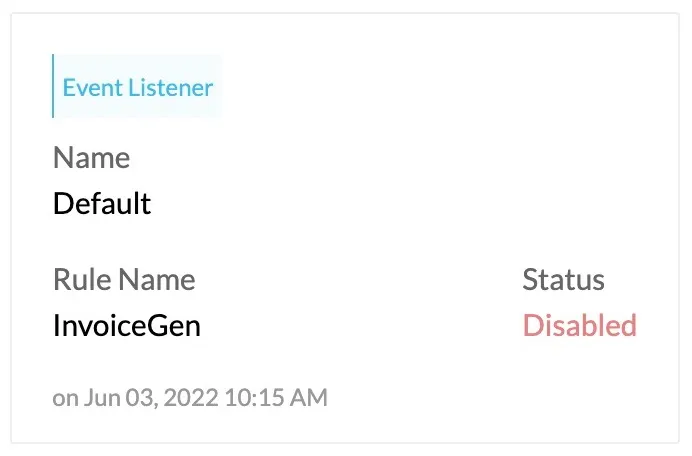
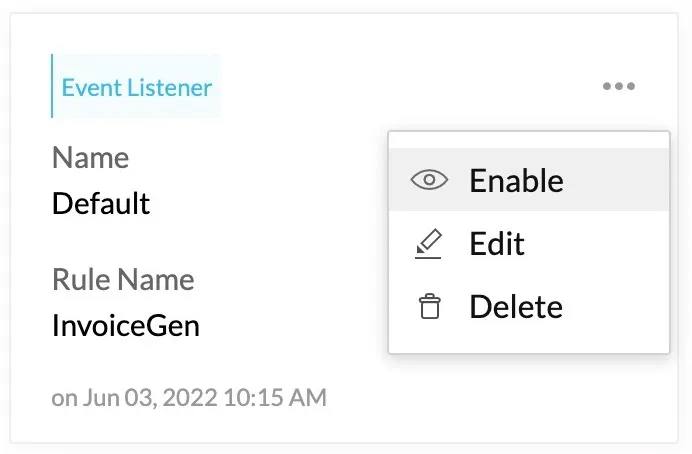
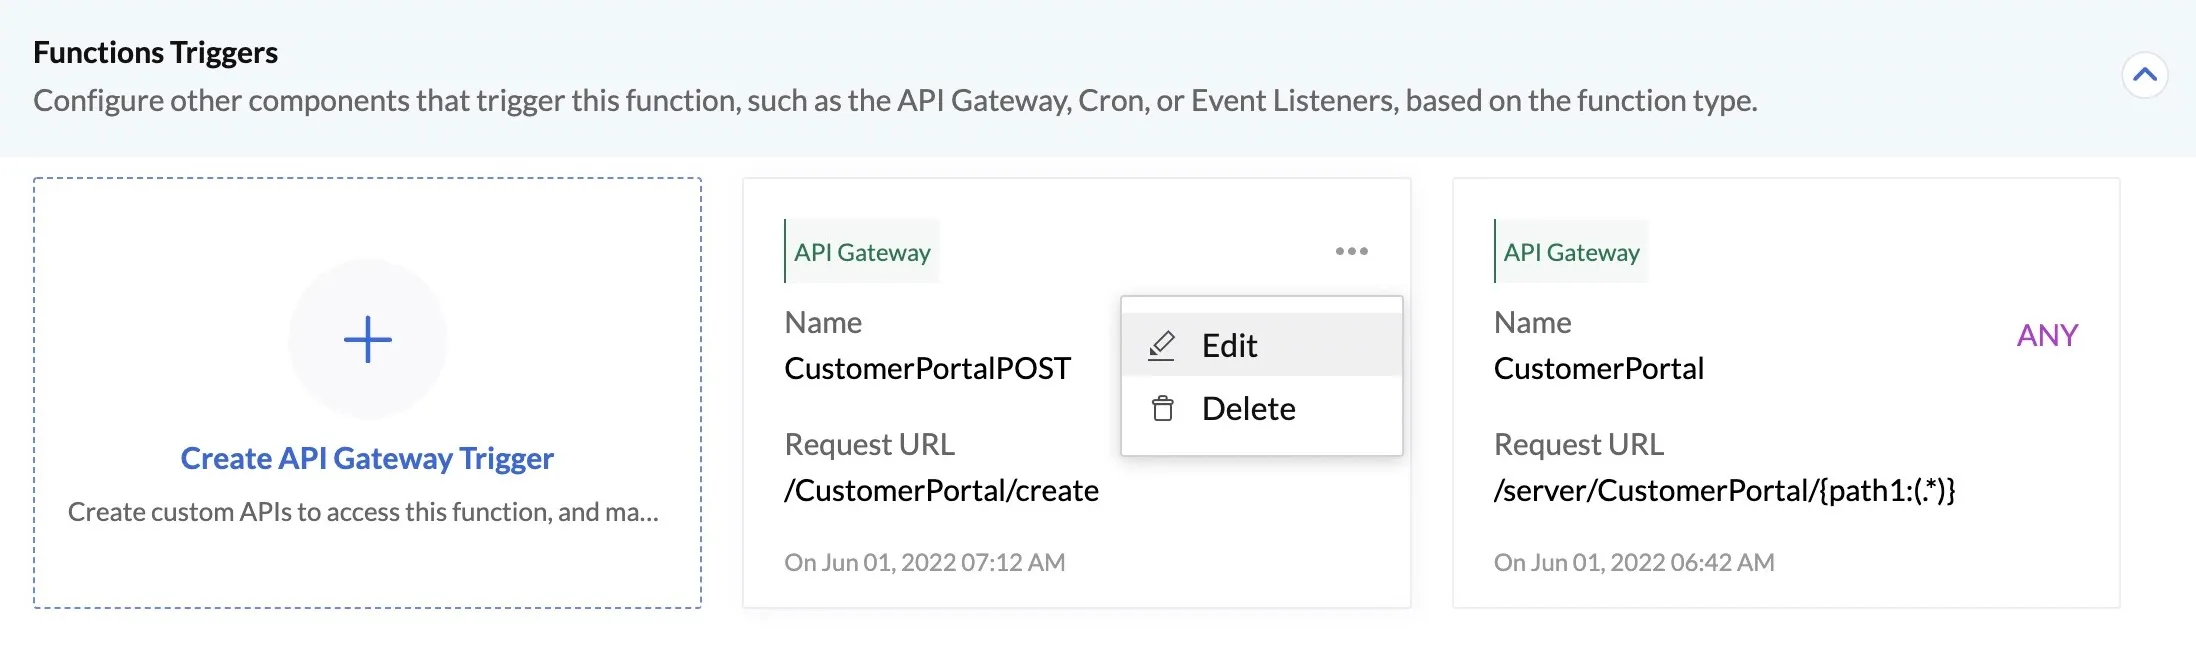
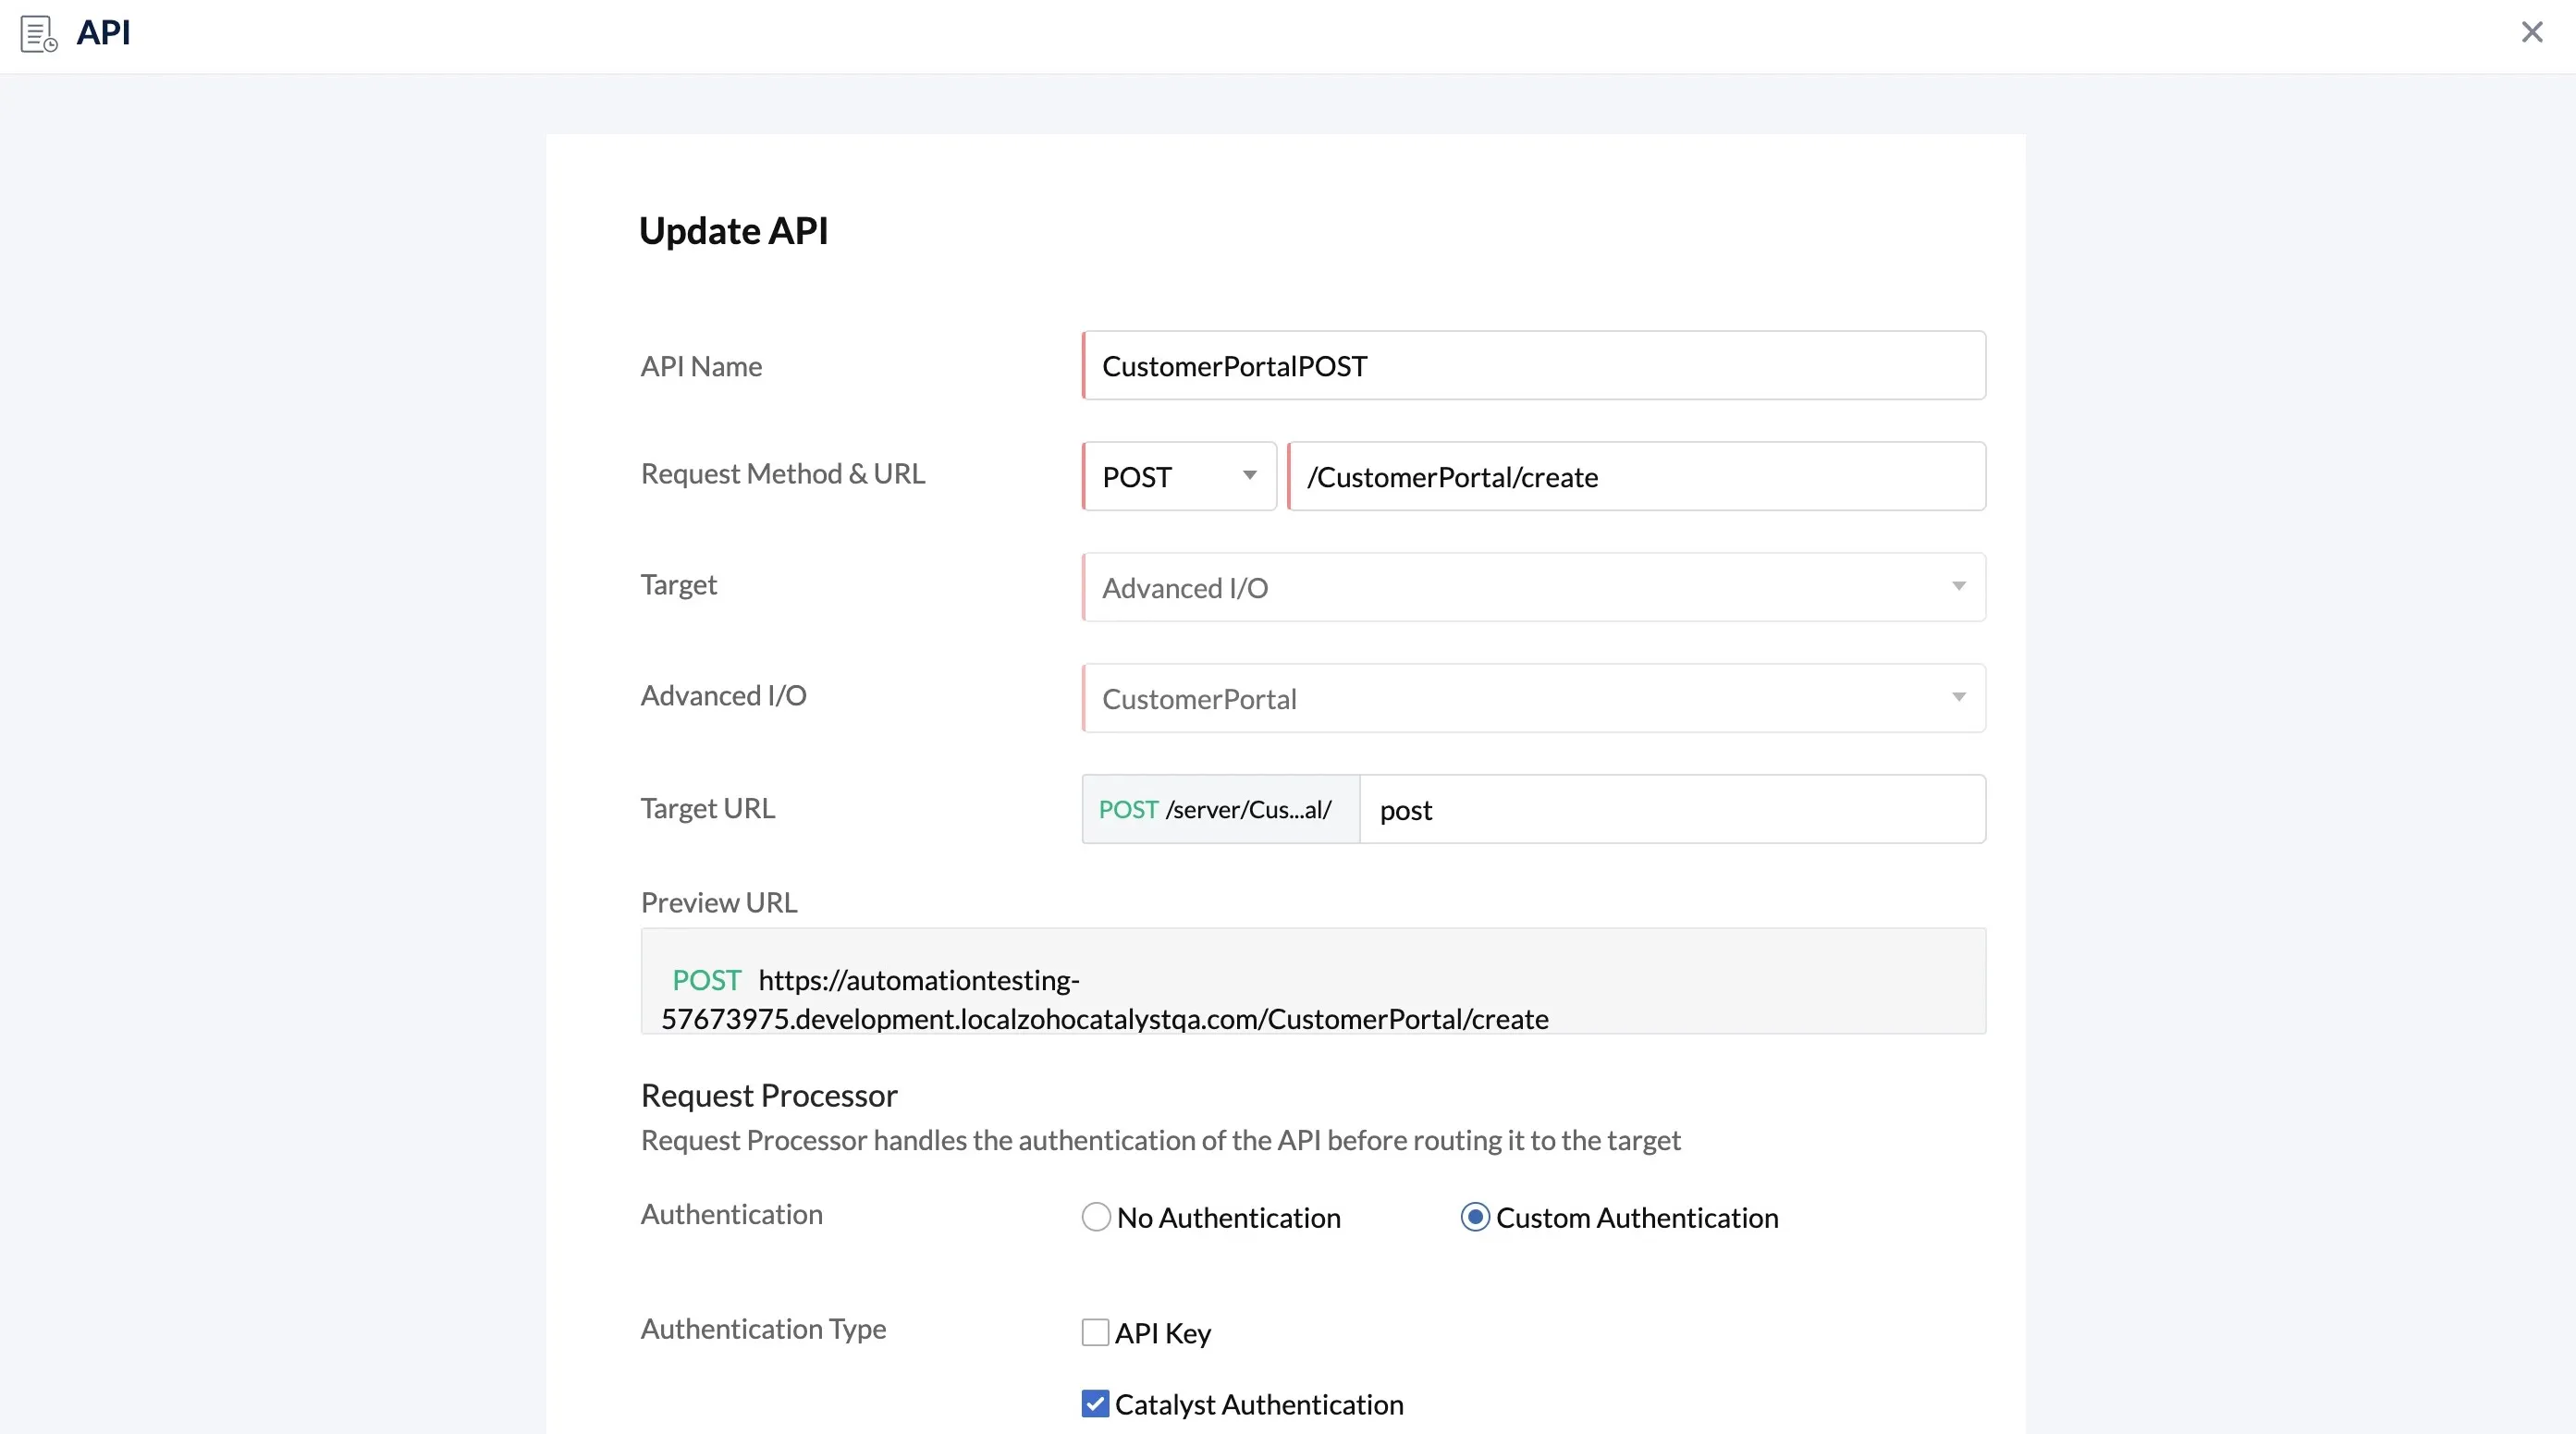
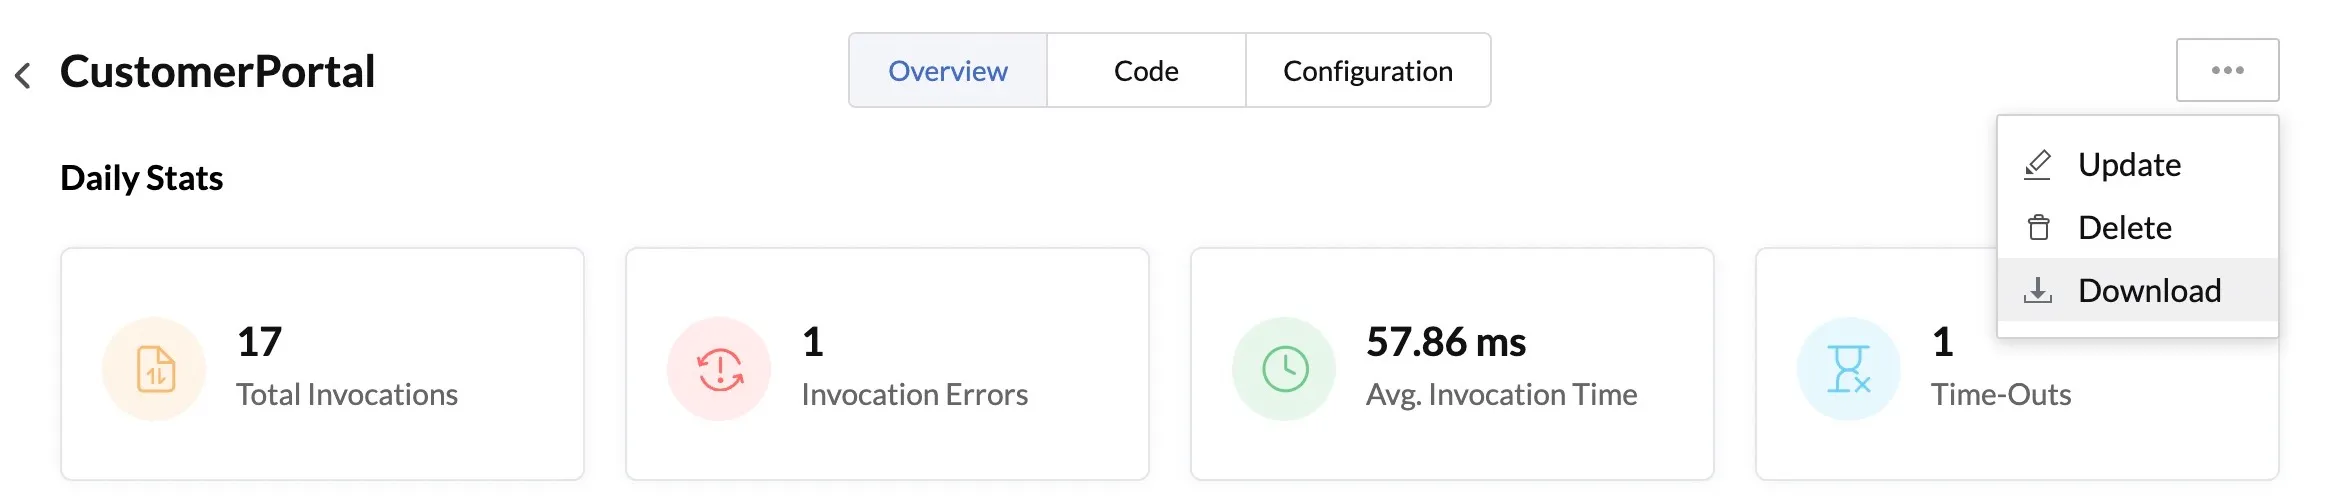
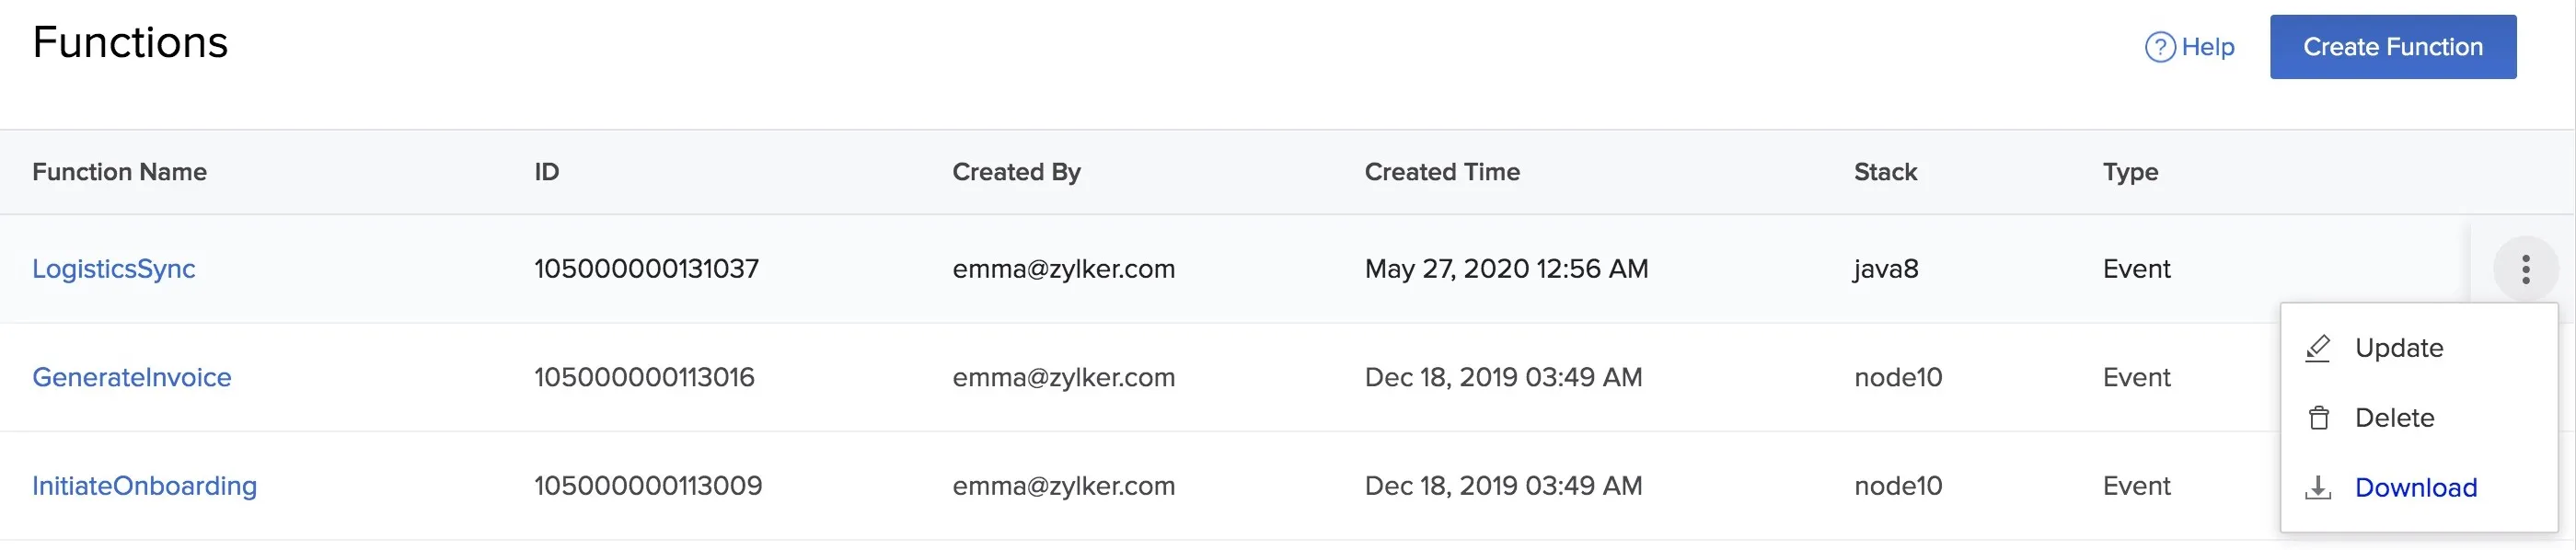
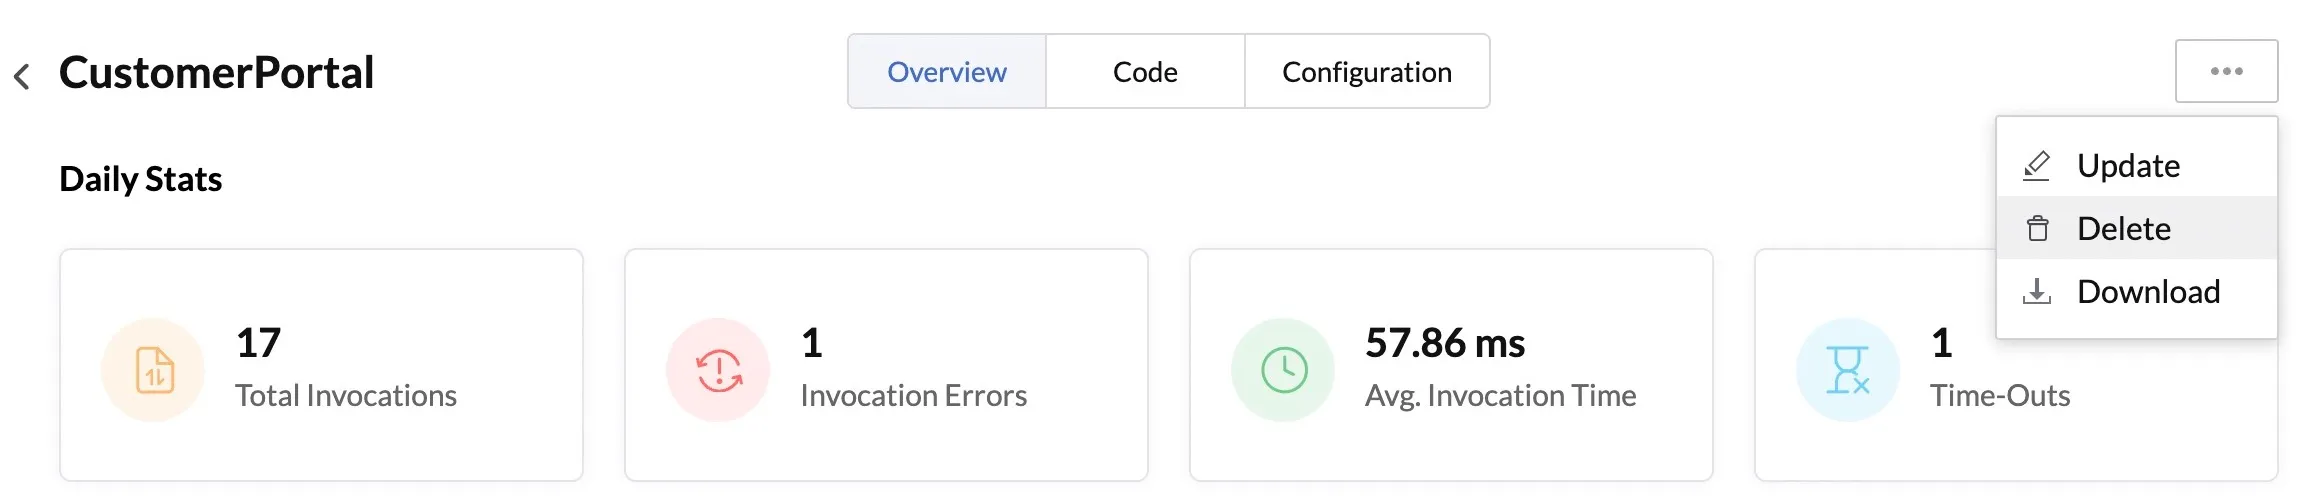
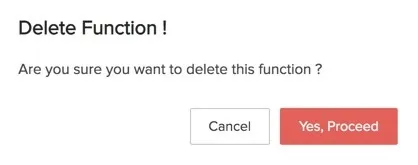
Execution Time (in Seconds) Credits
<1 0.5
1-5 1
5-10 5
10-15 10
15-30 15
This table displays the credits consumed proportionate to the execution time, for each memory configuration in functions:
Memory (MB) Credits Proportionate to Execution Time
128 1
256 2
512 4
The cost of execution of functions is calculated as follows: Cost of Execution of Functions = Number of Functions * Number of Credits based on the Execution Time * Number of Credits based on the Memory Consumed For example, here's the calculation of the credits consumed in three different scenarios: * If a function takes 4 sec with 128 MB, credits used = 1 \* 1 \* 1 = 1 credit * If a function takes 8 sec with 256 MB, credits used = 1\* 5 \* 2 = 10 credits * If a function takes 0.5 sec with 512 MB, credits used = 1 \* 0.5 \* 4 = 2 credits ### Experiments with Memory Configurations for Cost Optimization Let's discuss optimal memory configurations of functions and cost minimizations, by taking a look at the observations made in two real-life experiments. #### Experiment 1 A function performs a bubble sort of numbers from 1 to 100 arranged in a reverse sorted array. Application Performance Monitoring charts depicting the average response time for this function configured in three different memory settings: 128 MB, 256 MB, 512 MB, are shown below. ![Functions- Experiments with Memory Configurations](https://catalyst-docs-development.zohostratus.in/images/help/functions/catalyst_functions_cost_optimization.webp) It was observed that the function with 128 MB took 35 milliseconds, the function with 256 MB took 29 milliseconds, and the one with 512 MB took 16 milliseconds to execute. Let's now calculate the credits consumed in each of these cases: **Case 1 with 128 MB:** 1 \* 0.5 \* 1 = 0.5 credits **Case 2 with 256 MB:** 1 \* 0.5 \* 2 = 1 credit **Case 3 with 512 MB:** 1 \* 0.5 \* 4 = 2 credits #### Experiment 2 Another function performs a bubble sort of all numbers between 1 to 10000 in a reverse sorted array in multiple passes, with each pass converting an array from an ascending order to the descending order, and back to the ascending order again. This function is configured in two different memory settings: 128 MB and 512 MB. The execution data of this function in two memory settings reveals that the function with 128 MB took 6994 ms and the function with 512 MB memory took 3391 ms to execute. Let's now calculate the credits consumed in each of these cases: **Case 1 with 128 MB** 1\* 5 \* 1 = 5 credits **Case 2 with 512 MB:** 1\* 4 \* 1 = 4 credits #### Inferences We can draw the following inferences from these observations: * In compute-intensive or CPU-centric use cases, the performance of a Catalyst function improves exponentially, the higher the memory you configure for it. * In use cases that involve less intensive operations, the credit consumption is directly proportional to the increase in memory configurations. #### Conclusion Based on these inferences, we can come to the following conclusions: * It is wiser to opt for higher memory configurations for functions that contain heavy computation logic. For example, assume that you make 10,000 function calls per month of the function described in experiment two. With 128 MB of memory, the function will consume 50,000 credits per month, whereas with 512 MB of memory the function will consume only 40,000 credits per month. This will save you 10,000 credits per month, and 1,20,000 credits per year, if the same pattern continues.\* > **Note:** *The credits to pricing conversion is based on your usage. You can check the [Pricing document](https://catalyst.zoho.com/pricing.html) for more details. * If a function does not contain compute-intensive logic, you can allocate memory suitable to the function's requirements. For example, if you allocate 256 MB or 512 MB for a simple function that only consumes 100 MB of memory, it will be a waste of resources and expenses, and the response time would still remain the same. The difference made by customizing a function's memory and picking the ideal configuration for it is significant in terms of cost optimization and performance enhancements. There is no one-size-fits-all when it comes to choosing the right configuration for your functions. As a general rule of thumb, you can start with the lowest memory setting and perform a trial-and-error until you find the optimal memory configuration. [Catalyst Logs](https://docs.catalyst.zoho.com/en/devops/help/logs/introduction/) and [Application Performance Monitoring](https://docs.catalyst.zoho.com/en/devops/help/apm/introduction/) can act as powerful tools to help you in the process. You can play around and experiment with the customizations and tools provided by Catalyst, until you obtain the right solution for your use case and usage. ### Security Rules -------------------------------------------------------------------------------- title: "Introduction" description: "Catalyst Security Rules are the default security definitions and access controls of the functions in your application that you can modify and manage." last_updated: "2025-06-27T08:08:50.000Z" source: "https://docs.catalyst.zoho.com/en/serverless/help/security-rules/introduction/" service: "Serverless" -------------------------------------------------------------------------------- # Security Rules ## Introduction Security Rules is a Catalyst Serverless component that enables you to define the invocation and access rules of your Catalyst [Basic I/O and Advanced I/O functions](https://docs.catalyst.zoho.com/en/serverless/help/functions/introduction/). The Security Rules feature is essentially a JSON file that allows you to configure the following properties of a function, with enforcement powered by Catalyst to ensure secure and controlled execution. * The HTTP methods that can be used to access the function * Whether authentication is required or optional to access the function > **Note:** * Security rules do not define configurations for Cron and Event functions as they cannot be directly executed by end users. * The configuration parameters in security rules are the same for all Java, Node.js and Python functions. Security Rules is a basic API management tool that is considered to be the default security configuration of a function. When you create a Basic I/O or an Advanced I/O function in the Catalyst console or [deploy a function](https://docs.catalyst.zoho.com/en/cli/v1/deploy-resources/) from the CLI to the remote console, the security rules definitions are created for it automatically in the console. Catalyst populates default values for the security rules definitions of the function. You can later modify them according to your requirements. For advanced API management, you can disable Security Rules and enable [API Gateway](https://docs.catalyst.zoho.com/en/cloud-scale/help/api-gateway/introduction/) for your function and web client end points. API Gateway is an [enhancement to Security Rules](https://docs.catalyst.zoho.com/en/serverless/help/security-rules/key-concepts/#advantages-of-api-gateway-over-security-rules) that acts as a single entryway to access Catalyst functions and web clients. #### Points to remember: * When you enable API Gateway for your Catalyst application, Security Rules will be disabled automatically. * You can [migrate Security Rules definitions](https://docs.catalyst.zoho.com/en/cloud-scale/help/api-gateway/key-concepts/#auto-created-apis) of your functions to API Gateway. * When API Gateway is disabled, the configurations defined for a function in Security Rules will be followed by default. -------------------------------------------------------------------------------- title: "Key Concepts" description: "Catalyst Security Rules are the default security definitions and access controls of the functions in your application that you can modify and manage." last_updated: "2023-06-15T10:16:03.000Z" source: "https://docs.catalyst.zoho.com/en/serverless/help/security-rules/key-concepts/" service: "Serverless" -------------------------------------------------------------------------------- # Key Concepts Before you configure definitions in Security Rules, understand its fundamental concepts in detail. ### Configurations Available in Security Rules Security rules enable you to configure HTTP access and authentication for each Basic I/O and Advanced I/O function in your project, by defining values for each of those parameters in the JSON file. The following values can be set for each parameter definition for a function:
Available Parameters Allowed Values
methods GET, POST, DELETE, PUT, PATCH
authentication optional, required
#### Methods The `methods` parameter enables you to define the HTTP methods that can be used to access a function. Catalyst provides support for `GET`, `POST`, `DELETE`, `PUT`, and `PATCH` methods by default. When you [remove a method](https://docs.catalyst.zoho.com/en/serverless/help/security-rules/implementation/#modify-definitions-in-security-rules) from the JSON file for a particular function, the end user will not be able to trigger the function with that HTTP method. For example, if you remove the `POST` method, the user will not be able to pass any input values in the function call using that method, and if you remove the `GET` method for a function, the user will not be able to call the [Basic I/O](https://docs.catalyst.zoho.com/en/serverless/help/functions/basic-io/#function-url) or [Advanced I/O](https://docs.catalyst.zoho.com/en/serverless/help/functions/advanced-io/#function-url) function URL. You can therefore customize the HTTP methods that can be allowed to call a function and remove unrequired methods for better security. #### Authentication The `authentication` parameter allows you to enable or disable authentication to access a function. It defines whether a user needs to authenticate their identity to call a particular function. The `authentication` parameter is set to `optional` for all your functions by default when you create them. When this parameter is set to `optional` for a function, any user will be able to access the function's URL without undergoing an authentication check. The function URL will therefore be globally accessible to everyone and all function calls will be allowed with no restrictions from Catalyst. To restrict access to the function to only authenticated users and increase security, you can set the parameter to `required`. This informs Catalyst to perform an authentication check on the user when they call the function. Security Rules supports two types of authentication methods: * **Catalyst Users Authentication:** This authentication method enables access for all users of your Catalyst application added in [Catalyst Authentication](https://docs.catalyst.zoho.com/en/cloud-scale/help/authentication/introduction/), by default. You can handle this authentication method by incorporating a user sign-in form in your Catalyst application, and enabling a login session. The [app users](https://docs.catalyst.zoho.com/en/cloud-scale/help/authentication/user-management/users/introduction/) will then be able to call the function automatically without needing to go through any additional user verification. * **OAuth-Based Authentication:** This authentication method enables access for the users with an OAuth access token. You can pass the access token as a header in the function call request as shown in this example: ```bash curl -X POST \ https://shipmenttracking-61317105.zohocatalyst.com/CustomerPortal/create \ -H "Authorization: Zoho-oauthtoken 1000.910*\*\*\*\*\*\*\*\*\*\*\*\*\*\*\*\*\*\*\*\*\*\*\*\*16.2f*\*\*\*\*\*\*\*\*\*\*\*\*\*\*\*\*\*\*\*\*\*\*\*\*57" ``` To implement OAuth authentication in your Catalyst application, refer to our [OAuth Authentication help documentation](https://docs.catalyst.zoho.com/en/api/oauth2/overview-and-terminology/#OverviewandTerminology) for detailed steps. ### Configuring Security Rules for Basic I/O and Advanced I/O Functions The security rules definitions for a Basic I/O function are configured with the following default values when the function is created: ```json "functions": { "LogDelivery": { "methods": [ "GET", "POST", "DELETE", "PUT", "PATCH" ], "authentication": "optional" } } ``` The security rules definitions for an Advanced I/O function are configured with the following default values when the function is created: ```json "advancedio": { "CustomerPortal": [ { ".*": { "methods": [ "GET", "POST", "DELETE", "PUT", "PATCH" ], "authentication": "optional" } } ] } ``` By default, the wildcard pattern `**.\***` is used by Catalyst to define the configurations of an Advanced I/O function, indicating that these definitions apply to [all the routes](https://docs.catalyst.zoho.com/en/serverless/help/functions/advanced-io/) created in the Advanced I/O function. You can configure different definitions for each route defined in an Advanced I/O function individually. For example, if you have defined two routes called `/vendor` and `/customer` in the function, you can enable or disable specific methods and the authentication for each route independently like: ```json "advancedio": { "CustomerPortal": [ { "/vendor": { "methods": [ "GET", "POST", "PUT" ], "authentication": "required" }, "/customer": { "methods": [ "GET", "POST", "DELETE", "PUT", "PATCH" ], "authentication": "optional" } } ] } ``` ### Advantages of API Gateway over Security Rules While the Security Rules feature defines the configurations for basic routing and authentication functionalities for your functions, [API Gateway](https://docs.catalyst.zoho.com/en/cloud-scale/help/api-gateway/introduction/) enables you to create individual APIs, provides more flexibility in customizing routing and authentication, and provides additional functionalities. Some advantages of API Gateway over Security Rules include: * In addition to the HTTP methods supported by Security Rules, you can aggregate all HTTP methods under a single method called `ANY`, and create a single API for it in API Gateway. * You can configure a custom request URL and target URL and create individual APIs for each request method for every URL. * In addition to Catalyst Users Authentication and OAuth Authentication, API Gateway also supports authentication using API Keys. * You can configure throttling for each individual API. * You can also create APIs for web clients and configure their definitions. -------------------------------------------------------------------------------- title: "Implementation" description: "Catalyst Security Rules are the default security definitions and access controls of the functions in your application that you can modify and manage." last_updated: "2026-08-17T12:16:04.000Z" source: "https://docs.catalyst.zoho.com/en/serverless/help/security-rules/implementation/" service: "Serverless" -------------------------------------------------------------------------------- # Implementation You can access and customize security rules definitions for each function from the Catalyst console. As mentioned earlier, the security rules definitions are created for a function automatically when it is created. Similarly, if you delete a function, Catalyst will delete its security rules definitions automatically. ### Modify Definitions in Security Rules To modify security rules definitions for a Basic I/O or Advanced I/O function in Catalyst: 1. Navigate to **Security Rules** under *FAAS* in the Catalyst Serverless console. ![Security Rules- Modify Security Definitions](https://catalyst-docs-development.zohostratus.in/images/help/security-rules/catalyst_secrules.webp) 2. Modify the definitions as required. ![Security Rules- Modify Security Definitions](https://catalyst-docs-development.zohostratus.in/images/help/security-rules/catalyst_secrules_save.webp) 3. Click **Save**. The modified definitions will be applied for the function. You must follow these guidelines while configuring definitions in Security Rules: * You must follow the syntax of a JSON file format while configuring security rules. * If you delete the `methods` or `authentication` parameters from the file, the default configurations will be automatically enabled for your function. * You will not be able to provide any values for a parameter which are not the supported values. The console will display an error if you violate any of these guidelines. The editor window enables auto-completion of your code, and also provides tools that enrich your coding experience. Right-click on the editor window to open the tools. ![Security Rules- Modify Security Definitions](https://catalyst-docs-development.zohostratus.in/images/help/security-rules/catalyst_secrules_tools.webp) ## API Reference — Serverless ### Circuits -------------------------------------------------------------------------------- title: "Execute Circuit" description: "This API enables you to execute a Catalyst circuit configured in the remote console." last_updated: "2026-08-17T12:16:04.000Z" source: "https://docs.catalyst.zoho.com/en/api/code-reference/serverless/circuits/execute-circuit/" service: "Serverless" -------------------------------------------------------------------------------- # Circuits [Catalyst Circuits](https://docs.catalyst.zoho.com/en/serverless/help/circuits/introduction/) enable you to systematically define and organize a sequence of tasks to be carried out automatically in Catalyst. You can orchestrate tasks and automate workflows, and additionally include conditions, data, and paths in the workflow, to define a repeatable pattern of activities that achieves a business outcome using Circuits. Catalyst offers support for automating the execution of Basic I/O functions of your application using a circuit. > **Note:** Circuits is currently not available to Catalyst users accessing from the EU, AU, IN, JP, SA or CA data centers. # Execute a Circuit ### Description This API enables you to execute a Catalyst circuit configured in the console by referring to its unique Circuit ID. You can pass the input to the circuit in the request JSON as described below. > **Note:** You can [create, configure, and test a circuit](https://docs.catalyst.zoho.com/en/serverless/help/circuits/implementation/#create-a-circuit) from the Catalyst console. ### Request Details #### Request URL `POST` {api-domain}/baas/v1/project/{project_id}/circuit/{circuit_id}/execute - **api-domain** (URL): The DC-specific domain to access Catalyst API - **project_id** (Numerical): The [unique ID](https://docs.catalyst.zoho.com/en/getting-started/set-up-a-catalyst-project/general-settings/) of the project - **circuit_id** (Numerical): The [unique ID](https://docs.catalyst.zoho.com/en/serverless/help/circuits/implementation/#create-a-circuit) of the circuit #### Request Headers **Authorization:** Zoho-oauthtoken {oauth_token} **Optional Headers** **CATALYST-ORG:** {org_id} **Environment:** Development #### Scope ZohoCatalyst.circuits.EXECUTE #### Request JSON Format You must send the input to the circuit as key-value pairs in the JSON format like this: ```json { "key_1": "value_1", "key_2": "value_2", "key_3": "value_3", . . } ``` > **Note:** The circuit input is not mandatory. You can skip the input or pass it based on your circuit's purpose and logic. ### Response Details The response contains the result and the details of the executed circuit, such as the `circuit_name`, the `start_time` and `end_time` of the execution, the `instance_id`, along with the details of the input that was passed to the circuit and the output generated from the circuit's execution. **Sample Request** ```bash curl -X POST \ https://api.catalyst.zoho.com/baas/v1/project/4000000006007/circuit/105000000180234/execute \ -H "Authorization: Zoho-oauthtoken 1000.910*\*\*\*\*\*\*\*\*\*\*\*\*\*\*\*\*\*\*\*\*\*\*\*\*16.2f*\*\*\*\*\*\*\*\*\*\*\*\*\*\*\*\*\*\*\*\*\*\*\*\*57" \ -d '[ { "email":"j.parker@zylker.com", "count":"20", "traveller_type":"Single", "rating":"5", "location":"New York", "suite":"Executive" } ]' ``` **Sample Response** ```json { "status": "success", "data": { "id": "b3c91799-5c18-4626-9983-a2d6af237e20", "name": "Case 1", "start_time": "Aug 24, 2020 02:24 PM", "end_time": "Aug 24, 2020 02:24 PM", "status": "success", "status_code": 6, "execution_meta": {}, "circuit_details": { "name": "StayFinder", "ref_name": "StayFinder", "description": "", "instance_id": "ef9644a5-123a-438c-94d9-01b1bade8817" }, "input": { "email":"j.parker@zylker.com", "count":"20", "traveller_type":"Single", "rating":"5", "location":"New York", "suite":"Executive" }, "output": { "result": { "stay_list":{ "message":"Email has been sent successfully to j.parker@zylker.com", "status":"success" } } } } } ``` ### SDK Documentation [Execute a Circuit- Java SDK](https://docs.catalyst.zoho.com/en/sdk/java/v1/serverless/circuits/execute-circuit)

[Execute a Circuit- Node.js SDK](https://docs.catalyst.zoho.com/en/sdk/nodejs/v2/serverless/circuits/execute-circuit) [Execute a Circuit- Python SDK](https://docs.catalyst.zoho.com/en/sdk/python/v1/serverless/circuits/execute-circuit) ### Functions -------------------------------------------------------------------------------- title: "Execute Function" description: "This API enables you to execute a Catalyst Basic I/O function and pass input parameters as query string or in the request body." last_updated: "2026-08-28T06:26:16.000Z" source: "https://docs.catalyst.zoho.com/en/api/code-reference/serverless/functions/execute-function/" service: "Serverless" -------------------------------------------------------------------------------- # Functions [Catalyst Functions](https://docs.catalyst.zoho.com/en/serverless/help/functions/introduction/) enable you to build custom functionalities in your application, and seamlessly integrate it with other Catalyst components to provide a powerful backend for it. You can automate tasks, perform memory-intensive computations, or integrate with third-party services using functions. Catalyst offers support to develop server-side functions in Java, Node.js and Python programming environments. > **Note:** You can create [six types of functions](https://docs.catalyst.zoho.com/en/serverless/help/functions/basic-io/) in Catalyst: Basic I/O, Advanced I/O, Cron, Event, Integration, and Browser Logic functions. However, you can only execute Basic I/O functions using this API. # Execute a Function ### Description This API enables you to execute a Basic I/O function by referring to its unique function ID. Basic I/O functions are used to perform basic input and output operations, computations, and simple HTTP operations. Input parameters can be passed to the function in the API request either as a query string or in the request body. A query string is preferred over the request body to pass the function parameters in. The response will contain the function output. > **Note:** The function must already be available in the remote console. You can [create a function in the console](https://docs.catalyst.zoho.com/en/serverless/help/functions/implementation/#create-a-function) directly, or create it in your local system and [deploy it to the console](https://docs.catalyst.zoho.com/en/cli/v1/deploy-resources/introduction/). ### Request Details #### Request URL `MULTIPLE` {api-domain}/baas/v1/project/{project_id}/function/{function_id}/execute - **api-domain** (URL): The DC-specific domain to access Catalyst API - **project_id** (Numerical): The [unique ID](https://docs.catalyst.zoho.com/en/getting-started/set-up-a-catalyst-project/general-settings/) of the project - **function_id** (Numerical): The [unique ID](https://docs.catalyst.zoho.com/en/serverless/help/functions/implementation/#create-a-function) of the function #### Request Methods GET POST PUT DELETE #### Request Headers **Authorization:** Zoho-oauthtoken {oauth_token} **Optional Headers** **CATALYST-ORG:** {org_id} **Environment:** Development #### Scope ZohoCatalyst.functions.EXECUTE > **Note:** This operation can also be executed with Catalyst user authentication permissions using Catalyst SDKs. Refer to the [Catalyst API Prerequisites section](https://docs.catalyst.zoho.com/en/api/introduction/overview-and-prerequisites/#prerequisites) for details. ### Response Details The response contains the output of the processed function. A Basic I/O function returns response in the JSON format. The key `output` contains the output generated by the function you execute. **Sample Request** ```bash curl -X POST \ https://api.catalyst.zoho.com/baas/v1/project/4000000006007/function/4000000045004/execute?name=Raymond%20McGregor \ -H "Authorization: Zoho-oauthtoken 1000.910*\*\*\*\*\*\*\*\*\*\*\*\*\*\*\*\*\*\*\*\*\*\*\*\*16.2f*\*\*\*\*\*\*\*\*\*\*\*\*\*\*\*\*\*\*\*\*\*\*\*\*57" ``` **Sample Response** ```json { "output": "Hello Raymond McGregor" } ``` ### SDK Documentation [Execute a Function- Java SDK](https://docs.catalyst.zoho.com/en/sdk/java/v1/serverless/functions/execute-function)

[Execute a Function- Node.js SDK](https://docs.catalyst.zoho.com/en/sdk/nodejs/v2/serverless/functions/execute-function)

[Execute a Function- Python SDK](https://docs.catalyst.zoho.com/en/sdk/python/v1/serverless/functions/execute-function)
[Execute a Function- Web SDK](https://docs.catalyst.zoho.com/en/sdk/web/v4/serverless/functions/execute-function) ## SDK — Android — Serverless ### Functions -------------------------------------------------------------------------------- title: "Create a Function Instance" description: "Catalyst functions enable you to build custom functionalities in your application, automate tasks, or integrate with third-party services." last_updated: "2025-11-19T15:07:41.000Z" source: "https://docs.catalyst.zoho.com/en/sdk/android/v2/serverless/functions/create-function-instance/" service: "Serverless" related: - Functions (/en/serverless/help/functions/introduction) - Function - API (/en/api/code-reference/serverless/functions/execute-function/#ExecuteFunction) -------------------------------------------------------------------------------- # Functions [Catalyst Serverless Functions](https://docs.catalyst.zoho.com/en/serverless/help/functions/introduction) enable you to build custom functionalities in your application, automate tasks, or integrate with third-party services. You can develop functions for your Android app from the Catalyst console or the CLI. > **Note**: You can create six types of functions in Catalyst: Basic I/O, Advanced I/O, Cron, Event, Integration, and Browser Logic functions. However, you can only execute Basic I/O functions in Catalyst Android SDK. ### Create a Function Instance You can create an instance of a Catalyst function using the `getFunctionInstance()` method, and enable the methods defined in this class to access the instance object. This will prevent unnecessary server calls. You can create a function instance in any of the following ways: ### Create a Function Instance by passing the Function ID You can pass the function's unique Function ID as an argument to the `getFunctionInstance()` method and create an instance for it: ```bash ZCatalystApp.getInstance().getFunctionInstance( id: Long ): ZCatalystFunction ``` **Parameters**: * `id`: The unique [Function ID](https://docs.catalyst.zoho.com/en/serverless/help/functions/introduction) of the function A sample code snippet is shown below: ```bash ZCatalystApp.getInstance().getFunctionInstance(2823000000011091) //Replace this with your Function ID ``` ### Create a Function Instance by passing the API name of the function You can pass the function's API name as an argument to the `getFunctionInstance()` method and create an instance for it: ```bash ZCatalystApp.getInstance().getFunctionInstance( apiName: String ): ZCatalystFunction ``` **Parameters**: * `apiName`: The name of the function configured in Catalyst A sample code snippet is shown below: ```bash ZCatalystApp.getInstance().getFunctionInstance("LocalBackup") //Replace this with your function name ``` -------------------------------------------------------------------------------- title: "Execute a Function" description: "You can execute a Catalyst function in several ways, based on the HTTP request you pass with the function." last_updated: "2025-11-19T15:07:41.000Z" source: "https://docs.catalyst.zoho.com/en/sdk/android/v2/serverless/functions/execute-function/" service: "Serverless" related: - Functions (/en/serverless/help/functions/introduction) - Implementing Functions (/en/serverless/help/functions/implementation) - Execute Function - API (/en/api/code-reference/serverless/functions/execute-function/#ExecuteFunction) -------------------------------------------------------------------------------- # Execute a Function You can execute a [Catalyst Basic I/O function](https://docs.catalyst.zoho.com/en/serverless/help/functions/introduction) in any one of the ways given below, based on the HTTP request you pass with the function. You can pass the parameters to the function to be executed as the argument to a function execution method. This method differs for each HTTP request type. The `<FUNCTION_INSTANCE>` used in all the code sections below is the instance defined in the [Function Instance page](https://docs.catalyst.zoho.com/en/sdk/android/v2/serverless/functions/create-function-instance). ### Execute a GET function You can execute a function of the HTTP GET type by passing the parameters to the `executeGet()` method as a Hash map: ```bash <FUNCTION_INSTANCE>.executeGet( params: HashMap<String, Any>, success: (String) → Unit, failure: ((ZCatalystException) → Unit)? ): ZCatalystRequest<String>? ``` **Parameters**: * `params`: The parameters to be passed to the function as a Hash map A sample code snippet is shown below: ```bash ZCatalystApp.getInstance().getFunctionInstance(2823000000097020).executeGet( //Replace this with your Function ID hashMapOf(), { println(">> GET function executed successfully - $it") }, { println(">> GET function failed to execute - $it") } ) ``` ### Execute a PUT function You can execute a function of the HTTP PUT type by passing the parameters to the `executePut()` method as a Hash map. You can pass the payload in the PUT request to this method as a Hash map argument as well: ```bash <FUNCTION_INSTANCE>.executePut( params: HashMap<String, Any>, body: HashMap<String, Any>, success: (String) → Unit, failure: ((ZCatalystException) → Unit)? ): ZCatalystRequest<String>? ``` **Parameters**: * `params`: The parameters to be passed to the function as a Hash map * `body`: The data payload to be passed as a Hash map A sample code snippet is shown below: ```bash val body = HashMap<String, Any>() body.put("ROWID", "2823000000098012") body.put("Category", "Important") //Add your keys and values to a hash map ZCatalystApp.getInstance().getFunctionInstance(2823000000097114).executePut( //Replace this with your Function ID hashMapOf(), body, { println(" >> PUT function executed successfully - $it") }, { println(" >> PUT function failed to execute - $it") } ) ``` ### Execute a POST function You can execute a function of the HTTP POST type by passing the parameters to the `executePOST()` method as a Hash map. You can pass the payload in the POST request to this method as a Hash map argument as well: ```bash <FUNCTION_INSTANCE>.executePost( params: HashMap<String, Any> , body: HashMap<String, Any> , success: (String) → Unit, failure: ((ZCatalystException) → Unit)? ): ZCatalystRequest<String>? ``` **Parameters**: * `params`: The parameters to be passed to the function as a Hash map * `body`: The data payload to be passed as a Hash map A sample code snippet is shown below: ```bash val body = HashMap<String, Any>() body.put("Title", "Data Migration Tasks") body.put("Category", "Official") //Add your keys and values to a hash map ZCatalystApp.getInstance().getFunctionInstance(2823000000097089).executePost( //Replace this with your Function ID hashMapOf(), body, { println(" >> POST function executed successfully - $it") }, { println(" >> POST function failed to execute - $it") } ) ``` ### Execute a DELETE function You can execute a function of the HTTP DELETE type by passing the parameters to the `executeDelete()` method as a Hash map. You can pass the payload in the DELETE request to this method as a Hash map argument as well: ```bash <FUNCTION_INSTANCE>.executeDelete( params: HashMap<String, Any>, success: (String) → Unit, failure: ((ZCatalystException) → Unit)? ): ZCatalystRequest<String>? ``` **Parameters**: * `params`: The parameters to be passed to the function as a Hash map A sample code snippet is shown below: ```bash val body = HashMap<String, Any>() ZCatalystApp.getInstance().getFunctionInstance(2823000000097089).executeDelete( //Replace this with your Function ID hashMapOf() { println(" >> DELETE function executed successfully - $it") }, { println(" >> DELETE function failed to execute - $it") } ) ``` ## SDK — Flutter — Serverless ### Functions -------------------------------------------------------------------------------- title: "Create a Function Instance" description: "Catalyst functions enable you to build custom functionalities in your application, automate tasks, or integrate with third-party services." last_updated: "2025-11-19T15:07:41.000Z" source: "https://docs.catalyst.zoho.com/en/sdk/flutter/v2/serverless/functions/create-function-instance/" service: "Serverless" related: - Functions (/en/serverless/help/functions/introduction) - Function - API (/en/api/code-reference/serverless/functions/execute-function/#ExecuteFunction) -------------------------------------------------------------------------------- # Functions [Catalyst Serverless Functions](https://docs.catalyst.zoho.com/en/serverless/help/functions/introduction) enable you to build custom functionalities in your application, automate tasks, or integrate with third-party services. You can develop functions for your mobile app from the Catalyst console or the CLI. > **Note**: You can create six types of functions in Catalyst: Basic I/O, Advanced I/O, Cron, Event, Integration, and Browser Logic functions. However, you can only execute Basic I/O functions in Catalyst Flutter SDK. ### Create a Function Instance You can create an instance of a Catalyst function using the `getFunctionInstance()` method, method, and enable the methods defined in this class to access the instance object. This will prevent unnecessary server calls. The function instance can be fetched in two different ways. ### By passing the Function ID You can create a function instance by passing the ID of the function as an argument to the `getFunctionInstance()` method in the String format as shown in the syntax below: ```bash ZCatalystApp.getInstance().getFunctionInstance( String identifier ) ``` **Parameters**: * `functionID`: The unique [ID](https://docs.catalyst.zoho.com/en/serverless/help/functions/introduction) of the function configured in Catalyst A sample code snippet is shown below: ```bash ZCatalystFunction function = ZCatalystApp.getInstance().getFunctionInstance(identifier: "158798998356682"); ``` ### By passing the API name of the function You can create a function instance by passing the API name of the function as an argument to the `getFunctionInstance()` method in the String format as shown in the syntax below: ```bash ZCatalystApp.getInstance().getFunctionInstance( String identifier ) ``` **Parameters**: * `identifier`: The name of the function configured in Catalyst A sample code snippet is shown below: ```bash ZCatalystFunction function = ZCatalystApp.getInstance().getFunctionInstance(identifier: "LocalBackUp"); ``` -------------------------------------------------------------------------------- title: "Execute a Function" description: "You can execute a Catalyst function in several ways, based on the HTTP request you pass with the function." last_updated: "2025-11-19T15:07:41.000Z" source: "https://docs.catalyst.zoho.com/en/sdk/flutter/v2/serverless/functions/execute-function/" service: "Serverless" related: - Functions (/en/serverless/help/functions/introduction) - Implementing Functions (/en/serverless/help/functions/implementation) - Execute Function - API (/en/api/code-reference/serverless/functions/execute-function/#ExecuteFunction) -------------------------------------------------------------------------------- # Execute a Function You can execute a [Catalyst Basic I/O function](https://docs.catalyst.zoho.com/en/serverless/help/functions/introduction) in any one of the ways given below, based on the HTTP request you pass with the function. You can pass the parameters to the function to be executed as the argument to a function execution method. This method differs for each HTTP request type. The `<FUNCTION_INSTANCE>` used in all the code sections below is the instance defined in the [Function Instance page](https://docs.catalyst.zoho.com/en/sdk/flutter/v2/serverless/functions/create-function-instance). ### Execute a GET function You can execute a function of the HTTP GET type by passing the parameters to the `executeGET()` method as a Hash map: ```bash Future<String?> <FUNCTION_INSTANCE>.executeGET( Map<String, Dynamic> params) ``` **Parameters**: * `params`: The parameters to be passed to the function as a Hash map A sample code snippet is shown below: ```bash ZCatalystFunction function = ZCatalystApp.getInstance().getFunctionInstance(identifier: "LocalBackUp"); try{ var output = function.executeGET( params: { 'id': 2345642, //Pass the params to the function }); print('Function output: $output'); } on ZCatalystException catch (ex) { print(ex.toString()); } ``` ### Execute a PUT function You can execute a function of the HTTP PUT type by passing the parameters to the `executePUT()` method as a Hash map. You can pass the payload in the PUT request to this method as a Hash map argument as well: ```bash Future<String?> <FUNCTION_INSTANCE>.executePUT(Map<String, Dynamic> body, [Map<String, Dynamic>? params]) ``` **Parameters**: * `params`: The parameters to be passed to the function as a Hash map * `body`: The data payload to be passed as a Hash map A sample code snippet is shown below: ```bash ZCatalystFunction function = ZCatalystApp.getInstance().getFunctionInstance(identifier: 'LocalBackUp'); var body = <String, Dynamic>{ "ROWID": "2823000000098012", "Category": "Important" }; //Define the function instance and pass the payload to the map try{ var output = await function.executePUT( body: body, params: { 'id': 2345642, //Pass the params to the function }); print('Function output: $output'); } on ZCatalystException catch (ex) { print(ex.toString()); } ``` ### Execute a POST function You can execute a function of the HTTP POST type by passing the parameters to the `executePOST()` method as a Hash map. You can pass the payload in the POST request to this method as a Hash map argument as well: ```bash Future<String?> executePOST(Map<String, dynamic> body) ``` **Parameters**: * `params`: The parameters to be passed to the function as a Hash map * `body`: The data payload to be passed as a Hash map A sample code snippet is shown below: ```bash ZCatalystFunction function = ZCatalystApp.getInstance().getFunctionInstance(identifier: 'LocalBackUp'); var body = <String, Dynamic>{ "ROWID": "2823000000098012", "Category": "Important" //Define the function instance and pass the payload to the Hash map }; try{ var output = await function.executePOST(body: body); print('Function output: $output'); } on ZCatalystException catch (ex) { print(ex.toString()); } ``` ### Execute a DELETE function You can execute a function of the HTTP DELETE type by passing the parameters to the `executeDELETE()` method as a Hash map. You can pass the payload in the DELETE request to this method as a Hash map argument as well: ```bash Future<APIResponse> <FUNCTION_INSTANCE>.executeDELETE(Map<String, Dynamic> body, [Map<String, Dynamic>? params]) ``` **Parameters**: * `params`: The parameters to be passed to the function as a Hash map * `body`: The data payload to be passed as a Hash map A sample code snippet is shown below: ```bash try { ZCatalystFunction function = app.getFunctionInstance(identifier: 'DeleteData'); var response = await function.executeDELETE({"id": 298922}); } on ZCatalystException catch (ex) { print(ex.toString()); } ``` ## SDK — iOS — Serverless ### Functions -------------------------------------------------------------------------------- title: "Create a Function Instance" description: "Catalyst functions enable you to build custom functionalities in your application, automate tasks, or integrate with third-party services." last_updated: "2025-08-28T06:31:44.000Z" source: "https://docs.catalyst.zoho.com/en/sdk/ios/v2/serverless/functions/create-function-instance/" service: "Serverless" related: - Functions (/en/serverless/help/functions/introduction) - Function - API (/en/api/code-reference/serverless/functions/execute-function/#ExecuteFunction) -------------------------------------------------------------------------------- # Create a Function Instance [Catalyst functions](https://docs.catalyst.zoho.com/en/serverless/help/functions/introduction) enable you to build custom functionalities in your application, automate tasks, or integrate with third-party services. You can develop functions for your iOS app from the Catalyst console or the CLI. ### Create a Function Instance You can create an instance of a Catalyst function using the `getFunctionInstance()` method, and enable the methods defined in this class to access the instance object. This will prevent unnecessary server calls. You can create a function instance in any of the following ways: #### i. By passing the Function ID You can pass the function's unique Function ID as an argument to the `getFunctionInstance()` method and create an instance for it: ```bash ZCatalystApp.shared.getFunctionInstance( id : Int64 ) -> ZCatalystFunction ``` **Parameters**: * `id`: The unique [Function ID](https://docs.catalyst.zoho.com/en/serverless/help/functions/introduction) of the function. A sample code snippet is shown below: ```bash let function_instance = ZCatalystApp.shared.getFunctionInstance ( id : 1096000000002053 ) //Replace this with your Function ID ``` #### ii. By passing the name of the function You can pass the function's API name as an argument to the `getFunctionInstance()` method and create an instance for it: ```bash ZCatalystApp.shared.getFunctionInstance( name : String ) -> ZCatalystFunction ``` **Parameters**: * `name`: The name of the function configured in Catalyst A sample code snippet is shown below: ```bash let function_instance = ZCatalystApp.shared.getFunctionInstance ( name : "LocalBackup") //Replace this with you function name ``` -------------------------------------------------------------------------------- title: "Execute a Function" description: "Catalyst functions enable you to build custom functionalities in your application, automate tasks, or integrate with third-party services." last_updated: "2025-11-19T15:07:41.000Z" source: "https://docs.catalyst.zoho.com/en/sdk/ios/v2/serverless/functions/execute-function/" service: "Serverless" related: - Functiona (/en/serverless/help/functions/introduction) - Implementing Functions (/en/serverless/help/functions/implementation) - Execute Function - API (/en/api/code-reference/serverless/functions/execute-function/#ExecuteFunction) -------------------------------------------------------------------------------- # Execute a Function You can execute a [Catalyst function](https://docs.catalyst.zoho.com/en/serverless/help/functions/introduction) in any one of the ways given below, based on the HTTP request you pass with the function. You can pass the parameters to the function to be executed as the argument to a function execution method. This method differs for each HTTP request type. > **Note**: You can create six types of functions in Catalyst: Basic I/O, Advanced I/O, Cron, Integration, Event, and BrowserLogic functions. However, you can only execute Basic I/O functions in Catalyst iOS SDK. The `<FUNCTION_INSTANCE>` used in all the code sections below is the instance defined in the [Function Instance page](https://docs.catalyst.zoho.com/en/sdk/ios/v2/serverless/functions/create-function-instance). ### Execute a GET function You can execute a function of the HTTP GET type by passing the parameters to the `executeGet()` method: ```bash <FUNCTION_INSTANCE>.executeGet( parameters params : [ String : Any ]? = nil, completion : @escaping( Result< String, ZCatalystError > ) -> Void ) ``` **Parameters**: * `params`: The parameters to be passed to the function as a Hash map A sample code snippet is shown below: ```bash ZCatalystApp.shared.getFunctionInstance(id: 2823000000097020).executeGet() //Replace this with your function ID { result in switch result { case .success(let output) : print("GET function executed successfully - \( output )") case .error(let error) : print("GET function failed to execute - \( error )") } } ``` ### Execute a PUT function You can execute a function of the HTTP PUT type, by passing the parameters to the `executePut()` method as a Hash map. You can pass the payload in the PUT request to this method as a Hash map argument as well: ```bash <FUNCTION_INSTANCE>.executePut( parameters params : [ String : Any ]? = nil, body : [ String : Any ]? = nil, completion : @escaping( Result< String, ZCatalystError > ) -> Void ) ``` **Parameters**: * `params`: The parameters to be passed to the function as a Hash map * `body`: The data payload to be passed as a Hash map A sample code snippet is shown below: ```bash var params : [ String : Any ] = [:] params[ "ROWID" ] = "2823000000098012" params[ "Category" ] = "Important" ZCatalystApp.shared.getFunctionInstance(id: 2823000000097020).executePut(parameters: params) //Replace this with your function ID { result in switch result { case .success(let output) : print("PUT function executed successfully - \( output )") case .error(let error) : print("PUT function failed to execute - \( error )") } } ``` ### Execute a POST function You can execute a function of the HTTP POST type, by passing the parameters to the `executePOST()` method as a Hash map. You can pass the payload in the POST request to this method as a Hash map argument as well: ```bash <FUNCTION_INSTANCE>.executePost( parameters params : [ String : Any ]? = nil, body : [ String : Any ]? = nil, completion : @escaping( Result< String, ZCatalystError > ) -> Void ) ``` **Parameters**: * `params`: The parameters to be passed to the function as a Hash map * `body`: The data payload to be passed as a Hash map A sample code snippet is shown below: ```bash var params : [ String : Any ] = [:] params[ "Title" ] = "Data Migration Tasks" params[ "Category" ] = "Official" ZCatalystApp.shared.getFunctionInstance(id: 2823000000097020).executePost(parameters: ) //Replace this with your function ID { result in switch result { case .success(let output) : print("POST function executed successfully - \( output )") case .error(let error) : print("POST function failed to execute - \( error )") } } ``` ## SDK — Java — Serverless ### AppSail -------------------------------------------------------------------------------- title: "Implement SDK in AppSail" description: "This page describes the method to implement Java SDK in an AppSail service for Catalyst-managed runtimes and avail Catalyst features within the application." last_updated: "2026-03-05T15:20:59.000Z" source: "https://docs.catalyst.zoho.com/en/sdk/java/v1/serverless/appsail/implement-sdk-in-appsail/" service: "Serverless" related: - AppSail Help (/en/serverless/help/appsail/introduction) -------------------------------------------------------------------------------- # Catalyst AppSail [Catalyst AppSail](https://docs.catalyst.zoho.com/en/serverless/help/appsail/introduction/) is a fully-managed, independent platform for deploying web services to the cloud with ease. You can either deploy your application directly as a Catalyst-managed runtime that supports specific runtimes of Java, Node.js, and Python, or an OCI-compliant container image of your application as a custom-runtime. Catalyst enables you to implement Java SDK in your AppSail applications for [Catalyst-managed runtimes](https://docs.catalyst.zoho.com/en/serverless/help/appsail/catalyst-managed-runtimes/key-concepts/). AppSail supports frameworks of Java such as Embedded Jetty, Spring MVC, and Spring Boot. You can [access help guides](https://docs.catalyst.zoho.com/en/serverless/help/appsail/help-guides/introduction/) for building sample apps in Java. ## Implement Java SDK in AppSail You can implement the Catalyst Java SDK in the codebase of your AppSail service with ease. The steps to implement and initialize the Catalyst SDK for different API versions of Java servlets are demonstrated with sample codes below. In all cases, Catalyst requires you to implement the `AuthHeaderProvider` interface from the Catalyst Java SDK package. The implementation defines the `getHeader()` method that returns the value of the request header. You can then pass an object of the implementation class to the `init()` method, to initialize the SDK. ### Java Servlet API versions <=4 Sample code for Java applications that use Java servlets of API versions lesser than or equal to 4.0 (`[javax.servlet](https://docs.oracle.com/javaee%2F7%2Fapi%2F%2F/javax/servlet/package-summary.html)`): **Implementation Class:** ```java package com.zoho.catalyst.appsail.demo.utils; import javax.servlet.http.HttpServletRequest; import com.zc.auth.AuthHeaderProvider; public class AuthProviderImpl implements AuthHeaderProvider { HttpServletRequest request; public AuthProviderImpl(HttpServletRequest request) { this.request = request; } @Override public String getHeaderValue(String key) { return request.getHeader(key); } } ``` **Initialization:** ```json AuthProviderImpl authProviderImpl = new AuthProviderImpl(req); CatalystSDK.init(authProviderImpl) ``` ### Java Servlet API versions >=5 Sample code for Java applications that use Java servlets of API versions greater than or equal to 5.0 (`[jakarta.servlet](https://mvnrepository.com/artifact/jakarta.servlet)`): **Implementation Class:** ```java import com.zc.auth.AuthHeaderProvider; import jakarta.servlet.http.HttpServletRequest; public class AuthProviderImpl implements AuthHeaderProvider { private HttpServletRequest request; AuthProviderImpl(HttpServletRequest request) { this.request = request; } @Override public String getHeaderValue(String s) { return request.getHeader(s); } } ``` **Initialization:** ```json CatalystSDK.init(new AuthProviderImpl((HttpServletRequest) servletRequest)); ``` ### Implement Java SDK in a Maven Project If you are developing a Java application with the [Maven](https://maven.apache.org/) build tool, you can include the Catalyst Java SDK as a dependency in the Maven configuration file ([`pom.xml`](https://maven.apache.org/guides/introduction/introduction-to-the-pom.html)), instead of downloading and adding the SDK in your source code manually. To add the Catalyst SDK in a Maven project, simply add the Zoho repository (published in [MvnRepository](https://mvnrepository.com/)) in the `pom.xml` file as shown below: ```json <repositories> <repository> <id>java-sdk</id> <url>https://maven.zohodl.com</url> </repository> </repositories> ``` You can then add the Java SDK as a dependency in pom.xml as shown below: ```json <dependencies> <dependency> <groupId>com.zoho.catalyst</groupId> <artifactId>java-sdk</artifactId> <version>1.15.0</version> </dependency> </dependencies> ``` ### Circuits -------------------------------------------------------------------------------- title: "Execute Circuit" description: "This page describes the method to make use of circuits to organize and orchestrate tasks in your Java application with sample code snippets." last_updated: "2025-11-19T15:07:41.000Z" source: "https://docs.catalyst.zoho.com/en/sdk/java/v1/serverless/circuits/execute-circuit/" service: "Serverless" related: - Execute Circuit - API (/en/api/code-reference/serverless/circuits/execute-circuit/#ExecuteCircuit) - Circuits (/en/serverless/help/circuits/introduction) -------------------------------------------------------------------------------- # Execute a Circuit [Catalyst Circuits](https://docs.catalyst.zoho.com/en/serverless/help/circuits/introduction) allow you to define, organize, and orchestrate a sequence of tasks to be carried out automatically. You can enable concurrent or sequential executions of Catalyst functions in a circuit, and additionally include conditions, data, and paths in it and automate the workflow. > **Note:** Circuits is currently not available to Catalyst users accessing from the EU, AU, IN, JP, SA or CA data centers. The sample code below illustrates executing a circuit by referring to its unique Circuit ID and passing key-value pairs as the input JSON to the circuit. It also illustrates obtaining the circuit's execution details by referring to its unique `Execution ID` saved in the execution history of the circuit. `ZCCircuitDetails` is used to refer to the circuit, and `ZCCircuitExecutionDetails` returns the circuit execution details. #### Sample Code Snippet **Package Imports** ```java import org.json.simple.JSONObject; import com.zc.component.circuits.ZCCircuit; import com.zc.component.circuits.ZCCircuitDetails; import com.zc.component.circuits.ZCCircuitExecutionDetails; import com.zc.component.circuits.ZCCircuitExecutionStatus; ``` ```java //Executes the circuit by referring to its Circuit ID and passes the input JSON ZCCircuitDetails userBackupCircuit = ZCCircuit.getInstance().getCircuitInstance(1239000000L); JSONObject execInputJson = new JSONObject(); execInputJson.put("key", "value"); ZCCircuitExecutionDetails circuitExecution = userBackupCircuit.execute("Case 1",execInputJson); String executionId = circuitExecution.getExecutionId(); //Returns the Execution ID //Returns the circuit's execution details by referring to the Execution ID of the circuit. //You can write your own success logic here. ZCCircuitDetails userBackupCircuit = ZCCircuit.getInstance().getCircuitInstance(1239000000L); ZCCircuitExecutionDetails circuitExecution = userBackupCircuit.getExecutionDetails(executionId); if(circuitExecution.getStatus().equals(ZCCircuitExecutionStatus.SUCCESS)) { //Success logic } //Aborts the circuit execution by referring to the Execution ID of the circuit ZCCircuitDetails userBackupCircuit = ZCCircuit.getInstance().getCircuitInstance(1239000000L); userBackupCircuit.abortExecution(executionId); ``` ### Functions -------------------------------------------------------------------------------- title: "Execute Function" description: "This page describes the method to execute functions in your Java application with sample code snippets." last_updated: "2025-11-19T15:07:41.000Z" source: "https://docs.catalyst.zoho.com/en/sdk/java/v1/serverless/functions/execute-function/" service: "Serverless" related: - Execute Function - API (/en/api/code-reference/serverless/functions/execute-function/#ExecuteFunction) - Functions (/en/serverless/help/functions/introduction) -------------------------------------------------------------------------------- # Execute function The function group in Catalyst is created and defined using either the online editor or the Command Line Interface (CLI). The function group can be executed to verify its functionality. ### Execute Function If a function endpoint is needs to be executed, then the following code snippet can be used. Here, the function's parameters are constructed as JSON objects and passed through the `executeFunction()` method. The `function ID` is an auto-generated numeric long integer value. #### Sample Code Snippet **Package Imports** ```java import org.json.simple.JSONObject; import com.zc.functions.ZCatalystFunction; ``` ```java //Create a JSONObject For Adding Parameters JSONObject jsonobj = new JSONObject(); //Add Parameters as key-value pairs to pass them to the method jsonobj.put("Name", "Amelia"); //Execute the method referring the function groupId with the JSON object Object result = ZCatalystFunction.getInstance().getFunctionInstance(1510000000054095L).executeFunction(jsonobj); ``` > **Note:** You can also pass the function name as a string to the `getFunctionInstance()` method instead of using the function ID. ## SDK — Modular JavaScript SDK — Serverless ### Functions -------------------------------------------------------------------------------- title: "Overview" description: "This page describes the method to execute functions in your application with sample code snippets." last_updated: "2026-09-09T10:45:38.000Z" source: "https://docs.catalyst.zoho.com/en/sdk/javascript/v1/serverless/functions/overview/" service: "Serverless" related: - Catalyst Serverless (/en/serverless/) - Functions Help (/en/serverless/help/functions/introduction/) - Java SDK (/en/sdk/java/v1/serverless/functions/execute-function/) - Python SDK (/en/sdk/python/v1/serverless/functions/get-component-instance/) - iOS SDK (/en/sdk/ios/v2/serverless/functions/create-function-instance/) - Android SDK (/en/sdk/android/v2/serverless/functions/create-function-instance/) - Flutter SDK (/en/sdk/flutter/v2/serverless/functions/create-function-instance/) - REST APIs (/en/api/code-reference/serverless/functions/execute-function/#ExecuteFunction) -------------------------------------------------------------------------------- # Functions JavaScript SDK # Overview [Functions](https://docs.catalyst.zoho.com/en/serverless/help/functions/introduction/) is a Catalyst Serverless component, that provides you with the ideal coding structure to define and code your business logic in *Java*, *Node.js*, or *Python* runtimes. Functions allow you to store the functionality of the application in a centralized and secure place, rather than storing it within the application’s main code. You can create your functions in the Catalyst console or using the Catalyst CLI. The business logic coded in the Functions component can be executed in the testing and production environment. The **Functions JavaScript SDK** package enables you to execute your required functions through code. ### Prerequisites You will need to install the following package to be able to use the Function SDK methods. ```sh npm install @zcatalyst/functions ``` > **Info:** Ensure that you have applied the [required authentication configuration](https://docs.catalyst.zoho.com/en/sdk/javascript/v1/auth-config/node-consideration/) to use the SDK methods of this component. ### Import Requirement You will need to import the following modules to use the Function SDK methods. ```javascript const { Functions } = require('@zcatalyst/functions'); ``` ### List of SDK Methods The following table contains the list of SDK methods that can be used to perform operations with the Function component through code.
Category SDK Method Required Scope
General Operations [Get Function Instance](https://docs.catalyst.zoho.com/en/sdk/javascript/v1/serverless/functions/get-function-instance/) **No requirement**
Function Operations [Execute Function](https://docs.catalyst.zoho.com/en/sdk/javascript/v1/serverless/functions/execute-function/) **Admin**
-------------------------------------------------------------------------------- title: "Get Function Instance" description: "This page describes the method to execute functions in your application with sample code snippets." last_updated: "2026-09-09T10:45:38.000Z" source: "https://docs.catalyst.zoho.com/en/sdk/javascript/v1/serverless/functions/get-function-instance/" service: "Serverless" related: - Catalyst Serverless (/en/serverless/) - Functions Help (/en/serverless/help/functions/introduction/) - Java SDK (/en/sdk/java/v1/serverless/functions/execute-function/) - Python SDK (/en/sdk/python/v1/serverless/functions/get-component-instance/) - iOS SDK (/en/sdk/ios/v2/serverless/functions/create-function-instance/) - Android SDK (/en/sdk/android/v2/serverless/functions/create-function-instance/) - Flutter SDK (/en/sdk/flutter/v2/serverless/functions/create-function-instance/) - REST APIs (/en/api/code-reference/serverless/functions/execute-function/#ExecuteFunction) -------------------------------------------------------------------------------- # Get Function Instance > **Note:** Ensure you have installed the [required package](https://docs.catalyst.zoho.com/en/sdk/javascript/v1/serverless/functions/overview/#prerequisites) to use this SDK method. You can get the `functions` component reference as shown below. This will not fire a server-side call. You will refer to this component instance in various code snippets when working with the Functions component. ```javascript // Get a functions instance const functions = new Functions(); ``` > **Note:** - Passing an initialized app instance to a component determines the authentication scope it uses. - To perform an operation with user-level permissions, initialize the SDK with User scope, or with custom credentials, and pass that instance to the component. This runs the operation in the user's scope or custom credential scope instead of the default admin scope. ```javascript const functions = new Functions(app); ``` - If your Function or AppSail application needs both custom credentials and admin authentication at the same time, give each initialization a unique app name, otherwise the custom initialization can overwrite your existing admin credentials. - In all cases, explicitly pass the matching app instance to each component so it uses the intended authentication scope; if none is provided, the SDK defaults to the admin credentials. -------------------------------------------------------------------------------- title: "Execute Function" description: "This page describes the method to execute functions in your application with sample code snippets." last_updated: "2026-09-09T10:45:38.000Z" source: "https://docs.catalyst.zoho.com/en/sdk/javascript/v1/serverless/functions/execute-function/" service: "Serverless" related: - Catalyst Serverless (/en/serverless/) - Functions Help (/en/serverless/help/functions/introduction/) - Java SDK (/en/sdk/java/v1/serverless/functions/execute-function/) - Python SDK (/en/sdk/python/v1/serverless/functions/execute-function/) - iOS SDK (/en/sdk/ios/v2/serverless/functions/execute-function/) - Android SDK (/en/sdk/android/v2/serverless/functions/execute-function/) - Flutter SDK (/en/sdk/flutter/v2/serverless/functions/execute-function/) - REST APIs (/en/api/code-reference/serverless/functions/execute-function/#ExecuteFunction) -------------------------------------------------------------------------------- # Execute Function > **Note:** Ensure you have installed the [required package](https://docs.catalyst.zoho.com/en/sdk/javascript/v1/serverless/functions/overview/#prerequisites) to use this SDK method. A function can be executed by calling the `execute()` method in which the [function ID](https://docs.catalyst.zoho.com/en/serverless/help/functions/implementation/#create-a-function) and configuration (of type JSON) are passed as parameters. The `functions` reference used in the code snippets below is the [component instance](https://docs.catalyst.zoho.com/en/sdk/javascript/v1/serverless/functions/get-function-instance/). ### Create a Function Configuration (JSON) Before executing a function, you must set the configuration required for it. Here, the configuration specifies the function arguments and their values. An example to set the configuration is detailed in the following code snippet ```javascript // Create Configuration for function Execution const conf = { args: { Name: 'Amelia' } } ``` The unique **function ID** is passed as a parameter to the `execute()` function to call the function to be executed with the necessary configuration. The promise returned here will be resolved to an object which is a JSON. The `functions` reference used in the code below is the [component instance](https://docs.catalyst.zoho.com/en/sdk/javascript/v1/serverless/functions/get-function-instance/). > **Note:** You can also pass the function name as a string to the `execute()` method instead of using the function ID. ```javascript const functionResponse = await functions.execute(1510000000059262,conf); console.log(functionResponse); ``` ### Circuits -------------------------------------------------------------------------------- title: "Overview" description: "This page describes the method to execute circuits in your application with sample code snippets." last_updated: "2026-09-09T10:45:38.000Z" source: "https://docs.catalyst.zoho.com/en/sdk/javascript/v1/serverless/circuits/overview/" service: "Serverless" related: - Catalyst Serverless (/en/serverless/) - Circuits Help (/en/serverless/help/circuits/introduction/) - Basic IO Help (/en/serverless/help/functions/basic-io/) - Java SDK (/en/sdk/java/v1/serverless/circuits/execute-circuit/) - Python SDK (/en/sdk/python/v1/serverless/circuits/get-a-component-instance/) - REST APIs (/en/api/code-reference/serverless/circuits/execute-circuit/#ExecuteCircuit) -------------------------------------------------------------------------------- # Circuits JavaScript SDK # Overview [Circuits](https://docs.catalyst.zoho.com/en/serverless/help/circuits/introduction/) is a Catalyst Serverless component, that enables you to orchestrate tasks and automate workflows in Catalyst. A circuit is essentially a JSON file that helps you systematically define and organize a sequence of tasks to be carried out automatically. You can code your business logic in [Basic IO functions](https://docs.catalyst.zoho.com/en/serverless/help/functions/basic-io/), and orchestrate their executions in simultaneously or concurrently. The **Circuits JavaScript SDK** package enables you to execute the required Circuit through code. > **Notes:** * Circuits is currently not available to Catalyst users accessing from the EU, AU, IN, JP, SA or CA data centers. * You will not be able to execute [Job](https://docs.catalyst.zoho.com/en/serverless/help/functions/job-functions/), [Event](https://docs.catalyst.zoho.com/en/serverless/help/functions/event-functions/), or [Advanced I/O functions](https://docs.catalyst.zoho.com/en/serverless/help/functions/advanced-io/) in a Catalyst circuit. This is because Catalyst supports the input and output of a circuit in the JSON format, that is supported by the Basic I/O functions alone. ### Prerequisites You will need to install the following package to be able to use the Circuits SDK methods. ```sh npm install @zcatalyst/circuits ``` > **Info:** Ensure that you have applied the [required authentication configuration](https://docs.catalyst.zoho.com/en/sdk/javascript/v1/auth-config/node-consideration/) to use the SDK methods of this component. ### Import Requirement You will need to import the following modules to use the Circuits SDK methods. ```javascript const { Circuits } = require('@zcatalyst/circuits'); ``` ### List of SDK Methods The following table contains the list of SDK methods that can be used to perform operations with the Circuits component through code.
Category SDK Method Required Scope
General Operations [Get Circuit Instance](https://docs.catalyst.zoho.com/en/sdk/javascript/v1/serverless/circuits/get-circuit-instance/) **No requirement**
Circuit Operations [Execute Circuits](https://docs.catalyst.zoho.com/en/sdk/javascript/v1/serverless/circuits/execute-circuit/) **Admin**
-------------------------------------------------------------------------------- title: "Get Circuit Instance" description: "This page describes the method to execute circuits in your application with sample code snippets." last_updated: "2026-09-09T10:45:38.000Z" source: "https://docs.catalyst.zoho.com/en/sdk/javascript/v1/serverless/circuits/get-circuit-instance/" service: "Serverless" related: - Catalyst Serverless (/en/serverless/) - Circuits Help (/en/serverless/help/circuits/introduction/) - Java SDK (/en/sdk/java/v1/serverless/circuits/execute-circuit/) - Python SDK (/en/sdk/python/v1/serverless/circuits/get-a-component-instance/) - REST APIs (/en/api/code-reference/serverless/circuits/execute-circuit/#ExecuteCircuit) -------------------------------------------------------------------------------- # Get Circuit Instance > **Note:** Ensure you have installed the [required package](https://docs.catalyst.zoho.com/en/sdk/javascript/v1/serverless/functions/overview/#prerequisites) to use this SDK method. You can get the `circuit` component reference as shown below. This will not fire a server-side call. You will refer to this component instance in various code snippets when working with the Circuits component. > **Note:** Circuits is currently not available to Catalyst users accessing from the EU, AU, IN, JP, SA, or CA data centers. ```javascript // Get a instance for Circuit const circuit = new Circuits(); ``` -------------------------------------------------------------------------------- title: "Execute a Circuit" description: "This page describes the method to execute circuits in your application with sample code snippets." last_updated: "2026-09-09T10:45:38.000Z" source: "https://docs.catalyst.zoho.com/en/sdk/javascript/v1/serverless/circuits/execute-circuit/" service: "Serverless" related: - Catalyst Serverless (/en/serverless/) - Circuits Help (/en/serverless/help/circuits/introduction/) - Java SDK (/en/sdk/java/v1/serverless/circuits/execute-circuit/) - Python SDK (/en/sdk/python/v1/serverless/circuits/get-a-component-instance/) - REST APIs (/en/api/code-reference/serverless/circuits/execute-circuit/#ExecuteCircuit) -------------------------------------------------------------------------------- # Execute a Circuit > **Note:** Ensure you have installed the [required package](https://docs.catalyst.zoho.com/en/sdk/javascript/v1/serverless/functions/overview/#prerequisites) to use this SDK method. The following code snippet details executing a circuit by referring to its unique [Circuit ID](https://docs.catalyst.zoho.com/en/serverless/help/circuits/implementation/#create-a-circuit) and passing key-value pairs as the input JSON to the circuit. It also illustrates obtaining the circuit’s execution details by referring to its unique [Execution ID](https://docs.catalyst.zoho.com/en/serverless/help/circuits/implementation/#execute-a-circuit) saved in the execution history of the circuit. The `circuit` reference used below is defined in the [component instance page](https://docs.catalyst.zoho.com/en/sdk/javascript/v1/serverless/circuits/get-circuit-instance/). > **Note:** Circuits is currently not available to Catalyst users accessing from the EU, AU, IN, JP, SA, or CA data centers. ```javascript // Get a instance for Circuit const circuit = new Circuits(); // execute the circuit const executeCircuitResponse = await circuit.execute('195000000041001','sampleName',{name:'Aaron Jones'}); console.log(executeCircuitResponse); // get the circuit status const circuitStatusResponse = await circuit.status('195000000041001','195000000043002'); console.log(circuitStatusResponse); // abort the running circuit const circuitAbortResponse = await circuit.abort('195000000041001','195000000043002'); console.log(circuitAbortResponse); ``` ### Example of Expected Response ```json { id:"b3e2f61e-4795-428e-8365-3609bf2b5606", name:"Name", start_time:"Aug 18, 2021 07:35 PM", status:"running", status_code:1, execution_meta:{}, circuit_details:{ name:"NewCircuit", ref_name:"newcircuit", description:"", instance_id:"70454fc5-3bf6-45af-81ca-2742cc049698" }, input:{ name:"Aaron Jones" } } ``` ## SDK — Python — Serverless ### AppSail -------------------------------------------------------------------------------- title: "Implement SDK in AppSail" description: "This page describes the method to implement Python SDK in an AppSail service for Catalyst-managed runtimes and avail Catalyst features within the application." last_updated: "2026-03-05T15:20:59.000Z" source: "https://docs.catalyst.zoho.com/en/sdk/python/v1/serverless/appsail/implement-sdk-in-appsail/" service: "Serverless" related: - AppSail Help (/en/serverless/help/appsail/introduction) -------------------------------------------------------------------------------- # Catalyst AppSail [Catalyst AppSail](https://docs.catalyst.zoho.com/en/serverless/help/appsail/introduction/) is a fully-managed, independent platform for deploying web services to the cloud with ease. You can either deploy your application directly as a Catalyst-managed runtime that supports specific runtimes of Java, Node.js, and Python, or an OCI-compliant container image of your application as a custom-runtime. Catalyst enables you to implement Python SDK in your AppSail applications for [Catalyst-managed runtimes](https://docs.catalyst.zoho.com/en/serverless/help/appsail/catalyst-managed-runtimes/key-concepts/). AppSail supports frameworks of Python such as Flask, Django, Bottle, CherryPy, etc. You can [access help guides](https://docs.catalyst.zoho.com/en/serverless/help/appsail/help-guides/introduction/) for building sample apps in Python. ## Implement Python SDK in AppSail You can implement the Catalyst Python SDK in the codebase of your AppSail service with ease. The SDK will need to be initialized with the request object before each request. Given below is an example of importing and initializing the Python SDK in a Flask web app. ```python from flask import Flask, request, g import os import zcatalyst_sdk from zcatalyst_sdk.catalyst_app import CatalystApp app = Flask(__name__) @app.before_request def before_request(): if request.path.startswith('/admin'): return 'Unauthorized', 401 # if authorized user g.zc_app = zcatalyst_sdk.initialize(req=request) @app.route('/') def index(): return 'Web App with Python Flask!' @app.route('/cache') def cache(): app: CatalystApp = g.zc_app resp = app.cache().segment().put('key', 'value') return resp, 200 listen_port = os.getenv('X_ZOHO_CATALYST_LISTEN_PORT', 9000) app.run(host='0.0.0.0', port = listen_port) ``` > **Info :** Refer to the [SDK Scopes table](https://docs.catalyst.zoho.com/en/sdk/python/v1/sdk-scopes) to determine the required permission level for performing the above operation. ### Circuits -------------------------------------------------------------------------------- title: "Get Component Instance" description: "This page describes the method to make use of circuits to organize and orchestrate tasks in your Python application with sample code snippets." last_updated: "2025-09-16T18:51:08.000Z" source: "https://docs.catalyst.zoho.com/en/sdk/python/v1/serverless/circuits/get-a-component-instance/" service: "Serverless" related: - Circuits Help (/en/serverless/help/circuits/introduction) -------------------------------------------------------------------------------- # Circuits [Catalyst Serverless Circuits](https://docs.catalyst.zoho.com/en/serverless/help/circuits/introduction) is a component that is a part of the Catalyst development platform that helps to orchestrate tasks and automate workflows. You can enable concurrent or sequential executions of Catalyst functions in a circuit, and additionally include conditions, data, and paths in the workflow, to define a repeatable pattern of activities that achieves a business outcome. This section covers the various SDK methods that can be used to implement the circuits component in your Catalyst application. > **Note:** Circuits is currently not available to Catalyst users accessing from the EU, AU, IN, JP, SA or CA data centers. #### Get a component instance A component instance is an object that can be used to access the pre-defined configurations specific to a particular component. This process will not fire a server-side call. The `app` reference used in the code below is the [Python object](https://docs.catalyst.zoho.com/en/sdk/python/v1/setup/#initializing-the-sdk) returned as a response during SDK initialization. You can create a new `circuit`instance as shown below. Also note that this component instance will be used in multiple scenarios while implementing the circuit component in your application. ```python #Get a circuit component instance circuit = app.circuit() ``` -------------------------------------------------------------------------------- title: "Execute Circuit" description: "This page describes the method to make use of circuits to organize and orchestrate tasks in your Python application with sample code snippets." last_updated: "2026-10-30T17:47:18.000Z" source: "https://docs.catalyst.zoho.com/en/sdk/python/v1/serverless/circuits/execute-circuit/" service: "Serverless" related: - Execute Circuit - API (/en/api/code-reference/serverless/circuits/execute-circuit/#ExecuteCircuit) - Circuits Help (/en/serverless/help/circuits/introduction) - SDK Scopes (/en/sdk/python/v1/sdk-scopes) -------------------------------------------------------------------------------- ### Execute a Circuit The sample code below illustrates executing a circuit by referring to its unique circuit ID and passing key-value pairs as the input to the circuit in the form of a dictionary. To know more about the component instance `circuit_service` used below, please refer to [this help section](https://docs.catalyst.zoho.com/en/sdk/python/v1/serverless/circuits/get-a-component-instance/). **Parameters Used**
Parameter Name Data Type Definition
`circuit ID` Numeric A **Mandatory** parameter. Will store the unique ID the circuit to be executed.
`circuit input` Object A **Mandatory** parameter. Will store the dictionary that contains the input to the cricut.
```python #Execute a circuit circuit = app.circuit() result = circuit.execute(5249000000108030, name="Test_Circuit") ``` A sample response is shown below : ```json { "id":"5249000000108030", "name":"Test_Circuit", "start_time":"Aug 18, 2021 07:35 PM", "status":"running", "status_code":1, "execution_meta":{ }, "circuit_details":{ "name":"Test_Circuit", "ref_name":"testcircuit", "description":"", "instance_id":"70454fc5-3bf6-45af-81ca-2742cc049698" }, "input":{ "name":"Aaron Jones" } } ``` > **Info :** Refer to the [SDK Scopes table](https://docs.catalyst.zoho.com/en/sdk/python/v1/sdk-scopes) to determine the required permission level for performing the above operation. ### Functions -------------------------------------------------------------------------------- title: "Get Component Instance" description: "This page describes the method to execute functions in your Python application with sample code snippets." last_updated: "2025-03-28T12:54:49.000Z" source: "https://docs.catalyst.zoho.com/en/sdk/python/v1/serverless/functions/get-component-instance/" service: "Serverless" related: - Functions Help (/en/serverless/help/functions/introduction) -------------------------------------------------------------------------------- # Functions [Catalyst Serverless Functions](https://docs.catalyst.zoho.com/en/serverless/help/functions/introduction) are custom-built coding structures that contain the business logic of your Catalyst application. They can be created either using the [Catalyst console](https://console.catalyst.zoho.com/baas/index) or the [CLI](https://docs.catalyst.zoho.com/en/cli/v1/working-with-functions/introduction). This section covers the various SDK methods that can be used to implement functions in your Catalyst application. #### Get a Component Instance A component instance is an object that can be used to access the pre-defined configurations specific to a particular component. This process will not fire a server-side call. The `app` reference used in the code below is the [Python object](https://docs.catalyst.zoho.com/en/sdk/python/v1/setup/#initializing-the-sdk) returned as a response during SDK initialization. You can create a new `function_service`instance as shown below. This component instance will be used in the next section while executing the function. ```python #Get function component instance function_service = app.functions() ``` -------------------------------------------------------------------------------- title: "Execute Function" description: "This page describes the method to execute functions in your Python application with sample code snippets." last_updated: "2025-05-07T08:17:01.000Z" source: "https://docs.catalyst.zoho.com/en/sdk/python/v1/serverless/functions/execute-function/" service: "Serverless" related: - Execute Function - API (/en/api/code-reference/serverless/functions/execute-function/#ExecuteFunction) - Functions Help (/en/serverless/help/functions/introduction) -------------------------------------------------------------------------------- # Execute the function A function can be executed by calling the `execute()` method in which the function ID and the configuration (of type dictionary) are passed as parameters. To know more about the component instance `function_service` used below, please refer to [this help section](https://docs.catalyst.zoho.com/en/sdk/python/v1/serverless/functions/get-component-instance/). Before executing a function, you must set the configuration required for it. Here, the configuration specifies the function arguments and their values. The unique functionID is passed as a parameter to the `execute()` method to call the function to be executed with the necessary configuration. The configuration can be set using the following code snippet : **Parameters Used**
Parameter Name Data Type Definition
`function_ID` Numeric A **Mandatory** parameter. Will store the unique ID the function to be executed.
`function_config` Object A **Mandatory** parameter. Will store the configuration of the function to be executed.
```python function_service = app.functions() args = {"Name": "Amelia"} return_value = function_service.execute(5249000000015567, args) ``` > **Info :** 1. Refer to the [SDK Scopes table](https://docs.catalyst.zoho.com/en/sdk/python/v1/sdk-scopes) to determine the required permission level for performing the above operation. 2. You can also pass the function name as a string to the `execute()` method instead of using the function ID. -------------------------------------------------------------------------------- title: "FAQ — Serverless" description: "This section covers queries related to the components and features of the Catalyst Serverless service, such as Functions, AppSail, and Circuits." last_updated: "2026-11-13T05:00:22.000Z" source: "https://docs.catalyst.zoho.com/en/faq/serverless/" -------------------------------------------------------------------------------- # Functions ### Why do I get the 'Basic I/O execution time exceeded' error while executing my function? A time out issue will occur if you have not properly caught an exception in your function, or if you haven't closed the context at the end of your function's code. This issue can also occur if you haven't installed all the necessary modules files. To resolve this issue, you must try the following: * Ensure that your code properly catches and handles exceptions * Check if context.close( ) is added at the end of your function * Ensure that you have installed all the necessary modules files based on the stack ### What is the execution time limit for my function? In Catalyst Serverless, Basic I/O and Advanced I/O functions can run for up to 30 seconds. Event, Cron and [Job functions](https://docs.catalyst.zoho.com/en/serverless/help/functions/job-functions/) can run for up to 15 minutes. The Cron component is deprecated. Use the [Job Scheduling services](https://docs.catalyst.zoho.com/en/job-scheduling/help/jobpool/introduction/), which run Job functions, for your cron requirements. ### Where should I install the external Node.js, Java, or Python dependencies in my function? Install the external dependencies of a Catalyst Serverless function in its functions/{function_name} folder on your local machine. Navigate to that folder path, and then install the Node modules if it is a Node.js function, or the JAR dependencies inside the lib folder if it is a Java function. For a Python function, you can install the required Python packages. ### How do I send the request body to my Basic I/O function? For Basic IO functions, the request data should be sent via the query parameters using the GET method. If you need to make native HTTP requests to your function, then you can try using Advanced I/O functions in Catalyst. Advanced I/O functions can handle native HTTP requests and responses and you can send your request payload as per your requirement. ### Why do I get the error 'Class to be executed could not be found' while executing my Java function? In Catalyst Serverless, this error occurs only if the .class file for your Java function is missing. If you uploaded the code via the Catalyst console , you will need to ensure that you uploaded it along with the .class files to resolve the issue. However, if you initialized your function via the CLI, you can use the command catalyst deploy. This command will compile the code automatically, create any of the missing dependency files, and upload the code to the Catalyst environment. ### Why do I get an empty request body to my Advanced I/O function when the function URL is hit? You have to use the appropriate body parser for the input type that you pass, to get the data in the request body in your Catalyst function. ### How do I set the response headers and response type in a Basic I/O function? Basic I/O functions do not support native HTTP requests and response headers. Therefore, you won't be able to set the response headers and response type in Basic I/O functions. You can instead use Advanced I/O functions, as they support native HTTP requests and response headers. ### Why do I get '(intermediate value).default is not a function' while executing my Node.js function? This error occurs when your Catalyst Serverless Node.js function doesn't export its code. To rectify this issue, you must export the code in your function to expose it. Ensure that you have added module.exports={module_variable_name} inside of your Node.js function. ### How do I invoke an Event function? Event Functions can only be invoked when the event configured in Catalyst Signals has occurred. If the event you require has not occurred yet, you can perform an appropriate operation that will trigger Signals to invoke the event function automatically. You can also test event functions from the CLI by passing sample payloads and validating their execution. ### Why do I get 'Concurrency limit reached for the feature FUNCTIONS' (TOO_MANY_REQUESTS) when many users call my function? This happens when more executions of your Catalyst Serverless functions run at the same moment than the concurrency limit allows. Catalyst refuses the extra requests with HTTP 429 instead of queuing them. The limit counts executions in progress, not requests per day, so a function that waits on a slow external API reaches it with fewer users. 1. Make each execution shorter. Move slow or heavy work into a Job function, where jobs wait in a Job Pool instead of being refused. 2. Retry 429 responses in the client after a short delay that grows with each attempt. 3. For sustained traffic with many simultaneous requests, consider Catalyst AppSail. Each AppSail instance serves up to 100 concurrent requests, and a service runs up to 5 instances by default. 4. If your expected peak is still above the limit, contact Catalyst support before your launch with the environment, the function names, your expected peak number of simultaneous requests and the average execution time. Note: The limit is lower in the Development environment than in the Production environment. Refer to the [Error Codes help page](https://docs.catalyst.zoho.com/en/api/introduction/error-codes/) and the [AppSail Basics help page](https://docs.catalyst.zoho.com/en/serverless/help/appsail/appsail-basics/) for details. ### How do I resolve the error 'HTTP Error: 409 - The given function_name already exists'? If you encounter HTTP Error: 409, it means that a function with the same name already exists in the Catalyst console. You can either change the name in the `catalyst-config.json` file or delete the existing function in the remote console [**using the CLI**](https://docs.catalyst.zoho.com/en/cli/v1/working-with-functions/introduction/) or [**directly from the console**](https://docs.catalyst.zoho.com/en/serverless/help/functions/introduction) ### How do I access Catalyst Java functions in my Eclipse editor? If you have created functions in the Catalyst remote console, you must download them to your local machine before you can access them in your editor. If you created functions on your local machine, you can skip to step 3. To access Catalyst Java functions in your Eclipse editor: 1. Download your function's code from the remote console by executing the following Catalyst CLI command: `$ catalyst pull` You can refer to the [Pull Resources help page](https://docs.catalyst.zoho.com/en/cli/v1/pull-resources/introduction/) for a detailed explanation. This will automatically create a functions directory in your project home containing your functions. 2. Open your Eclipse editor. Navigate to **File** and then **Open Projects From File System**. ![catalyst_editor_q1_open_projects](https://catalyst-docs-development.zohostratus.in/images/faq/catalyst_editor/catalyst_editor_q1_open_projects.webp) 3. Click **Directory** next to *Input Source* in the pop-up. ![catalyst_editor_q1_directory](https://catalyst-docs-development.zohostratus.in/images/faq/catalyst_editor/catalyst_editor_q1_directory.webp) 4. Select the functions folder that was created using the CLI and click **OK**. 5. Ensure that *Add project* to *working sets* is unchecked. 6. Eclipse auto detects the Java functions in that folder. Select the functions you need from the list. ![catalyst_editor_q1_function_select](https://catalyst-docs-development.zohostratus.in/images/faq/catalyst_editor/catalyst_editor_q1_function_select.webp) 7. Click **Finish**. Your Catalyst functions are now accessible in Eclipse. ![catalyst_editor_q1_eclipse_view](https://catalyst-docs-development.zohostratus.in/images/faq/catalyst_editor/catalyst_editor_q1_eclipse_view.webp) ### How can I include an external JAR in a Java function and bundle it along with the Catalyst Java functions? 1. Open your Java functions in Eclipse as described in the previous answer. 2. Right click on your project from the package explorer and click **Build Path** and then **Configure Build Path...** ![catalyst_editor_q2_configure_build_path](https://catalyst-docs-development.zohostratus.in/images/faq/catalyst_editor/catalyst_editor_q2_configure_build_path.webp) 3. Click the **Libraries** tab and select **Add External JARs** ![catalyst_editor_q2_jar_files](https://catalyst-docs-development.zohostratus.in/images/faq/catalyst_editor/catalyst_editor_q2_jar_files.webp) 4. Select the JAR to be included in the pop-up window and click **Open**. 5. The selected JAR will be included in *JARs and class folders on the build path*. Click **Apply and Close** ![catalyst_editor_q2_apply](https://catalyst-docs-development.zohostratus.in/images/faq/catalyst_editor/catalyst_editor_q2_apply.webp) 6. Code your function with the JAR included and test the code by executing the following command from the CLI: `catalyst serve` You can learn about this command in detail from the [Serve Resources help page](https://docs.catalyst.zoho.com/en/cli/v1/serve-resources/introduction/). 7. You can then directly deploy the function from the CLI without worrying about the additional JAR file. Execute the following CLI command to deploy the Java functions to the remote console along with the external JAR: `catalyst deploy --only functions` You can learn about this command in detail from the [Deploy Resources help page](https://docs.catalyst.zoho.com/en/cli/v1/deploy-resources/deploy-options/). 8. After the function has been deployed, you can verify whether the JAR has been added to your function group from the [Catalyst console](https://docs.catalyst.zoho.com/en/serverless/help/functions/implementation). ### Can I allocate more than 512 MB of memory to my Catalyst function? No. In Catalyst Serverless Functions, you can choose a memory between 128 MB and 512 MB for each function, and the default is 256 MB. CPU is allocated automatically based on the memory you choose, and you can't set it separately. To change a function's memory, open the function in the Catalyst console, go to the **Configuration** tab, click the edit icon in **Allocated Memory**, select the memory and click the check icon. From the CLI, run `catalyst functions:config --memory 512MB `. If the function needs more memory: 1. Process data in smaller pieces: stream large files instead of loading them whole, and handle records in batches. 2. Split the work across several Job function runs, in a Function Job Pool with more memory than the function. 3. Move the workload to Catalyst AppSail, where you can allocate up to 2048 MB to a service. Note: A function with more memory costs more per second of execution. Refer to the [Configure Function Memory help page](https://docs.catalyst.zoho.com/en/cli/v1/working-with-functions/configure-function-memory/) and the [Cost and Performance Optimization help page](https://docs.catalyst.zoho.com/en/serverless/help/functions/optimization/) for details. # Circuits ### How do I invoke my circuit using the Circuit URL? You can invoke or execute a circuit in Catalyst Circuits through the API with a POST request using the Circuit URL as the request URL, and by passing the input through the request body in the JSON format along with the access token for the authorization of the request. You can also invoke your circuit inside your business logic using the Execute Circuit SDK method for the platform you require. The Catalyst console also enables you to test your circuit by passing input JSON and verifying the output. # AppSail ## Deploying and Troubleshooting ### How do I find out why my AppSail service shows 'Execution failed. Please check the startup command or port.'? This error means Catalyst AppSail found no process listening on your app's port, so the instance never started serving. The reason is usually in your service's application logs: open your project in the Catalyst console, go to **DevOps** → **Logs**, set **Log Type** to **Application** and select your AppSail service. You can also open **Serverless** → **AppSail** → your service → **Instances** → **History** and click an instance's logs icon. Then check these, in order: 1. Your code listens on the port in the `X_ZOHO_CATALYST_LISTEN_PORT` environment variable, on all interfaces (`0.0.0.0`), not on a hard-coded port or `localhost`. 2. The startup command in **Configuration** is the command that starts your server locally. AppSail runs it without a shell, so a command that uses the variable must be wrapped, for example `sh -c 'python3 -m http.server ${X_ZOHO_CATALYST_LISTEN_PORT}'`. 3. Your app starts listening within 10 seconds. Open the port first and load large files or models afterwards. 4. Every dependency and environment variable your app needs at startup is in the deployment. Refer to the [AppSail Configurations help page](https://docs.catalyst.zoho.com/en/serverless/help/appsail/appsail-configurations/) for details. ## Limits and Scaling ### What are the resource limits of a Catalyst AppSail service, and which of them can be raised? Each Catalyst AppSail service has these limits: memory of 128, 256, 512, 1024 or 2048 MB (512 MB by default), a disk size of 256 MB by default, 100 concurrent requests per instance with a new instance started at 80, at most 5 instances, 30 seconds to complete each request, and 10 seconds for your app to start listening on its port. Inactive instances are scaled down after 5 minutes of uptime, and a project can have 5 AppSail services. You can change memory and disk size yourself: open the service in the Catalyst console, go to **Configuration** → **App Execution Settings**, click **Edit**, select the values and click **Save**. If a deployment fails with 'No space left on device', your app or container image doesn't fit the disk size, so raise it there. The instance count, the concurrent requests per instance and the 5-minute instance uptime can be increased case by case. Contact Catalyst support with your requirements. Note: AppSail offers no memory above 2048 MB and no GPUs; move work longer than 30 seconds to a Job function, and keep large files in Catalyst CloudScale Stratus. Refer to the [AppSail Basics help page](https://docs.catalyst.zoho.com/en/serverless/help/appsail/appsail-basics/) and the [AppSail Configurations help page](https://docs.catalyst.zoho.com/en/serverless/help/appsail/appsail-configurations/) for details. ### Why do I get 'You have reached the max limit of your current API Limit for AppSail' or API_LIMIT_REACHED when I deploy a new AppSail service? This error means your Catalyst project already has 5 AppSail services, which is the number a project can have by default. It refers to the count of services, not to how often you deploy. 1. Open your project in the Catalyst console, go to **Serverless** → **AppSail** and check which services exist. Delete any you no longer need. 2. Put further services in another Catalyst project, if they don't need to share one. 3. If you need more services in one project, contact Catalyst support with your project ID, the number of services you need and why they must be separate, for example isolation between tenants or brands. Support can raise the limit for the project, and the new limit covers both the Development and Production environments. Refer to the [AppSail Basics help page](https://docs.catalyst.zoho.com/en/serverless/help/appsail/appsail-basics/) for details. # CloudScale ## Getting Started -------------------------------------------------------------------------------- title: "Introduction" description: "Learn about getting started with Catalyst CloudScale that provides components for your application storage, security, integration, and deployment needs." last_updated: "2026-11-03T07:48:52.000Z" source: "https://docs.catalyst.zoho.com/en/cloud-scale/getting-started/introduction/" service: "CloudScale" -------------------------------------------------------------------------------- # Catalyst CloudScale ### Introduction CloudScale, powered by Catalyst, is a service by the Catalyst development platform that contains a host of components to provide you with application storage, security, automation, and hosting solutions. CloudScale offers you complete Backend-as-a-Service (BaaS) support and ensures you manage your resources optimally. The entire backend infrastructure, powered by Catalyst, enables you to focus more on building your application logic without worrying about backend setup or infrastructure requirements. With Catalyst, you have access to a highly-integrated, user-friendly [console](https://docs.catalyst.zoho.com/en/getting-started/navigating-in-the-console/) from where you can create and manage the complex functionalities of your application. You can perform several actions such as configuring an automated job scheduler or user authentication, executing database queries, or even managing a powerful relational database easily from the console. Building your application with Catalyst CloudScale ensures you have the freedom to initialize, create, and develop projects locally using the [Catalyst CLI](https://docs.catalyst.zoho.com/en/cli/v1/login/login-from-cli/), in addition to the console. You can work with several CloudScale components through the CLI and deploy your project to the remote console, as and when required. You can also access the CloudScale components through code using [Catalyst SDKs](https://docs.catalyst.zoho.com/en/getting-started/catalyst-sdk/) and [APIs](https://docs.catalyst.zoho.com/en/api/introduction/overview-and-prerequisites/#OverviewandPrerequisites). Catalyst offers server-side SDK support in the following programming environments: * [Java](https://docs.catalyst.zoho.com/en/sdk/java/v1/overview/) * [Node.js](https://docs.catalyst.zoho.com/en/sdk/nodejs/v2/overview/) * [Python](https://docs.catalyst.zoho.com/en/sdk/python/v1/overview/) You can also build client applications with the client SDKs that Catalyst provides: * [Web](https://docs.catalyst.zoho.com/en/sdk/web/v4/overview/) * [Android](https://docs.catalyst.zoho.com/en/sdk/android/v2/overview/) * [iOS](https://docs.catalyst.zoho.com/en/sdk/ios/v2/overview/) * [Flutter](https://docs.catalyst.zoho.com/en/sdk/flutter/v2/overview/) You can host the web apps, and the mobile apps with [Web Client Hosting](https://docs.catalyst.zoho.com/en/cloud-scale/help/web-client-hosting/introduction/) and [Mobile Device Management](https://docs.catalyst.zoho.com/en/cloud-scale/help/mobile-device-management/introduction/). > **Note:** Along with CloudScale, Catalyst provides you with a host of other services like [Catalyst Serverless](https://docs.catalyst.zoho.com/en/serverless/getting-started/introduction/), [Catalyst Zia Services](https://docs.catalyst.zoho.com/en/zia-services/getting-started/introduction/), [Catalyst DevOps](https://docs.catalyst.zoho.com/en/devops/getting-started/introduction/) and more, each providing you with a different set of features and components that aid you through the various stages of your application building and management. You can try implementing some Catalyst components and start building simple microservices using our [Tutorials section](https://docs.catalyst.zoho.com/en/tutorials/). You can start building applications using Catalyst CloudScale by accessing this [Quick-Start Guide](https://docs.catalyst.zoho.com/en/cloud-scale/getting-started/quick-start-guide/). -------------------------------------------------------------------------------- title: "Components of Catalyst CloudScale" description: "Learn about getting started with Catalyst CloudScale that provides components for your application storage, security, integration, and deployment needs." last_updated: "2026-11-03T07:48:52.000Z" source: "https://docs.catalyst.zoho.com/en/cloud-scale/getting-started/components-of-cloud-scale/" service: "CloudScale" -------------------------------------------------------------------------------- # Components of Catalyst CloudScale **STORAGE** - [Data Store](https://docs.catalyst.zoho.com/en/cloud-scale/help/data-store/introduction/)Powerful relational database management system - [Cache](https://docs.catalyst.zoho.com/en/cloud-scale/help/cache/introduction/)Ephemeral storage for frequently accessed data - [Search](https://docs.catalyst.zoho.com/en/cloud-scale/help/search-integration/introduction/)Powerful search system for your app's database - [Query Console](https://docs.catalyst.zoho.com/en/cloud-scale/help/zcql/introduction/)User-friendly console to test ZCQL queries **SECURITY & IDENTITY** - [Authentication](https://docs.catalyst.zoho.com/en/cloud-scale/help/authentication/introduction/)Multifaceted, secure end-user authentication system - [API Gateway](https://docs.catalyst.zoho.com/en/cloud-scale/help/api-gateway/introduction/)Advanced API management tool for your app's endpoints - [Connections](https://docs.catalyst.zoho.com/en/cloud-scale/help/connections/introduction/)Automatic token handler that authenticates integrations with Zoho and third-party services **TRIGGERS** - [Cron](https://docs.catalyst.zoho.com/en/cloud-scale/help/cron/introduction/)Automated job scheduler to manage routine application tasks - [Signals](https://docs.catalyst.zoho.com/en/signals/)Event bus service to automate custom action executions **NOTIFY** - [Mail](https://docs.catalyst.zoho.com/en/cloud-scale/help/mail/introduction/)Customizable, built-in email client for application emails - [Push Notifications](https://docs.catalyst.zoho.com/en/cloud-scale/help/push-notifications/introduction/)Ready-to-implement push notification service for app users **HOST & MANAGE** - [Web Client Hosting](https://docs.catalyst.zoho.com/en/cloud-scale/help/web-client-hosting/introduction/)Easy-to-use, versionable web application hosting service - [Domain Mapping](https://docs.catalyst.zoho.com/en/cloud-scale/help/domain-mappings/introduction/)Secure mapping service for custom domains with Catalyst apps - [MDM](https://docs.catalyst.zoho.com/en/cloud-scale/help/mobile-device-management/introduction/)Secure, versionable Android, iOS, and Flutter app hosting service As represented above, Catalyst CloudScale contains the following components, each aimed at aiding various facets of application building: ### Storage Components Catalyst CloudScale offers storage solutions by providing you with a powerful relational database management service called [Data Store](https://docs.catalyst.zoho.com/en/cloud-scale/help/data-store/introduction/). Additionally, you can also employ [Cache](https://docs.catalyst.zoho.com/en/cloud-scale/help/cache/introduction/), a storage component for ephemeral data storage, and database tools like [ZCQL Query Console](https://docs.catalyst.zoho.com/en/cloud-scale/help/zcql/introduction/) to handle database operations. You can also use the [Search](https://docs.catalyst.zoho.com/en/cloud-scale/help/search-integration/introduction/) component to perform search operations in the indexed columns of the Data Store. ### Security & Identity Components Components like [Authentication](https://docs.catalyst.zoho.com/en/cloud-scale/help/authentication/introduction/) enable you to implement multiple user authentication methods easily and manage the end-users of your application. You also benefit from a powerful API management tool, [API Gateway](https://docs.catalyst.zoho.com/en/cloud-scale/help/api-gateway/introduction/), which enables you to create and define custom APIs to access the endpoints of your application. You also have access to the [Connections](https://docs.catalyst.zoho.com/en/cloud-scale/help/connections/introduction/) component, leveraging which you can easily establish secure integrations with Zoho and other third-party services all while Catalyst handles the necessary token operations to maintain the integration. ### Trigger Components Catalyst CloudScale offers [Cron](https://docs.catalyst.zoho.com/en/cloud-scale/help/cron/introduction/), an automated job scheduling component, and [Catalyst Signals](https://docs.catalyst.zoho.com/en/signals/), an event bus service that can listen for specific events and automatically execute operations based on your configurations. ### Notification Components With [Mail](https://docs.catalyst.zoho.com/en/cloud-scale/help/mail/introduction/), you can engage with your end-users by sending emails from within the application itself, and configuring SMTP settings and custom domains of the sender's email client directly from the console. You can also test and configure push notifications to send to your end users using the [Push Notifications](https://docs.catalyst.zoho.com/en/cloud-scale/help/push-notifications/introduction/) component. ### Host & Manage Components [Mobile Device Management (MDM)](https://docs.catalyst.zoho.com/en/cloud-scale/help/mobile-device-management/introduction/) enables you to easily host Android, iOS, and Flutter apps from Catalyst, and the [Web Client Hosting](https://docs.catalyst.zoho.com/en/cloud-scale/help/web-client-hosting/introduction/) hosts the client component of a Catalyst web application and enables you to manage its versioning. You can use the [ Domain Mappings component](https://docs.catalyst.zoho.com/en/cloud-scale/help/domain-mappings/introduction/) to map your application's domain with the production URL of the Catalyst application and let users access the application securely through that domain. -------------------------------------------------------------------------------- title: "Benefits" description: "Learn about getting started with Catalyst CloudScale that provides components for your application storage, security, integration, and deployment needs." last_updated: "2026-11-03T07:48:52.000Z" source: "https://docs.catalyst.zoho.com/en/cloud-scale/getting-started/benefits/" service: "CloudScale" -------------------------------------------------------------------------------- # Benefits * **Build applications that have no scaling restrictions**: A primary concern you will face during post-production will be handling scaling on demand, and at the same time ensuring that the cost incurred is optimized by not having to pay for server downtime. However, Catalyst CloudScale comes equipped with auto scaling. CloudScale handles the backend infrastructure and server requirements by automatically allocating required resources during high traffic and killing instances when they are not utilized. * **A flexible development environment**: Catalyst CloudScale ensures you have a hassle-free and flexible development environment. You can either use the CloudScale components from the console or access it through code using Catalyst APIs. You can also build and deploy applications locally using the CLI. All of the components are free when used in the [development environment](https://docs.catalyst.zoho.com/en/deployment-and-billing/environments/development-environment/). Using function templates and the boilerplate code aids you in cutting down setup time. From the console, you can also automate parts of your application by implementing components such as [Cron](https://docs.catalyst.zoho.com/en/cloud-scale/help/cron/introduction/) and [Catalyst Signals](https://docs.catalyst.zoho.com/en/signals/). * **Host your application with ease**: You can use the [Web Client Hosting](https://docs.catalyst.zoho.com/en/cloud-scale/help/web-client-hosting/introduction/) component to host your client component as a web app. You can host different versions of your application and easily manage versioning requirements like hosting an updated version or rolling back to an older version. Furthermore, using the [ Domain Mappings](https://docs.catalyst.zoho.com/en/cloud-scale/help/domain-mappings/introduction/) component you can map the application's domain with the production URL of the Catalyst application and let users access the application securely through that domain. You can also easily host your application as an Android, iOS, or a Flutter application using [Mobile Device Management](https://docs.catalyst.zoho.com/en/cloud-scale/help/mobile-device-management/introduction/). * **Storage made simple**: The [Data Store](https://docs.catalyst.zoho.com/en/cloud-scale/help/data-store/introduction/) component is a powerful cloud-based relational database management system. You can easily perform any data manipulation you require directly from the console or even using the [Query Console](https://docs.catalyst.zoho.com/en/cloud-scale/help/zcql/introduction/). [Cache](https://docs.catalyst.zoho.com/en/cloud-scale/help/cache/introduction/) is an ephemeral storage component you can employ to ensure that actively used data is retrieved faster. All of the storage components do not require any complex coding or backend support as they are expertly handled by Catalyst CloudScale. You can use the Data Store to store sensitive user data, as it will be stored in a manner that is compliant with all relevant data and privacy protection laws, such as [HIPAA](https://www.hhs.gov/hipaa/for-professionals/special-topics/health-information-technology/cloud-computing/index.html) and [GDPR](https://gdpr-info.eu/issues/personal-data/) guidelines. * **More than one authentication type**: Using the [Authentication](https://docs.catalyst.zoho.com/en/cloud-scale/help/authentication/introduction/) component, you can securely add end-users to the application easily and ensure that access to your application and microservices is secure throughout. Catalyst CloudScale offers two native authentication types where Catalyst comprehensively handles the security component of your application. You also have the freedom to enable a third-party authentication service of your choice for your Catalyst application and manage it using the CloudScale Authentication component. * **Access to the whole of Catalyst**: By using Catalyst CloudScale, you will also have access to other services of Catalyst like [Catalyst Zia Services](https://docs.catalyst.zoho.com/en/zia-services/getting-started/introduction/) and [Catalyst DevOps](https://docs.catalyst.zoho.com/en/devops/getting-started/introduction/). For instance, by signing up with CloudScale, you can easily add powerful AI services like [Identity Scanner](https://docs.catalyst.zoho.com/en/zia-services/help/identity-scanner/introduction/), [Face Analytics](https://docs.catalyst.zoho.com/en/zia-services/help/face-analytics/introduction/) to enhance your application. -------------------------------------------------------------------------------- title: "Use Cases" description: "Learn about getting started with Catalyst CloudScale that provides components for your application storage, security, integration, and deployment needs." last_updated: "2026-11-03T07:48:52.000Z" source: "https://docs.catalyst.zoho.com/en/cloud-scale/getting-started/use-cases/" service: "CloudScale" -------------------------------------------------------------------------------- # Examples of How Catalyst CloudScale Can Improve Businesses 1. **Improving Customer Engagement** In any business, customer engagement plays a pivotal role in ensuring paying customers are retained. If there is a lack of engagement, the chances are high that businesses miss out on building and securing regular customers. With Catalyst CloudScale, you can build an effective customer engagement system. For example, if you have a list of users that have subscribed to your business, present in a CSV file, regularly maintained by the customer facing employees. For better customer engagement you can use the customer list in the CSV file and send them thank you emails or promotional content. You can do this quickly and easily by building a microservice using CloudScale. The microservice can operate in a manner where once the file is uploaded, a [Catalyst Signals](https://docs.catalyst.zoho.com/en/signals/) triggers an event function that performs a bulk write operation in the [Data Store](https://docs.catalyst.zoho.com/en/cloud-scale/help/data-store/introduction/). From the data gathered here, using components like [Mail](https://docs.catalyst.zoho.com/en/cloud-scale/help/mail/introduction/) and [Push Notifications](https://docs.catalyst.zoho.com/en/cloud-scale/help/push-notifications/introduction/), you can send emails and push notifications to your customers from within your application. Furthermore, using [Cron](https://docs.catalyst.zoho.com/en/cloud-scale/help/cron/introduction/) you can also ensure these emails are sent periodically, ensuring consistent engagement. 2. **Simplifying Recruitment Processes** Companies often have to invest time and resources in filtering their potential candidates by conducting several rounds of interviews or other forms of assessments. The task of keeping track of individual prospects' progress and updating them can be cumbersome and time-consuming. However, this arduous task can be streamlined and simplified by building a recruiter application using Catalyst CloudScale. The application can be built in a manner where you use the [Authentication](https://docs.catalyst.zoho.com/en/cloud-scale/help/authentication/introduction/) component to authenticate directly and add prospective candidates to your recruitment app by sending them invite emails using the [Email Template](https://docs.catalyst.zoho.com/en/cloud-scale/help/authentication/email-templates/introduction/) feature. You can also comprehensively secure all end points of your application using [API Gateway](https://docs.catalyst.zoho.com/en/cloud-scale/help/api-gateway/introduction/). Using [Cron](https://docs.catalyst.zoho.com/en/cloud-scale/help/cron/introduction/), [Push Notifications](https://docs.catalyst.zoho.com/en/cloud-scale/help/push-notifications/introduction/) and [Mail](https://docs.catalyst.zoho.com/en/cloud-scale/help/mail/introduction/) you periodically alert candidates on their upcoming assessments instead of handling this task manually. The [Data Store](https://docs.catalyst.zoho.com/en/cloud-scale/help/data-store/introduction/) can be used to store candidates' information. In the event where a candidate scores a failing grade, a [Catalyst Signals](https://docs.catalyst.zoho.com/en/signals/) can be used to execute an event function to send an email through Mail informing the candidate. Using the [Roles](https://docs.catalyst.zoho.com/en/cloud-scale/help/authentication/user-management/roles/introduction/) feature in Authentication you can then deactivate the failed candidate's credentials and revoke their access to the application. Furthermore, using [Mobile Device Management](https://docs.catalyst.zoho.com/en/cloud-scale/help/mobile-device-management/introduction/), you can host this application as an iOS, Android, or a Flutter app, and the [Web Client Hosting](https://docs.catalyst.zoho.com/en/cloud-scale/help/web-client-hosting/introduction/) component will enable you to host the application as a Web app. 3. **Generating Awareness on Safe-Usage of Drugs** The health care industry consistently puts out various prescription drugs each year. Sometimes, it can be daunting for patients to know which over-the-counter drugs are FDA approved and safe to use. However, using CloudScale, you can create a Catalyst application that notifies users on the viability of these drugs. The [Data Store](https://docs.catalyst.zoho.com/en/cloud-scale/help/data-store/introduction/) component is a powerful relational database system that can store all the necessary information. [Search](https://docs.catalyst.zoho.com/en/cloud-scale/help/search-integration/introduction/) and [Query Console](https://docs.catalyst.zoho.com/en/cloud-scale/help/zcql/introduction/) can be used to modify and sort through the vast volume of data. You can also automate the process of periodically updating the Data Store to remain on par with newer drugs using the [Cron](https://docs.catalyst.zoho.com/en/cloud-scale/help/cron/introduction/) component. You can find out more on how Catalyst CloudScale has benefited several businesses across various sectors by clicking [here](https://catalyst.zoho.com/customers/). -------------------------------------------------------------------------------- title: "Quick Start Guide" description: "Learn about getting started with Catalyst CloudScale that provides components for your application storage, security, integration, and deployment needs." last_updated: "2026-11-03T15:16:51.000Z" source: "https://docs.catalyst.zoho.com/en/cloud-scale/getting-started/quick-start-guide/" service: "CloudScale" -------------------------------------------------------------------------------- # Catalyst CloudScale - A Quick Start Guide This section covers the overall steps involved in creating and developing your Catalyst applications by leveraging the CloudScale components from the Catalyst console. You can engineer, test, and deploy robust applications and microservices using the various components of Catalyst CloudScale. 1. **Create a project** - Access the [Catalyst console](https://console.catalyst.zoho.com/baas/index) to [create a new project](https://docs.catalyst.zoho.com/en/getting-started/catalyst-projects/#create-a-catalyst-project). After the project creation is complete, you will be able to access all components of CloudScale and other Catalyst services from the console. > **Note:** You can familiarize yourself with the various components and gain a more functional understanding of Catalyst by using the step-by-step guides present in the [Tutorials section](https://docs.catalyst.zoho.com/en/tutorials/). Additionally, you can also create a new project in the local environment by [initializing it from the CLI](https://docs.catalyst.zoho.com/en/cli/v1/initialize-resources/introduction/). You must first [install Catalyst CLI](https://docs.catalyst.zoho.com/en/getting-started/installing-catalyst-cli/) and [log in to your remote account](https://docs.catalyst.zoho.com/en/getting-started/installing-catalyst-cli/#install-the-cli) before you can access the Catalyst commands and work with your application locally. 2. **Accessing Catalyst CloudScale components** - You can access and implement any of the CloudScale components based on your requirements. For instance, you can utilize [Data Store](https://docs.catalyst.zoho.com/en/cloud-scale/help/data-store/introduction/), to implement a powerful relational database management system in your application. You can also use [Cache](https://docs.catalyst.zoho.com/en/cloud-scale/help/cache/introduction/) if your application requires ephemeral storage. You can configure an event bus service or automate redundant parts of your application and schedule jobs to be automatically executed using [Catalyst Signals](https://docs.catalyst.zoho.com/en/signals/) and [Cron](https://docs.catalyst.zoho.com/en/cloud-scale/help/cron/introduction/) respectively. You can also configure various types of authentication to allow your users to log on to your application securely. You also have the option to communicate with your end users from the console using the [Mail](https://docs.catalyst.zoho.com/en/cloud-scale/help/mail/introduction/) and [Push Notifications](https://docs.catalyst.zoho.com/en/cloud-scale/help/push-notifications/introduction/) components. > **Note:** Each of these [CloudScale components](https://docs.catalyst.zoho.com/en/cloud-scale/getting-started/components-of-cloud-scale/) have detailed help sections to ensure you can utilize CloudScale to build applications quickly and easily. 3. **Developing your application** - You can initialize the project locally using the Catalyst CLI, and start coding your business logic into [Catalyst Serverless Functions](https://docs.catalyst.zoho.com/en/serverless/help/functions/introduction/), with either [Java](https://docs.catalyst.zoho.com/en/sdk/java/v1/overview/), [Node.js](https://docs.catalyst.zoho.com/en/sdk/nodejs/v2/overview/), or [Python](https://docs.catalyst.zoho.com/en/sdk/python/v1/overview/), using an external IDE of your choice, or directly create them in the console. You can also utilize code templates from [Catalyst SDK](https://docs.catalyst.zoho.com/en/getting-started/catalyst-sdk/) and employ prebuilt API endpoints from [Catalyst API](https://docs.catalyst.zoho.com/en/api/introduction/overview-and-prerequisites/#OverviewandPrerequisites) to incorporate CloudScale components in your business logic. You also have the option to use [Catalyst Codelib](https://docs.catalyst.zoho.com/en/codelib/introduction/), which are ready-made microservices that can be incorporated into application directly. You can also enhance your application using AI/ML powered components of [Catalyst Zia Services](https://docs.catalyst.zoho.com/en/zia-services/getting-started/introduction/). 4. **Test the application** - You can test the client components of your application locally before deploying it to the remote console using [`catalyst serve`](https://docs.catalyst.zoho.com/en/cli/v1/serve-resources/introduction/). You can also debug and test your functions using the catalyst shell command; [`catalyst functions:shell`](https://docs.catalyst.zoho.com/en/cli/v1/working-with-functions/functions-shell/). > **Note:** You also have the option to configure automated test cases in the exclusive testing environment present in [Catalyst DevOps' Automation Testing](https://docs.catalyst.zoho.com/en/devops/help/automation-testing/introduction/) component. You can also perform logging, application monitoring, and other operations management through Catalyst DevOps. 5. **Host your application** - You can then host your application using the [Web Client Hosting](https://docs.catalyst.zoho.com/en/cloud-scale/help/web-client-hosting/introduction/) component in the development sandbox. You can also manage different versions of your application here and easily upgrade your application or roll it back per your preference. You can continue to monitor your application and optimize it as required using [Catalyst DevOps](https://docs.catalyst.zoho.com/en/devops/getting-started/introduction/). > **Note:** You can also host Android, iOS, and Flutter applications using the [Mobile Device Management](https://docs.catalyst.zoho.com/en/cloud-scale/help/mobile-device-management/introduction/) component. 6. **Migrate your application from development to production** - When your application is ready to be migrated, you can deploy it from the development to the production environment in a streamlined manner as instructed in this [help document](https://docs.catalyst.zoho.com/en/deployment-and-billing/environments/initial-deployment/), and you can use the [ Domain Mappings component](https://docs.catalyst.zoho.com/en/cloud-scale/help/domain-mappings/introduction/) to map your application's [production URL](https://docs.catalyst.zoho.com/en/deployment-and-billing/environments/production-environment/#function-url-and-web-app-url-in-the-production-environment) onto your own custom domain securely. Additionally, Catalyst will provide group SSL certifications for all the domains that you map under your application, free of cost. However, before you deploy to production ensure you have set up [Catalyst payments](https://docs.catalyst.zoho.com/en/deployment-and-billing/billing/introduction/). > **Note:** The sequence of steps specified here might differ based on your business or application logic, or your specific use case. The flow mentioned in the deploying and testing phases of the application can be altered based on your requirements. This is a generic set of guidelines that is suitable for a typical small to mid-scale, client-based application, or microservice. ## Help Components ### API Gateway -------------------------------------------------------------------------------- title: "Introduction" description: "Catalyst API Gateway enables you to create APIs to access the functions and web client end-points of your app, and perform advanced API management." last_updated: "2026-11-03T07:48:52.000Z" source: "https://docs.catalyst.zoho.com/en/cloud-scale/help/api-gateway/introduction/" service: "CloudScale" -------------------------------------------------------------------------------- # API Gateway ### Introduction An API Gateway is an intermediate layer between the client and the server that acts as a reverse proxy, routing client requests to individual services. Catalyst CloudScale API Gateway is an advanced API management tool that enables you to create, maintain, and monitor HTTP requests generated from client applications and microservices. This component is powered by Catalyst, offering reliability, scalability, and seamless integration with other Catalyst components. Catalyst API Gateway acts as a single entryway into accessing the following target components of your Catalyst application: * [Basic I/O Functions](https://docs.catalyst.zoho.com/en/serverless/help/functions/basic-io/) * [Advanced I/O Functions](https://docs.catalyst.zoho.com/en/serverless/help/functions/advanced-io/) * [Web Client](https://docs.catalyst.zoho.com/en/cloud-scale/help/web-client-hosting/introduction/) Once you enable API Gateway for your Catalyst project in the Catalyst web console, all client requests to access these targets will be handled by this gateway. This helps prevent these components from being directly exposed to the clients by decoupling the clients from services. You can create customized individual APIs for every request type to access these targets. The API Gateway handles these functionalities of an API call and processes the request accordingly: * Routing * Authentication (optional) * Throttling (optional) Catalyst provides API Gateway as an optional, paid component, and as an enhancement to [Security Rules](https://docs.catalyst.zoho.com/en/serverless/help/security-rules/introduction/). While Security Rules provides basic routing and authentication features for your functions, API Gateway provides more flexibility in customizing the functionalities mentioned above for your APIs. You can learn more from the [Security Rules vs API Gateway section](https://docs.catalyst.zoho.com/en/cloud-scale/help/api-gateway/key-concepts/#api-gateway-vs-security-rules). You can also work with API Gateway from the Catalyst CLI. You can enable or disable it, and check its status. You can learn about this from the [Working with API Gateway CLI help page](https://docs.catalyst.zoho.com/en/cli/v1/working-with-api-gateway/introduction/). You can also [pull the JSON file](https://docs.catalyst.zoho.com/en/cli/v1/pull-resources/introduction/) that contains the definitions of the APIs you create in your remote console to your local environment, and work on it locally. You can then [deploy it to the remote console](https://docs.catalyst.zoho.com/en/cli/v1/deploy-resources/introduction/). -------------------------------------------------------------------------------- title: "Key Concepts" description: "Catalyst API Gateway enables you to create APIs to access the functions and web client end-points of your app, and perform advanced API management." last_updated: "2026-11-03T15:16:51.000Z" source: "https://docs.catalyst.zoho.com/en/cloud-scale/help/api-gateway/key-concepts/" service: "CloudScale" -------------------------------------------------------------------------------- # Key Concepts Before you learn about API Gateway's architecture and implementation, it's important to understand its fundamental concepts in detail. ### API Gateway vs Security Rules Catalyst API Gateway is an enhancement to [Catalyst Security Rules](https://docs.catalyst.zoho.com/en/serverless/help/security-rules/introduction) as it provides additional features for API management. Points to remember: * You can enable or disable the API Gateway at any time. * When the API Gateway is disabled, the configurations defined for a Catalyst function in Security Rules will be followed by default. * When you enable API Gateway for your Catalyst application, Security Rules will be disabled automatically. * After you enable API Gateway, the URLs of your functions and web client will immediately become inaccessible until you create APIs for them. Therefore, if you enable API Gateway, you must create APIs for all your functions and web client. * You can migrate the configurations of your functions in Security Rules to API Gateway using [auto-create](https://docs.catalyst.zoho.com/en/cloud-scale/help/api-gateway/key-concepts/#auto-created-apis-custom-apis-and-the-default-api). The differences between Security Rules and API Gateway are specified below:
Security Rules API Gateway
Can configure access for GET, PUT, POST, DELETE, and PATCH HTTP methods Can configure access for GET, GET, PUT, POST, DELETE, and PATCH HTTP methods. Can also aggregate all HTTP methods under ANY, and create a single API for it.
Request URL and Target URL are the same Can configure custom Request URL and Target URL separately. Can create individual APIs for each request method for every URL
Can enable or disable authentication and configure two types of authentication: Catalyst Users Authentication, and OAuth-based Authentication Can enable or disable authentication and configure three types of authentication: API Key, Catalyst Users Authentication, and OAuth-based Authentication
No throttling feature Can configure two types of throttling: General Throttling and IP-based Throttling
Cannot configure rules for web clients Can create APIs for web clients
### Routing The primary purpose of an API Gateway is to route the client to the appropriate services. This is defined by two aspects of an API: Request and Target. If an API has not been configured for a particular request method or request URL, the client will not be able to access the target. Let's learn about these in detail. #### Request Methods Catalyst API Gateway supports the following HTTP request methods: * **`GET`** * **`PUT`** * **`POST`** * **`DELETE`** * **`PATCH`** You can also aggregate all these HTTP methods under a custom defined method: `ANY`. This enables you to create a single API for a function that supports all five methods, instead of creating five individual APIs, one for each method. `ANY` can be used both in [auto-create and creating custom APIs](https://docs.catalyst.zoho.com/en/cloud-scale/help/api-gateway/key-concepts/#auto-created-apis-custom-apis-and-the-default-api). > **Note:** Web client APIs do not support `ANY`. You can only select the `GET` method for a web client. #### Request URL The URL of your Catalyst application has the following structure: https://_project\_domain\_name_.catalystserverless.com. When you create an API, you can define the request path and it will be automatically appended to this URL. This will be the request URL. For example, if the request path is _/CustomerPortal/create_, it will be appended to the application URL of that project, and the following request URL will be created: **https://shipmenttracking-61317105.catalystserverless.com/CusomerPortal/create**. You can then provide this intermediary request URL to the client, instead of the target function's or web client's default URL. The API that will then route this request URL to the configured target automatically. #### Target and Target URL As mentioned before, the target components of an API configured in API Gateway can be: Basic I/O functions, Advanced I/O functions, web client. You can set one target for every API that you create in API Gateway. You can create multiple APIs for each target for different request methods. > **Note:** API Gateway does not handle client requests for [Cron Functions and Event Functions](https://docs.catalyst.zoho.com/en/serverless/help/functions/event-functions) as they cannot be directly executed by end users. The URL format of each target is as follows: * **Basic I/O:** https://_project\_domain\_name_.catalystserverless.com/baas/v1/ project/_project\_ID_/function/_function\_ID_/execute * **Advanced I/O:** https://_project\_domain\_name_.catalystserverless.com/server/_function\_name_/ * **Web Client:** https://_project\_domain\_name_.catalystserverless.com/app/ You can append routes to an Advanced I/O function's or web client's target URL and create APIs for specific paths. #### Using Regular Expressions (Regex) in the Request URL and Target URL Catalyst offers support for regular expressions to hold dynamic values in the request URL. A **regular expression (regex)** is a sequence of characters that describes a search pattern. When you include a regex pattern in the request URL, pattern-matching, and search-and-replace algorithms are executed when the input value is provided during execution and the pattern is replaced with the dynamic value. You can enter a regex pattern in the JSON format in the request URL and pass the key to the target URL like: **Request url:** /route/{path:\[0-9\]+} **Target url:** /route/{path} For example, if the dynamic value of a request URL contains a string of numbers, you can use the expression _\[0-9\]+_. This indicates that the characters inside the brackets in the dynamic value can be any span of numbers from 0-9 and the `**+\***` indicates one or more occurrences of the digits. Therefore, the request URL here could be configured as: _**/CustomerPortal/{portalID:\[0-9\]+}**_. Now, if you append a route to the target URL of an Advanced I/O function as: _**/server/adIOFunc/CustomerPortal/{portalID}**_, the ID provided by the user in the request URL while accessing it will be dynamically passed to the target Advanced I/O function. You can also use a wildcard pattern in your regular expression, such as `\.` ,which indicates that any number of literal characters or an empty string can be accepted in the place of the wildcard pattern. For example, if you provide a wildcard pattern in the request URL like: **/CustomerPortal/{path:(.\*)}**, the user will be able to enter any value dynamically in the URL such as: _/CustomerPortal/johndoe12_, _/CustomerPortal/premiumUser/12809021_, or _/CustomerPortal/xae89013_. If you defined a regex pattern in the URL for an Advanced I/O function in [Security Rules](https://docs.catalyst.zoho.com/en/serverless/help/security-rules/introduction), the same pattern will be added to both the request URL and target URL during [auto-create](https://docs.catalyst.zoho.com/en/cloud-scale/help/api-gateway/key-concepts/#auto-created-apis-custom-apis-and-the-default-api). ### Authentication Request Processor The Request Processor handles the authentication of the API. Authentication is an optional feature in API Gateway. If you select `No Authentication` while creating the API, the target will be universally accessible to every client. > **Note:** The authentication feature is not available for web client APIs. It is only available for the Basic I/O and Advanced I/O functions. API Gateway supports three authentication methods. You can enable any or all of these methods. #### API Key This authentication is handled by an API key that is generated by Catalyst automatically for your project. The API Key is the same for all projects in the development environment. When you [deploy a Catalyst project to the Production environment](https://docs.catalyst.zoho.com/en/deployment-and-billing/environments/production-environment), Catalyst will provide you a different API key. You will therefore have individual API keys for each project in the Production environment. You can obtain the API key after you [create an API](https://docs.catalyst.zoho.com/en/cloud-scale/help/api-gateway/implementation/#create-an-api) for a Basic I/O or Advanced I/O function in your project, with the API Key authentication option enabled. Click **View API Key** in the API details section to access the key. ![catalyst_apig_api_key](https://catalyst-docs-development.zohostratus.in/images/help/api-gateway/catalyst_apig_api_key.webp) A pop-up window will open with the API key. ![catalyst_apig_api_key_2](https://catalyst-docs-development.zohostratus.in/images/help/api-gateway/catalyst_apig_api_key_2.webp) You can pass the API key in two ways: * **Request Header** You can pass the API key as a header in the request URL as shown in this example: ```bash curl -X POST \ https://shipmenttracking-61317105.catalystserverless.com/CustomerPortal/create \ -H "ZCFKEY: API_KEY" ``` * **Query String** You can also pass the API key as a query parameter in the request URL as shown in this example: ```bash POST https://shipmenttracking-61317105.catalystserverless.com/CustomerPortal/ create?ZCFKEY=API_KEY ``` Replace `API\_KEY` with your API key in both places. #### Catalyst Users Authentication This authentication method enables access for all the users of your Catalyst application added in the _Users_ section of [Catalyst Authentication](https://docs.catalyst.zoho.com/en/cloud-scale/help/authentication/introduction), by default. You can handle this authentication method by incorporating a user sign-in form in your Catalyst application, and enabling a login session. The [app users](https://docs.catalyst.zoho.com/en/cloud-scale/help/authentication/user-management/users/introduction/) will then be able to access the API's target automatically without needing to go through any additional user verification. #### OAuth-Based Authentication This authentication method enables access for the users with an OAuth access token. You can pass the access token as a header in the request URL as shown in this example: ```bash curl -X POST \ https://shipmenttracking-61317105.catalystserverless.com/CustomerPortal/create \ -H "Authorization: Zoho-oauthtoken Zoho-oauthtoken 1000.910*\*\*\*\*\*\*\*\*\*\*\*\*\*\*\*\*\*\*\*\*\*\*\*\*16.2f*\*\*\*\*\*\*\*\*\*\*\*\*\*\*\*\*\*\*\*\*\*\*\*\*57"" ``` To implement OAuth authentication in your Catalyst application, refer to our [OAuth Authentication help documentation](https://docs.catalyst.zoho.com/en/api/oauth2/overview-and-terminology/#OverviewandTerminology) for detailed steps. > **Note:** When implementing OAuth protocols for API Gateway access, you need to be aware of this behaviour. Depending on your user type, the following applies: * **Authenticated Users** can access your functions directly without any additional configuration. * **You and your Collaborators**, in addition to providing your OAuth token, must include the following request header to access your functions: * **Key:** `ZC-OAUTH-USER` * **Value:** `ADMIN` ### Throttling Throttling enables you to set a rate limit to control the usage of an API by the clients. Throttling is an optional feature in Catalyst API Gateway. When you set throttling rate limits for an API, Catalyst will monitor the count of request hits made to that API. When the request submissions exceed the limits you have configured for the API, the API Gateway will return the HTTP error response: `429 Too Many Requests`. There are two types of throttling available in API Gateway. You can use either one or both methods. #### General Throttling General throttling defines the maximum hits allowed to the API for all users, per time unit. You can define the request limit, its rate, and the time unit while creating the API. Catalyst implements a sliding window rate limiting algorithm where the window starts from the current element and shifts by a weighted value of the previous window's request rate. For example, if you set 50 requests in 2 minutes as the limit, Catalyst will check for API hits in the 2 minutes preceding the current second and determine the count, instead of checking in a 2 minute fixed window length. #### IP-Based Throttling IP-based throttling defines the maximum number of hits allowed to the API from a particular IP address, per time unit. This limits the number of API calls that can be made from a particular client address. You can define the request limit, its rate, and the time unit for this in a similar way as for general throttling. ### Auto-Created APIs, Custom APIs, and the Default API You can [create APIs for your Catalyst functions and web client](https://docs.catalyst.zoho.com/en/cloud-scale/help/api-gateway/implementation/#create-an-api) in two ways: auto-create or custom. Before we discuss auto-created APIs and custom APIs, you must learn about the default API. #### The Default API API Gateway creates a default API called `Login Redirect` for the web client hosted in your Catalyst project, in addition to the regular web client API. The following rules apply for the `Login Redirect` API: * This API is created when you create APIs in the API Gateway for the first time after hosting a web client in your Catalyst project, using either auto-create or the custom method. * The `Login Redirect` API is created based on the configuration set in the [client-package.json](https://docs.catalyst.zoho.com/en/cli/v1/project-directory-structure/client-directory/) file for the web client. The URL configured as the `login\_redirect` in that file will be set as the request URL and target URL of the API. The `login\_redirect` key is optional. Therefore, if it is not configured, the URL provided as the `homepage` will be set as the request URL and target URL. * If the URL configured as `login\_redirect` starts with a '/', Catalyst will consider it as an absolute path and will append it to the domain directly. For example, if `login\_redirect` is '**/home.html**', the request URL will be of the format: **https://_project\_domain\_name.catalystserverless_.com/home.html**. However, if the `login\_redirect` value does not start with a '/', such as '**home.html**', then the request URL will be of the format: **https://_project\_domain\_name_.catalystserverless.com/app/home.html**. * The values for general throttling and IP-based throttling for this default API will be set to `Not configured`, and the value for authentication will be set to `No authentication`. * You must give the default login redirect page of the Catalyst application as the request URL for the `Login Redirect` API. You must not give any other URL as its value. * If you change the value of `login\_redirect` in the `client-package.json` file after the `Login Redirect` API was created, the target URL value will be automatically changed when you deploy the client package to the Catalyst console. * You will not be able to edit any of these default values except the request URL. You will not be able to modify the target URL, API name, authentication, or throttling parameters. * You will not be able to delete the `Login Redirect` API. * The difference between the default `Login Redirect` API and the regular web client APIs is that, the `Login Redirect API` is only meant for the default login redirect page of the application where the users are redirected to, after they login. However, you can append routes to a web client's target URL and create APIs for different routes for regular web client APIs. * If you have not hosted a web client in your Catalyst project, this API will not be created. #### Auto-Created APIs You can enable Catalyst to automatically create APIs for the functions that you choose, or for the web client, using the auto-create method. Auto creating APIs is only available until you create your first API in API Gateway. Auto-create can be used when you have a large number of functions configured in your Catalyst project, and creating individual APIs for each of them would be very time consuming. When you use auto-create to create APIs, these protocols are followed: * If you have configured definitions for your functions in [Security Rules](https://docs.catalyst.zoho.com/en/serverless/help/security-rules/introduction), they will be migrated to API Gateway automatically during auto-create. If you have not configured any definitions, the default rules will be applied. * The APIs created for a function during auto-create will contain the HTTP methods and authentication configured for it in the Security Rules. * **Request methods and URL:** * If all five HTTP methods (`GET`, `PUT`, `POST`, `DELETE`, `PATCH`) are enabled for a function in Security Rules, a single API will automatically be created with the request method '[ANY](https://docs.catalyst.zoho.com/en/cloud-scale/help/api-gateway/key-concepts/#routing)' for the function. * If one or more of the five HTTP methods is disabled for a function in Security Rules, individual APIs will be created for each of the other methods. * The request URL of a function will be the same as its default target URL or the [function URL](https://docs.catalyst.zoho.com/en/serverless/help/functions/introduction) in auto-create, since the request URL and target URL are the same in Security Rules. * If there is a [regex pattern in the request URL](https://docs.catalyst.zoho.com/en/cloud-scale/help/api-gateway/key-concepts/#routing) of a function, the same pattern will be assigned to the target URL. * **Authentication:** * If the authentication method for a function in Security Rules is `optional`, the [request processor](https://docs.catalyst.zoho.com/en/cloud-scale/help/api-gateway/key-concepts/#authentication-request-processor) will automatically be set to `No Authentication` for the function's APIs during auto-create. * If authentication for a function in Security Rules is enabled, Catalyst Users Authentication and OAuth-based Authentication will be automatically enabled for the function's APIs in API Gateway. * **Throttling:** The values for general throttling and IP-based throttling for a function's APIs will be set to `Not configured` by default during auto-create. * **API name:** An API created using auto-create for a function will be named in the format: _FunctionName\_HTTPMethod_. An API created for a web client using auto-create will be named in the format: _WebclientName_. * **Web client API:** The values for general throttling and IP-based throttling for a web client will be set to `Not configured`. As mentioned, earlier authentication is not available for web client APIs. The request URL of a web client will also be the same as its target [web app URL](https://docs.catalyst.zoho.com/en/cloud-scale/help/web-client-hosting/implementation#host-a-web-application). * **Hard limits:** The hard limit for the number of APIs that can be created is 1000 APIs/project. After the APIs are created for your functions and web client using auto-create, you can [edit individual APIs](https://docs.catalyst.zoho.com/en/cloud-scale/help/api-gateway/implementation/#edit-an-api) and modify the default values as required. #### Custom API You can create a custom API for your function or web client at any time and configure the parameters of the API. You can define the request method and URL, the target, authentication methods, throttling, and more based on your requirements. Creating a custom API does not migrate the configurations of a function from Security Rules. -------------------------------------------------------------------------------- title: "Architecture" description: "Catalyst API Gateway enables you to create APIs to access the functions and web client end-points of your app, and perform advanced API management." last_updated: "2026-11-03T07:48:52.000Z" source: "https://docs.catalyst.zoho.com/en/cloud-scale/help/api-gateway/architecture/" service: "CloudScale" -------------------------------------------------------------------------------- # Architecture Catalyst API Gateway's architecture is shown below: ![apig_architechture](https://catalyst-docs-development.zohostratus.in/images/help/api-gateway/catalyst_apig_architecture.webp) Catalyst API Gateway performs tasks in the following sequence: 1. Reading the request method and URL of the client request 2. Searching for an API that you have configured for the particular request method and URL 3. Initiating the API, if available, or denying the request if the API is unavailable 4. Checking the throttling configuration and verifying if the request is within the defined rate limits, if applicable 5. Checking the authentication configuration and initiating a handler to verify the credentials, if applicable 6. Enabling the API to redirect the client to the configured target URL, if all validations are passed -------------------------------------------------------------------------------- title: "Benefits" description: "Catalyst API Gateway enables you to create APIs to access the functions and web client end-points of your app, and perform advanced API management." last_updated: "2026-11-03T07:48:52.000Z" source: "https://docs.catalyst.zoho.com/en/cloud-scale/help/api-gateway/benefits/" service: "CloudScale" -------------------------------------------------------------------------------- ### Benefits 1. **Efficient API Management** Catalyst API Gateway enables you to manage all your APIs in a single place. It provides a single endpoint for all your clients, and allows you to create custom APIs with flexible definitions for each request. The ability to aggregate all HTTP supported request methods into one method (ANY) increases efficiency and reduces manual efforts in creating and maintaining a large number of APIs. It also minimizes the number of round trips between the client and the application server, improving the end user experience. 2. **Enhanced Security for the Application's Backend ** Catalyst API Gateway acts as an intermediate layer between the client and the server, and prevents direct communication between them. This insulates the application from the clients, and prevents public exposure of its backend architecture and endpoints. API Gateway decreases the risk of potential threats associated with vulnerable exposure by completely decoupling the clients from services. The authentication methods also act as additional security boosters, and ensure protection of the application and user data. 3. **Offloading Functionalities from Individual Services** API Gateway offloads functionalities such as authentication and throttling from individual microservices, and handles everything in a consolidated manner. This lessens the responsibilities of individual services, as they do not need to be designed to manage authentication or throttling by themselves. API Gateway acts as a cohesive unit to manage all your APIs centrally and streamlines your application's functionality. 4. **High Performance at any Scale** Throttling the rate limits of an API improves the application's performance and provides a rich user experience. It helps the backend systems withstand traffic spikes and prevents excessive use of resources. Throttling also ensures that a particular set of clients alone do not suffocate the backend resources, and distributes the application's efficiency evenly between all clients. You can design usage plans in your application based on the throttling limits that you configure. Catalyst API Gateway ensures that your application is fast, robust, reliable, and consistent. -------------------------------------------------------------------------------- title: "Implementation" description: "Catalyst API Gateway enables you to create APIs to access the functions and web client end-points of your app, and perform advanced API management." last_updated: "2026-11-03T07:48:52.000Z" source: "https://docs.catalyst.zoho.com/en/cloud-scale/help/api-gateway/implementation/" service: "CloudScale" -------------------------------------------------------------------------------- # Implementation The implementation section is a step-by-step procedure guide to configure API Gateway from the Catalyst web console. You can learn about working with API Gateway from the CLI from the [CLI help documentation](https://docs.catalyst.zoho.com/en/cli/v1/working-with-api-gateway/introduction/). ### Enable API Gateway You must enable API Gateway for your project before you access it for the first time. As discussed earlier, when you enable the API Gateway for your Catalyst application, the configurations in [Security Rules](https://docs.catalyst.zoho.com/en/serverless/help/security-rules/introduction) are automatically disabled. The functions and the web client hosted in your Catalyst project will immediately become inaccessible until you create APIs for them. You should therefore proceed with caution. Ensure that you create APIs for all your functions and web client immediately after enabling API Gateway. You must also ensure that the end users do not access them in the meantime. You can learn about disabling API Gateway from [this section](https://docs.catalyst.zoho.com/en/cloud-scale/help/api-gateway/implementation/#disable-api-gateway). To enable API Gateway for your Catalyst application from the console: 1. Navigate to **API Gateway** under _Security & Identity_ in the Catalyst CloudScale console and Click **Enable Now**. ![catalyst_apig](https://catalyst-docs-development.zohostratus.in/images/help/api-gateway/catalyst_apig.webp) 2. Click **Proceed** in the confirmation window. ![apig_enable](https://catalyst-docs-development.zohostratus.in/images/help/api-gateway/catalyst_apig_enable.webp) You will receive a notification in the console once API Gateway is enabled for your Catalyst project. ### Create an API Before you begin, you must ensure that you have hosted at least one function or the web client in your Catalyst project, to create an API for it. > **Note:** You can create up to 1000 APIs in a project. #### Auto-Create You can only use auto-create to create APIs automatically when you enable API Gateway for your project for the first time. If you have already created a custom API, you will not be able to access auto-create. Refer to [this section](https://docs.catalyst.zoho.com/en/cloud-scale/help/api-gateway/key-concepts/#auto-created-apis-custom-apis-and-the-default-api) for protocols to be followed when migrating definitions from Security Rules. To create APIs for your functions or the web client using auto-create: 1. Click **Create API** after you enable API Gateway in the Catalyst console. ![create_page](https://catalyst-docs-development.zohostratus.in/images/help/api-gateway/catalyst_apig_create_page.webp) 2. Select **Auto-create API** and click **Next**. ![create_api](https://catalyst-docs-development.zohostratus.in/images/help/api-gateway/catalyst_apig_create_api.webp) 3. All your Basic I/O and Advanced I/O functions, and the web client are selected by default. ![apig_autocreate](https://catalyst-docs-development.zohostratus.in/images/help/api-gateway/catalyst_apig_autocreate_1.webp) Unselect the services that you don't want to create APIs for and click **Create**. ![apig_autocreate](https://catalyst-docs-development.zohostratus.in/images/help/api-gateway/catalyst_apig_autocreate_2.webp) Catalyst will initiate the API creation process. ![apig_autocreate](https://catalyst-docs-development.zohostratus.in/images/help/api-gateway/catalyst_apig_autocreate_3.webp) Once the APIs are created, you will receive a notification in your console. The APIs will be listed in the _API Gateway_ page. ![apig_autocreate](https://catalyst-docs-development.zohostratus.in/images/help/api-gateway/catalyst_apig_autocreate_created.webp) You can edit the default values set for these APIs, and individually configure them based on your requirements. As discussed in this section, the default `Login Redirect API` is also created for the web client hosted in the project. ![apig_login_redirect](https://catalyst-docs-development.zohostratus.in/images/help/api-gateway/catalyst_apig_login_redirect.webp) #### Create a Custom API You can create a custom API either immediately after enabling API Gateway or at any time after using auto-create. To create a custom API for your functions or the web client: 1. Click **Create API** from the _API Gateway_ page. ![catalyst_apig_custom_create](https://catalyst-docs-development.zohostratus.in/images/help/api-gateway/catalyst_apig_custom_create.webp) You can also create it by selecting **Create a custom API** in the pop-up box after enabling API Gateway and clicking **Next**. ![catalyst_apig_customcreate_1](https://catalyst-docs-development.zohostratus.in/images/help/api-gateway/catalyst_apig_customcreate_1.webp) This will open the _Create API_ window. ![catalyst_apig_customcreate_2](https://catalyst-docs-development.zohostratus.in/images/help/api-gateway/catalyst_apig_customcreate_2.webp) 2. Enter a unique name for the API. Select a [request method](https://docs.catalyst.zoho.com/en/cloud-scale/help/api-gateway/key-concepts/#routing) and enter the request URL. ![catalyst_apig_customcreate_3](https://catalyst-docs-development.zohostratus.in/images/help/api-gateway/catalyst_apig_customcreate_3.webp) > **Notes:** * You can only select the `GET` method for a web client. * The combination of the request URL and the request method should be unique. You will not be able to create more than one API for a specific combination of request URL and request method. Select the target component and then select the specific function or web client. ![](https://catalyst-docs-development.zohostratus.in/images/help/api-gateway/catalyst_apig_customcreate_4.webp) If you selected an Advanced I/O function or a web client, you can append a route to the default target URL. A preview of the request URL will also be displayed. ![catalyst_apig_customcreate_5](https://catalyst-docs-development.zohostratus.in/images/help/api-gateway/catalyst_apig_customcreate_5.webp) Select the [authentication methods](https://docs.catalyst.zoho.com/en/cloud-scale/help/api-gateway/key-concepts/#authentication-request-processor) if you require authentication. You can select any or all of these methods, and implement any one of them while providing the request URL. ![](https://catalyst-docs-development.zohostratus.in/images/help/api-gateway/catalyst_apig_customcreate_6.webp) Configure the throttling limits for the API. You can configure either or both of the [throttling methods](https://docs.catalyst.zoho.com/en/cloud-scale/help/api-gateway/key-concepts/#throttling). ![catalyst_apig_customcreate_7](https://catalyst-docs-development.zohostratus.in/images/help/api-gateway/catalyst_apig_customcreate_7.webp) 3. Click **Create**. The API will be created and listed in the _API Gateway_ page. ![catalyst_apig_customcreate_created](https://catalyst-docs-development.zohostratus.in/images/help/api-gateway/catalyst_apig_customcreate_created.webp) ### Edit an API You can edit an auto-created or a custom API at any time and modify its definitions in the following way: 1. Click **Edit** for the API. ![catalyst_apig_edit_icon](https://catalyst-docs-development.zohostratus.in/images/help/api-gateway/catalyst_apig_edit_icon.webp) 2. Modify the required values and click **Update**. ![catalyst_apig_edit_api](https://catalyst-docs-development.zohostratus.in/images/help/api-gateway/catalyst_apig_edit_api.webp) ### Delete an API You can delete an API in the following way: 1. Click **Delete** for the API. ![catalyst_apig_delete_api](https://catalyst-docs-development.zohostratus.in/images/help/api-gateway/catalyst_apig_delete_api.webp) 2. Click **Yes, Proceed** in the confirmation box. ![catalyst_apig_delete_confirmation](https://catalyst-docs-development.zohostratus.in/images/help/api-gateway/catalyst_apig_delete_confirmation.webp) > **Note:** Deleting an API will render its associated target URL inaccessible. ### Disable API Gateway You can disable API Gateway at any time and switch to the definitions configured in the [Security Rules](https://docs.catalyst.zoho.com/en/serverless/help/security-rules/introduction). If you re-enable API Gateway after disabling it, all the APIs that you had created will still be available and will immediately be re-enabled when API Gateway is re-enabled. You will not have to create the same APIs again. To disable API Gateway: 1. Click the **ellipsis icon** on the _API Gateway_ page and click **Disable**. ![catalyst_apig_disable](https://catalyst-docs-development.zohostratus.in/images/help/api-gateway/catalyst_apig_disable.webp) 2. Type "DISABLE" in the text box and click **Confirm**. ![catalyst_apig_disable_confirmation](https://catalyst-docs-development.zohostratus.in/images/help/api-gateway/catalyst_apig_disable_confirmation.webp) The API Gateway will now be disabled and Security Rules will immediately be automatically enabled. ### Authentication -------------------------------------------------------------------------------- title: "Introduction" description: "Catalyst Authentication enables you to provide secure authentication and sign-ins for your app users, and manage their user accounts." last_updated: "2026-11-03T07:48:52.000Z" source: "https://docs.catalyst.zoho.com/en/cloud-scale/help/authentication/introduction/" service: "CloudScale" -------------------------------------------------------------------------------- # Authentication ### Introduction Authentication is a component of the Catalyst CloudScale service that enables you to add end-users to your application, customize app login and sign-up forms to match your business branding, manage user accounts and roles, and ensure secure access throughout your application directly from the console. This authentication component, powered by Catalyst, provides a secure and scalable way to handle user authentication and authorization within your application. You can perform the following actions using Authentication from the remote console: * Add or remove the end-users of your application * Enable or disable their user accounts in your application * Create templates for emails to invite new users to access the application * Reset their passwords * Access Catalyst's user sign-in code snippet that you can include in your application * Configure Google and Zoho sign-in providers for your application * Create and manage roles to define the levels of access and permissions for users ![cloud_scale_authentication](https://catalyst-docs-development.zohostratus.in/images/help/authentication/cloud_scale_authentication.webp) Catalyst provides two types of user authentication for your application: - [Native Catalyst Authentication](https://docs.catalyst.zoho.com/en/cloud-scale/help/authentication/native-catalyst-authentication/introduction/) - [Hosted Authentication Type](https://docs.catalyst.zoho.com/en/cloud-scale/help/authentication/native-catalyst-authentication/hosted-authentication-type/introduction/) - [Embedded Authentication Type](https://docs.catalyst.zoho.com/en/cloud-scale/help/authentication/native-catalyst-authentication/embedded-authentication/introduction/) - [Third-party Authentication Type](https://docs.catalyst.zoho.com/en/cloud-scale/help/authentication/third-party-authentication/introduction/) > **Note:** You can implement one instance of each of these authentication methods in a single application. You must set up at least one authentication method before you start adding users to your application. With Authentication, the backend infrastructure management is entirely handled by Catalyst, allowing you to integrate it in your application with ease and with minimal coding effort. All the operations that you can perform from the authentication console are listed below: * Configure and implement an [authentication type](https://docs.catalyst.zoho.com/en/cloud-scale/help/authentication/authentication-types/) of your preference * [Design the login element](https://docs.catalyst.zoho.com/en/cloud-scale/help/authentication/native-catalyst-authentication/hosted-authentication-type/configure-hosted-authentication/) of your application * Enable user login through common [social login platforms](https://docs.catalyst.zoho.com/en/cloud-scale/help/authentication/social-logins/introduction/) * [Add or remove end-users](https://docs.catalyst.zoho.com/en/cloud-scale/help/authentication/user-management/introduction/) of your application * Configure and change the end-users' [user roles](https://docs.catalyst.zoho.com/en/cloud-scale/help/authentication/user-management/roles/introduction/) to define their levels of access and permissions to various Catalyst features * [Configure](https://docs.catalyst.zoho.com/en/cloud-scale/help/authentication/authentication-types/#adding-more-than-one-type-of-authentication) more than one type of authentication * Authorize external domains and enable [CORS and iFrame](https://docs.catalyst.zoho.com/en/cloud-scale/help/authentication/whitelisting/authorized-domains/introduction/) for your application in them * Design the [email templates](https://docs.catalyst.zoho.com/en/cloud-scale/help/authentication/email-templates/introduction/) that need to be sent to your end-users in the event of an initial sign up or if their passwords need to be reset The document is divided into five pages to cover the five features of Catalyst Authentication: **Users**, **Email Templates**, **Sign-in Method**, **Roles**, **Authorized Domains**. Each section explains the key concepts, benefits, and implementation of each feature. To learn about using Authentication in the development and production environments, visit the [Environments help page](https://docs.catalyst.zoho.com/en/deployment-and-billing/environments/introduction/). ### SDK and API documentation You can also add and manage the end-users of your application, and obtain user details using [Catalyst API](https://docs.catalyst.zoho.com/en/api/oauth2/overview-and-terminology/#OverviewandTerminology) and SDKs. For more information and code samples on working in these programming environments, refer to these help pages: * [Authentication - Java SDK](https://docs.catalyst.zoho.com/en/sdk/java/v1/cloud-scale/authentication/add-new-user/) * [Authentication - Node.js SDK](https://docs.catalyst.zoho.com/en/sdk/nodejs/v2/cloud-scale/authentication/get-component-instance/) * [Authentication - Python SDK](https://docs.catalyst.zoho.com/en/sdk/python/v1/cloud-scale/authentication/get-component-instance/) * [Authentication - Web SDK](https://docs.catalyst.zoho.com/en/sdk/web/v4/cloud-scale/authentication/get-auth-instance/) * [Authentication API](https://docs.catalyst.zoho.com/en/api/code-reference/cloud-scale/authentication/add-new-user/#AddNewUser) -------------------------------------------------------------------------------- title: "Benefits" description: "Catalyst Authentication enables you to provide secure authentication and sign-ins for your app users, and manage their user accounts." last_updated: "2026-11-03T07:48:52.000Z" source: "https://docs.catalyst.zoho.com/en/cloud-scale/help/authentication/benefits/" service: "CloudScale" -------------------------------------------------------------------------------- # Benefits * You have the flexibility of implementing Catalyst Authentication using different methods: [Native Catalyst Authentication](https://docs.catalyst.zoho.com/en/cloud-scale/help/authentication/native-catalyst-authentication/introduction/) ([Hosted Authentication Type](https://docs.catalyst.zoho.com/en/cloud-scale/help/authentication/native-catalyst-authentication/hosted-authentication-type/introduction/) and [Embedded Authentication Type](https://docs.catalyst.zoho.com/en/cloud-scale/help/authentication/native-catalyst-authentication/embedded-authentication/introduction/)) and [Third-party Authentication Type](https://docs.catalyst.zoho.com/en/cloud-scale/help/authentication/third-party-authentication/introduction/). * Each authentication type provides you with a unique way to configure and design your login element. * You can directly add end-users to your application and configure their user roles upon your requirements. * You can customize additional user roles, and specific permissions can be provided to dictate access to [Data Store](https://docs.catalyst.zoho.com/en/cloud-scale/help/data-store/scopes-and-permissions/) components. * You have the option to add end-users to an organization using an existing organization, or have Catalyst create a new organization automatically when the user is added. * You can now customize and style templates of the [Email Verification and Password Reset emails](https://docs.catalyst.zoho.com/en/cloud-scale/help/authentication/email-templates/introduction/) to complement your branding requirements. * Enable and disable [CORS and iFrame access](https://docs.catalyst.zoho.com/en/cloud-scale/help/authentication/whitelisting/authorized-domains/introduction/) to your application with a few simple steps. * Complex authentication types can be enabled and configured for your application directly from the console, and this does not require complex coding. -------------------------------------------------------------------------------- title: "Use Cases" description: "Catalyst Authentication enables you to provide secure authentication and sign-ins for your app users, and manage their user accounts." last_updated: "2026-11-03T07:48:52.000Z" source: "https://docs.catalyst.zoho.com/en/cloud-scale/help/authentication/use-cases/" service: "CloudScale" -------------------------------------------------------------------------------- # Use Cases Catalyst Authentication features can be used in the following scenarios: * An internal web forum, meant for the employees of an organization to discuss and gather information about the activities and tasks undertaken in various departments, uses Catalyst Authentication to [manage its users](https://docs.catalyst.zoho.com/en/cloud-scale/help/authentication/user-management/introduction/). The collaborators of the web app development team can invite users to access the forum, assign and create custom roles for users, modify user information, or delete users from the console. The application provides three levels of access to its various users: App Administrator, App Moderator, App User. The users of the [app user role](https://docs.catalyst.zoho.com/en/cloud-scale/help/authentication/user-management/roles/implementation/) can only submit posts in the forum, while the app moderators can approve or decline the content submitted for approval, and the app administrators can also permanently delete the content in the forum. These permissions for the user roles are configured in the [Data Store](https://docs.catalyst.zoho.com/en/cloud-scale/help/data-store/scopes-and-permissions/). * An application that can be accessed by different kinds of users, and based on the type of user you can have three different types of login element. For example, if your application is accessed by members of your organization, you can choose to design the login page from the console to ensure only to contain [social login elements](https://docs.catalyst.zoho.com/en/cloud-scale/help/authentication/social-logins/introduction), instead of a generic login form. For the same application you can also configure and design a dedicated login page with a conventional login form for new end-users that happen to be outside your organization. * A travel planner web app requires its widget to be embedded in a hotel booking website, developed by one of its auxiliary companies. The hotel booking application also requires access to the travel web app's function endpoints, to obtain specific data of their common customers. The travel web app makes use of Catalyst Authentication to quickly authorize the domain of the auxiliary company, and [CORS and iFrame](https://docs.catalyst.zoho.com/en/cloud-scale/help/authentication/whitelisting/authorized-domains/introduction/) for it. The travel planner web app also implements a Google sign-in option in its client application, and manages it from the Catalyst console. * Catalyst Authentication offers you the option to enable or disable [public signups](https://docs.catalyst.zoho.com/en/cloud-scale/help/authentication/public-signup/). If you are building an application where you do not want to provide a login element at all and yet authorize users to your application, you can do so by disabling public signups and directly adding the end-user from the console. If you wish to enhance the security of your application further, you can enable the [Custom User Validation](https://docs.catalyst.zoho.com/en/cloud-scale/help/authentication/whitelisting/custom-user-validation/introduction/) and create a [Catalyst Basic I/O functions](https://docs.catalyst.zoho.com/en/serverless/help/functions/basic-io/#introduction) to validate the user details and add them to your application. * Every company has an identity and branding colors and font that they follow to stand out and become recognizable. Using Catalyst Authentication, you can maintain brand consistency when it comes to sending out sign up emails and password action emails without any additional coding. The console offers you [email templates](https://docs.catalyst.zoho.com/en/cloud-scale/help/authentication/email-templates/introduction/) that you can use to style your user authorization emails in a manner that resonates with your brand. -------------------------------------------------------------------------------- title: "Manage Multiple Authentication Types" description: "Catalyst Authentication enables you to provide secure authentication and sign-ins for your app users, and manage their user accounts." last_updated: "2026-11-03T07:48:52.000Z" source: "https://docs.catalyst.zoho.com/en/cloud-scale/help/authentication/authentication-types/" service: "CloudScale" -------------------------------------------------------------------------------- # Manage Multiple Authentication Types ### Introduction Catalyst offers authentication solutions in three types: [The Hosted Authentication Type](https://docs.catalyst.zoho.com/en/cloud-scale/help/authentication/native-catalyst-authentication/hosted-authentication-type/introduction/), [The Embedded Authentication Type](https://docs.catalyst.zoho.com/en/cloud-scale/help/authentication/native-catalyst-authentication/embedded-authentication/introduction/), and [The Third-party Authentication Type](https://docs.catalyst.zoho.com/en/cloud-scale/help/authentication/third-party-authentication/introduction/) You can implement one instance of each authentication type in each of your Catalyst applications. This help page provides details about implementing additional authentication types, after the first one is implemented. The *Authentication Type* section enables you to view what authentication types have been enabled, add additional authentication methods, and view and edit existing authentication types. ![cloud_scale_authentication_types_main](https://catalyst-docs-development.zohostratus.in/images/help/authentication/cloud_scale_authentication_types_main.webp) > **Note:** You need to enable at least one authentication type to access this section. When you complete setting up and enabling each authentication type, you will be directed to the *Authentication Type* section of the console. For example, if you have enabled the [Hosted Authentication Type](https://docs.catalyst.zoho.com/en/cloud-scale/help/authentication/native-catalyst-authentication/hosted-authentication-type/introduction/), then you will see the following screen: ![cloud_scale_auth_type_hosted](https://catalyst-docs-development.zohostratus.in/images/help/authentication/cloud_scale_auth_type_hosted.webp) * You will be able to view which authentication type is currently enabled. * You will have the option to configure, edit and enable or disable [Social Logins](https://docs.catalyst.zoho.com/en/cloud-scale/help/authentication/social-logins/introduction/) of your choice. * You will be able to view and copy the **Login URL**. * You can click **Access URL** to view the login element as it would appear to the end-user. * You can click **Edit Page** to edit the style and functionality of the login page. ### Adding More Than One Type of Authentication To add an additional authentication method after the first type is implemented: 1. Click **Add Authentication** from the *Authentication Type* section to add another authentication type. ![cloud_scale_auth_type_add_auth_highlight](https://catalyst-docs-development.zohostratus.in/images/help/authentication/cloud_scale_auth_type_add_auth_highlight.webp) > **Note:** In this example, the [Hosted Authentication Type](https://docs.catalyst.zoho.com/en/cloud-scale/help/authentication/native-catalyst-authentication/hosted-authentication-type/introduction/) has already been set up. 2. Click **Configure** option of the authentication type you wish to configure. For instance, click **Configure** next to *Embedded Authentication* to set up embedded authentication type. Find out how to configure Embedded Authentication type [here](https://docs.catalyst.zoho.com/en/cloud-scale/help/authentication/native-catalyst-authentication/embedded-authentication/introduction/). ![cloud-scale_auth_add-authenticaiton_enabled](https://catalyst-docs-development.zohostratus.in/images/help/authentication/cloud-scale_auth_add-authenticaiton_enabled.webp) 3. Once you have completed setting up embedded authentication, you will be redirected to the *Authentication Type* section. In the **Enabled Type** section, you will be able to see that both *Hosted* and *Embedded* authentication types have been enabled. ![cloud_scale_auth_type_tooltip](https://catalyst-docs-development.zohostratus.in/images/help/authentication/cloud_scale_auth_type_tooltip.webp) 4. You can click **Add Authentication** again to set up *Third-party Authentication* along with the *Native Catalyst Authentication* types that you have set up. * Click **Configure** next to the *Third Party Authentication* option to begin set up. ![cloud-scale_auth_add-authenticaiton_third-party](https://catalyst-docs-development.zohostratus.in/images/help/authentication/cloud-scale_auth_add-authenticaiton_third-party.webp) * Follow the [authentication setup steps to configure third-party authentication](https://docs.catalyst.zoho.com/en/cloud-scale/help/authentication/third-party-authentication/implementation/) on your Catalyst application. 5. After you complete the set up, you will be directed to the *Authentication Types* section. All three authentication types have now been enabled for your Catalyst application. ![cloud_scale_auth_type_third_enabled](https://catalyst-docs-development.zohostratus.in/images/help/authentication/cloud_scale_auth_type_third_enabled.webp) ### Managing More Than One Authentication Type After you complete the set up, you will be directed to the Authentication Types section. All three authentication types have now been enabled for your Catalyst application. ![cloud_scale_auth_type_native_switch](https://catalyst-docs-development.zohostratus.in/images/help/authentication/cloud_scale_auth_type_native_switch.webp) Catalyst will then display the configuration of the authentication type you selected. -------------------------------------------------------------------------------- title: "Public Signup" description: "Catalyst Authentication enables you to provide secure authentication and sign-ins for your app users, and manage their user accounts." last_updated: "2026-11-03T07:48:52.000Z" source: "https://docs.catalyst.zoho.com/en/cloud-scale/help/authentication/public-signup/" service: "CloudScale" -------------------------------------------------------------------------------- # Public Signup Enabling Public Signup will display the signup option in your login element and allow new users to sign up to your application. Public Signup is disabled by default. You will not be able to access or enable the following while it is disabled: * The Signup option will not be displayed to your end-users, and you will not be able to add any of the [Social Logins](https://docs.catalyst.zoho.com/en/cloud-scale/help/authentication/social-logins/introduction/). > **Note:**Disabling Public Signup in one authentication type will disable it for all authentication types. * You will not be able to authenticate your end-users using custom logic through [Custom User Validation](https://docs.catalyst.zoho.com/en/cloud-scale/help/authentication/whitelisting/custom-user-validation/introduction/). ### Enable Public Signup The option to enable Public Signup will be present while you are setting up any of the three authentication types. You can also enable it any time after an authentication is set up, from the *Authentication Types* section. > **Note:** Public Signup is mandatory to proceed with [third-party authentication setup](https://docs.catalyst.zoho.com/en/cloud-scale/help/authentication/third-party-authentication/implementation/). 1. Enable the option by clicking the toggle button. ![cloud-scale_auth_public_sign_toggle_off](https://catalyst-docs-development.zohostratus.in/images/help/authentication/cloud-scale_auth_public_sign_toggle_off.webp) 2. Click **Yes, Proceed** after reviewing the pop-up. ![cloud_scale_authentication_public_sign_enable_pop](https://catalyst-docs-development.zohostratus.in/images/help/authentication/cloud_scale_authentication_public_sign_enable_pop.webp) > **Note:** If you enable Public Signup for one authentication type, it will be automatically enabled for all authentication types. ### Disable Public Signup The option to disable Public Signup will also be available while you are setting up an authentication type, and in the *Authentication Types* section. To disable Public Signup: 1. Click the Public Signup toggle-button. ![cloud-scale_auth_public_sign_toggle_on](https://catalyst-docs-development.zohostratus.in/images/help/authentication/cloud-scale_auth_public_sign_toggle_on.webp) 2. Click **Confirm**, after reviewing the pop-up and entering "**DISABLE**" in the input section. ![cloud-scale_auth_public_sign_disable-pop](https://catalyst-docs-development.zohostratus.in/images/help/authentication/cloud-scale_auth_public_sign_disable-pop.webp) Public Signup will be disabled for all authentication types. -------------------------------------------------------------------------------- title: "Cross Domain Access" description: "Authentication offers a cross domain access feature that allows you to authenticate backend requirements for frontend services." last_updated: "2026-11-03T07:48:52.000Z" source: "https://docs.catalyst.zoho.com/en/cloud-scale/help/authentication/cross-domain-access/" service: "CloudScale" -------------------------------------------------------------------------------- # Authenticate Backend Requirements for Frontend Services Catalyst Authentication offers you a solution to authenticate invocation calls made to backend services hosted on Catalyst; made from frontend services hosted in Catalyst frontend hosting services. > **Note:** This authentication method can only be applied if both your frontend service and backend service are hosted in the same project. The following is an example code snippet highlighting the manner in which you can generate the required token to authenticate backend calls made to a Catalyst backend hosting service made from a Catalyst frontend hosting service. **generateAuthToken method** ```javascript document.getElementById("fn-btn").addEventListener("click", function(e) { e.preventDefault(); var city = "test"; var auth = catalyst.auth; auth.generateAuthToken().then((response) => { const token = response.access_token; fetch("URL_endpoint", { < !--URL end point of your backend service.-- > method: "POST", headers: { Authorization: `${token}`, "Content-Type": "application/json", }, body: JSON.stringify({ city_name: city, }), }) .then((response) => response.json()) .then((data) => { alert(data.message); }) .catch((err) => { console.error("Error during fetch:", err); alert("An error occurred. Please try again."); }); }) .catch((err) => { console.error("Error generating token:", err); alert("Failed to generate authentication token."); }); }); ``` The logic detailed in the above snippet is explained below: * When an authenticated user accesses the application, their token can be obtained using the `generateAuthToken` method. * The user token that is obtained will be stored in the `access_token` response key. * The obtained token will be set as the value for the `Authorization` header key when the endpoint URL of the backend service is invoked. * A [Functions URL](https://docs.catalyst.zoho.com/en/cli/v1/deploy-resources/deploy-functions/#deploy-functions), [AppSail URL](https://docs.catalyst.zoho.com/en/cli/v1/deploy-resources/deploy-appsail/), or [Slate's Access URL](https://docs.catalyst.zoho.com/en/slate/help/slate-access-url/), essentially, the URL generated by Catalyst when you host your backend code, will be the one you provide in line no `7`. Now, with the URL invoked, the following section will list the steps detailing the manner in which authentication will be carried out: * Once the backend service is invoked. The Catalyst SDK will be initialized using the request object. * The request object will contain the token, ensuring this initialization is done in an authenticated manner. * Catalyst will ensure that this initialization is made for all Catalyst required scopes. Thereby ensuring that the invocation calls made from the frontend service to the backend service hosted in Catalyst are effectively authenticated. > **Notes:** * The generated access token will only be **valid for 1 hour**. * You will need to ensure that the domain of the backend service and the frontend service are whitelisted using the **CORS** feature present in the *Authentication* component. You can find out more about the CORS feature from this [help documentation](https://docs.catalyst.zoho.com/en/cloud-scale/help/authentication/whitelisting/authorized-domains/introduction/#cors). Once the `generateAuthToken` method is plugged into your authentication logic, the applications hosted in Catalyst frontend hosting services will be able to make secure invocations of the backend services hosted in other Catalyst hosting services using *Catalyst Authentication*. #### Email Templates -------------------------------------------------------------------------------- title: "Introduction" description: "Catalyst Authentication enables you to provide secure authentication and sign-ins for your app users, and manage their user accounts." last_updated: "2026-11-03T07:48:52.000Z" source: "https://docs.catalyst.zoho.com/en/cloud-scale/help/authentication/email-templates/introduction/" service: "CloudScale" -------------------------------------------------------------------------------- # Email Templates Authentication provides you with default templates for email verification and password reset emails. You can override these default templates if needed, and customize the contents of the emails' subject, message body, design of the template and sender's email address in the template, and save it. > **Note:** You will have to enable at least one authentication type to access this section. The *Email Verification* email is sent to your end-user to invite, verify and add them to your application. This email is either sent when they are added to your application by you through [*User Management*](https://docs.catalyst.zoho.com/en/cloud-scale/help/authentication/user-management/users/implementation/) or when they sign up to your application for the first time. ![cloud_scale_authentication_email_templates_verification_mail](https://catalyst-docs-development.zohostratus.in/images/help/authentication/cloud_scale_authentication_email_templates_verification_mail.webp) The *Password Reset* email is triggered by your end-user when they click the password reset/forgot password option in your login element. You can also send a Password Reset email to your user from the console using the [User Management](https://docs.catalyst.zoho.com/en/cloud-scale/help/authentication/user-management/users/implementation/#reset-a-users-password) feature. ![cloud_scale_authentication_email_templates_pwd_mail](https://catalyst-docs-development.zohostratus.in/images/help/authentication/cloud_scale_authentication_email_templates_pwd_mail.webp) > **Note:** You can learn more about how Catalyst CloudScale enables you to send email to your end-users from your Catalyst application in the [Mail component help page](https://docs.catalyst.zoho.com/en/cloud-scale/help/mail/introduction/). -------------------------------------------------------------------------------- title: "Key Concepts and Benefits" description: "Catalyst Authentication enables you to provide secure authentication and sign-ins for your app users, and manage their user accounts." last_updated: "2026-11-03T07:48:52.000Z" source: "https://docs.catalyst.zoho.com/en/cloud-scale/help/authentication/email-templates/benefits-and-key-concepts/" service: "CloudScale" -------------------------------------------------------------------------------- ### Key Concepts #### Placeholders You can insert placeholders in the email's subject and message body for dynamic content. A placeholder is a representational variable for a dynamic value that will be filled in when the email is sent. The placeholder variable refers to the API name of the specific component. It is inserted with **%** symbols at the beginning and the end of the variable's name like: **%APP_NAME%** or **%LINK%**. ![cloud_scale_auth_email_placeholder](https://catalyst-docs-development.zohostratus.in/images/help/authentication/cloud_scale_auth_email_placeholder.webp) There are three placeholders available that you can use in email templates: * `%EMAIL%`: Denotes the email address of the user that they used to register for an account in Catalyst. This value is obtained from the user's information stored in Catalyst. * `%APP_NAME%`: Denotes the name of your application. This value is the same as the name you specified in the [`client-package.json`configuration file](https://docs.catalyst.zoho.com/en/cli/v1/project-directory-structure/catalyst-json/), and is obtained after you host the application. * `%LINK%`: Denotes either the hyperlink of the [Web App URL](https://docs.catalyst.zoho.com/en/cloud-scale/help/web-client-hosting/implementation/#host-a-web-application) or the hyperlink of the reset password page that you configure in your application. The values of these placeholders are populated automatically from the data obtained from your project specifications, and the populated values are inserted into the emails when they are sent. ### Benefits * Email templates enable you to define a standard format for the user invite and password reset emails, retaining uniformity in the structure of the emails you send to your users. * The placeholders in the templates auto-fill the essential details in your email, preventing manual workload from your end. * You can maintain brand consistency in your communications with your application users by styling and drafting the templates as per your needs. -------------------------------------------------------------------------------- title: "Customizing Email Templates" description: "Catalyst Authentication enables you to provide secure authentication and sign-ins for your app users, and manage their user accounts." last_updated: "2026-11-03T07:48:52.000Z" source: "https://docs.catalyst.zoho.com/en/cloud-scale/help/authentication/email-templates/customizing-email-templates/" service: "CloudScale" -------------------------------------------------------------------------------- # Email Templates Customization The Email Templates feature allows you to customize the styling of the *Email Verification* and *Password Reset* emails. You can customize the font, subject, email content and style of the email based on your business requirements and branding preferences. You can also view the live preview of the email as you configure the template. ![cloud_scale_auth_email_template_editing_verfication](https://catalyst-docs-development.zohostratus.in/images/help/authentication/cloud_scale_auth_email_template_editing_verfication.webp) > **Note:** You can customize the style of the email verification and password reset emails by adding the HTML code of the emails as the templates in the console. ### Customize the Default Email Templates 1. Navigate to CloudScale > Authentication, and click the Email Templates tab. ![cloud_scale_authentication_email_templates_verification_mail](https://catalyst-docs-development.zohostratus.in/images/help/authentication/cloud_scale_authentication_email_templates_verification_mail.webp) 2. From the **Email Verification** tab, you can view and customize the Email Verification template: - If you wish to customize the template of the verification email, click **Edit**. ![cloud_scale_authentication_email_templates_verification_mail_edit_highlight](https://catalyst-docs-development.zohostratus.in/images/help/authentication/cloud_scale_authentication_email_templates_verification_mail_edit_highlight.webp) - You can edit the mail's subject and the content of the email and style it using HTML. You can either edit in the console, or you can paste the HTML code of the template. The changes you make to the template can be viewed in the **Preview** section. ![cloud_scale_auth_email_template_editing_verfication](https://catalyst-docs-development.zohostratus.in/images/help/authentication/cloud_scale_auth_email_template_editing_verfication.webp) 3. Click **Save**, to confirm the changes and save the *Email Verification* template. 4. Click **Password Reset** tab to view and customize the *Password Reset* template: - Similar to the *Email Verification* template, you can customize and change, the email's subject, and the content using HTML. Click the **Edit** button. ![cloud_scale_authentication_email_templates_pwd_mail_edit_highlight](https://catalyst-docs-development.zohostratus.in/images/help/authentication/cloud_scale_authentication_email_templates_pwd_mail_edit_highlight.webp) - As in Email Verification, you will be able to view the changes made in the Preview Section. ![cloud_scale_auth_email_pwd_reset_edit](https://catalyst-docs-development.zohostratus.in/images/help/authentication/cloud_scale_auth_email_pwd_reset_edit.webp) 5. Click **Save**, to confirm the changes and save the *Password Reset* template. The email verification and password reset emails that will be sent from your Catalyst application will now be sent as per the customized templates. #### Native Catalyst Authentication -------------------------------------------------------------------------------- title: "Introduction" description: "Catalyst Authentication enables you to provide secure authentication and sign-ins for your app users, and manage their user accounts." last_updated: "2026-11-03T07:48:52.000Z" source: "https://docs.catalyst.zoho.com/en/cloud-scale/help/authentication/native-catalyst-authentication/introduction/" service: "CloudScale" -------------------------------------------------------------------------------- # Native Catalyst Authentication Native Catalyst Authentication is an Authentication type where the entire authentication setup is handled by Catalyst, without the requirement of any additional coding or infrastructure management from your end. With this authentication type, Catalyst secures end-user access and all the end points of your application, relieving you from the responsibility of handling the backend security requirements. Native Catalyst Authentication can be implemented using either or both of these methods: * [**Hosted Login**](https://docs.catalyst.zoho.com/en/cloud-scale/help/authentication/native-catalyst-authentication/hosted-authentication-type/introduction/): This enables you to create and host your login element as a dedicated page. ![cloud_scale_auth_hosted_sample](https://catalyst-docs-development.zohostratus.in/images/help/authentication/cloud_scale_auth_hosted_sample.webp) You can implement this authentication type, if you wish to provide your end-users a dedicated page for them to sign up, sign in, or perform a password reset operation. > **Note:** Catalyst will provide you with all backend support required to style and customize your login element to match your branding preferences. * [**Embedded Login**](https://docs.catalyst.zoho.com/en/cloud-scale/help/authentication/native-catalyst-authentication/embedded-authentication/introduction/): This enables you to load your application's login element as an iFrame. ![cloud_scale_auth_embedded_conventional](https://catalyst-docs-development.zohostratus.in/images/help/authentication/cloud_scale_auth_embedded_conventional.webp) You can implement this authentication type, if you want your end-users to complete their authentication process in the same page, without redirecting them to a separate page. For example, in the sample image above, the end-user can continue their login process, while viewing your application's website content or marketing collaterals. > **Note:**You can find out how to customize and style this authentication type from this [help page](https://docs.catalyst.zoho.com/en/cloud-scale/help/authentication/native-catalyst-authentication/embedded-authentication/styling-embedded-auth/). You can implement [Social Logins](https://docs.catalyst.zoho.com/en/cloud-scale/help/authentication/social-logins/introduction/) for both the authentication types. Additionally, you can also have your login element in a manner that allows users to access your application [exclusively through Social Logins](https://docs.catalyst.zoho.com/en/cloud-scale/help/authentication/native-catalyst-authentication/embedded-authentication/scripts-for-embedded/). ### Benefits * You can choose to host your application's login element on a dedicated page or load it as an iFrame. * You can implement both the native authentication types, along with a third-party authentication, for each of your application. * You can provide your users with the option to sign up to your application by using popular [Social Logins](https://docs.catalyst.zoho.com/en/cloud-scale/help/authentication/social-logins/introduction/). * You do not have to invest time or additional resources to set up a secure infrastructure, because with Native Catalyst Authentication, Catalyst secures all the end points of your application for you. With third-party authentication, you will need to handle the security of your application end-points. * You can set up both of these authentication methods from the console with a few steps, without requiring any additional backend support. ##### Embedded Authentication Type -------------------------------------------------------------------------------- title: "Introduction" description: "Catalyst Authentication enables you to provide secure authentication and sign-ins for your app users, and manage their user accounts." last_updated: "2026-11-03T07:48:52.000Z" source: "https://docs.catalyst.zoho.com/en/cloud-scale/help/authentication/native-catalyst-authentication/embedded-authentication/introduction/" service: "CloudScale" -------------------------------------------------------------------------------- # Embedded Authentication Type Embedded authentication type is a native Catalyst authentication that lets you load your login element as an iFrame in your application. This is the ideal authentication type to use if you require your end-users to sign up to your application without leaving the landing page. For example, the end-users can sign up or log in while they are viewing your application's website content or marketing collaterals. You can configure the iFrame to be loaded as a conventional login form. ![cloud_scale_auth_embedded_conventional](https://catalyst-docs-development.zohostratus.in/images/help/authentication/cloud_scale_auth_embedded_conventional.webp) You can also configure the iFrame to let your end-users log in using only [social logins](https://docs.catalyst.zoho.com/en/cloud-scale/help/authentication/social-logins/introduction/). ![cloud_scale_auth_embedded_socials](https://catalyst-docs-development.zohostratus.in/images/help/authentication/cloud_scale_auth_embedded_socials.webp) You can access **Catalyst Web SDK scripts** for the *Conventional Login Form* and the *Social Logins Only Form* from the console when you set up Embedded Authentication, or from [this help page](https://docs.catalyst.zoho.com/en/cloud-scale/help/authentication/native-catalyst-authentication/embedded-authentication/scripts-for-embedded/). You can simply copy and add the required script to your application's web client. You will not need to perform any additional coding. Catalyst handles all the necessary backend operations to secure your application and render your login element as an iFrame in your application. ![cloud_scale_auth_embedded_authtype](https://catalyst-docs-development.zohostratus.in/images/help/authentication/cloud_scale_auth_embedded_authtype.webp) While the embedded authentication type does allow you to customize and style it as per your preference, you will not have the ease that you can expect while styling [Hosted Authentication Type](https://docs.catalyst.zoho.com/en/cloud-scale/help/authentication/native-catalyst-authentication/hosted-authentication-type/introduction/). However, if you use Embedded Authentication along with Hosted Authentication type, then you can directly import styling elements you used for Hosted to be applied to your Embedded iFrame. You can also provide custom CSS for your **Confirm Password** and **Password Reset** pages. Additionally, Catalyst will also provide you with a CSS sheet that you can download from the console. Along with this CSS sheet, you can refer the [Styling Embedded Authentication type help section](https://docs.catalyst.zoho.com/en/cloud-scale/help/authentication/native-catalyst-authentication/embedded-authentication/styling-embedded-auth/), to style your iFrame and the login element, in a manner that does not induce any UI errors. This will be discussed further in the [setup section](https://docs.catalyst.zoho.com/en/cloud-scale/help/authentication/native-catalyst-authentication/embedded-authentication/setup-embedded-auth/). -------------------------------------------------------------------------------- title: "Benefits" description: "Catalyst Authentication enables you to provide secure authentication and sign-ins for your app users, and manage their user accounts." last_updated: "2026-11-03T07:48:52.000Z" source: "https://docs.catalyst.zoho.com/en/cloud-scale/help/authentication/native-catalyst-authentication/embedded-authentication/benefits/" service: "CloudScale" -------------------------------------------------------------------------------- # Benefits * Embedded authentication is a type of Native Catalyst Authentication. This ensures that all end points of your application including end users' access to your application are secured by Catalyst. * Catalyst offers you the necessary scripts that you can plug in to your application to configure this authentication method. This will let you load your login element as an iFrame in your application, considerably reducing your coding efforts. * You can style the login element per your preferences, and in a manner that reflects your company's branding, ensuring brand consistency. You can easily import this CSS into your login script. * If you are using Embedded Authentication along with Hosted Authentication, then you can directly import the styling elements you used to style your Hosted Login elements to your Embedded Authentication type. You can also easily apply custom styling by importing your CSS file. * Catalyst provides you with a CSS style-sheet for the default iFrame design, that you can simply download and customize as per your requirements. * You can implement the embedded authentication type in two ways—*Conventional Login Form* and *Social Login Form*. Each method allows you to provide the required sign in logic in your app, while ensuring a smooth end-user experience and complete security. -------------------------------------------------------------------------------- title: "Scripts for Embedded Authentication" description: "Catalyst Authentication enables you to provide secure authentication and sign-ins for your app users, and manage their user accounts." last_updated: "2026-11-03T07:48:52.000Z" source: "https://docs.catalyst.zoho.com/en/cloud-scale/help/authentication/native-catalyst-authentication/embedded-authentication/scripts-for-embedded/" service: "CloudScale" -------------------------------------------------------------------------------- # Scripts for Embedded Authentication Catalyst offers you the following scripts that you can incorporate in your web client application to implement Embedded authentication. For **Conventional Login Form** Type ![cloud_scale_auth_embedded_conventional](https://catalyst-docs-development.zohostratus.in/images/help/authentication/cloud_scale_auth_embedded_conventional.webp) ```javascript <script src="https://static.zohocdn.com/catalyst/sdk/js/4.6.2/catalystWebSDK.js"> </script> <script src="/__catalyst/sdk/init.js"> </script> <script> const config = {}; /* config is optional { css_url : "/css/embeddediframe.css", // Provide your custom CSS file path here. If no path is provided default css will be rendered service_url : "/app/index.html", // This value is optional. You can provide your redirect URL here. is_customize_forgot_password : true, // Default value is false. Keep this value as true, if you wish to customize Forgot Password page forgot_password_id : "forgotPasswordDivElementId", // The Element id in which forgot password page should be loaded,If no value is provided, it will be rendered in the "loginDivElementId" by default forgot_password_css_url : "/css/forgotPwd.css" // Provide your custom CSS file path for the Forgot Password page.If no path is provided,then the default CSS will be rendered. } */ catalyst.auth.signIn("loginDivElementId", config); </script> ``` For **Social Login-only Form** Type ![cloud_scale_auth_embedded_socials](https://catalyst-docs-development.zohostratus.in/images/help/authentication/cloud_scale_auth_embedded_socials.webp) ```xml <script src="https://static.zohocdn.com/catalyst/sdk/js/4.6.2/catalystWebSDK.js"> </script> <script src="/__catalyst/sdk/init.js"> </script> <script> const config = { signin_providers_only : true, // Set value as true to customize the sign in provider only form css_url : "/css/embeddediframe.css", // Provide your custom CSS file path here. If no path is provided default css will be rendered service_url : "/app/index.html" // Provide your redirect URL here. This value is optional. } catalyst.auth.signIn(elementId, config); </script> ``` > **Note:** These scripts are also available in the console. You can directly copy and enable them while you are setting up embedded authentication and in the *Authentication Type* section of the console. -------------------------------------------------------------------------------- title: "Setup Embedded Authentication" description: "Catalyst Authentication enables you to provide secure authentication and sign-ins for your app users, and manage their user accounts." last_updated: "2026-11-03T07:48:52.000Z" source: "https://docs.catalyst.zoho.com/en/cloud-scale/help/authentication/native-catalyst-authentication/embedded-authentication/setup-embedded-auth/" service: "CloudScale" -------------------------------------------------------------------------------- # Setup Embedded Authentication To enable and configure Embedded Authentication type: 1. Navigate to **Authentication** in *CloudScale* section of the Catalyst console, and click the **Set Up** option present in the *Native Catalyst Authentication* section. ![cloud_scale_auth_empty_screen_native_highlight](https://catalyst-docs-development.zohostratus.in/images/help/authentication/cloud_scale_auth_empty_screen_native_highlight.webp) 2. Select **Embedded Authentication** as the type of native authentication method, and click **Next**. ![cloud_scale_authenticaiton_embedded_type_select](https://catalyst-docs-development.zohostratus.in/images/help/authentication/cloud_scale_authenticaiton_embedded_type_select.webp) 3. Enable CSS Customization - If you wish to provide a custom CSS for your **Confirm Password** and **Reset Password** elements: ![cloud_scale_auth_embedded_authtype_enable_css_section](https://catalyst-docs-development.zohostratus.in/images/help/authentication/cloud_scale_auth_embedded_authtype_enable_css_section.webp) - Provide the file path of where you have stored the required CSS files in your project directory. ![cloud_scale_auth_embedded_authtype_enable_css_sect_file_path](https://catalyst-docs-development.zohostratus.in/images/help/authentication/cloud_scale_auth_embedded_authtype_enable_css_sect_file_path.webp) - If you are using Embedded Authentication along with Hosted Login, you can inherit styling elements from Hosted Login: ![cloud_scale_auth_embedded_authtype_styling_inherit](https://catalyst-docs-development.zohostratus.in/images/help/authentication/cloud_scale_auth_embedded_authtype_styling_inherit.webp) > **Note:** No previews will be made available by Catalyst, for you to view the rendering of your login element, or the **Reset Password** and **Confirm Password** pages. 4. Choose how you wish your login element to be: * To load the login element as a conventional login form: Click the **Login Form** option in the *Configuration* step. Copy the script and paste it in the HTML file of your web client that contains the index of your application. ![cloud_scale_auth_embedded_conv_script_stepper](https://catalyst-docs-development.zohostratus.in/images/help/authentication/cloud_scale_auth_embedded_conv_script_stepper.webp) > **Note:** You can click **View Sample Image** to view and compare how each of the login forms would appear to the end-user. These are only sample images, not the actual rendering of how the form will appear with your custom styling. * To load the login element with only the Social Logins or IdP sign in options: Click the **Social Login-Only Form** option in the *Configuration* step. Copy the script and paste it in the HTML file of your web client that contains the index of your application. ![cloud_scale_auth_embedded_stepper_social_only_script](https://catalyst-docs-development.zohostratus.in/images/help/authentication/cloud_scale_auth_embedded_stepper_social_only_script.webp) > **Note:** The *Social Login-Only Form* can only be implemented if you have coded your web client application using the latest [Catalyst Web SDK](https://docs.catalyst.zoho.com/en/sdk/web/v4/overview/). This method is only supported in **v4** and not in the earlier versions. You can access earlier versions of embedded authentication, by clicking and choosing from the **Version** drop-down. However, ensure that you implement the latest version as this would include upgraded security definitions and enhancements. ![cloud_scale_auth_embedded_vdropdown](https://catalyst-docs-development.zohostratus.in/images/help/authentication/cloud_scale_auth_embedded_vdropdown.webp) 5. Enable **Public Signup** if you wish new users to sign up to your application. You can find out more about this from the [Public Signup help page](https://docs.catalyst.zoho.com/en/cloud-scale/help/authentication/public-signup/). ![cloud_scale_auth_embedded_public_sign_up](https://catalyst-docs-development.zohostratus.in/images/help/authentication/cloud_scale_auth_embedded_public_sign_up.webp) > **Note:** You must enable **Public Signup** if you want to allow your users to access your application through Social Logins. 6. You can select the Social Logins and enable them to allow your users to use them and sign up for your applications. You can learn about configuring each social login in detail from the [Social Logins help section](https://docs.catalyst.zoho.com/en/cloud-scale/help/authentication/social-logins/configuring-social-logins/). ![cloud_scale_auth_embedded_sociallogins](https://catalyst-docs-development.zohostratus.in/images/help/authentication/cloud_scale_auth_embedded_sociallogins.webp) > **Note:** Ensure that you have `Client ID` and `Client Secret` provided by the social login before you configure it here. You can find out about obtaining the `Client ID` and `Client Secret` values for each of the social login using this [step-by-step guide](https://docs.catalyst.zoho.com/en/cloud-scale/help/authentication/social-logins/configuring-social-logins/). 7. Click **Next** to save your configurations, and proceed to the *Addional Settings* section. You can choose to include an additional authentication step by enabling the [**Custom User Validation**](https://docs.catalyst.zoho.com/en/cloud-scale/help/authentication/whitelisting/custom-user-validation/introduction) option. This option allows you to validate your end-users using a [custom logic](https://docs.catalyst.zoho.com/en/cloud-scale/help/authentication/whitelisting/custom-user-validation/how-it-works) that you code in a [Basic I/O function](https://docs.catalyst.zoho.com/en/serverless/help/functions/basic-io). You can find out how to set this up in the [Whitelisting help document](https://docs.catalyst.zoho.com/en/cloud-scale/help/authentication/whitelisting/custom-user-validation/implementation). You can use the *Authorized Domains* section to authorize external domains to have CORS and iFrame access to your application. You can find out how to set up authorized domains in the [Authorized Domain help section](https://docs.catalyst.zoho.com/en/cloud-scale/help/authentication/whitelisting/authorized-domains/introduction). ![addionalsettingswithauthorized](https://catalyst-docs-development.zohostratus.in/images/help/authentication/cloud_scale_auth_addn_settings_all.webp) 8. Click **Finish** to enable the Embedded Authentication type. ![cloud_scale_auth_embedded_enabled](https://catalyst-docs-development.zohostratus.in/images/help/authentication/cloud_scale_auth_embedded_enabled.webp) You will now be able to view the authentication that you have set up in the [Authentication Type](https://docs.catalyst.zoho.com/en/cloud-scale/help/authentication/authentication-types/) section of *Authentication*. In this section, you can edit your Social Logins configurations by clicking the required Social Login tile and providing your new OAuth credentials. ![cloud_scale_auth_embedded_sociallogin_post_edit](https://catalyst-docs-development.zohostratus.in/images/help/authentication/cloud_scale_auth_embedded_sociallogin_post_edit.webp) You can also edit your CSS Customization configurations: 1. Click the **Edit** button. ![cloud_scale_auth_embedded_customizations_edit](https://catalyst-docs-development.zohostratus.in/images/help/authentication/cloud_scale_auth_embedded_customizations_edit.webp) 2. You can provide new custom CSS files, choose to inherit the styling you applied when you set up Hosted Authentication type, or even disable the customization. ![cloud_scale_auth_embedded_customizations_editing](https://catalyst-docs-development.zohostratus.in/images/help/authentication/cloud_scale_auth_embedded_customizations_editing.webp) 3. Click **Update**. ![cloud_scale_auth_embedded_customizations_update_show](https://catalyst-docs-development.zohostratus.in/images/help/authentication/cloud_scale_auth_embedded_customizations_update_show.webp) Your preferences will be rendered. ![ccloud_scale_auth_embedded_showcase](https://catalyst-docs-development.zohostratus.in/images/help/authentication/cloud_scale_auth_embedded_showcase.webp) You can also access the login scripts for embedded authentication at anytime from this section. -------------------------------------------------------------------------------- title: "Styling Embedded Authentication" description: "Catalyst Authentication enables you to provide secure authentication and sign-ins for your app users, and manage their user accounts." last_updated: "2026-11-03T15:16:51.000Z" source: "https://docs.catalyst.zoho.com/en/cloud-scale/help/authentication/native-catalyst-authentication/embedded-authentication/styling-embedded-auth/" service: "CloudScale" -------------------------------------------------------------------------------- # Styling Embedded Authentication Type Catalyst enables you to style both variants of the embedded authentication type: * The conventional login form iFrame * The Social Login-only form iFrame You can also style the **Reset Password** and the **Confirm Password** pages by providing custom CSS files or by importing the styling elements you used to set up *Hosted Authentication* type. ### To change the style of the conventional iFrame: ![cloud_scale_auth_embedded_conventional](https://catalyst-docs-development.zohostratus.in/images/help/authentication/cloud_scale_auth_embedded_conventional.webp) 1. Download the CSS file, and begin styling your iFrame login element after the last line of code as instructed in the file. [Download here](https://api.catalyst.zoho.com/baas/v1/auth/static-file?file_name=embedded_signin.css). 2. [Refer to this document](https://docs.catalyst.zoho.com/en/cloud-scale/help/authentication/native-catalyst-authentication/embedded-authentication/reference-stylesheet-embedded/), to know the descriptions of each CSS component. ### To change the style of the Social Login-only form: ![cloud_scale_auth_embedded_socials](https://catalyst-docs-development.zohostratus.in/images/help/authentication/cloud_scale_auth_embedded_socials.webp) 1. Download the CSS file, and begin styling your iFrame login element after the last line of code as instructed in the file. [Download here](https://api.catalyst.zoho.com/baas/v1/auth/static-file?file_name=embedded_signin_providers_only.css). 2. [Refer to this document](https://docs.catalyst.zoho.com/en/cloud-scale/help/authentication/native-catalyst-authentication/embedded-authentication/reference-stylesheet-embedded/), to view the descriptions of each CSS component. ### To change the style of the Confirm Password iFrame: ![cloud_scale_confirm_pwd_page](https://catalyst-docs-development.zohostratus.in/images/help/authentication/cloud_scale_confirm_pwd_page.webp) 1. Download the CSS file, and begin styling your iFrame login element after the last line of code as instructed in the file. [Download here](https://api.catalyst.zoho.com/__catalyst/auth/static-file?file_name=confirm_password.css). 2. [Refer to this document](https://docs.catalyst.zoho.com/en/cloud-scale/help/authentication/native-catalyst-authentication/embedded-authentication/reference-stylesheet-embedded/#section-where-the-end-user-confirms-their-password), to view the descriptions of each CSS component. ### To change the style of the Password Reset iFrame: ![cloud_scale_password_reset_page](https://catalyst-docs-development.zohostratus.in/images/help/authentication/cloud_scale_password_reset_page.webp) 1. Click the download button to download the CSS file, and begin styling your document after the last line of code as instructed in the document. [Download here](https://api.catalyst.zoho.com/baas/v1/auth/static-file?file_name=embedded_password_reset.css). 2. [Refer to this document](https://docs.catalyst.zoho.com/en/cloud-scale/help/authentication/native-catalyst-authentication/embedded-authentication/reference-stylesheet-embedded/), to view the descriptions of each CSS component. -------------------------------------------------------------------------------- title: " Reference for Embedded Authentication's Style-sheet" description: "Catalyst Authentication enables you to provide secure authentication and sign-ins for your app users, and manage their user accounts." last_updated: "2026-11-03T07:48:52.000Z" source: "https://docs.catalyst.zoho.com/en/cloud-scale/help/authentication/native-catalyst-authentication/embedded-authentication/reference-stylesheet-embedded/" service: "CloudScale" -------------------------------------------------------------------------------- # Reference Style-sheet for Embedded Authentication This page lists and provides descriptions for all the CSS classes and IDs that you would require to style your login element with, in the [Embedded Authentication](https://docs.catalyst.zoho.com/en/cloud-scale/help/authentication/native-catalyst-authentication/embedded-authentication/introduction/) type. Catalyst provides individual CSS files for the Conventional Login form, Social-Login Only form, and Password Reset form, with individual CSS IDs and classes for them. These CSS IDs and classes are pre-defined by Catalyst for your ease. You can simply incorporate them into your style-sheet as per your need, and customize the design and branding of the login elements. You must import the CSS file you configure into your login form scripts of this authentication. Before you begin styling your iFrame, download the required CSS file. CSS style-sheet for: * Conventional Login form - [Download](https://api.catalyst.zoho.com/baas/v1/auth/static-file?file_name=embedded_signin.css) * Social Login-only form - [Download](https://api.catalyst.zoho.com/baas/v1/auth/static-file?file_name=embedded_signin_providers_only.css) * Confirm Password form - [Download](https://api.catalyst.zoho.com/__catalyst/auth/static-file?file_name=confirm_password.css) * Password Reset form - [Download](https://api.catalyst.zoho.com/baas/v1/auth/static-file?file_name=embedded_password_reset.css) > **Note:** After you download the style-sheet, begin styling your login element after the last line of code. We strongly recommend that you do not alter the code that is already present. Modifying it any way might not render the iFrame correctly. Refer to this [sheet](https://docs.catalyst.zoho.com/en/cloud-scale/help/authentication/native-catalyst-authentication/embedded-authentication/styling-embedded-auth/) for more detailed information on how each of the form mentioned above would appear to the end-users. ### Section where the end-user inputs their email address ![cloud_scale_auth_embedded_style_sheet_1](https://catalyst-docs-development.zohostratus.in/images/help/authentication/cloud_scale_auth_embedded_style_sheet_1.webp) #### Section 1
CSS IDs & Classes Description
#headtitle The ID that handles the styling elements present in the title of the iFrame
#### Section 2
CSS IDs & Classes Description
#login_id The ID that handles the styling of the input field
.fielderror The class that handles the size of the error text
.errorlabel The class that handles the color scheme of the error message
.errorborder The class that handles the border color that appears in the event of an error, around the input field
#### Section 3
CSS IDs & Classes Description
#nextbtn The ID that handles the styling of the "**NEXT**" button
#### Section 4
CSS IDs & Classes Description
#forgotpassword The ID that handles the styling of the "**Forgot Password**" literal
#### Section 5
CSS IDs & Classes Description
.fed_div The class that handles the size, height, cursor and overflow of the social login option as a whole
.zoho_fed_box The class that handles the color scheme of the Zoho social login
.fed_icon The class that handles the size of the logos of all social logins
..zoho_icon The class that handles the logo icon of the Zoho social login
### Section where the end-user inputs their password ![cloud_scale_auth_embedded_style_sheet_2](https://catalyst-docs-development.zohostratus.in/images/help/authentication/cloud_scale_auth_embedded_style_sheet_2.webp) #### Section 1
CSS IDs & Classes Description
.username The class that handles the email address field
#### Section 2
CSS IDs & Classes Description
.Notyou The class that handles the font size of the "**Change** literal
.bluetext The class that handles the color and other properties of the "**Change**" literal
#### Section 3
CSS IDs & Classes Description
#password The ID that handles the various properties of the input field
.fielderror The class that handles the size of the error text
.errorborder The class that handles the border color that appears in the event of an error around the input field
.errorlabel The class that handles the color scheme of the error text
.show_hide_password The class that handles the properties of the visibility-icon
.icon_hide The class that handles the properties of the hidden-icon
.icon_show The class that handles the properties of the visibility-icon when clicked
#### Section 4
CSS IDs & Classes Description
.blue_text_action The class that handles the color scheme, font size and other properties of both the literals
#### Section 5
CSS IDs & Classes Description
.blue The class that handles the color scheme of the Sign In button and box
.btn The class that handles the size of the button
### Section where the end-user confirms their password ![cloud_scale_auth_embedded_style_sheet_4](https://catalyst-docs-development.zohostratus.in/images/help/authentication/cloud_scale_auth_embedded_style_sheet_4.webp) #### Section 1
CSS IDs & Classes Description
.confirmtitle The class that handles the styling elements present in the title.
.confirmdesc This is the notification/description element which is notify to create a strong and unique password at the bottom of the title element.
.confirm_head The class that handles the styling of the Background of the confirmation form.
#### Section 2
CSS IDs & Classes Description
.username The class that handles the email address field.
.icon-profile The class that handles the profile in that email address field.
#### Section 3
CSS IDs & Classes Description
#password The ID that handles the styling elements present in the password input field.
.icon-hide The class that handles the properties of the hidden-icon
.show_hide_password The class that handles the properties of the visibility of the icon
.fielderror The class that handles the size of the error text.
.passwordpolicy The class that handles the popup which contains the password policy.
#### Section 4
CSS IDs & Classes Description
#cpassword The ID that handles the input field for confirm password.
#### Section 5
CSS IDs & Classes Description
#nextbtn The ID that handles the confirm button.
### Section where the end-user inputs the CAPTCHA ![cloud_scale_auth_embedded_style_sheet_3](https://catalyst-docs-development.zohostratus.in/images/help/authentication/cloud_scale_auth_embedded_style_sheet_3.webp) #### Section 1
CSS IDs & Classes Description
#headtitle The ID that handles the styling elements present in the title of the iFrame
#### Section 2
CSS IDs & Classes Description
.user_info The class that handles styling elements of the box's border
.menutext The class that handles the styling of the user's email ID
#### Section 3
CSS IDs & Classes Description
.changeuser The class that handles the styling elements present in the "**Change**" literal
#### Section 4
CSS IDs & Classes Description
#captcha_container The ID that handles the styling of the box surrounding the Captcha control box
.reload_captcha ::before The class that handles the styling of the reload button, before it is clicked
.text_box The class that handles the properties of the input field
#### Section 5
CSS IDs & Classes Description
.blue The class that handles the color scheme of the button and box
.btn The class that handles the size of the button
##### Hosted Authentication Type -------------------------------------------------------------------------------- title: "Introduction" description: "Catalyst Authentication enables you to provide secure authentication and sign-ins for your app users, and manage their user accounts." last_updated: "2026-11-03T07:48:52.000Z" source: "https://docs.catalyst.zoho.com/en/cloud-scale/help/authentication/native-catalyst-authentication/hosted-authentication-type/introduction/" service: "CloudScale" -------------------------------------------------------------------------------- # Hosted Authentication Type This is a Native Catalyst Authentication type that enables you to host your login element on dedicated pages. You can configure and design the authentication from the console, and Catalyst will render it for your application and handle all the backend requirements. ![cloud_scale_auth_hosted_sample](https://catalyst-docs-development.zohostratus.in/images/help/authentication/cloud_scale_auth_hosted_sample.webp) Hosted authentication enables you to create and style your entire login element as per your preferences. The customization includes adding your company's logo in the login elements, and the background and predominant colors of the windows and buttons. You can additionally implement [Social Login](https://docs.catalyst.zoho.com/en/cloud-scale/help/authentication/social-logins/introduction) options with popular Identity providers (IdP), such as [Zoho](https://docs.catalyst.zoho.com/en/cloud-scale/help/authentication/social-logins/configuring-social-logins/#enable-zoho-social-login), [Google](https://docs.catalyst.zoho.com/en/cloud-scale/help/authentication/social-logins/configuring-social-logins/#enable-google-social-login), [Facebook](https://docs.catalyst.zoho.com/en/cloud-scale/help/authentication/social-logins/configuring-social-logins/#enable-facebook-social-login), [LinkedIn](https://docs.catalyst.zoho.com/en/cloud-scale/help/authentication/social-logins/configuring-social-logins/#enable-linkedin-social-login), and [Microsoft 365](https://docs.catalyst.zoho.com/en/cloud-scale/help/authentication/social-logins/configuring-social-logins/#enable-microsoft-365-social-login), by inputting the `Client ID` and `Client Secret` generated from the IdPs console. The hosted login element is made up of three pages, and Catalyst hosts each of these on a separate page with individual URLs: - **The Sign Up Page**: This page enables the end user to sign up for your application by entering their first name, last name, and email address. They can also click the Sign in option, if they have already signed up to your application. ![cloud_scale_authentication_hosted_signup](https://catalyst-docs-development.zohostratus.in/images/help/authentication/cloud_scale_authentication_hosted_signup.webp) > **Note**: You need to enable [Public Signup](https://docs.catalyst.zoho.com/en/cloud-scale/help/authentication/native-catalyst-authentication/hosted-authentication-type/introduction/) to view the **Sign Up** page - **The Sign In Page**: This page enables your existing end user to log in to your application with their email address and password. ![cloud_scale_authentication_hosted_login](https://catalyst-docs-development.zohostratus.in/images/help/authentication/cloud_scale_authentication_hosted_login.webp) - **The Password Reset page**: This page enables your user to enter their email, mobile number or username to reset their password. ![cloud_scale_authentication_hosted_pwdreset](https://catalyst-docs-development.zohostratus.in/images/help/authentication/cloud_scale_authentication_hosted_pwdreset.webp) > **Note:** The secure URLs containing the endpoints for the Sign Up, Sign In, and Password Reset pages of your Hosted Login are automatically generated by Catalyst, and can be incorporated into your application client. -------------------------------------------------------------------------------- title: "Benefits" description: "Catalyst Authentication enables you to provide secure authentication and sign-ins for your app users, and manage their user accounts." last_updated: "2026-11-03T07:48:52.000Z" source: "https://docs.catalyst.zoho.com/en/cloud-scale/help/authentication/native-catalyst-authentication/hosted-authentication-type/benefits/" service: "CloudScale" -------------------------------------------------------------------------------- # Benefits * You can create your login elements on dedicated pages in your app, and design them to resonate with your brand, without any coding. * You can easily enable this authentication type and configure it directly from the console. Catalyst infrastructure ensures that even if you have configured another authentication type, you can additionally include Hosted Login in your app. * You can easily add social logins to your login element while setting this authentication method up. Catalyst provides you [step-by-step guides](https://docs.catalyst.zoho.com/en/cloud-scale/help/authentication/social-logins/configuring-social-logins/) for configuring these social logins and obtaining the required OAuth credentials to add in the console. -------------------------------------------------------------------------------- title: "Configure Hosted Authentication" description: "Catalyst Authentication enables you to provide secure authentication and sign-ins for your app users, and manage their user accounts." last_updated: "2026-11-03T07:48:52.000Z" source: "https://docs.catalyst.zoho.com/en/cloud-scale/help/authentication/native-catalyst-authentication/hosted-authentication-type/configure-hosted-authentication/" service: "CloudScale" -------------------------------------------------------------------------------- # Configure Hosted Authentication Type To enable and configure Hosted authentication type: 1. Navigate to **Authentication** in the *CloudScale* section of the Catalyst console. Click the **Set Up** option present in the *Native Catalyst Authentication* section. ![cloud_scale_auth_empty_screen_native_highlight](https://catalyst-docs-development.zohostratus.in/images/help/authentication/cloud_scale_auth_empty_screen_native_highlight.webp) 2. Select **Hosted Authentication** as the type of native authentication method, and click **Next**. ![cloud_scale_auth_hosted_choice](https://catalyst-docs-development.zohostratus.in/images/help/authentication/cloud_scale_auth_hosted_choice.webp) 3. You can configure your login element now to reflect your company's brand. Enter the *Company Name*, and upload the *Company Logo* by clicking the upload-icon and choosing a file from your local system. ![cloud_scale_authentication_hosted_name_logo](https://catalyst-docs-development.zohostratus.in/images/help/authentication/cloud_scale_authentication_hosted_name_logo.webp) > **Note**: The file size of the *Company Logo* must be **5MB** or less and the file name must be **150 characters** or less. 4. You can incorporate your company's colors in your login elements by choosing the primary color and background color from the color palette, or by entering their HEX values. ![cloud_scale_authentication_hosted_color_test](https://catalyst-docs-development.zohostratus.in/images/help/authentication/cloud_scale_authentication_hosted_color_test.webp) 5. Enable **Public Signup** if you wish to allow new users to sign up to your application. You can find out more on this from the [Public Signup help page](https://docs.catalyst.zoho.com/en/cloud-scale/help/authentication/public-signup/). ![cloud_scale_authentication_hosted_enable_public_signup](https://catalyst-docs-development.zohostratus.in/images/help/authentication/cloud_scale_authentication_hosted_enable_public_signup.webp) > **Note:** You must enable **Public Signup** if you want to view the Sign Up page and allow your users to access your application through [Social Logins](https://docs.catalyst.zoho.com/en/cloud-scale/help/authentication/social-logins/introduction/). 6. You can also select the Social Logins and enable them to allow your users to use them and sign up for your applications. You can learn about configuring each social login in detail from the [Social Logins help section](https://docs.catalyst.zoho.com/en/cloud-scale/help/authentication/social-logins/introduction). ![cloud_scale_authentication_hosted_social_enabled](https://catalyst-docs-development.zohostratus.in/images/help/authentication/cloud_scale_authentication_hosted_social_enabled.webp) > **Note:** Ensure that you have `Client ID` and `Client Secret` values for each of the social login using this [step-by-step guide](https://docs.catalyst.zoho.com/en/cloud-scale/help/authentication/social-logins/configuring-social-logins/). 7. In the *Addional Settings* section you can choose to include an additional authentication step by enabling the [**Custom User Validation**](https://docs.catalyst.zoho.com/en/cloud-scale/help/authentication/whitelisting/custom-user-validation/introduction) option. This option allows you to validate your end-users using a [custom logic](https://docs.catalyst.zoho.com/en/cloud-scale/help/authentication/whitelisting/custom-user-validation/how-it-works) that you code in a [Basic I/O function](https://docs.catalyst.zoho.com/en/serverless/help/functions/basic-io). You can find out how to set this up in the [Whitelisting help document](https://docs.catalyst.zoho.com/en/cloud-scale/help/authentication/whitelisting/custom-user-validation/implementation). You can use the *Authorized Domains* section to authorize external domains to have CORS and iFrame access to your application. You can find out how to set up authorized domains in the [Authorized Domain help section](https://docs.catalyst.zoho.com/en/cloud-scale/help/authentication/whitelisting/authorized-domains/introduction). ![addionalsettingswithauthorized](https://catalyst-docs-development.zohostratus.in/images/help/authentication/cloud_scale_auth_addn_settings_all.webp) 9. Click **Finish**, to enable the Hosted authentication type. ![cloud_scale_authentication_hosted_done](https://catalyst-docs-development.zohostratus.in/images/help/authentication/cloud_scale_authentication_hosted_done.webp) You will now be able to view the authentication that you have set up in the [*Authentication Type*](https://docs.catalyst.zoho.com/en/cloud-scale/help/authentication/authentication-types) section of *Authentication*. You can view a more detailed preview of how the login element will appear to your end-user by clicking **Access URL**. ![cloud_scale_authentication_hosted_access_highlight](https://catalyst-docs-development.zohostratus.in/images/help/authentication/cloud_scale_authentication_hosted_access_highlight.webp) This will open a tab in your browser and load the **Login Page** URL in a separate tab in your browser, giving you an exact view of the entire login element that your end-user would access. ![cloud_scale_authentication_hosted_signin_full](https://catalyst-docs-development.zohostratus.in/images/help/authentication/cloud_scale_authentication_hosted_signin_full.webp) You can similarly view the **Sign Up** and the **Password Reset** pages by clicking the drop-down icon and choosing the respective page, then clicking **Access URL**. ![cloud_scale_authentication_hosted_show_all_pages](https://catalyst-docs-development.zohostratus.in/images/help/authentication/cloud_scale_authentication_hosted_show_all_pages.webp) > **Note:** You must enable [Public Signup](https://docs.catalyst.zoho.com/en/cloud-scale/help/authentication/public-signup/), to view the Sign Up page. You can always edit the configured authentication and enable it any time. -------------------------------------------------------------------------------- title: "Edit Hosted Authentication Type" description: "Catalyst Authentication enables you to provide secure authentication and sign-ins for your app users, and manage their user accounts." last_updated: "2026-11-03T07:48:52.000Z" source: "https://docs.catalyst.zoho.com/en/cloud-scale/help/authentication/native-catalyst-authentication/hosted-authentication-type/edit-hosted-authentication/" service: "CloudScale" -------------------------------------------------------------------------------- # Edit Hosted Authentication Type You will be able to preview and edit the company branding elements and enable or disable social logins per your preference. > **Note:** If you wish to: * Change any configuration you made in the *Additional Settings* section during the authentication set up, click the *Whitelisting* section, and visit the [Whitelisting help document](https://docs.catalyst.zoho.com/en/cloud-scale/help/authentication/whitelisting/introduction) for more information. * Edit Social Logins, visit [this help section](https://docs.catalyst.zoho.com/en/cloud-scale/help/authentication/social-logins/modifying-social-logins/). * Set up a different authentication type, visit the [*Authentication Type* help document](https://docs.catalyst.zoho.com/en/cloud-scale/help/authentication/authentication-types) to know how to add and manage multiple authentication types. * Disable/enable Public Signup, and the actions that will follow, refer to the [Public Signup help page](https://docs.catalyst.zoho.com/en/cloud-scale/help/authentication/public-signup/). To edit the Hosted Authentication type: 1. Click the **Edit Page** option present in the review section, and edit the branding and functional elements of the Sign Up, Sign In, and Reset Password pages. ![cloud_scale_authentication_hosted_edit_page_highlight](https://catalyst-docs-development.zohostratus.in/images/help/authentication/cloud_scale_authentication_hosted_edit_page_highlight.webp) 2. You can edit the *Company Name*, *Company Logo*, the branding colors, and [edit, enable or disable social logins](https://docs.catalyst.zoho.com/en/cloud-scale/help/authentication/social-logins/modifying-social-logins/) and [configure](https://docs.catalyst.zoho.com/en/cloud-scale/help/authentication/social-logins/configuring-social-logins/) them. You will be able to view live preview of the edits. ![cloud_scale_authentication_hosted_edits](https://catalyst-docs-development.zohostratus.in/images/help/authentication/cloud_scale_authentication_hosted_edits.webp) > **Note:** You can click **Maximize** to preview the changes in full screen, and click **Minimize** to go back to the configuration section. 3. Click **Confirm**, to save the changes. ![cloud_scale_authentication_hosted_edits_confirm](https://catalyst-docs-development.zohostratus.in/images/help/authentication/cloud_scale_authentication_hosted_edits_confirm.webp) You can view the updated login element back in the [*Authentication Types*](https://docs.catalyst.zoho.com/en/cloud-scale/help/authentication/authentication-types) section. ![cloud_scale_authentication_hosted_complete](https://catalyst-docs-development.zohostratus.in/images/help/authentication/cloud_scale_authentication_hosted_complete.webp) #### Social Logins -------------------------------------------------------------------------------- title: "Introduction" description: "Catalyst Authentication enables you to provide secure authentication and sign-ins for your app users, and manage their user accounts." last_updated: "2026-11-03T07:48:52.000Z" source: "https://docs.catalyst.zoho.com/en/cloud-scale/help/authentication/social-logins/introduction/" service: "CloudScale" -------------------------------------------------------------------------------- # Social Logins Catalyst enables you to allow your end users to log on to your application using popular Identity Providers (IdP) or *Social Logins*. You can configure and add social logins to your login element directly from the console. > **Note:** To enable Social Logins, you must first enable [Public Signup](https://docs.catalyst.zoho.com/en/cloud-scale/help/authentication/public-signup) Catalyst offers support for you to implement the following social logins: * [Zoho](https://docs.catalyst.zoho.com/en/cloud-scale/help/authentication/social-logins/configuring-social-logins/#enable-zoho-social-login) * [Google](https://docs.catalyst.zoho.com/en/cloud-scale/help/authentication/social-logins/configuring-social-logins/#enable-google-social-login) * [Facebook](https://docs.catalyst.zoho.com/en/cloud-scale/help/authentication/social-logins/configuring-social-logins/#enable-facebook-social-login) * [LinkedIn](https://docs.catalyst.zoho.com/en/cloud-scale/help/authentication/social-logins/configuring-social-logins/#enable-linkedin-social-login) * [Microsoft 365](https://docs.catalyst.zoho.com/en/cloud-scale/help/authentication/social-logins/configuring-social-logins/#enable-microsoft-365-social-login) These social logins can be configured with Catalyst by utilizing the industry standard OAuth protocol, i.e., by configuring the `Client ID` and `Client Secret` for your Catalyst application provided by the IdP service. > **Note:** Catalyst offers you support to implement these social logins directly from the console in both its [ Native Catalyst Authentication types](https://docs.catalyst.zoho.com/en/cloud-scale/help/authentication/native-catalyst-authentication/introduction/). However, should you wish to implement them while using [Third Party Authentication](https://docs.catalyst.zoho.com/en/cloud-scale/help/authentication/third-party-authentication/introduction/), you will have to code the logic. ### Benefits * Enabling your end-users to log in to your application using Social Logins aids them in accessing your application easily and quickly without compromising security. It provides them with a more streamlined login experience by eliminating password fatigue and making it more mobile-friendly. * Catalyst provides support to manage the backend requirements of implementing social logins in your login element. You can easily enable them once you set up the `Client ID` and `Client Secret` from your preferred Identity Providers (IdP). * You can configure a login element with [Embedded Authentication](https://docs.catalyst.zoho.com/en/cloud-scale/help/authentication/native-catalyst-authentication/embedded-authentication/introduction/) that authenticates users using only Social Logins. This lets you authenticate users securely with minimal efforts. * You can enable and disable them per your preference directly from the console, with no additional coding. * By implementing Social Logins on your application you also reduce the chance for fake accounts. ### Configure Authorized URIs To enable Social Logins for your application, you require an authorized URI to generate the required client tokens. The steps to configure the Authorized URI are the same for all of the Social Logins, for the purposes of this help document, we are going to illustrate the steps using the Google Social Login: 1. Click the required social login, from the console: ![catalyst_authentication_social_login_choice_authorized_uri](https://catalyst-docs-development.zohostratus.in/images/help/authentication/catalyst_authentication_social_login_choice_authorized_uri.webp) 2. Copy the Authorized URI, and replace the placeholders as instructed in the console ![catalyst_authentication_social_login_enabled_uri](https://catalyst-docs-development.zohostratus.in/images/help/authentication/catalyst_authentication_social_login_enabled_uri.webp) > **Key Terminology** * `appdomain`: `appdomain`is a placeholder in the Authorized URI generated by Catalyst. It is a place holder for the domain of your application. Your application's domain will be generated and listed in the [Web Client Hosting](https://docs.catalyst.zoho.com/en/cloud-scale/help/web-client-hosting/introduction/) component after you deploy your application to the console. You can also add a custom domain that you have mapped to your application. * `ZAID`: `ZAID` is a unique portal ID generated by Catalyst to map your project to the right environment. For example, The URI when its first copied, will be in the following format: **https://{{appdomain}}/accounts/pfs/{{dev or prod zaid}}/clientidpcallback** To make this a valid URI, copy your app domain and replace it with the **{{appdomain}}** placeholder and copy the development `ZAID` value and replace it with the **{{dev or prod zaid}}** placeholder. Your completed URI will resemble the following URI: **https://authorizationportal-779513891.development.catalystserverless.com/accounts/pfs/1011958529/clientidpcallback** > **Note:** * While configuring the Authorized URI to a valid URI, you can also use a custom domain of your choice. * When you migrate your application to production, you need to reconfigure the social logins using the the production `appdomain` and production `ZAID`, for the social logins to function in the production environment. -------------------------------------------------------------------------------- title: "Configure Social Logins" description: "Catalyst Authentication enables you to provide secure authentication and sign-ins for your app users, and manage their user accounts." last_updated: "2026-11-03T07:48:52.000Z" source: "https://docs.catalyst.zoho.com/en/cloud-scale/help/authentication/social-logins/configuring-social-logins/" service: "CloudScale" -------------------------------------------------------------------------------- # Configure Social Logins Before you enable Social Logins while setting up an authentication method, you must complete certain steps to ensure you have the required `Client ID` and `Client Secret` for each service that you require. This involves configuring an app in the respective social login's developer console, and fetching the OAuth credentials. You will also need to have your own account with each of the Social Login providers to access their developer consoles. > **Note:** [Public Signup](https://docs.catalyst.zoho.com/en/cloud-scale/help/authentication/public-signup/) must be enabled to use Social Logins. ### Enable Zoho Social Login To enable Zoho sign in option in your application, you need to acquire the OAuth credentials for your application from the Zoho API Console in the following manner: 1. Navigate to the **Zoho API Console** from [here](https://api-console.zoho.in/), and click **ADD CLIENT**. ![catalyst_authentication_zoho_social_login_api_console_first_look](https://catalyst-docs-development.zohostratus.in/images/help/authentication/catalyst_authentication_zoho_social_login_api_console_first_look.webp) 2. Select **Server-based Applications**, and click **CREATE NOW**. ![catalyst_authentication_zoho_social_login_api_console_server_app](https://catalyst-docs-development.zohostratus.in/images/help/authentication/catalyst_authentication_zoho_social_login_api_console_server_app.webp) 3. Provide the name of your application as the client name. ![catalyst_authentication_zoho_social_login_api_console_client_nme](https://catalyst-docs-development.zohostratus.in/images/help/authentication/catalyst_authentication_zoho_social_login_api_console_client_nme.webp) 4. Provide the **Homepage URL**, and the required **Authorized Redirect URIs**. * You can get the Authorized Redirect URIs, by following the steps detailed in this [help document](https://docs.catalyst.zoho.com/en/cloud-scale/help/authentication/social-logins/introduction/#configure-authorized-uris). * Ensure you enter the redirect URIs of your application in the following format: - **https://accounts.zohoportal.com/accounts/extoauth/ZAID/clientcallback** - **https://{{appdomain}}/accounts/pfs/ZAID/clientidpcallback** ![catalyst_authentication_zoho_social_login_api_id_secret](https://catalyst-docs-development.zohostratus.in/images/help/authentication/catalyst_authentication_zoho_social_login_api_id_secret.webp) > **Note:** To ensure that the Social Logins are enabled when you migrate your app to production, you need to reconfigure them using the `Production ZAID`, and the appropriate app domain. 5. Click **CREATE**. The required `Client ID` and `Client Secret` values will be displayed. ![catalyst_authentication_zoho_social_login_api_client_credentials](https://catalyst-docs-development.zohostratus.in/images/help/authentication/catalyst_authentication_zoho_social_login_api_client_credentials.webp) 6. You can copy the required `Client ID` and `Client Secret` credentials from the API console and paste it in the respective fields in the Catalyst console, and click **Enable**. ![catalyst_authentication_zoho_social_login_enabled](https://catalyst-docs-development.zohostratus.in/images/help/authentication/catalyst_authentication_zoho_social_login_enabled.webp) Your end users can now sign up to your application using their Zoho credentials. ### Enable Google Social Login To enable Google sign in option in your application, you must obtain the required OAuth credentials for your application from Google in the following manner: 1. Login to the [Google API Console](https://console.developers.google.com/apis/credentials) and click **Create Project**. 2. Click **New Project**. ![catalyst_authentication_google_social_login_newproj](https://catalyst-docs-development.zohostratus.in/images/help/authentication/catalyst_authentication_google_social_login_newproj.webp) > **Note:** If you had already created a project in the Google developer console for your application, select your existing project. Skip the next step for an existing project. 3. Enter the required information and click **Create**. ![catalyst_authentication_google_social_login_enterappdets](https://catalyst-docs-development.zohostratus.in/images/help/authentication/catalyst_authentication_google_social_login_enterappdets.webp) 4. After the project has been created, navigate to the **Credentials** page. You will be asked to configure the *OAuth consent screen* with your application details, if it is a new project. Click **Configure Consent Screen**. ![catalyst_authentication_google_social_login_configcs](https://catalyst-docs-development.zohostratus.in/images/help/authentication/catalyst_authentication_google_social_login_configcs.webp) > **Note:** If this is not a new project, you can modify some information about your application. Navigate to the *OAuth consent screen* page. Click **EDIT APP**, then follow the steps below. 5. Choose a user type for your app and click **Create**. ![catalyst_authentication_google_social_login_apptype](https://catalyst-docs-development.zohostratus.in/images/help/authentication/catalyst_authentication_google_social_login_apptype.webp) 6. Provide the required information. ![catalyst_authentication_google_social_login_consentscrn_start](https://catalyst-docs-development.zohostratus.in/images/help/authentication/catalyst_authentication_google_social_login_consentscrn_start.webp) 7. In the **App domain** section, under the *Application home page* section provide your application's home page. Enter the other information as required and click **Save And Continue**. ![catalyst_authentication_google_social_login_oauthcmplt](https://catalyst-docs-development.zohostratus.in/images/help/authentication/catalyst_authentication_google_social_login_oauthcmplt.webp) 8. In the *Scopes* section, click **Edit**, if you wish to add or manage scopes other than the default section. ![catalyst_authentication_google_social_login_consentscrn](https://catalyst-docs-development.zohostratus.in/images/help/authentication/catalyst_authentication_google_social_login_consentscrn.webp) 9. Select the scopes you require from the options listed. You can also manually provide the applicable scopes in the *Manually add scopes section*, and click **UPDATE**. Click **SAVE AND CONTINUE** once you have configured the scopes. ![catalyst_authentication_google_social_login_scopes](https://catalyst-docs-development.zohostratus.in/images/help/authentication/catalyst_authentication_google_social_login_scopes.webp) 10. In the **Summary** section, confirm your configurations and click the **Edit** button should you need to edit any of the configuration. ![catalyst_authentication_google_social_login_summary](https://catalyst-docs-development.zohostratus.in/images/help/authentication/catalyst_authentication_google_social_login_summary.webp) 11. Navigate back to the *Credentials* page and click **Create Credentials**. Select **OAuth client ID** from the drop-down list. ![catalyst_authentication_google_social_login_oauth](https://catalyst-docs-development.zohostratus.in/images/help/authentication/catalyst_authentication_google_social_login_oauth.webp) 12. Select **Web application** as the type of your application your app is going to be from the drop-down selection of **Application type**. ![catalyst_authentication_google_social_login_webapp](https://catalyst-docs-development.zohostratus.in/images/help/authentication/catalyst_authentication_google_social_login_webapp.webp) > **Note:** Even if you host your application as an Android app, iOS, or a Flutter app, the `Client ID` and `Client Secret` to enable the social login will be the same, and can be obtained by choosing the application type as **Web application**. * Enter the name of your application. ![catalyst_authentication_google_social_login_names](https://catalyst-docs-development.zohostratus.in/images/help/authentication/catalyst_authentication_google_social_login_names.webp) * Click **ADD URI** under *Authorised JavaScript origins* and Click **ADD URI** under *Authorised redirect URIs* and enter the redirect URIs of your application in the following format: * **https://accounts.zohoportal.com/accounts/extoauth/ZAID/clientcallback** * **https://{{appdomain}}/accounts/pfs/ZAID/clientidpcallback** This URI can be copied from the Google Social Login pop-up, and steps to enable this URI is shown in this [help document](https://docs.catalyst.zoho.com/en/cloud-scale/help/authentication/social-logins/introduction/#configure-authorized-uris): ![catalyst_authentication_google_social_zaid_configure](https://catalyst-docs-development.zohostratus.in/images/help/authentication/catalyst_authentication_google_social_zaid_configure.webp) > **Note:** The `ZAID` value can be obtained from the **Google Social Login** pop-up. However, to ensure that the Social Logins are enabled when you migrate your app to production, you need to reconfigure them using the `Production ZAID`, and the appropriate app domain. ![catalyst_authentication_google_social_login_uris](https://catalyst-docs-development.zohostratus.in/images/help/authentication/catalyst_authentication_google_social_login_uris.webp) Click **Create**, once you have added the required information. * You will now be directed to pop up displaying the `Client ID` and `Client Secret`. You can copy the values and download the `JSON` file containing the same. ![catalyst_authentication_google_social_login_idnscrt](https://catalyst-docs-development.zohostratus.in/images/help/authentication/catalyst_authentication_google_social_login_idnscrt.webp) 13. Now, click the **Google** social login present in the Catalyst console and enter the `Client ID` and `Client Secret` you copied from the Google console, and click **Enable**. ![cloud_scale_social_login_google](https://catalyst-docs-development.zohostratus.in/images/help/authentication/cloud_scale_social_login_google.webp) Your end users can now sign up to your application using their **Google** credentials. ### Enable Facebook Social Login To enable Facebook sign in option in your application you need to obtain the required **OAuth credentials** for your application from Facebook in the following manner: 1. Open the Facebook developer page: [Meta Developer Console](https://developers.facebook.com) 2. Log in to Facebook, and click the **My Apps** option. ![catalyst_authentication_fb_social_myapps_highlit](https://catalyst-docs-development.zohostratus.in/images/help/authentication/catalyst_authentication_fb_social_myapps_highlit.webp) 3. Click on **Create App** ![catalyst_authentication_fb_login_create_app_highlit](https://catalyst-docs-development.zohostratus.in/images/help/authentication/catalyst_authentication_fb_login_create_app_highlit.webp) 4. Based on your requirement, you can choose to connect your business portfolio to the meta console. Since, this is not required to configure the social login, we click the relevant option and click **Next**. ![catalyst_authentication_fb_social_login_portfolio](https://catalyst-docs-development.zohostratus.in/images/help/authentication/catalyst_authentication_fb_social_login_portfolio.webp) 5. Select the "**Authenticate and request data from users with Facebook Login**" and click **Next**. ![catalyst_authentication_fb_social_login_start_process](https://catalyst-docs-development.zohostratus.in/images/help/authentication/catalyst_authentication_fb_social_login_start_process.webp) 6. Enter the required details and click **Next**. ![catalyst_authentication_fb_social_login_add_app_dets](https://catalyst-docs-development.zohostratus.in/images/help/authentication/catalyst_authentication_fb_social_login_add_app_dets.webp) 7. Review your configurations and click **Create App**. ![catalyst_authentication_fb_social_login_add_create_app](https://catalyst-docs-development.zohostratus.in/images/help/authentication/catalyst_authentication_fb_social_login_add_create_app.webp) 8. You will now be directed to the *Dashboard* of the Facebook developer console. Select the "**Customize adding a Facebook Login button**" option. ![catalyst_authentication_fb_social_login_dashboard_strt](https://catalyst-docs-development.zohostratus.in/images/help/authentication/catalyst_authentication_fb_social_login_dashboard_strt.webp) You will be directed to the *Customization* section of the *Facebook Login*. ![catalyst_authentication_fb_social_login_customize](https://catalyst-docs-development.zohostratus.in/images/help/authentication/catalyst_authentication_fb_social_login_customize.webp) 9. Click the **Settings** tab in the left-panel. ![catalyst_authentication_fb_social_login_settings_tab](https://catalyst-docs-development.zohostratus.in/images/help/authentication/catalyst_authentication_fb_social_login_settings_tab.webp) 10. Scroll down to the *Client OAuth Settings* section. ![catalyst_authentication_fb_social_logi_oauth_section](https://catalyst-docs-development.zohostratus.in/images/help/authentication/atalyst_authentication_fb_social_logi_oauth_section.webp) 11. In the **Valid OAuth Redirect URIs** input field section, provide the OAuth Redirect URIs in the following format: * **https://accounts.zohoportal.com/accounts/extoauth/ZAID/clientcallback** * **https://{{appdomain}}/accounts/pfs/ZAID/clientidpcallback** ![cloud_scale_social_login_facebook_configure_authorized_uri_meta](https://catalyst-docs-development.zohostratus.in/images/help/authentication/cloud_scale_social_login_facebook_configure_authorized_uri_meta.webp) This URI can be copied from the Facebook Social Login pop-up, and steps to enable this URI is shown in this [help document](https://docs.catalyst.zoho.com/en/cloud-scale/help/authentication/social-logins/introduction/#configure-authorized-uris): ![cloud_scale_social_login_facebook_configure_authorized_uri](https://catalyst-docs-development.zohostratus.in/images/help/authentication/cloud_scale_social_login_facebook_configure_authorized_uri.webp) > **Note:** The `ZAID` value can be obtained from the **Facebook Social Login** pop-up. However, to ensure that the Social Logins are enabled when you migrate your app to production, you need to reconfigure them using the `Production ZAID`, and the appropriate app domain. ![catalyst_authentication_fb_social_login_authorizeduris](https://catalyst-docs-development.zohostratus.in/images/help/authentication/catalyst_authentication_fb_social_login_authorizeduris.webp) Click **Save Changes**. 12. You will be directed back to the *Dashboard*. Now select the "**Basic**" option present in the *App Settings* section of the console, and copy and save the `Client ID` and `Client Secret` details generated by Facebook. Click **Save Changes** once you have completed reviewing the details. ![catalyst_authentication_fb_social_login_collect_id_secrt](https://catalyst-docs-development.zohostratus.in/images/help/authentication/catalyst_authentication_fb_social_login_collect_id_secrt.webp) 18. You can now enable the **Facebook Social Login** in the console. Click the **Facebook** option and paste the **App ID** value in the `Client ID` field and the **App Secret** value in the `Client Secret` field, and click **Enable**. ![cloud_scale_social_login_facebook](https://catalyst-docs-development.zohostratus.in/images/help/authentication/cloud_scale_social_login_facebook.webp) Your end users will now be able to sign up to your application using their Facebook credentials. ### Enable LinkedIn Social Login To enable LinkedIn sign in option in your application you need to obtain the required **OAuth credentials** for your application from LinkedIn in the following manner: > **Note:** * Before you implement the following steps, ensure you have created a [LinkedIn page](https://www.linkedin.com/help/linkedin/answer/a543852/create-a-linkedin-page?lang=en) to represent your company or organization. This page is mandatory to configure LinkedIn social login. * LinkedIn uses `OpenID Connect` protocols and not `**OAuth`** protocols. For more information on this update, visit [LinkedIn's documentation page](https://learn.microsoft.com/en-us/linkedin/consumer/integrations/self-serve/sign-in-with-linkedin-v2) 1. Login to the LinkedIn developer page: http://developer.linkedin.com 2. Click the **Create App** button in the center of the page. ![catalyst_authentication_linkein_social_login_createapp_btn](https://catalyst-docs-development.zohostratus.in/images/help/authentication/catalyst_authentication_linkein_social_login_createapp_btn.webp) > **Note:** You can also navigate to the *My Apps* section present in the taskbar and click **Create App**. 3. Enter the required information, such as the app name, privacy policy URL, and the app's logo. ![catalyst_authentication_linkein_social_login_createapp](https://catalyst-docs-development.zohostratus.in/images/help/authentication/catalyst_authentication_linkein_social_login_createapp.webp) > **Note:** If you have not created a LinkedIn page for your application, you can do so now by clicking the [**+Create a new LinkedIn Page**](https://www.linkedin.com/help/linkedin/answer/a543852/create-a-linkedin-page?lang=en) button. 4. Agree to the terms and conditions and click **Create app**. ![catalyst_authentication_linkein_social_login_createapp_highlight](https://catalyst-docs-development.zohostratus.in/images/help/authentication/catalyst_authentication_linkein_social_login_createapp_highlight.webp) 5. Now verify your application by clicking the **Verify** button that appears next to your application's LinkedIn page. ![catalyst_authentication_linkein_social_login_verify_highlight](https://catalyst-docs-development.zohostratus.in/images/help/authentication/catalyst_authentication_linkein_social_login_verify_highlight.webp) * Click **Generate URL** to generate verification URL. ![catalyst_authentication_linkein_social_login_url_gen](https://catalyst-docs-development.zohostratus.in/images/help/authentication/catalyst_authentication_linkein_social_login_url_gen.webp) * Complete the verification process, and click **I'm done**. ![catalyst_authentication_linkein_social_login_verification](https://catalyst-docs-development.zohostratus.in/images/help/authentication/catalyst_authentication_linkein_social_login_verification.webp) 6. In the *Settings* section, add your application URL to the *Domain* input field of the **Widgets** section if necessary. ![catalyst_authentication_linkein_social_login_wid_adding](https://catalyst-docs-development.zohostratus.in/images/help/authentication/catalyst_authentication_linkein_social_login_wid_adding.webp) 7. Navigate to the *Products* tab, select "**Sign in with LinkedIn Using OpenID Connect**", and click **Request Access**. ![catalyst_authentication_linkein_social_login_adding_openID](https://catalyst-docs-development.zohostratus.in/images/help/authentication/catalyst_authentication_linkein_social_login_adding_openID.webp) Read and accept the terms and conditions, click the **Request Access** button to allow sign ups with LinkedIn using `OpenID connect`. ![catalyst_authentication_linkein_social_login_prompt_openId](https://catalyst-docs-development.zohostratus.in/images/help/authentication/catalyst_authentication_linkein_social_login_prompt_openId.webp) 8. Click the **Auth tab**, and copy the `Client ID` and `Client Secret` present in the Authentication keys section. In the **OAuth 2.0** scopes section you will be able to view three scopes that have been added: * `openid` * `profile` * `email` ![catalyst_authentication_linkein_social_login_scope_chk](https://catalyst-docs-development.zohostratus.in/images/help/authentication/catalyst_authentication_linkein_social_login_scope_chk.webp) 9. Now click the *Auth tab*, and copy the `Client ID` and `Client Secret` present in the *Authentication keys* section. In the *Auth 2.0 settings* section add **Authorized Redirection URLs** of your application in the following format: * **https://accounts.zohoportal.com/accounts/extoauth/ZAID/clientcallback** * **https://{{appdomain}}/accounts/pfs/ZAID/clientidpcallback** This URI can be copied from the LinkedIn Social Login pop-up, and steps to enable this URI is shown in this [help document](https://docs.catalyst.zoho.com/en/cloud-scale/help/authentication/social-logins/introduction/#configure-authorized-uris): ![cloud_scale_auth_social_logins_idnscrt_linkedin_configure_zaid](https://catalyst-docs-development.zohostratus.in/images/help/authentication/cloud_scale_auth_social_logins_idnscrt_linkedin_configure_zaid.webp) > **Note:** The `ZAID` value can be obtained from the **LinkedIn Social Login** pop-up. However, to ensure that the Social Logins are enabled when you migrate your app to production, you need to reconfigure them using the `Production ZAID`, and the appropriate app domain. ![catalyst_authentication_linkein_social_login_idnsecrt](https://catalyst-docs-development.zohostratus.in/images/help/authentication/catalyst_authentication_linkein_social_login_idnsecrt.webp) 10. Click the **LinkedIn Social Login** option present in the console, and add the `Client ID` and `Client Secret` obtained. Then, click **Enable**. ![cloud_scale_auth_social_logins_idnscrt_linkedin_enable](https://catalyst-docs-development.zohostratus.in/images/help/authentication/cloud_scale_auth_social_logins_idnscrt_linkedin_enable.webp) Your end users can now sign up to your application using their LinkedIn credentials. ### Enable Microsoft 365 Social Login To enable **Microsoft 365** sign in option in your application you will need to obtain the requisite **OAuth credentials** for your application with Microsoft Azure in the following manner: 1. Open [Microsoft Azure](https://login.microsoftonline.com/common/oauth2/authorize?resource=https%3a%2f%2fmanagement.core.windows.net%2f&response_mode=form_post&response_type=code%2Bid_token&scope=user_impersonation%2Bopenid&state=OpenIdConnect.AuthenticationProperties%3dBfkwHFJ3Egk92KL8DPHN2-RQjP-h_WwVeILIb8XOeiHICZaVr0nG2-yhM_KcVOmT_8fXBwSbnsYJwBG_EoCgAkuxqj9DQYKycadknX5B1H3zrlC5ZweOVaj0jaNFa83WvK8h8EetcYOBsZODvR81D0WlMn4etuNsZss49RYPT83fjHN6fopQee6PTqF0_2F6BooYsnCo-xkZu_msvizJsCf3syueh-NhcznRUENLcQK1ri7lLfT16wWqixbKO6cRFVIY6bwUxAsWts8rJM58JA&nonce=637021409072386485.M2Q0NzQ4MGYtM2EzNy00ODlhLWI4NjYtNTc3MmM5ZGJlN2NhN2RjNGUwMWUtYzdkYS00OTQzLWI1MjYtNTM5NzJjODA0ODlk&client_id=c44b4083-3bb0-49c1-b47d-974e53cbdf3c&redirect_uri=https%3a%2f%2fportal.azure.com%2fsignin%2findex%2f%3ffeature.refreshtokenbinding%3dtrue&site_id=501430&client-request-id=e67688f1-801d-41b0-b748-db616b4b7b06&x-client-SKU=ID_NET&x-client-ver=1.0.40306.1554) and login to the console. ![catalyst_authentication_microsoft_social_login_loginpage](https://catalyst-docs-development.zohostratus.in/images/help/authentication/catalyst_authentication_microsoft_social_login_loginpage.webp) 2. Navigate to the menu section of the console and click **App Registrations**. ![catalyst_authentication_microsoft_social_login_appreg_highlight](https://catalyst-docs-development.zohostratus.in/images/help/authentication/catalyst_authentication_microsoft_social_login_appreg_highlight.webp) 3. Click **New Registration**. ![catalyst_authentication_microsoft_social_login_newreg_highlight](https://catalyst-docs-development.zohostratus.in/images/help/authentication/catalyst_authentication_microsoft_social_login_newreg_highlight.webp) 4. Enter the application name, choose the required permission. In the **Redirect URI** section, choose **Web** and enter the URI in the following format: **https://{{appdomain}}/accounts/pfs/ZAID/clientidpcallback** This URI can be copied from the Microsoft 365 Social Login pop-up, and steps to enable this URI is shown in this [help document](https://docs.catalyst.zoho.com/en/cloud-scale/help/authentication/social-logins/introduction/#configure-authorized-uris): ![cloud_scale_auth_social_logins_idnscrt_microsoft_zaid_configure](https://catalyst-docs-development.zohostratus.in/images/help/authentication/cloud_scale_auth_social_logins_idnscrt_microsoft_zaid_configure.webp) > **Note:** The `ZAID` value can be obtained from the **Microsoft 365 Social Login** pop-up. However, to ensure that the Social Logins are enabled when you migrate your app to production, you need to reconfigure them using the `Production ZAID`, and the appropriate app domain. ![catalyst_authentication_microsoft_social_login_register_highlight](https://catalyst-docs-development.zohostratus.in/images/help/authentication/catalyst_authentication_microsoft_social_login_register_highlight.webp) > **Note:** You will have to add the second URI in a later step. 5. You will now be directed to the *Overview* section. Here you can copy the Application ID (`Client ID`). ![catalyst_authentication_microsoft_social_login_clientid_highlight](https://catalyst-docs-development.zohostratus.in/images/help/authentication/catalyst_authentication_microsoft_social_login_clientid_highlight.webp) 6. Click the **Redirect URIs** section. ![catalyst_authentication_microsoft_social_login_redirect_highlight](https://catalyst-docs-development.zohostratus.in/images/help/authentication/catalyst_authentication_microsoft_social_login_redirect_highlight.webp) * In the *Redirect URI* section, click **Add URI** and add the second URI in the following format:**https://accounts.zohoportal.com/accounts/extoauth/ZAID/clientcallback** ![catalyst_authentication_microsoft_social_login_redirecturi](https://catalyst-docs-development.zohostratus.in/images/help/authentication/catalyst_authentication_microsoft_social_login_redirecturi.webp) > **Note:** The `ZAID` value can be obtained from the **Microsoft 365 Social Login** pop-up. However, to ensure that the Social Logins are enabled when you migrate your app to production, you need to reconfigure them using the `Production ZAID`, and the appropriate app domain. 7. Now, navigate to the **Certificates & secrets** section from the menu-bar, and click the *Client secrets* section. ![catalyst_authentication_microsoft_social_login_certsnsecret_highlight](https://catalyst-docs-development.zohostratus.in/images/help/authentication/catalyst_authentication_microsoft_social_login_certsnsecret_highlight.webp) 8. Click **New Client Secret**, to generate `Client Secret`. ![catalyst_authentication_microsoft_social_login_newsecret_highlight](https://catalyst-docs-development.zohostratus.in/images/help/authentication/catalyst_authentication_microsoft_social_login_newsecret_highlight.webp) 9. Enter the required details and click **Add**. ![catalyst_authentication_microsoft_social_login_secret_create_add_highlight](https://catalyst-docs-development.zohostratus.in/images/help/authentication/catalyst_authentication_microsoft_social_login_secret_create_add_highlight.webp) 10. Copy the key present under the (`Value`) section. ![catalyst_authentication_microsoft_social_login_secret_highlight](https://catalyst-docs-development.zohostratus.in/images/help/authentication/catalyst_authentication_microsoft_social_login_secret_highlight.webp) 11. Click the **Microsoft 365 Social Login** option present in the console and add the `Client ID` and `Client Secret` obtained and click **Enable**. ![cloud_scale_auth_social_logins_idnscrt_microsoft_enable](https://catalyst-docs-development.zohostratus.in/images/help/authentication/cloud_scale_auth_social_logins_idnscrt_microsoft_enable.webp) -------------------------------------------------------------------------------- title: "Modifying the Social Logins" description: "Catalyst Authentication enables you to provide secure authentication and sign-ins for your app users, and manage their user accounts." last_updated: "2026-11-03T07:48:52.000Z" source: "https://docs.catalyst.zoho.com/en/cloud-scale/help/authentication/social-logins/modifying-social-logins/" service: "CloudScale" -------------------------------------------------------------------------------- # Modifying the Social Logins Once you have configured the Social Logins, you will be able to modify, disable and delete them in the [*Authentication Types*](https://docs.catalyst.zoho.com/en/cloud-scale/help/authentication/authentication-types/) section. ![cloud_scale_authentication_editing_socials_main](https://catalyst-docs-development.zohostratus.in/images/help/authentication/cloud_scale_authentication_editing_socials_main.webp) ### Updating the Social Login To update the `Client ID` and `Client Secret`: 1. Click the icon of the social login you wish to update. ![cloud_scale_social_login_enabled_state](https://catalyst-docs-development.zohostratus.in/images/help/authentication/cloud_scale_social_login_enabled_state.webp) 2. Click the ellipsis icon and choose the **Edit** option. ![cloud_scale_social_login_enabled_state_edit](https://catalyst-docs-development.zohostratus.in/images/help/authentication/cloud_scale_social_login_enabled_state_edit.webp) 3. Make the necessary changes and click **Update**. ![cloud_scale_social_login_editing](https://catalyst-docs-development.zohostratus.in/images/help/authentication/cloud_scale_social_login_editing.webp) ### Disable a Social Login You can temporarily disable a social login from your authentication element. After you disable a social login, the end-users will not be able to sign up/sign in using the disabled social login option. However, the values of the `Client ID` and `Client Secret` will still be stored with Catalyst. > **Note:** If you choose to enable a social login again at some point, you can simply re-enable it here without having to re-configure the OAuth credentials, and it will be active once again. To disable a social login, click the icon of the social login you wish to disable: 1. Click the ellipsis icon and select **Disable**. ![cloud_scale_social_login_disable](https://catalyst-docs-development.zohostratus.in/images/help/authentication/cloud_scale_social_login_disable.webp) 2. Click **Yes, Proceed**. ![cloud_scale_social_login_disable_confirm](https://catalyst-docs-development.zohostratus.in/images/help/authentication/cloud_scale_social_login_disable_confirm.webp) The social login will be disabled. To re-enable a social login, click the icon of the disabled social login and click **Enable**. ![cloud_scale_social_login_disabled_state](https://catalyst-docs-development.zohostratus.in/images/help/authentication/cloud_scale_social_login_disabled_state.webp) ### Delete a Social Login After you delete a social login, the end-users will not be able to sign up/sign in using the deleted social login option. The values of the `Client ID` and `Client Secret` will be permanently deleted from the Catalyst console. To delete a social login, click the icon of the social login you wish to delete: 1. Click the ellipsis icon and select **Delete**. ![cloud_scale_social_login_delete](https://catalyst-docs-development.zohostratus.in/images/help/authentication/cloud_scale_social_login_delete.webp) 2. Click **Yes, Proceed**. ![cloud_scale_social_login_delete_confirm](https://catalyst-docs-development.zohostratus.in/images/help/authentication/cloud_scale_social_login_delete_confirm.webp) The social login will be deleted from your login element. You will have to re-enter the `Client ID` and `Client Secret` to enable the social login again. #### Third-party Authentication -------------------------------------------------------------------------------- title: "Introduction" description: "Catalyst Authentication enables you to provide secure authentication and sign-ins for your app users, and manage their user accounts." last_updated: "2026-11-03T07:48:52.000Z" source: "https://docs.catalyst.zoho.com/en/cloud-scale/help/authentication/third-party-authentication/introduction/" service: "CloudScale" -------------------------------------------------------------------------------- # Third-party Authentication Catalyst powers developers by enabling them to implement any third-party authentication service like WatchGuard AuthPoint, Cisco Secure Access by Duo, The Okta Identity Cloud, etc., in their Catalyst application. Catalyst will provide the necessary backend support and scripts you require to securely incorporate a third-party authentication service of your choice. > **Note:** Given that you are implementing a third-party authentication service, it is understood that the security infrastructure of your application is contingent on the efficiency of the third-party service that you have chosen. Catalyst will not handle any backend infrastructure setup or security implementation for your application users. The authorization and validation of the end-user is handled by the third-party service, and the data is passed on to Catalyst. Catalyst will provide you with server-side and client-side scripts to generate a required custom token with the authenticated user's details, and to process the token in the front-end of the application respectively, to log the user in. ### Benefits * Authentication provides you with all the required scripts to generate custom tokens to incorporate third-party authentication into your Catalyst application. This saves you considerable efforts in configuring the logic from the third-party service within your application. * You can easily incorporate any third-party authentication service and add end-users to your Catalyst application. This provides you with limitless flexibility, and allows you to pick a service of your choice based on your business requirements. * If you have an existing subscription with a third-party authentication service, you can easily use the same for your Catalyst application. * The scripts to generate the custom server token is available in multiple programming languages—[Java](https://docs.catalyst.zoho.com/en/sdk/java/v1/cloud-scale/authentication/third-party-server-token/), [Node.js](https://docs.catalyst.zoho.com/en/sdk/nodejs/v2/cloud-scale/authentication/third-party-server-token/) and [Python](https://docs.catalyst.zoho.com/en/sdk/python/v1/cloud-scale/authentication/third-party-server-token/). This provides compatibility with your existing application code, and allows you to easily incorporate the script in a language of your preference. -------------------------------------------------------------------------------- title: "Workflow" description: "Catalyst Authentication enables you to provide secure authentication and sign-ins for your app users, and manage their user accounts." last_updated: "2026-11-03T07:48:52.000Z" source: "https://docs.catalyst.zoho.com/en/cloud-scale/help/authentication/third-party-authentication/workflow/" service: "CloudScale" -------------------------------------------------------------------------------- # Workflow of Third-party Authentication in Catalyst Applications The following is a step-by-step drill down of the process of how an end-user authenticated by a third-party authentication service will log in to your Catalyst application: ![cloud_scale_auth_third_party_workflow](https://catalyst-docs-development.zohostratus.in/images/help/authentication/cloud_scale_auth_third_party_workflow.webp) 1. When the end-user enters their details to log in to your application, they will be forwarded to the third-party authentication service that you have chosen. 2. The user details will be verified and stored in the database of the third-party service after the authentication logic is passed. 3. The user details will then be passed to the Catalyst client application. 4. The details will then be redirected to the authentication function that you code. This authentication function must include the Catalyst server-side script to generate a custom server token for the authenticated user. > **Note:** The code to generate the token is provided to you in the Catalyst console. It is also available in the [Java](https://docs.catalyst.zoho.com/en/sdk/java/v1/cloud-scale/authentication/third-party-server-token/), [Node.js](https://docs.catalyst.zoho.com/en/sdk/nodejs/v2/cloud-scale/authentication/third-party-server-token/) and [Python](https://docs.catalyst.zoho.com/en/sdk/python/v1/cloud-scale/authentication/third-party-server-token/) SDK docs. 5. This token will then be passed to the Web SDK incorporated in the client code. 6. The user will be logged in to your application using a JSON Web Token (`JWT`) generated from the client script, which will contain the authenticated user's details. 7. **(a)**. The user will now have access to the components of your application through its endpoints. Catalyst Security Engine ensures that all Catalyst components associated with the application are accessed securely by users. > **Note:** If the end-user is accessing your application for the first time (a signup process), the user details will be added to [*User Management*](https://docs.catalyst.zoho.com/en/cloud-scale/help/authentication/user-management/introduction/) in the Authentication component. Apart from this, the sign-in workflow will remain the same. 7. **(b)**. The user's details along with the token information will also be stored in the browser cookie through the Web SDK, to ensure their session is maintained. > **Note:** The token will remain valid only for **one hour**. After that the steps from 1 to 8 will be repeated in the background. #### Workflow of an authenticated user logging into your application while the token is still active ![cloud_scale_auth_third_party_workflow_2](https://catalyst-docs-development.zohostratus.in/images/help/authentication/cloud_scale_auth_third_party_workflow_2.webp) After a user is authenticated and the login session is persisting, the user can securely access all the end points of your application until the time the token is active. -------------------------------------------------------------------------------- title: "Implementation" description: "Catalyst Authentication enables you to provide secure authentication and sign-ins for your app users, and manage their user accounts." last_updated: "2026-11-03T07:48:52.000Z" source: "https://docs.catalyst.zoho.com/en/cloud-scale/help/authentication/third-party-authentication/implementation/" service: "CloudScale" -------------------------------------------------------------------------------- # Set Up Third-party Authentication Type in Catalyst Before you implement a third-party authentication service in Catalyst, you must ensure that you have first completed handling the third-party logic in the external service. To set up a third-party authentication method for your Catalyst application: 1. Navigate to **Authentication** under *CloudScale* in the Catalyst console. Click the **Set Up** option in the third-party Authentication section to begin setting up the authentication type. ![cloud_scale_auth_thirdparty_auth_start_setup](https://catalyst-docs-development.zohostratus.in/images/help/authentication/cloud_scale_auth_thirdparty_auth_start_setup.webp) 2. To proceed further and to allow end-users to sign up to your application, you have to enable **Public Signup**. You can learn more about this from the [Public Signup](https://docs.catalyst.zoho.com/en/cloud-scale/help/authentication/public-signup/) help page. ![cloud_scale_auth_thirdparty_server_config_stepper](https://catalyst-docs-development.zohostratus.in/images/help/authentication/cloud_scale_auth_thirdparty_server_config_stepper.webp) 3. You must generate a custom server token to incorporate into your authentication function. * Choose **Java**, **Node.js**, or **Python** based on your preference, and copy the Catalyst script provided in it. Implement this into your backend logic which will generate the token when executed. * Click **Next**, to continue with the setup. > **Note:** * The scripts to generate a custom server token is also available in the respective [Java](https://docs.catalyst.zoho.com/en/sdk/java/v1/cloud-scale/authentication/third-party-server-token/), [Node.js](https://docs.catalyst.zoho.com/en/sdk/nodejs/v2/cloud-scale/authentication/third-party-server-token/) and [Python](https://docs.catalyst.zoho.com/en/sdk/python/v1/cloud-scale/authentication/third-party-server-token/) SDK help sections. You can also access these scripts in the [*Authentication Types*](https://docs.catalyst.zoho.com/en/cloud-scale/help/authentication/authentication-types/) section after you have set up third-party authentication. * Values of `role_name`, and `org_id` are optional and not explicitly required to generate the server-side token. You can find out how to obtain the values of [`org_id`](https://docs.catalyst.zoho.com/en/cloud-scale/help/authentication/user-management/users/introduction/) and [`role_name`](https://docs.catalyst.zoho.com/en/cloud-scale/help/authentication/user-management/roles/introduction/) from their respective help pages. 4. You can now copy the script that passes the generated token from the backend to the web client, and logs the user in to your application, if they were successfully validated by the third-party authentication service. ![cloud_scale_auth_thirdparty_client_config_stepper](https://catalyst-docs-development.zohostratus.in/images/help/authentication/cloud_scale_auth_thirdparty_client_config_stepper.webp) * Copy the Catalyst script present in the console under the *Client-Side Configuration* section. Implement this into your client code, which will process the server token and generate a `JWT` when executed. * Click **Next** to continue with the setup. 5. Next, in the *Additional Settings* section, you can choose to include an additional authentication step by enabling the [**Custom User Validation**](https://docs.catalyst.zoho.com/en/cloud-scale/help/authentication/whitelisting/custom-user-validation/introduction) option. This option allows you to validate your end-users using a [custom logic](https://docs.catalyst.zoho.com/en/cloud-scale/help/authentication/whitelisting/custom-user-validation/how-it-works) that you code in a [Basic I/O function](https://docs.catalyst.zoho.com/en/serverless/help/functions/basic-io). You can find out how to set this up in the [Whitelisting help document](https://docs.catalyst.zoho.com/en/cloud-scale/help/authentication/whitelisting/custom-user-validation/implementation). You can use the *Authorized Domains* section to authorize external domains to have CORS and iFrame access to your application. You can find out how to set up authorized domains in the [Authorized Domain help section](https://docs.catalyst.zoho.com/en/cloud-scale/help/authentication/whitelisting/authorized-domains/introduction). ![addionalsettingswithauthorized](https://catalyst-docs-development.zohostratus.in/images/help/authentication/cloud_scale_auth_addn_settings_all.webp) 6. Click **Finish** to enable the third-party authentication type. ![cloud_scale_auth_third_party_done](https://catalyst-docs-development.zohostratus.in/images/help/authentication/cloud_scale_auth_third_party_done.webp) In the [*Authentication Types*](https://docs.catalyst.zoho.com/en/cloud-scale/help/authentication/authentication-types/) section, Catalyst will display a confirmation that a third-party authentication service has been enabled and your application's authentication is being handled by it. You will also be able to access the Catalyst scripts to copy and use any time, and log end-users in to your application after being authenticated by the third-party service. #### User Management -------------------------------------------------------------------------------- title: "Introduction" description: "User Management allows you to directly add end-users to your application and assign them custom roles" last_updated: "2026-11-03T07:48:52.000Z" source: "https://docs.catalyst.zoho.com/en/cloud-scale/help/authentication/user-management/introduction/" service: "CloudScale" -------------------------------------------------------------------------------- # User Management The *User Management* feature of the Authentication component enables you to manage [users](https://docs.catalyst.zoho.com/en/cloud-scale/help/authentication/user-management/users/implementation/) that have signed up to your application. User Management also enables you to configure and maintain different [roles](https://docs.catalyst.zoho.com/en/cloud-scale/help/authentication/user-management/roles/implementation/) for each user. > **Note:** You will have to enable at least one authentication type to access this section. You can add an end-user to your application in four different ways: 1. The application developer or a collaborator of the Catalyst project can [add a new user](https://docs.catalyst.zoho.com/en/cloud-scale/help/authentication/user-management/users/implementation/#adding-a-new-user-from-the-console) from Authentication in the Catalyst console after implementing one of the authentication types- [Hosted](https://docs.catalyst.zoho.com/en/cloud-scale/help/authentication/native-catalyst-authentication/hosted-authentication-type/introduction/), [Embedded](https://docs.catalyst.zoho.com/en/cloud-scale/help/authentication/native-catalyst-authentication/embedded-authentication/introduction/), and [Third-party](https://docs.catalyst.zoho.com/en/cloud-scale/help/authentication/third-party-authentication/introduction/). 2. The application developer or collaborator can also add a user using [Java](https://docs.catalyst.zoho.com/en/sdk/java/v1/cloud-scale/authentication/add-new-user/), [Node.JS](https://docs.catalyst.zoho.com/en/sdk/nodejs/v2/cloud-scale/authentication/add-new-user/), [Python](https://docs.catalyst.zoho.com/en/sdk/python/v1/cloud-scale/authentication/add-new-user/), or [Web](https://docs.catalyst.zoho.com/en/sdk/web/v4/cloud-scale/authentication/add-new-user/) SDKs or the [API](https://docs.catalyst.zoho.com/en/api/code-reference/cloud-scale/authentication/add-new-user/#AddNewUser)s. 3. You can distribute the URL of your application to the user through other mediums and enable them to sign-up to it through the application's sign-up page. 4. You can enable provisions for a [user to be added by another existing user](https://docs.catalyst.zoho.com/en/cloud-scale/help/authentication/user-management/roles/introduction/) of the application with the necessary privileges, such as a user of the role App admin. You can incorporate this feature in your application's logic. Catalyst will send an email invite to the user who was added containing a URL that will open a sign-up form where they can set up their password, in all four cases. After they set up their password, they will either be redirected to the [default redirect URL of the application](https://docs.catalyst.zoho.com/en/cli/v1/project-directory-structure/introduction/) or the URL you specify while inviting the user from the console. > **Note:** You can add up to 1,000 users to your application. The *User Management* feature includes two sections in the console. 1. [Users](https://docs.catalyst.zoho.com/en/cloud-scale/help/authentication/user-management/users/implementation/#adding-a-new-user-from-the-console): You can add end-users to your application in this section directly, and they will receive email invites. You will also be able to enable or disable their access to the application, view or modify their details, and delete them from the application. ![cloud_scale_authentication_user_management_redirect_detailscloud_scale_authentication_user_management_userlist](https://catalyst-docs-development.zohostratus.in/images/help/authentication/cloud_scale_authentication_user_management_redirect_detailscloud_scale_authentication_user_management_userlist.webp) 2. [Roles](https://docs.catalyst.zoho.com/en/cloud-scale/help/authentication/user-management/roles/implementation/): This section enables you to create and configure user roles, based on your business and organizational requirements. You will also be able to view all the user roles available in the project, along with all their details, and edit them, if required. ![cloud_scale_authentication_user_management_roles](https://catalyst-docs-development.zohostratus.in/images/help/authentication/cloud_scale_authentication_user_management_roles.webp) ##### Roles -------------------------------------------------------------------------------- title: "Introduction" description: "User Management allows you to directly add end-users to your application and assign them custom roles" last_updated: "2026-11-03T07:48:52.000Z" source: "https://docs.catalyst.zoho.com/en/cloud-scale/help/authentication/user-management/roles/introduction/" service: "CloudScale" -------------------------------------------------------------------------------- # Roles ### Introduction Roles define a set of permissions and the level of access granted for a user to access your application or modify its data. You can define the scopes and access permissions for certain Catalyst components to each role, and assign a role to every user. This categorization enables the users of your application to only access functionalities that are relevant to them. *Roles* currently apply to the [Data Store](https://docs.catalyst.zoho.com/en/cloud-scale/help/data-store/introduction/). You can define the [scopes and permissions](https://docs.catalyst.zoho.com/en/cloud-scale/help/data-store/scopes-and-permissions/) of each table for each user role in the Data Store. These scopes and permissions also apply to [Search](https://docs.catalyst.zoho.com/en/cloud-scale/help/search-integration/introduction/) and [ZCQL](https://docs.catalyst.zoho.com/en/cloud-scale/help/zcql/introduction/) by extension, since these components are tied closely to the Data Store. *Roles* is available as a section of the *User Management* feature in *Authentication*. Two system defined roles are present by default: 1. `App Administrator`: The users assigned to the `App Administrator` role essentially have an admin access to the application by default. You can override this and define their access levels to the tables in the [Data Store](https://docs.catalyst.zoho.com/en/cloud-scale/help/data-store/introduction/). 2. `App User`: The users assigned to the `App User` role essentially have an end-user level access to the application by default. You can also override this and define their access levels in the [Data Store](https://docs.catalyst.zoho.com/en/cloud-scale/help/data-store/introduction/). > **Note:** * The `App User` role is considered to be the default role. When you create a custom role and do not specify the scopes of the role it needs to follow, the scopes of the `App User` role will apply to the custom role. In addition to these roles, you can create your own custom roles and define their permissions. You can also make these custom roles as `Default` roles. When a user role is set as the **default role**, the users who are added to your application are assigned to that role automatically, and the permissions that have been set for that role are made available to them. -------------------------------------------------------------------------------- title: "Benefits" description: "User Management allows you to directly add end-users to your application and assign them custom roles" last_updated: "2026-11-03T07:48:52.000Z" source: "https://docs.catalyst.zoho.com/en/cloud-scale/help/authentication/user-management/roles/benefits/" service: "CloudScale" -------------------------------------------------------------------------------- # Benefits * Roles enable you to group your application users based on the access levels and permissions given to them. * Roles help you to prevent unauthorized access to view or modify application data, and boost the resource and data security in your application. * You can configure scopes and grant specific permissions to actions like viewing a table's data, deleting rows from a table, or uploading files in specific folders in the [Data Store](https://docs.catalyst.zoho.com/en/cloud-scale/help/data-store/introduction/) for custom roles. * They also enable you to control the data flow and the design of your application as per your needs. You can build your application by keeping in mind the multi-level access you can grant to various user groups. -------------------------------------------------------------------------------- title: "Implementation" description: "User Management allows you to directly add end-users to your application and assign them custom roles" last_updated: "2026-11-03T07:48:52.000Z" source: "https://docs.catalyst.zoho.com/en/cloud-scale/help/authentication/user-management/roles/implementation/" service: "CloudScale" -------------------------------------------------------------------------------- # Implementation ### Create a New User Role When you create a new custom role in Catalyst, you must clone an existing role. This action will clone the set of permissions from the parent role to the new role. You can change the scopes and permissions of your custom role in the [Permissions](https://docs.catalyst.zoho.com/en/getting-started/set-up-a-catalyst-project/profiles-and-permissions/) section of [Data Store](https://docs.catalyst.zoho.com/en/cloud-scale/help/data-store/introduction/). > **Note:** You will not be able to delete roles from Catalyst currently. The provision to delete roles will be rolled out soon. To create a new user role for your Catalyst application: 1. Click the **Roles** tab of the *User Management* section of *Authentication*. Click the **Add Roles** button. ![cloud_scale_authentication_user_management_roles_add_roles_highlit](https://catalyst-docs-development.zohostratus.in/images/help/authentication/cloud_scale_authentication_user_management_roles_add_roles_highlit.webp) 2. Enter the name and description for the *Role*. ![cloud_scale_authentication_user_management_roles_name_desc](https://catalyst-docs-development.zohostratus.in/images/help/authentication/cloud_scale_authentication_user_management_roles_name_desc.webp) 3. Choose an existing role to clone the scopes and permissions for your custom role from the drop-down selection of **Clone Role**. ![cloud_scale_authentication_user_management_roles_clone_role](https://catalyst-docs-development.zohostratus.in/images/help/authentication/cloud_scale_authentication_user_management_roles_clone_role.webp) 4. You can enable the **Make as Default** toggle option if you want to ensure that when an end-user is added to your application, they will be automatically added to this role by default. Catalyst will automatically apply the permissions defined for this role to the new user. ![cloud_scale_authentication_user_management_roles_makedefault](https://catalyst-docs-development.zohostratus.in/images/help/authentication/cloud_scale_authentication_user_management_roles_makedefault.webp) 5. Click **Add**. ![cloud_scale_authentication_user_management_roles_role_added](https://catalyst-docs-development.zohostratus.in/images/help/authentication/cloud_scale_authentication_user_management_roles_role_added.webp) The role will now be displayed in the *Roles* section along with the unique *Role ID* generated by Catalyst, the description of the role, the details of the collaborator that created the role and the date and time the role was created on. ### Edit a Role You can edit the name, description, and choose if you wish to make the role a default role or not using the **Make as Default** toggle. To edit a role: 1. Click the **ellipsis icon** present at the corner of the role you wish to edit and select **Edit**. ![cloud_scale_authentication_user_management_roles_role_edit_option](https://catalyst-docs-development.zohostratus.in/images/help/authentication/cloud_scale_authentication_user_management_roles_role_edit_option.webp) 2. Make the required changes and click **Update**. ![cloud_scale_authentication_user_management_roles_role_update](https://catalyst-docs-development.zohostratus.in/images/help/authentication/cloud_scale_authentication_user_management_roles_role_update.webp) ### Delete a Role The following points need to be taken note of before you opt to delete a role: * While you can edit a system defined role—`App Administrator` and `App User`, you cannot delete them. * You cannot delete a `Default` role. To delete a role that is marked as `Default`, you need to make another role as `Default` before attempting to delete the intended role. * Before deleting a role you need to transfer its users to a new or a different existing role. To delete a role: 1. Click the **ellipsis icon** present at the corner of the role you wish to delete and select **Delete**. ![cloud_scale_authentication_user_management_roles_role_delete_sel](https://catalyst-docs-development.zohostratus.in/images/help/authentication/cloud_scale_authentication_user_management_roles_role_delete_sel.webp) 2. Transfer the users of the role that you are going to delete to a different role. You can do so by choosing the role from the drop-down. ![cloud_scale_authentication_user_management_roles_role_delete_transfer_role](https://catalyst-docs-development.zohostratus.in/images/help/authentication/cloud_scale_authentication_user_management_roles_role_delete_transfer_role.webp) > **Info:** If there are more roles in the [development environment](https://docs.catalyst.zoho.com/en/deployment-and-billing/environments/development-environment/) than in the [production environment](https://docs.catalyst.zoho.com/en/deployment-and-billing/environments/production-environment/), and if you choose to migrate your project back to development from production, then: * The additional roles present in the development environment will be automatically deleted. * The users mapped to these roles will be mapped to the `Default` role as listed in the production environment. 3. Click **Yes, Delete** to delete the role. ![cloud_scale_authentication_user_management_roles_role_delete_confirm](https://catalyst-docs-development.zohostratus.in/images/help/authentication/cloud_scale_authentication_user_management_roles_role_delete_confirm.webp) You will get a console notification notifying you that the required role has been deleted and its users have been successfully transferred to the Transfer Role you selected. ![cloud_scale_authentication_user_management_roles_role_del_console_notif](https://catalyst-docs-development.zohostratus.in/images/help/authentication/cloud_scale_authentication_user_management_roles_role_del_console_notif.webp) ##### Users -------------------------------------------------------------------------------- title: "Introduction" description: "User Management allows you to directly add end-users to your application and assign them custom roles" last_updated: "2026-11-03T07:48:52.000Z" source: "https://docs.catalyst.zoho.com/en/cloud-scale/help/authentication/user-management/users/introduction/" service: "CloudScale" -------------------------------------------------------------------------------- # Users ### Introduction It's important to remember the following details to implement and utilize the Users section effectively: * `ZUID`: `ZUID` is the unique identification of a Zoho user account for individual application. It is automatically created for an end-user when they sign-up for your application. * `UserID`: `UserID` is the unique identification of an end-user, limited to Catalyst alone and not applicable to other Zoho services. This is also automatically created for an end-user when they sign up for your application. * `Org ID`: `Org ID` is the unique identification of the organization that an end-user belongs to. This identification is generated when the end-user is added through the [Add User API](https://docs.catalyst.zoho.com/en/api/code-reference/cloud-scale/authentication/add-new-user/#AddNewUser) or through the [Add User](https://docs.catalyst.zoho.com/en/cloud-scale/help/authentication/user-management/users/implementation/#adding-a-new-user-from-the-console) button in the console. If the Org ID is not specified while adding the user, Catalyst will automatically generate a unique Org ID for that particular user. > **Note:**The organization of a user cannot be changed later, once it is associated with their account. * An end-user can sign up to any number of Catalyst applications; a unique ZUID and Org ID will be created each time for that user. However, this could also cause inconvenience for the user, as they would have to sign in every time they switch to a different Catalyst application. To prevent this, if you implement a [Native Catalyst Authentication type](https://docs.catalyst.zoho.com/en/cloud-scale/help/authentication/native-catalyst-authentication/introduction/) in all of your Catalyst applications, you can easily set up [Social Logins](https://docs.catalyst.zoho.com/en/cloud-scale/help/authentication/social-logins/introduction/) that will allow users to sign up to all your applications using credentials of trusted Identity Providers (IdPs). > **Note:** Catalyst's [Multi-Org feature](https://docs.catalyst.zoho.com/en/api/introduction/multi-org-support/#Multi-OrgSupport) enables a Catalyst developer to be a part of multiple organizations, while registered with one Catalyst account. This means that if a user or a [collaborator](https://docs.catalyst.zoho.com/en/getting-started/set-up-a-catalyst-project/collaborators/) signs up for more than one Catalyst organization, they are assigned different Org IDs under one ZUID for each application. -------------------------------------------------------------------------------- title: "Benefits" description: "User Management allows you to directly add end-users to your application and assign them custom roles" last_updated: "2026-11-03T07:48:52.000Z" source: "https://docs.catalyst.zoho.com/en/cloud-scale/help/authentication/user-management/users/benefits/" service: "CloudScale" -------------------------------------------------------------------------------- # Benefits * Authentication provides an integrated space to manage application users and handle all end-user activities. The provision to handle user accounts directly from the Catalyst console, rather than creating additional solutions for it, is highly helpful and time saving. * Even if you have included a provision for users to create an account or reset their password from inside your application, you can still perform these activities quickly from the console for your convenience. * You can easily manage applications created for internal usage by your organization's members, or that are made accessible by request only using Authentication. * You can create custom user roles for your end-users, and provide them with more specific permissions. -------------------------------------------------------------------------------- title: "Implementation" description: "User Management allows you to directly add end-users to your application and assign them custom roles" last_updated: "2026-11-03T07:48:52.000Z" source: "https://docs.catalyst.zoho.com/en/cloud-scale/help/authentication/user-management/users/implementation/" service: "CloudScale" -------------------------------------------------------------------------------- # Implementation ### Adding a New User From The Console 1. Navigate to the *User Management* section of **CloudScale > Authentication** and click **Add User** in the *Users* section. ![cloud_scale_authentication_user_management_empty](https://catalyst-docs-development.zohostratus.in/images/help/authentication/cloud_scale_authentication_user_management_empty.webp) > **Note:** To add end-users to your application, you must first enable at least one of the [authentication types](https://docs.catalyst.zoho.com/en/cloud-scale/help/authentication/introduction/). 2. Enter the **First Name**, **Last Name**, **Email ID** of the user. Select the **Role** or the user from the *Roles* drop-down list in the pop-up window. ![cloud_scale_authentication_user_management_role_selection](https://catalyst-docs-development.zohostratus.in/images/help/authentication/cloud_scale_authentication_user_management_role_selection.webp) > **Note:** You can find out more about *Roles* from this [help section](https://docs.catalyst.zoho.com/en/cloud-scale/help/authentication/user-management/roles/implementation/) 3. If you wish to add the user under a particular organization, enter the Org ID. If you do not enter one, Catalyst will generate a unique organization ID for the user. ![cloud_scale_authentication_user_management_orgid](https://catalyst-docs-development.zohostratus.in/images/help/authentication/cloud_scale_authentication_user_management_orgid.webp) 4. Select the platform of the application that you are inviting the user to access. ![cloud_scale_authentication_user_management_select_platofrm](https://catalyst-docs-development.zohostratus.in/images/help/authentication/cloud_scale_authentication_user_management_select_platofrm.webp) > **Note:** Specifying the platform does not prevent the user from accessing other platforms of the application. However, it defines the primary platform that the user will access from their device and sets default values for opening the application in the appropriate medium. If you select **Android** or **iOS** as the platforms, you can type in the redirect URL. ![cloud_scale_authentication_user_management_iosorand](https://catalyst-docs-development.zohostratus.in/images/help/authentication/cloud_scale_authentication_user_management_iosorand.webp) 5. You can use the default homepage that you have specified in your web app's [`client-package.json`](https://docs.catalyst.zoho.com/en/cli/v1/project-directory-structure/catalyst-json/) file as the redirect URL by checking the **Use Default Redirect URL** checkbox. To use a different redirect URL, type the URL in the textbox. ![cloud_scale_authentication_user_management_default_redirect_checkbox](https://catalyst-docs-development.zohostratus.in/images/help/authentication/cloud_scale_authentication_user_management_default_redirect_checkbox.webp) > **Note:** Specifying the platform does not prevent the user from accessing other platforms of the application. However, it defines the primary platform that the user will access from their device and sets default values for opening the application in the appropriate medium. 6. Click **Create**. ![cloud_scale_authentication_user_management_first_user](https://catalyst-docs-development.zohostratus.in/images/help/authentication/cloud_scale_authentication_user_management_first_user.webp) The user will now be listed in the *Users* section along with their details. You can search for a particular user by their email address using the search bar. The *Users* section lists all users, including those who have signed up from inside the application. Click **Invite User** to add more users. When a new user is invited, Catalyst will send an automated email to their email address with a URL to set up their password. The content and design of this email template can be configured using the [Email Template](https://docs.catalyst.zoho.com/en/cloud-scale/help/authentication/email-templates/introduction/) feature of Authentication. When the user clicks on the link, they will be authenticated and redirected to a page that requests them to set their password. ![cloud_scale_authentication_user_management_pwd_page](https://catalyst-docs-development.zohostratus.in/images/help/authentication/cloud_scale_authentication_user_management_pwd_page.webp) Once the user completes the process, they are redirected to the redirect URL that you specified while inviting the user. ### Enable or Disable a User You can enable or disable a user of your application as you need. When a user is disabled for an application, they will no longer be able to login to the application until you enable them again. To enable or disable a user, click the toggle switch in the *Status* column of that user. ![cloud_scale_authentication_user_management_status_toggle](https://catalyst-docs-development.zohostratus.in/images/help/authentication/cloud_scale_authentication_user_management_status_toggle.webp) ### Reset a User's Password You can easily reset a user's password by sending them a Password Reset email from the Catalyst console. The email will contain a password reset link, which the user can click to create a new password for the application. The Password Reset email can be designed per your preference using the [Email Template](https://docs.catalyst.zoho.com/en/cloud-scale/help/authentication/email-templates/introduction/) feature of Authentication. If you are implementing [Hosted Authentication Type](https://docs.catalyst.zoho.com/en/cloud-scale/help/authentication/native-catalyst-authentication/hosted-authentication-type/introduction/), you also have the option of designing the Password Reset page of your application directly in the console. > **Note:** The password will be reset for all platforms, irrespective of the platform you choose. Specifying the platform sets default values for opening the application in the appropriate medium. To let user reset their password: 1. Click the ellipsis icon at the corner of the particular user, and click **Reset Password**. ![cloud_scale_authentication_user_management_resetpwd_option](https://catalyst-docs-development.zohostratus.in/images/help/authentication/cloud_scale_authentication_user_management_resetpwd_option.webp) 2. Select the platform of the application for which the password is to be reset in the *Redirect Details* ![cloud_scale_authentication_user_management_redirect_details_reset](https://catalyst-docs-development.zohostratus.in/images/help/authentication/cloud_scale_authentication_user_management_redirect_details_reset.webp) 3. Click **Reset**. ![cloud_scale_authentication_user_management_pwdreset_sent](https://catalyst-docs-development.zohostratus.in/images/help/authentication/cloud_scale_authentication_user_management_pwdreset_sent.webp) This will automatically send a password reset email to the user's email address for the application platform that you have chosen. When the user clicks on the link, they will be redirected to the Password Reset page of your application where they can create a new password for their account. > **Note:** You can also send a password reset email using [Java](https://docs.catalyst.zoho.com/en/sdk/java/v1/cloud-scale/authentication/reset-password/), [Node.JS](https://docs.catalyst.zoho.com/en/sdk/nodejs/v2/cloud-scale/authentication/reset-password/), [Python](https://docs.catalyst.zoho.com/en/sdk/python/v1/cloud-scale/authentication/reset-password/), [Web](https://docs.catalyst.zoho.com/en/sdk/web/v4/cloud-scale/authentication/reset-password/) SDKs, or the [API](https://docs.catalyst.zoho.com/en/api/code-reference/cloud-scale/authentication/reset-user-password/#ResetUserPassword). ### Modify a User's Details You can modify and update a user's name or the role that they were assigned to. However, you will not be able to change a user's registered *email address*, *Org ID*, or *User ID*. To modify user information in your application: 1. Click the **ellipsis icon** of the user whose information you wish to modify and select **Edit**. ![cloud_scale_authentication_user_management_edit_select](https://catalyst-docs-development.zohostratus.in/images/help/authentication/cloud_scale_authentication_user_management_edit_select.webp) 2. Make any necessary changes in the pop-up window and click **Update**. ![cloud_scale_authentication_user_management_editing_update](https://catalyst-docs-development.zohostratus.in/images/help/authentication/cloud_scale_authentication_user_management_editing_update.webp) ### Delete a User You can permanently delete a user from logging in to your application. The user will need to re-register in your application if they want to use it again. To delete a user account from your application: 1. Click the **ellipsis icon** for the user you wish to delete and select **Delete**. ![cloud_scale_authentication_user_management_del_select](https://catalyst-docs-development.zohostratus.in/images/help/authentication/cloud_scale_authentication_user_management_del_select.webp) 2. Click **Yes, Proceed** in the confirmation window. ![cloud_scale_authentication_user_management_del_confirm](https://catalyst-docs-development.zohostratus.in/images/help/authentication/cloud_scale_authentication_user_management_del_confirm.webp) #### Whitelisting -------------------------------------------------------------------------------- title: "Introduction" description: "Whitelisting enables you to validate through Custom User Validation and permit CORS and iFrame access." last_updated: "2026-11-03T07:48:52.000Z" source: "https://docs.catalyst.zoho.com/en/cloud-scale/help/authentication/whitelisting/introduction/" service: "CloudScale" -------------------------------------------------------------------------------- # Whitelisting ### Introduction Whitelisting is a feature of CloudScale Authentication that enables you to validate and manage various aspects of access to your Catalyst application. These include the following: * Validating end-users' signup using custom [basic I/O functions](https://docs.catalyst.zoho.com/en/serverless/help/functions/basic-io) through [Custom User Validation](https://docs.catalyst.zoho.com/en/cloud-scale/help/authentication/whitelisting/custom-user-validation/introduction). * Authorizing domains for [CORS and iFrame access](https://docs.catalyst.zoho.com/en/cloud-scale/help/authentication/whitelisting/authorized-domains/introduction) to your application. The *Whitelisting* feature ensures ready-to-implement high security for your application by enabling you to clearly specify and authorize domains that can access your application's endpoints through CORS requests or load your application widget. Likewise, security is ensured by controlling the access to your application to specific users that you require through custom user validation. > **Note:** You can access this section during the authentication setup in the final step, or directly from the Whitelisting section in the console. In the latter case, you should have already configured at least one [authentication types](https://docs.catalyst.zoho.com/en/cloud-scale/help/authentication/authentication-types). ### Benefits * Catalyst makes your application development process significantly easier, as you need not manually code your application to allow [CORS](https://docs.catalyst.zoho.com/en/cloud-scale/help/authentication/whitelisting/authorized-domains/introduction/#cors) requests or [iFrame](https://docs.catalyst.zoho.com/en/cloud-scale/help/authentication/whitelisting/authorized-domains/introduction/#iframe) access for each domain that you require. You don't need to configure custom responses in your functions for specific domains to access your application resources, or code the logic of loading your application as a widget in an external domain. * You can simply add a domain in the Catalyst console and enable or disable CORS and iFrame whenever you need, with the click of a button. Similarly, you can [enable or disable Custom User Validation](https://docs.catalyst.zoho.com/en/cloud-scale/help/authentication/whitelisting/custom-user-validation/implementation/#disable-custom-user-validation) for your application through a single toggle switch, and use custom logic to validate your end-users. ##### Authorized Domains -------------------------------------------------------------------------------- title: "Introduction" description: "Custom User Validation allows you to validate user sign ups using custom logic" last_updated: "2026-11-03T07:48:52.000Z" source: "https://docs.catalyst.zoho.com/en/cloud-scale/help/authentication/whitelisting/authorized-domains/introduction/" service: "CloudScale" -------------------------------------------------------------------------------- # CORS and iFrame Catalyst CloudScale provides you the convenience of easily configuring the following two functionalities for your application from the console: ![cloud_scale_authentication_authorized_domains_main](https://catalyst-docs-development.zohostratus.in/images/help/authentication/cloud_scale_authentication_authorized_domains_main.webp) ### CORS **Cross-Origin Resource Sharing** (CORS) is a mechanism that instructs a browser to allow web applications running on one origin to access resources from a different origin. Unless you specifically enable CORS, browsers prevent client-side scripts from accessing resources from a different origin by default. This is done by implementing a security mechanism called a same-origin policy, to protect the resources. When a web application requires a resource on a different domain to be accessed, it will execute a cross-origin request by including additional HTTP headers in the request, to inform the browser about it. When you enable CORS for an external domain in your Catalyst application, browsers will process HTTP requests from that particular domain and pass it on to Catalyst servers. Catalyst will then allow access to the client and all the function endpoints of your application, and send appropriate responses back. Catalyst ensures secure data transfers through cross-origin requests, by enabling you to specify and manage the domains that can be allowed to access the application endpoints in the console. ### iFrame Catalyst also enables you to easily allow your application to be incorporated as a widget in an external domain, similar to allowing CORS. To load your application as a widget in a target website, you must code a script for it in your application's source files. Once that's done, you can embed your application as a widget on the target website by incorporating the widget script in the target's code. If you choose to embed your application widget in the form of an iFrame, you can utilize Catalyst's convenient functionality. By default, browsers do not allow iFrame elements from one domain to be loaded in a different domain, as they violate standard content security policies, unless specific access is given. However, using Catalyst, you don't need to build the logic involved in granting permissions to allow an external widget. You can easily enable the iFrame of your application widget for a domain in the console. Catalyst servers will then handle the communication with the browsers. The server informs the browser about the configured domains that can allow your application widget to be incorporated in them. -------------------------------------------------------------------------------- title: "Implementation" description: "Custom User Validation allows you to validate user sign ups using custom logic" last_updated: "2026-11-03T07:48:52.000Z" source: "https://docs.catalyst.zoho.com/en/cloud-scale/help/authentication/whitelisting/authorized-domains/implementation/" service: "CloudScale" -------------------------------------------------------------------------------- # Implementation To access the *Whitelisting* section you have to configure at least one of the [authentication types](https://docs.catalyst.zoho.com/en/cloud-scale/help/authentication/authentication-types/): [Hosted](https://docs.catalyst.zoho.com/en/cloud-scale/help/authentication/native-catalyst-authentication/hosted-authentication-type/introduction/), [Embedded](https://docs.catalyst.zoho.com/en/cloud-scale/help/authentication/native-catalyst-authentication/embedded-authentication/introduction/), or [Third-party](https://docs.catalyst.zoho.com/en/cloud-scale/help/authentication/third-party-authentication/introduction/). You can access *Authorized Domains* in the whitelisting section any time by navigating to **CloudScale > Authentication** in the console, and clicking the **Whitelisting** option. ![cloud_scale_authentication_whitelisting](https://catalyst-docs-development.zohostratus.in/images/help/authentication/cloud_scale_authentication_whitelisting.webp) You can also access *Authorized Domains* in the *Additional Settings* section during the last step of all the authentication setups. ![cloud_scale_additional_settings](https://catalyst-docs-development.zohostratus.in/images/help/authentication/cloud_scale_additional_settings.webp) ### To Enable CORS and iFrame Similar to [Custom User Validation](https://docs.catalyst.zoho.com/en/cloud-scale/help/authentication/whitelisting/custom-user-validation/implementation/), Authorized Domains is also disabled by default. To authorize domains and enable CORS and iFrame access: 1. Click **Add Domain** under the *Authorized Domain* section. ![cloud_scale_authentication_authorized_domains_addomain_highlights](https://catalyst-docs-development.zohostratus.in/images/help/authentication/cloud_scale_authentication_authorized_domains_addomain_highlight.webp) 2. Enter the name of the domain name, and authorize the domain to have CORS and or iFrame access by enabling the respective options, as per your preference. ![cloud_scale_authentication_authorized_domains_adding](https://catalyst-docs-development.zohostratus.in/images/help/authentication/cloud_scale_authentication_authorized_domains_adding.webp) 3. Click **Configure** to complete set up. The authorized domain along with the enabled status of CORS and iFrame access to your application will be displayed. ![cloud_scale_authentication_authorized_domains_single_domain](https://catalyst-docs-development.zohostratus.in/images/help/authentication/cloud_scale_authentication_authorized_domains_single_domain.webp) You can authorize and add more domains by clicking **Add Domain** and repeating the above mentioned steps. ![cloud_scale_authentication_authorized_domains_multiple_domain_highlight](https://catalyst-docs-development.zohostratus.in/images/help/authentication/cloud_scale_authentication_authorized_domains_multiple_domain_highlight.webp) ### To Modify Domain Name or Update CORS and iFrame Access to Your Application You can modify a domain name or reconfigure its CORS and iFrame access to your application in the following way: 1. Click the **ellipsis icon** next to the domain you wish to change, and click **Edit**. ![cloud_scale_authentication_authorized_domains_edit](https://catalyst-docs-development.zohostratus.in/images/help/authentication/cloud_scale_authentication_authorized_domains_edit.webp) 2. You can update the domain name, and enable or disable CORS and iFrame access as per your preference in the pop-up window. Click **Update** to confirm the update. ![cloud_scale_authentication_authorized_domains_update](https://catalyst-docs-development.zohostratus.in/images/help/authentication/cloud_scale_authentication_authorized_domains_update.webp) You can now view the updated information of the domain in the **Authorized Domains** section. ![cloud_scale_authentication_authorized_domains_updated](https://catalyst-docs-development.zohostratus.in/images/help/authentication/cloud_scale_authentication_authorized_domains_updated.webp) ### To Delete an Authorized Domain You can permanently delete a domain that you authorized in the following way: 1. Click the **ellipsis icon** next to the domain you wish to delete, and click **Delete**. ![cloud_scale_authentication_authorized_domains_delete](https://catalyst-docs-development.zohostratus.in/images/help/authentication/cloud_scale_authentication_authorized_domains_delete.webp) 2. Click **Yes, Proceed** in the confirmation pop-up. ![cloud_scale_authentication_authorized_domains_delete_confirm](https://catalyst-docs-development.zohostratus.in/images/help/authentication/cloud_scale_authentication_authorized_domains_delete_confirm.webp) The domain will be deleted. ![cloud_scale_authentication_authorized_domains_deleted](https://catalyst-docs-development.zohostratus.in/images/help/authentication/cloud_scale_authentication_authorized_domains_deleted.webp) ##### Custom User Validation -------------------------------------------------------------------------------- title: "Introduction" description: "Custom User Validation allows you to validate user sign ups using custom logic" last_updated: "2026-11-03T07:48:52.000Z" source: "https://docs.catalyst.zoho.com/en/cloud-scale/help/authentication/whitelisting/custom-user-validation/introduction/" service: "CloudScale" -------------------------------------------------------------------------------- # Custom User Validation Catalyst offers you the option to validate and authorize end-users to your application using custom functions. This option allows you to configure a [Catalyst Basic I/O function](https://docs.catalyst.zoho.com/en/serverless/help/functions/basic-io) to contain the logic of the manner you wish to authorize the user with. During user sign up, the credentials of the user will be validated through this Basic I/O function. > **Note:** To enable **Custom User Validation**, you must first ensure that [Public Signup](https://docs.catalyst.zoho.com/en/cloud-scale/help/authentication/public-signup/) has been enabled. Refer the code snippets below a sample Custom User Validation function in Java, Node.js, and Python: **Java** **Custom User Validation - Java** ```java public class MainClass implements ZCFunction { private static final Logger LOGGER = Logger.getLogger(MainClass.class.getName()); @Override public void runner(Context context, BasicIO basicIO) throws Exception { try { ZCProject.initProject(); ZCSignupUserValidationRequest requestDetails = ZCSignupUserService.getSignupValidationRequest(basicIO); if (requestDetails != null) { /*Validation logic starts */ LOGGER.info("Inside null check"); ZCSignupUserValidationResponse validationResponse = ZCSignupUserValidationResponse.getInstance(); if (requestDetails.getUserDetails().getEmailId().contains("@notallowedmail")) { validationResponse.setStatus(ZCSignupValidationStatus.FAILURE); // The user has failed authentication } else { validationResponse.setStatus(ZCSignupValidationStatus.SUCCESS); // The actions that occur in the event of a successful authentication can be customized ZCSignupResponseUserDetails respUserDetails = ZCSignupResponseUserDetails.getInstance(); respUserDetails.setFirstName("{customFirstName}"); respUserDetails.setLastName("{customLastname}"); respUserDetails.setRoleIdentifier("{customRoleName}"); respUserDetails.setOrgId("{customOrgId}"); validationResponse.setUserDetails(respUserDetails); } basicIO.write(validationResponse); /* Validation logic ends*/ } } catch (Exception e) { basicIO.write(e); LOGGER.log(Level.SEVERE, "Exception in MainClass", e); basicIO.setStatus(500); } } } ``` **Node.js** **Custom User Validation - Node.js** ```javascript const catalyst = require("zcatalyst-sdk-node"); module.exports = (context, basicIO) => { const catalystApp = catalyst.initialize(context); const userManagement = catalystApp.userManagement(); const requestDetails = userManagement.getSignupValidationRequest(basicIO); if (requestDetails !== undefined) { if (requestDetails.user_details.email_id.includes("node")) { basicIO.write( JSON.stringify({ status: "failure", }) ); } else { basicIO.write( JSON.stringify({ status: "success", user_details: { first_name: "CustomFirstName", last_name: "CustomLastName", role_identifier: "CustomRole", org_id: "CustomOrgID", //If you are providing the Org ID, make sure it is copied exactly from the console. }, }) ); } } context.close(); }; ``` **Python** **Custom User Validation - Python** ```python import json import zcatalyst_sdk def handler(context, basicio): app = zcatalyst_sdk.initialize() auth_service = app.authentication() request_details = auth_service.get_signup_validation_request(basicio) if request_details: if "spam.com" in request_details["user_details"]["email_id"]: basicio.write(json.dumps({"status": "failure"})) else: basicio.write( json.dumps( { "status": "success", "user_details": { "first_name": "Amelia", "last_name": "Jack", "role_identifier": "cx_role", "org_id": orgId, # If you are providing the Org ID, make sure it is copied exactly from the console. }, } ) ) context.close() ``` > **Note:** These snippets are also available in the Catalyst [Java SDK](https://docs.catalyst.zoho.com/en/sdk/java/v1/cloud-scale/authentication/custom-user-validation/), [Node.js SDK](https://docs.catalyst.zoho.com/en/sdk/nodejs/v2/cloud-scale/authentication/custom-user-validation/), and [Python SDK](https://docs.catalyst.zoho.com/en/sdk/python/v1/cloud-scale/authentication/custom-user-validation/) repositories. -------------------------------------------------------------------------------- title: "How It Works" description: "Custom User Validation allows you to validate user sign ups using custom logic" last_updated: "2026-11-03T07:48:52.000Z" source: "https://docs.catalyst.zoho.com/en/cloud-scale/help/authentication/whitelisting/custom-user-validation/how-it-works/" service: "CloudScale" -------------------------------------------------------------------------------- # How Custom User Validation Works The following steps detail how you can use custom logic to authenticate end-user sign ups: > **Note:** [Public Signup](https://docs.catalyst.zoho.com/en/cloud-scale/help/authentication/public-signup/) must be enabled to use Custom User Validation. 1. When an end-user signs up to your application using the Sign Up action configured by you, the Catalyst server will check if [Custom User Validation](https://docs.catalyst.zoho.com/en/cloud-scale/help/authentication/whitelisting/custom-user-validation/introduction) has been enabled. If it has been enabled, then the [Basic I/O function](https://docs.catalyst.zoho.com/en/serverless/help/functions/basic-io) that you have used to engineer the validation logic will be called and the user details will be passed to the validation function as a `.JSON` object. ```json { "request_type": "add_user", "request_details": { "user_details": { "email_id": "emmy@zylker.com", "first_name": "Emma", "last_name": "Thompson", "org_id": "43************", "role_details": { "role_name": "App User", "role_id": "10********" } }, "auth_type": "web" } } ``` > **Note:** * Custom User Validation only applies for sign up action, i.e., when the user tries to access your Catalyst application for the very first time. * If you wish to alter any one of the input details for validation, the input to the function has to be sent as the complete .JSON object. 2. If the user's authentication is successful based on the custom logic coded by you, then the user will be able to access the application, and the details of this user can be viewed and managed in the [*User Management*](https://docs.catalyst.zoho.com/en/cloud-scale/help/authentication/user-management/introduction) section. 3. If the end-user's details do not meet the authentication requirements you coded, then they will not be able to access the application. -------------------------------------------------------------------------------- title: "Implementation" description: "Custom User Validation allows you to validate user sign ups using custom logic" last_updated: "2026-11-03T07:48:52.000Z" source: "https://docs.catalyst.zoho.com/en/cloud-scale/help/authentication/whitelisting/custom-user-validation/implementation/" service: "CloudScale" -------------------------------------------------------------------------------- # Implementation To use the *Whitelisting* section you have to configure at least one authentication type: [Hosted Authentication Type](https://docs.catalyst.zoho.com/en/cloud-scale/help/authentication/native-catalyst-authentication/hosted-authentication-type/introduction/), [Embedded Authentication Type](https://docs.catalyst.zoho.com/en/cloud-scale/help/authentication/native-catalyst-authentication/embedded-authentication/introduction/), or [Third-party Authentication Type](https://docs.catalyst.zoho.com/en/cloud-scale/help/authentication/third-party-authentication/introduction/). You can access the *Whitelisting* by navigating to **CloudScale > Authentication** in the console, and clicking the **Whitelisting** option. ![cloud_scale_authentication_whitelisting](https://catalyst-docs-development.zohostratus.in/images/help/authentication/cloud_scale_authentication_whitelisting.webp) Custom User Validation enables you to validate your end-users using a custom logic as defined by you in a [Basic I/O function](https://docs.catalyst.zoho.com/en/serverless/help/functions/basic-io). > **Note:** * [Public Signup](https://docs.catalyst.zoho.com/en/cloud-scale/help/authentication/public-signup)must be enabled to use Custom User Validation * The custom validation function must already be coded as a Basic I/O, in [Java](https://docs.catalyst.zoho.com/en/sdk/java/v1/cloud-scale/authentication/custom-user-validation/), [Node.js](https://docs.catalyst.zoho.com/en/sdk/nodejs/v2/cloud-scale/authentication/custom-user-validation/), or [Python](https://docs.catalyst.zoho.com/en/sdk/python/v1/cloud-scale/authentication/custom-user-validation/) and present in the Catalyst console in [Serverless Functions](https://docs.catalyst.zoho.com/en/serverless/help/functions/introduction/) Custom User Validation will be **disabled** by default, and you have the option of configuring it in two ways: > **Note:** You can also enable Custom User Validation in the *Additional Settings* section during the last step of all the authentication setups. ![cloud_scale_additional_settings](https://catalyst-docs-development.zohostratus.in/images/help/authentication/cloud_scale_additional_settings.webp) ### Enable Custom User Validation 1. Click the **toggle button** present next to the **Custom User Validation** option in the *Whitelisting* section. ![cloud_scale_authentication_whitelisting](https://catalyst-docs-development.zohostratus.in/images/help/authentication/cloud_scale_authentication_whitelisting.webp) > **Note:** [Public Signup](https://docs.catalyst.zoho.com/en/cloud-scale/help/authentication/public-signup/) must be enabled to use Custom User Validation. As mentioned earlier, you can enable while setting up an authentication type using the *Additional Settings* section. 2. Select the [Basic I/O function](https://docs.catalyst.zoho.com/en/serverless/help/functions/basic-io/) that contains your custom logic from the dropdown. ![cloud_scale_custom_validation_funcchoose](https://catalyst-docs-development.zohostratus.in/images/help/authentication/cloud_scale_custom_validation_funcchoose.webp) 3. You can click **JSON Validation** button to view and copy the sample JSON input to test the function. You can test this input with a sample function available in the respective [SDK sections](https://docs.catalyst.zoho.com/en/#DeveloperTools) of each stack, or with your own custom logic. ![cloud_scale_custom_validation_json](https://catalyst-docs-development.zohostratus.in/images/help/authentication/cloud_scale_custom_validation_json.webp) 4. Click **Configure** to finish enabling Custom User Validation. ![cloud_scale_auth_whitelisting_csu_enabled](https://catalyst-docs-development.zohostratus.in/images/help/authentication/cloud_scale_auth_whitelisting_csu_enabled.webp) ### Disable Custom User Validation You can disable the *Custom User Validation* option if you no longer wish to validate user sign ups using a custom logic, by simply clicking the toggle button to disable *Custom User Validation*. ![cloud_scale_auth_whitelisting_csu_enabled_toggle_highighlit](https://catalyst-docs-development.zohostratus.in/images/help/authentication/cloud_scale_auth_whitelisting_csu_enabled_toggle_highighlit.webp) Custom User Validation will be disabled, and can be re-enabled again at any time. > **Note:** Custom User Validation will automatically be disabled for your application if you disable [Public Signup](https://docs.catalyst.zoho.com/en/cloud-scale/help/authentication/public-signup/). ### Cache -------------------------------------------------------------------------------- title: "Introduction" description: "Catalyst provides a robust, fully-managed cache in-memory for real-time use cases to store ephemeral data in your applications." last_updated: "2026-11-03T15:16:51.000Z" source: "https://docs.catalyst.zoho.com/en/cloud-scale/help/cache/introduction/" service: "CloudScale" -------------------------------------------------------------------------------- # Cache ### Introduction Cache is a small storage component of the Catalyst CloudScale service that enables faster retrieval of actively used data. It is designed to store ephemeral data or frequently accessed information, helping reduce the load on primary databases. This cache component, powered by Catalyst, plays a crucial role in memory-intensive real-time applications or microservices that demand sub-millisecond responses. In such dynamic cloud-based applications, frequent read and write operations are common. Relying on the primary data storage for every transaction becomes costly in terms of latency and can degrade overall application performance. As an in-memory component, Catalyst Cache handles large volumes of data transmission with minimal latency, significantly enhancing application performance and ensuring a smooth user experience. It is offered as an independent, in-memory service that can be used alongside or separately from your main data storage. Catalyst allows you to partition cache memory into segments and manage cache items directly from the console, making it highly effective for dynamic and performance-critical applications. To learn about using Catalyst cache in the development and production environments, visit the [Environments help page](https://docs.catalyst.zoho.com/en/deployment-and-billing/environments/introduction/). ### SDK and API documentation You can also work with Catalyst cache using the SDKs or the API. These enable you to fetch, insert, or update cache items in your project, and perform other actions. For more information and code samples on working in these programming environments, refer to these help pages: * [Cache - Java SDK](https://docs.catalyst.zoho.com/en/sdk/java/v1/cloud-scale/cache/get-segment-instance/) * [Cache - Node.js SDK](https://docs.catalyst.zoho.com/en/sdk/nodejs/v2/cloud-scale/cache/get-segment-instance/) * [Cache - Python SDK](https://docs.catalyst.zoho.com/en/sdk/python/v1/cloud-scale/cache/get-segment-instance/) * [Cache - API](https://docs.catalyst.zoho.com/en/api/code-reference/cloud-scale/cache/insert-key-value-in-segment/#InsertKeyValueinCacheSegment) -------------------------------------------------------------------------------- title: "Key Concepts" description: "Catalyst provides a robust, fully-managed cache in-memory for real-time use cases to store ephemeral data in your applications." last_updated: "2026-11-03T07:48:52.000Z" source: "https://docs.catalyst.zoho.com/en/cloud-scale/help/cache/key-concepts/" service: "CloudScale" -------------------------------------------------------------------------------- # Key Concepts Before you learn more about the architecture of Catalyst cache, it's important to familiarize yourself with some of its fundamental concepts. ### Segments Catalyst cache is divided into partitions called segments. Each segment represents a cache unit. Cache segments can be created to categorize and organize data used for similar purposes. Each cache segment can contain several cache items where the data to be cached is stored. You can only create a cache segment from the Catalyst console. Once a segment is created, you can view or update its cache items from the console or in your application using the APIs. Whenever a cache segment is created, a unique **Segment ID** is created for it automatically. You can refer to the segment using its ID. You can [find the segment ID](https://docs.catalyst.zoho.com/en/cloud-scale/help/cache/implementation/#create-a-segment) of a cache in the Cache component page from Catalyst console. There is also a **default segment** in your cache that is created automatically when you create a project. If you cache data without having created a segment, or if you don't specify the Segment ID for an operation using the SDKs or API, the default segment will be accessed. ### Cache Items A cache item is primarily a key-value pair, that contains a keyname and a corresponding value. A cache item in Catalyst contains the following attributes: * **Keyname**: The unique identifying name of the cache item. * **Value**: The value of the cache item. * **Expiration Time**: Defines the time of validity of the cache item in hours. The default expiration time of data in a cache item is **two days**. Any data that crosses two days of validity will be deleted from the cache memory automatically. You can override the default expiration time of a cache item and set it to a time within two days or less. -------------------------------------------------------------------------------- title: "Architecture" description: "Catalyst provides a robust, fully-managed cache in-memory for real-time use cases to store ephemeral data in your applications." last_updated: "2026-11-03T07:48:52.000Z" source: "https://docs.catalyst.zoho.com/en/cloud-scale/help/cache/architecture/" service: "CloudScale" -------------------------------------------------------------------------------- ### Architecture Catalyst implements and manages Redis cache which is backed by Zoho's powerful infrastructure. Redis is an open-source, in-memory key-value data store structure. Redis data is stored in the server's main memory as opposed to popular databases that store the data on disk. Since the data resides in-memory, accessing it avoids seek time delays and facilitates sub-millisecond response time for real-time applications. For more information, refer to the [official documentation of Redis](https://redis.io/documentation). Catalyst manages the behind-the-scenes functionalities of the Redis cache for you, allowing you to entirely focus on a higher-value application development. It handles the hardware provisioning and the multi-tenant architecture of the Redis cache. It also maintains compatibility with Redis APIs, enabling you to build functionality-rich applications without any hassles. A single standard cluster in Redis caters caching services for multiple users, while Catalyst handles the segregation and allocation of resources. For example, when you create cache items for two different projects from your Catalyst account, the data of both applications might be stored in a single dedicated cluster in Redis. The identity of a cache item's source project is uniquely marked, and the cache items in the same cluster are efficiently segregated by Catalyst. Catalyst therefore prevents collisions of cache items of different projects in the cluster, and returns the right cache item's value when requested. This is highly beneficial when the keynames of the cache items are the same in both the projects. -------------------------------------------------------------------------------- title: "Lifecycle" description: "Catalyst provides a robust, fully-managed cache in-memory for real-time use cases to store ephemeral data in your applications." last_updated: "2026-11-03T07:48:52.000Z" source: "https://docs.catalyst.zoho.com/en/cloud-scale/help/cache/lifecycle/" service: "CloudScale" -------------------------------------------------------------------------------- ### Lifecycle The life cycle of a cache item can be summed up in the following steps: 1. A user creates a cache segment in a project. A unique identification is created that identifies the segment in the Redis cluster. 2. When a cache item is created in that segment, it is bound with that segment through internal logic. 3. All cache items that are created in various segments are stored in the same dedicated cluster along with other cache items of different segments, projects, and users. This segregation is handled by Zoho. 4. Every time a read operation is performed, Catalyst checks the cluster for the required data using internal identifications. If the data is present, it is retrieved, and the API response is received with the requested data. 5. All cache items reside in-memory until their expiration time, unless they are deleted by the users. -------------------------------------------------------------------------------- title: "Benefits" description: "Catalyst provides a robust, fully-managed cache in-memory for real-time use cases to store ephemeral data in your applications." last_updated: "2026-11-03T07:48:52.000Z" source: "https://docs.catalyst.zoho.com/en/cloud-scale/help/cache/benefits/" service: "CloudScale" -------------------------------------------------------------------------------- ### Benefits 1. **Rapid Performance** Catalyst cache can reduce the data access time and latency, speeding up the I/O operations by a considerable amount. This increases the throughput of data transmission, and serves read and write requests with exceedingly fast response times. 2. **Auto-Scaling** Catalyst cache can auto-scale to provide the required space and resources when the load increases. It maintains the consistency of its performance and scales up the data tiers based on the application's fluctuating needs. Auto-scaling ensures that your application stays reliable, and reduces app failures significantly. 3. **Fully-Managed Backend** You can implement the Catalyst cache in your serverless application without having to directly manage or handle its architecture. This also prevents the need for you to implement the services of a cache provider in your application by yourself. This helps you avoid handling the scalability, setting up and configuring the environment, or partitioning the server to your requirements manually. Catalyst handles all the back-end functionalities of Redis, ensuring a faster application development. 4. **Fail-Safe and Automatic Failure Handling** Redis accommodates both in-memory and on-disk persistence features. The in-memory storage enables faster access of data, and the on-disk persistence ensures that the data is stored in a non-volatile memory and is available at any point of time. Catalyst also provides automatic failure handling, which helps you avoid monitoring or performing failure recovery tasks manually. 5. **Ease of Access** You can work with Catalyst cache from the Catalyst console and implement it in your application using the APIs. In the Catalyst console, you can create a cache segment, rename a segment, delete a segment, create a cache item, edit a cache item, and delete a cache item using the Catalyst console. 6. **Usage Reports** You can find reports of your Catalyst cache usage from the Catalyst console. [Metrics](https://docs.catalyst.zoho.com/en/devops/help/metrics/cache/) displays the following usage information of cache: Number of Segments, Number of Keys in a Segment, Number of Keys about to Expire, and Total Size of each Segment. -------------------------------------------------------------------------------- title: "Use Cases" description: "Catalyst provides a robust, fully-managed cache in-memory for real-time use cases to store ephemeral data in your applications." last_updated: "2026-11-03T07:48:52.000Z" source: "https://docs.catalyst.zoho.com/en/cloud-scale/help/cache/use-cases/" service: "CloudScale" -------------------------------------------------------------------------------- ### Use Cases Catalyst cache can be used in the following scenarios: * A weather application that provides real-time information about the temperature, weather conditions, humidity levels, and more for a particular geography uses the Catalyst cache to store the weather data. This data is updated once every hour. The existing cache items are set to expire in an hour, after which new data about the latest weather conditions are obtained from a database and are written to the cache automatically. * A movie ticket booking application that allows the users to view and book movie tickets for specific theaters, which uses the Catalyst cache to store the user's session data when they initiate the process of booking tickets. This session data is set to expire in six minutes, within which the user must complete the booking process. If the user doesn't complete the booking within six minutes, the cache items are deleted, and they must initiate the booking again from scratch. Some other examples where Catalyst cache can be implemented include applications of the following types: * Real-time gaming leaderboards * Geospatial applications * IoT applications * Healthcare applications * Financial and banking applications * Mobility management applications * Telecommunications applications * E-commerce applications -------------------------------------------------------------------------------- title: "Implementation" description: "Catalyst provides a robust, fully-managed cache in-memory for real-time use cases to store ephemeral data in your applications." last_updated: "2026-11-03T07:48:52.000Z" source: "https://docs.catalyst.zoho.com/en/cloud-scale/help/cache/implementation/" service: "CloudScale" -------------------------------------------------------------------------------- # Implementation The implementation section acts as a step-by-step procedure guide on working with Catalyst cache from the Catalyst console. You can refer to the [Java](https://docs.catalyst.zoho.com/en/sdk/nodejs/v2/cloud-scale/cache/get-segment-instance/), [Node.js SDK](https://docs.catalyst.zoho.com/en/sdk/nodejs/v2/cloud-scale/cache/get-segment-instance/), [Python SDK](https://docs.catalyst.zoho.com/en/sdk/python/v1/cloud-scale/cache/get-segment-instance/) and the [API documentation](https://docs.catalyst.zoho.com/en/api/code-reference/cloud-scale/cache/insert-key-value-in-segment/#InsertKeyValueinCacheSegment) for working with cache from the respective environments. ### Create a Segment You can only create a cache segment from the Catalyst console. It cannot be done using the APIs. > **Note:** Catalyst allows you to create up to 20 segments in a project, and the size limit of each segment is 10 MB. You can request Catalyst for an increase in these limits by contacting our support at support@zohocatalyst.com. We will address each request on a case-by-case basis. To create a cache segment: 1. Navigate to **CloudScale**, and then **Cache**. ![Cache- Create a Segment](https://catalyst-docs-development.zohostratus.in/images/help/cache/catalyst_cache.webp) 2. Click **Create Segment** in the *Segments* page. 3. Enter the segment name in the pop-up window. ![Cache- Create a Segment](https://catalyst-docs-development.zohostratus.in/images/help/cache/catalyst_cache_create.webp) 4. Click **Create**. Your cache segment will now be created and listed in the *Segments* page, along with details like segment ID, created by, and created time. ![Cache- Segment Created](https://catalyst-docs-development.zohostratus.in/images/help/cache/catalyst_cache_segments.webp) The default segment will already be present in the *Segments* page. ### Rename a Segment To rename a cache segment: 1. Click the ellipsis icon for the segment that needs to be renamed in the *Segments* page, and then click **Rename**. ![Cache- Rename a Segment](https://catalyst-docs-development.zohostratus.in/images/help/cache/catalyst_cache_segments_edit.webp) 2. Type a new name for your segment and press **Enter**. ![Cache- Rename a Segment](https://catalyst-docs-development.zohostratus.in/images/help/cache/catalyst_cache_segment_rename.webp) ### Create a Cache Item To create a cache item: 1. Click the name of the segment from the *Segments* page where the cache item should be created. 2. Click **Create Cache Item**. ![Cache- Create a Cache Item](https://catalyst-docs-development.zohostratus.in/images/help/cache/catalyst_cache_item.webp) 3. Enter a keyname, value, and the expiration time in hours for the cache item. ![Cache- Create a Cache Item](https://catalyst-docs-development.zohostratus.in/images/help/cache/catalyst_cache_create_cache_item.webp) > **Note:** * The keyname of a cache item is unique for a segment. * If you do not enter a value for the expiry time, it is automatically set to the default validity (two days). 4. Click **Create**. The cache item will be created and listed in the segment's page. ![Cache- Cache Item Created](https://catalyst-docs-development.zohostratus.in/images/help/cache/catalyst_cache_key_details.webp) You can find a particular cache item by searching using its keyname in the search bar. ### Edit a Cache Item To edit a cache item: 1. Click on the name of the segment whose cache item you want to edit, in the _Segments_ page. 2. Click on the key name and click **Edit** in the _Key Details_ window. 3. Make the necessary edits to the cache item. ![Cache- Edit a Cache Item](https://catalyst-docs-development.zohostratus.in/images/help/cache/catalyst_cache_edit_cache_item.webp) 4. Click **Save**. The cache item will be updated. ### Delete a Cache Item To delete a cache segment: 1. Click on the name of the segment whose cache item you want to delete, in the _Segments_ page. 2. Click on the key name and click **Delete** in the _Key Details_ window. ![Cache- Delete a Cache Item](https://catalyst-docs-development.zohostratus.in/images/help/cache/catalyst_cache_delete_cache_item.webp) 3. Click **Yes, Proceed** in the confirmation window. ![cache](https://catalyst-docs-development.zohostratus.in/images/help/cache/catalyst_cache_delete_cache_item_confirmation.webp) The cache item will now be deleted permanently. ### Delete a Segment To delete a cache segment: 1. Click the ellipsis icon for the segment that needs to be deleted and click **Delete**. ![Cache- Delete a Segment](https://catalyst-docs-development.zohostratus.in/images/help/cache/catalyst_cache_segment_delete.webp) 2. Click **Yes, Proceed** in the confirmation pop-up window. ![cache](https://catalyst-docs-development.zohostratus.in/images/help/cache/catalyst_cache_segment_delete_confirmation.webp) The segment will now be deleted permanently. ### Connections -------------------------------------------------------------------------------- title: "Introduction" description: "Catalyst Connections enables you to execute secure integrations with Zoho and other third-party services by handling all token management functionalities" last_updated: "2026-11-03T07:48:52.000Z" source: "https://docs.catalyst.zoho.com/en/cloud-scale/help/connections/introduction/" service: "CloudScale" related: - Catalyst Signals (/en/signals/help/events/) -------------------------------------------------------------------------------- # Connections Connections is a Catalyst CloudScale component that allows you to seamlessly authenticate and integrate with Zoho services and third-party applications. It eliminates the need to write complex authentication logic or handle credential management manually. By leveraging the robust infrastructure powered by Catalyst, Connections ensures that integrations and secure data exchanges happen reliably and efficiently. This simplifies the entire process of establishing secure connections between your application and external services. Connections will handle the **entire authentication requirement** that is mandatory for a successful integration. For example, consider a business platform that manages its leads using Zoho CRM and manages its archival requirements with a third-party cloud storage provider. To achieve this requirement with Connections, you only have to establish and define an API. You do not have to code any additional logic you would otherwise use to handle authentication tokens; Connections will do that for you. Connections will also allow you to manage this entire integration directly in the console. The Connections component offers you pre-configured connections for **25+** (Zoho and third-party) services in the form of **Default Services**. Furthermore, you can also configure any other service using the **Custom Service** feature. **Default Services**: These are services that offer Connections where the API is already defined. However, you would still need to enable relevant scopes and log in through the required service to establish the Connection. ![catalyst_cloudscale_connections_default_service_first_look](https://catalyst-docs-development.zohostratus.in/images/help/connections/catalyst_cloudscale_connections_default_service_first_look.webp) **Custom Services**: These services can be any other Zoho or third-party service that is not a Default Service. Custom service provides you with the option to choose your authentication protocol (`API Key`, `Basic Authentication`, or `OAuth2`) based on which your Connection to the service will be authenticated. You will also have to provide scope details and define the API per your requirements. ![catalyst_cloudscale_connections_custom_service_first_look](https://catalyst-docs-development.zohostratus.in/images/help/connections/catalyst_cloudscale_connections_custom_service_first_look.webp) The following is a list of *Zoho* and other *Third-party* services that are offered as **Default Services** by Connections:
Zoho Services Third-Party Services
[Zoho CRM](https://www.zoho.com/crm/) [Google](https://www.google.com/)
[Zoho Bigin](https://www.bigin.com/) [MailChimp](https://mailchimp.com/)
[Zoho Voice](https://www.zoho.com/voice/) [Dropbox](https://www.dropbox.com/)
[Zoho Payroll](https://www.zoho.com/in/payroll/) [DocuSign](https://account.docusign.com/)
[Zoho Shifts](https://www.zoho.com/shifts/) [Adobe Sign](https://www.adobe.com/acrobat/business/sign.html)
[Zoho Catalyst](https://catalyst.zoho.com/) [GoToMeeting](https://www.goto.com/meeting)
[Zoho FSM](https://www.zoho.com/fsm/)
[Zoho Booking](https://www.zoho.com/bookings/)
[Zoho IOT](https://www.zoho.com/iot/)
[Zoho Sprints](https://www.zoho.com/sprints/)
[Zoho Books](https://www.zoho.com/books/)
[Zoho Directory](https://www.zoho.com/directory/)
[Zoho One](https://www.zoho.com/one/)
[Zoho Desk](https://www.zoho.com/en-in/desk/)
[Zoho Recruit](https://www.zoho.com/recruit/)
[Zoho Commerce](https://www.zoho.com/commerce/)
[Zoho Projects](https://www.zoho.com/projects/)
[Zoho Meeting](https://www.zoho.com/meeting/)
[Zoho Writer](https://www.zoho.com/writer/)
[ManageEngine ServiceDesk Plus Cloud](https://www.manageengine.com/products/service-desk/cloud/)
[Zakya](https://www..com/en-in/)
[Arattai](https://www.arattai.in/)
[AlarmsOne](https://www.manageengine.com/alarmsone/)
-------------------------------------------------------------------------------- title: "Connect to a Default Service" description: "Catalyst Connections enables you to execute secure integrations with Zoho and other third-party services by handling all token management functionalities" last_updated: "2026-11-03T07:48:52.000Z" source: "https://docs.catalyst.zoho.com/en/cloud-scale/help/connections/establish-default-connection/" service: "CloudScale" related: - Catalyst Signals (/en/signals/help/events/) -------------------------------------------------------------------------------- # Establish a Connection With a Default Service Default Services are a list of predefined services with which you can successfully create Connections by providing the required scopes and logging in to the account with valid and verified credentials. These are services where the configuration for a connection is already established. Once you provide your credentials to authenticate the connection, the connections become active and usable. There are about **25+** Default Services. For the purposes of this help documentation, we are going to illustrate with example cases of enabling Connections with [Google](https://www.google.com/), [MailChimp](https://mailchimp.com/), and [Zoho CRM](https://www.zoho.com/crm/). To enable a Default Service Connection: 1. Navigate to the **Connections** component present in the *CloudScale* section of the Catalyst console. Click **Create Connection**. ![catalyst_cloudscale_connections_cs_start](https://catalyst-docs-development.zohostratus.in/images/help/connections/catalyst_cloudscale_connections_cs_start.webp) 2. Choose your required service. ![catalyst_cloudscale_connections_default_service_selection](https://catalyst-docs-development.zohostratus.in/images/help/connections/catalyst_cloudscale_connections_default_service_selection.webp) > **Note:** Before you select a default service to establish a connection with, ensure you have a functioning account with the intended service. **Google** 3. We are going to illustrate the implementation of this service by forming a connection with Google. Provide a name for your connection, and select the required scopes from the provided list. ![catalyst_cloudscale_connections_scope_select_name](https://catalyst-docs-development.zohostratus.in/images/help/connections/catalyst_cloudscale_connections_scope_select_name.webp) The **Connection Link Name** input field will be auto populated. This is the name you will use to refer to the Connection. You can use the search option to search for the required scopes. Click **Create And Connect**. 4. You will now be directed to the Google service, and you will have to log in to your Google account to activate and authenticate the connection request. ![catalyst_cloudscale_connections_signin_google](https://catalyst-docs-development.zohostratus.in/images/help/connections/catalyst_cloudscale_connections_signin_google.webp) The connection will be live and active once you log in to your Google account and authorize the connection request. ![catalyst_cloudscale_connections_google_active](https://catalyst-docs-development.zohostratus.in/images/help/connections/catalyst_cloudscale_connections_google_active.webp) From here on, Catalyst will ensure that the Connections component produces the required tokens to keep the connection live. You can now share data and functionality with the Google service. **MailChimp** 3. We are going to illustrate the implementation of this service by forming a connection with *MailChimp*. Select the **MailChimp** service from the list of *Default Services*. ![catalyst_cloudscale_connections_ds_mailchimp_sel](https://catalyst-docs-development.zohostratus.in/images/help/connections/catalyst_cloudscale_connections_ds_mailchimp_sel.webp) 4. Enter a name for your connection in the **Connection Name** input field. The **Connection Link Name** input field will be populated automatically. Click **Create And Connect**. ![catalyst_cloudscale_connections_ds_mailchimp_connection_nme](https://catalyst-docs-development.zohostratus.in/images/help/connections/catalyst_cloudscale_connections_ds_mailchimp_connection_nme.webp) 5. Click **Connect**. You will then be directed to the *MailChimp* service. ![catalyst_cloudscale_connections_ds_mailchimp_connection_establishing](https://catalyst-docs-development.zohostratus.in/images/help/connections/catalyst_cloudscale_connections_ds_mailchimp_connection_establishing.webp) Once you log in to the service, the connection request will be authenticated and live. ![catalyst_cloudscale_connections_ds_mailchimp_connection_done](https://catalyst-docs-development.zohostratus.in/images/help/connections/catalyst_cloudscale_connections_ds_mailchimp_connection_done.webp) From here on, Catalyst will ensure that the Connections component produces the required tokens to keep the connection live. You can now share data and functionality with the MailChimp service. **Zoho CRM** 3. We are going to illustrate the implementation of this service by forming a connection with *Zoho CRM*. Select the **Zoho CRM** service from the list of *Default Services*. ![catalyst_cloudscale_connections_ds_crm_sel](https://catalyst-docs-development.zohostratus.in/images/help/connections/catalyst_cloudscale_connections_ds_crm_sel.webp) 4. Click **Create Connection**. ![catalyst_cloudscale_connections_ds_crm_sel_service](https://catalyst-docs-development.zohostratus.in/images/help/connections/catalyst_cloudscale_connections_ds_crm_sel_service.webp) 5. Enter a name for your connection in the **Connection Name** input field, and select the required scopes from the list. The **Connection Link Name** input field will be populated automatically. Click **Create And Connect**. ![catalyst_cloudscale_connections_ds_crm_scope_def](https://catalyst-docs-development.zohostratus.in/images/help/connections/catalyst_cloudscale_connections_ds_crm_scope_def.webp) 6. Choose the required Org, then authenticate the connection request. ![catalyst_cloudscale_connections_ds_crm_org_sel](https://catalyst-docs-development.zohostratus.in/images/help/connections/catalyst_cloudscale_connections_ds_crm_org_sel.webp) Once you log in to the service, the connection request will be authenticated and live. ![catalyst_cloudscale_connections_ds_crm_connected](https://catalyst-docs-development.zohostratus.in/images/help/connections/catalyst_cloudscale_connections_ds_crm_connected.webp) From here on, Catalyst will ensure that the Connections component produces the required tokens to keep the connection live. You can now share data and functionality with the Zoho CRM service. -------------------------------------------------------------------------------- title: "Connect to a Custom Service" description: "Catalyst Connections enables you to execute secure integrations with Zoho and other third-party services by handling all token management functionalities" last_updated: "2026-11-03T07:48:52.000Z" source: "https://docs.catalyst.zoho.com/en/cloud-scale/help/connections/establish-custom-connection/" service: "CloudScale" related: - Catalyst Signals (/en/signals/help/events/) -------------------------------------------------------------------------------- # Establish a Connection with a Custom Service Using the **Custom Service** option, you can create a Connection with a service that is not listed or configured as a Default Service. Potentially, using this feature, you can create a successful connection with any Zoho or third-party service. To create a connection, you need to first configure the required service as a **Custom Service**. To configure a service as a Custom Service: 1. Navigate to the **Custom Services** option under the *SERVICES* section in the *Connections* component and click **Create Service**. ![catalyst_cloudscale_connections_cs_start](https://catalyst-docs-development.zohostratus.in/images/help/connections/catalyst_cloudscale_connections_cs_start.webp) 2. Provide a name for the service and choose the required **Authentication Type**: ![catalyst_cloudscale_connections_cs__auth_type_sel](https://catalyst-docs-development.zohostratus.in/images/help/connections/catalyst_cloudscale_connections_cs__auth_type_sel.webp) This choice will decide the manner in which you authenticate the connection request. **API Key** You can choose the **API Key** option if you wish to authenticate the connection request using a uniquely generated string. - Choose the required **Parameter Type** from the drop-down. This option can be used to configure the format type in which the required credentials are going to be passed. ![catalyst_cloudscale_connections_cs_parameter](https://catalyst-docs-development.zohostratus.in/images/help/connections/catalyst_cloudscale_connections_cs_parameter.webp) 3. Provide the required parameter details in the respective field, and click **Create Service** to configure the required service as the custom service. ![catalyst_cloudscale_connections_custom_service_apikey_done](https://catalyst-docs-development.zohostratus.in/images/help/connections/catalyst_cloudscale_connections_custom_service_apikey_done.webp) 4. Click **Create Connection** to begin configuring a connection with the custom service you created. Click **Create And Connect** once you provide a name for your connection. The **Connection Link Name** input field will be populated automatically. ![catalyst_cloudscale_connections_custom_service_apike_name](https://catalyst-docs-development.zohostratus.in/images/help/connections/catalyst_cloudscale_connections_custom_service_apike_name.webp) 5. Provide the required credentials to the service you configured to authenticate the connection request. ![catalyst_cloudscale_connections_custom_service_apike_logon](https://catalyst-docs-development.zohostratus.in/images/help/connections/catalyst_cloudscale_connections_custom_service_apike_logon.webp) Your connection with the *Custom Service* will be active and live. ![catalyst_cloudscale_connections_custom_service_apike_created](https://catalyst-docs-development.zohostratus.in/images/help/connections/catalyst_cloudscale_connections_custom_service_apike_created.webp) From here on, Catalyst will ensure that the Connections component produces the required tokens to keep the connection live. You can now share data and functionality with the custom service. **Basic Authentication** You can choose the **Basic Authentication** option if you wish to authenticate the connection request by passing the required credentials using the *Query String*. - You cannot use any other parameter type other than **Query String** to pass the required credentials, and it will be automatically selected when you select this authentication type. ![catalyst_cloudscale_connections_custom_ba_name](https://catalyst-docs-development.zohostratus.in/images/help/connections/catalyst_cloudscale_connections_custom_ba_name.webp) 3. Click **Create Service** to configure the required service as the custom service. ![catalyst_cloudscale_connections_custom_ba_done_service](https://catalyst-docs-development.zohostratus.in/images/help/connections/catalyst_cloudscale_connections_custom_ba_done_service.webp) 4. Click **Create Connection** to begin configuring a connection with the custom service you created. Click **Create And Connect** once you provide a name for your connection. The **Connection Link Name** input field will be populated automatically. ![catalyst_cloudscale_connections_custom_service_ba_connection_start](https://catalyst-docs-development.zohostratus.in/images/help/connections/catalyst_cloudscale_connections_custom_service_ba_connection_start.webp) 5. Provide the required credentials to the service you configured to authenticate the connection request. ![catalyst_cloudscale_connections_custom_service_ba_logon](https://catalyst-docs-development.zohostratus.in/images/help/connections/catalyst_cloudscale_connections_custom_service_ba_logon.webp) Your connection with the *Custom Service* will be active and live. ![catalyst_cloudscale_connections_custom_service_ba_cs_connection_done](https://catalyst-docs-development.zohostratus.in/images/help/connections/catalyst_cloudscale_connections_custom_service_ba_cs_connection_done.webp) From here on, Catalyst will ensure that the Connections component produces the required tokens to keep the connection live. You can now share data and functionality with the custom service. **OAuth2** You can choose the **OAuth2** option if you wish to authenticate the connection request using access tokens based on *OAuth2* protocol. - Choose the required **Parameter Type** from the drop-down. This will determine the manner in which you wish to share your tokens. ![catalyst_cloudscale_connections_custom_service_ba_cs_auth2_sel_aparam](https://catalyst-docs-development.zohostratus.in/images/help/connections/catalyst_cloudscale_connections_custom_service_ba_cs_auth2_sel_aparam.webp) - Select the required **Grant Type** from the drop-down. This selection will determine the manner in which you will obtain the required access tokens. ![catalyst_cloudscale_connections_custom_service_ba_cs_auth2_sel_granttype](https://catalyst-docs-development.zohostratus.in/images/help/connections/catalyst_cloudscale_connections_custom_service_ba_cs_auth2_sel_granttype.webp) - Provide the authorizing credentials and URLs based on your requirement. ![catalyst_cloudscale_connections_custom_service_ba_cs_tokens_gen](https://catalyst-docs-development.zohostratus.in/images/help/connections/catalyst_cloudscale_connections_custom_service_ba_cs_tokens_gen.webp) - Enter the required **Scopes** to define the nature of access that connecting with the custom service will offer. You will also need to enter the display names of the scopes in the **Scope Display Name** input field. This will be the name that is displayed when you select **Scopes** to configure your connection with the service ![catalyst_cloudscale_connections_custom_service_auth2_cs_scopes](https://catalyst-docs-development.zohostratus.in/images/help/connections/catalyst_cloudscale_connections_custom_service_auth2_cs_scopes.webp) > **Info:** * Use the `add` icon to add more scopes. * Use the `delete` icon to delete a scope. 6. Click **Create Service** to establish the custom service. ![catalyst_cloudscale_connections_custom_service_auth2_cs_scopes_created](https://catalyst-docs-development.zohostratus.in/images/help/connections/catalyst_cloudscale_connections_custom_service_auth2_cs_scopes_created.webp) 7. Click **Create Connection** to begin configuring a connection with the custom service you created. The **Connection Link Name** input field will be populated automatically. ![catalyst_cloudscale_connections_custom_service_auth2_cs_connections_name](https://catalyst-docs-development.zohostratus.in/images/help/connections/catalyst_cloudscale_connections_custom_service_auth2_cs_connections_name.webp) 8. Select the required scopes from the list of scopes and click **Create And Connect**. ![catalyst_cloudscale_connections_custom_service_auth2_cs_scopes_sel_con](https://catalyst-docs-development.zohostratus.in/images/help/connections/catalyst_cloudscale_connections_custom_service_auth2_cs_scopes_sel_con.webp) 9. Perform the required authentication to authorize the connection request. ![catalyst_cloudscale_connections_custom_service_auth2_cs_connect_service_auth](https://catalyst-docs-development.zohostratus.in/images/help/connections/catalyst_cloudscale_connections_custom_service_auth2_cs_connect_service_auth.webp) The connection will be made active and live. ![catalyst_cloudscale_connections_custom_service_auth2_cs_live](https://catalyst-docs-development.zohostratus.in/images/help/connections/catalyst_cloudscale_connections_custom_service_auth2_cs_live.webp) From here on, Catalyst will ensure that the Connections component produces the required tokens to keep the connection live. You can now share data and functionality with the custom service. -------------------------------------------------------------------------------- title: "Employ Connections in Signals" description: "Catalyst Connections enables you to execute secure integrations with Zoho and other third-party services by handling all token management functionalities" last_updated: "2026-11-03T07:48:52.000Z" source: "https://docs.catalyst.zoho.com/en/cloud-scale/help/connections/connections-signals/" service: "CloudScale" related: - Catalyst Signals (/en/signals/help/events/) - Signals Publishers (/en/signals/help/publishers/key-aspects/) - Signals Events (/en/signals/help/events/) - Signals Webhooks (/en/signals/help/webhooks/key-aspects/) - Signals Rules (/en/signals/help/rules/key-aspects/) -------------------------------------------------------------------------------- # Employ Connections in Signals [Signals](https://docs.catalyst.zoho.com/en/signals/) is Catalyst's robust event bus service where you can implement event-driven architecture to streamline your operations effectively and considerably increase its efficiency. In Signals, you can produce an event-driven architecture, where the action that occurs in one service can trigger a resulting action in another service, provided the integration between these services is authenticated. For this type of integration use cases, you can leverage the Connections component to handle the authentication requirement seamlessly. Connections will ensure that the data sharing between the two services occurs in a smooth and secure manner. Consider the following example: An ecommerce platform would like to gain better insights on the sales of their products. One of the possible solutions to this use case can be achieved using two services: [Zoho CRM](https://www.zoho.com/crm/) and [Zoho Analytics](https://www.zoho.com/analytics/). You can use Zoho CRM to handle every data associated with the sale, and then you can automate funneling of data to Zoho Analytics by coding a suitable business logic and configuring an event-driven architecture using [Catalyst Signals](https://docs.catalyst.zoho.com/en/signals/help/events/). A crucial step in engineering this solution would be authenticating the integration between Zoho CRM and Zoho Analytics to allow data flow from CRM to Analytics. ![catalyst_connections_signals_not_connected_arch](https://catalyst-docs-development.zohostratus.in/images/help/connections/catalyst_connections_signals_not_connected_arch.webp) Employing **Connections** here would streamline the entire integration and save you time and effort you would spend in coding and handling the required tokens to keep the integration stable, secure, and active. ![catalyst_connections_signals_connected_arch](https://catalyst-docs-development.zohostratus.in/images/help/connections/catalyst_connections_signals_connected_arch.webp) Now, with **Connections** authenticating the integration, Zoho Analytics will be able to analyze the CRM data, and leveraging the results of the analysis, the ecommerce platform owner can drive meaningful improvements to enhance their sales. ### Implementation Consider the following example illustrating the steps required to employ Connections to authenticate the integration between a web application (**Service 1**) and Zoho CRM (**Service 2**). We will be using Signals to automate funneling relevant data from the web application to Zoho CRM. ### Configuring a Publisher A [Publisher](https://docs.catalyst.zoho.com/en/signals/help/publishers/key-aspects/) is a component in *Catalyst Signals* that you can use to configure a service that will act as the primary source of events. To configure the web application as a Publisher: 1. Navigate to the *Catalyst Signals* service in the console, and click the **Publisher** component. Click **Add Publisher**. ![catalyst_cloudscale_connections_signals_start_pub](https://catalyst-docs-development.zohostratus.in/images/help/connections/catalyst_cloudscale_connections_signals_start_pub.webp) > **Info:** You can find more information about: * Catalyst Signals service: [Here](https://docs.catalyst.zoho.com/en/signals/help/events/) * Publishers: [Here](https://docs.catalyst.zoho.com/en/signals/help/publishers/key-aspects/) * Configuring a Publisher: [Here](https://docs.catalyst.zoho.com/en/signals/help/publishers/create-publisher/zoho-publishers/) 2. Click the **Create Your Own Publisher** tab, and provide the required details for your *Publisher* and click **Save**. ![catalyst_cloudscale_connections_signals_choose_pub](https://catalyst-docs-development.zohostratus.in/images/help/connections/catalyst_cloudscale_connections_signals_choose_pub.webp) The web application has been configured as a Publisher. ![catalyst_cloudscale_connections_signals_creat_event](https://catalyst-docs-development.zohostratus.in/images/help/connections/catalyst_cloudscale_connections_signals_creat_event.webp) ### Create an Event for the Publisher An [Event](https://docs.catalyst.zoho.com/en/signals/help/events/) in Catalyst is essentially a trigger action that occurs due to an interaction in the Publisher's environment. To create an event: 1. Click **Add Event**. ![catalyst_cloudscale_connections_signals_add_event](https://catalyst-docs-development.zohostratus.in/images/help/connections/catalyst_cloudscale_connections_signals_add_event.webp) > **Info:** You can find out more about **Events** in this [help documentation](https://docs.catalyst.zoho.com/en/signals/help/events/). 2. Provide the required details and click **Save**. ![catalyst_cloudscale_connections_signals_adding_event](https://catalyst-docs-development.zohostratus.in/images/help/connections/catalyst_cloudscale_connections_signals_adding_event.webp) The required event has been created. ![catalyst_cloudscale_connections_signals_event_added](https://catalyst-docs-development.zohostratus.in/images/help/connections/catalyst_cloudscale_connections_signals_event_added.webp) You will be able to trigger the event using the API link generated by Catalyst. You can access this link by clicking the **REST API** button. ![catalyst_cloudscale_connections_signals_event_api](https://catalyst-docs-development.zohostratus.in/images/help/connections/catalyst_cloudscale_connections_signals_event_api.webp) ### Configure the Webhook A [Webhook](https://docs.catalyst.zoho.com/en/signals/help/webhooks/key-aspects/) in *Catalyst Signals* allows you to automatically initiate the required functions in the target environment due to interactions that occur in the Publisher environment. For this example, the required module in the Zoho CRM service will act as the webhook, and the integration between the services will be authenticated using **Connections**. To configure the Webhook: 1. Navigate to the **Webhooks** component present in the *Catalyst Signals* section of the console and click **Create Webhook**. ![catalyst_cloudscale_connections_signals_create_webhook](https://catalyst-docs-development.zohostratus.in/images/help/connections/catalyst_cloudscale_connections_signals_create_webhook.webp) 2. Provide a suitable name for your webhook and enter the **Endpoint URL** with the required request method. ![catalyst_cloudscale_connections_signals_webhook_url](https://catalyst-docs-development.zohostratus.in/images/help/connections/catalyst_cloudscale_connections_signals_webhook_url.webp) 3. Enable the **Authorize via Connection** checkbox and select the **Connection** you configured for Zoho CRM from the drop-down.\ ![catalyst_cloudscale_connections_signals_webhook_sel_connection](https://catalyst-docs-development.zohostratus.in/images/help/connections/catalyst_cloudscale_connections_signals_webhook_sel_connection.webp) > **Info:** Steps to create a **Connection with a Default Service** can be found in this [help documentation](https://docs.catalyst.zoho.com/en/cloud-scale/help/connections/establish-default-connection/). 4. Click **Save** to create the Webhook. ### Create a Rule Next, create a rule and define it in a manner where when the required event takes place in the **Publisher**, the **Event** gets triggered, performs the configured action in the **Target** defined using the **Webhook** and authorized using **Connections**. To create a [Rule](https://docs.catalyst.zoho.com/en/signals/help/rules/key-aspects/): 1. Navigate to the **Rule** component present in the *Catalyst Signals* service and click **Add Rule**. ![catalyst_cloudscale_connections_signals_webhook_add_rule](https://catalyst-docs-development.zohostratus.in/images/help/connections/catalyst_cloudscale_connections_signals_webhook_add_rule.webp) > **Info:** You can learn more about: * Rules: [Here](https://docs.catalyst.zoho.com/en/signals/help/rules/key-aspects/) * Target: [Here](https://docs.catalyst.zoho.com/en/signals/help/targets/key-aspects/) 2. Configure the required rule and click **Save**. ![catalyst_cloudscale_connections_signals_rule_done](https://catalyst-docs-development.zohostratus.in/images/help/connections/catalyst_cloudscale_connections_signals_rule_done.webp) The rule will be created. Now, each time the configured event (sign up action) occurs in the web app, a record will be added to a module in Zoho CRM. This entire process will be automated since we leveraged event-driven architecture using **Catalyst Signals**, and the required integration will be authorized automatically and securely using **Connections**. -------------------------------------------------------------------------------- title: "Manage Custom Services" description: "Catalyst Connections enables you to execute secure integrations with Zoho and other third-party services by handling all token management functionalities" last_updated: "2026-11-03T07:48:52.000Z" source: "https://docs.catalyst.zoho.com/en/cloud-scale/help/connections/manage-custom-services/" service: "CloudScale" related: - Catalyst Signals (/en/signals/help/events/) -------------------------------------------------------------------------------- # Manage Custom Services You can find a list of all the custom services you have created in the **Custom Service** section of the *Connections* component. ![catalyst_cloudscale_connections_edit_service](https://catalyst-docs-development.zohostratus.in/images/help/connections/catalyst_cloudscale_connections_edit_service.webp) In the Catalyst console, you will be able to edit and delete certain configurations of the **Custom Services** that you created. > **Notes:** * You will not be able to edit or delete **Default Services**, as they are already preconfigured services. * You will not be able to modify your Custom Service when a Connection associated with the service is live and active. * When a Connection is live, you will not be able to perform edits apart from its Service Name, as any sensitive edit could lead to revocation of the connection. ### Edit a Custom Service To edit a custom service: 1. Click the **Edit** icon present in the required Custom Service. ![catalyst_cloudscale_connections_edit_sel_service](https://catalyst-docs-development.zohostratus.in/images/help/connections/catalyst_cloudscale_connections_edit_sel_service.webp) 2. Make the required changes and click **Update**. ![catalyst_cloudscale_connections_editing_service](https://catalyst-docs-development.zohostratus.in/images/help/connections/catalyst_cloudscale_connections_editing_service.webp) > **Note:** You will not be allowed to edit the **Authentication Type**, **Parameter Key**, and the **Service Link Name** of your *Custom Service*. The edits are not permitted to these fields because any Connections you might have associated with the service can be revoked if edited. The service will be edited. ### Delete a Custom Service To delete a custom service: 1. Click the **Delete** icon present in the required Custom Service. ![catalyst_cloudscale_connections_del_sel_service](https://catalyst-docs-development.zohostratus.in/images/help/connections/catalyst_cloudscale_connections_del_sel_service.webp) 2. Click **Yes, Delete** to delete the required service. ![catalyst_cloudscale_connections_del_confirm](https://catalyst-docs-development.zohostratus.in/images/help/connections/catalyst_cloudscale_connections_del_confirm.webp) The custom service will be deleted. > **Note:** You cannot delete a Custom Service if a Connection has been created for it. However, once you delete the associated connection, you will be able to delete the service. You can also use the **ellipsis** icon present on every Custom Service's details page to manage the required custom service. ![catalyst_cloudscale_connections_manage_elipsis](https://catalyst-docs-development.zohostratus.in/images/help/connections/catalyst_cloudscale_connections_manage_elipsis.webp) -------------------------------------------------------------------------------- title: "Manage Connections" description: "Catalyst Connections enables you to execute secure integrations with Zoho and other third-party services by handling all token management functionalities" last_updated: "2026-11-03T15:16:51.000Z" source: "https://docs.catalyst.zoho.com/en/cloud-scale/help/connections/manage-connections/" service: "CloudScale" related: - Catalyst Signals (/en/signals/help/events/) -------------------------------------------------------------------------------- # Manage Connections In the console, you can perform three operations to your established and active Connections: * [Revoke a Connection](https://docs.catalyst.zoho.com/en/cloud-scale/help/connections/manage-connections/#revoke-a-connection) * [Edit a Connection](https://docs.catalyst.zoho.com/en/cloud-scale/help/connections/manage-connections/#edit-a-connection) * [Delete a Connection](https://docs.catalyst.zoho.com/en/cloud-scale/help/connections/manage-connections/#delete-a-connection) You can manage your Connections in three places in the console: 1. If you have established a Connection with a Custom Service, then you can perform the edit, delete, or revoke operation by clicking the **ellipsis icon** and selecting the required icon in the *Connections using this service* section. ![catalyst_cloudscale_connections_manage_cs](https://catalyst-docs-development.zohostratus.in/images/help/connections/catalyst_cloudscale_connections_manage_cs.webp) 2. You can select the appropriate icon when you hover on the required Connection in the *My Connections* section of the console, which lists all your connections. ![catalyst_cloudscale_connections_manage_connections_my_connections](https://catalyst-docs-development.zohostratus.in/images/help/connections/catalyst_cloudscale_connections_manage_connections_my_connections.webp) 3. You can select the required connection in the *My Connections* page, and click the **ellipsis icon** and perform the required operation to manage your connections. ![catalyst_cloudscale_connections_manage_connections_single](https://catalyst-docs-development.zohostratus.in/images/help/connections/catalyst_cloudscale_connections_manage_connections_single.webp) ### Revoke a Connection To revoke a Connection: 1. Click on the **revoke icon** present next to your required Connection. ![catalyst_cloudscale_connections_revoke_connection](https://catalyst-docs-development.zohostratus.in/images/help/connections/catalyst_cloudscale_connections_revoke_connection.webp) 2. Read the information present in the pop-up, and click **Revoke**. ![catalyst_cloudscale_connections_revoke_confirm](https://catalyst-docs-development.zohostratus.in/images/help/connections/catalyst_cloudscale_connections_revoke_confirm.webp) The connection will be revoked. You can always configure another connection with the service by clicking **Connect**. ![catalyst_cloudscale_connections_revoked](https://catalyst-docs-development.zohostratus.in/images/help/connections/catalyst_cloudscale_connections_revoked.webp) ### Edit a Connection To edit a connection: 1. Click on the ellipsis icon of the required Connection and click **Edit**. ![catalyst_cloudscale_connections_edit_connection](https://catalyst-docs-development.zohostratus.in/images/help/connections/catalyst_cloudscale_connections_edit_connection.webp) 2. Make the required changes and click **Update**. ![catalyst_cloudscale_connections_editing_conneciton](https://catalyst-docs-development.zohostratus.in/images/help/connections/catalyst_cloudscale_connections_editing_conneciton.webp) > **Notes:** * You will only be able to edit a connection, if you were the developer that established it. If you are required to edit an existing connection, that you did not establish, you will need to [revoke](https://docs.catalyst.zoho.com/en/cloud-scale/help/connections/manage-connections/#revoke-a-connection) it first and then re-establish the connection. * You will not be allowed to edit the **Connection Link Name**. * You will not be allowed to edit the **Scopes** once the Connection has been created. The changes will be rendered. ### Delete a Connection To delete a connection: > **Note:** You will only be able to delete a connection, if you were the developer that established it. If you are required to delete an existing connection, that you did not establish, you will need to [revoke](https://docs.catalyst.zoho.com/en/cloud-scale/help/connections/manage-connections/#revoke-a-connection) it first and then re-establish the connection, and proceed to delete it. 1. Click the **ellipsis icon** present in the required Connection and click **Delete**. ![catalyst_cloudscale_connections_del_sel](https://catalyst-docs-development.zohostratus.in/images/help/connections/catalyst_cloudscale_connections_del_sel.webp) 2. Click **Yes, Delete** to delete the Connection. ![catalyst_cloudscale_connections_del_confirm_connections](https://catalyst-docs-development.zohostratus.in/images/help/connections/catalyst_cloudscale_connections_del_confirm_connections.webp) The connection will be deleted. -------------------------------------------------------------------------------- title: "Use Cases" description: "Catalyst Connections enables you to execute secure integrations with Zoho and other third-party services by handling all token management functionalities" last_updated: "2026-11-03T07:48:52.000Z" source: "https://docs.catalyst.zoho.com/en/cloud-scale/help/connections/usecases/" service: "CloudScale" related: - Catalyst Signals (/en/signals/help/events/) -------------------------------------------------------------------------------- # Use Cases * **Problem**: Consider that a blogger writing on trusted platforms such as Medium and other such platforms would like to gain better insights on how which platform provides him with the most readers and what type of content resonates with his audience better. The best way to go about it would be to create a survey and send it to their audiences. But surveys are unreliable, and it does not guarantee the best responses. **Solution**: The **Catalyst Signals** service, in combination with the CloudScale component **Connections**, can implement the ideal solution to solve this requirement. **Implementation of the Solution**: All the blogging platforms allow readers to provide their impressions on the published content using a **like/dislike** button. The click of the impressions button can be your [Rule](https://docs.catalyst.zoho.com/en/signals/help/rules/key-aspects/) trigger.Using the Catalyst Signals service, you can configure the blogging platforms as [Custom Publishers](https://docs.catalyst.zoho.com/en/signals/help/publishers/create-publisher/custom-publishers/). You can configure the [Zoho Survey](https://www.zoho.com/survey/) or the [Survey Monkey](https://www.surveymonkey.com/) or any survey platform as your [Custom Service](https://docs.catalyst.zoho.com/en/cloud-scale/help/connections/establish-custom-connection/) in the Connections component and establish a Connection with them. The required survey endpoint will need to be configured as the target [Webhook](https://docs.catalyst.zoho.com/en/signals/help/webhooks/key-aspects/) in Signals. The required authentication to authorize data transfer from the blogging service to the survey service will be handled by Connections. Now, when a reader leaves an impression on any of the blogging platforms that have been configured as Custom Publishers, the response will be shared with the required survey platform, and this data exchange will be authorized and authenticated using Connections. With the responses received, the bloggers will be able to better analyze their audiences' preferences. * **Problem**: A lot of businesses have access to relevant data curated through diligent market research, but they are unable to leverage it and procure more leads to scale their venture. **Solution**: Consider a business that offers a file exchange platform. They have a prospective client that they have successfully managed to onboard. Now, the next step in scaling their business would be to hunt for prospects that match their new client's sector and pitch them the platform as a solution if the prospects are facing a similar problem. An ideal solution to implement this workflow would be to use a legitimate data enrichment service to search online sources and provide the company with a list of businesses that match their target profile. They can then convert this data as leads and upload them to their lead management service, like [Zoho CRM](https://www.zoho.com/crm/). However, if this architecture is not automated, then it could potentially lead to a loss of leads. **Optimize the Solution Using Connections**: They can automate and optimize this workflow by making it **event-driven**. They can configure the data enrichment service as a *Custom Publisher* in **Catalyst Signals**. They can configure the required [module](https://help.zoho.com/portal/en/kb/crm/customize-crm-account/customizing-modules/articles/customize-modules) in *Zoho CRM* as the target *Webhook*. They can create a *Rule* in Signals, where the procurement action of the results in the data enrichment service acts as the trigger event. When this event occurs, the list of companies will be funneled to the required module, and the authentication required to authorize this integration will be automated using **Connections**. This workflow will now ensure the company consistently has a comprehensive list of businesses as their prospective leads. ### Cron -------------------------------------------------------------------------------- title: "Introduction" description: "Catalyst Cron enables you to configure job schedulers to automatically execute routine, custom tasks at specific schedules or intervals." last_updated: "2026-11-03T07:48:52.000Z" source: "https://docs.catalyst.zoho.com/en/cloud-scale/help/cron/introduction/" service: "CloudScale" -------------------------------------------------------------------------------- # Cron > 📢 **Announcement:** This is a deprecated component. Please use the [Job Scheduling services](https://docs.catalyst.zoho.com/en/job-scheduling/help/jobpool/introduction/) for your cron requirements. ## Introduction Cron is a Catalyst CloudScale component that acts as a job scheduler, allowing you to automate tasks at specific schedules or intervals. It runs a cron daemon in the background that continuously listens for job schedules and triggers them as needed. The entire scheduling mechanism is powered by Catalyst, offering a reliable and scalable way to handle time-based workflows without manual effort. You can use Catalyst Cron to run administrative and maintenance tasks periodically or to automate the execution of specific schedule-based processes in the application. Some scenarios where cron can be used include: periodically synchronizing your Catalyst data with a third-party application, updating a cache item's value at regular intervals, or sending monthly, automated, system-generated emails to your application users. Catalyst Cron can automatically invoke any of the following at specified schedules: * **Third-party URLs**: Any third-party URLs can be invoked and you can post or modify data in the endpoint * **[Cron functions](https://docs.catalyst.zoho.com/en/serverless/help/functions/cron-functions)**: Cron functions are custom coding structures that contain the logic of the job to be executed by a cron. You can code them to perform recurring tasks such as backing up data or any one-time tasks that need to be executed at a custom schedule. * **[Circuit](https://docs.catalyst.zoho.com/en/serverless/help/circuits/introduction/)**: Circuits is a [Catalyst Serverless](https://docs.catalyst.zoho.com/en/serverless/) component, that enables you automate workflows. You can design the schema of a circuit and pass a JSON input to it to orchestrate tasks upon the invocation of the associated cron. You can schedule the cron job to be executed once or recursively by defining the specific date and time of the execution or the interval period for recursion. Catalyst enables you to easily create and configure cron jobs from the remote console. You can also manage cron jobs or view cron resource statistics using these components: 1. [**Application Alerts**](https://docs.catalyst.zoho.com/en/devops/help/application-alerts/implementation): Catalyst enables developers to configure automatic alerts to be sent to specific email addresses when a Catalyst cron encounters failure, code exception, or timeout. 2. [**Metrics**](https://docs.catalyst.zoho.com/en/devops/help/metrics/cron): You can view usage statistics of the cron jobs in your project, such as the- number of active or inactive jobs and the execution count of each cron job. To practice working with Catalyst cron, refer to [this tutorial](https://docs.catalyst.zoho.com/en/tutorials/newsapp/nodejs/introduction). -------------------------------------------------------------------------------- title: "Key Concepts" description: "Catalyst Cron enables you to configure job schedulers to automatically execute routine, custom tasks at specific schedules or intervals." last_updated: "2026-11-03T07:48:52.000Z" source: "https://docs.catalyst.zoho.com/en/cloud-scale/help/cron/key-concepts/" service: "CloudScale" -------------------------------------------------------------------------------- # Key Concepts > 📢 **Announcement:** This is a deprecated component. Please use the [Job Scheduling services](https://docs.catalyst.zoho.com/en/job-scheduling/help/jobpool/introduction/) for your cron requirements. Before you learn about configuring a cron, it's important to understand certain key concepts and terminology about Catalyst Cron. ### Task Engine The task engine handles the backend logic of cron and handles the execution of cron jobs as per their defined schedule time. ### Schedule Point The schedule point determines the entity to trigger when a cron job is executed. A cron can trigger either of the following: - **Function**: You can code a cron function to execute any one-time or recurring routine job that you require. You can pass parameter values to this target function dynamically when the function is called, if needed. You can also insert a placeholder in a parameter. A placeholder is a representational variable for the dynamic value that is passed. When the value is generated at the time of execution, it replaces the placeholder variable. - **Third-party URL**: When a cron's execution invokes a third-party URL, it sends a HTTP request to the target URL that you specify. This allows for data transmission to occur between Catalyst and the specified target URL, where Catalyst can read data from the destination server or input your application's data to the corresponding components in the server. The following components are involved in sending a request to the third-party URL: - **HTTP request methods** The following HTTP request methods are supported while invoking a third-party URL by a cron: - **POST**: Creates a new resource in the target URL - **GET**: Retrieves data from the target URL - **PUT**: Replaces an existing resource in the target URL - **DELETE**: Deletes an existing resource in the target URL - **Headers** When the HTTP request is sent to the target URL, the requesting entity sends default headers in the request to provide information about the request. Some examples of default headers include the origin of the request, the connection type, and the Content-Type. In addition to the default headers, you can also define custom headers in the HTTP request. For example, you can include a header that specifies the authorization type used, a list of acceptable encoding, or the origin date of the request. > **Note**: If you use the HTTP *POST* or *PUT* methods in your request, you should set the content-type of the data that is sent in the header. The content-types that are supported are **TEXT** *(text/plain)*, **JSON** *(application/JSON)*, **JavaScript** *(application/javascript)*, **XML** *(application/xml)*, **XML** *(text/xml)*, and **HTML** *(text/html)*. - **URL Parameters** You can pass custom URL parameters in the User-Defined format with the HTTP request, whose values are set dynamically when the third-party URL is invoked. You can customize the parameter value and include any terms that you require to be passed in the parameter. - **Request Body** You can include an optional HTTP request body while invoking the URL, which can be used to carry form data and other optional data. You can pass the form data in the optional message body in various formats. - **Circuits**: You can create an automated workflow using the [Circuits](https://docs.catalyst.zoho.com/en/serverless/help/circuits/introduction/) component, and configure a cron job to trigger it either once or recursively. You can [create a Circuit](https://docs.catalyst.zoho.com/en/serverless/help/circuits/implementation/#create-a-circuit) and design its schema from the Serverless section in the console either through a simple drag-and-drop, or by coding the workflow in JSON. You can then associate the circuit with a cron while creating the cron. You will need to configure the input to be passed to the associated circuit in the form of a JSON. Similar to functions, you can also provide placeholder values in the JSON input. Circuits enable you to execute a bunch of tasks in parallel, or in a sequence, and pass data between them. ### Schedule Type The schedule type determines the frequency of a cron job's execution. A cron can be executed in one of two ways: * **One Time**: The cron job is triggered only once on the configured date and time. * **Recursive**: The cron job is triggered multiple times recursively based on the frequency, date, and time you configure, until you disable or delete it. The minimum recurring frequency a cron can be triggered at is one hour. ### Execution ID Each cron job is assigned a unique Execution ID when the cron is invoked. You can use this ID to refer to the cron job in your application code or while viewing its execution logs. -------------------------------------------------------------------------------- title: "Architecture" description: "Catalyst Cron enables you to configure job schedulers to automatically execute routine, custom tasks at specific schedules or intervals." last_updated: "2026-11-03T07:48:52.000Z" source: "https://docs.catalyst.zoho.com/en/cloud-scale/help/cron/architecture/" service: "CloudScale" -------------------------------------------------------------------------------- # Architecture > 📢 **Announcement:** This is a deprecated component. Please use the [Job Scheduling services](https://docs.catalyst.zoho.com/en/job-scheduling/help/jobpool/introduction/) for your cron requirements. Catalyst cron is a wrapper for the Zoho task engine. The task engine consists of a cron job scheduler and a backend server. The cron jobs that are created in the Catalyst console are handled by the task engine. The job scheduler handles the sorting of jobs and passes each job to the task engine server at its invocation time that you configure. The cron jobs are then executed by the task engine server at the scheduled time, based on its configurations.The server either invokes the associated cron function, the configured third-party URL, or the target circuit. ### Cron Workflow The workflow of Cron operations in Catalyst is as follows: * Create a cron in the catalyst console. * The console passes all the cron jobs as they are created to the task engine, along with its configurations including its schedule type and point. * At a cron's scheduled execution time, the job scheduler passes the job details to the task engine server, which then handles its execution. The server will invoke either the associated cron function, the third-party URL, or the target circuit. * The execution status and job details of the executed cron job fetched from the Task Engine are then passed on and rendered in the console in the Execution History section. ![catalyst_cron_architecture](https://catalyst-docs-development.zohostratus.in/images/help/cron/catalyst_cron_architecture.webp) -------------------------------------------------------------------------------- title: "Benefits" description: "Catalyst Cron enables you to configure job schedulers to automatically execute routine, custom tasks at specific schedules or intervals." last_updated: "2026-11-03T07:48:52.000Z" source: "https://docs.catalyst.zoho.com/en/cloud-scale/help/cron/benefits/" service: "CloudScale" -------------------------------------------------------------------------------- # Benefits > 📢 **Announcement:** This is a deprecated component. Please use the [Job Scheduling services](https://docs.catalyst.zoho.com/en/job-scheduling/help/jobpool/introduction/) for your cron requirements. * **Effortless to Implement** Catalyst Cron can be easily configured from the console and associated with a schedule point. You can initialize a Cron function from the [CLI](https://docs.catalyst.zoho.com/en/cli/v1/cli-command-reference/) with the template provided by Catalyst and code your necessary logic, or you can effortlessly drag and drop schema to handle workflows with Circuits. You also need not set up any elaborate backend or handle dependencies as Catalyst handles the backend logic and infrastructure. This provides you with a seamless developer experience, allowing you to handle any automated, redundant tasks in your business logic with ease. * **Seamlessly Scalable** Catalyst servers can seamlessly handle heavy workload and they can automatically scale up or down based on the requirements. This enables developers to solely focus on configuring the cron job and coding the logic, without needing to perform any additional coding to handle the backend setup. Catalyst's cron jobs execute seamlessly regardless of the load, as they are executed on Zoho's tried-and-tested, reliable infrastructure. * **Easy and Effective Testing** You can test cron functions without having to set-up elaborate test plans using the [function shell](https://docs.catalyst.zoho.com/en/cli/v1/working-with-functions/functions-shell/) in the CLI. Here, you can execute the cron function, and check for bugs and errors. In the event of an error, the error message and details will be displayed in the CLI and a detailed report of the error can be viewed in the [Logs](https://docs.catalyst.zoho.com/en/devops/help/logs/introduction) section of the console. * **Adept Failure Handling** If you trigger a [Circuit](https://docs.catalyst.zoho.com/en/serverless/help/circuits/introduction/) with a cron job, you can schedule automated workflows to execute and iterate tasks any number of times instead of just once, or execute multiple tasks in parallel. Circuits also allow you to manage failure handling through its in-built functionalities. For example, if the triggered circuit is not able to complete its execution due to a failure, the circuit can be configured in a manner where it re-iterates the workflow in the event of a failure, or executes a fallback logic after a set number of recursions. This enables you to automatically configure failure handling, instead of having the process terminate in a failed state until manual intervention. * **Execution History** Catalyst logs every cron job that is executed and makes them immediately available in the *Execution History* section. These logs enable you to assess the performance of your cron jobs and cron functions, debug errors and perform quick fixes, and make informed decisions based on analytics and reports. The execution history is available for 15 days in the [development environment](https://docs.catalyst.zoho.com/en/deployment-and-billing/environments/development-environment) and 30 days in the production environment. * **Immediate and Precise Alerts** Catalyst provides you with the advantage of configuring custom, automated alerts to receive when a cron encounters an exception, failure, or a time out through [Application Alerts](https://docs.catalyst.zoho.com/en/devops/help/application-alerts/introduction/). Catalyst will send these alerts immediately via email upon the cases you specify. This enables you to easily keep a track of the cron jobs in all your projects and implement immediate fixes during failures. -------------------------------------------------------------------------------- title: "Use Cases" description: "Catalyst Cron enables you to configure job schedulers to automatically execute routine, custom tasks at specific schedules or intervals." last_updated: "2026-11-03T07:48:52.000Z" source: "https://docs.catalyst.zoho.com/en/cloud-scale/help/cron/use-cases/" service: "CloudScale" -------------------------------------------------------------------------------- # Use Cases > 📢 **Announcement:** This is a deprecated component. Please use the [Job Scheduling services](https://docs.catalyst.zoho.com/en/job-scheduling/help/jobpool/introduction/) for your cron requirements. * **Applications that update data periodically** Certain applications fetch updated data periodically from an external server and display it to their users. For example, a weather application or an application that provides live stock and securities market updates. You can easily build such applications in Catalyst and handle the periodical third-party API invocations automatically in your required time interval or schedule using Catalyst cron. You can explore a similar use case in detail by trying out the [NewsApp tutorial](https://docs.catalyst.zoho.com/en/tutorials/newsapp/nodejs/introduction). * **Scheduled backups** Backups are crucial in creating required redundancies of data that can be accessed easily, in the event of the original data being accidentally lost or compromised. Catalyst saves you the time and effort in performing backups manually. You can simply configure a cron to the job, and take automatic backups of your data at the time or interval you require. * **Efficient Handling of Recursive Administrative Operations** Human resources operations, such as generating and release of payslips, submission of daily operational reports, and maintenance of employee attendance records, are crucial for the functioning of any organization. Configuring the necessary cron function will ensure that these operations are carried out automatically and per schedule without dedicating additional resources. * **Handling Operation Redundancies** If you consider the process workflow of an organization, especially a tech-centric organization, the infrastructure is generally set up in a way to optimize interoperability. But implementing smooth interoperability creates a large number of redundant tasks, such as rotating log files, syncing files, and cleaning up temporary files. Although redundant, these processes are vital, and implementing dedicated cron jobs to handle these operations would ensure that the tasks are carried out periodically and with no additional manual intervention once the job is set to execute. * **Alert-based applications** Recursive cron jobs can be used in designing applications that send automatic alerts to users frequently. For example, you can build an application that alerts users when they are close to crossing the safety threshold of their expense account. * **User-configured applications** Catalyst cron can process dynamic inputs, You can fetch inputs for a cron job's schedule from your application's users and dynamically execute required logic. This will be helpful in applications like health apps that alert users whenever they need to take their medicines. The users can determine the frequency and schedule of the alerts based on their requirements, and you can write your application logic to process these inputs. -------------------------------------------------------------------------------- title: "Implementation" description: "Catalyst Cron enables you to configure job schedulers to automatically execute routine, custom tasks at specific schedules or intervals." last_updated: "2026-11-03T07:48:52.000Z" source: "https://docs.catalyst.zoho.com/en/cloud-scale/help/cron/implementation/" service: "CloudScale" -------------------------------------------------------------------------------- # Implementation > 📢 **Announcement:** This is a deprecated component. Please use the [Job Scheduling services](https://docs.catalyst.zoho.com/en/job-scheduling/help/jobpool/introduction/) for your cron requirements. You can create, configure, modify, and delete cron jobs from the console. The implementation section covers steps to work with cron from the console. > **Note**: Catalyst allows up to 500 cron executions per project per day in the [development environment](https://docs.catalyst.zoho.com/en/deployment-and-billing/environments/development-environment). You can request Catalyst for an increase in this limit by contacting our support at support@zohocatalyst.com. We will address each request on a case-by-case basis. There are no upper limits for cron execution in the production environment. ### Create a Cron To create a Catalyst cron in your project from the console: 1. Navigate to **Cron** under the *Triggers* section in the Catalyst CloudScale console. 2. Click **Create Cron**. ![catalyst_cron_empty](https://catalyst-docs-development.zohostratus.in/images/help/cron/catalyst_cron_empty.webp) 3. Enter the cron's name and an optional description in the *Create Cron* section. ![catalyst_cron_name_des](https://catalyst-docs-development.zohostratus.in/images/help/cron/catalyst_cron_name_des.webp) #### Third-party URL If you choose to invoke a third-party URL for the cron: ![catalyst_cron_schedule_point_thirdparty_config](https://catalyst-docs-development.zohostratus.in/images/help/cron/catalyst_cron_schedule_point_thirdparty_config.webp) * Enter the Target URL. * Select the **HTTP request method** to invoke the URL with, from the drop-down list. * Enter the **Header Name** and **Header Value**. To add more headers, click (**+**) and add the next header. To delete a header, click (**-**). * Add URL parameters to be passed, if needed, by entering their names and values. To add more parameters, click (**+**) and add the next parameter. To delete a parameter, click (**-**). * To include an **optional request body**, enter the form data that you want to be passed in the HTTP message body. #### Function If you choose to call a function for the cron: ![catalyst_cron_schedule_point_function_config](https://catalyst-docs-development.zohostratus.in/images/help/cron/catalyst_cron_schedule_point_function_config.webp) * Select the **Target Function** from the drop-down list. The list will only display the cron functions configured in your project, and not other types of functions. * Add function parameters to be passed, if needed, by entering their names and values. * To add more parameters, click (**+**) and add the next parameter. To delete a parameter, click (**-**). #### Circuit If you choose to trigger a circuit: ![catalyst_cron_trigger_circuit_json_input](https://catalyst-docs-development.zohostratus.in/images/help/cron/catalyst_cron_trigger_circuit_json_input.webp) * Select the **Target Circuit** from the drop-down. The list will display all the circuits you have configured in the *Serverless* section of the console. > **Note:** If you have not created any circuit prior to creating your cron, click the **Create New** button in the drop-down. You will be directed to the *Circuits* component, and you can [create a new circuit](https://docs.catalyst.zoho.com/en/serverless/help/circuits/implementation/#create-a-circuit). * Pass the [input](https://docs.catalyst.zoho.com/en/serverless/help/circuits/implementation/#execute-a-circuit) to the associated circuit as JSON key-value pairs in the *JSON Input for Circuit* section. 4. Select the **Schedule Type** of the cron as **One Time** or **Recursive**. #### One-time execution ![catalyst_cron_schedule_type_onetime_config](https://catalyst-docs-development.zohostratus.in/images/help/cron/catalyst_cron_schedule_type_onetime_config.webp) * Select the schedule date the cron must be executed on, from the calendar. * Configure the hour, minute, and second from their drop-down lists. * Choose the time zone of the execution. The cron will be executed on the configured time in that time zone. > **Note**: You can configure the cron's time zone independently from the project's time zone that you set under the [General Settings](https://docs.catalyst.zoho.com/en/getting-started/set-up-a-catalyst-project/general-settings). #### Recursive - Select the **Repeat Type** for a recursive cron from the drop-down list as **Every**, **Daily**, **Monthly**, or **Yearly**. ![catalyst_cron_all_recursive_types](https://catalyst-docs-development.zohostratus.in/images/help/cron/catalyst_cron_all_recursive_types.webp) - If you select the *Repeat Type* as **Every**, configure the hours, minutes, and seconds of the time from the drop-down lists to specify the frequency. The cron will be executed once every specified time interval. For example, in the screenshot below, the cron will be executed once every hour. ![catalyst_cron_schedule_type_recursive_every](https://catalyst-docs-development.zohostratus.in/images/help/cron/catalyst_cron_schedule_type_recursive_every.webp) - If you select the *Repeat Type* as **Daily**, configure the hours, minutes, and seconds of the time period for the cron to execute. The cron will be executed everyday at the specified time. ![catalyst_cron_schedule_type_recursive_daily](https://catalyst-docs-development.zohostratus.in/images/help/cron/catalyst_cron_schedule_type_recursive_daily.webp) - If you select the *Repeat Type* as **Monthly**, you can choose to schedule the cron's execution by the date of the month or by the week of the month, to be executed on a specified day. - Select **Day** if you want to schedule the cron's execution by the date of the month. Click on all the dates of the month the cron must be executed on, from the calendar. ![catalyst_cron_recursive_monthly_day](https://catalyst-docs-development.zohostratus.in/images/help/cron/catalyst_cron_recursive_monthly_day.webp) - Select **Week** if you want to schedule the cron's execution by the week of the month. Click the **Select Week** tab and choose the week from the drop-down list. Click the **Select Day** tab and select the day the cron should be executed on from the drop-down list. ![catalyst_cron_recursive_monthly_weekly](https://catalyst-docs-development.zohostratus.in/images/help/cron/catalyst_cron_recursive_monthly_weekly.webp) - After you select the days, configure the time for the cron to be executed on from the *Hours*, *Minutes*, and *Seconds* drop-down lists. ![catalyst_cron_recursive_monthly_3](https://catalyst-docs-development.zohostratus.in/images/help/cron/catalyst_cron_recursive_monthly_3.webp) - If you select the *Repeat Type* as **Yearly**, select all the months the cron must be executed on, from the *Months* drop-down list. ![catalyst_cron_recursive_yearly](https://catalyst-docs-development.zohostratus.in/images/help/cron/catalyst_cron_recursive_yearly.webp) After you select the months, you can schedule the cron's execution by the date of the month or by the week of the month, as mentioned in the previous step. You can then configure the time in the same way as the previous step. 5. After you configure all the details, click **Save**. Catalyst will now display the cron job in the Cron page along with its details. A unique **Cron ID** is automatically created for a cron when it is created, and displayed in the details. You can refer to a cron by its ID in your application code. ![catalyst_cron_viewcron](https://catalyst-docs-development.zohostratus.in/images/help/cron/catalyst_cron_viewcron.webp) You can click on a cron to view further details about it. ![catalyst_cron_dets](https://catalyst-docs-development.zohostratus.in/images/help/cron/catalyst_cron_dets.webp) ### Configuring Alerts in Cron You can configure application alerts for the events where your cron may encounter a failure, code exception, or time out. You can configure email alerts from the cron console without having to navigate to the Application Alerts component. 1. Click **+Configure** in the cron's details section to create an alert. ![catalyst_cron_create_alert](https://catalyst-docs-development.zohostratus.in/images/help/cron/catalyst_cron_create_alert.webp) 2. Click **Confirm** once you configure the application alert. You can refer to the [Application Alerts](https://docs.catalyst.zoho.com/en/devops/help/application-alerts/introduction) help page for details. ![catalyst_cron_cofinguration_alert](https://catalyst-docs-development.zohostratus.in/images/help/cron/catalyst_cron_cofinguration_alert.webp) 3. You can also delete the application alert by clicking the ellipsis icon beside the alert status and clicking **Remove**. ![catalyst_cron_delete_alert](https://catalyst-docs-development.zohostratus.in/images/help/cron/catalyst_cron_delete_alert.webp) ### Enable or Disable a Cron You can temporarily enable or disable a cron job using the toggle switch under the Status column. If you disable a cron, Catalyst will not trigger its execution until you manually enable it again. ![catalyst_cron_status](https://catalyst-docs-development.zohostratus.in/images/help/cron/catalyst_cron_status.webp) > **Note**: If a cron associated with a third-party URL fails in its executions 50 times in a row, Catalyst will automatically disable it. You can configure Application Alerts to automatically notify you whenever a cron's execution fails. You can then check the cron's execution history from the console and perform the required bug fixes. Cron jobs associated with cron functions will not be disabled automatically irrespective of repeated failures. ### Cron Execution History You can view the history and details of a cron's execution from its *Execution History*. Click the icon under the *History* column for a cron to open its execution history. ![catalyst_cron_execution_hisotry](https://catalyst-docs-development.zohostratus.in/images/help/cron/catalyst_cron_execution_hisotry.webp) Catalyst displays the execution log of all cron job executions in your project. This contains detailed information about the cron job, such as the Execution ID, the start and end time, the execution time, the execution status, and links to [Catalyst Logs](https://docs.catalyst.zoho.com/en/devops/help/logs/introduction). ![catalyst_cron_execution_history](https://catalyst-docs-development.zohostratus.in/images/help/cron/catalyst_cron_execution_history.webp) You can click **View Logs** to check detailed logs about the corresponding cron function's execution. You can also filter and view the execution history based on the status of the cron job. ![catalyst_cron_status_filter](https://catalyst-docs-development.zohostratus.in/images/help/cron/catalyst_cron_status_filter.webp) You can select a specific time and also the time zone of the cron execution to view its particular execution history. ![cron_choose_timezone](https://catalyst-docs-development.zohostratus.in/images/help/cron/cron_choose_timezone.webp) > **Note**: Catalyst retains the execution history of a cron job for 15 days in the [development environment](https://docs.catalyst.zoho.com/en/deployment-and-billing/environments/development-environment), and 30 days in the production environment. ### Edit a Cron To edit a configured cron: 1. Open the cron that needs to be edited from the *Cron* page. 2. Click **Edit** in its details page. ![catalyst_cron_edit_cron](https://catalyst-docs-development.zohostratus.in/images/help/cron/catalyst_cron_edit_cron.webp) 3. Make the necessary changes, then click **Save**. ![catalyst_cron_edit_save_cron](https://catalyst-docs-development.zohostratus.in/images/help/cron/catalyst_cron_edit_save_cron.webp) ### Delete a Cron To delete a cron permanently: 1. Click the ellipsis icon for the cron that needs to be deleted, then click **Delete**. ![catalyst_cron_delete_select](https://catalyst-docs-development.zohostratus.in/images/help/cron/catalyst_cron_delete_select.webp) 2. Click **Yes, Proceed** to confirm the delete. ![catalyst_cron_delete_popup](https://catalyst-docs-development.zohostratus.in/images/help/cron/catalyst_cron_delete_popup.webp) ### Data Store -------------------------------------------------------------------------------- title: "Introduction" description: "Catalyst Data Store is a highly-scalable, cloud-based relational database that stores the persistent data of your app and its end users." last_updated: "2026-11-04T10:10:44.000Z" source: "https://docs.catalyst.zoho.com/en/cloud-scale/help/data-store/introduction/" service: "CloudScale" -------------------------------------------------------------------------------- # Data Store ## Introduction The Data Store is a Catalyst CloudScale component that serves as a cloud-based relational database management system for storing your application’s persistent data, including backend information and end-user data. The ability to perform operations like creating tables, modifying records, setting field characteristics, and managing data efficiently is powered by Catalyst, ensuring scalability, reliability, and seamless integration with other services. You can perform these actions by clicking a few buttons, or you can also execute queries in [ZCQL](https://docs.catalyst.zoho.com/en/cloud-scale/help/zcql/introduction/) to manage the data operations. You can also set scopes and permissions for each table in the Data Store. They define the availability of the table's data and the levels of access granted to various user roles for each table. The Data Store works with APIs and your application platform's SDK, which you can use to process HTTP requests from the application for various operations. Catalyst comes with a built-in proprietary OLAP (Online Analytical Processing) database feature, exclusively built to handle analytical queries that you run on the Data Store. You can execute advanced analytical queries on the OLAP database directly, instead of the Data Store's primary relational database for instantaneous results on datasets of any scale. #### Key Features of Catalyst Data Store * Can be used to create databases and manage tables in the console without performing query operations. * Can be accessed with [ZCQL query operations](https://docs.catalyst.zoho.com/en/cloud-scale/help/zcql/introduction/). This enables more control over data processing and handles specific requirements. * Comes with a built-in OLAP database to exclusively handle analytical queries. * Can be used to perform data manipulation operations by working with APIs and the platform-specific SDK. * Can process bulk data insertion in the background using queues. * Can be accessed and modified from client devices based on the scopes and permissions. * Contains cloud storage which ensures scalability and universal access. * Provides synchronization of data and updates between the various collaborators of the project. * Supports advanced search on the indexed columns using [Catalyst Search](https://docs.catalyst.zoho.com/en/cloud-scale/help/search-integration/introduction/). * Supports Bulk Read, Bulk Write, and Bulk Delete operations. * [Metrics](https://docs.catalyst.zoho.com/en/devops/help/metrics/introduction/) displays the following usage information of Data Store- Table Count and Row Count history. #### SDK and API Documentation Catalyst offers several APIs to perform various operations in the Data Store. You can also access various Data Store features in the Catalyst SDK packages. For more information and code samples on working in these programming environments, refer to these help pages: * [Data Store - Java SDK](https://docs.catalyst.zoho.com/en/sdk/java/v1/cloud-scale/data-store/get-table-meta/) * [Data Store - Node.js SDK](https://docs.catalyst.zoho.com/en/sdk/nodejs/v2/cloud-scale/data-store/get-component-instance/) * [Data Store - Python SDK](https://docs.catalyst.zoho.com/en/sdk/python/v1/cloud-scale/data-store/get-component-instance/) * [Data Store - Web SDK](https://docs.catalyst.zoho.com/en/sdk/web/v4/cloud-scale/data-store/get-component-instance/) * [Data Store - API](https://docs.catalyst.zoho.com/en/api/code-reference/cloud-scale/data-store/insert-new-row/#InsertNewRow) -------------------------------------------------------------------------------- title: "Tables" description: "Catalyst Data Store is a highly-scalable, cloud-based relational database that stores the persistent data of your app and its end users." last_updated: "2026-11-04T10:10:44.000Z" source: "https://docs.catalyst.zoho.com/en/cloud-scale/help/data-store/tables/" service: "CloudScale" -------------------------------------------------------------------------------- # Tables You can create tables in the Catalyst Data Store to store your application's data. You can create columns for a table that categorize and group similar data together, and then create records. In Catalyst terminology, the **rows** in the Data Store represent the individual records of the table, and the **columns** represent the fields that are created for a table. ### Create a New Table To create a new table in the Data Store: 1. Navigate to **Data Store** under _Storage_ in the Catalyst CloudScale console. 2. In the _Data Store_ page, click **Create a new Table**. ![Data Store- Create a Table](https://catalyst-docs-development.zohostratus.in/images/help/data-store/catalyst_data_store.webp) 3. Enter the **Table Name** in the text box and click **Create**. ![Data Store- Create a Table](https://catalyst-docs-development.zohostratus.in/images/help/data-store/catalyst_data_store_create_table.webp) > **Note:** The table name can only contain alphanumeric characters and underscores. Do not include any whitespace or special characters. The table name should also not start with any numeric characters. The table is now created and displayed in the _Data Store_ page. All tables that you create will be listed on the left hand side of the page. ![Data Store- Table Created](https://catalyst-docs-development.zohostratus.in/images/help/data-store/catalyst_data_store_table_created.webp) Once your table is created, a unique **Table ID** is created for it automatically. You can use it to refer to the table when working with the SDKs and APIs. You can find the Table ID under the table's name when you click on a table from the list. You can use the search box to search for a particular table by its name. When you create a new table in the Data Store, a set of default columns for its characteristics are created automatically. You can learn more about these columns in the [next section](https://docs.catalyst.zoho.com/en/cloud-scale/help/data-store/columns/#default-columns). ### Update a Table Name To update a table name in the Data Store: 1. In the _Data Store_ page, click the ellipsis icon for the table that needs to be renamed and click **Edit**. ![Data Store- Edit a Table](https://catalyst-docs-development.zohostratus.in/images/help/data-store/catalyst_data_store_table_edit.webp) 2. Enter the new name for the table and click **Update**. ![Data Store- Edit a Table](https://catalyst-docs-development.zohostratus.in/images/help/data-store/catalyst_data_store_table_rename.webp) ### Truncate a Table The truncate operation deletes all the records in the table, while retaining its schema. The columns of the table and the table's metadata will still be available, after the operation has ended. You can truncate a table if you want to re-populate a table with a new set of data periodically and clear the old data. You can also perform this operation if you want to avoid creating a new table from scratch, and use an existing table with pre-defined schema instead. To truncate a table in the Data Store: 1. Click the **ellipsis icon** for the table that needs to be truncated, then click **Truncate**. ![Data Store- Truncate a Table](https://catalyst-docs-development.zohostratus.in/images/help/data-store/catalyst_data_store_truncate.webp) 2. Enter "**TRUNCATE**" in the pop-up window to confirm the operation, then click **Confirm**. ![Data Store- Truncate a Table](https://catalyst-docs-development.zohostratus.in/images/help/data-store/catalyst_data_store_truncate_confirmation.webp) The truncate process will be initiated. A Catalyst scheduler will run in the background and execute the operation. You will be able to perform other operations in the Data Store while the truncate operation is still in progress. After the truncate is complete, you will receive a notification in the console about the status of the operation. ![Data Store- Truncate a Table](https://catalyst-docs-development.zohostratus.in/images/help/data-store/catalyst_data_store_truncate_notification.webp) ### Delete a Table To delete a table from the Data Store: 1. Click the ellipsis icon for the table that needs to be deleted, then click **Delete**. ![Data Store- Delete a Table](https://catalyst-docs-development.zohostratus.in/images/help/data-store/catalyst_data_store_delete_table.webp) 2. Click **Yes, Proceed** in the confirmation pop-up. ![Data Store- Delete a Table](https://catalyst-docs-development.zohostratus.in/images/help/data-store/catalyst_data_store_delete_table_confirmation.webp) The table is now deleted from the Data Store. -------------------------------------------------------------------------------- title: "Columns" description: "Catalyst Data Store is a highly-scalable, cloud-based relational database that stores the persistent data of your app and its end users." last_updated: "2026-11-04T10:10:44.000Z" source: "https://docs.catalyst.zoho.com/en/cloud-scale/help/data-store/columns/" service: "CloudScale" -------------------------------------------------------------------------------- # Columns The _Schema View_ page of the table displays the columns that are created for the table. As mentioned in the previous section, when a table is created, a set of columns are automatically created for it by default. ![Data Store- Schema View](https://catalyst-docs-development.zohostratus.in/images/help/data-store/catalyst_data_store_schema_view.webp) ### Default Columns The four default columns that exist in every table are: * **ROWID:** Represents the unique ID or the Primary Key of a particular record in the table. When you add a new record, the ROWID value for the record is created automatically. * **CREATORID:** Represents the unique ID of the Catalyst account user. * **CREATEDTIME:** Specifies the time a particular record was created. * **MODIFIEDTIME:** Specifies the time a record was last modified. In addition to these four default columns, any new columns you create will be listed in the Schema View page under the default columns. > **Note:** You cannot modify the values in the ROWID and CREATORID columns. ### Column Characteristics Every column in the Catalyst Data Store contains a set of characteristics that define the column's structure and behavior. The seven column characteristics are: 1. **Column ID: ** The unique ID of a particular column in the table. When you add a new column, the Column ID value for the record is created automatically. You cannot modify the Column ID value. 2. **Column Name:** The name of the column. 3. **Data Type:** Catalyst supports the following data types: * **Text:** Long-form text data type that accommodates more characters than the Var Char data type, with a maximum length of 10,000 characters. * **Var Char:** Variable-length character data type that can hold letters and numbers, with a maximum length of 255 characters. * **Date:** Date value in the format YYYY-MM-DD * **DateTime:** Date and time values in the format YYYY-MM-DD and HH:MM:SS * **Int:** 4-byte integer data type, with a maximum length of 10 digits. * **Double:** Double precision floating-point number, with a maximum of 17 digits including the decimal part * **Boolean:** Boolean values can be either 'true' or 'false' * **BigInt:** 8-byte integer data type, with a maximum of 19 digits * **Foreign Key:** Refers to the Primary Key of another table * **Encrypted text :** Encrypted long-form text data type, with a maximum length of 10,000 characters. 4. **Default Value:** If the value for a column is left empty by the user, a default value is set for the column. 5. **Search Index Constraint:** If the _Search Index_ constraint is enabled for a column, it will create a full-text search index for the column in the table. This allows the column to be search-enabled while using [Catalyst Search:](https://docs.catalyst.zoho.com/en/cloud-scale/help/search-integration/introduction/) integration in your application. 6. **IsUnique Constraint:** If the IsUnique constraint is enabled for a column, it will mark the column as containing a unique value, and eliminate the possibility of duplicate values for the same column in the table. 7. **IsMandatory Validator:** If the IsMandatory validator is enabled for a column, the column will need to contain a non-empty data value. If you attempt to skip adding a value to the column where the IsMandatory validator is enabled, it will generate an error message. 8. **PII/ePHI Validator**: The Personal Identifiable Information (PII)/Electronic Protected Health Validator (ePHI) indicates sensitive user data that needs to be stored and managed in compliance with all relevant data and privacy protection laws, such as [HIPAA](https://www.hhs.gov/hipaa/for-professionals/special-topics/health-information-technology/cloud-computing/index.html) and [GDPR](https://gdpr-info.eu/issues/personal-data/) guidelines. Examples of such sensitive data include Identifiable Health Information (IIHI), personal and contact information such as name, address, and telephone numbers, medical history and information including Medical Record Number (MRN) and Medicare Beneficiary Identifier (MBI), identity information such as Social Security Number and vehicle identifiers and any other user data that falls under this scope. You must enable the PII/ePHI validator for columns that contain sensitive user data. If this validator is enabled for a column, Catalyst account admins and project members with the necessary permissions will be able to view all activities performed in these columns, in the [*Application Logs*](https://docs.catalyst.zoho.com/en/devops/help/logs/application-logs) section of [*Audit Logs*](https://docs.catalyst.zoho.com/en/getting-started/set-up-a-catalyst-project/audit-logs) in the console. The activities include creation, updation, or deletion of rows in the sensitive columns. Some of these column characteristics, such as the _IsUnique_ and the _IsMandatory_ are available for multiple data types. The _Search Index_ constraint and _Default Value_ are available for all data types except _Text_. The *PII/ePHI* validator is available for all data types. The _Var Char_ data type includes an additional characteristic called **Max Length** which lets you define the maximum length of characters allowed to be entered. The highest value for Max Length supported by Catalyst is 255 characters. You will not be able to provide a higher value. When you edit this value, you must always provide a greater value for Max Length than the previous Max Length value. Likewise, the _Foreign Key_ data type includes two additional characteristics: 1. **Parent Table:** The table whose primary keys should be referred 2. **On Delete:** The action that must be performed when the primary key column in the parent table is deleted. It includes two options: Null and Cascade. If you select **Null**, the foreign key's value will be set to null, upon the deletion of the primary key column in the parent table. If you select **Cascade**, the foreign key column will be deleted entirely upon the deletion of the primary key column in the parent table. The values of all the column characteristics are pre-populated in the four default columns in every table (ROWID, CREATORID, CREATEDTIME, MODIFIEDTIME), except for the Default Value characteristic. The Column ID values are automatically created for the default columns and the Default Value characteristic is null. The pre-populated values for the other column characteristics for the default columns are:
Column Name Data Type Search Indexed IsUnique IsMandatory PII/ePHI
ROWID BigInt False False False False
CREATORID BigInt True False False False
CREATEDTIME DateTime True False False False
MODIFIEDTIME DateTime True False False False
### Create a New Column > **Note:** Catalyst allows you to create up to 100 columns per table. You can request Catalyst for an increase in this limit by contacting our support at support@zohocatalyst.com. We will address each request on a case-by-case basis. To create a new column for a table in the Data Store: 1. In the _Schema View_ section of the table, click **\[+New Column\]**. ![Data Store- Create a Column](https://catalyst-docs-development.zohostratus.in/images/help/data-store/catalyst_data_store_new_clmn_highlight.webp) 2. Enter the **Column Name** and choose the **Data Type** from the drop-down list. ![Data Store- Create a Column](https://catalyst-docs-development.zohostratus.in/images/help/data-store/catalyst_data_store_new_column.webp) 3. Enter the required details for the data type and enable the required constraints and validators. ![Create a Column](https://catalyst-docs-development.zohostratus.in/images/help/data-store/catalyst_data_Store_clmn_validators.webp) > **Note:** The column name can only contain alphanumeric characters and certain specific characters. Do not include white spaces in it. 4. Click **Create**. The column is now created and listed in the _Schema View_ page of the table along with its characteristics. You can use the search box to search for a particular column by its name. ![Data Store- Column Created](https://catalyst-docs-development.zohostratus.in/images/help/data-store/catalyst_data_store_searh_clmn.webp) ### Edit a Column You can edit certain characteristics of a column in a table from the _Schema View_ page. The characteristics that cannot be edited include the _Column ID_, the _Data Type_ and the _IsUnique_ constraint once the column has been created. To edit a column in a table in the Data Store: 1. In the _Schema View_ section of the table, click the ellipsis icon for the column that needs to be edited, then click **Edit**. ![Data Store- Edit a Column](https://catalyst-docs-development.zohostratus.in/images/help/data-store/catalyst_data_Store_edit_clmn.webp) 2. Make the necessary changes and click **Update**. ![Data Store- Edit a Column](https://catalyst-docs-development.zohostratus.in/images/help/data-store/catalyst_data_Store_edit_clmn_update.webp) ### Delete a Column To delete a column in the Data Store: 1. In the _Schema View_ section of the table, click the ellipsis icon for the column that needs to be deleted, then click **Delete**. ![Data Store- Delete a Column](https://catalyst-docs-development.zohostratus.in/images/help/data-store/catalyst_data_store_delete_column.webp) 2. Click **Yes, Proceed** in the confirmation window pop-up. ![Data Store- Delete a Column](https://catalyst-docs-development.zohostratus.in/images/help/data-store/catalyst_data_store_delete_column_confirm.webp) The column is now deleted from the table. -------------------------------------------------------------------------------- title: "Scopes and Permissions" description: "Catalyst Data Store is a highly-scalable, cloud-based relational database that stores the persistent data of your app and its end users." last_updated: "2026-11-04T10:10:44.000Z" source: "https://docs.catalyst.zoho.com/en/cloud-scale/help/data-store/scopes-and-permissions/" service: "CloudScale" -------------------------------------------------------------------------------- # Scopes and Permissions The scopes and permissions settings in the Data Store allow you to define the **Table Scopes** and the **Table Permissions** for every table. You can use these settings to customize the availability of your data and prevent unauthorized access to it. ![Catalyst Data Store- Scopes and Permissions](https://catalyst-docs-development.zohostratus.in/images/help/data-store/catalyst_data_store_scopes_and_permissions.webp) ### Table Scopes The Table Scopes defines the availability scope of a particular table. This limits the availability of the data to the range that you specify. The three table scopes that are available in the Data Store are: * **Global:** If you select _Global_ as the scope for a table that you create, the table's entire data set can be accessed globally. This can be used for tables which all your application's users will require complete access to. * **Org**: If you select the _Org_ as the scope for a table that you create, only the users of your organization can access the table's data. * **User**: If you select _User_ as the scope for a table that you create, only you can access the table's data. The table scopes are defined for each user role. For example, if you select the table scope as "Org" for the user role *App Admin*, the users of the role will be able to view the table's data only if they belong to the same organization as yours. To set the _Table Scope_ for a table: 1. In the _Data Store_ page, click the table name and then click **Scopes & Permissions**. 2. Select a scope for the table from the three options, for each user role, under _Table Scope_. ![Catalyst Data Store- Table Scopes](https://catalyst-docs-development.zohostratus.in/images/help/data-store/catalyst_data_store_table_scope.webp) The table's data set is now available for the scope that you have selected for each user role. ### Table Permissions The Table Permissions defines the level of permission to access and modify the table which is granted to various Catalyst user roles. The user roles for Catalyst users can be managed in the _Roles_ section of _Authentication_. You can learn more about user roles from the [Roles help page](https://docs.catalyst.zoho.com/en/cloud-scale/help/authentication/user-management/roles/introduction/). There are four specific access permissions for every table in the Data Store: * **Select:** If this option is selected for a user role, the users with that role can view the table's data. * **Update:** If this option is selected for a user role, the users with that role can update the existing data in the table. * **Insert:** If this option is selected for a user role, the users with that role can add new data to the table. * **Delete:** If this option is selected for a user role, the users with that role can delete existing content from the table and the table itself. To set the _Table Permissions_ for a table: In the _Scopes & Permissions_ section of the table, click the required check boxes under _Table Permissions_ to enable the necessary access permissions for every user role. ![Catalyst Data Store- Table Permissions](https://catalyst-docs-development.zohostratus.in/images/help/data-store/catalyst_data_store_table_permissions.webp) The access permissions for the table's data are now set for the user roles in your Catalyst account. -------------------------------------------------------------------------------- title: "Records" description: "Catalyst Data Store is a highly-scalable, cloud-based relational database that stores the persistent data of your app and its end users." last_updated: "2026-11-04T10:10:44.000Z" source: "https://docs.catalyst.zoho.com/en/cloud-scale/help/data-store/records/" service: "CloudScale" -------------------------------------------------------------------------------- # Records The _Data Views_ page for a table lists out the records that have been created for the table. The columns of the records are displayed for each record as columns, including the four default columns CREATORID, MODIFIEDTIME, CREATEDTIME, and ROWID. The values of these default columns are created automatically. ### Create a New Record To create a new record for a table in the Data Store: 1. In the _Data Views_ section, click **Add Row** if you are adding the first record. A **\[+New Row\]** is present if records exist for the table. 2. Enter the values for the columns of the record. ![Data Store- Create a Record](https://catalyst-docs-development.zohostratus.in/images/help/data-store/catalyst_data_store_add_row.webp) 3. Click **Add**. The data record is now saved and will now be displayed in the _Data Views_ page. You can use the search box to search for a particular record by the name of one of its indexed columns. ![Data Store- Record Created](https://catalyst-docs-development.zohostratus.in/images/help/data-store/catalyst_data_store_data_view.webp) > **Note: ** * You cannot search for a record by a column name for which the Search Index constraint is disabled. * Ensure that you enter the value for a column in its data type's specified format. The text box will prevent you from providing a mismatched value. In certain cases, error messages will be displayed to indicate mismatched values. * For columns where the _IsUnique_ constraint is enabled, ensure that you don't enter values that are already present in other records. Similarly, for the columns where the *IsMandatory* validator is enabled, ensure that you do not leave the data value blank. * For a column where the data type is a **Foreign Key**, you must provide the ROWID of the parent table's record which it refers, as its value. ### Edit a Record To edit a record from a table in the Data Store: 1. In the _Data Views_ section of the table, click the ellipsis icon for the record that needs to be edited, then click **Edit**. ![Data Store- Edit a Record](https://catalyst-docs-development.zohostratus.in/images/help/data-store/catalyst_data_store_edit_row.webp) 2. Make the necessary changes and click **Update**. ![Data Store- Edit a Record](https://catalyst-docs-development.zohostratus.in/images/help/data-store/catalyst_data_store_update_row.webp) ### Delete a Record To delete a record from a table in the Data Store: 1. In the _Data Views_ section of the table, click the ellipsis icon for the record that needs to be deleted, then click **Delete**. ![Data Store- Delete a Record](https://catalyst-docs-development.zohostratus.in/images/help/data-store/catalyst_data_store_delete_row.webp) 2. Click **Yes, Proceed** in the confirmation pop-up. ![Data Store- Delete a Record](https://catalyst-docs-development.zohostratus.in/images/help/data-store/catalyst_data_store_delete_row_confirmation.webp) -------------------------------------------------------------------------------- title: "Bulk Operations" description: "Catalyst Data Store is a highly-scalable, cloud-based relational database that stores the persistent data of your app and its end users." last_updated: "2026-11-04T10:10:44.000Z" source: "https://docs.catalyst.zoho.com/en/cloud-scale/help/data-store/bulk-operations/" service: "CloudScale" -------------------------------------------------------------------------------- # Bulk Operations ### Bulk Read and Bulk Write Records Catalyst enables you to perform bulk read and bulk write operations on the tables in the Data Store using the CLI or the APIs. * **Bulk Read Records:** This operation reads large volumes of records from a specific table in the Data Store, and generates a CSV file containing the results of the read operation if the job is successful. * **Bulk Write Records:** This operation fetches large volumes of records from a CSV file uploaded to a [bucket](https://docs.catalyst.zoho.com/en/cloud-scale/help/stratus/buckets/name-bucket/) in [Stratus](https://docs.catalyst.zoho.com/en/cloud-scale/help/stratus/introduction/), bulk writes them to a specific table in the Data Store, and generates a report file containing the details of the job execution. To learn about these operations in detail, refer to these help links: * [Data Store Import and Export CLI documentation](https://docs.catalyst.zoho.com/en/cli/v1/export-and-import-projects/introduction/) * [Bulk Read API documentation](https://docs.catalyst.zoho.com/en/api/code-reference/cloud-scale/data-store/bulk-read-rows/create-bulk-read-job/#CreateBulkReadJob) * [Bulk Write API documentation](https://docs.catalyst.zoho.com/en/api/code-reference/cloud-scale/data-store/bulk-write-rows/create-bulk-write-job/#CreateBulkWriteJob) ### Bulk Delete Records Catalyst enables you to delete records in bulk from a specific table in the Data Store, using an API or as an SDK operation. The bulk delete operation can delete a maximum of 200 rows in a single API call or an SDK operation. To learn about this operation in detail, refer to these help links: * [Bulk Delete API documentation](https://docs.catalyst.zoho.com/en/api/code-reference/cloud-scale/data-store/bulk-delete-rows/#BulkDeleteRows) * [Bulk Delete Java SDK documentation](https://docs.catalyst.zoho.com/en/sdk/java/v1/cloud-scale/data-store/bulk-delete-rows/) * [Bulk Delete Node.js SDK documentation](https://docs.catalyst.zoho.com/en/sdk/nodejs/v2/cloud-scale/data-store/bulk-delete-rows/) * [Bulk Delete Python SDK documentation](https://docs.catalyst.zoho.com/en/sdk/python/v1/cloud-scale/data-store/bulk-delete-rows/) * [Bulk Delete Web SDK documentation](https://docs.catalyst.zoho.com/en/sdk/web/v4/cloud-scale/data-store/bulk-delete-rows/) #### OLAP Database -------------------------------------------------------------------------------- title: "Introduction" description: "Catalyst Data Store is a highly-scalable, cloud-based relational database that stores the persistent data of your app and its end users." last_updated: "2026-11-04T10:10:44.000Z" source: "https://docs.catalyst.zoho.com/en/cloud-scale/help/data-store/olap-database/introduction/" service: "CloudScale" -------------------------------------------------------------------------------- # OLAP Database ## Introduction Catalyst comes with a built-in proprietary OLAP (Online Analytical Processing) database feature, exclusively built to handle analytical queries that you run on the Data Store. You can execute advanced analytical queries on the OLAP database directly, instead of the Data Store's primary relational database for instantaneous results on datasets of any scale. With its speed and efficiency, the OLAP database enables you to perform intricate analysis on multidimensional data and is designed for advanced business intelligence. [Catalyst ZCQL](https://docs.catalyst.zoho.com/en/cloud-scale/help/zcql/introduction/) supports querying the Data Store to execute the typical CRUD operations, and even include clauses and statements in them. In addition to this, ZCQL also supports [built-in functions](https://docs.catalyst.zoho.com/en/cloud-scale/help/zcql/zcql-functions/) that help you perform quick arithmetic and analytical operations on the data in read queries, and manipulate the results to meet your requirements. As these involve advanced calculations, Catalyst provides you with a state-of-the-art OLAP system to handle these queries exclusively. With a single one-time action, you can enable automated synchronization of the data from the primary Data Store's database to the OLAP database, and then execute data retrieval queries on it directly through our platform SDKs and APIs. > **Note:** The OLAP database is a secondary database to the primary Data Store's database, optimized for analytical processing in data retrieval. Direct write operations to the OLAP database are not allowed. You will not be able to perform Create, Update, and Delete operations on OLAP; you will only be able to perform Read operations. The OLAP system is designed to make complex data analysis easy for business users and decision makers. Some common applications where advanced data analysis and business intelligence can be integral include aggregated report generation, real-time dashboards and analytics, financial analysis that includes budgeting and forecasting, sales and marketing performance analysis, inventory and logistics management, data mining and trend analysis. If your application involves any of these aspects, you can query on the OLAP database and utilize its features to the fullest. ### Differences between the Primary Data Store and the OLAP Database Consider the factors listed below to determine when you would need to enable the OLAP database and query it, instead of querying the primary Data Store.
Primary Data Store OLAP Database
The primary Data Store implements OLTP (Online Transaction Processing) that is suited to handle queries to process transactions, rather than for the purpose of business intelligence. The OLAP system is built for a multidimensional data model, that allows for complex analytical and ad hoc query executions with a quick execution time, more suited for advanced data analysis.
The primary Data Store can process all CRUD operations in an equally optimized manner, as it is fundamentally transaction-oriented. The OLAP database is highly read-optimized, as it is designed to handle analytical queries, which are typically executed in read operations.
You can perform all CRUD operations on the primary Data Store. You will not be able to execute direct write operations on the OLAP database.
Use this to execute transactional SELECT, INSERT, UPDATE and DELETE operations. Use this to execute analytical SELECT operations that include built-in ZCQL functions.
-------------------------------------------------------------------------------- title: "Key Features" description: "Catalyst Data Store is a highly-scalable, cloud-based relational database that stores the persistent data of your app and its end users." last_updated: "2026-11-04T10:10:44.000Z" source: "https://docs.catalyst.zoho.com/en/cloud-scale/help/data-store/olap-database/key-features/" service: "CloudScale" -------------------------------------------------------------------------------- # Key Features of Catalyst OLAP Database * **Data Analysis and Advanced Business Intelligence** The OLAP system is built to analyze complex business data and provide you with actionable insights, allowing you to plan strategy and make informed business decisions. It uses columnar storage to organize data and define the relationships between them. Data is represented in the form of cubes that are categorized by multiple dimensions. These allow you to perform aggregations and manipulations on the data easily and efficiently. You can execute key analytical operations on your data that include: **Drill-down**, **Roll-up**, **Slice**, and **Dice** using the various clauses and analytical functions provided in ZCQL. For more, refer to the examples in the [next section](https://docs.catalyst.zoho.com/en/cloud-scale/help/data-store/olap-database/olap-operations-guide/). * **Fully Platform-Managed Storage** Catalyst eliminates any efforts from your end in setting up or managing the OLAP database. It is built on Zoho's tried-and-tested infrastructure that is fully platform-managed. You can enable the OLAP database as a one-time action for a project from the console. This will then automate data synchronization from the primary Data Store. You will not be required to perform any other actions towards managing it. * **Near Real-Time Sync with the Primary Data Store** After you enable the OLAP database for your project, data from the primary Data Store is automatically synced with the OLAP system in near real-time. The synchronization is not based on a scheduler that runs in periodic intervals, and is rather triggered by any updates made to the primary Data Store. This ensures that the sync is close to real-time, allowing you to perform analysis on data as it arrives with minimal delay between ingestion and query execution. The sync is maintained throughout the period of the OLAP database being enabled, for all the tables created and updated in the Data Store. * **Instant Results with Large Datasets** Catalyst delivers a highly scalable, streamlined, and hassle-free experience with querying the OLAP database. It enables high-concurrency query processing, allowing you to experience instant results on datasets of any scale. You can obtain results for complex queries, without timeouts or lags even with the largest of datasets. -------------------------------------------------------------------------------- title: "Help Guide on OLAP Operations" description: "Catalyst Data Store is a highly-scalable, cloud-based relational database that stores the persistent data of your app and its end users." last_updated: "2026-11-04T10:10:44.000Z" source: "https://docs.catalyst.zoho.com/en/cloud-scale/help/data-store/olap-database/olap-operations-guide/" service: "CloudScale" -------------------------------------------------------------------------------- # Help Guide on OLAP Operations This section includes examples of some of the common OLAP operations you can perform on the OLAP database using ZCQL. **Example Database:** Given below is a sample table that contains the sales data of products by region, year, and quarter.
sale_id region product year quarter amount
101 East Laptop 2024 Q1 900
102 East Laptop 2024 Q2 1100
103 East Phone 2024 Q1 500
104 West Laptop 2024 Q1 800
105 West Phone 2024 Q2 600
106 West Laptop 2024 Q2 700
107 North Phone 2024 Q1 300
108 North Phone 2024 Q2 400
### Roll-Up Roll-up involves aggregating or summarizing the data to a higher-level hierarchy, reducing granularity. For example, summarizing the data from quarter to year, or from individual sales amount to a total. This example query will roll up from a quarter-level sales to a yearly sales total, per region. ```sql SELECT region, year, Sum(amount) FROM sales_fact GROUP BY region, year ORDER BY region ``` It will generate the following output:
region year Sum(amount)
East 2024 2500
North 2024 700
West 2024 2100
### Drill-Down The drill-down operation moves down from a summary-level to a lower level in the concept hierarchy, providing a more detailed view of the data and adding new dimensions. This example query will drill down and provide totals for each quarter, instead of yearly totals. ```sql SELECT region, year, quarter, Sum(amount) FROM sales_fact GROUP BY region, year, quarter ORDER BY region, quarter ``` It will generate the following output:
region year quarter Sum(amount)
East 2024 Q1 1400
East 2024 Q2 1100
North 2024 Q1 300
North 2024 Q2 400
West 2024 Q1 800
West 2024 Q2 1300
### Slicing The Slice operation selects a single dimension from the cube where data is represented, and creates a slice of the cube with reduced dimensionality. This operation helps focus on a specific data slice for analysis. This example query will provide the average Q1 sales amount per region. ```sql SELECT region, Avg(amount) FROM sales_fact WHERE quarter = 'Q1' GROUP BY region ORDER BY region ``` It will generate the following output:
region Avg(amount)
East 700
North 300
West 600
### Dicing The Dice operation applies multiple filters on two or more dimensions of the cube where the data is represented, to form a smaller sub-cube. It provides a multidimensional subset of the original data cube. This example query will count the number of Laptop sales in the East and West regions during Q1 or Q2 of 2024. ```sql SELECT region, Count(sale_id) FROM sales_fact WHERE product = 'Laptop' AND region IN ('East', 'West') AND quarter IN ('Q1', 'Q2') AND year = 2024 GROUP BY region ORDER BY region ``` It will generate the following output:
region Count(sale_id)
East 2
West 2
-------------------------------------------------------------------------------- title: "Enable and Query OLAP Database" description: "Catalyst Data Store is a highly-scalable, cloud-based relational database that stores the persistent data of your app and its end users." last_updated: "2026-11-04T10:10:44.000Z" source: "https://docs.catalyst.zoho.com/en/cloud-scale/help/data-store/olap-database/enable-and-query/" service: "CloudScale" -------------------------------------------------------------------------------- # Enable and Query OLAP Database ### Enable OLAP Database You can enable the OLAP database for a Catalyst project as a whole. All the tables created in the Data Store in this project will then be automatically synchronized to the OLAP database. To enable the OLAP database for your project: 1. Navigate to **Data Store** in *CloudScale*, then click the **OLAP Database** tab. 2. Click **Enable** from this section. ![data_store_olap](https://catalyst-docs-development.zohostratus.in/images/help/data-store/catalyst_datastore_olap.webp) 3. Click **Enable** in the confirmation pop-up. ![data_store_olap_enable](https://catalyst-docs-development.zohostratus.in/images/help/data-store/catalyst_datastore_olap_enable_1.webp) The OLAP Database will be enabled and Catalyst will start syncing your data from the primary Data Store. ![data_store_olap_enable](https://catalyst-docs-development.zohostratus.in/images/help/data-store/catalyst_datastore_olap_enable_2.webp) ### Disable OLAP Database You can disable the OLAP database whenever you require it. Typically, you can disable this when you do not have any requirements to execute analytical queries and would prefer querying the primary Data Store alone. Your data from the primary Data Store will not be synchronized with the OLAP database when it is disabled. If you choose to re-enable it later again, Catalyst will synchronize the updated data then. To disable the OLAP database for your project: 1. From the **OLAP Database** tab in the Data Store, click the ellipsis icon in the window. Click **Disable**. ![data_store_olap_disable](https://catalyst-docs-development.zohostratus.in/images/help/data-store/catalyst_datastore_olap_disable_1.webp) 2. Click **Disable** in the confirmation pop-up window. ![data_store_olap_disable](https://catalyst-docs-development.zohostratus.in/images/help/data-store/catalyst_datastore_olap_disable_2.webp) ### Querying on the OLAP Database When the OLAP database is enabled, you can execute queries on it the same way you execute queries on the primary Data Store with [ZCQL](https://docs.catalyst.zoho.com/en/cloud-scale/help/zcql/introduction/) programmatically. Catalyst auto-synchronizes data from the primary Data Store in real-time, so the queries will be run on the up-to-date data from your tables. You can construct ZCQL queries and execute them using the Catalyst server-side SDKs ([Java](https://docs.catalyst.zoho.com/en/sdk/java/v1/cloud-scale/zcql/execute-zcql-query/), [Node.js](https://docs.catalyst.zoho.com/en/sdk/nodejs/v2/cloud-scale/zcql/get-component-instance/), [Python](https://docs.catalyst.zoho.com/en/sdk/python/v1/cloud-scale/zcql/get-component-instance/)) or the client-side SDKs ([Web](https://docs.catalyst.zoho.com/en/sdk/web/v4/cloud-scale/zcql/get-component-instance/), [Android](https://docs.catalyst.zoho.com/en/sdk/android/v2/cloud-scale/zcql/execute-zcql-query/), [iOS](https://docs.catalyst.zoho.com/en/sdk/ios/v2/cloud-scale/zcql/execute-zcql-query/), [Flutter](https://docs.catalyst.zoho.com/en/sdk/flutter/v2/cloud-scale/zcql/execute-zcql-query/)), as well as our [REST API](https://docs.catalyst.zoho.com/en/api/code-reference/cloud-scale/zcql/execute-zcql-query/#ExecuteZCQLQuery). Refer to the respective help pages for the syntax to execute queries on the OLAP database using these SDKs. Catalyst provides a **[ZCQL console tool](https://docs.catalyst.zoho.com/en/cloud-scale/help/zcql/zcql-console/)** that allows you to execute ZCQL queries on the data stored from the Data Store, in the Catalyst console. You can avail features like code-completion, code saver, ZCQL explorer to reuse saved queries, and more. You can choose to execute queries on the primary database or the OLAP database in the ZCQL console. Click the **ZCQL Console** tab in the Data Store, then click **OLAP DB** next to *Execute on*. You can now type in your analytical query and click **Execute Query**. ![data_store_olap_query](https://catalyst-docs-development.zohostratus.in/images/help/data-store/catalyst_datastore_olap_query_2.webp) The console will return the query result, that you can choose to view in a table format or the JSON format using the drop-down. ![data_store_olap_query](https://catalyst-docs-development.zohostratus.in/images/help/data-store/catalyst_datastore_olap_query_3.webp) Refer to the [ZCQL console help section](https://docs.catalyst.zoho.com/en/cloud-scale/help/zcql/zcql-console/) for details about the various features available in the console. ### Data Streams -------------------------------------------------------------------------------- title: "" last_updated: "2026-11-03T07:48:52.000Z" source: "https://docs.catalyst.zoho.com/en/cloud-scale/help/data-streams/use-cases/" -------------------------------------------------------------------------------- -------------------------------------------------------------------------------- title: "Introduction" description: "Data Streams enables real-time, event-driven data streaming from publishers to subscribers through channels using WebSocket connections." last_updated: "2026-11-11T10:29:58.000Z" source: "https://docs.catalyst.zoho.com/en/cloud-scale/help/data-streams/introduction/" service: "CloudScale" -------------------------------------------------------------------------------- # Introduction Data Streams is a Catalyst service that enables you to stream real-time, event-driven data from a [publisher](https://docs.catalyst.zoho.com/en/cloud-scale/help/data-streams/introduction/#publisher) to its [subscribers](https://docs.catalyst.zoho.com/en/cloud-scale/help/data-streams/introduction/#subscriber) through a [channel](https://docs.catalyst.zoho.com/en/cloud-scale/help/data-streams/introduction/#channel). It follows a *publish-subscribe* (pub/sub) model, where publishers send data to a channel and subscribers receive the data from that channel in real time over [WebSocket connections](https://docs.catalyst.zoho.com/en/cloud-scale/help/data-streams/key-concepts/#websocket-connections).
Unlike traditional HTTP requests, WebSocket connections remain persistently open once established rather than creating a new connection for every request-response cycle. This enables data to be pushed automatically to all connected subscribers as new events occur, eliminating the need for repeated server polling. Developers can utilize Data Streams to build real-time features such as live dashboards, chat applications, notification systems, and more without implementing custom messaging infrastructure. You can create and manage multiple channels from the Catalyst console based on your application needs. Once a channel is created, publishers can send data to the channel using the Catalyst SDK ([Java](https://docs.catalyst.zoho.com/en/sdk/java/v1/cloud-scale/data-streams/get-component-instance/), [JavaScript](https://docs.catalyst.zoho.com/en/sdk/javascript/v1/cloudscale/data-streams/get-component-instance/), [Python](https://docs.catalyst.zoho.com/en/sdk/python/v1/cloud-scale/data-streams/get-component-instance/)), [REST API](https://docs.catalyst.zoho.com/en/api/code-reference/cloud-scale/data-streams/get-all-channels/#GetAllChannels), or [Signals](https://docs.catalyst.zoho.com/en/signals/help/rules/key-aspects/), and subscribers can connect to the same channel over a WebSocket connection to receive the published data in real time. ## Components of Data Streams ### Publisher A Publisher, also referred to as a data producer, is any application, service, or component that sends data to a Data Streams channel. Publishers can publish data to a channel using the SDK or API offerings. Multiple publishers can send data to the same channel. Catalyst services, such as [Serverless Functions](https://docs.catalyst.zoho.com/en/serverless/help/functions/introduction/) and [AppSail](https://docs.catalyst.zoho.com/en/serverless/help/appsail/introduction/), or any other third-party services that produce live data can be considered as Publishers. [Signals](https://docs.catalyst.zoho.com/en/signals/help/events/), a Catalyst service, can also be a data producer because it can collect events from Zoho and other external services and stream them to a channel. [Learn more about different publishing methods.](https://docs.catalyst.zoho.com/en/cloud-scale/help/data-streams/key-concepts/#publishing-methods) > **Note:** Publishers don't require WebSocket connections to publish data; they can push data using SDKs or APIs. Only **Subscribers** require WebSocket connections to receive the streamed data. ### Channel Channel are the core communication layer in Data Streams. They receive data from publishers and distribute it to all subscribers connected to that channel. Channels can be created in the console, and each channel is identified by its [channel name](https://docs.catalyst.zoho.com/en/cloud-scale/help/data-streams/channels-overview/#channel-configuration) and unique [channel ID](https://docs.catalyst.zoho.com/en/cloud-scale/help/data-streams/channels-overview/#channel-configuration). These attributes are used by both publishers and subscribers to publish or receive streamed data. [Learn more about Channels and their configurations.](https://docs.catalyst.zoho.com/en/cloud-scale/help/data-streams/channels-overview/) > **Note:** Publishers can stream data to a channel even if there are no active subscribers connected to it. ### Subscriber A subscriber is a service that receives streamed data from a Data Streams channel through a [WebSocket connection](https://docs.catalyst.zoho.com/en/cloud-scale/help/data-streams/implementation/subscribe-websocket/). There can be multiple subscribers subscribed to a single [channel](https://docs.catalyst.zoho.com/en/cloud-scale/help/data-streams/channels-overview/), and each subscriber will receive the published data in real-time. > **Note:** Each channel supports up to **1000** live subscriber connections. To establish a WebSocket connection, a subscriber requires a [token pair](https://docs.catalyst.zoho.com/en/cloud-scale/help/data-streams/implementation/generate-token-pair/) for [authentication](https://docs.catalyst.zoho.com/en/cloud-scale/help/data-streams/implementation/setup-access-control/). Once connected, you need to choose a subscriber type to determine the data it needs to receive, such as only live events, all available events from the earliest point, or a resumption from where the subscriber previously left off. Each message received by a subscriber must be acknowledged before the next message is delivered. Subscribers will continue to receive data as long as they remain connected to the channel. If a subscriber disconnects, it can reconnect and resume receiving data from its last acknowledged position by using the appropriate [subscriber type](https://docs.catalyst.zoho.com/en/cloud-scale/help/data-streams/key-concepts/#subscriber-types). ## Data Streams Architecture Data Streams is made up of Publishers (data producers) that send data to a channel, and subscribers that receive the data from that channel in real time. The channel acts as a persistent communication layer that receives the published data and distributes it to all subscribers connected to it. Publishers can be applications, back-end services, or external systems that generate events such as: * CRM updates on Leads or Deals * Changes made to the Contact record * Live chat messages * Notifications regarding payment statuses * Updates to order statuses * Updates to sports scores In the Catalyst console under [Test Data Flow](https://docs.catalyst.zoho.com/en/cloud-scale/help/data-streams/implementation/test-data-flow-console/), you will be able to view a preview of the published data. ![Data Streams test data flow preview in console](https://catalyst-docs-development.zohostratus.in/images/help/data-streams/test-data-flow.webp) Subscribers are clients or servers that consume this streamed data. These can include: * Mobile or web clients * Backend services * Notification systems * Analytics dashboards * IoT devices * Microservices The following diagram illustrates Data Streams' underlying architecture: ![Data Streams architecture diagram](https://catalyst-docs-development.zohostratus.in/images/help/data-streams/data-streams-architecture.webp) This architecture enables low-latency event streaming without requiring clients to constantly poll the server for updates. Catalyst offers [REST APIs](https://docs.catalyst.zoho.com/en/api/code-reference/cloud-scale/data-streams/get-all-channels/#GetAllChannels) support, and SDKs for Data Streams in the following runtimes: * [Java SDK](https://docs.catalyst.zoho.com/en/sdk/java/v1/cloud-scale/data-streams/get-component-instance/) * [JavaScript SDK](https://docs.catalyst.zoho.com/en/sdk/javascript/v1/cloudscale/data-streams/get-component-instance/) * [Python SDK](https://docs.catalyst.zoho.com/en/sdk/python/v1/cloud-scale/data-streams/get-component-instance/) -------------------------------------------------------------------------------- title: "Key Concepts" description: "Foundational concepts for Data Streams including publishing methods, subscriber types, tokens, acknowledgement, and message event structure." last_updated: "2026-11-03T07:48:52.000Z" source: "https://docs.catalyst.zoho.com/en/cloud-scale/help/data-streams/key-concepts/" service: "CloudScale" -------------------------------------------------------------------------------- # Key Concepts This section covers the foundational concepts you need to understand before working with Data Streams. Get familiar with these concepts; they're referenced throughout the component, and its related documentation. ## Publishing Methods Data published to a Data Streams channel using any of the following methods is distributed to all connected subscribers in real time. ### Catalyst SDK The Data Streams SDK offers `publishData()` (or `publish_data()` in Python) method, which accepts [channel ID](https://docs.catalyst.zoho.com/en/cloud-scale/help/data-streams/channels-overview/#channel-configuration) and the required data as inputs. The data is then sent to the channel through the SDK's REST-based interface without requiring a WebSocket connection. Using Catalyst SDK ([Java](https://docs.catalyst.zoho.com/en/sdk/java/v1/cloud-scale/data-streams/get-component-instance/), [JavaScript](https://docs.catalyst.zoho.com/en/sdk/javascript/v1/cloudscale/data-streams/get-component-instance/), and [Python](https://docs.catalyst.zoho.com/en/sdk/python/v1/cloud-scale/data-streams/get-component-instance/)) to publish data from a server-side function or application is ideal when your backend service or function generates the data to be streamed. For example, you could have a Catalyst [Advanced I/O function](https://docs.catalyst.zoho.com/en/serverless/help/functions/advanced-io/) that processes incoming data and publishes the results to a channel. > **Note:** You need **admin-level** authentication to publish data to a channel. The Catalyst SDK ([Java](https://docs.catalyst.zoho.com/en/sdk/java/v1/cloud-scale/data-streams/get-component-instance/), [JavaScript](https://docs.catalyst.zoho.com/en/sdk/javascript/v1/cloudscale/data-streams/get-component-instance/), or [Python](https://docs.catalyst.zoho.com/en/sdk/python/v1/cloud-scale/data-streams/get-component-instance/)) method can only be invoked from a server-side entity. It cannot be called from a client or browser application. [Learn more about publishing data across all supported runtimes](https://docs.catalyst.zoho.com/en/cloud-scale/help/data-streams/implementation/publish-data-sdk/). ### Data Streams REST API Using the [Data Streams REST API](https://docs.catalyst.zoho.com/en/api/code-reference/cloud-scale/data-streams/publish-data/#PublishData), is preferred when your application isn't using the Catalyst SDK directly or when you need to publish data from an external system or third-party service. Refer to the [API documentation](https://docs.catalyst.zoho.com/en/api/code-reference/cloud-scale/data-streams/publish-data/#PublishData). ### Catalyst Signals [Catalyst Signals](https://docs.catalyst.zoho.com/en/signals/getting-started/introduction/) is an event bus service that enables event-driven communication between decoupled applications or systems. We can use this service to automatically publish data to a Data Streams channel when an events occur in connected services. For example, let's say that when a user has data to publish and signs up for your application through Authentication, you need to perform a required row insert in [Catalyst Data Store](https://docs.catalyst.zoho.com/en/cloud-scale/help/data-store/introduction/), and a record update in your Zoho CRM. You can have this entire process automated with an event-driven workflow by using the Signals service. Using a configured [Signals publisher](https://docs.catalyst.zoho.com/en/signals/help/publishers/key-aspects/#publishers), the sign-up event can be routed to a Data Streams channel through [Signals Rules](https://docs.catalyst.zoho.com/en/signals/help/rules/key-aspects/#rules) and [Targets](https://docs.catalyst.zoho.com/en/signals/help/targets/key-aspects/#targets). The event data is then streamed to all subscribers connected to the channel. Using this method, you can build event-driven streaming architectures without manually coding publishing logic. For example: * A new order in [Zoho CRM](https://docs.catalyst.zoho.com/en/signals/help/publishers/supported-events/zoho-publishers/zoho-crm/) automatically streams the order details to a live dashboard. * A file upload in [Catalyst Stratus](https://docs.catalyst.zoho.com/en/cloud-scale/help/stratus/introduction/) triggers a notification stream to all connected clients. * A cache update in a [Catalyst Cache](https://docs.catalyst.zoho.com/en/cloud-scale/help/cache/introduction/) segment streams the updated value to the applications acting as subscribers. You can use the **Triggers** section present in the [channel dashboard](https://docs.catalyst.zoho.com/en/cloud-scale/help/data-streams/dashboard/) to [configure an integration](https://docs.catalyst.zoho.com/en/cloud-scale/help/data-streams/implementation/publish-data-signals/) with the Catalyst Signals service. Alternatively, you can also directly configure it in the Catalyst Signals section of the console. > **Note:** Signals acts as an event source that triggers publishing to a Data Streams channel. Subscribers still receive the data through their WebSocket connections, regardless of whether the data was published through the SDK, API, or Signals. You need to implement the required integrations using the Signals service. [Learn more about using the Catalyst Signals](https://docs.catalyst.zoho.com/en/signals/getting-started/introduction/). ### WebSocket Connections Data Streams uses websocket connections to deliver streamed data from channels to subscribers in real time. Unlike traditional HTTP requests, where a new connection is created for every request-response cycle, a WebSocket connection remains open once established. This allows the server to push data to connected subscribers instantly whenever new events are published, without requiring clients to repeatedly poll for updates. Catalyst offers SDK support in the following runtimes to provide websocket client classes for establishing and managing subscriber connections: * [Java](https://docs.catalyst.zoho.com/en/sdk/java/v1/cloud-scale/data-streams/get-component-instance/) * [JavaScript](https://docs.catalyst.zoho.com/en/sdk/javascript/v1/cloudscale/data-streams/get-component-instance/) * [Python](https://docs.catalyst.zoho.com/en/sdk/python/v1/cloud-scale/data-streams/get-component-instance/) [Learn more about creating and managing WebSocket connections](https://docs.catalyst.zoho.com/en/cloud-scale/help/data-streams/implementation/subscribe-websocket/). ### Token Pair A token pair is the subscribers' authentication credentials, required to create or keep open an authenticated websocket connection in a [Data Streams channel](https://docs.catalyst.zoho.com/en/cloud-scale/help/data-streams/channels-overview/). This token pair is a mandatory requirement to subscribe to a channel. Catalyst offers SDK support in the following runtimes to easily generate the required token pairs: * [Java](https://docs.catalyst.zoho.com/en/sdk/java/v1/cloud-scale/data-streams/generate-token-pair/) * [JavaScript](https://docs.catalyst.zoho.com/en/sdk/javascript/v1/cloudscale/data-streams/generate-token-pair/) * [Python](https://docs.catalyst.zoho.com/en/sdk/python/v1/cloud-scale/data-streams/generate-token-pair/) [Learn more about implementing token pairs](https://docs.catalyst.zoho.com/en/cloud-scale/help/data-streams/implementation/generate-token-pair/). ## Subscriber Types A subscriber type determines how and from which point a subscriber begins receiving data from a channel. Data Streams support the following subscriber types:
Subscriber Type Description
`'0'` **Live events only** - Receive only new messages published after subscribing.
`'-1'` **Earliest available** - Receive all available messages starting from the earliest stored event within the channel's retention period. > **Note:** This type delivers events from the earliest available point within the channel's **48-hour** retention period. Events older than **48 hours** are no longer available.
`'-2'` **Resume** - Resume from where the subscribers' last session left off. For new subscribers, this behaves the same as '0' (live events only).
`'<streaming-id>'` **From a specific Streaming ID** - Resume from a specific Streaming ID. Messages published after this ID will be delivered.
[Learn more about using each subscriber type](https://docs.catalyst.zoho.com/en/cloud-scale/help/data-streams/implementation/subscribe-websocket/#choose-your-subscriber-type). ### Message Event Structure When a subscriber receives data from a channel, the incoming message event contains the following fields:
Field Type Description
`streamingId` string A unique identifier for this message in the stream.
`data` string The published data, always delivered as a string. Present for inline events.
`url` string URL to fetch bulk data. Present for bulk events.
`method` string HTTP method to fetch bulk data. Present for bulk events.
**Example Message Event Structure:** **Inline Event** ```json { "streamingId": "16965000000027481", "data": "{\"orderId\": 12345, \"status\": \"shipped\"}" } ``` **Bulk Event** ```json { "streamingId": "16965000000027482", "url": "https://api.catalyst.zoho.com/baas/v1/data-streams/bulk/xyz", "method": "GET" } ``` ### Acknowledgement Data Streams delivers messages to subscribers in sequence. After receiving and processing a message event, the subscriber must send an acknowledgement to confirm that the message has been handled. Until the acknowledgement is sent, the next message in the stream will not be delivered. This mechanism ensures ordered, reliable message delivery. If a subscriber disconnects before acknowledging a message, it can reconnect using the `'-2'` (resume) [subscribe type](https://docs.catalyst.zoho.com/en/cloud-scale/help/data-streams/key-concepts/#subscriber-types) to continue from where it left off. [Learn more about using the Acknowledgement feature](https://docs.catalyst.zoho.com/en/cloud-scale/help/data-streams/implementation/subscribe-websocket/#send-acknowledgement). ### Connection Lifecycle The following diagram illustrates the connection lifecycle: ![Data Streams connection lifecycle](https://catalyst-docs-development.zohostratus.in/images/help/data-streams/token-pair.png) Catalyst SDK ([Java](https://docs.catalyst.zoho.com/en/sdk/java/v1/cloud-scale/data-streams/get-component-instance/), [JavaScript](https://docs.catalyst.zoho.com/en/sdk/javascript/v1/cloudscale/data-streams/get-component-instance/), and [Python](https://docs.catalyst.zoho.com/en/sdk/python/v1/cloud-scale/data-streams/get-component-instance/)) offers support and manages the following lifecycle aspects automatically for subscriber connections: 1. **Token Pair** — Generate a token pair using the subscriber's user ID or connection name. This token pair provides the credentials required to authenticate the WebSocket connection. 2. **Connection** — Opens a WebSocket to the Data Streams server using the generated token pair. 3. **Authentication** — The server validates the token pair (Key and Session ID). If authenticated, an 'open' event is emitted and the server returns the session credentials. 4. **Subscription** — Your code calls the subscribe method with a subscribe type to start receiving data. 5. **Data Flow** — The server pushes message events. Your code processes each event and calls the acknowledgement method. 6. **Disconnect** or **Unsubscribe** — From here, you can either invoke the close method to disconnect and terminate the WebSocket connection directly, or the unsubscribe method to stop receiving data from the channel. 7. **Connection Closed** — After unsubscribing, the WebSocket connection is closed, ending the lifecycle. > **Note:** Disconnecting and unsubscribing lead to different outcomes for a subscriber. If you disconnect, you can reconnect and resume using the `'-2'` subscribe type to continue receiving messages from where you last left off. If you unsubscribe, the connection is closed and the subscriber's session data is deleted entirely; you will need to generate a new token pair and subscribe again, starting fresh as a new subscriber. ### Data Retention Each Data Streams channel retains published data for **48 hours** from the time it is published. Subscribers can reconnect within this retention period and receive events that were streamed during that time by using the appropriate subscribe type ('-1' for earliest available, '-2' for resume, or a specific streaming ID). Events older than **48 hours** will not be available and cannot be retrieved. -------------------------------------------------------------------------------- title: "Channels" description: "Create, configure, and manage Data Streams channels including access control, testing data flow, and monitoring channel activity." last_updated: "2026-11-03T07:48:52.000Z" source: "https://docs.catalyst.zoho.com/en/cloud-scale/help/data-streams/channels-overview/" service: "CloudScale" -------------------------------------------------------------------------------- # Channels Channels are the communication layer between [publishers](https://docs.catalyst.zoho.com/en/cloud-scale/help/data-streams/introduction/#publisher) and [subscribers](https://docs.catalyst.zoho.com/en/cloud-scale/help/data-streams/introduction/#subscriber) in a [Data Streams workflow](https://docs.catalyst.zoho.com/en/cloud-scale/help/data-streams/introduction/#data-streams-architecture). Publishers send data to a channel, and subscribers receive the streamed data from that channel in real time. Channel creation and management can be performed only from the [Catalyst Console](https://docs.catalyst.zoho.com/en/getting-started/navigating-in-the-console/). After a channel is created, publishers can send data to it using the Catalyst SDK or the REST API, and subscribers connect to it over WebSocket connections to receive the published data. Data streamed through a channel is delivered in individual messages. For every message received, the subscriber must send an acknowledgement to receive the next batch from the queue. Each message shared through the stream is assigned its own unique [streaming ID](https://docs.catalyst.zoho.com/en/cloud-scale/help/data-streams/key-concepts/#message-event-structure). ## Channel Configuration Each channel is uniquely identified by a **Channel Name** and a **Channel ID**. - **Channel Name** is the user-defined name assigned when the channel is created. You can find the Channel Name in the channel header. - **Channel ID** is the unique ID generated by Catalyst when the channel is created. The Channel ID can be found in the channel dashboard General Details section. You will use the Channel ID when interacting with Data Streams through the SDK or API. ## Channel Operations You can perform the following operations on Data Streams channels from the Catalyst Console: ### Create a Channel Create a new Data Streams channel with access control configuration (User Roles or Custom Logic). Channels are uniquely identified by a Channel Name and Channel ID. Refer to [Create a Channel](https://docs.catalyst.zoho.com/en/cloud-scale/help/data-streams/implementation/create-channel/) for detailed steps. ### Manage Channels Update the channel name, modify access control settings, or permanently delete channels that are no longer needed. When the channel name is updated, the Channel ID remains unchanged. Refer to [Manage Channels](https://docs.catalyst.zoho.com/en/cloud-scale/help/data-streams/implementation/manage-channels/) for detailed steps. ### Test Data Flow Verify channel setup by testing publishing and subscribing directly from the Catalyst Console without writing code. The Test Data Flow section allows you to simulate both a publisher and a subscriber, send sample payloads, and receive streamed data with acknowledgement workflow. Refer to [Test Data Flow](https://docs.catalyst.zoho.com/en/cloud-scale/help/data-streams/implementation/test-data-flow-console/) for detailed steps. ### Setup Access Control Configure access control to ensure only authorized subscribers can receive streamed data. Data Streams supports two access control types: User Roles (for Catalyst Authentication users with predefined roles) and Custom Logic (for custom authentication using Advanced I/O functions). Refer to [Setup Access Control](https://docs.catalyst.zoho.com/en/cloud-scale/help/data-streams/implementation/setup-access-control/) for detailed configuration. -------------------------------------------------------------------------------- title: "Dashboard" description: "Monitor Data Streams channel activity, live metrics, data transfer, triggers, and general configuration details from the Channel Dashboard." last_updated: "2026-11-11T10:29:58.000Z" source: "https://docs.catalyst.zoho.com/en/cloud-scale/help/data-streams/dashboard/" service: "CloudScale" -------------------------------------------------------------------------------- # Dashboard The Channel Dashboard provides a consolidated view of the activity, data flow, and configuration details of a Data Streams channel. It enables you to monitor live streaming activity, track subscriber engagement, and access channel configuration details such as Channel ID, access control type, and retention time. You can access the Channel Dashboard by selecting a channel from the Channels list page. ![Channel Dashboard overview](https://catalyst-docs-development.zohostratus.in/images/help/data-streams/dashboard-channel-overview.webp) ## Live Channel Activity This section displays real-time metrics that help you monitor the data streaming activity of a channel and its connected subscribers. > **Note:** A channel supports up to **1000** live connections. ![Live Channel Activity metrics](https://catalyst-docs-development.zohostratus.in/images/help/data-streams/dashboard-live-channel-activity.webp) * **Messages Streamed** - This metric displays the total number of messages streamed through the channel for the day. * **Live Subscribers** - This displays the number of subscribers currently connected to the channel and actively receiving streamed data. This value reflects the real-time count at the moment you view the dashboard. > **Note:** You can aslo retrieve the live susbcriber count programatically using the `getLiveCount()` method in the [SDK](https://docs.catalyst.zoho.com/en/sdk/javascript/v1/cloudscale/data-streams/get-live-count/) or through the [Data Streams REST API](https://docs.catalyst.zoho.com/en/api/code-reference/cloud-scale/data-streams/get-live-count/#GetLiveCount). Refer to the [Monitor Channel Activity](https://docs.catalyst.zoho.com/en/cloud-scale/help/data-streams/implementation/monitor-channel-activity/) guide for implementation details. ## Triggers The **Triggers** section displays the available methods for publishing data to the channel. These triggers enable you to stream data into the channel seamlessly. ![Triggers section showing publishing methods](https://catalyst-docs-development.zohostratus.in/images/help/data-streams/dashboard-triggers-section.webp) The following triggers are available: **Signals:** Use [Catalyst Signals](https://docs.catalyst.zoho.com/en/signals/getting-started/introduction/) [events](https://docs.catalyst.zoho.com/en/signals/help/events/) to publish data to the channel and initiate channel actions in real-time responses. When events occur in connected services (such as Zoho CRM, Data Store, or custom publishers), they can be routed to the Data Streams channel through Signals rules and targets. Click **Go to Signals** to navigate to the Signals service and configure event-driven publishing for this channel. **SDK** Use the Catalyst SDK to publish data to the channel from your application code. This is ideal for scenarios where your backend service or function generates the data to be streamed. Click **Learn more** to view the [publishing guide](https://docs.catalyst.zoho.com/en/cloud-scale/help/data-streams/implementation/publish-data-sdk/). Refer to the [Key Concepts](https://docs.catalyst.zoho.com/en/cloud-scale/help/data-streams/key-concepts/#publishing-methods) page to learn more about the different ways to publish data to a Data Streams channel. ## Data Transfer The _Data Transfer_ section presents the volume of data published through the channel over a selected time period in a graphical format. ![Data Transfer graph](https://catalyst-docs-development.zohostratus.in/images/help/data-streams/dashboard-data-transfer-graph.webp) You can adjust the time frame using the time period selector in the top-right corner. You can choose from the default time ranges or specify a custom date range. ![Time period selector](https://catalyst-docs-development.zohostratus.in/images/help/data-streams/dashboard-time-period-selector.webp) You can select one of the following time periods to view channel data transfer:
Time Period Range
**Today** Displays the inbound data streamed through the channel from **12:00:00 AM of the current day until the present time**. The graph shows the data volume received during each time interval within the day.
**Yesterday** Displays the inbound data streamed through the channel **during the entire previous day**, from **12:00:00 AM to 11:59:59 PM**.
**Last 7 days** Displays the overall data transfer for **each day of the last 7 days**, including the current day until the present time. The previous 6 days are calculated starting from **12:00:00 AM of the first day**.
**Last 30 days** Displays the overall data transfer for **each day of the last 30 days**, including the current day until the present time. The previous 29 days are calculated starting from **12:00:00 AM of the first day**.
**Custom Range** Enables you to select a **specific start and end date** using the calendar picker, within a maximum interval of **2 months**. The chart then displays the inbound data published through the channel within the selected date range.
The chart displays the inbound data size (in KB) received by the channel within the selected time range. Each data point on the graph corresponds to the volume of the data streamed into the channel during a specific time interval. Hovering over a data point displays the timestamp and the exact inbound data size recorded for that interval. > **Note:** The **Inbound Data Size** represents the total amount of data received by the channel from publishers during each time interval. This value is displayed in kilobytes (KB) and reflects the volume of data entering the channel before it is distributed to subscribers. The graphical visualization helps you monitor data transmission trends and identify spikes in streaming activity over time. ![Data Transfer chart with metrics](https://catalyst-docs-development.zohostratus.in/images/help/data-streams/dashboard-data-transfer-chart.webp) ## General Details The General Details section displays important configuration information about the [channel](https://docs.catalyst.zoho.com/en/cloud-scale/help/data-streams/channels-overview/). ![General Details section](https://catalyst-docs-development.zohostratus.in/images/help/data-streams/dashboard-general-details.webp) The following details are displayed in this section: * **Channel ID** - The unique identifier assigned to the channel while it is created. This ID is required when publishing data to the channel or when generating subscriber connection tokens using the SDK or API. * **Created By** - The user who created the channel. * **Created On** - The date the channel was created on. * **Last Modified On** - The timestamp of the most recent modification made to the channel configuration. * **Control Type** - The access control configured for the channel - either User Roles or Custom Logic. * **Retention Time** - The duration for which streamed data is retained in the channel after it is published. > **Note:** Each Data Streams channel retains published data for **48 hours**. Subscribers can reconnect within the retention period and receive events that were streamed during that time by using the appropriate subscribe type. You can edit the channel name or delete the channel from the channel page using the three-dot menu icon in the top-right corner. Refer to the [Manage Channels](https://docs.catalyst.zoho.com/en/cloud-scale/help/data-streams/implementation/manage-channels/) guide for detailed instructions. #### Implementation -------------------------------------------------------------------------------- title: "Create a Data Streams Channel" description: "Step-by-step guide to creating a new Data Streams channel in the Catalyst Console with access control configuration." last_updated: "2026-11-03T07:48:52.000Z" source: "https://docs.catalyst.zoho.com/en/cloud-scale/help/data-streams/implementation/create-channel/" service: "CloudScale" related: - Channels Overview (/en/cloud-scale/help/data-streams/channels-overview/) - Setup Access Control (/en/cloud-scale/help/data-streams/implementation/setup-access-control/) - Publish Data with SDK (/en/cloud-scale/help/data-streams/implementation/publish-data-sdk/) - Key Concepts (/en/cloud-scale/help/data-streams/key-concepts/) -------------------------------------------------------------------------------- # Create a Channel To create a new Data Streams channel: 1. Access **Data Streams** from the service menu under *CloudScale*. ![Navigate to Data Streams in Catalyst Console](https://catalyst-docs-development.zohostratus.in/images/help/data-streams/navigate-data-streams.webp) 2. Click the **Create Channel** button. ![Create Channel button in Data Streams](https://catalyst-docs-development.zohostratus.in/images/help/data-streams/create-channel-button.webp) 3. Enter a descriptive name for your channel (e.g., "user-notifications", "order-updates", "live-chat"). ![Channel creation form with name and access control](https://catalyst-docs-development.zohostratus.in/images/help/data-streams/channel-creation-form.webp) 4. Select an access control type to determine how subscribers will be authenticated when connecting to this channel: - **User Roles** — Restricts channel access to authenticated users with specific roles. Select **User Roles** from the dropdown and choose one or more roles from your Catalyst Authentication configuration. Use this when subscribers are authenticated users in your application with defined roles. - **Custom Logic** — Delegates authentication to an Advanced I/O function you define. Select **Custom Logic** from the dropdown and choose an existing function. Use this when you need custom authentication logic (SSO, API keys, anonymous users, device-based access). > **Note:** For detailed access control configuration, refer to [Setup Access Control](https://docs.catalyst.zoho.com/en/cloud-scale/help/data-streams/implementation/setup-access-control/). To create user roles, refer to the [User Roles documentation](https://docs.catalyst.zoho.com/en/cloud-scale/help/authentication/introduction/). 5. Click **Create**. ![Create button to finalize channel creation](https://catalyst-docs-development.zohostratus.in/images/help/data-streams/channel-create-button.webp) Your channel is ready to receive and distribute data. You will be redirected to the *Test Data Flow* section where you can verify that data flows correctly between publishers and subscribers. The **Channel ID** (required for all SDK and API interactions) is available in the *General Details* section of the *Dashboard* tab. ![Test Data Flow section after channel creation](https://catalyst-docs-development.zohostratus.in/images/help/data-streams/channel-created-test-data-flow.webp) > **Note:** Always use the Channel ID in your code, not the Channel Name. The Channel ID never changes. -------------------------------------------------------------------------------- title: "Manage Data Streams Channels" description: "Edit channel names, update access control configuration, and delete Data Streams channels from the Catalyst Console." last_updated: "2026-11-03T07:48:52.000Z" source: "https://docs.catalyst.zoho.com/en/cloud-scale/help/data-streams/implementation/manage-channels/" service: "CloudScale" related: - Create a Channel (/en/cloud-scale/help/data-streams/implementation/create-channel/) - Setup Access Control (/en/cloud-scale/help/data-streams/implementation/setup-access-control/) - Channels Overview (/en/cloud-scale/help/data-streams/channels-overview/) -------------------------------------------------------------------------------- # Manage Channels > **Note:** You must have a Data Streams [channel already created](https://docs.catalyst.zoho.com/en/cloud-scale/help/data-streams/implementation/create-channel/) before performing these operations. ### Edit Channel Name You can update the Channel Name at any time. The Channel ID remains unchanged. **From Channels List** 1. Click the **three-dot menu** next to the channel. 2. Select **Edit**. ![Edit channel from three-dot menu in channels list](https://catalyst-docs-development.zohostratus.in/images/help/data-streams/edit-channel-three-dot-menu.webp) 3. Update the **Channel Name**. 4. Click **Update** to save changes. ![Update channel name and save](https://catalyst-docs-development.zohostratus.in/images/help/data-streams/edit-channel-update-name.webp) **From Channel Page** 1. While viewing a channel, click the **three-dot menu** in the top-right corner. 2. Select **Edit**. ![Edit channel from within channel page](https://catalyst-docs-development.zohostratus.in/images/help/data-streams/edit-channel-from-channel-page.webp) 3. Update the **Channel Name**. 4. Click **Update** to save changes. ![Save channel name update](https://catalyst-docs-development.zohostratus.in/images/help/data-streams/edit-channel-save-update.webp) > **Note:** If your publishers or subscribers reference the channel by name in your code, you must update those references. If you use the Channel ID (recommended), no code changes are needed. ### Edit Access Control To update subscriber authentication rules: 1. Go to the **Access Control** tab. ![Edit subscriber access control settings](https://catalyst-docs-development.zohostratus.in/images/help/data-streams/access-control.png) 2. Click **Edit** in the **Subscriber Access** section. ![Edit subscriber access control settings](https://catalyst-docs-development.zohostratus.in/images/help/data-streams/access-control-edit-roles.webp) 3. Modify the access control configuration: - **User Roles** — Add or remove roles - **Custom Logic** — Select a different Advanced I/O function ![Edit subscriber access control settings](https://catalyst-docs-development.zohostratus.in/images/help/data-streams/edit-access-control.png) 4. Click **Update** to save changes. > **Note:** When revoking access, subscribers lose access immediately and active connections are terminated. When granting access, new users can subscribe and already-connected users will continue receiving data. Refer to [Setup Access Control](https://docs.catalyst.zoho.com/en/cloud-scale/help/data-streams/implementation/setup-access-control/) for detailed configuration guidance. ### Delete a Channel > **Note:** This action cannot be undone. All active connections will be terminated immediately. Publishers will no longer be able to send data, and subscribers will no longer receive events. **From Channels List** 1. Click the **three-dot menu** next to the channel. 2. Select **Delete**. ![Delete channel from three-dot menu](https://catalyst-docs-development.zohostratus.in/images/help/data-streams/delete-channel.png) 3. Type the **Channel Name** in the confirmation dialog. ![Confirm channel deletion by typing channel name](https://catalyst-docs-development.zohostratus.in/images/help/data-streams/delete-channel-name.png) 4. Click **Delete** to confirm. **From Channel Page** 1. While viewing a channel, click the **three-dot menu** in the top-right corner. 2. Select **Delete**. ![Delete channel from within channel page](https://catalyst-docs-development.zohostratus.in/images/help/data-streams/channel-delete-from-dashboard.png) 3. Type the **Channel Name** in the confirmation dialog. ![Final confirmation to delete channel](https://catalyst-docs-development.zohostratus.in/images/help/data-streams/delete-channel-from-dashboard.png) 4. Click **Delete** to confirm. -------------------------------------------------------------------------------- title: "Publish Data to Channel Using SDK" description: "Publish data to Data Streams channels from server-side Catalyst functions using Java, JavaScript, or Python SDK." last_updated: "2026-11-11T10:29:58.000Z" source: "https://docs.catalyst.zoho.com/en/cloud-scale/help/data-streams/implementation/publish-data-sdk/" service: "CloudScale" related: - Create a Channel (/en/cloud-scale/help/data-streams/implementation/create-channel/) - Key Concepts - Publishing Methods (/en/cloud-scale/help/data-streams/key-concepts/#publishing-methods) - Advanced I/O Functions (/en/serverless/help/functions/advanced-io/) - Java SDK (/en/sdk/java/v1/cloud-scale/data-streams/) - JavaScript SDK (/en/sdk/javascript/v1/cloudscale/data-streams/) - Python SDK (/en/sdk/python/v1/cloud-scale/data-streams/) -------------------------------------------------------------------------------- # Publish Data with SDK To publish data to a Data Streams channel using the Catalyst SDK: > **Note:** You must have a [Data Streams channel created](https://docs.catalyst.zoho.com/en/cloud-scale/help/data-streams/implementation/create-channel/) (you'll need the Channel ID) and an Advanced I/O function for publishing. Publishing requires admin-level authentication. The `publishData()` method can only be called from a server-side Catalyst function, not from client/browser applications. 1. Navigate to your Advanced I/O function directory and install the SDK for your runtime. **JavaScript** ```bash npm install @zcatalyst/datastreams @zcatalyst/auth ``` **Java** Add the following dependency to your `pom.xml`: ```xml java-sdk https://maven.zohodl.com com.zoho.catalyst java-sdk 2.5.0 ``` **Python** ```bash pip install zcatalyst-sdk ``` 2. Initialize the SDK in your function code. The SDK automatically resolves project credentials from the execution environment. **JavaScript** ```javascript const { zcAuth } = require('@zcatalyst/auth'); const { DataStreams } = require('@zcatalyst/datastreams'); module.exports = async (req, res) => { // Initialize the SDK from the incoming request before using any component const app = await zcAuth.init(req); const datastreams = new DataStreams(app); // ... use datastreams methods }; ``` **Java** ```java import com.zc.component.datastream.ZCDatastream; ZCDatastream datastream = ZCDatastream.getInstance(); ``` **Python** ```python import zcatalyst_sdk app = zcatalyst_sdk.initialize_app() data_streams = app.datastreams() ``` > **Note:** Do not use `DataStreamsWebSocket` for publishing. That class is for subscribers only. 3. Use the `publishData()` method to send data to your channel. **Method Parameters:**
Parameter Type Description
`channelId` string The unique Channel ID from the console
`data` string (JavaScript/Java) string or dict (Python) The data to publish
**Publish text data:** **JavaScript** ```javascript const result = await datastreams.publishData('YOUR_CHANNEL_ID', 'Hello, subscribers!'); console.log('Published successfully:', result); ``` **Java** ```java Boolean result = datastream.publishData("YOUR_CHANNEL_ID", "Hello, subscribers!"); System.out.println("Published successfully: " + result); ``` **Python** ```python result = data_streams.publish_data("YOUR_CHANNEL_ID", "Hello, subscribers!") print("Published successfully:", result) ``` 4. For structured data, stringify your JSON before publishing (JavaScript/Java) or pass a dictionary (Python). **JavaScript** ```javascript const payload = JSON.stringify({ event: 'temperature_update', value: 23.5, unit: 'celsius', timestamp: Date.now() }); const result = await datastreams.publishData('YOUR_CHANNEL_ID', payload); console.log('Published successfully:', result); ``` > **Note:** Always use `JSON.stringify()`. Passing an object directly will throw a validation error. **Java** ```java String payload = new Gson().toJson(Map.of( "event", "temperature_update", "value", 23.5, "unit", "celsius", "timestamp", System.currentTimeMillis() )); Boolean result = datastream.publishData("YOUR_CHANNEL_ID", payload); System.out.println("Published successfully: " + result); ``` > **Note:** Use `Gson` or another JSON library to convert objects to strings. **Python** ```python # Python SDK accepts dictionaries directly result = data_streams.publish_data("YOUR_CHANNEL_ID", { "event": "temperature_update", "value": 23.5, "unit": "celsius", "timestamp": time.time() }) print("Published successfully:", result) # Or pass a JSON string import json payload = json.dumps({"event": "order_placed", "order_id": 12345}) result = data_streams.publish_data("YOUR_CHANNEL_ID", payload) ``` > **Note:** Python SDK handles both dictionaries and JSON strings. After publishing, data is sent to the Data Streams channel where it is distributed to all active subscribers in real-time. Publishing succeeds even if no subscribers are connected; data is retained for 48 hours. > **Note:** Data Streams accepts up to **3000** requests per minute from a single IP address. Each message you publish can be up to **100 KB** in size; for faster message transmission to subscribers over WebSocket connections, it is recommended to keep each message under **10 KB**. ### Common Errors
Error Cause Solution
`Invalid Channel ID` Wrong or non-existent channel Verify Channel ID in console
`Data must be a string` Passed object instead of string Use `JSON.stringify()` (JavaScript/Java)
`Unauthorized` Called from client-side Move to server-side function
`Channel not found` Channel deleted Recreate channel or update Channel ID
-------------------------------------------------------------------------------- title: "Publish Data Using Signals Integration" description: "Automatically publish data to Data Streams channels when events occur in connected services using Catalyst Signals event bus." last_updated: "2026-11-03T07:48:52.000Z" source: "https://docs.catalyst.zoho.com/en/cloud-scale/help/data-streams/implementation/publish-data-signals/" service: "CloudScale" related: - Create a Channel (/en/cloud-scale/help/data-streams/implementation/create-channel/) - Publish Data with SDK (/en/cloud-scale/help/data-streams/implementation/publish-data-sdk/) - Catalyst Signals (/en/signals/getting-started/introduction/) - Key Concepts - Publishing Methods (/en/cloud-scale/help/data-streams/key-concepts/#publishing-methods) -------------------------------------------------------------------------------- # Publish Data with Signals To automatically publish data to a Data Streams channel when events occur in connected services: > **Note:** You must have [created a Data Streams channel](https://docs.catalyst.zoho.com/en/cloud-scale/help/data-streams/implementation/create-channel/) (you'll need the Channel ID), Catalyst Signals enabled in your project, and an event source configured (e.g., Catalyst Authentication, Data Store, Zoho CRM, or custom webhooks). Signals is an event bus service that routes events from publishers to targets without requiring custom code. 1. Configure a Signals Publisher (the event source that emits events). **From Channel Dashboard** 1. Navigate to your Data Streams channel. 2. Go to the **Dashboard** tab. 3. Find the *Triggers* section. 4. Click **Go to Signals** next to "Signals". ![Triggers section in Data Streams dashboard](https://catalyst-docs-development.zohostratus.in/images/help/data-streams/dashboard-triggers-section.webp) This redirects you to Catalyst Signals with the channel context pre-loaded. **From Signals Console** 1. Navigate to **Catalyst Signals** in the console. 2. Go to the *Publishers* section. 3. Click **Create Publisher**. 4. Select your event source: - **Catalyst Services** — Authentication, Data Store, Cache, Stratus - **Zoho Services** — CRM, Desk, Projects - **Custom Webhooks** — External services 5. Configure the publisher settings. 6. Click **Create**. > **Note:** For detailed publisher configuration, refer to [Catalyst Signals Publishers documentation](https://docs.catalyst.zoho.com/en/signals/help/publishers/key-aspects/). 2. Create a Signals Rule (defines when and how events should be routed). - In Catalyst Signals, navigate to *Rules*. - Click **Create Rule**. - Configure the rule: - **Name** — Descriptive name (e.g., "Route user signups to notifications channel") - **Publisher** — Select the publisher you configured - **Event Filter** — (Optional) Filter specific events - **Condition** — (Optional) Add conditions to route only certain events - Click **Create**. > **Note:** For detailed rule configuration, refer to [Signals Rules documentation](https://docs.catalyst.zoho.com/en/signals/help/rules/key-aspects/). 3. Add a Data Streams Target (specifies where the event should be sent). - While creating or editing a rule, scroll to the *Targets* section. - Click **Add Target**. - Select **Data Streams** from the target type dropdown. - Enter your **Channel ID** (from the Data Streams console). - Click **Add**. - Save the rule. > **Note:** For detailed target configuration, refer to [Signals Targets documentation](https://docs.catalyst.zoho.com/en/signals/help/targets/key-aspects/). 4. Test the configuration by triggering an event in your source service: - **Catalyst Authentication** — Create a test user signup - **Data Store** — Insert a row in the configured table - **Zoho CRM** — Create or update a record - **Custom Webhook** — Send a test POST request 5. Verify in Data Streams: - Navigate to your Data Streams channel. - Go to the *Test Data Flow* tab. - Click the **Receive** tab. - Click **Activate Stream**. - Watch the event appear in real-time. ![Test Data Flow showing received event data](https://catalyst-docs-development.zohostratus.in/images/help/data-streams/test-flow-receive-data-panel.webp) When events occur in connected services, Signals automatically publishes them to your Data Streams channel where all connected subscribers receive the data in real-time. -------------------------------------------------------------------------------- title: "Setup Access Control for Data Streams" description: "Configure User Roles or Custom Logic authentication to control subscriber access to Data Streams channels." last_updated: "2026-11-03T07:48:52.000Z" source: "https://docs.catalyst.zoho.com/en/cloud-scale/help/data-streams/implementation/setup-access-control/" service: "CloudScale" related: - Create a Channel (/en/cloud-scale/help/data-streams/implementation/create-channel/) - Manage Channels (/en/cloud-scale/help/data-streams/implementation/manage-channels/) - User Roles - Catalyst Authentication (/en/cloud-scale/help/authentication/user-management/roles/introduction/) - Advanced I/O Functions (/en/serverless/help/functions/advanced-io/) -------------------------------------------------------------------------------- # Setup Access Control To configure access control for your channel: > **Note:** You should have a [channel created](https://docs.catalyst.zoho.com/en/cloud-scale/help/data-streams/implementation/create-channel/) before configuring access control. Access control applies only to subscribers. Publishers are authenticated through the Catalyst SDK or the REST API and do not require access control configuration. 1. Select an access control type during channel creation or from the *Access Control* section. **User Roles** Use this when subscribers are authenticated users in Catalyst Authentication with predefined roles. 2. Select **User Roles**. 3. Select one or more roles from the dropdown menu. ![Select user roles for channel access control](https://catalyst-docs-development.zohostratus.in/images/help/data-streams/user-roles-selection.webp) 4. Click **Create** or **Update**. Only users belonging to the selected roles can subscribe to the channel. When a role is removed, subscribers with that role lose access immediately. When a role is granted, users with that role can subscribe immediately. > **Note:** To create new roles, refer to the [Catalyst Authentication User Roles documentation](https://docs.catalyst.zoho.com/en/cloud-scale/help/authentication/user-management/roles/introduction/). **Custom Logic** Use this when you need custom authentication logic beyond role-based access (SSO, session-based connections, anonymous users, or custom criteria). 2. Create an Advanced I/O function that validates the subscriber with your own logic and then generates the token pair. The function you select becomes the channel's access control source: token pairs for this channel must be generated from inside it, using a connection name. A token pair requested from any other function or from the REST API is rejected with "Invalid access control source! Kindly request from the configured one!" ```javascript const { zcAuth } = require('@zcatalyst/auth'); const { DataStreams } = require('@zcatalyst/datastreams'); // Advanced I/O functions receive Node's raw request and response objects, // so read the JSON body and write the JSON response yourself. const readJson = (req) => new Promise((resolve, reject) => { let raw = ''; req.on('data', (chunk) => (raw += chunk)); req.on('end', () => { try { resolve(raw ? JSON.parse(raw) : {}); } catch (e) { reject(e); } }); }); const sendJson = (res, status, body) => { res.writeHead(status, { 'Content-Type': 'application/json' }); res.end(JSON.stringify(body)); }; module.exports = async (req, res) => { try { const { channelId, connectionName } = await readJson(req); // Your custom validation logic const isAuthorized = await yourCustomValidationLogic(req, connectionName); if (!isAuthorized) { return sendJson(res, 403, { approved: false, reason: "Unauthorized" }); } // Generate the token pair here, in the configured function const app = await zcAuth.init(req); const datastreams = new DataStreams(app); const token = await datastreams.getTokenPair(channelId, { connectionName }); sendJson(res, 200, { approved: true, token }); } catch (error) { sendJson(res, 500, { error: error.message }); } }; ``` Your client calls this function to get a token pair, then uses it to open the WebSocket connection. Catalyst does not call the function on its own. 3. Select **Custom Logic**. 4. Select your Advanced I/O function from the dropdown. If the function doesn't exist, click **Create new Advanced I/O function** to create one first. ![Select custom logic function for access control](https://catalyst-docs-development.zohostratus.in/images/help/data-streams/custom-logic-function-selection.webp) 5. Click **Create** or **Update**. > **Note:** Only Advanced I/O functions are supported. Ensure the function is deployed and available in your project before configuring it. ### Manage Subscriber Connections After access control is configured, navigate to the *Manage Connections* section in the *Access Control* tab to view all subscribers. ![List of subscriber connections in Manage Connections](https://catalyst-docs-development.zohostratus.in/images/help/data-streams/manage-connections-list.webp) Each connection displays:
Field Description
**Connection Name** Unique identifier for the subscriber connection (generated during token pair creation)
**User Type** Type of user (App User or Custom User) based on access control configuration
**Status** Current connection state: Active, Inactive, or Blocked
**To block a subscriber:** 1. Locate the subscriber connection. 2. Click the **three-dot menu** icon. 3. Select **Block**. ![Block subscriber from three-dot menu](https://catalyst-docs-development.zohostratus.in/images/help/data-streams/manage-connections-block-menu.webp) Blocking terminates the active connection immediately. **To delete a subscriber connection:** 1. Locate the subscriber connection. 2. Click the **three-dot menu** icon. 3. Select **Delete**. 4. Confirm deletion in the dialog. -------------------------------------------------------------------------------- title: "Generate Token Pair for Subscribers" description: "Create authentication credentials for subscribers to establish WebSocket connections to Data Streams channels." last_updated: "2026-11-11T10:29:58.000Z" source: "https://docs.catalyst.zoho.com/en/cloud-scale/help/data-streams/implementation/generate-token-pair/" service: "CloudScale" related: - Create a Channel (/en/cloud-scale/help/data-streams/implementation/create-channel/) - Setup Access Control (/en/cloud-scale/help/data-streams/implementation/setup-access-control/) - Subscribe with WebSocket (/en/cloud-scale/help/data-streams/implementation/subscribe-websocket/) - Key Concepts - Tokens (/en/cloud-scale/help/data-streams/key-concepts/#token-pair) -------------------------------------------------------------------------------- # Generate Token Pair A token pair provides the authentication credentials required for subscribers to establish WebSocket connections to a Data Streams channel. Before you begin, ensure you have [created a channel](https://docs.catalyst.zoho.com/en/cloud-scale/help/data-streams/implementation/create-channel/), [configured access control](https://docs.catalyst.zoho.com/en/cloud-scale/help/data-streams/implementation/setup-access-control/), and an Advanced I/O function to host the token generation endpoint. > **Note:** Token pair generation is a server-side operation that requires admin-level authentication. You must call `getTokenPair()` from a Catalyst Advanced I/O function and return the token pair to the client for WebSocket connection. Never expose token generation logic in client-side code. A token pair contains the WebSocket server URL (`url`), session identifier (`wss-id`, passed as `zuid` when you open the WebSocket), authentication key (`key`), and channel ID (`channel-id`). ### Create Token Generation Endpoint Create an Advanced I/O function that generates and returns token pairs to clients. Which identifier you use depends on the channel's [access control](https://docs.catalyst.zoho.com/en/cloud-scale/help/data-streams/implementation/setup-access-control/): use **User ID** for channels with **User Roles** (authenticated users with Catalyst Authentication), and **Connection Name** for channels with **Custom Logic**. For Custom Logic channels, generate the token pair from the Advanced I/O function configured as the channel's access control source.
Parameter Type Description
`channelId` string The unique identifier of the channel to subscribe to
`userId` string / Long (Java) The Catalyst project user ID. Use for channels with User Roles access control.
`connectionName` string Custom connection identifier. Use for channels with Custom Logic access control, from the configured function.
**JavaScript** ```javascript const { zcAuth } = require('@zcatalyst/auth'); const { DataStreams } = require('@zcatalyst/datastreams'); module.exports = async (req, res) => { // Initialize the SDK from the incoming request before using any component const app = await zcAuth.init(req); const datastreams = new DataStreams(app); // Option 1: Using a user ID (for authenticated users) const tokenByUser = await datastreams.getTokenPair('YOUR_CHANNEL_ID', { userId: 'YOUR_USER_ID' }); // Option 2: Using a connection name (for anonymous users) const tokenByName = await datastreams.getTokenPair('YOUR_CHANNEL_ID', { connectionName: 'YOUR_CONNECTION_NAME' }); // Return token pair to client res.setHeader('Content-Type', 'application/json'); res.writeHead(200); res.end(JSON.stringify({ status: 'success', data: tokenByUser })); }; ``` **Java** ```java import com.zc.component.datastream.ZCDatastream; import com.zc.component.datastream.beans.ZCTokenResponse; ZCDatastream datastream = ZCDatastream.getInstance(); // Option 1: Using a user ID (Long type for authenticated users) Long userId = 30772000000631094L; ZCTokenResponse tokenByUser = datastream.getTokenPair("YOUR_CHANNEL_ID", userId); // Option 2: Using a connection name (String type for anonymous users) ZCTokenResponse tokenByName = datastream.getTokenPair("YOUR_CHANNEL_ID", "YOUR_CONNECTION_NAME"); // Return tokenByUser or tokenByName to client ``` **Python** ```python import zcatalyst_sdk app = zcatalyst_sdk.initialize_app() data_streams = app.datastreams() # Option 1: Using a user ID (for authenticated users) token_by_user = data_streams.get_token_pair("YOUR_CHANNEL_ID", user_id="YOUR_USER_ID") # Option 2: Using a connection name (for anonymous users) token_by_name = data_streams.get_token_pair("YOUR_CHANNEL_ID", connection_name="YOUR_CONNECTION_NAME") # Return token to client ``` ### Deploy and Test To deploy and test your token generation endpoint: 1. Deploy your Advanced I/O function 2. Call the function endpoint from your client application 3. The client receives the token pair response: ```json { "url": "wss://datastreams.zoho.com", "wss-id": "abc123sessionid", "key": "authentication_key_here", "channel-id": "1234567890" } ``` > **Note:** The token pair of a connected session expires after **5 minutes**. ### Example Implementation **Server (Advanced I/O Function):** ```javascript const { zcAuth } = require('@zcatalyst/auth'); const { DataStreams } = require('@zcatalyst/datastreams'); // Advanced I/O functions receive Node's raw request and response objects, // so read the JSON body and write the JSON response yourself. const readJson = (req) => new Promise((resolve, reject) => { let raw = ''; req.on('data', (chunk) => (raw += chunk)); req.on('end', () => { try { resolve(raw ? JSON.parse(raw) : {}); } catch (e) { reject(e); } }); }); const sendJson = (res, status, body) => { res.writeHead(status, { 'Content-Type': 'application/json' }); res.end(JSON.stringify(body)); }; module.exports = async (req, res) => { try { const app = await zcAuth.init(req); const datastreams = new DataStreams(app); const { channelId, userId, connectionName } = await readJson(req); // Generate token pair const tokenPair = await datastreams.getTokenPair(channelId, { userId: userId || undefined, connectionName: connectionName || undefined }); sendJson(res, 200, { success: true, token: tokenPair }); } catch (error) { sendJson(res, 500, { success: false, error: error.message }); } }; ``` **Client (Request token from server):** ```javascript // Client-side: Fetch token pair from your server const response = await fetch('https://your-function-url.com/get-token', { method: 'POST', headers: { 'Content-Type': 'application/json' }, body: JSON.stringify({ channelId: 'YOUR_CHANNEL_ID', userId: 'current_user_id' // or connectionName: 'device_123' }) }); const { token } = await response.json(); // Now use token to create WebSocket connection ``` Always validate subscriber identity before generating tokens. Use User ID for channels with User Roles, and Connection Name for channels with Custom Logic. Tokens are scoped to specific channels. You can find further steps on [subscribing with WebSocket](https://docs.catalyst.zoho.com/en/cloud-scale/help/data-streams/implementation/subscribe-websocket/) to create connections using the token pair, [testing data flow](https://docs.catalyst.zoho.com/en/cloud-scale/help/data-streams/implementation/test-data-flow-console/) to verify token generation, [Token Pairs](https://docs.catalyst.zoho.com/en/cloud-scale/help/data-streams/key-concepts/#token-pair) in Key Concepts, and [WebSocket Connections](https://docs.catalyst.zoho.com/en/cloud-scale/help/data-streams/key-concepts/#websocket-connections). -------------------------------------------------------------------------------- title: "Subscribe to Data Streams via WebSocket" description: "Connect to Data Streams channels and receive real-time data using WebSocket connections with Java, JavaScript, or Python SDK." last_updated: "2026-11-11T10:29:58.000Z" source: "https://docs.catalyst.zoho.com/en/cloud-scale/help/data-streams/implementation/subscribe-websocket/" service: "CloudScale" related: - Generate Token Pair (/en/cloud-scale/help/data-streams/implementation/generate-token-pair/) - Key Concepts - Subscriber Types (/en/cloud-scale/help/data-streams/key-concepts/#subscriber-types) - Key Concepts - Acknowledgement (/en/cloud-scale/help/data-streams/key-concepts/#acknowledgement) - Setup Access Control (/en/cloud-scale/help/data-streams/implementation/setup-access-control/) -------------------------------------------------------------------------------- # Subscribe to Channel via WebSocket Subscribe to a Data Streams channel to receive data from publishers in real time over a WebSocket connection. Before you begin, ensure you have a [channel created](https://docs.catalyst.zoho.com/en/cloud-scale/help/data-streams/implementation/create-channel/), [access control configured](https://docs.catalyst.zoho.com/en/cloud-scale/help/data-streams/implementation/setup-access-control/), and a [token pair available](https://docs.catalyst.zoho.com/en/cloud-scale/help/data-streams/implementation/generate-token-pair/). Subscriptions are typically established from client-side applications (web or mobile) because WebSocket connections are long-lived and must remain open to receive data continuously. > **Note:** The JavaScript SDK supports browser environments for subscriber operations. ### Install the Data Streams SDK **JavaScript** ```bash npm install @zcatalyst/datastreams ``` **Java** Add to `pom.xml`: ```xml java-sdk https://maven.zohodl.com com.zoho.catalyst java-sdk 2.5.0 ``` **Python** ```bash pip install zcatalyst-sdk ``` ### Get Token Pair from Server First, request a token pair from your server endpoint (created in [generate-token-pair](https://docs.catalyst.zoho.com/en/cloud-scale/help/data-streams/implementation/generate-token-pair/)): ```javascript // Client-side example const response = await fetch('https://your-server.com/get-token', { method: 'POST', headers: { 'Content-Type': 'application/json' }, body: JSON.stringify({ channelId: 'YOUR_CHANNEL_ID', userId: 'current_user_id' }) }); const { token } = await response.json(); // token contains: { url, 'wss-id', key, 'channel-id' } ``` > **Note:** The token pair of a connected session expires after **5 minutes**. ### Create WebSocket Connection Use the token pair to create a WebSocket client instance. The SDK handles authentication automatically. **JavaScript** ```javascript const { DataStreamsWebSocket } = require('@zcatalyst/datastreams'); const socket = new DataStreamsWebSocket({ url: token.url, zuid: token['wss-id'], key: token.key, enableLogging: true // Optional: enable debug logging }); ``` **Java** ```java import com.zc.component.datastream.ZCDatastream; import com.zc.component.datastream.beans.ZCDataStreamsConfig; import com.zc.component.datastream.websocket.ZCDataStreamsWebSocket; ZCDatastream datastream = ZCDatastream.getInstance(); ZCDataStreamsConfig config = new ZCDataStreamsConfig( tokenResponse.getUrl(), tokenResponse.getWssId(), tokenResponse.getKey(), false // enableLogging ); ZCDataStreamsWebSocket socket = datastream.createWebSocketClient(config); // Outside a Catalyst function, getInstance() isn't available; create the client directly: // ZCDataStreamsWebSocket socket = new ZCDataStreamsWebSocket(config); ``` **Python** ```python from zcatalyst_sdk.datastreams.websocket_client import DataStreamsWebSocket from zcatalyst_sdk.types.datastreams import DataStreamsConfig config = DataStreamsConfig( url=token["url"], zuid=token["wss-id"], key=token["key"], enable_logging=True ) socket = DataStreamsWebSocket(config=config) ``` > **Note:** In Python, the WebSocket connection is not opened until you call `socket.connect()` after registering your event listeners. ### Choose Your Subscriber Type Before subscribing, decide which subscriber type fits your use case:
Type Value When to Use
**Live events only** `'0'` Start receiving only NEW messages published after subscribing
**Earliest available** `'-1'` Receive ALL available messages from the earliest stored event (within 48-hour retention)
**Resume** `'-2'` Resume from where you last left off (or live events for new subscribers)
**Specific Streaming ID** `''` Resume from a specific message (use the streamingId from a previous message)
> **Note:** Data retention is 48 hours. Events older than 48 hours are not available. ### Register Event Listeners and Subscribe **JavaScript** ```javascript // Listen for connection opened socket.on('open', () => { console.log('Connected! Subscribing to channel...'); // Subscribe with your chosen subscriber type socket.subscribe('0'); // Live events only // socket.subscribe('-1'); // Earliest available // socket.subscribe('-2'); // Resume // socket.subscribe('16965000000027481'); // From specific streaming ID }); // Listen for incoming messages socket.on('message', (event) => { console.log('Received:', event.data); console.log('Streaming ID:', event.streamingId); // Process your message here // ... // CRITICAL: Always send acknowledgement to receive next message socket.sendAck(); }); // Listen for errors socket.on('error', (err) => { console.error('Error:', err.code, err.message); }); // Listen for connection closed socket.on('close', () => { console.log('Connection closed'); }); ``` **Java** ```java import com.zc.component.datastream.websocket.ZCDataStreamsEventListener; import com.zc.component.datastream.beans.ZCCustomEvent; import com.zc.component.datastream.beans.ZCDataStreamMessageEvent; import com.zc.exception.ZCDataStreamException; socket.addEventListener(new ZCDataStreamsEventListener() { @Override public void onOpen(ZCCustomEvent event) { System.out.println("Connected! Subscribing to channel..."); // Subscribe with your chosen subscriber type. // subscribe() throws the checked ZCDataStreamException, so catch it here. try { socket.subscribe("0"); // Live events only // socket.subscribe("-1"); // Earliest available // socket.subscribe("-2"); // Resume } catch (ZCDataStreamException e) { System.err.println("Subscribe failed: " + e.getMessage()); } } @Override public void onMessage(ZCDataStreamMessageEvent event) { System.out.println("Received: " + event.getData()); System.out.println("Streaming ID: " + event.getStreamingId()); // Process your message here // ... // CRITICAL: Always send acknowledgement to receive next message socket.sendAck(); } @Override public void onError(ZCCustomEvent event) { System.err.println("Error: " + event.getMessage()); } @Override public void onClose(ZCCustomEvent event) { System.out.println("Connection closed"); } @Override public void onPong(ZCCustomEvent event) { // Keep-alive pong received } }); ``` **Python** ```python def on_open(event): print("Connected! Subscribing to channel...") # Subscribe with your chosen subscriber type socket.subscribe("0") # Live events only # socket.subscribe("-1") # Earliest available # socket.subscribe("-2") # Resume def on_message(event): print("Received:", event.data) print("Streaming ID:", event.streaming_id) # Process your message here # ... # CRITICAL: Always send acknowledgement to receive next message socket.send_ack() def on_error(event): print("Error:", event.code, event.message) def on_close(event): print("Connection closed") # Register event listeners socket.set_on_open(on_open) socket.set_on_message(on_message) socket.set_on_error(on_error) socket.set_on_close(on_close) # Connect (Python requires explicit connect call) socket.connect() ``` ### Handle Message Events Each message event received contains:
Field Type Description
**streamingId** string Unique identifier for this message in the stream
**data** string The published data (for inline events)
**url** string URL to fetch bulk data (for bulk events)
**method** string HTTP method for fetching bulk data (for bulk events)
### Example: Processing Different Event Types ```javascript socket.on('message', (event) => { if (event.data !== undefined) { // Inline data console.log('Data:', event.data); const parsedData = JSON.parse(event.data); // Process parsedData... } else if (event.url) { // Bulk data - fetch from URL console.log('Bulk data available at:', event.url); // Fetch and process bulk data... } // Always acknowledge socket.sendAck(); }); ``` ### Send Acknowledgement You must call `sendAck()` after processing each message. - Until acknowledgement is sent, the next message will NOT be delivered - This ensures ordered, reliable message delivery - If you disconnect before acknowledging, you can reconnect using subscriber type `'-2'` to resume ```javascript // JavaScript socket.sendAck(); // Java socket.sendAck(); // Python socket.send_ack() ``` ### Unsubscribe and Disconnect When you're done receiving data: **JavaScript** ```javascript // Unsubscribe: ends the session. Generate a new token pair to subscribe again. socket.unsubscribe(); // Or disconnect only: reconnect later and resume with subscribe type "-2". socket.close(); ``` **Java** ```java // Unsubscribe: ends the session. Generate a new token pair to subscribe again. socket.unsubscribe(); // Or disconnect only: reconnect later and resume with subscribe type "-2". socket.close(); ``` **Python** ```python # Unsubscribe: ends the session. Generate a new token pair to subscribe again. socket.unsubscribe() # Or disconnect only: reconnect later and resume with subscribe type "-2". socket.close() ``` ### Example Implementation ```javascript const { DataStreamsWebSocket } = require('@zcatalyst/datastreams'); async function subscribeToChannel() { // 1. Get token from server const response = await fetch('https://your-server.com/get-token', { method: 'POST', body: JSON.stringify({ channelId: 'YOUR_CHANNEL_ID', userId: 'user123' }) }); const { token } = await response.json(); // 2. Create WebSocket connection const socket = new DataStreamsWebSocket({ url: token.url, zuid: token['wss-id'], key: token.key, enableLogging: true }); // 3. Register event listeners socket.on('open', () => { console.log('Connected!'); socket.subscribe('0'); // Live events }); socket.on('message', (event) => { console.log('Received:', event.data); // Process message const data = JSON.parse(event.data); updateUI(data); // Acknowledge socket.sendAck(); }); socket.on('error', (err) => { console.error('Error:', err); }); socket.on('close', () => { console.log('Disconnected'); }); } subscribeToChannel(); ``` The SDK manages the connection lifecycle automatically: opens the WebSocket connection, validates the token pair, subscribes when you call `subscribe()`, and pushes messages with the acknowledgement flow. You can find further details on [Subscriber Types](https://docs.catalyst.zoho.com/en/cloud-scale/help/data-streams/key-concepts/#subscriber-types), [Message Event Structure](https://docs.catalyst.zoho.com/en/cloud-scale/help/data-streams/key-concepts/#message-event-structure), [Acknowledgement](https://docs.catalyst.zoho.com/en/cloud-scale/help/data-streams/key-concepts/#acknowledgement), [Connection Lifecycle](https://docs.catalyst.zoho.com/en/cloud-scale/help/data-streams/key-concepts/#connection-lifecycle), and [Data Retention](https://docs.catalyst.zoho.com/en/cloud-scale/help/data-streams/key-concepts/#data-retention). -------------------------------------------------------------------------------- title: "Test Data Flow from Console" description: "Verify Data Streams channel setup by testing publishing and subscribing directly from the Catalyst Console without code." last_updated: "2026-11-11T10:29:58.000Z" source: "https://docs.catalyst.zoho.com/en/cloud-scale/help/data-streams/implementation/test-data-flow-console/" service: "CloudScale" related: - Create a Channel (/en/cloud-scale/help/data-streams/implementation/create-channel/) - Publish Data with SDK (/en/cloud-scale/help/data-streams/implementation/publish-data-sdk/) - Subscribe with WebSocket (/en/cloud-scale/help/data-streams/implementation/subscribe-websocket/) - Key Concepts - Message Event Structure (/en/cloud-scale/help/data-streams/key-concepts/#message-event-structure) -------------------------------------------------------------------------------- # Test Data Flow After creating a channel or any time you open an existing channel from the [Channels](https://docs.catalyst.zoho.com/en/cloud-scale/help/data-streams/) list page, you will be directed to the **Test Data Flow** section. This section enables you to verify how data is published and received through the channel before implementing it in your application. Using this interface, you can simulate both a publisher and a subscriber directly from the Catalyst Console, without writing any code or deploying a function. > **Note:** Data sent through the **Test Data Flow** section is treated as a real streaming event. It will be delivered to all active subscribers connected to the channel, including any subscriber connections established through the SDK or API. The Test Data Flow section contains two primary actions: **Send** and **Receive**. ### Send Test Data The **Send** tab allows you to simulate a publisher and send sample data to the channel. The data you send will be treated as a real streaming event and will be delivered to any active subscribers connected to the channel, including the test receiver in the console. ![Test Data Flow Send tab interface](https://catalyst-docs-development.zohostratus.in/images/help/data-streams/test-flow-send-tab.webp) To test publishing: 1. Navigate to the **Send** tab in the Test Data Flow section of your channel. 2. Enter the sample payload in the **Enter Data Payload** field. 3. Click **Send** to publish the data to the channel. ![Enter payload and send test data](https://catalyst-docs-development.zohostratus.in/images/help/data-streams/test-flow-send-data.webp) > **Note:** The data payload can be up to **100 KB** in size. For faster message transmission, it is recommended to keep the payload under **10 KB**. This allows you to verify how event data will be published by your application services. You can use this to confirm that the channel is correctly configured before integrating the publishing logic in your application. ### Receive Channel Data The **Receive** tab allows you to simulate a subscriber and listen for incoming events from the channel. ![Test Data Flow Receive tab interface](https://catalyst-docs-development.zohostratus.in/images/help/data-streams/test-flow-receive-tab.webp) To start receiving events: 1. Navigate to the **Receive** tab in the Test Data Flow section of your channel. 2. Click **Activate Stream** to establish a test subscription. 3. The console will begin listening for events published to the channel. ![Activate Stream to start listening for events](https://catalyst-docs-development.zohostratus.in/images/help/data-streams/test-flow-receive-listening.webp) 4. Any incoming data will appear in the **Receive channel data** panel in real time. ![Receive channel data panel showing incoming events](https://catalyst-docs-development.zohostratus.in/images/help/data-streams/test-flow-receive-data-panel.webp) Each event displayed will include the following fields: * **data** – the payload that was published to the channel. * **streamingId** – the unique identifier assigned to that event in the stream. These fields correspond to the message event structure that your application will receive when subscribing through the SDK. ### Event Acknowledgement After receiving an event, you must click **Send Acknowledgement** to confirm that the message has been processed. Data Streams delivers events in sequence, and the acknowledgement ensures that the next event in the stream can be delivered. Until the acknowledgement is sent, subsequent events will not be displayed in the receiver. ![Send Acknowledgement button for received event](https://catalyst-docs-development.zohostratus.in/images/help/data-streams/test-flow-acknowledge-event.webp) This behavior mirrors the `sendAck()` method used in the SDK. In your application code, you must call `sendAck()` after processing each message to receive the next one. Refer to the [Subscribe with WebSocket](https://docs.catalyst.zoho.com/en/cloud-scale/help/data-streams/implementation/subscribe-websocket/) guide for implementation details. ### Closing the Test Stream You can stop the test receiver at any time by clicking **Disconnect**. Once disconnected, the test subscriber will no longer receive events from the channel. If you do not manually disconnect, the test connection will be closed automatically after **two minutes**. ![Disconnect button to stop test receiver](https://catalyst-docs-development.zohostratus.in/images/help/data-streams/test-flow-disconnect.webp) > **Note:** Clicking **Disconnect** only stops the test connection created in the console. It does not affect any subscriber connections established through the SDK or API. The test connection will also be closed automatically after two minutes if not manually disconnected. ### Set Up Data Streams The right side of the Test Data Flow section provides example code snippets for sending or receiving events using the **Catalyst SDK**. Snippets are available in supported languages including Java, JavaScript, and Python. These examples help you implement the same publishing and subscribing behavior in your application. For complete implementation details, refer to the [SDK](https://docs.catalyst.zoho.com/en/sdk/) and [API documentation](https://docs.catalyst.zoho.com/en/api/code-reference/cloud-scale/data-streams/publish-data/#PublishData). -------------------------------------------------------------------------------- title: "Monitor Data Streams Channel Activity" description: "Track live channel metrics, data transfer, triggers, and performance insights from the Data Streams Dashboard." last_updated: "2026-11-03T07:48:52.000Z" source: "https://docs.catalyst.zoho.com/en/cloud-scale/help/data-streams/implementation/monitor-channel-activity/" service: "CloudScale" related: - Create a Channel (/en/cloud-scale/help/data-streams/implementation/create-channel/) - Test Data Flow (/en/cloud-scale/help/data-streams/implementation/test-data-flow-console/) - Dashboard Overview (/en/cloud-scale/help/data-streams/dashboard/) -------------------------------------------------------------------------------- # Monitor Channel Activity The Channel Dashboard provides real-time insights into your Data Streams channel's activity, data flow, and performance metrics. Before you begin, ensure you have a [channel created](https://docs.catalyst.zoho.com/en/cloud-scale/help/data-streams/implementation/create-channel/) with data flowing through it (publishers and/or subscribers active). ## Access the Dashboard Navigate to your channel from the Channels list page. The dashboard is displayed by default when you open a channel. ![Data Streams channel dashboard overview](https://catalyst-docs-development.zohostratus.in/images/help/data-streams/dashboard-channel-overview.webp) ## Live Channel Activity Monitor real-time metrics to understand current channel performance. ![Live channel activity metrics](https://catalyst-docs-development.zohostratus.in/images/help/data-streams/dashboard-live-channel-activity.webp) ### Metrics Available
Metric Description
**Messages Streamed** Total number of messages streamed through the channel **for the day**
**Live Subscribers** Number of subscribers **currently connected** and actively receiving data (real-time count)
### Programmatic Access You can retrieve the live subscriber count programmatically: ```javascript // JavaScript const liveCount = await datastreams.getLiveCount('YOUR_CHANNEL_ID'); console.log('Live subscribers:', liveCount); ``` > **Note:** Refer to [SDK documentation](https://docs.catalyst.zoho.com/en/sdk/javascript/v1/cloudscale/data-streams/get-component-instance/) or [REST API](https://docs.catalyst.zoho.com/en/api/code-reference/cloud-scale/data-streams/get-live-count/#GetLiveCount) for implementation details. ## Configure Triggers The **Triggers** section displays available methods for publishing data to your channel. ![Triggers section showing publishing methods](https://catalyst-docs-development.zohostratus.in/images/help/data-streams/dashboard-triggers-section.webp) ### Available Triggers #### Catalyst Signals (Event-Driven) Use [Catalyst Signals](https://docs.catalyst.zoho.com/en/signals/) to automatically publish data when events occur in connected services: - Zoho CRM record updates - Data Store row insertions - Authentication user signups - Custom service events To configure: 1. Click **Go to Signals** 2. Configure Signals Publishers, Rules, and Targets 3. Route events to your Data Streams channel Refer to the [Publish Data with Signals](https://docs.catalyst.zoho.com/en/cloud-scale/help/data-streams/implementation/publish-data-signals/) guide for complete integration details. #### Catalyst SDK (Manual Publishing) Use the SDK to publish data from your application code: - Backend services and functions - Custom business logic - Data processing workflows To configure: 1. Click **Learn more** to view publishing guide 2. Implement publishing in your Advanced I/O function Refer to the [Publish Data with SDK](https://docs.catalyst.zoho.com/en/cloud-scale/help/data-streams/implementation/publish-data-sdk/) guide for complete implementation details. > **Note:** Refer to [Publishing Methods](https://docs.catalyst.zoho.com/en/cloud-scale/help/data-streams/key-concepts/#publishing-methods) in Key Concepts to learn about all available publishing options. ## Analyze Data Transfer The **Data Transfer** section visualizes data volume over time, helping you identify usage patterns and activity spikes. ![Data transfer graph over time](https://catalyst-docs-development.zohostratus.in/images/help/data-streams/dashboard-data-transfer-graph.webp) ### Select Time Period Choose from preset ranges or define a custom period: ![Time period selector for data transfer view](https://catalyst-docs-development.zohostratus.in/images/help/data-streams/dashboard-time-period-selector.webp)
Time Period Range Use Case
**Today** 12:00:00 AM → Current time Monitor today's activity
**Yesterday** Previous day (12:00:00 AM → 11:59:59 PM) Compare with today
**Last 7 days** Rolling 7-day window Identify weekly trends
**Last 30 days** Rolling 30-day window Monitor monthly patterns
**Custom Range** Up to 2 months Specific date analysis
The chart displays **Inbound Data Size (KB)** over your selected time period. The X-axis shows time intervals, the Y-axis shows data volume in kilobytes, and you can hover over data points to view exact timestamps and data sizes. ![Data transfer chart showing inbound data volume](https://catalyst-docs-development.zohostratus.in/images/help/data-streams/dashboard-data-transfer-chart.webp) > **Note:** Inbound Data Size represents the total data **received by the channel from publishers** before distribution to subscribers. ## View General Details The **General Details** section displays channel configuration and metadata. ![General details section with channel metadata](https://catalyst-docs-development.zohostratus.in/images/help/data-streams/dashboard-general-details.webp) ### Available Information
Field Description
**Channel ID** Unique identifier (required for SDK/API operations)
**Created By** User who created the channel
**Created On** Timestamp when the channel was created
**Last Modified On** Timestamp of most recent configuration change
**Control Type** Access control method (User Roles or Custom Logic)
**Retention Time** Data retention period (**48 hours**)
### Data Retention Details - **Retention Period**: 48 hours from publication - **Subscriber Access**: Can receive events within retention period using subscriber types: - `'-1'` (earliest available) - `'-2'` (resume) - `''` (from specific point) - **After 48 Hours**: Events are no longer available > **Note:** Learn more about [Subscriber Types](https://docs.catalyst.zoho.com/en/cloud-scale/help/data-streams/key-concepts/#subscriber-types) and [Data Retention](https://docs.catalyst.zoho.com/en/cloud-scale/help/data-streams/key-concepts/#data-retention). ## Dashboard Actions From the three-dot menu in the top-right corner: - **Edit Channel** → Change channel name - **Delete Channel** → Permanently remove channel > **Note:** For details on editing or deleting channels, refer to [Manage Channels](https://docs.catalyst.zoho.com/en/cloud-scale/help/data-streams/implementation/manage-channels/). ### Domain Mappings -------------------------------------------------------------------------------- title: "Introduction" description: "Domain Mappings enable you to map your organization's own domains with Catalyst to provide users with secure and custom URLs for your Catalyst applications." last_updated: "2026-11-03T07:48:52.000Z" source: "https://docs.catalyst.zoho.com/en/cloud-scale/help/domain-mappings/introduction/" service: "CloudScale" -------------------------------------------------------------------------------- # Domain Mappings ### Introduction Domain Mappings is a Catalyst CloudScale component that lets you map your own domain to the [production URL](https://docs.catalyst.zoho.com/en/cloud-scale/help/web-client-hosting/implementation) of your Catalyst application. This allows your end-users to access the application directly from your branded domain instead of the default Catalyst URL. The service runs on infrastructure powered by Catalyst, offering reliable domain handling and a seamless experience for both developers and end-users. Catalyst also enables security for all the domains that you map with your applications, by providing Group SSL certificates for them at no cost. You can create domain mappings and manage all of your mapped domains in an integrated space, using the Catalyst console. Points to remember about Catalyst Domain Mappings: * You must already have the domain hosted live, to map it with the Catalyst application using Domain Mappings. * The default production URL provided by Catalyst will still be active after you map it with an external domain. You can access the client endpoint with the default development or production URLs at all times. * You can associate only one unique domain with one Catalyst application. You will not be able to add the same domain address for a different Catalyst application. * You can map multiple domains with a single Catalyst application. You can configure mappings for up to 5 domains in each application. * You can disable or delete a mapping any time you need, and use only the default URL of the application. -------------------------------------------------------------------------------- title: "Architecture" description: "Domain Mappings enable you to map your organization's own domains with Catalyst to provide users with secure and custom URLs for your Catalyst applications." last_updated: "2026-11-03T07:48:52.000Z" source: "https://docs.catalyst.zoho.com/en/cloud-scale/help/domain-mappings/architecture/" service: "CloudScale" -------------------------------------------------------------------------------- ### Architecture A domain mapping works by associating the CNAME entry of your domain with the Catalyst hosting site in your domain's DNS configuration. You can learn about the steps to do it in detail in the [Implementation section](https://docs.catalyst.zoho.com/en/cloud-scale/help/domain-mappings/implementation). You must add two CNAME records for your domain to link it with Catalyst in your domain's DNS configuration. You must use the unique hash key value generated for the mapping by Catalyst in the second CNAME record. This will verify your ownership of the domain and create a unique mapping on both ends. After verifying your ownership of the domain, Catalyst will create a unique key-value pair for the DNS entry, which will associate that particular domain with the specific Catalyst application. It will maintain a reverse mapping of the domain and the application endpoint. This ensures that the domain is uniquely associated with only one Catalyst application until the mapping is deleted. -------------------------------------------------------------------------------- title: "Benefits" description: "Domain Mappings enable you to map your organization's own domains with Catalyst to provide users with secure and custom URLs for your Catalyst applications." last_updated: "2026-11-03T07:48:52.000Z" source: "https://docs.catalyst.zoho.com/en/cloud-scale/help/domain-mappings/benefits/" service: "CloudScale" -------------------------------------------------------------------------------- ### Benefits 1. **Easy and Quick Mapping Process** The domain mapping process can be completed easily in three steps from the Catalyst console. You will only need to make minor changes in your domain's DNS configuration to enable mapping with Catalyst. You can exit the mapping process at any time and continue from right where you left off. 2. **Exposing your domain URL to end users** The ability to provide a URL of your organization's domain to your Catalyst application users, instead of only using Catalyst's default URL, enhances the brand value and professionalism of your organization. It helps you with marketing and creating a good reputation for your brand. 3. **Enterprise-level security for your domain** Zoho's mandatory Group SSL certificate ensures safety for your domain and enables you to distribute a secure endpoint of your application to your customers or application users. You don't need to spend additional money and procure an SSL certificate on your own for your domain. Catalyst also auto-renews the SSL certificate each time before it expires. This frees you from the responsibility of managing the security of your domain entirely, and saves you from the effort involved in it. 4. **Accessing your application with a custom URL** You can map up to 5 domains for each Catalyst application, allowing you to expose different URLs to different groups of end users based on your business logic. You can also continue using the default development URL when you're working in the development environment in your console, or the default production URL for testing and other purposes. -------------------------------------------------------------------------------- title: "Implementation" description: "Domain Mappings enable you to map your organization's own domains with Catalyst to provide users with secure and custom URLs for your Catalyst applications." last_updated: "2026-11-03T07:48:52.000Z" source: "https://docs.catalyst.zoho.com/en/cloud-scale/help/domain-mappings/implementation/" service: "CloudScale" -------------------------------------------------------------------------------- # Implementation The Implementation section explains the process of configuring the DNS settings of your domain and mapping it with your Catalyst application in detail. ### Add a Domain Mapping The steps involved in mapping your domain with Catalyst are: **1\. Create a CNAME record in your domain's DNS configuration and map the entry with Catalyst** As mentioned in the introduction, the domain that you want to map with a Catalyst application must already be hosted live in your domain provider's hosting site. Some commonly used domain hosting services include Bluehost, GoDaddy, Google Domains, Hostgator, Hostinger, DreamHost, and more. When you host your domain, your domain provider will give you access to an administrative console where you can configure and manage your domain. You must create a CNAME record for your domain and associate the entry with Catalyst using your provider's administrative console. The consoles may vary depending on the domain provider, but you must follow these basic steps to create and map a CNAME record with Catalyst: * Your subdomain's value as the _Host Name/Alias/CNAME_. For example, if your domain address is "portal.zylker.com", you must add "portal" as the _Host Name/Alias/CNAME_ value. If the domain is "www.zylker.com", you can add "www" as the Host Name/Alias/CNAME value. > **Note:** Ensure that you specify the subdomain, since Catalyst currently does not support base domains to be mapped directly with an application URL. * **"catalyst.cs.zohohost.com"** as the *Destination/Points To*value. > **Note:** We will add another CNAME record later and use the hash key generated by Catalyst in it, after you add the domain in Catalyst. * Save the changes. The changes might take some time to be reflected on the DNS server, based on the DNS register and the domain provider that you are using. **2\. Add the domain in the Catalyst console for your project** After the changes are reflected in your DNS configuration, you can begin with adding a domain mapping for your Catalyst application in the following way: 1. Switch to the [production environment](https://docs.catalyst.zoho.com/en/deployment-and-billing/environments/production-environment), then navigate to **Domain Mappings** under _Host and Manage_ in your Catalyst CloudScale console for the specific Catalyst project. ![catalyst_domain_map](https://catalyst-docs-development.zohostratus.in/images/help/domain-mapping/catalyst_domain_map.webp) 2. Click **Add Mapping**. 3. Enter the domain URL in the pop-up window. ![catalyst_domain_map_create_1](https://catalyst-docs-development.zohostratus.in/images/help/domain-mapping/catalyst_domain_map_create_1.webp) > **Note:** Ensure that the domain URL you add is hosted live. If you attempt to add an inactive or an invalid domain in Catalyst, the console will display a "Host not found" error. Likewise, if the CNAME entry has not been created and mapped to catalyst.cs.zohohost.com, the console will display a "CNAME not mapped correctly" error when you attempt to add it. 4. Click **Next**. Catalyst will now generate a unique hash key value for the specific mapping as mentioned [earlier](https://docs.catalyst.zoho.com/en/cloud-scale/help/domain-mappings/architecture). This value, along with the URL of the Catalyst hosting site, will be displayed in the next stage of the pop-up window. ![catalyst_domain_map_create_2](https://catalyst-docs-development.zohostratus.in/images/help/domain-mapping/catalyst_domain_map_create_2.webp) **3\. Create another CNAME record and add the hash key value generated by Catalyst** You must now create another CNAME record in your DNS configuration to add the hash key value generated by Catalyst in it: 1. Open your domain provider's administrative console again. 2. Go to the DNS Configuration/DNS Settings/Manage DNS section of your hosted domain. 3. Create a new CNAME record for your domain and add the following values: * **hash_key.subdomain** as Host Name/Alias/CNAME For example, if the hash key generated by Catalyst is "c12to00001x11pl1234h9e33w44h6789", and the subdomain is "portal", you must enter the Host Name as "c12to00001x11pl1234h9e33w44h6789.portal". > Note: Ensure that you specify the subdomain, since Catalyst currently does not support base domains to be mapped directly with an application URL. * **"catalyst.cs.zohohost.com"** as the Destination/Points To value. 4. Save the changes. The changes might take some time to be reflected on the DNS server. Once the changes are reflected, this will verify your ownership of the domain in Catalyst. You can then click **Verify** in the pop-up window in _Domain Mappings_ to proceed to the next step. **4\. Request a Group SSL certificate from Catalyst and install it through Zoho** You must now request a Group SSL certificate from Catalyst for your domain and have it installed through Zoho. Catalyst provides this security certificate for your domain free of charge. This is a mandatory procedure, as your Catalyst application will not be accessible at that domain without an SSL certificate from Zoho. Even if you already have an SSL certificate enabled for your domain, you must use only Zoho's SSL certificate for the domain to be mapped successfully. To obtain a Group SSL certificate, you must write to Catalyst support at support@zohocatalyst.com with the details of your domain address. Catalyst will provide the certificate and activate it within 48 hours. You can then install it for your domain. Catalyst will auto-renew the SSL certificate each time before it expires. **5\. Apply the configurations and enable the domain mapping for your application** After you install the Group SSL certificate for your domain, you can apply the configurations for the domain mapping in the pop-up window by clicking **Apply**. ![catalyst_domain_map_create_3](https://catalyst-docs-development.zohostratus.in/images/help/domain-mapping/catalyst_domain_map_create_3.webp) If all the steps have been processed successfully, the domain mapping will be live. All the domains you configure for your Catalyst application will be listed in the _Domain Mappings_ page. ![catalyst_domain_map_created](https://catalyst-docs-development.zohostratus.in/images/help/domain-mapping/catalyst_domain_map_created.webp) You can close the pop-up window at any time during the process and the configurations you made so far will be saved automatically. _Verification Status_ and _Domain Status_ will display the current status of your domain. If you close the pop-up window before requesting the SSL certificate, you can click the **Apply Domain** button under Domain Status after installing the certificate. ![catalyst_domain_map_disabled](https://catalyst-docs-development.zohostratus.in/images/help/domain-mapping/catalyst_domain_map_disabled.webp) ### Disable a Domain Mapping You can choose to disable a domain mapping temporarily or for a limited period of time. This will make your Catalyst application available only at the [default URL](https://docs.catalyst.zoho.com/en/cloud-scale/help/web-client-hosting/implementation) endpoint. The unique mapping associated with the particular application will still be available in Catalyst even when it is disabled. Therefore, you will still not be able to associate the domain with a different Catalyst application when it is disabled. This also allows you to instantly re-enable the mapping any time you require, without needing to configure it all over again. To disable a domain mapping for your Catalyst application, click the **disable icon** for the domain. ![catalyst_domain_map_disable](https://catalyst-docs-development.zohostratus.in/images/help/domain-mapping/catalyst_domain_map_disable.webp) > **Note:** You can only disable your domain mappings from the [production environment](https://docs.catalyst.zoho.com/en/deployment-and-billing/environments/production-environment). The mapping will then be disabled. You can re-enable it by clicking the **Apply Domain** button under _Domain Status_. This will change the status to "Live" again. ![catalyst_domain_map_disabled](https://catalyst-docs-development.zohostratus.in/images/help/domain-mapping/catalyst_domain_map_disabled.webp) ### Delete a Domain Mapping You can delete a domain mapping from Catalyst and permanently disassociate the domain from that particular Catalyst application. This will delete the records that Catalyst maintains of the unique association, and allow you to map that domain with a different Catalyst application if needed. To delete a domain mapping of your Catalyst application: 1. Click the **delete icon** for the domain in the _Domain Mappings_ page. ![catalyst_domain_map_delete](https://catalyst-docs-development.zohostratus.in/images/help/domain-mapping/catalyst_domain_map_delete.webp) > **Note:** You can only delete your domain mappings from the [production environment](https://docs.catalyst.zoho.com/en/deployment-and-billing/environments/production-environment). 2. Click Yes, Proceed in the confirmation pop-up window. ![catalyst_domain_map_delete_confirmation](https://catalyst-docs-development.zohostratus.in/images/help/domain-mapping/catalyst_domain_map_delete_confirmation.webp) You will now have to re-configure the mapping to associate the domain with the application again. ### Mail -------------------------------------------------------------------------------- title: "Introduction" description: "Catalyst Mail enables you to send emails from your application using your organization's email addresses or the SMTP settings of external email clients." last_updated: "2026-11-04T10:10:44.000Z" source: "https://docs.catalyst.zoho.com/en/cloud-scale/help/mail/introduction/" service: "CloudScale" -------------------------------------------------------------------------------- # Mail ### Introduction Mail is a Catalyst CloudScale component that allows you to securely send emails from within your Catalyst application to its end-users. You can configure sender email addresses for different departments like marketing, customer support, or finance and send transactional or mass communication emails based on your app’s business logic. Whether using public domain emails or your own domain’s addresses, this system powered by Catalyst lets you authenticate and manage these configurations directly from the console. Additionally, you have the flexibility to either use Catalyst’s built-in email client or integrate with an external email client by configuring SMTP settings. #### SDK and API documentation Catalyst provides you with SDK tools and an API to send emails to your application users. You can easily incorporate the developer tools in your application's code after you configure the sender emails and domains with Catalyst. Refer to the SDK and API documentation for details: * [Send Mail- Java SDK](https://docs.catalyst.zoho.com/en/sdk/java/v1/cloud-scale/mail/send-email/) * [Send Mail- Node.js SDK](https://docs.catalyst.zoho.com/en/sdk/nodejs/v2/cloud-scale/mail/get-component-instance/) * [Send Mail- Python SDK](https://docs.catalyst.zoho.com/en/sdk/python/v1/cloud-scale/mail/get-component-instance/) * [Send Mail- API](https://docs.catalyst.zoho.com/en/api/code-reference/cloud-scale/mail/send-email/#SendEmail) #### Key Features of Catalyst Mail * Enables you to configure a sender email address with the click of a few buttons and send emails within minutes. * Highly scalable and ensures speed, efficiency, and consistency irrespective of the load. * Allows you to store multiple email addresses for various purposes. * Enables the use of public domain email addresses directly without configuring their SMTP settings, for the domains that support this functionality. * Provides you with the flexibility of configuring private domains or your organization's own domains and send emails from them. * Optimized performance of the built-in email client and reliable email delivery helps boost your business credibility. * Allows you to use an email client of your choice instead of the built-in client. * Provides support for various functionalities such as file attachments, CC, and BCC while sending emails through the SDKs or the API. -------------------------------------------------------------------------------- title: "Email Configuration" description: "Catalyst Mail enables you to send emails from your application using your organization's email addresses or the SMTP settings of external email clients." last_updated: "2026-11-04T10:10:44.000Z" source: "https://docs.catalyst.zoho.com/en/cloud-scale/help/mail/email-configuration/" service: "CloudScale" -------------------------------------------------------------------------------- # Email Configuration You can configure the sender email addresses in the _Email Configuration_ section of the Mail component from your console. These email addresses can be from public domain email clients such as Gmail, Apple mail, and Outlook, or hosted in a private domain, such as your organization's or business's domain. > **Note**: To send emails from Catalyst using the Email component, you need to verify both the sender email address and the domain. * [Learn more about verifying the domain](https://docs.catalyst.zoho.com/en/cloud-scale/help/mail/domains/#verify-a-domain). * [Learn more about verifying the sender email addresses](https://docs.catalyst.zoho.com/en/cloud-scale/help/mail/domains/#verify-a-domain) After an email address is added and verified, you can send emails with it from your Catalyst application by coding the logic using the SDK toolkits, or using the API. ### Add a New Email Address To add a new sender email address for your Catalyst application: 1. Navigate to **Notify** then **Mail**, in your Catalyst CloudScale console. 2. Click **Add Email Address** in the _Email Configuration_ section. ![catalyst_mail_email_configuration](https://catalyst-docs-development.zohostratus.in/images/help/mail/catalyst_mail_email_configuration.webp) 3. Enter the name that must be displayed as the sender's name and the sender email address, then click **Add Email**. ![catalyst_mail_email_config_new_email_sender](https://catalyst-docs-development.zohostratus.in/images/help/mail/catalyst_mail_email_config_new_email_sender.webp) 4. Click **Add Email**. The email address is now added in your Catalyst project as a sender. You can find all the email addresses that you have added listed in the _Email Configuration_ page. After you add an email address, you must verify it and its domain before it can be used. The _Confirmation Status_ column displays the verification status for each email address. ### Verify an Email Address To verify an email address that was added: 1. Click **Click to confirm** for the email address that you want to confirm. ![catalyst_mail_email_added](https://catalyst-docs-development.zohostratus.in/images/help/mail/catalyst_mail_email_added.webp) This will automatically send an email to the email address containing a confirmation code. ![catalyst_mail_email_confirmation](https://catalyst-docs-development.zohostratus.in/images/help/mail/catalyst_mail_email_confirmation.webp) 2. Enter the confirmation code that was sent in the pop-up box shown next to the email address. ![catalyst_mail_email_configuration_confirm](https://catalyst-docs-development.zohostratus.in/images/help/mail/catalyst_mail_email_configuration_confirm.webp) 3. Click **Confirm**. If you did not receive an email with the confirmation code, click **Resend Code** in the pop-up box. After the confirmation code has been entered and verified, the confirmation status of your email address will be changed to _Verified_. ![catalyst_mail_email_confirmed](https://catalyst-docs-development.zohostratus.in/images/help/mail/catalyst_mail_email_confirmed.webp) You will need to [verify the domain](https://docs.catalyst.zoho.com/en/cloud-scale/help/mail/domains/#verify-a-domain) to send emails. -------------------------------------------------------------------------------- title: "SMTP Configuration" description: "Catalyst Mail enables you to send emails from your application using your organization's email addresses or the SMTP settings of external email clients." last_updated: "2026-11-04T10:10:44.000Z" source: "https://docs.catalyst.zoho.com/en/cloud-scale/help/mail/smtp-configuration/" service: "CloudScale" -------------------------------------------------------------------------------- # SMTP Configuration Catalyst uses Zoho's own email client for sending emails from within Catalyst applications. If you prefer to use another email client instead, you can configure the SMTP settings of that email client in your project. SMTP (Simple Mail Transfer Protocol) is a standard protocol for electronic mail transmission. It handles the communication between the servers used to send and receive emails. To use another email client in place of Zoho's own client for sending emails, you must configure the client's SMTP server in Catalyst by adding its parameters. After the SMTP server has been configured, the third-party email client will handle the emails that you send from your Catalyst application. > **Note:** Although you can use public domain email addresses to send emails from Catalyst, Zoho cannot guarantee the functioning of these email domains. Your emails may sometimes not be delivered or be delivered in the receiver's spam folder. Some public domain email providers, such as Yahoo Mail, cannot be used directly in Catalyst to send emails. In such cases, you will need to configure the email client's SMTP settings with Catalyst to be able to use it. If the public domain email can be used directly with Catalyst, configuring its SMTP settings is optional. To configure the SMTP server of another email client in Catalyst: 1. Click the **SMTP Configuration** tab in the _Mail_ component, and click **Add SMTP**. ![catalyst_mail_smtp](https://catalyst-docs-development.zohostratus.in/images/help/mail/catalyst_mail_smtp.webp) 2. Enter the following SMTP parameters of the email client: * **Sender Address**: The sender email address that you want to configure with the email client. * **SMTP Server Host**: The name of the email client's SMTP server host. * **SMTP Server Port**: The port number of the SMTP's server. The available ports are 25, 465, 587, and 2525. * **SMTP Account Username**: Your SMTP account username. * **SMTP Account Password**: Your SMTP account password. * **SMTP Account Security Mode**: You can use **SSL** or **TLS** encryption to make your connection secure by encrypting the communication channel. You can select **None** for no security. ![catalyst_mail_smtp_configure](https://catalyst-docs-development.zohostratus.in/images/help/mail/catalyst_mail_smtp_configure.webp) 3. Click **Save**. ![catalyst_mail_smtp_configure_cmpltd](https://catalyst-docs-development.zohostratus.in/images/help/mail/catalyst_mail_smtp_configure_cmpltd.webp) The SMTP server is now configured in your Catalyst project. You can now send emails from the application, and this external client will handle the process. You can also disable the email client if you do not require it, using the toggle switch on the top, and re-enable it when needed. -------------------------------------------------------------------------------- title: "Domains" description: "Catalyst Mail enables you to send emails from your application using your organization's email addresses or the SMTP settings of external email clients." last_updated: "2026-11-04T10:10:44.000Z" source: "https://docs.catalyst.zoho.com/en/cloud-scale/help/mail/domains/" service: "CloudScale" -------------------------------------------------------------------------------- # Domains If the sender email addresses you wish to use are not by public email providers such as Gmail or Outlook, and are hosted on a private domain such as your business's own domain through third-party email providers or hosting services, you will need to add and validate that domain in Catalyst. You can add the sender email addresses, after you validate the domain. Catalyst requires the authenticity of external domains and sub-domains to be verified. Domain validation is mandatory, as Catalyst needs to ensure that the domain an email is sent from is valid and trustworthy. Catalyst performs this validation of the domains and sub-domains you add, through their DNS configurations. This is done using the following email authentication and validation standards: * **DKIM**: [DKIM](https://www.zoho.com/mail/help/adminconsole/dkim-configuration.html) (DomainKeys Identified Mail) is an authentication method which uses encryption with public/private keys, to validate whether the emails are generated from the authorized servers. * **SPF**: [SPF](https://www.zoho.com/mail/help/adminconsole/spf-configuration.html) (Sender Policy Framework) is an email validation system which looks for spoofed or forged emails using a specific SPF record published for the domain with the details of the hosts that are permitted by the domain's administrators. This enables Catalyst to provide security for the applications you build with it. ### Add Your Own Domain To add an external domain in Catalyst: 1. Click the **Domain** tab in the _Mail_ component, then click **Add Domain**. ![catalyst_mail_domain](https://catalyst-docs-development.zohostratus.in/images/help/mail/catalyst_mail_domain.webp) 2. Enter the email address of the external domain. ![catalyst_mail_add_domain](https://catalyst-docs-development.zohostratus.in/images/help/mail/catalyst_mail_add_domain.webp) 3. Click **Create**. The domain is now added in the project and will be displayed in the Domain section. You can add and use multiple domains for sending emails from your application. You must now verify and authenticate the domain before you use it. ### Verify a Domain To verify an external domain: 1. Click **Verify Code** for the domain you want to verify in the _Domain_ section. ![catalyst_mail_domain_added](https://catalyst-docs-development.zohostratus.in/images/help/mail/catalyst_mail_domain_added.webp) This will automatically send an email to the email address containing a confirmation code. ![catalyst_mail_domain_verification_email](https://catalyst-docs-development.zohostratus.in/images/help/mail/catalyst_mail_domain_verification_email.webp) If you don't receive the email with the verification code, click **Resend Code** in the _Verify Code_ box. 2. Enter the verification code that was sent to the email address in the pop-up box in the console. ![catalyst_mail_domain_verification](https://catalyst-docs-development.zohostratus.in/images/help/mail/catalyst_mail_domain_verification.webp) 3. Click **Confirm**. If the verification code matches, the domain will be displayed as verified. ![catalyst_mail_domain_verified](https://catalyst-docs-development.zohostratus.in/images/help/mail/catalyst_mail_domain_verified.webp) > **Note:** You will not be able to verify public domain email addresses such as Gmail and Yahoo Mail, and hence not be able to send emails through Catalyst Mail using them. ### Authenticate your Domain You will also need to authenticate the external domain by validating its DKIM and SPF records. To do this, you must configure the DKIM and SPF record codes that are generated in Catalyst with the DNS settings of your domain's host. To authenticate an external domain: 1. Click **Validate** for the domain you wish to authenticate in the _Domain_ section. ![catalyst_mail_domain_auth_highlit](https://catalyst-docs-development.zohostratus.in/images/help/mail/catalyst_mail_domain_auth_highlit.webp) 2. Copy the **SPF** and the **DKIM** record codes shown in the pop-up window. ![catalyst_mail_domain_authenticate](https://catalyst-docs-development.zohostratus.in/images/help/mail/catalyst_mail_domain_authenticate.webp) 3. Navigate to the **DNS settings** of the domain's host and paste the SPF and DKIM record codes in the respective fields. This process will vary depending on the domain host you use. 4. After the record codes have been added and saved in the domain's host, click **Authenticate** in the _Authenticate Domain_ pop-up in the Catalyst console. After the SPF and DKIM record codes have been validated by Catalyst, your domain will be displayed as authenticated. ![catalyst_mail_domain_authenticated](https://catalyst-docs-development.zohostratus.in/images/help/mail/catalyst_mail_domain_authenticated.webp) Once the domain and the sender email address are verified, you will be able to send emails using the *Mail* component. ![catalyst_mail_domain_done](https://catalyst-docs-development.zohostratus.in/images/help/mail/catalyst_mail_domain_done.webp) You can also add and verify the email addresses of this domain to send emails from Catalyst in the same manner as described in [this section](https://docs.catalyst.zoho.com/en/cloud-scale/help/mail/email-configuration/#add-a-new-email-address). -------------------------------------------------------------------------------- title: "Send Emails" description: "Catalyst Mail enables you to send emails from your application using your organization's email addresses or the SMTP settings of external email clients." last_updated: "2026-11-04T10:10:44.000Z" source: "https://docs.catalyst.zoho.com/en/cloud-scale/help/mail/send-emails/" service: "CloudScale" -------------------------------------------------------------------------------- # Send Emails You can send emails from your Catalyst application after you configure the sender email address, and optionally the private domain and the SMTP server of the email client. The code templates for [Java](https://docs.catalyst.zoho.com/en/sdk/java/v1/cloud-scale/mail/send-email/), [Node.js](https://docs.catalyst.zoho.com/en/sdk/nodejs/v2/cloud-scale/mail/get-component-instance/) and [Python](https://docs.catalyst.zoho.com/en/sdk/python/v1/cloud-scale/mail/get-component-instance/) platforms, as well as the [API](https://docs.catalyst.zoho.com/en/api/code-reference/cloud-scale/mail/send-email/#SendEmail) specifications to send emails are mentioned in the respective help pages. > **Note:** Ensure you verify your domain with Catalyst to send out emails using the Mail component. No emails can be sent without the verification being done. Attempting to send emails without proper [email](https://docs.catalyst.zoho.com/en/cloud-scale/help/mail/email-configuration/#verify-an-email-address) and [domain](https://docs.catalyst.zoho.com/en/cloud-scale/help/mail/domains/#verify-a-domain) verification will throw an exception, and mail will not be sent. Catalyst enables you to set multiple email addresses as the receivers, and to CC, BCC, and reply to, through a single send mail operation through the SDKs or the API. You can also attach files in the emails you send. The maximum supported limits for email recipients and file attachments in a single send mail operation are specified below: * **To address:** 10 * **CC:** 10 * **BCC:** 5 * **Reply to:** 5 * **Number of file attachments:** 5 * **Size of file attachments:** 15 MB (through a single file or multiple files upto 5 files) ### Mobile Device Management -------------------------------------------------------------------------------- title: "Introduction" description: "Catalyst Mobile Device Management (MDM) allows you to host Android and iOS apps built with Catalyst's mobile SDK in your project, and manage app users." last_updated: "2026-11-04T10:10:44.000Z" source: "https://docs.catalyst.zoho.com/en/cloud-scale/help/mobile-device-management/introduction/" service: "CloudScale" -------------------------------------------------------------------------------- # Mobile Device Management ## Introduction Mobile Device Management is a Catalyst CloudScale component that enables you to seamlessly host, distribute, and manage Android and iOS mobile apps within Catalyst. Built using [ManageEngine Mobile Device Manager Plus](https://www.manageengine.com/mobile-device-management/), it offers a cost-effective solution for enterprise-grade mobile device management. The entire deployment and management process is powered by Catalyst, providing a secure, scalable, and reliable cloud environment that adapts to your app’s growing demands while ensuring a smooth user experience. You can easily host your mobile app from the console and manage your application's versioning in Catalyst. You can host one Android app and one iOS app for each project. MDM also allows you to send the end users invites from the console to install the mobile apps for both platforms. This enables you to keep track of the number of devices the app is installed on from the invites and view user statistics. Catalyst also helps you incorporate [Push Notifications](https://docs.catalyst.zoho.com/en/cloud-scale/help/push-notifications/introduction) in your iOS mobile app and send push notifications directly from the console. The mobile apps you host on MDM will be made available to the users only in the Production environment of your Catalyst project. You can host your Android or iOS app to test MDM's functionalities in the Development environment. However, the app will not be available live. You must deploy your Catalyst project to Production and work in the Production environment, to use MDM's features in production. Refer to the [Environments help page](https://docs.catalyst.zoho.com/en/deployment-and-billing/environments/production-environment) for more information. > **Note:** * Unlike web applications, you cannot create or deploy resources of your mobile applications from the Catalyst CLI. * Mobile Device Management is currently not available to Catalyst users accessing from the EU, AU, IN, JP, SA or CA data centers. -------------------------------------------------------------------------------- title: "Key Concepts" description: "Catalyst Mobile Device Management (MDM) allows you to host Android and iOS apps built with Catalyst's mobile SDK in your project, and manage app users." last_updated: "2026-11-04T10:10:44.000Z" source: "https://docs.catalyst.zoho.com/en/cloud-scale/help/mobile-device-management/key-concepts/" service: "CloudScale" -------------------------------------------------------------------------------- # Key Concepts Before you learn how to host mobile applications in Catalyst, it's important to familiarize yourself with some basic concepts of Catalyst MDM. ### Developing Mobile Apps in Catalyst Catalyst provides a rich set of Android and iOS SDK tools for Android and iOS mobile app development. You can download the SDK packages from the [_Developer Tools_ section in _Settings_](https://docs.catalyst.zoho.com/en/getting-started/set-up-a-catalyst-project/developer-tools) or from the [menu on the right side of the console](https://docs.catalyst.zoho.com/en/getting-started/navigating-in-the-console). You can develop Android and iOS apps in Catalyst by providing the required bundle details, downloading the SDK packages, and building the apps using Catalyst's SDKs. If your mobile app uses any Catalyst components such as user authentication or functions, you must ensure that you include the relevant Catalyst SDK packages in your app's structure. For more information, refer to the [Android SDK](https://docs.catalyst.zoho.com/en/sdk/android/v2/overview/) and [iOS SDK](https://docs.catalyst.zoho.com/en/sdk/ios/v2/overview/) documentations. If your mobile app doesn't use any Catalyst components, you can develop it independently without including any Catalyst SDK packages, and just host it in MDM. ### Hosting a Mobile App While you develop your Android or your iOS app, you must ensure that you adhere to the guidelines issued by Google or Apple. You can refer to the official [Android documentation](https://developer.android.com/docs) for information on Android app development and the official [Apple developer documentation](https://developer.apple.com/documentation/) for information on iOS app development. Catalyst enables you to host your mobile app easily by uploading the APK file or IPA file of your app and providing some required information in _Mobile Device Management_. You can generate these files from your IDE, and upload them in the Catalyst console. For iOS applications, you must obtain an APNs certificate from Apple. The APNs certificate permits MDM to distribute your app to the users. If you are hosting an iOS app for the first time in Catalyst, you must upload the APNs certificate when you upload the app in the Catalyst console. The steps to generate an APNs certificate are specified in the [Implementation](https://docs.catalyst.zoho.com/en/cloud-scale/help/mobile-device-management/implementation) section. Note the following points before you host a mobile app in Catalyst: * The app name that you provide while hosting the app in the console is only a representational name. This name will be displayed in the _Android_ or _iOS_ sections in _Mobile Device Management_, and in the email invite to a user. It does not need to be the same as the actual app name. * You can set the app name in the `strings.xml` file in the source folder of your Android app. For an iOS app, you can set the app's name in your IDE. * You can change the representational app name, the logo image of your mobile app, and the description for each app update, if you require. * You must ensure that you do not upload an app source file that is from a different bundle while updating the app. ### Application Versioning Catalyst supports versioning your mobile apps. You can upload and host upgraded versions of the apps and view the app's version history in _Mobile Device Management_. However, you will not be able to roll back to a previously deployed version of the app from the Catalyst console. The following guidelines must be followed when providing the version information for an Android or iOS mobile app before hosting it in Catalyst: 1. You must provide the version information of your iOS app in the `contents.json` configuration file, which can be found in your iOS application's structure. Specify the version number in the `version` field. ![catalyst_mdm_ios_contents_json](https://catalyst-docs-development.zohostratus.in/images/help/mobile-device-management/catalyst_mdm_ios_contents_json.webp) 2. You must provide the version information of your Android app in the `build.gradle` file which can be found in your Android app's structure. Specify the version number in the `versionName` field. ![catalyst_mdm_android_build_gradle](https://catalyst-docs-development.zohostratus.in/images/help/mobile-device-management/catalyst_mdm_android_build_gradle.webp) 3. You must specify the version number of the app in decimal format. 4. For every subsequent update of your app, you can modify the version number incrementally to indicate the next version. 5. You cannot reduce the version number, once the app has been hosted. This will cause compatibility issues with the SDK package. 6. If you want to roll back your app to an older version, you can do it manually by deploying a previously hosted version. However, unlike with [Web Client Hosting](https://docs.catalyst.zoho.com/en/cloud-scale/help/web-client-hosting/introduction), you will not be able to roll back from the Catalyst console. ### Inviting Users As discussed earlier, you can send invites to your end users to install the app on their devices. These invites can be sent for both Android and iOS apps. Apart from sending invites from _Mobile Device Management_, an end-user can access your mobile app in other ways. In general, you can invite an end user to access your mobile app in three different ways: 1. **Inviting from Authentication** You can send invites to users to access an Android or an iOS app from the _Users_ section in _Authentication_ in the Catalyst console. However, these invites can only be sent to users of Zoho CRM or Zoho Desk who are members in your organization, i.e., the users that you have configured as members of your organization in your Zoho CRM or Desk account. You can easily add an organization, manage organization settings, add users to your organization and more in [Zoho CRM](https://www.zoho.com/crm/help/) or [Zoho Desk](https://www.zoho.com/desk/help/). You can add, view, manage, and delete users of your application from _Authentication_. For more information, refer to the [Users help page.](https://docs.catalyst.zoho.com/en/cloud-scale/help/authentication/user-management/users/introduction/) 2. **Accessing from ManageEngine MDM** Since Catalyst MDM implements ManageEngine Mobile Device Manager Plus, users will be able to access your mobile app in ManageEngine MDM automatically once you host it in Catalyst. To do this, the users must first install ManageEngine MDM on their mobile devices. Once it is installed on their mobile device, they will be able to access all the mobile apps that you have distributed to their mobile device. For more information, you can refer to the [ManageEngine MDM help documentation.](https://www.manageengine.com/mobile-device-management/help.html) 3. **Inviting from the Catalyst console** You can send invites to the users from the _Invites_ section in _Mobile Device Management_ in the Catalyst console. When you specify the service (Zoho CRM or Zoho Desk) while sending an invite from Catalyst, all the users of your organization in that service will be listed. You can then select the users that you want from the list and send the invite to them. Since you can be part of multiple organizations in Zoho CRM or Desk, you must select the required organization in Catalyst to view the list of its members. This document only covers the procedures to invite and manage users from the _Invites_ section in _Mobile Device Management_ in the Catalyst console. In addition to allowing you to send user invites, the _Invites_ section also provides information about the number of devices the mobile app has been installed on from the invites, and the number of devices on which installation is pending. -------------------------------------------------------------------------------- title: "Benefits" description: "Catalyst Mobile Device Management (MDM) allows you to host Android and iOS apps built with Catalyst's mobile SDK in your project, and manage app users." last_updated: "2026-11-04T10:10:44.000Z" source: "https://docs.catalyst.zoho.com/en/cloud-scale/help/mobile-device-management/benefits/" service: "CloudScale" -------------------------------------------------------------------------------- ### Benefits 1. **Easy Internal Distribution ** You can use Catalyst MDM to host mobile apps that need to be used internally in your organization, and securely distribute them to the members of your organization. This helps facilitate limited usage of the mobile apps that you build. You can easily distribute and obtain reports on app usage from the _Invites_ section. 2. **Qualitative Analysis and Testing** If your app is built for commercial usage, you can perform qualitative analysis and testing of your mobile apps with the members of your organization as test users before launching the app commercially. Catalyst MDM is highly useful for this, as you can distribute the app internally and evaluate the overall app experience from the users' perspective. 3. **Safe and Secure End-user Experience** Catalyst MDM offers ManageEngine MDM's data security, device protection, and app security features for your mobile apps. Security certifications are dispatched to Apple for iOS apps and to Google for Android apps from Catalyst. If the users have ManageEngine MDM installed on their devices, you can perform security activities and enforce safety regulations on their devices. 4. **Integrated Space to Distribute Apps and Manage their Versioning ** You can easily host your apps in the _Mobile Device Management_ section in the Catalyst console in a few simple steps. You can also easily update an app and view its version history on a single page. The _Invites_ section also displays a list of all the users that you have sent invites to, along with the acceptance status of every invitation. -------------------------------------------------------------------------------- title: "Implementation" description: "Catalyst Mobile Device Management (MDM) allows you to host Android and iOS apps built with Catalyst's mobile SDK in your project, and manage app users." last_updated: "2026-11-04T10:10:44.000Z" source: "https://docs.catalyst.zoho.com/en/cloud-scale/help/mobile-device-management/implementation/" service: "CloudScale" -------------------------------------------------------------------------------- # Implementation The _Implementation_ section acts as a step-by-step procedure guide to hosting, updating, and sending invites for both Android and iOS apps from the Catalyst console. You must ensure that you are working in the production environment in the Catalyst console to host your app live. ### Enable Mobile Device Management in the Console You must enable Mobile Device Management for your project before you access it for the first time, in the following way: 1. Navigate to **MDM** under _Host & Manage_ in the Catalyst CloudScale console, and click **Enable Now**. ![catalyst_mdm_enable_1](https://catalyst-docs-development.zohostratus.in/images/help/mobile-device-management/catalyst_mdm_enable_1.webp) 2. Click **Proceed** in the confirmation pop-up window. ![catalyst_mdm_enable_3](https://catalyst-docs-development.zohostratus.in/images/help/mobile-device-management/catalyst_mdm_enable_3.webp) Catalyst MDM will now be enabled and you will be able to access it. You will not be able to disable MDM for your project, once you have enabled it. ### Host an Android App To host an Android app, you will need to upload the APK file of your mobile app and provide the required information. To host an Android application in Catalyst: 1. Navigate to **Add-on Services** under _Discover_, and click **Access Now** on the _Mobile Device Management_ window. ![catalyst_mdm_addon](https://catalyst-docs-development.zohostratus.in/images/help/mobile-device-management/catalyst_mdm_addon.webp) If you had just enabled MDM, you will be navigated to the _Mobile Device Management_ page automatically right after enabling it. 2. If you are uploading a mobile app in your project for the first time, click **Upload** to upload your Android app in the _Device Management_ page. ![catalyst_mdm_hosting](https://catalyst-docs-development.zohostratus.in/images/help/mobile-device-management/catalyst_mdm_hosting.webp) If you have previously uploaded an iOS app for your project, click **Upload** to upload your Android app from the _Android_ section. 3. Enter the **App Name** in the pop-up window. ![catalyst_mdm_android_upload_1](https://catalyst-docs-development.zohostratus.in/images/help/mobile-device-management/catalyst_mdm_android_upload_1.webp) 4. Select **Android** as the platform. If you are uploading the file from the _Android_ section, only the Android option will be available. 5. Select the application's APK file from your computer. 6. Select the Android app's logo image from your computer. > **Note:** The logo image must be in the _.jpeg_ format. The image size must not exceed 50KB. 7. Crop the logo image as required and click **Crop** in the pop-up window. ![catalyst_mdm_logo_crop](https://catalyst-docs-development.zohostratus.in/images/help/mobile-device-management/catalyst_mdm_logo_crop.webp) 8. Enter a description for the Android app. ![catalyst_mdm_android_upload_2](https://catalyst-docs-development.zohostratus.in/images/help/mobile-device-management/catalyst_mdm_android_upload_2.webp) 9. Click **Upload**. Once you have uploaded the APK file, your Android app will be hosted automatically if you are working in the [Production environment](https://docs.catalyst.zoho.com/en/deployment-and-billing/environments/production-environment). The details of your mobile app will be displayed in the _Android_ section of MDM. The section also displays the _App Version History_. ![catalyst_mdm_android](https://catalyst-docs-development.zohostratus.in/images/help/mobile-device-management/catalyst_mdm_android.webp) ### Host an iOS App To host an iOS app, you will need to upload the IPA file of your mobile app and provide required information. To host an iOS application in Catalyst: 1. Click **Upload** to upload your iOS app in _Mobile Device Management_, if you are uploading a mobile app in your project for the first time. ![catalyst_mdm_hosting](https://catalyst-docs-development.zohostratus.in/images/help/mobile-device-management/catalyst_mdm_hosting.webp) If you have previously uploaded an Android app for your project, navigate to **iOS** and click **Upload** in the iOS section to upload your iOS app. 2. Enter the _App Name_ in the pop-up window. ![catalyst_mdm_ios_upload](https://catalyst-docs-development.zohostratus.in/images/help/mobile-device-management/catalyst_mdm_ios_upload.webp) 3. Select **iOS** as the platform. If you are uploading the file from the iOS section, only the iOS option will be available. 4. When you choose iOS as the platform, a _Create and Sign CSR_ pop-up window will automatically open. If you are uploading the file from the _iOS_ section, you must click **Create APNs**. ![catalyst_mdm_ios_create_csr](https://catalyst-docs-development.zohostratus.in/images/help/mobile-device-management/catalyst_mdm_ios_create_csr.webp) To create an APNs certificate, you need to download the **Vendor Signed CSR** signed by ManageEngine by clicking **Download** in the pop-up window. You can then upload it to the [Apple Push Certificates Portal for Third Party Servers](https://identity.apple.com/pweb/) and generate the APNS certificate there. To learn about the steps to obtain an APNs certificate from Apple, refer to the official documentation on [Obtaining a Provider Certificate from Apple](https://developer.apple.com/documentation/usernotifications/setting_up_a_remote_notification_server/establishing_a_certificate-based_connection_to_apns). Follow the steps in it and download the certificate that is generated to your system. > **Note:** The certificate that you download from Apple is in ._cer_ format. You must convert it to _.p12_ format before uploading it to Catalyst. You can **convert a ._cer_ certificate to a _.p12_ format** on your Mac in the following way: 1. In your Mac, double-click on the downloaded certificate to install it in _Keychain Access_. 2. Open _**Keychain Access**_ and locate the installed certificate under the _Certificates_ section. 3. Expand the arrow next to the certificate to show the key and select it. 4. Select **File** and then **Export Items...** 5. Provide a name for the export file. Save the file in the _.p12_ format. 6. Provide a password to protect the certificate. You will need this password while enrolling for Catalyst Push Notification services. Click **OK**. 7. Provide your Mac password to enable the export. Click **Allow**. Your APNS certificate is now saved in the _.p12_ format. 5. Once you have completed this, click **Next** in the _Create and Sign CSR_ window. 6. Upload the APNs certificate in the ._p12_ format in the pop-up window. Enter the corporate Apple ID used while creating the APNs certificate, and the email address to send notifications about APNs expiry to. Click **Upload**. ![catalyst_mdm_ios_create_apns](https://catalyst-docs-development.zohostratus.in/images/help/mobile-device-management/catalyst_mdm_ios_create_apns.webp) You will be redirected to the _Upload Your App_ pop-up window. 7. Select the application's IPA file from your computer. 8. Select the iOS app's logo image from your computer. > **Note**: The logo image must be in the _.jpeg_ format. The image must not exceed 50 KB. 9. Crop the logo image as required and click **Crop** in the pop-up window. ![catalyst_mdm_logo_crop](https://catalyst-docs-development.zohostratus.in/images/help/mobile-device-management/catalyst_mdm_logo_crop.webp) 10. Enter a description for the iOS app. ![catalyst_mdm_ios_upload_2](https://catalyst-docs-development.zohostratus.in/images/help/mobile-device-management/catalyst_mdm_ios_upload_2.webp) 11. Click **Upload**. Once you have uploaded the IPA file containing the source files of your iOS app, it will be hosted live automatically if you are working in the [Production environment](https://docs.catalyst.zoho.com/en/deployment-and-billing/environments/production-environment). The details of your mobile app will be displayed in the _iOS_ section of MDM. The section also displays the _App Version History_. ![catalyst_mdm_ios](https://catalyst-docs-development.zohostratus.in/images/help/mobile-device-management/catalyst_mdm_ios.webp) ### Application Versioning The _App Version History_ displays all the existing versions of your application with other details of the version. To upload an updated version of an Android or an iOS app in Catalyst: 1. Click **Update App** in the _Android_ or _iOS_ section in MDM. ![catalyst_mdm_android](https://catalyst-docs-development.zohostratus.in/images/help/mobile-device-management/catalyst_mdm_android.webp) 2. This will open the _Upload Your App_ pop-up window. Follow the same procedures as in the previous sections to provide the required information and select the required platform. ![catalyst_mdm_android_upload_2](https://catalyst-docs-development.zohostratus.in/images/help/mobile-device-management/catalyst_mdm_android_upload_2.webp) 3. Click **Upload**. The updated version of your mobile app will now be hosted live. You can view all version updates of your mobile app in the _App Version History_. ![catalyst_mdm_app_version_history](https://catalyst-docs-development.zohostratus.in/images/help/mobile-device-management/catalyst_mdm_app_version_history.webp) However, as mentioned previously, you will not be able to deploy an older version of your application from the console. Support for deploying a previously uploaded version of a mobile application from the console will be rolled out soon. ### Delete an Android or iOS App from Catalyst You can delete an Android or iOS app from Catalyst MDM. However, the app will still be available in ManageEngine MDM. To delete an Android or iOS app from Catalyst: 1. Click the **Android** or **iOS** tab and click **Delete App**. ![catalyst_mdm_ios](https://catalyst-docs-development.zohostratus.in/images/help/mobile-device-management/catalyst_mdm_ios.webp) 2. Click **Delete App** again in the confirmation window. ![catalyst_mdm_delete_app_confirmation](https://catalyst-docs-development.zohostratus.in/images/help/mobile-device-management/catalyst_mdm_delete_app_confirmation.webp) #### User Invites You can send an invite to a user in your organization for installing an Android or iOS app from the console in the following way: 1. Click the **Invites** tab in _Mobile Device Management_. ![catalyst_mdm_invites](https://catalyst-docs-development.zohostratus.in/images/help/mobile-device-management/catalyst_mdm_invites.webp) 2. Click **Invite Users**. 3. Select the service as _Zoho CRM_ or _Zoho Desk_ in the _Service_ row in pop-up window. ![catalyst_mdm_invite_users](https://catalyst-docs-development.zohostratus.in/images/help/mobile-device-management/catalyst_mdm_invite_users.webp) This will automatically list the members of your organization configured in that service, as discussed [previously](https://docs.catalyst.zoho.com/en/cloud-scale/help/mobile-device-management/key-concepts/#inviting-users). You can add a user's email address by clicking **Add** for the user. The _Email Address_ section will display the email addresses of the users that are being added. 4. Select the platform of the mobile app to invite the user to. 5. Click **Send Invite**. Once you send the invite, the user will receive an email with an access link to access the mobile app. ![catalyst_mdm_user_invite_email](https://catalyst-docs-development.zohostratus.in/images/help/mobile-device-management/catalyst_mdm_user_invite_email.webp) When the user clicks on the link, they will be redirected to a sign-up form, where they can set up a password to access the app. ![catalyst_mdm_invite_password](https://catalyst-docs-development.zohostratus.in/images/help/mobile-device-management/catalyst_mdm_invite_password.webp) When the user clicks **Update**, they will be redirected to the redirect URL that you specified in the [application bundle](https://docs.catalyst.zoho.com/en/cloud-scale/help/mobile-device-management/key-concepts/#developing-mobile-apps-in-catalyst). The user will also receive an invite from ManageEngine MDM to install the mobile app. The app will download and get installed when they install the required MDM certificates in their mobile device. Refer to [MDM help](https://www.manageengine.com/mobile-device-management/help.html) for more information. The _Invites_ section displays information about the number of devices the mobile app has been installed on from the invites, and the number of devices on which installation is pending. This information is displayed under _App Summary_ for both Android and iOS platforms. ![catalyst_mdm_invites_2](https://catalyst-docs-development.zohostratus.in/images/help/mobile-device-management/catalyst_mdm_invites_2.webp) The users are listed in the _Invites_ section along with their details and their invitation stage. You can search for a user by their email address using the search bar. When a user accepts and installs the app they were invited to access, their _Stage_ changes to _Installed_, and the information is reflected in the count in _App Summary_ as well. > **Note:** This section only lists users that were invited from the Catalyst console. If a user downloads the mobile app from other sources, they will not be included in the statistics displayed in this section. ### NoSQL -------------------------------------------------------------------------------- title: "Introduction" description: "Catalyst NoSQL is a fully-managed, non-relational database. Create, manage, and query NoSQL tables, and perform CRUD operations in Java, Node.js, and Python." last_updated: "2026-11-04T10:10:44.000Z" source: "https://docs.catalyst.zoho.com/en/cloud-scale/help/nosql/introduction/" service: "CloudScale" -------------------------------------------------------------------------------- # Catalyst NoSQL ### Introduction Catalyst CloudScale NoSQL is a fully-managed, powerful database that offers a non-relational approach to data storage. It allows you to handle unstructured, semi-structured, and disparate data without relying on traditional SQL models. The highly scalable proprietary infrastructure, powered by Catalyst, ensures that you can create and manage databases effortlessly without worrying about backend tasks like provisioning, configuring, or scaling. This flexibility makes it ideal for modern, data-driven applications. Catalyst offers NoSQL in addition to its conventional relational database, the [Data Store](https://docs.catalyst.zoho.com/en/cloud-scale/help/data-store/introduction/) in the [CloudScale service](https://docs.catalyst.zoho.com/en/cloud-scale/). Depending on your business requirements and various other factors, such as the possibility of a fixed schema in your database or the need for a read-heavy system, you can determine the right data storage option for your use case. Refer to [this comparison section](https://docs.catalyst.zoho.com/en/cloud-scale/help/nosql/introduction/#catalyst-data-store-vs-nosql) between Data Store and NoSQL for more help. Catalyst supports the **key-value pair based** document-type data storage in NoSQL, with provisions to store your data in a [Custom JSON format](https://docs.catalyst.zoho.com/en/cloud-scale/help/nosql/working-with-data/introduction/#the-catalyst-custom-json-format) that supports numerous data types. With the ability to partition the data across clusters, NoSQL offers a high-volume storage option, as well as enables multi-level scalability. If you choose to build an application with Catalyst NoSQL, you can easily create tables in your project, configure them, add data, or query data from the Catalyst console. You can also easily migrate your existing NoSQL databases from third-party sources into Catalyst in a few simple steps. Catalyst provides server-side SDKs to perform various NoSQL CRUD operations, such as adding or querying data, in the following programming environments: * [Java](https://docs.catalyst.zoho.com/en/sdk/java/v1/cloud-scale/nosql/get-table-metadata/) * [Node.js](https://docs.catalyst.zoho.com/en/sdk/nodejs/v2/cloud-scale/nosql/get-component-instance/) * [Python](https://docs.catalyst.zoho.com/en/sdk/python/v1/cloud-scale/nosql/get-component-instance/) Refer to the linked SDK documentations to learn about the SDK methods available. You can also avail NoSQL APIs in Catalyst for these operations. Refer to the [API documentation](https://docs.catalyst.zoho.com/en/api/code-reference/cloud-scale/nosql/insert-item/#InsertNewItem) for details. ### Catalyst Data Store vs NoSQL Catalyst provides both Data Store and Catalyst NoSQL as two different data storage options, where the former is a SQL and relational database and the latter, a non-relational database. You can opt for the database suited to your needs based on various factors such as your business logic, your application's data structure, or your usage. Storing unstructured data in a relational database poses problems in schema organization and often leads to data redundancy. You must therefore choose the right storage platform suitable to your use case. Here's a handy guide that will help you decide on the best database option for your requirements. #### Catalyst Data Store Choose Catalyst Data Store if the following conditions are met- * **Architecture**: Your database's architecture is relational, i.e., the data points are related to one another. * **Data Structure**: Your data is well-structured and can be tightly organized into rows and columns to collectively form a table. * **Schema**: The schema of your database is uniform, known in advance, and can be designed and finalized statically ahead of data operations. * **Query Language**: You require using SQL to query, update, and maintain the database. SQL goes well with relational, structured databases. * **Priorities**: Your priority for your database is ACID compliance (Atomicity, Consistency, Isolation, and Durability), and not horizontal scalability. * **Read/Write Throughput**: You require fast, error-free, efficient querying with minimal lag and overhead for a read-heavy database. #### Catalyst NoSQL Choose Catalyst NoSQL if the following conditions are met- * **Architecture**: There are no inter-dependencies or relationships between the data points in your database, and they exist as independent entities. * **Data Structure**: Your database contains semi-structured or unstructured disparate data that cannot be stored in the conventional tabular format, and is loosely organized. * **Schema**: You require the schema of your database to be highly flexible where all the items need not adhere to the same structure, easy to set up, or if it cannot be designed in advance. * **Data Format**: Your data will primarily be in the JSON format, and you require the support of multiple data types. * **Priorities**: Your priority is high scalability, both vertically and horizontally, and you require storage across multiple database nodes with dynamic resource allocation. * **Read/Write Throughput**: You are building a write-heavy system where partitioning storage across distributed clusters with peer-to-peer replication can be beneficial. -------------------------------------------------------------------------------- title: "Benefits" description: "Catalyst NoSQL is a fully-managed, non-relational database. Create, manage, and query NoSQL tables, and perform CRUD operations in Java, Node.js, and Python." last_updated: "2026-11-04T10:10:44.000Z" source: "https://docs.catalyst.zoho.com/en/cloud-scale/help/nosql/benefits/" service: "CloudScale" -------------------------------------------------------------------------------- # Benefits 1. **Rapid Horizontal and Vertical Auto-Scaling** Catalyst offers a low latency, high throughput database solution with NoSQL where its robust servers can auto-scale up or down seamlessly depending on the load. NoSQL's architecture also facilitates both horizontal and vertical scaling, wherein new resources are added to the existing system (vertical scaling), and new server racks are provisioned (horizontal scaling) based on demand. These together ensure that you are provided with a durable and reliable infrastructure upon which you can efficiently store and manage large volumes of data. 2. **Fully-Managed, Secure Infrastructure for your Database** You can experience a fully-managed database that allows you to offload all administrative tasks with Catalyst, as compared to a self-hosted NoSQL database, and focus only on building your schema and working with your data. You also benefit from a secure and trusted platform built on Zoho's tried-and-tested infrastructure that protects your data and provides ease of development, functionality, and performance at scale. 3. **Fast and Powerful Querying with NoSQL Components** Catalyst NoSQL provides dynamic, flexible querying by supporting composite primary keys that are composed of both [partition keys and sort keys](https://docs.catalyst.zoho.com/en/cloud-scale/help/nosql/components/#table-keys). This proves beneficial while querying, as the former attribute is used to determine the partition an item is stored in, while the latter can determine its range in its sorted order. In addition to these, Catalyst enables you to query using [additional sort keys](https://docs.catalyst.zoho.com/en/cloud-scale/help/nosql/components/#table-keys), besides the main sort key, as well as create and query with [indexes](https://docs.catalyst.zoho.com/en/cloud-scale/help/nosql/indexing/introduction/) in your table for convenience. These functionalities are advantageous and ensure you can build and deploy high-performance, dependable applications. 4. **Easy and Secure Third-Party Meta and Data Migration** You can utilize a convenient method of migrating large volumes of metadata as well as data stored in third-party services into Catalyst with the click of a few buttons. NoSQL currently supports [migration](https://docs.catalyst.zoho.com/en/cloud-scale/help/nosql/third-party-migration/) from AWS DynamoDB by configuring the required access tokens. This handy feature lets you migrate the schema and meta information of your NoSQL tables set up in AWS in the [development environment](https://docs.catalyst.zoho.com/en/deployment-and-billing/environments/development-environment/) of Catalyst, while availing the ability to migrate data from your AWS NoSQL tables in the [production environment](https://docs.catalyst.zoho.com/en/deployment-and-billing/environments/production-environment/). 5. **Optimized and Highly Available Storage** The general underlying architecture of NoSQL facilitates high data storage optimization through the usage of flexible data models by default. Catalyst NoSQL's support of the key-value pair based data storage eliminates the dependency on object-oriented storage, which further ensures storage optimization. Additionally, partitioning and replicating the storage across clusters provides high fault tolerance and high availability of data, even during crucial situations. 6. **Cost-Efficient Storage Solution** When you choose NoSQL for the right requirements, you can benefit from a highly cost-efficient way of operating and managing your data. Catalyst offers the best pricing for performing CRUD operations in NoSQL through its [innovative pricing](https://catalyst.zoho.com/pricing1.html) strategies, that further enhances cost efficiency. NoSQL also provides an automated way of deleting items from your tables by marking their expiration periods through a [TTL (Time To Live)](https://docs.catalyst.zoho.com/en/cloud-scale/help/nosql/components/#time-to-live-ttl) attribute, that saves you from performing unnecessary writes for manual deletion. 7. **Ease of Access with the Console, Server-Side SDK, and API** You can create tables in NoSQL for your project from the Catalyst console, as well as perform table configuration and management, data addition and querying there. NoSQL data operations are also available in the [Java](https://docs.catalyst.zoho.com/en/sdk/java/v1/cloud-scale/nosql/get-table-metadata/), [Node.js](https://docs.catalyst.zoho.com/en/sdk/nodejs/v2/cloud-scale/nosql/get-component-instance/), and [Python](https://docs.catalyst.zoho.com/en/sdk/python/v1/cloud-scale/nosql/get-component-instance/) SDKs, allowing you to incorporate them into your server-side logic with ease. Catalyst also enables you to avail of multiple [APIs](https://docs.catalyst.zoho.com/en/api/code-reference/cloud-scale/nosql/insert-item/#InsertNewItem) for these NoSQL operations. -------------------------------------------------------------------------------- title: "Components of NoSQL" description: "Catalyst NoSQL is a fully-managed, non-relational database. Create, manage, and query NoSQL tables, and perform CRUD operations in Java, Node.js, and Python." last_updated: "2026-11-04T10:10:44.000Z" source: "https://docs.catalyst.zoho.com/en/cloud-scale/help/nosql/components/" service: "CloudScale" -------------------------------------------------------------------------------- # Components of NoSQL To understand the architecture of Catalyst NoSQL databases and learn about working with them, you must first understand the components that make up NoSQL databases. ### Basic Components The fundamental components involved in Catalyst NoSQL are explained below. #### Terminology
Component Name Description
**Table** A table is the fundamental structure that NoSQL stores data in. Similar to relational databases, tables are composed of records or items. The sample table Travel shown below holds data about travel destinations that one could visit, with key information about each place.
**Attributes** An attribute represents a characteristic of a data value in a table. Attributes in NoSQL are like fields or columns in a relational database wherein each attribute holds data of a specific data type. The sample table *Travel* below contains the attributes `DestinationName`, `Distance`, `BestTimeToVist`, `Location`, and `EstimatedCost`.
**Items** An item is a collection of attributes that hold the data of a single data point. Items in NoSQL are similar to rows or records in a relational database wherein they can contain values for different attributes. In the sample table *Travel*, each collection of data uniquely identified by the `DestinationName` is an item. For example, the record "Honolulu" that also contains a set of values for the `Distance`, `BestTimeToVisit`, and `EstimatedCost` is an item. Similarly, the record identified by "Prague" with different attribute values is an item. > **Note:** The maximum total size of an item provisioned in Catalyst NoSQL is **400 KB**.
**Data** In Catalyst NoSQL's terms, the data of a table is composed of all the attributes and items in it, present in the [Catalyst Custom JSON format](https://docs.catalyst.zoho.com/en/cloud-scale/help/nosql/working-with-data/introduction/#the-catalyst-custom-json-format). The JSON code given below for the *Travel* table represents the data of the table. The [Working with Data](https://docs.catalyst.zoho.com/en/cloud-scale/help/nosql/working-with-data/introduction/) help section elaborates on the custom JSON data format and the supported data types.
#### Sample Table Representation **Table Name**: Travel ```json { "item": { "DestinationName": { "S": "Honolulu" }, "Distance": { "N": 4960 }, "BestTimeToVist": { "L": [ { "S": "September" }, { "S": "October" }, { "S": "November" } ] }, "EstimatedCost": { "N": 2500 } }, "item": { "DestinationName": { "S": "Prague" }, "Distance": { "N": 4081 }, "Location": { "M": { "Country": { "S": "Czech Republic" }, "Continent": { "S": "Europe" } } }, "EstimatedCost": { "N": 3000 } }, "item": { "DestinationName": { "S": "Marrakesh" }, "Distance": { "N": 3700 }, "BestTimeToVist": { "L": [ { "S": "March" }, { "S": "April" }, { "S": "September" }, { "S": "October" } ] }, "Location": { "M": { "Country": { "S": "Morocco" }, "Continent": { "S": "Africa" } } }, "EstimatedCost": { "N": 1700 } } } ``` The *Travel* table represents a simple NoSQL table in the Custom JSON format. The structure includes nested attributes and arrays: the `BestTimeToVist` is present as an array of the data type list ("L"), and the `Location` attribute is a nested attribute of the data type map ("M") containing the keys `Country` and `Continent`. > **Note:** The table presented here is a representation of the **Catalyst Custom JSON format**. The formats for constructing data in each server-side SDK in this JSON format varies. To learn about the general syntax of the Catalyst Custom JSON format present in this table, as well as the supported data types and their notations, refer to [this section](https://docs.catalyst.zoho.com/en/cloud-scale/help/nosql/working-with-data/introduction/#the-catalyst-custom-json-format). ### Table Keys Following a typical NoSQL architecture, Catalyst NoSQL stores data in partitions across clusters, also known as shards. These shards can also be replicated over many servers in mirrors. This distributed storage across multiple nodes breaks down datasets into smaller chunks and promotes optimization. While querying data in a NoSQL table, we must be able to locate the partition a specific item is stored in. Moreover, sorting through a partition to locate an item also involves additional efforts. These are accomplished with the help of distinct keys that identify partitions or sort through them, as described below. #### Terminology
Component Name Description
**Partition Key** The partition key identifies a logical partition in a distributed storage that a data item is stored in. These logical partitions are mapped to physical storage nodes in the backend through hash functions. In the sample table *Menu* discussed below, the attribute Category is a partition key.
**Sort Key** The primary sort key sorts through a specific partition to locate a data item and returns it in a sorted order if more than 1 item matches with the partition key in the data. This is done by identifying it from a range of key hashes. Catalyst enables you to add a sort key optionally while creating a NoSQL table. In the sample table *Menu* discussed below, the attribute `DishName` is regarded as a sort key.
**Simple Primary Key** A simple primary key in Catalyst NoSQL denotes the partition key alone. When you choose to only configure a partition key for a NoSQL table without a sort key, the partition key will act as the primary key of the table by uniquely identifying an item in it. This is similar to the concept of a primary key in a relational database. In the sample table *Travel* discussed in the previous section, the attribute `DestinationName` is regarded as the primary key, as this attribute must be present in all items and no two items with the same values for this attribute can exist. However, in the sample table *Menu* discussed below, the partition key `Category` does not uniquely identify an item, because multiple items can exist with the same value for it. This is because the *Menu* table uses a composite primary key.
**Composite Primary Key** The composite primary key includes both a partition key and a sort key to uniquely identify an item, i.e., the combination of both keys act as a primary key. Querying a table with the composite primary key is global, as the data spans across multiple partitions. Unlike the simple primary key which requires the partition key to be unique, you can store non-unique values for the partition key here, as long as you define a sort key as well. > **Note:** For all the items that have the same partition key in a table, the sort keys must be unique. The sample table *Menu* discussed below contains a composite primary key wherein the partition key `Category` and the sort key `DishName` together uniquely identify a data item (a dish).
**Additional Sort Keys** Catalyst NoSQL allows you to configure additional sort keys, besides the main sort key, which is a part of the composite primary key. Additional sort keys are used if you require the sorting to be performed based on a different key besides the main sort key, or if the main sort key is unknown for a specific item. In this case, a combination of the partition key and an additional sort key will be used as a composite primary key. Querying a table with additional sort keys are similar to local indexing, as they are all used with the same partition key to sort in that specific partition alone. > **Note:** Catalyst allows you to configure a **maximum of 5 additional sort keys** for a table. In the sample table *Menu* discussed below, the attributes `PreparationTime` and `Calories` are configured as additional sort keys.
#### Sample Table Representation **Table Name**: Menu ```json { "item": { "Category": { "S": "Pizza" }, "DishName": { "S": "Vegan" }, "Calories": { "N": 350 }, "PreparationTime": { "N": 20 }, "Cost": { "N:" 25 }, "DiscountPercentage": { "N": 5 }, "KeyIngredients": { "L": [ { "S": "Pizza Base" }, { "S": "Pizza Sauce" }, { "S": "Olives" }, { "S": "Bell Peppers" }, { "S": "Corn" }, { "S": "Onions" } ] } }, "item": { "Category": { "S": "Pizza" }, "DishName": { "S": "Chicken Overload" }, "Calories": { "N": 450 }, "PreparationTime": { "N": 30 }, "KeyIngredients": { "L": [ { "S": "Pizza Base" }, { "S": "Pizza Sauce" }, { "S": "Fried Chicken" }, { "S": "Paprika" } ] } }, "item": { "Category": { "S": "Sandwich" }, "DishName": { "S": "Vegan" }, "Calories": { "N": 300 }, "PreparationTime": { "N": 20 }, "Cost": { "N": 25 }, "DiscountPercentage": { "N": 15 } } } ``` The *Menu* table includes various attributes of which `Category` is the partition key, `DishName` is the sort key, and `PreparationTime` and `Calories` are additional sort keys. > **Note:** The table presented here is a representation of the **Catalyst Custom JSON format**. The formats for constructing data in each server-side SDK in this JSON format varies. To learn about the general syntax of the Catalyst Custom JSON format present in this table, as well as the supported data types and their notations, refer to [this section](https://docs.catalyst.zoho.com/en/cloud-scale/help/nosql/working-with-data/introduction/#the-catalyst-custom-json-format). The composite primary key enhances data querying. If this table was configured with just the simple primary key, i.e., with Category (example: "Pizza"), then querying it will fetch all items of that `Category` (all the "pizzas" in the menu). However, because it is configured with a composite primary key, i.e, with `Category` and `DishName`, then querying it with both the keys will retrieve a unique item of those values (example: "Pizza" and "Vegan"). Similarly, the additional sort keys provide further flexibility while querying the table within the same partition. You can choose to query the table with the additional sort key `PreparationTime` in combination with the partition key `Category` (example: "Sandwich" and "20"). Before discussing indexing, let's understand a special attribute that Catalyst NoSQL provides for all tables. ### Time To Live (TTL) Time To Live (TTL) provides an automated way of deleting items in the Catalyst NoSQL tables after a specific point of time. You can configure an attribute to hold the expiration timestamp in your table while you create it. You can then add the expiration timestamp of each item in the table in the **Unix epoch time format** while adding the data. Catalyst will permanently delete the items in the table past their expiration time automatically, saving you from performing manual updates and consuming write throughputs. The TTL attribute is handy in removing items that will not be needed beyond a specific point of time or whose validity is short-lived. The items that are deleted by Catalyst automatically after they are past their expiration date will be removed from the table and from anywhere they are indexed. Catalyst operates a **built-in scheduler** once every 24 hours to check for any items whose TTL attribute values indicate expired. This check is performed in all NoSQL tables of all your projects, and the items past their expiration are deleted permanently. Let's understand TTL with an example. Assume we create an attribute named `Expiry` to store the TTL timestamp in the *Menu* table given in the previous section. We can then define the expiration timestamp for all the items in the table in the following manner. #### Sample Table Representation **Table Name**: Menu ```json { "item": { "Category": { "S": "Pizza" }, "DishName": { "S": "Vegan" }, "Calories": { "N": 350 }, "PreparationTime": { "N": 20 }, "Cost": { "N:" 25 }, "DiscountPercentage": { "N": 5 }, "Expiry": { "N": 1715755926 } }, "item": { "Category": { "S": "Pizza" }, "DishName": { "S": "Chicken Overload" }, "Calories": { "N": 450 }, "PreparationTime": { "N": 30 }, "Expiry": { "N": 1715565610 } }, "item": { "Category": { "S": "Sandwich" }, "DishName": { "S": "Vegan" }, "Calories": { "N": 300 }, "PreparationTime": { "N": 20 }, "Cost": { "N": 25 }, "DiscountPercentage": { "N": 15 } "Expiry": { "N": 1715700869 } } } ``` > **Note:** The table presented here is a representation of the **Catalyst Custom JSON format**. The formats for constructing data in each server-side SDK in this JSON format varies. To learn about the general syntax of the Catalyst Custom JSON format present in this table, as well as the supported data types and their notations, refer to [this section](https://docs.catalyst.zoho.com/en/cloud-scale/help/nosql/working-with-data/introduction/#the-catalyst-custom-json-format). **Points to remember:** * You will be able to update the TTL attribute value for items in a NoSQL table anytime you require. When the built-in Catalyst scheduler runs, it will identify and process the items based on the latest TTL value. * You can also delete the TTL attribute for items as per your needs, based on the given values -------------------------------------------------------------------------------- title: "Create and Manage Tables" description: "Catalyst NoSQL is a fully-managed, non-relational database. Create, manage, and query NoSQL tables, and perform CRUD operations in Java, Node.js, and Python." last_updated: "2026-11-04T10:10:44.000Z" source: "https://docs.catalyst.zoho.com/en/cloud-scale/help/nosql/create-manage-tables/" service: "CloudScale" -------------------------------------------------------------------------------- # Create and Manage Tables in NoSQL Let's now discuss working with NoSQL tables from the Catalyst console. > **Note:** The configurations made in this section, such as adding and managing tables, can only be done from the remote console, and not through the SDKs or API. You can perform data operations from the server-side SDKs and API. You can access NoSQL in your Catalyst project from the [CloudScale service](https://docs.catalyst.zoho.com/en/cloud-scale/) in your console. ### Create a Table To create a table in Catalyst NoSQL in your project: 1. Navigate to the **CloudScale** service in the console, then click **NoSQL**. ![catalyst_nosql](https://catalyst-docs-development.zohostratus.in/images/help/nosql/nosql_access.webp) 2. Click **Create Table**. 3. Enter a name for the table. You must configure the [*Partition Key*](https://docs.catalyst.zoho.com/en/cloud-scale/help/nosql/components/#table-keys) by providing a key name and selecting the data type of the key. > **Note:** You can only configure the partition key with the data types String, Numeric, or Binary. To learn about the supported data types and their notations, refer to [this section](https://docs.catalyst.zoho.com/en/cloud-scale/help/nosql/working-with-data/introduction/#supported-data-types). ![nosql_create_table](https://catalyst-docs-development.zohostratus.in/images/help/nosql/nosql_create_table_1.webp) > **Note:** You will not be able to modify or delete the partition key configured for a table, or delete the partition key attribute from any data item, after you configure it. Because this is the primary key, all items must include this value. 4. You can optionally configure a [*Sort Key*](https://docs.catalyst.zoho.com/en/cloud-scale/help/nosql/components/#table-keys) for the table to include a *Composite Primary Key* by selecting **Yes** for "Include Sort Key?". However, if you only prefer having the partition key (*Simple Primary Key*), then select **No**. If you include a sort key, enter the key name and select the data type of the key. > **Note:** * You will not be able to modify or delete the *Sort Key* in a table, after you configure it. * You can only configure the sort key with the data types String, Numeric, or Binary. To learn about the supported data types and their notations, refer to [this section](https://docs.catalyst.zoho.com/en/cloud-scale/help/nosql/working-with-data/introduction/#supported-data-types). 5. If you require [*Additional Sort Keys*](https://docs.catalyst.zoho.com/en/cloud-scale/help/nosql/components/#table-keys) to be included in your table, you can add them by providing the key name and selecting the data type. You can add multiple keys by clicking (+). ![nosql_create_table](https://catalyst-docs-development.zohostratus.in/images/help/nosql/nosql_create_table_2.webp) > **Note:** * You will not be able to modify or delete the *Additional Sort Keys* in a table, after you configure it. * Catalyst allows you to configure a **maximum of 5** *Additional Sort Keys* in a table. * You can only configure the additional sort keys with the data types String, Numeric, or Binary. To learn about the supported data types and their notations, refer to [this section](https://docs.catalyst.zoho.com/en/cloud-scale/help/nosql/working-with-data/introduction/#supported-data-types). 6. Configure an attribute to store the [*TTL timestamp*](https://docs.catalyst.zoho.com/en/cloud-scale/help/nosql/components/#time-to-live-ttl) for the table. You can add values for this attribute for each item in the table to indicate their expiration date. ![nosql_create_table](https://catalyst-docs-development.zohostratus.in/images/help/nosql/nosql_create_table_3.webp) > **Note:** You can disable the TTL attribute in a table after you configure it. However, you will not be able to change the attribute's name, or enable/configure it again once disabled. 7. After you configure the table, click **Create**. The NoSQL table will be created and listed under *Tables* in your project. Catalyst will automatically create a **unique Table ID** for your table that you can use to refer it while performing SDK and API actions. There are three sections in the table: *Overview*, *Indexes*, and *Data*. ### The Overview Section The *Overview* section provides a glimpse of the table's configuration and details. It displays all essential information, such as the unique Table ID, details of the person who created it, the TTL attribute, etc. ![nosql_overview](https://catalyst-docs-development.zohostratus.in/images/help/nosql/nosql_table_created.webp) The *Storage Size* indicates the size of the table. An empty table will contain 0 bytes, as well as 0 data items. Catalyst operates a built-in scheduler once every 24 hours that calculates and updates the *Storage Size* and *No. of Items* of each table. You can also view the partition key, sort key, and additional sort keys configured for the table. The *No. of Indexes* indicates the number of indexes created from the table. Click **View** here to navigate to the Indexes section. ### Edit a Table You can edit a table in NoSQL and modify the table name, or disable the [TTL attribute](https://docs.catalyst.zoho.com/en/cloud-scale/help/nosql/components/#time-to-live-ttl) configured for a table. However, you will not be able to modify the partition key, sort key, and additional sort keys that you set up, or the name of the TTL attribute. To edit a NoSQL table: 1. Click the ellipsis icon from the *Overview* section of the table, then click **Edit**. ![nosql_edit_table](https://catalyst-docs-development.zohostratus.in/images/help/nosql/nosql_edit_table_1.webp) 2. Modify the required details of the table, then click **Update**. ![nosql_edit_table](https://catalyst-docs-development.zohostratus.in/images/help/nosql/nosql_edit_table_2.webp) > **Note:** If you disable the TTL attribute, you will not be able to enable or configure it again for the table. Disabling the TTL attribute will stop Catalyst from automatically deleting expired data items from the table. ### Delete a Table You can permanently delete a table and all the data it contains in NoSQL in the following manner: 1. Click the ellipsis icon from the *Overview* section of the table, then click **Delete**. ![nosql_delete_table](https://catalyst-docs-development.zohostratus.in/images/help/nosql/nosql_delete_table_1.webp) 2. Click **Delete** in the confirmation pop-up. ![nosql_delete_table](https://catalyst-docs-development.zohostratus.in/images/help/nosql/nosql_delete_table_2.webp) -------------------------------------------------------------------------------- title: "Query Search" description: "Catalyst NoSQL is a fully-managed, non-relational database. Create, manage, and query NoSQL tables, and perform CRUD operations in Java, Node.js, and Python." last_updated: "2026-11-04T10:10:44.000Z" source: "https://docs.catalyst.zoho.com/en/cloud-scale/help/nosql/query-search/" service: "CloudScale" -------------------------------------------------------------------------------- # Query Search in NoSQL ### Overview Catalyst enables you to perform query searches to read table data in NoSQL from the console, the server-side SDK in [Java](https://docs.catalyst.zoho.com/en/sdk/java/v1/cloud-scale/nosql/get-table-metadata/), [Node.js](https://docs.catalyst.zoho.com/en/sdk/nodejs/v2/cloud-scale/nosql/get-component-instance/), or [Python](https://docs.catalyst.zoho.com/en/sdk/python/v1/cloud-scale/nosql/get-component-instance/), or through [API](https://docs.catalyst.zoho.com/en/api/code-reference/cloud-scale/nosql/insert-item/#InsertNewItem). The Data section in the console includes a query section where you can search for data and the results will be displayed in it. A query operation in NoSQL is scoped to a partition of the data storage. This means that you can search within a partition for an item based on the partition key alone, in case the table is configured with a simple primary key. If the table is configured with a composite primary key, the search occurs using the combination of a primary key and sort key. You can also utilize additional sort keys that you configured for a table with the combination of the partition key to execute query searches. Refer [to this page](https://docs.catalyst.zoho.com/en/cloud-scale/help/nosql/components/#table-keys) to learn about table keys. You can base a query search off a table or off an index of the table. This will inform Catalyst to look for the appropriate partition and provision the appropriate primary keys for the search. ### Supported Operators Catalyst supports several operators that you can use to execute queries. These operators can only be used with the primary sort key and additional sort keys. Depending upon the data type of the sort keys, the supported operators vary. > **Note:** You can only use the "EQUALS" operator with the partition key. The operators listed below can only be used with the sort key of an index, or the sort key and additional sort keys of a table.
Data Type of the Sort Key Supported Operators
String Equals, Not Equals, Between, Not Between, Greater Than, Lesser Than, Greater Than or Equal To, Lesser Than or Equal To
Numeric Equals, Not Equals, Between, Not Between, Begins With, Ends With, Greater Than, Lesser Than, Greater Than or Equal To, Lesser Than or Equal To, Contains, Not Contains, In, Not In
> **Note:** All the supported operators are available through SDK and API operations, while some of these supported operators are not available in the console search. Refer to the respective SDK and API help documentation for details. ### Execute a Query Search You can execute a query search from the Catalyst console to read data from a NoSQL table in the following manner: 1. Navigate to the *Data* section of the table in NoSQL. ![nosql_data_query](https://catalyst-docs-development.zohostratus.in/images/help/nosql/nosql_data_query_1.webp) 2. You can select the table name or any one of the indexes to perform the search in, from the drop-down on top. Catalyst will list the table and all indexes. ![nosql_data_query](https://catalyst-docs-development.zohostratus.in/images/help/nosql/nosql_data_query_2.webp) 3. If the table is configured with the simple primary key, enter a value for the partition key to search. The data type configured for the partition key will be automatically shown. If the table is configured with the composite primary key, enter the value for the partition key, then select the required operator from the list for the sort key and enter a value to search. You can choose the main sort key or any one of the additional sort keys, if configured. The data type configured for the sort key will be automatically shown. ![nosql_data_query](https://catalyst-docs-development.zohostratus.in/images/help/nosql/nosql_data_query_3.webp) > **Note:** You can only use the ["EQUALS" operator](https://docs.catalyst.zoho.com/en/cloud-scale/help/nosql/query-search/#supported-operators) with the partition key. Depending on the data type of the primary or additional sort key, appropriate operators will be available for selection. 4. You can also check the "Enable this to search using ascending sort" box to list the search results in the ascending order. Descending sort will be used by default. If no sort key is configured for the table or the index you select, the sorting order of retrieved data is based on the partition key of the table. 5. After you configure the query parameters, click **Search**. The query results will be displayed in this section. If no results are found, Catalyst will display an appropriate message. ![nosql_data_query](https://catalyst-docs-development.zohostratus.in/images/help/nosql/nosql_data_query_4.webp) You can use the filter option to choose the columns to be displayed, or view the data as JSON, as discussed in the [previous section](https://docs.catalyst.zoho.com/en/cloud-scale/help/nosql/working-with-data/add-manage-data/#add-data-in-a-table). -------------------------------------------------------------------------------- title: "Third-Party Migration" description: "Catalyst NoSQL is a fully-managed, non-relational database. Create, manage, and query NoSQL tables, and perform CRUD operations in Java, Node.js, and Python." last_updated: "2026-11-04T10:10:44.000Z" source: "https://docs.catalyst.zoho.com/en/cloud-scale/help/nosql/third-party-migration/" service: "CloudScale" -------------------------------------------------------------------------------- # Third-Party Migration ### Introduction Catalyst provides the ability to migrate NoSQL databases from third-party sources. This migration is supported only for databases of the NoSQL type and not for relational or other databases. The provision to migrate a database from an external source enables you to easily switch to Catalyst for your NoSQL needs. If you had been maintaining NoSQL databases for Catalyst applications or microservices in an external environment, you can benefit from integrating it within your Catalyst ecosystem and manage the entire setup here. You can perform the migration from the Catalyst console with just the click of a few buttons. All you would need to do to migrate databases is to provide the required credentials to access the third-party database, and choose the tables to migrate. Catalyst ensures you face zero downtime or latency issues during the migration process. After the database is migrated, you can access the tables in the NoSQL section in console inside your project. > **Note:** You can refer to the [Pricing page](https://catalyst.zoho.com/pricing1.html) for the pricing information of storage as well as CRUD operations in NoSQL. Catalyst currently supports migration from this third-party source: **[AWS DynamoDB](https://aws.amazon.com/dynamodb/)** There are two different migration options that you can utilize: * **Migrating Metadata**: This option will only migrate the schema and metadata of your tables from the third-party source. This is available only in the [development environment](https://docs.catalyst.zoho.com/en/deployment-and-billing/environments/development-environment/) in Catalyst. * **Migrating Data**: This option will migrate the data of your tables along with the configurations from the third-party source. This is available only in the [production environment](https://docs.catalyst.zoho.com/en/deployment-and-billing/environments/production-environment/) in Catalyst. You can choose the appropriate option you require and perform migration from the suitable environment. ## Migrating from AWS DynamoDB To perform migrations from AWS, you will be required to configure [**AWS Access Key Credentials**](https://docs.aws.amazon.com/IAM/latest/UserGuide/id_credentials_access-keys.html) with Catalyst. The AWS access key credentials allow you to access AWS resources through their CLI or API. AWS access keys are composed of two parts: Access Key ID and Secret Access Key. You will need to configure both in Catalyst, and also provide information about the [AWS region](https://aws.amazon.com/about-aws/global-infrastructure/regions_az/) your AWS account falls under. > **Note:** Refer to the links provided above to learn about creating or obtaining access key credentials for your AWS account, as well as to find your account's region. ### Migrate Metadata from DynamoDB You can migrate metadata of the tables in your AWS DynamoDB while you work in the [development environment](https://docs.catalyst.zoho.com/en/deployment-and-billing/environments/development-environment/) of Catalyst. This is the default environment in Catalyst and therefore, you can access this migration option by default. You can use this option if you prefer creating new data for your database, and only require the table configurations. The metadata migration will migrate the table configurations and index configurations of the tables you select, such as their configured [partition keys and sort keys](https://docs.catalyst.zoho.com/en/cloud-scale/help/nosql/components/#table-keys), as well as any other meta information or configurations that Catalyst NoSQL supports. To migrate metadata from AWS DynamoDB into Catalyst NoSQL in your project: 1. Navigate to **NoSQL** from the *CloudScale* section from the development environment in the console, then click **Third-Party Meta Migration**. ![nosql_meta_migration](https://catalyst-docs-development.zohostratus.in/images/help/nosql/nosql-migration-meta-1.webp) 2. This will open a pop-up. Enter the [Access Key ID, Secret Access Key, and the region](https://docs.aws.amazon.com/IAM/latest/UserGuide/id_credentials_access-keys.html) of your AWS account. Then, click **Next**. ![nosql_meta_migration](https://catalyst-docs-development.zohostratus.in/images/help/nosql/nosql-migration-meta-2.webp) 3. Select the tables whose metadata you want to migrate from your DynamoDB. Then, click **Import**. ![nosql_meta_migration](https://catalyst-docs-development.zohostratus.in/images/help/nosql/nosql-migration-meta-3.webp) Catalyst will then schedule the migration process. The time taken to complete the migration depends on the number of tables and their sizes. ![nosql_meta_migration](https://catalyst-docs-development.zohostratus.in/images/help/nosql/nosql-migration-meta-4.webp) After the tables are migrated, you will be notified. ![nosql_meta_migration](https://catalyst-docs-development.zohostratus.in/images/help/nosql/nosql-migration-meta-5.webp) You can then access the imported tables in your project by refreshing the console. You will find the imported tables with their configurations in *NoSQL*, and you can then proceed to add data. ![nosql_meta_migration](https://catalyst-docs-development.zohostratus.in/images/help/nosql/nosql-migration-meta-6.webp) ### Migrate Data from DynamoDB To migrate data of the tables in your AWS DynamoDB, you will first need to access the [production environment](https://docs.catalyst.zoho.com/en/deployment-and-billing/environments/production-environment/) in Catalyst. If you have never deployed your Catalyst project to production, you must first do that to enable production. Refer to [this help page](https://docs.catalyst.zoho.com/en/deployment-and-billing/environments/initial-deployment/) for deploying projects to the production environment. Once you are able to access the production environment of your project, you can switch to the production environment in the console from the header. ![nosql_migration_switch](https://catalyst-docs-development.zohostratus.in/images/help/nosql/nosql-migration-switch.webp) You can use the option to migrate data along with the schema if you require the entire database to be migrated. This will import the data of the tables you select, as well as the configurations and metadata of the tables you select. This includes the table configurations and index configurations of the tables you select, such as their configured [partition keys and sort keys](https://docs.catalyst.zoho.com/en/cloud-scale/help/nosql/components/#table-keys), as well as any other meta information or configurations that Catalyst NoSQL supports. To migrate data from AWS DynamoDB into Catalyst NoSQL in your project: 1. Navigate to **NoSQL** from the CloudScale section from the production environment in the console, then click **Third-Party Data Migration**. ![nosql_data_migration](https://catalyst-docs-development.zohostratus.in/images/help/nosql/nosql-migration-data-1.webp) 2. This will open a pop-up. Enter the [Access Key ID, Secret Access Key, and the region](https://docs.aws.amazon.com/IAM/latest/UserGuide/id_credentials_access-keys.html) of your AWS account. Then, click **Next**. ![nosql_data_migration](https://catalyst-docs-development.zohostratus.in/images/help/nosql/nosql-migration-data-2.webp) 3. Select the tables whose data you want to migrate from your DynamoDB. Then, click **Import**. ![nosql_data_migration](https://catalyst-docs-development.zohostratus.in/images/help/nosql/nosql-migration-data-3.webp) Catalyst will then schedule the migration process. The time taken to complete the migration depends on the number of tables, and their sizes based on the volume of the data. ![nosql_data_migration](https://catalyst-docs-development.zohostratus.in/images/help/nosql/nosql-migration-data-4.webp) After the tables are migrated, you will be notified. ![nosql_data_migration](https://catalyst-docs-development.zohostratus.in/images/help/nosql/nosql-migration-data-5.webp) You can then access the imported tables with their data in your project. You can update or delete items, or process the data as required. ![nosql_data_migration](https://catalyst-docs-development.zohostratus.in/images/help/nosql/nosql-migration-data-6.webp) #### Indexing -------------------------------------------------------------------------------- title: "Introduction" description: "Catalyst NoSQL is a fully-managed, non-relational database. Create, manage, and query NoSQL tables, and perform CRUD operations in Java, Node.js, and Python." last_updated: "2026-11-04T10:10:44.000Z" source: "https://docs.catalyst.zoho.com/en/cloud-scale/help/nosql/indexing/introduction/" service: "CloudScale" -------------------------------------------------------------------------------- # Indexing in NoSQL Catalyst NoSQL provides the ability to create indexes for NoSQL tables that will allow you to execute alternate queries on the table data, without making use of the primary keys. This means that you can create and utilize secondary indexes and search for data items by other attributes besides the [partition key and sort key](https://docs.catalyst.zoho.com/en/cloud-scale/help/nosql/components/#table-keys). Indexes facilitate convenience and add flexibility in data retrieval operations, as they come in handy during scenarios that require you to prioritize non-conventional attributes in a table. Querying using indexes quickens the data read process and promotes efficiency. You can also modify or delete indexes in a table based on your requirements without affecting the main table in any manner. ### Architecture of Indexes Catalyst NoSQL indexes span across the entire table and all partitions that the table data is stored in. This cross-partition or **global indexing** feature proves highly beneficial as it allows you to execute queries across all partition keys of a table. Catalyst enables you to create a maximum of 20 indexes for a table. You can configure individual partition keys and sort keys for each index you create. Because the indexing is global, you will be able to configure partition and sort keys different from the ones configured in the main table. Essentially, an index can be regarded as a copy of the main table created with different partition and sort keys for different requirements in querying data. In terms of the architecture, when an index is created for a table, a copy of it is stored in different storage nodes with the same partitioning rules as applicable for the main table. Therefore, when you execute queries based on a secondary index, you can still access all the attributes and data of the table. > **Note:** Catalyst will automatically update indexes when you add, update, or delete data from its base table. ### Index Types Catalyst provides three different ways to index a table in NoSQL: * **Indexing All Attributes**: This will create an index of all the attributes in a table. When you choose this option, Catalyst will essentially replicate all the table attributes and store them based on the partition key you configure for the index. * **Indexing Only Keys**: This will index only the partition key, sort key, and the additional sort key attributes, if any, in a table. These key attributes are stored based on the partition key you configure for the index. * **Indexing Specific Attributes**: This will index specific attributes of a table that you select. The select attributes are replicated and stored based on the partition key you configure for the index. When you execute a query based on an index, the partition key and sort key attributes of the table and the index will be returned along with other attributes based on the type you configured. Let's understand indexing better with an example. The Menu table discussed in the previous sections is updated and shown below. #### Sample Table Representation **Table Name**- Menu ```json { "item": { "Category": { "S": "Pizza" }, "DishName": { "S": "Vegan" }, "Calories": { "N": 350 }, "PreparationTime": { "N": 20 }, "DiscountPercentage": { "N": 12 }, "KeyIngredients": { "L": [ { "S": "Pizza Base" }, { "S": "Pizza Sauce" }, { "S": "Olives" }, { "S": "Bell Peppers" }, { "S": "Corn" }, { "S": "Onions" } ] } }, "item": { "Category": { "S": "Pizza" }, "DishName": { "S": "Chicken Overload" }, "Cost": { "N": 25 }, "DiscountPercentage": { "N": 15 }, "Calories": { "N": 450 }, "PreparationTime": { "N": 30 } }, "item": { "Category": { "S": "Sandwich" }, "DishName": { "S": "Vegan" }, "Calories": { "N": 300 }, "PreparationTime": { "N": 20 }, "Cost": { "N": 20 }, "DiscountPercentage": { "N": 10 } } } ``` > **Note:** The table presented here is a representation of the **Catalyst Custom JSON format**. The formats for constructing data in each server-side SDK in this JSON format varies. To learn about the general syntax of the Catalyst Custom JSON format present in this table, as well as the supported data types and their notations, refer to [this section](https://docs.catalyst.zoho.com/en/cloud-scale/help/nosql/working-with-data/introduction/#the-catalyst-custom-json-format). Assume you create an index, *Pricing*, for this table with the following configurations- * **Partition Key**: `Cost` * **Sort Key**: `DiscountPercentage` * **Index Type**: Specific Attributes (`Calories` and `PreparationTime`) Given below is a representation of the created index. #### Sample Index Representation **Index Name**- Pricing ```json { "item": { "Cost": { "N": 25 }, "DiscountPercentage": { "N": 15 }, "Category": { "S": "Pizza" }, "DishName": { "S": "Chicken Overload" } "Calories": { "N": 450 }, "PreparationTime": { "N": 30 } }, "item": { "Cost": { "N": 20 }, "DiscountPercentage": { "N": 10 }, "Category": { "N": "Sandwich" }, "DishName": { "N": "Vegan" }, "Calories": { "N": 300 }, "PreparationTime": { "N": 20 } } } ``` > **Note:** Data items that do not contain the partition key of an index are skipped from being indexed. In this example, the item identified by "Pizza" and "Vegan" from the main table is not indexed because it does not include the value for the index's partition key, `Cost`. When you execute a query based on the index Pricing, Catalyst will search for items against the attribute `Cost` and will sort the results based on the attribute `DiscountPercentage` if more than one result matches. The selected attributes (`Calories` and `PreparationTime`) will be returned in the query for the matching items, along with the primary keys of the table and the index. -------------------------------------------------------------------------------- title: "Create and Manage Indexes" description: "Catalyst NoSQL is a fully-managed, non-relational database. Create, manage, and query NoSQL tables, and perform CRUD operations in Java, Node.js, and Python." last_updated: "2026-11-04T10:10:44.000Z" source: "https://docs.catalyst.zoho.com/en/cloud-scale/help/nosql/indexing/create-manage-indexes/" service: "CloudScale" -------------------------------------------------------------------------------- # Create and Manage Indexes Let's look at creating and working with indexes in your NoSQL table in the Catalyst console. > **Note:** The configurations made in this section, such as creating and managing indexes, can only be done from the remote console, and not through the SDKs or API. You can perform data operations from the server-side SDKs and API. ### Create an Index To create an index for a NoSQL table in your project: 1. Navigate to the *Indexes* section of the table from the NoSQL component, then click **Add Index**. ![nosql_create_index](https://catalyst-docs-development.zohostratus.in/images/help/nosql/nosql_create_index_1.webp) 2. Enter a name for the index. You must configure the [*Partition Key*](https://docs.catalyst.zoho.com/en/cloud-scale/help/nosql/components/#table-keys) for the index by providing a key name and selecting the [data type](https://docs.catalyst.zoho.com/en/cloud-scale/help/nosql/working-with-data/introduction/#supported-data-types) of the key. ![nosql_create_index](https://catalyst-docs-development.zohostratus.in/images/help/nosql/nosql_create_index_2.webp) > **Note:** You will not be able to modify or delete the *Partition Key* of the index, after you configure it. 3. You can optionally configure a [*Sort Key*](https://docs.catalyst.zoho.com/en/cloud-scale/help/nosql/components/#table-keys) if you require for the index by selecting **Yes** for "Include Sort Key?". However, if you only prefer having the partition key, then select **No**. If you include a sort key, enter the key name and select the data type of the key. > **Note:** You will not be able to modify or delete the *Sort Key* of the index, after you configure it. 4. Select an [*Attribute Type*](https://docs.catalyst.zoho.com/en/cloud-scale/help/nosql/indexing/introduction/#index-types) for the index. ![nosql_create_index](https://catalyst-docs-development.zohostratus.in/images/help/nosql/nosql_create_index_3.webp) If you select **Include Columns**, specify the attributes to index. Catalyst will enable you to add multiple attributes in the window. You can click (-) to remove an attribute. ![nosql_create_index](https://catalyst-docs-development.zohostratus.in/images/help/nosql/nosql_create_index_4.webp) 5. After you configure the index, click **Create**. The index for your NoSQL table will be created and listed in the *Indexes* section. Catalyst will automatically create a **unique Index ID** for your index that you can use to refer it while performing SDK and API actions. ### The Index Section The *Index* section provides a glimpse of all the indexes configured for a particular table and their details. It displays essential information, such as the unique Index ID, the partition key and sort key configured for it, and the size and the number of items in the index. ![nosql_index.webp](https://catalyst-docs-development.zohostratus.in/images/help/nosql/nosql_index_created.webp) An empty table will contain 0 bytes and 0 data items. Catalyst operates a built-in scheduler once every 24 hours that calculates and updates the *Storage Size* and *No. of Items* of each index. For the indexes created for specific attributes, the index section will display a **View** button to display all attributes that are indexed. ![nosql_index_attributes.webp](https://catalyst-docs-development.zohostratus.in/images/help/nosql/nosql_index_attributes.webp) You can view the attributes by clicking it. ![nosql_index_attributes.webp](https://catalyst-docs-development.zohostratus.in/images/help/nosql/nosql_index_attributes_2.webp) ### Edit an Index You can edit an index created for a table in NoSQL to modify the index name. However, you will not be able to modify the partition key, sort key, or attribute types that you configured for it. To edit the index of a table: 1. Click the ellipsis icon for the index in the *Indexes* section, then click **Edit**. ![nosql_edit_index.webp](https://catalyst-docs-development.zohostratus.in/images/help/nosql/nosql_edit_index_1.webp) 2. Modify the index name, then click **Update**. ![nosql_edit_index.webp](https://catalyst-docs-development.zohostratus.in/images/help/nosql/nosql_edit_index_2.webp) ### Delete an Index You can permanently delete the index of a table in NoSQL. This will delete it from the storage and you will no longer be able to execute queries based on the index. To permanently delete an index of a NoSQL table: 1. Click the ellipsis icon for the index in *Indexes* section, then click **Delete**. ![nosql_delete_index.webp](https://catalyst-docs-development.zohostratus.in/images/help/nosql/nosql_delete_index_1.webp) 2. Click **Delete** in the confirmation pop-up. ![nosql_delete_index.webp](https://catalyst-docs-development.zohostratus.in/images/help/nosql/nosql_delete_index_2.webp) #### Working with Data -------------------------------------------------------------------------------- title: "Introduction" description: "Catalyst NoSQL is a fully-managed, non-relational database. Create, manage, and query NoSQL tables, and perform CRUD operations in Java, Node.js, and Python." last_updated: "2026-11-04T10:10:44.000Z" source: "https://docs.catalyst.zoho.com/en/cloud-scale/help/nosql/working-with-data/introduction/" service: "CloudScale" -------------------------------------------------------------------------------- # Working with Data in NoSQL The data units in NoSQL are referred to as *Items*, wherein each data item is similar to a record or row in a relational database, as described in this [Terminology](https://docs.catalyst.zoho.com/en/cloud-scale/help/nosql/components/#basic-components). Catalyst enables you to perform CRUD operations on your NoSQL tables using the server-side SDKs of [Java](https://docs.catalyst.zoho.com/en/sdk/java/v1/cloud-scale/nosql/get-table-metadata/), [Node.js](https://docs.catalyst.zoho.com/en/sdk/nodejs/v2/cloud-scale/nosql/get-component-instance/), or [Python](https://docs.catalyst.zoho.com/en/sdk/python/v1/cloud-scale/nosql/get-component-instance/) and through API. > **Note:** You can also perform CRUD operations from the Catalyst console to test working with data in NoSQL. However, you will only be able to add one item in a table from the console. Catalyst supports the key-value pair based document-type data storage with the ability to add data in the Catalyst Custom JSON format, which is explained in the next section. > **Note:** You can add data in the regular JSON format that follows the International standard syntax from the Catalyst console alone to test. However, when working with the SDKs and API, you will only be able to add data in the Custom JSON format. Catalyst also enables you to use multiple data types in the JSON data, that you can configure NoSQL attributes with. You can declare the right data type for an attribute while adding or updating data in the table. ### Supported Data Types The data types supported in Catalyst for NoSQL [attributes](https://docs.catalyst.zoho.com/en/cloud-scale/help/nosql/components/#basic-components) are listed below.
Data Type Notation Description
String `S` Stores a sequence of characters
Number `N` Stores a numerical value
Binary `B` Stores a binary number that represents a sequence of bytes
Boolean `BOOL` Stores one of these boolean values: `true` or `false`
Set of String `SS` A set that stores one or more unique strings
Set of Numbers `SN` A set that stores a collection of numbers
Set of Binary `SB` A set that stores a collection of binary numbers as a byte set
List `L` Stores ordered elements of the same data type
Map `M` Stores an unordered collection of key-value pair elements
Null `NULL` Stores only one value: `NULL`
To understand the notations and usage of these data types while adding data in NoSQL, refer to the [Catalyst Custom JSON format section](https://docs.catalyst.zoho.com/en/cloud-scale/help/nosql/working-with-data/introduction/#the-catalyst-custom-json-format). > **Note:** * When you configure a table or an index in NoSQL from the console, Catalyst allows you to only select one of the two data types, **String** or **Number**, for the [primary keys](https://docs.catalyst.zoho.com/en/cloud-scale/help/nosql/components/#table-keys) of the table. This includes the partition key, sort key, and additional sort keys. * While adding or updating data in your NoSQL table, you must ensure that you always add the appropriate value for an attribute that matches the data type that you declare for it. Any mismatches between the data types and values will throw errors. ### The Catalyst Custom JSON Format The Catalyst Custom JSON is the format of JSON data that Catalyst can process for NoSQL. The syntax is similar to the standard JSON Format with the addition of specifying the [data type](https://docs.catalyst.zoho.com/en/cloud-scale/help/nosql/working-with-data/introduction/#supported-data-types) that each attribute is configured with. Let's look at a sample table to understand the Catalyst Custom JSON format. #### Sample Table Representation **Table Name**- Employees ```json { "item": { "EmpID": { "N": "10999" }, "FirstName":{ "S": "Paul" }, "LastName":{ "S": "Smith" }, "YearOfJoining":{ "N": 2011 }, "PriorExperience":{ "BOOL": false }, "Location": { "M": { "Country": { "S": "USA" }, "City": { "S": "New York" } } } }, "item": { "EmpID": { "N": "10113" }, "FirstName":{ "S": "Lana" }, "LastName":{ "S": "Belle" }, "YearOfJoining":{ "N": 2019 }, "PriorExperience":{ "BOOL": true }, "Department": { "S": "IT" } }, "item": { "EmpID": { "N": "29123" }, "FirstName":{ "S": "Kevin" }, "LastName":{ "S": "Wilson" }, "YearOfJoining":{ "N": 2023 }, "Clubs":{ "L": [ { "S": "Innovate" }, { "S": "Swimmers of NPY" }, { "S": "Technova" } ] } } } ``` The *Employees* table includes nested JSON properties under the `Location` attribute, as well as an attribute, `Clubs`, with array values. In this table, each attribute is denoted with the data type configured for it, such as `N` (Number) for `EmpI` and `YearOfJoining`, or `S` for `FirstName` and `LastName`. The boolean attribute `PriorExperience` is denoted as `BOOL`. Refer to the [Supported Data Types section](https://docs.catalyst.zoho.com/en/cloud-scale/help/nosql/working-with-data/introduction/#supported-data-types) for all data types and their notations that you can use. #### Important Points to Remember: * The primary keys of the table- the partition key and the sort keys, must be present in the root while constructing an item for adding or updating data in a table. The format shown here is only a representation. The formats for constructing data in each server-side SDK in this JSON format varies. * You can add or update data for your NoSQL table from the Catalyst console in either the standard JSON Format or the Catalyst Custom JSON Format to test. * You can only add or update data in your NoSQL table through the server-specific SDK of [Java](https://docs.catalyst.zoho.com/en/sdk/java/v1/cloud-scale/nosql/get-table-metadata/), [Node.js](https://docs.catalyst.zoho.com/en/sdk/nodejs/v2/cloud-scale/nosql/get-component-instance/), or [Python](https://docs.catalyst.zoho.com/en/sdk/python/v1/cloud-scale/nosql/get-component-instance/), or through API, in the Catalyst Custom JSON format. The SDK help resources contain the formats and examples of constructing data items and inserting them in that programming environment. * If you use the standard JSON format while adding or updating data from the console, the data types associated with the primary key attributes while creating the table or index will be processed automatically. For all other attributes, their data types are recognized automatically by Catalyst based on the values you provide. -------------------------------------------------------------------------------- title: "Add and Manage Data" description: "Catalyst NoSQL is a fully-managed, non-relational database. Create, manage, and query NoSQL tables, and perform CRUD operations in Java, Node.js, and Python." last_updated: "2026-11-04T10:10:44.000Z" source: "https://docs.catalyst.zoho.com/en/cloud-scale/help/nosql/working-with-data/add-manage-data/" service: "CloudScale" -------------------------------------------------------------------------------- # Add and Manage Data in a NoSQL Table ### Overview This section covers performing CRUD operations in Catalyst NoSQL, as well as managing data from the Catalyst console. Refer to the [Java](https://docs.catalyst.zoho.com/en/sdk/java/v1/cloud-scale/nosql/get-table-metadata/), [Node.js](https://docs.catalyst.zoho.com/en/sdk/nodejs/v2/cloud-scale/nosql/get-component-instance/), and [Python](https://docs.catalyst.zoho.com/en/sdk/python/v1/cloud-scale/nosql/get-component-instance/) SDK and the [API documentation](https://docs.catalyst.zoho.com/en/api/code-reference/cloud-scale/nosql/insert-item/#InsertNewItem) for performing data operations through code or API. Here are a few points to remember when you add or update data in a Catalyst NoSQL table: * The values for the configured partition key of a table must be present in each data item, if it is configured with a simple primary key. In case of a composite primary key, both [partition key and sort key](https://docs.catalyst.zoho.com/en/cloud-scale/help/nosql/components/#table-keys) values must be present in each data item. * The data types configured for the partition key and sort key of a table must match with the data types you provide for the values of those attributes. * You will not be able to change the data types of the partition key and sort key in a table or the attributes associated with them, when you add or update data in the table. * The maximum total size of an item provisioned in Catalyst NoSQL is 400 KB. ### Add Data in a Table To add data in a NoSQL table from the Catalyst console to test: 1. Navigate to the *Data* section of the table from the NoSQL component, then click **Add Data**. ![nosql_add_data](https://catalyst-docs-development.zohostratus.in/images/help/nosql/nosql_add_data_1.webp) 2. This will open a pop-up where you can add data to the table. Catalyst will display a template for the data, which will include the partition key and sort key configured for the table, in both the [Custom and Standard JSON formats](https://docs.catalyst.zoho.com/en/cloud-scale/help/nosql/working-with-data/introduction/#the-catalyst-custom-json-format). > **Note:** You can only add one item in the table from the console. This is because, the data operations provided in the console are solely for testing purposes. ![nosql_add_data](https://catalyst-docs-development.zohostratus.in/images/help/nosql/nosql_add_data_2.webp) You can switch between the standard and Custom JSON view using the toggle button. However, there are certain conditions that data in the standard format must satisfy for you to be able to switch to the Custom format. This is explained below. ![nosql_add_data](https://catalyst-docs-development.zohostratus.in/images/help/nosql/nosql_add_data_3.webp) 3. Add the data for the table in either of the formats, then click **Create**. **Custom JSON Format:** ![nosql_add_data](https://catalyst-docs-development.zohostratus.in/images/help/nosql/nosql_add_data_4.webp) **Standard JSON Format:** ![nosql_add_data](https://catalyst-docs-development.zohostratus.in/images/help/nosql/nosql_add_data_5.webp) #### Conditions when the JSON View Toggle Button is Disabled In certain cases, you will not be able to toggle between the Standard and the Custom JSON format while adding or updating data in the console. These include: 1. When the data type of an attribute is invalid or not [supported](https://docs.catalyst.zoho.com/en/cloud-scale/help/nosql/working-with-data/introduction/#supported-data-types) in Catalyst 2. When the value provided for a key in the JSON is invalid 3. When the JSON code added is invalid, or contains syntax or logical errors 4. When the data is valid but includes certain supported data types that cannot be rendered in the Standard JSON view. For example, SS (Set of Strings) or SN (Set of Numbers) cannot be rendered, but the data you provide will be added to the table. After you add the data in a NoSQL table, it will be displayed in the Data section in a tabular manner for easy viewing. ![nosql_data_added](https://catalyst-docs-development.zohostratus.in/images/help/nosql/nosql_data_added.webp) > **Note:** Please remember that the table data will not be displayed persistently in the *Data* section. You will be able to view the table data only by querying in this section. You can filter columns to be displayed upon querying or right after adding data through the console, using the **Filter icon** in the bottom-right corner. Select the required columns and click **Apply**. ![nosql_data_filters](https://catalyst-docs-development.zohostratus.in/images/help/nosql/nosql_data_filter_columns.webp) This will display the selected columns. ![nosql_data_filters](https://catalyst-docs-development.zohostratus.in/images/help/nosql/nosql_data_filter_columns_2.webp) #### View Table Data as JSON 1. You can view the table data in the JSON format by clicking the ellipsis icon against the table. ![nosql_json_data](https://catalyst-docs-development.zohostratus.in/images/help/nosql/nosql_data_ellipsis.webp) 2. Then, click **View JSON** from the options. ![nosql_json_data](https://catalyst-docs-development.zohostratus.in/images/help/nosql/nosql_data_view_json_1.webp) This displays the table data in Catalyst Custom JSON format. ![nosql_json_data](https://catalyst-docs-development.zohostratus.in/images/help/nosql/nosql_data_view_json_2.webp) ### Update Data in a Table You can update your NoSQL table data easily from the console to test. All the specifications and constraints described for data addition apply to the data update operation as well. > **Note:** If you update the data in a table from the console, it will essentially overwrite the existing data, as this is for testing purposes. However, if you update data from code through the SDKs, or through the API, the standard update process of a CRUD operation is applied. To update the data of a NoSQL table in your project: 1. Click the ellipsis icon against the table, then click **Edit**. ![nosql_edit_data](https://catalyst-docs-development.zohostratus.in/images/help/nosql/nosql_data_edit_1.webp) 2. Update the data in the Standard or the Custom JSON format, then click **Update**. ![nosql_edit_data](https://catalyst-docs-development.zohostratus.in/images/help/nosql/nosql_data_edit_2.webp) ### Delete Data in a Table To permanently delete the data you added in a NoSQL table for testing purposes: 1. Click the ellipsis icon against the table, then click **Delete**. ![nosql_delete_data](https://catalyst-docs-development.zohostratus.in/images/help/nosql/nosql_data_delete_1.webp) 2. Click **Delete** in the confirmation pop-up. ![nosql_delete_data](https://catalyst-docs-development.zohostratus.in/images/help/nosql/nosql_data_delete_2.webp) ### Push Notifications -------------------------------------------------------------------------------- title: "Introduction" description: "Catalyst provides a ready-to-implement push notifications service in your iOS, Android, and web apps, and enables you to test notifications." last_updated: "2026-11-04T10:10:44.000Z" source: "https://docs.catalyst.zoho.com/en/cloud-scale/help/push-notifications/introduction/" service: "CloudScale" related: - Web Client Hosting (/en/cloud-scale/help/web-client-hosting/introduction) - Mobile Device Management (/en/cloud-scale/help/mobile-device-management/introduction) -------------------------------------------------------------------------------- # Push Notifications ### Introduction Push Notifications is a component of Catalyst CloudScale service that enables you to integrate remote notifications into your applications. These notifications can be sent to users even when the app is not actively running on their devices. Whether triggered at scheduled times or sent on demand, push notifications help you reach targeted users with timely updates. They can carry promotional messages, alerts about offers, event updates, or include actionable elements that drive user engagement. As an essential communication tool, push notifications strengthen your connection with users and help improve retention. This delivery system powered by Catalyst ensures reliable, scalable, and real-time notification delivery across the applications you build on the following platforms: * **Web:** Catalyst provides an SDK code that you can easily incorporate into your Catalyst web application's codebase to enable push notifications in it. * **iOS:** You can easily configure your iOS app's APNs certificate that you generate from Apple with Catalyst, allowing Catalyst to forward the push messages that you require to client devices through APNs. * **Android:** Catalyst uses Firebase Cloud Messaging (FCM) to forward push notifications of Catalyst apps to client Android devices. You can generate the required configurations from Firebase, and then configure them in Catalyst. You can also test sending push notifications to select devices from the Catalyst console or through code, for web, iOS, and Android applications, to verify if they are enabled and work as intended. #### SDK and API Documentation Catalyst supports enabling Push Notifications in your web and mobile applications through the client-side SDKs of iOS, Android, Flutter, and Web platforms. You can then incorporate the Send Push Notifications logic in your codebase in the server-side SDKs of Java, Node.js, and Python environments, as well as through API. Refer to the help links given below for the relevant help documentation. * **Register Device for Push Notifications-** [iOS SDK](https://docs.catalyst.zoho.com/en/sdk/ios/v2/cloud-scale/push-notifications/register-device/), [Android SDK](https://docs.catalyst.zoho.com/en/sdk/android/v2/cloud-scale/push-notifications/register-device/), [Flutter SDK](https://docs.catalyst.zoho.com/en/sdk/flutter/v2/cloud-scale/push-notifications/register-device/) * **De-register Device for Push Notifications-** [iOS SDK](https://docs.catalyst.zoho.com/en/sdk/ios/v2/cloud-scale/push-notifications/deregister-device/), [Android SDK](https://docs.catalyst.zoho.com/en/sdk/android/v2/cloud-scale/push-notifications/deregister-device/), [Flutter SDK](https://docs.catalyst.zoho.com/en/sdk/flutter/v2/cloud-scale/push-notifications/deregister-device/) * **Enable Push Notifications-** [Web SDK](https://docs.catalyst.zoho.com/en/sdk/web/v4/cloud-scale/push-notifications/register-client/) * **Send Push Notifications-** [Java SDK](https://docs.catalyst.zoho.com/en/sdk/java/v1/cloud-scale/push-notifications/send-notifications/), [Node.js SDK](https://docs.catalyst.zoho.com/en/sdk/nodejs/v2/cloud-scale/push-notifications/send-notifications/), [Python SDK](https://docs.catalyst.zoho.com/en/sdk/python/v1/cloud-scale/push-notifications/send-notifications/), [Web API](https://docs.catalyst.zoho.com/en/api/code-reference/cloud-scale/push-notifications/web/send-web-push-notifications/#SendWebPushNotifications), [iOS API](https://docs.catalyst.zoho.com/en/api/code-reference/cloud-scale/push-notifications/ios/send-ios-push-notifications/#SendiOSPushNotifications), [Android API](https://docs.catalyst.zoho.com/en/api/code-reference/cloud-scale/push-notifications/android/send-android-push-notifications/#SendAndroidPushNotifications) -------------------------------------------------------------------------------- title: "Architecture" description: "Catalyst provides a ready-to-implement push notifications service in your iOS, Android, and web apps, and enables you to test notifications." last_updated: "2026-11-04T10:10:44.000Z" source: "https://docs.catalyst.zoho.com/en/cloud-scale/help/push-notifications/architecture/" service: "CloudScale" -------------------------------------------------------------------------------- # Architecture A push message's path, beginning from being sent from an application's provider to getting delivered to the intended audience, can be described in a few general steps for both web and mobile applications. This section helps you understand these steps, as well as the role that Catalyst plays in helping you incorporate push notifications in your application with ease. The generic key elements involved in passing a push message to the target devices as a notification in a web, iOS, or Android app include the following. #### Service Provider Your iOS, Android, or web application that initiates a push message to be delivered to target users is the service provider. Along with the push message, the request must contain the information that is necessary for a push service to route the message to the right client and to wake up the right service worker. #### Server The server makes the API call to the push service to request the delivery of a push message. In this case, Catalyst provides the servers that are required to handle all backend activities. API calls to a push service can only be made after Catalyst is configured with it. #### Push Service For web applications, each browser like Chrome and Firefox implements its own push service. The Safari browser and iOS applications implement [APNs](https://docs.catalyst.zoho.com/en/cloud-scale/help/push-notifications/ios/#key-concepts). Android applications use [Firebase Cloud Messaging](https://firebase.google.com/docs/cloud-messaging) for this purpose. The push service is responsible for validating a push message, waking up the right service worker, and routing your message to the targeted devices as notifications. In the case of a web application, the push service also queues your push message until a target device is available to receive it. #### Service Worker A service worker is a JavaScript file that is idle and listens for a push event to occur. When the push message is routed to a particular device by the push service, the service worker assigned to that device briefly awakens and displays the message as a notification. It follows the constraints as defined in the notification API and displays the notification to the user accordingly. The service worker handles the user's interaction with the push notification. After the interaction is done, the service worker becomes idle again. Catalyst handles the implementation of the service workers for various web browsers, iOS, and Android. This entire process takes only a brief amount of time and the push messages that you initiate are delivered to the user devices within seconds, provided all conditions are met. You can refer to the [iOS](https://docs.catalyst.zoho.com/en/cloud-scale/help/push-notifications/ios/), [Android](https://docs.catalyst.zoho.com/en/cloud-scale/help/push-notifications/android/), and [Web](https://docs.catalyst.zoho.com/en/cloud-scale/help/push-notifications/web/) help sections for further details on the specific platforms. -------------------------------------------------------------------------------- title: "Benefits" description: "Catalyst provides a ready-to-implement push notifications service in your iOS, Android, and web apps, and enables you to test notifications." last_updated: "2026-11-04T10:10:44.000Z" source: "https://docs.catalyst.zoho.com/en/cloud-scale/help/push-notifications/benefits/" service: "CloudScale" -------------------------------------------------------------------------------- # Benefits #### Simple One-Time Configurations to Avail Push Notifications Push notifications in your Catalyst web or mobile applications can help engage users with customized content periodically, or when the user hasn't visited the application in a while. You can integrate action elements into the notifications so the user can interact with your application directly in the notification panel even when your app is idle on their device. All these can be accomplished with a few simple one-time configurations from your end, based on your app's platform. Catalyst removes your efforts in provisioning servers or infrastructure to handle push notifications by taking care of all the backend setup for all of its supported platforms and establishing communication with the respective push service. #### High Throughput in Delivery Catalyst plays a pivotal role in ensuring a high delivery rate of push notifications, and keeps pace with the throughput of the notifications that you send from the application. Catalyst servers are fast and are capable of instantly delivering your push messages to the intended push service workers for web push notifications, APNs servers for iOS push notifications, and FCM for Android push notifications. You can experience lag-free and instantaneous delivery of push messages from your application. #### High Scalability and Auto-Scaling Catalyst servers scale automatically and allocate the required resources to your application whenever the load increases. The resources are scaled up or down instantly based on the throughput of the push messages received for your application. Catalyst is built on Zoho's tried-and-tested robust infrastructure that can handle high volumes of requests and ensure consistency in your app's performance. This also eliminates failures in delivering the notifications due to heavy loads. #### Engage Users Suited to your Business Needs You can engage with your application users in numerous ways by incorporating a variety of elements in your push notifications, such as CTA buttons, and audio or video attachments. There are also no restrictions on the number of messages that you can send to the users of your application from Catalyst's end. For iOS apps, the standards for the limit to the number of push notifications that you can send are set by Apple. Likewise, the limits for Android apps are defined by Google. For web applications, the standards vary with each push service or browser. However, most browsers do not impose heavy limits on push notifications, which enables you to use Catalyst's service to fit your business needs. You can refer to our SDK and API documentation for any limits on recipient count. #### Send Manual or Automated Push Notifications Catalyst facilitates manual as well as scheduled, automated push notifications, which you can incorporate based on your requirements. For example, you can implement a pop-up or something similar in the admin access of your application for your app's admins to type in and send manual push notifications to specific target users. You can also implement automated push notifications and schedule them in your business logic. Catalyst provides ready-to-use code in the client SDKs to enable push notifications for user devices for the [web](https://docs.catalyst.zoho.com/en/sdk/web/v4/cloud-scale/push-notifications/get-component-instance/), [iOS](https://docs.catalyst.zoho.com/en/sdk/ios/v2/cloud-scale/push-notifications/register-device/), or [Android](https://docs.catalyst.zoho.com/en/sdk/android/v2/cloud-scale/push-notifications/register-device/) app, as required. You can send push notifications to an unrestricted number of user devices by similarly implementing the readily-available methods from our server-side SDKs ([Java](https://docs.catalyst.zoho.com/en/sdk/java/v1/cloud-scale/push-notifications/send-notifications/), [Node.js](https://docs.catalyst.zoho.com/en/sdk/nodejs/v2/cloud-scale/push-notifications/get-component-instance/), and [Python](https://docs.catalyst.zoho.com/en/sdk/python/v1/cloud-scale/push-notifications/get-component-instance/) platforms) in your codebase, or through our [API](https://docs.catalyst.zoho.com/en/api/code-reference/cloud-scale/push-notifications/web/send-web-push-notifications/#SendWebPushNotifications). With this ease of implementation, Catalyst reduces your workload in configuring push notifications for your apps substantially. #### Test Push Notifications before Implementation You can use the provision to test push notifications in your web or mobile application before you implement them in Catalyst. You can register user devices as test devices in your iOS or Android apps and send test notifications to them from the Catalyst console or through API. Catalyst also enables you to test push notifications in your web apps through the console or API. You can then incorporate sending push notifications in your codebase for production devices. -------------------------------------------------------------------------------- title: "Use Cases" description: "Catalyst provides a ready-to-implement push notifications service in your iOS, Android, and web apps, and enables you to test notifications." last_updated: "2026-11-04T10:10:44.000Z" source: "https://docs.catalyst.zoho.com/en/cloud-scale/help/push-notifications/use-cases/" service: "CloudScale" -------------------------------------------------------------------------------- # Use Cases Catalyst push notification service can be used in the following scenarios, among various others: * A taxi-booking mobile application sends push notifications to its new customers if they don't open the app for a certain period of time after they sign up for an account. It includes engaging content that gives them brief information about the types of cabs available, and exciting deals for new users in the form of a banner image and a call-to-action button that redirects them to the app. The organization obtains a list of the new users from the Catalyst Data Store. This user list is passed on to be used as the recipients of the push notifications in the application's code. The code also defines the time delay between the sign up and initiating the push message, the time of the day it must be sent, and more. This entire process is automated in Catalyst. * An organization builds a community forum application for B2B usage that can be accessed through web browsers or in the iOS or Android platforms. The organization initially launches this app internally to a select number of users to perform beta testing. They use the testing feature of the Catalyst web, iOS, and Android push notifications to send test notifications and to garner insights from the interactions and responses. The feature developers register the email addresses of these select users and add their devices as test devices. When the application is ready for a release, they enable the push notification service for production devices. -------------------------------------------------------------------------------- title: "iOS Push Notifications" description: "Catalyst provides a ready-to-implement push notifications service in your iOS, Android, and web apps, and enables you to test notifications." last_updated: "2026-11-04T10:10:44.000Z" source: "https://docs.catalyst.zoho.com/en/cloud-scale/help/push-notifications/ios/" service: "CloudScale" -------------------------------------------------------------------------------- # iOS Push Notifications Catalyst makes the task of incorporating push notifications in your iOS apps much easier by acting as an intermediary between you and Apple. Catalyst forwards your push messages to Apple on your behalf after you perform the required configurations, and provides you with the response to your action. You can learn about the general architecture of the push notification flow from the [Architecture help section](https://docs.catalyst.zoho.com/en/cloud-scale/help/push-notifications/architecture/). ### Key Concepts The key concepts of iOS push notifications are explained below. #### APNS and Device Token The iOS push notifications are handled by Apple Push Notifications service, or APNs. Your app is connected to the APNs server when it is installed on a user's device, and this enables the user to receive the notifications that your server forwards to APNs. Catalyst takes the role of the server: it obtains the push messages from you and forwards them to APNs on your behalf, which in turn routes them to the client devices. This process involves a device token that is globally unique and identifies a single app-device combination. Every time a user device launches your app, it sends a request to establish a connection with APNs. After this is established successfully, the device token is provided by APNs, which you can then forward to and store in Catalyst securely. This process establishes the channel between your app and the device. You can learn about this in detail from the [official developer documentation from Apple](https://developer.apple.com/documentation/usernotifications/registering-your-app-with-apns). The first step in this process is to obtain an APNs certificate issued by Apple and to upload it to Catalyst. The APNs certificate permits the developer to send push notification data to the app installed on Apple devices. Uploading this certificate to Catalyst establishes a secure connection between Catalyst servers and APNs. Refer [here](https://docs.catalyst.zoho.com/en/cloud-scale/help/push-notifications/ios/#configure-and-enroll-for-ios-push-notifications) for the complete steps. > **Note:** You must create separate APNs certificates and manage separate APNs connections for each iOS app hosted in different Catalyst projects. You will also need to regenerate your APNs certificate before its validity expires. #### Testing in Development and Production Modes Catalyst enables you to test push notifications in iOS in two different modes: development and production, which can be considered as sandboxed and live modes. Apple supports and provides different servers for both these modes. > **Note:** The development and production modes of an iOS app are not to be confused with the [development and production environments](https://docs.catalyst.zoho.com/en/deployment-and-billing/environments/introduction/) in Catalyst. If you select the development mode in the Catalyst console to send test notifications, this will inform Catalyst to forward your notifications to Apple's test servers. Likewise, if you select the production mode to send test notifications, this will inform Catalyst to forward your notifications to Apple's live servers. If your test notifications are delivered to the devices successfully, the APNs connection has been configured properly with your app. When the notifications are sent from your app, you can determine the status of their delivery from the API response you receive. #### Registering a User Device For iOS apps, the devices that you need to send push notifications to must be registered with APNs. The users must also provide explicit permission for the app to send them push notifications. This can be handled in the app's logic by sending the users a permission prompt, where they can allow or deny permission. After the permission is provided, you can send test notifications to the device. > **Note:** End users must be authenticated on the iOS app to receive push notifications. You can handle user authentication in your app through [Catalyst Authentication](https://docs.catalyst.zoho.com/en/cloud-scale/help/authentication/introduction/). ### Elements of iOS Push Notifications Apple supports a variety of rich media and elements that can be included in its push notifications. Catalyst supports iOS notifications that primarily contain text content. Other elements like audio and video attachments, images, hyperlinks, and call-to-action buttons can also be included as a JSON package. Catalyst also supports notification badge counts in your iOS push notifications. This displays the number of notifications that are waiting to be read in the notification badge. You can also perform a variety of actions with iOS push notifications, such as: * Modifying the notification content before it is displayed to the user * Performing a background task * Grouping notifications into threads * Providing interactive UI in the notification such as a _Like_ button However, you must be aware of the standards defined by Apple and you must adhere to their guidelines before defining actions for iOS push notifications. You can find more information regarding this, as well as character count, payload limits, and other details from their official documentation about [generating a remote notification](https://developer.apple.com/documentation/usernotifications/setting_up_a_remote_notification_server). ### Configure and Enroll for iOS Push Notifications The steps to be followed for configuring and enrolling for Catalyst Push Notification services for an iOS app are listed below in a logical sequence: #### Step 1: Register your iOS app with Apple You must [sign in to your Apple developer account](https://developer.apple.com) and register your iOS app with Apple before you can procure an APNs certificate for it. While creating the app ID, ensure that you provide the same bundle ID for your app that you provided in Catalyst when you downloaded the iOS SDK. You can refer to Apple's [ Developer Account Help page](https://help.apple.com/developer-account/) for more information. > **Note:** Ensure you have created an App ID without a wildcard. Wildcard IDs cannot use the push notification service. #### Step 2: Generate a certificate from Keychain Access You must generate a Certificate Signing Request (CSR) from your Mac OS terminal and upload it in the Apple Push Notifications Portal. To generate the CSR from _Keychain Access_: 1. Launch the _Keychain Access_ application in your Mac OS terminal. 2. Select **Keychain Access** < **Certificate Assistant** > **Request a Certificate From a Certificate Authority**. 3. Enter your email address and check the option to save the certificate on your disk. 4. Save the certificate. #### Step 3: Generate and download the APNs certificate provided by Apple After generating the CSR, open your Apple developer account to generate the APNs certificate as follows: 1. Select your app from the _App IDs_ list and click **Edit**. 2. In the _Development SSL Certificates_ section, click **Create Certificate** and click **Continue**. 3. Upload the CSR file that you created in the previous step and click **Continue**. 4. Download the APNs certificate that is generated and click **Done**. #### Step 4: Convert the downloaded APNs certificate into the _.p12_ format The APNs certificate that you download from Apple will be in ._cer_ format, which you must convert to ._p12_ before uploading it to Catalyst. You can convert a ._cer_ certificate to ._p12_ format in the following way: 1. Double-click on the downloaded certificate on your Mac to install it in _Keychain Access_. 2. Open _Keychain Access_ and locate the installed certificate in the _Certificates_ section. 3. Click on the arrow next to the certificate to show the key and select it. 4. Select **File** and then **Export Items...** 5. Provide a name for the export file. Save the file in the ._p12_ format. 6. Provide a password to protect the certificate. You will need this password while enrolling for Catalyst Push Notification services. Click **OK**. 7. Enter your Mac password to enable the export. Click **Allow**. Your APNs certificate is now saved in the ._p12_ format. You can now upload the APNs certificate to the Catalyst console and enroll for Catalyst Push Notification services. This will establish a connection between Catalyst and APNs for your iOS app. The procedure is explained below. #### Step 5: Enroll for iOS Push Notification Services in Catalyst You can upload the APNs certificate and provide the necessary information to enroll for Catalyst Push Notification services. > **Note:** You must upload the APNs certificate separately for the development and production modes. To send test notifications from the development or the production mode, there must be an APNs certificate uploaded in Catalyst for that mode. To enrol for push notifications for your iOS app in Catalyst: 1. Navigate to the **CloudScale**, then click **Push Notifications** under _Notify_. ![catalyst_push_notifications](https://catalyst-docs-development.zohostratus.in/images/help/notifications/catalyst_push_notifications.webp) 2. Click the **iOS** tab, then click **Configure**. ![catalyst_push_notifications_ios](https://catalyst-docs-development.zohostratus.in/images/help/notifications/cayalyst_push_notifications_ios_1.webp) 3. Upload the APNs certificate that you generated from Apple. You will also need to provide your app's bundle ID and the password that you created for the APNs certificate in the previous step. Click **Enroll**. ![catalyst_push_notifications_ios](https://catalyst-docs-development.zohostratus.in/images/help/notifications/cayalyst_push_notifications_ios_2.webp) > **Note:** Ensure that you enter the same bundle ID while downloading the iOS SDK, registering your iOS app with Apple, and configuring push notifications in Catalyst. This will enroll you for the Catalyst iOS push notification service. After your APNs certificate is uploaded and its credentials have been provided, Catalyst establishes a connection with APNs for your iOS app. You can then use the console to send test notifications to mobile devices after registering them. After you have enrolled, you must register your test mobile devices. This allows the devices to receive push notifications that you send them. #### Step 6: Register a Test Mobile Device To register an iOS mobile device as a test device, you must call the `registerNotification()` method with the required parameters as shown in the following code snippet: ```javascript ZCatalystApp.shared.registerNotification(token: e5********21, appID: 12345678, testDevice: false) { error in if let error = error { return print("Error : \( error )") } print("Registered successfully") } ``` **Parameters:** * `token`: Device token obtained after registering the device for remote push notifications with APNS. * `appID`: The `notificationAppID` obtained from the `AppConfigurationDevelopment.plist`/ `AppConfigurationProduction.plist` file generated by Catalyst for your app when you [registered your iOS app in Catalyst](https://docs.catalyst.zoho.com/en/sdk/ios/v2/setup/). * `testDevice`: The value is set to `true` for test devices, and set to `false` for production devices After a mobile device has been registered, the user must also provide permission for your app to send push notifications to them by clicking **Allow** from the permission prompt. After this is done, you will be able to send test notifications to the device. **De-Register a Mobile Device** You can deregister a device that was registered for Catalyst iOS push notifications using the code snippet given below. ```javascript ZCatalystApp.shared.deregisterNotification(token: e5********21, appID: 1234567, testDevice: true) { error in if let error = error { return print("Error : \( error )") } print("UnRegistered successfully") } ``` **Parameters:** * `token`: Device token obtained after registering the device for remote push notifications with APNS. * `appID`: The `notificationAppID` obtained from the `AppConfigurationDevelopment.plist`/ `AppConfigurationProduction.plist` file generated by Catalyst for your app when you [registered your iOS app in Catalyst](https://docs.catalyst.zoho.com/en/sdk/ios/v2/setup/). * `testDevice`: The value is set to `true` for test devices, and set to `false` for production devices ### Test iOS Push Notifications Catalyst allows you to send test notifications in the form of text to all the user devices that have been registered in the test device mode from the previous step. You can send notifications for both the production and development modes from the console. Apple allocates different servers for each of these modes. If you had configured the appID from the development plist file while registering the user devices, they will be added to Apple's development mode. Likewise, if you had configured the appID from the production plist file, they will be added to the production mode. You can also send test push notifications from the [API](https://docs.catalyst.zoho.com/en/api/code-reference/cloud-scale/push-notifications/ios/send-ios-push-notifications/#SendiOSPushNotifications). > **Note:** The end users of your iOS app must be authenticated on the app to receive push notifications. You can implement [Catalyst Authentication](https://docs.catalyst.zoho.com/en/cloud-scale/help/authentication/introduction/) in your app from the [Catalyst iOS SDK](https://docs.catalyst.zoho.com/en/sdk/ios/v2/overview/) for user authentication. To send a test push notification in an iOS app to all registered test devices: 1. Navigate to the **iOS** section in the Push Notifications component of your project. 2. Click on either the **Production** or **Development** tabs. 3. Enter the message for the push notification and click **Send**. ![catalyst_push_ios_test](https://catalyst-docs-development.zohostratus.in/images/help/notifications/catalyst_push_ios_test.webp) The message will be sent as a push notification to the test user devices that have been registered for your iOS app. -------------------------------------------------------------------------------- title: "Android Push Notifications" description: "Catalyst provides a ready-to-implement push notifications service in your iOS, Android, and web apps, and enables you to test notifications." last_updated: "2026-11-04T10:10:44.000Z" source: "https://docs.catalyst.zoho.com/en/cloud-scale/help/push-notifications/android/" service: "CloudScale" -------------------------------------------------------------------------------- # Android Push Notifications ### Introduction Catalyst uses [Firebase Cloud Messaging (FCM)](https://firebase.google.com/docs/cloud-messaging) to forward push notifications of Catalyst apps to client Android devices. FCM is a cross-platform messaging solution by [Google Firebase](https://firebase.google.com/) that provides a backend and a transport layer to distribute and deliver your push notifications to client devices. Catalyst acts as the app server in this scenario, which runs your app's logic and processes your push notification requests. The section below explains this process in detail. You can learn about the general architecture of the push notification flow from the [Architecture help section](https://docs.catalyst.zoho.com/en/cloud-scale/help/push-notifications/architecture/). ### Key Concepts #### Implementation Path and Workflow The implementation path of configuring Catalyst push notifications for your Android apps is listed as follows: * Enable Firebase services in your Android app by registering your app in Firebase and adding their configuration file to your app's directory. * Obtain access to the Firebase Admin SDK by generating a private key. * Enrol for push notifications in Catalyst by adding the Firebase Admin SDK private key to Catalyst. * Register mobile devices to receive notifications. After you perform the implementation described above, the following process happens in the background when push notifications are sent from your app: * Catalyst interacts with FCM's backend through [Firebase Admin SDK](https://firebase.google.com/docs/cloud-messaging/server#firebase-admin-sdk-for-fcm), the superior and highly recommended option for interacting with FCM servers. * Catalyst forwards your push notification messages to the FCM's backend from your business logic, or the Catalyst console in case of test notifications. * Firebase then routes the push notification messages to client apps running on users' devices based on the configured server logic. #### Elements of Android Push Notifications Android supports a host of notification types ranging from basic text notifications, notifications with rich media elements, to call-style notifications. FCM categorizes messages to clients in two types, as explained in their [help documentation](https://firebase.google.com/docs/cloud-messaging/concept-options)- Notification messages and Data messages. You can compose notifications in either of these types as per the format and specifications described in their help page. Elements such as images, hyperlinks, and call-to-action buttons can be passed as the data payload in these message formats. Catalyst also supports notification badge counts in your Android push notifications. This displays the number of notifications that are waiting to be read in the notification badge. You must adhere to the standards, guidelines, and hard limits defined by Android and FCM while composing and sending push messages. You can find more information regarding this from Android's official documentation for [designing](https://developer.android.com/design/ui/mobile/guides/home-screen/notifications) and [developing](https://developer.android.com/develop/ui/views/notifications) notifications. ### Configure and Enroll for Android Push Notifications The steps to be followed for configuring and enrolling for Catalyst Push Notification services for an Android app are listed below in a logical sequence: #### Step 1: Generate Firebase's Android Configuration File To begin, you must enable Firebase in your Android app. This can be done by creating a project on Firebase for your Android app and adding their Android SDK and configuration file to it as described below: 1. If you have not created a project on Firebase for your Android app yet, you can do so by logging into your [Firebase console](https://console.firebase.google.com/u/0/). Select the option to create a new Firebase project. ![catalyst_push_notifications_android_firebase_configuration](https://catalyst-docs-development.zohostratus.in/images/help/notifications/cayalyst_push_notifications_android_googleserv_1.webp) If you have already created a Firebase project for your Android app, you can skip to step 4. 2. Enter a name for your Firebase project, then check their checkbox. Click **Continue**. ![catalyst_push_notifications_android_firebase_configuration](https://catalyst-docs-development.zohostratus.in/images/help/notifications/cayalyst_push_notifications_android_googleserv_2.webp) 3. You can optionally enable Google Analytics for your project and set it up, if needed. Click **Continue**. ![catalyst_push_notifications_android_firebase_configuration](https://catalyst-docs-development.zohostratus.in/images/help/notifications/cayalyst_push_notifications_android_googleserv_3.webp) Your project will be created. 4. You can now configure Firebase's Android SDK for your app by clicking the Android icon after your project has been created. ![catalyst_push_notifications_android_firebase_configuration](https://catalyst-docs-development.zohostratus.in/images/help/notifications/cayalyst_push_notifications_android_googleserv_4.webp) 5. Provide the package name and a display name for your Android app, then click **Register App**. You can also optionally configure a debug signing certificate if you have generated one for your app. ![catalyst_push_notifications_android_firebase_configuration](https://catalyst-docs-development.zohostratus.in/images/help/notifications/cayalyst_push_notifications_android_googleserv_5.webp) > **Note:** You must provide the same package name as the *App Bundle ID* while [registering your Android app](https://docs.catalyst.zoho.com/en/getting-started/set-up-a-catalyst-project/developer-tools/#android-and-ios-sdks) in Catalyst and while (configuring push notifications) for your app. 6. You can now download the `google-services.json` file generated by Firebase by clicking the download button. You can click **Next** for the code snippets to incorporate the Firebase SDK in your app and finish the setup. ![catalyst_push_notifications_android_firebase_configuration](https://catalyst-docs-development.zohostratus.in/images/help/notifications/cayalyst_push_notifications_android_googleserv_6.webp) 7. The `google-services.json` configuration file that you downloaded must be added to your app's module (app-level) root directory through Android Studio, as shown above . Firebase's Android configuration file is now available in your Android app. #### Step 2: Generate Private Key for Firebase Access The next step is to generate a private key to access the [Firebase Admin SDK](https://firebase.google.com/docs/cloud-messaging/server#firebase-admin-sdk-for-fcm) from your Android application. The unified Admin SDK facilitates authenticating multiple Firebase features, including providing full admin privileges to send messages or manage topic subscriptions through FCM. This is available as a part of your [Firebase service account](https://firebase.google.com/support/guides/service-accounts) that Firebase uses to operate and manage services with admin privileges. You can generate a service account private key by following the steps mentioned below. 1. Navigate to the [Firebase console](https://console.firebase.google.com/u/0/). Open the project that you configured your Android application in previously. ![catalyst_push_notifications_android_private_key](https://catalyst-docs-development.zohostratus.in/images/help/notifications/cayalyst_push_notifications_android_privkey_1.webp) 2. Click **Project Overview** in the console, then click **Project settings**. ![catalyst_push_notifications_android_private_key](https://catalyst-docs-development.zohostratus.in/images/help/notifications/cayalyst_push_notifications_android_privkey_2.webp) 3. Navigate to the **Service Accounts** tab in the project settings. From the *Firebase Admin SDK* section, click **Generate new private key**. ![catalyst_push_notifications_android_private_key](https://catalyst-docs-development.zohostratus.in/images/help/notifications/cayalyst_push_notifications_android_privkey_3.webp) 4. Click **Generate key** from the pop-up that opens. ![catalyst_push_notifications_android_private_key](https://catalyst-docs-development.zohostratus.in/images/help/notifications/cayalyst_push_notifications_android_privkey_4.webp) This will download the private key JSON file to your system. #### Step 3: Configure Android Push Notification Services in Catalyst After you obtain the service account private key for your Android app from Firebase, you must now configure that key with Catalyst in order to enroll for Catalyst Push Notification services in your app. To enroll for push notifications for your Android app in Catalyst: 1. Navigate to the **CloudScale** service from the Catalyst console in your project, then open **Push Notifications**. Click the **Android** tab, then click **Configure**. ![catalyst_push_notifications_android_configure](https://catalyst-docs-development.zohostratus.in/images/help/notifications/cayalyst_push_notifications_android_1.webp) 2. Provide the Android app's bundle ID. This must be the same as the package name you provided while [registering your app in Firebase](https://docs.catalyst.zoho.com/en/cloud-scale/help/push-notifications/android/#step-1-generate-firebases-android-configuration-file ) and while [registering your app in Catalyst](https://docs.catalyst.zoho.com/en/getting-started/set-up-a-catalyst-project/developer-tools/#android-and-ios-sdks). Then, upload the Service Account JSON file (private key file) that you generated for your Firebase Admin SDK in the [previous section](https://docs.catalyst.zoho.com/en/cloud-scale/help/push-notifications/android/#step-2-generate-private-key-for-firebase-access). ![catalyst_push_notifications_android_configure](https://catalyst-docs-development.zohostratus.in/images/help/notifications/cayalyst_push_notifications_android_2.webp) 3. Click **Enroll**. This will enroll you in the Catalyst Android push notification service. After your Firebase service account JSON file is configured, Catalyst will be able to interact with FCM servers for your Android app. You can then send push notifications to the registered users of your Android app, or test sending notifications from the console. #### Step 4: Register a Mobile Device for Push Notifications Before you can send push notifications from your Android app or test sending them from the Catalyst console, you must register the mobile devices to receive the push notifications. This can be done by calling the code snippet given below from the device. This passes the required credentials to the `app.registerNotification()` method in Catalyst SDK. ```javascript val app = ZCatalystApp.getInstance() app.registerNotification(device_token,"bundleID", "appID", test_device_boolean, { Log.i("Register","App register successfully"); }, { Log.i("Register","App register failed"); }) ``` **Parameters:** * `device_token`: The device token obtained from [FCM](https://docs.catalyst.zoho.com/en/cloud-scale/help/push-notifications/android/#step-1-generate-firebases-android-configuration-file) for your app. * `bundleID`: The Android app's bundle ID that you configured while [registering the app with Catalyst](https://docs.catalyst.zoho.com/en/sdk/android/v2/setup/) as well as in Firebase. * `appID`: The app ID generated by Catalyst for your app in Push Notifications. You can find this in the *Android* section of Push Notifications in your Catalyst console. * `test_device_boolean`: The value is set to `true` for test devices, and set to `false` for production devices After a mobile device has been registered, the user must also provide explicit permission for your app to send push notifications from their device. You can handle this in the app's logic by sending the users a permission prompt, where they can allow or deny permission. After the permission is provided, you can send test notifications to the device. > **Note:** End users must be authenticated on the Android app to receive push notifications. You can handle user authentication in your app through [Catalyst Authentication](https://docs.catalyst.zoho.com/en/cloud-scale/help/authentication/introduction/). **Deregister a Mobile Device** You can deregister a mobile device from receiving push notifications from your Android app by executing the code below. This passes the required credentials to the `app.deregisterNotification()` method in Catalyst SDK. ```javascript val app = ZCatalystApp.getInstance() app.deregisterNotification (device_token,"bundleID", "appID", test_device_boolean, { Log.i("Unregister","App unregistered successfully"); }, { Log.i("Unregister","App unregisteration failed"); }) ``` **Parameters:** * `device_token`: The device token obtained from [FCM](https://docs.catalyst.zoho.com/en/cloud-scale/help/push-notifications/android/#step-1-generate-firebases-android-configuration-file) for your app. * `bundleID`: The Android app's bundle ID that you configured while [registering the app with Catalyst](https://docs.catalyst.zoho.com/en/sdk/android/v2/setup/) as well as in Firebase. * `appID`: The app ID generated by Catalyst for your app in Push Notifications. You can find this in the *Android* section of Push Notifications in your Catalyst console. * `test_device_boolean`: The value is set to `true` for test devices, and set to `false` for production devices ### Test Android Push Notifications Catalyst allows you to send test notifications as text to all the user devices that have been registered from the console. You can send test notifications from the development or production [environment](https://docs.catalyst.zoho.com/en/deployment-and-billing/environments/introduction/) by choosing the required option from the console. Ensure that the end user you are sending the test notification to is authenticated in the app and is a registered user. > **Note:** The end users of your Android app must be authenticated on the app to receive push notifications. You can implement [Catalyst Authentication](https://docs.catalyst.zoho.com/en/cloud-scale/help/authentication/introduction/) in your app from the [Catalyst Android SDK](https://docs.catalyst.zoho.com/en/sdk/android/v2/overview/) for user authentication. To send a test push notification for a Catalyst Android app from the console: 1. Navigate to **Push Notifications** from the CloudScale section in your project. Click the Android tab. ![catalyst_push_notifications_android_test](https://catalyst-docs-development.zohostratus.in/images/help/notifications/cayalyst_push_notifications_android_3.webp) 2. Enter the message for the push notification and click **Send**. ![catalyst_push_notifications_android_test](https://catalyst-docs-development.zohostratus.in/images/help/notifications/cayalyst_push_notifications_android_4.webp) The message will be sent as a push notification to the user devices that have been registered and the users that have been authenticated in your Android app. -------------------------------------------------------------------------------- title: "Web Push Notifications" description: "Catalyst provides a ready-to-implement push notifications service in your iOS, Android, and web apps, and enables you to test notifications." last_updated: "2026-11-04T10:10:44.000Z" source: "https://docs.catalyst.zoho.com/en/cloud-scale/help/push-notifications/web/" service: "CloudScale" -------------------------------------------------------------------------------- # Web Push Notifications ### Introduction Catalyst push notifications for web applications is a fully managed service that you can use to easily enable and activate push notifications for your web app. A Catalyst web app's push notifications are displayed to users when the web app is open in their active browser. However, the browser must support web push and service workers for the notifications to be delivered to the user. You can learn more about these concepts in the [Architecture](https://docs.catalyst.zoho.com/en/cloud-scale/help/push-notifications/architecture/) section of the documentation. You can write your own action to design the logic for push notifications in the code snippet that Catalyst provides and implement it in your application. Depending on the guidelines of the web browsers, you can enable a provision for the users of your web app to opt in to receive push notifications. This can be done by including a prompt requesting permission to allow push notifications. Once the user grants permission, they will be subscribed to receive push notifications from your web app. A unique user subscription ID is created when they provide permission, which allows the web app to send push notifications to them. You can store this ID in your database to identify the subscribers. After you enable and configure push notifications in your web app, you can send test push notifications to specific users from the Catalyst console. You will be able to send plain text notifications to the test clients to check for bugs in the implementation. The users that you send them to must have active sessions of your web app open in their browsers to receive the notifications. ### Key Concepts #### Elements of Web Push Notifications The elements of a push notification vary depending on whether it is for a web or a mobile application, mainly because of the differences in standards and restrictions imposed by various web browsers and the mobile platforms. Most web browsers do not contain heavy restrictions on HTML customizations or actionable elements that are incorporated in web push notifications. However, unlike native mobile app push notifications, web push notifications do not offer support for a wide variety of media types and interactive elements like GIFs or audio. Additionally, mobile app push notifications can access the mobile phone's camera, accelerometer, and more, which cannot be done by a web app. Different web browsers implement different standards in terms of feature support for push notifications. You must therefore design their appearance and logic accordingly. Broadly, a web push notification can contain elements like: * Title and Description * App Icon * Call-to-action button * Website URL ### Enable Web Push Notifications For web applications, you can use the code snippet provided in the Catalyst console to define the appearance and action of your push notifications through your own logic and incorporate them into your application's source. After the code is configured, you can send test push notifications to the email addresses of select users to verify that they are working. Catalyst sends a [Push API](https://docs.catalyst.zoho.com/en/api/code-reference/cloud-scale/push-notifications/web/send-web-push-notifications/#SendWebPushNotifications) call to the push service to request the delivery of a push message. The code snippet provided by Catalyst for the web platform also handles the registration process of the user devices to receive push notifications from the application. You do not need to register the user devices exclusively. You can enable push notifications and start testing them from the console. To enable push notifications for a web application in Catalyst: 1. Navigate to **Push Notifications** from the **CloudScale** section in your project. Click the **Web** tab. ![catalyst_pushnotifications_web](https://catalyst-docs-development.zohostratus.in/images/help/notifications/catalyst_push_notifications_web.webp) 2. Copy the given code snippet and paste this code in your web application's source wherever necessary. ```javascript catalyst.notification.enableNotification().then(resp=>{ catalyst.notification.messageHandler = msg => { //write your own action } }); ``` > **Note:** For the push notifications to be enabled properly, you must ensure that you have included the Catalyst Web SDK initialization script in your web application. The code snippet invokes the `enableNotification()` function and allows you to define your own action under `messageHandler`. As mentioned previously in the [Key Concepts](https://docs.catalyst.zoho.com/en/cloud-scale/help/push-notifications/web/#key-concepts) section, you can handle the appearance and functioning of the push notifications in your app's code using your own logic. ### Test Web Push Notifications After you incorporate and enable push notifications in your application's code, you can test if it is working from the console. Catalyst allows you to send a test text notification to one email address at a time from the console. If the test account receives the notification successfully, you can be assured that the setup is working correctly. To send a test push notification for a web application hosted in Catalyst: 1. Navigate to **Push Notifications** from the **CloudScale** section in your project. Click the **Web** tab. 2. Enter the email ID of the user account that you want to send test push notifications to and the message in the _Web_ section. ![catalyst_pushnotifications_web_test](https://catalyst-docs-development.zohostratus.in/images/help/notifications/catalyst_push_web_test.webp) 3. Click **Send**. The push notification will be sent to the specified user immediately. For the user to be able to receive the notification, the following criteria must be met: 1. The user must have the web app open in their browser. If the user is active on a different browser tab, they will still be able to receive the push notification. 2. The browser that the web app is open in must support web push and service workers 3. If you have included a permission prompt in your application's logic to allow push notifications, then the end users must have provided permission for it. ### Search Integration -------------------------------------------------------------------------------- title: "Introduction" description: "Catalyst provides a powerful, cost-effective search that queries volumes of records in your application's, Data Store and provides instant results." last_updated: "2026-11-03T07:48:52.000Z" source: "https://docs.catalyst.zoho.com/en/cloud-scale/help/search-integration/introduction/" service: "CloudScale" -------------------------------------------------------------------------------- # Search ### Introduction Search Integration is a Catalyst CloudScale component that enables data searching within the indexed columns of your [Catalyst Data Store](https://docs.catalyst.zoho.com/en/cloud-scale/help/data-store/introduction/) tables. When implemented in your application, it allows end users to run powerful searches across large volumes of data with just a single query. With this search infrastructure powered by Catalyst, users can experience fast, accurate, and efficient data retrieval, enhancing the overall performance of your application. Performing a conventional search in a high-volume database containing a substantial number of data records is time-consuming and tedious. Although you can use joins in SQL to combine records from two or more tables, you can still only search based on the related column which links them. You will not be able to provide a powerful search feature for ZCQL queries in Catalyst. In an application where a large number of search queries are executed on a sub-second basis, it is very difficult to build a system that can handle the heavy amount of data processing. It requires a lot of effort to construct and implement a data search logic from scratch. This is also a memory-intensive and a highly expensive process, that involves strenuous efforts on the developer's part. In these cases, you can integrate Catalyst's readily available code template in your application's backend and let Catalyst handle the search processing. Catalyst search is available in both **Java**, **Node.js** and **Python** programming environments for your web application. You can copy the ready-made code template available for Java, Node.js, and Python from the Catalyst console and implement it in your application's code wherever required. You can also make any column of any table in the Data Store available or unavailable for processing in the search query by easily indexing or un-indexing the column from the Data Store. ### SDK and API Documentation Catalyst enables you to execute search queries through various SDKs and API. For more information and code samples on working in these programming environments, refer to these help pages: * [Search - Java SDK](https://docs.catalyst.zoho.com/en/sdk/java/v1/cloud-scale/search/search-data/) * [Search - Node.js SDK](https://docs.catalyst.zoho.com/en/sdk/nodejs/v2/cloud-scale/search/get-a-component-instance/) * [Search - Python SDK](https://docs.catalyst.zoho.com/en/sdk/python/v1/cloud-scale/search/get-component-instance/) * [Search - Web SDK](https://docs.catalyst.zoho.com/en/sdk/web/v4/cloud-scale/search/get-component-instance/) * [Search - API](https://docs.catalyst.zoho.com/en/api/code-reference/cloud-scale/search/execute-search-query/#ExecuteSearchQuery) -------------------------------------------------------------------------------- title: "Key Concept" description: "Catalyst provides a powerful, cost-effective search that queries volumes of records in your application's, Data Store and provides instant results." last_updated: "2026-11-03T07:48:52.000Z" source: "https://docs.catalyst.zoho.com/en/cloud-scale/help/search-integration/key-concepts/" service: "CloudScale" -------------------------------------------------------------------------------- # Key Concepts Before you learn about implementing search in your application, it's important to familiarize yourself with some fundamental concepts. ### Indexed Columns As mentioned earlier, Catalyst Search is only available for columns whose _Search Index_ constraint is enabled in the Data Store. If a column is not indexed, that is, if the _Search Index_ constraint for the column is disabled, the search query cannot access the column. It will not be able to obtain the column's value for a record in the table. To enable search for a particular column in a table, you must ensure that it is an indexed column. You can enable the Search Index constraint for a column when you create it. Refer to the [Data Store documentation](https://docs.catalyst.zoho.com/en/cloud-scale/help/data-store/columns/#create-a-new-column) for information on creating a new column. ### Indexing an Existing Column in the Data Store To enable the _Search Index_ constraint for an existing column in a table in the Data Store: 1. Navigate to **Develop** and then **Data Store**. 2. Click the table's name from the list. 3. In the _Schema View_ section, click the ellipsis icon corresponding to the required column and click **Edit**. ![catalyst_search_data_store_edit](https://catalyst-docs-development.zohostratus.in/images/help/search/catalyst_search_data_store_edit.webp) 4. Enable the **Search Index** toggle switch. ![catalyst_search_data_store_update](https://catalyst-docs-development.zohostratus.in/images/help/search/catalyst_search_data_store_update.webp) 5. Click **Update**. This will initiate the indexing process. Once the indexing is complete, you will receive a notification in your console alerting you of its success or failure. After the column is indexed, it can be accessed by search queries from your application. You can check whether a column is search indexed from the _Schema View_ page. You can disable the _Search Index_ constraint for an existing column in the same way. > **Note:** The *Search Index* constraint is automatically disabled for the default column ROWID and automatically enabled for the other default columns (CREATORID, CREATEDTIME, and MODIFIEDTIME). You cannot modify these values. -------------------------------------------------------------------------------- title: "Benefits" description: "Catalyst provides a powerful, cost-effective search that queries volumes of records in your application's, Data Store and provides instant results." last_updated: "2026-11-03T07:48:52.000Z" source: "https://docs.catalyst.zoho.com/en/cloud-scale/help/search-integration/benefits/" service: "CloudScale" -------------------------------------------------------------------------------- ### Benefits 1. **Powerful and Efficient Search** Catalyst can execute the search process in the indexed columns of up to 25 tables per search query, returning up to 500 data records in a single instance. Additionally, this search process executes with minimal latency and provides the user with a quick response, no matter how big the database is. 2. **Cost-Effective** Catalyst search integration is highly cost effective as it eliminates the need for you to construct a search logic on your own. It reduces manual effort on your part, saving you a significant amount of time and investment in resources. Catalyst search provides a fail-safe mechanism with its powerful architecture for a substantially lower cost than most other services. 3. **Enhanced User Experience** Catalyst search allows data to be available in one place for the end users of your application when they execute the search query. Because of its high performance with reduced waiting time and response time, Catalyst search operations speed up the application performance significantly. This efficient feature therefore enhances the user experience for your application. 4. **Customizable Search Code Templates** Catalyst search code templates are highly useful and allow you to tailor them to suit your application's logic and design. You can build customized search operations with the code that Catalyst provides, such as searching for multiple columns of multiple tables in one query, searching for records that begin with a particular alphabet, sorting the search results, and more. Refer to the [Implementation section](https://docs.catalyst.zoho.com/en/cloud-scale/help/search-integration/implementation/) for more information. 5. **Auto Scaling** Catalyst servers can auto-scale to provide the required space and resources when the application load increases. They maintain the consistency of their performance and scale up the data tiers based on the application's fluctuating needs. Auto scaling ensures that your application stays reliable and it reduces app failures significantly. 6. **Fully-Managed Backend** You can implement Catalyst search without having to manage or handle its architecture directly. This saves you from handling the servers, setting up and configuring the environment, or manually customizing logic for your requirements. Zoho handles all the backend functionalities and takes care of all the behind-the-scenes activities. 7. **Ease of Access** As mentioned earlier, Catalyst search can easily be integrated into the application by copying a ready-made code template from the console. This template is available for all the programming environments. You can simply use the code template for the programming environment you used to develop the server-side functionalities in your application. -------------------------------------------------------------------------------- title: "Use Cases" description: "Catalyst provides a powerful, cost-effective search that queries volumes of records in your application's, Data Store and provides instant results." last_updated: "2026-11-03T07:48:52.000Z" source: "https://docs.catalyst.zoho.com/en/cloud-scale/help/search-integration/use-cases/" service: "CloudScale" -------------------------------------------------------------------------------- ### Use Cases Catalyst Search can be used in the following scenarios: * An e-commerce application that contains a search bar in the UI where the end users can search for a particular product. The user's single search query should be able to retrieve records from all available product categories in the inventory. The scope of the search is a vast area of the product database. These search queries with heavy loads can be processed quickly and efficiently using Catalyst search. The user receives the results of their search with minimal response time. * A contact directory application that requires to process customized search, such as sorting the search results based on a certain criteria or allowing the user to look up records starting with a particular alphabet, can implement Catalyst search. The customizable code allows the application developer to tailor Catalyst logic to suit their requirements. -------------------------------------------------------------------------------- title: "Implementation" description: "Catalyst provides a powerful, cost-effective search that queries volumes of records in your application's, Data Store and provides instant results." last_updated: "2026-11-03T07:48:52.000Z" source: "https://docs.catalyst.zoho.com/en/cloud-scale/help/search-integration/implementation/" service: "CloudScale" -------------------------------------------------------------------------------- # Implementation ### Access Code Templates The Catalyst console provides search integration code templates for **Node.js**, **Java**,**Python** and **Web.js** programming environments. ![catalyst_search](https://catalyst-docs-development.zohostratus.in/images/help/search/catalyst_search_updated.webp) To access the code template for search integration from the Catalyst console: 1. Navigate to **Amplify** and then **Search**. 2. Click the required programming environment tab. ![catalyst_search_copy](https://catalyst-docs-development.zohostratus.in/images/help/search/catalyst_search_copy_updated.webp) 3. Copy the code template from the code window and paste it in your application's source. The values for [ProjectID, Project Domain ID](https://docs.catalyst.zoho.com/en/getting-started/catalyst-projects/), and other unique identifiers are pre-populated in the code template for your application. You will need to replace the values of some variables in the code template. These variables are: * **${searchword}:** Indicates the keyword or keywords to search for * **${column\_name}:** Indicates the name of the indexed column to be searched * **${table\_name}:** Indicates the name of the table to be searched You must insert your application's logic, such as the processing and error logic, in the relevant parts of the code. These places are indicated by comments in the code template. When you implement the final code in your application, it will process search queries. ### Key Points to Remember Some key points about the functionalities of Catalyst search include: 1. You can search in multiple table names and column names for a record or a set of records by adding multiple values for _${column\_name}_ or _${table\_name}_. 2. You can search for a record by providing one or more keywords in _${searchword}_. If you perform a search for two or more keywords using spaces between them, the records for each keyword will be returned in the result set. For example, if you search for "Zylker Corporation", the search query returns will contain results that are relevant to either "Zylker" or "Corporation". 3. You can perform a search by specifying a character and ending with an asterisk (\*), to return all data records that start with the specified letter. For example, if you enter the value for the _${searchword}_ as "c\*", the search query will return all the records that begin with 'c'. 4. You can also sort the result set in ascending or descending order using _sortBy_. The _Enable Data Searching_ page also displays a list of all indexed columns in every table in the Data Store. ![catalyst_search_indexed_columns](https://catalyst-docs-development.zohostratus.in/images/help/search/catalyst_search_indexed_columns.webp) The columns are grouped into sections by table, and the DataType of the columns is also displayed for your ease of reference. ### Stratus -------------------------------------------------------------------------------- title: "Introduction" description: "Stratus is a robust cloud storage solution powered by Catalyst. You can store data of any format type in the form of buckets and objects." last_updated: "2026-11-03T10:01:15.000Z" source: "https://docs.catalyst.zoho.com/en/cloud-scale/help/stratus/introduction/" service: "CloudScale" related: - Create a Bucket (/en/cloud-scale/help/stratus/buckets/create-bucket/) - Java SDK (/en/sdk/java/v1/cloud-scale/stratus/overview/) - JavaScript SDK (/en/sdk/javascript/v1/cloudscale/stratus/overview/) - Python SDK (/en/sdk/python/v1/cloud-scale/stratus/overview/) - iOS SDK (/en/sdk/ios/v2/cloud-scale/stratus/overview/) - Android SDK (/en/sdk/android/v2/cloud-scale/stratus/overview/) - Flutter SDK (/en/sdk/flutter/v2/cloud-scale/stratus/overview/) - REST API (/en/api/code-reference/cloud-scale/stratus/get-all-buckets/#GetAllBuckets) -------------------------------------------------------------------------------- # Stratus ### Introduction Catalyst Stratus, a component of Catalyst CloudScale service, is a robust cloud storage solution that lets you store any type of data as objects within containers called buckets. With a simple upload, you can organize and manage these objects in the console using a familiar directory-like structure and easily perform upload or download operations. This storage infrastructure powered by Catalyst ensures high availability, scalability, and reliability for handling your application’s storage needs efficiently. A **Bucket** is your ideal storage container that can store an unlimited amount of objects, and can be referred to using a [*Bucket URL*](https://docs.catalyst.zoho.com/en/cloud-scale/help/stratus/buckets/create-bucket/#bucket-url). This URL will be generated by Stratus when you create the bucket. An **Object** is data of any format that is stored in the bucket. Stratus will generate an [*Object URL*](https://docs.catalyst.zoho.com/en/cloud-scale/help/stratus/objects/introduction/#object-url) when the Object is uploaded to the bucket. This URL will be unique to each object, and it can be used to access the objects in the bucket securely. ![catalyst_stratus_first_look](https://catalyst-docs-development.zohostratus.in/images/help/stratus/catalyst_stratus_first_look.webp) You can also access Stratus and control the data present in its buckets, through code using Catalyst SDKs. Stratus server SDKs are available in the following runtime: * [Java SDK](https://docs.catalyst.zoho.com/en/sdk/java/v1/cloud-scale/stratus/overview/) * [Node.js SDK](https://docs.catalyst.zoho.com/en/sdk/nodejs/v2/cloud-scale/stratus/overview/) * [Python SDK](https://docs.catalyst.zoho.com/en/sdk/python/v1/cloud-scale/stratus/overview/) Stratus Client SDKs are available in: * [Web SDK](https://docs.catalyst.zoho.com/en/sdk/web/v4/cloud-scale/stratus/overview/) * [Android SDK](https://docs.catalyst.zoho.com/en/sdk/android/v2/cloud-scale/stratus/overview/) * [iOS SDK](https://docs.catalyst.zoho.com/en/sdk/ios/v2/cloud-scale/stratus/overview/) * [Flutter SDK](https://docs.catalyst.zoho.com/en/sdk/flutter/v2/cloud-scale/stratus/overview/) You also have support to perform operations in Stratus using [REST APIs](https://docs.catalyst.zoho.com/en/api/code-reference/cloud-scale/stratus/get-all-buckets/#GetAllBuckets). ### Highlights In this help section, we'll go over some of the salient features of Stratus that make it the ideal cloud storage solution for your application's requirements. - **Third-party migration**: You can migrate the data stored in third-party storage platforms such as [*Amazon S3*](https://docs.catalyst.zoho.com/en/cloud-scale/help/stratus/third-party-migration/migrate-s3/) and [*Google Cloud Platform (GCP) Cloud Storage*](https://docs.catalyst.zoho.com/en/cloud-scale/help/stratus/third-party-migration/gcp/) to Stratus in a few simple steps. - **Complete cloud storage solution**: You can store objects of any file format in buckets. The data is stored in the form of [Buckets](https://docs.catalyst.zoho.com/en/cloud-scale/help/stratus/buckets/create-bucket/) and [Objects](https://docs.catalyst.zoho.com/en/cloud-scale/help/stratus/objects/introduction/), and each object will be stored and accessed using a unique URL. [Path support](https://docs.catalyst.zoho.com/en/cloud-scale/help/stratus/objects/introduction/#path) is also available for Stratus, and each object in a bucket can be stored in a specific path. - **Custom Permissions**: Using JSON code, you can provide [custom permissions](https://docs.catalyst.zoho.com/en/cloud-scale/help/stratus/stratus-permissions/#custom-permissions) for every individual object stored in the bucket. - You can optionally enable the following bucket settings: - **Versioning**: [Versioning](https://docs.catalyst.zoho.com/en/cloud-scale/help/stratus/stratus-config/general-settings/#versioning) allows you to store multiple versions of each object in the bucket, and every version of the object will be accessed and identified using a unique `version ID` generated by *Stratus*. - **Data Encryption**: If [Data Encryption](https://docs.catalyst.zoho.com/en/cloud-scale/help/stratus/stratus-config/general-settings/#data-encryption) is enabled, *Stratus* can perform both encryption at rest and encryption at flight for the objects. - **PII/ePHI**: The [PII/ePHI](https://docs.catalyst.zoho.com/en/cloud-scale/help/stratus/stratus-config/general-settings/#piiephi) setting has to be enabled to store confidential or personally identifiable information in a [HIPAA](https://docs.catalyst.zoho.com/en/compliance/hipaa/) compliant manner. Moreover, enabling this feature will log every access made to the objects, and these logs can be read in [Audit Logs](https://docs.catalyst.zoho.com/en/getting-started/set-up-a-catalyst-project/audit-logs/). - **Safety Scanning**: *Stratus* constantly scans for malware in the background. When the scans encounter malware, the user, admin, super admin, and the project owner will be notified about it via email, and the uploaded object is immediately and permanently deleted from the bucket. - **Multipart Upload Support**: *Stratus* supports multipart upload of an object. If you upload an object that is too large in size (for example, 2GB) then you have the option to define the smaller parts of your object to Catalyst using the multipart server ([Java](https://docs.catalyst.zoho.com/en/sdk/java/v1/cloud-scale/stratus/upload-object/#upload-an-object-using-multipart-operations), [Node.js](https://docs.catalyst.zoho.com/en/sdk/nodejs/v2/cloud-scale/stratus/upload-object/#upload-object-using-multipart), or [Python](https://docs.catalyst.zoho.com/en/sdk/python/v1/cloud-scale/stratus/upload-object/#upload-object-using-multipart)) SDKs, and client ([Web](https://docs.catalyst.zoho.com/en/sdk/web/v4/cloud-scale/stratus/upload-object/#mutlipart-upload)) SDKs, and perform uploads in a manner that minimizes the impact of network errors. You also get improved throughput as each part can be uploaded in parallel. If you do not define specific smaller parts of your object, Catalyst will by default split the object to smaller parts and upload it and fulfill your requirement. - **Download Using Transfer Manager**: Stratus supports download of large objects using Transfer Manager. This allows you to specify the start and end range of an object that you wish to download. For example, consider you have a file that is 4GB in size; you can choose to download a portion of the object, say 2GB, at one time by specifying the start and end byte range. The required range download can be performed using Catalyst server ([Java](https://docs.catalyst.zoho.com/en/sdk/java/v1/cloud-scale/stratus/download-object/#download-an-object-using-transfer-manager), [Node.js](https://docs.catalyst.zoho.com/en/sdk/nodejs/v2/cloud-scale/stratus/download-object/#download-an-object-using-transfer-manager), and [Python](https://docs.catalyst.zoho.com/en/sdk/python/v1/cloud-scale/stratus/download-object/#download-an-object-using-transfer-manager)) SDKs and client ([Web](https://docs.catalyst.zoho.com/en/sdk/web/v4/cloud-scale/stratus/download-object/#download-a-particular-part-of-the-object)) SDKs. -------------------------------------------------------------------------------- title: "Stratus Permissions" description: "Stratus is a robust cloud storage solution powered by Catalyst. You can store data of any format type in the form of buckets and objects." last_updated: "2026-11-03T07:48:52.000Z" source: "https://docs.catalyst.zoho.com/en/cloud-scale/help/stratus/stratus-permissions/" service: "CloudScale" related: - Create a Bucket (/en/cloud-scale/help/stratus/buckets/create-bucket/) - Java SDK (/en/sdk/java/v1/cloud-scale/stratus/overview/) - JavaScript SDK (/en/sdk/javascript/v1/cloudscale/stratus/overview/) - Python SDK (/en/sdk/python/v1/cloud-scale/stratus/overview/) - iOS SDK (/en/sdk/ios/v2/cloud-scale/stratus/overview/) - Android SDK (/en/sdk/android/v2/cloud-scale/stratus/overview/) - Flutter SDK (/en/sdk/flutter/v2/cloud-scale/stratus/overview/) - REST API (/en/api/code-reference/cloud-scale/stratus/get-all-buckets/#GetAllBuckets) -------------------------------------------------------------------------------- # Stratus Permissions ### Default Permission Template You can create a bucket with one of two types of default permission templates. ![catalyst_stratus_name_bucket](https://catalyst-docs-development.zohostratus.in/images/help/stratus/catalyst_stratus_name_bucket.webp) * **Authenticated Permission Template**: A bucket created using this default permission template will dictate that all the objects of your bucket can only be accessed by users that are authenticated on the client portal of your application. * **Public Permission Template**: A bucket created using this default permission template will allow any end-user on the internet to access the objects of your bucket without any authorization requirement. > **Note:** * Both the permission templates are default types that you have to select while you [create your bucket](https://docs.catalyst.zoho.com/en/cloud-scale/help/stratus/buckets/create-bucket/). These templates are editable, and you can also edit the permissions of individual objects stored in your bucket. * The permissions that are configured are only applicable to project users and not collaborators. * These permissions are meant to define the access level of end-users and not *Collaborators* or *Administrators*. You can define Collaborator's access level in the [Profiles & Permissions](https://docs.catalyst.zoho.com/en/getting-started/set-up-a-catalyst-project/profiles-and-permissions/) section. * Regardless of the permission template you have chosen, **upload** actions in the bucket can only be performed by **authenticated users**. ### Custom Permissions When you create a bucket, you are mandated to choose a default permission template- **Authenticated**, or **Public**. Based on your choice, a default permission template will be loaded, and your bucket will be created. In addition to this, regardless of the permission template you had chosen, you can **define the permissions of every individual object** or sub-directory as a whole using simple JSON code. ![catalyst_stratus_permisions_updating](https://catalyst-docs-development.zohostratus.in/images/help/stratus/catalyst_stratus_permisions_updating.webp) The default permission templates that will be loaded based on your choice are shown below: #### Default Authenticated Permission Template **Authenticated Permission Template** ```json { "rules": [ { "rule_id": "AuthenticatedBucket_Rule1", "condition": { "user": { "auth_type": "authenticated", "zuid": "*" } }, "allowed_actions": [ "GetObject" ], "paths": [ "vendorstats::/*" ], "effect": "allow" } ], "version": "v1" } ``` #### Default Public Permission Template **Authenticated Permission Template** ```json { "rules": [ { "rule_id": "PublicBucket", "condition": { "user": { "auth_type": "public" } }, "actions": [ "GetObject" ], "paths": [ "zylker-bucket-pubs::/*" ], "effect": "allow" } ], "version": "v1" } ``` To effectively edit both the permission templates and employ custom permissions, you need to familiarize yourself with the following JSON keys and their purpose:
JSON Key Name Purpose
`rules`
  • This is the JSON key where you configure your permissions
  • This key will contain all the rules you define for the objects present in the bucket
`rule_id`
  • This is a string that will contain the name of the rule you are going to define.
  • You need to name the rule in a manner you can uniquely identify it.
`effect`
  • This is a key where you can only enter one of two values: **allow** or **deny**
  • Based on the value, the rule will be to *allow* a specific user or users to perform an action, or to *deny* a specific user or users to deny an action.
  • The following behaviour is to be expected when you receive an access request that satisfies conditions present in more than one configured permission statement
    • Even if one matching statement has the effect as **deny** then the `deny` will override all **allow** statements.
    • For an **allow** effect to take place, then **at least one** statement with the matching condition should have its effect as `allow` and none of the statements should have effect as **deny**.
`allowed_actions`
  • This is a key to define the actions that can be performed on the object by the user.
  • The allowed actions are:
    • `GetObject`: To fetch the object data
    • `PutObject`: To create, write and update object data
    • `DeleteObject`: To delete object data
`paths`
  • This key will define the location path of an object.
  • You will be providing this value in standard file path format. The value needs to be provided as an array.
  • To denote **all the objects** present in a subdirectory or a bucket, you can use the asterisk '*' special character.
  • You can also use Dynamic Variables; `X_ZUID` and `X_ORGID` to define the path. These dynamic variables will hold the value of the **UserID**, and **OrgID** respectively. So, to use these dynamic variables you need to have defined your directories and objects with actual **UserID** and **OrgID** names. Please visit [this section](https://docs.catalyst.zoho.com/en/cloud-scale/help/stratus/stratus-permissions/#dynamic-variables) to learn more about defining your object path using Dynamic Variables.
`condition` This JSON key will define the conditions under which the actions need to occur.
`user` This JSON key will be used in the condition key to specify which user, or set of users, does the condition that is being defined apply to.
  • Will contain two other json keys: `auth_type` and `zuid`.
  • You can define the type of user using the `auth_type` json key
  • The `auth_type` will contain a default value when you create the bucket using a default permission template
  • The `auth_type` json key can only contain two values: "`public`" or "`authenticated`".
  • The `zuid` json key will be used to determine which users do the conditions apply to.
  • `zuid` can contain the special character asterisk "*" to mean all ZUIDs qualify for the condition, or can contain an array of ZUIDs to specify which users alone do the conditions apply to.
  • `org_details` is a JSON key that will accept a JSON object. The JSON object will be defined as a JSON key value pair, with the key as `zaaid`, and the value as an array of `zuid values`.
> **Note:** You can determine access based on user IDs either using `zuid values` JSON key-value pair or `org_details` JSON. You cannot use both to define user access.
`Operators` These are JSON keys that will help you in defining cases for the conditions to apply or not apply.
`string_equals` Dictate actions that need to occur if the string values are equal.
`string_not_equals` Define actions that need to occur if the string value does not match.
`string_equals_ignore_case` Define actions where the string value can match regardless of the case (upper/lower) that is used.
`string_not_equals_ignore_case` Define actions that need to occur if the string values do not match regardless of the case that is used.
`string_like` If part of the string value matches with the key you provide, then actions can be performed on the object.
`string_not_like` If part of the string value does not match with the key you provide, then actions can be performed on the object.
`ip_address` Define an action if the source of the request comes from a particular IP or IPs that you are allowing.
`not_ip_address` Define actions that should occur if the source of the request comes from IP or IPs that you are particularly halting.
`Condition Keys`
`referrer` This JSON key will contain the value of the complete URL where the action was requested. The value needs to be provided as an array. For example, let's say you have created a microservice and you have hosted it on [Catalyst AppSail](https://docs.catalyst.zoho.com/en/serverless/help/appsail/introduction/). The value of referrer will be the complete URL of this microservice, and the permission will be defined for actions pertaining to this microservice alone. This key will be used for the following operators:
  • `string_equals`
  • `string_not_equals`
  • `string_equals_ignore_case`
  • `string_not_equals_ignore_case`
  • `string_like`
  • `string_not_like`
`user_agent` This JSON key will contain the value of the source from which the request has been made. The value needs to be provided as an array. Whether the source of the request is an API, from a browser, or so on. This key will be used for the following operators:
  • `string_equals`
  • `string_not_equals`
  • `string_equals_ignore_case`
  • `string_not_equals_ignore_case`
  • `string_like`
  • `string_not_like`
`source_ip` This JSON key will contain the value of only publicly listed IP addresses. The value needs to be provided as an array. It will help you in defining a permission that allows, or denies actions from a particular IP. This key will be used for the following operators:
  • `ip_address`
  • `not_ip_address`
`version`
  • States the version of the permission template, and will hold the current version value - `v1`.
  • We strongly urge that you do not change the value of this key.
> **Note:** Ensure that you are using the **exact names for JSON keys** to define your permissions. ### Dynamic Variables You can use dynamic variables to define the object path while configuring permissions. During runtime, these variables will hold relevant values that define the path of the object. In Stratus, you can use the following dynamic variables to define your path: * `X_ZUID`: Will hold actual `UserIDs` during runtime. * `X_ORGID`: Will hold actual `OrgIDs` during runtime. > **Note:** For dynamic variables to work, you will need to create your object path with either `UserIDs` or `OrgIDs`, as the dynamic variables will only hold those values. **Syntax to Create Dynamic Variables** You have to employ the syntax shown below to use dynamic variables: "paths": ["bucket_name::/${var:X_ZUID}/*"] "paths": ["bucket_name::/${var:X_ORGID}/*"] > **Note:** * `paths`: Will hold the value of the path of the object * `bucket_name`: Will hold the value of the name of the bucket **Syntax to use Dynamic Variables** Let's look at the following example, where we define the path of the object using the `X_ZUID` dynamic variable **Define path using the X_ZUID dynamic variable** ```json { "version": "v1", "rules": [ { "rule_id": "Example rule to allow user to access the path which has their ZUID in the path", "condition": { "user": { "auth_type": "authenticated", "zuid": "*" } } } ], "effect": "allow", "allowed_actions": [ "GetObject" ], "paths": [ "bucketName::/${var:X_ZUID}" //Use the X_ORGID variable to define the path using OrgIDs ] } ``` > **Note:** * It is best to use dynamic variables in buckets where the permission template is set as `Authenticated` throughout. ### Examples Illustrating Custom Permissions Now, let's go over a few examples of custom permission templates that can be created to define permissions for an object or objects in a bucket. **Example 1** **Custom Permission Example** ```json { "version" : "v1", "rules" : [ { "rule_id" : "Example rule where all authenticated ZUID users can perform all actions on a particular object", "effect" : "allow", "allowed_actions" : ["GetObject", "PutObject", "DeleteObject"], "paths" : ["bucketName::/user/*", "bucketName::/document/readme.md"], "condition" : [ "user" : { "auth_type" : "authenticated", "zuid" : "*" } ] } ] } ``` From the above snippet, we can understand that: * The permission is configured for an **authenticated permission template** bucket * The permissions will be defined to allow users to perform `GetObject`, `PutObject`, and `DeleteObject` operations. * This permission is only applicable for all of the objects present in the `user/` path and it is applicable only for the `readme.md` object present in `document/` path in the bucket. * The permission is relevant for all *ZUID* present. Putting all this together, we can understand that the above permission is defined for all authenticated users to perform all actions on the **readme.md** object present in the `document/` path, and for all the objects present in the `user/` path. **Example 2** **Custom Permission Example** ```json { "version" : "v1", "rule" : [ { "rule_id" : "Example rule to allow user to access the path which has their ZUID in the path", "effect" : "allow", "allowed_actions" : ["GetObject"], "paths" : ["bucketName::/${var:X_Zuid}"], } ] } ``` From the above snippet, we can understand that: * The path name of the object is defined based on the *ZUID*, whose value will be attained dynamically during runtime. * The particular objects in the path will be allowed to perform the `GetObject` action on the object. Putting all this together, we can understand that the above permission is defined in a manner where a `GetObject` action will on the object whose name has to match the *ZUID* value that will be attained dynamically. **Example 3** **Custom Permission Example** ```json { "version" : "v1", "rule" : [ { "rule_id" : "Example rule to deny specific users from accessing all the objects present in a particular path", "effect" : "deny", "allowed_actions" : ["GetObject", "PutObject", "DeleteObject"], "paths" : ["bucketName::/denyPath/*"], "condition" : { "user" : { "auth_type" : "authenticated", "zuid" : ["123", "456", "789"] } } } ] } ``` From the above snippet, we can understand that: * The permission applies to what particular authenticated users whose *ZUIDs* are listed as an array. * The particular users cannot perform `GetObject`, `PutObject`, or `DeleteObject` actions on all objects present in the bucket. Putting all this together, we can understand that the above permission is defined for authenticated users with the mentioned *ZUIDs*. The mentioned users are not allowed to perform any actions on all objects present in the particular path. **Example 4** **Custom Permission Example** ```json { "version" : "v1", "rule" : [ { "rule_id" : "Example rule employing specific action for specific public paths in the bucket", "effect" : "allow", "allowed_actions" : ["GetObject"], "paths" : ["bucketName::/publicPath/*", "bucketName::/otherPath/otherPublicPath/*"], "condition" : { "user" : { "auth_type" : "public", } } }, { "rule_id" : "Example rule where specifc actions can be performed on objects present in specific authenticated path, and these actions can be performed by all authenticated users", "effect" : "allow", "allowed_actions" : ["GetObject", "PutObject", "DeleteObject"], "paths" : ["bucketName::/authenticatedUser/*", "bucketPath::/otherProtectedPath/*"], "condition" : { "user" : { "auth_type" : "authenticated", "zuid" : "*" } } } ] } ``` From the above snippet, we can understand that: * Two rules are being defined for this bucket. Specific paths in the bucket are listed as **public**, and specific paths in the bucket can only be accessed by **authenticated** users. * `GetObject` is the only action that can be performed on objects that fall under **public path**. However, for the objects that are in the **authenticated path**, and can be accessed by only *authenticated users*, the actions that are allowed to be performed on the authenticated path are `GetObject`, `PutObject`, and `DeleteObject`. Putting all this together, we can comprehend that the above permission is defined by two rules. The first rule defines a permission for a path, where all the objects present in the path can be accessed by anyone as it is *public*. `GetObject` only action that can be performed on the objects in the public path. In the second rule, all *authenticated users* can perform `GetObject`, `PutObject`, and `DeleteObject` actions on all objects listed in the *authenticated path*. **Example 5** **Custom Permission Example** ```json { "version" : "v1", "rules" : [ { "rule_id" : "RuleNumber1", "effect" : "allow", "allowed_actions" : ["GetObject", "PutObject"], "paths" : ["bucketname::/protectedpath/*"], "condition" : { "user" : { "auth_type" : "authenticated", "zuid" : "*" }, "string_equal" : { "user_agent" : ["Mozilla/5.0"], "referrer" : ["https://www.example.com", "https://www.example.com/get_user/"] }, "ip_address" : { "source_ip" : ["121.67.8.1"] } } }, { "rule_id" : "RuleNumber2", "effect" : "deny", "allowed_actions" : ["GetObject"], "paths" : ["bucketname::/denypath/*"], "condition" : { "user" : { "auth_type" : "authenticated" }, "string_like" : { "user_agent" : ["PostmanRuntime/7.39.0"] } } }, { "rule_id" : "RuleNumber3", "effect" : "allow", "allowed_actions" : ["PutObject"], "paths" : ["bucketname::/uploadhere/*"], "condition" : { "user" : { "auth_type" : "authenticated", "org_details" : { "zaaid" : ["12096000001275047", "12096000001278879"] } }, "not_ip_address" : { "source_ip" : ["122.23.44.19"] } } } ] } ``` From the above snippet, we can understand that three rules have been defined- `RuleNumber1`, `RuleNumber2`, and `RuleNumber3`. - `RuleNumber1` - Object access is only possible if the IP addresses of the system that are attempting access match the values listed in `source_ip` in the `ip_address` JSON. - Object access is only possible by users whose `zaaid` (*User IDs*) matches the ones listed in the `org_details` JSON. - Object access is only possible if the access attempt is made by a Mozilla browser from the web, and only if the access request originates from the mentioned `referrers`. - The rule is defined for all **authenticated users**. - If the access request satisfies all the above mentioned conditions, then only `GetObject` and `PutObject` actions are permitted to occur in the defined path. - `RuleNumber2` - The rule is defined for an authenticated user that attempts an access request with `user_agent` is **Postman** (request was made using [Postman API platform](https://www.postman.com/)). - In the defined path, such a user will be denied access to perform `GetObject` operation. - `RuleNumber3` - The rule is defined in a manner where it is applicable, if the request was made from any IP address except the one mentioned in `source_ip` in the `not_ip_address` JSON. - The rule is applicable for only **authenticated users** and specifically to the users whose `zaaid` are defined in `org_details` JSON. - If the user attempts an access request satisfying all the above mentioned conditions, then they are allowed to perform a `PutObject` in the defined path. ### Configure Custom Permissions for Objects Stored in a Bucket To set custom permissions: 1. Select the required bucket from the list. ![catalyst_stratus_permissions_selectiomn_button](https://catalyst-docs-development.zohostratus.in/images/help/stratus/catalyst_stratus_permissions_selectiomn_button.webp) 2. You will be directed to the *Bucket Permissions* tab. Click **Edit Permission**. ![catalyst_stratus_buckets_permissions_section_tab](https://catalyst-docs-development.zohostratus.in/images/help/stratus/catalyst_stratus_buckets_permissions_section_tab.webp) 3. Edit the permissions according to your requirements, then click **Update** to confirm your changes. ![catalyst_stratus_permisions_updating](https://catalyst-docs-development.zohostratus.in/images/help/stratus/catalyst_stratus_permisions_updating.webp) The permissions will be applied according to your configurations. > **Note:** Refer to this [help documentation](https://docs.catalyst.zoho.com/en/cloud-scale/help/stratus/stratus-permissions/#custom-permissions) to learn more about custom permissions. #### Buckets -------------------------------------------------------------------------------- title: "Introduction" description: "Stratus is a robust cloud storage solution powered by Catalyst. You can store data of any format type in the form of buckets and objects." last_updated: "2026-11-03T07:48:52.000Z" source: "https://docs.catalyst.zoho.com/en/cloud-scale/help/stratus/buckets/name-bucket/" service: "CloudScale" related: - Create a Bucket (/en/cloud-scale/help/stratus/buckets/create-bucket/) - Java SDK (/en/sdk/java/v1/cloud-scale/stratus/overview/) - JavaScript SDK (/en/sdk/javascript/v1/cloudscale/stratus/overview/) - Python SDK (/en/sdk/python/v1/cloud-scale/stratus/overview/) - iOS SDK (/en/sdk/ios/v2/cloud-scale/stratus/overview/) - Android SDK (/en/sdk/android/v2/cloud-scale/stratus/overview/) - Flutter SDK (/en/sdk/flutter/v2/cloud-scale/stratus/overview/) - REST API (/en/api/code-reference/cloud-scale/stratus/get-all-buckets/#GetAllBuckets) -------------------------------------------------------------------------------- # Buckets A **Bucket** is essentially the root container that you create to store your data. The data that is stored in buckets is called [**Objects**](https://docs.catalyst.zoho.com/en/cloud-scale/help/stratus/objects/introduction/). You can create multiple [*paths*](https://docs.catalyst.zoho.com/en/cloud-scale/help/stratus/objects/introduction/#path) in the bucket and store an unlimited amount of objects. The navigation on these paths is quite similar to a conventional directory structure. > **Note:** * You can create up to **10 buckets** per Catalyst project. * While there is no limit to the size of the bucket, the maximum size of a single object that can be uploaded at one time is **250GB**. You can store **multiple objects of 250GB in a single bucket**. ### Ideal Practices to Name a Bucket The bucket's name will act as the **domain name** in the [Bucket URL](https://docs.catalyst.zoho.com/en/cloud-scale/help/stratus/buckets/create-bucket/#bucket-url). Therefore, it is mandatory that you create a Bucket with a name that is globally unique with respect to your [DC](https://docs.catalyst.zoho.com/en/api/introduction/multi-dc-support/#Multi-DCSupport) and not only unique to your Catalyst projects or your account. > **Note:** Ensure you read this document in its entirety. It is vital for you to comprehend this content thoroughly to successfully name and create your bucket. Here are a few naming practices to be mindful of while naming your bucket: * The bucket name should contain a minimum of **3** characters and a maximum of **50** characters. It can only consist of alphanumeric characters. No special characters apart from hyphen "`-`" is allowed. * While the special character hyphen "`-`" is permitted to be used to name your buckets, you cannot start or end your bucket name with a hyphen. * You cannot **end your bucket name** with the suffix **-development**. * You are **not permitted** to name your bucket **starting with the reserved keyword: `x-zc-`**. However, this sequence of characters can be used in between to name your bucket. * Avoid using uppercase characters to name your bucket. * It is strongly urged that you do not use personally identifiable information, such as part of your name or ID number, to name your bucket. * It is strongly urged that you do not name your bucket with names or terms that are identifiable to popular brands with which you have no association or authorization to use. * Bucket name cannot contain any notations of IP addresses or in the dot-decimal, snake case formats. **Examples of Valid Bucket Names:** * xyz2-bucket * sto123rage-supreme * enterprise-trek -------------------------------------------------------------------------------- title: "Create a Bucket" description: "Stratus is a robust cloud storage solution powered by Catalyst. You can store data of any format type in the form of buckets and objects." last_updated: "2026-11-03T07:48:52.000Z" source: "https://docs.catalyst.zoho.com/en/cloud-scale/help/stratus/buckets/create-bucket/" service: "CloudScale" related: - Configure Custom Permissions (/en/cloud-scale/help/stratus/stratus-permissions/#custom-permissions) - Initiate Migration from Third-party Cloud Platform to Stratus (/en/cloud-scale/help/stratus/third-party-migration/introduction/) - Configure Bucket Settings (/en/cloud-scale/help/stratus/stratus-config/general-settings/) - Java SDK (/en/sdk/java/v1/cloud-scale/stratus/overview/) - JavaScript SDK (/en/sdk/javascript/v1/cloudscale/stratus/overview/) - Python SDK (/en/sdk/python/v1/cloud-scale/stratus/overview/) - iOS SDK (/en/sdk/ios/v2/cloud-scale/stratus/overview/) - Android SDK (/en/sdk/android/v2/cloud-scale/stratus/overview/) - Flutter SDK (/en/sdk/flutter/v2/cloud-scale/stratus/overview/) - REST API (/en/api/code-reference/cloud-scale/stratus/get-all-buckets/#GetAllBuckets) -------------------------------------------------------------------------------- # Create a Bucket Before you perform any upload or migration action, you need to create a bucket to store the objects. To create a bucket: 1. Navigate to **Stratus** under *STORAGE* in the CloudScale service's console, then click **Create Bucket**. ![catalyst_stratus_empty_first_page](https://catalyst-docs-development.zohostratus.in/images/help/stratus/catalyst_stratus_empty_first_page.webp) > **Note:** If you are currently using third-party platform storage services like **Amazon S3**, or **GCP Cloud Storage**, you can migrate your data from there to Stratus using the **Third-Party Migration option**. You can find detailed steps to successfully migrate your stored data from third-party platforms to Stratus in this [help documentation](https://docs.catalyst.zoho.com/en/cloud-scale/help/stratus/third-party-migration/introduction/). 2. Provide a name for your bucket. ![catalyst_stratus_permission_template](https://catalyst-docs-development.zohostratus.in/images/help/stratus/catalyst_stratus_permission_template.webp) > **Note:** The name of your bucket needs to be **globally unique**. The methodology that needs to be followed while you name your bucket can be found in this [help documentation](https://docs.catalyst.zoho.com/en/cloud-scale/help/stratus/buckets/name-bucket/#ideal-practices-to-name-a-bucket). 3. Select your required permission template. ![catalyst_stratus_name_bucket](https://catalyst-docs-development.zohostratus.in/images/help/stratus/catalyst_stratus_name_bucket.webp) > **Note:** * Regardless of the permission template that you choose now, it can be edited to suit your requirement after bucket creation. * You can find out more about the default permission template in this [help section](https://docs.catalyst.zoho.com/en/cloud-scale/help/stratus/stratus-permissions/#default-permission-template). * This selection is only to create a bucket with a *default permission template*. You can find detailed instructions on providing custom permissions for individual objects or groups of objects in this [help section](https://docs.catalyst.zoho.com/en/cloud-scale/help/stratus/stratus-permissions/#custom-permissions). 4. Enable the required settings according to your requirements. ![catalyst_stratus_enabling_settings](https://catalyst-docs-development.zohostratus.in/images/help/stratus/catalyst_stratus_enabling_settings.webp) > **Note:** Information on each of the settings, and information on when and if they should be enabled, can be found in this [help section](https://docs.catalyst.zoho.com/en/cloud-scale/help/stratus/stratus-config/general-settings/). 5. Once you've confirmed your choices, click **Create**. ![catalyst_stratus_bucket_created](https://catalyst-docs-development.zohostratus.in/images/help/stratus/catalyst_stratus_bucket_created.webp) The **Bucket URL** will also be automatically generated by Catalyst and made available when you create the bucket. You can access the bucket securely using this URL. The *Bucket URL* of each bucket will always be available for copying by clicking the **Bucket URL** button. ![catalyst_stratus_copy_bucket_url](https://catalyst-docs-development.zohostratus.in/images/help/stratus/catalyst_stratus_copy_bucket_url.webp) ### Bucket URL This is a unique URL that is generated by Catalyst when you create a Bucket. The URL will be in the following format: In [development environment](https://docs.catalyst.zoho.com/en/deployment-and-billing/environments/development-environment/): **https://-development.zohostratus.com/** In [production environment](https://docs.catalyst.zoho.com/en/deployment-and-billing/environments/production-environment/): **https://.zohostratus.com/** This URL will be globally unique, and access to the bucket via this URL will be permitted based on the permission template you configure for the bucket. *Bucket URLs* will also be generated based on their **DC**, and the following illustrates the Bucket URL structure for each of the DCs that are supported by Catalyst.
Supported DCs Bucket URL Structure in Development Environment Bucket URL Structure in Production Environment
US https://<bucket_name>-development.zohostratus.com https://<bucket_name>.zohostratus.com
EU https://<bucket_name>-development.zohostratus.eu https://<bucket_name>.zohostratus.eu
IN https://<bucket_name>-development.zohostratus.in https://<bucket_name>.zohostratus.in
AU https://<bucket_name>-development.zohostratus.com.au https://<bucket_name>.zohostratus.com.au
CA https://<bucket_name>-development.zohostratus.ca https://<bucket_name>.zohostratus.ca
-------------------------------------------------------------------------------- title: "Delete a Bucket" description: "Stratus is a robust cloud storage solution powered by Catalyst. You can store data of any format type in the form of buckets and objects." last_updated: "2026-11-03T07:48:52.000Z" source: "https://docs.catalyst.zoho.com/en/cloud-scale/help/stratus/buckets/delete-bucket/" service: "CloudScale" related: - Create a Bucket (/en/cloud-scale/help/stratus/buckets/create-bucket/) - Java SDK (/en/sdk/java/v1/cloud-scale/stratus/overview/) - JavaScript SDK (/en/sdk/javascript/v1/cloudscale/stratus/overview/) - Python SDK (/en/sdk/python/v1/cloud-scale/stratus/overview/) - iOS SDK (/en/sdk/ios/v2/cloud-scale/stratus/overview/) - Android SDK (/en/sdk/android/v2/cloud-scale/stratus/overview/) - Flutter SDK (/en/sdk/flutter/v2/cloud-scale/stratus/overview/) - REST API (/en/api/code-reference/cloud-scale/stratus/get-all-buckets/#GetAllBuckets) -------------------------------------------------------------------------------- # Delete a Bucket You can only delete one bucket at a time. If you delete a bucket, all the objects present in the bucket will be deleted permanently. > **Note:** If you delete a bucket, the name used for the bucket will become publicly available for use for all Catalyst users. You cannot immediately name another bucket with the same name of a bucket that is being deleted. The name will only be available after an indeterminate yet short time interval. To delete a bucket: 1. Select the required bucket from the bucket list, click the **ellipsis icon** corresponding to the selected bucket, then click **Delete**. ![catalyst_stratus_delete_bucket_choice](https://catalyst-docs-development.zohostratus.in/images/help/stratus/catalyst_stratus_delete_bucket_choice.webp) 2. Enter the bucket name in the input field and click **Confirm**. ![catalyst_stratus_bucket_delete_confirm](https://catalyst-docs-development.zohostratus.in/images/help/stratus/catalyst_stratus_bucket_delete_confirm.webp) The bucket will be deleted. #### Objects -------------------------------------------------------------------------------- title: "Objects & Its Associated Elements" description: "Stratus is a robust cloud storage solution powered by Catalyst. You can store data of any format type in the form of buckets and objects." last_updated: "2026-11-03T07:48:52.000Z" source: "https://docs.catalyst.zoho.com/en/cloud-scale/help/stratus/objects/introduction/" service: "CloudScale" related: - Create a Bucket (/en/cloud-scale/help/stratus/buckets/create-bucket/) - Upload an Object (/en/cloud-scale/help/stratus/objects/upload-object/) - Object Versioning (/en/cloud-scale/help/stratus/stratus-config/general-settings/#versioning) - Java SDK (/en/sdk/java/v1/cloud-scale/stratus/overview/) - JavaScript SDK (/en/sdk/javascript/v1/cloudscale/stratus/overview/) - Python SDK (/en/sdk/python/v1/cloud-scale/stratus/overview/) - iOS SDK (/en/sdk/ios/v2/cloud-scale/stratus/overview/) - Android SDK (/en/sdk/android/v2/cloud-scale/stratus/overview/) - Flutter SDK (/en/sdk/flutter/v2/cloud-scale/stratus/overview/) - REST API (/en/api/code-reference/cloud-scale/stratus/get-all-buckets/#GetAllBuckets) -------------------------------------------------------------------------------- # Objects Objects are the data you store in buckets. Objects can be of any format type, and each of them can be accessed using an **Object URL** generated by Stratus. ![catalyst_stratus_object_view](https://catalyst-docs-development.zohostratus.in/images/help/stratus/catalyst_stratus_object_view.webp) ### Object URL This is a unique URL generated by Stratus to uniquely identify and securely access the object you upload to a bucket. ![catalyst_stratus_object_view_urls](https://catalyst-docs-development.zohostratus.in/images/help/stratus/catalyst_stratus_object_view_urls.webp) If you have enabled [Versioning](https://docs.catalyst.zoho.com/en/cloud-scale/help/stratus/stratus-config/general-settings/#versioning) for your bucket, then you can access each version of the object by using query params in the **Object URL** in a key value format. `versionId` being the key and the value being the string value generated by Stratus when you upload a version of the object. The Object URL will be in the following formats: * In [development environment](https://docs.catalyst.zoho.com/en/deployment-and-billing/environments/development-environment/): **https://<bucket-name>-development.zohostratus.com/<object-name>** For example: **https://mappedsample-development.zohostratus.com/Archive.zip** * In [production environment](https://docs.catalyst.zoho.com/en/deployment-and-billing/environments/production-environment/): **https://<bucket-name>.zohostratus.com/<object-name>** For example: **https://mappedsample.zohostratus.com/Archive.zip** * With **Versioning** enabled: **https://<bucket-name>-development.zohostratus.com/<object-name>?versionid={versionid}** For example: **https://mappedsample-development.zohostratus.com/Archive.zip?versionid=1233487326** > **Note:** Object URLs' structures are subject to change based on the **DCs** they are created in a similar manner to [Bucket URLs](https://docs.catalyst.zoho.com/en/cloud-scale/help/stratus/buckets/create-bucket/#bucket-url). ### Path Path is the location of an object in the bucket. When you create a bucket and upload objects in it, their path is created in the standard directory format. ![catalyst_stratus_object_view_path](https://catalyst-docs-development.zohostratus.in/images/help/stratus/catalyst_stratus_object_view_path.webp) For example, imagine you create a bucket named "**MyPictures**". You can either create sub-paths in the bucket and store the objects in them, or directly store the objects. In this example, there is a sub-path with the name "**puppies**", and this path has an object named "**border_collie.jpeg**". The object is stored in the following path: **MyPictures/puppies/border_collie.jpeg** > **Note:** * A path can **never be empty**. It will either contain further paths to hold objects, or objects itself. * The following characters including space are not supported when you create a path or an object: double quote, both angular brackets, hashtag, backward slash and pipe symbol. * The path name and the object name should not start with a space character or a special character. ### Metadata ![catalyst_stratus_objects_view_meta_info](https://catalyst-docs-development.zohostratus.in/images/help/stratus/catalyst_stratus_objects_view_meta_info.webp) * You can provide custom information about the object in key value pair format using the Metadata option. * You can use alphanumeric, underscores, or whitespace characters, as well as hyphens, to write your metadata. No other special character is allowed other than the ones mentioned. * You can fetch the metadata of an object using the `HEAD` request method. In the response, the metadata will be listed in the key '`x-user-meta`'. * The maximum size limit of characters allowed for the overall metadata is **2047** characters. The character count used to determine the size limit also includes the colon ":" special character used to define the key value pair. -------------------------------------------------------------------------------- title: "Upload an Object to a Bucket" description: "Stratus is a robust cloud storage solution powered by Catalyst. You can store data of any format type in the form of buckets and objects." last_updated: "2026-11-03T07:48:52.000Z" source: "https://docs.catalyst.zoho.com/en/cloud-scale/help/stratus/objects/upload-object/" service: "CloudScale" related: - Create a Bucket (/en/cloud-scale/help/stratus/buckets/create-bucket/) - Object Versioning (/en/cloud-scale/help/stratus/stratus-config/general-settings/#versioning) - Java SDK (/en/sdk/java/v1/cloud-scale/stratus/upload-object/) - JavaScript SDK (/en/sdk/javascript/v1/cloudscale/stratus/upload-object/) - Python SDK (/en/sdk/python/v1/cloud-scale/stratus/upload-object/) - iOS SDK (/en/sdk/ios/v2/cloud-scale/stratus/upload-object/) - Android SDK (/en/sdk/android/v2/cloud-scale/stratus/upload-object/) - Flutter SDK (/en/sdk/flutter/v2/cloud-scale/stratus/upload-object/) - REST API (/en/api/code-reference/cloud-scale/stratus/upload-object/#UploadObject) -------------------------------------------------------------------------------- # Upload an Object to a Bucket An object can be data in any format. You can upload it directly from your local system using a directory structure customizable per your requirement. > **Note:** When you upload an object, make sure its name is unique to its current path. **Using the Console** To upload an object or a group of objects: 1. Click the **Upload** button and choose **Upload Folder** if you wish to upload an entire folder with all of its objects, or **Upload File** if you wish to upload a select group of objects or just one object. ![catalyst_stratus_upload_choice](https://catalyst-docs-development.zohostratus.in/images/help/stratus/catalyst_stratus_upload_choice.webp) 2. If you choose to upload: Select the required folder from your local system and click **Upload**. ![catalyst_startus_upload_folder](https://catalyst-docs-development.zohostratus.in/images/help/stratus/catalyst_startus_upload_folder.webp) The folder will be uploaded with all its contents. ![catalyst_stratus_upload_folder_action_complete](https://catalyst-docs-development.zohostratus.in/images/help/stratus/catalyst_stratus_upload_folder_action_complete.webp) Click the uploaded directory to confirm it contains all the objects it contained in the local system. ![catalyst_stratus_all_uploaded_folder_action](https://catalyst-docs-development.zohostratus.in/images/help/stratus/catalyst_stratus_all_uploaded_folder_action.webp) **File** Select the file, or files from your local system to upload, and click **Open**. ![catalyst_stratus_object_upload_file_inprog](https://catalyst-docs-development.zohostratus.in/images/help/stratus/catalyst_stratus_object_upload_file_inprog.webp) The files will be uploaded. ![catalyst_stratus_object_uploaded_console](https://catalyst-docs-development.zohostratus.in/images/help/stratus/catalyst_stratus_object_uploaded_console.webp) ### Upload Object Using Path You can also upload objects to the bucket using the **Create Path** option. ![catalyst_stratus_create_path_button_highlit](https://catalyst-docs-development.zohostratus.in/images/help/stratus/catalyst_stratus_create_path_button_highlit.webp) > **Note:** The path option is best used when you wish to store one or more objects in a particular path in the bucket. You can find out more about the path from this [help documentation](https://docs.catalyst.zoho.com/en/cloud-scale/help/stratus/objects/introduction/#path). 1. Click the **Create Path** button. ![catalyst_stratus_showcase](https://catalyst-docs-development.zohostratus.in/images/help/stratus/catalyst_stratus_showcase.webp) 2. Provide your required path using the forward slash '`/`' special character as the directory separator. ![catalyst_stratus_slash_path_show](https://catalyst-docs-development.zohostratus.in/images/help/stratus/catalyst_stratus_slash_path_show.webp) 3. Click the **upload-icon** and select the required object in your local system and click **Open** to upload. ![catalyst_stratus_object_upload_in_path_show](https://catalyst-docs-development.zohostratus.in/images/help/stratus/catalyst_stratus_object_upload_in_path_show.webp) The entered path will be created and can be navigated in a manner you would a conventional directory. ![catalyst_stratus_obj_created_in_path](https://catalyst-docs-development.zohostratus.in/images/help/stratus/catalyst_stratus_obj_created_in_path.webp) **Using SDK** The following SDK method enables you to upload an object to the bucket: **Server SDK** **Java SDK** > **Note:** Visit this [help document](https://docs.catalyst.zoho.com/en/sdk/java/v1/cloud-scale/stratus/upload-object/) for more information on this SDK method. **Ensure the following packages are imported:** ```java import com.zc.component.stratus.beans.ZCPutObjectOptions; import java.nio.file.Path; import java.nio.file.Files; import java.nio.file.StandardCopyOption; import java.io.*; ``` ```java InputStream file =new FileInputStream("filePath"); Boolean res = bucket.putObject("objectName", file); System.out.println(res); ``` **Node.js SDK** > **Note:** Visit this [help document](https://docs.catalyst.zoho.com/en/sdk/nodejs/v2/cloud-scale/stratus/upload-object/) for more information on this SDK method. ```javascript // create a read stream for upload the object const file = fs.createReadStream("file_path"); // call the upload method const res = await bucket.putObject("object_name", file); console.log(res); ``` **Python SDK** > **Note:** Visit this [help document](https://docs.catalyst.zoho.com/en/sdk/python/v1/cloud-scale/stratus/upload-object/) for more information on this SDK method. ```python file = open('file_path','rb') res = bucket.put_object('object_name',file) print(res) ``` **Client & Mobile SDK** **Web SDK** > **Note:** Visit this [help document](https://docs.catalyst.zoho.com/en/sdk/web/v4/cloud-scale/stratus/upload-object/) for more information on this SDK method. ```javascript const putObject = stratus.putObject("{object_name}","{File}", "{options}", "{processCallback}"); const putObjectStart = putObject.start(); // to start the request const putObjectAbort = putObject.abort(); // to abort the request ``` **iOS SDK** > **Note:** Visit this [help document](https://docs.catalyst.zoho.com/en/sdk/ios/v2/cloud-scale/stratus/upload-object/) for more information on this SDK method. ```bash bucketInstance.upload( filePath : "{file_path}", fileName : "{file_name}", shouldCompress : true ) { error in if let error = error { print("Error : \( error )") return } print("Uploaded Successfully") } ``` **Android SDK** > **Note:** Visit this [help document](https://docs.catalyst.zoho.com/en/sdk/android/v2/cloud-scale/stratus/upload-object/) for more information on this SDK method. ```bash bucketIntance.uploadObject("/Desktop", "Helplinecard.jpeg", true, { println(" >> Object Upload Success -$it") }, { println(" >> Object Upload Failed -$it") }, progress = { bytesWritten, contentLength, percentage -> println("Percentage: $percentage") } ) ``` **Flutter SDK** > **Note:** Visit this [help document](https://docs.catalyst.zoho.com/en/sdk/flutter/v2/cloud-scale/stratus/upload-object/) for more information on this SDK method. ```bash try{ XFile? imageFile = await pickImage(ImageSource.gallery); var bucket = stratus.bucket("testing"); var response = await bucket.uploadObject(imageFile!.path); print("Upload Status: ${response.statusCode}"); } on ZCatalystException catch (ex) { print(ex.toString()); } ``` > **Note:** Stratus constantly scans for malware in the background. When the scans encounter malware, the user, admin, super admin, and project owner will be notified of the malware, and the uploaded object is immediately and permanently deleted from the bucket. ##### Handle Stored Objects -------------------------------------------------------------------------------- title: "Manage a Stored Object" description: "Stratus is a robust cloud storage solution powered by Catalyst. You can store data of any format type in the form of buckets and objects." last_updated: "2026-11-03T07:48:52.000Z" source: "https://docs.catalyst.zoho.com/en/cloud-scale/help/stratus/objects/manage-object/manage-stored-object/" service: "CloudScale" related: - Create a Bucket (/en/cloud-scale/help/stratus/buckets/create-bucket/) - Upload an Object (/en/cloud-scale/help/stratus/objects/upload-object/) - Object Versioning (/en/cloud-scale/help/stratus/stratus-config/general-settings/#versioning) - Java SDK (/en/sdk/java/v1/cloud-scale/stratus/overview/) - JavaScript SDK (/en/sdk/javascript/v1/cloudscale/stratus/overview/) - Python SDK (/en/sdk/python/v1/cloud-scale/stratus/overview/) - iOS SDK (/en/sdk/ios/v2/cloud-scale/stratus/overview/) - Android SDK (/en/sdk/android/v2/cloud-scale/stratus/overview/) - Flutter SDK (/en/sdk/flutter/v2/cloud-scale/stratus/overview/) - REST API (/en/api/code-reference/cloud-scale/stratus/get-all-buckets/#GetAllBuckets) -------------------------------------------------------------------------------- # Manage a Stored Object Click any of the stored objects in your bucket. ![catalyst_stratus_object_details](https://catalyst-docs-development.zohostratus.in/images/help/stratus/catalyst_stratus_object_details.webp) You will be able to perform the following operations on the object: * View general details, such as the *name*, *size*, *modified time*, and *format* of the object. * You can access the object directly using the secure [Object URL](https://docs.catalyst.zoho.com/en/cloud-scale/help/stratus/objects/introduction/#object-url). This URL can be copied and used in your code to satisfy your requirement. * If you have enabled [Versioning](https://docs.catalyst.zoho.com/en/cloud-scale/help/stratus/stratus-config/general-settings/#versioning), you can view all the versions of the object present in the bucket. * [Provide Custom Meta Data](https://docs.catalyst.zoho.com/en/cloud-scale/help/stratus/objects/manage-object/manage-stored-object/#provide-custom-meta-data-for-an-object) for the object. * [Download the object](https://docs.catalyst.zoho.com/en/cloud-scale/help/stratus/objects/manage-object/download-object/) * [Delete the Object](https://docs.catalyst.zoho.com/en/cloud-scale/help/stratus/objects/manage-object/delete-object/) ### Provide Custom Meta Data for an Object To provide meta data for your object: > **Note:** The maximum size limit of characters allowed for the overall metadata is **2047** characters. The character count used to determine the size limit also includes the colon “`:`” special character used to define the key value pair. **Using the Console** 1. Click the required object. ![catalyst_stratus_obj_created_in_path](https://catalyst-docs-development.zohostratus.in/images/help/stratus/catalyst_stratus_obj_created_in_path.webp) 2. Click the **Add Meta** button. ![catalyst_stratus_adding_meta](https://catalyst-docs-development.zohostratus.in/images/help/stratus/catalyst_stratus_adding_meta.webp) 3. The meta data you provide will be rendered and applied to the object in a **JSON key value format**. Click **Save** once you have completed adding the required data. ![catalyst_stratus_adding_custom_meta](https://catalyst-docs-development.zohostratus.in/images/help/stratus/catalyst_stratus_adding_custom_meta.webp) Your custom meta data will be added to the object. ![catalyst_stratus_meta_data_added_completed](https://catalyst-docs-development.zohostratus.in/images/help/stratus/catalyst_stratus_meta_data_added_completed.webp) **Using Catalyst SDK** **Java SDK** > **Note:** Visit this [help document](https://docs.catalyst.zoho.com/en/sdk/java/v1/cloud-scale/stratus/put-object-meta/) for more information on this SDK method. **Ensure the following packages are imported:** ```java import org.json.simple.JSONObject; ``` ```java HashMap<String, String> objectMeta = new HashMap<>(); objectMeta.put("key1", "value1"); objectMeta.put("key2", "value2"); JSONObject res = object.putMeta(objectMeta); System.out.println(res); ``` **Node.js SDK** > **Note:** Visit this [help document](https://docs.catalyst.zoho.com/en/sdk/nodejs/v2/cloud-scale/stratus/put-object-meta/) for more information on this SDK method. ```javascript const objectMeta = { "key1": "value1" , "key2": "value2" }; const objMeta = await objectIns.putMeta(objectMeta); console.log(objMeta); ``` **Python SDK** > **Note:** Visit this [help document](https://docs.catalyst.zoho.com/en/sdk/python/v1/cloud-scale/stratus/put-object-meta/) for more information on this SDK method. ```python res = object_ins.put_meta({'author': 'Amelia Burrows'}) print(res) ``` ### Edit Custom Meta Data To edit the custom meta data: 1. Click **Modify Meta**. ![catalyst_stratus_modifyingmeta](https://catalyst-docs-development.zohostratus.in/images/help/stratus/catalyst_stratus_modifyingmeta.webp) 2. Make the required changes and click **Save**. ![catalyst_stratus_modify_meta_save](https://catalyst-docs-development.zohostratus.in/images/help/stratus/catalyst_stratus_modify_meta_save.webp) The changes will be applied. ![catalyst_stratus_modified_custom_meta_complete](https://catalyst-docs-development.zohostratus.in/images/help/stratus/catalyst_stratus_modified_custom_meta_complete.webp) -------------------------------------------------------------------------------- title: "Download an Object From Bucket" description: "Stratus is a robust cloud storage solution powered by Catalyst. You can store data of any format type in the form of buckets and objects." last_updated: "2026-11-03T15:41:32.000Z" source: "https://docs.catalyst.zoho.com/en/cloud-scale/help/stratus/objects/manage-object/download-object/" service: "CloudScale" related: - Create a Bucket (/en/cloud-scale/help/stratus/buckets/create-bucket/) - Upload an Object (/en/cloud-scale/help/stratus/objects/upload-object/) - Object Caching (/en/cloud-scale/help/stratus/stratus-config/general-settings/) - Object Versioning (/en/cloud-scale/help/stratus/stratus-config/general-settings/#versioning) - Java SDK (/en/sdk/java/v1/cloud-scale/stratus/download-object/) - JavaScript SDK (/en/sdk/javascript/v1/cloudscale/stratus/download-object/) - Python SDK (/en/sdk/python/v1/cloud-scale/stratus/download-object/) - iOS SDK (/en/sdk/ios/v2/cloud-scale/stratus/download-object/) - Android SDK (/en/sdk/android/v2/cloud-scale/stratus/download-object/) - Flutter SDK (/en/sdk/flutter/v2/cloud-scale/stratus/download-object/) - REST API (/en/api/code-reference/cloud-scale/stratus/download-object/#DownloadObject) -------------------------------------------------------------------------------- # Download an Object From a Bucket To download an object from the bucket: **Using the Console** 1. Click or select the required object. ![catalyst_stratus_object_options](https://catalyst-docs-development.zohostratus.in/images/help/stratus/catalyst_stratus_object_options.webp) 2. Click **Download**. ![catalyst_stratus_download_highlit](https://catalyst-docs-development.zohostratus.in/images/help/stratus/catalyst_stratus_download_highlit.webp) 3. Click **Save** in your system prompt. ![catalyst_stratus_object_save_to_local](https://catalyst-docs-development.zohostratus.in/images/help/stratus/catalyst_stratus_object_save_to_local.webp) The object will be downloaded to your local system. You can also download the object using the **Download** button present in the object details view. ![catalyst_stratus_download_highlit_inside](https://catalyst-docs-development.zohostratus.in/images/help/stratus/catalyst_stratus_download_highlit_inside.webp) **Using Catalyst SDK** **Server SDKs** **Java SDK** > **Note:** Visit this [help document](https://docs.catalyst.zoho.com/en/sdk/java/v1/cloud-scale/stratus/download-object/) for more information on this SDK method. **Ensure the following packages are imported** ```java import com.zc.component.stratus.beans.ZCGetObjectOptions; import java.nio.file.Path; import java.nio.file.Files; import java.nio.file.StandardCopyOption; import java.io.*; ``` ```java InputStream dataStream = bucket.getObject("objectName"); // download the object to your local machine Path path = Path.of("file_path"); // specify a path to store the downloaded object Files.copy(dataStream, path, StandardCopyOption.REPLACE_EXISTING); ``` **Node.js SDK** > **Note:** Visit this [help document](https://docs.catalyst.zoho.com/en/sdk/nodejs/v2/cloud-scale/stratus/download-object/) for more information on this SDK method. ```javascript const res = await bucket.getObject("objectName"); // download the object to local machine const files = fs.createWriteStream('filePath'); res.on('data', (data) => { files.write(data) }); ``` **Python SDK** > **Note:** Visit this [help document](https://docs.catalyst.zoho.com/en/sdk/python/v1/cloud-scale/stratus/download-object/) for more information on this SDK method. ```python res = bucket.get_object('object_name') # download the object to local machine file = open('file_path','wb') file.write(res) ``` **Mobile SDKs** **iOS SDK** > **Note:** Visit this [help document](https://docs.catalyst.zoho.com/en/sdk/ios/v2/cloud-scale/stratus/download-object/) for more information on this SDK method. ```bash objectInstance.download(fromCache : true) { result in switch result { case.success(let url): do { let data = Data(contentsOf : url) DispatchQueue.main.sync { self.imageView.image = UIImage(date : data) } } catch { print("Error : \( error )") } case.error(let error): print("Error : \( error )") } } ``` **Android SDK** > **Note:** Visit this [help document](https://docs.catalyst.zoho.com/en/sdk/android/v2/cloud-scale/stratus/download-object/) for more information on this SDK method. ```bash bucketInstance.getObject("SunSet.jpeg", "2823000000044005", //Replace this with your Folder ID and File ID { object->object.download({println("File download success ${it.available()}")}, {println("File download failed $it")}) ``` **Flutter SDK** > **Note:** Visit this [help document](https://docs.catalyst.zoho.com/en/sdk/flutter/v2/cloud-scale/stratus/download-object/) for more information on this SDK method. ```bash try { ZCatalystBucket bucket = stratus.bucket("testing"); var(response, object) = await bucket.getObject("SunSet.jpeg"); final downloadsDir = await getExternalStorageDirectory(); final filePath = downloadsDir !.absolute.path; var fileResponse = await object.download( pathToDownload : filePath, onProgress : (bytesWritten, contentLength, percentage) { print("Downloaded Percentage: $percentage"); }, ); print("Download Status: ${fileResponse.statusCode}"); OpenFile.open(filePath + '/SunSet.jpeg'); } on ZCatalystException catch (ex) { print(ex.toString()); } ``` -------------------------------------------------------------------------------- title: "Delete an Object From a Bucket" description: "Stratus is a robust cloud storage solution powered by Catalyst. You can store data of any format type in the form of buckets and objects." last_updated: "2026-11-03T15:41:32.000Z" source: "https://docs.catalyst.zoho.com/en/cloud-scale/help/stratus/objects/manage-object/delete-object/" service: "CloudScale" related: - Create a Bucket (/en/cloud-scale/help/stratus/buckets/create-bucket/) - Upload an Object (/en/cloud-scale/help/stratus/objects/upload-object/) - Object Caching (/en/cloud-scale/help/stratus/stratus-config/general-settings/) - Object Versioning (/en/cloud-scale/help/stratus/stratus-config/general-settings/#versioning) - Java SDK (/en/sdk/java/v1/cloud-scale/stratus/delete-objects/) - JavaScript SDK (/en/sdk/javascript/v1/cloudscale/stratus/delete-object/) - Python SDK (/en/sdk/python/v1/cloud-scale/stratus/delete-objects/) - iOS SDK (/en/sdk/ios/v2/cloud-scale/stratus/delete-object/) - Android SDK (/en/sdk/android/v2/cloud-scale/stratus/delete-object/) - Flutter SDK (/en/sdk/flutter/v2/cloud-scale/stratus/delete-object/) - REST API (/en/api/code-reference/cloud-scale/stratus/delete-objects/#DeleteObject) -------------------------------------------------------------------------------- # Delete an Object From a Bucket To delete an object from the bucket: **Using the Console** 1. Select the required object. ![catalyst_stratus_object_options](https://catalyst-docs-development.zohostratus.in/images/help/stratus/catalyst_stratus_object_options.webp) 2. Click **Delete**. ![catalyst_stratus_delete_op_hilit](https://catalyst-docs-development.zohostratus.in/images/help/stratus/catalyst_stratus_delete_op_hilit.webp) 3. Click **Delete** in the prompt as well. ![catalyst_stratus_del_object_confirm_del](https://catalyst-docs-development.zohostratus.in/images/help/stratus/catalyst_stratus_del_object_confirm_del.webp) The delete action will be scheduled, and it will take a short while before the operation is rendered in the console. Delete operations can be performed on multiple objects and on multiple paths in the same manner. You can also use the **Delete** button present in the object details view to delete the object. ![catalyst_stratus_delete_ins_op_confirm](https://catalyst-docs-development.zohostratus.in/images/help/stratus/catalyst_stratus_delete_ins_op_confirm.webp) **Using Catalyst SDK** **Server SDKs** **Java SDK** > **Note:** Visit this [help document](https://docs.catalyst.zoho.com/en/sdk/java/v1/cloud-scale/stratus/delete-objects/) for more information on this SDK method. **Ensure the following packages are imported:** ```java import org.json.simple.JSONObject; ``` ```java int ttl = 200; JSONObject deleteRes = bucket.deleteObject("objectName", "versionId", ttl); System.out.println(deleteRes); ``` **Node.js SDK** > **Note:** Visit this [help document](https://docs.catalyst.zoho.com/en/sdk/nodejs/v2/cloud-scale/stratus/delete-objects/) for more information on this SDK method. ```javascript const res = await bucket.deleteObject("objectName"); console.log(res); ``` **Python SDK** > **Note:** Visit this [help document](https://docs.catalyst.zoho.com/en/sdk/python/v1/cloud-scale/stratus/delete-objects/) for more information on this SDK method. ```python delete_res = bucket.delete_object('object_name') print(delete_res) ``` **Client & Mobile SDKs** **Web SDK** > **Note:** Visit this [help document](https://docs.catalyst.zoho.com/en/sdk/web/v4/cloud-scale/stratus/delete-object/) for more information on this SDK method. ```javascript // Delete an object const deleteObject = await bucket.deleteObject("objectName"); ``` **iOS SDK** > **Note:** Visit this [help document](https://docs.catalyst.zoho.com/en/sdk/ios/v2/cloud-scale/stratus/delete-object/) for more information on this SDK method. ```bash objectInstance.delete() { error in if let error = error { print("Error : \\( error )") return } print("Deleted Successfully") } ``` **Android SDK** > **Note:** Visit this [help document](https://docs.catalyst.zoho.com/en/sdk/android/v2/cloud-scale/stratus/delete-object/) for more information on this SDK method. ```bash bucketInstance.getObject("SunSet.jpeg", "2823000000044005", //Replace this with your Object Name and Object ID { object -> object.delete( { println("Object Deletion Success.") }, { println("Failed to delete the object. $it") } ) ``` **Flutter SDK** > **Note:** Visit this [help document](https://docs.catalyst.zoho.com/en/sdk/flutter/v2/cloud-scale/stratus/delete-object/) for more information on this SDK method. ```bash try { ZCatalystBucket bucket = stratus.bucket("testing"); var (response, objects, _) = await bucket.getObjects(maxKeys: 5, prefix: 'trip'); var response = await bucket.deleteObjects(objects); print("Delete Objects: ${response.statusCode}"); } on ZCatalystException catch (ex) { print(ex.toString()); } ``` > **Note:** When you perform a delete operation on an object, and if it is the **only object** present in the particular path, then the **entire path will be deleted**. An empty path cannot exist in a bucket. #### Stratus Configurations -------------------------------------------------------------------------------- title: "General Settings" description: "Stratus is a robust cloud storage solution powered by Catalyst. You can store data of any format type in the form of buckets and objects." last_updated: "2026-11-03T07:48:52.000Z" source: "https://docs.catalyst.zoho.com/en/cloud-scale/help/stratus/stratus-config/general-settings/" service: "CloudScale" related: - Create a Bucket (/en/cloud-scale/help/stratus/buckets/create-bucket/) - Upload an Object (/en/cloud-scale/help/stratus/objects/upload-object/) - Java SDK (/en/sdk/java/v1/cloud-scale/stratus/overview/) - JavaScript SDK (/en/sdk/javascript/v1/cloudscale/stratus/overview/) - Python SDK (/en/sdk/python/v1/cloud-scale/stratus/overview/) - iOS SDK (/en/sdk/ios/v2/cloud-scale/stratus/overview/) - Android SDK (/en/sdk/android/v2/cloud-scale/stratus/overview/) - Flutter SDK (/en/sdk/flutter/v2/cloud-scale/stratus/overview/) - REST API (/en/api/code-reference/cloud-scale/stratus/get-all-buckets/#GetAllBuckets) -------------------------------------------------------------------------------- # General Settings While you are creating and after you [create a bucket](https://docs.catalyst.zoho.com/en/cloud-scale/help/stratus/buckets/create-bucket/), you can configure the following bucket settings: ![catalyst_stratus_enable_general_settings](https://catalyst-docs-development.zohostratus.in/images/help/stratus/catalyst_stratus_enable_general_settings.webp) ### Versioning ![catalyst_stratus_settings_versioning_enabled](https://catalyst-docs-development.zohostratus.in/images/help/stratus/catalyst_stratus_settings_versioning_enabled.webp) - This setting allows you to store multiple versions of any object in your bucket. - When you upload multiple versions of the object, Catalyst will generate a unique `versionId` for each of them upon upload. - Every latest version that you upload will become the default version of the object. The previously uploaded versions will need to be accessed using their unique `versionId`. - Consider you disable Versioning after uploading versions of the object when Versioning was enabled. All the object versions that had been uploaded so far will exist. However, if you attempt to upload a version of the same object under this condition (Versioning is **disabled**), the following behavior is expected: - The original object will be permanently deleted and replaced with the object you are uploading (**latest object**). - You will only be able to access the latest object and the saved versions of the object (using their respective `versionId`). - The diagrams below illustrate *Versioning* behavior: - When Versioning is **enabled**. ![catalyst_stratus_versioning_arch_1](https://catalyst-docs-development.zohostratus.in/images/help/stratus/catalyst_stratus_versioning_arch_1.webp) Every new version of the object will be stored in the bucket and will be referred using its unique `versionId` generated by Stratus. - When Versioning is **disabled**. ![catalyst_stratus_versioning_arch_2](https://catalyst-docs-development.zohostratus.in/images/help/stratus/catalyst_stratus_versioning_arch_2.webp) The original object and its versions will be retained in the bucket. - When you **upload an object version** after **Versioning has been disabled**. ![catalyst_stratus_versioning_arch_3](https://catalyst-docs-development.zohostratus.in/images/help/stratus/catalyst_stratus_versioning_arch_3.webp) The original object will be permanently deleted and replaced with the object you are uploading (**latest object**), and you will only be able to access the latest object using the [Object URL](https://docs.catalyst.zoho.com/en/cloud-scale/help/stratus/objects/introduction/#object-url), and the saved versions (referred using their respective `versionId`) of the object. ![catalyst_stratus_versioning_arch_4](https://catalyst-docs-development.zohostratus.in/images/help/stratus/catalyst_stratus_versioning_arch_4.webp) ### Data Encryption - You can enable this bucket setting to encrypt the data present in the bucket. - Stratus follows both encryption at rest and encryption at flight protocols. - Stratus applies the Advanced Encryption Standard (AES-256) encryption technique to encrypt the data in the bucket. ### PII/ePHI - You need to enable this setting if the bucket is going to contain sensitive or personally identifiable data. Doing so, will ensure you are storing these types of sensitive data in compliance with [HIPAA](https://docs.catalyst.zoho.com/en/compliance/hipaa/) standards. - When this setting is enabled, the object's operational logs will be present in the [Application Logs](https://docs.catalyst.zoho.com/en/devops/help/logs/application-logs/) present in the [Audit Logs](https://docs.catalyst.zoho.com/en/getting-started/set-up-a-catalyst-project/audit-logs/) section. ### Enable a Bucket's Setting > **Note:** By default, all these bucket settings will be disabled. Even when you migrate your bucket from a third-party platform to Stratus, these configurations will have to be re-configured. To enable one of the settings: 1. Click on the required bucket. ![catalyst_stratus_bucket_names_first](https://catalyst-docs-development.zohostratus.in/images/help/stratus/catalyst_stratus_bucket_names_first.webp) 2. Click the **Configurations** tab. ![catalyst_stratus_configurations_list](https://catalyst-docs-development.zohostratus.in/images/help/stratus/catalyst_stratus_configurations_list.webp) 3. Expand the **General Settings** section. ![catalyst_stratus_settings_expand_view](https://catalyst-docs-development.zohostratus.in/images/help/stratus/catalyst_stratus_settings_expand_view.webp) 4. Click the ellipsis icon in the required setting's tile, then click **Enable**. ![catalyst_stratus_enable_button_settings](https://catalyst-docs-development.zohostratus.in/images/help/stratus/catalyst_stratus_enable_button_settings.webp) 5. Click **Enable** in the prompt to confirm. ![catalyst_stratus_enabling_setting_prompt](https://catalyst-docs-development.zohostratus.in/images/help/stratus/catalyst_stratus_enabling_setting_prompt.webp) The required setting will be enabled. ![catalyst_stratus_enabled_settings_button](https://catalyst-docs-development.zohostratus.in/images/help/stratus/catalyst_stratus_enabled_settings_button.webp) ### Disable a Bucket's Setting To disable a required setting: 1. Click the ellipsis icon in the setting's tile, then click **Disable**. ![catalyst_stratus_disable_button](https://catalyst-docs-development.zohostratus.in/images/help/stratus/catalyst_stratus_disable_button.webp) 2. Click **Disable** in the prompt to confirm. ![catalyst_stratus_disable_prompt](https://catalyst-docs-development.zohostratus.in/images/help/stratus/catalyst_stratus_disable_prompt.webp) The required setting will be disabled. ![catalyst_stratus_enable_general_settings](https://catalyst-docs-development.zohostratus.in/images/help/stratus/catalyst_stratus_enable_general_settings.webp) -------------------------------------------------------------------------------- title: "Signals Triggers" description: "Stratus is a robust cloud storage solution powered by Catalyst. You can store data of any format type in the form of buckets and objects." last_updated: "2026-11-03T07:48:52.000Z" source: "https://docs.catalyst.zoho.com/en/cloud-scale/help/stratus/stratus-config/event-triggers/" service: "CloudScale" related: - Create a Bucket (/en/cloud-scale/help/stratus/buckets/create-bucket/) - Upload an Object (/en/cloud-scale/help/stratus/objects/upload-object/) - Signals Help Documentation (/en/signals/) - Circuits Help Documentation (/en/serverless/help/circuits/introduction/) - Java SDK (/en/sdk/java/v1/cloud-scale/stratus/overview/) - JavaScript SDK Documentation (/en/sdk/javascript/v1/cloudscale/stratus/overview/) - Python SDK (/en/sdk/python/v1/cloud-scale/stratus/overview/) - iOS SDK (/en/sdk/ios/v2/cloud-scale/stratus/overview/) - Android SDK (/en/sdk/android/v2/cloud-scale/stratus/overview/) - Flutter SDK (/en/sdk/flutter/v2/cloud-scale/stratus/overview/) - REST API (/en/api/code-reference/cloud-scale/stratus/get-all-buckets/#GetAllBuckets) -------------------------------------------------------------------------------- # Signals Triggers [Catalyst Signals](https://docs.catalyst.zoho.com/en/signals/) is a powerful event bus service that listens for the occurrences of pre-determined events and automatically executes associated [Event functions](https://docs.catalyst.zoho.com/en/serverless/help/functions/event-functions/), or the targeted [Circuits](https://docs.catalyst.zoho.com/en/serverless/help/circuits/introduction/). In Stratus, you can configure the required rule to trigger [Catalyst Signals](https://docs.catalyst.zoho.com/en/signals/) at the event of an: * Object Upload * Object Download * Object Update * Object Delete > **Note:** Ensure that you go through the following help documentation to use this configuration effectively: * **Catalyst Signals:** [Help](https://docs.catalyst.zoho.com/en/signals/) * **Catalyst Publishers:** [Help](https://docs.catalyst.zoho.com/en/signals/help/publishers/create-publisher/catalyst-publishers/) * **Create a Rule in Signals:** [Help](https://docs.catalyst.zoho.com/en/signals/help/rules/create-rule/) * **Circuits:** [Help](https://docs.catalyst.zoho.com/en/serverless/help/circuits/introduction/) * **Event Functions:** [Help](https://docs.catalyst.zoho.com/en/serverless/help/functions/event-functions/) ### Create Signals Rules in Buckets To create a Signals rule in Stratus: 1. Click on the required bucket. ![catalyst_stratus_bucket_names_first](https://catalyst-docs-development.zohostratus.in/images/help/stratus/catalyst_stratus_bucket_names_first.webp) 2. Click the **Configurations** tab. ![catalyst_stratus_configurations_list](https://catalyst-docs-development.zohostratus.in/images/help/stratus/catalyst_stratus_configurations_list.webp) 3. Expand the **Signals** section and click **Add Rule**. ![catalyst_stratus_event_listerner_add_rule](https://catalyst-docs-development.zohostratus.in/images/help/stratus/catalyst_stratus_event_listerner_add_rule.webp) 4. Provide a name and description for the rule. ![catalyst_stratus_name_desc_for_rule](https://catalyst-docs-development.zohostratus.in/images/help/stratus/catalyst_stratus_name_desc_for_rule.webp) 5. Select the action or actions that is supposed to trigger Signals from the **Action** drop-down. ![catalyst_stratus_object_actions_rule](https://catalyst-docs-development.zohostratus.in/images/help/stratus/catalyst_stratus_object_actions_rule.webp) 6. Choose your required **Target Point**. Based on this selection, either an *Event Function* or a *Circuit* will be triggered when the selected actions occur. > **Note:** * Before you choose a target point, make sure the required target event function or target circuit is configured and deployed to the catalyst console. Only if you deploy the required *Target Point* to the console will it be available in the **Target Function** or **Target Circuit** drop-down. * The [Circuits](https://docs.catalyst.zoho.com/en/serverless/help/circuits/introduction/) component is currently **not available** to Catalyst users accessing from the **EU**, **AU**, **IN**, or **CA** data centers. Hence, users from these DCs will not be able to trigger Circuits using the Stratus component. **Event Function** ![catalyst_stratus_configs_event_listen_trigger_func_sel](https://catalyst-docs-development.zohostratus.in/images/help/stratus/catalyst_stratus_configs_event_listen_trigger_func_sel.webp) 7. Choose the required event function from the **Target Function** drop-down. ![catalyst_stratus_target_func_sel_func](https://catalyst-docs-development.zohostratus.in/images/help/stratus/catalyst_stratus_target_func_sel_func.webp) > **Note:** * If you still have not coded and deployed the required *Event Function*, click the **Create Event Function** button. You will be directed to the [Serverless](https://docs.catalyst.zoho.com/en/serverless/) section of the console, and follow the steps listed in this [help documentation](https://docs.catalyst.zoho.com/en/serverless/help/functions/implementation/#create-a-function) to create an event function. * If you have [initialized the required function](https://docs.catalyst.zoho.com/en/cli/v1/initialize-resources/initialize-functions/) using the Catalyst CLI, ensure you [deploy the function](https://docs.catalyst.zoho.com/en/cli/v1/deploy-resources/deploy-options/) to the Catalyst console once you have coded your required business logic. 8. Click **Create**. ![catalyst_stratus_func_sel_event](https://catalyst-docs-development.zohostratus.in/images/help/stratus/catalyst_stratus_func_sel_event.webp) The rule will be created, and the Signals rule will be enabled. **Circuit** ![catalyst_stratus_configs_event_listen_trigger_circuit_sel](https://catalyst-docs-development.zohostratus.in/images/help/stratus/catalyst_stratus_configs_event_listen_trigger_circuit_sel.webp) 7. Choose the required circuit from the **Target Circuit** drop-down. ![catalyst_stratus_circuit_drop_down](https://catalyst-docs-development.zohostratus.in/images/help/stratus/catalyst_stratus_circuit_drop_down.webp) > **Note:** If you have not yet coded and [deployed the required functions](https://docs.catalyst.zoho.com/en/cli/v1/deploy-resources/deploy-options/) for the [Circuit](https://docs.catalyst.zoho.com/en/serverless/help/circuits/introduction/) and created it, click the **Create Circuit** button. You will be directed to the [Serverless section](https://docs.catalyst.zoho.com/en/serverless/) of the console, and follow the steps listed in this [help documentation](https://docs.catalyst.zoho.com/en/serverless/help/circuits/implementation/#create-a-circuit) to create a Circuit. 8. Click **Create**. ![catalyst_stratus_circuit_event_creating](https://catalyst-docs-development.zohostratus.in/images/help/stratus/catalyst_stratus_circuit_event_creating.webp) The rule will be created, and the Signals rule will be enabled. ![catalyst_stratus_enabled_rule_event_func](https://catalyst-docs-development.zohostratus.in/images/help/stratus/catalyst_stratus_enabled_rule_event_func.webp) ### Edit a Signals Rule To edit a Signals rule: 1. Click the ellipsis icon next to the rule, then click Edit. ![catalyst_stratus_edit_rule](https://catalyst-docs-development.zohostratus.in/images/help/stratus/catalyst_stratus_edit_rule.webp) 2. Make the required edits and click **Update**. ![catalyst_stratus_editing_in_progress](https://catalyst-docs-development.zohostratus.in/images/help/stratus/catalyst_stratus_editing_in_progress.webp) The changes will be applied. ![catalyst_stratus_edit_rule_applied](https://catalyst-docs-development.zohostratus.in/images/help/stratus/catalyst_stratus_edit_rule_applied.webp) ### Disable a Signals Rule To disable a Signals rule: 1. Click the ellipsis icon next to the rule, then click **Disable**. ![catalyst_stratus_disable_rule_button](https://catalyst-docs-development.zohostratus.in/images/help/stratus/catalyst_stratus_disable_rule_button.webp) 2. Click **Disable** in the prompt to confirm your action. ![catalyst_stratus_disable_rule_prompt](https://catalyst-docs-development.zohostratus.in/images/help/stratus/catalyst_stratus_disable_rule_prompt.webp) The rule will be disabled. ![catalyst_stratus_disabled_rule](https://catalyst-docs-development.zohostratus.in/images/help/stratus/catalyst_stratus_disabled_rule.webp) ### Delete a Signals Rule To delete a Signals rule: 1. Click the ellipsis icon next to the rule, then click **Delete**. ![catalyst_stratus_delete_rule_button](https://catalyst-docs-development.zohostratus.in/images/help/stratus/catalyst_stratus_delete_rule_button.webp) 2. Click **Delete** in the prompt to confirm your action. ![catalyst_stratus_delete_rule_prompt](https://catalyst-docs-development.zohostratus.in/images/help/stratus/catalyst_stratus_delete_rule_prompt.webp) The rule will be deleted. ![catalyst_stratus_deleted_rule_successfully](https://catalyst-docs-development.zohostratus.in/images/help/stratus/catalyst_stratus_deleted_rule_successfully.webp) -------------------------------------------------------------------------------- title: "Bucket CORS" description: "Stratus is a robust cloud storage solution powered by Catalyst. You can store data of any format type in the form of buckets and objects." last_updated: "2026-11-03T07:48:52.000Z" source: "https://docs.catalyst.zoho.com/en/cloud-scale/help/stratus/stratus-config/bucket-cors/" service: "CloudScale" related: - Create a Bucket (/en/cloud-scale/help/stratus/buckets/create-bucket/) - Upload an Object (/en/cloud-scale/help/stratus/objects/upload-object/) - Java SDK (/en/sdk/java/v1/cloud-scale/stratus/get-bucket-cors/) - JavaScript SDK (/en/sdk/javascript/v1/cloudscale/stratus/get-bucket-cors/) - Python SDK (/en/sdk/python/v1/cloud-scale/stratus/get-bucket-cors/) - iOS SDK (/en/sdk/ios/v2/cloud-scale/stratus/overview/) - Android SDK (/en/sdk/android/v2/cloud-scale/stratus/overview/) - Flutter SDK (/en/sdk/flutter/v2/cloud-scale/stratus/overview/) - REST API (/en/api/code-reference/cloud-scale/stratus/get-all-buckets/#GetAllBuckets) -------------------------------------------------------------------------------- # Bucket CORS Cross-origin Resource Sharing (**CORS**), is a feature of Stratus that you can use to whitelist certain domains that require access to the objects stored in your bucket. You can authorize applications you have hosted using [Catalyst AppSail](https://docs.catalyst.zoho.com/en/serverless/help/appsail/introduction/), or even applications you have hosted on third-party platforms to access objects stored in Stratus. ![catalyst_stratus_cors_add_domain_button](https://catalyst-docs-development.zohostratus.in/images/help/stratus/catalyst_stratus_cors_add_domain_button.webp) You can authorize and whitelist the required domains directly in the console and approve the domains to access objects from your buckets. This operation can be performed in the [development](https://docs.catalyst.zoho.com/en/deployment-and-billing/environments/development-environment/) environment and your configurations can be migrated to the [production](https://docs.catalyst.zoho.com/en/deployment-and-billing/environments/production-environment/) environment. ### Whitelist Domains Using Bucket CORS To authorize a domain for CORS: Click on the required bucket. ![catalyst_stratus_bucket_names_first](https://catalyst-docs-development.zohostratus.in/images/help/stratus/catalyst_stratus_bucket_names_first.webp) 2. Click the **Configurations** tab. ![catalyst_stratus_configurations_list](https://catalyst-docs-development.zohostratus.in/images/help/stratus/catalyst_stratus_configurations_list.webp) 3. Expand the **Bucket CORS** section and click **Add Domain**. ![catalyst_stratus_cors_add_domain_button](https://catalyst-docs-development.zohostratus.in/images/help/stratus/catalyst_stratus_cors_add_domain_button.webp) 4. Enter the complete URL of the domain you need to enable CORS for, with the required **Request Method** (`GET`, `POST`, `PUT`, `DELETE`, or `HEAD`). ![catalyst_stratus_cors_adding_domain](https://catalyst-docs-development.zohostratus.in/images/help/stratus/catalyst_stratus_cors_adding_domain.webp) 5. Click **Add** to whitelist the required domains. ![catalyst_stratus_cors_added_domains](https://catalyst-docs-development.zohostratus.in/images/help/stratus/catalyst_stratus_cors_added_domains.webp) The required domain will be whitelisted and CORS will be enabled for the required domain. ![catalyst_stratus_cors_domain_enabled_cors](https://catalyst-docs-development.zohostratus.in/images/help/stratus/catalyst_stratus_cors_domain_enabled_cors.webp) > **Note:** CORS of a bucket can be edited by any user that has or has been granted `Write` permission for Stratus component in the project, using the [Profiles & Permissions](https://docs.catalyst.zoho.com/en/getting-started/set-up-a-catalyst-project/profiles-and-permissions/) section. ### Edit Bucket CORS To edit bucket CORS: 1. Click the ellipsis icon next to the domain and click **Edit**. ![catalyst_stratus_cors_domain_edit_button](https://catalyst-docs-development.zohostratus.in/images/help/stratus/catalyst_stratus_cors_domain_edit_button.webp) 2. Make the required changes and click **Update**. ![catalyst_stratus_cors_update_edits](https://catalyst-docs-development.zohostratus.in/images/help/stratus/catalyst_stratus_cors_update_edits.webp) The changes will be applied. ![catalyst_stratus_cors_updated_changed](https://catalyst-docs-development.zohostratus.in/images/help/stratus/catalyst_stratus_cors_updated_changed.webp) ### Delete Bucket CORS To disable or remove a domain from the whitelist: 1. Click the ellipsis icon next to the domain and click **Delete**. ![catalyst_stratus_delete_cors_button](https://catalyst-docs-development.zohostratus.in/images/help/stratus/catalyst_stratus_delete_cors_button.webp) 2. Click **Confirm** to delete the domain. ![catalyst_stratus_cors_del_confirm](https://catalyst-docs-development.zohostratus.in/images/help/stratus/catalyst_stratus_cors_del_confirm.webp) The domain will be deleted, and will no longer be whitelisted. #### Third-Party Storage to Stratus Migration -------------------------------------------------------------------------------- title: "Introduction" description: "Stratus is a robust cloud storage solution powered by Catalyst. You can store data of any format type in the form of buckets and objects." last_updated: "2026-11-03T07:48:52.000Z" source: "https://docs.catalyst.zoho.com/en/cloud-scale/help/stratus/third-party-migration/introduction/" service: "CloudScale" related: - Create a Bucket (/en/cloud-scale/help/stratus/buckets/create-bucket/) - Upload an Object (/en/cloud-scale/help/stratus/objects/upload-object/) - Java SDK (/en/sdk/java/v1/cloud-scale/stratus/overview/) - JavaScript SDK (/en/sdk/javascript/v1/cloudscale/stratus/overview/) - Python SDK (/en/sdk/python/v1/cloud-scale/stratus/overview/) - iOS SDK (/en/sdk/ios/v2/cloud-scale/stratus/overview/) - Android SDK (/en/sdk/android/v2/cloud-scale/stratus/overview/) - Flutter SDK (/en/sdk/flutter/v2/cloud-scale/stratus/overview/) - REST API (/en/api/code-reference/cloud-scale/stratus/get-all-buckets/#GetAllBuckets) -------------------------------------------------------------------------------- # Migrate Data Stored with Third-party Providers to Catalyst's Stratus Catalyst allows you to migrate your storage from **Amazon S3**, and **Google Cloud Platform (GCP) Cloud Storage** to Stratus. Implement a few simple steps to configure the migration protocols in the Catalyst console, and you can migrate up to three buckets, irrespective of their size and data, in parallel from a single third-party platform at one time. This following help sections cover detailed steps you need to employ to successfully migrate your stored data from third-party platforms to **Catalyst's Stratus**. ![catalyst_stratus_third_party_mig_showcase](https://catalyst-docs-development.zohostratus.in/images/help/stratus/catalyst_stratus_third_party_mig_showcase.webp) > **Note:** * You can perform migration of stored data from third-party platforms to Stratus in both [development](https://docs.catalyst.zoho.com/en/deployment-and-billing/environments/development-environment/) and [production](https://docs.catalyst.zoho.com/en/deployment-and-billing/environments/production-environment/) environments. * During your migration, if any of the objects do not comply with the naming conventions or any other mandatory rule of Stratus, the particular object will be skipped and not be migrated to Stratus. * During your migration, if you are going to migrate an object with a [metadata](https://docs.catalyst.zoho.com/en/cloud-scale/help/stratus/objects/introduction/#metadata) greater than **2047**, then only **2047** characters of the object's metadata will be migrated along with the object. The rest will be automatically omitted. -------------------------------------------------------------------------------- title: "Amazon S3 to Stratus" description: "Stratus is a robust cloud storage solution powered by Catalyst. You can store data of any format type in the form of buckets and objects." last_updated: "2026-11-03T07:48:52.000Z" source: "https://docs.catalyst.zoho.com/en/cloud-scale/help/stratus/third-party-migration/migrate-s3/" service: "CloudScale" related: - Create a Bucket (/en/cloud-scale/help/stratus/buckets/create-bucket/) - Upload an Object (/en/cloud-scale/help/stratus/objects/upload-object/) - Java SDK (/en/sdk/java/v1/cloud-scale/stratus/overview/) - JavaScript SDK (/en/sdk/javascript/v1/cloudscale/stratus/overview/) - Python SDK (/en/sdk/python/v1/cloud-scale/stratus/overview/) - iOS SDK (/en/sdk/ios/v2/cloud-scale/stratus/overview/) - Android SDK (/en/sdk/android/v2/cloud-scale/stratus/overview/) - Flutter SDK (/en/sdk/flutter/v2/cloud-scale/stratus/overview/) - REST API (/en/api/code-reference/cloud-scale/stratus/get-all-buckets/#GetAllBuckets) -------------------------------------------------------------------------------- # Amazon S3 to Stratus In this section, we will go over every step you need to employ in both the AWS console and Catalyst console to successfully migrate your stored data from **Amazon S3** to **Stratus**. ### Prerequisites Before you start configuring for your migration requirement, make sure you satisfy the following prerequisites: * **Your AWS account must have IAM access**. To be able to initiate migration from AWS, your AWS account needs to have IAM access with [`AdminstratorAccessPolicy`](https://docs.aws.amazon.com/IAM/latest/UserGuide/access_policies_managed-vs-inline.html#aws-managed-policies). However, you can also initiate migration if your account has `AmazonS3FullAccess`, or at least `AmazonS3ReadOnlyAccess` permissions. * Your AWS account needs to be active and functioning, and you need to be logged in for the period of time your buckets and objects are being migrated. While it is not mandatory, it may be easier for you to follow the upcoming steps once you familiarize yourself with AWS's documentation on [IAM accounts](https://docs.aws.amazon.com/IAM/latest/UserGuide/id_users.html) and [profile permissions](https://docs.aws.amazon.com/IAM/latest/UserGuide/access_policies_managed-vs-inline.html#aws-managed-policies). > **Note:** * When you migrate from Amazon S3, none of the bucket settings you configured in Amazon S3 will be applied in Stratus. You will need to **reconfigure your Stratus bucket settings**. * If you have enabled **versioning** for your objects in Amazon S3, be advised that even if [versioning](https://docs.catalyst.zoho.com/en/cloud-scale/help/stratus/stratus-config/general-settings/#versioning) is enabled for the destination bucket in Stratus, only the **latest object** will be migrated. ### Create a User Account in AWS Console To be able to create a user account with relevant permissions, you either need to be a root user or, as mentioned in the [prerequisites](https://docs.catalyst.zoho.com/en/cloud-scale/help/stratus/third-party-migration/migrate-s3/#prerequisites) section, logged in as an **IAM user**. To create a user account eligible for migration: 1. Open the AWS console, and navigate to **IAM**>**AccessManagement**>**Users**>**Create User** ![catalyst_stratus_aws_migrate_create_user](https://catalyst-docs-development.zohostratus.in/images/help/stratus/catalyst_stratus_aws_migrate_create_user.webp) 2. Provide a name for the user account and click **Next**. ![catalyst_stratus_aws_migrate_create_user_enter_name](https://catalyst-docs-development.zohostratus.in/images/help/stratus/catalyst_stratus_aws_migrate_create_user_enter_name.webp) 3. Select the **Attach policies directly** option in the *Set Permissions* page, then search for **S3** permissions in the search bar. ![catalyst_stratus_aws_migrate_set_permissions_search_s3](https://catalyst-docs-development.zohostratus.in/images/help/stratus/catalyst_stratus_aws_migrate_set_permissions_search_s3.webp) 4. Select the `AmazonS3FullAccess` permission and click **Next**. ![catalyst_stratus_aws_migrate_set_permissions_s3_select_permissions](https://catalyst-docs-development.zohostratus.in/images/help/stratus/catalyst_stratus_aws_migrate_set_permissions_s3_select_permissions.webp) > **Note:** `AmazonS3FullAccess` is the ideal permission required for migration. However, if you do not wish to create a user account with this permission, you have the option to create the user account with `AmazonS3ReadOnlyAccess` permission. 5. Review your selections, then click **Create user**. ![catalyst_stratus_aws_migrate_review_create_user](https://catalyst-docs-development.zohostratus.in/images/help/stratus/catalyst_stratus_aws_migrate_review_create_user.webp) In the *Users* section, your new user will be created and listed. ![catalyst_stratus_aws_migrate_new_user_created](https://catalyst-docs-development.zohostratus.in/images/help/stratus/catalyst_stratus_aws_migrate_new_user_created.webp) ### Generate Access Keys With the user profile created, the next step is to generate the required access keys to authorize migration. To generate access keys: 1. Click your newly created user profile, then click the **Security credentials** tab. ![catalyst_stratus_aws_migrate_new_user_select_creds](https://catalyst-docs-development.zohostratus.in/images/help/stratus/catalyst_stratus_aws_migrate_new_user_select_creds.webp) 2. Click the **Create access key** button in the *Access keys* section to generate the required keys. ![catalyst_stratus_aws_migrate_create_key_button](https://catalyst-docs-development.zohostratus.in/images/help/stratus/catalyst_stratus_aws_migrate_create_key_button.webp) 3. Select **Other** as your requirement from the list of options, then click **Next**. ![catalyst_stratus_aws_migrate_generating_keys_create_1](https://catalyst-docs-development.zohostratus.in/images/help/stratus/catalyst_stratus_aws_migrate_generating_keys_create_1.webp) > **Note:** For the purposes of this help documentation, the **Other** option suits our requirements. Ensure you go through the descriptions of each option and make an appropriate choice to satisfy your requirement. 4. Provide an optional description tag if you require it, then click **Create access key**. ![catalyst_stratus_aws_migrate_generating_keys_description](https://catalyst-docs-development.zohostratus.in/images/help/stratus/catalyst_stratus_aws_migrate_generating_keys_description.webp) 5. Copy or download the keys and store them in a safe place, then click **Done**. ![catalyst_stratus_aws_migrate_generating_keys_created](https://catalyst-docs-development.zohostratus.in/images/help/stratus/catalyst_stratus_aws_migrate_generating_keys_created.webp) > **Note:** This key will only be generated **once**, so ensure you copy and store it safely. ### Start Migration from Amazon S3 to Stratus in Catalyst Console This section covers the steps you need to perform in the [Catalyst console](https://console.catalyst.zoho.com/) to trigger the migration from Amazon S3. > **Note:** * During your migration, if any of the objects do not comply with the naming conventions or any other mandatory rule of Stratus, the particular object will be skipped and not be migrated to Stratus. * During your migration, if you are going to migrate an object with a [metadata](https://docs.catalyst.zoho.com/en/cloud-scale/help/stratus/objects/introduction/#metadata) greater than **2047**, then only **2047** characters of the object's metadata will be migrated along with the object. The rest will be automatically omitted. 1. Navigate to **Stratus** under *Storage* in the *CloudScale* console, then click **Third-party Migration**. ![catalyst_stratus_console_empty](https://catalyst-docs-development.zohostratus.in/images/help/stratus/catalyst_stratus_console_empty.webp) 2. Select the **Amazon Web Services** option and click **Next**. ![catalyst_stratus_aws_migrate_in_catalyst_console](https://catalyst-docs-development.zohostratus.in/images/help/stratus/catalyst_stratus_aws_migrate_in_catalyst_console.webp) 3. Enter the access keys you generated in the *AWS console*, then click **Next**. ![catalyst_stratus_aws_migrate_pasting_keys_cat_console](https://catalyst-docs-development.zohostratus.in/images/help/stratus/catalyst_stratus_aws_migrate_pasting_keys_cat_console.webp) 4. Use the first drop-down to select the region of your AWS bucket, use the second drop-down to select the destination bucket you created in Stratus to store the migrated objects, and finally click **Next** to initiate migration. ![catalyst_stratus_aws_migrate_pasting_keys_cat_console_last_step](https://catalyst-docs-development.zohostratus.in/images/help/stratus/catalyst_stratus_aws_migrate_pasting_keys_cat_console_last_step.webp) > **Note:** - If you do not know the region of your AWS bucket, you can find it in the bucket list in the AWS Console. ![catalyst_stratus_aws_migrate_finding_region](https://catalyst-docs-development.zohostratus.in/images/help/stratus/catalyst_stratus_aws_migrate_finding_region.webp) - If you have not created a destination bucket in Catalyst for your migrated objects, you can create one during configuration in the screen pictured below by clicking **Create Bucket**. ![catalyst_stratus_aws_migrate_cat_console_create_bucket](https://catalyst-docs-development.zohostratus.in/images/help/stratus/catalyst_stratus_aws_migrate_cat_console_create_bucket.webp) - You can find the steps to create a bucket in this [help section](https://docs.catalyst.zoho.com/en/cloud-scale/help/stratus/buckets/create-bucket/). - You can migrate up to **three buckets simultaneously**. If you wish to migrate from another bucket, click the "+ icon" and add the source and destination buckets' name. The migration will be scheduled. ![catalyst_startus_aws_migration_scheduled_console](https://catalyst-docs-development.zohostratus.in/images/help/stratus/catalyst_startus_aws_migration_scheduled_console.webp) You will be notified through console notifications once the migration is complete. ![catalyst_stratus_aws_migration_console_notification](https://catalyst-docs-development.zohostratus.in/images/help/stratus/catalyst_stratus_aws_migration_console_notification.webp) -------------------------------------------------------------------------------- title: "Google Cloud Platform (GCP) Cloud Storage to Stratus" description: "Stratus is a robust cloud storage solution powered by Catalyst. You can store data of any format type in the form of buckets and objects." last_updated: "2026-11-03T07:48:52.000Z" source: "https://docs.catalyst.zoho.com/en/cloud-scale/help/stratus/third-party-migration/gcp/" service: "CloudScale" related: - Create a Bucket (/en/cloud-scale/help/stratus/buckets/create-bucket/) - Upload an Object (/en/cloud-scale/help/stratus/objects/upload-object/) - Java SDK (/en/sdk/java/v1/cloud-scale/stratus/overview/) - JavaScript SDK (/en/sdk/javascript/v1/cloudscale/stratus/overview/) - Python SDK (/en/sdk/python/v1/cloud-scale/stratus/overview/) - iOS SDK (/en/sdk/ios/v2/cloud-scale/stratus/overview/) - Android SDK (/en/sdk/android/v2/cloud-scale/stratus/overview/) - Flutter SDK (/en/sdk/flutter/v2/cloud-scale/stratus/overview/) - REST API (/en/api/code-reference/cloud-scale/stratus/get-all-buckets/#GetAllBuckets) -------------------------------------------------------------------------------- # Google Cloud Platform Cloud Storage to Stratus In this section, we'll cover all the steps you need to employ in the Google console and Catalyst Console to successfully migrate your stored data from **Google Cloud Platform (GCP) Cloud Storage** to **Stratus**. ### Create a Suitable Service Account If you do not have a service account with all the necessary credentials and permissions, you need to first create one to be able to migrate your bucket securely from GCP Cloud Storage to Stratus. To create a service account: 1. Go to the *IAM & Admin* section in the Google console by clicking this [link](https://console.cloud.google.com/iam-admin/iam). ![ccatalyst_stratus_gcp_console_first_page](https://catalyst-docs-development.zohostratus.in/images/help/stratus/catalyst_stratus_gcp_console_first_page.webp) 2. Navigate to the *Service* accounts section of the console, and click the **+CREATE SERVICE ACCOUNT** button. ![catalyst_startus_gcp_migration_service_acc_pg](https://catalyst-docs-development.zohostratus.in/images/help/stratus/catalyst_startus_gcp_migration_service_acc_pg.webp) 3. Provide a name and a meaningful description for the service account. The **Service account ID** will be generated automatically. Click the **CREATE AND CONTINUE** button once this is done. ![catalyst_startus_gcp_migration_service_acc_name_desc](https://catalyst-docs-development.zohostratus.in/images/help/stratus/catalyst_startus_gcp_migration_service_acc_name_desc.webp) 4. Using the **Role** drop-down, select **Storage Admin** as your role, then click the **DONE** button. ![catalyst_startus_gcp_migration_service_acc_create_done](https://catalyst-docs-development.zohostratus.in/images/help/stratus/catalyst_startus_gcp_migration_service_acc_create_done.webp) > **Note:** The rest of the configuration is not mandatory for this migration. However, make sure you apply your required configuration to satisfy your requirement. You will be able to see your new service account listed. ![catalyst_startus_gcp_migration_service_acc_listed](https://catalyst-docs-development.zohostratus.in/images/help/stratus/catalyst_startus_gcp_migration_service_acc_listed.webp) ### Generate Keys for the Service Account You need to create new keys for the service account you just created to authorize the migration. To generate keys: 1. Click your service account. You will be directed to the configurations and settings of the account. Click the **Keys** tab. ![catalyst_startus_gcp_migration_gen_keys_tab](https://catalyst-docs-development.zohostratus.in/images/help/stratus/catalyst_startus_gcp_migration_gen_keys_tab.webp) 2. Click the **ADD KEY** button and select the **Create new key** option. ![catalyst_startus_gcp_migration_gen_keys_new_key](https://catalyst-docs-development.zohostratus.in/images/help/stratus/catalyst_startus_gcp_migration_gen_keys_new_key.webp) 3. Select **JSON** as your key type, then click the **CREATE** button. ![catalyst_startus_gcp_migration_gen_keys_json_sel](https://catalyst-docs-development.zohostratus.in/images/help/stratus/catalyst_startus_gcp_migration_gen_keys_json_sel.webp) The JSON key will be downloaded to your local system. Store it in a secure place. ![catalyst_startus_gcp_migration_key_download](https://catalyst-docs-development.zohostratus.in/images/help/stratus/catalyst_startus_gcp_migration_key_download.webp) ### Start Migration from GCP Cloud Storage to Stratus in Catalyst Console This section covers the steps you need to perform in the Catalyst console to trigger the migration from GCP Cloud Storage. > **Note:** * During your migration, if any of the objects do not comply with the naming conventions or any other mandatory rule of Stratus, the particular object will be skipped and not be migrated to Stratus. * During your migration, if you are going to migrate an object with a [metadata](https://docs.catalyst.zoho.com/en/cloud-scale/help/stratus/objects/introduction/#metadata) greater than **2047**, then only **2047** characters of the object's metadata will be migrated along with the object. The rest will be automatically omitted. 1. Navigate to **Stratus** under *Storage* in the *CloudScale* console, then click **Third-party Migration**. ![catalyst_stratus_console_empty](https://catalyst-docs-development.zohostratus.in/images/help/stratus/catalyst_stratus_console_empty.webp) > **Note:** You need to have a destination bucket created in Stratus to hold the objects migrating from GCP Cloud Storage. You can find the steps to create a bucket in this [help section](https://docs.catalyst.zoho.com/en/cloud-scale/help/stratus/buckets/create-bucket/). 2. Select the *Google Cloud Platform* tile and click **Next**. ![catalyst_stratus_gcp_migrate_gcp_tile](https://catalyst-docs-development.zohostratus.in/images/help/stratus/catalyst_stratus_gcp_migrate_gcp_tile.webp) 3. Upload the *JSON key* you generated and downloaded in the GCP console, then click **Next**. ![catalyst_stratus_gcp_migrate_status_json_key_upload](https://catalyst-docs-development.zohostratus.in/images/help/stratus/catalyst_stratus_gcp_migrate_status_json_key_upload.webp) 4. Enter the name of the source (GCP) bucket and the name of the destination (Stratus) bucket, then click **Next** to start migration. ![catalyst_stratus_gcp_migrate_status_start](https://catalyst-docs-development.zohostratus.in/images/help/stratus/catalyst_stratus_gcp_migrate_status_start.webp) > **Note:** * You can migrate up to **three buckets simultaneously**. If you wish to migrate from another bucket, click the "+ icon" and add the source and destination buckets' name. * If you have enabled versioning for your objects in GCP, be advised that only if [versioning](https://docs.catalyst.zoho.com/en/cloud-scale/help/stratus/stratus-config/general-settings/#versioning) is enabled for the destination bucket in Stratus, will all the object's versions be migrated, else, only the latest version of the object will be migrated. The migration will be scheduled. ![catalyst_startus_gcp_migration_scheduled_console](https://catalyst-docs-development.zohostratus.in/images/help/stratus/catalyst_startus_gcp_migration_scheduled_console.webp) You will be notified through console notifications once the migration is complete. ![catalyst_stratus_gcp_migration_console_notification](https://catalyst-docs-development.zohostratus.in/images/help/stratus/catalyst_stratus_gcp_migration_console_notification.webp) ### Web Client Hosting -------------------------------------------------------------------------------- title: "Introduction" description: "Catalyst enables you to easily and securely host web clients of apps built on any front-end framework, and manage web app versioning." last_updated: "2026-11-03T07:48:52.000Z" source: "https://docs.catalyst.zoho.com/en/cloud-scale/help/web-client-hosting/introduction/" service: "CloudScale" -------------------------------------------------------------------------------- # Web Client Hosting ## Introduction Web Client Hosting is a Catalyst CloudScale component that enables you to host the client part of the web-based applications you build directly from the Catalyst platform. Catalyst provides a feature-rich Web SDK that includes JavaScript classes and methods to help you integrate various Catalyst components into your web client application. The entire hosting and delivery process is powered by Catalyst, ensuring your web applications are served reliably and efficiently. You can refer to the [Web SDK documentation](https://docs.catalyst.zoho.com/en/sdk/web/v4/overview/) for more information. Catalyst provides a reliable, secure, and cost-effective cloud-based production platform, along with scalable resources, to host your applications. Our servers accommodate the fluctuating needs of your application, and they handle all backend jobs. You can host your web client application easily and manage its versioning, like updating to a newer version or rolling back to an older version, from the console. Catalyst enables you to host and manage **one web application for each project**. > **Note:** Web client hosting is suitable for basic and simple web applications. You can explore our robust frontend development service, **[Slate](https://docs.catalyst.zoho.com/en/slate/)**, that lets you seamlessly deploy web applications in a variety of popular JavaScript frameworks like Next.js, Angular, React, Vue, and more. Slate also provides automated deployments from GitHub, GitLab, or Bitbucket, and offers a host of other advanced features. You can host your web application only in the [Development environment](https://docs.catalyst.zoho.com/en/deployment-and-billing/environments/development-environment/) of your Catalyst project. You will not be able to host it directly in Production. You must [deploy your Catalyst project to the Production environment](https://docs.catalyst.zoho.com/en/deployment-and-billing/environments/production-environment) to make it available there. You can then distribute the application to the end-users. Therefore, when you update the version of your application in Catalyst, it will not affect the app that is already live until you migrate the changes to production. Catalyst provides a [default application URL](https://docs.catalyst.zoho.com/en/cloud-scale/help/web-client-hosting/key-concepts/#default-web-application-url) for your web client in both the Development and Production environments, after you host it. You can access your application from that URL, or map your own domain to it using [Domain Mappings](https://docs.catalyst.zoho.com/en/cloud-scale/help/domain-mappings/introduction) and distribute that to the end-users. Catalyst also helps you easily incorporate [Push Notifications](https://docs.catalyst.zoho.com/en/cloud-scale/help/push-notifications/introduction) for your web applications, and send test notifications from the console. In general, you can deploy web clients in Catalyst in three different ways: * **Deploy the web client from the Catalyst CLI:** You can deploy both the web client and function resources of a Catalyst project together as the entire application, or individually, using Catalyst CLI. Refer to the [Deploy Resources help page](https://docs.catalyst.zoho.com/en/cli/v1/deploy-resources/introduction/) for details. * **Deploy the web client from a GitHub repository:** Catalyst enables you to integrate your GitHub account with your Catalyst account, and access your GitHub repositories in the Catalyst console. You can deploy a Git repo easily from the console. This will deploy the project files, such as the web client and the functions, to your Catalyst project in the console. Refer to the [GitHub Integration help page](https://docs.catalyst.zoho.com/en/devops/help/github-integration/introduction) for details. * **Deploy the web client from the console:** You can deploy the web client from the _Web Client Hosting_ section in the Catalyst console. This documentation covers the concepts and procedures of this method alone. -------------------------------------------------------------------------------- title: "Key Concepts" description: "Catalyst enables you to easily and securely host web clients of apps built on any front-end framework, and manage web app versioning." last_updated: "2026-11-03T07:48:52.000Z" source: "https://docs.catalyst.zoho.com/en/cloud-scale/help/web-client-hosting/key-concepts/" service: "CloudScale" -------------------------------------------------------------------------------- # Key Concepts Before you host a web client application in Catalyst, make sure to upload the client resources in the right format. ### Source Files Format You must ensure that you upload the client resources of your web application in the right format to host it in Catalyst without any errors. To host a web client application in Catalyst, you need to upload the source files of the web application in the standard project directory structure. This is explained in detail in the [**Project Directory Structure help page**](https://docs.catalyst.zoho.com/en/cli/v1/project-directory-structure/introduction/). Here's a quick look at the standard project directory structure in Catalyst: * The project directory fundamentally contains two folders: `functions` and `client`. You must upload the `client` directory alone in _Web Client Hosting_. The `client` directory should contain all the front-end client files of the application, such as the JavaScript, HTML, and CSS files. > **Note:** The `[catalyst.json](https://docs.catalyst.zoho.com/en/cli/v1/project-directory-structure/catalyst-json/)` configuration file is not required when you host your web application from the Catalyst console in _Web Client Hosting_. It is only required to be present when you deploy your application files from the CLI or from a GitHub repository. * The `client` directory must contain two files: an `index.html` file which is the homepage of your web app, and a `client-package.json` file that contains the configuration information of the client resources. All other front-end styling, scripting, or HTML files are optional, based on the requirements of your web app. > **Note:** When you initialize the web client using the CLI, the CLI automatically creates the `client-package.json` in its boilerplate structure. However, if you did not use the CLI to initialize your web client, and you deploy the client using the console directly, you must ensure that you create the `client-package.json` file in the client directory manually and include the necessary code in it in the standard structure. You can refer to the help on [client-package.json](https://docs.catalyst.zoho.com/en/cli/v1/project-directory-structure/client-directory/) file structure. * You must provide the name of your web app in the `client-package.json` file. This will be the final name of your application. Once you set a name for it and host the application, you must not change it. * In case you rename the `index.html` file or you wish to use a different file as the home page of your web application, you must make the necessary changes in the `client-package.json` file. Once you have followed all the guidelines mentioned above, you can host your web application from the Catalyst console. Any discrepancies from the standard directory structure could result in an error in hosting the application. ### Default Web Application URL You can obtain the default URL of your application from _Web Client Hosting_ or from the [Environments settings section](https://docs.catalyst.zoho.com/en/deployment-and-billing/environments/development-environment/#function-url-and-web-app-url-in-the-development-environment) in your console, after it is hosted. The default application URL is generated for the Development environment when you host your application. After you [deploy your application to Production](https://docs.catalyst.zoho.com/en/deployment-and-billing/environments/production-environment), a Production URL is generated. The Development and Production URLs slightly differ in their formats. Both URLs contain the same: * **Project Domain Name:** The unique domain name that is generated for your project when you host it in _Web Client Hosting_. Example: _shipmenttracking-57673975_. * **Application Domain:** The domain for all the Catalyst applications you host, which is '**catalystserverless.com**'. However, the Development application URL also contains the **environment type**, and its value is `development`. For example, '_https://shipmenttracking-57673975.**development**.catalystserverless.com_'. The environment type is not specified in the Production URL. That is, the production URL will be '_https://shipmenttracking-57673975.**development**.catalystserverless.com_'. As mentioned in the Introduction, you can also [map your domain with Catalyst](https://docs.catalyst.zoho.com/en/cloud-scale/help/domain-mappings/introduction) and use that URL instead. ### Application Versioning Application versioning can be handled easily in Catalyst. The `[client-package.json](https://docs.catalyst.zoho.com/en/cli/v1/project-directory-structure/client-directory/)` configuration file contains the version information of your web client. The following guidelines must be followed while providing the version information in the `client-package.json` file: 1. You must specify the version number of the application in the decimal format in the field `version`. The `version` is specified as '1.0.0' by default, when the JSON file is created. 2. With every subsequent update of your web app, you must modify the version number in the JSON file incrementally to indicate the next higher version. 3. You must not decrement the version number once the web app has been hosted. This will cause errors. 4. You must not retain the same version number, if you have modified the web app and you are deploying the changes to the Production environment. You must update the web app's version incrementally. 5. If you delete a version of your web app that is lower than the currently live version, you will not be able to replace that version, as you cannot deploy a decremental version. However, if you delete a version of your web app that is higher than the currently live version, you can deploy another instance of your web app with the same version number as the deleted version. The version information of your web app is displayed in the [_App Version History_ section](https://docs.catalyst.zoho.com/en/cloud-scale/help/web-client-hosting/implementation/#update-a-web-application) in _Web Client Hosting_. -------------------------------------------------------------------------------- title: "Benefits" description: "Catalyst enables you to easily and securely host web clients of apps built on any front-end framework, and manage web app versioning." last_updated: "2026-11-03T07:48:52.000Z" source: "https://docs.catalyst.zoho.com/en/cloud-scale/help/web-client-hosting/benefits/" service: "CloudScale" -------------------------------------------------------------------------------- ### Benefits 1. **Fast Content Delivery** Catalyst's Content Delivery Network edge nodes span across the world. This ensures a fast delivery of content for the end-users in all geographical areas. Catalyst also ensures minimal latency, and serves both static and dynamic content with equal quality in performance. 2. **Supportive of Multiple Kinds of Web Applications** Catalyst enables you to host a variety of web application types, such as both static and dynamic applications. You can structure and build your application, and use different content types ranging from HTML and CSS, to any framework or library of JavaScript, such as Angular, React, or Ember. 3. **Secure Connection** Catalyst prioritizes the security of your web application, and ensures that the end-users have a safe and reliable experience using the web app. All applications hosted through Catalyst's domain contain an SSL security certificate by default. If you map your organization's own domain to your web app, Zoho will provide you a free mandatory Group SSL certificate for your domain. 4. **Scalable and Accommodative** Catalyst provides efficient, scalable server resources. Based on the fluctuating needs of your application, Catalyst's servers are scaled up or down to accommodate the present load. It ensures a smooth consistency in your web app's performance and speed, irrespective of the number of active connections or API calls made to the server. 5. **Easy and Quick Access** You can easily host your web app and deploy the resources of its client directory in a few simple steps from the Catalyst console. Once you deploy resources, your web app is made available on the server within seconds. You can test it thoroughly in the Development environment before deploying it to Production. -------------------------------------------------------------------------------- title: "Implementation" description: "Catalyst enables you to easily and securely host web clients of apps built on any front-end framework, and manage web app versioning." last_updated: "2026-11-03T15:16:51.000Z" source: "https://docs.catalyst.zoho.com/en/cloud-scale/help/web-client-hosting/implementation/" service: "CloudScale" -------------------------------------------------------------------------------- # Implementation The implementation section acts as a step-by-step procedure guide on hosting, updating, and rolling back a web application from the Catalyst console. ### Host a Web Application As mentioned [earlier](https://docs.catalyst.zoho.com/en/cloud-scale/help/web-client-hosting/key-concepts/#source-files-format), the `[client-package.json](https://docs.catalyst.zoho.com/en/cli/v1/project-directory-structure/client-directory/)` file contains all the configuration information of the web app. You must provide the name, description, version, and homepage information of your web app in it. You will not be required to provide this information again while hosting the web app from the console. To host the client files from the Catalyst console, you must upload them in _Web Client Hosting_ in a zip file format. You can name the zip file whatever you wish. This will automatically make the files available in your console. Once the client package is deployed, Catalyst will generate the web app URL for your application. > **Note:** When Catalyst extracts the zip file, the `client-package.json` file must be present in the root. Therefore, instead of compressing the client folder as a whole, you must navigate inside the client folder, select all the files in it and then compress them together. Let's host a web application in the _ShipmentTracking_ project. To host a web app from the Catalyst console: 1. Navigate to **Web Client Hosting** under _Host and Manage_ in the Catalyst CloudScale console. 2. Click **Upload** to upload the zip file of your web app. ![catalyst_webapp_hosting](https://catalyst-docs-development.zohostratus.in/images/help/web-client-hosting/catalyst_webapp_hosting.webp) 3. Select the zip file to upload from your computer in the pop-up window, then click **Upload**. ![catalyst_webapp_upload](https://catalyst-docs-development.zohostratus.in/images/help/web-client-hosting/catalyst_webapp_upload.webp) Your web app will be hosted automatically and displayed in _Web Client Hosting_. ![catalyst_webapp_hosted](https://catalyst-docs-development.zohostratus.in/images/help/web-client-hosting/catalyst_webapp_hosted.webp) When your application is successfully hosted, the default application URL will be automatically generated for it, and displayed here. You will now be able to access the application from this URL. ### Update a Web Application As discussed [previously](https://docs.catalyst.zoho.com/en/cloud-scale/help/web-client-hosting/key-concepts/#application-versioning), you must provide your application's version information in the `client-package.json` file before you update your application. You must follow all the guidelines of uploading a web application while uploading an updated version of it as well. All your version upgrades are displayed under _App Version History_, along with all the necessary details. To upload an updated version of a web app: 1. Click the ellipsis icon on the right-hand corner, then click **Update**. ![catalyst_webapp_update](https://catalyst-docs-development.zohostratus.in/images/help/web-client-hosting/catalyst_webapp_update.webp) 2. Select the zip file to upload from your computer in the pop-up window, then click **Upload**. ![catalyst_webapp_upload](https://catalyst-docs-development.zohostratus.in/images/help/web-client-hosting/catalyst_webapp_upload.webp) The updated version of your application will be hosted and the details will be displayed in this section. ![catalyst_webapp_version_history](https://catalyst-docs-development.zohostratus.in/images/help/web-client-hosting/catalyst_webapp_version_history.webp) You can upload any number of updates of your application as required, but you will not be able to rename the application. ### Deploy an Older Version of a Web Application You can roll back to an older version of your application in the following way: 1. Select the required older version of the application using the checkbox, under the _App Version History_ section. ![catalyst_webapp_roll_back](https://catalyst-docs-development.zohostratus.in/images/help/web-client-hosting/catalyst_webapp_roll_back.webp) 2. Click **Confirm** in the pop-up window. ![catalyst_webapp_version_change_confirmation](https://catalyst-docs-development.zohostratus.in/images/help/web-client-hosting/catalyst_webapp_version_change_confirmation.webp) The older version of your application will now be hosted. ![catalyst_webapp_version_changed](https://catalyst-docs-development.zohostratus.in/images/help/web-client-hosting/catalyst_webapp_version_changed.webp) You can switch to any previously deployed version of the application in the same manner. ### Delete a Version of a Web Application You can delete any version of your application that is not currently hosted in the following way: 1. Click the delete icon for the version that you want to delete under _App Version History_. ![catalyst_webapp_version_delete](https://catalyst-docs-development.zohostratus.in/images/help/web-client-hosting/catalyst_webapp_version_delete.webp) 2. Click **Yes, Proceed** in the pop-up window. ![catalyst_webapp_version_delete_confirmation](https://catalyst-docs-development.zohostratus.in/images/help/web-client-hosting/catalyst_webapp_version_delete_confirmation.webp) ### Download a Web Application You can download the current version of your web application that is hosted from _Web Client Hosting_ to your local system, in case you require it. This can be done by clicking the ellipsis icon on the right-hand corner, then clicking **Download**. ![catalyst_webapp_download](https://catalyst-docs-development.zohostratus.in/images/help/web-client-hosting/catalyst_webapp_download.webp) A zip file of the client package that you had uploaded while hosting the application will be downloaded to your system. ### ZCQL -------------------------------------------------------------------------------- title: "Introduction" description: "ZCQL is Catalyst's own query language modelled after familiar query languages that you can use to query your app's database efficiently." last_updated: "2026-11-03T07:48:52.000Z" source: "https://docs.catalyst.zoho.com/en/cloud-scale/help/zcql/introduction/" service: "CloudScale" -------------------------------------------------------------------------------- # ZCQL ## Introduction Catalyst CloudScale ZCQL serves as Catalyst’s own query language, similar to [MySQL](https://www.mysql.com/) or [PostgreSQL](https://www.postgresql.org/). It is used to perform data manipulations within the [Catalyst Data Store](https://docs.catalyst.zoho.com/en/cloud-scale/help/data-store/introduction/). As a query engine powered by Catalyst, ZCQL enables developers to work with data using familiar SQL-like syntax while handling complex queries with high efficiency and scalability. You can perform the following operations on the tables in your Data Store using ZCQL: * **Retrieval:** Obtaining records from existing tables * **Insertion:** Inserting records into the existing columns of an existing table * **Updating:** Updating the value of existing columns in an existing table * **Deletion:** Deleting records from an existing table You can execute a variety of DML queries using ZCQL to obtain or manipulate data based on specific criteria by using various clauses and statements such as the SQL `Join` clauses, `Groupby` statements, `OrderBy` statements, and the `WHERE` and `HAVING` clauses. ZCQL also supports several built-in SQL numeric functions that help you execute arithmetic operations easily. You can implement ZCQL queries in your Catalyst application's source code, such as in the functions or the client component. For example, you pass a ZCQL query in a function's body to retrieve data from a table in the Data Store and process it further. The Catalyst console also provides a ZCQL query execution window, where you can execute queries and view the responses. This allows you to test ZCQL queries easily, before implementing them in your application. ### SDK and API documentation Catalyst offers ZCQL in the Java, Node.js, Python, Web, Android, iOS, and Flutter SDK packages, and as an API. For code samples on executing ZCQL queries in these programming environments, refer to these help pages: * [Execute ZCQL Query - Java SDK](https://docs.catalyst.zoho.com/en/sdk/java/v1/cloud-scale/zcql/execute-zcql-query/) * [Execute ZCQL Query - Node.js SDK](https://docs.catalyst.zoho.com/en/sdk/nodejs/v2/cloud-scale/zcql/execute-zcql-query/) * [Execute ZCQL Query - Python SDK](https://docs.catalyst.zoho.com/en/sdk/python/v1/cloud-scale/zcql/execute-zcql-query/) * [Execute ZCQL Query - Web SDK](https://docs.catalyst.zoho.com/en/sdk/web/v4/cloud-scale/zcql/execute-zcql-query/) * [Execute ZCQL Query - Android SDK](https://docs.catalyst.zoho.com/en/sdk/android/v2/cloud-scale/zcql/execute-zcql-query/) * [Execute ZCQL Query - iOS SDK](https://docs.catalyst.zoho.com/en/sdk/ios/v2/cloud-scale/zcql/execute-zcql-query/) * [Execute ZCQL Query - Flutter SDK](https://docs.catalyst.zoho.com/en/sdk/flutter/v2/cloud-scale/zcql/execute-zcql-query/) * [Execute ZCQL Query - API](https://docs.catalyst.zoho.com/en/api/code-reference/cloud-scale/zcql/execute-zcql-query/#ExecuteZCQLQuery) > **Note:** * From **December 01st, 2024**, all your current projects in all your [Orgs](https://docs.catalyst.zoho.com/en/getting-started/catalyst-organizations/) present in the [Development Environment](https://docs.catalyst.zoho.com/en/deployment-and-billing/environments/development-environment/) will be automatically mapped to **ZCQL V2 Parser**. * From **April 01st, 2025**, all the projects present in all *Orgs* that have already been mapped to **ZCQL V2 Parser** in *Development Environment* will be automatically mapped to **ZCQL V2 Parser** in the [Production Environment](https://docs.catalyst.zoho.com/en/deployment-and-billing/environments/production-environment/), if and when production is enabled for the project. * To use **ZCQL V2** in your code, you need to set the appropriate environment variable as shown in this [help document](https://docs.catalyst.zoho.com/en/cloud-scale/help/zcql/zcql-console/#using-zcql-v2-in-function-code). You can refer to [Catalyst Tutorials](https://docs.catalyst.zoho.com/en/tutorials/) to get an idea of ZCQL's implementation in the function or client code of the applications. ### Benefits * Can perform data retrieval, insertion, updating, and deletion operations in the Catalyst Data Store * Similarity to MySQL ensures ease of use and there is no separate learning curve * Can test the execution of the queries in the console before implementing them in the application * Can pass a ZCQL query in an API's body using the SDKs * Can perform arithmetic and numerical operations on the result set using the ZCQL built-in functions -------------------------------------------------------------------------------- title: "General Syntax of SELECT" description: "ZCQL is Catalyst's own query language modelled after familiar query languages that you can use to query your app's database efficiently." last_updated: "2026-11-03T07:48:52.000Z" source: "https://docs.catalyst.zoho.com/en/cloud-scale/help/zcql/select/" service: "CloudScale" -------------------------------------------------------------------------------- # SELECT ### General Syntax of SELECT ZCQL supports data retrieval query operations using the `SELECT` command. This command lets you select a column or a set of columns from a base table and view the data records within the command's scope. The general syntax for a basic ZCQL data retrieval operation is as follows: ```sql SELECT {COLUMNS} FROM {BASE_TABLE_NAME} [JOIN_CLAUSE] [WHERE {WHERE_CONDITION}] [GROUP BY {GROUP_BY_COLUMN}] [ORDER BY {ORDER_BY_COLUMN}] LIMIT [{OFFSET}],{VALUE} ``` > **Note:** * The base table is the table you execute the query on. * You need not use the end-of-statement delimiter (;) at the end of a ZCQL query, while executing it in the ZCQL console. The base table is the table you execute the query on. We will discuss each ZCQL operation in detail with an example database and sample queries that you can execute on it. **Example Database:** Imagine you're developing a ticket booking application where users can view the movie listings and showtimes for various theaters in a city, and can book movie tickets using the application. Let's create a table named '**Movies**' that contains the showtime listings of the movies played in various theaters. Sample records from the _Movies_ table are given below:
MovieID MovieName ShowDate ShowTime TheaterID
2056 The First Purge 2018-07-13 13:00:00 047
2057 Ant-Man and the Wasp 2018-07-13 14:20:00 052
2058 Hotel Transylvania 3: Summer Vacation 2018-07-14 17:00:00 052
2059 Skyscraper 2018-07-14 21:30:00 053
### Basic SELECT The `SELECT` statement is used to select the columns from a base table and display its records. You should mention the names of the columns that are to be displayed in the result set. The syntax for using a basic `SELECT` statement is: ```sql SELECT column_name(s) FROM base_table_name ``` **Example**: To select the _MovieID_ and _MovieName_ columns from the _Movies_ table, execute the following query: ```sql SELECT MovieID, MovieName from Movies ``` It will generate the following output:
MovieID MovieName
2056 The First Purge
2057 Ant-Man and the Wasp
2058 Hotel Transylvania 3: Summer Vacation
2059 Skyscraper
For columns that have been named using integers, you need to add the backtick **`** punctuation to differentiate between column name and value. For example, a `SELECT` query on a table called *Numbers* with a column named *01* can be written in the following manner ```sql SELECT `01` FROM Numbers ``` > **Note:** You can fetch a maximum of 30 columns and a maximum of 300 rows in one `SELECT` query. If you require more records to be fetched, you can use the [LIMIT clause](https://docs.catalyst.zoho.com/en/cloud-scale/help/zcql/limit/) to iterate the query and specify the offset and value accordingly. ### SELECT \* You can fetch records from all the columns of a base table, instead of selecting records from a particular column or columns, by using a '\*' following the `SELECT` statement. The '\*' denotes all the columns of the base table. The syntax for selecting all the columns from a base table is: ```sql SELECT * FROM base_table_name ``` > **Note:** `SELECT \*` allows you to fetch a maximum of 300 rows in one query. If you require more records to be fetched, you can use the [LIMIT clause](https://docs.catalyst.zoho.com/en/cloud-scale/help/zcql/limit/) to iterate the query and specify the offset and value accordingly. **Example**: To display the records from all the columns of the _Movies_ table, execute the following query: ```sql SELECT * FROM Movies ``` This will display records from all the columns in the _Movies_ table.
MovieID MovieName ShowDate ShowTime TheaterID
2056 The First Purge 2018-07-13 13:00:00 047
2057 Ant-Man and the Wasp 2018-07-13 14:20:00 052
2058 Hotel Transylvania 3: Summer Vacation 2018-07-14 17:00:00 052
2059 Skyscraper 2018-07-14 21:30:00 053
Before we discuss the various clauses and statements available for the `SELECT` operation, let's discuss the `INSERT`, `UPDATE`, and `DELETE` operations. -------------------------------------------------------------------------------- title: "General Syntax of INSERT" description: "ZCQL is Catalyst's own query language modelled after familiar query languages that you can use to query your app's database efficiently." last_updated: "2026-11-03T07:48:52.000Z" source: "https://docs.catalyst.zoho.com/en/cloud-scale/help/zcql/insert/" service: "CloudScale" -------------------------------------------------------------------------------- # INSERT ### General Syntax of INSERT You can insert a record in a table by passing the values for each column of that table for that record. The general syntax of a basic ZCQL data insertion operation is as follows: ```sql INSERT INTO {BASE_TABLE_NAME} VALUES (VALUE1, VALUE2,..) ``` You must pass the values in the same order as the columns are present in the table. > **Note:** * Ensure that you provide the right value for a column that matches the column's data type. * For columns where the _IsUnique_ constraint is enabled, ensure that you don't enter values that are already present in other records. Similarly, for the columns where the _IsMandatory_ validator is enabled, ensure that you do not leave the data value blank. * For a column where the data type is a **Foreign Key**, you must provide the ROWID of the parent table's record which it refers, as its value. **Example:** To insert a record in the _Movies_ table, execute the following query: ```sql INSERT INTO Movies VALUES (2060,'Mission: Impossible – Fallout', '2018-7-27', '16:00:00', 053) ``` > **Note:** If the values to be inserted are **String values**, you must pass the values enclosed in single quotations as shown above. ### Partial Insert You can also pass values only for specific columns in a table by specifying the column names which the values need to be inserted for. The syntax for a partial insert is as follows: ```sql INSERT INTO {BASE_TABLE_NAME} (COLUMN_NAME1, COLUMN_NAME2,..) VALUES (VALUE1, VALUE2,..) ``` To insert a record and pass values for the _MovieID_ and _TheaterID_ columns alone in the _Movies_ table, execute the following query: ```sql INSERT INTO Movies (MovieID, TheaterID) VALUES (2061, 052) ``` -------------------------------------------------------------------------------- title: "General Syntax of UPDATE" description: "ZCQL is Catalyst's own query language modelled after familiar query languages that you can use to query your app's database efficiently." last_updated: "2026-11-03T15:41:32.000Z" source: "https://docs.catalyst.zoho.com/en/cloud-scale/help/zcql/update/" service: "CloudScale" -------------------------------------------------------------------------------- # UPDATE ### General Syntax of UPDATE The `UPDATE` command enables you to update specific column values of existing records of a table in the Data Store. You can update the values of columns based on certain conditions. These conditions can be specified using the [`WHERE` clause](), which we will discuss later on in detail. The general syntax of a basic ZCQL data updation operation is as follows: ```sql UPDATE {BASE_TABLE_NAME} SET {COLUMN_NAME}={VALUE}[WHERE {WHERE_CONDITION}] ``` > **Note:** * Ensure that you provide the right value for a column that matches the column's data type. * For columns where the _IsUnique_ constraint is enabled, ensure that you don't enter values that are already present in other records. Similarly, for the columns where the _IsMandatory_ validator is enabled, ensure that you do not leave the data value blank. * For a column where the data type is a **Foreign Key**, you must provide the ROWID of the parent table's record which it refers, as its value. **Example:** To update the value of a specific movie name referred to by its _MovieID_ in the _Movies_ table, execute the following query: ```sql UPDATE Movies SET MovieName='The Equalizer 2'WHERE MovieID=2056 ``` > **Note:** Similar to data insertion, if the values to be updated are String values, you must pass the values enclosed in single quotations. -------------------------------------------------------------------------------- title: "General Syntax of DELETE" description: "ZCQL is Catalyst's own query language modelled after familiar query languages that you can use to query your app's database efficiently." last_updated: "2026-11-03T07:48:52.000Z" source: "https://docs.catalyst.zoho.com/en/cloud-scale/help/zcql/delete/" service: "CloudScale" -------------------------------------------------------------------------------- # DELETE ### General Syntax of DELETE The `DELETE` command enables you to delete one or more records from a table permanently. You can indicate the records to be deleted using the [`WHERE` clause](https://docs.catalyst.zoho.com/en/cloud-scale/help/zcql/where/), which is explained in the next section, and specify the conditions. The general syntax of a basic `DELETE` statement is as follows: ```sql DELETE FROM {BASE_TABLE_NAME}[WHERE {WHERE_CONDITION}] ``` **Example:** To delete the record of a specific show date in a particular theater from the Movies table, you can execute this query: ```sql DELETE FROM Movies WHERE MovieID=2059 AND ShowDate='2018-07-14' AND TheaterID=053 ``` > **Note:** If you specify a string value in the `WHERE` condition, you must pass it enclosed in a single quotation. -------------------------------------------------------------------------------- title: "WHERE Clause" description: "ZCQL is Catalyst's own query language modelled after familiar query languages that you can use to query your app's database efficiently." last_updated: "2026-11-03T07:48:52.000Z" source: "https://docs.catalyst.zoho.com/en/cloud-scale/help/zcql/where/" service: "CloudScale" -------------------------------------------------------------------------------- # WHERE Clause ### Introduction The `WHERE` clause is used to filter the data records on the basis of a specified condition or a set of conditions in the search queries. When the WHERE condition is used in a query, the data records are verified based on the specified conditions, and the commands are executed only on the records that satisfy the conditions. For example, the syntax for using the `WHERE` condition in a `SELECT` statement is: ```sql SELECT column_name(s) FROM base_table_name WHERE condition ``` The `WHERE` condition can be used with the `UPDATE` and `DELETE` statements as well. ### Operators Supported by the WHERE Clause You can use the following operators in the `WHERE` conditions in ZCQL queries:
Operators Description
= Equal to
IS TRUE if the operand is the same as the value
IS NULL TRUE if the operand is a null value
IS NOT NULL TRUE if the operand is not a null value
!= Not equal to
LIKE TRUE if the operand matches a pattern
NOT LIKE TRUE if the operand does not match a pattern
BETWEEN TRUE if the operand value is between the start and end values
IN TRUE if the operand is equal to a list of expressions
NOT IN TRUE if the operand is not equal to a list of expressions
> Greater than
>= Greater than or equal to
< Lesser than
<= Lesser than or equal to
**Example**: To view a list of the movies that are screened on days other than July 13, 2018 from the Movies table, you can specify the date condition in the query using the `WHERE` clause in the following way: ```sql SELECT MovieName, ShowDate FROM Movies WHERE ShowDate IS '2018-07-14' ``` This will generate the following output:
MovieName ShowDate
Hotel Transylvania 3: Summer Vacation 2018-07-14
Skyscraper 2018-07-14
### Multiple WHERE Conditions You can specify a maximum of five WHERE conditions in a single query. When multiple `WHERE` conditions are specified, you can use either an `AND` or an `OR` operator to link the conditions together. The functionalities of the `AND` and `OR` operators are: * `AND`: Produces only the data records that satisfy both of the conditions that are associated with the `AND` operator. * `OR`: Produces the data records that satisfy either of the conditions that are associated with the `OR` operator. For example, the syntax for using multiple `WHERE` conditions in a `SELECT` statement is: ```sql SELECT column_name(s) FROM base_table_name WHERE condition_1 AND|OR condition_2.. AND|OR condition_5 ``` **Example**: To view a list of the show dates and show times from the _Movies_ table for either 'The First Purge' or 'Skyscraper' movies that are screened on July 14, execute the following query: ```sql SELECT MovieName, ShowDate, ShowTime FROM Movies WHERE MovieName='The First Purge' OR MovieName='Skyscraper' AND ShowDate='2018-07-14' ``` There is only one record that matches the above conditions. The query will therefore generate the following result:
MovieName ShowDate ShowTime
Skyscraper 2018-07-14 21:30:00
### LIKE Statement The `LIKE` condition enables you to indicate records which contain a specific criteria and select all records that match that condition. For example, you can indicate a specific alphabet that the records you require to be fetched must begin with, or a particular value that they must contain. For example, the syntax of the `LIKE` condition in an `UPDATE` statement is as follows: ```sql UPDATE base_table_name SET column_name(s)=value(s) WHERE condition LIKE *value* ``` The '\*' can be used either before or after, or both before and after, the value that you specify. The '\*' is essentially a placeholder that indicates that any value can be replaced in its stead. For example, to indicate that all records in a table that begin with the alphabet 'A' must be fetched, you can enter the `LIKE` value as 'A\*'. This specifies that after the letter A, any values can follow. **Example:** To update the records where the movie names begin with the letter 'S' in the _Movies_ table, execute the following query: ```sql UPDATE Movies SET ShowDate='2018-07-17' WHERE MovieName like 'S*' ``` This will update the following record and set the value:
MovieID MovieName ShowDate ShowTime TheaterID
2059 Skyscraper 2018-07-17 21:30:00 053
Wildcard syntax and symbols such as **\*** and **?** are also permitted to be used in ZCQL statements defined using the `LIKE` condition statement.
Wildcard Syntax Definition
`\*` Matches zero or more characters
`?` Matches exactly one character
### BETWEEN Statement The `BETWEEN` condition enables you to filter records by indicating the starting and ending values in a particular column containing numerical values. For example, you can select all the records where the percentage values are between 70 and 80. For example, the syntax of a `BETWEEN` condition in a `DELETE` statement is as follows: ```sql DELETE FROM base_table_name WHERE condition BETWEEN Value1 AND Value2 ``` > **Note:** You can use the `BETWEEN` statement only for selecting 'Int' or 'Double' values in the Catalyst Data Store table. You will not be able to use it for any other data types. **Example:** To delete the records where the value of the MovieID is between 2056 and 2059 in the _Movies_ table, execute the following query: ```sql DELETE FROM Movies WHERE MovieID BETWEEN 2056 AND 2059 ``` The following records from the table will be deleted:
MovieID MovieName ShowDate ShowTime TheaterID
2057 Ant-Man and the Wasp 2018-07-13 14:20:00 052
2058 Hotel Transylvania 3: Summer Vacation 2018-07-14 17:00:00 052
> **Note:** To produce the exact opposite result, you can use the `NOT BETWEEN` statement. The same syntax and conditions of a `BETWEEN` statement applies to `NOT BETWEEN` statements. ### Column to Column Comparison You can compare two columns of the same table or in different tables by **referring to the column names with their respective table names** in the LHS and RHS of the comparison. The result of the comparison will return the rows that contain the same value for column1 and column2 in the table. This comparison support in `WHERE` clause is applicable to the `SELECT`, `UPDATE` and `DELETE` queries. You can compare any two columns that are of the following data types : `BOOLEAN`, `DOUBLE`, `DATE`, `DATETIME`, `ENCRYPTED`, `VARCHAR`, `TEXT`, `INT` and `BIGINT`. > **Note:** You cannot compare columns of two different data types. **SELECT:** The general syntax for column comparison within the same table is as follows: ```sql SELECT * FROM tablename WHERE columnname1 = tablename.columnname2 ``` **Example**: ```sql Select MovieName FROM Movies WHERE Actor = Movies.Producer ```
MovieName
The White River Kid
Duplex
Oppenheimer
**UPDATE:** ```sql UPDATE Movies SET self_produced = "Yes" WHERE Actor = Movies.Producer ``` **DELETE:** ```sql DELETE FROM Movies WHERE Actor = Movies.Producer ``` #### Comparison of Columns in Different Tables You can also compare columns of two different tables as shown in the syntax below : ```sql SELECT tablename1.columnname1, tablename2.columnname1 FROM tablename2 LEFT JOIN tablename1 ON tablename2.columnname1 = tablename1.columnname2 WHERE tablename1.columnname1 = tablename2.columnname2 ``` **Example**: ```sql SELECT Movies.name, Theatres.city from Theatres left join Movies on Theatres.ROWID = Movies.theatreID where Movies.distributionCity = theatre.city ```
Name City
Dark Knight Rises Los Angeles
Titanic New York
Similarly, you can compare columns belonging to two different tables while executing the `UPDATE` and `DELETE` queries. ### Subqueries in WHERE Clause A subquery is a query that is written inside another query statement. Catalyst enables you to execute simple singular subqueries with `WHERE` clause. You can write subqueries with the `WHERE` clause in `SELECT`, `UPDATE` and `DELETE` queries. The syntax of a subquery with `WHERE` clause is given below: ```sql SELECT column_name FROM table_name WHERE column_name operator (SELECT column_name FROM table_name) ``` **Example Database** The employee details of Zylker Technologies are being maintained in the [Data Store](https://docs.catalyst.zoho.com/en/cloud-scale/help/data-store/introduction/) in the *Zylker_Employee_DB* table. The table contains the following columns and rows:
ID Name Department Salary
ZT-001 Amelia Burrows Product Management 15000
ZT-2001 Bruce Wayne Sr. Management 85000
ZT-239 Clark Kane Media Relations 85000
ZT-4289 Michelle Mascarenhas Finance 89000
An example subquery statement to list the salaries and the names of the employees who earn greater than the minimum salaried employee is given below: ```sql SELECT Name, Salary FROM Zylker_Employee_DB WHERE Salary > (SELECT MIN (Salary) FROM Zylker_Employee_DB) ```
Zylker_Employee_DB.Salary Zylker_Employee_DB.Name
15000 Amelia Burrows
85000 Bruce Wayne
89000 Michelle Mascarenhas
> **Note:** * This functionality is only available in **ZCQL V2**. * From **December 01st, 2024**, all your current projects in all your [Orgs](https://docs.catalyst.zoho.com/en/getting-started/catalyst-organizations/) present in the [Development Environment](https://docs.catalyst.zoho.com/en/deployment-and-billing/environments/development-environment/) will be automatically mapped to **ZCQL V2 Parser**. * From **April 01st, 2025**, all the projects present in all *Orgs* that have already been mapped to **ZCQL V2 Parser** in *Development Environment* will be automatically mapped to **ZCQL V2 Parser** in the [Production Environment](https://docs.catalyst.zoho.com/en/deployment-and-billing/environments/production-environment/), if and when production is enabled for the project. -------------------------------------------------------------------------------- title: "HAVING Clause" description: "ZCQL is Catalyst's own query language modelled after familiar query languages that you can use to query your app's database efficiently." last_updated: "2026-11-03T07:48:52.000Z" source: "https://docs.catalyst.zoho.com/en/cloud-scale/help/zcql/having/" service: "CloudScale" -------------------------------------------------------------------------------- # HAVING Clause ### Introduction The `HAVING` clause is used to select data records based on a specified condition. You can also apply [ZCQL functions](https://docs.catalyst.zoho.com/en/cloud-scale/help/zcql/zcql-functions/) in the query using this clause. The `HAVING` clause can only be used with [`SELECT`](https://docs.catalyst.zoho.com/en/cloud-scale/help/zcql/select/) queries. The syntax for using the `HAVING` clause is shown below: ```sql SELECT column_name FROM base_table_name GROUP BY column_name HAVING column_name OPERATOR condition ``` ### Operators Supported by the HAVING Clause You can use the following operators in the `HAVING` conditions in ZCQL `SELECT` queries:
Operators Description
= Equal to
IS TRUE if the operand is the same as the value
IS NULL TRUE if the operand is a null value
IS NOT NULL TRUE if the operand is not a null value
=! Not equal to
LIKE TRUE if the operand matches a pattern
NOT LIKE TRUE if the operand does not match a pattern
BETWEEN TRUE if the operand value is between the start and end values
IN TRUE if the operand is equal to a list of expressions
NOT IN TRUE if the operand is not equal to a list of expressions
> Greater than
>= Greater than or equal to
< Lesser than
<= Lesser than or equal to
### ZCQL Functions with HAVING Clause [ZCQL functions](https://docs.catalyst.zoho.com/en/cloud-scale/help/zcql/zcql-functions/) like `SUM()`, `COUNT()`, `AVG()`, etc., can be used with the `HAVING` clause in a `SELECT` query. **Example Database**: The employee details of Zylker Technologies are being maintained in the [Data Store](https://docs.catalyst.zoho.com/en/cloud-scale/help/data-store/introduction/) in the *Zylker_Employee_DB* table. The table contains the following columns and rows:
ID Name Department Salary
ZT-001 Amelia Burrows Product Management 15000
ZT-2001 Bruce Wayne Sr. Management 85000
ZT-239 Clark Kane Media Relations 85000
ZT-4289 Michelle Mascarenhas Finance 89000
Let's use the [`AVG()`](https://docs.catalyst.zoho.com/en/cloud-scale/help/zcql/zcql-functions/#avg) ZCQL function, with the `HAVING` clause in an example `SELECT` query. ```sql SELECT Name, Department, Salary FROM Zylker_Employee_DB GROUP BY Department HAVING AVG(Salary) > 50000 ```
Zylker_Employee_DB.Salary Zylker_Employee_DB.Department Zylker_Employee_DB.Name
85000 Sr. Management Bruce Wayne
89000 Finance Michelle Mascarenhas
> **Note:** * This functionality is only available in **ZCQL V2**. * From **December 01st, 2024**, all your current projects in all your [Orgs](https://docs.catalyst.zoho.com/en/getting-started/catalyst-organizations/) present in the [Development Environment](https://docs.catalyst.zoho.com/en/deployment-and-billing/environments/development-environment/) will be automatically mapped to **ZCQL V2 Parser**. * From **April 01st, 2025**, all the projects present in all *Orgs* that have already been mapped to **ZCQL V2 Parser** in *Development Environment* will be automatically mapped to **ZCQL V2 Parser** in the [Production Environment](https://docs.catalyst.zoho.com/en/deployment-and-billing/environments/production-environment/), if and when production is enabled for the project. -------------------------------------------------------------------------------- title: "JOIN Clause" description: "ZCQL is Catalyst's own query language modelled after familiar query languages that you can use to query your app's database efficiently." last_updated: "2026-11-03T07:48:52.000Z" source: "https://docs.catalyst.zoho.com/en/cloud-scale/help/zcql/joins/" service: "CloudScale" -------------------------------------------------------------------------------- # JOIN Clause ### Introduction The `JOIN` clause is used to combine rows from two or more tables in a `SELECT` query, based on a related column between them. The rows from all the tables are generated together with the common column merged. Before we learn more about the `JOIN` clause, let's understand a few key terms related to joins: 1. **Primary Key:** A primary key is a unique identifier of a record in a table. A table can have one column as its primary key column, and the value for each record in this column must be unique, is mandatory, and cannot be duplicated. 2. **Foreign Key**: A foreign key column in one table uniquely identifies a row in another table or the same table. The foreign key of the second table refers to the primary key of the first table. 3. **Parent Table**: In the `JOIN` clause, the parent table is the base table that the join is performed based on. 4. **Join Table**: The join table is the secondary table or the child table which is being merged with the parent table in the `JOIN` clause. > **Note:** Joins between two tables are only possible if there is a relationship between them. One of the tables must refer to the other table's primary key column, so either the join table must have a foreign key column of the parent table, or the parent table must have a foreign key column of the join table. In our example, the _MovieID_ column is the primary key of the _Movies_ table as it holds the unique identification number of a movie. **Example Database:** Let's create a table named "Theaters" in the ticket booking application which specifies the locations of all the theaters that are registered with the application. Sample records from the **Theaters** table are given below:
TheaterID TheaterName Location
047 The Express Cinemas New York City
048 ANC Cinemas Rochester
052 Cosmos Theater Albany
053 FunTime Cinemas Buffalo
The _TheaterID_ column is the primary key of the _Theaters_ table as it holds the unique identification numbers of the theaters. The _TheaterID_ column in the _Movies_ table is the foreign key to the _TheaterID_ column in the _Theaters_ table. > **Note:** When you use a `JOIN` clause, you must specify the column names and their table names for each column in the query as: **'_table\_name.column\_name_'**'. For example: '_Movies.MovieName_', '_Theaters.Location_' If you don't specify the table name with the column name in a query, then by default it is considered to be a column in the base table. ### Types of Joins There are two types of Joins that can be performed in ZCQL. #### INNER JOIN The `INNER JOIN` returns the records that have matching values in both the parent table and the join table. When you use an inner join on two tables, only the records whose values match for the specified columns in both the tables are produced as the output. The syntax for using an `INNER JOIN` is: ```sql SELECT column_name(s) FROM parent_table_name INNER JOIN join_table_name ON parent_table_name.column_name = join_table_name.column_name ``` **Example:** To view a list of the movie names, show dates, and show times from the _Movies_ table along with the theater names from the _Theaters_ table, execute the following query: ```sql SELECT Movies.MovieName, Theatres.TheaterName, Movies.ShowDate, Movies.ShowTime, FROM Movies INNER JOIN Theatres ON Movies.TheaterID = Theatres.TheaterID ``` This will generate the following output:
MovieName TheaterName ShowDate ShowTime
Ant-Man and the Wasp The Express Cinemas 2018-07-13 13:30:00
Hotel Transylvania 3: Summer Vacation Cosmos Theater 2018-07-13 14:20:00
The First Purge Cosmos Theater 2018-07-14 17:00:00
The First Purge FunTime Cinemas 2018-07-14 21:30:00
#### LEFT JOIN The `LEFT JOIN` returns all the records from the parent table and the matched records from the join table. When you use a left join on two tables, all records from the parent table are returned, even if they do not have matches from the join table. The result is displayed as 'NULL' for records that do not have a match in the join table. The syntax for using a `LEFT JOIN` is: ```sql SELECT column_name(s) FROM parent_table_name LEFT JOIN join_table_name ON parent_table_name.column_name = join_table_name.column_name ``` **Example:** To view a list of theaters and their locations from the _Theaters_ table along with the movies that are being screened in the theaters from the _Movies_ table, execute the following query: ```sql SELECT Theaters.TheaterName, Theaters.Location, Movies.MovieName FROM Theaters LEFT JOIN Movies ON Theaters.TheaterID = Movies.TheaterID ``` This will generate the following output:
TheaterName Location MovieName
The Express Cinemas New York City The First Purge
ANC Cinemas Rochester NULL
Cosmos Theater Albany Hotel Transylvania 3: Summer Vacation
FunTime Cinemas Buffalo Skyscraper
Since there are no matching records for ANC Cinemas in the Movies table, the result is displayed as 'NULL'. ### Multiple Joins You can combine a maximum of **four** joins in a single ZCQL query. However, you can only write **one** `JOIN` condition for each join clause. This will display the results from four different tables, where one is linked to another using an `INNER JOIN` or a `LEFT JOIN`. **Example Database**: Let's create a table called 'Pricing' in the ticket booking application which displays the ticket price in dollars of a single ticket for a particular movie and theater. This table references _TheaterID_ from the _Theaters_ table and _MovieID_ from the _Movies_ table as the foreign keys. Sample records from the **Pricing** table are given below:
TheaterID MovieID Price
047 2056 9.20
048 NULL NULL
052 2057 8.64
052 2058 11.50
053 2059 7.44
You can execute a query to display the _TheaterName_ from the _Theaters_ table, _MovieName_, _ShowDate_, and _ShowTime_ from the _Movies_ table, and _Price_ from the _Pricing_ table, by executing the following query: ```sql SELECT Theaters.TheaterName,Movies.MovieName, Movies.ShowDate, Movies.ShowTime, Pricing.Price FROM Pricing LEFT JOIN Movies ON Theaters.TheaterID = Movies.TheaterID INNER JOIN Theaters ON Movies.MovieID = Pricing.MovieID ``` This will generate the following output:
TheaterName MovieName ShowDate ShowTime Price
The Express Cinemas The First Purge 2018-07-13 13:00:00 9.20
ANC Cinemas NULL NULL NULL NULL
Cosmos Theater Ant-Man and the Wasp 2018-07-13 14:20:00 8.64
Cosmos Theater Hotel Transylvania 3: Summer Vacation 2018-07-14 17:00:00 11.50
FunTime Cinemas Skyscraper 2018-07-14 21:30:00 7.44
> **Note:** * To utilize all the features of the `JOIN` clause, we recommend you migrate your codebase from **ZCQL V1** to **ZCQL V2**. * From **December 01st, 2024**, all your current projects in all your [Orgs](https://docs.catalyst.zoho.com/en/getting-started/catalyst-organizations/) present in the [Development Environment](https://docs.catalyst.zoho.com/en/deployment-and-billing/environments/development-environment/) will be automatically mapped to **ZCQL V2 Parser**. * From **April 01st, 2025**, all the projects present in all *Orgs* that have already been mapped to **ZCQL V2 Parser** in *Development Environment* will be automatically mapped to **ZCQL V2 Parser** in the [Production Environment](https://docs.catalyst.zoho.com/en/deployment-and-billing/environments/production-environment/), if and when production is enabled for the project. * You can learn more on the enhancements and features of **ZCQL V2** from this [help document](https://docs.catalyst.zoho.com/en/cloud-scale/help/zcql/syntax-exceptions/). -------------------------------------------------------------------------------- title: "GROUP BY and ORDER BY" description: "ZCQL is Catalyst's own query language modelled after familiar query languages that you can use to query your app's database efficiently" last_updated: "2026-11-03T07:48:52.000Z" source: "https://docs.catalyst.zoho.com/en/cloud-scale/help/zcql/groupby-orderby/" service: "CloudScale" -------------------------------------------------------------------------------- ### GROUP BY Statement The `GROUP BY` statement is used to group the records fetched in a search query results by one or more columns. `GROUP BY` enables identical data to be grouped together and displayed sequentially. When there are duplicate values in a column, the `GROUP BY` statement displays the duplicates together. The records are then ordered based on other columns. The `GROUP BY` statement is associated with the `SELECT` statement and is often used with [ZCQL functions](https://docs.catalyst.zoho.com/en/cloud-scale/help/zcql/zcql-functions/). It is used towards the end of the query and should therefore satisfy the `JOIN` statements and follow the `WHERE` conditions. The basic syntax for using a `GROUP BY` statement along with the `SELECT` statement is as follows: ```sql SELECT column_name(s) FROM parent_table_name GROUP BY column_name(s) ``` **Example**: To view a list of theaters and their locations from the _Theaters_ table, grouped by the location of the theaters, execute the following query: ```sql SELECT TheaterName, Location FROM Theaters GROUP BY Location ``` This will generate the following output:
TheaterName Location
Cosmos Theater Albany
FunTime Cinemas Buffalo
The Express Cinemas New York City
ANC Cinemas Rochester
#### BINARYOF() Function The `BINARYOF()` function can only be used in a `GROUP BY` statement. The function can be used in places where you wish to produce an output that is not case sensitive and considers all the values in a column of a table. The `BINARYOF()` function can only be used on columns with **VarChar** or **Text** datatype. For example, consider the following table *Zylker_EMP*:
Names
AMELIA BURROWS
amelia burrows
amelia Burrows
Amelia Burrows
An example ZCQL statement to illustrate the functionality of `BINARYOF()` and its possible output is given below: ```sql SELECT Names FROM Zylker_EMP GROUP BY BINARYOF(Names) ```
Zylker_EMP.Names
AMELIA BURROWS
amelia burrows
amelia Burrows
Amelia Burrows
> **Note:** * This functionality is only available in **ZCQL V2**. * From **December 01st, 2024**, all your current projects in all your [Orgs](https://docs.catalyst.zoho.com/en/getting-started/catalyst-organizations/) present in the [Development Environment](https://docs.catalyst.zoho.com/en/deployment-and-billing/environments/development-environment/) will be automatically mapped to **ZCQL V2 Parser**. * From **April 01st, 2025**, all the projects present in all *Orgs* that have already been mapped to **ZCQL V2 Parser** in *Development Environment* will be automatically mapped to **ZCQL V2 Parser** in the [Production Environment](https://docs.catalyst.zoho.com/en/deployment-and-billing/environments/production-environment/), if and when production is enabled for the project. ### ORDER BY Statement The `ORDER BY` statement is used to sort the records fetched in a search query results in an ascending or a descending order, based on one or more columns. When the `ORDER BY` statement is used to sort textual data, it sorts the records in the alphabetical order. Similar to the `GROUP BY` statement, the `ORDER BY` statement is associated with the `SELECT` statement and is often used after the `GROUP BY` statement. It is used towards the end of the query, after the `JOIN` clause statements or the WHERE conditions, if present, but before the `LIMIT` clause. The `ORDER BY` statement should then satisfy the `JOIN` statements and follow the `WHERE` conditions. > **Note**: If the `ORDER BY` statement follows a GROUP BY statement, the `ORDER BY` statement takes precedence and the results are ordered first based on the `ORDER BY` statement, and then grouped together based on the `GROUP BY` statement. * If there are duplicate values in a column, the `ORDER BY` statement will display the duplicates together. The records are then ordered based on other columns. * [ZCQL Functions](https://docs.catalyst.zoho.com/en/cloud-scale/help/zcql/zcql-functions/) can also be used with `ORDER BY` statements. > **Note:** To utilize all the features of the `ORDER BY` statement, we recommend you migrate your codebase from **ZCQL V1** to **ZCQL V2**. You can learn more on the enhancements and features of **ZCQL V2** from this [help document](https://docs.catalyst.zoho.com/en/cloud-scale/help/zcql/syntax-exceptions/) The basic syntax for using a `ORDER BY` statement with the `SELECT` statement is as follows: ```sql SELECT column_name(s) FROM parent_table_name ORDER BY column_name(s) [ASC | DESC] ``` > **Note:** * By default, the `ORDER BY` statement sorts the records in ascending order without using the keyword '`ASC`'. To sort the records in a descending order, you will have to use the keyword '`DESC`'. * In all columns where you use the `ORDER BY` clause, the `ASC` and `DESC` functionality can now be applied. You can also apply `ASC` and `DESC` for individual columns. **Example**: To view a list of the ticket prices from the Pricing table in descending order for each movie from the _Movies_ table execute the following query: ```sql SELECT Movies.MovieName, Pricing.Price FROM Movies INNER JOIN Pricing ON Movies.MovieID = Pricing.MovieID ORDER BY Pricing.Price DESC ``` This will generate the following output:
MovieName Price
Hotel Transylvania 3: Summer Vacation 11.50
The First Purge 9.20
Ant-Man and the Wasp 8.64
Skyscraper 7.44
-------------------------------------------------------------------------------- title: "LIMIT Clause" description: "ZCQL is Catalyst's own query language modelled after familiar query languages that you can use to query your app's database efficiently." last_updated: "2026-11-03T07:48:52.000Z" source: "https://docs.catalyst.zoho.com/en/cloud-scale/help/zcql/limit/" service: "CloudScale" -------------------------------------------------------------------------------- ### LIMIT Clause The `LIMIT` clause limits the number of data records that are displayed in the result set of a search query. It contains the following properties: 1. **`OFFSET`: OFFSET defines the starting index of the result, i.e., the first record's position that will be displayed in the result. 2. `VALUE`**: VALUE defines the number of records to be retrieved from the starting index, i.e., the `OFFSET`. The `LIMIT` clause identifies the `OFFSET` index and then displays the number of records as specified in the `VALUE` from the `OFFSET` index. You can also just specify the value without specifying the offset, when the starting index is the first record. The `LIMIT` clause is only used when a specific number of records is to be displayed. It is used towards the end of the query after all the other clauses and statements. The basic syntax for using the `LIMIT` clause with a `SELECT` statement is: ```sql SELECT column_name(s) FROM parent_table_name LIMIT OFFSET, VALUE ``` **Example**: To view a list of the movies from the _Movies_ table consisting of up to three records from the second starting index execute the following query: ```sql SELECT * FROM Movies LIMIT 1,3 ``` It will generate the following output:
MovieID MovieName ShowDate ShowTime TheaterID
2057 Ant-Man and the Wasp 2018-07-13 14:20:00 052
2058 Hotel Transylvania 3: Summer Vacation 2018-07-14 17:00:00 052
2059 Skyscraper 2018-07-14 21:30:00 053
-------------------------------------------------------------------------------- title: "ZCQL Functions" description: "ZCQL is Catalyst's own query language modelled after familiar query languages that you can use to query your app's database efficiently." last_updated: "2026-11-03T07:48:52.000Z" source: "https://docs.catalyst.zoho.com/en/cloud-scale/help/zcql/zcql-functions/" service: "CloudScale" -------------------------------------------------------------------------------- # ZCQL Functions ZCQL supports some mathematical and analytical built-in functions that help you perform quick arithmetic operations on the data and manipulate the result set of a search query to meet your requirements. These functions are used in the `SELECT` statement for the columns that are generated in the output. ### MIN() The `MIN()` function returns the minimum value of the selected column. You can use it to return the smallest value of a column that contains numerical data or the record that comes first in the alphabetical order. The basic syntax for using a `MIN()` function along with the `SELECT` statement is: ```sql SELECT MIN(column_name) FROM base_table_name ``` **Example**: To view the least expensive movie from the _Pricing_ table, execute the following query: ```sql SELECT MIN(Price) FROM Pricing ``` This will generate the following output:
MIN(Price)
7.44
### MAX() The `MAX()` function returns the maximum value of the selected column. You can use it to return the largest value of a column that contains numerical data or the record that comes last in the alphabetical order. The basic syntax for using a `MAX()` function with the `SELECT` statement is: ```sql SELECT MAX(column_name) FROM base_table_name ``` **Example**: To view the most expensive movie from the _Pricing_ table, execute the following query: ```sql SELECT MAX(Price) FROM Pricing ``` This will generate the following output:
MAX(Price)
11.50
### COUNT() The `COUNT()` function returns the value for the number of rows in the records that are returned for a particular column in the output. The `COUNT` function is also used with the `SELECT` statement. The basic syntax for using a `COUNT()` function with the `SELECT` statement is: ```sql SELECT COUNT(column_name) FROM base_table_name ``` **Example:** To view the number of theaters in New York City and Albany, from the _Theaters_ table, execute the following query: ```sql SELECT COUNT(TheaterName) FROM Theaters WHERE Location='New York City' OR Location='Albany' ``` This will generate the following output:
COUNT(TheaterName)
2
### SUM() The `SUM()` function calculates and returns the total sum of a numeric column's records. This can only be used for a column that contains numerical data. The `SUM()` function can also be used with the `SELECT` statement for a singular column. The basic syntax for using a `SUM()` function with the `SELECT` statement is: ```sql SELECT SUM(column_name) FROM base_table_name ``` **Example**: To view the sum total of the ticket charges for 'The First Purge' and 'Hotel Transylvania 3: Summer Vacation' from the _Pricing_ table, execute the following query: ```sql SELECT SUM(Price) FROM Pricing WHERE MovieID='2056' OR MovieID='2058' ``` This will generate the following output:
SUM(Price)
20.7
### AVG() The `AVG()` function calculates and returns the average value for a numeric column's records. This can only be used for a column that contains numerical data. The `AVG()` function is used along with the `SELECT` statement for a particular column alone. The `AVG ()` ZCQL function can be applied on the following data types: - **Date** - **DateTime** - **Boolean** > **Note:** * This functionality is only available in **ZCQL V2**. * From **December 01st, 2024**, all your current projects in all your [Orgs](https://docs.catalyst.zoho.com/en/getting-started/catalyst-organizations/) present in the [Development Environment](https://docs.catalyst.zoho.com/en/deployment-and-billing/environments/development-environment/) will be automatically mapped to **ZCQL V2 Parser**. * From **April 01st, 2025**, all the projects present in all *Orgs* that have already been mapped to **ZCQL V2 Parser** in *Development Environment* will be automatically mapped to **ZCQL V2 Parser** in the [Production Environment](https://docs.catalyst.zoho.com/en/deployment-and-billing/environments/production-environment/), if and when production is enabled for the project. The basic syntax for using a `AVG()` function with the `SELECT` statement is: ```sql SELECT AVG(column_name) FROM base_table_name ``` **Example**: To view the average ticket price for the movies in the _Pricing_ table, execute the following query: ```sql SELECT AVG(Price) As AverageTicketPrice FROM Pricing ``` This will generate the following output:
AVG(Price)
9.19
### DISTINCT The `DISTINCT` statement returns only the distinct record values for a column. If there are duplicate values in a column, this statement will not return the duplicates. The `DISTINCT` statement is used along with the `SELECT` statement in a query. The basic syntax for using a `SELECT DISTINCT` statement is: ```sql SELECT DISTINCT column_name(s) FROM base_table_name ``` **Example**: To view the distinct theaters the movies are being screened at, execute the following query: ```sql SELECT DISTINCT Theaters.TheaterName FROM Movies INNER JOIN Theaters ON Movies.TheaterID=Theaters.TheaterID ``` This will generate the following output:
TheaterName
The Express Cinemas
Cosmos Theater
FunTime Cinemas
### Use Multiple ZCQL Functions You can use multiple ZCQL functions on the same column in a single ZCQL query statement. **Example Database**: The employee details of Zylker Technologies are being maintained in the [Data Store](https://docs.catalyst.zoho.com/en/cloud-scale/help/data-store/introduction/) in the *Zylker_Employee_DB* table. The table contains the following columns and rows:
ID Name Department Salary
ZT-001 Amelia Burrows Product Management 15000
ZT-2001 Bruce Wayne Sr. Management 85000
ZT-239 Clark Kane Media Relations 4500
ZT-4289 Michelle Mascarenhas Finance 89000
Next, we apply multiple ZCQL functions together in the query, as shown below: ```sql SELECT MIN (Salary), MAX (Salary), COUNT (Salary), SUM (Salary), AVG (Salary) FROM Zylker_Employee_DB ```
MAX(Salary) SUM(Salary) MIN(Salary) AVG(Salary) COUNT(Salary)
89000 193500 4500 48975 4
> **Note:** * This functionality is only available in **ZCQL V2**. * From **December 01st, 2024**, all your current projects in all your [Orgs](https://docs.catalyst.zoho.com/en/getting-started/catalyst-organizations/) present in the [Development Environment](https://docs.catalyst.zoho.com/en/deployment-and-billing/environments/development-environment/) will be automatically mapped to **ZCQL V2 Parser**. * From **April 01st, 2025**, all the projects present in all *Orgs* that have already been mapped to **ZCQL V2 Parser** in *Development Environment* will be automatically mapped to **ZCQL V2 Parser** in the [Production Environment](https://docs.catalyst.zoho.com/en/deployment-and-billing/environments/production-environment/), if and when production is enabled for the project. -------------------------------------------------------------------------------- title: "ZCQL V2 Syntax and Exceptions" description: "ZCQL is Catalyst's own query language modelled after familiar query languages that you can use to query your app's database efficiently." last_updated: "2026-11-03T07:48:52.000Z" source: "https://docs.catalyst.zoho.com/en/cloud-scale/help/zcql/syntax-exceptions/" service: "CloudScale" -------------------------------------------------------------------------------- # ZCQL V2 Syntax and Exceptions Catalyst has added several syntax upgrades and enhancements to help you write ZCQL queries more effectively. These new syntax upgrades will provide additional functionalities and enable you to perform data related operations in the Data Store with much ease. > **Note:** * To use these feature enhancements, you will need to migrate to the **V2** version. The syntax upgrades will not be applicable if you implement them while executing ZCQL commands in **V1**. * From **December 01st, 2024**, all your current projects in all your [Orgs](https://docs.catalyst.zoho.com/en/getting-started/catalyst-organizations/) present in the [Development Environment](https://docs.catalyst.zoho.com/en/deployment-and-billing/environments/development-environment/) will be automatically mapped to **ZCQL V2 Parser**. * From **April 01st, 2025**, all the projects present in all *Orgs* that have already been mapped to **ZCQL V2 Parser** in *Development Environment* will be automatically mapped to **ZCQL V2 Parser** in the [Production Environment](https://docs.catalyst.zoho.com/en/deployment-and-billing/environments/production-environment/), if and when production is enabled for the project. The following exception and syntax nuances need to be kept in mind when you execute a ZCQL query: 1. The [`AVG ()`](https://docs.catalyst.zoho.com/en/cloud-scale/help/zcql/zcql-functions/#avg) ZCQL function can be applied on the following data types: - **Date** - **DateTime** - **Boolean** 2. When you are indicating a value in your ZCQL statement, indicate the value in single quotes. For example, if you have to fetch a particular name from an employee database, you will write the command in the following manner: ```sql SELECT Name FROM Employee_DB WHERE name = 'Amelia' ``` 3. If a column is of Boolean data type: - No string values are permitted. - Boolean data type will only support the following values: - FALSE - TRUE - NULL 4. If you are using an **Encrypted datatype**, then the following ZCQL functions cannot be used on that column: - `AVG()` - `SUM()` - `MAX()` - `MIN()` 5. [Appropriate exceptions](https://docs.catalyst.zoho.com/en/cloud-scale/help/zcql/syntax-exceptions/#list-of-zcql-exceptions) have been added when you use comparative operators like `Less Than`, `Greater Than`, `Less Than or Equal`, and `Greater Than or Equal`, on **Encrypted Text**, and **Boolean** data type. These exceptions are not applicable for `Equal` and `Not Equal` operators. 6. Subqueries are now supported in `WHERE` clause statements. You can find out more about them from this [help document](https://docs.catalyst.zoho.com/en/cloud-scale/help/zcql/where/#subqueries-in-where-clause). 7. [`ORDER BY`](https://docs.catalyst.zoho.com/en/cloud-scale/help/zcql/groupby-orderby/#order-by-statement) clause now supports the use of [ZCQL functions](https://docs.catalyst.zoho.com/en/cloud-scale/help/zcql/zcql-functions/). 8. In all columns where you use the `ORDER BY` clause, the `ASC` and `DESC` functionality can now be applied. You can also apply `ASC` and `DESC` for individual columns. **Example Database**: Consider the following database - **ZylkerEmployeeCompensation**
Name Salary Reimbursement
Michelle Mascarenhas 90000 10000
Bruce Kyle 3000000 45000
Clark Kane 3300 1500
Judith Bridges 4700 300
Devon Dreymond 80000 2300
Ashley Kim 6000 200
Execute the following command to list the table ```sql SELECT Salary, Reimbursement FROM ZylkerEmployeeCompensation ORDER BY Salary ASC, Reimbursement DESC ``` **Output:**
ZylkerEmployeeCompensation.Salary ZylkerEmployeeCompensation.Reimbursement
3300 45000
4700 10000
6000 2300
80000 1500
90000 300
3000000 200
9. [Appropriate exceptions](https://docs.catalyst.zoho.com/en/cloud-scale/help/zcql/syntax-exceptions/#list-of-zcql-exceptions) will be triggered in the following cases: - If the permitted max/min value has been exceeded in **Integer** datatype. - If the character length is longer than the value set by you in **VarChar** datatype. - If the value is beyond the supported range in **BIGINT** datatype. 10. You can write **four** [`JOIN`](https://docs.catalyst.zoho.com/en/cloud-scale/help/zcql/joins/) clauses in a single ZCQL statement. However, you can only write **one** `JOIN` condition for each join clause. 11. **Table Alias** functionality is now supported in ZCQL. You can now invoke alias functionality in ZCQL using the `AS` ZCQL command. Using this command you can refer to your table with other names. **Example Database**: Consider the following databases: **Table 1: ZylkerEmployeeCompensation**
Name Salary Reimbursement
Michelle Mascarenhas 90000 10000
Bruce Kyle 3000000 45000
Clark Kane 3300 1500
Judith Bridges 4700 300
Devon Dreymond 80000 2300
Ashley Kim 6000 200
**Table 2: ZylkerEmployeeRelation**
Manager Member
Michelle Mascarenhas Bruce Kyle
Michelle Mascarenhas Clark Kane
Judith Bridges Michelle Mascarenhas
Execute the following command to list the table ```sql SELECT Managers.Name, Members.Name FROM ZylkerEmployeeCompensation AS Managers INNER JOIN ZylkerEmployeeRelation AS asso ON Managers.ROWID = asso.Manager INNER JOIN ZylkerEmployeeCompensation AS Members ON Members.ROWID = asso.Member ``` **Output:**
Manager.Name Member.Name
Michelle Mascarenhas Bruce Kyle
Michelle Mascarenhas Clark Kane
Judith Bridges Michelle Mascarenhas
> **Note:** The table Alias operation is only supported for `SELECT` statements. 12. You can check if you have a NULL value by using the **IS/IS NOT** operator. The **IS/IS NOT** operator support is only available for NULL values. 13. When writing [`GROUP BY`](https://docs.catalyst.zoho.com/en/cloud-scale/help/zcql/groupby-orderby/) with [`Binaryof()`](https://docs.catalyst.zoho.com/en/cloud-scale/help/zcql/groupby-orderby/#binaryof-function) statements, the following ZCQL rules need to be remembered: - The Binaryof() functionality can only be used in GROUP BY statements. - Binaryof() can only be used on columns with VarChar or Text datatype. - When Binaryof() is used in a GROUP BY statement, the returned values are case-sensitive. For example, consider you have the values 'AMELIA', 'amelia', 'Burrows', and 'burrows' in a column called Name, in a table called Zylker_EMP. If you use the following command: ```sql Select Name from Zylker_EMP group by binaryof(Name) ``` The result could be any of the following: - AMELIA - amelia - burrows - Burrows 14. Column names can now contain numerical values. You can signify such column names in the query using a backtick (**`**) punctuation. For example, a `SELECT` query on a table called Numbers with a column named 01 can be written in the following manner: ```sql SELECT `01` FROM Numbers ``` ### List of ZCQL Exceptions The following is a list of common exceptions and example query statements that can trigger these exceptions. Ensure that you go through the list, and follow ZCQL syntax strictly to avoid triggering these exceptions.
Datatype Case Sample ZCQL Query Triggered Exception
Encrypted Text Certain operators are not supported SELECT * FROM temp WHERE enc > 'temsp' `Operator > is not supported for ENCRYPTED TEXT` The same exception applies, but the exception message will be altered accordingly if you use these operators **<**, **<=**, **>=** in the ZCQL statement
`LIKE` is not supported SELECT * FROM temp WHERE enc LIKE '*temsp' `Operator LIKE is not supported for ENCRYPTED TEXT` The same exception applies, but the exception message will be altered accordingly if you use **NOT LIKE** in the ZCQL statement
`BETWEEN` is not supported SELECT * FROM temp WHERE enc BETWEEN 'one' AND 'ten' `Operator BETWEEN is not supported for ENCRYPTED TEXT` The same exception applies, but the exception message will be altered accordingly if you use **NOT BETWEEN** in the ZCQL statement
`IN` is not supported SELECT * FROM temp WHERE enc IN ('one','three') `Operator IN is not supported for ENCRYPTED TEXT` The same exception applies if you use **NOT IN** in your query, but the exception message will be altered accordingly
ZCQL functions is not supported SELECT AVG(enc) FROM temp `AVG() function is not supported for ENCRYPTED_TEXT` [ZCQL Functions](https://docs.catalyst.zoho.com/en/cloud-scale/help/zcql/zcql-functions/) are not supported in **Encrypted Text**.
Boolean Certain operators are not supported SELECT * FROM temp WHERE bools > FALSE `Operator > is not supported for BOOLEAN` The same exception applies, but the exception message will be altered accordingly if you use these operators **<**, **<=**, **>=** in the ZCQL statement
`LIKE` is not supported SELECT * FROM temp WHERE bools LIKE FALSE `Operator LIKE is not supported for BOOLEAN` The same exception applies if you use **NOT LIKE** in your query, but the exception message will be altered accordingly
`BETWEEN` is not supported SELECT * FROM temp WHERE bools BETWEEN TRUE and FALSE `Operator BETWEEN is not supported for BOOLEAN` The same exception applies if you use **NOT BETWEEN** in your query, but the exception message will be altered accordingly
`IN` is not supported SELECT * FROM temp WHERE bools IN (TRUE, FALSE) `Operator IN is not supported for BOOLEAN` The same exception applies if you use **NOT IN** in your query, but the exception message will be altered accordingly
VarChar Maximum length exceeded INSERT INTO temp (Fishes) value ('salmon') `'salmon' data too long for column 'Fishes'` The column `Fishes` was created as a **VarChar** and the **MaxLength** was set as `5`. In this statement, `'Salmon'` exceeds the **MaxLength**
Integer Maximum value exceeded INSERT INTO temp (numbers) VALUE (546895326908) `For column 'ints' INT value should be between -9999999999 and 9999999999` The column numbers was created as **INT**. The value of **INT** datatype should be between `-9999999999` and `9999999999`
Big Integer Maximum value exceeded INSERT INTO temp (numbers) VALUE (92343432412351 435123453245) `Given numeric value 92343432412351 435123453 is too large` The column numbers was created as **BIGINT**. The value of **BIGINT** datatype should be between `-9223372036854775808` and `9223372036854775807`
Text Value not enclosed in single quotes SELECT * FROM temp WHERE name = one `Unknown Table temp or Unknown Column one in WHERE` The value `one` will be considered as column if it is not enclosed in quotes-'`one`'
-------------------------------------------------------------------------------- title: "The ZCQL Console" description: "ZCQL is Catalyst's own query language modelled after familiar query languages that you can use to query your app's database efficiently." last_updated: "2026-11-03T15:16:51.000Z" source: "https://docs.catalyst.zoho.com/en/cloud-scale/help/zcql/zcql-console/" service: "CloudScale" -------------------------------------------------------------------------------- # The ZCQL Console The **ZCQL Console** is an intuitive tool that allows you to execute your required ZCQL queries, perform data manipulation operations on data stored in the [Data Store](https://docs.catalyst.zoho.com/en/cloud-scale/help/data-store/introduction/), and save your required ZCQL queries directly in the Catalyst console. ### Feature Highlights ![catalyst_zcql_console_first_view](https://catalyst-docs-development.zohostratus.in/images/help/zcql/catalyst_zcql_console_first_view.webp) The *ZCQL Console* provides you with the following offerings: * When you type in a query, you are provided with a relevant and meaningful code completion suggestion that allows you to form your queries easily and quickly. * Execute any query in the console, and you can directly view the complete output. * Copy the query using the *copy button* and apply it to your code with ease. * Save any of your required ZCQL queries and reuse it when required. * Using the **ZCQL Explorer**, you can easily search for and reuse the required saved query, view column information of all the tables created in the project, and also reuse previously executed queries from the *History* section. > **Note:** * By default, only **50 ZCQL queries** can be saved in a single Catalyst project. If you have a higher requirement, you can contact the [Catalyst Support team](mailto:support@zohocatalyst.com) to increase this threshold. * Only the latest **100 ZCQL queries** will be logged in the *History* section of the **ZCQL Explorer**. However, there is no time limit on how long the query will be available in the *History*. ### Access the ZCQL Console To access the ZCQL Console: 1. Navigate to the **Data Store** component present under the *STORAGE* section of the [CloudScale service](https://docs.catalyst.zoho.com/en/cloud-scale/). ![catalyst_zcql_console_datastore_page](https://catalyst-docs-development.zohostratus.in/images/help/zcql/catalyst_zcql_console_datastore_page.webp) > **Note:** You need to [create a table](https://docs.catalyst.zoho.com/en/cloud-scale/help/data-store/tables/#create-a-new-table) in the **Data Store** to be able to access the **ZCQL Console**. 2. Click the **ZCQL Console** tab. ![catalyst_zcql_console_view_tab_highlight](https://catalyst-docs-development.zohostratus.in/images/help/zcql/catalyst_zcql_console_view_tab_highlight.webp) You can type your query in this console and perform the required operations. ### The ZCQL Explorer The *ZCQL Explorer* is an expandable and collapsible feature of the ZCQL console. It contains the following sections: * **Schema**: Schema contains information about the table that includes the list of columns present in the table, if the value for the columns is mandatory, and the datatype of the data that will be stored in these columns. ![catalyst_zcql_console_zcql_explorer_schema](https://catalyst-docs-development.zohostratus.in/images/help/zcql/catalyst_zcql_console_zcql_explorer_schema.webp) * **Saved Queries**: This section will contain a list of all the queries you have saved using the **Save Query** button. You can search for your required query using its name and reuse it. ![catalyst_zcql_console_console_explorer_saved_queries](https://catalyst-docs-development.zohostratus.in/images/help/zcql/catalyst_zcql_console_console_explorer_saved_queries.webp) > **Note:** By default, only **50 ZCQL queries** can be saved in a single Catalyst project. If you have a higher requirement, you can contact the [Catalyst Support team](mailto:support@zohocatalyst.com) to increase this threshold. * **History**: The *History* section will contain the complete list of the **latest 100 queries** that have been executed in the console. ![catalyst_zcql_console_zcql_explorer_history_section](https://catalyst-docs-development.zohostratus.in/images/help/zcql/catalyst_zcql_console_zcql_explorer_history_section.webp) If you wish to save a query from the *History* section, click the **save-icon** next to the required query and follow the steps listed in this [section](https://docs.catalyst.zoho.com/en/cloud-scale/help/zcql/zcql-console/#save-a-zcql-query). > **Note**: Only the latest **100 ZCQL queries** will be present in the *History* section. However, there is no time limit on how long the query can be stored in *History*. ### Execute a ZCQL Query To execute a ZCQL query in the ZCQL Console: 1. Enter your ZCQL query in the console. ![catalyst_zcql_console_enterquery](https://catalyst-docs-development.zohostratus.in/images/help/zcql/catalyst_zcql_console_enterquery.webp) 2. Click the **Execute Query** button. ![catalyst_zcql_query_query_executed](https://catalyst-docs-development.zohostratus.in/images/help/zcql/catalyst_zcql_query_query_executed.webp) You will be able to view the output directly in the console. The query will be executed and logged in the *History* section present in the **ZCQL Explorer**. By default, you will be viewing the output in *Table View*. You also have the option to view the output as a JSON by clicking the **View** drop-down, and selecting the **JSON View** option. ![catalyst_zcql_console_json_output_view](https://catalyst-docs-development.zohostratus.in/images/help/zcql/catalyst_zcql_console_json_output_view.webp) You also have the option to copy this JSON and use it as required. ### Save a ZCQL Query In the ZCQL Console, you can execute your required queries and save them. Saving your queries allows you to retrieve them easily and use them whenever they are required instead of manually inputting them for each session. > **Note:** By default, only **50 ZCQL queries** can be saved in a single Catalyst project. If you have a higher requirement, you can contact the [Catalyst Support team](mailto:support@zohocatalyst.com) to increase this threshold. To save a ZCQL query: 1. Enter your required query, and click the **Save Query** button. ![catalyst_zcql_console_enter_query_save_hihlit](https://catalyst-docs-development.zohostratus.in/images/help/zcql/catalyst_zcql_console_enter_query_save_hihlit.webp) 2. In the pop-up, go through the *Query Preview* section and provide a **Query Name** to refer your query by and click **Save**. ![catalyst_zcql_console_save_query_pop](https://catalyst-docs-development.zohostratus.in/images/help/zcql/catalyst_zcql_console_save_query_pop.webp) Your query will be saved. You can view and manage your queries from the *ZCQL Explorer* section, under the **Saved Queries** tab. ![catalyst_zcql_console_query_saved_show](https://catalyst-docs-development.zohostratus.in/images/help/zcql/catalyst_zcql_console_query_saved_show.webp) You can click the *Console* button to print the query into your console. ![catalyst_zcql_console_console_button_click_hihlit](https://catalyst-docs-development.zohostratus.in/images/help/zcql/catalyst_zcql_console_console_button_click_hihlit.webp) You can also further edit this query and execute it as needed or save it under a different query name by repeating the steps mentioned above. ### Delete a Saved Query To delete a saved query: 1. Click the **delete-icon** present next to the required query in the **Saved Queries** section of the *ZCQL Explorer*. ![catalyst_zcql_console_query_del_icon](https://catalyst-docs-development.zohostratus.in/images/help/zcql/catalyst_zcql_console_query_del_icon.webp) 2. Click **Yes, Proceed** on the confirmation pop-up to delete the required query. ![catalyst_zcql_console_delete_prompt](https://catalyst-docs-development.zohostratus.in/images/help/zcql/catalyst_zcql_console_delete_prompt.webp) The query will be deleted. ### Using ZCQL V2 in Function Code To use **ZCQL V2** code in your function, you will need to set an environment variable for it in the following manner: 1. Navigate to *Serverless* > **Functions**. ![catalyst_zcql_v2_func_list](https://catalyst-docs-development.zohostratus.in/images/help/zcql/catalyst_zcql_v2_func_list.webp) 2. Click the function that contains your ZCQL V2 code. 3. Click the **Configuration** tab, then click **Create Variable** under *Environmental Variables*. ![zcql_v2_create_env_variable](https://catalyst-docs-development.zohostratus.in/images/help/zcql/zcql_v2_create_env_variable.webp) 4. Enter the following values in the respective fields: **Key**: `ZOHO_CATALYST_ZCQL_PARSER` **Development Value**: `V2` ![catalyst_zcql_parser_env_setting](https://catalyst-docs-development.zohostratus.in/images/help/zcql/catalyst_zcql_parser_env_setting.webp) 5. Click **Save**. ![catalyst_zcql_env_variable_set](https://catalyst-docs-development.zohostratus.in/images/help/zcql/catalyst_zcql_env_variable_set.webp) You will now be able to use ZCQL V2 in your function code. > **Note:** * You do not have to reference the environment variable anywhere in your code. Once you have configured it in the console, you can use **ZCQL V2** in your function code. * From **December 01st, 2024**, all your current projects in all your [Orgs](https://docs.catalyst.zoho.com/en/getting-started/catalyst-organizations/) present in the [Development Environment](https://docs.catalyst.zoho.com/en/deployment-and-billing/environments/development-environment/) will be automatically mapped to **ZCQL V2 Parser**. * From **April 01st, 2025**, all the projects present in all *Orgs* that have already been mapped to **ZCQL V2 Parser** in *Development Environment* will be automatically mapped to **ZCQL V2 Parser** in the [Production Environment](https://docs.catalyst.zoho.com/en/deployment-and-billing/environments/production-environment/), if and when production is enabled for the project. ## API Reference — CloudScale ### Authentication -------------------------------------------------------------------------------- title: "Add New User" description: "This API enables you to add a new end-user to a Catalyst application for a specific platform through Catalyst Authentication" last_updated: "2026-11-03T07:48:52.000Z" source: "https://docs.catalyst.zoho.com/en/api/code-reference/cloud-scale/authentication/add-new-user/" service: "CloudScale" -------------------------------------------------------------------------------- # Authentication [Catalyst Authentication](https://docs.catalyst.zoho.com/en/cloud-scale/help/authentication/introduction) features enable you to add end-users to your Catalyst serverless applications, configure their user accounts and roles, and manage user sign-in and authentication of your application. # Add a New User ### Description This API enables you to add a new end-user to the Catalyst application for a specific platform. When the user has signed up, unique identification values such as [`ZUID`, `userID`](https://docs.catalyst.zoho.com/en/cloud-scale/help/authentication/user-management/users/introduction/) are created for them. > **Note:** You can add up to 1,000 users to your application. ### Request Details #### Request URL `POST` {api-domain}/baas/v1/project/{project_id}/project-user/signup - **api-domain** (URL): The DC-specific domain to access Catalyst API - **project_id** (Numerical): The [unique ID](https://docs.catalyst.zoho.com/en/getting-started/set-up-a-catalyst-project/general-settings/) of the project #### Request Headers **Authorization:** Zoho-oauthtoken {oauth_token} **Content-Type:** application/json **Optional Headers** **CATALYST-ORG:** {org_id} **Environment:** Development #### Scope ZohoCatalyst.projects.users.CREATE #### Request JSON Properties - **platform_type** (string, mandatory): Accepted values: `web`, `android`, `ios` - **redirect_url** (string, optional): The URL to be redirected to, after the user signs up for the application Max Size: 200 - **user_details** (json, mandatory): The JSON that contains the details of the user - - **first_name** (string, mandatory): First name of the user Max Size: 100 - - **last_name** (string, optional): Last name of the user Max Size: 100 - - **email_id** (string, mandatory): Email address of the user ### Response Details The response will contain the details of the user added in the `data` key, including the metadata and identification values such as `zaid`, `user_id`, and `org_id` that were generated. **Sample Request** ```bash curl -X POST \ https://api.catalyst.zoho.com/baas/v1/project/3000000002001/project-user/signup \ -H "Authorization: Zoho-oauthtoken 1000.910*\*\*\*\*\*\*\*\*\*\*\*\*\*\*\*\*\*\*\*\*\*\*\*\*16.2f*\*\*\*\*\*\*\*\*\*\*\*\*\*\*\*\*\*\*\*\*\*\*\*\*57" \ -H "Content-Type: application/json" \ -H "PROJECT_ID: 1010309726" \ -d '{ "user_details":{ "first_name":"Rowena", "last_name":"Simmons", "email_id":"r.simmons@zylker.com" }, "platform_type":"web", "redirect_url":"https://logistics.zylker.com/app/index.html" }' ``` **Sample Response** ```json { "status": "success", "data": { "zaid": 1010309726, "user_details": { "user_id": 671930455, "user_type": "App Administrator", "zuid": 3000000006001, "zaaid": 1011520995, "status": "ACTIVE", "is_confirmed": true, "email_id": "r.simmons@zylker.com", "first_name": "Rowena", "last_name": "Simmons", "created_time": "May 13, 2019 09:16 PM", "modified_time": "May 13, 2019 09:16 PM", "invited_time": "May 13, 2019 09:16 PM", "role_details": { "role_id": 1256000000288012, "role_name": "App Administrator" } }, "redirect_url": "https://logistics.zylker.com/app/index.html", "platform_type": "web", "org_id": 1011520995 "locale": "us|en_us|America/Los_Angeles" "time_zone": "America/Los_Angeles" } } ``` ### SDK Documentation [Add New User- Java SDK](https://docs.catalyst.zoho.com/en/sdk/java/v1/cloud-scale/authentication/add-new-user) [Add New User- Node.js SDK](https://docs.catalyst.zoho.com/en/sdk/nodejs/v2/cloud-scale/authentication/add-new-user) [Add New User- Python SDK](https://docs.catalyst.zoho.com/en/sdk/python/v1/cloud-scale/authentication/add-new-user) [Add New User- Web SDK](https://docs.catalyst.zoho.com/en/sdk/web/v4/cloud-scale/authentication/add-new-user) -------------------------------------------------------------------------------- title: "Add a New User to an Existing Organization" description: "This API enables you to add a new end-user to an existing organization without creating a new organization for them through Catalyst Authentication." last_updated: "2026-11-03T07:48:52.000Z" source: "https://docs.catalyst.zoho.com/en/api/code-reference/cloud-scale/authentication/add-user-to-existing-org/" service: "CloudScale" -------------------------------------------------------------------------------- # Add a New User to an Existing Organization ### Description This API enables you to add a new end-user to an existing organization without creating a new organization for them. This can be done by providing the `[**ZAAID**](https://docs.catalyst.zoho.com/en/cloud-scale/help/authentication/user-management/users/introduction/)` of the organization that the user must be added to. The organization of a user cannot be changed later, once it is associated with their account. When the user has signed up, unique identification values such as [`ZUID` and `User ID`](https://docs.catalyst.zoho.com/en/cloud-scale/help/authentication/user-management/users/introduction/) are created for them. ### Request Details #### Request URL `POST` {api-domain}/baas/v1/project/{project_id}/project-user - **api-domain** (URL): The DC-specific domain to access Catalyst API - **project_id** (Numerical): The [unique ID](https://docs.catalyst.zoho.com/en/getting-started/set-up-a-catalyst-project/general-settings/) of the project #### Request Headers **Authorization:** Zoho-oauthtoken {oauth_token} **Content-Type:** application/json **Optional Headers** **CATALYST-ORG:** {org_id} **Environment:** Development #### Scope ZohoCatalyst.projects.users.CREATE #### Request JSON Properties - **platform_type** (string, mandatory): Accepted values: `web`, `android`, `ios` - **redirect_url** (string, optional): The URL to be redirected to, after the user signs up for the application Max Size: 200 - **user_details** (json, mandatory): The JSON that contains the details of the user - - **first_name** (string, optional): First name of the user Max Size: 100 - - **last_name** (string, mandatory): Last name of the user Max Size: 100 - - **email_id** (string, mandatory): Email address of the user - - **ZAAID** (string, mandatory): Unique identification of the organization that the user belongs to ### Response Details The response will contain the details of the user added in the `data` key, including the metadata and identification values such as `zaid`, `user_id`, and `org_id` that were generated. **Sample Request** ```bash curl -X POST \ https://api.catalyst.zoho.com/baas/v1/project/3000000002001/project-user \ -H "Authorization: Zoho-oauthtoken 1000.910*\*\*\*\*\*\*\*\*\*\*\*\*\*\*\*\*\*\*\*\*\*\*\*\*16.2f*\*\*\*\*\*\*\*\*\*\*\*\*\*\*\*\*\*\*\*\*\*\*\*\*57" \ -H "Content-Type: application/json" \ -d '{ "user_details":{ "first_name":"John", "last_name":"Winchester", "email_id":"john.w@zylker.com", "zaaid":4567899 }, "redirect_url": "https://logistics.zylker.com/app/index.html", "platform_type":"web" }' ``` **Sample Response** ```json { "status": "success", "data": { "zaid": 1011481670, "user_details": { "user_id": 671930400, "user_type": "App User", "zuid": 3000000006001, "zaaid": 1011520995, "status": "ACTIVE", "is_confirmed": true, "email_id": "john.w@zylker.com", "first_name": "John", "last_name": "Winchester", "created_time": "May 13, 2019 09:16 PM", "modified_time": "May 13, 2019 09:16 PM", "invited_time": "May 13, 2019 09:16 PM", "role_id": 3000000005015 }, "redirect_url": "https://logistics.zylker.com/app/index.html", "platform_type": "web", "org_id": 1011520995 "locale": "us|en_us|America/Los_Angeles" "time_zone": "America/Los_Angeles" } } ``` ### SDK Documentation [Add New User to Existing Org- Java SDK](https://docs.catalyst.zoho.com/en/sdk/java/v1/cloud-scale/authentication/add-new-user-to-existing-org/) [Add New User to Existing Org- Node.js SDK](https://docs.catalyst.zoho.com/en/sdk/nodejs/v2/cloud-scale/authentication/add-new-user-to-existing-org/) [Add New User to Existing Org- Python SDK](https://docs.catalyst.zoho.com/en/sdk/python/v1/cloud-scale/authentication/add-new-user-to-existing-org/) -------------------------------------------------------------------------------- title: "Get Current User" description: "This API enables you to fetch the details of the current user logged into the Catalyst application, through Catalyst Authentication." last_updated: "2026-11-04T10:10:44.000Z" source: "https://docs.catalyst.zoho.com/en/api/code-reference/cloud-scale/authentication/get-current-user/" service: "CloudScale" -------------------------------------------------------------------------------- # Get the Details of the Current User ### Description This API enables you to fetch the details of the current [user](https://docs.catalyst.zoho.com/en/cloud-scale/help/authentication/user-management/users/introduction/) logged into the Catalyst application, on whose scope the function is being executed. ### Request Details #### Request URL `GET` {api-domain}/baas/v1/project/{project_id}/project-user/current - **api-domain** (URL): The DC-specific domain to access Catalyst API - **project_id** (Numerical): The [unique ID](https://docs.catalyst.zoho.com/en/getting-started/set-up-a-catalyst-project/general-settings/) of the project #### Request Headers **Authorization:** Zoho-oauthtoken {oauth_token} **Optional Headers** **CATALYST-ORG:** {org_id} **Environment:** Development #### Scope ZohoCatalyst.projects.users.READ > **Note:** This operation can also be executed with Catalyst user authentication permissions using Catalyst SDKs. However, the user can only obtain their own user details. Refer to the [Catalyst API Prerequisites section](https://docs.catalyst.zoho.com/en/api/introduction/overview-and-prerequisites/#prerequisites) for details. ### Response Details The response will contain the details of the current user including their identification values such as `zaid`, `user_id`, `email_id`, and their role details. **Sample Request** ```bash curl -X GET \ https://api.catalyst.zoho.com/baas/v1/project/3000000005007/project-user/current \ -H "Authorization: Zoho-oauthtoken 1000.910*\*\*\*\*\*\*\*\*\*\*\*\*\*\*\*\*\*\*\*\*\*\*\*\*6.2f*\*\*\*\*\*\*\*\*\*\*\*\*\*\*\*\*\*\*\*\*\*\*\*\*57" ``` **Sample Response** ```json { "status": "success", "data": { "zuid": 3000000006111, "zaaid": 1019540153, "status": "ACTIVE", "user_id": 671930409, "user_type": "App Administrator", "is_confirmed": true, "email_id": "p.boyle@zylker.com", "first_name": "Patricia", "last_name": "Boyle", "created_time": "Jul 09, 2019 04:11 PM", "modified_time": "Jul 09, 2019 04:11 PM", "invited_time": "Jul 09, 2019 04:11 PM", "role_details": { "role_id": 3000000005090, "role_name": "App Administrator" } "org_id":1019540153 "locale": "us|en_us|America/Los_Angeles" "time_zone": "America/Los_Angeles" } } ``` ### SDK Documentation [Get User Details- Java SDK](https://docs.catalyst.zoho.com/en/sdk/java/v1/cloud-scale/authentication/get-user-details/) [Get User Details- Node.js SDK](https://docs.catalyst.zoho.com/en/sdk/nodejs/v2/cloud-scale/authentication/get-user-details/) [Get User Details- Python SDK](https://docs.catalyst.zoho.com/en/sdk/python/v1/cloud-scale/authentication/get-user-details/) [Get User Details- Web SDK](https://docs.catalyst.zoho.com/en/sdk/web/v4/cloud-scale/authentication/get-user-details/) -------------------------------------------------------------------------------- title: "Get Specific User" description: "This API enables you to obtain the details of a specific Catalyst application user through Catalyst Authentication" last_updated: "2026-11-03T15:41:32.000Z" source: "https://docs.catalyst.zoho.com/en/api/code-reference/cloud-scale/authentication/get-specific-user/" service: "CloudScale" -------------------------------------------------------------------------------- # Get the Details of a Specific User ### Description This API enables you to obtain the details of a specific [Catalyst application user](https://docs.catalyst.zoho.com/en/cloud-scale/help/authentication/user-management/introduction/), by passing their `user_ID` in the request. ### Request Details #### Request URL `GET` {api-domain}/baas/v1/project/{project_id}/project-user/{user_id} - **api-domain** (URL): The DC-specific domain to access Catalyst API - **project_id** (Numerical): The [unique ID](https://docs.catalyst.zoho.com/en/getting-started/set-up-a-catalyst-project/general-settings/) of the project - **user_id** (Numerical): The [unique ID](https://docs.catalyst.zoho.com/en/cloud-scale/help/authentication/user-management/introduction/) of the user #### Request Headers **Authorization:** Zoho-oauthtoken {oauth_token} **Optional Headers** **CATALYST-ORG:** {org_id} **Environment:** Development #### Scope ZohoCatalyst.projects.users.READ ### Response Details The response will contain the details of the specific user including their identification values such as `zuid`, `user_id`, `email_id`, and their role details. **Sample Request** ```bash curl -X GET \ https://api.catalyst.zoho.com/baas/v1/project/3000000005007/project-user/671930409 \ -H "Authorization: Zoho-oauthtoken 1000.910*\*\*\*\*\*\*\*\*\*\*\*\*\*\*\*\*\*\*\*\*\*\*\*\*16.2f*\*\*\*\*\*\*\*\*\*\*\*\*\*\*\*\*\*\*\*\*\*\*\*\*57" ``` **Sample Response** ```json { "status": "success", "data": { "zuid": 3171930400, "zaaid": 1019540153, "status": "ACTIVE", "user_id": 671930409, "user_type": "App User", "is_confirmed": true, "email_id": "john.w@zylker.com", "first_name": "John", "last_name": "Winchester", "created_time": "Jul 09, 2019 04:11 PM", "modified_time": "Jul 09, 2019 04:11 PM", "invited_time": "Jul 09, 2019 04:11 PM", "role_details": { "role_id": 3000000005015, "role_name": "App User" } "org_id":1019540153 "locale": "us|en_us|America/Los_Angeles" "time_zone": "America/Los_Angeles" } } ``` ### SDK Documentation [Get User Details- Java SDK](https://docs.catalyst.zoho.com/en/sdk/java/v1/cloud-scale/authentication/get-user-details/#get-user-details-by-user-id) [Get User Details- Node.js SDK](https://docs.catalyst.zoho.com/en/sdk/nodejs/v2/cloud-scale/authentication/get-user-details/#get-user-details-by-user-id) [Get User Details- Python SDK](https://docs.catalyst.zoho.com/en/sdk/python/v1/cloud-scale/authentication/get-user-details/#get-user-details-by-user-id) [Get User Details- Web SDK](https://docs.catalyst.zoho.com/en/sdk/web/v4/cloud-scale/authentication/get-user-details/) -------------------------------------------------------------------------------- title: "Get All Users" description: "This API enables you to fetch the details of all Catalyst applications users of a particular application through Catalyst Authentication." last_updated: "2026-11-03T15:41:32.000Z" source: "https://docs.catalyst.zoho.com/en/api/code-reference/cloud-scale/authentication/get-all-users/" service: "CloudScale" -------------------------------------------------------------------------------- # Get the Details of All Users ### Description This API enables you to fetch the details of all [Catalyst applications users](https://docs.catalyst.zoho.com/en/cloud-scale/help/authentication/user-management/introduction/) of a particular application through Pagination. **Pagination** allows you to retrieve the user list in pages through an iteration of API calls. For example, if you require user records to be fetched in batches of 200 as individual pages, you must include a `start` and an `end` parameter in your request. You can set the start index as 0 using the `start` parameter, and specify the maximum number of users to be fetched as 200 using the `end` parameter. To fetch the next set of user records, you can execute another API call by setting the `start` index as 200, and specifying the number of user records in that page using the `end` parameter accordingly. ### Request Details #### Request URL `GET` {api-domain}/baas/v1/project/{project_id}/project-user?start={start_index}&end={number_of_users} - **api-domain** (URL): The DC-specific domain to access Catalyst API - **project_id** (Numerical): The [unique ID](https://docs.catalyst.zoho.com/en/getting-started/set-up-a-catalyst-project/general-settings/) of the project - **start** (Numerical):

The start index to fetch the user records from

- **end** (Numerical):

Number of user records to return in a single page through pagination

#### Request Headers **Authorization:** Zoho-oauthtoken {oauth_token} **Optional Headers** **CATALYST-ORG:** {org_id} **Environment:** Development #### Scope ZohoCatalyst.projects.users.READ ### Response Details The response will contain the details of all application users including their identification values such as `zuid`, `user_id`, `email_id`, and their role details. **Sample Request** ```bash curl -X GET \ https://api.catalyst.zoho.com/baas/v1/project/3000000005007/project-user?start=100&end=3 \ -H "Authorization: Zoho-oauthtoken 1000.910*\*\*\*\*\*\*\*\*\*\*\*\*\*\*\*\*\*\*\*\*\*\*\*\*16.2f*\*\*\*\*\*\*\*\*\*\*\*\*\*\*\*\*\*\*\*\*\*\*\*\*57" ``` **Sample Response** ```json { "status": "success", "data": [ { "zuid": 3171930121, "zaaid": 1019540153, "status": "ACTIVE", "user_id": 671930409, "user_type": "App User", "is_confirmed": true, "email_id": "ron.grisham@zylker.com", "first_name": "Ronald", "last_name": "Grisham", "created_time": "Jul 09, 2019 04:11 PM", "modified_time": "Jul 09, 2019 04:11 PM", "invited_time": "Jul 09, 2019 04:11 PM", "role_details": { "role_id": 3000000005015, "role_name": "App User" } "org_id":1019540153 "locale": "us|en_us|America/Los_Angeles" "time_zone": "America/Los_Angeles" }, { "zuid": 3171930089, "zaaid": 1019543293, "status": "ACTIVE", "user_id": 671930121, "user_type": "App User", "is_confirmed": true, "email_id": "Lucy.p@zylker.com", "first_name": "Lucy", "last_name": "Pettigrew", "created_time": "Jul 09, 2019 04:26 PM", "modified_time": "Jul 09, 2019 04:26 PM", "invited_time": "Jul 09, 2019 04:26 PM", "role_details": { "role_id": 3000000005015, "role_name": "App User" } "org_id":1019540153 "locale": "us|en_us|America/Los_Angeles" "time_zone": "America/Los_Angeles" }, { "zuid": 3171937685, "zaaid": 1019540091, "status": "ACTIVE", "user_id": 671930888, "user_type": "App User", "is_confirmed": true, "email_id": "zayn.ahmed@zylker.com", "first_name": "Zayn", "last_name": "Ahmed", "created_time": "Jul 09, 2019 04:26 PM", "modified_time": "Jul 09, 2019 04:26 PM", "invited_time": "Jul 09, 2019 04:26 PM", "role_details": { "role_id": 3000000005015, "role_name": "App User" } "org_id":1019540153 "locale": "us|en_us|America/Los_Angeles" "time_zone": "America/Los_Angeles" } ] } ``` ### SDK Documentation [Get User Details- Java SDK](https://docs.catalyst.zoho.com/en/sdk/java/v1/cloud-scale/authentication/get-user-details/#get-all-user-details) [Get User Details- Node.js SDK](https://docs.catalyst.zoho.com/en/sdk/nodejs/v2/cloud-scale/authentication/get-user-details/#get-details-of-all-users) [Get User Details- Python SDK](https://docs.catalyst.zoho.com/en/sdk/python/v1/cloud-scale/authentication/get-user-details/#get-details-of-all-users) [Get User Details- Web SDK](https://docs.catalyst.zoho.com/en/sdk/web/v4/cloud-scale/authentication/get-user-details/) -------------------------------------------------------------------------------- title: "Delete User" description: "This API enables you to delete an end-user from your Catalyst application and displays the details of the deleted user through Catalyst Authentication." last_updated: "2026-11-03T07:48:52.000Z" source: "https://docs.catalyst.zoho.com/en/api/code-reference/cloud-scale/authentication/delete-user/" service: "CloudScale" -------------------------------------------------------------------------------- # Delete User ### Description This API enables you to delete a [user](https://docs.catalyst.zoho.com/en/cloud-scale/help/authentication/user-management/users/introduction/) and completely remove their access to your Catalyst application. ### Request Details #### Request URL `DELETE` {api-domain}/baas/v1/project/{project_id}/project-user/{user_id} - **api-domain** (URL): The DC-specific domain to access Catalyst API - **project_id** (Numerical): The [unique ID](https://docs.catalyst.zoho.com/en/getting-started/set-up-a-catalyst-project/general-settings/) of the project - **user_id** (Numerical): The unique User ID of the user generated by Catalyst #### Request Headers **Authorization:** Zoho-oauthtoken {oauth_token} **Optional Headers** **CATALYST-ORG:** {org_id} **Environment:** Development #### Scope ZohoCatalyst.projects.users.DELETE > **Note:** This operation can also be executed with Catalyst user authentication permissions using Catalyst SDKs. However, the user can only obtain their own user details. Refer to the [Catalyst API Prerequisites section](https://docs.catalyst.zoho.com/en/api/introduction/overview-and-prerequisites/#prerequisites) for details. ### Response Details The response will contain the details of the deleted user including their identification values such as `zaid`, `user_id`, `email_id`, and their role details. **Sample Request** ```bash curl -X DELETE \ https://api.catalyst.zoho.com/baas/v1/project/3000000005007/project-user/671930409 \ -H "Authorization: Zoho-oauthtoken 1000.910*\*\*\*\*\*\*\*\*\*\*\*\*\*\*\*\*\*\*\*\*\*\*\*\*6.2f*\*\*\*\*\*\*\*\*\*\*\*\*\*\*\*\*\*\*\*\*\*\*\*\*57" ``` **Sample Response** ```json { "status": "success", "data": { "zuid": 3000000006111, "zaaid": 1019540153, "status": "ACTIVE", "user_id": 671930409, "user_type": "App Administrator", "is_confirmed": true, "email_id": "p.boyle@zylker.com", "first_name": "Patricia", "last_name": "Boyle", "created_time": "Jul 09, 2019 04:11 PM", "modified_time": "Jul 09, 2019 04:11 PM", "invited_time": "Jul 09, 2019 04:11 PM", "role_details": { "role_id": 3000000005090, "role_name": "App Administrator" } "org_id":1019540153 "locale": "us|en_us|America/Los_Angeles" "time_zone": "America/Los_Angeles" } } ``` ### SDK Documentation [Delete User - Java SDK](https://docs.catalyst.zoho.com/en/sdk/java/v1/cloud-scale/authentication/delete-user/) [Delete User - Node.js SDK](https://docs.catalyst.zoho.com/en/sdk/nodejs/v2/cloud-scale/authentication/delete-user/) [Delete User - Python SDK](https://docs.catalyst.zoho.com/en/sdk/python/v1/cloud-scale/authentication/delete-user/) -------------------------------------------------------------------------------- title: "Reset User Password" description: "This API enables you to reset the password of a user of your Catalyst application through Catalyst Authentication." last_updated: "2026-11-03T07:48:52.000Z" source: "https://docs.catalyst.zoho.com/en/api/code-reference/cloud-scale/authentication/reset-user-password/" service: "CloudScale" -------------------------------------------------------------------------------- # Reset User Password ### Description This API enables you to [reset the password](https://docs.catalyst.zoho.com/en/cloud-scale/help/authentication/user-management/users/implementation/#reset-a-users-password) of a user of your Catalyst application. When this API is called, an email will be sent to the user's email address with a password reset link. The user can configure a new password for your application and save it, upon clicking the link. ### Request Details #### Request URL `POST` {api-domain}/baas/v1/project/{project_id}/project-user/forgotpassword - **api-domain** (URL): The DC-specific domain to access Catalyst API - **project_id** (Numerical): The [unique ID](https://docs.catalyst.zoho.com/en/getting-started/set-up-a-catalyst-project/general-settings/) of the project #### Request Headers **Content-Type:** application/json **PROJECT_ID:** {[ZAID](https://docs.catalyst.zoho.com/en/cloud-scale/help/authentication/social-logins/introduction/#configure-authorized-uris)} **Optional Headers** **CATALYST-ORG:** {org_id} **Environment:** Development > **Note:** Catalyst does not authenticate this API request. Therefore, you need not pass an OAuth token or specify any scopes. #### Request JSON Properties - **platform_type** (string, mandatory): Accepted values: `web`, `android`, `ios` Max Size: N/A - **redirect_url** (string, optional): The URL to be redirected to, after the user resets the password Max Size: 200 - **user_details** (json, mandatory): The JSON that contains the details of the user - **first_name** (String): First name of the user Mandatory: No Max Size: 100 - **last_name** (String): Last name of the user Mandatory: No Max Size: 100 - **email_id** (String): Email address of the user Mandatory: Yes Max Size: N/A ### Response Details The response will contain the status of the reset password action. **Sample Request** ```bash curl -X POST \ https://api.catalyst.zoho.com/baas/v1/project/3000000002001/project-user/forgotpassword \ -H "Content-Type: application/json" \ -d '{ "user_details":{ "email_id":"p.boyle@zylker.com" }, "platform_type":"web" }' ``` **Sample Response** ```json { "status": "success", "data": "Reset link sent to your p.boyle@zylker.com email address. Please check your email :)" } ``` ### SDK Documentation [Reset User Password- Java SDK](https://docs.catalyst.zoho.com/en/sdk/java/v1/cloud-scale/authentication/reset-password) [Reset User Password- Node.js SDK](https://docs.catalyst.zoho.com/en/sdk/nodejs/v2/cloud-scale/authentication/reset-password) [Reset User Password- Python SDK](https://docs.catalyst.zoho.com/en/sdk/python/v1/cloud-scale/authentication/reset-password) [Reset User Password- Web SDK](https://docs.catalyst.zoho.com/en/sdk/web/v4/cloud-scale/authentication/reset-password) -------------------------------------------------------------------------------- title: "Sign Out User" description: "This API will log a user out of an active Catalyst session through Catalyst Authentication." last_updated: "2026-11-03T07:48:52.000Z" source: "https://docs.catalyst.zoho.com/en/api/code-reference/cloud-scale/authentication/sign-out-user/" service: "CloudScale" -------------------------------------------------------------------------------- # Sign Out User ### Description A [Catalyst application user](https://docs.catalyst.zoho.com/en/cloud-scale/help/authentication/user-management/introduction/) can log out from their current active session in the application using this API request. Catalyst will not send any response back for this API request. ### Request Details #### Request URL `GET` {application_domain}/baas/logout?logout=true&PROJECT_ID={project_id} - **api-domain** (URL): The DC-specific domain to access Catalyst API - **project_id** (Numerical): The [unique ID](https://docs.catalyst.zoho.com/en/getting-started/set-up-a-catalyst-project/general-settings/) of the project - **application_domain** (String):

The domain address of the Catalyst application

**Optional Headers** **CATALYST-ORG:** {org_id} **Environment:** Development > **Note:** Catalyst does not authenticate this API request. Therefore, you need not pass an OAuth token or specify any scopes. **Sample Request** ```bash curl -X GET \ https://portal.zylker.com/baas/logout?logout=true&PROJECT_ID=3000000002001 ``` ### SDK Documentation [Sign Out User- Web SDK](https://docs.catalyst.zoho.com/en/sdk/web/v4/cloud-scale/authentication/sign-out-user/) ### Cache -------------------------------------------------------------------------------- title: "Insert Key Value in Cache Segment" description: "This API enables you to insert a key-value pair as the cache item in a cache segment." last_updated: "2026-11-03T07:48:52.000Z" source: "https://docs.catalyst.zoho.com/en/api/code-reference/cloud-scale/cache/insert-key-value-in-segment/" service: "CloudScale" -------------------------------------------------------------------------------- # Cache [Catalyst Cache](https://docs.catalyst.zoho.com/en/cloud-scale/help/cache/introduction/) is a small in-memory storage component that enables you to store data that is frequently accessed by your Catalyst application. Catalyst cache is divided into partitions or cache units called segments. Each segment stores cache items in the form of key-value pairs. # Insert a Key-Value Pair In a Cache Segment ### Description This API enables you to insert a key-value pair as the cache item in a cache segment. The segment is referred by its unique ID. The key represents the attribute and the value is the data of the cache item. You can also optionally specify the expiry time of the cache item. The default and maximum validity of a cache item is two days. > **Note:**The cache segment must already be created. You can [create a segment](https://docs.catalyst.zoho.com/en/cloud-scale/help/cache/implementation/#create-a-segment) from the Catalyst console or use the default segment. ### Request Details #### Request URL `POST` {api-domain}/baas/v1/project/{project_id}/segment/{segment_id}/cache - **api-domain** (URL): The DC-specific domain to access Catalyst API - **project_id** (Numerical): The [unique ID](https://docs.catalyst.zoho.com/en/getting-started/set-up-a-catalyst-project/general-settings/) of the project - **segment_id** (Numerical): The [unique ID](https://docs.catalyst.zoho.com/en/cloud-scale/help/cache/implementation/#create-a-segment) of the cache segment #### Request Headers **Authorization:** Zoho-oauthtoken {oauth_token} **Content-Type:** application/json **Optional Headers** **CATALYST-ORG:** {org_id} **Environment:** Development #### Scope ZohoCatalyst.cache.CREATE #### Request JSON Properties - **cache_name** (string, mandatory): Key name of the cache segment Max Size: 50 characters - **cache_value** (string, mandatory): Data value the key represents Max Size: 16000 characters - **expiry_in_hours** (long, optional): Duration of expiry in hours Max Size: 48 ### Response Details The response will return the details of the cache item such as the `cache_name`, `cache_value` and `expires_in`, along with the details of the segment it was inserted into. **Sample Request** ```bash curl -X POST \ https://api.catalyst.zoho.com/baas/v1/project/4000000006007/segment/3376000000425030/cache \ -H "Authorization: Zoho-oauthtoken 1000.910*\*\*\*\*\*\*\*\*\*\*\*\*\*\*\*\*\*\*\*\*\*\*\*\*16.2f*\*\*\*\*\*\*\*\*\*\*\*\*\*\*\*\*\*\*\*\*\*\*\*\*57" \ -H "Content-Type:application/json" \ -d ‘{ "cache_name":"counter", "cache_value":"125", "expiry_in_hours":24 }’ ``` **Sample Response** ```json { "status": "success", "data": { "cache_name": "counter", "cache_value": "125", "project_details": { "id": 4000000006007, "project_name": "ShipmentTracking", "project_type": "Live" }, "segment_details": { "id": 3376000000425030, "segment_name": "CustomerLocation" }, "expires_in": "Mar 28, 2019 02:03 AM", "expiry_in_hours": 24, "ttl_in_milliseconds": 86400000 } } ``` ### SDK Documentation [Insert Key-Value Pair- Java SDK](https://docs.catalyst.zoho.com/en/sdk/java/v1/cloud-scale/cache/insert-data-into-cache)

[Insert Key-Value Pair- Node.js SDK](https://docs.catalyst.zoho.com/en/sdk/nodejs/v2/cloud-scale/cache/insert-data-into-cache)

[Insert Key-Value Pair- Python SDK](https://docs.catalyst.zoho.com/en/sdk/python/v1/cloud-scale/cache/insert-data-into-cache)

-------------------------------------------------------------------------------- title: "Get Cache Value" description: "This API enables you to retrieve the value of a cache item from a segment in the cache." last_updated: "2026-11-03T07:48:52.000Z" source: "https://docs.catalyst.zoho.com/en/api/code-reference/cloud-scale/cache/get-cache-value/" service: "CloudScale" -------------------------------------------------------------------------------- # Get the Value of a Cache Key ### Description This API enables you to retrieve the value of a cache item from a [segment in the cache](https://docs.catalyst.zoho.com/en/cloud-scale/help/cache/introduction/). The segment is referred by its unique segment ID, and you must pass the key of the cache item in the request. This API enables you to insert a key-value pair as the cache item in a cache segment. The segment is referred by its unique ID. The key represents the attribute and the value is the data of the cache item. You can also optionally specify the expiry time of the cache item. The default and maximum validity of a cache item is two days. ### Request Details #### Request URL `GET` {api-domain}/baas/v1/project/{project_id}/segment/{segment_id}/cache?cacheKey={cache_key} - **api-domain** (URL): The DC-specific domain to access Catalyst API - **project_id** (Numerical): The [unique ID](https://docs.catalyst.zoho.com/en/getting-started/set-up-a-catalyst-project/general-settings/) of the project - **segment_id** (Numerical): The [unique ID](https://docs.catalyst.zoho.com/en/cloud-scale/help/cache/implementation/#create-a-segment) of the cache segment #### Query Parameters - **cache_key** (String): The [unique key](https://docs.catalyst.zoho.com/en/cloud-scale/help/cache/key-concepts/#cache-items) in a segment whose value needs to be retrieved #### Request Headers **Authorization:** Zoho-oauthtoken {oauth_token} **Optional Headers** **CATALYST-ORG:** {org_id} **Environment:** Development #### Scope ZohoCatalyst.cache.READ ### Response Details The response will return the details of the cache item such as the `cache_name`, `cache_value` and `expires_in`, along with the details of its segment. **Sample Request** ```bash curl -X GET \ https://api.catalyst.zoho.com/baas/v1/project/4000000006007/segment/31000000006023/cache?cacheKey=counter \ -H "Authorization: Zoho-oauthtoken 1000.910*\*\*\*\*\*\*\*\*\*\*\*\*\*\*\*\*\*\*\*\*\*\*\*\*16.2f*\*\*\*\*\*\*\*\*\*\*\*\*\*\*\*\*\*\*\*\*\*\*\*\*57" ``` **Sample Response** ```json { "status": "success", "data": { "cache_name": "counter", "cache_value": "1344", "project_details": { "id": 4000000006007, "project_name": "ShipmentTracking", "project_type": "Live" }, "segment_details": { "id": 31000000006023, "segment_name": "MailCounters" }, "expires_in": "2019-03-13T18:36:02+05:30", "expiry_in_hours": 3, "ttl_in_milliseconds": 81187000 } } ``` ### SDK Documentation [Retrieve Data from Cache- Java SDK](https://docs.catalyst.zoho.com/en/sdk/java/v1/cloud-scale/cache/retrieve-data-from-cache)

[Retrieve Data from Cache- Node.js SDK](https://docs.catalyst.zoho.com/en/sdk/nodejs/v2/cloud-scale/cache/retrieve-data-from-cache)

[Retrieve Data from Cache- Python SDK](https://docs.catalyst.zoho.com/en/sdk/python/v1/cloud-scale/cache/retrieve-data-from-cache)

-------------------------------------------------------------------------------- title: "Update Key Value Pair" description: "This API enables you to update a key-value pair in a cache segment." last_updated: "2026-11-03T07:48:52.000Z" source: "https://docs.catalyst.zoho.com/en/api/code-reference/cloud-scale/cache/update-key-value/" service: "CloudScale" -------------------------------------------------------------------------------- # Update a Key-Value Pair ### Description This API enables you to update a key-value pair in a [cache segment](https://docs.catalyst.zoho.com/en/cloud-scale/help/cache/introduction/). The segment is referred by its unique ID. The key represents the attribute and the value is the data of the cache item. You can update the key, value, or the time of expiry of the cache item. The default and maximum validity of a cache item is two days. ### Request Details #### Request URL `PUT` {api-domain}/baas/v1/project/{project_id}/segment/{segment_id}/cache - **api-domain** (URL): The DC-specific domain to access Catalyst API - **project_id** (Numerical): The [unique ID](https://docs.catalyst.zoho.com/en/getting-started/set-up-a-catalyst-project/general-settings/) of the project - **segment_id** (Numerical): The [unique ID](https://docs.catalyst.zoho.com/en/cloud-scale/help/cache/implementation/#create-a-segment) of the cache segment #### Request Headers **Authorization:** Zoho-oauthtoken {oauth_token} **Optional Headers** **CATALYST-ORG:** {org_id} **Environment:** Development #### Scope ZohoCatalyst.cache.CREATE #### Request JSON Properties - **cache_name** (string, mandatory): Key name of the cache segment Max Size: 50 characters - **cache_value** (string, mandatory): Data value the key represents Max Size: 16000 characters - **expiry_in_hours** (long, optional): Duration of expiry in hours Max Size: 48 ### Response Details The response will return the details of the updated cache item such as the `cache_name`, `cache_value` and `expires_in`, along with the details of its segment. **Sample Request** ```bash curl -X PUT \ https://api.catalyst.zoho.com/baas/v1/project/4000000006007/segment/3376000000425030/cache \ -H "Authorization: Zoho-oauthtoken 1000.910*\*\*\*\*\*\*\*\*\*\*\*\*\*\*\*\*\*\*\*\*\*\*\*\*16.2f*\*\*\*\*\*\*\*\*\*\*\*\*\*\*\*\*\*\*\*\*\*\*\*\*57" \ -H "Content-Type:application/json" \ -d ‘{ "cache_name":"counter", "cache_value":"1472" }’ ``` **Sample Response** ```json { "status": "success", "data": { "cache_name": "counter", "cache_value": "1472", "project_details": { "id": 4000000006007, "project_name": "ShipmentTracking", "project_type": "Live" }, "segment_details": { "id": 3376000000425030, "segment_name": "CounterValues" }, "expires_in": "Mar 28, 2019 02:03 AM", "expiry_in_hours": 7, "ttl_in_milliseconds": 172800000 } } ``` ### SDK Documentation [Update Key-Value Pair- Java SDK](https://docs.catalyst.zoho.com/en/sdk/java/v1/cloud-scale/cache/update-data-in-cache)

[Update Key-Value Pair- Node.js SDK](https://docs.catalyst.zoho.com/en/sdk/nodejs/v2/cloud-scale/cache/update-data-in-cache)

[Update Key-Value Pair- Python SDK](https://docs.catalyst.zoho.com/en/sdk/python/v1/cloud-scale/cache/update-data-in-cache)

-------------------------------------------------------------------------------- title: "Delete Key Value Pair" description: "This API enables you to delete the key value of a cache item from a segment in the cache." last_updated: "2026-11-03T07:48:52.000Z" source: "https://docs.catalyst.zoho.com/en/api/code-reference/cloud-scale/cache/delete-key-value/" service: "CloudScale" -------------------------------------------------------------------------------- # Delete a Key-Value Pair ### Description This API enables you to delete an existing key-value pair from a specified [cache segment](https://docs.catalyst.zoho.com/en/cloud-scale/help/cache/introduction/). The segment is referred by its unique ID. The key represents the attribute and the value is the data of the cache item. ### Request Details #### Request URL `DELETE` {api-domain}/baas/v1/project/{project_id}/segment/{segment_id}/cache?cacheKey={cache_key} - **api-domain** (URL): The DC-specific domain to access Catalyst API - **project_id** (Numerical): The [unique ID](https://docs.catalyst.zoho.com/en/getting-started/set-up-a-catalyst-project/general-settings/) of the project - **segment_id** (Numerical): The [unique ID](https://docs.catalyst.zoho.com/en/cloud-scale/help/cache/implementation/#create-a-segment) of the cache segment #### Query Parameters - **cache_key** (String): The [unique key](https://docs.catalyst.zoho.com/en/cloud-scale/help/cache/key-concepts/#cache-items) in a segment whose value needs to be deleted. #### Request Headers **Authorization:** Zoho-oauthtoken {oauth_token} **Optional Headers** **CATALYST-ORG:** {org_id} **Environment:** Development #### Scope ZohoCatalyst.cache.DELETE ### Response Details The response will return the details of the deleted cache item, including the `cache_name`, `cache_value` and `expires_in`. Since the cache entry has been removed, both `cache_value` and expiry fields will return as null. **Sample Request** ```bash curl -X DELETE \ https://api.catalyst.zoho.com/baas/v1/project/4000000006007/segment/31000000006023/cache?cacheKey=counter \ -H "Authorization: Zoho-oauthtoken 1000.910*\*\*\*\*\*\*\*\*\*\*\*\*\*\*\*\*\*\*\*\*\*\*\*\*16.2f*\*\*\*\*\*\*\*\*\*\*\*\*\*\*\*\*\*\*\*\*\*\*\*\*57" ``` **Sample Response** ```json { "status": "success", "data": { "cache_name": "NEW", "cache_value": null, "project_details": { "project_name": "ShipmentTracking", "id": 4000000006007, "project_type": "Live" }, "segment_details": { "segment_name": "MailCounters", "id": 31000000006023 }, "expires_in": null, "expiry_in_hours": null, "ttl_in_milliseconds": null } } ``` ### SDK Documentation [Delete Data from Cache - Java SDK](https://docs.catalyst.zoho.com/en/sdk/java/v1/cloud-scale/cache/delete-key-value-pair)

[Delete Data from Cache - Node.js SDK](https://docs.catalyst.zoho.com/en/sdk/nodejs/v2/cloud-scale/cache/delete-key-value-pair)

[Delete Data from Cache - Python SDK](https://docs.catalyst.zoho.com/en/sdk/python/v1/cloud-scale/cache/delete-key-value-pair)

### Data Store -------------------------------------------------------------------------------- title: "Insert New Row" description: "This API enables you to insert a new row of data or a record in a table in the Data Store." last_updated: "2026-11-03T07:48:52.000Z" source: "https://docs.catalyst.zoho.com/en/api/code-reference/cloud-scale/data-store/insert-new-row/" service: "CloudScale" -------------------------------------------------------------------------------- # Data Store [Catalyst Data Store](https://docs.catalyst.zoho.com/en/cloud-scale/help/data-store/introduction) is a cloud-based relational database management system which stores the persistent data of your application in the form of tables. Data Store APIs enable you to insert and manage records in the tables of your project's Data Store, obtain table and column details, and even perform bulk read and bulk write actions. However, you can create a table and its schema only from the Catalyst console. # Insert a New Row In a Table ### Description This API enables you to insert a new row of data or a record in a table in the Data Store, by referring to the table's unique ID or name. You must pass the column names and their corresponding values for the record in a JSON array in the request as described below. > **Note:** The table and the columns in it must already be created. You can [create a table](https://docs.catalyst.zoho.com/en/cloud-scale/help/data-store/tables/#create-a-new-table) and the [columns](https://docs.catalyst.zoho.com/en/cloud-scale/help/data-store/columns/#create-a-new-column) for it from the console. ### Request Details #### Request URL `POST` {api-domain}/baas/v1/project/{project_id}/table/{tableIdentifier}/row - **api-domain** (URL): The DC-specific domain to access Catalyst API - **project_id** (Numerical): The [unique ID](https://docs.catalyst.zoho.com/en/getting-started/set-up-a-catalyst-project/general-settings/) of the project - **tableIdentifier** (Numerical): The [unique ID](https://docs.catalyst.zoho.com/en/cloud-scale/help/data-store/tables/#create-a-new-table) of the table or table name #### Request Headers **Authorization:** Zoho-oauthtoken {oauth_token} **Content-Type:** application/json **Optional Headers** **CATALYST-ORG:** {org_id} **Environment:** Development #### Scope ZohoCatalyst.tables.rows.CREATE > **Note:** This operation can also be executed with Catalyst user authentication permissions using Catalyst SDKs. Refer to the [Catalyst API Prerequisites section](https://docs.catalyst.zoho.com/en/api/introduction/overview-and-prerequisites/#prerequisites) for details. #### Request JSON Array You must send the column names and their corresponding values in a **JSON array** like this: ```json { "column1_name": "column1_value", "column2_name": "column2_value", "column3_name": "column3_value", . . } ``` where `column_name` is the name of a unique column in the table, and `column_value` is its corresponding value in the record. > **Note:** You must send at least one column name and value pair to insert in the record. ### Response Details The response will contain the metadata of the row that was created such as its `ROWID` and `CREATEDTIME`, and the column key names and values that were inserted. **Sample Request** ```bash curl -X POST \ https://api.catalyst.zoho.com/baas/v1/project/4000000006007/table/EmpDetails/row \ -H "Authorization: Zoho-oauthtoken 1000.910*\*\*\*\*\*\*\*\*\*\*\*\*\*\*\*\*\*\*\*\*\*\*\*\*16.2f*\*\*\*\*\*\*\*\*\*\*\*\*\*\*\*\*\*\*\*\*\*\*\*\*57" \ -H "Content-Type:application/json" \ -d '[ { "Department_ID":"IT678", "Department_Name":"Marketing", "Employee_Name":"Robert Page" } ]' ``` **Sample Response** ```json { "status": "success", "data": [ { "CREATORID": "12096000000003003", "MODIFIEDTIME": "2023-06-05 11:35:14:332", "Department_ID": null, "Employee_Name": "Robert Page", "Department_Name": "Marketing", "CREATEDTIME": "2023-06-05 11:35:14:332", "ROWID": 12096000000642928 } ] } ``` ### SDK Documentation [Insert Rows- Java SDK](https://docs.catalyst.zoho.com/en/sdk/java/v1/cloud-scale/data-store/insert-rows) [Insert Rows- Node.js SDK](https://docs.catalyst.zoho.com/en/sdk/nodejs/v2/cloud-scale/data-store/insert-rows) [Insert Rows- Python SDK](https://docs.catalyst.zoho.com/en/sdk/python/v1/cloud-scale/data-store/insert-rows) [Insert Rows- Web SDK](https://docs.catalyst.zoho.com/en/sdk/web/v4/cloud-scale/data-store/insert-rows) -------------------------------------------------------------------------------- title: "Get All Rows" description: "This API enables you to fetch all the rows from a particular table in the Catalyst Data Store." last_updated: "2026-11-03T07:48:52.000Z" source: "https://docs.catalyst.zoho.com/en/api/code-reference/cloud-scale/data-store/get-all-rows/" service: "CloudScale" -------------------------------------------------------------------------------- # Get All Rows In a Table ### Description This API enables you to fetch all the rows from a particular table in the [Data Store](https://docs.catalyst.zoho.com/en/cloud-scale/help/data-store/introduction). You can refer to the table by its ID or name. The API incorporates pagination for fetching all rows. **Pagination** allows you to retrieve the records in pages through an iteration of API calls. For example, if you require the rows to be fetched in batches of 100 as individual pages, you must include a `max_rows` parameter in your request, that specifies the maximum rows to be fetched in each page as 100. Additionally, every API response will contain a token that you can pass in the next API call, to fetch the next page of rows. This token authorizes the subsequent fetching of data. You must pass the token string obtained in the response of the previous API call through the `next_token` parameter in the request. You need not pass the `next_token` parameter for the first API call. You can execute an API call for each iteration in this manner and fetch all rows in pages. ### Request Details #### Request URL `GET` {api-domain}/baas/v1/project/{project_id}/table/{tableIdentifier}/row?next_token={token_string}&max_rows={number_of_rows} - **api-domain** (URL): The DC-specific domain to access Catalyst API - **project_id** (Numerical): The [unique ID](https://docs.catalyst.zoho.com/en/getting-started/set-up-a-catalyst-project/general-settings/) of the project - **tableIdentifier** (Numerical): The [unique ID](https://docs.catalyst.zoho.com/en/cloud-scale/help/data-store/tables/#create-a-new-table) of the table or table name - **next_token** (Numerical):

(not required for the first API call) The token value obtained from the previous API call to be passed for fetching the next set of rows through pagination

- **max_rows** (Numerical):

(optional) The maximum number of rows that must be returned in a single page through pagination. The API will return 200 rows in a single page by default if this value is not specified.

#### Request Headers **Authorization:** Zoho-oauthtoken {oauth_token} **Optional Headers** **CATALYST-ORG:** {org_id} **Environment:** Development #### Scope ZohoCatalyst.tables.rows.READ > **Note:** This operation can also be executed with Catalyst user authentication permissions using Catalyst SDKs. Refer to the [Catalyst API Prerequisites section](https://docs.catalyst.zoho.com/en/api/introduction/overview-and-prerequisites/#prerequisites) for details. ### Response Details The response will return the rows that are fetched through the API call in pages based on the `max_rows` value you specify. If there are rows available more than the requested count or the `max_rows` count, the response will also contain the token that you must pass to fetch the next set of rows as `next_token`. If there are no more records to be fetched, the response will not contain a token. **Sample Request** ```bash curl -X GET \ https://api.catalyst.zoho.com/baas/v1/project/4000000006007/table/CustomerDetails/row?max_rows=4&next_token=************* \ -H "Authorization: Zoho-oauthtoken 1000.910*\*\*\*\*\*\*\*\*\*\*\*\*\*\*\*\*\*\*\*\*\*\*\*\*16.2f*\*\*\*\*\*\*\*\*\*\*\*\*\*\*\*\*\*\*\*\*\*\*\*\*57" ``` **Sample Response (If more records available)** ```json { "status": "success", "data": [ { "CREATORID": 56000000002003, "MODIFIEDTIME": "2019-03-06 10:16:41", "Department_ID": "IT148", "Department_Name": "Admin", "Employee_Name": "Eric Hyde", "CREATEDTIME": "2019-03-06 10:16:41", "ROWID": 56000000342025, "doubleDataType": null }, { "CREATORID": 56000000002003, "MODIFIEDTIME": "2019-03-06 10:18:56", "Department_ID": "IT170", "Department_Name": "Sales", "Employee_Name": "Steven Kelso", "CREATEDTIME": "2019-03-06 10:18:56", "ROWID": 56000000342026, "doubleDataType": null }, { "CREATORID": 56000000002003, "MODIFIEDTIME": "2019-03-06 10:19:00", "Department_ID": "IT190", "Department_Name": "Marketing", "Employee_Name": "Micheal Forman", "CREATEDTIME": "2019-03-06 10:18:58", "ROWID": 56000000342027, "doubleDataType": null }, { "CREATORID": 56000000002003, "MODIFIEDTIME": "2019-03-06 10:45:11", "Department_ID": "IT111", "Department_Name": "Support", "Employee_Name": "Madeline Burkhart", "CREATEDTIME": "2019-03-06 10:18:34", "ROWID": 56000000342028, "doubleDataType": null }, ], "more_records" : true, "next_token" : "{{token}}" } ``` **Sample Response (If no more records available)** ```json { "status": "success", "data": [ { "CREATORID": 56000000002003, "MODIFIEDTIME": "2019-03-06 10:16:41", "Department_ID": "IT148", "Department_Name": "Admin", "Employee_Name": "Eric Hyde", "CREATEDTIME": "2019-03-06 10:16:41", "ROWID": 56000000342025, "doubleDataType": null }, { "CREATORID": 56000000002003, "MODIFIEDTIME": "2019-03-06 10:18:56", "Department_ID": "IT170", "Department_Name": "Sales", "Employee_Name": "Steven Kelso", "CREATEDTIME": "2019-03-06 10:18:56", "ROWID": 56000000342026, "doubleDataType": null }, { "CREATORID": 56000000002003, "MODIFIEDTIME": "2019-03-06 10:19:00", "Department_ID": "IT190", "Department_Name": "Marketing", "Employee_Name": "Micheal Forman", "CREATEDTIME": "2019-03-06 10:18:58", "ROWID": 56000000342027, "doubleDataType": null }, { "CREATORID": 56000000002003, "MODIFIEDTIME": "2019-03-06 10:45:11", "Department_ID": "IT111", "Department_Name": "Support", "Employee_Name": "Madeline Burkhart", "CREATEDTIME": "2019-03-06 10:18:34", "ROWID": 56000000342028, "doubleDataType": null }, ], "more_records" : false } ``` ### SDK Documentation [Get Rows- Java SDK](https://docs.catalyst.zoho.com/en/sdk/java/v1/cloud-scale/data-store/get-rows) [Get Rows- Node.js SDK](https://docs.catalyst.zoho.com/en/sdk/nodejs/v2/cloud-scale/data-store/get-rows) [Get Rows- Python SDK](https://docs.catalyst.zoho.com/en/sdk/python/v1/cloud-scale/data-store/get-rows) [Get Rows- Web SDK](https://docs.catalyst.zoho.com/en/sdk/web/v4/cloud-scale/data-store/get-rows) -------------------------------------------------------------------------------- title: "Update Row" description: "This API enables you to update a particular row in a table in the Data Store." last_updated: "2026-11-03T07:48:52.000Z" source: "https://docs.catalyst.zoho.com/en/api/code-reference/cloud-scale/data-store/update-row/" service: "CloudScale" -------------------------------------------------------------------------------- # Update a Row in a Table ### Description This API enables you to update a particular row in a table in the [Catalyst Data Store](https://docs.catalyst.zoho.com/en/cloud-scale/help/data-store/introduction), by referring to its table ID or the table name. You must send the data to be updated in the record in the request JSON as described below. ### Request Details #### Request URL `PUT` {api-domain}/baas/v1/project/{project_id}/table/{tableIdentifier}/row - **api-domain** (URL): The DC-specific domain to access Catalyst API - **project_id** (Numerical): The [unique ID](https://docs.catalyst.zoho.com/en/getting-started/set-up-a-catalyst-project/general-settings/) of the project - **tableIdentifier** (Numerical): The [unique ID](https://docs.catalyst.zoho.com/en/cloud-scale/help/data-store/tables/#create-a-new-table) of the table or table name #### Request Headers **Authorization:** Zoho-oauthtoken {oauth_token} **Content-Type:** application/json **Optional Headers** **CATALYST-ORG:** {org_id} **Environment:** Development #### Scope ZohoCatalyst.tables.rows.UPDATE > **Note:** This operation can also be executed with Catalyst user authentication permissions using Catalyst SDKs. Refer to the [Catalyst API Prerequisites section](https://docs.catalyst.zoho.com/en/api/introduction/overview-and-prerequisites/#prerequisites) for details. #### Request JSON Format You must send the names of the columns and their corresponding values to be updated in the request, along with the ROWID of the record, as a **JSON Array** like this: ```json { "column1_name": "column1_value", "column2_name": "column2_value", "column3_name": "column3_value", . . "*ROWID*":{row_id of the record} } ``` #### Request JSON Properties - **column_name** (string, mandatory): Specifies the column name of the specified table - **column_value** (string, mandatory): Specifies the value for the column - **ROWID** (bigint, mandatory): The ROWID of the record to be updated ### Response Details The response will contain the metadata of the row that was updated such as its `ROWID` and `CREATEDTIME`, and the updated column key names and values. **Sample Request** ```bash curl -X PUT \ https://api.catalyst.zoho.com/baas/v1/project/4000000006007/table/EmpDetails/row \ -H "Authorization: Zoho-oauthtoken 1000.910*\*\*\*\*\*\*\*\*\*\*\*\*\*\*\*\*\*\*\*\*\*\*\*\*16.2f*\*\*\*\*\*\*\*\*\*\*\*\*\*\*\*\*\*\*\*\*\*\*\*\*57" \ -H "Content-Type:application/json" \ -d '[ { "Department_Name":"Finance", "Employee_Name":"Morgan Jones", "ROWID":3376000000170191 } ]' ``` **Sample Response** ```json { "status": "success", "data": [ { "CREATORID": 3376000000002099, "MODIFIEDTIME": "2019-02-26 11:18:49", "Department_ID":"IT245", "Department_Name":"Finance", "Employee_Name": "Morgan Jones", "CREATEDTIME": "2019-02-26 11:18:49", "ROWID": 3376000000170191 } ] } ``` ### SDK Documentation [Update Rows- Java SDK](https://docs.catalyst.zoho.com/en/sdk/java/v1/cloud-scale/data-store/update-rows) [Update Rows- Node.js SDK](https://docs.catalyst.zoho.com/en/sdk/nodejs/v2/cloud-scale/data-store/update-rows) [Update Rows- Python SDK](https://docs.catalyst.zoho.com/en/sdk/python/v1/cloud-scale/data-store/update-rows) [Update Rows- Web SDK](https://docs.catalyst.zoho.com/en/sdk/web/v4/cloud-scale/data-store/update-rows) -------------------------------------------------------------------------------- title: "Delete Row" description: "This API enables you to delete a particular record or a row of a table in the Data Store." last_updated: "2026-11-03T07:48:52.000Z" source: "https://docs.catalyst.zoho.com/en/api/code-reference/cloud-scale/data-store/delete-row/" service: "CloudScale" -------------------------------------------------------------------------------- # Delete a Row in a Table ### Description This API enables you to delete a particular record or a row of a table in the [Data Store](https://docs.catalyst.zoho.com/en/cloud-scale/help/data-store/introduction), by referring to the table's unique ID or name. The row is referred by its ROWID. ### Request Details #### Request URL `DELETE` {api-domain}/baas/v1/project/{project_id}/table/{tableIdentifier}/row/{row_id} - **api-domain** (URL): The DC-specific domain to access Catalyst API - **project_id** (Numerical): The [unique ID](https://docs.catalyst.zoho.com/en/getting-started/set-up-a-catalyst-project/general-settings/) of the project - **tableIdentifier** (Numerical): The [unique ID](https://docs.catalyst.zoho.com/en/cloud-scale/help/data-store/tables/#create-a-new-table) of the table or table name - **row_id** (Numerical): The [unique ID](https://docs.catalyst.zoho.com/en/cloud-scale/help/data-store/records/) of the row #### Request Headers **Authorization:** Zoho-oauthtoken {oauth_token} **Optional Headers** **CATALYST-ORG:** {org_id} **Environment:** Development #### Scope ZohoCatalyst.tables.rows.DELETE > **Note:** This operation can also be executed with Catalyst user authentication permissions using Catalyst SDKs. Refer to the [Catalyst API Prerequisites section](https://docs.catalyst.zoho.com/en/api/introduction/overview-and-prerequisites/#prerequisites) for details. ### Response Details The response will contain the metadata of the row that was deleted such as its `ROWID` and `CREATEDTIME`, and the column key names and values in the row. **Sample Request** ```bash curl -X DELETE \ https://api.catalyst.zoho.com/baas/v1/project/4000000006007/table/EmpDetails/row/3376000000171021 \ -H "Authorization: Zoho-oauthtoken 1000.910*\*\*\*\*\*\*\*\*\*\*\*\*\*\*\*\*\*\*\*\*\*\*\*\*16.2f*\*\*\*\*\*\*\*\*\*\*\*\*\*\*\*\*\*\*\*\*\*\*\*\*57" ``` **Sample Response** ```json { "status": "success", "data": { "CREATORID": 56000000002003, "MODIFIEDTIME": "2019-02-26 11:18:49", "Department_ID": "IT809" "Department_Name": "Accounting", "Customer_Name": "Jason Pierre", "CREATEDTIME": "2019-02-26 11:18:49", "ROWID": 3376000000171021, "doubleDataType": null } } ``` ### SDK Documentation [Delete a Row- Java SDK](https://docs.catalyst.zoho.com/en/sdk/java/v1/cloud-scale/data-store/delete-row) [Delete a Row- Node.js SDK](https://docs.catalyst.zoho.com/en/sdk/nodejs/v2/cloud-scale/data-store/delete-row) [Delete a Row- Python SDK](https://docs.catalyst.zoho.com/en/sdk/python/v1/cloud-scale/data-store/delete-row) [Delete a Row- Web SDK](https://docs.catalyst.zoho.com/en/sdk/web/v4/cloud-scale/data-store/delete-row/) -------------------------------------------------------------------------------- title: "Get Table Metadata" description: "This API enables you to retrieve the metadata of a specific table from the Data Store." last_updated: "2026-11-03T07:48:52.000Z" source: "https://docs.catalyst.zoho.com/en/api/code-reference/cloud-scale/data-store/get-table-metadata/" service: "CloudScale" -------------------------------------------------------------------------------- # Get the Metadata of a Specific Table ### Description This API enables you to retrieve the metadata of a specific table from the [Data Store](https://docs.catalyst.zoho.com/en/cloud-scale/help/data-store/introduction), by referring to the table's unique ID or name. ### Request Details #### Request URL `GET` {api-domain}/baas/v1/project/{project_id}/table/{tableIdentifier} - **api-domain** (URL): The DC-specific domain to access Catalyst API - **project_id** (Numerical): The [unique ID](https://docs.catalyst.zoho.com/en/getting-started/set-up-a-catalyst-project/general-settings/) of the project - **tableIdentifier** (Numerical): The [unique ID](https://docs.catalyst.zoho.com/en/cloud-scale/help/data-store/tables/#create-a-new-table) of the table or table name #### Request Headers **Authorization:** Zoho-oauthtoken {oauth_token} **Optional Headers** **CATALYST-ORG:** {org_id} **Environment:** Development #### Scope ZohoCatalyst.tables.READ ### Response Details The response will return the metadata of the table which will include the table details such as the `table_id` and `table_name`, and the metadata of all the columns in it such as the `column_id`, `column_name`, and `data_type` of each column. **Sample Request** ```bash curl -X GET \ https://api.catalyst.zoho.com/baas/v1/project/4000000006007/table/EmpDetails \ -H "Authorization: Zoho-oauthtoken 1000.910*\*\*\*\*\*\*\*\*\*\*\*\*\*\*\*\*\*\*\*\*\*\*\*\*16.2f*\*\*\*\*\*\*\*\*\*\*\*\*\*\*\*\*\*\*\*\*\*\*\*\*57" ``` **Sample Response** ```json { "status": "success", "data": { "table_id": 56000000111778, "project_id": { "id": 4000000006007, "project_name": "HRApp" }, "table_name": "EmpDetails", "modified_by": { "is_confirmed":true, "zuid": 1019540152, "user_id": 671930455, "email_id": "emma@zylker.com", "first_name": "Amelia", "last_name": "Burrows" }, "modified_time": "2019-02-19T02:45:16+05:30", "column_details": [ { "table_id": 56000000111778, "column_sequence": 1, "column_id": 23400091030, "column_name": "ROWID", "category": 1, "data_type": "bigint", "is_read_only": false, "max_length": 50, "is_mandatory": false, "default_value": "250", "decimal_digits": 2, "is_unique": false, "search_index_enabled": false }, { "table_id": 56000000111778, "column_sequence": 1, "column_id": 23400091031, "column_name": "CREATORID", "category": 1, "data_type": "bigint", "is_read_only": false, "max_length": 50, "is_mandatory": false, "default_value": "250", "decimal_digits": 2, "is_unique": false, "search_index_enabled": true }, { "table_id": 56000000111778, "column_sequence": 1, "column_id": 23400091032, "column_name": "CREATEDTIME", "category": 1, "data_type": "datetime", "is_read_only": false, "max_length": 50, "is_mandatory": false, "default_value": "250", "decimal_digits": 2, "is_unique": false, "search_index_enabled": true }, { "table_id": 56000000111778, "column_sequence": 1, "column_id": 23400091033, "column_name": "MODIFIEDTIME", "category": 1, "data_type": "datetime", "is_read_only": false, "max_length": 50, "is_mandatory": false, "default_value": "250", "decimal_digits": 2, "is_unique": false, "search_index_enabled": true } { "table_id": 56000000111778, "column_sequence": 1, "column_id": 23400091034, "column_name": "EmpID", "category": 1, "data_type": "varchar", "is_read_only": false, "max_length": 6, "is_mandatory": true, "default_value": "", "decimal_digits": , "is_unique": true, "search_index_enabled": true } { "table_id": 56000000111778, "column_sequence": 1, "column_id": 23400091035, "column_name": "EmpName", "category": 1, "data_type": "varchar", "is_read_only": false, "max_length": 30, "is_mandatory": true, "default_value": "", "decimal_digits": , "is_unique": false, "search_index_enabled": false } { "table_id": 56000000111778, "column_sequence": 1, "column_id": 23400091036, "column_name": "DeptName", "category": 1, "data_type": "varchar", "is_read_only": false, "max_length": 30, "is_mandatory": true, "default_value": "", "decimal_digits": , "is_unique": false, "search_index_enabled": false } ], "table_scope": "ORG" } } ``` ### SDK Documentation [Get Table Metadata- Java SDK](https://docs.catalyst.zoho.com/en/sdk/java/v1/cloud-scale/data-store/get-table-meta) [Get Table Metadata- Node.js SDK](https://docs.catalyst.zoho.com/en/sdk/nodejs/v2/cloud-scale/data-store/get-table-meta) [Get Table Metadata- Python SDK](https://docs.catalyst.zoho.com/en/sdk/python/v1/cloud-scale/data-store/get-table-meta) [Get Table Metadata- Web SDK](https://docs.catalyst.zoho.com/en/sdk/web/v4/cloud-scale/data-store/get-table-meta) -------------------------------------------------------------------------------- title: "Get All Tables Metadata" description: "This API enables you to retrieve the metadata of all the tables in your project from the Data Store." last_updated: "2026-11-03T07:48:52.000Z" source: "https://docs.catalyst.zoho.com/en/api/code-reference/cloud-scale/data-store/get-all-tables-metadata/" service: "CloudScale" -------------------------------------------------------------------------------- # Get the Metadata of All Tables ### Description This API enables you to retrieve the metadata of all the tables in your project from the [Data Store](https://docs.catalyst.zoho.com/en/cloud-scale/help/data-store/introduction). ### Request Details #### Request URL `GET` {api-domain}/baas/v1/project/{project_id}/table - **api-domain** (URL): The DC-specific domain to access Catalyst API - **project_id** (Numerical): The [unique ID](https://docs.catalyst.zoho.com/en/getting-started/set-up-a-catalyst-project/general-settings/) of the project #### Request Headers **Authorization:** Zoho-oauthtoken {oauth_token} **Optional Headers** **CATALYST-ORG:** {org_id} **Environment:** Development #### Scope ZohoCatalyst.tables.READ ### Response Details The response will return the metadata of all the tables which will include the table details such as the `table_id` and `table_name` of each table, and the details of the user that last modified the tables. **Sample Request** ```bash curl -X GET \ https://api.catalyst.zoho.com/baas/v1/project/4000000006007/table \ -H "Authorization: Zoho-oauthtoken 1000.910*\*\*\*\*\*\*\*\*\*\*\*\*\*\*\*\*\*\*\*\*\*\*\*\*16.2f*\*\*\*\*\*\*\*\*\*\*\*\*\*\*\*\*\*\*\*\*\*\*\*\*57" ``` **Sample Response** ```json { "status":"success", "data":[ { "project_id":{ "project_name":"ShipmentTracking", "id":4000000006007 }, "table_name":"CustomerInfo", "modified_by":{ "zuid":1019540152, "is_confirmed":true, "email_id":"emma@zylker.com", "first_name":"Amelia", "last_name":"Burrows", "user_id":671930111 }, "modified_time":"Apr 11, 2020 10:33 PM", "table_id":3376000000081234 }, { "project_id":{ "project_name":"ShipmentTracking", "id":3376000000061190 }, "table_name":"EmpInfo", "modified_by":{ "zuid":1019540232, "is_confirmed":true, "email_id":"p.boyle@zylker.com", "first_name":"Patricia", "last_name":"Boyle", "user_id":671930455 }, "modified_time":"Mar 09, 2020 03:16 AM", "table_id":3376000000017896 } ] } ``` ### SDK Documentation [Get Table Metadata- Java SDK](https://docs.catalyst.zoho.com/en/sdk/java/v1/cloud-scale/data-store/get-table-meta) [Get Table Metadata- Node.js SDK](https://docs.catalyst.zoho.com/en/sdk/nodejs/v2/cloud-scale/data-store/get-table-meta) [Get Table Metadata- Python SDK](https://docs.catalyst.zoho.com/en/sdk/python/v1/cloud-scale/data-store/get-table-meta) [Get Table Metadata- Web SDK](https://docs.catalyst.zoho.com/en/sdk/web/v4/cloud-scale/data-store/get-table-meta) -------------------------------------------------------------------------------- title: "Get Column Metadata" description: "This API enables you to retrieve the metadata of a specific column in a table in the Data Store." last_updated: "2026-11-03T07:48:52.000Z" source: "https://docs.catalyst.zoho.com/en/api/code-reference/cloud-scale/data-store/get-column-metadata/" service: "CloudScale" -------------------------------------------------------------------------------- # Get the Metadata of a Specific Column ### Description This API enables you to retrieve the metadata of a specific column in a table in the [Data Store](https://docs.catalyst.zoho.com/en/cloud-scale/help/data-store/introduction). The table is referred by its unique ID or name, and the column is referred by the column ID. ### Request Details #### Request URL `GET` {api-domain}/baas/v1/project/{project_id}/table/{tableIdentifier}/column/{column_id} - **api-domain** (URL): The DC-specific domain to access Catalyst API - **project_id** (Numerical): The [unique ID](https://docs.catalyst.zoho.com/en/getting-started/set-up-a-catalyst-project/general-settings/) of the project - **tableIdentifier** (Numerical): The [unique ID](https://docs.catalyst.zoho.com/en/cloud-scale/help/data-store/tables/#create-a-new-table) of the table or table name - **column_id** (Numerical): The [unique ID](https://docs.catalyst.zoho.com/en/cloud-scale/help/data-store/columns/#create-a-new-column) of the column #### Request Headers **Authorization:** Zoho-oauthtoken {oauth_token} **Optional Headers** **CATALYST-ORG:** {org_id} **Environment:** Development #### Scope ZohoCatalyst.tables.columns.READ ### Response Details The response will return the metadata of the specific column such as its `column_id`, `column_name`, and `data_type`. **Sample Request** ```bash curl -X GET \ https://api.catalyst.zoho.com/baas/v1/project/4000000006007/table/EmpDetails/column/4000000042018 \ -H "Authorization: Zoho-oauthtoken 1000.910*\*\*\*\*\*\*\*\*\*\*\*\*\*\*\*\*\*\*\*\*\*\*\*\*16.2f*\*\*\*\*\*\*\*\*\*\*\*\*\*\*\*\*\*\*\*\*\*\*\*\*57" ``` **Sample Response** ```json { "status": "success", "data": { "table_id": 56000000118, "column_sequence": 3, "column_id": 4000000042018, "column_name": "Department", "category": 2, "data_type": "text", "is_read_only": false, "max_length": 100, "is_mandatory": true, "default_value": "Admin", "is_unique": false, "search_index_enabled": false } } ``` ### SDK Documentation [Get Column Metadata- Java SDK](https://docs.catalyst.zoho.com/en/sdk/java/v1/cloud-scale/data-store/get-column-meta) [Get Column Metadata- Node.js SDK](https://docs.catalyst.zoho.com/en/sdk/nodejs/v2/cloud-scale/data-store/get-column-meta) [Get Column Metadata- Python SDK](https://docs.catalyst.zoho.com/en/sdk/python/v1/cloud-scale/data-store/get-column-meta) [Get Column Metadata- Web SDK](https://docs.catalyst.zoho.com/en/sdk/web/v4/cloud-scale/data-store/get-column-meta) -------------------------------------------------------------------------------- title: "Get All Columns Metadata" description: "This API enables you to retrieve the metadata of all the columns in a table in the Data Store." last_updated: "2026-11-03T07:48:52.000Z" source: "https://docs.catalyst.zoho.com/en/api/code-reference/cloud-scale/data-store/get-all-columns-metadata/" service: "CloudScale" -------------------------------------------------------------------------------- # Get the Metadata of All Columns ### Description This API enables you to retrieve the metadata of all the columns in a table in the [Data Store](https://docs.catalyst.zoho.com/en/cloud-scale/help/data-store/introduction), by referring to the table's unique ID or name. ### Request Details #### Request URL `GET` {api-domain}/baas/v1/project/{project_id}/table/{tableIdentifier}/column - **api-domain** (URL): The DC-specific domain to access Catalyst API - **project_id** (Numerical): The [unique ID](https://docs.catalyst.zoho.com/en/getting-started/set-up-a-catalyst-project/general-settings/) of the project - **tableIdentifier** (Numerical): The [unique ID](https://docs.catalyst.zoho.com/en/cloud-scale/help/data-store/tables/#create-a-new-table) of the table or table name #### Request Headers **Authorization:** Zoho-oauthtoken {oauth_token} **Optional Headers** **CATALYST-ORG:** {org_id} **Environment:** Development #### Scope ZohoCatalyst.tables.columns.READ ### Response Details The response will return the metadata of all columns such as the `column_id`, `column_name`, and `data_type` of each column. **Sample Request** ```bash curl -X GET \ https://api.catalyst.zoho.com/baas/v1/project/4000000006007/table/EmpDetails/column \ -H "Authorization: Zoho-oauthtoken 1000.910*\*\*\*\*\*\*\*\*\*\*\*\*\*\*\*\*\*\*\*\*\*\*\*\*16.2f*\*\*\*\*\*\*\*\*\*\*\*\*\*\*\*\*\*\*\*\*\*\*\*\*57" ``` **Sample Response** ```json { "status":"success", "data":[ { "table_id":829000000037723, "column_sequence":1, "column_name":"ROWID", "category":1, "data_type":"bigint", "is_read_only":false, "max_length":50, "is_mandatory":false, "decimal_digits":2, "is_unique":false, "search_index_enabled":false, "column_id":829000000037726 }, { "table_id":829000000037723, "column_sequence":2, "column_name":"CREATORID", "category":1, "data_type":"bigint", "is_read_only":false, "max_length":50, "is_mandatory":false, "decimal_digits":2, "is_unique":false, "search_index_enabled":true, "column_id":829000000037728 }, { "table_id":829000000037723, "column_sequence":3, "column_name":"CREATEDTIME", "category":1, "data_type":"datetime", "is_read_only":false, "max_length":50, "is_mandatory":false, "decimal_digits":2, "is_unique":false, "search_index_enabled":true, "column_id":829000000037730 }, { "table_id":829000000037723, "column_sequence":4, "column_name":"MODIFIEDTIME", "category":1, "data_type":"datetime", "is_read_only":false, "max_length":50, "is_mandatory":false, "decimal_digits":2, "is_unique":false, "search_index_enabled":true, "column_id":829000000037732 }, { "table_id":829000000037723, "column_sequence":5, "column_name":"EmpID", "category":2, "data_type":"bigint", "is_read_only":false, "max_length":15, "is_mandatory":true, "decimal_digits":2, "is_unique":true, "search_index_enabled":false, "column_id":829000000038445 }, { "table_id":829000000037723, "column_sequence":6, "column_name":"EmpName", "category":2, "data_type":"text", "is_read_only":false, "max_length":50, "is_mandatory":true, "decimal_digits":2, "is_unique":false, "search_index_enabled":false, "column_id":829000000038450 } ] } ``` ### SDK Documentation [Get Column Metadata- Java SDK](https://docs.catalyst.zoho.com/en/sdk/java/v1/cloud-scale/data-store/get-column-meta)

[Get Column Metadata- Node.js SDK](https://docs.catalyst.zoho.com/en/sdk/nodejs/v2/cloud-scale/data-store/get-column-meta)

[Get Column Metadata- Python SDK](https://docs.catalyst.zoho.com/en/sdk/python/v1/cloud-scale/data-store/get-column-meta)

[Get Column Metadata- Web SDK](https://docs.catalyst.zoho.com/en/sdk/web/v4/cloud-scale/data-store/get-column-meta) -------------------------------------------------------------------------------- title: "Truncate Table" description: "This API enables you to truncate a specific table in the Data Store." last_updated: "2026-11-03T07:48:52.000Z" source: "https://docs.catalyst.zoho.com/en/api/code-reference/cloud-scale/data-store/truncate-table/" service: "CloudScale" -------------------------------------------------------------------------------- # Truncate a Table ### Description This API enables you to truncate a specific table in the [Data Store](https://docs.catalyst.zoho.com/en/cloud-scale/help/data-store/introduction), by referring to the table's unique ID or name. The truncate operation deletes all the records in the table, while retaining its schema. The columns of the table and the table's metadata will still be available, after the operation has ended. You will receive notifications in your Catalyst console about the updates of the operation. ### Request Details #### Request URL `DELETE` {api-domain}/baas/v1/project/{project_id}/table/{tableIdentifier}/truncate - **api-domain** (URL): The DC-specific domain to access Catalyst API - **project_id** (Numerical): The [unique ID](https://docs.catalyst.zoho.com/en/getting-started/set-up-a-catalyst-project/general-settings/) of the project - **tableIdentifier** (Numerical): The [unique ID](https://docs.catalyst.zoho.com/en/cloud-scale/help/data-store/tables/#create-a-new-table) of the table or table name #### Request Headers **Authorization:** Zoho-oauthtoken {oauth_token} **Optional Headers** **CATALYST-ORG:** {org_id} **Environment:** Development #### Scope ZohoCatalyst.tables.rows.DELETE ### Response Details The response will return the status of the truncate operation. **Sample Request** ```bash curl -X DELETE \ https://api.catalyst.zoho.com/baas/v1/project/4000000006007/table/NewsHeadlines/truncate \ -H "Authorization: Zoho-oauthtoken 1000.910*\*\*\*\*\*\*\*\*\*\*\*\*\*\*\*\*\*\*\*\*\*\*\*\*16.2f*\*\*\*\*\*\*\*\*\*\*\*\*\*\*\*\*\*\*\*\*\*\*\*\*57" ``` **Sample Response** ```json { "status": "success", "data": "The table will be truncated Shortly. Kindly Check Notification bar for updates" } ``` -------------------------------------------------------------------------------- title: "Bulk Delete Rows" description: "This API enables you to delete records or rows of data in bulk from a specific table in the Data Store." last_updated: "2026-11-03T07:48:52.000Z" source: "https://docs.catalyst.zoho.com/en/api/code-reference/cloud-scale/data-store/bulk-delete-rows/" service: "CloudScale" -------------------------------------------------------------------------------- # Bulk Delete Rows in a Table ### Description This API enables you to delete records or rows of data in bulk from a specific table in the [Data Store](https://docs.catalyst.zoho.com/en/cloud-scale/help/data-store/introduction). The table is referred by its unique ID or name. The bulk delete operation can delete a maximum of 200 rows in a single API call. You can choose the rows to be deleted by passing the unique ROWIDs of those rows as params in the request URL, as shown in the sample request. You must include at least one ROWID, and can include upto 200 ROWIDs, in the request. ### Request Details #### Request URL `DELETE` {api-domain}/baas/v1/project/{project_id}/table/{tableIdentifier}/row?ids={rowID_1},{rowID_2},{rowID_3} - **api-domain** (URL): The DC-specific domain to access Catalyst API - **project_id** (Numerical): The [unique ID](https://docs.catalyst.zoho.com/en/getting-started/set-up-a-catalyst-project/general-settings/) of the project - **tableIdentifier** (Numerical): The [unique ID](https://docs.catalyst.zoho.com/en/cloud-scale/help/data-store/tables/#create-a-new-table) of the table or table name - **ids** (Numerical): The Row IDs of the records to be deleted as params. Multiple Row IDs must be separated by commas. The parameter key name must be `ids` #### Request Headers **Authorization:** Zoho-oauthtoken {oauth_token} **Optional Headers** **CATALYST-ORG:** {org_id} **Environment:** Development #### Scope ZohoCatalyst.tables.rows.DELETE ### Response Details The response contains the data of all the rows that were deleted through the operation, including their metadata like the`ROWID` and `CREATEDTIME`, and the column key names and values in each row. **Sample Request** ```bash curl -X DELETE \ https://api.catalyst.zoho.com/baas/v1/project/4000000006007/table/EmpDetails/row?ids=1028000000171815,1028000000171810,1028000000171805,1028000000171617 \ -H "Authorization: Zoho-oauthtoken 1000.910*\*\*\*\*\*\*\*\*\*\*\*\*\*\*\*\*\*\*\*\*\*\*\*\*16.2f*\*\*\*\*\*\*\*\*\*\*\*\*\*\*\*\*\*\*\*\*\*\*\*\*57" ``` **Sample Response** ```json { "status": "success", "data": [ { "CREATORID": "1444000000003001", "MODIFIEDTIME": "2020-11-19 15:20:21:830", "Department_ID":"IT245", "Department_Name":"Finance", "Employee_Name": "Morgan Jones", "CREATEDTIME": "2020-11-19 15:20:21:830", "ROWID": "1028000000171815" }, { "CREATORID": "1444000000003001", "MODIFIEDTIME": "2020-11-19 15:20:34:503", "Department_ID":"IT121", "Department_Name":"HR", "Employee_Name": "Leena Medley", "CREATEDTIME": "2020-11-19 15:20:34:503", "ROWID": "1028000000171810" }, { "CREATORID": "1444000000003001", "MODIFIEDTIME": "2020-11-19 15:20:42:314", "Department_ID":"IT783", "Department_Name":"Marketing", "Employee_Name": "Tamira Shah", "CREATEDTIME": "2020-11-19 15:20:42:314", "ROWID": "1028000000171805" }, { "CREATORID": "1444000000003001", "MODIFIEDTIME": "2020-11-19 15:20:42:314", "Department_ID":"IT098", "Department_Name":"Sales", "Employee_Name": "Julia McGregor", "CREATEDTIME": "2020-11-19 15:20:42:314", "ROWID": "1028000000171617" } ] } ``` ### SDK Documentation [Bulk Delete Rows- Java SDK](https://docs.catalyst.zoho.com/en/sdk/java/v1/cloud-scale/data-store/bulk-delete-rows) [Bulk Delete Rows- Node.js SDK](https://docs.catalyst.zoho.com/en/sdk/nodejs/v2/cloud-scale/data-store/bulk-delete-rows) [Bulk Delete Rows- Python SDK](https://docs.catalyst.zoho.com/en/sdk/python/v1/cloud-scale/data-store/bulk-delete-rows) [Bulk Delete Rows- Web SDK](https://docs.catalyst.zoho.com/en/sdk/web/v4/cloud-scale/data-store/bulk-delete-rows) #### Bulk Read Rows -------------------------------------------------------------------------------- title: "Create Bulk Read Job" description: "This API triggers the bulk read operation to obtain records from a table in the Data Store in bulk" last_updated: "2026-11-03T15:19:21.000Z" source: "https://docs.catalyst.zoho.com/en/api/code-reference/cloud-scale/data-store/bulk-read-rows/create-bulk-read-job/" service: "CloudScale" -------------------------------------------------------------------------------- # Bulk Read Records The Bulk Read operation can read thousands of records from a specific table in the [Data Store](https://docs.catalyst.zoho.com/en/cloud-scale/help/data-store/introduction) and generate a CSV file containing the results of the read operation, if the job is successful. This data-intense operation can be performed in a single API execution. Catalyst supports three APIs for the bulk read operation: a Create Bulk Read API, a [Check Bulk Read Status API](https://docs.catalyst.zoho.com/en/api/code-reference/cloud-scale/data-store/bulk-read-rows/check-bulk-read-status/#CheckBulkReadStatus) to check the status of the job execution manually, and a [Download Bulk Read Result API](https://docs.catalyst.zoho.com/en/api/code-reference/cloud-scale/data-store/bulk-read-rows/download-bulk-read-result/#DownloadBulkReadResult) to download the results. You can also configure a callback URL to enable the automatic posting of the job status responses in it. > **Note:** You can also perform Bulk Read operation using the Catalyst CLI. Refer to [Data Store Import and Export CLI documentation](https://docs.catalyst.zoho.com/en/cli/v1/data-store-import-and-export/introduction/). # Create a Bulk Read Job ### Description This API triggers the bulk read operation to obtain the records from the table in the Data Store, that match the criteria you specify in the input JSON. The table is referred to using its unique table ID or the table name. ### Request Details #### Request URL `POST` {api-domain}/baas/v1/project/{projectId}/bulk/read - **api-domain** (URL): The DC-specific domain to access Catalyst API - **project_id** (Numerical): The [unique ID](https://docs.catalyst.zoho.com/en/getting-started/set-up-a-catalyst-project/general-settings/) of the project #### Request Headers **Authorization:** Zoho-oauthtoken {oauth_token} **Optional Headers** **CATALYST-ORG:** {org_id} **Environment:** Development #### Scope ZohoCatalyst.tables.bulk.READ #### Request JSON Properties The input for the Bulk Read API request must be sent in a JSON format. The request parameters are explained below. - **table_identifier** (string, mandatory): The [unique ID](https://docs.catalyst.zoho.com/en/cloud-scale/help/data-store/tables/#create-a-new-table) of the table or the table name. You can obtain the table ID from Data Store or from the URL when the table is opened in the console. - **query** (json, optional): The section where you can define the conditions and criteria for the bulk read job - - **page** (numerical, optional): The CSV file generated as the result of the bulk read process contains two hundred thousand/two lakh records in one page. Page value '1' indicates that the first two hundred thousand records matching your query will get exported. You can fetch subsequent records by increasing the page value. For example, if you want to fetch records from the range 2,00,001 to 4,00,000, then you must specify the page value as '2'. Default value: 1 - - **select_columns** (array, optional): Specific columns in the records that need to be fetched from the table. If you do not specify the columns, all columns will be selected and fetched. You can include multiple columns in an array. Refer to the sample request code window. - **criteria** (json, optional): A set of conditions based on which the records will be fetched - - **group_operator** (string, mandatory (if specifying criteria)): The operator that will bind the criteria groups together. Supported Operators: `AND`, `OR` If you define two or more criteria groups, you can use the `AND` or the `OR` operator in your request. For example, you can specify a criteria like "column1 equal value 1 AND column2 contains value 2" in the format specified in the previous section. > **Note:** You will not be able to use combinations of both the operators in a single API request. You can either use `AND` or `OR` in one request. - **group** (json, mandatory (if specifying criteria)): You can include up to 25 criteria sets in this section. The example shows 3 criteria sets. > **Note:** You can include only one overall group with one group operator in a single API request. - - **column_name** (string, mandatory (if specifying criteria)): Name of the specific column from the table that the criteria should be defined for - - **comparator** (string, mandatory (if specifying criteria)): The comparison operator that matches the column name with the criteria value Supported Comparators: `equal`, `not_equal`, `greater_than`, `greater_equal`, `less_than`, `less_equal`, `starts_with`, `ends_with`, `contains`, `not_contains`, `in`, `not_in`, `between`, `not_between` > **Note:** * You can specify multiple values for in and not_in comparators, separated by commas. * Catalyst supports only the equal comparator for an encrypted column. You will not be able to use other comparators as the criteria for an encrypted column. - - **value** (string, mandatory (if specifying criteria)): The value for the specific column in the record that you require to be defined as a criteria - **callback** (json, optional): The section where you can define the properties of the callback URL, where automatic JSON responses of the job statuses will be sent to - - **url** (string, mandatory (if specifying callback)): The URL where the automatic responses will be sent to using the HTTP POST method, each time the job status changes. Information about the job details will be contained in the body of the JSON response. If you don't configure a callback URL, you must manually check the status of the job processing when you need, using the [Check Bulk Read Status API](https://docs.catalyst.zoho.com/en/api/code-reference/cloud-scale/data-store/bulk-read-rows/check-bulk-read-status/#CheckBulkReadStatus). - - **headers** (string, optional): Headers that you require to be passed in the JSON response to the callback URL. You must specify the headers as: *{* *"{header_name_1}" : "{header_value_1}",* *"{header_name_2}" : "{header_value_2}"* *}* and so on. Refer to the sample request code. - - **params** (string, optional): Parameters that you require to be appended to the callback URL You must specify the parameters as: *{* *"{param_name_1}" : "{param_value_1}",* *"{param_name_2}" : "{param_value_2}"* *}* and so on. Refer to the sample request code. ### Response Details There are three job processing states which will generate three different responses: * **In-Progress:** When you execute the API, Catalyst will immediately and automatically send you a response indicating that the job execution is in progress. If you have configured a callback URL in the request, the response will also be posted to the URL in the format you defined. The response will contain a `job_id parameter` which you can use to [check the status of the job execution](https://docs.catalyst.zoho.com/en/api/code-reference/cloud-scale/data-store/bulk-read-rows/check-bulk-read-status/#CheckBulkReadStatus) for subsequent responses, if you have not configured a callback URL. * **Success:** The success state response will contain a download URL, where you can [download a CSV file](https://docs.catalyst.zoho.com/en/api/code-reference/cloud-scale/data-store/bulk-read-rows/download-bulk-read-result/#DownloadBulkReadResult) that contains the records matching your query. If you have not configured a callback URL, this response will not be sent by Catalyst automatically. * **Failed:** The failed state response will contain a description of the error that occurred and the details. If you have not configured a callback URL, this response will not be sent by Catalyst automatically. **Sample Request** ```bash curl -X POST \ https://api.catalyst.zoho.com/baas/v1/project/4000000006007/bulk/read \ -H "Authorization: Zoho-oauthtoken 1000.910***************************16.2f****************************57" \ -d '{ "table_identifier": "EmpDetails", "query" : { "page" : "1", "select_columns" : [ "EmpID", "EmpName", "Department" ], "criteria": { "group_operator": "or", "group": [ { "column_name": "Department", "comparator": "equal", "value": "Marketing" } , { "column_name": "EmpID", "comparator": "greater_than", "value": "1000" } , { "column_name": "EmpName", "comparator": "starts_with", "value": "S" } ] } }, "callback" : { "url" : "https://hr.zylker.com/en/EmpRecords/_callback.php", "headers" : { "src" : "ZCatalyst", "operation" : "bulkreadAPI" }, "params" : { "project_name" : "EmployeeDatabase" } } }' ``` **Sample Response: Job in Progress** ```json { "status": "success", "data": { "job_id": 2000000118004, "status": "In-Progress", "operation": "read", "project_details": { "project_name": "ShipmentTracking", "id": 4000000006007 }, "query": [ { "table_id": 3376000000165541, "details": { "page": "1" } } ], "callback": { "url": "https://hr.zylker.com/en/EmpRecords/_callback.php", "headers": { "src" : "ZCatalyst", "operation" : "bulkreadAPI" }, "params": { "project_name" : "EmployeeDatabase" } }, "created_by": { "zuid": 1019540152, "is_confirmed": true, "email_id": "emma@zylker.com", "first_name": "Amelia", "last_name": "Burrows", "user_id": 671930409 }, "created_time": "Oct 06, 2020 07:06 PM" } } ``` **Sample Response: Job Successful** ```json { "status": "success", "data": { "job_id": 2000000118004, "status": "In-Progress", "operation": "read", "project_details": { "project_name": "ShipmentTracking", "id": 4000000006007 }, "query": [ { "table_id": 3376000000165541, "details": { "page": "1" } } ], "callback": { "url": "https://hr.zylker.com/en/EmpRecords/_callback.php", "headers": { "src" : "ZCatalyst", "operation" : "bulkreadAPI" }, "params": { "project_name" : "EmployeeDatabase" } }, "created_by": { "zuid": 1019540152, "is_confirmed": true, "email_id": "emma@zylker.com", "first_name": "Amelia", "last_name": "Burrows", "user_id": 671930409 }, "created_time": "Oct 06, 2020 07:06 PM" } } ``` **Sample Response: Job Failed** ```json { "status": "success", "data": { "job_id": 2000000117007, "status": "Failed", "operation": "read", "project_details": { "project_name": "ShipmentTracking", "id": 4000000006007 }, "query": [ { "table_id": 3376000000165541, "details": { "page": "1" } } ], "callback": { "url": "https://hr.zylker.com/en/EmpRecords/_callback.php", "headers": { "src" : "ZCatalyst", "operation" : "bulkreadAPI" }, "params": { "project_name" : "EmployeeDatabase" } }, "created_by": { "zuid": 1019540152, "is_confirmed": true, "email_id": "emma@zylker.com", "first_name": "Amelia", "last_name": "Burrows", "user_id": 671930409 }, "created_time": "Oct 06, 2020 07:00 PM", "results": { "description": "The column ID in select_columns is invalid", } } } ``` -------------------------------------------------------------------------------- title: "Check Bulk Read Status" description: "This API enables you to manually check the status of a bulk read job that you initiated previously." last_updated: "2026-11-03T15:19:21.000Z" source: "https://docs.catalyst.zoho.com/en/api/code-reference/cloud-scale/data-store/bulk-read-rows/check-bulk-read-status/" service: "CloudScale" -------------------------------------------------------------------------------- # Check Bulk Read Status ### Description You can execute this API to manually check the status of the [bulk read job](https://docs.catalyst.zoho.com/en/api/code-reference/cloud-scale/data-store/bulk-read-rows/create-bulk-read-job/#CreateBulkReadJob) that you initiated previously. If you had not configured a callback URL in your JSON request, you must check the job status yourself by executing this API. You must use the `job_id` that is sent to you in the automatic in-progress response when you initiate the bulk read operation, to check the job status subsequently. ### Request Details #### Request URL `GET` {api-domain}/baas/v1/project/{project_id}/bulk/read/{job_id} - **api-domain** (URL): The DC-specific domain to access Catalyst API - **project_id** (Numerical): The [unique ID](https://docs.catalyst.zoho.com/en/getting-started/set-up-a-catalyst-project/general-settings/) of the project - **job_id** (Numerical):

The unique ID of the job that was sent in the initial [in-progress status response](https://docs.catalyst.zoho.com/en/api/code-reference/cloud-scale/data-store/bulk-read-rows/create-bulk-read-job/#CreateBulkReadJob) after the Bulk Read API was executed

#### Request Headers **Authorization:** Zoho-oauthtoken {oauth_token} **Optional Headers** **CATALYST-ORG:** {org_id} **Environment:** Development #### Scope ZohoCatalyst.tables.bulk.READ ### Response Details The JSON response for the success state will contain the details of the executed job, along with a download URL where you can [download a CSV file](https://docs.catalyst.zoho.com/en/api/code-reference/cloud-scale/data-store/bulk-read-rows/download-bulk-read-result/#DownloadBulkReadResult) that will contain a list of records matching your bulk read job query. The JSON response for the failed state will contain the details of the executed job, along with a description of the error that occurred in the job processing, and its details, such as the rows that were skipped from being read and the reasons. **Sample Request** ```bash curl -X GET \ https://api.catalyst.zoho.com/baas/v1/project/4000000006007/bulk/read/2000000118004 \ -H "Authorization: Zoho-oauthtoken 1000.910*\*\*\*\*\*\*\*\*\*\*\*\*\*\*\*\*\*\*\*\*\*\*\*\*16.2f*\*\*\*\*\*\*\*\*\*\*\*\*\*\*\*\*\*\*\*\*\*\*\*\*57" ``` **Sample Response: Job in Progress** ```json { "status": "success", "data": { "job_id": 2000000118004, "status": "In-Progress", "operation": "read", "project_details": { "project_name": "EmployeeDatabase", "id": 4000000006007 }, "query": [ { "table_id": 3376000000165541, "details": { "page": "1" } } ], "callback": { "url": "https://hr.zylker.com/en/EmpRecords/_callback.php", "headers": { "src" : "ZCatalyst", "operation" : "bulkreadAPI" }, "params": { "project_name" : "EmployeeDatabase" } }, "created_by": { "zuid": 1019540152, "is_confirmed": true, "email_id": "emma@zylker.com", "first_name": "Amelia", "last_name": "Burrows", "user_id": 671930409 }, "created_time": "Oct 06, 2020 07:06 PM" } } ``` **Sample Response: Job Successful** ```json { "status": "success", "data": { "job_id": 2000000118004, "status": "Completed", "operation": "read", "project_details": { "project_name": "EmployeeDatabase", "id": 4000000006007 }, "query": [ { "table_id": 3376000000165541, "details": { "page": "1" } } ], "callback": { "url": "https://hr.zylker.com/en/EmpRecords/_callback.php", "headers": { "src" : "ZCatalyst", "operation" : "bulkreadAPI" }, "params": { "project_name" : "EmployeeDatabase" } }, "created_by": { "zuid": 1019540152, "is_confirmed": true, "email_id": "emma@zylker.com", "first_name": "Amelia", "last_name": "Burrows", "user_id": 671930409 }, "created_time": "Oct 06, 2020 07:06 PM", "results": { "download_url": "https://api.catalyst.zoho.com/baas/v1/bulk/read/2000000117007/download", "description": "Bulk READ job 2000000117007 completed.", "details": [ { "table_id": 3376000000165541, "records_processed": 21, "more_records": false } ] } } } ``` **Sample Response: Job Failed** ```json { "status": "success", "data": { "job_id": 2000000117007, "status": "Failed", "operation": "read", "project_details": { "project_name": "EmployeeDatabase", "id": 4000000006007 }, "query": [ { "table_id": 3376000000165541, "details": { "page": "1" } } ], "callback": { "url": "https://hr.zylker.com/en/EmpRecords/_callback.php", "headers": { "src" : "ZCatalyst", "operation" : "bulkreadAPI" }, "params": { "project_name" : "EmployeeDatabase" } }, "created_by": { "zuid": 1019540152, "is_confirmed": true, "email_id": "emma@zylker.com", "first_name": "Amelia", "last_name": "Burrows", "user_id": 671930409 }, "created_time": "Oct 06, 2020 07:00 PM", "results": { "description": "The column ID in select_columns is invalid", } } } ``` -------------------------------------------------------------------------------- title: "Download Bulk Read Result" description: "This API enables you to download the result of a successful bulk read job that you initiated previously." last_updated: "2026-11-03T15:19:21.000Z" source: "https://docs.catalyst.zoho.com/en/api/code-reference/cloud-scale/data-store/bulk-read-rows/download-bulk-read-result/" service: "CloudScale" -------------------------------------------------------------------------------- # Download Bulk Read Result ### Description You can execute this API to download the result of a successful [bulk read job](https://docs.catalyst.zoho.com/en/api/code-reference/cloud-scale/data-store/bulk-read-rows/create-bulk-read-job/#CreateBulkReadJob) that you initiated. This URL will also be sent in JSON response for the success state. The downloaded CSV result file will contain a list of all the records matching your bulk read job query. > **Note:** The download URL will be valid for **1 day** after its generation. The link will expire after that time period, and you will not be able to obtain the CSV result file containing the job details. ### Request Details #### Request URL `GET` {api-domain}/baas/v1/project/{project_id}/bulk/read/{job_id}/download - **api-domain** (URL): The DC-specific domain to access Catalyst API - **project_id** (Numerical): The [unique ID](https://docs.catalyst.zoho.com/en/getting-started/set-up-a-catalyst-project/general-settings/) of the project - **job_id** (Numerical): The unique ID of the job that was sent in the initial [in-progress status response](https://docs.catalyst.zoho.com/en/api/code-reference/cloud-scale/data-store/bulk-read-rows/create-bulk-read-job/#CreateBulkReadJob) after the Bulk Read API was executed #### Request Headers **Authorization:** Zoho-oauthtoken {oauth_token} **Optional Headers** **CATALYST-ORG:** {org_id} **Environment:** Development #### Scope ZohoCatalyst.tables.bulk.READ ### Response Details The bulk read result file will be automatically downloaded to the configured directory in your system after you execute this API. **File format:** ZIP file containing the CSV result file Sample result file showing the details of a bulk read job: ![bulk_read](https://catalyst-docs-development.zohostratus.in/images/api/catalyst_api_bulk_read.webp) **Sample Request** ```bash curl -X GET \ https://api.catalyst.zoho.com/baas/v1/project/4000000006007/bulk/read/2000000118004/download \ -H "Authorization: Zoho-oauthtoken 1000.910*\*\*\*\*\*\*\*\*\*\*\*\*\*\*\*\*\*\*\*\*\*\*\*\*16.2f*\*\*\*\*\*\*\*\*\*\*\*\*\*\*\*\*\*\*\*\*\*\*\*\*57" ``` #### Bulk Write Rows -------------------------------------------------------------------------------- title: "Create Bulk Write Job" description: "This API triggers the bulk write operation to write records from a CSV file in Stratus to a table in the Data Store." last_updated: "2026-11-03T15:19:21.000Z" source: "https://docs.catalyst.zoho.com/en/api/code-reference/cloud-scale/data-store/bulk-write-rows/create-bulk-write-job/" service: "CloudScale" -------------------------------------------------------------------------------- # Bulk Write Records The Bulk Write operation can fetch thousands of records from a CSV file uploaded to a bucket in [Stratus](https://docs.catalyst.zoho.com/en/cloud-scale/help/stratus/introduction) and insert them in a specific table in the [Data Store](https://docs.catalyst.zoho.com/en/cloud-scale/help/data-store/introduction). This data-intense operation can be performed in a single API execution. After the bulk write operation has executed successfully, a CSV report file containing the details of the job execution will be generated at a download URL. Catalyst supports three APIs for the bulk write operation: a Create Bulk Write API, a [Check Bulk Write Status API](https://docs.catalyst.zoho.com/en/api/code-reference/cloud-scale/data-store/bulk-write-rows/check-bulk-write-status/#CheckBulkWriteStatus) to check the status of the job execution manually, and a [Download Bulk Write Result API](https://docs.catalyst.zoho.com/en/api/code-reference/cloud-scale/data-store/bulk-write-rows/download-bulk-write-result/#DownloadBulkWriteResult) to download the results. You can also configure a callback URL to enable automatic posting of the job status responses in it. > **Note:** You can also perform Bulk Write operation using the Catalyst CLI. Refer to [Data Store Import and Export CLI documentation](https://docs.catalyst.zoho.com/en/cli/v1/data-store-import-and-export/introduction/). # Create a Bulk Write Job ### Description This API triggers the bulk write operation to obtain the records from a CSV file stored in Stratus and exports them to a table in the Data Store, based on the criteria you specify in the input JSON. The CSV file is referred to using its [Object URL](https://docs.catalyst.zoho.com/en/cloud-scale/help/stratus/objects/introduction/#object-url) in Stratus, and the table is referred to using its unique table ID or the table name. > **Note:** * Ensure you have uploaded the required CSV file in Stratus, before you begin executing this operation. * The CSV file's first row must be the header row i.e., the column names must be present as the header row. * The CSV file must contain data in the format that adheres to CSV file standards. If the file is not in the standard format, the data written to the table might be corrupted. * The Bulk Write API can insert up to 100,000 records in a single API call, irrespective of the environment. If you require more records to be written, you can do so in batches of 100,000 records by sending multiple Bulk Write API requests accordingly. There are three operations that can be performed using this API: * **Insert:** Inserts new rows of data into the table from the CSV file * **Update:** Updates existing rows of data in the table. The records are identified either using a unique column in the table, or using their [ROWIDs](https://docs.catalyst.zoho.com/en/cloud-scale/help/data-store/records/) generated in the Data Store. * **Upsert:** Enables both insert and update operations at the same time. If the record already exists, the row is updated. If the record does not exist, a new row with the data is inserted. ### Request Details #### Request URL `POST` {api-domain}/baas/v1/project/{projectId}/bulk/write - **api-domain** (URL): The DC-specific domain to access Catalyst API - **project_id** (Numerical): The [unique ID](https://docs.catalyst.zoho.com/en/getting-started/set-up-a-catalyst-project/general-settings/) of the project #### Request Headers **Authorization:** Zoho-oauthtoken {oauth_token} **Optional Headers** **CATALYST-ORG:** {org_id} **Environment:** Development #### Scope ZohoCatalyst.tables.bulk.CREATE #### Request JSON Properties The input for the Bulk Write API request must be sent in a JSON format. The request parameters are explained below. - **table_identifier** (string, mandatory): The [unique ID](https://docs.catalyst.zoho.com/en/cloud-scale/help/data-store/tables/#create-a-new-table) of the table or the table name. You can obtain the table ID from Data Store or from the URL when the table is opened in the console. - **operation** (string, optional): Specifies the operation to be executed using the API. Allowed values: `insert`, `update`, `upsert` Default operation: `insert` - **object_details** (JSON, mandatory): Will contain the [bucket_name](https://docs.catalyst.zoho.com/en/cloud-scale/help/stratus/buckets/name-bucket/#ideal-practices-to-name-a-bucket), object_key (Object [path](https://docs.catalyst.zoho.com/en/cloud-scale/help/stratus/objects/introduction/#path) or [Object URL](https://docs.catalyst.zoho.com/en/cloud-scale/help/stratus/objects/introduction/#object-url)), and [version_id](https://docs.catalyst.zoho.com/en/cloud-scale/help/stratus/stratus-config/general-settings/#versioning)(If versioning has been enabled). - **find_by** (string, mandatory (update, upsert), optional (insert)): The unique column using which the records are identified. For example, if you specify a unique column called 'EmployeeID' as the `find_by` value, Catalyst will search the records in the Data Store table using the EmployeeID value. For the update operation, Catalyst will update the rows that match the EmployeeID from the CSV file. For the upsert operation, Catalyst will update existing rows, and insert new rows if there are no records with matching EmployeeID values. Update: This can be a column with unique values as configured in the Data Store, or the [ROWID](https://docs.catalyst.zoho.com/en/cloud-scale/help/data-store/records/) generated by Catalyst for the records. Upsert: You can only specify a column with unique values as configured in the Data Store. You will not be able to specify the ROWID as the `find_by` value. This is because, upsert will insert new rows if matching ones are not found, and the ROWID values will not be available for rows not existing in the Data Store. Insert: If you specify a `find_by` column for an insert operation, any records matching the column values from the CSV file will be skipped and not inserted into the Data Store table. This is because, insert cannot update if a given record already exists. - **fk_mapping** (json, optional): Foreign key mapping for the columns that are primary keys in other tables. This is specified if any columns imported from the CSV file should be configured as foreign keys. You must map foreign keys in the following format: *{* *"local_column" : "local_column_name_1",* *"reference_column" : "reference_column_name_1"* *}* where `local_column` is the name of the column in the table where the bulk write operation is processed, and `reference_column` is the name of the column in the table in which it is a primary key. Refer to the sample request code. - **callback** (json, optional): The section where you can define the properties of the callback URL, where automatic JSON responses of the job statuses will be sent to. - - **url** (string, mandatory (if specifying callback)): The URL where the automatic responses will be sent to using the HTTP POST method, each time the job status changes. Information about the job details will be contained in the body of the JSON response. If you don't configure a callback URL, you must manually check the status of the job processing when you need, using the [Check Bulk Write Status API](https://docs.catalyst.zoho.com/en/api/code-reference/cloud-scale/data-store/bulk-write-rows/check-bulk-write-status/#CheckBulkWriteStatus). - - **headers** (string, optional): Headers that you require to be passed in the JSON response to the callback URL You must specify the headers as: *{* *"{header_name_1}" : "{header_value_1}",* *"{header_name_2}" : "{header_value_2}"* *}* and so on. Refer to the sample request code. - - **params** (string, optional): Parameters that you require to be appended to the callback URL You must specify the parameters as: *{* *"{param_name_1}" : "{param_value_1}",* *"{param_name_2}" : "{param_value_2}"* *}* and so on. Refer to the sample request code. ### Response Details There are three job processing states which will generate three different responses: * **In-Progress:** When you execute the API, Catalyst will immediately and automatically send you a response indicating that the job execution is in progress. If you have configured a callback URL in the request, the response will also be posted to the URL in the format you defined. The response will contain a `job_id parameter` which you can use to [check the status of the job execution](https://docs.catalyst.zoho.com/en/api/code-reference/cloud-scale/data-store/bulk-write-rows/check-bulk-write-status/#CheckBulkWriteStatus) for subsequent responses, if you have not configured a callback URL. * **Success:** The success state response will contain a download URL, where you can [download a CSV report file](https://docs.catalyst.zoho.com/en/api/code-reference/cloud-scale/data-store/bulk-read-rows/download-bulk-read-result/#DownloadBulkReadResult) that contains the details of the job execution. It will list all the records that were skipped from being written along with the reasons. If you have not configured a callback URL, this response will not be sent by Catalyst automatically. * **Failed:** The failed state response will contain a description of the error that occurred and the details. If you have not configured a callback URL, this response will not be sent by Catalyst automatically. **Sample Request** ```bash curl -X POST https://api.catalyst.zoho.com/baas/v1/project/4000000006007/bulk/write \ -H "Authorization: Zoho-oauthtoken 1000.910***************************16.2f****************************57" \ -d '{ "table_identifier": "3376000000165511", "operation": "insert", "object_details": { "bucket_name": "zylker-emp", "object_key": "employees/emp_rec.csv", "version_id": "3546576879809" }, "callback": { "url": "https://hr.zylker.com/en/EmpRecords/_callback.php", "headers": { "src": "ZCatalyst", "operation": "bulkwriteAPI" }, "params": { "project_name": "EmployeeDatabase" } }, "find_by": "EmpID", "fk_mapping": [ { "local_column": "EmployeeID", "reference_column": "EmpID" }, { "local_column": "DepartmentID", "reference_column": "DeptID" } ] }' ``` **Sample Response: Job in Progress** ```json { "status": "success", "data": { "job_id": 2000000110044, "status": "In-Progress", "operation": "insert", "project_details": { "project_name": "ShipmentTracking", "id": 4000000006007 }, "query": [ { "table_id": 3376000000165511, "object_details": { "bucket_name": "zylker-emp", "object_key" : "employees/emp_rec.csv", "version_id":"3546576879809" } } ], "callback": { "url": "https://hr.zylker.com/en/EmpRecords/_callback.php", "headers": { "src": "ZCatalyst", "operation": "bulkwriteAPI" }, "params": { "project_name": "EmployeeDatabase" } }, "created_by": { "zuid": 3000000006111, "is_confirmed": true, "email_id": "emma@zylker.com", "first_name": "Amelia", "last_name": "Burrows", "user_id": 671930409 }, "created_time": "Oct 05, 2020 07:33 PM" } } ``` **Sample Response: Job Successful** ```json { "status": "success", "data": { "job_id": 2000000110044, "status": "Completed", "operation": "insert", "project_details": { "project_name": "ShipmentTracking", "id": 4000000006007 }, "query": [ { "table_id": 3376000000165511, "details": { "object_url" : "https://zylker-emp-development.zohostratus.com/employees/emp_rec.csv" } } ], "callback": { "url": "https://hr.zylker.com/en/EmpRecords/_callback.php", "headers": { "src": "ZCatalyst", "operation": "bulkwriteAPI" }, "params": { "project_name": "EmployeeDatabase" } }, "created_by": { "zuid": 3000000006111, "is_confirmed": true, "email_id": "emma@zylker.com", "first_name": "Amelia", "last_name": "Burrows", "user_id": 671930409 }, "created_time": "Oct 05, 2020 07:25 PM", "results": { "download_url": "https://api.catalyst.zoho.com/baas/v1/bulk/write/2000000110013/download", "description": "Bulk WRITE job completed. ", "details": [ { "table_id": 3376000000165511, "records_processed": 176 } ] } } } ``` **Sample Response: Job Failed** ```json { "status": "success", "data": { "job_id": 2000000110044, "status": "Failed", "operation": "insert", "project_details": { "project_name": "ShipmentTracking", "id": 4000000006007 }, "query": [ { "table_id": 3376000000165511, "details": { "object_url" : "https://zylker-emp-development.zohostratus.com/employees/emp_rec.csv" } } ], "callback": { "url": "https://hr.zylker.com/en/EmpRecords/_callback.php", "headers": { "src": "ZCatalyst", "operation": "bulkwriteAPI" }, "params": { "project_name": "EmployeeDatabase" } } "created_by": { "zuid": 3000000006111, "is_confirmed": true, "email_id": "emma@zylker.com", "first_name": "Amelia", "last_name": "Burrows", "user_id": 671930409 }, "created_time": "Oct 05, 2020 07:25 PM", "results": { "description": "The reference_column 'DeptID' in fk_mapping of table 3376000000165511 is not a unique column", "details": [ ] } } } ``` -------------------------------------------------------------------------------- title: "Check Bulk Write Status" description: "This API enables you to manually check the status of a bulk write job that you initiated previously." last_updated: "2026-11-03T07:48:52.000Z" source: "https://docs.catalyst.zoho.com/en/api/code-reference/cloud-scale/data-store/bulk-write-rows/check-bulk-write-status/" service: "CloudScale" -------------------------------------------------------------------------------- # Check Bulk Write Status ### Description You can execute this API to manually check the status of the [bulk write job](https://docs.catalyst.zoho.com/en/api/code-reference/cloud-scale/data-store/bulk-write-rows/create-bulk-write-job/#CreateBulkWriteJob) that you initiated previously. If you had not configured a callback URL in your JSON request, you must check the job status yourself by executing this API. You must use the `job_id` that is sent to you in the automatic in-progress response when you initiated the bulk write operation, to check the job status subsequently. ### Request Details #### Request URL `GET` {api-domain}/baas/v1/project/{project_id}/bulk/write/{job_id} - **api-domain** (URL): The DC-specific domain to access Catalyst API - **project_id** (Numerical): The [unique ID](https://docs.catalyst.zoho.com/en/getting-started/set-up-a-catalyst-project/general-settings/) of the project - **job_id** (Numerical):

The unique ID of the job that was sent in the initial [in-progress status response](https://docs.catalyst.zoho.com/en/api/introduction/overview-and-prerequisites/#response-details) after the Bulk Write API was executed

#### Request Headers **Authorization:** Zoho-oauthtoken {oauth_token} **Optional Headers** **CATALYST-ORG:** {org_id} **Environment:** Development #### Scope ZohoCatalyst.tables.bulk.CREATE ### Response Details The JSON response for the success state will contain the details of the executed job, along with a download URL, where you can [download a CSV report file](https://docs.catalyst.zoho.com/en/api/code-reference/cloud-scale/data-store/bulk-write-rows/download-bulk-write-result/#DownloadBulkWriteResult) that will contain the details of the job execution. It will list all the records that were skipped from being written along with the reasons. The JSON response for the failed state will contain the details of the executed job, along with a description of the error that occurred in the job processing, and its details. **Sample Request** ```bash curl -X GET \ https://api.catalyst.zoho.com/baas/v1/project/4000000006007/bulk/write/2000000110044 \ -H "Authorization: Zoho-oauthtoken 1000.910*\*\*\*\*\*\*\*\*\*\*\*\*\*\*\*\*\*\*\*\*\*\*\*\*16.2f*\*\*\*\*\*\*\*\*\*\*\*\*\*\*\*\*\*\*\*\*\*\*\*\*57" ``` **Sample Response: Job in Progress** ```json { "status": "success", "data": { "job_id": 2000000110044, "status": "In-Progress", "operation": "insert", "project_details": { "project_name": "EmployeeDatabase", "id": 4000000006007 } "query": [ { "table_id": 3376000000165511, "details": { "object_url" : "https://zylker-emp-development.zohostratus.com/employees/emp_rec.csv", } } ], "callback": { "url": "https://hr.zylker.com/en/EmpRecords/_callback.php", "headers": { "src": "ZCatalyst", "operation": "bulkwriteAPI" }, "params": { "project_name": "EmployeeDatabase" } }, "created_by": { "zuid": 3000000006111, "is_confirmed": true, "email_id": "emma@zylker.com", "first_name": "Amelia", "last_name": "Burrows", "user_id": 671930409 }, "created_time": "Oct 05, 2020 07:33 PM" } } ``` **Sample Response: Job Successful** ```json { "status": "success", "data": { "job_id": 2000000110044, "status": "Completed", "operation": "insert", "project_details": { "project_name": "EmployeeDatabase", "id": 4000000006007 } "query": [ { "table_id": 3376000000165511, "details": { "object_url" : "https://zylker-emp-development.zohostratus.com/employees/emp_rec.csv" } } ], "callback": { "url": "https://hr.zylker.com/en/EmpRecords/_callback.php", "headers": { "src": "ZCatalyst", "operation": "bulkwriteAPI" }, "params": { "project_name": "EmployeeDatabase" } }, "created_by": { "zuid": 3000000006111, "is_confirmed": true, "email_id": "emma@zylker.com", "first_name": "Amelia", "last_name": "Burrows", "user_id": 671930409 }, "created_time": "Oct 05, 2020 07:25 PM", "results": { "download_url": "https://api.catalyst.zoho.com/baas/v1/bulk/write/2000000110013/download", "description": "Bulk WRITE job completed. ", "details": [ { "table_id": 3376000000165511, "records_processed": 176 } ] } } } ``` **Sample Response: Job Failed** ```json { "status": "success", "data": { "job_id": 2000000110044, "status": "Failed", "operation": "insert", "project_details": { "project_name": "EmployeeDatabase", "id": 4000000006007 } "query": [ { "table_id": 3376000000165511, "details": { "object_url" : "https://zylker-emp-development.zohostratus.com/employees/emp_rec.csv" } } ], "callback": { "url": "https://hr.zylker.com/en/EmpRecords/_callback.php", "headers": { "src": "ZCatalyst", "operation": "bulkwriteAPI" }, "params": { "project_name": "EmployeeDatabase" } }, "created_by": { "zuid": 3000000006111, "is_confirmed": true, "email_id": "emma@zylker.com", "first_name": "Amelia", "last_name": "Burrows", "user_id": 671930409 }, "created_time": "Oct 05, 2020 07:25 PM", "results": { "description": "The reference_column 'DeptID' in fk_mapping of table 3376000000165511 is not a unique column", "details": [ ] } } } ``` -------------------------------------------------------------------------------- title: "Download Bulk Write Result" description: "This API enables you to download the result of a successful bulk write job that you initiated previously." last_updated: "2026-11-03T15:19:21.000Z" source: "https://docs.catalyst.zoho.com/en/api/code-reference/cloud-scale/data-store/bulk-write-rows/download-bulk-write-result/" service: "CloudScale" -------------------------------------------------------------------------------- # Download Bulk Write Result ### Description You can execute this API to download the result of a successful [bulk write job](https://docs.catalyst.zoho.com/en/api/code-reference/cloud-scale/data-store/bulk-write-rows/create-bulk-write-job/#CreateBulkWriteJob) that you initiated. This URL will also be sent in JSON response for the success state. The downloaded CSV file will contain the details of the job execution. It will list all the records that were skipped from being written along with the reasons. > **Note:** The download URL will be valid for **1 day** after its generation. The link will expire after that time period, and you will not be able to obtain the CSV result file containing the job details. ### Request Details #### Request URL `GET` {api-domain}/baas/v1/project/{project_id}/bulk/write/{job_id}/download - **api-domain** (URL): The DC-specific domain to access Catalyst API - **project_id** (Numerical): The [unique ID](https://docs.catalyst.zoho.com/en/getting-started/set-up-a-catalyst-project/general-settings/) of the project - **job_id** (Numerical):

The unique ID of the job that was sent in the initial [in-progress status response](https://docs.catalyst.zoho.com/en/api/introduction/overview-and-prerequisites/#response-details) after the Bulk Write API was executed

#### Request Headers **Authorization:** Zoho-oauthtoken {oauth_token} **Optional Headers** **CATALYST-ORG:** {org_id} **Environment:** Development #### Scope ZohoCatalyst.tables.bulk.CREATE ### Response Details The bulk write result file will be automatically downloaded to the configured directory in your system after you execute this API. **File format:** ZIP file containing the CSV result file Sample result file showing the details of a bulk write job: ![bulk_write](https://catalyst-docs-development.zohostratus.in/images/api/catalyst_api_bulk_write.webp) **Sample Request** ```bash curl -X GET \ https://api.catalyst.zoho.com/baas/v1/project/4000000006007/bulk/write/2000000110044/download \ -H "Authorization: Zoho-oauthtoken 1000.910*\*\*\*\*\*\*\*\*\*\*\*\*\*\*\*\*\*\*\*\*\*\*\*\*16.2f*\*\*\*\*\*\*\*\*\*\*\*\*\*\*\*\*\*\*\*\*\*\*\*\*57" ``` ### Data Streams -------------------------------------------------------------------------------- title: "Get All Channels" description: "This API retrieves the list of all Datastream channels created in the specified Catalyst project." last_updated: "2026-11-03T07:48:52.000Z" source: "https://docs.catalyst.zoho.com/en/api/code-reference/cloud-scale/data-streams/get-all-channels/" service: "CloudScale" -------------------------------------------------------------------------------- # Get All Channels ### Description This API retrieves the list of all [Datastream channels](https://docs.catalyst.zoho.com/en/cloud-scale/help/data-streams/introduction/) created in the specified Catalyst project. ### Request Details #### Request URL `GET` {api-domain}/baas/v1/project/{project_id}/datastreams/channel - **api-domain** (URL): The DC-specific domain used to access Catalyst APIs - **project_id** (Numerical): The [unique ID](https://docs.catalyst.zoho.com/en/getting-started/set-up-a-catalyst-project/general-settings/) of the Catalyst project #### Request Headers **Authorization:** Zoho-oauthtoken {oauth_token} **Optional Headers** **CATALYST-ORG:** {org_id} **Environment:** Development #### Scope ZohoCatalyst.datastreams.channel.READ ### Response Details On successful execution, the response contains a list of all Datastream channels available in the specified project along with their corresponding metadata. **Sample Request** ```bash curl -X GET \ https://api.catalyst.zoho.com/baas/v1/project/20084000000589014/datastreams/channel \ -H "Authorization: Zoho-oauthtoken 1000.f53426c0cee59aaa57f1f158f5f271ca.ba782e5510151a126a08232e7958b24d" \ -H "CATALYST-ORG: 89773766" \ -H "Environment: Development" ``` **Sample Response** ```json { "status": "success", "data": [ { "parentId": 20084000000662015, "id": 20084000000662015, "name": "testing", "service": "1", "created_by": { "zuid": 89773766, "is_confirmed": true, "email_id": "emma@zylker.com", "first_name": "Emma", "last_name": "Thompson", "user_type": "Admin", "user_id": 20084000000012006 }, "modified_by": { "zuid": 89773766, "is_confirmed": true, "email_id": "emma@zylker.com", "first_name": "Emma", "last_name": "Thompson", "user_type": "Admin", "user_id": 20084000000012006 }, "created_time": "Oct 24, 2026, 10:43 AM", "modified_time": "Oct 24, 2026, 10:43 AM", "project_id": 20084000000589014, "control_type": 0, "control_ids": "20084000000589020,20084000000589021", "source": "1", "retention": 48 } ] } ``` ### SDK Documentation [Get Channels- Java SDK](https://docs.catalyst.zoho.com/en/sdk/java/v1/cloud-scale/data-streams/get-channels/) [Get Channels- Node.js SDK](https://docs.catalyst.zoho.com/en/sdk/nodejs/v2/cloud-scale/data-streams/get-channels/) [Get Channels- Python SDK](https://docs.catalyst.zoho.com/en/sdk/python/v1/cloud-scale/data-streams/get-channels/) -------------------------------------------------------------------------------- title: "Publish Data" description: "This API allows an authorized admin to publish streaming data to a Datastream channel. Active subscribers receive the data in real time." last_updated: "2026-11-04T10:10:44.000Z" source: "https://docs.catalyst.zoho.com/en/api/code-reference/cloud-scale/data-streams/publish-data/" service: "CloudScale" -------------------------------------------------------------------------------- # Publish Data - Admin ### Description This API allows an authorized admin to publish streaming data to a [Datastream channel](https://docs.catalyst.zoho.com/en/cloud-scale/help/data-streams/introduction/). Any active subscribers connected to the channel receive the published data in real time through the WebSocket connection. ### Request Details #### Request URL `POST` {api-domain}/baas/v1/project/{project_id}/datastreams/channel/{channel_id}/stream - **api-domain** (URL): The DC-specific domain used to access Catalyst APIs - **project_id** (Numerical): The [unique ID](https://docs.catalyst.zoho.com/en/getting-started/set-up-a-catalyst-project/general-settings/) of the Catalyst project - **channel_id** (Numerical): The unique ID of the Datastream channel #### Request Headers **Authorization:** Zoho-oauthtoken {oauth_token} **Content-Type:** application/json **Optional Headers** **CATALYST-ORG:** {org_id} **Environment:** Development #### Request Body - **data** (Object, mandatory): The payload that is published to the Datastream channel #### Scope ZohoCatalyst.datastreams.channel.stream.CREATE ### Response Details On successful execution, the data payload is published to the specified Datastream channel and delivered in real time to all connected subscribers if there are any. **Sample Request** ```bash curl -X POST \ https://api.catalyst.zoho.com/baas/v1/project/20084000000589014/datastreams/channel/20084000000662015/stream \ -H "Authorization: Zoho-oauthtoken 1000.f53426c0cee59aaa57f1f158f5f271ca.ba782e5510151a126a08232e7958b24d" \ -H "CATALYST-ORG: 89773766" \ -H "Environment: Development" \ -H "Content-Type: application/json" \ -d '{ "data": { "name": "data streams" } }' ``` **Sample Response** ```json { "status": "success", "data": true } ``` ### SDK Documentation [Publish Data- Java SDK](https://docs.catalyst.zoho.com/en/sdk/java/v1/cloud-scale/data-streams/publish-data/) [Publish Data- Node.js SDK](https://docs.catalyst.zoho.com/en/sdk/nodejs/v2/cloud-scale/data-streams/publish-data/) [Publish Data- Python SDK](https://docs.catalyst.zoho.com/en/sdk/python/v1/cloud-scale/data-streams/publish-data/) -------------------------------------------------------------------------------- title: "Get Channel Details" description: "This API lets you retrieve the details of a specific Datastream channel that was created from the Catalyst console." last_updated: "2026-11-03T07:48:52.000Z" source: "https://docs.catalyst.zoho.com/en/api/code-reference/cloud-scale/data-streams/get-channel-details/" service: "CloudScale" -------------------------------------------------------------------------------- # Get Channel Details ### Description This API lets you retrieve the details of a specific [Datastream channel](https://docs.catalyst.zoho.com/en/cloud-scale/help/data-streams/introduction/) that was created from the Catalyst console. ### Request Details #### Request URL `GET` {api-domain}/baas/v1/project/{project_id}/datastreams/channel/{channel_id} - **api-domain** (URL): The DC-specific domain used to access Catalyst APIs - **project_id** (Numerical): The [unique ID](https://docs.catalyst.zoho.com/en/getting-started/set-up-a-catalyst-project/general-settings/) of the Catalyst project - **channel_id** (Numerical): The unique ID of the Datastream channel #### Request Headers **Authorization:** Zoho-oauthtoken {oauth_token} **Optional Headers** **CATALYST-ORG:** {org_id} **Environment:** Development #### Scope ZohoCatalyst.datastreams.channel.READ ### Response Details On successful execution, this API returns the configuration and metadata associated with the specified Datastream channel. **Sample Request** ```bash curl -X GET \ https://api.catalyst.zoho.com/baas/v1/project/20084000000589014/datastreams/channel/20084000000589013 \ -H "Authorization: Zoho-oauthtoken 1000.f53426c0cee59aaa57f1f158f5f271ca.ba782e5510151a126a08232e7958b24d" \ -H "CATALYST-ORG: 89773766" \ -H "Environment: Development" ``` **Sample Response** ```json { "status": "success", "data": { "parentId": 20084000000589013, "id": 20084000000589013, "name": "testing", "service": "1", "created_by": { "zuid": 89773766, "is_confirmed": true, "email_id": "emma@zylker.com", "first_name": "Emma", "last_name": "Thompson", "user_type": "Admin", "user_id": 20084000000012006 }, "modified_by": { "zuid": 89773766, "is_confirmed": true, "email_id": "emma@zylker.com", "first_name": "Emma", "last_name": "Thompson", "user_type": "Admin", "user_id": 20084000000012006 }, "created_time": "Oct 24, 2026, 10:43 AM", "modified_time": "Oct 24, 2026, 10:43 AM", "project_id": 20084000000589014, "control_type": 0, "control_ids": "20084000000589020,20084000000589021", "source": "1", "retention": 48 } } ``` ### SDK Documentation [Get Channels- Java SDK](https://docs.catalyst.zoho.com/en/sdk/java/v1/cloud-scale/data-streams/get-channels/) [Get Channels- Node.js SDK](https://docs.catalyst.zoho.com/en/sdk/nodejs/v2/cloud-scale/data-streams/get-channels/) [Get Channels- Python SDK](https://docs.catalyst.zoho.com/en/sdk/python/v1/cloud-scale/data-streams/get-channels/) -------------------------------------------------------------------------------- title: "Get Live Count" description: "This API retrieves the number of active live clients currently connected to a specific Datastream channel." last_updated: "2026-11-03T07:48:52.000Z" source: "https://docs.catalyst.zoho.com/en/api/code-reference/cloud-scale/data-streams/get-live-count/" service: "CloudScale" -------------------------------------------------------------------------------- # Get Live Count ### Description This API retrieves the number of active live clients currently connected to a specific [Datastream channel](https://docs.catalyst.zoho.com/en/cloud-scale/help/data-streams/introduction/). ### Request Details #### Request URL `GET` {api-domain}/baas/v1/project/{project_id}/datastreams/channel/{channel_name}/liveclient - **api-domain** (URL): The DC-specific domain used to access Catalyst APIs - **project_id** (Numerical): The [unique ID](https://docs.catalyst.zoho.com/en/getting-started/set-up-a-catalyst-project/general-settings/) of the Catalyst project - **channel_name** (String): The name of the Datastream channel #### Request Headers **Authorization:** Zoho-oauthtoken {oauth_token} **Optional Headers** **CATALYST-ORG:** {org_id} **Environment:** Development #### Scope ZohoCatalyst.datastreams.connections.READ ### Response Details On successful execution, the response contains the count of live clients or list of subscribers currently connected to the specified Datastream channel. **Sample Request** ```bash curl -X GET \ https://api.catalyst.zoho.com/baas/v1/project/20084000000589014/datastreams/channel/testing/liveclient \ -H "Authorization: Zoho-oauthtoken 1000.f53426c0cee59aaa57f1f158f5f271ca.ba782e5510151a126a08232e7958b24d" \ -H "CATALYST-ORG: 89773766" \ -H "Environment: Development" ``` **Sample Response** ```json { "status": "success", "data": { "connections": 1 } } ``` ### SDK Documentation [Get Live Count- Java SDK](https://docs.catalyst.zoho.com/en/sdk/java/v1/cloud-scale/data-streams/get-live-count/) [Get Live Count- Node.js SDK](https://docs.catalyst.zoho.com/en/sdk/nodejs/v2/cloud-scale/data-streams/get-live-count/) [Get Live Count- Python SDK](https://docs.catalyst.zoho.com/en/sdk/python/v1/cloud-scale/data-streams/get-live-count/) -------------------------------------------------------------------------------- title: "Get Token Pair" description: "This API generates a token pair for a Datastream channel, required to establish a WebSocket connection to subscribe to the channel." last_updated: "2026-11-04T10:10:44.000Z" source: "https://docs.catalyst.zoho.com/en/api/code-reference/cloud-scale/data-streams/get-token-pair/" service: "CloudScale" -------------------------------------------------------------------------------- # Get Token Pair ### Description This API generates a token pair for a [Datastream channel](https://docs.catalyst.zoho.com/en/cloud-scale/help/data-streams/introduction/). The token pair is required to establish a WebSocket connection for any specific client or application to subscribe to the channel. > **Note:** `app_user_id` is the unique identifier of an application user in your Catalyst project. You can obtain the value of `app_user_id` from Catalyst Authentication, which represents who is subscribing to the Data Streams channel. Check out [this page](https://docs.catalyst.zoho.com/en/api/code-reference/cloud-scale/authentication/get-specific-user/) for more details. ### Request Details #### Request URL `POST` {api-domain}/baas/v1/project/{project_id}/datastreams/channel/{channel_id}/tokenpair - **api-domain** (URL): The DC-specific domain used to access Catalyst APIs - **project_id** (Numerical): The [unique ID](https://docs.catalyst.zoho.com/en/getting-started/set-up-a-catalyst-project/general-settings/) of the Catalyst project - **channel_id** (Numerical): The unique ID of the Datastream channel #### Request Headers **Authorization:** Zoho-oauthtoken {oauth_token} **Content-Type:** application/json **Optional Headers** **CATALYST-ORG:** {org_id} **Environment:** Development #### Request Body - **app_user_id** (Numerical, mandatory): The unique ID of the application user for whom the token pair is generated #### Scope ZohoCatalyst.datastreams.connections.token.CREATE ### Response Details On successful execution, the response returns a token pair that can be used by the specified application user to establish a WebSocket connection and subscribe to the Datastream channel. **Sample Request** ```bash curl -X POST \ https://api.catalyst.zoho.com/baas/v1/project/20084000000589014/datastreams/channel/20084000000662015/tokenpair \ -H "Authorization: Zoho-oauthtoken 1000.06adcc79fa822856dc0668e88d297d45.252b0f4d750669be5965252623d40004" \ -H "CATALYST-ORG: 89773766" \ -H "Environment: Development" \ -H "Content-Type: application/json" \ -d '{ "app_user_id": 20084000000888047 }' ``` **Sample Response** ```json { "status": "success", "data": { "wss-id": "sub_20084000000888047_89773766_20084000000589014_20084000000662015", "channel-id": "20084000000662015", "key": "5f2a9c\u2026e81d", "url": "wss://datastreams.zoho.com", "deployment": "us1" } } ``` ### SDK Documentation [Generate Token Pair- Java SDK](https://docs.catalyst.zoho.com/en/sdk/java/v1/cloud-scale/data-streams/generate-token-pair/) [Generate Token Pair- Node.js SDK](https://docs.catalyst.zoho.com/en/sdk/nodejs/v2/cloud-scale/data-streams/generate-token-pair/) [Generate Token Pair- Python SDK](https://docs.catalyst.zoho.com/en/sdk/python/v1/cloud-scale/data-streams/generate-token-pair/) ### Mail -------------------------------------------------------------------------------- title: "Send Email" description: "This API enables you to send emails from a verified email address from your Catalyst application through Catalyst Mail." last_updated: "2026-11-03T07:48:52.000Z" source: "https://docs.catalyst.zoho.com/en/api/code-reference/cloud-scale/mail/send-email/" service: "CloudScale" -------------------------------------------------------------------------------- # Mail [Catalyst Mail](https://docs.catalyst.zoho.com/en/cloud-scale/help/mail/introduction/) enables you to add the email addresses of your business that will be used to send emails to the end-users from your Catalyst application. You can configure email addresses of public domains or of your organization's own domains. You can also use an external email client of your choice and configure its SMTP settings with Catalyst, instead of using the built-in Catalyst email client. You can perform these configurations from the console. # Send Email ### Description This API enables you to send emails from a verified email address to the recipients you specify, from your Catalyst application. Catalyst enables you to set multiple email addresses as the receivers, and to CC, BCC, and reply to through a single send mail operation. You can also attach files in your email. The **maximum supported limits** for email recipients and file attachments in a single send mail operation are specified below: * To address: 10 * CC: 10 * BCC: 5 * Reply to: 5 * Number of file attachments: 5 * Size of file attachments: 15 MB (through a single file or multiple files up to 5 files) You must pass the sender and receiver email addresses, the subject, content, and the attachments of the email as form-data in your API request. The keys to be passed as **form-data**, along with sample values are specified in the *Form-Data Properties* section below. > **Note:** You must have [configured and verified the sender's email address](https://docs.catalyst.zoho.com/en/cloud-scale/help/mail/email-configuration/) in the Catalyst console to be able to send emails. If the sender's email is hosted on a private domain or if you choose to use a third-party email client, you must configure them before sending emails as well. ### Request Details #### Request URL `POST` {api-domain}/baas/v1/project/{project_id}/email/send - **api-domain** (URL): The DC-specific domain to access Catalyst API - **project_id** (Numerical): The [unique ID](https://docs.catalyst.zoho.com/en/getting-started/set-up-a-catalyst-project/general-settings/) of the project #### Request Headers **Authorization:** Zoho-oauthtoken {oauth_token} **Content-Type:** multipart/form-data; boundary=----WebKitFormBoundary7MA4YWxkTrZu0gW **Optional Headers** **CATALYST-ORG:** {org_id} **Environment:** Development #### Scope ZohoCatalyst.email.CREATE #### Form-Data Properties - **from_email** ( , mandatory): The sender's email address that is configured in Catalyst Mail - **to_email** ( , atleast one recipient mandatory): Email addresses of the recipients - **cc** ( , optional): Email addresses to carbon copy (cc) - **bcc** ( , optional): Email addresses to blind carbon copy (bcc) - **reply_to** ( , optional): Email addresses to reply to - **attachments** ( , optional): The files to be attached in the email - **subject** ( , mandatory): The subject of the email - **content** ( , optional): The body of the email. You can pass the content in a HTML format by setting the `html_mode` as "True". - **html_mode** ( , optional): Specifies if the email content is in a HTML format. You must pass `true` or `false` as the value. If the value is `false`, the email content is in a regular text format. - **display_name** ( , optional): The display name of the sender ### Response Details The response returns the details of the email that was sent such as the status of the sent email, the project details, `from_email`, `to_email`, and `content`. **Sample Request** ```bash curl -X POST \ https://api.catalyst.zoho.com/baas/v1/project/4000000006007/email/send \ -H "Authorization: Zoho-oauthtoken 1000.910*\*\*\*\*\*\*\*\*\*\*\*\*\*\*\*\*\*\*\*\*\*\*\*\*16.2f*\*\*\*\*\*\*\*\*\*\*\*\*\*\*\*\*\*\*\*\*\*\*\*\*57" \ -H "Content-Type: multipart/form-data; boundary=----WebKitFormBoundary7MA4YWxkTrZu0gW" \ -F from_email=emma@zylker.com \ -F to_email=vanessa.hyde@zoho.com,r.owens@zoho.com,chang.lee@zoho.com \ -F cc=p.boyle@zylker.com,robert.plant@zylker.com \ -F bcc=ham.gunn@zylker.com,rover.jenkins@zylker.com \ -F reply_to=peter.d@zoho.com,arnold.h@zoho.com \ -F attachments=kycform.pdf \ -F subject="Greetings from Zylker Corp!" \ -F content="
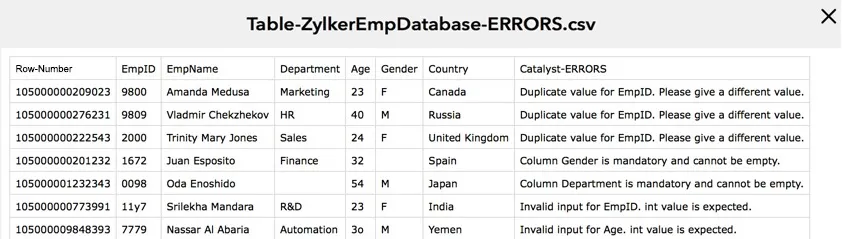
Hello,

We're glad to welcome you at Zylker Corp. To begin your journey with us, please download the attached KYC form and fill in your details. You can send us the completed form to this same email address. We cannot wait to get started!

Cheers!

Team Zylker

" \ -F html_mode=true \ -F display_name="Amelia Burrows" \ ``` **Sample Response** ```json { "status": "success", "data": { "isAsync": false, "project_details": { "project_name": "Onboarding", "id": 2648000000235047, "project_type": "Live" }, "display_name": "Amelia Burrows", "from_email": "emma@zylker.com", "to_email": [ "vanessa.hyde@zoho.com", "r.owens@zoho.com", "chang.lee@zoho.com" ], "cc": [ "p.boyle@zylker.com", "robert.plant@zylker.com" ], "bcc": [ "ham.gunn@zylker.com", "rover.jenkins@zylker.com" ], "html_mode": true, "subject": "Greetings from Zylker Corp!", "content": "

Hello,

We're glad to welcome you at Zylker Corp. To begin your journey with us, please download thattached KYC form and fill in your details. You can send us the completed form to this same email address. We cannowait to get started!

Cheers!

Team Zylker

", "reply_to": [ "peter.d@zoho.com", "arnold.h@zoho.com" ] } } ``` ### SDK Documentation [Send Email- Java SDK](https://docs.catalyst.zoho.com/en/sdk/java/v1/cloud-scale/mail/send-email)

[Send Email- Node.js SDK](https://docs.catalyst.zoho.com/en/sdk/nodejs/v2/cloud-scale/mail/send-email)

[Send Email- Python SDK](https://docs.catalyst.zoho.com/en/sdk/python/v1/cloud-scale/mail/send-email)

### NoSQL -------------------------------------------------------------------------------- title: "Insert New Item" description: "This API enables you to insert a new item in a NoSQL table." last_updated: "2026-11-03T07:48:52.000Z" source: "https://docs.catalyst.zoho.com/en/api/code-reference/cloud-scale/nosql/insert-item/" service: "CloudScale" -------------------------------------------------------------------------------- # NoSQL [Catalyst NoSQL](https://docs.catalyst.zoho.com/en/cloud-scale/help/nosql/introduction/) is a fully managed non-relational, NoSQL data storage feature that enables you to store the semi-structured, unstructured, and disparate data of your applications. Catalyst supports document-type data storage in the key-value pair based JSON format. The Catalyst NoSQL APIs enable you to perform CRUD operations on your NoSQL tables. You can insert, update, delete, or fetch items, as well as execute queries on a table or a table's index. # Insert Item ### Description This API enables you to insert a new item in a [NoSQL](https://docs.catalyst.zoho.com/en/cloud-scale/help/nosql/introduction/) table in your project. The table is referred to by its unique ID or name. You can insert an item with or without specifying any conditions by passing the data in the [Custom JSON format](https://docs.catalyst.zoho.com/en/cloud-scale/help/nosql/working-with-data/introduction/#the-catalyst-custom-json-format). > **Note:** The table must already be created. You can [create a NoSQL table](https://docs.catalyst.zoho.com/en/cloud-scale/help/nosql/create-manage-tables/) from the console. ### Request Details #### Request URL `POST` {api-domain}/baas/v1/project/{{project_id}}/nosqltable/{{table_identifier}}/item - **api-domain** (URL): The DC-specific domain to access Catalyst API - **project_id** (Numerical): The [unique ID](https://docs.catalyst.zoho.com/en/getting-started/set-up-a-catalyst-project/general-settings/) of the project - **table_identifier** (Numerical): The [unique ID](https://docs.catalyst.zoho.com/en/cloud-scale/help/nosql/create-manage-tables/) of the table or table name #### Request Headers **Authorization:** Zoho-oauthtoken {oauth_token} **Content-Type:** application/json **Optional Headers** **CATALYST-ORG:** {org_id} **Environment:** Development #### Scope ZohoCatalyst.nosql.item.INSERT > **Note:** This operation can also be executed with Catalyst user authentication permissions using Catalyst SDKs. Refer to the [Catalyst API Prerequisites section](https://docs.catalyst.zoho.com/en/api/introduction/overview-and-prerequisites/#prerequisites) for details. ### Request JSON Properties - **item** (json, mandatory): Contains the main data to be inserted in the table. The item must be inserted in the [Custom JSON format](https://docs.catalyst.zoho.com/en/cloud-scale/help/nosql/working-with-data/introduction/#the-catalyst-custom-json-format). Specify the [partition key](https://docs.catalyst.zoho.com/en/cloud-scale/help/nosql/components/#table-keys), if the table was configured with a simple primary key. Specify both the partition key and sort key, if the table was configured with a composite primary key. - **condition** (json, optional): The existing data of the table is retrieved and evaluated against this condition. The items are inserted only if the evaluation is true. If there is no existing data, the conditions are ignored and the items are inserted. There are three ways to initialize a condition: - - **functions** (json, mandatory (if specifying condition)): The two built-in functions are: `attribute_exist`, which can be used to check for the presence of an attribute, and `attribute_type`, which can be used to check if the given attribute name belongs to the given type. - - **operator, attribute, value** (json, optional): To perform direct comparison operations. Supported operators: `contains`, `not_contains`, `begins_with`, `ends_with`, `in`, `not_in`, `between`, `not_between`, `equals`, `not_equals`, `greater_than`, `less_than`, `greater_equal`, `less_equal`. - - **group, group operator** (json, optional): To combine two or more conditions. Supported group operators: `and`, `or`. - - **negate** (json, optional): To negate the result of the conditions. ### Response Details The response will return the status of the insert operation, as well as the details of the item inserted such as the `table_name`, `partition_key` and `sort_key`, if configured. **Sample Request** ```bash curl -X POST \ https://api.catalyst.zoho.com/baas/v1/project/4000000006007/nosqltable/3376000003171728/item \ -H "Authorization: Zoho-oauthtoken 1000.910*\*\*\*\*\*\*\*\*\*\*\*\*\*\*\*\*\*\*\*\*\*\*\*\*16.2f*\*\*\*\*\*\*\*\*\*\*\*\*\*\*\*\*\*\*\*\*\*\*\*\*57" \ -H "Content-Type:application/json" \ -d ‘{ "item": { "EmpID": { "N": "10999" }, "FirstName":{ "S": "Paul" }, "LastName":{ "S": "Smith" }, "PriorExperience":{ "BOOL": false }, "Location": { "M": { "Country": { "S": "USA" }, "City": { "S": "New York" } } } } }’ ``` **Sample Response** ```json { "status": "success", "data": { "table_name": "employeeDetails", "project_details": { "id": 4000000006007, "project_name": "EmpDatabase", "project_type": "Live" } } } ``` ### SDK Documentation [Insert Items- Java SDK](https://docs.catalyst.zoho.com/en/sdk/java/v1/cloud-scale/nosql/insert-items/)

[Insert Items- Node.js SDK](https://docs.catalyst.zoho.com/en/sdk/nodejs/v2/cloud-scale/nosql/insert-items/)

[Insert Items- Python SDK](https://docs.catalyst.zoho.com/en/sdk/python/v1/cloud-scale/nosql/insert-items/)

-------------------------------------------------------------------------------- title: "Update Item" description: "This API enables you to update an item in a NoSQL table." last_updated: "2026-11-03T07:48:52.000Z" source: "https://docs.catalyst.zoho.com/en/api/code-reference/cloud-scale/nosql/update-item/" service: "CloudScale" -------------------------------------------------------------------------------- # Update Item ### Description This API enables you to update an item from the existing data in a [NoSQL](https://docs.catalyst.zoho.com/en/cloud-scale/help/nosql/introduction/) table in your project. The table is referred to by its unique ID or name. You can pass the attributes to be updated with or without specifying any conditions in the [Custom JSON format](https://docs.catalyst.zoho.com/en/cloud-scale/help/nosql/working-with-data/introduction/#the-catalyst-custom-json-format). ### Request Details #### Request URL `PUT` {api-domain}/baas/v1/project/{{project_id}}/nosqltable/{{table_identifier}}/item - **api-domain** (URL): The DC-specific domain to access Catalyst API - **project_id** (Numerical): The [unique ID](https://docs.catalyst.zoho.com/en/getting-started/set-up-a-catalyst-project/general-settings/) of the project - **table_identifier** (Numerical): The [unique ID](https://docs.catalyst.zoho.com/en/cloud-scale/help/nosql/create-manage-tables/) of the table or table name #### Request Headers **Authorization:** Zoho-oauthtoken {oauth_token} **Content-Type:** application/json **Optional Headers** **CATALYST-ORG:** {org_id} **Environment:** Development #### Scope ZohoCatalyst.nosql.item.UPDATE > **Note:** This operation can also be executed with Catalyst user authentication permissions using Catalyst SDKs. Refer to the [Catalyst API Prerequisites section](https://docs.catalyst.zoho.com/en/api/introduction/overview-and-prerequisites/#prerequisites) for details. ### Request JSON Properties - **keys** (json, mandatory): Denotes the [partition key](https://docs.catalyst.zoho.com/en/cloud-scale/help/nosql/components/#table-keys) and sort key of the table. - **update_attributes** (json, mandatory): Denotes the attribute to be updated along with its value. The update can be of two types: PUT (to add a new attribute within the item) and DELETE (to remove an attribute from the item). The `attribute_path` indicates the path within the item where the actual operation is to be done. The value to be updated can be of two types: - - **update_value** (json, mandatory): The actual value to be updated. - - **update_function** (json, optional): There are four functions that can be used: `if_not_exists` - Checks the existence of the attribute and declares a value if it is not present. `append_list` - Appends data to a list `add` - Adds a value along with existing value or adds an element in a set `reduction` - Subtracts a value from existing value or removes an element in a set. - **condition** (json, optional): The existing data of the table is retrieved and evaluated against this condition. The items are inserted only if the evaluation is true. If there is no existing data, the conditions are ignored and the items are inserted. There are three ways to initialize a condition: - - **functions** (json, mandatory (if specifying condition)): The two built-in functions are: `attribute_exist`, which can be used to check for the presence of an attribute, and `attribute_type`, which can be used to check if the given attribute name belongs to the given type. - - **operator, attribute, value** (json, optional): To perform direct comparison operations. Supported operators: `contains`, `not_contains`, `begins_with`, `ends_with`, `in`, `not_in`, `between`, `not_between`, `equals`, `not_equals`, `greater_than`, `less_than`, `greater_equal`, `less_equal`. - - **group, group operator** (json, optional): To combine two or more conditions. Supported group operators: `and`, `or`. - - **negate** (json, optional): To negate the result of the conditions. ### Response Details The response will return the status of the insert operation, as well as the details of the item updated such as the `table_name`, `partition_key` and `sort_key`, if configured. **Sample Request** ```bash curl -X PUT \ https://api.catalyst.zoho.com/baas/v1/project/4000000006007/nosqltable/3376000003171728/item \ -H "Authorization: Zoho-oauthtoken 1000.910*\*\*\*\*\*\*\*\*\*\*\*\*\*\*\*\*\*\*\*\*\*\*\*\*16.2f*\*\*\*\*\*\*\*\*\*\*\*\*\*\*\*\*\*\*\*\*\*\*\*\*57" \ -H "Content-Type:application/json" \ -d ‘{ keys:{ partition_key:{ "S":"Country" }, sort_key:{ "N":"EmpID" }, } update_attributes:{ "item": { "EmpID": { "N": "10999" }, "FirstName":{ "S": "Paul" }, "LastName":{ "S": "Smith" }, "PriorExperience":{ "BOOL": false }, "Location": { "M": { "Country": { "S": "USA" }, "City": { "S": "New York" } } } } } }’ ``` **Sample Response** ```json { "status": "success", "data": { "table_name": "employeeDetails", "project_details": { "id": 4000000006007, "project_name": "EmpDatabase", "project_type": "Live" } } } ``` ### SDK Documentation [Update Items- Java SDK](https://docs.catalyst.zoho.com/en/sdk/java/v1/cloud-scale/nosql/update-items/)

[Update Items- Node.js SDK](https://docs.catalyst.zoho.com/en/sdk/nodejs/v2/cloud-scale/nosql/update-items/)

[Update Items- Python SDK](https://docs.catalyst.zoho.com/en/sdk/python/v1/cloud-scale/nosql/update-items/)

-------------------------------------------------------------------------------- title: "Fetch Item" description: "This API enables you to fetch an existing item from a NoSQL table." last_updated: "2026-11-03T07:48:52.000Z" source: "https://docs.catalyst.zoho.com/en/api/code-reference/cloud-scale/nosql/fetch-item/" service: "CloudScale" -------------------------------------------------------------------------------- # Fetch Item ### Description This API enables you to fetch an item from a [NoSQL](https://docs.catalyst.zoho.com/en/cloud-scale/help/nosql/introduction/) table in your project. The table is referred to by its unique ID or name. You can specify the attributes of the items to be fetched, and even denote if they need to be fetched from the master or a slave cluster. ### Request Details #### Request URL `GET` {api-domain}/baas/v1/project/{{project_id}}/nosqltable/{{table_identifier}}/item/fetch - **api-domain** (URL): The DC-specific domain to access Catalyst API - **project_id** (Numerical): The [unique ID](https://docs.catalyst.zoho.com/en/getting-started/set-up-a-catalyst-project/general-settings/) of the project - **tableIdentifier** (Numerical): The [unique ID](https://docs.catalyst.zoho.com/en/cloud-scale/help/nosql/create-manage-tables/) of the table or table name #### Request Headers **Authorization:** Zoho-oauthtoken {oauth_token} **Content-Type:** application/json **Optional Headers** **CATALYST-ORG:** {org_id} **Environment:** Development #### Scope ZohoCatalyst.nosql.item.READ > **Note:** This operation can also be executed with Catalyst user authentication permissions using Catalyst SDKs. Refer to the [Catalyst API Prerequisites section](https://docs.catalyst.zoho.com/en/api/introduction/overview-and-prerequisites/#prerequisites) for details. ### Request JSON Properties - **keys** (json, mandatory): Denotes the [partition key](https://docs.catalyst.zoho.com/en/cloud-scale/help/nosql/components/#table-keys) and sort key of the table. - **required_attributes** (json, optional): List of attributes to be returned. - **consistent_read** (json, optional): Declares if the read has to be done from master or slave. If set to false, it is queried from the slave. Accepted values: `true`, `false`. ### Response Details The response will return the status of the fetch operation, as well as the items that are fetched. Either all the attributes or specified attributes of the items will be fetched. **Sample Request** ```bash curl -X GET \ https://api.catalyst.zoho.com/baas/v1/project/4000000006007/nosqltable/3376000003171728/item/fetch \ -H "Authorization: Zoho-oauthtoken 1000.910*\*\*\*\*\*\*\*\*\*\*\*\*\*\*\*\*\*\*\*\*\*\*\*\*16.2f*\*\*\*\*\*\*\*\*\*\*\*\*\*\*\*\*\*\*\*\*\*\*\*\*57" \ -H "Content-Type:application/json" \ -d ‘{ keys:{ partition_key:{ "S":"Country" }, sort_key:{ "N":"EmpID" }, } required_attributes: { "EmpID", "FirstName", "LastName", "PriorExperience" }, consistent_read: "true" }’ ``` **Sample Response** ```json { "status": "success", "data": { fetched_attributes:{ "item": { "EmpID": { "N": "10999" }, "FirstName":{ "S": "Paul" }, "LastName":{ "S": "Smith" }, "PriorExperience":{ "BOOL": false } } } } } ``` ### SDK Documentation [Fetch Items- Java SDK](https://docs.catalyst.zoho.com/en/sdk/java/v1/cloud-scale/nosql/fetch-items/)

[Fetch Items- Node.js SDK](https://docs.catalyst.zoho.com/en/sdk/nodejs/v2/cloud-scale/nosql/fetch-items/)

[Fetch Items- Python SDK](https://docs.catalyst.zoho.com/en/sdk/python/v1/cloud-scale/nosql/fetch-items/)

-------------------------------------------------------------------------------- title: "Delete Item" description: "This API enables you to delete an item from a NoSQL table." last_updated: "2026-11-03T07:48:52.000Z" source: "https://docs.catalyst.zoho.com/en/api/code-reference/cloud-scale/nosql/delete-item/" service: "CloudScale" -------------------------------------------------------------------------------- # Delete Item ### Description This API enables you to insert a new item in a [NoSQL](https://docs.catalyst.zoho.com/en/cloud-scale/help/nosql/introduction/) table in your project. The table is referred to by its unique ID or name. You can insert an item with or without specifying any conditions by passing the data in the [Custom JSON format](https://docs.catalyst.zoho.com/en/cloud-scale/help/nosql/working-with-data/introduction/#the-catalyst-custom-json-format). > **Note:** The table must already be created. You can [create a NoSQL table](https://docs.catalyst.zoho.com/en/cloud-scale/help/nosql/create-manage-tables/) from the console. ### Request Details #### Request URL `DELETE` {api-domain}/baas/v1/project/{{project_id}}/nosqltable/{{table_identifier}}/item - **api-domain** (URL): The DC-specific domain to access Catalyst API - **project_id** (Numerical): The [unique ID](https://docs.catalyst.zoho.com/en/getting-started/set-up-a-catalyst-project/general-settings/) of the project - **table_identifier** (Numerical): The [unique ID](https://docs.catalyst.zoho.com/en/cloud-scale/help/nosql/create-manage-tables/) of the table or table name #### Request Headers **Authorization:** Zoho-oauthtoken {oauth_token} **Content-Type:** application/json **Optional Headers** **CATALYST-ORG:** {org_id} **Environment:** Development #### Scope ZohoCatalyst.nosql.item.INSERT > **Note:** This operation can also be executed with Catalyst user authentication permissions using Catalyst SDKs. Refer to the [Catalyst API Prerequisites section](https://docs.catalyst.zoho.com/en/api/introduction/overview-and-prerequisites/#prerequisites) for details. ### Request JSON Properties - **item** (json, mandatory): Contains the main data to be inserted in the table. The item must be inserted in the [Custom JSON format](https://docs.catalyst.zoho.com/en/cloud-scale/help/nosql/working-with-data/introduction/#the-catalyst-custom-json-format). Specify the [partition key](https://docs.catalyst.zoho.com/en/cloud-scale/help/nosql/components/#table-keys), if the table was configured with a simple primary key. Specify both the partition key and sort key, if the table was configured with a composite primary key. - **condition** (json, optional): The existing data of the table is retrieved and evaluated against this condition. The items are inserted only if the evaluation is true. If there is no existing data, the conditions are ignored and the items are inserted. There are three ways to initialize a condition: - - **functions** (json, mandatory (if specifying condition)): The two built-in functions are: `attribute_exist`, which can be used to check for the presence of an attribute, and `attribute_type`, which can be used to check if the given attribute name belongs to the given type. - - **operator, attribute, value** (json, optional): To perform direct comparison operations. Supported operators: `contains`, `not_contains`, `begins_with`, `ends_with`, `in`, `not_in`, `between`, `not_between`, `equals`, `not_equals`, `greater_than`, `less_than`, `greater_equal`, `less_equal`. - - **group, group operator** (json, optional): To combine two or more conditions. Supported group operators: `and`, `or`. - - **negate** (json, optional): To negate the result of the conditions. ### Response Details The response will return the status of the insert operation, as well as the details of the item inserted such as the `table_name`, `partition_key` and `sort_key`, if configured. **Sample Request** ```bash curl -X DELETE \ https://api.catalyst.zoho.com/baas/v1/project/4000000006007/nosqltable/3376000003171728/item \ -H "Authorization: Zoho-oauthtoken 1000.910*\*\*\*\*\*\*\*\*\*\*\*\*\*\*\*\*\*\*\*\*\*\*\*\*16.2f*\*\*\*\*\*\*\*\*\*\*\*\*\*\*\*\*\*\*\*\*\*\*\*\*57" \ -H "Content-Type:application/json" \ -d ‘{ "item": { "EmpID": { "N": "10999" }, "FirstName":{ "S": "Paul" }, "LastName":{ "S": "Smith" }, "PriorExperience":{ "BOOL": false }, "Location": { "M": { "Country": { "S": "USA" }, "City": { "S": "New York" } } } } }’ ``` **Sample Response** ```json { "status": "success", "data": { "table_name": "employeeDetails", "project_details": { "id": 4000000006007, "project_name": "EmpDatabase", "project_type": "Live" } } } ``` ### SDK Documentation [Insert Items- Java SDK](https://docs.catalyst.zoho.com/en/sdk/java/v1/cloud-scale/nosql/insert-items/)

[Insert Items- Node.js SDK](https://docs.catalyst.zoho.com/en/sdk/nodejs/v2/cloud-scale/nosql/insert-items/)

[Insert Items- Python SDK](https://docs.catalyst.zoho.com/en/sdk/python/v1/cloud-scale/nosql/insert-items/)

-------------------------------------------------------------------------------- title: "Query Table" description: "This API enables you to query a NoSQL table and fetch data." last_updated: "2026-11-03T07:48:52.000Z" source: "https://docs.catalyst.zoho.com/en/api/code-reference/cloud-scale/nosql/query-table/" service: "CloudScale" -------------------------------------------------------------------------------- # Query Table ### Description This API enables you to query a [NoSQL](https://docs.catalyst.zoho.com/en/cloud-scale/help/nosql/introduction/) table in your project and fetch data. The table is referred to by its unique ID. ### Request Details #### Request URL `POST` {api-domain}/baas/v1/project/{{project_id}}/nosqltable/{{table_identifier}}/item/query - **api-domain** (URL): The DC-specific domain to access Catalyst API - **project_id** (Numerical): The [unique ID](https://docs.catalyst.zoho.com/en/getting-started/set-up-a-catalyst-project/general-settings/) of the project - **table_identifier** (Numerical): The [unique ID](https://docs.catalyst.zoho.com/en/cloud-scale/help/nosql/create-manage-tables/) of the table or table name #### Request Headers **Authorization:** Zoho-oauthtoken {oauth_token} **Content-Type:** application/json **Optional Headers** **CATALYST-ORG:** {org_id} **Environment:** Development #### Scope ZohoCatalyst.nosql.POST > **Note:** This operation can also be executed with Catalyst user authentication permissions using Catalyst SDKs. Refer to the [Catalyst API Prerequisites section](https://docs.catalyst.zoho.com/en/api/introduction/overview-and-prerequisites/#prerequisites) for details. ### Request JSON Properties - **key_condition** (json, mandatory): Contains the condition in the format similar to the CRUD operations of items. Only the partition key and sort key conditions can be given. Partition key can only have the "equals" operator. The condition can be partition key = value, or a group with partition key equals condition and the sort key condition. Refer to the [full list of supported operators](https://docs.catalyst.zoho.com/en/cloud-scale/help/nosql/query-search/#supported-operators). - **required_attributes** (json, optional): List of attributes to be returned. - **consistent_read** (json, optional): Declares if the read has to be done from master or slave. If set to false, it is queried from the slave. Accepted values: `true`, `false`. - **other_condition** (json, optional): These are conditions that are applied over the retrieved data. The response is sent after these conditions are applied. - **forwardScan** (json, optional): This is used to indicate if the query has to be done in ascending or descending order. - **startKey** (json, optional): This is used for pagination purposes to fetch the next set of data items. - **additional_sort_key** (json, optional): This is used to indicate if the query is made against the table with additional sort keys. This contains the additional sort key attribute names. - **limit** (json, optional): This indicates the maximum count of items that should be returned. ### Response Details The response will return the status of the query operation, as well as the items that are fetched according to the conditions set in the query. **Sample Request** ```bash curl -X POST \ https://api.catalyst.zoho.com/baas/v1/project/4000000006007/nosqltable/3376000003171728/item/query \ -H "Authorization: Zoho-oauthtoken 1000.910*\*\*\*\*\*\*\*\*\*\*\*\*\*\*\*\*\*\*\*\*\*\*\*\*16.2f*\*\*\*\*\*\*\*\*\*\*\*\*\*\*\*\*\*\*\*\*\*\*\*\*57" \ -H "Content-Type:application/json" \ -d -d ‘{ key_condition:{ partition_key:{ "S":"Country" }, sort_key:{ "N":"EmpID" }, } required_attributes: { "EmpID", "FirstName", "LastName", "PriorExperience" }, consistent_read: "true" }’ ``` **Sample Response** ```json { "status": "success", "data": { fetched_data:{ "item": { "EmpID": { "N": "10999" }, "FirstName":{ "S": "Paul" }, "LastName":{ "S": "Smith" }, "PriorExperience":{ "BOOL": false } } } } } ``` ### SDK Documentation [Query Table- Java SDK](https://docs.catalyst.zoho.com/en/sdk/java/v1/cloud-scale/nosql/query-table/)

[Query Table- Node.js SDK](https://docs.catalyst.zoho.com/en/sdk/nodejs/v2/cloud-scale/nosql/query-table/)

[Query Table- Python SDK](https://docs.catalyst.zoho.com/en/sdk/python/v1/cloud-scale/nosql/query-table/)

-------------------------------------------------------------------------------- title: "Query Index" description: "This API enables you to query a NoSQL index and fetch data." last_updated: "2026-11-03T07:48:52.000Z" source: "https://docs.catalyst.zoho.com/en/api/code-reference/cloud-scale/nosql/query-index/" service: "CloudScale" -------------------------------------------------------------------------------- # Query Index ### Description This API enables you to query a [NoSQL](https://docs.catalyst.zoho.com/en/cloud-scale/help/nosql/introduction/) index in your project and fetch data. The index is referred to by its unique ID. ### Request Details #### Request URL `POST` {api-domain}/baas/v1/project/{{project_id}}/nosqltable/{{table_identifier}}//index/{{index_identifier/}}/item/query - **api-domain** (URL): The DC-specific domain to access Catalyst API - **project_id** (Numerical): The [unique ID](https://docs.catalyst.zoho.com/en/getting-started/set-up-a-catalyst-project/general-settings/) of the project - **tableIdentifier** (Numerical): The [unique ID](https://docs.catalyst.zoho.com/en/cloud-scale/help/nosql/create-manage-tables/) of the table or table name - **index_identifier** (Numerical): The [unique ID](https://docs.catalyst.zoho.com/en/cloud-scale/help/nosql/create-manage-tables/) of the index #### Request Headers **Authorization:** Zoho-oauthtoken {oauth_token} **Content-Type:** application/json **Optional Headers** **CATALYST-ORG:** {org_id} **Environment:** Development #### Scope ZohoCatalyst.nosql.POST > **Note:** This operation can also be executed with Catalyst user authentication permissions using Catalyst SDKs. Refer to the [Catalyst API Prerequisites section](https://docs.catalyst.zoho.com/en/api/introduction/overview-and-prerequisites/#prerequisites) for details. ### Request JSON Properties - **key_condition** (json, mandatory): Contains the condition in the format similar to the CRUD operations of items. Only the partition key and sort key conditions can be given. Partition key can only have the "equals" operator. The condition can be partition key = value, or a group with partition key equals condition and the sort key condition. Refer to the [full list of supported operators](https://docs.catalyst.zoho.com/en/cloud-scale/help/nosql/query-search/#supported-operators). - **required_attributes** (json, optional): List of attributes to be returned. - **consistent_read** (json, optional): Declares if the read has to be done from master or slave. If set to false, it is queried from the slave. Accepted values: `true`, `false`. - **other_condition** (json, optional): These are conditions that are applied over the retrieved data. The response is sent after these conditions are applied. - **forwardScan** (json, optional): This is used to indicate if the query has to be done in ascending or descending order. - **startKey** (json, optional): This is used for pagination purposes to fetch the next set of data items. - **additional_sort_key** (json, optional): This is used to indicate if the query is made against the table with additional sort keys. This contains the additional sort key attribute names. - **limit** (json, optional): This indicates the maximum count of items that should be returned. ### Response Details The response will return the status of the query operation, as well as the items that are fetched according to the conditions set in the query. **Sample Request** ```bash curl -X POST \ https://api.catalyst.zoho.com/baas/v1/project/4000000006007/nosqltable/3376000003171728/index/786387162881/item/query \ -H "Authorization: Zoho-oauthtoken 1000.910*\*\*\*\*\*\*\*\*\*\*\*\*\*\*\*\*\*\*\*\*\*\*\*\*16.2f*\*\*\*\*\*\*\*\*\*\*\*\*\*\*\*\*\*\*\*\*\*\*\*\*57" \ -H "Content-Type:application/json" \ -d -d ‘{ key_condition:{ partition_key:{ "S":"Country" }, sort_key:{ "N":"EmpID" }, } required_attributes: { "EmpID", "FirstName", "LastName", "PriorExperience" }, consistent_read: "true" }’ ``` **Sample Response** ```json { "status": "success", "data": { fetched_data:{ "item": { "EmpID": { "N": "10999" }, "FirstName":{ "S": "Paul" }, "LastName":{ "S": "Smith" }, "PriorExperience":{ "BOOL": false } } } } } ``` ### SDK Documentation [Query Index- Java SDK](https://docs.catalyst.zoho.com/en/sdk/java/v1/cloud-scale/nosql/query-index/)

[Query Index- Node.js SDK](https://docs.catalyst.zoho.com/en/sdk/nodejs/v2/cloud-scale/nosql/query-index/)

[Query Index- Python SDK](https://docs.catalyst.zoho.com/en/sdk/python/v1/cloud-scale/nosql/query-index/)

### Push Notifications #### Android -------------------------------------------------------------------------------- title: "Send Android Push Notifications" description: "This API is used to send push notifications to the users of your Android app after you register your app with FCM and register your device." last_updated: "2026-11-04T10:10:44.000Z" source: "https://docs.catalyst.zoho.com/en/api/code-reference/cloud-scale/push-notifications/android/send-android-push-notifications/" service: "CloudScale" -------------------------------------------------------------------------------- ## Send Android Push Notifications ### Description This API is used to send text [push notifications](https://docs.catalyst.zoho.com/en/cloud-scale/help/push-notifications/introduction/) to the user devices from your Android app for testing, after you register your app with Firebase Cloud Messaging, enroll for Catalyst push notifications, and register your device. You must implement the **four steps** explained in the [Push Notifications- Android help section](https://docs.catalyst.zoho.com/en/cloud-scale/help/push-notifications/android) before you can send push notifications. Catalyst enables you to send push notifications either to registered test devices or to production devices by passing the appID value from the configuration file of the respective environment. The request URL for sending push notifications to test devices and to production devices varies. These are presented in the Request Details section. You can pass the push notification message and the recipient to send the push notifications to, along with other details in your API request as shown in the sample request. ### Request Details #### Request URL to send Test Notifications `POST` {api-domain}/baas/v1/project/{project_id}/push-notification/{app_id}/test #### Request URL to send Production Notifications `POST` {api-domain}/baas/v1/project/{project_id}/push-notification/{app_id}/project-user/notify - **api-domain** (URL): The DC-specific domain to access Catalyst API - **project_id** (Numerical): The [unique ID](https://docs.catalyst.zoho.com/en/getting-started/set-up-a-catalyst-project/general-settings/) of the project - **app_id** (Numerical): The `appID` generated by Catalyst for your app in Push Notifications. You can find this in the _Android_ section of Push Notifications in your Catalyst console. #### Query Parameters **isAndroid:** true #### Request Headers **Content-Type:** application/json **Optional Headers** **CATALYST-ORG:** {org_id} **Environment:** Development #### Scope ZohoCatalyst.notifications.mobile.CUSTOM #### Request JSON Properties - **recipient** (string, mandatory): The email address of the user that the push notification must be sent to. You can only send it to one user per API call. - **push_details** (json, mandatory): The JSON that contains the details of the push notification content and metadata - - **message** (string, mandatory): The text content of the push notification Max Size: 100 characters - - **additional_info** (json, optional): Any additional information that you need to send in the form of *"sample_key" : "sample_value"* Max Size: 100 characters - - **badge_count** (integer, optional): The count to be displayed over the app's icon - - **reference_id** (string, optional): The ID for reference - - **expiry_time** (integer, optional): The time of expiry of the notification in hours ### Response Details The response returns the status of the sent notification as `success` or `failed`, and the data that was passed including `message` and `expiry_time`. **Sample Request: Production Device** ```bash curl -X POST \ https://api.catalyst.zoho.com/baas/v1/project/204000000024010/push-notification/204000000036005/project-user/notify?isAndroid=true \ -H "Content-Type: application/json" \ -d '{ "recipients":"amanda.boyle@zylker.com", "push_details":{ "message":"Welcome to Zylker App!", "badge_count":10, "expiry_time":12, "additional_info":{ "sample_key" : "sample_value" } } }' ``` **Sample Response** ```json { "status": "success", "data": { "recipients": "amanda.boyle@zylker.com", "push_details": { "message": "Welcome to Zylker App!", "additional_info": { "sample_key": "sample_value" }, "badge_count": 10, "reference_id": null, "expiry_time": 12 } } } ``` ### SDK Documentation [Send Push Notifications- Java SDK](https://docs.catalyst.zoho.com/en/sdk/java/v1/cloud-scale/push-notifications/send-notifications/) [Send Push Notifications- Node.js SDK](https://docs.catalyst.zoho.com/en/sdk/nodejs/v2/cloud-scale/push-notifications/get-component-instance/) [Send Push Notifications- Python SDK](https://docs.catalyst.zoho.com/en/sdk/python/v1/cloud-scale/push-notifications/get-component-instance/) [Register Device for Push Notifications- iOS SDK](https://docs.catalyst.zoho.com/en/sdk/ios/v2/cloud-scale/push-notifications/register-device/) [Register Device for Push Notifications- Android SDK](https://docs.catalyst.zoho.com/en/sdk/android/v2/cloud-scale/push-notifications/register-device/) [Register Device for Push Notifications- Flutter SDK](https://docs.catalyst.zoho.com/en/sdk/flutter/v2/cloud-scale/push-notifications/register-device/) [Register Device for Push Notifications- Web SDK](https://docs.catalyst.zoho.com/en/sdk/web/v4/cloud-scale/push-notifications/register-client/) #### iOS -------------------------------------------------------------------------------- title: "Send iOS Push Notifications" description: "This API is used to send push notifications to the users of your iOS app after you register your app with Apple and register your device." last_updated: "2026-11-04T10:10:44.000Z" source: "https://docs.catalyst.zoho.com/en/api/code-reference/cloud-scale/push-notifications/ios/send-ios-push-notifications/" service: "CloudScale" -------------------------------------------------------------------------------- ## Send iOS Push Notifications ### Description This API is used to send text [push notifications](https://docs.catalyst.zoho.com/en/cloud-scale/help/push-notifications/introduction/) to the user devices from your iOS app for testing, after you register your app with Apple, enroll for Catalyst push notifications, and register your device. You must implement the **six steps** explained in the [Push Notifications- iOS help section](https://docs.catalyst.zoho.com/en/cloud-scale/help/push-notifications/ios) before you can send push notifications to devices. Catalyst enables you to send push notifications either to registered test devices or to production devices by passing the appID value from the configuration file of the respective environment. The request URL for sending push notifications to test devices and to production devices varies. These are presented in the Request Details section. You can pass the push notification message and the recipient to send the push notifications to, along with other details in your API request as shown in the sample request. ### Request Details #### Request URL to send Test Notifications `POST` {api-domain}/baas/v1/project/{project_id}/push-notification/{app_id}/test #### Request URL to send Production Notifications `POST` {api-domain}/baas/v1/project/{project_id}/push-notification/{app_id}/project-user/notify - **api-domain** (URL): The DC-specific domain to access Catalyst API - **project_id** (Numerical): The [unique ID](https://docs.catalyst.zoho.com/en/getting-started/set-up-a-catalyst-project/general-settings/) of the project - **app_id** (Numerical): The `notificationAppID` obtained from the [`AppConfigurationDevelopment.plist`/ `AppConfigurationProduction.plist` file](https://docs.catalyst.zoho.com/en/sdk/ios/v2/setup/#properties-of-the-appconfigurationdevelopmentplist-appconfigurationproductionplist-file) for the appropriate environment #### Request Headers **Content-Type:** application/json **Optional Headers** **CATALYST-ORG:** {org_id} **Environment:** Development #### Scope ZohoCatalyst.notifications.mobile.CUSTOM #### Request JSON Properties - **recipient** (string, mandatory): The email address of the user that the push notification must be sent to. You can only send it to one user per API call. - **push_details** (json, mandatory): The JSON that contains the details of the push notification content and metadata - - **message** (string, mandatory): The text content of the push notification Max Size: 100 characters - - **additional_info** (json, optional): Any additional information that you need to send in the form of *"sample_key" : "sample_value"* Max Size: 100 characters - - **badge_count** (integer, optional): The count to be displayed over the app's icon - - **reference_id** (string, optional): The ID for reference - - **expiry_time** (integer, optional): The time of expiry of the notification in hours ### Response Details The response returns the status of the sent notification as `success` or `failed`, and the data that was passed including `message` and `expiry_time`. **Sample Request: Production Device** ```bash curl -X POST \ https://api.catalyst.zoho.com/baas/v1/project/204000000024010/push-notification/204000000036005/project-user/notify \ -H "Content-Type: application/json" \ -d '{ "recipients":"amanda.boyle@zylker.com", "push_details":{ "message":"Welcome to Zylker App!", "badge_count":10, "expiry_time":12, "additional_info":{ "sample_key" : "sample_value" } } }' ``` **Sample Response** ```json { "status": "success", "data": { "recipients": "amanda.boyle@zylker.com", "push_details": { "message": "Welcome to Zylker App!", "additional_info": { "sample_key": "sample_value" }, "badge_count": 10, "reference_id": null, "expiry_time": 12 } } } ``` ### SDK Documentation [Send Push Notifications- Java SDK](https://docs.catalyst.zoho.com/en/sdk/java/v1/cloud-scale/push-notifications/send-notifications/) [Send Push Notifications- Node.js SDK](https://docs.catalyst.zoho.com/en/sdk/nodejs/v2/cloud-scale/push-notifications/get-component-instance/) [Send Push Notifications- Python SDK](https://docs.catalyst.zoho.com/en/sdk/python/v1/cloud-scale/push-notifications/get-component-instance/) [Register Device for Push Notifications- iOS SDK](https://docs.catalyst.zoho.com/en/sdk/ios/v2/cloud-scale/push-notifications/register-device/) [Register Device for Push Notifications- Android SDK](https://docs.catalyst.zoho.com/en/sdk/android/v2/cloud-scale/push-notifications/register-device/) [Register Device for Push Notifications- Flutter SDK](https://docs.catalyst.zoho.com/en/sdk/flutter/v2/cloud-scale/push-notifications/register-device/) [Register Device for Push Notifications- Web SDK](https://docs.catalyst.zoho.com/en/sdk/web/v4/cloud-scale/push-notifications/register-client/) #### Web -------------------------------------------------------------------------------- title: "Send Web Push Notifications" description: "This API is used to send push notifications to the users of your web application after you enable Catalyst push notifications." last_updated: "2026-11-03T07:48:52.000Z" source: "https://docs.catalyst.zoho.com/en/api/code-reference/cloud-scale/push-notifications/web/send-web-push-notifications/" service: "CloudScale" -------------------------------------------------------------------------------- # Push Notifications [Push notifications](https://docs.catalyst.zoho.com/en/cloud-scale/help/push-notifications/introduction/) are remote notifications that an application provider can send to the users of their application, even when the application is not actively running on the user device. Catalyst provides you with an easy way to integrate push notifications into your Catalyst web and iOS applications. ## Send Web Push Notifications ### Description This API is used to send text [push notifications](https://docs.catalyst.zoho.com/en/cloud-scale/help/push-notifications/introduction/) to the users of your web application for testing, after you enable push notifications for it. You can enable push notifications and also register client devices for receiving push notifications by implementing the web script mentioned in [this Web SDK help page](https://docs.catalyst.zoho.com/en/sdk/web/v4/cloud-scale/push-notifications/register-client/). You can then use this API to send push notifications. You can pass the push notification message and a list of the recipients in your API request as shown in the sample request. ### Request Details #### Request URL `POST` {api-domain}/baas/v1/project/{project_id}/project-user/notify - **api-domain** (URL): The DC-specific domain to access Catalyst API - **project_id** (Numerical): The [unique ID](https://docs.catalyst.zoho.com/en/getting-started/set-up-a-catalyst-project/general-settings/) of the project #### Request Headers **Content-Type:** application/json **Optional Headers** **CATALYST-ORG:** {org_id} **Environment:** Development > **Note:** Catalyst does not authenticate this API request. Therefore, you need not pass an OAuth token. #### Scope ZohoCatalyst.notifications.web.CUSTOM #### Request JSON Properties - **recipients** (string, mandatory): The email address or the user ID of the users that the push notification must be sent to - **message** (string, mandatory): The message content of the push notification in the text format ### Response Details The response returns the status of the sent notification as `success` or `failed`. **Sample Request** ```bash curl -X POST \ https://api.catalyst.zoho.com/baas/v1/project/3000000002001/project-user/notify \ -H "Content-Type: application/json" \ -d '{ "recipients":["rhonda.wilkins@zylker.com","isabella.j@zylker.com","harry.sandman@zylker.com"], "message":"Attention, new employees! Update your profile information in Zylker team app" }' ``` **Sample Response** ```json { "status": "success", "data": true } ``` ### SDK Documentation [Send Push Notifications- Java SDK](https://docs.catalyst.zoho.com/en/sdk/java/v1/cloud-scale/push-notifications/send-notifications)

[Send Push Notifications- Node.js SDK](https://docs.catalyst.zoho.com/en/sdk/nodejs/v2/cloud-scale/push-notifications/send-notifications)

[Send Push Notifications- Python SDK](https://docs.catalyst.zoho.com/en/sdk/python/v1/cloud-scale/push-notifications/send-notifications)

[Register a Client for Push Notifications- Web SDK](https://docs.catalyst.zoho.com/en/sdk/web/v4/cloud-scale/push-notifications/get-component-instance/) ### Search -------------------------------------------------------------------------------- title: "Execute Search Query" description: "This API enables you to execute a search operation in the indexed columns of all the tables in the Data Store through Catalyst Search." last_updated: "2026-11-03T07:48:52.000Z" source: "https://docs.catalyst.zoho.com/en/api/code-reference/cloud-scale/search/execute-search-query/" service: "CloudScale" -------------------------------------------------------------------------------- # Search [Catalyst Search](https://docs.catalyst.zoho.com/en/cloud-scale/help/search-integration/introduction/) enables data searching in the indexed columns of the tables in your [Catalyst Data Store](https://docs.catalyst.zoho.com/en/cloud-scale/help/data-store/introduction/). When you integrate Search in your application, the end users will be able to perform powerful searches through volumes of data in your Data Store with a single search query. # Execute Search Query ### Description This API enables you to execute a search operation in the indexed columns of all the tables in the Data Store. You can pass the search parameters in the request JSON. The records that match the search query are fetched as the response. ### Request Details #### Request URL `POST` {api-domain}/baas/v1/project/{project_id}/search - **api-domain** (URL): The DC-specific domain to access Catalyst API - **project_id** (Numerical): The [unique ID](https://docs.catalyst.zoho.com/en/getting-started/set-up-a-catalyst-project/general-settings/) of the project #### Request Headers **Authorization:** Zoho-oauthtoken {oauth_token} **Content-Type:** application/json **Optional Headers** **CATALYST-ORG:** {org_id} **Environment:** Development #### Scope ZohoCatalyst.search.READ > **Note:** This operation can also be executed with Catalyst user authentication permissions using Catalyst SDKs. Refer to the [Catalyst API Prerequisites section](https://docs.catalyst.zoho.com/en/api/introduction/overview-and-prerequisites/#prerequisites) for details. #### Request JSON Properties - **search** (string, mandatory): Search pattern that contains the keywords to search for You can provide multiple keywords separated by commas. - **search_table_columns** (json, mandatory): The indexed columns to be searched in a table You must provide this in the following format: *{"table_name_1": ["column_name_1", "column_name_2", "column_name_3"..],* *"table_name_2": ["column_name_1", "column_name_2", "column_name_3"..]..}* - **select_table_columns** (json, optional): The columns to be selected and displayed based on the search You must provide this in the following format: *{"table_name_1": ["column_name_1", "column_name_2", "column_name_3"..],* *"table_name_2": ["column_name_1", "column_name_2", "column_name_3"..]..}* - **order_by** (json, optional): Sorts the records fetched in the search results either in an ascending or descending manner Allowed Values: `ASC`, `DESC` - **start** (integer, optional): Starting index of a row where the search must begin Default value: 0 - **end** (integer, optional): The offset value of a row where search must end Default value: 500 ### Response Details The response returns the records that match the search query. The details of the rows including their metadata such as `CREATORID` and `CREATEDTIME`, and the column key names and values are returned. **Sample Request** ```bash curl -X POST \ https://api.catalyst.zoho.com/baas/v1/project/4000000006007/search \ -H "Authorization: Zoho-oauthtoken 1000.910*\*\*\*\*\*\*\*\*\*\*\*\*\*\*\*\*\*\*\*\*\*\*\*\*16.2f*\*\*\*\*\*\*\*\*\*\*\*\*\*\*\*\*\*\*\*\*\*\*\*\*57" \ -H "Content-Type: application/json" \ -d '{ "search" : "Mary", "search_table_columns" : { "CustomerInfo": [ "CustomerName", "TrainerName" ] }, "start":1000, "end":200 }' ``` **Sample Response** ```json { "status": "success", "data": { "CustomerInfo": [ { "CREATORID": "56000000002003", "MODIFIEDTIME": "2019-02-08 13:13:44", "CustomerName": "Mary Johnson", "TrainerName": "Helena Stewart", "CustomerID":"PL1213234", "CREATEDTIME": "2019-02-08 13:13:44" }, { "CREATORID": "56000000002003", "MODIFIEDTIME": "2019-02-08 20:11:10", "CustomerName": "Mary Palmer", "TrainerName": "Ronald Wazlib", "CustomerID":"SY091834", "CREATEDTIME": "2019-02-08 20:11:10" }, { "CREATORID": "56000000002003", "MODIFIEDTIME": "2019-11-09 10:00:12", "CustomerName": "Herbert Spielberg", "TrainerName": "Mary Amber Rogers", "CustomerID":"AL987627", "CREATEDTIME": "2019-11-08 00:12:40" } ] } } ``` ### SDK Documentation [Search Data- Java SDK](https://docs.catalyst.zoho.com/en/sdk/java/v1/cloud-scale/search/search-data)

[Search Data- Node.js SDK](https://docs.catalyst.zoho.com/en/sdk/nodejs/v2/cloud-scale/search/search-data)

[Search Data- Python SDK](https://docs.catalyst.zoho.com/en/sdk/python/v1/cloud-scale/search/search-data)

[Search Data- Web SDK](https://docs.catalyst.zoho.com/en/sdk/web/v4/cloud-scale/search/search-data) ### Stratus -------------------------------------------------------------------------------- title: "Get All Buckets" description: "This API enables you to retrieve the details of all the buckets in Stratus along with the details of all the objects in it" last_updated: "2026-11-03T07:48:52.000Z" source: "https://docs.catalyst.zoho.com/en/api/code-reference/cloud-scale/stratus/get-all-buckets/" service: "CloudScale" -------------------------------------------------------------------------------- # Stratus [Stratus](https://docs.catalyst.zoho.com/en/cloud-scale/help/stratus/introduction/) is Catalyst's robust cloud storage solution. With a simple upload action, you can store your data of any type as [Objects](https://docs.catalyst.zoho.com/en/cloud-scale/help/stratus/objects/introduction/) in containers called [Buckets](https://docs.catalyst.zoho.com/en/cloud-scale/help/stratus/buckets/name-bucket/). # Get All Buckets ### Description This API allows you to get all available details of all [buckets](https://docs.catalyst.zoho.com/en/cloud-scale/help/stratus/buckets/name-bucket/) present in Stratus. ### Request Details #### Request URL `GET` {api-domain}/baas/v1/project/{project_id}/bucket - **project_id** (Numerical): The [unique ID](https://docs.catalyst.zoho.com/en/getting-started/set-up-a-catalyst-project/general-settings/) of the project #### Request Headers **Authorization:** Zoho-oauthtoken {oauth_token} **Optional Headers** **CATALYST-ORG:** {org_id} **Environment:** Development #### Scope ZohoCatalyst.buckets.READ ### Response Details The response will return the metadata and details of all the buckets including its `bucket_name`, and the details of the user who created and last modified the bucket. **Sample Request** ```bash curl -X GET https://api.catalyst.zoho.com/baas/v1/project/10108000003823392/bucket -H "Authorization: Zoho-oauthtoken 1000.910*\*\*\*\*\*\*\*\*\*\*\*\*\*\*\*\*\*\*\*\*\*\*\*\*16.2f*\*\*\*\*\*\*\*\*\*\*\*\*\*\*\*\*\*\*\*\*\*\*\*\*57" ``` **Sample Response** ```json { "status": "success", "data": [ { "bucket_name": "fsbucket17", "project_details": { "project_name": "Project-Rainfall-4", "id": 2000000000075, "project_type": "Live" }, "created_by": { "zuid": 18599686, "is_confirmed": false, "email_id": "emmy@zylker.com", "first_name": "Amelia B", "last_name": "Fstest", "user_type": "Admin", "user_id": 2000000000055 }, "created_time": "Sep 27, 2023 05:01 PM", "modified_by": { "zuid": 18599686, "is_confirmed": false, "email_id": "emmy@zylker.com", "first_name": "Amelia B", "last_name": "Fstest", "user_type": "Admin", "user_id": 2000000000055 }, "modified_time": "Sep 27, 2023 05:01 PM", "bucket_meta": { "versioning": false, "caching": { "status": "Disabled" }, "encryption": false, "audit_consent": false }, "bucket_url": "https://fsbucket17-development.zohostratus.com" }, { "bucket_name": "fsbucket16", "project_details": { "project_name": "Project-Rainfall-4", "id": 2000000000075, "project_type": "Live" }, "created_by": { "zuid": 18599686, "is_confirmed": false, "email_id": "emmy@zylker.com", "first_name": "Amelia B", "last_name": "Fstest", "user_type": "Admin", "user_id": 2000000000055 }, "created_time": "Sep 27, 2023 04:58 PM", "modified_by": { "zuid": 18599686, "is_confirmed": false, "email_id": "emmy@zylker.com", "first_name": "Amelia B", "last_name": "Fstest", "user_type": "Admin", "user_id": 2000000000055 }, "modified_time": "Sep 27, 2023 04:58 PM", "bucket_meta": { "versioning": false, "caching": { "status": "Disabled" }, "encryption": true, "audit_consent": true }, "bucket_url": "https://fsbucket16-development.zohostratus.com" }, { "bucket_name": "fsbucket15", "project_details": { "project_name": "Project-Rainfall-4", "id": 2000000000075, "project_type": "Live" }, "created_by": { "zuid": 18599686, "is_confirmed": false, "email_id": "emmy@zylker.com", "first_name": "Amelia B", "last_name": "Fstest", "user_type": "Admin", "user_id": 2000000000055 }, "created_time": "Sep 27, 2023 04:57 PM", "modified_by": { "zuid": 18599686, "is_confirmed": false, "email_id": "emmy@zylker.com", "first_name": "Amelia B", "last_name": "Fstest", "user_type": "Admin", "user_id": 2000000000055 }, "modified_time": "Sep 27, 2023 04:57 PM", "bucket_meta": { "versioning": true, "caching": { "status": "In-Progress" }, "encryption": false, "audit_consent": false }, "bucket_url": "https://fsbucket15-development.zohostratus.com" } ] } ``` ### SDK Documentation * [Get Bucket - Java SDK](https://docs.catalyst.zoho.com/en/sdk/java/v1/cloud-scale/stratus/list-buckets/) * [Get Bucket - Node.js SDK](https://docs.catalyst.zoho.com/en/sdk/nodejs/v2/cloud-scale/stratus/list-buckets/) * [Get Bucket - Python SDK](https://docs.catalyst.zoho.com/en/sdk/python/v1/cloud-scale/stratus/list-buckets/) * [Stratus - Web SDK](https://docs.catalyst.zoho.com/en/sdk/web/v4/cloud-scale/stratus/overview/) * [Stratus - iOS SDK](https://docs.catalyst.zoho.com/en/sdk/ios/v2/cloud-scale/stratus/overview/) * [Stratus - Android SDK](https://docs.catalyst.zoho.com/en/sdk/android/v2/cloud-scale/stratus/overview/) * [Stratus - Flutter SDK](https://docs.catalyst.zoho.com/en/sdk/flutter/v2/cloud-scale/stratus/overview/) -------------------------------------------------------------------------------- title: "Get Specific Bucket" description: "This API enables you to retrieve the details of a specific bucket in Stratus along with the details of all the objects in it" last_updated: "2026-11-03T15:41:32.000Z" source: "https://docs.catalyst.zoho.com/en/api/code-reference/cloud-scale/stratus/get-bucket/" service: "CloudScale" -------------------------------------------------------------------------------- # Get Bucket ### Description This API allows you to get all available details of a bucket present in Stratus. The Bucket is referred by its [unique bucket name](https://docs.catalyst.zoho.com/en/cloud-scale/help/stratus/buckets/name-bucket/#ideal-practices-to-name-a-bucket). ### Request Details #### Request URL `GET` {api-domain}/baas/v1/project/{project_id}/bucket/{bucket_name} - **project_id** (Numerical): The [unique ID](https://docs.catalyst.zoho.com/en/getting-started/set-up-a-catalyst-project/general-settings/) of the project - **bucket_name** (Alphanumerical): The [name of the bucket](https://docs.catalyst.zoho.com/en/cloud-scale/help/stratus/buckets/name-bucket/#ideal-practices-to-name-a-bucket) #### Request Headers **Authorization:** Zoho-oauthtoken {oauth_token} **Optional Headers** **CATALYST-ORG:** {org_id} **Environment:** Development #### Scope ZohoCatalyst.buckets.READ ### Response Details The response will return the metadata and details of the particular bucket including its `bucket_name`, and the details of the user who created and last modified the bucket. **Sample Request** ```bash curl -X GET https://api.catalyst.zoho.com/baas/v1/project/10108000003823392/bucket?bucket_name=mybucketname/ -H "Authorization: Zoho-oauthtoken 1000.910*\*\*\*\*\*\*\*\*\*\*\*\*\*\*\*\*\*\*\*\*\*\*\*\*16.2f*\*\*\*\*\*\*\*\*\*\*\*\*\*\*\*\*\*\*\*\*\*\*\*\*57" ``` **Sample Response** ```json { "status": "success", "data": [ { "bucket_name": "fsbucket17", "bucket_url": "https://fsbucket17-development.stratus.com", "objects_count": 21, "size_in_bytes": 145578, "project_details": { "project_name": "Project-Rainfall-4", "id": 2000000000075, "project_type": "Live" }, "created_by": { "zuid": 18599686, "is_confirmed": false, "email_id": "emmy@zylker.com", "first_name": "Amelia B", "last_name": "Fstest", "user_type": "Admin", "user_id": 2000000000055 }, "created_time": "Sep 27, 2023 05:01 PM", "modified_by": { "zuid": 18599686, "is_confirmed": false, "email_id": "emmy@zylker.com", "first_name": "Amelia B", "last_name": "Fstest", "user_type": "Admin", "user_id": 2000000000055 }, "modified_time": "Sep 27, 2023 05:01 PM", "bucket_meta": { "versioning": true, "caching": { "status": "Enabled" }, "encryption": true, "audit_consent": false } } ] } ``` ### SDK Documentation * [Get a Particular Bucket - Java SDK](https://docs.catalyst.zoho.com/en/sdk/java/v1/cloud-scale/stratus/list-buckets/) * [Get a Particular Bucket - Node.js SDK](https://docs.catalyst.zoho.com/en/sdk/nodejs/v2/cloud-scale/stratus/list-buckets/) * [Get a Particular Bucket - Python SDK](https://docs.catalyst.zoho.com/en/sdk/python/v1/cloud-scale/stratus/list-buckets/) * [Stratus - Web SDK](https://docs.catalyst.zoho.com/en/sdk/web/v4/cloud-scale/stratus/overview/) * [Stratus - iOS SDK](https://docs.catalyst.zoho.com/en/sdk/ios/v2/cloud-scale/stratus/overview/) * [Stratus - Android SDK](https://docs.catalyst.zoho.com/en/sdk/android/v2/cloud-scale/stratus/overview/) * [Stratus - Flutter SDK](https://docs.catalyst.zoho.com/en/sdk/flutter/v2/cloud-scale/stratus/overview/) -------------------------------------------------------------------------------- title: "Get All Objects" description: "This API enables you to get all the objects present in a bucket." last_updated: "2026-11-03T07:48:52.000Z" source: "https://docs.catalyst.zoho.com/en/api/code-reference/cloud-scale/stratus/get-all-objects/" service: "CloudScale" -------------------------------------------------------------------------------- # Get All Objects ### Description This API allows you to get all the [objects](https://docs.catalyst.zoho.com/en/cloud-scale/help/stratus/objects/introduction/) stored in a bucket. The Bucket is referred by its [unique bucket name](https://docs.catalyst.zoho.com/en/cloud-scale/help/stratus/buckets/name-bucket/#ideal-practices-to-name-a-bucket). ### Request Details #### Request URL `GET` {api-domain}/baas/v1/project/{project_id}/bucket/objects - **project_id** (Numerical): The [unique ID](https://docs.catalyst.zoho.com/en/getting-started/set-up-a-catalyst-project/general-settings/) of the project #### Query Parameters - **bucket_name** (Alphanumeric, mandatory): The [name of the bucket](https://docs.catalyst.zoho.com/en/cloud-scale/help/stratus/buckets/name-bucket/#ideal-practices-to-name-a-bucket) - **max_keys** (Number, Optional): Will contain the maximum limit of objects that can be listed by pagination. - **continuation_token** (String, optional): If you sent a `continuation_token` in the request, it will be shown in the response - **prefix** (String, Optional): This optional value will get the objects that match the prefix value. #### Request Headers **Authorization:** Zoho-oauthtoken {oauth_token} **Optional Headers** **CATALYST-ORG:** {org_id} **Environment:** Development #### Scope ZohoCatalyst.buckets.objects.READ ### Response Details On successful execution, the response will contain a list of all the objects stored in the required bucket. **Sample Request** ```bash curl -X GET https://api.catalyst.zoho.com/baas/v1/project/10108000003823392/buckets/objects?bucket_name=mybucketname&max_keys=10&continuation_token=Sg43ou34rd2bih223oc8csc&prefix=myfolder/ -H "Authorization: Zoho-oauthtoken 1000.910*\*\*\*\*\*\*\*\*\*\*\*\*\*\*\*\*\*\*\*\*\*\*\*\*16.2f*\*\*\*\*\*\*\*\*\*\*\*\*\*\*\*\*\*\*\*\*\*\*\*\*57" ``` **Sample Response** ```json { "status": "success", "data": { "key_count": 5, "max_keys": 5, "truncated": true, "next_continuation_token": "n2BjzZo5FvrSQmx7z5LaJk7cvP2Yf2K6AJHw4Sg692TnfwHasUp8DJp8qL24A3TLAGPu8zyEysfjfQpjohEMaej", "contents": [ { "key_type": "file", "key": "server 96.zip", "version_id": "01hh9hnwxw8r88kzzfnkn67grr", "size": 3012536, "content_type": "application/zip", "etag": "e460808d4190b37c472985a1f1d85720", "last_modified": "Dec 10, 2023 03:12 PM" }, { "key_type": "file", "key": "oauthscopes.csv", "version_id": "01hh9hnhypzt63fwf5wyk2ef6f", "size": 19804, "content_type": "text/csv", "etag": "354266606189c30c80f336720102ead6", "last_modified": "Dec 10, 2023 03:11 PM" }, { "key_type": "folder", "key": "lib 3", "size": 0, "last_modified": "Dec 10, 2023 03:11 PM" }, { "key_type": "file", "key": "funcauthtest-Development (1).zip", "version_id": "01hh9hkv8xvetbxnrhx6c7444y", "size": 8485, "content_type": "application/zip", "etag": "5f868df044e91a4c7e26be26b6e93a64", "last_modified": "Dec 10, 2023 03:10 PM" }, { "key_type": "file", "key": "Automl_LZ (1).csv", "version_id": "01hh9hkfdf07y8pnpbwtkt8cf7", "size": 257, "content_type": "text/csv", "etag": "223a363af39a49d4b32f6cdf0c569755", "last_modified": "Dec 10, 2023 03:10 PM" } ] } } ``` ### SDK Documentation * Purge Cache - Java SDK * Purge Cache - Node.js SDK * Purge Cache - Python SDK * [Stratus - Web SDK](https://docs.catalyst.zoho.com/en/sdk/web/v4/cloud-scale/stratus/overview/) * [Stratus - iOS SDK](https://docs.catalyst.zoho.com/en/sdk/ios/v2/cloud-scale/stratus/overview/) * [Stratus - Android SDK](https://docs.catalyst.zoho.com/en/sdk/android/v2/cloud-scale/stratus/overview/) * [Stratus - Flutter SDK](https://docs.catalyst.zoho.com/en/sdk/flutter/v2/cloud-scale/stratus/overview/) -------------------------------------------------------------------------------- title: "Get a Specific Object" description: "This API enables you to get all the objects present in a bucket." last_updated: "2026-11-03T07:48:52.000Z" source: "https://docs.catalyst.zoho.com/en/api/code-reference/cloud-scale/stratus/get-object/" service: "CloudScale" -------------------------------------------------------------------------------- # Get a Specific Object ### Description This API allows you to get a specific [object](https://docs.catalyst.zoho.com/en/cloud-scale/help/stratus/objects/introduction/) stored in a bucket. The Bucket is referred by its [unique bucket name](https://docs.catalyst.zoho.com/en/cloud-scale/help/stratus/buckets/name-bucket/#ideal-practices-to-name-a-bucket), and the required object is referred using its name. If [Versioning](https://docs.catalyst.zoho.com/en/cloud-scale/help/stratus/stratus-config/general-settings/#versioning) is enabled, then the required object can also be referred to using its unique `version ID`. ### Request Details #### Request URL `GET` {api-domain}/baas/v1/project/{project_id}/bucket/object - **project_id** (Numerical): The [unique ID](https://docs.catalyst.zoho.com/en/getting-started/set-up-a-catalyst-project/general-settings/) of the project #### Query Parameters - **bucket_name** (Alphanumeric, mandatory): The [name of the bucket](https://docs.catalyst.zoho.com/en/cloud-scale/help/stratus/buckets/name-bucket/#ideal-practices-to-name-a-bucket) - **object_key** (String, mandatory): Will contain the complete name of the object. - **version_id** (String, optional): This is an ID generated by Stratus when Versioning is enabled. You can use `version_id` to refer to the required object. #### Request Headers **Authorization:** Zoho-oauthtoken {oauth_token} **Optional Headers** **CATALYST-ORG:** {org_id} **Environment:** Development #### Scope ZohoCatalyst.buckets.objects.READ ### Response Details On successful execution, the response will contain the details of the requested object. **Sample Request** ```bash curl -X GET https://api.catalyst.zoho.com/baas/v1/project/{projectID}/bucket/object?bucket_name={bucketName}&version_id={versionID}&object_key={objectPath} -H "Authorization: Zoho-oauthtoken 1000.910*\*\*\*\*\*\*\*\*\*\*\*\*\*\*\*\*\*\*\*\*\*\*\*\*16.2f*\*\*\*\*\*\*\*\*\*\*\*\*\*\*\*\*\*\*\*\*\*\*\*\*57" ``` **Sample Response** ```json { "status": "success", "data": { "key": "Automl_LZ (1).csv", "size": 257, "content_type": "text/csv", "last_modified": "Dec 10, 2023 03:10 PM", "meta_data": { "automl_metakey": "metavalue" }, "object_url": "https://gcpimport2-development.csezstratus.com/Automl_LZ%20(1).csv" } } ``` ### SDK Documentation * [Get Object Details - Java SDK](https://docs.catalyst.zoho.com/en/sdk/java/v1/cloud-scale/stratus/object-details/#get-details-of-a-particular-version-of-the-object) * [Get Object Details - Node.js SDK](https://docs.catalyst.zoho.com/en/sdk/nodejs/v2/cloud-scale/stratus/object-details/#get-details-of-a-particular-version-of-the-object) * [Get Object Details - Python SDK](https://docs.catalyst.zoho.com/en/sdk/python/v1/cloud-scale/stratus/object-details/#get-details-of-a-particular-version-of-the-object) * [Get Object - Web SDK](https://docs.catalyst.zoho.com/en/sdk/web/v4/cloud-scale/stratus/download-object/) * [Get Object - iOS SDK](https://docs.catalyst.zoho.com/en/sdk/ios/v2/cloud-scale/stratus/get-object/) * [Get Object - Android SDK](https://docs.catalyst.zoho.com/en/sdk/android/v2/cloud-scale/stratus/get-object/) * [Get Object - Flutter SDK](https://docs.catalyst.zoho.com/en/sdk/flutter/v2/cloud-scale/stratus/get-object/) -------------------------------------------------------------------------------- title: "Get All Versions of an Object" description: "This API enables you to get all the versions of an object." last_updated: "2026-11-03T07:48:52.000Z" source: "https://docs.catalyst.zoho.com/en/api/code-reference/cloud-scale/stratus/get-all-versions/" service: "CloudScale" -------------------------------------------------------------------------------- # Get All Versions of an Object ### Description This API allows you to get all the versions of the [object](https://docs.catalyst.zoho.com/en/cloud-scale/help/stratus/objects/introduction/) stored in a bucket. The Bucket is referred by its [unique bucket name](https://docs.catalyst.zoho.com/en/cloud-scale/help/stratus/buckets/name-bucket/#ideal-practices-to-name-a-bucket), and the required object is referred using its name. ### Request Details #### Request URL `GET` {api-domain}/baas/v1/project/{project_id}/bucket/objects/versions - **project_id** (Numerical): The [unique ID](https://docs.catalyst.zoho.com/en/getting-started/set-up-a-catalyst-project/general-settings/) of the project #### Query Parameters - **bucket_name** (Alphanumeric, mandatory): The [name of the bucket](https://docs.catalyst.zoho.com/en/cloud-scale/help/stratus/buckets/name-bucket/#ideal-practices-to-name-a-bucket) - **object_key** (String, mandatory): Will contain the complete name of the object. - **max_versions** (Number, optional): Will contain the maximum number of versions that can be listed in one paginated iteration. - **continuation_token** (String, optional): Will contain the token to check if next paginated iteration is required or not. #### Request Headers **Authorization:** Zoho-oauthtoken {oauth_token} **Optional Headers** **CATALYST-ORG:** {org_id} **Environment:** Development #### Scope ZohoCatalyst.buckets.objects.READ ### Response Details On successful execution, the response will contain the list of details of all the versions of the required object. **Sample Request** ```bash curl -X GET https://api.catalyst.zoho.com/baas/v1/project/10108000003823392/bucket/objects/versions?bucket_name=zylker-bucket&object_key=sampleimage&max_versions=10&continuation_token=Sg43ou34rd2bih223oc8csc/ -H "Authorization: Zoho-oauthtoken 1000.910*\*\*\*\*\*\*\*\*\*\*\*\*\*\*\*\*\*\*\*\*\*\*\*\*16.2f*\*\*\*\*\*\*\*\*\*\*\*\*\*\*\*\*\*\*\*\*\*\*\*\*57" ``` **Sample Response** ```json { "status": "success", "data": { "truncated": true, "key": "Automl_LZ (1).csv", "versions_count": 2, "max_versions": 2, "is_truncated": true, "next_continuation_token": "97tn3xP3te66VpfVwVJwtDAgouBKVNhGAV6jzGY6DMdX6hcJmwJKbFX3unakGdfKfJ", "version": [ { "latest": true, "version_id": "01hh9hkfdf07y8pnpbwtkt8cf7", "is_latest": true, "last_modified": "Dec 10, 2023 03:10 PM", "size": 257, "etag": "223a363af39a49d4b32f6cdf0c569755" }, { "latest": false, "version_id": "01hh9hjtge85k1fx2yp1kg8r2q", "is_latest": false, "last_modified": "Dec 10, 2023 03:10 PM", "size": 257, "etag": "223a363af39a49d4b32f6cdf0c569755" } ] } } ``` ### SDK Documentation * [Get All Versions of an Object - Java SDK](https://docs.catalyst.zoho.com/en/sdk/java/v1/cloud-scale/stratus/list-object-versions/) * [Get All Versions of an Object - Node.js SDK](https://docs.catalyst.zoho.com/en/sdk/nodejs/v2/cloud-scale/stratus/list-object-versions/) * [Get All Versions of an Object - Python SDK](https://docs.catalyst.zoho.com/en/sdk/python/v1/cloud-scale/stratus/list-object-versions/) * [Stratus - Web SDK](https://docs.catalyst.zoho.com/en/sdk/web/v4/cloud-scale/stratus/overview/) * [Stratus - iOS SDK](https://docs.catalyst.zoho.com/en/sdk/ios/v2/cloud-scale/stratus/overview/) * [Stratus - Android SDK](https://docs.catalyst.zoho.com/en/sdk/android/v2/cloud-scale/stratus/overview/) * [Stratus - Flutter SDK](https://docs.catalyst.zoho.com/en/sdk/flutter/v2/cloud-scale/stratus/overview/) -------------------------------------------------------------------------------- title: "Check Bucket Availability" description: "This API enables you to check if a particular bucket is present or not." last_updated: "2026-11-03T07:48:52.000Z" source: "https://docs.catalyst.zoho.com/en/api/code-reference/cloud-scale/stratus/head-bucket/" service: "CloudScale" -------------------------------------------------------------------------------- # Check Bucket Availability ### Description This API allows you to check the availability of a particular [bucket](https://docs.catalyst.zoho.com/en/cloud-scale/help/stratus/buckets/name-bucket/) present in Stratus. The bucket will be referred using its unique [bucket name](https://docs.catalyst.zoho.com/en/cloud-scale/help/stratus/buckets/name-bucket/#ideal-practices-to-name-a-bucket) ### Request Details #### Request URL `HEAD` {api-domain}/baas/v1/project/{project_id}/bucket/{bucket_name} - **project_id** (Numerical): The [unique ID](https://docs.catalyst.zoho.com/en/getting-started/set-up-a-catalyst-project/general-settings/) of the project - **bucket_name** (Alphanumerical): The [name of the bucket](https://docs.catalyst.zoho.com/en/cloud-scale/help/stratus/buckets/name-bucket/#ideal-practices-to-name-a-bucket) #### Request Headers **Authorization:** Zoho-oauthtoken {oauth_token} **Optional Headers** **CATALYST-ORG:** {org_id} **Environment:** Development #### Scope ZohoCatalyst.buckets.READ ### Response Details The response can be any of the following status codes: * `200`: If the bucket is available and if the user has the relevant permissions to access it. * `403`: If the bucket exists, but the user does not have the relevant permissions to access the bucket. * `404`: If the bucket does not exist. **Sample Request** ```bash curl -X HEAD https://api.catalyst.zoho.com/baas/v1/project/10108000003823392/bucket?bucket_name=myBucketName/ -H "Authorization: Zoho-oauthtoken 1000.910*\*\*\*\*\*\*\*\*\*\*\*\*\*\*\*\*\*\*\*\*\*\*\*\*16.2f*\*\*\*\*\*\*\*\*\*\*\*\*\*\*\*\*\*\*\*\*\*\*\*\*57" ``` ### SDK Documentation * [Check Bucket Availability - Java SDK](https://docs.catalyst.zoho.com/en/sdk/java/v1/cloud-scale/stratus/check-bucket/) * [Check Bucket Availability - Node.js SDK](https://docs.catalyst.zoho.com/en/sdk/nodejs/v2/cloud-scale/stratus/check-bucket/) * [Check Bucket Availability - Python SDK](https://docs.catalyst.zoho.com/en/sdk/python/v1/cloud-scale/stratus/check-bucket/) * Check Bucket Availability - Web SDK * [Stratus - iOS SDK](https://docs.catalyst.zoho.com/en/sdk/ios/v2/cloud-scale/stratus/overview/) * [Stratus - Android SDK](https://docs.catalyst.zoho.com/en/sdk/android/v2/cloud-scale/stratus/overview/) * [Stratus - Flutter SDK](https://docs.catalyst.zoho.com/en/sdk/flutter/v2/cloud-scale/stratus/overview/) -------------------------------------------------------------------------------- title: "Check Object Availability" description: "This API enables you to check if a particular object is present in a bucket." last_updated: "2026-11-03T07:48:52.000Z" source: "https://docs.catalyst.zoho.com/en/api/code-reference/cloud-scale/stratus/head-object/" service: "CloudScale" -------------------------------------------------------------------------------- # Check Object Availability ### Description This API allows you to check if a particular [object](https://docs.catalyst.zoho.com/en/cloud-scale/help/stratus/objects/introduction/) is stored in a bucket. The Bucket is referred by its [unique bucket name](https://docs.catalyst.zoho.com/en/cloud-scale/help/stratus/buckets/name-bucket/#ideal-practices-to-name-a-bucket), and the required object is referred using its name. If [Versioning](https://docs.catalyst.zoho.com/en/cloud-scale/help/stratus/stratus-config/general-settings/#versioning) is enabled, then the required object can also be referred to using its unique `version ID`. ### Request Details #### Request URL `HEAD` {api-domain}/baas/v1/project/{project_id}/bucket/objects - **project_id** (Numerical): The [unique ID](https://docs.catalyst.zoho.com/en/getting-started/set-up-a-catalyst-project/general-settings/) of the project #### Query Parameters - **bucket_name** (Alphanumeric, mandatory): The [name of the bucket](https://docs.catalyst.zoho.com/en/cloud-scale/help/stratus/buckets/name-bucket/#ideal-practices-to-name-a-bucket) - **object_key** (String, mandatory): Will contain the complete name of the object. - **version_id** (String, optional): This is an ID generated by Stratus when Versioning is enabled. You can use `version_id` to refer to the required object. #### Request Headers **Authorization:** Zoho-oauthtoken {oauth_token} **Optional Headers** **CATALYST-ORG:** {org_id} **Environment:** Development #### Scope ZohoCatalyst.buckets.objects.READ ### Response Details On successful execution, the response will contain the **200** status code, to indicate the object is present in the bucket. If the object is incorrect or not present in the bucket, you will get a **404** status code as your response. **Sample Request** ```bash curl -X HEAD https://api.catalyst.zoho.com/baas/v1/project/10108000003823392/bucket/object?bucket_name=myBucketName&object_key=image.jpeg&version_id=dfd233fcds2wd223/ -H "Authorization: Zoho-oauthtoken 1000.910*\*\*\*\*\*\*\*\*\*\*\*\*\*\*\*\*\*\*\*\*\*\*\*\*16.2f*\*\*\*\*\*\*\*\*\*\*\*\*\*\*\*\*\*\*\*\*\*\*\*\*57" ``` ### SDK Documentation * [Check Object Availability - Java SDK](https://docs.catalyst.zoho.com/en/sdk/java/v1/cloud-scale/stratus/check-object-availability/) * [Check Object Availability - Node.js SDK](https://docs.catalyst.zoho.com/en/sdk/nodejs/v2/cloud-scale/stratus/check-object-availability/) * [Check Object Availability - Python SDK](https://docs.catalyst.zoho.com/en/sdk/python/v1/cloud-scale/stratus/check-object-availability/) * [Stratus - Web SDK](https://docs.catalyst.zoho.com/en/sdk/web/v4/cloud-scale/stratus/overview/) * [Stratus - iOS SDK](https://docs.catalyst.zoho.com/en/sdk/ios/v2/cloud-scale/stratus/overview/) * [Stratus - Android SDK](https://docs.catalyst.zoho.com/en/sdk/android/v2/cloud-scale/stratus/overview/) * [Stratus - Flutter SDK](https://docs.catalyst.zoho.com/en/sdk/flutter/v2/cloud-scale/stratus/overview/) -------------------------------------------------------------------------------- title: "Download Object" description: "This API enables you to perform download operations on an object stored in Stratus." last_updated: "2026-11-03T07:48:52.000Z" source: "https://docs.catalyst.zoho.com/en/api/code-reference/cloud-scale/stratus/download-object/" service: "CloudScale" -------------------------------------------------------------------------------- # Download Object ### Description This API allows you to download the required [object](https://docs.catalyst.zoho.com/en/cloud-scale/help/stratus/objects/introduction/) stored in a bucket. The Bucket is referred by its [unique bucket name](https://docs.catalyst.zoho.com/en/cloud-scale/help/stratus/buckets/name-bucket/#ideal-practices-to-name-a-bucket), and the required object is referred using its name. ### Request Details #### Request URL `GET` {bucket_name}.zohostratus.com/{key} The above domain name will change with respect to the data center:
DC Domain Name
`US` **zohostratus.com**
`EU` **zohostratus.eu**
`IN` **zohostratus.in**
`AU` **zohostratus.com.au**
`CA` **zohostratus.ca**
`SA` **zohostratus.sa**
`JP` **zohostratus.jp**
> **Note:** * If the API is used in the development environment, then the domain will be structured in this manner: https://-development.zohostratus.com * It is advisable to collect the bucket URL from the console. #### Path Parameters - **project_id** (Numerical): The [unique ID](https://docs.catalyst.zoho.com/en/getting-started/set-up-a-catalyst-project/general-settings/) of the project - **bucket_name** (String): The [name of the bucket](https://docs.catalyst.zoho.com/en/cloud-scale/help/stratus/buckets/name-bucket/#ideal-practices-to-name-a-bucket) - **key** (String): The name of the object that needs to be downloaded #### Query Parameters - **version_id** (String, optional): This is an ID generated by Stratus when Versioning is enabled. You can use `version_id` to refer to the required object. #### Request Headers **Authorization:** Zoho-oauthtoken {oauth_token} **Optional Headers** **Range:** To download a specific byte range of an object **retrieve-meta:** To retrieve the metadata of the object | Possible Values: `True/False` | Default Value: `False` #### Scope Stratus.fileop.READ #### Query Params to Override Responses The following query parameters can be added to modify responses and get the required response. These are all optional parameters. The override will only work if the request is successful. - **responseContentType** (String, optional): Sets the `Content-Type` header of the response. Only standard [IANA defined](https://www.iana.org/assignments/media-types/media-types.xhtml) content types can be used. - **responseContentLanguage** (String, optional): Sets the `Content-Language` header of the response - **responseContentDisposition** (String, optional): Sets the `Content-Disposition` header of the response. The parameter value should be in this format: attachment; filename="name" **Example:** attachment; filename="logo.svg" - **responseCacheControl** (String, optional): Sets the `Cache-Control` header of the response. **Example:** public,max-age=3600,no-transform ### Response Details On successful execution, the response will contain the object will be downloaded and the success message will be displayed. #### Possible Failure Responses **404** due to object/bucket not found: **Failure Response** ```json { "status": 404, "code": "key_not_found", "message": "no such key is associated with any object in the bucket" } ``` **403** Unauthorized. When you do not have the required permissions to perform the download operation **Failure Response** ```json { "status": 403, "code": "access_forbidden", "message": "request denied by resource access policy" } ``` **Sample Request** ```bash curl -X GET https://{bucket_name}.zohostratus.com/{key} -H "Authorization: Zoho-oauthtoken 1000.910*\*\*\*\*\*\*\*\*\*\*\*\*\*\*\*\*\*\*\*\*\*\*\*\*16.2f*\*\*\*\*\*\*\*\*\*\*\*\*\*\*\*\*\*\*\*\*\*\*\*\*57" ``` **Sample Response** ```bash 200 OK // Bytes of raw data ``` ### SDK Documentation * [Download Object - Java SDK](https://docs.catalyst.zoho.com/en/sdk/java/v1/cloud-scale/stratus/download-object/) * [Download Object - Node.js SDK](https://docs.catalyst.zoho.com/en/sdk/nodejs/v2/cloud-scale/stratus/download-object/) * [DownloadObject - Python SDK](https://docs.catalyst.zoho.com/en/sdk/python/v1/cloud-scale/stratus/download-object/) * [Download - Web SDK](https://docs.catalyst.zoho.com/en/sdk/web/v4/cloud-scale/stratus/overview/) * [Download - iOS SDK](https://docs.catalyst.zoho.com/en/sdk/ios/v2/cloud-scale/stratus/download-object/) * [Download - Android SDK](https://docs.catalyst.zoho.com/en/sdk/android/v2/cloud-scale/stratus/download-object/) * [Download - Flutter SDK](https://docs.catalyst.zoho.com/en/sdk/flutter/v2/cloud-scale/stratus/download-object/) -------------------------------------------------------------------------------- title: "Upload Object" description: "This API enables you to perform upload operations on an object stored in Stratus." last_updated: "2026-11-03T07:48:52.000Z" source: "https://docs.catalyst.zoho.com/en/api/code-reference/cloud-scale/stratus/upload-object/" service: "CloudScale" -------------------------------------------------------------------------------- # Upload Object ### Description This API allows you to upload the required [object](https://docs.catalyst.zoho.com/en/cloud-scale/help/stratus/objects/introduction/) to a bucket. The Bucket is referred by its [unique bucket name](https://docs.catalyst.zoho.com/en/cloud-scale/help/stratus/buckets/name-bucket/#ideal-practices-to-name-a-bucket), and the required object is referred using its name. ### Request Details #### Request URL `PUT` {bucket_name}.zohostratus.com/{key} The above domain name will change with respect to the data center:
DC Domain Name
`US` **zohostratus.com**
`EU` **zohostratus.eu**
`IN` **zohostratus.in**
`AU` **zohostratus.com.au**
`CA` **zohostratus.ca**
`SA` **zohostratus.sa**
`JP` **zohostratus.jp**
> **Note:** If the API is used in the development environment, then the domain will be structured in this manner: https://-development.zohostratus.com #### Path Parameters - **project_id** (Numerical): The [unique ID](https://docs.catalyst.zoho.com/en/getting-started/set-up-a-catalyst-project/general-settings/) of the project - **bucket_name** (String): The [name of the bucket](https://docs.catalyst.zoho.com/en/cloud-scale/help/stratus/buckets/name-bucket/#ideal-practices-to-name-a-bucket) - **key** (String): The name of the object that needs to be uploaded > **Note:** The following points need to be kept in mind when providing value for `key`: * Maximum length of the key (including path name and object name) should be supported to 255 characters only. * key cannot contain the following characters including space: double quote, both angular brackets, hashtag, backward slash and pipe symbol. #### Query Parameters - **version_id** (String, optional): This is an ID generated by Stratus when Versioning is enabled. You can use `version_id` to refer to the required object. #### Request Headers **Authorization:** Zoho-oauthtoken {oauth_token} **Optional Headers** **content-type:** application/json **content-length:** Raw length of the object being uploaded in bytes. **compress:** Whether to compress the object while storing. By default, compression is always done. **cache-control:** Use this header to specify the browser caching policies. **overwrite:** Specify whether you are required to overwrite a source. This is supported only for the objects of non-versioned buckets. **expires-after:** This is an option you can use to set Time-to-Live (TTL) in seconds for an object. Value should be greater than or equal to 60 seconds. **x-user-meta:{1stKey}={1stValue};{2ndKey}={2ndValue};..{NthKey}={NthValue};:** [Metadata](https://docs.catalyst.zoho.com/en/cloud-scale/help/stratus/objects/introduction/#metadata) for the object. Each key-value pair is separated by semi-colons are provided as given in the previous column. **2047 characters** is the maximum permitted length for this header. #### Scope Stratus.fileop.CREATE ### Response Details On successful execution, the response will contain the success message, and the object will be uploaded. #### Possible Failure Responses **404** due to object/bucket not found: **Failure Response** ```json { "status": 404, "code": "bucket_not_found", "message": "no such bucket exists" } ``` **403** Unauthorized. When you do not have the required permissions to perform the upload operation **Failure Response** ```json { "status": 403, "code": "access_forbidden", "message": "request denied by resource access policy" } ``` **400** Bad Request. Invalid Filename **Failure Response** ```json { "status": 400, "code": "key_name_invalid", "message": "key name does not support one or more character(s)" } ``` **409** Conflict. An object with the same name already exists **Failure Response** ```json { "status": 409, "code": "key_already_exists", "message": "key is already associated with another object in the bucket" } ``` **Sample Request** ```bash curl -X PUT https://{bucket_name}.zohostratus.com/{key} -H "Authorization: Zoho-oauthtoken 1000.910*\*\*\*\*\*\*\*\*\*\*\*\*\*\*\*\*\*\*\*\*\*\*\*\*16.2f*\*\*\*\*\*\*\*\*\*\*\*\*\*\*\*\*\*\*\*\*\*\*\*\*57" ``` **Sample Response** ```bash 200 OK ``` ### SDK Documentation * [Upload Object - Java SDK](https://docs.catalyst.zoho.com/en/sdk/java/v1/cloud-scale/stratus/upload-object/) * [Upload Object - Node.js SDK](https://docs.catalyst.zoho.com/en/sdk/nodejs/v2/cloud-scale/stratus/upload-object/) * [UploadObject - Python SDK](https://docs.catalyst.zoho.com/en/sdk/python/v1/cloud-scale/stratus/upload-object/) * [Upload - Web SDK](https://docs.catalyst.zoho.com/en/sdk/web/v4/cloud-scale/stratus/overview/) * [Upload - iOS SDK](https://docs.catalyst.zoho.com/en/sdk/ios/v2/cloud-scale/stratus/upload-object/) * [Upload - Android SDK](https://docs.catalyst.zoho.com/en/sdk/android/v2/cloud-scale/stratus/upload-object/) * [Upload - Flutter SDK](https://docs.catalyst.zoho.com/en/sdk/flutter/v2/cloud-scale/stratus/upload-object/) -------------------------------------------------------------------------------- title: "Copy Object" description: "This API enables you to perform copy operations on an object stored in Stratus." last_updated: "2026-11-03T07:48:52.000Z" source: "https://docs.catalyst.zoho.com/en/api/code-reference/cloud-scale/stratus/copy-object/" service: "CloudScale" -------------------------------------------------------------------------------- # Copy Object ### Description This API allows you to copy the required [object](https://docs.catalyst.zoho.com/en/cloud-scale/help/stratus/objects/introduction/) stored in a bucket. The Bucket is referred by its [unique bucket name](https://docs.catalyst.zoho.com/en/cloud-scale/help/stratus/buckets/name-bucket/#ideal-practices-to-name-a-bucket), and the required object is referred using its name. ### Request Details #### Request URL `POST` {api-domain}/baas/v1/project/{project_id}/bucket/object/copy - **project_id** (Numerical): The [unique ID](https://docs.catalyst.zoho.com/en/getting-started/set-up-a-catalyst-project/general-settings/) of the project #### Query Parameters - **bucket_name** (Alphanumeric, mandatory): The [name of the bucket](https://docs.catalyst.zoho.com/en/cloud-scale/help/stratus/buckets/name-bucket/#ideal-practices-to-name-a-bucket) - **object_key** (String, mandatory): Will contain the complete name of the required object. - **destination** (String, mandatory): Will contain the location of where the object has to be copied to. #### Request Headers **Authorization:** Zoho-oauthtoken {oauth_token} **Optional Headers** **CATALYST-ORG:** {org_id} **Environment:** Development #### Scope ZohoCatalyst.buckets.objects.CREATE ### Response Details On successful execution, the response will contain the name of the copied object, the location of where it is copied to, and the success message confirming the copy action. **Sample Request** ```bash curl -X POST https://api.catalyst.zoho.com/baas/v1/project/10108000003823392/bucket/object/copy?bucket_name=myBucketName&object_key=mappedsample/Archive.zip&destination=mappedsample/Unarchive/ -H "Authorization: Zoho-oauthtoken 1000.910*\*\*\*\*\*\*\*\*\*\*\*\*\*\*\*\*\*\*\*\*\*\*\*\*16.2f*\*\*\*\*\*\*\*\*\*\*\*\*\*\*\*\*\*\*\*\*\*\*\*\*57" ``` **Sample Response** ```json { "status": "success", "data": { "object_key": "image2.png", "copy_to": "folder2/", "message": "Copy successful" } } ``` ### SDK Documentation * [Move an Object - Java SDK](https://docs.catalyst.zoho.com/en/sdk/java/v1/cloud-scale/stratus/rename-move-object/#move-an-object) * [Move an Object - Node.js SDK](https://docs.catalyst.zoho.com/en/sdk/nodejs/v2/cloud-scale/stratus/rename-move-object/#move-an-object) * [Move an Object - Python SDK](https://docs.catalyst.zoho.com/en/sdk/python/v1/cloud-scale/stratus/rename-move-object/#move-an-object) * [Stratus - Web SDK](https://docs.catalyst.zoho.com/en/sdk/web/v4/cloud-scale/stratus/overview/) * [Stratus - iOS SDK](https://docs.catalyst.zoho.com/en/sdk/ios/v2/cloud-scale/stratus/overview/) * [Stratus - Android SDK](https://docs.catalyst.zoho.com/en/sdk/android/v2/cloud-scale/stratus/overview/) * [Stratus - Flutter SDK](https://docs.catalyst.zoho.com/en/sdk/flutter/v2/cloud-scale/stratus/overview/) -------------------------------------------------------------------------------- title: "Rename Object" description: "This API enables you to rename your object." last_updated: "2026-11-03T07:48:52.000Z" source: "https://docs.catalyst.zoho.com/en/api/code-reference/cloud-scale/stratus/rename-object/" service: "CloudScale" -------------------------------------------------------------------------------- # Rename Object ### Description This API allows you to rename the required [object](https://docs.catalyst.zoho.com/en/cloud-scale/help/stratus/objects/introduction/) stored in a bucket. The Bucket is referred by its [unique bucket name](https://docs.catalyst.zoho.com/en/cloud-scale/help/stratus/buckets/name-bucket/#ideal-practices-to-name-a-bucket), and the required object is referred using its name. > **Note:** The following characters including space are not supported when you create a path or an object: double quote, both angular brackets, hashtag, backward slash and pipe symbol. ### Request Details #### Request URL `PATCH` {api-domain}/baas/v1/project/{project_id}/bucket/object - **project_id** (Numerical): The [unique ID](https://docs.catalyst.zoho.com/en/getting-started/set-up-a-catalyst-project/general-settings/) of the project #### Query Parameters - **bucket_name** (Alphanumeric, mandatory): The [name of the bucket](https://docs.catalyst.zoho.com/en/cloud-scale/help/stratus/buckets/name-bucket/#ideal-practices-to-name-a-bucket) - **current_key** (String, mandatory): Will contain the complete name of the required object. - **rename_to** (String, mandatory): Will contain the new name of the object. #### Request Headers **Authorization:** Zoho-oauthtoken {oauth_token} **Optional Headers** **CATALYST-ORG:** {org_id} **Environment:** Development #### Scope ZohoCatalyst.buckets.objects.UPDATE ### Response Details On successful execution, the response will contain the previous name, modified name, and the success message confirming the rename action. **Sample Request** ```bash curl -X PATCH https://api.catalyst.zoho.com/baas/v1/project/10108000003823392/bucket/object/?bucket_name=myBucketName¤t_key=image2.png&rename_to=renamed.png/ -H "Authorization: Zoho-oauthtoken 1000.910*\*\*\*\*\*\*\*\*\*\*\*\*\*\*\*\*\*\*\*\*\*\*\*\*16.2f*\*\*\*\*\*\*\*\*\*\*\*\*\*\*\*\*\*\*\*\*\*\*\*\*57" ``` **Sample Response** ```json { "status": "success", "data": { "current_key": "image2.png", "rename_to": "renamed.png", "message": "Rename successful" } } ``` ### SDK Documentation * [Rename Object - Java SDK](https://docs.catalyst.zoho.com/en/sdk/java/v1/cloud-scale/stratus/rename-move-object/) * [Rename Object - Node.js SDK](https://docs.catalyst.zoho.com/en/sdk/nodejs/v2/cloud-scale/stratus/rename-move-object/) * [Rename Object - Python SDK](https://docs.catalyst.zoho.com/en/sdk/python/v1/cloud-scale/stratus/rename-move-object/) * [Stratus - Web SDK](https://docs.catalyst.zoho.com/en/sdk/web/v4/cloud-scale/stratus/overview/) * [Stratus - iOS SDK](https://docs.catalyst.zoho.com/en/sdk/ios/v2/cloud-scale/stratus/overview/) * [Stratus - Android SDK](https://docs.catalyst.zoho.com/en/sdk/android/v2/cloud-scale/stratus/overview/) * [Stratus - Flutter SDK](https://docs.catalyst.zoho.com/en/sdk/flutter/v2/cloud-scale/stratus/overview/) -------------------------------------------------------------------------------- title: "Put Object Metadata" description: "This API enables you to create a signature for the bucket." last_updated: "2026-11-03T07:48:52.000Z" source: "https://docs.catalyst.zoho.com/en/api/code-reference/cloud-scale/stratus/put-object-meta/" service: "CloudScale" -------------------------------------------------------------------------------- # Put Object Metadata ### Description This API allows you to add metadata for the required [object](https://docs.catalyst.zoho.com/en/cloud-scale/help/stratus/objects/introduction/) stored in a bucket. The Bucket is referred by its [unique bucket name](https://docs.catalyst.zoho.com/en/cloud-scale/help/stratus/buckets/name-bucket/#ideal-practices-to-name-a-bucket), and the required object is referred using its name. > **Note:** * You can use alphanumeric, underscores, or whitespace characters, as well as hyphens, to write your metadata. No other special character is allowed other than the once mentioned. * You can fetch the metadata of an object using the `HEAD` request method. In the response, the metadata will be listed in the key '`x-user-meta`'. * The maximum size limit of characters allowed for the overall metadata is **2047** characters. The character count used to determine the size limit also includes the colon ":" special character used to define the key value pair. ### Request Details #### Request URL `POST` {api-domain}/baas/v1/project/{project_id}/bucket/object/metadata - **project_id** (Numerical): The [unique ID](https://docs.catalyst.zoho.com/en/getting-started/set-up-a-catalyst-project/general-settings/) of the project #### Request JSON You must send a JSON with its corresponding values as shown below. **Sample Payload** ```json { "meta_data": { "key1": "value1", "key2": "value2" } } ``` You will feed this **Request JSON** to your **Request Body**, and you need to provide the value of: - **meta_data** ( , mandatory): This JSON will contain the required [meta data](https://docs.catalyst.zoho.com/en/cloud-scale/help/stratus/objects/introduction/#metadata) in the form of JSON key value pairs. #### Query Parameters - **bucket_name** (Alphanumeric, mandatory): The [name of the bucket](https://docs.catalyst.zoho.com/en/cloud-scale/help/stratus/buckets/name-bucket/#ideal-practices-to-name-a-bucket) - **object_key** (String, mandatory): Will contain the complete name of the object. #### Request Headers **Authorization:** Zoho-oauthtoken {oauth_token} **Optional Headers** **CATALYST-ORG:** {org_id} **Environment:** Development #### Scope ZohoCatalyst.buckets.objects.CREATE ### Response Details On successful execution, the response will contain the success message indicating that the metadata has been added to the required object. **Sample Request** ```bash curl -X PUT https://api.catalyst.zoho.com/baas/v1/project/10108000003823392/bucket/object/metadata?bucket_name=myBucketName&object_key=image2.png/ -H "Authorization: Zoho-oauthtoken 1000.910*\*\*\*\*\*\*\*\*\*\*\*\*\*\*\*\*\*\*\*\*\*\*\*\*16.2f*\*\*\*\*\*\*\*\*\*\*\*\*\*\*\*\*\*\*\*\*\*\*\*\*57" -H “Content-Type:application/json” -\-data-raw $’{"{"meta_data" : {"key1" : "value1","key2" : "value2"}}"}' ``` **Sample Response** ```json { "status": "success", "data": { "message": "Metadata added successfully" } } ``` ### SDK Documentation * [Put Object Meta Data - Java SDK](https://docs.catalyst.zoho.com/en/sdk/java/v1/cloud-scale/stratus/put-object-meta/) * [Put Object Meta Data - Node.js SDK](https://docs.catalyst.zoho.com/en/sdk/nodejs/v2/cloud-scale/stratus/put-object-meta/) * [Put Object Meta Data - Python SDK](https://docs.catalyst.zoho.com/en/sdk/python/v1/cloud-scale/stratus/put-object-meta/) * [Stratus - Web SDK](https://docs.catalyst.zoho.com/en/sdk/web/v4/cloud-scale/stratus/overview/) * [Stratus - iOS SDK](https://docs.catalyst.zoho.com/en/sdk/ios/v2/cloud-scale/stratus/overview/) * [Stratus - Android SDK](https://docs.catalyst.zoho.com/en/sdk/android/v2/cloud-scale/stratus/overview/) * [Stratus - Flutter SDK](https://docs.catalyst.zoho.com/en/sdk/flutter/v2/cloud-scale/stratus/overview/) -------------------------------------------------------------------------------- title: "Extract Zipped Object" description: "This API enables you to extract a zipped object in Stratus." last_updated: "2026-11-03T07:48:52.000Z" source: "https://docs.catalyst.zoho.com/en/api/code-reference/cloud-scale/stratus/extract-object/" service: "CloudScale" -------------------------------------------------------------------------------- # Extract Zipped Object ### Description This API allows you to extract a zipped [object](https://docs.catalyst.zoho.com/en/cloud-scale/help/stratus/objects/introduction/) stored in a bucket. The Bucket is referred by its [unique bucket name](https://docs.catalyst.zoho.com/en/cloud-scale/help/stratus/buckets/name-bucket/#ideal-practices-to-name-a-bucket), and the required object is referred using its name. ### Request Details #### Request URL `POST` {api-domain}/baas/v1/project/{project_id}/bucket/object/zip-extract - **project_id** (Numerical): The [unique ID](https://docs.catalyst.zoho.com/en/getting-started/set-up-a-catalyst-project/general-settings/) of the project #### Query Parameters - **bucket_name** (Alphanumeric, mandatory): The [name of the bucket](https://docs.catalyst.zoho.com/en/cloud-scale/help/stratus/buckets/name-bucket/#ideal-practices-to-name-a-bucket) - **object_key** (String, mandatory): Will contain the complete name of the required zipped object. - **destination** (String, mandatory): Will contain the complete name of the destination path in the bucket where the extracted objects need to be stored. #### Request Headers **Authorization:** Zoho-oauthtoken {oauth_token} **Optional Headers** **CATALYST-ORG:** {org_id} **Environment:** Development #### Scope ZohoCatalyst.buckets.objects.CREATE ### Response Details On successful execution, the response will contain the name of the zipped object, the complete path name that has stored the extracted objects, and the success message confirming the extract action. **Sample Request** ```bash curl -X POST https://api.catalyst.zoho.com/baas/v1/project/10108000003823392/bucket/object/zip-extract?bucket_name=mybucketname&object_key=image2.png&destination=folder2/ -H "Authorization: Zoho-oauthtoken 1000.910*\*\*\*\*\*\*\*\*\*\*\*\*\*\*\*\*\*\*\*\*\*\*\*\*16.2f*\*\*\*\*\*\*\*\*\*\*\*\*\*\*\*\*\*\*\*\*\*\*\*\*57" ``` **Sample Response** ```json { "status": "success", "data": { "object_key": "image2.png", "destination": "folder2", "message": "Zip extract scheduled", "task_id": "hh2odww2334nsodno24" } } ``` ### SDK Documentation * [Extract a Zipped Object - Java SDK](https://docs.catalyst.zoho.com/en/sdk/java/v1/cloud-scale/stratus/extract-zipped-object/) * [Extract a Zipped Object - Node.js SDK](https://docs.catalyst.zoho.com/en/sdk/nodejs/v2/cloud-scale/stratus/extract-zipped-object/) * [Extract a Zipped Object - Python SDK](https://docs.catalyst.zoho.com/en/sdk/python/v1/cloud-scale/stratus/extract-zipped-object/) * [Stratus - Web SDK](https://docs.catalyst.zoho.com/en/sdk/web/v4/cloud-scale/stratus/overview/) * [Stratus - iOS SDK](https://docs.catalyst.zoho.com/en/sdk/ios/v2/cloud-scale/stratus/overview/) * [Stratus - Android SDK](https://docs.catalyst.zoho.com/en/sdk/android/v2/cloud-scale/stratus/overview/) * [Stratus - Flutter SDK](https://docs.catalyst.zoho.com/en/sdk/flutter/v2/cloud-scale/stratus/overview/) -------------------------------------------------------------------------------- title: "Get Status of Zip Extract Operation" description: "This API enables you to get the status of an extract operation being performed on a zipped object in Stratus." last_updated: "2026-11-03T07:48:52.000Z" source: "https://docs.catalyst.zoho.com/en/api/code-reference/cloud-scale/stratus/get-extract-status/" service: "CloudScale" -------------------------------------------------------------------------------- # Get Status of Zip Extract Operation ### Description This API allows you to get the status of an extract operation that is being performed on a zipped object stored in a bucket. The Bucket is referred by its [unique bucket name](https://docs.catalyst.zoho.com/en/cloud-scale/help/stratus/buckets/name-bucket/#ideal-practices-to-name-a-bucket), and the required object is referred using its name. > **Note:** Refer to the [Extract Zipped Object API](https://docs.catalyst.zoho.com/en/api/code-reference/cloud-scale/stratus/extract-object#ExtractZippedObject) to perform extract operation on a zipped object. ### Request Details #### Request URL `GET` {api-domain}/baas/v1/project/{project_id}/bucket/object/zip-extract/{taskId} - **project_id** (Numerical): The [unique ID](https://docs.catalyst.zoho.com/en/getting-started/set-up-a-catalyst-project/general-settings/) of the project - **task_Id** (String): The value will be returned in the response while executing the [Extract Zipped Object API](https://docs.catalyst.zoho.com/en/api/code-reference/cloud-scale/stratus/extract-object#ExtractZippedObject). This id will allow you to refer to the required extraction process. #### Query Parameters - **bucket_name** (Alphanumeric, mandatory): The [name of the bucket](https://docs.catalyst.zoho.com/en/cloud-scale/help/stratus/buckets/name-bucket/#ideal-practices-to-name-a-bucket) - **object_key** (String, mandatory): Will contain the complete name of the required zipped object. - **task_id** (String, mandatory): The value returned in the response of the [Extract Zipped Object API](https://docs.catalyst.zoho.com/en/api/code-reference/cloud-scale/stratus/extract-object#ExtractZippedObject). This ID refers to the required extraction process. #### Request Headers **Authorization:** Zoho-oauthtoken {oauth_token} **Optional Headers** **CATALYST-ORG:** {org_id} **Environment:** Development #### Scope ZohoCatalyst.buckets.objects.READ ### Response Details On successful execution, the response will contain the status of the required extraction process being performed on a zipped object in Stratus. **Sample Request** ```bash curl -X GET https://api.catalyst.zoho.com/baas/v1/project/31594000000567522/bucket/object/zip-extract/status -H "Authorization: Zoho-oauthtoken 1000.910*\*\*\*\*\*\*\*\*\*\*\*\*\*\*\*\*\*\*\*\*\*\*\*\*16.2f*\*\*\*\*\*\*\*\*\*\*\*\*\*\*\*\*\*\*\*\*\*\*\*\*57" ``` **Sample Response** ```json { "status": "success", "data": { "task_status": "PENDING | COMPLETED | FAILED" } } ``` ### SDK Documentation * [Get Zip Extraction Status - Java SDK](https://docs.catalyst.zoho.com/en/sdk/java/v1/cloud-scale/stratus/extract-zipped-object/#get-zip-extraction-status) * [Get Zip Extraction Status - Node.js SDK](https://docs.catalyst.zoho.com/en/sdk/nodejs/v2/cloud-scale/stratus/extract-zipped-object/#get-zip-extraction-status) * [Get Zip Extraction Status - Python SDK](https://docs.catalyst.zoho.com/en/sdk/python/v1/cloud-scale/stratus/extract-zipped-object/#get-zip-extraction-status) * [Stratus - Web SDK](https://docs.catalyst.zoho.com/en/sdk/web/v4/cloud-scale/stratus/overview/) * [Stratus - iOS SDK](https://docs.catalyst.zoho.com/en/sdk/ios/v2/cloud-scale/stratus/overview/) * [Stratus - Android SDK](https://docs.catalyst.zoho.com/en/sdk/android/v2/cloud-scale/stratus/overview/) * [Stratus - Flutter SDK](https://docs.catalyst.zoho.com/en/sdk/flutter/v2/cloud-scale/stratus/overview/) -------------------------------------------------------------------------------- title: "Create Signature for Bucket" description: "This API enables you to create a signature for the bucket." last_updated: "2026-11-03T07:48:52.000Z" source: "https://docs.catalyst.zoho.com/en/api/code-reference/cloud-scale/stratus/create-sign-bucket/" service: "CloudScale" -------------------------------------------------------------------------------- # Create Signature for Bucket ### Description This API allows you to create a signature for the required bucket. The Bucket is referred by its [unique bucket name](https://docs.catalyst.zoho.com/en/cloud-scale/help/stratus/buckets/name-bucket/#ideal-practices-to-name-a-bucket). ### Request Details #### Request URL `POST` {api-domain}/baas/v1/project/{project_id}/bucket/signature - **project_id** (Numerical): The [unique ID](https://docs.catalyst.zoho.com/en/getting-started/set-up-a-catalyst-project/general-settings/) of the project #### Query Parameters - **bucket_name** (Alphanumeric, mandatory): The [name of the bucket](https://docs.catalyst.zoho.com/en/cloud-scale/help/stratus/buckets/name-bucket/#ideal-practices-to-name-a-bucket) #### Request Headers **Authorization:** Zoho-oauthtoken {oauth_token} **Optional Headers** **CATALYST-ORG:** {org_id} **Environment:** Development #### Scope ZohoCatalyst.buckets.objects.CREATE ### Response Details On successful execution, the response will contain the required signature of the bucket along with its validity time period. **Sample Request** ```bash curl -X POST https://api.catalyst.zoho.com/baas/v1/project/4000000006007/bucket/signature?bucket_name=zylker-bucket\ -H "Authorization: Zoho-oauthtoken 1000.910*\*\*\*\*\*\*\*\*\*\*\*\*\*\*\*\*\*\*\*\*\*\*\*\*16.2f*\*\*\*\*\*\*\*\*\*\*\*\*\*\*\*\*\*\*\*\*\*\*\*\*57" ``` **Sample Response** ```json { "status": "success", "data": { "signature": "stsPolicy=eyJzaWduaW5ndGltZSI6MTcyMTk3NDc1NDQ1MiwiZXhwaXJhdGlvbiI6MzYwMCwiYWN0aW9uIjpbIkdldE9iamVjdCIsIlB1dE9iamVjdCJdLCJjcmVkZW50aWFscyI6IjY3MjUxNjQ0LTg1NDM1OTI2IiwicmVzb3VyY2UiOlsic3JuOjo6dGVzdGRzZHMtZGV2ZWxvcG1lbnQvKiJdLCJxdWVyeSI6W10sImhlYWRlcnMiOltdLCJib2R5Ijp7ImNvbnRlbnQtdHlwZSI6IioiLCJjb250ZW50LWxlbmd0aCI6bnVsbH19&stsSignature=Nyr29x7N-CzDSfFaTzzPnwWsL74ga9rIGZJIxWFdNtI", "expiry_time": 1786382487000 } } ``` ### SDK Documentation * [Generate Presigned URL - Java SDK](https://docs.catalyst.zoho.com/en/sdk/java/v1/cloud-scale/stratus/download-object/#generate-presigned-url-to-download-an-object) * [Generate Presigned URL - Node.js SDK](https://docs.catalyst.zoho.com/en/sdk/nodejs/v2/cloud-scale/stratus/download-object/#generate-presigned-url-to-download-an-object) * [Generate Presigned URL - Python SDK](https://docs.catalyst.zoho.com/en/sdk/python/v1/cloud-scale/stratus/download-object/#generate-presigned-url-to-download-an-object) * [Stratus - Web SDK](https://docs.catalyst.zoho.com/en/sdk/web/v4/cloud-scale/stratus/overview/) * [Stratus - iOS SDK](https://docs.catalyst.zoho.com/en/sdk/ios/v2/cloud-scale/stratus/overview/) * [Stratus - Android SDK](https://docs.catalyst.zoho.com/en/sdk/android/v2/cloud-scale/stratus/overview/) * [Stratus - Flutter SDK](https://docs.catalyst.zoho.com/en/sdk/flutter/v2/cloud-scale/stratus/overview/) -------------------------------------------------------------------------------- title: "Get Presigned URL" description: "This API enables you to get presigned urls. You can share this URL to other users and they will be able to securely perform download and upload actions." last_updated: "2026-11-03T07:48:52.000Z" source: "https://docs.catalyst.zoho.com/en/api/code-reference/cloud-scale/stratus/get-presigned-url/" service: "CloudScale" -------------------------------------------------------------------------------- # Get Presigned URL ### Description This API allows you to get presigned urls. Presigned URLs are secure URLs that authenticated users can share to their non-authenticated users. This URL will provide non-authenticated users with temporary authorization to access objects. Once the link is expired, you need to sign the required URL again using this API. > **Note:** There are different request methods for upload action and download action. ### Request Details #### Request URL for Upload Action `PUT` {api-domain}/baas/v1/project/{project_id}/bucket/object/signed-url #### Request URL for Download Action `GET` {api-domain}/baas/v1/project/{project_id}/bucket/object/signed-url - **project_id** (Numerical): The [unique ID](https://docs.catalyst.zoho.com/en/getting-started/set-up-a-catalyst-project/general-settings/) of the project #### Query Parameters - **bucket_name** (Alphanumeric, mandatory): The [name of the bucket](https://docs.catalyst.zoho.com/en/cloud-scale/help/stratus/buckets/name-bucket/#ideal-practices-to-name-a-bucket) - **object_key** (String, mandatory): Will contain the complete name of the required object. - **expiry_in_seconds** (Number, optional): Will contain the time limit in seconds. Once this limit has been reached the presigned url cannot be used. The default value is `3600` - **active_from** (Timestamp, optional): Will contain the timestamp of from when the presigned url is active onwards. - **version_id** (String, optional): This param can only be used for the `GET` request URL. Will contain the [version ID](https://docs.catalyst.zoho.com/en/cloud-scale/help/stratus/stratus-config/general-settings/#versioning) #### Request Headers **Authorization:** Zoho-oauthtoken {oauth_token} **Optional Headers** **CATALYST-ORG:** {org_id} **Environment:** Development #### Scope For Download ZohoCatalyst.buckets.objects.READ #### Scope For Upload ZohoCatalyst.buckets.objects.CREATE ### Response Details On successful execution, the response will contain presigned URL. **Sample Request For Download Action** ```bash curl -X GET https://api.catalyst.zoho.com/baas/v1/project/10108000003823392/bucket/object/signed-url?bucket_name=myBucketName&object_key=object.pdf&expiry_in_seconds=3600&active_from=1716382375000&version_id=bs22sb2923ey2hds929/ -H "Authorization: Zoho-oauthtoken 1000.910*\*\*\*\*\*\*\*\*\*\*\*\*\*\*\*\*\*\*\*\*\*\*\*\*16.2f*\*\*\*\*\*\*\*\*\*\*\*\*\*\*\*\*\*\*\*\*\*\*\*\*57" ``` **Sample Request For Upload Action** ```bash curl -X PUT https://api.catalyst.zoho.com/baas/v1/project/10108000003823392/bucket/object/signed-url?bucket_name=myBucketName&object_key=object.pdf&expiry_in_seconds=3600&active_from=1716382375000/ -H "Authorization: Zoho-oauthtoken 1000.910*\*\*\*\*\*\*\*\*\*\*\*\*\*\*\*\*\*\*\*\*\*\*\*\*16.2f*\*\*\*\*\*\*\*\*\*\*\*\*\*\*\*\*\*\*\*\*\*\*\*\*57" ``` **Sample Response** ```json { "status": "success", "data": { "signature": "https://mybucket.nimbuspop.com/folder1/folder2/image.jpeg?expires=1642915027000&signature=MEYCIQCcJDTsmZQhfuvFu3l3tsVL02uVwIMhLdlSg~ARI3E1aAIhAJ-rzzjn2gPH9pB3EoU3X~v~qvg5Rdt9OBoldBpVz6xt&key-id=vMUWDURn5DGtokPG", "expires_in_seconds": 300, "active_from": 1716382487000 } } ``` ### SDK Documentation * [Generate Presigned URL - Java SDK](https://docs.catalyst.zoho.com/en/sdk/java/v1/cloud-scale/stratus/download-object/#generate-presigned-url-to-download-an-object) * [Generate Presigned URL - Node.js SDK](https://docs.catalyst.zoho.com/en/sdk/nodejs/v2/cloud-scale/stratus/download-object/#generate-presigned-url-to-download-an-object) * [Generate Presigned URL - Python SDK](https://docs.catalyst.zoho.com/en/sdk/python/v1/cloud-scale/stratus/download-object/#generate-presigned-url-to-download-an-object) * [Stratus - Web SDK](https://docs.catalyst.zoho.com/en/sdk/web/v4/cloud-scale/stratus/overview/) * [Stratus - iOS SDK](https://docs.catalyst.zoho.com/en/sdk/ios/v2/cloud-scale/stratus/overview/) * [Stratus - Android SDK](https://docs.catalyst.zoho.com/en/sdk/android/v2/cloud-scale/stratus/overview/) * [Stratus - Flutter SDK](https://docs.catalyst.zoho.com/en/sdk/flutter/v2/cloud-scale/stratus/overview/) -------------------------------------------------------------------------------- title: "Delete Object" description: "This API enables you to perform delete operation on objects stored in Stratus." last_updated: "2026-11-03T07:48:52.000Z" source: "https://docs.catalyst.zoho.com/en/api/code-reference/cloud-scale/stratus/delete-objects/" service: "CloudScale" -------------------------------------------------------------------------------- # Delete Object ### Description This API allows you to delete the required [object](https://docs.catalyst.zoho.com/en/cloud-scale/help/stratus/objects/introduction/) stored in a bucket. The Bucket is referred by its [unique bucket name](https://docs.catalyst.zoho.com/en/cloud-scale/help/stratus/buckets/name-bucket/#ideal-practices-to-name-a-bucket), and the required object is referred using its name. ### Request Details #### Request URL `PUT` {api-domain}/baas/v1/project/{project_id}/bucket/object/ - **project_id** (Numerical): The [unique ID](https://docs.catalyst.zoho.com/en/getting-started/set-up-a-catalyst-project/general-settings/) of the project #### Query Parameters - **bucket_name** (Alphanumeric, mandatory): The [name of the bucket](https://docs.catalyst.zoho.com/en/cloud-scale/help/stratus/buckets/name-bucket/#ideal-practices-to-name-a-bucket) #### Request JSON You must send a JSON with its corresponding values as shown below. **Sample Payload** ```json { "objects": [ { "key": "file1.jpeg", "version_id": "{version_id}" }, { "key": "file2.jpeg" }, { "key": "file3.jpeg" } ], "ttl_in_seconds": 100 } ``` You will feed this **Request JSON** to your **Request Body**, and you need to provide the value of: - **key** ( , mandatory): This JSON key will contain the required object's name that needs to be deleted. - **ttl_in_seconds** (Number, optional): This JSON key will contain time in seconds. Once the `ttl_in_seconds` is reached the delete operation will be carried out. #### Request Headers **Authorization:** Zoho-oauthtoken {oauth_token} **Optional Headers** **CATALYST-ORG:** {org_id} **Environment:** Development #### Scope ZohoCatalyst.buckets.objects.DELETE ### Response Details On successful execution, the response will contain the success message confirming the delete operation was successful. **Sample Request** ```bash curl -X PUT https://api.catalyst.zoho.com/baas/v1/project/10108000003823392/bucket/object?bucket_name=zylker-bucket/ -H "Authorization: Zoho-oauthtoken 1000.910*\*\*\*\*\*\*\*\*\*\*\*\*\*\*\*\*\*\*\*\*\*\*\*\*16.2f*\*\*\*\*\*\*\*\*\*\*\*\*\*\*\*\*\*\*\*\*\*\*\*\*57" -H “Content-Type:application/json” -\-data-raw $’{“"status": "success","data":{"message": "Deletion successful"}"}' ``` **Sample Response** ```json { "status": "success", "data": { "message": "Deletion successful" } } ``` ### SDK Documentation * [Delete Objects - Java SDK](https://docs.catalyst.zoho.com/en/sdk/java/v1/cloud-scale/stratus/delete-objects/) * [Delete Objects - Node.js SDK](https://docs.catalyst.zoho.com/en/sdk/nodejs/v2/cloud-scale/stratus/delete-objects/) * [Delete Objects - Python SDK](https://docs.catalyst.zoho.com/en/sdk/python/v1/cloud-scale/stratus/delete-objects/) * [Delete Objects - Web SDK](https://docs.catalyst.zoho.com/en/sdk/web/v4/cloud-scale/stratus/delete-object/) * [Delete Objects - iOS SDK](https://docs.catalyst.zoho.com/en/sdk/ios/v2/cloud-scale/stratus/delete-object/) * [Delete Objects - Android SDK](https://docs.catalyst.zoho.com/en/sdk/android/v2/cloud-scale/stratus/delete-object/) * [Delete Objects - Flutter SDK](https://docs.catalyst.zoho.com/en/sdk/flutter/v2/cloud-scale/stratus/delete-object/) -------------------------------------------------------------------------------- title: "Delete Path" description: "This API enables you to perform delete operation on an entire path in Stratus." last_updated: "2026-11-03T07:48:52.000Z" source: "https://docs.catalyst.zoho.com/en/api/code-reference/cloud-scale/stratus/delete-path/" service: "CloudScale" -------------------------------------------------------------------------------- # Delete Path ### Description This API allows you to delete an entire path and every object stored in that path in a bucket. The Bucket is referred by its [unique bucket name](https://docs.catalyst.zoho.com/en/cloud-scale/help/stratus/buckets/name-bucket/#ideal-practices-to-name-a-bucket). ### Request Details #### Request URL `DELETE` {api-domain}/baas/v1/project/{project_id}/bucket/object/prefix - **project_id** (Numerical): The [unique ID](https://docs.catalyst.zoho.com/en/getting-started/set-up-a-catalyst-project/general-settings/) of the project #### Query Parameters - **bucket_name** (Alphanumeric, mandatory): The [name of the bucket](https://docs.catalyst.zoho.com/en/cloud-scale/help/stratus/buckets/name-bucket/#ideal-practices-to-name-a-bucket) - **prefix** (String, mandatory): Will contain the prefix of the path that needs to be deleted. #### Request Headers **Authorization:** Zoho-oauthtoken {oauth_token} **Optional Headers** **CATALYST-ORG:** {org_id} **Environment:** Development #### Scope ZohoCatalyst.buckets.objects.DELETE ### Response Details On successful execution, the response will contain the success message confirming the delete operation was successful. **Sample Request** ```bash curl -X DELETE https://api.catalyst.zoho.com/baas/v1/project/10108000003823392/bucket/object/prefix?bucket_name=zylker-bucket&prefix=myfolder/ -H "Authorization: Zoho-oauthtoken 1000.910*\*\*\*\*\*\*\*\*\*\*\*\*\*\*\*\*\*\*\*\*\*\*\*\*16.2f*\*\*\*\*\*\*\*\*\*\*\*\*\*\*\*\*\*\*\*\*\*\*\*\*57" ``` **Sample Response** ```json { "status": "success", "data": { "prefix": "myfolder/", "message": "Deletion successful" } } ``` ### SDK Documentation * [Delete Path - Java SDK](https://docs.catalyst.zoho.com/en/sdk/java/v1/cloud-scale/stratus/delete-objects/#delete-a-path-in-the-bucket) * [Delete Path - Node.js SDK](https://docs.catalyst.zoho.com/en/sdk/nodejs/v2/cloud-scale/stratus/delete-objects/#delete-a-path-in-the-bucket) * [Delete Path - Python SDK](https://docs.catalyst.zoho.com/en/sdk/python/v1/cloud-scale/stratus/delete-objects/#delete-a-path-in-the-bucket) * [Delete Objects - Web SDK](https://docs.catalyst.zoho.com/en/sdk/web/v4/cloud-scale/stratus/delete-object/) * [Delete Path - iOS SDK](https://docs.catalyst.zoho.com/en/sdk/ios/v2/cloud-scale/stratus/delete-path/) * [Delete Path - Android SDK](https://docs.catalyst.zoho.com/en/sdk/android/v2/cloud-scale/stratus/delete-path/) * [Delete Path - Flutter SDK](https://docs.catalyst.zoho.com/en/sdk/flutter/v2/cloud-scale/stratus/delete-path/) ### ZCQL -------------------------------------------------------------------------------- title: "Execute ZCQL Query" description: "This API enables you to execute a ZCQL query to retrieve, insert, update, or delete data from the tables in the Data Store." last_updated: "2026-11-03T07:48:52.000Z" source: "https://docs.catalyst.zoho.com/en/api/code-reference/cloud-scale/zcql/execute-zcql-query/" service: "CloudScale" -------------------------------------------------------------------------------- # ZCQL [ZCQL](https://docs.catalyst.zoho.com/en/cloud-scale/help/zcql/introduction/) is Catalyst's own query language that enables you to perform data retrieval, insertion, updating, and deletion operations on the tables in the [Catalyst Data Store](https://docs.catalyst.zoho.com/en/cloud-scale/help/data-store/introduction/). You can execute a variety of DML queries using ZCQL to obtain or manipulate data, and use various clauses and statements such as the SQL Join clauses, Groupby and OrderBy statements, and built-in SQL functions. # Execute a ZCQL Query ### Description This API enables you to execute a ZCQL query to retrieve, insert, update, or delete data from the tables in the Data Store. You can execute this API by passing a ZCQL query in the JSON request, as shown in the sample requests. > **Note:** The API request format is the same for all ZCQL query execution operations. ### Request Details #### Request URL `POST` {api-domain}/baas/v1/project/{project_id}/query - **api-domain** (URL): The DC-specific domain to access Catalyst API - **project_id** (Numerical): The [unique ID](https://docs.catalyst.zoho.com/en/getting-started/set-up-a-catalyst-project/general-settings/) of the project #### Request Headers **Authorization:** Zoho-oauthtoken {oauth_token} **Content-Type:** application/json **Optional Headers** **CATALYST-ORG:** {org_id} **Environment:** Development #### Scope ZohoCatalyst.zcql.CREATE > **Note:** This operation can also be executed with Catalyst user authentication permissions using Catalyst SDKs. Refer to the [Catalyst API Prerequisites section](https://docs.catalyst.zoho.com/en/api/introduction/overview-and-prerequisites/#prerequisites) for details. #### Request JSON Properties - **query** (string, mandatory): The ZCQL query to be executed ### Response Details Data Retrieval Operations: The API returns the records that were fetched as a result of the query execution as the response. Data Insertion and Updating Operations: The API returns the records that were inserted or updated through the query as the response. Data Deletion Operations: The API returns the deleted row count. **Sample Request: Data Retrieval** ```bash curl -X POST \ https://api.catalyst.zoho.com/baas/v1/project/4000000006007/query \ -H "Authorization: Zoho-oauthtoken 1000.910*\*\*\*\*\*\*\*\*\*\*\*\*\*\*\*\*\*\*\*\*\*\*\*\*16.2f*\*\*\*\*\*\*\*\*\*\*\*\*\*\*\*\*\*\*\*\*\*\*\*\*57" \ -H "Content-Type: application/json" \ -d '{ "query":"SELECT EmpID, EmpName, Department, Address from EmpDetails ORDER BY EmpID ASC LIMIT 1000,5" }' ``` **Sample Response: Data Retrieval** ```json { "status": "success", "data": [ { "EmpDetails": { "CREATORID": "3376000000002003", "MODIFIEDTIME": "2023-06-05 15:09:33:881", "CREATEDTIME": "2023-06-05 15:09:33:881", "ROWID": "3376000001924975", "EmpID": "1001", "EmpName": "Allison Powell", "Department":"Marketing", "Address": "13, Winter Avenue, Philadelphia, PY" } }, { "EmpDetails": { "CREATORID": "3376000000002003", "MODIFIEDTIME": "2023-06-05 15:09:33:881", "CREATEDTIME": "2023-06-05 15:09:33:881", "ROWID": "3376000001927682", "EmpID": "1002", "EmpName": "James Cortez", "Department":"HR", "Address": "25, Blossom Street, Austin, TX" } }, { "EmpDetails": { "CREATORID": "3376000000002003", "MODIFIEDTIME": "2023-06-02 21:04:11:111", "CREATEDTIME": "2023-06-02 15:05:21:001", "ROWID": "3376000001224112", "EmpID": "1003", "EmpName": "Han Chan", "Department":"Sales", "Address": "112, St.Patrick's Road, Louisville, KY" } }, { "EmpDetails": { "CREATORID": "337600000003111", "MODIFIEDTIME": "2023-06-02 21:04:11:111", "CREATEDTIME": "2023-06-02 15:05:21:001", "ROWID": "3376000001242012", "EmpID": "1004", "EmpName": "Rubella Miguel", "Department":"Accounts", "Address": "333, Marine Bay, Salt Lake City, UT" } }, { "EmpDetails": { "CREATORID": "3376000000115254", "MODIFIEDTIME": "2023-04-12 21:04:10:521", "CREATEDTIME": "2023-06-11 15:05:02:541", "ROWID": "3376000001241341", "EmpID": "1005", "EmpName": "Ronwick Boseman", "Department":"Support", "Address": "61, Gringott's Avenue, Herfordshire, CO" } } ] } ``` **Sample Request: Data Insertion** ```bash curl -X POST \ https://api.catalyst.zoho.com/baas/v1/project/4000000006007/query \ -H "Authorization: Zoho-oauthtoken 1000.910*\*\*\*\*\*\*\*\*\*\*\*\*\*\*\*\*\*\*\*\*\*\*\*\*16.2f*\*\*\*\*\*\*\*\*\*\*\*\*\*\*\*\*\*\*\*\*\*\*\*\*57 \ -H "Content-Type: application/json" \ -d '{ "query":"INSERT INTO EmpDetails VALUES (1007,'Randy Marsh','Sales','42, Tenth Street, Jacksonville, FL', '14 MAR 2017')" }' ``` **Sample Response: Data Insertion** ```json { "status": "success", "data": [ { "EmpDetails": { "CREATORID": "3813000000002003", "EmpID": "1007", "EmpName": "Randy Marsh", "Department":"Sales", "Address": "42, Tenth Street, Jacksonville, FL", "DOJ": "14 MAR 2017", "MODIFIEDTIME": "2021-08-04 09:10:14:752", "CREATEDTIME": "2021-08-04 09:10:14:752", "ROWID": "3813000000214001" } } ] } ``` **Sample Request: Data Updating** ```bash curl -X POST \ https://api.catalyst.zoho.com/baas/v1/project/4000000006007/query \ -H "Authorization: Zoho-oauthtoken 1000.910*\*\*\*\*\*\*\*\*\*\*\*\*\*\*\*\*\*\*\*\*\*\*\*\*16.2f*\*\*\*\*\*\*\*\*\*\*\*\*\*\*\*\*\*\*\*\*\*\*\*\*57 \ -H "Content-Type: application/json" \ -d '{ "query":"UPDATE EmpDetails SET Department='Operations' WHERE EmpID=1007" }' ``` **Sample Response: Data Updating** ```json { "status": "success", "data": [ { "EmpDetails": { "CREATORID": "3813000000002003", "EmpID": "1007", "EmpName": "Randy Marsh", "Department":"Operations", "Address": "42, Tenth Street, Jacksonville, FL", "DOJ": "14 MAR 2017", "MODIFIEDTIME": "2021-08-04 09:11:54:318", "CREATEDTIME": "2021-08-04 09:10:14:752", "ROWID": "3813000000214001" } } ] } ``` **Sample Request: Data Deletion** ```bash curl -X POST \ https://api.catalyst.zoho.com/baas/v1/project/4000000006007/query \ -H "Authorization: Zoho-oauthtoken 1000.910*\*\*\*\*\*\*\*\*\*\*\*\*\*\*\*\*\*\*\*\*\*\*\*\*16.2f*\*\*\*\*\*\*\*\*\*\*\*\*\*\*\*\*\*\*\*\*\*\*\*\*57 \ -H "Content-Type: application/json" \ -d '{ "query":"DELETE FROM EmpDetails WHERE EmpID=1007" }' ``` **Sample Response: Data Deletion** ```json { "status": "success", "data": [ { "EmpDetails": { "DELETED_ROWS_COUNT": 1 } } ] } ``` ### SDK Documentation [Execute ZCQL Query- Java SDK](https://docs.catalyst.zoho.com/en/sdk/java/v1/cloud-scale/zcql/execute-zcql-query)

[Execute ZCQL Query- Node.js SDK](https://docs.catalyst.zoho.com/en/sdk/nodejs/v2/cloud-scale/zcql/execute-zcql-query)

[Execute ZCQL Query- Python SDK](https://docs.catalyst.zoho.com/en/sdk/python/v1/cloud-scale/zcql/execute-zcql-query)

[Execute ZCQL Query- Web SDK](https://docs.catalyst.zoho.com/en/sdk/web/v4/cloud-scale/zcql/execute-zcql-query) ## SDK — Android — CloudScale ### Authentication -------------------------------------------------------------------------------- title: "Create User Instance" description: "Catalyst Authentication features enable you to manage the user authentication of your Catalyst app, add users, and configure their user accounts." last_updated: "2026-11-03T07:48:52.000Z" source: "https://docs.catalyst.zoho.com/en/sdk/android/v2/cloud-scale/authentication/create-user-instance/" service: "CloudScale" related: - Authentication (/en/cloud-scale/help/authentication/introduction) - Users (/en/cloud-scale/help/authentication/user-management/users/introduction/) - Add New User - API (/en/api/code-reference/cloud-scale/authentication/add-new-user/#AddNewUser) -------------------------------------------------------------------------------- # Authentication [Catalyst Authentication](https://docs.catalyst.zoho.com/en/cloud-scale/help/authentication/introduction) is a component of Catalyst CloudScale that enables you to add end-users to your application, customize app login and sign-up forms, manage user accounts and roles, and ensure secure access throughout your application. ## Create a New User Instance You can create a new user instance, and enable the methods defined in this class to access the instance object. This will prevent unnecessary server calls. You must pass the user's details to the `newUser()` method as shown in the code structure below. You must pass the user's email address and last name mandatorily to create the instance successfully. ```bash ZCatalystApp.getInstance().newUser( lastName: String, email:String ): ZCatalystUser ``` **Parameters**: * `lastName`: The last name of the new user * `email`: Email address of the user, to which the [invitation mail](https://docs.catalyst.zoho.com/en/cloud-scale/help/authentication/user-management/users/implementation/) will be sent A sample code snippet is shown below: ```bash val user = ZCatalystApp.getInstance().newUser("Burrows", "emma@zylker.com") ``` -------------------------------------------------------------------------------- title: "User Signup" description: "Adding new users to your catalyst application" last_updated: "2026-11-03T07:48:52.000Z" source: "https://docs.catalyst.zoho.com/en/sdk/android/v2/cloud-scale/authentication/user-signup/" service: "CloudScale" related: - Authentication (/en/cloud-scale/help/authentication/introduction) - Users (/en/cloud-scale/help/authentication/user-management/users/introduction/) - Authentication - API (/en/api/code-reference/cloud-scale/authentication/add-new-user/#AddNewUser) -------------------------------------------------------------------------------- # User Signup You can add a new [user](https://docs.catalyst.zoho.com/en/cloud-scale/help/authentication/user-management/users/introduction/) to your Catalyst app by calling the `signUp()` method. You must pass the [user instance defined here](https://docs.catalyst.zoho.com/en/sdk/android/v2/cloud-scale/authentication/create-user-instance) as the argument to the `signup()` method. The code syntax for user signup is given below: ```bash ZCatalystApp.getInstance().signUp( newUser: ZCatalystUser, success: (Pair<ZCatalystOrg, ZCatalystUser>) → Unit, failure: ((ZCatalystException) → Unit)? ): ZCatalystRequest<ZCatalystResponse<Pair<ZCatalystOrg, ZCatalystUser>>>? ``` **Parameters**: * `newUser`: The user instance created before this operation A sample code snippet is shown below: ```bash ZCatalystApp.getInstance().signUp(user, { success -> println("User Sign up success") }, { exception -> println("User Sign up failed $exception") }) ``` -------------------------------------------------------------------------------- title: "User Login" description: "You can display the login page to the end user of your Catalyst Android app." last_updated: "2026-11-03T07:48:52.000Z" source: "https://docs.catalyst.zoho.com/en/sdk/android/v2/cloud-scale/authentication/user-login/" service: "CloudScale" related: - Authentication (/en/cloud-scale/help/authentication/introduction) - Users (/en/cloud-scale/help/authentication/user-management/users/introduction/) - Authentication - API (/en/api/code-reference/cloud-scale/authentication/add-new-user/#AddNewUser) -------------------------------------------------------------------------------- # User Login You can display the login page to the [end user](https://docs.catalyst.zoho.com/en/cloud-scale/help/authentication/user-management/users/introduction/) of your Catalyst Android app using the `login()` method. This will be displayed when the user is logged out of the app. If the login is successful, the user will be able to access the app. The code syntax for user login is given below: ```bash ZCatalystApp.getInstance().login( success: () → Unit, failure: (ZCatalystException) → Unit ): Unit ``` A sample code snippet is shown below: ```bash ZCatalystApp.getInstance().login( { ZCatalystLogger.logInfo("Login Success") //Actions to execute on successful login }, { ZCatalystLogger.logError("Login failed - $it") //Actions to execute on failed login }) ``` The methods of the `ZCatalystLogger` class are used to log the result of the operation. You can define your own actions to execute on a successful or a failed login. -------------------------------------------------------------------------------- title: "User Logout" description: "You can log an app user out from the Catalyst Android app." last_updated: "2026-11-03T07:48:52.000Z" source: "https://docs.catalyst.zoho.com/en/sdk/android/v2/cloud-scale/authentication/user-logout/" service: "CloudScale" related: - Authentication (/en/cloud-scale/help/authentication/introduction) - Users (/en/cloud-scale/help/authentication/user-management/users/introduction/) - Logout User - API (/en/api/code-reference/cloud-scale/authentication/sign-out-user/#SignOutUser) -------------------------------------------------------------------------------- # User Logout The `logout()` method can log an [app user](https://docs.catalyst.zoho.com/en/cloud-scale/help/authentication/user-management/users/introduction/) out from the Catalyst Android app. The code syntax for user logout is given below: ```bash ZCatalystApp.getInstance().logout( success: () → Unit, failure: (ZCatalystException) → Unit ): Unit ``` A sample code snippet is shown below: ```bash ZCatalystApp.getInstance().logout( { ZCatalystLogger.logInfo("Logout Success") //Actions to execute on successful logout }, { ZCatalystLogger.logError("Logout failed - $it") //Actions to execute on failed logout }) ``` The methods of the `ZCatalystLogger` class are used to log the result of the operation. You can define your own actions to execute upon a successful or failed logout. -------------------------------------------------------------------------------- title: "Get Current User" description: "You can obtain the details of the current end user of your application." last_updated: "2026-11-03T07:48:52.000Z" source: "https://docs.catalyst.zoho.com/en/sdk/android/v2/cloud-scale/authentication/get-current-user/" service: "CloudScale" related: - Authentication (/en/cloud-scale/help/authentication/introduction) - Users (/en/cloud-scale/help/authentication/user-management/users/introduction/) - Add New User - API (/en/api/code-reference/cloud-scale/authentication/add-new-user/#AddNewUser) -------------------------------------------------------------------------------- # Get Current User You can obtain the details of the current [end user](https://docs.catalyst.zoho.com/en/cloud-scale/help/authentication/user-management/users/introduction/) of your application by calling the `getCurrentUser()` method. Upon successful execution, this method will return the current user object. You can fetch the user's details that are registered in Catalyst, such as their first name, last name, or email address, using this. The code syntax for obtaining the current user is given below: ```bash ZCatalystApp.getInstance().getCurrentUser( success: (ZCatalystUser) → Unit, failure: ((ZCatalystException) → Unit)? ): ZCatalystRequest<ZCatalystResponse<ZCatalystUser>>? ``` A sample code snippet is shown below: ```bash ZCatalystApp.getInstance().getCurrentUser( { user -> println("The current user is : ${user.firstName}") }, { exception -> println("Get current user failed! $exception") } ) ``` -------------------------------------------------------------------------------- title: "Social Logins" description: "You can provide a native Google login and logout through Social Logins in your Android app." last_updated: "2026-11-03T07:48:52.000Z" source: "https://docs.catalyst.zoho.com/en/sdk/android/v2/cloud-scale/authentication/social-logins/" service: "CloudScale" related: - Authentication (/en/cloud-scale/help/authentication/introduction) - Social Logins (/en/cloud-scale/help/authentication/social-logins/introduction/) - Google Login (/en/cloud-scale/help/authentication/social-logins/configuring-social-logins/#enable-google-social-login) - Authentication - API (/en/api/code-reference/cloud-scale/authentication/add-new-user/#AddNewUser) -------------------------------------------------------------------------------- # Social Logins Catalyst enables you to allow your end users to log on to your application using popular Identity Providers (IdP) or [Social Logins](https://docs.catalyst.zoho.com/en/cloud-scale/help/authentication/social-logins/introduction/) through Authentication. Catalyst Android SDK enables you to provide Google login and logout functionality for your Android app users. > **Note:** [Public Signup](https://docs.catalyst.zoho.com/en/cloud-scale/help/authentication/public-signup/) must be enabled to use Social Logins. ### Google Login You can provide a native Google login in your Android app by configuring their authentication with Catalyst. To do so, you must register your app in the Google API console and obtain the required OAuth credentials, that include the client ID and client secret. You can learn about the steps involved in this process from the [Enable Google Social Login help section](https://docs.catalyst.zoho.com/en/cloud-scale/help/authentication/social-logins/configuring-social-logins/#enable-google-social-login). > **Note:** You must configure the application type as a web application in step 12. After you finish configuring the Google social login in the Catalyst console, you can pass the client ID obtained from Google to perform the user login as shown below. ```bash fun login(activity: Activity, googleClientID: String, success: () -> Unit, failure: (ZCatalystException) -> Unit) ``` **Parameters**: * `googleClientID`: The client ID obtained after configuring OAuth in Google's API console A sample code snippet is shown below: ```bash ZCatalystApp.getInstance().login("activity", "570*******************", { success -> println("User login success") }, { exception -> println("User login failed $exception") }) ``` ### Google Logout You can log users out of your Catalyst Android app from their Google login by passing the client ID obtained from Google after configuring OAuth in Google's API console. This can be done as shown below. ```bash fun logout(activity: Activity, googleClientID: String, success: () -> Unit, failure: (ZCatalystException) -> Unit) ``` **Parameters**: * `googleClientID`: The client ID obtained after configuring OAuth in Google's API console A sample code snippet is shown below: ```bash ZCatalystApp.getInstance().logout("activity", "570*******************", { println("Logout success") }, { println("Logout failed $exception") }) ``` -------------------------------------------------------------------------------- title: "Third-Party Authentication" description: "You can implement a third-party authentication service of your preference in your Android app." last_updated: "2026-11-03T07:48:52.000Z" source: "https://docs.catalyst.zoho.com/en/sdk/android/v2/cloud-scale/authentication/third-party-authentication/" service: "CloudScale" related: - Authentication (/en/cloud-scale/help/authentication/introduction) - Third-Party Authentication (/en/cloud-scale/help/authentication/third-party-authentication/introduction/) - Generate Custom Server Token- Java SDK (/en/sdk/java/v1/cloud-scale/authentication/third-party-server-token/) - JavaScript SDK (/en/sdk/javascript/v1/overview/) - Generate Custom Server Token- Python SDK (/en/sdk/python/v1/cloud-scale/authentication/third-party-server-token/) - Authentication - API (/en/api/code-reference/cloud-scale/authentication/add-new-user/#AddNewUser) -------------------------------------------------------------------------------- # Third-Party Authentication CloudScale's Authentication allows you to implement a [third-party authentication](https://docs.catalyst.zoho.com/en/cloud-scale/help/authentication/third-party-authentication/introduction/) service of your preference for your Catalyst application. The authorization and validation of the end-user is handled by the third-party service, and the data is passed on to Catalyst. > **Note:** Since you are implementing a third-party authentication service, it is understood that the security infrastructure of your application is contingent on the efficiency of the third-party service that you have chosen. To implement third-party authentication in your Android app, you will need to perform the steps described below. ### 1. Configure the Third-Party Authentication Service Before you associate a third-party authentication with your Catalyst application, you must ensure that you have first completed handling the third-party logic in the external service. You can configure the authentication with any third-party of your choice. ### 2. Set up the Third-Party Authentication Type in Catalyst You must now set up the third-party authentication that you configured in Catalyst by navigating to the Authentication component in CloudScale in the Catalyst console. The steps are explained in [Set Up Third-party Authentication in Catalyst help page](https://docs.catalyst.zoho.com/en/cloud-scale/help/authentication/third-party-authentication/implementation/). This process involves the following steps that you must perform: **i. Generate a custom server token:** When a user is re-directed from a third-party service after being authenticated, their credentials must be passed to an authentication function that you will need to code in [Java](https://docs.catalyst.zoho.com/en/sdk/java/v1/cloud-scale/authentication/third-party-server-token/), [Node.js](https://docs.catalyst.zoho.com/en/sdk/nodejs/v2/cloud-scale/authentication/third-party-server-token/), or [Python](https://docs.catalyst.zoho.com/en/sdk/python/v1/cloud-scale/authentication/third-party-server-token/). This function will generate a Catalyst server-side token `jwtToken` or `customToken` which will then be passed to client-side (Android app). The Catalyst console provides readymade scripts to generate the `customToken`. You can incorporate this script in the server-side function you write, to return the `customToken`. > **Note:** To enable a third-party authentication in your Catalyst application, you must ensure that you have enabled [Public Signup](https://docs.catalyst.zoho.com/en/cloud-scale/help/authentication/public-signup/) in the console. **ii. Skip the client-side configuration:** You can skip the client-side configuration in the console for now, as we will incorporate the custom server token in the client logic at the end to complete the login process. **iii. Configure additional settings and finish the setup:** Configure Customer User Validation or Authorized Domains as a part of Whitelisting and finish the set up. Catalyst will display a confirmation that a third-party authentication service has been enabled and your application’s authentication is being handled by it. ### 3. Re-Import the Configuration File in your Android Project After you enable the third-party authentication for your Android app from the Catalyst console, you will need to download and import the [`app_configuration_development` or the `app_configuration_production` properties file](https://docs.catalyst.zoho.com/en/sdk/android/v2/setup/#step-2-import-the-configuration-file-in-your-android-project) in your Android project again, based on your app's [environment](https://docs.catalyst.zoho.com/en/deployment-and-billing/environments/introduction/). This is because this file will now include two additional properties: [`JWTClientID` and `JWTClientSecret`](https://docs.catalyst.zoho.com/en/sdk/android/v2/setup/#properties-of-the-app_configuration_developmentproperties-app_configuration_productionproperties-file). These properties will need to be passed in the next step, after you re-initialize the SDK. To re-download the configuration file: 1. Navigate to **Settings**, then [**Developer Tools**](https://docs.catalyst.zoho.com/en/getting-started/set-up-a-catalyst-project/developer-tools/) in your Catalyst console of your project. You will find your existing Android package under the Mobile SDK section. Open the package. ![android_sdk_download](https://catalyst-docs-development.zohostratus.in/images/sdk/android/android_sdk_re-download.webp) 2. Click on the required environment tab in the pop-up, then click **Download** to download the configuration file. ![android_sdk_download_2](https://catalyst-docs-development.zohostratus.in/images/sdk/android/android_sdk_re-download_2.webp) You can now re-import this downloaded configuration file by following the steps mentioned [here](https://docs.catalyst.zoho.com/en/sdk/android/v2/setup/#step-2-import-the-configuration-file-in-your-android-project). > **Note:** You need not perform the steps 3 to 5 given in the SDK setup help page again. ### 4. Re-Initialize the SDK You must now re-initialize the SDK to include the newly-downloaded properties in your code. Re-initializing the SDK can also be done in two ways similar to [initializing the SDK for the first time](https://docs.catalyst.zoho.com/en/sdk/android/v2/setup/#step-6-initialize-the-sdk): by specifying the environment of the project, and without specifying the environment where the production environment is considered the default. However, this will include additional SDK methods to confirm third-party authentication. #### Method 1: By specifying the environment You can re-initialize the SDK as shown below. You can pass the values for the `Environment` as either `DEVELOPMENT` or `PRODUCTION` based on the environment the app is operating in. The `isCustomLogin` indicates a boolean value that is set for the presence of a third-party authentication. These are passed to the `init()` method through the `ZCatalystApp` class as shown below: ```bash fun init( context: Context, environment: ZCatalystSDKConfigs.Environment, isCustomLogin: Boolean = false ): ZCatalystApp ``` A sample code snippet for this operation is given below: ```bash ZCatalystApp.init( context, ZCatalystSDKConfigs.Environment.{DEVELOPMENT}, true ) ``` #### Method 2: Without specifying the environment If the `Environment` is not specified in the SDK initialization, it would be considered as `PRODUCTION` by default. This method also lets you re-initialize the SDK by specifying the `JWTClientID` and `JWTClientSecret` properties obtained from the newly-downloaded configuration file through with `ZCatalystSDKConfigsBuilder`. This can be done in the following way: ```bash fun init(context: Context, sdkConfigs: ZCatalystSDKConfigs, isCustomLogin: Boolean = false): ZCatalystApp ``` A sample code snippet is given below: ```bash val sdkConfigs = ZCatalystSDKConfigs.Builder( apiBaseURL: 'https://api.catalyst.zoho.com', clientID: '100****************************FX', //JWTClientID clientSecret: '19ed***************************2s', //JWTClient secret redirectURL: '*****', oauthScopes: 'ZOHOCATALYST.tables.rows.ALL, ZOHOCATALYST.tables.columns.ALL', portalID: '10******79', projectID: 28*******90 ).setAccountsPortalBaseURL('https://accounts.zohoportal.com') .setUserAgent("ZCatalyst Sample App") .setRequestHeaders('PORTAL_ID', '*********') .build(); ZCatalystApp.init(context, sdkConfigs, true) ``` ### 5. Code the User Login Logic for the Third-Party Authentication You can now complete the setup by handling the login logic of the third-party authentication in your Android app. You must pass the `customToken` or `jwtToken` generated in [step 2](https://docs.catalyst.zoho.com/en/sdk/android/v2/cloud-scale/authentication/third-party-authentication/#2-set-up-the-third-party-authentication-type-in-catalyst) to the `handleCustomLogin()` method as shown below: ```bash fun handleCustomLogin(jwtToken :String, success: () -> Unit, failure: (ZCatalystException) -> Unit) ``` A sample code snippet is given below: ```bash ZCatalystApp.getInstance().handleCustomLogin("123xxxxxxxx", { println("Login successfully.") }, { println("Login failed.") }) ``` > **Note:** The custom server token will have to be generated every single time the user logs in to your application using a third-party authentication service. ### Data Store -------------------------------------------------------------------------------- title: "Create a New Data Store Instance" description: "Catalyst Data Store is a cloud-based relational database management system which stores the persistent data of your application in the form of tables." last_updated: "2026-11-03T07:48:52.000Z" source: "https://docs.catalyst.zoho.com/en/sdk/android/v2/cloud-scale/data-store/create-data-store-instance/" service: "CloudScale" related: - Data Store (/en/cloud-scale/help/data-store/introduction) - Data Store - API (/en/api/code-reference/cloud-scale/authentication/add-new-user/#AddNewUser) -------------------------------------------------------------------------------- # Data Store [Catalyst Data Store](https://docs.catalyst.zoho.com/en/cloud-scale/help/data-store/introduction) is a cloud-based relational database management system that stores the persistent data of your application through tables. ### Create a New Data Store Instance To access the Data Store of a Catalyst project, you can create an instance of the Data Store, and enable the methods defined in this class to access the instance object. This will prevent unnecessary server calls. You must call the `getDataStoreInstance()` method as shown in the code syntax below, to obtain the Data Store instance successfully: ```bash ZCatalystApp.getInstance().getDataStoreInstance(): ZCatalystDataStore ``` -------------------------------------------------------------------------------- title: "Create a New Table Instance" description: "You can create a table instance for a particular table in the Data Store, and enable the methods defined in this class to access the instance object." last_updated: "2026-11-03T07:48:52.000Z" source: "https://docs.catalyst.zoho.com/en/sdk/android/v2/cloud-scale/data-store/create-table-instance/" service: "CloudScale" related: - Data Store (/en/cloud-scale/help/data-store/introduction) - Tables (/en/cloud-scale/help/data-store/tables) - Data Store - API (/en/api/code-reference/cloud-scale/data-store/insert-new-row/#InsertNewRow) -------------------------------------------------------------------------------- # Create a New Table Instance You can create a table instance for a particular table in the [Data Store](https://docs.catalyst.zoho.com/en/cloud-scale/help/data-store/introduction), and enable the methods defined in this class to access the instance object. This prevents unnecessary server calls. A table instance can be created by calling the `getTableInstance()` method in either of the two ways mentioned below. The `<DATA_STORE_INSTANCE>` used in both the methods is the instance defined in the [Data Store Instance page](https://docs.catalyst.zoho.com/en/sdk/android/v2/cloud-scale/data-store/create-data-store-instance). ### Create a Table Instance by its ID You can create a table instance by passing the particular table ID as the argument to the `getTableInstance()` method, as shown in the code syntax below: ```bash <DATA_STORE_INSTANCE>.getTableInstance( id: Long ): ZCatalystTable ``` **Parameters**: * `id`: The [unique table ID](https://docs.catalyst.zoho.com/en/cloud-scale/help/data-store/tables) of the specific table the instance needs to be created for A sample code snippet is shown below: ```bash val table = ZCatalystApp.getInstance().getDataStoreInstance().getTableInstance(2823000000017011) //Replace this with your Table ID ``` ### Create a Table Instance by its Name Alternatively, you can create a table instance by passing the particular table's name as the argument to the `getTableInstance()` method, as shown in the code syntax below: ```bash <DATA_STORE_INSTANCE>.getTableInstance( identifier: String ): ZCatalystTable ``` **Parameters**: * `identifier`: The name of the specific table the instance needs to be created for A sample code snippet is shown below: ```bash val table = ZCatalystApp.getInstance().getDataStoreInstance().getTableInstance("EmployeeDetails") //Replace this with your table name ``` -------------------------------------------------------------------------------- title: "Get Column Metadata" description: "You can obtain the metadata of all columns or single specific column of a Data Store table of the given instance by its ID or name." last_updated: "2026-11-03T07:48:52.000Z" source: "https://docs.catalyst.zoho.com/en/sdk/android/v2/cloud-scale/data-store/get-column-metadata/" service: "CloudScale" related: - Data Store (/en/cloud-scale/help/data-store/introduction) - Columns (/en/cloud-scale/help/data-store/columns) - Get Metadata of Coulumns - API (/en/api/code-reference/cloud-scale/data-store/get-all-columns-metadata/#GetAllColumnsMetadata) -------------------------------------------------------------------------------- # Get Column Metadata ### Get the Metadata of a Specific Column You can obtain the metadata of a single specific column of a [Data Store](https://docs.catalyst.zoho.com/en/cloud-scale/help/data-store/introduction) table of the given instance by calling the `getColumn()` method. If the operation is successful, this method can return the metadata of the column, such as its data type, default value, or maximum length, or whether it is read only, unique, or mandatory. The metadata of a specific column can be fetched in two different ways. The `<TABLE_INSTANCE>` used in both the methods is the instance defined in the [Table Instance page](https://docs.catalyst.zoho.com/en/sdk/android/v2/cloud-scale/data-store/create-table-instance). #### i. Get a Column by its ID You can retrieve a specific column's metadata by passing the column ID as the argument to the `getColumn()` method, as shown in the code syntax below: ```bash <TABLE_INSTANCE>.getColumn( id: Long, success: (ZCatalystColumn) → Unit, failure: ((ZCatalystException) → Unit)? ): ZCatalystRequest<ZCatalystResponse<ZCatalystColumn>>? ``` **Parameters**: * `id`: The [unique Column ID](https://docs.catalyst.zoho.com/en/cloud-scale/help/data-store/columns/#column-characteristics) of the particular column that needs to be retrieved A sample code snippet is shown below: ```bash val table = ZCatalystApp.getInstance().getDataStoreInstance().getTableInstance("EmployeeDetails") //Replace this with your table name table.getColumn(2823000000017733, //Replace this with your Column ID { column -> println("Get Column success") println("The name of the column is: ${column.name}") }, { exception -> println("Get column failed! $exception") }) ``` #### ii. Get a Column by its Name You can retrieve a specific column's metadata by passing the column's name as the argument to the `getColumn()` method, as shown in the code syntax below: ```bash <TABLE_INSTANCE>.getColumn( name: String, success: (ZCatalystColumn) → Unit, failure: ((ZCatalystException) → Unit)? ): ZCatalystRequest<ZCatalystResponse<ZCatalystColumn>>? ``` **Parameters**: * `name`: The name of the particular column that needs to be retrieved A sample code snippet is shown below: ```bash val table = ZCatalystApp.getInstance().getDataStoreInstance().getTableInstance("EmployeeDetails") //Replace this with your table name table.getColumn("DepartmentName", //Replace this with your column name { column -> println("Get Column Success") println("The ID of the column is: ${column.id}") }, { exception -> println("Get column failed! $exception") }) ``` ### Get the Metadata of all Columns You can retrieve the metadata of all the columns of a table of the given instance, using the `getColumns()` method, as shown in the code syntax below. If the operation is successful, this method can return the metadata of all the columns of the specific table. The `<TABLE_INSTANCE>` used in the code below is the instance defined in the [Table Instance page](https://docs.catalyst.zoho.com/en/sdk/android/v2/cloud-scale/data-store/create-table-instance). ```bash <TABLE_INSTANCE>.getColumns( success: (List<ZCatalystColumn>) → Unit, failure: ((ZCatalystException) → Unit)? ): ZCatalystRequest<ZCatalystResponse<ArrayList<ZCatalystColumn>>>? ``` A sample code snippet is shown below: ```bash val table = ZCatalystApp.getInstance().getDataStoreInstance().getTableInstance("EmployeeDetails") //Replace this with your table name table.getColumns( { columns -> println("Get Columns success") for (column in columns) { println("${column.name}") } }, { exception -> println("Get Columns failed! $exception.") } ) ``` -------------------------------------------------------------------------------- title: "Get Rows" description: "You can retrieve a single specific row or all rows, even with pagination, from a Data Store table of the given instance." last_updated: "2026-11-03T07:48:52.000Z" source: "https://docs.catalyst.zoho.com/en/sdk/android/v2/cloud-scale/data-store/get-rows/" service: "CloudScale" related: - Data Store (/en/cloud-scale/help/data-store/introduction) - Records (/en/cloud-scale/help/data-store/records) - Get All Rows - API (/en/api/code-reference/cloud-scale/data-store/get-all-rows/#GetAllRows) -------------------------------------------------------------------------------- # Get Rows ### Get a Specific Row You can retrieve a single specific row from a [Data Store](https://docs.catalyst.zoho.com/en/cloud-scale/help/data-store/introduction) table of the given instance using the `getRow()` method. This is done by passing the unique ROWID of the row as the argument to this method, as shown in the code syntax below. The `<TABLE_INSTANCE>` used in the code below is the instance defined in the [Table Instance page](https://docs.catalyst.zoho.com/en/sdk/android/v2/cloud-scale/data-store/create-table-instance). ```bash <TABLE_INSTANCE>.getRow( id: Long, success: (ZCatalystRow) → Unit, failure: ((ZCatalystException) → Unit)? ): ZCatalystRequest<ZCatalystResponse<ZCatalystRow>>? ``` **Parameters**: * `id`: The [unique ROWID](https://docs.catalyst.zoho.com/en/cloud-scale/help/data-store/records/#create-a-new-record) of the particular row that needs to be retrieved A sample code snippet is shown below: ```bash val table = ZCatalystApp.getInstance().getDataStoreInstance().getTableInstance("EmployeeDetails") //Replace this with your table name table.getRow(2823000000014176, //Replace this with your Row ID { row -> println("Get Row Success") println(" The row details are: ${row.getData()}") }, { exception -> println("Get row failed! $exception") }) ``` ### Get Rows Through Pagination You can retrieve all the rows from a table in the Data Store by incorporating pagination in your code. Pagination allows you to fetch the rows of a table in batches or pages through iterations. For example, if you require the rows to be fetched in batches of 100 as individual pages, you can define the maximum rows to be fetched in each page and specify the count using `maxRows` as shown below. The `<TABLE_INSTANCE>` used in the code snippets below is the instance defined in the [Table Instance page](https://docs.catalyst.zoho.com/en/sdk/android/v2/cloud-scale/data-store/create-table-instance). ```bash <TABLE_INSTANCE>.getRows(maxRows: Int, success: (List<ZCatalystRow>, ResponseInfo) -> Unit, failure: ((ZCatalystException) -> Unit)? = null): ZCatalystRequest<ZCatalystResponse<ArrayList<ZCatalystRow>>>? ``` **Parameters**: * `maxRows`: The maximum number of rows to be fetched in this iteration A sample code snippet is given below: ```bash ZCatalystApp.getInstance().getDataStoreInstance().getTableInstance("EmployeeDetails").getRows( 10, { rows, info ->{ println("The token for next set of rows - ${info.nextToken}") println("Boolean to know if there are records in next page - ${info.moreRecords}") } }, { exception -> println("Failed to get the rows! $exception") }) ``` Additionally, after each execution of the loop, you will receive a token string in the response that authorizes the subsequent fetching of data. You can fetch this token through `info.nextToken`, and pass it as the value for `nextToken` during the subsequent iteration. During the first execution of the loop, the `nextToken` string is not passed. You can also verify the number of pending rows to be fetched through `info.moreRecords` as shown in the code snippet. You can fetch the next set of rows by passing the nextToken as well as `maxRows` if you require pagination to continue. This can be done as shown below. ```bash <TABLE_INSTANCE>.getRows(nextToken: String, maxRows: Int, success: (List<ZCatalystRow>, ResponseInfo) -> Unit, failure: ((ZCatalystException) -> Unit)? = null): ZCatalystRequest<ZCatalystResponse<ArrayList<ZCatalystRow>>>? ``` **Parameters**: * `maxRows`: The maximum number of rows to be fetched in this iteration * `nextToken`: The authorization token to fetch the next set of rows A sample code snippet is given below: ```bash ZCatalystApp.getInstance().getDataStoreInstance().getTableInstance("EmployeeDetails").getRows( "1000.6f********" , 20 , { rows, info ->{ println("The token for next set of rows - ${info.nextToken}") println("Boolean to know if there are records in next page - ${info.moreRecords}") } }, { exception -> println("Failed to get the rows! $exception") }) ``` You can fetch the `nextToken` and `moreRecords` information until `info.moreRecords` returns `FALSE`. If you prefer to fetch all pending rows after the first iteration and don't want to set a `maxRows` limit, you can do so in the following manner: ```bash <TABLE_INSTANCE>.getRows(nextToken: String, success: (List<ZCatalystRow>, ResponseInfo) -> Unit, failure: ((ZCatalystException) -> Unit)? = null): ZCatalystRequest<ZCatalystResponse<ArrayList<ZCatalystRow>>>? ``` **Parameters**: * `nextToken`: The authorization token to fetch the next set of rows A sample code snippet is given below: ```bash ZCatalystApp.getInstance().getDataStoreInstance().getTableInstance("EmployeeDetails").getRows( "1000.6f********", { rows, info ->{ println("The token for next set of rows - ${info.nextToken}") println("Boolean to know if there are records in next page - ${info.moreRecords}") } }, { exception -> println("Failed to get the rows! $exception") }) ``` This will make `info.moreRecords` return `FALSE`. ### Get All Rows You can retrieve all the rows of a table of the given instance using the `getRows()` method, as shown in the code syntax below. If the operation is successful, this method will return all the rows of the table without any filters or conditions. The `<TABLE_INSTANCE>` used in the code syntax below is the instance defined in the [Table Instance page](https://docs.catalyst.zoho.com/en/sdk/android/v2/cloud-scale/data-store/create-table-instance). ```bash <TABLE_INSTANCE>.getRows( success: (List<ZCatalystRow>,ResponseInfo) → Unit, failure: ((ZCatalystException) → Unit)?= null): ): ZCatalystRequest<ZCatalystResponse<ArrayList<ZCatalystRow>>>? ``` A sample code snippet is shown below: ```bash val table = ZCatalystApp.getInstance().getDataStoreInstance().getTableInstance("EmployeeDetails") //Replace this with your table name table.getRows( { rows, info ->{ println("The token for next set of rows - ${info.nextToken}") println("Boolean to know if there are records in next page - ${info.moreRecords}") } }, { exception -> println("Failed to get the rows! $exception") }) ``` > **Note:** Because this is an operation to fetch all the rows, you can ignore the `info.nextToken`. This will return all the rows available without pagination. The `info.moreRecords` will also return `FALSE` if all the rows are fetched. -------------------------------------------------------------------------------- title: "Get Column Value from Row" description: "You can retrieve a specific column's value in a row in a Data Store table." last_updated: "2026-11-03T07:48:52.000Z" source: "https://docs.catalyst.zoho.com/en/sdk/android/v2/cloud-scale/data-store/get-column-value-from-row/" service: "CloudScale" related: - Data Store (/en/cloud-scale/help/data-store/introduction) - Records (/en/cloud-scale/help/data-store/records) - Columns (/en/cloud-scale/help/data-store/columns) - Get Metadata of Columns - API (/en/api/code-reference/cloud-scale/data-store/get-all-columns-metadata/#GetAllColumnsMetadata) -------------------------------------------------------------------------------- # Get Column Value from Row You can retrieve a specific column's value in a row in a [Data Store](https://docs.catalyst.zoho.com/en/cloud-scale/help/data-store/introduction) table using the `getFieldValue()` method. For example, if you require the value of a single column called 'Employee ID' in a row, you can use this method to obtain that specific value. You must pass the Field Name of the column as the argument to the `getFieldValue()`method, as shown in the code syntax below. The `<TABLE_INSTANCE>` used in the code below is the instance defined in the [Table Instance page](https://docs.catalyst.zoho.com/en/sdk/android/v2/cloud-scale/data-store/create-table-instance). ```bash <TABLE_INSTANCE>.getRow( id : Long, success: (ZCatalystRow) → ZCatalystRow.getFieldValue(fieldAPIName: String): Any, failure: ((ZCatalystException) → Unit)? ): ZCatalystRequest<ZCatalystResponse<ZCatalystRow>>? ``` **Parameters**: * `id`: The The [unique ROWID](https://docs.catalyst.zoho.com/en/cloud-scale/help/data-store/records/#create-a-new-record) of the particular row that needs to be retrieved * `fieldAPIName`: The name of the column whose value needs to be fetched A sample code snippet is shown below: ```bash ZCatalystApp.getInstance().getDataStoreInstance().getTableInstance("EmployeeDetails").getRow(2823000000054062, // Replace this with your table name and the ROWID of the row { row -> println(" The value of 'Employee ID' field is :${row.getFieldValue("EmployeeID")}") //Replace this with your column name }, { exception -> println("Failed to get the column value! $exception") }) ``` -------------------------------------------------------------------------------- title: "Create a New Row Instance" description: "You can create a new row instance for a particular table in the Data Store." last_updated: "2026-11-03T07:48:52.000Z" source: "https://docs.catalyst.zoho.com/en/sdk/android/v2/cloud-scale/data-store/create-row-instance/" service: "CloudScale" related: - Data Store (/en/cloud-scale/help/data-store/introduction) - Records (/en/cloud-scale/help/data-store/records) - Insert Row - API (/en/api/code-reference/cloud-scale/data-store/insert-new-row/#InsertNewRow) -------------------------------------------------------------------------------- # Create a New Row Instance You can create a new row instance for a particular table in the [Data Store](https://docs.catalyst.zoho.com/en/cloud-scale/help/data-store/introduction), and enable the methods defined in this class to access the instance object. This prevents unnecessary server calls. A row instance can be created by calling the `newRow()` method, as shown in the code syntax below. The `<TABLE_INSTANCE>` used here is the instance defined in the [Table Instance page](https://docs.catalyst.zoho.com/en/sdk/android/v2/cloud-scale/data-store/create-table-instance). ```bash <TABLE_INSTANCE>.newRow(): ZCatalystRow ``` A sample code snippet is shown below: ```bash val rowInstance = ZCatalystApp.getInstance().getDataStoreInstance().getTableInstance("EmployeeDetails").newRow() //Replace this with your table name ``` -------------------------------------------------------------------------------- title: "Create Rows" description: "You can create a new row instance for a particular table in the Data Store, and enable the methods defined in this class to access the instance object." last_updated: "2026-11-03T07:48:52.000Z" source: "https://docs.catalyst.zoho.com/en/sdk/android/v2/cloud-scale/data-store/create-rows/" service: "CloudScale" related: - Data Store (/en/cloud-scale/help/data-store/introduction) - Records (/en/cloud-scale/help/data-store/records) - Insert Row - API (/en/api/code-reference/cloud-scale/data-store/insert-new-row/#InsertNewRow) -------------------------------------------------------------------------------- # Create Rows ### Create a Single Row You can create a new row in a [Data Store](https://docs.catalyst.zoho.com/en/cloud-scale/help/data-store/introduction) table of the given instance using the `newRow()` method. You must set the values of the rows in the table, by specifying the column name and the corresponding row value as a key-value pair. The `<ROW_INSTANCE>` used in the code syntax below is the instance defined in the [Row Instance page](https://docs.catalyst.zoho.com/en/sdk/android/v2/cloud-scale/data-store/create-row-instance). ```bash <ROW_INSTANCE>.create( success: (ZCatalystRow) → Unit, failure: ((ZCatalystException) → Unit)? ): ZCatalystRequest<ZCatalystResponse<ArrayList<ZCatalystRow>>>? ``` > **Note:** If a column was created with the `is_unique` or `is_mandatory` property enabled, you must ensure that the value is unique or is mandatorily passed, respectively. You must also ensure that the data you pass for a column is of the column's configured data type. A sample code snippet is shown below: ```bash val row = ZCatalystApp.getInstance().getDataStoreInstance().getTableInstance("EmployeeDetails").newRow() //Replace this with your table name row.setColumnValue("Department_Name", "Marketing") //Replace this with your column name and its value row.setColumnValue("Employee_ID", "109223") //Replace this with your column name and its value row.setColumnValue("Employee_Name", "Robert Smith") //Replace this with your column name and its value row.create( { success -> println("New row created successfully $success") }, { exception -> println("Failed to create a new row! $exception") } ) ``` ### Create Multiple Rows Catalyst Android SDK enables you to create multiple rows at a time in a table of the given instance. This is done by passing an array containing the rows that need to be inserted in the table. The array is passed as an argument to the `createRows()` method, as shown in the code syntax below. The `<TABLE_INSTANCE>` used in the code below is the instance defined in the [Table Instance page](https://docs.catalyst.zoho.com/en/sdk/android/v2/cloud-scale/data-store/create-table-instance). ```bash <TABLE_INSTANCE>.createRows( rows: ArrayList<ZCatalystRow>, success: (List<ZCatalystRow>) → Unit, failure: ((ZCatalystException) → Unit)? ): ZCatalystRequest<ZCatalystResponse<ArrayList<ZCatalystRow>>>? ``` **Parameters**: * `rows`: The array of rows to be created A sample code snippet is shown below: ```bash ZCatalystApp.getInstance().getDataStoreInstance().getTableInstance("EmployeeDetails").createRows( //Replace this with your table name rowsList, //Set the names and values of the columns and add them to an arrayList { rows -> println("The IDs of the rows that were successfully created are listed below:") for (row in rows){ println("${row.id}") } }, { exception -> println("Add Rows Failed! $exception") }) ``` -------------------------------------------------------------------------------- title: "Delete a Row" description: "Catalyst Android SDK enables you to delete a single row from a specific Data Store table." last_updated: "2026-11-03T07:48:52.000Z" source: "https://docs.catalyst.zoho.com/en/sdk/android/v2/cloud-scale/data-store/delete-row/" service: "CloudScale" related: - Data Store (/en/cloud-scale/help/data-store/introduction) - Records (/en/cloud-scale/help/data-store/records) - Delete Row - API (/en/api/code-reference/cloud-scale/data-store/delete-row/#DeleteRow) -------------------------------------------------------------------------------- # Delete a Row Catalyst Android SDK enables you to delete a single row from a specific [Data Store](https://docs.catalyst.zoho.com/en/cloud-scale/help/data-store/introduction) table. However, you will not be able to delete multiple rows at a time. You can delete a row from a table in either of these two methods: ### Delete a Row by passing the Row ID to the Table Instance You can delete a row from a table by passing the ROWID of the row as the argument to the `deleteRow()` method, as shown in the code syntax below. The `<TABLE_INSTANCE>` used in the code syntax below is the instance defined in the [Table Instance page](https://docs.catalyst.zoho.com/en/sdk/android/v2/cloud-scale/data-store/create-table-instance). ```bash <TABLE_INSTANCE>.deleteRow( rowId: Long, success: () → Unit, failure: ((ZCatalystException) → Unit)? ): ZCatalystRequest<Unit>? ``` **Parameters**: * `rowId`: The [unique ROWID](https://docs.catalyst.zoho.com/en/cloud-scale/help/data-store/records/#create-a-new-record) of the row to be deleted. A sample code snippet is shown below: ```bash ZCatalystApp.getInstance().getDataStoreInstance().getTableInstance("Project").deleteRow(2823000000098007, //Replace this with your table name and the ROWID of the row { println("Row deleted successfully $it") }, { exception -> println("Delete Row failed $exception") }) ``` ### Delete a Row by passing the Row Instance You can delete a row from a table simply by calling the `delete()` method for the row instance. The `<ROW_INSTANCE>` used in the code syntax below is the instance defined in the [Row Instance page](https://docs.catalyst.zoho.com/en/sdk/android/v2/cloud-scale/data-store/create-row-instance). ```bash <ROW_INSTANCE>.delete( success: () → Unit, failure: ((ZCatalystException) → Unit)? ): ZCatalystRequest<Unit>? ``` A sample code snippet is shown below: ```bash ZCatalystApp.getInstance().getDataStoreInstance().getTableInstance("EmployeeDetails").getRow(2823000000095003, //Replace this with your table name and the ROWID of the row { row -> row.delete( { println("Row deleted successfully") }, { exception -> println("Delete row failed $exception") } )}, { exception -> println("Exception occured $exception") }) ``` -------------------------------------------------------------------------------- title: "Update Rows" description: "You can update a single specific row or all rows in a Data Store table." last_updated: "2026-11-03T07:48:52.000Z" source: "https://docs.catalyst.zoho.com/en/sdk/android/v2/cloud-scale/data-store/update-rows/" service: "CloudScale" related: - Data Store (/en/cloud-scale/help/data-store/introduction) - Rows (/en/cloud-scale/help/data-store/records) - Update Row - API (/en/api/code-reference/cloud-scale/data-store/update-row/#UpdateRow) -------------------------------------------------------------------------------- # Update Rows ### Update a Specific Row You can update a single specific row in a [Data Store](https://docs.catalyst.zoho.com/en/cloud-scale/help/data-store/introduction) table using the `update()` method. This enables you to update the values of one or more columns of the row by passing the modified values of the columns as key-value pairs. The `<ROW_INSTANCE>` used in the code syntax below is the instance defined in the [Row Instance page](https://docs.catalyst.zoho.com/en/sdk/android/v2/cloud-scale/data-store/create-row-instance). ```bash <ROW_INSTANCE>.update( success: (ZCatalystRow) → Unit, failure: ((ZCatalystException) → Unit)? ): ZCatalystRequest<ZCatalystResponse<ArrayList<ZCatalystRow>>>? ``` A sample code snippet is shown below: ```bash ZCatalystApp.getInstance().getDataStoreInstance().getTableInstance("EmployeeDetails").getRow(2823000000095003, //Replace this with your table name and the ROWID of the row { row -> row.setColumnValue("Employee_Name", "Morgan Jones") row.update( { success -> println("Row updated successfully $success") }, { exception -> println("Failed to update the row $exception") } ) }) ``` ### Update all Rows You can update multiple row in a table by passing an array of the rows as an argument to the `updateRows()` method. This enables you to update the values of one or more columns of the rows, by passing the modified values of the columns as key-value pairs. The `<TABLE_INSTANCE>` used in the code below is the instance defined in the [Table Instance page](https://docs.catalyst.zoho.com/en/sdk/android/v2/cloud-scale/data-store/create-table-instance). ```bash <TABLE_INSTANCE>.updateRows( rows: ArrayList<ZCatalystRow>, success: (List<ZCatalystRow>) → Unit, failure: ((ZCatalystException) → Unit)? ): ZCatalystRequest<ZCatalystResponse<ArrayList<ZCatalystRow>>>? ``` **Parameters**: * `rows`: The array of rows to be updated A sample code snippet is shown below: ```bash ZCatalystApp.getInstance().getDataStoreInstance().getTableInstance("EmployeeDetails").updateRows( //Replace this with your table name rowsList, //Set the names and values of the columns and add them to an arrayList { println(">>>> Rows updated successfully $it") }, { println(">>>> Update Rows Failed $it") }) ``` ### Push Notifications -------------------------------------------------------------------------------- title: "Register Device for Push Notifications" description: "This page describes the method to register an Android device for remote push notifications after you register and enroll your Android app." last_updated: "2026-11-03T07:48:52.000Z" source: "https://docs.catalyst.zoho.com/en/sdk/android/v2/cloud-scale/push-notifications/register-device/" service: "CloudScale" related: - Push Notifications (/en/cloud-scale/help/push-notifications/introduction) - Android Push Notifications (/en/cloud-scale/help/push-notifications/android) - Push Notifications API for Android Devices (/en/api/code-reference/cloud-scale/push-notifications/android/send-android-push-notifications/#SendAndroidPushNotifications) - Push Notifications Flutter SDK (/en/sdk/flutter/v2/cloud-scale/push-notifications/register-device/) -------------------------------------------------------------------------------- # Push Notifications ### Introduction [Catalyst Push notifications](https://docs.catalyst.zoho.com/en/cloud-scale/help/push-notifications/introduction) enables you to send remote notifications to the users of your application, even when the app is not actively running on the user device. Catalyst provides you with an easy way to integrate push notifications into your Catalyst web, iOS, and Android applications. Before you send push notifications, you must follow a set of steps to register your app and enroll for Catalyst push notifications. These steps are mentioned in sequence below: 1. Generate Firebase's Android Configuration File 2. Generate Private Key for Firebase Access 3. Configure Android Push Notification Services in Catalyst 4. Register a Mobile Device for Push Notifications > **Note:** The **first three steps** are covered in detail in the [Push Notifications- Android help section](https://docs.catalyst.zoho.com/en/cloud-scale/help/push-notifications/android). This Android SDK help documentation only covers the fourth step regarding registering a device to send push notifications, as well as deregistering a device. You can implement steps 1 -3 by referring to the Push Notifications help document, before using the code given below. ### Register a Mobile Device for Push Notifications After you complete the first five steps mentioned above, you can implement the following code in your Android app that will register the device for Catalyst Push Notifications. To register an Android mobile device as a test device, you must call the `registerNotification()` method with the required parameters as shown in the following code snippet: ```bash val app = ZCatalystApp.getInstance() app.registerNotification(device_token,"bundleID", "appID", test_device_boolean, { Log.i("Register","App register successfully"); }, { Log.i("Register","App register failed"); }) ``` **Parameters:** * `device_token`: The device token obtained from [FCM for your app](https://docs.catalyst.zoho.com/en/cloud-scale/help/push-notifications/android/#configure-and-enroll-for-android-push-notifications). * `bundleID`: The Android app's bundle ID that you configured while [registering the app with Catalyst](https://docs.catalyst.zoho.com/en/sdk/android/v2/setup/) as well as in Firebase. * `appID`: The app ID generated by Catalyst for your app in Push Notifications. You can find this in the *Android* section of Push Notifications in your Catalyst console. * `test_device_boolean`: The value is set to `true` for test devices, and set to `false` for production devices. > **Note:** You can register a maximum of 10 Android devices as test devices to test Android push notifications. After your device is registered, you will be able to send push notifications to your app users. The users will need to provide the permission for your app to send push notifications to them on their device, by clicking **Allow** from the permission prompt. You can learn about sending test push notifications on your registered devices from the Catalyst console from [this help section](https://docs.catalyst.zoho.com/en/cloud-scale/help/push-notifications/android/#test-android-push-notifications). You can also send test notifications from the [API](https://docs.catalyst.zoho.com/en/api/code-reference/cloud-scale/push-notifications/android/send-android-push-notifications/#SendAndroidPushNotifications). Refer to the [Java](https://docs.catalyst.zoho.com/en/sdk/java/v1/cloud-scale/push-notifications/send-notifications/), [Node.js](https://docs.catalyst.zoho.com/en/sdk/nodejs/v2/cloud-scale/push-notifications/send-notifications/), and [Python](https://docs.catalyst.zoho.com/en/sdk/python/v1/cloud-scale/push-notifications/send-notifications/) SDK documentation to learn about sending push notifications through your codebase. -------------------------------------------------------------------------------- title: "Deregister Device for Push Notifications" description: "This page describes the method to deregister a registered Android device for remote push notifications." last_updated: "2026-11-03T07:48:52.000Z" source: "https://docs.catalyst.zoho.com/en/sdk/android/v2/cloud-scale/push-notifications/deregister-device/" service: "CloudScale" related: - Push Notifications (/en/cloud-scale/help/push-notifications/introduction) - Android Push Notifications (/en/cloud-scale/help/push-notifications/android) - Push Notifications API for Android Devices (/en/api/code-reference/cloud-scale/push-notifications/android/send-android-push-notifications/#SendAndroidPushNotifications) -------------------------------------------------------------------------------- # Deregister a Mobile Device for Push Notifications You can deregister a device that was registered for Catalyst Android push notifications by passing the required parameters to the `deregisterNotification()` method as shown below. ```bash val app = ZCatalystApp.getInstance() app.deregisterNotification (device_token,"bundleID", "appID", test_device_boolean, { Log.i("Unregister","App unregistered successfully"); }, { Log.i("Unregister","App unregisteration failed"); }) ``` **Parameters:** * `device_token`: The device token obtained from [FCM for your app](https://docs.catalyst.zoho.com/en/cloud-scale/help/push-notifications/android/#configure-and-enroll-for-android-push-notifications). * `bundleID`: The Android app's bundle ID that you configured while [registering the app with Catalyst](https://docs.catalyst.zoho.com/en/sdk/android/v2/setup/) as well as in Firebase. * `appID`: The app ID generated by Catalyst for your app in Push Notifications. You can find this in the *Android* section of Push Notifications in your Catalyst console. * `test_device_boolean`: The value is set to `true` for test devices, and set to `false` for production devices ### Search -------------------------------------------------------------------------------- title: "Search Data in Tables" description: "Catalyst Search enables data searching in the indexed columns of the tables in the Data Store, through volumes of data with a single search query." last_updated: "2026-11-04T10:10:44.000Z" source: "https://docs.catalyst.zoho.com/en/sdk/android/v2/cloud-scale/search/search-data-in-tables/" service: "CloudScale" related: - Data Store (/en/cloud-scale/help/data-store/introduction) - Search (/en/cloud-scale/help/search-integration/introduction) - Search - API (/en/api/code-reference/cloud-scale/zcql/execute-zcql-query/#ExecuteZCQLQuery) -------------------------------------------------------------------------------- # Search [Catalyst Search](https://docs.catalyst.zoho.com/en/cloud-scale/help/search-integration/introduction) enables data searching in the indexed columns of the tables in the [Data Store](https://docs.catalyst.zoho.com/en/cloud-scale/help/data-store/introduction). It allows you to perform powerful searches through volumes of data with a single search query. > **Note:** The columns you search for data must be indexed. You can enable search indexing for a column while [creating it](https://docs.catalyst.zoho.com/en/cloud-scale/help/data-store/columns/#create-a-new-column) or by [editing it](https://docs.catalyst.zoho.com/en/cloud-scale/help/data-store/columns/#edit-a-column) later. ### Search Data in Tables To search for data in a table in a specific pattern, you must specify the table name as the identifier, and add the columns to be searched in. The columns can be added to an array and the array must be passed to the `search()` method along with the keywords to be searched through an instance of the class `ZCatalystSearchOptions`. You must construct the search pattern to pass to the `search()` method before you execute a search operation, as shown in the code syntax below. ```bash ZCatalystApp.getInstance().search( searchOptions: ZCatalystSearchOptions, success: (Map<String, List<Map<String, Any?>>>) → Unit, failure: ((ZCatalystException) → Unit)? ): ZCatalystRequest<ZCatalystResponse<Map<String, List<Map<String, Any?>>>>>? ``` **Parameters**: * `searchOptions`: The instance of the `ZCatalystSearchOptions` class to be passed to the `search()` method You can create the instance for `searchOptions()` in the following way: ```bash ZCatalystSearchOptions(searchText: String, ArrayList<ZCatalystSearchOptions.TableColumns) .addSortColumn(tableName: String,columnName: String): Unit .setDisplayColumns(displayTableColumns: ArrayList<ZCatalystSearchOptions.TableColumns>): Unit .setSearchColumns(searchTableColumns: ArrayList<ZCatalystSearchOptions.TableColumns>): Unit .setSearchPattern(pattern: ZCatalystSearchOptions.SearchPattern): Unit ``` A sample code snippet of a search execution is shown below: ```bash val tableColumns = ZCatalystSearchOptions.TableColumns("EmployeeDetails") //Replace this with your table name tableColumns.addColumn("Age") //Replace this with your column name val arr = arrayListOf() arr.add(tableColumns) val searchOptions = ZCatalystSearchOptions("26",arr) //Replace this with your search text ZCatalystApp.getInstance().search(searchOptions, { println(">> success - $it") }, { println(">> failed - $it") }) ``` ### Stratus -------------------------------------------------------------------------------- title: "Overview" description: "This page provides an overview of the mobile SDK methods required to perform Stratus operations." last_updated: "2026-11-03T07:48:52.000Z" source: "https://docs.catalyst.zoho.com/en/sdk/android/v2/cloud-scale/stratus/overview/" service: "CloudScale" related: - Stratus Component Help Documentation (/en/cloud-scale/help/stratus/introduction) - Java SDK (/en/sdk/java/v1/cloud-scale/stratus/overview/) - JavaScript SDK Documentation (/en/sdk/javascript/v1/cloudscale/stratus/overview/) - Python SDK (/en/sdk/python/v1/cloud-scale/stratus/overview/) - iOS SDK (/en/sdk/ios/v2/cloud-scale/stratus/overview/) - Flutter SDK (/en/sdk/flutter/v2/cloud-scale/stratus/overview/) - REST API (/en/api/code-reference/cloud-scale/stratus/get-all-buckets/#GetAllBuckets) -------------------------------------------------------------------------------- # Overview CloudScale [Stratus](https://docs.catalyst.zoho.com/en/cloud-scale/help/stratus/introduction) is Catalyst's robust and powerful storage solution. You can store data of any format in the form of [Objects](https://docs.catalyst.zoho.com/en/cloud-scale/help/stratus/objects/introduction/) in containers called [Buckets](https://docs.catalyst.zoho.com/en/cloud-scale/help/stratus/buckets/name-bucket/). Each Bucket and every individual object in the bucket has a secure [Object URL](https://docs.catalyst.zoho.com/en/cloud-scale/help/stratus/objects/introduction/#object-url) and [Bucket URL](https://docs.catalyst.zoho.com/en/cloud-scale/help/stratus/buckets/create-bucket/#bucket-url). You can perform upload and download operations on objects and even provide [custom permissions](https://docs.catalyst.zoho.com/en/cloud-scale/help/stratus/stratus-permissions/#custom-permissions) for each object. The following table contains the list of all the Catalyst SDKs that can be used to perform Stratus operations through code.
Category SDK Method
General Stratus Operations [Create Bucket Instance](https://docs.catalyst.zoho.com/en/sdk/android/v2/cloud-scale/stratus/create-bucket-instance/)
Bucket Operations
  • [Get Object](https://docs.catalyst.zoho.com/en/sdk/android/v2/cloud-scale/stratus/get-object/)
    • [Get All Objects](https://docs.catalyst.zoho.com/en/sdk/android/v2/cloud-scale/stratus/get-object/#get-all-objects)
  • [Download an Object](https://docs.catalyst.zoho.com/en/sdk/android/v2/cloud-scale/stratus/download-object/)
  • [Upload Object](https://docs.catalyst.zoho.com/en/sdk/android/v2/cloud-scale/stratus/upload-object/)
    • [Upload an Object Using File Path and Name](https://docs.catalyst.zoho.com/en/sdk/android/v2/cloud-scale/stratus/upload-object/#upload-an-object-using-file-path-and-name)
    • [Upload an Object Using File Path](https://docs.catalyst.zoho.com/en/sdk/android/v2/cloud-scale/stratus/upload-object/#upload-an-object-using-file-path)
    • [Upload an Object Using InputStream and File Name](https://docs.catalyst.zoho.com/en/sdk/android/v2/cloud-scale/stratus/upload-object/#upload-an-object-using-inputstream-and-file-name)
  • [Delete Object](https://docs.catalyst.zoho.com/en/sdk/android/v2/cloud-scale/stratus/delete-object/)
    • [Delete a Single Object](https://docs.catalyst.zoho.com/en/sdk/android/v2/cloud-scale/stratus/delete-object/#delete-a-single-object)
    • [Delete Multiple Objects](https://docs.catalyst.zoho.com/en/sdk/android/v2/cloud-scale/stratus/delete-object/#delete-multiple-objects)
  • [Delete Path](https://docs.catalyst.zoho.com/en/sdk/android/v2/cloud-scale/stratus/delete-path/)
-------------------------------------------------------------------------------- title: "Create Bucket Instance" description: "This page lists the Android SDK method to create a bucket instance." last_updated: "2026-11-03T15:16:51.000Z" source: "https://docs.catalyst.zoho.com/en/sdk/android/v2/cloud-scale/stratus/create-bucket-instance/" service: "CloudScale" related: - Stratus Component Help Documentation (/en/cloud-scale/help/stratus/introduction) - Java SDK (/en/sdk/java/v1/cloud-scale/stratus/create-bucket-instance/) - JavaScript SDK Documentation (/en/sdk/javascript/v1/cloudscale/stratus/create-bucket-instance/) - Python SDK (/en/sdk/python/v1/cloud-scale/stratus/create-bucket-instance/) - iOS SDK (/en/sdk/ios/v2/cloud-scale/stratus/create-bucket-instance/) - Flutter SDK (/en/sdk/flutter/v2/cloud-scale/stratus/initialize-stratus/#initialize-bucket-instance) - REST API (/en/api/code-reference/cloud-scale/stratus/get-all-buckets/#GetAllBuckets) -------------------------------------------------------------------------------- # Create Bucket Instance To perform bucket level operations, you need to initialize a bucket instance. We will refer to this component instance in various code snippets of working with [Buckets](https://docs.catalyst.zoho.com/en/cloud-scale/help/stratus/buckets/name-bucket/) in Stratus. ```bash var bucket = ZCatalystStratus.getBucketInstance("{bucket_name}") ``` -------------------------------------------------------------------------------- title: "Get Object" description: "This page lists the Android SDK method to get an object or objects from the bucket." last_updated: "2026-11-03T07:48:52.000Z" source: "https://docs.catalyst.zoho.com/en/sdk/android/v2/cloud-scale/stratus/get-object/" service: "CloudScale" related: - Stratus Component Help Documentation (/en/cloud-scale/help/stratus/introduction) - Java SDK (/en/sdk/java/v1/cloud-scale/stratus/download-object/) - JavaScript SDK Documentation (/en/sdk/javascript/v1/overview/) - Python SDK (/en/sdk/python/v1/cloud-scale/stratus/download-object/) - iOS SDK (/en/sdk/ios/v2/cloud-scale/stratus/get-object/) - Flutter SDK (/en/sdk/flutter/v2/cloud-scale/stratus/get-object/) - REST API (/en/api/code-reference/cloud-scale/stratus/get-all-objects/#GetAllObjects) -------------------------------------------------------------------------------- # Get Object This SDK method can be used to get an object from the bucket. The response will be in **blob** format. When [Versioning](https://docs.catalyst.zoho.com/en/cloud-scale/help/stratus/stratus-config/general-settings/#versioning) is enabled for the bucket: * If you do not pass the `versionId`, then only the **latest object** will be returned. * To retrieve a specific version, use the `versionId` query parameter with a valid version as a value. **Parameters Used**
Parameter Name Definition
`name` A **mandatory** parameter. Will contain the object name.
`versionId` An **optional** parameter. Will hold the unique version ID of the required object's version.
```bash bucketInstance.getObject("{object_name}", "{version_id}", { object -> println("The name of the object is : ${object.name}") }, { exception -> println("Get object failed! $exception") } ) ``` ### Get All Objects This SDK method can be used to get all the objects present in the bucket using pagination technique. **Parameters Used**
Parameter Name Data Type Definition
`prefix` **String** An **Optional** parameter. This will get the objects that match the prefix value.
`max_keys` **Number** An **Optional** parameter. Will contain the maximum limit of objects that can be listed by pagination.
`continuation_token` **String** An **Optional** parameter. If the response was truncated, the value of this key must be passed as `continuation_token` to the same method for retrieving the next set of objects.
```bash bucketInstance.getObjects({max_keys}, {continuation_token}, {prefix}, { objects -> for (obj in objects){ println("Object name: ${obj.name}") } }, { exception -> println("Get objects failed! $exception") } ) ``` -------------------------------------------------------------------------------- title: "Download Object" description: "This page lists the Android SDK methods to download an object to the bucket." last_updated: "2026-11-03T15:19:21.000Z" source: "https://docs.catalyst.zoho.com/en/sdk/android/v2/cloud-scale/stratus/download-object/" service: "CloudScale" related: - Stratus Component Help Documentation (/en/cloud-scale/help/stratus/introduction) - Download an Object (/en/cloud-scale/help/stratus/objects/manage-object/download-object/) - Java SDK (/en/sdk/java/v1/cloud-scale/stratus/download-object/) - JavaScript SDK Documentation (/en/sdk/javascript/v1/overview/) - Python SDK (/en/sdk/python/v1/cloud-scale/stratus/download-object/) - iOS SDK (/en/sdk/ios/v2/cloud-scale/stratus/download-object/) - Flutter SDK (/en/sdk/flutter/v2/cloud-scale/stratus/download-object/) - REST API (/en/api/code-reference/cloud-scale/stratus/download-object/#DownloadObject) -------------------------------------------------------------------------------- # Download an Object This SDK method will allow you to download the object. **Parameters Used**
Parameter Name Data Type Definition
`versionId` **String** An **optional** parameter. Will hold the unique version ID of the required object's version.
`fromCache` **Boolean**
  • An **optional** parameter. To be used to specify whether this file has to be retrieved from the cache or not.
  • **Default Value**: false.
```bash bucketInstance.getObject("SunSet.jpeg", "2823000000044005", //Replace this with your Object Name and Object ID { object -> object.download( { println("File download success ${it.available()}") }, { println("File download failed $it") } ) } ``` -------------------------------------------------------------------------------- title: "Upload Object" description: "This page lists the Android SDK methods to upload an object to the bucket." last_updated: "2026-11-03T07:48:52.000Z" source: "https://docs.catalyst.zoho.com/en/sdk/android/v2/cloud-scale/stratus/upload-object/" service: "CloudScale" related: - Stratus Component Help Documentation (/en/cloud-scale/help/stratus/introduction) - Upload Object Help Documentation (/en/cloud-scale/help/stratus/objects/upload-object/) - Java SDK (/en/sdk/java/v1/cloud-scale/stratus/upload-object/) - JavaScript SDK Documentation (/en/sdk/javascript/v1/cloudscale/stratus/upload-object/) - Python SDK (/en/sdk/python/v1/cloud-scale/stratus/upload-object/) - iOS SDK (/en/sdk/ios/v2/cloud-scale/stratus/upload-object/) - Flutter SDK (/en/sdk/flutter/v2/cloud-scale/stratus/upload-object/) - REST API (/en/api/code-reference/cloud-scale/stratus/upload-object/#UploadObject) -------------------------------------------------------------------------------- # Upload Object The SDK method listed in this section will allow you to [upload objects](https://docs.catalyst.zoho.com/en/cloud-scale/help/stratus/objects/upload-object/) to the [bucket](https://docs.catalyst.zoho.com/en/cloud-scale/help/stratus/buckets/name-bucket/) If you do not have [Versioning](https://docs.catalyst.zoho.com/en/cloud-scale/help/stratus/stratus-config/general-settings/#versioning) enabled for your object, and if Stratus gets multiple write requests for the same object, the object will be continuously overwritten. The latest upload of the object will be the only object that is stored. However, with Versioning enabled, each upload will be considered a version of the object, and all of them will be stored in the bucket, each with a unique `versionId`. > **Note:** The following characters including space are not supported when you create a path or an object: double quote, both angular brackets, hashtag, backward slash and pipe symbol. ### Upload an Object Using File Path and Name This SDK can be used to upload an object to the bucket using its complete name and [path](https://docs.catalyst.zoho.com/en/cloud-scale/help/stratus/objects/introduction/#path). **Parameters Used**
Parameter Name Data type Definition
`filePath` **String** A **mandatory** parameter. Will contain the complete path of the location from where the file needs to be uploaded from.
`fileName` **String**
  • An **mandatory** parameter. Will hold the complete name of the object.
  • **Default Value**: Will hold the value of the last path value that was used.
`shouldCompress` **Boolean**
  • An **optional** parameter. To allow you to choose if the object needs to be compressed or not.
  • **Default Value**: false.
`progress` **Function**
  • An **optional** parameter. This is a callback function while uploading a file.
```bash bucketIntance.uploadObject("/Desktop", "Helplinecard.jpeg", true, { println(" >> Object Upload Success -$it") }, { println(" >> Object Upload Failed -$it") }, progress = { bytesWritten, contentLength, percentage -> println("Percentage: $percentage") } ) ``` ### Upload an Object Using File Path This SDK can be used to upload an object to the bucket using its complete [path](https://docs.catalyst.zoho.com/en/cloud-scale/help/stratus/objects/introduction/#path). **Parameters Used**
Parameter Name Data type Definition
`filePath` **String** A **mandatory** parameter. Will contain the complete path of the location from where the file needs to be uploaded from.
`shouldCompress` **Boolean**
  • An **optional** parameter. To allow you to choose if the object needs to be compressed or not.
  • **Default Value**: false.
`progress` **Function**
  • An **optional** parameter. This is a callback function while uploading a file.
```bash bucketIntance.uploadObject("/Desktop", "Helplinecard.jpeg", true, { println(" >> Object Upload Success -$it") }, { println(" >> Object Upload Failed -$it") }, progress = { bytesWritten, contentLength, percentage -> println("Percentage: $percentage") } ) ``` ### Upload an Object Using InputStream and File Name This SDK can be used to upload an object to the bucket using its file name and an input stream of the object to be uploaded. **Parameters Used**
Parameter Name Data type Definition
`stream` **InputStream** A **mandatory** parameter. Will contain the input stream of the object that needs to be uploaded.
`fileName` **String**
  • An **mandatory** parameter. Will hold the complete name of the object.
  • **Default Value**: Will hold the value of the last path value that was used.
`shouldCompress` **Boolean**
  • An **optional** parameter. To allow you to choose if the object needs to be compressed or not.
  • **Default Value**: false.
`progress` **Function**
  • An **optional** parameter. This is a callback function while uploading a file.
```bash val file = File("/Desktop/HelplineCard.jpg") val inputStream: InputStream = FileInputStream(file) bucketIntance.uploadObject(inputSrream, "Helplinecard.jpeg", true, { println(" >> Object Upload Success -$it") }, { println(" >> Object Upload Failed -$it") }, progress = { bytesWritten, contentLength, percentage -> println("Percentage: $percentage") } ) ``` -------------------------------------------------------------------------------- title: "Delete Object" description: "This page lists the Android SDK methods to delete an object or objects from the bucket." last_updated: "2026-11-03T07:48:52.000Z" source: "https://docs.catalyst.zoho.com/en/sdk/android/v2/cloud-scale/stratus/delete-object/" service: "CloudScale" related: - Stratus Component Help Documentation (/en/cloud-scale/help/stratus/introduction) - Delete an Object Help Documentation (/en/cloud-scale/help/stratus/objects/manage-object/delete-object/) - Java SDK (/en/sdk/java/v1/cloud-scale/stratus/delete-objects/) - JavaScript SDK Documentation (/en/sdk/javascript/v1/cloudscale/stratus/delete-object/) - Python SDK (/en/sdk/python/v1/cloud-scale/stratus/delete-objects/) - iOS SDK (/en/sdk/ios/v2/cloud-scale/stratus/delete-object/) - Flutter SDK (/en/sdk/flutter/v2/cloud-scale/stratus/delete-object/) - REST API (/en/api/code-reference/cloud-scale/stratus/delete-objects/#DeleteObject) -------------------------------------------------------------------------------- # Delete Object ### Delete a Single Object The following SDK method can be used to delete a single object from the bucket. ```bash bucketInstance.getObject("SunSet.jpeg", "2823000000044005", //Replace this with your Object Name and Object ID { object -> object.delete( { println("Object Deletion Success.") }, { println("Failed to delete the object. $it") } ) ``` ### Delete Multiple Objects The following SDK method can be used to delete multiple objects from the bucket. **Parameters Used**
Parameter Name Data Type Definition
`objects` **ArrayList<ZCatalystObject>** An array containing the list of objects (and version IDs, if [Versioning](https://docs.catalyst.zoho.com/en/cloud-scale/help/stratus/stratus-config/general-settings/#versioning) is enabled for the bucket) that needs to be deleted.
```bash bucketInstance.getObjects( success = { objects, resInfo -> bucketInstance.deleteObjects(objects, { println("DELETE BULK OBJECTS : SUCCESS"), }, { println("Delete Objects Failed: $it") } ) ``` -------------------------------------------------------------------------------- title: "Delete Path" description: "This page lists the Android SDK methods to delete an entire path along with its objects from the bucket." last_updated: "2026-11-03T07:48:52.000Z" source: "https://docs.catalyst.zoho.com/en/sdk/android/v2/cloud-scale/stratus/delete-path/" service: "CloudScale" related: - Stratus Component Help Documentation (/en/cloud-scale/help/stratus/introduction) - Delete an Object Help Documentation (/en/cloud-scale/help/stratus/objects/manage-object/delete-object/) - Java SDK (/en/sdk/java/v1/cloud-scale/stratus/delete-objects/) - JavaScript SDK Documentation (/en/sdk/javascript/v1/cloudscale/stratus/delete-object/) - Python SDK (/en/sdk/python/v1/cloud-scale/stratus/delete-objects/) - iOS SDK (/en/sdk/ios/v2/cloud-scale/stratus/delete-path/) - Flutter SDK (/en/sdk/flutter/v2/cloud-scale/stratus/delete-path/) - REST API (/en/api/code-reference/cloud-scale/stratus/delete-path/#DeletePath) -------------------------------------------------------------------------------- # Delete Path The following SDK method can be used to delete all the objects present in the specified [path](https://docs.catalyst.zoho.com/en/cloud-scale/help/stratus/objects/introduction/#path). **Parameters Used**
Parameter Name Data Type Definition
`path` **String** A **mandatory** parameter. Will contain the complete path of where the file should be uploaded.
```bash bucketInstance.deletePath("myFolder/", { println("Objects deleted successfully.") }, { println("Failed to delete the objects - $it") } ) ``` ### ZCQL -------------------------------------------------------------------------------- title: "Execute ZCQL Query" description: "ZCQL is Catalyst's own query language that enables you to perform data creation, retrieval, and modification operations in the Data Store." last_updated: "2026-11-03T07:48:52.000Z" source: "https://docs.catalyst.zoho.com/en/sdk/android/v2/cloud-scale/zcql/execute-zcql-query/" service: "CloudScale" related: - Data Store (/en/cloud-scale/help/data-store/introduction) - ZCQL (/en/cloud-scale/help/zcql/introduction/) - Execute ZCQL - API (/en/api/code-reference/cloud-scale/zcql/execute-zcql-query/#ExecuteZCQLQuery) -------------------------------------------------------------------------------- # ZCQL ZCQL is Catalyst's own query language that enables you to perform data creation, retrieval, and modification operations in the [Data Store](https://docs.catalyst.zoho.com/en/cloud-scale/help/data-store/introduction). It supports queries with built-in functions, SQL Join clauses, and other statements and conditions. ### Execute a ZCQL Query Before you execute a ZCQL query to fetch the required data set, you must construct the query to pass it to the `execute()` method. You can learn about the ZCQL syntax from the [ZCQL help page](https://docs.catalyst.zoho.com/en/cloud-scale/help/zcql/introduction). You must pass an instance of `ZCatalystSelectQuery` to the `execute()` method, as shown in the code syntax of a ZCQL query execution below. The `<DATA_STORE_INSTANCE>` used here is the instance defined in the [Data Store Instance page](https://docs.catalyst.zoho.com/en/sdk/android/v2/cloud-scale/data-store/create-data-store-instance). ```bash ZCatalystApp.getInstance().getDataStoreInstance().execute( selectQuery: ZCatalystSelectQuery, success: (List<Map<String, Map<String, Any?>>>) → Unit, failure: ((ZCatalystException) → Unit)? ): ZCatalystRequest<ZCatalystResponse<List<Map<String, Any?>>>>>? ``` **Parameters**: * `selectQuery`: The instance of the type `ZCatalystSelectQuery` to be passed You can create a `selectQuery` instance for `ZCatalystSelectQuery` for the statements supported by ZCQL, in the following way: ```bash ZCatalystSelectQuery.Builder() .select(columns: Set<Column>): ZCatalystSelectQuery.Builder .selectAll(): ZCatalystSelectQuery.Builder .where(column: String, comparator: ZCatalystUtil.Comparator, value: String): ZCatalystSelectQuery.Builder .from(tableName: String): ZCatalystSelectQuery.Builder .and(column: String, comparator: ZCatalystUtil.Comparator, value: String): ZCatalystSelectQuery.Builder .groupBy(columns: Set<Column>): ZCatalystSelectQuery.Builder .orderBy(columns: Set<Column>, sortOrder: ZCatalystUtil.SortOrder): ZCatalystSelectQuery.Builder .innerJoin(tableName: String): ZCatalystSelectQuery.Builder .leftJoin(tableName: String): ZCatalystSelectQuery.Builder .on(joinColumn1: String, comparator: ZCatalystUtil.Comparator, joinColumn2: String): ZCatalystSelectQuery.Builder .or(column: String, comparator: ZCatalystUtil.Comparator, value: String): ZCatalystSelectQuery.Builder .limit(offset: Int, value: Int?): ZCatalystSelectQuery.Builder .build(): ZCatalystSelectQuery ``` A sample code snippet of a ZCQL query execution is shown below: ```bash val query = ZCatalystSelectQuery.Builder() .selectAll() .from("EmployeeDetails") //Replace this with your table name .where("Location", ZCatalystUtil.Comparator.EQUAL_TO, "Austin") .and("Department", ZCatalystUtil.Comparator.EQUAL_TO, "Marketing") .or("isActive", ZCatalystUtil.Comparator.EQUAL_TO, "true") .limit(5) .build() ZCatalystApp.getInstance().getDataStoreInstance().execute(query, { println("Query executed successfully. $it") }, { exception -> println("Exception occured $exception") }) ``` ## SDK — Flutter — CloudScale ### Authentication -------------------------------------------------------------------------------- title: "Create User Instance" description: "You can create a new user instance to perform user operations in your Flutter app." last_updated: "2026-11-03T07:48:52.000Z" source: "https://docs.catalyst.zoho.com/en/sdk/flutter/v2/cloud-scale/authentication/create-user-instance/" service: "CloudScale" related: - Authentication (/en/cloud-scale/help/authentication/introduction) - Users (/en/cloud-scale/help/authentication/user-management/users/introduction/) - Add New User - API (/en/api/code-reference/cloud-scale/authentication/add-new-user/#AddNewUser) -------------------------------------------------------------------------------- # Authentication [Catalyst Authentication](https://docs.catalyst.zoho.com/en/cloud-scale/help/authentication/introduction) features enable you to manage the user authentication of your Catalyst app, add users, and configure their user accounts. ## Create a New User Instance You can create a new user instance, and enable the methods defined in this class to access the instance object. This will prevent unnecessary server calls. You must pass the user's details to the `newUser()` method, as shown in the code syntax below. You must pass the user's email address and first name mandatorily to create the instance successfully. ```bash ZCatalystUserDelegate newUser({ required String firstName, required String emailId, String? lastName, ZCatalystRole? role, }) ``` **Parameters**: * `lastName` (Mandatory): The last name of the new user. * `email` (Mandatory): Email address of the user to which the [invitation mail](https://docs.catalyst.zoho.com/en/cloud-scale/help/authentication/user-management/users/implementation/) will be sent. * `lastName`: The last name of the new user. * `role`: The [role](https://docs.catalyst.zoho.com/en/cloud-scale/help/authentication/user-management/roles/introduction/) the user must be assigned to. A sample code snippet is shown below: ```bash ZCatalystUserDelegate newUser = ZCatalystApp.getInstance().newUser( firstName: 'Patricia', emailId: 'p.boyle@zylker.com', lastname: 'Boyle', role: Admin, ); ``` -------------------------------------------------------------------------------- title: "User Signup" description: "You can add new users to your Flutter application through signup" last_updated: "2026-11-03T07:48:52.000Z" source: "https://docs.catalyst.zoho.com/en/sdk/flutter/v2/cloud-scale/authentication/user-signup/" service: "CloudScale" related: - Authentication (/en/cloud-scale/help/authentication/introduction) - Users (/en/cloud-scale/help/authentication/user-management/users/introduction/) - Authentication - API (/en/api/code-reference/cloud-scale/authentication/add-new-user/#AddNewUser) -------------------------------------------------------------------------------- # User Signup You can add a new [user](https://docs.catalyst.zoho.com/en/cloud-scale/help/authentication/user-management/users/introduction/) to your Catalyst app by calling the `signUp()` method. You must pass the [user instance defined here](https://docs.catalyst.zoho.com/en/sdk/flutter/v2/cloud-scale/authentication/create-user-instance) as the argument to the `signup()` method. The code syntax for user signup is given below: ```bash Future<(APIResponse, ZCatalystUser)> signUp(ZCatalystUserDelegate newUser) ``` **Parameters**: * `newUser`: The user instance created [before this operation](https://docs.catalyst.zoho.com/en/sdk/flutter/v2/cloud-scale/authentication/create-user-instance/) A sample code snippet is shown below: ```bash ZCatalystApp.getInstance().newUser( firstName: 'Patricia', emailId: 'p.boyle@zylker.com', ); try { var (response, user) = await ZCatalystApp.getInstance().signUp(newUser); print('User ID: ${user.id}') } on ZCatalystException catch (ex) { print(ex.toString()); } ``` -------------------------------------------------------------------------------- title: "User Login" description: "You can display the login page to the end user of your Catalyst Flutter app." last_updated: "2026-11-03T07:48:52.000Z" source: "https://docs.catalyst.zoho.com/en/sdk/flutter/v2/cloud-scale/authentication/user-login/" service: "CloudScale" related: - Authentication (/en/cloud-scale/help/authentication/introduction) - Users (/en/cloud-scale/help/authentication/user-management/users/introduction/) - Authentication - API (/en/api/code-reference/cloud-scale/authentication/add-new-user/#AddNewUser) -------------------------------------------------------------------------------- # User Login You can display the login page to the [end user](https://docs.catalyst.zoho.com/en/cloud-scale/help/authentication/user-management/users/introduction/) of your Catalyst Flutter app using the `login()` method. This will be displayed when the user is logged out of the app. If the login is successful, the user will be able to access the app. A sample code snippet is shown below: ```bash await ZCatalystApp.getInstance().login() ``` -------------------------------------------------------------------------------- title: "User Logout" description: "You can log an app user out from the Catalyst Flutter app." last_updated: "2026-11-03T07:48:52.000Z" source: "https://docs.catalyst.zoho.com/en/sdk/flutter/v2/cloud-scale/authentication/user-logout/" service: "CloudScale" related: - Authentication (/en/cloud-scale/help/authentication/introduction) - Users (/en/cloud-scale/help/authentication/user-management/users/introduction/) - Logout User - API (/en/api/code-reference/cloud-scale/authentication/sign-out-user/#SignOutUser) -------------------------------------------------------------------------------- # User Logout The `logout()` method can log an [app user](https://docs.catalyst.zoho.com/en/cloud-scale/help/authentication/user-management/users/introduction/) out from the Catalyst Flutter app. A sample code snippet is shown below: ```bash await ZCatalystApp.getInstance().logout() ``` -------------------------------------------------------------------------------- title: "User Authentication Status" description: "You can find the authentication status of a Flutter app user easily." last_updated: "2026-11-03T07:48:52.000Z" source: "https://docs.catalyst.zoho.com/en/sdk/flutter/v2/cloud-scale/authentication/user-authentication-status/" service: "CloudScale" related: - Authentication (/en/cloud-scale/help/authentication/introduction) - Authentication - API (/en/api/code-reference/cloud-scale/authentication/add-new-user/#AddNewUser) -------------------------------------------------------------------------------- # User Authentication Status You can find the authentication status of an [app user](https://docs.catalyst.zoho.com/en/cloud-scale/help/authentication/user-management/users/introduction/) using the `isUserLoggedIn()` method. This will return a boolean response as to the user's login status. The code syntax for user logout is given below: ```bash bool isUserLoggedIn = await ZCatalystApp.getInstance().isUserLoggedIn(); //Actions to be executed upon successfully fetching the status ``` A sample code snippet is shown below: ```bash bool isUserLoggedIn = await ZCatalystApp.getInstance().isUserLoggedIn(); print(isUserLoggedIn); //prints "true" or "false" ``` -------------------------------------------------------------------------------- title: "Get Current User" description: "You can obtain the details of the current end user of your Flutter application." last_updated: "2026-11-03T07:48:52.000Z" source: "https://docs.catalyst.zoho.com/en/sdk/flutter/v2/cloud-scale/authentication/get-current-user/" service: "CloudScale" related: - Authentication (/en/cloud-scale/help/authentication/introduction) - Users (/en/cloud-scale/help/authentication/user-management/users/introduction/) - Add New User - API (/en/api/code-reference/cloud-scale/authentication/add-new-user/#AddNewUser) -------------------------------------------------------------------------------- # Get Current User You can obtain the details of the current [end user](https://docs.catalyst.zoho.com/en/cloud-scale/help/authentication/user-management/users/introduction/) of your application by calling the `getCurrentUser()` method. Upon successful execution, this method will return the current user object. You can fetch the user's details that are registered in Catalyst, such as their first name, last name, or email address, using this. The code syntax for obtaining the current user is given below: ```bash ZCatalystApp.getInstance().getCurrentUser( void Function() onSuccess, void Function(ZCatalystException) onFailed ) ``` A sample code snippet is shown below: ```bash try { var (response, user) = await app.getCurrentUser(); print('User ID: ${user.id}') } on ZCatalystException catch (ex) { print(ex.toString()); } ``` -------------------------------------------------------------------------------- title: "Third-Party Authentication" description: "You can implement a third-party authentication service of your preference in your Flutter app." last_updated: "2026-11-03T07:48:52.000Z" source: "https://docs.catalyst.zoho.com/en/sdk/flutter/v2/cloud-scale/authentication/third-party-authentication/" service: "CloudScale" related: - Authentication (/en/cloud-scale/help/authentication/introduction) - Third-Party Authentication (/en/cloud-scale/help/authentication/third-party-authentication/introduction/) - Generate Custom Server Token- Java SDK (/en/sdk/java/v1/cloud-scale/authentication/third-party-server-token/) - JavaScript SDK (/en/sdk/javascript/v1/overview/) - Generate Custom Server Token- Python SDK (/en/sdk/python/v1/cloud-scale/authentication/third-party-server-token/) - Authentication - API (/en/api/code-reference/cloud-scale/authentication/add-new-user/#AddNewUser) -------------------------------------------------------------------------------- # Third-Party Authentication CloudScale's Authentication allows you to implement a [third-party authentication](https://docs.catalyst.zoho.com/en/cloud-scale/help/authentication/third-party-authentication/introduction/) service of your preference for your Catalyst application. The authorization and validation of the end-user is handled by the third-party service, and the data is passed on to Catalyst. > **Note:** Since you are implementing a third-party authentication service, it is understood that the security infrastructure of your application is contingent on the efficiency of the third-party service that you have chosen. To implement third-party authentication in your mobile app, you will need to perform the steps described below. ### 1. Configure the Third-Party Authentication Service Before you associate a third-party authentication with your Catalyst application, you must ensure that you have first completed handling the third-party logic in the external service. You can configure the authentication with any third-party of your choice. ### 2. Set up the Third-Party Authentication Type in Catalyst You must now set up the third-party authentication that you configured in Catalyst by navigating to the Authentication component in CloudScale in the Catalyst console. The steps are explained in [Set Up Third-party Authentication in Catalyst help page](https://docs.catalyst.zoho.com/en/cloud-scale/help/authentication/third-party-authentication/implementation/). This process involves the following steps that you must perform: **i. Generate a custom server token:** When a user is re-directed from a third-party service after being authenticated, their credentials must be passed to an authentication function that you will need to code in [Java](https://docs.catalyst.zoho.com/en/sdk/java/v1/cloud-scale/authentication/third-party-server-token/), [Node.js](https://docs.catalyst.zoho.com/en/sdk/nodejs/v2/cloud-scale/authentication/third-party-server-token/), or [Python](https://docs.catalyst.zoho.com/en/sdk/python/v1/cloud-scale/authentication/third-party-server-token/). This function will generate a Catalyst server-side token `jwtToken` or `customToken` which will then be passed to client-side (Flutter app). The Catalyst console provides readymade scripts to generate the `customToken`. You can incorporate this script in the server-side function you write, to return the `customToken`. > **Note:** To enable a third-party authentication in your Catalyst application, you must ensure that you have enabled [Public Signup](https://docs.catalyst.zoho.com/en/cloud-scale/help/authentication/public-signup/) in the console. **ii. Skip the client-side configuration:** You can skip the client-side configuration in the console for now, as we will incorporate the custom server token in the client logic at the end to complete the login process. **iii. Configure additional settings and finish the setup:** Configure Customer User Validation or Authorized Domains as a part of Whitelisting and finish the set up. Catalyst will display a confirmation that a third-party authentication service has been enabled and your application’s authentication is being handled by it. ### 3. Re-Import the Configuration File in your Flutter Project After you enable the third-party authentication for your Android app from the Catalyst console, you will need to download and import the properties file in your Flutter project again, based on the platform that you are developing your app in and your app's [environment](https://docs.catalyst.zoho.com/en/deployment-and-billing/environments/introduction/). That is, if you are developing an Android app, download the [`app_configuration_development` or the `app_configuration_production` file](https://docs.catalyst.zoho.com/en/sdk/flutter/v2/setup-for-android/#properties-of-the-app_configuration_developmentproperties-app_configuration_productionproperties-file), and if you are developing an iOS app, download the [`AppConfigurationDevelopment.plist` or `AppConfigurationProduction.plist` file](https://docs.catalyst.zoho.com/en/sdk/flutter/v2/setup-for-ios/#properties-of-the-appconfigurationdevelopmentplist-appconfigurationproductionplist-file). This is because this file will now include two additional properties: `JWTClientID` and `JWTClientSecret`. These properties will need to be passed in the next step, after you re-initialize the SDK. To re-download the configuration file: 1. Navigate to **Settings**, then [**Developer Tools**](https://docs.catalyst.zoho.com/en/getting-started/set-up-a-catalyst-project/developer-tools/) in your Catalyst console of your project. You will find your existing Android or iOS package under the Mobile SDK section. Open the required package. ![android_ios_sdk_download](https://catalyst-docs-development.zohostratus.in/images/sdk/flutter/dev_tools_android_ios.webp) 2. Click on the required environment tab in the pop-up, then click **Download** to download the configuration file. ![android_sdk_download_2](https://catalyst-docs-development.zohostratus.in/images/sdk/android/android_sdk_re-download_2.webp) You can now re-import this downloaded configuration file by following the steps mentioned [here](https://docs.catalyst.zoho.com/en/sdk/android/v2/setup/#step-2-import-the-configuration-file-in-your-android-project) for Android and [here](https://docs.catalyst.zoho.com/en/sdk/flutter/v2/setup-for-ios/#step-2-import-the-configuration-file-in-your-ios-project) for iOS. > **Note:** You need not perform the steps 3 to 5 given in the Android SDK setup or steps 3, 4, 6 given in the iOS SDK setup help pages again. ### 4. Re-Initialize the Flutter SDK You must now re-initialize the SDK to include the newly-downloaded properties in your code. Re-initializing the SDK can also be done in two ways similar to [initializing the SDK for the first time](https://docs.catalyst.zoho.com/en/sdk/flutter/v2/implement-flutter-sdk/#initialize-the-sdk): Using the Catalyst configuration file or By passing the custom SDK Configuration Object. However, this will include additional SDK methods to confirm third-party authentication. #### 1. Using the Catalyst Configuration File You can do this by specifying the environment of the project, or without specifying the environment where the production environment is considered the default. **By specifying the environment:** You can re-initialize the SDK as shown below. You can pass the values for the `Environment` as either `DEVELOPMENT` or `PRODUCTION` based on the environment the app is operating in. The `isCustomLogin` indicates a boolean value that is set for the presence of a third-party authentication. These are passed to the `init()` method through the `ZCatalystApp` class as shown below: ```bash ZCatalystApp.init({ ZCatalystEnvironment? environment, bool isCustomLogin = false }); ``` A sample code snippet for this operation is given below: ```bash void main() async { try { await ZCatalystApp.init( environment: ZCatalystEnvironment.DEVELOPMENT, isCustomLogin: true ); } on ZCatalystException catch (ex) { print('Initialized Failed: ${ex.toString()}'); } } ``` **Without specifying the environment:** If the `Environment` is not specified in the SDK initialization, it would be considered as `PRODUCTION` by default. Therefore, if your app is operating in the Production environment, you can initialize the SDK directly in the following way: ```bash ZCatalystApp.init({ bool isCustomLogin = false }); ``` A sample code snippet for this operation is given below: ```bash void main() async { try { await ZCatalystApp.init( isCustomLogin: true ); } on ZCatalystException catch (ex) { print('Initialized Failed: ${ex.toString()}'); } } ``` #### 2. By passing the custom SDK Configuration Object: Alternatively, you can re-initialize the Flutter SDK by building a custom `ZCatalystSDKConfigs` object that you can pass using the `ZCatalystSDKConfigsBuilder` class. You can refer [here](https://docs.catalyst.zoho.com/en/sdk/flutter/v2/implement-flutter-sdk/#2-by-passing-the-custom-sdk-configuration-object) for the properties included in this object. This method also lets you re-initialize the SDK by specifying the `JWTClientID` and `JWTClientSecret` properties obtained from the newly-downloaded configuration file through with `ZCatalystSDKConfigsBuilder`. This can be done in the following way: ```bash ZCatalystApp.init({ ZCatalystSDKConfigs? sdkConfigs, ZCatalystEnvironment? environment, bool isCustomLogin = true }); ``` A sample code snippet is given below: ```bash ZCatalystSDKConfigs configs = ZCatalystSDKConfigsBuilder.customLogin( accountsPortalBaseURL: "https://accounts.zohoportal.com/", apiBaseURL: "https://api.catalyst.zoho.com/", environment: ZCatalystEnvironment.DEVELOPMENT, jwtClientID: "100****************************FX", jwtClientSecret: "19ed***************************2s", oauthScopes: "ZOHOCATALYST.tables.rows.ALL, ZOHOCATALYST.tables.columns.ALL", portalID: "10******79", projectID:28*****90 , redirectURL: "*****" ); ``` ### 5. Code the User Login Logic for the Third-Party Authentication You can now complete the setup by handling the login logic of the third-party authentication in your mobile app. You must pass the `customToken` or `jwtToken` generated in [step 2](https://docs.catalyst.zoho.com/en/sdk/flutter/v2/cloud-scale/authentication/third-party-authentication/#2-set-up-the-third-party-authentication-type-in-catalyst) to the `handleCustomLogin()` method as shown below: ```bash Future<void> handleCustomLogin(String jwtToken) ``` A sample code snippet is given below: ```bash await ZCatalystApp.getInstance().handleCustomLogin("123xxxxxxxx"); ``` > **Note:** The custom server token will have to be generated every single time the user logs in to your application using a third-party authentication service. ### Data Store -------------------------------------------------------------------------------- title: "Create a New Data Store Instance" description: "You can create an instance of the Data Store to access the Data Store features in Flutter SDK." last_updated: "2026-11-03T07:48:52.000Z" source: "https://docs.catalyst.zoho.com/en/sdk/flutter/v2/cloud-scale/data-store/create-data-store-instance/" service: "CloudScale" related: - Data Store (/en/cloud-scale/help/data-store/introduction) - Data Store - API (/en/api/code-reference/cloud-scale/authentication/add-new-user/#AddNewUser) -------------------------------------------------------------------------------- # Data Store [Catalyst Data Store](https://docs.catalyst.zoho.com/en/cloud-scale/help/data-store/introduction) is a cloud-based relational database management system that stores the persistent data of your application through tables. ### Create a New Data Store Instance To access the Data Store of a Catalyst project, you can create an instance of the Data Store, and enable the methods defined in this class to access the instance object. This will prevent unnecessary server calls. You must call the `getDataStoreInstance()` method as shown in the code syntax below, to obtain the Data Store instance successfully: ```bash ZCatalystDataStore dataStore = ZCatalystApp.getInstance().getDataStoreInstance(); ``` -------------------------------------------------------------------------------- title: "Create a New Table Instance" description: "You can create a table instance for a particular table in the Data Store, and enable the methods defined in this class to access the instance object." last_updated: "2026-11-03T07:48:52.000Z" source: "https://docs.catalyst.zoho.com/en/sdk/flutter/v2/cloud-scale/data-store/create-table-instance/" service: "CloudScale" related: - Data Store (/en/cloud-scale/help/data-store/introduction) - Tables (/en/cloud-scale/help/data-store/tables) - Data Store - API (/en/api/code-reference/cloud-scale/data-store/insert-new-row/#InsertNewRow) -------------------------------------------------------------------------------- # Create a New Table Instance You can create a table instance for a particular table in the [Data Store](https://docs.catalyst.zoho.com/en/cloud-scale/help/data-store/introduction), and enable the methods defined in this class to access the instance object. This prevents unnecessary server calls. A table instance can be created by calling the `getTableInstance()` method in either of the two ways mentioned below. The `<DATA_STORE_INSTANCE>` used in both the methods is the instance defined in the [Data Store Instance page](https://docs.catalyst.zoho.com/en/sdk/flutter/v2/cloud-scale/data-store/create-data-store-instance). ### Create a Table Instance by its ID You can create a table instance by passing the particular table ID as the argument to the `getTableInstance()` method, as shown in the code syntax below: ```bash ZCatalystTable <DATA_STORE_INSTANCE>.getTableInstance(String identifier) ``` **Parameters**: * `identifier`: The [unique table ID](https://docs.catalyst.zoho.com/en/cloud-scale/help/data-store/tables) of the specific table the instance needs to be created for A sample code snippet is shown below: ```bash var table = ZCatalystApp.getInstance().getDataStoreInstance().getTableInstance("2823000000017011") ``` ### Create a Table Instance by its Name Alternatively, you can create a table instance by passing the particular table's name as the argument to the `getTableInstance()` method, as shown in the code syntax below: ```bash <DATA_STORE_INSTANCE>.getTableInstance( String identifier ) ``` **Parameters**: * `identifier`: The name of the specific table the instance needs to be created for A sample code snippet is shown below: ```bash var table = ZCatalystApp.getInstance().getDataStoreInstance().getTableInstance(identifier: "Products"); ``` -------------------------------------------------------------------------------- title: "Get Column Metadata" description: "You can obtain the metadata of all columns or single specific column of a Data Store table of the given instance by its ID or name." last_updated: "2026-11-03T07:48:52.000Z" source: "https://docs.catalyst.zoho.com/en/sdk/flutter/v2/cloud-scale/data-store/get-column-metadata/" service: "CloudScale" related: - Data Store (/en/cloud-scale/help/data-store/introduction) - Columns (/en/cloud-scale/help/data-store/columns) - Get Metadata of Coulumns - API (/en/api/code-reference/cloud-scale/data-store/get-all-columns-metadata/#GetAllColumnsMetadata) -------------------------------------------------------------------------------- # Get Column Metadata ### Get the Metadata of a Specific Column You can obtain the metadata of a single specific column of a [Data Store](https://docs.catalyst.zoho.com/en/cloud-scale/help/data-store/introduction) table of the given instance by calling the `getColumn()` method. If the operation is successful, this method can return the metadata of the column, such as its data type, default value, or maximum length, or whether it is read only, unique, or mandatory. The metadata of a specific column can be fetched in two different ways. The `<TABLE_INSTANCE>` used in both the methods is the instance defined in the [Table Instance page](https://docs.catalyst.zoho.com/en/sdk/flutter/v2/cloud-scale/data-store/create-table-instance). #### i. Get a Column by its ID You can retrieve a specific column's metadata by passing the column ID as the argument to the `getColumn()` method in the String format, as shown in the code structure below: ```bash Future<(APIResponse, ZCatalystColumn)> <TABLE_INSTANCE>.getColumn(String identifier) ``` **Parameters**: * `identifier`: The [unique Column ID](https://docs.catalyst.zoho.com/en/cloud-scale/help/data-store/columns/#column-characteristics) of the particular column that needs to be retrieved A sample code snippet is shown below: ```bash try { var (response, column) = await app .getDataStoreInstance() .getTableInstance('Projects') .getColumn('1624000000139101'); print(column.id) } on ZCatalystException catch (ex) { print(ex.toString()); } ``` #### ii. Get a Column by its Name You can retrieve a specific column's metadata by passing the column's name as the argument to the `getColumn()` method, as shown in the code syntax below: ```bash Future<(APIResponse, ZCatalystColumn)> <TABLE_INSTANCE>.getColumn(String identifier) ``` **Parameters**: * `identifier`: The name of the particular column that needs to be retrieved A sample code snippet is shown below: ```bash try { var (response, column) = await app .getDataStoreInstance() .getTableInstance('Projects') .getColumn('Category'); print(column.id); } on ZCatalystException catch (ex) { print(ex.toString()); } ``` ### Get the Metadata of all Columns You can retrieve the metadata of all the columns of a table of the given instance, using the `getColumns()` method, as shown in the code syntax below. If the operation is successful, this method can return the metadata of all the columns of the specific table. The `<TABLE_INSTANCE>` used in the code below is the instance defined in the [Table Instance page](https://docs.catalyst.zoho.com/en/sdk/flutter/v2/cloud-scale/data-store/create-table-instance). ```bash Future<(APIResponse, List<ZCatalystColumn>)> <TABLE_INSTANCE>.getColumns() ``` A sample code snippet is shown below: ```bash try { var (response, columns) = await app .getDataStoreInstance() .getTableInstance('Projects') .getColumns(); for (var column in columns) { print(column.name); } } on ZCatalystException catch (ex) { print(ex.toString()); } ``` -------------------------------------------------------------------------------- title: "Get Rows" description: "You can retrieve a single specific row or all rows from a Data Store table of the given instance." last_updated: "2026-11-03T07:48:52.000Z" source: "https://docs.catalyst.zoho.com/en/sdk/flutter/v2/cloud-scale/data-store/get-rows/" service: "CloudScale" related: - Data Store (/en/cloud-scale/help/data-store/introduction) - Records (/en/cloud-scale/help/data-store/records) - Get All Rows - API (/en/api/code-reference/cloud-scale/data-store/get-all-rows/#GetAllRows) -------------------------------------------------------------------------------- # Get Rows ### Get a Specific Row You can retrieve a single specific row from a [Data Store](https://docs.catalyst.zoho.com/en/cloud-scale/help/data-store/introduction) table of the given instance using the `getRow()` method. This is done by passing the unique ROWID of the row as the argument to this method, as shown in the code syntax below. The `<TABLE_INSTANCE>` used in the code below is the instance defined in the [Table Instance page](https://docs.catalyst.zoho.com/en/sdk/flutter/v2/cloud-scale/data-store/create-table-instance). ```bash Future<(APIResponse, ZCatalystRow)> <TABLE_INSTANCE>.getRow(int id) ``` **Parameters**: * `id`: The [unique ROWID](https://docs.catalyst.zoho.com/en/cloud-scale/help/data-store/records/#create-a-new-record) of the particular row that needs to be retrieved A sample code snippet is shown below: ```bash try { ZCatalystTable table = app.getDataStoreInstance().getTableInstance('Projects'); var (response, row) = await table.getRow(1624000000139040); print(row.id); } on ZCatalystException catch (ex) { print(ex.toString()); } ``` ### Get All Rows You can retrieve all the rows of a table of the given instance using the `getRows()` method, as shown in the code syntax below. If the operation is successful, this method will return all the rows of the table without any filters or conditions. The `<TABLE_INSTANCE>` used in the code syntax below is the instance defined in the [Table Instance page](https://docs.catalyst.zoho.com/en/sdk/flutter/v2/cloud-scale/data-store/create-table-instance). ```bash Future<(APIResponse, List)> <TABLE_INSTANCE>.getRows() ``` A sample code snippet is shown below: ```bash try { var (response, rows, resInfo) = await app .getDataStoreInstance() .getTableInstance('Projects') .getRows(); for (var row in rows) { print(row.getData()); } } on ZCatalystException catch (ex) { print(ex.toString()); } ``` -------------------------------------------------------------------------------- title: "Get Column Value from Row" description: "You can retrieve a specific column's value in a row in a Data Store table." last_updated: "2026-11-03T07:48:52.000Z" source: "https://docs.catalyst.zoho.com/en/sdk/flutter/v2/cloud-scale/data-store/get-column-value-from-row/" service: "CloudScale" related: - Data Store (/en/cloud-scale/help/data-store/introduction) - Records (/en/cloud-scale/help/data-store/records) - Columns (/en/cloud-scale/help/data-store/columns) - Get Metadata of Columns - API (/en/api/code-reference/cloud-scale/data-store/get-all-columns-metadata/#GetAllColumnsMetadata) -------------------------------------------------------------------------------- # Get Column Value from Row You can retrieve a specific column's value in a row in a [Data Store](https://docs.catalyst.zoho.com/en/cloud-scale/help/data-store/introduction) table using the `getColumnValue()` method. For example, if you require the value of a single column called 'product_name' in a row, you can use this method to obtain that specific value. You must pass the Column Name of the column as the argument to the `getColumnValue()`method, as shown in the sample code syntax. You must first fetch an instance of the row as shown below. The `<TABLE_INSTANCE>` used in the code below is the instance defined in the [Table Instance page](https://docs.catalyst.zoho.com/en/sdk/flutter/v2/cloud-scale/data-store/create-table-instance). ```bash dynamic <ROWINSTANCE>.getColumnValue() ``` **Parameters**: * `id`: The The [unique ROWID](https://docs.catalyst.zoho.com/en/cloud-scale/help/data-store/records/#create-a-new-record) of the particular row that needs to be retrieved A sample code snippet is shown below: ```bash var table = dataStore.getTableInstance(identifier: 'Products'); try{ var (response, table) = await table.getRow(id: 2823000000014176) print("quantity: ${row.getColumnValue("quantity")}") } on ZCatalystException catch (ex) { print("GET ROW FAILED: $ex"); } ``` -------------------------------------------------------------------------------- title: "Create a New Row Instance" description: "You can create a new row instance for a particular table in the Data Store." last_updated: "2026-11-03T07:48:52.000Z" source: "https://docs.catalyst.zoho.com/en/sdk/flutter/v2/cloud-scale/data-store/create-row-instance/" service: "CloudScale" related: - Data Store (/en/cloud-scale/help/data-store/introduction) - Records (/en/cloud-scale/help/data-store/records) - Insert Row - API (/en/api/code-reference/cloud-scale/data-store/insert-new-row/#InsertNewRow) -------------------------------------------------------------------------------- # Create a New Row Instance You can create a new row instance for a particular table in the [Data Store](https://docs.catalyst.zoho.com/en/cloud-scale/help/data-store/introduction), and enable the methods defined in this class to access the instance object. This prevents unnecessary server calls. A row instance can be created by calling the `newRow()` method, as shown in the code syntax below. The `<TABLE_INSTANCE>` used here is the instance defined in the [Table Instance page](https://docs.catalyst.zoho.com/en/sdk/flutter/v2/cloud-scale/data-store/create-table-instance). ```bash <TABLE_INSTANCE>.newRow() ``` A sample code snippet is shown below: ```bash var row = ZCatalystApp.getInstance() .getDataStoreInstance() .getTableInstance(identifier: 'Products') .newRow(); ``` -------------------------------------------------------------------------------- title: "Create Rows" description: "You can create a new row instance for a particular table in the Data Store, and enable the methods defined in this class to access the instance object." last_updated: "2026-11-03T07:48:52.000Z" source: "https://docs.catalyst.zoho.com/en/sdk/flutter/v2/cloud-scale/data-store/create-rows/" service: "CloudScale" related: - Data Store (/en/cloud-scale/help/data-store/introduction) - Records (/en/cloud-scale/help/data-store/records) - Insert Row - API (/en/api/code-reference/cloud-scale/data-store/insert-new-row/#InsertNewRow) -------------------------------------------------------------------------------- # Create Rows ### Create a Single Row You can create a new row in a [Data Store](https://docs.catalyst.zoho.com/en/cloud-scale/help/data-store/introduction) table of the given instance using the `newRow()` method. You must set the values of the rows in the table, by specifying the column name and the corresponding row value as a key-value pair. The `<ROW_INSTANCE>` used in the code syntax below is the instance defined in the [Row Instance page](https://docs.catalyst.zoho.com/en/sdk/flutter/v2/cloud-scale/data-store/create-row-instance). ```bash Future<(APIResponse, ZCatalystRow)> <ROW_INSTANCE>.create() ``` > **Note:** If a column was created with the `is_unique` or `is_mandatory` property enabled, you must ensure that the value is unique or is mandatorily passed, respectively. You must also ensure that the data you pass for a column is of the column's configured data type. A sample code snippet with creating a row instance is shown below: ```bash var row = ZCatalystApp.getInstance() .getDataStoreInstance() .getTableInstance(identifier: 'Products') .newRow(); //Defining the row instance for the table and passing the key-value data for the row row.setColumnValue('product_name', 'power_bank'); row.setColumnValue('product_price', 2000); row.setColumnValue('product_quantity', 2); try { var (response, row) = await row.create(); print('New row created successfully : ${row.id}'); } on ZCatalystException catch (ex) { print('Failed to create the row: $exception'); } ``` ### Create Multiple Rows Catalyst Flutter SDK enables you to create multiple rows at a time in a table of the given instance. This is done by passing a list containing the rows that need to be inserted in the table. The list is passed as an argument to the `createRows()` method, as shown in the code syntax below. The `<TABLE_INSTANCE>` used in the code below is the instance defined in the [Table Instance page](https://docs.catalyst.zoho.com/en/sdk/flutter/v2/cloud-scale/data-store/create-table-instance). ```bash Future<(APIResponse, List<ZCatalystRow>)> <TABLE_INSTANCE>.createRows(List<ZCatalystRow> rows) ``` **Parameters**: * `rows`: The array of rows to be created A sample code snippet with creating row instances is shown below: ```bash List<ZCatalystRow> newRows = []; //Create an array //Define row instances for rows to be created ZCatalystRow row1 = dataStore.getTableInstance(identifier: 'Products').newRow(); row1.setColumnValue('product_name', 'a'); row1.setColumnValue('product_price', 25); row1.setColumnValue('product_quantity', 50); ZCatalystRow row2 = dataStore.getTableInstance(identifier: 'Products').newRow(); row2.setColumnValue('product_name', 'b'); row2.setColumnValue('product_price', 30); row2.setColumnValue('product_quantity', 40); ZCatalystRow row3 = dataStore.getTableInstance(identifier: 'Products').newRow(); row3.setColumnValue('product_name', 'c'); row3.setColumnValue('product_price', 25); row3.setColumnValue('product_quantity', 70); //Add row instances to the array newRows.add(row1); newRows.add(row2); newRows.add(row3); try{ var (response, rows) = await dataStore.getTableInstance(identifier: 'Products').createRows(rows: newRows); for (var row in rows) { print(row.id); //Actions to be executed upon a successful creation of the rows } } on ZCatalystException catch (ex) { print('The IDs of the rows that were successfully created are listed below:') } ``` -------------------------------------------------------------------------------- title: "Update Rows" description: "You can update a single specific row or all rows in a Data Store table." last_updated: "2026-11-03T07:48:52.000Z" source: "https://docs.catalyst.zoho.com/en/sdk/flutter/v2/cloud-scale/data-store/update-rows/" service: "CloudScale" related: - Data Store (/en/cloud-scale/help/data-store/introduction) - Rows (/en/cloud-scale/help/data-store/records) - Update Row - API (/en/api/code-reference/cloud-scale/data-store/update-row/#UpdateRow) -------------------------------------------------------------------------------- # Update Rows ### Update a Specific Row You can update a single specific row in a [Data Store](https://docs.catalyst.zoho.com/en/cloud-scale/help/data-store/introduction) table using the `update()` method after fetching the row instance. This enables you to update the values of one or more columns of the row by passing the modified values of the columns as key-value pairs to the `setColumnValue()` method. The `<ROW_INSTANCE>` used in the code syntax below is the instance defined in the [Row Instance page](https://docs.catalyst.zoho.com/en/sdk/flutter/v2/cloud-scale/data-store/create-row-instance). ```bash Future<(APIResponse, ZCatalystRow)> <ROW_INSTANCE>.update() ``` A sample code snippet with fetching the row instance is shown below: ```bash var (response, row) = ZCatalystApp.getInstance() .getDataStoreInstance() .getTableInstance(identifier: 'Products') .getRow(id: 2823000000014176) row.setColumnValue('product_quantity', '100'); //Pass the modified column name and value in the row try { var (response, row) = await row.update(); print('Row updated successfully ${row.getColumnValue('product_quantity')}'); } on ZCatalystException catch (ex) { print('Failed to update the row $exception'); } ``` ### Update all Rows You can update multiple row in a table by passing a list of the rows as an argument to the `updateRows()` method. You must fetch the [row instances](https://docs.catalyst.zoho.com/en/sdk/flutter/v2/cloud-scale/data-store/create-row-instance) for each column key-value pair to be updated in a row and pass the modified data through the `setColumnValue()` method. You can then add the row instances to an array and passing the array as an argument to the `updateRows()` method, as shown in the code syntax below. The `<TABLE_INSTANCE>` used in the code below is the instance defined in the [Table Instance page](https://docs.catalyst.zoho.com/en/sdk/flutter/v2/cloud-scale/data-store/create-table-instance). ```bash Future<(APIResponse, List<ZCatalystRow>)> <TABLE_INSTANCE>.updateRows(List<ZCatalystRow> rows) ``` **Parameters**: * `rows`: The list of rows to be updated A sample code snippet with fetching the row instance is shown below: ```bash List<ZCatalystRow> modifiedRows = []; //Create an array var table = ZCatalystApp.getInstance() .getDataStoreInstance() .getTableInstance(identifier: 'Products'); //Create table instance try{ var (_, row) = await table.getRow(id: 2823000000014176); row.setColumnValue('product_price', '400'); modifiedRows.add(row); var (_, row) = await table.getRow(id: 2823000000014177); row.setColumnValue('product_price', '90'); modifiedRows.add(row); var (_, row) = await table.getRow(id: 2823000000014178); row.setColumnValue('product_price', '100'); modifiedRows.add(row); var (response, rows) = await table.updateRows(modifiedRows); } on ZCatalystException catch (ex) { print("Failed to update rows: $ex") } ``` -------------------------------------------------------------------------------- title: "Delete a Row" description: "Catalyst Flutter SDK enables you to delete a single row from a specific Data Store table." last_updated: "2026-11-03T07:48:52.000Z" source: "https://docs.catalyst.zoho.com/en/sdk/flutter/v2/cloud-scale/data-store/delete-row/" service: "CloudScale" related: - Data Store (/en/cloud-scale/help/data-store/introduction) - Records (/en/cloud-scale/help/data-store/records) - Delete Row - API (/en/api/code-reference/cloud-scale/data-store/delete-row/#DeleteRow) -------------------------------------------------------------------------------- # Delete a Row Catalyst Flutter SDK enables you to delete a single row from a specific [Data Store](https://docs.catalyst.zoho.com/en/cloud-scale/help/data-store/introduction) table. However, you will not be able to delete multiple rows at a time. You can delete a row from a table by fetching the row instance and passing it to the `delete()` method. The `<ROW_INSTANCE>` used in the code syntax below is the instance defined in the [Row Instance page](https://docs.catalyst.zoho.com/en/sdk/flutter/v2/cloud-scale/data-store/create-row-instance). ```bash Future<void> <ROW_INSTANCE>.delete() ``` A sample code snippet with fetching the row instance is shown below: ```bash ZCatalystTable table = app.getDataStoreInstance().getTableInstance('Products'); var (_, row) = await developers.getRow(1624000000139040); await row.delete(); ``` ### Push Notifications -------------------------------------------------------------------------------- title: "Register Device for Push Notifications" description: "This page describes the method to register an iOS or Android device for remote push notifications after you register and enroll your Flutter app." last_updated: "2026-11-03T07:48:52.000Z" source: "https://docs.catalyst.zoho.com/en/sdk/flutter/v2/cloud-scale/push-notifications/register-device/" service: "CloudScale" related: - Push Notifications (/en/cloud-scale/help/push-notifications/introduction) - Push Notifications API (/en/api/code-reference/cloud-scale/push-notifications/ios/send-ios-push-notifications/#SendiOSPushNotifications) - Push Notifications Android SDK (/en/sdk/android/v2/cloud-scale/push-notifications/register-device/) - Push Notifications iOS SDK (/en/sdk/ios/v2/cloud-scale/push-notifications/register-device/) -------------------------------------------------------------------------------- # Push Notifications ### Introduction [Catalyst Push notifications](https://docs.catalyst.zoho.com/en/cloud-scale/help/push-notifications/introduction) enables you to send remote notifications to the users of your application, even when the app is not actively running on the user device. Catalyst provides you with an easy way to integrate push notifications into your Catalyst web, iOS, and Android applications. While implementing Push Notifications through the Flutter SDK, you will need to ensure the prerequisites for iOS or Android, depending on the platform you're building your app in. These prerequisites are described below. ### Prerequisites for iOS Apps Before you send push notifications in your iOS app, you must follow a set of steps to register your app and enroll for Catalyst push notifications. These steps are mentioned in sequence below: 1. Register your iOS app with Apple 2. Generate a certificate from Keychain Access 3. Generate and download the APNs certificate provided by Apple 4. Convert the downloaded APNs certificate into the .p12 format 5. Enroll for iOS Push Notification Services in Catalyst 6. Register a Mobile Device for Push Notifications > **Note:** The **first five steps** are covered in detail in the [Push Notifications- iOS help section](https://docs.catalyst.zoho.com/en/cloud-scale/help/push-notifications/ios). This SDK help documentation only covers the sixth step regarding registering a device to send push notifications, as well as deregistering a device. You can implement steps 1 -5 by referring to the Push Notifications help document, before using the code given in this section. ### Prerequisites for Android Apps Before you send push notifications, you must follow a set of steps to register your app and enroll for Catalyst push notifications. These steps are mentioned in sequence below: 1. Generate Firebase's Android Configuration File 2. Generate Private Key for Firebase Access 3. Configure Android Push Notification Services in Catalyst 4. Register a Mobile Device for Push Notifications > **Note:** The **first three steps** are covered in detail in the [Push Notifications- Android help section](https://docs.catalyst.zoho.com/en/cloud-scale/help/push-notifications/android). This SDK help documentation only covers the fourth step regarding registering a device to send push notifications, as well as deregistering a device. You can implement steps 1 -3 by referring to the Push Notifications help document, before using the code given in this section. ### Register a Mobile Device for Push Notifications After you complete the prerequisites mentioned above for the platform that you're working on, you can implement the following code in your app's codebase that will register the device for Catalyst Push Notifications. To register an Flutter mobile device as a test device, you must call the `registerNotification()` method with the required parameters as shown in the following code snippet: ```bash try { var response = await ZCatalystApp.getInstance().registerNotification(deviceToken: deviceToken, notificationAppId: '1624000000074620',isTestDevice: false); print(response?.responseJson); } on ZCatalystException catch (ex) { log("Register Failed: $ex"); } ``` **Parameters:** * `deviceToken`: The device token obtained from [FCM for you Android app](https://docs.catalyst.zoho.com/en/cloud-scale/help/push-notifications/android/#configure-and-enroll-for-android-push-notifications), or the device token obtained after [registering the device for remote push notifications with APNS](https://docs.catalyst.zoho.com/en/cloud-scale/help/push-notifications/ios/#configure-and-enroll-for-ios-push-notifications) for your iOS app. * `notificationAppID`: For Android, this is the app ID generated by Catalyst for your Android app in Push Notifications, which can be found in the Android section of Push Notifications in your Catalyst console. For iOS, this is obtained from the `AppConfigurationDevelopment.plist`/ `AppConfigurationProduction.plist` file generated by Catalyst for your app when you [registered your iOS app in Catalyst](https://docs.catalyst.zoho.com/en/sdk/ios/v2/setup/). * `testDevice`: The value is set to `true` for test devices, and set to `false` for production devices. > **Note:** You can register a maximum of 10 Android or iOS devices as test devices to test Android push notifications. After your device is registered, you will be able to send push notifications to your app users. The users will need to provide the permission for your app to send push notifications to them on their device, by clicking **Allow** from the permission prompt. You can learn about sending test push notifications on your registered devices from the Catalyst console for [iOS apps](https://docs.catalyst.zoho.com/en/cloud-scale/help/push-notifications/ios/#test-ios-push-notifications) and for [Android apps](https://docs.catalyst.zoho.com/en/cloud-scale/help/push-notifications/android/#test-android-push-notifications) from their respective help documentation. You can also send test notifications from the [API](https://docs.catalyst.zoho.com/en/api/code-reference/cloud-scale/push-notifications/ios/send-ios-push-notifications/#SendiOSPushNotifications). Refer to the [Java](https://docs.catalyst.zoho.com/en/sdk/java/v1/cloud-scale/push-notifications/send-notifications/), [Node.js](https://docs.catalyst.zoho.com/en/sdk/nodejs/v2/cloud-scale/push-notifications/send-notifications/), and [Python](https://docs.catalyst.zoho.com/en/sdk/python/v1/cloud-scale/push-notifications/send-notifications/) SDK documentation to learn about sending push notifications through your codebase. -------------------------------------------------------------------------------- title: "Deregister Device for Push Notifications" description: "This page describes the method to deregister a registered iOS or Android device for remote push notifications." last_updated: "2026-11-03T07:48:52.000Z" source: "https://docs.catalyst.zoho.com/en/sdk/flutter/v2/cloud-scale/push-notifications/deregister-device/" service: "CloudScale" related: - Push Notifications (/en/cloud-scale/help/push-notifications/introduction) - Push Notifications API (/en/api/code-reference/cloud-scale/push-notifications/ios/send-ios-push-notifications/#SendiOSPushNotifications) - Push Notifications Android SDK (/en/sdk/android/v2/cloud-scale/push-notifications/register-device/) - Push Notifications iOS SDK (/en/sdk/ios/v2/cloud-scale/push-notifications/register-device/) -------------------------------------------------------------------------------- # Deregister a Mobile Device for Push Notifications You can deregister a device that was registered for Catalyst iOS push notifications by passing the required parameters to the `deregisterNotification()` method as shown below. ```javascript try{ var response = await ZCatalystApp.getInstance() .deregisterNotification( deviceToken: deviceToken, notificationAppId: "1624000000074620", isTestDevice: false); print(response?.responseJson); } on ZCatalystException catch(ex) { print("Failed to deregister device: $ex"); } ``` **Parameters:** * `deviceToken`: The device token obtained from [FCM for you Android app](https://docs.catalyst.zoho.com/en/cloud-scale/help/push-notifications/android/#configure-and-enroll-for-android-push-notifications), or the device token obtained after [registering the device for remote push notifications with APNS](https://docs.catalyst.zoho.com/en/cloud-scale/help/push-notifications/ios/#configure-and-enroll-for-ios-push-notifications) for your iOS app. * `notificationAppID`: For Android, this is the app ID generated by Catalyst for your Android app in Push Notifications, which can be found in the Android section of Push Notifications in your Catalyst console. For iOS, this is obtained from the `AppConfigurationDevelopment.plist`/ `AppConfigurationProduction.plist` file generated by Catalyst for your app when you [registered your iOS app in Catalyst](https://docs.catalyst.zoho.com/en/sdk/ios/v2/setup/). * `testDevice`: The value is set to `true` for test devices, and set to `false` for production devices. ### Search -------------------------------------------------------------------------------- title: "Search Data in Tables" description: "Catalyst Search enables data searching in the indexed columns of the tables in the Data Store, through volumes of data with a single search query." last_updated: "2026-11-04T10:10:44.000Z" source: "https://docs.catalyst.zoho.com/en/sdk/flutter/v2/cloud-scale/search/search-data-in-tables/" service: "CloudScale" related: - Data Store (/en/cloud-scale/help/data-store/introduction) - Search (/en/cloud-scale/help/search-integration/introduction) - Search - API (/en/api/code-reference/cloud-scale/zcql/execute-zcql-query/#ExecuteZCQLQuery) -------------------------------------------------------------------------------- # Search [Catalyst Search](https://docs.catalyst.zoho.com/en/cloud-scale/help/search-integration/introduction) enables data searching in the indexed columns of the tables in the [Data Store](https://docs.catalyst.zoho.com/en/cloud-scale/help/data-store/introduction). It allows you to perform powerful searches through volumes of data with a single search query. > **Note:** The columns you search for data must be indexed. You can enable search indexing for a column while [creating it](https://docs.catalyst.zoho.com/en/cloud-scale/help/data-store/columns/#create-a-new-column) or by [editing it](https://docs.catalyst.zoho.com/en/cloud-scale/help/data-store/columns/#edit-a-column) later. ### Search Data in Tables To search for data in a table in a specific pattern, you must specify the table name as the identifier, and add the columns to be searched in. The columns can be added to an array and the array must be passed to the `search()` method along with the keywords to be searched through an instance of the class `ZCatalystSearchOptions`. You must construct the search pattern to pass to the `search()` method before you execute a search operation, as shown in the code syntax below. ```bash Future<(APIResponse, Map<String, dynamic>?)> search(ZCatalystSearchOptions searchOptions) ``` **Parameters**: * `searchOptions`: The instance of the `ZCatalystSearchOptions` class to be passed to the `search()` method You can create the instance for `searchOptions` in the following way: ```bash ZCatalystSearchOptions(searchText: String, List<ZCatalystSearchOptions.TableColumns>) .addSortColumn(tableName: String,columnName: String) .setDisplayColumns(displayTableColumns: List<ZCatalystSearchOptions.TableColumns>) .setSearchColumns(searchTableColumns: List<ZCatalystSearchOptions.TableColumns>) .setSearchPattern(pattern: ZCatalystSearchOptions.SearchPattern) ``` A sample code snippet of a search execution is shown below: ```bash List<TableColumn> searchTableColumns = []; //Create an array TableColumn tableColumn = TableColumn('Products'); //Specify the table //Specify the columns to be searched in tableColumn.addColumn('Title'); tableColumn.addColumn('Category'); searchTableColumns.add(tableColumn); //Add the columns in the array ZCatalystSearchOptions searchOptions = ZCatalystSearchOptions('Official', searchTableColumns); //Pass the keyword and the array to be searched try{ var (_, searchResult) = await ZCatalystApp.getInstance().search(searchOptions); print(searchResult); } on ZCatalystException catch (ex) { print('Search Query Result :'); } ``` ### Stratus -------------------------------------------------------------------------------- title: "Overview" description: "This page provides an overview of the mobile SDK methods required to perform Stratus operations." last_updated: "2026-11-03T07:48:52.000Z" source: "https://docs.catalyst.zoho.com/en/sdk/flutter/v2/cloud-scale/stratus/overview/" service: "CloudScale" related: - Stratus Component Help Documentation (/en/cloud-scale/help/stratus/introduction) - Java SDK (/en/sdk/java/v1/cloud-scale/stratus/overview/) - JavaScript SDK Documentation (/en/sdk/javascript/v1/cloudscale/stratus/overview/) - Python SDK (/en/sdk/python/v1/cloud-scale/stratus/overview/) - iOS SDK (/en/sdk/ios/v2/cloud-scale/stratus/overview/) - Android SDK (/en/sdk/android/v2/cloud-scale/stratus/overview/) - REST API (/en/api/code-reference/cloud-scale/stratus/get-all-buckets/#GetAllBuckets) -------------------------------------------------------------------------------- # Overview CloudScale [Stratus](https://docs.catalyst.zoho.com/en/cloud-scale/help/stratus/introduction) is Catalyst's robust and powerful storage solution. You can store data of any format in the form of [Objects](https://docs.catalyst.zoho.com/en/cloud-scale/help/stratus/objects/introduction/) in containers called [Buckets](https://docs.catalyst.zoho.com/en/cloud-scale/help/stratus/buckets/name-bucket/). Each Bucket and every individual object in the bucket has a secure [Object URL](https://docs.catalyst.zoho.com/en/cloud-scale/help/stratus/objects/introduction/#object-url) and [Bucket URL](https://docs.catalyst.zoho.com/en/cloud-scale/help/stratus/buckets/create-bucket/#bucket-url). You can perform upload and download operations on objects and even provide [custom permissions](https://docs.catalyst.zoho.com/en/cloud-scale/help/stratus/stratus-permissions/#custom-permissions) for each object. The following table contains the list of all the Catalyst SDKs that can be used to perform Stratus operations through code.
Category SDK Method
General Stratus Operations
  • [Initialize Stratus](https://docs.catalyst.zoho.com/en/sdk/flutter/v2/cloud-scale/stratus/initialize-stratus/)
    • [Initialize Bucket Instance](https://docs.catalyst.zoho.com/en/sdk/flutter/v2/cloud-scale/stratus/initialize-stratus/#initialize-bucket-instance)
Bucket Operations
  • [Get Object](https://docs.catalyst.zoho.com/en/sdk/flutter/v2/cloud-scale/stratus/get-object/)
    • [Get All Objects](https://docs.catalyst.zoho.com/en/sdk/flutter/v2/cloud-scale/stratus/get-object/#get-all-objects)
  • [Download Object](https://docs.catalyst.zoho.com/en/sdk/flutter/v2/cloud-scale/stratus/download-object/)
  • [Upload Object](https://docs.catalyst.zoho.com/en/sdk/flutter/v2/cloud-scale/stratus/upload-object/)
  • [Delete Object](https://docs.catalyst.zoho.com/en/sdk/flutter/v2/cloud-scale/stratus/delete-object/)
  • [Delete Path](https://docs.catalyst.zoho.com/en/sdk/flutter/v2/cloud-scale/stratus/delete-path/)
> **Note:** All the SDK methods in this section will return multiple data using Dart's new feature called [**Records**](https://dart.dev/language/records). To use this feature, you need to have Dart `v3.0` or above. -------------------------------------------------------------------------------- title: "Initialize Stratus" description: "This page lists the Flutter SDK method to create a bucket instance." last_updated: "2026-11-03T07:48:52.000Z" source: "https://docs.catalyst.zoho.com/en/sdk/flutter/v2/cloud-scale/stratus/initialize-stratus/" service: "CloudScale" related: - Stratus Component Help Documentation (/en/cloud-scale/help/stratus/introduction) - Java SDK (/en/sdk/java/v1/cloud-scale/stratus/create-stratus-instance/) - JavaScript SDK Documentation (/en/sdk/javascript/v1/cloudscale/stratus/create-instance/) - Python SDK (/en/sdk/python/v1/cloud-scale/stratus/create-stratus-instance/) - iOS SDK (/en/sdk/ios/v2/cloud-scale/stratus/create-bucket-instance/) - Android SDK (/en/sdk/android/v2/cloud-scale/stratus/create-bucket-instance/) - REST API (/en/api/code-reference/cloud-scale/stratus/get-all-buckets/#GetAllBuckets) -------------------------------------------------------------------------------- # Initialize Stratus You can get the `stratus` component reference as shown below. This will not fire a server-side call. We will refer to this component instance in various code snippets of working with Stratus. ```javascript ZCatalystStratus stratus = ZCatalystApp.getInstance().stratus ``` ### Initialize Bucket Instance To perform bucket level operations, you need to initialize a bucket instance. We will refer to this component instance in various code snippets of working with [Buckets](https://docs.catalyst.zoho.com/en/cloud-scale/help/stratus/buckets/name-bucket/) in Stratus. ```javascript ZCatalystBucket bucket = stratus.bucket("{bucket_name}") ``` -------------------------------------------------------------------------------- title: "Get Object" description: "This page lists the Flutter SDK method to get an object or objects from the bucket." last_updated: "2026-11-03T07:48:52.000Z" source: "https://docs.catalyst.zoho.com/en/sdk/flutter/v2/cloud-scale/stratus/get-object/" service: "CloudScale" related: - Stratus Component Help Documentation (/en/cloud-scale/help/stratus/introduction) - Java SDK (/en/sdk/java/v1/cloud-scale/stratus/download-object/) - JavaScript SDK Documentation (/en/sdk/javascript/v1/overview/) - Python SDK (/en/sdk/python/v1/cloud-scale/stratus/download-object/) - iOS SDK (/en/sdk/ios/v2/cloud-scale/stratus/create-bucket-instance/) - Android SDK (/en/sdk/android/v2/cloud-scale/stratus/get-object/) - REST API (/en/api/code-reference/cloud-scale/stratus/get-all-objects/#GetAllObjects) -------------------------------------------------------------------------------- # Get Object This SDK method can be used to get an object from the bucket. The response will be in **blob** format. When [Versioning](https://docs.catalyst.zoho.com/en/cloud-scale/help/stratus/stratus-config/general-settings/#versioning) is enabled for the bucket: * If you do not pass the `versionId`, then only the **latest object** will be returned. * To retrieve a specific version, use the `versionId` query parameter with a valid version as a value. **Parameters Used**
Parameter Name Data Type Definition
`name` **String** A **mandatory** parameter. Will hold the name of the object.
`versionId` **String** An **optional** parameter. Will hold the unique version ID of the required object's version.
```javascript try { ZCatalystBucket bucket = stratus.bucket("testing"); var (response, object) = await bucket.getObject("SunSet.jpeg", "01hter85pvexb8s2s2842rpswh"); print('Object Name : ${object.name}'); } on ZCatalystException catch (ex) { print(ex.toString()); } ``` ### Get All Objects This SDK method can be used to get all the objects present in the bucket using pagination technique. **Parameters Used**
Parameter Name Data Type Definition
`prefix` **String** An **Optional** parameter. This will get the objects that match the prefix value.
`maxKeys` **Number** An **Optional** parameter. Will contain the maximum limit of objects that can be listed by pagination.
`continuationToken` **String** An **Optional** parameter. If the response was truncated, the value of this key must be passed as `continuationToken` to the same method for retrieving the next set of objects.
```javascript try { ZCatalystBucket bucket = app.stratus.bucket("testing"); var (response, objects, resInfo) = await bucket.getObjects(maxKeys: 5); for (var object in objects) { print('Object Name : ${object.name}'); } print('Res Info MaxKeys:${resInfo.maxKeys}'); print('\n\n'); } on ZCatalystException catch (ex) { print(ex.toString()); } ``` -------------------------------------------------------------------------------- title: "Download Object" description: "This page lists the Flutter SDK methods to download an object to the bucket." last_updated: "2026-11-03T15:19:21.000Z" source: "https://docs.catalyst.zoho.com/en/sdk/flutter/v2/cloud-scale/stratus/download-object/" service: "CloudScale" related: - Stratus Component Help Documentation (/en/cloud-scale/help/stratus/introduction) - Download an Object (/en/cloud-scale/help/stratus/objects/manage-object/download-object/) - Java SDK (/en/sdk/java/v1/cloud-scale/stratus/download-object/) - JavaScript SDK Documentation (/en/sdk/javascript/v1/overview/) - Python SDK (/en/sdk/python/v1/cloud-scale/stratus/download-object/) - iOS SDK (/en/sdk/ios/v2/cloud-scale/stratus/download-object/) - Android SDK (/en/sdk/android/v2/cloud-scale/stratus/download-object/) - REST API (/en/api/code-reference/cloud-scale/stratus/download-object/#DownloadObject) -------------------------------------------------------------------------------- # Download Object This SDK method will allow you to download the object. The operation will retuen an input stream. **Parameters Used**
Parameter Name Data Type Definition
`pathToDownload` **String** A **mandatory** parameter. Will hold the [path](https://docs.catalyst.zoho.com/en/cloud-scale/help/stratus/objects/introduction/#path) where the object needs to be downloaded.
`newObjectName` **String** An **optional** parameter. Will hold the name of the object that you provide while being downloaded. If you do not provide this value, then the object will be downloaded by its original name.
`versionId` **String** An **optional** parameter. If [Versioning](https://docs.catalyst.zoho.com/en/cloud-scale/help/stratus/stratus-config/general-settings/#versioning) is enabled for the bucket, it will hold the unique version ID of the required object's version.
`fromCache` **Boolean**
  • An **optional** parameter. To be used to specify whether this file has to be retrieved from the cache or not.
  • **Default Value**: false.
`progress` **Function(int, int, Double)?** A callback function that can provide progess information about the object download
```javascript try { ZCatalystBucket bucket = stratus.bucket("testing"); var (response, object) = await bucket.getObject("SunSet.jpeg"); final downloadsDir = await getExternalStorageDirectory(); final filePath = downloadsDir!.absolute.path; var fileResponse = await object.download( pathToDownload: filePath, onProgress: (bytesWritten, contentLength, percentage) { print("Downloaded Percentage: $percentage"); }, ); print("Download Status: ${fileResponse.statusCode}"); OpenFile.open(filePath + '/SunSet.jpeg'); } on ZCatalystException catch (ex) { print(ex.toString()); } ``` -------------------------------------------------------------------------------- title: "Upload Object" description: "This page lists the Flutter SDK methods to upload an object to the bucket." last_updated: "2026-11-03T07:48:52.000Z" source: "https://docs.catalyst.zoho.com/en/sdk/flutter/v2/cloud-scale/stratus/upload-object/" service: "CloudScale" related: - Stratus Component Help Documentation (/en/cloud-scale/help/stratus/introduction) - Upload Object Help Documentation (/en/cloud-scale/help/stratus/objects/upload-object/) - Java SDK (/en/sdk/java/v1/cloud-scale/stratus/upload-object/) - JavaScript SDK Documentation (/en/sdk/javascript/v1/cloudscale/stratus/upload-object/) - Python SDK (/en/sdk/python/v1/cloud-scale/stratus/upload-object/) - iOS SDK (/en/sdk/ios/v2/cloud-scale/stratus/upload-object/) - Android SDK (/en/sdk/android/v2/cloud-scale/stratus/upload-object/) - REST API (/en/api/code-reference/cloud-scale/stratus/upload-object/#UploadObject) -------------------------------------------------------------------------------- # Upload Object The SDK method listed in this section will allow you to [upload objects](https://docs.catalyst.zoho.com/en/cloud-scale/help/stratus/objects/upload-object/) to the [bucket](https://docs.catalyst.zoho.com/en/cloud-scale/help/stratus/buckets/name-bucket/) If you do not have [Versioning](https://docs.catalyst.zoho.com/en/cloud-scale/help/stratus/stratus-config/general-settings/#versioning) enabled for your object, and if Stratus gets multiple write requests for the same object, the object will be continuously overwritten. The latest upload of the object will be the only object that is stored. However, with Versioning enabled, each upload will be considered a version of the object, and all of them will be stored in the bucket, each with a unique `versionId`. > **Note:** The following characters including space are not supported when you create a path or an object: double quote, both angular brackets, hashtag, backward slash and pipe symbol. **Parameters Used**
Parameter Name Data Type Definition
`filePath` **String** A **mandatory** parameter. Will contain the complete path of the location from where the file needs to be uploaded from.
`shouldCompress` **Boolean**
  • An **optional** parameter. To allow you to choose if the object needs to be compressed or not.
  • **Default Value**: false.
```javascript try { XFile ? imageFile = await pickImage(ImageSource.gallery); var bucket = stratus.bucket("testing"); var response = await bucket.uploadObject(imageFile!.path); print("Upload Status: ${response.statusCode}"); } on ZCatalystException catch (ex) { print(ex.toString()); } ``` -------------------------------------------------------------------------------- title: "Delete Object" description: "This page lists the Flutter SDK methods to delete an object or objects from the bucket." last_updated: "2026-11-03T07:48:52.000Z" source: "https://docs.catalyst.zoho.com/en/sdk/flutter/v2/cloud-scale/stratus/delete-object/" service: "CloudScale" related: - Stratus Component Help Documentation (/en/cloud-scale/help/stratus/introduction) - Delete an Object Help Documentation (/en/cloud-scale/help/stratus/objects/manage-object/delete-object/) - Java SDK (/en/sdk/java/v1/cloud-scale/stratus/delete-objects/) - JavaScript SDK Documentation (/en/sdk/javascript/v1/cloudscale/stratus/delete-object/) - Python SDK (/en/sdk/python/v1/cloud-scale/stratus/delete-objects/) - iOS SDK (/en/sdk/ios/v2/cloud-scale/stratus/delete-object/) - Android SDK (/en/sdk/android/v2/cloud-scale/stratus/delete-object/) - REST API (/en/api/code-reference/cloud-scale/stratus/delete-objects/#DeleteObject) -------------------------------------------------------------------------------- # Delete Objects The following SDK method can be used to delete multiple objects from the bucket. **Parameters Used**
Parameter Name Data Type Definition
`objects` **ArrayList<ZCatalystObject>** An array containing the list of objects (and version IDs, if [Versioning](https://docs.catalyst.zoho.com/en/cloud-scale/help/stratus/stratus-config/general-settings/#versioning) is enabled for the bucket) that needs to be deleted.
> **Note:** If the SDK method is used without the `objects` parameter, then all the objects in the bucket will be deleted. ```javascript try { ZCatalystBucket bucket = stratus.bucket("testing"); var (response, objects, _) = await bucket.getObjects(maxKeys: 5, prefix: 'trip'); var response = await bucket.deleteObjects(objects); print("Delete Objects: ${response.statusCode}"); } on ZCatalystException catch (ex) { print(ex.toString()); } ``` -------------------------------------------------------------------------------- title: "Delete Path" description: "This page lists the Flutter SDK methods to delete an entire path along with its objects from the bucket." last_updated: "2026-11-03T07:48:52.000Z" source: "https://docs.catalyst.zoho.com/en/sdk/flutter/v2/cloud-scale/stratus/delete-path/" service: "CloudScale" related: - Stratus Component Help Documentation (/en/cloud-scale/help/stratus/introduction) - Delete an Object Help Documentation (/en/cloud-scale/help/stratus/objects/manage-object/delete-object/) - Java SDK (/en/sdk/java/v1/cloud-scale/stratus/delete-objects/) - JavaScript SDK Documentation (/en/sdk/javascript/v1/cloudscale/stratus/delete-object/) - Python SDK (/en/sdk/python/v1/cloud-scale/stratus/delete-objects/) - iOS SDK (/en/sdk/ios/v2/cloud-scale/stratus/delete-path/) - Android SDK (/en/sdk/android/v2/cloud-scale/stratus/delete-path/) - REST API (/en/api/code-reference/cloud-scale/stratus/delete-path/#DeletePath) -------------------------------------------------------------------------------- # Delete Path The following SDK method can be used to delete all the objects present in the specified [path](https://docs.catalyst.zoho.com/en/cloud-scale/help/stratus/objects/introduction/#path). **Parameters Used**
Parameter Name Data Type Definition
`path` **String** A **mandatory** parameter. Will contain the complete path of where the file should be uploaded.
```javascript try { ZCatalystBucket bucket = stratus.bucket("testing"); var response = await bucket.deletePath("photos"); print("Delete Objects: ${response.statusCode}"); } on ZCatalystException catch (ex) { print(ex.toString()); } ``` ### ZCQL -------------------------------------------------------------------------------- title: "Execute ZCQL Query" description: "ZCQL is Catalyst's own query language that enables you to perform data creation, retrieval, and modification operations in the Data Store." last_updated: "2026-11-03T07:48:52.000Z" source: "https://docs.catalyst.zoho.com/en/sdk/flutter/v2/cloud-scale/zcql/execute-zcql-query/" service: "CloudScale" related: - Data Store (/en/cloud-scale/help/data-store/introduction) - ZCQL (/en/cloud-scale/help/zcql/introduction/) - Execute ZCQL - API (/en/api/code-reference/cloud-scale/zcql/execute-zcql-query/#ExecuteZCQLQuery) -------------------------------------------------------------------------------- # ZCQL ZCQL is Catalyst's own query language that enables you to perform data creation, retrieval, and modification operations in the [Data Store](https://docs.catalyst.zoho.com/en/cloud-scale/help/data-store/introduction). It supports queries with built-in functions, SQL Join clauses, and other statements and conditions. ### Execute a ZCQL Query Flutter enables you to perform data retrieval operations using ZCQL. Before you execute a ZCQL query to fetch the required data set, you must construct the query to pass it to the `getData()` method. You can learn about the ZCQL syntax from the [ZCQL help page](https://docs.catalyst.zoho.com/en/cloud-scale/help/zcql/introduction). You must pass an instance of `ZCatalystSelectQuery` to the `getData()` method, as shown in the code syntax of a ZCQL query execution below. The `<DATA_STORE_INSTANCE>` used here is the instance defined in the [Data Store Instance page](https://docs.catalyst.zoho.com/en/sdk/flutter/v2/cloud-scale/data-store/create-data-store-instance). ```bash Future<(APIResponse, List<dynamic>?)> ZCatalystApp.getInstance().getDataStoreInstance().getData( ZCatalystSelectQuery selectQuery) ``` **Parameters**: * `selectQuery`: The instance of the type `ZCatalystSelectQuery` to be passed You can create a `selectQuery` instance for `ZCatalystSelectQuery` for the statements supported by ZCQL, in the following way: ```bash ZCatalystSelectQuery.Builder() .select(columns: Set<Column>): ZCatalystSelectQuery.Builder .selectAll(): ZCatalystSelectQuery.Builder .where(column: String, comparator: ZCatalystUtil.Comparator, value: String): ZCatalystSelectQuery.Builder .from(tableName: String): ZCatalystSelectQuery.Builder .and(column: String, comparator: ZCatalystUtil.Comparator, value: String): ZCatalystSelectQuery.Builder .groupBy(columns: Set<Column>): ZCatalystSelectQuery.Builder .orderBy(columns: Set<Column>, sortOrder: ZCatalystUtil.SortOrder): ZCatalystSelectQuery.Builder .innerJoin(tableName: String): ZCatalystSelectQuery.Builder .leftJoin(tableName: String): ZCatalystSelectQuery.Builder .on(joinColumn1: String, comparator: ZCatalystUtil.Comparator, joinColumn2: String): ZCatalystSelectQuery.Builder .or(column: String, comparator: ZCatalystUtil.Comparator, value:String): ZCatalystSelectQuery.Builder .limit(offset: Int, value: Int?): ZCatalystSelectQuery.Builder .build(): ZCatalystSelectQuery ``` A sample code snippet of a ZCQL query execution is shown below: ```bash try { ZCQLColumn column1 = ZCQLColumn('Title'); ZCQLColumn column2 = ZCQLColumn('Category'); Set<ZCQLColumn> columns = Set(); columns.add(column1); columns.add(column2); ZCatalystSelectQuery query = ZCatalystQueryBuilder() .select(columns) .from('Projects') .where('Category', Comparator.EQUAL_TO, 'Official') .build(); var (_, result) = await app.getDataStoreInstance().getData(query); print("Query Result: $result"); } on ZCatalystException catch (ex) { print(ex.toString()); } ``` ## SDK — iOS — CloudScale ### Authentication -------------------------------------------------------------------------------- title: "Create a New User Instance" description: "Catalyst authentication feature enables you to manage user authentication. You can create new user instances to prevent unnecessary server calls." last_updated: "2026-11-03T07:48:52.000Z" source: "https://docs.catalyst.zoho.com/en/sdk/ios/v2/cloud-scale/authentication/create-user-instance/" service: "CloudScale" related: - Authentication (/en/cloud-scale/help/authentication/introduction) - Users (/en/cloud-scale/help/authentication/user-management/users/introduction/) - Add New User - API (/en/api/code-reference/cloud-scale/authentication/add-new-user/#AddNewUser) -------------------------------------------------------------------------------- # Authentication [Catalyst Authentication](https://docs.catalyst.zoho.com/en/cloud-scale/help/authentication/introduction) is a component of Catalyst CloudScale that enables you to add end-users to your application, customize app login and sign-up forms, manage user accounts and roles, and ensure secure access throughout your application. ## Create a New User Instance You can create a new user instance, and enable the methods defined in this class to access the instance object. This will prevent unnecessary server calls. You must pass the user's details to the `newUser()` method as shown in the code syntax below. You must pass the user's email address and last name mandatorily to create the instance successfully. ```bash ZCatalystApp.shared.newUser( lastName : String, email : String ) -> ZCatalystUser ``` **Parameters**: * `lastName`: The last name of the new user * `email`: Email address of the user, to which the [invitation mail](https://docs.catalyst.zoho.com/en/cloud-scale/help/authentication/user-management/users/implementation/) will be sent A sample code snippet is shown below: ```bash ZCatalystApp.shared.newUser( lastName : "Burrows", email : "emma@zylker.com" ) -> ZCatalystUser ``` -------------------------------------------------------------------------------- title: "User Signup" description: "Adding new users to your catalyst application." last_updated: "2026-11-03T07:48:52.000Z" source: "https://docs.catalyst.zoho.com/en/sdk/ios/v2/cloud-scale/authentication/user-signup/" service: "CloudScale" related: - Authentication (/en/cloud-scale/help/authentication/introduction) - Users (/en/cloud-scale/help/authentication/user-management/users/introduction/) - Authentication - API (/en/api/code-reference/cloud-scale/authentication/add-new-user/#AddNewUser) -------------------------------------------------------------------------------- # User Signup You can add a new [user](https://docs.catalyst.zoho.com/en/cloud-scale/help/authentication/user-management/users/introduction/) to your Catalyst app by calling the `signUp()` method. You must pass the [user instance defined here](https://docs.catalyst.zoho.com/en/sdk/ios/v2/cloud-scale/authentication/create-user-instance) as the argument to the `signUp()` method. The code syntax for user signup is given below: ```bash ZCatalystApp.shared.signUp(user: ZCatalystUser, completion: @escaping (Result<( ZCatalystUser, Int64 ), ZCatalystError >) -> Void) ``` **Parameters**: * `user`: The user instance created before this operation * `completion`: If the call executes successfully, the completion block returns the user object with an `UserID`, `ZUID`, `Org ID`, etc assigned for the user. Else, it returns an error. A sample code snippet is shown below: ```bash let userobj = ZCatalystApp.shared.newUser( lastName : "McRogan", email : "timothy.mcrogan@zylker.com") //Replace this with the last name and email address of the user ZCatalystApp.shared.signUp(user: userobj) { ( result ) in switch result{ case .success ( let result ) : print("The user \(result.0.firstName) in org \(result.1) has been successfully signed up.") case .error( let error ) : print( "Error occurred >>> \( error )" ) } } ``` -------------------------------------------------------------------------------- title: "User Login" description: "You can display the login page to the end user of your Catalyst iOS app." last_updated: "2026-11-03T07:48:52.000Z" source: "https://docs.catalyst.zoho.com/en/sdk/ios/v2/cloud-scale/authentication/user-login/" service: "CloudScale" related: - Authentication (/en/cloud-scale/help/authentication/introduction) - Users (/en/cloud-scale/help/authentication/user-management/users/introduction/) - Authentication - API (/en/api/code-reference/cloud-scale/authentication/add-new-user/#AddNewUser) -------------------------------------------------------------------------------- # User Login You can display the login page to the [end user](https://docs.catalyst.zoho.com/en/cloud-scale/help/authentication/user-management/users/introduction/) of your Catalyst iOS app using the `showLogin()` method. This will be displayed when the user is logged out of the app. If the login is successful, the user will be able to access the app. The code syntax for user login is given below: ```bash ZCatalystApp.shared.showLogin( completion : @escaping ( Error? ) -> Void ) ViewController.swift ``` **Parameters**: * `completion`: The completion block will be passed with an error if the login was unsuccessful. -------------------------------------------------------------------------------- title: "User Logout" description: "You can log an app user out from the Catalyst iOS app." last_updated: "2026-11-03T07:48:52.000Z" source: "https://docs.catalyst.zoho.com/en/sdk/ios/v2/cloud-scale/authentication/user-logout/" service: "CloudScale" related: - Authentication (/en/cloud-scale/help/authentication/introduction) - Users (/en/cloud-scale/help/authentication/user-management/users/introduction/) - Logout User - API (/en/api/code-reference/cloud-scale/authentication/sign-out-user/#SignOutUser) -------------------------------------------------------------------------------- # User Logout The `logout()` method can log an [app user](https://docs.catalyst.zoho.com/en/cloud-scale/help/authentication/user-management/users/introduction/) out from the Catalyst iOS app. The code syntax for user logout is given below: ```bash ZCatalystApp.shared.logout( completion : @escaping ( Error? ) -> Void ) ViewController.swift ``` **Parameters**: * `completion`: The completion block will be passed with an error if the logout was unsuccessful. -------------------------------------------------------------------------------- title: "Get Current User" description: "You can obtain the details of the current end user of your application." last_updated: "2026-11-03T07:48:52.000Z" source: "https://docs.catalyst.zoho.com/en/sdk/ios/v2/cloud-scale/authentication/get-current-user/" service: "CloudScale" related: - Authentication (/en/cloud-scale/help/authentication/introduction) - Users (/en/cloud-scale/help/authentication/user-management/users/introduction/) - Get Current User - API (/en/api/code-reference/cloud-scale/authentication/get-current-user/#GetCurrentUser) -------------------------------------------------------------------------------- # Get Current User You can obtain the details of the current [end user](https://docs.catalyst.zoho.com/en/cloud-scale/help/authentication/user-management/users/introduction/) of your application by calling the `getCurrentUser()` method. Upon successful execution, this method will return the current user object. You can fetch the user's details that are registered in Catalyst, like their first name, last name, email address, etc using this. The code syntax for obtaining the current user is given below: ```bash ZCatalystApp.shared.getCurrentUser( completion: @escaping (Result< ZCatalystUser,ZCatalystError > ) -> Void ) ``` **Parameters**: * `completion`: If the call is successful, the completion block will return the current user object. Else, it will return an error. A sample code snippet is shown below: ```bash ZCatalystApp.shared.getCurrentUser { ( result ) in switch result{ case .success ( let user) : print("The current user is \(user.firstName).") case .error( let error ) : print( "Error occurred >>> \( error )" ) } } ``` -------------------------------------------------------------------------------- title: "Third-Party Authentication" description: "You can implement a third-party authentication service of your preference in your iOS app." last_updated: "2026-11-03T07:48:52.000Z" source: "https://docs.catalyst.zoho.com/en/sdk/ios/v2/cloud-scale/authentication/third-party-authentication/" service: "CloudScale" related: - Authentication (/en/cloud-scale/help/authentication/introduction) - Third-Party Authentication (/en/cloud-scale/help/authentication/third-party-authentication/introduction/) - Generate Custom Server Token- Java SDK (/en/sdk/java/v1/cloud-scale/authentication/third-party-server-token/) - JavaScript SDK (/en/sdk/javascript/v1/overview/) - Generate Custom Server Token- Python SDK (/en/sdk/python/v1/cloud-scale/authentication/third-party-server-token/) - Authentication - API (/en/api/code-reference/cloud-scale/authentication/add-new-user/#AddNewUser) -------------------------------------------------------------------------------- # Third-Party Authentication CloudScale's Authentication allows you to implement a [third-party authentication](https://docs.catalyst.zoho.com/en/cloud-scale/help/authentication/third-party-authentication/introduction/) service of your preference for your Catalyst application. The authorization and validation of the end-user is handled by the third-party service, and the data is passed on to Catalyst. > **Note:** Since you are implementing a third-party authentication service, it is understood that the security infrastructure of your application is contingent on the efficiency of the third-party service that you have chosen. To implement third-party authentication in your iOS app, you will need to perform the steps described below. ### 1. Configure the Third-Party Authentication Service Before you associate a third-party authentication with your Catalyst application, you must ensure that you have first completed handling the third-party logic in the external service. You can configure the authentication with any third-party of your choice. ### 2. Set up the Third-Party Authentication Type in Catalyst You must now set up the third-party authentication that you configured in Catalyst by navigating to the Authentication component in CloudScale in the Catalyst console. The steps are explained in [Set Up Third-party Authentication in Catalyst help page](https://docs.catalyst.zoho.com/en/cloud-scale/help/authentication/third-party-authentication/implementation/). This process involves the following steps that you must perform: **i. Generate a custom server token:** When a user is re-directed from a third-party service after being authenticated, their credentials must be passed to an authentication function that you will need to code in [Java](https://docs.catalyst.zoho.com/en/sdk/java/v1/cloud-scale/authentication/third-party-server-token/), [Node.js](https://docs.catalyst.zoho.com/en/sdk/nodejs/v2/cloud-scale/authentication/third-party-server-token/), or [Python](https://docs.catalyst.zoho.com/en/sdk/python/v1/cloud-scale/authentication/third-party-server-token/). This function will generate a Catalyst server-side token `jwtToken` or `customToken` which will then be passed to client-side (iOS app). The Catalyst console provides readymade scripts to generate the `customToken`. You can incorporate this script in the server-side function you write, to return the `customToken`. > **Note:** To enable a third-party authentication in your Catalyst application, you must ensure that you have enabled [Public Signup](https://docs.catalyst.zoho.com/en/cloud-scale/help/authentication/public-signup/) in the console. **ii. Skip the client-side configuration:** You can skip the client-side configuration in the console for now, as we will incorporate the custom server token in the client logic at the end to complete the login process. **iii. Configure additional settings and finish the setup:** Configure Customer User Validation or Authorized Domains as a part of Whitelisting and finish the set up. Catalyst will display a confirmation that a third-party authentication service has been enabled and your application’s authentication is being handled by it. ### 3. Re-Import the Configuration File in your iOS Project After you enable the third-party authentication for your iOS app from the Catalyst console, you will need to download and import the [`AppConfigurationDevelopment.plist` or the `AppConfigurationProduction.plist` properties file](https://docs.catalyst.zoho.com/en/sdk/ios/v2/setup/#step-2-import-the-configuration-file-in-your-ios-project) in your iOS project again, based on your app's [environment](https://docs.catalyst.zoho.com/en/deployment-and-billing/environments/introduction/). This is because this file will now include two additional properties: [`JWTClientID` and `JWTClientSecret`](https://docs.catalyst.zoho.com/en/sdk/ios/v2/setup/#properties-of-the-appconfigurationdevelopmentplist-appconfigurationproductionplist-file). These properties will need to be passed in the next step, after you re-initialize the SDK. To re-download the configuration file: 1. Navigate to **Settings**, then [**Developer Tools**](https://docs.catalyst.zoho.com/en/getting-started/set-up-a-catalyst-project/developer-tools/) in your Catalyst console of your project. You will find your existing iOS package under the Mobile SDK section. Open the package. ![ios_sdk_download](https://catalyst-docs-development.zohostratus.in/images/sdk/ios/ios_sdk_re-download.webp) 2. Click on the required environment tab in the pop-up, then click **Download** to download the configuration file. ![ios_sdk_download_2](https://catalyst-docs-development.zohostratus.in/images/sdk/ios/ios_sdk_re-download_2.webp) You can now re-import this downloaded configuration file by following the steps mentioned [here](https://docs.catalyst.zoho.com/en/sdk/ios/v2/setup/#step-2-import-the-configuration-file-in-your-ios-project). > **Note:** You need not perform the steps 3, 4, 6 given in the SDK setup help page again. ### 4. Re-Initialize the SDK You must now re-initialize the SDK to include the newly-downloaded properties in your code. Re-initializing the SDK can be done similar to [initializing the SDK for the first time](https://docs.catalyst.zoho.com/en/sdk/ios/v2/setup/#step-5-initialize-the-sdk). However, you will now need to specify the `JWTClientID` and `JWTClientSecret` properties obtained from the newly-downloaded configuration file through with `ZCatalystAppConfiguration`. ```bash public func initSDK( window : UIWindow, environment : ZCatalystEnvironment, appConfiguration : ZCatalystAppConfiguration ) throws ``` **Parameters:** * `window`: The window object that dispatches events to your views * `appConfiguration`: An object containing all the configuration details for the functioning of the SDK. * `environment`: The environment of your app, either `.development` or `.production`. The `environment` here indicates if the app is operating in the [Development or the Production](https://docs.catalyst.zoho.com/en/deployment-and-billing/environments/introduction) environment. Similar to including the appropriate plist configuration file based on the environment in your app's project, you must re-initialize the SDK for the appropriate environment. ### 5. Code the User Login Logic for the Third-Party Authentication You can now complete the setup by handling the login logic of the third-party authentication in your iOS app. You must pass the `customToken` or `jwtToken` generated in [step 2](https://docs.catalyst.zoho.com/en/sdk/ios/v2/cloud-scale/authentication/third-party-authentication/#2-set-up-the-third-party-authentication-type-in-catalyst) to the `handleCustomLogin()` method as shown below: ```bash public func handleCustomLogin( withJWT token : String, completion : @escaping ( Error? ) -> Void ) ``` > **Note:** The custom server token will have to be generated every single time the user logs in to your application using a third-party authentication service. ### Data Store -------------------------------------------------------------------------------- title: "Create a New Data Store Instance" description: "You can obtain the details of the current end user of your application." last_updated: "2026-11-03T07:48:52.000Z" source: "https://docs.catalyst.zoho.com/en/sdk/ios/v2/cloud-scale/data-store/create-data-store-instance/" service: "CloudScale" related: - Data Store (/en/cloud-scale/help/data-store/introduction) - Data Store - API (/en/api/code-reference/cloud-scale/data-store/insert-new-row/#InsertNewRow) -------------------------------------------------------------------------------- # Data Store [Catalyst Data Store](https://docs.catalyst.zoho.com/en/cloud-scale/help/data-store/introduction) is a cloud-based relational database management system which stores the persistent data of your application in the form of tables. ### Create a New Data Store Instance To access the Data Store of a Catalyst project, you can create an instance of the Data Store, and enable the methods defined in this class to access the instance object. This will prevent unnecessary server calls. You must call the `getDataStoreInstance()` method as shown in the code syntax below, to obtain the Data Store instance successfully: ```bash ZCatalystApp.shared.getDataStoreInstance(tableIdentifier : String) -> ZCatalystDataStore ``` -------------------------------------------------------------------------------- title: "Get Column Metadata" description: "You can obtain the metadata of all columns or single specific column of a Data Store table of the given instance by its ID or name." last_updated: "2026-11-03T07:48:52.000Z" source: "https://docs.catalyst.zoho.com/en/sdk/ios/v2/cloud-scale/data-store/get-column-metadata/" service: "CloudScale" related: - Data Store (/en/cloud-scale/help/data-store/introduction) - Columns (/en/cloud-scale/help/data-store/columns) - Get Metadata of Coulumns - API (/en/api/code-reference/cloud-scale/data-store/get-all-columns-metadata/#GetAllColumnsMetadata) -------------------------------------------------------------------------------- # Get Column Metadata ### Get the Metadata of a Specific Column You can obtain the metadata of a single specific column of a [Data Store](https://docs.catalyst.zoho.com/en/cloud-scale/help/data-store/introduction) table of the given instance, by calling the `getColumn()` method. If the operation is successful, this method can return the metadata of the column such as its data type, default value, maximum length, or whether it is read only, unique, or mandatory. You can retrieve a specific column's metadata by passing the column ID as the argument to the `getColumn()` method, as shown in the code syntax below. The `<DATA_STORE_INSTANCE>` used here is the instance defined in the [Table Instance page](https://docs.catalyst.zoho.com/en/sdk/ios/v2/cloud-scale/data-store/create-data-store-instance). ```bash <DATA_STORE_INSTANCE>.getColumn( id : Int64, completion : @escaping ( Result< ZCatalystColumn, ZCatalystError > ) -> Void ) ``` **Parameters**: * `id`: The [unique Column ID](https://docs.catalyst.zoho.com/en/cloud-scale/help/data-store/columns/#column-characteristics) of the particular column that needs to be retrieved * `completion`: If the operation is successful, the completion block will return the column details. Else, it will return an error. A sample code snippet is shown below: ```bash ZCatalystApp.shared.getDataStoreInstance(tableIdentifier : String).getColumn(id :1096000000002459 ) { ( result ) in //Replace this with your column ID switch result{ case .success ( let column) : print(column.name) case .error( let error ) : print( "Error occurred >>> \( error )" ) } } ``` ### Get the Metadata of all Columns You can retrieve the metadata of all the columns of a table of the given instance, using the `getColumns()` method, as shown in the code syntax below. If the operation is successful, this method can return the metadata of all the columns of the specific table. The `<DATA_STORE_INSTANCE>` used in the code below is the instance created earlier in the [Table Instance page](https://docs.catalyst.zoho.com/en/sdk/ios/v2/cloud-scale/data-store/create-data-store-instance). ```bash <DATA_STORE_INSTANCE>.getColumns( completion : @escaping ( Result< [ ZCatalystColumn ], ZCatalystError > ) -> Void ) ``` **Parameters**: * `completion`: If the operation is successful, the completion block will return the details of all the columns in the table. Else, it will return an error. A sample code snippet is shown below: ```bash ZCatalystApp.shared.getDataStoreInstance(tableIdentifier : "EmployeeDetails").getColumns{ ( result ) in // Replace this with your table name switch result { case .success ( let columns) : for column in columns { print(column.name) } case .error( let error ) : print( "Error occurred >>> \( error )" ) } } ``` -------------------------------------------------------------------------------- title: "Get Rows" description: "You can retrieve a single specific row or all rows, even with pagination, from a Data Store table of the given instance." last_updated: "2026-11-03T07:48:52.000Z" source: "https://docs.catalyst.zoho.com/en/sdk/ios/v2/cloud-scale/data-store/get-rows/" service: "CloudScale" related: - Data Store (/en/cloud-scale/help/data-store/introduction) - Records (/en/cloud-scale/help/data-store/records) - Get All Rows - API (/en/api/code-reference/cloud-scale/data-store/get-all-rows/#GetAllRows) -------------------------------------------------------------------------------- # Get Rows ### Get a Specific Row You can retrieve a single specific row from a [Data Store](https://docs.catalyst.zoho.com/en/cloud-scale/help/data-store/introduction) table of the given instance using the `getRow()` method. This is done by passing the unique ROWID of the row as the argument to this method, as shown in the code syntax below. The `<DATA_STORE_INSTANCE>` used in the code below is the instance defined in the [Data Store Instance page](https://docs.catalyst.zoho.com/en/sdk/ios/v2/cloud-scale/data-store/create-data-store-instance). ```bash <DATA_STORE_INSTANCE>.getRow(id : Int64, completion: @escaping (Result<ZCatalystRow, ZCatalystError>) -> Void) ``` **Parameters**: * `id`: The [unique ROWID](https://docs.catalyst.zoho.com/en/cloud-scale/help/data-store/records/#create-a-new-record) of the particular row that needs to be retrieved * `completion`: If the operation is successful, the completion block will return the details of the row. Else, it will return an error. A sample code snippet is shown below: ```bash ZCatalystApp.shared.getDataStoreInstance(tableIdentifier : "EmployeeDetails").getRow(id: 1096000000002845){( result ) in // Replace this with your Table identifier and ROW ID here switch result{ case .success ( let row) : print(row.id) case .error( let error ) : print( "Error occurred >>> \( error )" ) } } ``` ### Get Rows Through Pagination You can retrieve all the rows from a table in the Data Store by incorporating pagination in your code. Pagination allows you to fetch the rows of a table in batches or pages through iterations. For example, if you require the rows to be fetched in batches of 100 as individual pages, you can define the maximum rows to be fetched in each page and specify the count using `maxRows` as shown below. Additionally, after each execution of the loop, you will receive a token string in the response that authorizes the subsequent fetching of data. You can pass this as the value for `nextToken` during the subsequent iteration. During the first execution of the loop, the `nextToken` string is not passed. The `<DATA_STORE_INSTANCE>` used in the code snippets below is the instance defined in the [Data Store Instance page](https://docs.catalyst.zoho.com/en/sdk/ios/v2/cloud-scale/data-store/create-data-store-instance/). ```bash <DATA_STORE_INSTANCE>.getRows(nextToken : String?, maxRecord : String?, completion: @escaping (Result<[ZCatalystRow], ZCatalystError>) -> Void) ``` **Parameters**: * `maxRows`: The maximum number of rows to be fetched in this iteration * `nextToken`: The authorization token to fetch the next set of rows If you prefer to fetch all pending rows after the first iteration, you can avoid passing the `maxRows` limit. After all the rows are fetched, the pagination will be complete. ### Get All Rows You can retrieve all the rows of a table of the given instance, using the `getRows()` method, as shown in the code syntax below. If the operation is successful, this method will return all the rows of the table without any filters or conditions. The `<DATA_STORE_INSTANCE>` used in the code below is the instance defined in the [Data Store Instance page](https://docs.catalyst.zoho.com/en/sdk/ios/v2/cloud-scale/data-store/create-data-store-instance). ```bash <DATA_STORE_INSTANCE>.getRows(completion: @escaping (Result<[ZCatalystRow], ZCatalystError>) -> Void) ``` **Parameters**: * `completion`: If the operation is successful, the completion block will return the details of all the rows. Else, it will return an error. A sample code snippet is shown below: ```bash ZCatalystApp.shared.getDataStoreInstance(tableIdentifier : "EmployeeDetails").getRows{ ( result ) in //Replace this with your table name switch result{ case .success ( let rows) : for row in rows{ print(row.id) } case .error( let error ) : print( "Error occurred >>> \( error )" ) } } ``` -------------------------------------------------------------------------------- title: "Create a New Row Instance" description: "You can create a new row instance for a particular table in the Data Store." last_updated: "2026-11-03T07:48:52.000Z" source: "https://docs.catalyst.zoho.com/en/sdk/ios/v2/cloud-scale/data-store/create-new-row-instance/" service: "CloudScale" related: - Data Store (/en/cloud-scale/help/data-store/introduction) - Records (/en/cloud-scale/help/data-store/records) - Insert Row - API (/en/api/code-reference/cloud-scale/data-store/insert-new-row/#InsertNewRow) -------------------------------------------------------------------------------- # Create a New Row Instance You can create a new row instance for a particular table in the [Data Store](https://docs.catalyst.zoho.com/en/cloud-scale/help/data-store/introduction), and enable the methods defined in this class to access the instance object. This prevents unnecessary server calls. A row instance can be created by calling the `newRow()` method, as shown in the code syntax below. The `<DATA_STORE_INSTANCE>` used here is the instance defined in the [Data Store Instance page](https://docs.catalyst.zoho.com/en/sdk/ios/v2/cloud-scale/data-store/create-data-store-instance). ```bash <DATA_STORE_INSTANCE>.newRow() -> ZCatalystRow ``` A sample code snippet is shown below: ```bash let instance = ZCatalystApp.shared.getDataStoreInstance(tableIdentifier: “1096000000002071” ).newRow() //Replace this with your table ID ``` -------------------------------------------------------------------------------- title: "Get Column Value from Row" description: "You can retrieve a specific column's value in a row in a Data Store table." last_updated: "2026-11-03T07:48:52.000Z" source: "https://docs.catalyst.zoho.com/en/sdk/ios/v2/cloud-scale/data-store/column-value-from-row/" service: "CloudScale" related: - Data Store (/en/cloud-scale/help/data-store/introduction) - Records (/en/cloud-scale/help/data-store/records) - Columns (/en/cloud-scale/help/data-store/columns) - Get Metadata of Columns - API (/en/api/code-reference/cloud-scale/data-store/get-all-columns-metadata/#GetAllColumnsMetadata) -------------------------------------------------------------------------------- # Get Column Value from Row You can retrieve a specific column's value in a row in a [Data Store](https://docs.catalyst.zoho.com/en/cloud-scale/help/data-store/introduction) table. That is, if you require the value of the column 'Employee ID' alone for in a row, you can retrieve it using this operation. You can execute this operation in three ways, as shown below. The `<ROW_INSTANCE>` used in all the code sections below is the instance defined in the [Row Instance page](https://docs.catalyst.zoho.com/en/sdk/ios/v2/cloud-scale/data-store/create-new-row-instance). ### If you know the data type of the column: ```bash let data : <T> = try <ROW_INSTANCE>.getValue(forKey: "<columnName>") ``` **Parameters**: * `T`: Datatype of the expected value * `columnName`: Name of the column for that needs to be fetched A sample code snippet is shown below: ```bash ZCatalystApp.shared.getDataStoreInstance().getTableInstance(id: 1096000000002071).getRow(id: 1096000000002845) {( result ) in //Replace this with your Table ID and ROWID switch result{ case .success ( let row) : do{ let data : String = try row.getValue(forKey: "EmpID") as! String print(data) } catch{ print("Error occured") } case .error( let error ) : print( "Error occurred >>> \( error )" ) } } ``` ### If you don't know the data type of the column: ```bash let data : <T>? = <ROW_INSTANCE>.getValue(forKey: "<columnName>") ``` **Parameters**: * `T`: Datatype of the expected value * `columnName`: Name of the column for that needs to be fetched A sample code snippet is shown below: ```bash ZCatalystApp.shared.getDataStoreInstance().getTableInstance(id: 1096000000002071).getRow(id: 1096000000002845) {( result ) in //Replace this with your Table ID and Row ID switch result{ case .success ( let row) : let data :String? = row.getValue(forKey: "EmpID") print(data) case .error( let error ) : print( "Error occurred >>> \( error )" ) } } ``` ### Without using getValue(): ```bash let data : <T>? = <ROW_INSTANCE>[ "<columnName>" ] ``` **Parameters**: * `T`: Datatype of the expected value * `columnName`: Name of the column for that needs to be fetched ```bash ZCatalystApp.shared.getDataStoreInstance().getTableInstance(id: 1096000000002071).getRow(id: 1096000000002845) {( result ) in //Replace this with your Table ID and Row ID switch result{ case .success ( let row) : let data :String? = row[ "EmpID" ] print(data) case .error( let error ) : print( "Error occurred >>> \( error )" ) } } ``` -------------------------------------------------------------------------------- title: "Get Row Data" description: "The actual data of a specific row can be retrieved." last_updated: "2026-11-03T07:48:52.000Z" source: "https://docs.catalyst.zoho.com/en/sdk/ios/v2/cloud-scale/data-store/get-row-data/" service: "CloudScale" related: - Data Store (/en/cloud-scale/help/data-store/introduction) - Records (/en/cloud-scale/help/data-store/records) - Get Rows - API (/en/api/code-reference/cloud-scale/data-store/get-all-rows/#GetAllRows) -------------------------------------------------------------------------------- # Get Row Data The actual data of a specific row can be retrieved using `getData()` method, as shown below. This returns the row in a dictionary format. The `<ROW_INSTANCE>` used in the code syntax below is the instance generated in the [Row Instance page](https://docs.catalyst.zoho.com/en/sdk/ios/v2/cloud-scale/data-store/create-new-row-instance). ```bash <ROW_INSTANCE>.getRow() -> [ String : Any? ] ``` A sample code snippet is shown below: ```bash ZCatalystApp.shared.getDataStoreInstance(tableIdentifier: "1096000000002071").getRow(id: 1096000000002845) {( result ) in //Replace this with your Table ID and ROW ID switch result{ case .success ( let row) : let datas = row.getData() print(datas) case .error( let error ) : print( "Error occurred >>> \( error )" ) } } ``` -------------------------------------------------------------------------------- title: "Add Column Value to Row" description: "You can set the value for a single specific column in a row." last_updated: "2026-11-03T07:48:52.000Z" source: "https://docs.catalyst.zoho.com/en/sdk/ios/v2/cloud-scale/data-store/add-column-value-to-row/" service: "CloudScale" related: - Data Store (/en/cloud-scale/help/data-store/introduction) - Records (/en/cloud-scale/help/data-store/records) - Get Metadata of Coulumns - API (/en/api/code-reference/cloud-scale/data-store/get-all-columns-metadata/#GetAllColumnsMetadata) -------------------------------------------------------------------------------- # Add Column Value to Row You can set the value for a single specific column in a row by this method. This can be used while creating or updating a row in a column. The `<ROW_INSTANCE>` used in the code below is the instance created in the [Row Instance page](https://docs.catalyst.zoho.com/en/sdk/ios/v2/cloud-scale/data-store/create-new-row-instance). ```bash <ROW_INSTANCE>.setColumnValue( columnName : String, value : Any? ) ``` **Parameters**: * `columnName`: The name of the column the value should be set for * `value`: The value to be set for the column A sample code snippet is shown below: ```bash let instance = ZCatalystApp.shared.getDataStoreInstance().getTableInstance(id: 1096000000002071).newRow() //Replace this with your Table ID instance.setColumnValue(columnName: "Department_Name", value: "Marketing") instance.setColumnValue(columnName: "Employee_Name", value: "Robert Jones") //Replace this with your column name and value ``` -------------------------------------------------------------------------------- title: "Create Rows" description: "You can create a single row or multiple rows in a data store table." last_updated: "2026-11-03T07:48:52.000Z" source: "https://docs.catalyst.zoho.com/en/sdk/ios/v2/cloud-scale/data-store/create-rows/" service: "CloudScale" related: - Data Store (/en/cloud-scale/help/data-store/introduction) - Records (/en/cloud-scale/help/data-store/records) - Insert Row - API (/en/api/code-reference/cloud-scale/data-store/insert-new-row/#InsertNewRow) -------------------------------------------------------------------------------- # Create Rows ### Create a Single Row You can create a new row in a [Data Store](https://docs.catalyst.zoho.com/en/cloud-scale/help/data-store/introduction) table of the given instance using the `newRow()` method, as shown below. You must set the values of the rows in the table, by specifying the column name and the corresponding row value as a key-value pair. The `<ROW_INSTANCE>` used in the code syntax below is the instance defined in the [Row Instance page](https://docs.catalyst.zoho.com/en/sdk/ios/v2/cloud-scale/data-store/create-new-row-instance). The column value is set using the method discussed in the [Add a Column Value page](https://docs.catalyst.zoho.com/en/sdk/ios/v2/cloud-scale/data-store/add-column-value-to-row). **Parameters**: * `completion`: If the operation is successful, the completion block will return the details of the created row, such as its unique ROWID and other meta information. Else, it will return an error. > **Note:** If a column was created with the `is_unique` or `is_mandatory` property enabled, you must ensure that the value is unique or is mandatorily passed, respectively. You must also ensure that the data you pass for a column is of the column's configured data type. A sample code snippet is shown below: ```bash let instance = ZCatalystApp.shared.getDataStoreInstance(tableIdentifier: "1096000000002071").newRow() //Replace this with your Table ID instance.setColumnValue(columnName: "Department_Name", value: "Marketing") instance.setColumnValue(columnName: "Employee_Name", value: "Linda Page") //Replace this with your column name and value instance.create() {(result) in switch result{ case .success ( let row) : print("A new row is successfully created with row id /(row.id)") case .error( let error ) : print( "Error occurred >>> \( error )" ) } } ``` ### Create Multiple Rows iOS SDK enables you to create multiple rows in a table of the given instance at a time. This is done by passing an array containing the rows that need to be inserted in the table. The array is passed as an argument to the `create()` method, as shown in the code structure below. You must pass the array of `<ROW_INSTANCE>`, after creating the instance for each row as explained in the [Row Instance page](https://docs.catalyst.zoho.com/en/sdk/ios/v2/cloud-scale/data-store/create-new-row-instance). Their column value must be set as discussed in the [Add a Column Value page](https://docs.catalyst.zoho.com/en/sdk/ios/v2/cloud-scale/data-store/add-column-value-to-row). The `<DATA_STORE_INSTANCE>` used in the code below is the instance created earlier in the [Data Store Instance page](https://docs.catalyst.zoho.com/en/sdk/ios/v2/cloud-scale/data-store/create-data-store-instance/). ```bash <DATA_STORE_INSTANCE>.create(_ rows: [ ZCatalystRow ], completion: @escaping(Result<[ZCatalystRow], ZCatalystError>) -> Void) ``` **Parameters**: * `rows`: The array of rows to be created. * `completion`: If the operation is successful, the completion block returns the details of the rows created, such as their ROWIDs and other meta information. Else, it returns an error. A sample code snippet is shown below: ```bash let row_instance1 = ZCatalystApp.shared.getDataStoreInstance(tableIdentifier: "1096000000002071").newRow() //replace your table id here row_instance1.setColumnValue(columnName: "Department_Name", value: "Marketing") row_instance1.setColumnValue(columnName: "Employee_Name", value: "Robert Jones") //Replace this with your column name and value let row_instance2 = ZCatalystApp.shared.getDataStoreInstance(tableIdentifier: "1096000000002071").newRow() //Replace this with your Table ID row_instance2.setColumnValue(columnName: "Department_Name", value: "Finance") row_instance2.setColumnValue(columnName: "Employee_Name", value: "Louis Smith") //Replace this with your column name and value ZCatalystApp.shared.getDataStoreInstance(tableIdentifier: "1096000000002071").create([row_instance1, row_instance2]) {(result) in switch result{ case .success ( let rows) : print("The rows ids which are successfully created are listed below") for row in rows{ print(row.id) } case .error( let error ) : print( "Error occurred >>> \( error )" ) } } ``` -------------------------------------------------------------------------------- title: "Update Rows" description: "You can update a single row or multiple rows in a data store table." last_updated: "2026-11-03T07:48:52.000Z" source: "https://docs.catalyst.zoho.com/en/sdk/ios/v2/cloud-scale/data-store/update-rows/" service: "CloudScale" related: - Data Store (/en/cloud-scale/help/data-store/introduction) - Rows (/en/cloud-scale/help/data-store/records) - Update Row - API (/en/api/code-reference/cloud-scale/data-store/update-row/#UpdateRow) -------------------------------------------------------------------------------- # Update Rows ### Update a Specific Row You can update a single specific row in a [Data Store](https://docs.catalyst.zoho.com/en/cloud-scale/help/data-store/introduction) table using the `update()` method. This enables you to update the values of one or more columns of the row by passing the modified values of the columns as key-value pairs. The `<ROW_INSTANCE>` used in the code syntax below is the instance defined in the [Row Instance page](https://docs.catalyst.zoho.com/en/sdk/ios/v2/cloud-scale/data-store/create-new-row-instance). ```bash <ROW_INSTANCE>.update( completion: @escaping(Result<ZCatalystRow, ZCatalystError>) -> Void) ``` **Parameters**: * `completion`: If the operation is successful, the completion block will return the details of the updated row. Else, it will return an error. A sample code snippet is shown below: ```bash ZCatalystApp.shared.getDataStoreInstance(tableIdentifier: "1096000000002071").getRow(id: 3376000000170191){(result)in //Replace this with your Table ID switch result{ case .success ( let row) : row.setColumnValue(columnName: "Employee_Name", value: "Morgan Jones") //replace your column name and value here row.update {(update_result) in switch update_result{ case .success(let updated_row) : print("Name is updated") case .error( let error ) : print( "Error occurred >>> \( error )" ) } } case .error( let error ) : print( "Error occurred >>> \( error )" ) } } ``` ### Update all Rows You can update multiple row in a table by passing an array of the rows as an argument to the `update()` method. This enables you to update the values of one or more columns of the rows, by passing the modified values of the columns as key-value pairs. You must pass the array of the row instances to be updated by [creating the instance for each row](https://docs.catalyst.zoho.com/en/sdk/ios/v2/cloud-scale/data-store/create-new-row-instance), and passing the updated value of each corresponding column using the [Add Column Value method](https://docs.catalyst.zoho.com/en/sdk/ios/v2/cloud-scale/data-store/add-column-value-to-row), as shown in the code below. The `<DATA_STORE_INSTANCE>` used in the code below is the instance defined in the [Table Instance page](https://docs.catalyst.zoho.com/en/sdk/ios/v2/cloud-scale/data-store/create-data-store-instance/). ```bash <DATA_STORE_INSTANCE>.update(_ rows: [ ZCatalystRow ], completion: @escaping(Result<[ZCatalystRow], ZCatalystError>) -> Void) ``` **Parameters**: * `rows`: The array of rows to be updated * `completion`: If the operation is successful, the completion block will return the details of all the updated rows. Else, it will return an error. A sample code snippet is shown below: ```bash let data_store_instance = ZCatalystApp.shared.getDataStoreInstance(tableIdentifier: "EmployeeDetails")//Replace this with you Table Name data_store_instance.getRows{(result)in switch result{ case .success ( let rows) : for row in rows{ row.setColumnValue(columnName: "Employee_Name", value: "Morgan Jones") } data_store_instance.update(rows) {(result) in switch result { case .success ( let updated_rows): print("Rows has been successfully updated"); case .error( let error ) : print( "Error occurred >>> \( error )" ) } } case .error(let error): print("Error occurred >>> \( error )") } } ``` -------------------------------------------------------------------------------- title: "Delete a Row" description: "Catalyst iOS SDK enables you to delete a single row from a specific Data Store table by either the Row ID or the Row Instance." last_updated: "2026-11-03T07:48:52.000Z" source: "https://docs.catalyst.zoho.com/en/sdk/ios/v2/cloud-scale/data-store/delete-row/" service: "CloudScale" related: - Data Store (/en/cloud-scale/help/data-store/introduction) - Records (/en/cloud-scale/help/data-store/records) - Delete Row - API (/en/api/code-reference/cloud-scale/data-store/delete-row/#DeleteRow) -------------------------------------------------------------------------------- # Delete a Row Catalyst iOS SDK enables you to delete a single row from a specific [Data Store](https://docs.catalyst.zoho.com/en/cloud-scale/help/data-store/introduction) table. However, you will not be able to delete multiple rows at a time. You can delete a row from a table in any of these two methods: ### Delete a Row by passing the Row ID to the Table Instance You can delete a row from a table by passing the ROWID of the row as the argument to the `deleteRow()` method, as shown in the code syntax below. The `<DATA_STORE_INSTANCE>` used in the code syntax below is the instance defined in the [Data Store Instance page](https://docs.catalyst.zoho.com/en/sdk/ios/v2/cloud-scale/data-store/create-data-store-instance/). ```bash <DATA_STORE_INSTANCE>.deleteRow( id : Int64, completion : @escaping( ZCatalystError? ) -> Void ) ``` **Parameters**: * `id`: The [unique ROWID](https://docs.catalyst.zoho.com/en/cloud-scale/help/data-store/records/#create-a-new-record) of the row to be deleted. * `completion`: If the operation is successful, the completion block will return the details of the deleted row. Else, it will return an error. A sample code snippet is shown below: ```bash ZCatalystApp.shared.getDataStoreInstance(tableIdentifier: "1096000000002071").deleteRow(id: 3376000000171021){( error ) in //Replace this with your ROWID if let error = error{ print( "Error occurred >>> \( error )" ) } else { print("Row is successfully deleted.") } } ``` ### Delete a Row by passing the Row Instance You can delete a row from a table simply by calling the `delete()` method for the row instance. The `<ROW_INSTANCE>` used in the code syntax below is the instance defined in the [Row Instance page](https://docs.catalyst.zoho.com/en/sdk/ios/v2/cloud-scale/data-store/create-new-row-instance). ```bash <ROW_INSTANCE>.delete(completion: @escaping( ZCatalystError? ) -> Void) ``` **Parameters**: * `completion`: If the operation is successful, the completion block will return the details of the deleted rows. Else, it will return an error. A sample code snippet is shown below: ```bash ZCatalystApp.shared.getDataStoreInstance().getTableInstance(id: 1096000000002071).getRow(id: 3376000000171021){(result)in //Replace this with your ROWID switch result { case .success ( let row) : row.delete() {( error ) in if let error = error{ print( "Error occurred >>> \( error )" ) } else { print("Row is successfully deleted.") } } case .error(let error) : print("Error occurred >>> \( error )") } } ``` ### Push Notifications -------------------------------------------------------------------------------- title: "Register Device for Push Notifications" description: "This page describes the method to register an iOS device for remote push notifications after you register and enroll your iOS app." last_updated: "2026-11-03T07:48:52.000Z" source: "https://docs.catalyst.zoho.com/en/sdk/ios/v2/cloud-scale/push-notifications/register-device/" service: "CloudScale" related: - Push Notifications (/en/cloud-scale/help/push-notifications/introduction) - iOS Push Notifications (/en/cloud-scale/help/push-notifications/ios) - Push Notifications API for iOS Devices (/en/api/code-reference/cloud-scale/push-notifications/ios/send-ios-push-notifications/#SendiOSPushNotifications) - Push Notifications Flutter SDK (/en/sdk/flutter/v2/cloud-scale/push-notifications/register-device/) -------------------------------------------------------------------------------- # Push Notifications ### Introduction [Catalyst Push notifications](https://docs.catalyst.zoho.com/en/cloud-scale/help/push-notifications/introduction) enables you to send remote notifications to the users of your application, even when the app is not actively running on the user device. Catalyst provides you with an easy way to integrate push notifications into your Catalyst web, iOS, and Android applications. Before you send push notifications, you must follow a set of steps to register your app and enroll for Catalyst push notifications. These steps are mentioned in sequence below: 1. Register your iOS app with Apple 2. Generate a certificate from Keychain Access 3. Generate and download the APNs certificate provided by Apple 4. Convert the downloaded APNs certificate into the .p12 format 5. Enroll for iOS Push Notification Services in Catalyst 6. Register a Mobile Device for Push Notifications > **Note:** The **first five steps** are covered in detail in the [Push Notifications- iOS help section](https://docs.catalyst.zoho.com/en/cloud-scale/help/push-notifications/ios). This iOS SDK help documentation only covers the sixth step regarding registering a device to send push notifications, as well as deregistering a device. You can implement steps 1 -5 by referring to the Push Notifications help document, before using the code given below. ### Register a Mobile Device for Push Notifications After you complete the first five steps mentioned above, you can implement the following code in your iOS app that will register the device for Catalyst Push Notifications. To register an iOS mobile device as a test device, you must call the `registerNotification()` method with the required parameters as shown in the following code snippet: ```bash ZCatalystApp.shared.registerNotification(token: e5********21, appID: 12345678, testDevice: false) { error in if let error = error { return print("Error : \( error )") } print("Registered successfully") } ``` **Parameters:** * `token`: Device token obtained after [registering the device for remote push notifications with APNS](https://docs.catalyst.zoho.com/en/cloud-scale/help/push-notifications/ios/#configure-and-enroll-for-ios-push-notifications). * `appID`: The `notificationAppID` obtained from the `AppConfigurationDevelopment.plist`/ `AppConfigurationProduction.plist` file generated by Catalyst for your app when you [registered your iOS app in Catalyst](https://docs.catalyst.zoho.com/en/sdk/ios/v2/setup/). * `testDevice`: The value is set to `true` for test devices, and set to `false` for production devices. > **Note:** You can register a maximum of 10 iOS devices as test devices to test iOS push notifications. After your device is registered, you will be able to send push notifications to your app users. The users will need to provide the permission for your app to send push notifications to them on their device, by clicking **Allow** from the permission prompt. You can learn about sending test push notifications on your registered devices from the Catalyst console from [this help section](https://docs.catalyst.zoho.com/en/cloud-scale/help/push-notifications/ios/#test-ios-push-notifications). You can also send test notifications from the [API](https://docs.catalyst.zoho.com/en/api/code-reference/cloud-scale/push-notifications/ios/send-ios-push-notifications/#SendiOSPushNotifications). Refer to the [Java](https://docs.catalyst.zoho.com/en/sdk/java/v1/cloud-scale/push-notifications/send-notifications/), [Node.js](https://docs.catalyst.zoho.com/en/sdk/nodejs/v2/cloud-scale/push-notifications/send-notifications/), and [Python](https://docs.catalyst.zoho.com/en/sdk/python/v1/cloud-scale/push-notifications/send-notifications/) SDK documentation to learn about sending push notifications through your codebase. -------------------------------------------------------------------------------- title: "Deregister Device for Push Notifications" description: "This page describes the method to deregister a registered iOS device for remote push notifications." last_updated: "2026-11-03T07:48:52.000Z" source: "https://docs.catalyst.zoho.com/en/sdk/ios/v2/cloud-scale/push-notifications/deregister-device/" service: "CloudScale" related: - Push Notifications (/en/cloud-scale/help/push-notifications/introduction) - iOS Push Notifications (/en/cloud-scale/help/push-notifications/ios) - Push Notifications API for iOS Devices (/en/api/code-reference/cloud-scale/push-notifications/ios/send-ios-push-notifications/#SendiOSPushNotifications) -------------------------------------------------------------------------------- # Deregister a Mobile Device for Push Notifications You can deregister a device that was registered for Catalyst iOS push notifications by passing the required parameters to the `deregisterNotification()` method as shown below. ```javascript ZCatalystApp.shared.deregisterNotification(token: e5********21, appID: 1234567, testDevice: true) { error in if let error = error { return print("Error : \( error )") } print("UnRegistered successfully") } ``` **Parameters:** * `token`: `token`: Device token obtained after [registering the device for remote push notifications with APNS](https://docs.catalyst.zoho.com/en/cloud-scale/help/push-notifications/ios/#configure-and-enroll-for-ios-push-notifications). * `appID`: The `notificationAppID` obtained from the `AppConfigurationDevelopment.plist`/ `AppConfigurationProduction.plist` file generated by Catalyst for your app when you [registered your iOS app in Catalyst](https://docs.catalyst.zoho.com/en/sdk/ios/v2/setup/). * `testDevice`: The value is set to `true` for test devices, and set to `false` for production devices ### Search -------------------------------------------------------------------------------- title: "Search Data in Tables" description: "Catalyst Search enables data searching in the indexed columns of the tables in the Data Store, through volumes of data with a single search query." last_updated: "2026-11-04T10:10:44.000Z" source: "https://docs.catalyst.zoho.com/en/sdk/ios/v2/cloud-scale/search/search-data-in-tables/" service: "CloudScale" related: - Data Store (/en/cloud-scale/help/data-store/introduction) - Search (/en/cloud-scale/help/search-integration/introduction) - Search - API (/en/api/code-reference/cloud-scale/search/execute-search-query/#ExecuteSearchQuery) -------------------------------------------------------------------------------- # Search [Catalyst Search](https://docs.catalyst.zoho.com/en/cloud-scale/help/search-integration/introduction) enables data searching in the indexed columns of the tables in the [Data Store](https://docs.catalyst.zoho.com/en/cloud-scale/help/data-store/introduction). It allows you to perform powerful searches through volumes of data with a single search query. ### Search Data in Tables The `search()` method is used for searching data in the tables in a specific pattern. Before you execute a search operation, you must construct the search pattern to pass to the `search()` method, as shown in the code syntax below: ```bash ZCatalystApp.shared.search( searchOptions : ZCatalystSearchOptions, completion : @escaping( Result< [ String : Any ], ZCatalystError > ) -> Void ) ``` **Parameters**: * `searchOptions`: The instance of the `ZCatalystSearchOptions` class to be passed to the `search()` method. * `completion`: If the call executes successfully, the completion block returns the data from the search results. Else, it returns an error. You can create the instance for `searchOptions` in the following way: ```bash ZCatalystSearchOptions(searchText: String, searchColumns : [ TableColumns ]) .add(searchColumns : TableColumns) .add(displayColumns : TableColumns) .add(sortColumn : String, in table : String) TableColumns( tableName : String ) TableColumns.add( column : String ) ``` A sample code snippet of a search execution is shown below: ```bash var searchColumns = ZCatalystSearchOptions.TableColumns( tableName : "EmployeeDetails" ) //Replace this with your table name searchColumns.add( column : "Age" ) //Replace this with your column name var searchOptions = ZCatalystSearchOptions( searchText : "25", searchColumns : [ searchColumns ] ) //Replace this with your search text var displayColumns = ZCatalystSearchOptions.TableColumns( tableName : "EmployeeDetails" ) //Replace this with your table name displayColumns.add( column : "Age" ) //Replace this with your column name searchOptions.add(displayColumns: displayColumns) ZCatalystApp.shared.search( searchOptions : searchOptions) { ( result ) in switch result{ case .success( let response ) : print("Response : \( response )") case .error( let error ) : print( "Error occurred >>> \( error )" ) } } ``` ### Stratus -------------------------------------------------------------------------------- title: "Overview" description: "This page provides an overview of the mobile SDK methods required to perform Stratus operations." last_updated: "2026-11-03T07:48:52.000Z" source: "https://docs.catalyst.zoho.com/en/sdk/ios/v2/cloud-scale/stratus/overview/" service: "CloudScale" related: - Stratus Component Help Documentation (/en/cloud-scale/help/stratus/introduction) - Java SDK (/en/sdk/java/v1/cloud-scale/stratus/overview/) - JavaScript SDK Documentation (/en/sdk/javascript/v1/cloudscale/stratus/overview/) - Python SDK (/en/sdk/python/v1/cloud-scale/stratus/overview/) - Android SDK (/en/sdk/android/v2/cloud-scale/stratus/overview/) - Flutter SDK (/en/sdk/flutter/v2/cloud-scale/stratus/overview/) - REST API (/en/api/code-reference/cloud-scale/stratus/get-all-buckets/#GetAllBuckets) -------------------------------------------------------------------------------- # Overview CloudScale [Stratus](https://docs.catalyst.zoho.com/en/cloud-scale/help/stratus/introduction) is Catalyst's robust and powerful storage solution. You can store data of any format in the form of [Objects](https://docs.catalyst.zoho.com/en/cloud-scale/help/stratus/objects/introduction/) in containers called [Buckets](https://docs.catalyst.zoho.com/en/cloud-scale/help/stratus/buckets/name-bucket/). Each Bucket and every individual object in the bucket has a secure [Object URL](https://docs.catalyst.zoho.com/en/cloud-scale/help/stratus/objects/introduction/#object-url) and [Bucket URL](https://docs.catalyst.zoho.com/en/cloud-scale/help/stratus/buckets/create-bucket/#bucket-url). You can perform upload and download operations on objects and even provide [custom permissions](https://docs.catalyst.zoho.com/en/cloud-scale/help/stratus/stratus-permissions/#custom-permissions) for each object. The following table contains the list of all the Catalyst SDKs that can be used to perform Stratus operations through code.
Category SDK Method
General Stratus Operations
  • [Create Bucket Instance](https://docs.catalyst.zoho.com/en/sdk/ios/v2/cloud-scale/stratus/create-bucket-instance/)
Bucket Operations
  • [Get Object](https://docs.catalyst.zoho.com/en/sdk/ios/v2/cloud-scale/stratus/get-object/)
    • [Get All Objects](https://docs.catalyst.zoho.com/en/sdk/ios/v2/cloud-scale/stratus/get-object/#get-all-objects)
  • [Download Object](https://docs.catalyst.zoho.com/en/sdk/ios/v2/cloud-scale/stratus/download-object/)
    • [Download an Object (Completion Callback)](https://docs.catalyst.zoho.com/en/sdk/ios/v2/cloud-scale/stratus/download-object/#download-an-object-completion-callback)
    • [Download an Object (With Progress)](https://docs.catalyst.zoho.com/en/sdk/ios/v2/cloud-scale/stratus/download-object/#download-an-object-with-progress)
  • [Upload Object](https://docs.catalyst.zoho.com/en/sdk/ios/v2/cloud-scale/stratus/upload-object/)
    • [Upload an Object Using Path (Completion Callback)](https://docs.catalyst.zoho.com/en/sdk/ios/v2/cloud-scale/stratus/upload-object/#upload-an-object-using-path-completion-callback)
    • [Upload an Object Using File Name and File Data (Completion Callback)](https://docs.catalyst.zoho.com/en/sdk/ios/v2/cloud-scale/stratus/upload-object/#upload-an-object-using-file-name-and-file-data-completion-callback)
    • [Upload an Object Using Path (With Progress)](https://docs.catalyst.zoho.com/en/sdk/ios/v2/cloud-scale/stratus/upload-object/#upload-an-object-using-path-with-progress)
    • [Upload an Object Using File Name and File Data (With Progress)](https://docs.catalyst.zoho.com/en/sdk/ios/v2/cloud-scale/stratus/upload-object/#upload-an-object-using-file-name-and-file-data-with-progress)
  • [Delete Object](https://docs.catalyst.zoho.com/en/sdk/ios/v2/cloud-scale/stratus/delete-object/)
    • [Delete a Single Object](https://docs.catalyst.zoho.com/en/sdk/ios/v2/cloud-scale/stratus/delete-object/#delete-a-single-object)
    • [Delete Multiple Objects](https://docs.catalyst.zoho.com/en/sdk/ios/v2/cloud-scale/stratus/delete-object/#delete-multiple-objects)
  • [Delete Path](https://docs.catalyst.zoho.com/en/sdk/ios/v2/cloud-scale/stratus/delete-path/)
-------------------------------------------------------------------------------- title: "Create Bucket Instance" description: "This page lists the iOS SDK method to create a bucket instance." last_updated: "2026-11-03T07:48:52.000Z" source: "https://docs.catalyst.zoho.com/en/sdk/ios/v2/cloud-scale/stratus/create-bucket-instance/" service: "CloudScale" related: - Stratus Component Help Documentation (/en/cloud-scale/help/stratus/introduction) - Java SDK (/en/sdk/java/v1/cloud-scale/stratus/create-bucket-instance/) - JavaScript SDK Documentation (/en/sdk/javascript/v1/cloudscale/stratus/create-bucket-instance/) - Python SDK (/en/sdk/python/v1/cloud-scale/stratus/create-bucket-instance/) - Android SDK (/en/sdk/android/v2/cloud-scale/stratus/create-bucket-instance/) - Flutter SDK (/en/sdk/flutter/v2/cloud-scale/stratus/initialize-stratus/) - REST API (/en/api/code-reference/cloud-scale/stratus/get-all-buckets/#GetAllBuckets) -------------------------------------------------------------------------------- # Create Bucket Instance To perform bucket level operations, you need to initialize a bucket instance. We will refer to this component instance in various code snippets of working with [Buckets](https://docs.catalyst.zoho.com/en/cloud-scale/help/stratus/buckets/name-bucket/) in Stratus. ```bash let bucket = ZCatalystStratus.getBucketInstance( name : "{bucket_name}" ) ``` -------------------------------------------------------------------------------- title: "Get Object" description: "This page lists the iOS SDK method to get an object or objects from the bucket." last_updated: "2026-11-03T07:48:52.000Z" source: "https://docs.catalyst.zoho.com/en/sdk/ios/v2/cloud-scale/stratus/get-object/" service: "CloudScale" related: - Stratus Component Help Documentation (/en/cloud-scale/help/stratus/introduction) - Java SDK (/en/sdk/java/v1/cloud-scale/stratus/download-object/) - JavaScript SDK Documentation (/en/sdk/javascript/v1/overview/) - Python SDK (/en/sdk/python/v1/cloud-scale/stratus/download-object/) - Android SDK (/en/sdk/android/v2/cloud-scale/stratus/get-object/) - Flutter SDK (/en/sdk/flutter/v2/cloud-scale/stratus/get-object/) - REST API (/en/api/code-reference/cloud-scale/stratus/get-all-objects/#GetAllObjects) -------------------------------------------------------------------------------- # Get Object This SDK method can be used to get an object from the bucket. The response will be in **blob** format. When [Versioning](https://docs.catalyst.zoho.com/en/cloud-scale/help/stratus/stratus-config/general-settings/#versioning) is enabled for the bucket: * If you do not pass the `versionId`, then only the **latest object** will be returned. * To retrieve a specific version, use the `versionId` query parameter with a valid version as a value. **Parameters Used**
Parameter Name Definition
`objectKey` A **mandatory** parameter. Will contain the object name.
`versionId` An **optional** parameter. Will hold the unique version ID of the required object's version.
```bash bucketInstance.getObject( objectKey : "{object_name}", versionId : "{version_id}" ) { result in switch result { case .success( let object ) : print( "File Name : \( object.fileName )" ) case .error(let error) : print("Error : \( error )") } } ``` The required object will be returned. **Possible Exception** * **404**: Object or Bucket Not Found ### Get All Objects This SDK method can be used to get all the objects present in the bucket using pagination technique. **Parameters Used**
Parameter Name Data Type Definition
`prefix` **String** An **Optional** parameter. This will get the objects that match the prefix value.
`maxKeys` **Number** An **Optional** parameter. Will contain the maximum limit of objects that can be listed by pagination.
`continuation_token` **String** An **Optional** parameter. If the response was truncated, the value of this key must be passed as `continuation_token` to the same method for retrieving the next set of objects.
```bash var params = ZCatalystQuery.ObjectParams() params.maxKeys = 10 params.continuationToken = "{continuation_token}" parmas.prefix = "{prefix}" bucketInstance.getObjects( withParams : params ) { result in switch result { case .success( let objects, let response ) : for object in objects { print("File Name : \( object.fileName )") } case .error( let error ) : print("Error : \( error )") } } ``` The required object will be returned as an array in Blob format. **Possible Exception** * **404**: Object or Bucket Not Found -------------------------------------------------------------------------------- title: "Download Object" description: "This page lists the iOS SDK methods to download an object to the bucket." last_updated: "2026-11-03T07:48:52.000Z" source: "https://docs.catalyst.zoho.com/en/sdk/ios/v2/cloud-scale/stratus/download-object/" service: "CloudScale" related: - Stratus Component Help Documentation (/en/cloud-scale/help/stratus/introduction) - Download an Object (/en/cloud-scale/help/stratus/objects/manage-object/download-object/) - Java SDK (/en/sdk/java/v1/cloud-scale/stratus/download-object/) - JavaScript SDK Documentation (/en/sdk/javascript/v1/overview/) - Python SDK (/en/sdk/python/v1/cloud-scale/stratus/download-object/) - Android SDK (/en/sdk/android/v2/cloud-scale/stratus/download-object/) - Flutter SDK (/en/sdk/flutter/v2/cloud-scale/stratus/download-object/) - REST API (/en/api/code-reference/cloud-scale/stratus/download-object/#DownloadObject) -------------------------------------------------------------------------------- # Download Object The following SDK methods will allow you to download the object. ### Download an Object (Completion Callback) This SDK method will allow you to download the object, without any progress indicators. **Parameters Used**
Parameter Name Definition
`fromCache`
  • An **optional** parameter. To be used to specify whether this file has to be retrieved from the cache or not.
  • **Default Value**: false.
```bash objectInstance.download( fromCache : true ) { result in switch result { case .success( let url ) : do { let data = Data(contentsOf : url) DispatchQueue.main.sync { self.imageView.image = UIImage(date: data) } } catch { print("Error : \( error )") } case .error( let error ) : print("Error : \( error )") } } ``` ### Download an Object (With Progress) This SDK method will allow you to download the object with progress indicators. **Parameters Used**
Parameter Name Definition
`fromCache`
  • An **optional** parameter. To be used to specify whether this file has to be retrieved from the cache or not.
  • **Default Value**: false.
`fileRefId` A unique ID to refer to the file that is being uploaded.
`fileUploadDelegate` This is a protocol that needs to be confirmed. the Upload delegate object is essential to track the status of the object upload.
```bash objectInstance.download( fromCache : true, fileRefId : "{file_ref_id}", fileDownloadDelegate : self ) ``` -------------------------------------------------------------------------------- title: "Upload Object" description: "This page lists the iOS SDK methods to upload an object to the bucket." last_updated: "2026-11-03T07:48:52.000Z" source: "https://docs.catalyst.zoho.com/en/sdk/ios/v2/cloud-scale/stratus/upload-object/" service: "CloudScale" related: - Stratus Component Help Documentation (/en/cloud-scale/help/stratus/introduction) - Upload Object Help Documentation (/en/cloud-scale/help/stratus/objects/upload-object/) - Java SDK (/en/sdk/java/v1/cloud-scale/stratus/upload-object/) - JavaScript SDK Documentation (/en/sdk/javascript/v1/cloudscale/stratus/upload-object/) - Python SDK (/en/sdk/python/v1/cloud-scale/stratus/upload-object/) - Android SDK (/en/sdk/android/v2/cloud-scale/stratus/upload-object/) - Flutter SDK (/en/sdk/flutter/v2/cloud-scale/stratus/upload-object/) - REST API (/en/api/code-reference/cloud-scale/stratus/upload-object/#UploadObject) -------------------------------------------------------------------------------- # Upload Object The SDK method listed in this section will allow you to [upload objects](https://docs.catalyst.zoho.com/en/cloud-scale/help/stratus/objects/upload-object/) to the [bucket](https://docs.catalyst.zoho.com/en/cloud-scale/help/stratus/buckets/name-bucket/) If you do not have [Versioning](https://docs.catalyst.zoho.com/en/cloud-scale/help/stratus/stratus-config/general-settings/#versioning) enabled for your object, and if Stratus gets multiple write requests for the same object, the object will be continuously overwritten. The latest upload of the object will be the only object that is stored. However, with Versioning enabled, each upload will be considered a version of the object, and all of them will be stored in the bucket, each with a unique `versionId`. > **Note:** The following characters including space are not supported when you create a path or an object: double quote, both angular brackets, hashtag, backward slash and pipe symbol. ### Upload an Object Using Path (Completion Callback) This SDK can be used to upload an object to the bucket using its [path](https://docs.catalyst.zoho.com/en/cloud-scale/help/stratus/objects/introduction/#path). **Parameters Used**
Parameter Name Definition
`filePath` A **mandatory** parameter. Will contain the complete path of the location from where the file needs to be uploaded from.
`fileName`
  • An **optional** parameter. Will hold the complete name of the object.
  • **Default Value**: Will hold the value of the last path value that was used.
`shouldCompress`
  • An **optional** parameter. To allow you to choose if the object needs to be compressed or not.
  • **Default Value**: false.
```bash bucketInstance.upload( filePath : "{file_path}", fileName : "{file_name}", shouldCompress : true ) { error in if let error = error { print("Error : \( error )") return } print("Uploaded Successfully") } ``` ### Upload an Object Using File Name and File Data (Completion Callback) This SDK can be used to upload an object to the bucket using its name and in a data format. **Parameters Used**
Parameter Name Definition
`fileName` A **mandatory** parameter. Will contain the complete name of the object that needs to be uploaded.
`data` A **mandatory** parameter. The object that needs to be uploaded in data format.
`shouldCompress`
  • An **optional** parameter. To allow you to choose if the object needs to be compressed or not.
  • **Default Value**: false.
```bash bucketInstance.upload( fileName : "{file_name}", data : "{file_data}", shouldCompress : false ) { error in if let error = error { print("Error : \( error )") return } print("Uploaded Successfully") } ``` ### Upload an Object Using Path (With Progress) This SDK can be used to upload an object to the bucket using its [path](https://docs.catalyst.zoho.com/en/cloud-scale/help/stratus/objects/introduction/#path). This SDK method will also provide upload progress indicators. **Parameters Used**
Parameter Name Definition
`fileRefId` A unique ID to refer to the file that is being uploaded.
`filePath` A **mandatory** parameter. Will contain the complete path of where the file should be uploaded.
`fileName`
  • An **optional** parameter. Will hold the complete name of the object.
  • **Default Value**: Will hold the value of the last path value that was used.
`shouldCompress`
  • An **optional** parameter. To allow you to choose if the object needs to be compressed or not.
  • **Default Value**: false.
`fileUploadDelegate` This is a protocol that needs to be confirmed. the Upload delegate object is essential to track the status of the object upload.
```bash bucketInstance.upload( fileRefId : "{file_ref_id}", filePath : "{file_path}", fileName : "{file_name}", shouldCompress : true, fileUploadDelegate : self ) ``` ### Upload an Object Using File Name and File Data (With Progress) This SDK can be used to upload an object to the bucket using its name and in a data format. This SDK method will also provide upload progress indicators. **Parameters Used**
Parameter Name Definition
`fileRefId` A unique ID to refer to the file that is being uploaded.
`data` A **mandatory** parameter. The object that needs to be uploaded in data format.
`fileName`
  • An **optional** parameter. Will hold the complete name of the object.
  • **Default Value**: Will hold the value of the last path value that was used.
`shouldCompress`
  • An **optional** parameter. To allow you to choose if the object needs to be compressed or not.
  • **Default Value**: false.
`fileUploadDelegate` This is a protocol that needs to be confirmed. the Upload delegate object is essential to track the status of the object upload.
```bash bucketInstance.upload( fileRefId : "{file_ref_id}", fileName : "{file_name}", data : "{file_data}", shouldCompress : true, fileUploadDelegate : self) ``` -------------------------------------------------------------------------------- title: "Delete Object" description: "This page lists the iOS SDK methods to delete an object or objects from the bucket." last_updated: "2026-11-03T07:48:52.000Z" source: "https://docs.catalyst.zoho.com/en/sdk/ios/v2/cloud-scale/stratus/delete-object/" service: "CloudScale" related: - Stratus Component Help Documentation (/en/cloud-scale/help/stratus/introduction) - Delete an Object Help Documentation (/en/cloud-scale/help/stratus/objects/manage-object/delete-object/) - Java SDK (/en/sdk/java/v1/cloud-scale/stratus/delete-objects/) - JavaScript SDK Documentation (/en/sdk/javascript/v1/cloudscale/stratus/delete-object/) - Python SDK (/en/sdk/python/v1/cloud-scale/stratus/delete-objects/) - Android SDK (/en/sdk/android/v2/cloud-scale/stratus/delete-object/) - Flutter SDK (/en/sdk/flutter/v2/cloud-scale/stratus/delete-object/) - REST API (/en/api/code-reference/cloud-scale/stratus/delete-objects/#DeleteObject) -------------------------------------------------------------------------------- # Delete Object ### Delete a Single Object The following SDK method can be used to delete a single object from the bucket. ```bash objectInstance.delete() { error in if let error = error { print("Error : \( error )") return } print("Deleted Successfully") } ``` ### Delete Multiple Objects The following SDK method can be used to delete multiple objects from the bucket. ```bash bucketInstance.deleteObjects( deletableObjectInstances ) { error in if let error = error { print("Error : \( error )") return } print("Deleted Successfully") } ``` -------------------------------------------------------------------------------- title: "Delete Path" description: "This page lists the iOS SDK methods to delete an entire path along with its objects from the bucket." last_updated: "2026-11-03T07:48:52.000Z" source: "https://docs.catalyst.zoho.com/en/sdk/ios/v2/cloud-scale/stratus/delete-path/" service: "CloudScale" related: - Stratus Component Help Documentation (/en/cloud-scale/help/stratus/introduction) - Delete an Object Help Documentation (/en/cloud-scale/help/stratus/objects/manage-object/delete-object/) - Java SDK (/en/sdk/java/v1/cloud-scale/stratus/delete-objects/) - JavaScript SDK Documentation (/en/sdk/javascript/v1/cloudscale/stratus/delete-object/) - Python SDK (/en/sdk/python/v1/cloud-scale/stratus/delete-objects/) - Android SDK (/en/sdk/android/v2/cloud-scale/stratus/delete-path/) - Flutter SDK (/en/sdk/flutter/v2/cloud-scale/stratus/delete-path/) - REST API (/en/api/code-reference/cloud-scale/stratus/delete-path/#DeletePath) -------------------------------------------------------------------------------- # Delete Path The following SDK method can be used to delete all the objects present in the specified [path](https://docs.catalyst.zoho.com/en/cloud-scale/help/stratus/objects/introduction/#path). ```bash bucketInstance.deletePath("{path_to_be_deleted}") { error in if let error = error { print("Error : \( error )") return } print("Path Deleted Successfully") } ``` ### ZCQL -------------------------------------------------------------------------------- title: "Execute ZCQL Query" description: "ZCQL is Catalyst's own query language that enables you to perform data creation, retrieval, and modification operations in the Data Store." last_updated: "2026-11-03T07:48:52.000Z" source: "https://docs.catalyst.zoho.com/en/sdk/ios/v2/cloud-scale/zcql/execute-zcql-query/" service: "CloudScale" related: - Data Store (/en/cloud-scale/help/data-store/introduction) - ZCQL (/en/cloud-scale/help/zcql/introduction/) - Execute ZCQL - API (/en/api/code-reference/cloud-scale/zcql/execute-zcql-query/#ExecuteZCQLQuery) -------------------------------------------------------------------------------- # ZCQL ZCQL is Catalyst's own query language that enables you to perform data retrieval operations in the [Data Store](https://docs.catalyst.zoho.com/en/cloud-scale/help/data-store/introduction). It supports SELECT queries with built-in functions, SQL Join clauses, and other statements and conditions. ### Execute a ZCQL Query Before you execute a ZCQL query to fetch the required data set, you must construct the query to pass it to the `execute()` method. You can learn about the ZCQL syntax from the [ZCQL help page](https://docs.catalyst.zoho.com/en/cloud-scale/help/zcql/introduction). You must pass an instance of `ZCatalystSelectQuery` to the `execute()` method, as shown in the code syntax of a ZCQL query execution below. ```bash <ZCatalystApp>.execute( query : ZCatalystSelectQuery, completion: @escaping (Result<[ [ String : Any ] ], ZCatalystError>) -> Void) ``` **Parameters**: * `query`: The instance of the type `ZCatalystSelectQuery` to be passed * `completion`: If the query execution call is successful, the completion block will return with the records that match the criteria of the query. Else, it will return an error. You can create a `query` instance for the ZCatalystSelectQuery for the statements supported by ZCQL, in the following way: ```bash ZCatalystSelectQuery.Builder() .select(columns: Set<Column>) -> ZCatalystSelectQuery.Builder .selectAll() -> ZCatalystSelectQuery.Builder .where(column: String, comparator: Comparator, value: String) -> ZCatalystSelectQuery.Builder .from(tableName: String) -> ZCatalystSelectQuery.Builder .and(column: String, comparator: Comparator, value: String) -> ZCatalystSelectQuery.Builder .groupBy(columns: Set<Column>) -> ZCatalystSelectQuery.Builder .orderBy(columns: Set<Column>, sortOrder: SortOrder) -> ZCatalystSelectQuery.Builder .innerJoin(tableName: String) -> ZCatalystSelectQuery.Builder .leftJoin(tableName: String) -> ZCatalystSelectQuery.Builder .on(joinColumn1: String, comparator: Comparator, joinColumn2: String) -> ZCatalystSelectQuery.Builder .or(column: String, comparator: Comparator, value: String) -> ZCatalystSelectQuery.Builder .limit(offset: Int, value: Int? = nil) -> ZCatalystSelectQuery.Builder .build() -> ZCatalystSelectQuery ``` A sample code snippet of a ZCQL query execution is shown below: ```bash func testExecuteZCQL(){ var builder = ZCatalystSelectQuery.Builder() var query = builder.selectAll().from( tableName : "Bio-data" ).build() //replace your table name here ZCatalystApp.shared.getDataStoreInstance(tableIdentifier: "1096000000002071").execute( query : query) { ( result ) in switch result{ case .success( let response ) : print("Response : \( response )") case .error( let error ) : print( "Error occurred >>> \( error )" ) } } } ``` ## SDK — Java — CloudScale ### Authentication -------------------------------------------------------------------------------- title: "Add New User" description: "This page describes the method to add new end-users to your Java application using Catalyst Authentication with sample code snippets." last_updated: "2026-11-03T07:48:52.000Z" source: "https://docs.catalyst.zoho.com/en/sdk/java/v1/cloud-scale/authentication/add-new-user/" service: "CloudScale" related: - Add new user - API (/en/api/code-reference/cloud-scale/authentication/add-new-user/#AddNewUser) - Catalyst Authentication (/en/cloud-scale/help/authentication/introduction) -------------------------------------------------------------------------------- # Authentication Catalyst Authentication features enable you to add end-users to your Catalyst serverless applications, configure their user accounts and roles, and manage user sign-in and authentication of your application. You can learn about working with Catalyst Authentication from the remote console from the [Authentication help document](https://docs.catalyst.zoho.com/en/cloud-scale/help/authentication/introduction). ### Add New User When a user has signed up to a Catalyst application, unique identification values like `ZUID` and `userID` are created for them. The user is also assigned to an organization by Catalyst. You can learn more about this from the [Users help page](https://docs.catalyst.zoho.com/en/cloud-scale/help/authentication/user-management/users/introduction/). You can add a new end-user to your Catalyst application using the code below. The user details such as their email address, last name, the application platform and the role they must be added to, are passed through an instance of the `ZCSignUpData` class. The user registration process is handled by the `registerUser()` method, after obtaining an instance of the `ZCUser` class. > **Note:** * You can add up to 1,000 users to your application. * You must provide the values for `EmailId` and `FirstName` to register a user mandatorily. * You can obtain the `RoleId` from the _Roles_ section in _Authentication_ in the Catalyst console. * When inviting a new user, you can configure the sender's email address, subject and the email message. You must add the email address in the [Catalyst Mail Component](https://docs.catalyst.zoho.com/en/cloud-scale/help/mail/email-configuration/) and get it verified before using it in the SDK code. #### Sample Code Snippet **Package Imports** ```java import com.zc.component.users.PlatformType; import com.zc.component.users.ZCSignUpData; import com.zc.component.users.ZCUser; import com.zc.component.ZCMailTemplateDetails; ``` ```java //Get an instance of ZCSignUpData ZCSignUpData signUpdetails = ZCSignUpData.getInstance(); //Pass the necessary data for the sign-up using the instance ZCMailTemplateDetails mailData= signUpdetails.mailTemplateInstance(); mailData.setSendersMail("docofoh552@lukaat.com"); mailData.setSubject("Welcome to %APP_NAME%"); mailData.setMessage("<p>Hello ,</p> <p>Follow this link to join in %APP_NAME% .</p> <p><a href='\%LINK%\'>%LINK%</a></p> <p>If you didn’t ask to join the application, you can ignore this email.</p> <p>Thanks,</p> <p>Your %APP_NAME% team</p>"); signUpdetails.setTemplateDetails(mailData); signUpdetails.setPlatformType(PlatformType.WEB); signUpdetails.userDetail.setEmailId("p.boyle@zylker.com"); signUpdetails.userDetail.setLastName("Boyle"); signUpdetails.userDetail.setRoleId(1256000000228024L); //Register the user using an instance of ZCUser class signUpdetails = ZCUser.getInstance().registerUser(signUpdetails); ``` -------------------------------------------------------------------------------- title: "Get All Org IDs" description: "This page describes the method to collect all the Org IDs associated to your Java application using Catalyst Authentication with sample code snippets." last_updated: "2026-11-03T07:48:52.000Z" source: "https://docs.catalyst.zoho.com/en/sdk/java/v1/cloud-scale/authentication/get-org-id/" service: "CloudScale" related: - Authentication (/en/cloud-scale/help/authentication/introduction) - User Management (/en/cloud-scale/help/authentication/user-management/users/introduction/) -------------------------------------------------------------------------------- # Get All Org IDs Org ID or `ZAAID` is the unique identification of the organization that an end-user belongs to. This identification is generated when the end-user signs up to your application through any of the [authentication types](https://docs.catalyst.zoho.com/en/cloud-scale/help/authentication/authentication-types/), gets added through the [Add User API](https://docs.catalyst.zoho.com/en/api/code-reference/cloud-scale/authentication/add-new-user/#AddNewUser) or through the [Add User button](https://docs.catalyst.zoho.com/en/cloud-scale/help/authentication/user-management/users/implementation/#adding-a-new-user-from-the-console) in the console. The SDK snippet below demonstrates fetching all the Org IDs generated while adding new users to your application using the `getAllOrgs()` method. #### Sample Code Snippet **Package Imports** ```java import com.zc.component.users.ZCUser; ``` ```java ZCUser user = ZCUser.getInstance(); user.getAllOrgs(); ``` -------------------------------------------------------------------------------- title: "Add User to Existing Org" description: "This page describes the method to add new end-users to your Java application using Catalyst Authentication with sample code snippets." last_updated: "2026-11-03T07:48:52.000Z" source: "https://docs.catalyst.zoho.com/en/sdk/java/v1/cloud-scale/authentication/add-new-user-to-existing-org/" service: "CloudScale" related: - Add New User to Existing Org - API (/en/api/code-reference/cloud-scale/authentication/add-user-to-existing-org/#AddaNewUsertoanExistingOrganization) - Authentication (/en/cloud-scale/help/authentication/introduction) -------------------------------------------------------------------------------- # Add a New User to an Existing Organization The code snippet given below allows registering a [user](https://docs.catalyst.zoho.com/en/cloud-scale/help/authentication/user-management/users/introduction/) to an existing orginization without creating a new organization. > **Note: ** * `FirstName`, `EmailId` and `OrgID`are mandatory attributes. * When inviting a new user, you can configure the sender's email address, subject and the email message. You must add the email address in the [Catalyst Mail Component](https://docs.catalyst.zoho.com/en/cloud-scale/help/mail/email-configuration/) and get it verified before using it in the SDK code. #### Sample Code Snippet **Package Imports** ```java import com.zc.component.users.PlatformType; import com.zc.component.users.ZCSignUpData; import com.zc.component.users.ZCUser; import com.zc.component.ZCMailTemplateDetails; ``` ```java //Get an instance of ZCSignUpData ZCSignUpData signUpdetails = ZCSignUpData.getInstance(); //Pass the necessary data for the sign-up using the instance ZCMailTemplateDetails mailData= signUpdetails.mailTemplateInstance(); mailData.setSendersMail("docofoh552@lukaat.com"); mailData.setSubject("Welcome to %APP_NAME%"); mailData.setMessage("<p>Hello ,</p> <p>Follow this link to join in %APP_NAME% .</p> <p><a href='\%LINK%\'>%LINK%</a></p> <p>If you didn’t ask to join the application, you can ignore this email.</p> <p>Thanks,</p> <p>Your %APP_NAME% team</p>"); signUpdetails.setTemplateDetails(mailData); signUpdetails.setPlatformType(PlatformType.WEB); signUpdetails.userDetail.setEmailId("amelia.burrows@zylker.com"); signUpdetails.userDetail.setLastName("Amelia"); signUpdetails.userDetail.setOrgId("35712181"); //Pass user's OrgID here //Register the user using signUpdetails signUpdetails = ZCUser.getInstance().addUser(signUpdetails); ``` -------------------------------------------------------------------------------- title: "Get All Users in an Organization" description: "This page describes the method to get all the users associated to an organization in your Java application using Catalyst Authentication." last_updated: "2026-11-04T10:10:44.000Z" source: "https://docs.catalyst.zoho.com/en/sdk/java/v1/cloud-scale/authentication/get-users-in-org/" service: "CloudScale" related: - Authentication (/en/cloud-scale/help/authentication/introduction) - User Management (/en/cloud-scale/help/authentication/user-management/users/introduction/) -------------------------------------------------------------------------------- # Get All Users in an Organization The SDK snippet below demonstrates fetching the list of all users of an organization using the `getAllUsers()` method. #### Sample Code Snippet **Package Imports** ```java import com.zc.component.users.ZCUser; ``` ```java ZCUser user = ZCUser.getInstance(); user.getAllUser(10062701096); // Enter your Org ID here ``` -------------------------------------------------------------------------------- title: "Reset Password" description: "This page describes the method to add new end-users to your Java application using Catalyst Authentication with sample code snippets." last_updated: "2026-11-03T07:48:52.000Z" source: "https://docs.catalyst.zoho.com/en/sdk/java/v1/cloud-scale/authentication/reset-password/" service: "CloudScale" related: - Reset Password - API (/en/api/code-reference/cloud-scale/authentication/reset-user-password/#ResetUserPassword) - Authentication (/en/cloud-scale/help/authentication/introduction) -------------------------------------------------------------------------------- # Reset Password After the successful registration of a [user](https://docs.catalyst.zoho.com/en/cloud-scale/help/authentication/user-management/users/introduction/), you can reset the password using the following code snippet. When called, the `resetPassword()` method generates a reset password link and sends it to the user's Email address. > **Note: ** You can configure the sender's email address, subject and the email message. You must add the email address in the [Catalyst Mail Component](https://docs.catalyst.zoho.com/en/cloud-scale/help/mail/email-configuration/) and get it verified before using it in the SDK code. #### Sample Code Snippet **Package Imports** ```java import com.zc.component.users.PlatformType; import com.zc.component.users.ZCSignUpData; import com.zc.component.users.ZCUser; import com.zc.component.ZCMailTemplateDetails; ``` ```java //Get an instance of ZCSignUpData ZCSignUpData signUpdetails = ZCSignUpData.getInstance(); //Pass the necessary data for the sign-up using the instance ZCMailTemplateDetails mailData= signUpdetails.mailTemplateInstance(); mailData.setSendersMail("docofoh552@lukaat.com"); mailData.setSubject("Welcome to %APP_NAME%"); mailData.setMessage("<p>Hello ,</p> <p>Follow this link to join in %APP_NAME% .</p> <p><a href='\%LINK%\'>%LINK%</a></p> <p>If you didn’t ask to join the application, you can ignore this email.</p> <p>Thanks,</p> <p>Your %APP_NAME% team</p>"); signUpdetails.setTemplateDetails(mailData); signUpdetails.setPlatformType(PlatformType.WEB); signUpdetails.userDetail.setEmailId("amelia.burrows@zylker.com"); signUpdetails.userDetail.setLastName("Burrows"); //Call reset password to send a mail to reset password ZCUser.getInstance().resetPassword(signUpdetails); ``` -------------------------------------------------------------------------------- title: "Generate a Custom Server Token" description: "This page describes the method to add new end-users to your Java application using Catalyst Authentication with sample code snippets." last_updated: "2026-11-03T07:48:52.000Z" source: "https://docs.catalyst.zoho.com/en/sdk/java/v1/cloud-scale/authentication/third-party-server-token/" service: "CloudScale" related: - Authentication (/en/cloud-scale/help/authentication/introduction) -------------------------------------------------------------------------------- # Generate a Custom Server Token CloudScale's Authentication component allows you to implement a [third-party authentication service](https://docs.catalyst.zoho.com/en/cloud-scale/help/authentication/third-party-authentication/introduction/) of your preference for your Catalyst application. The authorization and validation of the end-user is handled by the third-party service, and the data is passed on to Catalyst. > **Note:** * Since you are implementing a third-party authentication service, it is understood that the security infrastructure of your application is contingent on the efficiency of the third-party service that you have chosen. * To enable a third-party authentication in your Catalyst application, you must ensure that you have enabled [Public Signup](https://docs.catalyst.zoho.com/en/cloud-scale/help/authentication/public-signup/) in the console. When a user is re-directed from a third-party service after being authenticated, their credentials must be passed to an authentication function that you code. This function must include the Catalyst server-side logic to generate a custom server token, which will then be passed to the Web SDK incorporated in the client code. A sample code to generate a custom server token is given below. #### Sample Code Snippet ```java ZCCustomTokenDetails customTokenDetails = ZCCustomTokenDetails.getInstance(); ZCCustomTokenUserDetails tokenUserDetails = ZCCustomTokenUserDetails.getInstance(); //Set token user details tokenUserDetails.setEmailId("emma@zylker.com"); tokenUserDetails.setFirstName("Amelia"); tokenUserDetails.setLastName("Burrows"); tokenUserDetails.setRoleName("App Admin"); customTokenDetails.setUserDetails(tokenUserDetails); ZCCustomTokenResponse customTokenResp = ZCUser.getInstance().generateCustomToken(customTokenDetails); ``` You can now pass this token to the client logic as explained in this [Web SDK help page](https://docs.catalyst.zoho.com/en/sdk/web/v4/cloud-scale/authentication/third-party-custom-token/). > **Note:** The custom server token will have to be generated every single time the user logs in to your application using a third-party authentication service. -------------------------------------------------------------------------------- title: "Custom User Validation" description: "This page describes the method to add new end-users to your Java application using Catalyst Authentication with sample code snippets." last_updated: "2026-11-03T07:48:52.000Z" source: "https://docs.catalyst.zoho.com/en/sdk/java/v1/cloud-scale/authentication/custom-user-validation/" service: "CloudScale" related: - Authentication (/en/cloud-scale/help/authentication/introduction) -------------------------------------------------------------------------------- # Custom User Validation Catalyst Authentication allows you to authorize and validate your end-users using a custom [Basic I/O function](https://docs.catalyst.zoho.com/en/serverless/help/functions/basic-io/) on the event of a sign-up to your Catalyst application. You can write your own logic and process the credentials that the user provides through this function, and grant access to your application. A sample code for a [Custom User Validation](https://docs.catalyst.zoho.com/en/cloud-scale/help/authentication/whitelisting/custom-user-validation/introduction/) function is given below. #### Sample Code Snippet **Package Imports** ```java import com.catalyst.Context; import com.catalyst.basic.BasicIO; import com.catalyst.basic.ZCFunction; import com.zc.api.APIConstants.ZCSignupValidationStatus; import com.zc.common.ZCProject; import com.zc.component.auth.ZCSignupResponseUserDetails; import com.zc.component.auth.ZCSignupUserValidationRequest; import com.zc.component.auth.ZCSignupUserValidationResponse; import com.zc.component.users.ZCSignupUserService; ``` The validation logic can be set based on your preference. In this example, we have depicted the logic with `@notallowedemail`. If the user tries to sign up using a disallowed email addressed, the user will not be allowed to sign up. ```java public class MainClass implements ZCFunction { private static final Logger LOGGER = Logger.getLogger(MainClass.class.getName()); @Override public void runner(Context context, BasicIO basicIO) throws Exception { try { ZCProject.initProject(); ZCSignupUserValidationRequest requestDetails = ZCSignupUserService.getSignupValidationRequest(basicIO); if(requestDetails != null) { /* Validation logic starts */ LOGGER.info("Inside null check"); ZCSignupUserValidationResponse validationResponse = ZCSignupUserValidationResponse.getInstance(); if(requestDetails.getUserDetails().getEmailId().contains("@notallowedmail")) { validationResponse.setStatus(ZCSignupValidationStatus.FAILURE); // The user has failed authentication } else { validationResponse.setStatus(ZCSignupValidationStatus.SUCCESS); // The actions that occur in the event of a successful authentication can be customized ZCSignupResponseUserDetails respUserDetails = ZCSignupResponseUserDetails.getInstance(); respUserDetails.setFirstName("Patricial"); respUserDetails.setLastName("Boyle"); respUserDetails.setRoleIdentifier("App User"); respUserDetails.setOrgId("1241113"); validationResponse.setUserDetails(respUserDetails); } basicIO.write(validationResponse); /* Validation logic ends */ } } catch(Exception e) { basicIO.write(e); LOGGER.log(Level.SEVERE,"Exception in MainClass",e); basicIO.setStatus(500); } } } ``` To test this function, you can pass the details of the user in the following `.JSON` format: ```json { "request_type": "add_user", "request_details": { "user_details": { "email_id": "emmy@zylker.com", "first_name": "Emma", "last_name": "Thompson", "org_id": "65**************", "role_details": { "role_name": "Moderator", "role_id": "10*****" } }, "auth_type": "web" } } ``` -------------------------------------------------------------------------------- title: "Get User Details" description: "This page describes the method to add new end-users to your Java application using Catalyst Authentication with sample code snippets." last_updated: "2026-11-03T07:48:52.000Z" source: "https://docs.catalyst.zoho.com/en/sdk/java/v1/cloud-scale/authentication/get-user-details/" service: "CloudScale" related: - Get User Details - API (/en/api/code-reference/cloud-scale/authentication/get-current-user/#GetCurrentUser) - Authentication (/en/cloud-scale/help/authentication/introduction) -------------------------------------------------------------------------------- # Get User Details [Catalyst Authentication](https://docs.catalyst.zoho.com/en/cloud-scale/help/authentication/introduction) provides some variants to retrieve the details of the app users. It is possible to obtain the user information of the current user, any, or all users of the application. ### Get Current User Details This code fetches the details of an user on whose scope the function is getting executed. #### Sample Code Snippet **Package Imports** ```java import com.zc.component.ZCUserDetail; import com.zc.component.users.ZCUser; ``` ```java //Create an instance of the ZCUser object to get current user information ZCUserDetail details = ZCUser.getInstance().getCurrentUser(); ``` ### Get All User Details This code can fetch the details of all the users who are registered with the application. #### Sample Code Snippet **Package Imports** ```java import com.zc.component.ZCUserDetail; import com.zc.component.users.ZCUser; ``` ```java //Create an instance of ZCUser and call getAllUser to get all the users in the application List<ZCUserDetail> details = ZCUser.getInstance().getAllUser(); ``` ### Get User Details by User ID Unlike the previous code, when you want to retrieve the information of a particular user, you can use this code where the User ID of the user is passed as a parameter to the `getUser()` method. #### Sample Code Snippet **Package Imports** ```java import com.zc.component.ZCUserDetail; import com.zc.component.users.ZCUser; ``` ```java //Create an instance of the ZCUser object and use user id to get user information based on id ZCUserDetail details = ZCUser.getInstance().getUser(1510000000113214L); ``` -------------------------------------------------------------------------------- title: "Update Details of a User" description: "This page describes the method to modify or update a user's details signed up to your Java application using Catalyst Authentication with sample code snippets." last_updated: "2026-11-03T07:48:52.000Z" source: "https://docs.catalyst.zoho.com/en/sdk/java/v1/cloud-scale/authentication/update-user-details/" service: "CloudScale" related: - Authentication (/en/cloud-scale/help/authentication/introduction) - Modify a User's Details in the Console (/en/cloud-scale/help/authentication/user-management/users/implementation/#modify-a-users-details) -------------------------------------------------------------------------------- # Update Details of a User Catalyst allows you to [modify and update](https://docs.catalyst.zoho.com/en/cloud-scale/help/authentication/user-management/users/implementation/#modify-a-users-details) the following details of an end-user: * First Name * Last name * [`ZAAID`](https://docs.catalyst.zoho.com/en/cloud-scale/help/authentication/user-management/users/introduction/): `ZAAID` or Org ID, is a unique value that is generated by Catalyst to associate with an organization. * [RoleID](https://docs.catalyst.zoho.com/en/cloud-scale/help/authentication/user-management/roles/implementation/): Role ID is the value generated by Catalyst that is assigned to a particular [user role](https://docs.catalyst.zoho.com/en/cloud-scale/help/authentication/user-management/roles/introduction/). The SDK snippet below demonstrates updating an end-user's details using the `updateUser()` method. The first name of the user is updated in the example below. The `getUserID()` method will fetch the [User ID](https://docs.catalyst.zoho.com/en/cloud-scale/help/authentication/user-management/users/introduction/) of the user. The UserID will be present in the *Users* > *User Management* section of the Authentication component. #### Sample Code Snippet **Package Imports** ```java import com.zc.component.ZCUserDetail; import com.zc.component.users.ZCUser; ``` ```java ZCUser user = ZCUser.getInstance(); ZCUserDetail userDetail = user.getCurrentUser(); userDetail.setFirstName("Josh"); user.updateUser(userDetail.getUserId(), userDetail); ``` -------------------------------------------------------------------------------- title: "Enable or Disable a User" description: "This page describes the method to enable or disable a user in your Java application using Catalyst Authentication with sample code snippets." last_updated: "2026-11-03T07:48:52.000Z" source: "https://docs.catalyst.zoho.com/en/sdk/java/v1/cloud-scale/authentication/enable-disable-user/" service: "CloudScale" related: - Authentication (/en/cloud-scale/help/authentication/introduction) - Enable or Disable a User in the Console (/en/cloud-scale/help/authentication/user-management/users/implementation/#enable-or-disable-a-user) -------------------------------------------------------------------------------- # Enable or Disable a User Catalyst allows you to [disable or enable a user](https://docs.catalyst.zoho.com/en/cloud-scale/help/authentication/user-management/users/implementation/#enable-or-disable-a-user) at any time. A disabled user will still be listed in the *Users* section in your project, but will not be able to access your application. The SDK snippet below demonstrates enabling and disabling an end-user using the `updateUserStatus()` method. The user is referred by their unique [User ID](https://docs.catalyst.zoho.com/en/cloud-scale/help/authentication/user-management/users/introduction/). You can find the User IDs of all users by navigating to the *Users* > [*User Management*](https://docs.catalyst.zoho.com/en/cloud-scale/help/authentication/user-management/introduction/) section of the Authentication component. ### To Enable a User #### Sample Code Snippet **Package Imports** ```java import com.zc.component.ZCUserDetail; import com.zc.component.users.ZCUser; ``` ```java ZCUser user = ZCUser.getInstance(); user.updateUserStatus(USER_ID, USER_STATUS.ENABLE); ``` ### To Disable a User #### Sample Code Snippet **Package Imports** ```java import com.zc.component.ZCUserDetail; import com.zc.component.users.ZCUser; ``` ```java ZCUser user = ZCUser.getInstance(); user.updateUserStatus(USER_ID, USER_STATUS.DISABLE); ``` -------------------------------------------------------------------------------- title: "Delete User" description: "This page describes the method to delete users from your Java application with sample code snippets." last_updated: "2026-11-03T07:48:52.000Z" source: "https://docs.catalyst.zoho.com/en/sdk/java/v1/cloud-scale/authentication/delete-user/" service: "CloudScale" related: - Authentication (/en/cloud-scale/help/authentication/introduction) -------------------------------------------------------------------------------- # Delete User You can delete the [ end users](https://docs.catalyst.zoho.com/en/cloud-scale/help/authentication/user-management/users/introduction/) of a Catalyst application to remove their access to it permanently. This is done using the `deleteUser()` method. You must pass the **UserID** of the user as the parameter to this method as shown below. #### Sample Code Snippet **Package Imports** ```java import com.zc.component.users.ZCUser; ``` ```java ZCUser.getInstance().deleteUser(1510000000109587l); //Pass the UserID of the user to be deleted ``` ### Cache -------------------------------------------------------------------------------- title: "Get a Segment Instance" description: "This page describes the method to get a cache segment instance in your Java application with sample code snippets." last_updated: "2026-11-03T07:48:52.000Z" source: "https://docs.catalyst.zoho.com/en/sdk/java/v1/cloud-scale/cache/get-segment-instance/" service: "CloudScale" related: - Cache (/en/cloud-scale/help/cache/introduction) -------------------------------------------------------------------------------- # Cache ### Get a segment instance The first step in referring to a cache segment is to create an empty segment instance using the `getSegmentInstance()` method which doesn't actually fire a server side call. This empty segment instance does not hold any values. #### Sample Code Snippet **Package Imports** ```java import com.zc.component.cache.ZCCache; import com.zc.component.cache.ZCSegment; ``` ```java //Get a Cache Instance ZCCache cacheobj=ZCCache.getInstance(); //Get an instance of a specific segment with segment ID ZCSegment segment = cacheobj.getSegmentInstance(1510000000054091L); ``` -------------------------------------------------------------------------------- title: "Retrieve Data from the Cache" description: "This page describes the method to retrieve data from the cache in your Java application with sample code snippets." last_updated: "2026-11-03T07:48:52.000Z" source: "https://docs.catalyst.zoho.com/en/sdk/java/v1/cloud-scale/cache/retrieve-data-from-cache/" service: "CloudScale" related: - Retrieve Data from the Cache - API (/en/api/code-reference/cloud-scale/cache/get-cache-value/#GetCacheValue) - Cache (/en/cloud-scale/help/cache/introduction) -------------------------------------------------------------------------------- # Retrieve Data from Cache ### Retrieve the value by key name Every cache segment contains key-value pairs. Both keys and values are _String_ type. The value of a key is retrieved through the `getCacheValue()` method. #### Sample Code Snippet **Package Imports** ```java import com.zc.component.cache.ZCCache; import com.zc.component.cache.ZCSegment; ``` ```java //Get a Cache Instance ZCCache cacheobj=ZCCache.getInstance(); //Get an instance of a specific segment with segment ID ZCSegment segment = cacheobj.getSegment(1510000000054091L); //Get The value of the cache object using key String cacheValue= segment.getCacheValue("Val"); ``` ### Retrieve the cache object by key name Another variant for retrieving a cache object is to return the corresponding value of a key as a cache object. > **Note:** The cache object contains all of its attributes such as key, value, and expiry time. #### Sample Code Snippet **Package Imports** ```java import com.zc.component.cache.ZCCache; import com.zc.component.cache.ZCCacheObject; import com.zc.component.cache.ZCSegment; ``` ```java //Get a Cache Instance ZCCache cacheobj=ZCCache.getInstance(); //Get an instance of a specific segment with segment ID ZCSegment segment = cacheobj.getSegment(1510000000054091L); //replace segment id //Get The Cache object using key ZCCacheObject cacheValue = segment.getCacheObject("Name"); // replace cache key ``` -------------------------------------------------------------------------------- title: "Insert Data into Cache" description: "This page describes the method to insert data into the cache in your Java application with sample code snippets." last_updated: "2026-11-03T15:16:51.000Z" source: "https://docs.catalyst.zoho.com/en/sdk/java/v1/cloud-scale/cache/insert-data-into-cache/" service: "CloudScale" related: - Insert Data into the Cache - API (/en/api/code-reference/cloud-scale/cache/insert-key-value-in-segment/#InsertKeyValueinCacheSegment) - Cache (/en/cloud-scale/help/cache/introduction) -------------------------------------------------------------------------------- # Insert data into the cache In addition to retrieving cache information, the following `putCache()` variants also support inserting cache object elements. ### Insert a key-value pair The following code inserts a key-value pair to a cache segment through `putCacheValue()` method. > **Note:** The expiry time is set to 48 hours by default. #### Sample Code Snippet **Package Imports** ```java import com.zc.component.cache.ZCCache; import com.zc.component.cache.ZCCacheObject; import com.zc.component.cache.ZCSegment; ``` ```java //Get a Cache Instance ZCCache cacheobj=ZCCache.getInstance(); //Get an instance of a specific segment with segment ID ZCSegment segment = cacheobj.getSegment(1510000000054091L); //Put Value in Cache as key-value pair (with a default Expiry Time of 48 hours) ZCCacheObject cache = segment.putCacheValue("Name", "Amelia Burrows"); ``` ### Insert a key-value pair with an expiry time Similar to the previous case, along with key and value parameters, the optional parameter expiry time is used in this variant. > **Note:** The value of the expiry time must be passed as a long value in hours. #### Sample Code Snippet **Package Imports** ```java import com.zc.component.cache.ZCCache; import com.zc.component.cache.ZCCacheObject; import com.zc.component.cache.ZCSegment; ``` ```java //Get a Cache Instance ZCCache cacheobj=ZCCache.getInstance(); //Get an instance of a specific segment with segment ID ZCSegment segment = cacheobj.getSegment(1510000000054091L); //Put Value in Cache as key-value pair with specified expiry time. (Time in hours) ZCCacheObject cache = segment.putCacheValue("LastName", "S", 1L); ``` ### Insert a key-value pair through a cache object The following code inserts a key-value pair to a cache segment through `putCacheObject()` method. > **Note:** If the key name already exists in a cache segment, it will be replaced with the new value inserted. #### Sample Code Snippet **Package Imports** ```java import com.zc.component.cache.ZCCache; import com.zc.component.cache.ZCCacheObject; import com.zc.component.cache.ZCSegment; ``` ```java //Get a Cache Instance ZCCache cacheobj=ZCCache.getInstance(); //Get an instance of a specific segment with segment ID ZCSegment segment = cacheobj.getSegment(1510000000054091L); //Create a CacheObject and set cache segment attributes ZCCacheObject cacheDetails = ZCCacheObject.getInstance(); cacheDetails.setKeyName("ObjectKey"); cacheDetails.setValue("ObjectValue"); cacheDetails.setExpiryInHours(1L); //Create the cache using the CacheObject ZCCacheObject cache = segment.putCacheObject(cacheDetails); ``` -------------------------------------------------------------------------------- title: "Update Data in Cache" description: "This page describes the method to update data in the cache in your Java application with sample code snippets." last_updated: "2026-11-03T15:16:51.000Z" source: "https://docs.catalyst.zoho.com/en/sdk/java/v1/cloud-scale/cache/update-data-in-cache/" service: "CloudScale" related: - Update Data in Cache - API (/en/api/code-reference/cloud-scale/cache/update-key-value/#UpdateKeyValuePair) - Cache (/en/cloud-scale/help/cache/introduction) -------------------------------------------------------------------------------- # Update Data in Cache Existing data from the cache can be updated through `updateCacheValue()` method.It comes with the following two variants, ### Update cache value of a key This variant updates the value of the existing key, by passing the updated value as parameter to the `updateCacheValue()` method. The expiry time of the key is maintained as its previous value. #### Sample Code Snippet **Package Imports** ```java import com.zc.component.cache.ZCCache; import com.zc.component.cache.ZCSegment; ``` ```java //Get a Cache Instance ZCCache cacheobj=ZCCache.getInstance(); //Get an instance of a specific segment with a segment ID ZCSegment segment = cacheobj.getSegment(1510000000054091L); //replace segment id // Updates the value of the existing cache’s key ZCCache.getInstance().updateCacheValue("time_taken", "10"); ``` ### Update cache value with expiry time Similar to the above one, this variant updates the value of the key, where the expiry time of the key is also passed as the parameter to the method. The value of the expiry time is updated with the new value passed as a long int value in hours. #### Sample Code Snippet **Package Imports** ```java import com.zc.component.cache.ZCCache; import com.zc.component.cache.ZCSegment; ``` ```java //Get a Cache Instance ZCCache cacheobj=ZCCache.getInstance(); //Get an instance of a specific segment with a segment ID ZCSegment segment = cacheobj.getSegment(151xxxxxxxxxL); //Update the value of the existing cache’s key with its expiry time ZCCache.getInstance().updateCacheValue("time_taken", "48", 2L); ``` -------------------------------------------------------------------------------- title: "Delete a Key-Value Pair" description: "This page describes the method to delete a key-value pair using a key or cache object in your Java application with sample code snippets." last_updated: "2026-11-03T07:48:52.000Z" source: "https://docs.catalyst.zoho.com/en/sdk/java/v1/cloud-scale/cache/delete-key-value-pair/" service: "CloudScale" related: - Cache (/en/cloud-scale/help/cache/introduction) -------------------------------------------------------------------------------- # Delete a key-value pair When a key-value pair is no longer needed, it can be permanently deleted from the cache segment. The key-value pair cannot be restored once it is deleted,but it can be recreated. ### Delete using a key You can delete a key by passing it directly to the `deleteCacheValue()` method as a parameter. #### Sample Code Snippet **Package Imports** ```java import com.zc.component.cache.ZCCache; import com.zc.component.cache.ZCSegment; ``` ```java //Get a Cache Instance ZCCache cacheobj=ZCCache.getInstance(); //Get an instance of a specific segment with segment ID ZCSegment segment = cacheobj.getSegment(1510000000054091L); //Delete the Cache object using key segment.deleteCacheValue("Name"); ``` ### Delete using a cache object In this delete variant, an empty cache instance is constructed and the key value is set to it. This instance is passed as an argument to the `deleteCacheObject()` method. #### Sample Code Snippet **Package Imports** ```java import com.zc.component.cache.ZCCache; import com.zc.component.cache.ZCCacheObject; import com.zc.component.cache.ZCSegment; ``` ```java //Get a Cache Instance ZCCache cacheobj=ZCCache.getInstance(); //Get an instance of a specific segment with segment ID ZCSegment segment = cacheobj.getSegment(1510000000054091L); //Create a CacheObject and set cache details ZCCacheObject cacheDetails = ZCCacheObject.getInstance(); cacheDetails.setKeyName("ObjectKey"); //Delete the cache using the CacheObject segment.deleteCacheObject(cacheDetails); ``` ### Connections -------------------------------------------------------------------------------- title: "Get Connections Instance" description: "This page describes the method to get an instance for the Connections component to allow you to use the Connections SDK methods." last_updated: "2026-11-03T07:48:52.000Z" source: "https://docs.catalyst.zoho.com/en/sdk/java/v1/cloud-scale/connections/get-connections-instance/" service: "CloudScale" related: - Connections Help (/en/cloud-scale/help/connections/introduction/) - JavaScript SDK (/en/sdk/javascript/v1/overview/) - Connections Python SDK (/en/sdk/python/v1/cloud-scale/connections/get-connections-instance/) -------------------------------------------------------------------------------- # Connections Connections allows you to integrate with Zoho and other third-party services while managing all the authentication token requirement. ### Get Connections Instance > **Note:** This SDK can only be accessed within Catalyst services like [Functions](https://docs.catalyst.zoho.com/en/serverless/help/functions/introduction/) and [AppSail](https://docs.catalyst.zoho.com/en/serverless/help/appsail/introduction/). It cannot be used to integrate with third-party services. You can get the `connections` component reference as shown below. This will not fire a server-side call. We will refer to this component instance in various code snippets of working with Connections. **Package Import** **Package Imports** ```java import com.zc.component.connections.ZCConnections; import com.zc.component.connections.beans.ZCConnectionResponse; ``` ```java // create connection instance ZCConnections connections = ZCConnections.getInstance(); ``` -------------------------------------------------------------------------------- title: "Get Authentication Credentials" description: "This page describes the method to acquire the required authentication credentials." last_updated: "2026-11-03T07:48:52.000Z" source: "https://docs.catalyst.zoho.com/en/sdk/java/v1/cloud-scale/connections/get-credentials/" service: "CloudScale" related: - Connections Help (/en/cloud-scale/help/connections/introduction/) - JavaScript SDK (/en/sdk/javascript/v1/overview/) - Connections Python SDK (/en/sdk/python/v1/cloud-scale/connections/get-credentials/) -------------------------------------------------------------------------------- # Get Authentication Credentials > **Note:** This SDK can only be accessed within Catalyst services like [Functions](https://docs.catalyst.zoho.com/en/serverless/help/functions/introduction/) and [AppSail](https://docs.catalyst.zoho.com/en/serverless/help/appsail/introduction/). It cannot be used to integrate with third-party services. This SDK method can be used obtain the authentication credentials for various Zoho services, listed as [Default Services](https://docs.catalyst.zoho.com/en/cloud-scale/help/connections/establish-default-connection/). The `connections` reference used in the below code snippet is the [component instance](https://docs.catalyst.zoho.com/en/sdk/java/v1/cloud-scale/connections/get-connections-instance/). **Package Imports** ```java import com.zc.component.connections.ZCConnections; import com.zc.component.connections.beans.ZCConnectionResponse; ``` ```java // create connection instance ZCConnections connections = ZCConnections.getInstance(); // retrieve the authentication credentials for the specified connection ZCConnectionResponse connectionResponse = connections.getConnectionCredentials("payrollcon"); // connection response System.out.println("Connection Response Headers: " + connectionResponse.getHeaders()); System.out.println("Connection Response Parameters: " + connectionResponse.getParameters()); ``` ### Data Store -------------------------------------------------------------------------------- title: "Get Table Meta" description: "This page describes the method to fetch the meta data of a single table or multiple tables in your Java application with sample code snippets" last_updated: "2026-11-03T07:48:52.000Z" source: "https://docs.catalyst.zoho.com/en/sdk/java/v1/cloud-scale/data-store/get-table-meta/" service: "CloudScale" related: - Get Table Meta - API (/en/api/code-reference/cloud-scale/data-store/get-table-metadata/#GetTableMetadata) - Data Store (/en/cloud-scale/help/data-store/introduction) -------------------------------------------------------------------------------- # Get Table Meta The meta data of a single table or multiple tables can be obtained in several ways. ### Get a single table meta by tableID A table's meta data is fetched by referring the table Id, using the method `getTable()` as given below, #### Sample Code Snippet **Package Imports** ```java import com.zc.component.object.ZCObject; import com.zc.component.object.ZCTable; ``` ```java //Create a base Object Instance ZCObject object = ZCObject.getInstance(); //Get a Table Instance referring the table ID on base object ZCTable tableMeta = object.getTable(1510000000110121L); ``` ### Get a single table meta by table name On the other hand, you can refer the table name also to fetch the meta data details of a table where table name is passed as an argument to the `getTable()` method. #### Sample Code Snippet **Package Imports** ```java import com.zc.component.object.ZCObject; import com.zc.component.object.ZCTable; ``` ```java //Create a base Object Instance ZCObject object = ZCObject.getInstance(); //Get a Table Instance referring the table ID on base object ZCTable tableMeta = object.getTable("SampleTable"); ``` ### Get all the tables In addition to getting the meta data of a single table, you can fetch the details of all the tables in a catalyst project using `getAllTables()` method. #### Sample Code Snippet **Package Imports** ```java import com.zc.component.object.ZCObject; ``` ```java //Create a base Object Instance ZCObject object = ZCObject.getInstance(); //Get all the Tables in a given Project List tableList =object.getAllTables(); ``` -------------------------------------------------------------------------------- title: "Get Column Meta" description: "This page describes the method to retrieve metadata of one or more columns from a table in the Data Store in your Java application." last_updated: "2026-11-04T10:10:44.000Z" source: "https://docs.catalyst.zoho.com/en/sdk/java/v1/cloud-scale/data-store/get-column-meta/" service: "CloudScale" related: - Get Column Meta - API (/en/api/code-reference/cloud-scale/data-store/get-column-metadata/#GetColumnMetadata) - Data Store (/en/cloud-scale/help/data-store/introduction) -------------------------------------------------------------------------------- # Get Column Meta There are methods to retrieve the metadata of a single column or multiple columns of a particular table. ### Get a single column meta by columnID while a table's meta data was fetched previously, now it is to fetch a particular column's meta data of a table using `getColumn()` method. #### Sample Code Snippet **Package Imports** ```java import com.zc.component.object.ZCColumn; import com.zc.component.object.ZCObject; import com.zc.component.object.ZCTable; ``` ```java //Create Base Object Instance ZCObject object = ZCObject.getInstance(); //Get a Table Instance referring the table ID on base object ZCTable table = object.getTable(1510000000110121L); //Get the Meta of a specific column of using columnID ZCColumn column = table.getColumn("1510000000110832"); ``` ### Get a single column meta by column name An alternative way to get the meta data of a column is referring to the table name instead of table Id. This also returns the same response as that of the previous one. #### Sample Code Snippet **Package Imports** ```java import com.zc.component.object.ZCColumn; import com.zc.component.object.ZCObject; import com.zc.component.object.ZCTable; ``` ```java //Create Base Object Instance ZCObject object = ZCObject.getInstance(); //Get a Table Instance referring the table ID on base object ZCTable table = object.getTable(1510000000110121L); //Get the Meta of a specific column of using column name ZCColumn column = table.getColumn("Name"); ``` ### Get all the columns In addition to getting the meta data of a single column, you can retrieve the meta data of all the columns of a particular table using _getAllColumns()_ method. #### Sample Code Snippet **Package Imports** ```java import com.zc.component.object.ZCColumn; import com.zc.component.object.ZCObject; import com.zc.component.object.ZCTable; ``` ```java //Create Base Object Instance ZCObject object = ZCObject.getInstance(); //Get a Table Instance referring the table ID on base object ZCTable table = object.getTable(1510000000110121L); //Get all the Columns in the Table List columns = table.getAllColumns(); ``` -------------------------------------------------------------------------------- title: "Get a Table Instance" description: "This page describes the method to fetch the table instance using tableID and name from a table in the Data Store in your Java application." last_updated: "2026-11-04T10:10:44.000Z" source: "https://docs.catalyst.zoho.com/en/sdk/java/v1/cloud-scale/data-store/get-table-instance/" service: "CloudScale" related: - Data Store (/en/cloud-scale/help/data-store/introduction) -------------------------------------------------------------------------------- # Get Table Instance ### Get the table instance using tableID An empty _table instance_ is created as the first step to refer a table and perform its operations.This is done through the `getTableInstance()` method which actually doesn't fire a server side call. This does not hold any values. #### Sample Code Snippet **Package Imports** ```java import com.zc.component.object.ZCObject; import com.zc.component.object.ZCTable; ``` ```java //Create a base Object Instance ZCObject object = ZCObject.getInstance(); //Get a Table Instance referring the tableID on base object ZCTable tableMeta =object.getTableInstance(1510000000110121L); ``` ### Get the table instance using table name Table name is passed as an argument here to refer the table, without firing the server side call which is equivalent to the previous case. #### Sample Code Snippet **Package Imports** ```java import com.zc.component.object.ZCObject; import com.zc.component.object.ZCTable; ``` ```java //Create Base Object Instance ZCObject object = ZCObject.getInstance(); //Get a Table Instance referring the table ID on base object ZCTable tableMeta = object.getTableInstance("SampleTable"); ``` -------------------------------------------------------------------------------- title: "Insert Rows" description: "This page describes the method to insert a single row or rows in bulk from a table in the Data Store in your Java application with sample code snippets." last_updated: "2026-11-03T07:48:52.000Z" source: "https://docs.catalyst.zoho.com/en/sdk/java/v1/cloud-scale/data-store/insert-rows/" service: "CloudScale" related: - Insert Rows - API (/en/api/code-reference/cloud-scale/data-store/insert-new-row/#InsertNewRow) - Data Store (/en/cloud-scale/help/data-store/introduction) -------------------------------------------------------------------------------- # Insert Rows You can insert a new row of data or a record in a table in the [Data Store](https://docs.catalyst.zoho.com/en/cloud-scale/help/data-store/introduction) by referring to the table's unique ID or name. You can also insert multiple rows in a table as explained in the next section. > **Note:** The table and the columns in it must already be created. You can [create a table](https://docs.catalyst.zoho.com/en/cloud-scale/help/data-store/tables/#create-a-new-table) and [the columns for it](https://docs.catalyst.zoho.com/en/cloud-scale/help/data-store/columns/#create-a-new-column) from the console. ### Insert a Single Row You must create a row instance and then pass the column names and their corresponding values as shown in the sample code below. The `insertRow()` method inserts a row to the table whose instance you create by referring to its unique name or ID. A unique `RowID` value for the row is automatically generated once a row is inserted. #### Sample Code Snippet **Package Imports** ```java import com.zc.component.object.ZCObject; import com.zc.component.object.ZCRowObject; import com.zc.component.object.ZCTable; ``` ```java //Create a base Object Instance ZCObject object = ZCObject.getInstance(); //Get a Table Instance referring the tableID on base object ZCTable tab = object.getTable("1510000000110121"); //Create a row instance ZCRowObject row = ZCRowObject.getInstance(); //Set the required column values using set() method on the row instance row.set("Name","George Smith"); row.set("Age", 25); //Add the single row to table by calling insertRow() method tab.insertRow(row); ``` ### Insert Multiple rows You can insert multiple rows in a table by constructing a list of row objects and passing it as an argument to the `insertRows()` method as shown below. #### Sample Code Snippet **Package Imports** ```java import com.zc.component.object.ZCObject; import com.zc.component.object.ZCRowObject; import com.zc.component.object.ZCTable; ``` ```java //Create a List of RowObjects List rows = new ArrayList(); //Create a base Object Instance ZCObject object = ZCObject.getInstance(); //Get a Table Instance referring the tableID on base object ZCTable tab = object.getTable(1510000000110121L); //Create required number of row instances ZCRowObject row1 = ZCRowObject.getInstance(); ZCRowObject row2 = ZCRowObject.getInstance(); //Set the column values on the respective rows using set() method row1.set("Name","George Smith"); row1.set("Age", 25); row2.set("Name","Moana Violet"); row2.set("Age", 22); //Add rows to List using add() method rows.add(row1); rows.add(row2); //Add the list to table using insertRows() method tab.insertRows(rows); ``` -------------------------------------------------------------------------------- title: "Get Rows" description: "This page describes the method to fetch a single row or all the rows from a table in the Data Store in your Java application with sample code snippets" last_updated: "2026-11-03T07:48:52.000Z" source: "https://docs.catalyst.zoho.com/en/sdk/java/v1/cloud-scale/data-store/get-rows/" service: "CloudScale" related: - Get Rows - API (/en/api/code-reference/cloud-scale/data-store/get-all-rows/#GetAllRows) - Data Store (/en/cloud-scale/help/data-store/introduction) -------------------------------------------------------------------------------- # Get Rows You can retrieve single row or multiple rows of data from a table in the [Catalyst Data Store](https://docs.catalyst.zoho.com/en/cloud-scale/help/data-store/introduction). You can fetch the rows by passing the unique Table ID of table to the `getTable()` method as shown in the sample code below. ### Get a Single Row You can fetch a single row of data from a table using the `getRow()` method. You must pass the unique Row ID of the row that you require to be fetched to this method as shown below. You must first fetch a base object instance using `getInstance()`. Using the base object instance, you must fetch a table instance that can be used to fetch the row. #### Sample Code Snippet **Package Imports** ```java import com.zc.component.object.ZCObject; import com.zc.component.object.ZCRowObject; import com.zc.component.object.ZCTable; ``` ```java //Create a base object instance ZCObject ZCObject obj = ZCObject.getInstance(); //Get a table instance referring to the table ID using the base object ZCTable tab = obj.getTable(1510000000110121L); //Fetch a single row from the table by passing the Row ID ZCRowObject row = tab.getRow(1510000000108103L); ``` ### Get All Rows Through Pagination You can retrieve all the rows from a table in the Data Store by incorporating pagination in your code using the `ZCRowPagedResponse` class. Pagination allows you to fetch the rows of a table in batches or pages through iterations. For example, if you require the rows to be fetched in batches of 100 as individual pages, you can define a variable for the maximum rows to be fetched in each page and specify the count. The sample code below assigns `maxRows` as 100. > **Note:** The `maxRows` parameter is optional. The SDK call will return 200 rows in a single page by default if this value is not specified. Additionally, after each execution of the loop, you will receive a token string in the response that authorizes the subsequent fetching of data. You can fetch this token through the `getNextToken()` method, and pass it as the value for `nextToken` during the subsequent iteration, as shown in the code below. During the first execution of the loop, the value for the `nextToken` string is assigned as null. This iteration is executed until all the rows fetched, which is validated by the `moreRecordsAvailable()` method. You can specify the table name and the names of the columns to be fetched as shown in the sample code. > **Note:** Pagination has been made available from the Java SDK v1.7.0 update. This will not be available in the older versions of the Java SDK. #### Sample Code Snippet **Package Imports** ```java import com.zc.component.object.ZCObject; import com.zc.component.object.ZCRowObject; import com.zc.component.object.ZCRowPagedResponse; ``` ```java String nextToken = null; //Declare the value for nextToken as null for the first iteration ZCRowPagedResponse pagedResp; //Define the paged response object Long maxRows = 100; //Define the maximum rows to be fetched in a single page do { pagedResp = ZCObject.getInstance().getTable(empDetails).getPagedRows(nextToken, maxRows); //Specify the table name and fetch the paged response by passing nextToken and maxRows //Fetch the columns from the table by passing the column names for(ZCRowObject row : pagedResp.getRows()) { basicIO.write("Employee ID: " +row.get("empID") + ","); basicIO.write("Name: " +row.get("empName") + ","); basicIO.write("Department: " +row.get("empDept") + ","); } //Validate the iteration and pass the token string obtained in the response for the next iteration if(pagedResp.moreRecordsAvailable()) { nextToken = pagedResp.getNextToken(); } } while(pagedResp.moreRecordsAvailable()); ``` > **Note:** We have deprecated support for the `getAllRows()` method that was available earlier to fetch multiple rows of data from a table. Pagination is now available as an enhancement that enables you to fetch all rows, without any limitations on the number of rows fetched. The `getAllRows()` method will be removed from all future SDK versions. Please ensure that you upgrade your code accordingly. -------------------------------------------------------------------------------- title: "Update Rows" description: "This page describes the method to update a single row or rows in bulk in a table in the Data Store in your Java application with sample code snippets." last_updated: "2026-11-03T07:48:52.000Z" source: "https://docs.catalyst.zoho.com/en/sdk/java/v1/cloud-scale/data-store/update-rows/" service: "CloudScale" related: - Update Rows - API (/en/api/code-reference/cloud-scale/data-store/update-row/#UpdateRow) - Data Store (/en/cloud-scale/help/data-store/introduction) -------------------------------------------------------------------------------- # Update Rows If a single row or multiple rows are to be updated with one or more column values in a table, updateRows() method is used. > **Note:** ROWDID should be set to update a row. #### Sample Code Snippet **Package Imports** ```java import com.zc.component.object.ZCObject; import com.zc.component.object.ZCRowObject; import com.zc.component.object.ZCTable; ``` ```java //Create a base Object Instance ZCObject object = ZCObject.getInstance(); //Get a Table Instance referring the table ID on base object ZCTable table = object.getTable(1510000000110121L); // replace table ID //Create a List of RowObjects List rows = new ArrayList(); //Create row instances ZCRowObject row1 = ZCRowObject.getInstance(); ZCRowObject row2 = ZCRowObject.getInstance(); //Set the updated value on the rows referring the ROWIDs row1.set("Name","Amelia S"); row1.set("Age", 19); row1.set("ROWID", 1510000000109113L); // replace row id row2.set("Name", "Walker Don"); row2.set("Age", 19); row2.set("ROWID", 1510000000109115L); // replace row id //Add Rows to the List rows.add(row1); rows.add(row2); //Update Multiple rows in table table.updateRows(rows); ``` -------------------------------------------------------------------------------- title: "Delete Row" description: "This page describes the method to delete a single row from a table in the Data Store in your Java application with sample code snippets" last_updated: "2026-11-03T07:48:52.000Z" source: "https://docs.catalyst.zoho.com/en/sdk/java/v1/cloud-scale/data-store/delete-row/" service: "CloudScale" related: - Delete Data - API (/en/api/code-reference/cloud-scale/data-store/delete-row/#DeleteRow) - Data Store (/en/cloud-scale/help/data-store/introduction) -------------------------------------------------------------------------------- # Delete Row A row can be deleted from a table simply by passing the **ROWID** in the calling method `deteleRow().` You will not be able to delete more than one row at a time. #### Sample Code Snippet **Package Imports** ```java import com.zc.component.object.ZCObject; import com.zc.component.object.ZCTable; ``` ```java //Create Base Object Instance ZCObject obj = ZCObject.getInstance(); //Get a Table Instance referring the table ID on base object ZCTable tab = obj.getTable(1510000000110121L); //Delete a single row with its ROWID tab.deleteRow(1510000000109115L); ``` -------------------------------------------------------------------------------- title: "Bulk Read Rows" description: "This page describes the method to read multiple rows from a table in the Data Store in your Java application with sample code snippets" last_updated: "2026-11-03T07:48:52.000Z" source: "https://docs.catalyst.zoho.com/en/sdk/java/v1/cloud-scale/data-store/bulk-read/" service: "CloudScale" related: - Data Store (/en/cloud-scale/help/data-store/introduction) -------------------------------------------------------------------------------- # Bulk Read Rows Catalyst allows you to perform bulk read jobs on a specific table present in the [Data Store](https://docs.catalyst.zoho.com/en/cloud-scale/help/data-store/introduction). In the SDK snippet below, the Bulk Read job can read thousands of records from a specific table and generate a CSV file containing the results of the read operation, if the job is successful. The table is referred to by its unique [Table ID](https://docs.catalyst.zoho.com/en/cloud-scale/help/data-store/tables/). Catalyst supports the following methods for bulk write in Java SDK:
Method Used Description
`createBulkReadJob()` Create a new bulk read job.
`getBulkReadJobStatus()` to find out the status and the result of the bulk read job.
Copy the SDK snippet below to perform a bulk read job on a particular table. #### Sample Code Snippet **Package Imports** ```java import com.zc.component.object.bulk.ZCBulkReadServices; import com.zc.component.object.bulk.ZCBulkQueryDetails; import com.zc.component.object.bulk.ZCBulkCallbackDetails; import com.zc.component.object.bulk.ZCDataStoreBulk; import com.zc.component.object.bulk.result.ZCBulkResult; import com.zc.component.object.bulk.ZCBulkReadDetails; ``` ```java ZCBulkReadServices bulkRead = ZCDataStoreBulk.getInstance().getBulkReadInstance(); bulkRead.createBulkReadJob(12096000000642178L); //Provide your Table ID // create bulkread job with table ID ZCBulkQueryDetails bulkQueryDetails = ZCBulkQueryDetails.getInstance(); // get bulk query details instance ZCBulkCallbackDetails callbackDetails = ZCBulkCallbackDetails.getInstance(); // get bulk callback details instance bulkRead.createBulkReadJob(12096000000642178L, bulkQueryDetails); //Provide your Table ID // create bulkread job with table ID and query details bulkRead.createBulkReadJob(12096000000642178L, bulkQueryDetails, callbackDetails); //Provide your Table ID // create bulkread job with table ID, query details and callback details. ZCBulkReadDetails bulkReadDetails = ZCBulkReadDetails.getInstance(); // create bulk read details instance. bulkReadDetails.setTableIdentifier(12096000000642178L); //Provide your Table ID ZCBulkResult readJob = bulkRead.createBulkReadJob(bulkReadDetails); // create bulkread job with bulk read details. bulkRead.getBulkReadJobStatus(readJob.getJobId()); // get bulk read job status and result ``` > **Note:** A maximum of **200,000 rows** can be read simultaneously using the `createBulkReadJob()` method. -------------------------------------------------------------------------------- title: "Bulk Write Rows" description: "This page describes the method to write multiple rows in a table in the Data Store in your Java application with sample code snippets" last_updated: "2026-11-03T07:48:52.000Z" source: "https://docs.catalyst.zoho.com/en/sdk/java/v1/cloud-scale/data-store/bulk-write/" service: "CloudScale" related: - Data Store (/en/cloud-scale/help/data-store/introduction) -------------------------------------------------------------------------------- # Bulk Write Rows Catalyst enables you to perform bulk write jobs on a specific table present in the [Data Store](https://docs.catalyst.zoho.com/en/cloud-scale/help/data-store/introduction). The bulk write operation can fetch thousands of records from a CSV file uploaded in [Stratus](https://docs.catalyst.zoho.com/en/cloud-scale/help/stratus/introduction/) and insert them in a specific table. The table is referred to by its unique [Table ID](https://docs.catalyst.zoho.com/en/cloud-scale/help/data-store/tables/). The column in which the write operation must be performed is referred to by its unique [column ID](https://docs.catalyst.zoho.com/en/cloud-scale/help/data-store/columns/#column-characteristics). > **Note:** To perform a bulk write operation, you must [first upload](https://docs.catalyst.zoho.com/en/cloud-scale/help/stratus/objects/upload-object/) the required data as a CSV file in Stratus. During the write job, the file will be referred to using the following attributes: * `bucketName`: The [name of the bucket](https://docs.catalyst.zoho.com/en/cloud-scale/help/stratus/buckets/name-bucket/#ideal-practices-to-name-a-bucket), where the object is stored. * `objectKey`: Can contain the [path](https://docs.catalyst.zoho.com/en/cloud-scale/help/stratus/objects/introduction/#path) or the [Object URL](https://docs.catalyst.zoho.com/en/cloud-scale/help/stratus/objects/introduction/#object-url) of the required object. * `versionID`: If the bucket has [versioning](https://docs.catalyst.zoho.com/en/cloud-scale/help/stratus/stratus-config/general-settings/#versioning) enabled, then the specific versionID of the file will be stored in this attribute. These details will need to be resolved as a JSON object named `objectDetails`, and passed to the `setObjectDetails()` method. Catalyst supports the following methods for bulk write in Java SDK:
Method Used Description
`createBulkWriteJob(bulkWriteDetails)` Create a new bulk write job on a specific table.
`createInsertBulkWriteJob(table ID, objectDetails)` Create a new bulk write insert job.
`createUpsertBulkWriteJob(tableId, objectDetails, column ID)` Create a new bulk write upsert job.
`getBulkWriteJobDetails(jobID)` Get the status and results of a bulk write job.
Copy the SDK snippet below to perform a bulk write job on a particular table. #### Sample Code Snippet **Package Imports** ```java import com.zc.component.object.bulk.ZCBulkWriteServices; import com.zc.component.object.bulk.ZCDataStoreBulk; import com.zc.component.object.bulk.result.ZCBulkResult; import com.zc.component.object.bulk.ZCBucketObjectDetails; import com.zc.component.object.bulk.ZCBulkWriteDetails ``` ```java ZCBulkWriteServices bulkWrite = ZCDataStoreBulk.getInstance().getBulkWriteInstance(); // create bulk write instance ZCBulkWriteDetails bulkWriteDetails = ZCBulkWriteDetails.getInstance(); // create and fill the bulk write details object bulkWriteDetails.setTableIdentifier(12096000000642178L); // Provide your Table ID bulkWriteDetails.setObjectDetails(objectDetails); ZCBulkResult bulkWriteResult = bulkWrite.createBulkWriteJob(bulkWriteDetails); // create bulk write job bulkWrite.createInsertBulkWriteJob(12096000000642178L, objectDetails); // Provide your Table ID // create bulk write insert job bulkWrite.createUpdateBulkWriteJob(12096000000642178L, objectDetails, 12096000000642900L); // Provide your Table ID and Column ID // create bulk write insert job bulkWrite.createUpsertBulkWriteJob(12096000000642178L, objectDetails, 12096000000642900L); // Provide your Table ID and Column ID // create bulk write upsert job bulkWrite.getBulkWriteJobStatus(bulkWriteResult.getJobId()); // get the bulk write job status and results ``` > **Note:** A maximum of **100,000 rows** can be written simultaneously using the `createBulkWriteJob()` method. -------------------------------------------------------------------------------- title: "Bulk Delete Rows" description: "This page describes the method to delete rows in bulk from a table in the Data Store in your Java application with sample code snippets." last_updated: "2026-11-03T07:48:52.000Z" source: "https://docs.catalyst.zoho.com/en/sdk/java/v1/cloud-scale/data-store/bulk-delete-rows/" service: "CloudScale" related: - Bulk Delete Rows - API (/en/api/code-reference/cloud-scale/data-store/bulk-delete-rows/#BulkDeleteRows) - Data Store (/en/cloud-scale/help/data-store/introduction) -------------------------------------------------------------------------------- # Bulk Delete Rows Catalyst enables you to delete records or rows of data in bulk from a specific table in the [Data Store](https://docs.catalyst.zoho.com/en/cloud-scale/help/data-store/introduction). The table is referred by its unique ID or name. You can obtain the table ID from Data Store or from the URL when the table is opened in the console. The bulk delete operation can delete a maximum of 200 rows in a single operation. You can add the unique ROWIDs of the rows to be deleted in an `ArrayList` as shown in the sample code below. You must include at least one ROWID, and can include upto 200 ROWIDs, in the code. The `ArrayList` is passed to the `deleteRows()` function through a `ZCRowObject` list. The table name or table ID must be passed to `getTableInstance()`. #### Sample Code Snippet **Package Imports** ```java import com.zc.component.object.ZCObject; import com.zc.component.object.ZCRowObject; ``` ```java //Define an ArrayList and add the ROWIDs of the records to be deleted in it ArrayList rowIdList = new ArrayList<>(); rowIdList.add(1028000000171815L); // replace row id rowIdList.add(1028000000171810L); rowIdList.add(1028000000171805L); rowIdList.add(1028000000171617L); rowIdList.add(1028000000171098L); //Pass the ArrayList to the deleteRows() function. //Pass the table ID or table name as a ZCObject. List <ZCRowObject> deletedRowList = ZCObject.getInstance().getTableInstance("EmpDetails").deleteRows(rowIdList); ``` ### Data Streams -------------------------------------------------------------------------------- title: "Get Component Instance" description: "This page describes the method to create an instance of the Data Streams component in your Java application with sample code snippets." last_updated: "2026-11-03T07:48:52.000Z" source: "https://docs.catalyst.zoho.com/en/sdk/java/v1/cloud-scale/data-streams/get-component-instance/" service: "CloudScale" related: - Data Streams (/en/cloud-scale/help/data-streams/introduction) -------------------------------------------------------------------------------- # Get Component Instance [Catalyst Data Streams](https://docs.catalyst.zoho.com/en/cloud-scale/help/data-streams/introduction/) lets you publish live, event-based data through channels and deliver it instantly to subscribed clients. You can create an instance of the Data Streams component to access all channel-level operations such as listing channels, publishing data, and generating WebSocket tokens. You must first create a Data Streams instance using the `getInstance()` method to perform any Data Streams operations. #### Sample Code Snippet **Package Imports** ```java import com.zc.component.datastream.ZCDatastream; ``` ```java //Create a Data Streams instance ZCDatastream datastream = ZCDatastream.getInstance(); ``` -------------------------------------------------------------------------------- title: "Get Channels" description: "This page describes the methods to retrieve all channels or specific channel details from Catalyst Data Streams in your Java application." last_updated: "2026-11-04T10:10:44.000Z" source: "https://docs.catalyst.zoho.com/en/sdk/java/v1/cloud-scale/data-streams/get-channels/" service: "CloudScale" related: - Data Streams (/en/cloud-scale/help/data-streams/introduction) -------------------------------------------------------------------------------- # Get Channels [Catalyst Data Streams](https://docs.catalyst.zoho.com/en/cloud-scale/help/data-streams/introduction/) allows you to retrieve information about channels created in your project. You can fetch a list of all channels or get detailed information about a specific channel. ### Get All Channels This method fetches the list of all Data Streams channels that are created in the project using the `getAllChannels()` method. #### Sample Code Snippet **Package Imports** ```java import com.zc.component.datastream.ZCDatastream; import com.zc.component.datastream.beans.ZCChannelDetails; import java.util.List; ``` ```java //Create a Data Streams instance ZCDatastream datastream = ZCDatastream.getInstance(); //Get all channels List channels = datastream.getAllChannels(); ``` ### Get Channel Details This method retrieves the metadata and configuration details of a specific channel by passing the channel ID to the `getChannelDetails()` method. #### Sample Code Snippet **Package Imports** ```java import com.zc.component.datastream.ZCDatastream; import com.zc.component.datastream.beans.ZCChannelDetails; ``` ```java //Create a Data Streams instance ZCDatastream datastream = ZCDatastream.getInstance(); //Get channel details by channel ID ZCChannelDetails channelDetails = datastream.getChannelDetails("CHANNEL_ID"); ``` -------------------------------------------------------------------------------- title: "Generate Token Pair" description: "This page describes the methods to generate WebSocket access tokens for subscribers in your Java application with sample code snippets." last_updated: "2026-11-03T07:48:52.000Z" source: "https://docs.catalyst.zoho.com/en/sdk/java/v1/cloud-scale/data-streams/generate-token-pair/" service: "CloudScale" related: - Data Streams (/en/cloud-scale/help/data-streams/introduction) -------------------------------------------------------------------------------- # Generate Token Pair Before a client can subscribe to a [Data Streams](https://docs.catalyst.zoho.com/en/cloud-scale/help/data-streams/introduction/) channel, it must obtain a token pair to authenticate the WebSocket connection. The token pair can be generated using either a user ID or a connection name. You can generate the token pair in two ways as described in this section. ### Get Token Pair using User ID This method generates a token pair by passing the channel ID and the user ID to the `getTokenPair()` method. The user ID represents the unique identifier of the application user who is subscribing to the channel. #### Sample Code Snippet **Package Imports** ```java import com.zc.component.datastream.ZCDatastream; import com.zc.component.datastream.beans.ZCTokenResponse; ``` ```java //Create a Data Streams instance ZCDatastream datastream = ZCDatastream.getInstance(); //Define channel ID and user ID String channelId = "CHANNEL_ID"; Long userId = 30772000000631094L; //Generate token pair using user ID ZCTokenResponse tokenResponse = datastream.getTokenPair(channelId, userId); ``` ### Get Token Pair using Connection Name This method generates a token pair by passing the channel ID and a connection name to the `getTokenPair()` method. The connection name is a custom identifier for the subscriber connection. #### Sample Code Snippet **Package Imports** ```java import com.zc.component.datastream.ZCDatastream; import com.zc.component.datastream.beans.ZCTokenResponse; ``` ```java //Create a Data Streams instance ZCDatastream datastream = ZCDatastream.getInstance(); //Define channel ID and connection name String channelId = "CHANNEL_ID"; String connectionName = "CONNECTION_NAME"; //Generate token pair using connection name ZCTokenResponse tokenResponse = datastream.getTokenPair(channelId, connectionName); ``` -------------------------------------------------------------------------------- title: "Get Live Count" description: "This page describes the method to retrieve the number of active subscribers connected to a Data Streams channel in your Java application." last_updated: "2026-11-04T10:10:44.000Z" source: "https://docs.catalyst.zoho.com/en/sdk/java/v1/cloud-scale/data-streams/get-live-count/" service: "CloudScale" related: - Data Streams (/en/cloud-scale/help/data-streams/introduction) -------------------------------------------------------------------------------- # Get Live Count [Catalyst Data Streams](https://docs.catalyst.zoho.com/en/cloud-scale/help/data-streams/introduction/) allows you to track the number of active subscribers currently connected to a specific channel. This is useful for monitoring channel activity and implementing conditional logic based on subscriber presence. You can retrieve the live subscriber count by passing the channel ID to the `getLiveCount()` method. #### Sample Code Snippet **Package Imports** ```java import com.zc.component.datastream.ZCDatastream; import com.zc.component.datastream.beans.ZCChannelLiveCountResponse; ``` ```java //Create a Data Streams instance ZCDatastream datastream = ZCDatastream.getInstance(); //Get the live subscriber count for a channel ZCChannelLiveCountResponse liveCount = datastream.getLiveCount("CHANNEL_ID"); ``` -------------------------------------------------------------------------------- title: "Publish Data" description: "This page describes the method to publish real-time data to a Data Streams channel in your Java application with sample code snippets." last_updated: "2026-11-03T07:48:52.000Z" source: "https://docs.catalyst.zoho.com/en/sdk/java/v1/cloud-scale/data-streams/publish-data/" service: "CloudScale" related: - Data Streams (/en/cloud-scale/help/data-streams/introduction) -------------------------------------------------------------------------------- # Publish Data [Catalyst Data Streams](https://docs.catalyst.zoho.com/en/cloud-scale/help/data-streams/introduction/) enables you to publish real-time data to a channel. Any active subscribers connected to that channel will receive the published data instantly through their WebSocket connections. You can publish data to a channel by passing the channel ID and the data payload to the `publishData()` method. #### Sample Code Snippet **Package Imports** ```java import com.zc.component.datastream.ZCDatastream; ``` ```java //Create a Data Streams instance ZCDatastream datastream = ZCDatastream.getInstance(); //Publish a message to the channel Boolean resp = datastream.publishData( "11365000000413001", "Hey! Welcome to Zoho DataStreams!" ); ``` -------------------------------------------------------------------------------- title: "WebSocket Connection" description: "This page describes how to connect to a Data Streams channel over WebSocket and subscribe to real-time data in your Java application with sample code snippets." last_updated: "2026-11-03T07:48:52.000Z" source: "https://docs.catalyst.zoho.com/en/sdk/java/v1/cloud-scale/data-streams/websocket-connection/" service: "CloudScale" related: - Data Streams (/en/cloud-scale/help/data-streams/introduction) -------------------------------------------------------------------------------- # WebSocket Connection [Catalyst Data Streams](https://docs.catalyst.zoho.com/en/cloud-scale/help/data-streams/introduction/) enables clients to receive real-time data by establishing a WebSocket connection to a channel. The client listens for published messages and processes them as they are received. To subscribe to a channel, you must first generate a token pair, then create a WebSocket client with the token credentials, and finally add event listeners to handle incoming messages. #### Sample Code Snippet **Package Imports** ```java import com.zc.component.datastream.ZCDatastream; import com.zc.component.datastream.beans.ZCCustomEvent; import com.zc.component.datastream.beans.ZCDataStreamMessageEvent; import com.zc.component.datastream.beans.ZCDataStreamsConfig; import com.zc.component.datastream.beans.ZCTokenResponse; import com.zc.component.datastream.websocket.ZCDataStreamsEventListener; import com.zc.component.datastream.websocket.ZCDataStreamsWebSocket; import com.zc.exception.ZCDataStreamException; ``` ```java //Create a Data Streams instance ZCDatastream datastream = ZCDatastream.getInstance(); //Define channel ID and user ID String channelId = "30772000000631098"; Long userId = 30772000000631094L; //Generate token pair ZCTokenResponse tokenResponse = datastream.getTokenPair(channelId, userId); //Extract token credentials String key = tokenResponse.getKey(); String zuid = tokenResponse.getWssId(); String url = tokenResponse.getUrl(); //Create WebSocket configuration ZCDataStreamsConfig config = new ZCDataStreamsConfig( url, zuid, key, false ); //Create WebSocket client ZCDataStreamsWebSocket webSocketClient = datastream.createWebSocketClient(config); //Add event listener to handle WebSocket events webSocketClient.addEventListener(new ZCDataStreamsEventListener() { @Override public void onOpen(ZCCustomEvent event) { //Subscribe after WebSocket opens try { webSocketClient.subscribe("-2"); } catch (ZCDataStreamException e) { System.err.println("Subscribe failed: " + e.getMessage()); } } @Override public void onMessage(ZCDataStreamMessageEvent event) { //Handle event payload or bulk URL info if (event.getData() != null) { System.out.println("Data: " + event.getData()); } else if (event.getUrl() != null && event.getMethod() != null) { System.out.println("API URL: " + event.getUrl()); System.out.println("Method: " + event.getMethod()); } //Acknowledge to receive the next message webSocketClient.sendAck(); } @Override public void onClose(ZCCustomEvent event) { System.out.println("Closed: " + event.getMessage()); } @Override public void onError(ZCCustomEvent event) { //Log error System.err.println("Error: " + event.getMessage()); } @Override public void onPong(ZCCustomEvent event) { System.out.println("Pong: " + event.getMessage()); } }); ``` > **Note:** `ZCDatastream.getInstance()` works only inside a Catalyst function. To subscribe from an application that runs outside Catalyst, get the token pair from your function and create the client directly with `new ZCDataStreamsWebSocket(config)`. ```java //Outside Catalyst: build the config from the token pair your function returns ZCDataStreamsConfig config = new ZCDataStreamsConfig(url, wssId, key, false); ZCDataStreamsWebSocket webSocketClient = new ZCDataStreamsWebSocket(config); ``` ### WebSocket Client Methods The `ZCDataStreamsWebSocket` client provides the following methods to manage the WebSocket connection and subscription.
Method Description
`subscribe(String subscribeType)` Subscribes to the channel with the specified [subscribe type](https://docs.catalyst.zoho.com/en/cloud-scale/help/data-streams/implementation/subscribe-websocket/#choose-your-subscriber-type). Throws `ZCDataStreamException`.
`subscribe()` Subscribes to the channel with the default subscribe type. Throws `ZCDataStreamException`.
`unsubscribe()` Unsubscribes from the channel. Throws `ZCDataStreamException`.
`sendAck()` Sends an acknowledgement to receive the next streaming data.
`close()` Closes the WebSocket connection manually.
`isConnected()` Returns whether the connection is currently open, as a boolean.
`getConnectionState()` Returns the current connection state as a String.
`getSessionInfo()` Returns the `ZCSessionInfo` of the active session.
### Mail -------------------------------------------------------------------------------- title: "Send email" description: "This page describes the method to send out emails to end-users from your Java application with sample code snippets." last_updated: "2026-11-03T07:48:52.000Z" source: "https://docs.catalyst.zoho.com/en/sdk/java/v1/cloud-scale/mail/send-email/" service: "CloudScale" related: - Send email - API (/en/api/code-reference/cloud-scale/mail/send-email/#SendEmail) - Send email (/en/cloud-scale/help/mail/introduction) -------------------------------------------------------------------------------- # Mail [Catalyst Mail](https://docs.catalyst.zoho.com/en/cloud-scale/help/mail/introduction) enables you to add the email addresses of your business that will be used to send emails to the end-users from your Catalyst application. You can configure email addresses of public domains or of your organization's own domains. You can also use an external email client of your choice and configure its SMTP settings with Catalyst, instead of using the built-in Catalyst email client. ### Send Mail You must configure the domains, email addresses, and the SMTP settings for an email client of your choice from the console. The code snippet shown here enables you to send emails to the email addresses you specify from your Catalyst application. Catalyst enables you to set multiple email addresses as the receivers, and to CC, BCC, and reply to through a single send mail operation. You can also attach files in your email. The **maximum supported limits** for email recipients and file attachments in a single send mail operation are specified below: * **To address:** 10 * **CC:** 10 * **BCC:** 5 * **Reply to:** 5 * **Number of file attachments:** 5 * **Size of file attachments:** 15 MB (through a single file or multiple files upto 5 files) > **Note:** The subject, sender, and atleast one recipient email addresses are mandatory. Other attributes of the email are optional. You must fetch an instance of `ZCMailContent` as shown in the code below. You can define the recipients and file attachments of an email as array lists. You must then set these lists, as well as the sender's email address, the subject and the content of the email in the `ZCMailContent` object, and pass it as an argument to the `sendMail()` method to send the email. > **Note:** You must have [configured and verified the sender's email address](https://docs.catalyst.zoho.com/en/cloud-scale/help/mail/introduction) in the Catalyst console to be able to send emails. If the sender's email is hosted on a private domain or if you choose to use a third-party email client, you must configure them before sending emails as well. #### Sample Code Snippet **Package Imports** ```java import java.io.File; import com.zc.component.mail.ZCMail; import com.zc.component.mail.ZCMailContent; ``` ```java ZCMailContent mailContent = ZCMailContent.getInstance(); //Get a ZCMailContent instance ArrayList toMailList = new ArrayList(); //Add the recipient email addresses as an array list toMailList.add("vanessa.hyde@zoho.com"); toMailList.add("r.owens@zoho.com"); toMailList.add("chang.lee@zoho.com"); ArrayList ccMailList = new ArrayList<>(); //Add the email addresses to CC as an array list ccMailList.add("p.boyle@zylker.com"); ccMailList.add("robert.plant@zylker.com"); ArrayList bccMailList = new ArrayList<>(); //Add the email addresses to BCC as an array list bccMailList.add("ham.gunn@zylker.com"); bccMailList.add("rover.jenkins@zylker.com"); ArrayList replytoMailList = new ArrayList<>(); //Add the email addresses to reply to as an array list replytoMailList.add("peter.d@zoho.com"); replytoMailList.add("arnold.h@zoho.com"); ArrayList attachments = new ArrayList<>(); //Add the email attachments as an array list File file1 = new File("kycform.pdf"); File file2 = new File("info.png"); attachments.add(file1); attachments.add(file2); // Set the email properties in the ZCMailContent object mailContent.setFromEmail("p.boyle@zylker.com"); //Set the sender's email address mailContent.setToEmailList(toMailList); //Pass the recipient array list mailContent.setCcEmailList(ccMailList); //Pass the CC array list mailContent.setBccEmailList(bccMailList); //Pass the BCC array list mailContent.setReplyTo(replytoMailList); //Pass the reply to array list mailContent.setSubject("Greetings from Zylker Corp!"); //Set the email's subject mailContent.setContent("Hello,We're glad to welcome you at Zylker Corp. To begin your journey with us, please download the attached KYC form and fill in your details. You can send us the completed form to this same email address.We cannot wait to get started!Cheers!Team Zylker"); //Set the email's body as an HTML content mailContent.setAttachments(attachments); //Pass the email attachments array list ZCMail.getInstance().sendMail(mailContent); //Send emails using the mailContent object ``` ### NoSQL -------------------------------------------------------------------------------- title: "Get Table Metadata" description: "Catalyst NoSQL is a fully-managed, non-relational database. This page describes the SDK method to fetch the metadata of a NoSQL table." last_updated: "2026-11-04T10:10:44.000Z" source: "https://docs.catalyst.zoho.com/en/sdk/java/v1/cloud-scale/nosql/get-table-metadata/" service: "CloudScale" related: - NoSQL (/en/cloud-scale/help/nosql/introduction) - NoSQL API (/en/api/code-reference/cloud-scale/nosql/insert-item/#InsertNewItem) - JavaScript SDK (/en/sdk/javascript/v1/zia-services/overview/) - NoSQL Python SDK (/en/sdk/python/v1/cloud-scale/nosql/get-component-instance/) -------------------------------------------------------------------------------- # NoSQL [Catalyst NoSQL](https://docs.catalyst.zoho.com/en/cloud-scale/help/nosql/introduction/) is a fully managed non-relational, NoSQL data storage feature that enables you to store the semi-structured, unstructured, and disparate data of your applications. Catalyst supports document-type data storage in the key-value pair based [JSON format](https://docs.catalyst.zoho.com/en/cloud-scale/help/nosql/working-with-data/introduction/#the-catalyst-custom-json-format). The Catalyst NoSQL Java SDK package enables you to perform CRUD data operations on your NoSQL tables in your project. You can fetch the metadata of your NoSQL tables, create NoSQL [items](https://docs.catalyst.zoho.com/en/cloud-scale/help/nosql/components/) of various [supported data types](https://docs.catalyst.zoho.com/en/cloud-scale/help/nosql/working-with-data/introduction/#supported-data-types), and insert, update, fetch, or delete items in a specific table. You can also query tables or [indexes](https://docs.catalyst.zoho.com/en/cloud-scale/help/nosql/indexing/introduction/) of tables by specifying query conditions. ## Get Table Metadata Catalyst enables you to fetch the metadata of a NoSQL table by obtaining an instance of the Java SDK using the `getInstance()` method. You can get the metadata of a single table or of all tables in your project. ### Get Metadata of Single Table The metadata of a single table in Catalyst NoSQL can be obtained in two ways as mentioned in this page. The response will contain details of the table configuration, such as the partition key and sort key, TTL attribute, and more. #### Get Table Metadata with Table ID You can fetch the metadata of a NoSQL table in your project by referring to its unique [Table ID](https://docs.catalyst.zoho.com/en/cloud-scale/help/nosql/create-manage-tables/) using the method `getTable()` as given below. ```java //public ZCNoSQLTable getTable(String tableName) throws Exception; //public ZCNoSQLTable getTable(Long tableId) throws Exception; // Get table metadata using the Table ID ZCNoSQL.getInstance().getTable(2144568989001); ``` #### Get Table Metadata with Table Name You can fetch the metadata of a NoSQL table in your project by referring the table name using the method `getTable()` as given below. ```java //public ZCNoSQLTable getTable(String tableName) throws Exception; //public ZCNoSQLTable getTable(Long tableId) throws Exception; // Get table metadata using the Table name ZCNoSQL.getInstance().getTable('Employees'); ``` > **Note:** If you rename the table, you will need to update the changes in your code. ### Get Metadata of All Tables Catalyst enables you to fetch the metadata of all the tables in your project using the `getAllTables() method` as shown below. ```java //public List<ZCNoSQLTable> getAllTables() throws Exception; ZCNoSQL.getInstance().getAllTables(); ``` -------------------------------------------------------------------------------- title: "Create Table Instance" description: "Catalyst NoSQL is a fully-managed, non-relational database. This page describes the SDK method to create an instance for a NoSQL table." last_updated: "2026-11-04T10:10:44.000Z" source: "https://docs.catalyst.zoho.com/en/sdk/java/v1/cloud-scale/nosql/create-table-instance/" service: "CloudScale" related: - NoSQL (/en/cloud-scale/help/nosql/introduction) - Create and Manage Tables (/en/cloud-scale/help/nosql/create-manage-tables/) -------------------------------------------------------------------------------- # Create Table Instance [Catalyst NoSQL](https://docs.catalyst.zoho.com/en/cloud-scale/help/nosql/introduction/) enables you to fetch an empty table instance of a NoSQL table. You can then use this instance to refer to that table and perform all supported table operations. This process will not fire a server-side call. You can get an instance of your NoSQL table in two ways as described in this section. ### Get Instance with Table ID Get a table instance by passing the [unique ID](https://docs.catalyst.zoho.com/en/cloud-scale/help/nosql/create-manage-tables/) of the table to `getTableInstance()` as shown below. ```java //public ZCNoSQLTable getTableInstance(Long tableId); //public ZCNoSQLTable getTableInstance(String tableName); // Create a table instance with Table ID ZCNoSQL.getInstance().getTableInstance(37898901211); ``` ### Get Instance with Table Name Get a table instance by passing the table name to `getTableInstance()` as shown below. ```java //public ZCNoSQLTable getTableInstance(Long tableId); //public ZCNoSQLTable getTableInstance(String tableName); // Create a table instance with Table ID ZCNoSQL.getInstance().getTableInstance('Employees'); ``` -------------------------------------------------------------------------------- title: "Construct NoSQL Item" description: "Catalyst NoSQL is a fully-managed, non-relational database. This page describes the SDK method to construct a NoSQL item." last_updated: "2026-11-04T10:10:44.000Z" source: "https://docs.catalyst.zoho.com/en/sdk/java/v1/cloud-scale/nosql/construct-item/" service: "CloudScale" related: - NoSQL (/en/cloud-scale/help/nosql/introduction) - Working with Data (/en/cloud-scale/help/nosql/working-with-data/introduction/) - NoSQL API (/en/api/code-reference/cloud-scale/nosql/insert-item/#InsertNewItem) -------------------------------------------------------------------------------- # Construct NoSQL Item [Catalyst NoSQL](https://docs.catalyst.zoho.com/en/cloud-scale/help/nosql/introduction/) items represent a collection of attributes that hold the data of a single data point, like records. You can insert or update [items](https://docs.catalyst.zoho.com/en/cloud-scale/help/nosql/components/#basic-components) into an existing NoSQL table in your project in a [Custom JSON format](https://docs.catalyst.zoho.com/en/cloud-scale/help/nosql/working-with-data/introduction/#the-catalyst-custom-json-format). However, before you insert or update an item in Catalyst, you will need to construct the item. You can construct a NoSQL item of attributes containing different data types supported by Catalyst as described in the section below. Catalyst supports several data types such as String, Number, Set of Strings, Set of Numbers, List, and Map. Refer to the full list of [supported data types](https://docs.catalyst.zoho.com/en/cloud-scale/help/nosql/working-with-data/introduction/#supported-data-types) in the shared resource to learn more. You must mandatorily provide the values for the partition key attribute that you configured for a table in every data item. Refer to [Table Keys help section](https://docs.catalyst.zoho.com/en/cloud-scale/help/nosql/components/#table-keys) to learn about the table keys, TTL attribute, and other details. ### Create a New NoSQL Item You can create a new NoSQL item using the `ZCNoSQLItem()` method, as shown below. ```java ZCNoSQLItem item = new ZCNoSQLItem(); ``` #### Create a New NoSQL Item with JSON / Map You can create a new NoSQL item from a plain JSON data or from a Map after you define them as shown below. ```java //public static ZCNoSQLItem fromJSON(String json) throws Exception; ZCNoSQLItem.fromJSON(<json string>); ``` ### Construct NoSQL Items of Different Data Types The code snippet below shows the formats for constructing an item with attributes of different data types: ```java //public ZCNoSQLItem withString(String attrName, String val) throws Exception; item.withString("attribute name", "<string value>"); //public ZCNoSQLItem withNumber(String attrName, BigDecimal val) throws Exception; //public ZCNoSQLItem withNumber(String attrName, Number val) throws Exception; item.withNumber("attribute name", "<numeric value>"); //public ZCNoSQLItem withInt(String attrName, int val) throws Exception; item.withInt("attribute name", "<integer value>"); //public ZCNoSQLItem withBigInteger(String attrName, BigInteger val) throws Exception; item.withBigInteger("attribute name", "<BigInt value>"); //public ZCNoSQLItem withShort(String attrName, short val) throws Exception; item.withShort("attribute name", "<Short value>"); //public ZCNoSQLItem withFloat(String attrName, float val) throws Exception; item.withFloat("attribute name", "<Float value>"); //public ZCNoSQLItem withDouble(String attrName, double val) throws Exception; item.withDouble("attribute name", "<Double value>"); //public ZCNoSQLItem withLong(String attrName, long val) throws Exception; item.withLong("attribute name", "<Long value>"); //public ZCNoSQLItem withBinary(String attrName, byte[] val) throws Exception; //public ZCNoSQLItem withBinary(String attrName, ByteBuffer val) throws Exception; item.withBinary("attribute name", "<Byte value>"); //public ZCNoSQLItem withStringSet(String attrName, Set<String> val) throws Exception; //public ZCNoSQLItem withStringSet(String attrName, String... val) throws Exception; item.withStringSet("attribute name", "<StringSet/String variadic param value>"); //public ZCNoSQLItem withBigDecimalSet(String attrName, Set<BigDecimal> val) throws Exception; //public ZCNoSQLItem withBigDecimalSet(String attrName, BigDecimal... vals) throws Exception; item.withBigDecimalSet("attribute name", "<DecimalSet/Decimal Variadic param value>"); //public <T extends Number> ZCNoSQLItem withNumberSet(String attrName, T... vals) throws Exception; //public <T extends Number> ZCNoSQLItem withNumberSet(String attrName, Set<T> vals) throws Exception; item.withNumberSet("attribute name", "<Numeric/Numeric Variadic param value>"); //public ZCNoSQLItem withBinarySet(String attrName, Set<byte[]> val) throws Exception; //public ZCNoSQLItem withBinarySet(String attrName, byte[]... vals) throws Exception; //public ZCNoSQLItem withBinarySet(String attrName, ByteBuffer... vals) throws Exception; item.withBinarySet("attribute name", "<Byte Set value>"); //public ZCNoSQLItem withByteBufferSet(String attrName, Set<ByteBuffer> val) throws Exception; item.withByteBufferSet("attribute name", "<Byte Set value>"); //public ZCNoSQLItem withList(String attrName, List<?> val) throws Exception; //public ZCNoSQLItem withList(String attrName, Object... vals) throws Exception; item.withList("attribute name", "<List/Variadic Param value>"); //public ZCNoSQLItem withMap(String attrName, Map<String, ?> val) throws Exception; item.withMap("attribute name", "<Map value>"); //public ZCNoSQLItem withJSON(String attrName, String json) throws Exception; item.withJSON("attribute name", "<JSON String value>"); //public ZCNoSQLItem withBoolean(String attrName, boolean val) throws Exception; item.withBoolean("attribute name", "<Boolean value>"); //public ZCNoSQLItem withNull(String attrName) throws Exception; item.withNull("attribute name"); //public ZCNoSQLItem with(String attrName, Object val) throws Exception; item.with("attribute name", "<Value>"); ``` -------------------------------------------------------------------------------- title: "NoSQL Item Operations" description: "Catalyst NoSQL is a fully-managed, non-relational database. This page describes the SDK methods to perform various NoSQL item operations." last_updated: "2026-11-04T10:10:44.000Z" source: "https://docs.catalyst.zoho.com/en/sdk/java/v1/cloud-scale/nosql/item-operations/" service: "CloudScale" related: - NoSQL (/en/cloud-scale/help/nosql/introduction) - Working with Data (/en/cloud-scale/help/nosql/working-with-data/introduction/) - NoSQL API (/en/api/code-reference/cloud-scale/nosql/insert-item/#InsertNewItem) -------------------------------------------------------------------------------- # NoSQL Item Operations [Catalyst NoSQL](https://docs.catalyst.zoho.com/en/cloud-scale/help/nosql/introduction/) items represent a collection of attributes that hold the data of a single data point, like records. Given below are the methods that you can use with an [item](https://docs.catalyst.zoho.com/en/cloud-scale/help/nosql/components/#basic-components) and perform various operations on it. #### Remove attributes from a constructed item ```java //public ZCNoSQLItem removeAttribute(String attrName) throws Exception; item.removeAttribute("attribute name"); ``` #### Get all the keys from the item being constructed ```java //public Iterable<Map.Entry>String, Object>> attributes(); item.attributes(); ``` #### Check if the constructed item contains a specific attribute ```java //public boolean hasAttribute(String attrName); item.hasAttribute("attribute name"); ``` #### Getting the item as a map ```java //public Map asMap(); item.asMap(); //public Map<String, Object> getAllAttributesAsMap(); item.getAllAttributesAsMap(); ``` #### Get the item as a JSON ```java //public String toJSON() throws Exception; item.toJSON(); ``` #### Get the count of the attributes in the constructed item ```java //public int numberOfAttributes(); item.numberOfAttributes(); ``` ### ZCNoSQLAttribute You can use the `ZCNoSQLAttribute` class to indicate the attributes upon which you perform the operations. To access the nested elements of a Map, you can separate the attributes using ',' while using `ZCNoSQLAttribute`. To access a specific index of a list, you can denote it as "[<index>]". This is demonstrated in the example below. ```java //public static ZCNoSQLAttribute getInstance(String ...pathElements) throws Exception; //public ZCNoSQLAttribute(List<String> pathElements) throws Exception; ZCNoSQLAttribute.getInstance("", ...); new ZCNoSQLAttribute("", ...) ``` The datatypes supported by NoSQL can be denoted with the `ZCNoSQLAttribute` as follows:
Supported Data Type Notation with ZCNoSQLAttribute
String `ZCNoSQLValue.DataType.S`
Numeric `ZCNoSQLValue.DataType.N`
Binary `ZCNoSQLValue.DataType.B`
Boolean `ZCNoSQLValue.DataType.BOOL`
Set of String `ZCNoSQLValue.DataType.SS`
Set of Numbers `ZCNoSQLValue.DataType.SN`
Set of Binary `ZCNoSQLValue.DataType.SB`
List `ZCNoSQLValue.DataType.L`
Map `ZCNoSQLValue.DataType.M`
Null `ZCNoSQLValue.DataType.NuLL`
### ZCNoSQLValue Objects of this class are used to indicate the value of attributes along with their data type, as shown below. ```java // public ZCNoSQLValue(DataType dataType, Object value) throws Exception; //public static ZCNoSQLValue getInstance(DataType dataType, Object value) throws Exception; new ZCNoSQLValue(<ZCNoSQLValue.DataType>, <Value>) ZCNoSQLValue.getInstance(<ZCNoSQLValue.DataType>, <Value>) ``` ### ZCNoSQLResponseBean This class contains the response of the SDK calls made to the server. This includes the following methods. * `getSize` - Used to return the size of data read/write from or to the server. ```java //public int getSize(); responseBean.getSize(); ``` * `getStartKey` - Used to return the start key for next set of data for pagination, if more data exists. ```java //public ZCNoSQLItem getStartKey(); responseBean.getStartKey(); ``` * `getResponseDataList` - Returns the actual data. Based on the `NOSQL_RETURN_VALUE`, either the old or new data is returned in `getNew_item()` or `getOld_Item()` method. ```java //public List<Data> getResponseDataList(); responseBean.getResponseDataList().get(<index>).getNew_item(); responseBean.getResponseDataList().get(<index>).getOld_item(); responseBean.getResponseDataList().get(<index>).setStatus(); ``` -------------------------------------------------------------------------------- title: "Insert Items in Table" description: "Catalyst NoSQL is a fully-managed, non-relational database. This page describes the SDK method to insert items in a NoSQL table." last_updated: "2026-11-04T10:10:44.000Z" source: "https://docs.catalyst.zoho.com/en/sdk/java/v1/cloud-scale/nosql/insert-items/" service: "CloudScale" related: - NoSQL (/en/cloud-scale/help/nosql/introduction) - Working with Data (/en/cloud-scale/help/nosql/working-with-data/introduction/) - NoSQL API (/en/api/code-reference/cloud-scale/nosql/insert-item/#InsertNewItem) -------------------------------------------------------------------------------- # Insert NoSQL Items in Table Catalyst enables you to insert items in a specific [NoSQL](https://docs.catalyst.zoho.com/en/cloud-scale/help/nosql/introduction/) table after you construct them. The items can be inserted in different ways as described in this section. You can refer to the help sections on adding and working with data, the [Catalyst custom JSON format](https://docs.catalyst.zoho.com/en/cloud-scale/help/nosql/working-with-data/introduction/#the-catalyst-custom-json-format), and the [supported data types](https://docs.catalyst.zoho.com/en/cloud-scale/help/nosql/working-with-data/introduction/#supported-data-types) to learn these topics in detail. > **Note:** Catalyst enables you to insert a maximum of 25 items in bulk in a NoSQL table with a single SDK operation. ### Insert Items without Conditions You can insert new items into a NoSQL table without any conditions either by using the `ZCNoSQLTable` instance, or the `ZCNoSQLInsertHelper` instance which can be used to construct the various parts of the request. You can insert data with the `ZCNoSQLTable` instance as shown below. ```java //public ZCNoSQLResponseBean insert(ZCNoSQLItem item) throws Exception; table.insert(<ZCNoSQLItem>); ``` You can insert data with the `ZCNoSQLInsertHelper` instance as shown below. ```java //public ZCNoSQLInsertHelper getInsertHelper(ZCNoSQLItem item) throws Exception; //public ZCNoSQLResponseBean insert() throws Exception; table.getInsertHelper(<ZCNoSQLItem>).insert(); ``` This class can be used to insert data into a table with conditions. This can be obtained from `ZCNoSQLTable` instance. ### Insert Items with Conditions You can insert attributes in existing items in a NoSQL table using specific conditions that you define. In this type, the existing data of the table is retrieved and evaluated against the specified condition. The items are inserted only if the evaluation is true. If there is no existing data, the conditions are ignored and the items are inserted. The snippet below shows inserting items with conditions using `ZCNoSQLCondition`. ```java //public ZCNoSQLInsertHelper withCondition(ZCNoSQLCondition condition) throws Exception; table.getInsertHelper(<ZCNoSQLItem>).withCondition(<ZCNoSQLCondition>).insert(); ``` Condition can be passed with the help of `ZCNoSQLCondition` instance which can be obtained by using a constructor or calling the `getInstance()` method. Conditions can be initialized in 3 methods #### 1. Using functions ```java //public static ZCNoSQLCondition getInstance(NoSQLConditionFunction function) throws Exception; //public ZCNoSQLCondition(NoSQLConditionFunction function) throws Exception; ZCNoSQLCondition.getInstance(<NoSQLCondtitionFunction>); new ZCNoSQLCondition(<NoSQLCondtitionFunction>) ``` There are two built in-functions available. **i. ZCNoSQLAttributeTypeFunction** Check if the data type of the given attribute matched the given datatype. ```java //public ZCNoSQLAttributeTypeFunction(ZCNoSQLAttribute attribute, ZCNoSQLValue.DataType dataType) throws Exception; //public static ZCNoSQLAttributeTypeFunction getInstance(ZCNoSQLAttribute attribute, ZCNoSQLValue.DataType dataType) throws Exception; ZCNoSQLAttributeTypeFunction.getInstance(<ZCNoSQLAttribute>, <ZCNoSQLValue.DataType>); new ZCNoSQLAttributeTypeFunction(<ZCNoSQLAttribute>, <ZCNoSQLValue.DataType>); ``` **ii. ZCNoSQLAttributeExistFunction ** This is used to evaluate if an attribute already exists in the retrieved item. ```java //public ZCNoSQLAttributeExistFunction(ZCNoSQLAttribute attribute); //public static ZCNoSQLAttributeExistFunction getInstance(ZCNoSQLAttribute attribute); ZCNoSQLAttributeExistFunction.getInstance(<ZCNoSQLAttribute>); new ZCNoSQLAttributeExistFunction(<ZCNoSQLAttribute>) ``` #### 2. Using operator, operand and value ```java //public static ZCNoSQLCondition getInstance(ZCNoSQLAttribute attribute, NOSQL_OPERATOR operator, ZCNoSQLValue value) throws Exception; //public ZCNoSQLCondition(ZCNoSQLAttribute attribute, NOSQL_OPERATOR operator, ZCNoSQLValue value) throws Exception; ZCNoSQLCondition.getInstance(<ZCNoSQLAttribute>, <NOSQL_OPERATOR>, <ZCNoSQLValue>); new ZCNoSQLCondition(<ZCNoSQLAttribute>, <NOSQL_OPERATOR>, <ZCNoSQLValue>); ``` #### NOSQL_OPERATOR The allowed `NOSQL_OPERATOR` values are contains, `not_contains`, `begins_with`, `ends_with`, `in`, `not_in`, `between`, `not_between`, `equals`, `not_equals`, `greater_than`, `less_than`, `greater_equal`, `less_equal` #### Using group of conditions ```java //public static ZCNoSQLCondition getInstance(List<ZCNoSQLCondition> groups, NOSQL_CONDITION_GROUP_OPERATOR groupOperator) throws Exception; //public ZCNoSQLCondition(List<ZCNoSQLCondition> groups, NOSQL_CONDITION_GROUP_OPERATOR groupOperator) throws Exception; ZCNoSQLCondition.getInstance(List<ZCNoSQLCondition>,<NOSQL_CONDITION_GROUP_OPERATOR>) new ZCNoSQLCondition(List<ZCNoSQLCondition>,<NOSQL_CONDITION_GROUP_OPERATOR>) ``` #### NOSQL_CONDITION_GROUP_OPERATOR The allowed `NOSQL_CONDITION_GROUP_OPERATOR` values are `AND`, `OR` #### NOSQL_RETURN_VALUE Indicates the return value after evaluating condition. ```java //public ZCNoSQLInsertHelper withReturnValue(NOSQL_RETURN_VALUE returnValue) throws Exception table.getInsertHelper(<ZCNoSQLItem>).withReturnValue(<NOSQL_RETURN_VALUE>).insert(); ``` The allowed `NOSQL_RETURN_VALUE` values are `NEW`, `OLD`, `NULL` #### Insert with Condition and Return Value ```java table.getInsertHelper(<ZCNoSQLItem>).withCondition(<ZCNoSQLCondition>).withReturnValue(<NOSQL_RETURN_VALUE>).insert(); ``` -------------------------------------------------------------------------------- title: "Update Items" description: "Catalyst NoSQL is a fully-managed, non-relational database. This page describes the SDK method to update items in a NoSQL table." last_updated: "2026-11-04T10:10:44.000Z" source: "https://docs.catalyst.zoho.com/en/sdk/java/v1/cloud-scale/nosql/update-items/" service: "CloudScale" related: - NoSQL (/en/cloud-scale/help/nosql/introduction/) - NoSQL API (/en/api/code-reference/cloud-scale/nosql/insert-item/#InsertNewItem) -------------------------------------------------------------------------------- # Update Items in a NoSQL Table Catalyst enables you to update items in a specific [NoSQL](https://docs.catalyst.zoho.com/en/cloud-scale/help/nosql/introduction/) table after you construct them. An item can be updated by identifying it using its [primary keys](https://docs.catalyst.zoho.com/en/cloud-scale/help/nosql/components/#table-keys). For instance, you can use just the partition key or a combination of the partition key and sort key to identify the item. You can then define the update operation type with the appropriate HTTP request method and provide the attributes and values to be updated in the item. > **Note:** Catalyst enables you to update a maximum of 25 items in bulk in a NoSQL table with a single SDK operation. There are two ways to update the data. Data can be updated without any conditions by using the `ZCNoSQLTable` instance or it can be updated with the help of `ZCNoSQLUpdateHelper` instance which can be used to construct the various parts of the request. You can update the data with the `ZCNoSQLTable` instance as shown below. ```java //public ZCNoSQLResponseBean update(ZCNoSQLItem item, ZCNoSQLUpdateAttributeOperation updateAttributeOperation) throws Exception; table.update(<ZCNoSQLItem>, <ZCNoSQLUpdateAttributeOperation>); ``` To update with ZCNoSQLUpdateHelper #### ZCNoSQLUpdateHelper ```java //public ZCNoSQLInsertHelper getInsertHelper(ZCNoSQLItem item) throws Exception; //public ZCNoSQLResponseBean insert() throws Exception; table.getUpdateHelper(<ZCNoSQLItem>, <ZCNoSQLUpdateAttributeOperation>).update(); ``` #### ZCNoSQLUpdateAttributeOperation This class is used update the item by either adding/updating existing attribute or deleting existing attribute. An instance of the above can be obtained using the below methods. For inserting or updating attributes ```java //ZCNoSQLUpdateAttributeOperation(ZCNoSQLAttribute attribute, ZCNoSQLValue updateValue); //ZCNoSQLUpdateAttributeOperation(ZCNoSQLAttribute attribute, NoSQLUpdateAttributeFunction updateFunction); //public static ZCNoSQLUpdateAttributeOperation getPutAttributeInstance(ZCNoSQLAttribute attribute, ZCNoSQLValue updateValue); // public static ZCNoSQLUpdateAttributeOperation getPutAttributeInstance(ZCNoSQLAttribute attribute, NoSQLUpdateAttributeFunction updateFunction); new ZCNoSQLUpdateAttributeOperation(<ZCNoSQLAttribute>, <ZCNoSQLValue>); new ZCNoSQLUpdateAttributeOperation(<ZCNoSQLAttribute>, <NoSQLUpdateAttributeFunction>); ZCNoSQLUpdateAttributeOperation.getPutAttributeInstance(<ZCNoSQLAttribute>, <ZCNoSQLValue>); ZCNoSQLUpdateAttributeOperation.getPutAttributeInstance(<ZCNoSQLAttribute>, <NoSQLUpdateAttributeFunction>) ``` For Deleting attributes ```java //ZCNoSQLUpdateAttributeOperation(ZCNoSQLAttribute attribute); //public static ZCNoSQLUpdateAttributeOperation getDeleteAttributeInstance(ZCNoSQLAttribute attribute); new ZCNoSQLUpdateAttributeOperation(<ZCNoSQLAttribute>); ZCNoSQLUpdateAttributeOperation.getDeleteAttributeInstance(<ZCNoSQLAttribute>); ``` Update also have certain prebuilt functions that can be used to update the values. These functions can be grouped under the type NoSQLUpdateAttributeFunction and can be used while obtaining the ZCNoSQLUpdateAttributeOperation instance. ### NoSQLUpdateAttributeFunction There are 4 prebuild functions. #### ZCNoSQLIfNotExistFunction This function is used update the attribute with the value of another existing attribute. If the attribute does not exist, then the given value is updated. ```java //public ZCNoSQLIfNotExistFunction(ZCNoSQLAttribute attribute, ZCNoSQLValue value) //public static ZCNoSQLIfNotExistFunction getInstance(ZCNoSQLAttribute attribute, ZCNoSQLValue value); new ZCNoSQLIfNotExistFunction(<ZCNoSQLAttribute>, <ZCNoSQLValue>) ZCNoSQLIfNotExistFunction.getInstance(<ZCNoSQLAttribute>, <ZCNoSQLValue>) ``` #### ZCNoSQLAppendListFunction This function is append elements to existing or new list attribute. ```java //public ZCNoSQLAppendListFunction(ZCNoSQLValue...values); //public static ZCNoSQLAppendListFunction getInstance(ZCNoSQLValue...values); new ZCNoSQLAppendListFunction(<List of ZCNoSQLValue>) ZCNoSQLAppendListFunction.getInstance(<List of ZCNoSQLValue>) ``` #### ZCNoSQLAdditionFunction This function is used to add elements to a set or add numeric value to existing attribute. The type of operation depends on the targetted attribute type. ```java //public ZCNoSQLAdditionFunction(ZCNoSQLAttribute attribute, ZCNoSQLValue value); //public static ZCNoSQLAdditionFunction getInstance(ZCNoSQLAttribute attribute, ZCNoSQLValue value); new ZCNoSQLAdditionFunction(<ZCNoSQLAttribute>, <ZCNoSQLValue>) ZCNoSQLAdditionFunction.getInstance(<ZCNoSQLAttribute>, <ZCNoSQLValue>) ``` #### ZCNoSQLReductionFunction This function is used to remove elements from a set or subtract numeric value to existing attribute. The type of operation depends on the targetted attribute type. ```java //public ZCNoSQLReductionFunction(ZCNoSQLAttribute attribute, ZCNoSQLValue value) throws Exception; //public static ZCNoSQLReductionFunction getInstance(ZCNoSQLAttribute attribute, ZCNoSQLValue value) throws Exception; new ZCNoSQLReductionFunction(<ZCNoSQLAttribute>, <ZCNoSQLValue>) ZCNoSQLReductionFunction.getInstance(<ZCNoSQLAttribute>, <ZCNoSQLValue>) ``` Other methods available in ZCNoSQLUpdateHelper #### ZCNoSQLCondition The Same conditions described above can be reused for update too. NOSQL_RETURN_VALUE The Same return value described above can be reused for update too. Update with Condition and Return Value ```java table.getUpdateHelper(<ZCNoSQLItem>,<ZCNoSQLUpdateAttributeOperation>).withCondition(<ZCNoSQLCondition>).withReturnValue(<NOSQL_RETURN_VALUE>).update(); ``` -------------------------------------------------------------------------------- title: "Fetch Items from NoSQL Table" description: "Catalyst NoSQL is a fully-managed, non-relational database. This page describes the SDK method to fetch items from a NoSQL table." last_updated: "2026-11-04T10:10:44.000Z" source: "https://docs.catalyst.zoho.com/en/sdk/java/v1/cloud-scale/nosql/fetch-items/" service: "CloudScale" related: - NoSQL (/en/cloud-scale/help/nosql/introduction/) - NoSQL API (/en/api/code-reference/cloud-scale/nosql/insert-item/#InsertNewItem) -------------------------------------------------------------------------------- # Fetch Items from NoSQL Table Catalyst enables you to fetch items from a NoSQL table by identifying them with their primary keys. For instance, you can use just the partition key or a combination of the partition key and sort key to fetch the item. You can also optionally filter the attributes to be fetched by specifying the required attributes. > **Note:** Catalyst enables you to fetch a maximum of 100 items from a NoSQL table in a single SDK read operation. Data can be fetched without filtering specific attributes by using the ZCNoSQLTable instance or it can be fetched with the help of ZCNoSQLFetchHelper instance which can be used to construct the various parts of the request. To fetch data with ZCNoSQLTable Instance, the below can be used. ```java //public ZCNoSQLResponseBean fetch(ZCNoSQLItem key) throws Exception; table.fetch(<ZCNoSQLItem>); ``` To fetch with ZCNoSQLFetchHelper #### ZCNoSQLFetchHelper This class can be used to fetch data from the table and filter our specific attributes. This can be obtained from ZCNoSQLTable instance. ```java //public ZCNoSQLFetchHelper getFetchHelper(ZCNoSQLItem key) throws Exception; //public ZCNoSQLResponseBean fetch() throws Exception; table.getFetchHelper(<ZCNoSQLItem>).fetch(); ``` Other methods available in ZCNoSQLFetchHelper #### Required Attributes This method can be used to filter and retrieve only the specific required attributes ```java /public ZCNoSQLFetchHelper withRequiredAttributes(List<ZCNoSQLAttribute> requiredAttributesList) throws Exception; table.getFetchHelper(<ZCNoSQLItem>).withRequiredAttributes(<List of ZCNoSQLAttributes>).fetch(); ``` You can also use consistency to indicate if the read operation must be done using the master or a slave cluster. When set to true, it is queried from the master. If false, it is queried from the slave. Note: In the master-slave replication, the master contains all the data of the database, and the slave contains copies from the master. Performing a read operation from the slave can reduce the overall cost with the trade-off being a minor delay in the updated data being reflected. ```java //public ZCNoSQLFetchHelper withConsistency(boolean consistency) throws Exception; table.getFetchHelper(<ZCNoSQLItem>).withConsistency(true/false).fetch(); ``` Fetch with Required Attributes and Consistency ```java table.getFetchHelper(<ZCNoSQLItem>).withRequiredAttributes(<List of ZCNoSQLAttributes>).withConsistency(true/false).fetch(); ``` -------------------------------------------------------------------------------- title: "Query NoSQL Table" description: "Catalyst NoSQL is a fully-managed, non-relational database. This page describes the SDK method to fetch the metadata of a NoSQL table." last_updated: "2026-11-04T10:10:44.000Z" source: "https://docs.catalyst.zoho.com/en/sdk/java/v1/cloud-scale/nosql/query-table/" service: "CloudScale" related: - NoSQL (/en/cloud-scale/help/nosql/introduction/) - NoSQL API (/en/api/code-reference/cloud-scale/nosql/insert-item/#InsertNewItem) -------------------------------------------------------------------------------- # Query NoSQL Table Catalyst enables you to query a NoSQL table and retrieve data by identifying the items using the primary keys of the table. For instance, you can use just the partition key or a combination of the partition key and sort key to retrieve the item. > **Note:** Catalyst enables you to retrieve a maximum of 100 items in bulk from a NoSQL table with pagination from a single SDK operation. You can define the key condition that identifies the item by specifying the attributes, their required values, and the supported operator to be used. Refer to the help section for a list of supported operators and help on querying from the Catalyst console. To query the data with ZCNoSQLTable Instance, the snippet below can be used. ```java //public ZCNoSQLResponseBean queryTable(ZCNoSQLPartitionKeyCondition partitionKeyCondition, boolean forwardScan, int limit) throws Exception; table.query(<ZCNoSQLPartitionKeyCondition>, <true/false>, <limit>); ``` To query with ZCNoSQLQueryHelper ZCNoSQLQueryHelper This class can be used to query data from the table and also specifiy other conditions, sorting order, limit etc. This can be obtained from ZCNoSQLTable instance. ```java //public ZCNoSQLQueryHelper getQueryHelper(ZCNoSQLPartitionKeyCondition partitionKeyCondition, boolean forwardScan, int limit) throws Exception; //public ZCNoSQLResponseBean queryTable() throws Exception; table.getQueryHelper(<ZCNoSQLPartitionKeyCondition>, <true/false>, <limit>).queryTable(); ``` ZCNoSQLPartitionKeyCondition This is used to construct partition key criteria. This is necessary to query data from the table or index. ```java //public ZCNoSQLPartitionKeyCondition(ZCNoSQLAttribute attribute, ZCNoSQLValue value) throws Exception; //public static ZCNoSQLPartitionKeyCondition getInstance(ZCNoSQLAttribute attribute, ZCNoSQLValue value) throws Exception; new ZCNoSQLPartitionKeyCondition(<ZCNoSQLAttribute>, <ZCNoSQLValue>) ZCNoSQLPartitionKeyCondition.getInstance(<ZCNoSQLAttribute>, <ZCNoSQLValue>) ``` Secondary Key Condition This is used to construct sort key criteria. This will be used to indicate if sort key should be used or additional sort key should be used while querying the table. ```java //public static ZCNoSQLSecondaryKeyCondition getInstance(ZCNoSQLAttribute attribute, SECONDARY_KEY_CONDITION_OPERATOR operator, ZCNoSQLValue value) throws Exception new ZCNoSQLSecondaryKeyCondition(<ZCNoSQLAttribute>, <SECONDARY_KEY_CONDITION_OPERATOR>, <ZCNoSQLValue>) ZCNoSQLSecondaryKeyCondition.getInstance(<ZCNoSQLAttribute>, <SECONDARY_KEY_CONDITION_OPERATOR>, <ZCNoSQLValue>) //public ZCNoSQLQueryHelper withSecondaryKeyCondition(ZCNoSQLSecondaryKeyCondition secondaryKeyCondition, Boolean isAdditionalSortKey) throws Exception; table.getQueryHelper(<ZCNoSQLPartitionKeyCondition>, <true/false>, <limit>).withSecondaryKeyCondition(<ZCNoSQLSecondaryKeyCondition>, <true/false>).queryTable(); ``` Other methods available in ZCNoSQLQueryHelper SECONDARY_KEY_CONDITION_OPERATOR This can have the values begins_with, between, equals, greater_than, less_than, greater_equal, less_equal; Other Conditions This can be used to filter the data retrieved using partition key and sort key if specified. This will apply only on top on the data retrieved using the keys. So there can be scenarios where data maybe present for the given partition key, sort key and other conditions but to the maximum limit of 100 items, 0 items may be returned after applying the other condition along with the start key. ```java //public ZCNoSQLQueryHelper withOtherCondition(ZCNoSQLCondition otherCondition) throws Exception; table.getQueryHelper(, , ).withOtherCondition().queryTable(); ``` Start Key This is used for pagination. Upon querying data from the table/index, if more record exists, the start key will be returned. To fetch the next set of data, this value has to be set from the previous request's response. ```java //public ZCNoSQLQueryHelper withStartKey(ZCNoSQLItem startKey); table.getQueryHelper(<ZCNoSQLPartitionKeyCondition>, <true/false>, <limit>).withStartKey(<ZCNoSQLItem>).queryTable(); ``` -------------------------------------------------------------------------------- title: "Query NoSQL Index" description: "Catalyst NoSQL is a fully-managed, non-relational database. This page describes the SDK method to fetch the metadata of a NoSQL table." last_updated: "2026-11-04T10:10:44.000Z" source: "https://docs.catalyst.zoho.com/en/sdk/java/v1/cloud-scale/nosql/query-index/" service: "CloudScale" related: - NoSQL (/en/cloud-scale/help/nosql/introduction/) - NoSQL API (/en/api/code-reference/cloud-scale/nosql/insert-item/#InsertNewItem) -------------------------------------------------------------------------------- # Query NoSQL Index Catalyst enables you to query a NoSQL index and retrieve data by identifying the items using the primary keys of the index. Indexing allows you to execute alternate queries on the table data without making use of the primary keys of the main table. You can configure indexes from the Catalyst console. You can therefore use just the partition key or a combination of the partition key and sort key of the index to retrieve an item. > **Note:** Catalyst enables you to retrieve a maximum of 100 items in bulk from a NoSQL table with pagination from a single SDK operation. You can define the key condition that identifies the item by specifying the attributes, their required values, and the supported operator to be used. Refer to the help section on a list of supported operators and help on querying from the Catalyst console. To query the data with ZCNoSQLTable Instance, the below can be used. ```java //public ZCNoSQLResponseBean queryIndex(Long indexID, ZCNoSQLPartitionKeyCondition partitionKeyCondition, boolean forwardScan, int limit) throws Exception; table.queryIndex(<indexID>, <ZCNoSQLPartitionKeyCondition>, <true/false>, <limit>); ``` To query with ZCNoSQLQueryHelper ZCNoSQLQueryHelper This class can be used to query data from the index and also specifiy other conditions, sorting order, limit etc. This can be obtained from ZCNoSQLTable instance. ```java //public ZCNoSQLQueryHelper getQueryHelper(ZCNoSQLPartitionKeyCondition partitionKeyCondition, boolean forwardScan, int limit) throws Exception; //public ZCNoSQLResponseBean queryTable() throws Exception; table.getQueryHelper(<ZCNoSQLPartitionKeyCondition>, <true/false>, <limit>).queryIndex(<indexID>); ``` ZCNoSQLPartitionKeyCondition The same Partition Key Condition described above can be reused here too. Other methods available in ZCNoSQLQueryHelper Required Attributes The same Required Attributes described above can be reused here too. Consistence Catalyst NoSQL also lets you define other elements of the query, such as using consistent_read to indicate if the read operation must be done using the master or a slave cluster, limiting the number of rows to be returned, and specifying the sorting order as ascending. Note: In the master-slave replication, the master contains all the data of the database, and the slave contains copies from the master. Performing a read operation from the slave can reduce the overall cost with the trade-off being a minor delay in the updated data being reflected. Secondary Key Condition The same Secondary Key Condition described above can be reused here too with the exception that additionalSort key cannot be used for index Other Conditions The other conditions mentioned for querying tables can be reused here too. Start Key The same Start Key described above can be used here too. Index Query with all combinations ```java table.getQueryHelper(ZCNoSQLPartitionKeyCondition>, <true/false>, <limit>) .withSecondaryKSeyCondition(<ZCNoSQLSecondaryKeyCondition>, false) .withOtherCondition(<ZCNoSQLCondition>) .withRequiredAttributes(<List of ZCNoSQLAttributes>) .withConsistency(true/false) .withStartKey(<ZCNoSQLItem>) .queryIndex(<indexID>); ``` -------------------------------------------------------------------------------- title: "Delete Items from Table" description: "Catalyst NoSQL is a fully-managed, non-relational database. This page describes the SDK method to fetch the metadata of a NoSQL table." last_updated: "2026-11-04T10:10:44.000Z" source: "https://docs.catalyst.zoho.com/en/sdk/java/v1/cloud-scale/nosql/delete-items/" service: "CloudScale" related: - NoSQL (/en/cloud-scale/help/nosql/introduction/) - NoSQL API (/en/api/code-reference/cloud-scale/nosql/insert-item/#InsertNewItem) -------------------------------------------------------------------------------- # Delete Items from NoSQL Table You can delete items from a NoSQL table in Catalyst by identifying them using the primary keys of the table. For instance, you use just the partition key, or a combination of the partition key and sort key of the table, to identify an item. Note: Catalyst enables you to delete a maximum of 25 items in bulk from a NoSQL table with a single SDK operation. Data can be deleted without any conditions by using the ZCNoSQLTable instance or it can be deleted with the help of ZCNoSQLDeleteHelper instance which can be used to construct the various parts of the request. To delete data with ZCNoSQLTable Instance, the below can be used. ```java //public ZCNoSQLResponseBean delete(ZCNoSQLItem key) throws Exception; table.delete(<ZCNoSQLItem>); ``` To delete with ZCNoSQLDeleteHelper ZCNoSQLDeleteHelper This class can be used to delete data from the table with conditions. This can be obtained from ZCNoSQLTable instance. ```java //public ZCNoSQLDeleteHelper getDeleteHelper(ZCNoSQLItem keys) throws Exception; //public ZCNoSQLResponseBean delete() throws Exception; table.getDeleteHelper(<ZCNoSQLItem>).delete(); ``` Other methods available in ZCNoSQLDeleteHelper ZCNoSQLCondition The Same conditions described above can be reused for delete. NOSQL_RETURN_VALUE The same conditions described above can be reused for delete. Delete with Condition and Return Value ```java table.getDeleteHelper(<ZCNoSQLItem>).withCondition(<ZCNoSQLCondition>).withReturnValue(<NOSQL_RETURN_VALUE>).delete(); ``` ### Push Notifications -------------------------------------------------------------------------------- title: "Send Push Notifications to Web Apps" description: "This page describes the method to send out remote notifications to end-users from your Java application with sample code snippets." last_updated: "2026-11-03T15:16:51.000Z" source: "https://docs.catalyst.zoho.com/en/sdk/java/v1/cloud-scale/push-notifications/send-notifications/" service: "CloudScale" related: - Send push notifications - API (/en/api/code-reference/cloud-scale/push-notifications/web/send-web-push-notifications/#SendWebPushNotifications) - Send push notifications (/en/cloud-scale/help/push-notifications/introduction) -------------------------------------------------------------------------------- # Push Notifications [Catalyst Push notifications](https://docs.catalyst.zoho.com/en/cloud-scale/help/push-notifications/introduction) enables you to send remote notifications to the users of your application, even when the app is not actively running on the user device. You can send push notifications to a specific list of target users. You can include alerts, updates, or promotional content for the user to engage with your application. Before you send push notifications, you must enable it for your web app when the user allows it. You can do this by implementing [this code snippet](https://docs.catalyst.zoho.com/en/sdk/web/v4/cloud-scale/push-notifications/register-client/) in your web client. You can also access this code from the _Push Notifications_ section in your Catalyst remote console. You must ensure that you include the [web initialization script](https://docs.catalyst.zoho.com/en/sdk/web/v4/overview). ### Send Push Notifications to Web Apps Catalyst enables you to send push notifications to **50 users** in a single function call. You can add the [user IDs](https://docs.catalyst.zoho.com/en/cloud-scale/help/authentication/user-management/users/introduction/) of all users to be notified in an array as shown below. You must then pass the array to the `notifyUser()` method, along with the message string to include in the notification. This string can be plain text, HTML, or a JSON object to be parsed. #### Sample Code Snippet **Package Imports** ```java import com.zc.component.notifications.ZCWebNotification; ``` ```java Long[] userList = new Long[5]; //Include the user IDs of all users userList[0] = 1234556789098L; userList[1] = 8704590865890L; userList[2] = 1452788189992L; userList[3] = 5344535567809L; userList[4] = 6568785589800L; ZCWebNotification.getInstance().notifyUser("Hi there! The task you scheduled has been completed.", userList); //Pass the array with the message string ``` You can also send the notifications to users by including their email addresses instead of their User IDs. You must add the email addresses in a String array, and pass it to `notifyUser()` along with the message string in a similar way. #### Sample Code Snippet **Package Imports** ```java import com.zc.component.notifications.ZCWebNotification; ``` ```java String[] userEmailList = new String[3]; //Include the email addresses of the users userEmailList[0] = "emma@zylker.com"; userEmailList[1] = "p.boyle@zylker.com"; userEmailList[2] = "noel@zylker.com"; ZCWebNotification.getInstance().notifyUser("Hi there! The task you scheduled has been completed.", userEmailList); //Pass the array with the message string ``` -------------------------------------------------------------------------------- title: "Send Push Notifications to Mobile Apps" description: "This page describes the method to send out remote notifications to end-users in your Android or iOS applications with sample code snippets." last_updated: "2026-11-03T07:48:52.000Z" source: "https://docs.catalyst.zoho.com/en/sdk/java/v1/cloud-scale/push-notifications/send-notifications-mobile/" service: "CloudScale" related: - Push Notifications (/en/cloud-scale/help/push-notifications/introduction) -------------------------------------------------------------------------------- # Push Notifications to Mobile Apps The [Catalyst CloudScale Push Notifications](https://docs.catalyst.zoho.com/en/cloud-scale/help/push-notifications/introduction) component enables you to send notifications to mobile applications built on the Android or iOS platforms. You can send push notifications to a specific target user by using their Catalyst User ID or email address. You can include alerts, updates, or promotional content for the user to engage with your application. To set up push notifications, you must meet the following prerequisites: 1. You must register your mobile application with Catalyst and note down the Application ID (`appId`) from the console after configuring. You can opt to register your application installed in the target device either using individual platform-specific Catalyst mobile SDK methods (available in Android and iOS) or using the Flutter SDK. The `appId` can be fetched by [configuring Android Push Notifications service](https://docs.catalyst.zoho.com/en/cloud-scale/help/push-notifications/android/#configure-and-enroll-for-android-push-notifications) directly in the Catalyst console. [Learn about registering your Android app using Android SDK.](https://docs.catalyst.zoho.com/en/sdk/android/v2/cloud-scale/push-notifications/register-device/) [Learn about registering your iOS app using iOS SDK.](https://docs.catalyst.zoho.com/en/sdk/ios/v2/cloud-scale/push-notifications/register-device/) [Learn about registering your mobile apps (Android or iOS) using Flutter SDK.](https://docs.catalyst.zoho.com/en/sdk/flutter/v2/cloud-scale/push-notifications/register-device/) 2. The mobile application must mandatorily use the [Catalyst CloudScale Authentication](https://docs.catalyst.zoho.com/en/cloud-scale/help/authentication/introduction/) component. After all the setup is done, the Catalyst user must be logged in on their device to receive the notification promptly. Once the setup is complete, you can send notifications by calling the Java SDK method below, using your generated Application ID to target the specific app. ### Get Mobile Notification Instance You can create a mobile notification instance and use it to refer to a specific mobile app registered in the Catalyst console. This is done by fetching the mobile notification instance with the `getInstance()` method, by passing the generated `appID` as a parameter. We will use this mobile notification instance to perform additional operations with the Java SDK methods, such as sending push notifications, which will be covered in the next section. #### Sample Code Snippet **Package Imports** ```java import com.zc.component.notifications.ZCMobileNotification; ``` ```java ZCMobileNotification mobile = ZCMobileNotification.getInstance(1234567890l); ``` Here, **1234567890** is the `appID`. Alternatively, if your application involves Catalyst scope-based access, you can pass the `ZCProject project` parameter along with the `appID`. ```java ZCMobileNotification mobile = ZCMobileNotification.getInstance(1234567890l, ZCProject project); ``` ### Send Android Push Notifications After you have [registered your Android application](https://docs.catalyst.zoho.com/en/sdk/flutter/v2/cloud-scale/push-notifications/register-device/) with Catalyst for sending push notifications, you can use the `sendAndroidPushNotification()` method to send push notifications to your application. You will need to pass two parameters to the `sendAndroidPushNotification()` method : * `pushMessage` - A `ZCPush` type object with the details of the push notification message. * `recipient` - The Catalyst User ID of the recipient or the email address of the recipient to whom the message has to be delivered. #### Sample Code Snippet **Package Imports** ```java import com.zc.component.notifications.ZCMobileNotification; import com.zc.component.notifications.ZCPush; import com.zc.component.notifications.ZCPushMessage; ``` ```java ZCPushMessage notificationRes = mobile.sendAndroidPushNotification(new ZCPush() { { setMessage("This message is to test if the functionality is working fine!"); setBadgeCount(1); } }, "emma.b@zylker.com"); ``` `setBadgeCount()` sets the app icon's notification badge count to 1. You can change this value to any number you require. ### Send iOS push notifications Similar to Android, after you have [registered your iOS application](https://docs.catalyst.zoho.com/en/sdk/flutter/v2/cloud-scale/push-notifications/register-device/) with Catalyst for sending push notifications, you can use the `sendIOSPushNotification()` method to send push notifications to your application. #### Sample Code Snippet **Package Imports** ```java import com.zc.component.notifications.ZCMobileNotification; import com.zc.component.notifications.ZCPush; import com.zc.component.notifications.ZCPushMessage; ``` ```java ZCPushMessage notificationRes = mobile.sendIOSPushNotification(new ZCPush() { { setMessage("This message is to test if the functionality is working fine!"); setBadgeCount(1); } }, "emma.b@zylker.com"); ``` ### Search -------------------------------------------------------------------------------- title: "Search data in tables" description: "This page describes the method to search data in multiple tables in your Java application with sample code snippets." last_updated: "2026-11-03T07:48:52.000Z" source: "https://docs.catalyst.zoho.com/en/sdk/java/v1/cloud-scale/search/search-data/" service: "CloudScale" related: - Search data in tables - API (/en/api/code-reference/cloud-scale/search/execute-search-query/#ExecuteSearchQuery) -------------------------------------------------------------------------------- # Search Data in Indexed Columns Search executes a `searchQuery()` method to search for a particular pattern of data. You can search: * Data in multiple tables * Only data in search indexed columns To learn more about search please refer to the documentation here. The following code snippet contains the pattern to search for in specified columns of the tables: #### Sample Code Snippet **Package Imports** ```java import com.zc.component.object.ZCRowObject; import com.zc.component.search.ZCSearch; import com.zc.component.search.ZCSearchDetails; ``` ```java //Get an instance of SearchDetails ZCSearchDetails search = ZCSearchDetails.getInstance(); //Set the pattern to be searched search.setSearch("Sa*"); //Create a hashmap for the tables and corresponding column lists to search HashMap<String,List\*> map = new HashMap (); List searchList1 = new ArrayList(); List searchList2 = new ArrayList(); //Add indexed columns of same or different tables to the list searchList1.add("SearchIndexedColumn"); searchList2.add("SearchTest"); //Add the table with its name and the column lists map.put("SampleTable", searchList1); map.put("Users", searchList2); //Set the table-column mapping for searching search.setSearchTableColumns(map); //Execute Search by passing the search instance with the details ArrayList<ZCRowObject> rowList = ZCSearch.getInstance().executeSearchQuery(search); ``` ### Stratus -------------------------------------------------------------------------------- title: "Overview" description: "This page lists all the Java SDK methods required to carry out Stratus operations through code." last_updated: "2026-11-03T15:16:51.000Z" source: "https://docs.catalyst.zoho.com/en/sdk/java/v1/cloud-scale/stratus/overview/" service: "CloudScale" related: - Stratus Component Help Documentation (/en/cloud-scale/help/stratus/introduction) - JavaScript SDK Documentation (/en/sdk/javascript/v1/cloudscale/stratus/overview/) - Python SDK (/en/sdk/python/v1/cloud-scale/stratus/overview/) - iOS SDK (/en/sdk/ios/v2/cloud-scale/stratus/overview/) - Android SDK (/en/sdk/android/v2/cloud-scale/stratus/overview/) - Flutter SDK (/en/sdk/flutter/v2/cloud-scale/stratus/overview/) - REST API (/en/api/code-reference/cloud-scale/stratus/get-all-buckets/#GetAllBuckets) -------------------------------------------------------------------------------- # Stratus ## Overview CloudScale [Stratus](https://docs.catalyst.zoho.com/en/cloud-scale/help/stratus/introduction) is Catalyst's robust and powerful storage solution. You can store data of any format in the form of [Objects](https://docs.catalyst.zoho.com/en/cloud-scale/help/stratus/objects/introduction/) in containers called [Buckets](https://docs.catalyst.zoho.com/en/cloud-scale/help/stratus/buckets/name-bucket/). Each Bucket and every individual object in the bucket has a secure [Object URL](https://docs.catalyst.zoho.com/en/cloud-scale/help/stratus/objects/introduction/#object-url) and [Bucket URL](https://docs.catalyst.zoho.com/en/cloud-scale/help/stratus/buckets/create-bucket/#bucket-url). You can perform upload and download operations on objects and even provide [custom permissions](https://docs.catalyst.zoho.com/en/cloud-scale/help/stratus/stratus-permissions/#custom-permissions) for each object. The following table contains the list of all the Catalyst SDKs that can be used to perform Stratus operations through code.
Category SDK Method
General Stratus Operations
  • [Create Stratus Instance](https://docs.catalyst.zoho.com/en/sdk/java/v1/cloud-scale/stratus/create-stratus-instance/)
  • [Check Bucket Availability](https://docs.catalyst.zoho.com/en/sdk/java/v1/cloud-scale/stratus/check-bucket/)
  • [List Buckets](https://docs.catalyst.zoho.com/en/sdk/java/v1/cloud-scale/stratus/list-buckets/)
Bucket Operations
  • [Create Bucket Instance](https://docs.catalyst.zoho.com/en/sdk/java/v1/cloud-scale/stratus/create-bucket-instance/)
  • [Get a Bucket’s Details](https://docs.catalyst.zoho.com/en/sdk/java/v1/cloud-scale/stratus/get-bucket-details/)
  • [Get Bucket CORS](https://docs.catalyst.zoho.com/en/sdk/java/v1/cloud-scale/stratus/get-bucket-cors/)
  • [List Objects in a Bucket](https://docs.catalyst.zoho.com/en/sdk/java/v1/cloud-scale/stratus/list-objects/)
    • [List All Objects by Pagination](https://docs.catalyst.zoho.com/en/sdk/java/v1/cloud-scale/stratus/list-objects/#list-all-objects-by-pagination)
    • [List Objects Through Iteration](https://docs.catalyst.zoho.com/en/sdk/java/v1/cloud-scale/stratus/list-objects/#list-objects-through-iteration)
  • [Check Object Availability](https://docs.catalyst.zoho.com/en/sdk/java/v1/cloud-scale/stratus/check-object-availability/)
  • [Download Object](https://docs.catalyst.zoho.com/en/sdk/java/v1/cloud-scale/stratus/download-object/)
    • [Download a Portion of the Object](https://docs.catalyst.zoho.com/en/sdk/java/v1/cloud-scale/stratus/download-object/#download-a-portion-of-the-object)
    • [Download an Object Using Transfer Manager](https://docs.catalyst.zoho.com/en/sdk/java/v1/cloud-scale/stratus/download-object/#download-an-object-using-transfer-manager)
    • [Generate Presigned URL to Download an Object](https://docs.catalyst.zoho.com/en/sdk/java/v1/cloud-scale/stratus/download-object/#generate-presigned-url-to-download-an-object)
    • [Generate Presigned URL With Expiry and Active Time](https://docs.catalyst.zoho.com/en/sdk/java/v1/cloud-scale/stratus/download-object/#generate-presigned-url-with-expiry-and-active-time)
  • [Upload Object](https://docs.catalyst.zoho.com/en/sdk/java/v1/cloud-scale/stratus/upload-object/)
    • [Upload Object as a Stream](https://docs.catalyst.zoho.com/en/sdk/java/v1/cloud-scale/stratus/upload-object/#upload-object-as-a-stream)
    • [Upload Object as a String](https://docs.catalyst.zoho.com/en/sdk/java/v1/cloud-scale/stratus/upload-object/#upload-object-as-a-string)
    • [Upload Object with Options](https://docs.catalyst.zoho.com/en/sdk/java/v1/cloud-scale/stratus/upload-object/#upload-object-with-options)
    • [Upload an Object Using Multipart Operations](https://docs.catalyst.zoho.com/en/sdk/java/v1/cloud-scale/stratus/upload-object/#upload-an-object-using-multipart-operations)
    • [Upload an Object Using Transfer Manager](https://docs.catalyst.zoho.com/en/sdk/java/v1/cloud-scale/stratus/upload-object/#upload-an-object-using-transfer-manager)
    • [Generate Presigned URL to Upload an Object](https://docs.catalyst.zoho.com/en/sdk/java/v1/cloud-scale/stratus/upload-object/#generate-presigned-url-to-upload-an-object)
    • [Generate Presigned URL With Expiry and Active Time](https://docs.catalyst.zoho.com/en/sdk/java/v1/cloud-scale/stratus/upload-object/#generate-presigned-url-with-expiry-and-active-time)
  • [Extract a Zipped Object](https://docs.catalyst.zoho.com/en/sdk/java/v1/cloud-scale/stratus/extract-zipped-object/)
  • [Copy Object](https://docs.catalyst.zoho.com/en/sdk/java/v1/cloud-scale/stratus/copy-objects/)
  • [Rename and Move Operations on an Object](https://docs.catalyst.zoho.com/en/sdk/java/v1/cloud-scale/stratus/rename-move-object/)
  • [Delete Objects](https://docs.catalyst.zoho.com/en/sdk/java/v1/cloud-scale/stratus/delete-objects/)
    • [Delete a Single Object](https://docs.catalyst.zoho.com/en/sdk/java/v1/cloud-scale/stratus/delete-objects/#delete-a-single-object)
    • [Delete Multiple Objects](https://docs.catalyst.zoho.com/en/sdk/java/v1/cloud-scale/stratus/delete-objects/#delete-multiple-objects)
    • [Truncate Bucket](https://docs.catalyst.zoho.com/en/sdk/java/v1/cloud-scale/stratus/delete-objects/#truncate-bucket)
    • [Delete a Path in the Bucket](https://docs.catalyst.zoho.com/en/sdk/java/v1/cloud-scale/stratus/delete-objects/#delete-a-path-in-the-bucket)
Object Operations
  • [Create Object Instance](https://docs.catalyst.zoho.com/en/sdk/java/v1/cloud-scale/stratus/create-object-instance/)
  • [List Versions of an Object](https://docs.catalyst.zoho.com/en/sdk/java/v1/cloud-scale/stratus/list-object-versions/)
    • [List All Versions of an Object](https://docs.catalyst.zoho.com/en/sdk/java/v1/cloud-scale/stratus/list-object-versions/#list-all-versions-of-an-object)
    • [List All Versions of the Object in an Iterable Manner](https://docs.catalyst.zoho.com/en/sdk/java/v1/cloud-scale/stratus/list-object-versions/#list-all-versions-of-the-object-in-an-iterable-manner)
  • [Get Object Details](https://docs.catalyst.zoho.com/en/sdk/java/v1/cloud-scale/stratus/object-details/)
    • [Get Details of an Object](https://docs.catalyst.zoho.com/en/sdk/java/v1/cloud-scale/stratus/object-details/#get-details-of-an-object)
    • [Get Details of a Particular Version of the Object](https://docs.catalyst.zoho.com/en/sdk/java/v1/cloud-scale/stratus/object-details/#get-details-of-a-particular-version-of-the-object)
  • [Put Object Meta Data](https://docs.catalyst.zoho.com/en/sdk/java/v1/cloud-scale/stratus/put-object-meta/)
-------------------------------------------------------------------------------- title: "Create Stratus Instance" description: "This page lists the Java SDK method to create a Stratus instance." last_updated: "2026-11-03T07:48:52.000Z" source: "https://docs.catalyst.zoho.com/en/sdk/java/v1/cloud-scale/stratus/create-stratus-instance/" service: "CloudScale" related: - Stratus Component Help Documentation (/en/cloud-scale/help/stratus/introduction) - JavaScript SDK Documentation (/en/sdk/javascript/v1/cloudscale/stratus/create-instance/) - Python SDK (/en/sdk/python/v1/cloud-scale/stratus/create-stratus-instance/) - iOS SDK (/en/sdk/ios/v2/cloud-scale/stratus/create-bucket-instance/) - Android SDK (/en/sdk/android/v2/cloud-scale/stratus/create-bucket-instance/) - Flutter SDK (/en/sdk/flutter/v2/cloud-scale/stratus/initialize-stratus/) - REST API (/en/api/code-reference/cloud-scale/stratus/get-all-buckets/#GetAllBuckets) -------------------------------------------------------------------------------- # Create Stratus Instance You can get the `stratus` component reference as shown below. This will not fire a server-side call. We will refer to this component instance in various code snippets of working with Stratus. #### Sample Code Snippet **Package Imports** ```java import com.zc.component.stratus.ZCStratus; ``` ```java ZCStratus stratus = ZCStratus.getInstance(); ``` -------------------------------------------------------------------------------- title: "Check Bucket Availability" description: "This page lists the Java SDK method to check if the bucket exists in your project." last_updated: "2026-11-03T07:48:52.000Z" source: "https://docs.catalyst.zoho.com/en/sdk/java/v1/cloud-scale/stratus/check-bucket/" service: "CloudScale" related: - Stratus Component Help Documentation (/en/cloud-scale/help/stratus/introduction) - JavaScript SDK Documentation (/en/sdk/javascript/v1/cloudscale/stratus/check-bucket-availability/) - Python SDK (/en/sdk/python/v1/cloud-scale/stratus/check-bucket/) - iOS SDK (/en/sdk/ios/v2/cloud-scale/stratus/overview/) - Android SDK (/en/sdk/android/v2/cloud-scale/stratus/overview/) - Flutter SDK (/en/sdk/flutter/v2/cloud-scale/stratus/overview/) - REST API (/en/api/code-reference/cloud-scale/stratus/get-all-buckets/#GetAllBuckets) -------------------------------------------------------------------------------- # Check Bucket Availability Using the `headBucket()` SDK method, you can check the existence of a bucket in Stratus, and further check if the user has the relevant permissions to access the objects present in the bucket. Possible responses when using this SDK: * If the bucket exists and if the user has the relevant permissions to access the bucket, the response '**true**' will be returned. * If the bucket does not exist, or if the user does not have permission to access the bucket, the response '**false**' will be returned. **Parameters Used**
Parameter Name Data Type Definition
`bucket_name` **String** A **Mandatory** parameter. Will hold the [unique name of the bucket](https://docs.catalyst.zoho.com/en/cloud-scale/help/stratus/buckets/name-bucket/#ideal-practices-to-name-a-bucket).
`throwErr` **Boolean** An **Optional** parameter. If you set this parameter as "**true**", then it will throw an error when the bucket is not found in the project. The default value is "**false**"
```java Boolean throwErr = false; Boolean res = stratus.headBucket("bucket_name", throwErr); System.out.println(res); ``` #### Possible Errors > **Note:** If you use the SDK with the `throw_err` parameter, and the object does not exist, or if you do not have sufficient permissions then you may encounter any of the errors listed below.
Error Code Meaning
`404` Not Found. Bucket Not found in Stratus.
`401` Unauthorized/Access Denied - User doesn't have permission to perform the particular operation.
`403` Permission Denied - User does not have permission to access the particular bucket.
-------------------------------------------------------------------------------- title: "List Buckets" description: "This page lists the Java SDK method to list buckets created in your project." last_updated: "2026-11-03T07:48:52.000Z" source: "https://docs.catalyst.zoho.com/en/sdk/java/v1/cloud-scale/stratus/list-buckets/" service: "CloudScale" related: - Stratus Component Help Documentation (/en/cloud-scale/help/stratus/introduction) - JavaScript SDK Documentation (/en/sdk/javascript/v1/cloudscale/stratus/list-buckets/) - Python SDK (/en/sdk/python/v1/cloud-scale/stratus/list-buckets/) - iOS SDK (/en/sdk/ios/v2/cloud-scale/stratus/overview/) - Android SDK (/en/sdk/android/v2/cloud-scale/stratus/overview/) - Flutter SDK (/en/sdk/flutter/v2/cloud-scale/stratus/overview/) - REST API (/en/api/code-reference/cloud-scale/stratus/get-all-buckets/#GetAllBuckets) -------------------------------------------------------------------------------- # List Buckets The following SDK method will return all the buckets present in the project. The Stratus reference used in the below code snippet is the [component instance](https://docs.catalyst.zoho.com/en/sdk/java/v1/cloud-scale/stratus/create-stratus-instance/). > **Info:** To use this SDK method, you need intialize it with **Admin** scope. You can learn more about this requirement from this [section](https://docs.catalyst.zoho.com/en/sdk/nodejs/v2/overview/#initialize-sdk-with-scopes) #### Sample Code Snippet **Package Imports** ```java import java.util.List; import com.zc.component.stratus.ZCStratus; import com.zc.component.stratus.ZCBucket; ``` ```java ZCStratus stratus = ZCStratus.getInstance(); List<ZCBucket> buckets = stratus.listBuckets(); // will return all the buckets in the organization ``` -------------------------------------------------------------------------------- title: "Create Bucket Instance" description: "This page lists the Java SDK method to create a bucket instance." last_updated: "2026-11-03T07:48:52.000Z" source: "https://docs.catalyst.zoho.com/en/sdk/java/v1/cloud-scale/stratus/create-bucket-instance/" service: "CloudScale" related: - Stratus Component Help Documentation (/en/cloud-scale/help/stratus/introduction) - Create a Bucket Help Documentation (/en/cloud-scale/help/stratus/buckets/create-bucket/) - JavaScript SDK Documentation (/en/sdk/javascript/v1/cloudscale/stratus/create-bucket-instance/) - Python SDK (/en/sdk/python/v1/cloud-scale/stratus/create-bucket-instance/) - iOS SDK (/en/sdk/ios/v2/cloud-scale/stratus/overview/) - Android SDK (/en/sdk/android/v2/cloud-scale/stratus/create-bucket-instance/) - Flutter SDK (/en/sdk/flutter/v2/cloud-scale/stratus/overview/) - REST API (/en/api/code-reference/cloud-scale/stratus/get-all-buckets/#GetAllBuckets) -------------------------------------------------------------------------------- # Create Bucket Instance To perform bucket level operations, you need to create a bucket instance. We will refer to this component instance in various code snippets of working with [Buckets](https://docs.catalyst.zoho.com/en/cloud-scale/help/stratus/buckets/name-bucket/) in Stratus. The Stratus reference used in the below code snippet is the [component instance](https://docs.catalyst.zoho.com/en/sdk/java/v1/cloud-scale/stratus/create-stratus-instance/). #### Sample Code Snippet **Package Imports** ```java import com.zc.component.stratus.ZCBucket; ``` ```java ZCBucket bucket = stratus.bucketInstance("bucketName"); ``` -------------------------------------------------------------------------------- title: "Get a Bucket's Details" description: "This page lists the Java SDK method to get a bucket's details." last_updated: "2026-11-03T07:48:52.000Z" source: "https://docs.catalyst.zoho.com/en/sdk/java/v1/cloud-scale/stratus/get-bucket-details/" service: "CloudScale" related: - Stratus Component Help Documentation (/en/cloud-scale/help/stratus/introduction) - Create a Bucket Help Documentation (/en/cloud-scale/help/stratus/buckets/create-bucket/) - JavaScript SDK Documentation (/en/sdk/javascript/v1/cloudscale/stratus/create-bucket-instance/) - Python SDK (/en/sdk/python/v1/cloud-scale/stratus/create-bucket-instance/) - iOS SDK (/en/sdk/ios/v2/cloud-scale/stratus/overview/) - Android SDK (/en/sdk/android/v2/cloud-scale/stratus/create-bucket-instance/) - Flutter SDK (/en/sdk/flutter/v2/cloud-scale/stratus/overview/) - REST API (/en/api/code-reference/cloud-scale/stratus/get-all-buckets/#GetAllBuckets) -------------------------------------------------------------------------------- # Get a Bucket's Details We will use the `getDetails()` SDK method to get a single bucket's details from the project. The Bucket reference used in the below code snippet is the [component instance](https://docs.catalyst.zoho.com/en/sdk/java/v1/cloud-scale/stratus/create-bucket-instance/). #### Sample Code Snippet **Package Imports** ```java import com.zc.component.stratus.ZCBucket; ``` ```java ZCBucket bucketDetails = bucket.getDetails(); // return the bucket details ``` -------------------------------------------------------------------------------- title: "Get Bucket CORS" description: "This page lists the Java SDK method to get the current CORS configuration of the bucket." last_updated: "2026-11-03T07:48:52.000Z" source: "https://docs.catalyst.zoho.com/en/sdk/java/v1/cloud-scale/stratus/get-bucket-cors/" service: "CloudScale" related: - Stratus Component Help Documentation (/en/cloud-scale/help/stratus/introduction) - Stratus Bucket CORS Help Documentation (/en/cloud-scale/help/stratus/stratus-config/bucket-cors/) - JavaScript SDK Documentation (/en/sdk/javascript/v1/cloudscale/stratus/get-bucket-cors/) - Python SDK (/en/sdk/python/v1/cloud-scale/stratus/get-bucket-cors/) - iOS SDK (/en/sdk/ios/v2/cloud-scale/stratus/overview/) - Android SDK (/en/sdk/android/v2/cloud-scale/stratus/overview/) - Flutter SDK (/en/sdk/flutter/v2/cloud-scale/stratus/overview/) - REST API (/en/api/code-reference/cloud-scale/stratus/get-all-buckets/#GetAllBuckets) -------------------------------------------------------------------------------- # Get Bucket CORS The `getCors()` SDK method, will return the current CORS configuration of a specific bucket in Stratus. The Bucket reference used in the below code snippet is the [component instance](https://docs.catalyst.zoho.com/en/sdk/java/v1/cloud-scale/stratus/create-bucket-instance/). > **Info:** To use this SDK method, you need intialize it with **Admin** scope. You can learn more about this requirement from this [section](https://docs.catalyst.zoho.com/en/sdk/nodejs/v2/overview/#initialize-sdk-with-scopes) CORS of a bucket can be edited by any user that has or has been granted `Write` permission for Stratus component in the project, using the [Profiles & Permissions](https://docs.catalyst.zoho.com/en/getting-started/set-up-a-catalyst-project/profiles-and-permissions/) section. > **Note:** You can find out more about Bucket CORS from this [help section](https://docs.catalyst.zoho.com/en/cloud-scale/help/stratus/stratus-config/bucket-cors/). #### Sample Code Snippet **Package Imports** ```java import com.zc.component.stratus.beans.ZCStratusCorsResponse; import java.util.List; ``` ```java List<ZCStratusCorsResponse> res = bucket.getCors(); for(ZCStratusCorsResponse cors: res){ System.out.println(cors.getDomain()); } ``` -------------------------------------------------------------------------------- title: "List Objects in a Bucket" description: "This page lists the Java SDK method to get the objects stroed in a bucket." last_updated: "2026-11-03T07:48:52.000Z" source: "https://docs.catalyst.zoho.com/en/sdk/java/v1/cloud-scale/stratus/list-objects/" service: "CloudScale" related: - Stratus Component Help Documentation (/en/cloud-scale/help/stratus/introduction) - JavaScript SDK Documentation (/en/sdk/javascript/v1/cloudscale/stratus/check-object/) - Python SDK (/en/sdk/python/v1/cloud-scale/stratus/list-objects/) - iOS SDK (/en/sdk/ios/v2/cloud-scale/stratus/get-object/) - Android SDK (/en/sdk/android/v2/cloud-scale/stratus/get-object/) - Flutter SDK (/en/sdk/flutter/v2/cloud-scale/stratus/get-object/) - REST API (/en/api/code-reference/cloud-scale/stratus/get-all-buckets/#GetAllBuckets) -------------------------------------------------------------------------------- # List Objects in a Bucket ### List All Objects by Pagination This SDK method will allow you to get all the objects present in a particular bucket by pagination. The Bucket reference used in the below code snippet is the [component instance](https://docs.catalyst.zoho.com/en/sdk/java/v1/cloud-scale/stratus/create-bucket-instance/). > **Info:** To use this SDK method, you need intialize it with **Admin** scope. You can learn more about this requirement from this [section](https://docs.catalyst.zoho.com/en/sdk/nodejs/v2/overview/#initialize-sdk-with-scopes) For each call, a limited number of objects will be returned, and the next call will be initiated only if a continuation token is returned. **Parameters Used**
Parameter Name Data Type Definition
`maxKey` **String** A **Mandatory** parameter. Will contain the maximum limit of objects that can be listed by pagination.
`nextToken` **String** An **Mandatory** parameter. Will contain the token to get the next set of objects.
`prefix` **String** An **Optional** parameter. To list objects that match the prefix value.
`orderBy` **String** An **Optional** parameter. To list objects either in ascending or descending order. **Default Value**: `asc`
The response we get will contain the following properties of the bucket, which will be stored in `moreOptions`: * `key count`: Will contain the value of the number of objects that are being returned * `max keys`: The maximum limit of objects that can be returned * `Truncated`: Will contain the status to notify if a bucket is truncated or not. * `contents`: List of object details * `continuation_token`: If you a sent a `continuation_token` in the request, it will be shown in the response. * `next_continuation_token`: If the response was truncated, the value of this key must be passed as `continuation_token` to the same method for retrieving the next set of objects. With each iteration, we will list the `maxKey` number of objects and check if `nextToken` has been created. Using `nextToken` we will continue the iteration till all the objects have been listed. **Ensure the following packages are imported:** ```java import com.zc.component.stratus.ZCBucket; import com.zc.component.stratus.ZCStratus; import com.zc.component.stratus.beans.ZCListObjectOptions; import com.zc.component.stratus.beans.ZCPagedObjectResponse; import com.zc.component.stratus.ZCObject; ``` ```java String nextToken = null; String maxKey = "10"; String prefix = "Sam"; do { ZCListObjectOptions options = new ZCListObjectOptions(); options.setMaxKey(maxKey); // Default: 1000 options.setContinuationToken(nextToken); // Fetch next page options.setFolderListing("true"); // Default: false options.setOrderBy("desc"); // Default: "asc" options.setPrefix(prefix); // Optional ZCPagedObjectResponse res = bucket.listPagedObjects(options); System.out.println("Object count: " + res.getKeyCount()); System.out.println("Max key: " + res.getMaxKey()); System.out.println("Is truncated: " + res.getTruncated()); for (ZCObject key : res.getContents()) { System.out.println("Object name: " + key.getKey()); System.out.println("Content type: " + key.getContentType()); System.out.println("Size: " + key.getSize()); System.out.println("Metadata: " + key.getMetaData()); System.out.println("Version ID: " + key.getVersionId()); System.out.println("ETag: " + key.getEtag()); System.out.println("Object type: " + key.getKeyType()); System.out.println("Cached URL: " + key.getCachedUrl()); } nextToken = res.getNextToken(); } while (nextToken != null); ``` ### List Objects Through Iteration Using this SDK method, you can get all the objects present in a bucket in a single API call, using iteration technique. The Bucket reference used in the below code snippet is the [component instance](https://docs.catalyst.zoho.com/en/sdk/java/v1/cloud-scale/stratus/create-bucket-instance/). > **Info:** To use this SDK method, you need intialize it with **Admin** scope. You can learn more about this requirement from this [section](https://docs.catalyst.zoho.com/en/sdk/nodejs/v2/overview/#initialize-sdk-with-scopes) **Ensure the following packages are imported:** ```java import java.util.Iterator; import com.zc.component.stratus.ZCObject; import com.zc.component.stratus.beans.ZCListObjectOptions; import java.util.List; ``` ```java ZCListObjectOptions options = new ZCListObjectOptions(); options.setFolderListing("true"); // Default: false options.setMaxKey("2"); // Default: 1000 options.setOrderBy("desc"); // Default: "asc" // Get iterable object list Iterable<List<ZCObject>> paginationIterable = bucket.listIterableObjects(options); Iterator<List<ZCObject>> iterator = paginationIterable.iterator(); while (iterator.hasNext()) { List<lZCObject> objectList = iterator.next(); for (ZCObject obj : objectList) { System.out.println(obj.getKey()); } } ``` -------------------------------------------------------------------------------- title: "Check Object Availability" description: "This page lists the Java SDK method to check if an object is present in a bucket." last_updated: "2026-11-03T07:48:52.000Z" source: "https://docs.catalyst.zoho.com/en/sdk/java/v1/cloud-scale/stratus/check-object-availability/" service: "CloudScale" related: - Stratus Component Help Documentation (/en/cloud-scale/help/stratus/introduction) - Objects Help Documentation (/en/cloud-scale/help/stratus/objects/introduction/) - JavaScript SDK Documentation (/en/sdk/javascript/v1/cloudscale/stratus/rename-move/) - Python SDK (/en/sdk/python/v1/cloud-scale/stratus/check-object-availability/) - iOS SDK (/en/sdk/ios/v2/cloud-scale/stratus/overview/) - Android SDK (/en/sdk/android/v2/cloud-scale/stratus/overview/) - Flutter SDK (/en/sdk/flutter/v2/cloud-scale/stratus/overview/) - REST API (/en/api/code-reference/cloud-scale/stratus/get-all-buckets/#GetAllBuckets) -------------------------------------------------------------------------------- # Check Object Availability Using this SDK method, you can check if a particular object is present in the bucket, if the user has the required permissions to access the object. The Bucket reference used in the below code snippet is the [component instance](https://docs.catalyst.zoho.com/en/sdk/java/v1/cloud-scale/stratus/create-bucket-instance/). > **Info:** To use this SDK method, you need intialize it with **Admin** scope. You can learn more about this requirement from this [section](https://docs.catalyst.zoho.com/en/sdk/nodejs/v2/overview/#initialize-sdk-with-scopes) If you have enabled [Versioning](https://docs.catalyst.zoho.com/en/cloud-scale/help/stratus/stratus-config/general-settings/#versioning) for your bucket, then you need to pass the `versionID` as the param, to check if a particular version of the object is available. When you use this SDK method, you will get either of the following responses: - `true`: If the object is available, the specified version is available, and if the user has the relevant permissions to access the objects. - `false`: - If the object or the particular version of the object is not available in the bucket. - If the user does not have the required permissions to access the object. - If the bucket does not exist. **Parameters Used**
Parameter Name Data Type Definition
`key` **String** A **Mandatory** parameter. Will hold the complete name of the object.
`versionId` **String** An **Optional** parameter. Will hold the unique version ID of the object, if [Versioning](https://docs.catalyst.zoho.com/en/cloud-scale/help/stratus/stratus-config/general-settings/#versioning) is enabled.
`throwErr` **Boolean** An **Optional** parameter. If you set this parameter as "**true**", then it will throw an error when the object is not found in the project. The default value is "**false**"
```java Boolean throwErr = true; Boolean headObjectRes = bucket.headObject("sam/out/sample.txt", "versionId", throwErr); System.out.println(headObjectRes); ``` **Possible Errors** > **Note:** If you use the SDK with the `throw_err` parameter, and the object does not exist, or if you do not have sufficient permissions then you may encounter any of the errors listed below.
Error Code Meaning
`404` Not Found. Object Not found.
`401` Unauthorized/Access Denied - User doesn't have permission to perform the particular operation.
`403` Permission Denied - User does not have permission to access the particular object.
-------------------------------------------------------------------------------- title: "Download Object" description: "This page lists the Java SDK method to download objects from a bucket." last_updated: "2026-11-03T07:48:52.000Z" source: "https://docs.catalyst.zoho.com/en/sdk/java/v1/cloud-scale/stratus/download-object/" service: "CloudScale" related: - Stratus Component Help Documentation (/en/cloud-scale/help/stratus/introduction) - Download Object Help Documentation (/en/cloud-scale/help/stratus/objects/manage-object/download-object/) - JavaScript SDK Documentation (/en/sdk/javascript/v1/cloudscale/stratus/download-object/) - Python SDK (/en/sdk/python/v1/cloud-scale/stratus/download-object/) - iOS SDK (/en/sdk/ios/v2/cloud-scale/stratus/download-object/) - Android SDK (/en/sdk/android/v2/cloud-scale/stratus/download-object/) - Flutter SDK (/en/sdk/flutter/v2/cloud-scale/stratus/download-object/) - REST API (/en/api/code-reference/cloud-scale/stratus/get-all-buckets/#GetAllBuckets) -------------------------------------------------------------------------------- # Download Object The SDKs present in the section will allow you to [download a particular object](https://docs.catalyst.zoho.com/en/cloud-scale/help/stratus/objects/manage-object/download-object/), or version of the object. The Bucket reference used in the below code snippet is the [component instance](https://docs.catalyst.zoho.com/en/sdk/java/v1/cloud-scale/stratus/create-bucket-instance/). The first step of the download operation is a `GET` operation that retrieves the required object from the bucket. To be able to download an object, the requester must have `READ` access permissions. However, owners of the bucket do have the option to grant `READ` access permissions to users, allowing them to download the object without using the required response headers. If [Versioning](https://docs.catalyst.zoho.com/en/cloud-scale/help/stratus/stratus-config/general-settings/#versioning) is enabled for your bucket, you need to pass the `versionId` to download the particular version of the object. If no `versionId` is passed, then by default, the latest version of the object will be downloaded. If *Versioning* was enabled for a bucket, then disabled. By default, the principal first object will be downloaded. To ensure you download the latest version of this object, you need to pass the `versionId` param with the value "`topVersion`". #### Sample Code Snippet **Package Imports** ```java import java.nio.file.Path; import java.nio.file.Files; import java.nio.file.StandardCopyOption; import java.io.*; ``` ```java InputStream dataStream = bucket.getObject("sam/out/sample.txt"); // download the object to your local machine Path path = Path.of("file_path"); // specify a path to store the downloaded object Files.copy(dataStream, path, StandardCopyOption.REPLACE_EXISTING); ``` ### Download a Portion of the Object The following SDK implements the `setRange()` method. This method allows you to download a specific range of bytes of an object. #### Sample Code Snippet **Package Imports** ```java import com.zc.component.stratus.beans.ZCGetObjectOptions; import java.nio.file.Path; import java.nio.file.Files; import java.nio.file.StandardCopyOption; import java.io.*; ``` ```java // add download options ZCGetObjectOptions options = ZCGetObjectOptions.getInstance(); options.setVersionId("3yt5ehjbjghds3i28"); options.setRange("20-200"); // start and end range of the object in bytes InputStream dataStream = bucket.getObject("sam/out/sample.txt", options); // download the object to your local machine Path path = Path.of("file_path"); // specify a path to store the downloaded object Files.copy(dataStream, path, StandardCopyOption.REPLACE_EXISTING); ``` ### Download an Object Using Transfer Manager In this section, we are going to go over SDK methods that will allow you to successfully download large objects from Stratus to your local system using **Transfer Manager** technique. Transfer Manager is an operation where the large object is split into multiple byte ranges using the start and end bytes range of the object. Each of the object's parts is then returned as a stream, and they are downloaded to your local system. #### Create Transfer Manager Instance #### Sample Code Snippet **Package Imports** ```java import com.zc.component.stratus.transfer.ZCTransferManager; ``` ```java ZCTransferManager transferManager= ZCTransferManager.getInstance(bucket); ``` #### Download Object as Iterable Part Streams #### Sample Code Snippet **Package Imports** ```java import java.nio.file.StandardOpenOption; import java.nio.file.Files; import java.util.Iterator; import java.nio.file.Path; import java.io.*; ``` ```java Iterable <InputStream> Iterable = transferManager.getIterableObject("sam/out/sample.txt", 100 L); Path path = Path.of("file_path"); Iterator <InputStream> res = Iterable.iterator(); while (res.hasNext()) { InputStream data = res.next(); // get each part of the object as stream Files.copy(data, path, StandardCopyOption.REPLACE_EXISTING); // write the stream to local file path } ``` #### Generate Object Parts for Download In this SDK method we will download a portion of the object that falls under the required start and end range of bytes. **Parameters Used** * `PartSize`: It is the size of each part in Mb * `key`: Will hold the name of the object #### Sample Code Snippet **Package Imports** ```java import java.nio.file.StandardOpenOption; import java.nio.file.Files; import com.zc.component.stratus.beans.ZCStratusGetObject; import java.nio.file.Path; import java.io.*; ``` ```java Path path = Path.of("file_path"); // get the list of part functions List<ZCStratusGetObject> parts = transferManager.generatePartDownloaders("sam/out/sample.txt", 100L); // create a file to store the downloaded stream. Files.createFile(path); int partNumber = 1; // trigger the each function to download the object parts for (ZCStratusGetObject part : parts) { // get object part as stream InputStream inputStream = part.getPart(); System.out.println("Part "+ partNumber++ + " Downloaded"); // write the stream data to local machine Files.write(path, inputStream.readAllBytes(), StandardOpenOption.APPEND); } ``` ### Generate Presigned URL to Download an Object Presigned URLs are secure URLs that authenticated users can share to their non-authenticated users. This URL will provide non-authenticated users with temporary authorization to access objects. The Bucket reference used in the below code snippet is the [component instance](https://docs.catalyst.zoho.com/en/sdk/java/v1/cloud-scale/stratus/create-bucket-instance/). > **Info:** To use this SDK method, you need intialize it with **Admin** scope. You can learn more about this requirement from this [section](https://docs.catalyst.zoho.com/en/sdk/nodejs/v2/overview/#initialize-sdk-with-scopes) **Parameters Used**
Parameter Name Data Type Definition
`key` **String** A **Mandatory** parameter. Will hold the complete name of the object along with it's [path](https://docs.catalyst.zoho.com/en/cloud-scale/help/stratus/objects/introduction/#path).
`URL_ACTION` **Enum** A **Mandatory** parameter. This is the parameter that will allow you to generate a presigned URL for download action.
  • `URL_ACTION.GET`: To download an object
`expiry` **String** This is an **Optional** parameter. The URL validity time in seconds.
  • Default value: **3600 seconds**
  • Minimum value: **30 seconds**
  • Maximum value: **7 days**
`activeFrom` **String** This is an **Optional** parameter. This param will contain the time after which the URL is valid. Maximum value is **7 days**. URLs are made active as soon as they are generated by default.
#### Sample Code Snippet **Package Imports** ```java import com.zc.component.stratus.enums.URL_ACTION; import org.json.simple.JSONObject; ``` ```java JSONObject res = bucket.generatePreSignedUrl("sam/out/sample.txt",URL_ACTION.GET); System.out.println(res.get("signature")); ``` ### Generate Presigned URL With Expiry and Active Time #### Sample Code Snippet **Package Imports** ```java import com.zc.component.stratus.enums.URL_ACTION; import org.json.simple.JSONObject; ``` ```java JSONObject res = bucket.generatePreSignedUrl("object_name",URL_ACTION.GET, "expiry_in","active_from"); System.out.println(res.get("signature")); ``` **Example Response for Generating a Presigned URL for Download** ```json { signature: 'https://sadi-development.zoho stratus.com/_signed/text.txt?organizationId=96862383&stsCredential=96858154-96862383&stsDate=1747896279887&stsExpiresAfter=300&stsSignedHeaders=host&stsSignature=3YBUX1HFSxNQzQJjFrln82AyJsEEuC5T9dsZwWxGyEE' } ``` **Example Snippet Illustrating Usage of Presigned URL to Upload an Object** **Package Imports** ```java import okhttp3.OkHttpClient; import okhttp3.Request; import okhttp3.Response; import okhttp3.ResponseBody; import java.io.FileOutputStream; import java.io.IOException; import java.io.InputStream; import java.io.OutputStream; ``` ```java public class Download { public static void main(String[] args) throws IOException { // Create an OkHttpClient instance to handle the HTTP request OkHttpClient client = new OkHttpClient(); // Build the GET request with the pre-signed URL Request request1 = new Request.Builder() .url("https://sadi-development.zohostratus.com/_signed/sam.txt?organizationId=96862383&stsCredential=96858154-96862383&stsDate=1747905744487&stsExpiresAfter=300&stsSignedHeaders=host&stsSignature=pCjV9xckDOqBCueE_gBeMbp12StddTghBK_8HUwU5k0") // Replace with your actual URL .build(); // Execute the request and handle the response try (Response response1 = client.newCall(request1).execute()) { // Check if the response was successful if (!response1.isSuccessful()) { throw new IOException("Unexpected code " + response1); } // Get the response body as an InputStream ResponseBody body = response1.body(); if (body != null) { // Create a stream to write the file to disk try (InputStream in = body.byteStream(); OutputStream out = new FileOutputStream("file_path")) { // Replace file_path with the actual path // Read the response data in chunks and write to the file byte[] buffer = new byte[8192]; int len; while ((len = in.read(buffer)) != -1) { out.write(buffer, 0, len); } // Print confirmation after successful download System.out.println("Download complete."); } } } catch (IOException e) { // Print stack trace if an error occurs during the download e.printStackTrace(); } } } ``` -------------------------------------------------------------------------------- title: "Upload Object" description: "This page lists the Java SDK method to upload objects to a bucket." last_updated: "2026-11-03T07:48:52.000Z" source: "https://docs.catalyst.zoho.com/en/sdk/java/v1/cloud-scale/stratus/upload-object/" service: "CloudScale" related: - Stratus Component Help Documentation (/en/cloud-scale/help/stratus/introduction) - Upload Object Help Documentation (/en/cloud-scale/help/stratus/objects/upload-object/) - JavaScript SDK Documentation (/en/sdk/javascript/v1/cloudscale/stratus/upload-object/) - Python SDK (/en/sdk/python/v1/cloud-scale/stratus/upload-object/) - iOS SDK (/en/sdk/ios/v2/cloud-scale/stratus/upload-object/) - Android SDK (/en/sdk/android/v2/cloud-scale/stratus/upload-object/) - Flutter SDK (/en/sdk/flutter/v2/cloud-scale/stratus/upload-object/) - REST API (/en/api/code-reference/cloud-scale/stratus/get-all-buckets/#GetAllBuckets) -------------------------------------------------------------------------------- # Upload Object The SDK methods listed in this section will allow you to [upload objects](https://docs.catalyst.zoho.com/en/cloud-scale/help/stratus/objects/upload-object/) to the [bucket](https://docs.catalyst.zoho.com/en/cloud-scale/help/stratus/buckets/name-bucket/) in various manners. You can upload objects as a **string** or as a **stream**. The Bucket reference used in the below code snippet is the [component instance](https://docs.catalyst.zoho.com/en/sdk/java/v1/cloud-scale/stratus/create-bucket-instance/). If you do not have [Versioning](https://docs.catalyst.zoho.com/en/cloud-scale/help/stratus/stratus-config/general-settings/#versioning) enabled for your object, and if Stratus gets multiple write requests for the same object, the object will be continuously overwritten. The latest upload of the object will be the only object that is stored. However, with Versioning enabled, each upload will be considered a version of the object, and all of them will be stored in the bucket, each with a unique `versionId`. > **Note:** The following characters including space are not supported when you create a path or an object: double quote, both angular brackets, hashtag, backward slash and pipe symbol. ### Upload Object as a Stream Using this SDK method, you can upload objects to a bucket as a stream. Store the stream in a variable and then pass that variable in the upload method. #### Sample Code Snippet **Package Imports** ```java import com.zc.component.stratus.beans.ZCPutObjectOptions; import java.nio.file.Path; import java.nio.file.Files; import java.nio.file.StandardCopyOption; import java.io.*; ``` ```java InputStream file =new FileInputStream("filePath"); Boolean res = bucket.putObject("sam/out/sample.txt", file); System.out.println(res); ``` ### Upload Object as a String Using this SDK method, you can upload the object as a string. You will pass the object name, and the data to be stored in the object in string format in the upload method; `putObject()` #### Sample Code Snippet **Package Imports** ```java import com.zc.component.stratus.beans.ZCPutObjectOptions; import java.nio.file.Path; import java.nio.file.Files; import java.nio.file.StandardCopyOption; import java.io.*; ``` ```java Boolean res = bucket.putObject("sam/out/sample.txt", "content of the file"); System.out.println(res); ``` ### Upload Object with Options Using this SDK method, you can use the following options while you upload an object. * `setOverwrite()`: This is an option you can use, if *Versioning* for your bucket is not enabled for your bucket. Without versioning, you need to use this option if you wish to overwrite a resource. The default value is '**false**'. * `setTTL()`: This is an option you can use to set **Time-to-Live** (TTL) in seconds for an object. Value should be greater than or equal to **60 seconds**. * `setMetaData()`: This is an option you can use to upload [meta details](https://docs.catalyst.zoho.com/en/cloud-scale/help/stratus/objects/introduction/#metadata) of the object that is being uploaded. * `contentType`: This is an option you can provide, if you need to set the MIME type of the object. #### Sample Code Snippet **Package Imports** ```java import com.zc.component.stratus.beans.ZCPutObjectOptions; import java.nio.file.Path; import java.nio.file.Files; import java.nio.file.StandardCopyOption; import java.util.Map; import java.io.*; ``` ```java ZCPutObjectOptions options = ZCPutObjectOptions.getInstance(); options.setTTL("1000"); options.setOverwrite("true"); Map<String, String> metaData = new HashMap<String, String>(); metaData.put("author", "John"); options.setMetaData(metaData); InputStream file = new FileInputStream("filePath"); Boolean res = bucket.putObject("sam/out/sample.txt", file, options); System.out.println(res); ``` ### Upload Object With Extract Option When you upload a zipped object using the `putZipObject()` SDK method, the objects present in the zip will be extracted, and uploaded. #### Sample Code Snippet **Package Imports** ```java import com.zc.component.stratus.ZCBucket; import com.zc.component.stratus.ZCStratus; import com.zc.component.stratus.beans.ZCPutObjectOptions; ``` ```java ZCStratus stratus = ZCStratus.getInstance(); ZCBucket bucket = stratus.bucketInstance("sam1"); ZCPutObjectOptions options = ZCPutObjectOptions.getInstance(); options.setOverwrite("true"); InputStream stream = new FileInputStream("file_path"); JSONObject object = bucket.putZipObject("sam.zip", stream, options); ``` This SDK method will return the value of a `taskId`. You can use this value to find out the status of the extraction using this [SDK method](https://docs.catalyst.zoho.com/en/sdk/java/v1/cloud-scale/stratus/extract-zipped-object/#get-zip-extraction-status). **Example Response** ```json { 'task_id': '1234263749' } ``` ### Upload an Object Using Multipart Operations When the Object that you need to upload is too large to upload, you can perform a multipart operation. The multipart operation will split the object into multiple parts and perform a quicker upload. In this SDK section, we are going to go over all the SDK methods that are available to perform multipart upload of objects in Stratus. #### Initiate Multipart Upload Using the following SDK method, we are going to return a `uploadId`. This ID will allow us to upload multiple pats of the object. #### Sample Code Snippet **Package Imports** ```java import com.zc.component.stratus.beans.ZCInitiateMultipartUpload; ``` ```java ZCInitiateMultipartUpload multipart = bucket.initiateMultipartUpload("sam/out/sample.txt"); ``` #### Perform Multipart Upload for Parts of the Object In the following SDK method, we are going to perform uploads of the individual parts of the object. Each part will have a distinct `part_number` ranging anywhere between **1 and 1000**. While this represents the ordering of the parts, these parts will not necessarily be uploaded in sequence. These parts will be combined in sequence once the upload of all the parts of the objects is complete. **Parameters Used**
Parameter Name Data Type Definition
`key` **String** A **Mandatory** parameter. Will hold the name of the object.
`uploadId` **String** A **Mandatory** parameter. This value is returned in the Initiate Multipart Upload method.
`part` **InputStream** A **Mandatory** parameter. Will hold the data of the object part.
`partNumber` **Int** A **Mandatory** parameter. Will have the ordering of the parts that are being uploaded.
#### Sample Code Snippet **Package Imports** ```java import java.io.*; ``` ```java int partNumber = 1; InputStream part = new FileInputStream("filePath"); Boolean res = bucket.uploadPart("sam/out/sample.txt", "uploadId", part, partNumber); System.out.println(res); ``` #### Get Multipart Upload Summary The following SDK method can be used to obtain an operational summary of all the uploaded parts. To view the summary, we pass the `uploadId` to the `getMultipartUploadSummary()` method. #### Sample Code Snippet **Package Imports** ```java import com.zc.component.stratus.beans.ZCMultipartObjectSummary; ``` ```java ZCMultipartObjectSummary summaryRes = bucket.getMultipartUploadSummary("sam/out/sample.txt", "uploadId"); // accessing uploaded parts System.out.println("Object Name:" + summaryRes.getKey()); System.out.println("Upload Id:" + summaryRes.getUploadId()); System.out.println("Status:" + summaryRes.getStatus()); System.out.println(summaryRes.getParts().get(0).getUploadedAt()); System.out.println(summaryRes.getParts().get(0).getPartNumber()); ``` #### Complete Multipart Upload Operation The following method allows us to terminate the multipart process once all the parts have been successfully uploaded. To complete the process we will pass the `uploadId` to the `completeMultipartUpload()` method. ```java Boolean completeRes = bucket.completeMultipartUpload("sam/out/sample.txt", "uploadId"); System.out.println(completeRes); ``` #### Example Snippet Illustring Implementation of Multipart Operations #### Sample Code Snippet **Package Imports** ```java import java.util.concurrent.CompletableFuture; import java.util.concurrent.ExecutionException; import java.util.concurrent.ExecutorService; import java.util.concurrent.Executors; import java.util.logging.Logger; import java.util.logging.Level; import java.util.ArrayList; import java.util.List; import javax.servlet.http.HttpServletRequest; import javax.servlet.http.HttpServletResponse; import com.catalyst.advanced.CatalystAdvancedIOHandler; import com.zc.component.stratus.ZCBucket; import com.zc.component.stratus.ZCStratus; import com.zc.component.stratus.beans.ZCInitiateMultipartUpload; import com.zc.exception.ZCServerException; import java.io.InputStream; import java.io.FileInputStream; import java.io.ByteArrayInputStream; ``` ```java public class MultipartUpload implements CatalystAdvancedIOHandler { private static final Logger LOGGER = Logger.getLogger(Sample.class.getName()); @Override public void runner(HttpServletRequest request, HttpServletResponse response) throws Exception { try { switch (request.getRequestURI()) { case "/": { ZCStratus stratus = ZCStratus.getInstance(); // get bucket instance ZCBucket bucket = stratus.bucketInstance("sample"); // multipart upload String key = "sample.mp4"; InputStream file = new FileInputStream( "/users/sam/sample.mp4"); ZCInitiateMultipartUpload initiateUploadResponse = bucket.initiateMultipartUpload(key); String uploadId = initiateUploadResponse.getUploadId(); System.out.println("Multipart upload initiated. Upload ID: " + uploadId); // File size and part size (50 MB minimum) int partSize = 50 * 1024 * 1024; // 50 MB long fileSize = file.available(); double result = (double) fileSize / partSize; int noOfParts = (int) Math.ceil(result); // Upload parts in parallel List<CompletableFuture<Void>> uploadedParts = new ArrayList<>(); ExecutorService executor = Executors.newFixedThreadPool(4); int partNumber = 1; while (noOfParts >= partNumber) { int currentPartNumber = partNumber; byte[] buffer = new byte[partSize]; file.read(buffer); InputStream fileData = new ByteArrayInputStream(buffer); uploadedParts.add(CompletableFuture.runAsync(() -> { try { bucket.uploadPart(key, uploadId, fileData, currentPartNumber); LOGGER.log(Level.INFO, "Part {0} Uploaded", currentPartNumber); } catch (Exception e) { throw new RuntimeException(e); } }, executor)); partNumber++; } CompletableFuture<Void> isUploaded = CompletableFuture .allOf(uploadedParts.toArray(new CompletableFuture[0])); try { isUploaded.get(); } catch (Exception e) { throw new ZCServerException("Error while uploading the object", e); } Boolean completeRes = bucket.completeMultipartUpload(key, uploadId); if (completeRes) { LOGGER.log(Level.INFO, "Upload Completed"); } } default: { response.setStatus(404); response.getWriter().write("You might find the page you are looking for at \"/\" path"); } } } catch (Exception e) { if (e instanceof ZCServerException) { int statusCode = ((ZCServerException) e).getStatus(); System.out.println("HTTP status code: " + statusCode); } LOGGER.log(Level.SEVERE, "Exception in Sample", e); } } } ``` ### Upload an Object Using Transfer Manager #### Create Transfer Manager Instance #### Sample Code Snippet **Package Imports** ```java import com.zc.component.stratus.transfer.ZCTransferManager; ``` ```java ZCTransferManager transferManager= ZCTransferManager.getInstance(bucket); ``` #### Multipart Upload **Create Multipart Upload Instance** The following SDK method will create a multipart instance by initiating multipart upload. #### Sample Code Snippet **Package Imports** ```java import com.zc.component.stratus.beans.ZCMultipartUpload; ``` ```java ZCMultipartUpload multipart = transferManager.createMultipartInstance("sam/out/sample.txt"); ``` If you are required to create an instance for an already initialized multipart upload operation, then copy and use the code snippet given below ```java ZCMultipartUpload multipart = transferManager.createMultipartInstance("sam/out/sample.txt", "uploadId"); ``` #### Upload Part In the following SDK method we are going to be using the `multipart` instance we initialized in the *Create Multipart Upload Instance* section. #### Sample Code Snippet **Package Imports** ```java import java.io.InputStream; ``` ```java int partNumber = 1; InputStream part = new FileInputStream("filePath"); Boolean uploadRes = multipart.uploadPart(part, partNumber); System.out.println(uploadRes); ``` #### Upload Summary #### Sample Code Snippet **Package Imports** ```java import com.zc.component.stratus.beans.ZCMultipartObjectSummary; ``` ```java ZCMultipartObjectSummary summaryRes = multipart.getUploadSummary(); // accessing uploaded parts System.out.println("Object Name:" + summaryRes.getKey()); System.out.println("Upload Id:" + summaryRes.getUploadId()); System.out.println("Status:" + summaryRes.getStatus()); System.out.println(summaryRes.getParts().get(0).getUploadedAt()); System.out.println(summaryRes.getParts().get(0).getPartNumber()); System.out.println(summaryRes.getParts().get(0).getSize()); ``` #### Complete Upload ```java Boolean completeRes = multipart.completeUpload(); System.out.println(completeRes); ``` #### Upload Object Using Wrapper The following SDK method acts as a wrapper, where the entire multipart upload operation is carried out without employing multiple steps. Using this method, the object is split into multiple parts, uploaded to the bucket in multiple parts, and then combined once all the parts are uploaded. ```java import java.io.InputStream; import com.zc.component.stratus.beans.ZCMultipartObjectSummary; ``` ```java InputStream file =new FileInputStream("filePath"); int partSize = 50; ZCMultipartObjectSummary res = transferManager.putObjectAsParts("objetName", file, partSize); ``` > **Note:** For object's that are larger than **2GB**, we would recommend that you use the individual SDK methods to carry out the multipart upload operation successfully. ### Generate Presigned URL to Upload an Object Presigned URLs are secure URLs that authenticated users can share to their non-authenticated users. This URL will provide non-authenticated users with temporary authorization to access objects. The Bucket reference used in the below code snippet is the [component instance](https://docs.catalyst.zoho.com/en/sdk/java/v1/cloud-scale/stratus/create-bucket-instance/). > **Info:** To use this SDK method, you need intialize it with **Admin** scope. You can learn more about this requirement from this [section](https://docs.catalyst.zoho.com/en/sdk/nodejs/v2/overview/#initialize-sdk-with-scopes) **Parameters Used**
Parameter Name Data Type Definition
`key` **String** A **Mandatory** parameter. Will hold the complete name of the object along with it's [path](https://docs.catalyst.zoho.com/en/cloud-scale/help/stratus/objects/introduction/#path).
`URL_ACTION` **Enum** A **Mandatory** parameter. This is the parameter that will allow you to generate a presigned URL for an upload action.
  • `URL_ACTION.PUT`: To upload an object
`expiry` **String** This is an **Optional** parameter. The URL validity time in seconds.
  • Default value: **3600 seconds**
  • Minimum value: **30 seconds**
  • Maximum value: **7 days**
`activeFrom` **String** This is an **Optional** parameter. This param will contain the time after which the URL is valid. Maximum value is **7 days**. URLs are made active as soon as they are generated by default.
#### Sample Code Snippet **Package Imports** ```java import com.zc.component.stratus.enums.URL_ACTION; import org.json.simple.JSONObject; ``` ```java JSONObject res = bucket.generatePreSignedUrl("sam/out/sample.txt", URL_ACTION.PUT); System.out.println(res.get("signature")); ``` ### Generate Presigned URL With Expiry and Active Time #### Sample Code Snippet **Package Imports** ```java import com.zc.component.stratus.enums.URL_ACTION; import org.json.simple.JSONObject; ``` ```java JSONObject res = bucket.generatePreSignedUrl("object_name",URL_ACTION.GET, "expiry_in","active_from"); System.out.println(res.get("signature")); ``` **Example Response for Generating a Presigned URL for Upload** ```json { "signature": "https://sadi-development.zohostratus.com/_signed/sam.txt?organizationId=96862383&stsCredential=96858154-96862383&stsDate=1747904989454&stsExpiresAfter=300&stsSignedHeaders=host&stsSignature=UPyH5A4AdAaCpw6S6jVhKFSxg3B0B0p619YN0cAIn4c", "expiry_in_seconds": "100", "active_from": "1726492859577" } ``` **Example Snippet Illustrating Usage of Presigned URL to Upload an Object** **Package Imports** ```java import okhttp3.*; import java.io.File; import java.io.IOException; ``` ```java public class BinaryFileUpload { public static void main(String[] args) throws IOException { // Create an OkHttpClient instance for making HTTP requests OkHttpClient client = new OkHttpClient(); // Specify the file to upload. Replace "file_path" with actual file location File file = new File("file_path"); // Create the request body with binary content (octet-stream) RequestBody requestBody = RequestBody.create( MediaType.parse("application/octet-stream"), // Use a specific MIME type if known file ); // ️ Build the PUT request with the pre-signed URL Request request = new Request.Builder() .url("https://sadi-development.zohostratus.com/_signed/sam.txt?organizationId=96862383&stsCredential=96858154-96862383&stsDate=1747904989454&stsExpiresAfter=300&stsSignedHeaders=host&stsSignature=UPyH5A4AdAaCpw6S6jVhKFSxg3B0B0p619YN0cAIn4c") // Replace with a actual URL .put(requestBody) // PUT request to upload file .build(); // Execute the request and handle the response try (Response response = client.newCall(request).execute()) { if (response.isSuccessful()) { System.out.println("Object uploaded successfully"); } else { // Print error if upload fails System.err.println("Error: " + response.code() + " - " + response.body().string()); } } } } ``` -------------------------------------------------------------------------------- title: "Extract a Zipped Object" description: "This page lists the Java SDK method to extract a zipped object." last_updated: "2026-11-03T07:48:52.000Z" source: "https://docs.catalyst.zoho.com/en/sdk/java/v1/cloud-scale/stratus/extract-zipped-object/" service: "CloudScale" related: - Stratus Component Help Documentation (/en/cloud-scale/help/stratus/introduction) - JavaScript SDK Documentation (/en/sdk/javascript/v1/cloudscale/stratus/extract-zipped-object/) - Python SDK (/en/sdk/python/v1/cloud-scale/stratus/extract-zipped-object/) - iOS SDK (/en/sdk/ios/v2/cloud-scale/stratus/overview/) - Android SDK (/en/sdk/android/v2/cloud-scale/stratus/overview/) - Flutter SDK (/en/sdk/flutter/v2/cloud-scale/stratus/overview/) - REST API (/en/api/code-reference/cloud-scale/stratus/get-all-buckets/#GetAllBuckets) -------------------------------------------------------------------------------- # Extract a Zipped Object The following SDK method will allow you to extract a zip file inside Stratus, and every individual content present in the zip file will be considered as individual object and uploaded to Stratus in the same bucket. This entire process will happen *asynchronously*. The Bucket reference used in the below code snippet is the [component instance](https://docs.catalyst.zoho.com/en/sdk/java/v1/cloud-scale/stratus/create-bucket-instance/). > **Info:** To use this SDK method, you need intialize it with **Admin** scope. You can learn more about this requirement from this [section](https://docs.catalyst.zoho.com/en/sdk/nodejs/v2/overview/#initialize-sdk-with-scopes) > **Note:** Since the extraction process occurs asynchronously, the time in which the entire process is completed is dependent on the size of the zip file that is being extracted. **Parameters Used**
Parameter Name Data Type Definition
`key` **String** A **Mandatory** parameter. Will be the name of the zip file, you need to extract
`destination` **String** A **Mandatory** parameter. Will contain the complete [path information](https://docs.catalyst.zoho.com/en/cloud-scale/help/stratus/objects/introduction/#path) of the destination, where the extracted objects will be stored in the bucket.
#### Sample Code Snippet **Package Imports** ```java import com.zc.component.stratus.beans.ZCStratusZipExtractResponse; ``` ```java ZCStratusZipExtractResponse res = bucket.unzipObject("sam/out/sample.zip","output/"); System.out.println(res.getObjectName()); System.out.println(res.getTaskId()); ``` ### Get Zip Extraction Status The zip extraction process occurs asynchronously, and the time it takes to complete the extraction process is highly contingent on the size of the zip file. > **Info:** To use this SDK method, you need intialize it with **Admin** scope. You can learn more about this requirement from this [section](https://docs.catalyst.zoho.com/en/sdk/nodejs/v2/overview/#initialize-sdk-with-scopes) Using the `taskId` parameter, in the following SDK method, we can determine the status of the extraction. The `taskId` is returned in the response of `unzipObject()` method. #### Sample Code Snippet **Package Imports** ```java import org.json.simple.JSONObject; ``` ```java JSONObject res = object.getUnzipStatus("sam/out/sample.zip","taskId"); System.out.println(res); ``` #### Example Response ```json { "task_id": "6963000000272049", "status": "SUCCESS" } ``` -------------------------------------------------------------------------------- title: "Copy Object" description: "This page lists the Java SDK method to make a copy of an object within its own bucket." last_updated: "2026-11-03T07:48:52.000Z" source: "https://docs.catalyst.zoho.com/en/sdk/java/v1/cloud-scale/stratus/copy-objects/" service: "CloudScale" related: - Stratus Component Help Documentation (/en/cloud-scale/help/stratus/introduction) - JavaScript SDK Documentation (/en/sdk/javascript/v1/cloudscale/stratus/copy-object/) - Python SDK (/en/sdk/python/v1/cloud-scale/stratus/copy-objects/) - iOS SDK (/en/sdk/ios/v2/cloud-scale/stratus/overview/) - Android SDK (/en/sdk/android/v2/cloud-scale/stratus/overview/) - Flutter SDK (/en/sdk/flutter/v2/cloud-scale/stratus/overview/) - REST API (/en/api/code-reference/cloud-scale/stratus/get-all-buckets/#GetAllBuckets) -------------------------------------------------------------------------------- # Copy Object Using this SDK method, you can copy an object and paste it within a bucket. The Bucket reference used in the below code snippet is the [component instance](https://docs.catalyst.zoho.com/en/sdk/java/v1/cloud-scale/stratus/create-bucket-instance/). > **Info:** To use this SDK method, you need intialize it with **Admin** scope. You can learn more about this requirement from this [section](https://docs.catalyst.zoho.com/en/sdk/nodejs/v2/overview/#initialize-sdk-with-scopes) The `key` will be the object you are going to copy, and the `destination`, will contain the new name of the copied object. To paste the copied object in a different path, you need to provide the complete path name as `destination`. > **Note:** * You need to provide the complete object name, along with the [**path**](https://docs.catalyst.zoho.com/en/cloud-scale/help/stratus/objects/introduction/#path) for both `key` and `destination` values. * For example, if you have file named "`kitten.png`" in the path `pictures/puppy`, and you need to copy the file to `pictures/kitten` path, then: `key` value will be '`pictures/puppy/kitten.png`' `destination` value will be '`pictures/kitten/kitten.png`' #### Sample Code Snippet **Package Imports** ```java import org.json.simple.JSONObject; ``` ```java JSONObject copyRes = bucket.copyObject("sam/out/sample.txt", "output/sample.txt") System.out.println(copyRes); ``` #### Example Response ```json { "copy_to": "output/sample.txt", "object_key": "sam/out/sample.txt", "message": "Object copied successfully." } ``` -------------------------------------------------------------------------------- title: "Rename and Move Operations on an Object" description: "This page lists the Java SDK method to perform rename and move operations on an object." last_updated: "2026-11-03T07:48:52.000Z" source: "https://docs.catalyst.zoho.com/en/sdk/java/v1/cloud-scale/stratus/rename-move-object/" service: "CloudScale" related: - Stratus Component Help Documentation (/en/cloud-scale/help/stratus/introduction) - JavaScript SDK Documentation (/en/sdk/javascript/v1/cloudscale/stratus/rename-move/) - Python SDK (/en/sdk/python/v1/cloud-scale/stratus/rename-move-object/) - iOS SDK (/en/sdk/ios/v2/cloud-scale/stratus/overview/) - Android SDK (/en/sdk/android/v2/cloud-scale/stratus/overview/) - Flutter SDK (/en/sdk/flutter/v2/cloud-scale/stratus/overview/) - REST API (/en/api/code-reference/cloud-scale/stratus/get-all-buckets/#GetAllBuckets) -------------------------------------------------------------------------------- # Rename and Move Operations on an Object To rename and to move an object, we will be using the same `renameObject()` SDK method. ### Rename an Object Using the `renameObject()` SDK method you can rename objects present in a bucket. > **Info:** To use this SDK method, you need intialize it with **Admin** scope. You can learn more about this requirement from this [section](https://docs.catalyst.zoho.com/en/sdk/nodejs/v2/overview/#initialize-sdk-with-scopes) > **Note:** The following characters including space are not supported when you create a path or an object: double quote, both angular brackets, hashtag, backward slash and pipe symbol. **Parameters Used**
Parameter Name Data Type Definition
`key` **String** The original name of the object that you need to rename
`destination` **String** The new name that you rename the object with
#### Sample Code Snippet **Package Imports** ```java import org.json.simple.JSONObject; ``` ```java JSONObject res = bucket.renameObject("sam/out/sample.txt", "sam/out/update_sample.txt"); System.out.println(res); ``` > **Note:** You cannot rename objects in a bucket that has [Versioning](https://docs.catalyst.zoho.com/en/cloud-scale/help/stratus/stratus-config/general-settings/#versioning) enabled. ### Move an Object Using the `renameObject()` SDK method, we can move the object from one path to another within a bucket. > **Info:** To use this SDK method, you need intialize it with **Admin** scope. You can learn more about this requirement from this [section](https://docs.catalyst.zoho.com/en/sdk/nodejs/v2/overview/#initialize-sdk-with-scopes) **Parameters Used**
Parameter Name Data Type Definition
`key` **String** The complete name and [path](https://docs.catalyst.zoho.com/en/cloud-scale/help/stratus/objects/introduction/#path) of the object that you are required to move.
`destination` **String** The complete name and new path of the object.
> **Note:** * You need to provide the complete object name, along with the [**path**](https://docs.catalyst.zoho.com/en/cloud-scale/help/stratus/objects/introduction/#path) for both `key` and `destination` values. * For example, if you have file named "`kitten.png`" in the path `pictures/puppy`, and you need to move the file to `pictures/kitten` path, then: `key` value will be '`pictures/puppy/kitten.png`' `destination` value will be '`pictures/kitten/kitten.png`' #### Sample Code Snippet **Package Imports** ```java import org.json.simple.JSONObject; ``` ```java JSONObject res = bucket.renameObject("sam/out/sample.txt", "output/sample.txt"); System.out.println(res); ``` > **Note:** You cannot perform move operations in a bucket that has [Versioning](https://docs.catalyst.zoho.com/en/cloud-scale/help/stratus/stratus-config/general-settings/#versioning) enabled. -------------------------------------------------------------------------------- title: "Delete Objects" description: "This page lists the Java SDK method to delete objects stores in a bucket." last_updated: "2026-11-03T07:48:52.000Z" source: "https://docs.catalyst.zoho.com/en/sdk/java/v1/cloud-scale/stratus/delete-objects/" service: "CloudScale" related: - Stratus Component Help Documentation (/en/cloud-scale/help/stratus/introduction) - Delete an Object Help Documentation (/en/cloud-scale/help/stratus/objects/manage-object/delete-object/) - JavaScript SDK Documentation (/en/sdk/javascript/v1/cloudscale/stratus/delete-object/) - Python SDK (/en/sdk/python/v1/cloud-scale/stratus/delete-objects/) - iOS SDK (/en/sdk/ios/v2/cloud-scale/stratus/delete-object/) - Android SDK (/en/sdk/android/v2/cloud-scale/stratus/delete-object/) - Flutter SDK (/en/sdk/flutter/v2/cloud-scale/stratus/delete-object/) - REST API (/en/api/code-reference/cloud-scale/stratus/get-all-buckets/#GetAllBuckets) -------------------------------------------------------------------------------- # Delete Objects The following SDK methods will allow you to perform delete operations in Stratus. The Bucket reference used in the below code snippet is the [component instance](https://docs.catalyst.zoho.com/en/sdk/java/v1/cloud-scale/stratus/create-bucket-instance/). > **Info:** To use this SDK method, you need intialize it with **Admin** scope. You can learn more about this requirement from this [section](https://docs.catalyst.zoho.com/en/sdk/nodejs/v2/overview/#initialize-sdk-with-scopes) **Parameters Used**
Parameter Name Data Type Definition
`key` **String** A **Mandatory** parameter. Will hold the complete name of the object along with it's [path](https://docs.catalyst.zoho.com/en/cloud-scale/help/stratus/objects/introduction/#path).
`versionId` **String** An **Optional** parameter. If [Versioning](https://docs.catalyst.zoho.com/en/cloud-scale/help/stratus/stratus-config/general-settings/#versioning) is enabled for your bucket then, this param will help you refer to a particular version using its unique Version ID.
`ttl` **int** An **Optional** parameter. It allows you to schedule your delete operations. For example, if you provide the value of `ttl` as **60**, the delete operation will only occur after 60 seconds. The value of `ttl` has to be >= 60 seconds.
### Delete a Single Object Using this SDK method, you can delete a particular object by passing the object name to the `deleteObject()` method. > **Info:** To use this SDK method, you need intialize it with **Admin** scope. You can learn more about this requirement from this [section](https://docs.catalyst.zoho.com/en/sdk/nodejs/v2/overview/#initialize-sdk-with-scopes) #### Sample Code Snippet **Package Imports** ```java import org.json.simple.JSONObject; ``` ```java int ttl = 200; //time to live in seconds JSONObject deleteRes = bucket.deleteObject("sam/out/sample.txt", "versionId", ttl); System.out.println(deleteRes); ``` > **Note:** If [Versioning](https://docs.catalyst.zoho.com/en/cloud-scale/help/stratus/stratus-config/general-settings/#versioning) is enabled on the bucket and no specific `versionId` is provided, deleting an object will **remove all versions** of that object by default. ### Delete Multiple Objects Using this SDK method, you can delete multiple objects by passing the names of the objects that need to be deleted as an array. > **Info:** To use this SDK method, you need intialize it with **Admin** scope. You can learn more about this requirement from this [section](https://docs.catalyst.zoho.com/en/sdk/nodejs/v2/overview/#initialize-sdk-with-scopes) Ensure you provide the `versionId` of the object if you enabled [Versioning](https://docs.catalyst.zoho.com/en/cloud-scale/help/stratus/stratus-config/general-settings/#versioning) for your bucket. You can also schedule your delete operation using the `ttl` variable. For example, if you provide the value of `ttl` as **60**, the delete operation will only occur after **60 seconds**. #### Sample Code Snippet **Package Imports** ```java import com.zc.component.stratus.beans.ZCDeleteObjectRequest; import org.json.simple.JSONObject; ``` ```java ZCDeleteObjectRequest deleteRequest = ZCDeleteObjectRequest.getInstance(); deleteRequest.setObject("sam/out/sample.txt", "76dhe7yr738rud"); deleteRequest.setObject("sam/out/add.txt", "cjdhf73673g7yt7d"); deleteRequest.setTTL(70); JSONObject res = bucket.deleteObjects(deleteRequest); System.out.println(res); ``` ### Truncate Bucket Using this SDK method you will be able to essentially every single object present in the bucket. > **Info:** To use this SDK method, you need intialize it with **Admin** scope. You can learn more about this requirement from this [section](https://docs.catalyst.zoho.com/en/sdk/nodejs/v2/overview/#initialize-sdk-with-scopes) #### Sample Code Snippet **Package Imports** ```java import org.json.simple.JSONObject; ``` ```java JSONObject truncateRes = bucket.truncate(); System.out.println(truncateRes); ``` ### Delete a Path in the Bucket Using this SDK, you will be able to delete all the objects present in a [path](https://docs.catalyst.zoho.com/en/cloud-scale/help/stratus/objects/introduction/#path). You need to pass the complete path to the `deletePath()` method. > **Info:** To use this SDK method, you need intialize it with **Admin** scope. You can learn more about this requirement from this [section](https://docs.catalyst.zoho.com/en/sdk/nodejs/v2/overview/#initialize-sdk-with-scopes) #### Sample Code Snippet **Package Imports** ```java import org.json.simple.JSONObject; ``` ```java JSONObject res = bucket.deletePath("sam/"); System.out.println(res); ``` > **Note:** Ensure that you provide the exact path. If an incorrect path is provided, the delete action will get scheduled, but it will result in an error. -------------------------------------------------------------------------------- title: "Create Object Instance" description: "This page lists the Java SDK method to create an object instance." last_updated: "2026-11-03T07:48:52.000Z" source: "https://docs.catalyst.zoho.com/en/sdk/java/v1/cloud-scale/stratus/create-object-instance/" service: "CloudScale" related: - Stratus Component Help Documentation (/en/cloud-scale/help/stratus/introduction) - JavaScript SDK Documentation (/en/sdk/javascript/v1/cloudscale/stratus/create-object-instance/) - Python SDK (/en/sdk/python/v1/cloud-scale/stratus/create-object-instance/) - iOS SDK (/en/sdk/ios/v2/cloud-scale/stratus/overview/) - Android SDK (/en/sdk/android/v2/cloud-scale/stratus/overview/) - Flutter SDK (/en/sdk/flutter/v2/cloud-scale/stratus/overview/) - REST API (/en/api/code-reference/cloud-scale/stratus/get-all-buckets/#GetAllBuckets) -------------------------------------------------------------------------------- # Create Object Instance Use the following method to get an object instance to perform object-related operations. The Bucket reference used in the below code snippet is the [component instance](https://docs.catalyst.zoho.com/en/sdk/java/v1/cloud-scale/stratus/create-bucket-instance/). #### Sample Code Snippet **Package Imports** ```java import com.zc.component.stratus.ZCObject; ``` ```java ZCObject object = bucket.getObjectInstance("sam/out/sample.txt"); ``` -------------------------------------------------------------------------------- title: "List Versions of an Object" description: "This page lists the Java SDK method to get versions of an object." last_updated: "2026-11-03T07:48:52.000Z" source: "https://docs.catalyst.zoho.com/en/sdk/java/v1/cloud-scale/stratus/list-object-versions/" service: "CloudScale" related: - Stratus Component Help Documentation (/en/cloud-scale/help/stratus/introduction) - Object Versioning Help Documentation (/en/cloud-scale/help/stratus/stratus-config/general-settings/#versioning) - JavaScript SDK Documentation (/en/sdk/javascript/v1/cloudscale/stratus/rename-move/) - Python SDK (/en/sdk/python/v1/cloud-scale/stratus/list-object-versions/) - iOS SDK (/en/sdk/ios/v2/cloud-scale/stratus/overview/) - Android SDK (/en/sdk/android/v2/cloud-scale/stratus/overview/) - Flutter SDK (/en/sdk/flutter/v2/cloud-scale/stratus/overview/) - REST API (/en/api/code-reference/cloud-scale/stratus/get-all-buckets/#GetAllBuckets) -------------------------------------------------------------------------------- # List Versions of an Object ### List All Versions of an Object Enabling [Versioning](https://docs.catalyst.zoho.com/en/cloud-scale/help/stratus/stratus-config/general-settings/#versioning) in a bucket allows you to store multiple versions of the same object in the bucket. Each version of the object will have its own `versionId`. This SDK method allows you to get all the existing versions of an object present in a bucket by pagination. The Object reference used in the below code snippet is the [component instance](https://docs.catalyst.zoho.com/en/sdk/java/v1/cloud-scale/stratus/create-object-instance/). > **Info:** To use this SDK method, you need intialize it with **Admin** scope. You can learn more about this requirement from this [section](https://docs.catalyst.zoho.com/en/sdk/nodejs/v2/overview/#initialize-sdk-with-scopes) **Parameters Used**
Parameter Name Data Type Definition
`nextToken` **String** Will hold the value to determine the next set of versions.
`maxVersion` **int** An **Optional** parameter. Will hold the value of the maximum number of versions of the object that can be listed per iteration.
#### Sample Code Snippet **Package Imports** ```java import com.zc.component.stratus.ZCBucket; import com.zc.component.stratus.ZCStratus; import com.zc.component.stratus.ZCPagedObjectResponse; import com.zc.component.stratus.ZCObject; import com.zc.component.stratus.beans.ZCObjectVersions; import com.zc.component.stratus.beans.ZCObjectVersions.ZCVersionDetail; import java.util.List; ``` ```java String nextToken = null; int maxVersion = 5; do { ZCObjectVersions res = object.listPagedVersions(maxVersion, nextToken); System.out.println(res.getVersion()); for(ZCVersionDetail version : res.getVersion()) { System.out.println("version id: "+version.getVersionId()); } nextToken = res.getNextToken(); } while(nextToken != null); ``` ### List All Versions of the Object in an Iterable Manner You can use the following SDK method to list all available versions of the object in a single call. > **Info:** To use this SDK method, you need intialize it with **Admin** scope. You can learn more about this requirement from this [section](https://docs.catalyst.zoho.com/en/sdk/nodejs/v2/overview/#initialize-sdk-with-scopes) #### Sample Code Snippet **Package Imports** ```java import java.util.Iterator; import com.zc.component.stratus.beans.ZCObjectVersions; import com.zc.component.stratus.beans.ZCObjectVersions.ZCVersionDetail; ``` ```java int maxVersion = 10; Iterable<List<ZCVersionDetail>> paginationIterable=object.listIterableVersions(maxVersion); Iterator<List<ZCVersionDetail>> iterator = paginationIterable.iterator(); while(iterator.hasNext()) { List<ZCVersionDetail> objects= iterator.next(); for(ZCVersionDetail object: objects){ System.out.println(object.getVersionId()); } } ``` -------------------------------------------------------------------------------- title: "Get Object Details" description: "This page lists the Java SDK method to get details of objects stored in a bucket." last_updated: "2026-11-03T07:48:52.000Z" source: "https://docs.catalyst.zoho.com/en/sdk/java/v1/cloud-scale/stratus/object-details/" service: "CloudScale" related: - Stratus Component Help Documentation (/en/cloud-scale/help/stratus/introduction) - Objects Help Documentation (/en/cloud-scale/help/stratus/objects/introduction/) - JavaScript SDK Documentation (/en/sdk/javascript/v1/cloudscale/stratus/get-object-details/) - Python SDK (/en/sdk/python/v1/cloud-scale/stratus/object-details/) - iOS SDK (/en/cloud-scale/help/stratus/introduction) - Android SDK (/en/cloud-scale/help/stratus/introduction) - Flutter SDK (/en/cloud-scale/help/stratus/introduction) - REST API (/en/api/code-reference/cloud-scale/stratus/get-all-buckets/#GetAllBuckets) -------------------------------------------------------------------------------- # Get Object Details ### Get Details of an Object Using this SDK method, you will be able to get all details of an object and all its versions. The Object reference used in the below code snippet is the [component instance](https://docs.catalyst.zoho.com/en/sdk/java/v1/cloud-scale/stratus/create-object-instance/). > **Info:** To use this SDK method, you need intialize it with **Admin** scope. You can learn more about this requirement from this [section](https://docs.catalyst.zoho.com/en/sdk/nodejs/v2/overview/#initialize-sdk-with-scopes) #### Sample Code Snippet **Package Imports** ```java import com.zc.component.stratus.ZCObject; ``` ```java ZCObject objectRes = object.getDetails(); System.out.println(objectRes); ``` > **Note:** If [Versioning](https://docs.catalyst.zoho.com/en/cloud-scale/help/stratus/stratus-config/general-settings/#versioning) is enabled, then using this SDK method will only return the latest version's object details. ### Get Details of a Particular Version of the Object Using this SDK method, you will be able to get all details of a particular object's version. > **Info:** To use this SDK method, you need intialize it with **Admin** scope. You can learn more about this requirement from this [section](https://docs.catalyst.zoho.com/en/sdk/nodejs/v2/overview/#initialize-sdk-with-scopes) **Parameters Used**
Parameter Name Data Type Definition
`versionId` **String** An **Optional** parameter. If [Versioning](https://docs.catalyst.zoho.com/en/cloud-scale/help/stratus/stratus-config/general-settings/#versioning) is enabled for your bucket then, this param will help you refer to a particular version using its unique Version ID.
#### Sample Code Snippet **Package Imports** ```java import com.zc.component.stratus.ZCObject; ``` ```java ZCObject objectRes = object.getDetails("versionId"); System.out.println(objectRes); ``` > **Note:** You can get the details of the latest version of the object by passing the parameter valuse as `topVersion`. -------------------------------------------------------------------------------- title: "Put Object Meta Data" description: "This page lists the Java SDK method to add meta data for an object stored in the object." last_updated: "2026-11-03T07:48:52.000Z" source: "https://docs.catalyst.zoho.com/en/sdk/java/v1/cloud-scale/stratus/put-object-meta/" service: "CloudScale" related: - Stratus Component Help Documentation (/en/cloud-scale/help/stratus/introduction) - Object Metadata Help Documentation (/en/cloud-scale/help/stratus/objects/introduction/#metadata) - JavaScript SDK Documentation (/en/sdk/javascript/v1/cloudscale/stratus/put-object-metadata/) - Python SDK (/en/sdk/python/v1/cloud-scale/stratus/put-object-meta/) - iOS SDK (/en/sdk/ios/v2/cloud-scale/stratus/overview/) - Android SDK (/en/sdk/android/v2/cloud-scale/stratus/overview/) - Flutter SDK (/en/sdk/flutter/v2/cloud-scale/stratus/overview/) - REST API (/en/api/code-reference/cloud-scale/stratus/get-all-buckets/#GetAllBuckets) -------------------------------------------------------------------------------- # Put Object Meta Data Using the following SDK method, you can add [meta details](https://docs.catalyst.zoho.com/en/cloud-scale/help/stratus/objects/introduction/#metadata) for a particular object stored in a bucket in Stratus. The Object reference used in the below code snippet is the [component instance](https://docs.catalyst.zoho.com/en/sdk/java/v1/cloud-scale/stratus/create-object-instance/). > **Info:** To use this SDK method, you need intialize it with **Admin** scope. You can learn more about this requirement from this [section](https://docs.catalyst.zoho.com/en/sdk/nodejs/v2/overview/#initialize-sdk-with-scopes) The meta details will be passed as JSON key value pairs. For example, {"meta_key" : "meta_value"} > **Note:** * You can use alphanumeric, underscores, or whitespace characters, as well as hyphens, to write your metadata. No other special character is allowed other than the once mentioned. * You can fetch the metadata of an object using the `HEAD` request method. In the response, the metadata will be listed in the key '`x-user-meta`'. * The maximum size limit of characters allowed for the overall metadata is **2047** characters. The character count used to determine the size limit also includes the colon ":" special character used to define the key value pair. #### Sample Code Snippet **Package Imports** ```java import org.json.simple.JSONObject; import java.util.HashMap; ``` ```java HashMap<String, String> objectMeta = new HashMap<>(); objectMeta.put("key1", "value1"); objectMeta.put("key2", "value2"); JSONObject res = object.putMeta(objectMeta); System.out.println(res); ``` > **Note:** Using this method to pass new meta details without adding the existent details will delete the existing details and only put the new details. To avoid this, pass the new meta details along with the existing meta details. **Example Response** ```json { "message": "Metadata added successfully" } ``` ### ZCQL -------------------------------------------------------------------------------- title: "Execute ZCQL queries" description: "This page describes the method to execute ZCQL queries on a table in the Data Store in your Java application with sample code snippets." last_updated: "2026-11-03T07:48:52.000Z" source: "https://docs.catalyst.zoho.com/en/sdk/java/v1/cloud-scale/zcql/execute-zcql-query/" service: "CloudScale" related: - Execute ZCQL queries - API (/en/api/code-reference/cloud-scale/zcql/execute-zcql-query/#ExecuteZCQLQuery) - Execute ZCQL queries (/en/cloud-scale/help/zcql/introduction) - Data Store (/en/cloud-scale/help/data-store/introduction) -------------------------------------------------------------------------------- # ZCQL [ZCQL](https://docs.catalyst.zoho.com/en/cloud-scale/help/zcql/introduction) is Catalyst's own query language that enables you to perform data retrieval, insertion, updating, and deletion operations on the tables in the [Catalyst Data Store](https://docs.catalyst.zoho.com/en/cloud-scale/help/data-store/introduction). You can execute a variety of DML queries using ZCQL to obtain or manipulate data, and use various clauses and statements such as the SQL Join clauses, Groupby and OrderBy statements, and built-in SQL functions. ### Execute ZCQL Queries Catalyst also provides an [**OLAP database**](https://docs.catalyst.zoho.com/en/cloud-scale/help/data-store/olap-database/introduction/), in addition to the primary Data Store that is suited for analytical data retrieval queries. You can choose to execute simple transactional queries on the primary Data Store, and complex analytical queries that involve [ZCQL functions](https://docs.catalyst.zoho.com/en/cloud-scale/help/zcql/zcql-functions/) on the OLAP database. The queries that you execute on the primary Data Store can include SELECT, INSERT, UPDATE, or DELETE statements. The queries that you execute on the OLAP database must only include the SELECT statement, as direct write operations on it are not allowed. You must construct a ZCQL query and pass it to the `executeQuery()` method for execution as shown in the sample code below. The `executeQuery()` method supports these three parameters: * The String variable containing the constructed query statement * `isV2?`: A boolean value (`true` or `false`) indicating if it is a ZCQL v2 query * `isOLAP?`: A boolean value (`true` or `false`) indicating if the query needs to be executed on the OLAP database ```sql executeQuery(query: string, isV2?: boolean , isOLAP?:boolean) ``` A sample SELECT query is shown below. The response will contain the records you fetch using the SELECT query, or the response generated for the other operations. #### Sample Code Snippet **Package Imports** ```java import com.zc.component.object.ZCRowObject; import com.zc.component.zcql.ZCQL; ``` ```java //Construct the query to be executed String query = "SELECT * from empDetails limit 10"; //Get the ZCQL instance and execute query using the query string ArrayList rowList = ZCQL.getInstance().executeQuery(query, true , false) ``` ## SDK — Modular JavaScript SDK — CloudScale ### Authentication -------------------------------------------------------------------------------- title: "Overview" description: "This page describes the method to perform operations in the Authentication component." last_updated: "2026-09-09T10:45:38.000Z" source: "https://docs.catalyst.zoho.com/en/sdk/javascript/v1/cloudscale/authentication/overview/" service: "CloudScale" related: - Catalyst CloudScale (/en/cloud-scale/) - Authentication Help (/en/cloud-scale/help/authentication/introduction/) - Java SDK (/en/sdk/java/v1/cloud-scale/authentication/add-new-user/) - Python SDK (/en/sdk/python/v1/cloud-scale/authentication/get-component-instance/) - iOS SDK (/en/sdk/ios/v2/cloud-scale/authentication/create-user-instance/) - Android SDK (/en/sdk/android/v2/cloud-scale/authentication/create-user-instance/) - Flutter SDK (/en/sdk/flutter/v2/cloud-scale/authentication/create-user-instance/) - REST API (/en/api/code-reference/cloud-scale/data-store/insert-new-row/#InsertNewRow) -------------------------------------------------------------------------------- # Authentication JavaScript SDK # Overview Authentication is a Catalyst CloudScale component that allows you to add end-users to your application in a secure manner. You will be able to customize aspects of your login elements, choose from three different types of authentication types, control end-user statuses, customize email templates, whitelist domains and enable CORS and iFrame access. The **Authentication JavaScript SDK** package enables you to perform user management operations like adding or removing end-users, prompting users to reset their passwords, getting user details, and implementing custom logic to authenticate end-users' access. ### Prerequisites You need to install the following package to use the Authentication SDK methods. ```sh npm install @zcatalyst/auth ``` > **Info:** Ensure that you have applied the [required authentication configuration](https://docs.catalyst.zoho.com/en/sdk/javascript/v1/auth-config/node-consideration/) to use the SDK methods of this component. ### Import Requirement You will need to import the following module to use the Authentication SDK methods. ```javascript const { UserManagement } = require('@zcatalyst/auth'); ``` ### List of SDK Methods The following table contains the list of SDK methods that can be used to perform operations in Authentication through code.
Category SDK Method Required Scope
General Operations [Get Component Instance](https://docs.catalyst.zoho.com/en/sdk/javascript/v1/cloudscale/authentication/get-component-instance/) **No requirement**
Authentication (**User Management**) Operations
  • [Add New User](https://docs.catalyst.zoho.com/en/sdk/javascript/v1/cloudscale/authentication/add-new-user/)
  • [Get All Org IDs](https://docs.catalyst.zoho.com/en/sdk/javascript/v1/cloudscale/authentication/get-all-orgs/)
  • [Add New User to an Existing Organization](https://docs.catalyst.zoho.com/en/sdk/javascript/v1/cloudscale/authentication/add-user-to-org/)
  • [Get All Users in an Organization](https://docs.catalyst.zoho.com/en/sdk/javascript/v1/cloudscale/authentication/get-all-users-org/)
  • [Reset Password](https://docs.catalyst.zoho.com/en/sdk/javascript/v1/cloudscale/authentication/reset-pwd/)
  • [Get User Details](https://docs.catalyst.zoho.com/en/sdk/javascript/v1/cloudscale/authentication/get-user-details/)
  • [Update User Details](https://docs.catalyst.zoho.com/en/sdk/javascript/v1/cloudscale/authentication/update-user-details/)
  • [Enable or Disable a User](https://docs.catalyst.zoho.com/en/sdk/javascript/v1/cloudscale/authentication/enable-disable-user/)
  • [Delete a User](https://docs.catalyst.zoho.com/en/sdk/javascript/v1/cloudscale/authentication/delete-user/)
**Admin**
-------------------------------------------------------------------------------- title: "Get Component Instance" description: "This page describes the method to perform operations in the Authentication component." last_updated: "2026-09-09T10:45:38.000Z" source: "https://docs.catalyst.zoho.com/en/sdk/javascript/v1/cloudscale/authentication/get-component-instance/" service: "CloudScale" related: - Catalyst CloudScale (/en/cloud-scale/) - Authentication Help (/en/cloud-scale/help/authentication/introduction/) - Java SDK (/en/sdk/java/v1/cloud-scale/authentication/add-new-user/) - Python SDK (/en/sdk/python/v1/cloud-scale/authentication/get-component-instance/) - iOS SDK (/en/sdk/ios/v2/cloud-scale/authentication/create-user-instance/) - Android SDK (/en/sdk/android/v2/cloud-scale/authentication/create-user-instance/) - Flutter SDK (/en/sdk/flutter/v2/cloud-scale/authentication/create-user-instance/) - REST API (/en/api/code-reference/cloud-scale/data-store/insert-new-row/#InsertNewRow) -------------------------------------------------------------------------------- # Get Component Instance > **Note:** Ensure you have installed the [required package](https://docs.catalyst.zoho.com/en/sdk/javascript/v1/cloudscale/authentication/overview/#prerequisites) to use this SDK method. You can get the `userManagement` component reference as shown below. This will not fire a server-side call. You will refer to this component instance in various code snippets of working with Authentication. ```javascript const userManagement = new UserManagement(); ``` > **Note:** - Passing an initialized app instance to a component determines the authentication scope it uses. - To perform an operation with user-level permissions, initialize the SDK with User scope, or with custom credentials, and pass that instance to the component. This runs the operation in the user's scope or custom credential scope instead of the default admin scope. ```javascript const userManagement = new UserManagement(app); ``` - If your Function or AppSail application needs both custom credentials and admin authentication at the same time, give each initialization a unique app name, otherwise the custom initialization can overwrite your existing admin credentials. - In all cases, explicitly pass the matching app instance to each component so it uses the intended authentication scope; if none is provided, the SDK defaults to the admin credentials. -------------------------------------------------------------------------------- title: "Add New User" description: "This page describes the method to perform operations in the Authentication component." last_updated: "2026-11-03T15:16:51.000Z" source: "https://docs.catalyst.zoho.com/en/sdk/javascript/v1/cloudscale/authentication/add-new-user/" service: "CloudScale" related: - Catalyst CloudScale (/en/cloud-scale/) - Authentication Help (/en/cloud-scale/help/authentication/introduction/) - Java SDK (/en/sdk/java/v1/cloud-scale/authentication/add-new-user/) - Python SDK (/en/sdk/python/v1/cloud-scale/authentication/add-new-user/) - iOS SDK (/en/sdk/ios/v2/cloud-scale/authentication/user-signup/) - Android SDK (/en/sdk/android/v2/cloud-scale/authentication/user-signup/) - Flutter SDK (/en/sdk/flutter/v2/cloud-scale/authentication/user-signup/) - REST API (/en/api/code-reference/cloud-scale/authentication/add-new-user/#AddNewUser) -------------------------------------------------------------------------------- # Add New User > **Note:** Ensure you have installed the [required package](https://docs.catalyst.zoho.com/en/sdk/javascript/v1/cloudscale/authentication/overview/#prerequisites) to use this SDK method. You can [add end users](https://docs.catalyst.zoho.com/en/cloud-scale/help/authentication/user-management/users/introduction/) to your Catalyst serverless applications, fetch their details, or manage their accounts easily. When a user has signed up to a Catalyst application, unique identification values like `ZUID` and *User ID* are created for them. The user is also assigned to an organization automatically in this method. #### Create a JSON Configuration Before you add a new end-user to your Catalyst application, you must create a JSON object that contains the registration details of a particular user, such as their email address, last name, the application platform and the role they must be added to, as shown below. You can then pass the configuration to the user registration method. > **Notes:** * You must provide the values for `email_id` and `first_name`, the mandatory parameters to [register a user](https://docs.catalyst.zoho.com/en/cloud-scale/help/authentication/user-management/users/implementation/#adding-a-new-user-from-the-console). * You can obtain the [`role_id`](https://docs.catalyst.zoho.com/en/cloud-scale/help/authentication/user-management/roles/implementation/) from the *Roles* section in Authentication in the Catalyst console. ```javascript //Create a JSON object for adding a new user const signupConfig = { platform_type: 'web', template_details: { senders_mail: 'dogogetu@tutuapp.bid', subject: 'Welcome to %APP_NAME% ', message: '<p>Hello ,</p> <p>Follow this link to join in %APP_NAME% .</p> <p> <a href=\\\'%LINK%\\\'>%LINK%</a> </p> <p>If you did not ask to join the application, you can ignore this email.</p> <p>Thanks,</p> <p>Your %APP_NAME% team</p>' }, redirect_url: 'home.html' // The user will be directed to this page once they are authenticated. You can also provide mapped custom domains you configured as your invite URL. }; var userConfig = { first_name: 'Dannie', last_name: 'Boyle', email_id: 'p.boyle@zylker.com', role_id: '3376000000159024' }; ``` ### SDK Method to Add a New User You can now add a new end-user to your Catalyst application by passing the JSON objects you created in the previous section as arguments to the `registerUser()` SDK method. The `registerUser()` method handles the user sign-up process and returns a promise. This promise will be resolved to a JSON object. The `userManagement` reference used in the code snippet below is the [component instance](https://docs.catalyst.zoho.com/en/sdk/javascript/v1/cloudscale/authentication/get-component-instance/). ```javascript // Pass the JSON configuration to the method const userDetails = await userManagement.registerUser(signupConfig, userConfig); console.log(userDetails); ``` #### Example of Expected Response ```javascript { "zaid": "1005634498", "user_details": { "zuid": "1005641290", "zaaid": "1005641456", "org_id": "1005641456", "status": "ACTIVE", "is_confirmed": false, "email_id": "p.boylie@zylker.com", "first_name": "Dannie", "last_name": "Boyle", "created_time": "Aug 12, 2025 12:33 PM", "modified_time": "Aug 12, 2025 12:33 PM", "invited_time": "Aug 12, 2025 12:33 PM", "role_details": { "role_name": "App User", "role_id": "2305000000006024" }, "user_type": "App User", "user_id": "2305000000007752", "project_profiles": [] }, "redirect_url": "https://aliencity-66446133.development.catalystserverless.com/app/", "platform_type": "web", "org_id": null } ``` -------------------------------------------------------------------------------- title: "Get All Org IDs" description: "This page describes the method to perform operations in the Authentication component." last_updated: "2026-09-09T10:45:38.000Z" source: "https://docs.catalyst.zoho.com/en/sdk/javascript/v1/cloudscale/authentication/get-all-orgs/" service: "CloudScale" related: - Catalyst CloudScale (/en/cloud-scale/) - Authentication Help (/en/cloud-scale/help/authentication/introduction/) - Java SDK (/en/sdk/java/v1/cloud-scale/authentication/get-org-id/) - Python SDK (/en/sdk/python/v1/cloud-scale/authentication/add-new-user-to-existing-org/) - iOS SDK (/en/sdk/ios/v2/cloud-scale/authentication/create-user-instance/) - Android SDK (/en/sdk/android/v2/cloud-scale/authentication/create-user-instance/) - Flutter SDK (/en/sdk/flutter/v2/cloud-scale/authentication/create-user-instance/) - REST API (/en/api/code-reference/cloud-scale/data-store/insert-new-row/#InsertNewRow) -------------------------------------------------------------------------------- # Get All Org IDs > **Note:** Ensure you have installed the [required package](https://docs.catalyst.zoho.com/en/sdk/javascript/v1/cloudscale/authentication/overview/#prerequisites) to use this SDK method. **Org ID** or `ZAAID` is the unique identification of the organization that an end-user belongs to. This identification is generated when the end-user signs up to your application through any of the [authentication types](https://docs.catalyst.zoho.com/en/cloud-scale/help/authentication/authentication-types/), gets added through the [Add User API](https://docs.catalyst.zoho.com/en/api/code-reference/cloud-scale/authentication/add-new-user/#AddNewUser) or through the [Add User](https://docs.catalyst.zoho.com/en/cloud-scale/help/authentication/user-management/users/implementation/#adding-a-new-user-from-the-console) button in the console. You can use the `getAllOrgs()` SDK method to fetch all the Org IDs generated while adding new users to your application. The `userManagement` reference used in the code snippet below is the [component instance](https://docs.catalyst.zoho.com/en/sdk/javascript/v1/cloudscale/authentication/get-component-instance/). ```javascript console.log('Orgs::::', await userManagement.getAllOrgs()); ``` -------------------------------------------------------------------------------- title: "Add New User to an Existing Organization" description: "This page describes the method to perform operations in the Authentication component." last_updated: "2026-09-09T10:45:38.000Z" source: "https://docs.catalyst.zoho.com/en/sdk/javascript/v1/cloudscale/authentication/add-user-to-org/" service: "CloudScale" related: - Catalyst CloudScale (/en/cloud-scale/) - Authentication Help (/en/cloud-scale/help/authentication/introduction/) - Java SDK (/en/sdk/java/v1/cloud-scale/authentication/add-new-user-to-existing-org/) - Python SDK (/en/sdk/python/v1/cloud-scale/authentication/add-new-user-to-existing-org/) - iOS SDK (/en/sdk/ios/v2/cloud-scale/authentication/user-signup/) - Android SDK (/en/sdk/android/v2/cloud-scale/authentication/user-signup/) - Flutter SDK (/en/sdk/flutter/v2/cloud-scale/authentication/user-signup/) - REST API (/en/api/code-reference/cloud-scale/authentication/add-user-to-existing-org/#AddaNewUsertoanExistingOrganization) -------------------------------------------------------------------------------- # Add New User to an Existing Organization > **Note:** Ensure you have installed the [required package](https://docs.catalyst.zoho.com/en/sdk/javascript/v1/cloudscale/authentication/overview/#prerequisites) to use this SDK method. You can add an end-user to an existing organization without creating a new organization for them. This can be done by providing the [**OrgID**](https://docs.catalyst.zoho.com/en/cloud-scale/help/authentication/user-management/users/introduction/) of the organization that the user must be added to. The organization of a user cannot be changed later, once it is associated with their account. When the user has signed up, unique identification values such as [`ZUID` and User ID](https://docs.catalyst.zoho.com/en/cloud-scale/help/authentication/user-management/users/introduction/) are created for them. > **Notes:** * You must provide the values for the mandatory parameters, `OrgID`, `email_id` and `first_name`, to [register a user](https://docs.catalyst.zoho.com/en/cloud-scale/help/authentication/user-management/users/implementation/#adding-a-new-user-from-the-console). * You can also add end-users to your application by providing the [`role_id`](https://docs.catalyst.zoho.com/en/cloud-scale/help/authentication/user-management/roles/implementation/) from the *Roles* section in Authentication in the Catalyst console. * When inviting a new user, you can configure the sender’s email address, subject and the email message. You must add the email address in the [Catalyst Mail Component](https://docs.catalyst.zoho.com/en/cloud-scale/help/mail/email-configuration/) and get it verified before using it in the SDK code. #### Create a JSON Configuration Before you add a new end-user to your Catalyst application, you must create a JSON object that contains the registration details of a particular user as shown below. You can then pass the configuration to the user registration method. ```javascript //Create a JSON object for adding a new user to an existing org const signupConfig = { platform_type: 'web', template_details: { senders_mail: 'dogogetu@tutuapp.bid', subject: 'Welcome to %APP_NAME% ', message: '<p>Hello ,</p> <p>Follow this link to join in %APP_NAME% .</p> <p><a href=\'%LINK%\'>%LINK%</a></p> <p>If you didn\'t ask to join the application, you can ignore this email.</p> <p>Thanks,</p> <p>Your %APP_NAME% team</p>' } }; var userConfig = { first_name: 'Amelia', last_name: 'Burrows', email_id: 'emma@zylker.com', org_id: 10014774358 }; ``` ### SDK Method to Add to Existing Org You can now add a new end-user to an existing organization by passing the JSON objects you created in the previous section as arguments to the `addUserToOrg()` SDK method. This method handles the user sign-up process and returns a promise. This promise will be resolved to a JSON object. The `userManagement` reference used in the code snippet below is the [component instance](https://docs.catalyst.zoho.com/en/sdk/javascript/v1/cloudscale/authentication/get-component-instance/). ```javascript //Pass the JSON configurations to the method const addedUser = await userManagement.addUserToOrg(signupConfig, userConfig); console.log(addedUser); ``` #### Example of Expected Response ```javascript { "zaid": "1005634498", "user_details": { "zuid": "1005643749", "org_id": "10014774358", "status": "ACTIVE", "is_confirmed": false, "email_id": "emma@zylker.com", "first_name": "Amelia", "last_name": "Burrows", "created_time": "Aug 12, 2021 03:56 PM", "modified_time": "Aug 12, 2021 03:56 PM", "invited_time": "Aug 12, 2021 03:56 PM", "role_details": { "role_name": "App User", "role_id": "2305000000006024" }, "user_type": "App User", "user_id": "2305000000009002", "project_profiles": [] }, "redirect_url": "https://aliencity-66446133.development.catalystserverless.com/app/", "platform_type": "web", "org_id": null } ``` -------------------------------------------------------------------------------- title: "Get All Users in an Organization" description: "This page describes the method to perform operations in the Authentication component." last_updated: "2026-09-09T10:45:38.000Z" source: "https://docs.catalyst.zoho.com/en/sdk/javascript/v1/cloudscale/authentication/get-all-users-org/" service: "CloudScale" related: - Catalyst CloudScale (/en/cloud-scale/) - Authentication Help (/en/cloud-scale/help/authentication/introduction/) - Java SDK (/en/sdk/java/v1/cloud-scale/authentication/get-users-in-org/) - Python SDK (/en/sdk/python/v1/cloud-scale/authentication/get-user-details/) - iOS SDK (/en/sdk/ios/v2/cloud-scale/authentication/get-current-user/) - Android SDK (/en/sdk/android/v2/cloud-scale/authentication/get-current-user/) - Flutter SDK (/en/sdk/flutter/v2/cloud-scale/authentication/get-current-user/) - REST API (/en/api/code-reference/cloud-scale/authentication/get-all-users/#GetAllUsers) -------------------------------------------------------------------------------- # Get All Users in an Organization > **Note:** Ensure you have installed the [required package](https://docs.catalyst.zoho.com/en/sdk/javascript/v1/cloudscale/authentication/overview/#prerequisites) to use this SDK method. You can pass the [**OrgID**](https://docs.catalyst.zoho.com/en/cloud-scale/help/authentication/user-management/users/introduction/) to the `getAllUsers()` SDK method to fetch all the users added to the application from that organization. The `userManagement` reference used in the code snippet below is the [component instance](https://docs.catalyst.zoho.com/en/sdk/javascript/v1/cloudscale/authentication/get-component-instance/). ```javascript userManagement.getAllUsers('10062701096'); // Enter your Org ID here ``` -------------------------------------------------------------------------------- title: "Reset Password" description: "This page describes the method to perform operations in the Authentication component." last_updated: "2026-09-09T10:45:38.000Z" source: "https://docs.catalyst.zoho.com/en/sdk/javascript/v1/cloudscale/authentication/reset-pwd/" service: "CloudScale" related: - Catalyst CloudScale (/en/cloud-scale/) - Authentication Help (/en/cloud-scale/help/authentication/introduction/) - Java SDK (/en/sdk/java/v1/cloud-scale/authentication/reset-password/) - Python SDK (/en/sdk/python/v1/cloud-scale/authentication/reset-password/) - iOS SDK (/en/sdk/ios/v2/cloud-scale/authentication/create-user-instance/) - Android SDK (/en/sdk/android/v2/cloud-scale/authentication/create-user-instance/) - Flutter SDK (/en/sdk/flutter/v2/cloud-scale/authentication/create-user-instance/) - REST API (/en/api/code-reference/cloud-scale/authentication/reset-user-password/#ResetUserPassword) -------------------------------------------------------------------------------- # Reset Password > **Note:** Ensure you have installed the [required package](https://docs.catalyst.zoho.com/en/sdk/javascript/v1/cloudscale/authentication/overview/#prerequisites) to use this SDK method. After the successful registration of a user, you can prompt the end-user to [reset their password](https://docs.catalyst.zoho.com/en/cloud-scale/help/authentication/user-management/users/implementation/#reset-a-users-password) using the following code snippet. > **Notes:** * **EmailID** and **Platform type** are the mandatory attributes. * When inviting a new user, you can configure the sender’s email address, subject and the email message. You must add the email address in the [Catalyst Mail Component](https://docs.catalyst.zoho.com/en/cloud-scale/help/mail/email-configuration/) and get it verified before using it in the SDK code. #### Create a JSON Configuration You need to configure the JSON object to contain the registering the details of a particular user in the manner shown below: ```javascript //Create Config Object for the user const signupConfig={ platform_type:'web', zaid:10014774358, template_details:{ senders_mail:'dogogetu@tutuapp.bid', subject:'Welcome to %APP_NAME% ', message:'<p>Hello ,</p> <p>Follow this link to join in %APP_NAME% .</p> <p><a href=\'%LINK%\'>%LINK%</a></p> <p>If you didn’t ask to join the application, you can ignore this email.</p> <p>Thanks,</p> <p>Your %APP_NAME% team</p>' } }; var userConfig={ first_name:'A', last_name:'B', email_id:'amelia.burrows@zylker.com' }; ``` ### SDK Method to Reset the Password You need to pass the JSON object as argument to the `registerUser()` SDK method which returns a promise. The promise returned will be resolved to an object which is a JSON. While calling the `registerUser()` SDK method, a reset password link will be generated and sent to the user’s Email address. The `userManagement` reference used in the code snippet below is the [component instance](https://docs.catalyst.zoho.com/en/sdk/javascript/v1/cloudscale/authentication/get-component-instance/). ```javascript const users=await userManagement.resetPassword('amelia.b@zylker.com',{ platform_type:'web', redirect_url:'https://www.google.com', template_details:{ subject:'Reset Password', message:'Click on the link to reset your password: Reset Password', senders_mail:'support@zylker.com' } }); console.log(users); ``` -------------------------------------------------------------------------------- title: "Get User Details" description: "This page describes the method to perform operations in the Authentication component." last_updated: "2026-09-09T10:45:38.000Z" source: "https://docs.catalyst.zoho.com/en/sdk/javascript/v1/cloudscale/authentication/get-user-details/" service: "CloudScale" related: - Catalyst CloudScale (/en/cloud-scale/) - Authentication Help (/en/cloud-scale/help/authentication/introduction/) - Java SDK (/en/sdk/java/v1/cloud-scale/authentication/get-user-details/) - Python SDK (/en/sdk/python/v1/cloud-scale/authentication/get-user-details/) - iOS SDK (/en/sdk/ios/v2/cloud-scale/authentication/get-current-user/) - Android SDK (/en/sdk/android/v2/cloud-scale/authentication/get-current-user/) - Flutter SDK (/en/sdk/flutter/v2/cloud-scale/authentication/get-current-user/) - REST API (/en/api/code-reference/cloud-scale/authentication/get-all-users/#GetAllUsers) -------------------------------------------------------------------------------- # Get User Details > **Note:** Ensure you have installed the [required package](https://docs.catalyst.zoho.com/en/sdk/javascript/v1/cloudscale/authentication/overview/#prerequisites) to use this SDK method. Catalyst Authentication provides SDK methods to retrieve the details of the [application users](https://docs.catalyst.zoho.com/en/cloud-scale/help/authentication/user-management/users/introduction/). You can obtain the user information of the current user, any user, or all users of the application. ### Get Details of Current User The method `getCurrentUser()` fetches the details of a user on whose scope the function is getting executed. The `userManagement` reference used in the code snippet below is the [component instance](https://docs.catalyst.zoho.com/en/sdk/javascript/v1/cloudscale/authentication/get-component-instance/). The promise returned here will be resolved to a JSON object. ```javascript // get the details of the current user const currentUser = await userManagement.getCurrentUser(); console.log(currentUser); ``` #### Example of Expected Response ```javascript { "zuid":"1005641433", "zaaid":"1005641434", "org_id":"1005641434", "status":"ACTIVE", "is_confirmed":false, "email_id":"p.boyle@zylker.com", "last_name":"Boyle", "created_time":"Aug 12, 2021 12:27 PM", "role_details":{ "role_name":"App User", "role_id":"2305000000006024" }, "user_type":"App User", "user_id":"2305000000007745", "locale":"us|en|Asia/Kolkata", "time_zone":"Asia/Kolkata", "project_profiles":[] } ``` ### Get User Details Using User ID You can retrieve the details of a particular user by passing the User ID of the user to the `getUserDetails()` SDK method. The promise is resolved to a JSON object. The `userManagement` reference used in the code snippet below is the [component instance](https://docs.catalyst.zoho.com/en/sdk/javascript/v1/cloudscale/authentication/get-component-instance/). ```javascript const userDetails = await userManagement.getUserDetails(1510000000109587); console.log(userDetails); ``` #### Example of Expected Response A sample response that you will receive for each version is shown below: ```javascript { "zuid":"1005665160", "zaaid":"1005665245", "org_id":"1005665245", "status":"ACTIVE", "is_confirmed":false, "email_id":"mikerogers@zylker.com", "last_name":"Rogers", "created_time":"Aug 17, 2021 04:55 PM", "role_details":{ "role_name":"App User", "role_id":"2136000000007748" }, "user_type":"App User", "user_id":"2136000000020040", "locale":"us|en|Asia/Kolkata", "time_zone":"Asia/Kolkata", "project_profiles":[] } ``` ### Get Details of All Users The `getAllUsers()` SDK method can fetch the details of all the users who are registered with the application. The promise returned here will be resolved to an array of objects which contains all user details. ```javascript const allUserDetails = await userManagement.getAllUsers(); console.log(allUserDetails); ``` #### Example of Expected Response A sample response that you will receive for each version is shown below: ```javascript [ { zuid: "1005648252", zaaid: "1005648253", org_id: "1005648253", status: "ACTIVE", is_confirmed: false, email_id: "p.boyle@zylker.com", last_name: "Boyle", created_time: "Aug 13, 2021 01:36 PM", modified_time: "Aug 13, 2021 01:36 PM", invited_time: "Aug 13, 2021 01:36 PM", role_details: { role_name: "App User", role_id: "2136000000007748" }, user_type: "App User", user_id: "2136000000007774", locale: "us|en|Asia/Kolkata", time_zone: "Asia/Kolkata", project_profiles: [] }, { zuid: "1005665160", zaaid: "1005665245", org_id: "1005665245", status: "ACTIVE", is_confirmed: false, email_id: "rsmith@zylker.com ", last_name: "Smith", created_time: "Aug 17, 2021 04:55 PM", modified_time: "Aug 17, 2021 04:55 PM", invited_time: "Aug 17, 2021 04:55 PM", role_details: { role_name: "App User", role_id: "2136000000007748" }, user_type: "App User", user_id: "2136000000020040", locale: "us|en|Asia/Kolkata", time_zone: "Asia/Kolkata", project_profiles: [] } ] ``` -------------------------------------------------------------------------------- title: "Update User Details" description: "This page describes the method to perform operations in the Authentication component." last_updated: "2026-09-09T10:45:38.000Z" source: "https://docs.catalyst.zoho.com/en/sdk/javascript/v1/cloudscale/authentication/update-user-details/" service: "CloudScale" related: - Catalyst CloudScale (/en/cloud-scale/) - Authentication Help (/en/cloud-scale/help/authentication/introduction/) - Java SDK (/en/sdk/java/v1/cloud-scale/authentication/update-user-details/) - Python SDK (/en/sdk/python/v1/cloud-scale/authentication/update-user-details/) - iOS SDK (/en/sdk/ios/v2/cloud-scale/authentication/get-current-user/) - Android SDK (/en/sdk/android/v2/cloud-scale/authentication/get-current-user/) - Flutter SDK (/en/sdk/flutter/v2/cloud-scale/authentication/get-current-user/) - REST API (/en/api/code-reference/cloud-scale/authentication/get-all-users/#GetAllUsers) -------------------------------------------------------------------------------- # Update User Details > **Note:** Ensure you have installed the [required package](https://docs.catalyst.zoho.com/en/sdk/javascript/v1/cloudscale/authentication/overview/#prerequisites) to use this SDK method. Catalyst allows you to [modify and update](https://docs.catalyst.zoho.com/en/cloud-scale/help/authentication/user-management/users/implementation/#modify-a-users-details) the following details of an end-user: * First Name * Last Name * [**ZAAID**](https://docs.catalyst.zoho.com/en/cloud-scale/help/authentication/user-management/users/introduction/) * [RoleID](https://docs.catalyst.zoho.com/en/cloud-scale/help/authentication/user-management/roles/implementation/): Role ID is the value generated by Catalyst that is assigned to a particular [user role](https://docs.catalyst.zoho.com/en/cloud-scale/help/authentication/user-management/roles/introduction/). The SDK snippet below demonstrates updating an end-user’s details using the `updateUserDetails(userID, userDetails)` method. The first name of the user is updated in the example below. The `userManagement` reference used in the code snippet below is the [component instance](https://docs.catalyst.zoho.com/en/sdk/javascript/v1/cloudscale/authentication/get-component-instance/). ```javascript userManagement.updateUserDetails('13749831', { email_id: 'emma@zylker.com', last_name: 'Burrows', zaaid: '1483013413294234', role_id: '843974989234859', first_name: 'Amelia' }); ``` -------------------------------------------------------------------------------- title: "Enable or Disable a User" description: "This page describes the method to perform operations in the Authentication component." last_updated: "2026-09-09T10:45:38.000Z" source: "https://docs.catalyst.zoho.com/en/sdk/javascript/v1/cloudscale/authentication/enable-disable-user/" service: "CloudScale" related: - Catalyst CloudScale (/en/cloud-scale/) - Authentication Help (/en/cloud-scale/help/authentication/introduction/) - Java SDK (/en/sdk/java/v1/cloud-scale/authentication/enable-disable-user/) - Python SDK (/en/sdk/python/v1/cloud-scale/authentication/enable-disable-user/) - iOS SDK (/en/sdk/ios/v2/cloud-scale/authentication/create-user-instance/) - Android SDK (/en/sdk/android/v2/cloud-scale/authentication/create-user-instance/) - Flutter SDK (/en/sdk/flutter/v2/cloud-scale/authentication/create-user-instance/) - REST API (/en/api/code-reference/cloud-scale/authentication/sign-out-user/#SignOutUser) -------------------------------------------------------------------------------- # Enable or Disable a User > **Note:** Ensure you have installed the [required package](https://docs.catalyst.zoho.com/en/sdk/javascript/v1/cloudscale/authentication/overview/#prerequisites) to use this SDK method. Catalyst allows you to [disable or enable a user](https://docs.catalyst.zoho.com/en/cloud-scale/help/authentication/user-management/users/implementation/#enable-or-disable-a-user) at any time. A disabled user will be signed up to your application but will not be able to access your application. You can enable or disable an end-user using the `updateUserStatus(userId, USER_STATUS)` method. The user is referred by their unique [User ID](https://docs.catalyst.zoho.com/en/cloud-scale/help/authentication/user-management/users/introduction/). You can find the User IDs of all users by navigating to the *Users* > [*User Management*](https://docs.catalyst.zoho.com/en/cloud-scale/help/authentication/user-management/introduction/) section of the [Authentication](https://docs.catalyst.zoho.com/en/cloud-scale/help/authentication/introduction/) component. The `userManagement` reference used in the code snippet below is the [component instance](https://docs.catalyst.zoho.com/en/sdk/javascript/v1/cloudscale/authentication/get-component-instance/). ### To Enable a User ```javascript userManagement.updateUserStatus('195000000042777', USER_STATUS.ENABLE) ``` ### To Disable a User ```javascript userManagement.updateUserStatus('195000000042777', USER_STATUS.DISABLE) ``` -------------------------------------------------------------------------------- title: "Delete a User" description: "This page describes the method to perform operations in the Authentication component." last_updated: "2026-09-09T10:45:38.000Z" source: "https://docs.catalyst.zoho.com/en/sdk/javascript/v1/cloudscale/authentication/delete-user/" service: "CloudScale" related: - Catalyst CloudScale (/en/cloud-scale/) - Authentication Help (/en/cloud-scale/help/authentication/introduction/) - Java SDK (/en/sdk/java/v1/cloud-scale/authentication/delete-user/) - Python SDK (/en/sdk/python/v1/cloud-scale/authentication/delete-user/) - iOS SDK (/en/sdk/ios/v2/cloud-scale/authentication/create-user-instance/) - Android SDK (/en/sdk/android/v2/cloud-scale/authentication/create-user-instance/) - Flutter SDK (/en/sdk/flutter/v2/cloud-scale/authentication/create-user-instance/) - REST API (/en/api/code-reference/cloud-scale/authentication/delete-user/#DeleteUser) -------------------------------------------------------------------------------- # Delete a User > **Note:** Ensure you have installed the [required package](https://docs.catalyst.zoho.com/en/sdk/javascript/v1/cloudscale/authentication/overview/#prerequisites) to use this SDK method. The [end-user of a Catalyst application](https://docs.catalyst.zoho.com/en/cloud-scale/help/authentication/user-management/users/introduction/) can be deleted to discontinue accessing the application. This is done through `deleteUser()` method, in which the **User ID** of the user who is to be deleted is passed as a parameter. The promise returned here will be resolved to an object which is a JSON. The `userManagement` reference used in the code snippet below is the [component instance](https://docs.catalyst.zoho.com/en/sdk/javascript/v1/cloudscale/authentication/get-component-instance/). ```javascript const deletedUser = await userManagement.deleteUser(1510000000109587); console.log(deletedUser); ``` ### DataStore -------------------------------------------------------------------------------- title: "Overview" description: "This page describes the method to perform operations in the DataStore component." last_updated: "2026-11-03T07:48:52.000Z" source: "https://docs.catalyst.zoho.com/en/sdk/javascript/v1/cloudscale/datastore/overview/" service: "CloudScale" related: - Catalyst CloudScale (/en/cloud-scale/) - DataStore Help (/en/cloud-scale/help/data-store/introduction/) - Java SDK (/en/sdk/java/v1/cloud-scale/data-store/get-table-meta/) - Python SDK (/en/sdk/python/v1/cloud-scale/data-store/get-component-instance/) - iOS SDK (/en/sdk/ios/v2/cloud-scale/data-store/create-data-store-instance/) - Android SDK (/en/sdk/android/v2/cloud-scale/data-store/create-data-store-instance/) - Flutter SDK (/en/sdk/flutter/v2/cloud-scale/data-store/create-data-store-instance/) - REST APIs (/en/api/code-reference/cloud-scale/data-store/insert-new-row/#InsertNewRow) -------------------------------------------------------------------------------- # DataStore JavaScript SDK # Overview [Data Store](https://docs.catalyst.zoho.com/en/cloud-scale/help/data-store/tables/) is a *Catalyst CloudScale* component that offers robust RDBMS solutions without the hassle of having to implement a complex setup. The entire infrastructure and setup required to ensure seamless scalability is handled by the Catalyst cloud. You can perform operations like creating tables and columns, CRUD operations on data stored in the table, and define roles and permissions directly using the intuitive UI present in the Catalyst console. ### Prerequisites You will need to install the following packages to be able to use the DataStore SDK methods. ```sh npm install @zcatalyst/datastore ``` > **Info:** Ensure that you have applied the [required authentication configuration](https://docs.catalyst.zoho.com/en/sdk/javascript/v1/auth-config/node-consideration/) to use the SDK methods of this component. ### Import Requirement You will need to import the following modules to use the DataStore SDK methods. ```javascript const { Datastore} = require('@zcatalyst/datastore');//DataStore module ``` ### List of SDK Methods The following table contains the list of SDK methods that can be used to perform operations in the DataStore through code.
Category SDK Method Required Scope
General Operations [Get DataStore Instance](https://docs.catalyst.zoho.com/en/sdk/javascript/v1/cloudscale/datastore/get-component-instance/) **No requirement**
Table Operations
  • [Get Table Metadata](https://docs.catalyst.zoho.com/en/sdk/javascript/v1/cloudscale/datastore/get-table-metadata/)
    • [Get a Table's Metadata by Table ID](https://docs.catalyst.zoho.com/en/sdk/javascript/v1/cloudscale/datastore/get-table-metadata/#get-a-tables-metadata-by-table-id)
    • [Get a Table's Metadata by Table Name](https://docs.catalyst.zoho.com/en/sdk/javascript/v1/cloudscale/datastore/get-table-metadata/#get-a-tables-metadata-by-table-name)
    • [Get Metadata of all Tables](https://docs.catalyst.zoho.com/en/sdk/javascript/v1/cloudscale/datastore/get-table-metadata/#get-metadata-of-all-tables)
  • [Get a Table Instance](https://docs.catalyst.zoho.com/en/sdk/javascript/v1/cloudscale/datastore/get-table-instance/)
    • [Get the Table Instance Using Table ID](https://docs.catalyst.zoho.com/en/sdk/javascript/v1/cloudscale/datastore/get-table-instance/#get-the-table-instance-using-tableid)
    • [Get the Table Instance Using Table Name](https://docs.catalyst.zoho.com/en/sdk/javascript/v1/cloudscale/datastore/get-table-instance/#get-the-table-instance-using-table-name)
**No requirement**
Column Operations [Get Column Metadata](https://docs.catalyst.zoho.com/en/sdk/javascript/v1/cloudscale/datastore/get-column-metadata/)
  • [Get a Column's Metadata by ID](https://docs.catalyst.zoho.com/en/sdk/javascript/v1/cloudscale/datastore/get-column-metadata/#get-columns-metadata-by-id)
  • [Get a Column's Metadata by Name](https://docs.catalyst.zoho.com/en/sdk/javascript/v1/cloudscale/datastore/get-column-metadata/#get-a-columns-metadata-by-name)
  • [Get Metadata of all Columns](https://docs.catalyst.zoho.com/en/sdk/javascript/v1/cloudscale/datastore/get-column-metadata/#get-metadata-of-all-columns)
**No requirement**
Row Operations
  • [Get Rows](https://docs.catalyst.zoho.com/en/sdk/javascript/v1/cloudscale/datastore/get-rows/)
  • [Insert Rows](https://docs.catalyst.zoho.com/en/sdk/javascript/v1/cloudscale/datastore/insert-rows/)
    • [Insert a Single Row](https://docs.catalyst.zoho.com/en/sdk/javascript/v1/cloudscale/datastore/insert-rows/#insert-a-single-row)
    • [Insert Multiple Rows](https://docs.catalyst.zoho.com/en/sdk/javascript/v1/cloudscale/datastore/insert-rows/#insert-multiple-rows)
  • [Update Rows](https://docs.catalyst.zoho.com/en/sdk/javascript/v1/cloudscale/datastore/update-rows/)
    • [Update a Single Row](https://docs.catalyst.zoho.com/en/sdk/javascript/v1/cloudscale/datastore/update-rows/#update-a-single-row)
    • [Update Multiple Rows](https://docs.catalyst.zoho.com/en/sdk/javascript/v1/cloudscale/datastore/update-rows/#update-multiple-rows)
  • [Delete a Row](https://docs.catalyst.zoho.com/en/sdk/javascript/v1/cloudscale/datastore/delete-rows/)
**No requirement**
Bulk Operations
  • [Bulk Read Rows](https://docs.catalyst.zoho.com/en/sdk/javascript/v1/cloudscale/datastore/bulk-operations/bulk-read/)
  • [Bulk Write Rows](https://docs.catalyst.zoho.com/en/sdk/javascript/v1/cloudscale/datastore/bulk-operations/bulk-write/)
**Admin**
  • [Bulk Delete Rows](https://docs.catalyst.zoho.com/en/sdk/javascript/v1/cloudscale/datastore/bulk-operations/bulk-delete/)
**No requirement**
-------------------------------------------------------------------------------- title: "Get a Component Instance" description: "This page describes the method to perform operations in the DataStore component." last_updated: "2026-09-09T10:45:38.000Z" source: "https://docs.catalyst.zoho.com/en/sdk/javascript/v1/cloudscale/datastore/get-component-instance/" service: "CloudScale" related: - Catalyst CloudScale (/en/cloud-scale/) - DataStore Help (/en/cloud-scale/help/data-store/introduction/) - Java SDK (/en/sdk/java/v1/cloud-scale/data-store/get-table-meta/) - Python SDK (/en/sdk/python/v1/cloud-scale/data-store/get-component-instance/) - iOS SDK (/en/sdk/ios/v2/cloud-scale/data-store/create-data-store-instance/) - Android SDK (/en/sdk/android/v2/cloud-scale/data-store/create-data-store-instance/) - Flutter SDK (/en/sdk/flutter/v2/cloud-scale/data-store/create-data-store-instance/) - REST APIs (/en/api/code-reference/cloud-scale/data-store/insert-new-row/#InsertNewRow) -------------------------------------------------------------------------------- # Get a Component Instance > **Note:** Ensure you have installed the [required package](https://docs.catalyst.zoho.com/en/sdk/javascript/v1/cloudscale/datastore/overview/#prerequisites) to use this SDK method. You can get the `datastore` component reference as shown below. This will not fire a server-side call. You will refer to this component instance in various code snippets of working with DataStore. ```javascript //Get a datastore instance const datastore = new Datastore(); ``` > **Note:** - Passing an initialized app instance to a component determines the authentication scope it uses. - To perform an operation with user-level permissions, initialize the SDK with User scope, or with custom credentials, and pass that instance to the component. This runs the operation in the user's scope or custom credential scope instead of the default admin scope. ```javascript const datastore = new Datastore(app); ``` - If your Function or AppSail application needs both custom credentials and admin authentication at the same time, give each initialization a unique app name, otherwise the custom initialization can overwrite your existing admin credentials. - In all cases, explicitly pass the matching app instance to each component so it uses the intended authentication scope; if none is provided, the SDK defaults to the admin credentials. -------------------------------------------------------------------------------- title: "Get Table Metadata" description: "This page describes the method to perform operations in the DataStore component." last_updated: "2026-09-09T10:45:38.000Z" source: "https://docs.catalyst.zoho.com/en/sdk/javascript/v1/cloudscale/datastore/get-table-metadata/" service: "CloudScale" related: - Catalyst CloudScale (/en/cloud-scale/) - DataStore Help (/en/cloud-scale/help/data-store/introduction/) - Java SDK (/en/sdk/java/v1/cloud-scale/data-store/get-table-meta/) - Python SDK (/en/sdk/python/v1/cloud-scale/data-store/get-table-meta/) - iOS SDK (/en/sdk/ios/v2/cloud-scale/data-store/create-data-store-instance/) - Android SDK (/en/sdk/android/v2/cloud-scale/data-store/create-data-store-instance/) - Flutter SDK (/en/sdk/flutter/v2/cloud-scale/data-store/create-data-store-instance/) - REST APIs (/en/api/code-reference/cloud-scale/data-store/get-table-metadata/#GetTableMetadata) -------------------------------------------------------------------------------- # Get Table Metadata > **Note:** Ensure you have installed the [required package](https://docs.catalyst.zoho.com/en/sdk/javascript/v1/cloudscale/datastore/overview/#prerequisites) to use this SDK method. Using the `getTableDetails()` SDK method, you can get the metadata of a particular table in the [Catalyst Datastore](https://docs.catalyst.zoho.com/en/cloud-scale/help/data-store/introduction/). ### Get a Table's Metadata by Table ID A table's metadata is fetched by referring the table's ID, using the `getTableDetails()` SDK method. The `datastore` reference used in the following code snippet is the [component instance](https://docs.catalyst.zoho.com/en/sdk/javascript/v1/cloudscale/datastore/get-component-instance/). ```javascript const datastore = new Datastore(); const table = await datastore.getTableDetails(20660000000012118); console.log(table); ``` #### Example of Expected Response You have the choice to convert the resultant promise (table metadata) to either a string or JSON output by accessing the `.toString()` or `.toJSON()` methods. ```json { project_id:{ project_name:"AlienCity", id:"2136000000007733" }, table_name:"AlienCity", modified_by:{ zuid:"66466723", is_confirmed:false, email_id:"emma@zylker.com", first_name:"Amelia", last_name:"Burrows", user_type:"Admin", user_id:"2136000000006003" }, modified_time:"Aug 13, 2021 01:47 PM", column_details:[ { table_id:"2136000000007781", column_sequence:"1", column_name:"ROWID", category:1, data_type:"bigint", max_length:"50", is_mandatory:false, decimal_digits:"2", is_unique:false, search_index_enabled:false, column_id:"2136000000007784" }, { table_id:"2136000000007781", column_sequence:"2", column_name:"CREATORID", category:1, data_type:"bigint", max_length:"50", is_mandatory:false, decimal_digits:"2", is_unique:false, search_index_enabled:true, column_id:"2136000000007786" }, { table_id:"2136000000007781", column_sequence:"3", column_name:"CREATEDTIME", category:1, data_type:"datetime", max_length:"50", is_mandatory:false, decimal_digits:"2", is_unique:false, search_index_enabled:true, column_id:"2136000000007788" }, { table_id:"2136000000007781", column_sequence:"4", column_name:"MODIFIEDTIME", category:1, data_type:"datetime", max_length:"50", is_mandatory:false, decimal_digits:"2", is_unique:false, search_index_enabled:true, column_id:"2136000000007790" }, { table_id:"2136000000007781", column_sequence:"5", column_name:"CityName", category:2, data_type:"varchar", max_length:"100", is_mandatory:false, decimal_digits:"2", is_unique:true, search_index_enabled:true, column_id:"2136000000008503" } ], table_id:"2136000000007781" } ``` ### Get a Table's Metadata By Table Name A table's metadata is fetched by referring the name of the table, using the `getTableDetails()` SDK method. The `datastore` reference used in the following code snippet is the [component instance](https://docs.catalyst.zoho.com/en/sdk/javascript/v1/cloudscale/datastore/get-component-instance/). > **Note:** If you change the name of your table at any point, you will need to ensure that the same change is reflected in your codebase in places where you have referred to the required table using the table's name. ```javascript //Get a Single Table's details using the table name const datastore = new Datastore(); const table = await datastore.getTableDetails('VendorSystems'); console.log(table); ``` #### Example of Expected Response You have the choice to convert the resultant promise (table metadata) to either a string or JSON output by accessing the `.toString()` or `.toJSON()` methods. ```json { project_id:{ project_name:"AlienCity", id:"2136000000007733" }, table_name:"AlienCity", modified_by:{ zuid:"66466723", is_confirmed:false, email_id:"emma@zylker.com", first_name:"Amelia", last_name:"Burrows", user_type:"Admin", user_id:"2136000000006003" }, modified_time:"Aug 13, 2021 01:47 PM", column_details:[ { table_id:"2136000000007781", column_sequence:"1", column_name:"ROWID", category:1, data_type:"bigint", max_length:"50", is_mandatory:false, decimal_digits:"2", is_unique:false, search_index_enabled:false, column_id:"2136000000007784" }, { table_id:"2136000000007781", column_sequence:"2", column_name:"CREATORID", category:1, data_type:"bigint", max_length:"50", is_mandatory:false, decimal_digits:"2", is_unique:false, search_index_enabled:true, column_id:"2136000000007786" }, { table_id:"2136000000007781", column_sequence:"3", column_name:"CREATEDTIME", category:1, data_type:"datetime", max_length:"50", is_mandatory:false, decimal_digits:"2", is_unique:false, search_index_enabled:true, column_id:"2136000000007788" }, { table_id:"2136000000007781", column_sequence:"4", column_name:"MODIFIEDTIME", category:1, data_type:"datetime", max_length:"50", is_mandatory:false, decimal_digits:"2", is_unique:false, search_index_enabled:true, column_id:"2136000000007790" }, { table_id:"2136000000007781", column_sequence:"5", column_name:"CityName", category:2, data_type:"varchar", max_length:"100", is_mandatory:false, decimal_digits:"2", is_unique:true, search_index_enabled:true, column_id:"2136000000008503" } ], table_id:"2136000000007781" } ``` ### Get Metadata of all Tables The `getAllTables()` SDK method can be used to retrieve the metadata of all the tables in the Catalyst project. The `datastore` reference used in the following code snippet is the [component instance](https://docs.catalyst.zoho.com/en/sdk/javascript/v1/cloudscale/datastore/get-component-instance/). ```javascript const datastore = new Datastore(); const tables = await datastore.getAllTables(); console.log(tables); ``` #### Example of Expected Response The promise (metadata of all the tables) here will be resolved to an array of table meta details. ```json [ { project_id:{ project_name:"AlienCity", id:"2136000000007733" }, table_name:"AlienCity", modified_by:{ zuid:"66466723", is_confirmed:false, email_id:"emma@zylker.com", first_name:"Amelia", last_name:"Burrows", user_type:"Admin", user_id:"2136000000006003" }, modified_time:"Aug 13, 2021 01:47 PM", table_id:"2136000000007781" }, { table_name:"CityDetails", modified_by:{ zuid:"66466723", is_confirmed:false, email_id:"emma@zylker.com", first_name:"Amelia", last_name:"Burrows", user_type:"Admin", user_id:"2136000000006003" }, modified_time:"Aug 13, 2021 01:47 PM", table_id:"2136000000009090" } ] ``` -------------------------------------------------------------------------------- title: "Get a Table Instance" description: "This page describes the method to perform operations in the DataStore component." last_updated: "2026-09-09T10:45:38.000Z" source: "https://docs.catalyst.zoho.com/en/sdk/javascript/v1/cloudscale/datastore/get-table-instance/" service: "CloudScale" related: - Catalyst CloudScale (/en/cloud-scale/) - DataStore Help (/en/cloud-scale/help/data-store/introduction/) - Java SDK (/en/sdk/java/v1/cloud-scale/data-store/get-table-instance/) - Python SDK (/en/sdk/python/v1/cloud-scale/data-store/get-table-instance/) - iOS SDK (/en/sdk/ios/v2/cloud-scale/data-store/create-data-store-instance/) - Android SDK (/en/sdk/android/v2/cloud-scale/data-store/create-data-store-instance/) - Flutter SDK (/en/sdk/flutter/v2/cloud-scale/data-store/create-data-store-instance/) - REST APIs (/en/api/code-reference/cloud-scale/data-store/insert-new-row/#InsertNewRow) -------------------------------------------------------------------------------- # Get a Table Instance > **Note:** Ensure you have installed the [required package](https://docs.catalyst.zoho.com/en/sdk/javascript/v1/cloudscale/datastore/overview/#prerequisites) to use this SDK method. You can get a table's instance referring to it using its ID or name. ### Get The Table Instance Using TableID A table reference can be created by referring the table ID using the `getTable()` SDK method. The `datastore` reference used in the following code snippet is the [component instance](https://docs.catalyst.zoho.com/en/sdk/javascript/v1/cloudscale/datastore/get-component-instance/). ```javascript const datastore = new Datastore(); const table = datastore.table(20660000000012118); ``` ### Get The Table Instance Using Table Name A table reference can be created by referring the table name using the `getTable()` SDK method. The `datastore` reference used in the following code snippet is the [component instance](https://docs.catalyst.zoho.com/en/sdk/javascript/v1/cloudscale/datastore/get-component-instance/). ```javascript const datastore = new Datastore(); const table = datastore.table('VendorShipments'); ``` -------------------------------------------------------------------------------- title: "Get Column Metadata" description: "This page describes the method to perform operations in the DataStore component." last_updated: "2026-09-09T10:45:38.000Z" source: "https://docs.catalyst.zoho.com/en/sdk/javascript/v1/cloudscale/datastore/get-column-metadata/" service: "CloudScale" related: - Catalyst CloudScale (/en/cloud-scale/) - DataStore Help (/en/cloud-scale/help/data-store/introduction/) - Java SDK (/en/sdk/java/v1/cloud-scale/data-store/get-column-meta/) - Python SDK (/en/sdk/python/v1/cloud-scale/data-store/get-column-meta/) - iOS SDK (/en/sdk/ios/v2/cloud-scale/data-store/get-column-metadata/) - Android SDK (/en/sdk/android/v2/cloud-scale/data-store/get-column-metadata/) - Flutter SDK (/en/sdk/flutter/v2/cloud-scale/data-store/get-column-metadata/) - REST APIs (/en/api/code-reference/cloud-scale/data-store/get-column-metadata/#GetColumnMetadata) -------------------------------------------------------------------------------- # Get Column Metadata > **Note:** Ensure you have installed the [required package](https://docs.catalyst.zoho.com/en/sdk/javascript/v1/cloudscale/datastore/overview/#prerequisites) to use this SDK method. ### Get Column's Metadata by ID You can retrieve the meta details of a single column of a table in the Data Store using the `getColumnDetails()` SDK method. The `datastore` reference used in the following code snippets is the [component instance](https://docs.catalyst.zoho.com/en/sdk/javascript/v1/cloudscale/datastore/get-component-instance/). The `table` reference used in the below code snippets can either be a [table instance](https://docs.catalyst.zoho.com/en/sdk/javascript/v1/cloudscale/datastore/get-table-instance/) or a [table meta](https://docs.catalyst.zoho.com/en/sdk/javascript/v1/cloudscale/datastore/get-table-metadata/). ```javascript //Use Table Meta Object to get the column with column ID const datastore = new Datastore(); const table = datastore.table('ShipmentDetails'); const column = await table.getColumnDetails(1510000000110832); console.log(column); ``` #### Example of Expected Response ```json { table_id:"2305000000007003", column_sequence:"5", column_name:"CityName", category:2, data_type:"varchar", max_length:"100", is_mandatory:false, decimal_digits:"2", is_unique:true, search_index_enabled:false, column_id:"2305000000007725" } ``` ### Get a Column's Metadata by Name You can pass the name of the required column to the `getColumnDetails()` SDK method to get its metadata. The column meta will not involve any further operations. Therefore the promise returned here is resolved to a JSON object. The `datastore` reference used in the following code snippets is the [component instance](https://docs.catalyst.zoho.com/en/sdk/javascript/v1/cloudscale/datastore/get-component-instance/). The `table` reference used in the below code snippets can either be a [table instance](https://docs.catalyst.zoho.com/en/sdk/javascript/v1/cloudscale/datastore/get-table-instance/) or a [table meta](https://docs.catalyst.zoho.com/en/sdk/javascript/v1/cloudscale/datastore/get-table-metadata/). ```javascript //Use Table Meta Object to get the column with column ID const datastore = new Datastore(); const table = datastore.table('SampleTable'); const column = await table.getColumnDetails('newColumn'); console.log(column); ``` #### Example of Expected Response ```json { table_id:"2305000000007003", column_sequence:5, column_name:"CityName", category:2, data_type:"varchar", max_length:100, is_mandatory:false, decimal_digits:2, is_unique:true, search_index_enabled:false, column_id:"2305000000007725" } ``` ### Get Metadata of All Columns You can use the `getAllColumns()` SDK method to get the metadata of all the columns present in a table in the Data Store. The `datastore` reference used in the following code snippets is the [component instance](https://docs.catalyst.zoho.com/en/sdk/javascript/v1/cloudscale/datastore/get-component-instance/). The `table` reference used in the below code snippets can either be a [table instance](https://docs.catalyst.zoho.com/en/sdk/javascript/v1/cloudscale/datastore/get-table-instance/) or a [table meta](https://docs.catalyst.zoho.com/en/sdk/javascript/v1/cloudscale/datastore/get-table-metadata/). ```javascript //Use Table Meta Object to get all the columns const datastore = new Datastore(); const table = datastore.table('SampleTable'); const columns = await table.getAllColumns(); console.log(columns); ``` #### Example of Expected Response The promise returned here is resolved into an array of column meta details. ```json [ { "table_id": "2136000000007781", "column_sequence": 1, "column_name": "ROWID", "category": 1, "data_type": "bigint", "max_length": 50, "is_mandatory": false, "decimal_digits": 2, "is_unique": false, "search_index_enabled": false, "column_id": "2136000000007784" }, { "table_id": "2136000000007781", "column_sequence": 2, "column_name": "CREATORID", "category": 1, "data_type": "bigint", "max_length": 50, "is_mandatory": false, "decimal_digits": 2, "is_unique": false, "search_index_enabled": true, "column_id": "2136000000007786" }, { "table_id": "2136000000007781", "column_sequence": 3, "column_name": "CREATEDTIME", "category": 1, "data_type": "datetime", "max_length": 50, "is_mandatory": false, "decimal_digits": 2, "is_unique": false, "search_index_enabled": true, "column_id": "2136000000007788" }, { "table_id": "2136000000007781", "column_sequence": 4, "column_name": "MODIFIEDTIME", "category": 1, "data_type": "datetime", "max_length": 50, "is_mandatory": false, "decimal_digits": 2, "is_unique": false, "search_index_enabled": true, "column_id": "2136000000007790" }, { "table_id": "2136000000007781", "column_sequence": 5, "column_name": "CityName", "category": 2, "data_type": "varchar", "max_length": 100, "is_mandatory": false, "decimal_digits": 2, "is_unique": true, "search_index_enabled": true, "column_id": "2136000000008503" } ] ``` -------------------------------------------------------------------------------- title: "Get Rows" description: "This page describes the method to perform operations in the DataStore component." last_updated: "2026-09-09T10:45:38.000Z" source: "https://docs.catalyst.zoho.com/en/sdk/javascript/v1/cloudscale/datastore/get-rows/" service: "CloudScale" related: - Catalyst CloudScale (/en/cloud-scale/) - DataStore Help (/en/cloud-scale/help/data-store/introduction/) - Java SDK (/en/sdk/java/v1/cloud-scale/data-store/get-rows/) - Python SDK (/en/sdk/python/v1/cloud-scale/data-store/get-rows/) - iOS SDK (/en/sdk/ios/v2/cloud-scale/data-store/get-rows/) - Android SDK (/en/sdk/android/v2/cloud-scale/data-store/get-rows/) - Flutter SDK (/en/sdk/flutter/v2/cloud-scale/data-store/get-rows/) - REST APIs (/en/api/code-reference/cloud-scale/data-store/get-all-rows/#GetAllRows) -------------------------------------------------------------------------------- # Get Rows > **Note:** Ensure you have installed the [required package](https://docs.catalyst.zoho.com/en/sdk/javascript/v1/cloudscale/datastore/overview/#prerequisites) to use this SDK method. ### Get a Single Row You can use the `getRow()` SDK method to fetch a single row from a table in the Catalyst Data Store. The `table` reference used in the below code snippets can either be a [table instance](https://docs.catalyst.zoho.com/en/sdk/javascript/v1/cloudscale/datastore/get-table-instance/) or a [table meta](https://docs.catalyst.zoho.com/en/sdk/javascript/v1/cloudscale/datastore/get-table-metadata/). ```javascript const datastore = new Datastore(); const table = datastore.table('ShipmentDetails'); //Use the table instance or the table meta object to fetch a row by passing the Row ID const rowPromise = table.getRow(1510000000109476); ``` ### Example of Expected Response ```json { "CREATORID": "2136000000006003", "MODIFIEDTIME": "2021-08-17 13:02:11:184", "CREATEDTIME": "2021-08-16 16:29:10:499", "CityName": "Chennai", "ROWID": "2136000000011011" } ``` ### Get All Rows Through Pagination You can use the get the required rows of data from a table in the Data Store in a paginated fashion using the `getMyPagedRows()` SDK method. You can refer to the required table [using its ID](https://docs.catalyst.zoho.com/en/cloud-scale/help/data-store/tables/#create-a-new-table). The `table` reference used in the below code snippets can either be a [table instance](https://docs.catalyst.zoho.com/en/sdk/javascript/v1/cloudscale/datastore/get-table-instance/) or a [table meta](https://docs.catalyst.zoho.com/en/sdk/javascript/v1/cloudscale/datastore/get-table-metadata/). > **Info:** Getting the rows in a paginated manner allows you to fetch the rows of a table in batches or pages through iteration. #### Parameters Used
Parameter Name Data Type Definition
`hasNext` **Added** Will determine if the next iteration is required to fetch more rows.
`maxRows` **Int** An **optional** parameter. Will return the required number of rows per page based on the value you set. For example, if you set the value of `maxRows` as **100**, then **100 rows** of data will be per page.

> **Info:** By default, without using the `maxRows` parameter, the SDK method will return **200 rows** per page.
`nextToken` **String** Will be used to decide if more rows need to be fetched from the table.
`more_records` **Needed** Will be fetched from the response data to fetch the next set of records.
```javascript const datastore = new Datastore(); // Fetch rows through pagination and declare the value for nextToken as undefined for the first iteration async function getMyPagedRows(hasNext = true, nextToken = undefined) { if (!hasNext) { return; } const { data, next_token, more_records } = await dataStore.table(195000000042025).getPagedRows({ nextToken, maxRows: 100 }); console.log("rows:", data); // Fetch the rows from the table return getMyPagedRows(more_records, next_token); // Fetch next set of records } ``` #### Example of Expected Response **more_records set to true** The following type of response can be expected is the value for `more_records` is set as **true**. ```json { "status": 200, "data": [ { "CREATORID": "3359000000006003", "MODIFIEDTIME": "2022-01-11 18:18:24:855", "name": "Alex Jones", "CREATEDTIME": "2022-01-11 18:18:24:855", "ROWID": "3359000000108111" }, { "CREATORID": "3359000000006003", "MODIFIEDTIME": "2022-01-11 18:18:25:117", "name": "Robert Neal", "CREATEDTIME": "2022-01-11 18:18:25:117", "ROWID": "3359000000108114" }, { "CREATORID": "3359000000006003", "MODIFIEDTIME": "2022-01-11 18:18:25:120", "name": "Roslyn Gunn", "CREATEDTIME": "2022-01-11 18:18:25:120", "ROWID": "3359000000108117" } ], "message": "OK", "more_records": true, "next_token": "{{token}}" } ``` **more_records set to false** The following type of response can be expected is the value for `more_records` is set as **false**. ```json { "status": 200, "data": [ { "CREATORID": "3359000000006003", "MODIFIEDTIME": "2022-01-11 18:18:43:556", "name": "Alex Jones", "CREATEDTIME": "2022-01-11 18:18:43:556", "ROWID": "3359000000108410" }, { "CREATORID": "3359000000006003", "MODIFIEDTIME": "2022-01-11 18:18:43:557", "name": "Robert Neal", "CREATEDTIME": "2022-01-11 18:18:43:557", "ROWID": "3359000000108413" }, { "CREATORID": "3359000000006003", "MODIFIEDTIME": "2022-01-11 18:18:43:568", "name": "Roslyn Gunn", "CREATEDTIME": "2022-01-11 18:18:43:568", "ROWID": "3359000000108417" } ], "message": "OK", "more_records": false } ``` -------------------------------------------------------------------------------- title: "Insert Rows" description: "This page describes the method to perform operations in the DataStore component." last_updated: "2026-09-09T10:45:38.000Z" source: "https://docs.catalyst.zoho.com/en/sdk/javascript/v1/cloudscale/datastore/insert-rows/" service: "CloudScale" related: - Catalyst CloudScale (/en/cloud-scale/) - DataStore Help (/en/cloud-scale/help/data-store/introduction/) - Java SDK (/en/sdk/java/v1/cloud-scale/data-store/insert-rows/) - Python SDK (/en/sdk/python/v1/cloud-scale/data-store/insert-rows/) - iOS SDK (/en/sdk/ios/v2/cloud-scale/data-store/create-rows/) - Android SDK (/en/sdk/android/v2/cloud-scale/data-store/create-rows/) - Flutter SDK (/en/sdk/flutter/v2/cloud-scale/data-store/create-rows/) - REST APIs (/en/api/code-reference/cloud-scale/data-store/insert-new-row/#InsertNewRow) -------------------------------------------------------------------------------- # Insert Rows > **Notes:** * Ensure you have installed the [required package](https://docs.catalyst.zoho.com/en/sdk/javascript/v1/cloudscale/datastore/overview/#prerequisites) to use this SDK method. * Ensure that you create the required [table](https://docs.catalyst.zoho.com/en/cloud-scale/help/data-store/tables/#create-a-new-table) and [columns](https://docs.catalyst.zoho.com/en/cloud-scale/help/data-store/columns/#create-a-new-column) in the console. ### Insert a Single Row You can use the `insertRow()` SDK method, to insert a single row of data to a column in a table in Catalyst DataStore. You can refer to the required table using its ID or name. The `table` reference used in the below code snippets can either be a [table instance](https://docs.catalyst.zoho.com/en/sdk/javascript/v1/cloudscale/datastore/get-table-instance/) or a [table meta](https://docs.catalyst.zoho.com/en/sdk/javascript/v1/cloudscale/datastore/get-table-metadata/). To use the following SDK method, you need to create a JSON object containing the row details in the following format: ```text {column name : column value} ``` This JSON object will then need to be passed as an argument to the `insertRow()` SDK method. ```javascript // Create a JSON object with the rows to be inserted const rowData = { Name: "George Hamilton", Age: 22, ID: 6868 }; // Use the table meta object to insert the row const datastore = new Datastore(); const table = datastore.table("EmpDetails"); const row = await table.insertRow(rowData); console.log(row); ``` A unique [`RowID`](https://docs.catalyst.zoho.com/en/cloud-scale/help/data-store/records/#create-a-new-record) value will be automatically generated once the row is inserted. #### Example of Expected Response ```json { "CREATORID": "2136000000006003", "MODIFIEDTIME": "2021-08-16 16:29:10:499", "Name": "George Hamilton", "Age": "22", "ID": "6868", "CREATEDTIME": "2021-08-16 16:29:10:499", "ROWID": 2136000000011011 } ``` ### Insert Multiple Rows You can insert multiple rows to a table in Catalyst DataStore by constructing an array that contains the row data and passing it as an argument to the `insertRows()` SDK method. You can refer to the required table using its ID or name. The `table` reference used in the below code snippets can either be a [table instance](https://docs.catalyst.zoho.com/en/sdk/javascript/v1/cloudscale/datastore/get-table-instance/) or a [table meta](https://docs.catalyst.zoho.com/en/sdk/javascript/v1/cloudscale/datastore/get-table-metadata/). ```javascript // Create a JSON array with the rows to be inserted const rowData = [ { Name: "Mark Wellington", Age: 29, ID: 7218 }, { Name: "Zendaya Jones", Age: 32, ID: 3211 } ]; // Use the table meta object to insert multiple rows const datastore = new Datastore(); const table = datastore.table("EmpDetails"); const rows = await table.insertRows(rowData); console.log(rows); ``` #### Example of Expected Response The promise returned when using the `insertRows()` SDK method is resolved to an array containing the row objects. ```json [ { "CREATORID": "2136000000006003", "MODIFIEDTIME": "2021-08-25 13:55:04:904", "Name": "Mark Wellington", "Age": "92", "ID": "7218", "CREATEDTIME": "2021-08-25 13:55:04:904", "ROWID": 2136000000038008 }, { "CREATORID": "2136000000006003", "MODIFIEDTIME": "2021-08-25 13:55:04:906", "Name": "Zendaya Jones", "Age": "32", "ID": "3211", "CREATEDTIME": "2021-08-25 13:55:04:906", "ROWID": 2136000000038010 } ] ``` -------------------------------------------------------------------------------- title: "Query DataStore" description: "This page describes the method to perform query operations in the DataStore component." last_updated: "2026-09-09T10:45:38.000Z" source: "https://docs.catalyst.zoho.com/en/sdk/javascript/v1/cloudscale/datastore/query-datastore/" service: "CloudScale" related: - Catalyst CloudScale (/en/cloud-scale/) - DataStore Help (/en/cloud-scale/help/data-store/introduction/) - Java SDK (/en/sdk/java/v1/cloud-scale/data-store/) - Python SDK (/en/sdk/python/v1/cloud-scale/data-store/) - REST APIs (/en/api/code-reference/cloud-scale/data-store/) -------------------------------------------------------------------------------- # Query DataStore ### ZCQL [ZCQL](https://docs.catalyst.zoho.com/en/cloud-scale/help/zcql/introduction/) is Catalyst’s own query language that enables you to perform data retrieval, insertion, updating, and deletion operations on the tables in the [Catalyst Data Store](https://docs.catalyst.zoho.com/en/cloud-scale/help/data-store/introduction/). You can execute a variety of DML queries using ZCQL to obtain or manipulate data, and use various clauses and statements such as the SQL [Join clauses](https://docs.catalyst.zoho.com/en/cloud-scale/help/zcql/joins/), [GroupBy](https://docs.catalyst.zoho.com/en/cloud-scale/help/zcql/groupby-orderby/#group-by-statement) and [OrderBy](https://docs.catalyst.zoho.com/en/cloud-scale/help/zcql/groupby-orderby/#order-by-statement) statements, and built-in [ZCQL functions](https://docs.catalyst.zoho.com/en/cloud-scale/help/zcql/zcql-functions/). > **Note:** Ensure you have installed the [required package](https://docs.catalyst.zoho.com/en/sdk/javascript/v1/cloudscale/datastore/overview/#prerequisites) to use this SDK method. The required query needs to be constructed and passed as a param to the `executeZCQLQuery()` method to execute it. ### Construct the Query The following example code snippet details constructing a `SELECT` query and passing it to the `executeZCQLQuery()` method to execute it. The `datastore` reference used here is the [component instance](https://docs.catalyst.zoho.com/en/sdk/javascript/v1/cloudscale/datastore/get-component-instance/). ```javascript // Construct the query to execute const query = 'SELECT * FROM ShipmentData'; const result = await datastore.executeZCQLQuery(query); ``` #### Example of Expected Response Executing the ZCQL query using the `executeZCQLQuery()` SDK method will return a promise, which will be resolved to an object. The content key will contain the array of row objects. A sample response that you will receive is shown below. ```javascript [ { AlienCity: { CREATORID: "2136000000006003", MODIFIEDTIME: "2021-08-13 13:49:19:475", CREATEDTIME: "2021-08-13 13:49:19:475", CityName: "Dallas", ROWID: "2136000000008508" } }, { AlienCity: { CREATORID: "2136000000006003", MODIFIEDTIME: "2021-08-16 15:55:32:969", CREATEDTIME: "2021-08-16 15:55:32:969", CityName: "Los Angeles", ROWID: "2136000000011002" } }, { AlienCity: { CREATORID: "2136000000006003", MODIFIEDTIME: "2021-08-16 17:03:01:507", CREATEDTIME: "2021-08-16 16:29:10:499", CityName: "New York", ROWID: "2136000000011011" } } ] ``` -------------------------------------------------------------------------------- title: "Search DataStore" description: "This page describes the method to perform search operations in the DataStore component." last_updated: "2026-09-09T10:45:38.000Z" source: "https://docs.catalyst.zoho.com/en/sdk/javascript/v1/cloudscale/datastore/search-datastore/" service: "CloudScale" related: - Catalyst CloudScale (/en/cloud-scale/) - DataStore Help (/en/cloud-scale/help/data-store/introduction/) - Java SDK (/en/sdk/java/v1/cloud-scale/data-store/) - Python SDK (/en/sdk/python/v1/cloud-scale/data-store/) - REST APIs (/en/api/code-reference/cloud-scale/data-store/) -------------------------------------------------------------------------------- # Search DataStore [Search](https://docs.catalyst.zoho.com/en/cloud-scale/help/search-integration/introduction/) is a *CloudScale* component that enables data searching within the indexed columns of your [Catalyst Data Store](https://docs.catalyst.zoho.com/en/cloud-scale/help/data-store/introduction/) tables. The search process specifies the pattern to search for in the search indexed columns of the tables. You can search for data in multiple tables or just data in search indexed columns. > **Note:** Ensure you have installed the [required package](https://docs.catalyst.zoho.com/en/sdk/javascript/v1/cloudscale/datastore/overview/#prerequisites) to use this SDK method. Using the `executeSearchQuery()` SDK method you can execute the required search query to search for a particular pattern of data. The `datastore` reference used in the code snippet is the [component instance](https://docs.catalyst.zoho.com/en/sdk/javascript/v1/cloudscale/datastore/get-component-instance/). ### Create a JSON Configuration The following code snippet creates a JSON object that contains the attributes of the pattern to be searched for, in the indexed columns of the individual tables. ```javascript // Create a config object with the search term, table and indexed columns let config = { search: 'santh*', search_table_columns: { SampleTable: ['SearchIndexedColumn'], Users: ['SearchTest'] } }; ``` Using the JSON object created in the above section is passed as a parameter to the `executeSearchQuery()` SDK method which returns a promise. The promise returned will be resolved to a JSON object. ```javascript // Execute the search query by passing the configuration const searchResult = await datastore.executeSearchQuery(config); console.log(searchResult); ``` #### Example of Expected Response An example of the response that you will receive is shown below. ```javascript { AlienCity: [ { CREATORID: "2136000000006003", MODIFIEDTIME: "2021-08-13 13:49:19:475", CityName: "Dallas", CREATEDTIME: "2021-08-13 13:49:19:475", ROWID: "2136000000008508" } ] } ``` -------------------------------------------------------------------------------- title: "Update Rows" description: "This page describes the method to perform operations in the DataStore component." last_updated: "2026-09-09T10:45:38.000Z" source: "https://docs.catalyst.zoho.com/en/sdk/javascript/v1/cloudscale/datastore/update-rows/" service: "CloudScale" related: - Catalyst CloudScale (/en/cloud-scale/) - DataStore Help (/en/cloud-scale/help/data-store/introduction/) - Java SDK (/en/sdk/java/v1/cloud-scale/data-store/update-rows/) - Python SDK (/en/sdk/python/v1/cloud-scale/data-store/update-rows/) - iOS SDK (/en/sdk/ios/v2/cloud-scale/data-store/update-rows/) - Android SDK (/en/sdk/android/v2/cloud-scale/data-store/update-rows/) - Flutter SDK (/en/sdk/flutter/v2/cloud-scale/data-store/update-rows/) - REST APIs (/en/api/code-reference/cloud-scale/data-store/update-row/#UpdateRow) -------------------------------------------------------------------------------- # Update Rows > **Note:** Ensure you have installed the [required package](https://docs.catalyst.zoho.com/en/sdk/javascript/v1/cloudscale/datastore/overview/#prerequisites) to use this SDK method. ### Update a Single Row You can use the `updateRow()` SDK to update the row data of a single row in the table in Catalyst DataStore. To update the required row, you need to construct a JSON object with the required values and pass it as an argument to the `updateRow()` SDK method. The `table` reference used in the below code snippets can either be a [table instance](https://docs.catalyst.zoho.com/en/sdk/javascript/v1/cloudscale/datastore/get-table-instance/) or a [table meta](https://docs.catalyst.zoho.com/en/sdk/javascript/v1/cloudscale/datastore/get-table-metadata/). #### Parameters Used
Parameter Name Data Type Definition
`ROWID` **Int** A **mandatory** parameter. Will hold the value of the row that you need to update.
```javascript // Construct a JSON Object with the updated row details const updatedRowData = { Name: "Mathew Jones", Age: 31, ROWID: 1510000000109474 }; // Use Table Meta Object to update a single row using ROWID const datastore = new Datastore(); const table = datastore.table("SampleTable"); const row = await table.updateRow(updatedRowData); console.log(row); ``` #### Example of Expected Response The promise returned here will be resolved to a JSON row object. ```json { "CREATORID": "2136000000006003", "MODIFIEDTIME": "2021-08-17 13:02:11:184", "CREATEDTIME": "2021-08-16 16:29:10:499", "Name": "Mathew Jones", "Age": 31, "ROWID": "2136000000011011" } ``` ### Update Multiple Rows You can use the `updateRows()` SDK method to update multiple rows stored in a table in the Catalyst DataStore. To update multiple rows, you need to construct an array of JSON objects, and pass it as an argument to the updateRows() SDK method. You can refer to the required table using its ID or name. The `table` reference used in the below code snippets can either be a [table instance](https://docs.catalyst.zoho.com/en/sdk/javascript/v1/cloudscale/datastore/get-table-instance/) or a [table meta](https://docs.catalyst.zoho.com/en/sdk/javascript/v1/cloudscale/datastore/get-table-metadata/). #### Parameters Used
Parameter Name Data Type Definition
`ROWID` **Int** A **mandatory** parameter. Will hold the value of the row that you need to update.
```javascript // Data to be updated along with the ROWID const updatedRowsData = [ { Name: "Mathew Jones", Age: 31, ROWID: 1510000000113298 }, { Name: "Rhonda Watson", Age: 28, ROWID: 1510000000109474 } ]; // Use Table Meta Object to update multiple rows using ROWIDs const datastore = new Datastore(); const table = datastore.table("SampleTable"); const rows = await table.updateRows(updatedRowsData); console.log(rows); ``` #### Example of Expected Response ```json [ { "CREATORID": "2136000000006003", "MODIFIEDTIME": "2021-08-24 13:22:14:718", "CREATEDTIME": "2021-08-24 13:12:55:999", "Name": "Mathew Jones", "Age": 31, "ROWID": "2136000000034043" }, { "CREATORID": "2136000000006003", "MODIFIEDTIME": "2021-08-24 13:22:14:728", "CREATEDTIME": "2021-08-24 13:12:56:001", "Name": "Rhonda Watson", "Age": 28, "ROWID": "2136000000034045" } ] ``` -------------------------------------------------------------------------------- title: "Delete a Row" description: "This page describes the method to perform operations in the DataStore component." last_updated: "2026-10-28T13:23:14.000Z" source: "https://docs.catalyst.zoho.com/en/sdk/javascript/v1/cloudscale/datastore/delete-rows/" service: "CloudScale" related: - Catalyst CloudScale (/en/cloud-scale/) - DataStore Help (/en/cloud-scale/help/data-store/introduction/) - Java SDK (/en/sdk/java/v1/cloud-scale/data-store/delete-row/) - Python SDK (/en/sdk/python/v1/cloud-scale/data-store/delete-row/) - iOS SDK (/en/sdk/ios/v2/cloud-scale/data-store/delete-row/) - Android SDK (/en/sdk/android/v2/cloud-scale/data-store/delete-row/) - Flutter SDK (/en/sdk/flutter/v2/cloud-scale/data-store/delete-row/) - REST APIs (/en/api/code-reference/cloud-scale/data-store/delete-row/#DeleteRow) -------------------------------------------------------------------------------- # Delete a Row > **Note:** Ensure you have installed the [required package](https://docs.catalyst.zoho.com/en/sdk/javascript/v1/cloudscale/datastore/overview/#prerequisites) to use this SDK method. You can pass the `ROWID` of the required row to the `deleteRow()` SDK method to delete it from the table in Catalyst DataStore. The `table` reference used in the below code snippets can either be a [table instance](https://docs.catalyst.zoho.com/en/sdk/javascript/v1/cloudscale/datastore/get-table-instance/) or a [table meta](https://docs.catalyst.zoho.com/en/sdk/javascript/v1/cloudscale/datastore/get-table-metadata/). > **Info:** You wont be able to delete multiple rows. ```javascript // Use Table Meta Object to delete a single row using ROWID const datastore = new Datastore(); const table = datastore.table('SampleTable'); const row = await table.deleteRow(1510000000109476); console.log(row); ``` #### Bulk Operations -------------------------------------------------------------------------------- title: "Bulk Read Rows" description: "This page describes the method to perform operations in the DataStore component." last_updated: "2026-09-09T10:45:38.000Z" source: "https://docs.catalyst.zoho.com/en/sdk/javascript/v1/cloudscale/datastore/bulk-operations/bulk-read/" service: "CloudScale" related: - Catalyst CloudScale (/en/cloud-scale/) - DataStore Help (/en/cloud-scale/help/data-store/introduction/) - Java SDK (/en/sdk/java/v1/cloud-scale/data-store/bulk-read/) - Python SDK (/en/sdk/python/v1/cloud-scale/data-store/bulk-read-rows/) - iOS SDK (/en/sdk/ios/v2/cloud-scale/data-store/get-rows/) - Android SDK (/en/sdk/android/v2/cloud-scale/data-store/get-rows/) - Flutter SDK (/en/sdk/flutter/v2/cloud-scale/data-store/get-rows/) - REST APIs (/en/api/code-reference/cloud-scale/data-store/bulk-read-rows/create-bulk-read-job/#CreateBulkReadJob) -------------------------------------------------------------------------------- # Bulk Read Rows > **Notes:** * Ensure you have installed the [required package](https://docs.catalyst.zoho.com/en/sdk/javascript/v1/cloudscale/datastore/overview/#prerequisites) to use this SDK method. * A maximum of **200,000 rows** can be read simultaneously. You can perform bulk read jobs on row data stored in a table in Catalyst DataStore. Using the following bulk read utility, you can read thousands of records from a specific table and generate a .CSV file containing the results of read operation. ### Methods Used
Methods Used Description
`bulkRead.createJob({criteria, page,select_columns})` Create new bulk read job.
`bulkRead.getStatus(jobID)` Get a bulk read job status.
`bulkRead.getResult(jobID)` Get a bulk read job's result.
The required table is referred to by its [Table ID](https://docs.catalyst.zoho.com/en/cloud-scale/help/data-store/tables/). The `datastore` reference used in the following code snippet is the [component instance](https://docs.catalyst.zoho.com/en/sdk/javascript/v1/cloudscale/datastore/get-component-instance/). > **Info:** You can also use the `dataStore.table().bulkJob('read' | 'write')` method to perform either a bulk read or a [bulk write job](https://docs.catalyst.zoho.com/en/sdk/javascript/v1/cloudscale/datastore/bulk-operations/bulk-write/). ```javascript // Bulk read const datastore = new Datastore(); // get datastore instance const bulkRead = datastore.table("sampleTable").bulkJob("read"); const bulkReadJob = await bulkRead.createJob({ criteria: { group_operator: "or", group: [ { column_name: "Department", comparator: "equal", value: "Marketing" }, { column_name: "EmpID", comparator: "greater_than", value: "1000" }, { column_name: "EmpName", comparator: "starts_with", value: "S" } ] }, page: 1, select_columns: ["EmpID", "EmpName", "Department"], url: "https://hr.zylker.com/en/EmpRecords/_callback.php", headers: { src: "ZCatalyst", operation: "bulkreadAPI" }, params: { project_name: "EmployeeDatabase" } }); ``` ### Get Bulk Read Status ```javascript await bulkRead.getStatus(bulkReadJob.job_id); ``` ### Get Bulk Read Result > **Note:** The bulk read job status must be **Completed** for the result to be retrieved successfully. ```javascript await bulkRead.getResult(bulkReadJob.job_id); ``` -------------------------------------------------------------------------------- title: "Bulk Write Rows" description: "This page describes the method to perform operations in the DataStore component." last_updated: "2026-09-09T10:45:38.000Z" source: "https://docs.catalyst.zoho.com/en/sdk/javascript/v1/cloudscale/datastore/bulk-operations/bulk-write/" service: "CloudScale" related: - Catalyst CloudScale (/en/cloud-scale/) - DataStore Help (/en/cloud-scale/help/data-store/introduction/) - Stratus Help (/en/cloud-scale/help/stratus/introduction/) - Java SDK (/en/sdk/java/v1/cloud-scale/data-store/bulk-write/) - Python SDK (/en/sdk/python/v1/cloud-scale/data-store/bulk-write-rows/) - iOS SDK (/en/sdk/ios/v2/cloud-scale/data-store/create-rows/) - Android SDK (/en/sdk/android/v2/cloud-scale/data-store/create-rows/) - Flutter SDK (/en/sdk/flutter/v2/cloud-scale/data-store/create-rows/) - REST APIs (/en/api/code-reference/cloud-scale/data-store/bulk-write-rows/create-bulk-write-job/#CreateBulkWriteJob) -------------------------------------------------------------------------------- # Bulk Write Rows > **Notes:** * Ensure you have installed the [required package](https://docs.catalyst.zoho.com/en/sdk/javascript/v1/cloudscale/datastore/overview/#prerequisites) to use this SDK method. * A maximum of **100,000 rows** can be written at one time. You can perform bulk write jobs on a specific table present in the Catalyst DataStore. Using the bulk write utility you can fetch thousands of records stored in a .CSV file uploaded to a [bucket](https://docs.catalyst.zoho.com/en/cloud-scale/help/stratus/buckets/name-bucket/) in [Stratus](https://docs.catalyst.zoho.com/en/cloud-scale/help/stratus/introduction/), and insert them to a specific table. The required table is referred to by its [table ID](https://docs.catalyst.zoho.com/en/cloud-scale/help/data-store/tables/#create-a-new-table), and the required column will be referred to by its [column ID](https://docs.catalyst.zoho.com/en/cloud-scale/help/data-store/columns/#create-a-new-column). > **Note:** To perform the bulk write operation, you need to ensure that the required .CSV file is uploaded to a bucket in *Catalyst Stratus*. The .CSV file will be referred to using a JSON object which contains details, such as the bucket name, object name, and, if [versioning](https://docs.catalyst.zoho.com/en/cloud-scale/help/stratus/stratus-config/general-settings/#versioning) is enabled for your bucket, its `version ID`. ### Methods Used
Methods Used Description
`bulkWrite.createJob(objectDetails,{find_by, fk_mapping, operation})` Create a new bulk write job on a specific table.
`bulkWrite.status(job ID)` Get the status of a bulk write operation.
`bulkWrite.result(job ID)` Get the result of a bulk write operation.
The `datastore` reference used in the following code snippet is the [component instance](https://docs.catalyst.zoho.com/en/sdk/javascript/v1/cloudscale/datastore/get-component-instance/). ```javascript const objectDetails = { bucket_name: "zylker14266", object_key: "sample.csv", version_id: "64832huidksnd83" }; const datastore = new Datastore(); // get datastore instance const bulkWrite = datastore.table("sampleTable").bulkJob("write"); const bulkWriteJob = await bulkWrite.createJob(objectDetails, { find_by: "EmpID", fk_mapping: [ { local_column: "EmployeeID", reference_column: "EmpID" }, { local_column: "DepartmentID", reference_column: "DeptID" } ], operation: "insert" }); ``` ### Get Bulk Write Status ```javascript await bulkWrite.getStatus(bulkWriteJob.job_id); ``` ### Get Bulk Write Result > **Note:** The bulk write job status must be **Completed** for the result to be retrieved successfully. ```javascript await bulkWrite.getResult(bulkWriteJob.job_id); ``` -------------------------------------------------------------------------------- title: "Bulk Delete Rows" description: "This page describes the method to perform operations in the DataStore component." last_updated: "2026-09-09T10:45:38.000Z" source: "https://docs.catalyst.zoho.com/en/sdk/javascript/v1/cloudscale/datastore/bulk-operations/bulk-delete/" service: "CloudScale" related: - Catalyst CloudScale (/en/cloud-scale/) - DataStore Help (/en/cloud-scale/help/data-store/introduction/) - Java SDK (/en/sdk/java/v1/cloud-scale/data-store/bulk-delete-rows/) - Python SDK (/en/sdk/python/v1/cloud-scale/data-store/bulk-delete-rows/) - iOS SDK (/en/sdk/ios/v2/cloud-scale/data-store/delete-row/) - Android SDK (/en/sdk/android/v2/cloud-scale/data-store/delete-row/) - Flutter SDK (/en/sdk/flutter/v2/cloud-scale/data-store/delete-row/) - REST APIs (/en/api/code-reference/cloud-scale/data-store/bulk-delete-rows/#BulkDeleteRows) -------------------------------------------------------------------------------- # Bulk Delete Rows > **Note:** Ensure you have installed the [required package](https://docs.catalyst.zoho.com/en/sdk/javascript/v1/cloudscale/datastore/overview/#prerequisites) to use this SDK method. You can use the following bulk delete utility to delete multiple rows of data from a table in the Catalyst DataStore. The required table is referred to using its ID or name. The required `ROWIDs` of the rows to be deleted needs to be passed as an array to the `deleteRows()` method. You can pass a maximum of **200 ROWIDs** at one time. The `datastore` reference used in the following code snippet is the [component instance](https://docs.catalyst.zoho.com/en/sdk/javascript/v1/cloudscale/datastore/get-component-instance/). ```javascript const datastore = new Datastore(); // get datastore instance const table = datastore.table("EmpDetails"); // Pass the table ID or table name const row = await table.deleteRows([ // Pass the ROWIDs of the records to be deleted 1028000000171815, 1028000000171810, 1028000000171805, 1028000000171617, 1028000000171098 ]); console.log(row); ``` > **Note:** You can delete a maximum of **200 rows** from a table at one time. ### NoSQL -------------------------------------------------------------------------------- title: "Overview" description: "This page describes the method to perform operations in the DataStore component." last_updated: "2026-09-09T10:45:38.000Z" source: "https://docs.catalyst.zoho.com/en/sdk/javascript/v1/cloudscale/nosql/overview/" service: "CloudScale" related: - Catalyst CloudScale (/en/cloud-scale/) - NoSQL Help Documentation (/en/cloud-scale/help/nosql/introduction/) - Java SDK Documentation (/en/sdk/java/v1/cloud-scale/nosql/get-table-metadata/) - Python SDK Documentation (/en/sdk/python/v1/cloud-scale/nosql/get-component-instance/) - REST API Documentation (/en/api/code-reference/cloud-scale/nosql/insert-item/#InsertNewItem) -------------------------------------------------------------------------------- # NoSQL JavaScript SDK # Overview [NoSQL](https://docs.catalyst.zoho.com/en/cloud-scale/help/nosql/introduction/) is a *Catalyst CloudScale* component that offers a fully managed, non-relational data storage feature that enables you to store semi-structured, unstructured, and disparate data of your application in either document-type or key-value based JSON format. The *NoSQL JavaScript SDK* package enables you to perform CRUD operations in your NoSQL tables in your project. You can fetch the metadata of your NoSQL tables, as well as query tables or indexes of tables by specifying query conditions. ### Prerequisites You need to install the following package to be able to use the NoSQL SDK methods. ```sh npm install @zcatalyst/nosql ``` > **Info:** Ensure that you have applied the [required authentication configuration](https://docs.catalyst.zoho.com/en/sdk/javascript/v1/auth-config/node-consideration/) to use the SDK methods of this component. ### Import Requirement You need to import the following module to use the NoSQL SDK methods. ```javascript const { NoSQL } = require('@zcatalyst/nosql');//NoSQL module ``` ### List of SDK Methods The following table contains the list of SDK methods that can be used to perform operations in the NoSQL tables through code.
Category SDK Method Required Scope
General Operations [Create a NoSQL Instance](https://docs.catalyst.zoho.com/en/sdk/javascript/v1/cloudscale/nosql/get-instance/) Not required
NoSQL Operations
  • [Get table metadata](https://docs.catalyst.zoho.com/en/sdk/javascript/v1/cloudscale/nosql/get-table-metadata/)
    • [Get table metadata with Table ID](https://docs.catalyst.zoho.com/en/sdk/javascript/v1/cloudscale/nosql/get-table-metadata/#get-table-metadata-with-table-id)
    • [Get table metadata with Table Name](https://docs.catalyst.zoho.com/en/sdk/javascript/v1/cloudscale/nosql/get-table-metadata/#get-table-metadata-with-table-name)
    • [Get metadata of all tables](https://docs.catalyst.zoho.com/en/sdk/javascript/v1/cloudscale/nosql/get-table-metadata/#get-metadata-of-all-tables)
  • [Get table instance](https://docs.catalyst.zoho.com/en/sdk/javascript/v1/cloudscale/nosql/get-table-instance/)
    • [Get instance with Table ID](https://docs.catalyst.zoho.com/en/sdk/javascript/v1/cloudscale/nosql/get-table-instance/#get-instance-with-table-id)
    • [Get instance with Table Name](https://docs.catalyst.zoho.com/en/sdk/javascript/v1/cloudscale/nosql/get-table-instance/#get-instance-with-table-name)
    • [Get instance with Table details](https://docs.catalyst.zoho.com/en/sdk/javascript/v1/cloudscale/nosql/get-table-instance/#get-instance-with-table-details)
  • [Construct NoSQL item](https://docs.catalyst.zoho.com/en/sdk/javascript/v1/cloudscale/nosql/construct-item/)
  • [Insert items in table](https://docs.catalyst.zoho.com/en/sdk/javascript/v1/cloudscale/nosql/insert-items/)
  • [Manipulate NoSQL Items](https://docs.catalyst.zoho.com/en/sdk/javascript/v1/cloudscale/nosql/update-item/)
  • [Update items in table](https://docs.catalyst.zoho.com/en/sdk/javascript/v1/cloudscale/nosql/update-item/)
  • [Fetch items from table](https://docs.catalyst.zoho.com/en/sdk/javascript/v1/cloudscale/nosql/fetch-items/)
  • [Query table](https://docs.catalyst.zoho.com/en/sdk/javascript/v1/cloudscale/nosql/query-table/)
  • [Query index](https://docs.catalyst.zoho.com/en/sdk/javascript/v1/cloudscale/nosql/query-index/)
  • [Delete items from table](https://docs.catalyst.zoho.com/en/sdk/javascript/v1/cloudscale/nosql/delete-item/)
**Admin**
-------------------------------------------------------------------------------- title: "Get a NoSQL Instance" description: "This page describes the method to perform operations in the NoSQL component." last_updated: "2026-09-09T10:45:38.000Z" source: "https://docs.catalyst.zoho.com/en/sdk/javascript/v1/cloudscale/nosql/get-instance/" service: "CloudScale" related: - Catalyst CloudScale (/en/cloud-scale/) - NoSQL Help Documentation (/en/cloud-scale/help/nosql/introduction/) - Java SDK Documentation (/en/sdk/java/v1/cloud-scale/nosql/get-table-metadata/) - Python SDK Documentation (/en/sdk/python/v1/cloud-scale/nosql/get-component-instance/) - REST API Documentation (/en/api/code-reference/cloud-scale/nosql/insert-item/#InsertNewItem) -------------------------------------------------------------------------------- # Get a NoSQL Instance > **Note:** Ensure you have installed the [required package](https://docs.catalyst.zoho.com/en/sdk/javascript/v1/cloudscale/nosql/overview/#prerequisites) to use this SDK method. You can get the `nosql` component reference as shown below. This will not fire a server-side call. You will refer to this component instance in various code snippets of working with NoSQL. ```javascript //Get a NoSQL instance const nosql = new NoSQL(); ``` -------------------------------------------------------------------------------- title: "Get NoSQL Table Metadata" description: "This page describes the method to perform operations in the NoSQL component." last_updated: "2026-09-09T10:45:38.000Z" source: "https://docs.catalyst.zoho.com/en/sdk/javascript/v1/cloudscale/nosql/get-table-metadata/" service: "CloudScale" related: - Catalyst CloudScale (/en/cloud-scale/) - NoSQL Help Documentation (/en/cloud-scale/help/nosql/introduction/) - Java SDK Documentation (/en/sdk/java/v1/cloud-scale/nosql/get-table-metadata/) - Python SDK Documentation (/en/sdk/python/v1/cloud-scale/nosql/get-table-metadata/) - REST API Documentation (/en/api/code-reference/cloud-scale/nosql/insert-item/#InsertNewItem) -------------------------------------------------------------------------------- # Get NoSQL Table Metadata > **Note:** Ensure you have installed the [required package](https://docs.catalyst.zoho.com/en/sdk/javascript/v1/cloudscale/nosql/overview/#prerequisites) to use this SDK method. You can refer to the required table using its [Table ID](https://docs.catalyst.zoho.com/en/cloud-scale/help/nosql/create-manage-tables/#create-a-table) or its name. ### Get Table Metadata With Table ID You can pass the Table ID to the `getTable()` SDK method to retrieve the NoSQL table's metadata. The `nosql` reference used in the code snippets below is the [component instance](https://docs.catalyst.zoho.com/en/sdk/javascript/v1/cloudscale/nosql/get-instance/) created to perform these operations. ```javascript // Create a NoSQL instance const nosql = new NoSQL(); // Get table metadata using the Table ID const tableA = await nosql.getTable('124567890'); ``` ### Get Table Metadata With Table Name You can pass the name of the required table to the `getTable()` SDK method to retrieve the NoSQL table's metadata. The `nosql` reference used in the code snippets below is the [component instance](https://docs.catalyst.zoho.com/en/sdk/javascript/v1/cloudscale/nosql/get-instance/) created to perform these operations. ```javascript // Create a NoSQL instance const nosql = new NoSQL(); // Get table metadata using the table name const tableB = await nosql.getTable('EmpTable'); ``` > **Note:** If you [rename the table](https://docs.catalyst.zoho.com/en/cloud-scale/help/nosql/create-manage-tables/#edit-a-table), you will need to update the changes in your code. ### Get Metadata of All Tables You can use the `getAllTable()` SDK method to get the metadata of all the tables present in your project. ```javascript const nosql = new NoSQL(); // Get metadata of all tables const allTables = await nosql.getAllTable(); ``` -------------------------------------------------------------------------------- title: "Get NoSQL Table Instance" description: "This page describes the method to perform operations in the NoSQL component." last_updated: "2026-09-09T10:45:38.000Z" source: "https://docs.catalyst.zoho.com/en/sdk/javascript/v1/cloudscale/nosql/get-table-instance/" service: "CloudScale" related: - Catalyst CloudScale (/en/cloud-scale/) - NoSQL Help Documentation (/en/cloud-scale/help/nosql/introduction/) - Java SDK Documentation (/en/sdk/java/v1/cloud-scale/nosql/create-table-instance/) - Python SDK Documentation (/en/sdk/python/v1/cloud-scale/nosql/get-table-instance/) - REST API Documentation (/en/api/code-reference/cloud-scale/nosql/insert-item/#InsertNewItem) -------------------------------------------------------------------------------- # Get NoSQL Table Instance > **Note:** Ensure you have installed the [required package](https://docs.catalyst.zoho.com/en/sdk/javascript/v1/cloudscale/nosql/overview/#prerequisites) to use this SDK method. You can use the `table()` SDK method to fetch an instance for a table created in Catalyst NoSQL. This instance will be used to refer to the required table and perform the required operations. This process will not fire a server-side call. You can pass the table ID, name, or even details of the table passed as a JSON. ### Get Instance with Table ID You can pass the table ID of the required table to the `table()` method to get the required instance. The `nosql` reference used in the code snippets below is the [component instance](https://docs.catalyst.zoho.com/en/sdk/javascript/v1/cloudscale/nosql/get-instance/) created earlier. ```javascript const nosql = new NoSQL(); const tableinstanceA = nosql.table('20660000000025022'); // Create a table instance with Table ID ``` ### Get Instance With Table Name You can pass the name of the required NoSQL table to the `table()` method, to get its instance. The `nosql` reference used in the code snippets below is the [component instance](https://docs.catalyst.zoho.com/en/sdk/javascript/v1/cloudscale/nosql/get-instance/) created earlier. ```javascript const nosql = new NoSQL(); const tableInstanceB = nosql.table('Emptable'); // Create a table instance with the table name ``` ### Get Instance With Table Details You can resolve the details of the required table as a JSON and pass it to the `table()` method to get the instance of the required table. This method, in particular, allows you to duplicate a table object whose instance you already fetched using the ID or name. The `nosql` reference used in the code snippets below is the [component instance](https://docs.catalyst.zoho.com/en/sdk/javascript/v1/cloudscale/nosql/get-instance/) created earlier. ```javascript const nosql = new NoSQL(); const tableInstanceC = nosql.table(tableA.toJSON()); // Create a table instance with table details ``` -------------------------------------------------------------------------------- title: "Construct NoSQL Item" description: "This page describes the method to perform operations in the NoSQL component." last_updated: "2026-09-09T10:45:38.000Z" source: "https://docs.catalyst.zoho.com/en/sdk/javascript/v1/cloudscale/nosql/construct-item/" service: "CloudScale" related: - Catalyst CloudScale (/en/cloud-scale/) - NoSQL Help Documentation (/en/cloud-scale/help/nosql/introduction/) - Java SDK Documentation (/en/sdk/java/v1/cloud-scale/nosql/construct-item/) - Python SDK Documentation (/en/sdk/python/v1/cloud-scale/nosql/construct-item/) - REST API Documentation (/en/api/code-reference/cloud-scale/nosql/insert-item/#InsertNewItem) -------------------------------------------------------------------------------- # Construct NoSQL Item > **Note:** Ensure you have installed the [required package](https://docs.catalyst.zoho.com/en/sdk/javascript/v1/cloudscale/nosql/overview/#prerequisites) to use this SDK method. Catalyst NoSQL items represent a collection of attributes that hold the data of a single data point, like records. You can insert or update items into an existing NoSQL table in your project in a [Custom JSON format](https://docs.catalyst.zoho.com/en/cloud-scale/help/nosql/working-with-data/introduction/#the-catalyst-custom-json-format). However, before you insert or update an item in Catalyst, you will need to construct the item. You can construct a NoSQL item of attributes containing different data types supported by Catalyst as described in the following sections. Catalyst supports several data types such as **String**, **Number**, **Set of Strings**, **Set of Numbers**, **List**, and **Map**. You must provide the values for the partition key attribute that you configured for a table in every data item. > **Notes:** * [Learn more on supported data types](https://docs.catalyst.zoho.com/en/cloud-scale/help/nosql/working-with-data/introduction/#supported-data-types). * [Learn more table keys and other table attributes](https://docs.catalyst.zoho.com/en/cloud-scale/help/nosql/components/#table-keys). ### Create a New NoSQL Item You can create a new NoSQL item using the `NoSQLItem()` SDK method. ```javascript const item = new NoSQLItem(); // Create a new NoSQL item ``` ### Construct a NoSQL Item of String In the following example code snippet, we construct an item that includes string values and a nested JSON attribute `color` as a Map. ```javascript const item = new NoSQLItem() // Create a new NoSQL item // Add a string value .addString('fruit', 'mango') // Add a map .addMap('properties', { color: 'yellow' }); ``` ### Construct a NoSQL Byte You can create a NoSQL byte to store values of the Binary data type, by creating a buffer object that is used to represent a sequence of bytes. You can then create a byte in two ways: * Using the `ArrayBuffers` object that represents a raw binary data buffer. * Using a `Base64` string that represents binary data in the ASCII format. #### Example Code Snippet ```javascript const buff = Buffer.from('Hello world !!!'); // Create a buffer object const byte = new NoSQLByte(buff); // Create a NoSQL byte using the ArrayBuffers object const byteA = new NoSQLByte(buff.toString('base64')); // Create a NoSQL byte from a Base64 string ``` ### Construct a NoSQL Byte Set Catalyst enables you to create a NoSQL byte set to store a collection of binary values of the Set of Binary data type, by creating a buffer object that is used to represent a sequence of bytes. You can then create a byte set using: * The `ArrayBuffers` object that represents a raw binary data buffer * A `Base64` string that represents binary data in the ASCII format. Additionally, you can also create a byte set from passing constructed bytes as a byte array. #### Example Code Snippet ```javascript const buff = Buffer.from('Hello world !!!'); // Create a buffer object const byte = new NoSQLByte(buff); // Create a NoSQL byte using the ArrayBuffers object const byteA = new NoSQLByte(buff.toString('base64')); // Create a NoSQL byte from a Base64 string const byteSet = new NoSQLByteSet([byte, byteA]); // Create a NoSQL byte set from a NoSQL byte array const byteSetA = new NoSQLByteSet([buff.toString('base64')]); // Create a NoSQL Byte set from a Base64 string array const byteSetB = new NoSQLByteSet([buff]); // Create a NoSQL Byte set using the ArrayBuffers object ``` ### Construct a NoSQL String Set You can create a NoSQL string set of the *Set of String* data type from a string array. #### Example Code Snippet ```javascript const stringSet = new NoSQLStringSet(['hello', 'world']); // Create a NoSQL string set from a string array ``` ### Construct a NoSQL Number Set You can create NoSQL number set of the *Set of Numbers* data type from an array of numbers or **BigInt** values. #### Example Code Snippet ```javascript const numberSet = new NoSQLNumberSet([123, 1234n]); // Create a NoSQL Number set from an array of numbers or BigInt values ``` -------------------------------------------------------------------------------- title: "Manipulate NoSQL Items" description: "This page describes the method to perform operations in the NoSQL component." last_updated: "2026-09-09T10:45:38.000Z" source: "https://docs.catalyst.zoho.com/en/sdk/javascript/v1/cloudscale/nosql/manipulate-item/" service: "CloudScale" related: - Catalyst CloudScale (/en/cloud-scale/) - NoSQL Help Documentation (/en/cloud-scale/help/nosql/introduction/) - Java SDK Documentation (/en/sdk/java/v1/cloud-scale/nosql/item-operations/) - Python SDK Documentation (/en/sdk/python/v1/cloud-scale/nosql/update-items/) - REST API Documentation (/en/api/code-reference/cloud-scale/nosql/update-item/#UpdateItem) -------------------------------------------------------------------------------- # Manipulate NoSQL Items > **Note:** Ensure you have installed the [required package](https://docs.catalyst.zoho.com/en/sdk/javascript/v1/cloudscale/nosql/overview/#prerequisites) to use this SDK method. You can perform manipulations on a NoSQL items, such as creating a NoSQL item from a plain JavaScript object, or vice versa. * You can create a NoSQL item by constructing a plain JavaScript object that contains the item’s data in it, in the standard JSON format. * You can then construct the NoSQL item from the JS object using `NoSQLItem.from()`. * You can also convert a NoSQL item back into a plain JavaScript object using `itemFromObj.to()`. ```javascript const obj = { fruit: 'apple', // Partition key properties: { color: 'red' } }; const itemFromObj = NoSQLItem.from(obj); // Construct a NoSQL item from the plain JS object const plainJsObject = itemFromObj.to(); // Convert the item to a plain JS object ``` -------------------------------------------------------------------------------- title: "Insert Items in NoSQL Table" description: "This page describes the method to perform operations in the NoSQL component." last_updated: "2026-09-09T10:45:38.000Z" source: "https://docs.catalyst.zoho.com/en/sdk/javascript/v1/cloudscale/nosql/insert-items/" service: "CloudScale" related: - Catalyst CloudScale (/en/cloud-scale/) - NoSQL Help Documentation (/en/cloud-scale/help/nosql/introduction/) - Java SDK Documentation (/en/sdk/java/v1/cloud-scale/nosql/insert-items/) - Python SDK Documentation (/en/sdk/python/v1/cloud-scale/nosql/insert-items/) - REST API Documentation (/en/api/code-reference/cloud-scale/nosql/insert-item/#InsertNewItem) -------------------------------------------------------------------------------- # Insert Items in NoSQL Table > **Note:** Ensure you have installed the [required package](https://docs.catalyst.zoho.com/en/sdk/javascript/v1/cloudscale/nosql/overview/#prerequisites) to use this SDK method. Using the `insertItems()` SDK method, you can insert items in a specific NoSQL table after you construct them. > **Notes:** * Catalyst enables you to insert a **maximum of 25 items** in bulk in a NoSQL table with a single SDK operation. * [Learn more about the Catalyst custom JSON format](https://docs.catalyst.zoho.com/en/cloud-scale/help/nosql/working-with-data/introduction/#the-catalyst-custom-json-format). * [Learn more about the supported data types](https://docs.catalyst.zoho.com/en/cloud-scale/help/nosql/working-with-data/introduction/#supported-data-types). ### Insert Items Without Conditions Insert new items into a NoSQL table without any conditions by constructing the items in the Catalyst custom JSON format. This will require you to pass the values for the [partition key and sort key](https://docs.catalyst.zoho.com/en/cloud-scale/help/nosql/components/#table-keys) attributes configured for the table. For example, consider a NoSQL table with the following values:
Attribute Name Attribute Data Type Attribute Value
`fruitName`(**Partition Key**) String Banana
`fruitColor`(map:**fruitProperties**) String Yellow
`fruitType`(map:**fruitProperties**) String Berries
```javascript // Insert a NoSQL item without conditions const plainInsert = await table.insertItems({ // Define the item to be inserted with the partition key fruitName item: NoSQLItem.from({ fruitName: 'Banana', //Provide values for the other attributes of the item fruitProperties: { fruitColor: 'Yellow', fruitType: 'Berries' } }), // Set the return value in the response. Other supported values are "OLD" and "NULL" return: NoSQLReturnValue.NEW }); ``` ### Insert Items With Conditional Functions You can insert attributes in existing items in a NoSQL table using specific conditions that you define in the Catalyst custom JSON format. In this type, the existing data of the table is retrieved and evaluated against the specified condition. The items are inserted only if the evaluation is true. If there is no existing data, the conditions are ignored and the items are inserted. Catalyst supports multiple operators to evaluate conditions. The supported operators are represented as shown below.
Operators Notation
CONTAINS `contains`
NOT_CONTAINS `not_contains`
BEGINS_WITH `begins_with`
ENDS_WITH `ends_with`
IN `in`
NOT_IN `not_in`
BETWEEN `between`
NOT_BETWEEN `not_between`
EQUALS `equals`
NOT_EQUALS `not_equals`
GREATER_THAN `greater_than`
LESS_THAN `less_than`
GREATER_THAN_OR_EQUALS `greater_equal`
LESSER_THAN_OR_EQUALS `less_equal`
AND `AND`
OR `OR`
The example below illustrates this by defining a condition for the data type of the attribute `fruitName` to be **String** in the existing data. If the condition is satisfied, the attribute `taste` with the value "**Sweet**" is added to these items. ```javascript // Insert a NoSQL item with the "attribute_type" function const attrTypeInsert = await table.insertItems({ // Define the item to be inserted item: NoSQLItem.from({ taste: 'Sweet' }), // Define the condition for insert condition: { // The condition specifies that the item should be added if the attribute type is String ("S") function: { // Set the function type function_name: 'attribute_type', // Supply the arguments to the function args: [{ // Set the attribute path attribute_path: ['fruitName'] }, // Set the attribute type NoSQLMarshall.makeString('S') // => { "S": "S" } ] } } }); ``` The following code snippet details further examples of inserting items with conditional functions. ```javascript //Insert a NoSQL Item with the "equals" operator, attribute "name" value equals "apple" const operatorEqInsert = await table.insertItems({ // Define the item to be inserted item: NoSQLItem.from({ taste: 'Sweet' }), // Define the condition for insert condition: { // Set the attribute path attribute: ['name'], // Set the operator based on the operation operator: NoSQLOperator.EQUALS, // Set the value for comparison value: NoSQLMarshall.makeString('apple') // => { "S": "apple" } } }); //Insert a NoSQL Item with "group_operator", attribute "name" is "apple" AND attribute "variety" is "gala" const groupOpInsert = await table.insertItems({ // Define the item to be inserted item: NoSQLItem.from({ taste: 'Sweet' }), // Define the condition for insert condition: { // Set the group operator group_operator: NoSQLConditionGroupOperator.AND, // Supply the group conditions group: [{ // Set the attribute path attribute: 'name', // Set operator based on the operation operator: NoSQLOperator.EQUALS, // Set the value for comparison value: NoSQLMarshall.makeString('apple') // => { "S": "apple" } }, { // Set the attribute path attribute: 'variety', // Set the operator based on the operation operator: NoSQLOperator.EQUALS, // Set the value for comparison value: NoSQLMarshall.makeString('gala') // => { "S": "gala" } } ] } }); //Insert a NoSQL Item with the "begins_with" operator, attribute "name" value begins with "app" const beginsWithInsert = await table.insertItems({ // Define the item to be inserted item: NoSQLItem.from({ taste: 'Sweet' }), // Define the condition for insert condition: { // Set the attribute path attribute: ['name'], // Set the operator based on the operation operator: NoSQLOperator.BEGINS_WITH, // set the value for comparison value: NoSQLMarshall.makeString('app') // => { "S": "app" } } }); ``` -------------------------------------------------------------------------------- title: "Update Items in Table" description: "This page describes the method to perform operations in the NoSQL component." last_updated: "2026-09-09T10:45:38.000Z" source: "https://docs.catalyst.zoho.com/en/sdk/javascript/v1/cloudscale/nosql/update-item/" service: "CloudScale" related: - Catalyst CloudScale (/en/cloud-scale/) - NoSQL Help Documentation (/en/cloud-scale/help/nosql/introduction/) - Java SDK Documentation (/en/sdk/java/v1/cloud-scale/nosql/update-items/) - Python SDK Documentation (/en/sdk/python/v1/cloud-scale/nosql/update-items/) - REST API Documentation (/en/api/code-reference/cloud-scale/nosql/update-item/#UpdateItem) -------------------------------------------------------------------------------- # Update Items in Table > **Note:** Ensure you have installed the [required package](https://docs.catalyst.zoho.com/en/sdk/javascript/v1/cloudscale/nosql/overview/#prerequisites) to use this SDK method. Using the `updateItems()` SDK method, you can update items in a specific NoSQL table after you construct them. An item can be updated by identifying it using its [primary keys](https://docs.catalyst.zoho.com/en/cloud-scale/help/nosql/components/#table-keys). For instance, you can use just the partition key or a combination of the partition key and sort key to identify the required item. You can then define the update operation type with the appropriate HTTP request method and provide the attributes and values to be updated in the item. > **Note:** Catalyst enables you to update a **maximum of 25 items** in bulk in a NoSQL table with a single SDK operation. The code snippet below illustrates the functionality of the `updateItems()` SDK method. For this example, the NoSQL table contains the following attributes and values:
Attribute Name Value
fruitName(Partition Key) Apple
To this table we are going to update the values of the `taste` and `color` attributes present in the table, along with their paths. ```javascript const NoSQLOperator = new NoSQLEnum(); // Update a NoSQL Item identified with the partition key "apple" with its properties attribute updated const updatedItems = await table.updateItems({ // Define the partition key value of the item to be updated keys: [new NoSQLItem().addString('fruit', 'apple')], // Define the attributes to be updated update_attributes: [{ // Specify the type of the update operation operation_type: NoSQLUpdateOperationType.PUT, // Provide the values for the attribute to be updated update_value: NoSQLMarshall.makeMap({ color: 'Green', taste: 'Sour' }), // Specify the path to the attributes attribute_path: ['fruitProperties'] }] }); ``` -------------------------------------------------------------------------------- title: "Fetch Items from NoSQL Table" description: "This page describes the method to perform operations in the NoSQL component." last_updated: "2026-09-09T10:45:38.000Z" source: "https://docs.catalyst.zoho.com/en/sdk/javascript/v1/cloudscale/nosql/fetch-items/" service: "CloudScale" related: - Catalyst CloudScale (/en/cloud-scale/) - NoSQL Help Documentation (/en/cloud-scale/help/nosql/introduction/) - Java SDK Documentation (/en/sdk/java/v1/cloud-scale/nosql/fetch-items/) - Python SDK Documentation (/en/sdk/python/v1/cloud-scale/nosql/fetch-items/) - REST API Documentation (/en/api/code-reference/cloud-scale/nosql/fetch-item/#FetchItem) -------------------------------------------------------------------------------- # Fetch Items from NoSQL Table > **Note:** Ensure you have installed the [required package](https://docs.catalyst.zoho.com/en/sdk/javascript/v1/cloudscale/nosql/overview/#prerequisites) to use this SDK method. Using the `fetchItem()` SDK method, you can fetch the required items from a NoSQL table. The items can be referred using their [Primary Keys](https://docs.catalyst.zoho.com/en/cloud-scale/help/nosql/components/#table-keys). For example, you can use just the partition key or a combination of the partition key and sort key to fetch the item. Optionally, you can filter the attributes to be fetched by specifying the required attributes. > **Note:** Catalyst enables you to fetch a **maximum of 100 items** from a NoSQL table in a single SDK read operation. The following example code snippet details the following logic: * The required item is being identified using its **partition key**: `fruit` whose value is "`apple`". * Specific attributes such as `properties` and taste are filtered to be fetched using `required_attributes`. * Implements `consistent_read` to indicate if the read operation must be done using the master or a slave cluster. - If the value is set as `true`, it is queried from the master. - If the value is set as `false`, it is queried from the slave. > **Note:** In the master-slave replication, the master contains all the data of the database, and the slave contains copies from the master. Performing a read operation from the slave can reduce the overall cost with the trade-off being a minor delay in the updated data being reflected. ```javascript //Fetch properties of a NoSQLItem identified with the partition key value "apple" const fetchedItem = await table.fetchItem({ // Define the partition key and value of the item to be fetched keys: [new NoSQLItem().addString('fruit', 'apple')], // Set consistent_read to true to query from master. If set to false, it is queried from slave. consistent_read: true, // Specify the attributes to be fetched required_attributes: [['properties', 'taste']] }); ``` -------------------------------------------------------------------------------- title: "Query NoSQL Table" description: "This page describes the method to perform operations in the NoSQL component." last_updated: "2026-09-09T10:45:38.000Z" source: "https://docs.catalyst.zoho.com/en/sdk/javascript/v1/cloudscale/nosql/query-table/" service: "CloudScale" related: - Catalyst CloudScale (/en/cloud-scale/) - NoSQL Help Documentation (/en/cloud-scale/help/nosql/introduction/) - Java SDK Documentation (/en/sdk/java/v1/cloud-scale/nosql/query-table/) - Python SDK Documentation (/en/sdk/python/v1/cloud-scale/nosql/query-table/) - REST API Documentation (/en/api/code-reference/cloud-scale/nosql/query-table/#QueryTable) -------------------------------------------------------------------------------- # Query NoSQL Table > **Note:** Ensure you have installed the [required package](https://docs.catalyst.zoho.com/en/sdk/javascript/v1/cloudscale/nosql/overview/#prerequisites) to use this SDK method. Using the `queryTable()` SDK method, you can query a NoSQL table and retrieve data by identifying the items using the [primary keys](https://docs.catalyst.zoho.com/en/cloud-scale/help/nosql/components/#table-keys) of the table. For instance, you can use just the partition key or a combination of the partition key and sort key to retrieve the item. > **Note:** Catalyst enables you to retrieve a **maximum of 100 items** in bulk from a NoSQL table with pagination from a single SDK operation. You must use the `start_key` token received in the SDK response and construct the logic for pagination. You can define the key condition that identifies the item by specifying the attributes, their required values, and the supported operator to be used. The supported operators are represented as shown below.
Operators Notation
CONTAINS contains
NOT_CONTAINS not_contains
BEGINS_WITH begins_with
ENDS_WITH ends_with
IN in
NOT_IN not_in
BETWEEN between
NOT_BETWEEN not_between
EQUALS equals
NOT_EQUALS not_equals
GREATER_THAN greater_than
LESS_THAN less_than
GREATER_THAN_OR_EQUALS greater_equal
LESSER_THAN_OR_EQUALS less_equal
AND AND
OR OR
The following example code snippet details the following logic: * The required items are identified using its partition key: `fruitType`. * The condition value is "`Citrus`". * Implements `consistent_read` to indicate if the read operation must be done using the master or a slave cluster. - If the value is set as `true`, it is queried from the master. - If the value is set as `false`, it is queried from the slave. > **Note:** In the master-slave replication, the master contains all the data of the database, and the slave contains copies from the master. Performing a read operation from the slave can reduce the overall cost with the trade-off being a minor delay in the updated data being reflected. ```javascript const NoSQLOperator = new NoSQLEnum(); // Query a NoSQL table to fetch the items identified by the partition key 'fruitType' with the value "Citrus" const queriedItem = await table.queryTable({ // Define the key condition to query the items with key_condition: { // Specify the partition key attribute name of the table attribute: 'fruitType', // Define the supported operator to be used. // You can also use BETWEEN, GREATERTHAN, LESSERTHAN, GREATERTHANOREQUALTO, LESSERTHANOREQUALTO operator: NoSQLOperator.EQUALS, // Specify the value for comparison value: NoSQLMarshall.makeString('Citrus'), }, // Set consistent_read to true to query from master. // If set to false, it is queried from slave. consistent_read: true, // Limit the number of rows to be returned by specifying a value limit: 10, // Set forward_scan to true to sort the results in ascending order. // Otherwise, it is sorted in descending order. forward_scan: true, }); ``` -------------------------------------------------------------------------------- title: "Query Index in NoSQL" description: "This page describes the method to perform operations in the NoSQL component." last_updated: "2026-09-09T10:45:38.000Z" source: "https://docs.catalyst.zoho.com/en/sdk/javascript/v1/cloudscale/nosql/query-index/" service: "CloudScale" related: - Catalyst CloudScale (/en/cloud-scale/) - NoSQL Help Documentation (/en/cloud-scale/help/nosql/introduction/) - Java SDK Documentation (/en/sdk/java/v1/cloud-scale/nosql/query-index/) - Python SDK Documentation (/en/sdk/python/v1/cloud-scale/nosql/query-index/) - REST API Documentation (/en/api/code-reference/cloud-scale/nosql/query-index/#QueryIndex) -------------------------------------------------------------------------------- # Query Index in NoSQL > **Note:** Ensure you have installed the [required package](https://docs.catalyst.zoho.com/en/sdk/javascript/v1/cloudscale/nosql/overview/#prerequisites) to use this SDK method. You can query a NoSQL index and retrieve data by identifying the items using the [primary keys](https://docs.catalyst.zoho.com/en/cloud-scale/help/nosql/components/#table-keys) of the index. Indexing allows you to execute alternate queries on the table data without making use of the primary keys of the main table. You can configure indexes from the [Catalyst console](https://docs.catalyst.zoho.com/en/cloud-scale/help/nosql/indexing/create-manage-indexes/#create-an-index). You can use just the partition key or a combination of the partition key and sort key of the index to retrieve an item. > **Note:** Catalyst enables you to retrieve a **maximum of 100 items** in bulk from a NoSQL table with pagination from a single SDK operation. You must use the `start_key` token received in the SDK response and construct the logic for pagination. You can define the key condition that identifies the item by specifying the attributes, their required values, and the supported operator to be used. The supported operators are represented as shown below.
Operators Notation
CONTAINS contains
NOT_CONTAINS not_contains
BEGINS_WITH begins_with
ENDS_WITH ends_with
IN in
The following example code snippet details the following logic: * The required query is executed by referring the required items using the index `FruitIdentifier`’s partition key `fruitColor`. * The condition value is specified as "`yellow`". * The query is done using the `queryIndex()` SDK method. * Implements consistent_read to indicate if the read operation must be done using the master or a slave cluster. - If the value is set as `true`, it is queried from the master. - If the value is set as `false`, it is queried from the slave. > **Note:** In the master-slave replication, the master contains all the data of the database, and the slave contains copies from the master. Performing a read operation from the slave can reduce the overall cost with the trade-off being a minor delay in the updated data being reflected. ```javascript const { NoSQLMarshall, NoSQLEnum } = require('zcatalyst-sdk-node/lib/no-sql'); const { NoSQLOperator } = NoSQLEnum; // Query a NoSQL table index to fetch the items identified by the partition key fruitColor with the value "yellow" const queriedIndexItems = await table.queryIndex('FruitIdentifier', { // Define the key condition to query the items with key_condition: { attribute: 'fruitColor', // Define the supported operator to be used operator: NoSQLOperator.EQUALS, value: NoSQLMarshall.makeString('yellow') }, // Set consistent_read to true to query from master. If set to false, it is queried from slave. consistent_read: true, // Limit the number of rows to be returned by specifying a value limit: 15, // Set forward_scan to true to sort the results in ascending order. Otherwise, it is sorted in descending order. forward_scan: true }); ``` -------------------------------------------------------------------------------- title: "Delete Items from NoSQL Table" description: "This page describes the method to perform operations in the NoSQL component." last_updated: "2026-09-09T10:45:38.000Z" source: "https://docs.catalyst.zoho.com/en/sdk/javascript/v1/cloudscale/nosql/delete-item/" service: "CloudScale" related: - Catalyst CloudScale (/en/cloud-scale/) - NoSQL Help Documentation (/en/cloud-scale/help/nosql/introduction/) - Java SDK Documentation (/en/sdk/java/v1/cloud-scale/nosql/delete-items/) - Python SDK Documentation (/en/sdk/python/v1/cloud-scale/nosql/delete-items/) - REST API Documentation (/en/api/code-reference/cloud-scale/nosql/delete-item/#DeleteItem) -------------------------------------------------------------------------------- # Delete Items from NoSQL Table > **Note:** Ensure you have installed the [required package](https://docs.catalyst.zoho.com/en/sdk/javascript/v1/cloudscale/nosql/overview/#prerequisites) to use this SDK method. Using the `deleteItems()` SDK method, to delete items from a NoSQL table. You can refer to the required item using the [primary keys](https://docs.catalyst.zoho.com/en/cloud-scale/help/nosql/components/#table-keys) of the table. For example, you use just the partition key, or a combination of the partition key and sort key of the table, to identify an item. > **Note:** Catalyst enables you to delete a **maximum of 25 items** in bulk from a NoSQL table with a single SDK operation. In the following code snippet, the required item from the NoSQL table is being referred to using its partition key `fruit` whose value matches "`apple`". ```javascript // Delete a NoSQL item from the table with partition key "fruit" and the value matching "apple" const deletedItems = await table.deleteItems({ // Specify the partition key value of the item to be deleted keys: NoSQLItem.from({ fruit: 'apple' }) }); ``` ### Stratus -------------------------------------------------------------------------------- title: "Overview" description: "This page describes the method to perform operations in the DataStore component." last_updated: "2026-11-03T07:48:52.000Z" source: "https://docs.catalyst.zoho.com/en/sdk/javascript/v1/cloudscale/stratus/overview/" service: "CloudScale" related: - Catalyst CloudScale (/en/cloud-scale/) - Stratus Help Documentation (/en/cloud-scale/help/stratus/introduction/) - Java SDK Documentation (/en/sdk/java/v1/cloud-scale/stratus/overview/) - Python SDK Documentation (/en/sdk/python/v1/cloud-scale/stratus/overview/) - iOS SDK Documentation (/en/sdk/ios/v2/cloud-scale/stratus/overview/) - Android SDK Documentation (/en/sdk/android/v2/cloud-scale/stratus/overview/) - Flutter SDK Documentation (/en/sdk/flutter/v2/cloud-scale/stratus/overview/) - REST API Documentation (/en/api/code-reference/cloud-scale/stratus/get-all-buckets/#GetAllBuckets) -------------------------------------------------------------------------------- # Stratus JavaScript SDK # Overview Stratus is the comprehensive object storage solution offered in the Catalyst CloudScale service. You can store data of any format in the form of [Objects](https://docs.catalyst.zoho.com/en/cloud-scale/help/stratus/objects/introduction/) in containers called [Buckets](https://docs.catalyst.zoho.com/en/cloud-scale/help/stratus/buckets/name-bucket/). Each Bucket and every individual object in the bucket has a secure [Object URL](https://docs.catalyst.zoho.com/en/cloud-scale/help/stratus/objects/introduction/#object-url) and [Bucket URL](https://docs.catalyst.zoho.com/en/cloud-scale/help/stratus/buckets/create-bucket/#bucket-url). You can perform CRUD, upload, and download operations on objects stored in the bucket. ### Prerequisites You need to install the following packages to be able to use the Stratus SDK methods. ```sh npm install @zcatalyst/stratus ``` > **Info:** Ensure that you have applied the [required authentication configuration](https://docs.catalyst.zoho.com/en/sdk/javascript/v1/auth-config/node-consideration/) to use the SDK methods of this component. ### Import Requirement You need to import the following module to use the Stratus SDK methods. ```javascript const { Stratus } = require('@zcatalyst/stratus');//Stratus module ``` ### List of SDK Methods The following table contains the list of SDK methods that can be used to perform Stratus operations through code.
Category SDK Method Required Scope
General Operations [Check Stratus Instance](https://docs.catalyst.zoho.com/en/sdk/javascript/v1/cloudscale/stratus/create-instance/) Not required
[Check Bucket Availability](https://docs.catalyst.zoho.com/en/sdk/javascript/v1/cloudscale/stratus/check-bucket-availability/) Not required
[List Buckets](https://docs.catalyst.zoho.com/en/sdk/javascript/v1/cloudscale/stratus/list-buckets/) **Admin**
Bucket Operations [Create Bucket Instance](https://docs.catalyst.zoho.com/en/sdk/javascript/v1/cloudscale/stratus/create-bucket-instance/) Not required
[Get Bucket Details](https://docs.catalyst.zoho.com/en/sdk/javascript/v1/cloudscale/stratus/get-bucket-details/) Not required
[Get Bucket CORS](https://docs.catalyst.zoho.com/en/sdk/javascript/v1/cloudscale/stratus/get-bucket-cors/) **Admin**
[List Objects in a Bucket](https://docs.catalyst.zoho.com/en/sdk/javascript/v1/cloudscale/stratus/list-objects/)
  • [List all objects by pagination](https://docs.catalyst.zoho.com/en/sdk/javascript/v1/cloudscale/stratus/list-objects/#list-all-objects-by-pagination)
  • [List all objects through iteration](https://docs.catalyst.zoho.com/en/sdk/javascript/v1/cloudscale/stratus/list-objects/#list-objects-through-iteration)
**Admin**
[Check Object Availability](https://docs.catalyst.zoho.com/en/sdk/javascript/v1/cloudscale/stratus/check-object/) **Admin**
[Download Object](https://docs.catalyst.zoho.com/en/sdk/javascript/v1/cloudscale/stratus/download-object/)
  • [Download an Object](https://docs.catalyst.zoho.com/en/sdk/javascript/v1/cloudscale/stratus/download-object/#download-an-object)
  • [Download a Portion of the Object](https://docs.catalyst.zoho.com/en/sdk/javascript/v1/cloudscale/stratus/download-object/#download-a-potion-of-the-object)
  • [Download an Object Using Transfer Manager](https://docs.catalyst.zoho.com/en/sdk/javascript/v1/cloudscale/stratus/download-object/#download-an-object-using-transfer-manager-utility)
Not required
[Generate Presigned URL to Download an Object](https://docs.catalyst.zoho.com/en/sdk/javascript/v1/cloudscale/stratus/download-object/#generate-presigned-url-to-download-an-object) **Admin**
[Upload Object](https://docs.catalyst.zoho.com/en/sdk/javascript/v1/cloudscale/stratus/upload-object/)
  • [Upload Object as a Stream](https://docs.catalyst.zoho.com/en/sdk/javascript/v1/cloudscale/stratus/upload-object/#upload-object-as-a-stream)
  • [Upload Object as a String](https://docs.catalyst.zoho.com/en/sdk/javascript/v1/cloudscale/stratus/upload-object/#upload-object-as-a-string)
  • [Upload Object with Options](https://docs.catalyst.zoho.com/en/sdk/javascript/v1/cloudscale/stratus/upload-object/#upload-object-with-options)
  • [Upload Object With Extract Option](https://docs.catalyst.zoho.com/en/sdk/javascript/v1/cloudscale/stratus/upload-object/#upload-object-with-extract-option)
  • [Upload Object Using Multipart](https://docs.catalyst.zoho.com/en/sdk/javascript/v1/cloudscale/stratus/upload-object/#upload-object-using-multipart-utility)
  • [Upload an Object Using Transfer Manager](https://docs.catalyst.zoho.com/en/sdk/javascript/v1/cloudscale/stratus/upload-object/#upload-an-object-using-the-transfer-manager-utility)
Not required
[Generate Presigned URL to Upload an Object](https://docs.catalyst.zoho.com/en/sdk/javascript/v1/cloudscale/stratus/upload-object/#generate-presigned-url-to-upload-an-object) **Admin**
[Extract a Zipped Object In Stratus](https://docs.catalyst.zoho.com/en/sdk/javascript/v1/cloudscale/stratus/extract-zipped-object/)
  • [Get Zip Extraction Status](https://docs.catalyst.zoho.com/en/sdk/javascript/v1/cloudscale/stratus/extract-zipped-object/#get-zip-extraction-status)
**Admin**
[Copy Object](https://docs.catalyst.zoho.com/en/sdk/javascript/v1/cloudscale/stratus/copy-object/) **Admin**
[Rename an Object](https://docs.catalyst.zoho.com/en/sdk/javascript/v1/cloudscale/stratus/rename-move/) **Admin**
[Move an Object](https://docs.catalyst.zoho.com/en/sdk/javascript/v1/cloudscale/stratus/rename-move/#move-an-object) **Admin**
[Delete Object](https://docs.catalyst.zoho.com/en/sdk/javascript/v1/cloudscale/stratus/delete-object/)
  • [Delete a Single Object](https://docs.catalyst.zoho.com/en/sdk/javascript/v1/cloudscale/stratus/delete-object/#delete-a-single-object)
  • [Delete a Specific Version of an Object after a Specific Time](https://docs.catalyst.zoho.com/en/sdk/javascript/v1/cloudscale/stratus/delete-object/#delete-a-specific-version-of-an-object-after-a-specific-time)
  • [Delete Multiple Objects](https://docs.catalyst.zoho.com/en/sdk/javascript/v1/cloudscale/stratus/delete-object/#delete-multiple-objects)
  • [Delete a Path in the Bucket](https://docs.catalyst.zoho.com/en/sdk/javascript/v1/cloudscale/stratus/delete-object/#delete-a-path-in-the-bucket)
  • [Truncate Bucket](https://docs.catalyst.zoho.com/en/sdk/javascript/v1/cloudscale/stratus/delete-object/#truncate-bucket)
**Admin**
Object Operations [Create Object Instance](https://docs.catalyst.zoho.com/en/sdk/javascript/v1/cloudscale/stratus/create-object-instance/) Not required
[List Object Versions](https://docs.catalyst.zoho.com/en/sdk/javascript/v1/cloudscale/stratus/list-object-versions/)
  • [List All Versions of an Object Through Pagination](https://docs.catalyst.zoho.com/en/sdk/javascript/v1/cloudscale/stratus/list-object-versions/#list-all-versions-of-an-object-through-pagination)
  • [List All Versions of the Object Through Iteration](https://docs.catalyst.zoho.com/en/sdk/javascript/v1/cloudscale/stratus/list-object-versions/#list-all-versions-of-an-object-through-iteration)
**Admin**
[Get Object Details](https://docs.catalyst.zoho.com/en/sdk/javascript/v1/cloudscale/stratus/get-object-details/)
  • [Get Details of All Objects](https://docs.catalyst.zoho.com/en/sdk/javascript/v1/cloudscale/stratus/get-object-details/#get-details-of-all-objects)
  • [Get Details of a Particular Version of the Object](https://docs.catalyst.zoho.com/en/sdk/javascript/v1/cloudscale/stratus/get-object-details/#get-details-of-a-particular-version-of-the-object)
**Admin**
[Put Object Meta Data](https://docs.catalyst.zoho.com/en/sdk/javascript/v1/cloudscale/stratus/put-object-metadata/) **Admin**
-------------------------------------------------------------------------------- title: "Create Stratus Instance" description: "This page describes the method to execute circuits in your application with sample code snippets." last_updated: "2026-10-28T13:23:14.000Z" source: "https://docs.catalyst.zoho.com/en/sdk/javascript/v1/cloudscale/stratus/create-instance/" service: "CloudScale" related: - Catalyst CloudScale (/en/cloud-scale/) - Stratus Help Documentation (/en/cloud-scale/help/stratus/introduction/) - Java SDK Documentation (/en/sdk/java/v1/cloud-scale/stratus/create-stratus-instance/) - Python SDK Documentation (/en/sdk/python/v1/cloud-scale/stratus/create-stratus-instance/) - iOS SDK Documentation (/en/sdk/ios/v2/cloud-scale/stratus/create-bucket-instance/) - Android SDK Documentation (/en/sdk/android/v2/cloud-scale/stratus/create-bucket-instance/) - Flutter SDK Documentation (/en/sdk/flutter/v2/cloud-scale/stratus/initialize-stratus/) - REST API Documentation (/en/api/code-reference/cloud-scale/stratus/get-all-buckets/#GetAllBuckets) -------------------------------------------------------------------------------- # Create Stratus Instance > **Note:** Ensure you have installed the [required package](https://docs.catalyst.zoho.com/en/sdk/javascript/v1/cloudscale/stratus/overview/#prerequisites) to use this SDK method. You can get the `stratus` component reference as shown below. This will not fire a server-side call. You will refer to this component instance in various code snippets of working with Stratus. ```javascript // Get a stratus instance const stratus = new Stratus(); ``` > **Note:** - Passing an initialized app instance to a component determines the authentication scope it uses. - To perform an operation with user-level permissions, initialize the SDK with User scope, or with custom credentials, and pass that instance to the component. This runs the operation in the user's scope or custom credential scope instead of the default admin scope. ```javascript const stratus = new Stratus(app); ``` - If your Function or AppSail application needs both custom credentials and admin authentication at the same time, give each initialization a unique app name, otherwise the custom initialization can overwrite your existing admin credentials. - In all cases, explicitly pass the matching app instance to each component so it uses the intended authentication scope; if none is provided, the SDK defaults to the admin credentials. -------------------------------------------------------------------------------- title: "Check Bucket Availability" description: "This page describes the method to execute circuits in your application with sample code snippets." last_updated: "2026-10-28T13:23:14.000Z" source: "https://docs.catalyst.zoho.com/en/sdk/javascript/v1/cloudscale/stratus/check-bucket-availability/" service: "CloudScale" related: - Catalyst CloudScale (/en/cloud-scale/) - Stratus Help Documentation (/en/cloud-scale/help/stratus/introduction/) - Java SDK Documentation (/en/sdk/java/v1/cloud-scale/stratus/check-bucket/) - Python SDK Documentation (/en/sdk/python/v1/cloud-scale/stratus/check-bucket/) - iOS SDK Documentation (/en/sdk/ios/v2/cloud-scale/stratus/create-bucket-instance/) - Android SDK Documentation (/en/sdk/android/v2/cloud-scale/stratus/create-bucket-instance/) - Flutter SDK Documentation (/en/sdk/flutter/v2/cloud-scale/stratus/initialize-stratus/) - REST API Documentation (/en/api/code-reference/cloud-scale/stratus/head-bucket/#CheckBucketAvailability) -------------------------------------------------------------------------------- # Check Bucket Availability > **Note:** Ensure you have installed the [required package](https://docs.catalyst.zoho.com/en/sdk/javascript/v1/cloudscale/stratus/overview/#prerequisites) to use this SDK method. Using the `headBucket()` SDK method, you can check the existence of a bucket in Stratus, and further check if the user has the relevant permissions to access the objects present in the bucket. The `stratus` reference used in the following code snippet is the [component instance](https://docs.catalyst.zoho.com/en/sdk/javascript/v1/cloudscale/stratus/create-instance/). Possible responses when using this SDK: * If the bucket exists and if the user has the relevant permissions to access the bucket, the response '**true**' will be returned. * If the bucket does not exist, or if the user does not have permission to access the bucket, the response '**false**' will be returned. ### Parameters Used
Parameter Name Data Type Definition
`bucketName` **String** A **Mandatory** parameter. Will hold the [unique name of the bucket](https://docs.catalyst.zoho.com/en/cloud-scale/help/stratus/buckets/name-bucket/#ideal-practices-to-name-a-bucket).
`throwErr` **Boolean** An **Optional** parameter. If you set this parameter as "**true**", then it will throw an error when the bucket is not found in the project. The default value is "**false**".
```javascript const headBucketResponse = await stratus.headBucket('bucketName'); // check the bucket is available in stratus console.log(headBucketResponse); ``` ### Example of Expected Response ```text head bucket:::: true ``` ### Possible Errors > **Note:** If you use the SDK with the `throw_err` parameter, and the bucket does not exist, or if you do not have sufficient permissions then you may encounter any of the errors listed below.
Error Code Meaning
`404` **Not Found**. Bucket Not found in Stratus.
`401` **Unauthorized/Access Denied** - User doesn't have permission to perform the particular operation.
`403` **Permission Denied** - User does not have permission to access the particular bucket.
-------------------------------------------------------------------------------- title: "List Buckets" description: "This page describes the method to execute circuits in your application with sample code snippets." last_updated: "2026-09-09T10:45:38.000Z" source: "https://docs.catalyst.zoho.com/en/sdk/javascript/v1/cloudscale/stratus/list-buckets/" service: "CloudScale" related: - Catalyst CloudScale (/en/cloud-scale/) - Stratus Help Documentation (/en/cloud-scale/help/stratus/introduction/) - Java SDK Documentation (/en/sdk/java/v1/cloud-scale/stratus/list-buckets/) - Python SDK Documentation (/en/sdk/python/v1/cloud-scale/stratus/list-buckets/) - iOS SDK Documentation (/en/sdk/ios/v2/cloud-scale/stratus/create-bucket-instance/) - Android SDK Documentation (/en/sdk/android/v2/cloud-scale/stratus/create-bucket-instance/) - Flutter SDK Documentation (/en/sdk/flutter/v2/cloud-scale/stratus/initialize-stratus/) - REST API Documentation (/en/api/code-reference/cloud-scale/stratus/get-all-buckets/#GetAllBuckets) -------------------------------------------------------------------------------- # List Buckets > **Note:** Ensure you have installed the [required package](https://docs.catalyst.zoho.com/en/sdk/javascript/v1/cloudscale/stratus/overview/#prerequisites) to use this SDK method. The following example code snippet illustrates the implementation of the `listBuckets()`SDK method. The `stratus` reference used in the following code snippet is the [component instance](https://docs.catalyst.zoho.com/en/sdk/javascript/v1/cloudscale/stratus/create-instance/). ```javascript const auth = await new ZCAuth().init(req); const stratus = new Stratus(); //list the buckets in the stratus const listBuckets = await stratus.listBuckets(); console.log('list buckets::::', listBuckets); ``` ### Example of Expected Response ```javascript list buckets:::: [ { bucket_name: 'zylker14266', project_details: [Object], created_by: [Object], created_time: 'Aug 20, 2025 03:11 PM', modified_by: [Object], modified_time: 'Aug 20, 2025 03:11 PM', bucket_meta: [Object], bucket_url: 'https://exmaplebucket14266-development.zohostratus.com' } ] ``` -------------------------------------------------------------------------------- title: "Create Bucket Instance" description: "This page describes the method to execute circuits in your application with sample code snippets." last_updated: "2026-09-09T10:45:38.000Z" source: "https://docs.catalyst.zoho.com/en/sdk/javascript/v1/cloudscale/stratus/create-bucket-instance/" service: "CloudScale" related: - Catalyst CloudScale (/en/cloud-scale/) - Stratus Help Documentation (/en/cloud-scale/help/stratus/introduction/) - Java SDK Documentation (/en/sdk/java/v1/cloud-scale/stratus/create-bucket-instance/) - Python SDK Documentation (/en/sdk/python/v1/cloud-scale/stratus/create-bucket-instance/) - iOS SDK Documentation (/en/sdk/ios/v2/cloud-scale/stratus/create-bucket-instance/) - Android SDK Documentation (/en/sdk/android/v2/cloud-scale/stratus/create-bucket-instance/) - Flutter SDK Documentation (/en/sdk/flutter/v2/cloud-scale/stratus/initialize-stratus/) - REST API Documentation (/en/api/code-reference/cloud-scale/stratus/get-all-buckets/#GetAllBuckets) -------------------------------------------------------------------------------- # Create Bucket Instance > **Note:** Ensure you have installed the [required package](https://docs.catalyst.zoho.com/en/sdk/javascript/v1/cloudscale/stratus/overview/#prerequisites) to use this SDK method. To perform bucket level operations, you need to create a bucket instance. You will refer to this component instance in various code snippets of working with Buckets in Stratus. The `stratus` reference used in the following code snippet is the [component instance](https://docs.catalyst.zoho.com/en/sdk/javascript/v1/cloudscale/stratus/create-instance/). ```javascript const bucket = stratus.bucket("bucketName"); ``` -------------------------------------------------------------------------------- title: "Get Bucket Details" description: "This page describes the method to execute circuits in your application with sample code snippets." last_updated: "2026-09-09T10:45:38.000Z" source: "https://docs.catalyst.zoho.com/en/sdk/javascript/v1/cloudscale/stratus/get-bucket-details/" service: "CloudScale" related: - Catalyst CloudScale (/en/cloud-scale/) - Stratus Help Documentation (/en/cloud-scale/help/stratus/introduction/) - Java SDK Documentation (/en/sdk/java/v1/cloud-scale/stratus/get-bucket-details/) - Python SDK Documentation (/en/sdk/python/v1/cloud-scale/stratus/get-bucket-details/) - iOS SDK Documentation (/en/sdk/ios/v2/cloud-scale/stratus/overview/) - Android SDK Documentation (/en/sdk/android/v2/cloud-scale/stratus/overview/) - Flutter SDK Documentation (/en/sdk/flutter/v2/cloud-scale/stratus/overview/) - REST API Documentation (/en/api/code-reference/cloud-scale/stratus/get-bucket/#GetSpecificBucket) -------------------------------------------------------------------------------- # Get Bucket Details > **Note:** Ensure you have installed the [required package](https://docs.catalyst.zoho.com/en/sdk/javascript/v1/cloudscale/stratus/overview/#prerequisites) to use this SDK method. The `getDetails()` SDK method will allow you to get all available details of a particular bucket. The `bucket` reference used in the following code snippet is the [component instance](https://docs.catalyst.zoho.com/en/sdk/javascript/v1/cloudscale/stratus/create-bucket-instance/). ```javascript const buckets = await bucket.getDetails(); // get details of a given bucket console.log(buckets); ``` ### Example of Expected Response ```javascript { bucket_name: 'zylker14266', project_details: { project_name: 'ZylkerIndustries', id: '12096000002022001', project_type: 'Live' }, created_by: { zuid: '779176685', is_confirmed: false, email_id: 'emmy@zylker.com', first_name: 'Amelia', last_name: 'Burrows', user_type: 'Admin', user_id: '12096000000003003' }, created_time: 'Aug 20, 2025 03:11 PM', modified_by: { zuid: '779176685', is_confirmed: false, email_id: 'emmy@zylker.com', first_name: 'Amelia', last_name: 'Burrows', user_type: 'Admin', user_id: '12096000000003003' }, modified_time: 'Aug 20, 2025 03:11 PM', bucket_meta: { versioning: false, caching: { status: 'Disabled' }, encryption: false, audit_consent: false }, bucket_url: 'https://zylker4266-development.zohostratus.com' } ``` -------------------------------------------------------------------------------- title: "Get Bucket CORS" description: "This page describes the method to execute circuits in your application with sample code snippets." last_updated: "2026-09-09T10:45:38.000Z" source: "https://docs.catalyst.zoho.com/en/sdk/javascript/v1/cloudscale/stratus/get-bucket-cors/" service: "CloudScale" related: - Catalyst CloudScale (/en/cloud-scale/) - Stratus Help Documentation (/en/cloud-scale/help/stratus/introduction/) - Java SDK Documentation (/en/sdk/java/v1/cloud-scale/stratus/get-bucket-cors/) - Python SDK Documentation (/en/sdk/python/v1/cloud-scale/stratus/get-bucket-cors/) - iOS SDK Documentation (/en/sdk/ios/v2/cloud-scale/stratus/overview/) - Android SDK Documentation (/en/sdk/android/v2/cloud-scale/stratus/overview/) - Flutter SDK Documentation (/en/sdk/flutter/v2/cloud-scale/stratus/overview/) - REST API Documentation (/en/api/code-reference/cloud-scale/stratus/get-bucket/#GetSpecificBucket) -------------------------------------------------------------------------------- # Get Bucket CORS > **Note:** Ensure you have installed the [required package](https://docs.catalyst.zoho.com/en/sdk/javascript/v1/cloudscale/stratus/overview/#prerequisites) to use this SDK method. The `getCors()` SDK method will return the current CORS configuration of a specific bucket in Stratus. The bucket reference used in the following code snippet is the [component instance](https://docs.catalyst.zoho.com/en/sdk/javascript/v1/cloudscale/stratus/create-bucket-instance/). CORS of a bucket can be edited by any user that has or has been granted Write permission for Stratus component in the project, using the [Profiles & Permissions](https://docs.catalyst.zoho.com/en/getting-started/set-up-a-catalyst-project/profiles-and-permissions/) section. > **Info:** [Learn more about Bucket CORS](https://docs.catalyst.zoho.com/en/cloud-scale/help/stratus/stratus-config/bucket-cors/) ```javascript const cors = await bucket.getCors(); console.log(cors); ``` ### Example of Expected Response ```javascript { domain: 'https://zylkereclassifieds-779513891.development.catalystserverless.com', allowed_methods: [ 'HEAD', 'DELETE', 'POST', 'GET', 'PUT' ] } ``` -------------------------------------------------------------------------------- title: "List Objects in a Bucket" description: "This page describes the method to execute circuits in your application with sample code snippets." last_updated: "2026-09-09T10:45:38.000Z" source: "https://docs.catalyst.zoho.com/en/sdk/javascript/v1/cloudscale/stratus/list-objects/" service: "CloudScale" related: - Catalyst CloudScale (/en/cloud-scale/) - Stratus Help Documentation (/en/cloud-scale/help/stratus/introduction/) - Java SDK Documentation (/en/sdk/java/v1/cloud-scale/stratus/list-objects/) - Python SDK Documentation (/en/sdk/python/v1/cloud-scale/stratus/list-objects/) - iOS SDK Documentation (/en/sdk/ios/v2/cloud-scale/stratus/get-object/) - Android SDK Documentation (/en/sdk/android/v2/cloud-scale/stratus/get-object/) - Flutter SDK Documentation (/en/sdk/flutter/v2/cloud-scale/stratus/get-object/) - REST API Documentation (/en/api/code-reference/cloud-scale/stratus/get-object/#GetaSpecificObject) -------------------------------------------------------------------------------- # List Objects in a Bucket > **Note:** Ensure you have installed the [required package](https://docs.catalyst.zoho.com/en/sdk/javascript/v1/cloudscale/stratus/overview/#prerequisites) to use this SDK method. ### List All Objects by Pagination This SDK method will allow you to get a list of all the objects present in a particular bucket by pagination. The `bucket` reference used in the following code snippet is the [component instance](https://docs.catalyst.zoho.com/en/sdk/javascript/v1/cloudscale/stratus/create-bucket-instance/). For each call, a limited number of objects will be returned, and the next call will be initiated only if a continuation token is returned. #### Parameters Used
Parameter Name Data Type Definition
`maxKey` **String** A **Mandatory** parameter. Will contain the maximum limit of objects.
`nextToken` **String** A **mandatory** parameter. Will contain the token to get the next set of objects.
`prefix` **String** An **optional** parameter. To list objects that match the prefix value.
`orderBy` **String** An **optional** parameter. To list objects either in ascending or descending order. **Default Value**: `asc`
`folderListing` **String** An **optional** parameter. To choose to list either just the root-level objects in the bucket or list all the objects present in all the paths of the bucket. **Default Value**: `false` For example, If you set the value as `true`, the root-level objects alone will be listed. If you set the value as `false`, all the objects present in all the paths of the bucket will be listed.
In the following SDK method, a maximum value of pagination is set using `maxKey`. Using prefix, you can list objects that only match the `prefix`. The response you get will contain the following properties of the bucket, which will be stored in `moreOptions`: * `key count`: Will contain the value of the number of objects that are being returned. * `max keys`: The maximum limit of objects that can be returned. * `Truncated`: Will contain the status to notify if a bucket is truncated or not. * `contents`: List of object details. * `continuation_token`: If you a sent a `continuation_token` in the request, it will be shown in the response. * `next_continuation_token`: If the response was truncated, the value of this key must be passed as `continuation_token` to the same method for retrieving the next set of objects. With each iteration, you need to list the `maxkeys` number of objects and check if `nextToken` has been created. Using `nextToken` you can continue the iteration until all the objects have been listed. ```javascript async function listMyPaginatedObjects(maxKeys = null, prefix = null, nextToken = null) { const options = { // Maximum number of keys to return in one call maxKeys, // Token to fetch the next page of objects continuationToken: nextToken, // Order in which objects are listed: 'asc' or 'desc' // orderBy: 'desc', // Whether to list objects in a folder-like structure (true) or flat structure (false) // folderListing: 'true', // Only list objects with this prefix prefix }; // Retrieve a page of objects const objects = await bucket.listPagedObjects(options); console.log("response:", objects.contents); // If more objects are available, recursively fetch the next set if (objects.truncated) { listMyPaginatedObjects(maxKeys, prefix, objects.next_continuation_token); } } // Initial call to list objects with a maximum of 2 keys per page and prefix "sam" await listMyPaginatedObjects(4, "Img"); ``` #### Example of Expected Response ```javascript response: [ StratusObject { keyDetails: { key_type: 'file', key: 'random_gen_design/img_1.jpeg', size: 8713, content_type: 'image/jpeg', etag: '56fcb562a4bc4fb981b0c40a7feb2408', last_modified: 'Sep 10, 2025 01:15 PM', object_url: 'https://zylker14266-development.zohostratus.com/random_gen_design/img_1.jpeg' } }, StratusObject { keyDetails: { key_type: 'file', key: 'aquatic_sea_ven/Img_3.jpg', size: 31467, content_type: 'image/jpeg', etag: 'd25b2e9d70ef34d2b4a1397a6f4703e4', last_modified: 'Sep 10, 2025 01:16 PM', object_url: 'https://zylker14266-development.zohostratus.com/aquatic_sea_ven/Img_3.jpg' } }, StratusObject { keyDetails: { key_type: 'file', key: 'random_gen_design/Img_5.png', size: 3818, content_type: 'image/png', etag: 'ab1918da8f9c47aa51b0f1d4949c6021', last_modified: 'Sep 10, 2025 01:17 PM', object_url: 'https://zylker14266-development.zohostratus.com/random_gen_design/Img_5.png' } }, StratusObject { keyDetails: { key_type: 'file', key: 'random_gen_design/Img_7.png', size: 19037, content_type: 'image/png', etag: '349a98b743fbe6e89ddf09ab31673fa6', last_modified: 'Sep 10, 2025 01:17 PM', object_url: 'https://zylker14266-development.zohostratus.com/random_gen_design/Img_7.png' } }, StratusObject { keyDetails: { key_type: 'file', key: 'random_gen_design/Img_8.png', size: 3275, content_type: 'image/png', etag: '4a671a721c643f8506d112b7f6b39436', last_modified: 'Sep 10, 2025 01:17 PM', object_url: 'https://zylker14266-development.zohostratus.com/random_gen_design/Img_8.png' } }, StratusObject { keyDetails: { key_type: 'file', key: 'aquatic_sea_ven/Img_2.jpg', version_id: '01k4s9hgptxam14jrrn303negs', size: 15103, content_type: 'image/jpeg', etag: '7ff12ee34cc16ceb3f8b0f72301bd154', last_modified: 'Sep 10, 2025 01:18 PM', object_url: 'https://zylker14266-development.zohostratus.com/aquatic_sea_ven/Img_2.jpg' } }, StratusObject { keyDetails: { key_type: 'file', key: 'aquatic_sea_ven/Img_3.jpg', version_id: '01k4s9hh8s2v66gvxr4e83x3k8', size: 31467, content_type: 'image/jpeg', etag: 'd25b2e9d70ef34d2b4a1397a6f4703e4', last_modified: 'Sep 10, 2025 01:18 PM', object_url: 'https://zylker14266-development.zohostratus.com/aquatic_sea_ven/Img_3.jpg' } }, StratusObject { keyDetails: { key_type: 'file', key: 'aquatic_sea_ven/Img_9.jpg', version_id: '01k4s9hj1av91pd7khzr9zrh89', size: 23413, content_type: 'image/jpeg', etag: 'f466f787332836d8aca3b73d482bca05', last_modified: 'Sep 10, 2025 01:18 PM', object_url: 'https://zylker14266-development.zohostratus.com/aquatic_sea_ven/Img_9.jpg' } }, StratusObject { keyDetails: { key_type: 'file', key: 'aquatic_sea_ven/Img_10.jpg', version_id: '01k4s9hjjp1gd9m65atdg6qgtq', size: 13806, content_type: 'image/jpeg', etag: 'de18f77d95a15977600e348d621caccd', last_modified: 'Sep 10, 2025 01:18 PM', object_url: 'https://zylker14266-development.zohostratus.com/aquatic_sea_ven/Img_10.jpg' } }, StratusObject { keyDetails: { key_type: 'file', key: 'road_vendor/Img_4.jpg', version_id: '01k4s9m3gn1r2b34x398kkfmhh', size: 11452, content_type: 'image/jpeg', etag: '00feebcfcd51053ff3208a051b0d39e6', last_modified: 'Sep 10, 2025 01:19 PM', object_url: 'https://zylker14266-development.zohostratus.com/road_vendor/Img_4.jpg' } }, StratusObject { keyDetails: { key_type: 'file', key: 'road_vendor/Img_6.avif', version_id: '01k4s9mbdf4t2nb6bqx7rqww5v', size: 5274, content_type: 'image/avif', etag: 'e00859eba271306185a894fa6bccb104', last_modified: 'Sep 10, 2025 01:19 PM', object_url: 'https://zylker14266-development.zohostratus.com/road_vendor/Img_6.avif' } } ] ``` ### List Objects Through Iteration Using this SDK method, you can list all the objects present in a bucket in a single API call using the iteration technique. Using the `maxKey` variable, you can access the required number of objects. ```javascript const options = { // Maximum number of objects returned per request maxKeys: 5, // Order in which objects are listed: 'asc' or 'desc' // orderBy: 'desc', // Whether to list objects in a folder-like structure (true) or flat structure (false) // folderListing: 'true', // Only list objects that begin with the specified prefix prefix: 'Img' }; // List iterable files from the bucket const files = bucket.listIterableObjects(options); ``` #### Example of Expected Response ```javascript response: [ StratusObject { keyDetails: { key_type: 'file', key: 'random_gen_design/img_1.jpeg', size: 8713, content_type: 'image/jpeg', etag: '56fcb562a4bc4fb981b0c40a7feb2408', last_modified: 'Sep 10, 2025 01:15 PM', object_url: 'https://tbd14266-development.zohostratus.com/random_gen_design/img_1.jpeg' } }, StratusObject { keyDetails: { key_type: 'file', key: 'aquatic_sea_ven/Img_3.jpg', size: 31467, content_type: 'image/jpeg', etag: 'd25b2e9d70ef34d2b4a1397a6f4703e4', last_modified: 'Sep 10, 2025 01:16 PM', object_url: 'https://tbd14266-development.zohostratus.com/aquatic_sea_ven/Img_3.jpg' } }, StratusObject { keyDetails: { key_type: 'file', key: 'random_gen_design/Img_5.png', size: 3818, content_type: 'image/png', etag: 'ab1918da8f9c47aa51b0f1d4949c6021', last_modified: 'Sep 10, 2025 01:17 PM', object_url: 'https://tbd14266-development.zohostratus.com/random_gen_design/Img_5.png' } }, StratusObject { keyDetails: { key_type: 'file', key: 'random_gen_design/Img_7.png', size: 19037, content_type: 'image/png', etag: '349a98b743fbe6e89ddf09ab31673fa6', last_modified: 'Sep 10, 2025 01:17 PM', object_url: 'https://tbd14266-development.zohostratus.com/random_gen_design/Img_7.png' } }, StratusObject { keyDetails: { key_type: 'file', key: 'random_gen_design/Img_8.png', size: 3275, content_type: 'image/png', etag: '4a671a721c643f8506d112b7f6b39436', last_modified: 'Sep 10, 2025 01:17 PM', object_url: 'https://tbd14266-development.zohostratus.com/random_gen_design/Img_8.png' } }, StratusObject { keyDetails: { key_type: 'file', key: 'aquatic_sea_ven/Img_2.jpg', version_id: '01k4s9hgptxam14jrrn303negs', size: 15103, content_type: 'image/jpeg', etag: '7ff12ee34cc16ceb3f8b0f72301bd154', last_modified: 'Sep 10, 2025 01:18 PM', object_url: 'https://tbd14266-development.zohostratus.com/aquatic_sea_ven/Img_2.jpg' } }, StratusObject { keyDetails: { key_type: 'file', key: 'aquatic_sea_ven/Img_3.jpg', version_id: '01k4s9hh8s2v66gvxr4e83x3k8', size: 31467, content_type: 'image/jpeg', etag: 'd25b2e9d70ef34d2b4a1397a6f4703e4', last_modified: 'Sep 10, 2025 01:18 PM', object_url: 'https://tbd14266-development.zohostratus.com/aquatic_sea_ven/Img_3.jpg' } }, StratusObject { keyDetails: { key_type: 'file', key: 'aquatic_sea_ven/Img_9.jpg', version_id: '01k4s9hj1av91pd7khzr9zrh89', size: 23413, content_type: 'image/jpeg', etag: 'f466f787332836d8aca3b73d482bca05', last_modified: 'Sep 10, 2025 01:18 PM', object_url: 'https://tbd14266-development.zohostratus.com/aquatic_sea_ven/Img_9.jpg' } }, StratusObject { keyDetails: { key_type: 'file', key: 'aquatic_sea_ven/Img_10.jpg', version_id: '01k4s9hjjp1gd9m65atdg6qgtq', size: 13806, content_type: 'image/jpeg', etag: 'de18f77d95a15977600e348d621caccd', last_modified: 'Sep 10, 2025 01:18 PM', object_url: 'https://tbd14266-development.zohostratus.com/aquatic_sea_ven/Img_10.jpg' } }, StratusObject { keyDetails: { key_type: 'file', key: 'road_vendor/Img_4.jpg', version_id: '01k4s9m3gn1r2b34x398kkfmhh', size: 11452, content_type: 'image/jpeg', etag: '00feebcfcd51053ff3208a051b0d39e6', last_modified: 'Sep 10, 2025 01:19 PM', object_url: 'https://tbd14266-development.zohostratus.com/road_vendor/Img_4.jpg' } }, StratusObject { keyDetails: { key_type: 'file', key: 'road_vendor/Img_6.avif', version_id: '01k4s9mbdf4t2nb6bqx7rqww5v', size: 5274, content_type: 'image/avif', etag: 'e00859eba271306185a894fa6bccb104', last_modified: 'Sep 10, 2025 01:19 PM', object_url: 'https://tbd14266-development.zohostratus.com/road_vendor/Img_6.avif' } } ] ``` -------------------------------------------------------------------------------- title: "Check Object Availability" description: "This page describes the method to execute circuits in your application with sample code snippets." last_updated: "2026-09-09T10:45:38.000Z" source: "https://docs.catalyst.zoho.com/en/sdk/javascript/v1/cloudscale/stratus/check-object/" service: "CloudScale" related: - Catalyst CloudScale (/en/cloud-scale/) - Stratus Help Documentation (/en/cloud-scale/help/stratus/introduction/) - Java SDK Documentation (/en/sdk/java/v1/cloud-scale/stratus/list-objects/) - Python SDK Documentation (/en/sdk/python/v1/cloud-scale/stratus/list-objects/) - iOS SDK Documentation (/en/sdk/ios/v2/cloud-scale/stratus/get-object/) - Android SDK Documentation (/en/sdk/android/v2/cloud-scale/stratus/get-object/) - Flutter SDK Documentation (/en/sdk/flutter/v2/cloud-scale/stratus/get-object/) - REST API Documentation (/en/api/code-reference/cloud-scale/stratus/get-object/#GetaSpecificObject) -------------------------------------------------------------------------------- # Check Object Availability > **Note:** Ensure you have installed the [required package](https://docs.catalyst.zoho.com/en/sdk/javascript/v1/cloudscale/stratus/overview/#prerequisites) to use this SDK method. Using the `headObject()` SDK method, you can check if a particular object is present in the bucket, if the user has the required permissions to access the object. The `bucket` reference used in the following code snippet is the [component instance](https://docs.catalyst.zoho.com/en/sdk/javascript/v1/cloudscale/stratus/create-bucket-instance/). If you have enabled [Versioning](https://docs.catalyst.zoho.com/en/cloud-scale/help/stratus/stratus-config/general-settings/#versioning) for your bucket, then you need to pass the `versionID` as the param, to check if a particular version of the object is available. When you use this SDK method, you will get either of the following responses: * `true`: If the object is available, the specified version is available, and if the user has the relevant permissions to access the objects. * `false`: - If the object or the particular version of the object is not available in the bucket. - If the user does not have the required permissions to access the object. - If the bucket does not exist. #### Parameters Used
Parameter Name Data Type Definition
`objectName` **String** A **Mandatory** parameter. Will hold the complete name of the object.
`versionId` **String** An **optional** parameter. Will hold the unique version ID of the object, if [Versioning](https://docs.catalyst.zoho.com/en/cloud-scale/help/stratus/stratus-config/general-settings/#versioning) is enabled.
`throwErr` **Boolean** An **optional** parameter. If you set this parameter as "**true**", then it will throw an error when the bucket is not found in the project. The default value is "**false**".
```javascript const options = { versionId: 'djkfhdiufy762', throwErr: false }; const headObjectRes = await bucket.headObject("sam/out/sample.txt", options); // The object path should not start with the bucket name, just the parent directory of the object console.log(headObjectRes); ``` #### Example of Expected Response ```javascript true ``` #### Possible Errors > **Note:** If you use the SDK with the `throw_err` parameter, and the object does not exist, or if you do not have sufficient permissions then you may encounter any of the errors listed below.
Error Code Meaning
`404` **Not Found**. Object Not found in Stratus.
`401` **Unauthorized/Access Denied** - User doesn't have permission to perform the particular operation.
`403` **Permission Denied** - User does not have permission to access the particular object.
-------------------------------------------------------------------------------- title: "Download Object" description: "This page describes the method to execute circuits in your application with sample code snippets." last_updated: "2026-09-09T10:45:38.000Z" source: "https://docs.catalyst.zoho.com/en/sdk/javascript/v1/cloudscale/stratus/download-object/" service: "CloudScale" related: - Catalyst CloudScale (/en/cloud-scale/) - Stratus Help Documentation (/en/cloud-scale/help/stratus/introduction/) - Java SDK Documentation (/en/sdk/java/v1/cloud-scale/stratus/download-object/) - Python SDK Documentation (/en/sdk/python/v1/cloud-scale/stratus/download-object/) - iOS SDK Documentation (/en/sdk/ios/v2/cloud-scale/stratus/download-object/) - Android SDK Documentation (/en/sdk/android/v2/cloud-scale/stratus/download-object/) - Flutter SDK Documentation (/en/sdk/flutter/v2/cloud-scale/stratus/download-object/) - REST API Documentation (/en/api/code-reference/cloud-scale/stratus/download-object/#DownloadObject) -------------------------------------------------------------------------------- # Download Object > **Note:** Ensure you have installed the [required package](https://docs.catalyst.zoho.com/en/sdk/javascript/v1/cloudscale/stratus/overview/#prerequisites) to use this SDK method. ### Download an Object The SDKs present in the section will allow you to [download a particular object](https://docs.catalyst.zoho.com/en/cloud-scale/help/stratus/objects/manage-object/download-object/), multiple objects, or version of the object. The `bucket` reference used in the following code snippet is the [component instance](https://docs.catalyst.zoho.com/en/sdk/javascript/v1/cloudscale/stratus/create-bucket-instance/). The first step of the download operation is a `GET` operation that retrieves the required object from the bucket. To be able to download an object, the requester must have `READ` access permissions. However, owners of the bucket do have the option to grant `READ` access permissions to users, allowing them to download the object without using the required response headers. If [Versioning](https://docs.catalyst.zoho.com/en/cloud-scale/help/stratus/stratus-config/general-settings/#versioning) is enabled for your bucket, you need to pass the `versionId` to download the particular version of the object. If no `versionId` is passed, then by default, the latest version of the object will be downloaded. If *Versioning* was enabled for a bucket, then disabled. By default, the principal first object will be downloaded. To ensure you download the latest version of this object, you need to pass the `versionId` param with the value "`topVersion`". ```javascript const res = await bucket.getObject("sam/out/sample.txt"); // download the object to local machine const files = fs.createWriteStream('filePath'); res.on('data', (data) => { files.write(data) }); ``` ### Download a Potion of the Object The following SDK method is used with the `range` parameter. The range parameter allows you to download a specific `range` of bytes of an object. ```javascript const options = { 'versionId': 'djkshr8374yiuhf48', // download the object with given versionId 'range': '0-2000' // start and end range of the object in bytes } const res = await bucket.getObject("sam/out/sample.txt", options); // download the object to your local machine const files = fs.createWriteStream('filePath'); res.on('data', (data) => { files.write(data) }); ``` ### Download an Object Using Transfer Manager Utility In this section, we are going to go over SDK methods that will allow you to successfully download large objects from Stratus to your local system using the *Transfer Manager* utility. The *Transfer Manager* utility is an operation where the large object is split into multiple byte ranges using the start and end bytes range of the object. Each of the object’s parts is then returned as a stream, and they are downloaded to your local system. #### Additional Import Requirement You need to import this additional module to implement the *Transfer Manager* utility. ```javascript const {TransferManager} = require ('@zcatalyst/stratus')// Stratus module ``` #### Create Transfer Manage Instance ```javascript const transferManager = new TransferManager(bucket); // create transfer manager instance ``` #### Download Object as Iterable Part Streams ```javascript const partSize=50; const getObjectRes = await transferManager.getIterableObject("sam/out/sample.txt",partSize); // download the object to local machine const file = fs.createWriteStream('filePath'); // create a file write stream for await (const chunk of getObjectRes) { file.write(chunk); } ``` #### Generate Object Parts for Download Using this SDK method you can download a portion of the object that falls under the required start and end range of bytes. ```javascript const file = fs.createWriteStream("filePath"); const partSize = 50; const downloadRes = await transferManager.generatePartDownloaders("sam/out/sample.txt", partSize); let partNum = 0; while (partNum < downloadRes.length) { const objectPart = downloadRes[partNum++]; const buffer = await objectPart(); // return the object part as stream // process the stream } ``` ### Generate Presigned URL to Download an Object > **Info:** To use this SDK method, you need to initialize it with **Admin** scope. You can learn more about this requirement from this [section](https://docs.catalyst.zoho.com/en/sdk/javascript/v1/scopes/). Presigned URLs are secure URLs that authenticated users can share to their non-authenticated users. This URL will provide non-authenticated users with temporary authorization to access objects. The `bucket` reference used in the following code snippet is the [component instance](https://docs.catalyst.zoho.com/en/sdk/javascript/v1/cloudscale/stratus/create-bucket-instance/). #### Parameters Used
Parameter Name Data Type Definition
`key` **String** A **mandatory** parameter. Will hold the complete name of the object.
`urlAction` **Request Method** A **mandatory** parameter. This is the parameter that will allow you to generate a presigned URL for either a download (`GET`) action.
  • `GET`: To download an object
`expiry` **String** This is an **optional** parameter. The URL validity time in seconds.
  • Default value: **3600 seconds**
  • Minimum value: **30 seconds**
  • Maximum value: **7 days**
`activeForm` **String** This is an **optional** parameter. This param will contain the time after which the URL is valid.
  • Maximum value is **7 days**.
  • URLs are made active as soon as they are generated by default.
```javascript const signedURLRes = await bucket.generatePreSignedUrl("sam/out/sample.txt", 'GET', { 'expiryIn': 100, // expiry time in seconds 'activeFrom':'12334454327', // activate the url in the given date 'versionId': '746398diij94839' }); console.log(signedURLRes); ``` #### Example of Expected Response ```json { "signature": "https://sadi-development.zohostratus.com/_signed/text.txt?organizationId=96862383&stsCredential=96858154-96862383&stsDate=1747898364894&stsExpiresAfter=300&stsSignedHeaders=host&stsSignature=SFdW4woI5nXPCSCghrymsv06hM0cimwZpkFwHWngtto", "expiry_in_seconds": "100", "active_from": "12334454327" } ``` #### Example Snippet Illustrating Usage of Presigned URL to Download an Object > **Info:** This example is shown using the **Axios** request handler package. ```javascript const axios = require('axios'); const fs = require('fs'); // Replace with the actual pre-signed URL for your file. const url = 'https://sadi-development.zohostratus.com/_signed/text.txt?organizationId=96862383&stsCredential=96858154-96862383&stsDate=1747898364894&stsExpiresAfter=300&stsSignedHeaders=host&stsSignature=SFdW4woI5nXPCSCghrymsv06hM0cimwZpkFwHWngtto'; (async () => { try { // Send GET request to download file as a stream const response = await axios.get(url, { responseType: 'stream' }); // Create a writable stream to save the file locally const file = fs.createWriteStream('file_path'); // Replace with desired output path // ⛓ Pipe the response stream to the file stream response.data.pipe(file); // Notify when the file has been downloaded file.on('finish', () => { console.log('File downloaded successfully'); }); // Handle any errors during writing file.on('error', (err) => { console.error('Error writing file:', err); }); } catch (err) { console.error('Error downloading file:', err); } })(); ``` -------------------------------------------------------------------------------- title: "Upload Object" description: "This page describes the method to execute circuits in your application with sample code snippets." last_updated: "2026-09-09T10:45:38.000Z" source: "https://docs.catalyst.zoho.com/en/sdk/javascript/v1/cloudscale/stratus/upload-object/" service: "CloudScale" related: - Catalyst CloudScale (/en/cloud-scale/) - Stratus Help Documentation (/en/cloud-scale/help/stratus/introduction/) - Java SDK Documentation (/en/sdk/java/v1/cloud-scale/stratus/upload-object/) - Python SDK Documentation (/en/sdk/python/v1/cloud-scale/stratus/upload-object/) - iOS SDK Documentation (/en/sdk/ios/v2/cloud-scale/stratus/upload-object/) - Android SDK Documentation (/en/sdk/android/v2/cloud-scale/stratus/upload-object/) - Flutter SDK Documentation (/en/sdk/flutter/v2/cloud-scale/stratus/upload-object/) - REST API Documentation (/en/api/code-reference/cloud-scale/stratus/upload-object/#UploadObject) -------------------------------------------------------------------------------- # Upload Object > **Note:** Ensure you have installed the [required package](https://docs.catalyst.zoho.com/en/sdk/javascript/v1/cloudscale/stratus/overview/#prerequisites) to use this SDK method. The SDK methods listed in this section will allow you to [upload objects](https://docs.catalyst.zoho.com/en/cloud-scale/help/stratus/objects/upload-object/) to the [bucket](https://docs.catalyst.zoho.com/en/cloud-scale/help/stratus/buckets/name-bucket/) in various manners. You can upload objects as a **string** or as a **stream**. The `bucket` reference used in the following code snippet is the [component instance](https://docs.catalyst.zoho.com/en/sdk/javascript/v1/cloudscale/stratus/create-bucket-instance/). If you do not have [Versioning](https://docs.catalyst.zoho.com/en/cloud-scale/help/stratus/stratus-config/general-settings/#versioning) enabled for your object, and if Stratus gets multiple write requests for the same object, the object will be continuously overwritten. The latest upload of the object will be the only object that is stored. However, with Versioning enabled, each upload will be considered a version of the object, and all of them will be stored in the bucket, each with a unique `versionId`. > **Note:** The following characters including space are not supported when you create a path or an object: *double quote*, *both angular brackets*, *hashtag*, *backward slash*, and *pipe symbol*. ### Upload Object as a Stream Using the `putObject()` SDK method in the following manner, you can upload objects to a bucket as a stream. Store the stream in a variable and then pass that variable in the upload method; `putObject()` ```javascript // create a read stream for upload the object const file = fs.createReadStream("file_path"); // call the upload method await bucket.putObject("sam/out/sample.txt", file); ``` ### Upload Object as a String Using the `putObject()` SDK method in the following manner, you can upload the object as a string. You will pass the object name, and the data to be stored in the object in string format to the upload method; `putObject()` ```javascript // Upload object as a string await bucket.putObject("sam/out/sample.txt", "Content of the file"); ``` ### Upload Object with Options Using the `putObject()` SDK method in the following manner, you can use the following options while you upload an object. * `overwrite`: This is an option you can use if *Versioning* for your bucket is not enabled for your bucket. Without versioning, you need to use this option if you wish to overwrite a resource. The default value is '**false**'. * `ttl`: This is an option you can use to set **Time-to-Live** (TTL) in seconds for an object. Value should be greater than or equal to **60 seconds**. * `metaData`: This is an option you can use to upload [meta details](https://docs.catalyst.zoho.com/en/cloud-scale/help/stratus/objects/introduction/#metadata) of the object that is being uploaded. * `contentType`: This is an option you can provide, if you need to set the MIME type of the object. ```javascript const options = { 'overwrite': true, //This will overwrite your existing object 'ttl': '300', //time to live in seconds 'metaData': { 'author': 'John' } }; const file = fs.createReadStream("filePath"); await bucket.putObject("sam/out/sample.txt", file, options); ``` ### Upload Object With Extract Option When you upload a zipped object using the `putObject()` SDK method in the following manner, the objects present in the zip will be extracted and uploaded. ```javascript const options = { 'ttl': '300', //time to live in seconds 'metaData': { 'author': 'John' }, // Extract the contents of the given ZIP file and upload each file as a separate object to the bucket 'extractUpload': true }; const file = fs.createReadStream("filePath"); await bucket.putObject("sam/out/sample.zip", file, options); ``` ### Upload Object Using Multipart Utility In this section we are going to go over the SDK methods that will allow you to successfully upload a large object to a bucket in Stratus. The multipart upload utility will upload a large file to the bucket in multiple HTTPS requests. All of these requests will be combined into a single object once all the individual parts have been uploaded. > **Note:** It is recommended that you consider **Multipart Upload** as the preferred method to upload objects that are **100 MB or larger**. #### Initiate Upload To perform multipart operations, you need to get a multipart object instance. You will refer to this component instance in various code snippets where you work with multipart operations being performed on objects stored in a bucket in Stratus. #### Parameters Used
Parameter Name Data Type Definition
`bucket` **SDK Instance** The `bucket` reference used in the following code snippet is the [component instance](https://docs.catalyst.zoho.com/en/sdk/javascript/v1/cloudscale/stratus/create-bucket-instance/).
```javascript const initRes = await bucket.initiateMultipartUpload("sam/out/sample.txt"); console.log(initRes); ``` #### Example of Expected Response ```json { "bucket": "zcstratus123-development", "key": "sam/out/sample.txt", "upload_id": "01j7xbm4vm5750zbedxqgc4q6m", "status": "PENDING" } ``` #### Upload Parts of the Object The following code snippet illustrates the manner in which you can perform uploads of the individual parts of the object. Each part will have a distinct `partNumber` ranging anywhere between **1** and **1000**. While this represents the ordering of the parts, these parts will not necessarily be uploaded in sequence. These parts will be combined in sequence once the upload of all the parts of the objects is complete. ```javascript const partNumber = 1; const file = fs.createReadStream("filePath"); await bucket.uploadPart("sam/out/sample.txt", "uploadId", file, partNumber); ``` #### Get Multipart Upload Summary The following example code snippet demonstrates the manner in which you can use the `getMultipartUploadSummary()` SDK method to obtain an operational summary of all the uploaded parts. ```javascript const uploadSummaryRes = await bucket.getMultipartUploadSummary("sam/out/sample.txt", "upload_id"); console.log(uploadSummaryRes); ``` #### Example of Expected Response ```javascript { "bucket": "zcstratus12345-development", "key": "sam/out/sample.txt", "upload_id": "01hyfyeazrrstmt7k5fa7ej726", "status": "PENDING", "parts": [ { "part_number": 1, "size": 0, "uploaded_at": 1716374678999 }, { "part_number": 2, "size": 2797094, "uploaded_at": 1716374678576 }, { "part_number": 4, "size": 0, "uploaded_at": 1716374679136 } ] } ``` #### Complete Multipart Upload of the Object The following example code snippet demonstrates the manner in which you can terminate the multipart process once all the parts have been successfully uploaded. To complete the process, you will need to pass the `uploadId` to the `completeMultipartUpload()` method. #### Example Code Snippet Implementing Multipart Upload ```javascript const fs = require('fs'); module.exports = async (req, res) => { url = req.url; switch (url) { case '/': const auth = new ZCAuth(); const authInit = await auth.init(req); const stratus = new Stratus(); /** create a bucket instance */ const bucket = stratus.bucket("bucket_name"); /** multipart upload */ const key = 'sample.mp4'; // initiate multipart upload const initRes = await bucket.initiateMultipartUpload(key); // get upload Id from initiate upload response. const uploadId = initRes['upload_id']; const filePath = '/Users/Aliza//sam.mp4'; const partSize = 50 * 1024 * 1024; // in Mb const fileStream = fs.createReadStream( filePath, { highWaterMark: partSize } ); let partNumber = 1; const uploadPromises = []; fileStream.on('data', async (partData) => { // Push each part upload to the promises array for parallel upload const partUploadPromise = bucket.uploadPart( key, uploadId, partData, partNumber ); uploadPromises.push(partUploadPromise); console.log('Part Number: ', partNumber); partNumber++; }); // Wait for all parts to be uploaded in parallel fileStream.on('end', async () => { await Promise.all(uploadPromises); // Complete the multipart upload await bucket.completeMultipartUpload(key, uploadId); console.log('Successfully Uploaded'); }); res.end(); break; default: res.writeHead(404); res.write('You might find the page you are looking for at "/" path'); break; } } ``` ### Upload an Object Using the Transfer Manager Utility #### Create Transfer Manager Instance ```javascript const transferManager = new TransferManager(bucket); // create transfer manager instance ``` ### Multipart Upload #### Create Multipart Upload Instance The following code snippet will create a multipart instance to initiate multipart upload. ```javascript const multipart = await transferManager.createMultipartInstance("sam/out/sample.txt"); // create multipart instance ``` If you are required to create an instance for an already initialized multipart upload operation, then copy and use the code snippet given below. ```javascript const multipart = await transferManager.createMultipartInstance("sam/out/sample.txt", "uploadId"); ``` #### Upload Parts of the Object In the following example code snippet, you need to initialize a multipart instance, as defined in the [Create Multipart Upload Instance section](https://docs.catalyst.zoho.com/en/sdk/javascript/v1/cloudscale/stratus/upload-object/#upload-an-object-using-the-transfer-manager-utility). With this instance, you can use the `uploadPart()` SDK method to upload parts of the object. ```javascript await multipart.uploadPart(fs.createReadStream("filePath"), partNumber); ``` #### Upload Summary The following code snippet demonstrates the use of the `getUploadSummary()` SDK method to get a summary of the upload process. ```javascript const summaryRes = await multipart.getUploadSummary(); console.log(summaryRes); ``` #### Complete Upload The following code snippet demonstrates the use of the `completeUpload()` SDK method to complete the upload process. ```javascript await multipart.completeUpload(); ``` #### Upload Object Using Wrapper The following code snippet demonstrates the use of the `putObjectAsParts()` SDK method acts as a wrapper, where the entire multipart upload operation is carried out without employing multiple steps. Using this method, the object is split into multiple parts, uploaded to the bucket in multiple parts, and then combined once all the parts are uploaded. ```javascript const file = fs.createReadStream("filePath"); const partSize = 50 // in MB const objectPartUploadRes = await transferManager.putObjectAsParts("sam/out/sample.txt",file, partSize); console.log(objectPartUploadRes); ``` ### Generate Presigned URL to Upload an Object > **Info:** To use this SDK method, you need to initialize it with **Admin** scope. You can learn more about this requirement from this [section](https://docs.catalyst.zoho.com/en/sdk/javascript/v1/scopes/). Presigned URLs are secure URLs that authenticated users can share with their non-authenticated users. This URL will provide non-authenticated users with temporary authorization to access objects. The `bucket` reference used in the following code snippet is the [component instance](https://docs.catalyst.zoho.com/en/sdk/javascript/v1/cloudscale/stratus/create-bucket-instance/). #### Parameters Used
Parameter Name Data Type Definition
`key` **String** A **mandatory** parameter. Will hold the complete name of the object along with its [path](https://docs.catalyst.zoho.com/en/cloud-scale/help/stratus/objects/introduction/#path).
`urlAction` **Request Method** A **mandatory** parameter. This is the parameter that will allow you to generate a presigned URL for an upload (`PUT`) action.
  • `PUT`: To upload an object.
`expiry` **String** This is an **optional** parameter. The URL validity time in seconds.
  • Default value: **3600 seconds**
  • Minimum value: **30 seconds**
  • Maximum value: **7 days**
`activeFrom` **String** This is an **optional** parameter. This parameter will contain the time after which the URL is valid.
  • Maximum value: **7 days**
URLs are made active as soon as they are generated by default.
```javascript const signedURLRes = await bucket.generatePreSignedUrl("sam/out/sample.txt", 'PUT', { 'expiryIn': 100, // expiry time in seconds 'activeFrom':'12334454327', // activate the url in the given date }); console.log(signedURLRes); ``` #### Example mof Expected Response ```javascript { signature: "https://sadi-development.zohostratus.com/_signed/text.txt?organizationId=96862383&stsCredential=96858154-96862383&stsDate=1747896279887&stsExpiresAfter=300&stsSignedHeaders=host&stsSignature=3YBUX1HFSxNQzQJjFrln82AyJsEEuC5T9dsZwWxGyEE" } ``` #### Example Code Snippet: Upload with Presigned URL > **Info:** This example is shown using **Axios** request handler package. ```javascript const axios = require('axios'); const fs = require('fs'); // Replace this with the actual pre-signed URL generated for your upload. const url = ‘https: //sadi-development.zohostratus.com/_signed/text.txt?organizationId=96862383&stsCredential=96858154-96862383&stsDate=1747911331272&stsExpiresAfter=300&stsSignedHeaders=host&stsSignature=K9vuqC7JaATLeM3TX4xXWx0OHcSflbYQ2jCrbKSAAIE'; // Replace ‘file_path’ with your actual file path const data = fs.createReadStream(’/Users/amelia - 426 / Documents / JavaScript - SDK / Stratus / sam.py’); // Optional headers; content type may vary depending on the file type const headers = { // ‘Content-Type’: ‘application/json’, // adjust if uploading non-JSON files (e.g., ’text/plain’ or ‘application/octet-stream’) // ‘overwrite’: ’true’, // optional header }; (async () => { try { const response = await axios.put(url, data, { headers }); if (response.status === 200) { console.log('Object uploaded successfully'); } else { console.log('⚠️ Error uploading object:', response.data); } } catch (error) { console.error('Upload failed:', error.response?.data || error.message); } })(); ``` -------------------------------------------------------------------------------- title: "Extract a Zipped Object" description: "This page describes the method to execute circuits in your application with sample code snippets." last_updated: "2026-09-09T10:45:38.000Z" source: "https://docs.catalyst.zoho.com/en/sdk/javascript/v1/cloudscale/stratus/extract-zipped-object/" service: "CloudScale" related: - Catalyst CloudScale (/en/cloud-scale/) - Stratus Help Documentation (/en/cloud-scale/help/stratus/introduction/) - Java SDK Documentation (/en/sdk/java/v1/cloud-scale/stratus/extract-zipped-object/) - Python SDK Documentation (/en/sdk/python/v1/cloud-scale/stratus/extract-zipped-object/) - iOS SDK Documentation (/en/sdk/ios/v2/cloud-scale/stratus/overview/) - Android SDK Documentation (/en/sdk/android/v2/cloud-scale/stratus/overview/) - Flutter SDK Documentation (/en/sdk/flutter/v2/cloud-scale/stratus/overview/) - REST API Documentation (/en/api/code-reference/cloud-scale/stratus/extract-object/#ExtractZippedObject) -------------------------------------------------------------------------------- # Extract a Zipped Object > **Notes:** * Ensure you have installed the [required package](https://docs.catalyst.zoho.com/en/sdk/javascript/v1/cloudscale/stratus/overview/#prerequisites) to use this SDK method. * Since the extraction process occurs asynchronously, the time in which the entire process is completed is dependent on the size of the zip file that is being extracted. #### Parameters Used
Parameter Name Data Type Definition
`key` **String** A **mandatory** parameter. Will be the name of the zip file, you need to extract.
`destPath` **String** A **mandatory** parameter. Will contain the complete [path information](https://docs.catalyst.zoho.com/en/cloud-scale/help/stratus/objects/introduction/#path) of the destination, where the extracted objects will be stored in the bucket.
You can use the `unzipObject()` SDK method to extract a zipped object in Stratus. ```javascript const res = await bucket.unzipObject("sample.zip","output/"); console.log(res); ``` #### Example of Expected Response ```json { "key": "sample.zip", "destination": "output/", "task_id": "6963000000272049", "message": "Zip extract scheduled" } ``` ### Get Zip Extraction Status The zip extraction process occurs asynchronously, and the time it takes to complete the extraction process is dependent on the size of the zip file. #### Parameters Used
Parameter Name Data Type Definition
`taskId` **String** This parameter will be returned in the response of the `unzipObject()` SDK method. It will contain the status of the extraction process.
You need to use the `taskId` parameter, in the `getUnzipStatus()` SDK method, to determine the status of the extraction. ```javascript const statusRes = await bucket.getUnzipStatus("sample.zip", 'taskId'); console.log(statusRes); ``` #### Example of Expected Response ```javascript { "task_id": "6963000000272049", "status": "SUCCESS" } ``` -------------------------------------------------------------------------------- title: "Copy Object" description: "This page describes the method to execute circuits in your application with sample code snippets." last_updated: "2026-10-06T06:21:49.000Z" source: "https://docs.catalyst.zoho.com/en/sdk/javascript/v1/cloudscale/stratus/copy-object/" service: "CloudScale" related: - Catalyst CloudScale (/en/cloud-scale/) - Stratus Help Documentation (/en/cloud-scale/help/stratus/introduction/) - Java SDK Documentation (/en/sdk/java/v1/cloud-scale/stratus/copy-objects/) - Python SDK Documentation (/en/sdk/python/v1/cloud-scale/stratus/copy-objects/) - iOS SDK Documentation (/en/sdk/ios/v2/cloud-scale/stratus/overview/) - Android SDK Documentation (/en/sdk/android/v2/cloud-scale/stratus/overview/) - Flutter SDK Documentation (/en/sdk/flutter/v2/cloud-scale/stratus/overview/) - REST API Documentation (/en/api/code-reference/cloud-scale/stratus/copy-object/#CopyObject) -------------------------------------------------------------------------------- # Copy Object > **Note:** Ensure you have installed the [required package](https://docs.catalyst.zoho.com/en/sdk/javascript/v1/cloudscale/stratus/overview/#prerequisites) to use this SDK method. #### Key Terns
Name Definition
`key` The object that is being copied.
`destination` Will contain the new [path](https://docs.catalyst.zoho.com/en/cloud-scale/help/stratus/objects/introduction/#path) name of the object.
You can use the `copyObject()` SDK method, to create a copy of the required object in same or different paths of the bucket. The `bucket` reference used in the following code snippet is the [component instance](https://docs.catalyst.zoho.com/en/sdk/javascript/v1/cloudscale/stratus/create-bucket-instance/). > **Notes:** * You need to provide the complete object name, along with the [path](https://docs.catalyst.zoho.com/en/cloud-scale/help/stratus/objects/introduction/#path) for both `key` and `destination` values. * For example, if you have file named "`kitten.png`" in the path `pictures/puppy`, and you need to copy the file to `pictures/kitten` path, then: - `source_object` value will be '`pictures/puppy/kitten.png`' - `dest_object` value will be `'pictures/kitten/kitten.png'` ```javascript const res = await bucket.copyObject('sam/out/sample.txt', 'out/sam/sample.txt'); console.log(res); ``` #### Example of Expected Response ```json { "copy_to": "sam/out/sample.txt", "key": "out/sam/sample.txt", "message": "Object copied successfully." } ``` -------------------------------------------------------------------------------- title: "Rename and Move an Object" description: "This page describes the method to execute circuits in your application with sample code snippets." last_updated: "2026-09-09T10:45:38.000Z" source: "https://docs.catalyst.zoho.com/en/sdk/javascript/v1/cloudscale/stratus/rename-move/" service: "CloudScale" related: - Catalyst CloudScale (/en/cloud-scale/) - Stratus Help Documentation (/en/cloud-scale/help/stratus/introduction/) - Java SDK Documentation (/en/sdk/java/v1/cloud-scale/stratus/rename-move-object/) - Python SDK Documentation (/en/sdk/python/v1/cloud-scale/stratus/rename-move-object/) - iOS SDK Documentation (/en/sdk/ios/v2/cloud-scale/stratus/overview/) - Android SDK Documentation (/en/sdk/android/v2/cloud-scale/stratus/overview/) - Flutter SDK Documentation (/en/sdk/flutter/v2/cloud-scale/stratus/overview/) - REST API Documentation (/en/api/code-reference/cloud-scale/stratus/rename-object/#RenameObject) -------------------------------------------------------------------------------- # Rename and Move Operations on an Object > **Note:** Ensure you have installed the [required package](https://docs.catalyst.zoho.com/en/sdk/javascript/v1/cloudscale/stratus/overview/#prerequisites) to use this SDK method. #### Parameters Used
Parameter Name Data Type Definition
`key` **String** The original name of the object that you need to rename or move.
`destination` **String** The new name of the object, containing the complete path information.
> **Notes:** * You need to provide the complete object name, along with the [path](https://docs.catalyst.zoho.com/en/cloud-scale/help/stratus/objects/introduction/#path) for both `key` and `destination` values. * For example, if you have file named "`kitten.png`" in the path `pictures/puppy`, and you need to copy the file to `pictures/kitten` path, then: - `source_object` value will be '`pictures/puppy/kitten.png`' - `dest_object` value will be `'pictures/kitten/kitten.png'` The `renameObject()` SDK method can be used for both *rename* and *move* operations. The `bucket` reference used in the following code snippet is the [component instance](https://docs.catalyst.zoho.com/en/sdk/javascript/v1/cloudscale/stratus/create-bucket-instance/). ### Rename an Object > **Notes:** * You cannot rename objects in a bucket that has [Versioning](https://docs.catalyst.zoho.com/en/cloud-scale/help/stratus/stratus-config/general-settings/#versioning) enabled. * The following characters including space are not supported when you create a path or an object: *double quote*, both *angular brackets*, *hashtag*, *backward slash* and *pipe symbol*. ```javascript const res = await bucket.renameObject("sam/out/sample.txt", "sam/out/update_sample.txt"); console.log(res); ``` ### Move an Object > **Note:** You cannot perform move operations in a bucket that has [Versioning](https://docs.catalyst.zoho.com/en/cloud-scale/help/stratus/stratus-config/general-settings/#versioning) enabled. ```javascript const moveRes = await bucket.renameObject("sam/out/sample.txt", "out/sample.txt"); console.log(moveRes); ``` #### Example of Expected Response ```json { "current_key": "sam/out/sample.txt", "message": "Rename successful", "rename_to": "sam/out/update_sample.txt" } ``` -------------------------------------------------------------------------------- title: "Delete Objects" description: "This page describes the method to execute circuits in your application with sample code snippets." last_updated: "2026-10-30T18:08:11.000Z" source: "https://docs.catalyst.zoho.com/en/sdk/javascript/v1/cloudscale/stratus/delete-object/" service: "CloudScale" related: - Catalyst CloudScale (/en/cloud-scale/) - Stratus Help Documentation (/en/cloud-scale/help/stratus/introduction/) - Java SDK Documentation (/en/sdk/java/v1/cloud-scale/stratus/delete-objects/) - Python SDK Documentation (/en/sdk/python/v1/cloud-scale/stratus/delete-objects/) - iOS SDK Documentation (/en/sdk/ios/v2/cloud-scale/stratus/delete-object/) - Android SDK Documentation (/en/sdk/android/v2/cloud-scale/stratus/delete-object/) - Flutter SDK Documentation (/en/sdk/flutter/v2/cloud-scale/stratus/delete-object/) - REST API Documentation (/en/api/code-reference/cloud-scale/stratus/delete-objects/#DeleteObject) -------------------------------------------------------------------------------- # Delete Objects > **Note:** Ensure you have installed the [required package](https://docs.catalyst.zoho.com/en/sdk/javascript/v1/cloudscale/stratus/overview/#prerequisites) to use this SDK method. #### Parameters Used
Parameter Name Data Type Definition
`key` **String** A **mandatory** parameter. Will hold the complete name of the object along with its [path](https://docs.catalyst.zoho.com/en/cloud-scale/help/stratus/objects/introduction/#path).
`versionId` **String** An **optional** parameter. If [Versioning](https://docs.catalyst.zoho.com/en/cloud-scale/help/stratus/stratus-config/general-settings/#versioning) is enabled for your bucket then this parameter will help you refer to a particular version using its unique *Version ID*.
`ttl` **Int** An **optional** parameter. It allows you to schedule your delete operations. For example, if you provide the value of `ttl` as **60**, the delete operation will only occur after 60 seconds. The value of `ttl` has to be ** \>= 60 seconds**.
The following SDK methods will allow you to perform various types of delete operations on objects stored in a bucket in Stratus. The `bucket` reference used in the following code snippet is the [component instance](https://docs.catalyst.zoho.com/en/sdk/javascript/v1/cloudscale/stratus/create-bucket-instance/). ### Delete a Single Object You can delete the required object by passing its complete name to the `deleteObject()` SDK method. ```javascript await bucket.deleteObject("sam/out/sample.txt"); ``` > **Note:** If [Versioning](https://docs.catalyst.zoho.com/en/cloud-scale/help/stratus/stratus-config/general-settings/#versioning) is enabled on the bucket and if a specific `versionId` is not provided, deleting the object will remove all versions of that object by default. ### Delete a Specific Version of an Object after a Specific Time You need to provide the required `versionId` to the `deleteObject()` SDK method. You also have the option to schedule the delete operation using the `ttl` parameter. For example, if you pass the value of `ttl` as **100**, the delete operation will only occur after **100 seconds**. Always ensure the value of `ttl` is **greater than or equal to 60 seconds**. ```javascript const options = { versionId: "01hthq82gwxtfyz6d9j8eg6k2f", // delete the object with given versionId ttl: 100 // Time to live in number of seconds }; await bucket.deleteObject("sam/out/sample.txt", options); ``` ### Delete Multiple Objects The `deleteObjects()` SDK method can be used to delete multiple objects stored in a bucket in Stratus. You need to pass the names of the required objects as an array to the SDK method. > **Notes:** * If [Versioning](https://docs.catalyst.zoho.com/en/cloud-scale/help/stratus/stratus-config/general-settings/#versioning) is enabled for your bucket, ensure you provide the versionId of the object that you are required to delete. * Additionally, you also have the option to schedule the delete operation using the `ttl` parameter. - For example, if you provide the value of `ttl` as **100**, the delete operation will only occur after 100 seconds. - Always ensure that the value of `ttl` is **greater than or equal to 60 seconds**. ```javascript const objectDel = await bucket.deleteObjects( [ { key: "sam/out/sample.txt", versionId: "01hhch20nfkx9hw9ebqy2jnz9d" } ], 100); console.log(objectDel); ``` #### Example of Expected Response ```json {"message": "Object Deletion successful."} ``` ### Delete a Path in the Bucket Using the `deletePath()` SDK method you will be able to delete the required path and all the objects stored in it. ```javascript // To delete an entire path const res = await bucket.deletePath("sam/out/"); console.log(res); ``` > **Note:** Ensure that you provide the exact path. If an incorrect path is provided, the delete action will get scheduled, but it will result in an error. #### Example of Expected Response ```javascript { "path": "sam/out/", "message": "Path deletion scheduled" } ``` ### Truncate Bucket Using the `truncate()` SDK method, you can delete every single object stored in the bucket. ```javascript const truncateRes = await bucket.truncate(); console.log(truncateRes); ``` -------------------------------------------------------------------------------- title: "Create Object Instance" description: "This page describes the method to execute circuits in your application with sample code snippets." last_updated: "2026-09-09T10:45:38.000Z" source: "https://docs.catalyst.zoho.com/en/sdk/javascript/v1/cloudscale/stratus/create-object-instance/" service: "CloudScale" related: - Catalyst CloudScale (/en/cloud-scale/) - Stratus Help Documentation (/en/cloud-scale/help/stratus/introduction/) - Java SDK Documentation (/en/sdk/java/v1/cloud-scale/stratus/create-object-instance/) - Python SDK Documentation (/en/sdk/python/v1/cloud-scale/stratus/create-object-instance/) - iOS SDK Documentation (/en/sdk/ios/v2/cloud-scale/stratus/get-object/) - Android SDK Documentation (/en/sdk/android/v2/cloud-scale/stratus/get-object/) - Flutter SDK Documentation (/en/sdk/flutter/v2/cloud-scale/stratus/get-object/) - REST API Documentation (/en/api/code-reference/cloud-scale/stratus/get-all-buckets/#GetAllBuckets) -------------------------------------------------------------------------------- # Create Object Instance > **Note:** Ensure you have installed the [required package](https://docs.catalyst.zoho.com/en/sdk/javascript/v1/cloudscale/stratus/overview/#prerequisites) to use this SDK method. To perform object level operations, you need to create an `object` instance. You will refer to this component instance in various code snippets of working with [Objects](https://docs.catalyst.zoho.com/en/cloud-scale/help/stratus/buckets/name-bucket/) in Stratus. The `bucket` reference used in the following code snippet is the [component instance](https://docs.catalyst.zoho.com/en/sdk/javascript/v1/cloudscale/stratus/create-bucket-instance/). ```javascript const objectIns = bucket.object("sam/out/sample.txt"); ``` -------------------------------------------------------------------------------- title: "List Object Versions" description: "This page describes the method to execute circuits in your application with sample code snippets." last_updated: "2026-09-09T10:45:38.000Z" source: "https://docs.catalyst.zoho.com/en/sdk/javascript/v1/cloudscale/stratus/list-object-versions/" service: "CloudScale" related: - Catalyst CloudScale (/en/cloud-scale/) - Stratus Help Documentation (/en/cloud-scale/help/stratus/introduction/) - Java SDK Documentation (/en/sdk/java/v1/cloud-scale/stratus/list-object-versions/) - Python SDK Documentation (/en/sdk/python/v1/cloud-scale/stratus/list-object-versions/) - iOS SDK Documentation (/en/sdk/ios/v2/cloud-scale/stratus/overview/) - Android SDK Documentation (/en/sdk/android/v2/cloud-scale/stratus/overview/) - Flutter SDK Documentation (/en/sdk/flutter/v2/cloud-scale/stratus/overview/) - REST API Documentation (/en/api/code-reference/cloud-scale/stratus/get-all-versions/#GetAllVersionsofanObject) -------------------------------------------------------------------------------- # List Object Versions > **Note:** Ensure you have installed the [required package](https://docs.catalyst.zoho.com/en/sdk/javascript/v1/cloudscale/stratus/overview/#prerequisites) to use this SDK method. If [Versioning](https://docs.catalyst.zoho.com/en/cloud-scale/help/stratus/stratus-config/general-settings/#versioning) is enabled for your bucket, you will be able to store multiple versions of the same object. Each version of the object will be assigned a unique `versionID` at time time of storage. The following SDK methods will allow you list all the versions of an object either in a paginated or iterated manner. ### List All Versions of an Object Through Pagination #### Parameters Used
Parameter Name Data Type Definition
`nextToken` **String** Will hold the value that determines the next set of versions.
`maxVersions` **Int** An **optional** parameter. Will hold the value of the maximum number of versions of the object that can be listed per iteration.
You can use the `listMyPaginatedVersions()` SDK method, to list all the versions of a required object in a paginated manner. The `objectIns`, object reference used in the following code snippet is the [component instance](https://docs.catalyst.zoho.com/en/sdk/javascript/v1/cloudscale/stratus/create-object-instance/). ```javascript async function listMyPaginatedVersions(maxVersion = undefined, nextToken = undefined) { const response = await objectIns.listPagedVersions({ maxVersion, nextToken}); console.log(response.version); if(response.is_truncated) { listMyPaginatedVersions(maxVersion,nextToken) } } await listMyPaginatedVersions(10); ``` #### Example of Expected Response ```javascript { "key": "sam/out/sample.txt", "versions_count": 2, "max_versions": "2", "is_truncated": "False", "next_continuation_token": "4YpUdkktt2UeWp6MwEK1LZXELnuVhunHLnGgX29uvszwtJEQE2gVDJYyRiLdUmhNst", "version": [ { "version_id": "01hyfh12njtpyvzwq6p1fd2d8s", "is_latest": "True", "last_modified": "May 22, 2024 12:20 PM", "size": 1, "etag": "9af7c117d9de9a06fba7a5f1ea5fcc2d" }, { "version_id": "01hyfh0xkvwkxxsjfceef201xa", "is_latest": "False", "last_modified": "May 22, 2024 12:20 PM", "size": "1", "etag": "9af7c117d9de9a06fba7a5f1ea5fcc2d" } ] } ``` ### List All Versions of an Object Through Iteration You can use the `listIterableVersions()` SDK method to get all the available versions of an object stored in a bucket in Stratus in a single call. The `objectIns`, object reference used in the following code snippet is the [component instance](https://docs.catalyst.zoho.com/en/sdk/javascript/v1/cloudscale/stratus/create-object-instance/). ```javascript const versions = objectIns.listIterableVersions(); for await( const version of versions) { console.log(version); } ``` #### Example of Expected Response ```javascript { "versionId": "01hyfh12njtpyvzwq6p1fd2d8s", "is_latest": "True", "last_modified": "May 22,2024 12:20 PM", "size": "1", "etag": "9af7c117d9de9a06fba7a5f1ea5fcc2d" } { "versionId": "01hyfh0xkvwkxxsjfceef201xa", "is_latest": "False", "last_modified": "May 22, 2024 12:20 PM", "size": "1", "etag": "9af7c117d9de9a06fba7a5f1ea5fcc2d" } ``` -------------------------------------------------------------------------------- title: "Get Object Details" description: "This page describes the method to execute circuits in your application with sample code snippets." last_updated: "2026-09-09T10:45:38.000Z" source: "https://docs.catalyst.zoho.com/en/sdk/javascript/v1/cloudscale/stratus/get-object-details/" service: "CloudScale" related: - Catalyst CloudScale (/en/cloud-scale/) - Stratus Help Documentation (/en/cloud-scale/help/stratus/introduction/) - Java SDK Documentation (/en/sdk/java/v1/cloud-scale/stratus/object-details/) - Python SDK Documentation (/en/sdk/python/v1/cloud-scale/stratus/object-details/) - iOS SDK Documentation (/en/sdk/ios/v2/cloud-scale/stratus/overview/) - Android SDK Documentation (/en/sdk/android/v2/cloud-scale/stratus/overview/) - Flutter SDK Documentation (/en/sdk/flutter/v2/cloud-scale/stratus/overview/) - REST API Documentation (/en/api/code-reference/cloud-scale/stratus/get-all-objects/#GetAllObjects) -------------------------------------------------------------------------------- # Get Object Details > **Note:** Ensure you have installed the [required package](https://docs.catalyst.zoho.com/en/sdk/javascript/v1/cloudscale/stratus/overview/#prerequisites) to use this SDK method. ### Get Details of All Objects You can use the `getDetails()` SDK method to get the details of all the objects that stored in a bucket in Stratus. The `objectIns`, object reference used in the following code snippet is the [component instance](https://docs.catalyst.zoho.com/en/sdk/javascript/v1/cloudscale/stratus/create-object-instance/). > **Note:** If [Versioning](https://docs.catalyst.zoho.com/en/cloud-scale/help/stratus/stratus-config/general-settings/#versioning) is enabled for your bucket, and no `versionId` is provided while using this SDK method, then the SDK method will only return the latest version's object details. ```javascript const objectRes = await objectIns.getDetails(); console.log(objectRes); ``` #### Example of Expected Response ```javascript { "key": "sam/out/sample.txt", "size": 1, "content_type": "text/plain", "last_modified": "May 22, 2024 12:25 PM", "meta_data": { "author": "John" }, "object_url": "https://zcstratus12345-development.zohostratus.com/sam/out/sample.txt", "cached_object_url": "https://zcstratus12345-development.nimbuslocaledge.com/sam/out/sample.txt" } ``` ### Get Details of a Particular Version of the Object #### Parameters Used
Parameter Name Data Type Definition
`versionId` **String** An **optional** parameter. Needs to be used to refer to the required version of the object.
If [Versioning](https://docs.catalyst.zoho.com/en/cloud-scale/help/stratus/stratus-config/general-settings/#versioning) is enabled for your bucket, then you will be able to store multiple versions of the object. To get the details of a particular version of the object, you need to pass the `versionId` of the required object's version to the `getDetails()` SDK method. The `objectIns`, object reference used in the following code snippet is the [component instance](https://docs.catalyst.zoho.com/en/sdk/javascript/v1/cloudscale/stratus/create-object-instance/). ```javascript const objectRes = await objectIns.getDetails("versionId"); console.log(objectRes); ``` #### Example of Expected Response ```javascript { "key": "sam/out/sample.txt", "size": 1, "content_type": "text/plain", "last_modified": "May 22, 2024 12:25 PM", "meta_data": { "author": "John" }, "object_url": "https://zcstratus12345-development.zohostratus.com/sam/out/sample.txt", "cached_object_url": "https://zcstratus12345-development.nimbuslocaledge.com/sam/out/sample.txt" } ``` -------------------------------------------------------------------------------- title: "Put Object Metadata" description: "This page describes the method to execute circuits in your application with sample code snippets." last_updated: "2026-09-09T10:45:38.000Z" source: "https://docs.catalyst.zoho.com/en/sdk/javascript/v1/cloudscale/stratus/put-object-metadata/" service: "CloudScale" related: - Catalyst CloudScale (/en/cloud-scale/) - Stratus Help Documentation (/en/cloud-scale/help/stratus/introduction/) - Java SDK Documentation (/en/sdk/java/v1/cloud-scale/stratus/put-object-meta/) - Python SDK Documentation (/en/sdk/python/v1/cloud-scale/stratus/put-object-meta/) - iOS SDK Documentation (/en/sdk/ios/v2/cloud-scale/stratus/overview/) - Android SDK Documentation (/en/sdk/android/v2/cloud-scale/stratus/overview/) - Flutter SDK Documentation (/en/sdk/flutter/v2/cloud-scale/stratus/overview/) - REST API Documentation (/en/api/code-reference/cloud-scale/stratus/put-object-meta/#PutObjectMetadata) -------------------------------------------------------------------------------- # Put Object Metadata > **Note:** Ensure you have installed the [required package](https://docs.catalyst.zoho.com/en/sdk/javascript/v1/cloudscale/stratus/overview/#prerequisites) to use this SDK method. You can use the `putMeta()` SDK method to add meta details for a required object stored in a bucket in Stratus. The `objectIns`, object reference used in the following code snippet is the [component instance](https://docs.catalyst.zoho.com/en/sdk/javascript/v1/cloudscale/stratus/create-object-instance/). The meta details will be passed as JSON key value pairs. For example, {"meta_key" : "meta_value"} > **Note:** * Using the following method to pass new meta details without adding the existent details will delete the existing details and only put the new details. To avoid this, pass the new meta details along with the existing meta details. * You can use alphanumeric, underscores, or whitespace characters, as well as hyphens, to write your metadata. No other special character is allowed other than the once mentioned. * You can fetch the metadata of an object using the `HEAD` request method. In the response, the metadata will be listed in the key '`x-user-meta`'. * The maximum size limit of characters allowed for the overall metadata is **2047** characters. The character count used to determine the size limit also includes the colon ":" special character used to define the key value pair. ```javascript const objectMeta = { "key1": "value1" , "key2": "value2" }; const objMeta = await objectIns.putMeta(objectMeta); console.log(objMeta); ``` #### Example of Expected Response ```javascript { "message": "Metadata added successfully" } ``` ### Cache -------------------------------------------------------------------------------- title: "Overview" description: "This page describes the method to perform operations in the Cache component." last_updated: "2026-09-09T10:45:38.000Z" source: "https://docs.catalyst.zoho.com/en/sdk/javascript/v1/cloudscale/cache/overview/" service: "CloudScale" related: - Catalyst CloudScale (/en/cloud-scale/) - Cache Help Documentation (/en/cloud-scale/help/cache/introduction/) - Java SDK Documentation (/en/sdk/java/v1/cloud-scale/cache/get-segment-instance/) - Python SDK Documentation (/en/sdk/python/v1/cloud-scale/cache/get-component-instance/) - REST API Documentation (/en/api/code-reference/cloud-scale/cache/insert-key-value-in-segment/#InsertKeyValueinCacheSegment) -------------------------------------------------------------------------------- # Cache JavaScript SDK # Overview [Cache](https://docs.catalyst.zoho.com/en/cloud-scale/help/cache/introduction/) is a *CloudScale* component, that can expertly handler small storage of data to facilitate retrieval of actively used data. Cache is best suited to handle your applications ephemera data or frequently accessed information. Cache actively reduces load on primary databases in memory-intensive real-time applications or microservices that demand sub-millisecond responses. Catalyst Cache is divided into cache units called [segments](https://docs.catalyst.zoho.com/en/cloud-scale/help/cache/key-concepts/#segments). Each segment holds cache items (data) in the form of JSON key value pairs. The key and value are of the String data type. The **Cache JavaScript SDK** package enables you to perform CRUD operations on the data stored in Cache. You can retrieve data, insert data, update and delete data from the Cache component through code. ### Prerequisites You need to install the following package to use the Cache SDK methods. ```sh npm install @zcatalyst/cache ``` > **Info:** Ensure that you have applied the [required authentication configuration](https://docs.catalyst.zoho.com/en/sdk/javascript/v1/auth-config/node-consideration/) to use the SDK methods of this component. ### Import Requirement You will need to import the following module to use the Cache SDK methods. ```javascript const { Cache } = require('@zcatalyst/cache'); ``` ### List of SDK Methods The following table contains the list of SDK methods that can be used to perform operations in Cache through code.
Category SDK Method Required Scope
General Operations
  • [Get a Cache Instance](https://docs.catalyst.zoho.com/en/sdk/javascript/v1/cloudscale/cache/get-cache-instance/)
  • [Get a Segment Instance](https://docs.catalyst.zoho.com/en/sdk/javascript/v1/cloudscale/cache/get-segment-instance/)
**No requirement**
Cache Operations
  • [Retrieve data from Cache](https://docs.catalyst.zoho.com/en/sdk/javascript/v1/cloudscale/cache/retreive-data/)
  • [Insert data to Cache](https://docs.catalyst.zoho.com/en/sdk/javascript/v1/cloudscale/cache/insert-data/)
  • [Update data in Cache](https://docs.catalyst.zoho.com/en/sdk/javascript/v1/cloudscale/cache/update-cache/)
  • [Delete Cache Item](https://docs.catalyst.zoho.com/en/sdk/javascript/v1/cloudscale/cache/delete-cache/)
**Admin**
-------------------------------------------------------------------------------- title: "Get a Cache Instance" description: "This page describes the method to perform operations in the Cache component." last_updated: "2026-09-09T10:45:38.000Z" source: "https://docs.catalyst.zoho.com/en/sdk/javascript/v1/cloudscale/cache/get-cache-instance/" service: "CloudScale" related: - Catalyst CloudScale (/en/cloud-scale/) - Cache Help Documentation (/en/cloud-scale/help/cache/introduction/) - Java SDK Documentation (/en/sdk/java/v1/cloud-scale/cache/get-segment-instance/) - Python SDK Documentation (/en/sdk/python/v1/cloud-scale/cache/get-component-instance/) - REST API Documentation (/en/api/code-reference/cloud-scale/cache/insert-key-value-in-segment/#InsertKeyValueinCacheSegment) -------------------------------------------------------------------------------- # Get a Cache Instance > **Note:** Ensure you have installed the [required package](https://docs.catalyst.zoho.com/en/sdk/javascript/v1/cloudscale/cache/overview/#prerequisites) to use this SDK method. You can get the `cache` component reference as shown below. This will not fire a server-side call. You will refer to this component instance in various code snippets of working with Cache. ```javascript const cache = new Cache(); ``` -------------------------------------------------------------------------------- title: "Get a Segment Instance" description: "This page describes the method to perform operations in the Cache component." last_updated: "2026-09-09T10:45:38.000Z" source: "https://docs.catalyst.zoho.com/en/sdk/javascript/v1/cloudscale/cache/get-segment-instance/" service: "CloudScale" related: - Catalyst CloudScale (/en/cloud-scale/) - Cache Help Documentation (/en/cloud-scale/help/cache/introduction/) - Java SDK Documentation (/en/sdk/java/v1/cloud-scale/cache/get-segment-instance/) - Python SDK Documentation (/en/sdk/python/v1/cloud-scale/cache/get-segment-instance/) - REST API Documentation (/en/api/code-reference/cloud-scale/cache/insert-key-value-in-segment/#InsertKeyValueinCacheSegment) -------------------------------------------------------------------------------- # Get a Segment Instance > **Note:** Ensure you have installed the [required package](https://docs.catalyst.zoho.com/en/sdk/javascript/v1/cloudscale/cache/overview/#prerequisites) to use this SDK method. A `segment` reference can be created using the following method which does not fire a server-side call. The `cache` reference used in the code snippet below is the [component instance](https://docs.catalyst.zoho.com/en/sdk/javascript/v1/cloudscale/cache/get-cache-instance/). > **Note:** If you wish to get the instance of a particular segment, then you need to pass the [segment ID](https://docs.catalyst.zoho.com/en/cloud-scale/help/cache/implementation/#create-a-segment) as the parameter. If you don’t provide any segment ID, it will refer to the default segment. ```javascript // Refer a Cache segment through the Segment ID const cache = new Cache(); const segment = cache.segment();// Since no ID is passed here, it will refer to the default segment ``` -------------------------------------------------------------------------------- title: "Retrieve Data from the Cache" description: "This page describes the method to perform operations in the Cache component." last_updated: "2026-09-09T10:45:38.000Z" source: "https://docs.catalyst.zoho.com/en/sdk/javascript/v1/cloudscale/cache/retreive-data/" service: "CloudScale" related: - Catalyst CloudScale (/en/cloud-scale/) - Cache Help Documentation (/en/cloud-scale/help/cache/introduction/) - Java SDK Documentation (/en/sdk/java/v1/cloud-scale/cache/retrieve-data-from-cache/) - Python SDK Documentation (/en/sdk/python/v1/cloud-scale/cache/retrieve-data-from-cache/) - REST API Documentation (/en/api/code-reference/cloud-scale/cache/insert-key-value-in-segment/#InsertKeyValueinCacheSegment) -------------------------------------------------------------------------------- # Retrieve Data from the Cache > **Note:** Ensure you have installed the [required package](https://docs.catalyst.zoho.com/en/sdk/javascript/v1/cloudscale/cache/overview/#prerequisites) to use this SDK method. ### Get Cache Value Using the `getValue()` SDK method, you can retrieve the value of a Cache item from a segment. You must pass the key name as the argument. The promise returned here will be resolved to a String, which is the actual value of the key. The `segment` reference used in the code snippet below is the [segment instance](https://docs.catalyst.zoho.com/en/sdk/javascript/v1/cloudscale/cache/get-segment-instance/). ```javascript //Get cache value by passing the key name const cache = new Cache(); const segment = cache.segment(); const entity = await segment.getValue('Age'); console.log(entity); ``` ### Get Cache Object You can retrieve the details of the cache where the key-value pair is of the object type. The key object is retrieved using the `get()` method where the key name is passed as an argument. The promise returned from this code will be resolved to an object which is a JSON. The `segment` reference used in the code snippet below is the [segment instance](https://docs.catalyst.zoho.com/en/sdk/javascript/v1/cloudscale/cache/get-segment-instance/). ```javascript //Get Cache object by passing the key name as argument const cache = new Cache(); const segment = cache.segment(); const entity = await segment.get('Age'); console.log(entity); ``` #### Example of Expected Response ```json { "cache_name": "Name", "cache_value": "Amelia Burrows", "project_details": { "project_name": "AlienCity", "id": "2136000000007733" }, "segment_details": { "segment_name": "DataStore", "id": "2136000000008572" }, "expires_in": "Aug 18, 2021 06:39 PM", "expiry_in_hours": "47", "ttl_in_milliseconds": "172727000" } ``` -------------------------------------------------------------------------------- title: "Insert Data in Cache" description: "This page describes the method to perform operations in the Cache component." last_updated: "2026-09-09T10:45:38.000Z" source: "https://docs.catalyst.zoho.com/en/sdk/javascript/v1/cloudscale/cache/insert-data/" service: "CloudScale" related: - Catalyst CloudScale (/en/cloud-scale/) - Cache Help Documentation (/en/cloud-scale/help/cache/introduction/) - Java SDK Documentation (/en/sdk/java/v1/cloud-scale/cache/insert-data-into-cache/) - Python SDK Documentation (/en/sdk/python/v1/cloud-scale/cache/insert-data-into-cache/) - REST API Documentation (/en/api/code-reference/cloud-scale/cache/insert-key-value-in-segment/#InsertKeyValueinCacheSegment) -------------------------------------------------------------------------------- # Insert Data in Cache > **Note:** Ensure you have installed the [required package](https://docs.catalyst.zoho.com/en/sdk/javascript/v1/cloudscale/cache/overview/#prerequisites) to use this SDK method. Using the `put()` SDK method, you can insert a cache item. You can insert a key-value pair in an existing cache segment in your Catalyst project. The key name and key value are of the **String** type and are passed as arguments to the method. The promise returned here will be resolved to a JSON object. You can also pass the *expiry time* for the cache item optionally. If you do not pass that value, the expiration time will be set to **48 hours** by default. The `segment` reference used in the code snippet below is the [segment instance](https://docs.catalyst.zoho.com/en/sdk/javascript/v1/cloudscale/cache/get-segment-instance/). ```javascript //Insert Cache by passing the key-value pair const cache = new Cache(); const segment = cache.segment(); const entity = await segment.put('Name', 'Linda McCartney',1); //Expiry time for cache in hours console.log(entity); ``` #### Example of Expected Response ```json { "cache_name": "Last_Name", "cache_value": "Smith", "project_details": { "project_name": "AlienCity", "id": "2136000000007733" }, "segment_details": { "segment_name": "DataStore", "id": "2136000000008572" }, "expires_in": "Aug 18, 2021 06:46 PM", "expiry_in_hours": "48", "ttl_in_milliseconds": "172800000" } ``` -------------------------------------------------------------------------------- title: "Update Data in Cache" description: "This page describes the method to perform operations in the Cache component." last_updated: "2026-09-09T10:45:38.000Z" source: "https://docs.catalyst.zoho.com/en/sdk/javascript/v1/cloudscale/cache/update-cache/" service: "CloudScale" related: - Catalyst CloudScale (/en/cloud-scale/) - Cache Help Documentation (/en/cloud-scale/help/cache/introduction/) - Java SDK Documentation (/en/sdk/java/v1/cloud-scale/cache/update-data-in-cache/) - Python SDK Documentation (/en/sdk/python/v1/cloud-scale/cache/update-data-in-cache/) - REST API Documentation (/en/api/code-reference/cloud-scale/cache/insert-key-value-in-segment/#InsertKeyValueinCacheSegment) -------------------------------------------------------------------------------- # Update Data in Cache > **Note:** Ensure you have installed the [required package](https://docs.catalyst.zoho.com/en/sdk/javascript/v1/cloudscale/cache/overview/#prerequisites) to use this SDK method. You can update the key-value pair in a cache segment using the `update()` SDK method. You must pass the key name and key-value which are of the *String* type as arguments. If the values aren’t present, they will be inserted into the cache segment. The promise returned here will be resolved to a JSON object. You can also optionally pass the **expiry time** parameter. If you don’t assign a value for that, the expiry time will be set to **48 hours** by default. The `segment` reference used in the code snippet below is the [segment instance](https://docs.catalyst.zoho.com/en/sdk/javascript/v1/cloudscale/cache/get-segment-instance/). ```javascript //Update cache by passing the key-value pair const cache = new Cache(); const segment = cache.segment(); const entity = await segment.update('Name', 'Micheal Greene'); console.log(entity); ``` #### Example of Expected Response A sample response that you will receive for each version is shown below. ```json { "cache_name": "Last_Name", "cache_value": "Brown", "project_details": { "project_name": "AlienCity", "id": "2136000000007733" }, "segment_details": { "segment_name": "DataStore", "id": "2136000000008572" }, "expires_in": "Aug 18, 2021 06:46 PM", "expiry_in_hours": "47", "ttl_in_milliseconds": "172596000" } ``` -------------------------------------------------------------------------------- title: "Delete Cache Item" description: "This page describes the method to perform operations in the Cache component." last_updated: "2026-09-09T10:45:38.000Z" source: "https://docs.catalyst.zoho.com/en/sdk/javascript/v1/cloudscale/cache/delete-cache/" service: "CloudScale" related: - Catalyst CloudScale (/en/cloud-scale/) - Cache Help Documentation (/en/cloud-scale/help/cache/introduction/) - Java SDK Documentation (/en/sdk/java/v1/cloud-scale/cache/delete-key-value-pair/) - Python SDK Documentation (/en/sdk/python/v1/cloud-scale/cache/delete-key-value-pair/) - REST API Documentation (/en/api/code-reference/cloud-scale/cache/insert-key-value-in-segment/#InsertKeyValueinCacheSegment) -------------------------------------------------------------------------------- # Delete Cache Item > **Note:** Ensure you have installed the [required package](https://docs.catalyst.zoho.com/en/sdk/javascript/v1/cloudscale/cache/overview/#prerequisites) to use this SDK method. Using the `delete()` SDK method, a cache item can be permanently deleted from the cache segment, when it is no longer required. The cache item (data key-value pair) cannot be restored once it is deleted, but it can be recreated. The `segment` reference used in the code snippet below is the [segment instance](https://docs.catalyst.zoho.com/en/sdk/javascript/v1/cloudscale/cache/get-segment-instance/). #### Delete Cache Item Using a Key You can delete a key by passing it directly as a parameter to the `delete()` method. The promise returned here will be resolved to an object which is a JSON. ```javascript // delete Cache using delete by passing the key name const cache = new Cache(); const segment = cache.segment(); const entity = await segment.delete('Name'); console.log(entity); ``` ### Connections -------------------------------------------------------------------------------- title: "Overview" description: "This page describes the method to perform operations using the Connections component." last_updated: "2026-09-09T10:45:38.000Z" source: "https://docs.catalyst.zoho.com/en/sdk/javascript/v1/cloudscale/connections/overview/" service: "CloudScale" related: - Catalyst CloudScale (/en/cloud-scale/) - Connections Help Documentation (/en/cloud-scale/help/connections/introduction/) - Authentication Help Documentation (/en/cloud-scale/help/data-store/introduction/) - Java SDK Documentation (/en/sdk/java/v1/cloud-scale/zcql/execute-zcql-query/) - Python SDK Documentation (/en/sdk/python/v1/cloud-scale/zcql/get-component-instance/) - REST API Documentation (/en/api/code-reference/cloud-scale/zcql/execute-zcql-query/#ExecuteZCQLQuery) -------------------------------------------------------------------------------- # Connections JavaScript SDK # Overview [Connections](https://docs.catalyst.zoho.com/en/cloud-scale/help/connections/introduction/) allows you to integrate with Zoho and other third-party services while managing all the authentication token requirement. The *Connections JavaScript SDK* package enables you to get the required authentication credentials. ### Prerequisites You will need to install the following package to be able to use the Connections SDK methods. ```sh npm install @zcatalyst/connections ``` > **Info:** Ensure that you have applied the [required authentication configuration](https://docs.catalyst.zoho.com/en/sdk/javascript/v1/auth-config/node-consideration/) to use the SDK methods of this component. ### Import Requirement You will need to import the following modules to use the Connections SDK methods. ```javascript const { Connections } = require('@zcatalyst/connections'); ``` ### List of SDK Methods The following table contains the list of SDK methods that can be used to perform operations in the Connections component through code.
Category SDK Method Required Scope
General Operations [Get Connections Instance](https://docs.catalyst.zoho.com/en/sdk/javascript/v1/cloudscale/connections/get-component-instance/) Not required
Connections Operations [Get Authentication Credentials](https://docs.catalyst.zoho.com/en/sdk/javascript/v1/cloudscale/connections/get-auth-credentials/) **Admin**
-------------------------------------------------------------------------------- title: "Get Connections Instance" description: "This page describes the method to perform operations using the Connections component." last_updated: "2026-09-09T10:45:38.000Z" source: "https://docs.catalyst.zoho.com/en/sdk/javascript/v1/cloudscale/connections/get-component-instance/" service: "CloudScale" related: - Catalyst CloudScale (/en/cloud-scale/) - Connections Help Documentation (/en/cloud-scale/help/connections/introduction/) - Authentication Help Documentation (/en/cloud-scale/help/data-store/introduction/) - Java SDK Documentation (/en/sdk/java/v1/cloud-scale/zcql/execute-zcql-query/) - Python SDK Documentation (/en/sdk/python/v1/cloud-scale/zcql/get-component-instance/) - REST API Documentation (/en/api/code-reference/cloud-scale/zcql/execute-zcql-query/#ExecuteZCQLQuery) -------------------------------------------------------------------------------- # Get Connections Instance > **Note:** * This SDK can only be accessed within Catalyst services like [Functions](https://docs.catalyst.zoho.com/en/serverless/help/functions/introduction/) and [AppSail](https://docs.catalyst.zoho.com/en/serverless/help/appsail/introduction/). It cannot be used to integrate with third-party services. * Ensure you have installed the [required package](https://docs.catalyst.zoho.com/en/sdk/javascript/v1/serverless/functions/overview/#prerequisites) to use this SDK method. You can get the connections `component` reference as shown below. This will not fire a server-side call. We will refer to this component instance in various code snippets of working with Connections. ```javascript // Get a Connections instance const connections = new Connections(); ``` -------------------------------------------------------------------------------- title: "Get Authentication Credentials" description: "This page describes the method to perform operations using the Connections component." last_updated: "2026-09-09T10:45:38.000Z" source: "https://docs.catalyst.zoho.com/en/sdk/javascript/v1/cloudscale/connections/get-auth-credentials/" service: "CloudScale" related: - Catalyst CloudScale (/en/cloud-scale/) - Connections Help Documentation (/en/cloud-scale/help/connections/introduction/) - Authentication Help Documentation (/en/cloud-scale/help/data-store/introduction/) - Java SDK Documentation (/en/sdk/java/v1/cloud-scale/zcql/execute-zcql-query/) - Python SDK Documentation (/en/sdk/python/v1/cloud-scale/zcql/get-component-instance/) - REST API Documentation (/en/api/code-reference/cloud-scale/zcql/execute-zcql-query/#ExecuteZCQLQuery) -------------------------------------------------------------------------------- # Get Authentication Credentials > **Note:** * This SDK can only be accessed within Catalyst services like [Functions](https://docs.catalyst.zoho.com/en/serverless/help/functions/introduction/) and [AppSail](https://docs.catalyst.zoho.com/en/serverless/help/appsail/introduction/). It cannot be used to integrate with third-party services. * Ensure you have installed the [required package](https://docs.catalyst.zoho.com/en/sdk/javascript/v1/serverless/functions/overview/#prerequisites) to use this SDK method. This SDK method can be used obtain the authentication credentials for various Zoho services, listed as [Default Services](https://docs.catalyst.zoho.com/en/cloud-scale/help/connections/establish-default-connection/). The `connections` reference used in the below code snippet is the [component instance](https://docs.catalyst.zoho.com/en/sdk/javascript/v1/cloudscale/connections/get-component-instance/). ```javascript // create a connection instance const connections = new Connections(); // retrieve the authentication credentials for the specified connection const response = await connections.getConnectionCredentials('payrollcon'); // connection response console.log('Connection Response:', response); ``` ### Mail -------------------------------------------------------------------------------- title: "Overview" description: "This page describes the method to perform operations using the Mail component." last_updated: "2026-09-09T10:45:38.000Z" source: "https://docs.catalyst.zoho.com/en/sdk/javascript/v1/cloudscale/mail/overview/" service: "CloudScale" related: - Catalyst CloudScale (/en/cloud-scale/) - Mail Help Documentation (/en/cloud-scale/help/mail/introduction/) - Java SDK Documentation (/en/sdk/java/v1/cloud-scale/mail/send-email/) - Python SDK Documentation (/en/sdk/python/v1/cloud-scale/mail/get-component-instance/) - REST API Documentation (/en/api/code-reference/cloud-scale/mail/send-email/#SendEmail) -------------------------------------------------------------------------------- # Mail JavaScript SDK # Overview [Mail](https://docs.catalyst.zoho.com/en/cloud-scale/help/mail/introduction/) is a *CloudScale* component that allows you to send emails to your end-users from within your application. You can configure email addresses of public domains or of your organization’s own domains. You can also use an external email client of your choice and configure its SMTP settings with Catalyst, instead of using the built-in Catalyst email client. The *Mail JavaScript SDK* package enables you to send emails to registered users of your application through code. ### Prerequisites You will need to install the following package to be able to use the Mail SDK methods. ```sh npm install @zcatalyst/mail ``` > **Info:** Ensure that you have applied the [required authentication configuration](https://docs.catalyst.zoho.com/en/sdk/javascript/v1/auth-config/node-consideration/) to use the SDK methods of this component. ### Import Requirement You will need to import the following modules to use the Mail SDK methods. ```javascript const { Email } = require('@zcatalyst/mail'); ``` ### List of SDK Methods The following table contains the list of SDK methods that can be used to perform operations in the ZCQL component through code.
Category SDK Method Required Scope
General Operations [Get Mail Instance](https://docs.catalyst.zoho.com/en/sdk/javascript/v1/cloudscale/mail/get-mail-instance/) Not required
Mail Operations [Send Email](https://docs.catalyst.zoho.com/en/sdk/javascript/v1/cloudscale/mail/send-email/) **Admin**
-------------------------------------------------------------------------------- title: "Get Mail Instance" description: "This page describes the method to perform operations using the Mail component." last_updated: "2026-09-09T10:45:38.000Z" source: "https://docs.catalyst.zoho.com/en/sdk/javascript/v1/cloudscale/mail/get-mail-instance/" service: "CloudScale" related: - Catalyst CloudScale (/en/cloud-scale/) - Mail Help Documentation (/en/cloud-scale/help/mail/introduction/) - Java SDK Documentation (/en/sdk/java/v1/cloud-scale/mail/send-email/) - Python SDK Documentation (/en/sdk/python/v1/cloud-scale/mail/get-component-instance/) - REST API Documentation (/en/api/code-reference/cloud-scale/mail/send-email/#SendEmail) -------------------------------------------------------------------------------- # Get Mail Instance > **Note:** Ensure you have installed the [required package](https://docs.catalyst.zoho.com/en/sdk/javascript/v1/cloudscale/mail/overview/#prerequisites) to use this SDK method. You can get the `email` component reference as shown below. This will not fire a server-side call. You will refer to this component instance in various code snippets when working with the Mail component. ```javascript const email = new Email(); ``` -------------------------------------------------------------------------------- title: "Send Email" description: "This page describes the method to perform operations using the Mail component." last_updated: "2026-09-09T10:45:38.000Z" source: "https://docs.catalyst.zoho.com/en/sdk/javascript/v1/cloudscale/mail/send-email/" service: "CloudScale" related: - Catalyst CloudScale (/en/cloud-scale/) - Mail Help Documentation (/en/cloud-scale/help/mail/introduction/) - Java SDK Documentation (/en/sdk/java/v1/cloud-scale/mail/send-email/) - Python SDK Documentation (/en/sdk/python/v1/cloud-scale/mail/send-email/) - REST API Documentation (/en/api/code-reference/cloud-scale/mail/send-email/#SendEmail) -------------------------------------------------------------------------------- # Send Email > **Note:** Ensure you have installed the [required package](https://docs.catalyst.zoho.com/en/sdk/javascript/v1/cloudscale/mail/overview/#prerequisites) to use this SDK method. You need to accomplish the following steps in order to send an email using the Mail component: * [Configure and verify the domain](https://docs.catalyst.zoho.com/en/cloud-scale/help/mail/domains/) * [Configure and verify the sender email address](https://docs.catalyst.zoho.com/en/cloud-scale/help/mail/email-configuration/) * [Configure the SMTP settings for your required email client](https://docs.catalyst.zoho.com/en/cloud-scale/help/mail/smtp-configuration/) Once the above requirements are completed, you can proceed to send your email. > **Notes:** * It is crucial you verify not only the sender email address, but also its domain. This ensures that the emails sent from your application to your end users are sent securely and that it does not end up in their spam. [Learn more about verifying your domain](https://docs.catalyst.zoho.com/en/cloud-scale/help/mail/domains/#verify-a-domain). * You must have [configured and verified the sender’s email address](https://docs.catalyst.zoho.com/en/cloud-scale/help/mail/introduction) in the Catalyst console to be able to send emails. If the sender's email is hosted on a private domain or if you choose to use a third-party email client, you must configure them before sending emails as well. Catalyst enables you to set multiple email addresses as the receivers, and to CC, BCC, and reply to through a single send mail operation. You can also attach files to your email. The maximum supported limits for email recipients and file attachments in a single send mail operation are specified below:
Email Header Fields Maximum Supported Limits
To address 10
CC 10
BCC 5
Reply to 5
Number of file attachments 5
Size of file attachments 15MB (through a **single file** or **multiple files up to 5** files)
> **Note:** The **subject**, **sender**, and **at least one recipient email addresses** are mandatory. Other attributes of the email are optional. #### Create a JSON Configuration You must initially create a JSON object containing the required attributes of the email. This includes the sender’s email address and all the recipients of the email. You can also create file streams for the file attachments and pass them through the `createReadStream()` SDK method, as well as specify the subject and content of the email. The `email` reference used in the code below is the [component instance](https://docs.catalyst.zoho.com/en/sdk/javascript/v1/cloudscale/mail/get-mail-instance/). ```javascript const fs = require('fs'); // Define the file stream for file attachments // Create a config object with the email configuration const config = { from_email: 'emma@zylker.com', to_email: ['vanessa.hyde@zoho.com', 'r.owens@zoho.com', 'chang.lee@zoho.com'], cc: ['p.boyle@zylker.com', 'robert.plant@zylker.com'], bcc: ['ham.gunn@zylker.com', 'rover.jenkins@zylker.com'], reply_to: ['peter.d@zoho.com', 'arnold.h@zoho.com'], subject: 'Greetings from Zylker Corp!', content: "Hello, We're glad to welcome you at Zylker Corp. To begin your journey with us, please download the attached KYC form and fill in your details. You can send us the completed form to this same email address. We can't wait to get started! Cheers, Team Zylker", attachments: [fs.createReadStream('kycform.pdf')] // Create a file stream for the file attachment }; ``` Now, you need to pass the `config` JSON object to the `sendMail()` SDK method as an argument. This triggers the sending of the email. The promise returned here will be resolved to a JSON object. ```javascript const mailPromise = await email.sendMail(config); console.log(mailPromise); ``` #### Example of Expected Response A sample response that you will receive is shown below. ```javascript { isAsync: false, project_details: { project_name: "Onboarding", id: "2136000000007733" }, from_email: "emma@zylker.com", to_email: ["vanessa.hyde@zoho.com", "r.owens@zoho.com", "chang.lee@zoho.com"], cc: ["p.boyle@zylker.com", "robert.plant@zylker.com"], bcc: ["ham.gunn@zylker.com", "rover.jenkins@zylker.com"], reply_to: ["peter.d@zoho.com", "arnold.h@zoho.com"], html_mode: true, subject: "Greetings from Zylker Corp!", content: "Hello, We're glad to welcome you at Zylker Corp. To begin your journey with us, please download the attached KYC form and fill in your details. You can send us the completed form to this same email address. We can't wait to get started! Cheers, Team Zylker" } ``` ### Push Notifications -------------------------------------------------------------------------------- title: "Overview" description: "This page describes the method to perform operations in the DataStore component." last_updated: "2026-10-30T17:47:28.000Z" source: "https://docs.catalyst.zoho.com/en/sdk/javascript/v1/cloudscale/push-notifications/overview/" service: "CloudScale" related: - Catalyst CloudScale (/en/cloud-scale/) - Push Notifications Help Documentation (/en/cloud-scale/help/push-notifications/introduction/) - Java SDK Documentation (/en/sdk/java/v1/cloud-scale/push-notifications/send-notifications/) - Python SDK Documentation (/en/sdk/python/v1/cloud-scale/push-notifications/get-component-instance/) - REST API Documentation (/en/api/code-reference/cloud-scale/push-notifications/web/send-web-push-notifications/#SendWebPushNotifications) -------------------------------------------------------------------------------- # Push Notifications JavaScript SDK # Overview [Push Notifications,](https://docs.catalyst.zoho.com/en/cloud-scale/help/push-notifications/introduction/) is a Catalyst *CloudScale* service that enables you to send remote notifications to the users of your application, even when the app is not actively running on the user device. You can send push notifications to a specific list of target users. You can include alerts, updates, or promotional content for the user to engage with your application. Before you send push notifications, you must enable it for your web app when the user allows it. You can do this by implementing this [Web SDK](https://docs.catalyst.zoho.com/en/sdk/web/v4/cloud-scale/push-notifications/register-client/) in your web client. You can also access this code from the **Push Notifications** section in your Catalyst remote console. ![catalyst_js_sdk_push_notifs](https://catalyst-docs-development.zohostratus.in/images/sdk/javascript/catalyst_js_sdk_push_notifs.webp) You must ensure that you include the [web initialization script](https://docs.catalyst.zoho.com/en/sdk/web/v4/overview). The *Push Notifications JavaScript SDK* package enables you to send notifications on their devices to registered users of your application through code. ### Prerequisites You need to install the following package to use Push Notifications SDK methods. ```sh npm install @zcatalyst/push-notification ``` > **Info:** Ensure that you have applied the [required authentication configuration](https://docs.catalyst.zoho.com/en/sdk/javascript/v1/auth-config/node-consideration/) to use the SDK methods of this component. ### Import Requirement You will need to import the following modules to use the Push Notification SDK methods. ```javascript const {PushNotification} = require('@zcatalyst/push-notification'); ``` ### List of SDK Methods The following table contains the list of SDK methods that can be used to perform operations in the Push Notification component through code.
Category SDK Method Required Scope
General Operations [Get Push Notification Instance](https://docs.catalyst.zoho.com/en/sdk/javascript/v1/cloudscale/push-notifications/get-instance/) Not required
Push Notifications Operations
  • [Send notifications to web apps](https://docs.catalyst.zoho.com/en/sdk/javascript/v1/cloudscale/push-notifications/send-web-notifications/)
  • [Send notifications to mobile apps](https://docs.catalyst.zoho.com/en/sdk/javascript/v1/cloudscale/push-notifications/send-mobile-notifications/)
**Admin**
-------------------------------------------------------------------------------- title: "Get Push Notification Instance" description: "This page describes the method to perform operations in the DataStore component." last_updated: "2026-09-09T10:45:38.000Z" source: "https://docs.catalyst.zoho.com/en/sdk/javascript/v1/cloudscale/push-notifications/get-instance/" service: "CloudScale" related: - Catalyst CloudScale (/en/cloud-scale/) - Push Notifications Help Documentation (/en/cloud-scale/help/push-notifications/introduction/) - Java SDK Documentation (/en/sdk/java/v1/cloud-scale/push-notifications/send-notifications/) - Python SDK Documentation (/en/sdk/python/v1/cloud-scale/push-notifications/get-component-instance/) - REST API Documentation (/en/api/code-reference/cloud-scale/push-notifications/web/send-web-push-notifications/#SendWebPushNotifications) -------------------------------------------------------------------------------- # Get Push Notification Instance > **Note:** Ensure you have installed the [required package](https://docs.catalyst.zoho.com/en/sdk/javascript/v1/cloudscale/push-notifications/overview/#prerequisites) to use this SDK method. You can get the `pushNotification` component reference as shown below. This will not fire a server-side call. You will refer to this component instance in various code snippets when working with the Push Notification component. ```javascript const pushNotification = new PushNotification(); // Get push notification instance ``` > **Note:** - Passing an initialized app instance to a component determines the authentication scope it uses. - To perform an operation with user-level permissions, initialize the SDK with User scope, or with custom credentials, and pass that instance to the component. This runs the operation in the user's scope or custom credential scope instead of the default admin scope. ```javascript const pushNotification = new PushNotification(app); ``` - If your Function or AppSail application needs both custom credentials and admin authentication at the same time, give each initialization a unique app name, otherwise the custom initialization can overwrite your existing admin credentials. - In all cases, explicitly pass the matching app instance to each component so it uses the intended authentication scope; if none is provided, the SDK defaults to the admin credentials. -------------------------------------------------------------------------------- title: "Send Notifications to Web Apps" description: "This page describes the method to perform operations in the DataStore component." last_updated: "2026-09-09T10:45:38.000Z" source: "https://docs.catalyst.zoho.com/en/sdk/javascript/v1/cloudscale/push-notifications/send-web-notifications/" service: "CloudScale" related: - Catalyst CloudScale (/en/cloud-scale/) - Push Notifications Help Documentation (/en/cloud-scale/help/push-notifications/introduction/) - Java SDK Documentation (/en/sdk/java/v1/cloud-scale/push-notifications/send-notifications/) - Python SDK Documentation (/en/sdk/python/v1/cloud-scale/push-notifications/send-notifications/) - REST API Documentation (/en/api/code-reference/cloud-scale/push-notifications/web/send-web-push-notifications/#SendWebPushNotifications) -------------------------------------------------------------------------------- # Send Notifications to Web Apps > **Note:** Ensure you have installed the [required package](https://docs.catalyst.zoho.com/en/sdk/javascript/v1/cloudscale/push-notifications/overview/#prerequisites) to use this SDK method. Catalyst enables you to send push notifications to **50 users** in a single function call. You can add the [user IDs](https://docs.catalyst.zoho.com/en/cloud-scale/help/authentication/user-management/users/introduction/) of all users to be notified in an array. You must then pass the array to the `sendNotification()` SDK method, along with the message string to include in the notification. This string can be plain text, HTML, or a JSON object to be parsed. The `pushNotification` instance used here is the [component instance](https://docs.catalyst.zoho.com/en/sdk/javascript/v1/cloudscale/push-notifications/get-instance/). ```javascript var userList = []; // Include the user IDs of all users userList.push(1234556789098); userList.push(6756467677890); userList.push(3557866876887); pushNotification.web().sendNotification("Hi there! The task you scheduled has been completed.", userList); // Pass the array with the message string ``` You can also send the notifications to users by including their email addresses instead of their User IDs. You must add the email addresses in an array, and pass it to `sendNotification()` along with the message string in the same way. ```javascript var userList = []; // Include the email addresses of the users userList.push("emma@zylker.com"); userList.push("p.boyle@zylker.com"); userList.push("noel@zylker.com"); pushNotification.web().sendNotification("Hi there! The task you scheduled has been completed.", userList); // Pass the array with the message string ``` -------------------------------------------------------------------------------- title: "Send Notifications to Mobile Apps" description: "This page describes the method to perform operations in the DataStore component." last_updated: "2026-09-09T10:45:38.000Z" source: "https://docs.catalyst.zoho.com/en/sdk/javascript/v1/cloudscale/push-notifications/send-mobile-notifications/" service: "CloudScale" related: - Catalyst CloudScale (/en/cloud-scale/) - Push Notifications Help Documentation (/en/cloud-scale/help/push-notifications/introduction/) - Java SDK Documentation (/en/sdk/java/v1/cloud-scale/push-notifications/send-notifications-mobile/) - Python SDK Documentation (/en/sdk/python/v1/cloud-scale/push-notifications/send-notifications-mobile/) - REST API Documentation (/en/api/code-reference/cloud-scale/push-notifications/ios/send-ios-push-notifications/#SendiOSPushNotifications) -------------------------------------------------------------------------------- # Send Notifications to Mobile Apps > **Note:** Ensure you have installed the [required package](https://docs.catalyst.zoho.com/en/sdk/javascript/v1/cloudscale/push-notifications/overview/#prerequisites) to use this SDK method. The Catalyst CloudScale Push Notifications component enables you to send notifications to mobile applications built on the Android or iOS platforms. Catalyst enables you to send push notifications to **50 users** in a single function call. You can send push notifications to a specific target user by using their Catalyst [user IDs](https://docs.catalyst.zoho.com/en/cloud-scale/help/authentication/user-management/users/introduction/) or email address. You can include alerts, updates, or promotional content for the user to engage with your application. To set up push notifications for your mobile application, you must meet the following prerequisites: 1. You must register your mobile application with Catalyst and note down the **Application ID** (`appId`) from the console after configuring. You can opt to register your application installed in the target device either using individual platform-specific Catalyst mobile SDK methods (available in [Android](https://docs.catalyst.zoho.com/en/sdk/android/v2/cloud-scale/push-notifications/register-device/) and [iOS](https://docs.catalyst.zoho.com/en/sdk/ios/v2/cloud-scale/push-notifications/register-device/)) or using the [Flutter SDK](https://docs.catalyst.zoho.com/en/sdk/flutter/v2/cloud-scale/push-notifications/register-device/). The `appId` can be fetched by configuring **Android Push Notifications** service directly in the Catalyst console. 2. The mobile application must use the [Catalyst Authentication](https://docs.catalyst.zoho.com/en/cloud-scale/help/authentication/introduction/) component. 3. Once step 1 and 2 are completed, the Catalyst user must be logged in on their device to receive the notification promptly. Once the prerequisites are complete, you can send notifications by calling the JavaScript SDK method below, using your generated Application ID to target the specific app. ### Get Mobile Notification Instance You can create a mobile notification instance and use it to refer to a specific mobile app registered in the Catalyst console. This is done by fetching the mobile notification instance with the `pushNotification().mobile()` method, by passing the generated `appID` as a parameter. We will use this mobile notification instance to perform additional operations with the Node.js SDK methods, such as sending push notifications, which will be covered in the next section. ```javascript const notification = new pushNotification().mobile("1234567890"); ``` Here, **1234567890** is the `appID`. Alternatively, if your application involves Catalyst scope-based access, you can pass the `ZCProject` project parameter along with the `appID`. > **Info:** [Learn more about Catalyst SDK Scopes](https://docs.catalyst.zoho.com/en/sdk/javascript/v1/scopes/). ```javascript const notification = new pushNotification().mobile("1234567890", project); ``` ### Send Android Push Notifications After you have [registered your Android application](https://docs.catalyst.zoho.com/en/sdk/flutter/v2/cloud-scale/push-notifications/register-device/) with Catalyst for sending push notifications, you can use the `sendAndroidNotification()` method to send push notifications to your application. #### Parameters Used
Parameters Used Definition
`notifyObj` An object with the details of the push notification message.
`recipient` The Catalyst [User ID](https://docs.catalyst.zoho.com/en/cloud-scale/help/authentication/user-management/users/introduction/) of the recipient or the email address of the recipient to whom the message has to be delivered.
`badge_count` Sets the app icon’s notification **badge count to 1**. You can change this value to any number you require.
You can use the below code snippet to call the `sendAndroidNotification()` method in your application: ```javascript notification.sendAndroidNotification({ message: 'This message is to test if the functionality is working fine!', badge_count: 1 }, 'emma.b@zylker.com'); ``` ### Send iOS Push Notifications After you have [registered your iOS application](https://docs.catalyst.zoho.com/en/sdk/flutter/v2/cloud-scale/push-notifications/register-device/) with Catalyst for sending push notifications, you can use the `sendIOSNotification()` method to send push notifications to your application. #### Parameters Used
Parameters Used Definition
`notifyObj` An object with the details of the push notification message.
`recipient` The Catalyst [User ID](https://docs.catalyst.zoho.com/en/cloud-scale/help/authentication/user-management/users/introduction/) of the recipient or the email address of the recipient to whom the message has to be delivered.
`badge_count` Sets the app icon’s notification **badge count to 1**. You can change this value to any number you require.
You need to pass the required parameters to the `sendIOSNotification()` method in the following manner: ```typescript MobileNotification.sendIOSNotification(notifyObj: ICatalystPushDetails, recipient: string): Promise ``` You can use the below code snippet to call the `sendIOSNotification()` method in your application: ```javascript notification.sendIOSNotification({ message: 'This message is to test if the functionality is working fine!', badge_count: 1 }, 'emma@zylker.com'); ``` -------------------------------------------------------------------------------- title: "Register a Client" description: "This page describes the method to register a client for push notifications using the Catalyst JavaScript SDK." last_updated: "2026-09-09T10:45:38.000Z" source: "https://docs.catalyst.zoho.com/en/sdk/javascript/v1/cloudscale/push-notifications/register-client/" service: "CloudScale" related: - Catalyst CloudScale (/en/cloud-scale/) - Push Notifications Help Documentation (/en/cloud-scale/help/push-notifications/introduction/) - Java SDK Documentation (/en/sdk/java/v1/cloud-scale/push-notifications/send-notifications/) - Python SDK Documentation (/en/sdk/python/v1/cloud-scale/push-notifications/get-component-instance/) - REST API Documentation (/en/api/code-reference/cloud-scale/push-notifications/web/send-web-push-notifications/#SendWebPushNotifications) -------------------------------------------------------------------------------- # Register a Client > **Note:** Ensure you have installed the [required package](https://docs.catalyst.zoho.com/en/sdk/javascript/v1/cloudscale/push-notifications/overview/#prerequisites) to use this SDK method. You can register a client device or browser to receive push notifications using the `enableNotification()` SDK method. Once the client is registered, you can define a `messageHandler` on the component instance to handle incoming push notification messages. The `pushNotification` instance used here is the [component instance](https://docs.catalyst.zoho.com/en/sdk/javascript/v1/cloudscale/push-notifications/get-instance/). ```javascript // Register the client const response = await pushNotification.enableNotification(); // Create a handler for the message when received pushNotification.messageHandler = (msg) => { // Action to be performed when the message is received }; ``` ### Data Streams -------------------------------------------------------------------------------- title: "Get Data Streams Instance" description: "This page describes the method to create a Data Streams component instance in your web application with sample code snippets." last_updated: "2026-11-03T07:48:52.000Z" source: "https://docs.catalyst.zoho.com/en/sdk/javascript/v1/cloudscale/data-streams/get-component-instance/" service: "CloudScale" related: - Data Streams (/en/cloud-scale/help/data-streams/introduction) -------------------------------------------------------------------------------- # Catalyst Data Streams [Catalyst Data Streams](https://docs.catalyst.zoho.com/en/cloud-scale/help/data-streams/introduction) enables you to publish live, event-based data through channels and deliver it instantly to subscribed clients or any third-party services. Once you create a channel from the Catalyst console, any published data to that channel is streamed in real time to all authorized subscribers over WebSocket connections. Whether you are building live dashboards, notifications, activity feeds, or system monitors, Catalyst SDK provides you with the required APIs to publish, subscribe, and manage real-time data flow with minimal setup. #### Install and Import the SDK You must install the Data Streams package and import the required classes as shown below. ```javascript const { DataStreams, DataStreamsWebSocket } = require("@zcatalyst/datastreams"); ``` #### Get Component Instance You can create a `datastreams` reference as shown below. This will not fire a server-side call. We will refer to this component instance while performing channel operations such as listing channels, publishing data, and generating WebSocket tokens. ```javascript //Initialize the SDK from the incoming request, then create a Data Streams instance const { zcAuth } = require("@zcatalyst/auth"); const app = await zcAuth.init(req); const datastreams = new DataStreams(app); ``` > **Note:** In a Catalyst function, pass the app from `zcAuth.init()` as shown above. `new DataStreams()` without an app fails with "Unable to get the app credentials". Refer to [Authentication Configuration for Node](https://docs.catalyst.zoho.com/en/sdk/javascript/v1/auth-config/node-consideration/). -------------------------------------------------------------------------------- title: "Get Channels" description: "This page describes the methods to retrieve all channels or specific channel details from Data Streams in your web application with sample code snippets." last_updated: "2026-11-03T07:48:52.000Z" source: "https://docs.catalyst.zoho.com/en/sdk/javascript/v1/cloudscale/data-streams/get-channels/" service: "CloudScale" related: - Get Channels - API (/en/api/code-reference/cloud-scale/data-streams/get-all-channels) - Data Streams (/en/cloud-scale/help/data-streams/introduction) -------------------------------------------------------------------------------- # Get Channels You can retrieve information about the [Data Streams channels](https://docs.catalyst.zoho.com/en/cloud-scale/help/data-streams/introduction/) created in your project. This includes fetching a list of all channels or obtaining detailed metadata and configuration for a specific channel. The `datastreams` reference used in the code below is the [component instance](https://docs.catalyst.zoho.com/en/sdk/javascript/v1/cloudscale/data-streams/get-component-instance) created earlier. ### Get All Channels You can fetch the list of all Data Streams channels that are created in the project using the `getAllChannels()` method. The promise returned here will be resolved to an array of channel objects. ```javascript //Get all channels const channels = await datastreams.getAllChannels(); ``` ### Get Channel Details You can retrieve the metadata and configuration details of a specific channel by passing the channel ID to the `getChannelDetails()` method. The promise returned here will be resolved to a channel object containing the channel's configuration. **Parameters Used**
Parameter Name Data Type Definition
`channelId` **String** A **Mandatory** parameter. Holds the unique ID of the channel.
```javascript //Get channel details by channel ID const channel = await datastreams.getChannelDetails(CRICKET_CHANNEL_ID); ``` -------------------------------------------------------------------------------- title: "Generate Token Pair" description: "This page describes the methods to generate WebSocket access tokens for subscribers in your web application with sample code snippets." last_updated: "2026-11-03T07:48:52.000Z" source: "https://docs.catalyst.zoho.com/en/sdk/javascript/v1/cloudscale/data-streams/generate-token-pair/" service: "CloudScale" related: - Get Token Pair - API (/en/api/code-reference/cloud-scale/data-streams/get-token-pair) - Data Streams (/en/cloud-scale/help/data-streams/introduction) -------------------------------------------------------------------------------- # Generate Token Pair Before a client can subscribe to a [Data Streams](https://docs.catalyst.zoho.com/en/cloud-scale/help/data-streams/introduction/) channel, it must obtain a token pair to authenticate the WebSocket connection. The token pair can be generated using either a user ID or a connection name. You can generate the token pair in two ways as described in this section. The `datastreams` reference used in the code below is the [component instance](https://docs.catalyst.zoho.com/en/sdk/javascript/v1/cloudscale/data-streams/get-component-instance) created earlier. ### Get Token Pair using Connection Name You can generate a token pair by passing the channel ID and a connection name to the `getTokenPair()` method. The connection name is a custom identifier for the subscriber connection. The promise returned here will be resolved to a token pair object. **Parameters Used**
Parameter Name Data Type Definition
`channelId` **String** A **Mandatory** parameter. Holds the unique ID of the channel.
`connectionName` **String** A **Mandatory** parameter. Holds the custom identifier for the subscriber connection.
```javascript //Generate token pair using connection name const response = await datastreams.getTokenPair(CRICKET_CHANNEL_ID, { connectionName: "cricketScoreUpdates" }); ``` ### Get Token Pair using User ID Alternatively, you can generate a token pair by passing the channel ID and the user ID to the `getTokenPair()` method. The user ID represents the unique identifier of the application user who is subscribing to the channel. The promise returned here will be resolved to a token pair object. **Parameters Used**
Parameter Name Data Type Definition
`channelId` **String** A **Mandatory** parameter. Holds the unique ID of the channel.
`userId` **String** A **Mandatory** parameter. Holds the unique ID of the user subscribing to the channel.
```javascript //Generate token pair using user ID const response = await datastreams.getTokenPair(CRICKET_CHANNEL_ID, { userId: "userId" }); ``` -------------------------------------------------------------------------------- title: "Get Live Count" description: "This page describes the method to retrieve the number of active subscribers connected to a Data Streams channel in your web application." last_updated: "2026-11-04T10:10:44.000Z" source: "https://docs.catalyst.zoho.com/en/sdk/javascript/v1/cloudscale/data-streams/get-live-count/" service: "CloudScale" related: - Get Live Count - API (/en/api/code-reference/cloud-scale/data-streams/get-live-count) - Data Streams (/en/cloud-scale/help/data-streams/introduction) -------------------------------------------------------------------------------- # Get Live Count [Catalyst Data Streams](https://docs.catalyst.zoho.com/en/cloud-scale/help/data-streams/introduction/) allows you to track the number of active subscribers currently connected to a specific channel. This is useful for monitoring channel activity and implementing conditional logic based on subscriber presence. The `datastreams` reference used in the code below is the [component instance](https://docs.catalyst.zoho.com/en/sdk/javascript/v1/cloudscale/data-streams/get-component-instance) created earlier. ### Track Active Subscribers You can retrieve the live subscriber count by passing the channel ID to the `getLiveCount()` method. The promise returned here will be resolved to an object containing the count of active subscribers. **Parameters Used**
Parameter Name Data Type Definition
`channelId` **String** A **Mandatory** parameter. Holds the unique ID of the channel.
```javascript //Get the live subscriber count for a channel const liveCount = await datastreams.getLiveCount(CRICKET_CHANNEL_ID); ``` -------------------------------------------------------------------------------- title: "Publish Data" description: "This page describes the method to publish real-time data to a Data Streams channel in your web application with sample code snippets." last_updated: "2026-11-03T07:48:52.000Z" source: "https://docs.catalyst.zoho.com/en/sdk/javascript/v1/cloudscale/data-streams/publish-data/" service: "CloudScale" related: - Publish Data - API (/en/api/code-reference/cloud-scale/data-streams/publish-data) - Data Streams (/en/cloud-scale/help/data-streams/introduction) -------------------------------------------------------------------------------- # Publish Data [Catalyst Data Streams](https://docs.catalyst.zoho.com/en/cloud-scale/help/data-streams/introduction/) enables you to publish real-time data to a channel. Any active subscribers connected to that channel will receive the published data instantly through their WebSocket connections. The `datastreams` reference used in the code below is the [component instance](https://docs.catalyst.zoho.com/en/sdk/javascript/v1/cloudscale/data-streams/get-component-instance) created earlier. ### Publish Data to a Channel You can publish data to a channel by passing the channel ID and the data payload to the `publishData()` method. You can structure the payload as needed, including fields like `type`, `data`, and `timestamp`. The promise returned here will be resolved to an object confirming the publish operation. **Parameters Used**
Parameter Name Data Type Definition
`channelId` **String** A **Mandatory** parameter. Holds the unique ID of the channel.
`data` **Object** A **Mandatory** parameter. Holds the data payload to be published to the channel.
```javascript //Publish data to all subscribers of the channel const publishRes = await datastreams.publishData(CRICKET_CHANNEL_ID, "Hello, subscribers!"); ``` -------------------------------------------------------------------------------- title: "WebSocket Connection" description: "This page describes how to connect to a Data Streams channel over WebSocket and subscribe to real-time data in your web application with sample code snippets." last_updated: "2026-11-03T07:48:52.000Z" source: "https://docs.catalyst.zoho.com/en/sdk/javascript/v1/cloudscale/data-streams/websocket-connection/" service: "CloudScale" related: - Data Streams (/en/cloud-scale/help/data-streams/introduction) -------------------------------------------------------------------------------- # WebSocket Connection [Catalyst Data Streams](https://docs.catalyst.zoho.com/en/cloud-scale/help/data-streams/introduction/) enables clients to receive real-time data by establishing a WebSocket connection to a channel. The client listens for published messages and processes them as they are received. To subscribe to a channel, you must first generate a token pair, then create a WebSocket client with the token credentials, and finally set event handlers to handle incoming messages. The `datastreams` reference used in the code below is the [component instance](https://docs.catalyst.zoho.com/en/sdk/javascript/v1/cloudscale/data-streams/get-component-instance) created earlier. ### Establish WebSocket Connection You must initially generate a token pair using the `getTokenPair()` method as shown below. Then, create a WebSocket client by passing the token credentials to the `DataStreamsWebSocket` constructor. > **Note:** * **CRICKET_CHANNEL_ID** - Replace with your actual Channel ID which you can get from Dashboard → General Details section. * **userId** - A unique identifier used to generate WebSocket credentials for that subscriber. * **subscribe("0")** - This subscribes the client to live data. ```javascript //Generate token pair const response = await datastreams.getTokenPair(CRICKET_CHANNEL_ID, { userId: "userId" }); //Create WebSocket client const socket = new DataStreamsWebSocket({ url: response.url, zuid: response["wss-id"], key: response.key, enableLogging: true }); //Handling WebSocket events socket.on("open", () => { console.log("WebSocket connection opened"); socket.subscribe("0"); //Subscribe to live data }); socket.on("message", (data) => { console.log("WebSocket message received:", data); socket.sendAck(); //Acknowledge to receive next message }); socket.on("error", (error) => { console.error("WebSocket error:", error); }); socket.on("close", () => { console.log("WebSocket connection closed"); }); ``` ### WebSocket Client Methods The `DataStreamsWebSocket` client provides the following methods to manage the WebSocket connection and subscription.
Method Description
`subscribe()` Subscribes to the channel with the specified [subscribe type](https://docs.catalyst.zoho.com/en/cloud-scale/help/data-streams/implementation/subscribe-websocket/#choose-your-subscriber-type): live, earliest, resume, or a specific streaming ID.
`unsubscribe()` Unsubscribes from the channel.
`sendAck()` Sends an acknowledgement to receive the next streaming data.
`close()` Closes the WebSocket connection.
`isConnected()` Checks whether the connection is currently open.
`getConnectionState()` Returns the current connection state: connected, connecting, closing, or closed.
`getSessionInfo()` Returns the session ID and user ID of the current session.
## SDK — Python — CloudScale ### Authentication -------------------------------------------------------------------------------- title: "Get Authentication Instance" description: "This page describes the method to create a component instance in your Python application with sample code snippets." last_updated: "2026-11-03T07:48:52.000Z" source: "https://docs.catalyst.zoho.com/en/sdk/python/v1/cloud-scale/authentication/get-component-instance/" service: "CloudScale" related: - Authentication Help (/en/cloud-scale/help/authentication/introduction) - SDK Scopes (/en/sdk/python/v1/sdk-scopes) -------------------------------------------------------------------------------- # Authentication [Catalyst CloudScale Authentication](https://docs.catalyst.zoho.com/en/cloud-scale/help/authentication/introduction) features in Python SDK help you perform user authentication-specific operations, such as adding a new user, fetching details of the current user or all users, resetting the password of an existing user account, and deleting a user. ### Get a Component Instance A component instance is an object that can be used to access the predefined configurations specific to a particular component. You can create a component instance for Authentication to execute various user management actions, which will not fire a server-side call. The `app` reference used in the code below is the [Python object](https://docs.catalyst.zoho.com/en/sdk/python/v1/setup/#initializing-the-sdk) returned as a response during SDK initialization. You can create a new `authentication_service`instance as shown below : ```python #Get Authentication component instance authentication_service = app.authentication() ``` This component instance will be used as shown in the various Authentication sections of the Python SDK documentation. -------------------------------------------------------------------------------- title: "Add New User" description: "This page describes the method to add new end-users to your Python application with sample code snippets." last_updated: "2026-11-03T15:41:32.000Z" source: "https://docs.catalyst.zoho.com/en/sdk/python/v1/cloud-scale/authentication/add-new-user/" service: "CloudScale" related: - Add New User - API (/en/api/code-reference/cloud-scale/authentication/add-new-user/#AddNewUser) - Authentication Help (/en/cloud-scale/help/authentication/introduction) - SDK Scopes (/en/sdk/python/v1/sdk-scopes) -------------------------------------------------------------------------------- # Add New User You can add end-users to your Catalyst application and they will be assigned to a default organization automatically, if the organization is not specified explicitly. When the user is added, a unique [user_ID](https://docs.catalyst.zoho.com/en/cloud-scale/help/authentication/user-management/users/introduction/) and [ZUID](https://docs.catalyst.zoho.com/en/cloud-scale/help/authentication/user-management/users/introduction/) are generated for them by Catalyst. #### Create a Dictionary Before you add a new user to the Catalyst application, you must create a dictionary that contains the user details such as the last name of the user, the role they have to be assigned to, their email address, the application platform and the ZAID data based on the current working environment. The dictionary that contains these details will be passed as a parameter to the `register_user()` method. > **Note :** * You must provide the values for `email_id` and `first_name` to register a user mandatorily. * You can obtain the `role_id` from the _Roles_ section in _Authentication_ in the Catalyst console. * You can obtain the ZAID from the [Environment settings](https://docs.catalyst.zoho.com/en/deployment-and-billing/environments/introduction) in your Catalyst console. * When inviting a new user, you can configure the sender's email address, subject and the email message. You must add the email address in the [Catalyst Mail Component](https://docs.catalyst.zoho.com/en/cloud-scale/help/mail/email-configuration/) and get it verified before using it in the SDK code. ```python #Create a dictionary signup_config = { "platform_type": "web", "zaid": "81008807534807534", "template_details": { "senders_mail": "dogogetu@tutuapp.bid", "subject": "Welcome to %APP_NAME%", "message": "<p>Hello ,</p> <p>Follow this link to join in %APP_NAME% .</p> <p><a href='%LINK%'>%LINK%</a></p> <p>If you didn’t ask to join the application, you can ignore this email.</p> <p>Thanks,</p> <p>Your %APP_NAME% team</p>", }, } user_details = { "first_name": "Amelia", "last_name": "Burrows", "role_id": "1008807534", "email_id": "amelia.burrows@zylker.com", } ``` ### Add New User After you have configured the necessary user information in the dictionary, you can proceed to add a new user to an organization. In this case, an organization will automatically be assigned to the user. The `register_user()` method handles the user creation process and returns a response. To know more about the component instance `authentication_service` used below, please refer to [this section](https://docs.catalyst.zoho.com/en/sdk/python/v1/cloud-scale/authentication/get-component-instance/). > **Note :** You can add up to 1,000 users to your application. **Parameters Used**
Parameter Name Data Type Definition
`signup_config` `Object` A **Mandatory** parameter. Will store the user registration details, including the application platform, ZAID, and the email information to be sent after registration.
`user_details` `Object` A **Mandatory** parameter. Will hold the user registration details such as first name, last name, email ID and the ID of the organization to which the user has to be added.
```python #Add a new user authentication_service = app.authentication() response_data = authentication_service.register_user(signup_config, user_details) ``` A sample response is shown below : ```json { "zaid":"81008807534807534", "user_details":{ "zuid":"1005641290", "org_id":"1005641456", "status":"ACTIVE", "is_confirmed":false, "email_id":"amelia.burrows@zylker.com", "first_name":"Amelia", "last_name":"Burrows", "created_time":"Aug 12, 2021 12:33 PM", "modified_time":"Aug 12, 2021 12:33 PM", "invited_time":"Aug 12, 2021 12:33 PM", "role_details":{ "role_name":"App User", "role_id":"2305000000006024" }, "user_type":"App User", "user_id":"2305000000007752", "project_profiles":[ ] }, "redirect_url":"https://aliencity-66446133.development.catalystserverless.com/app/", "platform_type":"web", "org_id":"1005641456" } ``` > **Info :** Refer to the [SDK Scopes table](https://docs.catalyst.zoho.com/en/sdk/python/v1/sdk-scopes) to determine the required permission level for performing the above operation. -------------------------------------------------------------------------------- title: "Add New User to Existing Org" description: "This page describes the method to add a new user to the existing organisation in your Python application with sample code snippets." last_updated: "2026-11-03T15:41:32.000Z" source: "https://docs.catalyst.zoho.com/en/sdk/python/v1/cloud-scale/authentication/add-new-user-to-existing-org/" service: "CloudScale" related: - Add New User to Existing Org - API (/en/api/code-reference/cloud-scale/authentication/add-user-to-existing-org/#AddaNewUsertoanExistingOrganization) - Authentication Help (/en/cloud-scale/help/authentication/introduction) - SDK Scopes (/en/sdk/python/v1/sdk-scopes) -------------------------------------------------------------------------------- # Add a New User to an Existing Organization You can add an end-user to an existing organization without creating a new organization for them. This can be done by providing the [**OrgID**](https://docs.catalyst.zoho.com/en/getting-started/catalyst-organizations/) of the organization that the user must be added to. When the user has signed up, unique identification values such as [ZUID and User ID](https://docs.catalyst.zoho.com/en/cloud-scale/help/authentication/user-management/users/introduction/) are created for them by Catalyst. > **Note :** * You must provide the values for `org_id`, `email_id`, `last_name` mandatorily to add a user to an existing organization. * You can obtain the ZAID from the [Environment settings](https://docs.catalyst.zoho.com/en/deployment-and-billing/environments/introduction) in your Catalyst console. * You can also add them to a role by providing the `role_id`, which you can obtain from the Roles section in Authentication in the Catalyst console. * When inviting a new user, you can configure the sender's email address, subject and the email message. You must add the email address in the [Catalyst Mail Component](https://docs.catalyst.zoho.com/en/cloud-scale/help/mail/email-configuration/) and get it verified before using it in the SDK code. ## Create a Dictionary Before you add a new end-user to your Catalyst application, you must create a dictionary that contains the registration details of the particular user, as shown below. You can then pass the configured dictionary to the method that handles the user signup process. ```python #Create a dictionary signup_config = { "platform_type": "web", "zaid": "1008807534", "template_details": { "senders_mail": "dogogetu@tutuapp.bid", "subject": "Welcome to %APP_NAME%", "message": "<p>Hello ,</p> <p>Follow this link to join in %APP_NAME% .</p> <p><a href='%LINK%'>%LINK%</a></p> <p>If you didn’t ask to join the application, you can ignore this email.</p> <p>Thanks,</p> <p>Your %APP_NAME% team</p>", }, } user_details = { "first_name": "Amelia", "last_name": "Burrows", "email_id": "amelia.burrows@gmail.com", "org_id": "1005641456", } ``` ### Add a New User to Existing Org You can add a new end-user to an existing organization using the code below. You must pass the dictionary you created in the previous section as an argument to the `add_user_to_org()` method. This method handles the user sign-up process and returns a response. > **Note :** You can add up to 1,000 users to your application. To know more about the component instance `authentication_service` used below, please refer to [this section](https://docs.catalyst.zoho.com/en/sdk/python/v1/cloud-scale/authentication/get-component-instance/). **Parameters Used**
Parameter Name Data Type Definition
`signup_config` Object A **Mandatory** parameter. Will store the user registration details, including the application platform, ZAID, and the email information to be sent after registration.
`user_details` Object A **Mandatory** parameter. Will hold the user registration details such as first name, last name, email ID and ID of the organization to which the user has to be registered.
```python #Add new user to an existing organization authentication_service = app.authentication() response_data = authentication_service.add_user_to_org(signup_config, user_details) ``` A sample response is shown below : ```json { "zaid":"1008807534", "user_details":{ "zuid":"1005643749", "org_id":"1005641456", "status":"ACTIVE", "is_confirmed":false, "email_id":"amelia.burrows@gmail.com", "first_name":"Amelia", "last_name":"Burrows", "created_time":"Aug 12, 2021 03:56 PM", "modified_time":"Aug 12, 2021 03:56 PM", "invited_time":"Aug 12, 2021 03:56 PM", "role_details":{ "role_name":"App User", "role_id":"2305000000006024" }, "user_type":"App User", "user_id":"2305000000009002", "project_profiles":[ ] }, "redirect_url":"https://aliencity-66446133.development.catalystserverless.com/app/", "platform_type":"web", "org_id":"1005641456" } ``` > **Info :** Refer to the [SDK Scopes table](https://docs.catalyst.zoho.com/en/sdk/python/v1/sdk-scopes) to determine the required permission level for performing the above operation. -------------------------------------------------------------------------------- title: "Reset Password" description: "This page describes the method to reset the password of a user account in your Python application with sample code snippets." last_updated: "2026-11-03T07:48:52.000Z" source: "https://docs.catalyst.zoho.com/en/sdk/python/v1/cloud-scale/authentication/reset-password/" service: "CloudScale" related: - Reset Password - API (/en/api/code-reference/cloud-scale/authentication/reset-user-password/#ResetUserPassword) - Authentication Help (/en/cloud-scale/help/authentication/introduction) - SDK Scopes (/en/sdk/python/v1/sdk-scopes) -------------------------------------------------------------------------------- # Reset Password You can reset the password of a registered user's account using the following code snippet. While calling the `reset_password()` method, a reset password link will be generated and sent to the user's email address. > **Note: ** * The `email_id`, `platform_type`, and `zaid` are mandatory attributes. * You can configure the sender's email address, subject and the email message. You must add the email address in the [Catalyst Mail Component](https://docs.catalyst.zoho.com/en/cloud-scale/help/mail/email-configuration/) and get it verified before using it in the SDK code. #### Create a Dictionary You will need to create a dictionary that contains the registration details of a particular user as given below. You can then pass the configured dictionary to the method that handles the password reset process. ```python #Create a dictionary reset_config = { "platform_type": "web", "zaid": "1008807534", "template_details": { "senders_mail": "dogogetu@tutuapp.bid", "subject": "Welcome to %APP_NAME%", "message": "<p>Hello ,</p> <p>Follow this link to join in %APP_NAME% .</p> <p><a href='%LINK%'>%LINK%</a></p><p>If you didnt ask to join the application, you can ignore this email.</p><p>Thanks,</p> <p>Your %APP_NAME% team</p>", }, } ``` ### Reset the Password The objects that contains the user information and user signup configuration are passed as arguments to the `reset_password()` method which returns a response. To know more about the component instance `authentication_service` used below, please refer to [this section](https://docs.catalyst.zoho.com/en/sdk/python/v1/cloud-scale/authentication/get-component-instance/). **Parameters Used**
Parameter Name Data Type Definition
`email_id` String A **Mandatory** parameter. Will hold the value of the the user's email address.
`reset_config` Object A **Mandatory** parameter. Will store the details of the user account for which the password needs to be reset. These details include the application platform type, the ZAID, and the email information to be sent after the password reset.
```python user = app.user_management() users = user.reset_password('amelia.b@zylker.com', { 'platform_type': 'web', 'redirect_url': 'https://www.google.com', 'template_details': { 'subject': 'Reset Password', 'message': 'Click on the link to reset your password: <a href="{{reset_password_url}}">Reset Password</a>', 'senders_mail': 'support@zylker.com' } }) print(users) ``` A sample response is shown below : ```json "Reset link sent to amelia.burrows@zylker.com. Please check your email". ``` > **Info :** Refer to the [SDK Scopes table](https://docs.catalyst.zoho.com/en/sdk/python/v1/sdk-scopes) to determine the required permission level for performing the above operation. -------------------------------------------------------------------------------- title: "Custom User Validation" description: "This page describes the method to reset the password of a user account in your Python application with sample code snippets." last_updated: "2026-11-03T07:48:52.000Z" source: "https://docs.catalyst.zoho.com/en/sdk/python/v1/cloud-scale/authentication/custom-user-validation/" service: "CloudScale" related: - Authentication Help (/en/cloud-scale/help/authentication/introduction) - SDK Scopes (/en/sdk/python/v1/sdk-scopes) -------------------------------------------------------------------------------- # Custom User Validation Catalyst Authentication allows you to authorize and validate your end-users using a custom [Basic I/O function](https://docs.catalyst.zoho.com/en/serverless/help/functions/basic-io/) on the event of a sign-up to your Catalyst application. You can write your own logic and process the credentials that the user provides through this function, and grant access to your application. To know more about the component instance `authentication_service` used below, please refer to [this section](https://docs.catalyst.zoho.com/en/sdk/python/v1/cloud-scale/authentication/get-component-instance/). A sample code for a [Custom User Validation](https://docs.catalyst.zoho.com/en/cloud-scale/help/authentication/whitelisting/custom-user-validation/introduction/) function is given below. **Parameters Used**
Parameter Name Data Type Definition
`basicio` Function A **Mandatory** parameter. The Basic IO Catalyst function that allows to authorize and validate your end-users.
**Package Imports** ```java import json import zcatalyst_sdk ``` ```python def handler(context, basicio): app = zcatalyst_sdk.initialize() authentication_service = app.authentication() request_details = authentication_service.get_signup_validation_request(basicio) if request_details: print("response :", request_details) if "spam.com" in request_details["user_details"]["email_id"]: basicio.write(json.dumps({"status": "failure"})) else: basicio.write( json.dumps( { "status": "success", "user_details": { "first_name": "Amelia", "last_name": "Jack", "role_identifier": "cx_role", "org_id": 1012535411 # If you are providing the Org ID, it must be copied from the console. }, } ) ) context.close() ``` To test this function, you can pass the details of the user in the following `.JSON` format: ```json { "request_type":"add_user", "request_details":{ "user_details":{ "email_id":"emmy@zylker.com", "first_name":"Emma", "last_name":"Thompson", "org_id":"432567817", "role_details":{ "role_name":"Moderator", "role_id":"879" } }, "auth_type":"web" } } ``` > **Info :** Refer to the [SDK Scopes table](https://docs.catalyst.zoho.com/en/sdk/python/v1/sdk-scopes) to determine the required permission level for performing the above operation. -------------------------------------------------------------------------------- title: "Generate a Custom Server Token" description: "This page describes the method to reset the password of a user account in your Python application with sample code snippets." last_updated: "2026-11-03T07:48:52.000Z" source: "https://docs.catalyst.zoho.com/en/sdk/python/v1/cloud-scale/authentication/third-party-server-token/" service: "CloudScale" related: - Authentication Help (/en/cloud-scale/help/authentication/introduction) - SDK Scopes (/en/sdk/python/v1/sdk-scopes) -------------------------------------------------------------------------------- # Generate a Custom Server Token CloudScale's Authentication component allows you to implement a [third-party authentication service](https://docs.catalyst.zoho.com/en/cloud-scale/help/authentication/third-party-authentication/introduction/) of your preference for your Catalyst application. The authorization and validation of the end-user is handled by the third-party service, and the data is passed on to Catalyst. > **Note:** * Since you are implementing a third-party authentication service, it is understood that the security infrastructure of your application is contingent on the efficiency of the third-party service that you have chosen. * To enable a third-party authentication in your Catalyst application, you must ensure that you have enabled [Public Signup](https://docs.catalyst.zoho.com/en/cloud-scale/help/authentication/public-signup/) in the console. When a user is re-directed from a third-party service after being authenticated, their credentials must be passed to an authentication function that you code. This function must include the Catalyst server-side script to generate a custom server token, which will then be passed to the Web SDK incorporated in the client code. > **Info :** Refer to the [SDK Scopes table](https://docs.catalyst.zoho.com/en/sdk/python/v1/sdk-scopes) to determine the required permission level for performing the below operation. **Parameters Used**
Parameter Name String Definition
`type` String A **Mandatory** parameter. Will hold the value of the application type.
`user_details` Object A **Mandatory** parameter. Will hold values of first_name and email_id of the end user.
**Package Imports** ```java import zcatalyst_sdk ``` ```python def handler(context, basicio): app = zcatalyst_sdk.initialize() auth = app.authentication() resp = auth.generate_custom_token( { "type": "web", "user_details": { "first_name": "Amelia", "email_id": "amelia.burrows@zylker.com", }, } ) basicio.write(str(resp)) context.close() ``` You can now pass this token to the client logic as explained in this [Web SDK help page](https://docs.catalyst.zoho.com/en/sdk/web/v4/cloud-scale/authentication/third-party-custom-token/). > **Note:** The custom server token will have to be generated every single time the user logs in to your application using a third-party authentication service. -------------------------------------------------------------------------------- title: "Get User Details" description: "This page describes the method to fetch user details from the Data Store in your Python application with sample code snippets." last_updated: "2026-11-03T07:48:52.000Z" source: "https://docs.catalyst.zoho.com/en/sdk/python/v1/cloud-scale/authentication/get-user-details/" service: "CloudScale" related: - Get User Details - API (/en/api/code-reference/cloud-scale/authentication/get-current-user/#GetCurrentUser) - Authentication Help (/en/cloud-scale/help/authentication/introduction) - SDK Scopes (/en/sdk/python/v1/sdk-scopes) -------------------------------------------------------------------------------- # Get user details Catalyst Authentication provides some methods to retrieve the details of the [application users](https://docs.catalyst.zoho.com/en/cloud-scale/help/authentication/user-management/users/introduction/). You can obtain the user information of the current user, any user, or all users of the application. ### Get Details of Current User The `get_current_user()` method fetches the details of the current user accessing the application and on whose scope the function is being executed. To know more about the component instance `authentication_service` used below, please refer to [this section](https://docs.catalyst.zoho.com/en/sdk/python/v1/cloud-scale/authentication/get-component-instance/). ```python #Get details of user authentication_service = app.authentication() current_user = authentication_service.get_current_user() ``` A sample response is shown below : ```json { "zuid":"1005641433", "org_id":"1005641434", "status":"ACTIVE", "is_confirmed":false, "email_id":"amelia.burrows@zylker.com", "first_name":"Amelia", "last_name":"Burrows", "created_time":"Aug 12, 2021 12:27 PM", "role_details":{ "role_name":"App User", "role_id":"2305000000006024" }, "user_type":"App User", "user_id":"2305000000007745", "locale":"us|en|Asia/Kolkata", "time_zone":"Asia/Kolkata", "project_profiles":[ ] } ``` ### Get User Details by User ID You can retrieve the details of a particular user by passing the userID of the user to the `get_user_details()` method. The response returns the details of the particular user, such as their lastname, the list of the roles the user holds, the type of the user, the orgID of the organization the user belongs to, their email address, and more. To know more about the component instance `authentication_service` used below, please refer to [this section](https://docs.catalyst.zoho.com/en/sdk/python/v1/cloud-scale/authentication/get-component-instance/). **Parameters Used**
Parameter Name Data Type Definition
`user_id` String A **Mandatory** parameter. Will store the unique ID of the user whose details need to be retrieved.
```python #Get details by userid authentication_service = app.authentication() user_details=authentication_service.get_user_details('12345') ``` A sample response is shown below : ```json { "zuid":"1005665160", "org_id":"1005665245", "status":"ACTIVE", "is_confirmed":false, "email_id":"mikerogers@zylker.com ", "first_name":"Michael", "last_name":"Rogers", "created_time":"Aug 17, 2021 04:55 PM", "role_details":{ "role_name":"App User", "role_id":"2136000000007748" }, "user_type":"App User", "user_id":"2136000000020040", "locale":"us|en|Asia/Kolkata", "time_zone":"Asia/Kolkata", "project_profiles":[ ] } ``` ### Get Details of All Users The `get_all_users()` method can fetch the details of all the users of all organizations. The response returns the following details of all the users : lastname, the list of the roles, the type of the user, email address, userID, zuid, time zone, and more. To know more about the component instance `authentication_service` used below, please refer to [this section](https://docs.catalyst.zoho.com/en/sdk/python/v1/cloud-scale/authentication/get-component-instance/). ```python #Get details of all users authentication_service = app.authentication() user_details = authentication_service.get_all_users() ``` A sample response is shown below : ```json [ { "zuid":"1005648252", "org_id":"1005648253", "status":"ACTIVE", "is_confirmed":false, "email_id":"p.boyle@zylker.com", "first_name":"Parker", "last_name":"Boyle", "created_time":"Aug 13, 2021 01:36 PM", "modified_time":"Aug 13, 2021 01:36 PM", "invited_time":"Aug 13, 2021 01:36 PM", "role_details":{ "role_name":"App User", "role_id":"2136000000007748" }, "user_type":"App User", "user_id":"2136000000007774", "locale":"us|en|Asia/Kolkata", "time_zone":"Asia/Kolkata", "project_profiles":[ ] }, { "zuid":"1005665160", "org_id":"1005665245", "status":"ACTIVE", "is_confirmed":false, "email_id":"rsmith@zylker.com ", "first_name":"Robert", "last_name":"Smith", "created_time":"Aug 17, 2021 04:55 PM", "modified_time":"Aug 17, 2021 04:55 PM", "invited_time":"Aug 17, 2021 04:55 PM", "role_details":{ "role_name":"App User", "role_id":"2136000000007748" }, "user_type":"App User", "user_id":"2136000000020040", "locale":"us|en|Asia/Kolkata", "time_zone":"Asia/Kolkata", "project_profiles":[ ] } ] ``` ### Get Details of All Users in an org The `org_id` is passed as a parameter to the `get_all_users()` method in order to fetch the users belonging to a particular organization. To know more about the component instance `authentication_service` used below, please refer to [this section](https://docs.catalyst.zoho.com/en/sdk/python/v1/cloud-scale/authentication/get-component-instance/). **Parameters Used**
Parameter Name Data Type Definition
`org_id` String An **Optional** parameter. Will store the ID of the organization whose user details need to be retrieved. If `org_id` is not specified, details of all users across all organizations will be retrieved.
```python #Get details of all users authentication_service = app.authentication() user_details = authentication_service.get_all_users(1293028) ``` A sample response is shown below : ```json [ { "zuid":"1005648252", "org_id":"1005648253", "status":"ACTIVE", "is_confirmed":false, "email_id":"roger.p@zylker.com", "first_name":"Roger", "last_name":"Parkinson", "created_time":"Aug 13, 2021 01:36 PM", "modified_time":"Aug 13, 2021 01:36 PM", "invited_time":"Aug 13, 2021 01:36 PM", "role_details":{ "role_name":"App User", "role_id":"2136000000007748" }, "user_type":"App User", "user_id":"2136000000007774", "locale":"us|en|Asia/Kolkata", "time_zone":"Asia/Kolkata", "project_profiles":[ ] } ] ``` > **Info :** Refer to the [SDK Scopes table](https://docs.catalyst.zoho.com/en/sdk/python/v1/sdk-scopes) to determine the required permission level for performing the above operation. -------------------------------------------------------------------------------- title: "Update User Details" description: "This page describes the method to reset the password of a user account in your Python application with sample code snippets." last_updated: "2026-11-03T07:48:52.000Z" source: "https://docs.catalyst.zoho.com/en/sdk/python/v1/cloud-scale/authentication/update-user-details/" service: "CloudScale" related: - Authentication Help (/en/cloud-scale/help/authentication/introduction) - SDK Scopes (/en/sdk/python/v1/sdk-scopes) -------------------------------------------------------------------------------- # Update User Details Catalyst allows you to [modify and update](https://docs.catalyst.zoho.com/en/cloud-scale/help/authentication/user-management/users/implementation/#modify-a-users-details) the following details of an end-user: * First Name * Last Name * [OrgID](https://docs.catalyst.zoho.com/en/getting-started/catalyst-organizations/) : OrgID is a unique value that is generated by Catalyst to associate with an organization. * [RoleID](https://docs.catalyst.zoho.com/en/cloud-scale/help/authentication/user-management/roles/implementation/) : Role ID is the value generated by Catalyst that is assigned to a particular [user role](https://docs.catalyst.zoho.com/en/cloud-scale/help/authentication/user-management/roles/introduction/). ### Create a dictionary ```python update_config = { "email_id": "amelia.burrows@zylker.com", "last_name": "Burrows", "first_name": "Amelia", "org_id": "1012585680", "role_id": "6759000000054065", } ``` The SDK snippet below demonstrates updating an end-user’s details using the `update_user_details(userID, userDetails)` method. The first name of the user is updated in the example below. To know more about the component instance `authentication_service` used below, please refer to [this section](https://docs.catalyst.zoho.com/en/sdk/python/v1/cloud-scale/authentication/get-component-instance/). **Parameters Used**
Parameter Name Data Type Definition
`UserID` String A **Mandatory** parameter. Will hold the UserID of the user whose details are to be updated.
`update_config` Object A **Mandatory** parameter. Will hold the values of email_id, last_name, first_name, org_id and role_id. You can update the first_name or last_name parameter here.
```python authentication_service = app.authentication() user_details=authentication_service.update_user_details('6759000000124659', update_config) ``` > **Info :** Refer to the [SDK Scopes table](https://docs.catalyst.zoho.com/en/sdk/python/v1/sdk-scopes) to determine the required permission level for performing the above operation. -------------------------------------------------------------------------------- title: "Delete User" description: "This page describes the method to delete users from your Python application with sample code snippets." last_updated: "2026-11-03T07:48:52.000Z" source: "https://docs.catalyst.zoho.com/en/sdk/python/v1/cloud-scale/authentication/delete-user/" service: "CloudScale" related: - Authentication Help (/en/cloud-scale/help/authentication/introduction) - SDK Scopes (/en/sdk/python/v1/sdk-scopes) -------------------------------------------------------------------------------- # Delete a User The [end-user of a Catalyst application](https://docs.catalyst.zoho.com/en/cloud-scale/help/authentication/introduction) can be deleted from a Catalyst application to discontinue their access to it. This can be done by calling the `delete_user()` method and by passing the `UserID` of the user to be deleted as a parameter to it. This method returns a response as true when the user is deleted. To know more about the component instance `authentication_service` used below, please refer to [this section](https://docs.catalyst.zoho.com/en/sdk/python/v1/cloud-scale/authentication/get-component-instance/). **Parameters Used**
Parameter Name Data Type Definition
`UserID` `String` A **Mandatory** parameter. Will store the ID of the user to be deleted.
```python #Delete an existing user authentication_service = app.authentication() delete_response = authentication_service.delete_user(2305000000007745) ``` > **Info :** Refer to the [SDK Scopes table](https://docs.catalyst.zoho.com/en/sdk/python/v1/sdk-scopes) to determine the required permission level for performing the above operation. -------------------------------------------------------------------------------- title: "Enable or Disable a User" description: "This page describes the method to enable or disable a user in your Python application with sample code snippets." last_updated: "2026-11-03T07:48:52.000Z" source: "https://docs.catalyst.zoho.com/en/sdk/python/v1/cloud-scale/authentication/enable-disable-user/" service: "CloudScale" related: - Authentication Help (/en/cloud-scale/help/authentication/introduction) - Enable or Disable a User in the Console (/en/cloud-scale/help/authentication/user-management/users/implementation/#enable-or-disable-a-user) - SDK Scopes (/en/sdk/python/v1/sdk-scopes) -------------------------------------------------------------------------------- # Enable or Disable a User Catalyst allows you to [disable or enable a user](https://docs.catalyst.zoho.com/en/cloud-scale/help/authentication/user-management/users/implementation/#enable-or-disable-a-user) at any time. A disabled user will be signed up to your application but will not be able to access your application. The SDK snippet below demonstrates enabling and disabling an end-user using the `update_user_status(userId, user_status)` method. The user is referred by their unique [User ID](https://docs.catalyst.zoho.com/en/cloud-scale/help/authentication/user-management/users/introduction/). You can find the User IDs of all users by navigating to the *Users* > [*User Management*](https://docs.catalyst.zoho.com/en/cloud-scale/help/authentication/user-management/introduction/) section of the Authentication component. To know more about the component instance `authentication_service` used below, please refer to [this section](https://docs.catalyst.zoho.com/en/sdk/python/v1/cloud-scale/authentication/get-component-instance/). ### To Enable a User **Parameters Used**
Parameter Name Data Type Definition
`userId` String A **Mandatory** parameter. Will hold the UserID of the user to be enabled for the application.
`user_status` String A **Mandatory** parameter. Will hold the default value "enable".
```python authentication_service = app.authentication() user_details = authentication_service.update_user_status('6759000000124659', 'enable') # Replace the user id ``` ### To Disable a User **Parameters Used**
Parameter Name Data Type Definition
`userId` `String` A **Mandatory** parameter. Will hold the UserID of the user to be disabled for the application.
`user_status` `String` A **Mandatory** parameter. Will hold the default value "disable"
```python authentication_service = app.authentication() user_details = authentication_service.update_user_status('6759000000124659', 'disable') # Replace the user id ``` > **Info :** Refer to the [SDK Scopes table](https://docs.catalyst.zoho.com/en/sdk/python/v1/sdk-scopes) to determine the required permission level for performing the above operation. ### Cache -------------------------------------------------------------------------------- title: "Get Cache Instance" description: "This page describes the method to delete a key-value pair using a key or cache object in your Python application with sample code snippets." last_updated: "2026-11-03T07:48:52.000Z" source: "https://docs.catalyst.zoho.com/en/sdk/python/v1/cloud-scale/cache/get-component-instance/" service: "CloudScale" related: - Cache Help (/en/cloud-scale/help/cache/introduction) - SDK Scopes (/en/sdk/python/v1/sdk-scopes) -------------------------------------------------------------------------------- # Cache [Catalyst CloudScale Cache](https://docs.catalyst.zoho.com/en/cloud-scale/help/cache/introduction) is provided as an ephemeral storage component that can be used independently of your main data storage unit. It is highly useful when implemented in dynamic, memory-intensive applications. Catalyst cache can be implemented in your application using the SDK methods listed below. # Get component instance A component instance is an object that can be used to access the pre-defined configurations specific to a particular component. This process will not fire a server-side call. The `app` reference used in the code below is the [Python object](https://docs.catalyst.zoho.com/en/sdk/python/v1/setup/#initializing-the-sdk) returned as a response during SDK initialization. You can create a new `cache_service`instance as shown below. This instance will be used in multiple scenarios while performing cache component related operations. ```python #Get cache component instance cache_service = app.cache() ``` -------------------------------------------------------------------------------- title: "Get Segment Instance" description: "This page describes the method to get a cache segment instance in your Python application with sample code snippets." last_updated: "2026-11-03T07:48:52.000Z" source: "https://docs.catalyst.zoho.com/en/sdk/python/v1/cloud-scale/cache/get-segment-instance/" service: "CloudScale" related: - Cache Help (/en/cloud-scale/help/cache/introduction) - SDK Scopes (/en/sdk/python/v1/sdk-scopes) -------------------------------------------------------------------------------- # Get a segment instance To know more about the component instance `cache_service` used below, please refer to [this section](https://docs.catalyst.zoho.com/en/sdk/python/v1/cloud-scale/cache/get-component-instance/). When the segment ID is passed as a parameter, the cache implementation will refer to that particular segment. When the segment ID is not specified explicitly, then it will refer to the default segment. ```python #Get segment instance cache_service = app.cache() segment_service = cache_service.segment() ``` -------------------------------------------------------------------------------- title: "Retrieve Data from the Cache" description: "This page describes the method to retrieve data from the cache in your Python application with sample code snippets." last_updated: "2026-11-03T07:48:52.000Z" source: "https://docs.catalyst.zoho.com/en/sdk/python/v1/cloud-scale/cache/retrieve-data-from-cache/" service: "CloudScale" related: - Retrieve Data from the Cache - API (/en/api/code-reference/cloud-scale/cache/get-cache-value/#GetCacheValue) - Cache Help (/en/cloud-scale/help/cache/introduction) - SDK Scopes (/en/sdk/python/v1/sdk-scopes) -------------------------------------------------------------------------------- # Retrieve data from the cache ### Get Cache Value [Catalyst CloudScale Cache](https://docs.catalyst.zoho.com/en/cloud-scale/help/cache/introduction) is divided into partitions or cache units called segments. Each segment stores cache items in the form of key-value pairs. Both keys and values are of type String. You can retrieve the value of a cache item from a segment in the cache using the `get_value()` method. You must pass the key name as the argument and the value corresponding to that key will be returned as a response. To know more about the [component instance](https://docs.catalyst.zoho.com/en/sdk/python/v1/cloud-scale/cache/get-component-instance/) `cache_service` and the [segment_service](https://docs.catalyst.zoho.com/en/sdk/python/v1/cloud-scale/cache/get-segment-instance/) `segment_service` used below, please refer to their respective help sections. **Parameters Used**
Parameter Name Data Type Definition
`Key` String A **Mandatory** parameter. Will hold the key for retrieving the cache value.
```python #Get cache value cache_service = app.cache() segment_service = cache_service.segment() data = segment_service.get_value('key') ``` A sample response is shown below : ```json { "cache_name": "Name", "cache_value": "Amelia Burrows", "expires_in": "Mar 09, 2023 06:20 PM", "expiry_in_hours": "48", "project_details": { "id": "2648000001343001", "project_name": "appEngine", "project_type": "Live", }, "segment_details": {"id": "2648000001343037", "segment_name": "Default"}, "ttl_in_milliseconds": "172800000", } ``` ### Get Cache Object You can retrieve the details of the cache where the key-value pair is of type dictionary. The key object is retrieved using the `get()` method, where the key name is passed as an argument. To know more about the [component instance](https://docs.catalyst.zoho.com/en/sdk/python/v1/cloud-scale/cache/get-component-instance/) `cache_service` and the [segment instance](https://docs.catalyst.zoho.com/en/sdk/python/v1/cloud-scale/cache/get-segment-instance/) `segment_service` used below, please refer to their respective help sections. **Parameters Used**
Parameter Name Data Type Definition
`cache_name` String A **Mandatory** parameter. Will hold the key for retrieving the cache object.
```python cache_service = app.cache() segment_service = cache_service.segment() data = segment_service.get('key') ``` A sample response is shown below : ```json { cache_name: "Name", cache_value: "Amelia Burrows", project_details: { project_name: "AlienCity", id: "2136000000007733" }, segment_details: { segment_name: "Location", id: "2136000000008572" }, expires_in: "Aug 18, 2021 06:39 PM", expiry_in_hours: "47", ttl_in_milliseconds: "172727000" } ``` > **Info :** Refer to the [SDK Scopes table](https://docs.catalyst.zoho.com/en/sdk/python/v1/sdk-scopes) to determine the required permission level for performing the above operation. -------------------------------------------------------------------------------- title: "Insert Data to Cache" description: "This page describes the method to insert data into the cache in your Python application with sample code snippets." last_updated: "2026-11-03T15:16:51.000Z" source: "https://docs.catalyst.zoho.com/en/sdk/python/v1/cloud-scale/cache/insert-data-into-cache/" service: "CloudScale" related: - Insert Data to Cache - API (/en/api/code-reference/cloud-scale/cache/insert-key-value-in-segment/#InsertKeyValueinCacheSegment) - Cache Help (/en/cloud-scale/help/cache/introduction) - SDK Scopes (/en/sdk/python/v1/sdk-scopes) -------------------------------------------------------------------------------- # Insert Data in Cache You can insert a [cache element](https://docs.catalyst.zoho.com/en/cloud-scale/help/cache/introduction) using the put() method. This enables you to insert a key-value pair in an existing cache segment in your Catalyst project. The key name and key value are of type String and are passed as arguments to the method. You can also optionally pass the expiry time parameter. The expiration time will be set to 48 hours by default if the value is not specified explicitly. To know more about the [component instance](https://docs.catalyst.zoho.com/en/sdk/python/v1/cloud-scale/cache/get-component-instance/) `cache_service` and the [segment instance](https://docs.catalyst.zoho.com/en/sdk/python/v1/cloud-scale/cache/get-segment-instance/) `segment_service` used below, please refer to their respective help sections. **Parameters Used**
Parameter Name Data Type Definition
`cache_name` String A **Mandatory** parameter. Will hold the key to be inserted in the cache.
`cache_value` String A **Mandatory** parameter. Will hold the value to be inserted in the cache.
`expiry_in_hours` Numeric A **Optional** parameter. Will hold the value of the expiry time of the data.
```python # Insert Data to Cache cache_service = app.cache() segment_service = cache_service.segment() segment_service.put('Name', 'Smith',2) ``` A sample response is shown below : ```json { cache_name: "Name", cache_value: "Smith", project_details: { project_name: "AlienCity", id: "2136000000007733" }, segment_details: { segment_name: "Location", id: "1234324234" }, expires_in: "Aug 18, 2021 06:46 PM", expiry_in_hours: "2", ttl_in_milliseconds: "172800000" } ``` > **Info :** Refer to the [SDK Scopes table](https://docs.catalyst.zoho.com/en/sdk/python/v1/sdk-scopes) to determine the required permission level for performing the above operation. -------------------------------------------------------------------------------- title: "Update Data in Cache" description: "This page describes the method to update data in the cache in your Python application with sample code snippets." last_updated: "2026-11-03T15:16:51.000Z" source: "https://docs.catalyst.zoho.com/en/sdk/python/v1/cloud-scale/cache/update-data-in-cache/" service: "CloudScale" related: - Update Data in Cache - API (/en/api/code-reference/cloud-scale/cache/update-key-value/#UpdateKeyValuePair) - Cache Help (/en/cloud-scale/help/cache/introduction) - SDK Scopes (/en/sdk/python/v1/sdk-scopes) -------------------------------------------------------------------------------- # Update Data in Cache You can update the key-value pair in a cache segment using the `update()` method. You must pass the key name and key-value which are of the String type as arguments. If the values aren't present, they will be inserted into the cache segment. You can also optionally pass the expiry time parameter. The expiration time will be set to 48 hours by default if the value is not specified explicitly. To know more about the [component instance](https://docs.catalyst.zoho.com/en/sdk/python/v1/cloud-scale/cache/get-component-instance/) `cache_service` and the [segment instance](https://docs.catalyst.zoho.com/en/sdk/python/v1/cloud-scale/cache/get-segment-instance/)`segment_service` used below, please refer to their respective help sections. **Parameters Used**
Parameter Name Data Type Definition
`cache_name` String A **Mandatory** parameter. Will hold the key to be updated in the cache.
`cache_value` String A **Mandatory** parameter. Will hold the value of the key that has to be updated in the cache.
```python #Update data in cache cache_service = app.cache() segment_service = cache_service.segment() segment_service.update('Name', 'Michael Scott') ``` A sample response is shown below : ```json { cache_name: "Name", cache_value: "Michael Scott", project_details: { project_name: "AlienCity", id: "2136000000007733" }, segment_details: { segment_name: "Data Store", id: "2136000000008572" }, expires_in: "Aug 18, 2021 06:46 PM", expiry_in_hours: "47", ttl_in_milliseconds: "172596000" } ``` > **Info :** Refer to the [SDK Scopes table](https://docs.catalyst.zoho.com/en/sdk/python/v1/sdk-scopes) to determine the required permission level for performing the above operation. -------------------------------------------------------------------------------- title: "Delete Key Value Pair" description: "This page describes the method to delete a key-value pair using a key or cache object in your Python application with sample code snippets." last_updated: "2026-11-03T07:48:52.000Z" source: "https://docs.catalyst.zoho.com/en/sdk/python/v1/cloud-scale/cache/delete-key-value-pair/" service: "CloudScale" related: - Cache Help (/en/cloud-scale/help/cache/introduction) - SDK Scopes (/en/sdk/python/v1/sdk-scopes) -------------------------------------------------------------------------------- # Delete a Key-Value Pair If a key-value pair is no longer needed, it can be permanently deleted from the cache segment. The key-value pair cannot be restored once it is deleted. To know more about the [component instance](https://docs.catalyst.zoho.com/en/sdk/python/v1/cloud-scale/cache/get-component-instance/)`component_service` and the [segment instance](https://docs.catalyst.zoho.com/en/sdk/python/v1/cloud-scale/cache/get-segment-instance/) `segment_service` used below, please refer to their respective help sections. ### Delete using a Key You can delete a key-value pair by passing the key name directly as a parameter to the `delete()` method. **Parameters Used**
Parameter Name Data Type Definition
key String A **Mandatory** parameter. Will hold the key name of the cache segment.
```python #Delete a key-value pair cache_service = app.cache() segment_service = cache_service.segment() segment_service.delete('Name') ``` > **Info :** Refer to the [SDK Scopes table](https://docs.catalyst.zoho.com/en/sdk/python/v1/sdk-scopes) to determine the required permission level for performing the above operation. ### Connections -------------------------------------------------------------------------------- title: "Get Connections Instance" description: "This page describes the method to get an instance for the Connections component to allow you to use the Connections SDK methods." last_updated: "2026-11-03T07:48:52.000Z" source: "https://docs.catalyst.zoho.com/en/sdk/python/v1/cloud-scale/connections/get-connections-instance/" service: "CloudScale" related: - Connections Help (/en/cloud-scale/help/connections/introduction/) - Connections Java SDK (/en/sdk/java/v1/cloud-scale/connections/get-connections-instance/) - JavaScript SDK (/en/sdk/javascript/v1/overview/) -------------------------------------------------------------------------------- # Connections Connections allows you to integrate with Zoho and other third-party services while managing all the authentication token requirement. ### Get Connections Instance > **Note:** This SDK can only be accessed within Catalyst services like [Functions](https://docs.catalyst.zoho.com/en/serverless/help/functions/introduction/) and [AppSail](https://docs.catalyst.zoho.com/en/serverless/help/appsail/introduction/). It cannot be used to integrate with third-party services. You can get the `connections` component reference as shown below. This will not fire a server-side call. We will refer to this component instance in various code snippets of working with Connections. ```python # create connection instance connections = app.connections() ``` -------------------------------------------------------------------------------- title: "Get Authentication Credentials" description: "This page describes the method to get an instance for the Connections component to allow you to use the Connections SDK methods." last_updated: "2026-11-03T07:48:52.000Z" source: "https://docs.catalyst.zoho.com/en/sdk/python/v1/cloud-scale/connections/get-credentials/" service: "CloudScale" related: - Connections Help (/en/cloud-scale/help/connections/introduction/) - Connections Java SDK (/en/sdk/java/v1/cloud-scale/connections/get-credentials/) - JavaScript SDK (/en/sdk/javascript/v1/overview/) -------------------------------------------------------------------------------- # Get Authentication Credentials > **Note:** This SDK can only be accessed within Catalyst services like [Functions](https://docs.catalyst.zoho.com/en/serverless/help/functions/introduction/) and [AppSail](https://docs.catalyst.zoho.com/en/serverless/help/appsail/introduction/). It cannot be used to integrate with third-party services. This SDK method can be used obtain the authentication credentials for various Zoho services, listed as [Default Services](https://docs.catalyst.zoho.com/en/cloud-scale/help/connections/establish-default-connection/). The `connections` reference used in the below code snippet is the [component instance](https://docs.catalyst.zoho.com/en/sdk/java/v1/cloud-scale/connections/get-connections-instance/). ```python # create connection instance connections = app.connections() #retrieve the authentication credentials for the specified connection connection_response = connections.get_connection_credentials('payrollcon') #connection response print('connection response:', connection_response) ``` ### Data Store -------------------------------------------------------------------------------- title: "Get Data Store Instance" description: "This page describes the method to delete rows in bulk from a table in the Data Store in your Python application with sample code snippets." last_updated: "2026-11-03T07:48:52.000Z" source: "https://docs.catalyst.zoho.com/en/sdk/python/v1/cloud-scale/data-store/get-component-instance/" service: "CloudScale" related: - Data Store Help (/en/cloud-scale/help/data-store/introduction) - SDK Scopes (/en/sdk/python/v1/sdk-scopes) -------------------------------------------------------------------------------- # Data Store [Catalyst CloudScale Data Store](https://docs.catalyst.zoho.com/en/cloud-scale/help/data-store/introduction) is a cloud-based relational database management system that stores the persistent data of your application. This section covers the various methods that you can use to perform data-intensive operations in the Data Store such as fetching the metadata of the tables and columns, fetching row details, inserting new rows, updating rows, or deleting them. ### Get a component instance A component instance is an object that can be used to access the pre-defined configurations specific to a particular component. This process will not fire a server-side call. The `app` reference used in the code below is the [Python object](https://docs.catalyst.zoho.com/en/sdk/python/v1/setup/#initializing-the-sdk) returned as a response during SDK initialization. You can create a new `datastore_service`instance as shown below. Also note that this instance will be used in multiple scenarios while performing database specific operations. ```python #Get Data Store component instance datastore_service = app.datastore() ``` -------------------------------------------------------------------------------- title: "Get Table Meta" description: "This page describes the method to fetch the meta data of a single table or multiple tables in your Python application with sample code snippets" last_updated: "2026-11-03T07:48:52.000Z" source: "https://docs.catalyst.zoho.com/en/sdk/python/v1/cloud-scale/data-store/get-table-meta/" service: "CloudScale" related: - Get Table Meta - API (/en/api/code-reference/cloud-scale/data-store/get-table-metadata/#GetTableMetadata) - Data Store Help (/en/cloud-scale/help/data-store/introduction) - SDK Scopes (/en/sdk/python/v1/sdk-scopes) -------------------------------------------------------------------------------- # Get Table Metadata The metadata of a single table in the [Catalyst Data Store](https://docs.catalyst.zoho.com/en/cloud-scale/help/data-store/introduction) can be obtained in two ways. The data store reference used in the code snippets below is the component instance created earlier. ### Get a Table's Metadata by Table ID A table's meta data is fetched by referring the respective tableID in the method `get_table_details()` as given below. You can obtain the table ID from the Data Store or from the URL when the table is opened in the console. To know more about the component instance `datastore_service` used below, please refer to [this help section](https://docs.catalyst.zoho.com/en/sdk/python/v1/cloud-scale/data-store/get-component-instance/). **Parameters Used**
Parameter Name Data Type Definition
`tableID` String A **Mandatory** parameter. Will hold the ID of the table whose meta data has to be retrieved.
```python #Get table metadata using TableID datastore_service = app.datastore() table_data = datastore_service.get_table_details(5249000000011745) ``` A sample response is shown below : ```json { "project_id":{ "project_name":"AlienCity", "id":"2136000000007733" }, "table_name":"COUNTRY", "modified_by":{ "zuid":"66466723", "is_confirmed":false, "email_id":"amelia@burrows.com", "first_name":"Amelia", "last_name":"Burrows", "user_type":"Admin", "user_id":"2136000000006003" }, "modified_time":"Aug 13, 2021 01:47 PM", "column_details":[ { "table_id":"5249000000011745", "column_sequence":"1", "column_name":"ROWID", "category":1, "data_type":"bigint", "max_length":"50", "is_mandatory":false, "decimal_digits":"2", "is_unique":false, "search_index_enabled":false, "column_id":"2136000000007784" }, { "table_id":"5249000000011745", "column_sequence":"2", "column_name":"CREATORID", "category":1, "data_type":"bigint", "max_length":"50", "is_mandatory":false, "decimal_digits":"2", "is_unique":false, "search_index_enabled":true, "column_id":"2136000000007785" }, { "table_id":"5249000000011745", "column_sequence":"3", "column_name":"CREATEDTIME", "category":1, "data_type":"datetime", "max_length":"50", "is_mandatory":false, "decimal_digits":"2", "is_unique":false, "search_index_enabled":true, "column_id":"2136000000007786" }, { "table_id":"5249000000011745", "column_sequence":"4", "column_name":"MODIFIEDTIME", "category":1, "data_type":"datetime", "max_length":"50", "is_mandatory":false, "decimal_digits":"2", "is_unique":false, "search_index_enabled":true, "column_id":"2136000000007787" }, { "table_id":"5249000000011745", "column_sequence":"5", "column_name":"CITYNAME", "category":2, "data_type":"varchar", "max_length":"100", "is_mandatory":false, "decimal_digits":"2", "is_unique":true, "search_index_enabled":true, "column_id":"2136000000008588" } ], "table_id":"5249000000011745" } ``` ### Get a Table's Metadata by Table Name You can use the below-mentioned code snippet to fetch a table's metadata by referring the `table_name`. > **Note :** If you rename the table, you must update the changes in the code in all applicable sections. To know more about the component instance `datastore_service` used below, please refer to [this help section](https://docs.catalyst.zoho.com/en/sdk/python/v1/cloud-scale/data-store/get-component-instance/). **Parameters Used**
Parameter Name Data Type Definition
`table_name` String A **Mandatory** parameter. Will hold the name of the table whose meta data has to be retrieved.
```python datastore_service = app.datastore() table_data = datastore_service.get_table_details("Aliens") ``` A sample response is shown below : ```json { "project_id":{ "project_name":"AlienCity", "id":"2136000000007733" }, "table_name":"Aliens", "modified_by":{ "zuid":"66466723", "is_confirmed":false, "email_id":"amelia.burrows@zylker.com", "first_name":"Amelia", "last_name":"Burrows", "user_type":"Admin", "user_id":"2136000000006003" }, "modified_time":"Aug 13, 2021 01:47 PM", "column_details":[ { "table_id":"5249000000011745", "column_sequence":"1", "column_name":"ROWID", "category":1, "data_type":"bigint", "max_length":"50", "is_mandatory":false, "decimal_digits":"2", "is_unique":false, "search_index_enabled":false, "column_id":"2136000000007784" }, { "table_id":"5249000000011745", "column_sequence":"2", "column_name":"CREATORID", "category":1, "data_type":"bigint", "max_length":"50", "is_mandatory":false, "decimal_digits":"2", "is_unique":false, "search_index_enabled":true, "column_id":"2136000000007785" }, { "table_id":"5249000000011745", "column_sequence":"3", "column_name":"CREATEDTIME", "category":1, "data_type":"datetime", "max_length":"50", "is_mandatory":false, "decimal_digits":"2", "is_unique":false, "search_index_enabled":true, "column_id":"2136000000007786" }, { "table_id":"5249000000011745", "column_sequence":"4", "column_name":"MODIFIEDTIME", "category":1, "data_type":"datetime", "max_length":"50", "is_mandatory":false, "decimal_digits":"2", "is_unique":false, "search_index_enabled":true, "column_id":"2136000000007787" }, { "table_id":"5249000000011745", "column_sequence":"5", "column_name":"AlienType", "category":2, "data_type":"varchar", "max_length":"100", "is_mandatory":false, "decimal_digits":"2", "is_unique":true, "search_index_enabled":true, "column_id":"2136000000008588" } ], "table_id":"5249000000011745" } ``` ### Get Metadata of All Tables In addition to getting the meta data of a single table, you can fetch the details of all the tables in a Catalyst project using `getAllTables()` method. To know more about the component instance `datastore_service` used below, please refer to [this help section](https://docs.catalyst.zoho.com/en/sdk/python/v1/cloud-scale/data-store/get-component-instance/). ```python datastore_service = app.datastore() tables = datastore_service.get_all_tables() ``` A sample response is shown below: ```json [ { "project_id":{ "project_name":"AlienCity", "id":"2136000000007733" }, "table_name":"Attackers", "modified_by":{ "zuid":"66466723", "is_confirmed":false, "email_id":"amelia.burrows@zylker.com", "first_name":"Amelia", "last_name":"Burrows", "user_type":"Admin", "user_id":"2136000000006003" }, "modified_time":"Aug 13, 2021 01:47 PM", "table_id":"2136000000007781" }, "table_name":"Aliens", "modified_by":{ "zuid":"66466723", "is_confirmed":false, "email_id":"emma@zylker.com", "first_name":"Amelia", "last_name":"Burrows", "user_type":"Admin", "user_id":"2136000000006003" }, "modified_time":"Aug 13, 2021 01:47 PM", "table_id":"5249000000011745" } ] ``` > **Info :** Refer to the [SDK Scopes table](https://docs.catalyst.zoho.com/en/sdk/python/v1/sdk-scopes) to determine the required permission level for performing the above operation. -------------------------------------------------------------------------------- title: "Get Table Instance" description: "This page describes the method to fetch the table instance using tableID and name from a table in the Data Store in your Python application." last_updated: "2026-11-04T10:10:44.000Z" source: "https://docs.catalyst.zoho.com/en/sdk/python/v1/cloud-scale/data-store/get-table-instance/" service: "CloudScale" related: - Data Store Help (/en/cloud-scale/help/data-store/introduction) - SDK Scopes (/en/sdk/python/v1/sdk-scopes) -------------------------------------------------------------------------------- # Get a Table Instance A table reference can be created by referring to the predefined data store reference by passing either the tableID or table name as the parameter. The `datastore_service` reference used in the below code snippet is the component instance created earlier. ### Get the Table Instance using TableID The `table_service` reference can be created by passing the tableID as a parameter to the `table()` method. To know more about the component instance `datastore_service` used below, please refer to [this help section](https://docs.catalyst.zoho.com/en/sdk/python/v1/cloud-scale/data-store/get-component-instance/). **Parameters Used**
Parameter Name Data Type Definition
`tableID` String A **Mandatory** parameter. Will hold the ID of the table.
```python #Get table instance using table ID datastore_service = app.datastore() table_service = datastore_service.table(5249000000011745) ``` ### Get the Table Instance using Table Name Alternatively, a table reference can be created by referring the tablename in the `table()` method. There is no explicit response involved in these methods and only the instance of the table is returned. To know more about the component instance `datastore_service` used below, please refer to [this help section](https://docs.catalyst.zoho.com/en/sdk/python/v1/cloud-scale/data-store/get-component-instance/). **Parameters Used**
Parameter Name Data Type Definition
`table_name` `String` A **Mandatory** parameter. Will hold the name of the table.
```python #Get table instance using table name datastore_service = app.datastore() table_service = datastore_service.table("CITY") ``` -------------------------------------------------------------------------------- title: "Get Column Meta" description: "This page describes the method to retrieve metadata of one or more columns from a table in the Data Store in your Python application." last_updated: "2026-11-04T10:10:44.000Z" source: "https://docs.catalyst.zoho.com/en/sdk/python/v1/cloud-scale/data-store/get-column-meta/" service: "CloudScale" related: - Get Column Meta - API (/en/api/code-reference/cloud-scale/data-store/get-column-metadata/#GetColumnMetadata) - Data Store Help (/en/cloud-scale/help/data-store/introduction) - SDK Scopes (/en/sdk/python/v1/sdk-scopes) -------------------------------------------------------------------------------- # Get Column Metadata Column metadata details of a single column of a table in the [Catalyst Data Store](https://docs.catalyst.zoho.com/en/cloud-scale/help/data-store/introduction) can be retrieved either by using the columnID or the column name. ### Get a Column's Metadata by ID You can fetch a column's meta data of a particular table using `get_column_details()` method. To know more about the [component instance](https://docs.catalyst.zoho.com/en/sdk/python/v1/cloud-scale/data-store/get-component-instance/)`datastore_service` and the [table instance](https://docs.catalyst.zoho.com/en/sdk/python/v1/cloud-scale/data-store/get-table-instance/)`table_service` used below, please refer to their respective help sections. **Parameters Used**
Parameter Name Data Type Definition
`columnID` String A **Mandatory** parameter. Will hold the ID of the column for which metadata has to be retrieved.
```python #Get column's metadata using columnID datastore_service = app.datastore() table_service = datastore_service.table("CITY") column_data = table_service.get_column_details(5249000000032372) ``` A sample response is shown below : ```json { table_id: "5249000000011745", column_sequence: "5", column_name: "CITYNAME", category: 2, data_type: "varchar", max_length: "100", is_mandatory: false, decimal_digits: "2", is_unique: true, search_index_enabled: false, column_id: "5249000000032372" } ``` ### Get a Column's Metadata by Name An alternative way to get the meta data of a column is, referring to the `column_name`. This returns the same response as that of the previous one. The column meta will not involve any further operations. Therefore, the response is returned here directly. To know more about the [component instance](https://docs.catalyst.zoho.com/en/sdk/python/v1/cloud-scale/data-store/get-component-instance/)`datastore_service` and the [table instance](https://docs.catalyst.zoho.com/en/sdk/python/v1/cloud-scale/data-store/get-table-instance/)`table_service` used below, please refer to their respective help sections. **Parameters Used**
Parameter Name Data Type Definition
`column_name` String A **Mandatory** parameter. Will hold the name of the column for which metadata has to be retrieved.
```python #Get column's metadata using column name datastore_service = app.datastore() table_service = datastore_service.table("CITY") column_data = table_service.get_column_details("CITYNAME") ``` A sample response is shown below : ```javascript { table_id: "5249000000011745", column_sequence: "5", column_name: "CITYNAME", category: 2, data_type: "varchar", max_length: "100", is_mandatory: false, decimal_digits: "2", is_unique: true, search_index_enabled: false, column_id: "2305000000007725" } ``` ### Get Metadata of All Columns In addition to getting the meta data of a single column, you can retrieve the meta data of all the columns in a particular table using `get_all_columns()` method. To know more about the [component instance](https://docs.catalyst.zoho.com/en/sdk/python/v1/cloud-scale/data-store/get-component-instance/)`datastore_service` and the [table instance](https://docs.catalyst.zoho.com/en/sdk/python/v1/cloud-scale/data-store/get-table-instance/)`table_service` used below, please refer to their respective help sections. ```python #Get metadata of all columns datastore_service = app.datastore() table_service = datastore_service.table("CITY") columns = table_service.get_all_columns() ``` A sample response is shown below : ```json [ { table_id: "5249000000011745", column_sequence: "1", column_name: "ROWID", category: 1, data_type: "bigint", max_length: "50", is_mandatory: false, decimal_digits: "2", is_unique: false, search_index_enabled: false, column_id: "2136000000007784" }, { table_id: "5249000000011745", column_sequence: "2", column_name: "CREATORID", category: 1, data_type: "bigint", max_length: "50", is_mandatory: false, decimal_digits: "2", is_unique: false, search_index_enabled: true, column_id: "2136000000007785" }, { table_id: "5249000000011745", column_sequence: "3", column_name: "CREATEDTIME", category: 1, data_type: "datetime", max_length: "50", is_mandatory: false, decimal_digits: "2", is_unique: false, search_index_enabled: true, column_id: "2136000000007786" }, { table_id: "5249000000011745", column_sequence: "4", column_name: "MODIFIEDTIME", category: 1, data_type: "datetime", max_length: "50", is_mandatory: false, decimal_digits: "2", is_unique: false, search_index_enabled: true, column_id: "2136000000007787" }, { table_id: "5249000000011745", column_sequence: "5", column_name: "CITYNAME", category: 2, data_type: "varchar", max_length: "100", is_mandatory: false, decimal_digits: "2", is_unique: true, search_index_enabled: true, column_id: "2136000000008588" } ] ``` > **Info :** Refer to the [SDK Scopes table](https://docs.catalyst.zoho.com/en/sdk/python/v1/sdk-scopes) to determine the required permission level for performing the above operation. -------------------------------------------------------------------------------- title: "Get Rows" description: "This page describes the method to fetch a single row or all the rows from a table in the Data Store in your Python application with sample code snippets" last_updated: "2026-11-03T07:48:52.000Z" source: "https://docs.catalyst.zoho.com/en/sdk/python/v1/cloud-scale/data-store/get-rows/" service: "CloudScale" related: - Get Rows - API (/en/api/code-reference/cloud-scale/data-store/get-all-rows/#GetAllRows) - Data Store Help (/en/cloud-scale/help/data-store/introduction) - SDK Scopes (/en/sdk/python/v1/sdk-scopes) -------------------------------------------------------------------------------- # Get Rows You can retrieve a single row or multiple rows of data from a table in the [Catalyst Data Store](https://docs.catalyst.zoho.com/en/cloud-scale/help/data-store/introduction). The `table_service` reference used in these code snippets can either be a table instance or table meta. ### Get A Single Row You can fetch a single row from the table using the `get_row()` method. You must pass the unique RowID of the row to this method as shown in the code snippet below. To know more about the [component instance](https://docs.catalyst.zoho.com/en/sdk/python/v1/cloud-scale/data-store/get-component-instance/)`datastore_service` and the [table instance](https://docs.catalyst.zoho.com/en/sdk/python/v1/cloud-scale/data-store/get-table-instance/)`table_service` used below, please refer to their respective help sections. **Parameters Used**
Parameter Name Data Type Definition
`rowID` String A **Mandatory** parameter. Will store the ID of the row whose details has to be retrieved.
```python # Get A Single Row datastore_service = app.datastore() table_service = datastore_service.table("CITY") row_data = table_service.get_row(5249000000032385) ``` A sample response is shown below : ```javascript { CREATORID: "2136000000006003", MODIFIEDTIME: "2021-08-17 13:02:11:184", CREATEDTIME: "2021-08-16 16:29:10:499", CITYNAME: "Pune", ROWID: "5249000000032385" } ``` ### Get All Rows Through Pagination You can retrieve all the rows of data from a table in the Data Store by incorporating pagination in your code using the `get_paged_rows()` function. Pagination allows you to fetch the rows of a table in batches or pages through iterations. This iteration is executed until all the rows are fetched, which is validated by a simple if condition, as shown in the code below. You can refer to the table by its unique tablename. For example, if you require the rows to be fetched in batches of 100 as individual pages, you can define a variable for the maximum rows to be fetched in each page and specify the count. The sample code below assigns `max_rows` as 100. > **Note:** The `maxRows` parameter is optional. The SDK call will return 200 rows in a single page by default if this value is not specified. Additionally, you will receive a token string in the response data that authorizes the subsequent fetching of data. You can fetch this token through `next_token`, and pass it as the value for `next_token` during the subsequent iteration, as shown in the code below. During the first execution of the loop, the value for the `next_token` string is assigned as None. The next set of records are fetched through `more_records` in the response data. > **Note:** Pagination has been made available from the Node.js SDK v2.1.0 update. This will not be available in the older versions of the Node.js SDK. **Parameters Used**
Parameter Name Data Type Definition
`next_token` String A **Mandatory** parameter. Will store the token from the response data, authorizing subsequent data retrieval.
`max_rows` Numeric A **Optional** parameter. Will hold the the number of batches in which the rows has to be fetched.
```python datastore_service = app.datastore() table_service = datastore_service.table("Aliens") def getMyPagedRows(next_token=None, more_records=True): rows = table_service.get_paged_rows(next_token, max_rows=100) more_records = rows['more_records'] if not more_records: return None next_token = rows['next_token'] return getMyPagedRows(next_token, more_records) getMyPagedRows() ``` When the `more_records` parameter is set to true, the sample response is shown below: ```json { "status": 200, "content": [ { "CREATORID": "3359000000006003", "MODIFIEDTIME": "2022-01-11 18:18:24:855", "CITYNAME": "New York", "CREATEDTIME": "2022-01-11 18:18:24:855", "ROWID": "5249000000032385" }, { "CREATORID": "3359000000006003", "MODIFIEDTIME": "2022-01-11 18:18:25:117", "CITYNAME": "Houston", "CREATEDTIME": "2022-01-11 18:18:25:117", "ROWID": "5249000000032386" }, { "CREATORID": "3359000000006003", "MODIFIEDTIME": "2022-01-11 18:18:25:120", "CITYNAME": "Chicago", "CREATEDTIME": "2022-01-11 18:18:25:120", "ROWID": "5249000000032387" } ], "message": "OK", "more_records": true, "next_token": "{{token}}" } ``` When the `more_records parameter` is set to false, the sample response is shown below: ```json { "status": 200, "content": [ { "CREATORID": "3359000000006003", "MODIFIEDTIME": "2022-01-11 18:18:43:556", "name": "San Diego", "CREATEDTIME": "2022-01-11 18:18:43:556", "ROWID": "5249000000032385" }, { "CREATORID": "3359000000006003", "MODIFIEDTIME": "2022-01-11 18:18:43:557", "name": "Phoenix", "CREATEDTIME": "2022-01-11 18:18:43:557", "ROWID": "5249000000032386" }, { "CREATORID": "3359000000006003", "MODIFIEDTIME": "2022-01-11 18:18:43:568", "name": "Seattle", "CREATEDTIME": "2022-01-11 18:18:43:568", "ROWID": "5249000000032387" } ], "message": "OK", "more_records": false } ``` > **Info :** Refer to the [SDK Scopes table](https://docs.catalyst.zoho.com/en/sdk/python/v1/sdk-scopes) to determine the required permission level for performing the above operation. -------------------------------------------------------------------------------- title: "Insert Rows" description: "This page describes the method to insert a single row or rows in bulk from a table in the Data Store in your Python application with sample code snippets." last_updated: "2026-11-03T07:48:52.000Z" source: "https://docs.catalyst.zoho.com/en/sdk/python/v1/cloud-scale/data-store/insert-rows/" service: "CloudScale" related: - Insert Rows - API (/en/api/code-reference/cloud-scale/data-store/insert-new-row/#InsertNewRow) - Data Store Help (/en/cloud-scale/help/data-store/introduction) - SDK Scopes (/en/sdk/python/v1/sdk-scopes) -------------------------------------------------------------------------------- # Insert Rows You can insert a new row in a table in the [Catalyst Data Store](https://docs.catalyst.zoho.com/en/cloud-scale/help/data-store/introduction) by referring to the table's unique ID or name. You can also insert multiple rows in a table as explained in the next section. The `table_service` reference used in the code below can either be a table instance or table meta created earlier. > **Note:** The table and the columns in it must already be created. You can [create a table](https://docs.catalyst.zoho.com/en/cloud-scale/help/data-store/tables/#create-a-new-table) and [the columns for it](https://docs.catalyst.zoho.com/en/cloud-scale/help/data-store/columns/#create-a-new-column) from the console. ### Insert a Single Row You must create a dictionary containing the row details in a {column name : column value} format, and pass it as an argument to the `insert_row()` method, as shown below. This inserts the rows in the table that you refer by its unique tablename or tableID. A unique `ID` value for the row is automatically generated once the row is inserted. To know more about the [component instance](https://docs.catalyst.zoho.com/en/sdk/python/v1/cloud-scale/data-store/get-component-instance/)`datastore_service` and the [table instance](https://docs.catalyst.zoho.com/en/sdk/python/v1/cloud-scale/data-store/get-table-instance/)`table_service` used below, please refer to their respective help sections. **Parameters Used**
Parameter Name Data Type Definition
`row_data` Array A **Mandatory** parameter. Will hold the details of the row to be inserted in key-value pairs.
```python #Insert a single row in the table datastore_service = app.datastore() table_service = datastore_service.table("Employee") row_data = {'name': 'George Hamilton', 'id': '6868', 'age': '22'} row_response = table_service.insert_row(row_data) ``` A sample response is shown below : ```javascript { CREATORID: "2136000000006003", MODIFIEDTIME: "2021-08-16 16:30:12:799", Name: "George Hamilton", Age: 22, ID: 6868, CREATEDTIME: "2021-08-16 16:30:12:799", ROWID: "2136000000011015" } ``` ### Insert Multiple Rows You can insert multiple rows in a table by constructing an array that contains the rows, and passing it as an argument to the `insert_rows()` method as shown below. To know more about the [component instance](https://docs.catalyst.zoho.com/en/sdk/python/v1/cloud-scale/data-store/get-component-instance/)`datastore_service` and the [table instance](https://docs.catalyst.zoho.com/en/sdk/python/v1/cloud-scale/data-store/get-table-instance/)`table_service` used below, please refer to their respective help sections. This returns a response containing an array of row objects. **Parameters Used**
Parameter Name Data Type Definition
`row_data` Array A **Mandatory** parameter. Will hold the details of the rows to be inserted in key-value pairs.
```python datastore_service = app.datastore() table_service = datastore_service.table("Employee") row_data = [{'name': 'Mark Wellington', 'id': '7218', 'age': '29'}, {'name': 'Zendaya Jones', 'id': '3211', 'age': '32'}] row_response = table_service.insert_rows(row_data) ``` A sample response is shown below : ```javascript [ { CREATORID: "2136000000006003", MODIFIEDTIME: "2021-08-25 13:55:04:904", Name: "Mark Wellington", Age: 29, ID: 7218, CREATEDTIME: "2021-08-25 13:55:04:904", ROWID: 2136000000011015 }, { CREATORID: "2136000000006003", MODIFIEDTIME: "2021-08-25 13:55:04:906", Name: "Zendaya Jones", Age: 32, ID: 3211, CREATEDTIME: "2021-08-25 13:55:04:906", ROWID: 2136000000011016 } ] ``` > **Info :** Refer to the [SDK Scopes table](https://docs.catalyst.zoho.com/en/sdk/python/v1/sdk-scopes) to determine the required permission level for performing the above operation. -------------------------------------------------------------------------------- title: "Update Rows" description: "This page describes the method to update a single row or rows in bulk in a table in the Data Store in your Python application with sample code snippets." last_updated: "2026-11-03T07:48:52.000Z" source: "https://docs.catalyst.zoho.com/en/sdk/python/v1/cloud-scale/data-store/update-rows/" service: "CloudScale" related: - Update Rows - API (/en/api/code-reference/cloud-scale/data-store/update-row/#UpdateRow) - Data Store Help (/en/cloud-scale/help/data-store/introduction) - SDK Scopes (/en/sdk/python/v1/sdk-scopes) -------------------------------------------------------------------------------- # Update Rows You can update a single row or multiple rows in a table in the [Catalyst Data Store](https://docs.catalyst.zoho.com/en/cloud-scale/help/data-store/introduction). The `table_service` reference used in the below code snippets can either be a table instance or table meta created earlier. ### Update a Single Row This particular method allows you to update a single row by constructing an object with modified values in the required columns. Refer the unique ROWID and pass the newly constructed object that contains the updated row details to the `update_row()` method. Please note that it is mandatory to specify the ROWID value here. To know more about the [component instance](https://docs.catalyst.zoho.com/en/sdk/python/v1/cloud-scale/data-store/get-component-instance/)`datastore_service` and the [table instance](https://docs.catalyst.zoho.com/en/sdk/python/v1/cloud-scale/data-store/get-table-instance/)`table_service` used below, please refer to their respective help sections. **Parameters Used**
Parameter Name Data Type Definition
`row_data` Array A **Mandatory** parameter. Will hold the details of the row to be updated in key-value pairs.
```python #Update a single row datastore_service = app.datastore() table_service = datastore_service.table("table_name") row_data = {'name': 'Mathew Jones', 'id': '7211', 'age': '31', 'ROWID': 2136000000011011} row_response = table_service.update_row(row_data) logging.info(row_response) ``` A sample response is shown below : ```javascript { CREATORID: "2136000000006003", MODIFIEDTIME: "2021-08-17 13:02:11:184", CREATEDTIME: "2021-08-16 16:29:10:499", Name: "Mathew Jones", ID : "7211", Age: 31, ROWID: "2136000000011011" } ``` ### Update Multiple Rows To update multiple rows, an array of objects is constructed containing the modified row values, which is passed as an argument to the `update_rows() ` method. The ROWIDs are used in corresponding array objects to refer the specific rows which requires modification. To know more about the [component instance](https://docs.catalyst.zoho.com/en/sdk/python/v1/cloud-scale/data-store/get-component-instance/)`datastore_service` and the [table instance](https://docs.catalyst.zoho.com/en/sdk/python/v1/cloud-scale/data-store/get-table-instance/)`table_service` used below, please refer to their respective help sections. The response returned here will be resolved to an array of row objects. **Parameters Used**
Parameter Name Data Type Definition
`row_data` Array A **Mandatory** parameter. Will hold the details of the rows to be updated in key-value pairs.
```python #Update multiple rows datastore_service = app.datastore() table_service = datastore_service.table("Employee") row_data = [{'name': 'Mathew Jones', 'id': '7211', 'age': '31', 'ROWID': 2136000000034043}, {'name': 'Rhonda Watson', 'id': '7212', 'age': '28', 'ROWID': 2136000000034045}] row_response = table_service.update_rows(row_data) ``` A sample response is shown below : ```javascript [ { CREATORID: "2136000000006003", MODIFIEDTIME: "2021-08-24 13:22:14:718", CREATEDTIME: "2021-08-24 13:12:55:999", Name: "Mathew Jones", ID : "7211", Age: 31, ROWID: "2136000000034043" }, { CREATORID: "2136000000006003", MODIFIEDTIME: "2021-08-24 13:22:14:728", CREATEDTIME: "2021-08-24 13:12:56:001", Name: "Rhonda Watson", ID : "7212", Age: 28, ROWID: "2136000000034045" } ] ``` > **Info :** Refer to the [SDK Scopes table](https://docs.catalyst.zoho.com/en/sdk/python/v1/sdk-scopes) to determine the required permission level for performing the above operation. -------------------------------------------------------------------------------- title: "Delete Row" description: "This page describes the method to delete a single row from a table in the Data Store in your Python application with sample code snippets" last_updated: "2026-11-03T07:48:52.000Z" source: "https://docs.catalyst.zoho.com/en/sdk/python/v1/cloud-scale/data-store/delete-row/" service: "CloudScale" related: - Delete Row - API (/en/api/code-reference/cloud-scale/data-store/delete-row/#DeleteRow) - Data Store Help (/en/cloud-scale/help/data-store/introduction) - SDK Scopes (/en/sdk/python/v1/sdk-scopes) -------------------------------------------------------------------------------- # Delete a row A row can be deleted from a table simply by passing the ROWID as a parameter to the `delete_row()` method. This method will return true as response on deletion of the row. To know more about the [component instance](https://docs.catalyst.zoho.com/en/sdk/python/v1/cloud-scale/data-store/get-component-instance/)`datastore_service` and the [table instance](https://docs.catalyst.zoho.com/en/sdk/python/v1/cloud-scale/data-store/get-table-instance/)`table_service` used below, please refer to their respective help sections. **Parameters Used**
Parameter Name Data Type Definition
`ROWID` String A **Mandatory** parameter. Will hold the ID of the row to be deleted.
```python #Delete a row datastore_service = app.datastore() table_service = datastore_service.table("CITY") row_response = table_service.delete_row(5249000000032461) ``` > **Info :** Refer to the [SDK Scopes table](https://docs.catalyst.zoho.com/en/sdk/python/v1/sdk-scopes) to determine the required permission level for performing the above operation. -------------------------------------------------------------------------------- title: "Bulk Read Rows" description: "This page describes the method to read rows in bulk from a table in the Data Store in your Python application with sample code snippets." last_updated: "2026-11-03T07:48:52.000Z" source: "https://docs.catalyst.zoho.com/en/sdk/python/v1/cloud-scale/data-store/bulk-read-rows/" service: "CloudScale" related: - Data Store Help (/en/cloud-scale/help/data-store/introduction) - SDK Scopes (/en/sdk/python/v1/sdk-scopes) -------------------------------------------------------------------------------- # Bulk Read Rows Catalyst allows you to perform bulk read jobs on a specific table present in the [Data Store](https://docs.catalyst.zoho.com/en/cloud-scale/help/data-store/introduction). In the SDK snippet below, the Bulk Read job can read thousands of records from a specific table and generate a CSV file containing the results of the read operation, if the job is successful.The table is referred to by its unique [`Table ID`](https://docs.catalyst.zoho.com/en/cloud-scale/help/data-store/tables/). To know more about the component instance `datastore_service` used below, please refer to [this help section](https://docs.catalyst.zoho.com/en/sdk/python/v1/cloud-scale/data-store/get-component-instance/).
Parameter Name Data Type Definition
`criteria` Array A **Mandatory** parameter. Will hold the conditions based on which the rows has to be read.
`page` Numeric A **Mandatory** parameter. Will hold the number of page rows that has to be read.
`select_columns` Array A **Mandatory** parameter. Will hold specific columns that has to be read.
Copy the SDK snippet below to perform a bulk read job on a particular table. ```python #Bulk read datastore_service = app.datastore() bulk_read = datastore_service.table("sampleTable").bulk_read() #Create bulk read job bulk_read_Job = bulk_read.create_job({ "criteria": { "group_operator": 'or', "group": [ { "column_name": 'Department', "comparator": 'equal', "value": 'Marketing' }, { "column_name": 'EmpId', "comparator": 'greater_than', "value": '1000' }, { "column_name": 'EmpName', "comparator": 'starts_with', "value": 'S' } ] }, "page": 1, "select_columns": ['EmpId', 'EmpName', 'Department'] }) #Get bulk read status status = bulk_read.get_status(bulk_read_Job['job_id']) #Get bulk read result result = bulk_read.get_result(bulk_read_Job['job_id']) ``` > **Note:** A maximum of **200,000 rows** can be read simultaneously. > **Info :** Refer to the [SDK Scopes table](https://docs.catalyst.zoho.com/en/sdk/python/v1/sdk-scopes) to determine the required permission level for performing the above operation. -------------------------------------------------------------------------------- title: "Bulk Write Rows" description: "This page describes the method to write rows in bulk from a table in the Data Store in your Python application with sample code snippets." last_updated: "2026-11-03T07:48:52.000Z" source: "https://docs.catalyst.zoho.com/en/sdk/python/v1/cloud-scale/data-store/bulk-write-rows/" service: "CloudScale" related: - Data Store Help (/en/cloud-scale/help/data-store/introduction) - SDK Scopes (/en/sdk/python/v1/sdk-scopes) -------------------------------------------------------------------------------- # Bulk Write Rows Catalyst enables you to perform bulk write jobs on a specific table present in the [Data Store](https://docs.catalyst.zoho.com/en/cloud-scale/help/data-store/introduction). The bulk write operation can fetch thousands of records from a CSV file uploaded in [Stratus](https://docs.catalyst.zoho.com/en/cloud-scale/help/stratus/introduction/) and insert them in a specific table. The table is referred to by its unique [`table ID`](https://docs.catalyst.zoho.com/en/cloud-scale/help/data-store/tables/) that is generated by Catalyst during creation. The column in which the write operation must be performed is referred to by its unique [column ID](https://docs.catalyst.zoho.com/en/cloud-scale/help/data-store/columns/#column-characteristics). > **Note:** To perform a bulk write operation, you must [first upload](https://docs.catalyst.zoho.com/en/cloud-scale/help/stratus/objects/upload-object/) the required data as a CSV file in Stratus.
Parameter Name Data Type Definition
`tableID` String A **Mandatory** parameter. Will hold the ID of the table to which data has to be written.
`find_by` String A **Mandatory** parameter. Will hold the name of the column to which data has to be written.
`fk_mapping` Array A **Mandatory** parameter. Will hold the local_column and reference_column details.
`operation` String A **Mandatory** parameter. The value of this parameter should be insert.
o`bject_details` JSON Object
  • `bucket_name`: The [name of the bucket](https://docs.catalyst.zoho.com/en/cloud-scale/help/stratus/buckets/name-bucket/#ideal-practices-to-name-a-bucket), where the object is stored.
  • `object_key`: Can contain the [path](https://docs.catalyst.zoho.com/en/cloud-scale/help/stratus/objects/introduction/#path) or the [Object URL](https://docs.catalyst.zoho.com/en/cloud-scale/help/stratus/objects/introduction/#object-url) of the required object.
  • `version_id`: If the bucket has [versioning](https://docs.catalyst.zoho.com/en/cloud-scale/help/stratus/stratus-config/general-settings/#versioning) enabled, then the specific versionID of the file will be stored in this attribute.
Copy the SDK snippet below to perform a bulk write job on a particular table. To know more about the component instance `datastore_service` used below, please refer to [this help section](https://docs.catalyst.zoho.com/en/sdk/python/v1/cloud-scale/data-store/get-component-instance/). ```python datastore_service = app.datastore() bulk_write = datastore_service.table("Sample").bulk_write() object_details = { "bucket_name": "zcstratus12345", "object_key": "sample.csv", "version_id": "64832huidksnd83" } #create bulk write job bulk_write_job = bulk_write.create_job(object_details, { "find_by": "S1", "fk_mapping": [ {"local_column": "EmployeeID", "reference_column": "EmpId"}, {"local_column": "DepartmentID", "reference_column": "DepId"} ], "operation": "insert" }) #get bulk write status status = bulk_write.get_status('6759000000167103') #get bulk write result result = bulk_write.get_result('6759000000167103') ``` > **Note:** A maximum of **100,000 rows** can be written at one time. > **Info :** Refer to the [SDK Scopes table](https://docs.catalyst.zoho.com/en/sdk/python/v1/sdk-scopes) to determine the required permission level for performing the above operation. -------------------------------------------------------------------------------- title: "Bulk Delete Rows" description: "This page describes the method to delete rows in bulk from a table in the Data Store in your Python application with sample code snippets." last_updated: "2026-11-03T07:48:52.000Z" source: "https://docs.catalyst.zoho.com/en/sdk/python/v1/cloud-scale/data-store/bulk-delete-rows/" service: "CloudScale" related: - Data Store Help (/en/cloud-scale/help/data-store/introduction) - SDK Scopes (/en/sdk/python/v1/sdk-scopes) -------------------------------------------------------------------------------- # Bulk Delete Rows Catalyst enables you to delete rows in bulk from a specific table in the [Catalyst Data Store](https://docs.catalyst.zoho.com/en/cloud-scale/help/data-store/introduction). The table is referred by its unique tableID or tablename. You can obtain the table ID from the Data Store or from the URL when the table is opened in the console. The bulk delete operation can delete a maximum of 200 rows in a single operation. You can pass the unique ROWIDs of the rows to be deleted in an array as shown in the sample code below. You must include at least one ROWID, and can include up to a maximum of 200 ROWIDs in the code snippet given below. The rows are passed to the `delete_rows()` function through datastore_service instance in the sample code. The tablename or tableID must be passed as a parameter to the `table()` method. The response returns a boolean value ( true or false ) based on the status of deletion. To know more about the [component instance](https://docs.catalyst.zoho.com/en/sdk/python/v1/cloud-scale/data-store/get-component-instance/)`datastore_service` and the [table instance](https://docs.catalyst.zoho.com/en/sdk/python/v1/cloud-scale/data-store/get-table-instance/)`table_service` used below, please refer to their respective help sections. **Parameters Used**
Parameter Name Data Type Definition
`ROWID` String A **Mandatory** parameter. Will hold the rowIDs to be deleted.
```python #Bulk delete rows datastore_service = app.datastore() table_service = datastore_service.table("sampleTable") row_response = table_service.delete_rows([6759000000159113, 6759000000159115, 5249000000032411]) ``` > **Info :** Refer to the [SDK Scopes table](https://docs.catalyst.zoho.com/en/sdk/python/v1/sdk-scopes) to determine the required permission level for performing the above operation. ### Data Streams -------------------------------------------------------------------------------- title: "Get Component Instance" description: "This page describes the method to create an instance of the Data Streams component in your Python application with sample code snippets." last_updated: "2026-11-03T07:48:52.000Z" source: "https://docs.catalyst.zoho.com/en/sdk/python/v1/cloud-scale/data-streams/get-component-instance/" service: "CloudScale" related: - Data Streams Help (/en/cloud-scale/help/data-streams/introduction) - SDK Scopes (/en/sdk/python/v1/sdk-scopes) -------------------------------------------------------------------------------- # Get Component Instance [Catalyst Data Streams](https://docs.catalyst.zoho.com/en/cloud-scale/help/data-streams/introduction/) lets you publish live, event-based data through channels and deliver it instantly to subscribed clients. You can create an instance of the Data Streams component to access all channel-level operations such as listing channels, publishing data, and generating WebSocket tokens. You must first create a Data Streams instance using the `datastreams()` method to perform any Data Streams operations. The `initialize_app()` method requires valid Catalyst credentials and app options from credential file or environment variables. ```python import zcatalyst_sdk # Initialize SDK (reads credentials + project options) app_sdk = zcatalyst_sdk.initialize_app() # Get the Datastreams component data_streams = app_sdk.datastreams() ``` -------------------------------------------------------------------------------- title: "Get Channels" description: "This page describes the methods to retrieve all channels or specific channel details from Catalyst Data Streams in your Python application." last_updated: "2026-11-04T10:10:44.000Z" source: "https://docs.catalyst.zoho.com/en/sdk/python/v1/cloud-scale/data-streams/get-channels/" service: "CloudScale" related: - Data Streams Help (/en/cloud-scale/help/data-streams/introduction) - SDK Scopes (/en/sdk/python/v1/sdk-scopes) -------------------------------------------------------------------------------- # Get Channels [Catalyst Data Streams](https://docs.catalyst.zoho.com/en/cloud-scale/help/data-streams/introduction/) allows you to retrieve information about channels created in your project. You can fetch a list of all channels or get detailed information about a specific channel. The `data_streams` reference used in the below code snippets is the component instance created earlier. To know more about this instance, please refer to [this section](https://docs.catalyst.zoho.com/en/sdk/python/v1/cloud-scale/data-streams/get-component-instance/). ### Get All Channels This method fetches the list of all Data Streams channels that are created in the project using the `get_all_channels()` method. ```python # Get all channels (admin) channels = data_streams.get_all_channels() ``` ### Get Channel Details This method retrieves the metadata and configuration details of a specific channel by passing the channel ID to the `get_channel_details()` method. **Parameters Used**
Parameter Name Data Type Definition
`channel_id` String A **Mandatory** parameter. Holds the unique ID of the channel.
```python # Get channel details channel = data_streams.get_channel_details("CHANNEL_ID") ``` -------------------------------------------------------------------------------- title: "Generate Token Pair" description: "This page describes the methods to generate WebSocket access tokens for subscribers in your Python application with sample code snippets." last_updated: "2026-11-03T07:48:52.000Z" source: "https://docs.catalyst.zoho.com/en/sdk/python/v1/cloud-scale/data-streams/generate-token-pair/" service: "CloudScale" related: - Data Streams Help (/en/cloud-scale/help/data-streams/introduction) - SDK Scopes (/en/sdk/python/v1/sdk-scopes) -------------------------------------------------------------------------------- # Generate Token Pair Before a client can subscribe to a [Data Streams](https://docs.catalyst.zoho.com/en/cloud-scale/help/data-streams/introduction/) channel, it must obtain a token pair to authenticate the WebSocket connection. The token pair can be generated using either a user ID or a connection name. You can generate the token pair in two ways as described in this section. The `data_streams` reference used below is the component instance created earlier. To know more about this instance, please refer to [this section](https://docs.catalyst.zoho.com/en/sdk/python/v1/cloud-scale/data-streams/get-component-instance/). ### Get Token Pair using User ID This method generates a token pair by passing the channel ID and the user ID to the `get_token_pair()` method. The user ID represents the unique identifier of the application user who is subscribing to the channel. **Parameters Used**
Parameter Name Data Type Definition
`channel_id` String A **Mandatory** parameter. Holds the unique ID of the channel.
`user_id` String A **Mandatory** parameter. Holds the unique ID of the user subscribing to the channel.
```python # Get token pair using user id token_by_user = data_streams.get_token_pair("CHANNEL_ID", user_id="USER_ID") ``` ### Get Token Pair using Connection Name This method generates a token pair by passing the channel ID and a connection name to the `get_token_pair()` method. The connection name is a custom identifier for the subscriber connection. **Parameters Used**
Parameter Name Data Type Definition
`channel_id` String A **Mandatory** parameter. Holds the unique ID of the channel.
`connection_name` String A **Mandatory** parameter. Holds the custom identifier for the subscriber connection.
```python # Get token pair using connection name token_by_connection = data_streams.get_token_pair("CHANNEL_ID", connection_name="CONNECTION_NAME") ``` -------------------------------------------------------------------------------- title: "Get Live Count" description: "This page describes the method to retrieve the number of active subscribers connected to a Data Streams channel in your Python application." last_updated: "2026-11-04T10:10:44.000Z" source: "https://docs.catalyst.zoho.com/en/sdk/python/v1/cloud-scale/data-streams/get-live-count/" service: "CloudScale" related: - Data Streams Help (/en/cloud-scale/help/data-streams/introduction) - SDK Scopes (/en/sdk/python/v1/sdk-scopes) -------------------------------------------------------------------------------- # Get Live Count [Catalyst Data Streams](https://docs.catalyst.zoho.com/en/cloud-scale/help/data-streams/introduction/) allows you to track the number of active subscribers currently connected to a specific channel. This is useful for monitoring channel activity and implementing conditional logic based on subscriber presence. You can retrieve the live subscriber count by passing the channel ID to the `get_live_count()` method. The `data_streams` reference used below is the component instance created earlier. To know more about this instance, please refer to [this section](https://docs.catalyst.zoho.com/en/sdk/python/v1/cloud-scale/data-streams/get-component-instance/). **Parameters Used**
Parameter Name Data Type Definition
`channel_id` String A **Mandatory** parameter. Holds the unique ID of the channel.
```python # Get live count (active subscribers) live_count = data_streams.get_live_count("CHANNEL_ID") ``` -------------------------------------------------------------------------------- title: "Publish Data" description: "This page describes the method to publish real-time data to a Data Streams channel in your Python application with sample code snippets." last_updated: "2026-11-03T07:48:52.000Z" source: "https://docs.catalyst.zoho.com/en/sdk/python/v1/cloud-scale/data-streams/publish-data/" service: "CloudScale" related: - Data Streams Help (/en/cloud-scale/help/data-streams/introduction) - SDK Scopes (/en/sdk/python/v1/sdk-scopes) -------------------------------------------------------------------------------- # Publish Data [Catalyst Data Streams](https://docs.catalyst.zoho.com/en/cloud-scale/help/data-streams/introduction/) enables you to publish real-time data to a channel. Any active subscribers connected to that channel will receive the published data instantly through their WebSocket connections. You can publish data to a channel by passing the channel ID and the data payload to the `publish_data()` method. The `data_streams` reference used below is the component instance created earlier. To know more about this instance, please refer to [this section](https://docs.catalyst.zoho.com/en/sdk/python/v1/cloud-scale/data-streams/get-component-instance/). **Parameters Used**
Parameter Name Data Type Definition
`channel_id` String A **Mandatory** parameter. Holds the unique ID of the channel.
`data` Object A **Mandatory** parameter. Holds the data payload to be published to the channel.
```python # Publish a message to all subscribers of the channel publish_response = data_streams.publish_data("CHANNEL_ID", "Hello, subscribers!") ``` -------------------------------------------------------------------------------- title: "WebSocket Connection" description: "This page describes how to connect to a Data Streams channel over WebSocket and subscribe to real-time data in your Python application." last_updated: "2026-11-04T10:10:44.000Z" source: "https://docs.catalyst.zoho.com/en/sdk/python/v1/cloud-scale/data-streams/websocket-connection/" service: "CloudScale" related: - Data Streams Help (/en/cloud-scale/help/data-streams/introduction) - SDK Scopes (/en/sdk/python/v1/sdk-scopes) -------------------------------------------------------------------------------- # WebSocket Connection [Catalyst Data Streams](https://docs.catalyst.zoho.com/en/cloud-scale/help/data-streams/introduction/) enables clients to receive real-time data by establishing a WebSocket connection to a channel. The client listens for published messages and processes them as they are received. To subscribe to a channel, you must first generate a token pair, then create a WebSocket client with the token credentials, and finally set event handlers to handle incoming messages. ## Connect and Subscribe ```python import zcatalyst_sdk from zcatalyst_sdk.datastreams.websocket_client import DataStreamsWebSocket from zcatalyst_sdk.types.datastreams import DataStreamsConfig # Initialize SDK app_sdk = zcatalyst_sdk.initialize_app() data_streams = app_sdk.datastreams() # Get token pair (required to authenticate WebSocket) token = data_streams.get_token_pair("CHANNEL_ID", user_id="USER_ID") # Create WebSocket config config = DataStreamsConfig( url=token["url"], zuid=token["wss-id"], key=token["key"], enable_logging=True, ) # Create WebSocket client websocket_client = DataStreamsWebSocket(config=config) def on_open(event): # Subscribe after connection is established websocket_client.subscribe("0") def on_message(event): # event.data: inline payload # event.url + event.method: bulk payload retrieval info print("streaming_id:", event.streaming_id) print("data:", event.data) print("url:", event.url) print("method:", event.method) # Acknowledge to receive the next message websocket_client.send_ack() def on_error(event): # CustomEvent with code/message/data print("error:", event.code, event.message, event.data) def on_close(event): # Close details (if any) print("closed:", event) websocket_client.set_on_open(on_open) websocket_client.set_on_message(on_message) websocket_client.set_on_error(on_error) websocket_client.set_on_close(on_close) # Connect (runs WebSocket in a background thread) websocket_client.connect() ``` ## WebSocket Client Methods The `DataStreamsWebSocket` client provides the following methods to manage the WebSocket connection and subscription.
Method Description
`connect()` Establishes the WebSocket connection. The connection runs in a background thread.
`subscribe(subscribe_type="0")` Subscribes to the channel with the specified [subscribe type](https://docs.catalyst.zoho.com/en/cloud-scale/help/data-streams/implementation/subscribe-websocket/#choose-your-subscriber-type). Defaults to `"0"` (live data).
`unsubscribe()` Unsubscribes from the channel.
`send_ack()` Sends an acknowledgement to receive the next streaming data.
`close()` Closes the WebSocket connection.
`is_connected()` Returns whether the connection is currently open, as a bool.
`get_connection_state()` Returns the current `ConnectionState`.
`get_session_info()` Returns the session information as a `Dict[str, str]`.
### Mail -------------------------------------------------------------------------------- title: "Get Mail Instance" description: "This page describes the method to send out emails to end-users from your Python application with sample code snippets." last_updated: "2026-11-03T07:48:52.000Z" source: "https://docs.catalyst.zoho.com/en/sdk/python/v1/cloud-scale/mail/get-component-instance/" service: "CloudScale" related: - Mail Help (/en/cloud-scale/help/mail/introduction) -------------------------------------------------------------------------------- # Catalyst Mail [Catalyst Mail](https://docs.catalyst.zoho.com/en/cloud-scale/help/mail/introduction) enables you to add the email addresses of your business that will be used to send emails to the end-users from your Catalyst application. You can configure email addresses of public domains or of your organization's own domains. You can also use an external email client of your choice and configure its SMTP settings with Catalyst, instead of using the built-in Catalyst email client. This section covers the various SDK methods that can be used to implement the Catalyst Mail functionality in your application. ### Get a Component Instance A component instance is an object that can be used to access the pre-defined configurations specific to a particular component. This process will not fire a server-side call. The `app` reference used in the code below is the [Python object](https://docs.catalyst.zoho.com/en/sdk/python/v1/setup/#initializing-the-sdk) returned as a response during SDK initialization. You can create a new `mail_service`instance as shown below. Also note that this component instance will be used in multiple scenarios while implementing the Catalyst Mail service in your application. ```python #Get a mail component instance mail_service = app.email() ``` -------------------------------------------------------------------------------- title: "Send Email" description: "This page describes the method to send out emails to end-users from your Python application with sample code snippets." last_updated: "2026-11-03T07:48:52.000Z" source: "https://docs.catalyst.zoho.com/en/sdk/python/v1/cloud-scale/mail/send-email/" service: "CloudScale" related: - Send Email - API (/en/api/code-reference/cloud-scale/mail/send-email/#SendEmail) - Mail Help (/en/cloud-scale/help/mail/introduction) - SDK Scopes (/en/sdk/python/v1/sdk-scopes) -------------------------------------------------------------------------------- # Send Mail You must configure the domains, email addresses, and the SMTP settings for an email client of your choice from the console. The code shown here enables you to send emails to the email addresses you specify from your Catalyst application. Catalyst enables you to set multiple email addresses as the receivers, and to CC, BCC, and reply to through a single send mail operation. You can also attach files in your email. The **maximum supported limits** for email recipients and file attachments in a single send mail operation are specified below: * **To address:** 10 * **CC:** 10 * **BCC:** 5 * **Reply to:** 5 * **Number of file attachments:** 5 * **Size of file attachments:** 15 MB (through a single file or multiple files upto 5 files) > **Note:** The subject, sender, and atleast one recipient email addresses are mandatory. Other attributes of the email are optional. #### Create a Dictionary You must initially create a dictionary containing the required attributes of the email. This includes the sender's email address and all the recipients of the email. You should first [configure](https://docs.catalyst.zoho.com/en/cloud-scale/help/mail/email-configuration/) and verify the sender's email address in the Catalyst console. If the sender's email is hosted on a private domain or if you choose to use a third-party email client, you must configure them before sending emails as well. ```python #Create a dictionary mail_obj = { 'from_email': 'emma@zylker.com', 'to_email': ["vanessa.hyde@zoho.com"], 'cc': ["robert.plant@zylker.com"], 'bcc': ["ham.gunn@zylker.com", "rover.jenkins@zylker.com"], 'reply_to': ["peter.d@zoho.com", "arnold.h@zoho.com"], 'subject': 'Greetings from Zylker Corp!', 'attachments': [file1], 'content': "

Hello,

We're glad to welcome you at Zylker Corp. To begin your journey with us, please download the attached KYC form and fill in your details. You can send us the completed form to this same email address.

We cannot wait to get started!

Cheers!

Team Zylker

" } ``` ### Send Email You must now pass the configured dictionary to the `send_mail()` method as an argument as shown in the code below. This will initiate the email sending process. To know more about the component instance `mail_service` used below, please refer to [this help section](https://docs.catalyst.zoho.com/en/sdk/python/v1/cloud-scale/mail/get-component-instance/). **Parameters Used**
Parameter Name Data Type Definition
`mail_obj` Object A **Mandatory** parameter. Will store details of the sender's email address, recipient's email address, CC, BCC, reply-to address, subject, attachments, and email content.
```python #Send Email mail_service = app.email() response = mail_service.send_mail(mail_obj) ``` A sample response is given below : ```json { isAsync: false, project_details: { project_name: "Onboarding", id: "2136000000007733" }, from_email: ["emma@zylker.com"], to_email: ["vanessa.hyde@zoho.com"], cc:["robert.plant@zylker.com"], bcc:["ham.gunn@zylker.com","rover.jenkins@zylker.com"], reply_to:["peter.d@zoho.com","arnold.h@zoho.com"], html_mode: true, subject: "Greetings from Zylker Corp!", content: "

Hello,

We're glad to welcome you at Zylker Corp. To begin your journey with us, please download the attached KYC form and fill in your details. You can send us the completed form to this same email address.

We cannot wait to get started!

Cheers!

Team Zylker

" } ``` > **Info :** Refer to the [SDK Scopes table](https://docs.catalyst.zoho.com/en/sdk/python/v1/sdk-scopes) to determine the required permission level for performing the above operation. ### NoSQL -------------------------------------------------------------------------------- title: "Get Component Instance" description: "Catalyst NoSQL is a fully-managed, non-relational database. This page describes the SDK method to create a new NoSQL component instance." last_updated: "2026-11-04T10:10:44.000Z" source: "https://docs.catalyst.zoho.com/en/sdk/python/v1/cloud-scale/nosql/get-component-instance/" service: "CloudScale" related: - NoSQL (/en/cloud-scale/help/nosql/introduction) - NoSQL API (/en/api/code-reference/cloud-scale/nosql/insert-item/#InsertNewItem) - NoSQL Java SDK (/en/sdk/java/v1/cloud-scale/nosql/get-table-metadata/) - JavaScript SDK (/en/sdk/javascript/v1/zia-services/overview/) -------------------------------------------------------------------------------- # Get Component Instance [Catalyst NoSQL](https://docs.catalyst.zoho.com/en/cloud-scale/help/nosql/introduction/) is a fully managed non-relational, NoSQL data storage feature that enables you to store the semi-structured, unstructured, and disparate data of your applications. Catalyst supports document-type data storage in the key-value pair based JSON format. The Catalyst NoSQL Python SDK package enables you to perform CRUD data operations on your NoSQL tables in your project. You can fetch the metadata of your NoSQL tables, create NoSQL items of various supported data types, and insert, update, fetch, or delete items in a specific table. You can also query tables or indexes of tables by specifying query conditions. ### Create a NoSQL Instance A component instance is an object that can be used to access the pre-defined configurations specific to a particular component. You can create a NoSQL object to perform SDK operations in Python as shown below. This will not fire a server-side call. We will refer to this nosql instance in various code snippets of working with NoSQL. The `app` reference used to create the NoSQL instance is the Python object returned as the response during the [SDK initialization](https://docs.catalyst.zoho.com/en/sdk/python/v1/setup/#initializing-the-sdk). ```python #Create a NoSQL instance nosql = app.nosql() ``` -------------------------------------------------------------------------------- title: "Get Table Metadata" description: "Catalyst NoSQL is a fully-managed, non-relational database. This page describes the SDK method to fetch NoSQL table metadata." last_updated: "2026-11-04T10:10:44.000Z" source: "https://docs.catalyst.zoho.com/en/sdk/python/v1/cloud-scale/nosql/get-table-metadata/" service: "CloudScale" related: - NoSQL (/en/cloud-scale/help/nosql/introduction) - Create and Manage Tables (/en/cloud-scale/help/nosql/create-manage-tables/) -------------------------------------------------------------------------------- # Get NoSQL Table Metadata You can get the metadata of a single [Catalyst NoSQL](https://docs.catalyst.zoho.com/en/cloud-scale/help/nosql/introduction/) table or of all tables in your project as described below. ### Get Metadata of Single Table The metadata of a single table in Catalyst NoSQL can be obtained by referring the table name using the method `getTable()` as given below. The response will contain details of the table configuration, such as the partition key and sort key, TTL attribute, and more. The `nosql` reference used in the code snippets below is the component instance created to perform these operations. ```python # Create a NoSQL instance nosql = app.nosql() #Get table metadata using the table name table_details = nosql.get_table_resources("EmpTable") print(table_details) ``` > **Note:** If you rename the table, you will need to update the changes in your code. ### Get Metadata of All Tables Catalyst enables you to fetch the metadata of all the tables in your project using the `get_all_tables()` method as shown below. ```python table_res = nosql.get_all_tables() print(table_res) ``` -------------------------------------------------------------------------------- title: "Get Table Instance" description: "Catalyst NoSQL is a fully-managed, non-relational database. This page describes the SDK method to create a NoSQL table instance." last_updated: "2026-11-04T10:10:44.000Z" source: "https://docs.catalyst.zoho.com/en/sdk/python/v1/cloud-scale/nosql/get-table-instance/" service: "CloudScale" related: - NoSQL (/en/cloud-scale/help/nosql/introduction) - Create and Manage Tables (/en/cloud-scale/help/nosql/create-manage-tables/) -------------------------------------------------------------------------------- # Get NoSQL Table Instance [Catalyst NoSQL](https://docs.catalyst.zoho.com/en/cloud-scale/help/nosql/introduction/) enables you to fetch an empty table instance of a NoSQL table. You can then use this instance to refer to that table and perform all supported table operations. This process will not fire a server-side call. You can get an instance of your NoSQL table by referring to the table's name as shown in this section. The `nosql` reference used in the code snippets below is the [component instance](https://docs.catalyst.zoho.com/en/sdk/python/v1/cloud-scale/nosql/get-component-instance/) created earlier. ```python table = nosql.get_table('employees') # Create a table instance with the table name ``` -------------------------------------------------------------------------------- title: "Construct Item" description: "Catalyst NoSQL is a fully-managed, non-relational database. This page describes the methods to construct NoSQL items of various data types." last_updated: "2026-11-04T10:10:44.000Z" source: "https://docs.catalyst.zoho.com/en/sdk/python/v1/cloud-scale/nosql/construct-item/" service: "CloudScale" related: - NoSQL (/en/cloud-scale/help/nosql/introduction) - Basic Components (/en/cloud-scale/help/nosql/components/#basic-components) - Supported Data Types in NoSQL (/en/cloud-scale/help/nosql/working-with-data/introduction/) -------------------------------------------------------------------------------- # Construct NoSQL Item [Catalyst NoSQL](https://docs.catalyst.zoho.com/en/cloud-scale/help/nosql/introduction/) items represent a collection of attributes that hold the data of a single data point, like records. You can insert or update items into an existing NoSQL table in your project in a [Custom JSON format](https://docs.catalyst.zoho.com/en/cloud-scale/help/nosql/working-with-data/introduction/#the-catalyst-custom-json-format). However, before you insert or update an item in Catalyst, you will need to construct the item. You can construct a NoSQL item of attributes containing different data types supported by Catalyst as described in the section below. Catalyst supports several data types such as String, Number, Set of Strings, Set of Numbers, List, and Map. Refer to the full list of [supported data types](https://docs.catalyst.zoho.com/en/cloud-scale/help/nosql/working-with-data/introduction/#supported-data-types) to learn more. You must mandatorily provide the values for the partition key attribute that you configured for a table in every data item. Refer to the [Table Keys help section](https://docs.catalyst.zoho.com/en/cloud-scale/help/nosql/components/#table-keys) to learn about the table keys, TTL attribute, and other details. The code snippet below shows the formats for constructing an item with attributes of different data types: ```python # Construct a NoSQL item of different data types attributes = { # string "custom_attrib_string": { "S": "John Doe" }, # Number "custom_attrib_num": { "N": "234521" }, # Binary encoded value "custom_attrib_bin": { "B": "SGVsbG9Xb3JsZA==" }, # Set of string "custom_attrib_set_string": { "SS": ["John Doe", "New York", "USA"] }, # set of numbers "custom_attrib_set_num": { "SN": ["23423", "821n", "11"] }, # set of binary values "custom_attrib_set_bin": { "SB": ["SGVsbG8=", "V29ybGQ="] }, # boolean attribute "custom_attrib_bool": { "BOOL": True }, # list attribute "custom_attrib_list": { "L": [{"name": "banana"}, {"quantity": 4}] }, # map attribute "custom_attrib_map": { "M": { "name": { "S": "John Doe" }, "age": { "N": "23" } } } } ``` -------------------------------------------------------------------------------- title: "Insert Items" description: "Catalyst NoSQL is a fully-managed, non-relational database. This page describes the SDK methods to insert items in a NoSQL table in various ways." last_updated: "2026-11-04T10:10:44.000Z" source: "https://docs.catalyst.zoho.com/en/sdk/python/v1/cloud-scale/nosql/insert-items/" service: "CloudScale" related: - NoSQL (/en/cloud-scale/help/nosql/introduction) - Working with Data (/en/cloud-scale/help/nosql/working-with-data/introduction/) - NoSQL API (/en/api/code-reference/cloud-scale/nosql/insert-item/#InsertNewItem) -------------------------------------------------------------------------------- # Insert Items in NoSQL Tables Catalyst enables you to insert items in a specific [NoSQL](https://docs.catalyst.zoho.com/en/cloud-scale/help/nosql/introduction/) table after you construct them. The items can be inserted in different ways as described in this section. You can refer to the help sections on adding and working with data, the [Catalyst custom JSON format](https://docs.catalyst.zoho.com/en/cloud-scale/help/nosql/working-with-data/introduction/#the-catalyst-custom-json-format), and the [supported data types](https://docs.catalyst.zoho.com/en/cloud-scale/help/nosql/working-with-data/introduction/#supported-data-types) to learn these topics in detail. > **Note:** Catalyst enables you to insert a maximum of 25 items in bulk in a NoSQL table with a single SDK operation. ### Insert Items without Conditions You can insert new items into a NoSQL table without any conditions by constructing the items in the Catalyst custom JSON format. This will require you to mandatorily pass the values for the [partition key and sort key](https://docs.catalyst.zoho.com/en/cloud-scale/help/nosql/components/#table-keys) attributes configured for the table. For example, in the code snippet below, the values for the partition key and sort key attributes of the item, fruitName and Location respectively, are provided. Other attributes of the string data type such as `fruitType` and `availability` are provided as a list `fruitProperties`. The item is then inserted using the `insert_items()` method. ```python # Insert a NoSQL item without conditions item = { "fruitName": { "S": "Banana" }, "Location": { "S": "Indonesia" }, "fruitProperties": { "L": [ { "fruitType": "Berries" }, { "availability": "abundant" } } ] } } # Insert the item based on the defined condition and set the item to be returned in the response. Other supported values are "OLD" and "NULL" res = table.insert_items({ 'item': item, 'return': 'NEW' }) ``` ### Insert Items with Conditional Functions You can insert attributes in existing items in a NoSQL table using specific conditions that you define in the Catalyst custom JSON format. In this type, the existing data of the table is retrieved and evaluated against the specified condition. The items are inserted only if the evaluation is true. If there is no existing data, the conditions are ignored and the items are inserted. Catalyst supports multiple operators to evaluate conditions. The supported operators are represented as shown below.
Operators Notation
CONTAINS `contains`
NOT_CONTAINS `not_contains`
BEGINS_WITH `begins_with`
ENDS_WITH `ends_with`
IN `in`
NOT_IN `not_in`
BETWEEN `between`
NOT_BETWEEN `not_between`
EQUALS `equals`
NOT_EQUALS `not_equals`
GREATER_THAN `greater_than`
LESS_THAN `less_than`
GREATER_THAN_OR_EQUALS `greater_equal`
LESSER_THAN_OR_EQUALS `less_equal`
AND `AND`
OR `OR`
The example below illustrates this by defining a condition for the nested attribute `fruitColour` in the existing data to contain the value "Yellow". This attribute is part of the attribute `fruitProperties`. If the condition is satisfied, the attributes `fruitType` and `availability` are added to the items. The item is then inserted using the `insert_items()` method. ```python # Insert a NoSQL item with a conditional function condition_function = { "function": { "function_name": "attribute_type", "args": [ { "attribute_path": ["fruitProperties", "[0]"] }, { "fruitColour": "Yellow" } ] } } item = { "Location": { "S": "Indonesia" }, "fruitName": { "S": "Banana" }, "fruitProperties": { "L": [ { "fruitType": "Berries" }, { "availability": "abundant" } } ] } } # Insert the item based on the defined condition and set the return value in the response. Other supported values are "OLD" and "NULL" res = table.insert_items({ 'item': item, 'condition': condition_function, 'return': 'NEW' }) ``` ### Insert Items with Conditional Operators Catalyst also enables you to insert items based on conditions defined with operators in the Catalyst custom JSON format. The existing data of the table is retrieved and evaluated against the specified condition. The items are inserted only if the evaluation is true. If there is no existing data, the conditions are ignored and the items are inserted. Catalyst supports multiple operators to evaluate conditions, as listed in the [previous section](https://docs.catalyst.zoho.com/en/sdk/python/v1/cloud-scale/nosql/insert-items/#insert-items-with-conditional-functions). The example below illustrates inserting an item based on conditions defined with the `between` operator. The condition states that only when the attribute `count` has values between 0 and 10 in the existing data, the attributes `backupID` and `count` are to be inserted in those items. The item is inserted with the `insert_items()` method. ```python # Insert a NoSQL item with a conditional operator condition_function = { "attribute": ["count"], "operator": "between", "value": { "L": [ { "N": "0" }, { "N": "10" } ] } } item = { "countryCode": { "N": 054 }, "backupID": { "N": 2379992 }, "count": { "N": "3" } } # Insert the item based on the defined condition and set the return value in the response. Other supported values are "OLD" and "NULL" res = table.insert_items({ 'item': item, 'condition': condition_function, 'return': 'NEW' }) ``` -------------------------------------------------------------------------------- title: "Update Items" description: "Catalyst NoSQL is a fully-managed, non-relational database. This page describes the SDK method to update items in a NoSQL table." last_updated: "2026-11-04T10:10:44.000Z" source: "https://docs.catalyst.zoho.com/en/sdk/python/v1/cloud-scale/nosql/update-items/" service: "CloudScale" -------------------------------------------------------------------------------- # Update NoSQL Items in Table Catalyst enables you to update items in a specific [NoSQL](https://docs.catalyst.zoho.com/en/cloud-scale/help/nosql/introduction/) table after you construct them. An item can be updated by identifying it using its [primary keys](https://docs.catalyst.zoho.com/en/cloud-scale/help/nosql/components/#table-keys). For instance, you can use just the partition key or a combination of the partition key and sort key to identify the item. You can then define the update operation type with the appropriate HTTP request method and provide the attributes and values to be updated in the item. > **Note:** Catalyst enables you to update a maximum of 25 items in bulk in a NoSQL table with a single SDK operation. The example below illustrates this by retrieving an item with the partition key `fruitName` and the sort key `location`. The attributes of this item to be updated are `color` and `taste`. The values for all these attributes are provided. You can also optionally define a condition for update. The update will occur only if the condition is met. ```python # Update a NoSQL item by identifying it with its primary keys res = table.update_items({ "keys": { "fruitName": { "S": "Banana" }, "location": { "S": "Indonesia" } },# Define the attributes to be updated in the item "update_attributes": [ { "operation_type": "PUT", "color": { "S": "Yellow" }, "taste": { "S": "Sweet" }, "attribute_path": "fruitProperties" } ],# Define a condition. The item will be updated only if this is satisfied. (optional) "condition" : { "function": { "function_name": "attribute_exists", "args": [ { "attribute_path": "fruitProperties" } ] } } }) print(res) ``` -------------------------------------------------------------------------------- title: "Fetch Items" description: "Catalyst NoSQL is a fully-managed, non-relational database. This page describes the SDK method to fetch items from a NoSQL table." last_updated: "2026-11-04T10:10:44.000Z" source: "https://docs.catalyst.zoho.com/en/sdk/python/v1/cloud-scale/nosql/fetch-items/" service: "CloudScale" related: - NoSQL (/en/cloud-scale/help/nosql/introduction) - Basic Components (/en/cloud-scale/help/nosql/components/#basic-components) - Working with Data (/en/cloud-scale/help/nosql/working-with-data/introduction/) - NoSQL API (/en/api/code-reference/cloud-scale/nosql/fetch-item/#FetchItem) -------------------------------------------------------------------------------- # Fetch Items from NoSQL Table Catalyst enables you to fetch items from a [NoSQL](https://docs.catalyst.zoho.com/en/cloud-scale/help/nosql/introduction/) table by identifying them with their [primary keys](https://docs.catalyst.zoho.com/en/cloud-scale/help/nosql/components/#table-keys). For instance, you can use just the partition key or a combination of the partition key and sort key to fetch the item. You can also optionally filter the attributes to be fetched by specifying the required attributes. > **Note:** Catalyst enables you to fetch a maximum of 100 items from a NoSQL table in a single SDK read operation. The example below illustrates fetching an item identified by its partition key `fruit` and the sort key `location` using `fetch_item()`. Specific attributes such as `properties` and `taste` are filtered to be fetched using `required_objects`. ```python # Fetch properties of a NoSQLItem identified with the partition key and sort key res = table.fetch_item({ "keys": [ { "fruit": { "S": "apple" }, "location: { "S": "USA" } } ], # Specify the attributes to be fetched 'required_objects': ["properties", "taste"] }) print(res) ``` -------------------------------------------------------------------------------- title: "Query Table" description: "Catalyst NoSQL is a fully-managed, non-relational database. This page describes the SDK method to query a NoSQL table." last_updated: "2026-11-04T10:10:44.000Z" source: "https://docs.catalyst.zoho.com/en/sdk/python/v1/cloud-scale/nosql/query-table/" service: "CloudScale" related: - NoSQL (/en/cloud-scale/help/nosql/introduction) - Table Keys (/en/cloud-scale/help/nosql/components/#table-keys) - JavaScript SDK (/en/sdk/javascript/v1/cloudscale/nosql/query-table/) -------------------------------------------------------------------------------- # Query NoSQL Table Catalyst enables you to query a [NoSQL](https://docs.catalyst.zoho.com/en/cloud-scale/help/nosql/introduction/) table and retrieve data by identifying the items using the [primary keys](https://docs.catalyst.zoho.com/en/cloud-scale/help/nosql/components/#table-keys) of the table. For instance, you can use just the partition key or a combination of the partition key and sort key to retrieve the item. > **Note:** Catalyst enables you to retrieve a maximum of 100 items in bulk from a NoSQL table with pagination from a single SDK operation. You must use the `start_key` token received in the SDK response and construct the logic for pagination. You can define the key condition that identifies the item by specifying the attributes, their required values, and the supported operator to be used. You can also specify additional conditions with the group operators. The supported operators are represented as shown below.
Operators Notation
CONTAINS `contains`
NOT_CONTAINS `not_contains`
BEGINS_WITH `begins_with`
ENDS_WITH `ends_with`
IN `in`
NOT_IN `not_in`
BETWEEN `between`
NOT_BETWEEN `not_between`
EQUALS `equals`
NOT_EQUALS `not_equals`
GREATER_THAN `greater_than`
LESS_THAN `less_than`
GREATER_THAN_OR_EQUALS `greater_equal`
LESSER_THAN_OR_EQUALS `less_equal`
AND `AND`
OR `OR`
In the example below, the query is executed using the `queryTable()` method by identifying the items using the partition key `fruitType` and specifying the condition value as "citrus". We also specify an additional condition with the attribute location matching "USA". Catalyst NoSQL also lets you define other elements of the query, such using `consistent_read` to indicate if the read operation must be done using the master or a slave cluster, limiting the number of rows to be returned, and specifying the sorting order as ascending. > **Note:** In the master-slave replication, the master contains all the data of the database, and the slave contains copies from the master. Performing a read operation from the slave can reduce the overall cost with the trade-off being a minor delay in the updated data being reflected. ```python # Query a NoSQL table to fetch the items identified by the partition key fruitType with the value "citrus" res = table.query_table( { # Set consistent_read to true to query from master. If set to false, it is queried from slave. 'consistent_read': 'true',# Set forwardScan to true to sort the results in ascending order. Otherwise, it is sorted in the descending order. 'forwardScan': 'true',# Limit the number of rows to be returned by specifying a value 'limit': 10,# Define the key condition to identify items 'key_condition': { 'attribute': 'fruitType', 'operator': 'equals', 'value': { 'S': 'citrus' } }, # Specify additional conditions to query the table items using group operators 'other_condition': { 'group_operator': 'and', 'group': [ { 'attribute': 'location', 'operator': 'equals', 'value': { 'S': 'USA' } } ] } }) print(res) ``` -------------------------------------------------------------------------------- title: "Query Index" description: "Catalyst NoSQL is a fully-managed, non-relational database. This page describes the SDK method to query a NoSQL index." last_updated: "2026-11-04T10:10:44.000Z" source: "https://docs.catalyst.zoho.com/en/sdk/python/v1/cloud-scale/nosql/query-index/" service: "CloudScale" related: - NoSQL (/en/cloud-scale/help/nosql/introduction) - Table Keys (/en/cloud-scale/help/nosql/components/#table-keys) - JavaScript SDK (/en/sdk/javascript/v1/cloudscale/nosql/query-index/) -------------------------------------------------------------------------------- # Query Index Catalyst enables you to query a [NoSQL](https://docs.catalyst.zoho.com/en/cloud-scale/help/nosql/introduction/) index and retrieve data by identifying the items using the [primary keys](https://docs.catalyst.zoho.com/en/cloud-scale/help/nosql/components/#table-keys) of the index. Indexing allows you to execute alternate queries on the table data without making use of the primary keys of the main table. You can configure indexes from the Catalyst console. You can use just the partition key or a combination of the partition key and sort key of the index to retrieve an item. > **Note:** Catalyst enables you to retrieve a maximum of 100 items in bulk from a NoSQL table with pagination from a single SDK operation. You must use the `start_key` token received in the SDK response and construct the logic for pagination. You can define the key condition that identifies the item by specifying the attributes, their required values, and the supported operator to be used. You can also specify additional conditions with the group operators. The supported operators are represented as shown below.
Operators Notation
CONTAINS `contains`
NOT_CONTAINS `not_contains`
BEGINS_WITH `begins_with`
ENDS_WITH `ends_with`
IN `in`
NOT_IN `not_in`
BETWEEN `between`
NOT_BETWEEN `not_between`
EQUALS `equals`
NOT_EQUALS `not_equals`
GREATER_THAN `greater_than`
LESS_THAN `less_than`
GREATER_THAN_OR_EQUALS `greater_equal`
LESSER_THAN_OR_EQUALS `less_equal`
AND `AND`
OR `OR`
In the example below, the query is performed with an index referenced by its unique Index ID. The query identifies the items using the index's partition key `fruitColor` and specifying the condition value as "yellow". We also specify an additional condition with the attribute `fruitType` matching "citrus". The query is done using the `query_index()` method. Catalyst NoSQL also lets you define other elements of the query, such using `consistent_read` to indicate if the read operation must be done using the master or a slave cluster, limiting the number of rows to be returned, and specifying the sorting order as ascending. > **Note:** In the master-slave replication, the master contains all the data of the database, and the slave contains copies from the master. Performing a read operation from the slave can reduce the overall cost with the trade-off being a minor delay in the updated data being reflected. ```python # Query a NoSQL table index to fetch the items identified by the partition key fruitColour with the value "yellow"# Pass the index's unique ID cres = table.query_index('6759000000740017', { # Set consistent_read to true to query from master. If set to false, it is queried from slave. 'consistent_read': 'true',# Set forward_scan to true to sort the results in ascending order. Otherwise, it is sorted in the descending order. 'forwardScan': 'true',# Limit the number of rows to be returned by specifying a value 'limit': 10,# Define the key condition to query the items with 'key_condition': { 'attribute': 'fruitColor', 'operator': 'equals', 'value': { 'S': 'yellow' } }, # Define additional conditions to query the data with, using group operators 'other_condition': { 'group_operator': 'AND', 'group': [ { 'attribute': 'fruitType', 'operator': 'equals', 'value': { 'S': 'citrus' } } ] } }) print(res) ``` -------------------------------------------------------------------------------- title: "Delete Items" description: "Catalyst NoSQL is a fully-managed, non-relational database. This page describes the SDK method to delete items from a NoSQL table." last_updated: "2026-11-04T10:10:44.000Z" source: "https://docs.catalyst.zoho.com/en/sdk/python/v1/cloud-scale/nosql/delete-items/" service: "CloudScale" related: - NoSQL (/en/cloud-scale/help/nosql/introduction) - Working with Data (/en/cloud-scale/help/nosql/working-with-data/introduction/) - Basic Components (/en/cloud-scale/help/nosql/components/#basic-components) - NoSQL API (/en/api/code-reference/cloud-scale/nosql/delete-item/#DeleteItem) -------------------------------------------------------------------------------- # Delete Items from NoSQL Table You can delete items from a [NoSQL](https://docs.catalyst.zoho.com/en/cloud-scale/help/nosql/introduction/) table in Catalyst by identifying them using the [primary keys](https://docs.catalyst.zoho.com/en/cloud-scale/help/nosql/components/#table-keys) of the table. For instance, you use just the partition key, or a combination of the partition key and sort key of the table, to identify an item. > **Note:** Catalyst enables you to delete a maximum of 25 items in bulk from a NoSQL table with a single SDK operation. The delete operation is performed using the`delete_items()` method as shown in the example below. The item with the partition key `fruit` matching "apple" and the sort key `location` matching "USA" is deleted. You can also specify additional conditions for delete. Only if the item matches the condition, it will be deleted. ```python # Delete a NoSQL item from the table by identifying it with the partition key and sort key res = table.delete_items( { "keys": { "fruit": { "S": "apple" }, "location": { "S": "USA" } } }), # Specify a condition for delete (optional) "condition": { "function": { "function_name": "attribute_exists", "args": [ { "attribute_path": ["properties"] } ] } } }) print(res) ``` ### Push-Notifications -------------------------------------------------------------------------------- title: "Get Push Notifications Instance" description: "This page describes the method to send out remote notifications to end-users from your Python application with sample code snippets." last_updated: "2026-11-03T07:48:52.000Z" source: "https://docs.catalyst.zoho.com/en/sdk/python/v1/cloud-scale/push-notifications/get-component-instance/" service: "CloudScale" related: - Push Notifications Help (/en/cloud-scale/help/push-notifications/introduction) - SDK Scopes (/en/sdk/python/v1/sdk-scopes) -------------------------------------------------------------------------------- # Push Notifications [Catalyst CloudScale Push notifications](https://docs.catalyst.zoho.com/en/cloud-scale/help/push-notifications/introduction) enables you to send remote notifications to the users of your application, even when the app is not actively running on the user device. You can send push notifications to a specific list of target users. You can include alerts, updates, or promotional content for the user to engage with your application. Before you send push notifications, you must enable it for your web app when the user allows it. You can do this by implementing [this code snippet](https://docs.catalyst.zoho.com/en/sdk/web/v4/cloud-scale/push-notifications/register-client/) in your web client. You can also access this code from the `Push Notifications` section in your Catalyst remote console. You must ensure that you include the [web initialization script](https://docs.catalyst.zoho.com/en/sdk/web/v4/overview). #### Get a Component Instance A component instance is an object that can be used to access the pre-defined configurations specific to a particular component. This process will not fire a server-side call. The `app` reference used in the code below is the [Python object](https://docs.catalyst.zoho.com/en/sdk/python/v1/setup/#initializing-the-sdk) returned as a response during SDK initialization. You can create a new `push_notification_service`instance as shown below. We will refer to this component instance while sending push notifications from your Catalyst application. ```python #Get push notification instance push_notification_service = app.push_notification() ``` -------------------------------------------------------------------------------- title: "Send Notifications to Web Apps" description: "This page describes the method to send out remote notifications to end-users from your Python application with sample code snippets." last_updated: "2026-11-03T15:41:32.000Z" source: "https://docs.catalyst.zoho.com/en/sdk/python/v1/cloud-scale/push-notifications/send-notifications/" service: "CloudScale" related: - Send Notifications - API (/en/api/code-reference/cloud-scale/push-notifications/web/send-web-push-notifications/#SendWebPushNotifications) - Push Notifications Help (/en/cloud-scale/help/push-notifications/introduction) - SDK Scopes (/en/sdk/python/v1/sdk-scopes) -------------------------------------------------------------------------------- # Send Push Notifications to Web Apps Catalyst enables you to send push notifications to **50 users** in a single function call. You can add the [user IDs](https://docs.catalyst.zoho.com/en/cloud-scale/help/authentication/user-management/users/introduction/) of all users to be notified in an array as shown below. You must then pass the array to the `send_notification()` method, along with the message string to include in the notification. This string can be plain text, HTML, or a JSON object to be parsed. To know more about the component instance `push_notification_service` used below, please refer to [this help section](https://docs.catalyst.zoho.com/en/sdk/python/v1/cloud-scale/push-notifications/get-component-instance/). **Parameters Used**
Parameter Name Data Type Definition
`notification_message` String A **Mandatory** parameter. Will store the notification message.
`user_list` Array A **Mandatory** parameter. Will store the IDs or email addresses of the users to whom notification has to be sent.
```python #Send push notifications using userID's push_notification_service = app.push_notification() user_list = [1234556789098, 6756467677890] logging.info(push_notification_service.web().send_notification("Hi there! The task you scheduled has been completed.", user_list)) ``` You can also send the notifications to users by including their email addresses instead of their User IDs. You must add the email addresses in an array, and pass it to `send_notification()` along with the message string in the same way. ```python #Send push notifications using user email addresses's push_notification_service = app.push_notification() user_list = ["amelia.burrows@gmail.com", "emma.hillary@gmail.com"] logging.info(push_notification_service.web().send_notification("Hi there! The task you scheduled has been completed.", user_list)) ``` > **Info :** Refer to the [SDK Scopes table](https://docs.catalyst.zoho.com/en/sdk/python/v1/sdk-scopes) to determine the required permission level for performing the above operation. -------------------------------------------------------------------------------- title: "Send Notifications to Mobile Apps" description: "This page describes the method to send out remote notifications to end-users from your Python application with sample code snippets." last_updated: "2026-11-03T07:48:52.000Z" source: "https://docs.catalyst.zoho.com/en/sdk/python/v1/cloud-scale/push-notifications/send-notifications-mobile/" service: "CloudScale" related: - Push Notifications Help (/en/cloud-scale/help/push-notifications/introduction) - SDK Scopes (/en/sdk/python/v1/sdk-scopes) -------------------------------------------------------------------------------- # Push Notifications to Mobile Apps The [Catalyst CloudScale Push Notifications](https://docs.catalyst.zoho.com/en/cloud-scale/help/push-notifications/introduction) component enables you to send notifications to mobile applications built on the Android or iOS platforms. You can send push notifications to a specific target user by using their Catalyst User ID or email address. You can include alerts, updates, or promotional content for the user to engage with your application. To set up push notifications, you must meet the following prerequisites: 1. You must register your mobile application with Catalyst and note down the Application ID (`appId`) from the console after configuring. You can opt to register your application installed in the target device either using individual platform-specific Catalyst mobile SDK methods (available in Android and iOS) or using the Flutter SDK. The `appId` can be fetched by [configuring Android Push Notifications service](https://docs.catalyst.zoho.com/en/cloud-scale/help/push-notifications/android/#configure-and-enroll-for-android-push-notifications) directly in the Catalyst console. [Learn about registering your Android app using Android SDK.](https://docs.catalyst.zoho.com/en/sdk/android/v2/cloud-scale/push-notifications/register-device/) [Learn about registering your iOS app using iOS SDK.](https://docs.catalyst.zoho.com/en/sdk/ios/v2/cloud-scale/push-notifications/register-device/) [Learn about registering your mobile apps (Android or iOS) using Flutter SDK.](https://docs.catalyst.zoho.com/en/sdk/flutter/v2/cloud-scale/push-notifications/register-device/) 2. The mobile application must mandatorily use the [Catalyst Serverless Authentication](https://docs.catalyst.zoho.com/en/cloud-scale/help/authentication/introduction/) component. After all the setup is done, the Catalyst user must be logged in on their device to receive the notification promptly. Once the setup is complete, you can send notifications by calling the Python SDK method below, using your generated Application ID to target the specific app. ### Get Mobile Notification Instance You can create a mobile notification instance and use it to refer to a specific mobile app registered in the Catalyst console. This is done by fetching the mobile notification instance with the `push_notification().mobile()` method, by passing the generated `appID` as a parameter. We will use this mobile notification instance to perform additional operations with the Python SDK methods, such as sending push notifications, which will be covered in the next section. ```javascript mobile_notification = app.push_notification().mobile("1234567890") ``` Here, **1234567890** is the `appID`. Alternatively, if your application involves Catalyst scope-based access, you can pass the `ZCProject project` parameter along with the `appID`. [Learn more about Catalyst SDK Scopes](https://docs.catalyst.zoho.com/en/sdk/python/v1/sdk-scopes/). ```javascript mobile_notification = app.push_notification().mobile("1234567890", ZCProject project) ``` #### Send Android Push Notifications After you have [registered your Android application](https://docs.catalyst.zoho.com/en/sdk/flutter/v2/cloud-scale/push-notifications/register-device/) with Catalyst for sending push notifications, you can use the `send_android_notification()` method to send push notifications to your application. You will need to pass two parameters to the `send_android_notification()` method: * `notify_obj` - An object with the details of the push notification message. * `recipient` - The Catalyst User ID of the recipient or the email address of the recipient to whom the message has to be delivered. You can use the below code snippet to call the `send_android_notification()` method in your application: ```javascript mobile_notification.send_android_notification( notify_obj={"message": "This message is to test if the functionality is working fine!", "badge_count": 1}, recipient="emma.b@zylker.com" ) ``` `badge_count` sets the app icon's notification badge count to 1. You can change this value to any number you require. #### Send iOS push notifications Similar to Android, after you have registered your iOS application with Catalyst for sending push notifications, you can use the `send_ios_notification()` method to send push notifications to your application. ```python mobile_notification.send_ios_notification( notify_obj={"message": "test_notification", "badge_count": 1}, recipient="testuser@zylker.com" ) ``` ### Search -------------------------------------------------------------------------------- title: "Get Search Instance" description: "This page describes the method to search data in multiple tables in your Python application with sample code snippets." last_updated: "2026-11-03T07:48:52.000Z" source: "https://docs.catalyst.zoho.com/en/sdk/python/v1/cloud-scale/search/get-component-instance/" service: "CloudScale" related: - Search Integration Help (/en/cloud-scale/help/search-integration/introduction) -------------------------------------------------------------------------------- # Search [Catalyst CloudScale Search](https://docs.catalyst.zoho.com/en/cloud-scale/help/search-integration/introduction) allows the process of specifying a particular pattern to search for in the search-indexed columns of a particular table. You can also search in the indexed columns of multiple tables. This section covers the various SDK methods that can be used to implement the Catalyst search functionality in your application. ### Get a Component Instance A component instance is an object that can be used to access the pre-defined configurations specific to a particular component. This process will not fire a server-side call. The `app` reference used in the code below is the [Python object](https://docs.catalyst.zoho.com/en/sdk/python/v1/setup/#initializing-the-sdk) returned as a response during SDK initialization. You can create a new `search_service`instance as shown below. Also note that this component instance will be used in multiple scenarios while implementing the search component in your application. ```python #Get a search component instance search_service = app.search() ``` -------------------------------------------------------------------------------- title: "Search Data" description: "This page describes the method to search data in multiple tables in your Python application with sample code snippets." last_updated: "2026-11-03T07:48:52.000Z" source: "https://docs.catalyst.zoho.com/en/sdk/python/v1/cloud-scale/search/search-data/" service: "CloudScale" related: - Search data - API (/en/api/code-reference/cloud-scale/search/execute-search-query/#ExecuteSearchQuery) - Search Integration Help (/en/cloud-scale/help/search-integration/introduction) - SDK Scopes (/en/sdk/python/v1/sdk-scopes) -------------------------------------------------------------------------------- # Search Data Catalyst Search enables you to search and retrieve data records from the Catalyst Data Store. You can execute a search query using the `execute_search_query()` method to search for a particular pattern of data. ### Create a Dictionary The following code snippet creates a dictionary that contains the attributes of the pattern to be searched for, in the indexed columns of the individual Data Store tables. ```python #Create a dictionary config = { 'search': 'burrows*', 'search_table_columns': { 'Employee': ['EmployeeID'], 'Users': ['Name'] } } ``` ### Execute Search Query The dictionary object created in the previous section is passed as a parameter to the `execute_search_query()` method, which returns the response. To know more about the component instance `search_service` used below, please refer to [this help section](https://docs.catalyst.zoho.com/en/sdk/python/v1/cloud-scale/search/get-component-instance/). **Parameters Used**
Parameter Name Data Type Definition
`config` Object A **Mandatory** parameter. Will hold the details of the search patterns.
```python #Execute Search query search_service = app.search() response_data = search_service.execute_search_query(config) ``` A sample response will be shown below : ```json { AlienCity: [ { CREATORID: "2136000000006003", MODIFIEDTIME: "2021-08-13 13:49:19:475", CITYNAME: "Dallas", CREATEDTIME: "2021-08-13 13:49:19:475", ROWID: "2136000000008508" } ] } ``` > **Info :** Refer to the [SDK Scopes table](https://docs.catalyst.zoho.com/en/sdk/python/v1/sdk-scopes) to determine the required permission level for performing the above operation. ### Stratus -------------------------------------------------------------------------------- title: "Overview" description: "This page lists all the Python SDK methods required to carry out Stratus operations through code." last_updated: "2026-11-03T15:41:32.000Z" source: "https://docs.catalyst.zoho.com/en/sdk/python/v1/cloud-scale/stratus/overview/" service: "CloudScale" related: - Stratus Component Help Documentation (/en/cloud-scale/help/stratus/introduction) - Java SDK (/en/sdk/java/v1/cloud-scale/stratus/overview/) - JavaScript SDK Documentation (/en/sdk/javascript/v1/cloudscale/stratus/overview/) - iOS SDK (/en/sdk/ios/v2/cloud-scale/stratus/overview/) - Android SDK (/en/sdk/android/v2/cloud-scale/stratus/overview/) - Flutter SDK (/en/sdk/flutter/v2/cloud-scale/stratus/overview/) - REST API (/en/api/code-reference/cloud-scale/stratus/get-all-buckets/#GetAllBuckets) -------------------------------------------------------------------------------- # Stratus ## Overview CloudScale [Stratus](https://docs.catalyst.zoho.com/en/cloud-scale/help/stratus/introduction) is Catalyst's robust and powerful storage solution. You can store data of any format in the form of [Objects](https://docs.catalyst.zoho.com/en/cloud-scale/help/stratus/objects/introduction/) in containers called [Buckets](https://docs.catalyst.zoho.com/en/cloud-scale/help/stratus/buckets/name-bucket/). Each Bucket and every individual object in the bucket has a secure [Object URL](https://docs.catalyst.zoho.com/en/cloud-scale/help/stratus/objects/introduction/#object-url) and [Bucket URL](https://docs.catalyst.zoho.com/en/cloud-scale/help/stratus/buckets/create-bucket/#bucket-url). You can perform upload and download operations on objects and even provide [custom permissions](https://docs.catalyst.zoho.com/en/cloud-scale/help/stratus/stratus-permissions/#custom-permissions) for each object. The following table contains the list of all the Catalyst SDKs that can be used to perform Stratus operations through code.
Category SDK Method
General Stratus Operations
  • [Create Stratus Instance](https://docs.catalyst.zoho.com/en/sdk/python/v1/cloud-scale/stratus/create-stratus-instance/)
  • [Check Bucket Availability](https://docs.catalyst.zoho.com/en/sdk/python/v1/cloud-scale/stratus/check-bucket/)
  • [List All Buckets](https://docs.catalyst.zoho.com/en/sdk/python/v1/cloud-scale/stratus/list-buckets/)
Bucket Operations
  • [Create Bucket Instance](https://docs.catalyst.zoho.com/en/sdk/python/v1/cloud-scale/stratus/create-bucket-instance/)
  • [Get Bucket Details](https://docs.catalyst.zoho.com/en/sdk/python/v1/cloud-scale/stratus/get-bucket-details/)
  • [Get Bucket CORS](https://docs.catalyst.zoho.com/en/sdk/python/v1/cloud-scale/stratus/get-bucket-cors/)
  • [List Objects in a Bucket](https://docs.catalyst.zoho.com/en/sdk/python/v1/cloud-scale/stratus/list-objects/)
    • [List all Objects by Pagination](https://docs.catalyst.zoho.com/en/sdk/python/v1/cloud-scale/stratus/list-objects/#list-all-objects-by-pagination)
    • [List Objects Through Iteration](https://docs.catalyst.zoho.com/en/sdk/python/v1/cloud-scale/stratus/list-objects/#list-objects-through-iteration)
  • [Check Object Availability](https://docs.catalyst.zoho.com/en/sdk/python/v1/cloud-scale/stratus/check-object-availability/)
  • [Download Object](https://docs.catalyst.zoho.com/en/sdk/python/v1/cloud-scale/stratus/download-object/)
    • [Download an Object](https://docs.catalyst.zoho.com/en/sdk/python/v1/cloud-scale/stratus/download-object/#download-an-object)
    • [Download a Portion of the Object](https://docs.catalyst.zoho.com/en/sdk/python/v1/cloud-scale/stratus/download-object/#download-a-portion-of-the-object)
    • [Download an Object Using Transfer Manager](https://docs.catalyst.zoho.com/en/sdk/python/v1/cloud-scale/stratus/download-object/#download-an-object-using-transfer-manager)
    • [Generate Presigned URL to Download an Object](https://docs.catalyst.zoho.com/en/sdk/python/v1/cloud-scale/stratus/download-object/#generate-presigned-url-to-download-an-object)
  • [Upload Object](https://docs.catalyst.zoho.com/en/sdk/python/v1/cloud-scale/stratus/upload-object/)
    • [Upload Object as a Stream](https://docs.catalyst.zoho.com/en/sdk/python/v1/cloud-scale/stratus/upload-object/#upload-object-as-a-stream)
    • [Upload Object as a String](https://docs.catalyst.zoho.com/en/sdk/python/v1/cloud-scale/stratus/upload-object/#upload-object-as-a-string)
    • [Upload Object with Options](https://docs.catalyst.zoho.com/en/sdk/python/v1/cloud-scale/stratus/upload-object/#upload-object-with-options)
    • [Upload Object Using Multipart](https://docs.catalyst.zoho.com/en/sdk/python/v1/cloud-scale/stratus/upload-object/#upload-object-using-multipart)
    • [Upload an Object Using Transfer Manager](https://docs.catalyst.zoho.com/en/sdk/python/v1/cloud-scale/stratus/upload-object/#upload-an-object-using-transfer-manager)
    • [Generate Presigned URL to Upload an Object](https://docs.catalyst.zoho.com/en/sdk/python/v1/cloud-scale/stratus/upload-object/#generate-presigned-url-to-upload-an-object)
  • [Extract a Zipped Object](https://docs.catalyst.zoho.com/en/sdk/python/v1/cloud-scale/stratus/extract-zipped-object/)
    • [Get Zip Extraction Status](https://docs.catalyst.zoho.com/en/sdk/python/v1/cloud-scale/stratus/extract-zipped-object/#get-zip-extraction-status)
  • [Copy Object](https://docs.catalyst.zoho.com/en/sdk/python/v1/cloud-scale/stratus/copy-objects/)
  • [Rename and Move Operations on an Object](https://docs.catalyst.zoho.com/en/sdk/python/v1/cloud-scale/stratus/rename-move-object/)
  • [Delete Objects](https://docs.catalyst.zoho.com/en/sdk/python/v1/cloud-scale/stratus/delete-objects/)
    • [Delete a Single Object](https://docs.catalyst.zoho.com/en/sdk/python/v1/cloud-scale/stratus/delete-objects/#delete-a-single-object)
    • [Delete a Specific Version of an Object after a Specific Time](https://docs.catalyst.zoho.com/en/sdk/python/v1/cloud-scale/stratus/delete-objects/#delete-a-specific-version-of-an-object-after-a-specific-time)
    • [Delete Multiple Objects](https://docs.catalyst.zoho.com/en/sdk/python/v1/cloud-scale/stratus/delete-objects/#delete-multiple-objects)
    • [Truncate Bucket](https://docs.catalyst.zoho.com/en/sdk/python/v1/cloud-scale/stratus/delete-objects/#truncate-bucket)
    • [Delete a Path in the Bucket](https://docs.catalyst.zoho.com/en/sdk/python/v1/cloud-scale/stratus/delete-objects/#delete-a-path-in-the-bucket)
Object Operations
  • [Create Object Instance](https://docs.catalyst.zoho.com/en/sdk/python/v1/cloud-scale/stratus/create-object-instance/)
  • [List Object Versions](https://docs.catalyst.zoho.com/en/sdk/python/v1/cloud-scale/stratus/list-object-versions/)
    • [List All Versions of an Object Through Pagination](https://docs.catalyst.zoho.com/en/sdk/python/v1/cloud-scale/stratus/list-object-versions/#list-all-versions-of-an-object-through-pagination)
    • [List All Versions of the Object Through Iteration](https://docs.catalyst.zoho.com/en/sdk/python/v1/cloud-scale/stratus/list-object-versions/#list-all-versions-of-the-object-through-iteration)
  • [Get Object Details](https://docs.catalyst.zoho.com/en/sdk/python/v1/cloud-scale/stratus/object-details/)
    • [Get Details of All Objects](https://docs.catalyst.zoho.com/en/sdk/python/v1/cloud-scale/stratus/object-details/)
    • [Get Details of a Particular Version of the Object](https://docs.catalyst.zoho.com/en/sdk/python/v1/cloud-scale/stratus/object-details/#get-details-of-a-particular-version-of-the-object)
  • [Put Object Meta Data](https://docs.catalyst.zoho.com/en/sdk/python/v1/cloud-scale/stratus/put-object-meta/)
-------------------------------------------------------------------------------- title: "Create Stratus Instance" description: "This page lists the Python SDK method to create a Stratus instance." last_updated: "2026-11-03T07:48:52.000Z" source: "https://docs.catalyst.zoho.com/en/sdk/python/v1/cloud-scale/stratus/create-stratus-instance/" service: "CloudScale" related: - Stratus Component Help Documentation (/en/cloud-scale/help/stratus/introduction) - Java SDK (/en/sdk/java/v1/cloud-scale/stratus/create-stratus-instance/) - JavaScript SDK Documentation (/en/sdk/javascript/v1/cloudscale/stratus/create-instance/) - iOS SDK (/en/sdk/ios/v2/cloud-scale/stratus/create-bucket-instance/) - Android SDK (/en/sdk/android/v2/cloud-scale/stratus/create-bucket-instance/) - Flutter SDK (/en/sdk/flutter/v2/cloud-scale/stratus/initialize-stratus/) - REST API (/en/api/code-reference/cloud-scale/stratus/get-all-buckets/#GetAllBuckets) -------------------------------------------------------------------------------- # Create Stratus Instance You can get the `stratus` component reference as shown below. This will not fire a server-side call. We will refer to this component instance in various code snippets of working with Stratus. The `app` reference used in the below code snippet is the [catalyst instance](https://docs.catalyst.zoho.com/en/sdk/python/v1/setup/#initializing-the-sdk). ```python stratus = app.stratus() ``` -------------------------------------------------------------------------------- title: "Check Bucket Availability" description: "This page lists the Python SDK method to check if the bucket exists in your project." last_updated: "2026-11-03T07:48:52.000Z" source: "https://docs.catalyst.zoho.com/en/sdk/python/v1/cloud-scale/stratus/check-bucket/" service: "CloudScale" related: - Stratus Component Help Documentation (/en/cloud-scale/help/stratus/introduction) - Java SDK (/en/sdk/java/v1/cloud-scale/stratus/check-bucket/) - JavaScript SDK Documentation (/en/sdk/javascript/v1/cloudscale/stratus/check-bucket-availability/) - iOS SDK (/en/sdk/ios/v2/cloud-scale/stratus/overview/) - Android SDK (/en/sdk/android/v2/cloud-scale/stratus/overview/) - Flutter SDK (/en/sdk/flutter/v2/cloud-scale/stratus/overview/) - REST API (/en/api/code-reference/cloud-scale/stratus/get-all-buckets/#GetAllBuckets) -------------------------------------------------------------------------------- # Check Bucket Availability Using the `head_bucket()` SDK method, you can check the existence of a bucket in Stratus, and further check if the user has the relevant permissions to access the objects present in the bucket. The `stratus` reference used in the below code snippet is the [component instance](https://docs.catalyst.zoho.com/en/sdk/python/v1/cloud-scale/stratus/create-stratus-instance/). Possible responses when using this SDK: * If the bucket exists and if the user has the relevant permissions to access the bucket, the response '**true**' will be returned. * If the bucket does not exist, or if the user does not have permission to access the bucket, the response '**false**' will be returned. **Parameters Used**
Parameter Name Data Type Definition
`bucket_name` **String** A **Mandatory** parameter. Will hold the [unique name of the bucket](https://docs.catalyst.zoho.com/en/cloud-scale/help/stratus/buckets/name-bucket/#ideal-practices-to-name-a-bucket).
`throw_err` **Boolean** An **Optional** parameter. If you set this parameter as "**true**", then it will throw an error when the bucket is not found in the project. The default value is "**false**"
```python bucket_res = stratus.head_bucket('bucket_name', throw_err=False) print(bucket_res) ``` #### Possible Errors > **Note:** If you use the SDK with the `throw_err` parameter, and the bucket does not exist, or if you do not have sufficient permissions then you may encounter any of the errors listed below.
Error Code Meaning
`404` Not Found. Bucket Not found in Stratus.
`401` Unauthorized/Access Denied - User doesn't have permission to perform the particular operation.
`403` Permission Denied - User does not have permission to access the particular bucket.
-------------------------------------------------------------------------------- title: "List All Buckets" description: "This page lists the Python SDK method to list buckets created in your project." last_updated: "2026-11-03T07:48:52.000Z" source: "https://docs.catalyst.zoho.com/en/sdk/python/v1/cloud-scale/stratus/list-buckets/" service: "CloudScale" related: - Stratus Component Help Documentation (/en/cloud-scale/help/stratus/introduction) - Java SDK (/en/sdk/java/v1/cloud-scale/stratus/list-buckets/) - JavaScript SDK Documentation (/en/sdk/javascript/v1/cloudscale/stratus/list-buckets/) - iOS SDK (/en/sdk/ios/v2/cloud-scale/stratus/overview/) - Android SDK (/en/sdk/android/v2/cloud-scale/stratus/overview/) - Flutter SDK (/en/sdk/flutter/v2/cloud-scale/stratus/overview/) - REST API (/en/api/code-reference/cloud-scale/stratus/get-all-buckets/#GetAllBuckets) -------------------------------------------------------------------------------- # List All Buckets The following SDK method will return all the buckets present in the project. > **Info:** To use this SDK method, you need intialize it with **Admin** scope. You can learn more about this requirement from this [section](https://docs.catalyst.zoho.com/en/sdk/nodejs/v2/overview/#initialize-sdk-with-scopes) The `stratus` reference used in the below code snippet is the [component instance](https://docs.catalyst.zoho.com/en/sdk/python/v1/cloud-scale/stratus/create-stratus-instance/). ```python buckets = stratus.list_buckets() # return all the buckets and it's details print(buckets) ``` #### Example Response ```json [ { "bucket_name": "zcstratus122", "project_details": { "project_name": "Learn", "id": "6759000000014001", "project_type": "Live" }, "created_by": { "zuid": "74660608", "is_confirmed": "False", "email_id": "emmy@zylker.com", "first_name": "Amelia Burrows", "last_name": "C", "user_type": "Admin", "user_id": "6759000000009004" }, "created_time": "Mar 26, 2024 12:44 PM", "modified_by": { "zuid": "74660608", "is_confirmed": "False", "email_id": "emmy@zylker.com", "first_name": "Amelia Burrows", "last_name": "C", "user_type": "Admin", "user_id": "6759000000009004" }, "modified_time": "Mar 30, 2024 11:38 AM", "bucket_meta": { "versioning": "False", "caching": { "status": "Enabled", "delivery_point_id": "01ht6zj7k536c29ymsgfeky1mg" }, "encryption": "False", "audit_consent": "False" }, "bucket_url": "https://zcstratus122-development.zohostratus.com" }, { "bucket_name": "zcstratus12345", "project_details": { "project_name": "Learn", "id": "6759000000014001", "project_type": "Live" }, "created_by": { "zuid": "74660608", "is_confirmed": "False", "email_id": "emmy@zylker.com", "first_name": "Amelia Burrows", "last_name": "C", "user_type": "Admin", "user_id": "6759000000009004" }, "created_time": "Mar 13, 2024 05:51 PM", "modified_by": { "zuid": "74660608", "is_confirmed": "False", "email_id": "emmy@zylker.com", "first_name": "Amelia Burrows", "last_name": "C", "user_type": "Admin", "user_id": "6759000000009004" }, "modified_time": "Apr 18, 2024 12:44 PM", "bucket_meta": { "versioning": "True", "caching": { "status": "Enabled", "delivery_point_id": "01hrxy25tv1vex73qhm85g88bf" }, "encryption": "False", "audit_consent": "False" }, "bucket_url": "https://zcstratus12345-development.zohostratus.com" } ] ``` -------------------------------------------------------------------------------- title: "Create Bucket Instance" description: "This page lists the Python SDK method to create a bucket instance." last_updated: "2026-11-03T07:48:52.000Z" source: "https://docs.catalyst.zoho.com/en/sdk/python/v1/cloud-scale/stratus/create-bucket-instance/" service: "CloudScale" related: - Stratus Component Help Documentation (/en/cloud-scale/help/stratus/introduction) - Create a Bucket Help Documentation (/en/cloud-scale/help/stratus/buckets/create-bucket/) - Java SDK (/en/sdk/java/v1/cloud-scale/stratus/create-bucket-instance/) - JavaScript SDK Documentation (/en/sdk/javascript/v1/cloudscale/stratus/create-bucket-instance/) - iOS SDK (/en/sdk/ios/v2/cloud-scale/stratus/overview/) - Android SDK (/en/sdk/android/v2/cloud-scale/stratus/create-bucket-instance/) - Flutter SDK (/en/sdk/flutter/v2/cloud-scale/stratus/overview/) - REST API (/en/api/code-reference/cloud-scale/stratus/get-all-buckets/#GetAllBuckets) -------------------------------------------------------------------------------- # Create Bucket Instance To perform bucket level operations, you need to create a bucket instance. We will refer to this component instance in various code snippets of working with [Buckets](https://docs.catalyst.zoho.com/en/cloud-scale/help/stratus/buckets/name-bucket/) in Stratus. The `stratus` reference used in the below code snippet is the [component instance](https://docs.catalyst.zoho.com/en/sdk/python/v1/cloud-scale/stratus/create-stratus-instance/). ```python bucket = stratus.bucket('bucket_name') ``` -------------------------------------------------------------------------------- title: "Get Bucket Details" description: "This page lists the Python SDK method to get the details of a bucket." last_updated: "2026-11-03T07:48:52.000Z" source: "https://docs.catalyst.zoho.com/en/sdk/python/v1/cloud-scale/stratus/get-bucket-details/" service: "CloudScale" related: - Stratus Component Help Documentation (/en/cloud-scale/help/stratus/introduction) - Create a Bucket Help Documentation (/en/cloud-scale/help/stratus/buckets/create-bucket/) - Java SDK (/en/sdk/java/v1/cloud-scale/stratus/create-bucket-instance/) - JavaScript SDK Documentation (/en/sdk/javascript/v1/cloudscale/stratus/create-bucket-instance/) - iOS SDK (/en/sdk/ios/v2/cloud-scale/stratus/overview/) - Android SDK (/en/sdk/android/v2/cloud-scale/stratus/create-bucket-instance/) - Flutter SDK (/en/sdk/flutter/v2/cloud-scale/stratus/overview/) - REST API (/en/api/code-reference/cloud-scale/stratus/get-all-buckets/#GetAllBuckets) -------------------------------------------------------------------------------- # Get Bucket Details The following SDK method will allow you to get all available details of a particular bucket. The Bucket reference used in the below code snippet is the [component instance](https://docs.catalyst.zoho.com/en/sdk/python/v1/cloud-scale/stratus/create-bucket-instance/). ```python bucket_details = bucket.get_details() print(bucket_details) ``` #### Example Response ```json { "bucket_name": "zcstratus122", "project_details": { "project_name": "Learn", "id": "6759000000014001", "project_type": "Live" }, "created_by": { "zuid": "74660608", "is_confirmed": "False", "email_id": "emmy@zylker.com", "first_name": "Amelia Burrows", "last_name": "C", "user_type": "Admin", "user_id": "6759000000009004" }, "created_time": "Mar 26, 2024 12:44 PM", "modified_by": { "zuid": "74660608", "is_confirmed": "False", "email_id": "emmy@zylker.com", "first_name": "Amelia Burrows", "last_name": "C", "user_type": "Admin", "user_id": "6759000000009004" }, "modified_time": "Mar 30, 2024 11:38 AM", "bucket_meta": { "versioning": "False", "caching": { "status": "Enabled", "delivery_point_id": "01ht6zj7k536c29ymsgfeky1mg" }, "encryption": "False", "audit_consent": "False" }, "bucket_url": "https://zcstratus122-development.lzstratus.com", "caching_url": "https://zcstratus122-development.nimbuslocaledge.com", "objects_count": "74", "size_in_bytes": "925906411" } ``` -------------------------------------------------------------------------------- title: "Get Bucket CORS" description: "This page lists the Python SDK method to get the current CORS configuration of the bucket." last_updated: "2026-11-03T07:48:52.000Z" source: "https://docs.catalyst.zoho.com/en/sdk/python/v1/cloud-scale/stratus/get-bucket-cors/" service: "CloudScale" related: - Stratus Component Help Documentation (/en/cloud-scale/help/stratus/introduction) - Stratus Bucket CORS Help Documentation (/en/cloud-scale/help/stratus/stratus-config/bucket-cors/) - Java SDK (/en/sdk/java/v1/cloud-scale/stratus/get-bucket-cors/) - JavaScript SDK Documentation (/en/sdk/javascript/v1/cloudscale/stratus/get-bucket-cors/) - iOS SDK (/en/sdk/ios/v2/cloud-scale/stratus/overview/) - Android SDK (/en/sdk/android/v2/cloud-scale/stratus/overview/) - Flutter SDK (/en/sdk/flutter/v2/cloud-scale/stratus/overview/) - REST API (/en/api/code-reference/cloud-scale/stratus/get-all-buckets/#GetAllBuckets) -------------------------------------------------------------------------------- # Get Bucket CORS The `get_cors()` SDK method, will return the current CORS configuration of a specific bucket in Stratus. The Bucket reference used in the below code snippet is the [component instance](https://docs.catalyst.zoho.com/en/sdk/python/v1/cloud-scale/stratus/create-bucket-instance/). > **Info:** To use this SDK method, you need intialize it with **Admin** scope. You can learn more about this requirement from this [section](https://docs.catalyst.zoho.com/en/sdk/nodejs/v2/overview/#initialize-sdk-with-scopes) CORS of a bucket can be edited by any user that has or has been granted `Write` permission for Stratus component in the project, using the [Profiles & Permissions](https://docs.catalyst.zoho.com/en/getting-started/set-up-a-catalyst-project/profiles-and-permissions/) section. > **Note:** You can find out more about Bucket CORS from this [help section](https://docs.catalyst.zoho.com/en/cloud-scale/help/stratus/stratus-config/bucket-cors/). ```python res = bucket.get_cors() print(res) ``` -------------------------------------------------------------------------------- title: "List Objects in a Bucket" description: "This page lists the Python SDK method to list all the objects stroed in a bucket." last_updated: "2026-11-03T07:48:52.000Z" source: "https://docs.catalyst.zoho.com/en/sdk/python/v1/cloud-scale/stratus/list-objects/" service: "CloudScale" related: - Stratus Component Help Documentation (/en/cloud-scale/help/stratus/introduction) - Java SDK (/en/sdk/java/v1/cloud-scale/stratus/list-objects/) - JavaScript SDK Documentation (/en/sdk/javascript/v1/cloudscale/stratus/check-object/) - iOS SDK (/en/sdk/ios/v2/cloud-scale/stratus/overview/) - Android SDK (/en/sdk/android/v2/cloud-scale/stratus/create-bucket-instance/) - Flutter SDK (/en/sdk/flutter/v2/cloud-scale/stratus/overview/) - REST API (/en/api/code-reference/cloud-scale/stratus/get-all-buckets/#GetAllBuckets) -------------------------------------------------------------------------------- # List Objects in a Bucket ### List all Objects by Pagination This SDK method will allow you to get all the objects present in a particular bucket by pagination. The Bucket reference used in the below code snippet is the [component instance](https://docs.catalyst.zoho.com/en/sdk/python/v1/cloud-scale/stratus/create-bucket-instance/). > **Info:** To use this SDK method, you need intialize it with **Admin** scope. You can learn more about this requirement from this [section](https://docs.catalyst.zoho.com/en/sdk/nodejs/v2/overview/#initialize-sdk-with-scopes) For each call, a limited number of objects will be returned, and the next call will be initiated only if a continuation token is returned. **Parameters Used**
Parameter Name Data Type Definition
`max_keys` **String** A **Mandatory** parameter. Will contain the maximum limit of objects that can be listed by pagination.
`continuation_token` **String** An **Mandatory** parameter. Will contain the token to get the next set of objects.
`prefix` **String** An **Optional** parameter. To list objects that match the prefix value.
`order_by` **String** An **Optional** parameter. To list objects either in ascending or descending order. **Default Value**: `asc`
`folder_listing` **String** An **Optional** parameter. To choose to list either just the root-level objects in the bucket or list all the objects present in all the paths of the bucket. **Default Value**: `false` For instance, if you set value as `true`; the root-level objects alone will be listed. If you set the value as `false`; all the objects present in all the paths of the bucket will be listed
In the following SDK method, a maximum value of pagination is set using `max_keys`. Using prefix, you can list objects that only match the `prefix:`. The response we get will contain the following properties of the bucket, which will be stored in `moreOptions`: * `key count`: Will contain the value of the number of objects that are being returned * `max_key`: The maximum limit of objects that can be returned * `Truncated`: Will contain the status to notify if a bucket is truncated or not. * `contents`: List of object details * `next_token`: If the response was truncated, the value of this key must be passed as `next_token` to the same method for retrieving the next set of objects. With each iteration, we will list the `max_keys` number of objects and check if `next_token` has been created. Using `next_token` we will continue the iteration till all the objects have been listed. ```python # Define a recursive function to list objects from the bucket using pagination def list_my_paged_objects(max_keys=None, prefix=None, next_token=None): # Fetch a paged list of objects from the bucket with specified options data = bucket.list_paged_objects( max_keys, # Maximum number of objects to retrieve in this call prefix, # Filter objects that start with this prefix next_token, # Continuation token to fetch the next page of results folder_listing=True, # List objects in a folder-like structure order_by='desc' # Sort objects in descending order (most recent first) ) # Print the list of retrieved objects print(data['contents']) # Check if more objects are available (pagination is not yet complete) if data['truncated']: # Recursively call the function to fetch the next page of objects list_my_paged_objects(max_keys, prefix, data['next_continuation_token']) #Start listing objects with a page size of 2 list_my_paged_objects(2, 'sam') ``` #### Example Response ```json { "prefix": "sam", "key_count": "5", "max_keys": "5", "truncated": "True", "next_continuation_token": "47VrqTzR9ukMF9gr8YcziVVzdRP5GCjq1NfM5fMBpMfvw5qcXFRSueuqCTRUCzNd9dHfquXHi2afDanLH6MbyJo6", "contents": [ { "key_type": "file", "key": "sam1s2ww.mp4", "size": "427160684", "content_type": "video/mp4", "etag": "78c2b173b56cd944e9c79abd601f6073", "last_modified": "May 21, 2024 01:00 PM" }, { "key_type": "file", "key": "samdm.txt", "size": "23", "content_type": "text/plain; charset=utf-8", "etag": "c0122754f465e42eb97b5af174663c29", "last_modified": "May 14, 2024 01:30 PM" }, { "key_type": "file", "key": "samplvbse1.json", "size": "8", "content_type": "application/json", "etag": "499e7dbaee453352a9c17407a676dbda", "last_modified": "May 13, 2024 10:05 AM" }, { "key_type": "file", "key": "samplse1.json", "size": "8", "content_type": "application/json", "etag": "499e7dbaee453352a9c17407a676dbda", "last_modified": "May 13, 2024 09:20 AM" }, { "key_type": "file", "key": "sampjkhdldbed.mp4", "size": "0", "content_type": "video/mp4", "etag": "d41d8cd98f00b204e9800998ecf8427e", "last_modified": "May 12, 2024 10:54 PM" } ] } ``` ### List Objects Through Iteration Using this SDK method, you can get all the objects present in a bucket in a single API call, using iteration technique. The Bucket reference used in the below code snippet is the [component instance](https://docs.catalyst.zoho.com/en/sdk/python/v1/cloud-scale/stratus/create-bucket-instance/). > **Info:** To use this SDK method, you need intialize it with **Admin** scope. You can learn more about this requirement from this [section](https://docs.catalyst.zoho.com/en/sdk/nodejs/v2/overview/#initialize-sdk-with-scopes) ```python # List objects from the bucket using iterable pagination with specified options objects = bucket.list_iterable_objects( max_keys=5, # Maximum number of objects to retrieve per batch (default is 1000) prefix='sam', # Filter objects that start with this prefix folder_listing=True, # List objects in a folder-like structure (default is False) order_by='desc' # Sort objects in descending order (default is 'asc') ) #Iterate over and print each object key for key in objects: print(key) ``` #### Example Response ```json { "key_type": "file", "key": "ssdgs.mp4", "size": "3145728", "content_type": "video/mp4", "etag": "9685b8d5b8b719274bac854b897d95ec", "last_modified": "May 21, 2024 03:49 PM" } { "key_type": "file", "key": "Sasss.mp4", "size": "2674", "content_type": "video/mp4", "etag": "24c1122087e9be930ff1e957e83f5224", "last_modified": "May 21, 2024 02:55 PM" } { "key_type": "file", "key": "Samfplessss.mp4", "size": "2674", "content_type": "video/mp4", "etag": "24c1122087e9be930ff1e957e83f5224", "last_modified": "May 21, 2024 02:52 PM" } { "key_type": "file", "key": "demo.mp4", "size": "3400", "content_type": "video/mp4", "etag": "24e957e83f5224c1122087e9be930ff1", "last_modified": "May 21, 2024 02:52 PM" } { "key_type": "file", "key": "performance.mp4", "size": "1454", "content_type": "video/mp4", "etag": "087e9be930ff124c1122e957e83f5224", "last_modified": "May 21, 2024 02:52 PM" } ``` -------------------------------------------------------------------------------- title: "Check Object Availability" description: "This page lists the Python SDK method to check if an object is present in a bucket." last_updated: "2026-11-03T07:48:52.000Z" source: "https://docs.catalyst.zoho.com/en/sdk/python/v1/cloud-scale/stratus/check-object-availability/" service: "CloudScale" related: - Stratus Component Help Documentation (/en/cloud-scale/help/stratus/introduction) - Java SDK (/en/sdk/java/v1/cloud-scale/stratus/check-object-availability/) - JavaScript SDK Documentation (/en/sdk/javascript/v1/cloudscale/stratus/rename-move/) - iOS SDK (/en/sdk/ios/v2/cloud-scale/stratus/overview/) - Android SDK (/en/sdk/android/v2/cloud-scale/stratus/overview/) - Flutter SDK (/en/sdk/flutter/v2/cloud-scale/stratus/overview/) - REST API (/en/api/code-reference/cloud-scale/stratus/get-all-buckets/#GetAllBuckets) -------------------------------------------------------------------------------- # Check Object Availability Using this SDK method, you can check if a particular object is present in the bucket, if the user has the required permissions to access the object. The Bucket reference used in the below code snippet is the [component instance](https://docs.catalyst.zoho.com/en/sdk/python/v1/cloud-scale/stratus/create-bucket-instance/). If you have enabled [Versioning](https://docs.catalyst.zoho.com/en/cloud-scale/help/stratus/stratus-config/general-settings/#versioning) for your bucket, then you need to pass the `version_id ` as the param, to check if a particular version of the object is available. When you use this SDK method, you will get either of the following responses: - `true`: If the object is available, the specified version is available, and if the user has the relevant permissions to access the objects. - `false`: - If the object or the particular version of the object is not available in the bucket. - If the user does not have the required permissions to access the object. - If the bucket does not exist. **Parameters Used**
Parameter Name Data Type Definition
`key` **String** A **Mandatory** parameter. Will hold the complete name of the object.
`version_id` **String** An **Optional** parameter. Will hold the unique version ID of the object, if [Versioning](https://docs.catalyst.zoho.com/en/cloud-scale/help/stratus/stratus-config/general-settings/#versioning) is enabled.
`throw_err` **Boolean** An **Optional** parameter. If you set this parameter as "**true**", then it will throw an error when the bucket is not found in the project. The default value is "**false**"
```python head_object_res = bucket.head_object( "sam/out/sample.txt", 'version_id', throw_err=False) print(head_object_res) ``` #### Possible Errors > **Note:** If you use the SDK with the `throw_err` parameter, and the object does not exist, or if you do not have sufficient permissions then you may encounter any of the errors listed below.
Error Code Meaning
`404` Not Found. Object Not found in Stratus.
`401` Unauthorized/Access Denied - User doesn't have permission to perform the particular operation.
`403` Permission Denied - User does not have permission to access the particular object.
-------------------------------------------------------------------------------- title: "Download Object" description: "This page lists the Python SDK method to download objects from a bucket." last_updated: "2026-11-03T07:48:52.000Z" source: "https://docs.catalyst.zoho.com/en/sdk/python/v1/cloud-scale/stratus/download-object/" service: "CloudScale" related: - Stratus Component Help Documentation (/en/cloud-scale/help/stratus/introduction) - Java SDK (/en/sdk/java/v1/cloud-scale/stratus/download-object/) - JavaScript SDK Documentation (/en/sdk/javascript/v1/cloudscale/stratus/download-object/) - iOS SDK (/en/sdk/ios/v2/cloud-scale/stratus/download-object/) - Android SDK (/en/sdk/android/v2/cloud-scale/stratus/download-object/) - Flutter SDK (/en/sdk/flutter/v2/cloud-scale/stratus/download-object/) - REST API (/en/api/code-reference/cloud-scale/stratus/get-all-buckets/#GetAllBuckets) -------------------------------------------------------------------------------- # Download Object ### Download an Object The SDKs present in the section will allow you to [download a particular object](https://docs.catalyst.zoho.com/en/cloud-scale/help/stratus/objects/manage-object/download-object/), multiple objects, or version of the object. The Bucket reference used in the below code snippet is the [component instance](https://docs.catalyst.zoho.com/en/sdk/nodejs/v2/cloud-scale/stratus/create-bucket-instance/). The first step of the download operation is a `GET` operation that retrieves the required object from the bucket. To be able to download an object, the requester must have `READ` access permissions. However, owners of the bucket do have the option to grant `READ` access permissions to users, allowing them to download the object without using the required response headers. If [Versioning](https://docs.catalyst.zoho.com/en/cloud-scale/help/stratus/stratus-config/general-settings/#versioning) is enabled for your bucket, you need to pass the `versionId` to download the particular version of the object. If no `versionId` is passed, then by default, the latest version of the object will be downloaded. If *Versioning* was enabled for a bucket, then disabled. By default, the principal first object will be downloaded. To ensure you download the latest version of this object, you need to pass the `versionId` param with the value "`topVersion`". ```python res = bucket.get_object("sam/out/sample.txt") # download the object to local machine file = open('file_path','wb') file.write(res) ``` ### Download a Portion of the Object The following SDK method is used with the `range` parameter. The range parameter allows you to download a specific `range` of bytes of an object. ```python options = { 'version_id': '01hx66f1383jm48w9sa4z20kve', # download the object with given version Id 'range': '0-200' # start and end range of an object } res = bucket.get_object('"sam/out/sample.txt", options) # download the object to local machine file = open('file_path','wb') file.write(res) ``` ### Download an Object Using Transfer Manager In this section, we are going to go over SDK methods that will allow you to successfully download large objects from Stratus to your local system using **Transfer Manager** technique. Transfer Manager is an operation where the large object is split into multiple byte ranges using the start and end bytes range of the object. Each of the object's parts is then returned as a stream, and they are downloaded to your local system. #### Get Transfer Manager Instance To perform transfer manager operations, you need to get a transfer manager object instance. We will refer to this component instance in various code snippets where we work with transfer manager operations being performed on objects stored in a bucket in Stratus. **Parameter Used** `bucket`: This is the bucket instance you need to have initialized earlier using this [SDK method](https://docs.catalyst.zoho.com/en/sdk/nodejs/v2/cloud-scale/stratus/create-bucket-instance/). **Ensure the following packages are imported** ```python from zcatalyst_sdk.stratus.transfer_manager import TransferManager ``` ```python transfer_manager = TranferManager(bucket) ``` #### Get Iterable Object It return the iterable object parts. User can write these parts to our local machine using iterator. > **Note:** Use single file to write because it return iterable parts not whole object. If you write in individual files, you need to combine them in to one. > **Info:** Ensure you provide `part_size` in **Mb**. ```python res = transfer_manager.get_iterable_object("sam/out/sample.txt", 20) file = open('file_path','wb') # store the object to local machine for chunk in res: file.write(chunk) ``` #### Generate Object Part Downloaders When a user needs to download a large file (example: 10 GB file), using the `get_object()` method is not practical. Instead, the user can opt for this SDK method. By calling the `generate_part_downloaders()` method with the parameters `key(str)` and `part_size(Long)`, the user can obtain transfer manager functions. These functions, returned in ascending order, each download a specific part of the object. The parts are determined based on the specified part size. ```python res = transfer_manager.generate_part_downloaders("sam/out/sample.txt",20) file = open('file_path','wb') for part in res: file.write(part()) ``` > **Info:** The file must be uploaded via the API or SDK to enable partial downloads. The part_size should be greater than 5 MB and less than 100 MB. ### Generate Presigned URL to Download an Object Presigned URLs are secure URLs that authenticated users can share to their non-authenticated users. This URL will provide non-authenticated users with temporary authorization to access objects. The Bucket reference used in the below code snippet is the [component instance](https://docs.catalyst.zoho.com/en/sdk/python/v1/cloud-scale/stratus/create-bucket-instance/). > **Info:** To use this SDK method, you need intialize it with **Admin** scope. You can learn more about this requirement from this [section](https://docs.catalyst.zoho.com/en/sdk/nodejs/v2/overview/#initialize-sdk-with-scopes) **Parameters Used**
Parameter Name Data Type Definition
`key` **String** A **Mandatory** parameter. Will hold the complete name of the object along with it's [path](https://docs.catalyst.zoho.com/en/cloud-scale/help/stratus/objects/introduction/#path).
`url_action` **Request Method** A **Mandatory** parameter. This is the parameter that will allow you to generate a presigned URL for a download(GET) action.
  • `GET`: To download an object
`expiry` **String** This is an **Optional** parameter. The URL validity time in seconds.
  • Default value: **3600 seconds**
  • Minimum value: **30 seconds**
  • Maximum value: **7 days**
`active_from` **String** This is an **Optional** parameter. This param will contain the time after which the URL is valid. Maximum value is **7 days**. URLs are made active as soon as they are generated by default.
```python pre_signed_url_res = bucket.generate_presigned_url("sam/out/sample.txt",url_action='GET',expiry_in_sec='300', active_from='1023453725828', version_id='jdery748tfge78') print(pre_signed_url_res) ``` **Example Response for Generating a Presigned URL for Download** ```json { "signature": "https://zcstratus123-development.zohostratus.com/_signed/sam/out/sample.txt?organizationId=83963316&stsCredential=74660608-83963316&stsDate=1726492859577&stsExpiresAfter=300&stsSignedHeaders=host&stsSignature=_G8mnq-03vKgPlnJPmqBvzEnT3Hk-SnECuG-cgURyDs", "expiry_in_seconds": "300", "active_from": "1726492859577" } ``` **Example Snippet Illustrating Usage of Presigned URL to Download an Object** ```python import requests #Pre-signed URL to download the file url = "https://sadi-development.zohostratus.com/_signed/code.txt?organizationId=96862383&stsCredential=96858154-96862383&stsDate=1747899927592&stsExpiresAfter=300&stsSignedHeaders=host&stsSignature=-l10AlSsbZzkq6t8HHgDfNkEiiDWFaaU9M3-hPBz0M8" #Path where the downloaded file will be saved locally file_path = "file_path" # Replace with actual file path #Send a GET request to download the file response = requests.get(url, stream=True) #Check if the request was successful if response.status_code == 200: #Open the destination file in binary write mode with open(file_path, "wb") as f: #Write data in chunks to handle large files for chunk in response.iter_content(chunk_size=8192): if chunk: f.write(chunk) print("Download completed successfully.") else: print("Object download failed. Status code:", response.status_code) ``` -------------------------------------------------------------------------------- title: "Upload Object" description: "This page lists the Python SDK method to upload objects to a bucket." last_updated: "2026-11-03T07:48:52.000Z" source: "https://docs.catalyst.zoho.com/en/sdk/python/v1/cloud-scale/stratus/upload-object/" service: "CloudScale" related: - Stratus Component Help Documentation (/en/cloud-scale/help/stratus/introduction) - Upload an Object Help Documentation (/en/cloud-scale/help/stratus/objects/upload-object/) - Java SDK (/en/sdk/java/v1/cloud-scale/stratus/upload-object/) - JavaScript SDK Documentation (/en/sdk/javascript/v1/cloudscale/stratus/upload-object/) - iOS SDK (/en/sdk/ios/v2/cloud-scale/stratus/upload-object/) - Android SDK (/en/sdk/android/v2/cloud-scale/stratus/upload-object/) - Flutter SDK (/en/sdk/flutter/v2/cloud-scale/stratus/upload-object/) - REST API (/en/api/code-reference/cloud-scale/stratus/get-all-buckets/#GetAllBuckets) -------------------------------------------------------------------------------- # Upload Object The SDK methods listed in this section will allow you to [upload objects](https://docs.catalyst.zoho.com/en/cloud-scale/help/stratus/objects/upload-object/) to the [bucket](https://docs.catalyst.zoho.com/en/cloud-scale/help/stratus/buckets/name-bucket/) in various manners. You can upload objects as a **string** or as a **stream**. The Bucket reference used in the below code snippet is the [component instance](https://docs.catalyst.zoho.com/en/sdk/nodejs/v2/cloud-scale/stratus/create-bucket-instance/). If you do not have [Versioning](https://docs.catalyst.zoho.com/en/cloud-scale/help/stratus/stratus-config/general-settings/#versioning) enabled for your object, and if Stratus gets multiple write requests for the same object, the object will be continuously overwritten. The latest upload of the object will be the only object that is stored. However, with Versioning enabled, each upload will be considered a version of the object, and all of them will be stored in the bucket, each with a unique `version_id`. > **Note:** The following characters including space are not supported when you create a path or an object: double quote, both angular brackets, hashtag, backward slash and pipe symbol. ### Upload Object as a Stream Using this SDK method, you can upload objects to a bucket as a stream. Store the stream in a variable and then pass that variable in the upload method. ```python file = open('file_path','rb') res = bucket.put_object("sam/out/sample.txt",file) print(res) ``` ### Upload Object as a String Using this SDK method, you can upload the object as a string. You will pass the object name, and the data to be stored in the object in string format in the upload method; `put_object()` ```python res = bucket.put_object("sam/out/sample.txt",'content of the file') print(res) ``` ### Upload Object with Options Using this SDK method, you can use the following options while you upload an object. * `overwrite`: This is an option you can use, if *Versioning* for your bucket is not enabled for your bucket. Without versioning, you need to use this option if you wish to overwrite a resource. The default value is '**false**'. * `ttl`: This is an option you can use to set **Time-to-Live** (TTL) in seconds for an object. Value should be greater than or equal to **60 seconds**. * `meta_data`: This is an option you can use to upload [meta details](https://docs.catalyst.zoho.com/en/cloud-scale/help/stratus/objects/introduction/#metadata) of the object that is being uploaded. * `content_type`: This is an option you can provide, if you need to set the MIME type of the object. ```python options = { 'overwrite': 'true', 'ttl': '300', #provide time to live in seconds 'meta_data': { 'author': 'John' } } file = open('file_path','rb') res = bucket.put_object("sam/out/sample.txt",file, options) print(res) ``` ### Upload Object With Extract Option When you upload a zip file using the following method, the zip file will be extracted, and the objects will be uploaded to the bucket. ```python # Define upload options including extract_upload options = { # Overwrite the object if it already exists 'overwrite': 'true', # Time-to-live in seconds after which the object will expire 'ttl': '300', # Automatically extract contents of ZIP file 'extract_upload': 'true', # MIME type of the object 'content-type': 'application/zip', # Custom metadata associated with the object 'meta_data': { 'author': 'Sam' } } #Open the file in binary mode file = open('sam.zip', 'rb') #Upload and extract ZIP contents res = bucket.put_object('sam/sample.zip', file, options) ``` This SDK method will return a `task_id`. You can use this `task_id` in this [SDK method](https://docs.catalyst.zoho.com/en/sdk/python/v1/cloud-scale/stratus/extract-zipped-object/#get-zip-extraction-status) to find out the status of the extraction. **Example Response** ```json { 'task_id': '1234263749' } ``` ### Upload Object Using Multipart In this section we are going to go over the SDK methods that will allow you to successfully upload a large object to a bucket in Stratus. The multipart upload feature will upload a large file to the bucket in multiple HTTPS requests. All of these requests will be combined into a single object once all the individual parts have been uploaded. > **Note:** It is recommended that you consider **Multipart Upload** as the preferred method to upload objects that are **100 MB or larger**. #### Initiate Multipart Upload To perform multipart operations, you need to get a multipart object instance. We will refer to this component instance in various code snippets where we work with multipart operations being performed on objects stored in a bucket in Stratus. **Parameter Used** `bucket`: This is the bucket instance you need to have initialized earlier using this [SDK method](https://docs.catalyst.zoho.com/en/sdk/nodejs/v2/cloud-scale/stratus/create-bucket-instance/). ```python init_res = bucket.initiate_multipart_upload(key="") print(init_res) ``` **Example Response** ```json { bucket: 'zcstratus123-development', key: 'objectName.txt', upload_id: '01j7xbm4vm5750zbedxqgc4q6m', status: 'PENDING' } ``` #### Upload Parts of the Object In the following SDK method, we are going to perform uploads of the individual parts of the object. Each part will have a distinct partNumber ranging anywhere between 1 and 1000. While this represents the ordering of the parts, these parts will not necessarily be uploaded in sequence. These parts will be combined in sequence once the upload of all the parts of the objects is complete. ```python upload_res = bucket.upload_part(key="",upload_id="", part_number=3, body=open('file_path','rb')) print(upload_res) ``` #### Get Multipart Upload Summary The following SDK method can be used to obtain an operational summary of all the uploaded parts. To view the summary, we will use the `get_multipart_upload_summary()` method. ```python summary_res = bucket.get_multipart_upload_summary(key="", upload_id="") print(summary_res) ``` **Example Response** ```json { "bucket": "zcstratus12345-development", "key": "sasm.txt", "upload_id": "01hyfyeazrrstmt7k5fa7ej726", "status": "PENDING", "parts": [ { "part_number": 1, "size": 0, "uploaded_at": 1716374678999 }, { "part_number": 2, "size": 2797094, "uploaded_at": 1716374678576 }, { "part_number": 4, "size": 0, "uploaded_at": 1716374679136 } ] } ``` #### Complete Multipart Upload of the Object The following method allows us to terminate the multipart process once all the parts have been successfully uploaded. To complete the process we will pass the uploadId to the `complete_multipart_upload()` method. ```python complete_res = bucket.complete_multipart_upload(key="", upload_id="") print(complete_res) ``` **Example SDK Implementation** **Package Imports** ```java from concurrent.futures import ThreadPoolExecutor import zcatalyst_sdk ``` ```python def handler(request: Request): app = zcatalyst_sdk.initialize() if request.path == "/": # stratus instance stratus = app.stratus() # bucket instance bucket = stratus.bucket('bucket_name') # multipart upload key = "sam/out/sample.txt" file_path = '/sam/smple.mp4' initiate_res = bucket.initiate_multipart_upload(key) part_number = 1 part_size = 50 * 1024 * 1024 futures = [] try: with open(file_path, 'rb') as file: with ThreadPoolExecutor(max_workers=3) as executor: while True: chunk = file.read(part_size) if not chunk: break futures.append(executor.submit( bucket.upload_part, key, initiate_res['upload_id'], chunk, part_number ) ) part_number += 1 for future in futures: future.result() except Exception as err: raise err multipart_upload_res = bucket.complete_multipart_upload(key, initiate_res['upload_id']) return multipart_upload_res else: response = make_response('Unknown path') response.status_code = 400 return response ``` ### Upload an Object Using Transfer Manager When the Object that you need to upload is too large to upload, you can perform a transfer manager operation. The transfer manager operation will split the object into multiple parts and perform a quicker upload. In this SDK section, we are going to go over all the SDK methods that are available to perform upload objects in Stratus using Transfer Manager. #### Get Transfer Manager Instance To perform transfer manager operations, you need to get a transfer manager object instance. We will refer to this component instance in various code snippets where we work with transfer manager operations being performed on objects stored in a bucket in Stratus. **Parameter Used** `bucket`: This is the bucket instance you need to have initialized earlier using this [SDK method](https://docs.catalyst.zoho.com/en/sdk/nodejs/v2/cloud-scale/stratus/create-bucket-instance/). **Ensure the following packages are imported** **Package Imports** ```java from zcatalyst_sdk.stratus.transfer_manager import TransferManager ``` ```python transfer_manager = TranferManager(bucket) ``` #### Upload an Object Using Transfer Manager In this section we are going to go over the SDK methods that will allow you to successfully upload a large object to a bucket in Stratus. The multipart upload feature will upload a large file to the bucket in multiple HTTPS requests. All of these requests will be combined into a single object once all the individual parts have been uploaded. > **Note:** It is recommended that you consider **Multipart Upload** as the preferred method to upload objects that are **100 MB or larger**. #### Create Multipart Instance Using the following SDK method, we are going to generate a `upload_id`. Using this ID we are going to create and return an instance that allows you to perform multipart operations on the object. ```python init_ins = transfer_manager.create_multipart_instance(key="") ``` If you are required to create an instance for an already initialized multipart upload operation, then copy and use the code snippet given below. ```python init_ins = transfer_manager.create_multipart_instance(key="", upload_id="") ``` #### Perform Multipart Upload for Parts of the Object In the following SDK method, we are going to perform uploads of the individual parts of the object. Each part will have a distinct `part_number` ranging anywhere between **1 and 1000**. While this represents the ordering of the parts, these parts will not necessarily be uploaded in sequence. These parts will be combined in sequence once the upload of all the parts of the objects is complete. **Parameters Used** * `part_number`: Will have the ordering of the parts that are being uploaded. * `body`: Will contain the data/content of the object. ```python upload_res = init_ins.upload_part(body=open('file_path','rb'), part_number=3) print(upload_res) ``` #### Get Multipart Upload Summary The following SDK method can be used to obtain an operational summary of all the uploaded parts. To view the summary, we will use the `get_upload_summary()` method. ```python summary_res = init_ins.get_upload_summary() print(summary_res) ``` #### Complete Multipart Upload of the Object The following method allows us to terminate the multipart process once all the parts have been successfully uploaded. To complete the process we will pass the `upload_id` to the `complete_upload()` method. ```python complete_res = init_ins.complete_upload() print(complete_res) ``` #### Upload an Object Wrapping all the Transfer Manager Functionality The following SDK method acts as a wrapper, where the entire transfer manager upload operation is carried out without employing multiple steps. Using this method, the object is split into multiple parts, uploaded to the bucket in multiple parts, and then combined once all the parts are uploaded. > **Note:** For object's that are **larger than 2GB**, we would recommend that you use the **individual SDK methods** to carry out the multipart upload operation successfully. ```python upload_res = transfer_res.put_object_as_parts(key='', body=open('file_path', 'rb'), part_size=50) print(upload_res) ``` ### Generate Presigned URL to Upload an Object Presigned URLs are secure URLs that authenticated users can share to their non-authenticated users. This URL will provide non-authenticated users with temporary authorization to access objects. The Bucket reference used in the below code snippet is the [component instance](https://docs.catalyst.zoho.com/en/sdk/python/v1/cloud-scale/stratus/create-bucket-instance/). > **Info:** To use this SDK method, you need intialize it with **Admin** scope. You can learn more about this requirement from this [section](https://docs.catalyst.zoho.com/en/sdk/nodejs/v2/overview/#initialize-sdk-with-scopes) **Parameters Used**
Parameter Name Data Type Definition
`key` **String** A **Mandatory** parameter. Will hold the complete name of the object along with it's [path](https://docs.catalyst.zoho.com/en/cloud-scale/help/stratus/objects/introduction/#path).
`url_action` **Request Method** A **Mandatory** parameter. This is the parameter that will allow you to generate a presigned URL for an upload(PUT) action.
  • `PUT`: To upload an object
`expiry` **String** This is an **Optional** parameter. The URL validity time in seconds.
  • Default value: **3600 seconds**
  • Minimum value: **30 seconds**
  • Maximum value: **7 days**
`active_from` **String** This is an **Optional** parameter. This param will contain the time after which the URL is valid. Maximum value is **7 days**. URLs are made active as soon as they are generated by default.
```python pre_signed_url_res = bucket.generate_presigned_url("sam/out/sample.txt",url_action='PUT',expiry_in_sec='300', active_from='1023453725828') print(pre_signed_url_res) ``` **Example Response for Generating a Presigned URL for Upload** ```json { "signature": "https://sadi-development.zohostratus.com/_signed/code.txt?organizationId=96862383&stsCredential=96858154-96862383&stsDate=1747899245773&stsExpiresAfter=300&stsSignedHeaders=host&stsSignature=YBPoNE9txCIUWWX3ntdgVd95VTt1jGFlSuvnTRFbCMQ" file_path = "/Users/ranjitha-18338/Documents/Pyhton-SDK/stratus/output.txt", "expiry_in_seconds": "300", "active_from": "1726492859577" } ``` **Example Snippet Illustrating Usage of Presigned URL to Upload an Object** **Package Imports** ```java import requests ``` ```python #Replace this with your actual pre-signed URL url = "https://sadi-development.zohostratus.com/_signed/code.txt?organizationId=96862383&stsCredential=96858154-96862383&stsDate=1747899245773&stsExpiresAfter=300&stsSignedHeaders=host&stsSignature=YBPoNE9txCIUWWX3ntdgVd95VTt1jGFlSuvnTRFbCMQ" #Path to the local file that you want to upload file_path = "file_path" #Set required headers headers = { # 'Content-Type': 'text/plain', # Specify content type of the file # 'overwrite': 'true', # Optional custom header to indicate overwrite (if required by server) } #Open the file in binary read mode and send a PUT request to upload it with open(file_path, 'rb') as f: files = {'file': f} #Create a file payload response = requests.put(url, headers=headers, files=files) #Check the response status if response.status == 200: print('Object uploaded successfully') else: print('Object upload failed') ``` -------------------------------------------------------------------------------- title: "Extract a Zipped Object" description: "This page lists the Python SDK method to extract a zipped object." last_updated: "2026-11-03T07:48:52.000Z" source: "https://docs.catalyst.zoho.com/en/sdk/python/v1/cloud-scale/stratus/extract-zipped-object/" service: "CloudScale" related: - Stratus Component Help Documentation (/en/cloud-scale/help/stratus/introduction) - Java SDK (/en/sdk/java/v1/cloud-scale/stratus/extract-zipped-object/) - JavaScript SDK Documentation (/en/sdk/javascript/v1/cloudscale/stratus/extract-zipped-object/) - iOS SDK (/en/sdk/ios/v2/cloud-scale/stratus/overview/) - Android SDK (/en/sdk/android/v2/cloud-scale/stratus/overview/) - Flutter SDK (/en/sdk/flutter/v2/cloud-scale/stratus/overview/) - REST API (/en/api/code-reference/cloud-scale/stratus/get-all-buckets/#GetAllBuckets) -------------------------------------------------------------------------------- # Extract a Zipped Object The following SDK method will allow you to extract a zip file inside Stratus, and every individual content present in the zip file will be considered as individual object and uploaded to Stratus in the same bucket. This entire process will happen *asynchronously*. The Bucket reference used in the below code snippet is the [component instance](https://docs.catalyst.zoho.com/en/sdk/python/v1/cloud-scale/stratus/create-bucket-instance/). > **Info:** To use this SDK method, you need intialize it with **Admin** scope. You can learn more about this requirement from this [section](https://docs.catalyst.zoho.com/en/sdk/nodejs/v2/overview/#initialize-sdk-with-scopes) > **Note:** Since the extraction process occurs asynchronously, the time in which the entire process is completed is dependent on the size of the zip file that is being extracted. **Parameters Used**
Parameter Name Data Type Definition
`key` **String** A **Mandatory** parameter. Will be the name of the zip file, you need to extract
`destination` **String** A **Mandatory** parameter. Will contain the complete [path information](https://docs.catalyst.zoho.com/en/cloud-scale/help/stratus/objects/introduction/#path) of the destination, where the extracted objects will be stored in the bucket.
```python unzip_res = bucket.unzip_object("sam/out/sample.zip","output/") print(unzip_res) ``` #### Example Response ```json { "key": "sam/out/sample.zip", "destination": "output/", "task_id": "6963000000272049", "message": "Zip extract scheduled" } ``` ### Get Zip Extraction Status The zip extraction process occurs asynchronously, and the time it takes to complete the extraction process is highly contingent on the size of the zip file. > **Info:** To use this SDK method, you need intialize it with **Admin** scope. You can learn more about this requirement from this [section](https://docs.catalyst.zoho.com/en/sdk/nodejs/v2/overview/#initialize-sdk-with-scopes) Using the `task_id` parameter, in the following SDK method, we can determine the status of the extraction. The `task_id` is returned in the response of `unzip_object()` method. ```python res = bucket.get_unzip_status("sam/out/sample.zip", 'task_id') print(res) ``` #### Example Response ```json { "task_id": "6963000000272049", "status": "SUCCESS" } ``` -------------------------------------------------------------------------------- title: "Copy Object" description: "This page lists the Python SDK method to make a copy of an object within its own bucket." last_updated: "2026-11-03T07:48:52.000Z" source: "https://docs.catalyst.zoho.com/en/sdk/python/v1/cloud-scale/stratus/copy-objects/" service: "CloudScale" related: - Stratus Component Help Documentation (/en/cloud-scale/help/stratus/introduction) - Java SDK (/en/sdk/java/v1/cloud-scale/stratus/copy-objects/) - JavaScript SDK Documentation (/en/sdk/javascript/v1/cloudscale/stratus/copy-object/) - iOS SDK (/en/sdk/ios/v2/cloud-scale/stratus/overview/) - Android SDK (/en/sdk/android/v2/cloud-scale/stratus/overview/) - Flutter SDK (/en/sdk/flutter/v2/cloud-scale/stratus/overview/) - REST API (/en/api/code-reference/cloud-scale/stratus/get-all-buckets/#GetAllBuckets) -------------------------------------------------------------------------------- # Copy Object Using this SDK method, you can copy an object and paste it within a bucket. The Bucket reference used in the below code snippet is the [component instance](https://docs.catalyst.zoho.com/en/sdk/python/v1/cloud-scale/stratus/create-bucket-instance/). > **Info:** To use this SDK method, you need intialize it with **Admin** scope. You can learn more about this requirement from this [section](https://docs.catalyst.zoho.com/en/sdk/nodejs/v2/overview/#initialize-sdk-with-scopes) The `key` will be the object you are going to copy, and the `destination`, will contain the new name of the copied object. To paste the copied object in a different path, you need to provide the complete path name as `dest_object`. > **Note:** * You need to provide the complete object name, along with the [**path**](https://docs.catalyst.zoho.com/en/cloud-scale/help/stratus/objects/introduction/#path) for both `key` and `destination` values. * For example, if you have file named "`kitten.png`" in the path `pictures/puppy`, and you need to copy the file to `pictures/kitten` path, then: `key` value will be '`pictures/puppy/kitten.png`' `destination` value will be '`pictures/kitten/kitten.png`' ```python res = bucket.copy_object("sam/out/sample.txt","output/sample.txt") print(res) ``` #### Example Response ```json { "copy_to": "output/sample.txt", "object_key": "sam/out/sample.txt", "message": "Object copied successfully." } ``` -------------------------------------------------------------------------------- title: "Rename and Move Operations on an Object" description: "This page lists the Python SDK method to perform rename and move operations on an object." last_updated: "2026-11-03T07:48:52.000Z" source: "https://docs.catalyst.zoho.com/en/sdk/python/v1/cloud-scale/stratus/rename-move-object/" service: "CloudScale" related: - Stratus Component Help Documentation (/en/cloud-scale/help/stratus/introduction) - Java SDK (/en/sdk/java/v1/cloud-scale/stratus/rename-move-object/) - JavaScript SDK Documentation (/en/sdk/javascript/v1/cloudscale/stratus/rename-move/) - iOS SDK (/en/sdk/ios/v2/cloud-scale/stratus/overview/) - Android SDK (/en/sdk/android/v2/cloud-scale/stratus/overview/) - Flutter SDK (/en/sdk/flutter/v2/cloud-scale/stratus/overview/) - REST API (/en/api/code-reference/cloud-scale/stratus/get-all-buckets/#GetAllBuckets) -------------------------------------------------------------------------------- # Rename and Move Operations on an Object To rename and to move an object, we will be using the same `rename_object()` SDK method. The Bucket reference used in the below code snippet is the [component instance](https://docs.catalyst.zoho.com/en/sdk/python/v1/cloud-scale/stratus/create-bucket-instance/). **Parameters Used**
Parameter Name Data Type Definition
`key` **String** The original name of the object that you need to rename
`destination` **String** The new name that you rename the object with
> **Note:** * You need to provide the complete object name, along with the [**path**](https://docs.catalyst.zoho.com/en/cloud-scale/help/stratus/objects/introduction/#path) for both `sourceObject` and `destObject` values. * For example, if you have file named "`kitten.png`" in the path `pictures/puppy`, and you need to move or rename the file to `pictures/kitten` path, then: `key` value will be '`pictures/puppy/kitten.png`' `destination` value will be '`pictures/kitten/kitten.png`' ### Rename an Object Using the `rename_object()` SDK method you can rename objects present in a bucket. > **Info:** To use this SDK method, you need intialize it with **Admin** scope. You can learn more about this requirement from this [section](https://docs.catalyst.zoho.com/en/sdk/nodejs/v2/overview/#initialize-sdk-with-scopes) > **Note:** * You cannot rename objects in a bucket that has [Versioning](https://docs.catalyst.zoho.com/en/cloud-scale/help/stratus/stratus-config/general-settings/#versioning) enabled. * The following characters including space are not supported when you create a path or an object: double quote, both angular brackets, hashtag, backward slash and pipe symbol. ```python rename_res = bucket.rename_object("sam/out/sample.txt","sam/out/update_sample.txt") print(rename_res) ``` #### Example Response ```json { "current_key": "sam/out/sample.txt", "message": "Rename successful", "rename_to": "sam/out/update_sample.txt" } ``` ### Move an Object Using the `rename_object()` SDK method, we can move the object from one path to another within a bucket. The Bucket reference used in the below code snippet is the [component instance](https://docs.catalyst.zoho.com/en/sdk/python/v1/cloud-scale/stratus/create-bucket-instance/). > **Info:** To use this SDK method, you need intialize it with **Admin** scope. You can learn more about this requirement from this [section](https://docs.catalyst.zoho.com/en/sdk/nodejs/v2/overview/#initialize-sdk-with-scopes) ```python rename_res = bucket.rename_object("sam/out/sample.txt","output/sample.txt") print(rename_res) ``` > **Note:** You cannot perform move operations in a bucket that has [Versioning](https://docs.catalyst.zoho.com/en/cloud-scale/help/stratus/stratus-config/general-settings/#versioning) enabled. #### Example Response ```json { "current_key": "sam/out/sample.txt", "message": "Rename successful", "rename_to": "sutput/sample.txt" } ``` -------------------------------------------------------------------------------- title: "Delete Objects" description: "This page lists the Python SDK method to delete objects stores in a bucket." last_updated: "2026-11-03T07:48:52.000Z" source: "https://docs.catalyst.zoho.com/en/sdk/python/v1/cloud-scale/stratus/delete-objects/" service: "CloudScale" related: - Stratus Component Help Documentation (/en/cloud-scale/help/stratus/introduction) - Java SDK (/en/sdk/java/v1/cloud-scale/stratus/delete-objects/) - JavaScript SDK Documentation (/en/sdk/javascript/v1/cloudscale/stratus/delete-object/) - iOS SDK (/en/sdk/ios/v2/cloud-scale/stratus/delete-object/) - Android SDK (/en/sdk/android/v2/cloud-scale/stratus/delete-object/) - Flutter SDK (/en/sdk/flutter/v2/cloud-scale/stratus/delete-object/) - REST API (/en/api/code-reference/cloud-scale/stratus/get-all-buckets/#GetAllBuckets) -------------------------------------------------------------------------------- # Delete Objects The following SDK methods will allow you to perform delete operations in Stratus. The Bucket reference used in the below code snippet is the [component instance](https://docs.catalyst.zoho.com/en/sdk/python/v1/cloud-scale/stratus/create-bucket-instance/). **Parameters Used**
Parameter Name Data Type Definition
`key` **String** A **Mandatory** parameter. Will hold the complete name of the object along with it's [path](https://docs.catalyst.zoho.com/en/cloud-scale/help/stratus/objects/introduction/#path).
`version_id` **String** An **Optional** parameter. If [Versioning](https://docs.catalyst.zoho.com/en/cloud-scale/help/stratus/stratus-config/general-settings/#versioning) is enabled for your bucket then, this param will help you refer to a particular version using its unique Version ID.
`ttl` **int** An **Optional** parameter. It allows you to schedule your delete operations. For example, if you provide the value of `ttl` as **60**, the delete operation will only occur after 60 seconds. The value of `ttl` has to be >= 60 seconds.
### Delete a Single Object Using this SDK method, you can delete a particular object by passing the object name to the `delete_object()` method. ```python delete_res = bucket.delete_object("sam/out/sample.txt") print(delete_res) ``` > **Note:** If [Versioning](https://docs.catalyst.zoho.com/en/cloud-scale/help/stratus/stratus-config/general-settings/#versioning) is enabled on the bucket and no specific `version_id` is provided, deleting an object will **remove all versions** of that object by default. ### Delete a Specific Version of an Object after a Specific Time Ensure you provide the `versionId` of the object if you enabled [Versioning](https://docs.catalyst.zoho.com/en/cloud-scale/help/stratus/stratus-config/general-settings/#versioning) for your bucket. > **Info:** To use this SDK method, you need intialize it with **Admin** scope. You can learn more about this requirement from this [section](https://docs.catalyst.zoho.com/en/sdk/nodejs/v2/overview/#initialize-sdk-with-scopes) You can also schedule your delete operation using the `ttl` variable. For example, if you provide the value of `ttl` as **100**, the delete operation will only occur after **100 seconds**. Always ensure that the value of `ttl` is greater than equal to **60 seconds**. ```python delete_res = bucket.delete_object("sam/out/sample.txt", 'version_id', ttl=300) print(delete_res) ``` ### Delete Multiple Objects Using this SDK method, you can delete multiple objects by passing the names of the objects that need to be deleted as an array. > **Info:** To use this SDK method, you need intialize it with **Admin** scope. You can learn more about this requirement from this [section](https://docs.catalyst.zoho.com/en/sdk/nodejs/v2/overview/#initialize-sdk-with-scopes) Ensure you provide the `versionId` of the object if you enabled [Versioning](https://docs.catalyst.zoho.com/en/cloud-scale/help/stratus/stratus-config/general-settings/#versioning) for your bucket. You can also schedule your delete operation using the `ttl` variable. For example, if you provide the value of `ttl` as **100**, the delete operation will only occur after **100 seconds**. Always ensure that the value of `ttl` is greater than equal to **60 seconds**. ```python delete_objects_res = bucket.delete_objects([ { 'key' : "sam/out/sample.txt", 'version_id':'01hj6ackcxpha9151n7mj0cq6g' }, { 'key' :"sam/out/sample1.txt", 'version_id':'01hj68v1tmb33wa7zchb1vtbjn' }],ttl=300) print(delete_objects_res) ``` #### Example Response for Delete Operation ```json {'message': 'Object Deletion successful.'} ``` ### Truncate Bucket Using this SDK method you will be able to essentially every single object present in the bucket. > **Info:** To use this SDK method, you need intialize it with **Admin** scope. You can learn more about this requirement from this [section](https://docs.catalyst.zoho.com/en/sdk/nodejs/v2/overview/#initialize-sdk-with-scopes) ```python # delete all the objects in the bucket truncate_res = bucket.truncate() print(truncate_res) ``` ### Delete a Path in the Bucket Using this SDK, you will be able to delete all the objects present in a [path](https://docs.catalyst.zoho.com/en/cloud-scale/help/stratus/objects/introduction/#path). > **Info:** To use this SDK method, you need intialize it with **Admin** scope. You can learn more about this requirement from this [section](https://docs.catalyst.zoho.com/en/sdk/nodejs/v2/overview/#initialize-sdk-with-scopes) You need to pass the complete path to the `delete_path()` method. ```python path_res = bucket.delete_path("sam/") print(path_res) ``` > **Note:** Ensure that you provide the exact path. If an incorrect path is provided, the delete action will get scheduled, but it will result in an error. #### Example Response ```json { "path": "sam/", "message": "Path deletion scheduled" } ``` -------------------------------------------------------------------------------- title: "Create Object Instance" description: "This page lists the Python SDK method to create an object instance." last_updated: "2026-11-03T07:48:52.000Z" source: "https://docs.catalyst.zoho.com/en/sdk/python/v1/cloud-scale/stratus/create-object-instance/" service: "CloudScale" related: - Stratus Component Help Documentation (/en/cloud-scale/help/stratus/introduction) - Java SDK (/en/sdk/java/v1/cloud-scale/stratus/create-object-instance/) - JavaScript SDK Documentation (/en/sdk/javascript/v1/cloudscale/stratus/create-object-instance/) - iOS SDK (/en/sdk/ios/v2/cloud-scale/stratus/overview/) - Android SDK (/en/sdk/android/v2/cloud-scale/stratus/overview/) - Flutter SDK (/en/sdk/flutter/v2/cloud-scale/stratus/overview/) - REST API (/en/api/code-reference/cloud-scale/stratus/get-all-buckets/#GetAllBuckets) -------------------------------------------------------------------------------- # Create Object Instance Use the following method to get an object instance to perform object-related operations. The Bucket reference used in the below code snippet is the [component instance](https://docs.catalyst.zoho.com/en/sdk/python/v1/cloud-scale/stratus/create-bucket-instance/). ```python object_ins = bucket.object("sam/out/sample.txt") ``` -------------------------------------------------------------------------------- title: "List Object Versions" description: "This page lists the Python SDK method to get versions of an object." last_updated: "2026-11-03T07:48:52.000Z" source: "https://docs.catalyst.zoho.com/en/sdk/python/v1/cloud-scale/stratus/list-object-versions/" service: "CloudScale" related: - Stratus Component Help Documentation (/en/cloud-scale/help/stratus/introduction) - Java SDK (/en/sdk/java/v1/cloud-scale/stratus/list-object-versions/) - JavaScript SDK Documentation (/en/sdk/javascript/v1/cloudscale/stratus/rename-move/) - iOS SDK (/en/sdk/ios/v2/cloud-scale/stratus/overview/) - Android SDK (/en/sdk/android/v2/cloud-scale/stratus/overview/) - Flutter SDK (/en/sdk/flutter/v2/cloud-scale/stratus/overview/) - REST API (/en/api/code-reference/cloud-scale/stratus/get-all-buckets/#GetAllBuckets) -------------------------------------------------------------------------------- # List Object Versions ### List All Versions of an Object Through Pagination Enabling [Versioning](https://docs.catalyst.zoho.com/en/cloud-scale/help/stratus/stratus-config/general-settings/#versioning) in a bucket allows you to store multiple versions of the same object in the bucket. Each version of the object will have its own `versionId`. This SDK method allows you to get all the existing versions of an object present in a bucket by pagination. > **Info:** To use this SDK method, you need intialize it with **Admin** scope. You can learn more about this requirement from this [section](https://docs.catalyst.zoho.com/en/sdk/nodejs/v2/overview/#initialize-sdk-with-scopes) **Parameters Used**
Parameter Name Data Type Definition
`next_token` **String** Will hold the value to determine the next set of versions.
`max_versions` **int** An **Optional** parameter. Will hold the value of the maximum number of versions of the object that can be listed per iteration.
```python def list_my_paged_versions(max_versions = None, next_token= None): res = object_ins.list_paged_versions(max_versions, next_token) print(res) if not res['is_truncated']: # return 'true' if more versions are available for the object. Return 'false' no more versions available for the object return list_my_paged_versions(max_versions, next_token) list_my_paged_versions(2) ``` #### Example Response ```json { "key": "downloaded_file.json", "versions_count": 2, "max_versions": "2", "is_truncated": "False", "next_continuation_token": "4YpUdkktt2UeWp6MwEK1LZXELnuVhunHLnGgX29uvszwtJEQE2gVDJYyRiLdUmhNst", "version": [ { "version_id": "01hyfh12njtpyvzwq6p1fd2d8s", "is_latest": "True", "last_modified": "May 22, 2024 12:20 PM", "size": 1, "etag": "9af7c117d9de9a06fba7a5f1ea5fcc2d" }, { "version_id": "01hyfh0xkvwkxxsjfceef201xa", "is_latest": "False", "last_modified": "May 22, 2024 12:20 PM", "size": "1", "etag": "9af7c117d9de9a06fba7a5f1ea5fcc2d" } ] } ``` ### List All Versions of the Object Through Iteration You can use the following SDK method to get all available versions of the object in a single call. > **Info:** To use this SDK method, you need intialize it with **Admin** scope. You can learn more about this requirement from this [section](https://docs.catalyst.zoho.com/en/sdk/nodejs/v2/overview/#initialize-sdk-with-scopes) ```python versions = object_ins.list_iterable_versions(2) for key in versions: print(key) ``` #### Example Response ```json { "version_id": "01hyfh12njtpyvzwq6p1fd2d8s", "is_latest": "True", "last_modified": "May 22,2024 12:20 PM", "size": "1", "etag": "9af7c117d9de9a06fba7a5f1ea5fcc2d" } { "version_id": "01hyfh0xkvwkxxsjfceef201xa", "is_latest": "False", "last_modified": "May 22, 2024 12:20 PM", "size": "1", "etag": "9af7c117d9de9a06fba7a5f1ea5fcc2d" } ``` -------------------------------------------------------------------------------- title: "Get Object Details" description: "This page lists the Python SDK method to get details of objects stored in a bucket." last_updated: "2026-11-03T07:48:52.000Z" source: "https://docs.catalyst.zoho.com/en/sdk/python/v1/cloud-scale/stratus/object-details/" service: "CloudScale" related: - Stratus Component Help Documentation (/en/cloud-scale/help/stratus/introduction) - Java SDK (/en/sdk/java/v1/cloud-scale/stratus/object-details/) - JavaScript SDK Documentation (/en/sdk/javascript/v1/cloudscale/stratus/get-object-details/) - iOS SDK (/en/sdk/ios/v2/cloud-scale/stratus/overview/) - Android SDK (/en/sdk/android/v2/cloud-scale/stratus/overview/) - Flutter SDK (/en/sdk/flutter/v2/cloud-scale/stratus/overview/) - REST API (/en/api/code-reference/cloud-scale/stratus/get-all-buckets/#GetAllBuckets) -------------------------------------------------------------------------------- # Get Object Details ### Get Details of an Object Use the following SDK method to get details of an object stored in the bucket. The Object reference used in the below code snippet is the [component instance](https://docs.catalyst.zoho.com/en/sdk/python/v1/cloud-scale/stratus/create-object-instance/). > **Info:** To use this SDK method, you need intialize it with **Admin** scope. You can learn more about this requirement from this [section](https://docs.catalyst.zoho.com/en/sdk/nodejs/v2/overview/#initialize-sdk-with-scopes) ```python res = object_ins.get_details() print(res) ``` > **Note:** If [Versioning](https://docs.catalyst.zoho.com/en/cloud-scale/help/stratus/stratus-config/general-settings/#versioning) is enabled, then using this SDK method will only return the latest version's object details. #### Example Response ```json { "key": "sam/out/sample.txt", "size": 1, "content_type": "text/plain", "last_modified": "May 22, 2024 12:25 PM", "meta_data": { "author": "John" }, "object_url": "https://zcstratus12345-development.zohostratus.com/sam/out/sample.txt", "cached_object_url": "https://zcstratus12345-development.nimbuslocaledge.com/sam/out/sample.txt" } ``` ### Get Details of a Particular Version of the Object Using this SDK method, you will be able to get all details of a particular object's version. > **Info:** To use this SDK method, you need intialize it with **Admin** scope. You can learn more about this requirement from this [section](https://docs.catalyst.zoho.com/en/sdk/nodejs/v2/overview/#initialize-sdk-with-scopes) **Parameters Used**
Parameter Name Data Type Definition
`version_id` **String** An **Optional** parameter. If [Versioning](https://docs.catalyst.zoho.com/en/cloud-scale/help/stratus/stratus-config/general-settings/#versioning) is enabled for your bucket then, this param will help you refer to a particular version using its unique Version ID.
> **Note**: * You need to have enabled **Versioning** for your objects at least once to use this method. * You can find out more about Versioning from this [help documentation](https://docs.catalyst.zoho.com/en/cloud-scale/help/stratus/stratus-config/general-settings/#versioning). ```python res = object_ins.get_details('version_id') print(res) ``` #### Example Response ```json { "key": "sample.txt", "version_id": "01j7xgnmv5dhpk45kn3pctkasp", "size": 16, "content_type": "text/plain", "etag": "ad6affccd08876ad9ae5f60b7848b2c7", "last_modified": "Sep 16, 2024 07:04 PM", "object_url": "https://zcstratus123-development.zohostratus.com/sample.txt", "cached_object_url": "https://zcstratus123-development.nimbuslocaledge.com/sample.txt", } ``` -------------------------------------------------------------------------------- title: "Put Object Meta Data" description: "This page lists the Python SDK method to add meta data for an object stored in the object." last_updated: "2026-11-03T07:48:52.000Z" source: "https://docs.catalyst.zoho.com/en/sdk/python/v1/cloud-scale/stratus/put-object-meta/" service: "CloudScale" related: - Stratus Component Help Documentation (/en/cloud-scale/help/stratus/introduction) - Java SDK (/en/sdk/java/v1/cloud-scale/stratus/put-object-meta/) - JavaScript SDK Documentation (/en/sdk/javascript/v1/cloudscale/stratus/put-object-metadata/) - iOS SDK (/en/sdk/ios/v2/cloud-scale/stratus/overview/) - Android SDK (/en/sdk/android/v2/cloud-scale/stratus/overview/) - Flutter SDK (/en/sdk/flutter/v2/cloud-scale/stratus/overview/) - REST API (/en/api/code-reference/cloud-scale/stratus/get-all-buckets/#GetAllBuckets) -------------------------------------------------------------------------------- # Put Object Meta Data Using the following SDK method, you can add [meta details](https://docs.catalyst.zoho.com/en/cloud-scale/help/stratus/objects/introduction/#metadata) for a particular object stored in a bucket in Stratus. The Object reference used in the below code snippet is the [component instance](https://docs.catalyst.zoho.com/en/sdk/python/v1/cloud-scale/stratus/create-object-instance/). > **Info:** To use this SDK method, you need intialize it with **Admin** scope. You can learn more about this requirement from this [section](https://docs.catalyst.zoho.com/en/sdk/nodejs/v2/overview/#initialize-sdk-with-scopes) The meta details will be passed as JSON key value pairs. For example, {"meta_key" : "meta_value"} ```python res = object_ins.put_meta({'author': 'Amelia Burrows'}) print(res) ``` > **Note:** * Using this method to pass new meta details without adding the existent details will delete the existing details and only put the new details. To avoid this, pass the new meta details along with the existing meta details. * You can use alphanumeric, underscores, or whitespace characters, as well as hyphens, to write your metadata. No other special character is allowed other than the once mentioned. * You can fetch the metadata of an object using the `HEAD` request method. In the response, the metadata will be listed in the key '`x-user-meta`'. * The maximum size limit of characters allowed for the overall metadata is **2047** characters. The character count used to determine the size limit also includes the colon ":" special character used to define the key value pair. #### Example Response ```json { "message": "Metadata added successfully" } ``` ### ZCQL -------------------------------------------------------------------------------- title: "Get ZCQL Instance" description: "This page describes the method to execute ZCQL queries on a table in the Data Store in your Python application with sample code snippets." last_updated: "2026-11-03T07:48:52.000Z" source: "https://docs.catalyst.zoho.com/en/sdk/python/v1/cloud-scale/zcql/get-component-instance/" service: "CloudScale" related: - ZCQL Help (/en/cloud-scale/help/zcql/introduction) - Data Store Help (/en/cloud-scale/help/data-store/introduction) -------------------------------------------------------------------------------- # ZCQL [Catalyst CloudScale ZCQL](https://docs.catalyst.zoho.com/en/cloud-scale/help/zcql/introduction) is Catalyst's own query language that enables you to perform data retrieval, insertion, updation, and deletion operations on the tables in the Catalyst CloudScale Data Store. You can execute a variety of DML queries using ZCQL to obtain or manipulate data, and use various clauses and statements such as the SQL Join clauses, Groupby and OrderBy statements, and built-in SQL functions. Catalyst also provides an [**OLAP database**](https://docs.catalyst.zoho.com/en/cloud-scale/help/data-store/olap-database/introduction/), in addition to the primary Data Store that is suited for analytical data retrieval queries. You can choose to execute simple transactional queries on the primary Data Store, and complex analytical queries that involve [ZCQL functions](https://docs.catalyst.zoho.com/en/cloud-scale/help/zcql/zcql-functions/) on the OLAP database. ### Get a Component Instance A component instance is an object that can be used to access the predefined configurations specific to a particular component. This process will not fire a server-side call. The `app` reference used in the code below is the Python object returned as a response during SDK initialization. Also note that this instance will be used in multiple scenarios while performing retrieval, insertion, updating, or deleting operations in the Catalyst Data Store. ```python #Get a ZCQL component instance zcql_service = app.zcql() ``` -------------------------------------------------------------------------------- title: "Execute Query" description: "This page describes the method to execute ZCQL queries on a table in the Data Store in your Python application with sample code snippets." last_updated: "2026-11-03T07:48:52.000Z" source: "https://docs.catalyst.zoho.com/en/sdk/python/v1/cloud-scale/zcql/execute-zcql-query/" service: "CloudScale" related: - Execute query - API (/en/api/code-reference/cloud-scale/zcql/execute-zcql-query/#ExecuteZCQLQuery) - ZCQL Help (/en/cloud-scale/help/zcql/introduction) - Data Store Help (/en/cloud-scale/help/data-store/introduction) - SDK Scopes (/en/sdk/python/v1/sdk-scopes) -------------------------------------------------------------------------------- # Execute Query The `zcql_service` reference used in the code snippet below is the component instance created [earlier](https://docs.catalyst.zoho.com/en/sdk/python/v1/cloud-scale/zcql/get-component-instance/). Based on the query object being passed, the response returns a row object or an array of row objects. ### Construct and Execute the Query on the Primary Data Store For the ZCQL queries to be executed on the primary Data Store, you can construct the query object and pass it to the `execute_query()` method as shown below. These queries can include SELECT, INSERT, UPDATE, or DELETE statements. A sample INSERT query is shown below: ```javascript #Construct the ZCQL query query = 'INSERT into ShipmentData (productID, productName, region) VALUES (3782, A4 Reams, India)' result = zcql_service.execute_query(query) ``` ### Construct and Execute the Query on the OLAP Database The queries that you execute on the OLAP database must only include the SELECT statement, as direct write operations on it are not allowed. You can construct the query object and pass it to the `execute_olap_query()` method. A sample analytical SELECT query is shown below. ```javascript //Construct the query to execute query = 'SELECT SUM(price) FROM ShipmentData'; result = zcql_service.execute_olap_query(query); ``` **Parameters Used**
Parameter Name Data Type Definition
`query` String A **Mandatory** parameter. Will store the query to be executed.
> **Info :** Refer to the [SDK Scopes table](https://docs.catalyst.zoho.com/en/sdk/python/v1/sdk-scopes) to determine the required permission level for performing the above operation. -------------------------------------------------------------------------------- title: "FAQ — CloudScale" description: "This section covers queries related to the components of the Catalyst CloudScale service, such as Authentication, Cache, Data Store, and API Gateway." last_updated: "2026-11-13T05:00:22.000Z" source: "https://docs.catalyst.zoho.com/en/faq/cloud-scale/" -------------------------------------------------------------------------------- # Authentication ### How do I add my users to my Catalyst application? You can add users to your application by sending them email invites directly from the console using the User Management feature present in the Authentication component. Your users will then be authenticated based on the authentication type of your preference. You can also add users to your application through code using the Web SDK, Java SDK, Node SDK, Python SDK, or the API, and embed a sign up form in your client application. ### How do I implement a Sign in option for my Catalyst application? You can implement user sign in by first ensuring you enable the Public Sign Up option. This allows the user of your application to sign in to it using the login element that you configure while setting up the authentication. You can also enable Social Logins to let your end users sign in to your application using popular social logins. ### How do I create roles for my Catalyst application users? You can create new roles by navigating to the Roles section of User Management in Authentication. Roles currently apply only to the Data Store. ### Why do I receive a CORS error when I try to access my Catalyst application that is embedded as an iFrame? You will receive this error if necessary authorization is not provided. To avoid encountering a CORS error, you will need to authorize the domain and enable CORS and iFrame access. You can learn about adding and authorizing domains from this help section. ### Why am I getting Invalid Client error when they try to sign in using Zoho? When the Zoho Social Login has been enabled, a client will be added for your application in the API Console. This issue will occur if the client gets deleted in the API console. To resolve this issue, you must navigate to the Social Login section under Authentication Types in the Authentication component of Catalyst CloudScale, and then disable and re-enable the Zoho Social Login. ### Can I sign my users in to my Catalyst app using Java or Node SDK? Because user sign-in is a client side operation, we do not support it through the Java or Node SDK. However, it is available exclusively in the Web SDK. ### Why do I get the error 'No privileges to perform this action' when I click on the invite email? In Catalyst Authentication, this error occurs when you have already logged in to the application with a different account and try to confirm the password for another account from the invite email in the same browser window. The invite email contains a URL that opens a sign-up form where the invited user sets up their password. To resolve this issue, open the invite URL again in a different browser or with a different browser profile. Refer to the [Authentication Users Implementation help page](https://docs.catalyst.zoho.com/en/cloud-scale/help/authentication/user-management/users/implementation/) for details on inviting users. ### Can I set up single sign-on so users sign in once across several Catalyst apps or projects? No. Catalyst CloudScale Authentication doesn't offer single sign-on across Catalyst applications. Each application keeps its own users: a person who signs up to two of your applications gets a separate identity, with its own ZUID and Org ID, in each one, and signs in to each separately. A user's sign-in token from one project can't call another project's protected functions. What you can do instead: 1. Put apps that must share their users in one Catalyst project, so they use one set of users. 2. Enable the same social login, such as Zoho, Google or Microsoft 365, in every application, so users sign in everywhere with the same provider account instead of a separate password. 3. Use Third-party Authentication with an identity provider that offers single sign-on. The provider verifies the user, and your function in each project creates the Catalyst session with a custom token (`generateCustomToken()`). Note: Social logins and Third-party Authentication require **Public Signup** to be enabled. Refer to the [Users help page](https://docs.catalyst.zoho.com/en/cloud-scale/help/authentication/user-management/users/introduction/) for how user identities work across applications. ### Can my employees sign in to my Catalyst app with their existing Zoho accounts while Public Signup is turned off? No. In Catalyst CloudScale Authentication, social logins, including Zoho, are available only while **Public Signup** is enabled, and so is Custom User Validation. With Public Signup off, you add users yourself from **User Management**, and they sign in with the password they set for your app. To let only named employees in with their Zoho accounts: 1. Enable **Public Signup** and the Zoho social login in **CloudScale** → **Authentication**. 2. Write a Basic I/O function that reads the sign-up request and returns `status: "failure"` for any email address that isn't on your allow-list. 3. In **Authentication** → **Whitelisting**, turn on **Custom User Validation**, select the function and click **Configure**. 4. To remove someone's access later, disable or delete them in **User Management** → **Users**, because Custom User Validation runs only when a user signs up, not at each sign-in. Note: Catalyst doesn't offer a sign-in limited to one company's Zoho organization, and a Zoho sign-in creates a new app user rather than linking to a user you invited with the same email address. Refer to the [Custom User Validation help page](https://docs.catalyst.zoho.com/en/cloud-scale/help/authentication/whitelisting/custom-user-validation/introduction/) for details. # Data Store ### What is the character limit for the Text data type in Catalyst Data Store? The permitted character limit for the Text data type in Catalyst Data Store is 10,000 characters. Text is a long-form data type for values longer than the 255-character maximum of Var Char, and the Encrypted text data type has the same 10,000-character limit. Text columns don't support the Search Index constraint or a Default Value. You choose the data type when you click **+New Column** in the table's Schema View. Refer to the [Data Store Columns help page](https://docs.catalyst.zoho.com/en/cloud-scale/help/data-store/columns/) for details. ### Why do I get only 300 rows when I fetch data using the SELECT query in ZCQL? SELECT *, UPDATE *, INSERT *, DELETE * allow you to fetch a maximum of 300 rows in one query in adherence with the industry standards. If you require more records to be fetched, you can use the LIMIT clause to iterate the query and specify the offset and value accordingly. ### Why is my data not inserted into the Data Store when I try to make a POST call to the Insert Row API? To resolve this issue, you must ensure that you set the content-type as application/json while making the POST call to the Insert a New Row In a Table API. ### How many columns can I create in a single Data Store table, and can the limit be raised? Catalyst CloudScale Data Store allows up to 100 columns in each table by default. Catalyst support can raise this for a table on request, case by case and up to a maximum. When a table reaches its limit, creating a column fails with an API limit error, which can mention the table limit even though the column limit was reached. 1. Check whether the table needs that many columns. Repeating groups of fields often work better as a child table linked by a Foreign Key column. 2. To ask for more, contact Catalyst support with your project, the Table ID of each table, how many columns you need and what the table is for. 3. A raise applies to the tables you name. Ask again for tables you create later. 4. When Support confirms the raise, refresh the console and add the columns. Note: Text, Var Char and Encrypted Text columns also have a combined limit per table, which a raise of the total column limit doesn't change. Refer to the [Columns help page](https://docs.catalyst.zoho.com/en/cloud-scale/help/data-store/columns/) for more information. ### Why am I getting an error 'Cannot access Data Store before initialization' when I try to insert a row into my table using the Node.js SDK? You will encounter this error if you have not initialized the Catalyst Node.js SDK properly in your function. Use the following code to ensure you have initialized the Node.js SDK and Catalyst Data Store properly. ```javascript const catalyst = require("zcatalyst-sdk-node"); const datastore = catalystApp.datastore(); //Initializing catalystApp variable differs with each function type ``` ### Why do my Data Store or NoSQL calls fail with 'Concurrency limit reached for the feature COMPONENT' when many users use my app at once? This happens when too many requests to a Catalyst CloudScale component, such as Data Store (including ZCQL queries) or NoSQL, run at the same moment. Catalyst returns HTTP 429 TOO_MANY_REQUESTS for the requests above the limit. It can appear even when your functions or AppSail service handle the load, because the component has its own concurrency limit. 1. Send fewer requests at once: combine lookups into one ZCQL query, insert several rows in one `insertRows()` call, and avoid one query per record inside a loop. 2. Keep values you read often in Catalyst CloudScale Cache instead of querying them each time. 3. Retry refused requests after a short delay that grows with each attempt. 4. If you still need more simultaneous operations, contact Catalyst support with the environment, the component, the error text and time, and your expected peak number of simultaneous operations. Refer to the [Error Codes help page](https://docs.catalyst.zoho.com/en/api/introduction/error-codes/) for details. # Cache ### What is the maximum length of a cache value? In Catalyst Cache, the maximum length of a cache value is 16,000 characters. A cache item is a key-value pair stored in a cache segment, with a keyname, a value and an expiration time in hours. The Insert and Update Key-Value APIs also list 16,000 characters as the maximum size of `cache_value`. You can see the total size of each segment under Cache in DevOps Metrics. Refer to the [Cache Key Concepts help page](https://docs.catalyst.zoho.com/en/cloud-scale/help/cache/key-concepts/) and the [Insert Key-Value in Cache Segment API page](https://docs.catalyst.zoho.com/en/api/code-reference/cloud-scale/cache/insert-key-value-in-segment/#InsertKeyValueinCacheSegment) for details. ### How do I create a cache segment? You can only create a cache segment from the Catalyst console. It cannot be done using the APIs. Catalyst also provides an auto-created default segment that you can use. ### How do I insert or retrieve a value from a cache segment? You can add a key-value pair to a cache segment from the Catalyst console, or using the Java SDK, Node SDK, Python SDK or the Insert a Key-Value Pair In a Cache Segment API. You can retrieve a value from the cache segment using the Get the Value of a Cache Key API, and Java SDK, Node SDK, and Python SDK. # Cron ### How do I get notified about cron or scheduled job failures? Create an application alert for the job pool that runs your jobs in Catalyst Job Scheduling, which replaces CloudScale Cron: Cron reached its sunset on October 1, 2026. The alert emails you when a job fails: * Jobs in a **Function** job pool: on a failure, a code exception or a timeout. * Jobs in an **AppSail**, **Webhook** or **Circuit** job pool: on a 3xx, 4xx or 5xx execution error. * Any job pool: on an exception or an unintentional termination. You set it up from the **Job Pool** console, without opening the Application Alerts component. Refer to the [Create Application Alerts for a Job Pool help page](https://docs.catalyst.zoho.com/en/job-scheduling/help/implementation/create-app-alert/) for the steps, and to the [Cron sunset announcement](https://docs.catalyst.zoho.com/en/announcements/2026/cron-sunset/) to move your crons to Job Scheduling. # Search ### How do I incorporate CloudScale Search into my application? You must enable the search index toggle when you create a column in the Data Store to incorporate CloudScale search. You can also enable it later for your column by editing it. The search index feature will not be available for columns with the datatype Text and Encrypted Text. The list of all columns with the search index enabled, and the code snippet to incorporate search in your application will be available in your Catalyst console under section Storage -> Search for all development environments. # API Gateway ### How do I make sure my function endpoints are not directly exposed? You can use the API gateway component to solve this purpose. API gateway is an intermediate layer between the client and the server. It acts as a reverse proxy and routes client requests to individual services. After you enable API Gateway for your project, all client requests to access these targets will be handled by this gateway. This helps prevent these components from being directly exposed to the clients by decoupling the clients from services. ### Why do I get an error '404 Invalid URL' when I try to call any of my function endpoints? You will encounter this error if you enabled the API Gateway component for your project and did not create any APIs for your function endpoints. After you enable the API Gateway, the URLs of your functions and web client will become inaccessible until you create APIs for them. You must therefore immediately create APIs for your functions and client, or disable the API Gateway from the Catalyst console and then access the application URL to resolve the issue. ### I selected the Authentication type as API Key for my rule in API Gateway. But why am I still getting the 'No privileges to perform this action' error? If you enabled the API Key-based authentication, the authentication is handled by an API key generated by Catalyst for your project automatically. You need to pass the API Key value with the keyname ZCFKEY along with the request header or as a query parameter. The API Key is the same for all projects in the development environment. When you deploy a Catalyst project to the production environment, Catalyst will provide you a different API key for production. You will therefore have individual API keys for each project in the production environment. ### The API gateway rules created in my project in the console get deleted when I deploy my project from the CLI. Why does this happen? You might face this issue if you do not have the latest API Gateway rules in your local system. When you deploy your entire project from your local system through the CLI, the API Gateway rules are also deployed. If the updated configurations are not present in your local system, the latest rules from the remote console get replaced with the deployed configurations. To resolve this issue, you can perform a catalyst pull to pull all the latest API Gateway rules to your system first, and then deploy your project. # Domain Mappings ### Does Catalyst provide SSL certificates for my domains for free of cost? Yes, Catalyst enables security for all the domains that you map with your application by providing Group SSL certificates for them for free of cost. ### Why do I get an error 'The given domain cannot be verified. HOST_NOT_FOUND' when I add a domain under Domain Mapping? To resolve this error, check if the domain that you want to map with a Catalyst application is already hosted live in your domain provider's hosting site and then follow these steps: Step 1: Create a CNAME record for your domain in your DNS configuration by adding your subdomain's value as the Host Name/Alias/CNAME. For example, if your domain address is "portal.zylker.com", you must add "portal" as the Host Name/Alias/CNAME value and "catalyst.cs.zohohost.com" as the Destination/Points To value. Add the domain name in the Catalyst console. Now the process will move to the next step -> Verify Ownership. Step 2: Catalyst will now generate a unique hash key value for the specific mapping. Create a new CNAME record for your domain in your DNS configuration and add the following values: hash_key.subdomain as Host Name/Alias/CNAME For example, if the hash key generated by Catalyst is "c12to00001x11pl1234h9e33w44h6789", and the subdomain is "portal", you must enter the Host Name as "c12to00001x11pl1234h9e33w44h6789.portal". Note: Ensure that you specify the subdomain "catalyst.cs.zohohost.com" as the Destination/Points To value. The changes might take some time to reflect on the DNS server. After the changes are reflected, this will verify your ownership of the domain in Catalyst. Refer to the [Domain Mappings Implementation help page](https://docs.catalyst.zoho.com/en/cloud-scale/help/domain-mappings/implementation/#add-a-domain-mapping) for the full procedure. ### Why do I get an error 'CNAME not mapped correctly' when I try to add my domain? If the CNAME entry has not been created and mapped to catalyst.cs.zohohost.com, the Catalyst console will display a "CNAME not mapped correctly" error when you attempt to add your domain under Domain Mappings. You can resolve this error by creating a CNAME entry pointing to Catalyst, following the steps in the Add a Domain Mapping section of the [Domain Mappings Implementation help page](https://docs.catalyst.zoho.com/en/cloud-scale/help/domain-mappings/implementation/#add-a-domain-mapping). ### Can I map my root domain, such as zylker.com without www, to my Catalyst application? No. Catalyst CloudScale Domain Mappings maps only subdomains, such as `www.zylker.com` or `app.zylker.com`, because a mapping works through CNAME records and Catalyst does not support mapping a base domain directly to an application URL. Catalyst also does not give you IP addresses to use in A or AAAA records. Map a subdomain, then redirect the root domain to it at your DNS provider. 1. If you added the root domain in **Domain Mappings**, delete that mapping. 2. Switch to the Production environment, open **Domain Mappings** under **Host and Manage** and click **Add Mapping**. Enter a subdomain such as `www.zylker.com`. For an AppSail app, select AppSail as the domain type. 3. Add the two CNAME records the console shows, with the subdomain as the host name, and click **Verify**. 4. At your DNS provider, set up domain forwarding from `zylker.com` to `www.zylker.com` over HTTPS. Note: Requests to the root domain never reach Catalyst, so your DNS provider serves the redirect and any certificate for the root domain. If it cannot forward over HTTPS, ask the provider which option it offers. Refer to the [Domain Mappings: Implementation help page](https://docs.catalyst.zoho.com/en/cloud-scale/help/domain-mappings/implementation/) for more information. # Connections ### Why do I get 'User validation error: This field can not be edited' when I change the scopes of an existing Connection? You can't edit the scopes of a Catalyst CloudScale Connection once it is created, and you can't edit its Connection Link Name either. To use different scopes, create a new Connection: 1. Open your project in the Catalyst console, go to **CloudScale** → **Connections** and click **Create Connection**. 2. Choose the same service, enter a name, select every scope your code needs, click **Create And Connect** and authorize the connection. 3. Update your code to use the new Connection Link Name, and deploy it. 4. Delete the old Connection: click its ellipsis icon, click **Delete**, then **Yes, Delete**. If you delete the old Connection first, you can create the new one with the same name so your code doesn't change, but calls that use it fail until the new Connection is authorized. Note: Only the developer who established a Connection can edit or delete it; anyone else must revoke it and establish it again first. Refer to the [Manage Connections help page](https://docs.catalyst.zoho.com/en/cloud-scale/help/connections/manage-connections/) for details. # Mail ### Why does my domain stay at Authentication Pending in Catalyst Mail after I add the SPF and DKIM records? In Catalyst CloudScale Mail, a domain is authenticated only when Catalyst finds both the SPF and the DKIM record it generated for that domain in public DNS, exactly as the console shows them. The usual causes are a DKIM record with the wrong host name or value, a second SPF record on the domain, or an SPF value typed by hand. 1. In the Catalyst CloudScale console, go to **Notify** → **Mail** → **Domain** and click **Validate** for the domain to see its SPF and DKIM codes. 2. Add the DKIM record exactly as shown. 3. Copy the SPF value from the console, not from an example, because it can differ by data center. 4. A domain can have only one SPF record. If one exists for another mail service, add the Catalyst `include:` value to it instead of adding a second record, keeping one `all` term at the end. SPF also limits DNS lookups per record, so remove includes you no longer use. 5. Check both records with a public DNS lookup tool, wait for them to propagate, then click **Authenticate** in the **Authenticate Domain** pop-up. Note: If both records are publicly visible and match the console but the domain stays pending, contact Catalyst support with the domain, the project and your data center. Refer to the [Domains help page](https://docs.catalyst.zoho.com/en/cloud-scale/help/mail/domains/) for more information. ### Why does sending email with Catalyst Mail fail with a verification pending error even though I added my sender address? Catalyst CloudScale Mail sends email only after both the sender email address and its domain are verified, and the domain is authenticated with its SPF and DKIM records. Sending before then throws an exception, and no email is sent. A domain that shows pending has not finished one of these steps. 1. Go to **Notify** → **Mail** in the Catalyst CloudScale console and open the **Domain** tab. If your domain isn't listed, click **Add Domain**, enter an email address on that domain and click **Create**. 2. Click **Verify Code**, enter the code sent to that address and click **Confirm**. 3. Click **Validate**, add the SPF and DKIM record codes shown to your domain host's DNS settings, then click **Authenticate**. 4. In **Email Configuration**, click **Click to confirm** for the sender address, enter the confirmation code and click **Confirm**. 5. Send again once the domain shows as authenticated and the sender address shows **Verified**. Refer to the [Domains help page](https://docs.catalyst.zoho.com/en/cloud-scale/help/mail/domains/) and the [Send Emails help page](https://docs.catalyst.zoho.com/en/cloud-scale/help/mail/send-emails/) for more information. # NoSQL ### Why does a conditional update in Catalyst NoSQL return HTTP 200 when the condition is not met? In Catalyst CloudScale NoSQL, HTTP 200 only means the request was processed. Whether a conditional write was applied is reported for each item in the response: the status is `Success` when the item was written, and `ConditionMismatch` or `CriteriaMismatch` when the condition was not met and nothing changed. 1. After a conditional update, read each item's status in the result, for example `data.update[0].status` from `updateItems()`, instead of the HTTP status code. 2. Treat a mismatch as "the item is no longer in the state I expected", for example because another request changed it first. Don't retry the same write blindly. 3. Build the condition on values you read, such as a version attribute, so that only one of several concurrent writers succeeds. A conditional write to a single item is applied atomically. 4. To check the item afterwards, read it with `consistent_read` set to true, which reads from the master. A key that doesn't exist returns a successful response with no items. Note: Conditions apply to one item at a time. NoSQL has no transactions across items, and a write that times out on the client has no confirmed outcome until you read the item again. Refer to the [Update Item help page](https://docs.catalyst.zoho.com/en/api/code-reference/cloud-scale/nosql/update-item/) and the [Query Table help page](https://docs.catalyst.zoho.com/en/api/code-reference/cloud-scale/nosql/query-table/) for more information. # Web Client Hosting ### Can I serve my Web Client Hosting app from the root of my domain, without /app/ in the URL? Not directly: Catalyst CloudScale Web Client Hosting serves your web client under the `/app/` path, also on a mapped custom domain. To serve it from the root, including files such as `robots.txt` or a sitemap, route requests through Catalyst CloudScale API Gateway: 1. Plan first: when you enable API Gateway, Security Rules are disabled and all your function and web client URLs are inaccessible until you create APIs for them. API Gateway is a paid component. 2. Open **CloudScale** → **API Gateway** (under **Security & Identity**), click **Enable Now**, then **Proceed**. 3. Create APIs for all your functions. Auto-create is available only until you create your first API. 4. Click **Create API**, select **GET**, enter the request URL `/{path:(.*)}`, select the web client as the target, append `{path}` to its target URL `/app/`, and click **Create**. 5. Test the default application URL and your custom domain. Alternatively, host the site on Catalyst Slate, Catalyst's frontend hosting service. Refer to the [API Gateway Key Concepts help page](https://docs.catalyst.zoho.com/en/cloud-scale/help/api-gateway/key-concepts/) and the [Web Client Hosting Introduction help page](https://docs.catalyst.zoho.com/en/cloud-scale/help/web-client-hosting/introduction/) for details. # Zia Services ## Getting Started -------------------------------------------------------------------------------- title: "Introduction" description: "Learn about getting started with Catalyst Zia Services that provides powerful tools to implement advanced AI/ML capabilities into your application." last_updated: "2026-11-03T07:48:52.000Z" source: "https://docs.catalyst.zoho.com/en/zia-services/getting-started/introduction/" service: "Zia Services" -------------------------------------------------------------------------------- # Introduction to Catalyst Zia Services Catalyst Zia services is a suite of fully managed AI/ML-powered components that can be readily incorporated to build smart and reliable applications. These components help detect, process, or predict data that can be highly beneficial in various aspects of your business, such as in understanding your customers better, fetching valuable insights, identifying trends with your existing datasets, analyzing and extracting information from images or documents, and more. Catalyst Zia services is a part of the Catalyst development platform that bundles together multiple, on-demand, programmable backend components. These components can be easily integrated into your existing application code base, enabling you to implement advanced AI/ML capabilities into your application with minimal efforts from your end. Catalyst, as a whole, serves as a complete end-to-end solution that provides services right from an application's development and testing phases, to its deployment and monitoring phases. The setup and management of the underlying server resources utilized for these applications are entirely handled by Catalyst, thereby completely eliminating the infrastructure, maintenance costs and efforts from your end. > **Note :** You can explore the other [Catalyst services](https://docs.catalyst.zoho.com/en/) such as [Catalyst CloudScale](https://docs.catalyst.zoho.com/en/cloud-scale/getting-started/introduction/), [Catalyst Serverless](https://docs.catalyst.zoho.com/en/serverless/getting-started/introduction/), [Catalyst DevOps](https://docs.catalyst.zoho.com/en/devops/getting-started/introduction/) and more, and the components in them. Catalyst services can either be used independently, or be integrated with one another to build highly functional and robust applications and micro services from scratch. Catalyst Zia components can be accessed from an unified and user-friendly [console](https://console.catalyst.zoho.com/baas/index) that enhances your usage experience, and enriches collaboration between team members contributing to an application. You can easily test Zia components in the Catalyst console with sample data sources before implementing them in your application. This helps you understand the functionality of each component better. Catalyst also provides support for both web-based and mobile-based applications, that includes platforms such as Android and iOS. You can integrate the functionalities of the Zia components in your application seamlessly by incorporating the readily available sample [SDK](https://docs.catalyst.zoho.com/en/sdk/java/v1/zia-services/ocr) code templates in the following programming environments : * [Java](https://docs.catalyst.zoho.com/en/sdk/java/v1/zia-services/ocr) * [Node.js](https://docs.catalyst.zoho.com/en/sdk/nodejs/v2/zia-services/ocr) * [Python](https://docs.catalyst.zoho.com/en/sdk/python/v1/zia-services/ocr) These functionalities can also be accessed through their [API](https://docs.catalyst.zoho.com/en/api/code-reference/zia-services/ocr/#OCR) endpoints. You can quickly get started with Catalyst Zia using this [quick start guide](https://docs.catalyst.zoho.com/en/zia-services/getting-started/quick-start-guide). -------------------------------------------------------------------------------- title: "Architechture" description: "Learn about getting started with Catalyst Zia Services that provides powerful tools to implement advanced AI/ML capabilities into your application." last_updated: "2026-08-17T12:16:04.000Z" source: "https://docs.catalyst.zoho.com/en/zia-services/getting-started/architechture/" service: "Zia Services" -------------------------------------------------------------------------------- # Architecture of Catalyst Zia Services ![architechture-zia-services](https://catalyst-docs-development.zohostratus.in/images/help/zia-services/architechture-zia-services.png) A generic, end-to-end workflow of the data analysis and prediction process by various Zia components is described below : 1. When you access any Zia component from the Catalyst console, APIs, or SDKs, an API call will be triggered to the Catalyst servers, along with the input data provided by your application. Pre-trained machine learning models are pre-loaded and stored within Catalyst's servers. Based on the specific Zia component being accessed, corresponding ML models will be used for prediction. 2. The input data will then undergo pre-processing to be converted to formats recognizable by the corresponding ML model. 3. The pre-processed data is then sent for prediction to the Zia ML models, and based on the evaluation metrics specified, predicted results are returned as the response. The prediction mechanism also depends on the accuracy and volume of the data being fed. > **Note :** Catalyst does not store any of the files you upload in its systems. The files you upload are used for one-time processing only. They are not used for ML model training purposes either. Catalyst components are fully compliant with all applicable data protection and privacy laws. -------------------------------------------------------------------------------- title: "Components" description: "Learn about getting started with Catalyst Zia Services that provides powerful tools to implement advanced AI/ML capabilities into your application." last_updated: "2026-06-09T07:46:16.000Z" source: "https://docs.catalyst.zoho.com/en/zia-services/getting-started/components-of-zia-services/" service: "Zia Services" -------------------------------------------------------------------------------- # Components of Zia Services **Test-based components** - [Text Analytics](https://docs.catalyst.zoho.com/en/zia-services/help/text-analytics/introduction/)Recognition of sentiments, entities, keywords from text **Image-based components** - [OCR](https://docs.catalyst.zoho.com/en/zia-services/help/optical-character-recognition/introduction/)Microservice for detection and recognition of textual characters - [Face Analytics](https://docs.catalyst.zoho.com/en/zia-services/help/face-analytics/introduction/)AI-driven detection and analysis of facial features - [Image Moderation](https://docs.catalyst.zoho.com/en/zia-services/help/image-moderation/introduction/) Tool to monitor unsafe content in images - [Object Recognition](https://docs.catalyst.zoho.com/en/zia-services/help/object-recognition/introduction/)Detection and classification of objects in images - [Barcode Scanner](https://docs.catalyst.zoho.com/en/zia-services/help/barcode-scanner/introduction/)Microservice to extract encoded barcode content - [Identity Scanner](https://docs.catalyst.zoho.com/en/zia-services/help/identity-scanner/introduction/)Secure validator of ID proofs and documents As depicted above, Catalyst Zia services comprises of varied components, each with a specific functionality and scope. They can be broadly classified into two categories : ### Text-based components * [Text Analytics](https://docs.catalyst.zoho.com/en/zia-services/help/text-analytics/introduction/) : The Text Analytics component processes textual content and performs these operations on it - Sentiment Analysis, Named Entity Recognition, and Keyword Extraction. This allows you to obtain the tone of the text, the categorizations of the entities recognized from it, and the key words and phrases in it that provide a gist of the text. ### Image-based components * [OCR](https://docs.catalyst.zoho.com/en/zia-services/help/optical-character-recognition/introduction/) : OCR detects textual characters in images (printed or hand-written), and converts them to machine encoded text. * [Face Analytics](https://docs.catalyst.zoho.com/en/zia-services/help/face-analytics/introduction/) : The Face Analytics component uses image-processing capabilities and AI to detect faces in images and analyse the gender, age and emotion of the detected faces for accurate decision-making. * [Image Moderation](https://docs.catalyst.zoho.com/en/zia-services/help/image-moderation/introduction/) : The Image Moderation component detects and recognizes unsafe content in images including content indicating violence, gore, blood, weapons, drug and nudity. * [Object Recognition](https://docs.catalyst.zoho.com/en/zia-services/help/object-recognition/introduction/) : The Object Recognition component detects, locates and recognizes individual objects from the uploaded image file and returns information such as the coordinates and type of the object. * [Barcode Scanner](https://docs.catalyst.zoho.com/en/zia-services/help/barcode-scanner/introduction/) : The Barcode Scanner component scans the machine-readable encoded information in the barcodes, decodes it and returns the response. * [Identity Scanner](https://docs.catalyst.zoho.com/en/zia-services/help/identity-scanner/introduction/) : The Identity Scanner component enables you to perform secure identity checks on individuals and documents by scanning and processing various Indian ID proof documents such as Aadhaar cards, PAN cards, bank passbooks, and cheque leaves. > **Note:** Identity Scanner is only relevant to Indian Users and is therefore available only in the IN DC. -------------------------------------------------------------------------------- title: "Benefits" description: "Learn about getting started with Catalyst Zia Services that provides powerful tools to implement advanced AI/ML capabilities into your application." last_updated: "2023-05-19T06:41:43.000Z" source: "https://docs.catalyst.zoho.com/en/zia-services/getting-started/benefits/" service: "Zia Services " -------------------------------------------------------------------------------- # Benefits * **Boosts Customer Experience** : With powerful AI and ML components readily available to be implemented, application developers can focus more on the overall workflow and underlying core logic of the app than configuring ML features from scratch. * **Quick Seamless Integration** : You can integrate multiple Zia components into your application with ease. This can be done by implementing the component specific sample [SDK](https://docs.catalyst.zoho.com/en/sdk/java/v1/zia-services/ocr) code templates in your application's codebase, or by accessing the respective [API](https://docs.catalyst.zoho.com/en/api/code-reference/zia-services/ocr/#OCR) endpoints. This easy integration process aids in a hassle-free journey by substantially reducing your time and efforts from developing complex algorithms and code, or performing elaborate configurations. * **Test and Implement** : You can test each Zia component in the console with sample data before implementing it in your Catalyst application. This will help you gain better insights about the component's functioning and the responses generated. * **Cost savings** : With the Catalyst services being hosted on a serverless platform, the server-on-demand technology ensures that server spaces are utilized only when requests are made. Catalyst works with the pay-as-you-go model, where you are charged only for the API calls being made to access the Zia services. * **Efficiency and Error Reduction** : With highly streamlined machine learning models trained built using well-designed algorithms, the efficiency of the overall outcome is increased and the percentile prone to errors is drastically reduced. * **High performance and Scalability** : Catalyst Zia aims to provide high levels of throughput with minimal latency of requests. The scope of an application that implements Zia can be scaled easily, as the underlying infrastructure is capable of processing massive amounts of data in a streamlined manner. With its high auto-scalable capability, Catalyst's server resources are allocated on demand instantly, which can in turn manage high traffic spikes effectively. -------------------------------------------------------------------------------- title: "Use Cases" description: "Learn about getting started with Catalyst Zia Services that provides powerful tools to implement advanced AI/ML capabilities into your application." last_updated: "2023-05-19T06:41:43.000Z" source: "https://docs.catalyst.zoho.com/en/zia-services/getting-started/usecases/" service: "Zia Services" -------------------------------------------------------------------------------- # Use cases Zia components can be implemented in applications of vast domains including finance, health care, entertainment, retail, marketing, tourism, real estate, supply chain, and many more. A few effective real time use-cases of Zia services are listed below : 1. An ecommerce application that implements AutoML to provide recommendations based on the purchase patterns and the personalized interests of their customers. Barcode Scanner can be enabled in the application to fetch product information from the printed codes when customers return or exchange the products they purchased. E-KYC can also be incorporated in the application to extract the details of the AADHAAR cards or other ID proofs of the customer, and verify the same using any legal government sources, if they opt for postpaid or EMI payment schemes. 2. A payment application that uses the Identity Scanner feature to extract the credentials of the customer PAN card and verify the same with the existing information with the service provider. The application can also extract bank passbook details and cheques using the Passbook and Cheque models of Identity Scanner, and perform an Identity check when users make money transfers to bank accounts. Besides these, Facial Comparison can be implemented in this use case to verify the identities of users by comparing an uploaded photograph of theirs with the photograph in their ID proof. 3. A content review application that collates data by processing reviews that users publish in its platform after the release of movies, web series or books and uses Sentiment Analysis to analyse the emotions expressed by users in their reviews. Based on the extracted results, a group's favorite score can be generated. This can hugely benefit the audience to know the overall gist and response received by the movie or book beforehand making a purchase or booking. 4. An application linked to traffic security cameras implements OCR to read license plates of the vehicles that violate the speed limits and other traffic regulations in that locality. The data fetched from this application can be sent to the respective legal authorities, enabling them to take necessary actions on the perpetrators. 5. An application linked to the operational cameras in a retail store can implement the Object Recognition and Face Analytics feature to monitor and analyze the pattern of crowd during specific days of the week, their age, and their gender in order to gain useful insights for the store owners to best know their customer demographics.This can even be used to detect the facial emotions expressed by the customers during the launch of a new product to analyze its reception and its future scope. -------------------------------------------------------------------------------- title: "Quick Start Guide" description: "Learn about getting started with Catalyst Zia Services that provides powerful tools to implement advanced AI/ML capabilities into your application." last_updated: "2026-10-30T17:47:18.000Z" source: "https://docs.catalyst.zoho.com/en/zia-services/getting-started/quick-start-guide/" service: "Zia Services" -------------------------------------------------------------------------------- # Getting Started with Catalyst Zia Services : This section covers the overall steps involved in leveraging Zia components in your Catalyst application and building upon them. 1. **Create a project** : Access the [Catalyst console](https://console.catalyst.zoho.com/baas/index) or [create a new project](https://docs.catalyst.zoho.com/en/getting-started/quick-start-guide/#step-1-create-a-catalyst-project). After the project creation is done, you will be able to access all Catalyst services from the console. Additionally, you can also create a new project in the local environment by [initializing it from the CLI](https://docs.catalyst.zoho.com/en/getting-started/quick-start-guide/#step-4-initialize-the-project-from-the-cli). You must first [install Catalyst CLI](https://docs.catalyst.zoho.com/en/getting-started/quick-start-guide/#step-2-install-catalyst-cli) and [log in](https://docs.catalyst.zoho.com/en/getting-started/quick-start-guide/#step-3-log-in-from-your-cli) to your remote account before you can access the Catalyst commands and work with your application locally. 2. **Accessing Catalyst Zia Services** : You can access Catalyst Zia components by navigating to the Catalyst Zia service in the left pane of the Catalyst console. You can view all text-based and image-based Zia features there, access the component of your choice, and test them instantly with sample data to get a better understanding of their functionality or the responses you would receive. 3. **Code the logic** : You can easily incorporate these Zia components, and all other required services, into your application's logic using the [Catalyst SDK](https://docs.catalyst.zoho.com/en/sdk/java/v1/zia-services/ocr) in your code for the required platform. You can also access a host of Catalyst functionalities through our component-specific [API](https://docs.catalyst.zoho.com/en/api/code-reference/zia-services/ocr/#OCR) endpoints. You can choose to build your Catalyst application by accessing and implementing the required [Catalyst components](https://docs.catalyst.zoho.com/en/) from the other services. You can build the application logic by working with the Catalyst project directory locally using an external IDE. Catalyst CLI enables you to initialize all of your project resources in the local environment directly. 4. **Test the application** : If you have built your application in Catalyst platform, you can test your application or microservice locally before deploying it to the remote console through a [variety of CLI commands](https://docs.catalyst.zoho.com/en/cli/v1/cli-command-reference/). For example, you can test certain function types through a built-in shell in your terminal. If you test your application locally, you can deploy it to the remote console after the testing, and access the client and accessible function end-points from their [development URL](https://docs.catalyst.zoho.com/en/cli/v1/deploy-resources/introduction/). Note : The sequence of steps specified here might differ based on your business or application logic, or your specific use case. The flow mentioned in the deploying and testing phases of the application can be altered based on your requirements. This is a generic set of guidelines that is suitable for a typical small to mid-scale, client-based application or microservice. 5. **Host the application** : You can also host your Catalyst web application in the development environment in parallel through the [web client hosting](https://docs.catalyst.zoho.com/en/cloud-scale/help/web-client-hosting/introduction) of the CloudScale service, and monitor its performance. Using Catalyst DevOps, you can perform iterative QA tests, end-to-end integrated tests, or release an alpha version of your solution. 6. **Migrate your application to production** : After you test your application in the development environment, it can be migrated to production as described in [this](https://docs.catalyst.zoho.com/en/deployment-and-billing/environments/initial-deployment/) help page. You can continue using the DevOps components post production to monitor your application during the maintenance phase, as well as during subsequent upgrades and releases. ## Help Components ### Barcode Scanner -------------------------------------------------------------------------------- title: "Introduction" description: "Catalyst enables you to integrate a pre-built barcode scanner microservice in your app that reads and extracts encoded information from universal barcodes." last_updated: "2023-08-18T12:57:19.000Z" source: "https://docs.catalyst.zoho.com/en/zia-services/help/barcode-scanner/introduction/" service: "Zia Services" -------------------------------------------------------------------------------- # Barcode Scanner ## Introduction Barcode Scanner is a Catalyst Zia Services component that enables you to scan standard barcode formats and obtain the encoded information. You can implement Barcode Scanner in your Catalyst application that would allow the end-users to read barcode data from real world objects such as posters, flyers, packaged products, or digital devices, and process it into the application in a fast and effective manner. A barcode is a visual representation of data in a machine-readable format. Barcodes enable you to pass encoded data from a physical platform into a digital platform in a secure way. The identified data can then be saved in a database or used for further processing. Zia Barcode Scanner can read the following fourteen types of barcode formats, which can be classified into two primary categories: * **Linear or 1D Barcode Formats:** Code 39, Code 128, Code 93, EAN-8, EAN-13, Codabar, ITF, UPC-A, UPC-E, RSS * **2D Barcode Formats:** QR code, Aztec, PDF417, Data Matrix Catalyst provides Barcode Scanner in the **Java**, **Node.js** and **Python** SDK packages, and you can integrate it in your Catalyst web or Android application. The Catalyst console provides easy access to code templates for these environments, which you can implement in your application's code. You can also test Barcode Scanner using sample images and generate responses in the console. You can refer to the [Java SDK documentation](https://docs.catalyst.zoho.com/en/sdk/java/v1/zia-services/barcode-scanner), [Node.js SDK documentation](https://docs.catalyst.zoho.com/en/sdk/nodejs/v2/zia-services/barcode-scanner/) and [Python SDK documentation](https://docs.catalyst.zoho.com/en/sdk/python/v1/zia-services/barcode-scanner/) for code samples of Barcode Scanner. Refer to the [API documentation](https://docs.catalyst.zoho.com/en/api/code-reference/zia-services/barcode-scanner/#BarcodeScanner) to learn about the API available for Barcode Scanner. You can learn more about the other components of Catalyst Zia Services from [this page](https://docs.catalyst.zoho.com/en/zia-services/). -------------------------------------------------------------------------------- title: "Key Concepts" description: "Catalyst enables you to integrate a pre-built barcode scanner microservice in your app that reads and extracts encoded information from universal barcodes." last_updated: "2026-11-03T15:41:32.000Z" source: "https://docs.catalyst.zoho.com/en/zia-services/help/barcode-scanner/key-concepts/" service: "Zia Services" -------------------------------------------------------------------------------- # Key Concepts Before you learn about the use cases and implementation of Barcode Scanner, it's important to understand its fundamental concepts in detail. ### Encoding Data in a Barcode A barcode carries a string of characters as the data, and both barcode and data are mapped together for a fast transfer from a real world object to a computing device. The mapping of the data with a barcode is called a symbology. Depending on the use case, a barcode might directly encode the data, or encode an item identifier that is linked to an entry in a database that contains the actual data. Both linear and 2D primary barcodes supported by Zia Barcode Scanner contain distinct features, and each barcode type is used for a different purpose. Some characteristics of linear and 2D barcode formats are specified below: * **Linear barcode formats:** The linear barcode format is a first-generation one-dimensional format that represents data by varying the widths and spacings of multiple parallel lines. These hold restrictions on the type and number of characters that can be passed. Linear barcodes are therefore used to encode a limited number of alphanumeric characters, depending on the type. Types such as UPC, EAN, Code-39, and Code-128 are commonly used to label consumer goods and products across industries like retail, automotive, logistics, transportation, and healthcare. The specifications of the data format and usage varies from type to type. * **2D barcode formats:** The 2D barcode format is an advanced form of barcode format that is visually represented in the form of rectangles, hexagons, dots, or other geometric patterns. The 2D barcode format can hold much more data in a unit area compared to the 1D format. They also don't contain many restrictions on the types of data supported, and can hold structured and binary data, such as photographs, fingerprints, signatures, geolocation, and more. The 2D types also have advantages like space efficiency, fault tolerance, error correction, and high density. The specifications of the data format and usage varies from type to type in the 2D format, as well. ### Input Format Zia Barcode Scanner scans barcodes from image files. Barcode Scanner supports the following input file formats: * ._jpg_/._jpeg_ * ._png_ You can code the Catalyst application to use the end user device's camera to capture a photo with a barcode, and process the image as the input file. You could also provide a space for the user to upload the image file from the device's memory to the Catalyst application. The input provided using the API contains the source image file of the barcode, and the barcode type if the user is aware of it. Zia will automatically detect the barcode type if the user doesn't specify it. You can check the request format from the [API documentation](https://docs.catalyst.zoho.com/en/api/code-reference/zia-services/barcode-scanner/#BarcodeScanner). The user must follow these guidelines while providing the input, for better results: * Avoid providing blurred, corrupted, or unrecognizable images of the barcode. * Ensure that barcode image is clear, visible, and distinct. * Ensure that the image does not have any borders. * Do not upload partial images. The entire barcode must be present in the image. * The image size must not be too small. * The file size must not exceed 10 MB. * The resolution of the image (width \* height in pixels) must not exceed 36000000 pixels. * The barcode in the image can be oriented in any manner. ### Response Format Zia Barcode Scanner returns the response in the following ways: * **In the console:** When you upload a sample image with a barcode in the console, it will return the decoded data in two response formats: * [Readable textual format](): Displays the decoded data that is visually segregated into lines, based on the content * JSON format: Displays the decoded data in the JSON format * **Using the SDKs:** When you send an image file using an API request, you will receive a JSON response containing the decoded data. You can check the JSON response format from the [API documentation](https://docs.catalyst.zoho.com/en/api/code-reference/zia-services/barcode-scanner/#BarcodeScanner). -------------------------------------------------------------------------------- title: "Benefits" description: "Catalyst enables you to integrate a pre-built barcode scanner microservice in your app that reads and extracts encoded information from universal barcodes." last_updated: "2023-08-18T12:57:19.000Z" source: "https://docs.catalyst.zoho.com/en/zia-services/help/barcode-scanner/benefits/" service: "Zia Services" -------------------------------------------------------------------------------- ## Benefits 1. **Automatic Type Detection** Barcode Scanner can automatically detect the barcode type without requiring any input from the end user about the barcode type. However, the user can also specify the type while sending a request using the API, if they know it. When the barcode format is specified, the scanning and decoding processes happen faster, as it enables Zia to restrict its processing and analysis to the specified format alone. 2. **Orientation-Free** Barcode Scanner enables flexibility in detecting and scanning barcodes from any angle or orientation in the image. For example, the barcodes can be rotated sideways or upside-down. This provides convenience to the user, as they need not spend time in orienting the image in a particular way. 3. **Rapid Performance ** Barcode Scanner generates the decoded content of a barcode instantly when the image is uploaded. Catalyst ensures a high throughput of data transmission and a minimal latency in serving requests. The fast response time enhances your application's performance, and provides a satisfying experience for the end user. 4. **Seamless Integration** You can easily implement Barcode Scanner in your application without having to worry about the underlying logic or the backend set-up. You can implement the ready-made code templates provided for the Java, Node.js and Python platforms in any of your Catalyst applications that requires the use of a barcode scanner. 5. **Testing in the Console** The testing feature in the console enables you to verify the efficiency of Barcode Scanner. You can upload sample images with barcodes, and view the response results. This allows you to get an idea about the format and accuracy of the response that will be generated when you implement it in your application. -------------------------------------------------------------------------------- title: "Use Cases" description: "Catalyst enables you to integrate a pre-built barcode scanner microservice in your app that reads and extracts encoded information from universal barcodes." last_updated: "2023-05-19T06:41:43.000Z" source: "https://docs.catalyst.zoho.com/en/zia-services/help/barcode-scanner/use-cases/" service: "Zia Services" -------------------------------------------------------------------------------- # Use Cases Barcodes are widely used in various industrial, manufacturing, commercial, and service sectors for a variety of purposes. The following are some use cases for Zia Barcode Scanner: * An inventory management application implements Zia Barcode Scanner to label products in an electronics supplier company. The details and information of the products, such as their unique identification numbers, price, dates of manufacture, and brands, are entered and stored in the [Catalyst Data Store](https://docs.catalyst.zoho.com/en/cloud-scale/help/data-store/introduction/). The information about a specific item can easily be obtained by scanning its barcode, as the item identifier refers to the database and fetches its details. * An digital wallet and payment application implements Zia Barcode Scanner to scan QR codes in retail outlets to obtain the payee information of the outlet easily. Customers can open the Catalyst application and scan the QR codes, which redirects them to the integrated payment platform. They can then quickly pay the bill amount through an online transaction. Barcode Scanner can also be implemented in the following scenarios: * A ticketing application in a multiplex or a stadium that scans the customer's QR codes to verify the tickets that were booked online * A file sharing application that establishes connections with other devices by scanning the QR codes generated on them, which is then used to transfer files * An equipment or product rental service application that scans the barcodes on the products when the customers return them to verify their identification * An application that enables the users to obtain information about a consumer product available in a public cloud by scanning its barcode, and provides suggestions for similar products or services available in the vicinity * A generic scanner application that enables users to scan both linear and 2D barcodes from any source to obtain the decoded content, and performs other activities like translating the content, redirecting hyperlinks, and sharing the content with their contacts through other integrated platforms -------------------------------------------------------------------------------- title: "Implementation" description: "Catalyst enables you to integrate a pre-built barcode scanner microservice in your app that reads and extracts encoded information from universal barcodes." last_updated: "2026-08-17T12:16:04.000Z" source: "https://docs.catalyst.zoho.com/en/zia-services/help/barcode-scanner/implementation/" service: "Zia Services" -------------------------------------------------------------------------------- # Implementation This section only covers working with Barcode Scanner in the Catalyst console. Refer to the [SDK](https://docs.catalyst.zoho.com/en/sdk/java/v1/zia-services/barcode-scanner/)and [API](https://docs.catalyst.zoho.com/en/api/code-reference/zia-services/barcode-scanner) documentation sections for implementing Barcode Scanner in your application's code. As mentioned earlier, you can access the code templates that will enable you to integrate Barcode Scanner in your Catalyst application from the console, and also test the feature by uploading images with barcodes and obtaining the decoded content. ### Access Barcode Scanner To access Barcode Scanner in your Catalyst console: 1. Navigate to **Zia Services** in the left pane of the Catalyst console and click **Barcode Scanner.** ![barcode-scanner](https://catalyst-docs-development.zohostratus.in/images/help/barcode-scanner/barcode-scanner-updated.webp) 2. Click **Try a Demo** in the Barcode Scanner feature page. ![catalyst_barcode_test_page](https://catalyst-docs-development.zohostratus.in/images/help/barcode-scanner/catalyst_barcode_test_page.webp) ### Test Barcode Scanner in the Catalyst Console You can test Barcode Scanner by either selecting a sample image from Catalyst or by uploading your own image. To scan a sample image with a barcode and decode its content: 1. Click **Select a Sample Image** in the box. ![catalyst_barcode_sample](https://catalyst-docs-development.zohostratus.in/images/help/barcode-scanner/catalyst_barcode_sample.webp) 2. Select an image from the samples provided. ![catalyst_barcode_select_sample](https://catalyst-docs-development.zohostratus.in/images/help/barcode-scanner/catalyst_barcode_select_sample.webp) Barcode Scanner will scan the barcode and display its content under _Result_. ![](https://catalyst-docs-development.zohostratus.in/images/help/barcode-scanner/catalyst_barcode_sample_scanned.webp) You can also click **View Response** to do so in the JSON format. ![catalyst_barcode_sample_json](https://catalyst-docs-development.zohostratus.in/images/help/barcode-scanner/catalyst_barcode_sample_json.webp) To upload your own image with a barcode and decode its content: 1. Click **Upload** under the _Result_ section. ![catalyst_barcode_upload](https://catalyst-docs-development.zohostratus.in/images/help/barcode-scanner/catalyst_barcode_upload.webp) If you're opening Barcode Scanner after you have closed it, click **Browse Files** in this box. ![catalyst_barcode_browse](https://catalyst-docs-development.zohostratus.in/images/help/barcode-scanner/catalyst_barcode_browse.webp) 2. Upload a file from your local system. > **Notes:** * The file must be in ._jpg_/._jpeg_ or ._png_ format. The file size must not exceed 10 MB. The resolution of the image must not exceed 36000000 pixels. * You will not be able to specify the barcode type as an input while testing it in the Catalyst console, as it is detected automatically. If you know the barcode type, you can specify it in the API request that you send from your Catalyst application. The console will scan the barcode and display its content. ![catalyst_barcode_qr_scanned](https://catalyst-docs-development.zohostratus.in/images/help/barcode-scanner/catalyst_barcode_qr_scanned.webp) You can copy the content using the copy icon for easier access, or check the JSON response by clicking **View Response**. ![catalyst_barcode_qr_json](https://catalyst-docs-development.zohostratus.in/images/help/barcode-scanner/catalyst_barcode_qr_json.webp) ### Access Code Templates for Barcode Scanner You can implement Barcode Scanner in your Catalyst application using the code templates provided by Catalyst for [Java](https://docs.catalyst.zoho.com/en/sdk/java/v1/zia-services/barcode-scanner/), [Node.js](https://docs.catalyst.zoho.com/en/sdk/nodejs/v2/zia-services/barcode-scanner) and [Python](https://docs.catalyst.zoho.com/en/sdk/python/v1/zia-services/barcode-scanner) platforms. You can access them from the section below the test window. Click either the **Java SDK**, **NodeJS SDK** or **Python SDK** tab, and copy the code using the copy icon. You can paste this code in your web or Android application's code wherever you require. ![catalyst_barcode_java](https://catalyst-docs-development.zohostratus.in/images/help/barcode-scanner/catalyst_barcode_java_updated.webp) In Java, you can process the input file as a new `File` and select the format of the barcode using the `ZCBarcodeOptions` module. If you want Zia to scan the image for all formats, you can use `ZCBarcodeFormat.ALL`. If you are aware of the format, you can enter it as `ZCBarcodeFormat.ean13`, for example. Refer to the [API documentation](https://docs.catalyst.zoho.com/en/api/code-reference/zia-services/barcode-scanner/#BarcodeScanner) for the keys of all supported formats. ![catalyst_barcode_node](https://catalyst-docs-development.zohostratus.in/images/help/barcode-scanner/catalyst_barcode_node_updated.webp) The Node.js code processes the barcode image as the object `barcodePromise`. You can provide the image file name and the format in a similar way here. ![catalyst_barcode_python](https://catalyst-docs-development.zohostratus.in/images/help/barcode-scanner/catalyst_barcode_python.webp) In Python, you can provide an input file of the format .webp/.jpeg or .png to the `open()` method and it returns the image file object as a response.You must pass the image file object an argument to the `zia.scan_barcode()` method. You can specify the barcode format using `setFormat`. If you enter the format as`ALL`, Barcode Scanner automatically detects the format. It provides the decoded information as the response. ### Face Analytics -------------------------------------------------------------------------------- title: "Introduction" description: "Face Analytics is a Zia AI-driven pre-built microservice that performs facial detection and predicts various facial attributes." last_updated: "2023-08-18T12:57:19.000Z" source: "https://docs.catalyst.zoho.com/en/zia-services/help/face-analytics/introduction/" service: "Zia Services" -------------------------------------------------------------------------------- # Face Analytics ## Introduction Face Analytics is a Catalyst Zia Services component that performs facial detection in images, and implements advanced computational analysis on the detected faces to identify and predict the following attributes: * Coordinates of the face and the facial features * Smile detection * Age detection * Gender detection Zia maps a series of interest points in a detected face and performs an in-depth analysis on their relative positions to generate the results for the attributes. It implements several AI algorithms for this purpose, and compares the detected localized landmarks with samples from machine learning datasets to arrive at predictions of the smile, age, and gender detections. Face Analytics also provides the confidence levels of each attribute prediction that enables you to make informed decisions. Face Analytics can detect up to 10 faces in an image, and it provides predictions of the attributes for each detected face. Catalyst provides Face Analytics in the **Java**, **Node.js** and **Python** SDK packages, and you can integrate it in your Catalyst web or Android application. The Catalyst console provides easy access to code templates for these environments that you can implement in your application's code. You can also test Face Analytics using sample images in the console, and obtain the predictions of the attributes mentioned above, for the detected faces. You can refer to the [Java SDK documentation](https://docs.catalyst.zoho.com/en/sdk/java/v1/zia-services/face-analytics/), [Node.js SDK documentation](https://docs.catalyst.zoho.com/en/sdk/nodejs/v2/zia-services/face-analytics) and [Python SDK documentation](https://docs.catalyst.zoho.com/en/sdk/python/v1/zia-services/face-analytics/) for code samples of Face Analytics. Refer to the [API documentation](https://docs.catalyst.zoho.com/en/api/code-reference/zia-services/face-analytics/#FaceAnalytics) to learn about the API available for Face Analytics. You can learn more about the other components of Catalyst Zia Services from [this page](https://docs.catalyst.zoho.com/en/zia-services). -------------------------------------------------------------------------------- title: "Key Concepts" description: "Face Analytics is a Zia AI-driven pre-built microservice that performs facial detection and predicts various facial attributes." last_updated: "2026-11-03T15:41:32.000Z" source: "https://docs.catalyst.zoho.com/en/zia-services/help/face-analytics/key-concepts/" service: "Zia Services" -------------------------------------------------------------------------------- # Key Concepts Before you learn about the use cases and implementation of Face Analytics, it's important to understand its fundamental concepts in detail. ### Facial Landmark Localization Facial landmarking is the process of detecting and localizing specific key point characteristics on the face. Key points like corners of the eyes, endpoints of eyebrow arcs, endpoints and arc of the lip, tips of the nose, position of the cheek contours, and nostrils are commonly considered while processing age detection, gender detection, and emotion recognition. Zia Face Analytics first provides the general coordinates of the location of the face in an image. Additionally, the coordinates of localized landmarks are also provided in **three landmark localization modes**: * **Basic:** This is a 0-point landmark detector that only detects the coordinates of the face \[x1, y1, x2, y2\]. * x1, y1: Top left corner point of the face/face attribute/object * x2, y2: Bottom right corner point of the face/face attribute/object * **Moderate:** This is a 5-point landmark detector that detects the following: * Eyes: The center of both eyes * Nose: Nose tip * Lips: The center of both lips * **Advanced:** This is a 68-point landmark detector that detects the following: * Jawline: Face boundary * Eyebrows: Left and right eyebrow * Eyes: Left and right eye * Nose bridge * Nostril line * Upper lips: Upper and lower edge * Lower lips: Upper and lower edge These details are provided for each detected face in the image individually in the response. Face Analytics also provides the [confidence score](https://docs.catalyst.zoho.com/en/zia-services/help/face-analytics/key-concepts/#response-format) of the determined face coordinates in the response. ### Facial Emotion Detection Facial emotion detection is the process of detecting human emotions based on facial expressions. Facial landmarking plays an important role in facial emotion detection. Key points such as the eye corners, mouth corners, eyebrows are considered to play a primary role when compared to secondary landmarks such as the chin or cheek contours, in detecting facial expressions and classifying them into an emotion class. The facial emotion detection technology is designed using deep learning methods, such as Convolutional Neural Network (CNN), that analyzes visual imagery. Zia performs an in-depth analysis on a detected face and determine the presence of a smile on the face. The response contains the confidence scores for the aspects of `smiling` and `not\_smiling` out of 1\. Based on the aspect with the highest value, Face Analytics makes the prediction of the presence or absence of a smile. ### Age Detection Face Analytics predicts the age range of a face detected in an image. Age detection technology implements a similar approach of machine learning methods and AI algorithms to identify a series of interest points on a face and analyze the localized landmarks for particular signs applicable to specific age groups. Face Analytics detects the age of a face as one of the following age ranges: **0-2, 3-9, 10-19, 20-29, 30-39, 40-49, 50-59, 60-69, more than 70 years old**. The response contains the [confidence scores](https://docs.catalyst.zoho.com/en/zia-services/help/face-analytics/key-concepts/#response-format) for each age range out of 1\. Based on the age range with the highest confidence score, Face Analytics makes the final prediction. ### Gender Detection Face Analytics detects the gender of the faces by implementing deep learning algorithms to identify key characteristics associated with each specific gender. Certain localized points of interest in the face play a crucial role in determining the gender of a human. Zia compares the analyzed results with a vast array of datasets to arrive at a prediction of the gender. Similar to the other attributes, Face Analytics contains the confidence scores for `male` and `female` out of 1\. Based on the identified gender with the highest confidence score, Face Analytics makes the final prediction. ### Input Format Zia Face Analytics performs facial detection and attributes recognition by analyzing image files. Face Analytics supports the following input file formats: * ._jpg_/._jpeg_ * ._png_ You can code the Catalyst application to use the end user device's camera to capture photos and process the images as the input files. You could also provide a space for the users to upload image files from the device's memory to the Catalyst application, to generate the results. The input provided using the API request contains the input image file, value for the [landmark localization mode](https://docs.catalyst.zoho.com/en/zia-services/help/face-analytics/key-concepts/#facial-landmark-localization), and boolean values to specify if the `emotion`, `age`, and `gender` detection need to be performed. If you don't specify the mode or the required attributes to be detected, all attributes will be detected and the advanced mode will be implemented by default. You can check the request format from the [API documentation](https://docs.catalyst.zoho.com/en/api/code-reference/zia-services/face-analytics/#FaceAnalytics). The user must follow these guidelines while providing the input, for better results: * Avoid providing blurred or corrupted images. * Ensure that the faces in the image are clear, visible, and distinct. * Do not upload images that have partial faces, silhouettes, side profiles, or other unrecognizable angles of the faces. The entire face must be visible in the image for better predictions. Face Analytics cannot detect faces that are tilted or oriented beyond a certain level. * Ensure that there are no textual content or watermarks present over the faces in the image. * The file size must not exceed 10 MB. ### Response Format Zia Face Analytics returns the response in the following ways: * **In the console:** When you upload a sample image with faces in the console, it will return the decoded data in two response formats: * **Textual format:** The [textual response]() contains the presence of the face, smile, the detected gender, and the detected age range of each face with their confidence levels as percentage values. * **JSON format:** The JSON response contains the general coordinates of the faces, the coordinates of their localized landmarks, the confidence score for each aspect of the detected smile, age range, and gender of the faces, along with the predictions for each attribute. The confidence score of 0 to 1 can be equated to percentage values as follows:
Confidence Level in percentage Confidence Score of values between 0 and 1
0-9 0.0
3-9 0.0
10-19 0.0
20-29 0.0
30-39 0.0
40-49 0.01
50-59 0.12
60-69 0.23
<70 0.63
* **Using the SDKs:** When you send an image file using an API request, you will receive only a JSON response containing the results in the format specified above. You can check the JSON response format from the [API documentation](https://docs.catalyst.zoho.com/en/api/code-reference/zia-services/face-analytics/#FaceAnalytics). -------------------------------------------------------------------------------- title: "Benefits" description: "Face Analytics is a Zia AI-driven pre-built microservice that performs facial detection and predicts various facial attributes." last_updated: "2023-05-19T06:41:43.000Z" source: "https://docs.catalyst.zoho.com/en/zia-services/help/face-analytics/benefits/" service: "Zia Services" -------------------------------------------------------------------------------- # Benefits 1. **Customized Results** Face Analytics offers you the ability to enable or disable the attributes that you require the predictions for. You can enable or disable smile detection, age detection, or gender detection as per your needs. You can also select a landmark localization mode, and enable the coordinates prediction for the facial features that you require. 2. **Confidence Score for Each Prediction** The confidence score provided for each prediction helps the user verify the level of accuracy of the prediction. The end user can analyze the confidence score and make informed decisions based on the accuracy of the result. The confidence score also helps them decide on providing better quality input for more accurate results. 3. **Accuracy of Results ** Zia is an AI-driven assistant that undergoes repeated systematic training to generate results with higher accuracy and a lower error margin. The AI is trained using various machine learning techniques to perform complex computations and analysis. The training model is highly vigorous, which means it studies and analyzes large volumes of data, and this ensures that the results generated are precise, accurate, and reliable. 4. **Rapid Performance** Face Analytics generates results almost instantaneously when the image is uploaded. Catalyst ensures a high throughput of data transmission and a minimal latency in serving requests. The fast response time enhances your application's performance, and provides a satisfying experience for the end user. 5. **Seamless Integration** You can easily implement Face Analytics in your application without having to learn the complex processing of the machine learning algorithms or the backend set-up. You can implement the ready-made code templates provided for the Java and Node.js platforms in any of your Catalyst applications that requires Face Analytics. 6. **Testing in the Console** The testing feature in the console enables you to verify the efficiency of Face Analytics. You can upload sample images and view the results. This allows you to get an idea about the format and accuracy of the response that will be generated when you implement it in your application. -------------------------------------------------------------------------------- title: "Use Cases" description: "Face Analytics is a Zia AI-driven pre-built microservice that performs facial detection and predicts various facial attributes." last_updated: "2023-05-19T06:41:43.000Z" source: "https://docs.catalyst.zoho.com/en/zia-services/help/face-analytics/use-cases/" service: "Zia Services" -------------------------------------------------------------------------------- # Use Cases Face detection, age detection, emotion detection, and gender detection technologies are implemented in a wide range of applications and scenarios. The following are some use cases for Zia Face Analytics: * A job portal application requires the applicants to upload their own photographs for their online profile. The app implements Face Analytics to determine the age range and gender of the applicant using the photograph they upload. If the predicted age range and gender do not match with the age and gender details provided by the applicant, the app flags the image and requests the applicant to provide a different photograph or submit an identity proof for verification. * A security application that analyzes images captured and provided by a network of security cameras in a retail outlet implements Face Analytics to locate human presence using face detection coordinates, in case of break-ins, robberies or shop lifting. The application also processes multiple images to determine the gender and age range of the faces, to identify the demographics of the perpetrators better. Face Analytics can also be implemented in the following scenarios: * Security application linked to a surveillance camera outside a pub or a restro-bar to detect and deny entry to minors. * An application that analyzes images from events and gatherings to draw statistics on the customer demographics based on the attendees. * A cyber security application that monitors the illegal usage and distribution of photographs of minors in social media platforms. * An application that processes images captured by security cameras in a retail store to analyze customer satisfaction based on smile detection. -------------------------------------------------------------------------------- title: "Implementation" description: "Face Analytics is a Zia AI-driven pre-built microservice that performs facial detection and predicts various facial attributes." last_updated: "2026-11-03T15:16:51.000Z" source: "https://docs.catalyst.zoho.com/en/zia-services/help/face-analytics/implementation/" service: "Zia Services" -------------------------------------------------------------------------------- # Implementation This section only covers working with Face Analytics in the Catalyst console. Refer to the [SDK](https://docs.catalyst.zoho.com/en/sdk/java/v1/zia-services/face-analytics/)and [API](https://docs.catalyst.zoho.com/en/api/code-reference/zia-services/face-analytics/#FaceAnalytics) documentation sections for implementing Face Analytics in your application's code. As mentioned earlier, you can access the code templates that will enable you to integrate Face Analytics in your Catalyst application from the console, and also test the feature by uploading images with faces and obtaining the results. ### Access Face Analytics To access Face Analytics in your Catalyst console: 1. Navigate to **Zia Services** in the left pane of the Catalyst console and click **Face Analytics.** ![face-analytics](https://catalyst-docs-development.zohostratus.in/images/help/face-analytics/face-analytics-updated.webp) 2. Click **Try a Demo** and this will open the Face Analytics feature. ![catalyst_facean_test_page](https://catalyst-docs-development.zohostratus.in/images/help/face-analytics/catalyst_facean_test_page.webp) ### Test Face Analytics in the Catalyst Console You can test Face Analytics by either selecting a sample image from Catalyst or by uploading your own image. To scan a sample image with a face and view the result: 1. Click **Select a Sample Image** in the box. ![catalyst_facean_sample](https://catalyst-docs-development.zohostratus.in/images/help/face-analytics/catalyst_facean_sample.webp) 2. Select an image from the samples provided. ![catalyst_facean_select_sample](https://catalyst-docs-development.zohostratus.in/images/help/face-analytics/catalyst_facean_select_sample.webp) Face Analytics will scan the image for faces, analyze and predict the [attributes](https://docs.catalyst.zoho.com/en/zia-services/help/face-analytics/key-concepts), and provide a textual result of the analysis and the confidence level of each prediction in percentage values, for each detected face. ![catalyst_facean_sample_scanned](https://catalyst-docs-development.zohostratus.in/images/help/face-analytics/catalyst_facean_sample_scanned.webp) The colors in the response bars indicate the range of the confidence percentage of a prediction such as, red: 0-30%, orange: 30-80%, green: 80-100%. The general coordinates and the coordinates of the localized landmarks of each face are provided, in addition to the other detections, in the JSON response in the advanced landmark localization mode by default. Click **View Response** to view the [JSON response](https://docs.catalyst.zoho.com/en/zia-services/help/face-analytics/key-concepts/#response-format). ![catalyst_facean_sample_json](https://catalyst-docs-development.zohostratus.in/images/help/face-analytics/catalyst_facean_sample_json.webp) You can refer to the [API documentation](https://docs.catalyst.zoho.com/en/api/code-reference/zia-services/face-analytics/#FaceAnalytics) to view a complete sample JSON response structure. To upload your own image and test Face Analytics: 1. Click **Upload** under the _Result_ section. ![catalyst_facean_upload](https://catalyst-docs-development.zohostratus.in/images/help/face-analytics/catalyst_facean_upload.webp) If you're opening Face Analytics after you have closed it, click **Browse Files** in this box. ![catalyst_facean_browse](https://catalyst-docs-development.zohostratus.in/images/help/face-analytics/catalyst_facean_browse.webp) 2. Upload a file from your local system. > **Note:** The file must be in ._jpg_/._jpeg_ or ._png_ format. The file size must not exceed 10 MB. The console will scan the image for faces and display the analysis of the four attributes of the faces detected. ![catalyst_facean_image_scanned](https://catalyst-docs-development.zohostratus.in/images/help/face-analytics/catalyst_facean_image_scanned.webp) As mentioned earlier, Face Analytics can detect and analyze the attributes of up to 10 faces in an image. You can check the results of each detected face by clicking the side arrows. The JSON response also contains the results of each detected face. ![catalyst/catalyst_facean_image_json](https://catalyst-docs-development.zohostratus.in/images/help/face-analytics/catalyst_facean_image_json.webp) ### Access Code Templates for Face Analytics You can implement Face Analytics in your Catalyst application using the code templates provided by Catalyst for [Java](https://docs.catalyst.zoho.com/en/sdk/java/v1/zia-services/face-analytics/), [Node.js](https://docs.catalyst.zoho.com/en/sdk/nodejs/v2/zia-services/face-analytics/) and [Python](https://docs.catalyst.zoho.com/en/sdk/python/v1/zia-services/face-analytics/) platforms. You can access them from the section below the test window. Click either the **Java SDK**, **NodeJS SDK** or **Python SDK** tab, and copy the code using the copy icon. You can paste this code in your web or Android application's code wherever you require. ![catalyst_facean_java](https://catalyst-docs-development.zohostratus.in/images/help/face-analytics/catalyst_facean_java_updated.webp) You can process the input file as a new `File` in Java. The `ZCFaceAnalyticsOptions` module provides you with the option to enable or disable the analysis of each attribute. For example, if you set `setAgeNeeded` as `false`, Face Analytics will not provide the age prediction results for the faces detected in the image. You can also set the [landmark localization](https://docs.catalyst.zoho.com/en/zia-services/help/face-analytics/key-concepts/#facial-landmark-localization) mode as `BASIC`, `MODERATE`, or `ADVANCED` using `setAnalyseMode`. ![catalyst_facean_node](https://catalyst-docs-development.zohostratus.in/images/help/face-analytics/catalyst_facean_node_updated.webp) In Node.js, the `facePromise` object is used to hold the input image file and the options set for it. You can specify the `mode` as `basic`, `moderate`, or `advanced`, and set an attribute as `true` or `false` to enable or disable the analysis for it. ![catalyst_facean_python](https://catalyst-docs-development.zohostratus.in/images/help/face-analytics/catalyst_facean_python.webp) In Python, the `analyse_face()` method accepts the input image as its argument. You can also specify the analysis mode as `basic`, `moderate`, or `advanced`. You can also specify the attributes `age`, `smile`, or `gender` as `true` to detect or `false` to not detect. These values are optional. All attributes are detected and the `advanced` mode is processed by default. ### Identity Scanner -------------------------------------------------------------------------------- title: "Introduction" description: "Catalyst provides Identity Scanner as a pre-built, Zia AI-driven microservice to perform secure identity checks, and validate ID proofs and documents." last_updated: "2026-11-04T10:10:44.000Z" source: "https://docs.catalyst.zoho.com/en/zia-services/help/identity-scanner/introduction/" service: "Zia Services" -------------------------------------------------------------------------------- # Identity Scanner ## Introduction Identity Scanner is a Catalyst Zia Services component that enables you to perform secure identity checks on individuals and documents by scanning and processing various ID proofs or official documents. > **Note:** Catalyst does not store any of the files you upload in its systems. The documents you upload are used for one-time processing only. They are not used for ML model training purposes either. Catalyst components are fully compliant with all applicable data protection and privacy laws. Identity Scanner can be considered as a comprehensive suite that incorporates multiple Zia AI components like Optical Character Recognition (OCR), data extraction, face detection, and face comparison. Identity Scanner performs the following two major tasks that are divided into individual functionalities in the component: * **E-KYC:** Compares two faces in two different images to determine if they are the same individual. This will enable you to verify an individual's identity from their ID proof by comparing it with an existing photo of theirs. * **Document Processing:** Reads information from Indian Aadhaar cards, PAN cards, cheques, and passbooks, and extracts fields of data from the document. It can automatically detect and recognize textual content in multiple Indian and international languages, based on the model type. These features provide you with the flexibility of implementing an overall identity check processor in your Catalyst application through a single component. You can both extract information from an individual's ID proof and verify its authenticity by processing the photo in it. The parameters recognized and extracted from the ID proofs and supported documents, and the results of the E-KYC processing, are presented as JSON responses, along with confidence scores for some of them that inform you of the result's accuracy. You can choose to store the recognized data or process it further in any way you require. Catalyst offers Identity Scanner in the **Java**, **Node.js** and **Python** environments, and provides you with SDK code that you can easily integrate in your Catalyst application. You can find these code templates in the Catalyst console. The console also enables you to test Identity Scanner by uploading sample photographs of individuals, their IDs, or supported documents, and view the response. You can refer to the [Java SDK documentation](https://docs.catalyst.zoho.com/en/sdk/java/v1/zia-services/identity-scanner/facial-comparison), [Node.js SDK documentation](https://docs.catalyst.zoho.com/en/sdk/nodejs/v2/zia-services/identity-scanner/facial-comparison) and [Python SDK documentation](https://docs.catalyst.zoho.com/en/sdk/python/v1/zia-services/identity-scanner/facial-comparison) for code samples of Identity Scanner in those environments. Refer to the [API documentation](https://docs.catalyst.zoho.com/en/api/code-reference/zia-services/identity-scanner/facial-comparison/#FacialComparison) to learn about the APIs available for Identity Scanner. You can learn more about the other components of Catalyst Zia Services from [this page](https://docs.catalyst.zoho.com/en/zia-services). > **Note:** * Document Processing is only relevant to Indian users and is **only available in the IN DC** (Indian Data Center). This feature will not be available to users accessing from the EU, AU, US, JP, SA or CA data centers. Users outside of India from the other DCs can access the [general OCR component](https://docs.catalyst.zoho.com/en/zia-services/help/optical-character-recognition/introduction) to read and process textual content. * E-KYC is available as Facial Comparison in the Java, Node.js and Python SDK packages, and as an API. The Facial Comparison SDKs and API are available for all users globally. You can use Facial Comparison to compare two images and verify if the faces in both the images match. * The `AADHAAR`, `PASSBOOK`, `PAN`, `CHEQUE` models were earlier available as sub-features of the general OCR component in the SDK toolkits and as APIs. They are now a part of the Identity Scanner suite. You can now also test all these models from the console. * Catalyst also provides a Zia Face Analytics feature that is available to all users globally. This performs advanced computational analytics on faces detected in images to determine the individual's age, gender, and expression. Refer to the [Face Analytics help page](https://docs.catalyst.zoho.com/en/zia-services/help/face-analytics/introduction) to learn more. -------------------------------------------------------------------------------- title: "Key Concepts" description: "Catalyst provides Identity Scanner as a pre-built, Zia AI-driven microservice to perform secure identity checks, and validate ID proofs and documents." last_updated: "2026-11-04T10:10:44.000Z" source: "https://docs.catalyst.zoho.com/en/zia-services/help/identity-scanner/key-concepts/" service: "Zia Services" -------------------------------------------------------------------------------- # Key Concepts Before you learn about the use cases and implementation of Identity Scanner, it's important to understand its fundamental concepts in detail. ### E-KYC The E-KYC or Facial Comparison feature of Identity Scanner compares the faces detected in two different images for matches in their facial features. The two images provided for comparison are termed as the **source image** and the **query image**. In the case of Identity Scanning, one would be the image detected in an individual's ID proof, and the other would be a new or existing photograph of that person. > **Note:** * You can process either the ID proof or the existing photo as the source or the query image. This will not affect the results. * If their existing photo includes multiple people in it, Zia will automatically detect the most prominent face in the image and process it for Identity Scanning. Therefore, ensure that you compare the ID proof of a person with a clear, individual photo of theirs. ### Facial Comparison Process Zia AI implements various state-of-the-art object detection, image analysis, and pattern recognition models. A generic Facial Comparison process can be divided into the following sub-tasks: * Face Detection: Face detection is a substantial part of the facial recognition process, which is infact a subset of object detection. This is the initial step towards facial recognition. The underlying algorithms detect faces in an image by segmenting them from the background, and identifying their coordinates in the image. * Facial Landmark Detection: Facial landmarking is the process of detecting and localizing specific key point characteristics on the face to recognize faces. This includes identifying the coordinates of key points, such as the distance between the eyes, the length of the face, the endpoints of the face, the contour of the lips, ears, and chin, and the shape and position of the cheek bones. * Facial Analysis: Facial comparison essentially involves comparing faces detected in query images to training sets or databases to verify an individual's identity. In the case of Zia Facial Comparison, the faces detected in the query and the source images are analysed. The faceprints identified from the analysis data of both faces are compared with each other to verify the degree of matches. The [confidence score](https://docs.catalyst.zoho.com/en/zia-services/help/identity-scanner/key-concepts#response-format) that is returned by Zia corresponds to this data. Various ML and deep-learning algorithms belonging to one or more face detection and face recognition methods can be used in performing these operations. These include geometric or feature based approaches, such as template matching, appearance or statistic based approaches that involve algorithms or methods like PCA using Eigenface or LDA, Fisherface algorithm, and implementation of neural networks. #### Request Format The input file format of E-KYC or Facial Comparison is specified below.
Identity Scanner Type Supported File Formats File Size Limit
E-KYC Both the source image and the query image must only be of the following formats: .webp/.jpeg .png 10 MB for each image
#### Response Format The response format of E-KYC or Facial Comparison is described below: * **Using the SDKs and APIs:** **JSON response:** The default JSON response will include the status message, and the data of the operation. Facial Comparison returns a binary response as to whether the faces match or not. The result is set to `true` if the faces match, or `false` if they don't match. The JSON response contains a confidence score between the range of 0 to 1\. Only if the comparison yields a confidence score of above 50% (i.e. 0.5) will the result be set to `true`. For more information, refer to the [Java](https://docs.catalyst.zoho.com/en/sdk/java/v1/zia-services/identity-scanner/facial-comparison), [Node.js](https://docs.catalyst.zoho.com/en/sdk/nodejs/v2/zia-services/identity-scanner/facial-comparison) and [Python](https://docs.catalyst.zoho.com/en/sdk/python/v1/zia-services/identity-scanner/facial-comparison) SDK, and the [API documentation](https://docs.catalyst.zoho.com/en/api/code-reference/zia-services/identity-scanner/facial-comparison/#FacialComparison). * **In the console:** When you upload images or files to test in the console, it will return the response in two formats: * **Simplified response:** This will display the message "Faces matched!" or "Faces not matched!" based on the results, and the confidence score of the comparison will be displayed in a percentage value. * **JSON response:** The console will also display the original JSON response received for the operation. ### Document Processing #### Text Recognition and Information Extraction Process The text detection, recognition, and extraction from the identity proof documents is handled by an advanced OCR system. OCR systems in general follow a top-down approach to the process. When a supported document is submitted to Identity Scanner, the text detection and recognition process proceeds as follows: 1. Zia analyzes the structure of the text and divides it into individual lines of text. 2. The lines of text are further broken down into words, and each word into individual characters. 3. Zia compares the characters it has detected with its dataset, and runs advanced algorithms to identify the characters and recognize words based on the character groupings. 4. Zia also runs algorithms to identify the language of the content by processing it through volumes of probabilities and hypotheses using ICR. You can additionally specify the language a document is in. This is only supported for the `PASSBOOK` model. When the language is already specified, this processing is performed more quickly. You can learn about the supported languages in the [next section](https://docs.catalyst.zoho.com/en/zia-services/help/identity-scanner/benefits/). 5. Through an extended OCR process, relevant identified information is extracted and populated as the values of pre-determined keys, based on the document model type. For example, values such as bank name and account number are recognized and extracted from bank passbooks and returned in the response with the corresponding keys. ### Model Types Identity Scanner supports the following model types corresponding to the supported identity proof documents: * **`AADHAAR`:** You can process Indian Aadhaar cards as identity proof documents with this model type. You must provide two images of the Aadhaar card as the input (the front and back images of the card). The response will return the parameters recognized from the Aadhaar card, such as the Aadhaar number, the card owner's name, address, and gender, along with confidence scores for each recognition. * **`PAN`:** This enables you to process Indian PAN cards as identity proof documents by providing a single image of the PAN card as the input. The response will return parameters recognized from the PAN card, such as the card owner's first name, last name, date of birth, and their PAN number. * **`PASSBOOK`:** You can process the front page of Indian bank passbooks as identity or financial proof using this model, by uploading the passbook's front page image. The response will return the parameters recognized from the passbook such as the account number, bank name, branch, and address. The response also shows if RTGS, NEFT, and IMPS have been enabled for that account. * **`CHEQUE`:** This model enables you to process Indian cheque leaves as financial proofs, by uploading an image of the cheque. Identity Scanner only processes cheques of the CTS-2010 format. The response will return the parameters recognized like the amount, bank name, branch name, account number, IFSC code, and the date of issuance. You must pass the respective model types in the request while using the [Java](https://docs.catalyst.zoho.com/en/sdk/java/v1/zia-services/identity-scanner/facial-comparison), [Node.js](https://docs.catalyst.zoho.com/en/sdk/nodejs/v2/zia-services/identity-scanner/facial-comparison) or [Python](https://docs.catalyst.zoho.com/en/sdk/python/v1/zia-services/identity-scanner/facial-comparison) SDK code , or when working with the [APIs](https://docs.catalyst.zoho.com/en/api/code-reference/zia-services/ocr/#OCR). > **Note:** You must submit the exact documents for each of the document models to ensure accurate information recognition and extraction for that format. ### Supported Languages > **Note:** Identity Scanner will return the response only in English, irrespective of the languages present in a document. For example, if a supported parameter in a bank passbook is in any other language besides English, it will not be shown in the response. **PASSBOOK** The `PASSBOOK` model supports the following 9 international languages: * English * Arabic * Chinese * French * Italian * Japanese * Portuguese * Romanian * Spanish It also supports these 10 Indian languages: * Hindi * Bengali * Marathi * Telugu * Tamil * Gujarati * Urdu * Kannada * Malayalam * Sanskrit **AADHAAR** The `AADHAAR` model can detect and recognize textual content in all supported Indian languages and English. You can process the Aadhaar card of any region in India with Identity Scanner. > **Note:** The option to select the languages present in an Aadhaar card while processing it was available earlier, when it was a part of the general OCR component. This option has now been **deprecated**. This applies to the API, the SDKs, and the testing feature in the console. Identity Scanner will now automatically identify the languages in an Aadhaar card without requiring an input for it from the user. **CHEQUE and PAN** The `CHEQUE` and `PAN` models process the content only in English by default, and do not support any other languages. You must note the following points: * You can pass the languages you might find in the bank passbooks while processing for the `PASSBOOK` model. * Specifying the languages is optional. However, the text recognition and extraction process is faster and more accurate if you specify the languages. If no languages are specified, Identity Scanner will detect the languages automatically. * You will not be able to select the languages for the `CHEQUE` or the `PAN` models, as English is the only supported language for these types. You will not be able to select the languages for the `AADHAAR` model either. #### Request Format The input file formats of each of the model types are specified below.
Model Type Supported File Formats File Size Limit
AADHAAR Both the front and the back images must only be of the following formats: .webp/.jpeg .png .tiff .bmp 15 MB for each image
PASSBOOK .webp/.jpeg .png .tiff .bmp .pdf 15 MB
CHEQUE .webp/.jpeg .png 15 MB
PAN .webp/.jpeg .png 15 MB
#### Response Format The response format of Document Processing is described below: * **Using the SDKs and APIs:** **JSON response:** The default JSON response will include the status message and the data for the respective operation, as specified in the [Model Types](https://docs.catalyst.zoho.com/en/zia-services/help/identity-scanner/key-concepts#model-types) section. You can format the text you receive in the response for the document processing in your code. For more information, refer to the [Java](https://docs.catalyst.zoho.com/en/sdk/java/v1/zia-services/identity-scanner/facial-comparison), [Node.js](https://docs.catalyst.zoho.com/en/sdk/nodejs/v2/zia-services/identity-scanner/facial-comparison) and [Python](https://docs.catalyst.zoho.com/en/sdk/python/v1/zia-services/identity-scanner/facial-comparison) SDK documentation. * **In the console:** When you upload images or files to test in the console, it will return the response in two formats: * **Simplified response:** The simplified textual response will list the parameters extracted from the identity proof in a readable format. * **JSON response:** The console will also display the original JSON response received for each operation. -------------------------------------------------------------------------------- title: "Benefits" description: "Catalyst provides Identity Scanner as a pre-built, Zia AI-driven microservice to perform secure identity checks, and validate ID proofs and documents." last_updated: "2026-11-04T10:10:44.000Z" source: "https://docs.catalyst.zoho.com/en/zia-services/help/identity-scanner/benefits/" service: "Zia Services" -------------------------------------------------------------------------------- # Benefits 1. **Seamless Integration of Identity Verification Feature** Identity Scanner enables you to perform all aspects of an individual's identity check and verification under a single banner. You can easily implement all the elements of Identity Scanner in your application without having to worry about the underlying logic or the backend set-up, by incorporating the ready-made code templates provided for the Java and Node.js platforms. 2. **Multiple Language Support** The multiple Indian and international language support offered by Catalyst for document processing allows you to process a variety of ID or financial transaction proofs, including passbooks of international banks or Aadhaar cards of any Indian state. The automatic detection of all supported languages in a passbook in case of non-specification enhances ease and efficiency. 3. **Accurate Results through Advanced Training ** Zia is an AI-driven assistant that undergoes repeated systematic training to generate results with higher accuracy and a lower error margin. The AI is trained using various ML and deep-learning techniques, and advanced facial recognition and data analysis models, to perform complex computations and analysis. The training models are highly vigorous, which means Zia studies large volumes of data and training sets, and this ensures that the results generated are precise, accurate, and reliable. 4. **Instantaneous Response** Catalyst processes files and generates results in a fast and effective manner. Catalyst servers are built on Zoho's architecture, and they ensure a high throughput of data transmission and minimal latency in serving requests. They scale up or down based on the demand, which allows you to build and serve applications on all consumption levels. The quick response time enhances your app's performance, and provides a high-end experience for the app's users. 5. **Testing in the Console** The testing feature in the console enables you to verify the efficiency of Identity Scanner. You can upload sample files for E-KYC and for each document processing model, and view a JSON response, as well as a simplified response. This allows you to get an idea about the format and accuracy of the response of the component. -------------------------------------------------------------------------------- title: "Use Cases" description: "Catalyst provides Identity Scanner as a pre-built, Zia AI-driven microservice to perform secure identity checks, and validate ID proofs and documents." last_updated: "2026-11-04T10:10:44.000Z" source: "https://docs.catalyst.zoho.com/en/zia-services/help/identity-scanner/use-cases/" service: "Zia Services" -------------------------------------------------------------------------------- # Use Cases Document Processing and E-KYC are implemented in a wide range of applications and scenarios. The following are some use cases where Identity Scanner can be implemented: * Consumer apps that require identity verification from the app users for creating their user accounts can process any of their ID proofs to verify their identity. * Age-restricted services or products that cannot be made available for minors can use Identity Scanner to verify the customer's age. * E-commerce apps or delivery services that require proof of identity before delivering packages to users can implement E-KYC. * Event organizer or venue management services that need to identify individuals before allowing them to attend events can use E-KYC. * Products or services rental apps that require customers to submit an identity proof or a cheque leaf for the services to be rendered. * Localized services that can only cater to certain demographics or users based on specific geographic locations can verify their users addresses. * Apps in the financial sector, such as banking, investments, share trading or crypto-currency trading apps that require their customers to provide identity or financial proofs such as PAN cards. * Services that allow payments through cheques and require customers to submit a cheque leaf as a proof of the payment made. * Any banking, business, or economic apps that require the front pages of bank passbooks to be processed as a proof of identity or of a bank account. * Services that require the users to click and submit a photograph of theirs on the spot to verify their identity with a previously submitted ID proof using E-KYC. * Microservices that enable digitization of identity proofs or documents. -------------------------------------------------------------------------------- title: "Implementation" description: "Catalyst provides Identity Scanner as a pre-built, Zia AI-driven microservice to perform secure identity checks, and validate ID proofs and documents." last_updated: "2026-11-04T10:10:44.000Z" source: "https://docs.catalyst.zoho.com/en/zia-services/help/identity-scanner/implementation/" service: "Zia Services" -------------------------------------------------------------------------------- # Implementation This section only covers testing Identity Scanner and accessing the sample SDK code templates from the Catalyst console. Refer to the [SDK](https://docs.catalyst.zoho.com/en/sdk/java/v1/zia-services/identity-scanner/facial-comparison) and [API](https://docs.catalyst.zoho.com/en/api/code-reference/zia-services/identity-scanner/facial-comparison) documentation sections for implementing the feature in your application. ### Access Identity Scanner To access Identity Scanner in your Catalyst console: 1. Navigate to **Zia Services** in the left pane of the Catalyst console and click **Identity Scanner.** ![identity-scanner](https://catalyst-docs-development.zohostratus.in/images/help/identity-scanner/identity-scanner-updated.webp) 2. Click **Try a Demo** in the Identity Scanner feature page to scan and process the various supported Identity proof documents. ### Test Identity Scanner in the Catalyst Console Identity Scanner contains all 5 features as individual sections in the console: * E-KYC * Aadhaar Card * PAN Card * Passbook * Cheque ![catalyst_id_feature](https://catalyst-docs-development.zohostratus.in/images/help/identity-scanner/catalyst_id_feature.webp) You can test each feature by either selecting an existing sample image for it that Catalyst provides, or by uploading your own files. > **Note:** Refer to the [E-KYC Request Format](https://docs.catalyst.zoho.com/en/zia-services/help/identity-scanner/key-concepts/#request-format) or [Document Processing Request Format](https://docs.catalyst.zoho.com/en/zia-services/help/identity-scanner/key-concepts/#request-format-1) sections for the input formats. #### E-KYC To process sample files or files of your own and test [E-KYC](https://docs.catalyst.zoho.com/en/zia-services/help/identity-scanner/key-concepts/#e-kyc): 1. Click **Select a Sample Image** or **Browse Files** in the _User's Photo ID Card_ window in the _E-KYC_ section to upload the ID proof. ![catalyst_id_ekyc_1](https://catalyst-docs-development.zohostratus.in/images/help/identity-scanner/catalyst_id_ekyc_1.webp) 2. Select a sample image ID proof that Catalyst provides, or select a file from your system. ![catalyst_id_ekyc_2](https://catalyst-docs-development.zohostratus.in/images/help/identity-scanner/catalyst_id_ekyc_2.webp) 3. Click **Select a Sample Image** or **Browse Files** in the _User's Photo_ window to upload a photograph to compare the photo in the ID proof with. 4. Again, select a sample image that Catalyst provides, or select a file from your system. ![catalyst_id_ekyc_3](https://catalyst-docs-development.zohostratus.in/images/help/identity-scanner/catalyst_id_ekyc_3.webp) Identity Scanner will now compare the face detected in the ID proof with the photograph to determine if they are the same individual. The console will display a simplified response of the comparison, along with the confidence score. You can learn about the response in detail from the [E-KYC Response Format section](https://docs.catalyst.zoho.com/en/zia-services/help/identity-scanner/key-concepts/#response-format). ![catalyst_id_ekyc_4](https://catalyst-docs-development.zohostratus.in/images/help/identity-scanner/catalyst_id_ekyc_4.webp) You can view the default JSON response that is fetched, by clicking **View Response**. ![catalyst_id_ekyc_5](https://catalyst-docs-development.zohostratus.in/images/help/identity-scanner/catalyst_id_ekyc_5.webp) #### Aadhaar Card You can process a sample Aadhaar card or a card of your own and test the [AADHAAR model](https://docs.catalyst.zoho.com/en/zia-services/help/identity-scanner/key-concepts/#model-types) as follows: 1. Navigate to the _Aadhaar Card_ section. 2. Click **Select a Sample Image** or **Browse Files** in the _Aadhaar Front Side_ window to upload the front side image of the Aadhaar card. ![catalyst_id_aadhaar_1](https://catalyst-docs-development.zohostratus.in/images/help/identity-scanner/catalyst_id_aadhaar_1.webp) 3. Select a sample Aadhaar front image that Catalyst provides, or select a file from your system. ![catalyst_id_aadhaar_2](https://catalyst-docs-development.zohostratus.in/images/help/identity-scanner/catalyst_id_aadhaar_2.webp) > **Note:** Refer to the [Document Processing Request Format section](https://docs.catalyst.zoho.com/en/zia-services/help/identity-scanner/key-concepts/#request-format-1) for the input file format. 4. Click **Select a Sample Image** or **Browse Files** in the _Aadhaar Back Side_ window to upload the back image of the card. 5. Again, select a sample back image that Catalyst provides, or select a file from your system. ![catalyst_id_aadhaar_3](https://catalyst-docs-development.zohostratus.in/images/help/identity-scanner/catalyst_id_aadhaar_3.webp) 6. You can select the languages present in the Aadhaar card from the drop-down, then click **Get Result**. > **Note:** This option has now been deprecated and will be removed from the console soon. Identity Scanner will automatically identify the languages in an Aadhaar card without requiring an input for it from the user. ![catalyst_id_aadhaar_4](https://catalyst-docs-development.zohostratus.in/images/help/identity-scanner/catalyst_id_aadhaar_4.webp) The console will display the parameters recognized and identified from the Aadhaar card, such as the Aadhaar number, name, and address. You can learn about the response format in detail from the [Document Processing Response Format section](https://docs.catalyst.zoho.com/en/zia-services/help/identity-scanner/key-concepts/#response-format-1). ![catalyst_id_aadhaar_5](https://catalyst-docs-development.zohostratus.in/images/help/identity-scanner/catalyst_id_aadhaar_5.webp) You can view the default JSON response that is fetched, by clicking **View Response**. ![catalyst_id_aadhaar_6](https://catalyst-docs-development.zohostratus.in/images/help/identity-scanner/catalyst_id_aadhaar_6.webp) #### PAN Card You can process a sample PAN card or a card of your own and test the [PAN model](https://docs.catalyst.zoho.com/en/zia-services/help/identity-scanner/key-concepts/#model-types) as follows: 1. Navigate to the _PAN Card_ section. 2. Click **Select a Sample Image** or **Browse Files** to upload a PAN card. ![catalyst_id_pan_1](https://catalyst-docs-development.zohostratus.in/images/help/identity-scanner/catalyst_id_pan_1.webp) 3. Select a sample PAN card image that Catalyst provides, or select a file from your system. ![catalyst_id_pan_2](https://catalyst-docs-development.zohostratus.in/images/help/identity-scanner/catalyst_id_pan_2.webp) > **Note:** Refer to the [Document Processing Request Format section](https://docs.catalyst.zoho.com/en/zia-services/help/identity-scanner/key-concepts/#request-format-1) for the input file format. The console will display the parameters recognized and identified from the PAN card, such as the PAN number, first name, last name, and date of birth. You can learn about the response format in detail from the [Document Processing Response Format section](https://docs.catalyst.zoho.com/en/zia-services/help/identity-scanner/key-concepts/#response-format-1). ![catalyst_id_pan_3](https://catalyst-docs-development.zohostratus.in/images/help/identity-scanner/catalyst_id_pan_3.webp) You can view the default JSON response that is fetched, by clicking **View Response**. ![catalyst_id_pan_4](https://catalyst-docs-development.zohostratus.in/images/help/identity-scanner/catalyst_id_pan_4.webp) #### Passbook You can process a sample bank passbook or a passbook of your own and test the [PASSBOOK model](https://docs.catalyst.zoho.com/en/zia-services/help/identity-scanner/key-concepts/#model-types) as follows: 1. Navigate to the _Passbook_ section. 2. Click **Select a Sample Image** or **Browse Files** to upload a passbook's front page image. ![catalyst_id_passbook_1](https://catalyst-docs-development.zohostratus.in/images/help/identity-scanner/catalyst_id_passbook_1.webp) 3. Select a sample image of a bank passbook that Catalyst provides, or select a file from your system. ![catalyst_id_passbook_2](https://catalyst-docs-development.zohostratus.in/images/help/identity-scanner/catalyst_id_passbook_2.webp) > **Note:** Refer to the [Document Processing Request Format section](https://docs.catalyst.zoho.com/en/zia-services/help/identity-scanner/key-concepts/#request-format-1) for the input file format. 4. Select the languages present in the passbook from the drop-down for quicker and more efficient processing, then click **Get Result**. ![catalyst_id_passbook_3](https://catalyst-docs-development.zohostratus.in/images/help/identity-scanner/catalyst_id_passbook_3.webp) > **Note:** Refer to the [Supported Languages section](https://docs.catalyst.zoho.com/en/zia-services/help/identity-scanner/key-concepts/#supported-languages) for a list of languages supported by the `PASSBOOK` model. The console will display the parameters recognized and identified from the passbook, such as the bank account number, bank name, and branch You can learn about the response format in detail from the [Document Processing Response Format section](https://docs.catalyst.zoho.com/en/zia-services/help/identity-scanner/key-concepts/#response-format-1). ![catalyst_id_passbook_4](https://catalyst-docs-development.zohostratus.in/images/help/identity-scanner/catalyst_id_passbook_4.webp) You can view the default JSON response that is fetched, by clicking **View Response**. ![catalyst_id_passbook_5](https://catalyst-docs-development.zohostratus.in/images/help/identity-scanner/catalyst_id_passbook_5.webp) #### Cheque You can process a sample cheque leaf or a cheque of your own and test the [CHEQUE model](https://docs.catalyst.zoho.com/en/zia-services/help/identity-scanner/key-concepts/#model-types) as follows: 1. Navigate to the _Cheque_ section. 2. Click **Select a Sample Image** or **Browse Files** to upload an image of a cheque leaf. ![catalyst_id_cheque_1](https://catalyst-docs-development.zohostratus.in/images/help/identity-scanner/catalyst_id_cheque_1.webp) 3. Select a sample cheque leaf image that Catalyst provides, or select a file from your system. ![catalyst_id_cheque_2](https://catalyst-docs-development.zohostratus.in/images/help/identity-scanner/catalyst_id_cheque_2.webp) > **Note:** Refer to the [Document Processing Request Format section](https://docs.catalyst.zoho.com/en/zia-services/help/identity-scanner/key-concepts/#request-format-1) for the input file format. The console will display the parameters recognized and identified from the cheque, such as the date of issuance, amount, bank name, MICR, etc. You can learn about the response format in detail from the [Document Processing Response Format section](https://docs.catalyst.zoho.com/en/zia-services/help/identity-scanner/key-concepts/#response-format-1). ![catalyst_id_cheque_3](https://catalyst-docs-development.zohostratus.in/images/help/identity-scanner/catalyst_id_cheque_3.webp) You can view the default JSON response that is fetched, by clicking **View Response**. ![catalyst_id_cheque_4](https://catalyst-docs-development.zohostratus.in/images/help/identity-scanner/catalyst_id_cheque_4.webp) ### Access Code Templates for Identity Scanner As mentioned earlier, the console provides the latest code templates for all five features of Identity Scanner in the Java and Node.js platforms. You can access them from the console below the test windows in each section. > **Note:** Each section in the console contains the code for that feature. That is, if you click the Aadhaar Card tab and scroll down, you will find the Java, Node.js and Python code for the `AADHAAR` model. Similarly, if you click the Passbook tab and scroll down, you will find the code templates for the `PASSBOOK` model. Ensure that you are copying the right code for the feature you require. Click the **Java SDK**, **NodeJS SDK** or **Python SDK** tab, and copy the code using the copy icon. You can implement this code in your Catalyst application's source code. The code shown below is the Java SDK code for the E-KYC or Facial Comparison feature. ![catalyst_id_ekyc_java_updated](https://catalyst-docs-development.zohostratus.in/images/help/identity-scanner/catalyst_id_ekyc_java_updated.webp) > **Note:** Refer to the [Java SDK](https://docs.catalyst.zoho.com/en/sdk/java/v1/zia-services/identity-scanner/facial-comparison), [Node.js](https://docs.catalyst.zoho.com/en/sdk/nodejs/v2/zia-services/identity-scanner/facial-comparison) and [Python](https://docs.catalyst.zoho.com/en/sdk/python/v1/zia-services/identity-scanner/facial-comparison) SDK help pages for an explanation of the code templates of each feature. ### Image Moderation -------------------------------------------------------------------------------- title: "Introduction" description: "Image Moderation is a Zia AI-driven, readily-available image monitoring service that recognizes NSFW content in images in your Catalyst application." last_updated: "2026-11-04T10:10:44.000Z" source: "https://docs.catalyst.zoho.com/en/zia-services/help/image-moderation/introduction/" service: "Zia Services" -------------------------------------------------------------------------------- # Image Moderation ## Introduction Image Moderation is a Catalyst Zia Servies component that monitors and recognizes inappropriate and unsafe content in images. It is a sub-feature of content moderation that decides if a particular image is safe for work, based on a pre-determined set of rules. Zia Image Moderation monitors for and recognizes the following criteria in an image: * Explicit nudity * Racy or Suggestive content * Bloodshed, gore, and violence * Drugs and substances * Weapons Image Moderation is used to ensure that the user-generated content in your Catalyst applications does not violate the application standards and guidelines. You can maintain your brand reputation and general decorum by flagging, filtering, or automatically deleting the detected inappropriate content. Catalyst provides Image Moderation in the **Java**, **Node.js** and **Python** SDK packages, which you can integrate in your Catalyst web or Android application. The Catalyst console provides easy access to code templates for these environments that you can implement in your application's code. You can also test Image Moderation using sample images in the console, and obtain the moderation results based on the attributes mentioned above. Image Moderation also provides a confidence score for each result that enables you to verify its accuracy and make informed decisions on the next steps to be taken. You can refer to the [Java SDK documentation](https://docs.catalyst.zoho.com/en/sdk/java/v1/zia-services/image-moderation/), [Node.js SDK documentation](https://docs.catalyst.zoho.com/en/sdk/nodejs/v2/zia-services/image-moderation/) and [Python SDK documentation](https://docs.catalyst.zoho.com/en/sdk/python/v1/zia-services/image-moderation/) for code samples of Image Moderation. Refer to the [API documentation](https://docs.catalyst.zoho.com/en/api/code-reference/zia-services/image-moderation/#ImageModeration) to learn about the API available for Image Moderation. You can learn more about the other components of Catalyst Zia Services from [this page](https://docs.catalyst.zoho.com/en/zia-services). -------------------------------------------------------------------------------- title: "Key Concepts" description: "Image Moderation is a Zia AI-driven, readily-available image monitoring service that recognizes NSFW content in images in your Catalyst application." last_updated: "2026-11-04T10:10:44.000Z" source: "https://docs.catalyst.zoho.com/en/zia-services/help/image-moderation/key-concepts/" service: "Zia Services" -------------------------------------------------------------------------------- # Key Concepts Before you learn about the use cases and implementation of Image Moderation, it's important to understand its fundamental concepts in detail. ### Moderation Modes Image Moderation enables you to select specific criteria to detect and flag during the moderation process. You can do this by specifying one of the three moderation modes in the input along with the image file. The three moderation modes available are: * **Basic:** Detects nudity alone in an image. * **Moderate:** Detects nudity and racy content in an image. * **Advanced:** Detects all the supported criteria which are nudity, racy content, gore, drugs, weapons. The accuracy levels of the moderation process varies with each moderation mode. The accuracy levels are as follows: * Basic: Can detect unsafe content with 98% accuracy * Moderate: Can detect unsafe content with 96% accuracy * Advanced: Can detect unsafe content with 93-95% accuracy You can consider these accuracy levels and choose a moderation mode based on your use case, and enable moderation for those criteria alone. ### Input Format Zia Image Moderation moderates image files of the following input file formats: * ._jpg_/._jpeg_ * ._png_ You can implement Image Moderation in your application and enable input as you require, based on your use case. For example, you can automatically moderate image files uploaded by the end users of your application, and delete unwanted images in real-time. Zia can detect instances of unsafe content better if they are visible and distinct in the image, or if they are not obstructed by textual content or watermarks. The input provided using the API request contains the input image file, and the value for the moderation mode as `basic`, `moderate`, or `advanced`. If you don't specify the moderation mode, the advanced mode will be followed by default. The file size must not exceed 10 MB. You can check the request format from the [API documentation](https://docs.catalyst.zoho.com/en/api/code-reference/zia-services/image-moderation/#ImageModeration). ### Response Format Zia Image Moderation returns the response in the following ways: * **In the console:** When you upload a sample image with in the console, it will return the decoded data in two response formats: * **Textual format:** The [textual response](https://docs.catalyst.zoho.com/en/zia-services/help/image-moderation/implementation/#test-image-moderation-in-the-catalyst-console) contains a list of the detected unsafe content, with the confidence levels of the detection as percentage values. It provides the prediction as _Safe to Use_ or _Unsafe to Use_ with a confidence percentage, based on the detected content. In the textual response, the supported criteria are grouped under the following categories: * Violence: Weapons * Suggestive: Explicit nudity, Revealing clothes * Substance Abuse: Drugs * Visually Disturbing: Blood * **JSON format:** The JSON response contains the probability of each criteria of the moderation mode in a value between 0 to 1, based on the detected content. The criteria in the JSON response are: `racy`, `weapon`, `nudity`, `gore`, and `drug`. It provides the prediction as `safe\_to\_use` or `unsafe\_to\_use`, with a confidence score of 0 to 1, based on the probabilities of all the criteria. The confidence score of 0 to 1 can be equated to percentage values as follows:
Confidence Level in percentage Confidence Score of values between 0 and 1
0-9 0.0
3-9 0.0
10-19 0.0
20-29 0.0
30-39 0.0
40-49 0.01
50-59 0.12
60-69 0.23
<70 0.63
* **Using the SDKs:** When you send an image file using an API request, you will only receive a JSON response containing the results in the format specified above. You can check the JSON response format from the [API documentation.](https://docs.catalyst.zoho.com/en/api/code-reference/zia-services/image-moderation/#ImageModeration) -------------------------------------------------------------------------------- title: "Benefits" description: "Image Moderation is a Zia AI-driven, readily-available image monitoring service that recognizes NSFW content in images in your Catalyst application." last_updated: "2026-11-04T10:10:44.000Z" source: "https://docs.catalyst.zoho.com/en/zia-services/help/image-moderation/benefits/" service: "Zia Services" -------------------------------------------------------------------------------- # Benefits 1. **Protect Community Users** Image Moderation assists you in providing a safe and protected environment for your customers and application users. It helps you enforce compliance with legal standards, company policies, and general decorum. Catalyst enables you to maintain your brand and customer reputation by ensuring that images containing disturbing content like gore, substance abuse, pornography, and graphic adult content are not circulated in your application's platform. 2. **Customized and Accurate Results** The moderation modes in Image Moderation provide flexibility in detecting instances of specific categories of unsafe content, based on your requirements. The results are also generated with low error margins, as Zia's training model is implemented with repeated systematic training using various machine learning techniques. Zia studies and analyzes large volumes of data to be able to perform complex analysis, ensuring that the results generated are precise, accurate, and reliable. 3. **Automatic Real-Time Monitoring ** Image Moderation enables you to perform real-time monitoring of the user generated content in your application. Catalyst saves the time and effort required in moderating content manually, by limiting or preventing human review. You can also process images with unsafe content in any way you need. For example, you can implement an additional manual review process, or code your application to delete the detected content automatically, and issue warnings to or terminate the accounts of the users that violate guidelines. This ensures that your application is monitored 24/7\. 4. **Rapid Performance** Image Moderation generates results instantaneously with a short turn-around time, as soon as the user-generated content is uploaded in your platform. Catalyst ensures a high throughput of data transmission, and a minimal latency in serving requests. The fast response time, state-of-the art infrastructure, and scalable resources ensure that it meets unanticipated spikes, and provides superior performance. 5. **Seamless Integration** You can easily implement Image Moderation in your application without having to learn the complex processing of the algorithms or the backend set-up. You can implement the ready-made code templates provided for the Java, Node.js and Python platforms in any of your Catalyst applications that requires Image Moderation. 6. **Testing in the Console** The testing feature in the console enables you to verify the efficiency of Image Moderation. You can upload sample images and view the results. This allows you to get an idea about the format and accuracy of the response that will be generated when you implement it in your application. -------------------------------------------------------------------------------- title: "Use Cases" description: "Image Moderation is a Zia AI-driven, readily-available image monitoring service that recognizes NSFW content in images in your Catalyst application." last_updated: "2026-11-04T10:10:44.000Z" source: "https://docs.catalyst.zoho.com/en/zia-services/help/image-moderation/use-cases/" service: "Zia Services" -------------------------------------------------------------------------------- # Use Cases Image Moderation is strongly required in applications that allow user-generated content to be freely circulated. The following are some use cases for Zia Image Moderation: * A social media application that enables users to post pictures in their profiles implements the [moderate mode](https://docs.catalyst.zoho.com/en/zia-services/help/image-moderation/key-concepts/#moderation-modes) of Image Moderation to monitor the images about to be published, as soon as the users click "Upload". This monitoring process happens in the background, and Zia instantly detects images containing explicit nudity and racy content. The application's logic is coded to delete them automatically, and issue warnings to the users that uploaded the inappropriate content. * A website implements a child-friendly version, and requires the content distributed in it to be strictly monitored for all instances of gore, nudity, weapons, drugs, and racy content. It uses the advanced mode of Image Moderation to monitor and automatically delete all inappropriate content, to ensure a safe space for minors to use the website freely without parental guidance. Image Moderation can also be implemented in the following scenarios: * Applications that implement graphic warning and image covering for instances that contain gore or nudity. * Applications that enforce respect towards cultural and religious beliefs by preventing offensive images to be published. * Apps created for professional and educational environments. * Child-friendly apps and websites. * Blogging or social media applications that enable users to upload content without admin review. * Apps enforcing prevention of cyberbullying and pornographic material distribution. -------------------------------------------------------------------------------- title: "Implementation" description: "Image Moderation is a Zia AI-driven, readily-available image monitoring service that recognizes NSFW content in images in your Catalyst application." last_updated: "2026-11-04T10:10:44.000Z" source: "https://docs.catalyst.zoho.com/en/zia-services/help/image-moderation/implementation/" service: "Zia Services" -------------------------------------------------------------------------------- # Implementation This section only covers working with Image Moderation in the Catalyst console. Refer to the [SDK](https://docs.catalyst.zoho.com/en/sdk/java/v1/zia-services/image-moderation) and [API](https://docs.catalyst.zoho.com/en/api/code-reference/zia-services/image-moderation) documentation sections for implementing Image Moderation in your application's code. As mentioned earlier, you can access the code templates that will enable you to integrate Image Moderation in your Catalyst application from the console, and also test the feature by uploading images and obtaining the results. ### Access Image Moderation To access Image Moderation in your Catalyst console: 1. Navigate to **Zia Services** in the left pane of the Catalyst console and click **Image Moderation.** ![image-moderation-updated](https://catalyst-docs-development.zohostratus.in/images/help/image-moderation/image-moderation-updated.webp) 2. Click **Try a Demo** in the Image Moderation feature page. ![catalyst_imgmod_index_page](https://catalyst-docs-development.zohostratus.in/images/help/image-moderation/catalyst_imgmod_index_page.webp) This will open the Image Moderation feature. ![catalyst_imgmod_test_page](https://catalyst-docs-development.zohostratus.in/images/help/image-moderation/catalyst_imgmod_test_page.webp) ### Test Image Moderation in the Catalyst Console You can test Image Moderation by either selecting a sample image from Catalyst or by uploading your own image. To scan a sample image and view the result: 1. Click **Select a Sample Image** in the box. ![catalyst_imgmod_sample](https://catalyst-docs-development.zohostratus.in/images/help/image-moderation/catalyst_imgmod_sample.webp) 2. Select an image from the samples provided. ![catalyst_imgmod_select_sample](https://catalyst-docs-development.zohostratus.in/images/help/image-moderation/catalyst_imgmod_select_sample.webp) Image Moderation will scan the image for inappropriate content of all criteria in the [advanced mode](https://docs.catalyst.zoho.com/en/zia-services/help/image-moderation/key-concepts/#moderation-modes), and display the probability of each detected criteria as percentage values. ![catalyst_imgmod_sample_scanned](https://catalyst-docs-development.zohostratus.in/images/help/image-moderation/catalyst_imgmod_sample_scanned.webp) The colors in the response bars indicate the safety of the image in the following way: red indicates that the image is unsafe to use, orange indicates that the image is partially safe to use, and green indicates that the image is safe to use. You can also view the complete JSON response, which includes the probability of each detected criteria, the prediction, and its confidence score. Click **View Response** to view the [JSON response](https://docs.catalyst.zoho.com/en/zia-services/help/image-moderation/key-concepts/#response-format). ![catalyst_imgmod_sample_json](https://catalyst-docs-development.zohostratus.in/images/help/image-moderation/catalyst_imgmod_sample_json.webp) You can refer to the [API documentation](https://docs.catalyst.zoho.com/en/api/code-reference/zia-services/image-moderation/#ImageModeration) to view a complete sample JSON response structure for each moderation mode. To upload your own image and test Image Moderation: 1. Click **Upload** under the _Result_ section. ![catalyst_imgmod_upload](https://catalyst-docs-development.zohostratus.in/images/help/image-moderation/catalyst_imgmod_upload.webp) If you're opening Image Moderation after you have closed it, click **Browse Files** in this box. ![catalyst_imgmod_browse](https://catalyst-docs-development.zohostratus.in/images/help/image-moderation/catalyst_imgmod_browse.webp) 2. Upload a file from your local system. > **Note:** The file must be in ._jpg_/._jpeg_ or ._png_ format. The file size must not exceed 10 MB. The console will scan the image for inappropriate content and display the results. ![catalyst_imgmod_image_scanned](https://catalyst-docs-development.zohostratus.in/images/help/image-moderation/catalyst_imgmod_image_scanned.webp) You can click **View Photo** to uncover the image. ![catalyst_imgmod_image_uncovered](https://catalyst-docs-development.zohostratus.in/images/help/image-moderation/catalyst_imgmod_image_uncovered.webp) You can view the JSON response as well in the same way. ![catalyst_imgmod_image_json](https://catalyst-docs-development.zohostratus.in/images/help/image-moderation/catalyst_imgmod_image_json.webp) ### Access Code Templates for Image Moderation You can implement Image Moderation in your Catalyst application using the code templates provided by Catalyst for [Java](https://docs.catalyst.zoho.com/en/sdk/java/v1/zia-services/image-moderation/), [Node.js](https://docs.catalyst.zoho.com/en/sdk/nodejs/v2/zia-services/image-moderation/) and [Python](https://docs.catalyst.zoho.com/en/sdk/python/v1/zia-services/image-moderation/) platforms. You can access them from the section below the test window. Click either the **Java SDK** or **NodeJS SDK** tab, and copy the code using the copy icon. You can paste this code in your web or Android application's code wherever you require. ![catalyst_imgmod_java](https://catalyst-docs-development.zohostratus.in/images/help/image-moderation/catalyst_imgmod_java_updated.webp) You can process the input file as a new `File` in Java. The `ZCImageModerationOptions` module enables you to set the [moderation mode](https://docs.catalyst.zoho.com/en/zia-services/help/image-moderation/key-concepts/#moderation-modes) as `BASIC`, `MODERATE`, or `ADVANCED` using `setAnalyseMode`. ![catalyst_imgmod_node](https://catalyst-docs-development.zohostratus.in/images/help/image-moderation/catalyst_imgmod_node_updated.webp) In Node.js, the `imPromise` object is used to hold the input image file and the moderation mode set for it. You can specify the `mode` as `basic`, `moderate`, or `advanced` to process the image in required mode. ![catalyst_imgmod_python](https://catalyst-docs-development.zohostratus.in/images/help/image-moderation/catalyst_imgmod_python.webp) In Python, you can provide a .webp/.jpeg or .png file as the input to the open() method. This method returns the image file object as a response. In the `zia.moderate_image` method, you can pass the image file object,and set the moderation mode as `BASIC`, `MODERATE`, or `ADVANCED` optionally. The image is processed in the `ADVANCED` mode by default. The response returns the probability of each criteria with their confidence scores, and the prediction of the image being `safe_to_use` or `unsafe_to_use`. ### Object Recognition -------------------------------------------------------------------------------- title: "Introduction" description: "Object Recognition is a pre-built Zia AI-powered service that can recognize, identify, and categorize individual objects in images." last_updated: "2023-08-18T12:57:19.000Z" source: "https://docs.catalyst.zoho.com/en/zia-services/help/object-recognition/introduction/" service: "Zia Services" -------------------------------------------------------------------------------- # Object Recognition ## Introduction Object recognition is a Catalyst Zia Services component that recognizes and identifies objects in an image. It is an AI program in the field of computer vision that uses pre-trained 3D models, component identification, edge detection algorithms, and other technologies to recognize specific entities semantically and episodically. In other words, the AI detects and labels specific objects, such as a tree or a person, from an image. Object Recognition can identify 80 different kinds of common objects in an image. Zia provides information about each identified object's type, its position in the image, and a confidence score indicating the accuracy of each recognition in the response. You can implement Zia Object recognition in applications that perform image classification, object detection, or object localization. Catalyst provides Zia Object Recognition in the **Java**, **Node.js** and **Python** SDK packages, and you can integrate it in your Catalyst web or Android application. The Catalyst console provides easy access to code templates for these environments that you can implement in your application's code. You can also test Object Recognition by uploading sample images or documents that contain text in the console and obtain the recognized text, to get a better idea of Zia's accuracy and the response format. You can refer to the [Java SDK documentation](https://docs.catalyst.zoho.com/en/sdk/java/v1/zia-services/object-recognition/), [Node.js SDK documentation](https://docs.catalyst.zoho.com/en/sdk/nodejs/v2/zia-services/object-recognition/) and [Python SDK documentation](https://docs.catalyst.zoho.com/en/sdk/python/v1/zia-services/object-recognition/) for code samples of Object Recognition. Refer to the [API documentation](https://docs.catalyst.zoho.com/en/api/code-reference/zia-services/object-recognition/#ObjectRecognition) to learn about the API available for Object Recognition. You can learn more about the other components of Catalyst Zia Services from [this page](https://docs.catalyst.zoho.com/en/zia-services). -------------------------------------------------------------------------------- title: "Key Concepts" description: "Object Recognition is a pre-built Zia AI-powered service that can recognize, identify, and categorize individual objects in images." last_updated: "2025-02-19T10:21:40.000Z" source: "https://docs.catalyst.zoho.com/en/zia-services/help/object-recognition/key-concepts/" service: "Zia Services" -------------------------------------------------------------------------------- # Key Concepts Before you learn about the use cases and implementation of Object Recognition, it's important to understand its fundamental concepts in detail. ### Object Recognition Process Zia's object recognition process can be broken down into various stages: 1. **Object detection:** Object detection involves detecting instances of semantic objects in images. Along with object localization, object detection can not only detect the most obvious object in the image, but can detect and localize multiple objects in the same image. 2. **Object localization:** Object localization draws bounding boxes around the object after it has been detected. A bounding box is the coordinates of a rectangular border that encloses the detected object. This helps Zia map the location of the object in the image. 3. **Image classification:** Image classification is part of deep learning, a subset of machine learning, which classifies detected objects in an image into categories. Zia can identify object classes like animals, everyday items, food, sports equipment, vehicles in an image. When an object is assigned to a class based on its visual content, Zia runs further algorithms to accurately recognize the object and deliver the results. 4. **Object recognition:** Zia breaks down the object class further to perform semantic recognition of specific entities. Combining object detection, image localization, and image classification, the specific object is recognized and produced in the output. Zia can recognize 80 kinds of specific **object types**, some of which include: `person`, `car`, `dog`, `chair`, `traffic light`, `knife`, `umbrella`, `cellphone`, `book`, `cake`, `baseball bat`, `laptop`, `aeroplane`, `stop\_sign`, `parking meter`. This entire process involves dividing and conquering, comparing the detected objects with the representations stored in the AI's memory, and repeatedly hypothesizing and testing. Since an object can appear in different poses, contexts, arbitrary positions, and orientations, Zia undergoes constant training to generate accurate results. ### Input Format Zia Object Recognition performs facial detection and attributes recognition by analyzing image files. Object Recognition supports the following input file formats: 1. _.webp/.jpeg_ 2. _.png_ You could provide a space for the user to upload the image file from the device's memory to the Catalyst application. You can also code the Catalyst application to use the end user device's camera to capture a photo and process the image as the input file. You can check the request format of the API from the [API documentation](https://docs.catalyst.zoho.com/en/api/code-reference/zia-services/object-recognition/#ObjectRecognition). The user must follow these guidelines while providing the input, for better results: * Avoid providing blurred or corrupted images. * Object Recognition can recognize the objects in an image better if they are clear, visible, and distinct. * The file size must not exceed 10 MB. ### Response Format Zia Object Recognition returns the response in the following ways: * **In the Console** When you upload a sample image in the console, it will return the results in two response formats: * **Document response:** The [textual response](https://docs.catalyst.zoho.com/en/zia-services/help/object-recognition/implementation/#test-object-recognition-in-the-catalyst-console) shows the object types of all the recognized objects in the image, with the confidence level of each recognition as percentage values. * **JSON response:** The JSON response contains the object type, the coordinates of the object in the image, and the confidence score in a value between 0 to 1 of each object that was recognized in the image. The confidence score of 0 to 1 can be equated to percentage values as follows:
Confidence Level in percentage Confidence Score of values between 0 and 1
0-9 0.0
3-9 0.0
10-19 0.0
20-29 0.0
30-39 0.0
40-49 0.01
50-59 0.12
60-69 0.23
>70 0.63
* **Using the SDKs** When you send an image file using an API request, you will receive a JSON response containing the results in the format specified above. You can check the JSON response format from the [API documentation](https://docs.catalyst.zoho.com/en/api/code-reference/zia-services/object-recognition/#ObjectRecognition). -------------------------------------------------------------------------------- title: "Benefits" description: "Object Recognition is a pre-built Zia AI-powered service that can recognize, identify, and categorize individual objects in images." last_updated: "2023-08-18T12:57:19.000Z" source: "https://docs.catalyst.zoho.com/en/zia-services/help/object-recognition/benefits/" service: "Zia Services" -------------------------------------------------------------------------------- # Benefits 1. **Highly Accurate Results** Zia undergoes repeated systematic training to generate results with higher accuracy and a lower error margin. The AI is trained using various machine learning algorithms to perform complex computations and analysis. The training model is highly vigorous, which means it studies and analyzes large volumes of data, and this ensures that the results generated are precise, accurate, and reliable. 2. **Confidence Score for Each Recognized Object** The confidence score provided for each recognized object helps the user verify the level of accuracy of the result. The end user can analyze the confidence score and make informed decisions. The confidence score also helps them decide on providing better quality input for more accurate results. 3. **Rapid Performance** Object Recognition generates results almost instantaneously when the image is uploaded. Catalyst ensures a high throughput of data transmission and a minimal latency in serving requests. The fast response time enhances your application's performance, and provides a satisfying experience for the end user. 4. **Seamless Integration** You can easily implement Object Recognition in your application without having to learn the complex processing of the machine learning algorithms or the backend set-up. You can implement the ready-made code templates provided for the Java, Node.js and Python platforms in any of your Catalyst applications that requires Object Recognition. 5. **Testing in the Console** The testing feature in the console enables you to verify the efficiency of Object Recognition. You can upload sample images and view the results. This allows you to get an idea about the format and accuracy of the response that will be generated when you implement it in your application. -------------------------------------------------------------------------------- title: "Use Cases" description: "Object Recognition is a pre-built Zia AI-powered service that can recognize, identify, and categorize individual objects in images." last_updated: "2023-05-19T06:41:43.000Z" source: "https://docs.catalyst.zoho.com/en/zia-services/help/object-recognition/use-cases/" service: "Zia Services" -------------------------------------------------------------------------------- # Use Cases Object Recognition is increasingly being used in a wide range of applications. The following are some use cases for Zia Object Recognition: * A real-time people tracking application uses Zia Object Recognition to count the crowd from live images captured through surveillance cameras or drone cameras. The cameras capture and produce images of the crowd inside a mall, a store, an event, or a festival and process them using Catalyst. Combined with [Zia Face Analytics](https://docs.catalyst.zoho.com/en/zia-services/help/face-analytics/introduction), this application detects the gender and age of the people in the venue, to analyze the demographics of the visitors, the pattern of their visits, and determines the success of the event. * A traffic monitoring application implements Zia Object Recognition to analyze the images captured in traffic cameras to identify offenders of traffic rules and parking rules, and instances of road accidents. Since Zia can recognize stop signs, traffic signals, parking meters, common vehicles, people, the application is coded to quickly identify these objects, analyze their positions in the image, and issue alerts for specific violations. Some other examples where Zia Object Recognition can be implemented include: * An application that processes images captured in motion tracking cameras to determine movements of sports balls, skateboards, Frisbee, surfboards using their positions in the images. * An application that processes the images captured on surveillance cameras installed on forest roads that detects the presence and movements of animals using motion detection, and recognizes individual species from the images. * An application that processes images captured in crime scenes to detect and label objects in them, assisting in automating and streamlining forensic analysis. * An application that processes images captured in retail outlets to determine the popularity and customer interest of specific products based on the count of people in specific sections of the store. -------------------------------------------------------------------------------- title: "Implementation" description: "Object Recognition is a pre-built Zia AI-powered service that can recognize, identify, and categorize individual objects in images." last_updated: "2026-08-17T12:16:04.000Z" source: "https://docs.catalyst.zoho.com/en/zia-services/help/object-recognition/implementation/" service: "Zia Services" -------------------------------------------------------------------------------- # Implementation This section only covers working with Object Recognition in the Catalyst console. Refer to the [SDK](https://docs.catalyst.zoho.com/en/sdk/java/v1/zia-services/object-recognition) and [API](https://docs.catalyst.zoho.com/en/api/code-reference/zia-services/object-recognition) documentation sections for implementing Object Recognition in your application's code. As mentioned earlier, you can access the code templates that will enable you to integrate Object Recognition in your Catalyst application from the console, and also test the feature by uploading images and obtaining the results. ### Access Object Recognition To access Object Recognition in your Catalyst console: 1. Navigate to **Zia Services** in the left pane of the Catalyst console and click **Object Recognition.** ![obj-recog](https://catalyst-docs-development.zohostratus.in/images/help/object-recognition/obj-recognition-updated.webp) 2. Click **Try a Demo** in the Object Recognition feature page. ![catalyst_or_test_page](https://catalyst-docs-development.zohostratus.in/images/help/object-recognition/catalyst_or_test_page.webp) ### Test Object Recognition in the Catalyst Console You can test Object Recognition by either selecting a sample image from Catalyst or by uploading your own image. To scan a sample image and recognize the objects: 1. Click **Select a Sample Image** in the box. ![catalyst_or_sample](https://catalyst-docs-development.zohostratus.in/images/help/object-recognition/catalyst_or_sample.webp) 2. Select an image from the samples provided. ![catalyst_or_select_sample](https://catalyst-docs-development.zohostratus.in/images/help/object-recognition/catalyst_or_select_sample.webp) Object Recognition will scan the image, and list the recognized objects in the image along with the confidence level of each object in percentage values under the _Result_ section. ![catalyst_or_sample_scanned_1](https://catalyst-docs-development.zohostratus.in/images/help/object-recognition/catalyst_or_sample_scanned_1.webp) The colors in the response bars indicate the range of the confidence percentage the recognition such as, red: 0-30%, orange: 30-80%, green: 80-100%. You can use the arrows to view all the recognized objects. ![catalyst_or_sample_scanned_2](https://catalyst-docs-development.zohostratus.in/images/help/object-recognition/catalyst_or_sample_scanned_2.webp) Click **View Response** to view the [JSON response](https://docs.catalyst.zoho.com/en/zia-services/help/object-recognition/key-concepts/#response-format). The JSON response provides the coordinates of each recognized object, their type, and the confidence score of the recognition in a value between 0 to 1. ![catalyst_or_sample_json](https://catalyst-docs-development.zohostratus.in/images/help/object-recognition/catalyst_or_sample_json.webp) You can refer to the [API documentation](https://docs.catalyst.zoho.com/en/api/code-reference/zia-services/object-recognition/#ObjectRecognition) to view a complete sample JSON response structure. To upload your own image and test Object Recognition: 1. Click **Upload** under the _Result_ section. ![catalyst_or_upload](https://catalyst-docs-development.zohostratus.in/images/help/object-recognition/catalyst_or_upload.webp) If you're opening Object Recognition after you have closed it, click **Browse Files** in this box. ![catalyst_or_browse](https://catalyst-docs-development.zohostratus.in/images/help/object-recognition/catalyst_or_browse.webp) 2. Upload a file from your local system. > **Note:** The file must be in ._jpg_/._jpeg_, or ._png_ format. The file size must not exceed 10 MB. The console will scan the image and display the recognized objects. ![catalyst_or_image_scanned](https://catalyst-docs-development.zohostratus.in/images/help/object-recognition/catalyst_or_image_scanned.webp) You can check the JSON response in a similar way. ![catalyst_or_image_json](https://catalyst-docs-development.zohostratus.in/images/help/object-recognition/catalyst_or_image_json.webp) ### Access Code Templates for Object Recognition You can implement Object Recognition in your Catalyst application using the code templates provided by Catalyst for [Java](https://docs.catalyst.zoho.com/en/sdk/java/v1/zia-services/object-recognition/), [Node.js](https://docs.catalyst.zoho.com/en/sdk/nodejs/v2/zia-services/object-recognition/) and [Python](https://docs.catalyst.zoho.com/en/sdk/python/v1/zia-services/object-recognition/) platforms. You can access them from the section below the test window. Click either the **Java SDK**, **NodeJS SDK** or **Python SDK** tab, and copy the code using the copy icon. You can paste this code in your web or Android application's code wherever you require. ![catalyst_or_java](https://catalyst-docs-development.zohostratus.in/images/help/object-recognition/catalyst_or_java_updated.webp) You can process the input file as a new `File` in Java. The `ZCObjectDetectionData` contains the `detectObjects()` method that detects objects in the input image file. The `getObjectType()`, `getConfidence()`, `getObjectPoints()` obtain the object type, confidence value, and its coordinates respectively. ![catalyst_or_node](https://catalyst-docs-development.zohostratus.in/images/help/object-recognition/catalyst_or_node_updated.webp) In Node.js, you can pass the input image file to the `detectObject()` method. ![catalyst_or_python](https://catalyst-docs-development.zohostratus.in/images/help/object-recognition/catalyst_or_python.webp) In Python, you can provide a .webp/.jpeg or .png file as the input to the `open()` method and it returns the image file object as a response. The `detect_object()` method is used detect and identify the objects in the image, and the input file is passed as an argument to this method. It returns the coordinates of each object, their type, and the confidence score of each recognition. ### Optical Character Recognition -------------------------------------------------------------------------------- title: "Introduction" description: "Zia OCR is a ready-to-implement, AI-powered microservice that detects and recognizes textual content from images and documents." last_updated: "2023-08-18T12:57:19.000Z" source: "https://docs.catalyst.zoho.com/en/zia-services/help/optical-character-recognition/introduction/" service: "Zia Services" -------------------------------------------------------------------------------- # Optical Character Recognition ## Introduction Optical Character Recognition is a Catalyst Zia Services component that performs the electronic detection of handwritten or printed textual characters in images or digital documents, and converts the detected characters to machine-encoded text. Zia detects text in photos and scanned documents, then breaks the text down into individual characters, and identifies the language it is in. The recognized text is then presented as a JSON response. The recognized text is presented as a JSON response, along with a confidence score that informs you of its accuracy. You can code the Catalyst application to store the recognized data or process it further in any way you require. Zia OCR can automatically detect and recognize texts in [10 major languages](https://docs.catalyst.zoho.com/en/zia-services/help/optical-character-recognition/key-concepts/#supported-languages). OCR is widely used in web and mobile applications that are created to read content from scanned or photographed documents, flyers, menus, posters, signs, and other files containing text. The identified text can be stored digitally or used for further data processing. Catalyst provides Zia OCR in the **Java**, **Node.js** and **Python** SDK packages, and you can integrate it in your Catalyst web or Android application. The Catalyst console provides easy access to code templates for these environments that you can implement in your application's code. You can also test Zia OCR by uploading sample images or documents that contain text in the console and obtain the recognized text, to get a better idea of Zia's accuracy and the OCR response format. You can refer to the [Java SDK documentation](https://docs.catalyst.zoho.com/en/sdk/java/v1/zia-services/ocr), [Node.js SDK documentation](https://docs.catalyst.zoho.com/en/sdk/nodejs/v2/zia-services/ocr/) and [Python SDK documentation](https://docs.catalyst.zoho.com/en/sdk/python/v1/zia-services/ocr) for code samples of Zia OCR. Refer to the [API documentation](https://docs.catalyst.zoho.com/en/api/code-reference/zia-services/ocr/#OCR) to learn about the API available for OCR. You can learn more about the other components of Catalyst Zia Services from [this page](https://docs.catalyst.zoho.com/en/zia-services). -------------------------------------------------------------------------------- title: "Key Concepts" description: "Zia OCR is a ready-to-implement, AI-powered microservice that detects and recognizes textual content from images and documents." last_updated: "2025-02-19T10:21:40.000Z" source: "https://docs.catalyst.zoho.com/en/zia-services/help/optical-character-recognition/key-concepts/" service: "Zia Services" -------------------------------------------------------------------------------- # Key Concepts Before you learn about the use cases and implementation of Optical Character Recognition, it's important to understand its fundamental concepts in detail. ### Text Recognition Process OCR systems in general follow a top-down approach to the text detection and identification process. When an image or a digital document is submitted to Zia OCR, the text detection and recognition process proceeds as follows: 1. Zia analyzes the structure of the image and divides it into blocks of contiguous sets of textual lines, like paragraphs. > **Note:** A block could also contain pictorial content. However, any content that is not text, such as diagrams, symbols, or images will not be identified by Zia OCR. 2. Zia then breaks the blocks down further and identifies individual lines of text. 3. The lines of text are then divided into words and each word is broken down into individual characters. 4. Zia compares the characters it has detected with its dataset and runs advanced algorithms and analysis to identify the characters and recognize words based on the of character groupings. 5. Zia also identifies the language the content is in by processing it through volumes of probabilities and hypotheses using Intelligent Character Recognition (ICR) technology. 6. The processed and recognized text is finally returned to the user as either a JSON or a document response. ### Model Types A model type is a key attribute that describes the type of OCR feature supported by Catalyst. All general image and document files that you process for the common optical character recognition feature will fall under the OCR Model Type. You will need to specify this as the model type, whenever you process an image or a document through the Catalyst OCR API or SDK. Catalyst also enables you to process ID proofs and official documents, and perform secure identity checks through an independent feature called [Identity Scanner](https://docs.catalyst.zoho.com/en/zia-services/help/identity-scanner/introduction). These will fall under their respective model types of AADHAAR, PAN, CHEQUE and PASSBOOK. ### Supported Languages The `OCR` models can detect and recognize textual content in 9 international languages and 10 Indian languages. #### Indian Languages 1. English 2. Hindi 3. Bengali 4. Marathi 5. Telugu 6. Tamil 7. Gujarati 8. Urdu 9. Kannada 10. Malayalam 11. Sanskrit #### Additional International Languages 1. Arabic 2. Chinese 3. French 4. Italian 5. Japanese 6. Portuguese 7. Romanian 8. Spanish If the user doesn't specify the language, Zia can detect the language automatically. Zia can recognize handwritten content as long as the text is legible, clear, and uses a standard font structure. However, it cannot recognize any non-textual content such as images or diagrams. ### Input Format Zia OCR supports input files in the following formats for processing: 1. _.webp/.jpeg_ 2. _.png_ 3. _.tiff_ 4. _.bmp_ 5. _.pdf_ You could provide a space for the user to upload the image or document file from the device's memory to the Catalyst application. You can also code the Catalyst application to use the end user device's camera to capture a photo with textual content, and process the image as the input file. The input provided using the API contains the source file, the [language](https://docs.catalyst.zoho.com/en/zia-services/help/optical-character-recognition/key-concepts/#supported-languages) of the text to be recognized (optional), and the [model type](https://docs.catalyst.zoho.com/en/zia-services/help/optical-character-recognition/key-concepts/#model-types) (optional). You can check the request format from the [API documentation](https://docs.catalyst.zoho.com/en/api/code-reference/zia-services/ocr/#OCR). The user must follow these guidelines while providing the input, for better results: * Avoid providing blurred or unrecognizable text in images. * Ensure that the text in an image file is clear, visible, and legible. * If handwritten text is present in an image file, ensure that it uses a standard font. * The image size must not be too small. ### Response Format Zia returns the response of OCR processing in the following ways: * **In the Console** When you upload a sample image or a document file to be processed in the console, it will return the response in two formats: * **Document response:** This returns a [formatted readable text](https://docs.catalyst.zoho.com/en/zia-services/help/optical-character-recognition/implementation/#test-optical-character-recognition-in-the-catalyst-console) that is visually segregated into lines and paragraphs based on the original content, along with a confidence score for the `OCR` model type in a percentage value. * **JSON response:** This returns the recognized text in JSON format along with the confidence score for the `OCR` model type. * **Using the SDKs** When you send an image or document file using an API request, you will receive a JSON response containing the recognized text in the same format mentioned above. You can customize the formatting of the JSON response in your code using SDKs. For example, you can return separate paragraphs or individual words from a line as the response. For more information, refer to the [Java](https://docs.catalyst.zoho.com/en/sdk/java/v1/zia-services/ocr), [Node.js](https://docs.catalyst.zoho.com/en/sdk/nodejs/v2/zia-services/ocr) and [Python](https://docs.catalyst.zoho.com/en/sdk/python/v1/zia-services/ocr) SDK documentation. -------------------------------------------------------------------------------- title: "Benefits" description: "Zia OCR is a ready-to-implement, AI-powered microservice that detects and recognizes textual content from images and documents." last_updated: "2023-05-19T06:41:43.000Z" source: "https://docs.catalyst.zoho.com/en/zia-services/help/optical-character-recognition/benefits/" service: "Zia Services" -------------------------------------------------------------------------------- # Benefits 1. **Automatic Language Detection** Zia can operate in an automatic mode and run its algorithms to detect and identify the language of the text in an input file. However, to speed up the text recognition process, the user can specify the language of the text, if they know it, while submitting it for OCR processing. This enables Zia to restrict its processing and analysis to a limited dataset, leading to quicker and more accurate results. 2. **Rapid Performance** Zia OCR processes files and generates the results in a fast and effective manner. Catalyst ensures a high throughput of data transmission and a minimal latency in serving requests. The quick response time enhances your application's performance, and provides a satisfying experience for the end user. 3. **Highly Accurate and Reliable Results ** Zia is an AI-driven assistant that undergoes repeated systematic training to generate results with higher accuracy and a lower error margin. The AI is trained using various machine learning techniques to perform complex computations and analysis. The training model is highly vigorous, which means it studies and analyzes large volumes of data, and this ensures that the results generated are precise, accurate, and reliable. 4. **Seamless Integration** You can easily implement OCR in your application without having to worry about the underlying logic or the backend set-up. You can implement the ready-made code templates provided for the Java and Node.js platforms in any of your Catalyst applications that requires the use of OCR. 5. **Testing in the Console** The testing feature in the console enables you to verify the efficiency of Zia OCR. You can upload sample images and documents with text, and view the results. This allows you to get an idea about the format and accuracy of the response that will be generated when you implement it in your application. -------------------------------------------------------------------------------- title: "Use Cases" description: "Zia OCR is a ready-to-implement, AI-powered microservice that detects and recognizes textual content from images and documents." last_updated: "2023-05-09T11:33:08.000Z" source: "https://docs.catalyst.zoho.com/en/zia-services/help/optical-character-recognition/use-cases/" service: "Zia Services" -------------------------------------------------------------------------------- # Use Cases Text detection and recognition technologies are implemented in a wide range of applications and scenarios. The following are some use cases for Zia OCR: * A text conversion Android application implements Zia OCR to convert hand-written and hard copy text content into digital documents. The application scans a picture of the source text and it is processed for OCR where the content is broken down and individual characters are recognized and grouped. Catalyst then produces the final intelligible result within seconds which is displayed to the end user in the application. The user will now be able to edit, format, or search in the text file like any other digital document. * An application linked to traffic cameras that scans and reads license plate registration numbers of traffic rules offenders implements Zia OCR to read text from captured images of license plates. The images are uploaded automatically, and Zia performs OCR processing on them to decipher the registration numbers. The recognized registration numbers are processed further to obtain the identity of the vehicle owner. The application also stores the data in [Catalyst Data Store](https://docs.catalyst.zoho.com/en/cloud-scale/help/data-store/introduction) tables. Some other examples where Zia OCR can be implemented include: * An application that recognizes text in image files and converts them to PDFs with the text, or vice-versa. * An application that enables you to quickly digitize your Aadhaar cards and bank passbooks and store them as PDF files. * A crime investigation application that scans crime scene photos for textual content such as from street signs, billboards, or graffiti. * Applications that digitize magazines, journals, contracts, pamphlets or posters by scanning hard copies of them. -------------------------------------------------------------------------------- title: "Implementation" description: "Zia OCR is a ready-to-implement, AI-powered microservice that detects and recognizes textual content from images and documents." last_updated: "2026-08-17T12:16:04.000Z" source: "https://docs.catalyst.zoho.com/en/zia-services/help/optical-character-recognition/implementation/" service: "Zia Services" -------------------------------------------------------------------------------- # Implementation This section only covers working with OCR in the Catalyst console. Refer to the [SDK](https://docs.catalyst.zoho.com/en/sdk/java/v1/zia-services/ocr/) and [API](https://docs.catalyst.zoho.com/en/api/code-reference/zia-services/ocr) documentation sections for implementing Zia OCR in your application's code. As mentioned earlier, you can access the code templates that will enable you to integrate OCR in your Catalyst application from the console, and also test the feature by uploading sample images and documents and obtaining the recognized text. ### Access Optical Character Recognition To access Optical Character Recognition in your Catalyst console: 1. Navigate to **Zia services** in the left pane of the Catalyst console and click **OCR** to access the feature. ![ocr](https://catalyst-docs-development.zohostratus.in/images/help/ocr/ocr-updated.webp) 2. Click **Try a Demo** in the Optical Character Recognition feature page. ![catalyst_ocr_test_page](https://catalyst-docs-development.zohostratus.in/images/help/ocr/catalyst_ocr_test_page.webp) ### Test Optical Character Recognition in the Catalyst Console You can test OCR by either selecting a sample image or PDF file from Catalyst or by uploading your own file. To process a sample file and obtain the results: 1. Click **Select a Sample Image** in the box. ![catalyst_ocr_sample](https://catalyst-docs-development.zohostratus.in/images/help/ocr/catalyst_ocr_sample.webp) 2. Select an image or a PDF file from the samples provided. ![catalyst_ocr_select_sample](https://catalyst-docs-development.zohostratus.in/images/help/ocr/catalyst_ocr_select_sample.webp) OCR will process the file, detect and identify the textual content in it. Since it is a sample file, the language the text is in and the model type is provided by Catalyst automatically. The recognized text is displayed in the console under the _Result_ section. ![catalyst_ocr_sample_processed](https://catalyst-docs-development.zohostratus.in/images/help/ocr/catalyst_ocr_sample_processed.webp) You can view the [JSON response](https://docs.catalyst.zoho.com/en/zia-services/help/optical-character-recognition/key-concepts/#response-format) by clicking **View Response**. ![catalyst_ocr_sample_json](https://catalyst-docs-development.zohostratus.in/images/help/ocr/catalyst_ocr_sample_json.webp) To upload your own image or PDF file with text: 1. Click **Upload** under the _Result_ section. ![catalyst_ocr_upload](https://catalyst-docs-development.zohostratus.in/images/help/ocr/catalyst_ocr_upload.webp) If you're opening Optical Character Recognition after you have closed it, click **Browse Files** in this box. ![catalyst_ocr_browse](https://catalyst-docs-development.zohostratus.in/images/help/ocr/catalyst_ocr_browse.webp) 2. Upload a file from your local system. > **Note:** The file must be in ._jpg_/._jpeg_, ._png_, ._bmp_, ._tiff_, or ._pdf_ format. The file size must not exceed 20 MB. 3. Select the [model type](https://docs.catalyst.zoho.com/en/zia-services/help/optical-character-recognition/key-concepts/#model-types) and the [languages](https://docs.catalyst.zoho.com/en/zia-services/help/optical-character-recognition/key-concepts/#supported-languages) in the file's text, if you are aware of them. You can select **General** for the `OCR` model. You can select multiple languages, if the file contains text in multiple languages. ![catalyst_ocr_upload_options](https://catalyst-docs-development.zohostratus.in/images/help/ocr/catalyst_ocr_upload_options.webp) 4. Click **Proceed**. The console will process the file and display the recognized textual content, and the confidence score if it is of the `OCR` model type. You can copy the recognized text using the copy icon. ![catalyst_ocr_image_scanned](https://catalyst-docs-development.zohostratus.in/images/help/ocr/catalyst_ocr_image_scanned.webp) You can check the JSON response in a similar way. ![catalyst_ocr_image_json](https://catalyst-docs-development.zohostratus.in/images/help/ocr/catalyst_ocr_image_json.webp) ### Access Code Templates for Optical Character Recognition You can implement Optical Character Recognition in your Catalyst application using the code templates provided by Catalyst for [Java](https://docs.catalyst.zoho.com/en/sdk/java/v1/zia-services/ocr/), [Node.js](https://docs.catalyst.zoho.com/en/sdk/nodejs/v2/zia-services/ocr/) and [Python](https://docs.catalyst.zoho.com/en/sdk/python/v1/zia-services/ocr/) platforms. You can access them from the section below the test window. Click either the **Java SDK**, **NodeJS SDK** or **Python SDK** tab, and copy the code using the copy icon. You can paste this code in your web or Android application's code wherever you require. ![catalyst_ocr_java](https://catalyst-docs-development.zohostratus.in/images/help/ocr/catalyst_ocr_java_updated.webp) In Java, you can process the input file as a new `File`, specify the model type using `ZCOCRModelType` and the languages using `setLanguageCode`. Refer to the [API documentation](https://docs.catalyst.zoho.com/en/api/code-reference/zia-services/ocr/#OCR) for the keys of the supported languages and model types. As mentioned earlier, you can format the JSON response that you receive. The Java code enables you to obtain specific paragraphs, individual lines in a paragraph, or individual words in a line. ![catalyst_ocr_node](https://catalyst-docs-development.zohostratus.in/images/help/ocr/catalyst_ocr_node_updated.webp) The Node.js code processes the input file as the object `ocrPromise`. You can provide the input file name, set the model type using `modelType`, and the languages using `language`. ![catalyst_ocr_python](https://catalyst-docs-development.zohostratus.in/images/help/ocr/catalyst_ocr_python.webp) For Python, you must pass the file path, model type, and languages as arguments to the `extract_optical_characters()` method. However, the model type and language values are optional. By default, it is passed as the `OCR` model type, and the languages are automatically detected if they are not specified. ### Text Analytics -------------------------------------------------------------------------------- title: "Introduction" description: "Text Analytics is an AI-driven, ready-to-implement microservice that performs sentiment analysis, NER, and keyword extraction in texts." last_updated: "2023-08-18T12:57:19.000Z" source: "https://docs.catalyst.zoho.com/en/zia-services/help/text-analytics/introduction/" service: "Zia Services" -------------------------------------------------------------------------------- # Text Analytics ## Introduction Text Analytics is a Catalyst Zia Services component that processes textual content to draw structured and quantitative information from it. Text Analytics enables you to obtain useful insights, patterns, and trends from any textual content, which helps you automate the analysis of crucial data and make informed business decisions. It can be widely used in applications that involve R&D, analytics, knowledge management, customer support services, and more. Catalyst Text Analytics is a service that fundamentally encompasses three major features: * **Sentiment Analysis:** Recognizes the tone and sentiment of a text as _Positive_, _Negative_, or _Neutral_ * **Named Entity Recognition (NER):** Extracts key words from a text and groups them into various pre-determined categories * **Keyword Extraction:** Extracts the highlights of a text, such as the key words and key phrases in it Catalyst Text Analytics delivers the results of any or all three of these features, based on your request. The responses of Sentiment Analysis and NER also include confidence scores that inform you of their accuracy. You can code your Catalyst application to process this information or handle it in any way you require. The Catalyst console provides an integrated platform where you can test Text Analytics with a selection of sample text. The console delivers a JSON response, as well as a multifaceted visual response that enables you to understand the results easily. You can learn more about the other components of Catalyst Zia Services from [this page](https://docs.catalyst.zoho.com/en/zia-services). ### SDK and API for Text Analytics Catalyst provides Text Analytics in the Java, Node.js and Python platforms. You can obtain sample code templates for these platforms from the Catalyst console or from the SDK help, and easily integrate Text Analytics in your web or mobile application. Catalyst also provides individual APIs for each Text Analytics feature. For more information and code samples on working in these programming environments, refer to these help pages: * [Text Analytics - Java SDK](https://docs.catalyst.zoho.com/en/sdk/java/v1/zia-services/text-analytics/all-text-analytics) * [Text Analytics - Node.js SDK](https://docs.catalyst.zoho.com/en/sdk/nodejs/v2/zia-services/text-analytics/all-text-analytics) * [Text Analytics - Python SDK](https://docs.catalyst.zoho.com/en/sdk/python/v1/zia-services/text-analytics/all-text-analytics) * [Text Analytics - API SDK](https://docs.catalyst.zoho.com/en/api/code-reference/zia-services/text-analytics/all-text-analytics) > **Note:** This help document only covers the concepts of the Text Analytics features and testing it from the console. -------------------------------------------------------------------------------- title: "Key Concepts" description: "Text Analytics is an AI-driven, ready-to-implement microservice that performs sentiment analysis, NER, and keyword extraction in texts." last_updated: "2023-05-09T11:33:08.000Z" source: "https://docs.catalyst.zoho.com/en/zia-services/help/text-analytics/key-concepts/" service: "Zia Services" -------------------------------------------------------------------------------- # Key Concepts Before you learn about [testing Text Analytics](https://docs.catalyst.zoho.com/en/zia-services/help/text-analytics/implementation/#test-text-analytics-in-the-console) from the Catalyst console, let's discuss the Text Analytics features in detail. ### Sentiment Analysis Sentiment Analysis is a common deep learning tool that performs contextual opinion mining of unstructured text, to extract subjective information about the underlying sentiments in it. It involves the applications of general text analysis, natural language processing, computational linguistics, and other machine learning techniques. The text is generally broken down into its component structures, and weighted sentiment scores are assigned to each entity. This helps the AI determine the overall sentiment of the text, based on a cumulative analysis of the sentiments recognized in each entity. The Zia Sentiment Analysis model analyzes the polarity of the sentiments in text, and categorizes it as one of these three: positive, negative, neutral. Zia determines these sentiments for each sentence in a text after analysing them one after the other, and then predicts if the overall text is **positive**, **negative**, or **neutral**, based on the sentiments of each sentence. #### Response Formats Zia Sentiment Analysis returns the analysis of each sentence, as well as an analysis of the overall text as the response. The response also returns the **confidence scores** for each sentence and the overall text, to showcase the accuracy of the analysis. The response and confidence score formats differ based on the response types: * **Visual response:** The visual response generated when you test Text Analytics in the console displays the sentiment of each sentence in the text, and the overall sentiment of the text in a comprehensive and clear manner. The confidence score of each analysis is presented as a percentage value in the visual response. * **JSON response:** You can obtain a JSON response for Text Analytics in both the API and while testing it in the console. The console generates both types of responses. The JSON response also delivers individual sentiments of each sentence and the overall sentiment. However, the confidence score in the JSON response is presented in the range of 0 to 1\. You can view a complete sample JSON response from the [API documentation](https://docs.catalyst.zoho.com/en/api/code-reference/zia-services/text-analytics/sentiment-analysis/#SentimentAnalysis). #### Use Cases Sentiment Analysis is crucial for businesses and brands that place a huge value on understanding customer experiences. Sentiment Analysis can be implemented for the following purposes: * Gauging and monitoring sentiments expressed by customers in social media platforms and opinion surveys * Automating the analysis of customer feedbacks and reviews, and reducing the manual workload involved * Identifying and addressing critical situations in real-time, by the automated monitoring of negative sentiments * Upholding brand reputation and integrity by delivering quick and thorough customer support, and taking strategic actions * Implementing a centralized, organized, and unbiased system to arrive at decisions on subjective matters * Useful for data analysts to conduct nuanced market research and deliver actionable data * Making informed business decisions and providing tailor-made services based on the analysed sentiments and perceptions ### Named Entity Recognition Named Entity Recognition is a subset of information extraction that identifies named entities in an unstructured text, and classifies them into pre-determined categories. These categories represent real-world objects such as people, places, or organizations. An entity that contains common traits with a category is grouped into it. NER is concerned with natural language processing and artificial intelligence. It involves undergoing rigorous machine learning using a host of training data to detect and categorize entities with precision. The Zia NER model is efficient and reliable, and can extract and group entities with high accuracy. Zia NER can recognize and label entities that fit into the following pre-defined categories: > Organization, Number, Person, Money, Miscellaneous, Country, State, City, Location, Address, Serving, Length, Weight, Email, Phone, Website, Ordinal, Volume, Area, Serving, Speed, Temperature, Dataspeed, Datamemory, Color, Colorcode, Language, Date, Time, Duration That is, it can determine a word in a piece of text to be the name of an organization or a person, and add it to the appropriate category. #### Response Formats NER returns the recognized entities and the categories they belong to each, along with a **confidence score** for each categorization that determines the accuracy of the classification. The response and confidence score formats differ based on the response types: * **Visual response:** The visual response generated when you test Text Analytics in the console displays a list of the recognized entities and their categories. The confidence score of each classification is presented as a percentage value in the visual response. * **JSON response:** You can obtain a JSON response for Text Analytics in both the API and while testing it in the console. The console generates both types of responses. The JSON response also delivers the entities and their categories, with additional information about the position of the entity in the text. The confidence score is presented as a percentage value here as well. You can view a complete sample JSON response from the [API documentation](https://docs.catalyst.zoho.com/en/api/code-reference/zia-services/text-analytics/sentiment-analysis/#SentimentAnalysis). #### Use Cases NER is highly useful in identifying key elements in large datasets, and conveying their subject matter by grouping relevant or similar information together. NER can be implemented in the following scenarios: * Content classification and clustering applications that require efficient, quick, and real-time management of multiple content categories * Summarizing information in contents like resumes, manuals, news, scientific papers, and group crucial details together * Customer support applications that categorize complaints or requests based on departments, filter priority words, or pinpoint recurring problems * Applications in data science and analytics sectors that require extraction and organization of large scale data, or identifying common themes and trends * Optimizing search and recommendation engines using tags pertaining to entity classifications, and enhancing user experience * Transforming unstructured data into quantitative and meaningful information ### Keyword Extraction Keyword Extraction is a text analysis technique that involves extracting important and relevant terms from a piece of text, which provides an abstraction of the whole text. It also works on the principles of text mining, information retrieval, and natural language processing. Keyword Extraction is similar to other Text Analytics feature in the areas of analyzing human language, and developing precision with more training using rich data sets. It uses simple statistical approach like word frequencies and collocations to advanced machine learning approaches. Zia Keyword Extraction groups the extracted terms into two categories: **Keywords** and **Keyphrases**. These highlights deliver a concise summary of the text and provide valuable insights into its topic. Zia Keyword Extraction returns the response in the same format while testing it in the console, or through the API. Both the visual and JSON response contain an array of Keywords and another array of Keyphrases, which include the extracted terms in them. A confidence score is not returned for this feature. #### Use Cases Keyword Extraction is a highly useful feature if you want to skim through long textual content and just obtain the essential information and action items from it. It enables you to identify the subject matter and the gist of the text at a glance, and save valuable time. Keyword Extraction can be used for the following purposes: * Implementation in online libraries that return key highlights of reading materials as search results * Automating data retrieval, indexing, and organization in large datasets like online forums, customer feedbacks, news reports, and more * Querying for the presence of particular keywords and keyphrases from extracted material, and performing necessary actions accordingly * Implementation in applications that perform real-time analysis and generate automated responses based on the extracted key terms * Obtaining quick and in-depth insights from a huge number of source materials, and saving efforts and time in manual research and processing * Reducing inconsistencies in manual information retrieval, since Keyword Extraction functions on pre-defined parameters -------------------------------------------------------------------------------- title: "Benefits" description: "Text Analytics is an AI-driven, ready-to-implement microservice that performs sentiment analysis, NER, and keyword extraction in texts." last_updated: "2023-08-18T12:57:19.000Z" source: "https://docs.catalyst.zoho.com/en/zia-services/help/text-analytics/benefits/" service: "Zia Services" -------------------------------------------------------------------------------- ## Benefits of Catalyst Text Analytics 1. **Integration of Multiple Features** Text Analytics is a combination of three different features that work distinctly to deliver individual, drilled-down results. The integration of these features enables you to process the same content for three different purposes, and obtain multitudes of insights on it, with a single request. This helps you gain layers of insights on your source material, and strategize your actions accordingly. 2. **Highly Scalable and Efficient** Zia Text Analytics can process large volumes of data in parallel, and generate results in a fast and effective manner. Catalyst ensures a high throughput of data transmission and a minimal latency in serving requests. The quick response time enhances your application's performance, and enables you to deliver instant solutions. 3. **Advanced and Trained AI** Zia is an AI-driven assistant that undergoes repeated systematic training to generate results with high accuracy and a low error margin. The AI is trained using various machine learning techniques to perform complex analysis and computations. The training model is vigorous, which means it studies and analyzes large volumes of data, and this ensures that the results generated are precise, accurate, and reliable. 4. **Seamless Integration** You can easily implement Text Analytics in your application without having to worry about the underlying logic or the backend set-up, by incorporating the ready-made code templates provided for the Java, Node.js and Python platforms. Catalyst saves your efforts in customizing the code for your needs, by auto-populating the code with relevant project and environment details. 5. **Testing in the Console** The testing feature in the console enables you to verify the efficiency of Text Analytics. You can process your own textual content and view both the JSON response and visual results. This allows you to get an idea about the format and accuracy of the response that will be generated when you implement it in your application. -------------------------------------------------------------------------------- title: "Implementation" description: "Text Analytics is an AI-driven, ready-to-implement microservice that performs sentiment analysis, NER, and keyword extraction in texts." last_updated: "2026-08-17T12:16:04.000Z" source: "https://docs.catalyst.zoho.com/en/zia-services/help/text-analytics/implementation/" service: "Zia Services" -------------------------------------------------------------------------------- # Implementation The Implementation section explains the process of testing Text Analytics in the Catalyst console. Refer to the [Java SDK](https://docs.catalyst.zoho.com/en/sdk/java/v1/zia-services/text-analytics/all-text-analytics), [Node.js SDK](https://docs.catalyst.zoho.com/en/sdk/nodejs/v2/zia-services/text-analytics/all-text-analytics), [Python SDK](https://docs.catalyst.zoho.com/en/sdk/python/v1/zia-services/text-analytics/all-text-analytics) and [API](https://docs.catalyst.zoho.com/en/api/code-reference/zia-services/text-analytics/all-text-analytics) help pages for help on implementing Text Analytics in your code. The Text Analytics component in the console processes your text and delivers results for all three features: Sentiment Analysis, NER, and Keyword Extraction by default. You can view individual responses for each feature, and a common JSON response for all three features. ### Access Text Analytics in the Console You can access Text Analytics for your project in the Catalyst console in the following way: 1. Navigate to **Zia Services** in the left pane of the Catalyst console and click **Text Analytics.** ![text-analytics](https://catalyst-docs-development.zohostratus.in/images/help/text-analytics/text-analytics-updated.webp) 2. Click **Try a Demo** in the Text Analytics feature page. ![text-analytics/catalyst_textan](https://catalyst-docs-development.zohostratus.in/images/help/text-analytics/catalyst_textan.webp) ### Test Text Analytics in the Console You can test Text Analytics by either selecting an existing sample text, or by providing your own text. You can pass a block of text of upto **1500 characters** to process for Text Analytics. To **process an existing sample text** and obtain the results: 1. Click **Get Sample Text** in the window. ![catalyst_textan_sample_1](https://catalyst-docs-development.zohostratus.in/images/help/text-analytics/catalyst_textan_sample_1.webp) 2. Select a sample text of your choice from the ones shown in the window. ![catalyst_textan_sample_2](https://catalyst-docs-development.zohostratus.in/images/help/text-analytics/catalyst_textan_sample_2.webp) Catalyst will process the text for all three features and display the visual and JSON responses for them. Let's discuss the response of each feature. **Sentiment Analysis:** The results of the [Sentiment Analysis](https://docs.catalyst.zoho.com/en/zia-services/help/text-analytics/key-concepts/#sentiment-analysis) contain the sentiments recognized in each sentence of the text. As mentioned earlier, the visual response presents the range of accuracy of the sentiments in percentages. ![catalyst_textan_sample_sentiment](https://catalyst-docs-development.zohostratus.in/images/help/text-analytics/catalyst_textan_sample_sentiment.webp) You can navigate to a sentence either by clicking on it from the text window, or by clicking the arrow marks in the result window displaying each sentence. ![catalyst_textan_sample_sentiment_2](https://catalyst-docs-development.zohostratus.in/images/help/text-analytics/catalyst_textan_sample_sentiment_2.webp) The overall sentiment and accuracy of the entire text are also displayed in the results window. **Named Entity Recognition:** The results of [Named Entity Recognition](https://docs.catalyst.zoho.com/en/zia-services/help/text-analytics/key-concepts/#named-entity-recognition) contain the list of all entities recognized in the text, and the categories they are classified into, along with the confidence score of each classification in percentages. ![catalyst_textan_sample_ner](https://catalyst-docs-development.zohostratus.in/images/help/text-analytics/catalyst_textan_sample_ner.webp) You can navigate between the entities by clicking on the recognized entity, indicated in grey, in the text window, or by clicking the entity displayed in the results section. You can also filter the results by a specific entity category using the filter drop-down above. Select a category to view the entities that are grouped into it. ![catalyst_textan_sample_ner_2](https://catalyst-docs-development.zohostratus.in/images/help/text-analytics/catalyst_textan_sample_ner_2.webp) **Keyword Extraction:** The result section of [Keyword Extraction](https://docs.catalyst.zoho.com/en/zia-services/help/text-analytics/key-concepts/#keyword-extraction) displays a list of keywords and keyphrases extracted from the text that provide highlights of the content. ![catalyst_textan_sample_keyword](https://catalyst-docs-development.zohostratus.in/images/help/text-analytics/catalyst_textan_sample_keyword.webp) You can navigate between the keywords and keyphrases by clicking on them in the text window, or from the results section. The results section also contains options for you to edit the text that you want to process, or select a different existing sample text at the bottom. Clicking **Edit Text** will open a text window, where you modify or enter your own text. We will discuss at the end of this section. You can view the JSON response of this Text Analytics by clicking **View Response**. ![catalyst_textan_sample_view_response](https://catalyst-docs-development.zohostratus.in/images/help/text-analytics/catalyst_textan_sample_view_response.webp) This will open a window with the JSON response that includes the results of all three features. ![catalyst_textan_sample_response](https://catalyst-docs-development.zohostratus.in/images/help/text-analytics/catalyst_textan_sample_response.webp) You can check a full sample JSON response of each feature from the [API documentation](https://docs.catalyst.zoho.com/en/api/code-reference/zia-services/text-analytics/sentiment-analysis/#SentimentAnalysis). You can **provide your own text** for Text Analytics processing in the following way: 1. Click **Enter Text** from the _Text Analytics_ page. ![catalyst_textan_custom_1](https://catalyst-docs-development.zohostratus.in/images/help/text-analytics/catalyst_textan_custom_1.webp) 2. Enter your own text in the window, then click **Confirm**. ![catalyst_textan_custom_2](https://catalyst-docs-development.zohostratus.in/images/help/text-analytics/catalyst_textan_custom_2.webp) Catalyst will process your text for all three features, and display the visual and JSON responses for them, in the same manner as discussed in the sample text section. ![catalyst_textan_custom_result](https://catalyst-docs-development.zohostratus.in/images/help/text-analytics/catalyst_textan_custom_result.webp) You can check the results for all the features, and the JSON response, in the same way. ### Access Code Templates for Text Analytics As mentioned in the introduction, you can implement Text Analytics in your Catalyst application in the **Java**, **Node.js** and **Python** platforms. The console provides the code templates for both these platforms, below the test window. Click the required tab and copy the code using the copy icon. You can include this code in your web or mobile application's source. In the Java code, the text to be processed for all three Text Analytics feature is passed as a JSON Array to `getTextAnalytics()`. The response returns the results of each Text Analytics feature in their own format. Refer to the [Java SDK documentation](https://docs.catalyst.zoho.com/en/sdk/java/v1/zia-services/text-analytics/all-text-analytics/) for more details on the Java code. ![catalyst_textan_java](https://catalyst-docs-development.zohostratus.in/images/help/text-analytics/catalyst_textan_java_updated.webp) The Node.js code references the `zia` component instance and also passes the text to be processed to `getTextAnalytics()`. You can write your own processing logic and error logic. The response returns the results of each Text Analytics feature in their own format. Refer to the [Node.js SDK documentation](https://docs.catalyst.zoho.com/en/sdk/nodejs/v2/zia-services/text-analytics/all-text-analytics/) for more details on the Node.js code. ![catalyst_textan_node](https://catalyst-docs-development.zohostratus.in/images/help/text-analytics/catalyst_textan_node_updated.webp) Refer to the [Python SDK documentation](https://docs.catalyst.zoho.com/en/sdk/python/v1/zia-services/text-analytics/sentiment-analysis/) for more details on the Python code. ![catalyst_textan_python](https://catalyst-docs-development.zohostratus.in/images/help/text-analytics/catalyst_textan_python.webp) ## API Reference — Zia Services -------------------------------------------------------------------------------- title: "OCR" description: "This API enables you to detect textual characters in images and documents and deliver the recognized text through Zia OCR." last_updated: "2026-08-17T12:16:04.000Z" source: "https://docs.catalyst.zoho.com/en/api/code-reference/zia-services/ocr/" service: "Zia Services" -------------------------------------------------------------------------------- # Optical Character Recognition [Zia Optical Character Recognition](https://docs.catalyst.zoho.com/en/zia-services/help/optical-character-recognition/introduction/) electronically detects textual characters in images or digital documents, and converts them into machine-encoded text. Zia OCR can recognize text in 10 major languages. > **Note:** Catalyst does not store any of the files you upload in its systems. The files you upload are used for one-time processing only. They are not used for ML model training purposes either. Catalyst components are fully compliant with all applicable data protection and privacy laws. # Execute OCR ### Description This API is used to detect textual characters in images and documents, and deliver the recognized text as a JSON response. The response also contains a confidence score, which defines the accuracy of the detection. You must specify the path to the image or document file in the API request, as shown in the sample request. You can optionally specify the languages present in the text, for quicker processing. OCR supports 9 international languages and 10 Indian languages, that are mentioned in the tables below. The language is automatically detected and the text is processed, if it is not specified. ### Request Details #### Request URL `POST` {api-domain}/baas/v1/project/{project_id}/ml/ocr - **api-domain** (URL): The DC-specific domain to access Catalyst API - **project_id** (Numerical): The [unique ID](https://docs.catalyst.zoho.com/en/getting-started/set-up-a-catalyst-project/general-settings/) of the project #### Request Headers **Authorization:** Zoho-oauthtoken {oauth_token} **content-type:** multipart/form-data; boundary=----WebKitFormBoundary7MA4YWxkTrZu0gW **Optional Headers** **CATALYST-ORG:** {org_id} **Environment:** Development #### Scope ZohoCatalyst.mlkit.READ #### Request JSON Properties - **image** (file, mandatory): The input file to be processed. You must provide the path to it in your local system. Allowed formats: *.webp, .jpeg, .png, .bmp, .tiff, .pdf* File size limit: 20 MB - **language** (string, optional): The language code of the text to be identified. Refer the tables below for the language codes. #### International Languages Supported by OCR
Language Language Codes
Arabic `ara`
Chinese `chi_sim`
French `fra`
Italian `ita`
Japanese `jpn`
Portuguese `por`
Romanian `ron`
Spanish `spa`
#### Indian Languages Supported by OCR
Language Language Codes
English `eng`
Hindi `hin`
Bengali `ben`
Marathi `mar`
Telugu `tel`
Tamil `tam`
Gujarati `guj`
Urdu `urd`
Kannada `kan`
Malayalam `mal`
Sanskrit `san`
### Response Details The response returns the `data` of the OCR processing, which includes the text that was recognized from the input in the `text` key and the confidence score of the recognition in the `confidence` key. **Sample Request** ```bash curl -X POST \ https://api.catalyst.zoho.com/baas/v1/project/4000000006007/ml/ocr -H "Authorization: Zoho-oauthtoken 1000.910*\*\*\*\*\*\*\*\*\*\*\*\*\*\*\*\*\*\*\*\*\*\*\*\*16.2f*\*\*\*\*\*\*\*\*\*\*\*\*\*\*\*\*\*\*\*\*\*\*\*\*57" \ -H "Content-Type: multipart/form-data; boundary=----WebKitFormBoundary7MA4YWxkTrZu0gW" \ -F "image=/Desktop/HelplineCard.webp" \ -F "language=eng,spa" ``` **Sample Response** ```json { "status":"success", "data": { "confidence":79.71514892578125, "text":"Whenever you\nneed to talk,\nwe‘re open\n\n[—] text eseses\n[J] KidsHelpPhone.ca\n\n(@, call 1—800—663—6868 Kids Help Phone ©" } } ``` ### SDK Documentation [Add New User- Java SDK](https://docs.catalyst.zoho.com/en/sdk/java/v1/zia-services/ocr)

[Add New User- Node.js SDK](https://docs.catalyst.zoho.com/en/sdk/nodejs/v2/zia-services/ocr)

[Add New User- Python SDK](https://docs.catalyst.zoho.com/en/sdk/python/v1/zia-services/ocr)

-------------------------------------------------------------------------------- title: "Face Analytics" description: "This API enables you to perform facial detection and analytics in an image file and obtain the gender, age, and emotion predictions in the detected faces." last_updated: "2026-08-28T06:26:16.000Z" source: "https://docs.catalyst.zoho.com/en/api/code-reference/zia-services/face-analytics/" service: "Zia Services" -------------------------------------------------------------------------------- # Face Analytics [Zia Face Analytics](https://docs.catalyst.zoho.com/en/zia-services/help/face-analytics/introduction/) performs facial detection in images, and analyzes the facial features to provide information such as the gender, age, and emotion of the detected faces. Face Analytics also provides the confidence levels of each attribute prediction that enables you to make informed decisions. It can detect up to 10 faces in an image, and it provides predictions of the attributes for each detected face. # Execute Face Analytics ### Description You can use this API to perform facial detection and analytics in an image file, and specify the path to it in the API request as shown in the sample request. You can optionally specify an analysis mode which determines the number of facial landmarks to be detected in a face. You can also enable or disable the attributes to be predicted, such as the emotion, age, and gender. This API is used to pass input for Face Analytics prediction. You must pass an input image file and the data in a JSON format in the request as described below. ### Request Details #### Request URL `POST` {api-domain}/baas/v1/project/{project_id}/ml/faceanalytics - **api-domain** (URL): The DC-specific domain to access Catalyst API - **project_id** (Numerical): The [unique ID](https://docs.catalyst.zoho.com/en/getting-started/set-up-a-catalyst-project/general-settings/) of the project #### Request Headers **Authorization:** Zoho-oauthtoken {oauth_token} **content-type:** multipart/form-data; boundary=----WebKitFormBoundary7MA4YWxkTrZu0gW **Optional Headers** **CATALYST-ORG:** {org_id} **Environment:** Development #### Scope ZohoCatalyst.mlkit.READ #### Request JSON Properties - **image** (file, mandatory): The input file to be processed. You must provide the path to it in your local system. Allowed formats: *.webp, .jpeg, .png* Image size limit: 10 MB - **mode** (string, optional): Denotes the number of facial landmarks to be detected in a face Allowed values: `basic`, `moderate`, `advanced` Default value: `advanced` * `basic`: 0-point landmark detector that detects the boundary of the face alone * `moderate`: 5-point landmark detector that detects- Eyes: The center of both eyes, Nose: Nose tip, Lips: The center of both lips * `advanced`: 68-point landmark detector that detects- Jawline: Face boundary, Eyebrows: Left and right eyebrow, Eyes: Left and right eye, Nose bridge, Nostril line, Upper lips: Upper and lower edge, Lower lips: Upper and lower edge - **emotion** (boolean, optional): Allowed values: `false`: Emotion will not be detected `true`: Emotion will be detected Default value: `true` - **age** (boolean, optional): Allowed values: `false`: Age will not be detected `true`: Age will be detected Default value: `true` - **gender** (boolean, optional): Allowed values: `false`: Gender will not be detected `true`: Gender will be detected Default value: `true` ### Response Details The response returns the details of the facial landmarks of the detected faces, and the predictions for emotion, age, and gender, based on the parameters and mode set in the API request in the `data` key. The overall probability of the co-ordinates of the facial landmark detection, and the probability of the predictions made for the emotion, age, and gender parameters will be returned as `confidence` scores. **Sample Request: Basic** ```bash curl -X POST \ https://api.catalyst.zoho.com/baas/v1/project/4000000006007/ml/faceanalytics \ -H "Authorization: Zoho-oauthtoken 1000.910*\*\*\*\*\*\*\*\*\*\*\*\*\*\*\*\*\*\*\*\*\*\*\*\*16.2f*\*\*\*\*\*\*\*\*\*\*\*\*\*\*\*\*\*\*\*\*\*\*\*\*57" \ -H "Content-Type: multipart/form-data; boundary=----WebKitFormBoundary7MA4YWxkTrZu0gW" \ -F "image=@face.jpeg" \ -d '{ "mode": "basic", "emotion": "true", "age": "true", "gender": "true" }' ``` **Sample Response: Basic** ```json { "status": "success", "data": { "faces": [ { "confidence": 1.0, "id": 0, "co_ordinates": [ 267, 39, 153, 227 ], "emotion": { "prediction": "not_smiling", "confidence": { "smiling": "0.0", "not_smiling": "1.0" } }, "age": { "prediction": "3-9", "confidence": { "0-2": "0.005", "10-19": "0.33", "20-29": "0.12", "3-9": "0.509", "30-39": "0.032", "40-49": "0.003", "50-59": "0.0", "60-69": "0.0", ">70": "0.0" } }, "gender": { "prediction": "female", "confidence": { "female": "0.92", "male": "0.08" } } } ] } } ``` **Sample Request: Moderate** ```bash curl -X POST \ https://api.catalyst.zoho.com/baas/v1/project/4000000006007/ml/faceanalytics \ -H "Authorization: Zoho-oauthtoken 1000.910*\*\*\*\*\*\*\*\*\*\*\*\*\*\*\*\*\*\*\*\*\*\*\*\*16.2f*\*\*\*\*\*\*\*\*\*\*\*\*\*\*\*\*\*\*\*\*\*\*\*\*57" \ -H "Content-Type: multipart/form-data; boundary=----WebKitFormBoundary7MA4YWxkTrZu0gW" \ -F "image=@face.jpeg" \ -d '{ "mode": "moderate", "emotion": "false", "age": "false", "gender": "true" }' ``` **Sample Response: Moderate** ```json { "status": "success", "data": { "faces": [ { "confidence": 1.0, "id": 0, "co_ordinates": [ 267, 39, 153, 227 ], "landmarks": { "left_eye": [337,135], "right_eye": [400,130], "nose": [ 400, 165 ], "mouth_left": [ 353, 217 ], "mouth_right": [ 404, 211 ] }, "gender": { "prediction": "female", "confidence": { "female": "0.92", "male": "0.08" } } } ] } } ``` **Sample Request: Advanced** ```bash curl -X POST \ https://api.catalyst.zoho.com/baas/v1/project/4000000006007/ml/faceanalytics \ -H "Authorization: Zoho-oauthtoken 1000.910*\*\*\*\*\*\*\*\*\*\*\*\*\*\*\*\*\*\*\*\*\*\*\*\*16.2f*\*\*\*\*\*\*\*\*\*\*\*\*\*\*\*\*\*\*\*\*\*\*\*\*57" \ -H "Content-Type: multipart/form-data; boundary=----WebKitFormBoundary7MA4YWxkTrZu0gW" \ -F "image=@face.jpeg" \ -d '{ "mode": "advanced", "emotion": "true", "age": "false", "gender": "false" }' ``` **Sample Response: Advanced** ```json { "status": "success", "data": { "faces": [ { "co_ordinates" : [ 185, 96, 275, 18], "confidence" : 0.99 "landmarks" : { 'mouth': [ [259, 440], [287, 423], [312, 413], [325, 418], [338, 414], [354, 424], [368, 442], [355, 461], [339, 470], [325, 472], [310, 470], [285, 460], [269, 440], [311, 435], [324, 436], [338, 436], [359, 442], [339, 440], [326, 441], [312, 439] ], 'right_eyebrow': [ [189, 245], [216, 230], [244, 227], [273, 234], [301, 248] ], 'left_eyebrow': [ [356, 249], [379, 238], [401, 232], [422, 235], [436, 252] ], 'right_eye': [ [225, 288], [245, 281], [265, 282], [280, 295], [263, 297], [244, 297] ], 'left_eye': [ [358, 299], [376, 288], [393, 290], [408, 298], [393, 305], [376, 304] ], 'nose': [ [329, 287], [331, 311], [334, 336], [337, 360], [301, 385], [315, 389], [329, 392], [341, 390], [352, 385] ], 'jaw': [ [131, 283], [136, 340], [145, 393], [158, 442], [180, 484], [212, 513], [250, 530], [287, 542], [319, 545], [347, 535], [370, 512], [393, 487], [411, 456], [423, 419], [432, 381], [437, 342], [439, 303] ] }, "emotion": { "prediction": "not_smiling", "confidence": { "smiling": "0.0", "not_smiling": "1.0" } } } ] } } ``` ### SDK Documentation [Face Analytics- Java SDK](https://docs.catalyst.zoho.com/en/sdk/java/v1/zia-services/face-analytics)

[Face Analytics- Node.js SDK](https://docs.catalyst.zoho.com/en/sdk/nodejs/v2/zia-services/face-analytics)

[Face Analytics- Python SDK](https://docs.catalyst.zoho.com/en/sdk/python/v1/zia-services/face-analytics)

-------------------------------------------------------------------------------- title: "Image Moderation" description: "This API enables you to detect and recognize inappropriate and unsafe content in images, and return the predictions for them." last_updated: "2026-08-17T12:16:04.000Z" source: "https://docs.catalyst.zoho.com/en/api/code-reference/zia-services/image-moderation/" service: "Zia Services" -------------------------------------------------------------------------------- # Image Moderation [Zia Image Moderation](https://docs.catalyst.zoho.com/en/zia-services/help/image-moderation/introduction/) detects and recognizes inappropriate and unsafe content in images. The criteria include suggestive or explicit racy content, nudity, violence, gore, bloodshed, and the presence of weapons and drugs. # Execute Image Moderation ### Description This API recognizes the following inappropriate content in images and returns them in the response: `racy`, `weapon`, `nudity`, `gore`, `drug`. The response also contains the probability of each criteria with their confidence scores, and the prediction of the image being `safe_to_use` or `unsafe_to_use`. You must specify the path of the image in the API request, as shown in the sample request. You can also optionally set the moderation mode for the request. ### Request Details #### Request URL `POST` {api-domain}/baas/v1/project/{project_id}/ml/imagemoderation - **api-domain** (URL): The DC-specific domain to access Catalyst API - **project_id** (Numerical): The [unique ID](https://docs.catalyst.zoho.com/en/getting-started/set-up-a-catalyst-project/general-settings/) of the project #### Request Headers **Authorization:** Zoho-oauthtoken {oauth_token} **content-type:** multipart/form-data; boundary=----WebKitFormBoundary7MA4YWxkTrZu0gW **Optional Headers** **CATALYST-ORG:** {org_id} **Environment:** Development #### Scope ZohoCatalyst.mlkit.READ #### Request JSON Properties - **file** (file, mandatory): The input file to be processed. Allowed formats: *.webp, .jpeg, .png*, .txt File size limit: 10 MB - **mode** (string, optional): Denotes the moderation mode Allowed values: `basic`, `moderate`, `advanced` Default value: `advanced` * `basic`: Detects nudity alone * `moderate`: Detects nudity and racy content * `advanced`: Detects all criteria mentioned in the description ### Response Details The response will contain the probability of the parameters detected, based on the mode set in the API request. Based on an aggregate of the detected parameters, it will also include the `prediction` of the image being safe or unsafe to use, along with a `confidence` score of the prediction. **Sample Request: Basic** ```bash curl -X POST \ https://api.catalyst.zoho.com/baas/v1/project/4000000006007/ml/imagemoderation -H "Authorization: Zoho-oauthtoken 1000.910*\*\*\*\*\*\*\*\*\*\*\*\*\*\*\*\*\*\*\*\*\*\*\*\*16.2f*\*\*\*\*\*\*\*\*\*\*\*\*\*\*\*\*\*\*\*\*\*\*\*\*57" \ -H "Content-Type: multipart/form-data; boundary=----WebKitFormBoundary7MA4YWxkTrZu0gW" \ -F "file=@attachment1.txt" \ -d '{ "mode": "basic" }' ``` **Sample Response: Basic** ```json { "probability": { "nudity": "1.0" }, "confidence": 1, "prediction": "unsafe_to_use" } ``` **Sample Request: Moderate** ```bash curl -X POST \ https://api.catalyst.zoho.com/baas/v1/project/4000000006007/ml/imagemoderation \ -H "Authorization: Zoho-oauthtoken 1000.910*\*\*\*\*\*\*\*\*\*\*\*\*\*\*\*\*\*\*\*\*\*\*\*\*16.2f*\*\*\*\*\*\*\*\*\*\*\*\*\*\*\*\*\*\*\*\*\*\*\*\*57" \ -H "Content-Type: multipart/form-data; boundary=----WebKitFormBoundary7MA4YWxkTrZu0gW" \ -F "file=@attachment1.txt" \ -d '{ "mode": "moderate" }' ``` **Sample Response: Moderate** ```json { "probability": { "racy": "0.0", "nudity": "0.0" }, "confidence": 0.9, "prediction": "safe_to_use" } ``` **Sample Request: Advanced** ```bash curl -X POST \ https://api.catalyst.zoho.com/baas/v1/project/4000000006007/ml/imagemoderation \ -H "Authorization: Zoho-oauthtoken 1000.910*\*\*\*\*\*\*\*\*\*\*\*\*\*\*\*\*\*\*\*\*\*\*\*\*16.2f*\*\*\*\*\*\*\*\*\*\*\*\*\*\*\*\*\*\*\*\*\*\*\*\*57" \ -H "Content-Type: multipart/form-data; boundary=----WebKitFormBoundary7MA4YWxkTrZu0gW" \ -F "file=@attachment1.txt" \ -d '{ "mode": "advanced" }' ``` **Sample Response: Advanced** ```json { "probability": { "racy": "0.0", "weapon": "1.0", "nudity": "0.0", "gore": "0.0", "drug": "0.0" }, "confidence": 1, "prediction": "unsafe_to_use" } ``` ### SDK Documentation [Image Moderation- Java SDK](https://docs.catalyst.zoho.com/en/sdk/java/v1/zia-services/image-moderation)

[Image Moderation- Node.js SDK](https://docs.catalyst.zoho.com/en/sdk/nodejs/v2/zia-services/image-moderation)

[Image Moderation-Python SDK](https://docs.catalyst.zoho.com/en/sdk/python/v1/zia-services/image-moderation)

-------------------------------------------------------------------------------- title: "Object Recognition" description: "This API enables you to detect, locate, and recognize individual objects in an image file." last_updated: "2026-08-17T12:16:04.000Z" source: "https://docs.catalyst.zoho.com/en/api/code-reference/zia-services/object-recognition/" service: "Zia Services" -------------------------------------------------------------------------------- # Object Recognition [Zia Object Recognition](https://docs.catalyst.zoho.com/en/zia-services/help/object-recognition/introduction/) detects, locates, and recognizes individual objects in an image file. It can identify 80 different kinds of common objects from images. Zia can recognize 80 kinds of specific object types, some of which include: person, car, dog, chair, traffic light, knife, umbrella, and cellphone. # Execute Object Recognition ### Description This API is used to detect, locate, and recognize individual objects in an image file. The response returns the coordinates of each detected object in the image, its type, and the confidence score of each recognition. You must specify the path to the image file in the API request, as shown in the sample request. ### Request Details #### Request URL `POST` http://api.catalyst.zoho.com/baas/v1/project/{project_id}/ml/detect-object - **api-domain** (URL): The DC-specific domain to access Catalyst API - **project_id** (Numerical): The [unique ID](https://docs.catalyst.zoho.com/en/getting-started/set-up-a-catalyst-project/general-settings/) of the project #### Request Headers **Authorization:** Zoho-oauthtoken {oauth_token} **content-type:** multipart/form-data; boundary=----WebKitFormBoundary7MA4YWxkTrZu0gW **Optional Headers** **CATALYST-ORG:** {org_id} **Environment:** Development #### Scope ZohoCatalyst.mlkit.READ #### Request JSON Properties - **file** (file, mandatory): The image file that is to be processed for object recognition. You must provide the path to it in your local system. Allowed formats: *.webp, .jpeg, .png*, .txt File size limit: 10 MB ### Response Details The response will contain the details of each individual object detected, which includes its `co_ordinates`, `object_type`, and the `confidence` score of the detection. **Sample Request** ```bash curl -X POST \ https://api.catalyst.zoho.com/baas/v1/project/56000000405001/ml/detect-object \ -H "Authorization: Zoho-oauthtoken 1000.910*\*\*\*\*\*\*\*\*\*\*\*\*\*\*\*\*\*\*\*\*\*\*\*\*16.2f*\*\*\*\*\*\*\*\*\*\*\*\*\*\*\*\*\*\*\*\*\*\*\*\*57" \ -H "Content-Type: multipart/form-data; boundary=----WebKitFormBoundary7MA4YWxkTrZu0gW" \ -F "file=@attachment1.txt" \ ``` **Sample Response** ```json { "status":"success", "data":{ "objects":[ { "co_ordinates":[ 37, 94, 704, 434 ], "object_type":"dog", "confidence":"98.92" }, { "co_ordinates":[ 20, 67, 202, 120 ], "object_type":"umbrella", "confidence":"97.05" } ] } } ``` ### SDK Documentation [Object Recognition- Java SDK](https://docs.catalyst.zoho.com/en/sdk/java/v1/zia-services/object-recognition)

[Object Recognition- Node.js SDK](https://docs.catalyst.zoho.com/en/sdk/nodejs/v2/zia-services/object-recognition)

[Object Recognition- Python SDK](https://docs.catalyst.zoho.com/en/sdk/python/v1/zia-services/object-recognition)

-------------------------------------------------------------------------------- title: "Barcode Scanner" description: "This API enables you to decode the data encoded in a barcode from an image file." last_updated: "2026-08-17T12:16:04.000Z" source: "https://docs.catalyst.zoho.com/en/api/code-reference/zia-services/barcode-scanner/" service: "Zia Services" -------------------------------------------------------------------------------- # Barcode Scanner [Zia Barcode Scanner](https://docs.catalyst.zoho.com/en/zia-services/help/barcode-scanner/introduction/) enables you to scan the most commonly used linear and 2D barcode formats and decode the encoded data. Barcode Scanner can detect formats like Codabar, EAN-13, ITF, UPC-A, QR Code, and more. # Execute Barcode Scanner ### Description This API is used to decode the data encoded in a barcode from an image file. You must specify the path to the image file in the API request, as shown in the sample request. You can optionally specify the barcode format. If you don't specify it, Catalyst will automatically process the default value `all` for it. The JSON response returns the decoded data. ### Request Details #### Request URL `POST` {api-domain}/baas/v1/project/{project_id}/ml/barcode - **api-domain** (URL): The DC-specific domain to access Catalyst API - **project_id** (Numerical): The [unique ID](https://docs.catalyst.zoho.com/en/getting-started/set-up-a-catalyst-project/general-settings/) of the project #### Request Headers **Authorization:** Zoho-oauthtoken {oauth_token} **content-type:** multipart/form-data; boundary=----WebKitFormBoundary7MA4YWxkTrZu0gW **Optional Headers** **CATALYST-ORG:** {org_id} **Environment:** Development #### Scope ZohoCatalyst.mlkit.READ #### Request JSON Properties - **file** (file, mandatory): The input file with the barcode to be scanned. Allowed formats: *.webp, .jpeg, .png*, .txt File size limit: 10 MB Resolution limit: 36000000 pixels - **format** (string, optional): The format of the barcode in the image. The format codes are specified in the table below. You must provide the path to it in your local system. Allowed formats: .webp, .jpeg, .png File size limit: 10 MB #### Barcode Format Codes
Barcode Format Format Code
Code 39 `code39`
Code 128 `code128`
Code 93 `code93`
Ean 8 `ean8`
Ean 13 `ean13`
Codabar `codabar`
ITF `itf`
UPC-A `upca`
UPC-E `upce`
RSS `rss`
QR code `qrcode`
Aztec `aztec`
PDF417 `pdf417`
Data Matrix `datamatrix`
If you don't know the format or if you don't specify it `all`
### Response Details The response will contain the data detected in the barcode in the `content` field. **Sample Request** ```bash curl -X POST \ https://api.catalyst.zoho.com/baas/v1/project/4000000006007/ml/ocr \ -H "Authorization: Zoho-oauthtoken 1000.910*\*\*\*\*\*\*\*\*\*\*\*\*\*\*\*\*\*\*\*\*\*\*\*\*16.2f*\*\*\*\*\*\*\*\*\*\*\*\*\*\*\*\*\*\*\*\*\*\*\*\*57" \ -H "Content-Type: multipart/form-data; boundary=----WebKitFormBoundary7MA4YWxkTrZu0gW" \ -F "file=@attachment1.txt" \ -d '{ "format": "ITF" }' ``` **Sample Response** ```json { "status": "success", "data": { "content": "40156" } } ``` ### SDK Documentation [Barcode Scanner- Java SDK](https://docs.catalyst.zoho.com/en/sdk/java/v1/zia-services/barcode-scanner)

[Barcode Scanner- Node.js SDK](https://docs.catalyst.zoho.com/en/sdk/nodejs/v2/zia-services/barcode-scanner)

[Barcode Scanner- Python SDK](https://docs.catalyst.zoho.com/en/sdk/python/v1/zia-services/barcode-scanner)

### Identity Scanner -------------------------------------------------------------------------------- title: "Facial Comparison" description: "This API enables you to compare two faces in two different images to determine if they are the same individual." last_updated: "2026-08-28T06:26:16.000Z" source: "https://docs.catalyst.zoho.com/en/api/code-reference/zia-services/identity-scanner/facial-comparison/" service: "Zia Services" -------------------------------------------------------------------------------- # Identity Scanner [Identity Scanner](https://docs.catalyst.zoho.com/en/zia-services/help/identity-scanner/introduction/) is a Zia AI-driven component that enables you to perform secure identity checks on individuals and documents by scanning and processing various ID proofs or official documents. It is a comprehensive suite that incorporates multiple functionalities divided into two major categories- E-KYC and Document Processing. > **Note:** Catalyst does not store any of the files you upload in its systems. The documents you upload are used for one-time processing only. They are not used for ML model training purposes either. Catalyst components are fully compliant with all applicable data protection and privacy laws. # Facial Comparison [Facial Comparison](https://docs.catalyst.zoho.com/en/zia-services/help/identity-scanner/key-concepts/#e-kyc), also known as E-KYC, is a part of Identity Scanner that compares two faces in two different images to determine if they are the same individual. > **Note:** While the Document Processing feature of Identity Scanner is only relevant to Indian users, the Facial Comparison API and SDK tools are available to a global audience. However, accessing and testing Facial Comparison or E-KYC from the Catalyst console is restricted to the users from IN DC alone. ## Process Facial Comparison ### Description This API enables you to perform a face comparison between a source image and a query image. You must specify the paths to both the image files in the API request, as shown in the sample request. > **Note:** You can mark either the ID proof image or the individual's photograph as the source or the query image. This will not affect the results. ### Request Details #### Request URL `POST` {api-domain}/baas/v1/project/{project_id}/ml/facecomparison - **api-domain** (URL): The DC-specific domain to access Catalyst API - **project_id** (Numerical): The [unique ID](https://docs.catalyst.zoho.com/en/getting-started/set-up-a-catalyst-project/general-settings/) of the project #### Request Headers **Authorization:** Zoho-oauthtoken {oauth_token} **content-type:** multipart/form-data; boundary=----WebKitFormBoundary7MA4YWxkTrZu0gW **Optional Headers** **CATALYST-ORG:** {org_id} **Environment:** Development #### Scope ZohoCatalyst.mlkit.READ #### Request JSON Properties - **source_image** (file, mandatory): The photo ID or an individual's photograph. You must provide the path to it in your local system. Allowed formats: *.webp, .jpeg, .png* File size limit: 10 MB - **query_image** (file, mandatory): The photo ID or an individual's photograph. You must provide the path to it in your local system. Allowed formats: *.webp, .jpeg, .png* File size limit: 10 MB ### Response Details The response returns the result of comparison as `true` if the faces match, or `false` if they don't match. The response also contains a confidence score between the range of 0 to 1. Only if the comparison yields a confidence score of above 50% i.e., 0.5, the result will be set to `true`. **Sample Request** ```bash curl -X POST \ https://api.catalyst.zoho.com/baas/v1/project/4000000006007/ml/facecomparison \ -H "Authorization: Zoho-oauthtoken 1000.910*\*\*\*\*\*\*\*\*\*\*\*\*\*\*\*\*\*\*\*\*\*\*\*\*16.2f*\*\*\*\*\*\*\*\*\*\*\*\*\*\*\*\*\*\*\*\*\*\*\*\*57" \ -H "Content-Type: multipart/form-data; boundary=----WebKitFormBoundary7MA4YWxkTrZu0gW" \ -F source_image=/Desktop/SourceImage.webp \ -F query_image=/Desktop/QueryImage.webp ``` **Sample Response** ```json { "status": "success", "data": { "confidence": 1.0, "matched": "true" } } ``` ### SDK Documentation [Facial Comparison- Java SDK](https://docs.catalyst.zoho.com/en/sdk/java/v1/zia-services/identity-scanner/facial-comparison) [Facial Comparison- Node.js SDK](https://docs.catalyst.zoho.com/en/sdk/nodejs/v2/zia-services/identity-scanner/facial-comparison) [Facial Comparison- Python SDK](https://docs.catalyst.zoho.com/en/sdk/python/v1/zia-services/identity-scanner/facial-comparison) -------------------------------------------------------------------------------- title: "Aadhaar" description: "This API enables you to extract fields of data from an Indian Aadhaar card and fetch the parameters recognized from it." last_updated: "2026-11-03T15:19:21.000Z" source: "https://docs.catalyst.zoho.com/en/api/code-reference/zia-services/identity-scanner/aadhaar/" service: "Zia Services" -------------------------------------------------------------------------------- # Aadhaar The `AADHAAR` model is a part of the Document Processing feature of [Identity Scanner](https://docs.catalyst.zoho.com/en/zia-services/help/identity-scanner/introduction/) that enables you to process Indian Aadhaar cards as identity proof documents. > **Note:** * Catalyst does not store any of the files you upload in its systems. The documents you upload are used for one-time processing only. They are not used for ML model training purposes either. Catalyst components are fully compliant with all applicable data protection and privacy laws. * Document Processing is only relevant to Indian users and is **only available in the IN DC**. This feature will not be available to users accessing from the EU, AU, US, JP, SA or CA data centers. Users outside of India from the other DCs can access the [general OCR component](https://docs.catalyst.zoho.com/en/api/code-reference/zia-services/ocr/#OCR) to read and process textual content. ## Process Aadhaar ### Description This API extracts fields of data from an Indian Aadhaar card using an advanced OCR technology. The JSON response will return the parameters recognized from the Aadhaar card, along with confidence scores for each recognition that determine their accuracy. You must provide the path to the image files of the front and back of the Aadhaar card, and specify the model type as `AADHAAR` in the API request. > **Note:** The option to pass the languages present in an Aadhaar card has now been deprecated. Identity Scanner will now automatically identify the languages in an Aadhaar card and process it. The API will be updated accordingly soon. You can temporarily pass the languages as shown in the sample request. ### Request Details #### Request URL `POST` {api-domain}/baas/v1/project/{project_id}/ml/ocr - **api-domain** (URL): The DC-specific domain to access Catalyst API - **project_id** (Numerical): The [unique ID](https://docs.catalyst.zoho.com/en/getting-started/set-up-a-catalyst-project/general-settings/) of the project #### Request Headers **Authorization:** Zoho-oauthtoken {oauth_token} **content-type:** multipart/form-data; boundary=----WebKitFormBoundary7MA4YWxkTrZu0gW **Optional Headers** **CATALYST-ORG:** {org_id} **Environment:** Development #### Scope ZohoCatalyst.mlkit.READ #### Request JSON Properties - **aadhaar_front** (file, mandatory): The image of the front side of the Aadhaar card to be processed. You must provide the path to it in your local system. Allowed formats: *.webp, .jpeg, .png, .bmp, .tiff* File size limit: 15 MB - **aadhaar_back** (file, mandatory): The image of the back side of the Aadhaar card to be processed. You must provide the path to it in your local system. Allowed formats: *.webp, .jpeg, .png, .bmp, .tiff* File size limit: 15 MB - **model_type** (string, mandatory): The model type of the image Value to be passed: `AADHAAR` - **language** (string, optional): The language code of the language to be identified. The `AADHAAR` model supports the Indian languages listed in a table below. You must pass English and the relevant regional language alone for the AADHAAR type. For example, if you are from Tamil Nadu, you must pass `tam` and `eng` in the request. #### Languages Supported by the Aadhaar Model Type
Language Language Codes
English `eng`
Hindi `hin`
Bengali `ben`
Marathi `mar`
Telugu `tel`
Tamil `tam`
Gujarati `guj`
Urdu `urd`
Kannada `kan`
Malayalam `mal`
Sanskrit `san`
### Response Details The response contains the parameters recognized in the Aadhaar card such as the card holder's name, address, gender, Aadhaar card number assigned to respective keys. The response also shows a confidence score in the range of 0 to 1 for each of the recognized values. **Sample Request** ```bash curl -X POST https://api.catalyst.zoho.com/baas/v1/project/4000000006007/ml/ocr -H "Authorization: Zoho-oauthtoken 1000.910*\*\*\*\*\*\*\*\*\*\*\*\*\*\*\*\*\*\*\*\*\*\*\*\*16.2f*\*\*\*\*\*\*\*\*\*\*\*\*\*\*\*\*\*\*\*\*\*\*\*\*57" \ -H "Content-Type: multipart/form-data; boundary=----WebKitFormBoundary7MA4YWxkTrZu0gW" \ -F aadhaar_front=/Desktop/Aadhaar1.webp \ -F aadhaar_back=/Desktop/Aadhaar2.webp \ -F model_type=AADHAAR \ -F "language=eng,tam" ``` **Sample Response** ```json { "status":"success", "data":{ "text": "{\"address\":{\"prob\":0.5,\"value\":\"S/O Tony, Seer 40, S/O Julie, 40, Dewdrops Street, Cherry Hill Pondicherry, Pondicherry ureing4Gen, ureing4Gen 605008 \"},\"gender\":{\"prob\":\"0.9\",\"value\":\"male\"},\"dob\": {\"prob\":\"0.6\", \"value\":\"12/12/2012\"},\"name\":{\"prob\":\"0.8\", \"value\":\"Hari Krishnan\"},\"aadhaar\":{\"prob\":0.8,\"value\":\"1234 5678 0123\"}}" } } ``` ### SDK Documentation [Identity Scanner: Aadhaar- Java SDK](https://docs.catalyst.zoho.com/en/sdk/java/v1/zia-services/identity-scanner/aadhaar) [Identity Scanner: Aadhaar- Node.js SDK](https://docs.catalyst.zoho.com/en/sdk/nodejs/v2/zia-services/identity-scanner/aadhaar) [Identity Scanner: Aadhaar- Python SDK](https://docs.catalyst.zoho.com/en/sdk/python/v1/zia-services/identity-scanner/aadhaar) -------------------------------------------------------------------------------- title: "PAN" description: "This API enables you to extract fields of data from an Indian PAN card and fetch the parameters recognized from it." last_updated: "2026-11-03T15:19:21.000Z" source: "https://docs.catalyst.zoho.com/en/api/code-reference/zia-services/identity-scanner/pan/" service: "Zia Services" -------------------------------------------------------------------------------- # PAN The `PAN` model is a part of the Document Processing feature of [Identity Scanner](https://docs.catalyst.zoho.com/en/zia-services/help/identity-scanner/introduction/) that enables you to process Indian PAN cards as identity proof documents. > **Note:** * Catalyst does not store any of the files you upload in its systems. The documents you upload are used for one-time processing only. They are not used for ML model training purposes either. Catalyst components are fully compliant with all applicable data protection and privacy laws. * Document Processing is only relevant to Indian users and is **only available in the IN DC**. This feature will not be available to users accessing from the EU, AU, US, JP, SA or CA data centers. Users outside of India from the other DCs can access the [general OCR component](https://docs.catalyst.zoho.com/en/api/code-reference/zia-services/ocr/#OCR) to read and process textual content. ## Process PAN ### Description This API extracts fields of data from a PAN card using an advanced OCR technology, and returns the parameters recognized from the PAN card as a JSON response. You must provide the path to the image file of the front side of the PAN card containing personal details in the API request. You must specify the model type in the API request as `PAN`, to process the PAN card. The `PAN` model can only process text in English by default. ### Request Details #### Request URL `POST` {api-domain}/baas/v1/project/{project_id}/ml/ocr - **api-domain** (URL): The DC-specific domain to access Catalyst API - **project_id** (Numerical): The [unique ID](https://docs.catalyst.zoho.com/en/getting-started/set-up-a-catalyst-project/general-settings/) of the project #### Request Headers **Authorization:** Zoho-oauthtoken {oauth_token} **content-type:** multipart/form-data; boundary=----WebKitFormBoundary7MA4YWxkTrZu0gW **Optional Headers** **CATALYST-ORG:** {org_id} **Environment:** Development #### Scope ZohoCatalyst.mlkit.READ #### Request JSON Properties - **image** (file, mandatory): The image of the front side of the PAN card. You must provide the path to it in your local system. Allowed formats: *.webp, .jpeg, .png* File size limit: 15 MB - **model_type** (string, mandatory): The model type of the image Value to be passed: `PAN` ### Response Details The response will contain the parameters extracted from the PAN card such as their first name, last name, date of birth, and their PAN card number assigned to the respective keys. **Sample Request** ```bash curl -X POST \ https://api.catalyst.zoho.com/baas/v1/project/4000000006007/ml/ocr \ -H "Authorization: Zoho-oauthtoken 1000.910*\*\*\*\*\*\*\*\*\*\*\*\*\*\*\*\*\*\*\*\*\*\*\*\*16.2f*\*\*\*\*\*\*\*\*\*\*\*\*\*\*\*\*\*\*\*\*\*\*\*\*57" \ -H "Content-Type: multipart/form-data; boundary=----WebKitFormBoundary7MA4YWxkTrZu0gW" \ -F image=/Desktop/MyPan.webp \ -F model_type=PAN ``` **Sample Response** ```json { "status": "success", "data": { "first_name": "KIRAN", "last_name": "RAO", "date_of_birth": "03/04/1982", "pan": "ANRPM2537J" } } ``` ### SDK Documentation [Identity Scanner: PAN- Java SDK](https://docs.catalyst.zoho.com/en/sdk/java/v1/zia-services/identity-scanner/pan) [Identity Scanner: PAN- Node.js SDK](https://docs.catalyst.zoho.com/en/sdk/nodejs/v2/zia-services/identity-scanner/pan) [Identity Scanner: PAN- Python SDK](https://docs.catalyst.zoho.com/en/sdk/python/v1/zia-services/identity-scanner/pan) -------------------------------------------------------------------------------- title: "Passbook" description: "This API enables you to extract fields of data from an Indian bank passbook and fetch the parameters recognized from it." last_updated: "2026-11-03T15:19:21.000Z" source: "https://docs.catalyst.zoho.com/en/api/code-reference/zia-services/identity-scanner/passbook/" service: "Zia Services" -------------------------------------------------------------------------------- # Passbook The `PASSBOOK` model is a part of the Document Processing feature of [Identity Scanner](https://docs.catalyst.zoho.com/en/zia-services/help/identity-scanner/introduction/) that enables you to process Indian bank passbooks as financial or identity proof documents. > **Note:** * Catalyst does not store any of the files you upload in its systems. The documents you upload are used for one-time processing only. They are not used for ML model training purposes either. Catalyst components are fully compliant with all applicable data protection and privacy laws. * Document Processing is only relevant to Indian users and is **only available in the IN DC**. This feature will not be available to users accessing from the EU, AU, US, JP, SA or CA data centers. Users outside of India from the other DCs can access the [general OCR component](https://docs.catalyst.zoho.com/en/api/code-reference/zia-services/ocr/#OCR) to read and process textual content. ## Process Passbook ### Description This API extracts fields of data from a passbook using the OCR technology and returns the parameters recognized from the passbook as a JSON response. You must provide the path to the image file of the front page of the bank passbook, and specify the model type as `PASSBOOK` in the API request. You can also optionally input the languages present in the passbook in the API request. The text recognition and extraction process is faster and more accurate if you specify the languages. ### Request Details #### Request URL `POST` {api-domain}/baas/v1/project/{project_id}/ml/ocr - **api-domain** (URL): The DC-specific domain to access Catalyst API - **project_id** (Numerical): The [unique ID](https://docs.catalyst.zoho.com/en/getting-started/set-up-a-catalyst-project/general-settings/) of the project #### Request Headers **Authorization:** Zoho-oauthtoken {oauth_token} **content-type:** multipart/form-data; boundary=----WebKitFormBoundary7MA4YWxkTrZu0gW **Optional Headers** **CATALYST-ORG:** {org_id} **Environment:** Development #### Scope ZohoCatalyst.mlkit.READ #### Request JSON Properties - **image** (file, mandatory): The image of the front page of the passbook. You must provide the path to it in your local system. Allowed formats: *.webp, .jpeg, .png, .bmp, .tiff, .pdf* File size limit: 15 MB - **model_type** (string, mandatory): The model type of the image Value to be passed: `PASSBOOK` - **language** (string, optional): The language code of the languages to be identified. You can pass multiple languages. The `PASSBOOK` model supports the Indian and international languages specified in the tables below. Default value: `eng` #### International Languages Supported by the Passbook Model Type
Language Language Codes
English `eng`
Arabic `ara`
Chinese `chi_sim`
French `fra`
Italian `ita`
Japanese `jpn`
Portuguese `por`
Romanian `ron`
Spanish `spa`
#### Indian Languages Supported by the Passbook Model Type
Language Language Codes
Hindi `hin`
Bengali `ben`
Marathi `mar`
Telugu `tel`
Tamil `tam`
Gujarati `guj`
Urdu `urd`
Kannada `kan`
Malayalam `mal`
Sanskrit `san`
### Response Details The response contains the bank details and account details recognized from the passbook such as the bank name, branch, address, account number. The extracted fields of information are assigned to their respective keys. The response also shows if RTGS, NEFT, and IMPS have been enabled for that account by returning `true` or `false` for those keys. > **Note:** Identity Scanner will return the response only in English, irrespective of the languages present in the passbook. **Sample Request** ```bash curl -X POST \ https://api.catalyst.zoho.com/baas/v1/project/4000000006007/ml/ocr \ -H "Authorization: Zoho-oauthtoken 1000.910*\*\*\*\*\*\*\*\*\*\*\*\*\*\*\*\*\*\*\*\*\*\*\*\*16.2f*\*\*\*\*\*\*\*\*\*\*\*\*\*\*\*\*\*\*\*\*\*\*\*\*57" \ -H "Content-Type: multipart/form-data; boundary=----WebKitFormBoundary7MA4YWxkTrZu0gW" \ -F image=/Desktop/MyPassbook.pdf \ -F model_type=PASSBOOK \ -F "language=eng" ``` **Sample Response** ```json { "status":"success", "data":{ "text": "{\"address\":\"NO.20 ,SUNSHINE LANE,ANNA NAGAR,CHENNAI\",\"city\":\"CHENNAI\",\"centre\":\"CHENNAI\",\"bankName\":\"ABC BANK LIMITED\",\"accountNumber\":\"000000001111222\",\"branch\":\"ANNA NAGAR\",\"dateOfOpening\":\"30/08/2012\",\"imps\":\"true\",\"neft\":\"true\",\"district\":\"CHENNAI\",\"contact\":\"2891289\",\"micr\":\"0101010\",\"name\":\" 999919\",\"state\":\"TAMIL NADU\",\"rtgs\":\"true\",\"ifsc\":\"ABCB0000111\"}" } } ``` ### SDK Documentation [Identity Scanner: Passbook- Java SDK](https://docs.catalyst.zoho.com/en/sdk/java/v1/zia-services/identity-scanner/passbook) [Identity Scanner: Passbook- Node.js SDK](https://docs.catalyst.zoho.com/en/sdk/nodejs/v2/zia-services/identity-scanner/passbook) [Identity Scanner: Passbook- Python SDK](https://docs.catalyst.zoho.com/en/sdk/python/v1/zia-services/identity-scanner/passbook) -------------------------------------------------------------------------------- title: "Cheque" description: "This API enables you to extract fields of data from Indian cheque leaves and fetch the parameters recognized from it." last_updated: "2026-11-03T15:19:21.000Z" source: "https://docs.catalyst.zoho.com/en/api/code-reference/zia-services/identity-scanner/cheque/" service: "Zia Services" -------------------------------------------------------------------------------- # Cheque The `CHEQUE` model is a part of the Document Processing feature of [Identity Scanner](https://docs.catalyst.zoho.com/en/zia-services/help/identity-scanner/introduction/) that enables you to process Indian bank cheque leaves as identity proof documents. > **Note:** * Catalyst does not store any of the files you upload in its systems. The documents you upload are used for one-time processing only. They are not used for ML model training purposes either. Catalyst components are fully compliant with all applicable data protection and privacy laws. * Document Processing is only relevant to Indian users and is **only available in the IN DC**. This feature will not be available to users accessing from the EU, AU, US, JP, SA or CA data centers. Users outside of India from the other DCs can access the [general OCR component](https://docs.catalyst.zoho.com/en/api/code-reference/zia-services/ocr/#OCR) to read and process textual content. ## Process Cheque ### Description This API extracts fields of data from a cheque using an advanced OCR technology, and returns the parameters recognized from the cheque as a JSON response. You must provide the path to the image file of a cheque leaf in the API request, and specify the model type as `CHEQUE` in the API request. The `CHEQUE` model can only process text in English by default. No other languages are supported. > **Note:** Zia only processes cheques of the CTS-2010 format. ### Request Details #### Request URL `POST` {api-domain}/baas/v1/project/{project_id}/ml/ocr - **api-domain** (URL): The DC-specific domain to access Catalyst API - **project_id** (Numerical): The [unique ID](https://docs.catalyst.zoho.com/en/getting-started/set-up-a-catalyst-project/general-settings/) of the project #### Request Headers **Authorization:** Zoho-oauthtoken {oauth_token} **content-type:** multipart/form-data; boundary=----WebKitFormBoundary7MA4YWxkTrZu0gW **Optional Headers** **CATALYST-ORG:** {org_id} **Environment:** Development #### Scope ZohoCatalyst.mlkit.READ #### Request JSON Properties - **image** (file, mandatory): The image of a bank cheque leaf. You must provide the path to it in your local system. Allowed formats: *.webp, .jpeg, .png* File size limit: 15 MB - **model_type** (string, mandatory): The model type of the image Value to be passed: `CHEQUE` ### Response Details The response will contain the parameters extracted from the cheque, such as the amount, bank name, branch name, account number, IFSC code, assigned to the respective keys. **Sample Request** ```bash curl -X POST \ https://api.catalyst.zoho.com/baas/v1/project/4000000006007/ml/ocr \ -H "Authorization: Zoho-oauthtoken 1000.910*\*\*\*\*\*\*\*\*\*\*\*\*\*\*\*\*\*\*\*\*\*\*\*\*16.2f*\*\*\*\*\*\*\*\*\*\*\*\*\*\*\*\*\*\*\*\*\*\*\*\*57" \ -H "Content-Type: multipart/form-data; boundary=----WebKitFormBoundary7MA4YWxkTrZu0gW" \ -F image=/Desktop/MyCheque.webp \ -F model_type=CHEQUE \ ``` **Sample Response** ```json { "status": "success", "data": { "amount": "50000", "branch_name": "ANNA NAGAR WEST", "bank_name": "STATE BANK OF INDIA", "account_number": "00001234556001", "ifsc": "SBIN0011724", "date": "25/09/2012" } } ``` ### SDK Documentation [Identity Scanner: Cheque- Java SDK](https://docs.catalyst.zoho.com/en/sdk/java/v1/zia-services/identity-scanner/cheque) [Identity Scanner: Cheque- Node.js SDK](https://docs.catalyst.zoho.com/en/sdk/nodejs/v2/zia-services/identity-scanner/cheque) [Identity Scanner: Cheque- Python SDK](https://docs.catalyst.zoho.com/en/sdk/python/v1/zia-services/identity-scanner/cheque) ### Text Analytics -------------------------------------------------------------------------------- title: "All Text Analytics" description: "This API enables you to perform Sentiment Analysis, Named Entity Recognition, and Keyword Extraction on a block of text." last_updated: "2026-11-03T15:19:21.000Z" source: "https://docs.catalyst.zoho.com/en/api/code-reference/zia-services/text-analytics/all-text-analytics/" service: "Zia Services" -------------------------------------------------------------------------------- # Text Analytics [Text Analytics](https://docs.catalyst.zoho.com/en/zia-services/help/text-analytics/introduction/) as a whole includes a combination of the following three features: [Sentiment Analysis](https://docs.catalyst.zoho.com/en/api/code-reference/zia-services/text-analytics/sentiment-analysis/#SentimentAnalysis), [Named Entity Recognition](https://docs.catalyst.zoho.com/en/api/code-reference/zia-services/text-analytics/named-entity-recognition/#NamedEntityRecognition), and [Keyword Extraction](https://docs.catalyst.zoho.com/en/api/code-reference/zia-services/text-analytics/keyword-extraction/#KeywordExtraction). You can perform all three actions on a specific block of text, and obtain the tone of the text, the categorizations of the entities recognized from it, and key words and phrases that provide a gist of the text. ## Execute All Text Analytics ### Description You can use this API to perform Sentiment Analysis, Named Entity Recognition, and Keyword Extraction on a block of text of upto 1500 characters. You can pass the text in the JSON body of the request, as shown in the sample request. You can also pass optional keywords to perform Sentiment Analysis on the sentences containing only those keywords. > **Note:** Refer to the respective API pages of these features for detailed information about each of them. ### Request Details #### Request URL `POST` {api-domain}/baas/v1/project/{project_id}/ml/text-analytics - **api-domain** (URL): The DC-specific domain to access Catalyst API - **project_id** (Numerical): The [unique ID](https://docs.catalyst.zoho.com/en/getting-started/set-up-a-catalyst-project/general-settings/) of the project #### Request Headers **Authorization:** Zoho-oauthtoken {oauth_token} **content-type:** application/json **Optional Headers** **CATALYST-ORG:** {org_id} **Environment:** Development #### Scope ZohoCatalyst.mlkit.READ #### Request JSON Properties - **document** (string array, mandatory): The text to be processed for Sentiment Analysis, Named Entity Recognition, and Keyword Extraction - **keywords** (string array, optional): To perform Sentiment Analysis only on the sentences containing these keywords ### Response Details The response contains the results of each of the text analytics feature. Refer to the response details section of each feature individually for detailed information. **Sample Request** ```bash curl -X POST \ https://api.catalyst.zoho.com/baas/v1/project/4000000006007/ml/text-analytics \ -H "Authorization: Zoho-oauthtoken 1000.910*\*\*\*\*\*\*\*\*\*\*\*\*\*\*\*\*\*\*\*\*\*\*\*\*16.2f*\*\*\*\*\*\*\*\*\*\*\*\*\*\*\*\*\*\*\*\*\*\*\*\*57" \ -H "Content-Type: application/json" \ -d '{ "document":"[Zoho Corporation is an Indian software development company. The focus of Zoho Corporation lies in web-based business tools and information technology.]" }' ``` **Sample Response** ```json { "status":"success", "data":[ { "keyword_extractor":{ "keywords":[ "focus" ], "keyphrases":[ "Indian software development company", "Zoho Corporation", "web - based business tools", "information technology" ] }, "sentiment_prediction":[ { "document_sentiment":"Neutral", "sentence_analytics":[ { "sentence":"Zoho Corporation is an Indian software development company.", "sentiment":"Neutral", "confidence_scores":{ "negative":0.0, "neutral":1.0, "positive":0.0 } }, { "sentence":"The focus of Zoho Corporation lies in web-based business tools and information technology.", "sentiment":"Neutral", "confidence_scores":{ "negative":0.0, "neutral":1.0, "positive":0.0 } } ], "overall_score":1.0 } ], "ner":{ "general_entities":[ { "start_index":0, "confidence_score":99, "end_index":16, "ner_tag":"Organization", "token":"Zoho Corporation" }, { "start_index":23, "confidence_score":99, "end_index":29, "ner_tag":"Miscellaneous", "token":"Indian" }, { "start_index":73, "confidence_score":99, "end_index":89, "ner_tag":"Organization", "token":"Zoho Corporation" } ] } } ] } ``` ### SDK Documentation [Text Analytics: All Text Analytics- Java SDK](https://docs.catalyst.zoho.com/en/sdk/java/v1/zia-services/text-analytics/all-text-analytics) [Text Analytics: All Text Analytics- Node.js SDK](https://docs.catalyst.zoho.com/en/sdk/nodejs/v2/zia-services/text-analytics/all-text-analytics) [Text Analytics: All Text Analytics- Python SDK](https://docs.catalyst.zoho.com/en/sdk/python/v1/zia-services/text-analytics/all-text-analytics) -------------------------------------------------------------------------------- title: "Sentiment Analysis" description: "This API enables you to perform Sentiment Analysis on a block of text, and recognize the tone of the message and the sentiments in the text." last_updated: "2026-08-17T12:16:04.000Z" source: "https://docs.catalyst.zoho.com/en/api/code-reference/zia-services/text-analytics/sentiment-analysis/" service: "Zia Services" -------------------------------------------------------------------------------- # Sentiment Analysis [Zia Sentiment Analysis](https://docs.catalyst.zoho.com/en/zia-services/help/text-analytics/introduction/) is a part of Text Analytics that processes textual content to recognize the tone of the message, and the sentiments conveyed through it. It analyses each sentence in the text to determine if its tone is Positive, Negative, or Neutral. It then determines the tone of the overall text as one of the these three sentiments, based on the sentiments recognized in each sentence. The response also returns the confidence scores for each sentence and the overall text, to showcase the accuracy of the analysis. # Execute Sentiment Analysis ### Description You can use this API to perform Sentiment Analysis on a block of text of upto 1500 characters in a single request. You must pass the text in the JSON body of the request, as shown in the sample request. You can also pass optional keywords for the text. This will enable Sentiment Analysis to process only those sentences that contain these keywords, and determine their sentiments. Other sentences will be ignored. ### Request Details #### Request URL `POST` {api-domain}/baas/v1/project/{project_id}/ml/text-analytics/sentiment-analysis - **api-domain** (URL): The DC-specific domain to access Catalyst API - **project_id** (Numerical): The [unique ID](https://docs.catalyst.zoho.com/en/getting-started/set-up-a-catalyst-project/general-settings/) of the project #### Request Headers **Authorization:** Zoho-oauthtoken {oauth_token} **content-type:** application/json **Optional Headers** **CATALYST-ORG:** {org_id} **Environment:** Development #### Scope ZohoCatalyst.mlkit.READ #### Request JSON Properties - **document** (string array, mandatory): The text to be processed for Sentiment Analysis - **keywords** (string array, optional): To perform Sentiment Analysis only on the sentences containing these keywords ### Response Details The response contains the result of individual sentence analysis and the overall text analysis as `Positive`, `Negative`, or `Neutral`, along with the overall confidence score of each analysis. The confidence score lies in the range of 0 to 1. **Sample Request** ```bash curl -X POST \ https://api.catalyst.zoho.com/baas/v1/project/4000000006007/ml/text-analytics/sentiment-analysis -H "Authorization: Zoho-oauthtoken 1000.910*\*\*\*\*\*\*\*\*\*\*\*\*\*\*\*\*\*\*\*\*\*\*\*\*16.2f*\*\*\*\*\*\*\*\*\*\*\*\*\*\*\*\*\*\*\*\*\*\*\*\*57" \ -H "Content-Type: application/json" \ -d '{"document":"[I love the design of the new model.]", "keywords":"[design]" }' ``` **Sample Response** ```json { "status":"success", "data":[ { "sentiment_prediction":[ { "document_sentiment":"Positive", "sentence_analytics":[ { "sentence":"I love the design of the new model", "sentiment":"Positive", "confidence_scores":{ "negative":0.0, "neutral":0.0, "positive":1.0 } } ], "keyword":"design", "overall_score":1.0 } ] } ] } ``` ### SDK Documentation [Text Analytics: Sentiment Analysis- Java SDK](https://docs.catalyst.zoho.com/en/sdk/java/v1/zia-services/text-analytics/sentiment-analysis) [Text Analytics: Sentiment Analysis- Node.js SDK](https://docs.catalyst.zoho.com/en/sdk/nodejs/v2/zia-services/text-analytics/sentiment-analysis) [Text Analytics: Sentiment Analysis- Python SDK](https://docs.catalyst.zoho.com/en/sdk/python/v1/zia-services/text-analytics/sentiment-analysis) -------------------------------------------------------------------------------- title: "Named Entity Recognition" description: "This API enables you to perform Named Entity Recognition on a block of text to extract key words from it and group them into various categories" last_updated: "2026-08-28T06:26:16.000Z" source: "https://docs.catalyst.zoho.com/en/api/code-reference/zia-services/text-analytics/named-entity-recognition/" service: "Zia Services" -------------------------------------------------------------------------------- # Named Entity Recognition [Zia Named Entity Recognition](https://docs.catalyst.zoho.com/en/zia-services/help/text-analytics/introduction/) is a part of Text Analytics that processes textual content to extract key words and group them into various categories. For example, it can determine a word in a text to be the name of an organization, the name of a person, or a date, and add it to the appropriate category accordingly. Refer [here](https://docs.catalyst.zoho.com/en/zia-services/help/text-analytics/key-concepts/#named-entity-recognition) for a list of all categories recognized by NER. The response will return the details of all recognized entities, and a tag indicating the category they belong to. It will also contain the confidence score of each recognition to showcase its accuracy, and the locations of the entity in the text. # Execute Named Entity Recognition ### Description You can use this API to perform named entity recognition on a block of text of upto 1500 characters in a single request. You can pass the text in the JSON body of the request, as shown in the sample request. ### Request Details #### Request URL `POST` {api-domain}/baas/v1/project/{project_id}/ml/text-analytics/ner - **api-domain** (URL): The DC-specific domain to access Catalyst API - **project_id** (Numerical): The [unique ID](https://docs.catalyst.zoho.com/en/getting-started/set-up-a-catalyst-project/general-settings/) of the project #### Request Headers **Authorization:** Zoho-oauthtoken {oauth_token} **content-type:** application/json **Optional Headers** **CATALYST-ORG:** {org_id} **Environment:** Development #### Scope ZohoCatalyst.mlkit.READ #### Request JSON Properties - **document** (string array, mandatory): The text to be processed for Named Entity Recognition ### Response Details The response returns an array of all the entities recognized in the text. The details of each entity recognition contains the tag of the entity's categorization, such as `ORG` or`MISC` to indicate the name of an organization or a miscellaneous value respectively. The response also returns the location of each entity in the text through `start_index` and `end_index`, that indicate the start and end indices of the entity. The confidence score determined for each entity classification is represented in percentage values. **Sample Request** ```bash curl -X POST \ https://api.catalyst.zoho.com/baas/v1/project/4000000006007/ml/text-analytics/ner \ -H "Authorization: Zoho-oauthtoken 1000.910*\*\*\*\*\*\*\*\*\*\*\*\*\*\*\*\*\*\*\*\*\*\*\*\*16.2f*\*\*\*\*\*\*\*\*\*\*\*\*\*\*\*\*\*\*\*\*\*\*\*\*57" \ -H "Content-Type: application/json" \ -d '{ "document":"[The biggest reason for me to love and remember this trek is the beautiful valley itself. Right from the entry, you can see a bed of pink alpine orchids, blue Himalayan poppies, yellow marigolds, and a whole variety of flowers spread out around you. The weather was also very pleasant that day, about 24 degree celsius, which made the experience all the more amazing.]" }' ``` **Sample Response** ```json { "status": "success", "data": [ { "ner": { "general_entities": [ { "start_index": 21, "confidence_score": 100, "end_index": 25, "ner_tag": "Color", "token": "pink" } ] } }, { "ner": { "general_entities": [ { "start_index": 94, "confidence_score": 56, "end_index": 97, "ner_tag": "Duration", "token": "day" } ] } }, { "ner": { "general_entities": [] } }, { "ner": { "general_entities": [] } }, { "ner": { "general_entities": [ { "start_index": 0, "confidence_score": 100, "end_index": 6, "ner_tag": "Color", "token": "yellow" } ] } }, { "ner": { "general_entities": [ { "start_index": 6, "confidence_score": 100, "end_index": 15, "ner_tag": "Temperature", "token": "24 degree", "fine_entities": [ { "start_index": 9, "end_index": 15, "ner_tag": "Fahrenhiet", "token": "degree" }, { "start_index": 6, "end_index": 8, "ner_tag": "Value", "token": "24" } ] }, { "start_index": 16, "confidence_score": 100, "end_index": 23, "ner_tag": "Unit_temperature", "token": "celsius" } ] } }, { "ner": { "general_entities": [ { "start_index": 5, "confidence_score": 61, "end_index": 14, "ner_tag": "Miscellaneous", "token": "Himalayan" }, { "start_index": 0, "confidence_score": 100, "end_index": 4, "ner_tag": "Color", "token": "blue" } ] } } ] } ``` ### SDK Documentation [Text Analytics: Named Entity Recognition- Java SDK](https://docs.catalyst.zoho.com/en/sdk/java/v1/zia-services/text-analytics/named-entity-recognition) [Text Analytics: Named Entity Recognition- Node.js SDK](https://docs.catalyst.zoho.com/en/sdk/nodejs/v2/zia-services/text-analytics/named-entity-recognition) [Text Analytics: Named Entity Recognition- Python SDK](https://docs.catalyst.zoho.com/en/sdk/python/v1/zia-services/text-analytics/named-entity-recognition) -------------------------------------------------------------------------------- title: "Keyword Extraction" description: "This API enables you to perform Keyword Extraction on a block of text to extract the highlights in it, in the form of keywords and keyphrases." last_updated: "2026-08-17T12:16:04.000Z" source: "https://docs.catalyst.zoho.com/en/api/code-reference/zia-services/text-analytics/keyword-extraction/" service: "Zia Services" -------------------------------------------------------------------------------- # Keyword Extraction [Zia Keyword Extraction](https://docs.catalyst.zoho.com/en/zia-services/help/text-analytics/introduction/) is a part of Text Analytics that processes textual content and extracts the highlights of the text. The extracted terms are grouped into two categories: **Keywords** and **Keyphrases**. These highlights deliver a concise summary of the text and provide an abstraction of the whole text. Keyword Extraction is a highly useful feature if you want to skim through long textual content and just obtain the essential information and action items from it. You will be able to identify the subject matter and the gist of the text easily from the response, and save valuable time. # Execute Keyword Extraction ### Description You can use this API to perform Keyword Extraction on a block of text of upto 1500 characters in a single request. You can pass the text in the JSON body of the request, as shown in the sample request. ### Request Details #### Request URL `POST` {api-domain}/baas/v1/project/{project_id}/ml/text-analytics/keyword-extraction - **api-domain** (URL): The DC-specific domain to access Catalyst API - **project_id** (Numerical): The [unique ID](https://docs.catalyst.zoho.com/en/getting-started/set-up-a-catalyst-project/general-settings/) of the project #### Request Headers **Authorization:** Zoho-oauthtoken {oauth_token} **content-type:** application/json **Optional Headers** **CATALYST-ORG:** {org_id} **Environment:** Development #### Scope ZohoCatalyst.mlkit.READ #### Request JSON Properties - **document** (string array, mandatory): The text to be processed for Keyword Extraction ### Response Details The response contains an array of the key words, and another array of the key phrases that are extracted from the text. **Sample Request** ```bash curl -X POST \ https://api.catalyst.zoho.com/baas/v1/project/4000000006007/ml/text-analytics/keyword-extraction \ -H "Authorization: Zoho-oauthtoken 1000.910*\*\*\*\*\*\*\*\*\*\*\*\*\*\*\*\*\*\*\*\*\*\*\*\*16.2f*\*\*\*\*\*\*\*\*\*\*\*\*\*\*\*\*\*\*\*\*\*\*\*\*57" \ -H "Content-Type: application/json" \ -d '{ "document": "[Catalyst is a full-stack cloud-based serverless development tool, that provides backend functionalities to build applications and microservices on various platforms.]" }' ``` **Sample Response** ```json { "status": "success", "data": [ { "keyword_extractor": { "keywords": [ "microservices", "applications" ], "keyphrases": [ "backend functionalities", "various platforms" ] } }, { "keyword_extractor": { "keywords": [ "Catalyst" ], "keyphrases": [ "cloud-based serverless development tool" ] } } ] } ``` ### SDK Documentation [Text Analytics: Keyword Extraction- Java SDK](https://docs.catalyst.zoho.com/en/sdk/java/v1/zia-services/text-analytics/keyword-extraction) [Text Analytics: Keyword Extraction- Node.js SDK](https://docs.catalyst.zoho.com/en/sdk/nodejs/v2/zia-services/text-analytics/keyword-extraction) [Text Analytics: Keyword Extraction- Python SDK](https://docs.catalyst.zoho.com/en/sdk/python/v1/zia-services/text-analytics/keyword-extraction) ## SDK — Java — Zia Services -------------------------------------------------------------------------------- title: "OCR" description: "This page describes the method to use the Optical Character Recognition feature to detect textual characters in your Java application with sample code snippets" last_updated: "2025-11-19T15:07:41.000Z" source: "https://docs.catalyst.zoho.com/en/sdk/java/v1/zia-services/ocr/" service: "Zia Services" related: - OCR - API (/en/api/code-reference/zia-services/ocr/#OCR) -------------------------------------------------------------------------------- # Optical Character Recognition [Zia Optical Character Recognition](https://docs.catalyst.zoho.com/en/zia-services/help/optical-character-recognition/introduction) electronically detects textual characters in images or digital documents, and converts them into machine-encoded text. Zia OCR can recognize text in 9 international languages and 10 Indian languages. You can [check the list of languages and language codes from the API documentation](https://docs.catalyst.zoho.com/en/api/code-reference/zia-services/ocr/#OCR) > **Note:** Catalyst does not store any of the files you upload in its systems. The files you upload are used for one-time processing only. They are not used for ML model training purposes either. Catalyst components are fully compliant with all applicable data protection and privacy laws. You must specify the path to the image or document file that needs to be processed for OCR, as shown in the code below. You can also format the response you receive as shown in the sample code. The response will also include a confidence score, which defines the accuracy of the processing, in addition to the recognized text. **Allowed file formats:** ._jpg,_ ._jpeg_, ._png_, ._tiff_, ._bmp_, ._pdf_ **File size limit:** 20 MB You must specify the model type as `OCR` in `setModelType()`, and the language codes using `setLanguageCode`. These values are optional for the `OCR` model type. By default, it is processed as the `OCR` model type, and the languages are automatically detected if they are not specified. #### Sample Code Snippet **Package Imports** ```java import com.zc.component.ml.ZCContent; import com.zc.component.ml.ZCLine; import com.zc.component.ml.ZCML; import com.zc.component.ml.ZCOCRModelType; import com.zc.component.ml.ZCOCROptions; import com.zc.component.ml.ZCParagraph; import java.io.File; ``` ```java File file = new File("/Users/amelia-421/Desktop/MyImage.webp"); //Specify the file path ZCOCROptions options = ZCOCROptions.getInstance().setModelType(ZCOCRModelType.OCR).setLanguageCode("eng,tam"); //Set the model type and languages ZCContent ocrContent = ZCML.getInstance().getContent(file, options); //Call getContent() with the file object to get the detected text in ZCContent object //To get individual paragraphs List paragraphs = ocrContent.getParagraphs(); for(ZCParagraph paragraph : paragraphs) { //To get individual lines in the paragraph List paraLines = paragraph.lines; for(ZCLine line : paraLines) { //To get individual words in the line String words = line.words; String text = line.text; //Raw line text } String text = paragraph.text; //Returns the raw paragraph text } String text = ocrContent.text; //Returns the raw image text ``` -------------------------------------------------------------------------------- title: "Face-Analytics" description: "This page describes the method to use the Face Analytics feature to detect faces with specified criteria in your Java application with sample code snippets" last_updated: "2026-06-09T07:46:16.000Z" source: "https://docs.catalyst.zoho.com/en/sdk/java/v1/zia-services/face-analytics/" service: "Zia Services" related: - Face Analytics - API (/en/api/code-reference/zia-services/face-analytics/#FaceAnalytics) -------------------------------------------------------------------------------- # Face Analytics Zia Face Analytics performs facial detection in images, and analyzes the facial features to provide information such as the gender, age, and emotion of the detected faces. You can learn more from the [Face Analytics help page](https://docs.catalyst.zoho.com/en/zia-services/help/face-analytics/introduction). You must provide ._jpg_/._jpeg_ or ._png_ files as the input. Refer to the [API documentation](https://docs.catalyst.zoho.com/en/api/code-reference/zia-services/face-analytics/#FaceAnalytics) for the request and response formats. You can enable or disable the age, smile, or gender detection by setting the attributes as `true` or `false`. You can also specify the mode as `BASIC`, `MODERATE`, or `ADVANCED`. These values are optional. All attributes are detected and the `ADVANCED` mode is processed by default. The response returns the prediction of the enabled attributes, the coordinates and landmarks of facial features of each face, and the confidence score of each analysis. #### Sample Code Snippet **Package Imports** ```java import com.zc.component.ml.ZCAge; import com.zc.component.ml.ZCAnalyseMode; import com.zc.component.ml.ZCFaceAnalysisData; import com.zc.component.ml.ZCFaceAnalyticsOptions; import com.zc.component.ml.ZCFaceEmotion; import com.zc.component.ml.ZCFaceLandmark; import com.zc.component.ml.ZCFacePoints; import com.zc.component.ml.ZCFaces; import com.zc.component.ml.ZCGender; import com.zc.component.ml.ZCML; import java.io.File; ``` ```java File file = new File("{filePath}"); //Specify the file path //Set each attribute detection as required or not required, and the mode of detection ZCFaceAnalyticsOptions options = ZCFaceAnalyticsOptions.getInstance().setAgeNeeded(false) .setEmotionNeeded(true).setGenderNeeded(true).setAnalyseMode(ZCAnalyseMode.ADVANCED); ZCFaceAnalysisData faceData = ZCML.getInstance().analyzeFace(file, options); //Call analyzeFace() with the file and options Long facesCount = faceData.getFacesCount(); //To obtain the count of faces in the image List faces = faceData.getFacesList(); for(ZCFaces face : faces) { //Executed for each detected face Double faceConfidence = face.getConfidence(); //To obtain the confidence score of each analysis ZCAge age = face.getAge(); //To get the age of the face ZCGender gender = face.getGender(); //To get the gender of the face ZCFaceEmotion emotion = face.getEmotion(); //To get smile information ZCFacePoints facePoints = face.getCoordinates(); //To get the coordinates of the face List faceLandmarks = face.getFaceLandmarks(); //To get the landmarks of the facial features } ``` -------------------------------------------------------------------------------- title: "Image-Moderation" description: "This page describes the method to use the Image Moderation feature to detect vulnerability in images within your Java application with sample code snippets" last_updated: "2026-06-09T07:46:16.000Z" source: "https://docs.catalyst.zoho.com/en/sdk/java/v1/zia-services/image-moderation/" service: "Zia Services" related: - Image-Moderation - API (/en/api/code-reference/zia-services/image-moderation/#ImageModeration) -------------------------------------------------------------------------------- # Image Moderation Image Moderation detects and recognizes inappropriate and unsafe content in images. The criteria include suggestive or explicit racy content, nudity, violence, gore, bloodshed, and the presence of weapons and drugs. You can learn more from the [Image Moderation help page](https://docs.catalyst.zoho.com/en/zia-services/help/image-moderation/introduction). You can provide a ._jpg_/._jpeg_ or ._png_ file as the input. Refer to the [API documentation](https://docs.catalyst.zoho.com/en/api/code-reference/zia-services/image-moderation/#ImageModeration) for the request and response formats. You can set the moderation mode as `BASIC`, `MODERATE`, or `ADVANCED` optionally. The image is processed in the `ADVANCED` mode by default. The response returns the probability of each criteria with their confidence scores, and the prediction of the image being `safe\_to\_use` or `unsafe\_to\_use`. #### Sample Code Snippet **Package Imports** ```java import com.zc.component.ml.ZCAnalyseMode; import com.zc.component.ml.ZCImageModerateData; import com.zc.component.ml.ZCImageModerationConfidence; import com.zc.component.ml.ZCImageModerationOptions; import com.zc.component.ml.ZCImageModerationPrediction; import com.zc.component.ml.ZCML; import java.io.File; ``` ```java File file = new File("{filePath}"); //Specify the file path ZCImageModerationOptions options = ZCImageModerationOptions.getInstance().setAnalyseMode(ZCAnalyseMode.ADVANCED); //Set the moderation mode ZCImageModerateData imData = ZCML.getInstance().moderateImage(file, options); //Call moderateImage() with the input file and options ZCImageModerationPrediction prediction = imData.getPrediction(); //To get the final prediction Double predictionConfidence = imData.getConfidence(); //To get the confidence score of the final prediction List confidences = imData.getImageModerationConfidenceList(); //To get the confidence scores of each criteria predicted ``` -------------------------------------------------------------------------------- title: "Object-Recognition" description: "This page describes the method to use the Object Recognition feature to locate objects in your Java application with sample code snippets" last_updated: "2026-06-09T07:46:16.000Z" source: "https://docs.catalyst.zoho.com/en/sdk/java/v1/zia-services/object-recognition/" service: "Zia Services" related: - Image-Moderation - API (/en/api/code-reference/zia-services/image-moderation/#ImageModeration) -------------------------------------------------------------------------------- # Object Recognition Object Recognition detects, locates, and recognizes individual objects in an image file. Zia Object Recognition can identify 80 different kinds of objects from images. You can learn more from the [Object Recognition help page](https://docs.catalyst.zoho.com/en/zia-services/help/object-recognition/introduction). You can provide a ._jpg_/._jpeg_ or ._png_ file as the input. Refer to the [API documentation](https://docs.catalyst.zoho.com/en/api/code-reference/zia-services/object-recognition/#ObjectRecognition) for the request and response formats. The `detectObject()` method is used detect and identify the objects in the image. It returns the coordinates of each object, their type, and the confidence score of each recognition. #### Sample Code Snippet **Package Imports** ```java import com.zc.component.ml.ZCML; import com.zc.component.ml.ZCObjectDetectionData; import com.zc.component.ml.ZCObjectPoints; import java.io.File; ``` ```java File file = new File("{filePath}"); //Specify the file location List objects = ZCML.getInstance().detectObjects(file); //To detect the objects in the image for(ZCObjectDetectionData object : objects) { String objectType = object.getObjectType(); //To get the object type Double objConfidence = object.getConfidence(); //To get the confidence score of the recognition ZCObjectPoints objCoordinates = object.getObjectPoints(); //To get the coordinates of the object in the image } ``` -------------------------------------------------------------------------------- title: "Barcode Scanner" description: "This page describes the method to use the Barcode Scanner feature to scan certain data formats in your Java application with sample code snippets" last_updated: "2026-06-09T07:46:16.000Z" source: "https://docs.catalyst.zoho.com/en/sdk/java/v1/zia-services/barcode-scanner/" service: "Zia Services" related: - Barcode Scanner - API (/en/api/code-reference/zia-services/barcode-scanner/#BarcodeScanner) -------------------------------------------------------------------------------- # Barcode Scanner Zia Barcode Scanner enables you to scan the most commonly used linear and 2D barcode formats and decode the encoded data. Barcode Scanner can detect formats like Codabar, EAN-13, ITF, UPC-A, QR Code, and more. You can learn more from the [Barcode Scanner help page](https://docs.catalyst.zoho.com/en/zia-services/help/barcode-scanner/introduction). You can provide an input file of the format ._jpg_/._jpeg_ or ._png_. Refer to the [API documentation](https://docs.catalyst.zoho.com/en/api/code-reference/zia-services/barcode-scanner/#BarcodeScanner) for the request and response formats. You can specify the barcode format using `setFormat`. If you enter the format as `ALL`, Barcode Scanner automatically detects the format. It provides the decoded information as the response. #### Sample Code Snippet **Package Imports** ```java import com.zc.component.ml.ZCBarcodeData; import com.zc.component.ml.ZCBarcodeFormat; import com.zc.component.ml.ZCBarcodeOptions; import com.zc.component.ml.ZCML; import java.io.File; ``` ```java File file = new File("{filePath}"); //Specify the file path ZCBarcodeOptions options = ZCBarcodeOptions.getInstance().setFormat(ZCBarcodeFormat.ALL); //Specify the format ZCBarcodeData barcodeResult =ZCML.getInstance().scanBarcode(file, options); //Call scanBarcode() with the input file and options String content = barcodeResult.getContent(); //getContent() obtains the decoded content ``` ### Identity Scanner -------------------------------------------------------------------------------- title: "Facial Comparison" description: "This page describes the method to use facial comparison feature in your Java application with sample code snippets." last_updated: "2025-11-19T15:07:41.000Z" source: "https://docs.catalyst.zoho.com/en/sdk/java/v1/zia-services/identity-scanner/facial-comparison/" service: "Zia Services" related: - Facial Comparison - API (/en/api/code-reference/zia-services/identity-scanner/facial-comparison/#FacialComparison) -------------------------------------------------------------------------------- # Identity Scanner [Identity Scanner](https://docs.catalyst.zoho.com/en/zia-services/help/identity-scanner/introduction) is a Zia AI-driven component that enables you to perform secure identity checks on individuals and documents by scanning and processing various ID proofs or official documents. It is a comprehensive suite that incorporates multiple functionalities divided into two major categories- E-KYC and Document Processing. > **Note:** Catalyst does not store any of the files you upload in its systems. The documents you upload are used for one-time processing only. They are not used for ML model training purposes either. Catalyst components are fully compliant with all applicable data protection and privacy laws. ## Facial Comparison Facial Comparison, also known as E-KYC, is a part of Identity Scanner that Compares two faces in two different images to determine if they are the same individual. This will enable you to verify an individual's identity from their ID proof by comparing it with an existing photo of theirs. For example, you can verify the authenticity of a photo ID, such as an individual's Aadhaar card, by comparing it with their current photograph. > **Note:** While the Document Processing feature of Identity Scanner is only relevant to Indian users, the Facial Comparison API and SDK tools are available to a global audience. However, accessing and testing Facial Comparison or E-KYC from the Catalyst console is restricted to the users from IN DC alone. You can perform a face comparison between a source image and a query image, by specifying the path to both the image files, as shown in the sample code. The `compareFace()` method processes both these images. > **Note:** You can mark either the ID proof image or the individual's photograph as the source or the query image. This will not affect the results. **Allowed file formats:** _.webp_, _.jpeg_, _.png_ **File size limit:** 10 MB The result of the comparison is set to **`true` if the faces match, or `false`** if they don't match. The result also contains a confidence score between the range of 0 to 1, that determines the accuracy of the processing. Only if the comparison yields a confidence score of above 50% i.e., 0.5, the result will be set to `true`. #### Sample Code Snippet **Package Imports** ```java import com.catalyst.advanced.CatalystAdvancedIOHandler; import com.zc.component.ml.ZCFaceComparisonData; import com.zc.component.ml.ZCML; import java.io.File; ``` ```java File sourceImage= new File("/Users/amelia-421/Desktop/source.webp"); //Specify the file path File queryImage= new File("/Users/amelia-421/Desktop/query.webp"); //Specify the file path ZCFaceComparisonData data = ZCML.getInstance().compareFace(sourceImage,queryImage ); Double confidence = data.getConfidence(); //Fetches the confidence score boolean matched= data.getMatched(); //Fetches the result as a boolean value ``` -------------------------------------------------------------------------------- title: "Aadhaar" description: "This page describes the method to use the AADHAAR document processing feature in your Java application with sample code snippets." last_updated: "2025-11-19T15:07:41.000Z" source: "https://docs.catalyst.zoho.com/en/sdk/java/v1/zia-services/identity-scanner/aadhaar/" service: "Zia Services" related: - Aadhaar - API (/en/api/code-reference/zia-services/identity-scanner/aadhaar/#Aadhaar) -------------------------------------------------------------------------------- # Identity Scanner [Identity Scanner](https://docs.catalyst.zoho.com/en/zia-services/help/identity-scanner/introduction) is a Zia AI-driven component that enables you to perform secure identity checks on individuals and documents by scanning and processing various ID proofs or official documents. It is a comprehensive suite that incorporates multiple functionalities divided into two major categories- E-KYC and Document Processing. > **Note:** Catalyst does not store any of the files you upload in its systems. The documents you upload are used for one-time processing only. They are not used for ML model training purposes either. Catalyst components are fully compliant with all applicable data protection and privacy laws. ## Aadhaar The `AADHAAR` model is a part of the Document Processing feature that enables you to process Indian Aadhaar cards as identity proof documents. This enables you to extract fields of data from an Indian Aadhaar card using an advanced OCR technology. The response will return the parameters recognized from the Aadhaar card, along with confidence scores for each recognition that determine their accuracy. > **Note:** Document Processing is only relevant to Indian users and is **only available in the IN DC**. This feature will not be available to users accessing from the EU, AU, US, JP, SA or CA data centers. Users outside of India from the other DCs can access the [general OCR component](https://docs.catalyst.zoho.com/en/sdk/java/v1/zia-services/ocr) to read and process textual content. You must provide the path to the image files of the front and back of the Aadhaar card using the keys `aadhaarFront` and `aadhaarBack`, as shown in the code below. > **Note:** The option to pass the languages present in an Aadhaar card has now been deprecated. Identity Scanner will now automatically identify the languages in an Aadhaar card and process it. The Java SDK code snippet will be updated accordingly soon. You can temporarily pass the languages as shown in the code below. You must pass English and the relevant regional language. For example, if you are from Tamil Nadu, you must pass `tam` and `eng` as the languages. You can check the list of languages and language codes from the [API documentation](https://docs.catalyst.zoho.com/en/api/code-reference/zia-services/identity-scanner/aadhaar/#Aadhaar). **Allowed file formats:** _.webp_, _.jpeg_, _.png_, _.bmp_, _.tiff_, _.pdf_ **File size limit:** 15 MB **Note:** The variables should be declared only in following order: `aadhaarFront`, `aadhaarBack`, `languageCode` The response contains the parameters recognized in the Aadhaar card such as the card holder's name, address, gender, Aadhaar card number assigned to respective keys. The response also shows a confidence score in the range of 0 to 1 for each of the recognized values. #### Sample Code Snippet **Package Imports** ```java import com.zc.component.ml.ZCContent; import com.zc.component.ml.ZCLine; import com.zc.component.ml.ZCML; import com.zc.component.ml.ZCParagraph; import java.io.File; ``` ```java File aadhaarFront = new File("/Users/amelia-421/Desktop/myAadhaar1.webp"); //Specify the file path of the front side image of the Aadhaar card File aadhaarBack = new File("/Users/amelia-421/Desktop/myAadhaar2.webp"); //Specify the file path of the back side image of the Aadhaar card String languageCode = "eng,tam"; //Set the languages ZCContent ocrContent = ZCML.getInstance().getContentForAadhaar(aadhaarFront,aadhaarBack,languageCode); //Call getContent() with the file object to get the detected text in ZCContent object //To get individual paragraphs List paragraphs = ocrContent.getParagraphs(); for(ZCParagraph paragraph : paragraphs) { //To get individual lines in the paragraph List paraLines = paragraph.lines; for(ZCLine line : paraLines) { //To get individual words in the line String words = line.words; String text = line.text; //Raw line text } String text = paragraph.text; //Returns the raw paragraph text } String text = ocrContent.text; //Returns the raw image text ``` -------------------------------------------------------------------------------- title: "PAN" description: "This page describes the method to use the PAN document processing feature in your Java application with sample code snippets" last_updated: "2025-11-19T15:07:41.000Z" source: "https://docs.catalyst.zoho.com/en/sdk/java/v1/zia-services/identity-scanner/pan/" service: "Zia Services" related: - PAN - API (/en/api/code-reference/zia-services/identity-scanner/pan/#PAN) -------------------------------------------------------------------------------- # Identity Scanner [Identity Scanner](https://docs.catalyst.zoho.com/en/zia-services/help/identity-scanner/introduction) is a Zia AI-driven component that enables you to perform secure identity checks on individuals and documents by scanning and processing various ID proofs or official documents. It is a comprehensive suite that incorporates multiple functionalities divided into two major categories- E-KYC and Document Processing. > **Note:** Catalyst does not store any of the files you upload in its systems. The documents you upload are used for one-time processing only. They are not used for ML model training purposes either. Catalyst components are fully compliant with all applicable data protection and privacy laws. ## PAN The `PAN` model is a part of the Document Processing feature that enables you to process Indian PAN cards as identity proof documents. This enables you to extract fields of data from a PAN card using an advanced OCR technology, and return the parameters recognized from the PAN card in the response. > **Note:** Document Processing is only relevant to Indian users and is **only available in the IN DC**. This feature will not be available to users accessing from the EU, AU, US, JP, SA or CA data centers. Users outside of India from the other DCs can access the [general OCR component](https://docs.catalyst.zoho.com/en/sdk/java/v1/zia-services/ocr) to read and process textual content. You must provide the path to the image file of the front side of the PAN card, as shown in the code below. **Allowed file formats:** _.webp_, _.jpeg_, _.png_ **File size limit:** 15 MB You must specify the model type as `PAN` using `ZCOCRModelType`. The `PAN` model can only process text in English by default. No other languages are supported. The response will contain the parameters extracted from the PAN card such as their first name, last name, date of birth, and their PAN card number assigned to the respective keys. #### Sample Code Snippet **Package Imports** ```java import java.sql.Date; import com.zc.component.ml.ZCContent; import com.zc.component.ml.ZCML; import com.zc.component.ml.ZCOCRModelType; import com.zc.component.ml.ZCOCROptions; import com.zc.component.ml.ZCPanData; import java.io.File; ``` ```java File file = new File("/Users/amelia-421/Desktop/pan.webp"); //Specify the file path ZCOCROptions options = ZCOCROptions.getInstance().setModelType(ZCOCRModelType.PAN); //Set the model type ZCContent ocrContent = ZCML.getInstance().getContent(file, options); //Call getContent() with the file object to get the detected text in ZCContent object ZCPanData panData = ocrContent.getPanData(); //This method obtains the PAN data //To fetch individual elements like the first name, last name, PAN details, and DOB from the processed image String firstName = panData.getFirstName(); String lastName = panData.getLastName(); String pan = panData.getPan(); Date dob = panData.getDob(); ``` -------------------------------------------------------------------------------- title: "Passbook" description: "This page describes the method to use the PASSBOOK document processing feature in your Java application with sample code snippets" last_updated: "2025-11-19T15:07:41.000Z" source: "https://docs.catalyst.zoho.com/en/sdk/java/v1/zia-services/identity-scanner/passbook/" service: "Zia Services" related: - Passbook - API (/en/api/code-reference/zia-services/identity-scanner/passbook/#Passbook) -------------------------------------------------------------------------------- # Identity Scanner [Identity Scanner](https://docs.catalyst.zoho.com/en/zia-services/help/identity-scanner/introduction) is a Zia AI-driven component that enables you to perform secure identity checks on individuals and documents by scanning and processing various ID proofs or official documents. It is a comprehensive suite that incorporates multiple functionalities divided into two major categories- E-KYC and Document Processing. > **Note:** Catalyst does not store any of the files you upload in its systems. The documents you upload are used for one-time processing only. They are not used for ML model training purposes either. Catalyst components are fully compliant with all applicable data protection and privacy laws. ## Passbook The `PASSBOOK` model is a part of the Document Processing feature that enables you to process Indian bank passbooks as financial or identity proof documents. This enables you to extract fields of data from a passbook using the OCR technology, and fetch the parameters from it in the response. > **Note:** Document Processing is only relevant to Indian users and is **only available in the IN DC**. This feature will not be available to users accessing from the EU, AU, US, JP, SA or CA data centers. Users outside of India from the other DCs can access the [general OCR component](https://docs.catalyst.zoho.com/en/sdk/java/v1/zia-services/ocr/) to read and process textual content. The Passbook model supports 11 Indian languages and an additional 8 International languages. You can check the list of languages and language codes from the [API documentation](https://docs.catalyst.zoho.com/en/api/code-reference/zia-services/identity-scanner/passbook/#Passbook). You must provide the path to the image of the front page of the passbook, as shown in the code below. **Allowed file formats:** _.webp_, _.jpeg_, _.png_, _.bmp_, _.tiff_, _.pdf_ **File size limit:** 15 MB You must specify the model type as `PASSBOOK` using `ZCOCRModelType`. You can also optionally specify the language using `setLanguageCode()`. English will be considered as the default language, if it isn't specified. The response contains the bank details and account details recognized from the passbook such as the bank name, branch, address, account number. The extracted fields of information are assigned to their respective keys. The response also shows if RTGS, NEFT, and IMPS have been enabled for that account. > **Note:** Identity Scanner will return the response only in English, irrespective of the languages present in the passbook. #### Sample Code Snippet **Package Imports** ```java import com.zc.component.ml.ZCContent; import com.zc.component.ml.ZCLine; import com.zc.component.ml.ZCML; import com.zc.component.ml.ZCOCRModelType; import com.zc.component.ml.ZCOCROptions; import com.zc.component.ml.ZCParagraph; import java.io.File; ``` ```java File file = new File("/Users/amelia-421/Desktop/MyPassbook.webp"); //Specify the file path ZCOCROptions options = ZCOCROptions.getInstance().setModelType(ZCOCRModelType.PASSBOOK) .setLanguageCode("tam"); //Set the model type and language ZCContent ocrContent = ZCML.getInstance().getContent(file, options); //Call getContent() with the file object to get the detected text in ZCContent object //To get individual paragraphs List paragraphs = ocrContent.getParagraphs(); for(ZCParagraph paragraph : paragraphs) { //To get individual lines in the paragraph List paraLines = paragraph.lines; for(ZCLine line : paraLines) { //To get individual words in the line String words = line.words; String text = line.text; //Raw line text } String text = paragraph.text; //Returns the raw paragraph text } String text = ocrContent.text; //Returns the raw image text ``` -------------------------------------------------------------------------------- title: "Cheque" description: "This page describes the method to use the Cheque document processing feature in your Java application with sample code snippets." last_updated: "2025-11-19T15:07:41.000Z" source: "https://docs.catalyst.zoho.com/en/sdk/java/v1/zia-services/identity-scanner/cheque/" service: "Zia Services" related: - Cheque - API (/en/api/code-reference/zia-services/identity-scanner/cheque/#Cheque) -------------------------------------------------------------------------------- # Identity Scanner [Identity Scanner](https://docs.catalyst.zoho.com/en/zia-services/help/identity-scanner/introduction) is a Zia AI-driven component that enables you to perform secure identity checks on individuals and documents by scanning and processing various ID proofs or official documents. It is a comprehensive suite that incorporates multiple functionalities divided into two major categories- E-KYC and Document Processing. > **Note:** Catalyst does not store any of the files you upload in its systems. The documents you upload are used for one-time processing only. They are not used for ML model training purposes either. Catalyst components are fully compliant with all applicable data protection and privacy laws. ## Cheque The `CHEQUE` model is a part of the Document Processing feature that enables you to process Indian bank cheque leaves as identity proof documents. This enables you to extract fields of data from a cheque using an advanced OCR technology, and fetch the parameters recognized from the cheque through the response. > **Note:** Document Processing is only relevant to Indian users and is **only available in the IN DC**. This feature will not be available to users accessing from the EU, AU, US, JP, SA or CA data centers. Users outside of India from the other DCs can access the [general OCR component](https://docs.catalyst.zoho.com/en/sdk/java/v1/zia-services/ocr/) to read and process textual content. You must provide the path to the image file of the front page of the chequebook, as shown in the code below. The `CHEQUE` model can only process text in English by default. No other languages are supported. **Allowed file formats:** _.webp_, _.jpeg_, _.png_ **File size limit:** 15 MB You must specify the model type as `CHEQUE` using `setModelType()`. **Note:** Zia only processes cheques of the CTS-2010 format. The response will contain the parameters extracted from the cheque, such as the amount, bank name, branch name, account number, IFSC code, assigned to the respective keys. #### Sample Code Snippet **Package Imports** ```java import java.sql.Date; import com.zc.component.ml.ZCChequeData; import com.zc.component.ml.ZCContent; import com.zc.component.ml.ZCML; import com.zc.component.ml.ZCOCRModelType; import com.zc.component.ml.ZCOCROptions; import java.io.File; ``` ```java File file = new File("/Users/amelia-421/Desktop/cheque.webp"); //Specify the file path ZCOCROptions options = ZCOCROptions.getInstance().setModelType(ZCOCRModelType.CHEQUE); //Set the model type ZCContent ocrContent = ZCML.getInstance().getContent(file, options); //Call getContent() with the file object to get the detected text in ZCContent object ZCChequeData chequeData = ocrContent.getChequeData(); //This method obtains the cheque data //To fetch individual elements like the account number, IFSC code, bank name, branch, amount, and date of transaction from the processed image String accountNumber = chequeData.getAccountNumber(); String ifsc = chequeData.getIfsc(); String bankName = chequeData.getBankName(); String branchName = chequeData.getBranchName(); Long amount = chequeData.getAmount(); Date date = chequeData.getDate(); ``` ### Text Analytics -------------------------------------------------------------------------------- title: "Sentiment Analysis" description: "This page describes the method to use the sentiment analysis feature in your Java application with sample code snippets." last_updated: "2025-11-19T15:07:41.000Z" source: "https://docs.catalyst.zoho.com/en/sdk/java/v1/zia-services/text-analytics/sentiment-analysis/" service: "Zia Services" related: - Sentiment Analysis - API (/en/api/code-reference/zia-services/text-analytics/sentiment-analysis/#SentimentAnalysis) -------------------------------------------------------------------------------- # Sentiment Analysis [Zia Sentiment Analysis](https://docs.catalyst.zoho.com/en/zia-services/help/text-analytics/key-concepts/#sentiment-analysis) is a part of Text Analytics that processes textual content to recognize the tone of the message, and the sentiments conveyed through it. It analyses each sentence in the text to determine if its tone is **positive**, **negative**, or **neutral**. It then determines the tone of the overall text as one of the these three sentiments, based on the sentiments recognized in each sentence. The response also returns the confidence scores for the sentiments detected in each sentence, to showcase the accuracy of the analysis. The confidence score lies in the range of 0 to 1\. A confidence score for the overall analysis is also returned. You can pass a block of text as the input of upto **1500 characters** in a single request. You can also pass optional keywords for the text. This will enable Sentiment Analysis to process only those sentences that contain these keywords, and determine their sentiments. Other sentences will be ignored. The input text is passed to the `getSentimentAnalysis()` function of the `ZCSentimentAnalysisData` class. The code contains statements to fetch the sentiments and confidence score of each sentence, as well as the overall score. #### Sample Code Snippet **Package Imports** ```java import org.json.simple.JSONArray; import com.catalyst.advanced.CatalystAdvancedIOHandler; import com.zc.component.ml.ZCML; import com.zc.component.ml.ZCSentenceAnalytics; import com.zc.component.ml.ZCSentimentAnalysisData; import com.zc.component.ml.ZCSentimentAnalysisDetails; import com.zc.component.ml.ZCSentimentConfidenceScore; import java.io.File; ``` ```java JSONArray textArray = new JSONArray(); textArray.add("ZylkerDB is one of their best products. I've been Zylker's customer for over a decade now, and I've always had a great experience with them."); //Input text to be processed JSONArray keywords = new JSONArray(); keywords.add("Zylker"); //Optional keywords, if you wish to process the sentences containing only these keywords List listOfSentimentAnalysisData = ZCML.getInstance().getSentimentAnalysis(textArray,keywords); //Input text is passed ZCSentimentAnalysisData sentimentAnalysisData = listOfSentimentAnalysisData.get(0); List SentimentAnalysisDetails = sentimentAnalysisData .getSentimentAnalysisDetails(); for (ZCSentimentAnalysisDetails sentimentAnalysis : SentimentAnalysisDetails) { String sentiment = sentimentAnalysis.getDocumentSentiment(); //To obtain the overall sentiment of the text double overallScore = sentimentAnalysis.getOverallScore(); //To obtain the confidence score of the overall analysis List listOfSentenceAnalytics = sentimentAnalysis.getSentenceAnalytics(); //To obtain the sentiment of each sentence ZCSentenceAnalytics sentenceAnalytic = listOfSentenceAnalytics.get(0); String sentenceSentiment = sentenceAnalytic.getSentiment(); String sentence = sentenceAnalytic.getSentence(); ZCSentimentConfidenceScore sentenceLevelConfidenceScore = sentenceAnalytic.getConfidenceScore(); //To obtain the confidence score of each sentence analysis } ``` -------------------------------------------------------------------------------- title: "Named Entity Recognition" description: "This page describes the method to use the named entity recognition feature in your Java application with sample code snippets." last_updated: "2026-11-03T15:41:32.000Z" source: "https://docs.catalyst.zoho.com/en/sdk/java/v1/zia-services/text-analytics/named-entity-recognition/" service: "Zia Services" related: - Named Entity Recognition - API (/en/api/code-reference/zia-services/text-analytics/named-entity-recognition/#NamedEntityRecognition) -------------------------------------------------------------------------------- # Named Entity Recognition [Zia Named Entity Recognition](https://docs.catalyst.zoho.com/en/zia-services/help/text-analytics/key-concepts/#named-entity-recognition) is a part of Text Analytics that processes textual content to extract key words and group them into various categorizes. For example, it can determine a word in a text to be the name of an organization, the name of a person, or a date, and add it to the appropriate category accordingly. Refer [here](https://docs.catalyst.zoho.com/en/zia-services/help/text-analytics/) for a list of all categories recognized by NER. The response returns an array of all the entities recognized in the text, and a tag indicating the category they belong to. It will also contain the confidence score of each categorization in percentage values, to showcase its accuracy. The response also returns the location of the entity in the text through its start index and end index. You can pass a block of text as the input of upto **1500 characters** in a single request, as shown below. The text is passed to `getNERPrediction()`. The code contains statements to fetch the entities, their tags, locations, and the confidence scores. #### Sample Code Snippet **Package Imports** ```java import org.json.simple.JSONArray; import com.zc.component.ml.ZCML; import com.zc.component.ml.ZCNERData; import com.zc.component.ml.ZCNERDetails; import java.io.File; ``` ```java JSONArray textArray = new JSONArray(); textArray.add("Zoho Corporation, is an Indian multinational technology company that makes web-based business tools.It is best known for Zoho Office Suite. The company was founded by Sridhar Vembu and Tony Thomas and has a presence in seven locations with its global headquarters in Chennai, India, and corporate headquarters in Pleasanton, California."); //Input text to be processed List listOfNERData = ZCML.getInstance().getNERPrediction(textArray); //Pass the input text List nerDetails = listOfNERData.get(0).getNERList(); String token = nerDetails.get(0).getToken(); //To recognize the entity String tag = nerDetails.get(0).getNERTag(); //To fetch the category of each entity double confidenceScore = nerDetails.get(0).getConfidenceScore(); //To fetch the confidence score of each classification int startIndex = nerDetails.get(0).getStartIndex(); //To fetch the start index of each entity int endIndex = nerDetails.get(0).getEndIndex(); //To fetch the end index of each entity ``` -------------------------------------------------------------------------------- title: "Keyword Extraction" description: "This page describes the method to use the keyword extraction feature in your Java application with sample code snippets." last_updated: "2025-11-19T15:07:41.000Z" source: "https://docs.catalyst.zoho.com/en/sdk/java/v1/zia-services/text-analytics/keyword-extraction/" service: "Zia Services" related: - Keyword Extraction - API (/en/api/code-reference/zia-services/text-analytics/keyword-extraction/#KeywordExtraction) -------------------------------------------------------------------------------- # Keyword Extraction [Zia Keyword Extraction](https://docs.catalyst.zoho.com/en/zia-services/help/text-analytics/key-concepts/#keyword-extraction) is a part of Text Analytics that processes textual content and extracts the highlights of the text. The extracted terms are grouped into two categories: **Keywords** and **Keyphrases**. These highlights deliver a concise summary of the text and provide an abstraction of the whole text. The response contains an array of the key words, and another array of the key phrases that are extracted from the text. You can pass a block of text as the input of upto **1500 characters** in a single request, as shown below. The text is passed to `getKeywordExtraction()`. The keywords and keyphrases are then fetched as individual lists. #### Sample Code Snippet **Package Imports** ```java import org.json.simple.JSONArray; import com.zc.component.ml.ZCKeywordExtractionData; import com.zc.component.ml.ZCML; import java.io.File; ``` ```java JSONArray textArray = new JSONArray(); textArray.add("Zoho Corporation, is an Indian multinational technology company that makes web-based business tools. It is best known for Zoho Office Suite. The company was founded by Sridhar Vembu and Tony Thomas and has a presence in seven locations with its global headquarters in Chennai, India, and corporate headquarters in Pleasanton, California."); //Input text to be processed List listOfKeywordExtractionData = ZCML.getInstance().getKeywordExtraction(textArray); //Text is passed ZCKeywordExtractionData keywordExtractionData = listOfKeywordExtractionData.get(0); List keywordsList = keywordExtractionData.getKeywords(); //To fetch the keywords List keyphrasesList = keywordExtractionData.getKeyphrases(); //To fetch the keyphrases ``` -------------------------------------------------------------------------------- title: "All Text Analytics" description: "This page describes the method to use the text analytics feature in your Java application with sample code snippets." last_updated: "2025-11-19T15:07:41.000Z" source: "https://docs.catalyst.zoho.com/en/sdk/java/v1/zia-services/text-analytics/all-text-analytics/" service: "Zia Services" related: - All Text Analytics - API (/en/api/code-reference/zia-services/text-analytics/all-text-analytics/#AllTextAnalytics) -------------------------------------------------------------------------------- # All Text Analytics [Text Analytics](https://docs.catalyst.zoho.com/en/zia-services/help/text-analytics/introduction) as a whole includes a combination of all three features specified in the previous sections: **Sentiment Analysis**, **Named Entity Recognition**, and **Keyword Extraction**. You can perform all three actions on a specific block of text, and obtain the tone of the text, the categorizations of the entities recognized from it, and key words and phrases that provide a gist of the text. You can pass a block of text as the input of upto **1500 characters** in a single request, as shown below. The text is passed to `getTextAnalytics()`. You can also pass optional keywords to perform Sentiment Analysis on the sentences containing only those keywords. The response contains the results of each of the text analytics feature. Refer to each feature page for detailed information on their respective functionalities and responses. #### Sample Code Snippet **Package Imports** ```java import org.json.simple.JSONArray; import com.zc.component.ml.ZCKeywordExtractionData; import com.zc.component.ml.ZCML; import com.zc.component.ml.ZCNERData; import com.zc.component.ml.ZCSentimentAnalysisData; import com.zc.component.ml.ZCTextAnalyticsData; import java.io.File; ``` ```java JSONArray textArray = new JSONArray(); textArray.add("Zoho Corporation, is an Indian multinational technology company that makes web-based business tools. It is best known for Zoho Office Suite. The company was founded by Sridhar Vembu and Tony Thomas and has a presence in seven locations with its global headquarters in Chennai, India, and corporate headquarters in Pleasanton,California."); //Input text to be processed JSONArray keywords = new JSONArray(); keywords.add("Zoho"); //Optional keywords for Sentiment Analysis List listOfTextAnalyticsData = ZCML.getInstance().getTextAnalytics(textArray,keywords); //Text and keywords are passed ZCTextAnalyticsData textAnalyticsData = listOfTextAnalyticsData.get(0); ZCKeywordExtractionData keywordExtractionData = textAnalyticsData.getKeywordExtractionData(); //To perform Keyword Extraction on the text Z CNERData nerData = textAnalyticsData.getNERData(); //To perform NER on the text ZCSentimentAnalysisData sentimentAnalysisData = textAnalyticsData.getSentimentAnalysisData(); //To perform Sentiment Analysis on the text ``` ## SDK — Modular JavaScript SDK — Zia Services -------------------------------------------------------------------------------- title: "Overview" description: "This page describes the method to perform operations using the components in Zia Services." last_updated: "2026-09-09T10:45:38.000Z" source: "https://docs.catalyst.zoho.com/en/sdk/javascript/v1/zia-services/overview/" service: "Zia Services" related: - Catalyst Zia Services (/en/zia-services/) - Java SDK Documentation (/en/sdk/java/v1/cloud-scale/nosql/get-table-metadata/) - Python SDK Documentation (/en/sdk/python/v1/cloud-scale/nosql/get-component-instance/) - REST API Documentation (/en/api/code-reference/cloud-scale/nosql/insert-item/#InsertNewItem) -------------------------------------------------------------------------------- # Zia Services JavaScript SDK # Overview [Zia](https://docs.catalyst.zoho.com/en/zia-services/) is a Catalyst service that offers you a suite of AI and ML powered microservices that you can incorporate in your Catalyst application. These components help detect, process, or predict data that can be highly beneficial in various aspects of your business, such as in understanding your customers better, fetching valuable insights, identifying trends with your existing datasets, analyzing and extracting information from images or documents, and so much more. ### Prerequisites You will need to install the following package to be able to use the SDK methods of Zia components. ```bash npm install @zcatalyst/zia ``` > **Info:** Ensure that you have applied the [required authentication configuration](https://docs.catalyst.zoho.com/en/sdk/javascript/v1/auth-config/node-consideration/) to use the SDK methods of this component. ### Import Requirement You will need to import the following modules to use the SDK methods of Zia service's components. ```javascript const { Zia } = require('@zcatalyst/zia'); //Zia module ``` ### List of SDK Methods The following table provides you with the list of Zia service's operations that you can perform through code using the Zia JavaScript SDK.
Category SDK Method Required Scope
General Operations [Get Zia Instance](https://docs.catalyst.zoho.com/en/sdk/javascript/v1/zia-services/get-zia-instance/) **No requirement**
Zia Operations
  • [OCR](https://docs.catalyst.zoho.com/en/sdk/javascript/v1/zia-services/ocr/)
  • [Face Analytics](https://docs.catalyst.zoho.com/en/sdk/javascript/v1/zia-services/face-analytics/)
  • Identity Scanner
    • [Facial Comparison](https://docs.catalyst.zoho.com/en/sdk/javascript/v1/zia-services/face-analytics/)
    • [Aadhaar](https://docs.catalyst.zoho.com/en/sdk/javascript/v1/zia-services/identity-scanner/aadhaar/)
    • [PAN](https://docs.catalyst.zoho.com/en/sdk/javascript/v1/zia-services/identity-scanner/pan/)
    • [Passbook](https://docs.catalyst.zoho.com/en/sdk/javascript/v1/zia-services/identity-scanner/passbook/)
    • [Cheque](https://docs.catalyst.zoho.com/en/sdk/javascript/v1/zia-services/identity-scanner/cheque/)
  • Text Analytics
    • [Sentiment Analysis](https://docs.catalyst.zoho.com/en/sdk/javascript/v1/zia-services/text-analytics/sentiment-analysis/)
    • [Named Entity Recognition](https://docs.catalyst.zoho.com/en/sdk/javascript/v1/zia-services/text-analytics/named-entity-recognition/)
    • [Keyword Extraction](https://docs.catalyst.zoho.com/en/sdk/javascript/v1/zia-services/text-analytics/keyword-extraction/)
    • [All Text Analytics](https://docs.catalyst.zoho.com/en/sdk/javascript/v1/zia-services/text-analytics/all-text-analytics/)
  • [Image Moderation](https://docs.catalyst.zoho.com/en/sdk/javascript/v1/zia-services/image-moderation/)
  • [Object Recognition](https://docs.catalyst.zoho.com/en/sdk/javascript/v1/zia-services/object-recognition/)
  • [Barcode Scanner](https://docs.catalyst.zoho.com/en/sdk/javascript/v1/zia-services/barcode-scanner/)
**Admin**
> **Info:** [ Learn more about the Catalyst Zia service](https://docs.catalyst.zoho.com/en/zia-services/help/face-analytics/introduction/). -------------------------------------------------------------------------------- title: "Get Zia Instance" description: "This page describes the method to perform operations using the components in Zia Services." last_updated: "2026-09-09T10:45:38.000Z" source: "https://docs.catalyst.zoho.com/en/sdk/javascript/v1/zia-services/get-zia-instance/" service: "Zia Services" related: - Catalyst Zia Services (/en/zia-services/) - Java SDK Documentation (/en/sdk/java/v1/zia-services/ocr/) - Python SDK Documentation (/en/sdk/python/v1/zia-services/get-component-instance/) - REST API Documentation (/en/api/code-reference/zia-services/ocr/#OCR) -------------------------------------------------------------------------------- # Get Zia Instance > **Note:** Ensure you have installed the [required package](https://docs.catalyst.zoho.com/en/sdk/javascript/v1/zia-services/overview/#prerequisites) to use this SDK method. You can create a `zia` component reference as shown below. This will not fire a server-side call. You will refer to this component instance in various code snippets while working with Zia service's components. ```javascript const zia = new Zia(); //Get Zia instance ``` -------------------------------------------------------------------------------- title: "Optical Character Recognition" description: "This page describes the method to perform operations using the components in Zia Services." last_updated: "2026-09-09T10:45:38.000Z" source: "https://docs.catalyst.zoho.com/en/sdk/javascript/v1/zia-services/ocr/" service: "Zia Services" related: - Catalyst Zia Services (/en/zia-services/) - Java SDK Documentation (/en/sdk/java/v1/zia-services/ocr/) - Python SDK Documentation (/en/sdk/python/v1/zia-services/ocr/) - REST API Documentation (/en/api/code-reference/zia-services/ocr/#OCR) -------------------------------------------------------------------------------- # Optical Character Recognition > **Note:** Ensure you have installed the [required package](https://docs.catalyst.zoho.com/en/sdk/javascript/v1/zia-services/overview/#prerequisites) to use this SDK method. [Zia Optical Character Recognition](https://docs.catalyst.zoho.com/en/zia-services/help/optical-character-recognition/introduction) detects textual characters in images or digital documents, and converts them into machine-encoded text. Zia OCR can recognize text in 9 international languages and 10 Indian languages. > **Notes:** * [View the list of languages and language codes](https://docs.catalyst.zoho.com/en/api/code-reference/zia-services/ocr/#OCR). * Catalyst does not store any of the files you upload in its systems. The files you upload are used for one-time processing only. They are not used for ML model training purposes either. Catalyst components are fully compliant with all applicable data protection and privacy laws. You must specify the path to the image or document file that needs to be processed for OCR. The response will also include a confidence score, which defines the accuracy of the processing, in addition to the recognized text. **Allowed file formats**: .jpg, .jpeg, .png, .tiff, .bmp, .pdf **File size limit**: 20 MB You must pass the file path, model type, and languages as arguments to the `extractOpticalCharacters()` method. However, the model type and language values are optional. By default, it is passed as the `OCR` model type, and the languages are automatically detected if they are not specified. The `zia` reference used in the code snippets below is the [component instance](https://docs.catalyst.zoho.com/en/sdk/javascript/v1/zia-services/get-zia-instance/) created to perform these operations. The promise returned here is resolved to a JSON object. ```javascript const fs = require('fs'); // Define the file stream for file attachments const result = await zia.extractOpticalCharacters( fs.createReadStream('/Users/amelia-421/Desktop/MyDoc.webp'), { language: 'eng', modelType: 'OCR' } ); console.log(result); ``` #### Example of Expected Response A sample response that you will receive is shown below. ```json { "confidence": 95, "text": "This is a lot of 12 point text to test the\nocr code and see if it works on all types\nof file format\n\nThe quick brown fox jumped over the\nlazy dog. The quick brown fox jumped\nover the lazy dog. The quick brown fox\njumped over the lazy dog. The quick\nbrown fox jumped over the lazy dog" } ``` -------------------------------------------------------------------------------- title: "Face Analytics" description: "This page describes the method to perform operations using the components in Zia Services." last_updated: "2026-09-09T10:45:38.000Z" source: "https://docs.catalyst.zoho.com/en/sdk/javascript/v1/zia-services/face-analytics/" service: "Zia Services" related: - Catalyst Zia Services (/en/zia-services/) - Face Analytics Help Documentation (/en/zia-services/help/face-analytics/introduction/) - Java SDK Documentation (/en/sdk/java/v1/zia-services/face-analytics/) - Python SDK Documentation (/en/sdk/python/v1/zia-services/face-analytics/) - REST API Documentation (/en/api/code-reference/zia-services/face-analytics/#FaceAnalytics) -------------------------------------------------------------------------------- # Face Analytics > **Note:** Ensure you have installed the [required package](https://docs.catalyst.zoho.com/en/sdk/javascript/v1/zia-services/overview/#prerequisites) to use this SDK method. [Zia Face Analytics](https://docs.catalyst.zoho.com/en/zia-services/help/face-analytics/introduction/) performs facial detection in images, and analyzes the facial features to provide information such as the gender, age, and emotion of the detected faces. You must provide *.jpg*/*.jpeg* or *.png* files as the input. The `analyseFace()` method accepts the input image as its argument. You can specify the analysis mode as `basic`, `moderate`, or `advanced`. You can also specify the attributes `age`, `smile`, or `gender` as `true` to detect or `false` to not detect. These values are optional. All attributes are detected and the advanced mode is processed by default. The `zia` reference used in the code snippets below is the [component instance](https://docs.catalyst.zoho.com/en/sdk/javascript/v1/zia-services/get-zia-instance/) created to perform these operations. The promise returned here is resolved to a JSON object. ```javascript const fs = require('fs'); const result = await zia.analyseFace(fs.createReadStream('./face.png'), { mode: 'moderate', // set analysis mode age: true, // enable age detection emotion: true, // enable emotion detection gender: false // disable gender detection }); console.log(result); ``` #### Example of Expected Response A sample response that you will receive is shown below. The response returns the prediction of the enabled attributes, the coordinates and landmarks of facial features of each face, and the confidence score of each analysis. ```javascript { "faces_count": 1, "faces": [{ "co_ordinates": ["401", "193", "494", "313"], "emotion": { "confidence": { "smiling": "0.75", "not_smiling": "0.25" }, "prediction": "smiling" }, "gender": {}, "confidence": 1, "id": "0", "landmarks": { "right_eye": [["467", "230"]], "nose": [["451", "264"]], "mouth_right": [["474", "278"]], "left_eye": [["426", "239"]], "mouth_left": [["434", "283"]] }, "age": { "confidence": { "20-29": "0.73", "30-39": "0.08", "0-2": "0.0", "40-49": "0.0", "50-59": "0.0", ">70": "0.0", "60-69": "0.0", "10-19": "0.17", "3-9": "0.0" }, "prediction": "20-29" } }] } ``` ### Identity Scanner -------------------------------------------------------------------------------- title: "Facial Comparison" description: "This page describes the method to perform operations using the components in Zia Services." last_updated: "2026-09-09T10:45:38.000Z" source: "https://docs.catalyst.zoho.com/en/sdk/javascript/v1/zia-services/identity-scanner/facial-comparisson/" service: "Zia Services" related: - Catalyst Zia Services (/en/zia-services/) - Java SDK Documentation (/en/sdk/java/v1/zia-services/identity-scanner/facial-comparison/) - Python SDK Documentation (/en/sdk/python/v1/zia-services/identity-scanner/facial-comparison/) - REST API Documentation (/en/api/code-reference/zia-services/identity-scanner/facial-comparison/#FacialComparison) -------------------------------------------------------------------------------- # Facial Comparison > **Notes:** * Ensure you have installed the [required package](https://docs.catalyst.zoho.com/en/sdk/javascript/v1/zia-services/overview/#prerequisites) to use this SDK method. * Catalyst does not store any of the files you upload in its systems. The documents you upload are used for one-time processing only. They are not used for ML model training purposes either. Catalyst components are fully compliant with all applicable data protection and privacy laws. * While the Document Processing feature of Identity Scanner is only relevant to Indian users, the [Facial Comparison API](https://docs.catalyst.zoho.com/en/api/code-reference/zia-services/identity-scanner/facial-comparison/#FacialComparison) and SDK tools are available to a global audience. However, accessing and testing Facial Comparison or E-KYC from the Catalyst console is restricted to the users from IN DC alone. [Facial Comparison](https://docs.catalyst.zoho.com/en/zia-services/help/identity-scanner/key-concepts/#facial-comparison-process), also known as E-KYC, is a part of Identity Scanner that compares two faces in two different images to determine if they are the same individual. This will enable you to verify an individual’s identity from their ID proof by comparing it with an existing photo of theirs. For example, you can verify the authenticity of a photo ID, such as an individual’s Aadhaar card, by comparing it with their current photograph. > **Note:** You can mark either the ID proof image or the individual's photograph as the source or the query image. This will not affect the results. You can perform a face comparison between a source image and a query image, by specifying the path to both the image files, as shown in the sample code. The `compareFace()` method processes both these images. **Allowed file formats**: .webp, .jpeg, .png **File size limit**: 10 MB The result of the comparison is set to `true` if the faces match, or `false` if they don’t match. The result also contains a confidence score between the range of 0 to 1, that determines the accuracy of the processing. Only if the comparison yields a confidence score of above 50% i.e., 0.5, the result will be set to `true`. The `zia` reference used in the code snippets below is the [component instance](https://docs.catalyst.zoho.com/en/sdk/javascript/v1/zia-services/get-zia-instance/) created to perform these operations. The promise returned here is resolved to a JSON object. ```javascript const fs = require('fs'); const sourceImage = fs.createReadStream('/Users/amelia-421/Desktop/source.webp'); // specify the file path const queryImage = fs.createReadStream('/Users/amelia-421/Desktop/query.webp'); // specify the file path const res = await zia.compareFace(sourceImage, queryImage); console.log(res); ``` #### Example of Expected Response A sample response that you will receive is shown below. ```json { "confidence": 0.9464, "matched": "true" } ``` -------------------------------------------------------------------------------- title: "Aadhaar" description: "This page describes the method to perform operations using the components in Zia Services." last_updated: "2026-09-09T10:45:38.000Z" source: "https://docs.catalyst.zoho.com/en/sdk/javascript/v1/zia-services/identity-scanner/aadhaar/" service: "Zia Services" related: - Catalyst Zia Services (/en/zia-services/) - Java SDK Documentation (/en/sdk/java/v1/zia-services/identity-scanner/aadhaar/) - Python SDK Documentation (/en/sdk/python/v1/zia-services/identity-scanner/aadhaar/) - REST API Documentation (/en/api/code-reference/zia-services/identity-scanner/aadhaar/#Aadhaar) -------------------------------------------------------------------------------- # Aadhaar > **Notes:** * Ensure you have installed the [required package](https://docs.catalyst.zoho.com/en/sdk/javascript/v1/zia-services/overview/#prerequisites) to use this SDK method. * Catalyst does not store any of the files you upload in its systems. The documents you upload are used for one-time processing only. They are not used for ML model training purposes either. Catalyst components are fully compliant with all applicable data protection and privacy laws. * Document Processing is only relevant to Indian users and is **only available in the IN DC**. This feature will not be available to users accessing from the EU, AU, US, JP, SA or CA data centers. Users outside of India from the other DCs can access the [general OCR component](https://docs.catalyst.zoho.com/en/sdk/nodejs/v2/zia-services/ocr) to read and process textual content. * The option to pass the languages present in an Aadhaar card has now been deprecated. Identity Scanner will now automatically identify the languages in an Aadhaar card and process it. The `AADHAAR` model is a part of the Document Processing feature that enables you to process Indian Aadhaar cards as identity proof documents. This enables you to extract fields of data from an Indian Aadhaar card using an advanced OCR technology. The response will return the parameters recognized from the Aadhaar card, along with confidence scores for each recognition that determine their accuracy. You need to provide the path to the image files of the front and back of the Aadhaar card through `createReadStream`. You must pass English and the relevant regional language. For example, if you are from Tamil Nadu, you must pass `tam` and `eng` as the languages. **Allowed file formats**: .webp, .jpeg, .png, .bmp, .tiff, .pdf **File size limit**: 15 MB The `zia` reference used in the code snippets below is the [component instance](https://docs.catalyst.zoho.com/en/sdk/javascript/v1/zia-services/get-zia-instance/) created to perform these operations. The promise returned here is resolved to a JSON object. ```javascript const fs = require('fs'); const result = await zia.extractAadhaarCharacters( fs.createReadStream('./frontImg.webp'), fs.createReadStream('./backImg.webp'), 'eng,tam' ); console.log(result); ``` #### Example of Expected Response A sample response that you will receive is shown below. The response contains the parameters recognized in the Aadhaar card such as the card holder’s name, address, gender, Aadhaar card number assigned to respective keys. The response also shows a confidence score in the range of 0 to 1 for each of the recognized values. ```javascript { "text": { "address": { "prob": 0.5, "value": "C/O Rainbow, xxxx STREET, xxxx- 0000" }, "gender": { "prob": 0.8, "value": "MALE" }, "dob": { "prob": 0.8, "value": "08/09/2001" }, "name": { "prob": 0.6, "value": "Saeyon Dheeran" }, "aadhaar": { "prob": 0.8, "value": "4000 0000 0000" } } } ``` -------------------------------------------------------------------------------- title: "PAN" description: "This page describes the method to perform operations using the components in Zia Services." last_updated: "2026-09-09T10:45:38.000Z" source: "https://docs.catalyst.zoho.com/en/sdk/javascript/v1/zia-services/identity-scanner/pan/" service: "Zia Services" related: - Catalyst Zia Services (/en/zia-services/) - Java SDK Documentation (/en/api/code-reference/zia-services/identity-scanner/pan/#PAN) - Python SDK Documentation (/en/sdk/python/v1/zia-services/identity-scanner/pan/) - REST API Documentation (/en/api/code-reference/zia-services/identity-scanner/pan/#PAN) -------------------------------------------------------------------------------- # PAN > **Notes:** * Ensure you have installed the [required package](https://docs.catalyst.zoho.com/en/sdk/javascript/v1/zia-services/overview/#prerequisites) to use this SDK method. * Catalyst does not store any of the files you upload in its systems. The documents you upload are used for one-time processing only. They are not used for ML model training purposes either. Catalyst components are fully compliant with all applicable data protection and privacy laws. * Document Processing is only relevant to Indian users and is **only available in the IN DC**. This feature will not be available to users accessing from the EU, AU, US, JP, SA or CA data centers. Users outside of India from the other DCs can access the [general OCR component](https://docs.catalyst.zoho.com/en/sdk/nodejs/v2/zia-services/ocr) to read and process textual content. The `PAN` model is a part of the Document Processing feature that enables you to process Indian PAN cards as identity proof documents. This enables you to extract fields of data from a PAN card using an advanced OCR technology, and return the parameters recognized from the PAN card in the response. You must provide the path to the image file of the front side of the `PAN` card. You must specify the model type as `PAN` using `modelType`. The PAN model can only process text in English by default. No other languages are supported. **Allowed file formats**: .webp, .jpeg, .png **File size limit**: 15 MB The `zia` reference used in the code snippets below is the [component instance](https://docs.catalyst.zoho.com/en/sdk/javascript/v1/zia-services/get-zia-instance/) created to perform these operations. The promise returned here is resolved to a JSON object. ```javascript const fs = require('fs'); const result = await zia.extractOpticalCharacters(fs.createReadStream('/Users/amelia-421/Desktop/pan.webp'), {modelType: 'PAN'}); // Pass the input file with the model type console.log(result); ``` #### Example of Expected Response A sample response that you will receive is shown below. The response will contain the parameters extracted from the PAN card such as their first name, last name, date of birth, and their PAN card number assigned to the respective keys. ```json { "date_of_birth": "03/04/1982", "last_name": "Dheeran", "pan": "ANRPM2537J", "first_name": "Saeyon" } ``` -------------------------------------------------------------------------------- title: "Passbook" description: "This page describes the method to perform operations using the components in Zia Services." last_updated: "2026-09-09T10:45:38.000Z" source: "https://docs.catalyst.zoho.com/en/sdk/javascript/v1/zia-services/identity-scanner/passbook/" service: "Zia Services" related: - Catalyst Zia Services (/en/zia-services/) - Java SDK Documentation (/en/sdk/java/v1/zia-services/identity-scanner/passbook/) - Python SDK Documentation (/en/sdk/python/v1/zia-services/identity-scanner/passbook/) - REST API Documentation (/en/api/code-reference/zia-services/identity-scanner/passbook/#Passbook) -------------------------------------------------------------------------------- # Passbook > **Notes:** * Ensure you have installed the [required package](https://docs.catalyst.zoho.com/en/sdk/javascript/v1/zia-services/overview/#prerequisites) to use this SDK method. * Catalyst does not store any of the files you upload in its systems. The documents you upload are used for one-time processing only. They are not used for ML model training purposes either. Catalyst components are fully compliant with all applicable data protection and privacy laws. * Document Processing is only relevant to Indian users and is **only available in the IN DC**. This feature will not be available to users accessing from the EU, AU, US, JP, SA or CA data centers. Users outside of India from the other DCs can access the [general OCR component](https://docs.catalyst.zoho.com/en/sdk/nodejs/v2/zia-services/ocr) to read and process textual content. The `PASSBOOK` model is a part of the Document Processing feature that enables you to process Indian bank passbooks as financial or identity proof documents. This enables you to extract fields of data from a passbook using the OCR technology, and fetch the parameters from it in the response. The Passbook model supports 11 Indian languages and an additional 8 International languages. You can check the list of languages and language codes from the [API documentation](https://docs.catalyst.zoho.com/en/api/code-reference/zia-services/ocr/#OCR). You must provide the path to the image of the front page of the passbook. You must specify the model type as `PASSBOOK` using the key `modelType`. > **Notes:** * English will be considered as the default language, if it isn’t specified. * Identity Scanner will return the response only in English, irrespective of the languages present in the passbook. **Allowed file formats**: .webp, .jpeg, .png, .bmp, .tiff, .pdf **File size limit**: 15 MB The `zia` reference used in the code snippets below is the [component instance](https://docs.catalyst.zoho.com/en/sdk/javascript/v1/zia-services/get-zia-instance/) created to perform these operations. The promise returned here is resolved to a JSON object. ```javascript const fs = require('fs'); const result = await zia.extractOpticalCharacters(fs.createReadStream('/Users/amelia-421/Desktop/passbook.webp'), {language: 'tam', modelType: 'PASSBOOK'}); // Pass the input file with the model type and optional language console.log(result); ``` #### Example of Expected Response A sample response that you will receive is shown below. The response contains the bank details and account details recognized from the passbook such as the bank name, branch, address, account number. The extracted fields of information are assigned to their respective keys. The response also shows if RTGS, NEFT, and IMPS have been enabled for that account. ```javascript { "text": "{ \"address\": \"No.20,Gandhi Road,M.G Lane\", \"city\": \"Chennai\", \"centre\": \"Chennai\", \"bankName\": \"ABX BANK LIMITED\", \"accountNumber\": \"002001001625859\", \"branch\": \"Anna Nagar\", \"dateOfOpening\": \"30/08/2012\", \"imps\": \"true\", \"neft\": \"true\", \"district\": \"Chennai\", \"contact\": \"801234567\", \"micr\": \"641021121\", \"name\": \"2312312\", \"state\": \"Tamil Nadu\", \"rtgs\": \"true\", \"ifsc\": \"ABX0000311\" }" } ``` -------------------------------------------------------------------------------- title: "Cheque" description: "This page describes the method to perform operations using the components in Zia Services." last_updated: "2026-09-09T10:45:38.000Z" source: "https://docs.catalyst.zoho.com/en/sdk/javascript/v1/zia-services/identity-scanner/cheque/" service: "Zia Services" related: - Catalyst Zia Services (/en/zia-services/) - Java SDK Documentation (/en/sdk/java/v1/zia-services/identity-scanner/cheque/) - Python SDK Documentation (/en/sdk/python/v1/zia-services/identity-scanner/cheque/) - REST API Documentation (/en/api/code-reference/zia-services/identity-scanner/cheque/#Cheque) -------------------------------------------------------------------------------- # Cheque > **Notes:** * Ensure you have installed the [required package](https://docs.catalyst.zoho.com/en/sdk/javascript/v1/zia-services/overview/#prerequisites) to use this SDK method. * Catalyst does not store any of the files you upload in its systems. The documents you upload are used for one-time processing only. They are not used for ML model training purposes either. Catalyst components are fully compliant with all applicable data protection and privacy laws. * Document Processing is only relevant to Indian users and is **only available in the IN DC**. This feature will not be available to users accessing from the EU, AU, US, JP, SA or CA data centers. Users outside of India from the other DCs can access the [general OCR component](https://docs.catalyst.zoho.com/en/sdk/nodejs/v2/zia-services/ocr) to read and process textual content. The `CHEQUE` model is a part of the Document Processing feature that enables you to process Indian bank cheque leaves as identity proof documents. This enables you to extract fields of data from a cheque using an advanced OCR technology, and fetch the parameters recognized from the cheque through the response. You must provide the path to the image file of the front page of the cheque book. > **Notes:** * Zia only processes cheques of the **CTS-2010** format. * The `CHEQUE` model can only process text in English by default. No other languages are supported. **Allowed file formats**: .webp, .jpeg, .png **File size limit**: 15 MB You must specify the model type as `CHEQUE` using `modelType()`. The `zia` reference used in the code snippets below is the [component instance](https://docs.catalyst.zoho.com/en/sdk/javascript/v1/zia-services/get-zia-instance/) created to perform these operations. The promise returned here is resolved to a JSON object. ```javascript const fs = require('fs'); const result = await zia.extractOpticalCharacters(fs.createReadStream('/Users/amelia-421/Desktop/cheque.webp'), {modelType: 'CHEQUE'}); //Pass the input file with the model type console.log(result); ``` #### Example of Expected Response A sample response that you will receive is shown below. ```json { "date": "15/11/2025", "account_number": "89323223232222", "amount": "10615", "branch_name": "TAMBARAM", "bank_name": "ABX BANK", "ifsc": "BB9033232" } ``` ### Text Analytics -------------------------------------------------------------------------------- title: "Sentiment Analysis" description: "This page describes the method to perform operations using the components in Zia Services." last_updated: "2026-09-09T10:45:38.000Z" source: "https://docs.catalyst.zoho.com/en/sdk/javascript/v1/zia-services/text-analytics/sentiment-analysis/" service: "Zia Services" related: - Catalyst Zia Services (/en/zia-services/) - Java SDK Documentation (/en/sdk/java/v1/zia-services/text-analytics/sentiment-analysis/) - Python SDK Documentation (/en/sdk/python/v1/zia-services/text-analytics/sentiment-analysis/) - REST API Documentation (/en/api/code-reference/zia-services/text-analytics/sentiment-analysis/#SentimentAnalysis) -------------------------------------------------------------------------------- # Sentiment Analysis > **Note:** Ensure you have installed the [required package](https://docs.catalyst.zoho.com/en/sdk/javascript/v1/zia-services/overview/#prerequisites) to use this SDK method. [Zia Sentiment Analysis](https://docs.catalyst.zoho.com/en/zia-services/help/text-analytics/introduction) is a part of Text Analytics that processes textual content to recognize the tone of the message, and the sentiments conveyed through it. It analyses each sentence in the text to determine if its tone is **positive**, **negative**, or **neutral**. It then determines the tone of the overall text as one of these three sentiments, based on the sentiments recognized in each sentence. You can pass a block of text as the input of up to **1500 characters** in a single request. The input text is passed to `getSentimentAnalysis()`. You can also pass optional keywords for the text. This will enable Sentiment Analysis to process only those sentences that contain these keywords, and determine their sentiments. Other sentences will be ignored. The `zia` reference used in the code snippets below is the [component instance](https://docs.catalyst.zoho.com/en/sdk/javascript/v1/zia-services/get-zia-instance/) created to perform these operations. The promise returned here is resolved to a JSON object. ```javascript const result = await zia.getSentimentAnalysis([ 'Zoho Corporation, is an Indian multinational technology company that makes web-based business tools. It is best known for Zoho Office Suite. The company was founded by Sridhar Vembu and Tony Thomas and has a presence in seven locations with its global headquarters in Chennai, India, and corporate headquarters in Pleasanton, California.' ], ['Zoho']); //Pass the text and the optional keyword to process console.log(result); ``` #### Example of Expected Reponse A sample response that you will receive is shown below. The response also returns the confidence scores for the sentiments detected in each sentence, to showcase the accuracy of the analysis. The confidence score lies in the range of **0 to 1**. A confidence score for the overall analysis is also returned. ```javascript { "sentiment_prediction": [ { "document_sentiment": "Neutral", "sentence_analytics": [ { "sentence": "Zoho Corporation, is an Indian multinational technology company that makes web-based business tools.", "sentiment": "Neutral", "confidence_scores": { "negative": 0, "neutral": 1, "positive": 0 } }, { "sentence": "It is best known for Zoho Office Suite.", "sentiment": "Neutral", "confidence_scores": { "negative": 0, "neutral": 0.6, "positive": 0.4 } }, { "sentence": "The company was founded by Sridhar Vembu and Tony Thomas and has a presence in seven locations with its global headquarters in Chennai, India, and corporate headquarters in Pleasanton, California.", "sentiment": "Neutral", "confidence_scores": { "negative": 0, "neutral": 0.88, "positive": 0.12 } } ], "overall_score": 0.83 } ] } ``` -------------------------------------------------------------------------------- title: "Named Entity Recognition" description: "This page describes the method to perform operations using the components in Zia Services." last_updated: "2026-09-09T10:45:38.000Z" source: "https://docs.catalyst.zoho.com/en/sdk/javascript/v1/zia-services/text-analytics/named-entity-recognition/" service: "Zia Services" related: - Catalyst Zia Services (/en/zia-services/) - Java SDK Documentation (/en/sdk/java/v1/zia-services/text-analytics/named-entity-recognition/) - Python SDK Documentation (/en/sdk/python/v1/zia-services/text-analytics/named-entity-recognition/) - REST API Documentation (/en/api/code-reference/zia-services/text-analytics/named-entity-recognition/#NamedEntityRecognition) -------------------------------------------------------------------------------- # Named Entity Recognition > **Note:** Ensure you have installed the [required package](https://docs.catalyst.zoho.com/en/sdk/javascript/v1/zia-services/overview/#prerequisites) to use this SDK method. [Zia Named Entity Recognition](https://docs.catalyst.zoho.com/en/zia-services/help/text-analytics/introduction) is a part of Text Analytics that processes textual content to extract key words and group them into various categorizes. For example, it can determine a word in a text to be the name of an organization, the name of a person, or a date, and add it to the appropriate category accordingly. [Refer here](https://docs.catalyst.zoho.com/en/zia-services/help/text-analytics/introduction) for a list of all categories recognized by NER. You can pass a block of text as the input of up to **1500 characters** in a single request. The text is passed to `getNERPrediction()`. The `zia` reference used in the code snippets below is the [component instance](https://docs.catalyst.zoho.com/en/sdk/javascript/v1/zia-services/get-zia-instance/) created to perform these operations. The promise returned here is resolved to a JSON object. ```javascript const result = await zia.getNERPrediction([ 'Zoho Corporation, is an Indian multinational technology company that makes web-based business tools. It is best known for Zoho Office Suite. The company was founded by Sridhar Vembu and Tony Thomas and has a presence in seven locations with its global headquarters in Chennai, India, and corporate headquarters in Pleasanton, California.' ]); //Pass the input text console.log(result); ``` #### Exmaple of Expected Response A sample response that you will receive is shown below. The response returns an array of all the entities recognized in the text, and a tag indicating the category they belong to. It will also contain the confidence score of each categorization in percentage values, to showcase its accuracy. The response also returns the location of the entity in the text through its start index and end index. ```javascript { "ner": { "general_entities": [ { "start_index": 0, "confidence_score": 98, "end_index": 16, "ner_tag": "Organization", "token": "Zoho Corporation" }, { "start_index": 24, "confidence_score": 99, "end_index": 30, "ner_tag": "Miscellaneous", "token": "Indian" }, { "start_index": 122, "confidence_score": 90, "end_index": 139, "ner_tag": "Miscellaneous", "token": "Zoho Office Suite" }, { "start_index": 168, "confidence_score": 99, "end_index": 181, "ner_tag": "Person", "token": "Sridhar Vembu" }, { "start_index": 186, "confidence_score": 96, "end_index": 197, "ner_tag": "Person", "token": "Tony Thomas" }, { "start_index": 220, "confidence_score": 100, "end_index": 225, "ner_tag": "Number", "token": "seven" }, { "start_index": 268, "confidence_score": 99, "end_index": 275, "ner_tag": "City", "token": "Chennai" }, { "start_index": 277, "confidence_score": 98, "end_index": 282, "ner_tag": "Country", "token": "India" }, { "start_index": 314, "confidence_score": 99, "end_index": 324, "ner_tag": "City", "token": "Pleasanton" }, { "start_index": 326, "confidence_score": 91, "end_index": 336, "ner_tag": "State", "token": "California" } ] } } ``` -------------------------------------------------------------------------------- title: "Keyword Extraction" description: "This page describes the method to perform operations using the components in Zia Services." last_updated: "2026-09-09T10:45:38.000Z" source: "https://docs.catalyst.zoho.com/en/sdk/javascript/v1/zia-services/text-analytics/keyword-extraction/" service: "Zia Services" related: - Catalyst Zia Services (/en/zia-services/) - Java SDK Documentation (/en/sdk/java/v1/zia-services/text-analytics/keyword-extraction/) - Python SDK Documentation (/en/sdk/python/v1/zia-services/text-analytics/keyword-extraction/) - REST API Documentation (/en/api/code-reference/zia-services/text-analytics/keyword-extraction/#KeywordExtraction) -------------------------------------------------------------------------------- # Keyword Extraction > **Note:** Ensure you have installed the [required package](https://docs.catalyst.zoho.com/en/sdk/javascript/v1/zia-services/overview/#prerequisites) to use this SDK method. [Zia Keyword Extraction](https://docs.catalyst.zoho.com/en/zia-services/help/text-analytics/introduction) is a part of *Text Analytics* that processes textual content and extracts the highlights of the text. The extracted terms are grouped into two categories: `Keywords` and `Keyphrases`. These highlights deliver a concise summary of the text and provide an abstraction of the whole text. You can pass a block of text as the input of up to **1500 characters** in a single request. The text is passed to `getKeywordExtraction()`. The keywords and keyphrases are then fetched as individual lists. The `zia` reference used in the code snippets below is the [component instance](https://docs.catalyst.zoho.com/en/sdk/javascript/v1/zia-services/get-zia-instance/) created to perform these operations. The promise returned here is resolved to a JSON object. ```javascript const result = await zia.getKeywordExtraction(['Zoho Corporation, is an Indian multinational technology company that makes web-based business tools. It is best known for Zoho Office Suite. The company was founded by Sridhar Vembu and Tony Thomas and has a presence in seven locations with its global headquarters in Chennai, India, and corporate headquarters in Pleasanton, California.']); //Pass the input text to be processed console.log(result); ``` #### Example of Expected Response A sample response that you will receive is shown below. The response contains an array of the key words, and another array of the key phrases that are extracted from the text. ```javascript { "keyword_extractor": { "keywords": [ "Chennai", "company", "India", "Indian", "presence", "locations", "Pleasanton", "California" ], "keyphrases": [ "corporate headquarters", "multinational technology company", "Zoho Corporation", "Zoho Office Suite", "global headquarters", "Tony Thomas", "web-based business tools", "Sridhar Vembu" ] } } ``` -------------------------------------------------------------------------------- title: "All Text Analytics" description: "This page describes the method to perform operations using the components in Zia Services." last_updated: "2026-09-09T10:45:38.000Z" source: "https://docs.catalyst.zoho.com/en/sdk/javascript/v1/zia-services/text-analytics/all-text-analytics/" service: "Zia Services" related: - Catalyst Zia Services (/en/zia-services/) - Java SDK Documentation (/en/sdk/java/v1/zia-services/text-analytics/all-text-analytics/) - Python SDK Documentation (/en/sdk/python/v1/zia-services/text-analytics/all-text-analytics/) - REST API Documentation (/en/api/code-reference/zia-services/text-analytics/all-text-analytics/#AllTextAnalytics) -------------------------------------------------------------------------------- # All Text Analytics > **Note:** Ensure you have installed the [required package](https://docs.catalyst.zoho.com/en/sdk/javascript/v1/zia-services/overview/#prerequisites) to use this SDK method. [Text Analytics](https://docs.catalyst.zoho.com/en/zia-services/help/text-analytics/introduction) as a whole includes a combination of all three features specified in the previous sections: **Sentiment Analysis**, **Named Entity Recognition**, and **Keyword Extraction**. You can perform all three actions on a specific block of text, and obtain the tone of the text, the categorizations of the entities recognized from it, and key words and phrases that provide a gist of the text. You can pass a block of text as the input of up to **1500 characters** in a single request. The text is passed to `getTextAnalytics()`. You can also pass optional keywords to perform Sentiment Analysis on the sentences containing only those keywords. The `zia` reference used in the code snippets below is the [component instance](https://docs.catalyst.zoho.com/en/sdk/javascript/v1/zia-services/get-zia-instance/) created to perform these operations. The promise returned here is resolved to a JSON object. ```javascript const result = await zia.getTextAnalytics( ['Zoho Corporation, is an Indian multinational technology company that makes web-based business tools. It is best known for Zoho Office Suite. The company was founded by Sridhar Vembu and Tony Thomas and has a presence in seven locations with its global headquarters in Chennai, India, and corporate headquarters in Pleasanton, California.'], ['Zoho'] ); //Pass the input text for all Text Analytics, and the keywords for Sentiment Analysis console.log(result); ``` #### Example of Expected Response A sample response that you will receive is shown below. The response contains the results of each of the text analytics features. Refer to each feature page for detailed information on their respective functionalities and responses. ```javascript [{ "keyword_extractor": { "keywords": ["Chennai","company","India","Indian","presence","locations","Pleasanton","California"], "keyphrases": ["corporate headquarters","multinational technology company","Zoho Corporation","Zoho Office Suite","global headquarters","Tony Thomas","web-based business tools","Sridhar Vembu"] }, "sentiment_prediction": [{ "document_sentiment": "Neutral", "sentence_analytics": [{ "sentence": "Zoho Corporation, is an Indian multinational technology company that makes web-based business tools.", "sentiment": "Neutral", "confidence_scores": {"negative": 0,"neutral": 1,"positive": 0} },{ "sentence": "It is best known for Zoho Office Suite.", "sentiment": "Neutral", "confidence_scores": {"negative": 0,"neutral": 0.6,"positive": 0.4} },{ "sentence": "The company was founded by Sridhar Vembu and Tony Thomas and has a presence in seven locations with its global headquarters in Chennai, India, and corporate headquarters in Pleasanton, California.", "sentiment": "Neutral", "confidence_scores": {"negative": 0,"neutral": 0.88,"positive": 0.12} }], "overall_score": 0.83 }], "ner": { "general_entities": [{ "start_index": 0, "confidence_score": 98, "end_index": 16, "ner_tag": "Organization", "token": "Zoho Corporation" },{ "start_index": 24, "confidence_score": 99, "end_index": 30, "ner_tag": "Miscellaneous", "token": "Indian" },{ "start_index": 122, "confidence_score": 90, "end_index": 139, "ner_tag": "Miscellaneous", "token": "Zoho Office Suite" },{ "start_index": 168, "confidence_score": 99, "end_index": 181, "ner_tag": "Person", "token": "Sridhar Vembu" },{ "start_index": 186, "confidence_score": 96, "end_index": 197, "ner_tag": "Person", "token": "Tony Thomas" },{ "start_index": 220, "confidence_score": 100, "end_index": 225, "ner_tag": "Number", "token": "seven" },{ "start_index": 268, "confidence_score": 99, "end_index": 275, "ner_tag": "City", "token": "Chennai" },{ "start_index": 277, "confidence_score": 98, "end_index": 282, "ner_tag": "Country", "token": "India" },{ "start_index": 314, "confidence_score": 99, "end_index": 324, "ner_tag": "City", "token": "Pleasanton" },{ "start_index": 326, "confidence_score": 91, "end_index": 336, "ner_tag": "State", "token": "California" }] } }] ``` -------------------------------------------------------------------------------- title: "Image Moderation" description: "This page describes the method to perform operations using the components in Zia Services." last_updated: "2026-09-09T10:45:38.000Z" source: "https://docs.catalyst.zoho.com/en/sdk/javascript/v1/zia-services/image-moderation/" service: "Zia Services" related: - Catalyst Zia Services (/en/zia-services/) - Image Moderation Help Documentation (/en/zia-services/help/image-moderation/introduction/) - Java SDK Documentation (/en/sdk/java/v1/zia-services/image-moderation/) - Python SDK Documentation (/en/sdk/python/v1/zia-services/image-moderation/) - REST API Documentation (/en/api/code-reference/zia-services/image-moderation/#ImageModeration) -------------------------------------------------------------------------------- # Image Moderation > **Note:** Ensure you have installed the [required package](https://docs.catalyst.zoho.com/en/sdk/javascript/v1/zia-services/overview/#prerequisites) to use this SDK method. [Image Moderation](https://docs.catalyst.zoho.com/en/zia-services/help/image-moderation/introduction) detects and recognizes inappropriate and unsafe content in images. The criteria include suggestive or explicit racy content, nudity, violence, gore, bloodshed, and the presence of weapons and drugs. You can provide a *.jpg*/*.jpeg* or *.png* file as the input. Refer to the [API documentation](https://docs.catalyst.zoho.com/en/api/code-reference/zia-services/image-moderation/#ImageModeration) for the request and response formats. You can set the moderation mode as `BASIC`, `MODERATE`, or A`DVANCED` optionally. The image is processed in the `ADVANCED` mode by default. The `zia` reference used in the code snippets below is the [component instance](https://docs.catalyst.zoho.com/en/sdk/javascript/v1/zia-services/get-zia-instance/) created to perform these operations. The promise returned here is resolved to a JSON object. ```javascript const fs = require('fs'); const result = await zia.moderateImage(fs.createReadStream('./weapon.png'), {mode: 'moderate'}); //Pass the input file and the mode console.log(result); ``` #### Example of Expected Response A sample response that you will receive is shown below. The response returns the probability of each criteria with their confidence scores, and the prediction of the image being `safe_to_use` or `unsafe_to_use`. ```javascript { "probability": { "racy": "0.09", "nudity": "0.06" }, "confidence": "0.85", "prediction": "safe_to#_use" } ``` -------------------------------------------------------------------------------- title: "Object Recognition" description: "This page describes the method to perform operations using the components in Zia Services." last_updated: "2026-09-09T10:45:38.000Z" source: "https://docs.catalyst.zoho.com/en/sdk/javascript/v1/zia-services/object-recognition/" service: "Zia Services" related: - Catalyst Zia Services (/en/zia-services/) - Object Recognition Help Documentation (/en/zia-services/help/object-recognition/introduction/) - Java SDK Documentation (/en/sdk/java/v1/zia-services/object-recognition/) - Python SDK Documentation (/en/sdk/python/v1/zia-services/object-recognition/) - REST API Documentation (/en/api/code-reference/zia-services/object-recognition/#ObjectRecognition) -------------------------------------------------------------------------------- # Object Recognition > **Note:** Ensure you have installed the [required package](https://docs.catalyst.zoho.com/en/sdk/javascript/v1/zia-services/overview/#prerequisites) to use this SDK method. [Object Recognition](https://docs.catalyst.zoho.com/en/zia-services/help/object-recognition/introduction) detects,locates, and recognizes individual objects in an image file. Zia Object Recognition can identify 80 different kinds of objects from images. You can provide a *.jpg*/*.jpeg* or *.png* file as the input. Refer to the [API documentation](https://docs.catalyst.zoho.com/en/api/code-reference/zia-services/object-recognition/#ObjectRecognition) for the request and response formats. The `detectObject()` method is used detect and identify the objects in the image, and the input file is passed as an argument to this method. It returns the coordinates of each object, their type, and the confidence score of each recognition. The `zia` reference used in the code snippets below is the [component instance](https://docs.catalyst.zoho.com/en/sdk/javascript/v1/zia-services/get-zia-instance/) created to perform these operations. The promise returned here is resolved to a JSON object. ```javascript const fs = require('fs'); const result = await zia.detectObject(fs.createReadStream('./sampimage.webp')); console.log(result); ``` #### Example of Expected Response A sample response that you will receive for each version is shown below. ```javascript { "objects": [ { "co_ordinates": ["322", "125", "708", "1201"], "object_type": "person", "confidence": "99.82" } ] } ``` -------------------------------------------------------------------------------- title: "Barcode Scanner" description: "This page describes the method to perform operations using the components in Zia Services." last_updated: "2026-09-09T10:45:38.000Z" source: "https://docs.catalyst.zoho.com/en/sdk/javascript/v1/zia-services/barcode-scanner/" service: "Zia Services" related: - Catalyst Zia Services (/en/zia-services/) - Object Recognition Help Documentation (/en/zia-services/help/object-recognition/introduction/) - Java SDK Documentation (/en/sdk/java/v1/zia-services/barcode-scanner/) - Python SDK Documentation (/en/sdk/python/v1/zia-services/barcode-scanner/) - REST API Documentation (/en/api/code-reference/zia-services/barcode-scanner/#BarcodeScanner) -------------------------------------------------------------------------------- # Barcode Scanner > **Note:** Ensure you have installed the [required package](https://docs.catalyst.zoho.com/en/sdk/javascript/v1/zia-services/overview/#prerequisites) to use this SDK method. [Zia Barcode Scanner](https://docs.catalyst.zoho.com/en/zia-services/help/barcode-scanner/introduction) enables you to scan the most commonly used linear and 2D barcode formats and decode the encoded data. Barcode Scanner can detect formats like Codabar, EAN-13, ITF, UPC-A, QR Code, and more. You can provide an input file of the format *.jpg*/*.jpeg* or *.png*. Refer to the [API documentation](https://docs.catalyst.zoho.com/en/api/code-reference/zia-services/barcode-scanner/#BarcodeScanner) for the request and response formats. You can specify the barcode format using `setFormat`. If you enter the format as `ALL`, the Barcode Scanner automatically detects the format. It provides the decoded information as the response. The `zia` reference used in the code snippets below is the [component instance](https://docs.catalyst.zoho.com/en/sdk/javascript/v1/zia-services/get-zia-instance/) created to perform these operations. The promise returned here is resolved to a JSON object. ```javascript const fs = require('fs'); const result = await zia.scanBarcode(fs.createReadStream('./barcode.png'), {format: 'code39'}); //Pass the input file and the format console.log(result); ``` #### Example of Expected Response A sample response that you will receive is shown below. ```json { "content": "https://demo.dynamsoft.com/dbr_wasm/barcode_reader_javascript.html" } ``` ## SDK — Python — Zia Services -------------------------------------------------------------------------------- title: "Get Zia Instance" description: "This page describes the method to use the Barcode Scanner feature to scan certain data formats in your Python application with sample code snippets" last_updated: "2023-12-18T10:50:08.000Z" source: "https://docs.catalyst.zoho.com/en/sdk/python/v1/zia-services/get-component-instance/" service: "Zia Services" related: - Catalyst Zia (/en/zia-services/getting-started/introduction) -------------------------------------------------------------------------------- # Catalyst Zia [Catalyst Zia](https://docs.catalyst.zoho.com/en/zia-services/getting-started/introduction) is a suite of fully managed AI/ML powered components that can be readily incorporated to build smart and reliable applications. These components help you detect, process, or predict data that can be highly beneficial in various aspects of your business. You can use a Catalyst Zia service in your application by implementing its component specific SDK snippet in your source code. # Get component instance A component instance is an object that can be used to access the predefined configurations specific to a particular component. This process will not fire a server-side call. Also note that this component instance will be used in multiple scenarios while implementing Zia services in your application. The `app` reference used in the code below is the [Python object](https://docs.catalyst.zoho.com/en/sdk/python/v1/setup/#initializing-the-sdk) returned as a response during SDK initialization. You can create a new `zia`instance as shown below : ```python #Get Zia component instance zia = app.zia() ``` -------------------------------------------------------------------------------- title: "OCR" description: "This page describes the method to use Optical Character Recognition to detect textual characters in your Python application with sample code snippets." last_updated: "2026-11-04T10:10:44.000Z" source: "https://docs.catalyst.zoho.com/en/sdk/python/v1/zia-services/ocr/" service: "Zia Services" related: - OCR - API (/en/api/code-reference/zia-services/ocr/#OCR) - SDK Scopes (/en/sdk/python/v1/sdk-scopes) -------------------------------------------------------------------------------- # Optical Character Recognition [Zia Optical Character Recognition](https://docs.catalyst.zoho.com/en/zia-services/help/optical-character-recognition/introduction) electronically detects textual characters in images or digital documents, and converts them into machine-encoded text. Zia OCR can recognize text in nine international languages and 10 Indian languages. You can check the list of languages and language codes from the [ API documentation](https://docs.catalyst.zoho.com/en/api/code-reference/zia-services/ocr/#OCR). > **Note:**Catalyst does not store any of the files you upload in its systems. The files you upload are used for one-time processing only. They are not used for ML model training purposes either. Catalyst components are fully compliant with all applicable data protection and privacy laws. You must specify the path to the image or document file that needs to be processed for OCR as a parameter to the `open()` method. This opens the file and returns a file object as a response. **Allowed file formats:** ._jpg_, ._jpeg_, ._png_, ._tiff_, ._bmp_, ._pdf_ **File size limit:** 20 MB You must pass the file path, model type, and languages as arguments to the `extract_optical_characters()` method. However, the model type and language values are optional. By default, it is passed as the `OCR` model type, and the languages are automatically detected if they are not specified. To know more about the component instance `zia` used below, please refer to [this help section](https://docs.catalyst.zoho.com/en/sdk/python/v1/zia-services/get-component-instance/). **Parameters Used**
Parameter Name Data Type Definition
`img` Image A **Mandatory** parameter. Will store the image that has to be analyzed.
`language` String A **Mandatory** parameter. Will store the language to be identified.
`modelType` String A **Mandatory** parameter. Will store the default value as "OCR".
```python # OCR Implementation zia = app.zia() img = open("sample.webp", "rb") result = zia.extract_optical_characters(img, {"language": "eng", "modelType": "OCR"}) ``` A sample response is shown below : ```json { "confidence":95, "text":"This is a lot of 12 point text to test the\nocr code and see if it works on all types\nof file format\n\nThe quick brown dog jumped over the\nlazy fox. The quick brown dog jumped\nover the lazy fox. The quick brown dog\njumped over the lazy fox. The quick\nbrown dog jumped over the lazy fox" } ``` > **Info :** Refer to the [SDK Scopes table](https://docs.catalyst.zoho.com/en/sdk/python/v1/sdk-scopes) to determine the required permission level for performing the above operation. -------------------------------------------------------------------------------- title: "Face Analytics" description: "This page describes the method to use the Face Analytics feature to detect faces with specified criteria in your Python application with sample code snippets" last_updated: "2026-06-09T07:46:16.000Z" source: "https://docs.catalyst.zoho.com/en/sdk/python/v1/zia-services/face-analytics/" service: "Zia Services" related: - Face Analytics - API (/en/api/code-reference/zia-services/face-analytics/#FaceAnalytics) - SDK Scopes (/en/sdk/python/v1/sdk-scopes) -------------------------------------------------------------------------------- # Face Analytics [Zia Face Analytics](https://docs.catalyst.zoho.com/en/zia-services/help/face-analytics/introduction) performs facial detection in images, and analyzes the facial features to provide information such as the gender, age, and emotion of the detected faces. You must provide a .webp/.jpeg or .png file as the input to the `open()` method to perform Face Analytics on that image. This opens the provided file and returns a file object as a response. The `analyse_face()` method accepts the input image as its argument. You can also specify the analysis mode as `basic`, `moderate`, or `advanced`. You can also specify the attributes `age`, `smile`, or `gender` as `true` to detect or `false` to not detect. These values are optional. All attributes are detected and the `advanced` mode is processed by default. Refer to the [API documentation](https://docs.catalyst.zoho.com/en/api/code-reference/zia-services/face-analytics/#FaceAnalytics) for the request and response formats. To know more about the component instance `zia` used below, please refer to [this help section](https://docs.catalyst.zoho.com/en/sdk/python/v1/zia-services/get-component-instance/). The response returns the prediction of the enabled attributes, the coordinates and landmarks of facial features of each face, and the confidence score of each analysis. **Parameters Used**
Parameter Name Data Type Definition
`img` Image A **Mandatory** parameter. Will store the image of the face to be analyzed.
`mode` String A **Optional** parameter. Will store the analysis mode values - "basic", "moderate" or "advanced".
`age` Boolean A **Optional** parameter. Will decide whether to determine age or not. Values accepted are "Yes" or "No"
`emotion` Boolean A **Optional** parameter. Will decide whether to determine emotion or not. Values accepted are "Yes" or "No"
`gender` Boolean A **Optional** parameter. Will decide whether to determine gender or not. Values accepted are "True" or "False"
```python # Face Analytics implementation zia = app.zia() img = open("sample.webp", "rb") result = zia.analyse_face( img, {"mode": "moderate", "age": True, "emotion": True, "gender": False} ) ``` A sample response is shown below : ```json { "faces_count":1, "faces":[ { "co_ordinates":[ "401", "193", "494", "313" ], "emotion":{ "confidence":{ "smiling":"0.75", "not_smiling":"0.25" }, "prediction":"smiling" }, "gender":{ }, "confidence":1, "id":"0", "landmarks":{ "right_eye":[ [ "467", "230" ] ], "nose":[ [ "451", "264" ] ], "mouth_right":[ [ "474", "278" ] ], "left_eye":[ [ "426", "239" ] ], "mouth_left":[ [ "434", "283" ] ] }, "age":{ "confidence":{ "20-29":"0.73", "30-39":"0.08", "0-2":"0.0", "40-49":"0.0", "50-59":"0.0", ">70":"0.0", "60-69":"0.0", "10-19":"0.17", "3-9":"0.0" }, "prediction":"20-29" } } ] } ``` > **Info :** Refer to the [SDK Scopes table](https://docs.catalyst.zoho.com/en/sdk/python/v1/sdk-scopes) to determine the required permission level for performing the above operation. -------------------------------------------------------------------------------- title: "Image Moderation" description: "This page describes the method to use the Image Moderation feature to detect vulnerability in images within your Python application with sample code snippets" last_updated: "2026-06-09T07:46:16.000Z" source: "https://docs.catalyst.zoho.com/en/sdk/python/v1/zia-services/image-moderation/" service: "Zia Services" related: - Image Moderation - API (/en/api/code-reference/zia-services/image-moderation/#ImageModeration) - SDK Scopes (/en/sdk/python/v1/sdk-scopes) -------------------------------------------------------------------------------- # Image Moderation [Image Moderation](https://docs.catalyst.zoho.com/en/zia-services/help/image-moderation/introduction/) detects and recognizes inappropriate and unsafe content in images. The criteria include suggestive or explicit racy content, nudity, violence, gore, bloodshed, and the presence of weapons and drugs. You can provide a .webp/.jpeg or .png file as the input to the `open()` method. This method returns the image file object as a response. You can set the moderation mode as `BASIC`, `MODERATE`, or `ADVANCED` optionally. The image is processed in the `ADVANCED` mode by default. The response returns the probability of each criteria with their confidence scores, and the prediction of the image being `safe_to_use` or `unsafe_to_use`. To know more about the component instance `zia` used below, please refer to [this help section](https://docs.catalyst.zoho.com/en/sdk/python/v1/zia-services/get-component-instance/). **Parameters Used**
Parameter Name Data Type Definition
`img` Image A **Mandatory** parameter. Will store the image to be analyzed.
`options` Array A **Optional** parameter. Will store the analysis mode values - "basic", "moderate" or "advanced"
```python zia = app.zia() img = open("sample.webp", "rb") result = zia.moderate_image(img, options={"mode": "moderate"}) ``` A sample response is shown below : ```json { "probability":{ "racy":"0.09", "nudity":"0.06" }, "confidence":"0.85", "prediction":"safe_to_use" } ``` > **Info :** Refer to the [SDK Scopes table](https://docs.catalyst.zoho.com/en/sdk/python/v1/sdk-scopes) to determine the required permission level for performing the above operation. -------------------------------------------------------------------------------- title: "Object Recognition" description: "This page describes the method to use the Object Recognition feature to locate objects in your Python application with sample code snippets" last_updated: "2026-06-09T07:46:16.000Z" source: "https://docs.catalyst.zoho.com/en/sdk/python/v1/zia-services/object-recognition/" service: "Zia Services" related: - Object Recognition - API (/en/api/code-reference/zia-services/object-recognition/#ObjectRecognition) - SDK Scopes (/en/sdk/python/v1/sdk-scopes) -------------------------------------------------------------------------------- # Object Recognition [Object Recognition](https://docs.catalyst.zoho.com/en/zia-services/help/object-recognition/introduction/) detects,locates, and recognizes individual objects in an image file. Zia Object Recognition can identify 80 different kinds of objects from images. You can provide a .webp/.jpeg or .png file as the input to the `open()` method. This method returns the image file object as a response. Refer to the [API documentation](https://docs.catalyst.zoho.com/en/api/code-reference/zia-services/object-recognition/#ObjectRecognition) for the request and response formats. The `detect_object()` method is used detect and identify the objects in the image, and the input file is passed as an argument to this method. It returns the coordinates of each object, their type, and the confidence score of each recognition. To know more about the component instance `zia` used below, please refer to [this help section](https://docs.catalyst.zoho.com/en/sdk/python/v1/zia-services/get-component-instance/). **Parameters Used**
Parameter Name Data Tyoe Definition
`img` Image A **Mandatory** parameter. Will store the image that has to be analyzed for objects.
```python zia = app.zia() img = open("sample.webp", "rb") result = zia.detect_object(img) ``` A sample response is shown below : ```json { "objects":[ { "co_ordinates":[ "322", "125", "708", "1201" ], "object_type":"person", "confidence":"99.82" } ] } ``` > **Info :** Refer to the [SDK Scopes table](https://docs.catalyst.zoho.com/en/sdk/python/v1/sdk-scopes) to determine the required permission level for performing the above operation. -------------------------------------------------------------------------------- title: "Barcode Scanner" description: "This page describes the method to use the Barcode Scanner feature to scan certain data formats in your Python application with sample code snippets" last_updated: "2026-06-09T07:46:16.000Z" source: "https://docs.catalyst.zoho.com/en/sdk/python/v1/zia-services/barcode-scanner/" service: "Zia Services" related: - Barcode Scanner - API (/en/api/code-reference/zia-services/barcode-scanner/#BarcodeScanner) - SDK Scopes (/en/sdk/python/v1/sdk-scopes) -------------------------------------------------------------------------------- # Barcode Scanner [Zia Barcode Scanner](https://docs.catalyst.zoho.com/en/api/code-reference/zia-services/barcode-scanner/#BarcodeScanner) enables you to scan the most commonly used linear and 2D barcode formats and decode the encoded data. Barcode Scanner can detect formats like Codabar, EAN-13, ITF, UPC-A, QR Code, and more. You can provide an input file of the format .webp/.jpeg or .png to the `open()` method. This method returns the image file object as a response. Refer to the [API documentation](https://docs.catalyst.zoho.com/en/api/code-reference/zia-services/barcode-scanner/#BarcodeScanner) for the request and response formats. You can specify the barcode format using `setFormat`. If you enter the format as `ALL`, Barcode Scanner automatically detects the format. It provides the decoded information as the response. To know more about the component instance `zia` used below, please refer to [this help section](https://docs.catalyst.zoho.com/en/sdk/python/v1/zia-services/get-component-instance/). **Parameters Used**
Parameter Name Data Type Definition
`img` Image A **Mandatory** parameter. Will store the ID of the model to be trained.
`options` Array A **Mandatory** parameter. Will store the format of the barcode.
```python zia = app.zia() img = open("sample.webp", "rb") result = zia.scan_barcode(img, options={"format": "code39"}) ``` A sample response is shown below : ```json { "content":"https://demo.dynamsoft.com/dbr_wasm/barcode_reader_javascript.html" } ``` > **Info :** Refer to the [SDK Scopes table](https://docs.catalyst.zoho.com/en/sdk/python/v1/sdk-scopes) to determine the required permission level for performing the above operation. ### Identity Scanner -------------------------------------------------------------------------------- title: "Facial Comparison" description: "This page describes the method to use facial comparison feature in your Python application with sample code snippets." last_updated: "2025-03-28T12:54:49.000Z" source: "https://docs.catalyst.zoho.com/en/sdk/python/v1/zia-services/identity-scanner/facial-comparison/" service: "Zia Services" related: - Facial Comparison - API (/en/api/code-reference/zia-services/identity-scanner/facial-comparison/#FacialComparison) - Facial Comparison Help (/en/zia-services/help/identity-scanner/key-concepts/#facial-comparison-process) - SDK Scopes (/en/sdk/python/v1/sdk-scopes) -------------------------------------------------------------------------------- # Identity Scanner [Identity Scanner](https://docs.catalyst.zoho.com/en/zia-services/help/identity-scanner/introduction) is a Zia AI-driven component that enables you to perform secure identity checks on individuals and documents by scanning and processing various ID proofs or official documents. It is a comprehensive suite that incorporates multiple functionalities divided into two major categories- E-KYC and Document Processing. > **Note:** Catalyst does not store any of the files you upload in its systems. The documents you upload are only used for one-time processing. They are not used for ML model training purposes. Catalyst components are fully compliant with all applicable data protection and privacy laws. ### Facial Comparison Facial Comparison, also known as E-KYC, is a part of Identity Scanner that Compares two faces in two different images to determine if they are the same individual. This will enable you to verify an individual's identity from their ID proof by comparing it with an existing photo of theirs. For example, you can verify the authenticity of a photo ID, such as an individual's Aadhaar card, by comparing it with their current photograph. > **Note:** While the Document Processing feature of Identity Scanner is only relevant to Indian users, the Facial Comparison API and SDK tools are available to a global audience. However, accessing and testing Facial Comparison or E-KYC from the Catalyst console is restricted to the users from IN DC alone. You can perform a face comparison between a source image and a query image, by specifying the path to both the image files, as shown in the sample code. The `compare_face()` method processes both these images. To know more about the component instance `zia` used below, please refer to [this help section](https://docs.catalyst.zoho.com/en/sdk/python/v1/zia-services/get-component-instance/). > **Note:** You can mark either the ID proof image or the individual's photograph as the source or the query image. This will not affect the results. **Allowed file formats:** _.webp_, _.jpeg_, _.png_ **File size limit:** 10 MB The result of the comparison is set to **`true` if the faces match, or `false`** if they don't match. The result also contains a confidence score between the range of 0 to 1, which determines the accuracy of the processing. Only if the comparison yields a confidence score of above 50% i.e., 0.5, the result will be set to `true`. **Parameters Used**
Parameter Name Data Type Definition
`img` Image A **Mandatory** parameter. Will store the first image file of the face.
`img2` Image A **Mandatory** parameter. Will store the second image file of the face.
```python # Facial Comparison feature implementation zia = app.zia() img = open("sample1.webp", "rb") img2 = open("sample2.webp", "rb") result = zia.compare_face(img, img2) ``` The sample response is shown below : ```json { "confidence":0.9464, "matched":"true" } ``` > **Info :** Refer to the [SDK Scopes table](https://docs.catalyst.zoho.com/en/sdk/python/v1/sdk-scopes) to determine the required permission level for performing the above operation. -------------------------------------------------------------------------------- title: "Aadhaar" description: "This page describes the method to use the AADHAAR document processing feature in your Python application with sample code snippets." last_updated: "2025-11-19T15:07:41.000Z" source: "https://docs.catalyst.zoho.com/en/sdk/python/v1/zia-services/identity-scanner/aadhaar/" service: "Zia Services" related: - Aadhaar - API (/en/api/code-reference/zia-services/identity-scanner/aadhaar/#Aadhaar) - Aadhaar Help (/en/zia-services/help/identity-scanner/key-concepts/#model-types) - SDK Scopes (/en/sdk/python/v1/sdk-scopes) -------------------------------------------------------------------------------- # Identity Scanner [Identity Scanner](https://docs.catalyst.zoho.com/en/zia-services/help/identity-scanner/introduction) is a Zia AI-driven component that enables you to perform secure identity checks on individuals and documents by scanning and processing various ID proofs or official documents. It is a comprehensive suite that incorporates multiple functionalities divided into two major categories- E-KYC and Document Processing. > **Note:** Catalyst does not store any of the files you upload in its systems. The documents you upload are used for one-time processing only. They are not used for ML model training purposes either. Catalyst components are fully compliant with all applicable data protection and privacy laws. ## Aadhaar The `AADHAAR` model is a part of the Document Processing feature that enables you to process Indian Aadhaar cards as identity proof documents. This enables you to extract fields of data from an Indian Aadhaar card using an advanced OCR technology. The response will return the parameters recognized from the Aadhaar card, along with confidence scores for each recognition that determine their accuracy. > **Note:**Document Processing is only relevant to Indian users and is **only available in the IN DC**. This feature will not be available to users accessing from the EU, AU, US, JP, SA or CA data centers. Users outside of India from the other DCs can access the [general OCR component](https://docs.catalyst.zoho.com/en/zia-services/help/optical-character-recognition/introduction) to read and process textual content. You must provide the path to the image files of the front and back of the Aadhaar card to the `open()` method, as shown in the code below. This opens both the files and returns the respective file objects as a response. To know more about the component instance `zia` used below, please refer to [this help section](https://docs.catalyst.zoho.com/en/sdk/python/v1/zia-services/get-component-instance/). Identity Scanner will now automatically identify the languages in an Aadhaar card and process it. You can temporarily pass the languages as shown in the code below. You must pass English and the relevant regional language. For example, if you are from Tamil Nadu, you must pass `tam` and `eng` as the languages. You can check the list of languages and language codes from the [API documentation](https://docs.catalyst.zoho.com/en/api/code-reference/zia-services/identity-scanner/aadhaar/#Aadhaar). **Allowed file formats:** _.webp_, _.jpeg_, _.png_, _.bmp_, _.tiff_, _.pdf_ **File size limit:** 15 MB The response contains the parameters recognized in the Aadhaar card such as the card holder's name, address, gender, Aadhaar card number assigned to respective keys. The response also shows a confidence score in the range of 0 to 1 for each of the recognized values. **Parameters Used**
Parameter Name Data Type Definition
`aadhar_front` Image A **Mandatory** parameter. Will store the front side Aadhaar image in less than 15 MB.
`aadhar_back` Image A **Mandatory** parameter. Will store the back side Aadhaar image in less than 15 MB.
`language` String A **Mandatory** parameter. Will store the language to be identified.
```python zia = app.zia() img = open("sample.webp", "rb") img2 = open("sample2.webp", "rb") result = zia.extract_aadhaar_characters(img, img2, language="eng,tam") ``` A sample response is shown below : ```json { "text":{ "address":{ "prob":0.5, "value":"C/O Rainbow, xxxx STREET, xxxx- 0000" }, "gender":{ "prob":0.8, "value":"MALE" }, "dob":{ "prob":0.8, "value":"08/09/2001" }, "name":{ "prob":0.6, "value":"Ram Singh" }, "aadhaar":{ "prob":0.8, "value":"4000 0000 0000" } } } ``` > **Info :** Refer to the [SDK Scopes table](https://docs.catalyst.zoho.com/en/sdk/python/v1/sdk-scopes) to determine the required permission level for performing the above operation. -------------------------------------------------------------------------------- title: "PAN" description: "This page describes the method to use the PAN document processing feature in your Python application with sample code snippets" last_updated: "2025-09-16T18:51:08.000Z" source: "https://docs.catalyst.zoho.com/en/sdk/python/v1/zia-services/identity-scanner/pan/" service: "Zia Services" related: - PAN - API (/en/api/code-reference/zia-services/identity-scanner/pan/#PAN) - PAN Help (/en/zia-services/help/identity-scanner/key-concepts/#model-types) - SDK Scopes (/en/sdk/python/v1/sdk-scopes) -------------------------------------------------------------------------------- # Identity Scanner [Identity Scanner](https://docs.catalyst.zoho.com/en/zia-services/help/identity-scanner/introduction) is a Zia AI-driven component that enables you to perform secure identity checks on individuals and documents by scanning and processing various ID proofs or official documents. It is a comprehensive suite that incorporates multiple functionalities divided into two major categories- E-KYC and Document Processing. > **Note:** Catalyst does not store any of the files you upload in its systems. The documents you upload are used for one-time processing only. They are not used for ML model training purposes either. Catalyst components are fully compliant with all applicable data protection and privacy laws. #### PAN The `PAN` model is a part of the Document Processing feature that enables you to process Indian PAN cards as identity proof documents. This enables you to extract fields of data from a PAN card using an advanced OCR technology, and return the parameters recognized from the PAN card in the response. > **Note:**Document Processing is only relevant to Indian users and is **only available in the IN DC**. This feature will not be available to users accessing from the EU, AU, US, JP, SA or CA DCs. Users outside of India from the other DCs can access the [general OCR component](https://docs.catalyst.zoho.com/en/zia-services/help/optical-character-recognition/introduction) to read and process textual content. You must provide the path to the image file of the front side of the PAN card to the `open()` method, as shown in the code below. This method opens the file and returns the file object as a response. To know more about the component instance `zia` used below, please refer to [this help section](https://docs.catalyst.zoho.com/en/sdk/python/v1/zia-services/get-component-instance/). **Allowed file formats:** _.webp_, _.jpeg_, _.png_ **File size limit:** 15 MB You must specify the model type as `PAN` using `modelType`. The `PAN` model can only process text in English by default. No other languages are supported. The response will contain the parameters extracted from the PAN card such as their first name, last name, date of birth, and their PAN card number assigned to the respective keys. **Parameters Used**
Parameter Name Data Type Definition
`img` Image A **Mandatory** parameter. Will store the image file of the front side of the PAN card.
`modelType` String A **Mandatory** parameter. Will store the default value as "PAN".
```python zia = app.zia() img = open("sample.webp", "rb") result = zia.extract_optical_characters(img, {"modelType": "PAN"}) ``` The response is shown below : ```json { "date_of_birth":"03/04/1982", "last_name":"VASUDEV MAHTO", "pan":"ANRPM2537J", "first_name":"PRAMOD KUMAR MAHTO" } ``` > **Info :** Refer to the [SDK Scopes table](https://docs.catalyst.zoho.com/en/sdk/python/v1/sdk-scopes) to determine the required permission level for performing the above operation. -------------------------------------------------------------------------------- title: "Passbook" description: "This page describes the method to use the PASSBOOK document processing feature in your Python application with sample code snippets" last_updated: "2025-09-16T18:51:08.000Z" source: "https://docs.catalyst.zoho.com/en/sdk/python/v1/zia-services/identity-scanner/passbook/" service: "Zia Services" related: - Passbook - API (/en/api/code-reference/zia-services/identity-scanner/passbook/#Passbook) - Passbook Help (/en/zia-services/help/identity-scanner/key-concepts/#model-types) - SDK Scopes (/en/sdk/python/v1/sdk-scopes) -------------------------------------------------------------------------------- # Identity Scanner [Identity Scanner](https://docs.catalyst.zoho.com/en/zia-services/help/identity-scanner/introduction) is a Zia AI-driven component that enables you to perform secure identity checks on individuals and documents by scanning and processing various ID proofs or official documents. It is a comprehensive suite that incorporates multiple functionalities divided into two major categories- E-KYC and Document Processing. > **Note:** Catalyst does not store any of the files you upload in its systems. The documents you upload are used for one-time processing only. They are not used for ML model training purposes either. Catalyst components are fully compliant with all applicable data protection and privacy laws. #### Passbook The `PASSBOOK` model is a part of the Document Processing feature that enables you to process Indian bank passbooks as financial or identity proof documents. This enables you to extract fields of data from a passbook using the OCR technology, and fetch the parameters from it in the response. > **Note:** Document Processing is only relevant to Indian users and is **only available in the IN DC**. This feature will not be available to users accessing from the EU, AU, US, JP, SA or CA data centers. Users outside of India from the other DCs can access the [general OCR component](https://docs.catalyst.zoho.com/en/zia-services/help/optical-character-recognition/introduction) to read and process textual content. The Passbook model supports 11 Indian languages and an additional 8 International languages. You can check the list of languages and language codes from the [API documentation](https://docs.catalyst.zoho.com/en/api/code-reference/zia-services/identity-scanner/passbook/#Passbook). You must provide the path to the image of the front page of the passbook, as shown in the code below. **Allowed file formats:** _.webp_, _.jpeg_, _.png_, _.bmp_, _.tiff_, _.pdf_ **File size limit:** 15 MB You must specify the model type as `PASSBOOK` using the key `modelType`. You can also optionally specify the language as shown in the code below. English will be considered as the default language, if it isn't specified. The response contains the bank details and account details recognized from the passbook such as the bank name, branch, address, account number. The extracted fields of information are assigned to their respective keys. The response also shows if RTGS, NEFT, and IMPS have been enabled for that account. > **Note:** Identity Scanner will return the response only in English, irrespective of the languages present in the passbook. To know more about the component instance `zia` used below, please refer to [this help section](https://docs.catalyst.zoho.com/en/sdk/python/v1/zia-services/get-component-instance/). **Parameters Used**
Parameter Name Data Type Definition
`img` Image A **Mandatory** parameter. Will store the language to be detected.
`modelType` String A **Mandatory** parameter. Will store the default value as "PASSBOOK".
```python zia = app.zia() img = open("sample.webp", "rb") result = zia.extract_optical_characters( img, {"language": "tam", "modelType": "PASSBOOK"} ) ``` A sample reference is shown below : ```json { "text":{ "address":"No.20,Gandhi Road,M.G Lane", "city":"Chennai", "centre":"Chennai", "bankName":"ABX BANK LIMITED", "accountNumber":"002001001625859", "branch":"Anna Nagar", "dateOfOpening":"30/08/2012", "imps":"true", "neft":"true", "district":"Chennai", "contact":"801234567", "micr":"641021121", "name":" 2312312", "state":"Tamil Nadu", "rtgs":"true", "ifsc":"ABX0000311" } } ``` > **Info :** Refer to the [SDK Scopes table](https://docs.catalyst.zoho.com/en/sdk/python/v1/sdk-scopes) to determine the required permission level for performing the above operation. -------------------------------------------------------------------------------- title: "Cheque" description: "This page describes the method to use the Cheque document processing feature in your Python application with sample code snippets." last_updated: "2025-11-19T15:07:41.000Z" source: "https://docs.catalyst.zoho.com/en/sdk/python/v1/zia-services/identity-scanner/cheque/" service: "Zia Services" related: - Cheque - API (/en/api/code-reference/zia-services/identity-scanner/cheque/#Cheque) - Cheque Help (/en/zia-services/help/identity-scanner/key-concepts/#model-types) - SDK Scopes (/en/sdk/python/v1/sdk-scopes) -------------------------------------------------------------------------------- # Identity Scanner [Identity Scanner](https://docs.catalyst.zoho.com/en/zia-services/help/identity-scanner/introduction) is a Zia AI-driven component that enables you to perform secure identity checks on individuals and documents by scanning and processing various ID proofs or official documents. It is a comprehensive suite that incorporates multiple functionalities divided into two major categories- E-KYC and Document Processing. > **Note:** Catalyst does not store any of the files you upload in its systems. The documents you upload are used for one-time processing only. They are not used for ML model training purposes either. Catalyst components are fully compliant with all applicable data protection and privacy laws. #### Cheque The `CHEQUE` model is a part of the Document Processing feature that enables you to process Indian bank cheque leaves as identity proof documents. This enables you to extract fields of data from a cheque using an advanced OCR technology, and fetch the parameters recognized from the cheque through the response. > **Note:** Document Processing is only relevant to Indian users and is **only available in the IN DC**. This feature will not be available to users accessing from the EU, AU, JP, SA, US, or CA DCs. Users outside of India from the other DCs can access the [general OCR component](https://docs.catalyst.zoho.com/en/zia-services/help/optical-character-recognition/introduction) to read and process textual content. You must provide the path to the image file of the front page of the chequebook to the `open()` method, as shown in the code below. This method returns the file object as a response. The `CHEQUE` model can only process text in English by default. No other languages are supported. **Allowed file formats:** _.webp_, _.jpeg_, _.png_ **File size limit:** 15 MB You must specify the model type as `CHEQUE` using `modelType()`. > **Note:**Zia only processes cheques of the CTS-2010 format. To know more about the component instance `zia` used below, please refer to [this help section](https://docs.catalyst.zoho.com/en/sdk/python/v1/zia-services/get-component-instance/). **Parameters Used**
Parameter Name Data Type Definition
`img` Image A **Mandatory** parameter. Will store the image file of the front page of the chequebook.
`modelType` String A **Mandatory** parameter. Will store the default value as "CHEQUE".
```python zia = app.zia() img = open('sample.webp', 'rb') result = zia.extract_optical_characters(img, {'modelType': 'CHEQUE'}) ``` A sample response is shown below : ```json { "date":"15/11/2014", "account_number":"89323223232222", "amount":"10615", "branch_name":"ANNA NAGAR", "bank_name":"ABX BANK", "ifsc":"BB9033232" } ``` > **Info :** Refer to the [SDK Scopes table](https://docs.catalyst.zoho.com/en/sdk/python/v1/sdk-scopes) to determine the required permission level for performing the above operation. ### Text Analytics -------------------------------------------------------------------------------- title: "Sentiment Analysis" description: "This page describes the method to use the sentiment analysis feature in your Python application with sample code snippets." last_updated: "2025-11-19T15:07:41.000Z" source: "https://docs.catalyst.zoho.com/en/sdk/python/v1/zia-services/text-analytics/sentiment-analysis/" service: "Zia Services" related: - Sentiment Analysis - API (/en/api/code-reference/zia-services/text-analytics/sentiment-analysis/#SentimentAnalysis) - Sentiment Analysis Help (/en/zia-services/help/text-analytics/key-concepts/#sentiment-analysis) - SDK Scopes (/en/sdk/python/v1/sdk-scopes) -------------------------------------------------------------------------------- # Sentiment Analysis [Zia Sentiment Analysis](https://docs.catalyst.zoho.com/en/zia-services/help/text-analytics/key-concepts/#sentiment-analysis) is a part of Text Analytics that processes textual content to recognize the tone of the message, and the sentiments conveyed through it. It analyzes each sentence in the text to determine if its tone is **positive**, **negative**, or **neutral**. It then determines the tone of the overall text as one of the these three sentiments, based on the sentiments recognized in each sentence. The response also returns the confidence scores for the sentiments detected in each sentence, to showcase the accuracy of the analysis. The confidence score lies in the range of 0 to 1\. A confidence score for the overall analysis is also returned. You can pass a block of text as the input of upto **1500 characters** in a single request. The input text is passed to `get_sentiment_analysis()`. You can also pass optional keywords for the text. This will enable Sentiment Analysis to process only those sentences that contain these keywords, and determine their sentiments. Other sentences will be ignored. This method takes in a second parameter as an empty list. To know more about the component instance `zia` used below, please refer to [this help section](https://docs.catalyst.zoho.com/en/sdk/python/v1/zia-services/get-component-instance/). **Parameters Used**
Parameter Name Data Type Definition
`text` String A **Mandatory** parameter. Will store the text to be analyzed.
`keyword` String A **Optional** parameter. Will store the keywords to filter sentences containing them and analyze their sentiments.
```python zia = app.zia() result = zia.get_sentiment_analysis( [ "Zoho Corporation, is an Indian multinational technology company that makes web-based business tools. It is best known for Zoho Office Suite. The company was founded by Sridhar Vembu and Tony Thomas and has a presence in seven locations with its global headquarters in Chennai, India, and corporate headquarters in Pleasanton, California.","Zoho"], [], ) ``` A sample response is shown below : ```json { "sentiment_prediction":[ { "document_sentiment":"Neutral", "sentence_analytics":[ { "sentence":"Zoho Corporation, is an Indian multinational technology company that makes web-based business tools.", "sentiment":"Neutral", "confidence_scores":{ "negative":0, "neutral":1, "positive":0 } }, { "sentence":"It is best known for Zoho Office Suite.", "sentiment":"Neutral", "confidence_scores":{ "negative":0, "neutral":0.6, "positive":0.4 } } ], "overall_score":0.83 } ] } ``` > **Info :** Refer to the [SDK Scopes table](https://docs.catalyst.zoho.com/en/sdk/python/v1/sdk-scopes) to determine the required permission level for performing the above operation. -------------------------------------------------------------------------------- title: "Named Entity Recognition" description: "This page describes the method to use the named entity recognition feature in your Python application with sample code snippets." last_updated: "2025-11-19T15:07:41.000Z" source: "https://docs.catalyst.zoho.com/en/sdk/python/v1/zia-services/text-analytics/named-entity-recognition/" service: "Zia Services" related: - Named Entity Recognition Help (/en/zia-services/help/text-analytics/key-concepts/#named-entity-recognition) - Named Entity Recognition - API (/en/api/code-reference/zia-services/text-analytics/named-entity-recognition/#NamedEntityRecognition) - SDK Scopes (/en/sdk/python/v1/sdk-scopes) -------------------------------------------------------------------------------- # Named Entity Recognition [Zia Named Entity Recognition](https://docs.catalyst.zoho.com/en/zia-services/help/text-analytics/key-concepts/#named-entity-recognition) is a part of Text Analytics that processes textual content to extract key words and group them into various categorizes. For example, it can determine a word in a text to be the name of an organization, the name of a person, or a date, and add it to the appropriate category accordingly. Refer [here](https://docs.catalyst.zoho.com/en/zia-services/help/text-analytics/key-concepts/#named-entity-recognition) for a list of all categories recognized by NER. The response returns an array of all the entities recognized in the text, and a tag indicating the category they belong to. It will also contain the confidence score of each categorization in percentage values, to showcase its accuracy. The response also returns the location of the entity in the text through its start index and end index. You can pass a block of text as the input of upto **1500 characters** in a single request, as shown below. The text is passed to `get_NER_prediction()`. To know more about the component instance `zia` used below, please refer to [this help section](https://docs.catalyst.zoho.com/en/sdk/python/v1/zia-services/get-component-instance/). **Parameters Used**
Parameter Name Data Type Definition
`text` String A **Mandatory** parameter. Will store the text in which entities has to be recognized.
```python zia = app.zia() result = zia.get_NER_prediction( [ "Zoho Corporation, is an Indian multinational technology company that makes web-based business tools. It is best known for Zoho Office Suite. The company was founded by Sridhar Vembu and Tony Thomas and has a presence in seven locations with its global headquarters in Chennai, India, and corporate headquarters in Pleasanton, California." ] ) ``` The sample response is shown below : ```json { "ner":{ "general_entities":[ { "start_index":0, "confidence_score":98, "end_index":16, "ner_tag":"Organization", "token":"Zoho Corporation" }, { "start_index":24, "confidence_score":99, "end_index":30, "ner_tag":"Miscellaneous", "token":"Indian" }, { "start_index":122, "confidence_score":90, "end_index":139, "ner_tag":"Miscellaneous", "token":"Zoho Office Suite" }, { "start_index":168, "confidence_score":99, "end_index":181, "ner_tag":"Person", "token":"Sridhar Vembu" }, { "start_index":186, "confidence_score":96, "end_index":197, "ner_tag":"Person", "token":"Tony Thomas" }, { "start_index":220, "confidence_score":100, "end_index":225, "ner_tag":"Number", "token":"seven" }, { "start_index":268, "confidence_score":99, "end_index":275, "ner_tag":"City", "token":"Chennai" }, { "start_index":277, "confidence_score":98, "end_index":282, "ner_tag":"Country", "token":"India" }, { "start_index":314, "confidence_score":99, "end_index":324, "ner_tag":"City", "token":"Pleasanton" }, { "start_index":326, "confidence_score":91, "end_index":336, "ner_tag":"State", "token":"California" } ] } } ``` > **Info :** Refer to the [SDK Scopes table](https://docs.catalyst.zoho.com/en/sdk/python/v1/sdk-scopes) to determine the required permission level for performing the above operation. -------------------------------------------------------------------------------- title: "Keyword Extraction" description: "This page describes the method to use the keyword extraction feature in your Python application with sample code snippets." last_updated: "2025-11-19T15:07:41.000Z" source: "https://docs.catalyst.zoho.com/en/sdk/python/v1/zia-services/text-analytics/keyword-extraction/" service: "Zia Services" related: - Keyword Extraction Help (/en/zia-services/help/text-analytics/key-concepts/#keyword-extraction) - Keyword Extraction - API (/en/api/code-reference/zia-services/text-analytics/keyword-extraction/#KeywordExtraction) - SDK Scopes (/en/sdk/python/v1/sdk-scopes) -------------------------------------------------------------------------------- # Keyword Extraction [Zia Keyword Extraction](https://docs.catalyst.zoho.com/en/zia-services/help/text-analytics/key-concepts/#keyword-extraction) is a part of Text Analytics that processes textual content and extracts the highlights of the text. The extracted terms are grouped into two categories: **`Keywords` and ` Keyphrases`**. These highlights deliver a concise summary of the text and provide an abstraction of the whole text. The response contains an array of the key words, and another array of the key phrases that are extracted from the text. You can pass a block of text as the input of upto **1500 characters** in a single request, as shown below. The text is passed to `get_keyword_extraction()`. The keywords and keyphrases are then fetched as individual lists. To know more about the component instance `zia` used below, please refer to [this help section](https://docs.catalyst.zoho.com/en/sdk/python/v1/zia-services/get-component-instance/). **Parameters Used**
Parameter Name Data Type Definition
`text` String A **Mandatory** parameter. Will store the text from which keywords has to be extracted.
```python zia = app.zia() result = zia.get_keyword_extraction( [ "Zoho Corporation, is an Indian multinational technology company that makes web-based business tools. It is best known for Zoho Office Suite. The company was founded by Sridhar Vembu and Tony Thomas and has a presence in seven locations with its global headquarters in Chennai, India, and corporate headquarters in Pleasanton, California." ] ) ``` The sample response is shown below : ```json { "keyword_extractor":{ "keywords":[ "Chennai", "company", "India", "Indian", "presence", "locations", "Pleasanton", "California" ], "keyphrases":[ "corporate headquarters", "multinational technology company", "Zoho Corporation", "Zoho Office Suite", "global headquarters", "Tony Thomas", "web-based business tools", "Sridhar Vembu" ] } } ``` > **Info :** Refer to the [SDK Scopes table](https://docs.catalyst.zoho.com/en/sdk/python/v1/sdk-scopes) to determine the required permission level for performing the above operation. -------------------------------------------------------------------------------- title: "All Text Analytics" description: "This page describes the method to use the text analytics feature in your Python application with sample code snippets." last_updated: "2025-11-19T15:07:41.000Z" source: "https://docs.catalyst.zoho.com/en/sdk/python/v1/zia-services/text-analytics/all-text-analytics/" service: "Zia Services" related: - All Text Analytics - API (/en/api/code-reference/zia-services/text-analytics/all-text-analytics/#AllTextAnalytics) - All Text Analytics Help (/en/zia-services/help/text-analytics/introduction) - SDK Scopes (/en/sdk/python/v1/sdk-scopes) -------------------------------------------------------------------------------- # All Text Analytics [Text Analytics](https://docs.catalyst.zoho.com/en/zia-services/help/text-analytics/introduction) as a whole includes a combination of all three features specified in the previous sections: **Sentiment Analysis**, **Named Entity Recognition**, and **Keyword Extraction**. You can perform all three actions on a specific block of text, and obtain the tone of the text, the categorizations of the entities recognized from it, and key words and phrases that provide a gist of the text. You can pass a block of text as the input of upto **1500 characters** in a single request, as shown below. The text is passed to `get_text_analytics()`. You can also pass optional keywords to perform Sentiment Analysis on the sentences containing only those keywords. This method takes in a second parameter as an empty list. The response contains the results of each of the text analytics feature. Refer to each feature page for detailed information on their respective functionalities and responses. To know more about the component instance `zia` used below, please refer to [this help section](https://docs.catalyst.zoho.com/en/sdk/python/v1/zia-services/get-component-instance/). **Parameters Used**
Parameter Name Data Type Definition
`text` String A **Mandatory** parameter. Will store the text to be analyzed.
```python zia = app.zia() result = zia.get_text_analytics( [ "Zoho Corporation, is an Indian multinational technology company that makes web-based business tools. It is best known for Zoho Office Suite. The company was founded by Sridhar Vembu and Tony Thomas and has a presence in seven locations with its global headquarters in Chennai, India, and corporate headquarters in Pleasanton, California.","Zoho"], [] ) ``` A sample response is shown below : ```json [ { "keyword_extractor":{ "keywords":[ "Chennai", "company", "India", "Indian", "presence", "locations", "Pleasanton", "California" ], "keyphrases":[ "corporate headquarters", "multinational technology company", "Zoho Corporation", "Zoho Office Suite", "global headquarters", "Tony Thomas", "web-based business tools", "Sridhar Vembu" ] }, "sentiment_prediction":[ { "document_sentiment":"Neutral", "sentence_analytics":[ { "sentence":"Zoho Corporation, is an Indian multinational technology company that makes web-based business tools.", "sentiment":"Neutral", "confidence_scores":{ "negative":0, "neutral":1, "positive":0 } }, { "sentence":"It is best known for Zoho Office Suite.", "sentiment":"Neutral", "confidence_scores":{ "negative":0, "neutral":0.6, "positive":0.4 } }, { "sentence":"The company was founded by Sridhar Vembu and Tony Thomas and has a presence in seven locations with its global headquarters in Chennai, India, and corporate headquarters in Pleasanton, California.", "sentiment":"Neutral", "confidence_scores":{ "negative":0, "neutral":0.88, "positive":0.12 } } ], "overall_score":0.83 } ], "ner":{ "general_entities":[ { "start_index":0, "confidence_score":98, "end_index":16, "ner_tag":"Organization", "token":"Zoho Corporation" }, { "start_index":24, "confidence_score":99, "end_index":30, "ner_tag":"Miscellaneous", "token":"Indian" }, { "start_index":122, "confidence_score":90, "end_index":139, "ner_tag":"Miscellaneous", "token":"Zoho Office Suite" }, { "start_index":168, "confidence_score":99, "end_index":181, "ner_tag":"Person", "token":"Sridhar Vembu" }, { "start_index":186, "confidence_score":96, "end_index":197, "ner_tag":"Person", "token":"Tony Thomas" }, { "start_index":220, "confidence_score":100, "end_index":225, "ner_tag":"Number", "token":"seven" }, { "start_index":268, "confidence_score":99, "end_index":275, "ner_tag":"City", "token":"Chennai" }, { "start_index":277, "confidence_score":98, "end_index":282, "ner_tag":"Country", "token":"India" }, { "start_index":314, "confidence_score":99, "end_index":324, "ner_tag":"City", "token":"Pleasanton" }, { "start_index":326, "confidence_score":91, "end_index":336, "ner_tag":"State", "token":"California" } ] } } ] ``` > **Info :** Refer to the [SDK Scopes table](https://docs.catalyst.zoho.com/en/sdk/python/v1/sdk-scopes) to determine the required permission level for performing the above operation. -------------------------------------------------------------------------------- title: "FAQ — Zia Services" description: "This section covers queries related to the Catalyst Zia Services, such as OCR, Object Recognition, Image Moderation, Face Analytics, and more." last_updated: "2026-11-13T05:00:22.000Z" source: "https://docs.catalyst.zoho.com/en/faq/zia-services/" -------------------------------------------------------------------------------- # General ### What are the components under Catalyst Zia Services? Catalyst Zia Services includes a wide set of AI/ML powered components used for processing, analyzing, and fetching valuable insights from both textual and visual content such as documents and images. It includes the Face Analytics, Optical Character Recognition, Identity Scanner, Image Moderation, Object Recognition, Barcode Scanner, AutoML and Text Analytics. You can integrate the functionalities of the Zia components in your application seamlessly by incorporating the readily available sample SDK code templates in Java, Node.js and Python. You can also access these components through their API endpoints. ### Does Catalyst store my data for training purposes? No, your data will not be used for ML model training purposes. Catalyst does not store any of the files you upload in its systems. The files you upload are used for one-time processing only. Catalyst components are fully compliant with all applicable data protection and privacy laws. # OCR ### What are the supported languages in Catalyst OCR? Catalyst Zia Optical Character Recognition (OCR) supports 9 international languages and 10 Indian languages. You can find the entire list of supported languages in the [Supported Languages section of the Catalyst OCR Key Concepts help page](https://docs.catalyst.zoho.com/en/zia-services/help/optical-character-recognition/key-concepts/#supported-languages). # AutoML ### Do I have a service to train my data set and predict an outcome based on the trained dataset? You can train the powerful Zia AI using your own dataset and analyze a set of training data to predict the outcome of a subset of that data. You can build and train Binary Classification, Multi-Class Classification, and Regression Models, and obtain insightful evaluation reports. ### What is the difference between AutoML and QuickML? AutoML is now a way to build a pipeline inside Catalyst QuickML, not a separate service. The separate AutoML component of Catalyst Zia Services was removed in June 2026, and its users moved to QuickML's AutoML. * **AutoML in QuickML:** when you create a pipeline, select **Create an Auto-generated pipeline using AutoML**. QuickML runs data preprocessing, feature engineering, algorithm selection, hyperparameter tuning and model evaluation for you, and finalizes the best-performing model with its evaluation metrics. * **A pipeline you build yourself in QuickML:** you choose the data preprocessing and transformation steps and the ML algorithms to train, and design the pipeline as you need, with no coding. Refer to the [Create AutoML Pipeline help page](https://docs.catalyst.zoho.com/en/quickml/help/create-automl-pipeline/) for the steps. # Identity Scanner ### Why am I unable to view or access the Identity Scanner component? Catalyst Zia Identity Scanner is currently not available to users accessing from the EU, AU, US, JP, SA, or CA data centers. This document processing feature is only relevant to Indian users and is only available in the IN DC (Indian Data Center). Users outside of India from the other DCs can access the general OCR component to read and process textual content. # Text Analytics ### How do I perform a sentiment analysis on a given sentence to identify my application user's feedback on our service? You can make use of our Catalyst Zia Text analysis to identify the sentiment on a given text. You can access it via Catalyst API's or through our SDK methods by passing the text as input. The AI will identify the emotion and give the sentiment with an accuracy level. # Facial Comparison ### I want to verify the identity of a user by comparing their display picture against their ID proof. How do I achieve this in Catalyst? You can use our facial comparison API and provide your source and identity image to check the results of the face comparison. You will get the response of the prediction with a confidence score. # Image Moderation ### I will collect pictures from my app users. How to analyze the image is safe/unsafe and to identify the type of category the content belongs to? You can use the Catalyst Zia Image Moderation API or SDK method to identify the category of the content in the image. It recognizes inappropriate content in images and returns it in the response. The response also contains the probability of each criteria(racy, weapon, nudity, gore, drug) with their confidence scores, and the prediction of the image being safe_to_use or unsafe_to_use. # Barcode Scanner ### I have a lot of barcode images which contain the specific details of certain products. I need to decode and extract the details from the barcode images.How do I achieve this in Catalyst? You can make use of the zia barcode scanner SDK method or catalyst API in order to extract the content embedded in the barcode image. # DevOps ## Getting Started -------------------------------------------------------------------------------- title: "Introduction" description: "Learn about getting started with Catalyst DevOps that provides powerful tools to ease your application's post-deployment and maintenance phases." last_updated: "2026-11-03T07:48:52.000Z" source: "https://docs.catalyst.zoho.com/en/devops/getting-started/introduction/" service: "DevOps" -------------------------------------------------------------------------------- # Introduction to DevOps DevOps is a bundle of tools, procedures, and practices that technically combines the development and operations aspect of any software application. The major software development methodologies includes the traditional waterfall model that implements a sequential application development flow, and the newer Agile model, which is completely iterative. These methodologies allowed an end-to-end development flow and a seamless delivery process with their own sets of challenges and constraints, especially in managing the operational efficiency of the software. The DevOps approach complements and enhances the Agile development model in aspects of iteration, automation, and promoting cross-functional team collaborations, thereby improving the overall flexibility of the underlying process. The core focus of DevOps lies on incremental and iterative development achieved in sprints, better resource planning, rapid and smooth software release/delivery, which in turn increases the operational efficiency of your application. Another major part of DevOps is the Continuous Integration and Continuous Delivery (CI/CD) mechanism. # Catalyst DevOps Catalyst DevOps is a service that provides you with components that cater to functionalities such as application logging, monitoring, quality testing, and continuous integrations, all within a single integrated environment. Catalyst DevOps is a part of the Catalyst development platform that bundles together multiple on-demand, programmable backend services. Each of these fully-functional services is comprised of multiple components. > **Note :** You can explore all the other Catalyst components under various [Catalyst services](https://docs.catalyst.zoho.com/en/), such as [Catalyst CloudScale](https://docs.catalyst.zoho.com/en/cloud-scale/getting-started/introduction/), [Catalyst Serverless](https://docs.catalyst.zoho.com/en/serverless/getting-started/introduction/), [Catalyst Zia Services](https://docs.catalyst.zoho.com/en/zia-services/getting-started/introduction/), and more. Catalyst, as a whole, serves as a complete end-to-end solution that provides services right from an application's development and testing phase, to its deployment and monitoring phase. The setup and management of the underlying server resources utilized for these applications are handled entirely by Catalyst, thereby completely eliminating the infrastructure, maintenance costs, and efforts from your end. Catalyst services can either be used independently, or be integrated with one another to build highly-functional, robust applications and micro services from scratch. Catalyst DevOps components can be accessed from a unified and user-friendly [remote console](https://console.catalyst.zoho.com/baas/index) that enhances your user experience and enriches collaboration between team members contributing to an application. DevOps also eases your efforts during your application's post-deployment and maintenance phases, and is helpful throughout its lifecycle. You can access certain functionalities of the DevOps components in your application seamlessly through their [API endpoints](https://docs.catalyst.zoho.com/en/api/code-reference/devops/automation-testing/execute-test-plan/#ExecuteTestPlan). You can quickly get started with Catalyst DevOps using this [quick start guide](https://docs.catalyst.zoho.com/en/devops/getting-started/quick-start-guide). -------------------------------------------------------------------------------- title: "Components of Catalyst DevOps" description: "Learn about the components of Catalyst DevOps that provides powerful tools to ease your application's post-deployment and maintenance phases." last_updated: "2026-08-28T06:26:16.000Z" source: "https://docs.catalyst.zoho.com/en/devops/getting-started/components-of-devops/" service: "DevOps" -------------------------------------------------------------------------------- # Components of Catalyst DevOps **Monitor** - [Application Alerts](https://docs.catalyst.zoho.com/en/devops/help/application-alerts/introduction/)Automated email triggers on app failures - [Logs](https://docs.catalyst.zoho.com/en/devops/help/logs/introduction/)Detailed, in-depth function logging service - [Metrics](https://docs.catalyst.zoho.com/en/devops/help/metrics/introduction/)In-built dashboard for component usage tracking - [Application Performance Monitoring](https://docs.catalyst.zoho.com/en/devops/help/apm/introduction/)Advanced function execution and quality monitoring service **Quality** - [Automation Testing](https://docs.catalyst.zoho.com/en/devops/help/automation-testing/introduction/)Powerful, automated API testing tool with real-time reports **Repositories** - [GitHub Integration](https://docs.catalyst.zoho.com/en/devops/help/github-integration/introduction/)Access Git repos and deploy resources to Catalyst As represented above, Catalyst DevOps contains the following components, each aimed at aiding various facets of the application monitoring and maintenance: ### Monitor 1. [Application Alerts](https://docs.catalyst.zoho.com/en/devops/help/application-alerts/introduction/) : This feature sends instant email alerts in the scenarios of failure, timeouts, or code exceptions in specific components. This provides automation in error handling, and enables you to take instant, remedial actions to ensure the uptime and performance quality of your application before end-users are impacted in large scale. 2. [Logs](https://docs.catalyst.zoho.com/en/devops/help/logs/introduction/) : You can access the Catalyst Serverless function execution logs of all function types and AppSail services through this component, as well as view their execution details and spot errors at ease. Logs help you in resolving problem areas during the testing phases and aid you in software maintenance. 3. [Metrics](https://docs.catalyst.zoho.com/en/devops/help/metrics/introduction/) : Metrics help you keep a track of the resource usage of various Catalyst components and obtain useful reports of your application's schema. By analyzing the metrics of your project's components, you can derive actionable insights and make well-informed business decisions. 4. [Application Performance Monitoring](https://docs.catalyst.zoho.com/en/devops/help/apm/introduction/) : APM provides in-depth, contextual reports containing crucial statistics of Catalyst Serverless function executions, such as graphs of function invocations and errors, fine-grained component usage trace, and aggregated reports on function response times. This helps you to quickly identify, analyze, and fix problem areas. > **Note:** Application Performance Monitoring is currently not available to users accessing from the CA data center. ### Quality 1. [Automation Testing](https://docs.catalyst.zoho.com/en/devops/help/automation-testing/introduction/) : Automation testing enables end-to-end API testing within the Catalyst console and ensures all your application end points work properly. You can write test cases for your requirements, merge test cases logically under a single test suite, and also schedule fully-automated tests for execution. > **Note:** Automation Testing is currently not available to Catalyst users accessing from the EU, AU, IN, or CA data centers. ### Repositories 1. [Github Integration](https://docs.catalyst.zoho.com/en/devops/help/github-integration/introduction/) : This component enables synchronization between your GitHub repositories and your Catalyst account, and allows you to deploy projects in your repositories to the Catalyst console seamlessly. For a quick start guide on implementing the DevOps components in your Catalyst application, you can refer to [this](https://docs.catalyst.zoho.com/en/devops/getting-started/quick-start-guide) section. -------------------------------------------------------------------------------- title: "Benefits" description: "Learn about the multiple benefits of Catalyst DevOps that provides powerful tools to ease your application's post-deployment and maintenance phases." last_updated: "2026-08-28T06:26:16.000Z" source: "https://docs.catalyst.zoho.com/en/devops/getting-started/benefits/" service: "DevOps" -------------------------------------------------------------------------------- # Benefits of Catalyst DevOps Implementing DevOps benefits application engineers, stakeholders, and end-users of the application in multiple aspects. Catalyst DevOps components are widely useful in improving the performance, operational efficiency, and the overall experience of a software application. Listed below are some more advantages of using Catalyst DevOps : * **Easy access from the console** : You can monitor your application or microservice easily from the unified Catalyst console by accessing the various components in the DevOps service. * **Quick troubleshooting and seamless end-user experience** : DevOps components provide the ability to self-triage, analyze, and resolve potential bugs. Using these components you can identify the root cause of the bugs, resolve code discrepancies at a much faster rate. This paves the way to maintain the stability of your application and give the end-users an uninterrupted and seamless user experience. They aid in handling requests with minimal latency, and return fast and fail-safe responses. * **Detect anomalies and troubleshoot faster** : DevOps components can send out alerts in cases of failures, and also help you identify their root causes even before the end-users notice or report the issues in the first place. They provide the ability to self-triage, analyze, and resolve potential bugs. The ability to resolve code discrepancies and bugs quicker, combined with using components that automate error resolutions, paves the way for you to concentrate more on the core logic of the application and enhance the overall code quality. These components operate at scale irrespective of the size or volume of your application's codebase. They aid in handling requests with minimal latency, and return fast and fail-safe responses. * **Enhance end-user experience** : Using DevOps components can help you maintain the stability of your application and give the end-users an uninterrupted and seamless user experience. Real-time alerting of events allows you to detect performance issues and manage operational issues without lags, minimizes the downtime of your applications substantially, and also reduces the potential business impacts. * **Minimal manual intervention** : Implementing DevOps in your Catalyst application can drastically reduce the manual workloads involved in testing and monitoring every aspect of a complex application. Using DevOps components, you can perform quick, qualitative, integrated testing, and review their responses instantly in the console without the need to code manually or configure any backend scripts. These components are easily accessible in the Catalyst console and can be readily implemented without any elaborate steps or complex configurations. * **Increased observability and collaboration** : DevOps components provide comprehensive insights of the application resources being consumed, and thereby help in efficient resource allocation and capacity planning. It ensures maximum visibility, such that all concerned personnel can be aware of the whole development and operational management processes. The integrated environment also ensures that stakeholders, application owners, and other decision makers are well-informed, and helps them make crucial business decisions. -------------------------------------------------------------------------------- title: "Use Cases" description: "Learn about the varied usecases of Catalyst DevOps that provides powerful tools to ease your application's post-deployment and maintenance phases." last_updated: "2026-08-28T06:26:16.000Z" source: "https://docs.catalyst.zoho.com/en/devops/getting-started/usecases/" service: "DevOps" -------------------------------------------------------------------------------- # Real-world Use Cases of DevOps * **Incident Management & Disaster Recovery** : Configuring application alerts for the supported components in your Catalyst application aids you in identifying and resolving issues that impact the product uptime, speed, and functionality as a whole. If there are any critical issues with the application, this feature proactively notifies the concerned authorities regarding high-risk errors or failures and ensures whether the application's functioning is intact. Being aware of code failures and bugs, and fixing them before they affect the end-users of the application can help you maintain your software quality and brand reliability. * **Traceability & Visibility** : Visibility and traceability are the hallmarks of a DevOps platform. By leveraging the monitoring components in Catalyst DevOps, your applications can receive real-time alerts, analysis reports, and insights that help you see the impact of your code and the changes you make in your code on the overall business value and user experience. DevOps components help you gain a clear understanding about your application's resources, its execution, functioning, and the scope for improvement in it. * **Qualitative and Efficient testing** : In contrast to the traditional manual testing methods, which involve coding and executing scripts to verify a testcase every time, automation testing eases the process by saving the time and effort involved in test case executions and also boosts the quality of the validations being done. It allows you to schedule tests to be executed automatically for the required conditions and also validate them with the expected results. * **Continuous Integration & Continuous Delivery** : The CI/CD approach allows faster and streamlined delivery of resources frequently, with automation enabled in the entire flow right from the developer to the customer end. The core architecture of CI/CD facilitates a pipeline system where multiple pipelines from varied code sources are merged together when finally making it to production, and it also allows you to perform integrations in a continuous manner and deploying them as and when the updates are being made. Thereby, it eases the testing phase with the ability to run and execute tests with each update made in the source code as frequently as needed. Our Catalyst platform offers integration with external applications such as GitHub to ensure continuous integration of the source code from the git repositories with the Catalyst console. -------------------------------------------------------------------------------- title: "Quick Start Guide" description: "Learn about getting started with Catalyst DevOps that provides powerful tools to ease your application's post-deployment and maintenance phases." last_updated: "2026-10-30T17:47:18.000Z" source: "https://docs.catalyst.zoho.com/en/devops/getting-started/quick-start-guide/" service: "DevOps" -------------------------------------------------------------------------------- # Getting Started with Catalyst DevOps This section covers the overall steps involved in creating a Catalyst application, testing, deploying and configuring the DevOps components in the Catalyst console. There are some pre-requisites before working with DevOps components : * **Create a Project** - Access the [Catalyst console](https://console.catalyst.zoho.com/baas/index) or [create a new project](https://docs.catalyst.zoho.com/en/getting-started/quick-start-guide/#step-1-create-a-catalyst-project). After the project creation is done, you will be able to access all Catalyst services from the console. Additionally, you can also create a new project in the local environment by [initializing it from the CLI](https://docs.catalyst.zoho.com/en/getting-started/quick-start-guide/#step-4-initialize-the-project-from-the-cli). You must first [install Catalyst CLI](https://docs.catalyst.zoho.com/en/getting-started/quick-start-guide/#step-2-install-catalyst-cli) and [log in](https://docs.catalyst.zoho.com/en/getting-started/quick-start-guide/#step-3-log-in-from-your-cli) to your remote account before you can access the Catalyst commands and work with your application locally. * **Develop your application** - Because DevOps comes into play largely after the application development phase, you can access, set up, and implement Catalyst components from the other services to build your application first. You can develop the application logic by coding the [Catalyst Serverless Functions](https://docs.catalyst.zoho.com/en/serverless/help/functions/introduction/) as required in a supported language of your choice : Java, NodeJS, or Python. You can build the application logic by working with the Catalyst project directory locally using an external IDE. Catalyst CLI enables you to initialize all of your project resources in the local environment directly. You can also access a host of Catalyst functionalities through the component-specific [API endpoints](https://docs.catalyst.zoho.com/en/api/code-reference/devops/automation-testing/execute-test-plan/#ExecuteTestPlan). * **Test your application** - You can choose to test your application or microservice locally before deploying it to the remote console through a [variety of CLI commands](https://docs.catalyst.zoho.com/en/cli/v1/cli-command-reference/). For example, you can test certain function types through a built-in shell in your terminal. If you test your application locally, you can deploy it to the remote console after the testing, and access the client and accessible function end-points from the generated [development URL](https://docs.catalyst.zoho.com/en/cli/v1/deploy-resources/introduction/). > **Note :** The sequence of steps specified here might differ based on your business or application logic, or your specific use case. The flow mentioned in the deploying and testing phases of the application can be altered based on your requirements. This is a generic set of guidelines that is suitable for a typical small to mid-scale, client-based application or microservice. After you are done with building the application logic and testing them, you can use the various DevOps components to monitor your function executions, automate email triggers on application failures, enable a detailed logging service for your Catalyst Functions. * **Configure DevOps components** - Parallelly, you can set up and use the required DevOps components while you test your application, or use them after the next step, depending on your application specific logic and requirements. To access Catalyst DevOps, navigate to the DevOps service in the left pane of your Catalyst console. You can configure the components you need, and work with them. For example, if you require API testing to be performed, you can access [Automation Testing](https://docs.catalyst.zoho.com/en/devops/help/automation-testing/introduction/) and write a series of test cases, schedule their automated executions and gain insights from their performance reports. Similarly, you can monitor the performance of the functions in your application using [Logs](https://docs.catalyst.zoho.com/en/devops/help/logs/introduction/) and [Application Performance Monitoring](https://docs.catalyst.zoho.com/en/devops/help/apm/introduction/) , analyze the insights gathered, and implement changes or upgrades in your core logic if required. * **Host the application** - You can also host your Catalyst web application in the development environment in parallel through the [web client hosting](https://docs.catalyst.zoho.com/en/cloud-scale/help/web-client-hosting/introduction) component of the CloudScale service. This allows you to continue performing iterative QA tests, end-to-end integrated tests, or release an alpha version of your solution. * **Migrate your application to production** - After you test your application in the development environment, it can be migrated to production as described in [this](https://docs.catalyst.zoho.com/en/deployment-and-billing/environments/initial-deployment/) help page. You can continue using the DevOps components post-production to monitor your application during the maintenance phase, as well as during subsequent upgrades and releases. You can set triggers to alert you on application failures, get detailed and in-depth logs on your function executions and even track the usage of specific components in your Catalyst project. ## Help Components ### Application Alerts -------------------------------------------------------------------------------- title: "Introduction" description: "Catalyst Application Alerts are instant, automated alerts that you receive in case of failures or specific event occurrences in various components." last_updated: "2026-10-31T01:23:13.000Z" source: "https://docs.catalyst.zoho.com/en/devops/help/application-alerts/introduction/" service: "DevOps" -------------------------------------------------------------------------------- # Application Alerts ## Introduction Catalyst Application Alerts is a Catalyst DevOps component that helps you to send email alerts each time there are failures or specific event occurrences in any of the following Catalyst components: * [Cron](https://docs.catalyst.zoho.com/en/cloud-scale/help/cron/introduction) * Event Listener * [Logs](https://docs.catalyst.zoho.com/en/devops/help/logs/introduction) You can learn more about the other components of the DevOps service from [this page](https://docs.catalyst.zoho.com/en/devops). You can associate multiple entities of these components in a single alert, or configure multiple alerts for your use case. You can customize the criteria and frequency of an alert, and configure other details based on your needs. Catalyst will listen for the specified occurrences in the associated entities, and will send alerts based on the frequency you set. The email alerts are sent to the email addresses that you specify to be notified for a particular alert. The alerts contain necessary details of the events that provide context for you to act upon immediately. Application Alerts enable you to keep track of function and component failures in your Catalyst application, and be informed of them as soon as they occur. Combined with other tools that enable you to monitor components and function performances in Catalyst, Application Alerts help you obtain critical information and act on them instantly, providing a reliable application usage experience to your application users. > **Note:** You can create up to 20 application alerts. -------------------------------------------------------------------------------- title: "Key Concepts" description: "Catalyst Application Alerts are instant, automated alerts that you receive in case of failures or specific event occurrences in various components." last_updated: "2023-05-09T11:33:08.000Z" source: "https://docs.catalyst.zoho.com/en/devops/help/application-alerts/key-concepts/" service: "DevOps" -------------------------------------------------------------------------------- # Key Concepts Before you learn about configuring Application Alerts, quickly go over some key concepts. ### Cron and Event Listener Alerts Application Alerts associated with Catalyst Cron and Event Listeners work slightly differently compared to the alerts associated with Logs. With Cron and Event Listeners, you can configure alerts to be notified of the following specific events occurring in those components: * **Failure:** Indicates the failure of a cron or an event listener execution, and the failure in triggering the associated cron or event function * **Code Exception:** Indicates an exception occurring in an associated entity, that triggered the execution of an exception handler * **Timeout:** Indicates a cron or an event listener attempting to execute until a timeout occurs You can associate an alert to be notified of any or all of these conditions occurring in a single or multiple cron or event listener executions. For example, you can configure one alert to inform you of Failure, Code Exception, or Timeout occurring in five different crons configured in your project. Catalyst will listen for these events in all five crons, and collectively send you an alert for all such occurrences in the configured time window. > **Note:** A single alert can be configured for the entities of one component, that is either Cron, Event Listener, or Logs. You will not be able to associate one alert with multiple components. ### Logs Alerts Application Alerts associated with Logs enable you to automate a log search by providing the search query. The query includes the log type: [Access](https://docs.catalyst.zoho.com/en/devops/help/logs/access-logs/) or [Application logs](https://docs.catalyst.zoho.com/en/devops/help/logs/application-logs/), the functions whose logs you require to be searched, and a specific keyword to search for in the logs. If you select Application logs, you can also select one of the log levels to search from: Info, Error, Severe, or Warning. For Node.js functions, you can additionally select from two other levels: Uncaught Exception and Unhandled Rejection. You can then set the criteria and the frequency of the alert. This enables Catalyst to automatically execute the log query search in the configured frequency, and fetch all results that match the criteria. Application Alerts will then send emails notifying the recipients of these results. The criteria and the frequency that you can configure for an alert is the same for alerts associated with all three components. ### Alert Criteria and Frequency The criteria configuration allows you to specify the threshold of the failure events or log search results for an alert. If the results match the configured threshold, Catalyst will initiate the sending of the alert. You can select one of the following comparators to set the criteria: greater than, lesser than, equals to, greater than, or equals to. You can then specify the threshold value numerically. For example, if you select the comparator as "greater than" and set the threshold as "5", then Catalyst will alert you if the specified failure events or log search results exceed 5 instances. The alert frequency enables you to specify how often you would like to receive emails for a configured alert. You can select a frequency based on a time interval, such as every 15 minutes, every 1 hour, or every 12 hours, or you can specify a particular time each day that you would like to receive the alert. #### Cron and Event Listener Alerts: Catalyst will fetch all instances matching the alert conditions and criteria in the configured frequency window and send emails each time. For example, assume you configure a cron alert in the following way: * **Alert Conditions:** Failure, Timeout * **Criteria:** Greater than or equal to 10 * **Alert Frequency:** Every 30 minutes This will enable Catalyst to fetch failures and timeout events that occurred in the associated cron executions once every 30 minutes, starting from the time of the alert configuration. If the failures and timeout instances are collectively greater than or equal to 10 in the last 30 minute window, an alert will be triggered. If there are no failures or timeouts, or if their instances are fewer than 10, no alerts will be sent. > **Note:** For multiple alert conditions, the threshold is checked collectively. This is, in the above case, if there are 10 or more events of both failures and timeouts collectively, the alert is triggered. #### Logs Alerts: Catalyst will execute the log query search in the set frequency. For example, assume you configure a logs alert in the following way: * **Query:** Application logs for an Advanced I/O function, Keyword - "server", Log level- Warning * **Criteria:** Greater than 5 * **Alert Frequency:** Every 1 hour Catalyst will execute a logs search with this query once every hour. If there are more than 5 results containing the keyword "server" at the _Warning_ level in the specified function's execution in the last 1 hour window, Catalyst will send an alert. -------------------------------------------------------------------------------- title: "Benefits" description: "Catalyst Application Alerts are instant, automated alerts that you receive in case of failures or specific event occurrences in various components." last_updated: "2023-05-10T07:51:09.000Z" source: "https://docs.catalyst.zoho.com/en/devops/help/application-alerts/benefits/" service: "DevOps" -------------------------------------------------------------------------------- ### Benefits 1. **Instant Email Alerts** Catalyst sends instant emails to the configured recipients based on the set frequency. This allows you to be updated of bugs in your cron or event listener configurations, or in any function executions as soon as they are caught, enabling you to address and resolve them immediately. You can add up to 10 notifiers to receive alerts, which this is extremely useful in dividing or delegating error handling tasks for immediate bug fixes. 2. **Automation in Error Handling** Application Alerts help you completely avoid manual error checking and error handling tasks. You need not invest effort to keep an eye on the components or function performances from the console manually. This automation reduces human intervention and saves valuable time, which you can make use of to focus on enhancing your application even more. Application Alerts is a highly beneficial tool that contributes to improving the testing and maintenance phases of your application development. 3. **Alerts of All Function Execution Logs** The convenience of automating and being notified of logs searches based on custom queries is highly useful in keeping track of any function execution you require. This includes functions of all types, such as Basic I/O, Advanced I/O, or Integration functions. You can filter the logs based on your requirements, and be alerted of specific events by searching for keywords or specific log levels. -------------------------------------------------------------------------------- title: "Implementation" description: "Catalyst Application Alerts are instant, automated alerts that you receive in case of failures or specific event occurrences in various components." last_updated: "2026-10-31T01:23:13.000Z" source: "https://docs.catalyst.zoho.com/en/devops/help/application-alerts/implementation/" service: "DevOps" -------------------------------------------------------------------------------- # Implementation This section covers creating, configuring, and managing Application Alerts from the console. ### Create an Alert To create a new alert: 1. Navigate to **DevOps** in the left pane of the Catalyst console and click **Application Alerts.** 2. Click **Create Alert** in the _Application Alerts_ component. This will open a pop-up. ![app-alerts](https://catalyst-docs-development.zohostratus.in/images/help/application-alerts/app-alerts-updated.webp) 3. Select the component to associate with the alert and provide a name for the alert. Based on the component you select, you must configure the other values. **Cron:** Select the [schedule point](https://docs.catalyst.zoho.com/en/cloud-scale/help/cron/key-concepts/#schedule-point) to filter crons based on function executions or third-party URL executions. You can then select one or more crons from the drop-down list to configure the alert for. ![create-alert](https://catalyst-docs-development.zohostratus.in/images/help/application-alerts/catalyst_apptriggers_create_alert_1.webp) **Event Listener:** Select an event bus. You can select the Catalyst Component Event Listener or a custom event listener. Select one or more rules of the event listener to associate with the alert. ![create-alert](https://catalyst-docs-development.zohostratus.in/images/help/application-alerts/catalyst_apptriggers_create_alert_2.webp) **Logs:** There will be no further entities to select for a Logs alert. ![create-alert](https://catalyst-docs-development.zohostratus.in/images/help/application-alerts/catalyst_apptriggers_create_alert_3.webp) 4. You must now configure the alert details. **Cron or Event Listener:** Select one or more of the [alert conditions](https://docs.catalyst.zoho.com/en/devops/help/application-alerts/key-concepts) from the drop-down list. Select the criteria comparator and provide a threshold value. You must then specify the alert frequency. You can select a time frequency, or configure the alert to be sent on a particular hour and minute everyday. ![create-alert](https://catalyst-docs-development.zohostratus.in/images/help/application-alerts/catalyst_apptriggers_create_alert_4.webp) **Logs:** Click the [Logs Query](https://docs.catalyst.zoho.com/en/devops/help/application-alerts/key-concepts/#logs-alerts) text field to open the _Logs Query Generator_. Select the log type, and one or more functions from the list. Enter the keyword to search for in the query. If you select Application logs, you must select a log level. Click **Apply**. This will automatically generate a query string. ![create-alert](https://catalyst-docs-development.zohostratus.in/images/help/application-alerts/catalyst_apptriggers_create_alert_5.webp) You can then select the criteria comparator and provide a threshold value. Specify the alert frequency as a time range, or configure the alert to be sent a particular hour and minute everyday. ![create-alert](https://catalyst-docs-development.zohostratus.in/images/help/application-alerts/catalyst_apptriggers_create_alert_6.webp) The pop-up displays the configuration interpretation of the alert. 5. Enter the email addresses of all the recipients to be notified of the alert. You can add up to 10 emails. Click the **(+)** icon to add more. You must add atleast one email address. ![create-alert](https://catalyst-docs-development.zohostratus.in/images/help/application-alerts/catalyst_apptriggers_create_alert_7.webp) 6. Click **Create**. The alert will be created and the details will be displayed. A unique **Alert ID** will be automatically generated for each alert that is created. ![alert-created](https://catalyst-docs-development.zohostratus.in/images/help/application-alerts/catalyst_apptriggers_alert_created.webp) For Event and Cron alerts, you can directly add more entities of the event listener or other crons to associate the alert with respectively, by clicking **+Configure** in its details page. This will open a pop-up where you can select more event listener rules or crons for the alert. Click **Configure** after making the selection. ![alert-configure](https://catalyst-docs-development.zohostratus.in/images/help/application-alerts/catalyst_apptriggers_configure_1.webp) The entities will be added and you will receive alerts for these entities as well. ![alert-configure](https://catalyst-docs-development.zohostratus.in/images/help/application-alerts/catalyst_apptriggers_configure_2.webp) You can find a list of all the alerts you create, as well as their details, by navigating back to the index page of _Application Alerts_. You can filter the alerts to view based on the component using the drop-down above. ![alerts-list](https://catalyst-docs-development.zohostratus.in/images/help/application-alerts/catalyst_apptriggers_alerts_list.webp) > **Note**: Catalyst offers you the flexibility to configure alerts for **[Cron](https://docs.catalyst.zoho.com/en/cloud-scale/help/cron/implementation/#configuring-alerts-in-cron)**, **Event Listeners** and **[Logs](https://docs.catalyst.zoho.com/en/devops/help/logs/managing-alerts/)** from the respective components. You don't necessarily have to navigate to the Application Alert component to do so. ### Edit an Alert You can modify an alert and edit any of its configurations in the following way: 1. Click the ellipsis icon for an alert from the alerts list, then click **Edit**. You can also open an alert and click **Edit** from its details page. ![alert-edit](https://catalyst-docs-development.zohostratus.in/images/help/application-alerts/catalyst_apptriggers_alert_edit_1.webp) 2. Modify the required configurations, then click **Edit**. ![alert-edit](https://catalyst-docs-development.zohostratus.in/images/help/application-alerts/catalyst_apptriggers_alert_edit_2.webp) The alert will then be sent based on the modified configurations. If you change the frequency, the alert will be triggered based on it starting from the time of its modification. ### Disable an Alert You can temporarily disable an alert if you don't need to be notified of it. You can re-enable it later whenever you need to. 1. Click the ellipsis icon for an alert from the alerts list, then click Disable. You can also access this option from its details page by opening the alert. ![alert-disable](https://catalyst-docs-development.zohostratus.in/images/help/application-alerts/catalyst_apptriggers_alert_disable_1.webp) 2. Click **Yes, Proceed** in the confirmation pop-up. ![alert-disable](https://catalyst-docs-development.zohostratus.in/images/help/application-alerts/catalyst_apptriggers_alert_disable_2.webp) The alert will be disabled. You can enable it again by clicking **Enable** from the index page or its details page in the same way. ### Delete an Alert You can permanently delete an alert in the following way: 1. Click the ellipsis icon for an alert from the alerts list, then click **Delete**. You can also access this option from its details page by opening the alert. ![alert-delete](https://catalyst-docs-development.zohostratus.in/images/help/application-alerts/catalyst_apptriggers_alert_delete_1.webp) 2. Click **Yes, Proceed** in the confirmation pop-up. ![alert-delete](https://catalyst-docs-development.zohostratus.in/images/help/application-alerts/catalyst_apptriggers_alert_delete_2.webp) ### Application Performance Monitoring -------------------------------------------------------------------------------- title: "Introduction" description: "Application Performance Monitoring enables you to view instant advanced logs and drill-down reports of function executions, and draw meaningful insights." last_updated: "2024-02-23T11:59:25.000Z" source: "https://docs.catalyst.zoho.com/en/devops/help/apm/introduction/" service: "DevOps" -------------------------------------------------------------------------------- # Application Performance Monitoring ## Introduction Catalyst Application Performance Monitoring (APM) is a Catalyst DevOps component that provides valuable and in-depth insights about the executions of the [functions](https://docs.catalyst.zoho.com/en/serverless/help/functions/introduction) in your Catalyst application. APM enables you to monitor the standards of your functions, obtain critical statistics and reports of their executions, review and analyze that data to identify bugs and issues, and fix them instantaneously without comprising on app quality. > **Note:** Application Performance Monitoring is currently not available to users accessing from the CA (Canada) data center. If your account is created in the CA DC (accounts.zohocloud.ca/), you will not be able to avail this feature. While Catalyst Logs enables you to perform function logging and access the written logs of all function invocations, APM acts an enhancement to the standard logs and offers a multifaceted and informative view on function performances. You can learn more about the other components of the DevOps service from [this page](https://docs.catalyst.zoho.com/en/devops). APM performs automatic monitoring of all [five types of functions](https://docs.catalyst.zoho.com/en/serverless/help/functions/introduction) **(Basic I/O**, **Advanced I/O**, **Cron**, **Event**, and **Browser Logic**) in the [programming environments](https://docs.catalyst.zoho.com/en/serverless/help/functions/introduction) of (**Java** and **Node.js** ) in your Catalyst application. > **Note:** Catalyst APM currently does not support Serverless functions created in the Python programming environment. You will only be able to track and monitor Java and Node.js functions. You can obtain the following comprehensive analytics for your functions, based on several performance monitoring metrics: * Function-specific graphs on the number of invocations and errors, as well as the response time of each execution for a selected period of time * An aggregated report on the response times of all functions grouped together, for better insights * A list of the top hundred slowest function calls for a selected period of time, for easier identification of problem areas * A list of all function invocations with essential meta data and response details * Drilled down component usage information, such as the component calls made by the functions, the slowest performing components, detailed component usage trace, and other related data, in a cohesive visual format After you [enable APM](https://docs.catalyst.zoho.com/en/devops/help/apm/enable-disable/#enable-application-performance-monitoring) for your project, this information will be pushed to the Catalyst servers and you will be able to access them from the Catalyst console. You can also disable APM any time if you do not require Catalyst to track function executions, and re-enable it when needed. -------------------------------------------------------------------------------- title: "Benefits" description: "Application Performance Monitoring enables you to view instant advanced logs and drill-down reports of function executions, and draw meaningful insights." last_updated: "2023-05-10T07:51:09.000Z" source: "https://docs.catalyst.zoho.com/en/devops/help/apm/benefits/" service: "DevOps" -------------------------------------------------------------------------------- ### Benefits 1. **Instant, Contextual, and Discernable Insights into Function Characteristics** APM provides both a bird's-eye glance and detailed reports of all the performance and dynamic aspects of your functions, in a well structured and organized manner. The information conveyed is presented in a user-friendly layout that makes it easy for you to pinpoint the exact or potential problematic parts of your application, understand the areas that can be improved, and fix performance issues before they impact the end users of your applications. 2. **Improved Application Testing and Diagnostics ** APM enhances the application building process by speeding up application testing. Since the process of fetching key data about your application's performance is completely automated and handled by Catalyst, it makes your job easier as you need not implement trace and monitoring services manually. You can detect, diagnose, and resolve failures in your microservices as and when they occur, enabling you to deliver value through your service. APM helps you provide curated, seamless user experiences, and associate a refined application performance with successful business outcomes. 3. **Fine-Grained Component Usage Trace** APM provides a ready-to-use component usage trace that is highly beneficial in identifying specific configuration issues in the Catalyst components invoked by the functions in your application. You can obtain fundamental, drilled-down performance reports of the dependent component instances incorporated using the SDKs in your functions, which capture the application context in depth. You can pick out the components that execute the slowest or the longest function run times, and work on their core problems. You can also identify issues that occur user-wise, and build solutions for them. 4. **Ease of Access** Catalyst eliminates the need for you to perform any actions to integrate APM in your applications. All you would need to do is enable APM in the console with the click of a button. Catalyst will work in the background to fetch data from the servers and produce it in APM in the console. You can access updated information and monitor your functions live, any time you need. -------------------------------------------------------------------------------- title: "Enable or Disable APM" description: "Application Performance Monitoring enables you to view instant advanced logs and drill-down reports of function executions, and draw meaningful insights." last_updated: "2026-08-17T12:16:04.000Z" source: "https://docs.catalyst.zoho.com/en/devops/help/apm/enable-disable/" service: "DevOps" -------------------------------------------------------------------------------- ### Enable Application Performance Monitoring To enable Catalyst to begin tracking the performance of the functions in your Catalyst application, you must enable Application Performance Monitoring for your project. You must remember these points about APM tracking function performance: * Catalyst will track and log your function performances only when APM is enabled. * Enabling APM will not cost you any charges in the Development environment. In the Production environment, fetching each category of data from the Catalyst servers entails one read call. In other words, the price for fetching one graph or table is one credit. Refer to the Pricing page for more details. * If you disable APM in the console, you will not be able to obtain the function performance data of the functions that execute during the time the APM is disabled. You will therefore not be charged for fetching the function performance reports in the Production environment during this period. * Catalyst keeps a record of all performance reports of your functions for a maximum period of 30 days. You can therefore find performance reports and execution details of the last 30 days, at any given point of time in APM. * If you re-enable APM after having disabled it, Catalyst will still show you data of the last 30 days, excluding the data of the time period of when it was disabled. To enable Application Performance Monitoring for your Catalyst application from the console: 1. Navigate to **DevOps** in the left pane of the Catalyst console and click **APM.** ![apm](https://catalyst-docs-development.zohostratus.in/images/help/apm/apm-updated.webp) 2. Click **Enable Now** in the APM feature page and click **Proceed** in the confirmation window that appears. ![catalyst_apm_enable](https://catalyst-docs-development.zohostratus.in/images/help/apm/catalyst_apm_enable_3.webp) APM is now enabled for your Catalyst project. allowing you to view the APM Dashboard. The performances of the functions in your application will now be logged, and the data will be displayed in APM. ### Disable Application Performance Monitoring You can disable APM for your Catalyst project any time you require. You will not be able to view any function execution data, after you disable it. > **Note:** Refer to [this section](https://docs.catalyst.zoho.com/en/devops/help/apm/enable-disable/#enable-application-performance-monitoring) for important points about enabling and disabling APM. To disable APM for your Catalyst project: 1. Click the **ellipsis icon** at the top of the APM page, then click **Disable**. ![catalyst_apm_disable](https://catalyst-docs-development.zohostratus.in/images/help/apm/catalyst_apm_disable_1.webp) 2. Type "DISABLE" in the confirmation pop-up window, then click **Confirm**. ![catalyst_apm_disable](https://catalyst-docs-development.zohostratus.in/images/help/apm/catalyst_apm_disable_2.webp) APM will now be disabled. You can re-enable it again, if you want to view function execution data. -------------------------------------------------------------------------------- title: "Dashboard" description: "Application Performance Monitoring enables you to view instant advanced logs and drill-down reports of function executions, and draw meaningful insights." last_updated: "2026-11-03T15:41:32.000Z" source: "https://docs.catalyst.zoho.com/en/devops/help/apm/dashboard/" service: "DevOps" -------------------------------------------------------------------------------- ### Dashboard The _Dashboard_ section presents a quick overview of several categories of performance data for each function, over a specific period of time. ![catalyst_apm_dashboard](https://catalyst-docs-development.zohostratus.in/images/help/apm/catalyst_apm_dashboard.webp) You must select the function and the time period from the dropdown lists in the section, to view populated graphs. You must first select the type of function. ![catalyst_apm_dashboard_dropdown_1](https://catalyst-docs-development.zohostratus.in/images/help/apm/catalyst_apm_dashboard_dropdown_1.webp) This will list all functions of that type that have been deployed to the console in your project. Select a function. ![catalyst_apm_dashboard_dropdown_2](https://catalyst-docs-development.zohostratus.in/images/help/apm/catalyst_apm_dashboard_dropdown_2.webp) You can select one of the following time periods:
Time Period Value Range
Last 24 hours Fetches and displays data of each hour, from an exact 24 hour window. For example, if you click on Last 24 Hours at 16:03:24, the data fetched will be from 16:03:24 of the previous day. However, the graphs will appear to display the data from the beginning of the hour, i.e., from 16:00:00 hours of the previous day, for a simpler visual presentation.
Last 7 days Fetches and displays an overall report of each day, of the last 7 days This includes the present day until the current second, and the previous 6 days starting at 12:00:00 AM on the first day.
Last 15 days Fetches and displays an overall report of each day, of the last 15 days This includes the present day until the current second, and the previous 14 days starting at 12:00:00 AM on the first day.
Last 30 days Fetches and displays an overall report of each day, of the last 30 days This includes the present day until the current second, and the previous 29 days starting at 12:00:00 AM on the first day.
![catalyst_apm_dashboard_dropdown_3](https://catalyst-docs-development.zohostratus.in/images/help/apm/catalyst_apm_dashboard_dropdown_3.webp) This section displays the following graphs: * **Invocation/Error:** This graph provides details about the total number of invocations and error invocations of the function on each day or hour, based on the selected time period. ![catalyst_apm_dashboard](https://catalyst-docs-development.zohostratus.in/images/help/apm/catalyst_apm_dashboard.webp) > **Note:** If the function execution evokes any response over status 400, the execution will be considered a failure. * **Response Time:** This graph provides the average response time of the function on each day or hour, based on the selected time period. ![catalyst_apm_dashboard_2](https://catalyst-docs-development.zohostratus.in/images/help/apm/catalyst_apm_dashboard_2.webp) * **Function Count:** This graph presents the correlation between the invocation count and execution time of the function on each day or hour, based on the selected time period. ![catalyst_apm_dashboard_3](https://catalyst-docs-development.zohostratus.in/images/help/apm/catalyst_apm_dashboard_3.webp) The executions are grouped into an appropriate execution time category. Each cell represents the number of times the function executed in that corresponding execution time category, for a day or hour. The intensity of the color represents the density of executions. The _Dashboard_ section also displays a list of the **Top 100 Slowest Calls**, sorted in a descending order of response time. ![catalyst_apm_dashboard_4](https://catalyst-docs-development.zohostratus.in/images/help/apm/catalyst_apm_dashboard_4.webp) The table displays the top hundred slowest calls of all functions of the type and time period you select from the dropdown lists on the top. It does not list the executions of a specific function. > **Note:** The specific function that you select from the dropdown list above only applies to the three graphs in the section. The table also shows other metadata of the execution, as seen in the picture, such as the response time in milliseconds, the number of times it was called remotely, and the [User ID](https://docs.catalyst.zoho.com/en/cloud-scale/help/authentication/user-management/users/introduction/) of the end-user who invoked the function. You can choose the number of rows to display per page from the dropdown list below. You can click on a function to navigate to the function's details page. -------------------------------------------------------------------------------- title: "Executed Functions" description: "Application Performance Monitoring enables you to view instant advanced logs and drill-down reports of function executions, and draw meaningful insights." last_updated: "2026-11-03T15:41:32.000Z" source: "https://docs.catalyst.zoho.com/en/devops/help/apm/executed-functions/" service: "DevOps" -------------------------------------------------------------------------------- ### Executed Functions The _Functions_ section displays a list of all function executions by default in the last 30 days, irrespective of their type. The list is sorted in a descending manner of the time of execution. In other words, the most recent execution is displayed first. ![catalyst_apm_dashboard](https://catalyst-docs-development.zohostratus.in/images/help/apm/catalyst_apm_dashboard_4.webp) The table provides several details about each execution as seen in the picture, such as the type of function, response time, the number of remote calls made to it, and more. > **Note:** The HTTP method used while invoking the function and the response code received apply only to the Basic I/O and Advanced I/O function types. For a Cron, Event, or Browser Logic function, the table will only display the function's execution status as "Success" or "Failure". You can choose the number of rows to display per page from the dropdown list below. You can use filters to enable Catalyst to list functions based on specific criteria in this section. Click **Filters** on the top right corner of this section to open the filters menu. ![catalyst_apm_filters](https://catalyst-docs-development.zohostratus.in/images/help/apm/catalyst_apm_filters_1.webp) The following filters are available: * **User ID:** You can filter the executed functions list by a specific user who invoked the functions. You can [obtain the User IDs of all application users](https://docs.catalyst.zoho.com/en/cloud-scale/help/authentication/user-management/users/introduction/) from the Users tab in Catalyst Authentication. * **Request Method:** You can filter the functions that executed with a particular request method from the dropdown list. You can choose from `GET`, `POST`, `PUT`, `DELETE`, or `PATCH`. * **Response Type:** You can filter the functions list by specifying a particular response code received for the executions * **Function Name:** You can list the executions of a specific function by entering its name in the filter. * **Component:** You can list the executions of any one type of function: Basic I/O, Advanced I/O, Event, Cron, or Browser Logic. * **Execution Time:** You can choose a particular day or a period of days, and select a time interval from the calendar given there. Function executions from the last 30 days alone will be available. Click **Apply** after selecting the time interval. The functions that executed during the selected period will be listed. ![catalyst_apm_filters](https://catalyst-docs-development.zohostratus.in/images/help/apm/catalyst_apm_filters_2.webp) * **Remote Calls:** You can filter the list of functions based on the number of remote calls made by a function execution. You can select one of the criteria as shown below, and enter the number. ![catalyst_apm_filters](https://catalyst-docs-development.zohostratus.in/images/help/apm/catalyst_apm_filters_3.webp) * **Response Time:** You can list the function executions based on the response time. Select one of the criteria, similar to remote calls, and specify the response time in milliseconds. ![catalyst_apm_filters](https://catalyst-docs-development.zohostratus.in/images/help/apm/catalyst_apm_filters_4.webp) After you select the required filters, click **Apply Filter** to view the list of functions that match the criteria. You can click on a function name in the list to navigate to the function's details page. -------------------------------------------------------------------------------- title: "Function Details" description: "Application Performance Monitoring enables you to view instant advanced logs and drill-down reports of function executions, and draw meaningful insights." last_updated: "2026-08-17T12:16:04.000Z" source: "https://docs.catalyst.zoho.com/en/devops/help/apm/function-details/" service: "DevOps" -------------------------------------------------------------------------------- # Function Details The function details page provides extensive information on the component usage of a particular function's specific execution. The specific execution is chosen from the [_Functions_ section](https://docs.catalyst.zoho.com/en/devops/help/apm/executed-functions) or from the _Top 100 Slowest Calls_ list in the [_Dashboard_ section](https://docs.catalyst.zoho.com/en/devops/help/apm/dashboard), as mentioned previously. ![catalyst_apm_summary](https://catalyst-docs-development.zohostratus.in/images/help/apm/catalyst_apm_summary.webp) The component usage here indicates the Catalyst components that were called or used using the [Catalyst SDKs](https://docs.catalyst.zoho.com/en/getting-started/catalyst-sdk/) in the function. For example, if a function was coded to insert a key-value pair into a cache segment using the Java SDK for cache, that would account for a call to the cache component in the project. This page provides necessary details about all the components that were called in the function execution. Other functions called by the executing function are also included in the components. The top of the page contains specifics such as the data and time interval of the execution, the execution duration, and more. > **Note:** * The calls made to Catalyst components using [Catalyst APIs](https://docs.catalyst.zoho.com/en/api/introduction/overview-and-prerequisites/#OverviewandPrerequisites) in the function execution will not be accounted for in this report. * The function URL, the HTTP method, and the response code displayed apply only to the Basic I/O, Advanced I/O, and Browser Logic functions. For a Cron, or Event function, the top of the page will only contain the function's execution status as "Success" or "Failure". ### Summary The Summary section displays the following graphs: * **Overall Calls:** This graph provides details of the total number of component calls made, broken down into the number of successful calls and failed calls in that execution, in the time interval displayed on top of the page. ![catalyst_apm_summary_1](https://catalyst-docs-development.zohostratus.in/images/help/apm/catalyst_apm_summary_1.webp) * **Component Usage:** This graph displays the component usage in that execution, in the time interval displayed on top of the page. All Catalyst components that can be called using the SDKs are accounted for. ![catalyst_apm_summary_2](https://catalyst-docs-development.zohostratus.in/images/help/apm/catalyst_apm_summary_2.webp) The _Summary_ section also displays a list of the slowest component calls, sorted in a descending order of average duration. The average duration is the average invocation time of a particular component, based on the total number of calls made to it. ![catalyst_apm_summary_3](https://catalyst-docs-development.zohostratus.in/images/help/apm/catalyst_apm_summary_3.webp) The usage percentage is the percentage of each component used in the execution, relative to one another. This is calculated based on the count or the total number of calls made to each particular component. ### Trace The _Trace_ section provides a comprehensive and detailed graph of the component usage trace in that function execution. The graph displays the details of each component usage individually, along with some informative metadata. As mentioned earlier, only the components that were called using the Catalyst SDKs will be included here. ![catalyst_apm_trace](https://catalyst-docs-development.zohostratus.in/images/help/apm/catalyst_apm_trace.webp) The graph presents a timeline of the components that were called during the duration of the function execution. For example, in the picture shown above, the function executed for a total of 146 ms. The Data Store component was invoked from 0 ms to 91 ms time interval, an Advanced I/O function was invoked next from 7 ms to 70 ms time interval, followed by Cron from 21 ms to 22 ms, and so on. You can click on a particular component invocation to view its details in an aggregate manner on the right panel. The panel will show the start time and end time of that particular component invocation, along with the duration, request type, and response code of that invocation. ### Automation Testing -------------------------------------------------------------------------------- title: "Introduction" description: "Automation Testing enables you to execute efficient, automated API tests on function end-points or any third-party URL and resolve problem areas." last_updated: "2026-08-17T12:16:04.000Z" source: "https://docs.catalyst.zoho.com/en/devops/help/automation-testing/introduction/" service: "DevOps" -------------------------------------------------------------------------------- # Automation Testing ### Introduction Catalyst Automation Testing is a Catalyst Devops component that serves as an API testing tool to automate the testing process of APIs in your Catalyst application. Using this feature, you can write test cases based on your requirements, schedule tests to be executed automatically, and manage the entire process of API testing with minimal manual intervention. Automation Testing will provide you with real-time detailed reports and debug results, which enable you to analyze the root causes of failure in your APIs and resolve issues faster. You can learn more about the other components of the DevOps service from [this page](https://docs.catalyst.zoho.com/en/devops). Automation Testing is a convenient platform for you to manage all your testing needs, without needing to code or configure elaborate backend setups. This feature increases your overall testing efficiency, and saves you from investing valuable time and effort into performing repetitive manual testing. Catalyst servers are highly scalable, and can therefore accommodate high demands without affecting your testing process. Automation Testing enables you to test all the accessible end points of your application, i.e., the [Basic I/O and Advanced I/O functions](https://docs.catalyst.zoho.com/en/serverless/help/functions/introduction). You can also test any **third-party URL** that you need to, and obtain responses. This feature is provided as a [partially paid component](https://docs.catalyst.zoho.com/en/devops/help/automation-testing/pricing), that requires you to pay after you exhaust the free limits for each project. > **Note:** * Automation Testing is not accessible in the Production environment, as testing is ideally performed in the Development environment. However, you can execute tests for the Production environment from the Development environment, and check Production responses from there. Refer to the [Environments help page](https://docs.catalyst.zoho.com/en/deployment-and-billing/environments/introduction) to learn more about them. * Automation Testing is currently not available to Catalyst users accessing from the EU, AU, IN, or CA data centers. The sequence of working with Automation Testing can be summed up as follows: 1. Create a module to include test cases that execute related actions. 2. Create a test case and configure individual requests in it. 3. Create a test suite to facilitate the execution of various test cases and modules in parallel or in a sequence. 4. Create a test plan to schedule the automated execution of one or more test suites. ### Benefits 1. **Efficient Application Development Process as a Result of Complete Automation** Automation in testing is highly useful if your microservice demands repeated and frequent tests for a variety of different test conditions. Automation becomes crucial in minimizing the high-effort, time-consuming, and monotonous nature of manual testing, that is often prone to human errors. Automation Testing enables complete automation, but it also offers you the flexibility to intervene manually whenever needed. 2. **Scalable and Reliable Platform equipped with a host of Functionalities** Automation Testing comes equipped with a host of features that satisfy all your fundamental testing needs, and facilitates a sophisticated testing experience. You can write individual test cases for precise actions, organize relevant test cases together, and reuse them whenever needed. You can also orchestrate chained API executions and sequential test runs and pass dynamic values between them, as well as parallel test runs that speed up testing. 3. **Ease of Usability in configuring Testing** Automation Testing provides an integrated platform that enables you to set up your testing environment easily in minutes. You can configure everything with just a few button clicks. You can easily configure a test case, ascertain the values that you expect to be returned in the response, and quickly schedule an automated test run for it. Automation Testing will handle the rest, and deliver results with detailed insights. You can even facilitate tests involving different sets of data for both Development and Production environments, without performing any additional configurations. 4. **Enabling Ease of Debug and Problem Solving** In addition to pinpointing the exact problem areas, Automation Testing also decodes issues for you that will immensely help you while you fix them. The results contain the exact responses received for each request in each test case, along with crucial metrics and performance statistics of the setup overall. You can measure the performance of your service using these insightful metrics, determine the functionality and reliability of your its integration, and ensure meeting the high standards to your end-users. ### Enable Automation Testing Before we discuss the features of Automation Testing, let's enable it for a project in the Catalyst console for your project. 1. Navigate to **DevOps** in the left pane of the Catalyst console and click **Automation Testing.** ![automation-testing](https://catalyst-docs-development.zohostratus.in/images/help/automation-testing/automation-testing-updated.webp) 2. Click **Enable Now** in the Automation Testing feature page and click **Proceed** in the confirmation window that appears. ![catalyst_enable_automation-testing](https://catalyst-docs-development.zohostratus.in/images/help/automation-testing/catalyst_enable_automation-testing.webp) Automation Testing is now enabled for your project. ### Disable Automation Testing You can disable Automation Testing in the following way: 1. Click the ellipsis icon from the top-right corner of the Automation Testing page, then click **Disable**. ![catalyst_choose_disable](https://catalyst-docs-development.zohostratus.in/images/help/automation-testing/catalyst_choose_disable.webp) 2. Type "DISABLE" in the confirmation pop-up to confirm, then click **Yes, Proceed**. ![catalyst_disable_automation-testing](https://catalyst-docs-development.zohostratus.in/images/help/automation-testing/catalyst_disable_automation-testing.webp) Automation Testing is now disabled for your project. You can disable and re-enable it based on your needs. -------------------------------------------------------------------------------- title: "Modules and Test Cases" description: "Automation Testing enables you to execute efficient, automated API tests on function end-points or any third-party URL and resolve problem areas." last_updated: "2026-11-03T15:16:51.000Z" source: "https://docs.catalyst.zoho.com/en/devops/help/automation-testing/modules-test-cases/" service: "DevOps" -------------------------------------------------------------------------------- # Modules and Test Cases ### Modules Modules enable you to categorize the test cases that you create, based on the actions they execute or their logic. Modules can also represent the same process or function. However, you can use them to divide the process into various parts that focus on individual activities. For example, you can group all the test cases related to submitting a particular form in your application in one module. Make sure to remember the following points about modules in Automation Testing: * You must create a test case in a module, because a test case must be associated with a module. Therefore, before you [create a test case](https://docs.catalyst.zoho.com/en/devops/help/automation-testing/modules-test-cases/#create-a-test-case), you must either create a module for it or add it to an existing module. * You can create sub-modules in a module up to one level. * Modules cannot contain test cases and sub-modules at the same level. For example, _Module A_ cannot contain _Test Case 1_ and _Submodule B_ as separate entities on the same level. You can create _Test Case 1_ inside _Submodule B_, in a different sub-module, or create it in a different module altogether. ### Test Cases Test cases contain the definitions and particulars of an action to be performed. An API test case involves invoking one or more request URLs, and passing parameters, headers, or data in the request body. > **Note:** * You can test both the Development and Production environment function URLs of your application in a request, as well as any third-party URLs. * You can also test the APIs that you configured in [API Gateway](https://docs.catalyst.zoho.com/en/cloud-scale/help/api-gateway/introduction) for your function endpoints. In API testing, we typically send a request to access a function's endpoint or a third-party resource to receive a response. The testing is done to observe the responses that will be received for various test conditions, request methods, environments, and values that you set for the request. If you obtain the expected responses for the values and conditions that you pass in all the requests you make in a test case, the testing can be deemed successful. Keep the following points in mind about the test cases in Automation Testing: * A test case can contain one or more requests that you can configure individually. * A test case can only be automated after it is added to a [test suite](https://docs.catalyst.zoho.com/en/devops/help/automation-testing/test-suites), and scheduled to be executed in a [test plan](https://docs.catalyst.zoho.com/en/devops/help/automation-testing/test-plans). * You can orchestrate a sequence of requests in a single test case to execute automatically, and pass the dynamic values obtained from one request's response into the next. This can be done by [defining a variable for a request](https://docs.catalyst.zoho.com/en/devops/help/automation-testing/variables) and passing that variable as the [parameter](https://docs.catalyst.zoho.com/en/devops/help/automation-testing/modules-test-cases/#configure-a-request) in the next request. * You must define the expected responses in a request using [Assertions](https://docs.catalyst.zoho.com/en/devops/help/automation-testing/modules-test-cases/#add-assertions). Upon the execution of a request, Catalyst will automatically validate the received response with the expected values, determine the result of the test case accordingly, and display it in the [Results section](https://docs.catalyst.zoho.com/en/devops/help/automation-testing/results). Each individual request must be successful for a test case execution to be successful. * The requests made in Automation Testing can be [authenticated](https://docs.catalyst.zoho.com/en/devops/help/automation-testing/modules-test-cases/#configure-a-request) through a _Custom Authentication_ method. You can set up a connection using Deluge Connections and authenticate the request through it. ### Create a Test Case You can begin working with Automation Testing by creating a test case. Each action involved in setting up the test case's configuration is described in this section in detail. 1. After you enable Automation Testing from the _Add-on Services_, you can click **Create Test Case** from the _Test Cases_ section. ![catalyst_pilot_dashboard](https://catalyst-docs-development.zohostratus.in/images/help/automation-testing/catalyst_pilot_dashboard.webp) 2. Enter a name and a description for the test case. ![catalyst_pilot_create_test_case_1](https://catalyst-docs-development.zohostratus.in/images/help/automation-testing/catalyst_pilot_create_test_case_1.webp) Since a test case needs to be associated with a [module](https://docs.catalyst.zoho.com/en/devops/help/automation-testing/modules-test-cases/#modules) and we have not created a module yet, click the drop-down and type a name for a new module and click **Create** in the search bar. ![catalyst_pilot_create_test_case_2](https://catalyst-docs-development.zohostratus.in/images/help/automation-testing/catalyst_pilot_create_test_case_2.webp) If a module or a sub-module already exists, you can simply select it from the list. 3. Click **Create**. The test case will be created in the specified module. The test case's tab will be opened, and you can configure requests in it. We will discuss the UI elements [later](https://docs.catalyst.zoho.com/en/devops/help/automation-testing/modules-test-cases/#manage-a-test-case-and-its-requests) in this documentation. ### Configure a Request You can configure a request in a test case in the following way: 1. Click **Add Request** in the test case's section. ![catalyst_pilot_create_request_1](https://catalyst-docs-development.zohostratus.in/images/help/automation-testing/catalyst_pilot_create_request_1.webp) 2. Enter the URL of the API endpoint that needs to be tested. ![catalyst_pilot_create_request_2](https://catalyst-docs-development.zohostratus.in/images/help/automation-testing/catalyst_pilot_create_request_2.webp) You can enter a Basic I/O or an Advanced I/O function URL of either environment, an API you configured for them in [API Gateway](https://docs.catalyst.zoho.com/en/cloud-scale/help/api-gateway/introduction), or any third-party URL. You can also pass an Environment or Global variable that you configured, as the value for the request URL. You can learn about these in the [Variables section](https://docs.catalyst.zoho.com/en/devops/help/automation-testing/variables). 3. Select a HTTP request method for the request from the dropdown list. You can select from: `GET`, `PUT`, `POST`, `PATCH`, `DELETE`, `HEAD`, `OPTIONS`. 4. **Params:** You can configure query strings to be passed appended to your request URL in a key-value format under the _Params_ section. Once you enter a parameter name, a new column will appear to add another parameter. You can click the close icon to remove a parameter. ![catalyst_pilot_create_request_3](https://catalyst-docs-development.zohostratus.in/images/help/automation-testing/catalyst_pilot_create_request_3.webp) You can also pass an [Environment or Global variable](https://docs.catalyst.zoho.com/en/devops/help/automation-testing/variables) in the **{{$\}}** format, or [assign a value from a previous request's response](https://docs.catalyst.zoho.com/en/devops/help/automation-testing/modules-test-cases/#chain-requests) to a variable and pass that as the parameter of a request in the **{{\}}**. 5. **Authentication:** To set up the authentication method for this particular request, click the **Authentication** tab under the request URL. If you opt to have no authentication in your request, select **None**. You can select **Custom Auth** to configure a [Deluge connection](https://www.zoho.com/deluge/help/deluge-connections.html). Deluge connections enable you to establish authentication with a Zoho or a third-party service. This connection will allow Catalyst to invoke the third party service's API, and obtain access to the authenticated data. In this case, the request you are configuring is the third-party service. When you select **Custom Auth**, a drop-down box will list any pre-existing connections that were configured. To create a new connection, click **Create New**. ![catalyst_pilot_create_request_4](https://catalyst-docs-development.zohostratus.in/images/help/automation-testing/catalyst_pilot_create_request_4.webp) This will open the Connections configuration page in the request section. You can configure the connection here, and choose one of the authentication types available. ![catalyst_pilot_create_request_5](https://catalyst-docs-development.zohostratus.in/images/help/automation-testing/catalyst_pilot_create_request_5.webp) You can learn about these steps in detail from the [Zoho CRM Connections help page](https://www.zoho.com/crm/developer/docs/connectors/set-up.html). CRM implements the same Deluge connections service. A connection with Zoho CRM, for example, can enable you to perform actions such as inserting a lead or obtaining a contact from your CRM account, in the request. 6. **Headers:** You can configure headers for the request URL from the _Headers_ section. Click the **Headers** tab. Enter the names and corresponding values of the headers to be passed. Catalyst suggests header keys as you type. ![catalyst_pilot_create_request_6](https://catalyst-docs-development.zohostratus.in/images/help/automation-testing/catalyst_pilot_create_request_6.webp) Once you enter a header name, a new column will appear to add another header. You can click the close icon to remove a header. 7. **Body:** You can configure data to be passed in the body of the request from the Body section. A request body is typically passed in `POST` or `PUT` requests. Click the **Body** tab. Automation Testing supports three types of request bodies: _form-data_, _x-www-form-urlencoded_, and _raw_. Select a type from the drop-down list. If you select _form-data_ or _x-www-form-urlencoded_ you can enter the payload in a key-value format. You can also pass [variables](https://docs.catalyst.zoho.com/en/devops/help/automation-testing/variables) as the value for keys in these formats. If you select _raw_, you can pass it as a JSON. ![catalyst_pilot_create_request_7](https://catalyst-docs-development.zohostratus.in/images/help/automation-testing/catalyst_pilot_create_request_7.webp) After you configure all the necessary parts of the request, you can add assertions for the request. ### Add Assertions Assertions are used to validate the response received for a request. You can define the values that you expect in various parts of the response here. Automation Testing will automatically compare the expected values with the received values. If the values match and all assertions are satisfied, the request execution is considered successful. Otherwise, it is considered a failure. > **Note:** Assertions are not mandatory for a request in a test case. If you don't add any assertions in a request, the test run will be considered a success automatically. You will be able to view detailed reports of automated test runs from the [_Results_](https://docs.catalyst.zoho.com/en/devops/help/automation-testing/results) section. Click the **Assertions** tab in the request configuration window, then click **Add Assertion** to configure assertions for the test case. ![catalyst_pilot_create_request_8](https://catalyst-docs-development.zohostratus.in/images/help/automation-testing/catalyst_pilot_create_request_8.webp) An assertion consists of the following elements that you can configure: * **Source:** The location the assertion needs to be applied on.You can select one of these sources for an assertion from the drop-down list: * **Header:** You can define the headers and their corresponding values that are expected in the response. * **Status Code:** You can define the HTTP status code that is expected for the request in the response. For example, if you expect your request to be processed successfully, you can define an assertion indicating the status code equals 200. * **XML Body:** You can extract a specific data item received in the XML body of a response by specifying its path and defining its expected value. * **JSON Body:** You can extract a particular data item received in the JSON body of a response by specifying its path and defining its expected value. * **Property:** The specific attribute of the source that the assertion needs to be applied for For example, if you select **Header** as the source, you can enter the key of a specific header whose value needs to be compared in the Property text box. Similarly, if you select **XML Body** or **JSON Body** as the source, you can specify the path of the data item to be extracted in the Property text box. You must ensure that you adhere to the JSON or XML syntax in defining the path. > **Note:** The Property attribute is not available for a Status Code source type, since there are no attributes in it. * **Comparison:** Operator that compares the expected value with the defined value You can select any one of these operators from the drop-down list: _Equals_, _Not Equals_, _Contains_, _Not Contains_, _Is Empty_, _Is Not Empty_, _Lesser Than_, _Greater Than_, _Lesser Than Or Equal To_, _Greater Than Or Equal To_, _Has Key_, _Array Count_. The _Has Key_ operator can verify if a particular key is present in a header, or an XML or JSON path. You can use the _Array Count_ operator to specify the count of array items you expect in a header, or for an XML or JSON key. > **Note:** These operators are not applicable for a Status Code source type: Contains, Not Contains, Is Empty, Is Not Empty, Has Key, Array Count. * **Value:** The value that is expected for the selected property, based on the comparison operator > **Note:** You will not be able to add values for the Is Empty and Is Not Empty operators. For example, if you expect the response status code not to be any of the failure codes, you can define an assertion for the it using Is Lesser Than and entering the value as "400", as the HTTP status codes above 400 indicate errors. You can remove an assertion by clicking the corresponding close icon. **Example:** Assume you expect the response of a certain request to contain data in a JSON body that fulfil these conditions: * Key _id_ must be greater than or equal to "10000" * Key _location.country_ must definitely be present * Key _location.country_ must not contain an empty value * Key _location.city_ must not contain the value "New York" Therefore, you must add these assertions after selecting **JSON Body** as the source each time: * **Assertion 1:** _Property_\= "id", _Comparison_\= "Greater Than Or Equal To", _Value_\= "10000" * **Assertion 2:** _Property_\= "location", _Comparison_\= "Has Key", _Value_\= "country" * **Assertion 3:** _Property_\= "location.country", _Comparison_\= "Is Not Empty" * **Assertion 4:** _Property_\= "location.city", _Comparison_\= "Not Equals", _Value_\= "New York" Now assume that you receive this JSON response upon execution: ```json { "id" : "10993", "location": { "country":"US", "city":"Austin" } } ``` Because the response satisfies all the assertions that you defined, the test is considered to be successful. ### Configure Variables in a Request You can extract data from the response that will be received for a request, and assign it to a variable to pass it on to the next request as a parameter value in a chain request. The variables that you configure inside a test case are different from the Environment or Global variables that you use to store the required details of your Catalyst project. The syntax for using these variables in the parameter or request URL field are different. You can learn about these in detail from the [Variables section](https://docs.catalyst.zoho.com/en/devops/help/automation-testing/variables). We will discuss adding variables for a chain request alone in this section. Click the **Variables** tab in the request configuration window, then click **Add Variable** for each variable you want to configure for the test case. ![catalyst_pilot_create_request_9](https://catalyst-docs-development.zohostratus.in/images/help/automation-testing/catalyst_pilot_create_request_9.webp) This contains the same elements as [Assertions](https://docs.catalyst.zoho.com/en/devops/help/automation-testing/modules-test-cases/#add-assertions). 1. Specify the location that the data needs to be extracted from, by selecting the **Source**. 2. Define the specific attribute of the source that the variable needs to be assigned for, as the _Property_. 3. Enter the variable name that the data needs to be assigned to, under the Variable column. Refer to the [Variables section](https://docs.catalyst.zoho.com/en/devops/help/automation-testing/variables) for detailed syntax. > **Note:** The scope of a variable created during API testing is limited to the specific test case. The scopes of the Environment and Global variables are global to all test cases. You can remove variables by clicking the close icons. The [Chain Requests section](https://docs.catalyst.zoho.com/en/devops/help/automation-testing/modules-test-cases/#chain-requests) illustrates an example of passing data in a chained request using a variable that you create. ### Manage a Test Case and its Requests Before we discuss configuring a chain request, here are a few actions that you can perform on a request from the console: ![catalyst_pilot_request_rename_delete](https://catalyst-docs-development.zohostratus.in/images/help/automation-testing/catalyst_pilot_request_rename_delete.webp) * **Rename a Request:** Click the edit icon next to its name on the request's configuration window, then enter a new name. Press **Enter** to save the changes. * **Delete a Request:** Click the delete icon, then click **Yes** in the confirmation pop-up window. ![catalyst_pilot_request_delete](https://catalyst-docs-development.zohostratus.in/images/help/automation-testing/catalyst_pilot_request_delete.webp) You can also perform the following actions on the test case from the tool bar and from the options below: ![catalyst_pilot_toolbar](https://catalyst-docs-development.zohostratus.in/images/help/automation-testing/catalyst_pilot_toolbar.webp) * **Run a Test:** You can instantly run a test and view a live preview of the response. Click **Run** from the bottom of the page, after saving all the changes by clicking the **Save** button next to it. > **Note:** This option is used to quickly check if the configurations of your test case are working properly. You can automate a test run by adding the test case to a [suite](https://docs.catalyst.zoho.com/en/devops/help/automation-testing/test-suites) and scheduling its execution using a [test plan](https://docs.catalyst.zoho.com/en/devops/help/automation-testing/test-plans). You can also optionally select a default environment that the test must be run in, from the pop-up window that opens. You can also click the arrow next to the run icon, then click **Customize** to choose or change previously set configurations. ![catalyst_pilot_run_1](https://catalyst-docs-development.zohostratus.in/images/help/automation-testing/catalyst_pilot_run_1.webp) You must select the environment variables from the drop-down window. Refer to the [Variables section](https://docs.catalyst.zoho.com/en/devops/help/automation-testing/variables) for details on configuring environment variables. You can click the checkbox to save this as the preferred configuration. Click **Run**. ![catalyst_pilot_run_2](https://catalyst-docs-development.zohostratus.in/images/help/automation-testing/catalyst_pilot_run_2.webp) A Live Preview window will open displaying the progress. It will show the run summary after the execution is complete. You can click **Restart** to restart the run. ![catalyst_pilot_run_3](https://catalyst-docs-development.zohostratus.in/images/help/automation-testing/catalyst_pilot_run_3.webp) You can open collapse and expand the live preview anytime from the bottom of the screen by clicking **Show Less** or **Show More** respectively. If your run includes multiple requests, all their responses will be displayed in the Live Preview section. > **Note:** * The summary of an instant run will not contain detailed reports. * These summaries will also not be available in the [Results section](https://docs.catalyst.zoho.com/en/devops/help/automation-testing/results). The Results section only displays the detailed reports of the automated test runs executed through test plans. * The summary shown in this Live Preview section will disappear if you navigate away from this section. * **Save a Test Case:** You must ensure that you save the changes you make in a test case periodically by clicking **Save** from the bottom of the page. * **Instantly Add or Remove a Test Case from a Suite:** Click the **suite icon** on the tool bar of the test case to add it to a [test suite](https://docs.catalyst.zoho.com/en/devops/help/automation-testing/test-suites) instantly. Click **Add to Test Suite** in the pop-up window, and select the existing suites from the list. ![catalyst_pilot_add_case_to_suite](https://catalyst-docs-development.zohostratus.in/images/help/automation-testing/catalyst_pilot_add_case_to_suite.webp) You can also remove the test case from a suite it is already added in, by clicking the **remove icon** that appears when you hover over the suite name in this window. Click **Yes, Proceed**. ![catalyst_pilot_remove_test_case](https://catalyst-docs-development.zohostratus.in/images/help/automation-testing/catalyst_pilot_remove_test_case.webp) * **Edit a Test Case:** Click the **edit icon** to edit the test name and description, or move the test case to a different module. Make the changes and click **Update**. ![catalyst_pilot_editrequest](https://catalyst-docs-development.zohostratus.in/images/help/automation-testing/catalyst_pilot_edit_request.webp) Read more about the left panel in [this section](https://docs.catalyst.zoho.com/en/devops/help/automation-testing/modules-test-cases/#manage-all-test-cases-and-modules). ### Chain Requests After you create and configure all the necessary requests in a test case, you can choose the sequence that these requests must be executed in. Whenever that test case runs, the requests will be executed in the configured sequence alone. By default, the requests are listed in the order of creation in the test case, with the first request you created on top, followed by the next request you created, and so on. You can arrange the requests in a sequence that you require, by clicking the drag icon on the top right corner of the request window, and dragging it to new location. ![catalyst_pilot_drag_requests](https://catalyst-docs-development.zohostratus.in/images/help/automation-testing/catalyst_pilot_drag_requests.webp) Chain requests enable you to pass dynamic values between the requests using [variables](https://docs.catalyst.zoho.com/en/devops/help/automation-testing/variables). Let's discuss this with an example. Assume we configure _Request 1_ to invoke a function and fetch some data using the `GET` method. The response will return a JSON body. We need to extract the values of the keys _id_, _email_, and _city_ from this response and pass them to _Request 2_ as its parameters. We can do this by configuring the variables for these values to be extracted in _Request 1_ as shown below. ![catalyst_pilot_chain_request_1](https://catalyst-docs-development.zohostratus.in/images/help/automation-testing/catalyst_pilot_chain_request_1.webp) If you wish to pause for a certain amount of time after executing the first request and before executing the next, you can configure the pause time by clicking **Pause** below the first request. You must configure this before creating the second request. ![catalyst_pilot_chain_request_2](https://catalyst-docs-development.zohostratus.in/images/help/automation-testing/catalyst_pilot_chain_request_2.webp) > **Note:** You can use configure the pause time after a request if you expect any wait time in receiving its response. This will make Automation Testing wait for that time before initiating the execution of the next request. Let us now create another request and pass the extracted values to it dynamically. We must add corresponding parameters in _Request 2_ to pass these variables as the parameter values. We can do this as shown below. ![catalyst_pilot_chain_request_3](https://catalyst-docs-development.zohostratus.in/images/help/automation-testing/catalyst_pilot_chain_request_3.webp) > **Note:** You can define the local variables in a request by directly declaring their names, and pass them as parameter values in the ** {{\}} ** format. Refer to the [Variables section](https://docs.catalyst.zoho.com/en/devops/help/automation-testing/variables) for the syntax of Global and Environment variables. If we initiate an [instant run](https://docs.catalyst.zoho.com/en/devops/help/automation-testing/modules-test-cases/#manage-a-test-case-and-its-requests) after saving the configurations, _Request 1_ will execute first. Assume it returns with the expected JSON response. The values sent for the defined keys _id_, _email_, and _city_ will be extracted from it and assigned to the variables _customer\_id_, _customer\_email_, and _city\_name_ for _Request 1_. These will be passed as the values to the parameters _customerID_, _customerEmail_, and _city_, defined in _Request 2_ respectively, while the request is invoked. You can configure and orchestrate chain requests in this manner. ### Manage All Test Cases and Modules The left panel in the _Test Cases_ section enables you to perform several actions. It lists all the modules that you have created, and all the test cases present in those modules. ![atalyst_pilot_left_panel](https://catalyst-docs-development.zohostratus.in/images/help/automation-testing/catalyst_pilot_left_panel.webp) You can search for a test case using the search bar, and open any test case by navigating to its module from here. #### Create a Module You can create any number of modules to add test cases in. 1. Click **Add Module** on the bottom of the left panel. 2. Enter a name and a description for the module. ![catalyst_pilot_create_module](https://catalyst-docs-development.zohostratus.in/images/help/automation-testing/catalyst_pilot_create_module.webp) 3. If you are creating a sub-module, click the drop-down list to choose an existing parent module. If you wish to create a new module, ignore this and click **Create**. > **Note:** [As mentioned earlier](https://docs.catalyst.zoho.com/en/devops/help/automation-testing/modules-test-cases/#modules-and-test-cases), you can create sub-modules upto one level. A module cannot contain test cases and sub-modules at the same level. Therefore, you can only choose a parent module if it does not have a test case directly in its root. The module will be created and listed in your directory. #### Test Cases Schema You can access a detailed schema of all your modules, sub-modules, and test cases that you configure by clicking **Manage** on the top of the left panel. ![catalyst_pilot_manage](https://catalyst-docs-development.zohostratus.in/images/help/automation-testing/catalyst_pilot_manage.webp) This will open the details page. You can expand or collapse directories and view the schema of the test cases. ![catalyst_pilot_manage_1](https://catalyst-docs-development.zohostratus.in/images/help/automation-testing/catalyst_pilot_manage_1.webp) You can search for a test case using the search bar, click the list icon corner to view only a list of the test cases, or quickly create a new test case or module from the top-right corner of this section. Click the **ellipsis icon for a module** to perform the following actions: ![catalyst_pilot_manage_2](https://catalyst-docs-development.zohostratus.in/images/help/automation-testing/catalyst_pilot_manage_2.webp) * You can create a new sub-module or a new test case inside the module by selecting **+Module** or **+Test Case** from the menu respectively. * **Edit a Module:** Click **Edit** to update a module's name, description, or move it under a different module or out of a parent module. ![catalyst_pilot_edit_module](https://catalyst-docs-development.zohostratus.in/images/help/automation-testing/catalyst_pilot_edit_module.webp) Make the necessary changes and click **Update**. * **Delete a Module:** Click **Delete** to delete a module permanently. ![catalyst_pilot_delete_module](https://catalyst-docs-development.zohostratus.in/images/help/automation-testing/catalyst_pilot_delete_module.webp) Click **Yes** in the confirmation pop-up window. > **Note:** A module cannot be deleted if it contains a test case. You must delete all the test cases in a module first before deleting the module. * **Move a Module:** You can also quickly move a module under a different module or out of a parent module by clicking **Move to**. This will open a panel on the right. Choose a module or the root, then click **Move**. ![catalyst_pilot_move_module](https://catalyst-docs-development.zohostratus.in/images/help/automation-testing/catalyst_pilot_move_module.webp) * **Add a Module to a Suite:** Click **Add to Suite** to quickly add a module to one or more suites. This will open a panel on the right where you can select the suites. Click **Apply** to save the changes. ![catalyst_pilot_add_module_to_suite](https://catalyst-docs-development.zohostratus.in/images/help/automation-testing/catalyst_pilot_add_module_to_suite.webp) Similarly, if you click the ellipsis icon for a test case from this page, you can access the options shown below. ![catalyst_pilot_manage_3](https://catalyst-docs-development.zohostratus.in/images/help/automation-testing/catalyst_pilot_manage_3.webp) * **Delete a Test Case:** Click **Delete** from the menu, then click **Yes** in the confirmation pop-up window. ![catalyst_pilot_delete_test_case](https://catalyst-docs-development.zohostratus.in/images/help/automation-testing/catalyst_pilot_delete_test_case.webp) > **Note:** A test case cannot be deleted if it has been referred in a test suite or a test plan. You must first remove the test suite from the test plan, followed by [removing the test case from the test suite](https://docs.catalyst.zoho.com/en/devops/help/automation-testing/test-suites/#manage-the-test-cases-in-a-suite), and only then delete the test case. The _Edit_, _Move To_, and _Add to Suite_ options are the same as discussed [in this section](https://docs.catalyst.zoho.com/en/devops/help/automation-testing/modules-test-cases/#manage-a-test-case-and-its-requests). You can also select multiple test cases using the check boxes in the Manage section to delete, move, or add to a suite in bulk. -------------------------------------------------------------------------------- title: "Test Suites" description: "Automation Testing enables you to execute efficient, automated API tests on function end-points or any third-party URL and resolve problem areas." last_updated: "2026-08-17T12:16:04.000Z" source: "https://docs.catalyst.zoho.com/en/devops/help/automation-testing/test-suites/" service: "DevOps" -------------------------------------------------------------------------------- # Test Suites ### Introduction Test suites are the next level of organization of the [test cases](https://docs.catalyst.zoho.com/en/devops/help/automation-testing/modules-test-cases) you create in Automation Testing. A suite facilitates a group of test cases, and a group of test suites can be automated together using a test plan. You can group multiple test cases in a suite and execute them parallelly or sequentially, based on your needs. For instance, if a group of test cases involves sequential actions, such as fetching data from a process and passing it on to another process, you can order the sequence of their execution. If a group of test cases are not related to one another, you can execute them parallelly. Automation Testing enables you to add test cases in any combinations into a suite. That is, you can add test cases belonging to the same module or sub-module, or different modules together. > **Note:** * A test suite can only be created after you have created atleast one test case. * A test case cannot be automated without first adding it to a suite and configuring a test plan for it. ### Create a Test Suite You can create a test suite in the following manner: 1. Navigate to the **Test Suites** tab in _Automation Testing_, then click **Create Suite**. ![catalyst_pilot_create_test_suite_1](https://catalyst-docs-development.zohostratus.in/images/help/automation-testing/catalyst_pilot_create_test_suite_1.webp) 2. Enter a name for the test suite, and select the execution as **Sequence** or **Parallel** from the drop-down list. Select all the test cases to be added in the suite from the schema. You can select any test case from any module. ![catalyst_pilot_create_test_suite_2](https://catalyst-docs-development.zohostratus.in/images/help/automation-testing/catalyst_pilot_create_test_suite_2.webp) You can arrange the test cases based on the order they must be executed in by dragging and dropping from the right panel. 3. Click **Create**. The suite will be created and the details page will open. ### Manage a Test Suite A test suite's details page will contain the configurations and information of that suite. ![catalyst_pilot_test_suite_created](https://catalyst-docs-development.zohostratus.in/images/help/automation-testing/catalyst_pilot_test_suite_created.webp) After you create a test plan and include this suite in it to be automated for execution, you will be able to view the statistics of this suite. The top section of this page shows the details of the suite, its success rate, and the success stats of the last five test runs. #### Edit a Suite 1. You can edit a suite's name or execution type by clicking the edit icon next to its name on the top of the details page. 2. Make the necessary changes in the pop-up, then click **Update**. ![catalyst_pilot_test_suite_edit](https://catalyst-docs-development.zohostratus.in/images/help/automation-testing/catalyst_pilot_test_suite_edit.webp) #### Add Test Cases or Modules to a Suite 1. You can add test cases or modules by searching for it from the search bar on the left side of the suite's details page. Select the ones to add from the list. ![catalyst_pilot_test_suite_add](https://catalyst-docs-development.zohostratus.in/images/help/automation-testing/catalyst_pilot_test_suite_add.webp) The modules you include will be shown in blue and the test cases in green. 2. You can optionally add these items after a specific execution item, by checking the **Add cases after** box and entering the **Order ID** of the previous execution item. You can find the Order IDs of all execution items on the right side of this page. If you don't enter this, the test cases and/or modules will be added after the last item in the order, by default. 3. Click **Add**. #### Manage the Test Cases in a Suite You can view a list of all the test cases in the suite, and their details on the right side of this section.v ![](https://catalyst-docs-development.zohostratus.in/images/help/automation-testing/catalyst_pilot_test_suite_details.webp) This also shows the following reports of the suite's execution: * **Frequently Failed:** Test cases that frequently failed in descending order, based on the number of times they failed * **Failed in Last Run:** Test cases failed in the last execution of the suite **Configure the Order of Test Case Execution:** The test cases will be listed in the configured order of execution. In a sequential suite, they will be executed one after the other in that order. You can change a test case's order, by clicking the **move** icon for it. ![catalyst_pilot_test_suite_move](https://catalyst-docs-development.zohostratus.in/images/help/automation-testing/catalyst_pilot_test_suite_move.webp) Enter the Order ID where it should be moved to, then click **Move**. The Order IDs are mentioned in this table's first column. Alternatively, you can click the drag icon on the left for a test case to drag and drop it in a new location. **Remove a Test Case from a Suite:** You can remove a test case from the suite by clicking the remove icon for it in this table. Click **Confirm** in the confirmation pop-up. ![catalyst_pilot_test_suite_remove_case](https://catalyst-docs-development.zohostratus.in/images/help/automation-testing/catalyst_pilot_test_suite_remove_case.webp) #### Delete a Test Suite You can find a list of all the test suites you create by clicking the back arrow next to this suite's name in its details page. This page shows important details of each suite. ![catalyst_pilot_test_suite_list](https://catalyst-docs-development.zohostratus.in/images/help/automation-testing/catalyst_pilot_test_suite_list.webp) 1. You can delete a test suite by clicking the delete icon that appears when you hover over the suite in this list. 2. Click **Yes** in the confirmation pop-up window. ![catalyst_pilot_test_suite_delete](https://catalyst-docs-development.zohostratus.in/images/help/automation-testing/catalyst_pilot_test_suite_delete.webp) You can also select multiple suites from the list using the checkboxes and delete them in bulk. -------------------------------------------------------------------------------- title: "Test Plans" description: "Automation Testing enables you to execute efficient, automated API tests on function end-points or any third-party URL and resolve problem areas." last_updated: "2026-08-17T12:16:04.000Z" source: "https://docs.catalyst.zoho.com/en/devops/help/automation-testing/test-plans/" service: "DevOps" -------------------------------------------------------------------------------- # Test Plans A test plan enables the automated execution of one or more [test suites](https://docs.catalyst.zoho.com/en/devops/help/automation-testing/test-suites). You can configure various details of an execution in a test plan, such as the order of execution of the suites, the [environment variables](https://docs.catalyst.zoho.com/en/devops/help/automation-testing/variables) that need to be applied for the run, the execution schedule, and notification alerts. The detailed report of a test plan's execution can be viewed from the [Results section.](https://docs.catalyst.zoho.com/en/devops/help/automation-testing/results) ### Create a Test Plan You can configure a test plan in the following manner: 1. Click the **Test Plan** tab in Automation Testing, then click **Create Test Plan**. ![catalyst_pilot_create_test_plan_1](https://catalyst-docs-development.zohostratus.in/images/help/automation-testing/catalyst_pilot_create_test_plan_1.webp) 2. Enter a name and description for the test plan. ![catalyst_pilot_create_test_plan_2](https://catalyst-docs-development.zohostratus.in/images/help/automation-testing/catalyst_pilot_create_test_plan_2.webp) 3. **Environment Variables:** You can select the environment variables to apply for this test run. ![catalyst_pilot_create_test_plan_3](https://catalyst-docs-development.zohostratus.in/images/help/automation-testing/catalyst_pilot_create_test_plan_3.webp) > **Note:** If you had defined a variable with the same key as both a global and an environment variable, Catalyst will use the value of the environment variable over the value of the global variable during the test plan execution. Refer to the [Variables section](https://docs.catalyst.zoho.com/en/devops/help/automation-testing/variables) for more information. 4. **Test Suites:** Click **Add Test Suites** to include at least one test suite that must be executed in this test plan. You can select the test suites from the pop-up window and click **Save**. ![catalyst_pilot_create_test_plan_4](https://catalyst-docs-development.zohostratus.in/images/help/automation-testing/catalyst_pilot_create_test_plan_4.webp) You can rearrange the test suites to define their order of execution after they are added, by dragging and dropping them using the **drag icon** on the left. You can also delete a test suite you included by clicking the **delete icon**. ![catalyst_pilot_create_test_plan_5](https://catalyst-docs-development.zohostratus.in/images/help/automation-testing/catalyst_pilot_create_test_plan_5.webp) 5. **Schedule:** Configure the schedule of the test run by selecting one of the following **run types**: * **Nightly:** You can configure the run time between 6 pm and 6 am for this type. This will be executed every night. You can select the days of the week this must be executed on, and a test plan start date from the calender. * **Day:** You can configure the run time between 6 am and 6 pm for this type. This will be executed every day. You can select the days of the week this must be executed on, and a test plan start date from the calender. * **Custom:** You can configure this to execute on a specific start date and at any run time in 24 hours. You will not be able to select the days of a week for this. * **Starts Now:** This will initiate the execution right after the test plan is created. You will not be able to configure a schedule for this. ![catalyst_pilot_create_test_plan_6](https://catalyst-docs-development.zohostratus.in/images/help/automation-testing/catalyst_pilot_create_test_plan_6.webp) 6. **Notifications**: Click **Add Notifications** to configure notification alerts to be sent for various events in the test plan's execution. This will open a pop-up window. ![catalyst_pilot_create_test_plan_7](https://catalyst-docs-development.zohostratus.in/images/help/automation-testing/catalyst_pilot_create_test_plan_7.webp) You can select one of the execution events from the **When** drop-down list: * **Started:** When the test plan execution begins * **Completed:** When the test plan execution completes * **Success:** If the test plan execution is successful * **Fail:** If the test plan execution is successful * **Not executed (delay):** If the test plan does not start at the scheduled time * **Terminated:** If the test plan terminates during its progress without completion The _Success_ and _Fail_ options provide an additional field to specify the percentage of success or failure at which the notification should be triggered. Select the email addresses of the recipients that must be alerted from the [collaborators](https://docs.catalyst.zoho.com/en/getting-started/set-up-a-catalyst-project/collaborators) that are listed when you click _Recipients email address_ text field. You can type in the email addresses of any other recipients as well. Enter the notification message to be sent, then click **Save**. You can add multiple notifications for different events, and edit or delete them after they are created.![catalyst_pilot_create_test_plan_8](https://catalyst-docs-development.zohostratus.in/images/help/automation-testing/catalyst_pilot_create_test_plan_8.webp) 7. After configuring the test plan, click **Create**. The test plan will be created and listed in the _Test Plans_ section. A unique **Test Plan ID** will be created for it. ### Manage a Test Plan You can find all your test plans in the _Test Plans_ section along with their details. You will be able to perform several actions on a test plan from here. ![catalyst_pilot_create_test_plan_list](https://catalyst-docs-development.zohostratus.in/images/help/automation-testing/catalyst_pilot_create_test_plan_list.webp) * **Disable or Enable a Test Plan:** Click the toggle under the _Status_ column to enable or disable the scheduled test plan. > **Note:** This will only disable or enable the schedule of the test plan. You can still perform an instant run of the test plan as specified below. * **Run a Test Plan:** You can perform an instant run of the test plan to verify its outcome by clicking the run icon. You will be able to view the results of this run from the [Results section](https://docs.catalyst.zoho.com/en/devops/help/automation-testing/results). A unique **Run ID** will be generated for each automated and instant test plan execution, that will be shown in the Results section. * **Delete a Test Plan:** Click the delete icon, then click **Yes** on the confirmation pop-up to delete the test plan. ![catalyst_pilot_test_plan_delete](https://catalyst-docs-development.zohostratus.in/images/help/automation-testing/catalyst_pilot_test_plan_delete.webp) You can select multiple test plans using the checkboxes to delete them in bulk. -------------------------------------------------------------------------------- title: "Results" description: "Automation Testing enables you to execute efficient, automated API tests on function end-points or any third-party URL and resolve problem areas." last_updated: "2026-08-17T12:16:04.000Z" source: "https://docs.catalyst.zoho.com/en/devops/help/automation-testing/results/" service: "DevOps" -------------------------------------------------------------------------------- # Results The Results section displays a detailed and comprehensive report of all the test plans that were executed. This shows the results of the automated test plan executions that were scheduled, and the instant runs performed from the _Test Plans_ section. This will not show the results of the [live previews](https://docs.catalyst.zoho.com/en/devops/help/automation-testing/modules-test-cases/#manage-a-test-case-and-its-requests) executed in the _Test Cases_ section. You can check those results from the respective sections. Click the **Results** tab in Automation Testing to access the results. The Results section displays results in three levels: ### All Test Runs All test runs of all test plans will be displayed in the initial Results page. ![catalyst_pilot_results](https://catalyst-docs-development.zohostratus.in/images/help/automation-testing/catalyst_pilot_results.webp) You can view stats such as the number of completed and currently running executions, the overall success rate of all test plan executions, and the number of environments that were involved in the all runs. The last one is based on the environment variables that you select while [creating the test plans](https://docs.catalyst.zoho.com/en/devops/help/automation-testing/test-plans/#create-a-test-plan). You can find a list of all test runs along with details like their unique Run IDs, number of test cases included in a run, the success percentage of the run, its start time and execution duration. You can sort results based on the criteria shown below, to display runs accordingly. ![catalyst_pilot_results_sort_1](https://catalyst-docs-development.zohostratus.in/images/help/automation-testing/catalyst_pilot_results_sort_1.webp) You can also filter the results by clicking the filter button and selecting various filters. ![catalyst_pilot_results_filter_1](https://catalyst-docs-development.zohostratus.in/images/help/automation-testing/catalyst_pilot_results_filter_1.webp) * **Date:** You can select one of these options for the date filter: _Last 24 hours_, _Last 7 days_, _Last 1 month_, _Custom_ to view results only of that time period. The _Custom_ option enables you select a date window based on your needs. * **Status:** You can choose any one of these execution statuses to view relevant results: _Completed_, _Running_, _Queued_, _Terminated_. * **Test Plan:** You can also filter the results based on a specific test plan. All executions of that test plan alone will be displayed. Click **Apply** after selecting the filters. If the results take some time to reflect, click **Refresh** on the top of this page. ### Details of a Particular Test Run You can open a specific test run from the test runs list to view the details of the test cases included in the test plan. You can view stats like the total number of test cases, number of test cases that are completed, remaining, or inactive, and the overall success rate of that test run. ![catalyst_automation_testing_results_particular_test_run](https://catalyst-docs-development.zohostratus.in/images/help/automation-testing/catalyst_automation_testing_results_particular_test_run.webp) It lists all the test cases that were included in the test plan, along with the overall results and other details of each test case. You can also sort the results based on the duration of the test case execution. ![catalyst_pilot_results_sort_2](https://catalyst-docs-development.zohostratus.in/images/help/automation-testing/catalyst_pilot_results_sort_2.webp) You can filter results by clicking the filter icon and selecting various details. You can view the test cases of a particular suite alone, or test cases that executed with any one of these statuses: _Completed_, _Passed_, _Failed_, _Inactive_, _Remaining_. Click **Apply** after selecting the filters. ![catalyst_pilot_results_filter_2](https://catalyst-docs-development.zohostratus.in/images/help/automation-testing/catalyst_pilot_results_filter_2.webp) ### Details of a Particular Test Case You can open a particular test case from the test case list to view the execution details of the individual requests in it. This section provides a summary of the particular test case along with useful statistics such as the overall result and duration of the test case execution, and the overall number of assertions that were passed in the test case. ![catalyst_automation_testing_details_of_particular_test_case](https://catalyst-docs-development.zohostratus.in/images/help/automation-testing/catalyst_automation_testing_details_of_particular_test_case.webp) It lists the details of individual requests in the test case, along with the detailed response received for each request. You can expand a request's section to view the assertions that were passed in that request and the response status code. ![catalyst_automation_testing_details_of_particular_test_case_1](https://catalyst-docs-development.zohostratus.in/images/help/automation-testing/catalyst_automation_testing_details_of_particular_test_case_1.webp) The report also shows the response body, the response headers, and the request details. You can view the **Response Body** in the raw or pretty format by selecting a choice from the drop-down on the right. Click the **Response Headers** or **Request Details** tab to view those information. ![catalyst_automation_testing_details_of_particular_test_case_2](https://catalyst-docs-development.zohostratus.in/images/help/automation-testing/catalyst_automation_testing_details_of_particular_test_case_2.webp) This drill down enables you to easily identify the exact request a test case failed on, with the specific reason. You can navigate to view the details of the next test case using the arrows on the top-right corner. ### Details of a Failed Test Run As discussed earlier, in the event of a failed test run, an automatic re-run can be configured. The status and the details of the re-run can be viewed in the *Results* section. ![catalyst_automation_testing_failed_scenario_1](https://catalyst-docs-development.zohostratus.in/images/help/automation-testing/catalyst_automation_testing_failed_scenario_1.webp) In the *Results* section you can expand the failed test plan and get a useful overview of the number of test runs that were performed, number of test cases that were tested, their status, the duration, and the overall results. The overview of all the test runs and re-runs can be viewed here. ![catalyst_automation_testing_failure_case_2](https://catalyst-docs-development.zohostratus.in/images/help/automation-testing/catalyst_automation_testing_failure_case_2.webp) **Re-Run 1** in this image denotes that an automatic re-run on failure was performed, and the overview of that test run is also displayed alongside. You can click a particular failed test run to view a detailed report of it. ### Details of a Particular Failed Test Run Once you click a failed test run, you can view all the overview stats present in the *Results* section, and view the status and the results of the **Pre-Condition** and the **Post-Condition** test cases as well, along with their details. ![catalyst_automation_testing_particular_test_fail](https://catalyst-docs-development.zohostratus.in/images/help/automation-testing/catalyst_automation_testing_particular_test_fail.webp) At the top of the screen, beside the name of the test plan, you can click the dropdown and select **Re-Run 1** to view the status and results of the re-run that was automatically executed upon failure. ![catalyst_automation_testing_rerun_tests](https://catalyst-docs-development.zohostratus.in/images/help/automation-testing/catalyst_automation_testing_rerun_tests.webp) ### Manually Run a Test Plan with a Failed Re-Run 1. If the re-run is also a failure, you can manually run the failed test plan by clicking the **Run** button on the top right-hand corner. ![catalyst_automation_testing_manual_rerun_button_highlight](https://catalyst-docs-development.zohostratus.in/images/help/automation-testing/catalyst_automation_testing_manual_rerun_button_highlight.webp) 2. Click **Proceed** to start a manual re-run. ![catalyst_automation_testing_failed_manual_re-run_confirm](https://catalyst-docs-development.zohostratus.in/images/help/automation-testing/catalyst_automation_testing_failed_manual_re-run_confirm.webp) Click the respective test plan on which you performed the manual re-run to view its status. ![catalyst_automation_testing_manual_rerun_button_highlight](https://catalyst-docs-development.zohostratus.in/images/help/automation-testing/catalyst_automation_testing_manual_rerun_button_highlight.webp) This drill down enables you to easily identify the exact request a test case failed on with the details. You can re-run a failed test plan any number of times in the same way, until its execution is a success. If its execution succeeds, the run button will no longer be displayed in this section. The detailed log of all the previous test cases be viewed by clicking the drop-down selection and choosing the required test run. ![catalyst_automation_testing_rereun_list](https://catalyst-docs-development.zohostratus.in/images/help/automation-testing/catalyst_automation_testing_rereun_list.webp) > **Note:** You can still manually run any test plan from the Test Plan section, whether or not you configured an automatic re-run of failed test plans. -------------------------------------------------------------------------------- title: "Variables" description: "Automation Testing enables you to execute efficient, automated API tests on function end-points or any third-party URL and resolve problem areas." last_updated: "2026-08-17T12:16:04.000Z" source: "https://docs.catalyst.zoho.com/en/devops/help/automation-testing/variables/" service: "DevOps" -------------------------------------------------------------------------------- # Variables ### Introduction A variable is essentially a placeholder for a dynamic value that you might pass in your request. Storing a frequently used value as a variable and referring to it in your test cases makes it easier when you have to change its value, because you need not change it in each test case you have used it in. You can just edit the configured variable. You can configure different types of variables in Automation Testing that are used for different purposes. One way of using variables is defining and storing values for fixed parameters in the _Variables_ section, that you can easily refer to in your requests. This involves the following two types of variables: * **Global Variables:** The global variables is a single set of variables that you can define and store to be used in any of your test cases. These variables have a global scope, and can therefore be applied to all test cases. * **Environment Variables:** Environment variables help you categorize and configure values of the same keys for different environments. When you configure a [test plan](https://docs.catalyst.zoho.com/en/devops/help/automation-testing/test-plans) or perform an [instant run of a test case](https://docs.catalyst.zoho.com/en/devops/help/automation-testing/modules-test-cases/#manage-a-test-case-and-its-requests), you can choose the environment that must be used for the execution. The variables defined in that environment will be applied. These variables can also be used globally in all test cases. Another way of using variables in Automation Testing is extracting values received from the responses of individual requests in test cases, and assigning them to variables to pass them as parameters in the next requests in a chained set up. The scope of such variables defined within a request is only limited to that test case, and they cannot be referred outside of that test case. This method is discussed in detail with an example in the [Chain Requests section](https://docs.catalyst.zoho.com/en/devops/help/automation-testing/modules-test-cases/#chain-requests). #### An Example for Global and Environment Variables: You can store different values of one variable in each single environment. For example, the value of ZAID in Catalyst is different for the Development and Production environments. In that case, you can first create two environments named "Development" and "Production". You can then create a variable with the name "zaid" in both of these environments, and define its respective value in both separately. While configuring a test plan, if you choose _Development_, the value defined for zaid in the development environment will be applied, wherever you have used the variable zaid in your requests. ![](https://catalyst-docs-development.zohostratus.in/images/help/automation-testing/catalyst_pilot_create_test_plan_3.webp) You can also define the same variable as a global variable, as well as in each environment separately. For example, you can create a variable _baseURL_ as a global variable and define its value as "https://globaltest.com". You can then create the same _baseURL_ variable in the Development and Production environments with the values "https://developmenttest.com" and "https://productiontest.com" respectively. Now, assume you refer to _baseURL_ as the request URL while [configuring the request of a test case](https://docs.catalyst.zoho.com/en/devops/help/automation-testing/modules-test-cases). If you choose _Development_ as the environment variables to use while performing an [instant run](https://docs.catalyst.zoho.com/en/devops/help/automation-testing/modules-test-cases/#manage-a-test-case-and-its-requests), the value https://developmenttest.com will be used as the request URL. If you choose _Production_, the value "https://productiontest.com" will be used. If you don't select any environment for the instant run, the global value "https://globaltest.com" will be used by default. #### Important points to remember: * Creating the same variable as a global variable and as different environment variables is assigning multiple values to the same key. * You can create a global variable, and have corresponding environment variables. If you create a new variable only in a specific environment, it will still be listed in the global variables section with the same value. * Global variables are used by default in a test plan or an instant run, when no environment is chosen. Only when you select an environment, the environment's values will override the global values of the variable. * The local variables you create inside a specific request can be declared directly by their names, and they must be [passed as parameter values](https://docs.catalyst.zoho.com/en/devops/help/automation-testing/modules-test-cases/#configure-a-request) in other requests in the \{\{\\}\} format. * You must pass the Global and Environment variables in the **\{\{$\\}\}** format inside a request. ### Create Global Variables You can create global variables in the following manner: 1. Click the **Variables** tab in _Automation Testing_, then click **Create Variable**. ![catalyst_pilot_create_variable_1](https://catalyst-docs-development.zohostratus.in/images/help/automation-testing/catalyst_pilot_create_variable_1.webp) 2. Enter the names and values for the variables, then click **Save**. ![catalyst_pilot_create_variable_2](https://catalyst-docs-development.zohostratus.in/images/help/automation-testing/catalyst_pilot_create_variable_2.webp) > **Note:** Variable names must not include spaces or start with a number. Variable names are also case-sensitive. You can also add multiple variables in bulk by clicking **Bulk Add** on the top-right corner. Define the variables in the `key:value` format in the pop-up window, then click **Save**.![catalyst_pilot_variable_bulk_add](https://catalyst-docs-development.zohostratus.in/images/help/automation-testing/catalyst_pilot_variable_bulk_add.webp) All these variables will be added and listed. ![catalyst_pilot_variable_bulk_added](https://catalyst-docs-development.zohostratus.in/images/help/automation-testing/catalyst_pilot_variable_bulk_added.webp) ### Create Environment Variables Before you create environment variables, you must create an environment. 1. Click **Environment Variables** from the _Variables_ section. 2. Enter a name for the environment in the pop-up window, then click **Create**. ![catalyst_pilot_env_variable_1](https://catalyst-docs-development.zohostratus.in/images/help/automation-testing/catalyst_pilot_env_variable_1.webp) 3. You can now create variables in that environment in the same way you created Global variables. Enter the names and values of the variables, then click **Save**.![catalyst_pilot_env_variable_2](https://catalyst-docs-development.zohostratus.in/images/help/automation-testing/catalyst_pilot_env_variable_2.webp) In an environment's section, all your global variables will be listed when you click the Name text box. You can select one of them to assign a different value for that variable for this environment, or you can type in the text box to create a completely new variable. This variable will also be listed in the global section. You can also add multiple environment variables in bulk by clicking **Bulk Add** on the top right corner, in the same as adding global variables in bulk. ### Manage Global and Environment Variables You can choose to open the global variables or a specific environment's variables, by clicking the drop-down on top. Select the necessary option. ![catalyst_pilot_variable_dropdown](https://catalyst-docs-development.zohostratus.in/images/help/automation-testing/catalyst_pilot_variable_dropdown.webp) * **Edit an Environment's name:** Click the edit icon next to the environment's name. Make the changes in the pop-up window and click **Update**. ![catalyst_pilot_env_edit](https://catalyst-docs-development.zohostratus.in/images/help/automation-testing/catalyst_pilot_env_edit.webp) * **Delete an Environment:** Click the delete icon next to the environment's name. Click **Yes** in the pop-up window. ![catalyst_pilot_env_delete](https://catalyst-docs-development.zohostratus.in/images/help/automation-testing/catalyst_pilot_env_delete.webp) > **Note:** If you delete an environment or a Global or Environment variable, it might affect your configured test cases and result in data loss. Make sure that you proceed with caution. * **Delete a Variable:** You can delete a Global or an Environment variable by clicking the edit icon that appears when you hover over its name. ![catalyst_pilot_variable_delete_1](https://catalyst-docs-development.zohostratus.in/images/help/automation-testing/catalyst_pilot_variable_delete_1.webp) Click **Yes** in the confirmation pop-up window. ![catalyst_pilot_variable_delete_2](https://catalyst-docs-development.zohostratus.in/images/help/automation-testing/catalyst_pilot_variable_delete_2.webp) -------------------------------------------------------------------------------- title: "Pricing" description: "Automation Testing enables you to execute efficient, automated API tests on function end-points or any third-party URL and resolve problem areas." last_updated: "2026-11-03T15:16:51.000Z" source: "https://docs.catalyst.zoho.com/en/devops/help/automation-testing/pricing/" service: "DevOps" -------------------------------------------------------------------------------- # Pricing All other Catalyst components are offered free of charge for you to configure and work with in the [Development environment](https://docs.catalyst.zoho.com/en/deployment-and-billing/environments/development-environment). You will generally be asked to set up [Catalyst payments](https://docs.catalyst.zoho.com/en/deployment-and-billing/billing/introduction) while you deploy an application to Production. However, as mentioned in the Introduction, since Automation Testing is only accessible in the Development environment and not in Production, Catalyst provides this component as partially paid in the Development environment. The criteria on which Automation Testing is price is the number of **test runs** that are executed in this component. A single test run is the execution of one test case. In other words, each test case execution listed in the Results section in the [_Details of a Particular Test Run level_](https://docs.catalyst.zoho.com/en/devops/help/automation-testing/results/#details-of-a-particular-test-run) is counted as one test run. For example, if _Test Plan A_ includes a few suites that contain 20 test cases in total, and _Test Plan A_ has executed 3 times overall, then that would make the total number of test runs as 60\. In this way, the number of test cases executed in each test plan during each execution is counted, to determine the total number of test runs. Catalyst offers the **first 500 test runs for free**. The _Free trial runs left_ count on the bottom of Automation Testing page in all sections constantly displays the number of free test runs remaining out of 500. ![catalyst_pilot_pricing](https://catalyst-docs-development.zohostratus.in/images/help/automation-testing/catalyst_pilot_pricing.webp) This will show the updated count after each test run has executed. When this limit is exhausted, Catalyst will begin charging for each test run from thereon. You can view the exact cost and other details from the [Pricing section on our website](https://www.zoho.com/catalyst/pricing.html). If you have not previously set up Catalyst payments before, you must add your card to enable Catalyst payments. You can click on the _Free trial runs left_ count to open a pop-up window. ![catalyst_pilot_pricing_2](https://catalyst-docs-development.zohostratus.in/images/help/automation-testing/catalyst_pilot_pricing_2.webp) You can then click on **Add Card** button to set up the payment method. Refer to the [Billing help document](https://docs.catalyst.zoho.com/en/deployment-and-billing/billing/introduction) for detailed help on setting up Catalyst payments and managing billing. Once you have exhausted your 500 free trial runs limit, Catalyst will also display a banner on top of the Automation Testing page with an **Add Card** button. After you have set up the payment method, the free trial runs will not be displayed in the bottom. ### Github Integration -------------------------------------------------------------------------------- title: "Introduction" description: "Catalyst enables you to integrate your Git account to access your repositories and deploy projects from them to the remote console directly." last_updated: "2026-09-28T11:04:26.000Z" source: "https://docs.catalyst.zoho.com/en/devops/help/github-integration/introduction/" service: "DevOps" -------------------------------------------------------------------------------- # GitHub Integration ## Introduction Github Integration is a Catalyst DevOps component that allows you to integrate your GitHub account with your Catalyst account and access your Git repositories in the Catalyst console. This integration allows you to deploy your Catalyst projects in GitHub directly from the Catalyst console. When you integrate your GitHub account with your Catalyst account, you can view your Git repositories and their URLs in the Catalyst console. The files in your Git repository must be in the standard project directory structure. When you deploy the functions and the client packages present in the Git repository in Catalyst, they will be reflected in the _Functions_ and the _Hosting_ sections of the console. You can also synchronize the changes made in the GitHub repositories with your Catalyst console. > **Note:** 1. This component is available to Catalyst users who were active before **July 2024** or have already integrated their GitHub repositories with Catalyst. 2. If you are a new user, we strongly recommend you explore our new service, [Catalyst Pipelines](https://docs.catalyst.zoho.com/en/pipelines/getting-started/introduction/), an advanced version of the Git component. Catalyst Pipelines enables you to define the entire end-to-end build-to-deployment workflow using commands in a YAML file. To learn more, refer to the [help documentation](https://docs.catalyst.zoho.com/en/pipelines/help/pipelines/introduction/). -------------------------------------------------------------------------------- title: "Key Features" description: "Catalyst enables you to integrate your Git account to access your repositories and deploy projects from them to the remote console directly." last_updated: "2023-05-19T06:41:43.000Z" source: "https://docs.catalyst.zoho.com/en/devops/help/github-integration/key-features/" service: "DevOps" -------------------------------------------------------------------------------- # Key Features of GitHub Integration * Work directly on GitHub and deploy the repositories to your Catalyst account * Develop functions and client packages on GitHub and associate them with your Catalyst project * No need to duplicate functions and client packages from GitHub in Catalyst * Synchronize the changes made in GitHub with Catalyst at the click of a button -------------------------------------------------------------------------------- title: "Implementation" description: "Catalyst enables you to integrate your Git account to access your repositories and deploy projects from them to the remote console directly." last_updated: "2026-09-28T11:04:26.000Z" source: "https://docs.catalyst.zoho.com/en/devops/help/github-integration/implementation/" service: "DevOps" -------------------------------------------------------------------------------- # Implementation ### Integrating a GitHub Account with Catalyst You can easily integrate and authenticate your GitHub account with Catalyst from the console. To integrate a GitHub account with Catalyst: 1. Navigate to **Catalyst DevOps** and under **Repositories**, select **Git**. Click **Integrate GitHub**. ![open-git-integration](https://catalyst-docs-development.zohostratus.in/images/help/git-integration/open-git-integration.webp) 2. Click **Agree** after reading the terms of use and privacy policy statements. ![terms-and-conditions](https://catalyst-docs-development.zohostratus.in/images/help/git-integration/terms-and-conditions.webp) 3. In the **GitHub Authentication** page, enter your Username or Email address and password. Click **Sign in**. ![github_auth](https://catalyst-docs-development.zohostratus.in/images/help/git-integration/github_auth.webp) 4. In the **Authorize Zoho Catalyst** popup, click **Authroize ZohoCorporation** for the permissions requested. ![authorize-github](https://catalyst-docs-development.zohostratus.in/images/help/git-integration/authorize-github.webp) Once the authorization is complete, you will be redirected back to the Catalyst console. If the authentication is successful, your GitHub repositories will be displayed in the **GitHub Integration** page. You can also integrate your GitHub account with Catalyst from **Integrations** under **General Settings** in the same manner: 1. Navigate to the **Settings** icon on the top right corner of the Catalyst console. ![open-settings](https://catalyst-docs-development.zohostratus.in/images/help/git-integration/open-settings.webp) 2. In the left menu, under **General Settings**, click on **Integrations**. Then, click on the **GitHub** tile. ![integrations-page](https://catalyst-docs-development.zohostratus.in/images/help/git-integration/integrations-page.webp) 3. Click **Add Account**. Follow the same steps as above to integrate your GitHub account with Catalyst. ![github-integration](https://catalyst-docs-development.zohostratus.in/images/help/git-integration/github-integration.webp) The GitHub Integration page lists your Git repositories and displays the relevant details. ![integrated-account](https://catalyst-docs-development.zohostratus.in/images/help/git-integration/integrated-account.webp) ### Deploying a GitHub repository from Catalyst As discussed in the introduction, before deploying a Git repository from Catalyst, you should make sure that the repository contains the resources in the standard project directory format. Ensure that the _catalyst.json_ file is present in the GitHub repository for a successful deployment. To deploy a Git repository from Catalyst: 1. Navigate to **Catalyst DevOps** service in the left menu. Select **Git** under **Repositories**. ![integrated-branches](https://catalyst-docs-development.zohostratus.in/images/help/git-integration/integrated-branches.webp) > **Note:** Click the **Explore Now** button, as shown in the screenshot above, to try out [Catalyst Pipelines](https://docs.catalyst.zoho.com/en/pipelines/) and seamlessly orchestrate your deployments. This integration enables you to link a particular repository in the version control system with the pipeline, and whenever any changes are pushed to the repository, the pipeline will get triggered automatically. The repositories associated with your GitHub account will be automatically listed here along with the Repository URL and the default branch. 2. Select the required repository and click **Deploy**. In the confirmation pop-up, again click **Deploy**. ![confirm-deployment](https://catalyst-docs-development.zohostratus.in/images/help/git-integration/confirm-deployment.webp) 3. Once the deployment process begins, you will see the progress of the deployment status in the GitHub Integration page. The progress status bar also displays the repository name and the repository URL. ![catalyst_github_repo_deploy](https://catalyst-docs-development.zohostratus.in/images/help/git-integration/catalyst_github_repo_deploy.webp) When the deployment process is complete, you will receive a notification stating whether the deployment was successful or unsuccessful. If your deployment was successful, you will be able to see the status in the _Deployed repository_ status bar, along with the repository name and URL. > **Note:** While the deployment process of a repository is ongoing, you will not be able to deploy another repository simultaneously. You can deploy the next repository once the deployment process for the first repository is complete. You can click **Refresh** if the deployement process is taking too long. When a repository is deployed successfully, your Catalyst project will be updated in the following ways: * The functions in the _Functions_ folder in your Git repository will be available in the _Functions_ page in the Catalyst console. To verify them, navigate to **Catalyst Serverless > FAAS > Functions**. You can view all the functions in the default branch of your repository in the _Functions_ page. * The client package in the _Client_ folder in your Git repository will be automatically hosted in Catalyst. If it is a web app, you can view the hosted application in Catalyst by navigating to **Catalyst CloudScale > Host & Manage > Web Client Hosting**. If it is a mobile app, you can view the hosted application in Catalyst by navigating to **Catalyst CloudScale > Host & Manage > MDM**. Refer to the [web client hosting](https://docs.catalyst.zoho.com/en/cloud-scale/help/web-client-hosting/introduction) and [MDM](https://docs.catalyst.zoho.com/en/cloud-scale/help/mobile-device-management/introduction) help sections for detailed information. > **Note:** If the GitHub repository is not in the standard Project Directory structure, the deployment will be unsuccessful and the changes will not be reflected in **Functions** or **Web Client Hosting**. Please ensure that the default branch of the repository contains the files in the specified structure. ### Synchronizing changes in GitHub with Catalyst Catalyst console allows you to easily synchronize the changes made in your deployed GitHub repository. When you update the files in the repository in GitHub, the changes will be reflected in Catalyst as well. To synchronize the changes made in your deployed GitHub repository to Catalyst: 1. Navigate to **Repositories -> Git**. 2. In the _GitHub Integration_ page, click **Sync** on the _Deployed Repository_ status bar. ![catalyst_github_repo_sync](https://catalyst-docs-development.zohostratus.in/images/help/git-integration/catalyst_github_repo_sync.webp) The _Deployed Repository_ status bar will display the synchronization progress state. Once the synchronization process is complete, you will be able to view the latest updates to your repository in your Catalyst console. ### Revoking Access to GitHub from Catalyst You can easily revoke access for GitHub to Catalyst and remove the GitHub integration for the account. You can also use this option to integrate a different GitHub account with Catalyst. To revoke access to GitHub from Catalyst: 1. Navigate to **Settings > General Settings > Integrations > GitHub**. ![git-integrated](https://catalyst-docs-development.zohostratus.in/images/help/git-integration/git-integrated.webp) 2. Click on the ellipsis icon and click **Revoke**. ![click-revoke](https://catalyst-docs-development.zohostratus.in/images/help/git-integration/click-revoke.webp) 3. In the revoke confirmation pop-up, click **Revoke**. ![revoke-confirm](https://catalyst-docs-development.zohostratus.in/images/help/git-integration/revoke-confirm.webp) The access to the GitHub account will be revoked from Catalyst. Once the access is revoked, you will no longer be able to view your Git repositories in the GitHub Integration page. ### Logs -------------------------------------------------------------------------------- title: "Introduction" description: "Catalyst provides detailed logs of all function executions in your application that enable you to gain insights on failures, exceptions, or timeouts." last_updated: "2026-11-04T10:10:44.000Z" source: "https://docs.catalyst.zoho.com/en/devops/help/logs/introduction/" service: "DevOps" -------------------------------------------------------------------------------- # Logs ## Introduction Catalyst Logs is a Catalyst DevOps component that displays the logs of all [Catalyst function](https://docs.catalyst.zoho.com/en/serverless/help/functions/introduction) executions. You can view the logs to check for errors in function executions, along with other necessary execution information of the execution. Logs enable you to access the records of all successful and failed function executions instantly after they are executed, including the functions that were executed internally. This helps you identify bugs in your code easily and resolve problem areas during the testing phase of your Catalyst application. Catalyst offers native support for logging function executions of both Java, Node.js and Python platforms. Logs display the execution history of [all six types of Catalyst functions](https://docs.catalyst.zoho.com/en/serverless/help/functions/basic-io) : Basic I/O, Advanced I/O, Event, Cron, Integration and Browser Logic functions. You can manually push specific events or data to logs while writing a Catalyst function of any function type or for any platform. You can do this to push exceptions and errors that you anticipate in the function's execution. This is usually done by including a single statement in the function definition. You can also define the severity level of each error that is pushed to the logs. Catalyst Logs are fundamentally of two types: * **Access Logs:** These contain the log details of an external access layer of a function's execution. The functions that are usually invoked manually by the users are logged in this layer. This type is applicable only for Basic I/O, Advanced I/O, Integration and Browser Logic Catalyst functions. * **Application Logs:** These contain the log details of an internal application layer of a function's execution. These include the functions that are invoked manually by the users, or executed internally by the application. This log type is applicable for all types of Catalyst functions. Catalyst retains the logs of function executions for seven days in the [Development environment](https://docs.catalyst.zoho.com/en/deployment-and-billing/environments/development-environment/), and fourteen days in the [Production environment](https://docs.catalyst.zoho.com/en/deployment-and-billing/environments/production-environment). You will be able to access the logs of all executions in these time periods in the Development and Production environments respectively. > **Note:** While Catalyst Logs provide basic information about your function executions, [Application Performance Monitoring](https://docs.catalyst.zoho.com/en/devops/help/apm/introduction) is an enhancement to Catalyst Logs which provides in-depth detailed insights of the function executions and enables you to monitor your functions in a better way. You can enable APM for your project and access detailed performance reports and statistics of your functions. You can learn more about the other components of the DevOps service from [this page](https://docs.catalyst.zoho.com/en/devops). -------------------------------------------------------------------------------- title: "Pushing to Logs" description: "Catalyst provides detailed logs of all function executions in your application that enable you to gain insights on failures, exceptions, or timeouts." last_updated: "2026-11-04T10:10:44.000Z" source: "https://docs.catalyst.zoho.com/en/devops/help/logs/pushing-to-logs/" service: "DevOps" -------------------------------------------------------------------------------- ## Pushing to Logs You can push events and data to logs while writing a Catalyst function by including a statement in the function definition. This statement differs based on the function stack and the function type. Catalyst enables you to write upto 1500 characters to the logs. You can therefore pass data in this range and include messages that require to be pushed. You can also include the log level of a function statement to indicate its severity. The **log levels** are only relevant to Application logs and will not be displayed in Access logs. The log levels differ for **Java**, **Node.js** and **Python** functions. Refer to the [Application Logs](https://docs.catalyst.zoho.com/en/devops/help/logs/application-logs) section to view the different log levels supported by all platforms. The methods to include in your function code to push the response data of each function stack and type are mentioned below: #### Java Functions You must include the following method in your function definition to push to logs for **all function types**: ```java LOGGER.log() ``` You can include the log level for a Java function along with this statement. For example, to push a certain response obtained to the `INFO` level in a Java function, you can write: ```java LOGGER.log(Level.INFO, "Hello "+name); ``` Alternatively you can also use `logger.severe()`, `logger.warning()` or `logger.info()` for all function types. #### Node.js Functions The Basic I/O functions support a different method to write data to Logs from the other function types in the Node.js platform. You must include the following method in your function definition to push to logs in a **Basic I/O function**: ```javascript context.log() ``` For example, to push a certain response obtained to logs, you can write: ```javascript context.log("Value : " + result); ``` Similar to Java functions, you can include the log level supported by Node.js functions along with this statement. For functions of the **other types** (Advanced I/O, Cron, Event, Integration and Browser Logic functions), you must include the method below in your function definition to push to logs. This method applies to Basic I/O function as well. ```javascript console.log() ``` This is a [native Node.js method](https://nodejs.org/api/console.html#console_console_log_data_args) to write to logs that is supported by Catalyst. The following example contains a push to logs statement of the ERROR log level in a catch block: ```javascript catch (err) { console.error(err); res.status(500).send({ message: 'Internal Server Error. Please try again after sometime.', error: err }) } ``` Similarly, you can also use other direct methods like `console.warning()`, `console.info()` or `console.debug()` to push the logs for all function types. #### Python Functions The Basic I/O functions support a different method to write data to Logs from the other function types in the Python platform. You must include the following method in your function definition to push to logs in a **Basic I/O function**: ```javascript context.log() ``` Similar to Node.js functions, you can write relevant informative messages and push them as a response to the logs. For functions of the **other types** (Advanced I/O, Cron, Event, Integration and Browser Logic functions), you must include the method below in your function definition to push to logs: ```javascript LOGGER.log(Level.INFO, "Hello "+name); ``` Alternatively you can also use direct methods like `logger.critical()`, `logger.warning()`, `logger.error()`, `logger.info()` or `logger.debug()` for all function types. > **Note:** Refer to the [Application Logs](https://docs.catalyst.zoho.com/en/devops/help/logs/application-logs) section to view the log levels supported by Java, Node.js and Python functions. -------------------------------------------------------------------------------- title: "Access Logs" description: "Catalyst provides detailed logs of all function executions in your application that enable you to gain insights on failures, exceptions, or timeouts." last_updated: "2026-11-04T10:10:44.000Z" source: "https://docs.catalyst.zoho.com/en/devops/help/logs/access-logs/" service: "DevOps" -------------------------------------------------------------------------------- # Access Logs Access logs include the log details of an external access layer of a function's execution. Consider a gateway with two layers that need to be passed, to access and execute a Catalyst function. Access logs show relevant details of the function's invocation and execution about the external access layer in this gateway. These details include the User ID of the user invoking the function, the HTTP request method used to invoke the function, and more. The details of the response in this external layer are also shown in these logs, such as the response status, response time, etc. The functions that can be manually invoked by a user are the ones that pass through this external access layer. This includes only ** Basic I/O, Advanced I/O, Integration and Browser Logic function** executions in your application, as they can be invoked manually by the users. Integration functions are not invoked through a Function URL like Basic or Advanced I/O functions, but they are still accessed through external means by the users that call upon the integration service. Therefore, these function types are included in Access logs. Event and Cron functions cannot be accessed through an endpoint and do not pass through this layer. They directly pass through the Application layer. Therefore, Event and Cron function executions will not be included in the Access logs. They will only be included in the Application logs. To open the logs for your Catalyst project, navigate to the **_Host and Manag_**e section in the Catalyst console, then click **Logs**. ![catalyst_logs_updated](https://catalyst-docs-development.zohostratus.in/images/help/logs/catalyst_logs.webp) > **Note:** You can either view Access logs or Application logs. You will not be able to view the combined results of both log types. You must select the log type from the dropdown in the *Filters* section. ### Access Log Filters The Access logs and Application logs contain different sets of filters that you can use to filter the log data that are displayed. The filters available for Access logs are shown below. ![catalyst_logs_access_updated2](https://catalyst-docs-development.zohostratus.in/images/help/logs/catalyst_logs_access_updated2.webp) * **Log Type:** You must select **Access** or **Application** log type to view the respective logs. The other filters will change slightly based on the type you select. ![catalyst_logs_access_dropdown1](https://catalyst-docs-development.zohostratus.in/images/help/logs/catalyst_logs_access_dropdown1.webp) * **Date/Time/Time zone:** You can select a time period of logs to show from the variety of options in the Date/Time dropdown list. ![catalyst_logs_access_dropdown2_updated](https://catalyst-docs-development.zohostratus.in/images/help/logs/catalyst_logs_access_dropdown2_updated.webp) You can also select a custom time range from a calendar, by clicking on the dates that you require and entering the time. Click **Apply** after the selection. You can select a preferred time zone by clicking the dropdown. Click **Apply** after the selection. > **Note:** You can change the default timezone of your Catalyst project in the [General Settings](https://docs.catalyst.zoho.com/en/getting-started/set-up-a-catalyst-project/general-settings/). However if you wish to switch the timezone for viewing function logs here, you can use the filter specified above. * **Function:** You must select one or more functions from this dropdown list to view their logs. The Access logs only list Basic I/O, Advanced I/O, Integration, and Browser Logic functions. ![catalyst_logs_access_dropdown3_updated](https://catalyst-docs-development.zohostratus.in/images/help/logs/catalyst_logs_access_dropdown3_updated.webp) * **Keyword:** You can also search for a specific keyword that you might have included in your log message while writing the function, to view logs that include this keyword. ![catalyst_logs_access_dropdown4_updated](https://catalyst-docs-development.zohostratus.in/images/help/logs/catalyst_logs_access_dropdown4_updated.webp) For example, to access the execution logs of a function that contains a specific path in its request URL, you can enter that path as the keyword and search for the logs. Click **Search** after you set the filters. ### Access Log Results The results of Access logs will contain information relating to the external access layer such as the function name, User ID of the user who invoked it, the invocation URL, time of execution, request method, the host address, and response details such as the HTTP response status and response time. ![catalyst_logs_access_search_updated](https://catalyst-docs-development.zohostratus.in/images/help/logs/catalyst_logs_access_search_updated.webp) The logs are generally indexed instantly, but there could be a 5 minute delay in indexing in some cases. When the filter section is hidden, the results page shows a **Refresh Logs** button. You can click this to obtain the latest log results. ![catalyst_logs_access_refresh](https://catalyst-docs-development.zohostratus.in/images/help/logs/catalyst_logs_access_refresh.webp) -------------------------------------------------------------------------------- title: "Application Logs" description: "Catalyst provides detailed logs of all function executions in your application that enable you to gain insights on failures, exceptions, or timeouts." last_updated: "2026-11-04T10:10:44.000Z" source: "https://docs.catalyst.zoho.com/en/devops/help/logs/application-logs/" service: "DevOps" -------------------------------------------------------------------------------- # Application Logs Application logs display the log details of the internal application layer in the gateway of a function's execution. The internal layer of the gateway, as explained in the [Access Logs section](https://docs.catalyst.zoho.com/en/devops/help/logs/access-logs), logs application-level details. This includes details related to the processing of the function, such as the messages passed to the logs at particular instances, log severity levels, etc. This internal application-level logging applies to both functions that were invoked manually by a user or executed internally by the application. An example of an internal function execution is, a daily Cron execution that triggers the invocation of a Cron function automatically every day. Log details of such functions are also included in the Application logs. Application logs therefore contain execution logs of **all function types**, including Event and Cron functions. ### Log Levels of Java, Node.js and Python Functions Application logs include log levels that indicate the severity of an error event in a function execution. As mentioned in the [Pushing to Logs section](https://docs.catalyst.zoho.com/en/devops/help/logs/pushing-to-logs), you can assign an appropriate log level to an event or an error when you code the function. The log levels differ based on the function stack, i.e., Java, Node.js or Python functions. The log levels of **Java platform** supported by Catalyst that you can use in your functions are: * **Severe**: Indicates a serious failure * **Warning:** Indicates a potential problem * **Info:** Indicates an informational message The log levels that you can use in Node.js functions are: * **Error:** Indicates an unexpected error * **Info:** Indicates an informational message * **Warning:** Indicates a potential problem * **Debug:** Indicates information about troubleshooting and testing the application The log levels of Python platform supported by Catalyst include: * **Critical:** Indicates an event that can be recovered from. * **Error:** Indicates an unexpected error * **Warning:** Indicates a potential problem * **Info:** Indicates an informational message * **Debug:** Indicates information about troubleshooting and testing the application. You can select one of these log levels in the filters to fetch execution results of that level alone. ### Application Log Filters Application logs include some more filters in addition to the Access log filters. The filters available for Application logs are shown below. ![catalyst_logs_application_result1_updated2](https://catalyst-docs-development.zohostratus.in/images/help/logs/catalyst_logs_application_result1_updated2.webp) The Log Type, Date/Time/Time Zone, and Keyword filters are the same as the [Access log filters](https://docs.catalyst.zoho.com/en/devops/help/logs/access-logs/#access-log-filters). * **Function:** The Function filter in Application logs lists functions of all types. You must select one or more functions from this dropdown list to view their logs. ![catalyst_logs_application_updated2](https://catalyst-docs-development.zohostratus.in/images/help/logs/catalyst_logs_application_updated2.webp) * **Log Level:** Based on the functions that you select, the log levels of Java or Node.js functions are shown. If you select functions of both Java and Node.js in the Function dropdown, a mixture of both Java and Node.js log levels will be available in this dropdown. Relevant details of each function will be shown in the results. ![catalyst_logs_application_dropdown2](https://catalyst-docs-development.zohostratus.in/images/help/logs/catalyst_logs_application_dropdown2.webp) * **Execution ID:** When a Cron or an Event function executes, a unique Execution ID is associated with each execution. You can filter the logs by providing this Execution ID, and fetch that particular execution alone. The execution history section of a [Cron](https://docs.catalyst.zoho.com/en/cloud-scale/help/cron/introduction) also contains a direct access to Logs. You can select a particular execution, and click on the **View Logs** button to open Logs from there. Click **Search** after you set the filters. ### Application Log Results The results of Application logs will contain information relating to the internal application layer, such as the function name, time of execution, log level, and the messages pushed by the developers when specific events occur. ![catalyst_logs_application_result1_updated2](https://catalyst-docs-development.zohostratus.in/images/help/logs/catalyst_logs_application_result1_updated2.webp) When the filter section is hidden, the results page shows a **Refresh Logs** button. You can click this to obtain the latest log results. ![catalyst_logs_application_result2](https://catalyst-docs-development.zohostratus.in/images/help/logs/catalyst_logs_application_result2.webp) -------------------------------------------------------------------------------- title: "Managing Alerts in Logs" description: "Catalyst provides detailed logs of all function executions in your application that enable you to gain insights on failures, exceptions, or timeouts." last_updated: "2026-11-04T10:10:44.000Z" source: "https://docs.catalyst.zoho.com/en/devops/help/logs/managing-alerts/" service: "DevOps" -------------------------------------------------------------------------------- # Managing Alerts in Logs As mentioned [earlier](https://docs.catalyst.zoho.com/en/devops/help/logs/introduction), you can create application alerts for logs directly from the Logs section without having to navigate to that component. [Application alerts enable you to configure](https://docs.catalyst.zoho.com/en/devops/help/application-alerts/implementation/#create-an-alert) automated log searches to be executed in a recurring schedule, by specifying the search query and the frequency of execution. Catalyst will send automated emails with the results of the log search each time. You can configure alerts by clicking the **Manage Alerts** option available in the top right-hand side of the console. ![catalyst_manage_alerts2](https://catalyst-docs-development.zohostratus.in/images/help/logs/catalyst_manage_alerts2.webp) Catalyst will open a pop-up to configure the alert. You must enter the alert name and details, such as the type of log, the criteria to trigger the alert, the frequency, and the email address to notify. You can learn more about these from the [Application Alerts help page](https://docs.catalyst.zoho.com/en/devops/help/application-alerts/introduction). ![logs_creating_active_alert](https://catalyst-docs-development.zohostratus.in/images/help/logs/logs_creating_active_alert.webp) Click **Confirm** after you configure the alert. Catalyst will now send emails whenever alerts are triggered for these specifications. ### Metrics -------------------------------------------------------------------------------- title: "Introduction" description: "Catalyst provides usage metrics of various resources in your project through insightful graphs and diagrams." last_updated: "2026-08-17T12:16:04.000Z" source: "https://docs.catalyst.zoho.com/en/devops/help/metrics/introduction/" service: "DevOps" -------------------------------------------------------------------------------- # Metrics ## Introduction Metrics is a Catalyst DevOps component that displays the usage information of your project components in Catalyst. This usage information allows you to track the performance of the components and detect anomalies in their behavior. It can also be used to keep track of your resource usage and to check if they are about to be exhausted. You can learn more about the other components of the DevOps service from [this page](https://docs.catalyst.zoho.com/en/devops). > **Note:** You can check your usage of Catalyst components based on the API calls made and the ongoing bill amount from the Billing section in settings. Refer to the [Billing help page](https://docs.catalyst.zoho.com/en/deployment-and-billing/billing/introduction) for more information. The usage information is displayed in graphical format, such as a pie chart or bar graph, which helps you understand and interpret the information more easily. You can also hover over graphs or diagrams to access tooltips for that element. To access metrics, navigate to **DevOps** in the left pane of the Catalyst console and click **Metrics**. The _Metrics_ page displays usage statistics for the following components: [Data Store](https://docs.catalyst.zoho.com/en/cloud-scale/help/data-store/introduction), [Cache](https://docs.catalyst.zoho.com/en/cloud-scale/help/cache/introduction), [Cron](https://docs.catalyst.zoho.com/en/cloud-scale/help/cron/introduction), [Stratus](https://docs.catalyst.zoho.com/en/cloud-scale/help/stratus/introduction), and [API](https://docs.catalyst.zoho.com/en/serverless/help/functions/introduction). ![metrics](https://catalyst-docs-development.zohostratus.in/images/help/metrics/metrics-updated.webp) -------------------------------------------------------------------------------- title: "Data Store Metrics" description: "Catalyst provides usage metrics of various resources in your project through insightful graphs and diagrams." last_updated: "2026-08-17T12:16:04.000Z" source: "https://docs.catalyst.zoho.com/en/devops/help/metrics/data-store/" service: "DevOps" -------------------------------------------------------------------------------- ### Data Store ![catalyst_metrics_data_store](https://catalyst-docs-development.zohostratus.in/images/help/metrics/catalyst_metrics_data_store.webp) The Data Store section displays the following information: 1. **Total Number of Tables** The _Total Number of Tables_ graph displays the number of tables used. ![catalyst_metrics_data_store_tables_used](https://catalyst-docs-development.zohostratus.in/images/help/metrics/catalyst_metrics_data_store_tables_used.webp) 2. **Row Count History** The _Row Count History_ bar graph displays the number of records added each day for every table. You can select the required table from the drop-down list and view the row count history of that table. ![catalyst_metrics_data_store_row_count](https://catalyst-docs-development.zohostratus.in/images/help/metrics/catalyst_metrics_data_store_row_count.webp) -------------------------------------------------------------------------------- title: "Cache Metrics" description: "Catalyst provides usage metrics of various resources in your project through insightful graphs and diagrams." last_updated: "2026-10-29T09:21:03.000Z" source: "https://docs.catalyst.zoho.com/en/devops/help/metrics/cache/" service: "DevOps" -------------------------------------------------------------------------------- ### Cache ![catalyst_metrics_cache](https://catalyst-docs-development.zohostratus.in/images/help/metrics/catalyst_metrics_cache.webp) The Cache section displays the following information: 1. **Number of Segments** The _Number of Segments_ circle diagram displays the number of cache segments used and the number of segments available. ![catalyst_metrics_cache_segments_number](https://catalyst-docs-development.zohostratus.in/images/help/metrics/catalyst_metrics_cache_segments_number.webp) 2. **Number of Keys about to Expire** The Number of Keys About to Expire_ bar graph displays the number of cache items about to expire on each day. You can select the required cache segment from the drop-down list and view the number of keys about to expire in that segment. ![catalyst_metrics_keys_expire](https://catalyst-docs-development.zohostratus.in/images/help/metrics/catalyst_metrics_keys_expire.webp) 3. **Number of Keys in each Segment** The Number of Keys in Each Segment_ graph displays the number of cache items created for each segment. ![catalyst_metrics_cache_keys_number](https://catalyst-docs-development.zohostratus.in/images/help/metrics/catalyst_metrics_cache_keys_number.webp) 4. **Total Size of each Segment** The _Total Size of Each Segment_ graph displays the size of each cache segment in KB. The maximum length of a cache value is 16,000 characters. ![catalyst_metrics_segments_size](https://catalyst-docs-development.zohostratus.in/images/help/metrics/catalyst_metrics_segments_size.webp) -------------------------------------------------------------------------------- title: "Cron Metrics" description: "Catalyst provides usage metrics of various resources in your project through insightful graphs and diagrams." last_updated: "2026-08-17T12:16:04.000Z" source: "https://docs.catalyst.zoho.com/en/devops/help/metrics/cron/" service: "DevOps" -------------------------------------------------------------------------------- ### Cron ![catalyst_metrics_cron](https://catalyst-docs-development.zohostratus.in/images/help/metrics/catalyst_metrics_cron.webp) The Cron section displays the following information: 1. **Number of Active/Inactive Jobs** The _Number of Active/Inactive Jobs_ circle diagram displays the number of cron jobs that are active and the number of cron jobs that are inactive. ![catalyst_metrics_cron_active](https://catalyst-docs-development.zohostratus.in/images/help/metrics/catalyst_metrics_cron_active.webp) 2. **Execution Count** The _Execution Count_ bar graph displays the number of times a cron job has been executed for each cron job. You can select the required cron job from the drop-down list and view its execution count. You can also download the [execution history](https://docs.catalyst.zoho.com/en/cloud-scale/help/cron/implementation/#cron-execution-history) of a cron job from its execution history page. ![catalyst_metrics_cron_exec](https://catalyst-docs-development.zohostratus.in/images/help/metrics/catalyst_metrics_cron_exec.webp) -------------------------------------------------------------------------------- title: "Files Metrics" description: "Catalyst provides usage metrics of various resources in your project through insightful graphs and diagrams." last_updated: "2026-08-17T12:16:04.000Z" source: "https://docs.catalyst.zoho.com/en/devops/help/metrics/files/" service: "DevOps" -------------------------------------------------------------------------------- ### Files ![catalyst_metrics_files](https://catalyst-docs-development.zohostratus.in/images/help/metrics/catalyst_metrics_files.webp) The _Files_ section displays the following information: 1. **Total Space Utilization** The _Total Space Utilization_ graph displays the used space and the available free space out of the allowed 10GB storage space. ![catalyst_metrics_files_space](https://catalyst-docs-development.zohostratus.in/images/help/metrics/catalyst_metrics_files_space.webp) 2. **Number of Files in each Folder** The _Number of Files in each Folder_ displays the number of files in each folder. ![catalyst_metrics_files_number](https://catalyst-docs-development.zohostratus.in/images/help/metrics/catalyst_metrics_files_number.webp) 3. **Size of each Folder** The _Size of each Folder_ graph displays the size of each folder in KB. ![catalyst_metrics_folder_size](https://catalyst-docs-development.zohostratus.in/images/help/metrics/catalyst_metrics_folder_size.webp) -------------------------------------------------------------------------------- title: "API Metrics" description: "Catalyst provides usage metrics of various resources in your project through insightful graphs and diagrams." last_updated: "2026-08-17T12:16:04.000Z" source: "https://docs.catalyst.zoho.com/en/devops/help/metrics/api/" service: "DevOps" -------------------------------------------------------------------------------- # API ![catalyst_metrics_api](https://catalyst-docs-development.zohostratus.in/images/help/metrics/catalyst_metrics_api.webp) The API section displays the following information: 1. **Total Number of API Calls** The _Total Number of API Calls_ diagram displays the total number of API calls that have been made. ![catalyst_metrics_api_number](https://catalyst-docs-development.zohostratus.in/images/help/metrics/catalyst_metrics_api_number.webp) 2. **Frequency of API Calls Triggered** The Frequency of API Calls Triggered graph displays the number of API calls made for the day, and are sorted based on the Request Methods that were used while making the call. You can select the required Request Method from the drop-down list and view its API call count. ![catalyst_metrics_api_req_meth](https://catalyst-docs-development.zohostratus.in/images/help/metrics/catalyst_metrics_api_req_meth.webp) ## API Reference — DevOps ### Automation Testing -------------------------------------------------------------------------------- title: "Execute Test Plan" description: "This API enables you to trigger the execution of a test plan in Automation Testing that is already configured in the remote console." last_updated: "2026-08-17T12:16:04.000Z" source: "https://docs.catalyst.zoho.com/en/api/code-reference/devops/automation-testing/execute-test-plan/" service: "DevOps" -------------------------------------------------------------------------------- # Automation Testing [Automation Testing](https://docs.catalyst.zoho.com/en/devops/help/automation-testing/introduction/) is an API testing tool that automates the testing process of the APIs in your application. You can test the Basic I/O and Advanced I/O functions in your application, or any third-party URL, and obtain responses. You can write test cases based on your requirements, schedule tests to be executed automatically, and manage the entire process of API testing with minimal manual intervention. > **Note:** Automation Testing is currently not available to Catalyst users accessing from the EU, AU, IN, or CA data centers. # Execute a Test Plan ### Description A [test plan](https://docs.catalyst.zoho.com/en/devops/help/automation-testing/test-plans/) enables the automated execution of one or more [test suites](https://docs.catalyst.zoho.com/en/devops/help/automation-testing/test-suites/) in Automation Testing. This API enables you to trigger the execution of a test plan that is already configured in the remote console in your project. This is equivalent to the [instant run option](https://docs.catalyst.zoho.com/en/devops/help/automation-testing/test-plans/#manage-a-test-plan) available for a test plan in the console. ### Request Details #### Request URL `POST` {api-domain}/baas/v1/project/{project_id}/automation-testing/{test_plan_id}/execute - **api-domain** (URL): The DC-specific domain to access Catalyst API - **project_id** (Numerical): The [unique ID](https://docs.catalyst.zoho.com/en/getting-started/set-up-a-catalyst-project/general-settings/) of the project - **test_plan_id** (Numerical): The [unique ID](https://docs.catalyst.zoho.com/en/devops/help/automation-testing/test-plans/#manage-a-test-plan) created for a test plan. #### Request Headers **Authorization:** Zoho-oauthtoken {oauth_token} **Environment:** Development **Optional Headers** **CATALYST-ORG:** {org_id} **Environment:** Development #### Scope ZohoCatalyst.automationtesting.execute ### Response Details The response contains the status of the test plan execution, along with details such as the unique Run ID that will be generated for each automated or instant test plan execution, the Test Plan ID that was passed, and the `is_schedule_started` parameter that contains the status of the execution initiation as `true` or `false`. **Sample Request** ```bash curl -X POST \ https://api.catalyst.zoho.com/baas/v1/project/3359000000016812/automation-testing/537000000022025/execute \ -H "Authorization: Zoho-oauthtoken 1000.25*\*\*\*\*\*\*\*\*\*\*\*\*\*\*\*\*\*\*\*\*\*\*\*\*e.3e*\*\*\*\*\*\*\*\*\*\*\*\*\*\*\*\*\*\*\*\*\*\*\*\*3" \ ``` **Sample Response** ```json { "status": "success", "data": { "id": 537000000034053, "test_plan_id": 537000000022025, "is_schedule_started": true } } ``` -------------------------------------------------------------------------------- title: "FAQ — DevOps" description: "This section covers queries related to the Catalyst DevOps service, such as APM, Logs, Metrics, Automation Testing, and Application Alerts." last_updated: "2026-11-13T05:00:22.000Z" source: "https://docs.catalyst.zoho.com/en/faq/devops/" -------------------------------------------------------------------------------- # General ### What is Catalyst DevOps? Catalyst DevOps is a Catalyst service that allows you to implement a DevOps model in your application building process, and it provides components you can use to perform automated iterative testing, application monitoring and other debugging tools. You can familiarize yourself with Catalyst DevOps and its components from this help section. # Logs ### What is the key difference between Catalyst Logs and Catalyst Application Performance Monitoring? Both Catalyst Logs and Catalyst Application Performance Monitoring are similar, but the Logs component provides basic information about your function executions while Application Performance Monitoring component gives you detailed information and enables you to monitor your functions more efficiently. ### Can I filter logs based on a particular user's function invocation? To filter Catalyst DevOps Logs by a particular user's function invocations, you have to store the current logged in user's ID in the log so that you can apply filter for the same. You can then search for that ID with the **Keyword** filter, which finds log messages that include a keyword. Refer to the [Access Logs help page](https://docs.catalyst.zoho.com/en/devops/help/logs/access-logs/#access-log-filters) for the available filters. ### How long does Catalyst keep my function logs, and what do they record? Catalyst DevOps Logs keeps the logs of function executions for seven days in the Development environment and fourteen days in the Production environment. Logs are of two types. Access logs cover Basic I/O, Advanced I/O, Integration and Browser Logic functions, and record the function name, the User ID of the caller, the invocation URL, the time of execution, the request method, the host address, and the response status and time. Application logs cover every function type and record what happens inside the execution, including the messages your code writes to the logs, up to 1,500 characters per write. Anything your code logs, such as form content, is kept for the same period, so log only what you need. Project activity is kept separately and for longer: **Settings** → **Audit Logs** shows the last year of configuration changes and sensitive-data activity, and Admins can export up to six years. Note: To keep function logs beyond the retention period, write the events you need to storage you control, such as a CloudScale Data Store table or a Stratus bucket. Refer to the [Logs help page](https://docs.catalyst.zoho.com/en/devops/help/logs/introduction/) for details. # Application Performance Monitoring ### What insights can I get from APM? You will be able to monitor your application performance from APM. You will get the details about each of your function calls which you can use to optimize your function code. If you have accessed many of the Catalyst components and want to know where it takes more time to execute, you will be able to identify each of the Catalyst component calls in a graphical format so that it would be helpful to optimize your logic in order to improve your overall application performance. ### Why do I get 'You cannot perform this operation since you or one of your collaborator is a part of a different Organisation account' error while enabling APM? You will face this error if you have any of the collaborators joined in your project is from a different Catalyst org. You have to remove the collaborator who is in different org in order to enable APM. Once enabled, you can add back the collaborator to your project. # Automation Testing ### Is there a way to test my function from the console by storing the test suite and testcase information? You can make use of the automation testing available in catalyst console. You will be able to test your function end to end for all the HTTP request method types and you can also create and store diff test suite and testcase information for future use. ### What will happen when I exhaust 500 free runs in Automation Testing component? In Catalyst DevOps Automation Testing, after you have exhausted the 500 free runs, automatically you will get charged for the further runs. For this reason, you will be asked to setup Catalyst payments mandatorily when you deploy your application to production. # Application Alerts ### How do I get notified if I face any run time errors in my background running functions such as Cron or an event functions? You can create an application Alert for your Cron functions or specific logtype written to the application logs for any code breakage, or unhandled exception or function timeout which has been occured. You can also specify the threshold for the exception count. When the result of the alert condition has crossed the threshold, all the emails which have been configured for alerts will receive an email to notify the code breakage. ### Is there any limit for the number of Application alerts for a project? Yes, in Catalyst DevOps you can create up to 20 Application Alerts. To create an alert, navigate to **DevOps** → **Application Alerts** in the Catalyst console and click **Create Alert**. A single alert can be associated with multiple entities of Cron, Event Listener or Logs, and can notify up to 10 email addresses. You can disable an alert and enable it again later. Refer to the [Application Alerts implementation help page](https://docs.catalyst.zoho.com/en/devops/help/application-alerts/implementation/) for details. ### What can Catalyst Application Alerts notify me about? Catalyst Application Alerts, a DevOps component, emails you when failures or specific events occur in the component you attach an alert to: * **Logs:** the alert runs a log search on a schedule (the log type, the functions and a keyword) and emails the matching results. * **Job Scheduling:** an alert on a job pool emails you when its jobs fail, from the **Job Pool** console. See [Create Application Alerts for a Job Pool](https://docs.catalyst.zoho.com/en/job-scheduling/help/implementation/create-app-alert/). For each alert you set a criterion, such as more than 5 failures, and a frequency, such as every 15 minutes or a set time each day, and you add up to 10 recipients. A project can have up to 20 application alerts. Refer to the [Application Alerts key concepts](https://docs.catalyst.zoho.com/en/devops/help/application-alerts/key-concepts/) for the details. # Metrics ### What is Metrics? You can get the usage information on various catalyst components from Metrics. You can be able to quickly have a look at the number of segments created in your cache, no of rows created each day in datastore etc. By this way , you will be able to roughly calculate your monthly billing on the resources utilized and identify your application demand on when the resources have been utilized maximum and minimum by the application. # GitHub Integration ### Can I deploy my code directly from github to catalyst without the need for CLI? Yes, you can integrate your github account with your catalyst account. Once integrated, catalyst will list all your github hosted repositories. You can deploy your code from github to catalyst development environment with a click of a button eliminating the need for running commands or to configure a CICD to sync the code. # SmartBrowz ## Getting Started -------------------------------------------------------------------------------- title: "Introduction" description: "Learn about Catalyst SmartBrowz, which lets you connect to and control a remote browser through code, and generate visual documents from templates." last_updated: "2026-11-04T10:10:44.000Z" source: "https://docs.catalyst.zoho.com/en/smartbrowz/getting-started/introduction/" service: "SmartBrowz" -------------------------------------------------------------------------------- # Catalyst SmartBrowz ### Introduction SmartBrowz is a Catalyst browser service that enables you to manage and control a headless browser in Catalyst's cloud environment through a wide range of components. With the [Headless component](https://docs.catalyst.zoho.com/en/smartbrowz/help/headless/introduction/) of SmartBrowz you get to connect to a remote browser with an automation library of your preference and perform any browser function in a secure manner. Headless can be used for a wide variety of purposes that include testing the functionality of a web application, browsing the internet without sharing your personal data, or securely opening and navigating online content from untrusted sources. You can engineer logic using [Browser Logic](https://docs.catalyst.zoho.com/en/smartbrowz/help/browser-logic/introduction/) (a [Serverless Function type](https://docs.catalyst.zoho.com/en/serverless/help/functions/introduction/)) to perform any task on the remote browser programmatically. You have the flexibility to initialize, test and deploy this function using the [Catalyst CLI](https://docs.catalyst.zoho.com/en/cli/v1/cli-command-reference/), or you can directly [upload this function](https://docs.catalyst.zoho.com/en/serverless/help/functions/implementation/) to the Catalyst console at any time. Browser Logic functions can be coded in the following programming languages: * [Java](https://docs.catalyst.zoho.com/en/sdk/java/v1/overview/) * [Node.js](https://docs.catalyst.zoho.com/en/sdk/nodejs/v2/overview/) The access and application activities of the Browser Logic function will be logged in the [Logs component](https://docs.catalyst.zoho.com/en/devops/help/logs/introduction/) of [Catalyst DevOps](https://docs.catalyst.zoho.com/en/devops/getting-started/introduction/). > **Note:** Support to code Browser Logic functions using other programming languages will be rolled out in future updates. SmartBrowz also allows you to generate [PDFs and take screenshots](https://docs.catalyst.zoho.com/en/smartbrowz/help/pdfnscreenshot/introduction/) of webpages. Using basic scripting languages, you can create and design [Templates](https://docs.catalyst.zoho.com/en/smartbrowz/help/templates/create-templates/), a component of SmartBrowz, and store them for recurring use. > **Note:** Currently only the Chrome browser can be used as a remote browser in the Catalyst environment. The support for other browsers will be provided with future updates. All the operations that you can perform in the Catalyst SmartBrowz console are listed below: * You can configure the memory and version of the remote browser you wish to implement in the [Headless](https://docs.catalyst.zoho.com/en/smartbrowz/help/headless/introduction/) mode. * You can copy the required endpoints and code snippets to configure a remote browser in headless mode and manage it using a browser automation library of your preference. The `API KEY` required to authenticate the endpoints will be automatically generated and present in the console. * You can view how a webpage appears across multiple devices using the Screenshot feature of the [PDF & Screenshot](https://docs.catalyst.zoho.com/en/smartbrowz/help/pdfnscreenshot/introduction/) component. Using the same component you can also generate a PDF of any webpage from the console using [multiple input format types](https://docs.catalyst.zoho.com/en/smartbrowz/help/pdfnscreenshot/implementation/). * You can directly upload any Browser Logic function to the console using the [Browser Logic](https://docs.catalyst.zoho.com/en/smartbrowz/help/browser-logic/introduction/) component. Catalyst provides you with dedicated SDKs in following programming environments to ensure you can implement the [PDF & Screenshot component](https://docs.catalyst.zoho.com/en/smartbrowz/help/pdfnscreenshot/introduction/) of SmartBrowz dynamically: * [Java SDK](https://docs.catalyst.zoho.com/en/sdk/java/v1/smartbrowz/generate-pdfnscreenshot/) * [Node.js SDK](https://docs.catalyst.zoho.com/en/sdk/nodejs/v2/smartbrowz/generate-pdfnscreenshot/) * [Python SDK](https://docs.catalyst.zoho.com/en/sdk/python/v1/smartbrowz/generate-pdfnscreenshot/) Catalyst also offers you an [API](https://docs.catalyst.zoho.com/en/api/code-reference/smartbrowz/generate-pdfnscreenshoturl/#PDF%26ScreenshotwithHTMLorURLasInput) that you can use to produce a PDF or Screenshot of a webpage of your preference. Using the [Templates](https://docs.catalyst.zoho.com/en/smartbrowz/help/templates/create-templates/) component, you can even customize, design and store templates of webpages, documents, designs, and more in the console. You can use these templates to generate multiple PDFs or Screenshots of them with dynamic content. Catalyst SmartBrowz also offers you the [Dataverse](https://docs.catalyst.zoho.com/en/smartbrowz/help/dataverse/introduction/) component, that allows you to perform meaning data scraping operations using powerful Catalyst APIs. You can familiarize yourself with the various functionalities of SmartBrowz by practicing with them in the [tutorials section](https://docs.catalyst.zoho.com/en/tutorials/). You can refer to each component help section for individual use cases for each. > **Note:** Any Browser action or operation that you code using the Browser Logic function, or any browser automation or web scraping task that you perform using any component of **Catalyst SmartBrowz** is at your own risk. We strongly recommend you use the SmartBrowz components to perform operations on domains that permit the actions, or with proper approval. Additionally, while Catalyst does provide a secure infrastructure to code your functions, any consequence of the logic you code using Catalyst functions is yours alone. -------------------------------------------------------------------------------- title: "Components" description: "Learn about Catalyst SmartBrowz, which lets you connect to and control a remote browser through code, and generate visual documents from templates." last_updated: "2026-11-04T10:10:44.000Z" source: "https://docs.catalyst.zoho.com/en/smartbrowz/getting-started/components-of-smartbrowz/" service: "SmartBrowz" -------------------------------------------------------------------------------- # Components of Catalyst SmartBrowz **BROWSER CONTROL** - [Headless](https://docs.catalyst.zoho.com/en/smartbrowz/help/headless/introduction/)Connect with a remote browser within Catalyst cloud in a headless mode. - [Browser Logic](https://docs.catalyst.zoho.com/en/smartbrowz/help/browser-logic/introduction/)Configure Catalyst Serverless functions to contain the logic of browser tasks. **CONVERT** - [PDF & Screenshot](https://docs.catalyst.zoho.com/en/smartbrowz/help/pdfnscreenshot/introduction/)Generate visual documents of webpages in the console, or using SDKs and APIs. - [Templates](https://docs.catalyst.zoho.com/en/smartbrowz/help/templates/create-templates/)Design and use templates to generate visual documents with dynamic content. **DATA** - [Dataverse](https://docs.catalyst.zoho.com/en/smartbrowz/help/dataverse/introduction/)Perform complex data scraping operations using powerful Catalyst APIs. These components are explained in detail below. ### Headless Using the Headless component you can connect to a remote browser in the Catalyst cloud environment with popular automation libraries like Puppetteer, Selenium and Playwright. Catalyst SmartBrowz provides you the code snippets to connect to the remote browser in the following programming languages: * [Java](https://docs.catalyst.zoho.com/en/sdk/java/v1/overview/) * [NodeJS](https://docs.catalyst.zoho.com/en/sdk/nodejs/v2/overview/) * [Python](https://docs.catalyst.zoho.com/en/sdk/python/v1/overview/) You can also explore, use and test some generic use cases of automation libraries in the Catalyst cloud environment using the [Code Recipes](https://github.com/catalystbyzoho/smartbrowz/tree/main/examples/headless-recipes) that are present in the console. ### Browser Logic Browser Logic is a type of [Catalyst Serverless function](https://docs.catalyst.zoho.com/en/serverless/help/functions/introduction/) that contains a customizable coding structure you can use to implement a logic that performs browser tasks. You can create and initialize the Browser Logic functions using the [Catalyst CLI](https://docs.catalyst.zoho.com/en/cli/v1/cli-command-reference/). You can develop browser logic functions in an IDE of your choice and deploy it to the remote console. Browser Logic functions can be coded using the following programming languages: * [Java](https://docs.catalyst.zoho.com/en/sdk/java/v1/overview/) * [NodeJS](https://docs.catalyst.zoho.com/en/sdk/nodejs/v2/overview/) You can also implement the sample code for crawling and scraping present in [Code Recipes](https://github.com/catalystbyzoho/smartbrowz/tree/main/examples/headless-recipes) and engineer your custom logic on top of them using Browser Logic. ### PDF & Screenshot You can use the [PDF & Screenshot component](https://docs.catalyst.zoho.com/en/smartbrowz/help/pdfnscreenshot/introduction/) to generate visual documents of any webpage or template with dynamic content. SmartBrowz provides you with the flexibility to provide inputs in various formats—HTML, URL, and Template and generate either a PDF or a screenshot. The screenshot feature is an excellent testing tool to comprehend how your website or application will be viewed across various devices' screen. Catalyst also provides you with the required [API](https://docs.catalyst.zoho.com/en/api/code-reference/smartbrowz/) and SDKs—[Java](https://docs.catalyst.zoho.com/en/sdk/java/v1/overview/), [NodeJS](https://docs.catalyst.zoho.com/en/sdk/nodejs/v2/overview/), and [Python](https://docs.catalyst.zoho.com/en/sdk/python/v1/overview/) to access and implement the functionality of this component programmatically. ### Templates Using the [Templates component](https://docs.catalyst.zoho.com/en/smartbrowz/help/templates/create-templates/), you can design your own template of a webpage, or documents like resume, certificates, etc., using basic front-end scripting languages. You can also customize the existing template designs to generate templates of your preference. You can use these templates to generate visual documents with dynamic content. ### Dataverse [Dataverse](https://docs.catalyst.zoho.com/en/smartbrowz/help/dataverse/introduction/) is Catalyst's most efficient data scraping solution that will aid you in creating better strategies to tackle common business pain areas such as competitor analysis, lead nurturing, cross-selling and upselling, data validation and data cleansing and so much more. -------------------------------------------------------------------------------- title: "Benefits" description: "Learn about Catalyst SmartBrowz, which lets you connect to and control a remote browser through code, and generate visual documents from templates." last_updated: "2026-11-04T10:10:44.000Z" source: "https://docs.catalyst.zoho.com/en/smartbrowz/getting-started/benefits/" service: "SmartBrowz" -------------------------------------------------------------------------------- # Benefits * SmartBrowz allows you to securely connect to a remote browser in the robust Catalyst cloud environment using any library of your choice that you choose to implement. Additionally, from the console you can copy ready-to-use snippets required to connect to the remote browser with automation libraries—Pupetteer, Playwright, and Selenium. * Catalyst will automatically generate and provide you with secure endpoints and `API KEY` that you need to connect to a remote browser in headless mode. You will also be provided with the required code snippets to ensure you can seamlessly connect to a remote browser with an automation library of your choice. * You have the flexibility to configure the memory the remote browser. This ensures that you test your application for lags under varying memory configurations. * SmartBrowz provides you with several [Code Recipes](https://github.com/catalystbyzoho/smartbrowz/tree/main/examples/headless-recipes) that you can explore, use and test the functionality of various automation libraries in the Catalyst cloud environment. * SmartBrowz allows you to access three independent services—[Headless](https://docs.catalyst.zoho.com/en/smartbrowz/help/headless/introduction/), [PDF & Screenshot](https://docs.catalyst.zoho.com/en/smartbrowz/help/pdfnscreenshot/introduction/) and [Browser Logic](https://docs.catalyst.zoho.com/en/smartbrowz/help/browser-logic/introduction/) in a single, unified platform though the Catalyst console. This enables you to use SmartBrowz for all your remote browser operations in an integrated space. * The [PDF & Screenshot](https://docs.catalyst.zoho.com/en/smartbrowz/help/pdfnscreenshot/introduction/) component enables you generate PDFs of any webpage of your preference. You can also generate screenshots of webpages in a manner that allows you to view how your webpage appears to the end-users using different devices. * SDKs to generate PDF & Screenshots programmatically are provided in [Java](https://docs.catalyst.zoho.com/en/sdk/java/v1/overview/), [NodeJS](https://docs.catalyst.zoho.com/en/sdk/nodejs/v2/overview/), and [Python](https://docs.catalyst.zoho.com/en/sdk/python/v1/overview/). This enables you to quickly implement the logic to generate PDFs and Screenshots using a programming language of your preference. * You can style and store dynamic templates of documents, web pages, and more in the console. You can use these templates to produce multiple screenshots or PDFs with dynamic content. * SmartBrowz is a Catalyst service. Along with Catalyst SmartBrowz, you will also be able to access and use other other robust Catalyst services like [Catalyst CloudScale](https://docs.catalyst.zoho.com/en/cloud-scale/), [Catalyst Serverless](https://docs.catalyst.zoho.com/en/serverless/), [Catalyst DevOps](https://docs.catalyst.zoho.com/en/devops/), [Catalyst Zia Services](https://docs.catalyst.zoho.com/en/zia-services/), etc. * Much like other Catalyst services, you can build and test and microservices or applications with SmartBrowz components in the development sandbox, before [deploying them to production](https://docs.catalyst.zoho.com/en/deployment-and-billing/environments/deployment-types/). -------------------------------------------------------------------------------- title: "Quick Start Guide" description: "Learn about Catalyst SmartBrowz, which lets you connect to and control a remote browser through code, and generate visual documents from templates." last_updated: "2026-11-04T10:10:44.000Z" source: "https://docs.catalyst.zoho.com/en/smartbrowz/getting-started/quick-start-guide/" service: "SmartBrowz" -------------------------------------------------------------------------------- # Catalyst SmartBrowz - A Quick Start Guide Catalyst SmartBrowz is a powerful cloud service that you can leverage to perform browser automation tasks, functionality tests, and generate visual documents. This section covers the overall steps involved in getting started with connecting to a remote browser in the Catalyst cloud environment, managing it with automation libraries, leveraging the SmartBrowz components to generate visual documents of webpages, and so much more. You can also engineer [Serverless functions](https://docs.catalyst.zoho.com/en/serverless/help/functions/introduction/) that contain a logic to implement browser tasks. #### Create a Project 1. [Catalyst console](https://console.catalyst.zoho.com/baas/index) to [create a new project](https://docs.catalyst.zoho.com/en/getting-started/catalyst-projects/#create-a-catalyst-project). After the project creation is complete, you will be able to access all components of SmartBrowz and other Catalyst services from the console. #### Access Catalyst SmartBrowz Components 2. You can use the [Headless component](https://docs.catalyst.zoho.com/en/smartbrowz/help/headless/introduction/) to connect to a remote browser powered by Catalyst cloud environment with popular browser automation libraries using the code snippets and the appropriate endpoints present in the console. * If you are going to use automation libraries like Selenium, then you need to connect using the Webdriver endpoint. * If you are going to use Puppetteer or Playwright, you need to connect using the CDP endpoint. > **Note:** * The `API Key` required to use the end points can be copied from the **View Key** option in the **Remote Browser Options** button. * You need to ensure you have the required browser automation libraries installed in your local system before connecting to the remote browser. 3. You can test out any of the [Code Recipes](https://github.com/catalystbyzoho/smartbrowz/tree/main/examples/headless-recipes) present in the console by copying and pasting them in your [Browser Logic function](https://docs.catalyst.zoho.com/en/smartbrowz/help/browser-logic/introduction/). > **Note:** You do not require [Catalyst CLI](https://docs.catalyst.zoho.com/en/api/introduction/overview-and-prerequisites/#OverviewandPrerequisites) to use majority of the Catalyst SmartBrowz. However, you need to [install Catalyst CLI](https://docs.catalyst.zoho.com/en/getting-started/quick-start-guide/#step-2-install-catalyst-cli), [log in](https://docs.catalyst.zoho.com/en/getting-started/quick-start-guide/#step-3-log-in-from-your-cli) and [initialize the project and the function from the CLI](https://docs.catalyst.zoho.com/en/getting-started/quick-start-guide/#step-4-initialize-the-project-from-the-cli) to code the [Browser Logic function](https://docs.catalyst.zoho.com/en/smartbrowz/help/browser-logic/introduction/) in an IDE of your preference. You also require the CLI to [`serve`](https://docs.catalyst.zoho.com/en/cli/v1/serve-resources/serve-all-resources/) and [`deploy`](https://docs.catalyst.zoho.com/en/cli/v1/deploy-resources/introduction/) the function. 4. You can use the [PDF & Screenshots](https://docs.catalyst.zoho.com/en/smartbrowz/help/pdfnscreenshot/introduction/) component to generate visual content by providing the required input though HTML, URL or [Template](https://docs.catalyst.zoho.com/en/smartbrowz/help/templates/create-templates/) using the Playground present in the console. You can also use the SDK and API present in the console to generate PDF and Screenshots programmatically. 5. You can use the [Templates component](https://docs.catalyst.zoho.com/en/smartbrowz/help/templates/create-templates/) to design and store templates to generate visual documents with dynamic content. You can find out how to use Templates in this help document. You can familiarize yourself with the various components of SmartBrowz by going through tutorials present in this [section](https://docs.catalyst.zoho.com/en/tutorials/). #### Engineer Your Application 6. You can initialize the project locally using the Catalyst CLI, and start coding your business logic into [Catalyst Serverless Functions](https://docs.catalyst.zoho.com/en/serverless/help/functions/introduction/), with either [Java](https://docs.catalyst.zoho.com/en/sdk/java/v1/overview/), [Node.js](https://docs.catalyst.zoho.com/en/sdk/nodejs/v2/overview/), or [Python](https://docs.catalyst.zoho.com/en/sdk/python/v1/overview/), using an external IDE of your choice, or directly create them in the console. You can also utilize code templates from [Catalyst SDK](https://docs.catalyst.zoho.com/en/getting-started/catalyst-sdk/) and employ prebuilt API endpoints from [Catalyst API](https://docs.catalyst.zoho.com/en/api/introduction/overview-and-prerequisites/#OverviewandPrerequisites) to incorporate CloudScale components in your business logic. You also have the option to use [Catalyst CodeLib](https://docs.catalyst.zoho.com/en/codelib/introduction/), which are ready-made microservices that can be incorporated into application directly. You can also enhance your application using AI/ML powered components of [Catalyst Zia Services](https://docs.catalyst.zoho.com/en/zia-services/getting-started/introduction/). #### Test The Application 7. You can test the client components of your application locally before deploying it to the remote console using [`catalyst serve`](https://docs.catalyst.zoho.com/en/cli/v1/serve-resources/introduction/). You can also debug and test your functions using the catalyst shell command; [`catalyst functions:shell`](https://docs.catalyst.zoho.com/en/cli/v1/working-with-functions/functions-shell/). #### Deploy The Application 8. You can now [deploy your application](https://docs.catalyst.zoho.com/en/cli/v1/deploy-resources/introduction/) from the CLI to your project in the remote console using the CLI command `catalyst deploy`. You can deploy your functions, client, and app services. #### Migrate Your Application from Development to Production 9. When your application is ready to be migrated, you can deploy it from the development to the production environment in a streamlined manner as instructed in this [help document](https://docs.catalyst.zoho.com/en/deployment-and-billing/environments/initial-deployment/), and you can use the [ Domain Mappings component](https://docs.catalyst.zoho.com/en/cloud-scale/help/domain-mappings/introduction/) to map your application's [production URL](https://docs.catalyst.zoho.com/en/deployment-and-billing/environments/production-environment/#function-url-and-web-app-url-in-the-production-environment) onto your own custom domain securely. Additionally, Catalyst will provide group SSL certifications for all the domain that you map under your application, free of cost. However, before you deploy to production ensure you have set up [Catalyst payments](https://docs.catalyst.zoho.com/en/deployment-and-billing/billing/introduction/). > **Note:** The sequence of steps specified here might differ based on your business or application logic, or your specific use case. The flow mentioned in the deploying and testing phases of the application can be altered based on your requirements. This is a generic set of guidelines that is suitable for a typical small to mid-scale, client-based application, or microservice. ## Help Components -------------------------------------------------------------------------------- title: "SmartBrowz Dashboard" description: "Get a complete overview of the functioning of all the SmartBrowz components you have used for your project." last_updated: "2026-08-17T12:16:04.000Z" source: "https://docs.catalyst.zoho.com/en/smartbrowz/help/dashboard/" service: "SmartBrowz" -------------------------------------------------------------------------------- # SmartBrowz Dashboard The **SmartBrowz Dashboard** is an informative tool that will provide you with a crisp overview on the activities of all the SmartBrowz components. ![catalyst_smartbrowz_dashboard_first_view](https://catalyst-docs-development.zohostratus.in/images/help/smartbrowz/catalyst_smartbrowz_dashboard_first_view.webp) ### Access The SmartBrowz Dashboard To access the SmartBrowz Dashboard: 1. Click the *SmartBrowz* service icon from the left-panel of the console, and click **Start Exploring**. ![catalyst_smartbrowz_starrt_exploring](https://catalyst-docs-development.zohostratus.in/images/help/smartbrowz/catalyst_smartbrowz_starrt_exploring.webp) You will need to use the SmartBrowz components to populate the Dashboard. ![catalyst_smartbrowz_dashboard_empty](https://catalyst-docs-development.zohostratus.in/images/help/smartbrowz/catalyst_smartbrowz_dashboard_empty.webp) 2. Click the *SmartBrowz* icon to view the **Dashboard** at any time. ![catalyst_smartbrowz_dashboard_first_view_highligh](https://catalyst-docs-development.zohostratus.in/images/help/smartbrowz/catalyst_smartbrowz_dashboard_first_view_highligh.webp) ### Dashboard Features The primary purpose of the **SmartBrowz Dashboard** is to provide a clear understanding of each component's usage and performance across a required period of time. * View the performance and precisely note the number of failed executions of various actions across a required time period to facilitate better informed debugging sessions. * The graphs will be populated live with each usage. The dashboard contains three graphs each representing the performance and usage of the following SmartBrowz components: - [Headless](https://docs.catalyst.zoho.com/en/smartbrowz/help/headless/introduction/) - [Browser Logic](https://docs.catalyst.zoho.com/en/smartbrowz/help/browser-logic/introduction/) - [PDF & Screenshot](https://docs.catalyst.zoho.com/en/smartbrowz/help/pdfnscreenshot/introduction/) * The dashboard also offers you a complete list of *Browser Logic* functions that were executed recently. You can also filter this list to view only **Failed**, **Successful**, or **All Status** executions. ![catalyst_smartbrowz_recent_list_bl](https://catalyst-docs-development.zohostratus.in/images/help/smartbrowz/catalyst_smartbrowz_recent_list_bl.webp) * You can also filter all the graphs in the dashboard based on time period using the filter present on the left side of the console. ![catalyst_smartbrowz_dashboard_top_filter](https://catalyst-docs-development.zohostratus.in/images/help/smartbrowz/catalyst_smartbrowz_dashboard_top_filter.webp) ### Browser Grid -------------------------------------------------------------------------------- title: "Introduction" description: "Process massive load of requests using multiple headless browsers connected using automation libraries, with control over node and browser configurations." last_updated: "2026-11-04T10:10:44.000Z" source: "https://docs.catalyst.zoho.com/en/smartbrowz/help/browser-grid/introduction/" service: "SmartBrowz" related: - Browser Grid Java SDK (/en/sdk/java/v1/smartbrowz/browser-grid/overview/) - Browser Grid Node.js SDK (/en/sdk/nodejs/v2/smartbrowz/browser-grid/overview/) - Browser Grid Python SDK (/en/sdk/python/v1/smartbrowz/browser-grid/overview/) - Browser Grid REST API (/en/api/code-reference/smartbrowz/browser-grid/list-all-grids/#ListallBrowserGrids) - Puppeteer (https://pptr.dev/category/introduction) - Playwright (https://playwright.dev/docs/intro) - Selenium (https://www.selenium.dev/documentation/) -------------------------------------------------------------------------------- # Browser Grid Browser Grid is a powerful component of the *Catalyst SmartBrowz* service that allows you to run multiple headless browsers in parallel on a configured grid. Browser Grid enables you to perform simultaneous and independent tasks across multiple headless browsers, all while maintaining greater control over configuring parameters that determine the scale and performance of your headless operations. For example, imagine that you have to perform a patch update on your application. Before you bring it live, it would be best if you have an environment or setup where you definitively test the consequences and performance of the update across multiple machines, all operating independently. However, to achieve this with a physical setup would be expensive and resource draining. This is one of the solutions that SmartBrowz's Browser Grid can solve seamlessly and resource efficiently. By employing the [right configuration](https://docs.catalyst.zoho.com/en/smartbrowz/help/browser-grid/features/#browser-grid-configuration) in Browser Grid, you can employ the required number of headless browsers in the required number of Nodes and run the tests concurrently. More importantly, you can benefit from the following key features of Browser Grid: * Your required automation operations can be completed using popular automation libraries like [Puppeteer](https://pptr.dev/category/introduction), [Playwright](https://playwright.dev/docs/intro), and [Selenium](https://www.selenium.dev/documentation/). * [Java](https://docs.catalyst.zoho.com/en/sdk/java/v1/smartbrowz/browser-grid/overview/), [Node.js](https://docs.catalyst.zoho.com/en/sdk/nodejs/v2/smartbrowz/browser-grid/overview/) and [Python](https://docs.catalyst.zoho.com/en/sdk/python/v1/smartbrowz/browser-grid/overview/) function stacks are supported. * This is an auto-scaling component. Browsers will only spawn when and if they are required. * Requests made to the headless browsers in the grid greater than the load of their configuration can be queued for **30 seconds** (if the automation library used to connect to the remote browser is **Selenium**) or **5 minutes** (if the automation library used to connect to the remote browser is **Puppeteer/Playwright**). * You have more control over the configurations of the browsers. You can choose to spawn *headless Chrome* (`v137.0.7151.55`) or *headless Firefox* (`v136.0.4`) browsers, or even a combination of them. * You have default options to decide the configuration of the Browser Grid, such as **Basic** and **Advanced**. This choice needs to be made based on the request load of your use case. * Browser Grid utilizes default alerts that will alert you automatically in the event of an error or an interruption in your grid. * The Browser Grid console provides you access to a detailed dashboard that will update you on the grid's live performance. Being able to control and concurrently run multiple headless browsers with little to no infrastructure setup allows you to perform complex operations such as: * **Parallel automation testing**: With multiple headless browsers, you can test large volume of test cases in parallel and ensure your CI/CD pipelines runs in an optimal manner. * **Load testing**: You can seamlessly mimic multiple user sign-ups across different headless browsers with varying configurations to simulate traffic to your application, allowing you to check the performance and resilience of your application. * **Security testing**: With multiple headless browsers running in parallel and auto scaling with demand, you can test for session handling, injection vulnerabilities and other security properties. * **SEO monitoring**: Using multiple headless browsers you can check the performance of your keyword matrix, your pages ranking in search engines, and performance of your ads across several accounts. * **Ethical crawling and scraping**: With the multiple browsers running in parallel on permitted websites and domains, you can significantly scale up your ethical scraping operations. > **Notice:** Any Browser action or operation that you code using the Browser Logic function, or any browser automation or web scraping task that you perform using any component of Catalyst SmartBrowz is at your own risk. We strongly recommend you use the SmartBrowz components to perform operations on domains that permit such actions, or with proper approval.Additionally, while Catalyst does provide a secure infrastructure to code your functions, any consequence of the logic you code using Catalyst functions is yours alone. -------------------------------------------------------------------------------- title: "Features" description: "Process massive load of requests using multiple headless browsers connected using automation libraries, with control over node and browser configurations." last_updated: "2026-11-04T10:10:44.000Z" source: "https://docs.catalyst.zoho.com/en/smartbrowz/help/browser-grid/features/" service: "SmartBrowz" related: - Browser Grid Workflow (/en/smartbrowz/help/browser-grid/workflow/) - Create Browser Grid (/en/smartbrowz/help/browser-grid/create-grid/) - Connect to a Headless Browser (/en/smartbrowz/help/browser-grid/headless-connect/) - Browser Grid Dashboard (/en/smartbrowz/help/browser-grid/explore-dashboard/) - Build a Resilient Browser Grid (/en/smartbrowz/help/browser-grid/ideal-practices/) - Browser Grid Java SDK (/en/sdk/java/v1/smartbrowz/browser-grid/overview/) - Browser Grid Node.js SDK (/en/sdk/nodejs/v2/smartbrowz/browser-grid/overview/) - Browser Grid Python SDK (/en/sdk/python/v1/smartbrowz/browser-grid/overview/) - Browser Grid REST API (/en/api/code-reference/smartbrowz/browser-grid/list-all-grids/#ListallBrowserGrids) -------------------------------------------------------------------------------- # Browser Grid Features This section explores the various features that make up the Browser Grid component. ### Hub Hub is a virtual machine that acts as a controller. When a user sends requests to the headless browser present in a browser grid, the Hub will allot a node to run the headless browser to execute the request. The functionality of the Hub is entirely handled by the *Catalyst SmartBrowz* service. This ensures your grid can scale seamlessly to handle your request load. > **Note:** [Learn more about Browser Grid Configurations](https://docs.catalyst.zoho.com/en/smartbrowz/help/browser-grid/features/#hub-node-browser-relation). ### Nodes Nodes are virtual machines that run the required headless browsers. Based on the [configuration](https://docs.catalyst.zoho.com/en/smartbrowz/help/browser-grid/features/#browser-grid-configuration), you can dictate the number of nodes that need to be created in your browser grid and the number of headless browsers that need to be spawned in each node. > **Notes:** * The default allocated storage limit is **10GB**. * [Learn more about Browser Grid Configurations](https://docs.catalyst.zoho.com/en/smartbrowz/help/browser-grid/features/#browser-grid-configuration). ### Headless Browsers Headless browsers are browsers that run without a Graphical User Interface (**GUI**). These types of browsers are the entities or instances that execute and process the requests sent by the user. The Browser Grid component provides you with the option to effortlessly connect to multiple secure remote browsers using popular automation libraries like **Puppeteer**, **Playwright**, and **Selenium**. Based on your requirement, you have the option to choose your automation library and launch your required secure headless browser using a **CDP**/**Webdriver** endpoint generated by the **Catalyst SmartBrowz** service. **Puppeteer/Playwright** ![catalyst_smartbrowz_browser_grid_pupplay_connect](https://catalyst-docs-development.zohostratus.in/images/help/smartbrowz/browser-grid/catalyst_smartbrowz_browser_grid_pupplay_connect.webp) **Selenium** ![catalyst_smartbrowz_browser_grid_selenium_connect](https://catalyst-docs-development.zohostratus.in/images/help/smartbrowz/browser-grid/catalyst_smartbrowz_browser_grid_selenium_connect.webp) The endpoint is made secure using an `API KEY` which will be uniquely generated for you. > **Notes:** * [Learn the steps to process your requests through a headless browser](https://docs.catalyst.zoho.com/en/smartbrowz/help/browser-grid/headless-connect/). * While you do have the option to [change the automation library](https://docs.catalyst.zoho.com/en/smartbrowz/help/browser-grid/manage-grid/#update-browser-grid) you use to connect to your headless browser, you do not have the option to use multiple automation libraries within the same browser grid simultaneously. ### Browser Grid Configuration In a browser grid, you can define the number of nodes and the number of browsers that can be created in a singular node. The configuration also allows you to set the number of browsers that can be run concurrently. When you create or update an existing grid, you have the option to choose: > **Note:** Browser Grid only provides you with the option to configure the number of Nodes and the browsers that can be spawned concurrently inside a single Node. You do not have control over the Hub. Browser Grid handles the Hub configurations automatically. * **Basic Configuration**: This is a type of configuration that is best suited to handle an ideal load of requests, with a processing power of `1GiB Memory, 1vCPU`. * **Advanced Configuration**: This type of configuration allows you the option to choose the number of nodes and the number of browsers allotted per node. You will have the following options: - **Light Node Type**: You can choose to create a Grid that has a processing power of `1GiB Memory, 1vCPU`. - **Moderate Node Type**: You can choose to create a Grid that has a processing power of `2GiB Memory, 2vCPU`. - **Heavy Node Type**: You can choose to create a Grid that has a processing power of `4GiB Memory, 4vCPU`. The following table will further detail the differences between the various configurations:
Category Basic Configuration Advanced Configuration
Light Moderate Heavy
Node Type **Light - `1GiB Memory, 1vCPU`** `1GiB Memory, 1vCPU` `2GiB Memory, 2vCPU` `4GiB Memory, 4vCPU`
Concurrent browsers allowed Maximum of **10 browsers** can be run concurrently Maximum of **10 browsers** can be run concurrently Maximum of **10 browsers** can be run concurrently Maximum of **8 browsers** can be run concurrently
Maximum number of Nodes that can be allotted 10 10 5 2
Maximum number of browsers allotted per node 1 1 2 4
Maximum configuration possible 10 nodes with 1 browser running in each node 10 nodes with 1 browser running in each node 5 nodes can be created with 2 browsers running in each node 2 nodes can be created with 4 browsers running in each node
> **Info:** * The volume of requests being executed is not only related to its number or storage size of the requests. For example, you can have a million or more requests that do not take much time to be processed and executed, and all of them can be balanced with a processing power of 1GiB memory. Alternatively, you can have just a couple of requests that require a lot of time to process and require a processing power greater than that of 1GiB memory. * It is up to you to decide your Grid's configuration based on the volume of your requests. * [Learn the ideal practices to manage a browser grid](https://docs.catalyst.zoho.com/en/smartbrowz/help/browser-grid/ideal-practices/). ### Hub-Node-Browser Relation The following diagram illustrates the relation between hubs, nodes, and browsers. > **Info:** This diagram illustrates the relation between these three grid elements in a **Moderate Browser Grid** configuration, where three nodes can be created, each with two browsers running. ![catalyst_smartbrowz_browser_grid_hub_browser_node_arch](https://catalyst-docs-development.zohostratus.in/images/help/smartbrowz/browser-grid/catalyst_smartbrowz_browser_grid_hub_browser_node_arch.webp) Based on the volume of requests being sent, the hub will compute allocate nodes individually. When the first allotted node attains its maximum concurrency limit, with requests still pending, only then will the hub allot the next node. These nodes will run the required headless browsers and process your requests. The number of nodes and browsers that are created by the hub will be based on the [configuration](https://docs.catalyst.zoho.com/en/smartbrowz/help/browser-grid/features/#browser-grid-configuration) you chose while [creating your Browser Grid](https://docs.catalyst.zoho.com/en/smartbrowz/help/browser-grid/create-grid/). > **Note:** [Learn more about the functionality of the Hub](https://docs.catalyst.zoho.com/en/smartbrowz/help/browser-grid/ideal-practices/). ### Alerts Alerts is a feature in Browser Grid that will alert you to any error or configuration failure the grid encountered during its operations by populating the *Alerts* section in the[Dashboard](https://docs.catalyst.zoho.com/en/smartbrowz/help/browser-grid/explore-dashboard/). ![catalyst_smartbrowz_browsergrid_alerts_fl](https://catalyst-docs-development.zohostratus.in/images/help/smartbrowz/browser-grid/catalyst_smartbrowz_browsergrid_alerts_fl.webp) The following are the five possible alerts that you may receive if your grid is not functioning as intended: * **Browser Creation Rejected**: This alert will be created if the grid is operating at maximum configuration, and you still have requests that need to be processed in the queue beyond the queue time (Selenium: **30 seconds**, Puppeteer/Playwright: **5 minutes**). The queued requests demand new browsers be created, but none can be created as the configuration does not allow for it or there are no more browsers to be spawned, leaving the requests in the queue to be killed. * **90% Disk Exhausted**: This alert will occur if even one node's allotted disk capacity has reached **90%**. The default size allocated for the disk is **10GB**. * **80% Memory Exhausted**: This alert will occur if even one node's allotted memory is **80%** consumed. * **80% CPU Exhausted**: This alert will occur if even one node reached **80%** of the CPU capacity allotted to it. * **Nodes Crashed**: This will only occur in severe times, when the node is operating at the maximum configuration allotted to it and is severely strained to process the volume of requests being sent to it. You can click on a specific alert for more information about the alert notification. ![catalyst_smartbrowz_browsergrid_alerts_expand](https://catalyst-docs-development.zohostratus.in/images/help/smartbrowz/browser-grid/catalyst_smartbrowz_browsergrid_alerts_expand.webp) To deal with these alerts: * Try reducing the number of requests being sent for processing. * Try updating the browser grid's [configuration](https://docs.catalyst.zoho.com/en/smartbrowz/help/browser-grid/features/#browser-grid-configuration). > **Info:** Once an alert is created, it will continue to populate your *Alerts* section in the dashboard, even after the cause of the alert has been resolved. The alert will only disappear if you [update the configurations](https://docs.catalyst.zoho.com/en/smartbrowz/help/browser-grid/manage-grid/) of your browser grid. ### Browser Grid States * **Active**: This is a state the Browser Grid enters into when you [connect to the remote browser](https://docs.catalyst.zoho.com/en/smartbrowz/help/browser-grid/headless-connect/) using its endpoint through code. While in this state, the browser grid spawns the required number of nodes and browsers to process the requests. * **Inactive**: This is a state the Browser Grid enters into when you [stop the browser grid](https://docs.catalyst.zoho.com/en/smartbrowz/help/browser-grid/manage-grid/#stop-the-browser-grid). This is the default the grid is in when you create a browser grid. * **Idle**: The Browser Grid is an auto-scaling component. Based on your demand, the required number of nodes and respective browsers are spawned (as per your configurations), and when there are no requests to be processed, the browsers and nodes are killed. Once the grid has scaled completely down and is not processing any requests, the browser grid will enter the *Idle* state. There will be no requests being processed in the grid. > **Notice:** Any Browser action or operation that you code using the Browser Logic function, or any browser automation or web scraping task that you perform using any component of Catalyst SmartBrowz is at your own risk. We strongly recommend you use the SmartBrowz components to perform operations on domains that permit such actions, or with proper approval.Additionally, while Catalyst does provide a secure infrastructure to code your functions, any consequence of the logic you code using Catalyst functions is yours alone. -------------------------------------------------------------------------------- title: "Workflow" description: "Process massive load of requests using multiple headless browsers connected using automation libraries, with control over node and browser configurations." last_updated: "2026-11-04T10:10:44.000Z" source: "https://docs.catalyst.zoho.com/en/smartbrowz/help/browser-grid/workflow/" service: "SmartBrowz" related: - Operate Browser Grid (/en/serverless/help/functions/advanced-io/) - Connect to a Headless Browser (/en/smartbrowz/help/browser-grid/headless-connect/) - Browser Grid Java SDK (/en/sdk/java/v1/smartbrowz/browser-grid/overview/) - Browser Grid Node.js SDK (/en/sdk/nodejs/v2/smartbrowz/browser-grid/overview/) - Browser Grid Python SDK (/en/sdk/python/v1/smartbrowz/browser-grid/overview/) - Browser Grid REST API (/en/api/code-reference/smartbrowz/browser-grid/list-all-grids/#ListallBrowserGrids) -------------------------------------------------------------------------------- # Browser Grid Workflow ### Overview The following overview diagram attempts to illustrate the operations that occur when you employ the Browser Grid component. ![catalyst_smartbrowz_browser_grid_workflow](https://catalyst-docs-development.zohostratus.in/images/help/smartbrowz/browser-grid/catalyst_smartbrowz_browser_grid_workflow.webp) > **Info:** For the purpose of illustrating an example workflow of a Browser Grid, we have used a **Moderate** configuration of Browser Grid, where: * A maximum of **3 nodes** can be created. * A maximum of **2 browsers per node** will be spawned * A maximum of **6 browsers will run concurrently** From the above diagram, we can understand that: * A user tries to connect and launch their remote browsers through their code. * Once they connect to their remote browser through their configured Browser Grid, the grid will become active, and the user can start to send their request load for processing. * When the user starts sending requests to their configured browser grid, it is first encountered by the hub. * The hub performs the necessary computation to check if there is an available node. * If the nodes have browsers available, the request is sent to the available browser. * If there are no browsers available, then the request will be queued. ### Deeper Look at the Browser Grid Workflow The elemental workflow that occurs when you try to process a request in a browser is that: * The hub will check for an available node. * If the node is available, then the request will be processed by the browser in the node. * If the node is not available, then the request will be queued. > **Note:** The queue duration is set to live for **30 seconds** (if the automation library used to connect to the remote browser is **Selenium**) or **5 minutes** (if the automation library used to connect to the remote browser is **Puppeteer**/**Playwright**). After this, the queued request will be killed. The following section aims to provide more context and greater detail of the same workflow with the help of an example. Consider an example scenario where you have created your Browser Grid with the **Basic** configuration. You can only run **one browser in one node** and have chosen to create a maximum of three nodes. This configuration will allow you to create three nodes, each with one browser running in them. ![catalyst_smartbrowz_browser_grid_node_basic_arc](https://catalyst-docs-development.zohostratus.in/images/help/smartbrowz/browser-grid/catalyst_smartbrowz_browser_grid_node_basic_arc.webp) At its full capacity, the grid will be running three browsers concurrently. ![catalyst_smartbrowz_browser_grid_node_basic_fp_arc](https://catalyst-docs-development.zohostratus.in/images/help/smartbrowz/browser-grid/catalyst_smartbrowz_browser_grid_node_basic_fp_arc.webp) > **Info:** The Hub will only create a node if: 1. The node limit configured while creating the Browser Grid has not been exhausted. 2. If the node limit has not been exhausted, then a new node with the required browsers will only be spawned if the existing browsers are running at full capacity in the nodes that have already been created. Now, consider that in this grid, based on your requests, the first node has been created, and in that node, a singular browser is processing your requests. ![BrowserGridWorkflowGIF-img-1](https://catalyst-docs-development.zohostratus.in/images/help/smartbrowz/browser-grid/BrowserGridWorkflowGIF-img-1.webp) The second node with the second browser will only be created if the volume of requests increases, and the browser in the first node is still operating at full capacity. ![BrowserGridWorkflowGIF-img-2](https://catalyst-docs-development.zohostratus.in/images/help/smartbrowz/browser-grid/BrowserGridWorkflowGIF-img-2.webp) Similarly, the third and last node configured for the grid will only be created if the load of requests increases and both nodes are running browsers at full capacity. ![BrowserGridWorkflowGIF-img-4](https://catalyst-docs-development.zohostratus.in/images/help/smartbrowz/browser-grid/BrowserGridWorkflowGIF-img-4.webp) If the load of requests increases further, they will be queued. The queue will be valid for a duration of **30 seconds** (to demonstrate this example, we can consider that the headless browser is being connected to using the Selenium automation library). ![BrowserGridWorkflowGIF-img-5](https://catalyst-docs-development.zohostratus.in/images/help/smartbrowz/browser-grid/BrowserGridWorkflowGIF-img-5.webp) In this time interval, if a remote browser in a node becomes available, the hub will push the queued request to the newly available node. If the queue duration expires, then the request will be killed and an alert will be raised by SmartBrowz to notify you of the killed request. This alert notification, like all Browser Grid alerts, can be viewed in the [Alerts section](https://docs.catalyst.zoho.com/en/smartbrowz/help/browser-grid/features/#alerts) section of the *Dashboard*. ![BrowserGridWorkflowGIF-img-6](https://catalyst-docs-development.zohostratus.in/images/help/smartbrowz/browser-grid/BrowserGridWorkflowGIF-img-6.webp) > **Notice:** Any Browser action or operation that you code using the Browser Logic function, or any browser automation or web scraping task that you perform using any component of Catalyst SmartBrowz is at your own risk. We strongly recommend you use the SmartBrowz components to perform operations on domains that permit such actions, or with proper approval.Additionally, while Catalyst does provide a secure infrastructure to code your functions, any consequence of the logic you code using Catalyst functions is yours alone. -------------------------------------------------------------------------------- title: "Create a Browser Grid" description: "Process massive load of requests using multiple headless browsers connected using automation libraries, with control over node and browser configurations." last_updated: "2026-11-04T10:10:44.000Z" source: "https://docs.catalyst.zoho.com/en/smartbrowz/help/browser-grid/create-grid/" service: "SmartBrowz" related: - Browser Grid Features (/en/smartbrowz/help/browser-grid/features/) - Browser Grid Workflow (/en/smartbrowz/help/browser-grid/workflow/) - Connect to a Headless Browser (/en/smartbrowz/help/browser-grid/headless-connect/) - Browser Grid Java SDK (/en/sdk/java/v1/smartbrowz/browser-grid/overview/) - Browser Grid Node.js SDK (/en/sdk/nodejs/v2/smartbrowz/browser-grid/overview/) - Browser Grid Python SDK (/en/sdk/python/v1/smartbrowz/browser-grid/overview/) - Browser Grid REST API (/en/api/code-reference/smartbrowz/browser-grid/list-all-grids/#ListallBrowserGrids) -------------------------------------------------------------------------------- # Create a Browser Grid By default, when you create a Catalyst project and access the Browser Grid component present in the *Catalyst SmartBrowz* service, you will have access to two preconfigured browser grids. ![catalyst_smartbrowz_browsergrid_predef_grids](https://catalyst-docs-development.zohostratus.in/images/help/smartbrowz/browser-grid/catalyst_smartbrowz_browsergrid_predef_grids.webp) The predefined browser grids will be configured in the following manner: * They will be named `Puppeteer_Grid` and `Selenium_Grid`. * The `Puppeteer_Grid` will allow you to connect and process requests in a remote browser using the *Puppeteer* or *Playwright* automation libraries. * The `Selenium_Grid` will allow you to connect and process requests in a remote browser using the *Selenium* automation libraries. * Both the grids will be configured as **Basic Configurations**. They will be able to run one browser in one node, and no configuration for concurrent browsers will be made. By providing you these pre-defined browser grids, the *Catalyst SmartBrowz* service offers you the option to use this grid without initial set up and test the functionality of the component. You can also update the configurations of the browser grid to suit your requirement, or delete these pre-defined grids and create your own Browser Grid from scratch. To create a Browser Grid: 1. Click the **Create Browser Grid** button. ![catalyst_smartbrowz_browsergrid_create_grid](https://catalyst-docs-development.zohostratus.in/images/help/smartbrowz/browser-grid/catalyst_smartbrowz_browsergrid_create_grid.webp) 2. Choose your required endpoint type. ![catalyst_smartbrowz_browsergrid_basic_config_now](https://catalyst-docs-development.zohostratus.in/images/help/smartbrowz/browser-grid/catalyst_smartbrowz_browsergrid_basic_config_now.webp) Based on your selection, Catalyst SmartBrowz will generate the required **CDP**/**Webdriver** endpoint that will allow you to connect to a headless browser using *Selenium*, *Puppeteer*, or *Playwright* automation libraries. 3. Choose your configuration based on the load of requests you wish to process in your remote browser. You have the option to configure your Browser Grid with a: **Basic Configuration** ### Basic Configuration The **Basic** configuration allots up to a maximum of 10 nodes, each allocated 1 GiB of virtual memory and one vCPU core. Each node will run one browser in them, and the grid can run a maximum of 10 browsers concurrently. This configuration is best suited for processing lighter request loads. ![catalyst_smartbrowz_browsergrid_basic_config_init](https://catalyst-docs-development.zohostratus.in/images/help/smartbrowz/browser-grid/catalyst_smartbrowz_browsergrid_basic_config_init.webp) Based on your requirement, you can enter **1-10** as the number of nodes to be allotted for your browser grid. ![catalyst_smartbrowz_browsergrid_basic_config_now](https://catalyst-docs-development.zohostratus.in/images/help/smartbrowz/browser-grid/catalyst_smartbrowz_browsergrid_basic_config_now.webp) You will be able to view the definition of your configuration in the **Allotted Configuration** section. **Advanced Configuration** ### Advanced Configuration This configuration provides you with greater control in allotting your required number of nodes and the number of browsers that need to be allotted to each node. ![catalyst_smartbrowz_browsergrid_advconfig_first_look](https://catalyst-docs-development.zohostratus.in/images/help/smartbrowz/browser-grid/catalyst_smartbrowz_browsergrid_advconfig_first_look.webp) Based on the load of the requests that you need to process, you will have further options to choose and configure your ideal browser grid. ![catalyst_smartbrowz_browsergrid_select_adv_config](https://catalyst-docs-development.zohostratus.in/images/help/smartbrowz/browser-grid/catalyst_smartbrowz_browsergrid_select_adv_config.webp) **Light Configuration** ### Light - 1GiB Memory, 1vCPU The **Light** node type allots up to a maximum of 10 nodes, each allocated with 1 GiB of virtual memory and one vCPU core. Each node will run one browser in them, and the grid can run a maximum of 10 browsers concurrently. This node type is best used when you need to process requests that do not demand much time.
Criteria Light Node Types' Offerings
Configuration Light -1 GiB memory, 1vCPU
Cores per node 1
Maximum number of cores possible 10
Memory allotted per node 1 GiB
Maximum memory that can be allotted to the browser grid 10 GiB
Maximum number of browsers that can be allotted to a single node 1
Maximum number of concurrent browser processes possible 10
* Use the **Max. no. of Node(s)** drop-down to allot the required number of nodes for your grid. ![catalyst_smartbrowz_browsergrid_select_adv_config_mod_node_sel_light](https://catalyst-docs-development.zohostratus.in/images/help/smartbrowz/browser-grid/catalyst_smartbrowz_browsergrid_select_adv_config_mod_node_sel_light.webp) * The *Light* node type only allows for 1 browser to be allotted per node. ![catalyst_smartbrowz_browsergrid_select_adv_config_mod_browser_sel_light](https://catalyst-docs-development.zohostratus.in/images/help/smartbrowz/browser-grid/catalyst_smartbrowz_browsergrid_select_adv_config_mod_browser_sel_light.webp) You can view the definition of your configuration in the **Allotted Configuration** section once you've made your selection. ![catalyst_smartbrowz_browsergrid_select_adv_config_light_node_cmpltd](https://catalyst-docs-development.zohostratus.in/images/help/smartbrowz/browser-grid/catalyst_smartbrowz_browsergrid_select_adv_config_light_node_cmpltd.webp) **Moderate Configuration** ### Moderate - 2GiB Memory, 2vCPU The **Moderate** node type allots up to a maximum of 5 nodes, each allocated with 2 GiB of virtual memory and 2 vCPU cores. Each node can run two browsers in them, and the grid can run a maximum of 10 browsers concurrently.
Criteria Moderate Node Types' Offerings
Configuration Moderate - 2GiB memory, 2vCPU
Cores per node 2
Maximum number of cores possible 10
Memory allotted per node 2 GiB
Maximum memory that can be allotted to the browser grid 10 GiB
Maximum number of browsers that can be allotted to a single node 2
Maximum number of concurrent browser processes possible 10
* Use the **Max. no. of Node(s)** drop-down to allot the required number of nodes for your grid. ![catalyst_smartbrowz_browsergrid_select_adv_config_mod_node_sel](https://catalyst-docs-development.zohostratus.in/images/help/smartbrowz/browser-grid/catalyst_smartbrowz_browsergrid_select_adv_config_mod_node_sel.webp) * Use the **Max Browser Allotted per Node** drop-down to choose the number of browsers allotted per node. ![catalyst_smartbrowz_browsergrid_select_adv_config_light_browser_cmpltd](https://catalyst-docs-development.zohostratus.in/images/help/smartbrowz/browser-grid/catalyst_smartbrowz_browsergrid_select_adv_config_light_browser_cmpltd.webp) You can view the definition of your configuration in the **Allotted Configuration** section once you've made your selection. ![catalyst_smartbrowz_browsergrid_select_adv_config_mod_node_cmpltd](https://catalyst-docs-development.zohostratus.in/images/help/smartbrowz/browser-grid/catalyst_smartbrowz_browsergrid_select_adv_config_mod_node_cmpltd.webp) **Heavy Configuration** ### Heavy - 4GiB Memory, 4vCPU The **Heavy** node type allots up to a maximum of 2 nodes, each allocated with 4 GiB of virtual memory and 4 vCPU cores. Each node can run four browsers in them, and the grid can run a maximum of 8 browsers concurrently. This node type is best used when you have massive amounts of requests that need to be processed, where each request demands a lot of processing time.
Criteria Heavy Node Types' Offerings
Configuration Heavy - 4GiB memory, 4vCPU
Cores per node 4
Maximum number of cores possible 8
Memory allotted per node 4 GiB
Maximum memory that can be allotted to the browser grid 8 GiB
Maximum number of browsers that can be allotted to a single node 4
Maximum number of concurrent browser processes possible 8
* Use the **Max. no. of Node(s)** drop-down, to allot the required number of nodes for your grid. ![catalyst_smartbrowz_browsergrid_select_adv_config_heavy_node_init](https://catalyst-docs-development.zohostratus.in/images/help/smartbrowz/browser-grid/catalyst_smartbrowz_browsergrid_select_adv_config_heavy_node_init.webp) * Use the **Max Browser Allotted per Node** drop-down to choose the number of browsers allotted per node. ![catalyst_smartbrowz_browsergrid_select_adv_config_heavy_browser_init](https://catalyst-docs-development.zohostratus.in/images/help/smartbrowz/browser-grid/catalyst_smartbrowz_browsergrid_select_adv_config_heavy_browser_init.webp) You can view the definition of your configuration in the **Allotted Configuration** section once you've made your selection. ![catalyst_smartbrowz_browsergrid_select_adv_config_heavy_node_cmpltd](https://catalyst-docs-development.zohostratus.in/images/help/smartbrowz/browser-grid/catalyst_smartbrowz_browsergrid_select_adv_config_heavy_node_cmpltd.webp) > **Info:** * While you can choose the number of nodes and the number of browsers to process your requests, you will not have the option to completely customize the setup. You will be provided with a set range of allotment options that you can choose to create your Browser Grid with. If your requirement demands you bypass this restriction, please follow the steps detailed in this [help section](https://docs.catalyst.zoho.com/en/smartbrowz/help/browser-grid/create-grid/#advanced-configuration) to ensure you can create a browser grid that is truly custom. * [Learn more about comparing each configuration type](https://docs.catalyst.zoho.com/en/smartbrowz/help/browser-grid/features/#browser-grid-configuration). * [Learn more about ideal practices for implementing browser grids](https://docs.catalyst.zoho.com/en/smartbrowz/help/browser-grid/ideal-practices/). 4. Click **Create**. ![catalyst_smartbrowz_browsergrid_first_create](https://catalyst-docs-development.zohostratus.in/images/help/smartbrowz/browser-grid/catalyst_smartbrowz_browsergrid_first_create.webp) The required browser grid will be created. You will be directed to the *Overview* section, and you will be able to view the following details: * The status of the Browser Grid will be "**Inactive**". You need to connect to the headless browser through code to activate the browser grid. * You will be able to view the general details about the browser grid. * The **Configuration Details** section will detail the configuration used to create the browser grid. * The required **CDP/Webdriver** endpoint to connect to the headless browser will be generated by SmartBrowz and ready to use. * You will also have the option to view your `API` key or regenerate it when required. * You will also be provided with information on the automation library you have chosen to connect and use the headless browser with, and on the supported browser versions. > **Notice:** Any Browser action or operation that you code using the Browser Logic function, or any browser automation or web scraping task that you perform using any component of Catalyst SmartBrowz is at your own risk. We strongly recommend you use the SmartBrowz components to perform operations on domains that permit such actions, or with proper approval.Additionally, while Catalyst does provide a secure infrastructure to code your functions, any consequence of the logic you code using Catalyst functions is yours alone. -------------------------------------------------------------------------------- title: "Connect to a Headless Browser" description: "Process massive load of requests using multiple headless browsers connected using automation libraries, with control over node and browser configurations." last_updated: "2026-11-04T10:10:44.000Z" source: "https://docs.catalyst.zoho.com/en/smartbrowz/help/browser-grid/headless-connect/" service: "SmartBrowz" related: - Browser Grid Features (/en/smartbrowz/help/browser-grid/features/) - Browser Grid Workflow (/en/smartbrowz/help/browser-grid/workflow/) - Create a Browser Grid (/en/smartbrowz/help/browser-grid/create-grid/) - Browser Grid Java SDK (/en/sdk/java/v1/smartbrowz/browser-grid/overview/) - Browser Grid Node.js SDK (/en/sdk/nodejs/v2/smartbrowz/browser-grid/overview/) - Browser Grid Python SDK (/en/sdk/python/v1/smartbrowz/browser-grid/overview/) - Browser Grid REST API (/en/api/code-reference/smartbrowz/browser-grid/list-all-grids/#ListallBrowserGrids) -------------------------------------------------------------------------------- # Connect to Headless Chrome or Firefox Catalyst SmartBrowz will generate a CDP/Webdriver endpoint once you create a Browser Grid. This endpoint will be made secure using an unique API key, which will also be generated by the SmartBrowz service. You need to use this secure endpoint in your code to connect to the remote browser and activate the grid. ![catalyst_smartbrowz_browsergrid_access_url](https://catalyst-docs-development.zohostratus.in/images/help/smartbrowz/browser-grid/catalyst_smartbrowz_browsergrid_access_url.webp) The SmartBrowz console also provides you with the required code snippets in [Java](https://docs.catalyst.zoho.com/en/sdk/java/v1/smartbrowz/browser-grid/overview/), [Node.js](https://docs.catalyst.zoho.com/en/sdk/nodejs/v2/smartbrowz/browser-grid/overview/) and [Python](https://docs.catalyst.zoho.com/en/sdk/python/v1/smartbrowz/browser-grid/overview/) function stack. To access the required code snippet: 1. Click **How to Connect?** ![catalyst_smartbrowz_browsergrid_connect_strt](https://catalyst-docs-development.zohostratus.in/images/help/smartbrowz/browser-grid/catalyst_smartbrowz_browsergrid_connect_strt.webp) 2. You will be able to view and copy the code snippet that you need to use to connect to the headless browsers. You can use the drop-down to select your required runtime. ![catalyst_smartbrowz_browsergrid_stack_sel_connect](https://catalyst-docs-development.zohostratus.in/images/help/smartbrowz/browser-grid/catalyst_smartbrowz_browsergrid_stack_sel_connect.webp) 3. You need to paste the snippet to your code file and execute it to trigger the browser grid and connect to your headless browsers. ![catalyst_smartbrowz_browsergrid_active_label](https://catalyst-docs-development.zohostratus.in/images/help/smartbrowz/browser-grid/catalyst_smartbrowz_browsergrid_active_label.webp) Once connected, the grid will be marked **Active**. Based on your configuration, the nodes will spawn the required number of browsers to process your requests. > **Info:** Ensure that you click the **Refresh** button to render the latest stats. ### Code Snippets to Connect to the Headless Browser The following are code snippets that you need to copy and use in your code to activate your browser grid and connect to the headless browser. **Selenium** **Java** **Connect to Headless Chrome** ```java import java.net.MalformedURLException; import java.net.URL; import org.openqa.selenium.Capabilities; import org.openqa.selenium.remote.RemoteWebDriver; import org.openqa.selenium.chrome.ChromeOptions; public class RemoteChromeLoggingExample { public static void main(String[] args) throws MalformedURLException { ChromeOptions options = new ChromeOptions(); options.addArguments("--no-sandbox"); options.addArguments("--headless"); URL remoteUrl = new URL("YOUR_WEBDRIVER_ENDPOINT"); RemoteWebDriver driver = new RemoteWebDriver(remoteUrl, options); Capabilities caps = driver.getCapabilities(); String browserName = caps.getBrowserName(); String browserVersion = caps.getBrowserVersion(); System.out.println("Browser: " + browserName + " " + browserVersion); driver.get("https://example.com"); System.out.println("Page title is: " + driver.getTitle()); driver.quit(); } } ``` **Connect to Headless Firefox** ```java import java.net.MalformedURLException; import java.net.URL; import org.openqa.selenium.Capabilities; import org.openqa.selenium.firefox.FirefoxOptions; import org.openqa.selenium.remote.RemoteWebDriver; public class RemoteFirefoxLoggingExample { public static void main(String[] args) throws MalformedURLException { FirefoxOptions options = new FirefoxOptions(); options.addArguments("--headless"); options.addArguments("--no-sandbox"); options.addArguments("--disable-dev-shm-usage"); URL remoteUrl = new URL("YOUR_WEBDRIVER_ENDPOINT"); RemoteWebDriver driver = new RemoteWebDriver(remoteUrl, options); Capabilities caps = driver.getCapabilities(); String browserName = caps.getBrowserName(); String browserVersion = caps.getBrowserVersion(); System.out.println("Browser: " + browserName + " " + browserVersion); driver.get("https://example.com"); System.out.println("Page title is: " + driver.getTitle()); driver.quit(); } } ``` **Node.js** **Connect to Headless Chrome** ```js const { Builder } = require('selenium-webdriver'); const chrome = require('selenium-webdriver/chrome'); (async function test() { let options = new chrome.Options(); options.addArguments('--headless'); options.addArguments('--no-sandbox'); let driver = await new Builder() .forBrowser('chrome') .setChromeOptions(options) .usingServer('YOUR_WEBDRIVER_ENDPOINT') .build(); try { await driver.get('https://example.com'); console.log(await driver.getTitle()); } catch (err) { console.error(err); } finally { await driver.quit(); } })(); ``` **Connect to Headless Firefox** ```js const { Builder, By } = require('selenium-webdriver'); const firefox = require('selenium-webdriver/firefox'); (async function RemoteFirefoxLoggingExample() { let options = new firefox.Options(); options.addArguments('--headless'); let driver = await new Builder() .forBrowser('firefox') .setFirefoxOptions(options) .usingServer('YOUR_WEBDRIVER_ENDPOINT') .build(); try { await driver.get('https://example.com'); console.log(await driver.getTitle()); } catch (err) { console.error(err); } finally { await driver.quit(); } })(); ``` **Python** **Connect to Headless Chrome** ```python import asyncio from selenium import webdriver from selenium.webdriver.chrome.options import Options async def index(): options = Options() options.add_argument("--disable-extensions") options.add_argument("--no-sandbox") options.add_argument("--headless") options.add_argument("--disable-dev-shm-usage") driver = webdriver.Remote( command_executor="YOUR_WEBDRIVER_ENDPOINT", options=options ) driver.get("https://example.com") driver.save_screenshot("screenshot.png") driver.quit() async def my_async_function(): await index() if __name__ == "__main__": asyncio.run(my_async_function()) ``` **Connect to Headless Firefox** ```python import asyncio from selenium import webdriver from selenium.webdriver.firefox.options import Options async def index(): options = Options() options.add_argument("--headless") capabilities = { "browserName": "firefox", "browserVersion": "latest", "platformName": "linux" } driver = webdriver.Remote( command_executor="YOUR_WEBDRIVER_ENDPOINT", desired_capabilities=capabilities, options=options ) driver.get("https://example.com") driver.save_screenshot("screenshot.png") driver.quit() async def my_async_function(): await index() if __name__ == "__main__": asyncio.run(my_async_function()) ``` **Puppeteer** **Node.js** **Connect to Headless Chrome** ```js const puppeteer = require("puppeteer"); (async () => { const browser = await puppeteer.connect({ browserWSEndpoint: "YOUR_ENDPOINT" }); const page = await browser.newPage(); await page.goto("https://example.com"); await page.screenshot({ path: "remote-example.png" }); await browser.disconnect(); })(); ``` **Python** **Connect to Headless Chrome** ```python import asyncio from pyppeteer import connect async def main(): browser = await connect({ 'browserWSEndpoint': 'YOUR_ENDPOINT' }) page = await browser.newPage() await page.goto("https://example.com") await page.screenshot({'path': 'screenshot.png'}) await browser.close() asyncio.run(main()) ``` **Playwright** **Java** **Connect to Headless Chrome** ```java package com.example; import java.nio.file.Paths; import com.microsoft.playwright.*; public class Test { public static void main(String[] args) { try (Playwright playwright = Playwright.create()) { BrowserType browserType = playwright.chromium(); Browser browser = browserType.connectOverCDP("YOUR_ENDPOINT"); Page page = browser.newPage(); page.navigate("https://example.com"); System.out.println("Title: " + page.title()); page.screenshot(new Page.ScreenshotOptions().setPath(Paths.get("screenshot.png"))); String html = page.content(); System.out.println("Page HTML: " + html.substring(0, Math.min(html.length(), 200)) + "..."); browser.close(); } } } ``` **Node.js** **Connect to Headless Chrome** ```js const { chromium } = require("playwright"); (async () => { const browser = await chromium.connectOverCDP("YOUR_ENDPOINT"); const context = browser.contexts().length ? browser.contexts()[0] : await browser.newContext(); const page = await context.newPage(); await page.goto("https://example.com"); console.log(await page.title()); await browser.close(); })(); ``` **Python** **Connect to Headless Chrome** ```python import asyncio from playwright.async_api import async_playwright async def run(playwright): browser = await playwright.chromium.connect_over_cdp("YOUR_ENDPOINT") context = await browser.new_context() page = await context.new_page() await page.goto("https://example.com") await page.screenshot(path="screenshot.png") print(await page.title()) await browser.close() async def main(): async with async_playwright() as playwright: await run(playwright) asyncio.run(main()) ``` > **Notice:** Any Browser action or operation that you code using the Browser Logic function, or any browser automation or web scraping task that you perform using any component of Catalyst SmartBrowz is at your own risk. We strongly recommend you use the SmartBrowz components to perform operations on domains that permit such actions, or with proper approval.Additionally, while Catalyst does provide a secure infrastructure to code your functions, any consequence of the logic you code using Catalyst functions is yours alone. -------------------------------------------------------------------------------- title: "Configure Resilient Browser Grids" description: "Process massive load of requests using multiple headless browsers connected using automation libraries, with control over node and browser configurations." last_updated: "2026-11-04T10:10:44.000Z" source: "https://docs.catalyst.zoho.com/en/smartbrowz/help/browser-grid/ideal-practices/" service: "SmartBrowz" related: - Browser Grid Features (/en/smartbrowz/help/browser-grid/features/) - Browser Grid Workflow (/en/smartbrowz/help/browser-grid/workflow/) - Create a Browser Grid (/en/smartbrowz/help/browser-grid/create-grid/) - Browser Grid Java SDK (/en/sdk/java/v1/smartbrowz/browser-grid/overview/) - Browser Grid Node.js SDK (/en/sdk/nodejs/v2/smartbrowz/browser-grid/overview/) - Browser Grid Python SDK (/en/sdk/python/v1/smartbrowz/browser-grid/overview/) - Browser Grid REST API (/en/api/code-reference/smartbrowz/browser-grid/list-all-grids/#ListallBrowserGrids) -------------------------------------------------------------------------------- # Ideal Practices to Employ Resilient Browser Grid The configurations you choose to create your grid plays a monumental part in its resilience when it comes to processing the required requests. To ensure that your grid is optimized, operational, and that it does not encounter the **Browser Grid Failure** alert, here are a few points to consider while creating your grid: * Always allocate your grid with the necessary amount of nodes and browsers. * It is not necessary to create your grid with the maximum configurations possible. If your request load does not demand such configuration, it is best to make a more conscious decision while configuring your grid. This ensures you save resources and curb your grid's **Idle** state. * While Browser Grid is an auto scaling component, you are required to configure the maximum number of nodes allotted to the grid and the maximum number of browsers allotted per node. For this reason, you are advised not to treat your grid as an open grid. * It is always good practice to check if your grid can accept and process upcoming requests. This ensures that you always have available nodes and associated browsers available to process your requests. To make this check as seamless as possible, Catalyst SmartBrowz offers you the following API: ```bash curl --location 'https://console.catalyst.zoho.com/browser360/v1/project/********/browser-grid/********/stats?data_to_fetch=live_stats' \ --header 'api-key: ************************************' ``` > **Notes:** * To run this API successfully, you need to have at least one grid present in your project. * It is best to **run this API before you connect** to your headless browser. Executing this API will generate a response in the following manner: ```json { "status": "success", "data": { "session_queue_size": 0, "session_count": 0, "node_count": 0, "free_sessions": 10, "is_hub_alive": true } } ``` In this response, we can see that the value for the key `free_sessions` is set as **10**. Meaning that there are **10 browsers** available to process your request. If the value of `free_sessions` key is returned as **0**, as shown below: ```json { "status": "success", "data": { "session_queue_size": 0, "session_count": 10, "node_count": 2, "free_sessions": 0, "is_hub_alive": true } } ``` This means that there are no browsers left to process your request. It would be best to wait until the value of `free_sessions` is at least returned as **1** to process your requests. > **Notice:** Any Browser action or operation that you code using the Browser Logic function, or any browser automation or web scraping task that you perform using any component of Catalyst SmartBrowz is at your own risk. We strongly recommend you use the SmartBrowz components to perform operations on domains that permit such actions, or with proper approval.Additionally, while Catalyst does provide a secure infrastructure to code your functions, any consequence of the logic you code using Catalyst functions is yours alone. -------------------------------------------------------------------------------- title: "Regenerate API Key" description: "Process massive load of requests using multiple headless browsers connected using automation libraries, with control over node and browser configurations." last_updated: "2026-11-04T10:10:44.000Z" source: "https://docs.catalyst.zoho.com/en/smartbrowz/help/browser-grid/regenerate-api-key/" service: "SmartBrowz" related: - Browser Grid Features (/en/smartbrowz/help/browser-grid/features/) - Browser Grid Workflow (/en/smartbrowz/help/browser-grid/workflow/) - Create a Browser Grid (/en/smartbrowz/help/browser-grid/create-grid/) - Browser Grid Java SDK (/en/sdk/java/v1/smartbrowz/browser-grid/overview/) - Browser Grid Node.js SDK (/en/sdk/nodejs/v2/smartbrowz/browser-grid/overview/) - Browser Grid Python SDK (/en/sdk/python/v1/smartbrowz/browser-grid/overview/) - Browser Grid REST API (/en/api/code-reference/smartbrowz/browser-grid/list-all-grids/#ListallBrowserGrids) -------------------------------------------------------------------------------- # Regenerate API Key Once your Browser Grid is created, SmartBrowz will generate a CDP/Webdriver endpoint, along with an API key. ![catalyst_smartbrowz_browsergrid_access_url](https://catalyst-docs-development.zohostratus.in/images/help/smartbrowz/browser-grid/catalyst_smartbrowz_browsergrid_access_url.webp) The API key ensures that the endpoint is secure. If at any point you have a requirement to regenerate your API key, you need to be informed of the following consequences: * You need to stop the grid and make it inactive. You will not be allowed to regenerate your API key while the grid is active. * Once you regenerate an API key, you need to apply the new endpoint to your code. * When you reconnect to your browser grid through code, the stats of the old grid will be erased, and the dashboard and grid set up will consider your reconnection as the first request. To regenerate your API key: 1. Navigate to the **Overview** section of your required browser grid, and ensure that the grid is **Inactive**. ![catalyst_smartbrowz_browsergrid_apikey_inactive_grid](https://catalyst-docs-development.zohostratus.in/images/help/smartbrowz/browser-grid/catalyst_smartbrowz_browsergrid_apikey_inactive_grid.webp) 2. Click **Regenerate**. ![catalyst_smartbrowz_browsergrid_apikey_regen_click](https://catalyst-docs-development.zohostratus.in/images/help/smartbrowz/browser-grid/catalyst_smartbrowz_browsergrid_apikey_regen_click.webp) 3. Click **Confirm** to regenerate the key. ![catalyst_smartbrowz_browsergrid_apikey_regen_confirm](https://catalyst-docs-development.zohostratus.in/images/help/smartbrowz/browser-grid/catalyst_smartbrowz_browsergrid_apikey_regen_confirm.webp) A new API key will be generated for you. ![catalyst_smartbrowz_browsergrid_apikey_regen_done](https://catalyst-docs-development.zohostratus.in/images/help/smartbrowz/browser-grid/catalyst_smartbrowz_browsergrid_apikey_regen_done.webp) You can either replace just the new API key in your endpoints, or you can copy the endpoint from the console with the new API key and replace it accordingly in your code. > **Notice:** Any Browser action or operation that you code using the Browser Logic function, or any browser automation or web scraping task that you perform using any component of Catalyst SmartBrowz is at your own risk. We strongly recommend you use the SmartBrowz components to perform operations on domains that permit such actions, or with proper approval.Additionally, while Catalyst does provide a secure infrastructure to code your functions, any consequence of the logic you code using Catalyst functions is yours alone. -------------------------------------------------------------------------------- title: "Explore Browser Grid Dashboard" description: "Process massive load of requests using multiple headless browsers connected using automation libraries, with control over node and browser configurations." last_updated: "2026-11-04T10:10:44.000Z" source: "https://docs.catalyst.zoho.com/en/smartbrowz/help/browser-grid/explore-dashboard/" service: "SmartBrowz" related: - Browser Grid Features (/en/smartbrowz/help/browser-grid/features/) - Browser Grid Workflow (/en/smartbrowz/help/browser-grid/workflow/) - Create a Browser Grid (/en/smartbrowz/help/browser-grid/create-grid/) - Browser Grid Java SDK (/en/sdk/java/v1/smartbrowz/browser-grid/overview/) - Browser Grid Node.js SDK (/en/sdk/nodejs/v2/smartbrowz/browser-grid/overview/) - Browser Grid Python SDK (/en/sdk/python/v1/smartbrowz/browser-grid/overview/) - Browser Grid REST API (/en/api/code-reference/smartbrowz/browser-grid/list-all-grids/#ListallBrowserGrids) -------------------------------------------------------------------------------- # Explore Browser Grid Dashboard Once you create your browser grid, you will have access to the **Dashboard**. The dashboard will be populated once you connect to the remote browser in the grid through your code. The browser grid dashboard displays real-time stats of the following: ![catalyst_smartbrowz_browsergrid_dash_first_look](https://catalyst-docs-development.zohostratus.in/images/help/smartbrowz/browser-grid/catalyst_smartbrowz_browsergrid_dash_first_look.webp) * The maximum and average percent of cores being used by spawned nodes. * The maximum and average percent of memory being used by nodes. * The number of nodes and browsers that are being run concurrently. * Complete list of the [alerts](https://docs.catalyst.zoho.com/en/smartbrowz/help/browser-grid/features/#alerts) that have been raised by the Browser Grid at the event where a request has been killed, or if the grid has encountered any errors. > **Note:** Always click the **Refresh** button present in the console to ensure the dashboard renders the latest stats. ### Performance Graphs In the Browser Grid *Dashboard*, you will be able to view four graphs that illustrate various performance statistics of the grid. ![catalyst_smartbrowz_browsergrid_graph_dispaly](https://catalyst-docs-development.zohostratus.in/images/help/smartbrowz/browser-grid/catalyst_smartbrowz_browsergrid_graph_dispaly.webp) The graphs project the following operations: * The performance of the nodes and data on when they were created. * The performance of the spawned browsers and the duration they were spawned and operating. * The average CPU core usage and average memory usage. > **Notice:** Any Browser action or operation that you code using the Browser Logic function, or any browser automation or web scraping task that you perform using any component of Catalyst SmartBrowz is at your own risk. We strongly recommend you use the SmartBrowz components to perform operations on domains that permit such actions, or with proper approval.Additionally, while Catalyst does provide a secure infrastructure to code your functions, any consequence of the logic you code using Catalyst functions is yours alone. -------------------------------------------------------------------------------- title: "Manage Browser Grid" description: "Process massive load of requests using multiple headless browsers connected using automation libraries, with control over node and browser configurations." last_updated: "2026-11-04T10:10:44.000Z" source: "https://docs.catalyst.zoho.com/en/smartbrowz/help/browser-grid/manage-grid/" service: "SmartBrowz" related: - Browser Grid Features (/en/smartbrowz/help/browser-grid/features/) - Browser Grid Workflow (/en/smartbrowz/help/browser-grid/workflow/) - Create a Browser Grid (/en/smartbrowz/help/browser-grid/create-grid/) - Browser Grid Java SDK (/en/sdk/java/v1/smartbrowz/browser-grid/overview/) - Browser Grid Node.js SDK (/en/sdk/nodejs/v2/smartbrowz/browser-grid/overview/) - Browser Grid Python SDK (/en/sdk/python/v1/smartbrowz/browser-grid/overview/) - Browser Grid REST API (/en/api/code-reference/smartbrowz/browser-grid/list-all-grids/#ListallBrowserGrids) -------------------------------------------------------------------------------- # Manage Browser Grid Once a browser grid is active and operational, you can perform the following operations: * [Stop the browser grid](https://docs.catalyst.zoho.com/en/smartbrowz/help/browser-grid/manage-grid/#stop-the-browser-grid) * [Modify and update browser grid configurations](https://docs.catalyst.zoho.com/en/smartbrowz/help/browser-grid/manage-grid/#update-browser-grid) * [Delete the entire browser grid](https://docs.catalyst.zoho.com/en/smartbrowz/help/browser-grid/manage-grid/#delete-browser-grid) ### Stop the Browser Grid To make the browser grid inactive again: 1. Select the required browser grid tile from the **Browser Grid** component space. ![catalyst_smartbrowz_browsergrid_sel_tile](https://catalyst-docs-development.zohostratus.in/images/help/smartbrowz/browser-grid/catalyst_smartbrowz_browsergrid_sel_tile.webp) 2. Click the ellipsis and select **Stop**. ![catalyst_smartbrowz_browsergrid_stop_sel](https://catalyst-docs-development.zohostratus.in/images/help/smartbrowz/browser-grid/catalyst_smartbrowz_browsergrid_stop_sel.webp) 3. Click **Stop**. ![catalyst_smartbrowz_browsergrid_stop_confirm](https://catalyst-docs-development.zohostratus.in/images/help/smartbrowz/browser-grid/catalyst_smartbrowz_browsergrid_stop_confirm.webp) The browser grid's operations will be suspended, and the grid will be marked **Inactive**. ![catalyst_smartbrowz_browsergrid_stopped](https://catalyst-docs-development.zohostratus.in/images/help/smartbrowz/browser-grid/catalyst_smartbrowz_browsergrid_stopped.webp) > **Note:** To run the grid again, you need to connect to your headless browser through code. ### Update Browser Grid > **Notes:** * You will only be able to update a browser grid if it is in the **Inactive** state. * If your browser is having trouble processing requests due to improper configurations, then you need to [Stop the grid](https://docs.catalyst.zoho.com/en/smartbrowz/help/browser-grid/manage-grid/#stop-the-browser-grid), and only then update it. * Once you update a configuration, the grid will behave as a completely new grid. The *Dashboard* populated with data from previous executions will be permanently deleted. To update the configurations of your browser grid: 1. Select the required browser grid tile from the **Browser Grid** component space. ![catalyst_smartbrowz_browsergrid_sel_tile](https://catalyst-docs-development.zohostratus.in/images/help/smartbrowz/browser-grid/catalyst_smartbrowz_browsergrid_sel_tile.webp) 2. Ensure your required grid is inactive, and click on the ellipsis and select **Update**. ![catalyst_smartbrowz_browsergrid_update](https://catalyst-docs-development.zohostratus.in/images/help/smartbrowz/browser-grid/catalyst_smartbrowz_browsergrid_update.webp) 3. Update your grid in the required manner and click **Update**. ![catalyst_smartbrowz_browsergrid_updating](https://catalyst-docs-development.zohostratus.in/images/help/smartbrowz/browser-grid/catalyst_smartbrowz_browsergrid_updating.webp) The required changes will be rendered. ### Delete Browser Grid > **Notes:** * You will only be able to delete a browser grid if it is in the **Inactive** state. * If you are required to delete an active browser grid, then you need to [Stop the grid](https://docs.catalyst.zoho.com/en/smartbrowz/help/browser-grid/manage-grid/#stop-the-browser-grid), and only then delete it. To delete a grid: 1. Select the required browser grid tile from the **Browser Grid** component space. ![catalyst_smartbrowz_browsergrid_sel_tile](https://catalyst-docs-development.zohostratus.in/images/help/smartbrowz/browser-grid/catalyst_smartbrowz_browsergrid_sel_tile.webp) 2. Ensure your required grid is inactive, and click on the ellipsis and select **Delete**. ![catalyst_smartbrowz_browsergrid_del_sel](https://catalyst-docs-development.zohostratus.in/images/help/smartbrowz/browser-grid/catalyst_smartbrowz_browsergrid_del_sel.webp) 3. Click **Delete**. ![catalyst_smartbrowz_browsergrid_del_done](https://catalyst-docs-development.zohostratus.in/images/help/smartbrowz/browser-grid/catalyst_smartbrowz_browsergrid_del_done.webp) The browser grid will be permanently deleted. > **Notice:** Any Browser action or operation that you code using the Browser Logic function, or any browser automation or web scraping task that you perform using any component of Catalyst SmartBrowz is at your own risk. We strongly recommend you use the SmartBrowz components to perform operations on domains that permit such actions, or with proper approval.Additionally, while Catalyst does provide a secure infrastructure to code your functions, any consequence of the logic you code using Catalyst functions is yours alone. -------------------------------------------------------------------------------- title: "Pricing" description: "Browser Grid is billed on node hours, the time your nodes actually run, at $0.00187 per GiB-minute of node run time." last_updated: "2026-11-02T09:32:48.000Z" source: "https://docs.catalyst.zoho.com/en/smartbrowz/help/browser-grid/pricing/" service: "SmartBrowz" related: - Billing Process (/en/deployment-and-billing/billing/billing-process/) - Pricing Models (/en/deployment-and-billing/billing/introduction/) -------------------------------------------------------------------------------- # Browser Grid Pricing Browser Grid is a robust component of the *Catalyst SmartBrowz* service that enables you to run multiple headless browsers in parallel on a scalable grid. A Browser Grid exposes a secure **CDP** or **WebDriver** endpoint compatible with any automation library that connects over CDP or WebDriver, including Puppeteer, Playwright, and Selenium, in Java, Node.js, or Python. On this Grid you can launch multiple headless Chrome and Firefox browsers to perform parallel automation testing, SEO monitoring, and ethical crawling at scale. Catalyst provides you the option to choose the number of nodes and its associated browsers. Catalyst runs nodes only when your request load needs them, and Browser Grid is billed on **node hours**, which is the time your nodes actually run. You're not charged for the number of nodes you configure. A grid set to 10 nodes costs nothing for nodes that never start. In the same vein, a grid in the [Inactive](https://docs.catalyst.zoho.com/en/smartbrowz/help/browser-grid/features/#browser-grid-states) state runs no nodes, so it incurs no charges. Node run time is measured in **GiB-minutes**: a node's memory in GiB multiplied by the minutes it runs. Larger node types use more GiB-minutes for each hour they run. Browser Grid is billed at **$0.00187 per GiB-minute** of node run time, irrespective of the billing plan that you're part of. > **Info:** The Catalyst free tier includes **300 GiB-minutes** of Browser Grid node run time every month. You are billed only for usage beyond this allowance.
Node type Memory per node (GiB) Rate per running node-minute (USD) Rate per running node-hour (USD)
Basic / Light 1 0.00187 0.1122
Moderate 2 0.00374 0.2244
Heavy 4 0.00748 0.4488
### Pricing Example A team runs a 3-hour regression suite on a **Moderate grid** (`2GiB Memory, 2vCPU`) configured for up to 5 nodes, with 2 browsers per node. The hub starts nodes only as the load needs them.
Nodes Run time (minutes) Node-minutes GiB-minutes (× 2 GiB) Cost (USD)
2 nodes, full suite 180 360 720 1.3464
3 nodes, 1-hour peak 60 180 360 0.6732
**Total** **540** **1,080** **2.02**
If all 5 configured nodes were billed for the full 3 hours, the run would use 1,800 GiB-minutes and cost $3.37. > **Notice:** Any Browser action or operation that you code using the Browser Logic function, or any browser automation or web scraping task that you perform using any component of Catalyst SmartBrowz is at your own risk. We strongly recommend you use the SmartBrowz components to perform operations on domains that permit such actions, or with proper approval.Additionally, while Catalyst does provide a secure infrastructure to code your functions, any consequence of the logic you code using Catalyst functions is yours alone. ### Browser Logic -------------------------------------------------------------------------------- title: "Introduction" description: "Code a Catalyst Serverless function to perform any browser task that you would otherwise manually do." last_updated: "2024-01-31T07:13:52.000Z" source: "https://docs.catalyst.zoho.com/en/smartbrowz/help/browser-logic/introduction/" service: "SmartBrowz" -------------------------------------------------------------------------------- # Browser Logic ### Introduction This component of Catalyst SmartBrowz is a [Catalyst Serverless Function type](https://docs.catalyst.zoho.com/en/serverless/help/functions/introduction/), that contains the ideal coding structure required to perform any browser task through code. Using Browser Logic functions you can engineer any browser interaction or action as code to perform in a [Headless browser](https://docs.catalyst.zoho.com/en/smartbrowz/help/headless/introduction/). Every browser task that can be done manually performed can be engineered as Browser Logic. Browser Logic functions can be coded in the following programming languages: * [Java](https://docs.catalyst.zoho.com/en/sdk/java/v1/smartbrowz/generate-pdfnscreenshot/) * [NodeJS](https://docs.catalyst.zoho.com/en/sdk/nodejs/v2/smartbrowz/generate-pdfnscreenshot/) Much like other Serverless functions, you can create, initialize, serve and deploy Browser Logic functions from the [Catalyst CLI](https://docs.catalyst.zoho.com/en/cli/v1/cli-command-reference/). When you deploy the function to the console, Catalyst will generate an Invocation URL, that allows you directly access the function. The Invocation URL will be in the following format: **https://{project_domain}.development.catalystserverless.com/server/{function_name}/execute** You can also use [Logs](https://docs.catalyst.zoho.com/en/devops/help/logs/introduction/), a [Catalyst DevOps](https://docs.catalyst.zoho.com/en/devops/getting-started/introduction/) component to check function logs of Browser Logic functions, and [APM](https://docs.catalyst.zoho.com/en/devops/help/apm/introduction/) to monitor your function performance. > **Note:** Any Browser action or operation that you code using the Browser Logic function, or any browser automation or web scraping task that you perform using any component of **Catalyst SmartBrowz** is at your own risk. We strongly recommend you use the SmartBrowz components to perform operations on domains that permit the actions, or with proper approval. Additionally, while Catalyst does provide a secure infrastructure to code your functions, any consequence of the logic you code using Catalyst functions is yours alone. -------------------------------------------------------------------------------- title: "Benefits" description: "Code a Catalyst Serverless function to perform any browser task that you would otherwise manually do." last_updated: "2023-05-08T06:20:17.000Z" source: "https://docs.catalyst.zoho.com/en/smartbrowz/help/browser-logic/benefits/" service: "SmartBrowz" -------------------------------------------------------------------------------- # Benefits * Browser Logic provides you with the ideal coding structure to engineer your coding logic for browser automation tasks without any additional setup. * You can run multiple functionality tests on your web application in the headless browser by engineering the required logic in the browser logic functions. * The function stack dependencies that are required to deploy the function will be automatically generated when you initialize the function in the [CLI](https://docs.catalyst.zoho.com/en/cli/v1/cli-command-reference/). * Browser Logic allows you to control and manage the [headless browser](https://docs.catalyst.zoho.com/en/smartbrowz/help/headless/introduction/) through code. * Catalyst SmartBrowz provides you with the [code snippets](https://github.com/catalystbyzoho/smartbrowz/tree/main/examples/headless-recipes) containing the logic of common browser automation tasks. You can easily convert these recipes to Browser Logic functions and engineer your custom logic over them to perform permitted crawling and scraping tasks on websites of your preference. -------------------------------------------------------------------------------- title: "Use Cases" description: "Code a Catalyst Serverless function to perform any browser task that you would otherwise manually do." last_updated: "2025-07-01T12:11:58.000Z" source: "https://docs.catalyst.zoho.com/en/smartbrowz/help/browser-logic/use-cases/" service: "SmartBrowz" -------------------------------------------------------------------------------- # Use Cases * Lead generation is a vital task in business development. Manually collecting publicly listed contact information from each of the prospective clients' websites is a demanding and time-consuming task. You can quickly and effectively perform this task by engineering allowed crawling and scraping data from permitted websites. * Competitor analysis is another vital facet of business development. If you wish to understand how well-received your competitor's product is in the market or what their user-end pain points are, you would have to visit their product-list section manually and go through each of their user reviews and ratings in their website. This is, again, a time-consuming and demanding task. You can quickly accomplish this task by engineering a browser logic function to automatically navigate to the permitted site and perform crawling and scraping tasks. You can also engineer the browser logic function to collect only the highest rated and lowest rated reviews and store them in a CSV file to analyze them later. * Sometimes, you may receive emails from untrustworthy sources that contain a lot of hyperlinks and buttons. If you wish to check if the links or buttons are safe to visit, you can engineer a Browser Logic function that takes the content of the email as the input. You can code the function to hit the URLs of the links and buttons remotely, without compromising your safety or exposing your data, which can then produce a message that informs you of the safety of the links/buttons. -------------------------------------------------------------------------------- title: "Function Structure" description: "Code a Catalyst Serverless function to perform any browser task that you would otherwise manually do." last_updated: "2025-10-09T16:11:25.000Z" source: "https://docs.catalyst.zoho.com/en/smartbrowz/help/browser-logic/function-structure/" service: "SmartBrowz" -------------------------------------------------------------------------------- # Browser Logic Function Structure When you [create a Browser Logic function](https://docs.catalyst.zoho.com/en/smartbrowz/help/browser-logic/implementation/) from the Catalyst CLI, it is created with a boilerplate code structure as shown below. Catalyst also creates the required dependencies and configuration files for your function and your project. You can refer to the [Project Directory Structure](https://docs.catalyst.zoho.com/en/cli/v1/project-directory-structure/introduction/) help page for details about the general configuration files. ### Java > **Note:** This boilerplate code below will be present in your function file when you initialize a browser logic function in Java with Selenium ```java import java.util.logging.Level; import java.util.logging.Logger; import javax.servlet.http.HttpServletRequest; import javax.servlet.http.HttpServletResponse; import org.json.simple.JSONObject; import org.openqa.selenium.chrome.ChromeDriver; import com.catalyst.browserlogic.SeleniumHandler; public class BrowserlessExample implements SeleniumHandler { private static final Logger LOGGER = Logger.getLogger(SeleniumExample.class.getName()); JSONObject responseData = new JSONObject(); @Override @SuppressWarnings("unchecked") public void runner(HttpServletRequest request, HttpServletResponse response,ChromeDriver driver) throws Exception { try { //Fetches the endpoint and method to which the call was made String url = request.getRequestURI(); String method = request.getMethod(); driver.get("https://www.example.com"); responseData.put("message", "Title of the page "+driver.getTitle()); //Sends the response back to the Client response.setContentType("application/json"); response.getWriter().write(responseData.toString()); response.setStatus(200); } catch (Exception e) { //The actions are logged. You can check the logs from Catalyst Logs. LOGGER.log(Level.SEVERE, "Exception in SeleniumExample", e); responseData.put("error", "Internal server error occurred. Please try again in some time."); response.getWriter().write(responseData.toString()); response.setStatus(500); } } } ``` ### NodeJS > **Note:** This boilerplate code below will be present in your function file when you initialize a browser logic function in NodeJS with Puppeteer ```java module.exports.puppeteer = async (request, response, page) => { await page.goto('https://example.com/',{waitUntil: "domcontentloaded"}); const pageTitle = await page.title(); response.setHeader('Content-Type', 'application/json'); response.write(JSON.stringify({ output: pageTitle })); response.end(); }; ``` -------------------------------------------------------------------------------- title: "Implementation" description: "Code a Catalyst Serverless function to perform any browser task that you would otherwise manually do." last_updated: "2026-08-17T12:16:04.000Z" source: "https://docs.catalyst.zoho.com/en/smartbrowz/help/browser-logic/implementation/" service: "SmartBrowz" -------------------------------------------------------------------------------- # Implementation Implement the following steps to create and initialize a Browser Logic function through the Catalyst CLI. You can learn about CLI initialization and other CLI operations in detail from the [CLI help docs](https://docs.catalyst.zoho.com/en/cli/v1/cli-command-reference/). Before you initialize your function, you will need to install the browser automation library you require in your local system. The installation instructions for the automation libraries that Catalyst provides templates for are: * [Install Pupeeteer](https://pptr.dev/) * [Install Selenium](https://www.selenium.dev/) * [Install Playwright](https://playwright.dev/) ### Create a Browser Logic Function You can now begin with initializing your browser logic function by either initializing a new project from a local directory, or [adding the function](https://docs.catalyst.zoho.com/en/cli/v1/working-with-functions/add-functions/) in an existing project directory: 1. [Create or initialize the Project](https://docs.catalyst.zoho.com/en/cli/v1/initialize-resources/initialize-new-project/) in the console or through the CLI, and begin [Function Setup](https://docs.catalyst.zoho.com/en/cli/v1/initialize-resources/initialize-functions/) in CLI. 2. Choose *Browser Logic* as the function type, and click **Enter**. ![catalyst_smartbrowz_browser_logic_cli_func_setup](https://catalyst-docs-development.zohostratus.in/images/help/smartbrowz/catalyst_smartbrowz_browser_logic_cli_func_setup.webp) 3. Choose you preferred function stack, as the latest supported runtime of either *Java* or *NodeJS* and click **Enter**. ![catalyst_smartbrowz_browser_logic_cli_node_select](https://catalyst-docs-development.zohostratus.in/images/help/smartbrowz/catalyst_smartbrowz_browser_logic_cli_node_select.webp) 4. If you chose to create your function with: - **Java function stack** You can initialize your Browser Logic function with **Selenium** alone. Press **Enter**. ![catalyst_smartbrowz_browser_logic_selenium_javac](https://catalyst-docs-development.zohostratus.in/images/help/smartbrowz/catalyst_smartbrowz_browser_logic_selenium_javac.webp) - **NodeJS function stack** Choose an automation library of your preference and press **Enter**. ![catalyst_smartbrowz_browser_logic_cli_nodejs_lib](https://catalyst-docs-development.zohostratus.in/images/help/smartbrowz/catalyst_smartbrowz_browser_logic_cli_nodejs_lib.webp) The Browser Logic function will be be created successfully along with the required project or [function dependencies and configuration files](https://docs.catalyst.zoho.com/en/cli/v1/project-directory-structure/functions-directory/). #### Java: ![catalyst_smartbrowz_browser_logic_java_complete](https://catalyst-docs-development.zohostratus.in/images/help/smartbrowz/catalyst_smartbrowz_browser_logic_java_complete.webp) #### NodeJS: ![catalyst_smartbrowz_browser_logic_node_complete](https://catalyst-docs-development.zohostratus.in/images/help/smartbrowz/catalyst_smartbrowz_browser_logic_node_complete.webp) You can now code the function using an IDE of your choice. ### Serve Browser Logic Function Before we test the Browser Logic function, you need to implement the following steps in your local system: * Since Browser Logic only supports Chrome web browsers, you need to download a chrome driver suitable to your operating system from [here](https://googlechromelabs.github.io/chrome-for-testing/#stable.). * Go to `.bashrc` file present in your local system and set the following environment variables: ```json export CHROME_EXECUTABLE_PATH="/Applications/Google Chrome.app/Contents/MacOS/Google Chrome" // Replace the value with the Chrome driver you dowmloaded earlier export CHROMEDRIVER_EXECUTABLE_PATH="/usr/local/bin/chromedriver" // Replace the value with the local ocation of your Chrome browser ``` Once you have coded your Browser Logic function in an IDE of your choice, you can test the functionality of your function by using the following CLI command: ```sh catalyst serve ``` This CLI command will serve all the resources in your project, including your Browser Logic function. To learn more about Catalyst serve resources, visit this [help document](https://docs.catalyst.zoho.com/en/cli/v1/serve-resources/serve-all-resources/). When you execute the above command, this will start a local serve in your **default port 3000**, and a secure endpoint URL for your function will be generated by Catalyst, and displayed in your CLI. ![catalyst_smartbrowwz_browserlogic_catalyst_serve](https://catalyst-docs-development.zohostratus.in/images/help/smartbrowz/catalyst_smartbrowwz_browserlogic_catalyst_serve.webp) You can use this URL to test your Browser Logic functions in your browser. ### Deploy Browser Logic Function After you have coded and tested your function, you can either deploy it using the Catalyst CLI or you can upload your function to the console as a zip file. #### Deploy using the Catalyst CLI Execute the following command from your project or function directory: ```sh catalyst deploy ``` The function will be deployed to the console, and an Invocation URL will be generated for the function. You can use this URL to directly access the function, use it in code, or for any purpose of your preference that requires you to directly access the function. ![catalyst_smartbrowz_browser_logic_cli_deploy](https://catalyst-docs-development.zohostratus.in/images/help/smartbrowz/catalyst_smartbrowz_browser_logic_cli_deploy.webp) You can find out more about how catalyst deploy works by visiting this [help page](https://docs.catalyst.zoho.com/en/cli/v1/deploy-resources/introduction/). ### Upload Function as ZIP File in the Console You can upload the function by navigating to **SmartBrowz -> Browser Logic** or by navigating to **Serverless -> Functions**. The steps mentioned below are for uploading the function from the *Browser Logic* section of *SmartBrowz*. Implement the following steps to upload your Browser Logic function to the console: 1. Navigate to the **Browser Logic** component present in the *SmartBrowz* service section in the Catalyst console under *Browser Control*. Click **Create Browser Logic**. ![catalyst_smartbrowz_browser_logic_console_main](https://catalyst-docs-development.zohostratus.in/images/help/smartbrowz/catalyst_smartbrowz_browser_logic_console_main.webp) 2. Click the **Console** tab. ![catalyst_smartbrowz_browser_logic_console](https://catalyst-docs-development.zohostratus.in/images/help/smartbrowz/catalyst_smartbrowz_browser_logic_console.webp) 3. Enter the Function Name, and select the Function Stack in which you created your Browser Logic Function. ![catalyst_smartbrowz_browser_logic_console_name_stack](https://catalyst-docs-development.zohostratus.in/images/help/smartbrowz/catalyst_smartbrowz_browser_logic_console_name_stack.webp) 4. Upload your function directory as a zip file. ![catalyst_smartbrowz_browser_logic_stack_upload](https://catalyst-docs-development.zohostratus.in/images/help/smartbrowz/catalyst_smartbrowz_browser_logic_stack_upload.webp) While uploading a *Java* or a *Node.JS* function bundle in the console, you must ensure that: * Instead of compressing the function folder as a whole, you must navigate inside the function folder, select all the files in it, and then compress them together. This is because, when Catalyst extracts a Java or Node.js function's zip file, the [`catalyst-config.json`](https://docs.catalyst.zoho.com/en/cli/v1/project-directory-structure/functions-directory/) file must be present in the root. * The function's directory contains all the required configuration files in the [standard structures](https://docs.catalyst.zoho.com/en/cli/v1/project-directory-structure/catalyst-json/). * The function name you enter in the console matches the names configured in `package.json` for Node.js, and `catalyst-config.json` for both Java and Node.js. The zip file's name can be anything. * The stack version you select in the console matches the stack version configured in `catalyst-config.json` for both Java and Node.js functions. 5. **Configure Function Memory**: Catalyst enables you to configure the memory for each of your functions. This memory will be allocated when the function is executed. The default memory allocated for a function is 256 MB. That is, if you don't configure the memory, or if you had created a function before this feature was made available, the memory would be set to 256 MB automatically. You can edit any of your existing functions and change this value as per your requirements. > **Note:** You can optimize the cost and performance of your application by selecting the optimal memory for a function based on the complexity of its code. Refer to the [Cost and Performance Optimization in Functions](https://docs.catalyst.zoho.com/en/serverless/help/functions/optimization/) page for details. You can choose to change the allocated memory of the function by clicking **Show Advanced Option**, and selecting your preferred memory from the **Select Memory** drop-down. ![catalyst_smartbrowz_browser_logic_dunc_memory](https://catalyst-docs-development.zohostratus.in/images/help/smartbrowz/catalyst_smartbrowz_browser_logic_dunc_memory.webp) > **Node:** The CPU is allocated automatically based on the memory you configure for your function. You won't be able to view or configure this value. 6. Click **Create**. ![catalyst_smartbrowz_browser_logic_console_shot](https://catalyst-docs-development.zohostratus.in/images/help/smartbrowz/catalyst_smartbrowz_browser_logic_console_shot.webp) The function will be created and listed in the Functions page. A unique Function ID will be created for it and displayed in the page, along with the function's details. ### Function Details After you upload the function to the console, you will be able to view meaningful stats on your function performance and other function details. ![catalyst_smartbrowz_browser_logic_console_shot](https://catalyst-docs-development.zohostratus.in/images/help/smartbrowz/catalyst_smartbrowz_browser_logic_console_shot.webp) You can also copy and use the secure **Invocation URL** present in the console to access your function directly, pass inputs, or implement it in your code as you require. Similar to other [Serverless function types](https://docs.catalyst.zoho.com/en/serverless/help/functions/introduction/), you can use the Configurations section of the console to: - Add [Environment Variables](https://docs.catalyst.zoho.com/en/serverless/help/functions/implementation/#environmental-variables) ![catalyst_smartbrowz_browser_logic_env_variables](https://catalyst-docs-development.zohostratus.in/images/help/smartbrowz/catalyst_smartbrowz_browser_logic_env_variables.webp) - Change the [allocated memory](https://docs.catalyst.zoho.com/en/serverless/help/functions/implementation/#allocated-memory) of the function stack. ![catalyst_smartbrowz_browser_logic_memory_console_allocation](https://catalyst-docs-development.zohostratus.in/images/help/smartbrowz/catalyst_smartbrowz_browser_logic_memory_console_allocation.webp) You can refer to the [Functions Implementation section](https://docs.catalyst.zoho.com/en/serverless/help/functions/implementation/) for more information about these actions. > **Note:** Any Browser action or operation that you code using the Browser Logic function, or any browser automation or web scraping task that you perform using any component of **Catalyst SmartBrowz** is at your own risk. We strongly recommend you use the SmartBrowz components to perform operations on domains that permit the actions, or with proper approval. Additionally, while Catalyst does provide a secure infrastructure to code your functions, any consequence of the logic you code using Catalyst functions is yours alone. ### Dataverse -------------------------------------------------------------------------------- title: "Introduction" description: "Scrape meaningful data from the internet using powerful Catalyst APIs." last_updated: "2026-09-28T11:04:26.000Z" source: "https://docs.catalyst.zoho.com/en/smartbrowz/help/dataverse/introduction/" service: "SmartBrowz" -------------------------------------------------------------------------------- # Introduction Dataverse is a Catalyst SmarBrowz component that allows you perform meaningful data extraction from the internet using easy-to-use Catalyst APIs. Dataverse is Catalyst's most efficient data scraping solution that will aid you in creating better strategies to tackle common business pain areas such as competitor analysis, lead nurturing, cross-selling and upselling, data validation and data cleansing and so much more. ![catalyst_smartbrowz_dataverse_intro_page](https://catalyst-docs-development.zohostratus.in/images/help/dataverse/catalyst_smartbrowz_dataverse_intro_page.webp) Currently Dataverse offers you three powerful APIs to perform complex web scraping operations with utmost ease: * **Lead Enrichment**: This API allows you to fetch organization information of a company like name, type, revenue, employee count, status, official email address, contact number, and so much more. You enter a few identifying parameters directly in the console and execute a `POST` API, that will fetch all the required details and display all the requested details in a JSON format. * **Tech Stack Finder**: You can execute this `POST` API to get a list of the frameworks and technologies a company uses in their product by passing the website URL of the concerned company as a parameter. * **Similar Companies**: This `POST` API only requires you to enter the website URL of a company. Once the API is executed you will be able to view an extensive list of companies that offer the same or similar services. This significantly cuts down your resources required to conduct market research, and competitor profiling. > **Note:** * This component is currently available in its **beta version**, and it is only available to users whose accounts are registered in the **US data center**. Users accessing from other data centers will not be able to avail this feature * During the beta period, from one Catalyst organization, you can only make **500 calls per month** to the Dataverse APIs as a whole. If you require more API calls to be made, please email your request to support@zohocatalyst.com. * Any Browser action or operation that you code using the Browser Logic function, or any browser automation or web scraping task that you perform using any component of **Catalyst SmartBrowz** is at your own risk. We strongly recommend you use the SmartBrowz components to perform operations on domains that permit the actions, or with proper approval. Additionally, while Catalyst does provide a secure infrastructure to code your functions, any consequence of the logic you code using Catalyst functions is yours alone. -------------------------------------------------------------------------------- title: "Benefits" description: "Scrape meaningful data from the internet using powerful Catalyst APIs." last_updated: "2023-10-31T12:16:11.000Z" source: "https://docs.catalyst.zoho.com/en/smartbrowz/help/dataverse/benefits/" service: "SmartBrowz" -------------------------------------------------------------------------------- # Benefits * **Better Market Understanding** Understanding the market you are aiming to succeed in is a crucial aspect of business development. The [Similar Companies](https://docs.catalyst.zoho.com/en/smartbrowz/help/dataverse/implementation/#similar-companies), and [Tech Stack Finder](https://docs.catalyst.zoho.com/en/smartbrowz/help/dataverse/implementation/#tech-stack-finder) APIs provide you with a list of prevalent companies that offer the same services and the framework and technologies that they implement to create their product. Additionally, using Dataverse APIs ensures you get the required scrapped information in an ideal JSON format saving considerable resources that you would otherwise devote to market research. * **Lead Nurturing** Generating leads is a cornerstone to business scalability. It is crucial to get meaningful information about your leads to strategize the right approach and convert leads to prospects. A safe, non-intrusive and reliable way to establish communication with prospective leads is through their official emails. You can obtain the official communication addresses listed on their official webpage by triggering the [Lead Enrichment](https://docs.catalyst.zoho.com/en/smartbrowz/help/dataverse/implementation/#lead-enrichment) API. This considerably saves you time and resources from navigating to each potential lead's website in search of publicly listed information. -------------------------------------------------------------------------------- title: "Implementation" description: "Scrape meaningful data from the internet using powerful Catalyst APIs." last_updated: "2026-09-28T11:04:26.000Z" source: "https://docs.catalyst.zoho.com/en/smartbrowz/help/dataverse/implementation/" service: "SmartBrowz" -------------------------------------------------------------------------------- # Implementation Dataverse is a Catalyst SmartBrowz component, that uses powerful data scraping APIs to address and solve real time business bottlenecks. Dataverse currently offers the following APIs: * Lead Enrichment * Tech Stack Finder * Similar Companies ![catalyst_smartbrowz_dateverse_implement_intro](https://catalyst-docs-development.zohostratus.in/images/help/dataverse/catalyst_smartbrowz_dateverse_implement_intro.webp) Each of these APIs only requires a few identifying parameters like the company's valid website URL to be passed as input and once triggered you will immediately get a JSON output containing all the requested information. To access the APIs: 1. Navigate to the *Catalyst SmartBrowz* section of the console, and click **Start Exploring**. ![catalyst_smartbrowz_homepage](https://catalyst-docs-development.zohostratus.in/images/help/dataverse/catalyst_smartbrowz_homepage.webp) 2. Click **Dataverse** present under *SCRAPE* to access the Dataverse component. ![catalyst_smartbrowz_dateverse_homepage](https://catalyst-docs-development.zohostratus.in/images/help/dataverse/catalyst_smartbrowz_dateverse_homepage.webp) You will be able to view the list of APIs that are currently present in Dataverse. Now we will be walking through how to use each of these APIs: ### Lead Enrichment 1. Click the **Lead Enrichment** tile to access the API. ![catalyst_smartbrowz_dateverse_le_highlight](https://catalyst-docs-development.zohostratus.in/images/help/dataverse/catalyst_smartbrowz_dateverse_le_highlight.webp) 2. You will be able to view and copy the API endpoint, and view the input fields required to trigger the API. ![catalyst_smartbrowz_dateverse_le_api_intro](https://catalyst-docs-development.zohostratus.in/images/help/dataverse/catalyst_smartbrowz_dateverse_le_api_intro.webp) 3. You can click the **README** tab to understand more about the API's functionality, the Scopes, and the parameters it requires to execute. ![catalyst_smartbrowz_dateverse_le_api_readme](https://catalyst-docs-development.zohostratus.in/images/help/dataverse/catalyst_smartbrowz_dateverse_le_api_readme.webp) 4. Provide the required inputs—the company's official website URL, name of the lead, and the email address of the lead, and click **Run**. ![catalyst_smartbrowz_dateverse_le_api_inputs_complete](https://catalyst-docs-development.zohostratus.in/images/help/dataverse/catalyst_smartbrowz_dateverse_le_api_inputs_complete.webp) > **Note:** It is mandatory for you to provide the value for at least one key. 5. All the publicly listed relevant information present in the URL you provided will be scraped and presented to you as a JSON output that you can copy and use as you require. ![catalyst_smartbrowz_dateverse_le_api_output](https://catalyst-docs-development.zohostratus.in/images/help/dataverse/catalyst_smartbrowz_dateverse_le_api_output.webp) > **Note:** * This component is currently offered in **BETA** version, and is only restricted to **US DC**. * During the **BETA** period, from one Catalyst organization, you can only make **500 calls per month** to the Dataverse APIs as a whole. If you require more API calls to be made, kindly email your request to support@zohocatalyst.com. ### Tech Stack Finder 1. Click the **Tech Stack Finder** tile to access the API. ![catalyst_smartbrowz_dateverse_tsf_highlight](https://catalyst-docs-development.zohostratus.in/images/help/dataverse/catalyst_smartbrowz_dateverse_tsf_highlight.webp) 2. You will be able to view and copy the API endpoint, and view the input field to enter the only parameter required to trigger this API. ![catalyst_smartbrowz_dateverse_tsf_api_intro](https://catalyst-docs-development.zohostratus.in/images/help/dataverse/catalyst_smartbrowz_dateverse_tsf_api_intro.webp) 3. You can click the **README** tab to understand more about the API's functionality, the Scope, and the parameter required to execute. ![catalyst_smartbrowz_dateverse_tsf_api_readme](https://catalyst-docs-development.zohostratus.in/images/help/dataverse/catalyst_smartbrowz_dateverse_tsf_api_readme.webp) 4. Provide a valid URL of the company's website in the required input field, and click **Run**. ![catalyst_smartbrowz_dateverse_tsf_api_inputs](https://catalyst-docs-development.zohostratus.in/images/help/dataverse/catalyst_smartbrowz_dateverse_tsf_api_inputs.webp) 5. All the frameworks and technologies used to build the website, will be provided to you as a JSON output that you can copy and use it as you prefer. ![catalyst_smartbrowz_dateverse_tsf_api_output](https://catalyst-docs-development.zohostratus.in/images/help/dataverse/catalyst_smartbrowz_dateverse_tsf_api_output.webp) > **Note:** * This component is currently offered in **BETA** version, and is only restricted to **US DC**. * During the **BETA** period, from one Catalyst organization, you can only make **500 calls per month** to the Dataverse APIs as a whole. If you require more API calls to be made, kindly email your request to support@zohocatalyst.com. ### Similar Companies 1. Click the **Similar Companies** tile to access the API. ![catalyst_smartbrowz_dateverse_sm_hihglight](https://catalyst-docs-development.zohostratus.in/images/help/dataverse/catalyst_smartbrowz_dateverse_sm_hihglight.webp) 2. You will be able to view and copy the API endpoint, and view the input fields that need to filled to trigger this API. ![catalyst_smartbrowz_dateverse_sm_api_intro](https://catalyst-docs-development.zohostratus.in/images/help/dataverse/catalyst_smartbrowz_dateverse_sm_api_intro.webp) 3. You can click the **README** tab to understand more about the API's functionality, the Scope, and the parameters required to execute. ![catalyst_smartbrowz_dateverse_sm_api_readme](https://catalyst-docs-development.zohostratus.in/images/help/dataverse/catalyst_smartbrowz_dateverse_sm_api_readme.webp) 4. Provide a valid URL of the company's website in the required input field, and click **Run**. ![catalyst_smartbrowz_dateverse_sm_api_inputs](https://catalyst-docs-development.zohostratus.in/images/help/dataverse/catalyst_smartbrowz_dateverse_sm_api_inputs.webp) > **Note:** It is mandatory for you to provide the value for at least one key. 5. A list of companies that offer similar services will be provided to you as a JSON output that you can copy and use it as you prefer. ![catalyst_smartbrowz_dateverse_sm_api_output](https://catalyst-docs-development.zohostratus.in/images/help/dataverse/catalyst_smartbrowz_dateverse_sm_api_output.webp) > **Note:** * This component is currently offered in **BETA** version, and is only restricted to **US DC**. * During the **BETA** period, from one Catalyst organization, you can only make **500 calls per month** to the Dataverse APIs as a whole. If you require more API calls to be made, kindly email your request to support@zohocatalyst.com. #### Trial Runs Count You can find out how many API calls you are allowed to make by checking the Trial Runs Count counter, present at the top of the console. ![catalyst_smartbrowz_dataverse_trails_counter](https://catalyst-docs-development.zohostratus.in/images/help/dataverse/catalyst_smartbrowz_dataverse_trails_counter.webp) If you require more API calls to be made, kindly email your request to support@zohocatalyst.com. > **Note:** Any Browser action or operation that you code using the Browser Logic function, or any browser automation or web scraping task that you perform using any component of **Catalyst SmartBrowz** is at your own risk. We strongly recommend you use the SmartBrowz components to perform operations on domains that permit the actions, or with proper approval. Additionally, while Catalyst does provide a secure infrastructure to code your functions, any consequence of the logic you code using Catalyst functions is yours alone. ### Headless -------------------------------------------------------------------------------- title: "Introduction" description: "Connect with a remote browser in the Catalyst cloud environment in a headless mode using an automation library of your choice." last_updated: "2026-08-17T12:16:04.000Z" source: "https://docs.catalyst.zoho.com/en/smartbrowz/help/headless/introduction/" service: "SmartBrowz" -------------------------------------------------------------------------------- # Headless ### Introduction Headless is a component of [Catalyst SmartBrowz](https://docs.catalyst.zoho.com/en/smartbrowz/getting-started/introduction/) that you can use to connect to a remote browser with popular automation libraries in a environment powered by Catalyst cloud. ![catalyst_smartbrowz_headless_main](https://catalyst-docs-development.zohostratus.in/images/help/smartbrowz/catalyst_smartbrowz_headless_main.webp) Catalyst SmartBrowz offers you the option to connect to a secure remote browser with any automation library of your choice. Additionally, code snippets are provided in the console and this [help section](https://docs.catalyst.zoho.com/en/smartbrowz/help/headless/implementation/function-stack/java/) to allow you to connect to the remote browser with popular automation libraries like: * Puppetteer * Playwright * Selenium The endpoints required to connect to the remote browser and the `API KEY` to authenticate the connection with the remote browser will be automatically generated by Catalyst and available in the console. You can find out how to connect using these endpoints in this [help section](https://docs.catalyst.zoho.com/en/smartbrowz/help/headless/implementation/function-stack/java/). You also have the option to configure the [remote browser's memory](https://docs.catalyst.zoho.com/en/smartbrowz/help/headless/implementation/implementation/). > **Note:** You must install the browser automation libraries in your local system before you use them. For example, if you wish to use the browser automation libraries listed above, you will need to install them first from their official websites. You can refer to their respective helps documentations for steps—[Puppetteer](https://pptr.dev/), [Playwright](https://playwright.dev/), [Selenium](https://www.selenium.dev/). In the console, you will be provided code snippets to connect with the headless browser in the following programming languages: * [Java](https://docs.catalyst.zoho.com/en/smartbrowz/help/headless/implementation/function-stack/java/) * [NodeJS](https://docs.catalyst.zoho.com/en/smartbrowz/help/headless/implementation/function-stack/nodejs/) * [Python](https://docs.catalyst.zoho.com/en/smartbrowz/help/headless/implementation/function-stack/python/) > **Note:** * Currently Catalyst provides the remote browser only in Chrome flavours. Support for other browsers will be rolled out in future updates. * Any Browser action or operation that you code using the Browser Logic function, or any browser automation or web scraping task that you perform using any component of **Catalyst SmartBrowz** is at your own risk. We strongly recommend you use the SmartBrowz components to perform operations on domains that permit the actions, or with proper approval. Additionally, while Catalyst does provide a secure infrastructure to code your functions, any consequence of the logic you code using Catalyst functions is yours alone. -------------------------------------------------------------------------------- title: "Key Concepts" description: "Connect with a remote browser in the Catalyst cloud environment in a headless mode using an automation library of your choice." last_updated: "2026-08-17T12:16:04.000Z" source: "https://docs.catalyst.zoho.com/en/smartbrowz/help/headless/key-concepts/" service: "SmartBrowz" -------------------------------------------------------------------------------- # Key Concepts Ensure you are familiar with the following terms and concepts so you can efficiently utilize the Headless component: ![catalyst_smartbrowz_headless_endpoint_highlit](https://catalyst-docs-development.zohostratus.in/images/help/smartbrowz/catalyst_smartbrowz_headless_endpoint_highlit.webp) * **Webdriver Endpoint**: This endpoint is generated by Catalyst and it is available for you to copy from the console. You need to use this secure endpoint in your code to connect to the remote browser in the Catalyst environment with automation libraries like Selenium. * **CDP Endpoint**: This secure endpoint is also generated by Catalyst and is similarly present in the console. You will need to use this endpoint in your code to connect to a headless browser in Catalyst environment with automation libraries like Pupetteer, or Playwright. > **Note:** When you copy the required endpoints, the endpoints will automatically contain the `API KEY`. This `API KEY` is auto-configured and handled by Catalyst entirely. This key authenticates your access to these endpoints in a secure manner. * **Code Recipes**: These are generic code snippets that perform tasks like crawling, scraping, testing, and other browser automation tasks that you can test in the Catalyst cloud environment. You can implement these recipes using a browser automation library and programming language of your choice. You can also build upon these recipes and include additional functionalities, or customize them tailored to your requirements. The required code snippets of these recipes are available in the console and you can also find them in this [GitHub repository](https://github.com/catalystbyzoho/smartbrowz/tree/main/examples/headless-recipes). -------------------------------------------------------------------------------- title: "Benefits" description: "Connect with a remote browser in the Catalyst cloud environment in a headless mode using an automation library of your choice." last_updated: "2025-10-08T14:02:16.000Z" source: "https://docs.catalyst.zoho.com/en/smartbrowz/help/headless/benefits/" service: "SmartBrowz" -------------------------------------------------------------------------------- # Benefits * Headless provides you the flexibility to test your web applications and websites using a remote browser powered by Catalyst cloud with any browser automation library of your preference. * Headless supports the following programming languages- [Java](https://docs.catalyst.zoho.com/en/smartbrowz/help/headless/implementation/function-stack/java/), [NodeJS](https://docs.catalyst.zoho.com/en/smartbrowz/help/headless/implementation/function-stack/nodejs/) and [Python](https://docs.catalyst.zoho.com/en/smartbrowz/help/headless/implementation/function-stack/python/). * You can implement the remote browser with a memory configuration of your choice. This will enable you to test your web application in varying instances for various test conditions, and lets you check if your application can perform seamlessly without any lag. * You can engineer any permitted crawling and scraping logic using browser logic functions and implement them through the headless browser. * You can quickly connect a remote browser at any time for performing any browser task using the secure endpoints generated by Catalyst. No additional set up for accessing an endpoint is required. -------------------------------------------------------------------------------- title: "Use Cases" description: "Connect with a remote browser in the Catalyst cloud environment in a headless mode using an automation library of your choice." last_updated: "2023-05-08T06:20:17.000Z" source: "https://docs.catalyst.zoho.com/en/smartbrowz/help/headless/use-cases/" service: "SmartBrowz" -------------------------------------------------------------------------------- # Use Cases * Testing is crucial to the success of an application. Testing also requires a lot of hardware support, which consumes a lot of resources that are sometimes not affordable by businesses. Implementing **SmartBrowz's Headless**, you can test the functionality of your application in any memory configuration of the browser. Given that Headless is powered by the Catalyst cloud environment and backed by Zoho's powerful infrastructure, you can test your application without incurring the burden of hardware availability and in a robust, reliable, secure environment. * Hyperlinks greatly enhance the SEO of your website. But sometimes, your website can contain broken hyperlinks, which in turn can reduce its credibility. You can code a [Browser Logic function](https://docs.catalyst.zoho.com/en/smartbrowz/help/browser-logic/introduction/) to crawl and scrape all the links present in the Headless browser. Using Browser Logic, you can engineer your logic in the recipe to hit the URLs of all the scraped hyperlinks and store the links that produce a "**404 Error message**" in a CSV file. You can then use this CSV file to fix all the broken links. #### Implementation -------------------------------------------------------------------------------- title: "Change the Remote Browser Settings" description: "Connect with a remote browser in the Catalyst cloud environment in a headless mode using an automation library of your choice." last_updated: "2026-08-17T12:16:04.000Z" source: "https://docs.catalyst.zoho.com/en/smartbrowz/help/headless/implementation/implementation/" service: "SmartBrowz" -------------------------------------------------------------------------------- # Implementation This section covers all the steps you need to follow to change the remote browser settings and the code snippets required to connect to the headless browser with popular automation libraries. ### Change the Remote Browser Settings By default, the remote browser's memory will be set at 512 MB and the latest stable version of the remote browser will be set. You can change the default memory and customize it to your requirements. You can find the remote browser's version and memory configuration details in the top-right corner of the browser. ![catalyst_smartbrowz_headless_browser_version_highlit](https://catalyst-docs-development.zohostratus.in/images/help/smartbrowz/catalyst_smartbrowz_headless_browser_version_highlit.webp) > **Note:** Currently, Catalyst SmartBrowz only offers remote browser in the latest version of Chrome. Support for other browsers will be rolled out in future updates. If you wish to change the default memory setting, implement the following steps: 1. Click the **Remote Browser Options** icon and click **Update Memory**. ![catalyst_smartbrowz_headless_options-highlit](https://catalyst-docs-development.zohostratus.in/images/help/smartbrowz/catalyst_smartbrowz_headless_options-highlit.webp) 2. Use the drop-down to set your memory preference, and click **Update**. ![catalyst_smartbrowz_headless_memory_update](https://catalyst-docs-development.zohostratus.in/images/help/smartbrowz/catalyst_smartbrowz_headless_memory_update.webp) 3. The updated memory configuration of the remote browser will now be reflected in the **Memory** section of the console. ![catalyst_smartbrowz_headless_browser_updated_mem_highlit](https://catalyst-docs-development.zohostratus.in/images/help/smartbrowz/catalyst_smartbrowz_headless_browser_updated_mem_highlit.webp) While the `API KEY` required to securely use the endpoints to enable headless is automatically generated and present when you copy the endpoint of your preference, you can also get the `API KEY` by implementing the following steps: 1. Click the **Remote Browser Options** icon and click **View Key**. ![catalyst_smartbrowz_headless_view_key_highlit](https://catalyst-docs-development.zohostratus.in/images/help/smartbrowz/catalyst_smartbrowz_headless_view_key_highlit.webp) 2. Copy the key and click **Close**. ![catalyst_smartbrowz_headless_browser_api_key](https://catalyst-docs-development.zohostratus.in/images/help/smartbrowz/catalyst_smartbrowz_headless_browser_api_key.webp) ### Connect to a Headless Browser Using SmartBrowz You can connect to the headless browser with any automation library of preference, using any programming language. However, if you choose to connect with the headless browser with popular autiomation libraires like Puppeteer, Playwright or Selenium using Java, NodeJS, or Python, you can directly copy the required code snippet and connect to the headless browser as quickly as possible. The required code snippets can be found in the next sections, and are also available in the console. You can access the required snippet in the console by clicking the **Connect** button, and choosing your preferred stack and automation library. ![catalyst_smartbrowz_headless_connect_snip](https://catalyst-docs-development.zohostratus.in/images/help/smartbrowz/catalyst_smartbrowz_headless_connect_snip.webp) > **Note:** You must install the browser automation libraries in your local system before you use them. For example, if you wish to use the browser automation libraries listed above, you will need to install them first from their official websites. You can refer to their respective helps documentations for steps—[Puppetteer](https://pptr.dev/), [Playwright](https://playwright.dev/), [Selenium](https://www.selenium.dev/). ##### Connect to a Headless Browser -------------------------------------------------------------------------------- title: "Java" description: "Connect with a remote browser in the Catalyst cloud environment in a headless mode using an automation library of your choice." last_updated: "2025-10-09T16:11:25.000Z" source: "https://docs.catalyst.zoho.com/en/smartbrowz/help/headless/implementation/function-stack/java/" service: "SmartBrowz" -------------------------------------------------------------------------------- # Connect to Headless With Java Function Stack In this section you will find the required scripts to connect to a headless remote browser using the Java function stack, with a browser automation library of your preference. > **Note:** Puppeteer is not available in the Java function stack. ### Playwright #### Using Playwright Without SmartBrowz ```java package org.example; import com.microsoft.playwright.*; import java.nio.file.Paths; public class PlaywrightJava { public static void main(String[] args) { try (Playwright playwright = Playwright.create()) { try (Browser browser = playwright.chromium().launch()) { BrowserContext context = browser.newContext(); Page page = context.newPage(); page.navigate("http://example.com/""); page.screenshot(new Page.ScreenshotOptions().setPath(Paths.get("screenshot.png"))); } } } } ``` #### Using Playwright With SmartBrowz ```java // From inside your Java application public static void main(String[] args) { try (Playwright playwright = Playwright.create()) { BrowserType browserType = playwright.chromium(); //Change browserType.launch with connectOverCDP Browser browser = browserType.connectOverCDP("YOUR_CDP_ENDPOINT"); // The rest of your code remains the same Page page = browser.newPage(); page.navigate("https://www.example.com"); page.screenshot(new Page.ScreenshotOptions().setPath(Paths.get("screenshot.png"))); } } ``` > **Note:** Copy the CDP Endpoint present in the console and paste it in line "**8**" when you implement this code. ### Selenium #### Using Selenium Without SmartBrowz ```java import org.apache.commons.io.FileUtils; import org.openqa.selenium.OutputType; import org.openqa.selenium.TakesScreenshot; import org.openqa.selenium.WebDriver; import org.openqa.selenium.chrome.ChromeDriver; import java.io.File; import java.io.IOException; public class ScreenshotDemo { public static void main(String[] args) { System.setProperty("webdriver.chrome.driver", "path\to\\chromedriver.exe"); WebDriver driver = new ChromeDriver(); driver.get("https://demoqa.com"); File screenshot = ((TakesScreenshot) driver).getScreenshotAs(OutputType.FILE); try { FileUtils.copyFile(screenshot, new File("path\\to\\homePageScreenshot.png")); } catch (IOException e) { System.out.println(e.getMessage()); } driver.close(); } } ``` #### Using Selenium With SmartBrowz ```java // From inside your Java application public static void main() throws MalformedURLException { ChromeOptions chromeOptions = new ChromeOptions(); chromeOptions.addArguments("--no-sandbox"); chromeOptions.addArguments("--headless"); chromeOptions.addArguments("--disable-dev-shm-usage"); //Change ChromeDriver with RemoteWebDriver WebDriver driver = new RemoteWebDriver(new URL("YOUR_WEBDRIVER_ENDPOINT"),chromeOptions); // The rest of your code remains the same driver.get("https://www.example.com"); driver.quit(); } ``` > **Note:** Copy the Webdriver Endpoint from the console and paste it in the line "**9**" when you implement this code. -------------------------------------------------------------------------------- title: "NodeJS" description: "Connect with a remote browser in the Catalyst cloud environment in a headless mode using an automation library of your choice." last_updated: "2025-10-09T16:11:25.000Z" source: "https://docs.catalyst.zoho.com/en/smartbrowz/help/headless/implementation/function-stack/nodejs/" service: "SmartBrowz" -------------------------------------------------------------------------------- # Connect to Headless With NodeJS Function Stack In this section you will find the required scripts to connect to headless using the NodeJS function stack with a browser automation library of your preference: ### Puppeteer #### Using Puppeteer Without SmartBrowz ```javascript import puppeteer from 'puppeteer'; (async () => { const browser = await puppeteer.launch(); const page = await browser.newPage(); await page.goto('http://example.com/'); await page.screenshot({‘path’:’example.png’}) await browser.close(); })(); ``` #### Using Puppeteer With SmartBrowz ```javascript // From inside your Node application const puppeteer = require("puppeteer-core"); // Replace puppeteer.launch with puppeteer.connect const browser = await puppeteer.connect({ browserWSEndpoint: 'YOUR_CDP_ENDPOINT' }); // The rest of your script remains the same const page = await browser.newPage(); await page.goto('https://example.com/'); await page.screenshot({ path: 'screenshot.png' }); page.close(); ``` > **Note:** Copy the CDP Endpoint from the console and paste it in line "**6**" when you implement this code. ### Playwright #### Using Playwright Without SmartBrowz ```javascript import { test } from '@playwright/test'; test('Page Screenshot', async ({ page }) => { await page.goto('http://example.com/‘); await page.screenshot({ path: `example.png` }); }); ``` #### Using Playwright With SmartBrowz ```javascript // From inside your Node application const pw = require('playwright-core'); // Replace pw.chromium.launch with connectOverCDP const browser = await pw.chromium.connectOverCDP({ wsEndpoint: 'YOUR_CDP_ENDPOINT' }); // The rest of your script remains the same const page = await browser.newPage(); await page.goto('https://www.example.com/'); await page.screenshot({ path: 'example.png' }); await browser.close(); ``` > **Note:** Copy the CDP Endpoint from the console and paste it in line "**5**" when you implement this code. ### Selenium #### Using Selenium Without SmartBrowz ```javascript require("chromedriver"); require("selenium-webdriver") let webdriver = require("selenium-webdriver"); var By = require("selenium-webdriver").By; let browser = new webdriver.Builder(); let driver = browser.forBrowser("chrome").build(); driver.get('https://example.com/'); driver.takeScreenshot().then( function(image) { require('fs').writeFileSync('captured_image_3.png', image, 'base64'); } ); driver.quit(); ``` #### Using Selenium With SmartBrowz ```javascript // From inside your Node application const webdriver = require('selenium-webdriver'), chrome = require('selenium-webdriver/chrome'); const chromeCapabilities = webdriver.Capabilities.chrome(); var options = new chrome.Options(); options.addArguments("--no-sandbox"); options.addArguments('--headless') options.addArguments('--disable-dev-shm-usage') const driver = new webdriver.Builder() .forBrowser('chrome') .setChromeOptions(options) .withCapabilities(chromeCapabilities) .usingServer('YOUR_WEBDRIVER_ENDPOINT') .build(); // The rest of your script remains the same await driver.get('https://www.example.com/'); const base64png = await driver.takeScreenshot(); fs.writeFileSync('/tmp/screenshot.png',new Buffer(base64png, 'base64')); driver.quit(); ``` > **Note:** Copy the Webdriver Endpoint from the console and paste it in line "**13**" when you implement this code. -------------------------------------------------------------------------------- title: "Python" description: "Connect with a remote browser in the Catalyst cloud environment in a headless mode using an automation library of your choice." last_updated: "2025-10-09T16:11:25.000Z" source: "https://docs.catalyst.zoho.com/en/smartbrowz/help/headless/implementation/function-stack/python/" service: "SmartBrowz" -------------------------------------------------------------------------------- # Connect to Headless with Python Function Stack In this section you will find the required scripts to connect to headless using the Python function stack with a browser automation library of your preference: ### Puppeteer #### Using Puppeteer Without SmartBrowz ```python import asyncio from puppeteer import launch async def main(): browser = await launch() page = await browser.newPage() await page.goto('http://example.com') await page.screenshot({'path': 'example.png'}) await browser.close() asyncio.get_event_loop().run_until_complete(main()) ``` #### Using Puppeteer With SmartBrowz ```python import asyncio import pyppeteer async def main(): # Replace puppeteer.launch with pyppeteer.launcher.connect browser = await pyppeteer.launcher.connect( browserWSEndpoint='YOUR_CDP_ENDPOINT' ) # The rest of your code remains the same page = await browser.newPage() await page.goto("https://example.com") await page.screenshot(path="screenshot.png") await browser.close() asyncio.get_event_loop().run_until_complete(main()) ``` > **Note:** Copy the CDP Endpoint from the console and paste it in line "**6**" when you implement this code. ### Playwright #### Using Playwright Without SmartBrowz ```python from playwright.sync_api import sync_playwright def run(playwright): chrome = playwright.chrome browser = chrome.launch() page = browser.new_page() page.goto("https://example.com") browser.close() with sync_playwright() as playwright: run(playwright) ``` #### Using Playwright With SmartBrowz ```python import asyncio from playwright.async_api import async_playwright async def run(playwright): # Replace playwright.chromium.launch with connect_over_cdp browser = playwright.chromium.connect_over_cdp("YOUR_CDP_ENDPOINT") # The rest of the code remians the same context = await browser.new_context() page = await context.new_page() await page.goto("https://example.com") await page.screenshot(path="screenshot.png") await browser.close() async def main(): async with async_playwright() as playwright: await run(playwright) asyncio.run(main()) ``` > **Note:** Copy the CDP Endpoint from the console and paste it in line "**5**" when you implement this code. ### Selenium #### Using Selenium Without SmartBrowz ```python from selenium import webdriver from PIL import Image driver = webdriver.Chrome(executable_path = "path\\to\\chromedriver.exe") url = "https://example.com/" driver.get(url) driver.save_screenshot(‘ss.png’) screenshot = Image.open(‘ss.png’) driver.close() ``` #### Using Selenium With SmartBrowz ```python import asyncio from selenium import webdriver from selenium.webdriver.chrome.options import Options async def index(): options = Options() options.add_argument("--disable-extensions") options.add_argument("--no-sandbox") options.add_argument('--headless') options.add_argument('--disable-dev-shm-usage') # Change webdriver.Chrome with webdriver.Remote driver = webdriver.Remote( command_executor='YOUR_WEBDRIVER_ENDPOINT', options=options ) #The rest of your code remains the same driver.get("https://example.com") driver.save_screenshot("screenshot.png") driver.close() async def my_async_function(): await index() # call my_async_function asyncio.run(my_async_function()) ``` > **Note:** Copy the Webdriver Endpoint from the console and paste it in line "**13**" when you implement this code. ### PDF & Screenshot -------------------------------------------------------------------------------- title: "Introduction" description: "Take PDFs and screenshots of web pages or documents programmatically or in the console, based on an input format type of your preference." last_updated: "2026-11-03T15:16:51.000Z" source: "https://docs.catalyst.zoho.com/en/smartbrowz/help/pdfnscreenshot/introduction/" service: "SmartBrowz" -------------------------------------------------------------------------------- # PDF & Screenshot ### Introduction PDF & Screenshot is [Catalyst SmartBrowz](https://docs.catalyst.zoho.com/en/smartbrowz/) component that lets you generate visual documents of websites and web applications. It is a powerful tool that can be used to convert webpages to PDF, to use during UI debugging, and to understand visual components from end-users' perspective, while implementing permitted crawling operations, just to name a few. PDF & Screenshot also allows you to generate PDF documents that are password protected. Additionally, you can set the password for your document manually or configure a logic that allows Catalyst to auto generate a password for you. PDF & Screenshot further allows you to customize the layout, style the document per your preference and generate visual documents in a format (`.webp`, `.png`, or `.pdf`) of your choice. You can use the following input types to generate visual documents of webpages using the [Playground](https://docs.catalyst.zoho.com/en/smartbrowz/help/pdfnscreenshot/implementation/#generate-pdf--screenshots-through-playground) feature present in the console: - **HTML Code**: You can paste the HTML code of your input page in the editor, and also tailor the UI of the page in the way you require the visual document to be generated. ![catalyst_smartbrowz_pdfnscreen_html_main](https://catalyst-docs-development.zohostratus.in/images/help/smartbrowz/catalyst_smartbrowz_pdfnscreen_html_main.webp) - **URL**: You can simply enter the URL of the webpage and generate a PDF or a screenshot of it. ![catalyst_smartbrowz_pdfnscreen_url_main](https://catalyst-docs-development.zohostratus.in/images/help/smartbrowz/catalyst_smartbrowz_pdfnscreen_url_main.webp) - **Templates**: You can also generate screenshots or PDF from a custom template that you create and store using the [Templates](https://docs.catalyst.zoho.com/en/smartbrowz/help/templates/introduction/) component in Catalyst SmartBrowz. These templates can be configured and styled per your preference and used to generate visual documents that can be loaded with dynamic content and are password protected. ![catalyst_smartbrowz_pdfnscreen_template_main](https://catalyst-docs-development.zohostratus.in/images/help/smartbrowz/catalyst_smartbrowz_pdfnscreen_template_main.webp) > **Note:** The *Playground* comes loaded with pre-engineered inputs in the [HTML Code and URL](https://docs.catalyst.zoho.com/en/smartbrowz/help/pdfnscreenshot/implementation/#generate-pdf--screenshots-through-playground) sections. You can directly use them to explore the component. You can also implement the PDF & Screenshot component through code. The SDKs required to implement this functionality are provided in the following programming languages: * [Java SDK](https://docs.catalyst.zoho.com/en/sdk/java/v1/smartbrowz/generate-pdfnscreenshot/) * [NodeJS SDK](https://docs.catalyst.zoho.com/en/sdk/nodejs/v2/smartbrowz/generate-pdfnscreenshot/) * [Python SDK](https://docs.catalyst.zoho.com/en/sdk/python/v1/smartbrowz/generate-pdfnscreenshot/) You can also generate PDFs and screenshots using this [API](https://docs.catalyst.zoho.com/en/api/code-reference/smartbrowz/generate-pdfnscreenshoturl/#PDF%26ScreenshotwithHTMLorURLasInput). The required SDKs to produce PDF & Screenshot through code will also be provided to you in the console under [SDK Code Snippets](https://docs.catalyst.zoho.com/en/smartbrowz/help/pdfnscreenshot/implementation/#generate-pdf--screenshots-through-code) section of the component. ![catalyst_smartbrowz_pdfnscreen_code_snippets](https://catalyst-docs-development.zohostratus.in/images/help/smartbrowz/catalyst_smartbrowz_pdfnscreen_code_snippets.webp) > **Note:** Any Browser action or operation that you code using the Browser Logic function, or any browser automation or web scraping task that you perform using any component of **Catalyst SmartBrowz** is at your own risk. We strongly recommend you use the SmartBrowz components to perform operations on domains that permit the actions, or with proper approval. Additionally, while Catalyst does provide a secure infrastructure to code your functions, any consequence of the logic you code using Catalyst functions is yours alone. -------------------------------------------------------------------------------- title: "Benefits" description: "Take PDFs and screenshots of web pages or documents programmatically or in the console, based on an input format type of your preference." last_updated: "2025-10-08T14:02:16.000Z" source: "https://docs.catalyst.zoho.com/en/smartbrowz/help/pdfnscreenshot/benefits/" service: "SmartBrowz" -------------------------------------------------------------------------------- # Benefits * You can generate visual documents of any webpage instantly and programmatically using its URL from the console without any additional coding requirements. * You can view the UI of any website or web application as it appears on popular smart devices of varying resolutions and screen sizes- mobiles, tablets, monitors, etc., by using the [Screenshot feature](https://docs.catalyst.zoho.com/en/smartbrowz/help/pdfnscreenshot/implementation/). * You can implement additional CSS and JavaScript styling options to tailor the visual documents to your preference before generating PDFs or screenshots. * You can use the [Templates](https://docs.catalyst.zoho.com/en/smartbrowz/help/templates/introduction/) component to customize and store templates of documents or webpages, and use the PDF and Screenshots to generate these visual documents with dynamic content. * You can generate PDFs of confidential documents by generating them as [password protected PDFs](https://docs.catalyst.zoho.com/en/smartbrowz/help/templates/customize-templates/#password-protected-pdfs), and the password can either be set by you manually or you can configure a logic that allows you to generate dynamic passwords. * You have multiple input options to use per your preference and you also have customizable options to generate the PDF or Screenshot a webpage per your preference. -------------------------------------------------------------------------------- title: "Use Cases" description: "Take PDFs and screenshots of web pages or documents programmatically or in the console, based on an input format type of your preference." last_updated: "2023-11-14T07:34:52.000Z" source: "https://docs.catalyst.zoho.com/en/smartbrowz/help/pdfnscreenshot/use-cases/" service: "SmartBrowz" -------------------------------------------------------------------------------- # Use Cases * In the current market, there are countless smart devices that people use to work out of or consume content. It is important to produce a web application that performs optimally across all these devices. But to test your application on all these devices is time-consuming, and requires a lot of expensive resources. Here, by using the **Select Device** option in the [Screenshot feature](https://docs.catalyst.zoho.com/en/smartbrowz/help/pdfnscreenshot/implementation/) of *PDF & Screenshot*, you can view how your UI appears in all the popular PDAs. * A great way for a business to educate their users is by conducting workshops. Providing a "**Certificate of Accomplishment**" is a great way to incentivize the users and add credibility to your brand. However, generating these certificates can be a redundant and time-consuming task. By implementing the [Templates](https://docs.catalyst.zoho.com/en/smartbrowz/help/templates/create-templates/) component in a microservice, you can design certificates with dynamic content and take PDFs or screenshots of it using the *PDF & Screenshot* component. * Generating confidential documents like payslips, invoices, or any other pertinent HR document is a common process in any company. These documents tend to follow a standard layout that contains dynamic values and privacy is the strictest requirement for these type of documents. Since these documents are generally sent to employees or vendors through email, if these documents do not have the right safeguards they can be compromised. Manually preparing and distributing these documents to right recipients while ensuring confidentiality can be a difficult task. Using the [Templates](https://docs.catalyst.zoho.com/en/smartbrowz/help/templates/introduction/) and the PDF & Screenshot components, companies can now generate documents that are [password protected](https://docs.catalyst.zoho.com/en/smartbrowz/help/templates/customize-templates/#password-protected-pdfs). You can configure and design the ideal template, load dynamic values and generate the required document as a **password protected PDF**. Furthermore, you can set the password to be generated dynamically, ensuring that the generated password is strong and only opened by the right users. -------------------------------------------------------------------------------- title: "Implementation" description: "Take PDFs and screenshots of web pages or documents programmatically or in the console, based on an input format type of your preference." last_updated: "2026-11-03T15:16:51.000Z" source: "https://docs.catalyst.zoho.com/en/smartbrowz/help/pdfnscreenshot/implementation/" service: "SmartBrowz" -------------------------------------------------------------------------------- # Implementation Navigate to the *PDF & Screenshot* component present in the **SmartBrowz** section in your Catalyst console. PDF & Screenshot enables you to generate visual documents of any webpage. You can use this component in two ways: - **Using SDKs** ![catalyst_smartbrowz_pdfnscreen_code_snippets](https://catalyst-docs-development.zohostratus.in/images/help/smartbrowz/catalyst_smartbrowz_pdfnscreen_code_snippets.webp) - **Using the Playground feature** ![catalyst_smartbrowz_pdfnscreen_playground_show](https://catalyst-docs-development.zohostratus.in/images/help/smartbrowz/catalyst_smartbrowz_pdfnscreen_playground_show.webp) ### Generate PDF & Screenshots Through Code Catalyst provides you the required SDKs to generate PDF & Screenshots in the following frameworks: * [Java SDK](https://docs.catalyst.zoho.com/en/sdk/java/v1/smartbrowz/generate-pdfnscreenshot/) * [NodeJS SDK](https://docs.catalyst.zoho.com/en/sdk/nodejs/v2/smartbrowz/generate-pdfnscreenshot/) * [Python SDK](https://docs.catalyst.zoho.com/en/sdk/python/v1/smartbrowz/generate-pdfnscreenshot/) You can also use this [Catalyst API](https://docs.catalyst.zoho.com/en/api/code-reference/smartbrowz/generate-pdfnscreenshoturl/#PDF%26ScreenshotwithHTMLorURLasInput) to generate visual documents in your preferred format. Based on your preferred programming language, you can copy and paste the below code snippets in your application logic to generate visual documents: ### Java SDK **Java SDK to Generate Visual Documents** ```java // initialize SmartBrowz ZCSmartBrowz smartBrowz = ZCSmartBrowz.getInstance(); // generate output from a predefined template ZCSmartBrowzConvertDetails convertDetailsForTemplateConversion = ZCSmartBrowzConvertDetails.getInstance(); convertDetailsForTemplateConversion.setTemplateId(YOUR_TEMPLATE_ID); smartBrowz.generateFromTemplate(convertDetailsForTemplateConversion); // convert to PDF from HTML ZCSmartBrowzConvertDetails convertDetailsForPDF = ZCSmartBrowzConvertDetails.getInstance(); convertDetailsForPDF.setHtml("YOUR_HTML_CODE"); smartBrowz.takeScreenshot(convertDetailsForPDF); // take a screenshot from URL ZCSmartBrowzConvertDetails convertDetailsForScreenshot = ZCSmartBrowzConvertDetails.getInstance(); convertDetailsForScreenshot.setUrl("YOUR_URL"); smartBrowz.convertToPdf(convertDetailsForScreenshot); ``` > **Note:** This code snippet contains the individual logic to accept any of acceptable input and generate PDF and Screenshot. When you copy the snippet, ensure you retain the lines of code that are pertinent to your requirement and omit the rest. ### Node.js SDK **Node.js SDK to Generate Visual Documents** ```javascript const smartbrowz = app.smartbrowz(); // Generate output from template smartbrowz.generateFromTemplate("YOUR_TEMPLATE_ID", {"template_data": YOUR_TEMPLATE_DATA} ) .then((data)=>{ // On Success }).catch((err)=>{ // On Error }) // Convert PDF from HTML smartbrowz.convertToPdf("YOUR_HTML_CODE", { "pdf_options": {}, "page_options": {} }).then((data)=>{ // On Success }).catch((err)=>{ // On Error }); // Capture a Screenshot from URL smartbrowz.takeScreenshot("YOUR_URL", { "screenshot_options": { "type": "jpeg" //Provide either jpg or png }, "page_options": { "device": "iPad" //Provide a device of your prefrence } }).then((data)=>{ // On Success }).catch((err)=>{ // On Error }) ``` > **Note:** This code snippet contains the individual logic to accept any of acceptable input and generate PDF and Screenshot. When you copy the snippet, ensure you retain the lines of code that are pertinent to your requirement and omit the rest. ### Python SDK **Python SDK to Generate Visual Documents** ```python # initialize smartbrowz instance smart_browz = app.smart_browz() # generate output from a predefined template output_template = smart_browz.generate_output_from_template( template_id='YOUR_TEMPLATE_ID', template_data={}, output_type='pdf', // You can determine the format of your visual document here pdf_options={}, navigation_options={} ) # convert to PDF from HTML output_pdf = smart_browz.convert_to_pdf(source='YOUR_HTML_CODE') # take a screenshot from URL output_screenshot = smart_browz.take_screenshot( source='YOUR_URL', screenshot_options={ 'quality': '100' }, page_options={ 'device': 'iphone 13 pro' //Provide a device of your prefrence }, navigation_options={ 'timeout': '3000', 'wait_until': 'domcontentloaded' } ) ``` > **Note:** This code snippet contains the individual logic to accept any of acceptable input and generate PDF and Screenshot. When you copy the snippet, ensure you retain the lines of code that are pertinent to your requirement and omit the rest. These code snippets are available under the **SDK Code Snippets** section of the PDF & Screenshot component in the console. You can copy the code of the stack you require and incorporate it in your business logic. ![catalyst_smartbrowz_pdfnscreen_snippet_selection_py](https://catalyst-docs-development.zohostratus.in/images/help/smartbrowz/catalyst_smartbrowz_pdfnscreen_snippet_selection_py.webp) You can also use this [API](https://docs.catalyst.zoho.com/en/api/code-reference/smartbrowz/generate-pdfnscreenshoturl/#PDF%26ScreenshotwithHTMLorURLasInput) to generate PDF & Screenshots. You can execute this API directly after [authenticating your request](https://docs.catalyst.zoho.com/en/api/oauth2/overview-and-terminology/#OverviewandTerminology). > **Note:** These code snippets are also available in the respective framework's [SDK documentation](https://docs.catalyst.zoho.com/en/getting-started/catalyst-sdk/). ### Generate PDF & Screenshots Through Playground Playground is available in the console for you to generate visual documents immediately or test this feature before incorporating it into your logic. The Playground itself comes loaded with pre-engineered inputs for you to test the functionality of the component. You can generate visual documents of webpages in the console by providing the input in three different ways: **HTML Code** ### HTML Code 1. Select the **HTML Code** option in the *Select Input Type* section. ![catalyst_smartbrowz_pdfnscreen_html_main_view](https://catalyst-docs-development.zohostratus.in/images/help/smartbrowz/catalyst_smartbrowz_pdfnscreen_html_main_view.webp) You can either customize the code present in the HTML code editor or paste your own code. 2. Select the required format from the *Select Output Format* drop-down. ![catalyst_smartbrowz_pdfnscreen_html_output_drop](https://catalyst-docs-development.zohostratus.in/images/help/smartbrowz/catalyst_smartbrowz_pdfnscreen_html_output_drop.webp) 3. This is an optional step, but you can customize your visual document by applying custom styling elements and layout and other aesthetic configurations using the options present in the **Show Advanced Styling Options** section. ![catalyst_smartbrowz_pdfnscreen_html_advanced_options](https://catalyst-docs-development.zohostratus.in/images/help/smartbrowz/catalyst_smartbrowz_pdfnscreen_html_advanced_options.webp) You can also use this section to password protect the generated visual document by setting up a password in the **Set Password** section. 4. Click **Generate**. ![catalyst_smartbrowz_pdfnscreen_generated_output](https://catalyst-docs-development.zohostratus.in/images/help/smartbrowz/catalyst_smartbrowz_pdfnscreen_generated_output.webp) A preview of the visual document you generated will be shown in a pop-up. Click **Download**, to save the document in your local system. If you have password protected your PDF, then the preview and download options will only be made active after you enter the password. ![catalyst_smartbrowz_pdfnscreen_pwd_protected](https://catalyst-docs-development.zohostratus.in/images/help/smartbrowz/catalyst_smartbrowz_pdfnscreen_pwd_protected.webp) **URL** ### URL You can generate a visual document of a webpage of your preference by directly entering its URL. 1. Click the **URL** button to use URL as the input type. 2. Enter the required URL in the *Enter Web Page URL* input field. ![catalyst_smartbrowz_pdfnscreen_url_select](https://catalyst-docs-development.zohostratus.in/images/help/smartbrowz/catalyst_smartbrowz_pdfnscreen_url_select.webp) 3. Select the required format from the *Select Output Format* drop-down. ![catalyst_smartbrowz_pdfnscreen_url_output_drop](https://catalyst-docs-development.zohostratus.in/images/help/smartbrowz/catalyst_smartbrowz_pdfnscreen_url_output_drop.webp) 4. This is an optional step, but you can customize your visual document by applying custom styling elements and layout and other aesthetic configurations using the options present in the **Show Advanced Styling Options** section. ![catalyst_smartbrowz_pdfnscreen_url_styling](https://catalyst-docs-development.zohostratus.in/images/help/smartbrowz/catalyst_smartbrowz_pdfnscreen_url_styling.webp) You can also use this section to password protect the generated visual document by setting up a password in the **Set Password** section. 5. Click **Generate**. ![catalyst_smartbrowz_pdfnscreen_generated_url_output](https://catalyst-docs-development.zohostratus.in/images/help/smartbrowz/catalyst_smartbrowz_pdfnscreen_generated_url_output.webp) If you have password protected your PDF, then the preview and download options will only be made active after you enter the password. ![catalyst_smartbrowz_pdfnscreen_pwd_protected](https://catalyst-docs-development.zohostratus.in/images/help/smartbrowz/catalyst_smartbrowz_pdfnscreen_pwd_protected.webp) **Templates** ### Templates > **Note:** Note: You can only this feature if you have previously created and saved template using the [Templates](https://docs.catalyst.zoho.com/en/smartbrowz/help/templates/introduction/) component. 1. Click the **Template** button to set templates as the input type. 2. Select your preferred template from the *Template* drop-down. ![catalyst_smartbrowz_pdfnscreen_template_select_layout](https://catalyst-docs-development.zohostratus.in/images/help/smartbrowz/catalyst_smartbrowz_pdfnscreen_template_select_layout.webp) 3. You can provide the data for the visual document as a JSON input through the editor present in this section. ![catalyst_smartbrowz_pdfnscreen_template_json_input](https://catalyst-docs-development.zohostratus.in/images/help/smartbrowz/catalyst_smartbrowz_pdfnscreen_template_json_input.webp) 4. Click **Generate**. ![catalyst_smartbrowz_pdfnscreen_generated_output](https://catalyst-docs-development.zohostratus.in/images/help/smartbrowz/catalyst_smartbrowz_pdfnscreen_generated_output.webp) A preview of the visual document you generated will be shown in a pop-up. Click **Download**, to save the document in your local system. > **Note:** * Prior to generating a visual document, since your input type is *Templates* you would have chosen the layout, the styling elements and all the other aesthetic features of the visual document, while you were creating and designing the template. You can find out how to customize a template from this [section](https://docs.catalyst.zoho.com/en/smartbrowz/help/templates/customize-templates/). * Because you are using *Templates* to generate your password protected PDF, you have an option to code a logic that allows you to set the password dynamically. You can find out more about this feature in this [section](https://docs.catalyst.zoho.com/en/smartbrowz/help/templates/customize-templates/#password-protected-pdfs). If you have password protected your document, then the preview and download options will only be made active after you enter the password. ![catalyst_smartbrowz_pdfnscreen_pwd_protected](https://catalyst-docs-development.zohostratus.in/images/help/smartbrowz/catalyst_smartbrowz_pdfnscreen_pwd_protected.webp) > **Note:** Any Browser action or operation that you code using the Browser Logic function, or any browser automation or web scraping task that you perform using any component of **Catalyst SmartBrowz** is at your own risk. We strongly recommend you use the SmartBrowz components to perform operations on domains that permit the actions, or with proper approval. Additionally, while Catalyst does provide a secure infrastructure to code your functions, any consequence of the logic you code using Catalyst functions is yours alone. ### Templates -------------------------------------------------------------------------------- title: "Introduction" description: "Create, configure, and manage templates of webpages or documents using which you can generate visual documents with PDF and Screenshot." last_updated: "2026-08-17T12:16:04.000Z" source: "https://docs.catalyst.zoho.com/en/smartbrowz/help/templates/introduction/" service: "SmartBrowz" -------------------------------------------------------------------------------- # Introduction Templates is a component of [Catalyst SmartBrowz](https://docs.catalyst.zoho.com/en/smartbrowz/) where you can create, design and store templates of webpages, documents, and more, that you can use to generate [PDF & Screenshot](https://docs.catalyst.zoho.com/en/smartbrowz/help/pdfnscreenshot/introduction/) with dynamic content. ![catalyst_smartbrowz_templates_done_view](https://catalyst-docs-development.zohostratus.in/images/help/smartbrowz/catalyst_smartbrowz_templates_done_view.webp) Using basic front-end scripting languages you can style templates suited to your needs, and generate any visual document. You can design your templates from scratch or use pre-built templates of various sample documents and customize them per your preference. Additionally you can also configure your templates to generate password protected PDFs where the password for the document can be set manually or be generated dynamically. The basic scripting and styling elements that you can incorporate into your templates for design, visual styling, and testing with dynamic input include: * HTML * CSS * JavaScript * JSON ![catalyst_smartbrowz_templates_code_view](https://catalyst-docs-development.zohostratus.in/images/help/smartbrowz/catalyst_smartbrowz_templates_code_view.webp) You can also configure the layout and the orientation of the templates you save, and set passwords, choose output format, style, orientation and more of the visual documents generated using the template. The console also provides you with a preview to aid you while you design your template. > **Note:** Any Browser action or operation that you code using the Browser Logic function, or any browser automation or web scraping task that you perform using any component of **Catalyst SmartBrowz** is at your own risk. We strongly recommend you use the SmartBrowz components to perform operations on domains that permit the actions, or with proper approval. Additionally, while Catalyst does provide a secure infrastructure to code your functions, any consequence of the logic you code using Catalyst functions is yours alone. -------------------------------------------------------------------------------- title: "Create a Template" description: "Create, configure, and manage templates of webpages or documents using which you can generate visual documents with PDF and Screenshot." last_updated: "2026-08-17T12:16:04.000Z" source: "https://docs.catalyst.zoho.com/en/smartbrowz/help/templates/create-templates/" service: "SmartBrowz" -------------------------------------------------------------------------------- # Create a Template 1. Navigate to the **Template** component present under *CONVERT* section in SmartBrowz from the console, and click **Create Template**. ![catalyst_smartbrowz_templates_blank](https://catalyst-docs-development.zohostratus.in/images/help/smartbrowz/catalyst_smartbrowz_templates_blank.webp) 2. Enter a **Template Name** and select a template design. You can select from one of the pre-configured templates, or select **Custom** to design a template from scratch. ![catalyst_smartbrowz_templates_name](https://catalyst-docs-development.zohostratus.in/images/help/smartbrowz/catalyst_smartbrowz_templates_name.webp) You can see a preview of each pre-engineered style of template by clicking the **zoom-icon**. ![catalyst_smartbrowz_templates_zoom_icon](https://catalyst-docs-development.zohostratus.in/images/help/smartbrowz/catalyst_smartbrowz_templates_zoom_icon.webp) 3. Click **Create**. ![catalyst_smartbrowz_template_created](https://catalyst-docs-development.zohostratus.in/images/help/smartbrowz/catalyst_smartbrowz_template_created.webp) The required template will be created. -------------------------------------------------------------------------------- title: "Customize a Template" description: "Create, configure, and manage templates of webpages or documents using which you can generate visual documents with PDF and Screenshot." last_updated: "2026-08-17T12:16:04.000Z" source: "https://docs.catalyst.zoho.com/en/smartbrowz/help/templates/customize-templates/" service: "SmartBrowz" -------------------------------------------------------------------------------- # Customize a Template Once you have chosen a template design, you will be directed to the template editor inbuilt in the console that allows you to customize your template and further style it to your preference. For this help document, we will illustrate customizing a template using the *Certificate* template. You will have respective editor sections for HTML, CSS and JavaScript to style and customize your template directly in the console, as shown below. ![catalyst_smartbrowz_template_HTML](https://catalyst-docs-development.zohostratus.in/images/help/smartbrowz/catalyst_smartbrowz_template_HTML.webp) ### Using LiquidJS to Customize Your Templates Catalyst SmartBrowz supports the use of [LiquidJS](https://liquidjs.com/) to customize your templates. LiquidJS is a popular opensource templating language that you can leverage to quickly create templates to suit your requirements. The content, the JSON data (Dyanmic data) that you load on to your template is subject to change based on your requirement. Using LiquidJS to customize your templates allows you to leverage the native filters to seamlessly handle this dynamic data. The dynamic data to your template will have to passed as a JSON paylod. For example, consider you are using the **Certificate** template, then the JSON payload will need to look like this: ```json { "name": "Michelle Mascarenhas", "workshop_name": "Serverless Computing", "event_duration": "one day", "event_description": "building cutting-edge cloud applications", "team_name": "Zylker Technologies ", "event_name": "Zylker Technologies Pvt. Ltd.,", "event_location": "Manhattan, NewYork", "event_date": "20th February 2025" } ``` ![catalyst_smartbrowz_templates_json_sample](https://catalyst-docs-development.zohostratus.in/images/help/smartbrowz/catalyst_smartbrowz_templates_json_sample.webp) > **Note:** SmartBrowz currently supports the `v10` runtime of LiquidJS. #### LiquidJS Syntax The following table contains the necessary LiquidJS syntax that you can apply to your templates to customize them to handle dynamic JSON data.
Tag Type LiquidJS Syntax
**Output** ```javascript {{ user.name }} ```
**Logic (Control Flow)** ```javascript {% if user.role == "admin" %} Welcome, Admin! {% else %} Welcome, User! {% endif %} ```
**Loops (For Statement)** Iterating over an array ```javascript {% for item in items %} {{ item.name }} {% endfor %} ```
**Loops (For Statement)** Using Iterable Object ```javascript {% for item in items %} {{ forloop.index }}: {{ item.name }} {% endfor %} ```
**Filters** ```javascript {{ "hello" | append: " world" }} {{ 1000 | divided_by: 2 }} {{ "LiquidJS" | upcase }} ```
**Date Formatting** ```javascript {{ "now" | date: "%Y-%m-%d %H:%M:%S" }} {{ "2025-02-07" | date: "%B %d, %Y" }} ```
**Assign and Capture** Assign variables inside templates ```javascript {% assign greeting = "Hello" %} {{ greeting }} World ```
**Assign and Capture** Capture multi-line values ```javascript {% capture message %} This is a multi-line text. {% endcapture %} {{ message }} ```
**Comments** ```javascript {% comment %} This is a comment and will not be rendered. {% endcomment %} ```
**Default Filters** Will display the value you set as default, if no value is provided. ```javascript <p>Name: {{ user.name | default: "Guest" }}</p> ```
**Conditionals with `unless`** The functions as the opposite of an `if` statement. The logic under an `unless` block will only be executed if the condition is false. ```javascript {% unless user.role == "admin" %} <p>You are not an Admin</p> {% endunless %} ```
**Case/When Conditions** ```javascript {% case user.role %} {% when "admin" %} <p>Admin Page</p> {% when "user" %} <p>User Page</p> {% else %} <p>Unknown Role</p> {% endcase %} ```
**Raw Output** To be used to print Liquid code without rendering it. Generally, used for documentation purposes ```javascript {% raw %} This is raw Liquid syntax: {{ user.name }} {% endraw %} ```
**Array and Object Filters** ```javascript <p>First Item: {{ items | first }}</p> <p>Item Count: {{ items | size }}</p> ```
**Math Filters** To use math operators within the template ```javascript <p>Discounted Price: {{ price | minus: 10 }}</p> <p>Total Price: {{ price | times: 1.1 }}</p> ```
**Rendering Partial Templates** ```javascript {% render 'header' %} ```
> **Info:** You can learn more about LiquidJS from their official documentation [here](https://liquidjs.com/). #### Example HTML Code With LiquidJS The following code snippet aims to serve as an example illustrating the use of LiquidJS in the HTML code to customize your template. **example.html** ```xml <!DOCTYPE html> <html lang="en"> <head> <meta charset="UTF-8"> <title>Dashboard - {{ user.name }}</title> </head> <body> <!-- Header --> <header> <h1>Hello, {{ user.name | default: "Guest" }}</h1> {% if user.role == "admin" %} <p class="admin">You have administrator access.</p> {% else %} <p class="user">Standard user access granted.</p> {% endif %} </header> <!-- Items Section --> <section> <h2>Your Items</h2> <ul> {% for item in items %} <li>{{ forloop.index }}. {{ item.name }}</li> {% endfor %} </ul> <p> <strong>First Item:</strong> {{ items | first | map: "name" }}</p> <p> <strong>Total Items:</strong> {{ items | size }}</p> </section> <!-- Pricing Section --> <section> <h2>Price Breakdown</h2> <p>Original Price: ${{ price }}</p> <p>After Discount ($10 off): ${{ price | minus: 10 }}</p> <p>After Tax (10%): ${{ price | times: 1.1 }}</p> <p>Half Price: ${{ price | divided_by: 2 }}</p> </section> <!-- Time Section --> <section> <h2>Date & Time</h2> <p>Current Timestamp: {{ "now" | date: "%Y-%m-%d %H:%M:%S" }}</p> <p>Next Billing Date: {{ "2025-02-07" | date: "%B %d, %Y" }}</p> </section> <!-- Custom Message --> <section> <h2>Message</h2> {% assign greeting = "Hello" %} <p>{{ greeting }} {{ user.name }}!</p> {% if custom_message %} <div class="custom-message"> {{ custom_message }} </div> {% else %} <div class="custom-message"> No custom message provided. </div> {% endif %} </section> <!-- User Role Case --> <section> <h2>Role Based Content</h2> {% case user.role %} {% when "admin" %} <p>You are on the <strong>Admin Dashboard</strong>.</p> {% when "user" %} <p>You are on the <strong>User Dashboard</strong>.</p> {% else %} <p class="alert">Unknown role. Please contact support.</p> {% endcase %} {% unless user.role == "admin" %} <p class="alert">You are not an admin.</p> {% endunless %} </section> <!-- Raw Display --> <section> <h2>Liquid Syntax Example</h2> {% raw %} To print user name: {{ user.name }} {% endraw %} </section> </body> </html> ``` ### Templates in Draft Mode You can customize the HTML, CSS, and JavaScript code based on your requirements. You can use the JSON Data section to pass custom input data to the template. ![catalyst_smartbrowz_template_json](https://catalyst-docs-development.zohostratus.in/images/help/smartbrowz/catalyst_smartbrowz_template_json.webp) To render the changes you make in the editor, you can click the **Save as Draft** button. ![catalyst_smartbrowz_template_save_as_draft_button_first](https://catalyst-docs-development.zohostratus.in/images/help/smartbrowz/catalyst_smartbrowz_template_save_as_draft_button_first.webp) This will allow you to view the changes you make to your template without affecting the published version. ![catalyst_smartbrowz_template_draft_version](https://catalyst-docs-development.zohostratus.in/images/help/smartbrowz/catalyst_smartbrowz_template_draft_version.webp) You can always, view the published version of the template by clicking the **View Published Version** button. ![catalyst_smartbrowz_template_published_view](https://catalyst-docs-development.zohostratus.in/images/help/smartbrowz/catalyst_smartbrowz_template_published_view.webp) Once you've completed your required edits, you can render them live by clicking the **Save & Publish** button. ![catalyst_smartbrowz_template_published_view](https://catalyst-docs-development.zohostratus.in/images/help/smartbrowz/catalyst_smartbrowz_template_published_view.webp) This action will **delete the current live version** and render your draft as the live version of the template. ### Discard Drafts If you happen to be unsatisfied with your edits and wish to remove all changes to your draft, in essence, restore your template to its latest published version, then you can simply discard the draft. To discard a draft: 1. Click the **Discard Draft** button. ![catalyst_smartbrowz_templates_discard_draft](https://catalyst-docs-development.zohostratus.in/images/help/smartbrowz/catalyst_smartbrowz_templates_discard_draft.webp) 2. Click **Confirm** to discard the draft. ![catalyst_smartbrowz_templates_discard_draft_confirm](https://catalyst-docs-development.zohostratus.in/images/help/smartbrowz/catalyst_smartbrowz_templates_discard_draft_confirm.webp) The draft will be deleted. The code and configurations rendering your template to the latest live version will be restored in the editor. ### Customize the Orientation and Layout of the Template Using the **Settings** section, you can password protect your visual document, style the layout and the orientation of the document and also decide your output format. ![catalyst_smartbrowz_template_settings](https://catalyst-docs-development.zohostratus.in/images/help/smartbrowz/catalyst_smartbrowz_template_settings.webp) In this section, use the various drop-down selections to customize the following features of your template: #### Output Format You can generate outputs for your template in the following formats: * PDF * HTML (Rendered): The **HTML (Rendered)** output format downloads the template as HTML code. All of the templates styling, configurations and the template itself will be downloadable as HTML code. * PNG, JPEG. ![catalyst_smartbrowz_templates_output_format](https://catalyst-docs-development.zohostratus.in/images/help/smartbrowz/catalyst_smartbrowz_templates_output_format.webp) #### Paper size SmartBrowz Templates provides you with all the **ISO 216** paper size options including a *Custom* option to design your template's paper layout ![catalyst_smartbrowz_templates_paper_sizes](https://catalyst-docs-development.zohostratus.in/images/help/smartbrowz/catalyst_smartbrowz_templates_paper_sizes.webp) #### Orientation SmartBrowz Templates provides you with the option to choose the orientation of your template. You have the option to generate your template in the **Landscape** or **Portrait** orientation. ![catalyst_smartbrowz_templates_paper_orientation](https://catalyst-docs-development.zohostratus.in/images/help/smartbrowz/catalyst_smartbrowz_templates_paper_orientation.webp) #### Background graphics SmartBrowz Templates provides you with the option to **Enable** or **Disable** background graphics for your template. ![catalyst_smartbrowz_templates_drop_down](https://catalyst-docs-development.zohostratus.in/images/help/smartbrowz/catalyst_smartbrowz_templates_drop_down.webp) #### Advanced Styling Options You can further change the margin-orientation of your template, by clicking **Show Advanced Styling Options**. ![catalyst_smartbrowz_template_advanced_ops](https://catalyst-docs-development.zohostratus.in/images/help/smartbrowz/catalyst_smartbrowz_template_advanced_ops.webp) > **Note:** * While configuring your document's *Header* and *Footer*, you can either provide values in the input field, or you can code your customization in HTML by selecting the **HTML Code** option. * While inputting values for the *Header* and *Footer*, ensure you provide it as 10px or above to view the change in the preview section. ### Password Protected PDFs *Templates* allows you to password protect documents that are generated using a template. You can either manually set the password for your template, or you can code a logic that instructs Catalyst to set a password dynamically. > **Note:** To password protect your visual document, the *Output Format* of your document has to be PDF. To password protect PDFs, click the **Set Password for PDF** toggle: ![catalyst_smartbrowz_templates_pwd_protect](https://catalyst-docs-development.zohostratus.in/images/help/smartbrowz/catalyst_smartbrowz_templates_pwd_protect.webp) 1. There are two ways you can set a password for your PDF: * By default, the **Set Password Manually** option will be selected. Choosing this option, allows you to set the password for your PDF in the *Playground* section of the [PDF & Screenshot](https://docs.catalyst.zoho.com/en/smartbrowz/help/pdfnscreenshot/introduction/) component. ![catalyst_smartbrowz_templates_pwd_protect_depicts](https://catalyst-docs-development.zohostratus.in/images/help/smartbrowz/catalyst_smartbrowz_templates_pwd_protect_depicts.webp) > **Note:** You can also manually set the password for your PDF using this [API](https://docs.catalyst.zoho.com/en/api/code-reference/smartbrowz/generate-pdfnscreenshottemplate/#PDF%26ScreenshotwithTemplateasInput) by passing your password for the document as a JSON key value pair "**password**" inside the "`pdf_options`" JSON. * Click the **Set Password Dynamically** option to code a custom logic that ensures each time a PDF is generated from the template, based on the logic you coded a password will be set for the document automatically. ![catalyst_smartbrowz_templates_pwd_protect_dynamically](https://catalyst-docs-development.zohostratus.in/images/help/smartbrowz/catalyst_smartbrowz_templates_pwd_protect_dynamically.webp) For this help documentation, we have implemented the code snippet shown below: **Sample Logic** ```javascript module.exports = (jsonData) => { // Extract the first four letters from client.name const clientName = jsonData.client.data[0].name.trim(); // Remove leading/trailing spaces const firstNameLetters = clientName.substring(0, 4); // Extract the last four digits from client.phn const clientPhone = jsonData.client.data[0].phn.trim(); // Remove leading/trailing spaces const lastFourDigits = clientPhone.slice(-4); const password = ${firstNameLetters}${lastFourDigits}; //so password will be "Amel2782" return password; }; ``` The value for `jsonData` input is shown below: **jsonData** ```json { "address": { "name": "107 Traction Street,Green Ville", "postal": "South carolina-600028" }, "client": { "data": [ { "name": "Amelia Burrows", "phn": "+1-212-6782782", "start": "Monday,Feburary,28,2019", "end": "Monday,March,28,2019" } ] } } ``` The PDF document generated from this template will have a password pattern that is a combination of their first name and last digits of their phone number. 2. Click **Save & Publish**, to apply the password protection to your template. > **Note:** If you click **Save as Draft**, then the password protection will not be applied to the live version of the template. Once you have completed all the customizations to your template, you can access your this template at any time from the *Templates* component. ![catalyst_smartbrowz_template_created](https://catalyst-docs-development.zohostratus.in/images/help/smartbrowz/catalyst_smartbrowz_template_created.webp) -------------------------------------------------------------------------------- title: "Manage Templates" description: "Create, configure, and manage templates of webpages or documents using which you can generate visual documents with PDF and Screenshot." last_updated: "2026-08-17T12:16:04.000Z" source: "https://docs.catalyst.zoho.com/en/smartbrowz/help/templates/managing-templates/" service: "SmartBrowz" -------------------------------------------------------------------------------- # Manage Templates After you create a template, you can perform the following operations on it: * Rename * Duplicate * Delete You can perform these operations from two places in the console: - In the *Template* component section: ![catalyst_smartbrowz_templates_options](https://catalyst-docs-development.zohostratus.in/images/help/smartbrowz/catalyst_smartbrowz_templates_options.webp) - While you are designing the template by clicking the ellipsis icon: ![catalyst_smartbrowz_templates_open_options](https://catalyst-docs-development.zohostratus.in/images/help/smartbrowz/catalyst_smartbrowz_templates_open_options.webp) ### Rename a Template To rename a template: 1. Click the **ellipsis icon** present on the card of the template you wish to rename, and click **Rename**. ![catalyst_smartbrowz_templates_open_rename](https://catalyst-docs-development.zohostratus.in/images/help/smartbrowz/catalyst_smartbrowz_templates_open_rename.webp) 2. Input the new name of the template and click **Update**. ![catalyst_smartbrowz_templates_open_renaming_now](https://catalyst-docs-development.zohostratus.in/images/help/smartbrowz/catalyst_smartbrowz_templates_open_renaming_now.webp) 3. The template will be renamed. ![catalyst_smartbrowz_templates_open_renamed](https://catalyst-docs-development.zohostratus.in/images/help/smartbrowz/catalyst_smartbrowz_templates_open_renamed.webp) ### Duplicate a Template To create an exact duplicate of an existing template: 1. Click the **ellipsis-icon** present on the card of the template you wish to duplicate, and click **Duplicate**. ![catalyst_smartbrowz_templates_open_duplicate_highlight](https://catalyst-docs-development.zohostratus.in/images/help/smartbrowz/catalyst_smartbrowz_templates_open_duplicate_highlight.webp) 2. Provide a new name for the template and click **Duplicate**. ![catalyst_smartbrowz_templates_open_duplicating_now](https://catalyst-docs-development.zohostratus.in/images/help/smartbrowz/catalyst_smartbrowz_templates_open_duplicating_now.webp) 3. The duplicate template will be created. ![catalyst_smartbrowz_templates_open_duplicated](https://catalyst-docs-development.zohostratus.in/images/help/smartbrowz/catalyst_smartbrowz_templates_open_duplicated.webp) You can now customize this duplicated template further, if you require. ### Delete a Template To delete a template: 1. Click the **ellipsis icon** present on the card of the template you wish to delete, and click **Delete**. ![catalyst_smartbrowz_templates_open_delete_highlight](https://catalyst-docs-development.zohostratus.in/images/help/smartbrowz/catalyst_smartbrowz_templates_open_delete_highlight.webp) 2. Click **Delete**, to confirm the operation. ![catalyst_smartbrowz_templates_open_deleted](https://catalyst-docs-development.zohostratus.in/images/help/smartbrowz/catalyst_smartbrowz_templates_open_deleted.webp) The template will be deleted. ## API Reference — SmartBrowz -------------------------------------------------------------------------------- title: "PDF & Screenshot with HTML or URL as Input" description: "This API enables you to generate PDF & Screenshots for browser testing through the Catalyst SmartBrowz headless browser service." last_updated: "2026-08-28T06:26:16.000Z" source: "https://docs.catalyst.zoho.com/en/api/code-reference/smartbrowz/generate-pdfnscreenshoturl/" service: "SmartBrowz" -------------------------------------------------------------------------------- # PDF & Screenshot [PDF & Screenshot](https://docs.catalyst.zoho.com/en/smartbrowz/help/pdfnscreenshot/introduction/) is a component of SmartBrowz that lets you generate visual documents of websites and web applications. It is a powerful tool that can be used to convert webpages to PDF, to use during UI debugging, and to understand visual components from end-users’ perspective, while implementing permitted crawling operations, just to name a few. You can introduce this functionality in your Catalyst application using the API below. ## Generate PDF Using HTML/URL ### PDF Description You can use this API to generate PDF documents of webpages by using HTML code or URL as your input. ### PDF Request Details #### Request URL `POST` {api-domain}/browser360/v1/project/{project_id}/convert - **api-domain** (URL): The DC-specific domain to access Catalyst API - **project_id** (Numerical): The [unique ID](https://docs.catalyst.zoho.com/en/getting-started/set-up-a-catalyst-project/general-settings/) of the project #### Scope ZohoCatalyst.pdfshot.EXECUTE #### Request Headers **Authorization:** Zoho-oauthtoken {oauth_token} **Content-Type:** application/json #### Request JSON Properties - **display_header_footer** (boolean, optional): Pass the value as `true` to show the header and footer of the webpage. Default: `false`. - **footer_template** (string, optional): HTML template for the print footer. Has the same constraints and support for special classes as `PDFOptions.headerTemplate`. - **format** (PaperFormat, optional): Size of the paper. Example: A4, A3. - **header_template** (string, optional): HTML template for the print header. Should be valid HTML with the following classes to inject values into them: - - **date** (string, optional): Formatted print date - - **title** (string, mandatory): Title of the document - - **url** (string, mandatory): URL of the document - - **page_number** (string, optional): Current page number - - **total_pages** (string, optional): Total pages in the document - **landscape** (boolean, optional): Pass the value as `true` to print in a landscape orientation - **margin** (PDFMargin, optional): Set the PDF margins - **omit_background** (boolean, optional): Hides the default white background and allows generating PDFs with a transparent background - **page_ranges** (string, optional): Paper ranges to print. Example: 1-5, 8, 11-13. - **prefer_css_pageSize** (boolean, optional): Pass the value as `true` to prioritize the CSS @page size declared in the page over what is declared in the width, height, or format option - **print_background** (boolean, optional): Pass the value as `true` to print the background graphics - **scale** (number, optional): Scales the rendering of the web page. Acceptable Values: Between 0.1 and 2. - **timeout** (number, optional): Timeout in milliseconds. Pass the value as `0` to disable the timeout. - **width** (string | number, optional): Sets the width of paper. You can pass in a number or a string with a unit. - **timeout** (number, optional): Maximum wait time in milliseconds. Pass the value as `0` to disable the timeout. The default value can be changed by using the `page.set_default_timeout()` or `page.set_default_navigation_timeout()` methods. - **wait_until** (string | number, optional): ### PDF Response Details The response will return the PDF document generated. ## Generate Screenshot Using HTML/URL ### Screenshot Description You can use this API to generate screenshots of webpages using HTML code or URL as your input. ### Screenshot Request Details #### Request URL `POST` {api-domain}/browser360/v1/project/{project_id}/convert - **project_id** (Numerical): The [unique ID](https://docs.catalyst.zoho.com/en/getting-started/set-up-a-catalyst-project/general-settings/) of the project #### Scope ZohoCatalyst.pdfshot.EXECUTE #### Request JSON Properties - **capture_beyond_viewport** (boolean, mandatory): Pass the value as `true` to capture the screenshot beyond the viewport - **clip** (screenshot_clip, mandatory): Object that specifies the clipping region of the page - **encoding** ('base64' | 'binary', mandatory): Encoding of the image - **from_surface** (boolean, mandatory): Pass the value as `true` to capture the screenshot from the surface rather than the view. - **full_page** (boolean, mandatory): Pass the value as `true` to take a screenshot of the entire page - **omit_background** (boolean, mandatory): Hides the default white background and allows capturing screenshots with a transparent background - **quality** (number, optional): Quality of the image. Not applicable to **.png** images. Acceptable Values: Between `0` to `100`. Maximum wait time in milliseconds. Pass the value as `0` to disable the timeout. - **wait_until** (string | number, optional): - **password** (string, optional): Will hold the value of the password that protects your PDF document. ### Screenshot Response Details The response will return a screenshot that was generated. > **Note:** Any Browser action or operation that you code using the Browser Logic function, or any browser automation or web scraping task that you perform using any component of **Catalyst SmartBrowz** is at your own risk. We strongly recommend you use the SmartBrowz components to perform operations on domains that permit the actions, or with proper approval. Additionally, while Catalyst does provide a secure infrastructure to code your functions, any consequence of the logic you code using Catalyst functions is yours alone. **CURL Request - PDF from HTML/URL** ```json curl -X POST \ 'https://api.catalyst.zoho.com/browser360/v1/project/10470000000272001/convert' -H "Authorization: Zoho-oauthtoken 1000.910*\*\*\*\*\*\*\*\*\*\*\*\*\*\*\*\*\*\*\*\*\*\*\*\*16.2f*\*\*\*\*\*\*\*\*\*\*\*\*\*\*\*\*\*\*\*\*\*\*\*\*57" \ -H 'Content-Type: application/json' --d '{ "url": "https://www.example.com", "output_options": { "output_type": "pdf" }, "pdf_options" : { "scale" : 1, "display_header_footer" : true, "header_template" : "<style> #header, #footer { margin: 0 !important; padding: 0 !important; font-size: 9px; -webkit-print-color-adjust: exact;}</style><div style=\width:100%><span class=\date\></span><span class=\title\ style=\float:right\></span</div>", "footer_template" : "<style> #header, #footer { margin: 0 !important; padding: 0 !important; font-size: 9px; -webkit-print-color-adjust: exact;}</style><div style=\width:100%\><span class=\url\></span><div style=\float:right\><span class=\pageNumber\></span> / <span class=\totalPages\></span></div></div>", "print_background" : false, "landscape" : false, "page_ranges" : "1", "format" : "A4", "width" : "100", "height" : "100", "margin" : { "top" : "1cm", "bottom" : "1cm", "left" : "1cm", "right": "1cm" }, "omit_background" : false }, "page_options":{ "css" : { "content" : "body{background: lightgrey}" }, "viewport" : { "width": 1440, "height": 900 }, "javascript_enabled" : true }, "navigation_options":{ "timeout" : 5000, "wait_until" : "networkidle0" } }' ``` **CURL Request - Screenshot from HTML/URL** ```json curl -X POST \ 'https://api.catalyst.zoho.com/browser360/v1/project/10470000000272001/convert' -H "Authorization: Zoho-oauthtoken 1000.910*\*\*\*\*\*\*\*\*\*\*\*\*\*\*\*\*\*\*\*\*\*\*\*\*16.2f*\*\*\*\*\*\*\*\*\*\*\*\*\*\*\*\*\*\*\*\*\*\*\*\*57" \ -H 'Content-Type: application/json' --d'{ "url": "https://www.example.com", "output_options": { "output_type": "screenshot" }, "screenshot_options": { "type": "jpeg", "quality": 100, "full_page": false, "omit_background": false, "capture_beyond_viewport": true, "clip": { "x": 50, "y": 100, "width": 1000, "height": 100 } }, "page_options": { "css": { "content": "body{background: lightgrey}" }, "viewport": { "width": 1440, "height": 900 }, "javascript_enabled": true }, "navigation_options": { "timeout": 5000, "wait_until": "networkidle0" } }' ``` ### SDK Documentation [Generate PDF & Screenshot- Java SDK](https://docs.catalyst.zoho.com/en/sdk/java/v1/smartbrowz/generate-pdfnscreenshot/) [Generate PDF & Screenshot- Node.js SDK](https://docs.catalyst.zoho.com/en/sdk/nodejs/v2/smartbrowz/generate-pdfnscreenshot/) [Generate PDF & Screenshot- Python SDK](https://docs.catalyst.zoho.com/en/sdk/python/v1/smartbrowz/generate-pdfnscreenshot/) -------------------------------------------------------------------------------- title: "PDF & Screenshot with Template as Input" description: "This API enables you to generate PDF & Screenshots." last_updated: "2026-08-28T06:26:16.000Z" source: "https://docs.catalyst.zoho.com/en/api/code-reference/smartbrowz/generate-pdfnscreenshottemplate/" service: "SmartBrowz" -------------------------------------------------------------------------------- ## Generate PDF Using Templates > **Note:** You need to [create a template](https://docs.catalyst.zoho.com/en/smartbrowz/help/templates/create-templates/) in the console to use this API. ### Description You can use this API to generate PDF documents of webpages using [Templates](https://docs.catalyst.zoho.com/en/smartbrowz/help/templates/create-templates/) as your input. ### PDF Request Details #### Request URL `POST` {api-domain}/browser360/v1/project/{project_id}/convert - **api-domain** (URL): The DC-specific domain to access Catalyst API - **project_id** (Numerical): The [unique ID](https://docs.catalyst.zoho.com/en/getting-started/set-up-a-catalyst-project/general-settings/) of the project #### Scope ZohoCatalyst.pdfshot.EXECUTE #### Request JSON Properties - **display_header_footer** (boolean, optional): Pass the value as `true` to show the header and footer. Default: `false`. - **format** (PaperFormat, optional): Size of the paper. Example: A4, A3. - **landscape** (boolean, optional): Pass the value as `true` to print in landscape orientation. - **password** (string, optional): Pass the password value of the PDF document. - **omit_background** (boolean, optional): Hides the default white background and allows generating PDFs with a transparent background. - **page_ranges** (string, optional): Paper ranges to print. Example: 1-5, 8, 11-13. - **prefer_css_pageSize** (boolean, optional): Pass the value as `true` to prioritize the CSS @page size declared in the page over what is declared in the width, height, or format option - **print_background** (boolean, optional): Pass the value as `true` to print the background graphics - **scale** (number, optional): Scales the rendering of the web page. Acceptable Values: Between 0.1 and 2. - **timeout** (number, optional): Timeout in milliseconds. Pass the value as `0` to disable the timeout. - **width** (string | number, optional): Sets the width of paper. You can pass in a number or a string with a unit. - **timeout** (number, optional): Maximum wait time in milliseconds. Pass the value as `0` to disable the timeout. The default value can be changed by using the `page.set_default_timeout()` or `page.set_default_navigation_timeout()` methods. - **wait_until** (string | number, optional): - **password** (string, optional): Will hold the value of the password that protects your PDF document. ### PDF Response Details The response will be a PDF that was generated. > **Note:** * You need to [create a template](https://docs.catalyst.zoho.com/en/smartbrowz/help/templates/create-templates/) in the console to use this API. * *SmartBrowz Templates* offers you the option to set a password for the PDF document you generate using a template. If you employ the **Set Password Manually** option, then you can use this API. This API cannot be used if you employ the *Set Password Dynamically* option. ## Generate Screenshot Using Templates ### Screenshot Description You can use this API to generate screenshot of webpages, by using [Templates](https://docs.catalyst.zoho.com/en/smartbrowz/help/templates/create-templates/) as your input. ### Screenshot Request Details #### Request URL `POST` {api-domain}/browser360/v1/project/{project_id}/convert - **project_id** (Numerical): The [unique ID](https://docs.catalyst.zoho.com/en/getting-started/set-up-a-catalyst-project/general-settings/) of the project #### Scope ZohoCatalyst.pdfshot.EXECUTE #### Request JSON Properties - **capture_beyond_viewport** (boolean, mandatory): Pass the value as `true` to capture the screenshot beyond the viewport - **clip** (screenshot_clip, mandatory): Object that specifies the clipping region of the page - **encoding** ('base64' | 'binary', mandatory): Encoding of the image - **from_surface** (boolean, mandatory): Pass the value as `true` to capture the screenshot from the surface, rather than the view - **full_page** (boolean, mandatory): Pass the value as `true` to take a screenshot of the entire page - **omit_background** (boolean, mandatory): Hides the default white background and allows capturing screenshots with a transparent background - **quality** (number, optional): Maximum wait time in milliseconds. Pass the value as `0` to disable the timeout. The default value can be changed by using the `page.set_default_timeout()` or `page.set_default_navigation_timeout()` methods. - **wait_until** (string | number, optional): ### Screenshot Response Details The response will be a Screenshot that was generated. > **Note:** Any Browser action or operation that you code using the Browser Logic function, or any browser automation or web scraping task that you perform using any component of **Catalyst SmartBrowz** is at your own risk. We strongly recommend you use the SmartBrowz components to perform operations on domains that permit the actions, or with proper approval. Additionally, while Catalyst does provide a secure infrastructure to code your functions, any consequence of the logic you code using Catalyst functions is yours alone. **CURL Request - PDF from Templates** ```json curl -X POST \'https://api.catalyst.zoho.com/browser360/v1/project/10470000000272001/convert' -H "Authorization: Zoho-oauthtoken 1000.910*\*\*\*\*\*\*\*\*\*\*\*\*\*\*\*\*\*\*\*\*\*\*\*\*16.2f*\*\*\*\*\*\*\*\*\*\*\*\*\*\*\*\*\*\*\*\*\*\*\*\*57" \ -H 'Content-Type: application/json' --d '{ "template_id":"367000000044001", "template_data":{}, "output_options": { "output_type": "pdf" }, "pdf_options" : { "scale" : 1, "display_header_footer" : true, "print_background" : false, "landscape" : false, "page_ranges" : "1", "format" : "A4", "width" : "100", "height" : "100", "omit_background" : false, "password": "Demo$" }, "page_options":{ "css" : { "content" : "body{background: lightgrey}" }, "viewport" : { "width": 1440, "height": 900 }, "javascript_enabled" : true }, "navigation_options":{ "timeout" : 5000, "wait_until" : "networkidle0" } }' ``` **CURL Request - Screenshot from Templates** ```json curl -X POST \ 'https://api.catalyst.zoho.com/browser360/v1/project/10470000000272001/convert' -H "Authorization: Zoho-oauthtoken 1000.910*\*\*\*\*\*\*\*\*\*\*\*\*\*\*\*\*\*\*\*\*\*\*\*\*16.2f*\*\*\*\*\*\*\*\*\*\*\*\*\*\*\*\*\*\*\*\*\*\*\*\*57" \ -H 'Content-Type: application/json' -d '{ "template_id":"367000000044001", "template_data":{}, "output_options": { "output_type": "pdf" }, "screenshot_options" : { "type" : "jpeg", "quality" : 100, "full_page" : false, "omit_background" : false, "capture_beyond_viewport" : true, "clip" :{ "x" : 50, "y" : 100, "width" : 1000, "height": 100 } }, "page_options":{ "css" : { "content" : "body{background: lightgrey}" }, "viewport" : { "width": 1440, "height": 900 }, "javascript_enabled" : true }, "navigation_options":{ "timeout" : 5000, "wait_until" : "networkidle0" } }' ``` ### SDK Documentation [Generate PDF & Screenshot- Java SDK](https://docs.catalyst.zoho.com/en/sdk/java/v1/smartbrowz/generate-pdfnscreenshot/) [Generate PDF & Screenshot- Node.js SDK](https://docs.catalyst.zoho.com/en/sdk/nodejs/v2/smartbrowz/generate-pdfnscreenshot/) [Generate PDF & Screenshot- Python SDK](https://docs.catalyst.zoho.com/en/sdk/python/v1/smartbrowz/generate-pdfnscreenshot/) ### Browser Grid -------------------------------------------------------------------------------- title: "List all Browser Grids" description: "This API enables you to list all the browser grids that are present in your project." last_updated: "2026-10-30T17:47:18.000Z" source: "https://docs.catalyst.zoho.com/en/api/code-reference/smartbrowz/browser-grid/list-all-grids/" service: "SmartBrowz" -------------------------------------------------------------------------------- # Catalyst SmartBrowz [Catalyst SmartBrowz](https://docs.catalyst.zoho.com/en/smartbrowz/getting-started/introduction/) is a Catalyst browser service that enables you to manage and control a remote browser in Catalyst’s cloud environment through a wide range of components. These include Browser Grid, Browser Logic function, PDF & Screenshot, Templates, and more. # Browser Grid [Browser Grid](https://docs.catalyst.zoho.com/en/smartbrowz/help/browser-grid/introduction/) is a component of Catalyst SmartBrowz that enables you to connect to headless browsers through custom configurations of Nodes and Browsers. ## List All Browser Grids ### Description You can use this API to get a list of all the grids that have been created for your project. ### Request Details #### Request URL `GET` {api-domain}/browser360/v1/project/{project_id}/browser-grid - **api-domain** (URL): The DC-specific domain to access Catalyst API - **project_id** (Numerical): The [unique ID](https://docs.catalyst.zoho.com/en/getting-started/set-up-a-catalyst-project/general-settings/) of the project #### Scope ZohoCatalyst.grid.read #### Request Headers **Authorization:** Zoho-oauthtoken {oauth_token} **Content-Type:** application/json **CATALYST-ORG:** Provide the value of your [Org ID](https://docs.catalyst.zoho.com/en/getting-started/catalyst-organizations/). ### Response Details You will receive a response containing details of all the grids that are present in the project. > **Notice:** Any Browser action or operation that you code using the Browser Logic function, or any browser automation or web scraping task that you perform using any component of **Catalyst SmartBrowz** is at your own risk. We strongly recommend you use the SmartBrowz components to perform operations on domains that permit the actions, or with proper approval. Additionally, while Catalyst does provide a secure infrastructure to code your functions, any consequence of the logic you code using Catalyst functions is yours alone. **CURL Request - Get all Browser Grids** ```json curl -X GET 'https://api.catalyst.zoho.com/browser360/v1/project/38119000000022053/browser-grid' \ -H 'CATALYST-ORG: 111737956' \ -H 'Content-Type: application/json' \ -H 'Authorization: Zoho-oauthtoken 1000.******************************************************780' ``` **Example Response** ```json { "status": "success", "data": [ { "id": "3970000000006058", "name": "play", "memory": 1024, "browser_version": { "chrome_version": "137.0.7515.155", "firefox_version": "136.0.4" }, "created_time": "Sep 10, 2025 07:04 PM", "modified_time": "Sep 10, 2025 07:04 PM", "api_key_modified_time": "1757511270919", "created_by": { "zuid": "111734674", "email_id": "emmy@zylker.com", "first_name": "Headless", "last_name": "2", "user_type": "SuperAdmin" }, "modified_by": { "zuid": "111734674", "email_id": "emmy@zylker.com", "first_name": "Headless", "last_name": "2", "user_type": "SuperAdmin" }, "project_details": { "project_name": "Project-Rainfall", "id": "38119000000022053", "project_type": "Live" }, "endpoint_type": 1, "max_session_count": 1, "max_nodes_count": 10, "max_concurrent_count": 10, "config_type": 1 }, { "id": "3970000000005426", "name": "Automation", "memory": 1024, "browser_version": { "chrome_version": "137.0.7515.155", "firefox_version": "136.0.4" }, "created_time": "Sep 10, 2025 12:47 PM", "modified_time": "Sep 23, 2025 03:12 PM", "api_key_modified_time": "1757488669690", "created_by": { "zuid": "111734674", "email_id": "emmy@zylker.com", "first_name": "Headless", "last_name": "2", "user_type": "SuperAdmin" }, "modified_by": { "zuid": "111734674", "email_id": "emmy@zylker.com", "first_name": "Headless", "last_name": "2", "user_type": "SuperAdmin" }, "project_details": { "project_name": "Project-Rainfall", "id": "38119000000022053", "project_type": "Live" }, "endpoint_type": 2, "max_session_count": 1, "max_nodes_count": 5, "max_concurrent_count": 5, "config_type": 2 }, { "id": "3970000000005027", "name": "SDK", "memory": 1024, "browser_version": { "chrome_version": "137.0.7515.155", "firefox_version": "136.0.4" }, "created_time": "Sep 10, 2025 11:33 AM", "modified_time": "Sep 10, 2025 04:27 PM", "api_key_modified_time": "1757484201284", "created_by": { "zuid": "111734674", "email_id": "emmy@zylker.com", "first_name": "Headless", "last_name": "2", "user_type": "SuperAdmin" }, "modified_by": { "zuid": "111734674", "email_id": "emmy@zylker.com", "first_name": "Headless", "last_name": "2", "user_type": "SuperAdmin" }, "project_details": { "project_name": "Project-Rainfall", "id": "38119000000022053", "project_type": "Live" }, "endpoint_type": 2, "max_session_count": 1, "max_nodes_count": 5, "max_concurrent_count": 5, "config_type": 1 }, { "id": "3970000000005015", "name": "Puppeteer_Grid", "memory": 1024, "browser_version": { "chrome_version": "137.0.7515.155", "firefox_version": "136.0.4" }, "created_time": "Sep 10, 2025 10:21 AM", "modified_time": "Sep 10, 2025 10:21 AM", "api_key_modified_time": "1757479864798", "created_by": { "zuid": "111734674", "email_id": "emmy@zylker.com", "first_name": "Headless", "last_name": "2", "user_type": "SuperAdmin" }, "modified_by": { "zuid": "111734674", "email_id": "emmy@zylker.com", "first_name": "Headless", "last_name": "2", "user_type": "SuperAdmin" }, "project_details": { "project_name": "Project-Rainfall", "id": "38119000000022053", "project_type": "Live" }, "endpoint_type": 1, "max_session_count": 1, "max_nodes_count": 1, "max_concurrent_count": 1, "config_type": 1 }, { "id": "3970000000005013", "name": "Selenium_Gridt", "memory": 1024, "browser_version": { "chrome_version": "137.0.7515.155", "firefox_version": "136.0.4" }, "created_time": "Sep 10, 2025 10:21 AM", "modified_time": "Sep 23, 2025 05:50 PM", "api_key_modified_time": "1757479864794", "created_by": { "zuid": "111734674", "email_id": "emmy@zylker.com", "first_name": "Headless", "last_name": "2", "user_type": "SuperAdmin" }, "modified_by": { "zuid": "111734674", "email_id": "emmy@zylker.com", "first_name": "Headless", "last_name": "2", "user_type": "SuperAdmin" }, "project_details": { "project_name": "Project-Rainfall", "id": "38119000000022053", "project_type": "Live" }, "endpoint_type": 2, "max_session_count": 1, "max_nodes_count": 1, "max_concurrent_count": 1, "config_type": 2 } ] } ``` ### SDK Documentation [Get All Browser Grids - Java SDK](https://docs.catalyst.zoho.com/en/sdk/java/v1/smartbrowz/browser-grid/get-all-grids/) [Get All Browser Grids - Node.js SDK](https://docs.catalyst.zoho.com/en/sdk/nodejs/v2/smartbrowz/browser-grid/get-all-grids/) [Get All Browser Grids - Python SDK](https://docs.catalyst.zoho.com/en/sdk/python/v1/smartbrowz/browser-grid/get-all-grids/) -------------------------------------------------------------------------------- title: "List a Specific Browser Grid" description: "This API enables you to list a specific browser grid present in your project." last_updated: "2026-08-28T06:26:16.000Z" source: "https://docs.catalyst.zoho.com/en/api/code-reference/smartbrowz/browser-grid/list-specific-grid/" service: "SmartBrowz" -------------------------------------------------------------------------------- ## List a Specific Browser Grid ### Description You can use this API to list the details of a specific browser grid created in your project. The required grid will be referred to using its Grid ID. ### Request Details #### Request URL `GET` {api-domain}/browser360/v1/project/{project_id}/browser-grid/{grid_id} - **api-domain** (URL): The DC-specific domain to access Catalyst API - **project_id** (Numerical): The [unique ID](https://docs.catalyst.zoho.com/en/getting-started/set-up-a-catalyst-project/general-settings/) of the project - **grid_id** (Numerical): The [unique ID](https://docs.catalyst.zoho.com/en/smartbrowz/help/browser-grid/create-grid/) to refer to the required grid #### Scope ZohoCatalyst.grid.read #### Request Headers **Authorization:** Zoho-oauthtoken {oauth_token} **Content-Type:** application/json **CATALYST-ORG:** Provide the value of your [Org ID](https://docs.catalyst.zoho.com/en/getting-started/catalyst-organizations/). ### Response Details You will receive a response containing details of a specific grid. > **Notice:** Any Browser action or operation that you code using the Browser Logic function, or any browser automation or web scraping task that you perform using any component of **Catalyst SmartBrowz** is at your own risk. We strongly recommend you use the SmartBrowz components to perform operations on domains that permit the actions, or with proper approval. Additionally, while Catalyst does provide a secure infrastructure to code your functions, any consequence of the logic you code using Catalyst functions is yours alone. **CURL Request - Get Specific Grid** ```json curl -X PUT 'https://api.catalyst.zoho.com/browser360/v1/project/38119000000022053/browser-grid/3970000000006058' \ -H 'CATALYST-ORG: 111737956' \ -H 'Connection: keep-alive' \ -H 'Content-Type: application/json' \ -H 'Authorization: Zoho-oauthtoken 1000********************************************780' \ -d '{ "name": "grid_2", "memory": 1024, "max_nodes_count": 10, "max_session_count": 1, "endpoint_type": 1, "config_type": 1 }' ``` **Example Response** ```json { "status": "success", "data": { "id": "3970000000006058", "name": "play2", "memory": 1024, "browser_version": { "chrome_version": "137.0.7515.155", "firefox_version": "136.0.4" }, "created_time": "Sep 10, 2025 07:04 PM", "modified_time": "Sep 24, 2025 11:55 AM", "api_key_modified_time": "1757511270919", "created_by": { "zuid": "111734674", "is_confirmed": false, "email_id": "emmy@zylker.com", "first_name": "Headless", "last_name": "2", "user_type": "SuperAdmin" }, "modified_by": { "zuid": "111734674", "is_confirmed": false, "email_id": "emmy@zylker.com", "first_name": "Headless", "last_name": "2", "user_type": "SuperAdmin" }, "project_details": { "project_name": "Project-Rainfall", "id": "38119000000022053", "project_type": "Live" }, "endpoint_type": 1, "max_session_count": 1, "max_nodes_count": 10, "max_concurrent_count": 10, "config_type": 1 } } ``` ### SDK Documentation [Get Specific Browser Grids - Java SDK](https://docs.catalyst.zoho.com/en/sdk/java/v1/smartbrowz/browser-grid/get-specific-grid/) [Get Specific Browser Grids - Node.js SDK](https://docs.catalyst.zoho.com/en/sdk/nodejs/v2/smartbrowz/browser-grid/get-specific-grid/) [Get Specific Browser Grids - Python SDK](https://docs.catalyst.zoho.com/en/sdk/python/v1/smartbrowz/browser-grid/get-specific-grid/) -------------------------------------------------------------------------------- title: "Get Live Stats of the Grid" description: "This API enables you to get live stats of a specific grid's performance." last_updated: "2026-08-28T06:26:16.000Z" source: "https://docs.catalyst.zoho.com/en/api/code-reference/smartbrowz/browser-grid/live-stats-grid/" service: "SmartBrowz" -------------------------------------------------------------------------------- ## Get Live Stats of the Grid ### Description You can use this API to get live stats of a specific grid's performance. The required grid will be referred to using its [Grid ID](https://docs.catalyst.zoho.com/en/smartbrowz/help/browser-grid/create-grid/). ### Request Details #### Request URL `GET` {api-domain}/browser360/v1/project/{project_id}/browser-grid/{grid_id}/stats?data_to_fetch=live_stats - **api-domain** (URL): The DC-specific domain to access Catalyst API - **project_id** (Numerical): The [unique ID](https://docs.catalyst.zoho.com/en/getting-started/set-up-a-catalyst-project/general-settings/) of the project - **grid_id** (Numerical): The [unique ID](https://docs.catalyst.zoho.com/en/smartbrowz/help/browser-grid/create-grid/) to refer to the required grid #### Scope ZohoCatalyst.grid.read #### Request Headers for API Using OAuth **Authorization:** Zoho-oauthtoken {oauth_token} **Content-Type:** application/json **CATALYST-ORG:** Provide the value of your [Org ID](https://docs.catalyst.zoho.com/en/getting-started/catalyst-organizations/). #### Request Headers for API Using API Key **Authorization** **api-key:** The unique key generated by Catalyst. It can be [retrieved from the console](https://docs.catalyst.zoho.com/en/smartbrowz/help/browser-grid/create-grid/). ### Response Details You will receive a response containing live stats of a specific grid referred to using its Grid ID. > **Notice:** Any Browser action or operation that you code using the Browser Logic function, or any browser automation or web scraping task that you perform using any component of **Catalyst SmartBrowz** is at your own risk. We strongly recommend you use the SmartBrowz components to perform operations on domains that permit the actions, or with proper approval. Additionally, while Catalyst does provide a secure infrastructure to code your functions, any consequence of the logic you code using Catalyst functions is yours alone. **CURL Request - Get Live Stats of a Grid Using OAuth** ```json curl -X GET 'https://api.catalyst.zoho.com/browser360/v1/project/38119000000022053/browser-grid/3970000000005013/stats?data_to_fetch=live_stats' \ -H 'Authorization: Zoho-oauthtoken 1000*************************************f780' \ -H 'CATALYST-ORG: 111737956' ``` **CURL Request - Get Live Stats of a Grid Using API Key** ```json curl -X GET / 'https://api.catalyst.zoho.com/browser360/v1/project/38119000000022053/browser-grid/3970000000005013/stats?data_to_fetch=live_stats' \ -H 'api-key: 961***********************************************************************7049' ``` **Example Response** ```json { "status": "success", "data": { "free_sessions": 5, "session_queue_size": 0, "node_count": 0, "session_count": 0, "is_hub_alive": false } } ``` ### SDK Documentation [Browser Grid - Java SDK](https://docs.catalyst.zoho.com/en/sdk/java/v1/smartbrowz/browser-grid/overview/) [Browser Grid - Node.js SDK](https://docs.catalyst.zoho.com/en/sdk/nodejs/v2/smartbrowz/browser-grid/overview/) [Browser Grid - Python SDK](https://docs.catalyst.zoho.com/en/sdk/python/v1/smartbrowz/browser-grid/overview/) -------------------------------------------------------------------------------- title: "Get Node and Request Count of a Grid" description: "This API enables you to get stats on the Node and Request count of a grid." last_updated: "2026-08-28T06:26:16.000Z" source: "https://docs.catalyst.zoho.com/en/api/code-reference/smartbrowz/browser-grid/get-node-req-count/" service: "SmartBrowz" -------------------------------------------------------------------------------- ## Get Node and Request Count of a Grid ### Description You can use this API to get stats on the Node and Request count of a grid. The required grid will be referred to using its [Grid ID](https://docs.catalyst.zoho.com/en/smartbrowz/help/browser-grid/create-grid/). ### Request Details #### Request URL `GET` {api-domain}/browser360/v1/project/{project_id}/browser-grid/{grid_id}/stats?data_to_fetch=node_req_count&datetime_filter=Last+30+Days - **api-domain** (URL): The DC-specific domain to access Catalyst API - **project_id** (Numerical): The [unique ID](https://docs.catalyst.zoho.com/en/getting-started/set-up-a-catalyst-project/general-settings/) of the project - **grid_id** (Numerical): The [unique ID](https://docs.catalyst.zoho.com/en/smartbrowz/help/browser-grid/create-grid/) to refer to the required grid #### Scope ZohoCatalyst.grid.read #### Request Headers for API Using OAuth **Authorization:** Zoho-oauthtoken {oauth_token} **Content-Type:** application/json **CATALYST-ORG:** Provide the value of your [Org ID](https://docs.catalyst.zoho.com/en/getting-started/catalyst-organizations/). #### Request Headers for API Using API Key **Authorization** **api-key:** The unique key generated by Catalyst. It can be [retrieved from the console](https://docs.catalyst.zoho.com/en/smartbrowz/help/browser-grid/create-grid/). ### Response Details You will receive a response containing the maximum and average values of the node and request count stats of a specific grid referred to using its Grid ID. > **Notice:** Any Browser action or operation that you code using the Browser Logic function, or any browser automation or web scraping task that you perform using any component of **Catalyst SmartBrowz** is at your own risk. We strongly recommend you use the SmartBrowz components to perform operations on domains that permit the actions, or with proper approval. Additionally, while Catalyst does provide a secure infrastructure to code your functions, any consequence of the logic you code using Catalyst functions is yours alone. **CURL Request - Get Node and Request Count Using OAuth** ```json curl -X GET \ 'https://api.catalyst.zoho.com/browser360/v1/project/38119000000022053/browser-grid/3970000000005013/stats?datetime_filter=24+Hours&data_to_fetch=node_req_count' \ -H 'CATALYST-ORG: 111737956' \ -H 'Authorization: Zoho-oauthtoken 1000*********************************************780' ``` **CURL Request - Get Node and Request Count Using API Key** ```json curl -X GET \ 'https://api.catalyst.zoho.com/browser360/v1/project/38119000000022053/browser-grid/3970000000005013/stats?datetime_filter=24+Hours&data_to_fetch=node_req_count' \ -H 'CATALYST-ORG: 111737956' \ -H 'api-key: 96********************************************************************7049' ``` **Example Response** ```json { "status": "success", "data": { "avg_concurrent_node_count": "1", "max_concurrent_node_count": "1", "avg_concurrent_req_count": "0", "max_concurrent_req_count": "0" } } ``` ### SDK Documentation [Browser Grid - Java SDK](https://docs.catalyst.zoho.com/en/sdk/java/v1/smartbrowz/browser-grid/overview/) [Browser Grid - Node.js SDK](https://docs.catalyst.zoho.com/en/sdk/nodejs/v2/smartbrowz/browser-grid/overview/) [Browser Grid - Python SDK](https://docs.catalyst.zoho.com/en/sdk/python/v1/smartbrowz/browser-grid/overview/) -------------------------------------------------------------------------------- title: "Get Memory and CPU Usage of a Grid" description: "This API enables you to get the memory and CPU usage details of a specific grid." last_updated: "2026-08-28T06:26:16.000Z" source: "https://docs.catalyst.zoho.com/en/api/code-reference/smartbrowz/browser-grid/get-cpu-memory-grid/" service: "SmartBrowz" -------------------------------------------------------------------------------- ## Get Memory and CPU Usage of a Grid ### Description You can use this API to get the memory and CPU usage details of a specific grid. The required grid is referred to using its [Grid ID](https://docs.catalyst.zoho.com/en/smartbrowz/help/browser-grid/create-grid/). ### Request Details #### Request URL `GET` {api-domain}/browser360/v1/project/{project_id}/browser-grid/{grid_id}/stats?data_to_fetch=memory_cpu_usage&datetime_filter=Last+30+Days - **api-domain** (URL): The DC-specific domain to access Catalyst API - **project_id** (Numerical): The [unique ID](https://docs.catalyst.zoho.com/en/getting-started/set-up-a-catalyst-project/general-settings/) of the project - **grid_id** (Numerical): The [unique ID](https://docs.catalyst.zoho.com/en/smartbrowz/help/browser-grid/create-grid/) to refer to the required grid #### Scope ZohoCatalyst.grid.read #### Request Headers for API Using OAuth **Authorization:** Zoho-oauthtoken {oauth_token} **Content-Type:** application/json **CATALYST-ORG:** Provide the value of your [Org ID](https://docs.catalyst.zoho.com/en/getting-started/catalyst-organizations/). #### Request Headers for API Using API Key **Authorization** **api-key:** The unique key generated by Catalyst. It can be [retrieved from the console](https://docs.catalyst.zoho.com/en/smartbrowz/help/browser-grid/create-grid/). ### Response Details You will receive a response containing the maximum and average values of the memory and CPU usage stats of a specific grid referred to using its Grid ID. > **Notice:** Any Browser action or operation that you code using the Browser Logic function, or any browser automation or web scraping task that you perform using any component of **Catalyst SmartBrowz** is at your own risk. We strongly recommend you use the SmartBrowz components to perform operations on domains that permit the actions, or with proper approval. Additionally, while Catalyst does provide a secure infrastructure to code your functions, any consequence of the logic you code using Catalyst functions is yours alone. **CURL Request - Get Live Stats of a Grid Using OAuth** ```json curl -X GET \ 'https://api.catalyst.zoho.com/browser360/v1/project/38119000000022053/browser-grid/3970000000005013/stats?datetime_filter=24+Hours&data_to_fetch=memory_cpu_usage' \ -H 'CATALYST-ORG: 111737956' \ -H 'Authorization: Zoho-oauthtoken 1000*********************************************780' \ -H 'catalyst-org: 111737956' ``` **CURL Request - Get Live Stats of a Grid Using API Key** ```json curl -X GET \ 'https://api.catalyst.zoho.com/browser360/v1/project/38119000000022053/browser-grid/3970000000005013/stats?datetime_filter=24+Hours&data_to_fetch=memory_cpu_usage' \ -H 'CATALYST-ORG: 111737956' \ -H 'api-key: 96********************************************************************7049' ``` **Example Response** ```json { "status": "success", "data": { "max_memory_usage": 926.65234375, "high_disk_usage_count": 0, "max_cpu_usage": 1.1011011011011012, "avg_memory_usage": 926.65234375, "avg_cpu_usage": 1.1011011011011012 } } ``` ### SDK Documentation [Browser Grid - Java SDK](https://docs.catalyst.zoho.com/en/sdk/java/v1/smartbrowz/browser-grid/overview/) [Browser Grid - Node.js SDK](https://docs.catalyst.zoho.com/en/sdk/nodejs/v2/smartbrowz/browser-grid/overview/) [Browser Grid - Python SDK](https://docs.catalyst.zoho.com/en/sdk/python/v1/smartbrowz/browser-grid/overview/) -------------------------------------------------------------------------------- title: "Get Stats for Browser Rejections and Node Crashes" description: "This API enables you to get the stats on browsers that were rejected from spawning and nodes that crashed in a grid." last_updated: "2026-08-28T06:26:16.000Z" source: "https://docs.catalyst.zoho.com/en/api/code-reference/smartbrowz/browser-grid/rejection-stats/" service: "SmartBrowz" -------------------------------------------------------------------------------- ## Get Stats for Browser Rejections and Node Crashes ### Description You can use this API to get the stats on browsers that were rejected from spawning and nodes that crashed in a grid. The required grid will be referred to using its [Grid ID](https://docs.catalyst.zoho.com/en/smartbrowz/help/browser-grid/create-grid/). ### Request Details #### Request URL `GET` {api-domain}/browser360/v1/project/{project_id}/browser-grid/{grid_id}/stats?data_to_fetch=crashed_data&datetime_filter=Last+30+Days - **api-domain** (URL): The DC-specific domain to access Catalyst API - **project_id** (Numerical): The [unique ID](https://docs.catalyst.zoho.com/en/getting-started/set-up-a-catalyst-project/general-settings/) of the project - **grid_id** (Numerical): The [unique ID](https://docs.catalyst.zoho.com/en/smartbrowz/help/browser-grid/create-grid/) to refer to the required grid #### Scope ZohoCatalyst.grid.read #### Request Headers for API Using OAuth **Authorization:** Zoho-oauthtoken {oauth_token} **Content-Type:** application/json **CATALYST-ORG:** Provide the value of your [Org ID](https://docs.catalyst.zoho.com/en/getting-started/catalyst-organizations/). #### Request Headers for API Using API Key **Authorization** **api-key:** The unique key generated by Catalyst. It can be [retrieved from the console](https://docs.catalyst.zoho.com/en/smartbrowz/help/browser-grid/create-grid/). ### Response Details You will receive a response containing the number of browsers that were not allowed to spawn and nodes that crashed of a specific grid referred to using its Grid ID. > **Notice:** Any Browser action or operation that you code using the Browser Logic function, or any browser automation or web scraping task that you perform using any component of **Catalyst SmartBrowz** is at your own risk. We strongly recommend you use the SmartBrowz components to perform operations on domains that permit the actions, or with proper approval. Additionally, while Catalyst does provide a secure infrastructure to code your functions, any consequence of the logic you code using Catalyst functions is yours alone. **CURL Request - Get Rejections Stats for the Grid Using OAuth** ```json curl -X GET \ 'https://api.catalyst.zoho.com/browser360/v1/project/38119000000022053/browser-grid/3970000000005013/stats?datetime_filter=24+Hours&data_to_fetch=crashed_data' \ -H 'CATALYST-ORG: 111737956' \ -H 'Authorization: Zoho-oauthtoken 1000*********************************************780' \ ``` **CURL Request - Get Rejections Stats for the Grid Using API Key** ```json curl -X GET \ 'https://api.catalyst.zoho.com/browser360/v1/project/38119000000022053/browser-grid/3970000000005013/stats?datetime_filter=24+Hours&data_to_fetch=crashed_data' \ -H 'CATALYST-ORG: 111737956' \ -H 'api-key: 96********************************************************************7049' ``` **Example Response** ```json { "status": "success", "data": { "browser_req_reject_count": 0, "node_crashed_count": "0" } } ``` ### SDK Documentation [Browser Grid - Java SDK](https://docs.catalyst.zoho.com/en/sdk/java/v1/smartbrowz/browser-grid/overview/) [Browser Grid - Node.js SDK](https://docs.catalyst.zoho.com/en/sdk/nodejs/v2/smartbrowz/browser-grid/overview/) [Browser Grid - Python SDK](https://docs.catalyst.zoho.com/en/sdk/python/v1/smartbrowz/browser-grid/overview/) -------------------------------------------------------------------------------- title: "Browser Request Graph" description: "This API enables you to get data on the number of browser requests in the grid during 24 hours." last_updated: "2026-08-28T06:26:16.000Z" source: "https://docs.catalyst.zoho.com/en/api/code-reference/smartbrowz/browser-grid/browser-request-graph/" service: "SmartBrowz" -------------------------------------------------------------------------------- ## Browser Request Graph ### Description You can use this API to get data on the number of browser requests in the grid during 24 hours. The required grid will be referred to using its [Grid ID](https://docs.catalyst.zoho.com/en/smartbrowz/help/browser-grid/create-grid/). ### Request Details #### Request URL `GET` {api-domain}/browser360/v1/project/{project_id}/browser-grid/{grid_id}/graph-data?datetime_filter=24+Hours&data_to_fetch=req_graph_data - **api-domain** (URL): The DC-specific domain to access Catalyst API - **project_id** (Numerical): The [unique ID](https://docs.catalyst.zoho.com/en/getting-started/set-up-a-catalyst-project/general-settings/) of the project - **grid_id** (Numerical): The [unique ID](https://docs.catalyst.zoho.com/en/smartbrowz/help/browser-grid/create-grid/) to refer to the required grid #### Scope ZohoCatalyst.grid.read #### Request Headers for API Using OAuth **Authorization:** Zoho-oauthtoken {oauth_token} **Content-Type:** application/json **CATALYST-ORG:** Provide the value of your [Org ID](https://docs.catalyst.zoho.com/en/getting-started/catalyst-organizations/). #### Request Headers for API Using API Key **Authorization** **api-key:** The unique key generated by Catalyst. It can be [retrieved from the console](https://docs.catalyst.zoho.com/en/smartbrowz/help/browser-grid/create-grid/). ### Response Details You will receive a response containing the time and usage of the browser grid during 24 hours. The required grid is referred to using its Grid ID. > **Notice:** Any Browser action or operation that you code using the Browser Logic function, or any browser automation or web scraping task that you perform using any component of **Catalyst SmartBrowz** is at your own risk. We strongly recommend you use the SmartBrowz components to perform operations on domains that permit the actions, or with proper approval. Additionally, while Catalyst does provide a secure infrastructure to code your functions, any consequence of the logic you code using Catalyst functions is yours alone. **CURL Request - Get Data on the Number of Requests Using OAuth** ```json curl -X GET \ 'https://api.catalyst.zoho.com/browser360/v1/project/38119000000022053/browser-grid/3970000000005013/graph-data?datetime_filter=24+Hours&data_to_fetch=req_graph_data' \ -H 'CATALYST-ORG: 111737956' \ -H 'Authorization: Zoho-oauthtoken 1000*********************************************780' ``` **CURL Request - Get Data on the Number of Requests Using API Key** ```json curl -X GET \ 'https://api.catalyst.zoho.com/browser360/v1/project/38119000000022053/browser-grid/3970000000005013/graph-data?datetime_filter=24+Hours&data_to_fetch=req_graph_data' \ -H 'CATALYST-ORG: 111737956' \ -H 'api-key: 96********************************************************************7049' ``` **Example Response** ```json { "status": "success", "data": [ ["Sep 22 2025, 04:00 PM", 0.0], ["Sep 22 2025, 06:00 PM", 0.0], ["Sep 22 2025, 08:00 PM", 0.0], ["Sep 22 2025, 10:00 PM", 0.0], ["Sep 23 2025, 12:00 AM", 0.0], ["Sep 23 2025, 02:00 AM", 0.0], ["Sep 23 2025, 04:00 AM", 0.0], ["Sep 23 2025, 06:00 AM", 0.0], ["Sep 23 2025, 08:00 AM", 0.0], ["Sep 23 2025, 10:00 AM", 0.0], ["Sep 23 2025, 12:00 PM", 0.0], ["Sep 23 2025, 02:00 PM", 0.0], ["Sep 23 2025, 04:00 PM", 0.0], ["Sep 23 2025, 06:00 PM", 0.0] ] } ``` ### SDK Documentation [Browser Grid - Java SDK](https://docs.catalyst.zoho.com/en/sdk/java/v1/smartbrowz/browser-grid/overview/) [Browser Grid - Node.js SDK](https://docs.catalyst.zoho.com/en/sdk/nodejs/v2/smartbrowz/browser-grid/overview/) [Browser Grid - Python SDK](https://docs.catalyst.zoho.com/en/sdk/python/v1/smartbrowz/browser-grid/overview/) -------------------------------------------------------------------------------- title: "Node Count Graph" description: "This API enables you to get data on the number of nodes active in the grid during 24 hours." last_updated: "2026-08-28T06:26:16.000Z" source: "https://docs.catalyst.zoho.com/en/api/code-reference/smartbrowz/browser-grid/node-count-graph/" service: "SmartBrowz" -------------------------------------------------------------------------------- ## Node Count Graph ### Description You can use this API to get data on the number of nodes active in the grid during 24 hours. The required grid will be referred to using its [Grid ID](https://docs.catalyst.zoho.com/en/smartbrowz/help/browser-grid/create-grid/). ### Request Details #### Request URL `GET` {api-domain}/browser360/v1/project/{project_id}/browser-grid/{grid_id}/graph-data?datetime_filter=24+Hours&data_to_fetch=node_graph_data - **api-domain** (URL): The DC-specific domain to access Catalyst API - **project_id** (Numerical): The [unique ID](https://docs.catalyst.zoho.com/en/getting-started/set-up-a-catalyst-project/general-settings/) of the project - **grid_id** (Numerical): The [unique ID](https://docs.catalyst.zoho.com/en/smartbrowz/help/browser-grid/create-grid/) to refer to the required grid #### Scope ZohoCatalyst.grid.read #### Request Headers for API Using OAuth **Authorization:** Zoho-oauthtoken {oauth_token} **Content-Type:** application/json **CATALYST-ORG:** Provide the value of your [Org ID](https://docs.catalyst.zoho.com/en/getting-started/catalyst-organizations/). #### Request Headers for API Using API Key **Authorization** **api-key:** The unique key generated by Catalyst. It can be [retrieved from the console](https://docs.catalyst.zoho.com/en/smartbrowz/help/browser-grid/create-grid/). ### Response Details You will receive a response containing the time and node count of a browser grid during 24 hours. The required grid is referred to using its Grid ID. > **Notice:** Any Browser action or operation that you code using the Browser Logic function, or any browser automation or web scraping task that you perform using any component of **Catalyst SmartBrowz** is at your own risk. We strongly recommend you use the SmartBrowz components to perform operations on domains that permit the actions, or with proper approval. Additionally, while Catalyst does provide a secure infrastructure to code your functions, any consequence of the logic you code using Catalyst functions is yours alone. **CURL Request - Get Graph Data On Node Count Using OAuth** ```json curl -X GET 'https://api.catalyst.zoho.com/browser360/v1/project/38119000000022053/browser-grid/3970000000005013/graph-data?datetime_filter=24+Hours&data_to_fetch=node_graph_data' \ -H 'CATALYST-ORG: 111737956' \ -H 'Authorization: Zoho-oauthtoken 1000*********************************************780' ``` **CURL Request - Get Graph Data On Node Count Using API Key** ```json curl -X GET 'https://api.catalyst.zoho.com/browser360/v1/project/38119000000022053/browser-grid/3970000000005013/graph-data?datetime_filter=24+Hours&data_to_fetch=node_graph_data' \ -H 'CATALYST-ORG: 111737956' \ -H 'api-key: 96********************************************************************7049' ``` **Example Response** ```json { "status": "success", "data": [ ["Sep 23 2025, 11:00 AM", 0.0], ["Sep 23 2025, 01:00 PM", 0.0], ["Sep 23 2025, 03:00 PM", 0.0], ["Sep 23 2025, 05:00 PM", 1.0], ["Sep 23 2025, 07:00 PM", 0.0], ["Sep 23 2025, 09:00 PM", 0.0], ["Sep 23 2025, 11:00 PM", 0.0], ["Sep 24 2025, 01:00 AM", 0.0], ["Sep 24 2025, 03:00 AM", 0.0], ["Sep 24 2025, 05:00 AM", 0.0], ["Sep 24 2025, 07:00 AM", 0.0], ["Sep 24 2025, 09:00 AM", 0.0], ["Sep 24 2025, 11:00 AM", 0.0], ["Sep 24 2025, 01:00 PM", 0.0] ] } ``` ### SDK Documentation [Browser Grid - Java SDK](https://docs.catalyst.zoho.com/en/sdk/java/v1/smartbrowz/browser-grid/overview/) [Browser Grid - Node.js SDK](https://docs.catalyst.zoho.com/en/sdk/nodejs/v2/smartbrowz/browser-grid/overview/) [Browser Grid - Python SDK](https://docs.catalyst.zoho.com/en/sdk/python/v1/smartbrowz/browser-grid/overview/) -------------------------------------------------------------------------------- title: "Memory Usage Graph" description: "This API enables you to get data on memory used by the grid during 24 hours." last_updated: "2026-08-28T06:26:16.000Z" source: "https://docs.catalyst.zoho.com/en/api/code-reference/smartbrowz/browser-grid/memory-usage-graph/" service: "SmartBrowz" -------------------------------------------------------------------------------- ## Memory Usage Graph ### Description You can use this API to get data on memory used by the grid during 24 hours. The required grid will be referred to using its [Grid ID](https://docs.catalyst.zoho.com/en/smartbrowz/help/browser-grid/create-grid/). ### Request Details #### Request URL `GET` {api-domain}/browser360/v1/project/{project_id}/browser-grid/{grid_id}/graph-data?datetime_filter=24+Hours&data_to_fetch=memory_graph_data - **api-domain** (URL): The DC-specific domain to access Catalyst API - **project_id** (Numerical): The [unique ID](https://docs.catalyst.zoho.com/en/getting-started/set-up-a-catalyst-project/general-settings/) of the project - **grid_id** (Numerical): The [unique ID](https://docs.catalyst.zoho.com/en/smartbrowz/help/browser-grid/create-grid/) to refer to the required grid #### Scope ZohoCatalyst.grid.read #### Request Headers for API Using OAuth **Authorization:** Zoho-oauthtoken {oauth_token} **Content-Type:** application/json **CATALYST-ORG:** Provide the value of your [Org ID](https://docs.catalyst.zoho.com/en/getting-started/catalyst-organizations/). #### Request Headers for API Using API Key **Authorization** **api-key:** The unique key generated by Catalyst. It can be [retrieved from the console](https://docs.catalyst.zoho.com/en/smartbrowz/help/browser-grid/create-grid/). ### Response Details You will receive a response containing the time and node count of a browser grid during 24 hours. The required grid is referred to using its Grid ID. > **Notice:** Any Browser action or operation that you code using the Browser Logic function, or any browser automation or web scraping task that you perform using any component of **Catalyst SmartBrowz** is at your own risk. We strongly recommend you use the SmartBrowz components to perform operations on domains that permit the actions, or with proper approval. Additionally, while Catalyst does provide a secure infrastructure to code your functions, any consequence of the logic you code using Catalyst functions is yours alone. **CURL Request - Get Data on Memory Used by the Grid Using OAuth** ```json curl -X GET 'https://api.catalyst.zoho.com/browser360/v1/project/38119000000022053/browser-grid/3970000000005013/graph-data?datetime_filter=24+Hours&data_to_fetch=memory_graph_data' \ -H 'CATALYST-ORG: 111737956' \ -H 'Authorization: Zoho-oauthtoken 1000*********************************************780' ``` **CURL Request - Get Data on Memory Used by the Grid Using API Key** ```json curl -X GET 'https://api.catalyst.zoho.com/browser360/v1/project/38119000000022053/browser-grid/3970000000005013/graph-data?datetime_filter=24+Hours&data_to_fetch=memory_graph_data' \ -H 'CATALYST-ORG: 111737956' \ -H 'api-key: 96********************************************************************7049' ``` **Example Response** ```json { "status": "success", "data": [ { "time": "Sep 23 2025, 11:00 AM", "memory_usage_mb": 0.0 }, { "time": "Sep 23 2025, 01:00 PM", "memory_usage_mb": 0.0 }, { "time": "Sep 23 2025, 03:00 PM", "memory_usage_mb": 0.0 }, { "time": "Sep 23 2025, 05:00 PM", "memory_usage_mb": 771.1453125 }, { "time": "Sep 23 2025, 07:00 PM", "memory_usage_mb": 0.0 }, { "time": "Sep 23 2025, 09:00 PM", "memory_usage_mb": 0.0 }, { "time": "Sep 23 2025, 11:00 PM", "memory_usage_mb": 0.0 }, { "time": "Sep 24 2025, 01:00 AM", "memory_usage_mb": 0.0 }, { "time": "Sep 24 2025, 03:00 AM", "memory_usage_mb": 0.0 }, { "time": "Sep 24 2025, 05:00 AM", "memory_usage_mb": 0.0 }, { "time": "Sep 24 2025, 07:00 AM", "memory_usage_mb": 0.0 }, { "time": "Sep 24 2025, 09:00 AM", "memory_usage_mb": 0.0 }, { "time": "Sep 24 2025, 11:00 AM", "memory_usage_mb": 0.0 }, { "time": "Sep 24 2025, 01:00 PM", "memory_usage_mb": 0.0 } ] } ``` ### SDK Documentation [Browser Grid - Java SDK](https://docs.catalyst.zoho.com/en/sdk/java/v1/smartbrowz/browser-grid/overview/) [Browser Grid - Node.js SDK](https://docs.catalyst.zoho.com/en/sdk/nodejs/v2/smartbrowz/browser-grid/overview/) [Browser Grid - Python SDK](https://docs.catalyst.zoho.com/en/sdk/python/v1/smartbrowz/browser-grid/overview/) -------------------------------------------------------------------------------- title: "CPU Usage Graph" description: "This API enables you to get data on CPU used by the grid during 24 hours." last_updated: "2026-08-28T06:26:16.000Z" source: "https://docs.catalyst.zoho.com/en/api/code-reference/smartbrowz/browser-grid/cpu-usage-graph/" service: "SmartBrowz" -------------------------------------------------------------------------------- ## CPU Usage Graph ### Description You can use this API to get data on CPU used by the grid during 24 hours. The required grid will be referred to using its [Grid ID](https://docs.catalyst.zoho.com/en/smartbrowz/help/browser-grid/create-grid/). ### Request Details #### Request URL `GET` {api-domain}/browser360/v1/project/{project_id}/browser-grid/{grid_id}/graph-data?datetime_filter=24+Hours&data_to_fetch=cpu_graph_data - **api-domain** (URL): The DC-specific domain to access Catalyst API - **project_id** (Numerical): The [unique ID](https://docs.catalyst.zoho.com/en/getting-started/set-up-a-catalyst-project/general-settings/) of the project - **grid_id** (Numerical): The [unique ID](https://docs.catalyst.zoho.com/en/smartbrowz/help/browser-grid/create-grid/) to refer to the required grid #### Scope ZohoCatalyst.grid.read #### Request Headers for API Using OAuth **Authorization:** Zoho-oauthtoken {oauth_token} **Content-Type:** application/json **CATALYST-ORG:** Provide the value of your [Org ID](https://docs.catalyst.zoho.com/en/getting-started/catalyst-organizations/). #### Request Headers for API Using API Key **Authorization** **api-key:** The unique key generated by Catalyst. It can be [retrieved from the console](https://docs.catalyst.zoho.com/en/smartbrowz/help/browser-grid/create-grid/). ### Response Details You will receive a response containing the CPU usage of a browser grid during 24 hours. The required grid is referred to using its Grid ID. > **Notice:** Any Browser action or operation that you code using the Browser Logic function, or any browser automation or web scraping task that you perform using any component of **Catalyst SmartBrowz** is at your own risk. We strongly recommend you use the SmartBrowz components to perform operations on domains that permit the actions, or with proper approval. Additionally, while Catalyst does provide a secure infrastructure to code your functions, any consequence of the logic you code using Catalyst functions is yours alone. **CURL Request - Get Data on CPU Used by the Grid Using OAuth** ```json curl -X GET 'https://consoleqa2.catalyst.localzoho.com/browser360/v1/project/38119000000022053/browser-grid/3970000000005013/graph-data?datetime_filter=24+Hours&data_to_fetch=cpu_graph_data' \ -H 'CATALYST-ORG: 111737956' \ -H 'Authorization: Zoho-oauthtoken 1000*********************************************780' ``` **CURL Request - Data on CPU Used by the Grid Using API Key** ```json curl -X GET 'https://consoleqa2.catalyst.localzoho.com/browser360/v1/project/38119000000022053/browser-grid/3970000000005013/graph-data?datetime_filter=24+Hours&data_to_fetch=cpu_graph_data' \ -H 'CATALYST-ORG: 111737956' \ -H 'api-key: 96********************************************************************7049' ``` **Example Response** ```json { "status": "success", "data": [ ["Sep 23 2025, 11:00 AM", 0.0], ["Sep 23 2025, 01:00 PM", 0.0], ["Sep 23 2025, 03:00 PM", 0.0], ["Sep 23 2025, 05:00 PM", 0.8621659781801722], ["Sep 23 2025, 07:00 PM", 0.0], ["Sep 23 2025, 09:00 PM", 0.0], ["Sep 23 2025, 11:00 PM", 0.0], ["Sep 24 2025, 01:00 AM", 0.0], ["Sep 24 2025, 03:00 AM", 0.0], ["Sep 24 2025, 05:00 AM", 0.0], ["Sep 24 2025, 07:00 AM", 0.0], ["Sep 24 2025, 09:00 AM", 0.0], ["Sep 24 2025, 11:00 AM", 0.0], ["Sep 24 2025, 01:00 PM", 0.0] ] } ``` ### SDK Documentation [Browser Grid - Java SDK](https://docs.catalyst.zoho.com/en/sdk/java/v1/smartbrowz/browser-grid/overview/) [Browser Grid - Node.js SDK](https://docs.catalyst.zoho.com/en/sdk/nodejs/v2/smartbrowz/browser-grid/overview/) [Browser Grid - Python SDK](https://docs.catalyst.zoho.com/en/sdk/python/v1/smartbrowz/browser-grid/overview/) -------------------------------------------------------------------------------- title: "Stop Browser Grid" description: "This API enables you to stop and effectively terminate the browser grid." last_updated: "2026-08-28T06:26:16.000Z" source: "https://docs.catalyst.zoho.com/en/api/code-reference/smartbrowz/browser-grid/stop-grid/" service: "SmartBrowz" -------------------------------------------------------------------------------- ## Stop Browser Grid ### Description You can use this API to stop and effectively terminate the browser grid. ### Request Details #### Request URL `POST` {api-domain}/browser360/v1/project/{project_id}/browser-grid/{grid_id}/stop - **api-domain** (URL): The DC-specific domain to access Catalyst API - **project_id** (Numerical): The [unique ID](https://docs.catalyst.zoho.com/en/getting-started/set-up-a-catalyst-project/general-settings/) of the project - **grid_id** (Numerical): The [unique ID](https://docs.catalyst.zoho.com/en/smartbrowz/help/browser-grid/create-grid/) to refer to the required grid #### Scope ZohoCatalyst.grid.terminate #### Request Headers for API Using OAuth **Authorization:** Zoho-oauthtoken {oauth_token} **CATALYST-ORG:** Provide the value of your [Org ID](https://docs.catalyst.zoho.com/en/getting-started/catalyst-organizations/). #### Request Headers for API Using API Key **Authorization** **api-key:** The unique key generated by Catalyst. It can be [retrieved from the console](https://docs.catalyst.zoho.com/en/smartbrowz/help/browser-grid/create-grid/). ### Response Details You will receive a response containing details on the status of the execution. > **Notice:** Any Browser action or operation that you code using the Browser Logic function, or any browser automation or web scraping task that you perform using any component of **Catalyst SmartBrowz** is at your own risk. We strongly recommend you use the SmartBrowz components to perform operations on domains that permit the actions, or with proper approval. Additionally, while Catalyst does provide a secure infrastructure to code your functions, any consequence of the logic you code using Catalyst functions is yours alone. **CURL Request - Stop the Browser Grid Using OAuth** ```json curl -X POST \ 'https://api.catalyst.zoho.com/browser360/v1/project/38119000000022053/browser-grid/3970000000005013/stop' \ -H 'Authorization: Zoho-oauthtoken 1000*********************************************780' \ -H 'catalyst-org: 111737956' ``` **CURL Request - Stop the Browser Grid Using API Key** ```json curl -X POST \ 'https://api.catalyst.zoho.com/browser360/v1/project/38119000000022053/browser-grid/3970000000005013/stop' \ -H 'CATALYST-ORG: 111737956' \ -H 'api-key: 96********************************************************************7049' ``` **Example Response** ```json { "status": "success", "data": true } ``` ### SDK Documentation [Browser Grid - Java SDK](https://docs.catalyst.zoho.com/en/sdk/java/v1/smartbrowz/browser-grid/overview/) [Browser Grid - Node.js SDK](https://docs.catalyst.zoho.com/en/sdk/nodejs/v2/smartbrowz/browser-grid/overview/) [Browser Grid - Python SDK](https://docs.catalyst.zoho.com/en/sdk/python/v1/smartbrowz/browser-grid/overview/) ## SDK — Java — SmartBrowz -------------------------------------------------------------------------------- title: "PDF & Screenshot" description: "This page describes the method to generate PDF and Screenshot" last_updated: "2026-11-03T15:16:51.000Z" source: "https://docs.catalyst.zoho.com/en/sdk/java/v1/smartbrowz/generate-pdfnscreenshot/" service: "SmartBrowz" related: - PDF & Screenshot - API (/en/api/code-reference/smartbrowz/generate-pdfnscreenshoturl/#PDF%26ScreenshotwithHTMLorURLasInput) -------------------------------------------------------------------------------- # PDF & Screenshot Catalyst SmartBrowz offers you the [PDF & Screenshot](https://docs.catalyst.zoho.com/en/smartbrowz/help/pdfnscreenshot/introduction/) component to generate your prefered visual docuemnts through code. You can incorporate this functionality in your application by copying the code below and pasting it in your application logic. Using the SDK below, you can generate visual documents by using HTML, URL or [Templates](https://docs.catalyst.zoho.com/en/smartbrowz/help/templates/create-templates/) as your input. #### Sample Code Snippet **Package Imports** ```java import com.zc.component.smartbrowz.ZCSmartBrowz; import com.zc.component.smartbrowz.ZCSmartBrowzConvertDetails; ``` ### Generate Visual Document From a Predefined Template ```java // Initialize SmartBrowz ZCSmartBrowz smartBrowz = ZCSmartBrowz.getInstance(); // Generate output from a predefined template ObjectMapper mapper = new ObjectMapper(); JsonNode templateData = mapper.createObjectNode(); ((ObjectNode)templateData).put("name", "Amelia Burrows"); ((ObjectNode)templateData).put("age", "34"); ((ObjectNode)templateData).put("address", "Houstan"); ((ObjectNode)templateData).put("country", "USA"); ((ObjectNode)templateData).put("email", "emma@zylker.com"); ZCSmartBrowzPDFOptions pdfOptions = ZCSmartBrowzPDFOptions.getInstance(); pdfOptions.setDisplayHeaderFooter(true); pdfOptions.setFormat("A4"); pdfOptions.setPageRanges("1-2"); pdfOptions.setPrintBackground(true);; pdfOptions.setPassword("Siva123"); // set password after enabling template password setting in UI pdfOptions.setLandscape(true); pdfOptions.setScale(new BigDecimal("1.0")); pdfOptions.setWidth("100"); pdfOptions.setHeight("100"); ZCSmartBrowzNavigationOptions navigationOptions = new ZCSmartBrowzNavigationOptions(); navigationOptions.setWaitUntil("domcontentloaded"); navigationOptions.setTimeout(30000); ZCSmartBrowzPageOptions pageOptions = new ZCSmartBrowzPageOptions(); ContentDetails contentDetails = new ContentDetails(); contentDetails.setContent("<html><body>Hello World</body></html>"); pageOptions.setCss(contentDetails); pageOptions.setDevice("Blackberry PlayBook"); pageOptions.setJavaScriptEnabled(true); ViewportDetails viewportDetails = new ViewportDetails(); viewportDetails.setHeight(800); viewportDetails.setWidth(600); pageOptions.setViewport(viewportDetails); ZCSmartBrowzTemplateOptions templateOptions = ZCSmartBrowzTemplateOptions.getInstance(); templateOptions.setPdfDetails(pdfOptions); templateOptions.setNavigationDetails(navigationOptions); templateOptions.setOutputType(ZC_CONVERT_OUTPUT_TYPE.PDF); templateOptions.setPageDetails(pageOptions); templateOptions.setTemplateInput(templateData); templateOptions.setTemplateId(2075000000021001L); InputStream outputStream = smartBrowz.generateFromTemplate(templateOptions); ``` ### Convert to PDF from HTML ```java // Initialize SmartBrowz ZCSmartBrowz smartBrowz = ZCSmartBrowz.getInstance(); // Convert to PDF from HTML ZCSmartBrowzConvertDetails convertDetailsForPDF = ZCSmartBrowzConvertDetails.getInstance(); ZCSmartBrowzPDFOptions pdfOptions = ZCSmartBrowzPDFOptions.getInstance(); pdfOptions.setDisplayHeaderFooter(true); pdfOptions.setFormat("A4"); MarginDetails marginDetails = new MarginDetails(); marginDetails.setTop("10"); marginDetails.setRight("10"); marginDetails.setLeft("10"); marginDetails.setBottom("10"); pdfOptions.setMargin(marginDetails); pdfOptions.setPageRanges("1-2"); pdfOptions.setPrintBackground(true);; pdfOptions.setPassword("Siva123"); pdfOptions.setLandscape(true); pdfOptions.setScale(new BigDecimal("1.0")); pdfOptions.setWidth("100"); pdfOptions.setHeight("100"); ZCSmartBrowzNavigationOptions navigationOptions = new ZCSmartBrowzNavigationOptions(); navigationOptions.setWaitUntil("domcontentloaded"); navigationOptions.setTimeout(30000); ZCSmartBrowzPageOptions pageOptions = new ZCSmartBrowzPageOptions(); ContentDetails contentDetails = new ContentDetails(); contentDetails.setContent("<html><body>Hello World</body></html>"); pageOptions.setCss(contentDetails); pageOptions.setDevice("Blackberry PlayBook"); pageOptions.setJavaScriptEnabled(true); ViewportDetails viewportDetails = new ViewportDetails(); viewportDetails.setHeight(800); viewportDetails.setWidth(600); pageOptions.setViewport(viewportDetails); convertDetailsForPDF.setPdfDetails(pdfOptions); convertDetailsForPDF.setNavigationDetails(navigationOptions); convertDetailsForPDF.setPageDetails(pageOptions); convertDetailsForPDF.setHtml("<html>Hello</html>"); InputStream outPutStream = smartBrowz.convertToPdf(convertDetailsForPDF); ``` ### Take a screenshot from URL ```java // initialize SmartBrowz ZCSmartBrowz smartBrowz = ZCSmartBrowz.getInstance(); // convert to PDF from URL ZCSmartBrowzConvertDetails convertDetailsForPDF = ZCSmartBrowzConvertDetails.getInstance(); ZCSmartBrowzPDFOptions pdfOptions = ZCSmartBrowzPDFOptions.getInstance(); pdfOptions.setDisplayHeaderFooter(true); pdfOptions.setFormat("A4"); MarginDetails marginDetails = new MarginDetails(); marginDetails.setTop("10"); marginDetails.setRight("10"); marginDetails.setLeft("10"); marginDetails.setBottom("10"); pdfOptions.setMargin(marginDetails); pdfOptions.setPageRanges("1-2"); pdfOptions.setPrintBackground(true);; pdfOptions.setPassword("Siva123"); pdfOptions.setLandscape(true); pdfOptions.setScale(new BigDecimal("1.0")); pdfOptions.setWidth("100"); pdfOptions.setHeight("100"); ZCSmartBrowzNavigationOptions navigationOptions = new ZCSmartBrowzNavigationOptions(); navigationOptions.setWaitUntil("domcontentloaded"); navigationOptions.setTimeout(30000); ZCSmartBrowzPageOptions pageOptions = new ZCSmartBrowzPageOptions(); ContentDetails contentDetails = new ContentDetails(); contentDetails.setContent("<html><body>Hello World</body></html>"); pageOptions.setCss(contentDetails); pageOptions.setDevice("Blackberry PlayBook"); pageOptions.setJavaScriptEnabled(true); ViewportDetails viewportDetails = new ViewportDetails(); viewportDetails.setHeight(800); viewportDetails.setWidth(600); pageOptions.setViewport(viewportDetails); convertDetailsForPDF.setPdfDetails(pdfOptions); convertDetailsForPDF.setNavigationDetails(navigationOptions); convertDetailsForPDF.setPageDetails(pageOptions); convertDetailsForPDF.setUrl("http://www.example.com"); InputStream outPutStream = smartBrowz.convertToPdf(convertDetailsForPDF); ``` In the PDF & Screenshot section of the console, you can directly test this component using the [Playground feature](https://docs.catalyst.zoho.com/en/smartbrowz/help/pdfnscreenshot/implementation/#generate-pdf--screenshots-through-playground), and you can also [copy the SDK](https://docs.catalyst.zoho.com/en/smartbrowz/help/pdfnscreenshot/implementation/#generate-pdf--screenshots-through-code) directly from the console. > **Note:** Any Browser action or operation that you code using the Browser Logic function, or any browser automation or web scraping task that you perform using any component of **Catalyst SmartBrowz** is at your own risk. We strongly recommend you use the SmartBrowz components to perform operations on domains that permit the actions, or with proper approval. Additionally, while Catalyst does provide a secure infrastructure to code your functions, any consequence of the logic you code using Catalyst functions is yours alone. ### Browser Grid -------------------------------------------------------------------------------- title: "Overview" description: "This page provides you an overview of the SDK methods you can use to perform Browser Grid operations." last_updated: "2026-09-08T11:07:33.000Z" source: "https://docs.catalyst.zoho.com/en/sdk/java/v1/smartbrowz/browser-grid/overview/" service: "SmartBrowz" related: - Browser Grid Help Documentation (/en/smartbrowz/help/browser-grid/introduction/) - JavaScript SDK Documentation (/en/sdk/javascript/v1/overview/) - Python SDK (/en/sdk/python/v1/smartbrowz/browser-grid/overview/) - REST API (/en/smartbrowz/help/browser-grid/introduction/) -------------------------------------------------------------------------------- # Overview [Browser Grid](https://docs.catalyst.zoho.com/en/smartbrowz/help/browser-grid/introduction/) a *Catalyst SmartBrowz* service's auto scaling component that allows you to configure and manage multiple headless browsers. You are provided with options to configure your required grid by configuring the number of nodes and browsers that your process would require. Using the Browser Grid Java SDK, you will be able to get details about your browser grid, get node details about your browser grid and terminate browser grid executions. ### List of SDK Methods
Category SDK Methods Scope Requirements
General Operations [Get Browser Grid Instance](https://docs.catalyst.zoho.com/en/sdk/java/v1/smartbrowz/browser-grid/get-instance/) **Admin**
Browser Grid Operations
  • [Get all browser grids](https://docs.catalyst.zoho.com/en/sdk/java/v1/smartbrowz/browser-grid/get-all-grids/)
  • [Get specific browser grid](https://docs.catalyst.zoho.com/en/sdk/java/v1/smartbrowz/browser-grid/get-specific-grid/)
    • [Get specific browser grid with ID](https://docs.catalyst.zoho.com/en/sdk/java/v1/smartbrowz/browser-grid/get-specific-grid/#using-the-grid-id)
    • [Get specific browser grid with name](https://docs.catalyst.zoho.com/en/sdk/java/v1/smartbrowz/browser-grid/get-specific-grid/#using-the-grids-name)
  • [Get nodes of a grid](https://docs.catalyst.zoho.com/en/sdk/java/v1/smartbrowz/browser-grid/get-specific-node/)
    • [Using Grid ID](https://docs.catalyst.zoho.com/en/sdk/java/v1/smartbrowz/browser-grid/get-specific-node/#using-the-grid-id)
    • [Using Grid Name](https://docs.catalyst.zoho.com/en/sdk/java/v1/smartbrowz/browser-grid/get-specific-node/#using-the-grids-name)
  • [Stop browser grid](https://docs.catalyst.zoho.com/en/sdk/java/v1/smartbrowz/browser-grid/stop-grid/)
    • [Using Grid ID](https://docs.catalyst.zoho.com/en/sdk/java/v1/smartbrowz/browser-grid/stop-grid/#using-the-grid-id)
    • [Using Grid Name](https://docs.catalyst.zoho.com/en/sdk/java/v1/smartbrowz/browser-grid/stop-grid/#using-the-grids-name)
**Admin**
-------------------------------------------------------------------------------- title: "Get Browser Grid Instance" description: "This page provides you an overview of the SDK methods you can use to perform Browser Grid operations." last_updated: "2026-09-08T11:07:33.000Z" source: "https://docs.catalyst.zoho.com/en/sdk/java/v1/smartbrowz/browser-grid/get-instance/" service: "SmartBrowz" related: - Browser Grid Help Documentation (/en/smartbrowz/help/browser-grid/introduction/) - JavaScript SDK Documentation (/en/sdk/javascript/v1/overview/) - Python SDK (/en/sdk/python/v1/smartbrowz/browser-grid/get-instance/) - REST API (/en/smartbrowz/help/browser-grid/introduction/) -------------------------------------------------------------------------------- # Get Browser Grid Instance You can get the browser grid instance as shown below. This will not fire a server-side call. You will refer to this component instance in various code snippets when working with the Browser Grid component. **Ensure you import the following packages** ```java import com.zc.component.smartbrowz.*; ``` ```java ZCBrowserGrid grid = ZCBrowserGrid.getInstance()// get instance for the project ``` -------------------------------------------------------------------------------- title: "Get All Browser Grid Details" description: "This page provides you an overview of the SDK methods you can use to perform Browser Grid operations." last_updated: "2026-09-08T11:07:33.000Z" source: "https://docs.catalyst.zoho.com/en/sdk/java/v1/smartbrowz/browser-grid/get-all-grids/" service: "SmartBrowz" related: - Browser Grid Help Documentation (/en/smartbrowz/help/browser-grid/introduction/) - JavaScript SDK Documentation (/en/sdk/javascript/v1/overview/) - Python SDK (/en/sdk/python/v1/smartbrowz/browser-grid/get-all-grids/) - REST API (/en/smartbrowz/help/browser-grid/introduction/) -------------------------------------------------------------------------------- # Get All Browser Grid Details You can use the `getGrid()` SDK method to get the grid details of all the browser grids that are present in your project. The `grid` instance used in the following snippet is the [component reference](https://docs.catalyst.zoho.com/en/sdk/java/v1/smartbrowz/browser-grid/get-instance/). > **Info:** To use this SDK method, you need to initialize it with **Admin** scope. You can learn more about this requirement from this [section](https://docs.catalyst.zoho.com/en/sdk/nodejs/v2/overview/#initialize-sdk-with-scopes) **Ensure you import the following packages** ```java import com.zc.component.smartbrowz.*; ``` ```java List<\ZCGrid> gridList = grid.getGrid(); // Will return a list of details of all the grids that are present in the project. ``` ### Example of Expected Response ```json { "status": "success", "data": [ { "id": "3970000000006058", "name": "play", "memory": 1024, "browser_version": { "chrome_version": "137.0.7515.155", "firefox_version": "136.0.4" }, "created_time": "Sep 10, 2025 07:04 PM", "modified_time": "Sep 10, 2025 07:04 PM", "api_key_modified_time": "1757511270919", "created_by": { "zuid": "111734674", "email_id": "emmy@zylker.com", "first_name": "Headless", "last_name": "2", "user_type": "SuperAdmin" }, "modified_by": { "zuid": "111734674", "email_id": "emmy@zylker.com", "first_name": "Headless", "last_name": "2", "user_type": "SuperAdmin" }, "project_details": { "project_name": "Project-Rainfall", "id": "38119000000022053", "project_type": "Live" }, "endpoint_type": 1, "max_session_count": 1, "max_nodes_count": 10, "max_concurrent_count": 10, "config_type": 1 }, { "id": "3970000000005426", "name": "Automation", "memory": 1024, "browser_version": { "chrome_version": "137.0.7515.155", "firefox_version": "136.0.4" }, "created_time": "Sep 10, 2025 12:47 PM", "modified_time": "Sep 23, 2025 03:12 PM", "api_key_modified_time": "1757488669690", "created_by": { "zuid": "111734674", "email_id": "emmy@zylker.com", "first_name": "Headless", "last_name": "2", "user_type": "SuperAdmin" }, "modified_by": { "zuid": "111734674", "email_id": "emmy@zylker.com", "first_name": "Headless", "last_name": "2", "user_type": "SuperAdmin" }, "project_details": { "project_name": "Project-Rainfall", "id": "38119000000022053", "project_type": "Live" }, "endpoint_type": 2, "max_session_count": 1, "max_nodes_count": 5, "max_concurrent_count": 5, "config_type": 2 }, { "id": "3970000000005027", "name": "SDK", "memory": 1024, "browser_version": { "chrome_version": "137.0.7515.155", "firefox_version": "136.0.4" }, "created_time": "Sep 10, 2025 11:33 AM", "modified_time": "Sep 10, 2025 04:27 PM", "api_key_modified_time": "1757484201284", "created_by": { "zuid": "111734674", "email_id": "emmy@zylker.com", "first_name": "Headless", "last_name": "2", "user_type": "SuperAdmin" }, "modified_by": { "zuid": "111734674", "email_id": "emmy@zylker.com", "first_name": "Headless", "last_name": "2", "user_type": "SuperAdmin" }, "project_details": { "project_name": "Project-Rainfall", "id": "38119000000022053", "project_type": "Live" }, "endpoint_type": 2, "max_session_count": 1, "max_nodes_count": 5, "max_concurrent_count": 5, "config_type": 1 }, { "id": "3970000000005015", "name": "Puppeteer_Grid", "memory": 1024, "browser_version": { "chrome_version": "137.0.7515.155", "firefox_version": "136.0.4" }, "created_time": "Sep 10, 2025 10:21 AM", "modified_time": "Sep 10, 2025 10:21 AM", "api_key_modified_time": "1757479864798", "created_by": { "zuid": "111734674", "email_id": "emmy@zylker.com", "first_name": "Headless", "last_name": "2", "user_type": "SuperAdmin" }, "modified_by": { "zuid": "111734674", "email_id": "emmy@zylker.com", "first_name": "Headless", "last_name": "2", "user_type": "SuperAdmin" }, "project_details": { "project_name": "Project-Rainfall", "id": "38119000000022053", "project_type": "Live" }, "endpoint_type": 1, "max_session_count": 1, "max_nodes_count": 1, "max_concurrent_count": 1, "config_type": 1 }, { "id": "3970000000005013", "name": "Selenium_Gridt", "memory": 1024, "browser_version": { "chrome_version": "137.0.7515.155", "firefox_version": "136.0.4" }, "created_time": "Sep 10, 2025 10:21 AM", "modified_time": "Sep 23, 2025 05:50 PM", "api_key_modified_time": "1757479864794", "created_by": { "zuid": "111734674", "email_id": "emmy@zylker.com", "first_name": "Headless", "last_name": "2", "user_type": "SuperAdmin" }, "modified_by": { "zuid": "111734674", "email_id": "emmy@zylker.com", "first_name": "Headless", "last_name": "2", "user_type": "SuperAdmin" }, "project_details": { "project_name": "Project-Rainfall", "id": "38119000000022053", "project_type": "Live" }, "endpoint_type": 2, "max_session_count": 1, "max_nodes_count": 1, "max_concurrent_count": 1, "config_type": 2 } ] } ``` -------------------------------------------------------------------------------- title: "Get a Specific Browser Grid" description: "This page provides you an overview of the SDK methods you can use to perform Browser Grid operations." last_updated: "2026-09-08T11:07:33.000Z" source: "https://docs.catalyst.zoho.com/en/sdk/java/v1/smartbrowz/browser-grid/get-specific-grid/" service: "SmartBrowz" related: - Browser Grid Help Documentation (/en/smartbrowz/help/browser-grid/introduction/) - JavaScript SDK Documentation (/en/sdk/javascript/v1/overview/) - Python SDK (/en/sdk/python/v1/smartbrowz/browser-grid/get-specific-grid/) - REST API (/en/smartbrowz/help/browser-grid/introduction/) -------------------------------------------------------------------------------- # Get a Specific Browser Grid You can get the details of a specific browser grid in your project by passing the Grid ID or grid name to the `getGrid()` SDK method. > **Info:** To use this SDK method, you need to initialize it with **Admin** scope. You can learn more about this requirement from this [section](https://docs.catalyst.zoho.com/en/sdk/nodejs/v2/overview/#initialize-sdk-with-scopes) ### Using the Grid ID You can pass the **Grid ID** of the required browser grid to the `getGrid()` SDK method. The `grid` instance used in the following snippet is the [component reference](https://docs.catalyst.zoho.com/en/sdk/java/v1/smartbrowz/browser-grid/get-instance/). **Ensure you import the following packages** ```java import com.zc.component.smartbrowz.*; ``` ```java ZCBrowserGrid gridDetails = grid.getGrid(3970000000005013l); // get grid details using the Grid ID ``` ### Using the Grid's Name You can pass the name of the required browser grid to the `getGrid()` SDK method. The `grid` instance used in the following snippet is the [component reference](https://docs.catalyst.zoho.com/en/sdk/java/v1/smartbrowz/browser-grid/get-instance/). **Ensure you import the following packages** ```java import com.zc.component.smartbrowz.*; ``` ```java ZCBrowserGrid gridDetails = grid.getGrid("Selenium_Grid"); // get grid details using the name of the grid ``` ### Example of Expected Response ```json { "status": "success", "data": { "id": "3970000000006058", "name": "Selenium_Grid", "memory": 1024, "browser_version": { "chrome_version": "137.0.7515.155", "firefox_version": "136.0.4" }, "created_time": "Sep 10, 2025 07:04 PM", "modified_time": "Sep 24, 2025 11:55 AM", "api_key_modified_time": "1757511270919", "created_by": { "zuid": "111734674", "is_confirmed": false, "email_id": "emmy@zylker.com", "first_name": "Headless", "last_name": "2", "user_type": "SuperAdmin" }, "modified_by": { "zuid": "111734674", "is_confirmed": false, "email_id": "emmy@zylker.com", "first_name": "Headless", "last_name": "2", "user_type": "SuperAdmin" }, "project_details": { "project_name": "Project-Rainfall", "id": "38119000000022053", "project_type": "Live" }, "endpoint_type": 1, "max_session_count": 1, "max_nodes_count": 10, "max_concurrent_count": 10, "config_type": 1 } } ``` -------------------------------------------------------------------------------- title: "Get Details of a Node" description: "This page provides you an overview of the SDK methods you can use to perform Browser Grid operations." last_updated: "2026-09-08T11:07:33.000Z" source: "https://docs.catalyst.zoho.com/en/sdk/java/v1/smartbrowz/browser-grid/get-specific-node/" service: "SmartBrowz" related: - Browser Grid Help Documentation (/en/smartbrowz/help/browser-grid/introduction/) - JavaScript SDK Documentation (/en/sdk/javascript/v1/overview/) - Python SDK (/en/sdk/python/v1/smartbrowz/browser-grid/get-specific-node/) - REST API (/en/smartbrowz/help/browser-grid/introduction/) -------------------------------------------------------------------------------- # Get Details of a Node By passing the **Grid ID** or name of the required browser grid to the `getGridNodes()` SDK method, you can get the details of a node in that grid. > **Info:** To use this SDK method, you need to initialize it with **Admin** scope. You can learn more about this requirement from this [section](https://docs.catalyst.zoho.com/en/sdk/nodejs/v2/overview/#initialize-sdk-with-scopes) ### Using the Grid ID You can pass the **Grid ID** of the required browser grid to the `getGridNodes()` SDK method, to get its node details. The `grid` instance used in the following snippet is the [component reference](https://docs.catalyst.zoho.com/en/sdk/java/v1/smartbrowz/browser-grid/get-instance/). **Ensure you import the following packages** ```java import com.zc.component.smartbrowz.*; ``` ```java ZCBrowserGrid nodeDetails = grid.getGridNodes(3970000000005013l); // get details of the node using its Grid ID ``` ### Using the Grid's Name You can pass the name of the required browser grid to the `getGridNodes()` SDK method, to get its node details. The `grid` instance used in the following snippet is the [component reference](https://docs.catalyst.zoho.com/en/sdk/java/v1/smartbrowz/browser-grid/get-instance/). **Ensure you import the following packages** ```java import com.zc.component.smartbrowz.*; ``` ```java ZCBrowserGrid gridDetails = grid.getGridNodes("Selenium_Grid"); // get details of the node using the grid's name ``` -------------------------------------------------------------------------------- title: "Stop the Browser Grid" description: "This page provides you an overview of the SDK methods you can use to perform Browser Grid operations." last_updated: "2026-09-08T11:07:33.000Z" source: "https://docs.catalyst.zoho.com/en/sdk/java/v1/smartbrowz/browser-grid/stop-grid/" service: "SmartBrowz" related: - Browser Grid Help Documentation (/en/smartbrowz/help/browser-grid/introduction/) - JavaScript SDK Documentation (/en/sdk/javascript/v1/overview/) - Python SDK (/en/sdk/python/v1/smartbrowz/browser-grid/stop-grid/) - REST API (/en/smartbrowz/help/browser-grid/introduction/) -------------------------------------------------------------------------------- # Stop the Browser Grid By passing the **Grid ID** or name of the required browser grid to the `stopGrid()` SDK method, you can terminate all executions and stop the browser grid. > **Info:** To use this SDK method, you need to initialize it with **Admin** scope. You can learn more about this requirement from this [section](https://docs.catalyst.zoho.com/en/sdk/nodejs/v2/overview/#initialize-sdk-with-scopes) ### Using the Grid ID You can pass the **Grid ID** of the required browser grid to the `stopGrid()` SDK method, to stop the grid, and terminate all its executions. The `grid` instance used in the following snippet is the [component reference](https://docs.catalyst.zoho.com/en/sdk/java/v1/smartbrowz/browser-grid/get-instance/). **Ensure you import the following packages** ```java import com.zc.component.smartbrowz.*; ``` ```java ZCBrowserGrid gridTerminate = grid.stopGrid(3970000000005013l); // stop the grid using the Grid ID ``` ### Using the Grid's Name You can pass the name of the required browser grid to the `stopGrid()` SDK method, to stop the grid, and terminate all its executions. The `grid` instance used in the following snippet is the [component reference](https://docs.catalyst.zoho.com/en/sdk/java/v1/smartbrowz/browser-grid/get-instance/). **Ensure you import the following packages** ```java import com.zc.component.smartbrowz.*; ``` ```java ZCBrowserGrid gridTerminate = grid.stopGrid("Selenium_Grid"); //stop the grid using the name of the grid ``` ### Example of Expected Response ```json { "status": "success", "data": true } ``` ## SDK — Modular JavaScript SDK — SmartBrowz -------------------------------------------------------------------------------- title: "Overview" description: "This page describes the method to perform operations using the components in SmartBrowz Services." last_updated: "2026-09-09T10:45:38.000Z" source: "https://docs.catalyst.zoho.com/en/sdk/javascript/v1/smartbrowz/overview/" service: "SmartBrowz" related: - Catalyst SmartBrowz (/en/smartbrowz/) - Java SDK Documentation (/en/sdk/java/v1/smartbrowz/) - Python SDK Documentation (/en/sdk/python/v1/smartbrowz/) - REST API Documentation (/en/api/code-reference/smartbrowz/browser-grid/list-all-grids/#ListallBrowserGrids) -------------------------------------------------------------------------------- # SmartBrowz JavaScript SDK # Overview [SmartBrowz](https://docs.catalyst.zoho.com/en/smartbrowz/) is a Catalyst service that offers you a wide range of components that you can use to perform your required functions on headless browsers, generate visual documents, and even configure design and style templates using Liquid JS that can handle dynamic data while offering you the advantages of reusable HTML blueprints. Using the *SmartBrowz JavaScript SDK*, you can perform the following operations through code: ### Prerequisites You will need to install the following package to be able to use the SDK methods of SmartBrowz components. ```bash npm install @zcatalyst/smartbrowz ``` > **Info:** Ensure that you have applied the [required authentication configuration](https://docs.catalyst.zoho.com/en/sdk/javascript/v1/auth-config/node-consideration/) to use the SDK methods of this component. ### Import Requirement You will need to import the following modules to use the SDK methods of Zia service's components. ```javascript const { Smartbrowz } = require('@zcatalyst/smartbrowz'); //SmartBrowz module ``` ### List of SDK Methods The following table provides you with the list of SmartBrowz operations that you can perform through code using the SmartBrowz JavaScript SDK.
Category SDK Method Required Scope
General Operations [Get SmartBrowz Instance](https://docs.catalyst.zoho.com/en/sdk/javascript/v1/smartbrowz/create-smartbrowz-instance/) **No requirement**
SmartBrowz Operations PDF & Screenshot
  • [Generate visual documents using Templates as source](https://docs.catalyst.zoho.com/en/sdk/javascript/v1/smartbrowz/pdf-and-screenshot/docs-templates-source/)
  • [Generate PDF using HTML as source](https://docs.catalyst.zoho.com/en/sdk/javascript/v1/smartbrowz/pdf-and-screenshot/pdf-from-htmlcode/)
  • [Generate Screenshot using URL as source](https://docs.catalyst.zoho.com/en/sdk/javascript/v1/smartbrowz/pdf-and-screenshot/pdf-from-url-source/)
**Admin**
Dataverse
  • [Lead enrichment](https://docs.catalyst.zoho.com/en/sdk/javascript/v1/smartbrowz/dataverse/lead-enrichment/)
  • [Tech stack finder](https://docs.catalyst.zoho.com/en/sdk/javascript/v1/smartbrowz/dataverse/tech-stack-finder/)
  • [Similar companies](https://docs.catalyst.zoho.com/en/sdk/javascript/v1/smartbrowz/dataverse/similar-companies/)
**Admin**
> **Info:** [ Learn more about the Catalyst SmartBrowz service](https://docs.catalyst.zoho.com/en/smartbrowz/help/headless/introduction/). -------------------------------------------------------------------------------- title: "Create a SmartBrowz Instance" description: "This page describes the method to perform operations using the components in SmartBrowz Services." last_updated: "2026-09-09T10:45:38.000Z" source: "https://docs.catalyst.zoho.com/en/sdk/javascript/v1/smartbrowz/create-smartbrowz-instance/" service: "SmartBrowz" related: - Catalyst SmartBrowz (/en/smartbrowz/) - Java SDK Documentation (/en/sdk/java/v1/smartbrowz/generate-pdfnscreenshot/) - Python SDK Documentation (/en/sdk/python/v1/smartbrowz/create-smartbrowz-instance/) - REST API Documentation (/en/api/code-reference/smartbrowz/generate-pdfnscreenshoturl/#PDF%26ScreenshotwithHTMLorURLasInput) -------------------------------------------------------------------------------- # Create a SmartBrowz Instance > **Notes:** * Ensure you have installed the [required package](https://docs.catalyst.zoho.com/en/sdk/javascript/v1/smartbrowz/overview/#prerequisites) to use this SDK method. * Any browser action or operation that you code using the Browser Logic function, or any browser automation or web scraping task that you perform using any component of *Catalyst SmartBrowz* is at **your own risk**. We strongly recommend that you use the SmartBrowz components to perform operations on domains that permit the actions, or with proper approval. Additionally, while Catalyst does provide a secure infrastructure to code your functions, any consequence of the logic you code using Catalyst functions is yours alone. Additionally, while Catalyst does provide a secure infrastructure to code your functions, any consequence of the logic you code using Catalyst functions is yours alone. You can create a `smartbrowz` component reference as shown below. This will not fire a server-side call. You will refer to this component instance in various code snippets while working with SmartBrowz components. ```javascript // Get a SmartBrowz instance const smartbrowz = new Smartbrowz(); ``` ### PDF & Screenshot -------------------------------------------------------------------------------- title: "Generate Visual Documents with Templates as Source" description: "This page describes the method to perform operations using the components in SmartBrowz Services." last_updated: "2026-09-09T10:45:38.000Z" source: "https://docs.catalyst.zoho.com/en/sdk/javascript/v1/smartbrowz/pdf-and-screenshot/docs-templates-source/" service: "SmartBrowz" related: - Catalyst SmartBrowz (/en/smartbrowz/) - PDF & Screenshot (/en/smartbrowz/help/pdfnscreenshot/introduction/) - Templates (/en/smartbrowz/help/templates/introduction/) - Java SDK Documentation (/en/sdk/java/v1/smartbrowz/generate-pdfnscreenshot/) - Python SDK Documentation (/en/sdk/python/v1/smartbrowz/generate-pdfnscreenshot/) - REST API Documentation (/en/api/code-reference/smartbrowz/generate-pdfnscreenshoturl/#PDF%26ScreenshotwithHTMLorURLasInput) -------------------------------------------------------------------------------- # Generate Visual Documents with Templates as Source > **Notes:** * Ensure you have installed the [required package](https://docs.catalyst.zoho.com/en/sdk/javascript/v1/smartbrowz/overview/#prerequisites) to use this SDK method. * Any browser action or operation that you code using the Browser Logic function, or any browser automation or web scraping task that you perform using any component of *Catalyst SmartBrowz* is at **your own risk**. We strongly recommend that you use the SmartBrowz components to perform operations on domains that permit the actions, or with proper approval. Additionally, while Catalyst does provide a secure infrastructure to code your functions, any consequence of the logic you code using Catalyst functions is yours alone. [Templates](https://docs.catalyst.zoho.com/en/smartbrowz/help/templates/introduction/) is a *Catalyst SmartBrowz* component that allows you to design custom HTML blueprints [using LiquidJS components](https://docs.catalyst.zoho.com/en/smartbrowz/help/templates/customize-templates/#using-liquidjs-to-customize-your-templates) to handle dynamic data. Using the `generateFromTemplate()` SDK method you can generate the required visual document as per your requirement. The SDK method also allows you to implement multiple customization options including page orientation, size, [password protection](https://docs.catalyst.zoho.com/en/smartbrowz/help/templates/customize-templates/#password-protected-pdfs), and so much more. The required template is referred to using its Template ID. The `smartbrowz` reference used in the code snippets below is the [component instance](https://docs.catalyst.zoho.com/en/sdk/javascript/v1/smartbrowz/create-smartbrowz-instance/) created to perform these operations. ```javascript const result = await smartbrowz.generateFromTemplate("2075000000021001", { pdf_options: { display_header_footer: true, format: "A1", height: "100", width: "100", landscape: true, page_ranges: "1-2", scale: 1.0, password: "****123" // Add password after enabling the template password setting from the console }, page_options: { css: { content: "body { font-size: 12px; }" }, javascript_enabled: true, viewport: { height: 800, width: 600 }, device: "Blackberry PlayBook" }, navigation_options: { timeout: 30000, wait_until: "domcontentloaded" }, output_options: { output_type: "pdf" }, template_data: {} }); console.log("result::", result); ``` -------------------------------------------------------------------------------- title: "Generate PDF with HTML Code as Source" description: "This page describes the method to perform operations using the components in SmartBrowz Services." last_updated: "2026-09-09T10:45:38.000Z" source: "https://docs.catalyst.zoho.com/en/sdk/javascript/v1/smartbrowz/pdf-and-screenshot/pdf-from-htmlcode/" service: "SmartBrowz" related: - Catalyst SmartBrowz (/en/smartbrowz/) - PDF & Screenshot (/en/smartbrowz/help/pdfnscreenshot/introduction/) - Templates (/en/smartbrowz/help/templates/introduction/) - Java SDK Documentation (/en/sdk/java/v1/smartbrowz/generate-pdfnscreenshot/) - Python SDK Documentation (/en/sdk/python/v1/smartbrowz/generate-pdfnscreenshot/) - REST API Documentation (/en/api/code-reference/smartbrowz/generate-pdfnscreenshoturl/#PDF%26ScreenshotwithHTMLorURLasInput) -------------------------------------------------------------------------------- # Generate PDF with HTML Code as Source > **Notes:** * Ensure you have installed the [required package](https://docs.catalyst.zoho.com/en/sdk/javascript/v1/smartbrowz/overview/#prerequisites) to use this SDK method. * Any browser action or operation that you code using the Browser Logic function, or any browser automation or web scraping task that you perform using any component of *Catalyst SmartBrowz* is at **your own risk**. We strongly recommend that you use the SmartBrowz components to perform operations on domains that permit the actions, or with proper approval. Additionally, while Catalyst does provide a secure infrastructure to code your functions, any consequence of the logic you code using Catalyst functions is yours alone. Using the `convertToPdf()` SDK method, you can generate a PDF document using HTML code as source. The SDK method also allows you to implement multiple customization options including page orientation, size, [password protection](https://docs.catalyst.zoho.com/en/smartbrowz/help/templates/customize-templates/#password-protected-pdfs), and so much more. The `smartbrowz` reference used in the code snippets below is the [component instance](https://docs.catalyst.zoho.com/en/sdk/javascript/v1/smartbrowz/create-smartbrowz-instance/) created to perform these operations. ```javascript const result = await smartbrowz.convertToPdf("HI", { pdf_options: { display_header_footer: true, footer_template: "Page Header", margin: { bottom: "20", left: "10", right: "10", top: "20" }, height: "100", width: "100", landscape: true, page_ranges: "1-2", scale: 1.0, password: "****123" }, page_options: { css: { content: "body { font-size: 12px; }" }, javascript_enabled: true, viewport: { height: 800, width: 600 }, device: "Blackberry PlayBook" }, navigation_options: { timeout: 30000, wait_until: "domcontentloaded" } }); console.log("result::", result); ``` -------------------------------------------------------------------------------- title: "Generate PDF with URL as Source" description: "This page describes the method to perform operations using the components in SmartBrowz Services." last_updated: "2026-09-09T10:45:38.000Z" source: "https://docs.catalyst.zoho.com/en/sdk/javascript/v1/smartbrowz/pdf-and-screenshot/pdf-from-url-source/" service: "SmartBrowz" related: - Catalyst SmartBrowz (/en/smartbrowz/) - PDF & Screenshot (/en/smartbrowz/help/pdfnscreenshot/introduction/) - Templates (/en/smartbrowz/help/templates/introduction/) - Java SDK Documentation (/en/sdk/java/v1/smartbrowz/generate-pdfnscreenshot/) - Python SDK Documentation (/en/sdk/python/v1/smartbrowz/generate-pdfnscreenshot/) - REST API Documentation (/en/api/code-reference/smartbrowz/generate-pdfnscreenshoturl/#PDF%26ScreenshotwithHTMLorURLasInput) -------------------------------------------------------------------------------- # Generate PDF with URL as Source > **Notes:** * Ensure you have installed the [required package](https://docs.catalyst.zoho.com/en/sdk/javascript/v1/smartbrowz/overview/#prerequisites) to use this SDK method. * Any browser action or operation that you code using the Browser Logic function, or any browser automation or web scraping task that you perform using any component of *Catalyst SmartBrowz* is at **your own risk**. We strongly recommend that you use the SmartBrowz components to perform operations on domains that permit the actions, or with proper approval. Additionally, while Catalyst does provide a secure infrastructure to code your functions, any consequence of the logic you code using Catalyst functions is yours alone. Pass the required URL to the `convertToPdf()` SDK method to generate a visual document of the corresponding webpage. The `smartbrowz` reference used in the code snippets below is the [component instance](https://docs.catalyst.zoho.com/en/sdk/javascript/v1/smartbrowz/create-smartbrowz-instance/) created to perform these operations. ```javascript const result = await smartbrowz.convertToPdf("https://www.google.com", { pdf_options: { display_header_footer: true, footer_template: "Page Header", margin: { bottom: "20", left: "10", right: "10", top: "20" }, height: "100", width: "100", landscape: true, page_ranges: "1-2", scale: 1.0, password: "*****123" }, page_options: { css: { content: "body { font-size: 12px; }" }, javascript_enabled: true, viewport: { height: 800, width: 600 }, device: "Blackberry PlayBook" }, navigation_options: { timeout: 30000, wait_until: "domcontentloaded" } }); console.log("result::", result); ``` ### Dataverse -------------------------------------------------------------------------------- title: "Lead Enrichment" description: "This page describes the method to perform operations using the components in SmartBrowz Services." last_updated: "2026-09-09T10:45:38.000Z" source: "https://docs.catalyst.zoho.com/en/sdk/javascript/v1/smartbrowz/dataverse/lead-enrichment/" service: "SmartBrowz" related: - Catalyst SmartBrowz (/en/smartbrowz/) - Dataverse (/en/smartbrowz/help/dataverse/introduction/) - Python SDK Documentation (/en/sdk/python/v1/smartbrowz/dataverse/) -------------------------------------------------------------------------------- # Lead Enrichment > **Notes:** * Ensure you have installed the [required package](https://docs.catalyst.zoho.com/en/sdk/javascript/v1/smartbrowz/overview/#prerequisites) to use this SDK method. * Any browser action or operation that you code using the Browser Logic function, or any browser automation or web scraping task that you perform using any component of *Catalyst SmartBrowz* is at **your own risk**. We strongly recommend that you use the SmartBrowz components to perform operations on domains that permit the actions, or with proper approval. Additionally, while Catalyst does provide a secure infrastructure to code your functions, any consequence of the logic you code using Catalyst functions is yours alone. The **Lead Enrichment** module allows you to fetch details of a specific organization from the web. Provide the organization’s name, its email address, or its website URL as the parameters to the `getEnrichedLead()` SDK method, to retrieve the required information. The `smartbrowz` reference used in the code snippets below is the [component instance](https://docs.catalyst.zoho.com/en/sdk/javascript/v1/smartbrowz/create-smartbrowz-instance/) created to perform these operations. > **Note:** You must provide the value for at least one key in the `getEnrichedLead()` SDK method. ```javascript const response = await smartbrowz.getEnrichedLead({ leadName: "zoho", websiteUrl: "https://www.zoho.com", email: "sales@zohocorp.com" }); console.log(response); ``` #### Example of Expected Response ```javascript [ { "employee_count": "12000", "website": "https://www.zoho.com", "address": [ { "country": "India", "pincode": "603202", "city": "Chengalpattu District", "street": "Estancia It Park, Plot No. 140 151, Gst Road Vallancheri", "state": "Tamil Nadu", "id": "Estancia IT Park, Plot no. 140, 151, GST Road, Vallancheri, Chennai." } ], "social": { "twitter": [ "twitter.com/zoho" ] }, "source_language": "en", "description": "Zoho Corporation offers web-based business applications.", "organization_name": "ZOHO", "ceo": "Sridhar Vembu", "headquarters": [ { "country": "India" } ], "revenue": "$1B", "years_in_industry": "27", "about_us": "https://www.zoho.com/aboutus.html?ireft=nhome&src=home1", "founding_year": "1996", "contact": [ "844-316-5544", "0800-085-6099" ], "industries": { "computer programming services": "Includes data processing services and other computer related services." }, "logo": "https://www.zohowebstatic.com/sites/zweb/images/ogimage/zoho-logo.png", "organization_type": [ "Private Limited Company" ], "business_model": [ "B2B" ], "email": [ "sales@zohocorp.com", "press@zohocorp.com" ], "organization_status": "LARGE_ENTERPRISE", "territory": [ "India", "United States of America" ], "sign_up_link": "https://www.zoho.com/signup.html?all_prod_page=true" } ] ``` -------------------------------------------------------------------------------- title: "Tech Stack Finder" description: "This page describes the method to perform operations using the components in SmartBrowz Services." last_updated: "2026-09-09T10:45:38.000Z" source: "https://docs.catalyst.zoho.com/en/sdk/javascript/v1/smartbrowz/dataverse/tech-stack-finder/" service: "SmartBrowz" related: - Catalyst SmartBrowz (/en/smartbrowz/) - Dataverse (/en/smartbrowz/help/dataverse/introduction/) - Python SDK Documentation (/en/sdk/python/v1/smartbrowz/dataverse/) -------------------------------------------------------------------------------- # Tech Stack Finder > **Notes:** * Ensure you have installed the [required package](https://docs.catalyst.zoho.com/en/sdk/javascript/v1/smartbrowz/overview/#prerequisites) to use this SDK method. * Any browser action or operation that you code using the Browser Logic function, or any browser automation or web scraping task that you perform using any component of *Catalyst SmartBrowz* is at **your own risk**. We strongly recommend that you use the SmartBrowz components to perform operations on domains that permit the actions, or with proper approval. Additionally, while Catalyst does provide a secure infrastructure to code your functions, any consequence of the logic you code using Catalyst functions is yours alone. The **TechStack Finder** module allows you to fetch details of the technologies implemented and the frameworks used by an organization. Provide the organization’s website URL as a parameter to the `findTechStack()` SDK method, to retrieve the information. The `smartbrowz` reference used in the code snippets below is the [component instance](https://docs.catalyst.zoho.com/en/sdk/javascript/v1/smartbrowz/create-smartbrowz-instance/) created to perform these operations. ```javascript const response = await smartbrowz.findTechStack('https://www.zoho.com'); console.log('response::', response); ``` #### Example of Expected Response ```javascript [ { "website": "https://www.zoho.com", "technographic_data": { "audio-video media": "Vimeo, YouTube", "ssl_certificate": "Sectigo Limited", "email hosting providers": "Zoho Mail, SPF" }, "organization_name": "ZOHO" } ] ``` -------------------------------------------------------------------------------- title: "Similar Companies" description: "This page describes the method to perform operations using the components in SmartBrowz Services." last_updated: "2026-09-09T10:45:38.000Z" source: "https://docs.catalyst.zoho.com/en/sdk/javascript/v1/smartbrowz/dataverse/similar-companies/" service: "SmartBrowz" related: - Catalyst SmartBrowz (/en/smartbrowz/) - Dataverse (/en/smartbrowz/help/dataverse/introduction/) - Python SDK Documentation (/en/sdk/python/v1/smartbrowz/dataverse/) -------------------------------------------------------------------------------- # Similar Companies > **Notes:** * Ensure you have installed the [required package](https://docs.catalyst.zoho.com/en/sdk/javascript/v1/smartbrowz/overview/#prerequisites) to use this SDK method. * Any browser action or operation that you code using the Browser Logic function, or any browser automation or web scraping task that you perform using any component of *Catalyst SmartBrowz* is at **your own risk**. We strongly recommend that you use the SmartBrowz components to perform operations on domains that permit the actions, or with proper approval. Additionally, while Catalyst does provide a secure infrastructure to code your functions, any consequence of the logic you code using Catalyst functions is yours alone. The **Similar Companies** module allows you to get the list of potential organizations that provide the same or similar services as an organization you specify as the input. Provide the name of the input organization or its website URL as a parameter to the `getSimilarCompanies()` SDK method. The `smartbrowz` reference used in the code snippets below is the [component instance](https://docs.catalyst.zoho.com/en/sdk/javascript/v1/smartbrowz/create-smartbrowz-instance/) created to perform these operations. ```javascript const response = await smartbrowz.getSimilarCompanies({ 'leadName': 'zoho', 'websiteUrl': 'https://www.zoho.com' }); console.log(response); ``` #### Example of Expected Response ```javascript [ "Cybage Software Pvt. Ltd.", "Google LLC", "Chargebee, Inc.", "Infosys Ltd.", "GlobalLogic Inc.", "Persistent Systems Ltd.", "DELTA ELECTRONICS Inc.", "Salesforce, Inc." ] ``` ## SDK — Python — SmartBrowz -------------------------------------------------------------------------------- title: "Create SmartBrowz Instance" description: "This page describes the method to create a SmartBrowz instance" last_updated: "2025-09-24T13:16:10.000Z" source: "https://docs.catalyst.zoho.com/en/sdk/python/v1/smartbrowz/create-smartbrowz-instance/" service: "SmartBrowz" related: - SmartBrowz Help (/en/smartbrowz/getting-started/introduction/) -------------------------------------------------------------------------------- # Catalyst SmartBrowz [Catalyst SmartBrowz](https://docs.catalyst.zoho.com/en/smartbrowz/getting-started/introduction/) components allows you to control, manage a [headless browser](https://docs.catalyst.zoho.com/en/smartbrowz/help/headless/introduction/) and perform a variety of operations such as [generating PDFs and screenshots](https://docs.catalyst.zoho.com/en/smartbrowz/help/pdfnscreenshot/introduction/) of webpages, [creating templates](https://docs.catalyst.zoho.com/en/smartbrowz/help/templates/create-templates/) to generate PDFs with dynamic content, [extracting data](https://docs.catalyst.zoho.com/en/smartbrowz/help/dataverse/introduction/) from the web using powerful Catalyst APIs and more. ### Create SmartBrowz Instance A component instance is an object that can be used to access the properties specific to a particular component. You can create a component instance to execute any headless actions in SmartBrowz. The `app` reference used in the code below is the [Python object](https://docs.catalyst.zoho.com/en/sdk/python/v1/setup/#initializing-the-sdk) returned as a response during SDK initialization. You can create a new `smart_browz`instance as shown below. ```python smart_browz = app.smart_browz() ``` This component instance will be used for all SmartBrowz operations in Python SDK. > **Note:** Any Browser action or operation that you code using the Browser Logic function, or any browser automation or web scraping task that you perform using any component of **Catalyst SmartBrowz** is at your own risk. We strongly recommend you use the SmartBrowz components to perform operations on domains that permit the actions, or with proper approval. Additionally, while Catalyst does provide a secure infrastructure to code your functions, any consequence of the logic you code using Catalyst functions is yours alone. -------------------------------------------------------------------------------- title: "PDF & Screenshot" description: "This page describes the method to generate PDF and Screenshot" last_updated: "2026-11-03T15:16:51.000Z" source: "https://docs.catalyst.zoho.com/en/sdk/python/v1/smartbrowz/generate-pdfnscreenshot/" service: "SmartBrowz" related: - PDF & Screenshot - API (/en/api/code-reference/smartbrowz/generate-pdfnscreenshoturl/#PDF%26ScreenshotwithHTMLorURLasInput) - SDK Scopes (/en/sdk/python/v1/sdk-scopes) -------------------------------------------------------------------------------- # PDF & Screenshot Catalyst SmartBrowz offers you the [PDF & Screenshot](https://docs.catalyst.zoho.com/en/smartbrowz/help/pdfnscreenshot/introduction/) component to generate your prefered visual docuemnts through code. You can incorporate this functionality in your application by copying the code below and pasting it in your application logic. Using the SDK below, you can generate visual documents by using HTML, URL or [Templates](https://docs.catalyst.zoho.com/en/smartbrowz/help/templates/create-templates/) as your input. To know more about the component instance `smart_browz` used below, please refer to [this help section](https://docs.catalyst.zoho.com/en/sdk/python/v1/smartbrowz/create-smartbrowz-instance/). # Generate PDF or Screenshot from template ```python smart_browz = app.smart_browz() result = smart_browz.generate_from_template( "153000000009001", # Replace template id template_data={}, output_options={"output_type": "pdf"}, pdf_options={ "scale": 1, "display_header_footer": true, "print_background": false, "landscape": false, "page_ranges": "1", "format": "A4", "width": "100", "height": "100", "omit_background": false, "password": "Demo$", }, page_options={ "css": {"content": "body{background: lightgrey}"}, "viewport": {"width": 1440, "height": 900}, "javascript_enabled": true, }, navigation_options={"timeout": 5000, "wait_until": "networkidle0"}, ) ``` # Convert to PDF from HTML ```python smart_browz = app.smart_browz() result = smart_browz.convert_to_pdf( "

Welcome

", pdf_options={ "scale": 1, "display_header_footer": true, "print_background": false, "landscape": false, "page_ranges": "1", "format": "A4", "width": "100", "height": "100", "omit_background": false, "password": "Demo$", }, page_options={ "css": {"content": "body{background: lightgrey}"}, "viewport": {"width": 1440, "height": 900}, "javascript_enabled": true, }, navigation_options={"timeout": 5000, "wait_until": "networkidle0"}, ) ``` # Generate PDF from URL ```python smart_browz = app.smart_browz() result = smart_browz.convert_to_pdf( "https://catalyst.zoho.com/", pdf_options={ "scale": 1, "display_header_footer": true, "print_background": false, "landscape": false, "page_ranges": "1", "format": "A4", "width": "100", "height": "100", "omit_background": false, "password": "Demo$", }, page_options={ "css": {"content": "body{background: lightgrey}"}, "viewport": {"width": 1440, "height": 900}, "javascript_enabled": true, }, navigation_options={"timeout": 5000, "wait_until": "networkidle0"}, ) ``` # Take a screenshot from HTML ```python smart_browz = app.smart_browz() output_screenshot = smart_browz.take_screenshot( source='

Welcome

', "output_options": { "output_type": "screenshot" }, screenshot_options= { "type": "jpeg", "quality": 100, "full_page": false, "omit_background": false, "capture_beyond_viewport": true, "clip": { "x": 50, "y": 100, "width": 1000, "height": 100 } }, page_options= { "css": { "content": "body{background: lightgrey}" }, "viewport": { "width": 1440, "height": 900 "viewport": { "width": 1440, "height": 900 }, "javascript_enabled": true "javascript_enabled": true }, navigation_options= { "timeout": 5000, "wait_until": "networkidle0" "navigation_options": { "timeout": 5000, "wait_until": "networkidle0" } } }) ``` # Take a screenshot from URL ```python smart_browz = app.smart_browz() output_screenshot = smart_browz.take_screenshot( source='YOUR_URL', "output_options": { "output_type": "screenshot" }, screenshot_options= { "type": "jpeg", "quality": 100, "full_page": false, "omit_background": false, "capture_beyond_viewport": true, "clip": { "x": 50, "y": 100, "width": 1000, "height": 100 } }, page_options= { "css": { "content": "body{background: lightgrey}" }, "viewport": { "width": 1440, "height": 900 "viewport": { "width": 1440, "height": 900 }, "javascript_enabled": true "javascript_enabled": true }, navigation_options= { "timeout": 5000, "wait_until": "networkidle0" "navigation_options": { "timeout": 5000, "wait_until": "networkidle0" } } }) ``` In the PDF & Screenshot section of the console, you can directly test this component using the [Playground feature](https://docs.catalyst.zoho.com/en/smartbrowz/help/pdfnscreenshot/implementation/#generate-pdf--screenshots-through-playground), and you can also [copy the SDK](https://docs.catalyst.zoho.com/en/smartbrowz/help/pdfnscreenshot/implementation/#generate-pdf--screenshots-through-code) directly from the console. > **Note:** Any Browser action or operation that you code using the Browser Logic function, or any browser automation or web scraping task that you perform using any component of **Catalyst SmartBrowz** is at your own risk. We strongly recommend you use the SmartBrowz components to perform operations on domains that permit the actions, or with proper approval. Additionally, while Catalyst does provide a secure infrastructure to code your functions, any consequence of the logic you code using Catalyst functions is yours alone. > **Info :** Refer to the [SDK Scopes table](https://docs.catalyst.zoho.com/en/sdk/python/v1/sdk-scopes) to determine the required permission level for performing the above operation. -------------------------------------------------------------------------------- title: "Dataverse" description: "This page describes the SDK methods for Catalyst Dataverse modules." last_updated: "2025-12-16T05:01:39.000Z" source: "https://docs.catalyst.zoho.com/en/sdk/python/v1/smartbrowz/dataverse/" service: "SmartBrowz" related: - Dataverse Help (/en/smartbrowz/help/dataverse/introduction/) - SDK Scopes (/en/sdk/python/v1/sdk-scopes) -------------------------------------------------------------------------------- # Dataverse [Dataverse](https://docs.catalyst.zoho.com/en/smartbrowz/help/dataverse/introduction/) is a Catalyst SmartBrowz component that performs data extraction from the web through scraping. The three categories of data extraction functionalities offered by Dataverse are explained below. > **Note:** We can only assure to provide you with publicly available information available over the web. 1. **Lead Enrichment** The Lead Enrichment module allows you to fetch details of a specific organization from the web. You will need to provide the organization's name, its email address, or its website URL as the parameters to the `get_enriched_lead()` method, in order to retrieve the information. > **Note:** You must provide the value for at least one key in the `get_enriched_lead()` method. The `smart_browz` reference used here is the component instance that we created [earlier](https://docs.catalyst.zoho.com/en/sdk/python/v1/smartbrowz/create-smartbrowz-instance). **Parameters Used**
Parameter Name Data Type Definition
`lead_details` Array A **Mandatory** parameter. Will store the details of the lead to be collected from the web.
```python smart_browz = app.smart_browz() response = smart_browz.get_enriched_lead( { "email": "sales@zohocorp.com", "lead_name": "zoho", "website_url": "https://www.zoho.com", } ) print(response) ``` The response is shown below: ```json [ { "employee_count":"12000", "website":"https://www.zoho.com", "address":[ { "country":"India", "pincode":"603202", "city":"Chengalpattu District", "street":"Estancia It Park, Plot No. 140 151, Gst Road Vallancheri", "state":"Tamil Nadu", "id":"Estancia IT Park, Plot no. 140, 151, GST Road, Vallancheri, Chennai." } ], "social":{ "twitter":[ "twitter.com/zoho" ] }, "source_language":"en", "description":"Zoho Corporation offers web-based business applications.", "organization_name":"ZOHO", "ceo":"Sridhar Vembu", "headquarters":[ { "country":"India" } ], "revenue":"$1B", "years_in_industry":"27", "about_us":"https://www.zoho.com/aboutus.html?ireft=nhome&src=home1", "founding_year":"1996", "contact":[ "844-316-5544", "0800-085-6099" ], "industries":{ "computer programming services":"Includes data processing services and other computer related services." }, "logo":"https://www.zohowebstatic.com/sites/zweb/images/ogimage/zoho-logo.png", "organization_type":[ "Private Limited Company" ], "business_model":[ "B2B" ], "email":[ "sales@zohocorp.com", "press@zohocorp.com" ], "organization_status":"LARGE_ENTERPRISE", "territory":[ "India", "United States of America" ], "sign_up_link":"https://www.zoho.com/signup.html?all_prod_page=true" } ] ``` 2. **Tech Stack Finder:** The TechStack Finder module allows you to fetch details of the technologies implemented and the frameworks used by an organization. You will need to provide the organization's website URL as a parameter to the `find_tech_stack()` method, in order to retrieve the information. The `smart_browz` reference used here is the component instance that we created [earlier](https://docs.catalyst.zoho.com/en/sdk/python/v1/smartbrowz/create-smartbrowz-instance). **Parameters Used**
Parameter Name Data Type Definition
`org_url` String A **Mandatory** parameter. Will store the URL of the organization for which tech stack details are needed.
```python smart_browz = app.smart_browz() response = smart_browz.find_tech_stack('https://www.zoho.com') print(response) ``` The response is shown below: ```json [ { "website":"https://www.zoho.com", "technographic_data":{ "audio-video media":"Vimeo,YouTube", "ssl_certificate":"Sectigo Limited", "email hosting providers":"Zoho Mail,SPF" }, "organization_name":"ZOHO" } ] ``` 3. **Similar Companies:** The Similar Companies module allows you to get the list of potential organizations that provide the same or similar services as an organization you specify as the input. You can either provide the name of the input organization or its website URL as a parameter to the `get_similar_companies()` method. To know more about the component instance `smart_browz` used below, please refer to [this help section](https://docs.catalyst.zoho.com/en/sdk/python/v1/smartbrowz/create-smartbrowz-instance/). **Parameters Used**
Parameter Name Data Type Definition
`company_url` String A **Mandatory** parameter. Will store the URL of the organization for which similar organizations need to be retrieved.
```python smart_browz = app.smart_browz() response = smart_browz.get_similar_companies( {"lead_name": "zoho", "website_url": "https://www.zoho.com"} ) print(response) ``` ```json [ "Cybage Software Pvt. Ltd.", "Google LLC", "Chargebee, Inc.", "Infosys Ltd.", "GlobalLogic Inc.", "Persistent Systems Ltd.", "DELTA ELECTRONICS Inc.", "Salesforce, Inc." ] ``` > **Note:** Any Browser action or operation that you code using the Browser Logic function, or any browser automation or web scraping task that you perform using any component of **Catalyst SmartBrowz** is at your own risk. We strongly recommend you use the SmartBrowz components to perform operations on domains that permit the actions, or with proper approval. Additionally, while Catalyst does provide a secure infrastructure to code your functions, any consequence of the logic you code using Catalyst functions is yours alone. > **Info :** Refer to the [SDK Scopes table](https://docs.catalyst.zoho.com/en/sdk/python/v1/sdk-scopes) to determine the required permission level for performing the above operation. ### Browser Grid -------------------------------------------------------------------------------- title: "Overview" description: "This page describes the Python method to get all the job pools present in your project with sample code snippets." last_updated: "2026-09-08T11:07:33.000Z" source: "https://docs.catalyst.zoho.com/en/sdk/python/v1/smartbrowz/browser-grid/overview/" service: "SmartBrowz" related: - Browser Grid Help Documentation (/en/smartbrowz/help/browser-grid/introduction/) - Java SDK (/en/sdk/java/v1/smartbrowz/browser-grid/overview/) - JavaScript SDK Documentation (/en/sdk/javascript/v1/overview/) - REST API (/en/smartbrowz/help/browser-grid/introduction/) -------------------------------------------------------------------------------- # Overview [Browser Grid](https://docs.catalyst.zoho.com/en/smartbrowz/help/browser-grid/introduction/) a *Catalyst SmartBrowz* service's auto scaling component that allows you to configure and manage multiple headless browsers. You are provided with options to configure your required grid by configuring the number of nodes and browsers that your process would require. Using the Browser Grid Python SDK, you will be able to get details about your browser grid, get node details about your browser grid and terminate browser grid executions. ### List of SDK Methods
Category SDK Methods Scope Requirements
General Operations [Get Browser Grid Instance](https://docs.catalyst.zoho.com/en/sdk/python/v1/smartbrowz/browser-grid/get-instance/) **Admin**
Browser Grid Operations
  • [Get all browser grids](https://docs.catalyst.zoho.com/en/sdk/python/v1/smartbrowz/browser-grid/get-all-grids/)
  • [Get specific browser grid](https://docs.catalyst.zoho.com/en/sdk/python/v1/smartbrowz/browser-grid/get-specific-grid/)
    • [Get specific browser grid with ID](https://docs.catalyst.zoho.com/en/sdk/python/v1/smartbrowz/browser-grid/get-specific-grid/#using-the-grid-id)
    • [Get specific browser grid with name](https://docs.catalyst.zoho.com/en/sdk/python/v1/smartbrowz/browser-grid/get-specific-grid/#using-the-grids-name)
  • [Get nodes of a grid](https://docs.catalyst.zoho.com/en/sdk/python/v1/smartbrowz/browser-grid/get-specific-node/)
    • [Using Grid ID](https://docs.catalyst.zoho.com/en/sdk/python/v1/smartbrowz/browser-grid/get-specific-node/#using-the-grid-id)
    • [Using Grid Name](https://docs.catalyst.zoho.com/en/sdk/python/v1/smartbrowz/browser-grid/get-specific-node/#using-the-grids-name)
  • [Stop browser grid](https://docs.catalyst.zoho.com/en/sdk/python/v1/smartbrowz/browser-grid/stop-grid/)
    • [Using Grid ID](https://docs.catalyst.zoho.com/en/sdk/python/v1/smartbrowz/browser-grid/stop-grid/#using-the-grid-id)
    • [Using Grid Name](https://docs.catalyst.zoho.com/en/sdk/python/v1/smartbrowz/browser-grid/stop-grid/#using-the-grids-name)
**Admin**
-------------------------------------------------------------------------------- title: "Get Browser Grid Instance" description: "This page describes the Python method to get all the job pools present in your project with sample code snippets." last_updated: "2026-09-08T11:07:33.000Z" source: "https://docs.catalyst.zoho.com/en/sdk/python/v1/smartbrowz/browser-grid/get-instance/" service: "SmartBrowz" related: - Browser Grid Help Documentation (/en/smartbrowz/help/browser-grid/introduction/) - Java SDK (/en/sdk/java/v1/smartbrowz/browser-grid/get-instance/) - JavaScript SDK Documentation (/en/sdk/javascript/v1/overview/) - REST API (/en/smartbrowz/help/browser-grid/introduction/) -------------------------------------------------------------------------------- # Get Browser Grid Instance You can get the browser grid instance as shown below. This will not fire a server-side call. You will refer to this component instance in various code snippets when working with the Browser Grid component. ```python grid = app.smart_browz().browser_grid() # get Browser Grid instance ``` -------------------------------------------------------------------------------- title: "Get All Browser Grid Details" description: "This page describes the Python method to get all the job pools present in your project with sample code snippets." last_updated: "2026-09-08T11:07:33.000Z" source: "https://docs.catalyst.zoho.com/en/sdk/python/v1/smartbrowz/browser-grid/get-all-grids/" service: "SmartBrowz" related: - Browser Grid Help Documentation (/en/smartbrowz/help/browser-grid/introduction/) - Java SDK (/en/sdk/java/v1/smartbrowz/browser-grid/get-all-grids/) - JavaScript SDK Documentation (/en/sdk/javascript/v1/overview/) - REST API (/en/smartbrowz/help/browser-grid/introduction/) -------------------------------------------------------------------------------- # Get All Browser Grid Details You can use the `get_all_grid()` SDK method to get the grid details of all the browser grids that are present in your project. The `grid` instance used in the following snippet is the [component reference](https://docs.catalyst.zoho.com/en/sdk/python/v1/smartbrowz/browser-grid/get-instance/). > **Info:** To use this SDK method, you need to initialize it with **Admin** scope. You can learn more about this requirement from this [section](https://docs.catalyst.zoho.com/en/sdk/python/v1/sdk-scopes/) ```python grid_list = grid.get_all_grid() # return details of all grids print(grid_list) ``` ### Example of Expected Response ```json { "status": "success", "data": [ { "id": "3970000000006058", "name": "play", "memory": 1024, "browser_version": { "chrome_version": "137.0.7515.155", "firefox_version": "136.0.4" }, "created_time": "Sep 10, 2025 07:04 PM", "modified_time": "Sep 10, 2025 07:04 PM", "api_key_modified_time": "1757511270919", "created_by": { "zuid": "111734674", "email_id": "emmy@zylker.com", "first_name": "Headless", "last_name": "2", "user_type": "SuperAdmin" }, "modified_by": { "zuid": "111734674", "email_id": "emmy@zylker.com", "first_name": "Headless", "last_name": "2", "user_type": "SuperAdmin" }, "project_details": { "project_name": "Project-Rainfall", "id": "38119000000022053", "project_type": "Live" }, "endpoint_type": 1, "max_session_count": 1, "max_nodes_count": 10, "max_concurrent_count": 10, "config_type": 1 }, { "id": "3970000000005426", "name": "Automation", "memory": 1024, "browser_version": { "chrome_version": "137.0.7515.155", "firefox_version": "136.0.4" }, "created_time": "Sep 10, 2025 12:47 PM", "modified_time": "Sep 23, 2025 03:12 PM", "api_key_modified_time": "1757488669690", "created_by": { "zuid": "111734674", "email_id": "emmy@zylker.com", "first_name": "Headless", "last_name": "2", "user_type": "SuperAdmin" }, "modified_by": { "zuid": "111734674", "email_id": "emmy@zylker.com", "first_name": "Headless", "last_name": "2", "user_type": "SuperAdmin" }, "project_details": { "project_name": "Project-Rainfall", "id": "38119000000022053", "project_type": "Live" }, "endpoint_type": 2, "max_session_count": 1, "max_nodes_count": 5, "max_concurrent_count": 5, "config_type": 2 }, { "id": "3970000000005027", "name": "SDK", "memory": 1024, "browser_version": { "chrome_version": "137.0.7515.155", "firefox_version": "136.0.4" }, "created_time": "Sep 10, 2025 11:33 AM", "modified_time": "Sep 10, 2025 04:27 PM", "api_key_modified_time": "1757484201284", "created_by": { "zuid": "111734674", "email_id": "emmy@zylker.com", "first_name": "Headless", "last_name": "2", "user_type": "SuperAdmin" }, "modified_by": { "zuid": "111734674", "email_id": "emmy@zylker.com", "first_name": "Headless", "last_name": "2", "user_type": "SuperAdmin" }, "project_details": { "project_name": "Project-Rainfall", "id": "38119000000022053", "project_type": "Live" }, "endpoint_type": 2, "max_session_count": 1, "max_nodes_count": 5, "max_concurrent_count": 5, "config_type": 1 }, { "id": "3970000000005015", "name": "Puppeteer_Grid", "memory": 1024, "browser_version": { "chrome_version": "137.0.7515.155", "firefox_version": "136.0.4" }, "created_time": "Sep 10, 2025 10:21 AM", "modified_time": "Sep 10, 2025 10:21 AM", "api_key_modified_time": "1757479864798", "created_by": { "zuid": "111734674", "email_id": "emmy@zylker.com", "first_name": "Headless", "last_name": "2", "user_type": "SuperAdmin" }, "modified_by": { "zuid": "111734674", "email_id": "emmy@zylker.com", "first_name": "Headless", "last_name": "2", "user_type": "SuperAdmin" }, "project_details": { "project_name": "Project-Rainfall", "id": "38119000000022053", "project_type": "Live" }, "endpoint_type": 1, "max_session_count": 1, "max_nodes_count": 1, "max_concurrent_count": 1, "config_type": 1 }, { "id": "3970000000005013", "name": "Selenium_Gridt", "memory": 1024, "browser_version": { "chrome_version": "137.0.7515.155", "firefox_version": "136.0.4" }, "created_time": "Sep 10, 2025 10:21 AM", "modified_time": "Sep 23, 2025 05:50 PM", "api_key_modified_time": "1757479864794", "created_by": { "zuid": "111734674", "email_id": "emmy@zylker.com", "first_name": "Headless", "last_name": "2", "user_type": "SuperAdmin" }, "modified_by": { "zuid": "111734674", "email_id": "emmy@zylker.com", "first_name": "Headless", "last_name": "2", "user_type": "SuperAdmin" }, "project_details": { "project_name": "Project-Rainfall", "id": "38119000000022053", "project_type": "Live" }, "endpoint_type": 2, "max_session_count": 1, "max_nodes_count": 1, "max_concurrent_count": 1, "config_type": 2 } ] } ``` -------------------------------------------------------------------------------- title: "Get a Specific Browser Grid" description: "This page describes the Python method to get all the job pools present in your project with sample code snippets." last_updated: "2026-09-08T11:07:33.000Z" source: "https://docs.catalyst.zoho.com/en/sdk/python/v1/smartbrowz/browser-grid/get-specific-grid/" service: "SmartBrowz" related: - Browser Grid Help Documentation (/en/smartbrowz/help/browser-grid/introduction/) - Java SDK (/en/sdk/java/v1/smartbrowz/browser-grid/get-specific-grid/) - JavaScript SDK Documentation (/en/sdk/javascript/v1/overview/) - REST API (/en/smartbrowz/help/browser-grid/introduction/) -------------------------------------------------------------------------------- # Get a Specific Browser Grid You can get the details of a specific browser grid in your project by passing the Grid ID or grid name to the `getGrid()` SDK method. > **Info:** To use this SDK method, you need to initialize it with **Admin** scope. You can learn more about this requirement from this [section](https://docs.catalyst.zoho.com/en/sdk/python/v1/sdk-scopes/) ### Using the Grid ID You can pass the **Grid ID** of the required browser grid to the `get_grid()` SDK method. The `grid` instance used in the following snippet is the [component reference](https://docs.catalyst.zoho.com/en/sdk/python/v1/smartbrowz/browser-grid/get-instance/). ```py grid_details = grid.get_grid(3970000000005013) # get grid details using the Grid ID print(grid_details) ``` ### Using the Grid's Name You can pass the name of the required browser grid to the `get_grid()` SDK method. The `grid` instance used in the following snippet is the [component reference](https://docs.catalyst.zoho.com/en/sdk/python/v1/smartbrowz/browser-grid/get-instance/). ```python grid_details = grid.get_grid("Selenium_Grid") # get grid details using the name of the grid print(grid_details) ``` ### Example of Expected Response ```json { "status": "success", "data": { "id": "3970000000006058", "name": "Selenium_Grid", "memory": 1024, "browser_version": { "chrome_version": "137.0.7515.155", "firefox_version": "136.0.4" }, "created_time": "Sep 10, 2025 07:04 PM", "modified_time": "Sep 24, 2025 11:55 AM", "api_key_modified_time": "1757511270919", "created_by": { "zuid": "111734674", "is_confirmed": false, "email_id": "emmy@zylker.com", "first_name": "Headless", "last_name": "2", "user_type": "SuperAdmin" }, "modified_by": { "zuid": "111734674", "is_confirmed": false, "email_id": "emmy@zylker.com", "first_name": "Headless", "last_name": "2", "user_type": "SuperAdmin" }, "project_details": { "project_name": "Project-Rainfall", "id": "38119000000022053", "project_type": "Live" }, "endpoint_type": 1, "max_session_count": 1, "max_nodes_count": 10, "max_concurrent_count": 10, "config_type": 1 } } ``` -------------------------------------------------------------------------------- title: "Get Details of a Node" description: "This page describes the Python method to get all the job pools present in your project with sample code snippets." last_updated: "2026-09-08T11:07:33.000Z" source: "https://docs.catalyst.zoho.com/en/sdk/python/v1/smartbrowz/browser-grid/get-specific-node/" service: "SmartBrowz" related: - Browser Grid Help Documentation (/en/smartbrowz/help/browser-grid/introduction/) - Java SDK (/en/sdk/java/v1/smartbrowz/browser-grid/get-specific-node/) - JavaScript SDK Documentation (/en/sdk/javascript/v1/overview/) - REST API (/en/smartbrowz/help/browser-grid/introduction/) -------------------------------------------------------------------------------- # Get Details of a Node By passing the **Grid ID** or name of the required browser grid to the `get_grid_nodes()` SDK method, you can get the details of a node in that grid. > **Info:** To use this SDK method, you need to initialize it with **Admin** scope. You can learn more about this requirement from this [section](https://docs.catalyst.zoho.com/en/sdk/python/v1/sdk-scopes/) ### Using the Grid ID You can pass the **Grid ID** of the required browser grid to the `get_grid_nodes()` SDK method, to get its node details. The `grid` instance used in the following snippet is the [component reference](https://docs.catalyst.zoho.com/en/sdk/python/v1/smartbrowz/browser-grid/get-instance/). ```py node_details = grid.get_grid_nodes(3970000000005013) # get details of the node using its Grid ID print(node_details) ``` ### Using the Grid's Name You can pass the name of the required browser grid to the `get_grid_nodes()` SDK method, to get its node details. The `grid` instance used in the following snippet is the [component reference](https://docs.catalyst.zoho.com/en/sdk/python/v1/smartbrowz/browser-grid/get-instance/). ```py node_details = grid.get_grid_nodes("Selenium_Grid") # get details of the node using the grid's name print(node_details) ``` -------------------------------------------------------------------------------- title: "Stop the Browser Grid" description: "This page describes the Python method to get all the job pools present in your project with sample code snippets." last_updated: "2026-09-08T11:07:33.000Z" source: "https://docs.catalyst.zoho.com/en/sdk/python/v1/smartbrowz/browser-grid/stop-grid/" service: "SmartBrowz" related: - Browser Grid Help Documentation (/en/smartbrowz/help/browser-grid/introduction/) - Java SDK (/en/sdk/java/v1/smartbrowz/browser-grid/stop-grid/) - JavaScript SDK Documentation (/en/sdk/javascript/v1/overview/) - REST API (/en/smartbrowz/help/browser-grid/introduction/) -------------------------------------------------------------------------------- # Stop the Browser Grid By passing the **Grid ID** or name of the required browser grid to the `stop_grid()` SDK method, you can terminate all executions and stop the browser grid. > **Info:** To use this SDK method, you need to initialize it with **Admin** scope. You can learn more about this requirement from this [section](https://docs.catalyst.zoho.com/en/sdk/python/v1/sdk-scopes/) ### Using the Grid ID You can pass the **Grid ID** of the required browser grid to the `stop_grid()` SDK method, to stop the grid, and terminate all its executions. The `grid` instance used in the following snippet is the [component reference](https://docs.catalyst.zoho.com/en/sdk/python/v1/smartbrowz/browser-grid/get-instance/). ```py grid_terminate = grid.stop_grid(3970000000005013) # stop the grid using the Grid ID ``` ### Using the Grid's Name You can pass the name of the required browser grid to the `stop_grid()` SDK method, to stop the grid, and terminate all its executions. The `grid` instance used in the following snippet is the [component reference](https://docs.catalyst.zoho.com/en/sdk/python/v1/smartbrowz/browser-grid/get-instance/). ```py grid_terminate = grid.stop_grid("Selenium_Grid") # stop the grid using the name of the grid ``` ### Example of Expected Response ```json { "status": "success", "data": true } ``` -------------------------------------------------------------------------------- title: "FAQ — SmartBrowz" description: "This section covers queries related to the Catalyst SmartBrowz service, such as Headless, Browser Logic, PDF & Screenshot, and Templates." last_updated: "2026-11-13T05:00:22.000Z" source: "https://docs.catalyst.zoho.com/en/faq/smartbrowz/" -------------------------------------------------------------------------------- # Headless ### How do I connect to headless browser from other Catalyst function types? You will need to use the CDP endpoint from the console and use it to initialize the browser instance in order to connect to headless browser from a function. ### What is the maximum timeout of the browser instance created using CDP endpoint? A browser instance created using the Catalyst SmartBrowz Headless CDP endpoint can be alive for up to 2 minutes. However, the functions will have a max timeout of up to 30 secs. Your browser instance will be killed if your function has faced a timeout. ### How do I configure the browser headless memory? You can modify the Catalyst SmartBrowz Headless remote browser's memory from the console, up to 1024 MB. By default, the memory is set at 512 MB. To change it, click the **Remote Browser Options** icon, click **Update Memory**, choose your memory preference from the drop-down, and click **Update**. The updated value appears in the **Memory** section of the console. Refer to the [Headless Implementation help page](https://docs.catalyst.zoho.com/en/smartbrowz/help/headless/implementation/implementation/#change-the-remote-browser-settings) for more information. # Browser Logic ### What is the use of Browser Logic function over the other function types? You will have to create the browser instance using its CDP endpoint from other type of functions to connect to headless. Whereas, the browser object is supplied to you directly in the browserlogic functions. You can directly use that. Browser will not have a timeout in a browserlogic function in local debugging. However, browser logic function will have a max timeout of 30 sec. ### How do I test a Browser Logic function in local? You can test Browser Logic function using catalyst serve command in CLI. A function URL will get generated and served in localhost to test # PDF & Screenshot ### How do I create a PDF from a HTML page with placeholder values supplied dynamically? You can create a template from the Catalyst console. You have to design your template by using HTML, CSS, and JS. You can then pass the placeholders as a JSON and supply the data to the Smartbrowz Java, Node.js, or Python SDK in order to generate PDF from the HTML templates. ### How do I take a screenshot of a publicly accessible webpage? You can use the smartbrowz sdk to take a screenshot of a publicly accessible webpage by passing the Webpage URL to the SDK method. # ConvoKraft ## Getting Started -------------------------------------------------------------------------------- title: "Introduction" description: "Learn about the Catalyst ConvoKraft service that provides abilities to integrate powerful chat bot assistants in your Catalyst application." last_updated: "2026-11-03T07:48:52.000Z" source: "https://docs.catalyst.zoho.com/en/convokraft/getting-started/introduction/" service: "ConvoKraft" -------------------------------------------------------------------------------- # Catalyst ConvoKraft ### Introduction ConvoKraft is an AI-driven service that can be used to build conversational bots for your Catalyst application that converses through text. You can interact with the bots built on ConvoKraft in conversational English, in a similar way that you interact with a person. For understanding the intent of your message, ConvoKraft bots are extensively trained with Natural Language Understanding (NLU) algorithms. This NLU ability helps it with comprehending messages and responding conversationally. ConvoKraft is a part of the Catalyst development platform that bundles together multiple on-demand development services. Each of these fully-functional services is comprised of multiple components. When you create a Catalyst application and build bots for it, the setup and management of the server resources utilized by the application is handled entirely by Catalyst, thereby completely eliminating the infrastructure, maintenance costs and efforts from your end. You can use the [Catalyst serverless functions](https://docs.catalyst.zoho.com/en/serverless/help/functions/introduction/) component ([Integration functions](https://docs.catalyst.zoho.com/en/serverless/help/functions/integration-functions/)) to code the business logic of your ConvoKraft bots in **Java**, **Node.js**, or **Python** programming environments. You can also leverage the [Catalyst Devops](https://docs.catalyst.zoho.com/en/devops/getting-started/introduction/) service to continuously monitor and fetch the execution details of your Catalyst functions. Catalyst services can be either be used independently, or be integrated with one another to build highly-functional, robust applications and microservices of any scale. > **Note:** You can explore all the other Catalyst components under various [Catalyst services](https://docs.catalyst.zoho.com/en/), such as [Catalyst CloudScale](https://docs.catalyst.zoho.com/en/cloud-scale/getting-started/introduction), [Catalyst Serverless](https://docs.catalyst.zoho.com/en/serverless/getting-started/introduction), [Catalyst Devops](https://docs.catalyst.zoho.com/en/devops/getting-started/introduction), and more. You can also code the business logic of your ConvoKraft bots using [Deluge](https://www.zoho.com/deluge/help/), Zoho's native online scripting language. These functions will be hosted on Zoho's serverless environment. Alternatively, ConvoKraft allows you to develop business logic in any programming language of your choice, hosted on a public server and they can be accessed within ConvoKraft through [webhooks](https://docs.catalyst.zoho.com/en/convokraft/help/actions/bot-logic/webhooks/). The developed bots need to be embedded into your application's front end (say web application), for your application's users to use it. Catalyst offers the ConvoKraft [Javascript client SDK package](https://docs.catalyst.zoho.com/en/convokraft/sdk/js/overview/) to build and embed bots in your web applications with ease. You can utilize the client SDK to plug in the bot you build in your application or website's front end, and avail a streamlined, end-to-end bot building experience. After you code the business logic for your bots and embed them into your application, you can train and test them in the development environment and then deploy it to production. You can set permissions for each [Catalyst profile](https://docs.catalyst.zoho.com/en/getting-started/set-up-a-catalyst-project/profiles-and-permissions) to access and update the bots in your Catalyst project. You can also familiarize yourself with Catalyst ConvoKraft and other Catalyst services by trying out this [tutorial](https://docs.catalyst.zoho.com/en/tutorials/ecommerce-bot/nodejs/introduction). You can get started quickly with Catalyst ConvoKraft using this [quick start guide](https://docs.catalyst.zoho.com/en/convokraft/getting-started/quick-start-guide). -------------------------------------------------------------------------------- title: "Features of Catalyst ConvoKraft" description: "Learn about the features of Catalyst ConvoKraft that provides abilities to integrate powerful chat bot assistants in your Catalyst application." last_updated: "2026-08-28T06:26:16.000Z" source: "https://docs.catalyst.zoho.com/en/convokraft/getting-started/features-of-convokraft/" service: "ConvoKraft" -------------------------------------------------------------------------------- # Features of Catalyst ConvoKraft **Key Features** - [Bots](https://docs.catalyst.zoho.com/en/convokraft/help/bots/introduction/)The conversational assistant available 24/7 that can be embedded in your Catalyst web application. - [Actions](https://docs.catalyst.zoho.com/en/convokraft/help/actions/overview/introduction/)The programmed tasks that can be performed by a ConvoKraft bot during user interactions via chat. - [Bot Logic](https://docs.catalyst.zoho.com/en/convokraft/help/actions/bot-logic/catalyst-integration-functions)Business logic built with Catalyst Functions, Deluge or accessed with Webhooks. As represented above, Catalyst ConvoKraft features help you create a conversational automation workflow in the form of bots for your Catalyst application. Let's take a detailed look at each of the features: ### Bots ConvoKraft bots are programmed conversational assistants that have the ability to comprehend the intent of a message, process it, and respond to the user. The bots can be configured with the required set of tasks according to its usage in your application. They can be configured to welcome the user, answer their queries, or perform any operation in your application. The bots fetch straightforward answers from the direct configured responses, fetch data or perform an operation in the application by executing the business logic. After the configurations are done, you can train them to enhance its default NLP ability, test them directly in the Catalyst console, then embed the bots in your Catalyst application before deploying to production. ### Actions An action is an ability or a set of tasks that can be configured for a ConvoKraft bot to perform. When an application user initiates a conversation with the bot, it understands the intent through its NLU abilities, and decides upon the actions to be performed in that case. You can configure the actions of the bot to respond with a direct, pre-configured answer, fetch relevant data or perform an operation in the application by executing the business logic. ### Bot Logic Bot logic is the backend logic that you build for your ConvoKraft bots to perform various actions. You can develop your bot logic using any one of the following platforms, and associate it with a bot you create. The chosen bot logic will be executed on invocation of the configured actions. You can develop bot logic in any one of these ways: * **Catalyst Functions**: You can code your business logic through [Catalyst Integration Functions](https://docs.catalyst.zoho.com/en/serverless/help/functions/integration-functions/) that are hosted on Catalyst's servers. ConvoKraft provides relevant SDK packages to code Integration functions in the Java, Node.js, or the Python programming environments. * **Deluge Functions**: You can write your code in [Deluge Functions](https://docs.catalyst.zoho.com/en/convokraft/help/actions/bot-logic/deluge-functions/defining-deluge-functions/) that will be hosted in Zoho's cloud environment. * **Webhooks**: Using any programming language of your choice, you can code your bot logic and host it on any custom domain of a public server and access them using webhooks. -------------------------------------------------------------------------------- title: "Benefits" description: "Learn about the multiple benefits of Catalyst ConvoKraft that provides abilities to integrate powerful chat bot assistants in your Catalyst application." last_updated: "2026-08-28T06:26:16.000Z" source: "https://docs.catalyst.zoho.com/en/convokraft/getting-started/benefits/" service: "ConvoKraft" -------------------------------------------------------------------------------- # Benefits Listed below are some of the key advantages you will gain by using the Catalyst ConvoKraft service : 1. **High availability and Increased Customer Engagement**: ConvoKraft bots are readily available to provide service around the clock. Increased availability enhances the customer experience to a greater extent. The bots can instantly answer customer queries and help any number of customers in parallel. This helps boost customer retention and reduces your application's bounce rates due to unaddressed customer queries in a stipulated period. 2. **Seamless bot configuration**: You can set up your ConvoKraft bots to perform any required actions by either directly configuring responses to user queries or by executing the bot logic. You can code your bot logic according to your application's needs using any development platforms provided by ConvoKraft. For example, you can use any programming environment supported by Catalyst to build Integration Functions, or use Deluge Functions to write your code, or even host the logic in custom servers and access them via webhooks. You can also test and monitor the execution of Catalyst functions using the components in the Catalyst DevOps service. 3. **Faster Response Time and Higher efficiency**: Using ConvoKraft bots in your application can reduce the overall time a customer query resolution takes. ConvoKraft bots can service around the clock, contributing to your brand's reliability and availability. When bots are configured efficiently, they reduce the errors that might occur due to human intervention and provide a more satisfying service to your customers. 4. **Reduced operational overhead by automating redundant tasks**: Using ConvoKraft bots minimizes the overhead of manual model trainings and algorithm curation from the developer's end, since these bots are fed with default NLP abilities and can also be enhanced by training them with custom action configurations made to the ConvoKraft bot . Embedding bots in your application to assist your customers on various arenas can help you minimize the operational costs involved in deploying human resources or building extensive logic in a wide range of scenarios. With the ConvoKraft bots operating independently, you can slash the costs to a greater extent and positively contribute to the overall revenue. They can also help customer support staff spend less time on repetitive tasks or interactions, and focus more on solving complex and critical issues. 5. **Ideal data collection and customer feedback**: ConvoKraft bots can help you enhance your sales and lead generation journey as a whole. They can help you collate useful customer information simply by interacting with the customers while they are using your application. Customer data can be analyzed and used to track their interests, draw insights, and arrive at customer trends which can be used to enhance your application further. 6. **Easy Integration in your application** : Catalyst offers ConvoKraft SDK packages that can be implemented in your application's front-end code to quickly embed the bots in your application. These SDK packages for various platforms provide sample code snippets to customize the design and functionality of the bots within your application. 7. **Reliable Infrastructure with auto-scaling provision**: Catalyst ConvoKraft comes with powerful auto--scaling capabilities that allow efficient usage of the resources provided by Catalyst. Catalyst handles the entire backend server management, that is built on Zoho's tried-and-tested infrastructure, thereby completely eliminating the setup and maintenance efforts from your end. -------------------------------------------------------------------------------- title: "Use Cases" description: "Learn about the varied usecases of Catalyst ConvoKraft that provides abilities to integrate powerful chat bot assistants in your Catalyst application.." last_updated: "2026-08-28T06:26:16.000Z" source: "https://docs.catalyst.zoho.com/en/convokraft/getting-started/usecases/" service: "ConvoKraft" -------------------------------------------------------------------------------- # Use Cases Listed below are a few common real-time use cases of ConvoKraft bots and the key advantages of using them in your Catalyst application : 1. An ecommerce bot that serves as an online retail assistant for your business, by helping customers manage their online shopping orders. You can configure the bot to answer customers' simple and straightforward queries, such as tracking orders, fetching purchase history or any information regarding the products in the current purchase, or retrieving details about the best-selling products of the season or the applicable offers on the cart items, and more. You can also configure the bot so that customers can initiate a cancellation or exchange procedure for the products directly, by interacting with the bot and providing the appropriate order details. 2. A virtual front-office assistant that helps engage with the visitors of your business website, by providing information they seek and generating leads. Consider a financing company that provisions housing and education loans. The business website of the company provides the loan specifications and the eligibility details. In this case, a ConvoKraft bot can be used to present the required information upon enquiry, and to collect user details that will help the sales personnel perform follow-ups and lead conversions. 3. A ticketing bot that serves as a counter personnel to answer customer queries about upcoming events, its venue, duration, date and time, agenda, keynote speakers, and more. You can configure the bot to book tickets in the application on behalf of customers and send a copy of the ticket to the customer. The bot can also allow the customer to cancel or initiate refunds for the booked tickets. 4. A simple FAQ bot for your product website can help the users quickly get what they want by simply interacting with the ConvoKraft bot instead of searching through the FAQ documentation every time. You can also configure the bot to display the appropriate help documentation links when the user enquires about a specific feature in the product. This saves immense time for the customer support team to avoid addressing the time-consuming straightforward questions, and only concentrate on the more complex tickets. 5. An appointment scheduling bot in your hospital's website, that enquires about the patient's issue, collects details about it and schedules an appointment with the concerned and available medical professional. The bot can also interact with the patient, check if they have already consulted in this specific hospital and fetch patient's history records and send them to the medical professional before the scheduled appointment time to enable a seamless consultation experience for the patients. -------------------------------------------------------------------------------- title: "Quick Start Guide" description: "Learn about the steps to get started with Catalyst ConvoKraft that provides abilities to integrate powerful chat bot assistants in your Catalyst application." last_updated: "2026-08-28T06:26:16.000Z" source: "https://docs.catalyst.zoho.com/en/convokraft/getting-started/quick-start-guide/" service: "ConvoKraft" -------------------------------------------------------------------------------- # Quick Start Guide This section covers the overall process involved in using the Catalyst ConvoKraft service, right from creating a Catalyst project, building a ConvoKraft bot, configuring the bot's business logic, training and testing the bot, to embedding it in your Catalyst application and then deploying it to production. There are a few pre- and post- requisites to be done in the Catalyst platform while using the ConvoKraft service. For example, you'll need to create a project in the Catalyst platform for your application, and then build bots for that application. After you've built the bot and synced it in your application, you will need to deploy the Catalyst project as a whole from the Catalyst console to make the bot live in production. Let's have a look at the steps in detail : 1. **Create a Catalyst project** - Access the [Catalyst console](https://console.catalyst.zoho.com/baas/index) to [create a new project](https://docs.catalyst.zoho.com/en/getting-started/catalyst-projects/#create-a-catalyst-project). After the project creation is done, you will be able to access all Catalyst services from the console itself. 2. **Create and configure the bot** - You can create a bot directly by accessing the ConvoKraft service in the Catalyst console and configure the actions to be performed by the bot. The actions of the ConvoKraft bot can be configured either to execute an underlying business logic or to respond back with direct pre-configured responses. You can refer to [this page](https://docs.catalyst.zoho.com/en/convokraft/help/actions/create-an-action) for more details on creating actions, defining [sample sentences](https://docs.catalyst.zoho.com/en/convokraft/help/actions/define-sample-sentences), and [params](https://docs.catalyst.zoho.com/en/convokraft/help/actions/define-params) for the actions. 3. **Build business logic** - If you choose to configure actions to perform any operation in your application by executing the business logic, you can choose to code the logic using [Catalyst Functions](https://docs.catalyst.zoho.com/en/convokraft/help/actions/bot-logic/catalyst-integration-functions) or [Deluge](https://docs.catalyst.zoho.com/en/convokraft/help/actions/bot-logic/deluge-functions/defining-deluge-functions). You can also code the logic and host it on your server, and refer it through [Webhooks](https://docs.catalyst.zoho.com/en/convokraft/help/actions/bot-logic/webhooks). 4. **Test and train the bot** - Once you create and configure the bot with the required actions, you can train the bot. By training it, you can enhance the default NLP abilities of your bot and have it tailored to your needs, based on your configurations and the bot's conversation history. Once the bot is trained, you can test it instantly from the console by simply interacting with it. You can refer to [this page](https://docs.catalyst.zoho.com/en/convokraft/help/manage-a-bot/train-a-bot) to get a more detailed understanding about the bot training and [testing](https://docs.catalyst.zoho.com/en/convokraft/help/manage-a-bot/test-a-bot) process. 5. **Embed the bot in your application** - Once you have tested your bot, you can embed it in your Catalyst application, and customize it based on your application's specific needs. For example, you can alter the size, position, and appearance of the bot's window as required and more. To use the bots in your application, you can simply plug in ConvoKraft's [Javascript SDK package](https://docs.catalyst.zoho.com/en/convokraft/sdk/js/overview/) in your codebase. 6. **Host the application** - You need to host your Catalyst application in the [development environment](https://docs.catalyst.zoho.com/en/deployment-and-billing/environments/development-environment) in parallel through the [web client hosting](https://docs.catalyst.zoho.com/en/cloud-scale/help/web-client-hosting/introduction) component of the [Catalyst CloudScale service](https://docs.catalyst.zoho.com/en/cloud-scale/getting-started/introduction). You can use the components in the [Catalyst DevOps service](https://docs.catalyst.zoho.com/en/devops/getting-started/introduction) to [monitor](https://docs.catalyst.zoho.com/en/devops/help/apm/introduction) the execution of business logic in [Catalyst Integration Functions](https://docs.catalyst.zoho.com/en/serverless/help/functions/integration-functions/) and also check their [logs](https://docs.catalyst.zoho.com/en/devops/help/logs/introduction). 7. **Deploy the application to production** - After you test your application in the development environment, it can be migrated to production as described in [this page](https://docs.catalyst.zoho.com/en/deployment-and-billing/environments/initial-deployment). Once you deploy the Catalyst project, you will be able to access your bots and directly interact with it from the application's client interface in production. ## Help Components -------------------------------------------------------------------------------- title: "SmartTrain" description: "This feature allows you to train your ConvoKraft bot using custom data by adding it through URLs." last_updated: "2026-08-17T12:16:04.000Z" source: "https://docs.catalyst.zoho.com/en/convokraft/help/smarttrain/" service: "ConvoKraft" -------------------------------------------------------------------------------- # SmartTrain SmartTrain is an advanced feature of the [Catalyst ConvoKraft](https://docs.catalyst.zoho.com/en/convokraft/) service that enables you to train your bot with custom data, enhancing its learning capabilities beyond the [predefined bot logic](https://docs.catalyst.zoho.com/en/convokraft/help/actions/bot-logic/catalyst-integration-functions/) for configured [actions](https://docs.catalyst.zoho.com/en/convokraft/help/actions/create-an-action/). With SmartTrain, you can upload custom training data directly to ConvoKraft through the Catalyst console. The system processes the uploaded data and automatically trains the bot, allowing it to deliver intelligent responses to user queries based on the trained content. Catalyst provides a comprehensive set of REST APIs that you can integrate into your applications to leverage SmartTrain’s functionalities. These APIs allow you to enable or disable SmartTrain, add new training materials, retrieve details of existing training data, delete training materials, and fetch responses from the ConvoKraft bot after successful training with your custom data. You can refer to [API documentation](https://docs.catalyst.zoho.com/en/api/code-reference/convokraft/add-training-material/#AddTrainingMaterial) for more detailed information. ### Upload Training Data To train your ConvoKraft bot with custom data, you must first enable the **SmartTrain** feature. Once enabled, you can upload the data for training, and the bot will automatically process and learn from the content, improving its ability to deliver intelligent responses. You can upload your training data as URLs linking to web-based resources in the following file formats: * **.html** * **.txt** The URLs should contain the information your bot needs to learn and use for generating responses.The training process is fully automated, with **SmartTrain** managing the complexity of understanding and organizing the information. There’s no need for manual structuring or formatting of the content. SmartTrain preserves context and relationships within the data, enabling your bot to deliver accurate and relevant responses. You can [create a bot](https://docs.catalyst.zoho.com/en/convokraft/help/bots/introduction/), then enable SmartTrain and upload training data by following the steps below: 1. Navigate to the **SmartTrain** tab and click **Enable SmartTrain**. ![enable-smarttrain](https://catalyst-docs-development.zohostratus.in/images/help/convokraft/enable-smarttrain.webp) 2. In the confirmation popup, click **Enable**. ![enable-confirmation](https://catalyst-docs-development.zohostratus.in/images/help/convokraft/enable-confirmation.webp) 3. Click **Add Training Data** to upload your custom data. ![add-data-button](https://catalyst-docs-development.zohostratus.in/images/help/convokraft/add-data-button.webp) 4. Under the **Add URL** section, enter the URL of a web resource in the **.html** or **.txt** format containing the training data, then click **Add**. ![add-url](https://catalyst-docs-development.zohostratus.in/images/help/convokraft/add-url.webp) For demonstration purposes, we have added the Catalyst help documentation link. 5. The training material will be added, and the bot will begin processing it automatically. ![training-started](https://catalyst-docs-development.zohostratus.in/images/help/convokraft/training-started.webp) 6. Once training is complete, the status will be updated to **Trained**. ![training-completed](https://catalyst-docs-development.zohostratus.in/images/help/convokraft/training-completed.webp) You can now test the bot by asking questions related to the uploaded custom data. Here in our case, the bot will be able to answer any queries related to Catalyst as described in the help documentation. We will see how this works in the next section. > **Note :** You don’t need to manually [train the bot](https://docs.catalyst.zoho.com/en/convokraft/help/manage-a-bot/train-a-bot/) as you do when [configuring actions](https://docs.catalyst.zoho.com/en/convokraft/help/actions/create-an-action/). With **SmartTrain**, the training happens automatically once you upload the training material, allowing you to proceed directly to [testing](https://docs.catalyst.zoho.com/en/convokraft/help/manage-a-bot/test-a-bot/). ### Test the Bot After uploading the custom training data and completing the training process, you can test your bot by clicking the **Test the Bot** button in the bottom right corner, as shown in the screenshot below. ![test-bot-button](https://catalyst-docs-development.zohostratus.in/images/help/convokraft/test-bot-button.webp) You can now ask the bot any question based on the custom training data you’ve uploaded. The bot will analyze the information, correlate relevant details, and generate a well-structured and understandable response. Now, let's ask a question about our Catalyst ConvoKraft service and see how the bot responds to it. ![bot-response](https://catalyst-docs-development.zohostratus.in/images/help/convokraft/bot-response.webp) If you ask a question that is not part of the training data or beyond the bot’s understanding, it will respond with the message configured in the [fallback handler function](https://docs.catalyst.zoho.com/en/convokraft/help/handlers/fallback-handler/). ### Delete Training Data You can delete the uploaded training data anytime directly from the Catalyst console. However, please note that once deleted, the bot will lose all learnings from that source, and you will need to re-upload the data to train it again. 1. Click the ellipsis icon next to the training material and select **Delete**. ![delete-data](https://catalyst-docs-development.zohostratus.in/images/help/convokraft/delete-data.webp) 2. In the confirmation pop-up, click **Delete**. ![delete-confirm](https://catalyst-docs-development.zohostratus.in/images/help/convokraft/delete-confirm.webp) ### Disable SmartTrain You can disable the **SmartTrain** feature if you don’t want the bot to respond to questions based on any custom training data. Disabling SmartTrain temporarily pauses its functionality, but once re-enabled, the bot will resume responding to queries using the existing training data. If you want to remove the training data permanently, be sure to delete it as explained in the previous section. 1. To disable **SmartTrain**, click the ellipsis icon, as shown in the screenshot below, and select **Disable SmartTrain**. ![click-disable](https://catalyst-docs-development.zohostratus.in/images/help/convokraft/click-disable.webp) 2. In the confirmation popup, click **Disable SmartTrain**. ![disable-confirm](https://catalyst-docs-development.zohostratus.in/images/help/convokraft/disable-confirm.webp) ### Actions -------------------------------------------------------------------------------- title: "Create an action" description: "Learn about the Catalyst ConvoKraft actions that bots can perform, such as directly responding to queries, or executing a business logic." last_updated: "2026-11-04T10:10:44.000Z" source: "https://docs.catalyst.zoho.com/en/convokraft/help/actions/create-an-action/" service: "ConvoKraft" -------------------------------------------------------------------------------- # Create an Action In this section, we will discuss the steps to create an action, configure the sample sentences and params for your ConvoKraft bot. After you [create a bot](https://docs.catalyst.zoho.com/en/convokraft/help/bots/create-a-bot), you can add one or more [actions](https://docs.catalyst.zoho.com/en/convokraft/help/actions/overview/introduction) to it. To add a new action in your ConvoKraft bot, follow the steps given below : 1. After you create a new ConvoKraft bot or click on an existing bot, the bot's details page will be displayed as shown in the screenshot below. Click **Create Action**. ![create-action-button](https://catalyst-docs-development.zohostratus.in/images/help/convokraft/create-action-button.webp) 2. Provide a meaningful name for the action in the pop-up that appears. You can choose to configure the response of the action with a direct answer or based on business logic. Make a selection and click **Next**. ![create-action-direct-answer](https://catalyst-docs-development.zohostratus.in/images/help/convokraft/create-action-direct-answer.webp) ### Respond with a direct answer If you choose to configure the response of the action with a direct answer, follow the steps given below: 1. Enter the appropriate sample sentences on how this question can be asked, that is the different possible variations of the question that the user is likely to use while conversing with the ConvoKraft bot. You can learn more about [sample sentences](https://docs.catalyst.zoho.com/en/convokraft/help/actions/define-sample-sentences) from this page. Click **Next**. ![just_sample_sentences](https://catalyst-docs-development.zohostratus.in/images/help/convokraft/just_sample_sentences.webp) 2. Under What's the answer section, enter the content that should be replied as an answer to the question. You can select a specific text in the answer and apply formatting styles to it by clicking the various formatting icon available in the toolbar. Learn more about the various formatting structures in detail from [this section](https://docs.catalyst.zoho.com/en/convokraft/help/actions/define-bot-responses). > **Note :** The answer configured here is universal and common to all users irrespective of their region and timezone. ![toolbar](https://catalyst-docs-development.zohostratus.in/images/help/convokraft/toolbar.webp) 3. Click the **Preview** option in the Markdown editor toolbar to view a live preview of the content with applied formatting styles. Click **Save**. ### Constructing answer by executing business logic If you choose to configure the response of the action based on the execution of a business logic, either by fetching data or performing any operation, please follow the steps listed below: ![based-on-business-logic](https://catalyst-docs-development.zohostratus.in/images/help/convokraft/based-on-business-logic.webp) 1. Define the [sample sentences](https://docs.catalyst.zoho.com/en/convokraft/help/actions/define-sample-sentences) for your action. 2. Configure the required [params](https://docs.catalyst.zoho.com/en/convokraft/help/actions/define-params) for your action. > **Note :** You can add params only when you choose to configure your action's response based on a business logic. * To add a new param to an action: Click the **New Params** option in the **PARAMS** section ![new-param-button](https://catalyst-docs-development.zohostratus.in/images/help/convokraft/new-param-button.webp) 3. Choose the required param type from the list of data types supported by ConvoKraft and you will see a new dialog box to configure further details. Learn more about the attributes of each param type from [params](https://docs.catalyst.zoho.com/en/convokraft/help/actions/define-params/#attributes-of-a-param). #### String We will first create a new param of type `String`. ![event-topic](https://catalyst-docs-development.zohostratus.in/images/help/convokraft/event-topic.webp) You can configure the following details for the params: 1. Enter the prompt message for user input and a failure message to display in case of invalid inputs. 2. Enable Allow to skip, if required. > **Note :** The above mentioned attributes are applicable to all param types in ConvoKraft. #### Single/Multi selection list Next, we will create another param of type `Single selection list` : 1. When you configure a single selection list/multi-selection list param, you can add the applicable options by clicking the **New Option** button as shown in the image below. To learn more about this param type, please refer to [this page](https://docs.catalyst.zoho.com/en/convokraft/help/actions/define-params/#single-and-multiple-selection-list). > **Note :** You can also allow values at runtime other than the configured values, by enabling the allow values checkbox. ![event-title](https://catalyst-docs-development.zohostratus.in/images/help/convokraft/event-title.webp) 2. You can also optionally configure custom button to perform further operations with the selected options by clicking the **Add Button** option beside the **Submission Buttons** label. The **Configure Buttons** screen will appear. Enter the values for required fields of each button. To learn more about these fields, please refer to [this page](https://docs.catalyst.zoho.com/en/convokraft/help/actions/define-params/#single-and-multiple-selection-list). ![add-new-button](https://catalyst-docs-development.zohostratus.in/images/help/convokraft/add-new-button.webp) To add another button, click **New Button** and once the required buttons are successfully added, click **DONE**. 3. Choose the Mode of input as either `Textual` or `Visual`, based on your requirement. ![single-selection-list-ex](https://catalyst-docs-development.zohostratus.in/images/help/convokraft/single-selection-list-ex.webp) 4. Associate a param with specific phrases in the sample sentences by selecting the required text. Select one of the configured params from the list shown, and associate it with the text right away. You can also click **New param** to create a new param. > **Note :** If you have not associated any param with the sample sentences, then the params will be invoked in the conversation in the exact same order in which they are defined. ![param-association](https://catalyst-docs-development.zohostratus.in/images/help/convokraft/param-association.webp) 5. After you configure the required sample sentences and params for the action, click Save. You can further edit the configurations by clicking on the Edit button. To learn more about viewing and managing an action, please refer to [this page](https://docs.catalyst.zoho.com/en/convokraft/help/actions/manage-an-action/). ![all-details-page](https://catalyst-docs-development.zohostratus.in/images/help/convokraft/all-details-page.webp) -------------------------------------------------------------------------------- title: "Define Sample Sentences" description: "Learn about the Catalyst ConvoKraft actions that bots can perform, such as directly responding to queries, or executing a business logic." last_updated: "2026-11-04T10:10:44.000Z" source: "https://docs.catalyst.zoho.com/en/convokraft/help/actions/define-sample-sentences/" service: "ConvoKraft" -------------------------------------------------------------------------------- # Define Sample Sentences ## Introduction Sample sentences are the example invocations that you add when you configure an action for your ConvoKraft bot. These sentences are conversational in nature, and can be configured based on how a user is likely to interact with your bot. You can add multiple sample sentences for a particular action. When the user interacts with the bot, the Convokraft bot looks for similar sounding invocations in the sample sentences, and triggers the corresponding action associated with the invocation. If there are no matches found with any existing configured sample sentences, the bot would respond based on the configurations made in the fallback handler. > **Note:** If you have chosen to develop your bot logic using [Deluge](https://docs.catalyst.zoho.com/en/convokraft/help/actions/bot-logic/deluge-functions/defining-deluge-functions), refer [this page](https://docs.catalyst.zoho.com/en/convokraft/help/handlers/fallback-handler) for detailed information about fallback handler functions. If the chosen development platform is [Catalyst functions](https://docs.catalyst.zoho.com/en/convokraft/help/actions/bot-logic/catalyst-integration-functions) or [webhooks](https://docs.catalyst.zoho.com/en/convokraft/help/actions/bot-logic/webhooks), you will have to handle the failure scenarios in your source code on your own. Sample sentences apply to all action executions, such as direct responses, as well as for business logic execution. In both cases of action executions, you will need to define sample sentences for the bot you create. * If you have chosen to configure the response based on a direct answer, then you can define the sample sentences that are likely to be used by the user in a conversational way. ConvoKraft understands the intent of the configured sample sentences using its NLP ability and when a user poses a similar query, the bot responds with the direct configured answer. * If you have chosen to configure the response to execute a business logic, then along with configuring sample sentences, any text typed in the sample sentence can be selected and marked as a [param](https://docs.catalyst.zoho.com/en/convokraft/help/actions/define-params). The param with the value provided by the user will then be passed to the business logic for further processing. You can learn more about the implementation and usage of sample sentences while [creating an action](https://docs.catalyst.zoho.com/en/convokraft/help/actions/create-an-action). ## Define a Sample sentence In this section, we will discuss a few example scenarios to explain the usage of sample sentences in a ConvoKraft action : Say, you are creating an action which will be invoked to respond to queries regarding the details of a particular model of a mobile phone. Based on the inputs, say a model name or number, the corresponding business logic will get executed to fetch the details of that particular model. The user might probably ask any questions similar to this: **"I need to know the specs of Iphone 14"** **"Iphone 13 specs"** **"Tell me everything about Iphone 14 Pro Max"** **"Tech specifications of Iphone 14"** **"Iphone SE2 technical specs"** The response to the question will be fetched based on user inputs. Say the user enquires about Iphone 14, the answer would be something like the below.
Technical Spec iPhone 14
Processor Apple A15 Bionic
Storage 128GB, 256GB, 512GB
Pixel density 460 ppi
Display size resolution 6.1-inch OLED; 2,532x1,170 pixels
Let's consider another example where the action provides details about Zoho Corporation. In this case, the answer to the question related to Zoho will be directly configured in the action. Imagine the questions the user might ask and the different variations of them and configure them as sample sentences. Some questions can be : **"What is Zoho?"** **"What does the company Zoho Corporation do?"** **"Tell me something about Zoho Corp"** The bot would reply with the configured answer : **"Zoho Corporation is an Indian multinational technology company that makes computer software and web-based business tools. It is best known for the online office suite offering Zoho Office Suite. The company was founded in 1996 by [Sridhar Vembu](https://en.wikipedia.org/wiki/Sridhar_Vembu) and Tony Thomas and has a presence in seven locations with global headquarters in Chennai, Tamil Nadu, India."** To get a more detailed understanding about the implementation and usage of sample sentences while creating an action for your ConvoKraft bot, please refer to [this page](https://docs.catalyst.zoho.com/en/convokraft/help/actions/create-an-action). -------------------------------------------------------------------------------- title: "Define Params" description: "Learn about the usage and usecases of params while configuring actions in the ConvoKraft bot." last_updated: "2026-08-28T06:26:16.000Z" source: "https://docs.catalyst.zoho.com/en/convokraft/help/actions/define-params/" service: "ConvoKraft" -------------------------------------------------------------------------------- # Define Params # Introduction The input data received from a user during a conversation with a bot is described as params of an action. If we consider the execution of an action analogous to filling a form, then the fields in the form can be considered as params for the action. For example, the params for an action to create an event would typically be : * Title of the event * Start time of the event * End time of the event Users can provide value to each of these params in a conversational way in their natural language. Based on the configured params for an action, ConvoKraft will automatically comprehend the intent of the message and extract the apt value of the params. > **Note :** The conversational flow of a bot depends on the order of the defined params. After an action is detected, the bot will prompt all the unfilled params one by one with their respective prompt messages, in the order that they are defined. ConvoKraft uses its NLP ability to draw a match between the configurations being made to the action and the user's input at runtime. It will convert the user's input into a computational value as per the declared data type of the specific param. We will be discussing more about the supported data types of a param later in this page. These params will in turn be used in the business logic to perform the required operations of the bot. You can learn more about the implementation and usage of params while [creating an action](https://docs.catalyst.zoho.com/en/convokraft/help/actions/create-an-action). > **Note :** * Defining params will be applicable only if you have chosen to configure your action to execute a business logic. * An action can have a maximum of **20 params**. ### Attributes of a param In this section, we will discuss about the various attributes of a param in detail: 1. **Param Name** A valid name for the param must comply with the following points : * Begin with lower case * Only numbers and letters are allowed * Contains a maximum of 50 characters * Must be unique for every action * The following names cannot be used as a param, as they are reserved words in ConvoKraft such as `userInput`, `previousParam`, `additionalParams`, `sessionData`, `broadcast`, `previousUserMsgs`, `cache`, `org`, and `user` 2. **Param Type** You can choose the required data type for your param from the list of supported types in ConvoKraft :
Data Type Description
`String` A single input of type String
`Integer Number` A single input of type Integer
`Integer Number Range` Two inputs representing the start and end range of integers
`Decimal Number` The number of digits to be rounded off for a decimal number. The maximum precision allowed is five.
`Decimal Number Range` Two inputs representing the start and end range of decimals.
`Date` A single input of type Date
`Date Range` Two inputs representing the start and end range of date
`Date/Time` A single input of type Date/Time
`Date/Time Range` Two inputs representing the start and end range of Date/Time
`Boolean` a YES or NO input
`Email` A single input of type Email
`Amount` Amount input with currency code / currency symbol
`File` A file to be uploaded as user input. For this param, you can specify what file types the user can upload. The supported file types are mentioned below.
`Single selection list` A list of available options from which the user can select one. The details are given below.
`Multiple selection list` A list of available options from which the user can select more than one. The details are given below.
> **Note:** * An action cannot have any date or time params if it already has a date range or time range param. * An action cannot have any integer or decimal params if it already has an integer range or decimal range param. For the file param, you can define the supported file types as follows :
Formats Supported File Types
`IMAGE` image/png, image/jpeg,image/bmp, image/tiff, image/vnd.microsoft.icon
`DOCUMENTS` text/plain, text/csv, application/rtf, application/msword, application/vnd.openxmlformats-officedocument.wordprocessingml.document, application/vnd.oasis.opendocument.text
`PDF` application/pdf
`PRESENTATION` application/mspowerpoint, application/vnd.ms-powerpoint, application/vnd.ms-powerpoint, application/vnd openxmlformatsofficedocument.presentationml .presentation, application/vnd.oasis.opendocument.presentation
`SPREADSHEET` application/vnd.ms-excel, application/vnd.msexcel, application/vnd.openxmlformats-officedocument.spreadsheetml.sheet, application/vnd.oasis.opendocument.spreadsheet
`AUDIO` audio/mpeg , audio/wav, audio/midi, audio/x-midi, audio/aac
`VIDEO` video/mpeg, video/x-msvideo ,video/x-flv, video/mp4, video/quicktime
`COMPRESSION` application/zip, application/x-tar, application/gzip
### Single and Multiple Selection List For single and multiple selection list params, you need to enter the following additional information: 1. **Options** : These are the list of available options from which the user can select either one or multiple choices. You can configure the options statically without using any code. It is recommended to give every option a distinct value that can be understood by the user. Every option has an ID, which is used to uniquely identify an option programmatically. You can either enter the ID for every option manually or use the auto-generated ID as you type in the options. A valid name and ID for the selection list options must comply with the following points: * ID only supports alphanumeric characters, hyphen and underscore * The option name can have a maximum of 150 characters * A selection list param can have up to 50 options 2. **Buttons** : Buttons represent the actions to be executed on the selected selection list options. The default action is to submit these selected selection list options, if no custom buttons are configured. The properties of a button include the following : * **Label** - The display text of the button. * **ID** - An identifier for the business logic to uniquely identify which button is chosen during conversation. * **Theme** - The colour scheme that reflects the appearance of the button in the conversation. The following three themes are supported. 1. **Positive** 2. **Negative** 3. **Neutral** A valid name and ID for the buttons must comply with the following points : * A button name and ID can include all alphanumeric and special symbols. * They can contain a maximum of 150 characters. * A selection list param can have up to three buttons. 3. **Allow values other than these options** : This option allows the user to submit their own values rather than selecting from the list of options you defined. If this option is enabled, then the IDs of such values will be set as null. 4. **Mode of Input** : This specifies the way in which a user can provide a value to the param. It can either be **Textual** or **Visual**. If **Textual** is chosen, the user will be able to type the preferred value that they want to assign for the param. In the case of **Visual**, the user has to select their input from the available visual options. The options will be displayed as a radio button (in case of single selection), check box (in case of multiple selection) or a date/time picker (in case of date/time range). 5. **Prompt Message** : The question that the bot would ask the user to get the input for the param as a part of a bot conversation with the user. For example, to get the value for the start time of an event in the create event action, the prompt message shall be set as **"What time does the event start at?"** or **"When is the event?"**. This field cannot be left empty and it must comply with the following points * It can include all alphanumeric and special symbols except #, /, \, &, *, +, = and (). * It can contain a maximum of 255 characters. For params involving a range, the Prompt message field is split into: * **Start of the Range** : Prompt message to get the start value of the range. * **End of the Range** : Prompt message to get the end value of the range. 6. **Prompt message on validation failure** : The custom message to be displayed to the user when the user input is found invalid for the prompted param. This field is optional. 7. **Allow to skip**: Enables the user to bypass answering a param while conversing with a bot. ### Defining a param In this section, we will discuss a few example scenarios to explain the usage of params in a ConvoKraft action: * Let's consider a scenario where the user needs to initiate a return request for an online order. The user would ask something like this : **"I would like to return my order"** **"Return my order"** **"Return this product and request refund"** You can create a param `order id` to fetch the details from the user upon initiating a return request and associate the param with any phrase in your sample invocations. So that when the user enquires about the return, the bot would immediately prompt to ask the order number. * Let's discuss another scenario to schedule a meeting in the calendar. The user would type in something like this: **"Schedule a meeting in my calendar at 5pm tomorrow"** **"Add a meeting for tomorrow"** In this case, you can create params such as `eventname`(String), `eventtype`(Single selection list), `eventdays`(Multi-selection list), `eventtime`(Date/Time Range). To learn about configuring a param while creating an action for your ConvoKraft bot, please refer to [creating an action](https://docs.catalyst.zoho.com/en/convokraft/help/actions/create-an-action). -------------------------------------------------------------------------------- title: "Define Bot Responses" description: "Learn about the Catalyst ConvoKraft actions that bots can perform, such as directly responding to queries, or executing a business logic." last_updated: "2026-11-04T10:10:44.000Z" source: "https://docs.catalyst.zoho.com/en/convokraft/help/actions/define-bot-responses/" service: "ConvoKraft" -------------------------------------------------------------------------------- # Define Bot Responses This section provides detailed information on the various response structures that can be configured in the ConvoKraft bot. You can configure responses for actions to provide direct answers or based on defined business logic. We will discuss the types of responses and their syntax in this section. ### Direct Answer Response When you [create an action](https://docs.catalyst.zoho.com/en/convokraft/help/actions/create-an-action/) that responds based on the configured direct answer, you can format the answer based on your specific needs using the options listed below. * **Bold** * **Italics** * **Underline** * **Strikethrough** * **Highlight** * **Heading** * **Bullet list** * **Numbered List** * **Image** * **Blockquote** * **Table** You can use the formatting menus right above the editor, just click on them to apply the particular format. The screenshot below depicts an answer formatted with all the applicable styles. ![direct-response-structure](https://catalyst-docs-development.zohostratus.in/images/help/convokraft/direct-response-structure.webp) Click on **Preview** to view the output text of the formatted response. ![preview-direct-response](https://catalyst-docs-development.zohostratus.in/images/help/convokraft/preview-direct-response.webp) # Respond based on a business logic When creating an action that responds based on configured business logic, you can set up various responses in the [Catalyst Integration Function](https://docs.catalyst.zoho.com/en/convokraft/help/actions/bot-logic/catalyst-integration-functions/), [Deluge](https://docs.catalyst.zoho.com/en/convokraft/help/actions/bot-logic/deluge-functions/defining-deluge-functions/), or [Webhooks](https://docs.catalyst.zoho.com/en/convokraft/help/actions/bot-logic/webhooks/) using the syntaxes below. Let's explore the different types of responses and their structures in detail. ### Plain Text To send a simple text message as a response to a user query in the ConvoKraft bot, please use the below structure. #### JSON ```json { "message": "This is a sample message response" } ``` #### Java ```java public class ExecuteHandler { public JSONObject handleExecuteRequest(JSONObject reqBody) { JSONObject jsonResponse = new JSONObject(); jsonResponse.put("message", "This is a sample message response"); } return jsonResponse; } ``` #### Node.js ```javascript export default function handleExecute(request) { let result={}; result.message="This is a sample message response"; return result; } ``` #### Python ```python def handle_execute_request(req_body): result = {} result['message'] = "This is a sample message response" return result ``` The response looks like this: ![plain-text-response](https://catalyst-docs-development.zohostratus.in/images/help/convokraft/plain-text-response.webp) ### Card To configure a card response in the ConvoKraft bot, please adhere to the following structures given below. You can learn more about configuring a card response specifically in the Deluge function, from [this section](https://docs.catalyst.zoho.com/en/convokraft/help/actions/bot-logic/deluge-functions/deluge-object-reference/). **Plain Card with Title and Note** This code snippet allows you to define a simple message in the card that includes a title and a note. #### JSON ```json { "message": "Plain Card response", "card": [ { "type": "title", "content": "This is a card with title" }, { "type": "note", "content": "This is a card with note" } ] } ``` #### Java ```java public class ExecuteHandler { public JSONObject handleExecuteRequest(JSONObject reqBody) { JSONObject jsonResponse = new JSONObject(); jsonResponse.put("card", new JSONArray() .put(new JSONObject().put("type", "title").put("content", "This is a card with title")) .put(new JSONObject().put("type", "note").put("content", "This is a card with note")));} return jsonResponse; } ``` #### Node.js ```javascript export default function handleExecute(request) { let result={}; result.card=[]; result.card.push({ "type":"title", "content":"This is a card with title" }) result.card.push({ "type":"note", "content":"This is a card with note" }) return result; } ``` #### Python ```python def handle_execute_request(req_body): result = {} result['card'] = [ {"type": "title", "content": "This is a card with title"}, {"type": "note", "content": "This is a card with note"} ] return result ``` The response looks like this: ![plain-card-response](https://catalyst-docs-development.zohostratus.in/images/help/convokraft/plain-card-response.webp) #### Bullet List Card This code snippet allows you to define a bullet list within the card in the ConvoKraft response. #### JSON ```json { "message": "Bullet List RESPONSE", "card": [ { "type": "title", "content": "This is a title card for Bullet List" }, { "type": "list", "format": "bullet", "elements": [ { "label": "ABC" }, { "label": "DEF" } ] } ] } ``` #### Java ```java public class ExecuteHandler { public JSONObject handleExecuteRequest(JSONObject reqBody) { JSONObject jsonResponse = new JSONObject(); jsonResponse.put("card", new JSONArray() .put(new JSONObject().put("type", "title").put("content", "This is a title card for Bullet List")) .put(new JSONObject().put("type", "list").put("format", "bullet").put("elements", new JSONArray() .put(new JSONObject().put("label", "ABC")) .put(new JSONObject().put("label", "DEF")))));return jsonResponse; } ``` #### Node.js ```javascript export default function handleExecute(request) { let result={}; result.card=[]; result.card.push({ "type":"title", "content":"This is a title card for Bullet List" }) result.card.push({ "type":"list", "format":"bullet", "elements":[ { "label":"ABC" }, { "label":"DEF" } ] }); return result; } ``` #### Python ```python def handle_execute_request(req_body): result = {} result['card'] = [ {"type": "title", "content": "This is a title card for Bullet List"}, {"type": "list", "format": "bullet", "elements": [{"label": "ABC"}, {"label": "DEF"}]} ] return result ``` The response in the bot looks like this: ![bullet-card-response](https://catalyst-docs-development.zohostratus.in/images/help/convokraft/bullet-card-response.webp) #### Numbered List Card This code snippet allows you to define a numbered list within the card in the ConvoKraft response. #### JSON ```json { "message": "Numbered List RESPONSE", "card": [ { "type": "note", "content": "This is a note card with Numbered List" }, { "type": "list", "format": "numbered", "elements": [ { "label": "point no. 1" }, { "label": "point no. 2" } ] } ] } ``` #### Java ```java public class ExecuteHandler { public JSONObject handleExecuteRequest(JSONObject reqBody) { JSONObject jsonResponse = new JSONObject(); jsonResponse.put("card", new JSONArray() .put(new JSONObject().put("type", "note").put("content", "This is a note card with Numbered List")) .put(new JSONObject().put("type", "list").put("format", "numbered").put("elements", new JSONArray() .put(new JSONObject().put("label", "point no. 1")) .put(new JSONObject().put("label", "point no. 2"))))); return jsonResponse; } ``` #### Node.js ```javascript export default function handleExecute(request) { let result={}; result.card=[]; result.card.push({ "type":"note", "content":"This is a note card with Numbered List" }) result.card.push({ "type":"list", "format":"numbered", "elements":[ { "label":"point no. 1" }, { "label":"point no. 2" } ] }); return result; } ``` #### Python ```python def handle_execute_request(req_body): result = {} result['card'] = [ {"type": "note", "content": "This is a note card with Numbered List"}, {"type": "list", "format": "numbered", "elements": [{"label": "point no. 1"}, {"label": "point no. 2"}]} ] return result ``` The response in the bot looks like this: ![numbered-list-response](https://catalyst-docs-development.zohostratus.in/images/help/convokraft/numbered-list-response.webp) ### Link Response This code snippet allows you to send a hyperlink within the card in the ConvoKraft response. #### JSON ```json { "message": "LINK RESPONSE", "card": [ { "type": "link", "text": "Click Here to Know about ZOHO", "content": "https://www.zoho.com" } ] } ``` #### Java ```java public class ExecuteHandler { public JSONObject handleExecuteRequest(JSONObject reqBody) { JSONObject jsonResponse = new JSONObject(); jsonResponse.put("card", new JSONArray() .put(new JSONObject().put("type", "link").put("text", "Click Here to Know about ZOHO").put("content", "https://www.zoho.com"))); return jsonResponse; } ``` #### Node.js ```javascript export default function handleExecute(request) { let result={}; result.card=[]; result.card.push({ "type":"link", "text":"Click Here to Know about ZOHO", "content":"https://www.zoho.com" }) return result; } ``` #### Python ```python def handle_execute_request(req_body): result = {} result['card'] = [ {"type": "link", "text": "Click Here to Know about ZOHO", "content": "https://www.zoho.com"} ] return result ``` The response in the bot looks like this: ![link-response](https://catalyst-docs-development.zohostratus.in/images/help/convokraft/link-response.webp) ### Table Response This code snippet allows you to display a table with populated values within the card in the ConvoKraft response. #### JSON ```json { "message": "TABLE RESPONSE", "card": [ { "type": "table", "heading": "Convokraft Dummy Table", "columns": [ "Name", "AGE", "CITY" ], "rows": [ [ "BOB", "25", "SFO" ], [ "Evan", "28", "NY" ] ] } ] } ``` #### Java ```java public class ExecuteHandler { public JSONObject handleExecuteRequest(JSONObject reqBody) { JSONObject jsonResponse = new JSONObject(); jsonResponse.put("card", new JSONArray() .put(new JSONObject().put("type", "table").put("heading", "Convokraft Dummy Table").put("columns", new JSONArray() .put("Name").put("AGE").put("CITY")).put("rows", new JSONArray() .put(new JSONArray().put("BOB").put("25").put("SFO")) .put(new JSONArray().put("Evan").put("28").put("NY"))))); return jsonResponse; } ``` #### Node.js ```javascript export default function handleExecute(request) { let result={}; result.card=[]; result.card.push({ "type":"table", "heading":"Convokraft Dummy Table ", "columns":[ "Name", "AGE", "CITY" ], "rows":[ [ "BOB", "25", "SFO" ], [ "Evan", "28", "NY" ] ] }) return result; } ``` #### Python ```python def handle_execute_request(req_body): result = {} result['card'] = [ {"type": "table", "heading": "Convokraft Dummy Table", "columns": ["Name", "AGE", "CITY"], "rows": [["BOB", "25", "SFO"], ["Evan", "28", "NY"]]} ] return result ``` The response in the bot looks like this: ![table-response](https://catalyst-docs-development.zohostratus.in/images/help/convokraft/table-response.webp) ### VCard Response This code snippet allows you to define contact information including the first name, last name, company name and website within the card in the ConvoKraft response. #### JSON ```json { "message": "VCard Response", "card": [ { "type": "vcard", "info": { "image": "https://contacts.zoho.com/file?ID=53157432", "fields": [ { "First Name": "Prashaanth" }, { "Last Name": "Ramesh" }, { "Company": "Zoho" }, { "Website": "https://www.zoho.com" } ] } } ] } ``` #### Java ```java public class ExecuteHandler { public JSONObject handleExecuteRequest(JSONObject reqBody) { JSONObject jsonResponse = new JSONObject(); jsonResponse.put("card", new JSONArray() .put(new JSONObject().put("type", "vcard").put("info", new JSONObject().put("image", "https://contacts.zoho.com/file?ID=53157432").put("fields", new JSONArray() .put(new JSONObject().put("First Name", "Prashaanth")) .put(new JSONObject().put("Last Name", "Ramesh")) .put(new JSONObject().put("Company", "Zoho")) .put(new JSONObject().put("Website", "https://www.zoho.com")))))); return jsonResponse; } ``` #### Node.js ```javascript export default function handleExecute(request) { let result={}; result.card=[]; result.card.push({ "type":"vcard", "info":{ "image":"https://contacts.zoho.com/file?ID=53157432", "fields":[ { "First Name":"Prashaanth" }, { "Last Name":"Ramesh" }, { "Company":"Zoho" }, { "Website":"https://www.zoho.com" } ] } }) return result; } ``` #### Python ```python def handle_execute_request(req_body): result = {} result['card'] = [ {"type": "vcard", "info": {"image": "https://contacts.zoho.com/file?ID=53157432", "fields": [{"First Name": "Prashaanth"}, {"Last Name": "Ramesh"}, {"Company": "Zoho"}, {"Website": "https://www.zoho.com"}]}} ] return result ``` The response in the bot looks like this: ![vcard-response](https://catalyst-docs-development.zohostratus.in/images/help/convokraft/vcard-response.webp) ### File Response This code snippet allows you to send a file within the card in the ConvoKraft response. #### JSON ```json { "message": "FILE Response", "card": [ { "type": "file", "name": "SamplePDF", "format": "pdf", // File extension "content": "https://pdfobject.com/pdf/sample.pdf" } ] } ``` #### Java ```java public class ExecuteHandler { public JSONObject handleExecuteRequest(JSONObject reqBody) { JSONObject jsonResponse = new JSONObject(); jsonResponse.put("card", new JSONArray() .put(new JSONObject().put("type", "file").put("name", "SamplePDF").put("format", "pdf").put("content", "https://pdfobject.com/pdf/sample.pdf")));return jsonResponse; } ``` #### Node.js ```javascript export default function handleExecute(request) { let result={}; result.card=[]; result.card.push({ "type":"file", "name":"SamplePDF", "format":"pdf", // File extension "content":"https://pdfobject.com/pdf/sample.pdf" }) return result; } ``` #### Python ```python def handle_execute_request(req_body): result = {} result['card'] = [ {"type": "file", "name": "SamplePDF", "format": "pdf", "content": "https://pdfobject.com/pdf/sample.pdf"} ] return result ``` The response in the bot looks like this: ![file-response](https://catalyst-docs-development.zohostratus.in/images/help/convokraft/file-response.webp) -------------------------------------------------------------------------------- title: "Action Followups" description: "Learn about the Catalyst ConvoKraft actions that bots can perform, such as directly responding to queries, or executing a business logic." last_updated: "2026-11-04T10:10:44.000Z" source: "https://docs.catalyst.zoho.com/en/convokraft/help/actions/action-followups/" service: "ConvoKraft" -------------------------------------------------------------------------------- # Action Followups Action Followups define what the bot should recommend the user after executing an action, in order to engage the user further in the conversation. The bot can display a list of suggestions or ask if it should invoke another action, that might be contextually useful for the user after completing a specific action. The actions configured as follow-ups can be the same action or different actions, provided the respective actions should be configured for that corresponding ConvoKraft bot. By configuring action follow-ups, the bot can be made to proactively suggest more ways the user can interact with the ConvoKraft bot. This can facilitate the user to easily trigger the next action that would be contextually helpful, after the execution of an action. By configuring such contextually helpful actions as follow-ups, the bot will immediately display a list of predefined suggestions when the current action execution completes. When the user selects an apt suggestion, the action configured for that suggestion will be invoked as the next action. **Example :** Consider a bot that is built for a task management application. After creating a new task, it would be contextually apt to display the following as suggestions to the user: **"Start this task"**, **"Show my open tasks"**, **"Mark this task as Important"** and so on. If the user clicks on **"Mark this task as Important"**, the action to update the task status would be invoked. You can configure the action followups either directly by providing the list of actions or by fetching the actions dynamically during runtime. The action follow ups feature applies the same to actions configured to respond with a direct answer and execute a business logic. ### Static Followup Suggestions If you wish to configure Action Followups statically without using any code, then please follow the steps given below : 1. Click on an existing action in the console, an Action's details page will be displayed. You can refer to [this page](https://docs.catalyst.zoho.com/en/convokraft/help/actions/create-an-action/) for creating an action. Click **Add Followup Suggestions** under the Followup Suggestions section. ![add-followup-suggestions](https://catalyst-docs-development.zohostratus.in/images/help/convokraft/add-followup-suggestions.webp) 2. In the Followup Suggestions pop-up window, do the following: * Enter the appropriate suggestion texts in the text box under the Suggestions section. * Click the drop-down under the **Mapped Actions** section and select the appropriate action to map with the given suggestion text. This will allow the action to be executed when the user clicks the suggestion. You can also add more suggestions and map them with their appropriate actions. ![followup-popup](https://catalyst-docs-development.zohostratus.in/images/help/convokraft/followup-popup.webp) > **Note: ** A maximum of five suggestions can be added as followup suggestions to an action. 3. Click the **Update** button after configuring the required suggestion texts and their mapped actions. The configured followup suggestions will be listed under the **Followup Suggestions** section. ![show-followups](https://catalyst-docs-development.zohostratus.in/images/help/convokraft/show-followups.webp) 4. To make any changes to the existing followup suggestions list, click **Configure** in the Followup Suggestions section. From there, you can update them further as required. > **Note: ** If a particular action configured as a followup suggestion was deactivated/deleted, then that action will be removed from the Followup Suggestions list automatically. The follow up suggestions would appear in the chat window as shown below : ![followup-chat](https://catalyst-docs-development.zohostratus.in/images/help/convokraft/followup-chat.webp) ### Dynamic Followup Suggestions To make your ConvoKraft bot to display a list of suggestions dynamically in runtime as a follow-up, you will need to pass them as a map value to the [`followup`](https://docs.catalyst.zoho.com/en/convokraft/help/actions/bot-logic/deluge-functions/execution-function/#followup) key of the Execution function output, as shown below : You can also set the param values for the follow-up action so that they will not be prompted again to the user while executing that action. ```json { "followup":{ "suggestions":[ { "message":"//chat suggestion that needs to be displayed to the user", "action":{ "name":"//namespace of the action that needs to be invoked", "params":[ { "name":"//param_name", "value":"//param_value" } //add other params as necessary ] } } //add other suggestions as necessary ] } } ``` ### Prompting to invoke another action In some cases, one action would be more appropriate to execute after an action rather than multiple actions. By configuring this action with the predefined suggestions as a followup, the bot would display that specific action along with a list of predefined suggestions and ask the user with a prompt message to invoke the next action. The user can select the required suggestion or reply to the prompt with an appropriate message, and proceed with the conversation further. **Example :** Consider a task management bot. The user might want to view their next task. After viewing the next task, it would be contextual to ask them, **"Would you like to start this task?"** along with the suitable suggestions for this prompt like, **"Yes, mark this task as started"**, **"No thanks"**, **"No, I'll start this task later"**. The user can select an appropriate suggestion or reply to this prompt with an appropriate message to invoke the action which would start that task. If the followup action has many params, and if you wish your bot to prompt a particular param for its value as first among other params, then you can specify that param name in the followup action's configuration. You can also set the param values for the followup action so that they will not be prompted again to the user while executing that action. > **Note: ** A maximum of five suggestions can be configured in the suggestions list. To make your ConvoKraft bot prompt the user to invoke any particular action as a followup, you must pass the action details as a map value to the [`followup`](https://docs.catalyst.zoho.com/en/convokraft/help/actions/bot-logic/deluge-functions/execution-function/#followup) key of the Execution function output as shown in the below format : ```json { "followup":{ "prompt":{ "message":"//the message that needs to be prompted to the user", "suggestions":["//suggestion_text1", "//suggestion_text2", ... "//suggestion_text5"], "reject_message":"//the message that needs to be displayed when the user replies any negative phrase to cancel the prompt", "param":"//name of the param that needs to be prompted for value at first when this action is executed", "action":{ "name":"//the namespace of the action that needs to be invoked", "params":[ { "name":"//param_name", "value":"//param_value" } //add other params as necessary ] } } } } ``` -------------------------------------------------------------------------------- title: "Manage an action" description: "Learn about the Catalyst ConvoKraft actions that bots can perform, such as directly responding to queries, or executing a business logic." last_updated: "2026-11-04T10:10:44.000Z" source: "https://docs.catalyst.zoho.com/en/convokraft/help/actions/manage-an-action/" service: "ConvoKraft" -------------------------------------------------------------------------------- # View an action An [action](https://docs.catalyst.zoho.com/en/convokraft/help/actions/overview/introduction/) is a single ability or a task that the bot performs when you give an instruction as a part of your conversation. To create an action, please refer to [this page](https://docs.catalyst.zoho.com/en/convokraft/help/actions/create-an-action/). The created actions will be displayed under the **Actions** section in the Bot's details page as shown in the screenshot below. These actions can be segregated as follows using the Actions section's filter: ![view-action](https://catalyst-docs-development.zohostratus.in/images/help/convokraft/view-action.webp) * **Active** : Actions that are created and available to use, which will be moved to production on clicking the deploy button. * **Inactive** : Actions that are unavailable to use in the development environment on deactivation, but are available for chat in production environment, if they are published earlier before deactivating. # Manage an action Once you have configured the required [sample sentences](https://docs.catalyst.zoho.com/en/convokraft/help/actions/define-sample-sentences) and [params](https://docs.catalyst.zoho.com/en/convokraft/help/actions/define-params) for an action, you can further edit the action from the Action's Details page as shown in the screenshot below : You can also deactivate an action of your bot by hovering over the ellipsis icon and clicking Deactivate. ![edit-action](https://catalyst-docs-development.zohostratus.in/images/help/convokraft/edit-action.webp) -------------------------------------------------------------------------------- title: "Test an action" description: "Learn how to test an action configured for your ConvoKraft bot by simply interacting with it in conversational English." last_updated: "2026-08-17T12:16:04.000Z" source: "https://docs.catalyst.zoho.com/en/convokraft/help/actions/test-an-action/" service: "ConvoKraft" -------------------------------------------------------------------------------- # Test an Action To ensure that your action doesn’t have any functional issues, you have to test your action before deploying it to production. Additionally, you can also verify the user experience and ensure that it works as expected. To test your action before deploying it, you can click on **Test this bot** to use the sample chat window on the right side panel of the **Edit Execution Functions** page. This sample chat window would look similar to the actual chat window of your bot in the production. ![test-the-bot](https://catalyst-docs-development.zohostratus.in/images/help/convokraft/test-the-bot.webp) Using this, you can test only the current action. If the given invoking sentence is irrelevant to the current action, the bot would not be able to understand it and would reply with a message that it doesn't understand your message. ![chat-window1-updated](https://catalyst-docs-development.zohostratus.in/images/help/convokraft/chat-window1-updated.webp) > **Note: ** You can only test the current action in this window, and not all configured actions of your bot. ### Override Session Data If your functions use the [sessionData](https://docs.catalyst.zoho.com/en/convokraft/help/actions/bot-logic/deluge-functions/deluge-object-reference/#sessiondata) argument in its business logic, then you can test your action with different sets of mock session data using the **Override Session Data** option available in the top-right corner of the chat window. For example, if you have written any code logic specific to the web client, you can set the apt session data values and mock how the logic would work, if the bot is being accessed from an actual web client in production. ![override-session-data1](https://catalyst-docs-development.zohostratus.in/images/help/convokraft/override-session-data1.webp) Once you provide apt values to the attributes and upon saving, the configured values will be passed to the `sessionData` argument of the next conversation. ![override-session-data2](https://catalyst-docs-development.zohostratus.in/images/help/convokraft/override-session-data2.webp) #### Bot Logic -------------------------------------------------------------------------------- title: "Catalyst Integration Functions" description: "Learn about Catalyst Integration functions and use them to code the business logic of your ConvoKraft bot." last_updated: "2026-08-28T06:26:16.000Z" source: "https://docs.catalyst.zoho.com/en/convokraft/help/actions/bot-logic/catalyst-integration-functions/" service: "ConvoKraft" -------------------------------------------------------------------------------- # Catalyst Integration Functions # Introduction Catalyst Integration Functions allow you to code the business logic of other Zoho or Catalyst services, and use them as a backend to establish an integration between the two . When a particular feature is accessed in the associated service, it will automatically invoke the execution of the Integration function coded in Catalyst through a HTTP call. You can code the business logic of the backend feature of the service in the following platforms supported by Catalyst: * **Java** * **Node.js** * **Python** The business logic you build with Catalyst functions for your ConvoKraft bots is called bot logic, and it is of the Integration function type. You can [initialize a Catalyst Integration Function](https://docs.catalyst.zoho.com/en/cli/v1/initialize-resources/initialize-functions/) from the CLI, work on it in your local environment, [serve](https://docs.catalyst.zoho.com/en/cli/v1/serve-resources/serve-all-resources/#serve-functions-and-basic-web-applications) to test it, or [deploy](https://docs.catalyst.zoho.com/en/cli/v1/deploy-resources/deploy-functions/) it to the remote console. The function can then be associated with the bot you create. While using Catalyst Integration functions, you will also be able to avail of other Catalyst features that allow you to view the logs or reports of the function executions through [Catalyst Logs](https://docs.catalyst.zoho.com/en/devops/help/logs/introduction/) or [Application Performance Monitoring](https://docs.catalyst.zoho.com/en/devops/help/apm/introduction/). You can learn more about Catalyst Integration functions in detail from [this page](https://docs.catalyst.zoho.com/en/serverless/help/functions/integration-functions/). ### ConvoKraft Integration ConvoKraft Integration functions enable you to code the business logic of your ConvoKraft bots and bundle it through the following ConvoKraft handlers : **1. [Welcome Message Handler](https://docs.catalyst.zoho.com/en/convokraft/help/handlers/welcome-message-handler)**: Enables you to configure the response to be displayed on opening a fresh chat session. **2. [Fallback Handler](https://docs.catalyst.zoho.com/en/convokraft/help/handlers/fallback-handler)**: Enables you to configure the response to be displayed when the bot fails to understand user's inputs. **3. [Failure Handler](https://docs.catalyst.zoho.com/en/convokraft/help/handlers/failure-handler)**: Enables you to configure the response to be displayed when an exception occurs in the user's message in the conversation. ### Function Structure When you create an Integration Function, Catalyst provides a boilerplate template code upon which you could build your business logic. You can use the respective templates to build your business logic in **Java**, **Node.js** and **Python** programming environments. To learn more about the complete function directory structure for all supported stacks in Catalyst, please refer to [this page](https://docs.catalyst.zoho.com/en/cli/v1/project-directory-structure/functions-directory/). We will be discussing more about how to create an integration function in Catalyst later in [this page](https://docs.catalyst.zoho.com/en/convokraft/help/actions/bot-logic/catalyst-integration-functions/#implementation). ## Java The Java file structure contains the main java file, the ExecuteHandler file which holds the core business logic of action executions, and also the other handler and configuration files. ![java-structure](https://catalyst-docs-development.zohostratus.in/images/help/convokraft/java-structure.webp) The above mentioned files and boilerplate template code will automatically be available in your functions directory, when you initialize a Java Integration Function of type `ConvoKraft`, from the CLI. To learn more about initializing a Catalyst function from CLI, [refer here](https://docs.catalyst.zoho.com/en/cli/v1/working-with-functions/set-up-functions/). Once initialization is done, you can proceed to code your bot logic, [test them locally](https://docs.catalyst.zoho.com/en/cli/v1/serve-resources/serve-all-resources/#serve-functions-and-basic-web-applications) and then [deploy the Catalyst function](https://docs.catalyst.zoho.com/en/cli/v1/deploy-resources/deploy-functions/). ## Node.js The Node file structure contains a main function file along with the handler files, the node modules and the configuration files. ![nodejs-structure](https://catalyst-docs-development.zohostratus.in/images/help/convokraft/nodejs-structure.webp) The above mentioned files and boilerplate template code will automatically be available in your functions directory, when you initialize a Node.js Integration Function of type `ConvoKraft`, from the CLI or the console. You can create a ConvoKraft integration function from the Catalyst console by following the steps mentioned [here](https://docs.catalyst.zoho.com/en/convokraft/help/actions/bot-logic/catalyst-integration-functions/#implementation). To learn more about initializing a Catalyst function from CLI, [refer here](https://docs.catalyst.zoho.com/en/cli/v1/working-with-functions/set-up-functions/). Once initialization is done, you can proceed to code your bot logic, [test them locally](https://docs.catalyst.zoho.com/en/cli/v1/serve-resources/serve-all-resources/#serve-functions-and-basic-web-applications) and then [deploy the Catalyst function](https://docs.catalyst.zoho.com/en/cli/v1/deploy-resources/deploy-functions/). ## Python Similar to Java and Node.js, the Python file structure contains a main function file, handler function files, the configuration files and additionally the python module files. The `requirements.txt` file contains the list of installed dependencies that are needed to implement the Catalyst Python function. You can learn more about the usage of `requirements.txt` file from [this page](https://docs.catalyst.zoho.com/en/cli/v1/project-directory-structure/functions-directory/#python-modules-and-function-dependencies). ![python-structure](https://catalyst-docs-development.zohostratus.in/images/help/convokraft/python-structure.webp) Similar to Java functions, you can initialize a python function from the Catalyst CLI. Once you initialize a Python Integration Function of type `ConvoKraft`, the above mentioned files and boilerplate template code will automatically be available in the corresponding functions directory in your local environment. Once initialization is done, you can proceed to code your bot logic, [test them locally](https://docs.catalyst.zoho.com/en/cli/v1/serve-resources/serve-all-resources/#serve-functions-and-basic-web-applications) and then [deploy the Catalyst function](https://docs.catalyst.zoho.com/en/cli/v1/deploy-resources/deploy-functions/). > **Note :** You will not be able to code Java and Python functions from the console editor directly. You will only be able to work on Node.js functions from the editor. Alternatively, you can work on Java and Python functions [from a local environment](https://docs.catalyst.zoho.com/en/serverless/help/functions/introduction/#steps-to-work-with-functions-from-a-local-environment), and [upload](https://docs.catalyst.zoho.com/en/convokraft/help/actions/bot-logic/catalyst-integration-functions/#implementation) the corresponding code bundle to the console. ### Request format ConvoKraft sends the request in the following format to the Catalyst Integration function : ```json { "todo": "prompt || execute || fallback || button", "bot" : "", "action" : "", "button_id" : "", "environment" : "development || production" "params":{ }, "userInput" : "", "previousParam" : "", "user" : {}, "org" : {}, "broadcast" : {}, "cache" : {}, "sessionData" : {} "clientData" : {} } ``` ### Response format ConvoKraft expects the response to be in the following format from the Catalyst Integration function, so that it understands and conveys the intended response to the user. ConvoKraft supports multiple response types for displaying content in various formats. You must ensure to follow the defined standards when configuring responses. For more information on response structures, refer to [this section](https://docs.catalyst.zoho.com/en/convokraft/help/actions/define-bot-responses/). **Case 1**: When an input param has to be prompted to the user ```json { "status" : "prompt", "prompt" : { "param_name" : "leave_type", "options":[ { "id" : "111" ,"label" : "", "image" : "image_url"}, {"id" : "112" ,"label" :"" ,"image" : "image_url"} ], "buttons" : [] }, "message" : "You don't have enough casual leaves. Please choose some other leave type.", "data" : {} } ``` **Case 2**: When an output message has to be displayed to the user ```json { "status" : "execution", "message":"Please check your screen.", "card":[], "data":{}, "broadcast":{}, "trigger":{}, "followup" : {} } ``` There are a few restrictions to be considered with the responses received from the Catalyst Integration function, such as : * The maximum size of the response is 3 MB. * The maximum duration of request timeout is 15 seconds. If the response doesn't comply with the above guidelines, a failure message will be sent as a response to the user. ### Implementation You can create a Catalyst Integration function either from the Catalyst console or CLI. Please make sure to follow the steps given below to create an Integration Function from the console. You can refer to [this page](https://docs.catalyst.zoho.com/en/cli/v1/working-with-functions/set-up-functions/), for the steps to create a function from the CLI. 1. To create a Catalyst Integration function directly from the Catalyst console, navigate to the **Serverless** icon in the left pane of the Catalyst console and click **Create Function**. ![create-integration-function](https://catalyst-docs-development.zohostratus.in/images/help/convokraft/create-integration-function.webp) 2. Provide a meaningful function name and choose `Integration` as the Function Type and select `ConvoKraft` as the Zoho Service. You can choose to code your logic in either **Java**, **Node.js** or **Python** programming environments. Click **Create** to create a new Catalyst Integration Function. ![create-function-popup](https://catalyst-docs-development.zohostratus.in/images/help/convokraft/create-function-popup.webp) > **Note :** You will not be able to code Java and Python functions from the console editor. You will only be able to work on Node.js functions. You can work on Java and Python functions [from a local environment](https://docs.catalyst.zoho.com/en/serverless/help/functions/introduction/#steps-to-work-with-functions-from-a-local-environment), and upload the corresponding code bundle to the console using the **File Upload** option 3. You can switch over to the **Code tab** to start writing your bot's business logic. ![functions-overview](https://catalyst-docs-development.zohostratus.in/images/help/convokraft/functions-overview.webp) After you code the business logic, click **Save**. ![code-tabs](https://catalyst-docs-development.zohostratus.in/images/help/convokraft/code-tabs.webp) Once you have developed the business logic of your ConvoKraft bot, you can map the appropriate Catalyst Integration Function as the development platform while [creating a bot](https://docs.catalyst.zoho.com/en/convokraft/help/bots/create-a-bot) or even later from the Bots details page. The associated Integration function will be executed on invocation of the configured actions in the bot. -------------------------------------------------------------------------------- title: "Webhooks" description: "Learn about webhooks and use them to access the business logic of your ConvoKraft bot coded in any publicly accessible external servers." last_updated: "2026-08-28T06:26:16.000Z" source: "https://docs.catalyst.zoho.com/en/convokraft/help/actions/bot-logic/webhooks/" service: "ConvoKraft" -------------------------------------------------------------------------------- # Webhooks # Introduction Webhooks are automated triggers initiated between two applications on occurrence of a pre-defined event. In our case, if you choose to have your business logic in any external server you can opt for webhooks as the development platform. You need to make sure that the external server is publicly accessible to ConvoKraft through a REST API. To execute the business logic, the configured Webhook URL will be hit by ConvoKraft at the corresponding invocation points during action execution. The Webhook server should comply with the below request and response formats for proper functioning of the ConvoKraft bot. ### Request Format ConvoKraft sends the request in the following format to the configured Webhook URL. ```javascript { "todo": "prompt || execute || fallback || button", "bot" : "", "action" : "", "button_id" : "", "environment" : "development || production" "params":{ }, "userInput" : "", "previousParam" : "", "user" : {}, "org" : {}, "broadcast" : {}, "cache" : {}, "sessionData" : {} "clientData" : {} } ``` ### Response Format ConvoKraft expects the response to be in the following format from the Webhook URL, so that it understands and conveys the intended response to the user. ConvoKraft supports multiple response types for displaying content in various formats. You must ensure to follow the defined standards when configuring responses. For more information on response structures, refer to [this section](https://docs.catalyst.zoho.com/en/convokraft/help/actions/define-bot-responses/). **Case 1**: When an input param has to be prompted to the user ```javascript { "status" : "prompt", "prompt" : { "param_name" : "leave_type", "options":[ { "id" : "111" ,"label" : "", "image" : "image_url"}, {"id" : "112" ,"label" :"" ,"image" : "image_url"} ], "buttons" : [] }, "message" : "You don't have enough casual leaves. Please choose some other leave type.", "data" : {} } ``` **Case 2**: When an output message has to be displayed to the user ```javascript { "status" : "execution", "message":"Please check your screen.", "card":[], "data":{}, "broadcast":{}, "trigger":{}, "followup" : {} } ``` There are a few restrictions to be considered with the responses received from the Webhook URLs, such as : * The maximum size of the response is 100 KB. * The maximum duration of request timeout is 5 seconds. If the response doesn't comply with the above guidelines, a failure message will be sent as a response to the user. ### Securing Webhook Calls The Webhook requests can be secured so that it can be validated by the Webhook server whether the request is originated from ConvoKraft, to avoid processing untrusted requests. ConvoKraft uses [Digital Signature Algorithm(DSA)](https://en.wikipedia.org/wiki/Digital_Signature_Algorithm) Cryptosystem to generate security keys, which have to be used by the Webhook server to validate the request. # Security validation flow 1. Once you opt to secure your webhook calls while [choosing the development platform](https://docs.catalyst.zoho.com/en/convokraft/help/bots/create-a-bot/), ConvoKraft auto-generates a private key and a public key based on the DSA Cryptosystem. Both these keys are encrypted and will be stored in ConvoKraft's servers and only the public key will be exposed to the developer in the Catalyst console. 2. While sending a request to the Webhook server, ConvoKraft generates a digital signature using the stored private key and sends the signature in the request header **X-CONVOKRAFT-SIGNATURE**. When a user types a message in the chat window, the message is encrypted with the private key and sent in the request body to the webhook server along with the digital signature in the header. 3. When the Webhook server receives this message, it makes a comparison of the received digital signature in the request and the original signature created using the encrypted public key. If there is a discrepancy found, then that means the message has been tampered with. ### Implementation Once you create a bot, you can choose webhooks as the development platform and follow the below steps : 1. Enter the webhook URL of your external server in which the business logic code resides. On execution of the configured actions of the bot, this URL will be accessed. ![choosing-webhook](https://catalyst-docs-development.zohostratus.in/images/help/convokraft/choosing-webhook.webp) 2. You can choose to invoke the webhook URL either at the end of every user message in the conversation or whenever a particular context of the conversation ends. ![webhook-url](https://catalyst-docs-development.zohostratus.in/images/help/convokraft/webhook-url.webp) 3. Once bot creation is done, you will be able to view the Bots details page which lists the crucial information of your ConvoKraft bot. To view the generated public key, click the **Show key** button on the Bots details page. ![show-key-updated](https://catalyst-docs-development.zohostratus.in/images/help/convokraft/show-key-updated.webp) Upon clicking the **Show key** option, the **Security Key** pop up will display the public key. ![security-key](https://catalyst-docs-development.zohostratus.in/images/help/convokraft/security-key.webp) This public key will be used in the [development environment](https://docs.catalyst.zoho.com/en/deployment-and-billing/environments/development-environment) immediately. It will be used in the [production environment](https://docs.catalyst.zoho.com/en/deployment-and-billing/environments/production-environment), once you deploy your Catalyst project. ##### Deluge Functions -------------------------------------------------------------------------------- title: "Defining Deluge Functions" description: "Learn about Deluge functions and use them to code the business logic of your ConvoKraft bot." last_updated: "2026-08-28T06:26:16.000Z" source: "https://docs.catalyst.zoho.com/en/convokraft/help/actions/bot-logic/deluge-functions/defining-deluge-functions/" service: "ConvoKraft" -------------------------------------------------------------------------------- # Defining Deluge Functions [Deluge](https://www.zoho.com/deluge/help/) is the native online scripting language of the Zoho cloud environment. You can use deluge to write your business logic and automate actions across multiple Zoho applications and also enable integration with a third-party external service. They also contain a pack of [in-built functions](https://www.zoho.com/deluge/help/built-in-functions.html) to perform common tasks, using which you could quickly build your application logic and also facilitate enhanced features in your applications. Deluge has a user-friendly syntax which allows you to build powerful applications real-quick. You can seamlessly code the backend logic of your ConvoKraft bots using Deluge functions. Learn more about the data types supported by Deluge functions from [this page](https://www.zoho.com/deluge/help/datatypes.html). ConvoKraft provides the below listed pre-defined Deluge functions each with its own purpose and invocation points, to define the business logic of your bots. * [Execution function](https://docs.catalyst.zoho.com/en/convokraft/help/actions/bot-logic/deluge-functions/execution-function) * [Context Handler function](https://docs.catalyst.zoho.com/en/convokraft/help/actions/bot-logic/deluge-functions/context-handler-function) * [Button Click function](https://docs.catalyst.zoho.com/en/convokraft/help/actions/bot-logic/deluge-functions/button-click-function) ### System-Defined Input Arguments The following system defined input arguments are available for all pre-defined Deluge function types :
Argument Deluge Data Type Description
`sessionData` Map Contains the details of the client that is hosting the current chat session. To learn more about this argument, [refer here](https://docs.catalyst.zoho.com/en/convokraft/help/actions/bot-logic/deluge-functions/deluge-object-reference/#sessiondata).
`cache` Map A temporary storage variable which is used to pass data across functions along the action execution cycle. To learn more about this argument, [refer here](https://docs.catalyst.zoho.com/en/convokraft/help/actions/bot-logic/deluge-functions/deluge-object-reference/#cache).
`broadcast` Map A storage variable which is used to pass data across different actions, while the user is interacting with the bot. To learn more about this argument, [refer here](https://docs.catalyst.zoho.com/en/convokraft/help/actions/bot-logic/deluge-functions/deluge-object-reference/#broadcast).
In addition to the system-defined arguments listed above, all the static [params](https://docs.catalyst.zoho.com/en/convokraft/help/actions/define-params/) defined in the console for the action will also be available as input arguments individually for every Deluge function. ConvoKraft will populate the appropriate values for all the variables and will pass them on as input arguments for all the functions. # Code Deluge Functions You can code the Deluge Functions in the in-built editor provided by ConvoKraft. We will be discussing more in detail about the editor, its usage and features in this section. ### Overview of the Code Editor The Deluge editor in ConvoKraft provides a unified experience wherein you could perform basic to complex operations all in the same place. It allows scripting by dragging tasks and dropping them onto the editor's scripting area. It provisions quick access to set variables, add info statements or comments, and also add conditional statements including if, else if and else. Additionally, the editor allows you to send notifications via email and also post as notifications to Zoho Cliq ( a communication platform powered by Zoho). You could also integrate with other Zoho services or with applications hosted in external servers using webhooks. You could create collections, insert data into collections, get data, update, delete or retrieve each element of the collection. You can learn more about the Deluge Editor from [this page](https://www.zoho.com/deluge/help/deluge-editor.html). ![deluge-code-editor](https://catalyst-docs-development.zohostratus.in/images/help/convokraft/deluge-code-editor.webp) # Function Validation ConvoKraft validates the Deluge functions in the editor for its syntax and return value correctness automatically. ### Syntax Validation Syntax validation happens every time you attempt to save a Deluge function. If the syntax validation fails due to any compile time errors, the function will not be saved, and an appropriate error message will be displayed. Compile time errors include incorrect syntax, punctuation, missing variable initialization, and others. ![syntax-validation](https://catalyst-docs-development.zohostratus.in/images/help/convokraft/syntax-validation.webp) ### Return Value Validation In addition to the syntax validations, the return values of the Deluge functions will also be validated for every function execution in the ConvoKraft code editor. You can learn about the defined return value format for the Deluge functions from [this page](https://docs.catalyst.zoho.com/en/convokraft/help/actions/bot-logic/deluge-functions/execution-function/#return-values). Return value validation happens when you execute the action by testing it using the bot's chat window in the console. Click on **Test this bot** to start interacting with it. ConvoKraft validates the data type of the keys in the response such as `message`,`card`,`broadcast` and `followup`. Please make sure to mandatorily fulfil all the values in the return map of the Deluge functions for the proper functioning of your action. If your function's return value violates the specified format, an error message with the JSON element that commits the error will be displayed in the **Logs** window. ### Function Logs Every log contains at least one of the following labels: * **INFO** : Displays the debug and prints whatever is given in the code. * **WARNING** : Displays warning texts when something is detected as wrong or unusual. For example, the usage of any deprecated syntax in the code. Warnings will be ignored during action execution. * **ERROR** : Displays the errors that occur when code is being executed. For example, any syntax mismatch or unhandled exceptions. Errors will interrupt an action execution and an appropriate message will be thrown as a response. You can switch between the various log levels in the editor to view only the respective logs. ![function-logs](https://catalyst-docs-development.zohostratus.in/images/help/convokraft/function-logs.webp) > **Note : ** The errors committed in all functions in the flow of an action will be displayed here, alongside the errors committed in the function being executed. -------------------------------------------------------------------------------- title: "Deluge Object Reference" description: "Learn about Deluge functions and use them to code the business logic of your ConvoKraft bot." last_updated: "2023-07-20T08:09:11.000Z" source: "https://docs.catalyst.zoho.com/en/convokraft/help/actions/bot-logic/deluge-functions/deluge-object-reference/" service: "ConvoKraft" -------------------------------------------------------------------------------- # Deluge Object Reference The Deluge Object Reference documentation aims to give a detailed idea about the various elements of the Deluge functions in ConvoKraft. The core objects supported by ConvoKraft include the data access objects, input objects, and response objects. We will be discussing each of them in detail in this section. # Data Access objects ### sessionData The details about the current chat session of the client. This data will be available for all functions under the `sessionData` argument.
Deluge Data type Availability
`Map` In all functions
This argument comprises the following keys:
Key name Deluge data type Description Sample value
`medium` Text The mode of communication through which the user interacts with the bot. The possible values are `call` or `chat`. chat
`client_host` Text The nature of the client application that hosts the bot. The possible values are `mobile` or `web`. web
`client_identifier` Text The unique identifier of the client. The URL of the web application, if `client_identifier` is `web`. The package name bundle identifier of the mobile application, if `client_identifier` is `mobile`. https://zylker.com
`client_data` Map The data passed from the client to ConvoKraft at the start of the session. { "user_email": "todd@hmail.com" }
### cache The `cache` object acts as a temporary storage variable. Any data stored in this object in the form of key-value pair will be accessible across all the functions of the currently executing action until that action execution completes.
Deluge Data type Availability
`Map` In all functions
### broadcast If you want your bot to remember any information related to the current executing action, the information can be stored in the `broadcast` object. This value will be retained even after the execution of the current action, and will be available for all subsequent actions until the current chat session is over. Subsequent actions can use this value, as required by business logic.
Deluge Data type Availability
`Map` In all functions
#### messageData The `messageData` object contains the custom message sent by the client for each transcript (a message in the bot conversation) request in the `data` key.
Deluge Data type Availability
`Map` In all functions
# Input Objects ### param The input values provided by the user for each static param would be captured under the objects with the same param name across the Deluge functions.
Deluge Data type Availability
corresponding param's data type In Context handler function and Action execution function
### previousParam The `previousParam` object contains the param that was last prompted to the user. The latest reply of the user will be set as a value to this param.
Deluge Data type Availability
corresponding param's data type Only in Context Handler function
# Response Objects ### card The card can be used to give a visually formatted message as a reply to the user. A card is a collection of visual elements, such as tables and images. The value of this key is a list of map objects. Each map object represents an UI element in the card. A single card may contain more than one element of the same type. Every element in the card will be displayed one below the other in the [reply message](https://docs.catalyst.zoho.com/en/convokraft/help/actions/bot-logic/deluge-functions/execution-function/#message). The inline formatting options such as `Bold`, `Italic`, `Underline`, `Strikethrough`, `Link`, and `Highlight` are applicable to the card elements as well. So, any of these above mentioned formatting options can be used in the text values in any of the below cards. The following UI elements are supported in ConvoKraft's reply message card :
Element Format
`Note` **** ``` { "type" : "note", "content" : "<Text content that needs to be displayed as a note.>" } ```
`Title` **** ``` { "type" : "title", "content" : "<Text content that needs to be displayed as the title>" } ```
`List - Bullet & Numbered` **** ``` { "type" : "list", "format" : "bullet" or "numbered" "elements" : [ { "label" : "<element_label>" "preview" : { "header" : { "title" : "<title_content>" "description" : "<description_content>", "subheading" : "<subheading_content>", "image" : { "url" :"<image_url>" } }, "fields" :[ { "label" : "<field labels>" "value" : "<field values>" } //add other fields as necessary ] } } //add other elements as necessary ] } ``` > **Note : ** In the `list` card, a maximum of seven fields can be configured for a `preview` object.
`Table` **** ``` { "type": "table", "heading" : "<Table Heading>", "columns": [ "<column1 header>". "<column2 header>" "<column3 header>" ], "rows": [ [ "<value al>" "<value a2>" "<value a3>" ], [ "<value b1>" "<value b2>" "<value b3>" ] ] } ```
`Image` **** ``` { "type" : "image", "content" : "<image url>" } ```
`File` **** ``` { "type" : "file", "name" : "<file_name>", "format" : "pdf", //file extension "content": "<file url>" } ```
`Contact card` **** ``` { "type" : "vcard", "info" : { "image" : "", "fields" : [ { "First Name" : "Smith" }. { "Last Name" : "Gibbs" }, { "Company": "ABC Corp" }, { "Website" : "https://" } ] } } ```
`Link` **** ``` { "type" : "label", "content" : "<URL link>" } ```
`Button` **** ``` { "type" : "button", "label" : "<button label>". "theme" : "<button theme>" "id" : "<button id>", "onclick" : { "execute" : "function (or)clienthook", "function":"<button click function name>", "data" : {} } } ``` 1. For `theme` key, the value can be either `positive`, `negative`, or `neutral`. 2. For `execute` key, the value can be any one of the following: * `function` - to execute the defined Button Click function. * `clienthook` - to execute the [hook](https://docs.catalyst.zoho.com/en/convokraft/sdk/js/hooks/) implemented by the client application. If `clienthook` is set as the value to the `execute` key, then the `function` key is not required. 4. For the `data` key, set any value that needs to be passed to the button click function. > **Note : ** A maximum of three buttons can be configured for an action using the `button` card.
-------------------------------------------------------------------------------- title: "Execution Function" description: "Learn about Deluge functions and use them to code the business logic of your ConvoKraft bot." last_updated: "2026-08-17T12:16:04.000Z" source: "https://docs.catalyst.zoho.com/en/convokraft/help/actions/bot-logic/deluge-functions/execution-function/" service: "ConvoKraft" -------------------------------------------------------------------------------- # Execution Function # Introduction The Execution function is the endpoint of an action execution. It defines the fulfillment of an action. This handles the actual execution of the action and gives a final success or failure message to the user, after the completion of an action. The response to the user can either be text or visual elements such as a collection of cards. ### Invocation Point The Execution function is invoked at the endpoint of an action. By default, the endpoint of an action comes after all the param values are prompted and are filled with proper values. Alternatively, the endpoint can also be triggered from the [context handler function](https://docs.catalyst.zoho.com/en/convokraft/help/actions/bot-logic/deluge-functions/context-handler-function) `(“todo” : “execute”)`. After the execution function is invoked, the action is completed and any further conversation from the user will be considered as a new action. # Input Arguments The [system defined input arguments](https://docs.catalyst.zoho.com/en/convokraft/help/actions/bot-logic/deluge-functions/defining-deluge-functions/#system-defined-input-arguments) are only available as input arguments of the Execution function. ### Return Values The execution function returns a map in the following format: ```javascript { “message” : “The reply message.”, “card” : { }, "broadcast" : { }, "followup" : { } } ``` The keys present in the map returned by the execution function are explained below : ### message This gives a text message as a reply to the user and this key is mandatory. The following text formatting options are supported by ConvoKraft. Any of these options can be used in the text message.
Formatting option Syntax
`Bold` *text*
`Italic` _text_
`Underline` __text__
`Strikethrough` ~text~
`Link` [label](URL_link)
`Highlight` `text`
`Heading` h1 - #Heading h2 - ##Heading h3 - ###Heading h4 - ####Heading h5 - #####Heading
`Bullet list` * first_item \n * second_item \n * third_item
`Numbered list` 1. first_item \n 2. second_item \n 3. third_item
`Image` ![alternate_text](image_URL)
`Blockquote` !text
`Table` | header1 | header2 | header3 | \n |------------|------------|------------| \n | value1 | value2 | value3 | \n | value1 | value2 | value3 |
The following is a sample value of the message argument : ```javascript message : "Your event has been created successfully" ``` ### card This gives a visually formatted message as a reply to the user. A `card` is a collection of visual elements such as tables, images, and more. The value of this key is a list of map objects. Each map object represents an UI element in the card. A single card may contain more than one element of the same type. Every element in the card will be displayed one below the other in the reply message and this key is optional. To learn more about the list of UI elements that are supported in ConvoKraft's reply message `card`, please refer to [this page](https://docs.catalyst.zoho.com/en/convokraft/help/actions/bot-logic/deluge-functions/deluge-object-reference/#card). The following is a sample value of the `card` argument : ```javascript "card" : { "type" : "note", "content" : "Your event details are displayed below" { "type" : "image", "image" : "event_details.png" } //add map objects } ``` ### broadcast This will pass any data that the bot must remember after executing the current action. The value should be in map format and it would be available for all consecutive actions throughout the session. This key is optional. You can learn more about broadcast from [this page](https://docs.catalyst.zoho.com/en/convokraft/help/actions/bot-logic/deluge-functions/deluge-object-reference/#broadcast). The following is a sample value of the `broadcast` argument. ```javascript "broadcast" : { "user_level" : "admin", "status" : "booked" } ``` ### followup You can configure if the bot should display a list of suggestions or prompt the user to invoke any particular action as a followup, after completing the current action's execution. This key is optional. Learn more about Action Followups and the structure of this key's value from [this page](https://docs.catalyst.zoho.com/en/convokraft/help/actions/action-followups). The following is a sample value of the `card` argument : ```javascript "followup":{ "suggestions":[ { "message":"Would you like to set a reminder for this event", "action":{ "name":"schedule remainder", "params":[ { "name":"event time", "value":"11:00 am" } //add other params as necessary ] } } ``` ### Implementation Once you [create an action](https://docs.catalyst.zoho.com/en/convokraft/help/actions/create-an-action) for your ConvoKraft bot and choose to configure the response based on a business logic, you must define the sample sentences and respective params for it. Please make sure to follow the below listed steps to implement the Execution function : 1. After you configure and save the required [sample sentences](https://docs.catalyst.zoho.com/en/convokraft/help/actions/define-sample-sentences/) and [params](https://docs.catalyst.zoho.com/en/convokraft/help/actions/define-params/) for an action, the Action's details page will be displayed. Switch to Functions tab and click **Edit Function** in the **Execution function** section. ![edit-function-execution](https://catalyst-docs-development.zohostratus.in/images/help/convokraft/edit-function-execution.webp) 2. The ConvoKraft Deluge editor will be opened where you can code your business logic and save the script. Learn more about the Deluge editor from [this page](https://docs.catalyst.zoho.com/en/convokraft/help/actions/bot-logic/deluge-functions/defining-deluge-functions/#overview-of-the-code-editor). You can test the changes parallely using [Test this bot](https://docs.catalyst.zoho.com/en/convokraft/help/manage-a-bot/test-a-bot/) feature. ![execution-function-page](https://catalyst-docs-development.zohostratus.in/images/help/convokraft/execution-function-page.webp) -------------------------------------------------------------------------------- title: "Context Handler Function" description: "Learn about Deluge functions and use them to code the business logic of your ConvoKraft bot." last_updated: "2026-08-28T06:26:16.000Z" source: "https://docs.catalyst.zoho.com/en/convokraft/help/actions/bot-logic/deluge-functions/context-handler-function/" service: "ConvoKraft" -------------------------------------------------------------------------------- # Context handler function # Introduction The Context handler function is used to control the conversational flow of an action. You can change the order in which the params are prompted to the users in runtime. You can also skip some params, do custom validations of the param values, and also ask for a confirmation before action execution in the runtime. The Context handler function can override the order in which the static params are defined. If the context handler function is enabled, the bot will prompt the parameters in the order as dictated by the context handler function and not by the order you have declared while defining the params in the Catalyst console. > **Note:** The Context Handler function can be used only if you have chosen the development platform of your ConvoKraft bot to be `[Deluge](https://docs.catalyst.zoho.com/en/convokraft/help/actions/bot-logic/deluge-functions/defining-deluge-functions/). ` ### Invocation Point Once ConvoKraft detects the action of the user input, the possible param values that are present in the user input will be detected, then the bot will prompt the first missing param to the user. When a user replies to the param prompt, ConvoKraft will invoke the context handler function. The context handler function is invoked for every param that is prompted in the conversation. If an action doesn’t have any params, the context handler function will be executed once before the execution function. ### Input Arguments In addition to the [system defined](https://docs.catalyst.zoho.com/en/convokraft/help/actions/bot-logic/deluge-functions/defining-deluge-functions/#system-defined-input-arguments) input arguments, the following input arguments are also available for the Context handler function :
Argument Deluge data type Description
`userInput` String Latest reply from the user
`previousParam` Map The param that is last prompted to the user. The latest reply of the user is a value to this param.
### Return Value The Context handler function returns a map in the following format : ```javascript { "todo":"prompt", "prompt":{ "param_name":"<name of the param to be prompted>", "prompt_msg":"<the text to be displayed as a prompt message>", "validation_failure_message":"<the text to be displayed if the user submits invalid input>", "options":[ ], "buttons":[ ], "fields":[ ], }, "confirm":{ "message":"Are you sure you want to cancel?" }, "assign":{ "clientData":{ "<key1>":"<value1>", "<key2>":"<value2>" //add the client data as necessary } } } ``` As depicted above, the following keys can be present in the map returned from the Context handler function : ### todo This key is used to indicate what a Convokraft bot should do after the execution of the context handler function. It can only take one of the following values. Also, please note that this key is mandatory. * **prompt** : Instructs the bot to prompt a param to the user. * **confirm** : Instructs the bot to ask for a final confirmation for invoking the Execution function of the action. * **execute** : Instructs ConvoKraft to invoke the Execution function. ### prompt This key contains a map that specifies what param is to be prompted to the user and is used only if `todo` is set as `prompt`. If this key is not provided even if `todo` is set as `prompt`, the bot will prompt the next param as per the order of the params defined in the console. Thus this key can be skipped if we have to use the default order of the params definition. The map value of this key contains the following attributes : 1. **param_name** : The name of the param to be prompted. The param name must be one of the existing params defined in the console. 2. **prompt_msg** : This can be used to override the prompt message of the param defined while creating the param in the Catalyst console. **validation_failure_message**- The custom message to be displayed if the input given by the user is invalid for the prompted param. This key is optional. 3. **options** : The list of options of the single and multiple selection list params, from which the user can make a choice. * **id** : The unique ID of the option. * **label** : The text to be displayed as the option's label. * **preview** : The additional information to be displayed for options in the single and multiple selection list params. Option previews will be available only when the input mode of the single and multiple selection list params is `Visual`. The preview key is optional. * **header** : The header lists the properties of the single and multiple selection list param options. The header object should contain the following attributes in the below format : ```javascript { "id":"<the unique id for the option>", "label":"<the text to be displayed as the options label>", "preview":{ "header":{ "title":"<the text to be displayed as the option previews title>", "description":"<the text to be displayed as the option previews description>", "subheading":"<the text to be displayed as the subheading to the options preview>", "image":{ "url":"<the url of the preview image>" } } } } ``` If the `header` object is configured with these appropriate attributes for the options, then the preview will be displayed when the user clicks the info icon on each option. ![info-icon](https://catalyst-docs-development.zohostratus.in/images/help/convokraft/info-icon.webp) When you click on the info icon, the configured image, name and URL would be displayed. * **fields** : The fields object lists the additional properties about the options. The `fields` object must contain the following attributes in the below format. This is mandatory only if the preview is configured. ```javascript [ { "label":"<the text to be displayed as the field name>", "value":"<the text to be displayed as the field value>" } ] ``` > **Note:** A maximum of seven fields can be configured for an option. The key elements of the `preview` key are, `header` and `fields`. If the `fields` object is configured along with `preview` key, then the appropriate previews will be displayed when the user hovers on the respective options and there will be no info icon displayed in this case. 4. **buttons** : Buttons are used to configure the operations to be performed on the options defined in the single and multiple selection list params. The `buttons` key should contain the following attributes in the below format. ```javascript [ { "id":"the unique id for the button", "label":"the text to be displayed as the button's label", "theme":"<positive | neutral | negative>" } ] ``` > **Note : ** Single and Multiple selection list params can have up to 3 buttons. ### confirm This contains a Map that specifies the confirmation message for action execution that should be prompted to the user. It is mandatory only if `todo` is set as `confirm`. The map value can contain only the below listed key : * **message** : The confirmation message that should be prompted to the user. ### assign The value of the assign key is of type Map. This can be used to change the values of all the static params and the system defined arguments in runtime. * **clientData** : Used to update the client data values based on the session data in runtime. ### Implementation Once you [create an action](https://docs.catalyst.zoho.com/en/convokraft/help/actions/create-an-action) for your ConvoKraft bot and choose to configure the response based on a business logic, you must define the sample sentences and respective params for it. Please make sure to follow the below listed steps to implement the Context handler function : 1. After you configure and save the required [sample sentences](https://docs.catalyst.zoho.com/en/convokraft/help/actions/define-sample-sentences/) and [params](https://docs.catalyst.zoho.com/en/convokraft/help/actions/define-params/) for an action, the Action's details page will be displayed. Switch to Functions tab and enable the `Context Handler function`. ![enable-context-handler](https://catalyst-docs-development.zohostratus.in/images/help/convokraft/enable-context-handler.webp) 2. You will be prompted with below message, Click OK to proceed. ![enable-popup](https://catalyst-docs-development.zohostratus.in/images/help/convokraft/enable-popup.webp) 3. The ConvoKraft Deluge editor will be opened where you can code your business logic and save the script. Learn more about the Deluge editor from [this page](https://docs.catalyst.zoho.com/en/convokraft/help/actions/bot-logic/deluge-functions/defining-deluge-functions/#overview-of-the-code-editor). You can test the changes parallely using [Test this bot](https://docs.catalyst.zoho.com/en/convokraft/help/manage-a-bot/test-a-bot/) feature. ![edit-context-handler](https://catalyst-docs-development.zohostratus.in/images/help/convokraft/edit-context-handler.webp) -------------------------------------------------------------------------------- title: "Button Click Function" description: "Learn about Deluge functions and use them to code the business logic of your ConvoKraft bot." last_updated: "2026-08-28T06:26:16.000Z" source: "https://docs.catalyst.zoho.com/en/convokraft/help/actions/bot-logic/deluge-functions/button-click-function/" service: "ConvoKraft" -------------------------------------------------------------------------------- # Button Click Functions # Introduction ConvoKraft allows you to configure custom buttons in the responses while interacting with the user alongside the default Submit button. When you define [Single/Multi selection list](https://docs.catalyst.zoho.com/en/convokraft/help/actions/define-params/#single-and-multiple-selection-list) params for an action, if you need to perform further custom operations using the selected options as input, you can code the logic in Button click functions. These buttons can be created by defining the [`button`](https://docs.catalyst.zoho.com/en/convokraft/help/actions/bot-logic/deluge-functions/deluge-object-reference/#card) card in the [Execution function](https://docs.catalyst.zoho.com/en/convokraft/help/actions/bot-logic/deluge-functions/execution-function). > **Note:** 1. The Button Click Function can be used only if you have chosen the development platform of your ConvoKraft bot to be `[Deluge](https://docs.catalyst.zoho.com/en/convokraft/help/actions/bot-logic/deluge-functions/defining-deluge-functions/).` 2. You can configure a maximum of three Button Click functions for an action. ### Invocation Point Once the custom buttons configured in the Execution Handler response is clicked, the corresponding Button Click function configured for that button would be invoked. ### Input Arguments In addition to the [system defined input arguments](https://docs.catalyst.zoho.com/en/convokraft/help/actions/bot-logic/deluge-functions/defining-deluge-functions/#system-defined-input-arguments), the below listed input argument is also available for the Button Click Function :
Argument Deluge data type Description
`data` Map The value set to the `data` key for the `button` card in the [Execution function](https://docs.catalyst.zoho.com/en/convokraft/help/actions/bot-logic/deluge-functions/execution-function)
### Return Value Button click function returns a map in the following format : ```json { “message” : “The reply message.”, “card” : { }, "broadcast" : { }, "followup" : { } } ``` To learn more about the keys returned by the Button Click Function, please refer to [this page](https://docs.catalyst.zoho.com/en/convokraft/help/actions/bot-logic/deluge-functions/execution-function/#return-values). ### Implementation Once you [create an action](https://docs.catalyst.zoho.com/en/convokraft/help/actions/create-an-action) for your ConvoKraft bot and choose to configure the response based on a business logic, you must define the sample sentences and respective params for it. Please make sure to follow the below listed steps to implement the Button Click function : 1. When you create an action, you will need to configure the required [sample sentences](https://docs.catalyst.zoho.com/en/convokraft/help/actions/define-sample-sentences/) and [params](https://docs.catalyst.zoho.com/en/convokraft/help/actions/define-params/) for it. Click on `New param` and select `Single/Multi selection list`. ![choose-params](https://catalyst-docs-development.zohostratus.in/images/help/convokraft/choose-params.webp) 2. In the param dialog box, under Submission Buttons, click `Add Button` to create a new custom button. ![submission-buttons](https://catalyst-docs-development.zohostratus.in/images/help/convokraft/submission-buttons.webp) 3. Provide a meaningful action name for your button as `Label` and define a name that has to referenced in your Execution function for this custom button as `Id`. ![configure-buttons](https://catalyst-docs-development.zohostratus.in/images/help/convokraft/configure-buttons.webp) 4. When you save the changes made to the sample sentences and params, you will be able to view the Functions tab. Under Button Click Functions, the custom button you have created will appear. Click on `Edit Function` to code the business logic of the button invocation. You could also create new functions by clicking on `Add Function.` ![enable-button-function](https://catalyst-docs-development.zohostratus.in/images/help/convokraft/enable-button-function.webp) 5. Start writing your logic in the ConvoKraft Deluge editor and save the script once done. The editor also allows you to switch between functions right away. Click on the `Test this Bot` button to interact with the bot and validate the changes you made. ![edit-button-function](https://catalyst-docs-development.zohostratus.in/images/help/convokraft/edit-button-function.webp) To learn more about the elements and usage of ConvoKraft editor, please refer to [this page](https://www.zoho.com/deluge/help/deluge-editor.html). #### Overview -------------------------------------------------------------------------------- title: "Introduction" description: "Learn about the Catalyst ConvoKraft actions that bots can perform, such as directly responding to queries, or executing a business logic." last_updated: "2026-11-04T10:10:44.000Z" source: "https://docs.catalyst.zoho.com/en/convokraft/help/actions/overview/introduction/" service: "ConvoKraft" -------------------------------------------------------------------------------- # Actions - Introduction ### Overview An action is a single ability or a task that the bot performs when you give an instruction as a part of your conversation. For example, you can ask the bot to fetch your appointments for the day or ask it to schedule a meeting in your calendar. To complete an action, the bot can prompt a few questions that are necessary to fulfil the action. For example, the conversation of a typical schedule meeting action looks like: **User** : Schedule a meeting to discuss about the Zylker deal by 11 AM tomorrow. **ConvoKraft Bot** : Sure, when would the meeting get over? **User** : By 12 PM. **ConvoKraft Bot** : Where is the meeting happening? **User** : At the headquarters. **ConvoKraft Bot** : Okay, I have added the meeting to your calendar. Hence, an action is not necessarily a single message exchange between the user and the bot. It can have multiple messages exchanged between the user and the bot to achieve a single task. In the above mentioned example, the bot would schedule a meeting by executing the configured business logic. ### Types of Actions Based on the intention, actions can be classified into two types : #### Directly answer a question These actions give a direct answer to a static question asked without performing any operation or executing a business logic. They would typically get over with a single conversational exchange and they will be universal, such that their answers would be the same across users, time zones, regions or any parameters. **Example Question : What is ConvoKraft?** The response to this question would be straightforward and the same to any user asking the question, without involving any specific business logic. You can configure these actions by defining relevant [sample sentences](https://docs.catalyst.zoho.com/en/convokraft/help/actions/define-sample-sentences) for the actions and the answers to specific questions. When the user interacts with the ConvoKraft bot, the bot would look for these configured actions and if there is a match with the user's query, it would respond with the direct configured answer. #### Execute a business logic These actions will instruct the bot to dynamically construct the answer for the user input by fetching relevant data from the specified data sources. This involves executing business logic specific to the action, and the answer may vary based on the data and the logic executed. The business logic execution can involve performing specified operations, typically to fetch, add, modify, or delete some data in a particular data source. The conversation may also extend to multiple messages to gather more inputs, depending on the complexity of the business logic. You can configure these actions by defining applicable [sample sentences](https://docs.catalyst.zoho.com/en/convokraft/help/actions/define-sample-sentences) and the relevant [params](https://docs.catalyst.zoho.com/en/convokraft/help/actions/define-params) for the actions of your ConvoKraft bot. **Example Questions :** 1. **What is in my schedule today?** To answer this question, the bot would fetch data from your calendar and would construct its answer depending on the data being fetched. 2. **Schedule a meeting** To schedule a meeting, the bot would prompt and get the relevant input data from the user and would create an event in your calendar. ### Action execution flow 1. Whenever a bot receives a user input, ConvoKraft tries to understand it to detect the intention of the user input. When you [train a bot](https://docs.catalyst.zoho.com/en/convokraft/help/manage-a-bot/train-a-bot), the configured actions will be used by ConvoKraft to form new NLP models and enhance the existing models that help boost the intellectual ability of the bot to comprehend the intention of every action. 2. The bot would look for the configured sample sentences defined for the action. If the intention of the user input matches with any of the intentions of the configured actions, then the bot might prompt the user for more information to associate values for the params that are required to fulfil that action through a business logic, or might provide a direct response in the form of a conversation. 3. If the user asks to perform a task which doesn't have a match with any of the actions of the bot, then it would respond based on the logic configured in the [Fallback message handler](https://docs.catalyst.zoho.com/en/convokraft/help/handlers/fallback-handler) function. 4. Based on the configured business logic, ConvoKraft will either invoke the [Webhook URL](https://docs.catalyst.zoho.com/en/convokraft/help/actions/bot-logic/webhooks), the [Deluge Function](https://docs.catalyst.zoho.com/en/convokraft/help/actions/bot-logic/deluge-functions/defining-deluge-functions), or the [Catalyst Integration Function](https://docs.catalyst.zoho.com/en/convokraft/help/actions/bot-logic/catalyst-integration-functions) associated with the particular action, which in turn will execute the logic. 5. Finally, the response to the action is sent as a reply to the user in the ConvoKraft bot conversationally. -------------------------------------------------------------------------------- title: "Action Models" description: "Learn about the Catalyst ConvoKraft actions that bots can perform, such as directly responding to queries, or executing a business logic." last_updated: "2026-11-04T10:10:44.000Z" source: "https://docs.catalyst.zoho.com/en/convokraft/help/actions/overview/models/" service: "ConvoKraft" -------------------------------------------------------------------------------- # Action Models A ConvoKraft bot can be configured to perform actions while conversing with the user. An action of a bot is characterized by its [sample sentences](https://docs.catalyst.zoho.com/en/convokraft/help/actions/define-sample-sentences), [params](https://docs.catalyst.zoho.com/en/convokraft/help/actions/define-params), and [bot logic](https://docs.catalyst.zoho.com/en/convokraft/help/actions/overview/models/#bot-logic). The actions configured to respond with a direct answer is defined with its relevant sample sentences. On the other hand, the actions that execute bot logic, may require user inputs for performing certain operations, which requires you to set params for the actions along with the sample sentences. ### Sample sentences Sample sentences are the example invocations that end users would say to invoke a particular action in their conversational language. These sample sentences help to enhance ConvoKraft's intelligence in understanding a user input better. Listed below are a few typical sample sentences that can be configured to create an event : * **"Create an event"** * **"Schedule a meeting"** Practically, users would speak out data as part of invoking instructions, so sample sentences may also include certain param values. As in the examples below, a user may mention the event title, start time, and end time as a part of their initial invoking sentence while trying to schedule an event. * **"Create an event from 5 PM to 6 PM to discuss about the Zylker deal."** * **"Schedule a meeting with John at 5 PM."** If the invoking sentence does not contain all the required params, the bot will prompt the user for those required param values. The sample sentences define the intention of a particular action, and the params define the entities that would be required to fulfil that action. Thus, the data model of any ConvoKraft action is attained using the combination of sample sentences and params. To learn more about sample sentences and their significance in action configuration, refer to [this page](https://docs.catalyst.zoho.com/en/convokraft/help/actions/define-sample-sentences). ### Params Params are the input data required to fulfil or execute an action. For example, the params of an action configured to create an event in your calendar would typically be the event title, start time, end time, event venue, and more. To learn more about params and their types, [refer here](https://docs.catalyst.zoho.com/en/convokraft/help/actions/define-params/#attributes-of-a-param). ### Bot logic The conversational flow and execution of an action depends upon the business logic (or bot logic) defined for it. ConvoKraft supports the following development platforms to define the bot logic of an action : * [Catalyst Functions](https://docs.catalyst.zoho.com/en/convokraft/help/actions/bot-logic/catalyst-integration-functions) * [Deluge Functions](https://docs.catalyst.zoho.com/en/convokraft/help/actions/bot-logic/deluge-functions/defining-deluge-functions) * [Webhooks](https://docs.catalyst.zoho.com/en/convokraft/help/actions/bot-logic/webhooks) All the declared params of an action are passed to the business logic to execute the action. In addition to the declared params, other environmental data (such as details about the user or the client application) that would be needed to execute the business logic will also be passed as input arguments to these functions. 1. **Catalyst Functions** Catalyst Functions are custom-built coding structures which contains the intense business logic of your Catalyst application. Catalyst Integration functions allow you to code and use a Catalyst function as a backend of other Catalyst or Zoho services and establish an integration with them. When you invoke the action in ConvoKraft, it would automatically invoke the configured integration function through a HTTP call. While using Catalyst Functions, your business logic can be defined in the following programming environments: * **[Java](https://docs.catalyst.zoho.com/en/sdk/java/v1/overview)** * **[Node.js](https://docs.catalyst.zoho.com/en/sdk/nodejs/v2/overview)** * **[Python](https://docs.catalyst.zoho.com/en/sdk/python/v1/overview)** You can [create a Catalyst Function](https://docs.catalyst.zoho.com/en/serverless/help/functions/implementation/) by navigating to the Serverless service in your console or even use the [Catalyst CLI](https://docs.catalyst.zoho.com/en/cli/v1/working-with-functions/set-up-functions/) to create and code your functions from the local environment. Catalyst functions are highly scalable and efficient. The server infrastructure upon which the functions are hosted is entirely handled by Catalyst eliminating the need for you to manage the backend and enabling you only to work on developing the business logic. In addition to providing powerful backends for your applications, Catalyst functions are robust and reliable in nature, providing a seamless integration with ConvoKraft. To learn more about using Catalyst functions to define the business logic of your ConvoKraft actions, [refer here](https://docs.catalyst.zoho.com/en/convokraft/help/actions/bot-logic/catalyst-integration-functions). 2. **Deluge Functions** [Deluge](https://www.zoho.com/deluge/help/) is the native online scripting language of the Zoho cloud environment. It has a user-friendly syntax allowing seamless integration between two Zoho services, or with a third party service. The business logic of the ConvoKraft actions must be written in Deluge through the following pre-defined function templates: * [**Execution**](https://docs.catalyst.zoho.com/en/convokraft/help/actions/bot-logic/deluge-functions/execution-function) (mandatory) : This is the core function involved in execution of all the actions of a ConvoKraft bot. * [**Context Handler**](https://docs.catalyst.zoho.com/en/convokraft/help/actions/bot-logic/deluge-functions/context-handler-function) (optional) : This function is invoked for every user input during an action. It can be used to change the order of params in the conversational flow, skip them if required, or even perform custom validations. * [**Button Click**](https://docs.catalyst.zoho.com/en/convokraft/help/actions/bot-logic/deluge-functions/button-click-function) (optional) : This function can be used while defining a [button card's](https://docs.catalyst.zoho.com/en/convokraft/help/actions/bot-logic/deluge-functions/deluge-object-reference/#card) business logic. This is a part of the execution function type that focuses on the implementation of custom buttons. These functions are hosted in the Zoho cloud and will be executed at their respective invocation points during an action execution. Similar to Catalyst functions, Deluge functions are also highly efficient, and their hosting and maintenance are fully handled by Zoho. You can learn more about using Deluge functions to define the business logic of your ConvoKraft actions [here](https://docs.catalyst.zoho.com/en/convokraft/help/actions/bot-logic/deluge-functions/defining-deluge-functions/). 3. **Webhooks** In the case of webhooks, you can code the backend logic in an external platform and invoke it through the webhooks configured within ConvoKraft. The business logic of the actions must be built, managed, and hosted externally in a publicly hosted server that is accessible to ConvoKraft. You will be required to use REST APIs to access the logic from the bots you build. The configured Webhook URL will be invoked by ConvoKraft at the appropriate invocation points during the action execution. While using webhooks, your business logic can be defined in any convenient programming language of your choice. But on the contrary to Deluge and Catalyst functions, when using webhooks, you will have to manage the infrastructure setup and configuration completely from your end. Learn more about using webhooks to define the business logic of your ConvoKraft actions from [this page](https://docs.catalyst.zoho.com/en/convokraft/help/actions/bot-logic/webhooks). ### Bots -------------------------------------------------------------------------------- title: "Introduction" description: "Learn about the Catalyst ConvoKraft bots that provide conversation assistance to your application's end users." last_updated: "2026-08-28T06:26:16.000Z" source: "https://docs.catalyst.zoho.com/en/convokraft/help/bots/introduction/" service: "ConvoKraft" -------------------------------------------------------------------------------- # Bots - Introduction ### Overview ConvoKraft bots are the conversational assistants you build to serve as the conversational interface of your Catalyst application. Technically, bots are instances you create in the ConvoKraft service, intact with their Natural Language Understanding (NLU) and conversational abilities. You can create a bot for your Catalyst application from the [Catalyst console](https://console.catalyst.zoho.com/baas/index). You will need to configure the set of tasks to be performed by your bot as [actions](https://docs.catalyst.zoho.com/en/convokraft/help/actions/overview/introduction). A ConvoKraft bot can be configured to perform actions while conversing with the user. The responses of each action can be based on your application's specific needs. Each action can be configured to respond either with a direct answer or execute a business logic in your application. You can choose to develop the business logic of your ConvoKraft bots using any one of the following platforms: * **Catalyst Integration Functions**: [Catalyst Serverless Integration Functions](https://docs.catalyst.zoho.com/en/convokraft/help/actions/bot-logic/catalyst-integration-functions) are custom-built coding structures, which is hosted in Catalyst servers. Refer [here](https://docs.catalyst.zoho.com/en/serverless/help/functions/integration-functions/) to learn more about Catalyst Integration functions. * **Deluge**: [Deluge](https://docs.catalyst.zoho.com/en/convokraft/help/actions/bot-logic/deluge-functions/defining-deluge-functions) is Zoho's native online scripting language, which is hosted in Zoho's cloud environment. Refer [here](https://www.zoho.com/deluge/help/) to learn more about Deluge. * **Webhooks**: [Webhooks](https://docs.catalyst.zoho.com/en/convokraft/help/actions/bot-logic/webhooks) are call-back functions that can be used to access your custom server endpoints when specific actions are invoked by the bot. You can also choose to secure your Webhook URLs, if required. You can create multiple ConvoKraft bots for your application, as per your requirements. After configuring the required actions for the ConvoKraft bot, it will be able to respond to conversations using its native conversational abilities, and perform required tasks based on its understanding of the configured actions. ### Abilities of a ConvoKraft bot A Catalyst ConvoKraft bot has the following in-built abilities by default: * **Intent parsing**: Understanding the intention of a sentence to perform the required action. * **Context maintenance**: Understanding the relation between a sentence and its previous or next sentence. * **Entity extraction**: Extracting information as programmable data from a conversational sentence. These native abilities complement the custom abilities or [actions](https://docs.catalyst.zoho.com/en/convokraft/help/actions/overview/introduction) in every bot built using the ConvoKraft service. ### Workflow of a ConvoKraft bot After you [create a Convokraft bot](https://docs.catalyst.zoho.com/en/convokraft/help/bots/create-a-bot), you will need to configure the required actions for it based on the different usecases of your application. Then the bot can respond to all user messages related to that particular action. When an input message is received, ConvoKraft will compare the input message with the sample invocations of the configured actions of the bot. If the message doesn't seem to match with any of the configured actions, the bot will respond that it cannot understand the message. If ConvoKraft was able to match the input message with a pre-configured action of the bot, it will prompt for user data required to fulfil that action as an input, in a conversational way. For example, if you are trying to book an event, the bot may prompt questions to get the details, such as the name of the event, start time, end time, and location. After all the required data is fetched as input, ConvoKraft will execute the business logic defined for that action or respond with a direct answer, depending on the response configured for that action. -------------------------------------------------------------------------------- title: "Create a Bot" description: "Learn about the Catalyst ConvoKraft bots that provide conversation assistance to your application's end users." last_updated: "2026-08-28T06:26:16.000Z" source: "https://docs.catalyst.zoho.com/en/convokraft/help/bots/create-a-bot/" service: "ConvoKraft" -------------------------------------------------------------------------------- # Create a Bot The first step in working with the ConvoKraft service is creating a bot. You can create a bot and add appropriate [actions](https://docs.catalyst.zoho.com/en/convokraft/help/actions/create-an-action) to it from the Catalyst console. Please follow the below steps to create a new ConvoKraft bot. 1. Click the **ConvoKraft icon** in the left navigation pane of the [Catalyst console](https://console.catalyst.zoho.com/baas/index) in your project and navigate to the service. This will open the *Bots* page. ![create-new-bot](https://catalyst-docs-development.zohostratus.in/images/help/convokraft/create-new-bot.webp) 2. Click **Create New Bot**. 3. In the pop-up, provide a name for the bot. You can also add a short description and an icon for the bot, optionally. ![new-bot-popup](https://catalyst-docs-development.zohostratus.in/images/help/convokraft/new-bot-popup.webp) 4. Click **Save**. Upon the successful creation of the bot, you will be redirected to the Bot's details page. You can further edit the bot or add actions for the bot from this page. Now, you will need to choose one of the following development platforms to build your business logic: [Catalyst Integration Functions](https://docs.catalyst.zoho.com/en/convokraft/help/actions/bot-logic/catalyst-integration-functions), [Webhooks](https://docs.catalyst.zoho.com/en/convokraft/help/actions/bot-logic/webhooks), or [Deluge](https://docs.catalyst.zoho.com/en/convokraft/help/actions/bot-logic/deluge-functions/defining-deluge-functions). ![bot-details-page](https://catalyst-docs-development.zohostratus.in/images/help/convokraft/bot-details-page.webp) * If you choose to code your business logic using Catalyst Integration functions, then select **Function** and associate the required Catalyst Function with the ConvoKraft bot from the drop-down list. All functions of the type **Bot Logic** present in your project will be listed here. You can also choose to invoke the function at the end of an action or right after every message exchange in the conversation. You can learn more about using Catalyst Integration functions, from [this page](https://docs.catalyst.zoho.com/en/convokraft/help/actions/bot-logic/catalyst-integration-functions). ![choose-catalyst](https://catalyst-docs-development.zohostratus.in/images/help/convokraft/choose-catalyst.webp) > **Note:** You will need to create and configure the Catalyst Integration function for your bot beforehand. You can then associate the bot with the function. * If you choose to code your business logic independently and host it in any external public server that is accessible by ConvoKraft, then select **Webhook**. Please make sure you plug in the valid URL of the endpoints of your server. Similar to Catalyst Integration functions, you can choose to invoke the webhook at the end of every action or after every message in the bot conversation. You can also choose to secure your webhook calls, if required. To know more about the usage of webhooks in detail, please refer to [this page](https://docs.catalyst.zoho.com/en/convokraft/help/actions/bot-logic/webhooks/). ![choose-webhooks](https://catalyst-docs-development.zohostratus.in/images/help/convokraft/choose-webhooks.webp) * If you choose to code your business logic in [Deluge](https://www.zoho.com/deluge/help/), select **Deluge**. You will be provided with an in-built code editor in the console to code your Deluge functions. To learn more about the usage of Deluge functions and the editor, please refer to [this page](https://docs.catalyst.zoho.com/en/convokraft/help/actions/bot-logic/deluge-functions/defining-deluge-functions). After you make a selection, click **Save**. After the ConvoKraft bot is created, you can configure the actions that the bot needs to perform. ### Handlers -------------------------------------------------------------------------------- title: "Welcome Message Handler" description: "Learn about the Welcome message handlers that allows you to configure the greeting responses of your ConvoKraft bot." last_updated: "2025-10-09T16:24:26.000Z" source: "https://docs.catalyst.zoho.com/en/convokraft/help/handlers/welcome-message-handler/" service: "ConvoKraft" -------------------------------------------------------------------------------- # Welcome Message Handler # Introduction When a ConvoKraft bot is opened by the user for a fresh chat session, the bot will reply with a welcome message. If you wish to customize this default response message to give a reply of your own, you can configure it in the Welcome Message handler function. The Welcome message handler function returns a map whose structure is similar to the [return map](https://docs.catalyst.zoho.com/en/convokraft/help/actions/bot-logic/deluge-functions/execution-function/#return-values) of an Execution function. > **Note :** If the chosen development platform of your ConvoKraft bot is either **Catalyst functions** or **Webhooks**, you can enable the handler from the console and define the logic of your handler functions either in the Integration Function or in the codebase associated with the configured webhook URL respectively. To learn more about defining handler functions in Deluge, please refer to [this page](https://docs.catalyst.zoho.com/en/convokraft/help/handlers/code-deluge-handlers). If you have chosen your development platform to be Functions, you can use the below listed sample codes for the Java, Node.js and Python stacks : ### Java ```java import org.json.JSONObject; import java.io.*; import java.util.logging.Logger; public class WelcomeHandler { Logger LOGGER = Logger.getLogger(WelcomeHandler.class.getName()); public JSONObject handleWelcomeRequest(JSONObject reqBody) throws Exception{ LOGGER.info("Welcome Handler: : TODO : "+ reqBody.get("todo")); JSONObject welcomeResponse = new JSONObject(); welcomeResponse.put("message", "Welcome to your Bot. Please ask your queries"); JSONObject jsonResponse = new JSONObject(); jsonResponse.put("welcome_response", welcomeResponse); return jsonResponse; } } ``` ### Node.js ```javascript import logger from "./logger.js"; // Handle the welcome functionality export default function handleWelcome() { logger.info('Handling welcome request'); return { "welcome_response": { "message": "Welcome to your Bot. Please ask your queries" } }; } ``` ### Python ```python import logging def handle_welcome_request(): # This is your Welcome message Handler. # You need to write the default Welcome message your want your bot to greet its users. # The way to return welcome message is as follows : # { # 'welcome_response': { # 'message': 'Welcome to your Bot. Please ask your queries' # } # } # Sample code to set the same is available Below. logging.info('Handling welcome request') return { 'welcome_response': { 'message': 'Welcome to your Bot. Please ask your queries' } } ``` -------------------------------------------------------------------------------- title: "Fallback Handler" description: "Learn about the Fallback handlers that allows you to configure the bot responses for scenarios when Convokraft is unable to comprehend user messages." last_updated: "2026-08-28T06:26:16.000Z" source: "https://docs.catalyst.zoho.com/en/convokraft/help/handlers/fallback-handler/" service: "ConvoKraft" -------------------------------------------------------------------------------- # Fallback Handler # Introduction When a bot receives an input message that it can't understand, it will reply with a message configured in the Fallback handler function. If you wish to customize the default response message to give a reply of your own, you can configure the fallback handler function based on your bot's specific needs. In addition to the [system defined input arguments](https://docs.catalyst.zoho.com/en/convokraft/help/actions/bot-logic/deluge-functions/defining-deluge-functions/#system-defined-input-arguments) of an Execution function, the Fallback Handler function includes a custom argument called the `userInput` of String datatype, that stores the latest response from the user in the current chat session. The Fallback handler function returns a map whose structure is similar to the [return map](https://docs.catalyst.zoho.com/en/convokraft/help/actions/bot-logic/deluge-functions/execution-function/#return-values) of an Execution function. > **Note :** 1. If the chosen development platform of your ConvoKraft bot is either **Catalyst functions** or **Webhooks**, you can enable the handler from the console and define the logic of your handler functions either in the Integration function or in the codebase associated with the configured webhook URL respectively. 2. The response status for success scenarios of the fallback handler function should be configured as `handled`. If not, the status will be considered as failure. The return response of the function depends on the logic configured in the fallback function handler. This is applicable to both Catalyst functions and Webhooks. To learn more about defining handler functions in Deluge, please refer to [this page](https://docs.catalyst.zoho.com/en/convokraft/help/handlers/code-deluge-handlers). If you have chosen your development platform to be Functions, you can use the below listed sample codes for the Java, Node.js and Python stacks : ### Java ```java import org.json.JSONObject; import java.io.*; import java.util.logging.Logger; public class FallbackHandler { Logger LOGGER = Logger.getLogger(FallbackHandler.class.getName()); public JSONObject handleFallbackRequest(JSONObject reqBody) throws Exception{ JSONObject jsonResponse = new JSONObject(); LOGGER.info("Fallback Handler : : TODO : "+ reqBody.get("todo")); jsonResponse.put("message", "Fallback Response: Please define this question and try again"); return jsonResponse; } } ``` ### Node.js ```javascript import logger from "./logger.js"; // Handle the fallback functionality export default function handleFallback() { logger.info('Handling fallback request'); return { "message": "Fallback Response: Please define this question and try again" }; } ``` ### Python ```python import logging def handle_fallback_request(): # This is your Fallback Response Handler. # You need to write the Fallback Response when the bot doesnt know what to respond to users. # The way to return fallback message is to be returned is as follows : # { # 'message': 'Fallback Response: Please define this question and try again' # } # Sample code to set the same is available Below. logging.info('Handling fallback request') return { 'message': 'Fallback Response: Please define this question and try again' } ``` -------------------------------------------------------------------------------- title: "Code Deluge Handlers" description: "Learn about coding Deluge handlers using the in-built editor in ConvoKraft." last_updated: "2026-08-17T12:16:04.000Z" source: "https://docs.catalyst.zoho.com/en/convokraft/help/handlers/code-deluge-handlers/" service: "ConvoKraft" -------------------------------------------------------------------------------- # Code Deluge Handlers # Implementation To configure any Deluge handler for your ConvoKraft bot, please follow the steps listed below : 1. After you [create a ConvoKraft bot](https://docs.catalyst.zoho.com/en/convokraft/help/bots/create-a-bot/) and configure the required [actions](https://docs.catalyst.zoho.com/en/convokraft/help/actions/create-an-action/) for it, navigate to the Handlers tab and enable the required handler, which will allow you to edit the handler function further. > **Note :** You will be able to edit the handler function from the console, only if you have chosen the development platform of your ConvoKraft bot to be Deluge. ![failure-handler](https://catalyst-docs-development.zohostratus.in/images/help/convokraft/failure-handler.webp) 2. Once you have enabled the handler function, click Edit Function and you will be redirected to the handler’s function page. ![edit-failure-handler](https://catalyst-docs-development.zohostratus.in/images/help/convokraft/edit-failure-handler.webp) 3. Save the function code and click **DONE** after constructing the response based on your bot’s specific needs. -------------------------------------------------------------------------------- title: "Failure Handler" description: "Learn about the Failure handlers that allows you to configure the bot logic to handle scenarios of exceptions during action execution." last_updated: "2026-10-28T13:19:27.000Z" source: "https://docs.catalyst.zoho.com/en/convokraft/help/handlers/failure-handler/" service: "ConvoKraft" -------------------------------------------------------------------------------- # Failure Handler # Introduction When an exception occurs for the user input message, the bot will reply with a message configured in the Failure handler function. If you wish to customize the default response message to give a reply of your own, you can configure the Failure Handler function based on your bot's specific needs. In addition to the [system defined input arguments](https://docs.catalyst.zoho.com/en/convokraft/help/actions/bot-logic/deluge-functions/defining-deluge-functions/#system-defined-input-arguments) of an execution function, the Failure handler function includes a custom argument called the userInput of String datatype, that stores the latest response from the user in the current chat session. The Failure handler function returns a map whose structure is similar to the [return map](https://docs.catalyst.zoho.com/en/convokraft/help/actions/bot-logic/deluge-functions/execution-function/#return-values) of an Execution function. > **Note :** If the chosen development platform of your ConvoKraft bot is either **Catalyst functions** or **Webhooks**, you can enable the handler from the console and define the logic of your handler functions either in the Integration function or in the codebase associated with the configured webhook URL respectively. To learn more about defining handler functions in Deluge, please refer to [this page](https://docs.catalyst.zoho.com/en/convokraft/help/handlers/code-deluge-handlers). If you have chosen your development platform to be Functions, you can use the below listed sample codes for the Java, Node.js and Python stacks : ### Java ```java import org.json.JSONObject; import java.io.*; import java.util.logging.Logger; public class FailureHandler { Logger LOGGER = Logger.getLogger(FailureHandler.class.getName()); public JSONObject handleFailureRequest(JSONObject reqBody) throws Exception{ JSONObject jsonResponse = new JSONObject(); LOGGER.info("Failure Handler : : TODO : " + reqBody.get("todo")); jsonResponse.put("message", "Failure Response: Please define this question and try again"); return jsonResponse; } } ``` ### Node.js ```javascript import logger from "./logger.js"; // Handle the failure functionality export default function handleFailure() { logger.info('Handling failure request'); return { "message": "Failure Response: Please define this question and try again" }; } ``` ### Python ```python import logging def handle_failure_request(): # This is your Failure Response Handler. # You need to write the Failure Response when the bot Fails during execution of the function. # The way to return Failure message is to be returned is as follows : # { # 'message': 'Sorry, Something went wrong' # } # Sample code to set the same is available Below. logging.info('Handling failure request') return { 'message': 'Failure Response: Please define this question and try again' } ``` ### Manage a bot -------------------------------------------------------------------------------- title: "Train a bot" description: "Learn about the training process of a ConvoKraft bot and the core importance of training them before deployment." last_updated: "2026-08-28T06:26:16.000Z" source: "https://docs.catalyst.zoho.com/en/convokraft/help/manage-a-bot/train-a-bot/" service: "ConvoKraft" -------------------------------------------------------------------------------- # Train the bot After you create or modify the [actions](https://docs.catalyst.zoho.com/en/convokraft/help/actions/overview/introduction) of your ConvoKraft bot in the development environment, you will need to train the bot with the configured operations. When you create an action, you define the [sample sentences](https://docs.catalyst.zoho.com/en/convokraft/help/actions/define-sample-sentences) and the expected responses for them. Now, when the user initiates a conversation with the bot to perform any task, the bot will first make a quick comparison of the user's message and the pre-defined sample sentences. If there is a match with any of the configured actions, then the bot responds with an intended answer. Upon training the bot, it will be able to analyze the common invocation patterns and the configurations being made to the specific actions, then arrive at an NLP logic. This will auto-generate and train the corresponding Natural Language Processing (NLP) models. These models in turn will help the bot to arrive at a correlation between different variations of the same user query, and respond intellectually. By training the bot, you could avoid the time-consuming efforts spent on defining sample sentences for multiple variations of the same user query. After you train your bot, you can instantly test your bot by initiating conversations with respect to the updated configurations. Consider a situation where you define sample sentences for an action that constructs answers by fetching details about an event, such as for queries like **"What is the venue of the event"**, **"When is the event being conducted"** and **"Who are the keynote speakers for the event"**. Now, if a user asks the bot questions like **"Where is the event venue?"** or **"What time is the event?"** in a conversational way, the bot would recognize the intent of these messages and search for any invocation patterns stored in the available NLP models. The bot would associate these questions with the sample sentences you already defined, which contribute to understanding the intent of user input better. This is why it's important for you to train a bot before you deploy it. You can train the bot from the Bot's details page in the console after you configure the actions for it. This will initiate the training process by Catalyst in the background. After the bot has been trained successfully, you will be prompted with a status message. > **Note :** If you encounter any network issue in the middle of the training process, there are possibilities of training failure. In that case, you can train the bot once again, then proceed with its deployment. ![train-a-bot](https://catalyst-docs-development.zohostratus.in/images/help/convokraft/train-a-bot.webp) The bot will be deployed to production, once you deploy your Catalyst project. You can refer to [this page](https://docs.catalyst.zoho.com/en/deployment-and-billing/environments/initial-deployment) for the steps to deploy your project. -------------------------------------------------------------------------------- title: "Test a bot" description: "Learn to test your ConvoKraft bot by interacting with it in a conversational way based on the action configurations of the bot." last_updated: "2026-08-17T12:16:04.000Z" source: "https://docs.catalyst.zoho.com/en/convokraft/help/manage-a-bot/test-a-bot/" service: "ConvoKraft" -------------------------------------------------------------------------------- # Test the bot You can test your Convokraft bot right after training it by simply interacting with it directly from the Catalyst console, in a conversational way with queries related to the latest changes made in the actions. ![train-a-bot](https://catalyst-docs-development.zohostratus.in/images/help/convokraft/test-a-bot.webp) > **Note:** We recommend that you train mandatorily and test the bot in the development environment before you deploy it to production, to avoid any critical issues in the live bot in the production environment. The bot will be deployed to production, once you deploy your Catalyst project. You can refer to [this page](https://docs.catalyst.zoho.com/en/deployment-and-billing/environments/initial-deployment) for the steps to deploy your project. ![chat-window1-updated](https://catalyst-docs-development.zohostratus.in/images/help/convokraft/chat-window1-updated.webp) # Interact with the bot You can interact with any bot built on Catalyst ConvoKraft in conversational English, just like how you speak with or text a fellow human being. The bot understands your natural language and will try to answer your questions or carry out your instructions. Once you open the bot's chat window, the onboarding screen will be displayed with a list of actions that the bot can perform. If the bot does not have a custom onboarding screen configured, then **"Hi, how may I help you?" ** will be shown as a welcome message, when the bot is opened up. You can either choose one from the list or type your custom message in the text box to interact with the ConvoKraft bot. ![chat-window2](https://catalyst-docs-development.zohostratus.in/images/help/convokraft/chat-window2.webp) When you send a message to the bot via the chat window, the bot will respond with a reply. The reply will be an answer to the question asked or the result of the instruction given. In case, if the bot needs more information to answer the question or to perform the operation, it might prompt for some additional information conversationally. For example, if you are trying to book an event, then the bot may prompt questions to get the details, such as the name of the event, the type of event, event days and so on. For certain questions, the bot displays options from which you can select one or many options according to your requirements. After selecting, click the apt button (if available) to proceed with the instruction. If no buttons are displayed, the selected option would be immediately submitted to the bot. For example, for the event day question, the bot may provide you with options like Monday, Tuesday, Wednesday, and so on. * **Single input selection** ![chat-window3](https://catalyst-docs-development.zohostratus.in/images/help/convokraft/chat-window3.webp) * **Multiple input selection** ![chat-window4](https://catalyst-docs-development.zohostratus.in/images/help/convokraft/chat-window4.webp) * **Date picker** ![chat-window5](https://catalyst-docs-development.zohostratus.in/images/help/convokraft/chat-window5.webp) Sometimes the ConvoKraft bot allows you to skip certain questions that are considered optional for processing that instruction. So, if you are not willing to answer a particular question, then click the **Skip giving this input** option. ![chatwindow6](https://catalyst-docs-development.zohostratus.in/images/help/convokraft/chatwindow6.webp) Similarly, if the answer you give is in an invalid format or if the bot is not able to infer meaningful data from your message, then the bot will prompt for the same input repeatedly, until it gets a valid answer. At any point, if you do not wish to continue the current context of the conversation further, you can click the **Start a new conversation** option. This will make the bot drop the current context in the conversation and you can start over the conversation with some other instruction. Upon receiving all the required details, the bot performs the desired operation and displays the final output. The output can be a simple message, table, image, a bulleted list and more based on the configurations being made. You can further continue your conversation with the bot by asking some other questions or giving further instructions. The bot will also display suggestions related to the previous instruction. You can either select one from the suggestions or enter a new message and continue the interaction. Similar to showing suggestions, the bot may also ask a follow-up question, along with the suggestions to proceed with the conversation. You can answer that question by either selecting one from the displayed suggestions or typing the suitable answer as a reply. -------------------------------------------------------------------------------- title: "Deploy a bot" description: "Learn about the deployment process of a ConvoKraft bot after training and testing it in the development environment." last_updated: "2026-08-17T12:16:04.000Z" source: "https://docs.catalyst.zoho.com/en/convokraft/help/manage-a-bot/deploy-a-bot/" service: "ConvoKraft" -------------------------------------------------------------------------------- # Deploy to production Any changes made to the bot or its underlying actions are only saved in ConvoKraft's development environment. These changes will not be instantly available on the bot in production environment. For the live bot to understand the addition of any new actions, removal, or modifications made in the existing actions, the bot has to be deployed to production. This is necessary to ensure that you can make seamless changes on the go to a bot in the development environment, which is already being used by the users in the production environment. To deploy a bot to production, click the **Deploy to Production** button on the Bot's details page. > **Note :** The **Deploy to Production** button will only be active if there are any changes made in any of the underlying actions that you have configured for the bot. ![deploy-to-production-button](https://catalyst-docs-development.zohostratus.in/images/help/convokraft/deploy-to-production-button-updated.webp) Once you click the **Deploy to Production** button, a pop-up window will be displayed with the following sections : * **Choose Actions** : All actions that were modified since the previous deployment will be categorically listed under this section. Select an action to deploy its changes to production. Any changes made in the unselected actions will not be deployed. * **Release Type** : Choose the appropriate release type based on your changes. Your deployment will be given an appropriate version number based on this choice. * **Release Notes** : You can leave meaningful notes about the changes made for your future reference. ![deploy-to-production-popup](https://catalyst-docs-development.zohostratus.in/images/help/convokraft/deploy-to-production-popup.webp) After mentioning all the required values, click the **Deploy** button. Upon successful deployment, any changes made to underlying actions will be reflected in the production bot. You can switch to the Production Environment, by choosing it from the drop-down. ![choose-production](https://catalyst-docs-development.zohostratus.in/images/help/convokraft/choose-production.webp) You can embed the ConvoKraft bot in your web application by navigating to the **Clients** tab in the console, copy the code shown in the screenshot below and paste it in the `index.html` file of your application's source code. ![embed-bot](https://catalyst-docs-development.zohostratus.in/images/help/convokraft/embed-bot.webp) Further, customize the ConvoKraft bot for your specific requirements using the [ConvoKraft JS SDK package](https://docs.catalyst.zoho.com/en/convokraft/sdk/js/customization-of-a-bot/). -------------------------------------------------------------------------------- title: "Usage stats" description: "Learn about the various usage statistics of your ConvoKraft bot that can be viewed in the Catalyst console. " last_updated: "2026-08-17T12:16:04.000Z" source: "https://docs.catalyst.zoho.com/en/convokraft/help/manage-a-bot/usage-stats/" service: "ConvoKraft" -------------------------------------------------------------------------------- # Usage Stats When a bot receives an input message, it either invokes the action as a response or fails to understand the message in the first place. The initiated action may also have been stopped by the user in the middle of the conversation or failed due to some technical issues. The Usage Stats tab provides an analysis of the bot's usage, and also drills down the count at the action level. # Invocations By Action Broadly, the usage stats report classifies the count of all messages processed by a Convokraft bot into the following categories: * **Responded With Actions** : Number of invocations that were responded by the configured actions of the bot. * **Responded By ConvoKraft** : Number of invocations that were responded by configured handlers of the bot. * **Missed To Understand** : Number of invocations that were not understood by the bot. The number of invocations responded with actions is further classified based on the actions that are invoked. Every action's total invocation count is further split into three categories : * **COMPLETED** - Number of invocations in which the action is completed successfully. * **CANCELLED** - Number of invocations in which the action is cancelled in the middle of the conversation. * **FAILED** - Number of invocations in which the action has failed due to technical issues in your business logic. ![usage-stats](https://catalyst-docs-development.zohostratus.in/images/help/convokraft/usage-stats.webp) > **Note:** 1. The Usage stats tab will be visible only when you deploy your bot to production. 2. You can view the usage stats for various time periods and also sort it based on any of the columns. ## SDK ### JS SDK -------------------------------------------------------------------------------- title: "Overview" description: "Learn about the JS SDK package provided by Catalyst ConvoKraft that enables you to integrate chat bot assistants in your Catalyst application." last_updated: "2026-11-04T10:10:44.000Z" source: "https://docs.catalyst.zoho.com/en/convokraft/sdk/js/overview/" service: "ConvoKraft" -------------------------------------------------------------------------------- # ConvoKraft JavaScript Client SDK ### Overview A ConvoKraft bot can be added to your web application at ease using the ConvoKraft JavaScript SDK, so that users can directly interact with the bot through the programmed chat window. This documentation provides detailed information on the steps to integrate the JavaScript SDK with your Catalyst web application and customize the ConvoKraft bot as per your application's specific requirements. This SDK supports all modern web browsers, including the following minimum versions:
Browser Version
Microsoft Edge 12+
Mozilla Firefox 21+
Google Chrome 23+
iOS Safari 6+
### SDK Integration Add the following code snippet in the `index.html` file of your web application's source code to plug in the ConvoKraft JS SDK to your application : ```html <script src="https://console.catalyst.zoho.com/convokraft/assets/js/convokraft-chat-sdk.js"> </script> ``` Please make sure to include the following code snippet to your web application to make the chat window appear in the traditional chatbot position i.e., the bottom right corner of your Catalyst web application screen. You can further alter the size, position, appearance and customize the chat window completely as required. We will be discussing them in detail in [this section](https://docs.catalyst.zoho.com/en/convokraft/sdk/js/customization-of-a-bot). ```html <div class="anchor_convokraft_toBottom"> <convokraft-chat-bot bot-name="test" project-id="6687000000009014" org-id="74535893"></convokraft-chat-bot> </div> Style - <style> div.anchor_convokraft_toBottom { width: 330px; height: 450px; position: fixed; bottom: 0; right: 0; } </style> ``` > **Note:** 1. Please make sure the **convokraft-chat-sdk.js** is included after **<convokraft-chat-bot/>** tag. 2. This SDK works best in fixed positioning, so please make sure the container around **<convokraft-chat-bot/>** tag is a fixed positioned one. -------------------------------------------------------------------------------- title: "Customization of a bot" description: "Learn about the JS SDK package provided by Catalyst ConvoKraft that enables you to integrate chat bot assistants in your Catalyst application." last_updated: "2026-11-04T10:10:44.000Z" source: "https://docs.catalyst.zoho.com/en/convokraft/sdk/js/customization-of-a-bot/" service: "ConvoKraft" -------------------------------------------------------------------------------- # Customization of the bot The ConvoKraft JS SDK supports customizing several elements of the chat window to suit your application's specific requirements. The following attributes should be used in the **<convokraft-chat-bot>** tag within the `index.html` file of your web application's source code : * `lt-prop-convokraft-title` * `show-convokraft-header` * `bot-name` * `lt-prop-conversation` * `show-help` * `show-typing-suggestions` * `show-action-suggestions` * `lt-prop-styles` ### lt-prop-convokraft-title This attribute helps to set the title of the chat window UI. **Sample code :** ```javascript <convokraft-chat-bot lt-prop-bot-title="Ask convokraft"> </convokraft-chat-bot> ``` ### show-convokraft-header This attribute is used to let the ConvoKraft bot know whether the header of the chat window should be displayed or not. The value of this attribute can be `true` or `false` as per your requirement. By default, it is set to `true`. And if the value is set to `false`, the header of the chat window will not be displayed. **Sample code :** ```javascript <convokraft-chat-bot lt-prop-convokraft-title="Ask convokraft" show-convokraft-header="false"> </convokraft-chat-bot> ``` ### bot-name By providing any specific bot name (bot namespace) as the value of this attribute, ConvoKraft will converse only with that particular bot. **Sample code :** ```javascript <convokraft-chat-bot lt-prop-convokraft-title="Ask convokraft" bot-name = "ecommercebot" ></convokraft-chat-bot> ``` ### lt-prop-conversation This attribute helps to set the alignment of the messages in the bot conversation. The value of this attribute can be set to either `true` or `false`. * If `true`, all message conversations within the chat window would get converted to the conversation view (user messages are aligned to the right and ConvoKraft responses are aligned to the left of the chat window). **Sample code :** ```javascript <convokraft-chat-bot lt-prop-convokraft-title="Ask convokraft" bot-name = "aqualordappointmentbooker" lt-prop-conversation="true"> </convokraft-chat-bot> ``` * If `false`, all message conversations within the chat window will be aligned to the left. **Sample code :** ```javascript <convokraft-chat-bot lt-prop-convokraft-title="Ask convokraft" bot-name = "aqualordappointmentbooker" lt-prop-conversation="false"> </convokraft-chat-bot> ``` ### show-help This attribute can be used to enable a help icon to be adjacent to the typing area in the chat window. On clicking the help icon, an onboarding screen will be displayed. The on-boarding screen contains the sample sentences or action suggestions configured for that ConvoKraft bot. The value for this attribute can be `true` or `false`. By default, it is set as`false`. **Sample code :** ```javascript <convokraft-chat-bot lt-prop-convokraft-title="Ask convokraft" bot-name = "aqualordappointmentbooker" show-help="true"> </convokraft-chat-bot> ``` ### show-typing-suggestions This attribute is used to display the action suggestions simultaneously while typing any message in the typing area. The value of this attribute can either be `true` or `false`. **Sample code :** ```javascript <convokraft-chat-bot lt-prop-convokraft-title="Ask convokraft" bot-name = "aqualordappointmentbooker" show-help="true" show-history="true" show-typing-suggestions="true"> </convokraft-chat-bot> ``` ### show-action-suggestions This attribute can be used to display the action suggestions at the end of each chat conversation. The value of this attribute can either be `true` or `false`. If this attribute is enabled, the `show-typing-suggestions` attribute will be enabled automatically. **Sample code :** ```javascript <convokraft-chat-bot lt-prop-convokraft-title="Ask convokraft" bot-name = "aqualordappointmentbooker" show-help="true" show-history="true" show-action-suggestions="true"> </convokraft-chat-bot> ``` ### lt-prop-styles This attribute helps in configuring styles of the various elements in the chat window UI. The styles can be configured as follows:
Attribute Name Usage Value Example
`headerBg` To set the background colour of the chat window header. The value for this style can be any color value. #5acc42
`headerText` To set the text color of the chat window header. The value for this style can be any color value. black
`headerFont` To set the font family of the chat window header text. The value for this style can be any font family name. sans-serif
`userBg` To set the background colour of the user message container in the chat window. The value for this style can be any color value. #5acc42
`userText` To set the text color of the texts in the user message container. The value for this style can be any color value. black
`userFont` To set the font family of the texts in the user message container. The value for this style can be any font family name. Comic Sans MS
`botBg` To set the background color of ConvoKraft message container in the chat window. The value for this style can be any color value. #ddd
`botText` To set the text color of the texts in the convokraft message container. The value for this style can be any color value. #222
`botFont` To set the font family of the texts in convokraft message container. The value for this style can be any font family name. Arial
`bodyBg` To set the background colour of the chat window body. The value for this style can be any color value. #ddd
For the `lt-prop-styles` attribute, the styles and their values should be provided in JSON format, as depicted in the sample code below : ```javascript <convokraft-chat-bot lt-prop-conversation="true" lt-prop-styles='{"headerBg":"#5acc42", "headerText":"black", "headerFont":"sans-serif", "userBg":"#5acc42", "userText":"black", "botBg":"#ddd", "botText":"#222", "userFont":"Comic Sans MS", "botFont":"Arial", "bodyBg":"#ddd"}'> </convokraft-chat-bot> ``` -------------------------------------------------------------------------------- title: "Hooks" description: "Learn about the JS SDK package provided by Catalyst ConvoKraft that enables you to integrate chat bot assistants in your Catalyst application." last_updated: "2026-11-04T10:10:44.000Z" source: "https://docs.catalyst.zoho.com/en/convokraft/sdk/js/hooks/" service: "ConvoKraft" -------------------------------------------------------------------------------- # Hooks ConvoKraft hooks are functions that can be configured by the developers in the global scope of a Catalyst web application and can be accessed using the ConvoKraft object. The ConvoKraft JS SDK provisions the below listed hooks : * `handleResponse` * `handleMissed` * `handleError` * `minimizeChat` * `didConnect` * `setOnBoarding` * `setOnBoardingSentences` * `setClientSessionData` * `handleUpload` * `handleWelcome` ### handleResponse Based on the response provided by ConvoKraft for any action, you can handle the data and customize the visual representation of the response as per your specific requirements. The original response sent will be sent in the `data` key of a Deluge function from your web application. In order to customize the response, you need to pass the data value to the following hook along with the HTML element, within which the web application can render the ConvoKraft's original response. **Syntax** ```javascript convokraft.handleResponse=function(actionName,data,element,responseHandled,fromHistory,fromPagination) { //Enter logic here return true; } ``` The below table provides details about the various elements of the function :
Element Description
`actionName` The namespace of the action invoked.
`data` It holds the custom data that is being sent from Deluge to the hook.
`element` It holds ConvoKraft's custom reply element that will be displayed in the chat window.
`responseHandled` This is a mandatory callback function, which helps the bot to know that DOM operations are complete and it can scroll the chat div to top.
`fromHistory` This key contains a Boolean value that represents whether the current message being constructed is from the current session or any past sessions.
`fromPagination` This key contains a Boolean value that represents whether the current message being constructed is a message after a pagination call. If true, it is not advisable to call `responseHandled()`, so that messages don't scroll all the way down.
**Sample code** ```javascript convokraft.handleResponse = function(actionName,data,element,responseHandled,fromHistory,fromPagination) { if(actionName=="schedule_event") { element.innerHTML="This is a test function from "+data.name; element.style.padding="10px"; responseHandled(); return false; //Renders the above constructed response } return true; //Renders original convokraft response } ``` ### handleMissed If the user's message doesn't match with any of the configured actions of your bot, and in that case if you have defined the `convokraft.handleMissed()` hook in your web application's global scope, then ConvoKraft would display the custom response as rendered through this hook. **Syntax** ```javascript convokraft.handleMissed = function(element, responseHandled, fromHistory, fromPagination) { //Enter the logic of the element which will be rendered as convokraft's response } ``` The following table describes the syntax elements and their descriptions :
Element Description
`element` It holds ConvoKraft's custom reply element that will be displayed in the chat window.
`responseHandled` This is a mandatory callback function, which helps the bot to know that DOM operations are complete and it can scroll the chat div to top.
`fromHistory` This key contains a boolean value that represents whether the current message being constructed is from the current session or any past sessions.
`fromPagination` This key contains a boolean value that represents whether the current message being constructed is a message after a pagination call. If `true`, it is not advisable to call `responseHandled()`, so that messages don't scroll all the way down.
**Sample code** ```javascript convokraft.handleMissed= function(element,responseHandled,fromHistory){ element.innerHTML = "<div class='wrapped_not_found'>Sorry! Not found!<br/><br/><img src='https://www.zylker.com/files/2020/06/iStock-872962368-chat-bots.webp'></img></div>"; responseHandled(); return false; } ``` ### handleError If any API error occurs while executing an action, you can use this hook to display a custom error response by defining `convokraft.handleError` in your Catalyst web application's global scope. **Syntax** ```javascript convokraft.handleError = function(element, responseHandled, fromHistory, fromPagination) { //Enter logic to customize error message } ``` The following table describes the syntax elements and their descriptions :
Element Description
`element` It holds ConvoKraft's custom reply element that will be displayed in the chat window.
`responseHandled` This is a mandatory callback function, which helps the bot to know that DOM operations are complete and it can scroll the chat div to top.
`fromHistory` This key contains a boolean value that represents whether the current message being constructed is from the current session or any past sessions.
`fromPagination` This key contains a boolean value that represents whether the current message being constructed is a message after a pagination call. If `true `, it is not advisable to call `responseHandled()`, so that messages don't scroll all the way down.
**Sample code** ```javascript convokraft.handleError= function(element,responseHandled){ if(typeof data !== "undefined"){ messageString = data.data.code; } else{ messageString = "Api Error!"; } element.innerHTML = "<div class='wrapped_not_found'>Sorry! "+messageString+"<br/><br/><img src='https://www.zylker.com/files/2020/06/iStock-872962368-chat-bots.webp'></img></div>"; responseHandled(); } ``` ### minimizeChat This hook enables the user to minimize or maximize the chat window when clicked on its header. **Syntax** ```javascript convokraft.minimizeChat=function() { //obtain your chat div and apply minimize animation and styles as you need } ``` **Sample code** ```javascript convokraft.minimizeChat=function() { if(document.getElementById("zdivid").style.marginBottom=="-400px"||document.getElementById("zdivid").style.marginBottom=="") { document.getElementById("zdivid").style.marginBottom="-0px"; } else { document.getElementById("zdivid").style.marginBottom="-400px"; } } ``` ### didConnect This hook is used to notify the Catalyst web application that the chat is loaded completely. **Syntax** ```javascript convokraft.didConnect=function() { //Enter logic here } ``` **Sample code** ```javascript convokraft.didConnect=function() { var loadingDiv=document.getElementById("loadingDiv"); if(loadingDiv) { loadingDiv.style.display='none'; } } ``` ### setOnBoarding If there is no history of chat, then the onboarding screen would be displayed by default. This hook can be defined in the global scope of your web application in order to customize the ConvoKraft bot's onboarding screen as per your requirements. **Syntax** ```javascript convokraft.setOnBoarding=function(element,sentences,placeholders) { //construct HTML and styles as per your need and push it to the element } ``` The following table explains the syntax elements and their descriptions :
Element Description
`element` It holds the HTML element that needs to be customized.
`sentences` It holds the sample sentences of that particular action.
`placeholders` It is an array of strings that can be used to hold different parameters for sentences displayed in the onboarding screen
**Sample code** ```javascript convokraft.setOnBoarding=function(element,sentences,placeholders) { var html="
This is a custom onboarding screen by client app and here are the list of sentences:
    "; sentences.forEach(function(item) { html+="
  • "+item+"
  • "; }) html+="
"; element.innerHTML=html; element.style.padding="10px"; } ``` ### setOnBoardingSentences This hook is used to customize the onboarding sentences or action suggestions that appear when you open a ConvoKraft chat window. By default, the chat window displays the suggestions based on the configured sample sentences of the ConvoKraft actions. An array of objects can be passed in the JSON format as arguments to this hook as listed below. Also note that with the help of sentences in the JSON, different values for placeholders can be set and returned. ```javascript [ { "id": "1", "sentence": "Apply leave for {{fromdate}} and {{todate}}", "actual_sentence": "Apply leave for today and tomorrow" }, { "id": "2", "sentence": "What is the {{property}} of {{country}}?", "actual_sentence": "What is the capital of India?" } ] //Filter or modify the sentences to be shown in the onboarding screen ``` **Syntax** ```javascript convokraft.setOnBoardingSentences=function(sentences) { //define the HTML and styles as per your need and push it to the elemen } ``` **Sample code** ```javascript convokraft.setOnBoardingSentences=function(sentences) { sentences.splice(0,8); return sentences; } ``` > **Note:** * This hook will be considered only when `setOnBoarding` hook is not applied. * If you want custom sentences in `setOnBoarding` hook, apply the same process for sentences in the `setOnBoarding` hook. ### setClientSessionData This hook is used to get the custom client session data of your Catalyst web application. Please make sure to define it in your Catalyst web application's global scope for Convokraft to access it. **Syntax** ```javascript convokraft.setClientSessionData=function() { //return a JSON Object } ``` **Sample Code** ```javascript convokraft.setClientSessionData=function() { return { portal_name: "zylker", ui_version: "2.0" } } ``` > **Note:** * Please make sure to return the session data as a JSON object. * When you use a Deluge function, the JSON data that is returned from this handle can be obtained using `sessionData.set("client_data").` ### handleUpload This hook is used to define the operations to be performed after uploading a file. If the chosen development platform is Deluge or Function, then the file will be uploaded in the Catalyst cloud environment. In case of Webhooks, you will need to define your own file path in the `file` attribute. You can configure the respective messages in the `onSucces` and `onFailure` callback arguments, based on your specific requirements. **Syntax** ```javascript convokraft.handleUpload = function(input){ //do whatever you want to to the element which will be rendered as convokraft's response } ``` The following attributes are supported for this hook:
Attribute Name Usage
`sessionId` The ID of current transcript session.
`param` The param information of current prompt like param name, type and prompt message.
`file` The file object provided by user.
`action` The current conversation's action namespace.
`bot` The current conversation's bot namespace.
`onSuccess` The mandatory call back that accepts file ID as input.
`onProgressChange` The mandatory call back that accepts calculated upload percentage as parameter. This should be called as and when the upload percentage changes. If the upload is complete, please set percentage to 100 and a message to show success state such as `onProgressChange(100,"File upload completed");`
`onFailure` The mandatory call back that accepts string input with a message stating the reason for upload failure.
**Sample Code** ```javascript convokraft.handleUpload=function(uploadObject){ let percentage = 20; let onSuccess = uploadObject.onSuccess; let onFailure = uploadObject.onFailure; var percentageInterval = setInterval(function() { if(percentage === 100){ clearInterval(percerntageInterval); uploadObject.updateProgress(100,"Your file is being processed. Please wait..."); setTimeout(function() { if(zia.fileUploadCount > 1){ onSuccess((Date.now()).toString()); } else{ onFailure("Your file is over 2MB. Please upload a file of less size."); } }, 5000); return; } percentage+=20; uploadObject.onProgressChange(percentage); }, 500); } ``` ### handleWelcome This hook is used to modify the welcome message (the first message displayed in the chat session). This hook can be used when you need to customize only the UI. If you need a backend logic to be executed to display the welcome message, then use the welcome message handler function. **Syntax** ```javascript convokraft.handleWelcome = function(config){ //do whatever you want to to the element which will be rendered as convokraft's response } ``` **Sample Code** ```javascript convokraft.handleWelcome = function(config) { config.element.innerHTML = `Hello Guest! Here are few things I can do for you. <div class='suggestion'>Raise a ticket</div> <div class='suggestion'>List my inventory and assets</div>`; } ``` -------------------------------------------------------------------------------- title: "Methods" description: "Learn about the JS SDK package provided by Catalyst ConvoKraft that enables you to integrate chat bot assistants in your Catalyst application." last_updated: "2026-11-04T10:10:44.000Z" source: "https://docs.catalyst.zoho.com/en/convokraft/sdk/js/methods/" service: "ConvoKraft" -------------------------------------------------------------------------------- # Convokraft JS SDK methods The ConvoKraft JS SDK exposes the following methods to the web application to perform a set of basic operations: * `sendMessage()` * `pushTranscript()` ### sendMessage() The `sendMessage()` method is used to configure your client application to send a chat message to the ConvoKraft server. That is when a user clicks an option displayed in the chat window, the configured message corresponding to the option will be displayed to the user in the chat window instantly. The arguments for this method include a string containing the message that will be displayed in the chat conversation, which is mandatory and another string that contains the `option_id`, which is the id of the chosen option in case of array params. The `option_id` argument is optional. ```json { convokraft.sendMessage(messageString,option_id); } ``` ### pushTranscript() This method can be used to push a custom transcript (an individual message in the user conversation) for a user while conversing with the ConvoKraft bot. The message will be displayed only in the chatbot for that particular session. A transcript data as mentioned below should be passed on to the function. This method is useful in scenarios of pushing a reminder. ```json { "message": "Reminder to call Bob at 11am", "id": "1", "sender": "user", "time": "1523356878103" } convokraft.pushTranscript(transcriptObject); ``` Here, `transcriptObject` is the message object that will be displayed in the conversation. ## API Reference — ConvoKraft -------------------------------------------------------------------------------- title: "Enable or Disable SmartTrain" description: "This API is used to enable or disable the SmartTrain feature in ConvoKraft." last_updated: "2026-08-17T12:16:04.000Z" source: "https://docs.catalyst.zoho.com/en/api/code-reference/convokraft/enable-or-disable-smarttrain/" service: "ConvoKraft" -------------------------------------------------------------------------------- # Catalyst ConvoKraft Catalyst ConvoKraft is an AI-powered service that allows you to build intelligent chatbots and deploy them in your Catalyst applications. These bots leverage Natural Language Understanding (NLU) to interpret messages and respond naturally in conversational English. You can customize the bot by [setting up your own logic](https://docs.catalyst.zoho.com/en/convokraft/help/actions/bot-logic/catalyst-integration-functions/), providing [simple question-answer pairs](https://docs.catalyst.zoho.com/en/convokraft/help/actions/define-sample-sentences/), or [training it with custom resources](https://docs.catalyst.zoho.com/en/convokraft/help/smarttrain), based on your application's requirements. [SmartTrain](https://docs.catalyst.zoho.com/en/convokraft/help/smarttrain) is a component of the Catalyst ConvoKraft service that allows you to train your chatbot using your own resources. You can do this by configuring web URLs where the resources are hosted. This enables the bot to quickly provide accurate answers to user queries related to the trained content. You can refer to [this help documentation ](https://docs.catalyst.zoho.com/en/convokraft/) to learn more about the Catalyst ConvoKraft service. # Enable or Disable SmartTrain This API enables or disables **SmartTrain** in the Catalyst ConvoKraft service. When enabled, you can add training materials to enhance the bot’s responses. Disabling it temporarily pauses the bot’s trained knowledge, preventing it from answering queries based on the training data. Once re-enabled, the training is automatically restored, allowing the bot to respond using the previously uploaded materials. You can introduce this functionality in your Catalyst application using the API below. ### Request Details #### Request URL `PATCH` {api-domain}/convokraft/api/v1/bots/{botid}? type=DEVELOPED - **api-domain** (URL): The DC-specific domain to access Catalyst API - **project_id** (Numerical): The [unique ID](https://docs.catalyst.zoho.com/en/getting-started/set-up-a-catalyst-project/general-settings/) of the project in which the bot has been created - **botid** (Numerical): The unique ID of the ConvoKraft bot > **Note:** 1. The query parameter `type=DEVELOPED` is used to indicate that the bot is in the developed state within the ConvoKraft service. 2. You can fetch the `botid` directly from the URL in the ConvoKraft service when the environment is set to Development in the console. For example : https://console.catalyst.zoho.com/baas/v1/project/183272829220/Development#/convokraft/bots/3828281991118 Here, **3828281991118** is the `botid`. #### Scope ZIAPlatform.Convokraft.RAG.UPDATE #### Request Headers **Authorization:** Zoho-oauthtoken {oauth_token} **Content-Type:** application/json **CATALYST-ORG:** {org_id} **X-CATALYST-projectid:** {project id} **X-CATALYST-Environment:** Development > **Note:** The request header `CATALYST-Environment: Development` indicates that the API operation should be performed on the bot within the [Catalyst Development environment](https://docs.catalyst.zoho.com/en/deployment-and-billing/environments/development-environment/). #### Request JSON Properties - **is_rag_enabled** (boolean, mandatory): Pass the value as `true` to enable the RAG feature and `false` to disable it. Default: `true`. ### Response Details The response will return the status of the SmartTrain enable or disable operation, along with a status message and status code. **Sample Request** ```bash curl -X PATCH \ https://api.catalyst.zoho.com/baas/v1/project/4000000006007/convokraft/api/v1/bots/92738220219110?type=DEVELOPED \ -H 'Authorization: Zoho-oauthtoken 1000.910*\*\*\*\*\*\*\*\*\*\*\*\*\*\*\*\*\*\*\*\*\*\*\*\*16.2f*\*\*\*\*\*\*\*\*\*\*\*\*\*\*\*\*\*\*\*\*\*\*\*\*57' \ -H 'Content-Type: application/json' \ -H 'CATALYST-ORG: 372822922' \ -H 'X-CATALYST-projectid: 2728172727718' \ -H 'X-CATALYST-Environment: "Development"' \ -\-data '{ "bots": { "is_rag_enabled": true } }' ``` **Sample Response** ```json { "status": "SUCCESS", "code": "SUCCESS", "message": "Updated Successfully." } ``` -------------------------------------------------------------------------------- title: "Add Training Material" description: "This API is used to add training URLs to the SmartTrain feature in ConvoKraft." last_updated: "2026-08-17T12:16:04.000Z" source: "https://docs.catalyst.zoho.com/en/api/code-reference/convokraft/add-training-material/" service: "ConvoKraft" -------------------------------------------------------------------------------- # Add Training Material This API enables you to upload custom training materials to SmartTrain, allowing the ConvoKraft bot to train automatically. You can provide web URLs of the training materials hosted on any third-party platform either in the HTML or TXT format. Once uploaded, the bot processes the content and uses it to respond to relevant queries. You can introduce this functionality in your Catalyst application using the API below. ### Request Details #### Request URL `POST` {api-domain}/convokraft/api/v1/bots/{botid}/rag_training_data?type=DEVELOPED - **api-domain** (URL): The DC-specific domain to access Catalyst API - **project_id** (Numerical): The [unique ID](https://docs.catalyst.zoho.com/en/getting-started/set-up-a-catalyst-project/general-settings/) of the project in which the bot has been created - **botid** (Numerical): The unique ID of the ConvoKraft bot > **Note:** 1. The query parameter `type=DEVELOPED` is used to indicate that the bot is in the developed state within the ConvoKraft service. 2. You can fetch the `botid` directly from the URL in the ConvoKraft service when the environment is set to Development in the console. For example : https://console.catalyst.zoho.com/baas/v1/project/183272829220/Development#/convokraft/bots/3828281991118 Here, **3828281991118** is the `botid`. #### Scope ZIAPlatform.Convokraft.RAG.CREATE #### Request Headers **Authorization:** Zoho-oauthtoken {oauth_token} **Content-Type:** application/json **CATALYST-ORG:** {org_id} **X-CATALYST-projectid:** {project id} **X-CATALYST-Environment:** Development > **Note:** The request header `CATALYST-Environment: Development` indicates that the API operation should be performed on the bot within the [Catalyst Development environment](https://docs.catalyst.zoho.com/en/deployment-and-billing/environments/development-environment/). #### Request JSON Properties - **rag_training_data** (String, mandatory): Provide the full URL of the training material pointing to **.html** or **.txt**. - **title** (String, optional): Provide the title of the training material. ### Response Details This API provides the status of the training material upload process, including the status code and message. It also returns the URLs of the uploaded materials along with a unique ID assigned by ConvoKraft for each URL. **Sample Request** ```bash curl -X POST \ https://api.catalyst.zoho.com/baas/v1/project/4000000006007/convokraft/api/v1/bots/92738220219110/rag_training_data?type=DEVELOPED \ -H 'Authorization: Zoho-oauthtoken 1000.910*\*\*\*\*\*\*\*\*\*\*\*\*\*\*\*\*\*\*\*\*\*\*\*\*16.2f*\*\*\*\*\*\*\*\*\*\*\*\*\*\*\*\*\*\*\*\*\*\*\*\*57' \ -H 'Content-Type: application/json' \ -H 'CATALYST-ORG: 372822922' \ -H 'X-CATALYST-projectid: 2728172727718' \ -H 'X-CATALYST-Environment: "Development"' \ -\-data '{ "rag_training_data": [ { "url": "https://www.apple.com/iphone-15", "title": "Iphone 15 Specifications" }, { "url": "https://www.apple.com/iphone-11/", "title": "Iphone 11 Specifications" } ] }' ``` **Sample Response** ```json { "status": "SUCCESS", "code": "SUCCESS", "message": "File upload in progress", "info": { "files": [ { "id": "2000000028005", "url": "https://www.apple.com/iphone-15/" }, { "id": "2000000028007", "url": "https://www.apple.com/iphone-11/" }, ] } } ``` -------------------------------------------------------------------------------- title: "Get Training Materials" description: "This API is used to get the training materials uploaded to the SmartTrain feature in ConvoKraft." last_updated: "2026-08-17T12:16:04.000Z" source: "https://docs.catalyst.zoho.com/en/api/code-reference/convokraft/get-training-materials/" service: "ConvoKraft" -------------------------------------------------------------------------------- # Get Training Materials This API allows you to fetch the details and the metadata of the training materials associated with a particular ConvoKraft bot. You can integrate this functionality into your Catalyst application using the API provided below. ### Request Details #### Request URL `GET` {api-domain}/convokraft/api/v1/bots/{botid}/rag_training_data?type=DEVELOPED - **api-domain** (URL): The DC-specific domain to access Catalyst API - **project_id** (Numerical): The [unique ID](https://docs.catalyst.zoho.com/en/getting-started/set-up-a-catalyst-project/general-settings/) of the project in which the bot has been created - **botid** (Numerical): The unique ID of the ConvoKraft bot > **Note:** 1. The query parameter `type=DEVELOPED` is used to indicate that the bot is in the developed state within the ConvoKraft service. 2. You can fetch the `botid` directly from the URL in the ConvoKraft service when the environment is set to Development in the console. For example : https://console.catalyst.zoho.com/baas/v1/project/183272829220/Development#/convokraft/bots/3828281991118 Here, **3828281991118** is the `botid`. #### Scope ZIAPlatform.Convokraft.RAG.READ #### Request Headers **Authorization:** Zoho-oauthtoken {oauth_token} **Content-Type:** application/json **CATALYST-ORG:** {org_id} **X-CATALYST-projectid:** {project id} **X-CATALYST-Environment:** Development > **Note:** The request header `CATALYST-Environment: Development` indicates that the API operation should be performed on the bot within the [Catalyst Development environment](https://docs.catalyst.zoho.com/en/deployment-and-billing/environments/development-environment/). ### Response Details This API provides details and the metadata of all training materials associated with the bot, including the unique ID generated by ConvoKraft, the title, URL, and status of each training material. It also includes information about the creation and modification of the materials, such as the user's email address, time zone, ZUID, role, and other relevant details, along with the creation and modification timestamps. **Sample Request** ```bash curl -X GET \ https://api.catalyst.zoho.com/baas/v1/project/4000000006007/convokraft/api/v1/bots/92738220219110/rag_training_data?type=DEVELOPED \ -H 'Authorization: Zoho-oauthtoken 1000.910*\*\*\*\*\*\*\*\*\*\*\*\*\*\*\*\*\*\*\*\*\*\*\*\*16.2f*\*\*\*\*\*\*\*\*\*\*\*\*\*\*\*\*\*\*\*\*\*\*\*\*57' \ -H 'Content-Type: application/json' \ -H 'CATALYST-ORG: 372822922' \ -H 'X-CATALYST-projectid: 2728172727718' \ -H 'X-CATALYST-Environment: "Development"' \ ``` **Sample Response** ```json { "rag_training_data": [ { "id": "67799000000085007", "title": "Iphone 15 Specifications", "url": "https://www.apple.com/iphone-15/", "source": "URL", "created_by": { "id": "76859507", "email": "amelia.burrows@zylker.com", "username": "amelia.burrows", "timezone": "Asia/Calcutta", "nickname": "amelia", "locale": "en_IN", "role": "SUPER_ADMIN", "zuid": "76859507" }, "created_time": "1732880033148", "modified_by": { "id": "76859507", "email": "amelia.burrows@zylker.com", "username": "amelia.burrows", "timezone": "Asia/Calcutta", "nickname": "nivetha.raja", "locale": "en_IN", "role": "SUPER_ADMIN", "zuid": "76859507" }, "modified_time": "1732880389581", "status": "TRAINED" }, { "id": "67799000000085009", "title": "Iphone 11 Specifications", "url": "https://www.apple.com/iphone-11/", "source": "URL", "created_by": { "id": "76859507", "email": "amelia.burrows", "username": "amelia.burrows", "timezone": "Asia/Calcutta", "nickname": "amelia", "locale": "en_IN", "role": "SUPER_ADMIN", "zuid": "76859507" }, "created_time": "1732880131250", "modified_by": { "id": "76859507", "email": "amelia.burrows@zylker.com", "username": "amelia.burrows", "timezone": "Asia/Calcutta", "nickname": "amelia", "locale": "en_IN", "role": "SUPER_ADMIN", "zuid": "76859507" }, "modified_time": "1732880131250", "status": "TRAINED" } ] } ``` -------------------------------------------------------------------------------- title: "Delete Training Material" description: "This API is used to delete the uploaded training materials from the SmartTrain feature in ConvoKraft." last_updated: "2026-08-17T12:16:04.000Z" source: "https://docs.catalyst.zoho.com/en/api/code-reference/convokraft/delete-training-material/" service: "ConvoKraft" -------------------------------------------------------------------------------- # Delete Training Material This API enables you to delete the custom training materials uploaded to the SmartTrain feature in the ConvoKraft bot by providing the unique ID assigned to each material in the request. You can also delete multiple materials at once by passing the IDs separated by commas. Please note that deleting the training material will automatically delete the trained knowledge in the bot, and it will not be able to answer any queries based on the deleted training material. You can integrate this functionality into your Catalyst application using the API provided below. ### Request Details #### Request URL `DELETE` {api-domain}/convokraft/api/v1/bots/{botid}/rag_training_data?type=DEVELOPED - **api-domain** (URL): The DC-specific domain to access Catalyst API - **project_id** (Numerical): The [unique ID](https://docs.catalyst.zoho.com/en/getting-started/set-up-a-catalyst-project/general-settings/) of the project in which the bot has been created - **botid** (Numerical): The unique ID of the ConvoKraft bot > **Note:** 1. The query parameter `type=DEVELOPED` is used to indicate that the bot is in the developed state within the ConvoKraft service. 2. You can fetch the `botid` directly from the URL in the ConvoKraft service when the environment is set to Development in the console. For example : https://console.catalyst.zoho.com/baas/v1/project/183272829220/Development#/convokraft/bots/3828281991118 Here, **3828281991118** is the `botid`. #### Scope ZIAPlatform.Convokraft.RAG.DELETE #### Request Headers **Authorization:** Zoho-oauthtoken {oauth_token} **Content-Type:** application/json **CATALYST-ORG:** {org_id} **X-CATALYST-projectid:** {project id} **X-CATALYST-Environment:** Development > **Note:** The request header `CATALYST-Environment: Development` indicates that the API operation should be performed on the bot within the [Catalyst Development environment](https://docs.catalyst.zoho.com/en/deployment-and-billing/environments/development-environment/). #### Request JSON Properties - **rag_training_data** (Numerical, mandatory): Provide the unique ID of the training material generated by ConvoKraft. ### Response Details This API returns the status of the delete operation along with its status code and message. **Sample Request** ```bash curl -X DELETE \ https://api.catalyst.zoho.com/baas/v1/project/4000000006007/convokraft/api/v1/bots/92738220219110/rag_training_data?type=DEVELOPED \ -H 'Authorization: Zoho-oauthtoken 1000.910*\*\*\*\*\*\*\*\*\*\*\*\*\*\*\*\*\*\*\*\*\*\*\*\*16.2f*\*\*\*\*\*\*\*\*\*\*\*\*\*\*\*\*\*\*\*\*\*\*\*\*57' \ -H 'Content-Type: application/json' \ -H 'CATALYST-ORG: 372822922' \ -H 'X-CATALYST-projectid: 2728172727718' \ -H 'X-CATALYST-Environment: "Development"' \ -\-data '{ "rag_training_data": [ { "id": "67799000000084013" } ] }' ``` **Sample Response** ```json { "status": "SUCCESS", "code": "SUCCESS", "message": "Updated Successfully." } ``` -------------------------------------------------------------------------------- title: "Fetch Answer from Bot" description: "This API is used to fetch answers from the trained bot after enabling SmartTrain in ConvoKraft." last_updated: "2026-08-17T12:16:04.000Z" source: "https://docs.catalyst.zoho.com/en/api/code-reference/convokraft/fetch-answer-from-bot/" service: "ConvoKraft" -------------------------------------------------------------------------------- # Fetch Answer from Bot This API enables you to retrieve an answer from the ConvoKraft bot by submitting a transcript query. The bot will understand the question and respond with an answer based on its training. You can integrate this functionality into your Catalyst application using the API provided below. ### Request Details #### Request URL `POST` {api-domain}/convokraft/api/v1/bots/{production_botid}/answer - **api-domain** (URL): The DC-specific domain to access Catalyst API - **project_id** (Numerical): The [unique ID](https://docs.catalyst.zoho.com/en/getting-started/set-up-a-catalyst-project/general-settings/) of the project in which the bot has been created - **production_botid** (Numerical): The unique ID of the ConvoKraft bot in the production environment > **Note:** You can fetch the `production_botid` directly from the URL in the ConvoKraft service when the environment is set to Production in the console. For example : https://console.catalyst.zoho.com/baas/v1/project/183272829220/Production#/convokraft/bots/3828281991118 Here, **3828281991118** is the `production_botid`. #### Scope ZIAPlatform.Convokraft.RAG.CREATE #### Request Headers **Authorization:** Zoho-oauthtoken {oauth_token} **Content-Type:** application/json **CATALYST-ORG:** {org_id} **X-CATALYST-projectid:** {project id} **X-CATALYST-Environment:** Development > **Note:** The request header `CATALYST-Environment: Production` indicates that the API operation should be performed on the bot within the [Catalyst Production environment](https://docs.catalyst.zoho.com/en/deployment-and-billing/environments/production-environment/). ### Response Details The API returns the answer provided by ConvoKraft based on the training material, along with the status of the answer retrieval process. **Sample Request** ```bash curl -X POST \ https://api.catalyst.zoho.com/convokraft/api/v1/bots/92738220219110/answer \ -H 'Authorization: Zoho-oauthtoken 1000.910*\*\*\*\*\*\*\*\*\*\*\*\*\*\*\*\*\*\*\*\*\*\*\*\*16.2f*\*\*\*\*\*\*\*\*\*\*\*\*\*\*\*\*\*\*\*\*\*\*\*\*57' \ -H 'Content-Type: application/json' \ -H 'CATALYST-ORG: 372822922' \ -H 'X-CATALYST-projectid: 2728172727718' \ -H 'X-CATALYST-Environment: "Production"' \ -\-data '{ "transcript": { "message": "Explain Iphone 11 Specifications" } }' ``` **Sample Response** ```json { "transcript": { "message": "The iPhone 11 is a sleek and powerful smartphone from Apple, featuring a 6.1-inch Liquid Retina HD display that offers vibrant colors and sharp detail. It's powered by the A13 Bionic chip, which ensures fast performance and smooth multitasking. Whether you're gaming, editing photos, or using apps, the iPhone 11 can handle it with ease. One of the standout features of the iPhone 11 is its camera system. It has a dual-camera setup, with a 12MP wide and ultra-wide lens, making it great for capturing detailed photos and videos. The Night Mode feature helps take clearer pictures in low-light environments, and it also supports 4K video recording at 60fps, allowing you to shoot high-quality videos.", "status": "action_completion" } } ``` -------------------------------------------------------------------------------- title: "FAQ — ConvoKraft" description: "This section covers queries related to the components and features of the Catalyst ConvoKraft service, such as Bots, Actions, and Handlers." last_updated: "2026-11-13T05:00:22.000Z" source: "https://docs.catalyst.zoho.com/en/faq/convokraft/" -------------------------------------------------------------------------------- # General ### What is Catalyst ConvoKraft? Catalyst ConvoKraft is an AI-driven service used to build conversational bots that can be configured to comprehend user's message, its intent and respond back conversationally in English. You can configure the backend logic of the ConvoKraft bots using Catalyst Integration Functions or Deluge. You can also code it any programming language of your choice, store it in any publicly accessible external servers and access them in ConvoKraft using Webhooks. ### Can I get the current session logged in user's details from my catalyst application to my bot? Bots created in convokraft are unauthenticated and you will not be able to get the current logged in user's details from your catalyst application. # Bots ### How do I embed the ConvoKraft bot in my application? Catalyst ConvoKraft provides a JavaScript Client SDK package that allows you to embed the ConvoKraft bot in your application at ease. It contains elements to customize the chat window such as the header, title, alignment etc. Refer to the [ConvoKraft JavaScript Client SDK help page](https://docs.catalyst.zoho.com/en/convokraft/sdk/js/overview/) and the [Customization of a Bot help page](https://docs.catalyst.zoho.com/en/convokraft/sdk/js/customization-of-a-bot/) to know more about the various elements and their usage. ### Is it mandatory to train the bot every time I make a change to the action configuration? Yes, in Catalyst ConvoKraft you will need to click the Train button in the console and train the bot every time after you make a change. This will help the bot analyze common invocation patterns and train the Natural Language Processing Models in the backend. These models help in developing strong correlations between different variations of the same user query and respond back to the user intellectually. ### Will I be able to get the usage stats of my convokraft bot? Yes, you will be able to get the usage statistics of your bot's interaction from the catalyst console in the bot's production environment. ### Will I be able to train the bot based on a business logic, or does it simply query the DB and display the answers to a particular set of questions? Yes, you will be able to train a Catalyst ConvoKraft bot based on a business logic as well as a direct answer. You need to provide the different sets of sample questions and answers in order to train the bot. Once trained, the bot will answer the queries based on the trained data. ### Is there a way to deactivate my bot temporarily? Yes, you can activate or deactivate a Catalyst ConvoKraft bot temporarily, directly from the Catalyst console. To take only some of the bot's abilities offline, you can deactivate individual actions instead: hover over the action's ellipsis icon and click **Deactivate**. A deactivated action is unavailable in the development environment, but stays available for chat in the production environment if you published it before deactivating. Refer to the [Manage an Action help page](https://docs.catalyst.zoho.com/en/convokraft/help/actions/manage-an-action/) for details. # Actions ### How do I handle failure in my bot's configured actions? You can code your failure handler either in deluge or integrate a catalyst function in order to handle the failure and also notify you by sending an email on the failure event from your function. ### I prefer Deluge to code the functions and handlers for the bot. To implement some complex logic such as sending an email to the user or an iterative task, I have to code in a java function. Will I be able to call the catalyst java function within the bot's deluge function? Yes, you can use the invokeURL() deluge function in order to make an API call to catalyst function endpoint and get the response. # Handlers ### How do I code my bot's associated handlers or integrate an existing catalyst function to the bot created in convokraft? You can code your various handlers such as welcome handlers, failure handlers from the console using zoho's own scripting language Deluge from the console itself and also test the function. You can also associate a catalyst integration function to the bot to a particular action. Whenever the bot has been accessed for the particular action, your integration function will be automatically called and the response will be returned to the user via the bot. ### How do I use handlers when I'm not developing my bot logic in Deluge? If you choose to develop the bot logic of your ConvoKraft bots using Catalyst Integration Functions or access the backend logic coded in any external servers using Webhooks, then you can simply enable the required handlers (Welcome Message Handler, Fallback Handler, Failure Handler) and then code the logic in the respective handler functions in your codebase. You can learn more about this from the [Welcome Message Handler](https://docs.catalyst.zoho.com/en/convokraft/help/handlers/welcome-message-handler/), [Fallback Handler](https://docs.catalyst.zoho.com/en/convokraft/help/handlers/fallback-handler/) and [Failure Handler](https://docs.catalyst.zoho.com/en/convokraft/help/handlers/failure-handler/) help pages, which include sample handler code in Java, Node.js and Python. # Job Scheduling ## Getting Started -------------------------------------------------------------------------------- title: "Introduction" description: "Learn about getting started with Catalyst Job Scheduling to schedule and execute jobs that trigger Job Functions, Webhooks, Circuits, or AppSail services." last_updated: "2026-11-04T10:10:44.000Z" source: "https://docs.catalyst.zoho.com/en/job-scheduling/getting-started/introduction/" service: "Job Scheduling" related: - Job Pool Help (/en/job-scheduling/help/jobpool/introduction/) - Cron Help (/en/job-scheduling/help/cron/introduction/) - Job Help (/en/job-scheduling/help/job/introduction/) - Working With Job Scheduling (/en/job-scheduling/help/implementation/create-jobpool/) - Circuit Help Documentation (/en/serverless/help/circuits/introduction/) - AppSail Help Documentation (/en/serverless/help/appsail/introduction/) - Job Functions Help Documentation (/en/serverless/help/functions/job-functions/) - Java SDK (/en/sdk/java/v1/job-scheduling/overview/) - Node.js SDK (/en/sdk/nodejs/v2/job-scheduling/overview/) - Python SDK (/en/sdk/python/v1/job-scheduling/overview/) - Job Scheduling REST APIs (/en/api/code-reference/job-scheduling/jobpool/get-all-jobpool/#GetAllJobPools) -------------------------------------------------------------------------------- # Catalyst Job Scheduling ### Introduction Job Scheduling is a Catalyst service that allows you to configure and submit [jobs](https://docs.catalyst.zoho.com/en/job-scheduling/help/job/introduction/) and execute them in a [job pool](https://docs.catalyst.zoho.com/en/job-scheduling/help/jobpool/introduction/) to trigger a [Webhook](https://docs.catalyst.zoho.com/en/job-scheduling/help/implementation/submit-instant-job/) (any third-party URL), [Job Function](https://docs.catalyst.zoho.com/en/serverless/help/functions/job-functions/), [Circuit](https://docs.catalyst.zoho.com/en/serverless/help/circuits/introduction/), or [AppSail](https://docs.catalyst.zoho.com/en/serverless/help/appsail/introduction/) service. You can also schedule the execution of custom logic, invoke a complete workflow by triggering a *Circuit*, invoke any third-party URL, and also execute an entire microservice, or application that is hosted on Catalyst *AppSail*. Using the components of Job Scheduling, you can perform any computational, operational, administrative, or any kind of maintenance jobs. > **Note:** The Circuits component is currently not available to Catalyst users accessing from the EU, AU, IN, or CA data centers. Hence, users from these DCs will not be able to trigger Circuits using the Job Scheduling service. Furthermore, the service offers two types of crons- [Pre-defined Crons](https://docs.catalyst.zoho.com/en/job-scheduling/help/cron/key-concepts/#cron-types) and [Dynamic Crons](https://docs.catalyst.zoho.com/en/job-scheduling/help/cron/key-concepts/#cron-types), that you can use to precisely schedule the submission of the job. Dynamic Crons in particular allow you to schedule the submission of jobs through code, and they can be created dynamically during runtime. You can also set [Application Alerts](https://docs.catalyst.zoho.com/en/devops/help/application-alerts/introduction/) to provide you with e-mail alerts in events of failure, delays, etc., and track every instance of the job cycle in the console. Job Scheduling provides you with increased control over how you submit your job, to be more precise over when you wish the job to be submitted, and to perform efficient operations in the event of a failure. This Catalyst service also comes with a robust [Dashboard](https://docs.catalyst.zoho.com/en/job-scheduling/help/dashboard/dashboard/) component that provides detailed insights over the performance of your jobs across the project. To quickly perform Job Scheduling operations through code, Catalyst offers you the required SDK support in: * [Java SDK](https://docs.catalyst.zoho.com/en/sdk/java/v1/job-scheduling/overview/) * [Node.js SDK](https://docs.catalyst.zoho.com/en/sdk/nodejs/v2/job-scheduling/overview/) * [Python SDK](https://docs.catalyst.zoho.com/en/sdk/python/v1/job-scheduling/overview/) Catalyst also offers you a robust set of [REST APIs](https://docs.catalyst.zoho.com/en/api/code-reference/job-scheduling/jobpool/get-all-jobpool/#GetAllJobPools) that you can use to employ Job Scheduling operations. > **Note:** Along with Catalyst Job Scheduling service, Catalyst also offers you a host of other services like a [powerful RDBMS component](https://docs.catalyst.zoho.com/en/cloud-scale/help/data-store/introduction/), easy-to-setup [Authentication](https://docs.catalyst.zoho.com/en/cloud-scale/help/authentication/introduction/), and more through [Catalyst CloudScale service](https://docs.catalyst.zoho.com/en/cloud-scale/). You can also employ the [Catalyst Serverless service](https://docs.catalyst.zoho.com/en/serverless/) that offers you [FaaS components](https://docs.catalyst.zoho.com/en/serverless/help/functions/introduction/), or the [AppSail](https://docs.catalyst.zoho.com/en/serverless/help/appsail/introduction/) platform that allows you to host applications on the Catalyst cloud with no restrictions on framework, coding, or scale. You can always familiarize yourself with these Catalyst components by trying out our intuitive and interactive [tutorials](https://docs.catalyst.zoho.com/en/tutorials/). You can find out the steps to submit an immediate job by heading over to the [Quick Start Guide](https://docs.catalyst.zoho.com/en/job-scheduling/getting-started/quick-start-guide/). We also strongly urge you to head over to the components documentation [here](https://docs.catalyst.zoho.com/en/job-scheduling/help/jobpool/introduction/) to understand the Job Scheduling service and its components in a more precise manner to ensure you use the service to its fullest potential. -------------------------------------------------------------------------------- title: "Components of Job Scheduling" description: "Learn about getting started with Catalyst Job Scheduling to schedule and execute jobs that trigger Job Functions, Webhooks, Circuits, or AppSail services." last_updated: "2026-11-04T10:10:44.000Z" source: "https://docs.catalyst.zoho.com/en/job-scheduling/getting-started/components-of-job-scheduling/" service: "Job Scheduling" related: - Job Pool Help (/en/job-scheduling/help/jobpool/introduction/) - Cron Help (/en/job-scheduling/help/cron/introduction/) - Job Help (/en/job-scheduling/help/job/introduction/) - Working With Job Scheduling (/en/job-scheduling/help/implementation/create-jobpool/) - Circuit Help Documentation (/en/serverless/help/circuits/introduction/) - AppSail Help Documentation (/en/serverless/help/appsail/introduction/) - Job Functions Help Documentation (/en/serverless/help/functions/job-functions/) - Java SDK (/en/sdk/java/v1/job-scheduling/overview/) - Node.js SDK (/en/sdk/nodejs/v2/job-scheduling/overview/) - Python SDK (/en/sdk/python/v1/job-scheduling/overview/) - Job Scheduling REST APIs (/en/api/code-reference/job-scheduling/jobpool/get-all-jobpool/#GetAllJobPools) -------------------------------------------------------------------------------- # Components of Job Scheduling **OVERVIEW** - [Dashboard](https://docs.catalyst.zoho.com/en/job-scheduling/help/dashboard/dashboard/)Provides a complete overview and the stats on each job's progress **JOB SOURCE** - [Job Pool](https://docs.catalyst.zoho.com/en/job-scheduling/help/jobpool/introduction/)Every job created will be submitted to a Job Pool and will get executed from the Job pool **JOB EXECUTOR** - [Cron](https://docs.catalyst.zoho.com/en/job-scheduling/help/cron/introduction/)Schedules the submission of jobs to a job pool. Achieve this through code or using the UI Builder - [Jobs](https://docs.catalyst.zoho.com/en/job-scheduling/help/job/introduction/)Tasks that are to be executed once or periodically to trigger Job Functions, Webhooks, Circuits, or AppSail services As represented above, Catalyst Job Scheduling consists of four components, explained below. ### Dashboard This component provides an overview of all the [jobs](https://docs.catalyst.zoho.com/en/job-scheduling/help/job/introduction/) and [job pools](https://docs.catalyst.zoho.com/en/job-scheduling/help/jobpool/introduction/) associated with the project. The **Dashboard** allows you to quickly comprehend the statuses of the jobs that were executed or currently in progress. It's also a great tool to precisely filter out the exact instances in which a job execution failed in a job pool. ![catalyst_job_scheduling_getting_dashboard](https://catalyst-docs-development.zohostratus.in/images/help/job-scheduling/catalyst_job_scheduling_getting_dashboard.webp) ### Job Pool A Job Pool is a collection of a specific set of jobs, that will be executed to trigger specific target types. Job Pools can be created based on the following types: * [Functions](https://docs.catalyst.zoho.com/en/job-scheduling/help/implementation/submit-instant-job/): Will collect and execute jobs that trigger [Job Functions](https://docs.catalyst.zoho.com/en/serverless/help/functions/job-functions/). * [Webhooks](https://docs.catalyst.zoho.com/en/job-scheduling/help/implementation/submit-instant-job/): Will collect and execute jobs that trigger any third-party URLs. * [Circuits](https://docs.catalyst.zoho.com/en/job-scheduling/help/implementation/submit-instant-job/): Will collect and execute jobs that trigger a [configured Circuit](https://docs.catalyst.zoho.com/en/serverless/help/circuits/implementation/). * [AppSail](https://docs.catalyst.zoho.com/en/job-scheduling/help/implementation/submit-instant-job/): Will collect and execute jobs that trigger a [deployed AppSail service](https://docs.catalyst.zoho.com/en/serverless/help/appsail/debug-appsail/). ![catalyst_job_scheduling_jobpool_comp_img](https://catalyst-docs-development.zohostratus.in/images/help/job-scheduling/catalyst_job_scheduling_jobpool_comp_img.webp) Job Pools also allow you to view the progress and the state of all the jobs that are submitted to it. You can also create [Application Alerts](https://docs.catalyst.zoho.com/en/devops/help/application-alerts/introduction/) within the Job Pool in the console. > **Note:** The Circuits component is currently not available to Catalyst users accessing from the EU, AU, IN, or CA data centers. Hence, users from these DCs will not be able to trigger Circuits using the Job Scheduling service. ### Cron Cron allows you to schedule and automate job submissions to a Job Pool one time and recursively. You can create two types of crons- [Pre-defined](https://docs.catalyst.zoho.com/en/job-scheduling/help/cron/key-concepts/#cron-types) and [Dynamic](https://docs.catalyst.zoho.com/en/job-scheduling/help/cron/key-concepts/#cron-types). Crons can either be scheduled to submit jobs [one-time](https://docs.catalyst.zoho.com/en/job-scheduling/help/implementation/submit-job-predefined-cron/) or [recursively](https://docs.catalyst.zoho.com/en/job-scheduling/help/implementation/submit-job-predefined-cron/). The schedule type of both of these crons can be configured either using the [standard calendar format](https://docs.catalyst.zoho.com/en/job-scheduling/help/cron/key-concepts/#format-type), or using regex-like expressions called [Cron Expressions](https://docs.catalyst.zoho.com/en/job-scheduling/help/cron/key-concepts/#cron-expressions). **Pre-Defined Crons**: These can be defined in advance using the Builder feature present in the console. ![catalyst_job_scheduling_getting_predef_cron](https://catalyst-docs-development.zohostratus.in/images/help/job-scheduling/catalyst_job_scheduling_getting_predef_cron.webp) **Dynamic Crons**: These are crons that are ideally defined through code using the Catalyst SDKs available in [Java](https://docs.catalyst.zoho.com/en/sdk/java/v1/job-scheduling/overview/), [Node.js](https://docs.catalyst.zoho.com/en/sdk/nodejs/v2/job-scheduling/overview/), and [Python](https://docs.catalyst.zoho.com/en/sdk/python/v1/job-scheduling/overview/). Dynamic crons are created dynamically during runtime, only when they are required. Templates for creating dynamic crons are also available as code snippets in the console. ![catalyst_job_scheduling_getting_dynamic_cron](https://catalyst-docs-development.zohostratus.in/images/help/job-scheduling/catalyst_job_scheduling_getting_dynamic_cron.webp) > **Note:** * When you deploy the project to production, only the Pre-defined Crons will be migrated. Dynamic Crons that were created during development will only be present in the [**development environment**](https://docs.catalyst.zoho.com/en/deployment-and-billing/environments/development-environment/). * However, you can create only dynamic crons in the [**production environment**](https://docs.catalyst.zoho.com/en/deployment-and-billing/environments/production-environment/), using the console's *Builder* or through code. This feature will allow you to test the functionality of your dynamic cron during runtime. If the configuration is satisfactory, you can then implement the same configuration through code. ### Jobs Jobs are the tasks you create, configure and submit to a Job Pool to trigger a [Job Function](https://docs.catalyst.zoho.com/en/serverless/help/functions/job-functions/), webhook, Circuit, or an App Sail service. You have to create a job pool first to create a job. You can create a job for immediate execution or automate its creation using a cron. You have the option to manually create jobs and submit them to a job pool using the console's builder, or through code. You can also schedule and automate the submission of jobs to a job pool using crons. ![catalyst_job_scheduling_jobs_comp_img](https://catalyst-docs-development.zohostratus.in/images/help/job-scheduling/catalyst_job_scheduling_jobs_comp_img.webp) In the console, the Jobs component will allow you to view the statuses of the jobs submitted, created and deleted. > **Note:** The Circuits component is currently not available to Catalyst users accessing from the EU, AU, IN, or CA data centers. Hence, users from these DCs will not be able to trigger Circuits using the Job Scheduling service. -------------------------------------------------------------------------------- title: "Benefits" description: "Learn about getting started with Catalyst Job Scheduling to schedule and execute jobs that trigger Job Functions, Webhooks, Circuits, or AppSail services." last_updated: "2026-11-04T10:10:44.000Z" source: "https://docs.catalyst.zoho.com/en/job-scheduling/getting-started/benefits/" service: "Job Scheduling" related: - Job Pool Help (/en/job-scheduling/help/jobpool/introduction/) - Cron Help (/en/job-scheduling/help/cron/introduction/) - Job Help (/en/job-scheduling/help/job/introduction/) - Working With Job Scheduling (/en/job-scheduling/help/implementation/create-jobpool/) - Circuit Help Documentation (/en/serverless/help/circuits/introduction/) - AppSail Help Documentation (/en/serverless/help/appsail/introduction/) - Job Functions Help Documentation (/en/serverless/help/functions/job-functions/) - Java SDK (/en/sdk/java/v1/job-scheduling/overview/) - Node.js SDK (/en/sdk/nodejs/v2/job-scheduling/overview/) - Python SDK (/en/sdk/python/v1/job-scheduling/overview/) - Job Scheduling REST APIs (/en/api/code-reference/job-scheduling/jobpool/get-all-jobpool/#GetAllJobPools) -------------------------------------------------------------------------------- # Benefits * **Submit job to trigger versatile target types** With Job Scheduling, you can execute jobs in job pools to trigger [Job Functions](https://docs.catalyst.zoho.com/en/serverless/help/functions/job-functions/), Webhooks (any **third-party URL**), [Circuits](https://docs.catalyst.zoho.com/en/serverless/help/circuits/introduction/), or [AppSail](https://docs.catalyst.zoho.com/en/serverless/help/appsail/introduction/) services. By triggering Job Functions, you can invoke any custom business logic you have coded in the job function at a scheduled time. By triggering circuits, you can trigger complete workflows you have configured using Catalyst Serverless' Circuit component. By triggering AppSail services, you can invoke entire microservices or applications you have hosted using Catalyst AppSail service. * **Execute jobs instantly** Job Scheduling allows you to configure crons that can submit jobs to a job pool with time intervals, as short as **one minute**. You can also execute jobs that trigger multiple endpoints in different job pools in parallel. You only need to handle the configuration and submit action of the job, Catalyst will handle all the backend requirements automatically. * **Configure and submit jobs with the simplest steps** You can create, configure, and submit jobs using the highly intuitive Builder feature present in the Console. You can create any kind of Job, and you have a wide range of inputs you can provide to precisely choose the time period or interval when you wish the Job to be executed and the end-point you wish to trigger, all in a few steps. * **Submit jobs through code** With [Dynamic Crons](https://docs.catalyst.zoho.com/en/job-scheduling/help/implementation/submit-job-dynamic-cron/) and the Catalyst SDK ([Java](https://docs.catalyst.zoho.com/en/sdk/java/v1/job-scheduling/overview/), [Node.js](https://docs.catalyst.zoho.com/en/sdk/nodejs/v2/job-scheduling/overview/), and [Python](https://docs.catalyst.zoho.com/en/sdk/python/v1/job-scheduling/overview/)) support, you can code crons to get created dynamically that can submit jobs during runtime. As is with the majority of the Catalyst components, you need only code the logic to create the cron or submit the job; the remaining backend requirements will be automatically handled by Catalyst. * **Seamlessly scalable** Catalyst servers can seamlessly handle heavy workloads, and they can automatically scale up or down based on the requirements. This enables developers to solely focus on configuring the cron job and coding the logic, without needing to perform any additional tasks to handle the backend setup or maintenance. Catalyst’s cron jobs execute seamlessly regardless of the load, as they are executed on Zoho’s tried-and-tested, reliable infrastructure. * **Immediate and Precise Alerts** Catalyst provides you with the advantage of configuring custom, automated alerts to be received when a cron encounters an exception, failure, or time out through [Application Alerts](https://docs.catalyst.zoho.com/en/devops/help/application-alerts/introduction/). Catalyst will send these alerts immediately via email upon the cases you specify. This enables you to keep a track of the cron jobs in all your projects easily and implement immediate fixes during failures. Along with setting an alert, you can also configure the number of retry attempts that need to occur automatically in the event of a failure. This feature provides you with a chance to execute your job again successfully if it gets interrupted by factors like network disruption, loss of network, etc. > **Note**: The Circuits component is currently not available to Catalyst users accessing from the EU, AU, IN, or CA data centers. Hence, users from these DCs will not be able to trigger Circuits using the Job Scheduling service. -------------------------------------------------------------------------------- title: "Use Cases" description: "Learn about getting started with Catalyst Job Scheduling to schedule and execute jobs that trigger Job Functions, Webhooks, Circuits, or AppSail services." last_updated: "2026-11-04T10:10:44.000Z" source: "https://docs.catalyst.zoho.com/en/job-scheduling/getting-started/use-cases/" service: "Job Scheduling" related: - Job Pool Help (/en/job-scheduling/help/jobpool/introduction/) - Cron Help (/en/job-scheduling/help/cron/introduction/) - Job Help (/en/job-scheduling/help/job/introduction/) - Working With Job Scheduling (/en/job-scheduling/help/implementation/create-jobpool/) - Circuit Help Documentation (/en/serverless/help/circuits/introduction/) - AppSail Help Documentation (/en/serverless/help/appsail/introduction/) - Job Functions Help Documentation (/en/serverless/help/functions/job-functions/) - Java SDK (/en/sdk/java/v1/job-scheduling/overview/) - Node.js SDK (/en/sdk/nodejs/v2/job-scheduling/overview/) - Python SDK (/en/sdk/python/v1/job-scheduling/overview/) - Job Scheduling REST APIs (/en/api/code-reference/job-scheduling/jobpool/get-all-jobpool/#GetAllJobPools) -------------------------------------------------------------------------------- # Use Cases * **Case 1** **Business Bottleneck** Ensuring priority email notifications are sent promptly to the required consumers. Imagine you have an application where you provide your users with a subscription-based service. You need to remind your users to renew their subscription on time to ensure you are promptly paid for services rendered and they continue to enjoy their service uninterrupted. Additionally, you will also need to keep your users well-informed on the latest offers and promotions. **Job Scheduling Solution** The required actions can be handled easily by scheduling a [cron](https://docs.catalyst.zoho.com/en/job-scheduling/help/cron/introduction/) to [submit a job to the Job Pool](https://docs.catalyst.zoho.com/en/job-scheduling/help/implementation/submit-instant-job/) that triggers a circuit. The circuit will ultimately send an email to your user. On the surface, the tasks are basic actions of email prompts targeted at your users. However, reminding them about their payment is a task of a higher priority, and cannot encounter any delays. Without a Job Pool, both of these tasks will be given equal priority. When dealing with a large volume of jobs, this might give rise to a [possible dispatch delay](https://docs.catalyst.zoho.com/en/job-scheduling/help/jobpool/key-concepts/#ideal-memory-allocation-to-avoid-dispatch-delay) in executing the job responsible for reminding your users about their payment. With the advantage of creating multiple Job Pools, you can have a Job Pool that exclusively queues and executes jobs that trigger circuits that send out payment reminders, and another Job Pool that executes lesser priority jobs. > **Note:** The Circuits component is currently not available to Catalyst users accessing from the EU, AU, IN, or CA data centers. Hence, users from these DCs will not be able to trigger Circuits using the Job Scheduling service. * **Case 2** **Business Bottleneck** Providing the required services while balancing excessive demand. Consider platforms that sell concert or gala tickets. They usually tend to be high-traffic online places, that crash frequently and have a very limited open window. **Job Scheduling Solution** You can develop a microservice that reminds your end-user at an optimal time of concerts and events based on their interests. [Using a Pre-defined cron](https://docs.catalyst.zoho.com/en/job-scheduling/help/implementation/submit-job-predefined-cron/), you can keep submitting [jobs](https://docs.catalyst.zoho.com/en/job-scheduling/help/job/introduction/) to a [job pool](https://docs.catalyst.zoho.com/en/job-scheduling/help/jobpool/introduction/) to trigger the ticketing platform URL periodically and check if an announcement is released. When an end-user's desired announcement is released, you can [configure a dynamic cron](https://docs.catalyst.zoho.com/en/job-scheduling/help/implementation/submit-job-dynamic-cron/) to send out scheduled alerts and ensure that they successfully book their desired tickets at an optimal time. -------------------------------------------------------------------------------- title: "Quick Start Guide" description: "Learn about getting started with Catalyst Job Scheduling to schedule and execute jobs that trigger Job Functions, Webhooks, Circuits, or AppSail services." last_updated: "2026-11-04T10:10:44.000Z" source: "https://docs.catalyst.zoho.com/en/job-scheduling/getting-started/quick-start-guide/" service: "Job Scheduling" related: - Job Pool Help (/en/job-scheduling/help/jobpool/introduction/) - Cron Help (/en/job-scheduling/help/cron/introduction/) - Job Help (/en/job-scheduling/help/job/introduction/) - Working With Job Scheduling (/en/job-scheduling/help/implementation/create-jobpool/) - Circuit Help Documentation (/en/serverless/help/circuits/introduction/) - AppSail Help Documentation (/en/serverless/help/appsail/introduction/) - Job Functions Help Documentation (/en/serverless/help/functions/job-functions/) - Java SDK (/en/sdk/java/v1/job-scheduling/overview/) - Node.js SDK (/en/sdk/nodejs/v2/job-scheduling/overview/) - Python SDK (/en/sdk/python/v1/job-scheduling/overview/) - Job Scheduling REST APIs (/en/api/code-reference/job-scheduling/jobpool/get-all-jobpool/#GetAllJobPools) -------------------------------------------------------------------------------- # Quick Start Guide Job Scheduling is a robust Catalyst service that allows you to create and schedule tasks that can be executed with the quickest time interval of **one minute**. You can create and submit jobs to a [Job Pool](https://docs.catalyst.zoho.com/en/job-scheduling/help/jobpool/introduction), and they will be executed automatically at the scheduled time period or interval. Using Job Scheduling, you can trigger [Job Functions](https://docs.catalyst.zoho.com/en/serverless/help/functions/job-functions/), [AppSail services](https://docs.catalyst.zoho.com/en/serverless/help/appsail/introduction/), Webhooks (**any third-party URL**), and [Circuits](https://docs.catalyst.zoho.com/en/serverless/help/circuits/introduction/). > **Note:** The Circuits component is currently not available to Catalyst users accessing from the EU, AU, IN, or CA data centers. Hence, users from these DCs will not be able to trigger Circuits using the Job Scheduling service. In this section, we will be going over how to incorporate Catalyst Job Scheduling with your Catalyst project. ### Create a Project Use the [Catalyst console](https://console.catalyst.zoho.com/baas/index) to [create a new project](https://docs.catalyst.zoho.com/en/getting-started/quick-start-guide/#step-1-create-a-catalyst-project). After the project creation is complete, you will be able to access all components of Job Scheduling and other Catalyst services from the console. ### Engineer Your Application * You can initialize the project locally using the [Catalyst CLI](https://docs.catalyst.zoho.com/en/cli/v1/initialize-resources/introduction/), and start coding your business logic into [Catalyst Serverless Functions](https://docs.catalyst.zoho.com/en/serverless/help/functions/introduction/), with either Java, [Node.js](https://docs.catalyst.zoho.com/en/sdk/nodejs/v2/overview/), or [Python](https://docs.catalyst.zoho.com/en/sdk/python/v1/overview/), using an external IDE of your choice, or directly create them in the console. You can also utilize code templates from Catalyst SDK and employ prebuilt API endpoints from [Catalyst API](https://docs.catalyst.zoho.com/en/api/introduction/overview-and-prerequisites/#OverviewandPrerequisites) to incorporate [CloudScale](https://docs.catalyst.zoho.com/en/cloud-scale/) components in your business logic. * You can also enhance your application using AI/ML powered components of [Catalyst Zia Services](https://docs.catalyst.zoho.com/en/zia-services/). You can also engineer bots for your application using [Catalyst Convokraft](https://docs.catalyst.zoho.com/en/convokraft/), or test your application on a headless browser with automation libraries using [Catalyst SmartBrowz](https://docs.catalyst.zoho.com/en/smartbrowz/). ### Access Job Scheduling Components * Navigate to Job Scheduling service in the console. You can first create a [Job Pool](https://docs.catalyst.zoho.com/en/job-scheduling/help/jobpool/introduction/) for your project. Inside this Job Pool, you can create [jobs](https://docs.catalyst.zoho.com/en/job-scheduling/help/job/introduction/), or you can submit jobs created from the Jobs component section to this Job Pool, that can be executed either immediately or scheduled using the [Cron](https://docs.catalyst.zoho.com/en/job-scheduling/help/cron/introduction/) component. You also have a [Dashboard](https://docs.catalyst.zoho.com/en/job-scheduling/help/dashboard/dashboard/) that you can use to see the status of the Jobs that have been executed. * When you schedule jobs using **Cron**, you choose to configure them as [Pre-defined Crons](https://docs.catalyst.zoho.com/en/job-scheduling/help/implementation/submit-job-predefined-cron/), or [Dynamic Crons](https://docs.catalyst.zoho.com/en/job-scheduling/help/implementation/submit-job-dynamic-cron/). Pre-defined Crons allow you to configure and schedule jobs using the console UI. Dynamic Crons can be configured using the Catalyst SDK ([Java](https://docs.catalyst.zoho.com/en/sdk/java/v1/job-scheduling/overview/), [Node.js](https://docs.catalyst.zoho.com/en/sdk/nodejs/v2/job-scheduling/overview/), and [Python](https://docs.catalyst.zoho.com/en/sdk/python/v1/job-scheduling/overview/)) and be executed through code during runtime. Additionally, you can use regex-like expressions called [Cron Expressions](https://docs.catalyst.zoho.com/en/job-scheduling/help/cron/key-concepts/#cron-expressions) to configure the schedule of the cron. * You can go through the [help documentation](https://docs.catalyst.zoho.com/en/job-scheduling/help/jobpool/introduction/) of each of these components to understand the optimal ways Job Scheduling helps you to build robust solutions and applications. ### Configure Job Scheduling for Your Project Depending on your requirement, you need to employ the following steps to trigger the required target type: **Job Function** * You need to initialize the [Job Function](https://docs.catalyst.zoho.com/en/serverless/help/functions/job-functions/), or create it in the Serverless console. * Code your custom business logic and [deploy](https://docs.catalyst.zoho.com/en/cli/v1/deploy-resources/deploy-options/) it to the Catalyst console using the following CLI command: ```sh catalyst deploy --only functions ``` * Navigate to the Job Scheduling section of the console, and [create a Function Job Pool](https://docs.catalyst.zoho.com/en/job-scheduling/help/implementation/create-jobpool/) with a higher [allocated memory](https://docs.catalyst.zoho.com/en/job-scheduling/help/jobpool/key-concepts/#ideal-memory-allocation-to-avoid-dispatch-delay) then your Job Function. * Create your required job and point it to the Function Job Pool. You can then use a **Pre-defined** or **Dynamic** cron to schedule the submission of the created job to the job pool. When it is executed, it will trigger the *Job Function*, and your custom business logic will be executed. **Webhook** * [Create a Webhook Job Pool](https://docs.catalyst.zoho.com/en/job-scheduling/help/implementation/create-jobpool/). * When you create a job to submit to this job pool, you can configure it to trigger any **third-party URL**. * You can schedule the submission of this job to the job pool using a **Pre-defined Cron** or **Dynamic Cron**. * At the scheduled time, when the job is submitted to the job pool, it will be executed in the job pool, and the configured third-party URL will be triggered. **Circuits** * You need to create and [configure a circuit](https://docs.catalyst.zoho.com/en/serverless/help/circuits/implementation/) using the Catalyst *Serverless* component Circuits. * You need to ensure the [Basic I/O functions](https://docs.catalyst.zoho.com/en/serverless/help/functions/basic-io/) that are required to configure the circuit are all created, coded, deployed and available in the console. * [Create a Circuit Job Pool](https://docs.catalyst.zoho.com/en/job-scheduling/help/implementation/create-jobpool/) using the Job Scheduling service, and configure it your requirement. * When you create a [job to trigger the circuit](https://docs.catalyst.zoho.com/en/job-scheduling/help/implementation/submit-instant-job/), you need to select the created circuit as it's target. * You can schedule the submission of this job to the job pool using a **Pre-defined Cron** or **Dynamic Cron**. * At the scheduled time, the job will be submitted to the job pool, and the required circuit will be triggered. This will invoke the configured workflow. > **Note:** The Circuits component is currently not available to Catalyst users accessing from the EU, AU, IN, or CA data centers. Hence, users from these DCs will not be able to trigger Circuits using the Job Scheduling service. **AppSail** * Once you have created your required microservice or application, you need to [host it on Catalyst using AppSail](https://docs.catalyst.zoho.com/en/cli/v1/deploy-resources/deploy-appsail/). * [Create an AppSail Job Pool](https://docs.catalyst.zoho.com/en/job-scheduling/help/implementation/create-jobpool/) using the Job Scheduling service, and configure it your requirement. * Create a job to submit to this job pool, and ensure you have selected the required AppSail service as the target. * You can schedule the submission of this job to the job pool using a **Pre-defined Cron** or **Dynamic Cron**. * At the scheduled time, the job will be submitted to the job pool. The job pool will then execute the job and the required AppSail service's endpoint will be triggered. ### Test the Application You can [test the client components](https://docs.catalyst.zoho.com/en/cli/v1/serve-resources/introduction/) of your application locally before deploying it to the remote console using the following CLI command: ```sh catalyst serve ``` ### Deploy the Application You can now [deploy your application](https://docs.catalyst.zoho.com/en/cli/v1/deploy-resources/introduction/) from the CLI to your project in the remote console using the following CLI command: ```sh catalyst deploy ``` ### Post-Production & Monitoring the Application You can deploy your project to production after you test and freeze it in the development environment. You can create a custom domain for your application using the Domain Mappings component, if needed. You can also monitor the performance of your application using Catalyst DevOps components like Application Performance Monitoring or Logs. > **Note:** The sequence of steps specified here might differ based on your business or application logic, or your specific use case. The flow mentioned in the deploying and testing phases of the application can be altered based on your requirements. This is a generic set of guidelines that is suitable for a typical small to mid-scale, client-based application, or microservice. ## Help ### Cron -------------------------------------------------------------------------------- title: "Introduction" description: "Cron is a Job Scheduling component that allows you to schedule the creation and submission of a job to a Job Pool at a particular time." last_updated: "2026-08-28T06:26:16.000Z" source: "https://docs.catalyst.zoho.com/en/job-scheduling/help/cron/introduction/" service: "Job Scheduling" related: - Submit a Job Using Dynamic Cron (/en/job-scheduling/help/implementation/submit-job-dynamic-cron/) - Submit a Job Using Pre-Defined Cron (/en/job-scheduling/help/implementation/submit-job-predefined-cron/) - Cron Expressions (/en/job-scheduling/help/cron/key-concepts/#cron-expressions) - Circuit Help Documentation (/en/serverless/help/circuits/introduction/) - AppSail Help Documentation (/en/serverless/help/appsail/introduction/) - Job Functions Help Documentation (/en/serverless/help/functions/job-functions/) - Java SDK (/en/sdk/java/v1/job-scheduling/overview/) - Node.js SDK (/en/sdk/nodejs/v2/job-scheduling/overview/) - Python SDK (/en/sdk/python/v1/job-scheduling/overview/) - Job Scheduling REST APIs (/en/api/code-reference/job-scheduling/jobpool/get-all-jobpool/#GetAllJobPools) -------------------------------------------------------------------------------- # Cron ### Introduction Cron is a Job Scheduling component that allows you to schedule the creation and submission of a [job](https://docs.catalyst.zoho.com/en/job-scheduling/help/job/introduction/) to a [job pool](https://docs.catalyst.zoho.com/en/job-scheduling/help/jobpool/introduction/) at a particular time. Cron can perform this function recursively based on a custom schedule. When a cron is configured, Catalyst initiates the cron daemon to run in the background always. The cron daemon is a program that is responsible for submitting a job to the Job Pool when its determined schedule approaches. ![catalyst_job_scheduling_cron_home_page](https://catalyst-docs-development.zohostratus.in/images/help/job-scheduling/catalyst_job_scheduling_cron_home_page.webp) Cron can submit jobs to a Job Pool once or recursively by defining the specific date and time of the execution or the interval period for recursion. There are two types of cron: * **Pre-defined Cron**: This type of cron can be created in the console, and they are configured with the exact time or time periods on when they should be submitting jobs to Job Pools. These crons will be migrated to the [production environment](https://docs.catalyst.zoho.com/en/deployment-and-billing/environments/production-environment/) when you [deploy your project](https://docs.catalyst.zoho.com/en/cli/v1/deploy-resources/introduction/) to production. These types of crons are generally used for the functionality of web applications. ![catalyst_job_scheduling_getting_predef_cron](https://catalyst-docs-development.zohostratus.in/images/help/job-scheduling/catalyst_job_scheduling_getting_predef_cron.webp) * **Dynamic Cron**: This type of cron is ideally created using the Catalyst SDK, available in [Java](https://docs.catalyst.zoho.com/en/sdk/java/v1/job-scheduling/overview/), [Node.js](https://docs.catalyst.zoho.com/en/sdk/nodejs/v2/job-scheduling/overview/), and [Python](https://docs.catalyst.zoho.com/en/sdk/python/v1/job-scheduling/overview/). This cron type will be created dynamically through code during runtime, and they will submit jobs to the Job Pool during runtime. These crons cannot be migrated to the production environment. It also cannot be migrated from one project to another project using IaC import/export operation. Dynamic crons are generally employed based on end-user functionality. ![catalyst_job_scheduling_getting_dynamic_cron](https://catalyst-docs-development.zohostratus.in/images/help/job-scheduling/catalyst_job_scheduling_getting_dynamic_cron.webp) Crons can submit a job to the Job Pool to execute webhooks(**any third-party URL**), [Circuits](https://docs.catalyst.zoho.com/en/serverless/help/circuits/introduction/), [Job Functions](https://docs.catalyst.zoho.com/en/serverless/help/functions/job-functions/), and [AppSail](https://docs.catalyst.zoho.com/en/serverless/help/appsail/introduction/) services. A cron **strictly acts as a scheduler** that submits jobs to the Job Pool. It is the Job Pool that queues and executes the scheduled jobs to invoke the configured target type. > **Note:** The Circuits component is currently not available to Catalyst users accessing from the EU, AU, IN, or CA data centers. Hence, users from these DCs will not be able to trigger Circuits using the Job Scheduling service. You can use the console *Builder* to configure **Pre-Defined** and **Dynamic** crons. Additionally, to define the schedule of a cron, you can implement regex-like expressions called [Cron Expressions](https://docs.catalyst.zoho.com/en/job-scheduling/help/cron/key-concepts/#cron-expressions). You can use **Cron Expressions** to configure the schedule of a cron while creating it using the *Builder* or through code using the Catalyst SDK. > **Note:** * Learn more about **Cron Expressions** and its syntax from this [help section](https://docs.catalyst.zoho.com/en/job-scheduling/help/cron/key-concepts/#cron-expressions). * While Catalyst offers you the option to create Dynamic Crons using the Console's *Builder*, it is strongly advised you use it solely for testing Dynamic Cron's configurations when the project is in the production environment. * We strongly urge you to use the *Builder* to create Pre-defined Crons and use Catalyst SDK to create Dynamic Crons. Catalyst offers robust SDKs to use crons and perform cron operations easily through your code in the following runtimes: * [Java SDK](https://docs.catalyst.zoho.com/en/sdk/java/v1/job-scheduling/overview/) * [Node.js SDK](https://docs.catalyst.zoho.com/en/sdk/nodejs/v2/job-scheduling/overview/) * [Python SDK](https://docs.catalyst.zoho.com/en/sdk/python/v1/job-scheduling/overview/) Catalyst also offers you [REST APIs](https://docs.catalyst.zoho.com/en/api/code-reference/job-scheduling/jobpool/get-all-jobpool/#GetAllJobPools) to perform cron operations. -------------------------------------------------------------------------------- title: "Key Concepts" description: "Cron is a Job Scheduling component that allows you to schedule the creation and submission of a job to a Job Pool at a particular time." last_updated: "2026-08-17T12:16:04.000Z" source: "https://docs.catalyst.zoho.com/en/job-scheduling/help/cron/key-concepts/" service: "Job Scheduling" related: - Submit a Job Using Dynamic Cron (/en/job-scheduling/help/implementation/submit-job-dynamic-cron/) - Submit a Job Using Pre-Defined Cron (/en/job-scheduling/help/implementation/submit-job-predefined-cron/) - Java SDK (/en/sdk/java/v1/job-scheduling/overview/) - Node.js SDK (/en/sdk/nodejs/v2/job-scheduling/overview/) - Python SDK (/en/sdk/python/v1/job-scheduling/overview/) - Job Scheduling REST APIs (/en/api/code-reference/job-scheduling/jobpool/get-all-jobpool/#GetAllJobPools) -------------------------------------------------------------------------------- # Key Concepts In this section, we are going to go over some definitions and concepts about the Cron component to ensure you utilize cron effectively. ### Cron Types There are two types of cron: **Pre-Defined Cron** and **Dynamic Cron**. The following table illustrates their differences and their uses:
Criteria Pre-Defined Cron Dynamic Cron
Definition These crons are created and configured using the *Builder* feature present in the console. These crons can also be configured using the *Builder* feature. However, since these crons are meant to be created dynamically during production runtime, the ideal practice is to create and configure these crons through code with the support of Catalyst SDKs in [Java](https://docs.catalyst.zoho.com/en/sdk/java/v1/job-scheduling/overview/), [Node.js](https://docs.catalyst.zoho.com/en/sdk/nodejs/v2/job-scheduling/overview/) and [Python](https://docs.catalyst.zoho.com/en/sdk/python/v1/job-scheduling/overview/).
Primary advantage You can create and configure these crons with no additional coding. These crons can be migrated to the [Production environment](https://docs.catalyst.zoho.com/en/deployment-and-billing/environments/production-environment/), when you deploy your project. Since these crons are created dynamically during runtime, you can create and configure them using code. Greater flexibility to configure cron precisely to satisfy your requirement.
Primary restriction Despite having multiple customization options, there could arise a possibility where you encounter minor restrictions in terms of precisely satisfying your requirement. For example, it is not possible for you to allow end-users to create your cron. The functionality of this type of cron is best suited for static purposes. Crons created in the [Development environment](https://docs.catalyst.zoho.com/en/deployment-and-billing/environments/development-environment/) will not be migrated to the Production environment when you deploy your project.
Cron Expression compatibility The *Builder* provides you with format options that allow you to configure the schedule of these crons using Cron Expressions Catalyst SDK supports the usage of Cron Expressions to define the schedule of the cron.
Ideal example use cases Suitable for any type of use case, where you require a cron to schedule and periodically execute tasks on the assumption of preset conditions. Also suitable for use cases where you require the cron you created in development to be present during production. You can use this type of cron to satisfy any type of use case, where you require a particular action to occur at a particular time. Since these crons are created through code, it allows you to create crons with greater flexibility to employ versatile solutions.
### Cron ID Cron ID is the unique ID generated by Catalyst when you create a Pre-defined or Dynamic cron. ![catalyst_job_scheduling_cron_id_high](https://catalyst-docs-development.zohostratus.in/images/help/job-scheduling/catalyst_job_scheduling_cron_id_high.webp) ### Format Type There are two format types you can use to configure your cron: * **Standard**: Standard is the format type to select if you prefer to use the UI Calendar-based options present in your builder to configure your cron. ![catalyst_job_scheduling_cron_std_format_type](https://catalyst-docs-development.zohostratus.in/images/help/job-scheduling/catalyst_job_scheduling_cron_std_format_type.webp) * **Cron Expression**: You use regex-like expressions to configure your cron. The expression allows you to configure cron in a quicker manner. Additionally, it allows you easily migrate crons you configured using other services to Job Scheduling's Cron. Using cron expressions also provides you with more flexibility in configuring crons as you have greater input freedom. ![catalyst_job_scheduling_cron_format_cron_exp](https://catalyst-docs-development.zohostratus.in/images/help/job-scheduling/catalyst_job_scheduling_cron_format_cron_exp.webp) > **Note:** Both the format types are supported in Catalyst SDK. You can employ the relevant SDK in [Java](https://docs.catalyst.zoho.com/en/sdk/java/v1/job-scheduling/overview/), [Node.js](https://docs.catalyst.zoho.com/en/sdk/nodejs/v2/job-scheduling/overview/), and [Python](https://docs.catalyst.zoho.com/en/sdk/python/v1/job-scheduling/overview/) and configure your cron through code. ### Cron Expressions This is a format type you can choose to configure your cron. You can use these special expressions to provide five inputs to complete the configuration of your cron. ![catalyst_job_scheduling_cron_format_cron_express](https://catalyst-docs-development.zohostratus.in/images/help/job-scheduling/catalyst_job_scheduling_cron_format_cron_express.webp) Study this section carefully to utilize Cron Expressions correctly. > **Note:** If you happen to make any syntax mistake while using Cron Expressions, the cron will not be executed. #### Input fields present in cron expressions
Input Fields Meaning Possible Values (Range)
Mins Minutes of the clock `0-59`
Hrs Hours or the clock or the time in **24-Hr** format `0-23`
Day(Month) Days of the calendar month `1-31`
Month Months present in a calendar year `1-12`
Day(Week) Days of the week `0-6 (0/6 can be Sunday)`
#### Special characters present in Cron Expressions
Special Characters Meaning Example Usage
`Asterisk (*)` All values An asterisk under the *Mins* input field would mean "**Every Minute**"
`Comma (,)` Used to denote specific values in a list of values There is a list of seven days in a week. So, if `1,3,5` is inputted in the *Days(Week)* input field. The numbers and the comma would mean **Monday**, **Wednesday**, and **Friday**
`Hyphen (-)` Used to denote the entire range of values in a list of values If you input the value `1-3` in the *Days(Week)* input field. The expression would mean **Monday through Wednesday**.
`Slash (/)` Used to denote repetitive increments of a value If you input the expression `0/15` in the *Mins* input field. The expression would mean "**Every 15 Minutes**".
`Hash (#)` Used to denote '**the nth day**' of the week in the current month If you input the expression `6#3` in the *Days (Week)* input field would mean "**The 3rd Friday of the current month**"
#### Some examples of configuring crons using Cron Expressions **Example 1** **Requirement**: Configure a cron to be executed on **8th Day of December** of the **current year** at **11:15 PM**. **Solution**: Since it is a one-time cron, we don't need to use special characters; just the number values would be sufficient. The expression would look like this: ![catalyst_job_scheduling_cron_exp_eg_1](https://catalyst-docs-development.zohostratus.in/images/help/job-scheduling/catalyst_job_scheduling_cron_exp_eg_1.webp) **Example 2** **Requirement**: Configure a recurring cron that should be executed **every 15 minutes** **throughout the year** of **every year**. **Solution**: To achieve this cron, we will use the special character `slash (/)` cron expression, with the value **15** in the *Mins* input section. ![catalyst_job_scheduling_cron_exp_eg_2](https://catalyst-docs-development.zohostratus.in/images/help/job-scheduling/catalyst_job_scheduling_cron_exp_eg_2.webp) **Example 3** **Requirement**: Configure a recurring cron that should execute **every minute of 3 PM** on the **6th day of April** if it falls on **Tuesdays**. **Solution**: To achieve this cron, we will use the special character `Asterisk (*)` along with the appropriate field values. ![catalyst_job_scheduling_cron_exp_eg_3](https://catalyst-docs-development.zohostratus.in/images/help/job-scheduling/catalyst_job_scheduling_cron_exp_eg_3.webp) > **Note:** When you configure a cron through code using **Cron Expressions**, we encourage you to use the UI *Builder* present in the console to confirm if your cron expression is correct and per your requirement and then use it in your code. ### Schedule Type The schedule type determines the frequency of a cron submitting a job to the job pool. A cron can be scheduled in one of two ways: * **One Time**: The cron schedules the job submission **only once** on the configured date and time. * **Recursive**: The job submission by cron is triggered multiple times recursively based on the frequency, date, and time you configure. This functionality will continue till you disable or delete it, or provide a termination condition. The minimum recurring frequency a cron can be triggered at is **one minute**. -------------------------------------------------------------------------------- title: "Benefits" description: "Cron is a Job Scheduling component that allows you to schedule the creation and submission of a job to a Job Pool at a particular time." last_updated: "2026-10-29T09:21:03.000Z" source: "https://docs.catalyst.zoho.com/en/job-scheduling/help/cron/benefits/" service: "Job Scheduling" related: - Submit a Job Using Dynamic Cron (/en/job-scheduling/help/implementation/submit-job-dynamic-cron/) - Submit a Job Using Pre-Defined Cron (/en/job-scheduling/help/implementation/submit-job-predefined-cron/) - Cron Expressions (/en/job-scheduling/help/cron/key-concepts/#cron-expressions) - Java SDK (/en/sdk/java/v1/job-scheduling/overview/) - Node.js SDK (/en/sdk/nodejs/v2/job-scheduling/overview/) - Python SDK (/en/sdk/python/v1/job-scheduling/overview/) - Job Scheduling REST APIs (/en/api/code-reference/job-scheduling/jobpool/get-all-jobpool/#GetAllJobPools) -------------------------------------------------------------------------------- # Benefits * **Automate the submission of jobs** Using Cron, you can automate [job](https://docs.catalyst.zoho.com/en/job-scheduling/help/job/introduction/) submission to the [Job Pool](https://docs.catalyst.zoho.com/en/job-scheduling/help/jobpool/introduction/). No matter how versatile your requirement, you can configure your cron either through code using Catalyst SDKs ([Java](https://docs.catalyst.zoho.com/en/sdk/java/v1/job-scheduling/overview/), [Node.js](https://docs.catalyst.zoho.com/en/sdk/nodejs/v2/job-scheduling/overview/), and [Python](https://docs.catalyst.zoho.com/en/sdk/python/v1/job-scheduling/overview/)) or using the UI [*Builder*](https://docs.catalyst.zoho.com/en/job-scheduling/help/implementation/submit-job-predefined-cron/) in the console and the job will be created automatically as per your configurations. Since the cron daemon is constantly running in the background, Catalyst will ensure that the job is created promptly and submitted to the Job Pool without any delay. * **Configure cron during runtime** Using **Dynamic Crons** you can configure and schedule both one-time and recurring crons dynamically during application runtime. Dynamic crons can be created through code. Catalyst also offers you the required SDK support in [Java](https://docs.catalyst.zoho.com/en/sdk/java/v1/job-scheduling/overview/), [Node.js](https://docs.catalyst.zoho.com/en/sdk/nodejs/v2/job-scheduling/overview/), and [Python](https://docs.catalyst.zoho.com/en/sdk/python/v1/job-scheduling/overview/) runtime. Catalyst also offers you [REST APIs](https://docs.catalyst.zoho.com/en/api/code-reference/job-scheduling/jobpool/get-all-jobpool/#GetAllJobPools) to perform cron operations. Since these crons are generated dynamically during runtime, your crons will be active only when they are required. This further optimizes your application. * **Cron Expressions allow for more flexibility** Using [Cron Expressions](https://docs.catalyst.zoho.com/en/job-scheduling/help/cron/key-concepts/#cron-expressions) allows you schedule crons with greater precision and flexibility. For example, you can configure a cron that will submit jobs to the Job Pool on every third day of the calendar month of a calendar year. You can further drill down and schedule the [cron to submit a job](https://docs.catalyst.zoho.com/en/job-scheduling/help/implementation/submit-job-dynamic-cron/) **every minute** of a particular hour of any day of the calendar month in a calendar year. Achieving this level of versatility is quite simple using Cron Expressions. * **Cron Expressions allow hassle-free migration of crons from other services to Catalyst** Cron expressions are regex-like standard expressions. Migration of your codebase from one service to another is a cumbersome experience. But when it comes to migration of your cron jobs from other services to Catalyst, you can easily reconfigure them in your codebase itself using Cron expressions. Catalyst also offers you SDKs in [Java](https://docs.catalyst.zoho.com/en/sdk/java/v1/job-scheduling/overview/), [Node.js](https://docs.catalyst.zoho.com/en/sdk/nodejs/v2/job-scheduling/overview/), and [Python](https://docs.catalyst.zoho.com/en/sdk/python/v1/job-scheduling/overview/) with the necessary code snippets and functions to configure cron using Cron Expressions. * **Execution History** Catalyst logs every cron that is executed and makes them immediately available in the *Execution History* section. These logs enable you to assess the performance of your crons, debug errors and perform quick fixes, and make informed decisions based on analytics and reports. The execution history is available for **30 days**. * **Adept at failure handling** Sometimes, due to external factors, failures in cron execution can occur. However, with Job Scheduling's Cron, you always have the option to configure a maximum of **10 retry attempts**. You can configure these retries with a minimum interval of **1 minute** to a maximum of **24 hours**. If your cron execution has been canceled due to a loss of network or other such external factors, a retry attempt can solve the issue automatically. Furthermore, if the execution failed even after multiple retries, each of the executions is logged in the *Execution History*, allowing an easier and more informative debugging process. -------------------------------------------------------------------------------- title: "Use Cases" description: "Cron is a Job Scheduling component that allows you to schedule the creation and submission of a job to a Job Pool at a particular time." last_updated: "2025-05-30T11:24:59.000Z" source: "https://docs.catalyst.zoho.com/en/job-scheduling/help/cron/usecases/" service: "Job Scheduling" related: - Submit a Job Using Dynamic Cron (/en/job-scheduling/help/implementation/submit-job-dynamic-cron/) - Submit a Job Using Pre-Defined Cron (/en/job-scheduling/help/implementation/submit-job-predefined-cron/) - Circuit Help Documentation (/en/serverless/help/circuits/introduction/) - AppSail Help Documentation (/en/serverless/help/appsail/introduction/) - Job Functions Help Documentation (/en/serverless/help/functions/job-functions/) - Java SDK (/en/sdk/java/v1/job-scheduling/overview/) - Node.js SDK (/en/sdk/nodejs/v2/job-scheduling/overview/) - Python SDK (/en/sdk/python/v1/job-scheduling/overview/) - Job Scheduling REST APIs (/en/api/code-reference/job-scheduling/jobpool/get-all-jobpool/#GetAllJobPools) -------------------------------------------------------------------------------- # Use Cases * **Case 1** **Business Bottleneck** Consolidating day-to-day accounts operations across multiple branches Global retail outlets, fast food franchises, or any global enterprise that tends to have multiple branches across the globe generally face a common bottleneck to handle day-end closings. They typically invest a great deal in technology to ensure they handle day-to-day closings across branches to gather or pool data for better insights. **Job Scheduling Solution** In cases like this, a [Pre-defined cron](https://docs.catalyst.zoho.com/en/job-scheduling/help/cron/key-concepts/#cron-types) configured to trigger a [Circuit](https://docs.catalyst.zoho.com/en/serverless/help/circuits/introduction/) that triggers functions to gather data at a scheduled time and established interval can be a much affordable and precise solution. The circuit can be designed with one function aimed at collecting data, the other function to cleanse the data, and another function to insert the data into the [Catalyst Data Store](https://docs.catalyst.zoho.com/en/cloud-scale/help/data-store/introduction/). Since you can configure crons for any time zone, the crons will automatically execute the required jobs promptly. * **Case 2** **Business Bottleneck** Prompt functioning of any alert-based application, like reminder apps, calendar alerts, or any application that requires a scheduled automated action. **Job Scheduling Solution** This requirement can be easily solved using Job Scheduling's Pre-Defined and Dynamic [Cron](https://docs.catalyst.zoho.com/en/job-scheduling/help/cron/key-concepts/#cron-types). For example, if you have an application that sends out reminders to take their medication based on their individual schedule, they need only input their desired time. Using the Catalyst SDKs ([Java](https://docs.catalyst.zoho.com/en/sdk/java/v1/job-scheduling/overview/), [Node.js](https://docs.catalyst.zoho.com/en/sdk/nodejs/v2/job-scheduling/overview/), and [Python](https://docs.catalyst.zoho.com/en/sdk/python/v1/job-scheduling/overview/)) you can schedule a dynamic cron based on this input and trigger reminders based on their selection. * **Case 3** **Business Bottleneck** Providing the required services while balancing excessive demand. Consider platforms that sell concert or gala tickets. They usually tend to be high-traffic online places, that crash frequently and have a very limited open window. **Job Scheduling Solution** You can develop a microservice that reminds your end-user at an optimal time of concerts and events based on their interests. [Using a Pre-defined cron](https://docs.catalyst.zoho.com/en/job-scheduling/help/implementation/submit-job-predefined-cron/), you can keep submitting [jobs](https://docs.catalyst.zoho.com/en/job-scheduling/help/job/introduction/) to a [job pool](https://docs.catalyst.zoho.com/en/job-scheduling/help/jobpool/introduction/) to trigger the ticketing platform URL periodically and check if an announcement is released. When an end-user's desired announcement is released, you can [configure a dynamic cron](https://docs.catalyst.zoho.com/en/job-scheduling/help/implementation/submit-job-dynamic-cron/) to send out scheduled alerts and ensure that they successfully book their desired tickets at an optimal time. * **Case 4** **Business Bottleneck** Performing scheduled backups automatically and promptly For example, in the event where the original data has been accidentally lost or compromised, scheduled backups are crucial in creating required redundancies of data that can be accessed easily. **Job Scheduling Solution** You can solve this requirement by [configuring a cron to submit a job](https://docs.catalyst.zoho.com/en/job-scheduling/help/implementation/submit-job-predefined-cron/) to the **Function Job Pool** that will trigger a [Job Function](https://docs.catalyst.zoho.com/en/serverless/help/functions/job-functions/) which will contain the required logic to initiate and take automatic backups of your data at the time and intervals you require. This also saves you considerable time and manual effort. * **Case 5** **Business Bottleneck** Managing an organization's information system processes **Job Scheduling Solution** Cron can help you efficiently handle a company's information system processes and operations, such as generating and release of payslips, submission of daily operational reports, maintenance of employee attendance records, etc. These operations are crucial for the functioning of any organization and need to be promptly executed. You can configure a cron to submit a job to the [Circuit Job Pool](https://docs.catalyst.zoho.com/en/job-scheduling/help/implementation/create-jobpool/) at the scheduled time. The job will promptly trigger a [Circuit](https://docs.catalyst.zoho.com/en/serverless/help/circuits/introduction/) that can handle each of the operations using individual functions. This ensures that these operations are carried out automatically and per schedule without dedicating additional resources. > **Note:** The Circuits component is currently not available to Catalyst users accessing from the EU, AU, IN, or CA data centers. Hence, users from these DCs will not be able to trigger Circuits using the Job Scheduling service. ### Dashboard -------------------------------------------------------------------------------- title: "Using the Dashboard" description: "Job Scheduling Dashboard provides you a real-time overview of all the Jobs' statuses and Job Pool performance." last_updated: "2026-08-17T12:16:04.000Z" source: "https://docs.catalyst.zoho.com/en/job-scheduling/help/dashboard/dashboard/" service: "Job Scheduling" related: - Create a Job Pool (/en/job-scheduling/help/implementation/create-jobpool/) - Submit a Job to the Job Pool (/en/job-scheduling/help/implementation/submit-instant-job/) - Cron Documentation (/en/job-scheduling/help/cron/introduction/) - Avoid Dispatch Delays When Executing Jobs (/en/job-scheduling/help/jobpool/key-concepts/#ideal-memory-allocation-to-avoid-dispatch-delay) - Java SDK (/en/sdk/java/v1/job-scheduling/overview/) - Node.js SDK (/en/sdk/nodejs/v2/job-scheduling/overview/) - Python SDK (/en/sdk/python/v1/job-scheduling/overview/) - Job Scheduling REST APIs (/en/api/code-reference/job-scheduling/jobpool/get-all-jobpool/#GetAllJobPools) -------------------------------------------------------------------------------- # Dashboard The Job Scheduling *Dashboard* can be accessed as a separate component of the Catalyst Job Scheduling service. The dashboard contains the following details: * List of all the top delayed jobs and their details. * A complete summary of the jobs that were executed in a **24-hour** period is illustrated graphically in real-time. * A real-time graph depicting the **Success/Failure** status of the jobs executed in all Job Pools present in the project. You can also filter this graph to illustrate results on individual Job Pool. * An overview of the statuses of each of the Job Pools and information on the memory/units they have utilized. ![catalyst_job_scheduling_dashboard](https://catalyst-docs-development.zohostratus.in/images/help/job-scheduling/catalyst_job_scheduling_dashboard.webp) > **Note:** The *Dashboard* will only be populated after you [create a Job Pool](https://docs.catalyst.zoho.com/en/job-scheduling/help/implementation/create-jobpool/). The dashboard allows you to infer the required details, and highlights the delayed jobs to enable you to take the appropriate actions like increasing the memory allocation for a Job Pool or creating a new Job Pool to [reduce dispatch delays](https://docs.catalyst.zoho.com/en/job-scheduling/help/jobpool/key-concepts/#ideal-memory-allocation-to-avoid-dispatch-delay). You can also perform the following actions: * You can click any of the jobs present in the top delayed jobs section and be directed to the *Overview* section present in the *Jobs* component. ![catalyst_job_scheduling_top_delayed_jobs](https://catalyst-docs-development.zohostratus.in/images/help/job-scheduling/catalyst_job_scheduling_top_delayed_jobs.webp) * You can directly access information on all of the Job Pools present in your project from the *Job Pool Summary* section. ![catalyst_job_scheduling_dashboard_delayed_job_pools](https://catalyst-docs-development.zohostratus.in/images/help/job-scheduling/catalyst_job_scheduling_dashboard_delayed_job_pools.webp) > **Note:** The Circuits component is currently not available to Catalyst users accessing from the EU, AU, IN, or CA data centers. Hence, users from these DCs will not be able to trigger Circuits using the Job Scheduling service. ### Job Pool -------------------------------------------------------------------------------- title: "Introduction" description: "A Job Pool is a collection of a specific set of jobs, that will be executed to trigger specific target types." last_updated: "2026-08-17T12:16:04.000Z" source: "https://docs.catalyst.zoho.com/en/job-scheduling/help/jobpool/introduction/" service: "Job Scheduling" related: - Create a Job Pool (/en/job-scheduling/help/implementation/create-jobpool/) - Circuit Help Documentation (/en/serverless/help/circuits/introduction/) - AppSail Help Documentation (/en/serverless/help/appsail/introduction/) - Avoid Dispatch Delays When Executing Jobs (/en/job-scheduling/help/jobpool/key-concepts/#ideal-memory-allocation-to-avoid-dispatch-delay) - Job Functions Help Documentation (/en/serverless/help/functions/job-functions/) - Java SDK (/en/sdk/java/v1/job-scheduling/overview/) - Node.js SDK (/en/sdk/nodejs/v2/job-scheduling/overview/) - Python SDK (/en/sdk/python/v1/job-scheduling/overview/) - Job Scheduling REST APIs (/en/api/code-reference/job-scheduling/jobpool/get-all-jobpool/#GetAllJobPools) -------------------------------------------------------------------------------- # Job Pool ### Introduction Job Pool is a component of the Catalyst Job Scheduling service that queues jobs for execution. You can use this component to house and execute jobs. Based on the type of Job Pool, every [job that is executed](https://docs.catalyst.zoho.com/en/job-scheduling/help/implementation/submit-instant-job/) will trigger any one of the following target types: * [Job Functions](https://docs.catalyst.zoho.com/en/serverless/help/functions/job-functions/) * Webhooks * [Circuits](https://docs.catalyst.zoho.com/en/serverless/help/circuits/introduction/) * [AppSail services](https://docs.catalyst.zoho.com/en/serverless/help/appsail/introduction/) You can create multiple Job Pools, each with jobs that trigger a particular target type. If you are [creating a Functions Job Pool](https://docs.catalyst.zoho.com/en/job-scheduling/help/implementation/create-jobpool/), you are required to configure the [**memory allocation**](https://docs.catalyst.zoho.com/en/job-scheduling/help/jobpool/key-concepts/#ideal-memory-allocation-to-avoid-dispatch-delay) of the Job Pool to ensure smooth execution of the jobs. When you create a Webhook, AppSail, or Circuit Job Pool, you will need to mention the **maximum count** of the target type that will be triggered by the jobs. > **Note:** * For more details on **memory allocation**, visit this [help documentation](https://docs.catalyst.zoho.com/en/job-scheduling/help/jobpool/key-concepts/#ideal-memory-allocation-to-avoid-dispatch-delay). * The Circuits component is currently not available to Catalyst users accessing from the EU, AU, IN, or CA data centers. Hence, users from these DCs will not be able to trigger Circuits using the Job Scheduling service. ![catalyst_job_scheduling_job_pool_home_page](https://catalyst-docs-development.zohostratus.in/images/help/job-scheduling/catalyst_job_scheduling_job_pool_home_page.webp) A Job can be submitted to the Job Pool in the following means: * Using the Catalyst SDK- [Java](https://docs.catalyst.zoho.com/en/sdk/java/v1/job-scheduling/overview/), [Node.js](https://docs.catalyst.zoho.com/en/sdk/nodejs/v2/job-scheduling/overview/), or [Python](https://docs.catalyst.zoho.com/en/sdk/python/v1/job-scheduling/overview/) * Using [Submit Job REST APIs](https://docs.catalyst.zoho.com/en/api/code-reference/job-scheduling/jobpool/get-all-jobpool/#GetAllJobPools) * Scheduling the submission using a [Pre-Defined Cron](https://docs.catalyst.zoho.com/en/job-scheduling/help/implementation/submit-job-predefined-cron/) or [Dynamic Cron](https://docs.catalyst.zoho.com/en/job-scheduling/help/implementation/submit-job-dynamic-cron/) * Directly from the [Job Pool section](https://docs.catalyst.zoho.com/en/job-scheduling/help/implementation/submit-instant-job/). * Using the [Jobs component](https://docs.catalyst.zoho.com/en/job-scheduling/help/implementation/submit-jobs-using-jobs/). Regardless of the manner used to submit a job to the job pool, the jobs will be automatically queued by Catalyst, and they will be executed from their associated Job Pool. Catalyst provides you with the complete SDK support to employ Job Pool operations through code in the following programming languages: * [Java SDK](https://docs.catalyst.zoho.com/en/sdk/java/v1/job-scheduling/overview/) * [Node.js SDK](https://docs.catalyst.zoho.com/en/sdk/nodejs/v2/job-scheduling/overview/) * [Python SDK](https://docs.catalyst.zoho.com/en/sdk/python/v1/job-scheduling/overview/) ### Architecture of Job Execution in a Job Pool The following diagram illustrates an overview of how jobs are executed in a Job Pool using Job Scheduling: ![catalyst_job_scheduling_Job_pool_architecture](https://catalyst-docs-development.zohostratus.in/images/help/job-scheduling/catalyst_job_scheduling_Job_pool_architecture.webp) 1. You can submit a Job directly [using the console](https://docs.catalyst.zoho.com/en/job-scheduling/help/implementation/submit-instant-job/), or through code using Catalyst SDK ([Java](https://docs.catalyst.zoho.com/en/sdk/java/v1/job-scheduling/overview/), [Node.js](https://docs.catalyst.zoho.com/en/sdk/nodejs/v2/job-scheduling/overview/), or [Python](https://docs.catalyst.zoho.com/en/sdk/python/v1/overview/)). You also have the option to [schedule a cron](https://docs.catalyst.zoho.com/en/job-scheduling/help/implementation/submit-job-predefined-cron/) to submit a job to the Job Pool. You can have multiple Job Pools, and each of these Job Pools can have multiple jobs. 2. Regardless of whether you submit the Job manually or automate the submission through the use of a cron, the Job Pool will queue and execute them using the *Catalyst Task Engine*. The queuing and the execution process will be completely handled by Catalyst. 3. Based on the target type of the Job Pool, the jobs can trigger a [Job Function](https://docs.catalyst.zoho.com/en/serverless/help/functions/job-functions/), a webhook (**any third-party URL**), a [Circuit](https://docs.catalyst.zoho.com/en/job-scheduling/help/implementation/submit-instant-job/), or even trigger an [AppSail service](https://docs.catalyst.zoho.com/en/job-scheduling/help/implementation/submit-instant-job/). > **Note:** The Circuits component is currently not available to Catalyst users accessing from the EU, AU, IN, or CA data centers. Hence, users from these DCs will not be able to trigger Circuits using the Job Scheduling service. -------------------------------------------------------------------------------- title: "Key Concepts" description: "A Job Pool is a collection of a specific set of jobs, that will be executed to trigger specific target types." last_updated: "2026-08-28T06:26:16.000Z" source: "https://docs.catalyst.zoho.com/en/job-scheduling/help/jobpool/key-concepts/" service: "Job Scheduling" related: - Create a Job Pool (/en/job-scheduling/help/implementation/create-jobpool/) - Circuit Help Documentation (/en/serverless/help/circuits/introduction/) - AppSail Help Documentation (/en/serverless/help/appsail/introduction/) - Job Functions Help Documentation (/en/serverless/help/functions/job-functions/) - Java SDK (/en/sdk/java/v1/job-scheduling/overview/) - Node.js SDK (/en/sdk/nodejs/v2/job-scheduling/overview/) - Python SDK (/en/sdk/python/v1/job-scheduling/overview/) - Job Scheduling REST APIs (/en/api/code-reference/job-scheduling/jobpool/get-all-jobpool/#GetAllJobPools) -------------------------------------------------------------------------------- # Key Concepts In this help section, we are going to go over some vital concepts to ensure you utilize Job Pools optimally. ### Job Pool ID Job Pool ID is the unique ID generated by Catalyst when a Job Pool is created. This ID will be used to identify the Job Pool. You can use this ID to refer to a Job Pool while performing actions using the API or SDK. ![catalyst_job_scheduling_showcase_id_jobpool](https://catalyst-docs-development.zohostratus.in/images/help/job-scheduling/catalyst_job_scheduling_showcase_id_jobpool.webp) ### Different States of Job Execution When a job is being executed from the Job Pool, there are four possible states the execution can result in: - **Success**: When the job successfully triggers the configured target type. - **Pending**: When there is a dispatch delay - **Running**: When the job is currently being executed - **Failure**: When the job execution fails due to any of the following reasons: - **Failure**: Typically occurs if you have closed the code file inappropriately. - **Timeout**: Typically occurs if your function exceeds 15 minutes. - **Code_Exception**: Typically occurs if your code is faulty. - **Not_Found**: Typically occurs if you have deleted the target function. - **Unintentional_Termination**: Typically occurs in node runtimes, when you call the `exit()` method or do not close the context of the function. These states will also be displayed in the [Dashboard](https://docs.catalyst.zoho.com/en/job-scheduling/help/dashboard/dashboard/) and can be used to track the status of a job. > **Note:** You can also use the [Application Alerts](https://docs.catalyst.zoho.com/en/devops/help/application-alerts/introduction/) component to configure alerts that notify you via email when a job enters any of the above mentioned states. ### Ideal Memory Allocation to Avoid Dispatch Delay This is a feature of Job Scheduling that you have to configure when you [create a Job Pool](https://docs.catalyst.zoho.com/en/job-scheduling/help/implementation/create-jobpool/). Memory allocation allows you to allocate sufficient memory for your Job Pool to ensure jobs are executed by the Job Pool promptly without any dispatch delay. ![catalyst_job_scheduling_job_pool_memeory_allocation](https://catalyst-docs-development.zohostratus.in/images/help/job-scheduling/catalyst_job_scheduling_job_pool_memeory_allocation.webp) Memory allocation is only required for **Function Job Pool**. In a Function Job Pool, the jobs will be executed to trigger a job function. The jobs in the Job Pool and the job function(s) they trigger all occur in the same instance as the Job Pool. If the memory is not allocated properly, this could potentially create a dispatch delay. So ensure you configure memory allocation carefully You need to allocate memory for your Job Pool, considering the memory that the triggered function will require to be executed. For a Job Pool to execute a Job successfully and trigger a function, the allocated memory for a Job Pool must be higher than the memory allocated for all the functions being triggered by the jobs associated to that particular Job Pool. The maximum memory allocation possible is **10GB**. With Function Job Pool, you have the flexibility to allocate memory based on your requirement. For example, you can either have 10 Job Pools each of 1GB, or one Job Pool with a memory of 10GB. Imagine this hypothetical, where you have an ecommerce platform, where you provide services based on a subscription pricing model. You have two minimum requirements that you can fulfill with Job Scheduling. One is to trigger a function that requires 3GB memory to deliver prompt reminders to renew subscription, and the other job triggers a function that requires 2GB to deliver emails containing offers and latest product details to the end-user. Both these functions can be triggered using a singular Functions Job Pool of 10GB. However, this is not an efficient way to use Job Pools, as there is a possibility of dispatch delay when demand rises to create and execute several jobs to trigger the functions. An illustration of this type of workflow is shown below: ![catalyst_job_scheduling_jobpool_dispatch_dig](https://catalyst-docs-development.zohostratus.in/images/help/job-scheduling/catalyst_job_scheduling_jobpool_dispatch_dig.webp) The efficient manner to ensure you are never in such a situation is to use two different function Job Pools. One of them can be a priority Job Pool that will always have the memory allocation to execute priority jobs such as sending out payment reminders. The other Job Pool can execute jobs of flexible priority where dispatch delays, should they occur, do not have drastic consequences to the rest of the workflow. An illustration of the ideal workflow to ensure all your jobs are executed promptly avoiding any dispatch delay is shown below. ![catalyst_job_scheduling_jobpool_success_exec_dig](https://catalyst-docs-development.zohostratus.in/images/help/job-scheduling/catalyst_job_scheduling_jobpool_success_exec_dig.webp) The key point to comprehend is that the ideal manner to employ Job Pools is where your **Job Pools always have higher memory allocation than the job functions** the jobs are triggering. > **Note:** * The default maximum memory allocation permitted for a Job Pool in a single Catalyst project is **10GB**. You can always [ edit a Job Pool's ](https://docs.catalyst.zoho.com/en/job-scheduling/help/implementation/manage-jobpool/#edit-a-job-pool) memory allocation, to accommodate sudden rise in demands. But, the ideal manner will always be employing enough Job Pools with proper memory allocation. * While there is no memory allocation required for the other types of Job Pool, you do have to configure the maximum count of the services that can be triggered by the jobs in the job pool. The max count of AppSail services, circuits, or third-party URLs that can be triggered **in parallel** in a single Job Pool is **10**. -------------------------------------------------------------------------------- title: "Benefits" description: "A Job Pool is a collection of a specific set of jobs, that will be executed to trigger specific target types." last_updated: "2025-05-30T11:24:59.000Z" source: "https://docs.catalyst.zoho.com/en/job-scheduling/help/jobpool/benefits/" service: "Job Scheduling" related: - Circuit Help Documentation (/en/serverless/help/circuits/introduction/) - AppSail Help Documentation (/en/serverless/help/appsail/introduction/) - Job Functions Help Documentation (/en/serverless/help/functions/job-functions/) - Working With Job Scheduling (/en/job-scheduling/help/implementation/create-jobpool/) - Java SDK (/en/sdk/java/v1/job-scheduling/overview/) - Node.js SDK (/en/sdk/nodejs/v2/job-scheduling/overview/) - Python SDK (/en/sdk/python/v1/job-scheduling/overview/) - Job Scheduling REST APIs (/en/api/code-reference/job-scheduling/jobpool/get-all-jobpool/#GetAllJobPools) -------------------------------------------------------------------------------- # Benefits * **You can prioritize your jobs using multiple Job Pools** If you have too many jobs queued in a job pool, instead of executing them in just one Job Pool, you can create a priority Job Pool along with a regular Job Pool. This would ensure that your tasks that need to be executed instantly with no dispatch delay are executed promptly. * **Job Pools significantly reduce delays in executions** Each Job Pool is created and configured with a particular [memory allocation](https://docs.catalyst.zoho.com/en/job-scheduling/help/jobpool/key-concepts/#ideal-memory-allocation-to-avoid-dispatch-delay). You also have the option to [edit this memory allocation](https://docs.catalyst.zoho.com/en/job-scheduling/help/implementation/manage-jobpool/#edit-a-job-pool) and expand or decrease the allocation based on your scaling requirements. This particular feature ensures that jobs, whether [created manually](https://docs.catalyst.zoho.com/en/job-scheduling/help/implementation/submit-instant-job/) or [scheduled by a cron](https://docs.catalyst.zoho.com/en/job-scheduling/help/implementation/submit-job-predefined-cron/), are created and executed as precisely as possible. * **You can create different Job Pools for different target types** Each Job Pool is created and configured to hold a collection of [jobs to trigger](https://docs.catalyst.zoho.com/en/job-scheduling/help/implementation/submit-instant-job/) a particular target type: third-party URLs, job functions, circuits, and AppSail services. Based on your requirement, you can also have different Job Pools to trigger the same target types. * **Job Pools can queue and execute jobs automatically** You are only required to submit jobs directly to the Job Pool or schedule their submission using crons. The queuing and execution of them is completely handled by Catalyst in the backend. > **Note:** The Circuits component is currently not available to Catalyst users accessing from the EU, AU, IN, or CA data centers. Hence, users from these DCs will not be able to trigger Circuits using the Job Scheduling service. -------------------------------------------------------------------------------- title: "Use Cases" description: "A Job Pool is a collection of a specific set of jobs, that will be executed to trigger specific target types." last_updated: "2025-05-30T11:24:59.000Z" source: "https://docs.catalyst.zoho.com/en/job-scheduling/help/jobpool/usecases/" service: "Job Scheduling" related: - Circuit Help Documentation (/en/serverless/help/circuits/introduction/) - AppSail Help Documentation (/en/serverless/help/appsail/introduction/) - Job Functions Help Documentation (/en/serverless/help/functions/job-functions/) - Working With Job Scheduling (/en/job-scheduling/help/implementation/create-jobpool/) - Java SDK (/en/sdk/java/v1/job-scheduling/overview/) - Node.js SDK (/en/sdk/nodejs/v2/job-scheduling/overview/) - Python SDK (/en/sdk/python/v1/job-scheduling/overview/) - Job Scheduling REST APIs (/en/api/code-reference/job-scheduling/jobpool/get-all-jobpool/#GetAllJobPools) -------------------------------------------------------------------------------- # Use Cases * **Case 1** **Business Bottleneck** Ensuring priority email notifications are sent promptly to the required consumers. Imagine you have an application where you provide your users with a subscription-based service. You need to remind your users to renew their subscription on time to ensure you are promptly paid for services rendered and they continue to enjoy their service uninterrupted. Additionally, you will also need to keep your users well-informed on the latest offers and promotions. **Job Scheduling Solution** The required actions can be handled easily by scheduling a [cron](https://docs.catalyst.zoho.com/en/job-scheduling/help/cron/introduction/) to [submit a job to the Job Pool](https://docs.catalyst.zoho.com/en/job-scheduling/help/implementation/submit-instant-job/) that triggers a circuit. The circuit will ultimately send an email to your user. On the surface, the tasks are basic actions of email prompts targeted at your users. However, reminding them about their payment is a task of a higher priority, and cannot encounter any delays. Without a Job Pool, both of these tasks will be given equal priority. When dealing with a large volume of jobs, this might give rise to a [possible dispatch delay](https://docs.catalyst.zoho.com/en/job-scheduling/help/jobpool/key-concepts/#ideal-memory-allocation-to-avoid-dispatch-delay) in executing the job responsible for reminding your users about their payment. With the advantage of creating multiple Job Pools, you can have a Job Pool that exclusively queues and executes jobs that trigger circuits that send out payment reminders, and another Job Pool that executes lesser priority jobs. > **Note:** The Circuits component is currently not available to Catalyst users accessing from the EU, AU, IN, or CA data centers. Hence, users from these DCs will not be able to trigger Circuits using the Job Scheduling service. * **Case 2** **Business Bottleneck** Handling multiple time-sensitive actions. For example, if you are creating an ecommerce application, you need to constantly notify and inform your consumers about your inventory and remind them that their favorite items are in stock, send them consumerization emails, and so on. Conventionally, you could create independent microservices, and manually execute them, or even perform limited automation to execute these tasks. **Job Scheduling Solution** With Job Scheduling's Job Pools, you can configure three different Job Pools. Catalyst will automatically queue and execute jobs you configure to trigger different Circuits, each configured to execute a specific workflow. Additionally, you can also configure a recurring Pre-defined or Dynamic cron to submit jobs at scheduled times and intervals to execute each of these tasks. ### Jobs -------------------------------------------------------------------------------- title: "Introduction" description: "Jobs are the actions executed from a Job Pool that you configure to trigger and invoke multiple target types" last_updated: "2026-08-17T12:16:04.000Z" source: "https://docs.catalyst.zoho.com/en/job-scheduling/help/job/introduction/" service: "Job Scheduling" related: - Submit a Job (/en/job-scheduling/help/implementation/submit-jobs-using-jobs/) - Circuit Help Documentation (/en/serverless/help/circuits/introduction/) - AppSail Help Documentation (/en/serverless/help/appsail/introduction/) - Job Functions Help Documentation (/en/serverless/help/functions/job-functions/) - Java SDK (/en/sdk/java/v1/job-scheduling/overview/) - Node.js SDK (/en/sdk/nodejs/v2/job-scheduling/overview/) - Python SDK (/en/sdk/python/v1/job-scheduling/overview/) - Job Scheduling REST APIs (/en/api/code-reference/job-scheduling/jobpool/get-all-jobpool/#GetAllJobPools) -------------------------------------------------------------------------------- # Jobs ### Introduction Jobs are the actions executed from a [Job Pool](https://docs.catalyst.zoho.com/en/job-scheduling/help/jobpool/introduction/) that you configure to trigger and invoke any of the following target types: * [Job Functions](https://docs.catalyst.zoho.com/en/serverless/help/functions/job-functions/) * Webhooks(**any third-party URL**) * [Circuits](https://docs.catalyst.zoho.com/en/serverless/help/circuits/introduction/) * [AppSail services](https://docs.catalyst.zoho.com/en/serverless/help/appsail/introduction/) > **Note:** The Circuits component is currently not available to Catalyst users accessing from the EU, AU, IN, or CA data centers. Hence, users from these DCs will not be able to trigger Circuits using the Job Scheduling service. These are also the four types of jobs, each associated based on the Job Pool they are a part of and the target type they are configured to trigger and invoke. ![catalyst_job_scheduling_jobs_home_page_list](https://catalyst-docs-development.zohostratus.in/images/help/job-scheduling/catalyst_job_scheduling_jobs_home_page_list.webp) You can create jobs and associate them to their respective Job Pools using the Jobs component. You can either [create them immediately (manually)](https://docs.catalyst.zoho.com/en/job-scheduling/help/implementation/submit-instant-job/) or [schedule their submission](https://docs.catalyst.zoho.com/en/job-scheduling/help/implementation/submit-job-predefined-cron/) using Cron. You can create them using the UI *Builder* present in the console, or create them through your code using Catalyst SDKs. There are individual SDKs for each type of Job and these SDKs are available in: * [Java](https://docs.catalyst.zoho.com/en/sdk/java/v1/job-scheduling/overview/) * [Node.js](https://docs.catalyst.zoho.com/en/sdk/nodejs/v2/job-scheduling/overview/) * [Python](https://docs.catalyst.zoho.com/en/sdk/python/v1/job-scheduling/overview/) There are no restrictions on the number of jobs that can be created in a Job Pool, and they can also be [scheduled using a cron](https://docs.catalyst.zoho.com/en/job-scheduling/help/implementation/submit-job-predefined-cron/) to be submitted within **one minute** of each other. Multiple jobs are queued and executed in parallel, and the queue is handled by Catalyst. Each job is created with a unique [Job ID](https://docs.catalyst.zoho.com/en/job-scheduling/help/job/key-concepts/#job-id) generated by Catalyst, and their progress, execution status, and their details can be viewed from the [Job Scheduling Dashboard](https://docs.catalyst.zoho.com/en/job-scheduling/help/dashboard/dashboard/). > **Note:** You need to [create a Job Pool](https://docs.catalyst.zoho.com/en/job-scheduling/help/implementation/create-jobpool/) before you create a Job. -------------------------------------------------------------------------------- title: "Key Concepts" description: "Jobs are the actions executed from a Job Pool that you configure to trigger and invoke multiple target types" last_updated: "2025-05-30T11:24:59.000Z" source: "https://docs.catalyst.zoho.com/en/job-scheduling/help/job/key-concepts/" service: "Job Scheduling" related: - Create a Job (/en/job-scheduling/help/implementation/submit-jobs-using-jobs/) - Submit an Instant Job (/en/job-scheduling/help/implementation/submit-instant-job/) - Java SDK (/en/sdk/java/v1/job-scheduling/overview/) - Node.js SDK (/en/sdk/nodejs/v2/job-scheduling/overview/) - Python SDK (/en/sdk/python/v1/job-scheduling/overview/) - Job Scheduling REST APIs (/en/api/code-reference/job-scheduling/jobpool/get-all-jobpool/#GetAllJobPools) -------------------------------------------------------------------------------- # Key Concepts In this help section, we are going to go over some of the concepts you need to understand to create jobs without errors. The following fields are required when you create a job for any job pool type: ### Request Methods The following HTTP request methods are supported while invoking a Webhook, or AppSail service through Job execution: * `POST`: Creates a new resource in the target URL * `GET`: Retrieves data from the target URL * `PUT`: Replaces an existing resource in the target URL * `DELETE`: Deletes an existing resource in the target URL ### Headers This is an optional input in [AppSail and Webhook Job Pool](https://docs.catalyst.zoho.com/en/job-scheduling/help/implementation/create-jobpool/) that you can provide based on your requirement. When the HTTP request is sent to the target URL, the requesting entity sends default headers in the request to provide information about the request. Some examples of default headers include the origin of the request, the connection type, and the content type. In addition to the default headers, you can also define custom headers in the HTTP request. For example, you can include a header that specifies the **authorization type** used, a list of acceptable encoding, or the origin date of the request. ### URL Parameters This is an optional input in a Function, AppSail, and Webhook Job Pool that you can provide based on your requirement. You can pass custom URL parameters in the user-defined format with the HTTP request, whose values are set dynamically when the third-party URL is invoked. You can customize the parameter value and include any terms that you require to be passed in the parameter. ### Job ID This is a unique ID generated by Catalyst when you create a Job. You can use this ID to refer to the job in your application code or while performing search operations in the console. You can use this ID to refer to the job in your application code or while viewing its [Execution logs](https://docs.catalyst.zoho.com/en/devops/help/logs/application-logs/). -------------------------------------------------------------------------------- title: "Benefits" description: "Jobs are the actions executed from a Job Pool that you configure to trigger and invoke multiple target types" last_updated: "2026-08-28T06:26:16.000Z" source: "https://docs.catalyst.zoho.com/en/job-scheduling/help/job/benefits/" service: "Job Scheduling" related: - Create a Job (/en/job-scheduling/help/implementation/submit-jobs-using-jobs/) - Submit an Instant Job (/en/job-scheduling/help/implementation/submit-instant-job/) - Java SDK (/en/sdk/java/v1/job-scheduling/overview/) - Node.js SDK (/en/sdk/nodejs/v2/job-scheduling/overview/) - Python SDK (/en/sdk/python/v1/job-scheduling/overview/) - Job Scheduling REST APIs (/en/api/code-reference/job-scheduling/jobpool/get-all-jobpool/#GetAllJobPools) -------------------------------------------------------------------------------- # Benefits * **Trigger multiple Catalyst components, and invoke third-party URLs** You can [submit a Job to the Job Pool](https://docs.catalyst.zoho.com/en/job-scheduling/help/implementation/submit-instant-job/) to trigger Catalyst components like [Job Functions](https://docs.catalyst.zoho.com/en/serverless/help/functions/job-functions/), [Circuits](https://docs.catalyst.zoho.com/en/serverless/help/circuits/introduction/), and [AppSail](https://docs.catalyst.zoho.com/en/serverless/help/appsail/introduction/) services. You can also trigger third-party URLs using any request method. As these jobs are being executed in their individual Job Pools, they can all be executed together in parallel. This is true for [Function Job Pool](https://docs.catalyst.zoho.com/en/job-scheduling/help/implementation/create-jobpool/), provided the [memory allocation](https://docs.catalyst.zoho.com/en/job-scheduling/help/jobpool/key-concepts/#ideal-memory-allocation-to-avoid-dispatch-delay) is configured accordingly. * **Multiple ways to create and submit jobs** You can create a job and submit a job to its Job Pool by using the *Builder* in the console. The *Builder* feature is available in the *Job Pool* and *Jobs* component. You can also submit an immediate job using the **Submit Job** button present in the *Cron* component. You can also submit a job through code using the [Java](https://docs.catalyst.zoho.com/en/sdk/java/v1/job-scheduling/overview/), [Node.js](https://docs.catalyst.zoho.com/en/sdk/nodejs/v2/job-scheduling/overview/) or [Python](https://docs.catalyst.zoho.com/en/sdk/python/v1/job-scheduling/overview/) Catalyst SDKs, and using the [REST API](https://docs.catalyst.zoho.com/en/api/code-reference/job-scheduling/jobpool/get-all-jobpool/#GetAllJobPools). * **There are no restrictions on the number of jobs being submitted** You have no restriction on the number of jobs you can submit to a Job Pool, and you have no restriction on how quickly the jobs can be submitted. You can schedule a [cron](https://docs.catalyst.zoho.com/en/job-scheduling/help/cron/introduction/) that can submit a job to the job pool in **one minute** intervals. * **Adept at failure handling** Every job created and submitted to the Job Pool will be executed. However, if a job is not being executed due to external factors, you can automate further attempts to resubmit the job to the Job Pool using the [Retries](https://docs.catalyst.zoho.com/en/job-scheduling/help/implementation/submit-instant-job/) option while you configure a job. ### Working With Job Scheduling -------------------------------------------------------------------------------- title: "Create a Job Pool" description: "Learn about working with Catalyst Job Scheduling to schedule and execute jobs that trigger Job Functions, Webhooks, Circuits, or AppSail services." last_updated: "2026-11-04T10:10:44.000Z" source: "https://docs.catalyst.zoho.com/en/job-scheduling/help/implementation/create-jobpool/" service: "Job Scheduling" related: - Job Pool Documentation (/en/job-scheduling/help/jobpool/introduction/) - Avoid Dispatch Delays When Executing Jobs (/en/job-scheduling/help/jobpool/key-concepts/#ideal-memory-allocation-to-avoid-dispatch-delay) - Setting Application Alerts in a Job Pool (/en/job-scheduling/help/implementation/create-app-alert/) - AppSail Help Documentation (/en/serverless/help/appsail/introduction/) - Circuits Help Documentation (/en/serverless/help/circuits/introduction/) - Job Function Help Documentation (/en/serverless/help/functions/job-functions/) - Java SDK (/en/sdk/java/v1/job-scheduling/overview/) - Node.js SDK (/en/sdk/nodejs/v2/job-scheduling/overview/) - Python SDK (/en/sdk/python/v1/job-scheduling/overview/) - Job Scheduling REST APIs (/en/api/code-reference/job-scheduling/jobpool/get-all-jobpool/#GetAllJobPools) -------------------------------------------------------------------------------- # Create a Job Pool To create a Job Pool: 1. Access the **Catalyst Job Scheduling** service from the service menu and click Start Exploring. ![catalyst_job_scheduling_start_exploring_page](https://catalyst-docs-development.zohostratus.in/images/help/job-scheduling/catalyst_job_scheduling_start_exploring_page.webp) 2. Click the **Job Pool** component under *JOB SOURCE* to access the **Job Pool**. Click the **Create Job Pool** button. ![catalyst_job_scheduling_create_job_pool](https://catalyst-docs-development.zohostratus.in/images/help/job-scheduling/catalyst_job_scheduling_create_job_pool.webp) 3. Provide a name for your *Job Pool* and choose your required Job Pool type from the drop-down. ![catalyst_job_scheduling_job_pool_create_choice](https://catalyst-docs-development.zohostratus.in/images/help/job-scheduling/catalyst_job_scheduling_job_pool_create_choice.webp) > **Note:** Once you choose a type of Job Pool, it cannot be edited or changed. It is strongly advised you choose the required Job Pool type after careful consideration. Follow along with the rest of the implementation steps according to your Job Pool type selection. **Function Job Pool** ### Create a Function Job Pool 4. Select an appropriate memory allocation from the **Memory Allocation** drop-down, and Click **Create**. ![catalyst_job_scheduling_func_job_pool_mem_alloc](https://catalyst-docs-development.zohostratus.in/images/help/job-scheduling/catalyst_job_scheduling_func_job_pool_mem_alloc.webp) > **Note:** Ensure you provide a memory allocation greater than the memory allocated for your [Job Functions](https://docs.catalyst.zoho.com/en/serverless/help/functions/job-functions/). You can find out the best approach to deciding your Job Pool's memory allocation from this [section](https://docs.catalyst.zoho.com/en/job-scheduling/help/jobpool/key-concepts/#ideal-memory-allocation-to-avoid-dispatch-delay). Your Job Pool will be created, and you will be directed to the *Overview* section of the job pool. ![catalyst_job_scheduling_func_jp_created](https://catalyst-docs-development.zohostratus.in/images/help/job-scheduling/catalyst_job_scheduling_func_jp_created.webp) In the *Overview* section, you will be able to view: * General details about the Job Pool; *Name*, *ID*, *Type*, when and by whom the Job Pool had been created. * The *Execution Stats* (Count of **Pending**, **In Progress**, **Successful**, and **Failed** Jobs)of the jobs being executed in the job pool. * The memory usage of the job pool. All of these stats and values are provided to ensure you are aware of each of your jobs' performance in the job pool and to provide you with insights on possible optimization. You can also view all time stats or stats for a particular time period by accessing the drop-down filter in the right. ![catalyst_job_scheduling_func_jp_filter](https://catalyst-docs-development.zohostratus.in/images/help/job-scheduling/catalyst_job_scheduling_func_jp_filter.webp) **Webhook Job Pool** ### Create a Webhook Job Pool 4. Select the count of the number of times you intend to trigger the required webhook (any third-party URL) in parallel from the **Allocate Max Count** drop-down. ![catalyst_job_scheduling_web_jp_count](https://catalyst-docs-development.zohostratus.in/images/help/job-scheduling/catalyst_job_scheduling_web_jp_count.webp) 5. Click **Create**. ![catalyst_job_scheduling_webhook_jp_create](https://catalyst-docs-development.zohostratus.in/images/help/job-scheduling/catalyst_job_scheduling_webhook_jp_create.webp) Your Job Pool will be created, and you will be directed to the *Overview* section of the job pool. ![catalyst_job_scheduling_webhook_jp_create_overview](https://catalyst-docs-development.zohostratus.in/images/help/job-scheduling/catalyst_job_scheduling_webhook_jp_create_overview.webp) In the *Overview* section, you will be able to view: * General details about the Job Pool; *Name*, *ID*, *Type*, when and by whom the Job Pool had been created. * The *Execution Stats* (Count of **Pending**, **In Progress**, **Successful**, and **Failed** Jobs)of the jobs being executed in the job pool. * The memory usage of the job pool. All of these stats and values are provided to ensure you are aware of each of your jobs' performance in the job pool and to provide you with insights on possible optimization. You can also view all time stats or stats for a particular time period by accessing the drop-down filter in the right. ![catalyst_job_scheduling_webhook_jp_overview_filter](https://catalyst-docs-development.zohostratus.in/images/help/job-scheduling/catalyst_job_scheduling_webhook_jp_overview_filter.webp) **Circuit Job Pool** ### Create a Circuit Job Pool > **Note:** The Circuits component is currently not available to Catalyst users accessing from the EU, AU, IN, or CA data centers. Hence, users from these DCs will not be able to trigger Circuits using the Job Scheduling service. 4. Select the count of [Circuits](https://docs.catalyst.zoho.com/en/serverless/help/circuits/introduction/) you wish to trigger in parallel from the **Allocate Max Count** drop-down. ![catalyst_job_scheduling_circuit_jp_creating](https://catalyst-docs-development.zohostratus.in/images/help/job-scheduling/catalyst_job_scheduling_circuit_jp_creating.webp) 5. Click **Create**. ![catalyst_job_scheduling_circuit_jp_created](https://catalyst-docs-development.zohostratus.in/images/help/job-scheduling/catalyst_job_scheduling_circuit_jp_created.webp) Your Job Pool will be created, and you will be directed to the *Overview* section of the job pool. ![catalyst_job_scheduling_circuit_jp_created_overview](https://catalyst-docs-development.zohostratus.in/images/help/job-scheduling/catalyst_job_scheduling_circuit_jp_created_overview.webp) In the *Overview* section, you will be able to view: * General details about the Job Pool; *Name*, *ID*, *Type*, when and by whom the Job Pool had been created. * The *Execution Stats* (Count of **Pending**, **In Progress**, **Successful**, and **Failed** Jobs)of the jobs being executed in the job pool. * The memory usage of the job pool. All of these stats and values are provided to ensure you are aware of each of your jobs' performance in the job pool and to provide you with insights on possible optimization. You can also view all time stats or stats for a particular time period by accessing the drop-down filter in the right. ![catalyst_job_scheduling_circuit_jp_created_overview_filter](https://catalyst-docs-development.zohostratus.in/images/help/job-scheduling/catalyst_job_scheduling_circuit_jp_created_overview_filter.webp) **AppSail Job Pool** ### Create an AppSail Job Pool 4. Select the count of [AppSail services](https://docs.catalyst.zoho.com/en/serverless/help/appsail/introduction/) you wish to trigger in parallel from the **Allocate Max Count** drop-down. ![catalyst_job_scheduling_appsail_jp_create](https://catalyst-docs-development.zohostratus.in/images/help/job-scheduling/catalyst_job_scheduling_appsail_jp_create.webp) 5. Click **Create**. ![catalyst_job_scheduling_app_sail_jp_created](https://catalyst-docs-development.zohostratus.in/images/help/job-scheduling/catalyst_job_scheduling_app_sail_jp_created.webp) Your Job Pool will be created, and you will be directed to the *Overview* section of the job pool. ![catalyst_jop_scheduling_app_sail_jp_created_overview](https://catalyst-docs-development.zohostratus.in/images/help/job-scheduling/catalyst_jop_scheduling_app_sail_jp_created_overview.webp) In the *Overview* section, you will be able to view: * General details about the Job Pool; *Name*, *ID*, *Type*, when and by whom the Job Pool had been created. * The *Execution Stats* (Count of **Pending**, **In Progress**, **Successful**, and **Failed** Jobs)of the jobs being executed in the job pool. * The memory usage of the job pool. All of these stats and values are provided to ensure you are aware of each of your jobs' performance in the job pool and to provide you with insights on possible optimization. You can also view all time stats or stats for a particular time period by accessing the drop-down filter in the right. ![catalyst_job_scheduling_app_sail_jp_created_filter](https://catalyst-docs-development.zohostratus.in/images/help/job-scheduling/catalyst_job_scheduling_app_sail_jp_created_filter.webp) You can find further steps on **submitting an instant job using the Job Pools component** [here](https://docs.catalyst.zoho.com/en/job-scheduling/help/implementation/submit-instant-job/), and steps on **configuring [Application Alerts](https://docs.catalyst.zoho.com/en/devops/help/application-alerts/introduction/) in the Job Pool** [here](https://docs.catalyst.zoho.com/en/job-scheduling/help/implementation/create-app-alert/). You can also find the steps required to **edit your Job Pool** [here](https://docs.catalyst.zoho.com/en/job-scheduling/help/implementation/manage-jobpool/). -------------------------------------------------------------------------------- title: "Submit an Instant Job to the Job Pool" description: "Learn about working with Catalyst Job Scheduling to schedule and execute jobs that trigger Job Functions, Webhooks, Circuits, or AppSail services." last_updated: "2026-11-04T10:10:44.000Z" source: "https://docs.catalyst.zoho.com/en/job-scheduling/help/implementation/submit-instant-job/" service: "Job Scheduling" related: - Job Pool Documentation (/en/job-scheduling/help/jobpool/introduction/) - Avoid Dispatch Delays When Executing Jobs (/en/job-scheduling/help/jobpool/key-concepts/#ideal-memory-allocation-to-avoid-dispatch-delay) - Setting Application Alerts in a Job Pool (/en/job-scheduling/help/implementation/create-app-alert/) - AppSail Help Documentation (/en/serverless/help/appsail/introduction/) - Circuits Help Documentation (/en/serverless/help/circuits/introduction/) - Job Function Help Documentation (/en/serverless/help/functions/job-functions/) - Java SDK (/en/sdk/java/v1/job-scheduling/overview/) - Node.js SDK (/en/sdk/nodejs/v2/job-scheduling/overview/) - Python SDK (/en/sdk/python/v1/job-scheduling/overview/) - Job Scheduling REST APIs (/en/api/code-reference/job-scheduling/jobpool/get-all-jobpool/#GetAllJobPools) -------------------------------------------------------------------------------- # Submit an Instant Job to the Job Pool You can submit an instant job to the Job Pool from two sections in the console: * From the Job Pool component [section](https://docs.catalyst.zoho.com/en/job-scheduling/help/jobpool/introduction/) * From the Jobs component [section](https://docs.catalyst.zoho.com/en/job-scheduling/help/job/introduction/) In this help documentation, we are going to go over the steps required to submit an instant job using the *Job Pool* component section. For steps on submitting a job to the job pool using the *Jobs* component section, visit this [help documentation](https://docs.catalyst.zoho.com/en/job-scheduling/help/implementation/submit-jobs-using-jobs/). To submit a job to the job pool: **Submit a Function Job** ### Submit an Instant Job to the Function Job Pool 1. Choose the required job pool from the **Job Pool** section. ![catalyst_job_scheduling_func_jp_select](https://catalyst-docs-development.zohostratus.in/images/help/job-scheduling/catalyst_job_scheduling_func_jp_select.webp) 2. Click the **Jobs** tab. ![catalyst_job_scheduling_func_jp_jobs_hihg](https://catalyst-docs-development.zohostratus.in/images/help/job-scheduling/catalyst_job_scheduling_func_jp_jobs_hihg.webp) 3. Click **Create Job**. ![catalyst_job_scheduling_func_sub_job_create_job](https://catalyst-docs-development.zohostratus.in/images/help/job-scheduling/catalyst_job_scheduling_func_sub_job_create_job.webp) 4. You can create and submit a job to a job pool directly in the console using the *Builder* option. You can also submit a job to the job pool through code using the Catalyst SDKs that are available in [Java](https://docs.catalyst.zoho.com/en/sdk/java/v1/job-scheduling/overview/), [Node.js](https://docs.catalyst.zoho.com/en/sdk/nodejs/v2/job-scheduling/overview/) and [Python](https://docs.catalyst.zoho.com/en/sdk/python/v1/job-scheduling/overview/). The SDK snippets can also be copied from the console. **Using the Builder** 5. Provide a name for your job in the **Job Name** input field. ![catalyst_job_scheduling_submit_jp_func_job_name](https://catalyst-docs-development.zohostratus.in/images/help/job-scheduling/catalyst_job_scheduling_submit_jp_func_job_name.webp) 6. Select the required [Job Function](https://docs.catalyst.zoho.com/en/serverless/help/functions/job-functions/) you wish to trigger from the **Target Function** drop-down. ![catalyst_job_scheduling_create_job_select_func_drop_empty](https://catalyst-docs-development.zohostratus.in/images/help/job-scheduling/catalyst_job_scheduling_create_job_select_func_drop_empty.webp) - If you have not created a Job Function, click **Create New**. ![catalyst_job_scheduling_submit_job_func_cre_fun_serverless](https://catalyst-docs-development.zohostratus.in/images/help/job-scheduling/catalyst_job_scheduling_submit_job_func_cre_fun_serverless.webp) You will be directed to the [*Catalyst Serverless*](https://docs.catalyst.zoho.com/en/serverless/) service to create your *Job Function*. Steps to create Job Functions using this section are available in this [help section](https://docs.catalyst.zoho.com/en/serverless/help/functions/implementation/#create-a-function). > **Note:** If you have [initialized a Job Function](https://docs.catalyst.zoho.com/en/cli/v1/initialize-resources/initialize-functions/) from the CLI, ensure you [deploy](https://docs.catalyst.zoho.com/en/cli/v1/deploy-resources/deploy-options/#--only-targets) it to the Catalyst console for the function to be listed in the drop-down. - Once you create your Job Function, navigate back to the *Job Scheduling* service and select it from the drop-down. ![catalyst_job_scheduling_sub_job_func_sel_job_func](https://catalyst-docs-development.zohostratus.in/images/help/job-scheduling/catalyst_job_scheduling_sub_job_func_sel_job_func.webp) 7. You can also enable the toggle present in the pop up to pass **Query Parameters** to your *Job Function* when the job triggers the function. ![catalyst_job_scheduling_sub_job_func_query_params](https://catalyst-docs-development.zohostratus.in/images/help/job-scheduling/catalyst_job_scheduling_sub_job_func_query_params.webp) > **Note: Query Parameters** are custom parameters that you can pass to your *Job Function*. They are passed in a **user-defined format**, and you customize the parameter value and include any terms that you require to be passed in the parameter. 8. Optionally, you can click the **Show Advanced Options** to provide resubmission instructions. ![catalyst_job_scheduling_sub_job_func_retry_option](https://catalyst-docs-development.zohostratus.in/images/help/job-scheduling/catalyst_job_scheduling_sub_job_func_retry_option.webp) 9. You can choose the number of retries you wish to attempt from the **No. of Retries** drop-down, and you can choose the time interval between each retry attempt using the **Retry Interval** drop-down. ![catalyst_job_scheduling_func_job_retry_option_interval_drop](https://catalyst-docs-development.zohostratus.in/images/help/job-scheduling/catalyst_job_scheduling_func_job_retry_option_interval_drop.webp) > **Note:** The retries will only be attempted if the initial submission of the job ended in Failure status. You can choose to attempt a maximum of **10 retries** with a minimum retry interval of **1 minute** and a maximum retry interval of **24Hrs**. 10. Click **Create** ![catalyst_job_scheduling_func_sub_jp_job_submitted](https://catalyst-docs-development.zohostratus.in/images/help/job-scheduling/catalyst_job_scheduling_func_sub_jp_job_submitted.webp) Once you click **Create**, the job will be immediately submitted to the job pool for execution. This makes the *Builder* option a great tool to test your job pool's performance. Once the job is submitted, you will be able to view all the general details of the submitted job in the **Job Definition** section. You will also be able to view the status of the *Job Execution* in the **Job Execution & Status** section. ![catalyst_job_scheduling_func_sub_jp_job_submitted_definition](https://catalyst-docs-development.zohostratus.in/images/help/job-scheduling/catalyst_job_scheduling_func_sub_jp_job_submitted_definition.webp) The execution status of the job will also be labeled at the top next to the *Job Name*. You will also be provided with the **Job Definition** in a JSON code format that you can copy and use to submit a new job with the same specifications. You can also visit the logs of the execution generated in [DevOps's Logs](https://docs.catalyst.zoho.com/en/devops/help/logs/introduction/) component by clicking the **View Logs** button. **Using Catalyst SDK** 5. Click the **SDK** tab. ![catalyst_job_scheduling_sdk_sub_jp_func_sdk](https://catalyst-docs-development.zohostratus.in/images/help/job-scheduling/catalyst_job_scheduling_sdk_sub_jp_func_sdk.webp) Choose your preferred programming language by navigating the tabs and copy the required code snippet, using the **copy-button**. **Java** **Java SDK to Submit a Function Job** ```java // FUNCTION JOB // get job scheduling instance ZCJobScheduling jobScheduling = ZCJobScheduling.getInstance(); ZCJobpool jobpool = jobScheduling.jobpoolInstance("test"); // create a job pool instance for the function job pool named test // generate function job meta ZCJobMetaDetail jobMeta = ZCJobBuilder.functionJobBuilder() // get function job builder .setJobConfig(2, 15 * 60 * 1000L) // set job config - job retries => 2 retries in 15 mins (optional) .setTargetName("target_function") // set target function's name (optional) (either TargetName or TargetId is mandatory) // .setTargetId(1234567890L) // set the target function's Id (optional) (either TargetName or TargetId is mandatory) .setParams(new JSONObject() { { put("arg1", "job"); put("arg2", "test"); } }) // set params to be passed to target function (optional) .setJobName("job_name") // set job name .build(); // build job meta // submit function job ZCJobDetails functionJob = jobpool.submitJob(jobMeta); ``` **Node.js** **Node.js SDK to Submit a Function Job** ```javascript // FUNCTION JOB const jobScheduling = app.jobScheduling(); // create job scheduling instance const jobpool = jobScheduling.jobpool({ name: 'test' }); // create job pool instance for the function job pool named test // create function job const functionJob = await jobpool.submitJob({ job_name: 'test_job', // set a name for the job target_type: 'Function', // set the target type as Function for function jobs target_name: 'target_function', // set the target function's name (optional) (either target_id or target_name is mandatory) // target_id: '123467890', // set the target functions's Id (optional) (either target_id or target_name is mandatory) params: { arg1: 'test', arg2: 'job' }, // set params to be passed to target function (optional) job_config: { number_of_retries: 2, // set the number of retries retry_interval: 15 * 60 * 1000 + '' // set the retry interval } // set job config - job retries => 2 retries in 15 mins (optional) }); ``` **Python** **Python SDK to Submit a Function Job** ```python # FUNCTION JOB job_scheduling = app.job_scheduling() # create job scheduling instance jobpool = job_scheduling.jobpool(jobpool_name="test") # create jobpool instance for the function jobpool named test # create function job function_job = jobpool.submit_job({ 'job_name': 'test_job', # set a name for the job 'target_type': 'Function', # set the target type as Function for function jobs 'target_name': 'target_function', # set the target function's name (optional) (either target_id or target_name is mandatory) # 'target_id': '123467890', # set the target functions's Id (optional) (either target_id or target_name is mandatory) 'params': { 'arg1': 'test', 'arg2': 'job' }, # set params to be passed to target function (optional) 'job_config': { 'number_of_retries': 2, # set the number of retries 'retry_interval': 15 * 60 * 1000 # set the retry interval } # set job config - job retries => 2 retries in 15 mins (optional) }) ``` These SDKs will also be available in these sections: * [Java SDK](https://docs.catalyst.zoho.com/en/sdk/java/v1/job-scheduling/overview/) * [Node.js SDK](https://docs.catalyst.zoho.com/en/sdk/nodejs/v2/job-scheduling/overview/) * [Python SDK](https://docs.catalyst.zoho.com/en/sdk/python/v1/job-scheduling/overview/) 6. Paste the copied code in your code file and configure the job according to your required logic. 7. The job will be submitted to the job pool during run time. **Submit a Webhook Job** ### Submit an Instant Job to the Webhook Job Pool 1. Choose the required job pool from the **Job Pool** section. ![catalyst_job_scheduling_jp_webhook_job_sub_start](https://catalyst-docs-development.zohostratus.in/images/help/job-scheduling/catalyst_job_scheduling_jp_webhook_job_sub_start.webp) 2. Click the **Jobs** tab. ![catalyst_job_scheduling_circuit_jp_job_sel](https://catalyst-docs-development.zohostratus.in/images/help/job-scheduling/catalyst_job_scheduling_circuit_jp_job_sel.webp) 3. Click **Create Job**. ![catalyst_job_scheduling_webhook_jp_sub_jobs_create](https://catalyst-docs-development.zohostratus.in/images/help/job-scheduling/catalyst_job_scheduling_webhook_jp_sub_jobs_create.webp) 4. You can create and submit a job to a job pool directly in the console using the *Builder* option. You can also submit a job to the job pool through code using the Catalyst SDKs that are available in [Java](https://docs.catalyst.zoho.com/en/sdk/java/v1/job-scheduling/overview/), [Node.js](https://docs.catalyst.zoho.com/en/sdk/nodejs/v2/job-scheduling/overview/) and [Python](https://docs.catalyst.zoho.com/en/sdk/python/v1/job-scheduling/overview/). The SDK snippets can also be copied from the console. **Using the Builder** 5. Provide a name for your job in the **Job Name** input field. ![catalyst_job_scheduling_webhook_jp_create_job_sub](https://catalyst-docs-development.zohostratus.in/images/help/job-scheduling/catalyst_job_scheduling_webhook_jp_create_job_sub.webp) 6. Enter the complete URL of the webhook you wish to trigger in the input field and select the **Request Method** from the drop-down. ![catalyst_job_scheduling_jp_webhook_reqmeth_url](https://catalyst-docs-development.zohostratus.in/images/help/job-scheduling/catalyst_job_scheduling_jp_webhook_reqmeth_url.webp) The URL input field and the **Preview URL** will be populated automatically once you input the URL. > **Note:** * It is vital you enter the complete URL of the webhook you are required to trigger. * You can trigger any third-party URL using this job pool. 7. You can provide **Headers & Value** in a key-value pair format. You can also provide **Params** in a key-value pair format by enabling the **Query Parameters** toggle. ![catalyst_job_scheduling_jp_webhook_job_sub_params](https://catalyst-docs-development.zohostratus.in/images/help/job-scheduling/catalyst_job_scheduling_jp_webhook_job_sub_params.webp) You can verify your *Query Params*, as the **Preview URL** section gets populated automatically when you input them. > **Note: Query Parameters** are custom parameters that you can pass to your *Job Function*. They are passed in a **user-defined format**, and you customize the parameter value and include any terms that you require to be passed in the parameter. 8. You can provide the required data as a JSON key-value pair in the **Request Body** section. ![catalyst_job_scheduling_jp_webhook_req_body](https://catalyst-docs-development.zohostratus.in/images/help/job-scheduling/catalyst_job_scheduling_jp_webhook_req_body.webp) 9. Optionally, you can click the **Show Advanced Options** to provide resubmission instructions. You can choose the number of retries you wish to attempt from the **No. of Retries** drop-down, and you can choose the time interval between each retry attempt using the **Retry Interval** drop-down. ![catalyst_job_scheduling_jp_sub_webhook_jp_retries](https://catalyst-docs-development.zohostratus.in/images/help/job-scheduling/catalyst_job_scheduling_jp_sub_webhook_jp_retries.webp) > **Note:** The retries will only be attempted if the initial submission of the job ended in Failure status. You can choose to attempt a maximum of **10 retries** with a minimum retry interval of **1 minute** and a maximum retry interval of **24Hrs**. 10. Click **Create**, after confirming your configurations. ![catalyst_job_scheduling_jp_sub_webhook_jp_confirm_create](https://catalyst-docs-development.zohostratus.in/images/help/job-scheduling/catalyst_job_scheduling_jp_sub_webhook_jp_confirm_create.webp) Once you click **Create**, the job will be immediately submitted to the job pool for execution. This makes the *Builder* option a great tool to test your job pool's performance. Once the job is submitted, you will be able to view all the general details of the submitted job in the **Job Definition** section. You will also be able to view the status of the *Job Execution* in the **Job Execution & Status** section. ![catalyst_job_scheduling_jp_webhook_job_submit_done](https://catalyst-docs-development.zohostratus.in/images/help/job-scheduling/catalyst_job_scheduling_jp_webhook_job_submit_done.webp) The execution status of the job will also be labeled at the top next to the *Job Name*. You will also be provided with the **Job Definition** in a JSON code format that you can copy and use to submit a new job with the same specifications. You can also visit the logs of the execution generated in [DevOps's Logs](https://docs.catalyst.zoho.com/en/devops/help/logs/introduction/) component by clicking the **View Logs** button. **Using Catalyst SDK** 5. Click the **SDK** tab. ![catalyst_job_scheduling_webhook_jp_sub_sdk](https://catalyst-docs-development.zohostratus.in/images/help/job-scheduling/catalyst_job_scheduling_webhook_jp_sub_sdk.webp) Choose your preferred programming language by navigating the tabs and copy the required code snippet, using the **copy-button**. **Java** **Java SDK to Submit a Webhook Job** ```java // WEB HOOK JOB // get job scheduling instance ZCJobScheduling jobScheduling = ZCJobScheduling.getInstance(); // create a job pool instance ZCJobpool jobpool = jobScheduling.jobpoolInstance("test"); // create a job pool instance for the webhook job pool named test // generate webhook job meta ZCJobMetaDetail jobMeta = ZCJobBuilder.webhookJobBuilder() // create webhook job builder .setJobConfig(2, 15 * 60 * 1000L) // set job config - job retries => 2 retries in 15 mins (optional) .setRequestMethod("POST") // set webhook request's method .setUrl("https://catalyst.zoho.com") // set webhook request's url .setParams(new JSONObject() { { put("arg1", "test"); put("arg2", "job"); } }) // set the webhook request's query params (optional) .setHeaders(new JSONObject() { { put("IS_TEST_REQUEST", "true"); } }) // set the webhook request's headers (optional) .setRequestBody("test_request") // set the webhook request's body (optional) .setJobName("test_job") // set job name .build(); // build webhook job meta // submit webhook job ZCJobDetails webHookJob = jobpool.submitJob(jobMeta); ``` **Node.js** **Node.js SDK to Submit a Webhook Job** ```javascript // WEBHOOK JOB const jobScheduling = app.jobScheduling(); // create job scheduling instance const jobpool = jobScheduling.jobpool({ name: 'test' }); // create job pool instance for the webhook job pool named test // create webhook job const webhookJob = await jobpool.submitJob({ job_name: 'test_job', // set a name for the job target_type: 'Webhook', // set the target type as Webhook for webhook jobs request_method: 'POST', // set the webhook request's method url: 'https://catalyst.zoho.com', // set the webhook request's url params: { arg1: 'test', arg2: 'job' }, // set the webhook request's query params (optional) headers: { IS_TEST_REQUEST: 'true' }, // set the webhook request's headers (optional) request_body: 'test_request', // set the webhook request's body (optional) job_config: { number_of_retries: 2, // set the number of retries retry_interval: 15 * 60 * 1000 + '' // set the retry interval } // set job config - job retries => 2 retries in 15 mins (optional) }); ``` **Python** **Python SDK to Submit a Webhook Job** ```python # WEBHOOK JOB job_scheduling = app.job_scheduling() # create job scheduling instance jobpool = job_scheduling.jobpool(jobpool_name="test") # create jobpool instance for the webhook jobpool named test # create webhook job webhook_job = jobpool.submit_job({ 'job_name': 'test_job', # set a name for the job 'target_type': 'Webhook', # set the target type as Webhook for webhook jobs 'request_method': 'POST', # set the webhook request's method 'url': 'https://catalyst.zoho.com', # set the webhook request's url 'params': { 'arg1': 'test', 'arg2': 'job' }, # set the webhook request's query params (optional) 'headers': { 'IS_TEST_REQUEST': 'true' }, # set the webhook request's headers (optional) 'request_body': 'test_request', # set the webhook request's body (optional) 'job_config': { 'number_of_retries': 2, # set the number of retries 'retry_interval': 15 * 60 * 1000 # set the retry interval } # set job config - job retries => 2 retries in 15 mins (optional) }) ``` These SDKs will also be available in these sections: * [Java SDK](https://docs.catalyst.zoho.com/en/sdk/java/v1/job-scheduling/overview/) * [Node.js SDK](https://docs.catalyst.zoho.com/en/sdk/nodejs/v2/job-scheduling/overview/) * [Python SDK](https://docs.catalyst.zoho.com/en/sdk/python/v1/job-scheduling/overview/) 6. Paste the copied code in your code file and configure the job according to your required logic. 7. The job will be submitted to the job pool during run time. **Submit a Circuit Job** ### Submit an Instant Job to the Circuit Job Pool > **Note:** The Circuits component is currently not available to Catalyst users accessing from the EU, AU, IN, or CA data centers. Hence, users from these DCs will not be able to trigger Circuits using the Job Scheduling service. 1. Choose the required job pool from the **Job Pool** section. ![catalyst_job_scheduling_select_circuit_jp](https://catalyst-docs-development.zohostratus.in/images/help/job-scheduling/catalyst_job_scheduling_select_circuit_jp.webp) 2. Click the **Jobs** tab. ![catalyst_job_scheduling_circuit_jp_job_sel](https://catalyst-docs-development.zohostratus.in/images/help/job-scheduling/catalyst_job_scheduling_circuit_jp_job_sel.webp) 3. Click **Create Job**. ![catalyst_job_scheduling_circuit_jp_sub_jobs_create](https://catalyst-docs-development.zohostratus.in/images/help/job-scheduling/catalyst_job_scheduling_circuit_jp_sub_jobs_create.webp) 4. You can create and submit a job to a job pool directly in the console using the *Builder* option. You can also submit a job to the job pool through code using the Catalyst SDKs that are available in [Java](https://docs.catalyst.zoho.com/en/sdk/java/v1/job-scheduling/overview/), [Node.js](https://docs.catalyst.zoho.com/en/sdk/nodejs/v2/job-scheduling/overview/) and [Python](https://docs.catalyst.zoho.com/en/sdk/python/v1/job-scheduling/overview/). The SDK snippets can also be copied from the console. **Using the Builder** 5. Provide a name for your job in the **Job Name** input field. ![catalyst_job_scheduling_circuit_jp_create_job_sub](https://catalyst-docs-development.zohostratus.in/images/help/job-scheduling/catalyst_job_scheduling_circuit_jp_create_job_sub.webp) 6. Choose your required Circuit from the **Target Circuit** drop-down. ![catalyst_job_scheduling_circuit_sub_jp_choose_circuit](https://catalyst-docs-development.zohostratus.in/images/help/job-scheduling/catalyst_job_scheduling_circuit_sub_jp_choose_circuit.webp) > **Note:** * It is vital you create the required circuit, and [deploy all the functions](https://docs.catalyst.zoho.com/en/cli/v1/deploy-resources/deploy-options/#--only-targets) required by the circuit to the console. The circuit needs to be ready and functioning, to ensure that when the job is executed in the job pool it triggers the circuit, and the required workflow is executed. * If you have not created a circuit yet, click the **Create New** option in the drop-down. You will be directed to the [Catalyst Serverless](https://docs.catalyst.zoho.com/en/serverless/) console, where you can engineer a new circuit. * You can find the steps to create a **Catalyst Circuit** from this [help documentation](https://docs.catalyst.zoho.com/en/serverless/help/circuits/implementation/#create-a-circuit). 7. Enter the **JSON Input** for the Circuit. ![catalyst_job_scheduling_circuits_jp_sub_json_keys](https://catalyst-docs-development.zohostratus.in/images/help/job-scheduling/catalyst_job_scheduling_circuits_jp_sub_json_keys.webp) > **Note:** You can learn more about providing **JSON Inputs to a Circuit** from this [help documentation](https://docs.catalyst.zoho.com/en/serverless/help/circuits/implementation/#execute-a-circuit). 8. Optionally, you can click the **Show Advanced Options** to provide resubmission instructions. ![catalyst_job_scheduling_circ_jp_sub_retry_options](https://catalyst-docs-development.zohostratus.in/images/help/job-scheduling/catalyst_job_scheduling_circ_jp_sub_retry_options.webp) 9. You can choose the number of retries you wish to attempt from the **No. of Retries** drop-down, and you can choose the time interval between each retry attempt using the **Retry Interval** drop-down. ![catalyst_job_scheduling_circ_jp_sub_configure_retry](https://catalyst-docs-development.zohostratus.in/images/help/job-scheduling/catalyst_job_scheduling_circ_jp_sub_configure_retry.webp) > **Note:** The retries will only be attempted if the initial submission of the job ended in Failure status. You can choose to attempt a maximum of **10 retries** with a minimum retry interval of **1 minute** and a maximum retry interval of **24Hrs**. 10. Click **Create** ![catalyst_job_scheduling_circ_jp_sub_job_submit](https://catalyst-docs-development.zohostratus.in/images/help/job-scheduling/catalyst_job_scheduling_circ_jp_sub_job_submit.webp) Once you click **Create**, the job will be immediately submitted to the job pool for execution. This makes the *Builder* option a great tool to test your job pool's performance. Once the job is submitted, you will be able to view all the general details of the submitted job in the **Job Definition** section. You will also be able to view the status of the *Job Execution* in the **Job Execution & Status** section. ![catalyst_job_scheduling_circ_jp_job_def_high](https://catalyst-docs-development.zohostratus.in/images/help/job-scheduling/catalyst_job_scheduling_circ_jp_job_def_high.webp) The execution status of the job will also be labeled at the top next to the *Job Name*. You will also be provided with the **Job Definition** in a JSON code format that you can copy and use to submit a new job with the same specifications. You can also visit the logs of the execution generated in [DevOps's Logs](https://docs.catalyst.zoho.com/en/devops/help/logs/introduction/) component by clicking the **View Logs** button. **Using Catalyst SDK** 5. Click the **SDK** tab. ![catalyst_job_scheduling_circ_jp_sub_sdk](https://catalyst-docs-development.zohostratus.in/images/help/job-scheduling/catalyst_job_scheduling_circ_jp_sub_sdk.webp) Choose your preferred programming language by navigating the tabs and copy the required code snippet, using the **copy-button**. **Java** **Java SDK to Submit a Circuit Job** ```java // CIRCUIT JOB // get job scheduling instance ZCJobScheduling jobScheduling = ZCJobScheduling.getInstance(); // create a job pool instance ZCJobpool jobpool = jobScheduling.jobpoolInstance("test"); // create a job pool instance for the circuit job pool named test // generate circuit job meta ZCJobMetaDetail jobMeta = ZCJobBuilder.circuitJobBuilder() // create circuit job builder .setJobConfig(2, 15 * 60 * 1000L) // set job config - job retries => 2 retries in 15 mins (optional) .setTargetName("target_circuit") // set target circuits's name (optional) (either TargetName or TargetId is mandatory) // .setTargetId(1234567890L) // set the target circuits's Id (optional) (either TargetName or TargetId is mandatory) .setCircuitInput(new JSONObject() { { put("key1", "value1"); put("key2", "value2"); } }) // set the test cases for the circuit .setJobName("test_job") // set job name .build(); // build circuit job meta // submit circuit job ZCJobDetails circuitJob = jobpool.submitJob(jobMeta); ``` **Node.js** **Node.js SDK to Submit a Circuit Job** ```javascript // CIRCUIT JOB const jobScheduling = app.jobScheduling(); // create job scheduling instance const jobpool = jobScheduling.jobpool({ name: 'test' }); // create job pool instance for the circuit job pool named test // create circuit job const circuitJob = await jobpool.submitJob({ job_name: 'test_job', // set a name for the job target_type: 'Circuit', // set the target type as Circuit for circuit jobs target_name: 'target_circuit', // set the target circuit's name (optional) (either target_id or target_name is mandatory) // target_id: '123467890', // set the target circuit's Id (optional) (either target_id or target_name is mandatory) test_cases: { arg1: "job", arg2: "test" }, // set the circuit test cases job_config: { number_of_retries: 2, // set the number of retries retry_interval: 15 * 60 * 1000 + '' // set the retry interval } // set job config - job retries => 2 retries in 15 mins (optional) }); ``` **Python** **Python SDK to Submit a Circuit Job** ```python # CIRCUIT JOB job_scheduling = app.job_scheduling() # create job scheduling instance jobpool = job_scheduling.jobpool(jobpool_name="test") # create jobpool instance for the circuit jobpool named test # create circuit job circuit_job = jobpool.submit_job({ 'job_name': 'test_job', # set a name for the job 'target_type': 'Circuit', # set the target type as Circuit for circuit jobs 'target_name': 'target_circuit', # set the target circuit's name (optional) (either target_id or target_name is mandatory) # 'target_id': '123467890', # set the target circuit's Id (optional) (either target_id or target_name is mandatory) 'test_cases': { 'arg1': 'job', 'arg2': 'test' }, # set the circuit test cases 'job_config': { 'number_of_retries': 2, # set the number of retries 'retry_interval': 15 * 60 * 1000 # set the retry interval } # set job config - job retries => 2 retries in 15 mins (optional) }) ``` These SDKs will also be available in these sections: * [Java SDK](https://docs.catalyst.zoho.com/en/sdk/java/v1/job-scheduling/overview/) * [Node.js SDK](https://docs.catalyst.zoho.com/en/sdk/nodejs/v2/job-scheduling/overview/) * [Python SDK](https://docs.catalyst.zoho.com/en/sdk/python/v1/job-scheduling/overview/) 6. Paste the copied code in your code file and configure the job according to your required logic. 7. The job will be submitted to the job pool during run time. **Submit an AppSail Job** ### Submit an Instant Job to the AppSail Job Pool 1. Choose the required job pool from the **Job Pool** section. ![catalyst_job_scheduling_jp_appsail_jp_sub_appsail_jp_sel](https://catalyst-docs-development.zohostratus.in/images/help/job-scheduling/catalyst_job_scheduling_jp_appsail_jp_sub_appsail_jp_sel.webp) 2. Click the **Jobs** tab. ![catalyst_job_scheduling_jp_appsail_jp_job_tab](https://catalyst-docs-development.zohostratus.in/images/help/job-scheduling/catalyst_job_scheduling_jp_appsail_jp_job_tab.webp) 3. Click **Create Job**. ![catalyst_job_scheduling_jp_appsail_create_job](https://catalyst-docs-development.zohostratus.in/images/help/job-scheduling/catalyst_job_scheduling_jp_appsail_create_job.webp) 4. You can create and submit a job to a job pool directly in the console using the *Builder* option. You can also submit a job to the job pool through code using the Catalyst SDKs that are available in [Java](https://docs.catalyst.zoho.com/en/sdk/java/v1/job-scheduling/overview/), [Node.js](https://docs.catalyst.zoho.com/en/sdk/nodejs/v2/job-scheduling/overview/) and [Python](https://docs.catalyst.zoho.com/en/sdk/python/v1/job-scheduling/overview/). The SDK snippets can also be copied from the console. **Using the Builder** 5. Provide a name for your job in the **Job Name** input field. ![catalyst_job_scheduling_jp_appsail_builder_job_name](https://catalyst-docs-development.zohostratus.in/images/help/job-scheduling/catalyst_job_scheduling_jp_appsail_builder_job_name.webp) 6. Select the *AppSail* service you wish to trigger from the **Target AppSail** drop-down.. ![catalyst_job_scheduling_jp_appsail_app_sail_drop](https://catalyst-docs-development.zohostratus.in/images/help/job-scheduling/catalyst_job_scheduling_jp_appsail_app_sail_drop.webp) The URL input field and the **Preview URL** will be populated automatically once you select your *AppSail* service. > **Note:** * It is vital you create and deploy the required AppSail service to the Catalyst console, to ensure it is available in the drop-down when you create a job to trigger the service. * If you have not deployed an AppSail service yet, click the **Create New** option in the drop-down. You will be directed to the [Catalyst Serverless](https://docs.catalyst.zoho.com/en/serverless/) console, where you can begin steps to create and deploy your AppSail service. * You can find the help documentation for **Catalyst AppSail** [here](https://docs.catalyst.zoho.com/en/serverless/help/appsail/introduction/). 7. Select your required **Request Method** from the drop-down.. ![catalyst_job_scheduling_jp_appsail_request_meth](https://catalyst-docs-development.zohostratus.in/images/help/job-scheduling/catalyst_job_scheduling_jp_appsail_request_meth.webp) 8. You can provide **Headers & Value** in a key-value pair format. ![catalyst_job_scheduling_jp_appsail_headnval](https://catalyst-docs-development.zohostratus.in/images/help/job-scheduling/catalyst_job_scheduling_jp_appsail_headnval.webp) You can also provide **Params** in a key-value pair format by enabling the **Query Parameters** toggle. ![catalyst_job_scheduling_jp_appsail_job_sub_params](https://catalyst-docs-development.zohostratus.in/images/help/job-scheduling/catalyst_job_scheduling_jp_appsail_job_sub_params.webp) You can verify your *Query Params*, as the **Preview URL** section gets populated automatically when you input them. > **Note: Query Parameters** are custom parameters that you can pass to your *Job Function*. They are passed in a **user-defined format**, and you customize the parameter value and include any terms that you require to be passed in the parameter. 9. Optionally, you can click the **Show Advanced Options** to provide resubmission instructions. You can choose the number of retries you wish to attempt from the **No. of Retries** drop-down, and you can choose the time interval between each retry attempt using the **Retry Interval** drop-down. ![catalyst_job_scheduling_jp_sub_appsail_jp_retries](https://catalyst-docs-development.zohostratus.in/images/help/job-scheduling/catalyst_job_scheduling_jp_sub_appsail_jp_retries.webp) > **Note:** The retries will only be attempted if the initial submission of the job ended in Failure status. You can choose to attempt a maximum of **10 retries** with a minimum retry interval of **1 minute** and a maximum retry interval of **24Hrs**. 10. Click **Create**, after confirming your configurations. ![catalyst_job_scheduling_jp_sub_appsail_jp_confirm_create](https://catalyst-docs-development.zohostratus.in/images/help/job-scheduling/catalyst_job_scheduling_jp_sub_appsail_jp_confirm_create.webp) Once you click **Create**, the job will be immediately submitted to the job pool for execution. This makes the *Builder* option a great tool to test your job pool's performance. Once the job is submitted, you will be able to view all the general details of the submitted job in the **Job Definition** section. You will also be able to view the status of the *Job Execution* in the **Job Execution & Status** section. ![catalyst_job_scheduling_jp_appsail_job_submit_done](https://catalyst-docs-development.zohostratus.in/images/help/job-scheduling/catalyst_job_scheduling_jp_appsail_job_submit_done.webp) The execution status of the job will also be labeled at the top next to the *Job Name*. You will also be provided with the **Job Definition** in a JSON code format that you can copy and use to submit a new job with the same specifications. You can also visit the logs of the execution generated in [DevOps's Logs](https://docs.catalyst.zoho.com/en/devops/help/logs/introduction/) component by clicking the **View Logs** button. **Using Catalyst SDK** 5. Click the **SDK** tab. ![catalyst_job_scheduling_appsail_jp_sub_sdk](https://catalyst-docs-development.zohostratus.in/images/help/job-scheduling/catalyst_job_scheduling_appsail_jp_sub_sdk.webp) Choose your preferred programming language by navigating the tabs and copy the required code snippet, using the **copy-button**. **Java** **Java SDK to Submit an AppSail Job** ```java // APPSAIL JOB // get job scheduling instance ZCJobScheduling jobScheduling = ZCJobScheduling.getInstance(); // create a job pool instance ZCJobpool jobpool = jobScheduling.jobpoolInstance("test"); // create a job pool instance for the appsail job pool named test // generate appsail job meta ZCJobMetaDetail jobMeta = ZCJobBuilder.appSailJobBuilder() // create appsail job builder .setJobConfig(2, 15 * 60 * 1000L) // set job config - job retries => 2 retries in 15 mins (optional) .setTargetName("test_appsail") // set appsail name .setRequestMethod("POST") // set appsail request method .setUrl("/test") // set appsail request url .setParams(new JSONObject() { { put("arg1", "value1"); put("arg2", "value2"); } }) // set appsail request query params .setHeaders(new JSONObject() { { put("IS_TEST_REQUEST", "true"); } }) // set the appsail request's headers (optional) .setRequestBody("test_request") // set the appsail request's body (optional) .setJobName("test_job") // set job name .build(); // build appsail job meta // submit appsail job ZCJobDetails appSailJob = jobpool.submitJob(jobMeta); ``` **Node.js** **Node.js SDK to Submit an AppSail Job** ```javascript // APPSAIL JOB const jobScheduling = app.jobScheduling(); // create job scheduling instance const jobpool = jobScheduling.jobpool({ name: 'test' }); // create job pool instance for the appsail job pool named test // create appsail job const appsailJob = await jobpool.submitJob({ job_name: 'test_job', // set a name for the job target_type: 'AppSail', // set the target type as AppSail for appsail jobs target_name: 'target_appsail', // set the target appsail's name (optional) (either target_id or target_name is mandatory) // target_id: '123467890', // set the target appsail's Id (optional) (either target_id or target_name is mandatory) request_method: 'POST', // set the appsail request's method url: '/test', // set the appsail's url path (optional) params: { arg1: 'test', arg2: 'job' }, // set the appsail request's query params (optional) headers: { IS_TEST_REQUEST: 'true' }, // set the appsail request's headers (optional) request_body: 'test_request', // set the appsail request's body (optional) job_config: { number_of_retries: 2, // set the number of retries retry_interval: 15 * 60 * 1000 + '' // set the retry interval } // set job config - job retries => 2 retries in 15 mins (optional) }); ``` **Python** **Python SDK to Submit an AppSail Job** ```python # APPSAIL JOB job_scheduling = app.job_scheduling() # create job scheduling instance jobpool = job_scheduling.jobpool(jobpool_name="test") # create jobpool instance for the appsail jobpool named test # create appsail job appsail_job = jobpool.submit_job({ 'job_name': 'test_job', # set a name for the job 'target_type': 'AppSail', # set the target type as AppSail for appsail jobs 'target_name': 'target_appsail', # set the target appsail's name (optional) (either target_id or target_name is mandatory) # 'target_id': '123467890', # set the target appsail's Id (optional) (either target_id or target_name is mandatory) 'request_method': 'POST', # set the appsail request's method 'url': '/test', # set the appsail's url path (optional) 'params': { 'arg1': 'test', 'arg2': 'job' }, # set the appsail request's query params (optional) 'headers': { 'IS_TEST_REQUEST': 'true' }, # set the appsail request's headers (optional) 'request_body': 'test_request', # set the appsail request's body (optional) 'job_config': { 'number_of_retries': 2, # set the number of retries 'retry_interval': 15 * 60 * 1000 # set the retry interval } # set job config - job retries => 2 retries in 15 mins (optional) }) ``` These SDKs will also be available in these sections: * [Java SDK](https://docs.catalyst.zoho.com/en/sdk/java/v1/job-scheduling/overview/) * [Node.js SDK](https://docs.catalyst.zoho.com/en/sdk/nodejs/v2/job-scheduling/overview/) * [Python SDK](https://docs.catalyst.zoho.com/en/sdk/python/v1/job-scheduling/overview/) 6. Paste the copied code in your code file and configure the job according to your required logic. 7. The job will be submitted to the job pool during run time. You can view the performance and status of your job in the following sections: > **Note:** The following performance and status views are illustrated with a *Webhook Job Pool*. The views will be similar for all the other types of job pools. * The [Dashboard](https://docs.catalyst.zoho.com/en/job-scheduling/help/dashboard/dashboard/) ![catalyst_job_scheduling_sub_jp_show_state_dash](https://catalyst-docs-development.zohostratus.in/images/help/job-scheduling/catalyst_job_scheduling_sub_jp_show_state_dash.webp) * The [Job Pool](https://docs.catalyst.zoho.com/en/job-scheduling/help/jobpool/introduction/) *Overview* section ![catalyst_job_scheduling_sub_jp_overview_stats](https://catalyst-docs-development.zohostratus.in/images/help/job-scheduling/catalyst_job_scheduling_sub_jp_overview_stats.webp) * The **Jobs** tab in the *Job Pool* section ![catalyst_job_scheduling_jp_view_jp_jobs_stats](https://catalyst-docs-development.zohostratus.in/images/help/job-scheduling/catalyst_job_scheduling_jp_view_jp_jobs_stats.webp) * The [Jobs](https://docs.catalyst.zoho.com/en/job-scheduling/help/job/introduction/) component section ![catalyst_job_scheduling_jobs_sb_jp_view](https://catalyst-docs-development.zohostratus.in/images/help/job-scheduling/catalyst_job_scheduling_jobs_sb_jp_view.webp) You can submit the next job to the job pool in this section by clicking the **Create Job** button and following the steps mentioned above. -------------------------------------------------------------------------------- title: "Create Application Alerts for a Job Pool" description: "Learn about working with Catalyst Job Scheduling to schedule and execute jobs that trigger Job Functions, Webhooks, Circuits, or AppSail services." last_updated: "2026-11-04T10:10:44.000Z" source: "https://docs.catalyst.zoho.com/en/job-scheduling/help/implementation/create-app-alert/" service: "Job Scheduling" related: - Job Pool Documentation (/en/job-scheduling/help/jobpool/introduction/) - Avoid Dispatch Delays When Executing Jobs (/en/job-scheduling/help/jobpool/key-concepts/#ideal-memory-allocation-to-avoid-dispatch-delay) - Application Alerts Help Documentation (/en/devops/help/application-alerts/introduction/) - Java SDK (/en/sdk/java/v1/job-scheduling/overview/) - Node.js SDK (/en/sdk/nodejs/v2/job-scheduling/overview/) - Python SDK (/en/sdk/python/v1/job-scheduling/overview/) - Job Scheduling REST APIs (/en/api/code-reference/job-scheduling/jobpool/get-all-jobpool/#GetAllJobPools) -------------------------------------------------------------------------------- # Create Application Alerts for a Job Pool You can configure application alerts for the events where your jobs executed in the *Function* Job Pool may encounter a **failure**, **code exception**, or **time out**, and the jobs executed in [*AppSail*](https://docs.catalyst.zoho.com/en/serverless/help/appsail/introduction/), *Webhook*, or [*Circuit*](https://docs.catalyst.zoho.com/en/serverless/help/circuits/introduction/) Job Pool may encounter a **3xxx**, **4xx**, or **5xx** execution error. You can also configure alerts in failure instances caused due to **Exception** and **Unintentional Termination**. With the *Job Scheduling* service, you can configure email alerts for any of the above mentioned instances from the **Job Pool** console without having to navigate to the [Application Alerts](https://docs.catalyst.zoho.com/en/devops/help/application-alerts/introduction/) component. 1. Click **+ Create Alert**. ![catalyst_job_scheduling_app_alerts_start](https://catalyst-docs-development.zohostratus.in/images/help/job-scheduling/catalyst_job_scheduling_app_alerts_start.webp) 2. Provide a name for your alert in the **Alert Name** input field. Click the **Add New** option if you have not configured any previous alerts. ![catalyst_job_scheduling_app_alerts_name_alert](https://catalyst-docs-development.zohostratus.in/images/help/job-scheduling/catalyst_job_scheduling_app_alerts_name_alert.webp) 3. Choose the failure condition series that you require the alert to notify you about from the Failure Condition(s) drop-down. ![catalyst_job_scheduling_app_alerts_name_alert](https://catalyst-docs-development.zohostratus.in/images/help/job-scheduling/catalyst_job_scheduling_app_alerts_name_alert.webp) **Alerts for a Function Job Pool** 4. Choose the failure condition series that you require the alert to notify you about from the **Failure Condition(s)** drop-down. ![catalyst_job_scheduling_app_alert_failure_conditions_func](https://catalyst-docs-development.zohostratus.in/images/help/job-scheduling/catalyst_job_scheduling_app_alert_failure_conditions_func.webp) 5. Select your **Criteria** from the drop-down, and input your threshold value in the **Threshold** input field. ![catalyst_job_scheduling_app_alerts_crit_thres_func](https://catalyst-docs-development.zohostratus.in/images/help/job-scheduling/catalyst_job_scheduling_app_alerts_crit_thres_func.webp) > **Note:** The **Threshold** value indicates the number of failure occurrences that need to occur before you are notified. You can configure the threshold value based on the number of **retry attempts** you had configured during [job creation](https://docs.catalyst.zoho.com/en/job-scheduling/help/implementation/submit-instant-job/). 6. Select an appropriate frequency in which you wish to be alerted from the **Alert Frequency** drop-down. ![catalyst_job_Scheduling_app_alert_frequemcy_func](https://catalyst-docs-development.zohostratus.in/images/help/job-scheduling/catalyst_job_Scheduling_app_alert_frequemcy_func.webp) 7. Provide the email addresses you wish to be alerted in the *Notify Email* input field, and click **ADD** if you have not configured alerts for any previous emails. ![catalyst_job_scheduling_app_alert_email_func](https://catalyst-docs-development.zohostratus.in/images/help/job-scheduling/catalyst_job_scheduling_app_alert_email_func.webp) The alert has been created for this job pool. ![catalyst_job_scheduling_app_alert_created_func](https://catalyst-docs-development.zohostratus.in/images/help/job-scheduling/catalyst_job_scheduling_app_alert_created_func.webp) **Alerts for a Circuit, AppSail, and Webhook Job Pool** > **Note:** * The Circuits component is currently not available to Catalyst users accessing from the EU, AU, IN, or CA data centers. Hence, users from these DCs will not be able to trigger Circuits using the Job Scheduling service. * The implementation steps discussed in this section are the same for AppSail, Circuit and Webhook job pools 4. Choose the failure condition series that you require the alert to notify you about from the **Failure Condition(s)** drop-down. ![catalyst_job_scheduling_app_alert_failure_cond_rest](https://catalyst-docs-development.zohostratus.in/images/help/job-scheduling/catalyst_job_scheduling_app_alert_failure_cond_rest.webp) > **Note:** * `3xx`: Represents Redirection errors * `4xx`: Represents Client errors * `5xx`: Represents Server errors 5. Select your **Criteria** from the drop-down, and input your threshold value in the **Threshold** input field. ![catalyst_job_scheduling_app_alerts_criteria_thres_rest](https://catalyst-docs-development.zohostratus.in/images/help/job-scheduling/catalyst_job_scheduling_app_alerts_criteria_thres_rest.webp) > **Note:** The **Threshold** value indicates the number of failure occurrences that need to occur before you are notified. You can configure the threshold value based on the number of **retry attempts** you had configured during [job creation](https://docs.catalyst.zoho.com/en/job-scheduling/help/implementation/submit-instant-job/). 6. Select an appropriate frequency in which you wish to be alerted from the **Alert Frequency** drop-down. ![catalyst_job_Scheduling_app_alert_frequemcy_rest](https://catalyst-docs-development.zohostratus.in/images/help/job-scheduling/catalyst_job_Scheduling_app_alert_frequemcy_rest.webp) 7. Provide the email addresses you wish to be alerted in the *Notify Email* input field, and click **ADD** if you have not configured alerts for any previous emails. ![catalyst_job_scheduling_app_alert_email_rest](https://catalyst-docs-development.zohostratus.in/images/help/job-scheduling/catalyst_job_scheduling_app_alert_email_rest.webp) The alert has been created for this job pool. ![catalyst_job_scheduling_app_alert_created_rest](https://catalyst-docs-development.zohostratus.in/images/help/job-scheduling/catalyst_job_scheduling_app_alert_created_rest.webp) > **Note:** An alert once created will be stored with the *Application Alerts* component. This allows you to reuse the alert for other Job Pools of the same type, by selecting the alert from the **Alert Name** drop-down. ### Remove Application Alerts in a Job Pool To remove the enabled alert: 1. Click the ellipsis icon next to the configured alert and click **Remove**. ![catalyst_job_scheduling_app_alert_remove_alert](https://catalyst-docs-development.zohostratus.in/images/help/job-scheduling/catalyst_job_scheduling_app_alert_remove_alert.webp) 2. Confirm the choice by clicking **Remove**. ![catalyst_job_scheduling_app_alert_deleted](https://catalyst-docs-development.zohostratus.in/images/help/job-scheduling/catalyst_job_scheduling_app_alert_deleted.webp) The alert will be removed. > **Note:** The alert will only be disabled and removed from that particular job pool. It will not be deleted from the *Application Alerts* component. You can always enable this alert again by choosing it from the **Alert Name** drop-down, when you create a new alert. -------------------------------------------------------------------------------- title: "Manage a Job Pool" description: "Learn about working with Catalyst Job Scheduling to schedule and execute jobs that trigger Job Functions, Webhooks, Circuits, or AppSail services." last_updated: "2026-11-04T10:10:44.000Z" source: "https://docs.catalyst.zoho.com/en/job-scheduling/help/implementation/manage-jobpool/" service: "Job Scheduling" related: - Job Pool Documentation (/en/job-scheduling/help/jobpool/introduction/) - Avoid Dispatch Delays When Executing Jobs (/en/job-scheduling/help/jobpool/key-concepts/#ideal-memory-allocation-to-avoid-dispatch-delay) - Setting Application Alerts in a Job Pool (/en/job-scheduling/help/implementation/create-app-alert/) - Java SDK (/en/sdk/java/v1/job-scheduling/overview/) - Node.js SDK (/en/sdk/nodejs/v2/job-scheduling/overview/) - Python SDK (/en/sdk/python/v1/job-scheduling/overview/) - Job Scheduling REST APIs (/en/api/code-reference/job-scheduling/jobpool/get-all-jobpool/#GetAllJobPools) -------------------------------------------------------------------------------- # Manage a Job Pool You can perform edit and delete operations in a job pool. > **Note:** * The steps for edit and delete operations are illustrated using a Function Job Pool. The edit and delete operations for [AppSail](https://docs.catalyst.zoho.com/en/serverless/help/appsail/introduction/), Webhook, and Circuit Job Pools are near identical, and need to be employed in very much the same manner. * The [Circuits](https://docs.catalyst.zoho.com/en/serverless/help/circuits/introduction/) component is currently not available to Catalyst users accessing from the EU, AU, IN, or CA data centers. Hence, users from these DCs will not be able to trigger Circuits using the Job Scheduling service. ### Edit a Job Pool You can edit only the following configurations of the Job Pool: * **Job Pool Name** * **Memory Allocation/Count** You **cannot edit** the **Job Pool Type**. To edit a job pool: 1. Navigate to the *Job Pool* section, then click the ellipsis icon in the Job Pool tile you wish to edit. Click **Edit**. ![catalyst_job_scheduling_jp_edit_select](https://catalyst-docs-development.zohostratus.in/images/help/job-scheduling/catalyst_job_scheduling_jp_edit_select.webp) 2. Perform the required edits and click **Update**. ![catalyst_job_scheduling_jp_making_edits](https://catalyst-docs-development.zohostratus.in/images/help/job-scheduling/catalyst_job_scheduling_jp_making_edits.webp) The job pool will be updated. ### Delete a Job Pool To delete a job pool: 1. Navigate to the *Job Pool* section, click the ellipsis icon present in the Job Pool tile you wish to delete, and click **Delete**. ![catalyst_job_scheduling_jp_edit_select](https://catalyst-docs-development.zohostratus.in/images/help/job-scheduling/catalyst_job_scheduling_jp_edit_select.webp) 2. Confirm your choice by clicking **Delete** in the prompt. ![catalyst_job_scheduling_delete_jp_confirm](https://catalyst-docs-development.zohostratus.in/images/help/job-scheduling/catalyst_job_scheduling_delete_jp_confirm.webp) The job pool will be deleted. The edit and delete operations can also be performed by clicking the ellipsis icon present in the *Overview* section of the required job pool. ![catalyst_job_scheduling_jp_manage_overview](https://catalyst-docs-development.zohostratus.in/images/help/job-scheduling/catalyst_job_scheduling_jp_manage_overview.webp) -------------------------------------------------------------------------------- title: "Delete a Job in Job Pool" description: "Learn about working with Catalyst Job Scheduling to schedule and execute jobs that trigger Job Functions, Webhooks, Circuits, or AppSail services." last_updated: "2026-11-04T10:10:44.000Z" source: "https://docs.catalyst.zoho.com/en/job-scheduling/help/implementation/delete-job-in-jobpool/" service: "Job Scheduling" related: - Job Pool Documentation (/en/job-scheduling/help/jobpool/introduction/) - Avoid Dispatch Delays When Executing Jobs (/en/job-scheduling/help/jobpool/key-concepts/#ideal-memory-allocation-to-avoid-dispatch-delay) - Submit a Job to the Job Pool (/en/job-scheduling/help/implementation/submit-instant-job/) - Create a Job (/en/job-scheduling/help/implementation/submit-jobs-using-jobs/) - Java SDK (/en/sdk/java/v1/job-scheduling/overview/) - Node.js SDK (/en/sdk/nodejs/v2/job-scheduling/overview/) - Python SDK (/en/sdk/python/v1/job-scheduling/overview/) - Job Scheduling REST APIs (/en/api/code-reference/job-scheduling/jobpool/get-all-jobpool/#GetAllJobPools) -------------------------------------------------------------------------------- # Delete a Job in Job Pool To delete a [job](https://docs.catalyst.zoho.com/en/job-scheduling/help/implementation/submit-jobs-using-jobs/) in a [job pool](https://docs.catalyst.zoho.com/en/job-scheduling/help/jobpool/introduction/): 1. Click on the required job, and you will be directed to its *Job Definition* page. Click the **ellipsis icon** and click **Delete**. ![catalyst_job_scheduling_job_def_del_jp](https://catalyst-docs-development.zohostratus.in/images/help/job-scheduling/catalyst_job_scheduling_job_def_del_jp.webp) 2. Confirm your choice by clicking **Delete** in the prompt ![catalyst_job_scheduling_del_job_confirm_jp](https://catalyst-docs-development.zohostratus.in/images/help/job-scheduling/catalyst_job_scheduling_del_job_confirm_jp.webp) The job will be deleted. Alternatively, you can delete them by clicking the **ellipsis icon** present next to each job in the *Jobs* list. ![catalyst_job_scheduling_jobs_del_from_jp](https://catalyst-docs-development.zohostratus.in/images/help/job-scheduling/catalyst_job_scheduling_jobs_del_from_jp.webp) Follow the steps mentioned above, and the job will be deleted from the job pool. -------------------------------------------------------------------------------- title: "Submit a Job to the Job Pool Using a Pre-Defined Cron" description: "Learn about working with Catalyst Job Scheduling to schedule and execute jobs that trigger Job Functions, Webhooks, Circuits, or AppSail services." last_updated: "2026-11-04T10:10:44.000Z" source: "https://docs.catalyst.zoho.com/en/job-scheduling/help/implementation/submit-job-predefined-cron/" service: "Job Scheduling" related: - Job Pool Documentation (/en/job-scheduling/help/jobpool/introduction/) - Cron Documentation (/en/job-scheduling/help/cron/introduction/) - Create a Job (/en/job-scheduling/help/job/introduction/) - Cron Expressions Help (/en/job-scheduling/help/cron/key-concepts/#cron-expressions) - Java SDK (/en/sdk/java/v1/job-scheduling/overview/) - Node.js SDK (/en/sdk/nodejs/v2/job-scheduling/overview/) - Python SDK (/en/sdk/python/v1/job-scheduling/overview/) - Job Scheduling REST APIs (/en/api/code-reference/job-scheduling/jobpool/get-all-jobpool/#GetAllJobPools) -------------------------------------------------------------------------------- # Submit a Job to the Job Pool Using a Pre-Defined Cron A **Pre-Defined [Cron](https://docs.catalyst.zoho.com/en/job-scheduling/help/cron/introduction/)** allows you to schedule job submissions to the job pool based on pre-set conditions. In this help section, we are going to go over the steps required to schedule the submission of a job to the job pool using a Pre-defined Cron. Before you create a pre-defined cron, depending on your [job pool](https://docs.catalyst.zoho.com/en/job-scheduling/help/jobpool/introduction/) type, make sure the following components are configured and present in the Catalyst console: * **Function Job Pool**: The [Job Function](https://docs.catalyst.zoho.com/en/serverless/help/functions/job-functions/), if [initialized through Catalyst CLI](https://docs.catalyst.zoho.com/en/cli/v1/initialize-resources/initialize-functions/) needs to be deployed to the Catalyst console. * **Webhook Job Pool**: Ensure the URL of the third-party URL is a valid one. * **Circuit Job Pool**: Ensure that the [Circuit](https://docs.catalyst.zoho.com/en/serverless/help/circuits/introduction/) and its associated functions are created and present in the Catalyst console. * **AppSail Job Pool**: Ensure you have deployed your [AppSail service](https://docs.catalyst.zoho.com/en/serverless/help/appsail/introduction/) to the catalyst console. ### Configure the Pre-Defined Cron To create and configure a Pre-Defined Cron: 1. Navigate to the *Job Scheduling* service section of the Catalyst console and click **Start Exploring**. ![catalyst_job_scheduling_start_exploring_page](https://catalyst-docs-development.zohostratus.in/images/help/job-scheduling/catalyst_job_scheduling_start_exploring_page.webp) 2. Access the cron component by clicking **Cron** under *JOB EXECUTOR*, and click the **Create Cron** button present in the *Pre-defined* tab. ![catalyst_job_scheduling_cron_pre_def_create_button](https://catalyst-docs-development.zohostratus.in/images/help/job-scheduling/catalyst_job_scheduling_cron_pre_def_create_button.webp) 3. Provide a name for your cron in the **Cron Name** input field. ![catalyst_job_scheduling_cron_pre_def_name](https://catalyst-docs-development.zohostratus.in/images/help/job-scheduling/catalyst_job_scheduling_cron_pre_def_name.webp) 4. Choose a format type under **Select Format** Type: **Standard** ### Standard Format 5. Select a [Schedule Type](https://docs.catalyst.zoho.com/en/job-scheduling/help/cron/key-concepts/#schedule-type): **One-Time** ### One-Time Schedule Type 6. Select the required date by clicking the **calendar icon**. ![catalyst_job_scheduling_pre_def_cron_std_format_calendar](https://catalyst-docs-development.zohostratus.in/images/help/job-scheduling/catalyst_job_scheduling_pre_def_cron_std_format_calendar.webp) 7. Provide the time for your cron's execution using the individual *Hours*, *Minutes*, and *Seconds* drop-downs under **Schedule Time**. ![catalyst_job_scheduling_pre_cron_sche_format_hrs](https://catalyst-docs-development.zohostratus.in/images/help/job-scheduling/catalyst_job_scheduling_pre_cron_sche_format_hrs.webp) > **Note:** Provide the **Schedule Time** in the **24-hour time format**, and you cannot leave the *Hours*, *Minutes*, or *Seconds* input fields empty. 8. Select your required time zone from the **Time Zone** drop-down. ![catalyst_job_scheduling_pre_def_cron_one_time_time_zone](https://catalyst-docs-development.zohostratus.in/images/help/job-scheduling/catalyst_job_scheduling_pre_def_cron_one_time_time_zone.webp) > **Note:** The time zone you are currently present in will be automatically populated. If you require any other time zone to configure your cron, click the **View all time zones** option and make your selection from the drop-down. 9. Confirm your configurations and click **Next**. ![catalyst_job_scheduling_predef_cron_config_almost_part1](https://catalyst-docs-development.zohostratus.in/images/help/job-scheduling/catalyst_job_scheduling_predef_cron_config_almost_part1.webp) **Recursive** ### Recursive Schedule Type 6. Select the required recurring frequency from the **Repeat Type** drop-down: ![catalyst_job_scheduling_predef_cron_recur_recur_type](https://catalyst-docs-development.zohostratus.in/images/help/job-scheduling/catalyst_job_scheduling_predef_cron_recur_recur_type.webp) 7. Provide the time for your cron's execution using the individual *Hours*, *Minutes*, and *Seconds* drop-downs present under **Schedule Time**. ![catalyst_job_scheduling_predef_cron_recur_sch_time](https://catalyst-docs-development.zohostratus.in/images/help/job-scheduling/catalyst_job_scheduling_predef_cron_recur_sch_time.webp) > **Note:** Provide the **Schedule Time** in the **24-hour time format**, and you cannot leave the *Hours*, *Minutes*, or *Seconds* input fields empty. 8. Select your required time zone from the **Time Zone** drop-down. ![catalyst_job_scheduling_pre_def_cron_one_time_time_zone](https://catalyst-docs-development.zohostratus.in/images/help/job-scheduling/catalyst_job_scheduling_pre_def_cron_one_time_time_zone.webp) > **Note:** The time zone you are currently present in will be automatically populated. If you require any other time zone to configure your cron, click the **View all time zones** option and make your selection from the drop-down. Optionally, if you wish to terminate the cron schedule eventually, enable the **Cron termination details** toggle and select the end date using the **calendar** icon. ![catalyst_job_scheduling_predef_cron_recur_term_date](https://catalyst-docs-development.zohostratus.in/images/help/job-scheduling/catalyst_job_scheduling_predef_cron_recur_term_date.webp) 9. Confirm your configurations and click **Next**. ![catalyst_job_scheduling_predef_cron_recur_complete_part1](https://catalyst-docs-development.zohostratus.in/images/help/job-scheduling/catalyst_job_scheduling_predef_cron_recur_complete_part1.webp) **Cron Expression** ### Cron Expression Format 5. Input your **Cron Expression** in the input field. ![catalyst_job_scheduling_predef_cron_cronexp_start](https://catalyst-docs-development.zohostratus.in/images/help/job-scheduling/catalyst_job_scheduling_predef_cron_cronexp_start.webp) > **Note:** You can find the steps to configure cron expressions from this [section](https://docs.catalyst.zoho.com/en/job-scheduling/help/cron/key-concepts/#cron-expressions). 6. Select your required time zone from the **Time Zone** drop-down. ![catalyst_job_scheduling_predef_cron_cron_exp_time_zone](https://catalyst-docs-development.zohostratus.in/images/help/job-scheduling/catalyst_job_scheduling_predef_cron_cron_exp_time_zone.webp) > **Note:** The time zone you are currently present in will be automatically populated. If you require any other time zone to configure your cron, click the **View all time zones** option and make your selection from the drop-down. 7. Optionally, if you have defined the schedule of your cron to in a recursive manner, and if you are required to terminate the cron schedule eventually, enable the **Cron termination details** toggle and select the end date using the **calendar icon**. ![catalyst_job_scheduling_predef_cron_cron_exp_termination](https://catalyst-docs-development.zohostratus.in/images/help/job-scheduling/catalyst_job_scheduling_predef_cron_cron_exp_termination.webp) 8. Confirm your configurations and click **Next**. ![catalyst_job_scheduling_predef_cron_exp_config_complete](https://catalyst-docs-development.zohostratus.in/images/help/job-scheduling/catalyst_job_scheduling_predef_cron_exp_config_complete.webp) We have now completed configuring the Pre-Defined Cron. Now we are going to configure the job that the Pre-Defined Cron will submit to the job pool at the scheduled time, to trigger the required target type. ### Configure the Job Once you click **Next** after configuring the Cron, you will be directed to create the job that the configured cron must submit. ![catalyst_job_scheduling_predef_cron_job_create](https://catalyst-docs-development.zohostratus.in/images/help/job-scheduling/catalyst_job_scheduling_predef_cron_job_create.webp) To create the required job: 1. Provide a name for your job in the **Job Name** input field. ![catalyst_job_scheduling_predef_cron_job_sub_job_name](https://catalyst-docs-development.zohostratus.in/images/help/job-scheduling/catalyst_job_scheduling_predef_cron_job_sub_job_name.webp) 2. Select the *Job Pool* you need your *Cron* to submit the job to, using the **Select Job Pool** drop-down. ![catalyst_job_scheduling_predef_cron_job_sub_jp_sel](https://catalyst-docs-development.zohostratus.in/images/help/job-scheduling/catalyst_job_scheduling_predef_cron_job_sub_jp_sel.webp) > **Note:** The configurations following your Job Pool selection are entirely dependent on the type of [Job Pool](https://docs.catalyst.zoho.com/en/job-scheduling/help/jobpool/introduction/) you created. For the purposes of this help documentation, we are going to illustrate the steps for a **Webhook Job Pool**. You can find the steps to configure jobs for each of the Job Pool types in the following help sections: * Submit a job to the **Function Job Pool**: [here](https://docs.catalyst.zoho.com/en/job-scheduling/help/implementation/submit-instant-job/). * Submit a job to the **Circuit Job Pool**: [here](https://docs.catalyst.zoho.com/en/job-scheduling/help/implementation/submit-instant-job/). * Submit a job to the **AppSail Job Pool**: [here](https://docs.catalyst.zoho.com/en/job-scheduling/help/implementation/submit-instant-job/). 3. Enter the complete URL of the webhook you wish to trigger in the input field and select the **Request Method** from the drop-down. ![catalyst_job_scheduling_pre_def_cron_job_sub_reqmeth_url](https://catalyst-docs-development.zohostratus.in/images/help/job-scheduling/catalyst_job_scheduling_pre_def_cron_job_sub_reqmeth_url.webp) 4. You can provide **Headers & Value** in a key-value pair format. ![catalyst_job_scheduling_predef_cron_job_sub_header_value](https://catalyst-docs-development.zohostratus.in/images/help/job-scheduling/catalyst_job_scheduling_predef_cron_job_sub_header_value.webp) 5. Enable the toggle to input **Query Parameters** and provide the **Params** in a key-value format. ![catalyst_job_scheduling_predef_cron_job_sub_query_param](https://catalyst-docs-development.zohostratus.in/images/help/job-scheduling/catalyst_job_scheduling_predef_cron_job_sub_query_param.webp) You can verify your **Query Parameters** in the *Preview URL* section. This section will be automatically populated when you input them. > **Note:** *Query Parameters* are custom parameters that you can pass to your webhook. They are passed in a **User-Defined format**, and you customize the parameter value and include any terms that you require to be passed in the parameter. 6. Optionally, you can click the **Show Advanced Options** to provide resubmission instructions. ![catalyst_job_scheudling_predef_cron_job_sub_hide_adv_op](https://catalyst-docs-development.zohostratus.in/images/help/job-scheduling/catalyst_job_scheudling_predef_cron_job_sub_hide_adv_op.webp) - You can choose the number of retries you wish to attempt from the **No. of Retries** drop-down, and you can choose the time interval between each retry attempt using the **Retry Interval** drop-down. ![catalyst_job_scheduling_predef_cron_job_sub_retry_interval](https://catalyst-docs-development.zohostratus.in/images/help/job-scheduling/catalyst_job_scheduling_predef_cron_job_sub_retry_interval.webp) > **Note:** The retries will only be attempted if the initial submission of the job ended in Failure status. You can choose to attempt a maximum of **10 retries** with a minimum retry interval of **1 minute** and a maximum retry interval of **24Hrs**. 7. Confirm your configurations, then click **Create**. ![catalyst_job_scheduling_predef_cron_job_sub_config_complete_sub](https://catalyst-docs-development.zohostratus.in/images/help/job-scheduling/catalyst_job_scheduling_predef_cron_job_sub_config_complete_sub.webp) The **Pre-defined Cron** will be created, with a unique [Cron ID](https://docs.catalyst.zoho.com/en/job-scheduling/help/cron/key-concepts/#cron-id) generated by Catalyst. The job the cron is configured to submit will also be created along with its unique [Job ID](https://docs.catalyst.zoho.com/en/job-scheduling/help/job/key-concepts/#job-id) generated by Catalyst. Upon clicking **Create**, you will be able to view all the details about the created cron and its configurations. ![catalyst_job_scheduling_predef_cron_created_completed](https://catalyst-docs-development.zohostratus.in/images/help/job-scheduling/catalyst_job_scheduling_predef_cron_created_completed.webp) If you wish to test the cron and not wait for the scheduled time, you can submit an immediate job to the job pool by clicking the **Submit Job** button. ![catalyst_job_scheduling_predef_cron_job_sub_submit_job_now](https://catalyst-docs-development.zohostratus.in/images/help/job-scheduling/catalyst_job_scheduling_predef_cron_job_sub_submit_job_now.webp) A job will be submitted immediately. The configurations of the job will be the one you configured while creating the cron. You can view the execution status of the job you submitted by clicking the **Execution History** button. ![catalyst_job_scheduling_predef_cron_created_exec_history](https://catalyst-docs-development.zohostratus.in/images/help/job-scheduling/catalyst_job_scheduling_predef_cron_created_exec_history.webp) The jobs will be listed in the latest order of execution. You can also perform search and filter options on the *Execution History* operations. -------------------------------------------------------------------------------- title: "Submit a Job to the Job Pool Using a Dynamic Cron" description: "Learn about working with Catalyst Job Scheduling to schedule and execute jobs that trigger Job Functions, Webhooks, Circuits, or AppSail services." last_updated: "2026-11-04T10:10:44.000Z" source: "https://docs.catalyst.zoho.com/en/job-scheduling/help/implementation/submit-job-dynamic-cron/" service: "Job Scheduling" related: - Job Pool Documentation (/en/job-scheduling/help/jobpool/introduction/) - Cron Documentation (/en/job-scheduling/help/cron/introduction/) - Create a Job (/en/job-scheduling/help/job/introduction/) - Cron Expressions Help (/en/job-scheduling/help/cron/key-concepts/#cron-expressions) - Java SDK (/en/sdk/java/v1/job-scheduling/overview/) - Node.js SDK (/en/sdk/nodejs/v2/job-scheduling/overview/) - Python SDK (/en/sdk/python/v1/job-scheduling/overview/) - Job Scheduling REST APIs (/en/api/code-reference/job-scheduling/jobpool/get-all-jobpool/#GetAllJobPools) -------------------------------------------------------------------------------- # Submit a Job to the Job Pool Using a Dynamic Cron A **Dynamic [Cron](https://docs.catalyst.zoho.com/en/job-scheduling/help/cron/introduction/)** allows you to configure crons through code and schedule job submissions to the job pool dynamically during runtime. In this help section, we are going to go over the steps required to schedule the submission of a job to the job pool using a Dynamic Cron. Before you create a dynamic cron, depending on your [job pool](https://docs.catalyst.zoho.com/en/job-scheduling/help/jobpool/introduction/) type, make sure the following components are configured and present in the Catalyst console: * **Function Job Pool**: The [Job Function](https://docs.catalyst.zoho.com/en/serverless/help/functions/job-functions/), if [initialized through Catalyst CLI](https://docs.catalyst.zoho.com/en/cli/v1/initialize-resources/initialize-functions/) needs to be deployed to the Catalyst console, along with the code file containing the configuration of your dynamic cron. * **Webhook Job Pool**: Ensure the URL of the third-party URL is a valid one. * **Circuit Job Pool**: Ensure that the [Circuit](https://docs.catalyst.zoho.com/en/serverless/help/circuits/introduction/) and its associated functions are created and present in the Catalyst console. * **AppSail Job Pool**: Ensure you have deployed your [AppSail service](https://docs.catalyst.zoho.com/en/serverless/help/appsail/introduction/) to the catalyst console. Points to remember when you create a **Dynamic Cron**: * Dynamic crons are ideally enabled and executed during run-time. * Dynamic crons created in the [Development Environment](https://docs.catalyst.zoho.com/en/deployment-and-billing/environments/development-environment/) cannot be migrated to the [Production environment](https://docs.catalyst.zoho.com/en/deployment-and-billing/environments/production-environment/). * Dynamic crons can be created using the *Builder*, in the [exact same way as a Pre-Defined Cron](https://docs.catalyst.zoho.com/en/job-scheduling/help/implementation/submit-job-predefined-cron/). However, this option is provided for you to **create and test the functionality** of your dynamic crons in the *Production environment*. ### Configure a Dynamic Cron To create and configure a Dynamic cron: 1. Navigate to the *Job Scheduling* service section of the Catalyst console and click **Start Exploring**. ![catalyst_job_scheduling_start_exploring_page](https://catalyst-docs-development.zohostratus.in/images/help/job-scheduling/catalyst_job_scheduling_start_exploring_page.webp) 2. Access the cron component by clicking **Cron** under *JOB EXECUTOR*, and click the **Create Cron** button present in the *Dynamic* tab. ![catalyst_job_scheduling_dynamic_cron_start](https://catalyst-docs-development.zohostratus.in/images/help/job-scheduling/catalyst_job_scheduling_dynamic_cron_start.webp) 3. Click the **SDK** tab. ![catalyst_job_scheduling_dynamic_cron_sdk_code_select](https://catalyst-docs-development.zohostratus.in/images/help/job-scheduling/catalyst_job_scheduling_dynamic_cron_sdk_code_select.webp) > **Note:** * In this help documentation, we will only be going over the steps required to create a **Dynamic Cron** through code using **Catalyst SDK**. * You can refer this [help documentation](https://docs.catalyst.zoho.com/en/job-scheduling/help/implementation/submit-job-predefined-cron/), where steps to create a *Pre-Defined Cron* using the *Builder* are explained. The *Builder* can be used in the exact same manner to create a *Dynamic Cron*. * The option to employ Dynamic Crons using the *Builder* is provided for you to **create and test the functionality** of your dynamic crons in the *Production environment*. 4. Choose the type of code snippet you require to code your cron from the drop-down. ![catalyst_job_scheduling_dynamic_cron_sdk_snip_drop-down](https://catalyst-docs-development.zohostratus.in/images/help/job-scheduling/catalyst_job_scheduling_dynamic_cron_sdk_snip_drop-down.webp) **One-Time Dynamic Cron** ### Configure a One-Time Dynamic Cron **Java** **One-Time Dynamic Cron** ```java // ONE TIME CRON => which will run after 60 minutes from the current time ZCJobScheduling jobScheduling = ZCJobScheduling.getInstance(); // get job scheduling instance // generate function job meta ZCJobMetaDetail jobMeta = ZCJobBuilder.functionJobBuilder() // get function job builder .setJobConfig(2, 15 * 60 * 1000L) // set job config - job retries => 2 retries in 15 mins (optional) .setJobpoolName("functions_job_pool") // set the name of the function job pool (optional) (either jobpoolId or jobpoolName is mandatory) // .setJobpoolId(1234567890L) // set the Id of the function job pool (optional) (either jobpoolId or jobpoolName is mandatory) .setTargetName("target_function") // set target function's name (optional) (either TargetName or TargetId is mandatory) // .setTargetId(1234567890L) // set the target function's Id (optional) (either TargetName or TargetId is mandatory) .setParams(new JSONObject() { { put("arg1", "job"); put("arg2", "test"); } }) // set params to be passed to target function (optional) .setJobName("job_name") // set job name .build(); // build job meta // generate cron details ZCCronDetails oneTimeCronDetails = ZCCronBuilder.zcOneTimeCronBuilder() // get one time cron builder .setCronStatus(true) // set cron as enabled .cronConfig(System.currentTimeMillis() + (60 * 1000 * 1000)) // set the execution time as UNIX timestamp .setJobMeta(jobMeta) // set job meta (modify based on the job) .setCronName("one_time_cron") // set cron name (unique) .build(); // build cron details // create one time cron ZCCronDetails oneTimeCron = jobScheduling.cron.createCron(oneTimeCronDetails); ``` **Node.js** **One-Time Dynamic Cron** ```javascript // ONE TIME CRON => which will run after 60mins for the current time const jobScheduling = app.jobScheduling(); // create job scheduling instance // create function job meta const jobMeta = { job_name: 'test_job', // set a name for the job target_type: 'Function', // set the target type as Function for function jobs target_name: 'target_function', // set the target function's name (optional) (either target_id or target_name is mandatory) // target_id: '123467890', // set the target functions's Id (optional) (either target_id or target_name is mandatory) jobpool_name: 'test', // set the name of the function job pool (optional) (either jobpool_name or jobpool_id is mandatory) // jobpool_id: '1234567890' // set the Id of the function job pool (optional) (either jobpool_name or jobpool_id is mandatory) job_config: { number_of_retries: 2, // set the number of retries retry_interval: 15 * 60 * 1000 + '' // set the retry interval }, // set job config - job retries => 2 retries in 15 mins (optional) params: { arg1: 'test', arg2: 'job' }, // set params to be passed to target function (optional) }; // create one time cron details const oneTimeCron = { cron_name: 'one_time', // set a name for the cron (unique) cron_status: true, // set the cron status as enabled cron_type: 'OneTime', // set the cron type as OneTime cron_detail: { time_of_execution: Date.now() + (60 * 1000 * 1000) + '' // set the execution time as UNIX timestamp }, job_meta: jobMeta // set the function job meta }; // create one time cron const cronDetails = await jobScheduling.CRON.createCron(oneTimeCron); ``` **Python** **One-Time Dynamic Cron** ```python # ONE TIME CRON => which will run after 60mins for the current time job_scheduling = app.job_scheduling() # create job scheduling instance # create function job meta job_meta = { 'job_name': 'test_job', # set a name for the job 'target_type': 'Function', # set the target type as Function for function jobs 'target_name': 'target_function', # set the target function's name (optional) (either target_id or target_name is mandatory) # 'target_id': '123467890', # set the target functions's Id (optional) (either target_id or target_name is mandatory) 'jobpool_name': 'test', # set the name of the function job pool (optional) (either jobpool_name or jobpool_id is mandatory) # 'jobpool_id': '1234567890' # set the Id of the function job pool (optional) (either jobpool_name or jobpool_id is mandatory) 'job_config': { 'number_of_retries': 2, # set the number of retries 'retry_interval': 15 * 60 * 1000 # set the retry interval }, # set job config - job retries => 2 retries in 15 mins (optional) 'params': { 'arg1': 'test', 'arg2': 'job' } # set params to be passed to target function (optional) } # create one time cron one_time_cron_details = job_scheduling.CRON.create({ 'cron_name': 'one_time', # set a name for the cron (unique) 'cron_status': True, # set the cron status as enabled 'cron_type': 'OneTime', # set the cron type as OneTime 'cron_detail': { 'time_of_execution': int(time.time()) + (60 * 10 * 1000) # set the execution time as UNIX timestamp }, 'job_meta': job_meta # set the function job meta }) ``` **Recursive Dynamic Cron** ### Configure a Recursive Dynamic Cron **Java** **Recursive Dynamic Cron** ```java ZCJobScheduling jobScheduling = ZCJobScheduling.getInstance(); // get job scheduling instance // generate function job meta ZCJobMetaDetail jobMeta = ZCJobBuilder.functionJobBuilder() // get function job builder .setJobConfig(2, 15 * 60 * 1000L) // set job config - job retries => 2 retries in 15 mins (optional) .setJobpoolName("functions_job_pool") // set the name of the function job pool (optional) (either jobpoolId or jobpoolName is mandatory) // .setJobpoolId(1234567890L) // set the Id of the function job pool (optional) (either jobpoolId or jobpoolName is mandatory) .setTargetName("target_function") // set target function's name (optional) (either TargetName or TargetId is mandatory) // .setTargetId(1234567890L) // set the target function's Id (optional) (either TargetName or TargetId is mandatory) .setParams(new JSONObject() { { put("arg1", "job"); put("arg2", "test"); } }) // set params to be passed to target function (optional) .setJobName("job_name") // set job name .build(); // build job meta // EVERY CRON => which will be run for every 2hrs 1min and 3sec // generate cron details ZCCronDetails everyCronDetails = ZCCronBuilder.zcEveryCronBuilder() // get every cron builder .setCronStatus(true) // set cron as enabled .setTime(2, 1, 3) // set the repetition interval .setJobMeta(jobMeta) // set the job meta (modify based on the job) .setCronName("every_cron") // set cron name (unique) .build(); // build cron details // create every cron ZCCronDetails everyCron = jobScheduling.cron.createCron(everyCronDetails); // DAILY CRON => which will be run on 0hrs 0mins and 0sec daily // generate cron details ZCCronDetails dailyCronDetails = ZCCronBuilder.zcDailyCronBuilder() // get daily cron builder .setCronStatus(true) // set cron as enabled .setTime(0, 0, 0) // set the time of the day during which the cron should be executed .setJobMeta(jobMeta) // set the job meta (modify based on the job) .setCronName("daily_cron") // set cron name (unique) .build(); // build cron details // create daily cron ZCCronDetails dailyCron = jobScheduling.cron.createCron(dailyCronDetails); // MONTHLY CRON => which will be run on 0hrs 0mins 0sec on 1st 3rd and 5th days of every month // generate cron details ZCCronDetails monthlyCronDetails = ZCCronBuilder.zcMonthlyCronBuilder() // get monthly cron builder .setCronStatus(true) // set cron as enabled .setTime(0, 0, 0) // set the time of the day during which the cron should be executed .setDays(1, 3, 5) // set the days of the month (day based config) // .setWeeksOfMonth(1, 3) // set the weeks of the month (either week based or day based config is necessary) // .setDayOfTheWeek(1, 2) // set the days of the week (either week based or day based config is necessary) .setJobMeta(jobMeta) // set the job meta (modify based on the job) .setCronName("monthly_cron") // set cron name (unique) .build(); // build cron details // create monthly cron ZCCronDetails monthlyCron = jobScheduling.cron.createCron(monthlyCronDetails); // YEARLY CRON => which will be run on 0hrs 0min 0sec on 1st 2nd 3rd days of the 8th month of a year // generate cron details ZCCronDetails yearlyCronDetails = ZCCronBuilder.zcYearlyCronBuilder() // get yearly cron builder .setCronStatus(true) // set cron as enabled .setTime(0, 0, 0) // set the time of the day during which the cron should be executed .setDays(1, 2, 3) // set the days of the month // .setWeeksOfMonth(1) // set the weeks of the month (either week based or day based config is necessary) // .setDayOfTheWeek(3) // set the days of the week (either week based or day based config is necessary) .setMonths(8) // set the months .setJobMeta(jobMeta) // set the job meta (modify based on the job) .setCronName("yearly_cron") // set cron name (unique) .build(); // build cron details // create yearly cron ZCCronDetails yearlyCron = jobScheduling.cron.createCron(yearlyCronDetails); ``` **Node.js** **Recursive Dynamic Cron** ```javascript const jobScheduling = app.jobScheduling(); // create job scheduling instance // create function job meta const jobMeta = { job_name: 'test_job', // set a name for the job target_type: 'Function', // set the target type as Function for function jobs target_name: 'target_function', // set the target function's name (optional) (either target_id or target_name is mandatory) // target_id: '123467890', // set the target functions's Id (optional) (either target_id or target_name is mandatory) jobpool_name: 'test', // set the name of the function job pool (optional) (either jobpool_name or jobpool_id is mandatory) // jobpool_id: '1234567890' // set the Id of the function job pool (optional) (either jobpool_name or jobpool_id is mandatory) job_config: { number_of_retries: 2, // set the number of retries retry_interval: 15 * 60 * 1000 + '' // set the retry interval }, // set job config - job retries => 2 retries in 15 mins (optional) params: { arg1: 'test', arg2: 'job' }, // set params to be passed to target function (optional) }; // EVERY CRON => which will be run for every 2hrs 1min and 3sec // create every cron details const everyCron = { cron_name: 'every_cron', // set a name for the cron (unique) cron_status: true, // set the cron status as enabled cron_type: 'Periodic', // set the cron type as Periodic for every cron cron_detail: { hour: 2, // set the hour interval of the repetition minute: 1, // set the minute interval of the repetition second: 3, // set the second interval of the repetition repetition_type: "every" // set the repetition type as every for every cron }, job_meta: jobMeta // set the function job meta }; // create every cron const everyCronDetails = await jobScheduling.CRON.createCron(everyCron); // DAILY CRON => which will be run on 0hrs 0mins and 0sec daily // create daily cron details const dailyCron = { cron_name: 'daily_cron', // set a name for the cron (unique) cron_status: true, // set the cron status as enabled cron_type: 'Calendar', // set the cron type as Calendar for daily, monthly and yearly cron_detail: { hour: 0, // set the hour of the day in which the cron should be executed minute: 0, // set the minute of the day in which the cron should be executed second: 0, // set the second of the day in which the cron should be executed repetition_type: 'daily' // set the repetition type as daily for daily cron }, job_meta: jobMeta // set the function job meta }; // create daily cron const dailyCronDetails = await jobScheduling.CRON.createCron(dailyCron); // MONTHLY CRON => which will be run on 0hrs 0mins 0sec on 1st 3rd and 5th days of every month // create monthly cron details const monthlyCron = { cron_name: 'monthly_cron', // set a name for the cron (unique) cron_status: true, // set the cron status as enabled cron_type: 'Calendar', // set the cron type as Calendar for daily, monthly and yearly cron_detail: { hour: 0, // set the hour of the day in which the cron should be executed minute: 0, // set the minute of the day in which the cron should be executed second: 0, // set the second of the day in which the cron should be executed days: [1, 3, 5], // set the days of the month in which the cron should be executed // week_day: [1, 3], // set the days of the week in a month during which the cron should be executed // weeks_of_month: [2], // set the weeks of the month during which the cron should be executed repetition_type: 'monthly' // set the repetition type as monthly for monthly cron }, job_meta: jobMeta // set function job meta }; // create monthly cron const monthlyCronDetails = await jobScheduling.CRON.createCron(monthlyCron); // YEARLY CRON => which will be run on 0hrs 0min 0sec on 1st 2nd 3rd days of the 8th month of a year // create yearly cron details const yearlyCron = { cron_name: 'yearly_cron', // set a name for the cron (unique) cron_status: true, // set the cron status as enabled cron_type: 'Calendar', // set the cron type as Calendar for daily, monthly and yearly cron_detail: { hour: 0, // set the hour of the day in which the cron should be executed minute: 0, // set the minute of the day in which the cron should be executed second: 0, // set the second of the day in which the cron should be executed days: [1, 2, 3], // set the days of the month in which the cron should be executed // week_day: [1, 3], // set the days of the week in a month during which the cron should be executed // weeks_of_month: [2], // set the weeks of the month during which the cron should be executed months: [8], // set the months of the year in which the cron should be executed repetition_type: 'yearly' // set the repetition type as yearly for yearly cron }, job_meta: jobMeta // set function job meta }; // create yearly cron const yearlyCronDetails = await jobScheduling.CRON.createCron(yearlyCron); ``` **Python** **Recursive Dynamic Cron** ```python job_scheduling = app.job_scheduling() # create job scheduling instance # create function job meta job_meta = { 'job_name': 'test_job', # set a name for the job 'target_type': 'Function', # set the target type as Function for function jobs 'target_name': 'target_function', # set the target function's name (optional) (either target_id or target_name is mandatory) # 'target_id': '123467890', # set the target functions's Id (optional) (either target_id or target_name is mandatory) 'jobpool_name': 'test', # set the name of the function jobpool (optional) (either jobpool_name or jobpool_id is mandatory) # 'jobpool_id': '1234567890' # set the Id of the function jobpool (optional) (either jobpool_name or jobpool_id is mandatory) 'job_config': { 'number_of_retries': 2, # set the number of retries 'retry_interval': 15 * 60 * 1000 # set the retry interval }, # set job config - job retries => 2 retries in 15 mins (optional) 'params': { 'arg1': 'test', 'arg2': 'job' } # set params to be passed to target function (optional) } # EVERY CRON => which will be run for every 2hrs 1min and 3sec # create every cron every_cron = job_scheduling.CRON.create({ 'cron_name': 'every_cron', # set a name for the cron (unique) 'cron_status': True, # set the cron status as enabled 'cron_type': 'Periodic', # set the cron type as Periodic for every cron 'cron_detail': { 'hour': 2, # set the hour interval of the repetition 'minute': 1, # set the minute interval of the repetition 'second': 3, # set the second interval of the repetition 'repetition_type': 'every' # set the repetition type as every for every cron }, 'job_meta': job_meta # set the function job meta }) # DAILY CRON => which will be run on 0hrs 0mins and 0sec daily # create daily cron daily_cron = job_scheduling.CRON.create({ 'cron_name': 'daily_cron', # set a name for the cron (unique) 'cron_status': True, # set the cron status as enabled 'cron_type': 'Calendar', # set the cron type as Calendar for daily, monthly and yearly 'cron_detail': { 'hour': 0, # set the hour of the day in which the cron should be executed 'minute': 0, # set the minute of the day in which the cron should be executed 'second': 0, # set the second of the day in which the cron should be executed 'repetition_type': 'daily' # set the repetition type as daily for daily cron }, 'job_meta': job_meta # set the function job meta }) # MONTHLY CRON => which will be run on 0hrs 0mins 0sec on 1st 3rd and 5th days of every month # create monthly cron monthly_cron = job_scheduling.CRON.create({ 'cron_name': 'monthly_cron', # set a name for the cron (unique) 'cron_status': True, # set the cron status as enabled 'cron_type': 'Calendar', # set the cron type as Calendar for daily, monthly and yearly 'cron_detail': { 'hour': 0, # set the hour of the day in which the cron should be executed 'minute': 0, # set the minute of the day in which the cron should be executed 'second': 0, # set the second of the day in which the cron should be executed 'days': [1, 3, 5], # set the days of the month in which the cron should be executed # 'week_day': [1, 3], # set the days of the week in a month during which the cron should be executed # 'weeks_of_month': [2], # set the weeks of the month during which the cron should be executed 'repetition_type': 'monthly' # set the repetition type as monthly for monthly cron }, 'job_meta': job_meta # set function job meta }) # YEARLY CRON => which will be run on 0hrs 0min 0sec on 1st 2nd 3rd days of the 8th month of a year # create yearly cron yearly_cron = job_scheduling.CRON.create({ 'cron_name': 'yearly_cron', # set a name for the cron (unique) 'cron_status': True, # set the cron status as enabled 'cron_type': 'Calendar', # set the cron type as Calendar for daily, monthly and yearly 'cron_detail': { 'hour': 0, # set the hour of the day in which the cron should be executed 'minute': 0, # set the minute of the day in which the cron should be executed 'second': 0, # set the second of the day in which the cron should be executed 'days': [1, 2, 3], # set the days of the month in which the cron should be executed # 'week_day': [1, 3], # set the days of the week in a month during which the cron should be executed # 'weeks_of_month': [2], # set the weeks of the month during which the cron should be executed 'months': [8], # set the months of the year in which the cron should be executed 'repetition_type': 'yearly' # set the repetition type as yearly for yearly cron }, 'job_meta': job_meta # set function job meta }) ``` **Define Dynamic Cron Using Cron Expressions** ### Define Dynamic Crons Using Cron Expressions **Java** **Dynamic Cron Using Cron Expressions** ```java // EXPRESSION CRON => which will be run for on 0hrs 0min on every 1st day of the weeks in the first month of the year ZCJobScheduling jobScheduling = ZCJobScheduling.getInstance(); // get job scheduling instance // generate function job meta ZCJobMetaDetail jobMeta = ZCJobBuilder.functionJobBuilder() // get function job builder .setJobConfig(2, 15 * 60 * 1000L) // set job config - job retries => 2 retries in 15 mins (optional) .setJobpoolName("functions_job_pool") // set the name of the function job pool (optional) (either JobpoolId or JobpoolName is mandatory) // .setJobpoolId(1234567890L) // set the Id of the function job pool (optional) (either JobpoolId or JobpoolName is mandatory) .setTargetName("target_function") // set target function's name (optional) (either TargetName or TargetId is mandatory) // .setTargetId(1234567890L) // set the target function's Id (optional) (either TargetName or TargetId is mandatory) .setParams(new JSONObject() { { put("arg1", "job"); put("arg2", "test"); } }) // set params to be passed to target function (optional) .setJobName("job_name") // set job name .build(); // build job meta // generate cron details ZCCronDetails expressionCronDetails = ZCCronBuilder.zcExpressionCronBuilder() // get expression corn builder .setCronStatus(true) // set cron as enabled .setCronExpression("0 0 * 1 1") // set the UNIX cron expression .setCronName("expression_cron") // set cron name .setJobMeta(jobMeta) // set job meta .build(); // build cron details // create expression cron ZCCronDetails expressionCron = jobScheduling.cron.createCron(expressionCronDetails); ``` **Node.js** **Dynamic Cron Using Cron Expressions** ```javascript // EXPRESSION CRON => which will be run for on 0hrs 0min on every 1st day of the weeks in the first month of the year const jobScheduling = app.jobScheduling(); // create job scheduling instance // create function job meta const jobMeta = { job_name: 'test_job', // set a name for the job target_type: 'Function', // set the target type as Function for function jobs target_name: 'target_function', // set the target function's name (optional) (either target_id or target_name is mandatory) // target_id: '123467890', // set the target functions's Id (optional) (either target_id or target_name is mandatory) jobpool_name: 'test', // set the name of the function job pool (optional) (either jobpool_name or jobpool_id is mandatory) // jobpool_id: '1234567890' // set the Id of the function job pool (optional) (either jobpool_name or jobpool_id is mandatory) job_config: { number_of_retries: 2, // set the number of retries retry_interval: 15 * 60 * 1000 + '' // set the retry interval }, // set job config - job retries => 2 retries in 15 mins (optional) params: { arg1: 'test', arg2: 'job' }, // set params to be passed to target function (optional) }; // create expression cron details const expressionCron = { cron_name: 'expression_cron', // set a name for the cron (unique) cron_status: true, // set the cron status as enabled cron_type: 'CronExpression', // set the cron type as Calendar for daily, monthly and yearly cron_expression: '0 0 * 1 1', // set the cron expression cron_detail: {}, // set the cron details job_meta: jobMeta // set function job meta }; // create expression cron const expressionCronDetails = await jobScheduling.CRON.createCron(expressionCron); ``` **Python** **Dynamic Cron Using Cron Expressions** ```python # CRON EXPRESSION => which will be run for on 0hrs 0min on every 1st day of the weeks in the first month of the year job_scheduling = app.job_scheduling() # create job scheduling instance # create function job meta job_meta = { 'job_name': 'test_job', # set a name for the job 'target_type': 'Function', # set the target type as Function for function jobs 'target_name': 'target_function', # set the target function's name (optional) (either target_id or target_name is mandatory) # 'target_id': '123467890', # set the target functions's Id (optional) (either target_id or target_name is mandatory) 'jobpool_name': 'test', # set the name of the function jobpool (optional) (either jobpool_name or jobpool_id is mandatory) # 'jobpool_id': '1234567890' # set the Id of the function jobpool (optional) (either jobpool_name or jobpool_id is mandatory) 'job_config': { 'number_of_retries': 2, # set the number of retries 'retry_interval': 15 * 60 * 1000 # set the retry interval }, # set job config - job retries => 2 retries in 15 mins (optional) 'params': { 'arg1': 'test', 'arg2': 'job' } # set params to be passed to target function (optional) } # create expression cron expression_cron = job_scheduling.CRON.create({ 'cron_name': 'expression_cron', # set a name for the cron (unique) 'cron_status': True, # set the cron status as enabled 'cron_type': 'CronExpression', # set the cron type as Calendar for daily, monthly and yearly 'cron_expression': '0 0 * 1 1', # set the cron expression 'cron_detail': {}, # set the cron details 'job_meta': job_meta # set function job meta }) ``` 5. Copy the code according to the requirement using the **copy-icon** and add it to your business logic and code according to your requirement. 6. The dynamic cron configurations present in your code files will be deployed and available in your console when you [deploy your project to the Catalyst console](https://docs.catalyst.zoho.com/en/cli/v1/deploy-resources/deploy-options/). 7. The Dynamic Cron will be created during runtime, and the job configured in the code will be submitted to the job pool during runtime at the configured schedule. ![catalyst_job_scheduling_dynamic_cron_prod_created_runtime](https://catalyst-docs-development.zohostratus.in/images/help/job-scheduling/catalyst_job_scheduling_dynamic_cron_prod_created_runtime.webp) > **Note:** Code snippets to create your required dynamic cron for each run time can also be found in each runtime's SDK documentation: * [Java SDK](https://docs.catalyst.zoho.com/en/sdk/java/v1/job-scheduling/overview/) * [Node.js SDK](https://docs.catalyst.zoho.com/en/sdk/nodejs/v2/job-scheduling/overview/) * [Python SDK](https://docs.catalyst.zoho.com/en/sdk/python/v1/job-scheduling/overview/) -------------------------------------------------------------------------------- title: "Manage Cron Using the Console" description: "Learn about working with Catalyst Job Scheduling to schedule and execute jobs that trigger Job Functions, Webhooks, Circuits, or AppSail services." last_updated: "2026-11-04T10:10:44.000Z" source: "https://docs.catalyst.zoho.com/en/job-scheduling/help/implementation/manage-cron/" service: "Job Scheduling" related: - Job Pool Documentation (/en/job-scheduling/help/jobpool/introduction/) - Cron Documentation (/en/job-scheduling/help/cron/introduction/) - Create a Job (/en/job-scheduling/help/job/introduction/) - Cron Expressions Help (/en/job-scheduling/help/cron/key-concepts/#cron-expressions) - Submit a Job Using Pre-Defined Cron (/en/job-scheduling/help/implementation/submit-job-predefined-cron/) - Submit a Job Using Dynamic Cron (/en/job-scheduling/help/implementation/submit-job-dynamic-cron/) - Java SDK (/en/sdk/java/v1/job-scheduling/overview/) - Node.js SDK (/en/sdk/nodejs/v2/job-scheduling/overview/) - Python SDK (/en/sdk/python/v1/job-scheduling/overview/) - Job Scheduling REST APIs (/en/api/code-reference/job-scheduling/jobpool/get-all-jobpool/#GetAllJobPools) -------------------------------------------------------------------------------- # Manage Cron Using the Console Once you have created your required cron, you can perform **Edit** and **Delete** operations on it. > **Note:** This help documentation is going to illustrate **Edit** and **Delete** operations on a **Pre-Defined Cron**. The steps to **Edit** and **Delete** a **Dynamic cron** using the console is the same. Access your list of crons by clicking **Cron** under *JOB Executor* in the Job Scheduling console. ![catalyst_job_scheduling_cron_edit_del_op_start](https://catalyst-docs-development.zohostratus.in/images/help/job-scheduling/catalyst_job_scheduling_cron_edit_del_op_start.webp) In addition to edit and delete , in this section, you can also perform the following operations: ![catalyst_job_scheduling_cron_edit_del_other_start](https://catalyst-docs-development.zohostratus.in/images/help/job-scheduling/catalyst_job_scheduling_cron_edit_del_other_start.webp) * Click the **Create Cron** button to create a new cron. * Perform *search operations* on the list of crons. * Click the **logs-icon** present next to each cron under the *Execution History* column to view the execution status of all the jobs that were submitted by a particular cron. You can perform **Edit** and **Delete** operations on your cron in two places: * In the **Cron** component section with all the crons listed: ![catalyst_job_scheduling_man_cron_portion_1](https://catalyst-docs-development.zohostratus.in/images/help/job-scheduling/catalyst_job_scheduling_man_cron_portion_1.webp) * After you click on your required cron and directed to the page listing cron details and configurations. ![catalyst_job_scheduling_man_cron_part_2](https://catalyst-docs-development.zohostratus.in/images/help/job-scheduling/catalyst_job_scheduling_man_cron_part_2.webp) ### Edit a Cron To edit a cron: 1. Click the **ellipsis icon** next to the cron, then select **Edit**. ![catalyst_job_scheduling_man_cron_edit_sel](https://catalyst-docs-development.zohostratus.in/images/help/job-scheduling/catalyst_job_scheduling_man_cron_edit_sel.webp) - You can edit every input selection of the cron. ![catalyst_job_scheduling_man_cron_update_sec_1](https://catalyst-docs-development.zohostratus.in/images/help/job-scheduling/catalyst_job_scheduling_man_cron_update_sec_1.webp) - You can also edit the configurations of the job the cron is going to submit to the job pool. ![catalyst_job_scheduling_man_cron_update_sec_2](https://catalyst-docs-development.zohostratus.in/images/help/job-scheduling/catalyst_job_scheduling_man_cron_update_sec_2.webp) 2. Click Update, once you complete your edits. ![catalyst_job_scheduling_man_cron_click_update](https://catalyst-docs-development.zohostratus.in/images/help/job-scheduling/catalyst_job_scheduling_man_cron_click_update.webp) The cron will be edited. ### Delete a Cron To delete a cron: 1. Click the **ellipsis icon** next to the cron, then select **Delete**. ![catalyst_job_scheduling_man_cron_del_cron_sel](https://catalyst-docs-development.zohostratus.in/images/help/job-scheduling/catalyst_job_scheduling_man_cron_del_cron_sel.webp) 2. Click **Delete** in the prompt to confirm your selection. ![catalyst_job_scheduling_man_cron_del_cron_confirm](https://catalyst-docs-development.zohostratus.in/images/help/job-scheduling/catalyst_job_scheduling_man_cron_del_cron_confirm.webp) The cron will be deleted. ### Enable or Disable a Cron To **enable** or **disable** a cron click the toggle present under *Status* column in the list of crons. ![catalyst_job_scheduling_man_cron_status_toggle](https://catalyst-docs-development.zohostratus.in/images/help/job-scheduling/catalyst_job_scheduling_man_cron_status_toggle.webp) > **Note:** A disabled or exhausted **one-time cron** cannot be re-enabled as its execution will only happen once. Hence, it is best to delete it once its execution is completed. -------------------------------------------------------------------------------- title: "Submit a Job to the Job Pool Using Jobs Component" description: "Learn about working with Catalyst Job Scheduling to schedule and execute jobs that trigger Job Functions, Webhooks, Circuits, or AppSail services." last_updated: "2026-11-04T10:10:44.000Z" source: "https://docs.catalyst.zoho.com/en/job-scheduling/help/implementation/submit-jobs-using-jobs/" service: "Job Scheduling" related: - Job Pool Documentation (/en/job-scheduling/help/jobpool/introduction/) - Cron Documentation (/en/job-scheduling/help/cron/introduction/) - Job Documentation (/en/job-scheduling/help/job/introduction/) - Submit a Job Using Pre-Defined Cron (/en/job-scheduling/help/implementation/submit-job-predefined-cron/) - Submit a Job Using Dynamic Cron (/en/job-scheduling/help/implementation/submit-job-dynamic-cron/) - Java SDK (/en/sdk/java/v1/job-scheduling/overview/) - Node.js SDK (/en/sdk/nodejs/v2/job-scheduling/overview/) - Python SDK (/en/sdk/python/v1/job-scheduling/overview/) - Job Scheduling REST APIs (/en/api/code-reference/job-scheduling/jobpool/get-all-jobpool/#GetAllJobPools) -------------------------------------------------------------------------------- # Submit a Job to the Job Pool Using Jobs Component You can use the **Jobs** component to submit jobs to its job pool instantly. The job can be created and submitted either using the console's *Builder* or using the [Java](https://docs.catalyst.zoho.com/en/sdk/java/v1/job-scheduling/overview/), [Node.js](https://docs.catalyst.zoho.com/en/sdk/nodejs/v2/job-scheduling/overview/) or [Python](https://docs.catalyst.zoho.com/en/sdk/python/v1/job-scheduling/overview/) SDK. Before you submit a job to the job pool, you need to ensure: * If the job is being submitted to a [Function Job Pool](https://docs.catalyst.zoho.com/en/job-scheduling/help/implementation/create-jobpool/), then the job pool needs to be created with proper memory allocation to [avoid dispatch delays](https://docs.catalyst.zoho.com/en/job-scheduling/help/jobpool/key-concepts/#ideal-memory-allocation-to-avoid-dispatch-delay). To submit a job to a job pool: 1. Navigate to the *Catalyst Job Scheduling* Service section of the console, then click **Start Exploring**. ![catalyst_job_scheduling_start_exploring_page](https://catalyst-docs-development.zohostratus.in/images/help/job-scheduling/catalyst_job_scheduling_start_exploring_page.webp) 2. Navigate to **Jobs** under *JOB EXECUTOR* present in the side-bar, then click **Create Job**. ![catalyst_job_scheduling_jobs_create_start](https://catalyst-docs-development.zohostratus.in/images/help/job-scheduling/catalyst_job_scheduling_jobs_create_start.webp) **Using the Builder** ### Create Job Using Builder 3. Provide a name for your job in the **Job Name** input field. ![catalyst_job_scheduling_jobs_jobs_name](https://catalyst-docs-development.zohostratus.in/images/help/job-scheduling/catalyst_job_scheduling_jobs_jobs_name.webp) 4. Select the *Job Pool* you wish to submit this job in using the **Select Job Pool** drop-down. ![catalyst_job_scheduling_jobs_jobpool_choice](https://catalyst-docs-development.zohostratus.in/images/help/job-scheduling/catalyst_job_scheduling_jobs_jobpool_choice.webp) > **Note:** If you have not previously created any job pools, click **Create New**. You will be directed to the *Job Pool* section. Steps to create a job pool can be found [here](https://docs.catalyst.zoho.com/en/job-scheduling/help/implementation/create-jobpool/). 5. Based on your job pool's **Target Type**, the steps to configure a job vary. For the purposes of this help documentation, we are going to create a job for the **Function Job Pool**. ![catalyst_job_scheduling_jobs_sub_func_jp](https://catalyst-docs-development.zohostratus.in/images/help/job-scheduling/catalyst_job_scheduling_jobs_sub_func_jp.webp) > **Note:** You can find the steps to configure a job for: * **Webhook Job Pool**: [here](https://docs.catalyst.zoho.com/en/job-scheduling/help/implementation/create-jobpool/) * **Circuit Job Pool**: [here](https://docs.catalyst.zoho.com/en/job-scheduling/help/implementation/create-jobpool/) * **AppSail Job Pool**: [here](https://docs.catalyst.zoho.com/en/job-scheduling/help/implementation/create-jobpool/) 6. Select the [Job Function](https://docs.catalyst.zoho.com/en/serverless/help/functions/job-functions/) you wish to trigger from the **Target Function** drop-down. ![catalyst_job_scheduling_jobs_submit_target_func](https://catalyst-docs-development.zohostratus.in/images/help/job-scheduling/catalyst_job_scheduling_jobs_submit_target_func.webp) > **Note:** * If you have [initialized](https://docs.catalyst.zoho.com/en/cli/v1/initialize-resources/initialize-functions/) and coded a *Job Function* from the CLI, ensure you [deploy it to the Catalyst console](https://docs.catalyst.zoho.com/en/cli/v1/deploy-resources/deploy-options/#--only-targets) for the function to be listed in the drop-down. * If you have not created a *Job Function*, click **Create New**. You will be directed to the Catalyst Serverless section of the console. You can find steps to create a *Job Function* from this [section](https://docs.catalyst.zoho.com/en/serverless/help/functions/implementation/#create-a-function). 7. You can also enable the toggle present in the pop up to pass **Query Parameters** to your *Job Function* when the job triggers the function. ![catalyst_job_scheduling_jobs_query_params](https://catalyst-docs-development.zohostratus.in/images/help/job-scheduling/catalyst_job_scheduling_jobs_query_params.webp) > **Note:** *Query Parameters* are custom parameters that you can pass to your job function. They are passed in a **User-Defined format**, and you customize the parameter value and include any terms that you require to be passed in the parameter. 8. You can click the **Show Advanced Options** to provide resubmission instructions. ![catalyst_job_scheduling_jobs_options_start](https://catalyst-docs-development.zohostratus.in/images/help/job-scheduling/catalyst_job_scheduling_jobs_options_start.webp) 9. You can choose the number of retries you wish to attempt from the **No. of Retries** drop-down, and you can choose the time interval between each retry attempt using the **Retry Interval** drop-down. ![catalyst_job_scheduling_jobs_retry_attempts](https://catalyst-docs-development.zohostratus.in/images/help/job-scheduling/catalyst_job_scheduling_jobs_retry_attempts.webp) > **Note:** The retries will only be attempted if the initial submission of the job ended in Failure status. You can choose to attempt a maximum of **10 retries** with a minimum retry interval of **1 minute** and a maximum retry interval of **24Hrs**. 10. Confirm your configurations and click **Create**. ![catalyst_job_scheduling_jobs_check_confirm](https://catalyst-docs-development.zohostratus.in/images/help/job-scheduling/catalyst_job_scheduling_jobs_check_confirm.webp) Once you click **Create**, the job will be immediately submitted to the job pool for execution. This makes the *Builder* option a great tool to test your job pool's performance. **Using the SDK** ### Create Job Using SDK 3. Click the **SDK** tab. ![catalyst_job_scheduling_jobs_sdk_create_sub](https://catalyst-docs-development.zohostratus.in/images/help/job-scheduling/catalyst_job_scheduling_jobs_sdk_create_sub.webp) 4. Based on your **target type** requirement, choose the relevant SDK from the drop-down. ![catalyst_job_scheduling_jobs_sdk_choose_target_drop_down](https://catalyst-docs-development.zohostratus.in/images/help/job-scheduling/catalyst_job_scheduling_jobs_sdk_choose_target_drop_down.webp) **Function** ### Function Target Type ![catalyst_job_scheduling_jobs_sdk_create_sub](https://catalyst-docs-development.zohostratus.in/images/help/job-scheduling/catalyst_job_scheduling_jobs_sdk_create_sub.webp) 5. Select the required runtime, and click the copy button to copy the code snippet. ![catalyst_job_scheduling_jobs_runtime_nav_copy](https://catalyst-docs-development.zohostratus.in/images/help/job-scheduling/catalyst_job_scheduling_jobs_runtime_nav_copy.webp) **Java** **Submit Job** ```java // FUNCTION JOB // get job scheduling instance ZCJobScheduling jobScheduling = ZCJobScheduling.getInstance(); ZCJobpool jobpool = jobScheduling.jobpoolInstance("test"); // create a job pool instance for the function job pool named test // generate function job meta ZCJobMetaDetail jobMeta = ZCJobBuilder.functionJobBuilder() // get function job builder .setJobConfig(2, 15 * 60 * 1000L) // set job config - job retries => 2 retries in 15 mins (optional) .setTargetName("target_function") // set target function's name (optional) (either TargetName or TargetId is mandatory) // .setTargetId(1234567890L) // set the target function's Id (optional) (either TargetName or TargetId is mandatory) .setParams(new JSONObject() { { put("arg1", "job"); put("arg2", "test"); } }) // set params to be passed to target function (optional) .setJobName("job_name") // set job name .build(); // build job meta // submit function job ZCJobDetails functionJob = jobpool.submitJob(jobMeta); ``` **Node.js** **Submit Job** ```javascript // FUNCTION JOB const jobScheduling = app.jobScheduling(); // create job scheduling instance const jobpool = jobScheduling.jobpool({ name: 'test' }); // create job pool instance for the function job pool named test // create function job const functionJob = await jobpool.submitJob({ job_name: 'test_job', // set a name for the job target_type: 'Function', // set the target type as Function for function jobs target_name: 'target_function', // set the target function's name (optional) (either target_id or target_name is mandatory) // target_id: '123467890', // set the target functions's Id (optional) (either target_id or target_name is mandatory) params: { arg1: 'test', arg2: 'job' }, // set params to be passed to target function (optional) job_config: { number_of_retries: 2, // set the number of retries retry_interval: 15 * 60 * 1000 + '' // set the retry interval } // set job config - job retries => 2 retries in 15 mins (optional) }); ``` **Python** **Submit Job** ```python # FUNCTION JOB job_scheduling = app.job_scheduling() # create job scheduling instance jobpool = job_scheduling.jobpool(jobpool_name="test") # create jobpool instance for the function jobpool named test # create function job function_job = jobpool.submit_job({ 'job_name': 'test_job', # set a name for the job 'target_type': 'Function', # set the target type as Function for function jobs 'target_name': 'target_function', # set the target function's name (optional) (either target_id or target_name is mandatory) # 'target_id': '123467890', # set the target functions's Id (optional) (either target_id or target_name is mandatory) 'params': { 'arg1': 'test', 'arg2': 'job' }, # set params to be passed to target function (optional) 'job_config': { 'number_of_retries': 2, # set the number of retries 'retry_interval': 15 * 60 * 1000 # set the retry interval } # set job config - job retries => 2 retries in 15 mins (optional) }) ``` **Circuit** ### Circuit Target Type ![catalyst_job_scheduling_jobs_circuit_jobs_sub](https://catalyst-docs-development.zohostratus.in/images/help/job-scheduling/catalyst_job_scheduling_jobs_circuit_jobs_sub.webp) 5. Select the required runtime, and click the copy button to copy the code snippet. ![catalyst_job_scheduling_jobs_run_time_nav_circuits](https://catalyst-docs-development.zohostratus.in/images/help/job-scheduling/catalyst_job_scheduling_jobs_run_time_nav_circuits.webp) **Java** **Submit Job** ```java // CIRCUIT JOB // get job scheduling instance ZCJobScheduling jobScheduling = ZCJobScheduling.getInstance(); // create a job pool instance ZCJobpool jobpool = jobScheduling.jobpoolInstance("test"); // create a job pool instance for the circuit job pool named test // generate circuit job meta ZCJobMetaDetail jobMeta = ZCJobBuilder.circuitJobBuilder() // create circuit job builder .setJobConfig(2, 15 * 60 * 1000L) // set job config - job retries => 2 retries in 15 mins (optional) .setTargetName("target_circuit") // set target circuits's name (optional) (either TargetName or TargetId is mandatory) // .setTargetId(1234567890L) // set the target circuits's Id (optional) (either TargetName or TargetId is mandatory) .setCircuitInput(new JSONObject() { { put("key1", "value1"); put("key2", "value2"); } }) // set the test cases for the circuit .setJobName("test_job") // set job name .build(); // build circuit job meta // submit circuit job ZCJobDetails circuitJob = jobpool.submitJob(jobMeta); ``` **Node.js** **Submit Job** ```javascript // CIRCUIT JOB const jobScheduling = app.jobScheduling(); // create job scheduling instance const jobpool = jobScheduling.jobpool({ name: 'test' }); // create job pool instance for the circuit job pool named test // create circuit job const circuitJob = await jobpool.submitJob({ job_name: 'test_job', // set a name for the job target_type: 'Circuit', // set the target type as Circuit for circuit jobs target_name: 'target_circuit', // set the target circuit's name (optional) (either target_id or target_name is mandatory) // target_id: '123467890', // set the target circuit's Id (optional) (either target_id or target_name is mandatory) test_cases: { arg1: "job", arg2: "test" }, // set the circuit test cases job_config: { number_of_retries: 2, // set the number of retries retry_interval: 15 * 60 * 1000 + '' // set the retry interval } // set job config - job retries => 2 retries in 15 mins (optional) }); ``` **Python** **Submit Job** ```python # CIRCUIT JOB job_scheduling = app.job_scheduling() # create job scheduling instance jobpool = job_scheduling.jobpool(jobpool_name="test") # create jobpool instance for the circuit jobpool named test # create circuit job circuit_job = jobpool.submit_job({ 'job_name': 'test_job', # set a name for the job 'target_type': 'Circuit', # set the target type as Circuit for circuit jobs 'target_name': 'target_circuit', # set the target circuit's name (optional) (either target_id or target_name is mandatory) # 'target_id': '123467890', # set the target circuit's Id (optional) (either target_id or target_name is mandatory) 'test_cases': { 'arg1': 'job', 'arg2': 'test' }, # set the circuit test cases 'job_config': { 'number_of_retries': 2, # set the number of retries 'retry_interval': 15 * 60 * 1000 # set the retry interval } # set job config - job retries => 2 retries in 15 mins (optional) }) ``` **Webhook** ### Webhook Target Type ![catalyst_job_scheduling_jobs_webhook_code](https://catalyst-docs-development.zohostratus.in/images/help/job-scheduling/catalyst_job_scheduling_jobs_webhook_code.webp) 5. Select the required runtime, and click the copy button to copy the code snippet. ![catalyst_job_scheduling_jobs_webhook_runtime_nav](https://catalyst-docs-development.zohostratus.in/images/help/job-scheduling/catalyst_job_scheduling_jobs_webhook_runtime_nav.webp) **Java** **Submit Job** ```java // WEB HOOK JOB // get job scheduling instance ZCJobScheduling jobScheduling = ZCJobScheduling.getInstance(); // create a job pool instance ZCJobpool jobpool = jobScheduling.jobpoolInstance("test"); // create a job pool instance for the webhook job pool named test // generate webhook job meta ZCJobMetaDetail jobMeta = ZCJobBuilder.webhookJobBuilder() // create webhook job builder .setJobConfig(2, 15 * 60 * 1000L) // set job config - job retries => 2 retries in 15 mins (optional) .setRequestMethod("POST") // set webhook request's method .setUrl("https://catalyst.zoho.com") // set webhook request's url .setParams(new JSONObject() { { put("arg1", "test"); put("arg2", "job"); } }) // set the webhook request's query params (optional) .setHeaders(new JSONObject() { { put("IS_TEST_REQUEST", "true"); } }) // set the webhook request's headers (optional) .setRequestBody("test_request") // set the webhook request's body (optional) .setJobName("test_job") // set job name .build(); // build webhook job meta // submit webhook job ZCJobDetails webHookJob = jobpool.submitJob(jobMeta); ``` **Node.js** **Submit Job** ```javascript // WEBHOOK JOB const jobScheduling = app.jobScheduling(); // create job scheduling instance const jobpool = jobScheduling.jobpool({ name: 'test' }); // create job pool instance for the webhook job pool named test // create webhook job const webhookJob = await jobpool.submitJob({ job_name: 'test_job', // set a name for the job target_type: 'Webhook', // set the target type as Webhook for webhook jobs request_method: 'POST', // set the webhook request's method url: 'https://catalyst.zoho.com', // set the webhook request's url params: { arg1: 'test', arg2: 'job' }, // set the webhook request's query params (optional) headers: { IS_TEST_REQUEST: 'true' }, // set the webhook request's headers (optional) request_body: 'test_request', // set the webhook request's body (optional) job_config: { number_of_retries: 2, // set the number of retries retry_interval: 15 * 60 * 1000 + '' // set the retry interval } // set job config - job retries => 2 retries in 15 mins (optional) }); ``` **Python** **Submit Job** ```python # WEBHOOK JOB job_scheduling = app.job_scheduling() # create job scheduling instance jobpool = job_scheduling.jobpool(jobpool_name="test") # create jobpool instance for the webhook jobpool named test # create webhook job webhook_job = jobpool.submit_job({ 'job_name': 'test_job', # set a name for the job 'target_type': 'Webhook', # set the target type as Webhook for webhook jobs 'request_method': 'POST', # set the webhook request's method 'url': 'https://catalyst.zoho.com', # set the webhook request's url 'params': { 'arg1': 'test', 'arg2': 'job' }, # set the webhook request's query params (optional) 'headers': { 'IS_TEST_REQUEST': 'true' }, # set the webhook request's headers (optional) 'request_body': 'test_request', # set the webhook request's body (optional) 'job_config': { 'number_of_retries': 2, # set the number of retries 'retry_interval': 15 * 60 * 1000 # set the retry interval } # set job config - job retries => 2 retries in 15 mins (optional) }) ``` **AppSail** ### AppSail Target Type ![catalyst_job_scheduling_jobs_appsail_code](https://catalyst-docs-development.zohostratus.in/images/help/job-scheduling/catalyst_job_scheduling_jobs_appsail_code.webp) 5. Select the required runtime, and click the copy button to copy the code snippet. ![catalyst_job_scheduling_jobs_appsail_runtime_nav](https://catalyst-docs-development.zohostratus.in/images/help/job-scheduling/catalyst_job_scheduling_jobs_appsail_runtime_nav.webp) **Java** **Submit Job** ```java // APPSAIL JOB // get job scheduling instance ZCJobScheduling jobScheduling = ZCJobScheduling.getInstance(); // create a job pool instance ZCJobpool jobpool = jobScheduling.jobpoolInstance("test"); // create a job pool instance for the appsail job pool named test // generate appsail job meta ZCJobMetaDetail jobMeta = ZCJobBuilder.appSailJobBuilder() // create appsail job builder .setJobConfig(2, 15 * 60 * 1000L) // set job config - job retries => 2 retries in 15 mins (optional) .setTargetName("test_appsail") // set appsail name .setRequestMethod("POST") // set appsail request method .setUrl("/test") // set appsail request url .setParams(new JSONObject() { { put("arg1", "value1"); put("arg2", "value2"); } }) // set appsail request query params .setHeaders(new JSONObject() { { put("IS_TEST_REQUEST", "true"); } }) // set the appsail request's headers (optional) .setRequestBody("test_request") // set the appsail request's body (optional) .setJobName("test_job") // set job name .build(); // build appsail job meta // submit appsail job ZCJobDetails appSailJob = jobpool.submitJob(jobMeta); ``` **Node.js** **Submit Job** ```javascript // APPSAIL JOB const jobScheduling = app.jobScheduling(); // create job scheduling instance const jobpool = jobScheduling.jobpool({ name: 'test' }); // create job pool instance for the appsail job pool named test // create appsail job const appsailJob = await jobpool.submitJob({ job_name: 'test_job', // set a name for the job target_type: 'AppSail', // set the target type as AppSail for appsail jobs target_name: 'target_appsail', // set the target appsail's name (optional) (either target_id or target_name is mandatory) // target_id: '123467890', // set the target appsail's Id (optional) (either target_id or target_name is mandatory) request_method: 'POST', // set the appsail request's method url: '/test', // set the appsail's url path (optional) params: { arg1: 'test', arg2: 'job' }, // set the appsail request's query params (optional) headers: { IS_TEST_REQUEST: 'true' }, // set the appsail request's headers (optional) request_body: 'test_request', // set the appsail request's body (optional) job_config: { number_of_retries: 2, // set the number of retries retry_interval: 15 * 60 * 1000 + '' // set the retry interval } // set job config - job retries => 2 retries in 15 mins (optional) }); ``` **Python** **Submit Job** ```python # APPSAIL JOB job_scheduling = app.job_scheduling() # create job scheduling instance jobpool = job_scheduling.jobpool(jobpool_name="test") # create jobpool instance for the appsail jobpool named test # create appsail job appsail_job = jobpool.submit_job({ 'job_name': 'test_job', # set a name for the job 'target_type': 'AppSail', # set the target type as AppSail for appsail jobs 'target_name': 'target_appsail', # set the target appsail's name (optional) (either target_id or target_name is mandatory) # 'target_id': '123467890', # set the target appsail's Id (optional) (either target_id or target_name is mandatory) 'request_method': 'POST', # set the appsail request's method 'url': '/test', # set the appsail's url path (optional) 'params': { 'arg1': 'test', 'arg2': 'job' }, # set the appsail request's query params (optional) 'headers': { 'IS_TEST_REQUEST': 'true' }, # set the appsail request's headers (optional) 'request_body': 'test_request', # set the appsail request's body (optional) 'job_config': { 'number_of_retries': 2, # set the number of retries 'retry_interval': 15 * 60 * 1000 # set the retry interval } # set job config - job retries => 2 retries in 15 mins (optional) }) ``` 6. Paste the snippet in your code file and engineer your logic. The job that you create for your project will always be available in the **Job** component section. Once the job is submitted, you will be able to view all the general details of the submitted job in the *Job Definition* section. You will also be able to view the status of the job execution in the *Job Execution & Status* section. ![catalyst_job_scheduling_jobs_submit_job](https://catalyst-docs-development.zohostratus.in/images/help/job-scheduling/catalyst_job_scheduling_jobs_submit_job.webp) The execution status of the job will also be labeled at the top next to the Job Name. You will also be provided with the *Job Definition* in a JSON code format that you can copy and use to submit a new job with the same specifications. You can also visit the logs of the execution generated in [DevOps's Logs](https://docs.catalyst.zoho.com/en/devops/help/logs/introduction/) component by clicking the **View Logs** button. -------------------------------------------------------------------------------- title: "Manage Jobs" description: "Learn about working with Catalyst Job Scheduling to schedule and execute jobs that trigger Job Functions, Webhooks, Circuits, or AppSail services." last_updated: "2026-11-04T10:10:44.000Z" source: "https://docs.catalyst.zoho.com/en/job-scheduling/help/implementation/manage-jobs/" service: "Job Scheduling" related: - Job Pool Documentation (/en/job-scheduling/help/jobpool/introduction/) - Cron Documentation (/en/job-scheduling/help/cron/introduction/) - Job Documentation (/en/job-scheduling/help/job/introduction/) - Submit a Job Using Pre-Defined Cron (/en/job-scheduling/help/implementation/submit-job-predefined-cron/) - Submit a Job Using Dynamic Cron (/en/job-scheduling/help/implementation/submit-job-dynamic-cron/) - Submit a Job to the Job Pool Using Jobs Component (/en/job-scheduling/help/implementation/submit-jobs-using-jobs/) - Java SDK (/en/sdk/java/v1/job-scheduling/overview/) - Node.js SDK (/en/sdk/nodejs/v2/job-scheduling/overview/) - Python SDK (/en/sdk/python/v1/job-scheduling/overview/) - Job Scheduling REST APIs (/en/api/code-reference/job-scheduling/jobpool/get-all-jobpool/#GetAllJobPools) -------------------------------------------------------------------------------- # Manage Jobs After you create your jobs, you will be able to access the following section. ![catalyst_job_scheduling_jobs_manage_start_jobssection](https://catalyst-docs-development.zohostratus.in/images/help/job-scheduling/catalyst_job_scheduling_jobs_manage_start_jobssection.webp) In this section, you will be able to view the following details: * Job Name * [Job ID](https://docs.catalyst.zoho.com/en/job-scheduling/help/job/key-concepts/#job-id) * Submitted Time * Dispatch Delay Time * Execution Status * Source Type * Source name * Job Pool Name ### Filter and Search Operations You can perform the following actions in the **Jobs** component section: - Perform **search operations** on the list of jobs. - **Filter** the list of jobs created for your project based on the following filters: - **Status** ![catalyst_job_scheduling_status_filter_jobs_view](https://catalyst-docs-development.zohostratus.in/images/help/job-scheduling/catalyst_job_scheduling_status_filter_jobs_view.webp) - **Timezone & Time Duration** and **Time Intervals** ![catalyst_job_scheduling_jobs_view_timezone_filter](https://catalyst-docs-development.zohostratus.in/images/help/job-scheduling/catalyst_job_scheduling_jobs_view_timezone_filter.webp) > **Note:** You can click **Custom Range** to filter your jobs based on required date, time and time zone range. - Submit a new job to your job pool by clicking the **Add New Job** button. ![catalyst_job_scheduling_jobs_view_add_button](https://catalyst-docs-development.zohostratus.in/images/help/job-scheduling/catalyst_job_scheduling_jobs_view_add_button.webp) ### Delete a Job To delete a job: 1. Click the **ellipsis-icon** next to each job and click **Delete**. ![catalyst_job_scheduling_jobs_del_job_from_view](https://catalyst-docs-development.zohostratus.in/images/help/job-scheduling/catalyst_job_scheduling_jobs_del_job_from_view.webp) 2. Confirm your decision by clicking **Delete** in the prompt. ![catalyst_job_scheduling_jobs_del_confirm](https://catalyst-docs-development.zohostratus.in/images/help/job-scheduling/catalyst_job_scheduling_jobs_del_confirm.webp) The job will be deleted. Alternatively you can also perform the delete operation from the *Job Definition* page. 1. Click the **ellipsis-icon** on the right and click **Delete**. ![catalyst_job_scheduling_jobs_del_from_define](https://catalyst-docs-development.zohostratus.in/images/help/job-scheduling/catalyst_job_scheduling_jobs_del_from_define.webp) 2. Confirm your decision by clicking **Delete** in the prompt. ![catalyst_job_scheduling_jobs_del_confirm](https://catalyst-docs-development.zohostratus.in/images/help/job-scheduling/catalyst_job_scheduling_jobs_del_confirm.webp) ## API Reference — Job Scheduling ### Cron -------------------------------------------------------------------------------- title: "Get Cron By Identifier" description: "This API enables you to get all available details of a cron present in the project." last_updated: "2026-08-17T12:16:04.000Z" source: "https://docs.catalyst.zoho.com/en/api/code-reference/job-scheduling/cron/get-cron/" service: "Job Scheduling" -------------------------------------------------------------------------------- # Get Cron By Identifier ### Description This API enables you to get all available details of a cron present in the project. The cron is referred by its unique identifier like ID or name. > **Note:** This API is applicable for [Pre-Defined Crons](https://docs.catalyst.zoho.com/en/job-scheduling/help/implementation/submit-job-predefined-cron/) and [Dynamic Crons](https://docs.catalyst.zoho.com/en/job-scheduling/help/implementation/submit-job-dynamic-cron/). ### Request Details #### Request URL `GET` {api-domain}/baas/v1/project/{project_id}/job_scheduling/cron/{cron_id/cron_name} - **project_id** (Numerical): The [unique ID](https://docs.catalyst.zoho.com/en/getting-started/set-up-a-catalyst-project/general-settings/) of the project - **cron_id** (Numerical): The [unique ID](https://docs.catalyst.zoho.com/en/job-scheduling/help/cron/key-concepts/#cron-id) of the cron - **cron_name** (String): The name of the cron #### Request Headers **Authorization:** Zoho-oauthtoken {oauth_token} **Optional Headers** **CATALYST-ORG:** {org_id} **Environment:** Development #### Scope ZohoCatalyst.cron.READ ### Response Details The JSON response returns the metadata of a specific cron present in the project. The response will also contain the details of the user who created and last modified it. > **Note:** The above response occurred when we attempted to `GET` a [Pre-Defined Cron](https://docs.catalyst.zoho.com/en/job-scheduling/help/implementation/submit-job-predefined-cron/). For a [Dynamic Cron](https://docs.catalyst.zoho.com/en/job-scheduling/help/implementation/submit-job-dynamic-cron/), the response will be similar but the execution_type will contain the value as '`dynamic`'. **Sample Request** ```bash curl -X GET https://api.catalyst.zoho.com/baas/v1/project/10278000000019013/job_scheduling/cron/10108000004154323 -H “Authorization: Zoho-oauthtoken 1000.910*************************16.2f*************************57” ``` **Sample Response** ```json { "status": "success", "data": { "cron_name": "pcMonthlyDay", "cron_type": "Calendar", "cron_execution_type": "pre-defined", "job_meta": { "id": "10108000004154323", "url": "", "job_name": "j", "job_config": { "number_of_retries": 0 }, "target_type": "AppSail", "target_details": { "id": "10108000002976191", "target_name": "appsailTrue" }, "source_type": "Cron", "source_details": { "id": "10108000004154321", "source_name": "pcMonthlyDay", "details": { "cron_execution_type": "pre-defined" } }, "jobpool_id": "10108000002976201", "jobpool_details": { "type": "AppSail", "name": "appsailJP", "created_by": { "zuid": "77941453", "is_confirmed": false, "email_id": "emmy@zylker.com", "first_name": "Amelia Burrows", "last_name": "", "user_type": "Admin", "user_id": "10108000000009004" }, "created_time": "Mar 28, 2024 05:41 PM", "modified_by": { "zuid": "77941453", "is_confirmed": false, "email_id": "emmy@zylker.com", "first_name": "Amelia Burrows", "last_name": "", "user_type": "Admin", "user_id": "10108000000009004" }, "modified_time": "Mar 28, 2024 05:41 PM", "capacity": { "number": "5" }, "project_details": { "project_name": "AppsailCron", "id": "10108000002976144", "project_type": "Live" }, "id": "10108000002976201" }, "request_method": "get" }, "cron_status": true, "created_time": "Jun 04, 2024 04:31 PM", "created_by": { "zuid": "77941453", "is_confirmed": false, "email_id": "emmy@zylker.com", "first_name": "Amelia Burrows", "last_name": "", "user_type": "Admin", "user_id": "10108000000009004" }, "modified_time": "Jun 04, 2024 04:31 PM", "modified_by": { "zuid": "77941453", "is_confirmed": false, "email_id": "emmy@zylker.com", "first_name": "Amelia Burrows", "last_name": "", "user_type": "Admin", "user_id": "10108000000009004" }, "project_details": { "project_name": "AppsailCron", "id": "10108000002976144", "project_type": "Live" }, "end_time": "1718303399", "cron_detail": { "hour": 4, "minute": 4, "second": 4, "repetition_type": "monthly", "days": [ 1, 3, 4 ], "timezone": "Asia/Kolkata" }, "success_count": 0, "failure_count": 0, "id": "10108000004154321" } } ``` ### SDK Documentation [Get Details of a Particular Cron- Java SDK](https://docs.catalyst.zoho.com/en/sdk/java/v1/job-scheduling/cron/get-cron-details/) [Get Details of a Particular Cron- Node.js SDK](https://docs.catalyst.zoho.com/en/sdk/nodejs/v2/job-scheduling/cron/get-cron-details/) [Get Details of a Particular Cron- Python SDK](https://docs.catalyst.zoho.com/en/sdk/python/v1/job-scheduling/cron/get-cron-details/) -------------------------------------------------------------------------------- title: "Get All Crons" description: "This API enables you to retrieve details of all Pre-defined crons present in the project." last_updated: "2026-08-17T12:16:04.000Z" source: "https://docs.catalyst.zoho.com/en/api/code-reference/job-scheduling/cron/get-all-cron/" service: "Job Scheduling" -------------------------------------------------------------------------------- # Get All Crons ### Description This API enables you to retrieve details of all Pre-defined crons present in the project. > **Note:** This API is only applicable for [Pre-defined crons](https://docs.catalyst.zoho.com/en/job-scheduling/help/implementation/submit-job-predefined-cron/). ### Request Details #### Request URL `GET` {app_domain}/baas/v1/project/{project_id}/job_scheduling/cron - **project_id** (Numerical): The [unique ID](https://docs.catalyst.zoho.com/en/getting-started/set-up-a-catalyst-project/general-settings/) of the project - **cron_name** (String): The name of the cron #### Request Headers **Authorization:** Zoho-oauthtoken {oauth_token} **Optional Headers** **CATALYST-ORG:** {org_id} **Environment:** Development #### Scope ZohoCatalyst.cron.READ ### Response Details The JSON response returns the metadata of all the crons present in the project. The response will also contain the details of the user who created and last modified the cron. **Sample Request** ```bash curl -X GET https://api.catalyst.zoho.com/baas/v1/project/10278000000019013/job_scheduling/cron -H “Authorization: Zoho-oauthtoken 1000.910*************************16.2f*************************57” ``` **Sample Response** ```json { "status": "success", "data": [ { "cron_name": "circuitCron", "cron_type": "Calendar", "cron_execution_type": "pre-defined", "job_meta": { "id": "10108000004280089", "job_name": "j", "job_config": { "number_of_retries": 0 }, "target_type": "Circuit", "target_details": { "id": "10108000004194246", "target_name": "abc" }, "source_type": "Cron", "source_details": { "id": "10108000004280087", "source_name": "circuitCron", "details": { "cron_execution_type": "pre-defined" } }, "jobpool_id": "10108000003823699", "jobpool_details": { "type": "Circuit", "name": "InventoryDataMaintaince", "created_by": { "zuid": "77941453", "is_confirmed": false, "email_id": "emmy@zylker.com", "first_name": "Amelia Burrows", "last_name": "", "user_type": "Admin", "user_id": "10108000000009004" }, "created_time": "May 28, 2024 04:49 PM", "modified_by": { "zuid": "77941453", "is_confirmed": false, "email_id": "emmy@zylker.com", "first_name": "Amelia Burrows", "last_name": "", "user_type": "Admin", "user_id": "10108000000009004" }, "modified_time": "May 28, 2024 04:49 PM", "capacity": { "number": "3" }, "project_details": { "project_name": "ZylkerShipments", "id": "10108000003823392", "project_type": "Live" }, "id": "10108000003823699" }, "headers": {}, "params": { "key1": "value1", "key2": "value2", "key3": "value3" } }, "cron_status": true, "created_time": "Jun 07, 2024 11:09 AM", "created_by": { "zuid": "77941453", "is_confirmed": false, "email_id": "emmy@zylker.com", "first_name": "Amelia Burrows", "last_name": "", "user_type": "Admin", "user_id": "10108000000009004" }, "modified_time": "Jun 07, 2024 11:09 AM", "modified_by": { "zuid": "77941453", "is_confirmed": false, "email_id": "emmy@zylker.com", "first_name": "Amelia Burrows", "last_name": "", "user_type": "Admin", "user_id": "10108000000009004" }, "project_details": { "project_name": "ZylkerShipments", "id": "10108000003823392", "project_type": "Live" }, "end_time": "1717871399", "cron_detail": { "hour": 4, "minute": 3, "second": 0, "repetition_type": "daily", "timezone": "Asia/Kolkata" }, "success_count": 0, "failure_count": 0, "id": "10108000004280087" }, { "cron_name": "functionCron", "description": "functionCron", "cron_type": "CronExpression", "cron_execution_type": "pre-defined", "cron_expression": "* * * * *", "job_meta": { "id": "10108000004280074", "url": "", "job_name": "functionJob", "job_config": { "number_of_retries": 0 }, "target_type": "Function", "target_details": { "id": "10108000003823893", "target_name": "target_function_fetch" }, "source_type": "Cron", "source_details": { "id": "10108000004280072", "source_name": "functionCron", "details": { "cron_execution_type": "pre-defined" } }, "jobpool_id": "10108000003823563", "jobpool_details": { "type": "Function", "name": "VendorReminder", "created_by": { "zuid": "77941453", "is_confirmed": false, "email_id": "emmy@zylker.com", "first_name": "Amelia Burrows", "last_name": "", "user_type": "Admin", "user_id": "10108000000009004" }, "created_time": "May 28, 2024 04:44 PM", "modified_by": { "zuid": "77941453", "is_confirmed": false, "email_id": "emmy@zylker.com", "first_name": "Amelia Burrows", "last_name": "", "user_type": "Admin", "user_id": "10108000000009004" }, "modified_time": "May 28, 2024 04:44 PM", "capacity": { "memory": "2048" }, "project_details": { "project_name": "ZylkerShipments", "id": "10108000003823392", "project_type": "Live" }, "id": "10108000003823563" }, "headers": {}, "params": { "p1": "v1" } }, "cron_status": true, "created_time": "Jun 07, 2024 11:08 AM", "created_by": { "zuid": "77941453", "is_confirmed": false, "email_id": "emmy@zylker.com", "first_name": "Amelia Burrows", "last_name": "", "user_type": "Admin", "user_id": "10108000000009004" }, "modified_time": "Jun 07, 2024 11:08 AM", "modified_by": { "zuid": "77941453", "is_confirmed": false, "email_id": "emmy@zylker.com", "first_name": "Amelia Burrows", "last_name": "", "user_type": "Admin", "user_id": "10108000000009004" }, "project_details": { "project_name": "ZylkerShipments", "id": "10108000003823392", "project_type": "Live" }, "end_time": "1718908199", "cron_detail": { "hour": 0, "minute": 0, "second": 0, "timezone": "Asia/Kolkata" }, "success_count": 0, "failure_count": 0, "id": "10108000004280072" }, { "cron_name": "abcUpdated", "cron_type": "OneTime", "cron_execution_type": "pre-defined", "job_meta": { "id": "10108000004153012", "url": "https://www.google.com", "job_name": "j", "job_config": { "number_of_retries": 0 }, "target_type": "Webhook", "target_details": { "target_name": "https://www.google.com" }, "source_type": "Cron", "source_details": { "id": "10108000004152971", "source_name": "abcUpdated", "details": { "cron_execution_type": "pre-defined" } }, "jobpool_id": "10108000003823632", "jobpool_details": { "type": "Webhook", "name": "VendorDataFetch", "created_by": { "zuid": "77941453", "is_confirmed": false, "email_id": "emmy@zylker.com", "first_name": "Amelia Burrows", "last_name": "", "user_type": "Admin", "user_id": "10108000000009004" }, "created_time": "May 28, 2024 04:47 PM", "modified_by": { "zuid": "77941453", "is_confirmed": false, "email_id": "emmy@zylker.com", "first_name": "Amelia Burrows", "last_name": "", "user_type": "Admin", "user_id": "10108000000009004" }, "modified_time": "May 28, 2024 04:47 PM", "capacity": { "number": "3" }, "project_details": { "project_name": "ZylkerShipments", "id": "10108000003823392", "project_type": "Live" }, "id": "10108000003823632" }, "request_method": "get" }, "cron_status": false, "created_time": "Jun 04, 2024 03:56 PM", "created_by": { "zuid": "77941453", "is_confirmed": false, "email_id": "emmy@zylker.com", "first_name": "Amelia Burrows", "last_name": "", "user_type": "Admin", "user_id": "10108000000009004" }, "modified_time": "Jun 04, 2024 03:57 PM", "modified_by": { "zuid": "77941453", "is_confirmed": false, "email_id": "emmy@zylker.com", "first_name": "Amelia Burrows", "last_name": "", "user_type": "Admin", "user_id": "10108000000009004" }, "project_details": { "project_name": "ZylkerShipments", "id": "10108000003823392", "project_type": "Live" }, "end_time": "-1", "cron_detail": { "time_of_execution": 1717612200, "hour": 0, "minute": 0, "second": 0, "timezone": "Asia/Kolkata" }, "success_count": 0, "failure_count": 0, "id": "10108000004152971" }, { "cron_name": "abcupdate", "description": "abc", "cron_type": "OneTime", "cron_execution_type": "pre-defined", "job_meta": { "id": "10108000004108000", "url": "https://www.google.com", "job_name": "j", "job_config": { "number_of_retries": 0 }, "target_type": "Webhook", "target_details": { "target_name": "https://www.google.com" }, "source_type": "Cron", "source_details": { "id": "10108000004107959", "source_name": "abcupdate", "details": { "cron_execution_type": "pre-defined" } }, "jobpool_id": "10108000003823632", "jobpool_details": { "type": "Webhook", "name": "VendorDataFetch", "created_by": { "zuid": "77941453", "is_confirmed": false, "email_id": "emmy@zylker.com", "first_name": "Amelia Burrows", "last_name": "", "user_type": "Admin", "user_id": "10108000000009004" }, "created_time": "May 28, 2024 04:47 PM", "modified_by": { "zuid": "77941453", "is_confirmed": false, "email_id": "emmy@zylker.com", "first_name": "Amelia Burrows", "last_name": "", "user_type": "Admin", "user_id": "10108000000009004" }, "modified_time": "May 28, 2024 04:47 PM", "capacity": { "number": "3" }, "project_details": { "project_name": "ZylkerShipments", "id": "10108000003823392", "project_type": "Live" }, "id": "10108000003823632" }, "headers": {}, "params": {}, "request_method": "get" }, "cron_status": false, "created_time": "Jun 03, 2024 05:19 PM", "created_by": { "zuid": "77941453", "is_confirmed": false, "email_id": "emmy@zylker.com", "first_name": "Amelia Burrows", "last_name": "", "user_type": "Admin", "user_id": "10108000000009004" }, "modified_time": "Jun 03, 2024 05:20 PM", "modified_by": { "zuid": "77941453", "is_confirmed": false, "email_id": "emmy@zylker.com", "first_name": "Amelia Burrows", "last_name": "", "user_type": "Admin", "user_id": "10108000000009004" }, "project_details": { "project_name": "ZylkerShipments", "id": "10108000003823392", "project_type": "Live" }, "end_time": "-1", "cron_detail": { "time_of_execution": 1717623183, "hour": 0, "minute": 0, "second": 0, "timezone": "Asia/Kolkata" }, "success_count": 0, "failure_count": 0, "id": "10108000004107959" } ] } ``` ### SDK Documentation [Get All Crons- Java SDK](https://docs.catalyst.zoho.com/en/sdk/java/v1/job-scheduling/cron/get-all-cron-details/) [Get All Crons- Node.js SDK](https://docs.catalyst.zoho.com/en/sdk/nodejs/v2/job-scheduling/cron/get-all-cron-details/) [Get All Crons- Python SDK](https://docs.catalyst.zoho.com/en/sdk/python/v1/job-scheduling/cron/get-all-cron-details/) -------------------------------------------------------------------------------- title: "Submit Cron Instantly" description: "This API enables you to submit a cron that will instantly submit a job to the job pool to trigger a target type endpoint." last_updated: "2026-08-17T12:16:04.000Z" source: "https://docs.catalyst.zoho.com/en/api/code-reference/job-scheduling/cron/submit-cron-now/" service: "Job Scheduling" -------------------------------------------------------------------------------- # Submit Cron Instantly ### Description This API enables you to submit a cron that will instantly [submit a job to the job pool](https://docs.catalyst.zoho.com/en/job-scheduling/help/implementation/submit-instant-job/) to trigger a target type endpoint. > **Note:** * This API is ideally used to test if the configured cron is functioning as configured. * In this API, we are illustrating the sample request and sample response with a [Job Function](https://docs.catalyst.zoho.com/en/serverless/help/functions/job-functions/). The API functionality remains the same for webhook, [Circuits](https://docs.catalyst.zoho.com/en/serverless/help/circuits/introduction/), and [AppSail](https://docs.catalyst.zoho.com/en/serverless/help/appsail/introduction/) jobs. * This API is applicable for [Pre-Defined Crons](https://docs.catalyst.zoho.com/en/job-scheduling/help/implementation/submit-job-predefined-cron/) and [Dynamic Crons](https://docs.catalyst.zoho.com/en/job-scheduling/help/implementation/submit-job-dynamic-cron/). ### Request Details #### Request URL `POST` {app_domain}/baas/v1/project/{project_id}/job_scheduling/cron/{cron_id}/submit_job - **project_id** (Numerical): The [unique ID](https://docs.catalyst.zoho.com/en/getting-started/set-up-a-catalyst-project/general-settings/) of the project - **cron_id** (Numerical): The [unique ID](https://docs.catalyst.zoho.com/en/job-scheduling/help/cron/key-concepts/#cron-id) of the cron #### Request Headers **Authorization:** Zoho-oauthtoken {oauth_token} **Optional Headers** **CATALYST-ORG:** {org_id} **Environment:** Development #### Scope ZohoCatalyst.cron.CREATE ### Response Details The JSON response returns the metadata of the submitted cron. The response will also contain the details of the user who submitted the cron. > **Note:** The above response is for a cron submitting a function job. For webhook, AppSail, and Circuit, the `target_type` will change. This is quite similar to the API functionality illustrated in [Submit a Job](https://docs.catalyst.zoho.com/en/api/code-reference/job-scheduling/job/submit-job/submit-function-job/#SubmitaFunctionJobByID). **Sample Request** ```bash curl -X POST \ https://api.catalyst.zoho.com/baas/v1/project/10278000000019013/job_scheduling/cron/10108000003822189/submit_immediately -H "Authorization: Zoho-oauthtoken 1000.910*************************16.2f*************************57" ``` **Sample Response** ```json { "status": "success", "data": { "job_id": "10108000004251242", "created_time": "Jun 07, 2024 10:32 AM", "response_code": null, "start_time": {}, "end_time": {}, "submitted_on": { "startTimeToRedirectLogsPage": "07/06/2024 10:27", "timeWithGivenTimezone": "Jun 07, 2024 10:32 AM IST", "timeWithJobTimezone": "Jun 07, 2024 10:32 AM IST" }, "job_status": "PENDING", "capacity": { "memory": "256" }, "job_meta_details": { "id": "10108000003822191", "url": "", "job_name": "delayJob", "job_config": { "number_of_retries": 0 }, "target_type": "Function", "target_details": { "id": "10108000003822071", "target_name": "fn" }, "source_type": "Cron", "source_details": { "id": "10108000003822189", "source_name": "check2", "details": { "cron_execution_type": "pre-defined" } }, "jobpool_id": "10108000003822066", "headers": {}, "params": {} }, "retried_count": null, "parent_job_id": "10108000004251242", "execution_time": null, "cron_circuit_id": null, "circuit_execution": null, "status": false } } ``` ### SDK Documentation [Create Cron- Java SDK](https://docs.catalyst.zoho.com/en/sdk/java/v1/job-scheduling/cron/create-one-time-cron/) [Create Cron- Node.js SDK](https://docs.catalyst.zoho.com/en/sdk/nodejs/v2/job-scheduling/cron/create-one-time-cron/) [Create Cron- Python SDK](https://docs.catalyst.zoho.com/en/sdk/python/v1/job-scheduling/cron/create-one-time-cron/) -------------------------------------------------------------------------------- title: "Patch Cron" description: "This API enables you to enable or disable a cron present in the project." last_updated: "2026-08-17T12:16:04.000Z" source: "https://docs.catalyst.zoho.com/en/api/code-reference/job-scheduling/cron/patch-cron/" service: "Job Scheduling" -------------------------------------------------------------------------------- # Patch Cron ### Description This API enables you to enable or disable a cron present in the project. The cron is referred by its unique identifier like ID. > **Note:** This API requests it to disable a cron. You need to pass `true` as the value for the key `cron_status` in the sample request, if your requirement is to **enable** the cron. ### Request Details #### Request URL `PATCH` {app_domain}/baas/v1/project/{project_id}/job_scheduling/cron/{cron_id} - **project_id** (Numerical): The [unique ID](https://docs.catalyst.zoho.com/en/getting-started/set-up-a-catalyst-project/general-settings/) of the project - **cron_id** (Numerical): The [unique ID](https://docs.catalyst.zoho.com/en/job-scheduling/help/cron/key-concepts/#cron-id) of the cron - **cron_name** (String): The name of the cron #### Request Headers **Authorization:** Zoho-oauthtoken {oauth_token} **Optional Headers** **CATALYST-ORG:** {org_id} **Environment:** Development #### Scope ZohoCatalyst.cron.UPDATE ### Response Details The JSON response returns the metadata of the cron you are required to enable or disable. The response will also contain the details of the user who changed the status of the cron. **Sample Request** ```bash curl -X PATCH https://api.catalyst.zoho.com/baas/v1/project/10278000000019013/job_scheduling/cron/10108000004280087 -H “Authorization: Zoho-oauthtoken 1000.910*************************16.2f*************************57” -H "Content-Type:application/json" -\-data-raw '{"id":"10108000004280087","cron_status":false}' ``` **Sample Response** ```json { "status": "success", "data": { "cron_name": "circuitCron", "cron_type": "Calendar", "cron_execution_type": "pre-defined", "job_meta": { "id": "10108000004280089", "job_name": "j", "job_config": { "number_of_retries": 0 }, "target_type": "Circuit", "target_details": { "id": "10108000004194246", "target_name": "abc" }, "source_type": "Cron", "source_details": { "id": "10108000004280087", "source_name": "circuitCron", "details": { "cron_execution_type": "pre-defined" } }, "jobpool_id": "10108000003823699", "jobpool_details": { "type": "Circuit", "name": "InventoryDataMaintaince", "created_by": { "zuid": "77941453", "is_confirmed": false, "email_id": "emmy@zylker.com", "first_name": "Amelia Burrows", "last_name": "", "user_type": "Admin", "user_id": "10108000000009004" }, "created_time": "May 28, 2024 04:49 PM", "modified_by": { "zuid": "77941453", "is_confirmed": false, "email_id": "emmy@zylker.com", "first_name": "Amelia Burrows", "last_name": "", "user_type": "Admin", "user_id": "10108000000009004" }, "modified_time": "May 28, 2024 04:49 PM", "capacity": { "number": "3" }, "project_details": { "project_name": "ZylkerShipments", "id": "10108000003823392", "project_type": "Live" }, "id": "10108000003823699" }, "headers": {}, "params": { "key1": "value1", "key2": "value2", "key3": "value3" } }, "cron_status": false, "created_time": "Jun 07, 2024 11:09 AM", "created_by": { "zuid": "77941453", "is_confirmed": false, "email_id": "emmy@zylker.com", "first_name": "Amelia Burrows", "last_name": "", "user_type": "Admin", "user_id": "10108000000009004" }, "modified_time": "Jun 07, 2024 11:09 AM", "modified_by": { "zuid": "77941453", "is_confirmed": false, "email_id": "emmy@zylker.com", "first_name": "Amelia Burrows", "last_name": "", "user_type": "Admin", "user_id": "10108000000009004" }, "project_details": { "project_name": "ZylkerShipments", "id": "10108000003823392", "project_type": "Live" }, "end_time": "1717871399", "cron_detail": { "hour": 4, "minute": 3, "second": 0, "repetition_type": "daily", "timezone": "Asia/Kolkata" }, "success_count": 0, "failure_count": 0, "id": "10108000004280087" } } ``` ### SDK Documentation [Update Cron- Java SDK](https://docs.catalyst.zoho.com/en/sdk/java/v1/job-scheduling/cron/update-cron/) [Update Cron- Node.js SDK](https://docs.catalyst.zoho.com/en/sdk/nodejs/v2/job-scheduling/cron/update-cron/) [Update Cron- Python SDK](https://docs.catalyst.zoho.com/en/sdk/python/v1/job-scheduling/cron/update-cron/) -------------------------------------------------------------------------------- title: "Delete Cron" description: "This API enables you to delete a cron present in the project." last_updated: "2026-08-17T12:16:04.000Z" source: "https://docs.catalyst.zoho.com/en/api/code-reference/job-scheduling/cron/delete-cron/" service: "Job Scheduling" -------------------------------------------------------------------------------- # Delete Cron ### Description This API enables you to delete a cron present in the project. The cron is referred by its unique identifier like ID or name. > **Note:** This API is applicable for [Pre-Defined Crons](https://docs.catalyst.zoho.com/en/job-scheduling/help/implementation/submit-job-predefined-cron/) and [Dynamic Crons](https://docs.catalyst.zoho.com/en/job-scheduling/help/implementation/submit-job-dynamic-cron/). ### Request Details #### Request URL `DELETE` {api-domain}/baas/v1/project/{project_id}/job_scheduling/cron/{cron_id/cron_name} - **project_id** (Numerical): The [unique ID](https://docs.catalyst.zoho.com/en/getting-started/set-up-a-catalyst-project/general-settings/) of the project - **cron_id** (Numerical): The [unique ID](https://docs.catalyst.zoho.com/en/job-scheduling/help/cron/key-concepts/#cron-id) of the cron - **cron_name** (String): The name of the cron #### Request Headers **Authorization:** Zoho-oauthtoken {oauth_token} **Optional Headers** **CATALYST-ORG:** {org_id} **Environment:** Development #### Scope ZohoCatalyst.cron.DELETE ### Response Details The JSON response returns the metadata of the deleted cron. The response will also contain the details of the user who deleted the cron. > **Note:** The response is similar for both Pre-Defined and Dynamic Crons. Only the value of `execution_type` will change in the response based on the cron type. **Sample Request** ```bash curl -X DELETE https://api.catalyst.zoho.com/baas/v1/project/10278000000019013/job_scheduling/cron/10108000004154323 -H “Authorization: Zoho-oauthtoken 1000.910*************************16.2f*************************57 ``` **Sample Response** ```json { "status": "success", "data": { "cron_name": "pcMonthlyDay", "cron_type": "Calendar", "cron_execution_type": "pre-defined", "job_meta": { "id": "10108000004154323", "url": "", "job_name": "j", "job_config": { "number_of_retries": 0 }, "target_type": "AppSail", "target_details": { "id": "10108000002976191", "target_name": "appsailTrue" }, "source_type": "Cron", "source_details": { "id": "10108000004154321", "source_name": "pcMonthlyDay", "details": { "cron_execution_type": "pre-defined" } }, "jobpool_id": "10108000002976201", "jobpool_details": { "type": "AppSail", "name": "appsailJP", "created_by": { "zuid": "77941453", "is_confirmed": false, "email_id": "emmy@zylker.com", "first_name": "Amelia Burrows", "last_name": "", "user_type": "Admin", "user_id": "10108000000009004" }, "created_time": "Mar 28, 2024 05:41 PM", "modified_by": { "zuid": "77941453", "is_confirmed": false, "email_id": "emmy@zylker.com", "first_name": "Amelia Burrows", "last_name": "", "user_type": "Admin", "user_id": "10108000000009004" }, "modified_time": "Mar 28, 2024 05:41 PM", "capacity": { "number": "5" }, "project_details": { "project_name": "AppsailCron", "id": "10108000002976144", "project_type": "Live" }, "id": "10108000002976201" }, "request_method": "get" }, "cron_status": true, "created_time": "Jun 04, 2024 04:31 PM", "created_by": { "zuid": "77941453", "is_confirmed": false, "email_id": "emmy@zylker.com", "first_name": "Amelia Burrows", "last_name": "", "user_type": "Admin", "user_id": "10108000000009004" }, "modified_time": "Jun 04, 2024 04:31 PM", "modified_by": { "zuid": "77941453", "is_confirmed": false, "email_id": "emmy@zylker.com", "first_name": "Amelia Burrows", "last_name": "", "user_type": "Admin", "user_id": "10108000000009004" }, "project_details": { "project_name": "AppsailCron", "id": "10108000002976144", "project_type": "Live" }, "end_time": "1718303399", "cron_detail": { "hour": 4, "minute": 4, "second": 4, "repetition_type": "monthly", "days": [ 1, 3, 4 ], "timezone": "Asia/Kolkata" }, "success_count": 0, "failure_count": 0, "id": "10108000004154321" } } ``` ### SDK Documentation [Delete Cron- Java SDK](https://docs.catalyst.zoho.com/en/sdk/java/v1/job-scheduling/cron/delete-cron/) [Delete Cron- Node.js SDK](https://docs.catalyst.zoho.com/en/sdk/nodejs/v2/job-scheduling/cron/delete-cron/) [Delete Cron- Python SDK](https://docs.catalyst.zoho.com/en/sdk/python/v1/job-scheduling/cron/delete-cron/) #### Create Cron -------------------------------------------------------------------------------- title: "Create a Cron Using Cron Expressions" description: "This API enables you to create a cron using cron expressions that submits a Job to the Job Pool to trigger a Job Function endpoint." last_updated: "2026-08-17T12:16:04.000Z" source: "https://docs.catalyst.zoho.com/en/api/code-reference/job-scheduling/cron/create-cron/create-cron-cron-exp/" service: "Job Scheduling" -------------------------------------------------------------------------------- # Create a Cron Using Cron Expressions ### Description This API enables you to create a recurring type cron defined using [**Cron Expressions**](https://docs.catalyst.zoho.com/en/job-scheduling/help/cron/key-concepts/#cron-expressions) that at the scheduled time will submit a [job](https://docs.catalyst.zoho.com/en/job-scheduling/help/job/introduction/) to the [job pool](https://docs.catalyst.zoho.com/en/job-scheduling/help/jobpool/introduction/) and trigger a [Job Function](https://docs.catalyst.zoho.com/en/serverless/help/functions/job-functions/) endpoint. > **Note:** * In this API, we are illustrating the sample request and sample response with a [Job Function](https://docs.catalyst.zoho.com/en/serverless/help/functions/job-functions/). The API functionality remains the same for webhook, [Circuits](https://docs.catalyst.zoho.com/en/serverless/help/circuits/introduction/), and [AppSail](https://docs.catalyst.zoho.com/en/serverless/help/appsail/introduction/) jobs. * This API is applicable for [Pre-Defined Crons](https://docs.catalyst.zoho.com/en/job-scheduling/help/implementation/submit-job-predefined-cron/) and [Dynamic Crons](https://docs.catalyst.zoho.com/en/job-scheduling/help/implementation/submit-job-dynamic-cron/). ### Request Details #### Request URL `POST` {api-domain/}baas/v1/project/{project_id}/job_scheduling/cron - **project_id** (Numerical): The [unique ID](https://docs.catalyst.zoho.com/en/getting-started/set-up-a-catalyst-project/general-settings/) of the project #### Request Headers **Authorization:** Zoho-oauthtoken {oauth_token} **Content-Type:** application/json **Optional Headers** **CATALYST-ORG:** {org_id} **Environment:** Development #### Scope ZohoCatalyst.cron.CREATE #### Request JSON You must send a JSON with its corresponding values as shown below. **Sample Payload** ```json { "cron_type": "CronExpression", "cron_status": true, "cron_expression": "* * * * *", "job_detail": { "timezone": "PST" }, "job_meta": { "source_type": "Cron", "job_config": { "number_of_retries": "1", "retry_interval": "500" }, "job_name": "jobName", "jobpool_id": "10108000003823563", "target_type": "Function", "target_id": "10108000003823893", "params": { "param1": "value1" } }, "cron_name": "cronExp", "description": "cronexpression", "end_time": 1717916399, "cron_execution_type": "pre-defined" } ``` You will feed this **Request JSON** to your **Request Body**, and you need to provide the value of: - **cron_type** (String, mandatory): Will denote the schedule type of the cron - **cron_status** (Boolean, mandatory): Will denote if the cron is enabled or disabled. - **job_detail** (JSON, mandatory): Will contain the details on the job which is being submitted by the cron. - **job_meta** (JSON, mandatory): Will contain the meta information about the job being submitted by the cron. - **jobpool_id** (Numerical, mandatory): Will contain the [Job Pool ID](https://docs.catalyst.zoho.com/en/job-scheduling/help/jobpool/key-concepts/#job-pool-id) of the job pool that will execute the job. - **job_name** (String, mandatory): Will contain the name of the job you are required to trigger. - **target_type** (String, mandatory): Will denote which target type's endpoint is going to be triggered. Can be `Function`, `Webhook`, `Circuit`, or `AppSail`. - **target_id** (Numerical, mandatory): Will contain the unique ID with which the target type will be referred. - **params** (JSON, mandatory): Will contain the value of the headers and params you pass while submitting the job. - **cron_name** (String, mandatory): Will contain the name of the cron you are going to create. - **cron_execution_type** (String, mandatory): Will denote if it is a `pre-defined` cron or `dynamic` cron. ### Response Details The JSON response returns the metadata of the created cron. The response will also contain the details of the user who created the cron. **Sample Request** ```bash curl -X POST \ https://api.catalyst.zoho.com/baas/v1/project/10108000003823392/job_scheduling/cron -H "Authorization: Zoho-oauthtoken 1000.910*************************16.2f*************************57" -H "Content-Type:application/json" -\-data-raw '{"cron_type":"CronExpression","cron_status":true,"cron_expression":"* * * * *","job_detail":{"timezone":"PST"},"job_meta":{"source_type":"Cron","job_config":{"number_of_retries":"1","retry_interval":"500"},"job_name":"jobName","jobpool_id":"10108000003823563","target_type":"Function","target_id":"10108000003823893","params":{"param1":"value1"}},"cron_name":"cronExp","description":"cronexpression","end_time":1717916399,"cron_execution_type":"pre-defined"}' ``` **Sample Response** ```json { "status": "success", "data": { "cron_name": "cronExp", "description": "cronexpression", "cron_type": "CronExpression", "cron_execution_type": "pre-defined", "cron_expression": "* * * * *", "job_meta": { "id": "10108000004280709", "url": "", "job_name": "jobName", "job_config": { "number_of_retries": 1, "retry_interval": 500 }, "target_type": "Function", "target_details": { "id": "10108000003823893", "target_name": "target_function_fetch" }, "source_type": "Cron", "source_details": { "id": "10108000004280707", "source_name": "cronExp", "details": { "cron_execution_type": "pre-defined" } }, "jobpool_id": "10108000003823563", "jobpool_details": { "type": "Function", "name": "VendorReminder", "created_by": { "zuid": "77941453", "is_confirmed": false, "email_id": "emmy@zylker.com", "first_name": "Amelia Burrows", "last_name": "", "user_type": "Admin", "user_id": "10108000000009004" }, "created_time": "May 28, 2024 04:44 PM", "modified_by": { "zuid": "77941453", "is_confirmed": false, "email_id": "emmy@zylker.com", "first_name": "Amelia Burrows", "last_name": "", "user_type": "Admin", "user_id": "10108000000009004" }, "modified_time": "May 28, 2024 04:44 PM", "capacity": { "memory": "2048" }, "project_details": { "project_name": "ZylkerShipments", "id": "10108000003823392", "project_type": "Live" }, "id": "10108000003823563" }, "headers": {}, "params": { "param1": "value1" } }, "cron_status": true, "created_time": "Jun 07, 2024 12:51 PM", "created_by": { "zuid": "77941453", "is_confirmed": false, "email_id": "emmy@zylker.com", "first_name": "Amelia Burrows", "last_name": "", "user_type": "Admin", "user_id": "10108000000009004" }, "modified_time": "Jun 07, 2024 12:51 PM", "modified_by": { "zuid": "77941453", "is_confirmed": false, "email_id": "emmy@zylker.com", "first_name": "Amelia Burrows", "last_name": "", "user_type": "Admin", "user_id": "10108000000009004" }, "project_details": { "project_name": "ZylkerShipments", "id": "10108000003823392", "project_type": "Live" }, "end_time": "1717916399", "cron_detail": { "jobId": "10108000004280707", "transactionTimeout": -1, "hour": 0, "minute": 0, "second": 0, "timezone": "PST" }, "id": "10108000004280707" } } ``` ### SDK Documentation [Create a Cron Using Cron Expressions- Java SDK](https://docs.catalyst.zoho.com/en/sdk/java/v1/job-scheduling/cron/create-cron-cron-expressions/) [Create a Cron Using Cron Expressions- Node.js SDK](https://docs.catalyst.zoho.com/en/sdk/nodejs/v2/job-scheduling/cron/create-cron-cron-expressions/) [Create a Cron Using Cron Expressions- Python SDK](https://docs.catalyst.zoho.com/en/sdk/python/v1/job-scheduling/cron/create-cron-cron-expressions/) -------------------------------------------------------------------------------- title: "Create a One-Time Cron" description: "This API enables you to create a one-time cron that submits a Job to the Job Pool to trigger a Job Function endpoint." last_updated: "2026-08-17T12:16:04.000Z" source: "https://docs.catalyst.zoho.com/en/api/code-reference/job-scheduling/cron/create-cron/create-one-time-cron/" service: "Job Scheduling" -------------------------------------------------------------------------------- # Create a One-Time Cron ### Description This API enables you to create a one-time cron that submits a Job to the Job Pool to trigger a [Job Function](https://docs.catalyst.zoho.com/en/serverless/help/functions/job-functions/) endpoint. > **Note:** * In this API, we are illustrating the sample request and sample response with a [Job Function](https://docs.catalyst.zoho.com/en/serverless/help/functions/job-functions/). The API functionality remains the same for webhook, [Circuits](https://docs.catalyst.zoho.com/en/serverless/help/circuits/introduction/), and [AppSail](https://docs.catalyst.zoho.com/en/serverless/help/appsail/introduction/) jobs. * This API is applicable for [Pre-Defined Crons](https://docs.catalyst.zoho.com/en/job-scheduling/help/implementation/submit-job-predefined-cron/) and [Dynamic Crons](https://docs.catalyst.zoho.com/en/job-scheduling/help/implementation/submit-job-dynamic-cron/). ### Request Details #### Request URL `POST` {api-domain/}baas/v1/project/{project_id}/job_scheduling/cron - **project_id** (Numerical): The [unique ID](https://docs.catalyst.zoho.com/en/getting-started/set-up-a-catalyst-project/general-settings/) of the project #### Request Headers **Authorization:** Zoho-oauthtoken {oauth_token} **Content-Type:** application/json **Optional Headers** **CATALYST-ORG:** {org_id} **Environment:** Development #### Scope ZohoCatalyst.cron.CREATE #### Request JSON You must send a JSON with its corresponding values as shown below. **Sample Payload** ```json { "cron_type": "OneTime", "cron_status": true, "job_detail": { "time_of_execution": 1717916399, "timezone": "PST" }, "job_meta": { "source_type": "Cron", "job_config": { "number_of_retries": "1", "retry_interval": "60" }, "job_name": "jobName", "jobpool_id": "10108000003823563", "target_type": "Function", "target_id": "10108000003823893", "params": { "param1": "value1" } }, "cron_name": "oneTimeCronFn", "cron_execution_type": "pre-defined" } ``` You will feed this **Request JSON** to your **Request Body**, and you need to provide the value of: - **cron_type** (String, mandatory): Will denote the schedule type of the cron - **cron_status** (Boolean, mandatory): Will denote if the cron is enabled or disabled. - **job_detail** (JSON, mandatory): Will contain the details on the job which is being submitted by the cron. - **job_meta** (JSON, mandatory): Will contain the meta information about the job being submitted by the cron. - **jobpool_id** (Numerical, mandatory): Will contain the [Job Pool ID](https://docs.catalyst.zoho.com/en/job-scheduling/help/jobpool/key-concepts/#job-pool-id) of the job pool that will execute the job. - **job_name** (String, mandatory): Will contain the name of the job you are required to trigger. - **target_type** (String, mandatory): Will denote which target type's endpoint is going to be triggered. Can be `Function`, `Webhook`, `Circuit`, or `AppSail`. - **target_id** (Numerical, mandatory): Will contain the unique ID with which the target type will be referred. - **params** (JSON, mandatory): Will contain the value of the headers and params you pass while submitting the job. - **cron_name** (String, mandatory): Will contain the name of the cron you are going to create. - **cron_execution_type** (String, mandatory): Will denote if it is a `pre-defined` cron or `dynamic` cron. ### Response Details The JSON response returns the metadata of the created cron. The response will also contain the details of the user who created the cron. **Sample Request** ```bash curl -X POST \ 'https://api.catalyst.zoho.com/baas/v1/project/10108000003823392/job_scheduling/cron -H "Authorization: Zoho-oauthtoken 1000.910*************************16.2f*************************57" -H "Content-Type:application/json" -\-data-raw '{"cron_type":"OneTime","cron_status":true,"job_detail":{"time_of_execution":1717916399,"timezone":"PST"},"job_meta":{"source_type":"Cron","job_config":{"number_of_retries":"1","retry_interval":"60"},"job_name":"jobName","jobpool_id":"10108000003823563","target_type":"Function","target_id":"10108000003823893" ,"params":{"param1":"value1"}},"cron_name":"oneTimeCronFn","cron_execution_type":"pre-defined"}' ``` **Sample Response** ```json { "status": "success", "data": { "cron_name": "oneTimeCronFn", "cron_type": "OneTime", "cron_execution_type": "pre-defined", "job_meta": { "id": "10108000004280446", "url": "", "job_name": "jobName", "job_config": { "number_of_retries": 1, "retry_interval": 60 }, "target_type": "Function", "target_details": { "id": "10108000003823893", "target_name": "target_function_fetch" }, "source_type": "Cron", "source_details": { "id": "10108000004280444", "source_name": "oneTimeCronFn", "details": { "cron_execution_type": "pre-defined" } }, "jobpool_id": "10108000003823563", "jobpool_details": { "type": "Function", "name": "VendorReminder", "created_by": { "zuid": "77941453", "is_confirmed": false, "email_id": "emmy@zylker.com", "first_name": "Amelia Burrows", "last_name": "", "user_type": "Admin", "user_id": "10108000000009004" }, "created_time": "May 28, 2024 04:44 PM", "modified_by": { "zuid": "77941453", "is_confirmed": false, "email_id": "emmy@zylker.com", "first_name": "Amelia Burrows", "last_name": "", "user_type": "Admin", "user_id": "10108000000009004" }, "modified_time": "May 28, 2024 04:44 PM", "capacity": { "memory": "2048" }, "project_details": { "project_name": "ZylkerShipments", "id": "10108000003823392", "project_type": "Live" }, "id": "10108000003823563" }, "headers": {}, "params": { "param1": "value1" } }, "cron_status": true, "created_time": "Jun 07, 2024 12:26 PM", "created_by": { "zuid": "77941453", "is_confirmed": false, "email_id": "emmy@zylker.com", "first_name": "Amelia Burrows", "last_name": "", "user_type": "Admin", "user_id": "10108000000009004" }, "modified_time": "Jun 07, 2024 12:26 PM", "modified_by": { "zuid": "77941453", "is_confirmed": false, "email_id": "emmy@zylker.com", "first_name": "Amelia Burrows", "last_name": "", "user_type": "Admin", "user_id": "10108000000009004" }, "project_details": { "project_name": "ZylkerShipments", "id": "10108000003823392", "project_type": "Live" }, "end_time": "-1", "cron_detail": { "jobId": "10108000004280444", "transactionTimeout": -1, "time_of_execution": 1717916399, "hour": 0, "minute": 0, "second": 0, "timezone": "PST" }, "id": "10108000004280444" } } ``` ### SDK Documentation [Create a One-Time Cron- Java SDK](https://docs.catalyst.zoho.com/en/sdk/java/v1/job-scheduling/cron/create-one-time-cron/) [Create a One-Time Cron- Node.js SDK](https://docs.catalyst.zoho.com/en/sdk/nodejs/v2/job-scheduling/cron/create-one-time-cron/) [Create a One-Time Cron- Python SDK](https://docs.catalyst.zoho.com/en/sdk/python/v1/job-scheduling/cron/create-one-time-cron/) -------------------------------------------------------------------------------- title: "Create an Every Cron" description: "This API enables you to create an every recurring-type cron that submits a Job to the Job Pool to trigger a Job Function endpoint." last_updated: "2026-08-17T12:16:04.000Z" source: "https://docs.catalyst.zoho.com/en/api/code-reference/job-scheduling/cron/create-cron/create-every-cron/" service: "Job Scheduling" -------------------------------------------------------------------------------- # Create an Every Cron ### Description This API enables you to create a recurring type **Every** cron that at the scheduled time submits a Job to the Job Pool and triggers a [Job Function](https://docs.catalyst.zoho.com/en/serverless/help/functions/job-functions/) endpoint. > **Note:** * In this API, we are illustrating the sample request and sample response with a [Job Function](https://docs.catalyst.zoho.com/en/serverless/help/functions/job-functions/). The API functionality remains the same for webhook, [Circuits](https://docs.catalyst.zoho.com/en/serverless/help/circuits/introduction/), and [AppSail](https://docs.catalyst.zoho.com/en/serverless/help/appsail/introduction/) jobs. * This API is applicable for [Pre-Defined Crons](https://docs.catalyst.zoho.com/en/job-scheduling/help/implementation/submit-job-predefined-cron/) and [Dynamic Crons](https://docs.catalyst.zoho.com/en/job-scheduling/help/implementation/submit-job-dynamic-cron/). ### Request Details #### Request URL `POST` {api-domain/}baas/v1/project/{project_id}/job_scheduling/cron - **project_id** (Numerical): The [unique ID](https://docs.catalyst.zoho.com/en/getting-started/set-up-a-catalyst-project/general-settings/) of the project #### Request Headers **Authorization:** Zoho-oauthtoken {oauth_token} **Content-Type:** application/json **Optional Headers** **CATALYST-ORG:** {org_id} **Environment:** Development #### Scope ZohoCatalyst.cron.CREATE #### Request JSON You must send a JSON with its corresponding values as shown below. **Sample Payload** ```json { "cron_type": "Periodic", "cron_status": true, "job_detail": { "repetition_type": "every", "hour": "6", "minute": "0", "second": "0" }, "job_meta": { "source_type": "Cron", "job_config": { "number_of_retries": "3", "retry_interval": "60" }, "job_name": "jobName", "jobpool_id": "10108000003823563", "target_type": "Function", "target_id": "10108000003823893", "params": { "param1": "value1" } }, "end_time": 1717957799, "cron_name": "RecursiveCron", "cron_execution_type": "pre-defined" } ``` You will feed this **Request JSON** to your **Request Body**, and you need to provide the value of: - **cron_type** (String, mandatory): Will denote the schedule type of the cron - **cron_status** (Boolean, mandatory): Will denote if the cron is enabled or disabled. - **job_detail** (JSON, mandatory): Will contain the details on the job which is being submitted by the cron. - **job_meta** (JSON, mandatory): Will contain the meta information about the job being submitted by the cron. - **jobpool_id** (Numerical, mandatory): Will contain the [Job Pool ID](https://docs.catalyst.zoho.com/en/job-scheduling/help/jobpool/key-concepts/#job-pool-id) of the job pool that will execute the job. - **job_name** (String, mandatory): Will contain the name of the job you are required to trigger. - **target_type** (String, mandatory): Will denote which target type's endpoint is going to be triggered. Can be `Function`, `Webhook`, `Circuit`, or `AppSail`. - **target_id** (Numerical, mandatory): Will contain the unique ID with which the target type will be referred. - **params** (JSON, mandatory): Will contain the value of the headers and params you pass while submitting the job. - **cron_name** (String, mandatory): Will contain the name of the cron you are going to create. - **cron_execution_type** (String, mandatory): Will denote if it is a `pre-defined` cron or `dynamic` cron. ### Response Details The JSON response returns the metadata of the created cron. The response will also contain the details of the user who created the cron. **Sample Request** ```bash curl -X POST \ 'https://api.catalyst.zoho.com/baas/v1/project/10108000003823392/job_scheduling/cron -H "Authorization: Zoho-oauthtoken 1000.910*************************16.2f*************************57" -H "Content-Type:application/json" -\-data-raw '{"cron_type":"Periodic","cron_status":true,"job_detail":{"repetition_type":"every","hour":"6","minute":"0","second":"0"},"job_meta":{"source_type":"Cron","job_config":{"number_of_retries":"3","retry_interval":"60"},"job_name":"jobName","jobpool_id":"10108000003823563","target_type":"Function","target_id":"10108000003823893","params":{"param1":"value1"}},"end_time":1717957799,"cron_name":"RecursiveCron","cron_execution_type":"pre-defined"}' ``` **Sample Response** ```json { "status": "success", "data": { "cron_name": "RecursiveCron", "cron_type": "Periodic", "cron_execution_type": "pre-defined", "job_meta": { "id": "10108000004280482", "url": "", "job_name": "jobName", "job_config": { "number_of_retries": 3, "retry_interval": 60 }, "target_type": "Function", "target_details": { "id": "10108000003823893", "target_name": "target_function_fetch" }, "source_type": "Cron", "source_details": { "id": "10108000004280480", "source_name": "RecursiveCron", "details": { "cron_execution_type": "pre-defined" } }, "jobpool_id": "10108000003823563", "jobpool_details": { "type": "Function", "name": "VendorReminder", "created_by": { "zuid": "77941453", "is_confirmed": false, "email_id": "emmy@zylker.com", "first_name": "Amelia Burrows", "last_name": "", "user_type": "Admin", "user_id": "10108000000009004" }, "created_time": "May 28, 2024 04:44 PM", "modified_by": { "zuid": "77941453", "is_confirmed": false, "email_id": "emmy@zylker.com", "first_name": "Amelia Burrows", "last_name": "", "user_type": "Admin", "user_id": "10108000000009004" }, "modified_time": "May 28, 2024 04:44 PM", "capacity": { "memory": "2048" }, "project_details": { "project_name": "ZylkerShipments", "id": "10108000003823392", "project_type": "Live" }, "id": "10108000003823563" }, "headers": {}, "params": { "param1": "value1" } }, "cron_status": true, "created_time": "Jun 07, 2024 12:31 PM", "created_by": { "zuid": "77941453", "is_confirmed": false, "email_id": "emmy@zylker.com", "first_name": "Amelia Burrows", "last_name": "", "user_type": "Admin", "user_id": "10108000000009004" }, "modified_time": "Jun 07, 2024 12:31 PM", "modified_by": { "zuid": "77941453", "is_confirmed": false, "email_id": "emmy@zylker.com", "first_name": "Amelia Burrows", "last_name": "", "user_type": "Admin", "user_id": "10108000000009004" }, "project_details": { "project_name": "ZylkerShipments", "id": "10108000003823392", "project_type": "Live" }, "end_time": "1717957799", "cron_detail": { "jobId": "10108000004280480", "transactionTimeout": -1, "hour": 6, "minute": 0, "second": 0, "repetition_type": "every", "timezone": "Asia/Kolkata" }, "id": "10108000004280480" } } ``` ### SDK Documentation [Create a Recurring Cron- Java SDK](https://docs.catalyst.zoho.com/en/sdk/java/v1/job-scheduling/cron/create-recurring-cron/) [Create a Recurring Cron- Node.js SDK](https://docs.catalyst.zoho.com/en/sdk/nodejs/v2/job-scheduling/cron/create-recurring-cron/) [Create a Recurring Cron- Python SDK](https://docs.catalyst.zoho.com/en/sdk/python/v1/job-scheduling/cron/create-recurring-cron/) -------------------------------------------------------------------------------- title: "Create a Daily Cron" description: "This API enables you to create a daily recurring-type cron that submits a Job to the Job Pool to trigger a Job Function endpoint." last_updated: "2026-08-28T06:26:16.000Z" source: "https://docs.catalyst.zoho.com/en/api/code-reference/job-scheduling/cron/create-cron/create-daily-cron/" service: "Job Scheduling" -------------------------------------------------------------------------------- # Create a Daily Cron ### Description This API enables you to create a recurring type **daily** cron that at the scheduled time submits a Job to the Job Pool and triggers a [Job Function](https://docs.catalyst.zoho.com/en/serverless/help/functions/job-functions/) endpoint. > **Note:** * In this API, we are illustrating the sample request and sample response with a [Job Function](https://docs.catalyst.zoho.com/en/serverless/help/functions/job-functions/). The API functionality remains the same for webhook, [Circuits](https://docs.catalyst.zoho.com/en/serverless/help/circuits/introduction/), and [AppSail](https://docs.catalyst.zoho.com/en/serverless/help/appsail/introduction/) jobs. * This API is applicable for [Pre-Defined Crons](https://docs.catalyst.zoho.com/en/job-scheduling/help/implementation/submit-job-predefined-cron/) and [Dynamic Crons](https://docs.catalyst.zoho.com/en/job-scheduling/help/implementation/submit-job-dynamic-cron/). ### Request Details #### Request URL `POST` {api-domain/}baas/v1/project/{project_id}/job_scheduling/cron - **project_id** (Numerical): The [unique ID](https://docs.catalyst.zoho.com/en/getting-started/set-up-a-catalyst-project/general-settings/) of the project #### Request Headers **Authorization:** Zoho-oauthtoken {oauth_token} **Content-Type:** application/json **Optional Headers** **CATALYST-ORG:** {org_id} **Environment:** Development #### Scope ZohoCatalyst.cron.CREATE #### Request JSON You must send a JSON with its corresponding values as shown below. **Sample Payload** ```json { "cron_type": "Calendar", "cron_status": true, "job_detail": { "repetition_type": "daily", "hour": "1", "minute": "0", "second": "0", "timezone": "PST" }, "job_meta": { "source_type": "Cron", "job_config": { "number_of_retries": "1", "retry_interval": "300" }, "job_name": "job", "jobpool_id": "10108000003823563", "target_type": "Function", "target_id": "10108000003823893", "params": { "param1": "value1" } }, "cron_name": "RecursiveCronDaily", "end_time": 1718002799, "description": "dailycron", "cron_execution_type": "pre-defined" } ``` You will feed this **Request JSON** to your **Request Body**, and you need to provide the value of: - **cron_type** (String, mandatory): Will denote the schedule type of the cron - **cron_status** (Boolean, mandatory): Will denote if the cron is enabled or disabled. - **job_detail** (JSON, mandatory): Will contain the details on the job which is being submitted by the cron. - **job_meta** (JSON, mandatory): Will contain the meta information about the job being submitted by the cron. - **jobpool_id** (Numerical, mandatory): Will contain the [Job Pool ID](https://docs.catalyst.zoho.com/en/job-scheduling/help/jobpool/key-concepts/#job-pool-id) of the job pool that will execute the job. - **job_name** (String, mandatory): Will contain the name of the job you are required to trigger. - **target_type** (String, mandatory): Will denote which target type's endpoint is going to be triggered. Can be `Function`, `Webhook`, `Circuit`, or `AppSail`. - **target_id** (Numerical, mandatory): Will contain the unique ID with which the target type will be referred. - **params** (JSON, mandatory): Will contain the value of the headers and params you pass while submitting the job. - **cron_name** (String, mandatory): Will contain the name of the cron you are going to create. - **cron_execution_type** (String, mandatory): Will denote if it is a `pre-defined` cron or `dynamic` cron. ### Response Details The JSON response returns the metadata of the created cron. The response will also contain the details of the user who created the cron. **Sample Request** ```bash curl -X POST \ 'https://api.catalyst.zoho.com/baas/v1/project/10108000003823392/job_scheduling/cron -H "Authorization: Zoho-oauthtoken 1000.910*************************16.2f*************************57" -H "Content-Type:application/json" -\-data-raw '{"cron_type":"Calendar","cron_status":true,"job_detail":{"repetition_type":"daily","hour":"1","minute":"0","second":"0","timezone":"PST"},"job_meta":{"source_type":"Cron","job_config":{"number_of_retries":"1","retry_interval":"300"},"job_name":"job","jobpool_id":"10108000003823563","target_type":"Function","target_id":"10108000003823893","params":{"param1":"value1"}},"cron_name":"RecursiveCronDaily","end_time":1718002799,"description":"dailycron","cron_execution_type":"pre-defined"}' ``` **Sample Response** ```json { "status": "success", "data": { "cron_name": "RecursiveCronDaily", "description": "dailycron", "cron_type": "Calendar", "cron_execution_type": "pre-defined", "job_meta": { "id": "10108000004280518", "url": "", "job_name": "job", "job_config": { "number_of_retries": 1, "retry_interval": 300 }, "target_type": "Function", "target_details": { "id": "10108000003823893", "target_name": "target_function_fetch" }, "source_type": "Cron", "source_details": { "id": "10108000004280516", "source_name": "RecursiveCronDaily", "details": { "cron_execution_type": "pre-defined" } }, "jobpool_id": "10108000003823563", "jobpool_details": { "type": "Function", "name": "VendorReminder", "created_by": { "zuid": "77941453", "is_confirmed": false, "email_id": "emmy@zylker.com", "first_name": "Amelia Burrows", "last_name": "", "user_type": "Admin", "user_id": "10108000000009004" }, "created_time": "May 28, 2024 04:44 PM", "modified_by": { "zuid": "77941453", "is_confirmed": false, "email_id": "emmy@zylker.com", "first_name": "Amelia Burrows", "last_name": "", "user_type": "Admin", "user_id": "10108000000009004" }, "modified_time": "May 28, 2024 04:44 PM", "capacity": { "memory": "2048" }, "project_details": { "project_name": "ZylkerShipments", "id": "10108000003823392", "project_type": "Live" }, "id": "10108000003823563" }, "headers": {}, "params": { "param1": "value1" } }, "cron_status": true, "created_time": "Jun 07, 2024 12:33 PM", "created_by": { "zuid": "77941453", "is_confirmed": false, "email_id": "emmy@zylker.com", "first_name": "Amelia Burrows", "last_name": "", "user_type": "Admin", "user_id": "10108000000009004" }, "modified_time": "Jun 07, 2024 12:33 PM", "modified_by": { "zuid": "77941453", "is_confirmed": false, "email_id": "emmy@zylker.com", "first_name": "Amelia Burrows", "last_name": "", "user_type": "Admin", "user_id": "10108000000009004" }, "project_details": { "project_name": "ZylkerShipments", "id": "10108000003823392", "project_type": "Live" }, "end_time": "1718002799", "cron_detail": { "jobId": "10108000004280516", "transactionTimeout": -1, "hour": 1, "minute": 0, "second": 0, "repetition_type": "daily", "timezone": "PST" }, "id": "10108000004280516" } } ``` ### SDK Documentation [Create a Recurring Cron- Java SDK](https://docs.catalyst.zoho.com/en/sdk/java/v1/job-scheduling/cron/create-recurring-cron/) [Create a Recurring Cron- Node.js SDK](https://docs.catalyst.zoho.com/en/sdk/nodejs/v2/job-scheduling/cron/create-recurring-cron/) [Create a Recurring Cron- Python SDK](https://docs.catalyst.zoho.com/en/sdk/python/v1/job-scheduling/cron/create-recurring-cron/) -------------------------------------------------------------------------------- title: "Create a Monthly Cron (Date Type)" description: "This API enables you to create a monthly recurring-type cron that submits a Job to the Job Pool to trigger a Job Function endpoint." last_updated: "2026-08-28T06:26:16.000Z" source: "https://docs.catalyst.zoho.com/en/api/code-reference/job-scheduling/cron/create-cron/create-monthly-cron-day/" service: "Job Scheduling" -------------------------------------------------------------------------------- # Create a Monthly Cron (Date Type) ### Description This API enables you to create a recurring type **Monthly** cron (defined using the **calendar date**) that at the scheduled time submits a [job](https://docs.catalyst.zoho.com/en/job-scheduling/help/job/introduction/) to the [job pool](https://docs.catalyst.zoho.com/en/job-scheduling/help/jobpool/introduction/) and triggers a [Job Function](https://docs.catalyst.zoho.com/en/serverless/help/functions/job-functions/) endpoint. > **Note:** * In this API, we are illustrating the sample request and sample response with a [Job Function](https://docs.catalyst.zoho.com/en/serverless/help/functions/job-functions/). The API functionality remains the same for webhook, [Circuits](https://docs.catalyst.zoho.com/en/serverless/help/circuits/introduction/), and [AppSail](https://docs.catalyst.zoho.com/en/serverless/help/appsail/introduction/) jobs. * This API is applicable for [Pre-Defined Crons](https://docs.catalyst.zoho.com/en/job-scheduling/help/implementation/submit-job-predefined-cron/) and [Dynamic Crons](https://docs.catalyst.zoho.com/en/job-scheduling/help/implementation/submit-job-dynamic-cron/). ### Request Details #### Request URL `POST` {api-domain/}baas/v1/project/{project_id}/job_scheduling/cron - **project_id** (Numerical): The [unique ID](https://docs.catalyst.zoho.com/en/getting-started/set-up-a-catalyst-project/general-settings/) of the project #### Request Headers **Authorization:** Zoho-oauthtoken {oauth_token} **Content-Type:** application/json **Optional Headers** **CATALYST-ORG:** {org_id} **Environment:** Development #### Scope ZohoCatalyst.cron.CREATE #### Request JSON You must send a JSON with its corresponding values as shown below. **Sample Payload** ```json { "cron_type": "Calendar", "cron_status": true, "job_detail": { "repetition_type": "monthly", "days": [ "1", "3", "8" ], "hour": "3", "minute": "0", "second": "0", "timezone": "PST" }, "job_meta": { "source_type": "Cron", "job_config": { "number_of_retries": "2", "retry_interval": "500" }, "job_name": "jobName", "jobpool_id": "10108000003823563", "target_type": "Function", "target_id": "10108000003823893", "params": { "param1": "value1" } }, "cron_name": "recurCronMonthly", "end_time": 1718002799, "description": "monthly", "cron_execution_type": "pre-defined" } ``` You will feed this **Request JSON** to your **Request Body**, and you need to provide the value of: - **cron_type** (String, mandatory): Will denote the schedule type of the cron - **cron_status** (Boolean, mandatory): Will denote if the cron is enabled or disabled. - **job_detail** (JSON, mandatory): Will contain the details on the job which is being submitted by the cron. - **job_meta** (JSON, mandatory): Will contain the meta information about the job being submitted by the cron. - **jobpool_id** (Numerical, mandatory): Will contain the [Job Pool ID](https://docs.catalyst.zoho.com/en/job-scheduling/help/jobpool/key-concepts/#job-pool-id) of the job pool that will execute the job. - **job_name** (String, mandatory): Will contain the name of the job you are required to trigger. - **target_type** (String, mandatory): Will denote which target type's endpoint is going to be triggered. Can be `Function`, `Webhook`, `Circuit`, or `AppSail`. - **target_id** (Numerical, mandatory): Will contain the unique ID with which the target type will be referred. - **params** (JSON, mandatory): Will contain the value of the headers and params you pass while submitting the job. - **cron_name** (String, mandatory): Will contain the name of the cron you are going to create. - **cron_execution_type** (String, mandatory): Will denote if it is a `pre-defined` cron or `dynamic` cron. ### Response Details The JSON response returns the metadata of the created cron. The response will also contain the details of the user who created the cron. **Sample Request** ```bash curl -X POST \ https://api.catalyst.zoho.com/baas/v1/project/10108000003823392/job_scheduling/cron -H "Authorization: Zoho-oauthtoken 1000.910*************************16.2f*************************57" -H "Content-Type:application/json" -\-data-raw '{"cron_type":"Calendar","cron_status":true,"job_detail":{"repetition_type":"monthly","days":["1","3","8"],"hour":"3","minute":"0","second":"0","timezone":"PST"},"job_meta":{"source_type":"Cron","job_config":{"number_of_retries":"2","retry_interval":"500"},"job_name":"jobName","jobpool_id":"10108000003823563","target_type":"Function","target_id":"10108000003823893","params":{"param1":"value1"}},"cron_name":"recurCronMonthly","end_time":1718002799,"description":"monthly","cron_execution_type":"pre-defined"}' ``` **Sample Response** ```json { "status": "success", "data": { "cron_name": "recurCronMonthly", "description": "monthly", "cron_type": "Calendar", "cron_execution_type": "pre-defined", "job_meta": { "id": "10108000004280537", "url": "", "job_name": "jobName", "job_config": { "number_of_retries": 2, "retry_interval": 500 }, "target_type": "Function", "target_details": { "id": "10108000003823893", "target_name": "target_function_fetch" }, "source_type": "Cron", "source_details": { "id": "10108000004280535", "source_name": "recurCronMonthly", "details": { "cron_execution_type": "pre-defined" } }, "jobpool_id": "10108000003823563", "jobpool_details": { "type": "Function", "name": "VendorReminder", "created_by": { "zuid": "77941453", "is_confirmed": false, "email_id": "emmy@zylker.com", "first_name": "Amelia Burrows", "last_name": "", "user_type": "Admin", "user_id": "10108000000009004" }, "created_time": "May 28, 2024 04:44 PM", "modified_by": { "zuid": "77941453", "is_confirmed": false, "email_id": "emmy@zylker.com", "first_name": "Amelia Burrows", "last_name": "", "user_type": "Admin", "user_id": "10108000000009004" }, "modified_time": "May 28, 2024 04:44 PM", "capacity": { "memory": "2048" }, "project_details": { "project_name": "ZylkerShipments", "id": "10108000003823392", "project_type": "Live" }, "id": "10108000003823563" }, "headers": {}, "params": { "param1": "value1" } }, "cron_status": true, "created_time": "Jun 07, 2024 12:35 PM", "created_by": { "zuid": "77941453", "is_confirmed": false, "email_id": "emmy@zylker.com", "first_name": "Amelia Burrows", "last_name": "", "user_type": "Admin", "user_id": "10108000000009004" }, "modified_time": "Jun 07, 2024 12:35 PM", "modified_by": { "zuid": "77941453", "is_confirmed": false, "email_id": "emmy@zylker.com", "first_name": "Amelia Burrows", "last_name": "", "user_type": "Admin", "user_id": "10108000000009004" }, "project_details": { "project_name": "ZylkerShipments", "id": "10108000003823392", "project_type": "Live" }, "end_time": "1718002799", "cron_detail": { "jobId": "10108000004280535", "transactionTimeout": -1, "hour": 3, "minute": 0, "second": 0, "repetition_type": "monthly", "days": [ 1, 3, 8 ], "timezone": "PST" }, "id": "10108000004280535" } } ``` ### SDK Documentation [Create a Recurring Cron- Java SDK](https://docs.catalyst.zoho.com/en/sdk/java/v1/job-scheduling/cron/create-recurring-cron/) [Create a Recurring Cron- Node.js SDK](https://docs.catalyst.zoho.com/en/sdk/nodejs/v2/job-scheduling/cron/create-recurring-cron/) [Create a Recurring Cron- Python SDK](https://docs.catalyst.zoho.com/en/sdk/python/v1/job-scheduling/cron/create-recurring-cron/) -------------------------------------------------------------------------------- title: "Create a Monthly Cron (Week Type)" description: "This API enables you to create a monthly recurring-type cron that submits a Job to the Job Pool to trigger a Job Function endpoint." last_updated: "2026-08-28T06:26:16.000Z" source: "https://docs.catalyst.zoho.com/en/api/code-reference/job-scheduling/cron/create-cron/create-monthly-cron-weekly/" service: "Job Scheduling" -------------------------------------------------------------------------------- # Create a Monthly Cron (Week Type) ### Description This API enables you to create a recurring type **Monthly** cron (defined using the **weeks in a month**) that at the scheduled time submits a [job](https://docs.catalyst.zoho.com/en/job-scheduling/help/job/introduction/) to the [job pool](https://docs.catalyst.zoho.com/en/job-scheduling/help/jobpool/introduction/) and triggers a [Job Function](https://docs.catalyst.zoho.com/en/serverless/help/functions/job-functions/) endpoint. > **Note:** * In this API, we are illustrating the sample request and sample response with a [Job Function](https://docs.catalyst.zoho.com/en/serverless/help/functions/job-functions/). The API functionality remains the same for webhook, [Circuits](https://docs.catalyst.zoho.com/en/serverless/help/circuits/introduction/), and [AppSail](https://docs.catalyst.zoho.com/en/serverless/help/appsail/introduction/) jobs. * This API is applicable for [Pre-Defined Crons](https://docs.catalyst.zoho.com/en/job-scheduling/help/implementation/submit-job-predefined-cron/) and [Dynamic Crons](https://docs.catalyst.zoho.com/en/job-scheduling/help/implementation/submit-job-dynamic-cron/). ### Request Details #### Request URL `POST` {api-domain/}baas/v1/project/{project_id}/job_scheduling/cron - **project_id** (Numerical): The [unique ID](https://docs.catalyst.zoho.com/en/getting-started/set-up-a-catalyst-project/general-settings/) of the project #### Request Headers **Authorization:** Zoho-oauthtoken {oauth_token} **Content-Type:** application/json **Optional Headers** **CATALYST-ORG:** {org_id} **Environment:** Development #### Scope ZohoCatalyst.cron.CREATE #### Request JSON You must send a JSON with its corresponding values as shown below. **Sample Payload** ```json { "cron_type": "Calendar", "cron_status": true, "job_detail": { "repetition_type": "monthly", "weeks_of_month": [ "1", "2", "3" ], "week_day": [ "1" ], "hour": "0", "minute": "0", "second": "0", "timezone": "PST" }, "job_meta": { "source_type": "Cron", "job_config": { "number_of_retries": "2", "retry_interval": "600" }, "job_name": "job", "jobpool_id": "10108000003823563", "target_type": "Function", "target_id": "10108000003823893", "params": { "param1": "value1" } }, "cron_name": "recurCronMonthlyWeek", "description": "week", "end_time": 1718607599, "cron_execution_type": "pre-defined" } ``` You will feed this **Request JSON** to your **Request Body**, and you need to provide the value of: - **cron_type** (String, mandatory): Will denote the schedule type of the cron - **cron_status** (Boolean, mandatory): Will denote if the cron is enabled or disabled. - **job_detail** (JSON, mandatory): Will contain the details on the job which is being submitted by the cron. - **job_meta** (JSON, mandatory): Will contain the meta information about the job being submitted by the cron. - **jobpool_id** (Numerical, mandatory): Will contain the [Job Pool ID](https://docs.catalyst.zoho.com/en/job-scheduling/help/jobpool/key-concepts/#job-pool-id) of the job pool that will execute the job. - **job_name** (String, mandatory): Will contain the name of the job you are required to trigger. - **target_type** (String, mandatory): Will denote which target type's endpoint is going to be triggered. Can be `Function`, `Webhook`, `Circuit`, or `AppSail`. - **target_id** (Numerical, mandatory): Will contain the unique ID with which the target type will be referred. - **params** (JSON, mandatory): Will contain the value of the headers and params you pass while submitting the job. - **cron_name** (String, mandatory): Will contain the name of the cron you are going to create. - **cron_execution_type** (String, mandatory): Will denote if it is a `pre-defined` cron or `dynamic` cron. ### Response Details The JSON response returns the metadata of the created cron. The response will also contain the details of the user who created the cron. **Sample Request** ```bash curl -X POST \ https://api.catalyst.zoho.com/baas/v1/project/10108000003823392/job_scheduling/cron -H "Authorization: Zoho-oauthtoken 1000.910*************************16.2f*************************57" -H "Content-Type:application/json" -\-data-raw '{"cron_type":"Calendar","cron_status":true,"job_detail":{"repetition_type":"monthly","weeks_of_month":["1","2","3"],"week_day":["1"],"hour":"0","minute":"0","second":"0","timezone":"PST"},"job_meta":{"source_type":"Cron","job_config":{"number_of_retries":"2","retry_interval":"600"},"job_name":"job","jobpool_id":"10108000003823563","target_type":"Function","target_id":"10108000003823893","params":{"param1":"value1"}},"cron_name":"recurCronMonthlyWeek","description":"week","end_time":1718607599,"cron_execution_type":"pre-defined"}' ``` **Sample Response** ```json { "status": "success", "data": { "cron_name": "recurCronMonthlyWeek", "description": "week", "cron_type": "Calendar", "cron_execution_type": "pre-defined", "job_meta": { "id": "10108000004280565", "url": "", "job_name": "job", "job_config": { "number_of_retries": 2, "retry_interval": 600 }, "target_type": "Function", "target_details": { "id": "10108000003823893", "target_name": "target_function_fetch" }, "source_type": "Cron", "source_details": { "id": "10108000004280563", "source_name": "recurCronMonthlyWeek", "details": { "cron_execution_type": "pre-defined" } }, "jobpool_id": "10108000003823563", "jobpool_details": { "type": "Function", "name": "VendorReminder", "created_by": { "zuid": "77941453", "is_confirmed": false, "email_id": "emmy@zylker.com", "first_name": "Amelia Burrows", "last_name": "", "user_type": "Admin", "user_id": "10108000000009004" }, "created_time": "May 28, 2024 04:44 PM", "modified_by": { "zuid": "77941453", "is_confirmed": false, "email_id": "emmy@zylker.com", "first_name": "Amelia Burrows", "last_name": "", "user_type": "Admin", "user_id": "10108000000009004" }, "modified_time": "May 28, 2024 04:44 PM", "capacity": { "memory": "2048" }, "project_details": { "project_name": "ZylkerShipments", "id": "10108000003823392", "project_type": "Live" }, "id": "10108000003823563" }, "headers": {}, "params": { "param1": "value1" } }, "cron_status": true, "created_time": "Jun 07, 2024 12:37 PM", "created_by": { "zuid": "77941453", "is_confirmed": false, "email_id": "emmy@zylker.com", "first_name": "Amelia Burrows", "last_name": "", "user_type": "Admin", "user_id": "10108000000009004" }, "modified_time": "Jun 07, 2024 12:37 PM", "modified_by": { "zuid": "77941453", "is_confirmed": false, "email_id": "emmy@zylker.com", "first_name": "Amelia Burrows", "last_name": "", "user_type": "Admin", "user_id": "10108000000009004" }, "project_details": { "project_name": "ZylkerShipments", "id": "10108000003823392", "project_type": "Live" }, "end_time": "1718607599", "cron_detail": { "jobId": "10108000004280563", "transactionTimeout": -1, "hour": 0, "minute": 0, "second": 0, "repetition_type": "monthly", "weeks_of_month": [ 1, 2, 3 ], "week_day": [ 1 ], "timezone": "PST" }, "id": "10108000004280563" } } ``` ### SDK Documentation [Create a Recurring Cron- Java SDK](https://docs.catalyst.zoho.com/en/sdk/java/v1/job-scheduling/cron/create-recurring-cron/) [Create a Recurring Cron- Node.js SDK](https://docs.catalyst.zoho.com/en/sdk/nodejs/v2/job-scheduling/cron/create-recurring-cron/) [Create a Recurring Cron- Python SDK](https://docs.catalyst.zoho.com/en/sdk/python/v1/job-scheduling/cron/create-recurring-cron/) -------------------------------------------------------------------------------- title: "Create a Yearly Cron (Day Type)" description: "This API enables you to create a yearly recurring-type cron that submits a Job to the Job Pool to trigger a Job Function endpoint." last_updated: "2026-08-17T12:16:04.000Z" source: "https://docs.catalyst.zoho.com/en/api/code-reference/job-scheduling/cron/create-cron/create-year-cron-date/" service: "Job Scheduling" -------------------------------------------------------------------------------- # Create a Yearly Cron (Day Type) ### Description This API enables you to create a recurring type **Yearly** cron (defined using the **calendar date**), that at the scheduled time will submit a [job](https://docs.catalyst.zoho.com/en/job-scheduling/help/job/introduction/) to the [job pool](https://docs.catalyst.zoho.com/en/job-scheduling/help/jobpool/introduction/) and trigger a [Job Function](https://docs.catalyst.zoho.com/en/serverless/help/functions/job-functions/) endpoint. > **Note:** * In this API, we are illustrating the sample request and sample response with a [Job Function](https://docs.catalyst.zoho.com/en/serverless/help/functions/job-functions/). The API functionality remains the same for webhook, [Circuits](https://docs.catalyst.zoho.com/en/serverless/help/circuits/introduction/), and [AppSail](https://docs.catalyst.zoho.com/en/serverless/help/appsail/introduction/) jobs. * This API is applicable for [Pre-Defined Crons](https://docs.catalyst.zoho.com/en/job-scheduling/help/implementation/submit-job-predefined-cron/) and [Dynamic Crons](https://docs.catalyst.zoho.com/en/job-scheduling/help/implementation/submit-job-dynamic-cron/). ### Request Details #### Request URL `POST` {api-domain/}baas/v1/project/{project_id}/job_scheduling/cron - **project_id** (Numerical): The [unique ID](https://docs.catalyst.zoho.com/en/getting-started/set-up-a-catalyst-project/general-settings/) of the project #### Request Headers **Authorization:** Zoho-oauthtoken {oauth_token} **Content-Type:** application/json **Optional Headers** **CATALYST-ORG:** {org_id} **Environment:** Development #### Scope ZohoCatalyst.cron.CREATE #### Request JSON You must send a JSON with its corresponding values as shown below. **Sample Payload** ```json { "cron_type": "Calendar", "cron_status": true, "job_detail": { "repetition_type": "yearly", "months": [ "0", "1" ], "days": [ "1", "2", "3", "6", "8" ], "hour": "0", "minute": "0", "second": "0", "timezone": "PST" }, "job_meta": { "source_type": "Cron", "job_config": { "number_of_retries": "1", "retry_interval": "500" }, "job_name": "jobName", "jobpool_id": "10108000003823563", "target_type": "Function", "target_id": "10108000003823893", "params": { "param1": "value1" } }, "cron_name": "recurCronYearlyday", "description": "yearlyday", "end_time": 1719125999, "cron_execution_type": "pre-defined" } ``` You will feed this **Request JSON** to your **Request Body**, and you need to provide the value of: - **cron_type** (String, mandatory): Will denote the schedule type of the cron - **cron_status** (Boolean, mandatory): Will denote if the cron is enabled or disabled. - **job_detail** (JSON, mandatory): Will contain the details on the job which is being submitted by the cron. - **job_meta** (JSON, mandatory): Will contain the meta information about the job being submitted by the cron. - **jobpool_id** (Numerical, mandatory): Will contain the [Job Pool ID](https://docs.catalyst.zoho.com/en/job-scheduling/help/jobpool/key-concepts/#job-pool-id) of the job pool that will execute the job. - **job_name** (String, mandatory): Will contain the name of the job you are required to trigger. - **target_type** (String, mandatory): Will denote which target type's endpoint is going to be triggered. Can be `Function`, `Webhook`, `Circuit`, or `AppSail`. - **target_id** (Numerical, mandatory): Will contain the unique ID with which the target type will be referred. - **params** (JSON, mandatory): Will contain the value of the headers and params you pass while submitting the job. - **cron_name** (String, mandatory): Will contain the name of the cron you are going to create. - **cron_execution_type** (String, mandatory): Will denote if it is a `pre-defined` cron or `dynamic` cron. ### Response Details The JSON response returns the metadata of the created cron. The response will also contain the details of the user who created the cron. **Sample Request** ```bash curl -X POST \ https://api.catalyst.zoho.com/baas/v1/project/10108000003823392/job_scheduling/cron -H "Authorization: Zoho-oauthtoken 1000.910*************************16.2f*************************57" -H "Content-Type:application/json" -\-data-raw '{"cron_type":"Calendar","cron_status":true,"job_detail":{"repetition_type":"yearly","months":["0","1"],"days":["1","2","3","6","8"],"hour":"0","minute":"0","second":"0","timezone":"PST"},"job_meta":{"source_type":"Cron","job_config":{"number_of_retries":"1","retry_interval":"500"},"job_name":"jobName","jobpool_id":"10108000003823563","target_type":"Function","target_id":"10108000003823893","params":{"param1":"value1"}},"cron_name":"recurCronYearlyday","description":"yearlyday","end_time":1719125999,"cron_execution_type":"pre-defined"}' ``` **Sample Response** ```json { "status": "success", "data": { "cron_name": "recurCronYearlyday", "description": "yearlyday", "cron_type": "Calendar", "cron_execution_type": "pre-defined", "job_meta": { "id": "10108000004280594", "url": "", "job_name": "jobName", "job_config": { "number_of_retries": 1, "retry_interval": 500 }, "target_type": "Function", "target_details": { "id": "10108000003823893", "target_name": "target_function_fetch" }, "source_type": "Cron", "source_details": { "id": "10108000004280592", "source_name": "recurCronYearlyday", "details": { "cron_execution_type": "pre-defined" } }, "jobpool_id": "10108000003823563", "jobpool_details": { "type": "Function", "name": "VendorReminder", "created_by": { "zuid": "77941453", "is_confirmed": false, "email_id": "emmy@zylker.com", "first_name": "Amelia Burrows", "last_name": "", "user_type": "Admin", "user_id": "10108000000009004" }, "created_time": "May 28, 2024 04:44 PM", "modified_by": { "zuid": "77941453", "is_confirmed": false, "email_id": "emmy@zylker.com", "first_name": "Amelia Burrows", "last_name": "", "user_type": "Admin", "user_id": "10108000000009004" }, "modified_time": "May 28, 2024 04:44 PM", "capacity": { "memory": "2048" }, "project_details": { "project_name": "ZylkerShipments", "id": "10108000003823392", "project_type": "Live" }, "id": "10108000003823563" }, "headers": {}, "params": { "param1": "value1" } }, "cron_status": true, "created_time": "Jun 07, 2024 12:39 PM", "created_by": { "zuid": "77941453", "is_confirmed": false, "email_id": "emmy@zylker.com", "first_name": "Amelia Burrows", "last_name": "", "user_type": "Admin", "user_id": "10108000000009004" }, "modified_time": "Jun 07, 2024 12:39 PM", "modified_by": { "zuid": "77941453", "is_confirmed": false, "email_id": "emmy@zylker.com", "first_name": "Amelia Burrows", "last_name": "", "user_type": "Admin", "user_id": "10108000000009004" }, "project_details": { "project_name": "ZylkerShipments", "id": "10108000003823392", "project_type": "Live" }, "end_time": "1719125999", "cron_detail": { "jobId": "10108000004280592", "transactionTimeout": -1, "hour": 0, "minute": 0, "second": 0, "repetition_type": "yearly", "days": [ 1, 2, 3, 6, 8 ], "months": [ 0, 1 ], "timezone": "PST" }, "id": "10108000004280592" } } ``` ### SDK Documentation [Create a Recurring Cron- Java SDK](https://docs.catalyst.zoho.com/en/sdk/java/v1/job-scheduling/cron/create-recurring-cron/) [Create a Recurring Cron- Node.js SDK](https://docs.catalyst.zoho.com/en/sdk/nodejs/v2/job-scheduling/cron/create-recurring-cron/) [Create a Recurring Cron- Python SDK](https://docs.catalyst.zoho.com/en/sdk/python/v1/job-scheduling/cron/create-recurring-cron/) -------------------------------------------------------------------------------- title: "Create a Yearly Cron (Week Type)" description: "This API enables you to create a yearly recurring-type cron that submits a Job to the Job Pool to trigger a Job Function endpoint." last_updated: "2026-08-17T12:16:04.000Z" source: "https://docs.catalyst.zoho.com/en/api/code-reference/job-scheduling/cron/create-cron/create-year-cron-week/" service: "Job Scheduling" -------------------------------------------------------------------------------- # Create a Yearly Cron (Week Type) ### Description This API enables you to create a recurring type **Yearly** cron (defined using the **calendar weeks**) that at the scheduled time will submit a [job](https://docs.catalyst.zoho.com/en/job-scheduling/help/job/introduction/) to the [job pool](https://docs.catalyst.zoho.com/en/job-scheduling/help/jobpool/introduction/) and trigger a [Job Function](https://docs.catalyst.zoho.com/en/serverless/help/functions/job-functions/) endpoint. > **Note:** * In this API, we are illustrating the sample request and sample response with a [Job Function](https://docs.catalyst.zoho.com/en/serverless/help/functions/job-functions/). The API functionality remains the same for webhook, [Circuits](https://docs.catalyst.zoho.com/en/serverless/help/circuits/introduction/), and [AppSail](https://docs.catalyst.zoho.com/en/serverless/help/appsail/introduction/) jobs. * This API is applicable for [Pre-Defined Crons](https://docs.catalyst.zoho.com/en/job-scheduling/help/implementation/submit-job-predefined-cron/) and [Dynamic Crons](https://docs.catalyst.zoho.com/en/job-scheduling/help/implementation/submit-job-dynamic-cron/). ### Request Details #### Request URL `POST` {api-domain/}baas/v1/project/{project_id}/job_scheduling/cron - **project_id** (Numerical): The [unique ID](https://docs.catalyst.zoho.com/en/getting-started/set-up-a-catalyst-project/general-settings/) of the project #### Request Headers **Authorization:** Zoho-oauthtoken {oauth_token} **Content-Type:** application/json **Optional Headers** **CATALYST-ORG:** {org_id} **Environment:** Development #### Scope ZohoCatalyst.cron.CREATE #### Request JSON You must send a JSON with its corresponding values as shown below. **Sample Payload** ```json { "cron_type": "Calendar", "cron_status": true, "job_detail": { "repetition_type": "yearly", "months": [ "0", "1", "2", "3", "4", "5", "6", "7", "8", "9", "10", "11" ], "weeks_of_month": [ "1", "3", "5" ], "week_day": [ "1" ], "hour": "0", "minute": "0", "second": "0", "timezone": "PST" }, "job_meta": { "source_type": "Cron", "job_config": { "number_of_retries": "2", "retry_interval": "1000" }, "job_name": "jobName", "jobpool_id": "10108000003823563", "target_type": "Function", "target_id": "10108000003823893", "params": { "param1": "value1" } }, "cron_name": "recurCronYearlyWeek", "description": "abc", "end_time": 1719212399, "cron_execution_type": "pre-defined" } ``` You will feed this **Request JSON** to your **Request Body**, and you need to provide the value of: - **cron_type** (String, mandatory): Will denote the schedule type of the cron - **cron_status** (Boolean, mandatory): Will denote if the cron is enabled or disabled. - **job_detail** (JSON, mandatory): Will contain the details on the job which is being submitted by the cron. - **job_meta** (JSON, mandatory): Will contain the meta information about the job being submitted by the cron. - **jobpool_id** (Numerical, mandatory): Will contain the [Job Pool ID](https://docs.catalyst.zoho.com/en/job-scheduling/help/jobpool/key-concepts/#job-pool-id) of the job pool that will execute the job. - **job_name** (String, mandatory): Will contain the name of the job you are required to trigger. - **target_type** (String, mandatory): Will denote which target type's endpoint is going to be triggered. Can be `Function`, `Webhook`, `Circuit`, or `AppSail`. - **target_id** (Numerical, mandatory): Will contain the unique ID with which the target type will be referred. - **params** (JSON, mandatory): Will contain the value of the headers and params you pass while submitting the job. - **cron_name** (String, mandatory): Will contain the name of the cron you are going to create. - **cron_execution_type** (String, mandatory): Will denote if it is a `pre-defined` cron or `dynamic` cron. ### Response Details The JSON response returns the metadata of the created cron. The response will also contain the details of the user who created the cron. **Sample Request** ```bash curl -X POST \ https://api.catalyst.zoho.com/baas/v1/project/10108000003823392/job_scheduling/cron -H "Authorization: Zoho-oauthtoken 1000.910*************************16.2f*************************57" -H "Content-Type:application/json" -\-data-raw '{"cron_type":"Calendar","cron_status":true,"job_detail":{"repetition_type":"yearly","months":["0","1","2","3","4","5","6","7","8","9","10","11"],"weeks_of_month":["1","3","5"],"week_day":["1"],"hour":"0","minute":"0","second":"0","timezone":"PST"},"job_meta":{"source_type":"Cron","job_config":{"number_of_retries":"2","retry_interval":"1000"},"job_name":"jobName","jobpool_id":"10108000003823563","target_type":"Function","target_id":"10108000003823893","params":{"param1":"value1"}},"cron_name":"recurCronYearlyWeek","description":"abc","end_time":1719212399,"cron_execution_type":"pre-defined"}' ``` **Sample Response** ```json { "status": "success", "data": { "cron_name": "recurCronYearlyWeek", "description": "abc", "cron_type": "Calendar", "cron_execution_type": "pre-defined", "job_meta": { "id": "10108000004280663", "url": "", "job_name": "jobName", "job_config": { "number_of_retries": 2, "retry_interval": 1000 }, "target_type": "Function", "target_details": { "id": "10108000003823893", "target_name": "target_function_fetch" }, "source_type": "Cron", "source_details": { "id": "10108000004280661", "source_name": "recurCronYearlyWeek", "details": { "cron_execution_type": "pre-defined" } }, "jobpool_id": "10108000003823563", "jobpool_details": { "type": "Function", "name": "VendorReminder", "created_by": { "zuid": "77941453", "is_confirmed": false, "email_id": "emmy@zylker.com", "first_name": "Amelia Burrows", "last_name": "", "user_type": "Admin", "user_id": "10108000000009004" }, "created_time": "May 28, 2024 04:44 PM", "modified_by": { "zuid": "77941453", "is_confirmed": false, "email_id": "emmy@zylker.com", "first_name": "Amelia Burrows", "last_name": "", "user_type": "Admin", "user_id": "10108000000009004" }, "modified_time": "May 28, 2024 04:44 PM", "capacity": { "memory": "2048" }, "project_details": { "project_name": "ZylkerShipments", "id": "10108000003823392", "project_type": "Live" }, "id": "10108000003823563" }, "headers": {}, "params": { "param1": "value1" } }, "cron_status": true, "created_time": "Jun 07, 2024 12:45 PM", "created_by": { "zuid": "77941453", "is_confirmed": false, "email_id": "emmy@zylker.com", "first_name": "Amelia Burrows", "last_name": "", "user_type": "Admin", "user_id": "10108000000009004" }, "modified_time": "Jun 07, 2024 12:45 PM", "modified_by": { "zuid": "77941453", "is_confirmed": false, "email_id": "emmy@zylker.com", "first_name": "Amelia Burrows", "last_name": "", "user_type": "Admin", "user_id": "10108000000009004" }, "project_details": { "project_name": "ZylkerShipments", "id": "10108000003823392", "project_type": "Live" }, "end_time": "1719212399", "cron_detail": { "jobId": "10108000004280661", "transactionTimeout": -1, "hour": 0, "minute": 0, "second": 0, "repetition_type": "yearly", "months": [ 0, 1, 2, 3, 4, 5, 6, 7, 8, 9, 10, 11 ], "weeks_of_month": [ 1, 3, 5 ], "week_day": [ 1 ], "timezone": "PST" }, "id": "10108000004280661" } } ``` ### SDK Documentation [Create a Recurring Cron- Java SDK](https://docs.catalyst.zoho.com/en/sdk/java/v1/job-scheduling/cron/create-recurring-cron/) [Create a Recurring Cron- Node.js SDK](https://docs.catalyst.zoho.com/en/sdk/nodejs/v2/job-scheduling/cron/create-recurring-cron/) [Create a Recurring Cron- Python SDK](https://docs.catalyst.zoho.com/en/sdk/python/v1/job-scheduling/cron/create-recurring-cron/) #### Update Cron -------------------------------------------------------------------------------- title: "Update a One-Time Cron" description: "This API enables you to update a one-time cron that submits a Job to the Job Pool to trigger an endpoint." last_updated: "2026-08-17T12:16:04.000Z" source: "https://docs.catalyst.zoho.com/en/api/code-reference/job-scheduling/cron/update-cron/update-one-time-cron/" service: "Job Scheduling" -------------------------------------------------------------------------------- # Update a One-Time Cron ### Description This API enables you to update a **one-time** cron present in the project. The cron that needs to be updated will be referred using its unique identifier, such as name or ID. > **Note:** * In this API, we are illustrating the sample request and sample response with a [Job Function](https://docs.catalyst.zoho.com/en/serverless/help/functions/job-functions/). The API functionality remains the same for webhook, [Circuits](https://docs.catalyst.zoho.com/en/serverless/help/circuits/introduction/), and [AppSail](https://docs.catalyst.zoho.com/en/serverless/help/appsail/introduction/) jobs. * This API is applicable for [Pre-Defined Crons](https://docs.catalyst.zoho.com/en/job-scheduling/help/implementation/submit-job-predefined-cron/) and [Dynamic Crons](https://docs.catalyst.zoho.com/en/job-scheduling/help/implementation/submit-job-dynamic-cron/). ### Request Details #### Request URL `PUT` {api-domain/}baas/v1/project/{project_id}/job_scheduling/cron/{cron_identifier (name/ID)} - **project_id** (Numerical): The [unique ID](https://docs.catalyst.zoho.com/en/getting-started/set-up-a-catalyst-project/general-settings/) of the project - **cron_id** (Numerical): The [unique ID](https://docs.catalyst.zoho.com/en/job-scheduling/help/cron/key-concepts/#cron-id) of the cron - **cron_name** (String): The name of the cron #### Request Headers **Authorization:** Zoho-oauthtoken {oauth_token} **Content-Type:** application/json **Optional Headers** **CATALYST-ORG:** {org_id} **Environment:** Development #### Scope ZohoCatalyst.cron.UPDATE #### Request JSON You must send a JSON with its corresponding values as shown below. **Sample Payload** ```json { "cron_name": "oneTimeCronFn", "cron_type": "OneTime", "cron_status": true, "cron_execution_type": "pre-defined", "job_meta": { "id": "10108000004280446", "job_name": "jobName", "job_config": { "number_of_retries": 1, "retry_interval": 60 }, "target_type": "Function", "target_details": { "id": "10108000003823893", "target_name": "target_function_fetch" }, "source_type": "Cron", "source_details": { "id": "10108000004280444", "source_name": "oneTimeCronFn", "details": { "cron_execution_type": "pre-defined" } }, "jobpool_id": "10108000003823563", "jobpool_details": { "type": "Function", "name": "VendorReminder", "created_by": { "zuid": "77941453", "is_confirmed": false, "email_id": "emmy@zylker.com", "first_name": "Amelia Burrows", "last_name": "", "user_type": "Admin", "user_id": "10108000000009004" }, "created_time": "May 28, 2024 04:44 PM", "modified_by": { "zuid": "77941453", "is_confirmed": false, "email_id": "emmy@zylker.com", "first_name": "Amelia Burrows", "last_name": "", "user_type": "Admin", "user_id": "10108000000009004" }, "modified_time": "May 28, 2024 04:44 PM", "capacity": { "memory": "2048" }, "project_details": { "project_name": "ZylkerShipments", "id": "10108000003823392", "project_type": "Live" }, "id": "10108000003823563" }, "params": { "param1": "value1" }, "target_id": "10108000003823893" }, "job_detail": { "time_of_execution": 1718002799, "timezone": "PST" }, "id": "10108000004280444" } ``` You will feed this **Request JSON** to your **Request Body**, and you need to provide the value of: - **cron_type** (String, mandatory): Will denote the schedule type of the cron - **cron_status** (Boolean, mandatory): Will denote if the cron is enabled or disabled. - **job_detail** (JSON, mandatory): Will contain the details on the job which is being submitted by the cron. - **job_meta** (JSON, mandatory): Will contain the meta information about the job being submitted by the cron. - **jobpool_id** (Numerical, mandatory): Will contain the [Job Pool ID](https://docs.catalyst.zoho.com/en/job-scheduling/help/jobpool/key-concepts/#job-pool-id) of the job pool that will execute the job. - **job_name** (String, mandatory): Will contain the name of the job you are required to trigger. - **target_type** (String, mandatory): Will denote which target type's endpoint is going to be triggered. Can be `Function`, `Webhook`, `Circuit`, or `AppSail`. - **target_id** (Numerical, mandatory): Will contain the unique ID with which the target type will be referred. - **params** (JSON, mandatory): Will contain the value of the headers and params you pass while submitting the job. - **cron_name** (String, mandatory): Will contain the name of the cron you are going to create. - **cron_execution_type** (String, mandatory): Will denote if it is a `pre-defined` cron or `dynamic` cron. ### Response Details The JSON response returns the metadata of the updated cron. The response will also contain the details of the user who updated the cron. **Sample Request** ```bash curl -X PUT \ https://api.catalyst.zoho.com/baas/v1/project/10108000003823392/job_scheduling/cron/10108000004280444 -H "Authorization: Zoho-oauthtoken 1000.910*************************16.2f*************************57" -H "Content-Type:application/json" -\-data-raw '{"cron_name":"oneTimeCronFn","cron_type":"OneTime","cron_status":true,"cron_execution_type":"pre-defined","job_meta":{"id":"10108000004280446","job_name":"jobName","job_config":{"number_of_retries":1,"retry_interval":60},"target_type":"Function","target_details":{"id":"10108000003823893","target_name":"target_function_fetch"},"source_type":"Cron","source_details":{"id":"10108000004280444","source_name":"oneTimeCronFn","details":{"cron_execution_type":"pre-defined"}},"jobpool_id":"10108000003823563","jobpool_details":{"type":"Function","name":"VendorReminder","created_by":{"zuid":"77941453","is_confirmed":false,"email_id":"emmy@zylker.com","first_name":"Amelia Burrows","last_name":"","user_type":"Admin","user_id":"10108000000009004"},"created_time":"May 28, 2024 04:44 PM","modified_by":{"zuid":"77941453","is_confirmed":false,"email_id":"emmy@zylker.com","first_name":"Amelia Burrows","last_name":"","user_type":"Admin","user_id":"10108000000009004"},"modified_time":"May 28, 2024 04:44 PM","capacity":{"memory":"2048"},"project_details":{"project_name":"ZylkerShipments","id":"10108000003823392","project_type":"Live"},"id":"10108000003823563"},"params":{"param1":"value1"},"target_id":"10108000003823893"},"job_detail":{"time_of_execution":1718002799,"timezone":"PST"},"id":"10108000004280444"}' ``` **Sample Response** ```json { "status": "success", "data": { "cron_name": "oneTimeCronFn", "cron_type": "OneTime", "cron_execution_type": "pre-defined", "job_meta": { "id": "10108000004280726", "url": "", "job_name": "jobName", "job_config": { "number_of_retries": 1, "retry_interval": 60 }, "target_type": "Function", "target_details": { "id": "10108000003823893", "target_name": "target_function_fetch" }, "source_type": "Cron", "source_details": { "id": "10108000004280444", "source_name": "oneTimeCronFn", "details": { "cron_execution_type": "pre-defined" } }, "jobpool_id": "10108000003823563", "jobpool_details": { "type": "Function", "name": "VendorReminder", "created_by": { "zuid": "77941453", "is_confirmed": false, "email_id": "emmy@zylker.com", "first_name": "Amelia Burrows", "last_name": "", "user_type": "Admin", "user_id": "10108000000009004" }, "created_time": "May 28, 2024 04:44 PM", "modified_by": { "zuid": "77941453", "is_confirmed": false, "email_id": "emmy@zylker.com", "first_name": "Amelia Burrows", "last_name": "", "user_type": "Admin", "user_id": "10108000000009004" }, "modified_time": "May 28, 2024 04:44 PM", "capacity": { "memory": "2048" }, "project_details": { "project_name": "ZylkerShipments", "id": "10108000003823392", "project_type": "Live" }, "id": "10108000003823563" }, "headers": {}, "params": { "param1": "value1" } }, "cron_status": true, "modified_time": "Jun 07, 2024 12:53 PM", "modified_by": { "zuid": "77941453", "is_confirmed": false, "email_id": "emmy@zylker.com", "first_name": "Amelia Burrows", "last_name": "", "user_type": "Admin", "user_id": "10108000000009004" }, "project_details": { "project_name": "ZylkerShipments", "id": "10108000003823392", "project_type": "Live" }, "end_time": "-1", "cron_detail": { "jobId": "10108000004280444", "transactionTimeout": -1, "time_of_execution": 1718002799, "hour": 0, "minute": 0, "second": 0, "timezone": "PST" }, "id": "10108000004280444" } } ``` ### SDK Documentation [Update Cron- Java SDK](https://docs.catalyst.zoho.com/en/sdk/java/v1/job-scheduling/cron/update-cron/) [Update Cron- Node.js SDK](https://docs.catalyst.zoho.com/en/sdk/nodejs/v2/job-scheduling/cron/update-cron/) [Update Cron- Python SDK](https://docs.catalyst.zoho.com/en/sdk/python/v1/job-scheduling/cron/update-cron/) -------------------------------------------------------------------------------- title: "Update an Every Cron" description: "This API enables you to update a recurring type every cron that submits a Job to the Job Pool to trigger an endpoint." last_updated: "2026-08-17T12:16:04.000Z" source: "https://docs.catalyst.zoho.com/en/api/code-reference/job-scheduling/cron/update-cron/update-every-cron/" service: "Job Scheduling" -------------------------------------------------------------------------------- # Update an Every Cron ### Description This API enables you to update a recurring type **Every** cron present in the project. The cron that needs to be updated will be referred using its unique identifier, such as name or ID. > **Note:** * In this API, we are illustrating the sample request and sample response with a [Job Function](https://docs.catalyst.zoho.com/en/serverless/help/functions/job-functions/). The API functionality remains the same for webhook, [Circuits](https://docs.catalyst.zoho.com/en/serverless/help/circuits/introduction/), and [AppSail](https://docs.catalyst.zoho.com/en/serverless/help/appsail/introduction/) jobs. * This API is applicable for [Pre-Defined Crons](https://docs.catalyst.zoho.com/en/job-scheduling/help/implementation/submit-job-predefined-cron/) and [Dynamic Crons](https://docs.catalyst.zoho.com/en/job-scheduling/help/implementation/submit-job-dynamic-cron/). ### Request Details #### Request URL `PUT` {api-domain/}baas/v1/project/{project_id}/job_scheduling/cron/{cron_identifier (name/ID)} - **project_id** (Numerical): The [unique ID](https://docs.catalyst.zoho.com/en/getting-started/set-up-a-catalyst-project/general-settings/) of the project - **cron_id** (Numerical): The [unique ID](https://docs.catalyst.zoho.com/en/job-scheduling/help/cron/key-concepts/#cron-id) of the cron - **cron_name** (String): The name of the cron #### Request Headers **Authorization:** Zoho-oauthtoken {oauth_token} **Content-Type:** application/json **Optional Headers** **CATALYST-ORG:** {org_id} **Environment:** Development #### Scope ZohoCatalyst.cron.UPDATE #### Request JSON You must send a JSON with its corresponding values as shown below. **Sample Payload** ```json { "cron_name": "RecursiveCronEvery", "cron_type": "Periodic", "cron_status": true, "end_time": 1717957799, "cron_execution_type": "pre-defined", "job_meta": { "id": "10108000004280482", "job_name": "jobName", "job_config": { "number_of_retries": 3, "retry_interval": 60 }, "target_type": "Function", "target_details": { "id": "10108000003823893", "target_name": "target_function_fetch" }, "source_type": "Cron", "source_details": { "id": "10108000004280480", "source_name": "RecursiveCron", "details": { "cron_execution_type": "pre-defined" } }, "jobpool_id": "10108000003823563", "jobpool_details": { "type": "Function", "name": "VendorReminder", "created_by": { "zuid": "77941453", "is_confirmed": false, "email_id": "emmy@zylker.com", "first_name": "Amelia Burrows", "last_name": "", "user_type": "Admin", "user_id": "10108000000009004" }, "created_time": "May 28, 2024 04:44 PM", "modified_by": { "zuid": "77941453", "is_confirmed": false, "email_id": "emmy@zylker.com", "first_name": "Amelia Burrows", "last_name": "", "user_type": "Admin", "user_id": "10108000000009004" }, "modified_time": "May 28, 2024 04:44 PM", "capacity": { "memory": "2048" }, "project_details": { "project_name": "ZylkerShipments", "id": "10108000003823392", "project_type": "Live" }, "id": "10108000003823563" }, "params": { "param1": "value1" }, "target_id": "10108000003823893" }, "job_detail": { "hour": 6, "minute": 0, "second": 0, "repetition_type": "every" }, "id": "10108000004280480" } ``` You will feed this **Request JSON** to your **Request Body**, and you need to provide the value of: - **cron_type** (String, mandatory): Will denote the schedule type of the cron - **cron_status** (Boolean, mandatory): Will denote if the cron is enabled or disabled. - **job_detail** (JSON, mandatory): Will contain the details on the job which is being submitted by the cron. - **job_meta** (JSON, mandatory): Will contain the meta information about the job being submitted by the cron. - **jobpool_id** (Numerical, mandatory): Will contain the [Job Pool ID](https://docs.catalyst.zoho.com/en/job-scheduling/help/jobpool/key-concepts/#job-pool-id) of the job pool that will execute the job. - **job_name** (String, mandatory): Will contain the name of the job you are required to trigger. - **target_type** (String, mandatory): Will denote which target type's endpoint is going to be triggered. Can be `Function`, `Webhook`, `Circuit`, or `AppSail`. - **target_id** (Numerical, mandatory): Will contain the unique ID with which the target type will be referred. - **params** (JSON, mandatory): Will contain the value of the headers and params you pass while submitting the job. - **cron_name** (String, mandatory): Will contain the name of the cron you are going to create. - **cron_execution_type** (String, mandatory): Will denote if it is a `pre-defined` cron or `dynamic` cron. ### Response Details The JSON response returns the metadata of the updated cron. The response will also contain the details of the user who updated the cron. **Sample Request** ```bash curl -X PUT \ https://api.catalyst.zoho.com/baas/v1/project/10108000003823392/job_scheduling/cron/10108000004280480 -H "Authorization: Zoho-oauthtoken 1000.910*************************16.2f*************************57" -H "Content-Type:application/json" -\-data-raw '{"cron_name":"RecursiveCronEvery","cron_type":"Periodic","cron_status":true,"end_time":1717957799,"cron_execution_type":"pre-defined","job_meta":{"id":"10108000004280482","job_name":"jobName","job_config":{"number_of_retries":3,"retry_interval":60},"target_type":"Function","target_details":{"id":"10108000003823893","target_name":"target_function_fetch"},"source_type":"Cron","source_details":{"id":"10108000004280480","source_name":"RecursiveCron","details":{"cron_execution_type":"pre-defined"}},"jobpool_id":"10108000003823563","jobpool_details":{"type":"Function","name":"VendorReminder","created_by":{"zuid":"77941453","is_confirmed":false,"email_id":"emmy@zylker.com","first_name":"Amelia Burrows","last_name":"","user_type":"Admin","user_id":"10108000000009004"},"created_time":"May 28, 2024 04:44 PM","modified_by":{"zuid":"77941453","is_confirmed":false,"email_id":"emmy@zylker.com","first_name":"Amelia Burrows","last_name":"","user_type":"Admin","user_id":"10108000000009004"},"modified_time":"May 28, 2024 04:44 PM","capacity":{"memory":"2048"},"project_details":{"project_name":"ZylkerShipments","id":"10108000003823392","project_type":"Live"},"id":"10108000003823563"},"params":{"param1":"value1"},"target_id":"10108000003823893"},"job_detail":{"hour":6,"minute":0,"second":0,"repetition_type":"every"},"id":"10108000004280480"}' ``` **Sample Response** ```json { "status": "success", "data": { "cron_name": "RecursiveCronEvery", "cron_type": "Periodic", "cron_execution_type": "pre-defined", "job_meta": { "id": "10108000004280762", "url": "", "job_name": "jobName", "job_config": { "number_of_retries": 3, "retry_interval": 60 }, "target_type": "Function", "target_details": { "id": "10108000003823893", "target_name": "target_function_fetch" }, "source_type": "Cron", "source_details": { "id": "10108000004280480", "source_name": "RecursiveCronEvery", "details": { "cron_execution_type": "pre-defined" } }, "jobpool_id": "10108000003823563", "jobpool_details": { "type": "Function", "name": "VendorReminder", "created_by": { "zuid": "77941453", "is_confirmed": false, "email_id": "emmy@zylker.com", "first_name": "Amelia Burrows", "last_name": "", "user_type": "Admin", "user_id": "10108000000009004" }, "created_time": "May 28, 2024 04:44 PM", "modified_by": { "zuid": "77941453", "is_confirmed": false, "email_id": "emmy@zylker.com", "first_name": "Amelia Burrows", "last_name": "", "user_type": "Admin", "user_id": "10108000000009004" }, "modified_time": "May 28, 2024 04:44 PM", "capacity": { "memory": "2048" }, "project_details": { "project_name": "ZylkerShipments", "id": "10108000003823392", "project_type": "Live" }, "id": "10108000003823563" }, "headers": {}, "params": { "param1": "value1" } }, "cron_status": true, "modified_time": "Jun 07, 2024 12:56 PM", "modified_by": { "zuid": "77941453", "is_confirmed": false, "email_id": "emmy@zylker.com", "first_name": "Amelia Burrows", "last_name": "", "user_type": "Admin", "user_id": "10108000000009004" }, "project_details": { "project_name": "ZylkerShipments", "id": "10108000003823392", "project_type": "Live" }, "end_time": "1717957799", "cron_detail": { "hour": 6, "minute": 0, "second": 0, "repetition_type": "every", "timezone": "Asia/Kolkata" }, "id": "10108000004280480" } } ``` ### SDK Documentation [Update Cron- Java SDK](https://docs.catalyst.zoho.com/en/sdk/java/v1/job-scheduling/cron/update-cron/) [Update Cron- Node.js SDK](https://docs.catalyst.zoho.com/en/sdk/nodejs/v2/job-scheduling/cron/update-cron/) [Update Cron- Python SDK](https://docs.catalyst.zoho.com/en/sdk/python/v1/job-scheduling/cron/update-cron/) -------------------------------------------------------------------------------- title: "Update a Daily Cron" description: "This API enables you to update a recurring type daily cron that submits a Job to the Job Pool to trigger an endpoint." last_updated: "2026-08-17T12:16:04.000Z" source: "https://docs.catalyst.zoho.com/en/api/code-reference/job-scheduling/cron/update-cron/update-daily-cron/" service: "Job Scheduling" -------------------------------------------------------------------------------- # Update a Daily Cron ### Description This API enables you to update a **Daily** cron present in the project. The cron that needs to be updated will be referred using its unique identifier, such as name or ID. > **Note:** * In this API, we are illustrating the sample request and sample response with a [Job Function](https://docs.catalyst.zoho.com/en/serverless/help/functions/job-functions/). The API functionality remains the same for webhook, [Circuits](https://docs.catalyst.zoho.com/en/serverless/help/circuits/introduction/), and [AppSail](https://docs.catalyst.zoho.com/en/serverless/help/appsail/introduction/) jobs. * This API is applicable for [Pre-Defined Crons](https://docs.catalyst.zoho.com/en/job-scheduling/help/implementation/submit-job-predefined-cron/) and [Dynamic Crons](https://docs.catalyst.zoho.com/en/job-scheduling/help/implementation/submit-job-dynamic-cron/). ### Request Details #### Request URL `PUT` {api-domain/}baas/v1/project/{project_id}/job_scheduling/cron/{cron_identifier (name/ID)} - **project_id** (Numerical): The [unique ID](https://docs.catalyst.zoho.com/en/getting-started/set-up-a-catalyst-project/general-settings/) of the project - **cron_id** (Numerical): The [unique ID](https://docs.catalyst.zoho.com/en/job-scheduling/help/cron/key-concepts/#cron-id) of the cron - **cron_name** (String): The name of the cron #### Request Headers **Authorization:** Zoho-oauthtoken {oauth_token} **Content-Type:** application/json **Optional Headers** **CATALYST-ORG:** {org_id} **Environment:** Development #### Scope ZohoCatalyst.cron.UPDATE #### Request JSON You must send a JSON with its corresponding values as shown below. **Sample Payload** ```json { "cron_name": "RecursiveCronDaily", "description": "dailycron", "cron_type": "Calendar", "cron_status": true, "end_time": 1718002799, "cron_execution_type": "pre-defined", "job_meta": { "id": "10108000004280518", "job_name": "job", "job_config": { "number_of_retries": 1, "retry_interval": 300 }, "target_type": "Function", "target_details": { "id": "10108000003823893", "target_name": "target_function_fetch" }, "source_type": "Cron", "source_details": { "id": "10108000004280516", "source_name": "RecursiveCronDaily", "details": { "cron_execution_type": "pre-defined" } }, "jobpool_id": "10108000003823563", "jobpool_details": { "type": "Function", "name": "VendorReminder", "created_by": { "zuid": "77941453", "is_confirmed": false, "email_id": "emmy@zylker.com", "first_name": "Amelia Burrows", "last_name": "", "user_type": "Admin", "user_id": "10108000000009004" }, "created_time": "May 28, 2024 04:44 PM", "modified_by": { "zuid": "77941453", "is_confirmed": false, "email_id": "emmy@zylker.com", "first_name": "Amelia Burrows", "last_name": "", "user_type": "Admin", "user_id": "10108000000009004" }, "modified_time": "May 28, 2024 04:44 PM", "capacity": { "memory": "2048" }, "project_details": { "project_name": "ZylkerShipments", "id": "10108000003823392", "project_type": "Live" }, "id": "10108000003823563" }, "params": { "param1": "value1" }, "target_id": "10108000003823893" }, "job_detail": { "hour": "2", "minute": 0, "second": 0, "repetition_type": "daily", "timezone": "PST" }, "id": "10108000004280516" } ``` You will feed this **Request JSON** to your **Request Body**, and you need to provide the value of: - **cron_type** (String, mandatory): Will denote the schedule type of the cron - **cron_status** (Boolean, mandatory): Will denote if the cron is enabled or disabled. - **job_detail** (JSON, mandatory): Will contain the details on the job which is being submitted by the cron. - **job_meta** (JSON, mandatory): Will contain the meta information about the job being submitted by the cron. - **jobpool_id** (Numerical, mandatory): Will contain the [Job Pool ID](https://docs.catalyst.zoho.com/en/job-scheduling/help/jobpool/key-concepts/#job-pool-id) of the job pool that will execute the job. - **job_name** (String, mandatory): Will contain the name of the job you are required to trigger. - **target_type** (String, mandatory): Will denote which target type's endpoint is going to be triggered. Can be `Function`, `Webhook`, `Circuit`, or `AppSail`. - **target_id** (Numerical, mandatory): Will contain the unique ID with which the target type will be referred. - **params** (JSON, mandatory): Will contain the value of the headers and params you pass while submitting the job. - **cron_name** (String, mandatory): Will contain the name of the cron you are going to create. - **cron_execution_type** (String, mandatory): Will denote if it is a `pre-defined` cron or `dynamic` cron. ### Response Details The JSON response returns the metadata of the updated cron. The response will also contain the details of the user who updated the cron. **Sample Request** ```bash curl -X PUT \ https://api.catalyst.zoho.com/baas/v1/project/10108000003823392/job_scheduling/cron/10108000004280516 -H "Authorization: Zoho-oauthtoken 1000.910*************************16.2f*************************57" -H "Content-Type:application/json" -\-data-raw '{"cron_name":"RecursiveCronDaily","description":"dailycron","cron_type":"Calendar","cron_status":true,"end_time":1718002799,"cron_execution_type":"pre-defined","job_meta":{"id":"10108000004280518","job_name":"job","job_config":{"number_of_retries":1,"retry_interval":300},"target_type":"Function","target_details":{"id":"10108000003823893","target_name":"target_function_fetch"},"source_type":"Cron","source_details":{"id":"10108000004280516","source_name":"RecursiveCronDaily","details":{"cron_execution_type":"pre-defined"}},"jobpool_id":"10108000003823563","jobpool_details":{"type":"Function","name":"VendorReminder","created_by":{"zuid":"77941453","is_confirmed":false,"email_id":"emmy@zylker.com","first_name":"Amelia Burrows","last_name":"","user_type":"Admin","user_id":"10108000000009004"},"created_time":"May 28, 2024 04:44 PM","modified_by":{"zuid":"77941453","is_confirmed":false,"email_id":"emmy@zylker.com","first_name":"Amelia Burrows","last_name":"","user_type":"Admin","user_id":"10108000000009004"},"modified_time":"May 28, 2024 04:44 PM","capacity":{"memory":"2048"},"project_details":{"project_name":"ZylkerShipments","id":"10108000003823392","project_type":"Live"},"id":"10108000003823563"},"params":{"param1":"value1"},"target_id":"10108000003823893"},"job_detail":{"hour":"2","minute":0,"second":0,"repetition_type":"daily","timezone":"PST"},"id":"10108000004280516"}' ``` **Sample Response** ```json { "status": "success", "data": { "cron_name": "RecursiveCronDaily", "description": "dailycron", "cron_type": "Calendar", "cron_execution_type": "pre-defined", "job_meta": { "id": "10108000004280784", "url": "", "job_name": "job", "job_config": { "number_of_retries": 1, "retry_interval": 300 }, "target_type": "Function", "target_details": { "id": "10108000003823893", "target_name": "target_function_fetch" }, "source_type": "Cron", "source_details": { "id": "10108000004280516", "source_name": "RecursiveCronDaily", "details": { "cron_execution_type": "pre-defined" } }, "jobpool_id": "10108000003823563", "jobpool_details": { "type": "Function", "name": "VendorReminder", "created_by": { "zuid": "77941453", "is_confirmed": false, "email_id": "emmy@zylker.com", "first_name": "Amelia Burrows", "last_name": "", "user_type": "Admin", "user_id": "10108000000009004" }, "created_time": "May 28, 2024 04:44 PM", "modified_by": { "zuid": "77941453", "is_confirmed": false, "email_id": "emmy@zylker.com", "first_name": "Amelia Burrows", "last_name": "", "user_type": "Admin", "user_id": "10108000000009004" }, "modified_time": "May 28, 2024 04:44 PM", "capacity": { "memory": "2048" }, "project_details": { "project_name": "ZylkerShipments", "id": "10108000003823392", "project_type": "Live" }, "id": "10108000003823563" }, "headers": {}, "params": { "param1": "value1" } }, "cron_status": true, "modified_time": "Jun 07, 2024 12:59 PM", "modified_by": { "zuid": "77941453", "is_confirmed": false, "email_id": "emmy@zylker.com", "first_name": "Amelia Burrows", "last_name": "", "user_type": "Admin", "user_id": "10108000000009004" }, "project_details": { "project_name": "ZylkerShipments", "id": "10108000003823392", "project_type": "Live" }, "end_time": "1718002799", "cron_detail": { "jobId": "10108000004280516", "transactionTimeout": -1, "hour": 2, "minute": 0, "second": 0, "repetition_type": "daily", "timezone": "PST" }, "id": "10108000004280516" } } ``` ### SDK Documentation [Update Cron- Java SDK](https://docs.catalyst.zoho.com/en/sdk/java/v1/job-scheduling/cron/update-cron/) [Update Cron- Node.js SDK](https://docs.catalyst.zoho.com/en/sdk/nodejs/v2/job-scheduling/cron/update-cron/) [Update Cron- Python SDK](https://docs.catalyst.zoho.com/en/sdk/python/v1/job-scheduling/cron/update-cron/) -------------------------------------------------------------------------------- title: "Update a Monthly Cron (Date Type)" description: "This API enables you to update a recurring type monthly cron that submits a Job to the Job Pool to trigger an endpoint." last_updated: "2026-08-17T12:16:04.000Z" source: "https://docs.catalyst.zoho.com/en/api/code-reference/job-scheduling/cron/update-cron/update-monthly-cron-date/" service: "Job Scheduling" -------------------------------------------------------------------------------- # Update a Monthly Cron (Date Type) ### Description This API enables you to update a **Monthly** cron (configured using the **calendar dates**) present in the project. The cron that needs to be updated will be referred using its unique identifier, such as name or ID. > **Note:** * In this API, we are illustrating the sample request and sample response with a [Job Function](https://docs.catalyst.zoho.com/en/serverless/help/functions/job-functions/). The API functionality remains the same for webhook, [Circuits](https://docs.catalyst.zoho.com/en/serverless/help/circuits/introduction/), and [AppSail](https://docs.catalyst.zoho.com/en/serverless/help/appsail/introduction/) jobs. * The functionality of the API remains the same when you try to update a Monthly cron defined using the weeks of a month. Refer to [Create a Monthly Cron (Week Type) API](https://docs.catalyst.zoho.com/en/api/code-reference/job-scheduling/cron/create-cron/create-monthly-cron-weekly/#CreateaMonthlyCron%28WeekType%29). * This API is applicable for [Pre-Defined Crons](https://docs.catalyst.zoho.com/en/job-scheduling/help/implementation/submit-job-predefined-cron/) and [Dynamic Crons](https://docs.catalyst.zoho.com/en/job-scheduling/help/implementation/submit-job-dynamic-cron/). ### Request Details #### Request URL `PUT` {api-domain/}baas/v1/project/{project_id}/job_scheduling/cron/{cron_identifier (name/ID)} - **project_id** (Numerical): The [unique ID](https://docs.catalyst.zoho.com/en/getting-started/set-up-a-catalyst-project/general-settings/) of the project - **cron_id** (Numerical): The [unique ID](https://docs.catalyst.zoho.com/en/job-scheduling/help/cron/key-concepts/#cron-id) of the cron - **cron_name** (String): The name of the cron #### Request Headers **Authorization:** Zoho-oauthtoken {oauth_token} **Content-Type:** application/json **Optional Headers** **CATALYST-ORG:** {org_id} **Environment:** Development #### Scope ZohoCatalyst.cron.UPDATE #### Request JSON You must send a JSON with its corresponding values as shown below. **Sample Payload** ```json { "cron_name": "recurCronMonthly", "description": "monthly", "cron_type": "Calendar", "cron_status": true, "end_time": 1718002799, "cron_execution_type": "pre-defined", "job_meta": { "id": "10108000004280537", "job_name": "jobName", "job_config": { "number_of_retries": 2, "retry_interval": 500 }, "target_type": "Function", "target_details": { "id": "10108000003823893", "target_name": "target_function_fetch" }, "source_type": "Cron", "source_details": { "id": "10108000004280535", "source_name": "recurCronMonthly", "details": { "cron_execution_type": "pre-defined" } }, "jobpool_id": "10108000003823563", "jobpool_details": { "type": "Function", "name": "VendorReminder", "created_by": { "zuid": "77941453", "is_confirmed": false, "email_id": "emmy@zylker.com", "first_name": "Amelia Burrows", "last_name": "", "user_type": "Admin", "user_id": "10108000000009004" }, "created_time": "May 28, 2024 04:44 PM", "modified_by": { "zuid": "77941453", "is_confirmed": false, "email_id": "emmy@zylker.com", "first_name": "Amelia Burrows", "last_name": "", "user_type": "Admin", "user_id": "10108000000009004" }, "modified_time": "May 28, 2024 04:44 PM", "capacity": { "memory": "2048" }, "project_details": { "project_name": "ZylkerShipments", "id": "10108000003823392", "project_type": "Live" }, "id": "10108000003823563" }, "params": { "param1": "value1" }, "target_id": "10108000003823893" }, "job_detail": { "hour": 3, "minute": 0, "second": 0, "repetition_type": "monthly", "days": [ 1, 3, 8, "9" ], "timezone": "PST" }, "id": "10108000004280535" } ``` You will feed this **Request JSON** to your **Request Body**, and you need to provide the value of: - **cron_type** (String, mandatory): Will denote the schedule type of the cron - **cron_status** (Boolean, mandatory): Will denote if the cron is enabled or disabled. - **job_detail** (JSON, mandatory): Will contain the details on the job which is being submitted by the cron. - **job_meta** (JSON, mandatory): Will contain the meta information about the job being submitted by the cron. - **jobpool_id** (Numerical, mandatory): Will contain the [Job Pool ID](https://docs.catalyst.zoho.com/en/job-scheduling/help/jobpool/key-concepts/#job-pool-id) of the job pool that will execute the job. - **job_name** (String, mandatory): Will contain the name of the job you are required to trigger. - **target_type** (String, mandatory): Will denote which target type's endpoint is going to be triggered. Can be `Function`, `Webhook`, `Circuit`, or `AppSail`. - **target_id** (Numerical, mandatory): Will contain the unique ID with which the target type will be referred. - **params** (JSON, mandatory): Will contain the value of the headers and params you pass while submitting the job. - **cron_name** (String, mandatory): Will contain the name of the cron you are going to create. - **cron_execution_type** (String, mandatory): Will denote if it is a `pre-defined` cron or `dynamic` cron. ### Response Details The JSON response returns the metadata of the updated cron. The response will also contain the details of the user who updated the cron. **Sample Request** ```bash curl -X PUT \ https://api.catalyst.zoho.com/baas/v1/project/10108000003823392/job_scheduling/cron/10108000004280535 -H "Authorization: Zoho-oauthtoken 1000.910*************************16.2f*************************57" -H "Content-Type:application/json" -\-data-raw '{"cron_name":"recurCronMonthly","description":"monthly","cron_type":"Calendar","cron_status":true,"end_time":1718002799,"cron_execution_type":"pre-defined","job_meta":{"id":"10108000004280537","job_name":"jobName","job_config":{"number_of_retries":2,"retry_interval":500},"target_type":"Function","target_details":{"id":"10108000003823893","target_name":"target_function_fetch"},"source_type":"Cron","source_details":{"id":"10108000004280535","source_name":"recurCronMonthly","details":{"cron_execution_type":"pre-defined"}},"jobpool_id":"10108000003823563","jobpool_details":{"type":"Function","name":"VendorReminder","created_by":{"zuid":"77941453","is_confirmed":false,"email_id":"emmy@zylker.com","first_name":"Amelia Burrows","last_name":"","user_type":"Admin","user_id":"10108000000009004"},"created_time":"May 28, 2024 04:44 PM","modified_by":{"zuid":"77941453","is_confirmed":false,"email_id":"emmy@zylker.com","first_name":"Amelia Burrows","last_name":"","user_type":"Admin","user_id":"10108000000009004"},"modified_time":"May 28, 2024 04:44 PM","capacity":{"memory":"2048"},"project_details":{"project_name":"ZylkerShipments","id":"10108000003823392","project_type":"Live"},"id":"10108000003823563"},"params":{"param1":"value1"},"target_id":"10108000003823893"},"job_detail":{"hour":3,"minute":0,"second":0,"repetition_type":"monthly","days":[1,3,8,"9"],"timezone":"PST"},"id":"10108000004280535"}' ``` **Sample Response** ```json { "status": "success", "data": { "cron_name": "recurCronMonthly", "description": "monthly", "cron_type": "Calendar", "cron_execution_type": "pre-defined", "job_meta": { "id": "10108000004280805", "url": "", "job_name": "jobName", "job_config": { "number_of_retries": 2, "retry_interval": 500 }, "target_type": "Function", "target_details": { "id": "10108000003823893", "target_name": "target_function_fetch" }, "source_type": "Cron", "source_details": { "id": "10108000004280535", "source_name": "recurCronMonthly", "details": { "cron_execution_type": "pre-defined" } }, "jobpool_id": "10108000003823563", "jobpool_details": { "type": "Function", "name": "VendorReminder", "created_by": { "zuid": "77941453", "is_confirmed": false, "email_id": "emmy@zylker.com", "first_name": "Amelia Burrows", "last_name": "", "user_type": "Admin", "user_id": "10108000000009004" }, "created_time": "May 28, 2024 04:44 PM", "modified_by": { "zuid": "77941453", "is_confirmed": false, "email_id": "emmy@zylker.com", "first_name": "Amelia Burrows", "last_name": "", "user_type": "Admin", "user_id": "10108000000009004" }, "modified_time": "May 28, 2024 04:44 PM", "capacity": { "memory": "2048" }, "project_details": { "project_name": "ZylkerShipments", "id": "10108000003823392", "project_type": "Live" }, "id": "10108000003823563" }, "headers": {}, "params": { "param1": "value1" } }, "cron_status": true, "modified_time": "Jun 07, 2024 01:00 PM", "modified_by": { "zuid": "77941453", "is_confirmed": false, "email_id": "emmy@zylker.com", "first_name": "Amelia Burrows", "last_name": "", "user_type": "Admin", "user_id": "10108000000009004" }, "project_details": { "project_name": "ZylkerShipments", "id": "10108000003823392", "project_type": "Live" }, "end_time": "1718002799", "cron_detail": { "jobId": "10108000004280535", "transactionTimeout": -1, "hour": 3, "minute": 0, "second": 0, "repetition_type": "monthly", "days": [ 1, 3, 8, 9 ], "timezone": "PST" }, "id": "10108000004280535" } } ``` ### SDK Documentation [Update Cron- Java SDK](https://docs.catalyst.zoho.com/en/sdk/java/v1/job-scheduling/cron/update-cron/) [Update Cron- Node.js SDK](https://docs.catalyst.zoho.com/en/sdk/nodejs/v2/job-scheduling/cron/update-cron/) [Update Cron- Python SDK](https://docs.catalyst.zoho.com/en/sdk/python/v1/job-scheduling/cron/update-cron/) -------------------------------------------------------------------------------- title: "Update a Yearly Cron (Week Type)" description: "This API enables you to update a recurring type yearly cron that submits a Job to the Job Pool to trigger an endpoint." last_updated: "2026-08-28T06:26:16.000Z" source: "https://docs.catalyst.zoho.com/en/api/code-reference/job-scheduling/cron/update-cron/update-yearly-cron-week/" service: "Job Scheduling" -------------------------------------------------------------------------------- # Update a Yearly Cron (Week Type) ### Description This API enables you to update a **Yearly** cron (defined using the **weeks of a month**) present in the project. The cron that needs to be updated will be referred using its unique identifier, such as name or ID. > **Note:** * In this API, we are illustrating the sample request and sample response with a [Job Function](https://docs.catalyst.zoho.com/en/serverless/help/functions/job-functions/). The API functionality remains the same for webhook, [Circuits](https://docs.catalyst.zoho.com/en/serverless/help/circuits/introduction/), and [AppSail](https://docs.catalyst.zoho.com/en/serverless/help/appsail/introduction/) jobs. * The functionality of the API remains the same when you try to update a Yearly cron defined using the dates of a month. Refer to [Create a Yearly Cron (Date Type) API](https://docs.catalyst.zoho.com/en/api/code-reference/job-scheduling/cron/create-cron/create-year-cron-date/#CreateaYearlyCron%28DayType%29). * This API is applicable for [Pre-Defined Crons](https://docs.catalyst.zoho.com/en/job-scheduling/help/implementation/submit-job-predefined-cron/) and [Dynamic Crons](https://docs.catalyst.zoho.com/en/job-scheduling/help/implementation/submit-job-dynamic-cron/). ### Request Details #### Request URL `PUT` {api-domain/}baas/v1/project/{project_id}/job_scheduling/cron/{cron_identifier(name/ID)} - **project_id** (Numerical): The [unique ID](https://docs.catalyst.zoho.com/en/getting-started/set-up-a-catalyst-project/general-settings/) of the project - **cron_id** (Numerical): The [unique ID](https://docs.catalyst.zoho.com/en/job-scheduling/help/cron/key-concepts/#cron-id) of the cron - **cron_name** (String): The name of the cron #### Request Headers **Authorization:** Zoho-oauthtoken {oauth_token} **Content-Type:** application/json **Optional Headers** **CATALYST-ORG:** {org_id} **Environment:** Development #### Scope ZohoCatalyst.cron.UPDATE #### Request JSON You must send a JSON with its corresponding values as shown below. **Sample Payload** ```json { "cron_name": "recurCronYearlyWeek", "description": "abc", "cron_type": "Calendar", "cron_status": true, "end_time": 1719212399, "cron_execution_type": "pre-defined", "job_meta": { "id": "10108000004280663", "job_name": "jobName", "job_config": { "number_of_retries": 2, "retry_interval": 1000 }, "target_type": "Function", "target_details": { "id": "10108000003823893", "target_name": "target_function_fetch" }, "source_type": "Cron", "source_details": { "id": "10108000004280661", "source_name": "recurCronYearlyWeek", "details": { "cron_execution_type": "pre-defined" } }, "jobpool_id": "10108000003823563", "jobpool_details": { "type": "Function", "name": "VendorReminder", "created_by": { "zuid": "77941453", "is_confirmed": false, "email_id": "emmy@zylker.com", "first_name": "Amelia Burrows", "last_name": "", "user_type": "Admin", "user_id": "10108000000009004" }, "created_time": "May 28, 2024 04:44 PM", "modified_by": { "zuid": "77941453", "is_confirmed": false, "email_id": "emmy@zylker.com", "first_name": "Amelia Burrows", "last_name": "", "user_type": "Admin", "user_id": "10108000000009004" }, "modified_time": "May 28, 2024 04:44 PM", "capacity": { "memory": "2048" }, "project_details": { "project_name": "ZylkerShipments", "id": "10108000003823392", "project_type": "Live" }, "id": "10108000003823563" }, "params": { "param1": "value1" }, "target_id": "10108000003823893" }, "job_detail": { "hour": 0, "minute": 0, "second": 0, "repetition_type": "yearly", "months": [ 0, 1, 2, 3, 4, 5, 6, 7, 8, 9, 10, 11 ], "weeks_of_month": [ 1, 3, 5, "4" ], "week_day": [ 1 ], "timezone": "PST" }, "id": "10108000004280661" } ``` You will feed this **Request JSON** to your **Request Body**, and you need to provide the value of: - **cron_type** (String, mandatory): Will denote the schedule type of the cron - **cron_status** (Boolean, mandatory): Will denote if the cron is enabled or disabled. - **job_detail** (JSON, mandatory): Will contain the details on the job which is being submitted by the cron. - **job_meta** (JSON, mandatory): Will contain the meta information about the job being submitted by the cron. - **jobpool_id** (Numerical, mandatory): Will contain the [Job Pool ID](https://docs.catalyst.zoho.com/en/job-scheduling/help/jobpool/key-concepts/#job-pool-id) of the job pool that will execute the job. - **job_name** (String, mandatory): Will contain the name of the job you are required to trigger. - **target_type** (String, mandatory): Will denote which target type's endpoint is going to be triggered. Can be `Function`, `Webhook`, `Circuit`, or `AppSail`. - **target_id** (Numerical, mandatory): Will contain the unique ID with which the target type will be referred. - **params** (JSON, mandatory): Will contain the value of the headers and params you pass while submitting the job. - **cron_name** (String, mandatory): Will contain the name of the cron you are going to create. - **cron_execution_type** (String, mandatory): Will denote if it is a `pre-defined` cron or `dynamic` cron. ### Response Details The JSON response returns the metadata of the updated cron. The response will also contain the details of the user who updated the cron. **Sample Request** ```bash curl -X PUT \ https://api.catalyst.zoho.com/baas/v1/project/10108000003823392/job_scheduling/cron/10108000004280535 -H "Authorization: Zoho-oauthtoken 1000.910*************************16.2f*************************57" -H "Content-Type:application/json" -\-data-raw '{"cron_name":"recurCronYearlyWeek","description":"abc","cron_type":"Calendar","cron_status":true,"end_time":1719212399,"cron_execution_type":"pre-defined","job_meta":{"id":"10108000004280663","job_name":"jobName","job_config":{"number_of_retries":2,"retry_interval":1000},"target_type":"Function","target_details":{"id":"10108000003823893","target_name":"target_function_fetch"},"source_type":"Cron","source_details":{"id":"10108000004280661","source_name":"recurCronYearlyWeek","details":{"cron_execution_type":"pre-defined"}},"jobpool_id":"10108000003823563","jobpool_details":{"type":"Function","name":"VendorReminder","created_by":{"zuid":"77941453","is_confirmed":false,"email_id":"emmy@zylker.com","first_name":"Amelia Burrows","last_name":"","user_type":"Admin","user_id":"10108000000009004"},"created_time":"May 28, 2024 04:44 PM","modified_by":{"zuid":"77941453","is_confirmed":false,"email_id":"emmy@zylker.com","first_name":"Amelia Burrows","last_name":"","user_type":"Admin","user_id":"10108000000009004"},"modified_time":"May 28, 2024 04:44 PM","capacity":{"memory":"2048"},"project_details":{"project_name":"ZylkerShipments","id":"10108000003823392","project_type":"Live"},"id":"10108000003823563"},"params":{"param1":"value1"},"target_id":"10108000003823893"},"job_detail":{"hour":0,"minute":0,"second":0,"repetition_type":"yearly","months":[0,1,2,3,4,5,6,7,8,9,10,11],"weeks_of_month":[1,3,5,"4"],"week_day":[1],"timezone":"PST"},"id":"10108000004280661"}' ``` **Sample Response** ```json { "status": "success", "data": { "cron_name": "recurCronYearlyWeek", "description": "abc", "cron_type": "Calendar", "cron_execution_type": "pre-defined", "job_meta": { "id": "10108000004280844", "url": "", "job_name": "jobName", "job_config": { "number_of_retries": 2, "retry_interval": 1000 }, "target_type": "Function", "target_details": { "id": "10108000003823893", "target_name": "target_function_fetch" }, "source_type": "Cron", "source_details": { "id": "10108000004280661", "source_name": "recurCronYearlyWeek", "details": { "cron_execution_type": "pre-defined" } }, "jobpool_id": "10108000003823563", "jobpool_details": { "type": "Function", "name": "VendorReminder", "created_by": { "zuid": "77941453", "is_confirmed": false, "email_id": "emmy@zylker.com", "first_name": "Amelia Burrows", "last_name": "", "user_type": "Admin", "user_id": "10108000000009004" }, "created_time": "May 28, 2024 04:44 PM", "modified_by": { "zuid": "77941453", "is_confirmed": false, "email_id": "emmy@zylker.com", "first_name": "Amelia Burrows", "last_name": "", "user_type": "Admin", "user_id": "10108000000009004" }, "modified_time": "May 28, 2024 04:44 PM", "capacity": { "memory": "2048" }, "project_details": { "project_name": "ZylkerShipments", "id": "10108000003823392", "project_type": "Live" }, "id": "10108000003823563" }, "headers": {}, "params": { "param1": "value1" } }, "cron_status": true, "modified_time": "Jun 07, 2024 01:03 PM", "modified_by": { "zuid": "77941453", "is_confirmed": false, "email_id": "emmy@zylker.com", "first_name": "Amelia Burrows", "last_name": "", "user_type": "Admin", "user_id": "10108000000009004" }, "project_details": { "project_name": "ZylkerShipments", "id": "10108000003823392", "project_type": "Live" }, "end_time": "1719212399", "cron_detail": { "jobId": "10108000004280661", "transactionTimeout": -1, "hour": 0, "minute": 0, "second": 0, "repetition_type": "yearly", "months": [ 0, 1, 2, 3, 4, 5, 6, 7, 8, 9, 10, 11 ], "weeks_of_month": [ 1, 3, 4, 5 ], "week_day": [ 1 ], "timezone": "PST" }, "id": "10108000004280661" } } ``` ### SDK Documentation [Update Cron- Java SDK](https://docs.catalyst.zoho.com/en/sdk/java/v1/job-scheduling/cron/update-cron/) [Update Cron- Node.js SDK](https://docs.catalyst.zoho.com/en/sdk/nodejs/v2/job-scheduling/cron/update-cron/) [Update Cron- Python SDK](https://docs.catalyst.zoho.com/en/sdk/python/v1/job-scheduling/cron/update-cron/) -------------------------------------------------------------------------------- title: "Update a Cron Defined Using Cron Expressions" description: "This API enables you to update a cron using cron expressions that submits a Job to the Job Pool to trigger an endpoint." last_updated: "2026-08-17T12:16:04.000Z" source: "https://docs.catalyst.zoho.com/en/api/code-reference/job-scheduling/cron/update-cron/update-cron-cron-expressions/" service: "Job Scheduling" -------------------------------------------------------------------------------- # Update a Cron Defined Using Cron Expressions ### Description This API enables you to update a cron defined using [**Cron Expressions**](https://docs.catalyst.zoho.com/en/job-scheduling/help/cron/key-concepts/#cron-expressions). The cron that needs to be updated will be referred using its unique identifier, such as name or ID. > **Note:** * In this API, we are illustrating the sample request and sample response with a [Job Function](https://docs.catalyst.zoho.com/en/serverless/help/functions/job-functions/). The API functionality remains the same for webhook, [Circuits](https://docs.catalyst.zoho.com/en/serverless/help/circuits/introduction/), and [AppSail](https://docs.catalyst.zoho.com/en/serverless/help/appsail/introduction/) jobs. * This API is applicable for [Pre-Defined Crons](https://docs.catalyst.zoho.com/en/job-scheduling/help/implementation/submit-job-predefined-cron/) and [Dynamic Crons](https://docs.catalyst.zoho.com/en/job-scheduling/help/implementation/submit-job-dynamic-cron/). ### Request Details #### Request URL `PUT` {api-domain/}baas/v1/project/{project_id}/job_scheduling/cron/{cron_identifier(name/ID)} - **project_id** (Numerical): The [unique ID](https://docs.catalyst.zoho.com/en/getting-started/set-up-a-catalyst-project/general-settings/) of the project - **cron_id** (Numerical): The [unique ID](https://docs.catalyst.zoho.com/en/job-scheduling/help/cron/key-concepts/#cron-id) of the cron - **cron_name** (String): The name of the cron #### Request Headers **Authorization:** Zoho-oauthtoken {oauth_token} **Content-Type:** application/json **Optional Headers** **CATALYST-ORG:** {org_id} **Environment:** Development #### Scope ZohoCatalyst.cron.UPDATE #### Request JSON You must send a JSON with its corresponding values as shown below. **Sample Payload** ```json { "cron_name": "cronExp", "description": "cronexpression", "cron_type": "CronExpression", "cron_status": true, "end_time": 1717916399, "cron_execution_type": "pre-defined", "cron_expression": "/30 /6 * * *", "job_meta": { "id": "10108000004280709", "job_name": "jobName", "job_config": { "number_of_retries": 1, "retry_interval": 500 }, "target_type": "Function", "target_details": { "id": "10108000003823893", "target_name": "target_function_fetch" }, "source_type": "Cron", "source_details": { "id": "10108000004280707", "source_name": "cronExp", "details": { "cron_execution_type": "pre-defined" } }, "jobpool_id": "10108000003823563", "jobpool_details": { "type": "Function", "name": "VendorReminder", "created_by": { "zuid": "77941453", "is_confirmed": false, "email_id": "emmy@zylker.com", "first_name": "Amelia Burrows", "last_name": "", "user_type": "Admin", "user_id": "10108000000009004" }, "created_time": "May 28, 2024 04:44 PM", "modified_by": { "zuid": "77941453", "is_confirmed": false, "email_id": "emmy@zylker.com", "first_name": "Amelia Burrows", "last_name": "", "user_type": "Admin", "user_id": "10108000000009004" }, "modified_time": "May 28, 2024 04:44 PM", "capacity": { "memory": "2048" }, "project_details": { "project_name": "ZylkerShipments", "id": "10108000003823392", "project_type": "Live" }, "id": "10108000003823563" }, "params": { "param1": "value1" }, "target_id": "10108000003823893" }, "job_detail": { "timezone": "PST" }, "id": "10108000004280707" } ``` You will feed this **Request JSON** to your **Request Body**, and you need to provide the value of: - **cron_type** (String, mandatory): Will denote the schedule type of the cron - **cron_status** (Boolean, mandatory): Will denote if the cron is enabled or disabled. - **job_detail** (JSON, mandatory): Will contain the details on the job which is being submitted by the cron. - **job_meta** (JSON, mandatory): Will contain the meta information about the job being submitted by the cron. - **jobpool_id** (Numerical, mandatory): Will contain the [Job Pool ID](https://docs.catalyst.zoho.com/en/job-scheduling/help/jobpool/key-concepts/#job-pool-id) of the job pool that will execute the job. - **job_name** (String, mandatory): Will contain the name of the job you are required to trigger. - **target_type** (String, mandatory): Will denote which target type's endpoint is going to be triggered. Can be `Function`, `Webhook`, `Circuit`, or `AppSail`. - **target_id** (Numerical, mandatory): Will contain the unique ID with which the target type will be referred. - **params** (JSON, mandatory): Will contain the value of the headers and params you pass while submitting the job. - **cron_name** (String, mandatory): Will contain the name of the cron you are going to create. - **cron_execution_type** (String, mandatory): Will denote if it is a `pre-defined` cron or `dynamic` cron. ### Response Details The JSON response returns the metadata of the updated cron. The response will also contain the details of the user who updated the cron. **Sample Request** ```bash curl -X PUT \ https://api.catalyst.zoho.com/baas/v1/project/10108000003823392/job_scheduling/cron/10108000004280535 -H "Authorization: Zoho-oauthtoken 1000.910*************************16.2f*************************57" -H "Content-Type:application/json" -\-data-raw '{"cron_name":"cronExp","description":"cronexpression","cron_type":"CronExpression","cron_status":true,"end_time":1717916399,"cron_execution_type":"pre-defined","cron_expression":"/30 /6 * * *","job_meta":{"id":"10108000004280709","job_name":"jobName","job_config":{"number_of_retries":1,"retry_interval":500},"target_type":"Function","target_details":{"id":"10108000003823893","target_name":"target_function_fetch"},"source_type":"Cron","source_details":{"id":"10108000004280707","source_name":"cronExp","details":{"cron_execution_type":"pre-defined"}},"jobpool_id":"10108000003823563","jobpool_details":{"type":"Function","name":"VendorReminder","created_by":{"zuid":"77941453","is_confirmed":false,"email_id":"emmy@zylker.com","first_name":"Amelia Burrows","last_name":"","user_type":"Admin","user_id":"10108000000009004"},"created_time":"May 28, 2024 04:44 PM","modified_by":{"zuid":"77941453","is_confirmed":false,"email_id":"emmy@zylker.com","first_name":"Amelia Burrows","last_name":"","user_type":"Admin","user_id":"10108000000009004"},"modified_time":"May 28, 2024 04:44 PM","capacity":{"memory":"2048"},"project_details":{"project_name":"ZylkerShipments","id":"10108000003823392","project_type":"Live"},"id":"10108000003823563"},"params":{"param1":"value1"},"target_id":"10108000003823893"},"job_detail":{"timezone":"PST"},"id":"10108000004280707"}' ``` **Sample Response** ```json { "status": "success", "data": { "cron_name": "cronExp", "description": "cronexpression", "cron_type": "CronExpression", "cron_execution_type": "pre-defined", "cron_expression": "/30 /6 * * *", "job_meta": { "id": "10108000004280861", "url": "", "job_name": "jobName", "job_config": { "number_of_retries": 1, "retry_interval": 500 }, "target_type": "Function", "target_details": { "id": "10108000003823893", "target_name": "target_function_fetch" }, "source_type": "Cron", "source_details": { "id": "10108000004280707", "source_name": "cronExp", "details": { "cron_execution_type": "pre-defined" } }, "jobpool_id": "10108000003823563", "jobpool_details": { "type": "Function", "name": "VendorReminder", "created_by": { "zuid": "77941453", "is_confirmed": false, "email_id": "emmy@zylker.com", "first_name": "Amelia Burrows", "last_name": "", "user_type": "Admin", "user_id": "10108000000009004" }, "created_time": "May 28, 2024 04:44 PM", "modified_by": { "zuid": "77941453", "is_confirmed": false, "email_id": "emmy@zylker.com", "first_name": "Amelia Burrows", "last_name": "", "user_type": "Admin", "user_id": "10108000000009004" }, "modified_time": "May 28, 2024 04:44 PM", "capacity": { "memory": "2048" }, "project_details": { "project_name": "ZylkerShipments", "id": "10108000003823392", "project_type": "Live" }, "id": "10108000003823563" }, "headers": {}, "params": { "param1": "value1" } }, "cron_status": true, "modified_time": "Jun 07, 2024 01:04 PM", "modified_by": { "zuid": "77941453", "is_confirmed": false, "email_id": "emmy@zylker.com", "first_name": "Amelia Burrows", "last_name": "", "user_type": "Admin", "user_id": "10108000000009004" }, "project_details": { "project_name": "ZylkerShipments", "id": "10108000003823392", "project_type": "Live" }, "end_time": "1717916399", "cron_detail": { "jobId": "10108000004280866", "transactionTimeout": -1, "hour": 0, "minute": 0, "second": 0, "timezone": "PST" }, "id": "10108000004280707" } } ``` ### SDK Documentation [Update Cron- Java SDK](https://docs.catalyst.zoho.com/en/sdk/java/v1/job-scheduling/cron/update-cron/) [Update Cron- Node.js SDK](https://docs.catalyst.zoho.com/en/sdk/nodejs/v2/job-scheduling/cron/update-cron/) [Update Cron- Python SDK](https://docs.catalyst.zoho.com/en/sdk/python/v1/job-scheduling/cron/update-cron/) ### Job Pool -------------------------------------------------------------------------------- title: "Get All Job Pools" description: "This API enables you to retrieve details of all the Job Pools present in the project." last_updated: "2026-10-06T06:21:49.000Z" source: "https://docs.catalyst.zoho.com/en/api/code-reference/job-scheduling/jobpool/get-all-jobpool/" service: "Job Scheduling" -------------------------------------------------------------------------------- # Job Scheduling API [Job Scheduling](https://docs.catalyst.zoho.com/en/job-scheduling/help/jobpool/introduction/) is a Catalyst service that allows you to schedule [job submissions](https://docs.catalyst.zoho.com/en/job-scheduling/help/implementation/submit-instant-job/) and execute them in a Job Pool to trigger [Circuits](https://docs.catalyst.zoho.com/en/serverless/help/circuits/introduction/), Webhooks (any third-party URL), [Job Functions](https://docs.catalyst.zoho.com/en/serverless/help/functions/job-functions/), and [App Sail](https://docs.catalyst.zoho.com/en/serverless/help/appsail/introduction/) service's endpoints. # Get All Job Pools ### Description This API enables you to retrieve details of all the Job Pools present in the project. ### Request Details #### Request URL `GET` {api-domain}/baas/v1/project/{project_id}/job_scheduling/jobpool - **project_id** (Numerical): The [unique ID](https://docs.catalyst.zoho.com/en/getting-started/set-up-a-catalyst-project/general-settings/) of the project #### Request Headers **Authorization:** Zoho-oauthtoken {oauth_token} **Optional Headers** **CATALYST-ORG:** {org_id} **Environment:** Development #### Scope ZohoCatalyst.jobpool.READ ### Response Details The JSON response returns the metadata of all the Job Pools present in the project. The response will also contain the details of the user who created and last modified it. **Sample Request** ```bash curl -X GET https://api.catalyst.zoho.com/baas/v1/project/10278000000019013/job_scheduling/jobpool -H “Authorization: Zoho-oauthtoken 1000.910*************************16.2f*************************57” ``` **Sample Response** ```json { "status": "success", "data": [ { "type": "AppSail", "name": "TriggerMicroservice", "created_by": { "zuid": "77941453", "is_confirmed": false, "email_id": "emmy@zylker.com", "first_name": "Amelia Burrows", "last_name": "", "user_type": "Admin", "user_id": "10108000000009004" }, "created_time": "May 28, 2024 04:51 PM", "modified_by": { "zuid": "77941453", "is_confirmed": false, "email_id": "emmy@zylker.com", "first_name": "Amelia Burrows", "last_name": "", "user_type": "Admin", "user_id": "10108000000009004" }, "modified_time": "May 28, 2024 04:51 PM", "capacity": { "number": "1" }, "project_details": { "project_name": "ZylkerShipments", "id": "10108000003823392", "project_type": "Live" }, "id": "10108000003823795" }, { "type": "Circuit", "name": "InventoryDataMaintaince", "created_by": { "zuid": "77941453", "is_confirmed": false, "email_id": "emmy@zylker.com", "first_name": "Amelia Burrows", "last_name": "", "user_type": "Admin", "user_id": "10108000000009004" }, "created_time": "May 28, 2024 04:49 PM", "modified_by": { "zuid": "77941453", "is_confirmed": false, "email_id": "emmy@zylker.com", "first_name": "Amelia Burrows", "last_name": "", "user_type": "Admin", "user_id": "10108000000009004" }, "modified_time": "May 28, 2024 04:49 PM", "capacity": { "number": "3" }, "project_details": { "project_name": "ZylkerShipments", "id": "10108000003823392", "project_type": "Live" }, "id": "10108000003823699" }, { "type": "Webhook", "name": "VendorDataFetch", "created_by": { "zuid": "77941453", "is_confirmed": false, "email_id": "emmy@zylker.com", "first_name": "Amelia Burrows", "last_name": "", "user_type": "Admin", "user_id": "10108000000009004" }, "created_time": "May 28, 2024 04:47 PM", "modified_by": { "zuid": "77941453", "is_confirmed": false, "email_id": "emmy@zylker.com", "first_name": "Amelia Burrows", "last_name": "", "user_type": "Admin", "user_id": "10108000000009004" }, "modified_time": "May 28, 2024 04:47 PM", "capacity": { "number": "3" }, "project_details": { "project_name": "ZylkerShipments", "id": "10108000003823392", "project_type": "Live" }, "id": "10108000003823632" }, { "type": "Function", "name": "VendorReminder", "created_by": { "zuid": "77941453", "is_confirmed": false, "email_id": "emmy@zylker.com", "first_name": "Amelia Burrows", "last_name": "", "user_type": "Admin", "user_id": "10108000000009004" }, "created_time": "May 28, 2024 04:44 PM", "modified_by": { "zuid": "77941453", "is_confirmed": false, "email_id": "emmy@zylker.com", "first_name": "Amelia Burrows", "last_name": "", "user_type": "Admin", "user_id": "10108000000009004" }, "modified_time": "May 28, 2024 04:44 PM", "capacity": { "memory": "2048" }, "project_details": { "project_name": "ZylkerShipments", "id": "10108000003823392", "project_type": "Live" }, "id": "10108000003823563" } ] } ``` ### SDK Documentation [Get All Job Pool- Java SDK](https://docs.catalyst.zoho.com/en/sdk/java/v1/job-scheduling/jobpool/get-all-job-pool/) [Get All Job Pool- Node.js SDK](https://docs.catalyst.zoho.com/en/sdk/nodejs/v2/job-scheduling/jobpool/get-all-jobpool/) [Get All Job Pool- Python SDK](https://docs.catalyst.zoho.com/en/sdk/python/v1/job-scheduling/jobpool/get-all-jobpool/) -------------------------------------------------------------------------------- title: "Get Job Pool by Identifier" description: "This API enables you to retrieve details of a Job Pool present in the project." last_updated: "2026-08-17T12:16:04.000Z" source: "https://docs.catalyst.zoho.com/en/api/code-reference/job-scheduling/jobpool/get-jobpool/" service: "Job Scheduling" -------------------------------------------------------------------------------- # Get Job Pool by Identifier ### Description This API enables you to retrieve details of a specific [job pool](https://docs.catalyst.zoho.com/en/job-scheduling/help/jobpool/introduction/). The Job Pool is referred by its unique Job Pool ID or its name. ### Request Details #### Request URL `GET` {api-domain}/baas/v1/project/{project_id}/job_scheduling/jobpool/{jobpool_identifier} - **project_id** (Numerical): The [unique ID](https://docs.catalyst.zoho.com/en/getting-started/set-up-a-catalyst-project/general-settings/) of the project - **jobpool_identifier** (Numerical or String): The [unique ID](https://docs.catalyst.zoho.com/en/job-scheduling/help/jobpool/key-concepts/#job-pool-id) of the Job Pool, or its name. #### Request Headers **Authorization:** Zoho-oauthtoken {oauth_token} **Optional Headers** **CATALYST-ORG:** {org_id} **Environment:** Development #### Scope ZohoCatalyst.jobpool.READ ### Response Details The JSON response returns the metadata of a specific corn present in the project. The response will also contain the details of the user who created and last modified it. > **Note:** The above response occurred when we attempted to `GET` details of a Job Pool that has a [Pre-Defined Cron](https://docs.catalyst.zoho.com/en/job-scheduling/help/implementation/submit-job-predefined-cron/) associated to it. For a [Dynamic Cron](https://docs.catalyst.zoho.com/en/job-scheduling/help/implementation/submit-job-dynamic-cron/), the response will be similar but the execution_type will contain the value as '`dynamic`'. **Sample Request** ```bash curl -X GET https://api.catalyst.zoho.com/baas/v1/project/10278000000019013/job_scheduling/cron/10108000004154323 -H “Authorization: Zoho-oauthtoken 1000.910*************************16.2f*************************57” ``` **Sample Response** ```json { "status": "success", "data": { "cron_name": "pcMonthlyDay", "cron_type": "Calendar", "cron_execution_type": "pre-defined", "job_meta": { "id": "10108000004154323", "url": "", "job_name": "j", "job_config": { "number_of_retries": 0 }, "target_type": "AppSail", "target_details": { "id": "10108000002976191", "target_name": "appsailTrue" }, "source_type": "Cron", "source_details": { "id": "10108000004154321", "source_name": "pcMonthlyDay", "details": { "cron_execution_type": "pre-defined" } }, "jobpool_id": "10108000002976201", "jobpool_details": { "type": "AppSail", "name": "appsailJP", "created_by": { "zuid": "77941453", "is_confirmed": false, "email_id": "emmy@zylker.com", "first_name": "Amelia Burrows", "last_name": "", "user_type": "Admin", "user_id": "10108000000009004" }, "created_time": "Mar 28, 2024 05:41 PM", "modified_by": { "zuid": "77941453", "is_confirmed": false, "email_id": "emmy@zylker.com", "first_name": "Amelia Burrows", "last_name": "", "user_type": "Admin", "user_id": "10108000000009004" }, "modified_time": "Mar 28, 2024 05:41 PM", "capacity": { "number": "5" }, "project_details": { "project_name": "AppsailCron", "id": "10108000002976144", "project_type": "Live" }, "id": "10108000002976201" }, "request_method": "get" }, "cron_status": true, "created_time": "Jun 04, 2024 04:31 PM", "created_by": { "zuid": "77941453", "is_confirmed": false, "email_id": "emmy@zylker.com", "first_name": "Amelia Burrows", "last_name": "", "user_type": "Admin", "user_id": "10108000000009004" }, "modified_time": "Jun 04, 2024 04:31 PM", "modified_by": { "zuid": "77941453", "is_confirmed": false, "email_id": "emmy@zylker.com", "first_name": "Amelia Burrows", "last_name": "", "user_type": "Admin", "user_id": "10108000000009004" }, "project_details": { "project_name": "AppsailCron", "id": "10108000002976144", "project_type": "Live" }, "end_time": "1718303399", "cron_detail": { "hour": 4, "minute": 4, "second": 4, "repetition_type": "monthly", "days": [ 1, 3, 4 ], "timezone": "Asia/Kolkata" }, "success_count": 0, "failure_count": 0, "id": "10108000004154321" } } ``` ### SDK Documentation [Get a Specific Job Pool- Java SDK](https://docs.catalyst.zoho.com/en/sdk/java/v1/job-scheduling/jobpool/get-job-pool/) [Get a Specific Job Pool- Node.js SDK](https://docs.catalyst.zoho.com/en/sdk/nodejs/v2/job-scheduling/jobpool/get-job-pool/) [Get a Specific Job Pool- Python SDK](https://docs.catalyst.zoho.com/en/sdk/python/v1/job-scheduling/jobpool/get-job-pool/) ### Jobs -------------------------------------------------------------------------------- title: "Get Job By ID" description: "This API enables you to retrieve details of a specific Job." last_updated: "2026-08-17T12:16:04.000Z" source: "https://docs.catalyst.zoho.com/en/api/code-reference/job-scheduling/job/get-job/" service: "Job Scheduling" -------------------------------------------------------------------------------- # Get Job By ID ### Description This API enables you to retrieve details of a specific Job. The Job is referred by its unique `Job ID`. ### Request Details #### Request URL `GET` {api-domain}/baas/v1/project/{project_id}/job_scheduling/job/{job_id} - **project_id** (Numerical): The [unique ID](https://docs.catalyst.zoho.com/en/getting-started/set-up-a-catalyst-project/general-settings/) of the project - **job_id** (Numerical): The [unique ID](https://docs.catalyst.zoho.com/en/job-scheduling/help/job/key-concepts/#job-id) of the Job #### Request Headers **Authorization:** Zoho-oauthtoken {oauth_token} **Optional Headers** **CATALYST-ORG:** {org_id} **Environment:** Development #### Scope ZohoCatalyst.job.READ ### Response Details The JSON response returns the metadata of a specific job present in the project. The response will also contain the details of the user who created and last modified it. > **Note:** The sample response is given for a Job that triggers a [Job Function](https://docs.catalyst.zoho.com/en/serverless/help/functions/job-functions/). If you attempt to use this API to `GET` Jobs that trigger Webhook, [Circuit](https://docs.catalyst.zoho.com/en/serverless/help/circuits/introduction/) or [AppSail](https://docs.catalyst.zoho.com/en/serverless/help/appsail/introduction/) services, then the values of `capacity`, `target`, `request_method`, `target_details`, `params`, and `headers` will change accordingly. **Sample Request** ```bash curl -X GET https://api.catalyst.zoho.com/baas/v1/project/10278000000019013/job_scheduling/job/10278000000027019 -H “Authorization: Zoho-oauthtoken 1000.910*************************16.2f*************************57” ``` **Sample Response** ```json { "status": "success", "data": { "job_id": "10108000003880208", "created_time": "May 29, 2024 02:29 PM", "response_code": "Success", "start_time": { "startTimeToRedirectLogsPage": "29/05/2024 14:24", "timeWithGivenTimezone": "May 29, 2024 02:29 PM IST", "timeWithJobTimezone": "May 29, 2024 02:29 PM IST" }, "end_time": { "timeWithGivenTimezone": "May 29, 2024 02:29 PM IST", "timeWithJobTimezone": "May 29, 2024 02:29 PM IST", "endTimeToRedirectLogsPage": "29/05/2024 14:34" }, "submitted_on": { "startTimeToRedirectLogsPage": "29/05/2024 14:24", "timeWithGivenTimezone": "May 29, 2024 02:29 PM IST", "timeWithJobTimezone": "May 29, 2024 02:29 PM IST" }, "job_status": "SUCCESS", "capacity": { "memory": "256" }, "job_meta_details": { "id": "10108000003880209", "url": "", "job_name": "abc", "job_config": { "number_of_retries": 0 }, "target_type": "Function", "target_details": { "id": "10108000003823893", "target_name": "target_function_fetch" }, "source_type": "API", "source_details": { "source_name": "API" }, "jobpool_id": "10108000003823563", "jobpool_details": { "type": "Function", "name": "VendorReminder", "created_by": { "zuid": "77941453", "is_confirmed": false, "email_id": "emmy@zylker.com", "first_name": "Amelia Burrows", "last_name": "", "user_type": "Admin", "user_id": "10108000000009004" }, "created_time": "May 28, 2024 04:44 PM", "modified_by": { "zuid": "77941453", "is_confirmed": false, "email_id": "emmy@zylker.com", "first_name": "Amelia Burrows", "last_name": "", "user_type": "Admin", "user_id": "10108000000009004" }, "modified_time": "May 28, 2024 04:44 PM", "project_details": { "project_name": "ZylkerShipments", "id": "10108000003823392", "project_type": "Live" }, "id": "10108000003823563" }, "headers": {}, "params": {} }, "retried_count": 0, "parent_job_id": "10108000003880208", "execution_time": "633", "status": false, "dispatch_delay": "103" } } ``` ### SDK Documentation [Get Job Details- Java SDK](https://docs.catalyst.zoho.com/en/sdk/java/v1/job-scheduling/jobs/get-job/) [Get Job Details- Node.js SDK](https://docs.catalyst.zoho.com/en/sdk/nodejs/v2/job-scheduling/jobs/get-job/) [Get Job Details- Python SDK](https://docs.catalyst.zoho.com/en/sdk/python/v1/job-scheduling/jobs/get-job/) -------------------------------------------------------------------------------- title: "Delete Job By ID" description: "This API enables you to delete a job present in a Job Pool." last_updated: "2026-08-17T12:16:04.000Z" source: "https://docs.catalyst.zoho.com/en/api/code-reference/job-scheduling/job/delete-job/" service: "Job Scheduling" -------------------------------------------------------------------------------- # Delete Job by ID ### Description This API enables you to delete a job present in a Job Pool. The Job is referred by its [`job_id`](https://docs.catalyst.zoho.com/en/job-scheduling/help/job/key-concepts/#job-id). ### Request Details #### Request URL `DELETE` {api-domain}/baas/v1/project/{project_id}/job_scheduling/job/{job_id} - **project_id** (Numerical): The [unique ID](https://docs.catalyst.zoho.com/en/getting-started/set-up-a-catalyst-project/general-settings/) of the project - **job_id** (Numerical): The [unique ID](https://docs.catalyst.zoho.com/en/job-scheduling/help/job/key-concepts/#job-id) of the Job #### Request Headers **Authorization:** Zoho-oauthtoken {oauth_token} **Optional Headers** **CATALYST-ORG:** {org_id} **Environment:** Development #### Scope ZohoCatalyst.job.DELETE ### Response Details The JSON response returns the metadata of the deleted job. The response will also contain the details of the user who deleted the job. > **Note:** The sample response is given for a Job that triggers a [Job Function](https://docs.catalyst.zoho.com/en/serverless/help/functions/job-functions/). If you attempt to use this API to `DELETE` Jobs that trigger Webhook, [Circuit](https://docs.catalyst.zoho.com/en/serverless/help/circuits/introduction/) or [AppSail](https://docs.catalyst.zoho.com/en/serverless/help/appsail/introduction/) services, then the values of `capacity`, `target`, `request_method`, `target_details`, `params`, and `headers` will change accordingly. **Sample Request** ```bash curl -X DELETE https://api.catalyst.zoho.com/baas/v1/project/10278000000019013/job_scheduling/job/10278000000027019 -H “Authorization: Zoho-oauthtoken 1000.910*************************16.2f*************************57” ``` **Sample Response** ```json { "status": "success", "data": { "job_id": "10278000000027019", "created_time": "May 29, 2024 02:29 PM", "response_code": "Success", "start_time": { "startTimeToRedirectLogsPage": "29/05/2024 14:24", "timeWithGivenTimezone": "May 29, 2024 02:29 PM IST", "timeWithJobTimezone": "May 29, 2024 02:29 PM IST" }, "end_time": { "timeWithGivenTimezone": "May 29, 2024 02:29 PM IST", "timeWithJobTimezone": "May 29, 2024 02:29 PM IST", "endTimeToRedirectLogsPage": "29/05/2024 14:34" }, "submitted_on": { "startTimeToRedirectLogsPage": "29/05/2024 14:24", "timeWithGivenTimezone": "May 29, 2024 02:29 PM IST", "timeWithJobTimezone": "May 29, 2024 02:29 PM IST" }, "job_status": "SUCCESS", "capacity": { "memory": "256" }, "job_meta_details": { "id": "10278000000027019", "url": "", "job_name": "abc", "job_config": { "number_of_retries": 0 }, "target_type": "Function", "target_details": { "id": "10108000003823893", "target_name": "target_function_fetch" }, "source_type": "API", "source_details": { "source_name": "API" }, "jobpool_id": "10108000003823563", "jobpool_details": { "type": "Function", "name": "VendorReminder", "created_by": { "zuid": "77941453", "is_confirmed": false, "email_id": "emmy@zylker.com", "first_name": "Amelia Burrows", "last_name": "", "user_type": "Admin", "user_id": "10108000000009004" }, "created_time": "May 28, 2024 04:44 PM", "modified_by": { "zuid": "77941453", "is_confirmed": false, "email_id": "emmy@zylker.com", "first_name": "Amelia Burrows", "last_name": "", "user_type": "Admin", "user_id": "10108000000009004" }, "modified_time": "May 28, 2024 04:44 PM", "project_details": { "project_name": "ZylkerShipments", "id": "10108000003823392", "project_type": "Live" }, "id": "10108000003823563" }, "headers": {}, "params": {} }, "retried_count": 0, "parent_job_id": "10108000003880208", "execution_time": "633", "status": false, "dispatch_delay": "103" } } ``` ### SDK Documentation [Delete Job- Java SDK](https://docs.catalyst.zoho.com/en/sdk/java/v1/job-scheduling/jobs/delete-job/) [Delete Job- Node.js SDK](https://docs.catalyst.zoho.com/en/sdk/nodejs/v2/job-scheduling/jobs/delete-job/) [Delete Job- Python SDK](https://docs.catalyst.zoho.com/en/sdk/python/v1/job-scheduling/jobs/delete-job/) #### Submit Job -------------------------------------------------------------------------------- title: "Submit Webhook Job By ID" description: "This API enables you to submit a job to a Job Pool that triggers a Webhook endpoint." last_updated: "2026-08-17T12:16:04.000Z" source: "https://docs.catalyst.zoho.com/en/api/code-reference/job-scheduling/job/submit-job/submit-webhook-job/" service: "Job Scheduling" -------------------------------------------------------------------------------- # Submit Webhook Job By ID ### Description This API enables you to submit a job to a Job Pool that triggers a Webhook endpoint. ### Request Details #### Request URL `POST` {api-domain}/baas/v1/project/{project_id}/job_scheduling/job - **project_id** (Numerical): The [unique ID](https://docs.catalyst.zoho.com/en/getting-started/set-up-a-catalyst-project/general-settings/) of the project #### Request Headers **Authorization:** Zoho-oauthtoken {oauth_token} **Content-Type:** application/json **Optional Headers** **CATALYST-ORG:** {org_id} **Environment:** Development #### Scope ZohoCatalyst.job.CREATE #### Request JSON You must send a JSON with its corresponding values as shown below. **Sample Payload** ```json { "request_method": "post", "source_type": "API", "job_config": { "number_of_retries": "2", "retry_interval": 1800 }, "job_name": "webhookPost", "jobpool_id": "10108000003823632", "target_type": "Webhook", "url": "https://www.zoho.com", "headers": { "h1": "v1" }, "request_body": "{'key1':'val1'}" } ``` You will feed this **Request JSON** to your **Request Body**, and you need to provide the value of: - **request_method** ( , mandatory): This denotes the request method the webhook will be triggered with, and the values can be `get`, `post`, `put`, `delete`, `head`, or `patch`. - **source_type** ( , mandatory): Will always contain API as its value for submit job API. - **job_config** (JSON, mandatory): Will contain the key value pairs `number_of_retries`, and `retry_interval`. This will determine the retry action in the event of a failure. - **target_type** (String, mandatory): Will denote which target type the job is meant to trigger. - **jobpool_id** (Numerical, mandatory): Will contain the [Job Pool ID](https://docs.catalyst.zoho.com/en/job-scheduling/help/jobpool/key-concepts/#job-pool-id) of the job pool that will execute the job. - **job_name** (String, mandatory): Will contain the name of the job you are required to trigger. - **url** (String, mandatory): Will contain the URL of the webhook the job is going to trigger. - **headers** (JSON, optional): Will contain the value of the headers you pass while submitting the job. - **params** (JSON, optional): Will contain the value of the params you pass while submitting the job. ### Response Details The JSON response returns the metadata of the submitted job. The response will also contain the details of the user who submitted the job. **Sample Request** ```bash curl -X POST \ https://api.catalyst.zoho.com/baas/v1/project/{project_id}/job_scheduling/job -H "Authorization: Zoho-oauthtoken 1000.910*************************16.2f*************************57" -H "Content-Type:application/json" -\-data-raw $'{"request_method":"post","source_type":"API","job_config":{"number_of_retries":"2","retry_interval":1800},"job_name":"webhookPost","jobpool_id":"10108000003823632","target_type":"Webhook","url":"https://www.zoho.com","headers":{"h1":"v1"},"request_body":"{\'key1\':\'val1\'}"}' ``` **Sample Response** ```json { "status": "success", "data": { "job_id": "10108000004194125", "created_time": "Jun 05, 2024 04:37 PM", "response_code": null, "start_time": {}, "end_time": {}, "submitted_on": { "startTimeToRedirectLogsPage": "05/06/2024 16:32", "timeWithGivenTimezone": "Jun 05, 2024 04:37 PM IST", "timeWithJobTimezone": "Jun 05, 2024 04:37 PM IST" }, "job_status": "PENDING", "capacity": { "number": "1" }, "job_meta_details": { "id": "10108000004194126", "url": "https://www.zoho.com", "job_name": "webhookPost", "job_config": { "number_of_retries": 2, "retry_interval": 1800 }, "target_type": "Webhook", "target_details": { "target_name": "https://www.zoho.com" }, "source_type": "API", "source_details": { "source_name": "API" }, "jobpool_id": "10108000003823632", "jobpool_details": { "type": "Webhook", "name": "VendorDataFetch", "created_by": { "zuid": "77941453", "is_confirmed": false, "email_id": "emmy@zylker.com", "first_name": "Amelia Burrows", "last_name": "", "user_type": "Admin", "user_id": "10108000000009004" }, "created_time": "May 28, 2024 04:47 PM", "modified_by": { "zuid": "77941453", "is_confirmed": false, "email_id": "emmy@zylker.com", "first_name": "Amelia Burrows", "last_name": "", "user_type": "Admin", "user_id": "10108000000009004" }, "modified_time": "May 28, 2024 04:47 PM", "project_details": { "project_name": "ZylkerShipments", "id": "10108000003823392", "project_type": "Live" }, "id": "10108000003823632" }, "headers": { "h1": "v1" }, "params": {}, "request_method": "post", "request_body": "{'key1':'val1'}" }, "retried_count": null, "parent_job_id": "10108000004194125", "execution_time": null } } ``` ### SDK Documentation [Create Job- Java SDK](https://docs.catalyst.zoho.com/en/sdk/java/v1/job-scheduling/jobs/create-job/) [Create Job- Node.js SDK](https://docs.catalyst.zoho.com/en/sdk/nodejs/v2/job-scheduling/jobs/create-job/) [Create Job- Python SDK](https://docs.catalyst.zoho.com/en/sdk/python/v1/job-scheduling/jobs/create-job/) -------------------------------------------------------------------------------- title: "Submit a Function Job by ID" description: "This API enables you to submit a job to a Job Pool that triggers a Job Function endpoint." last_updated: "2026-08-17T12:16:04.000Z" source: "https://docs.catalyst.zoho.com/en/api/code-reference/job-scheduling/job/submit-job/submit-function-job/" service: "Job Scheduling" -------------------------------------------------------------------------------- # Submit a Function Job by ID ### Description This API enables you to submit a job to a Job Pool that triggers a [Job Function endpoint](https://docs.catalyst.zoho.com/en/serverless/help/functions/job-functions/). ### Request Details #### Request URL `POST` {api-domain}/baas/v1/project/{project_id}/job_scheduling/job - **project_id** (Numerical): The [unique ID](https://docs.catalyst.zoho.com/en/getting-started/set-up-a-catalyst-project/general-settings/) of the project #### Request Headers **Authorization:** Zoho-oauthtoken {oauth_token} **Content-Type:** application/json **Optional Headers** **CATALYST-ORG:** {org_id} **Environment:** Development #### Scope ZohoCatalyst.job.CREATE #### Request JSON You must send a JSON with its corresponding values as shown below. **Sample Payload** ```json { "source_type": "API", "job_config": { "number_of_retries": "2", "retry_interval": 10800 }, "job_name": "functionJob", "jobpool_id": "10108000003823563", "target_type": "Function", "target_id": "10108000003823893", "params": { "param1": "value1" } } ``` You will feed this **Request JSON** to your **Request Body**, and you need to provide the value of: - **request_method** ( , mandatory): This denotes the request method the webhook will be triggered with, and the values can be `get`, `post`, `put`, `delete`, `head`, or `patch`. - **source_type** ( , mandatory): Will always contain API as its value for submit job API. - **job_config** (JSON, mandatory): Will contain the key value pairs `number_of_retries`, and `retry_interval`. This will determine the retry action in the event of a failure. - **target_type** (String, mandatory): Will denote which target type the job is meant to trigger. - **jobpool_id** (Numerical, mandatory): Will contain the [Job Pool ID](https://docs.catalyst.zoho.com/en/job-scheduling/help/jobpool/key-concepts/#job-pool-id) of the job pool that will execute the job. - **job_name** (String, mandatory): Will contain the name of the job you are required to trigger. - **target_id** (Number, mandatory): Will contain the unique ID of the Job Function the job is meant to trigger. - **params** (JSON, optional): Will contain the value of the params you pass while submitting the job. ### Response Details The JSON response returns the metadata of the submitted job. The response will also contain the details of the user who submitted the job. **Sample Request** ```bash curl -X POST \ 'https://api.catalyst.zoho.com/baas/v1/project/10108000003823392/job_scheduling/job -H "Authorization: Zoho-oauthtoken 1000.910*************************16.2f*************************57" -H "Content-Type:application/json" -\-data-raw '{"source_type":"API","job_config":{"number_of_retries":"2","retry_interval":10800},"job_name":"functionJob","jobpool_id":"10108000003823563","target_type":"Function","target_id":"10108000003823893","params":{"param1":"value1"}}' ``` **Sample Response** ```json { "status": "success", "data": { "job_id": "10108000004194195", "created_time": "Jun 05, 2024 04:51 PM", "response_code": null, "start_time": {}, "end_time": {}, "submitted_on": { "startTimeToRedirectLogsPage": "05/06/2024 16:46", "timeWithGivenTimezone": "Jun 05, 2024 04:51 PM IST", "timeWithJobTimezone": "Jun 05, 2024 04:51 PM IST" }, "job_status": "PENDING", "capacity": { "memory": "512" }, "job_meta_details": { "id": "10108000004194196", "url": "", "job_name": "functionJob", "job_config": { "number_of_retries": 2, "retry_interval": 10800 }, "target_type": "Function", "target_details": { "id": "10108000003823893", "target_name": "target_function_fetch" }, "source_type": "API", "source_details": { "source_name": "API" }, "jobpool_id": "10108000003823563", "jobpool_details": { "type": "Function", "name": "VendorReminder", "created_by": { "zuid": "77941453", "is_confirmed": false, "email_id": "emmy@zylker.com", "first_name": "Amelia Burrows", "last_name": "", "user_type": "Admin", "user_id": "10108000000009004" }, "created_time": "May 28, 2024 04:44 PM", "modified_by": { "zuid": "77941453", "is_confirmed": false, "email_id": "emmy@zylker.com", "first_name": "Amelia Burrows", "last_name": "", "user_type": "Admin", "user_id": "10108000000009004" }, "modified_time": "May 28, 2024 04:44 PM", "project_details": { "project_name": "ZylkerShipments", "id": "10108000003823392", "project_type": "Live" }, "id": "10108000003823563" }, "headers": {}, "params": { "param1": "value1" } }, "retried_count": null, "parent_job_id": "10108000004194195", "execution_time": null } } ``` ### SDK Documentation [Create Job- Java SDK](https://docs.catalyst.zoho.com/en/sdk/java/v1/job-scheduling/jobs/create-job/) [Create Job- Node.js SDK](https://docs.catalyst.zoho.com/en/sdk/nodejs/v2/job-scheduling/jobs/create-job/) [Create Job- Python SDK](https://docs.catalyst.zoho.com/en/sdk/python/v1/job-scheduling/jobs/create-job/) -------------------------------------------------------------------------------- title: "Submit a Circuit Job By ID" description: "This API enables you to submit a job to a Job Pool that triggers a Circuit's endpoint." last_updated: "2026-08-17T12:16:04.000Z" source: "https://docs.catalyst.zoho.com/en/api/code-reference/job-scheduling/job/submit-job/submit-circuit-job/" service: "Job Scheduling" -------------------------------------------------------------------------------- # Submit a Circuit Job By ID ### Description This API enables you to submit a job to a Job Pool that triggers a [Circuit](https://docs.catalyst.zoho.com/en/serverless/help/circuits/introduction/)'s endpoint. ### Request Details #### Request URL `POST` {api-domain}/baas/v1/project/{project_id}/job_scheduling/job - **project_id** (Numerical): The [unique ID](https://docs.catalyst.zoho.com/en/getting-started/set-up-a-catalyst-project/general-settings/) of the project #### Request Headers **Authorization:** Zoho-oauthtoken {oauth_token} **Content-Type:** application/json **Optional Headers** **CATALYST-ORG:** {org_id} **Environment:** Development #### Scope ZohoCatalyst.job.CREATE #### Request JSON You must send a JSON with its corresponding values as shown below. **Sample Payload** ```json { "source_type": "API", "job_config": { "number_of_retries": "4", "retry_interval": 300 }, "job_name": "circuitJob", "jobpool_id": "10108000003823699", "target_type": "Circuit", "target_id": "10108000004194246", "test_cases": { "key1": "value1", "key2": "value2", "key3": "value3" } } ``` You will feed this **Request JSON** to your **Request Body**, and you need to provide the value of: - **request_method** ( , mandatory): This denotes the request method the webhook will be triggered with, and the values can be `get`, `post`, `put`, `delete`, `head`, or `patch`. - **source_type** ( , mandatory): Will always contain API as its value for submit job API. - **job_config** (JSON, mandatory): Will contain the key value pairs `number_of_retries`, and `retry_interval`. This will determine the retry action in the event of a failure. - **target_type** (String, mandatory): Will denote which target type the job is meant to trigger. - **jobpool_id** (Numerical, mandatory): Will contain the [Job Pool ID](https://docs.catalyst.zoho.com/en/job-scheduling/help/jobpool/key-concepts/#job-pool-id) of the job pool that will execute the job. - **job_name** (String, mandatory): Will contain the name of the job you are required to trigger. - **target_id** (Number, mandatory): Will contain the unique ID of the Circuit the job is meant to trigger. - **test_cases** (JSON, optional): Will contain the JSON key value pair input you need to feed to the Circuit. ### Response Details The JSON response returns the metadata of the submitted job. The response will also contain the details of the user who submitted the job. **Sample Request** ```bash curl -X POST \ https://api.catalyst.zoho.com/baas/v1/project/{project_id}/job_scheduling/job -H "Authorization: Zoho-oauthtoken 1000.910*************************16.2f*************************57" -H "Content-Type:application/json" -\-data-raw '{"source_type":"API","job_config":{"number_of_retries":"4","retry_interval":300},"job_name":"circuitJob","jobpool_id":"10108000003823699","target_type":"Circuit","target_id":"10108000004194246","test_cases":{"key1":"value1","key2":"value2","key3":"value3"}}' ``` **Sample Response** ```json { "status": "success", "data": { "job_id": "10108000004194251", "created_time": "Jun 05, 2024 04:56 PM", "response_code": null, "start_time": {}, "end_time": {}, "submitted_on": { "startTimeToRedirectLogsPage": "05/06/2024 16:51", "timeWithGivenTimezone": "Jun 05, 2024 04:56 PM IST", "timeWithJobTimezone": "Jun 05, 2024 04:56 PM IST" }, "job_status": "PENDING", "capacity": { "number": "1" }, "job_meta_details": { "id": "10108000004194252", "job_name": "circuitJob", "job_config": { "number_of_retries": 4, "retry_interval": 300 }, "target_type": "Circuit", "target_details": { "id": "10108000004194246", "target_name": "abc" }, "source_type": "API", "source_details": { "source_name": "API" }, "jobpool_id": "10108000003823699", "jobpool_details": { "type": "Circuit", "name": "InventoryDataMaintaince", "created_by": { "zuid": "77941453", "is_confirmed": false, "email_id": "emmy@zylker.com", "first_name": "Amelia Burrows", "last_name": "", "user_type": "Admin", "user_id": "10108000000009004" }, "created_time": "May 28, 2024 04:49 PM", "modified_by": { "zuid": "77941453", "is_confirmed": false, "email_id": "emmy@zylker.com", "first_name": "Amelia Burrows", "last_name": "", "user_type": "Admin", "user_id": "10108000000009004" }, "modified_time": "May 28, 2024 04:49 PM", "project_details": { "project_name": "ZylkerShipments", "id": "10108000003823392", "project_type": "Live" }, "id": "10108000003823699" }, "headers": {}, "params": { "key1": "value1", "key2": "value2", "key3": "value3" } }, "retried_count": null, "parent_job_id": "10108000004194251", "execution_time": null } } ``` ### SDK Documentation [Create Job- Java SDK](https://docs.catalyst.zoho.com/en/sdk/java/v1/job-scheduling/jobs/create-job/) [Create Job- Node.js SDK](https://docs.catalyst.zoho.com/en/sdk/nodejs/v2/job-scheduling/jobs/create-job/) [Create Job- Python SDK](https://docs.catalyst.zoho.com/en/sdk/python/v1/job-scheduling/jobs/create-job/) -------------------------------------------------------------------------------- title: "Submit an AppSail Job By ID" description: "This API enables you to submit a job to a Job Pool that triggers an AppSail service's endpoint." last_updated: "2026-08-28T06:26:16.000Z" source: "https://docs.catalyst.zoho.com/en/api/code-reference/job-scheduling/job/submit-job/submit-appsail-job/" service: "Job Scheduling" -------------------------------------------------------------------------------- # Submit an AppSail Job By ID ### Description This API enables you to submit a job to a Job Pool that triggers an AppSail service's endpoint. ### Request Details #### Request URL `POST` {api-domain}/baas/v1/project/{project_id}/job_scheduling/job - **project_id** (Numerical): The [unique ID](https://docs.catalyst.zoho.com/en/getting-started/set-up-a-catalyst-project/general-settings/) of the project #### Request Headers **Authorization:** Zoho-oauthtoken {oauth_token} **Content-Type:** application/json **Optional Headers** **CATALYST-ORG:** {org_id} **Environment:** Development #### Scope ZohoCatalyst.job.CREATE #### Request JSON You must send a JSON with its corresponding values as shown below. **Sample Payload** ```json { "request_method": "get", "source_type": "API", "job_config": { "number_of_retries": "3", "retry_interval": 300 }, "job_name": "appsailJob", "jobpool_id": "10108000002976201", "target_type": "AppSail", "target_id": "10108000002976191", "url": "", "headers": { "h1": "k1" }, "params": { "p1": "v1" } } ``` You will feed this **Request JSON** to your **Request Body**, and you need to provide the value of: - **request_method** ( , mandatory): This denotes the request method the webhook will be triggered with, and the values can be `get`, `post`, `put`, `delete`, `head`, or `patch`. - **source_type** ( , mandatory): Will always contain API as its value for submit job API. - **job_config** (JSON, mandatory): Will contain the key value pairs `number_of_retries`, and `retry_interval`. This will determine the retry action in the event of a failure. - **target_type** (String, mandatory): Will denote which target type the job is meant to trigger. - **jobpool_id** (Numerical, mandatory): Will contain the [Job Pool ID](https://docs.catalyst.zoho.com/en/job-scheduling/help/jobpool/key-concepts/#job-pool-id) of the job pool that will execute the job. - **job_name** (String, mandatory): Will contain the name of the job you are required to trigger. - **target_id** (Number, mandatory): Will contain the ID of the target the Job is meant to trigger. For example, since this is a AppSail Job, the target ID will the [AppSail Service's ID](https://docs.catalyst.zoho.com/en/serverless/help/appsail/console/overview/). - **url** (String, optional): Will contain the url of the AppSail service. - **headers** (JSON, optional): Will contain the value of the headers you pass while submitting the job. - **params** (JSON, optional): Will contain the value of the params you pass while submitting the job. ### Response Details The JSON response returns the metadata of the submitted job. The response will also contain the details of the user who submitted the job. **Sample Request** ```bash curl -X POST \ https://api.catalyst.zoho.com/baas/v1/project/{project_id}/job_scheduling/job -H "Authorization: Zoho-oauthtoken 1000.910*************************16.2f*************************57" -H "Content-Type:application/json" -\-data-raw '{"request_method":"get","source_type":"API","job_config":{"number_of_retries":"3","retry_interval":300},"job_name":"appsailJob","jobpool_id":"10108000002976201","target_type":"AppSail","target_id":"10108000002976191","url":"","headers":{"h1":"k1"},"params":{"p1":"v1"}}' ``` **Sample Response** ```json { "status": "success", "data": { "job_id": "10108000004194320", "created_time": "Jun 05, 2024 05:02 PM", "response_code": null, "start_time": {}, "end_time": {}, "submitted_on": { "startTimeToRedirectLogsPage": "05/06/2024 16:57", "timeWithGivenTimezone": "Jun 05, 2024 05:02 PM IST", "timeWithJobTimezone": "Jun 05, 2024 05:02 PM IST" }, "job_status": "PENDING", "capacity": { "number": "1" }, "job_meta_details": { "id": "10108000004194321", "url": "", "job_name": "appsailJob", "job_config": { "number_of_retries": 3, "retry_interval": 300 }, "target_type": "AppSail", "target_details": { "id": "10108000002976191", "target_name": "appsailTrue" }, "source_type": "API", "source_details": { "source_name": "API" }, "jobpool_id": "10108000002976201", "jobpool_details": { "type": "AppSail", "name": "appsailJP", "created_by": { "zuid": "77941453", "is_confirmed": false, "email_id": "emmy@zylker.com", "first_name": "Amelia Burrows", "last_name": "", "user_type": "Admin", "user_id": "10108000000009004" }, "created_time": "Mar 28, 2024 05:41 PM", "modified_by": { "zuid": "77941453", "is_confirmed": false, "email_id": "emmy@zylker.com", "first_name": "Amelia Burrows", "last_name": "", "user_type": "Admin", "user_id": "10108000000009004" }, "modified_time": "Mar 28, 2024 05:41 PM", "project_details": { "project_name": "AppsailCron", "id": "10108000002976144", "project_type": "Live" }, "id": "10108000002976201" }, "headers": { "h1": "k1" }, "params": { "p1": "v1" }, "request_method": "get" }, "retried_count": null, "parent_job_id": "10108000004194320", "execution_time": null } } ``` ### SDK Documentation [Create Job- Java SDK](https://docs.catalyst.zoho.com/en/sdk/java/v1/job-scheduling/jobs/create-job/) [Create Job- Node.js SDK](https://docs.catalyst.zoho.com/en/sdk/nodejs/v2/job-scheduling/jobs/create-job/) [Create Job- Python SDK](https://docs.catalyst.zoho.com/en/sdk/python/v1/job-scheduling/jobs/create-job/) ## SDK — Java — Job Scheduling -------------------------------------------------------------------------------- title: "Overview" description: "This page describes the methods to perform Job Scheduling operations" last_updated: "2026-09-08T11:07:33.000Z" source: "https://docs.catalyst.zoho.com/en/sdk/java/v1/job-scheduling/overview/" service: "Job Scheduling" related: - Component Help Documentation (/en/job-scheduling/help/jobpool/introduction/) - JavaScript SDK Documentation (/en/sdk/javascript/v1/overview/) - Python SDK (/en/sdk/python/v1/job-scheduling/overview/) - REST API Collection (/en/api/code-reference/job-scheduling/jobpool/get-all-jobpool/#GetAllJobPools) -------------------------------------------------------------------------------- # Job Scheduling SDK Job Scheduling is a Catalyst service that allows you to schedule job submissions and execute them in a Job Pool to trigger [Circuits](https://docs.catalyst.zoho.com/en/serverless/help/circuits/introduction/), Webhooks(any third-party URL), [Job Functions](https://docs.catalyst.zoho.com/en/serverless/help/functions/job-functions/), and [App Sail](https://docs.catalyst.zoho.com/en/serverless/help/appsail/introduction/) service's endpoints. Using the Catalyst SDK, you can perform the following operations through code:
Job Scheduling Component Operations Possible Using SDK
Job Pool [Get All Job Pool](https://docs.catalyst.zoho.com/en/sdk/java/v1/job-scheduling/jobpool/get-all-job-pool/) [Get a Specific Job Pool](https://docs.catalyst.zoho.com/en/sdk/java/v1/job-scheduling/jobpool/get-job-pool/)
Job [Create Job](https://docs.catalyst.zoho.com/en/sdk/java/v1/job-scheduling/jobs/create-job/) [Get Job Details](https://docs.catalyst.zoho.com/en/sdk/java/v1/job-scheduling/jobs/get-job/) [Delete a Job](https://docs.catalyst.zoho.com/en/sdk/java/v1/job-scheduling/jobs/delete-job/)
Cron [Create a One-Time Cron](https://docs.catalyst.zoho.com/en/sdk/java/v1/job-scheduling/cron/create-one-time-cron/) [Create a Recurring Cron](https://docs.catalyst.zoho.com/en/sdk/java/v1/job-scheduling/cron/create-recurring-cron/) [Create Cron Using Cron Expressions](https://docs.catalyst.zoho.com/en/sdk/java/v1/job-scheduling/cron/create-cron-cron-expressions/) [Get Details of a Particular Cron](https://docs.catalyst.zoho.com/en/sdk/java/v1/job-scheduling/cron/get-cron-details/) [Get Details of All Crons](https://docs.catalyst.zoho.com/en/sdk/java/v1/job-scheduling/cron/get-all-cron-details/) [Update Cron](https://docs.catalyst.zoho.com/en/sdk/java/v1/job-scheduling/cron/update-cron/) [Pause Cron](https://docs.catalyst.zoho.com/en/sdk/java/v1/job-scheduling/cron/pause-cron/) [Resume Cron](https://docs.catalyst.zoho.com/en/sdk/java/v1/job-scheduling/cron/resume-cron/) [Run Cron](https://docs.catalyst.zoho.com/en/sdk/java/v1/job-scheduling/cron/run-cron/) [Delete Cron](https://docs.catalyst.zoho.com/en/sdk/java/v1/job-scheduling/cron/delete-cron/)
-------------------------------------------------------------------------------- title: "Initialize Job Scheduling Instance" description: "This page describes the method to create a component reference for the Job Scheduling service." last_updated: "2026-09-08T11:07:33.000Z" source: "https://docs.catalyst.zoho.com/en/sdk/java/v1/job-scheduling/initialize-job-scheduling-instance/" service: "Job Scheduling" related: - Component Help Documentation (/en/job-scheduling/help/jobpool/introduction/) - JavaScript SDK Documentation (/en/sdk/javascript/v1/job-scheduling/jobpool/get-all-jobpool/) - Python SDK (/en/sdk/python/v1/job-scheduling/initialize-job-scheduling-instance/) - REST API Collection (/en/api/code-reference/job-scheduling/jobpool/get-all-jobpool/#GetAllJobPools) -------------------------------------------------------------------------------- # Initialize Job Scheduling Instance You can create a [Job Scheduling](https://docs.catalyst.zoho.com/en/job-scheduling/) component reference as shown below. This will not fire a server-side call. We will refer to this component instance in various code snippets of working with Job Scheduling's components. #### Sample Code Snippet **Package Imports** ```java import com.zc.component.jobscheduling.ZCJobScheduling; ``` ```java ZCJobScheduling jobScheduling = ZCJobScheduling.getInstance(); // get job scheduling instance ``` ### Cron -------------------------------------------------------------------------------- title: "Create a One-Time Cron" description: "This page describes the Java method to create a one-time cron with sample code snippets." last_updated: "2026-09-08T11:07:33.000Z" source: "https://docs.catalyst.zoho.com/en/sdk/java/v1/job-scheduling/cron/create-one-time-cron/" service: "Job Scheduling" related: - Component Help Documentation (/en/job-scheduling/help/cron/introduction/) - JavaScript SDK Documentation (/en/sdk/javascript/v1/job-scheduling/cron/create-one-time-cron/) - Python SDK (/en/sdk/python/v1/job-scheduling/cron/create-one-time-cron/) - REST API Collection (/en/api/code-reference/job-scheduling/cron/create-cron/create-one-time-cron/#CreateaOne-TimeCron) -------------------------------------------------------------------------------- # Create a One-Time Cron The [Cron](https://docs.catalyst.zoho.com/en/job-scheduling/help/cron/introduction/) component is used to schedule the submission of a [job](https://docs.catalyst.zoho.com/en/job-scheduling/help/job/introduction/) to the [job Pool](https://docs.catalyst.zoho.com/en/job-scheduling/help/jobpool/introduction/). Using the following SDK, you will be able to create a cron that will schedule a job submission only once. > **Note:** The following SDK is written for a job that will trigger a [Job Function](https://docs.catalyst.zoho.com/en/serverless/help/functions/job-functions/). To make the SDK compatible for the other types, you need to replace the value with proper [**Job Pool ID**](https://docs.catalyst.zoho.com/en/job-scheduling/help/jobpool/key-concepts/#job-pool-id), or **Job Pool Name**, and provide the appropriate **Target Name**, or **Target ID**. #### Sample Code Snippet **Package Imports** ```java import com.zc.component.jobscheduling.beans.cron.ZCCronDetails; import com.zc.component.jobscheduling.beans.cron.ZCCronBuilder; import com.zc.component.jobscheduling.beans.job.ZCJobBuilder; import com.zc.component.jobscheduling.beans.job.ZCJobMetaDetail; import org.json.simple.JSONObject; ``` ```java // generate function job meta ZCJobMetaDetail jobMeta = ZCJobBuilder.functionJobBuilder() // get function job builder .setJobConfig(2, 15 * 60 l) // set job config - job retries => 2 retries in 15 mins (optional) .setJobpoolName("functions_jobpool") // set the name of the function jobpool (optional) (either jobpoolId or jobpoolName is mandatory) // .setJobpoolId(1234567890L) // set the Id of the function jobpool (optional) (either jobpoolId or jobpoolName is mandatory) .setTargetName("target_function") // set target function's name (optional) (either TargetName or TargetId is mandatory) // .setTargetId(1234567890L) // set the target function's Id (optional) (either TargetName or TargetId is mandatory) .setParams(new JSONObject() { { put("arg1", "job"); put("arg2", "test"); } }) // set params to be passed to target function (optional) .setJobName("job_name") // set job name .build(); // build job meta // generate cron details ZCCronDetails oneTimeCronDetails = ZCCronBuilder.zcOneTimeCronBuilder() // get one time cron builder .setCronStatus(true) // set cron as enabled .cronConfig((System.currentTimeMillis() / 1000) + (60 * 60), "America/Los_Angeles") // set the execution time as UNIX timestamp in seconds .setJobMeta(jobMeta) // set job meta (modify based on the job) .setCronName("one_time_cron") // set cron name (unique) .setCronDescription("one_time_cron") // set corn description (optional) .build(); // build cron details // create one time cron ZCCronDetails oneTimeCron = jobScheduling.cron.createCron(oneTimeCronDetails); ``` > **Note:** We urge you to use this SDK to configure only [Dynamic Crons](https://docs.catalyst.zoho.com/en/job-scheduling/help/implementation/submit-job-dynamic-cron/). Use the *UI Builder* to configure [Pre-defined Crons](https://docs.catalyst.zoho.com/en/job-scheduling/help/implementation/submit-job-predefined-cron/). -------------------------------------------------------------------------------- title: "Create a Recurring Cron" description: "This page describes the Java method to create a recurring cron with sample code snippets." last_updated: "2026-09-08T11:07:33.000Z" source: "https://docs.catalyst.zoho.com/en/sdk/java/v1/job-scheduling/cron/create-recurring-cron/" service: "Job Scheduling" related: - Component Help Documentation (/en/job-scheduling/help/jobpool/introduction/) - JavaScript SDK Documentation (/en/sdk/javascript/v1/job-scheduling/cron/create-recurring-cron/) - Python SDK (/en/sdk/python/v1/job-scheduling/cron/create-recurring-cron/) - REST API Collection (/en/api/code-reference/job-scheduling/cron/create-cron/create-every-cron/#CreateanEveryCron) -------------------------------------------------------------------------------- # Create a Recurring Cron Using the following SDK, you will be able to create a recurring cron that can be executed at various time-period intervals. The intervals can range from a minute to entire calendar years. **Every Cron** ### Create an Every Cron The following SDK can be used to create a recurring cron that will submit a job to the job pool at a scheduled interval that is less than **24Hrs**. > **Note:** The following SDK is configured to [submit a job](https://docs.catalyst.zoho.com/en/api/code-reference/job-scheduling/job/submit-job/submit-function-job/#SubmitaFunctionJobByID) every **2Hrs 1Mins and 3secs**. You can change this value as per your requirement by passing the relevant value to the `setTime()` method. #### Sample Code Snippet **Package Imports** ```java import com.zc.component.jobscheduling.beans.cron.ZCCronDetails; import com.zc.component.jobscheduling.beans.cron.ZCCronBuilder; import com.zc.component.jobscheduling.beans.job.ZCJobBuilder; import com.zc.component.jobscheduling.beans.job.ZCJobMetaDetail; import org.json.simple.JSONObject; ``` ```java // generate function job meta ZCJobMetaDetail jobMeta = ZCJobBuilder.functionJobBuilder() // get function job builder .setJobConfig(2, 15 * 60 l) // set job config - job retries => 2 retries in 15 mins (optional) .setJobpoolName("functions_jobpool") // set the name of the function jobpool (optional) (either jobpoolId or jobpoolName is mandatory) // .setJobpoolId(1234567890L) // set the Id of the function jobpool (optional) (either jobpoolId or jobpoolName is mandatory) .setTargetName("target_function") // set target function's name (optional) (either TargetName or TargetId is mandatory) // .setTargetId(1234567890L) // set the target function's Id (optional) (either TargetName or TargetId is mandatory) .setParams(new JSONObject() { { put("arg1", "job"); put("arg2", "test"); } }) // set params to be passed to target function (optional) .setJobName("job_name") // set job name .build(); // build job meta // EVERY CRON => which will be run for every 2hrs 1min and 3sec // generate cron details ZCCronDetails everyCronDetails = ZCCronBuilder.zcEveryCronBuilder() // get every cron builder .setCronStatus(true) // set cron as enabled .setTime(2, 1, 3) // set the repetition interval .setJobMeta(jobMeta) // set the job meta (modify based on the job) .setCronName("every_cron") // set cron name (unique) .setCronDescription("every_cron") // set corn description (optional) .build(); // build cron details // create every cron ZCCronDetails everyCron = jobScheduling.cron.createCron(everyCronDetails); ``` **Daily Cron** ### Create a Daily Cron The following SDK can be used to schedule a cron to [submit a job](https://docs.catalyst.zoho.com/en/job-scheduling/help/implementation/submit-jobs-using-jobs/) to the [job pool](https://docs.catalyst.zoho.com/en/job-scheduling/help/jobpool/introduction/) at a fixed time at a **daily interval**. > **Note:** The following SDK is configured to execute the cron on **0Hr 0Min 0Sec** every single day. You can change this value as per your requirement by passing the relevant value to the `setTime()` method. #### Sample Code Snippet **Package Imports** ```java import com.zc.component.jobscheduling.beans.cron.ZCCronDetails; import com.zc.component.jobscheduling.beans.cron.ZCCronBuilder; import com.zc.component.jobscheduling.beans.job.ZCJobBuilder; import com.zc.component.jobscheduling.beans.job.ZCJobMetaDetail; import org.json.simple.JSONObject; ``` ```java // generate function job meta ZCJobMetaDetail jobMeta = ZCJobBuilder.functionJobBuilder() // get function job builder .setJobConfig(2, 15 * 60 l) // set job config - job retries => 2 retries in 15 mins (optional) .setJobpoolName("functions_jobpool") // set the name of the function jobpool (optional) (either jobpoolId or jobpoolName is mandatory) // .setJobpoolId(1234567890L) // set the Id of the function jobpool (optional) (either jobpoolId or jobpoolName is mandatory) .setTargetName("target_function") // set target function's name (optional) (either TargetName or TargetId is mandatory) // .setTargetId(1234567890L) // set the target function's Id (optional) (either TargetName or TargetId is mandatory) .setParams(new JSONObject() { { put("arg1", "job"); put("arg2", "test"); } }) // set params to be passed to target function (optional) .setJobName("job_name") // set job name .build(); // build job meta // DAILY CRON => which will be run on 0hrs 0mins and 0sec daily // generate cron details ZCCronDetails dailyCronDetails = ZCCronBuilder.zcDailyCronBuilder() // get daily cron builder .setCronStatus(true) // set cron as enabled .setTime(0, 0, 0) // set the time of the day during which the cron should be executed // .setTimezone("America/Los_Angeles") // set the timezone (optional) .setJobMeta(jobMeta) // set the job meta (modify based on the job) .setCronName("daily_cron") // set cron name (unique) .setCronDescription("daily_cron") // set corn description (optional) .build(); // build cron details // create daily cron ZCCronDetails dailyCron = jobScheduling.cron.createCron(dailyCronDetails); ``` **Monthly Cron** ### Create a Monthly Cron The following SDK can be used to schedule a cron to [submit a job](https://docs.catalyst.zoho.com/en/job-scheduling/help/implementation/submit-jobs-using-jobs/) to the [job pool](https://docs.catalyst.zoho.com/en/job-scheduling/help/jobpool/introduction/) at a fixed date, and time at a **monthly interval**. Additionally, you also have the option to submit a job at a monthly interval but on a particular week. If you choose to schedule the cron to execute at a monthly interval on a date-based schedule, then the range of possible dates, based on the **month**, will be **1-31**. Similarly, if you choose a **week-based** interval, then the range can either be from **1-4**, and the particular **days of the week** will be in the range of **1-7**. > **Note:** The following SDK is configured to execute the cron that will submit a job to the job pool **every month** on the **1st**, **3rd**, and **5th** at **0Hrs,0Mins, 0Secs**. You can change this value as per your requirement by passing the relevant value to the `setTime()` method. #### Sample Code Snippet **Package Imports** ```java import com.zc.component.jobscheduling.beans.cron.ZCCronDetails; import com.zc.component.jobscheduling.beans.cron.ZCCronBuilder; import com.zc.component.jobscheduling.beans.job.ZCJobBuilder; import com.zc.component.jobscheduling.beans.job.ZCJobMetaDetail; import org.json.simple.JSONObject; ``` > **Note:** In the following SDK snippet, if you comment out the lines `.setWeeksOfMonth(1, 3)` and `.setDayOfTheWeek(1, 2)`, and comment in code lines `.setTime(0, 0, 0)` and `.setDays(1, 3, 5)`, then the cron will be scheduled to submit a job to the job pool every month on the 1st and 2nd days of the 1st and 3rd week of a month. ```java // generate function job meta ZCJobMetaDetail jobMeta = ZCJobBuilder.functionJobBuilder() // get function job builder .setJobConfig(2, 15 * 60 l) // set job config - job retries => 2 retries in 15 mins (optional) .setJobpoolName("functions_jobpool") // set the name of the function jobpool (optional) (either jobpoolId or jobpoolName is mandatory) // .setJobpoolId(1234567890L) // set the Id of the function jobpool (optional) (either jobpoolId or jobpoolName is mandatory) .setTargetName("target_function") // set target function's name (optional) (either TargetName or TargetId is mandatory) // .setTargetId(1234567890L) // set the target function's Id (optional) (either TargetName or TargetId is mandatory) .setParams(new JSONObject() { { put("arg1", "job"); put("arg2", "test"); } }) // set params to be passed to target function (optional) .setJobName("job_name") // set job name .build(); // build job meta // MONTHLY CRON => which will be run on 0hrs 0mins 0sec on 1st 3rd and 5th days of every month // generate cron details ZCCronDetails monthlyCronDetails = ZCCronBuilder.zcMonthlyCronBuilder() // get monthly cron builder .setCronStatus(true) // set cron as enabled .setTime(0, 0, 0) // set the time of the day during which the cron should be executed .setDays(1, 3, 5) // set the days of the month (day based config) // .setWeeksOfMonth(1, 3) // set the weeks of the month (either week based or day based config is necessary) // .setDayOfTheWeek(1, 2) // set the days of the week (either week based or day based config is necessary) // .setTimezone("America/Los_Angeles") // set the timezone (optional) .setJobMeta(jobMeta) // set the job meta (modify based on the job) .setCronName("monthly_cron") // set cron name (unique) .setCronDescription("monthly_cron") // set corn description (optional) .build(); // build cron details // create monthly cron ZCCronDetails monthlyCron = jobScheduling.cron.createCron(monthlyCronDetails); ``` **Yearly Cron** ### Create a Yearly Cron The following SDK can be used to schedule a cron to[submit a job](https://docs.catalyst.zoho.com/en/job-scheduling/help/implementation/submit-jobs-using-jobs/) to the [job pool](https://docs.catalyst.zoho.com/en/job-scheduling/help/jobpool/introduction/) at a fixed date, and time at a fixed month on a **yearly** interval. Additionally, you also have the option to submit a job at a yearly interval but on a particular week. If you choose to schedule the cron to execute at a **yearly** interval on a **date-based** schedule, then the range of possible dates, based on the **month**, will be **1-31**, and the **month** will be determined based on the range of values **1-12**. Similarly, if you choose a **week-based** interval, then the range can either be from **1-4**, and the particular **days of the week** will be in the range of **1-7**. > **Note:** The following SDK is configured to execute the cron that will submit a job to the job pool on the **1st**, **2nd**, and **3rd** on the **8th month** of **every year**. You can change this value as per your requirement by passing the relevant value to the `setTime()` method. #### Sample Code Snippet **Package Imports** ```java import com.zc.component.jobscheduling.beans.cron.ZCCronDetails; import com.zc.component.jobscheduling.beans.cron.ZCCronBuilder; import com.zc.component.jobscheduling.beans.job.ZCJobBuilder; import com.zc.component.jobscheduling.beans.job.ZCJobMetaDetail; import org.json.simple.JSONObject; ``` ```java // generate function job meta ZCJobMetaDetail jobMeta = ZCJobBuilder.functionJobBuilder() // get function job builder .setJobConfig(2, 15 * 60 l) // set job config - job retries => 2 retries in 15 mins (optional) .setJobpoolName("functions_jobpool") // set the name of the function jobpool (optional) (either jobpoolId or jobpoolName is mandatory) // .setJobpoolId(1234567890L) // set the Id of the function jobpool (optional) (either jobpoolId or jobpoolName is mandatory) .setTargetName("target_function") // set target function's name (optional) (either TargetName or TargetId is mandatory) // .setTargetId(1234567890L) // set the target function's Id (optional) (either TargetName or TargetId is mandatory) .setParams(new JSONObject() { { put("arg1", "job"); put("arg2", "test"); } }) // set params to be passed to target function (optional) .setJobName("job_name") // set job name .build(); // build job meta // YEARLY CRON => which will be run on 0hrs 0min 0sec on 1st 2nd 3rd days of the 8th month of a year // generate cron details ZCCronDetails yearlyCronDetails = ZCCronBuilder.zcYearlyCronBuilder() // get yearly cron builder .setCronStatus(true) // set cron as enabled .setTime(0, 0, 0) // set the time of the day during which the cron should be executed .setDays(1, 2, 3) // set the days of the month // .setWeeksOfMonth(1) // set the weeks of the month (either week based or day based config is necessary) // .setDayOfTheWeek(3) // set the days of the week (either week based or day based config is necessary) .setMonths(8) // set the months // .setTimezone("America/Los_Angeles") // set the timezone (optional) .setJobMeta(jobMeta) // set the job meta (modify based on the job) .setCronName("yearly_cron") // set cron name (unique) .setCronDescription("yearly_cron") // set corn description (optional) .build(); // build cron details // create yearly cron ZCCronDetails yearlyCron = jobScheduling.cron.createCron(yearlyCronDetails); ``` > **Note:** We urge you to use this SDK to configure only [Dynamic Crons](https://docs.catalyst.zoho.com/en/job-scheduling/help/implementation/submit-job-dynamic-cron/). Use the *UI Builder* to configure [Pre-defined Crons](https://docs.catalyst.zoho.com/en/job-scheduling/help/implementation/submit-job-predefined-cron/). -------------------------------------------------------------------------------- title: "Create a Cron Using Cron Expressions" description: "This page describes the Java method to create a cron defined using Cron Expressions with sample code snippets." last_updated: "2026-09-08T11:07:33.000Z" source: "https://docs.catalyst.zoho.com/en/sdk/java/v1/job-scheduling/cron/create-cron-cron-expressions/" service: "Job Scheduling" related: - Component Help Documentation (/en/job-scheduling/help/cron/key-concepts/#cron-expressions) - JavaScript SDK Documentation (/en/sdk/javascript/v1/job-scheduling/cron/create-cron-expressions/) - Python SDK (/en/sdk/python/v1/job-scheduling/cron/create-cron-cron-expressions/) - REST API Collection (/en/api/code-reference/job-scheduling/cron/create-cron/create-cron-cron-exp/#CreateaCronUsingCronExpressions) -------------------------------------------------------------------------------- # Create a Cron Using Cron Expressions Use this SDK to implement crons to schedule the submission of jobs to job pools. However, the configuration of the cron will be defined using regex-like expressions called [Cron Expressions](https://docs.catalyst.zoho.com/en/job-scheduling/help/cron/key-concepts/#cron-expressions). > **Note:** In the following SDK, the cron has been configured using Cron Expressions, to submit a job to the job pool on **0Hrs 0Mins 0Secs** on **every 1st day of the week** on the **1st month of every year**. #### Sample Code Snippet **Package Imports** ```java import com.zc.component.jobscheduling.beans.cron.ZCCronDetails; import com.zc.component.jobscheduling.beans.cron.ZCCronBuilder; import com.zc.component.jobscheduling.beans.job.ZCJobBuilder; import com.zc.component.jobscheduling.beans.job.ZCJobMetaDetail; import org.json.simple.JSONObject; ``` ```java // generate function job meta ZCJobMetaDetail jobMeta = ZCJobBuilder.functionJobBuilder() // get function job builder .setJobConfig(2, 15 * 60 l) // set job config - job retries => 2 retries in 15 mins (optional) .setJobpoolName("functions_jobpool") // set the name of the function jobpool (optional) (either jobpoolId or jobpoolName is mandatory) // .setJobpoolId(1234567890L) // set the Id of the function jobpool (optional) (either jobpoolId or jobpoolName is mandatory) .setTargetName("target_function") // set target function's name (optional) (either TargetName or TargetId is mandatory) // .setTargetId(1234567890L) // set the target function's Id (optional) (either TargetName or TargetId is mandatory) .setParams(new JSONObject() { { put("arg1", "job"); put("arg2", "test"); } }) // set params to be passed to target function (optional) .setJobName("job_name") // set job name .build(); // build job meta // generate cron details ZCCronDetails expressionCronDetails = ZCCronBuilder.zcExpressionCronBuilder() // get expression corn builder .setCronStatus(true) // set cron as enabled .setCronExpression("0 0 * 1 1") // set the UNIX cron expression // .setTimezone("America/Los_Angeles") // set the timezone (optional) .setCronName("expression_cron") // set cron name .setCronDescription("expression_cron") // set corn description (optional) .setJobMeta(jobMeta) // set job meta .build(); // build cron details // create expression cron ZCCronDetails expressionCron = jobScheduling.cron.createCron(expressionCronDetails); ``` > **Note:** We urge you to use this SDK to configure only [Dynamic Crons](https://docs.catalyst.zoho.com/en/job-scheduling/help/implementation/submit-job-dynamic-cron/). Use the *UI Builder* to configure [Pre-defined Crons](https://docs.catalyst.zoho.com/en/job-scheduling/help/implementation/submit-job-predefined-cron/). -------------------------------------------------------------------------------- title: "Get Details of a Particular Cron" description: "This page describes the Java method to get details of a particular cron with sample code snippets." last_updated: "2026-09-08T11:07:33.000Z" source: "https://docs.catalyst.zoho.com/en/sdk/java/v1/job-scheduling/cron/get-cron-details/" service: "Job Scheduling" related: - Component Help Documentation (/en/job-scheduling/help/cron/introduction/) - JavaScript SDK Documentation (/en/sdk/javascript/v1/job-scheduling/cron/get-cron-details/) - Python SDK (/en/sdk/python/v1/job-scheduling/cron/get-cron-details/) - REST API Collection (/en/api/code-reference/job-scheduling/cron/get-cron/#GetCronByIdentifier) -------------------------------------------------------------------------------- # Get Details of a Particular Cron Use the following SDK to get all available details of a particular [**Pre-Defined Cron**](https://docs.catalyst.zoho.com/en/job-scheduling/help/implementation/submit-job-predefined-cron/) or [**Dynamic Cron**](https://docs.catalyst.zoho.com/en/job-scheduling/help/implementation/submit-job-dynamic-cron/). You need to pass the [`cron id`](https://docs.catalyst.zoho.com/en/job-scheduling/help/cron/key-concepts/#cron-id) or the name of the cron to `getCron()` SDK method. #### Sample Code Snippet **Package Imports** ```java import com.zc.component.jobscheduling.beans.cron.ZCCronDetails; ``` ```java ZCCronDetails cronA = jobScheduling.cron.getCron(12378634912l); // get cron details with cron id ZCCronDetails cronB = jobScheduling.cron.getCron("test_cron"); // get cron details with cron name ``` -------------------------------------------------------------------------------- title: "Get Details of All Crons" description: "This page describes the Java method to get the details of all the cron in the project with sample code snippets." last_updated: "2026-09-08T11:07:33.000Z" source: "https://docs.catalyst.zoho.com/en/sdk/java/v1/job-scheduling/cron/get-all-cron-details/" service: "Job Scheduling" related: - Component Help Documentation (/en/job-scheduling/help/cron/introduction/) - JavaScript SDK Documentation (/en/sdk/javascript/v1/job-scheduling/cron/get-all-cron/) - Python SDK (/en/sdk/python/v1/job-scheduling/cron/get-all-cron-details/) - REST API Collection (/en/api/code-reference/job-scheduling/cron/get-all-cron/#GetAllCrons) -------------------------------------------------------------------------------- # Get Details of All Crons The following SDK will allow you to get all available information on all [Pre-Defined Crons](https://docs.catalyst.zoho.com/en/job-scheduling/help/implementation/submit-job-predefined-cron/) using the `getCron()` SDK method. > **Note:** This method will only fetch you details of Pre-Defined Crons. This method will not work for [Dynamic Crons](https://docs.catalyst.zoho.com/en/job-scheduling/help/implementation/submit-job-dynamic-cron/). #### Sample Code Snippet **Package Imports** ```java import java.util.List; import com.zc.component.jobscheduling.beans.cron.ZCCronDetails; ``` ```java List<ZCCronDetails> allCrons = jobScheduling.cron.getCron(); // get all cron details ``` -------------------------------------------------------------------------------- title: "Update Cron" description: "This page describes the Java method to update a cron in the project with sample code snippets." last_updated: "2026-09-08T11:07:33.000Z" source: "https://docs.catalyst.zoho.com/en/sdk/java/v1/job-scheduling/cron/update-cron/" service: "Job Scheduling" related: - Component Help Documentation (/en/job-scheduling/help/cron/introduction/) - JavaScript SDK Documentation (/en/sdk/javascript/v1/job-scheduling/cron/update-cron/) - Python SDK (/en/sdk/python/v1/job-scheduling/cron/update-cron/) - REST API Collection (/en/api/code-reference/job-scheduling/cron/update-cron/update-one-time-cron/#UpdateaOne-TimeCron) -------------------------------------------------------------------------------- # Update Cron The following SDK can be used to update a particular cron's details. You can use this SDK to update the name, description and target. You can select your required cron by passing the [`cron id`](https://docs.catalyst.zoho.com/en/job-scheduling/help/cron/key-concepts/#cron-id) to `getCron()` method. > **Note:** You can use this method to update details of both [Pre-Defined Crons](https://docs.catalyst.zoho.com/en/job-scheduling/help/implementation/submit-job-predefined-cron/) and [Dynamic Crons](https://docs.catalyst.zoho.com/en/job-scheduling/help/implementation/submit-job-dynamic-cron/). #### Sample Code Snippet **Package Imports** ```java import com.zc.component.jobscheduling.beans.cron.ZCCronDetails; ``` ```java ZCCronDetails cron = jobScheduling.cron.getCron(12378634912l); // get cron with cron Id cron.setCronName("test_cron"); // set new cron name ZCCronDetails updatedCronA = jobScheduling.cron.updateCron(12378634912l, cron); // update cron with cron Id updatedCronA.setCronName("updated_test_cron"); ZCCronDetails updatedCronB = jobScheduling.cron.updateCron("test_cron", cron); // update cron with cron name ``` -------------------------------------------------------------------------------- title: "Pause Cron" description: "This page describes the Java method to pause a cron in the project with sample code snippets." last_updated: "2026-09-08T11:07:33.000Z" source: "https://docs.catalyst.zoho.com/en/sdk/java/v1/job-scheduling/cron/pause-cron/" service: "Job Scheduling" related: - Component Help Documentation (/en/job-scheduling/help/cron/introduction/) - JavaScript SDK Documentation (/en/sdk/javascript/v1/job-scheduling/cron/pause-cron/) - Python SDK (/en/sdk/python/v1/job-scheduling/cron/pause-cron/) - REST API Collection (/en/api/code-reference/job-scheduling/jobpool/get-all-jobpool/#GetAllJobPools) -------------------------------------------------------------------------------- # Pause Cron This SDK method can be used to temporarily halt a cron from submitting a [job](https://docs.catalyst.zoho.com/en/job-scheduling/help/job/introduction/) to the [job Pool](https://docs.catalyst.zoho.com/en/job-scheduling/help/jobpool/introduction/). You need to pass the [`cron id`](https://docs.catalyst.zoho.com/en/job-scheduling/help/cron/key-concepts/#cron-id) or name of the cron you wish to pause to the `pauseCron()` SDK method. > **Note:** You can use this method to update details of both [Pre-Defined Crons](https://docs.catalyst.zoho.com/en/job-scheduling/help/implementation/submit-job-predefined-cron/) and [Dynamic Crons](https://docs.catalyst.zoho.com/en/job-scheduling/help/implementation/submit-job-dynamic-cron/). #### Sample Code Snippet **Package Imports** ```java import com.zc.component.jobscheduling.beans.cron.ZCCronDetails; ``` ```java ZCCronDetails pausedCronA = jobScheduling.cron.pauseCron(123456789l); // pause cron with corn id ZCCronDetails pausedCronB = jobScheduling.cron.pauseCron("test_cron"); // pause cron with cron name ``` -------------------------------------------------------------------------------- title: "Resume Cron" description: "This page describes the Java method to resume a paused cron in the project with sample code snippets." last_updated: "2026-09-08T11:07:33.000Z" source: "https://docs.catalyst.zoho.com/en/sdk/java/v1/job-scheduling/cron/resume-cron/" service: "Job Scheduling" related: - Component Help Documentation (/en/job-scheduling/help/cron/introduction/) - JavaScript SDK Documentation (/en/sdk/javascript/v1/job-scheduling/cron/resume-cron/) - Python SDK (/en/sdk/python/v1/job-scheduling/cron/resume-cron/) - REST API Collection (/en/api/code-reference/job-scheduling/jobpool/get-all-jobpool/#GetAllJobPools) -------------------------------------------------------------------------------- # Resume Cron This SDK method can be used to resume the operations of a cron that had been previously paused. This can be done by passing the paused [`cron id`](https://docs.catalyst.zoho.com/en/job-scheduling/help/cron/key-concepts/#cron-id) or name to the `resumeCron()` SDK method. > **Note:** You can use this method to update details of both [Pre-Defined Crons](https://docs.catalyst.zoho.com/en/job-scheduling/help/implementation/submit-job-predefined-cron/) and [Dynamic Crons](https://docs.catalyst.zoho.com/en/job-scheduling/help/implementation/submit-job-dynamic-cron/). #### Sample Code Snippet **Package Imports** ```java import com.zc.component.jobscheduling.beans.cron.ZCCronDetails; ``` ```java ZCCronDetails resumedCronA = jobScheduling.cron.resumeCron(123456789l); // resume cron with cron id ZCCronDetails resumedCronB = jobScheduling.cron.resumeCron("test_cron"); // resume cron with cron name ``` -------------------------------------------------------------------------------- title: "Run Cron" description: "This page describes the Java method to execute a cron in the project with sample code snippets." last_updated: "2026-09-08T11:07:33.000Z" source: "https://docs.catalyst.zoho.com/en/sdk/java/v1/job-scheduling/cron/run-cron/" service: "Job Scheduling" related: - Component Help Documentation (/en/job-scheduling/help/cron/introduction/) - JavaScript SDK Documentation (/en/sdk/javascript/v1/job-scheduling/cron/run-cron/) - Python SDK (/en/sdk/python/v1/job-scheduling/cron/run-cron/) - REST API Collection (/en/api/code-reference/job-scheduling/jobpool/get-all-jobpool/#GetAllJobPools) -------------------------------------------------------------------------------- # Run Cron This SDK can be used to [execute a cron](https://docs.catalyst.zoho.com/en/job-scheduling/help/cron/introduction/). The cron once executed will immediately submit the associated [job](https://docs.catalyst.zoho.com/en/job-scheduling/help/job/introduction/) to the [job Pool](https://docs.catalyst.zoho.com/en/job-scheduling/help/jobpool/introduction/). This can be done by passing the [`cron id`](https://docs.catalyst.zoho.com/en/job-scheduling/help/cron/key-concepts/#cron-id) or name to the `runCron()` SDK method. > **Note:** You can use this method to update details of both [Pre-Defined Crons](https://docs.catalyst.zoho.com/en/job-scheduling/help/implementation/submit-job-predefined-cron/) and [Dynamic Crons](https://docs.catalyst.zoho.com/en/job-scheduling/help/implementation/submit-job-dynamic-cron/). #### Sample Code Snippet **Package Imports** ```java import com.zc.component.jobscheduling.beans.job.ZCJobDetails; ``` ```java ZCJobDetails runCronA = jobScheduling.cron.runCron(123456789l); // run cron with cron id ZCJobDetails runCronB = jobScheduling.cron.runCron("test_cron"); // run cron with cron name ``` -------------------------------------------------------------------------------- title: "Delete Cron" description: "This page describes the Java method to delete a cron in the project with sample code snippets." last_updated: "2026-09-08T11:07:33.000Z" source: "https://docs.catalyst.zoho.com/en/sdk/java/v1/job-scheduling/cron/delete-cron/" service: "Job Scheduling" related: - Component Help Documentation (/en/job-scheduling/help/cron/introduction/) - JavaScript SDK Documentation (/en/sdk/javascript/v1/job-scheduling/cron/delete-cron/) - Python SDK (/en/sdk/python/v1/job-scheduling/cron/delete-cron/) - REST API Collection (/en/api/code-reference/job-scheduling/cron/delete-cron/#DeleteCron) -------------------------------------------------------------------------------- # Delete Cron This SDK method can be used to delete a particular [cron](https://docs.catalyst.zoho.com/en/job-scheduling/help/cron/introduction/). This can be done by passing the [`cron id`](https://docs.catalyst.zoho.com/en/job-scheduling/help/cron/key-concepts/#cron-id) or name to the `deleteCron()` SDK method. > **Note:** You can use this method to update details of both [Pre-Defined Crons](https://docs.catalyst.zoho.com/en/job-scheduling/help/implementation/submit-job-predefined-cron/) and [Dynamic Crons](https://docs.catalyst.zoho.com/en/job-scheduling/help/implementation/submit-job-dynamic-cron/). #### Sample Code Snippet **Package Imports** ```java import com.zc.component.jobscheduling.beans.cron.ZCCronDetails; ``` ```java ZCCronDetails deletedCronA = jobScheduling.cron.deleteCron(123456789l); // delete cron with cron Id ZCCronDetails deletedCronB = jobScheduling.cron.deleteCron("test_cron"); // delete cron with cron name ``` ### Job Pool -------------------------------------------------------------------------------- title: "Get All Job Pool" description: "This page describes the Java method to get all the job pools present in your project with sample code snippets." last_updated: "2026-09-08T11:07:33.000Z" source: "https://docs.catalyst.zoho.com/en/sdk/java/v1/job-scheduling/jobpool/get-all-job-pool/" service: "Job Scheduling" related: - Component Help Documentation (/en/job-scheduling/help/jobpool/introduction/) - JavaScript SDK Documentation (/en/sdk/javascript/v1/overview/) - Python SDK (/en/sdk/python/v1/job-scheduling/jobpool/get-all-jobpool/) - REST API Collection (/en/api/code-reference/job-scheduling/jobpool/get-all-jobpool/#GetAllJobPools) -------------------------------------------------------------------------------- # Get All Job Pool Using the following SDK, you will be able to get all the available details on all of the available [Job Pools](https://docs.catalyst.zoho.com/en/job-scheduling/help/jobpool/introduction/). #### Sample Code Snippet **Package Imports** ```java import java.util.ArrayList; import com.zc.component.jobscheduling.beans.jobpool.ZCJobpoolDetails; ``` ```java ArrayList<ZCJobpoolDetails> jobpools = jobScheduling.getJobpool(); // get all jobpool ``` -------------------------------------------------------------------------------- title: "Get a Specific Job Pool" description: "This page describes the Java method to get a specific job pool present in your project with sample code snippets." last_updated: "2026-11-03T15:16:51.000Z" source: "https://docs.catalyst.zoho.com/en/sdk/java/v1/job-scheduling/jobpool/get-job-pool/" service: "Job Scheduling" related: - Component Help Documentation (/en/job-scheduling/help/jobpool/introduction/) - JavaScript SDK Documentation (/en/sdk/javascript/v1/job-scheduling/jobpool/get-jobpool/) - Python SDK (/en/sdk/python/v1/job-scheduling/jobpool/get-job-pool/) - REST API Collection (/en/api/code-reference/job-scheduling/jobpool/get-jobpool/#GetJobPoolByIdentifier) -------------------------------------------------------------------------------- # Get a Specific Job Pool Using the following SDK, you will be able to get the details of a particular Job Pool by either passing the name or the ID of the Job Pool to the `getJobpool()` SDK method. #### Sample Code Snippet **Package Imports** ```java import com.zc.component.jobscheduling.beans.jobpool.ZCJobpoolDetails; ``` ```java ZCJobpoolDetails jobpoolA = jobScheduling.getJobpool("test_jobpool"); // get jobpool with jobpool name ZCJobpoolDetails jobpoolB = jobScheduling.getJobpool(1234567889L); // get jobpool with jobpool Id ``` ### Jobs -------------------------------------------------------------------------------- title: "Create Job" description: "This page describes the Java method to create a Job with sample code snippets." last_updated: "2026-09-08T11:07:33.000Z" source: "https://docs.catalyst.zoho.com/en/sdk/java/v1/job-scheduling/jobs/create-job/" service: "Job Scheduling" related: - Component Help Documentation (/en/job-scheduling/help/job/introduction/) - JavaScript SDK Documentation (/en/sdk/javascript/v1/job-scheduling/job/create-job/) - Python SDK (/en/sdk/python/v1/job-scheduling/jobs/create-job/) - REST API Collection (/en/api/code-reference/job-scheduling/job/submit-job/submit-webhook-job/#SubmitWebhookJobByID) -------------------------------------------------------------------------------- # Create Job Using the following SDK method, you can create and submit Jobs to trigger [Job Functions](https://docs.catalyst.zoho.com/en/serverless/help/functions/job-functions/), Webhooks, [Circuits](https://docs.catalyst.zoho.com/en/serverless/help/circuits/introduction/), and [App Sail](https://docs.catalyst.zoho.com/en/serverless/help/appsail/introduction/) services. You can also pass optional arguments in the form of JSON key value pairs. SDK snippet to create and submit Job to trigger: **Job Function** #### Sample Code Snippet **Package Imports** ```java import com.zc.component.jobscheduling.beans.job.ZCJobMetaDetail; import com.zc.component.jobscheduling.beans.job.ZCJobBuilder; import com.zc.component.jobscheduling.beans.job.ZCJobDetails; import org.json.simple.JSONObject; ``` ```java // generate function job meta ZCJobMetaDetail jobMeta = ZCJobBuilder.functionJobBuilder() // get function job builder .setJobConfig(2, 15 * 60 l) // set job config - job retries => 2 retries in 15 mins (optional) .setTargetName("target_function") // set target function's name (optional) (either TargetName or TargetId is mandatory) // .setTargetId(1234567890L) // set the target function's Id (optional) (either TargetName or TargetId is mandatory) .setParams(new JSONObject() { { put("arg1", "job"); put("arg2", "test"); } }) // set params to be passed to target function (optional) .setJobName("job_name") // set job name .setJobpoolName("test") // set the name of the Function jobpool to which the job should be submitted .build(); // build job meta // submit function job ZCJobDetails functionJob = jobScheduling.job.submitJob(jobMeta); ``` **Circuit** **Ensure the following packages are imported:** ```java import com.zc.component.jobscheduling.beans.job.ZCJobMetaDetail; import com.zc.component.jobscheduling.beans.job.ZCJobBuilder; import com.zc.component.jobscheduling.beans.job.ZCJobDetails; import org.json.simple.JSONObject; ``` ```java // generate circuit job meta ZCJobMetaDetail jobMeta = ZCJobBuilder.circuitJobBuilder() // create circuit job builder .setJobConfig(2, 15 * 60 l) // set job config - job retries => 2 retries in 15 mins (optional) .setTargetName("target_circuit") // set target circuits's name (optional) (either TargetName or TargetId is mandatory) // .setTargetId(1234567890L) // set the target circuits's Id (optional) (either TargetName or TargetId is mandatory) .setCircuitInput(new JSONObject() { { put("key1", "value1"); put("key2", "value2"); } }) // set the test cases for the circuit .setJobName("test_job") // set job name .setJobpoolName("test") // set the name of the Circuit jobpool where the job should be submitted .build(); // build circuit job meta // submit circuit job ZCJobDetails circuitJob = jobScheduling.job.submitJob(jobMeta); ``` **Webhook** **Ensure the following packages are imported:** ```java import com.zc.component.jobscheduling.beans.job.ZCJobMetaDetail; import com.zc.component.jobscheduling.beans.job.ZCJobBuilder; import com.zc.component.jobscheduling.beans.job.ZCJobDetails; import org.json.simple.JSONObject; ``` ```java // generate webhook job meta ZCJobMetaDetail jobMeta = ZCJobBuilder.webhookJobBuilder() // create web hook job builder .setJobConfig(2, 15 * 60 l) // set job config - job retries => 2 retries in 15 mins (optional) .setRequestMethod("POST") // set web hook request's method .setUrl("https://catalyst.zoho.com") // set web hook request's url .setParams(new JSONObject() { { put("arg1", "test"); put("arg2", "job"); } }) // set the web hook request's query params (optional) .setHeaders(new JSONObject() { { put("IS_TEST_REQUEST", "true"); } }) // set the web hook request's headers (optional) .setRequestBody("test_request") // set the web hook request's body (optional) .setJobName("test_job") // set job name .setJobpoolName("test") // set the name of the Webhook jobpool to which the job should be submitted .build(); // build web hook job meta // submit web hook job ZCJobDetails webHookJob = jobScheduling.job.submitJob(jobMeta); ``` **AppSail** **Ensure the following packages are imported:** ```java import com.zc.component.jobscheduling.beans.job.ZCJobMetaDetail; import com.zc.component.jobscheduling.beans.job.ZCJobBuilder; import com.zc.component.jobscheduling.beans.job.ZCJobDetails; import org.json.simple.JSONObject; ``` ```java // generate appsail job meta ZCJobMetaDetail jobMeta = ZCJobBuilder.appSailJobBuilder() // create appsail job builder .setJobConfig(2, 15 * 60 l) // set job config - job retries => 2 retries in 15 mins (optional) .setTargetName("test_appsail") // set appsail name .setRequestMethod("POST") // set appsail request method .setUrl("/test") // set appsail request url .setParams(new JSONObject() { { put("arg1", "value1"); put("arg2", "value2"); } }) // set appsail request query params .setHeaders(new JSONObject() { { put("IS_TEST_REQUEST", "true"); } }) // set the appsail request's headers (optional) .setRequestBody("test_request") // set the appsail request's body (optional) .setJobName("test_job") // set job name .setJobpoolName("test") // set the name of the AppSail jobpool to which the job should be submitted .build(); // build appsail job meta // submit appsail job ZCJobDetails appSailJob = jobScheduling.job.submitJob(jobMeta); ``` -------------------------------------------------------------------------------- title: "Get Job Details" description: "This page describes the Java method to get all available details about a Job with sample code snippets." last_updated: "2026-09-08T11:07:33.000Z" source: "https://docs.catalyst.zoho.com/en/sdk/java/v1/job-scheduling/jobs/get-job/" service: "Job Scheduling" related: - Component Help Documentation (/en/job-scheduling/help/job/introduction/) - JavaScript SDK Documentation (/en/sdk/javascript/v1/job-scheduling/job/get-job-details/) - Python SDK (/en/sdk/python/v1/job-scheduling/jobs/get-job/) - REST API Collection (/en/api/code-reference/job-scheduling/job/get-job/#GetJobByID) -------------------------------------------------------------------------------- # Get Job Details Using the following SDK method, you will be able to get all available details about a [job](https://docs.catalyst.zoho.com/en/job-scheduling/help/job/introduction/) that has been submitted to a [job Pool](https://docs.catalyst.zoho.com/en/job-scheduling/help/jobpool/introduction/). You need to pass the [`Job Id`](https://docs.catalyst.zoho.com/en/job-scheduling/help/job/key-concepts/#job-id) to the `getJob()` SDK method. #### Sample Code Snippet **Package Imports** ```java import com.zc.component.jobscheduling.beans.job.ZCJobDetails; ``` ```java ZCJobDetails fetchedJob = jobScheduling.job.getJob(1234567890L); // get job with job Id ``` -------------------------------------------------------------------------------- title: "Delete a Job" description: "This page describes the Java method to delete a Job with sample code snippets." last_updated: "2026-11-03T15:16:51.000Z" source: "https://docs.catalyst.zoho.com/en/sdk/java/v1/job-scheduling/jobs/delete-job/" service: "Job Scheduling" related: - Component Help Documentation (/en/job-scheduling/help/job/introduction/) - JavaScript SDK Documentation (/en/sdk/javascript/v1/job-scheduling/job/delete-job/) - Python SDK (/en/sdk/python/v1/job-scheduling/jobs/delete-job/) - REST API Collection (/en/api/code-reference/job-scheduling/job/delete-job/#DeleteJobByID) -------------------------------------------------------------------------------- # Delete a Job Using the following SDK method, you will be able to delete a [job](https://docs.catalyst.zoho.com/en/job-scheduling/help/job/introduction/) that is in the process of being executed in a [job Pool](https://docs.catalyst.zoho.com/en/job-scheduling/help/jobpool/introduction/). You need to pass the Job Id to the `deleteJob()` SDK method. #### Sample Code Snippet **Package Imports** ```java import com.zc.component.jobscheduling.beans.job.ZCJobDetails; ``` ```java ZCJobDetails deletedJob = jobScheduling.job.deleteJob(1234567890L); // delete job with job Id ``` ## SDK — Modular JavaScript SDK — Job Scheduling -------------------------------------------------------------------------------- title: "Overview" description: "This page describes the method to perform operations using the components in SmartBrowz Services." last_updated: "2026-09-09T10:45:38.000Z" source: "https://docs.catalyst.zoho.com/en/sdk/javascript/v1/job-scheduling/overview/" service: "Job Scheduling" related: - Catalyst Job Scheduling (/en/job-scheduling/help/jobpool/introduction/) - Java SDK Documentation (/en/sdk/java/v1/job-scheduling/initialize-job-scheduling-instance/) - Python SDK Documentation (/en/sdk/python/v1/job-scheduling/initialize-job-scheduling-instance/) - REST API Documentation (/en/api/code-reference/job-scheduling/jobpool/get-all-jobpool/#GetAllJobPools) -------------------------------------------------------------------------------- # Job Scheduling JavaScript SDK # Overview [Job Scheduling](https://docs.catalyst.zoho.com/en/job-scheduling/help/jobpool/introduction/) is a Catalyst service that is specifically designed to automate job executions for versatile use cases. The *Job Scheduling* service provides you with greater control over task thread pools through the [Job Pool](https://docs.catalyst.zoho.com/en/job-scheduling/help/jobpool/introduction/) component. You can automate [job](https://docs.catalyst.zoho.com/en/job-scheduling/help/job/introduction/) executions using [Cron](https://docs.catalyst.zoho.com/en/job-scheduling/help/cron/introduction/), a scheduling component. Using the **Job Scheduling JavaScript SDK**, you will be able to submit jobs to the job pools, create crons, fetch required details and so much more through code. ### Prerequisites You will need to install the following package to be able to use the Job Scheduling SDK methods. ```sh npm install @zcatalyst/job-scheduling ``` > **Info:** Ensure that you have applied the [required authentication configuration](https://docs.catalyst.zoho.com/en/sdk/javascript/v1/auth-config/node-consideration/) to use the SDK methods of this component. ### Import Requirement You will need to import the following modules to use the SDK methods of Job Scheduling components. ```javascript const { JobScheduling } = require('@zcatalyst/job-scheduling'); //Job Scheduling module ``` ### List of SDK Methods
Category SDK Method Required Scope
General Operations [Get Job Scheduling Instance](https://docs.catalyst.zoho.com/en/sdk/javascript/v1/job-scheduling/create-instance/) **No requirement**
Job Pool Operations
  • [Get All Job Pools](https://docs.catalyst.zoho.com/en/sdk/javascript/v1/job-scheduling/jobpool/get-all-jobpool/)
  • [Get Details of a Specific Job Pool](https://docs.catalyst.zoho.com/en/sdk/javascript/v1/job-scheduling/jobpool/get-jobpool/)
**Admin**
Job Operations
  • [Create Job](https://docs.catalyst.zoho.com/en/sdk/javascript/v1/job-scheduling/job/create-job/)
  • [Get Job Details](https://docs.catalyst.zoho.com/en/sdk/javascript/v1/job-scheduling/job/get-job-details/)
  • [Delete a Job](https://docs.catalyst.zoho.com/en/sdk/javascript/v1/job-scheduling/job/delete-job/)
**Admin**
Cron Operations
  • [Create a One-Time Cron](https://docs.catalyst.zoho.com/en/sdk/javascript/v1/job-scheduling/cron/create-one-time-cron/)
  • [Create a Recurring Cron](https://docs.catalyst.zoho.com/en/sdk/javascript/v1/job-scheduling/cron/create-recurring-cron/)
  • [Create Cron Using Cron Expressions](https://docs.catalyst.zoho.com/en/sdk/javascript/v1/job-scheduling/cron/create-cron-expressions/)
  • [Get Details of a Particular Cron](https://docs.catalyst.zoho.com/en/sdk/javascript/v1/job-scheduling/cron/get-cron-details/)
  • [Get Details of All Crons](https://docs.catalyst.zoho.com/en/sdk/javascript/v1/job-scheduling/cron/get-all-cron/)
  • [Update Cron](https://docs.catalyst.zoho.com/en/sdk/javascript/v1/job-scheduling/cron/update-cron/)
  • [Pause Cron](https://docs.catalyst.zoho.com/en/sdk/javascript/v1/job-scheduling/cron/pause-cron/)
  • [Resume Cron](https://docs.catalyst.zoho.com/en/sdk/javascript/v1/job-scheduling/cron/resume-cron/)
  • [Run Cron](https://docs.catalyst.zoho.com/en/sdk/javascript/v1/job-scheduling/cron/run-cron/)
  • [Delete Cron](https://docs.catalyst.zoho.com/en/sdk/javascript/v1/job-scheduling/cron/delete-cron/)
**Admin**
> **Info:** [Learn more about the Job Scheduling service](https://docs.catalyst.zoho.com/en/job-scheduling/help/jobpool/introduction/). -------------------------------------------------------------------------------- title: "Create a Job Scheduling Instance" description: "This page describes the method to perform operations using the components in SmartBrowz Services." last_updated: "2026-09-09T10:45:38.000Z" source: "https://docs.catalyst.zoho.com/en/sdk/javascript/v1/job-scheduling/create-instance/" service: "Job Scheduling" related: - Catalyst Job Scheduling (/en/job-scheduling/help/jobpool/introduction/) - Java SDK Documentation (/en/sdk/java/v1/job-scheduling/initialize-job-scheduling-instance/) - Python SDK Documentation (/en/sdk/python/v1/job-scheduling/initialize-job-scheduling-instance/) - REST API Documentation (/en/api/code-reference/job-scheduling/jobpool/get-all-jobpool/#GetAllJobPools) -------------------------------------------------------------------------------- # Create a Job Scheduling Instance > **Note:** Ensure you have installed the [required package](https://docs.catalyst.zoho.com/en/sdk/javascript/v1/job-scheduling/overview/#prerequisites) to use this SDK method. You can create a `jobScheduling` component reference as shown below. This will not fire a server-side call. You will refer to this component instance in various code snippets while working with Job Scheduling components. ```javascript // Get a Job Scheduling instance const jobScheduling = new JobScheduling(); ``` ### Job Pool -------------------------------------------------------------------------------- title: "Get Details of all Job Pools" description: "This page describes the method to perform operations in the DataStore component." last_updated: "2026-09-09T10:45:38.000Z" source: "https://docs.catalyst.zoho.com/en/sdk/javascript/v1/job-scheduling/jobpool/get-all-jobpool/" service: "Job Scheduling" related: - Catalyst Job Scheduling (/en/job-scheduling/help/jobpool/introduction/) - Catalyst Job Pool (/en/job-scheduling/help/jobpool/introduction/) - Java SDK Documentation (/en/sdk/java/v1/job-scheduling/initialize-job-scheduling-instance/) - Python SDK Documentation (/en/sdk/python/v1/job-scheduling/initialize-job-scheduling-instance/) - REST API Documentation (/en/api/code-reference/job-scheduling/jobpool/get-all-jobpool/#GetAllJobPools) -------------------------------------------------------------------------------- # Get Details of all Job Pools > **Note:** Ensure you have installed the [required package](https://docs.catalyst.zoho.com/en/sdk/javascript/v1/job-scheduling/overview/#prerequisites) to use this SDK method. Using the `getAllJobpool()` SDK method, you can get the details of the job pools present in your project. The `jobScheduling` reference used in the code snippets below is the [component instance](https://docs.catalyst.zoho.com/en/sdk/javascript/v1/job-scheduling/create-instance/) created to perform these operations. ```javascript // get details of all the Job Pools const allJobpools = await jobScheduling.getAllJobpool(); ``` -------------------------------------------------------------------------------- title: "Get Details of a Specific Job Pool" description: "This page describes the method to perform operations in the DataStore component." last_updated: "2026-11-03T15:16:51.000Z" source: "https://docs.catalyst.zoho.com/en/sdk/javascript/v1/job-scheduling/jobpool/get-jobpool/" service: "Job Scheduling" related: - Catalyst Job Scheduling (/en/job-scheduling/help/jobpool/introduction/) - Catalyst Job Pool (/en/job-scheduling/help/jobpool/introduction/) - Java SDK Documentation (/en/sdk/java/v1/job-scheduling/jobpool/get-job-pool/) - Python SDK Documentation (/en/sdk/python/v1/job-scheduling/jobpool/get-job-pool/) - REST API Documentation (/en/api/code-reference/job-scheduling/jobpool/get-jobpool/#GetJobPoolByIdentifier) -------------------------------------------------------------------------------- # Get Details of a Specific Job Pool > **Note:** Ensure you have installed the [required package](https://docs.catalyst.zoho.com/en/sdk/javascript/v1/job-scheduling/overview/#prerequisites) to use this SDK method. Pass the [Job Pools ID](https://docs.catalyst.zoho.com/en/job-scheduling/help/jobpool/key-concepts/#job-pool-id) or name of the required Job Pool to the `getJobpool()` SDK method to get its details. The `jobScheduling` reference used in the code snippets below is the [component instance](https://docs.catalyst.zoho.com/en/sdk/javascript/v1/job-scheduling/create-instance/) created to perform these operations. ```javascript const jobpoolWithName = await jobScheduling.getJobpool('test'); // Get job pool by name const jobpoolWithId = await jobScheduling.getJobpool('123456789'); // Get job pool by ID ``` ### Job -------------------------------------------------------------------------------- title: "Create a Job" description: "This page describes the method to perform operations in the DataStore component." last_updated: "2026-09-09T10:45:38.000Z" source: "https://docs.catalyst.zoho.com/en/sdk/javascript/v1/job-scheduling/job/create-job/" service: "Job Scheduling" related: - Catalyst Job Scheduling (/en/job-scheduling/) - Jobs (/en/job-scheduling/help/job/introduction/) - Java SDK Documentation (/en/sdk/java/v1/job-scheduling/jobs/create-job/) - Python SDK Documentation (/en/sdk/python/v1/job-scheduling/jobs/create-job/) - REST API Documentation (/en/api/code-reference/job-scheduling/job/submit-job/submit-webhook-job/#SubmitWebhookJobByID) -------------------------------------------------------------------------------- # Create a Job > **Note:** Ensure you have installed the [required package](https://docs.catalyst.zoho.com/en/sdk/javascript/v1/job-scheduling/overview/#prerequisites) to use this SDK method. Using the `submitJob()` SDK method you will be able to create and submit a job to the job pool. You can use this method to create and submit a job to trigger a [Job Function](https://docs.catalyst.zoho.com/en/serverless/help/functions/job-functions/), [Circuit](https://docs.catalyst.zoho.com/en/serverless/help/circuits/introduction/), [AppSail](https://docs.catalyst.zoho.com/en/serverless/help/appsail/introduction/) service, or a Webhook (any third-party URL). The required Job Pool will be referred to using its name. The `jobScheduling` reference used in the code snippets below is the [component instance](https://docs.catalyst.zoho.com/en/sdk/javascript/v1/job-scheduling/create-instance/) created to perform these operations. **Job Function** #### Parameters Used The details of the Job that needs to be created and submitted to the *Function Job Pool* to trigger a Job Function will be passed as a JSON object to the `submitJob()` SDK method. The following table defines the details that need to be provided in the JSON object.
JSON Attributes Definition
`job_name` **Mandatory** parameter. The name to refer to your job.
`jobpool_name` **Mandatory** parameter. The name of the job pool you are submitting your job to.
`target_type` **Mandatory** parameter. Set the value as **Function** to submit a job to the Function Job Pool to trigger a Job Function.
`target_name` or `target_id` You need to provide either the Name or the ID of the job function that needs to triggered. However, providing both is **optional**.
`params` **Optional** parameter. These are params that you pass to the target function. The required parameters need to be provided as key-value pairs in a JSON.
`job_config`
  • **Optional** parameter. The number of retries and the retry interval can be provided as a JSON key-value pair.
  • `number_of_retries`: The number of retries that need to be attempted.
  • `retry_interval`: The interval in which the retries need to occur.
```javascript // create function job const functionJob = await jobScheduling.JOB.submitJob({ job_name: 'test_job', // set a name for the job jobpool_name: 'test', // set the name of the Function jobpool where the job should be submitted target_type: 'Function', // set the target type as Function for function jobs target_name: 'target_function', // set the target function's name (optional) (either target_id or target_name is mandatory) // target_id: '123467890', // set the target function's ID (optional) (either target_id or target_name is mandatory) params: { arg1: 'test', arg2: 'job' }, // set params to be passed to target function (optional) job_config: { number_of_retries: 2, // set the number of retries retry_interval: 15 * 60 // set the retry interval } // set job config - job retries => 2 retries in 15 mins (optional) }); ``` **Circuits** #### Parameters Used The details of the Job that needs to be created and submitted to the *Circuit Job Pool* to trigger a Circuit will be passed as a JSON object to the `submitJob()` SDK method. The following table defines the details that need to be provided in the JSON object.
JSON Attributes Definition
`job_name` **Mandatory** parameter. The name to refer to your job.
`jobpool_name` **Mandatory** parameter. The name of the job pool you are submitting your job to.
`target_type` **Mandatory** parameter. Set the value as **Circuit** to submit a job to the Circuit Job Pool to trigger a Circuit.
`target_name` or `target_id` You need to provide either the Name or the ID of the Circuit that needs to triggered. However, providing both is **optional**.
`test_cases` **Mandatory** parameter. You need to provide the test cases as a JSON key-value pair.
`job_config`
  • **Optional** parameter. The number of retries and the retry interval can be provided as a JSON key-value pair.
  • `number_of_retries`: The number of retries that need to be attempted.
  • `retry_interval`: The interval in which the retries need to occur.
```javascript // create circuit job const circuitJob = await jobScheduling.JOB.submitJob({ job_name: 'test_job', // set a name for the job jobpool_name: 'test', // set the name of the Circuit jobpool where the job should be submitted target_type: 'Circuit', // set the target type as Circuit for circuit jobs target_name: 'target_circuit', // set the target circuit's name (optional) (either target_id or target_name is mandatory) // target_id: '123467890', // set the target circuit's Id (optional) (either target_id or target_name is mandatory) test_cases: { arg1: 'job', arg2: 'test' }, // set the circuit test cases job_config: { number_of_retries: 2, // set the number of retries retry_interval: 15 * 60 // set the retry interval } // set job config - job retries => 2 retries in 15 mins (optional) }); ``` **AppSail Service** #### Parameters Used The details of the Job that needs to be created and submitted to the *AppSail Job Pool* to trigger an AppSail service will be passed as a JSON object to the `submitJob()` SDK method. The following table defines the details that need to be provided in the JSON object.
JSON Attributes Definition
`job_name` **Mandatory** parameter. The name to refer to your job.
`jobpool_name` **Mandatory** parameter. The name of the job pool you are submitting your job to.
`target_type` **Mandatory** parameter. Set the value as **AppSail** to submit a job to the AppSail Job Pool to trigger an AppSail service.
`target_name` or `target_id` You need to provide either the Name or the ID of the AppSail that needs to triggered. However, providing both is **optional**.
`request_method` **Mandatory** parameter. Provide the AppSail request method.
`url` **Mandatory** parameter. Provide the AppSail endpoint.
`params` **Optional** parameter. You can provide query params as JSON key-value pairs.
`headers` **Optional** parameter. You can provide headers as JSON key-value pairs.
`request_body` **Optional** parameter. Provide the request body.
`job_config`
  • **Optional** parameter. The number of retries and the retry interval can be provided as a JSON key-value pair.
  • `number_of_retries`: The number of retries that need to be attempted.
  • `retry_interval`: The interval in which the retries need to occur.
```javascript // create appsail job const appsailJob = await jobScheduling.JOB.submitJob({ job_name: 'test_job', // set a name for the job jobpool_name: 'test', // set the name of the AppSail jobpool where the job should be submitted target_type: 'AppSail', // set the target type as AppSail for appsail jobs target_name: 'target_appsail', // set the target appsail's name (optional) (either target_id or target_name is mandatory) // target_id: '123467890', // set the target appsail's ID (optional) (either target_id or target_name is mandatory) request_method: 'POST', // set the appsail request's method url: '/test', // set the appsail's URL path (optional) params: { arg1: 'test', arg2: 'job' }, // set the appsail request's query params (optional) headers: { IS_TEST_REQUEST: 'true' }, // set the appsail request's headers (optional) request_body: 'test_request', // set the appsail request's body (optional) job_config: { number_of_retries: 2, // set the number of retries retry_interval: 15 * 60 // set the retry interval } // set job config - job retries => 2 retries in 15 mins (optional) }); ``` **Webhook** #### Parameters Used The details of the Job that needs to be created and submitted to the *Webhook Job Pool* to trigger any URL will be passed as a JSON object to the `submitJob()` SDK method. The following table defines the details that need to be provided in the JSON object.
JSON Attributes Definition
`job_name` **Mandatory** parameter. The name to refer to your job.
`jobpool_name` **Mandatory** parameter. The name of the job pool you are submitting your job to.
`target_type` **Mandatory** parameter. Set the value as **Webhook** to submit a job to the Webhook Job Pool to trigger the required URL.
`request_method` **Mandatory** parameter. Provide the required request method.
`url` **Mandatory** parameter. Provide the webhook's request URL.
`params` **Optional** parameter. You can provide query params as JSON key-value pairs.
`headers` **Optional** parameter. You can provide headers as JSON key-value pairs.
`request_body` **Optional** parameter. Provide the webhook's request body.
`job_config`
  • **Optional** parameter. The number of retries and the retry interval can be provided as a JSON key-value pair.
  • `number_of_retries`: The number of retries that need to be attempted.
  • `retry_interval`: The interval in which the retries need to occur.
```javascript // create webhook job const webhookJob = await jobScheduling.JOB.submitJob({ job_name: 'test_job', // set a name for the job jobpool_name: 'test', // set the name of the Webhook jobpool where the job should be submitted target_type: 'Webhook', // set the target type as Webhook for webhook jobs request_method: 'POST', // set the webhook request's method url: 'https://catalyst.zoho.com', // set the webhook request's URL params: { arg1: 'test', arg2: 'job' }, // set the webhook request's query params (optional) headers: { IS_TEST_REQUEST: 'true' }, // set the webhook request's headers (optional) request_body: 'test_request', // set the webhook request's body (optional) job_config: { number_of_retries: 2, // set the number of retries retry_interval: 15 * 60 // set the retry interval } // set job config - job retries => 2 retries in 15 mins (optional) }); ``` -------------------------------------------------------------------------------- title: "Get Details of a Job" description: "This page describes the method to perform operations in the DataStore component." last_updated: "2026-09-09T10:45:38.000Z" source: "https://docs.catalyst.zoho.com/en/sdk/javascript/v1/job-scheduling/job/get-job-details/" service: "Job Scheduling" related: - Catalyst Job Scheduling (/en/job-scheduling/) - Jobs (/en/job-scheduling/help/job/introduction/) - Java SDK Documentation (/en/sdk/java/v1/job-scheduling/jobs/get-job/) - Python SDK Documentation (/en/sdk/python/v1/job-scheduling/jobs/get-job/) - REST API Documentation (/en/api/code-reference/job-scheduling/job/get-job/#GetJobByID) -------------------------------------------------------------------------------- # Get Details of a Job > **Note:** Ensure you have installed the [required package](https://docs.catalyst.zoho.com/en/sdk/javascript/v1/job-scheduling/overview/#prerequisites) to use this SDK method. Pass the required job's [`Job ID`](https://docs.catalyst.zoho.com/en/job-scheduling/help/job/key-concepts/#job-id) to the `getJob()` SDK method to get details about a job that has been submitted to a job pool. The `jobScheduling` reference used in the code snippets below is the [component instance](https://docs.catalyst.zoho.com/en/sdk/javascript/v1/job-scheduling/create-instance/) created to perform these operations. ```javascript const job = await jobScheduling.JOB.getJob('1234567890'); // get job details with job ID ``` -------------------------------------------------------------------------------- title: "Delete Job" description: "This page describes the method to perform operations in the DataStore component." last_updated: "2026-09-09T10:45:38.000Z" source: "https://docs.catalyst.zoho.com/en/sdk/javascript/v1/job-scheduling/job/delete-job/" service: "Job Scheduling" related: - Catalyst Job Scheduling (/en/job-scheduling/) - Jobs (/en/job-scheduling/help/job/introduction/) - Java SDK Documentation (/en/sdk/java/v1/job-scheduling/jobs/delete-job/) - Python SDK Documentation (/en/sdk/python/v1/job-scheduling/jobs/delete-job/) - REST API Documentation (/en/api/code-reference/job-scheduling/job/delete-job/#DeleteJobByID) -------------------------------------------------------------------------------- # Delete Job > **Note:** Ensure you have installed the [required package](https://docs.catalyst.zoho.com/en/sdk/javascript/v1/job-scheduling/overview/#prerequisites) to use this SDK method. Pass the required job's [`Job ID`](https://docs.catalyst.zoho.com/en/job-scheduling/help/job/key-concepts/#job-id) to the deleteJob() SDK method, to delete a job that has been submitted to the Job Pool. The `jobScheduling` reference used in the code snippets below is the [component instance](https://docs.catalyst.zoho.com/en/sdk/javascript/v1/job-scheduling/create-instance/) created to perform these operations. ```javascript const deletedJob = await jobScheduling.JOB.deleteJob('1234567890'); // delete job with job ID ``` ### Cron -------------------------------------------------------------------------------- title: "Create a One-Time Cron" description: "This page describes the method to perform operations in the DataStore component." last_updated: "2026-09-09T10:45:38.000Z" source: "https://docs.catalyst.zoho.com/en/sdk/javascript/v1/job-scheduling/cron/create-one-time-cron/" service: "Job Scheduling" related: - Catalyst Job Scheduling (/en/job-scheduling/) - Cron (/en/job-scheduling/help/cron/introduction/) - Java SDK Documentation (/en/sdk/java/v1/job-scheduling/cron/create-one-time-cron/) - Python SDK Documentation (/en/sdk/python/v1/job-scheduling/cron/create-one-time-cron/) - REST API Documentation (/en/api/code-reference/job-scheduling/cron/create-cron/create-one-time-cron/#CreateaOne-TimeCron) -------------------------------------------------------------------------------- # Create a One-Time Cron > **Note:** Ensure you have installed the [required package](https://docs.catalyst.zoho.com/en/sdk/javascript/v1/job-scheduling/overview/#prerequisites) to use this SDK method. You can configure the required cron as a JSON object and pass it to the `createCron()` SDK method to create your required cron. The following example snippet will detail how to create a **One-Time Cron** that will schedule the submission of a job to the job pool only once. The `jobScheduling` reference used in the code snippets below is the [component instance](https://docs.catalyst.zoho.com/en/sdk/javascript/v1/job-scheduling/create-instance/) created to perform these operations. > **Note:** The following SDK is written for a job that will trigger a [Job Function](https://docs.catalyst.zoho.com/en/serverless/help/functions/job-functions/). To make the SDK compatible for the other types, you need to replace the value with the proper [Job Pool ID](https://docs.catalyst.zoho.com/en/job-scheduling/help/jobpool/key-concepts/#job-pool-id) or Job Pool Name, and provide the appropriate **Target Name** or **Target ID**. #### Parameters Used You need to construct two JSON objects, one that provides the meta of the job that needs to be submitted and the other is to contain your cron's meta that will schedule the submission of the job to the job pool. The JSON attributes used in these two JSONs are provided in the following table:
JSON Object JSON Attributes Definition
`job_meta` `job_name` **Mandatory** parameter. Contains the name of the job that needs to be submitted to the job pool.
`target_type` **Mandatory** parameter. Contains the type of the job. (**Function** | **Circuit** | **Webhook** | **AppSail**).
`target_name` or `target_id` **Mandatory** parameter. Contains the name or ID of the target type. While it is mandatory to provide value for either of them, it is optional to provide values for both fields.
`jobpool_name` or `jobpool_id` **Mandatory** parameter. Contains the name or ID of the Job Pool. While it is mandatory to provide value for either of them, it is optional to provide values for both fields.
`job_config`
  • **Optional** parameter. The number of retries and the retry interval can be provided as a JSON key-value pair.
  • `number_of_retries`: The number of retries that need to be attempted.
  • `retry_interval`: The interval in which the retries need to occur.
`oneTimeCron` `cron_name` **Mandatory** parameter. To refer to your cron. Ensure you provide a unique name.
`description` **Optional** parameter. You can provide a description for your cron.
`cron_status` **Mandatory** parameter. Determines if the cron is enabled or not. Ensure it is set as '**true**'.
`cron_type` **Mandatory** parameter. Determines the type of Cron.
`cron_detail` **Mandatory** parameter. Provide the schedule time in a **UNIX timestamp format**.
`job_meta` **Mandatory** parameter. Pass the `jobMeta` JSON object as value.
```javascript // create function job meta const jobMeta = { job_name: 'test_job', // set a name for the job target_type: 'Function', // set the target type as Function for function jobs target_name: 'target_function', // set the target function's name (optional) (either target_id or target_name is mandatory) // target_id: '123467890', // set the target function's ID (optional) (either target_id or target_name is mandatory) jobpool_name: 'test', // set the name of the function jobpool (optional) (either jobpool_name or jobpool_id is mandatory) // jobpool_id: '1234567890' // set the ID of the function jobpool (optional) (either jobpool_name or jobpool_id is mandatory) job_config: { number_of_retries: 2, // set the number of retries retry_interval: 15 * 60 // set the retry interval }, // set job config - job retries => 2 retries in 15 mins (optional) params: { arg1: 'test', arg2: 'job' } // set params to be passed to target function (optional) }; // create one time cron details const oneTimeCron = { cron_name: 'one_time', // set a name for the cron (unique) description: 'one_time_cron', // set a description for the cron (optional) cron_status: true, // set the cron status as enabled cron_type: 'OneTime', // set the cron type as OneTime cron_detail: { time_of_execution: Math.floor(Date.now() / 1000) + 60 * 60 + '' // set the execution time as UNIX timestamp // timezone: 'America/Los_Angeles' // set the timezone (optional) }, job_meta: jobMeta // set the function job meta }; // create one time cron const cronDetails = await jobScheduling.CRON.createCron(oneTimeCron); ``` > **Note:** We urge you to use this SDK to exclusively configure [Dynamic Crons](https://docs.catalyst.zoho.com/en/job-scheduling/help/implementation/submit-job-dynamic-cron/), and use the console's UI *Builder* to exclusively configure [Pre-defined Crons](https://docs.catalyst.zoho.com/en/job-scheduling/help/implementation/submit-job-predefined-cron/). -------------------------------------------------------------------------------- title: "Create a Recurring Cron" description: "This page describes the method to perform operations in the DataStore component." last_updated: "2026-09-09T10:45:38.000Z" source: "https://docs.catalyst.zoho.com/en/sdk/javascript/v1/job-scheduling/cron/create-recurring-cron/" service: "Job Scheduling" related: - Catalyst Job Scheduling (/en/job-scheduling/) - Cron (/en/job-scheduling/help/cron/introduction/) - Java SDK Documentation (/en/sdk/java/v1/job-scheduling/cron/create-recurring-cron/) - Python SDK Documentation (/en/sdk/python/v1/job-scheduling/cron/create-recurring-cron/) - REST API Documentation (/en/api/code-reference/job-scheduling/cron/create-cron/create-every-cron/#CreateanEveryCron) -------------------------------------------------------------------------------- # Create a Recurring Cron > **Note:** Ensure you have installed the [required package](https://docs.catalyst.zoho.com/en/sdk/javascript/v1/job-scheduling/overview/#prerequisites) to use this SDK method. You need to pass the required cron configurations as a JSON object to the createCron() SDK method to create your required recurring cron. The interval of a recurring cron can range anywhere from a minute to entire calendar years. With respect to its schedule type, there are four types of recurring cron: **Every**, **Daily**, **Monthly**, and **Yearly**. The `jobScheduling` reference used in the code snippets below is the [component instance](https://docs.catalyst.zoho.com/en/sdk/javascript/v1/job-scheduling/create-instance/) created to perform these operations. **Every Cron** > **Notes:** * The following SDK is written for a job that will trigger a [Job Function](https://docs.catalyst.zoho.com/en/serverless/help/functions/job-functions/). To make the SDK compatible for the other types, you need to replace the value with proper [Job Pool ID](https://docs.catalyst.zoho.com/en/job-scheduling/help/jobpool/key-concepts/#job-pool-id), or **Job Pool Name**, and provide the appropriate **Target Name**, or **Target ID**. * The following SDK is configured to submit a job every **two hours**, **one minute**, and **three seconds**. You can change this value as per your requirement by passing the relevant value to the `cron_detail` JSON key-value pair. The following SDK can be used to create a recurring cron that will submit a job to the job pool at a scheduled interval that is **less than 24Hrs**. #### Parameters Used You need to construct two JSON objects, one that provides the meta of the job that needs to be submitted and the other is to contain your cron's meta that will schedule the submission of the job to the job pool. The JSON attributes used in these two JSONs are provided in the following table:
JSON Object JSON Attributes Definition
`job_meta` `job_name` **Mandatory** parameter. Contains the name of the job that needs to be submitted to the job pool.
`target_type` **Mandatory** parameter. Contains the type of the job. (**Function** | **Circuit** | **Webhook** | **AppSail**).
`target_name` or `target_id` **Mandatory** parameter. Contains the name or ID of the target type. While it is mandatory to provide value for either of them, it is optional to provide values for both fields.
`jobpool_name` or `jobpool_id` **Mandatory** parameter. Contains the name or ID of the Job Pool. While it is mandatory to provide value for either of them, it is optional to provide values for both fields.
`job_config`
  • **Optional** parameter. The number of retries and the retry interval can be provided as a JSON key-value pair.
  • `number_of_retries`: The number of retries that need to be attempted.
  • `retry_interval`: The interval in which the retries need to occur.
`everyCron` `cron_name` **Mandatory** parameter. To refer to your cron. Ensure you provide a unique name.
`description` **Optional** parameter. You can provide a description for your cron.
`cron_status` **Mandatory** parameter. Determines if the cron is enabled or not. Ensure it is set as '**true**'.
`cron_type` **Mandatory** parameter. Determines the type of Cron. The value will need to provided as **Periodic** to create recurring crons.
`cron_detail` **Mandatory** parameter. Provide the following details:
  • **hour**: To set the hour interval of the repetition.
  • **minute**: To set the minute interval of the repetition.
  • **second**: To set the second interval of the repetition.
  • `repetition type`: Ensure you set value as "**every**" for an *Every* type recurring cron.
`job_meta` **Mandatory** parameter. Pass the `jobMeta` JSON object as value.
```javascript // create function job meta const jobMeta = { job_name: 'test_job', // set a name for the job target_type: 'Function', // set the target type as Function for function jobs target_name: 'target_function', // set the target function's name (optional) (either target_id or target_name is mandatory) // target_id: '123467890', // set the target function's ID (optional) (either target_id or target_name is mandatory) jobpool_name: 'test', // set the name of the function jobpool (optional) (either jobpool_name or jobpool_id is mandatory) // jobpool_id: '1234567890', // set the ID of the function jobpool (optional) (either jobpool_name or jobpool_id is mandatory) job_config: { number_of_retries: 2, // set the number of retries retry_interval: 15 * 60 // set the retry interval }, // set job config - job retries => 2 retries in 15 mins (optional) params: { arg1: 'test', arg2: 'job' } // set params to be passed to target function (optional) }; // create every cron details const everyCron = { cron_name: 'every_cron', // set a name for the cron (unique) description: 'every_cron', // set a description for the cron (optional) cron_status: true, // set the cron status as enabled cron_type: 'Periodic', // set the cron type as Periodic for every cron cron_detail: { hour: 2, // set the hour interval of the repetition minute: 1, // set the minute interval of the repetition second: 3, // set the second interval of the repetition repetition_type: 'every' // set the repetition type as every for every cron }, job_meta: jobMeta // set the function job meta }; // create every cron const everyCronDetails = await jobScheduling.CRON.createCron(everyCron); ``` **Daily Cron** > **Notes:** * The following SDK is written for a job that will trigger a [Job Function](https://docs.catalyst.zoho.com/en/serverless/help/functions/job-functions/). To make the SDK compatible for the other types, you need to replace the value with proper [Job Pool ID](https://docs.catalyst.zoho.com/en/job-scheduling/help/jobpool/key-concepts/#job-pool-id), or **Job Pool Name**, and provide the appropriate **Target Name**, or **Target ID**. * The following SDK is configured to execute the cron on **0Hr 0Min 0Sec** every single day. You can change this value as per your requirement by passing the relevant value to the `cron_detail` JSON key-value pair. The following SDK can be used to schedule a cron job that submits a task to the job pool at a fixed **daily interval**. #### Parameters Used You need to construct two JSON objects, one that provides the meta of the job that needs to be submitted and the other is to contain your cron's meta that will schedule the submission of the job to the job pool. The JSON attributes used in these two JSONs are provided in the following table:
JSON Object JSON Attributes Definition
`job_meta` `job_name` **Mandatory** parameter. Contains the name of the job that needs to be submitted to the job pool.
`target_type` **Mandatory** parameter. Contains the type of the job. (**Function** | **Circuit** | **Webhook** | **AppSail**).
`target_name` or `target_id` **Mandatory** parameter. Contains the name or ID of the target type. While it is mandatory to provide value for either of them, it is optional to provide values for both fields.
`jobpool_name` or `jobpool_id` **Mandatory** parameter. Contains the name or ID of the Job Pool. While it is mandatory to provide value for either of them, it is optional to provide values for both fields.
`job_config`
  • **Optional** parameter. The number of retries and the retry interval can be provided as a JSON key-value pair.
  • `number_of_retries`: The number of retries that need to be attempted.
  • `retry_interval`: The interval in which the retries need to occur.
`dailyCron` `cron_name` **Mandatory** parameter. To refer to your cron. Ensure you provide a unique name.
`description` **Optional** parameter. You can provide a description for your cron.
`cron_status` **Mandatory** parameter. Determines if the cron is enabled or not. Ensure it is set as '**true**'.
`cron_type` **Mandatory** parameter. Determines the type of Cron. The value will need to provided as **Calendar** to create recurring crons.
`cron_detail` **Mandatory** parameter. Provide the following details:
  • **hour**: To set the hour interval of the repetition.
  • **minute**: To set the minute interval of the repetition.
  • **second**: To set the second interval of the repetition.
  • `repetition type`: Ensure you set value as "**daily**" for an *Daily* type recurring cron.
`job_meta` **Mandatory** parameter. Pass the `jobMeta` JSON object as value.
```javascript // create function job meta const jobMeta = { job_name: 'test_job', // set a name for the job target_type: 'Function', // set the target type as Function for function jobs target_name: 'target_function', // set the target function's name (optional) (either target_id or target_name is mandatory) // target_id: '123467890', // set the target functions's Id (optional) (either target_id or target_name is mandatory) jobpool_name: 'test', // set the name of the function jobpool (optional) (either jobpool_name or jobpool_id is mandatory) // jobpool_id: '1234567890', // set the Id of the function jobpool (optional) (either jobpool_name or jobpool_id is mandatory) job_config: { number_of_retries: 2, // set the number of retries retry_interval: 15 * 60 // set the retry interval }, // set job config - job retries => 2 retries in 15 mins (optional) params: { arg1: 'test', arg2: 'job' } // set params to be passed to target function (optional) }; // create daily cron details const dailyCron = { cron_name: 'daily_cron', // set a name for the cron (unique) description: 'daily_cron', // set a description for the cron (optional) cron_status: true, // set the cron status as enabled cron_type: 'Calendar', // set the cron type as Calendar for daily, monthly and yearly cron_detail: { hour: 0, // set the hour of the day in which the cron should be executed minute: 0, // set the minute of the day in which the cron should be executed second: 0, // set the second of the day in which the cron should be executed repetition_type: 'daily' // set the repetition type as daily for daily cron // timezone: 'America/Los_Angeles' // set the timezone (optional) }, job_meta: jobMeta // set the function job meta }; // create daily cron const dailyCronDetails = await jobScheduling.CRON.createCron(dailyCron); ``` **Monthly Cron** > **Notes:** * The following SDK is written for a job that will trigger a [Job Function](https://docs.catalyst.zoho.com/en/serverless/help/functions/job-functions/). To make the SDK compatible for the other types, you need to replace the value with proper [Job Pool ID](https://docs.catalyst.zoho.com/en/job-scheduling/help/jobpool/key-concepts/#job-pool-id), or **Job Pool Name**, and provide the appropriate **Target Name**, or **Target ID**. * The following SDK is configured to execute the cron that will submit a job to the job pool **every month** on the **1st**, **3rd**, and **5th** at **0Hrs**, **0Mins**, **0Secs**. You can change this value as per your requirement by passing the relevant value to the `cron_detail` JSON key-value pair. The following SDK can be used to schedule a cron to [submit a job](https://docs.catalyst.zoho.com/en/job-scheduling/help/implementation/submit-jobs-using-jobs/) to the [job pool](https://docs.catalyst.zoho.com/en/job-scheduling/help/jobpool/introduction/) at a fixed date, and time at a **monthly interval**. Additionally, you also have the option to submit a job at a monthly interval but on a particular week. If you choose to schedule the cron to execute at a monthly interval on a date-based schedule, then the range of possible dates, based on the **month**, will be **1-31**. Similarly, if you choose a **week-based** interval, then the range can either be from **1-4**, and the particular **days of the week** will be in the range of **1-7**. #### Parameters Used You need to construct two JSON objects, one that provides the meta of the job that needs to be submitted and the other is to contain your cron's meta that will schedule the submission of the job to the job pool. The JSON attributes used in these two JSONs are provided in the following table:
JSON Object JSON Attributes Definition
`job_meta` `job_name` **Mandatory** parameter. Contains the name of the job that needs to be submitted to the job pool.
`target_type` **Mandatory** parameter. Contains the type of the job. (**Function** | **Circuit** | **Webhook** | **AppSail**).
`target_name` or `target_id` **Mandatory** parameter. Contains the name or ID of the target type. While it is mandatory to provide value for either of them, it is optional to provide values for both fields.
`jobpool_name` or `jobpool_id` **Mandatory** parameter. Contains the name or ID of the Job Pool. While it is mandatory to provide value for either of them, it is optional to provide values for both fields.
`job_config`
  • **Optional** parameter. The number of retries and the retry interval can be provided as a JSON key-value pair.
  • `number_of_retries`: The number of retries that need to be attempted.
  • `retry_interval`: The interval in which the retries need to occur.
`monthlyCron` `cron_name` **Mandatory** parameter. To refer to your cron. Ensure you provide a unique name.
`description` **Optional** parameter. You can provide a description for your cron.
`cron_status` **Mandatory** parameter. Determines if the cron is enabled or not. Ensure it is set as '**true**'.
`cron_type` **Mandatory** parameter. Determines the type of Cron. The value will need to provided as **Calendar** to create recurring crons.
`cron_detail` **Mandatory** parameter. Provide the following details:
  • **hour**: To set the hour interval of the repetition.
  • **minute**: To set the minute interval of the repetition.
  • **second**: To set the second interval of the repetition.
  • **days**: To set the days of the month in which the cron should be executed.
  • `repetition type`: Ensure you set value as "**monthly**" for an *Monthly* type recurring cron.
`job_meta` **Mandatory** parameter. Pass the `jobMeta` JSON object as value.
```javascript // create function job meta const jobMeta = { job_name: 'test_job', // set a name for the job target_type: 'Function', // set the target type as Function for function jobs target_name: 'target_function', // set the target function's name (optional) (either target_id or target_name is mandatory) // target_id: '123467890', // set the target functions's ID (optional) (either target_id or target_name is mandatory) jobpool_name: 'test', // set the name of the function jobpool (optional) (either jobpool_name or jobpool_id is mandatory) // jobpool_id: '1234567890' // set the ID of the function jobpool (optional) (either jobpool_name or jobpool_id is mandatory) job_config: { number_of_retries: 2, // set the number of retries retry_interval: 15 * 60 // set the retry interval }, // set job config - job retries => 2 retries in 15 mins (optional) params: { arg1: 'test', arg2: 'job' } // set params to be passed to target function (optional) }; // create monthly cron details const monthlyCron = { cron_name: 'monthly_cron', // set a name for the cron (unique) description: 'monthly_cron', // set a description for the cron (optional) cron_status: true, // set the cron status as enabled cron_type: 'Calendar', // set the cron type as Calendar for daily, monthly and yearly cron_detail: { hour: 0, // set the hour of the day in which the cron should be executed minute: 0, // set the minute of the day in which the cron should be executed second: 0, // set the second of the day in which the cron should be executed days: [1, 3, 5], // set the days of the month in which the cron should be executed // week_day: [1, 3], // set the days of the week in a month during which the cron should be executed // weeks_of_month: [2], // set the weeks of the month during which the cron should be executed repetition_type: 'monthly' // set the repetition type as monthly for monthly cron // timezone: 'America/Los_Angeles' // set the timezone (optional) }, job_meta: jobMeta // set function job meta }; // create monthly cron const monthlyCronDetails = await jobScheduling.CRON.createCron(monthlyCron); ``` **Yearly Cron** > **Notes:** * The following SDK is written for a job that will trigger a [Job Function](https://docs.catalyst.zoho.com/en/serverless/help/functions/job-functions/). To make the SDK compatible for the other types, you need to replace the value with proper [Job Pool ID](https://docs.catalyst.zoho.com/en/job-scheduling/help/jobpool/key-concepts/#job-pool-id), or **Job Pool Name**, and provide the appropriate **Target Name**, or **Target ID**. * The following SDK is configured to execute the cron that will submit a job to the job pool on the **1st**, **2nd**, and **3rd** on the **8th** month of **every year**. You can change this value as per your requirement by passing the relevant value to the `cron_detail` JSON key-value pair. The following SDK can be used to schedule a cron to [submit a job](https://docs.catalyst.zoho.com/en/job-scheduling/help/implementation/submit-jobs-using-jobs/) to the [job pool](https://docs.catalyst.zoho.com/en/job-scheduling/help/jobpool/introduction/) at a fixed date, and time at a fixed month on a **yearly interval**. Additionally, you also have the option to submit a job at a yearly interval but on a particular week. If you choose to schedule the cron to execute at a **yearly** interval on a date-based schedule, then the range of possible dates, based on the **month**, will be **1-31**, and the **month** will be determined based on the range of values **1-12**. Similarly, if you choose a **week-based** interval, then the range can either be from **1-4**, and the particular **days of the week** will be in the range of **1-7**. #### Parameters Used You need to construct two JSON objects, one that provides the meta of the job that needs to be submitted and the other is to contain your cron's meta that will schedule the submission of the job to the job pool. The JSON attributes used in these two JSONs are provided in the following table:
JSON Object JSON Attributes Definition
`job_meta` `job_name` **Mandatory** parameter. Contains the name of the job that needs to be submitted to the job pool.
`target_type` **Mandatory** parameter. Contains the type of the job. (**Function** | **Circuit** | **Webhook** | **AppSail**).
`target_name` or `target_id` **Mandatory** parameter. Contains the name or ID of the target type. While it is mandatory to provide value for either of them, it is optional to provide values for both fields.
`jobpool_name` or `jobpool_id` **Mandatory** parameter. Contains the name or ID of the Job Pool. While it is mandatory to provide value for either of them, it is optional to provide values for both fields.
`job_config`
  • **Optional** parameter. The number of retries and the retry interval can be provided as a JSON key-value pair.
  • `number_of_retries`: The number of retries that need to be attempted.
  • `retry_interval`: The interval in which the retries need to occur.
`yearlyCron` `cron_name` **Mandatory** parameter. To refer to your cron. Ensure you provide a unique name.
`description` **Optional** parameter. You can provide a description for your cron.
`cron_status` **Mandatory** parameter. Determines if the cron is enabled or not. Ensure it is set as '**true**'.
`cron_type` **Mandatory** parameter. Determines the type of Cron. The value will need to provided as **Calendar** to create recurring crons.
`cron_detail` **Mandatory** parameter. Provide the following details:
  • **hour**: To set the hour interval of the repetition.
  • **minute**: To set the minute interval of the repetition.
  • **second**: To set the second interval of the repetition.
  • **days**: To set the days of the month in which the cron should be executed.
  • **months**: To set the months of the year in which the cron should be executed.
  • `repetition type`: Ensure you set value as "**yearly**" for a *Yearly* type recurring cron.
`job_meta` **Mandatory** parameter. Pass the `jobMeta` JSON object as value.
```javascript // create function job meta const jobMeta = { job_name: 'test_job', // set a name for the job target_type: 'Function', // set the target type as Function for function jobs target_name: 'target_function', // set the target function's name (optional) (either target_id or target_name is mandatory) // target_id: '123467890', // set the target function's ID (optional) (either target_id or target_name is mandatory) jobpool_name: 'test', // set the name of the function jobpool (optional) (either jobpool_name or jobpool_id is mandatory) // jobpool_id: '1234567890', // set the ID of the function jobpool (optional) (either jobpool_name or jobpool_id is mandatory) job_config: { number_of_retries: 2, // set the number of retries retry_interval: 15 * 60 // set the retry interval }, // set job config - job retries => 2 retries in 15 mins (optional) params: { arg1: 'test', arg2: 'job' } // set params to be passed to target function (optional) }; // create yearly cron details const yearlyCron = { cron_name: 'yearly_cron', // set a name for the cron (unique) description: 'yearly_cron', // set a description for the cron (optional) cron_status: true, // set the cron status as enabled cron_type: 'Calendar', // set the cron type as Calendar for daily, monthly and yearly cron_detail: { hour: 0, // set the hour of the day in which the cron should be executed minute: 0, // set the minute of the day in which the cron should be executed second: 0, // set the second of the day in which the cron should be executed days: [1, 2, 3], // set the days of the month in which the cron should be executed // week_day: [1, 3], // set the days of the week in a month during which the cron should be executed // weeks_of_month: [2], // set the weeks of the month during which the cron should be executed months: [8], // set the months of the year in which the cron should be executed repetition_type: 'yearly' // set the repetition type as yearly for yearly cron // timezone: 'America/Los_Angeles' // set the timezone (optional) }, job_meta: jobMeta // set function job meta }; // create yearly cron const yearlyCronDetails = await jobScheduling.CRON.createCron(yearlyCron); ``` > **Note:** We urge you to use this SDK to exclusively configure [Dynamic Crons](https://docs.catalyst.zoho.com/en/job-scheduling/help/implementation/submit-job-dynamic-cron/), and use the console's UI *Builder* to exclusively configure [Pre-defined Crons](https://docs.catalyst.zoho.com/en/job-scheduling/help/implementation/submit-job-predefined-cron/). -------------------------------------------------------------------------------- title: "Create a Cron Using Cron Expressions" description: "This page describes the method to perform operations in the DataStore component." last_updated: "2026-09-09T10:45:38.000Z" source: "https://docs.catalyst.zoho.com/en/sdk/javascript/v1/job-scheduling/cron/create-cron-expressions/" service: "Job Scheduling" related: - Catalyst Job Scheduling (/en/job-scheduling/) - Cron (/en/job-scheduling/help/cron/introduction/) - Cron Expressions (/en/job-scheduling/help/cron/key-concepts/#cron-expressions) - Java SDK Documentation (/en/sdk/java/v1/job-scheduling/cron/create-cron-cron-expressions/) - Python SDK Documentation (/en/sdk/python/v1/job-scheduling/cron/create-cron-cron-expressions/) - REST API Documentation (/en/api/code-reference/job-scheduling/cron/create-cron/create-cron-cron-exp/#CreateaCronUsingCronExpressions) -------------------------------------------------------------------------------- # Create a Cron Using Cron Expressions > **Note:** Ensure you have installed the [required package](https://docs.catalyst.zoho.com/en/sdk/javascript/v1/job-scheduling/overview/#prerequisites) to use this SDK method. The example code snippet in this section will detail the manner you can use *Cron Expressions* to configure the schedule of your cron. Once you've configured the cron, you can pass it to the `createCron()` SDK method to create the required cron. The `jobScheduling` reference used in the code snippets below is the [component instance](https://docs.catalyst.zoho.com/en/sdk/javascript/v1/job-scheduling/create-instance/) created to perform these operations. > **Notes:** * [Learn more about Cron Expressions](https://docs.catalyst.zoho.com/en/job-scheduling/help/cron/key-concepts/#cron-expressions) * It is advised you generate your cron expression using the *Builder* in the console and then copy the expression for your use case. This will ensure you avoid any unintentional errors. * In the following SDK, the cron has been configured using *Cron Expressions*, to submit a job to the job pool on **0Hrs 0Mins 0Secs** on **every 1st day of the week** on the **1st month of every year**. You can change this value as per your requirement by passing the relevant value to the `cron_expression` JSON key-value pair. #### Parameters Used You need to construct two JSON objects, one that provides the meta of the job that needs to be submitted and the other is to contain your cron's meta that will schedule the submission of the job to the job pool. The JSON attributes used in these two JSONs are provided in the following table:
JSON Object JSON Attributes Definition
`job_meta` `job_name` **Mandatory** parameter. Contains the name of the job that needs to be submitted to the job pool.
`target_type` **Mandatory** parameter. Contains the type of the job. (**Function** | **Circuit** | **Webhook** | **AppSail**).
`target_name` or `target_id` **Mandatory** parameter. Contains the name or ID of the target type. While it is mandatory to provide value for either of them, it is optional to provide values for both fields.
`jobpool_name` or `jobpool_id` **Mandatory** parameter. Contains the name or ID of the Job Pool. While it is mandatory to provide value for either of them, it is optional to provide values for both fields.
`job_config`
  • **Optional** parameter. The number of retries and the retry interval can be provided as a JSON key-value pair.
  • `number_of_retries`: The number of retries that need to be attempted.
  • `retry_interval`: The interval in which the retries need to occur.
`expressionCron` `cron_name` **Mandatory** parameter. To refer to your cron. Ensure you provide a unique name.
`description` **Optional** parameter. You can provide a description for your cron.
`cron_status` **Mandatory** parameter. Determines if the cron is enabled or not. Ensure it is set as '**true**'.
`cron_type` **Mandatory** parameter. Determines the type of Cron. The value will need to provided as **CronExpression** to create crons using Cron Expressions.
`cron_detail` **Mandatory** parameter. The required details will be provided using cron expressions.
`job_meta` **Mandatory** parameter. Pass the `jobMeta` JSON object as value.
```javascript // create function job meta const jobMeta = { job_name: 'test_job', // set a name for the job target_type: 'Function', // set the target type as Function for function jobs target_name: 'target_function', // set the target function's name (optional) (either target_id or target_name is mandatory) // target_id: '123467890', // set the target function's ID (optional) (either target_id or target_name is mandatory) jobpool_name: 'test', // set the name of the function jobpool (optional) (either jobpool_name or jobpool_id is mandatory) // jobpool_id: '1234567890', // set the ID of the function jobpool (optional) (either jobpool_name or jobpool_id is mandatory) job_config: { number_of_retries: 2, // set the number of retries retry_interval: 15 * 60 // set the retry interval }, // set job config - job retries => 2 retries in 15 mins (optional) params: { arg1: 'test', arg2: 'job' } // set params to be passed to target function (optional) }; // create expression cron details const expressionCron = { cron_name: 'expression_cron', // set a name for the cron (unique) description: 'expression_cron', // set a description for the cron (optional) cron_status: true, // set the cron status as enabled cron_type: 'CronExpression', // set the cron type as Calendar for daily, monthly and yearly cron_expression: '0 0 * 1 1', // set the cron expression // timezone: 'America/Los_Angeles', // set the timezone (optional) cron_detail: {}, // set the cron details job_meta: jobMeta // set function job meta }; // create expression cron const expressionCronDetails = await jobScheduling.CRON.createCron(expressionCron); ``` > **Note:** We urge you to use this SDK to exclusively configure [Dynamic Crons](https://docs.catalyst.zoho.com/en/job-scheduling/help/implementation/submit-job-dynamic-cron/), and use the console's UI *Builder* to exclusively configure [Pre-defined Crons](https://docs.catalyst.zoho.com/en/job-scheduling/help/implementation/submit-job-predefined-cron/). -------------------------------------------------------------------------------- title: "Get Details of a Particular Cron" description: "This page describes the method to perform operations in the DataStore component." last_updated: "2026-10-30T18:08:11.000Z" source: "https://docs.catalyst.zoho.com/en/sdk/javascript/v1/job-scheduling/cron/get-cron-details/" service: "Job Scheduling" related: - Catalyst Job Scheduling (/en/job-scheduling/) - Cron (/en/job-scheduling/help/cron/introduction/) - Java SDK Documentation (/en/sdk/java/v1/job-scheduling/cron/get-cron-details/) - Python SDK Documentation (/en/sdk/python/v1/job-scheduling/cron/get-cron-details/) - REST API Documentation (/en/api/code-reference/job-scheduling/cron/get-cron/#GetCronByIdentifier) -------------------------------------------------------------------------------- # Get Details of a Particular Cron > **Note:** Ensure you have installed the [required package](https://docs.catalyst.zoho.com/en/sdk/javascript/v1/job-scheduling/overview/#prerequisites) to use this SDK method. You can pass the name or the [Cron ID](https://docs.catalyst.zoho.com/en/job-scheduling/help/cron/key-concepts/#cron-id) of the required [Pre-Defined](https://docs.catalyst.zoho.com/en/job-scheduling/help/implementation/submit-job-predefined-cron/) or [Dynamic Cron](https://docs.catalyst.zoho.com/en/job-scheduling/help/implementation/submit-job-dynamic-cron/) to the `getCron()` SDK method to get details about the cron. The `jobScheduling` reference used in the code snippets below is the [component instance](https://docs.catalyst.zoho.com/en/sdk/javascript/v1/job-scheduling/create-instance/) created to perform these operations. ```javascript const cronDetailsWithName = await jobScheduling.CRON.getCron('test_cron'); // get cron with cron name const cronDetailsWithId = await jobScheduling.CRON.getCron('1234567890'); // get cron with cron ID ``` -------------------------------------------------------------------------------- title: "Get Details of All Crons" description: "This page describes the method to perform operations in the DataStore component." last_updated: "2026-09-09T10:45:38.000Z" source: "https://docs.catalyst.zoho.com/en/sdk/javascript/v1/job-scheduling/cron/get-all-cron/" service: "Job Scheduling" related: - Catalyst Job Scheduling (/en/job-scheduling/) - Cron (/en/job-scheduling/help/cron/introduction/) - Java SDK Documentation (/en/sdk/java/v1/job-scheduling/cron/get-all-cron-details/) - Python SDK Documentation (/en/sdk/python/v1/job-scheduling/cron/get-all-cron-details/) - REST API Documentation (/en/api/code-reference/job-scheduling/cron/get-all-cron/#GetAllCrons) -------------------------------------------------------------------------------- # Get Details of All Crons > **Note:** Ensure you have installed the [required package](https://docs.catalyst.zoho.com/en/sdk/javascript/v1/job-scheduling/overview/#prerequisites) to use this SDK method. You can use the `getAllCron()` SDK method to get the details of all [Pre-defined Crons](https://docs.catalyst.zoho.com/en/job-scheduling/help/implementation/submit-job-predefined-cron/). The `jobScheduling` reference used in the code snippets below is the [component instance](https://docs.catalyst.zoho.com/en/sdk/javascript/v1/job-scheduling/create-instance/) created to perform these operations. > **Note:** This method will only fetch you details of *Pre-Defined Crons*. This method will not work for [Dynamic Crons](https://docs.catalyst.zoho.com/en/job-scheduling/help/implementation/submit-job-dynamic-cron/#configure-a-dynamic-cron). ```javascript const allCrons = await jobScheduling.CRON.getAllCron(); // get all cron ``` -------------------------------------------------------------------------------- title: "Update Cron" description: "This page describes the method to perform operations in the DataStore component." last_updated: "2026-09-09T10:45:38.000Z" source: "https://docs.catalyst.zoho.com/en/sdk/javascript/v1/job-scheduling/cron/update-cron/" service: "Job Scheduling" related: - Catalyst Job Scheduling (/en/job-scheduling/) - Cron (/en/job-scheduling/help/cron/introduction/) - Java SDK Documentation (/en/sdk/java/v1/job-scheduling/cron/update-cron/) - Python SDK Documentation (/en/sdk/python/v1/job-scheduling/cron/update-cron/) - REST API Documentation (/en/api/code-reference/job-scheduling/cron/update-cron/update-one-time-cron/#UpdateaOne-TimeCron) -------------------------------------------------------------------------------- # Update Cron > **Note:** Ensure you have installed the [required package](https://docs.catalyst.zoho.com/en/sdk/javascript/v1/job-scheduling/overview/#prerequisites) to use this SDK method. You can use the `updateCron()` SDK method to update the name, description, and target of a [Pre-defined](https://docs.catalyst.zoho.com/en/job-scheduling/help/implementation/submit-job-predefined-cron/) or [Dynamic](https://docs.catalyst.zoho.com/en/job-scheduling/help/implementation/submit-job-dynamic-cron/#configure-a-dynamic-cron) cron. You can select your required cron by passing the [cron ID](https://docs.catalyst.zoho.com/en/job-scheduling/help/cron/key-concepts/#cron-id) to the [`getCron()`](https://docs.catalyst.zoho.com/en/sdk/javascript/v1/job-scheduling/cron/get-cron-details/) method, and update the details using the `updateCron()` method. The `jobScheduling` reference used in the code snippets below is the [component instance](https://docs.catalyst.zoho.com/en/sdk/javascript/v1/job-scheduling/create-instance/) created to perform these operations. ```javascript const cron = await jobScheduling.CRON.getCron('test_cron'); // get cron cron.cron_name = 'test'; const updatedCronDetailsWithName = await jobScheduling.CRON.updateCron('test_cron', cron); // update cron details with cron name updatedCronDetailsWithName.cron_name = 'test_new'; const updatedCronDetailsWithId = await jobScheduling.CRON.updateCron('1234567890', updatedCronDetailsWithName); // update cron details with cron id ``` -------------------------------------------------------------------------------- title: "Pause Cron" description: "This page describes the method to perform operations in the DataStore component." last_updated: "2026-09-09T10:45:38.000Z" source: "https://docs.catalyst.zoho.com/en/sdk/javascript/v1/job-scheduling/cron/pause-cron/" service: "Job Scheduling" related: - Catalyst Job Scheduling (/en/job-scheduling/) - Cron (/en/job-scheduling/help/cron/introduction/) - Java SDK Documentation (/en/sdk/java/v1/job-scheduling/cron/pause-cron/) - Python SDK Documentation (/en/sdk/python/v1/job-scheduling/cron/pause-cron/) - REST API Documentation (/en/api/code-reference/job-scheduling/cron/get-cron/#GetCronByIdentifier) -------------------------------------------------------------------------------- # Pause Cron > **Note:** Ensure you have installed the [required package](https://docs.catalyst.zoho.com/en/sdk/javascript/v1/job-scheduling/overview/#prerequisites) to use this SDK method. You can pass the [cron ID](https://docs.catalyst.zoho.com/en/job-scheduling/help/cron/key-concepts/#cron-id) or name of the [Pre-defined](https://docs.catalyst.zoho.com/en/job-scheduling/help/implementation/submit-job-predefined-cron/) or [Dynamic](https://docs.catalyst.zoho.com/en/job-scheduling/help/implementation/submit-job-dynamic-cron/) cron to the `pauseCron()` SDK method to temporarily halt a cron from submitting a job to the job pool. The `jobScheduling` reference used in the code snippets below is the [component instance](https://docs.catalyst.zoho.com/en/sdk/javascript/v1/job-scheduling/create-instance/) created to perform these operations. ```javascript const pausedCronWithName = await jobScheduling.CRON.pauseCron('test_cron'); // pause cron with cron name const pausedCronWithId = await jobScheduling.CRON.pauseCron('1234567890'); // pause cron with cron ID ``` -------------------------------------------------------------------------------- title: "Resume Cron" description: "This page describes the method to perform operations in the DataStore component." last_updated: "2026-09-09T10:45:38.000Z" source: "https://docs.catalyst.zoho.com/en/sdk/javascript/v1/job-scheduling/cron/resume-cron/" service: "Job Scheduling" related: - Catalyst Job Scheduling (/en/job-scheduling/) - Cron (/en/job-scheduling/help/cron/introduction/) - Java SDK Documentation (/en/sdk/java/v1/job-scheduling/cron/resume-cron/) - Python SDK Documentation (/en/sdk/python/v1/job-scheduling/cron/resume-cron/) - REST API Documentation (/en/api/code-reference/job-scheduling/cron/get-cron/#GetCronByIdentifier) -------------------------------------------------------------------------------- # Resume Cron > **Note:** Ensure you have installed the [required package](https://docs.catalyst.zoho.com/en/sdk/javascript/v1/job-scheduling/overview/#prerequisites) to use this SDK method. You can pass a previously paused [Pre-defined](https://docs.catalyst.zoho.com/en/job-scheduling/help/implementation/submit-job-predefined-cron/) or [Dynamic](https://docs.catalyst.zoho.com/en/job-scheduling/help/implementation/submit-job-dynamic-cron/) cron's [cron ID](https://docs.catalyst.zoho.com/en/job-scheduling/help/cron/key-concepts/#cron-id) or name to the `resumeCron()` SDK method to resume the cron's schedule and continue submitting a job to the job pool. The `jobScheduling` reference used in the code snippets below is the [component instance](https://docs.catalyst.zoho.com/en/sdk/javascript/v1/job-scheduling/create-instance/) created to perform these operations. ```javascript const resumedCronWithName = await jobScheduling.CRON.resumeCron('test_cron'); // resume cron with cron name const resumedCronWithId = await jobScheduling.CRON.resumeCron('1234567890'); // resume cron with cron ID ``` -------------------------------------------------------------------------------- title: "Run Cron" description: "This page describes the method to perform operations in the DataStore component." last_updated: "2026-09-09T10:45:38.000Z" source: "https://docs.catalyst.zoho.com/en/sdk/javascript/v1/job-scheduling/cron/run-cron/" service: "Job Scheduling" related: - Catalyst Job Scheduling (/en/job-scheduling/) - Cron (/en/job-scheduling/help/cron/introduction/) - Java SDK Documentation (/en/sdk/java/v1/job-scheduling/cron/run-cron/) - Python SDK Documentation (/en/sdk/python/v1/job-scheduling/cron/run-cron/) - REST API Documentation (/en/api/code-reference/job-scheduling/cron/get-cron/#GetCronByIdentifier) -------------------------------------------------------------------------------- # Run Cron > **Note:** Ensure you have installed the [required package](https://docs.catalyst.zoho.com/en/sdk/javascript/v1/job-scheduling/overview/#prerequisites) to use this SDK method. You can pass a [Pre-defined](https://docs.catalyst.zoho.com/en/job-scheduling/help/implementation/submit-job-predefined-cron/) or [Dynamic](https://docs.catalyst.zoho.com/en/job-scheduling/help/implementation/submit-job-dynamic-cron/) cron's [cron ID](https://docs.catalyst.zoho.com/en/job-scheduling/help/cron/key-concepts/#cron-id) or name to the `runCron()` SDK method to instantly execute it. The executed cron will instantly submit a job to the job pool. The `jobScheduling` reference used in the code snippets below is the [component instance](https://docs.catalyst.zoho.com/en/sdk/javascript/v1/job-scheduling/create-instance/) created to perform these operations. ```javascript const jobA = await jobScheduling.CRON.runCron('test_cron'); // run cron with cron name const jobB = await jobScheduling.CRON.runCron('1234567890'); // run cron with cron ID ``` -------------------------------------------------------------------------------- title: "Delete Cron" description: "This page describes the method to perform operations in the DataStore component." last_updated: "2026-09-09T10:45:38.000Z" source: "https://docs.catalyst.zoho.com/en/sdk/javascript/v1/job-scheduling/cron/delete-cron/" service: "Job Scheduling" related: - Catalyst Job Scheduling (/en/job-scheduling/) - Cron (/en/job-scheduling/help/cron/introduction/) - Java SDK Documentation (/en/sdk/java/v1/job-scheduling/cron/delete-cron/) - Python SDK Documentation (/en/sdk/python/v1/job-scheduling/cron/delete-cron/) - REST API Documentation (/en/api/code-reference/job-scheduling/cron/delete-cron/#DeleteCron) -------------------------------------------------------------------------------- # Delete Cron > **Note:** Ensure you have installed the [required package](https://docs.catalyst.zoho.com/en/sdk/javascript/v1/job-scheduling/overview/#prerequisites) to use this SDK method. You can pass a [Pre-defined](https://docs.catalyst.zoho.com/en/job-scheduling/help/implementation/submit-job-predefined-cron/) or [Dynamic](https://docs.catalyst.zoho.com/en/job-scheduling/help/implementation/submit-job-dynamic-cron/) cron's [cron ID](https://docs.catalyst.zoho.com/en/job-scheduling/help/cron/key-concepts/#cron-id) or name to the `deleteCron()` SDK method to delete it. The `jobScheduling` reference used in the code snippets below is the [component instance](https://docs.catalyst.zoho.com/en/sdk/javascript/v1/job-scheduling/create-instance/) created to perform these operations. ```javascript const deletedCronWithName = await jobScheduling.CRON.deleteCron('test_cron'); // delete cron with name const deletedCronWithId = await jobScheduling.CRON.deleteCron('1234567890'); // delete cron with ID ``` ## SDK — Python — Job Scheduling -------------------------------------------------------------------------------- title: "Overview" description: "This page describes the methods to perform Job Scheduling operations" last_updated: "2026-09-08T11:07:33.000Z" source: "https://docs.catalyst.zoho.com/en/sdk/python/v1/job-scheduling/overview/" service: "Job Scheduling" related: - Component Help Documentation (/en/job-scheduling/help/jobpool/introduction/) - Java SDK (/en/sdk/java/v1/job-scheduling/overview/) - JavaScript SDK Documentation (/en/sdk/javascript/v1/overview/) - REST API Collection (/en/api/code-reference/job-scheduling/jobpool/get-all-jobpool/#GetAllJobPools) -------------------------------------------------------------------------------- # Job Scheduling SDK Job Scheduling is a Catalyst service that allows you to [schedule job submissions](https://docs.catalyst.zoho.com/en/job-scheduling/help/cron/introduction/) and execute them in a [Job Pool](https://docs.catalyst.zoho.com/en/job-scheduling/help/jobpool/introduction/) to trigger [Circuits](https://docs.catalyst.zoho.com/en/serverless/help/circuits/introduction/), Webhooks (any third-party URL), [Job Functions](https://docs.catalyst.zoho.com/en/serverless/help/functions/job-functions/), and [AppSail](https://docs.catalyst.zoho.com/en/serverless/help/appsail/introduction/) service's endpoints. Using the Catalyst SDK, you can perform the following operations through code:
Job Scheduling Component Operations Possible Using SDK
Job Pool [Get All Job Pool](https://docs.catalyst.zoho.com/en/sdk/python/v1/job-scheduling/jobpool/get-all-jobpool/) [Get a Specific Job Pool](https://docs.catalyst.zoho.com/en/sdk/python/v1/job-scheduling/jobpool/get-job-pool/)
Job [Create Job](https://docs.catalyst.zoho.com/en/sdk/python/v1/job-scheduling/jobs/create-job/) [Get Job Details](https://docs.catalyst.zoho.com/en/sdk/python/v1/job-scheduling/jobs/get-job/) [Delete a Job](https://docs.catalyst.zoho.com/en/sdk/python/v1/job-scheduling/jobs/delete-job/)
Cron [Create a One-Time Cron](https://docs.catalyst.zoho.com/en/sdk/python/v1/job-scheduling/cron/create-one-time-cron/) [Create a Recurring Cron](https://docs.catalyst.zoho.com/en/sdk/python/v1/job-scheduling/cron/create-recurring-cron/) [Create Cron Using Cron Expressions](https://docs.catalyst.zoho.com/en/sdk/python/v1/job-scheduling/cron/create-cron-cron-expressions/) [Get Details of a Particular Cron](https://docs.catalyst.zoho.com/en/sdk/python/v1/job-scheduling/cron/get-cron-details/) [Get Details of All Crons](https://docs.catalyst.zoho.com/en/sdk/python/v1/job-scheduling/cron/get-all-cron-details/) [Update Cron](https://docs.catalyst.zoho.com/en/sdk/python/v1/job-scheduling/cron/update-cron/) [Pause Cron](https://docs.catalyst.zoho.com/en/sdk/python/v1/job-scheduling/cron/pause-cron/) [Resume Cron](https://docs.catalyst.zoho.com/en/sdk/python/v1/job-scheduling/cron/resume-cron/) [Run Cron](https://docs.catalyst.zoho.com/en/sdk/python/v1/job-scheduling/cron/run-cron/) [Delete Cron](https://docs.catalyst.zoho.com/en/sdk/python/v1/job-scheduling/cron/delete-cron/)
-------------------------------------------------------------------------------- title: "Initialize Job Scheduling Instance" description: "This page describes the method to create a component reference for the Job Scheduling service." last_updated: "2026-09-08T11:07:33.000Z" source: "https://docs.catalyst.zoho.com/en/sdk/python/v1/job-scheduling/initialize-job-scheduling-instance/" service: "Job Scheduling" related: - Component Help Documentation (/en/job-scheduling/help/jobpool/introduction/) - Java SDK (/en/sdk/java/v1/job-scheduling/initialize-job-scheduling-instance/) - JavaScript SDK Documentation (/en/sdk/javascript/v1/job-scheduling/jobpool/get-all-jobpool/) - REST API Collection (/en/api/code-reference/job-scheduling/jobpool/get-all-jobpool/#GetAllJobPools) -------------------------------------------------------------------------------- # Initialize Job Scheduling Instance You can create a [Job Scheduling](https://docs.catalyst.zoho.com/en/job-scheduling/) component reference as shown below. This will not fire a server-side call. We will refer to this component instance in various code snippets of working with Job Scheduling's components. ```python job_scheduling = app.job_scheduling() # get job scheduling instance ``` ### Cron -------------------------------------------------------------------------------- title: "Create a One-Time Cron" description: "This page describes the Python method to create a one-time cron in your project with sample code snippets." last_updated: "2026-09-08T11:07:33.000Z" source: "https://docs.catalyst.zoho.com/en/sdk/python/v1/job-scheduling/cron/create-one-time-cron/" service: "Job Scheduling" related: - Component Help Documentation (/en/job-scheduling/help/cron/key-concepts/#schedule-type) - Java SDK (/en/sdk/java/v1/job-scheduling/cron/create-one-time-cron/) - JavaScript SDK Documentation (/en/sdk/javascript/v1/job-scheduling/cron/create-one-time-cron/) - REST API Collection (/en/api/code-reference/job-scheduling/cron/create-cron/create-one-time-cron/#CreateaOne-TimeCron) -------------------------------------------------------------------------------- # Create a One-Time Cron The [Cron](https://docs.catalyst.zoho.com/en/job-scheduling/help/cron/introduction/) component is used to schedule the submission of a [job](https://docs.catalyst.zoho.com/en/job-scheduling/help/job/introduction/) to the [job Pool](https://docs.catalyst.zoho.com/en/job-scheduling/help/jobpool/introduction/). Using the following SDK, you will be able to create a cron that will schedule a job submission only once. > **Note:** The following SDK is written for a job that will trigger a [Job Function](https://docs.catalyst.zoho.com/en/serverless/help/functions/job-functions/). To make the SDK compatible for the other types, you need to replace the value with proper [**Job Pool ID**](https://docs.catalyst.zoho.com/en/job-scheduling/help/jobpool/key-concepts/#job-pool-id), or **Job Pool Name**, and provide the appropriate **Target Name**, or **Target ID**. ```python # create function job meta job_meta = { "job_name": "test_job", # set a name for the job "target_type": "Function", # set the target type as Function for function jobs "target_name": "target_function", # set the target function's name (optional) (either target_id or target_name is mandatory) # 'target_id': '123467890', # set the target functions's Id (optional) (either target_id or target_name is mandatory) "jobpool_name": "test", # set the name of the function jobpool (optional) (either jobpool_name or jobpool_id is mandatory) # 'jobpool_id': '1234567890' # set the Id of the function jobpool (optional) (either jobpool_name or jobpool_id is mandatory) "job_config": { "number_of_retries": 2, # set the number of retries "retry_interval": 15 * 60, # set the retry interval }, # set job config - job retries => 2 retries in 15 mins (optional) "params": { "arg1": "test", "arg2": "job", }, # set params to be passed to target function (optional) } # create one time cron one_time_cron = job_scheduling.CRON.create( { "cron_name": "one_time", # set a name for the cron (unique) "description": "one_time_cron", # set the cron description (optional) "cron_status": True, # set the cron status as enabled "cron_type": "OneTime", # set the cron type as OneTime "cron_detail": { "time_of_execution": int(time.time()) + (60 * 10 * 1000), # set the execution time as UNIX timestamp # 'timezone': 'America/Los_Angeles' # set the timezone (optional) }, "job_meta": job_meta, # set the function job meta } ) ``` > **Note:** We urge you to use this SDK to configure only [Dynamic Crons](https://docs.catalyst.zoho.com/en/job-scheduling/help/implementation/submit-job-dynamic-cron/). Use the *UI Builder* to configure [Pre-defined Crons](https://docs.catalyst.zoho.com/en/job-scheduling/help/implementation/submit-job-predefined-cron/). -------------------------------------------------------------------------------- title: "Create a Recurring Cron" description: "This page describes the Python method to create a recurring cron in your project with sample code snippets." last_updated: "2026-09-08T11:07:33.000Z" source: "https://docs.catalyst.zoho.com/en/sdk/python/v1/job-scheduling/cron/create-recurring-cron/" service: "Job Scheduling" related: - Component Help Documentation (/en/job-scheduling/help/cron/key-concepts/#schedule-type) - Java SDK (/en/sdk/java/v1/job-scheduling/cron/create-recurring-cron/) - JavaScript SDK Documentation (/en/sdk/javascript/v1/job-scheduling/cron/create-recurring-cron/) - REST API Collection (/en/api/code-reference/job-scheduling/cron/create-cron/create-every-cron/#CreateanEveryCron) -------------------------------------------------------------------------------- # Create a Recurring Cron Using the following SDK, you will be able to create a recurring cron that can be executed at various time-period intervals. The intervals can range from a minute to entire calendar years. **Every Cron** ### Create an Every Cron The following SDK can be used to create a recurring cron that will submit a job to the job pool at a scheduled interval that is less than **24Hrs**. > **Note:** The following SDK is configured to [submit a job](https://docs.catalyst.zoho.com/en/api/code-reference/job-scheduling/job/submit-job/submit-function-job/#SubmitaFunctionJobByID) every **2Hrs 1Mins and 3secs**. You can change this value as per your requirement by passing the relevant value to the `cron_detail` JSON key-value pair. ```python # create function job meta job_meta = { 'job_name': 'test_job', # set a name for the job 'target_type': 'Function', # set the target type as Function for function jobs 'target_name': 'target_function', # set the target function's name (optional) (either target_id or target_name is mandatory) # 'target_id': '123467890', # set the target functions's Id (optional) (either target_id or target_name is mandatory) 'jobpool_name': 'test', # set the name of the function jobpool (optional) (either jobpool_name or jobpool_id is mandatory) # 'jobpool_id': '1234567890' # set the Id of the function jobpool (optional) (either jobpool_name or jobpool_id is mandatory) 'job_config': { 'number_of_retries': 2, # set the number of retries 'retry_interval': 15 * 60 # set the retry interval }, # set job config - job retries => 2 retries in 15 mins (optional) 'params': { 'arg1': 'test', 'arg2': 'job' } # set params to be passed to target function (optional) } # create every cron every_cron = job_scheduling.CRON.create({ 'cron_name': 'every_cron', # set a name for the cron (unique) 'description': 'every_cron', # set the cron description (optional) 'cron_status': True, # set the cron status as enabled 'cron_type': 'Periodic', # set the cron type as Periodic for every cron 'cron_detail': { 'hour': 2, # set the hour interval of the repetition 'minute': 1, # set the minute interval of the repetition 'second': 3, # set the second interval of the repetition 'repetition_type': 'every' # set the repetition type as every for every cron }, 'job_meta': job_meta # set the function job meta }) ``` **Daily Cron** ### Create a Daily Cron The following SDK can be used to schedule a cron to [submit a job](https://docs.catalyst.zoho.com/en/job-scheduling/help/implementation/submit-jobs-using-jobs/) to the [job pool](https://docs.catalyst.zoho.com/en/job-scheduling/help/jobpool/introduction/) at a fixed time at a **daily interval**. > **Note:** The following SDK is configured to execute the cron on **0Hr 0Min 0Sec** every single day. You can change this value as per your requirement by passing the relevant value to the `cron_detail` JSON key-value pair. ```python # create function job meta job_meta = { 'job_name': 'test_job', # set a name for the job 'target_type': 'Function', # set the target type as Function for function jobs 'target_name': 'target_function', # set the target function's name (optional) (either target_id or target_name is mandatory) # 'target_id': '123467890', # set the target functions's Id (optional) (either target_id or target_name is mandatory) 'jobpool_name': 'test', # set the name of the function jobpool (optional) (either jobpool_name or jobpool_id is mandatory) # 'jobpool_id': '1234567890' # set the Id of the function jobpool (optional) (either jobpool_name or jobpool_id is mandatory) 'job_config': { 'number_of_retries': 2, # set the number of retries 'retry_interval': 15 * 60 # set the retry interval }, # set job config - job retries => 2 retries in 15 mins (optional) 'params': { 'arg1': 'test', 'arg2': 'job' } # set params to be passed to target function (optional) } daily_cron = job_scheduling.CRON.create({ 'cron_name': 'daily_cron', # set a name for the cron (unique) 'description': 'daily_cron', # set the cron description (optional) 'cron_status': True, # set the cron status as enabled 'cron_type': 'Calendar', # set the cron type as Calendar for daily, monthly and yearly 'cron_detail': { 'hour': 0, # set the hour of the day in which the cron should be executed 'minute': 0, # set the minute of the day in which the cron should be executed 'second': 0, # set the second of the day in which the cron should be executed 'repetition_type': 'daily', # set the repetition type as daily for daily cron # 'timezone': 'America/Los_Angeles' # set the timezone (optional) }, 'job_meta': job_meta # set the function job meta }) ``` **Monthly Cron** ### Create a Monthly Cron The following SDK can be used to schedule a cron to [submit a job](https://docs.catalyst.zoho.com/en/job-scheduling/help/implementation/submit-jobs-using-jobs/) to the [job pool](https://docs.catalyst.zoho.com/en/job-scheduling/help/jobpool/introduction/) at a fixed date, and time at a **monthly interval**. Additionally, you also have the option to submit a job at a monthly interval but on a particular week. If you choose to schedule the cron to execute at a monthly interval on a date-based schedule, then the range of possible dates, based on the **month**, will be **1-31**. Similarly, if you choose a **week-based** interval, then the range can either be from **1-4**, and the particular **days of the week** will be in the range of **1-7**. > **Note:** The following SDK is configured to execute the cron that will submit a job to the job pool **every month** on the **1st**, **3rd**, and **5th** at **0Hrs,0Mins, 0Secs**. You can change this value as per your requirement by passing the relevant value to the `cron_detail` JSON key-value pair. ```python # create function job meta job_meta = { 'job_name': 'test_job', # set a name for the job 'target_type': 'Function', # set the target type as Function for function jobs 'target_name': 'target_function', # set the target function's name (optional) (either target_id or target_name is mandatory) # 'target_id': '123467890', # set the target functions's Id (optional) (either target_id or target_name is mandatory) 'jobpool_name': 'test', # set the name of the function jobpool (optional) (either jobpool_name or jobpool_id is mandatory) # 'jobpool_id': '1234567890' # set the Id of the function jobpool (optional) (either jobpool_name or jobpool_id is mandatory) 'job_config': { 'number_of_retries': 2, # set the number of retries 'retry_interval': 15 * 60 # set the retry interval }, # set job config - job retries => 2 retries in 15 mins (optional) 'params': { 'arg1': 'test', 'arg2': 'job' } # set params to be passed to target function (optional) } # create monthly cron monthly_cron = job_scheduling.CRON.create({ 'cron_name': 'monthly_cron', # set a name for the cron (unique) 'description': 'monthly_cron', # set the cron description (optional) 'cron_status': True, # set the cron status as enabled 'cron_type': 'Calendar', # set the cron type as Calendar for daily, monthly and yearly 'cron_detail': { 'hour': 0, # set the hour of the day in which the cron should be executed 'minute': 0, # set the minute of the day in which the cron should be executed 'second': 0, # set the second of the day in which the cron should be executed 'days': [1, 3, 5], # set the days of the month in which the cron should be executed # 'week_day': [1, 3], # set the days of the week in a month during which the cron should be executed # 'weeks_of_month': [2], # set the weeks of the month during which the cron should be executed 'repetition_type': 'monthly', # set the repetition type as monthly for monthly cron # 'timezone': 'America/Los_Angeles' # set the timezone (optional) }, 'job_meta': job_meta # set function job meta }) ``` **Yearly Cron** ### Create a Yearly Cron The following SDK can be used to schedule a cron to[submit a job](https://docs.catalyst.zoho.com/en/job-scheduling/help/implementation/submit-jobs-using-jobs/) to the [job pool](https://docs.catalyst.zoho.com/en/job-scheduling/help/jobpool/introduction/) at a fixed date, and time at a fixed month on a **yearly** interval. Additionally, you also have the option to submit a job at a yearly interval but on a particular week. If you choose to schedule the cron to execute at a **yearly** interval on a **date-based** schedule, then the range of possible dates, based on the **month**, will be **1-31**, and the **month** will be determined based on the range of values **1-12**. Similarly, if you choose a **week-based** interval, then the range can either be from **1-4**, and the particular **days of the week** will be in the range of **1-7**. > **Note:** The following SDK is configured to execute the cron that will submit a job to the job pool on the **1st**, **2nd**, and **3rd** on the **8th month** of **every year**. You can change this value as per your requirement by passing the relevant value to the `cron_detail` JSON key-value pair. ```python # create function job meta job_meta = { "job_name": "test_job", # set a name for the job "target_type": "Function", # set the target type as Function for function jobs "target_name": "target_function", # set the target function's name (optional) (either target_id or target_name is mandatory) # 'target_id': '123467890', # set the target functions's Id (optional) (either target_id or target_name is mandatory) "jobpool_name": "test", # set the name of the function jobpool (optional) (either jobpool_name or jobpool_id is mandatory) # 'jobpool_id': '1234567890' # set the Id of the function jobpool (optional) (either jobpool_name or jobpool_id is mandatory) "job_config": { "number_of_retries": 2, # set the number of retries "retry_interval": 15 * 60, # set the retry interval }, # set job config - job retries => 2 retries in 15 mins (optional) "params": { "arg1": "test", "arg2": "job", }, # set params to be passed to target function (optional) } # create yearly cron yearly_cron = job_scheduling.CRON.create( { "cron_name": "yearly_cron", # set a name for the cron (unique) "description": "yearly_cron", # set the cron description (optional) "cron_status": True, # set the cron status as enabled "cron_type": "Calendar", # set the cron type as Calendar for daily, monthly and yearly "cron_detail": { "hour": 0, # set the hour of the day in which the cron should be executed "minute": 0, # set the minute of the day in which the cron should be executed "second": 0, # set the second of the day in which the cron should be executed "days": [ 1, 2, 3, ], # set the days of the month in which the cron should be executed # 'week_day': [1, 3], # set the days of the week in a month during which the cron should be executed # 'weeks_of_month': [2], # set the weeks of the month during which the cron should be executed "months": [ 8 ], # set the months of the year in which the cron should be executed "repetition_type": "yearly", # set the repetition type as yearly for yearly cron # 'timezone': 'America/Los_Angeles' # set the timezone (optional) }, "job_meta": job_meta, # set function job meta } ) ``` > **Note:** We urge you to use this SDK to configure only [Dynamic Crons](https://docs.catalyst.zoho.com/en/job-scheduling/help/implementation/submit-job-dynamic-cron/). Use the *UI Builder* to configure [Pre-defined Crons](https://docs.catalyst.zoho.com/en/job-scheduling/help/implementation/submit-job-predefined-cron/). -------------------------------------------------------------------------------- title: "Create a Cron Using Cron Expressions" description: "This page describes the Python method to create a cron using Cron Expressions in your project with sample code snippets." last_updated: "2026-09-08T11:07:33.000Z" source: "https://docs.catalyst.zoho.com/en/sdk/python/v1/job-scheduling/cron/create-cron-cron-expressions/" service: "Job Scheduling" related: - Component Help Documentation (/en/job-scheduling/help/cron/key-concepts/#cron-expressions) - Java SDK (/en/sdk/java/v1/job-scheduling/cron/create-cron-cron-expressions/) - JavaScript SDK Documentation (/en/sdk/javascript/v1/job-scheduling/cron/create-cron-expressions/) - REST API Collection (/en/api/code-reference/job-scheduling/cron/create-cron/create-cron-cron-exp/#CreateaCronUsingCronExpressions) -------------------------------------------------------------------------------- # Create a Cron Using Cron Expressions Use this SDK to implement crons to schedule the submission of jobs to job pools. However, the configuration of the cron will be defined using regex-like expressions called [Cron Expressions](https://docs.catalyst.zoho.com/en/job-scheduling/help/cron/key-concepts/#cron-expressions). > **Note:** In the following SDK, the cron has been configured using Cron Expressions, to submit a job to the job pool on **0Hrs 0Mins 0Secs** on **every 1st day of the week** on the **1st month of every year**. You can change this value as per your requirement by passing the relevant value to the `cron_expression` JSON key-value pair. ```python # create function job meta job_meta = { 'job_name': 'test_job', # set a name for the job 'target_type': 'Function', # set the target type as Function for function jobs 'target_name': 'target_function', # set the target function's name (optional) (either target_id or target_name is mandatory) # 'target_id': '123467890', # set the target functions's Id (optional) (either target_id or target_name is mandatory) 'jobpool_name': 'test', # set the name of the function jobpool (optional) (either jobpool_name or jobpool_id is mandatory) # 'jobpool_id': '1234567890' # set the Id of the function jobpool (optional) (either jobpool_name or jobpool_id is mandatory) 'job_config': { 'number_of_retries': 2, # set the number of retries 'retry_interval': 15 * 60 # set the retry interval }, # set job config - job retries => 2 retries in 15 mins (optional) 'params': { 'arg1': 'test', 'arg2': 'job' } # set params to be passed to target function (optional) } # create expression cron expression_cron = job_scheduling.CRON.create({ 'cron_name': 'expression_cron', # set a name for the cron (unique) 'description': 'expression_cron', # set the cron description (optional) 'cron_status': True, # set the cron status as enabled 'cron_type': 'CronExpression', # set the cron type as Calendar for daily, monthly and yearly 'cron_expression': '0 0 * 1 1', # set the cron expression # 'timezone': 'America/Los_Angeles', # set the timezone (optional) 'cron_detail': {}, # set the cron details 'job_meta': job_meta # set function job meta }) ``` > **Note:** We urge you to use this SDK to configure only [Dynamic Crons](https://docs.catalyst.zoho.com/en/job-scheduling/help/implementation/submit-job-dynamic-cron/). Use the *UI Builder* to configure [Pre-defined Crons](https://docs.catalyst.zoho.com/en/job-scheduling/help/implementation/submit-job-predefined-cron/). -------------------------------------------------------------------------------- title: "Get Details of a Particular Cron" description: "This page describes the Python method to get details of a cron in your project with sample code snippets." last_updated: "2026-09-08T11:07:33.000Z" source: "https://docs.catalyst.zoho.com/en/sdk/python/v1/job-scheduling/cron/get-cron-details/" service: "Job Scheduling" related: - Component Help Documentation (/en/job-scheduling/help/cron/introduction/) - Java SDK (/en/sdk/java/v1/job-scheduling/cron/get-cron-details/) - JavaScript SDK Documentation (/en/sdk/javascript/v1/job-scheduling/cron/get-cron-details/) - REST API Collection (/en/api/code-reference/job-scheduling/cron/get-cron/#GetCronByIdentifier) -------------------------------------------------------------------------------- # Get Details of a Particular Cron Use the following SDK to get all available details of a particular [**Pre-Defined Cron**](https://docs.catalyst.zoho.com/en/job-scheduling/help/implementation/submit-job-predefined-cron/) or [**Dynamic Cron**](https://docs.catalyst.zoho.com/en/job-scheduling/help/implementation/submit-job-dynamic-cron/). You need to pass the [`cron id`](https://docs.catalyst.zoho.com/en/job-scheduling/help/cron/key-concepts/#cron-id) or the name of the cron to the `get()` SDK method. **Using Cron ID** ```python cron = job_scheduling.CRON.get('1234567890') # get cron with cron Id ``` **Using Cron Name** ```python cron = job_scheduling.CRON.get('test') # get cron with cron name ``` -------------------------------------------------------------------------------- title: "Get Details of All Crons" description: "This page describes the Python method to get details of all the crons in your project with sample code snippets." last_updated: "2026-09-08T11:07:33.000Z" source: "https://docs.catalyst.zoho.com/en/sdk/python/v1/job-scheduling/cron/get-all-cron-details/" service: "Job Scheduling" related: - Component Help Documentation (/en/job-scheduling/help/cron/introduction/) - Java SDK (/en/sdk/java/v1/job-scheduling/cron/get-all-cron-details/) - JavaScript SDK Documentation (/en/sdk/javascript/v1/job-scheduling/cron/get-all-cron/) - REST API Collection (/en/api/code-reference/job-scheduling/cron/get-all-cron/#GetAllCrons) -------------------------------------------------------------------------------- # Get Details of All Crons The following SDK will allow you to get all available information on all [Pre-Defined Crons](https://docs.catalyst.zoho.com/en/job-scheduling/help/implementation/submit-job-predefined-cron/) using the `get_all()` SDK method. > **Note:** This method will only fetch you details of Pre-Defined Crons. This method will not work for [Dynamic Crons](https://docs.catalyst.zoho.com/en/job-scheduling/help/implementation/submit-job-dynamic-cron/). ```python all_cron = job_scheduling.CRON.get_all() # get all static cron ``` -------------------------------------------------------------------------------- title: "Update Cron" description: "This page describes the Python method to update a cron in your project with sample code snippets." last_updated: "2026-09-08T11:07:33.000Z" source: "https://docs.catalyst.zoho.com/en/sdk/python/v1/job-scheduling/cron/update-cron/" service: "Job Scheduling" related: - Component Help Documentation (/en/job-scheduling/help/cron/introduction/) - Java SDK (/en/sdk/java/v1/job-scheduling/cron/update-cron/) - JavaScript SDK Documentation (/en/sdk/javascript/v1/job-scheduling/cron/update-cron/) - REST API Collection (/en/api/code-reference/job-scheduling/cron/update-cron/update-one-time-cron/#UpdateaOne-TimeCron) -------------------------------------------------------------------------------- # Update Cron The following SDK can be used to update a particular cron's details. You can use this SDK to update the name, description and target. You can select your required cron by passing the [`cron id`](https://docs.catalyst.zoho.com/en/job-scheduling/help/cron/key-concepts/#cron-id) to the `get()` method, and update the details using the `update()` method. > **Note:** You can use this method to update details of both [Pre-Defined Crons](https://docs.catalyst.zoho.com/en/job-scheduling/help/implementation/submit-job-predefined-cron/) and [Dynamic Crons](https://docs.catalyst.zoho.com/en/job-scheduling/help/implementation/submit-job-dynamic-cron/). **Using Cron ID** ```python cron = job_scheduling.CRON.get('test') # get cron with cron name cron.__setitem__('cron_name', 'test_new_name') # set cron name updated_cron = job_scheduling.CRON.update('1234567890', cron) # updating cron name with cron Id ``` **Using Cron Name** ```python cron = job_scheduling.CRON.get('test') # get cron with cron name cron.__setitem__('cron_name', 'test_name') # set cron name updated_cron = job_scheduling.CRON.update('test', cron) # updating cron name with the existing cron name ``` -------------------------------------------------------------------------------- title: "Pause Cron" description: "This page describes the Python method to pause a cron in your project with sample code snippets." last_updated: "2026-09-08T11:07:33.000Z" source: "https://docs.catalyst.zoho.com/en/sdk/python/v1/job-scheduling/cron/pause-cron/" service: "Job Scheduling" related: - Component Help Documentation (/en/job-scheduling/help/cron/introduction/) - Java SDK (/en/sdk/java/v1/job-scheduling/cron/pause-cron/) - JavaScript SDK Documentation (/en/sdk/javascript/v1/job-scheduling/cron/pause-cron/) - REST API Collection (/en/api/code-reference/job-scheduling/cron/create-cron/create-one-time-cron/#CreateaOne-TimeCron) -------------------------------------------------------------------------------- # Pause Cron This SDK method can be used to temporarily halt a cron from submitting a [job](https://docs.catalyst.zoho.com/en/job-scheduling/help/job/introduction/) to the [job Pool](https://docs.catalyst.zoho.com/en/job-scheduling/help/jobpool/introduction/). You need to pass the [`cron id`](https://docs.catalyst.zoho.com/en/job-scheduling/help/cron/key-concepts/#cron-id) or name of the cron you wish to pause to the `pause()` SDK method. > **Note:** You can use this method to update details of both [Pre-Defined Crons](https://docs.catalyst.zoho.com/en/job-scheduling/help/implementation/submit-job-predefined-cron/) and [Dynamic Crons](https://docs.catalyst.zoho.com/en/job-scheduling/help/implementation/submit-job-dynamic-cron/). **Using Cron ID** ```python paused_cron = job_scheduling.CRON.pause('1234567890') # disable a cron with the cron Id ``` **Using Cron Name** ```python paused_cron = job_scheduling.CRON.pause('test_cron') # disable a cron with the cron name ``` -------------------------------------------------------------------------------- title: "Resume Cron" description: "This page describes the Python method to resume a cron in your project with sample code snippets." last_updated: "2026-09-08T11:07:33.000Z" source: "https://docs.catalyst.zoho.com/en/sdk/python/v1/job-scheduling/cron/resume-cron/" service: "Job Scheduling" related: - Component Help Documentation (/en/job-scheduling/help/cron/introduction/) - Java SDK (/en/sdk/java/v1/job-scheduling/cron/resume-cron/) - JavaScript SDK Documentation (/en/sdk/javascript/v1/job-scheduling/cron/resume-cron/) - REST API Collection (/en/api/code-reference/job-scheduling/cron/create-cron/create-one-time-cron/#CreateaOne-TimeCron) -------------------------------------------------------------------------------- # Resume Cron This SDK method can be used to resume the operations of a cron that had been previously [paused](https://docs.catalyst.zoho.com/en/job-scheduling/help/jobpool/introduction/). This can be done by passing the paused [`cron id`](https://docs.catalyst.zoho.com/en/job-scheduling/help/cron/key-concepts/#cron-id) or name to the `resume()` SDK method. > **Note:** You can use this method to update details of both [Pre-Defined Crons](https://docs.catalyst.zoho.com/en/job-scheduling/help/implementation/submit-job-predefined-cron/) and [Dynamic Crons](https://docs.catalyst.zoho.com/en/job-scheduling/help/implementation/submit-job-dynamic-cron/). **Using Cron ID** ```python resumed_cron = job_scheduling.CRON.resume('1234567890') # enable a cron with the cron Id ``` **Using Cron Name** ```python resumed_cron = job_scheduling.CRON.resume('test_cron') # enable a cron with the cron name ``` -------------------------------------------------------------------------------- title: "Run Cron" description: "This page describes the Python method to execute a cron in your project with sample code snippets." last_updated: "2026-09-08T11:07:33.000Z" source: "https://docs.catalyst.zoho.com/en/sdk/python/v1/job-scheduling/cron/run-cron/" service: "Job Scheduling" related: - Component Help Documentation (/en/job-scheduling/help/cron/introduction/) - Java SDK (/en/sdk/java/v1/job-scheduling/cron/run-cron/) - JavaScript SDK Documentation (/en/sdk/javascript/v1/job-scheduling/cron/run-cron/) - REST API Collection (/en/api/code-reference/job-scheduling/cron/create-cron/create-one-time-cron/#CreateaOne-TimeCron) -------------------------------------------------------------------------------- # Run Cron This SDK can be used to [execute a cron](https://docs.catalyst.zoho.com/en/job-scheduling/help/cron/introduction/). The cron once executed will immediately submit the associated [job](https://docs.catalyst.zoho.com/en/job-scheduling/help/job/introduction/) to the [job Pool](https://docs.catalyst.zoho.com/en/job-scheduling/help/jobpool/introduction/). This can be done by passing the [`cron id`](https://docs.catalyst.zoho.com/en/job-scheduling/help/cron/key-concepts/#cron-id) or name to the `run()` SDK method. > **Note:** You can use this method to update details of both [Pre-Defined Crons](https://docs.catalyst.zoho.com/en/job-scheduling/help/implementation/submit-job-predefined-cron/) and [Dynamic Crons](https://docs.catalyst.zoho.com/en/job-scheduling/help/implementation/submit-job-dynamic-cron/). **Using Cron ID** ```python job = job_scheduling.CRON.run('1234567890') # run cron with cron Id ``` **Using Cron Name** ```python job = job_scheduling.CRON.run('test_cron') # run cron with cron name ``` -------------------------------------------------------------------------------- title: "Delete Cron" description: "This page describes the Python method to delete a cron in your project with sample code snippets." last_updated: "2026-09-08T11:07:33.000Z" source: "https://docs.catalyst.zoho.com/en/sdk/python/v1/job-scheduling/cron/delete-cron/" service: "Job Scheduling" related: - Component Help Documentation (/en/job-scheduling/help/cron/introduction/) - Java SDK (/en/sdk/java/v1/job-scheduling/cron/delete-cron/) - JavaScript SDK Documentation (/en/sdk/javascript/v1/job-scheduling/cron/delete-cron/) - REST API Collection (/en/api/code-reference/job-scheduling/cron/delete-cron/#DeleteCron) -------------------------------------------------------------------------------- # Delete Cron This SDK method can be used to delete a particular [cron](https://docs.catalyst.zoho.com/en/job-scheduling/help/cron/introduction/). This can be done by passing the [`cron id`](https://docs.catalyst.zoho.com/en/job-scheduling/help/cron/key-concepts/#cron-id) or name to the `delete()` SDK method. > **Note:** You can use this method to update details of both [Pre-Defined Crons](https://docs.catalyst.zoho.com/en/job-scheduling/help/implementation/submit-job-predefined-cron/) and [Dynamic Crons](https://docs.catalyst.zoho.com/en/job-scheduling/help/implementation/submit-job-dynamic-cron/). **Using Cron ID** ```python deleted_cron = job_scheduling.CRON.delete('1234567890') # delete cron with cron Id ``` **Using Cron Name** ```python deleted_cron = job_scheduling.CRON.delete('test_cron') # delete a cron with cron name ``` ### Job Pool -------------------------------------------------------------------------------- title: "Get All Job Pools’ Details" description: "This page describes the Python method to get all the job pools present in your project with sample code snippets." last_updated: "2026-09-08T11:07:33.000Z" source: "https://docs.catalyst.zoho.com/en/sdk/python/v1/job-scheduling/jobpool/get-all-jobpool/" service: "Job Scheduling" related: - Component Help Documentation (/en/job-scheduling/help/jobpool/introduction/) - Java SDK (/en/sdk/java/v1/job-scheduling/jobpool/get-all-job-pool/) - JavaScript SDK Documentation (/en/sdk/javascript/v1/overview/) - REST API Collection (/en/api/code-reference/job-scheduling/jobpool/get-all-jobpool/#GetAllJobPools) -------------------------------------------------------------------------------- # Get All Job Pools’ Details Using the following SDK, you will be able to get all the available details on all of the available [Job Pools](https://docs.catalyst.zoho.com/en/job-scheduling/help/jobpool/introduction/). ```python all_jobpools = job_scheduling.get_all_jobpool() # get all jobpools ``` -------------------------------------------------------------------------------- title: "Get Specific Job Pool’s Details" description: "This page describes the Python method to get details of a specific job pool present in your project with sample code snippets." last_updated: "2026-11-03T15:16:51.000Z" source: "https://docs.catalyst.zoho.com/en/sdk/python/v1/job-scheduling/jobpool/get-job-pool/" service: "Job Scheduling" related: - Component Help Documentation (/en/job-scheduling/help/jobpool/introduction/) - Java SDK (/en/sdk/java/v1/job-scheduling/jobpool/get-job-pool/) - JavaScript SDK Documentation (/en/sdk/javascript/v1/job-scheduling/jobpool/get-jobpool/) - REST API Collection (/en/api/code-reference/job-scheduling/jobpool/get-jobpool/#GetJobPoolByIdentifier) -------------------------------------------------------------------------------- # Get Specific Job Pool’s Details Using the following SDK, you will be able to get the details of a particular Job Pool by either passing the name or the ID of the Job Pool to the `get_jobpool()` SDK method. **Get Job Pool Details Using Job Pool ID** ### Get Job Pool Details Using Job Pool ID ```python jobpool = job_scheduling.get_jobpool('1234567890') # get jobpool with the jobpool id "1234567890" ``` **Get Job Pool Details Using Job Pool Name** ### Get Job Pool Details Using Job Pool Name ```python jobpool = job_scheduling.get_jobpool('test') # get jobpool with the jobpool name "test" ``` ### Jobs -------------------------------------------------------------------------------- title: "Create Job" description: "This page describes the Python method to create a job in your project with sample code snippets." last_updated: "2026-09-08T11:07:33.000Z" source: "https://docs.catalyst.zoho.com/en/sdk/python/v1/job-scheduling/jobs/create-job/" service: "Job Scheduling" related: - Component Help Documentation (/en/job-scheduling/help/job/introduction/) - Java SDK (/en/sdk/java/v1/job-scheduling/jobs/create-job/) - JavaScript SDK Documentation (/en/sdk/javascript/v1/job-scheduling/job/create-job/) - REST API Collection (/en/api/code-reference/job-scheduling/job/submit-job/submit-webhook-job/#SubmitWebhookJobByID) -------------------------------------------------------------------------------- # Create Job Using the following SDK method, you can create and submit Jobs to trigger [Job Functions](https://docs.catalyst.zoho.com/en/serverless/help/functions/job-functions/), Webhooks, [Circuits](https://docs.catalyst.zoho.com/en/serverless/help/circuits/introduction/), and [App Sail](https://docs.catalyst.zoho.com/en/serverless/help/appsail/introduction/) services. You can also pass optional arguments in the form of JSON key value pairs. SDK snippet to create and submit Job to trigger: **Job Function** ```python # create function job function_job = job_scheduling.JOB.submit_job( { "job_name": "test_job", # set a name for the job "jobpool_name": "test", # set the name of the function jobpool where the job should be submitted "target_type": "Function", # set the target type as Function for function jobs "target_name": "target_function", # set the target function's name (optional) (either target_id or target_name is mandatory) # 'target_id': '123467890', # set the target functions's Id (optional) (either target_id or target_name is mandatory) "params": { "arg1": "test", "arg2": "job", }, # set params to be passed to target function (optional) "job_config": { "number_of_retries": 2, # set the number of retries "retry_interval": 15 * 60, # set the retry interval }, # set job config - job retries => 2 retries in 15 mins (optional) } ) ``` **Circuit** ```python # create circuit job circuit_job = job_scheduling.JOB.submit_job( { "job_name": "test_job", # set a name for the job "jobpool_name": "test", # set the name of the circuit jobpool where the job should be submitted "target_type": "Circuit", # set the target type as Circuit for circuit jobs "target_name": "target_circuit", # set the target circuit's name (optional) (either target_id or target_name is mandatory) # 'target_id': '123467890', # set the target circuit's Id (optional) (either target_id or target_name is mandatory) "test_cases": {"arg1": "job", "arg2": "test"}, # set the circuit test cases "job_config": { "number_of_retries": 2, # set the number of retries "retry_interval": 15 * 60, # set the retry interval }, # set job config - job retries => 2 retries in 15 mins (optional) } ) ``` **Webhook** ```python # create webhook job webhook_job = job_scheduling.JOB.submit_job( { "job_name": "test_job", # set a name for the job "jobpool_name": "test", # set the name of the webhook jobpool where the job should be submitted "target_type": "Webhook", # set the target type as Webhook for webhook jobs "request_method": "POST", # set the webhook request's method "url": "https://catalyst.zoho.com", # set the webhook request's url "params": { "arg1": "test", "arg2": "job", }, # set the webhook request's query params (optional) "headers": { "IS_TEST_REQUEST": "true" }, # set the webhook request's headers (optional) "request_body": "test_request", # set the webhook request's body (optional) "job_config": { "number_of_retries": 2, # set the number of retries "retry_interval": 15 * 60, # set the retry interval }, # set job config - job retries => 2 retries in 15 mins (optional) } ) ``` **AppSail** ```python # create appsail job appsail_job = job_scheduling.JOB.submit_job( { "job_name": "test_job", # set a name for the job "jobpool_name": "test", # set the name of the AppSail jobpool where the job should be submitted "target_type": "AppSail", # set the target type as AppSail for appsail jobs "target_name": "target_appsail", # set the target appsail's name (optional) (either target_id or target_name is mandatory) # 'target_id': '123467890', # set the target appsail's Id (optional) (either target_id or target_name is mandatory) "request_method": "POST", # set the appsail request's method "url": "/test", # set the appsail's url path (optional) "params": { "arg1": "test", "arg2": "job", }, # set the appsail request's query params (optional) "headers": { "IS_TEST_REQUEST": "true" }, # set the appsail request's headers (optional) "request_body": "test_request", # set the appsail request's body (optional) "job_config": { "number_of_retries": 2, # set the number of retries "retry_interval": 15 * 60, # set the retry interval }, # set job config - job retries => 2 retries in 15 mins (optional) } ) ``` -------------------------------------------------------------------------------- title: "Get Job Details" description: "This page describes the Python method to get details of a job in your project with sample code snippets." last_updated: "2026-09-08T11:07:33.000Z" source: "https://docs.catalyst.zoho.com/en/sdk/python/v1/job-scheduling/jobs/get-job/" service: "Job Scheduling" related: - Component Help Documentation (/en/job-scheduling/help/job/introduction/) - Java SDK (/en/sdk/java/v1/job-scheduling/jobs/get-job/) - JavaScript SDK Documentation (/en/sdk/javascript/v1/job-scheduling/job/get-job-details/) - REST API Collection (/en/api/code-reference/job-scheduling/job/get-job/#GetJobByID) -------------------------------------------------------------------------------- # Get Job Details Using the following SDK method, you will be able to get all available details about a [job](https://docs.catalyst.zoho.com/en/job-scheduling/help/job/introduction/) that has been submitted to a [job Pool](https://docs.catalyst.zoho.com/en/job-scheduling/help/jobpool/introduction/). You need to pass the [`Job Id`](https://docs.catalyst.zoho.com/en/job-scheduling/help/job/key-concepts/#job-id) to the `get_job()` SDK method. ```python job = job_scheduling.JOB.get_job('1234567890') # get job with job Id ``` -------------------------------------------------------------------------------- title: "Delete Job" description: "This page describes the Python method to delete a job in your project with sample code snippets." last_updated: "2026-11-03T15:16:51.000Z" source: "https://docs.catalyst.zoho.com/en/sdk/python/v1/job-scheduling/jobs/delete-job/" service: "Job Scheduling" related: - Component Help Documentation (/en/job-scheduling/help/job/introduction/) - Java SDK (/en/sdk/java/v1/job-scheduling/jobs/delete-job/) - JavaScript SDK Documentation (/en/sdk/javascript/v1/job-scheduling/job/delete-job/) - REST API Collection (/en/api/code-reference/job-scheduling/job/delete-job/#DeleteJobByID) -------------------------------------------------------------------------------- # Delete Job Using the following SDK method, you will be able to delete a [job](https://docs.catalyst.zoho.com/en/job-scheduling/help/job/introduction/) that is in the process of being executed in a [job Pool](https://docs.catalyst.zoho.com/en/job-scheduling/help/jobpool/introduction/). You need to pass the [`Job Id`](https://docs.catalyst.zoho.com/en/job-scheduling/help/job/key-concepts/#job-id) to the `delete_job()` SDK method. ```python job = job_scheduling.JOB.delete_job('1234567890') # delete job with Id ``` # Slate ## Help Components -------------------------------------------------------------------------------- title: "Introduction" description: "Learn more about Calayst Slate service that allows you to deploy, preview and launch front-end web applications." last_updated: "2026-09-02T08:55:12.000Z" source: "https://docs.catalyst.zoho.com/en/slate/help/introduction/" service: "Slate" related: - Deploy from Private Git Repository (/en/slate/help/git-integration/deploy-from-private-repository) - Deploy from Public Git Repository (/en/slate/help/git-integration/deploy-from-public-repository) - Deploy Slate Templates (/en/slate/help/git-integration/deploy-template) - Deploy by Direct Upload (/en/slate/help/direct-upload) - Deploy from CLI (/en/slate/help/deploy-from-cli) -------------------------------------------------------------------------------- # Slate ## Introduction Slate is a robust front-end development service offered by Catalyst that enables you to seamlessly **deploy**, **preview**, and **launch** your web applications. It offers native support for the following popular JavaScript frameworks, while seamlessly accommodating other frontend frameworks for hassle-free deployment: **[Slyte](https://slyte.dev/home)**, **[Next.js](https://nextjs.org/)**, **[Angular](https://angular.dev/)**, **[Astro](https://astro.build/)**, **[React](https://react.dev/)**, **[SolidJS](https://www.solidjs.com/)**, **[Preact](https://preactjs.com/)**, **[Svelte](https://svelte.dev/)**, **[Vue](https://vuejs.org/)**, **[Vite](https://vitejs.dev/)**, and **[Nuxt](https://nuxt.com/)**. You can deploy multiple front-end applications within a single [Catalyst project](https://docs.catalyst.zoho.com/en/getting-started/catalyst-projects/) using Slate. For enabling instant and automated deployments, you can integrate with popular version control systems, such as [GitHub](https://github.com/), [GitLab](https://about.gitlab.com/), or [Bitbucket](https://bitbucket.org/product/), ensuring your code is deployed directly from your repositories to Slate. In Slate, the entire build to deployment process is streamlined and automated internally using [Catalyst Pipelines](https://docs.catalyst.zoho.com/en/pipelines/getting-started/introduction/). [Learn more about supported Git integrations](https://docs.catalyst.zoho.com/en/getting-started/set-up-a-catalyst-project/integrations-settings/#github-integration). Slate ensures lightning-fast load times and superior performance for your front-end web applications. Besides hosting your applications, Slate offers additional perks including **free SSL provision**, **[custom domain mapping](https://docs.catalyst.zoho.com/en/slate/help/custom-domains)**, and the ability to **[preview every deployment](https://docs.catalyst.zoho.com/en/slate/help/deployment-previews)** instantly without having to verify the full application in production every time. Slate provides robust security and fosters streamlined collaboration among developers as well. This efficient deployment management enhances productivity and enables effortless scaling of your applications. ### Slate Deployments Before getting started, let's brush up on the common terms in Slate: * A **deployment** is a result of a successful build of an application. * In Slate, an **app** can be deployed either through a Git repository or by uploading files. Each app can also have multiple deployments within Slate. In Slate, you can choose to trigger a deployment manually or enable automated deployments by integrating with any of the supported Git providers. You can deploy your web client applications built with any of the above frameworks using any of the deployment methods supported by Slate below. 1. **Integrating with a Git provider**: To deploy your web application using this method, you must mandatorily integrate any of your Git accounts ([GitHub](https://github.com/), [GitLab](https://about.gitlab.com/), or [Bitbucket](https://bitbucket.org/product/)) with Catalyst. After you have integrated, you can choose any of the below deployment methods in Slate: * **Deploy a Starter template**: To get started with Slate, we highly recommend this method. Slate offers a variety of free starter templates for common use cases across multiple client frameworks. Simply choose a template and deploy it in Slate. The template code will be pushed to your connected Git repository and deployed from there. [Learn more about deploying a starter template](https://docs.catalyst.zoho.com/en/slate/help/git-integration/deploy-template). * **Deploy from your private repository**: When you choose to deploy an application directly from your Git repository to Catalyst, Slate automatically detects your application's framework and handles the entire build and deployment process from its end. You can also enable the Auto Deploy feature, so that whenever changes are pushed to the connected repository.[Learn more about deploying from your private repository](https://docs.catalyst.zoho.com/en/slate/help/git-integration/deploy-from-private-repository). * **Deploy from any public repository**: This method allows you to deploy quickly and view any application live, using the source code from public repositories developed by others or from your own public repos. This method requires Git authentication from your end. [Learn more about deploying from your public repository](https://docs.catalyst.zoho.com/en/slate/help/git-integration/deploy-from-public-repository). 2. **Direct Upload to the console**: This method lets you instantly deploy your application by simply dragging and dropping your client files in a zip format, enabling deployment in minutes. [Learn more about this method](https://docs.catalyst.zoho.com/en/slate/help/direct-upload). 3. **Deploy using Catalyst CLI**: This method requires you to install the Catalyst CLI and deploy the application by executing a series of pre-configured commands in the terminal. [Learn more about this method](https://docs.catalyst.zoho.com/en/slate/help/deploy-from-cli). After you deploy your application in Catalyst, Slate automatically generates an [access URL](https://docs.catalyst.zoho.com/en/slate/help/slate-access-url) for your deployment. This URL points to a sandboxed environment where team members can preview their changes live without deploying to production. You can also map your own custom domains with the generated access URLs, based on your specific needs. [Learn more about Slate custom domain mapping](https://docs.catalyst.zoho.com/en/slate/help/custom-domains). Catalyst provides free SSL certificates for all your client applications hosted using Slate. It also enables secured environment variables management, thereby providing high security to protect your data and applications.[Learn more about how environment variables are handled in Catalyst Slate](https://docs.catalyst.zoho.com/en/slate/help/environment-variables). To get started, we will first delve into the end-to-end architecture of Catalyst Slate to understand its workflow and functionalities better. ### Slate Deployment Flow ![slate_architechture_diagram](https://catalyst-docs-development.zohostratus.in/images/help/slate/slate_architechture_diagram.webp) The Catalyst Slate workflow employs the following processes: 1. **Creating a deployment**: You can choose to deploy your application's source code to Catalyst using any of the below methods: * Access code from private or public Git repositories and deploy using Slate. * Deploy application source code by directly uploading them to the Catalyst console. * Deploy application using pre-defined commands in the Catalyst CLI. 2. When the deployment is created, Slate automatically handles the application build process and hosts the application in the Catalyst cloud. 3. Slate instantly generates an [access URL](https://docs.catalyst.zoho.com/en/slate/help/slate-access-url) for your deployment. 4. Slate facilitates automatic deployments in case the deployment has been initiated from a Git repository. Whenever any changes are pushed to the linked repository by anyone, individual deployments are triggered in Slate. This enables every developer to view the changes live in no time. Unique access URLs will be generated automatically for each deployment. -------------------------------------------------------------------------------- title: "Quick Start Guide" description: "Get Started with the Catalyst Slate service by following the step-by-step processess involved in deployment and monitoring the deployment." last_updated: "2025-09-30T12:40:13.000Z" source: "https://docs.catalyst.zoho.com/en/slate/help/quick-start-guide/" service: "Slate" related: - Create Catalyst Project (/en/getting-started/catalyst-projects/#create-a-catalyst-project) - Deploy from Private Git Repository (/en/slate/help/git-integration/deploy-from-private-repository) - Deploy from Public Git Repository (/en/slate/help/git-integration/deploy-from-public-repository) - Deploy Slate Templates (/en/slate/help/git-integration/deploy-template) - Deploy by Direct Upload (/en/slate/help/direct-upload) - Deploy from CLI (/en/slate/help/deploy-from-cli) -------------------------------------------------------------------------------- # Quick Start Guide 1. **Create a Catalyst project**: Access the [Catalyst console](https://console.catalyst.zoho.com/baas/index) to [create a new project](https://docs.catalyst.zoho.com/en/getting-started/catalyst-projects/#create-a-catalyst-project). After the project creation is done, you will be able to access the [Catalyst Slate service](https://docs.catalyst.zoho.com/en/slate) in the console. [Learn more about other Catalyst services](https://docs.catalyst.zoho.com/en/). 2. **Create a Deployment**: You can initiate a deployment in Slate using any of the following methods: **Integrate with Git repository**: You can integrate your Git accounts ([GitHub](https://github.com/), [GitLab](https://about.gitlab.com/), or [Bitbucket](https://bitbucket.org/product/)) with Catalyst to deploy source code directly from your private repository to Slate, and you can also enable the **Auto-Deploy** feature from the console, so that any changes pushed to the connected repository will trigger an automatic deployment in Slate. [Learn more about this deployment method](https://docs.catalyst.zoho.com/en/slate/help/git-integration/deploy-from-private-repository). You can also deploy from any public Git repository by simply providing the repository link in the Catalyst console. [Learn more about this deployment method](https://docs.catalyst.zoho.com/en/slate/help/git-integration/deploy-from-public-repository). > **Note:** To test the waters instantly, you can choose a ready-made template from our Starter template library, push the code to your private repository, and then deploy the application in Slate. [Learn more about this deployment method](https://docs.catalyst.zoho.com/en/slate/help/git-integration/deploy-template) **Direct upload**: You can upload your client application directly with all the necessary files compressed as a zip to the Catalyst console. You can learn more about this deployment method from [this help page](https://docs.catalyst.zoho.com/en/slate/help/direct-upload). **Deploy via CLI**: You can also deploy your application by executing commands from the Catalyst CLI. [Learn more about deploying via CLI](https://docs.catalyst.zoho.com/en/slate/help/deploy-from-cli). 3. **Monitor and Manage Deployments** : After you have created a deployment using Slate, you can view the live build logs of the deployment in the Catalyst console. You can also collectively view all the deployments of an application in the **Deployment History** section. [Learn more about monitoring and managing deployments](https://docs.catalyst.zoho.com/en/slate/help/monitor-deployment). You can also [rollback to a previous deployment](https://docs.catalyst.zoho.com/en/slate/help/rollback-deployment) and or manually [sync the latest commit](https://docs.catalyst.zoho.com/en/slate/help/fix-failed-deployment) in case of failed deployments, directly from the Catalyst console. -------------------------------------------------------------------------------- title: "Deploy by Direct Upload" description: "Learn about deploying a front-end web application by directly uploading the build zip file to the Catalyst console." last_updated: "2026-08-17T12:16:04.000Z" source: "https://docs.catalyst.zoho.com/en/slate/help/direct-upload/" service: "Slate" related: - Preview a Deployment (/en/slate/help/deployment-previews) - Cache a Deployment (/en/slate/help/cache) - Configure Environment Variables (/en/slate/help/environment-variables) - Custom Domain Mapping (/en/slate/help/custom-domains) - Monitor Deployments (/en/slate/help/monitor-deployment) - Fix a Failed Deployment (/en/slate/help/fix-failed-deployment) - Rollback a Deployment (/en/slate/help/rollback-deployment) -------------------------------------------------------------------------------- # Deploy by Direct Upload To deploy the application using this method, you can simply upload the application files compressed as a zip to the [Catalyst console](https://console.catalyst.zoho.com/). After you upload your application, your application will be hosted in the Catalyst cloud, and an access URL will be automatically generated for your application. You can instantly share the URL with end-users to start accessing your application. To deploy your application using Direct Upload, please follow the below steps: 1. In the **Direct Upload** section, simply drag your application's file as a zip. Click **Proceed**. ![direct-upload-zip](https://catalyst-docs-development.zohostratus.in/images/help/slate/direct-upload-zip.webp) 2. The app name will be automatically populated with the name of the uploaded zip file. You can edit it if needed. ![direct-upload-app-name](https://catalyst-docs-development.zohostratus.in/images/help/slate/direct-upload-app-name.webp) 3. Select the front-end framework used in the application. ![direct-upload-framework](https://catalyst-docs-development.zohostratus.in/images/help/slate/direct-upload-framework.webp) 4. Provide a commit message for the deployment. Click **Deploy**. ![direct-upload-commit](https://catalyst-docs-development.zohostratus.in/images/help/slate/direct-upload-commit.webp) The application will be deployed successfully, and the **Deployment Overview** screen will be displayed. ![direct-upload-overview](https://catalyst-docs-development.zohostratus.in/images/help/slate/direct-upload-overview.webp) You can fetch the access URL as shown in the screenshot below. You can also edit it, if required, by clicking **Edit URL**. ![direct-upload-edit-url](https://catalyst-docs-development.zohostratus.in/images/help/slate/direct-upload-edit-url.webp) > **Note:** You can refer to the[Slate Access URL](https://docs.catalyst.zoho.com/en/slate/help/slate-access-url) help page to learn more about its structure. Edit the URL and click **Save**. ![direct-upload-url-change](https://catalyst-docs-development.zohostratus.in/images/help/slate/direct-upload-url-change.webp) The application will now be deployed in Catalyst's development environment by default. You can map a [custom domain](https://docs.catalyst.zoho.com/en/slate/help/custom-domains) with the generated Slate URL using our Domain Mapping feature. ### Re-Upload Application You can re-upload a newer version of the application by clicking **Re-Upload** in the **Deployment Overview** screen. ![reupload-app](https://catalyst-docs-development.zohostratus.in/images/help/slate/reupload-app.webp) Drag and drop your application's updated build again and enter a commit message. Click **Upload**. ![upload-new-zip](https://catalyst-docs-development.zohostratus.in/images/help/slate/upload-new-zip.webp) This operation will replace the existing build of the application with a newer build. You can view the list of all deployments made to an application and also check the status of it from the **Deployment History** section in the console. [Learn more](https://docs.catalyst.zoho.com/en/slate/help/monitor-deployment). You can also [enable cache](https://docs.catalyst.zoho.com/en/slate/help/cache) for your deployments, if required. > **Note:** You can deploy any number of versions directly from the console. -------------------------------------------------------------------------------- title: "Deploy from CLI" description: "Learn about deploying a Slate application from the Catalyst CLI." last_updated: "2026-09-02T08:55:12.000Z" source: "https://docs.catalyst.zoho.com/en/slate/help/deploy-from-cli/" service: "Slate" related: - Deploy from Private Git Repository (/en/slate/help/git-integration/deploy-from-private-repository) - Deploy from Public Git Repository (/en/slate/help/git-integration/deploy-from-public-repository) - Deploy Slate Templates (/en/slate/help/git-integration/deploy-template) -------------------------------------------------------------------------------- # Deploy from CLI Catalyst Slate enables you to deploy applications using the [Catalyst CLI](https://docs.catalyst.zoho.com/en/getting-started/installing-catalyst-cli/). You can execute pre-defined Catalyst commands in the terminal to initialize Slate, set up a Slate template, link or unlink local Slate apps to and from your Catalyst project in the console, and deploy a Slate app. This section provides step-by-step instructions for performing these operations. ### Initialize Slate **Prerequisite** : You need to login to the Catalyst CLI using your Catalyst account and then proceed with project and Slate initialization. Refer to [this CLI help documentation](https://docs.catalyst.zoho.com/en/cli/v1/login/login-from-cli/) to know the steps to login. You can initialize a Slate service directly in your app’s directory, or from a new directory. If you had selected Slate during the [project initialization](https://docs.catalyst.zoho.com/en/cli/v1/initialize-resources/initialize-new-project/), you can follow the below listed steps: You can also use the below command to initialize the Slate service directly: ```sh catalyst init slate ``` 1. Select the client framework of the application you wish to deploy in Slate. Press Enter to confirm. ![slate-init](https://catalyst-docs-development.zohostratus.in/images/cli/initialize-resources/slate-init.webp) > **Note:** This process automatically downloads a boilerplate template based on your chosen framework into your project directory, allowing you to customize and deploy it to Slate. 2. Provide a name for your application and press Enter. The CLI will set the default configuration for your Slate application based on the chosen framework. This configuration includes the install and build commands, as well as the build path of the respective framework. If you wish to proceed with the default configuration, enter N. Otherwise, enter Y to make the necessary updates. ![slate-init-1](https://catalyst-docs-development.zohostratus.in/images/cli/initialize-resources/slate-init-1.webp) > **Note:** * The install command instals the required dependencies, typically using a package manager. * The build command is the script that transforms your development code into production code. * The build path is the directory where the production-ready, optimized files are generated after running the build process. By default, these commands are executed with the npm package manager, i.e., **npm install** or **npm run build**. If you would like to change the package manager, you can do so by entering N and providing the required command. Once you confirm the configuration, the Slate template code of the chosen framework will be downloaded to the project directory, and an entry will be added to the [catalyst.json](https://docs.catalyst.zoho.com/en/cli/v1/project-directory-structure/catalyst-json/) file, which serves as a connection between your project directory and the Catalyst Slate service. You can provide specific commands to be executed when serving the app locally by entering them as development commands and pressing Enter. ![slate-init-2](https://catalyst-docs-development.zohostratus.in/images/cli/working-with-slate/slate-init-2-updated.webp) ### Create an Additional Slate App If your project directory is already linked to a Catalyst project and Slate is initialized, you can add a new Slate app to your project directory directly using the steps below. This operation will automatically add the Slate template code based on the chosen front-end framework to your project directory. 1. Execute the following command in the terminal from the Slate service's project directory: ```sh catalyst slate:create ``` 2. Select the required framework for your Slate application and provide a name for your application. ![slate-create](https://catalyst-docs-development.zohostratus.in/images/cli/working-with-slate/slate-create.webp) 3. Based on the chosen framework, the install and build commands, the build path of the framework will be detected automatically. If you wish to proceed with the default configuration, enter **N**. Otherwise, enter **Y** to make the necessary updates. ![slate-init](https://catalyst-docs-development.zohostratus.in/images/cli/working-with-slate/slate-create-1.webp) You can provide specific commands to be executed when serving the app locally by entering them as development commands and pressing Enter. After all the configurations are updated, the Slate app will be created in your project directory. ![slate-init](https://catalyst-docs-development.zohostratus.in/images/cli/working-with-slate/slate-create-2-updated.webp) The **`catalyst.json`** file will be updated with the details of the newly created Slate app. You can also create a Slate application by directly providing a name for your application and the required framework. Execute the following command in your terminal: ```sh catalyst slate:create --name <name> --framework <framework_name> ``` ### Link a Slate App In order to deploy an existing project to Slate, you must link the project's root path with the Slate service. For this you will have to initialize the Slate service first. This linking establishes a connection between your project directory and the Slate service locally and in order to deploy to the console, you must use the deploy command. This option can be used when an application of a supported framework by Slate was not originally initialized as a Slate service, but you later prefer to deploy it as a Slate service. To link the directory with Slate: 1. Execute the below command in the terminal from the app's project directory: ```sh catalyst slate:link ``` 2. Select the source path that has to be linked to the Slate service and press **Enter**. ![slate-link](https://catalyst-docs-development.zohostratus.in/images/cli/working-with-slate/slate-link.webp) 3. Provide a name for your application as required and press **Enter**. ![slate-link-1](https://catalyst-docs-development.zohostratus.in/images/cli/working-with-slate/slate-link-1.webp) The framework of the application will be detected automatically and listed along with its **install**, **build** commands, and the **build path**. Otherwise, you will be able to select the framework manually from the terminal. 4. If you wish to proceed with the default configuration, enter **N**. Otherwise, enter **Y** to make the necessary updates. ![slate-link-2](https://catalyst-docs-development.zohostratus.in/images/cli/working-with-slate/slate-link-2.webp) You can provide specific commands to be executed when serving the app locally by entering them as development commands and pressing Enter. After the configurations are set, an entry will be made in the `catalyst.json` file to establish a connection between the project directory's path and the Slate service. ![slate-link-3-updated](https://catalyst-docs-development.zohostratus.in/images/cli/working-with-slate/slate-link-3-updated.webp) ### Unlink a Slate App You can remove the connection between your project directory and the Slate service by using the steps listed below. This operation will only remove the Slate configuration in your project directory and not in the Catalyst console, if you have already deployed the application. 1. Execute the following command in the terminal from the app's project directory: ```sh catalyst slate:unlink ``` 2. Navigate using the arrow keys to choose the application and click **Enter** to confirm. ![slate-unlink](https://catalyst-docs-development.zohostratus.in/images/cli/working-with-slate/slate-unlink.webp) 3. Enter **Yes** to remove the Slate configuration from your application, its entry in the `catalyst.json` file and the source code of the application. Enter **No** to remove only the entry in the `catalyst.json` file while retaining the source code of your application. ![slate-unlink-1](https://catalyst-docs-development.zohostratus.in/images/cli/working-with-slate/slate-unlink-1.webp) For the same operation, you can also use the below command by directly providing the name of the application: ```sh catalyst slate:unlink --name <<app_name>> ``` ### Serve a Slate App Locally You can host the Slate application in your Catalyst project locally by navigating to your project directory in local and executing the following command: ```sh catalyst serve --only slate ``` This catalyst serve command launches your Slate app locally by executing the `dev_command` defined in your `cli-config.json` file. This `dev_command` will be configured in the file when you [link](https://docs.catalyst.zoho.com/en/slate/help/deploy-from-cli/#link-a-slate-app) or [create a Slate app](https://docs.catalyst.zoho.com/en/slate/help/deploy-from-cli/#create-an-additional-slate-app). Before running the catalyst serve command, you must update the ensure that the `dev_command` to include the start command of your application with the `ZC_SLATE_PORT`. For example, if you're working with a React app, update the command to: `PORT=$ZC_SLATE_PORT npm start` ![dev-command](https://catalyst-docs-development.zohostratus.in/images/cli/working-with-slate/dev-command.webp) You will have to configure your start command here based on the framework of your application. You can refer to the below table for the default start commands of the frameworks supported by Catalyst Slate. You can modify the start command based on your application's needs, if required.
Framework Default Start Command
Slyte `npm start -\- -\-port $ZC_SLATE_PORT`
Create React App `PORT=$ZC_SLATE_PORT npm start`
Solid JS(Vite) `npm run dev -\- -\-port $ZC_SLATE_PORT`
React + Vite `npm run dev -\- -\-port $ZC_SLATE_PORT`
Next.js `npm run dev -\- -\-port $ZC_SLATE_PORT`
Astro `npm run dev -\- -\-port $ZC_SLATE_PORT`
Angular `npm start -\- -\-port $ZC_SLATE_PORT`
Vue (Vite) `npm run dev -\- -\-port $ZC_SLATE_PORT`
Preact `npm run dev -\- -\-port $ZC_SLATE_PORT`
Svelte `npm run dev -\- -\-port $ZC_SLATE_PORT`
When you serve the slate app, the start command mentioned in the cli-config.json file runs the application on a local server and the CLI will display the URL from which you can access your Slate application. ![serve-slate](https://catalyst-docs-development.zohostratus.in/images/cli/working-with-slate/serve-slate.webp) After you have finished testing your application locally, you can proceed to deploy it to the remote console. We will discuss about the deployment commands in the next section. ### Deploy to Slate You can deploy your front-end web application in Catalyst Slate using the steps below. Before you deploy any application in Slate, please make sure the project directory has been linked to the Slate service. For this, you can use the [`catalyst slate:link`](https://docs.catalyst.zoho.com/en/cli/v1/working-with-slate/link-slate-app) command. Execute the following command in your terminal from the Slate service's project directory: ```sh catalyst deploy slate ``` This deploys all the Slate components present in your project directory to the [Catalyst development environment](https://docs.catalyst.zoho.com/en/deployment-and-billing/environments/development-environment/). You can use the below option to provide a deployment message for the Slate deployment. ```sh catalyst deploy slate -m "deployment message" ``` To deploy a specific app from the project directory to Slate, you can use the following command: ```sh catalyst deploy --only slate:appname ``` If you wish to deploy the application to the production environment, use the below command. Ensure you have accessed the production environment in the console before initiating a production deployment. ```sh catalyst deploy slate --production ``` -------------------------------------------------------------------------------- title: "Web Caching" description: "Learn more about enabling and disabling cache for your Catalyst Slate deployments." last_updated: "2026-08-17T12:16:04.000Z" source: "https://docs.catalyst.zoho.com/en/slate/help/cache/" service: "Slate" related: - Deploy from Private Git Repository (/en/slate/help/git-integration/deploy-from-private-repository) - Deploy from Public Git Repository (/en/slate/help/git-integration/deploy-from-public-repository) - Deploy Slate Templates (/en/slate/help/git-integration/deploy-template) - Deploy by Direct Upload (/en/slate/help/direct-upload) -------------------------------------------------------------------------------- # Web Caching in Slate Web caching is the process of storing copies of deployed code temporarily at various edge servers in a network after the first hit to the [Slate URL](https://docs.catalyst.zoho.com/en/slate/help/slate-access-url). The subsequent requests to the same URL will be fulfilled from the cached edge server rather than fetching the data again from the origin. This process of serving content from a cache instead of fetching it each time from the web server significantly improves your web application's performance, leading to faster loading times and reduced server load. ### Enable Web Cache You can enable web cache for your application by following the below steps: 1. Click on any deployment and navigate to the **Configuration** tab in the left pane. 2. Expand **General Settings** and click on the ellipsis icon in the **Cache** section. ![cache-general-settings](https://catalyst-docs-development.zohostratus.in/images/help/slate/cache-general-settings-updated.webp) The cache will be enabled by default for your deployment. ### Disable Web Cache 1. You can disable it, if not required by clicking **Disable**. ![disable-cache](https://catalyst-docs-development.zohostratus.in/images/help/slate/disable-cache-updated.webp) 2. Click **Disable** to confirm the operation. ![disable-cache](https://catalyst-docs-development.zohostratus.in/images/help/slate/cache-disable-popup-updated.webp) Cache will now be disabled for your current deployment. > **Note:** You can enable the cache at any time when you need it again. -------------------------------------------------------------------------------- title: "Memory" description: "Explore memory configuration options for Slate deployments, with a focus on Next.js frameworks." last_updated: "2026-08-17T12:16:04.000Z" source: "https://docs.catalyst.zoho.com/en/slate/help/memory/" service: "Slate" related: - Deploy from Private Git Repository (/en/slate/help/git-integration/deploy-from-private-repository) - Deploy from Public Git Repository (/en/slate/help/git-integration/deploy-from-public-repository) - Deploy Slate Templates (/en/slate/help/git-integration/deploy-template) - Deploy by Direct Upload (/en/slate/help/direct-upload) -------------------------------------------------------------------------------- # Memory Memory allocation is crucial for your application because it determines how efficiently it can handle processes, data storage, and user requests. With sufficient memory, your application can manage tasks faster and accommodate higher loads, enhancing overall performance and stability. Allocating the right amount of memory helps avoid bottlenecks and ensures the app runs smoothly, even during peak usage. > **Note:** This configuration is applicable only for applications built in the Next.js framework. You can allocate memory for your application's deployment based on its load and performance requirements. You can choose to allocate any of the following from the supported memory configurations listed below: * **128 MB** * **256 MB** * **512 MB** * **1024 MB** * **2048 MB** If you do not specifically configure a memory for your application, the default memory of **256 MB** will be allocated for its deployment. Please follow the below steps to configure the memory required for your deployment: 1. Click on any deployment and navigate to the **Configuration** tab in the left menu. Under **General Settings**, you can click on the edit memory option as shown in the screenshot below. ![memory-config](https://catalyst-docs-development.zohostratus.in/images/help/slate/memory-config.webp) 2. Choose the required memory space and click the tick icon. ![edit-memory](https://catalyst-docs-development.zohostratus.in/images/help/slate/edit-memory.webp) The memory space for your application's execution has now been successfully allocated. You can always edit the default or previously configured memory after analyzing its requirements, and optimize its performance and cost by selecting an optimal value. -------------------------------------------------------------------------------- title: "Environment Variables" description: "Learn about configuring environment variables for app deployments in Catalyst Slate." last_updated: "2026-10-30T18:08:11.000Z" source: "https://docs.catalyst.zoho.com/en/slate/help/environment-variables/" service: "Slate" related: - Deploy from Private Git Repository (/en/slate/help/git-integration/deploy-from-private-repository) - Deploy from Public Git Repository (/en/slate/help/git-integration/deploy-from-public-repository/) - Deploy Slate Templates (/en/slate/help/git-integration/deploy-template/) - Deploy by Direct Upload (/en/slate/help/direct-upload) - Catalyst Production Environment (/en/deployment-and-billing/environments/production-environment/) -------------------------------------------------------------------------------- # Environment Variables ### Introduction Environment variables are key-value pairs that can be defined outside your application's source code. These variables give the following advantages : * **Security** : Environment variables help keep sensitive information safe. Things like API keys, tokens, and database credentials should never be stored directly in your code, as anyone with access to your code could see them. Instead, environment variables store these secrets securely, keeping them out of your codebase. When stored in Catalyst, the Environment Variables are encrypted. * **Configuration Flexibility** : By using environment variables, you can easily switch settings based on the deployment environment. For example, you might use a different API endpoint for local development than for production, or toggle debugging tools on and off. This flexibility lets you control how your app behaves in different scenarios without modifying the code. * **Scalability** : Environment variables allow you to create reusable configurations. If you have multiple projects that share similar settings (like API keys or endpoints), you can define those settings once as environment variables and use them across projects, making your setup much easier to manage. #### Where to Use Environment Variables Environment variables are typically used in these areas: 1. **API Keys and Endpoints**: Store keys and endpoints to external services, like third-party APIs (e.g., `REACT_APP_API_KEY`, `REACT_APP_BASE_URL`). This way, sensitive information is kept secure, and you can swap out endpoints based on the deployment environment. 2. **Feature Flags**: If you want to enable conditionally or disable certain features, environment variables can act as feature flags. For example, setting `REACT_APP_ENABLE_NEW_FEATURE` to `true` or `false` allows you to toggle features without changing the code. #### Best practices Here are two key practices you can follow to ensure your application remains secure throughout its lifecycle: * Regularly review and rotate your API keys and other secrets to maintain security. * Configure different values for variables in development, preview, and production environments to ensure proper isolation and security. ### Create Environment Variables You can create environment variables for your applications directly from the Catalyst console. The environment variables of applications deployed using [private Git Integration](https://docs.catalyst.zoho.com/en/slate/help/git-integration/deploy-from-private-repository), [Slate templates](https://docs.catalyst.zoho.com/en/slate/help/git-integration/deploy-template), or [public repository](https://docs.catalyst.zoho.com/en/slate/help/git-integration/deploy-from-public-repository) integration will be created in Catalyst's development environment by default. Follow the below steps to create environment variables in Slate: 1. Click on any deployment, and navigate to the **Configuration** tab in the left pane and expand **Environment Variables**. ![add-environment-variables](https://catalyst-docs-development.zohostratus.in/images/help/slate/add-environment-variables.webp) 2. Click **Add Variable**. ![sync-now-button-private](https://catalyst-docs-development.zohostratus.in/images/help/slate/add-key-value.webp) 3. Click **Save**. ![show-environment-variables](https://catalyst-docs-development.zohostratus.in/images/help/slate/show-environment-variables.webp) You can add any number of variables as required for your application. > **Note:** To call the environment variables during your application deployment, make sure to use the following syntax:`process.env.[variable_name]` ### Create Variables in Production If you have [deployed your Catalyst project to production](https://docs.catalyst.zoho.com/en/deployment-and-billing/environments/production-environment/), you can create environment variables specific to the production environment, if required. You can use the same above mentioned steps to create variables in production. > **Note:** You will not be able to access production variables in your application if your production environment is disabled. -------------------------------------------------------------------------------- title: "Custom Domains" description: "Learn how to map custom domains with Slate deployments." last_updated: "2026-08-17T12:16:04.000Z" source: "https://docs.catalyst.zoho.com/en/slate/help/custom-domains/" service: "Slate" related: - Deploy from Private Git Repository (/en/slate/help/git-integration/deploy-from-private-repository) - Deploy from Public Git Repository (/en/slate/help/git-integration/deploy-from-public-repository) - Deploy Slate Templates (/en/slate/help/git-integration/deploy-template) - Deploy by Direct Upload (/en/slate/help/direct-upload) -------------------------------------------------------------------------------- # Custom Domains ### Introduction Catalyst Slate allows you to host your applications under your own domain name instead of the default Catalyst subdomain. This is useful for branding and providing a more professional appearance for your application. Slate makes it easy to add, configure, and manage custom domains. After you have mapped your custom domain to the [Slate Access URL](https://docs.catalyst.zoho.com/en/slate/help/slate-access-url), you will be able to access your application directly from your custom domain URL and share it with end-users. You can learn about how Catalyst Domain Mapping works from [this help page](https://docs.catalyst.zoho.com/en/slate/help/custom-domains). Here are some key points to remember while enabling custom domains: You must already have the domain hosted live to map it with the deployed application using Slate. * The Slate Access URL provided by Catalyst will still be active after you map it with an external domain. You can access the client endpoint with both the development or production Access URLs, based on your preferred environment. * You can associate only one unique domain with an application. You will not be able to add the same domain address for another application in Slate simultaneously. * You can disable or delete the mapping at any point of time and access the application using the default access URL generated for the application. > **Note:** All custom domains mapped to Slate applications will get be freed up immediately if you delete the applications or the projects they are hosted in. ### Map a Custom Domain Follow the below steps to map your custom domain with the application deployed using Slate: 1. After you have deployed your application using Slate, the **Deployment Overview** screen will be displayed. In the **Domain Mapping** section, click **Add Domain**. ![add-domain](https://catalyst-docs-development.zohostratus.in/images/help/slate/add-domain.webp) 2. Enter your custom domain URL and click **Next**. ![enter-custom-domain](https://catalyst-docs-development.zohostratus.in/images/help/slate/enter-custom-domain.webp) > **Note:**`catalystslate.zylker.com` is an example used for demonstration purposes only. You can map any domain of your choice to the deployed application in Slate. 3. In this step, you will need to create a CNAME record for your custom domain and associate the entries with Catalyst using your hosting provider’s administrative console. When you host your custom domain, your domain provider will give you access to an administrative console where you can configure and manage your domain. The consoles may vary depending on the domain provider, but you must create the records shown below and map them with Catalyst. * **Step 1:** Configure the value provided under Step 1 in the console in your DNS settings as a CNAME record. This step is primarily for Catalyst to ensure that the DNS service is valid. Click **Verify** to initiate the verification. ![step2](https://catalyst-docs-development.zohostratus.in/images/help/slate/step2.webp) The changes might take some time to be reflected on the DNS server, based on the DNS register and the domain provider that you are using. After the first console shows the verified badge for the first CNAME record, follow Step 2. ![not-verified](https://catalyst-docs-development.zohostratus.in/images/help/slate/verified.webp) * **Step 2:** Configure the new value shown under Step 2 in the console in your DNS settings as a new CNAME record. This will include the host name you provided previously. Click **Verify** again. After both the records are verified, click **Next**. 4. You must now request a Group SSL certificate from Catalyst for your domain and have it installed through Zoho. Catalyst will provide the certificate and activate it within 48 hours. You can then install it for your domain. Click **Request**. ![sync-now-button-private](https://catalyst-docs-development.zohostratus.in/images/help/slate/group-certificate.webp) > **Note:** * Catalyst provides this security certificate for your domain free of charge. * This is a mandatory procedure, as your Catalyst application will not be accessible at that domain without an SSL certificate from Zoho. Even if you already have an SSL certificate enabled for your domain, you must use only Zoho’s SSL certificate for the domain to be mapped successfully. * Catalyst will auto-renew the SSL certificate each time automatically before it expires. * If you have edited your access URL after enabling a custom domain, then you must mandatorily map the new access URL with your domain again. 5. The domain mapping has been initiated successfully. Check your email for notifications about the mapping process. ![sync-now-button-private](https://catalyst-docs-development.zohostratus.in/images/help/slate/listed.webp) The custom domain is mapped successfully now and is listed here. You can now access the application using the mapped custom domain URL. -------------------------------------------------------------------------------- title: "Slate Access URL" last_updated: "2026-04-15T10:08:18.000Z" source: "https://docs.catalyst.zoho.com/en/slate/help/slate-access-url/" service: "Slate" -------------------------------------------------------------------------------- # Slate Access URL An Access URL is auto-generated whenever any application is deployed using Slate. This URL can be used to access the hosted application instantly or can be mapped with your preferred custom domain as well. You can check out [this help section](https://docs.catalyst.zoho.com/en/slate/help/custom-domains) to know how to map custom domains in Slate. The default Slate URL structure looks like this: `yourdomain.onslate.com` You can customize the subdomain portion of the URL. If your chosen subdomain is unavailable, you'll be prompted to enter a unique one. By default, this URL can be used to access the application hosted in Catalyst Slate. Here's a list of supported DCs and the access URL structure in each of them:
Supported DC Slate Access URL
`US` yourdomain.onslate.com
`EU` yourdomain.onslate.eu
`IN` yourdomain.onslate.in
`AU` yourdomain.onslate.au
`CA` yourdomain.onslate.ca
> **Note:** If you delete a Slate applications or the project it is hosted in, the default Slate access URL generated for it in the *onslate.com* domain will not be released right away. It will be deleted only after 15 days. If you delete an app or a deployment directly, it will not be recoverable. -------------------------------------------------------------------------------- title: "Deployment Previews" last_updated: "2026-08-17T12:16:04.000Z" source: "https://docs.catalyst.zoho.com/en/slate/help/deployment-previews/" service: "Slate" -------------------------------------------------------------------------------- # Deployment Previews Deployment previews let you and your team experience changes from each deployment in a sandboxed environment without pushing them to production. This allows you to view, test, and validate updates safely before they go live. When a deployment is triggered in Slate, a unique preview URL is automatically generated. This URL provides access to the deployed version of your application and serves as a live preview. The preview remains accessible until the deployment is manually deleted from the Catalyst console. Slate creates a new URL by default every time any of the following takes place: 1. You manually initiate a deployment from the Catalyst console either by integrating and deploying code from your [private Git repository](https://docs.catalyst.zoho.com/en/slate/help/git-integration/deploy-from-private-repository) or providing any [public repository URL](https://docs.catalyst.zoho.com/en/slate/help/git-integration/deploy-from-public-repository). 2. An automated deployment is triggered in Slate when any changes are pushed to the integrated Git repository's branch or pull request. 3. You create a Slate deployment by executing commands in the [Catalyst CLI](https://docs.catalyst.zoho.com/en/slate/help/deploy-from-cli). 4. You upload your application's files as zip directly in the Catalyst console using the [Direct Upload](https://docs.catalyst.zoho.com/en/slate/help/direct-upload) feature. The key advantages of deployment previews are: * **Enhanced collaboration**: Teams can share preview URLs with developers, designers, and non-technical stakeholders facilitating collaborative reviews. This ensures everyone is on the same page and can see the exact changes in real time. * **Early Bug Detection**: By providing a live environment for every code change, deployment previews help in catching bugs and issues early in the development cycle. This reduces the risk of deploying problematic code to production. * **Version Comparison**: Teams can compare different versions of the site side-by-side, using access URLs from different branches or pull requests to evaluate changes and decide on the best implementation. * **Immediate Feedback on Changes**: Deployment preview URLs provide an immediate, live version of changes made to your code, allowing developers and stakeholders to test and review new features, bug fixes, and updates in real time. You can view the Slate URLs of all your deployments from the Slate Home Page in the console. ![deployment-url](https://catalyst-docs-development.zohostratus.in/images/help/slate/deployment-url.webp) Alternatively, you can also fetch the access URL of a particular deployment from the **Deployment Overview** section of that deployment. ![deployment-overview-url](https://catalyst-docs-development.zohostratus.in/images/help/slate/deployment-overview-url.webp) -------------------------------------------------------------------------------- title: "Rollback Deployment" description: "Learn the procedure to rollback a current deployment to its previous version directly from the Catalyst console." last_updated: "2026-08-17T12:16:04.000Z" source: "https://docs.catalyst.zoho.com/en/slate/help/rollback-deployment/" service: "Slate" -------------------------------------------------------------------------------- # Rollback Deployment Rolling back deployments in Catalyst Slate is a simple process that allows you to revert to a previous version of your application if something goes wrong with the current deployment. This feature ensures stability and minimizes downtime, providing a safety net during the development and deployment cycles. Roll backing a deployment has two major advantages: * **Minimized Downtime**: Quickly revert to a stable version of your application, minimizing any downtime or disruption caused by a faulty deployment. * **Simplify Troubleshooting**: By rolling back to a known good state, you can troubleshoot and fix issues in the problematic deployment without the pressure of having a live issue affecting users. To rollback a particular deployment, please follow the below steps: 1. Navigate to the **Deployment Overview** tab of the deployment. In the **Live commit** details section, click **Rollback**. ![rollback-deployment](https://catalyst-docs-development.zohostratus.in/images/help/slate/rollback-deployment.webp) 2. Click **Confirm** to proceed with the rollback operation. ![confirm-rollback](https://catalyst-docs-development.zohostratus.in/images/help/slate/confirm-rollback.webp) > **Note:** You can roll back the current deployment to the most recent previous version of the application. However, earlier versions cannot be rolled back to. -------------------------------------------------------------------------------- title: "Fix a Failed Deployment" description: "Learn more about syncing the latest commit changes to the current deployment in Slate directly from the Catalyst console." last_updated: "2026-10-30T18:08:11.000Z" source: "https://docs.catalyst.zoho.com/en/slate/help/fix-failed-deployment/" service: "Slate" related: - Deployments in Slate (/en/slate/help/monitor-deployment/) -------------------------------------------------------------------------------- # Fix a Failed Deployment When a deployment fails in Catalyst Slate, you can use the **Sync Now** feature to quickly merge the changes in the latest Git commit to the current deployment. This feature helps to troubleshoot and fix the failed deployment, ensuring the changes are fully pushed to Catalyst Slate and thus resolving any discrepancies causing the failure. The most common issues for deployment failure include build errors, missing environment variables, or misconfigured settings. To sync your latest changes with the current Slate deployment, you can follow the below steps: 1. Navigate to the Deployment Overview tab of the deployment. In the **Live commit details** section, click **Sync Now**. ![click-sync-now](https://catalyst-docs-development.zohostratus.in/images/help/slate/click-sync-now.webp) 2. Click **Confirm** to proceed with the sync. ![confirm-sync](https://catalyst-docs-development.zohostratus.in/images/help/slate/confirm-sync.webp) -------------------------------------------------------------------------------- title: "Monitor & Manage Deployment" description: "Learn more about the different aspects of Deployment History and the statuses associated with Catalyst Slate deployments." last_updated: "2026-10-25T04:52:45.000Z" source: "https://docs.catalyst.zoho.com/en/slate/help/monitor-deployment/" service: "Slate" -------------------------------------------------------------------------------- # Monitor and Manage Deployments ### Deployment History In Catalyst Slate, you can view the list of deployments made to a application by simply navigating to **Deployment History** in the left menu. This screen displays the list of deployments to the application. It also displays the following details about the deployment: ![deployment-history](https://catalyst-docs-development.zohostratus.in/images/help/slate/deployment-history.webp) * **Commit ID**: The commit ID issued by the Git provider * **Commit Message**: The commit message given to the particular commit when pushing changes in the Git provider. * **Build Time**: The total time taken for the build and deploy cycle to complete the deployment. * **Deployment Status**: The current status of the particular deployment. The deployment status can be any one of the following: * **Queued**: If a deployment is already in progress and another deployment is triggered simultaneously, the status of the second deployment will be marked as **"Queued"**. * **Running**: If the deployment is currently in progress, then the status will be marked as **"Running"**. * **Success**: When the deployment has been executed successfully, the status will be marked as **"Success"**. * **Failed**: While deploying the application, if there were any errors encountered that blocks the successful completion of the deployment, then the status will be marked as **"Failed"**. You can troubleshoot issues by examining the build logs of the particular deployment. * **Deployed On**: This denotes the time frame in which the particular deployment was executed. * **Build Logs**: You can click on the logs icon to view the detailed execution logs of the deployment. ![logs](https://catalyst-docs-development.zohostratus.in/images/help/slate/logs.webp) ### Deployment Configuration In Catalyst Slate, you can configure specific settings for each deployment by simply navigating to **Configuration** tab in the left menu. ![deployment-configuration](https://catalyst-docs-development.zohostratus.in/images/help/slate/deployment-configuration.webp) * **Frameworks & Build Command** : In this section, you can rename or delete the deployment. You can also modify the root path, build path, as well as the install and build commands if needed. ![deployment-settings](https://catalyst-docs-development.zohostratus.in/images/help/slate/deployment-settings.webp) * **Cache** : You can enable or disable cache settings for the deployment. Refer to [this section](https://docs.catalyst.zoho.com/en/slate/help/cache) for more details. * **Environment Variable** : You can add environment variables required for the deployment here. Refer to [this section](https://docs.catalyst.zoho.com/en/slate/help/environment-variables) for more details. Similarly, you can configure the app level settings by simply navigating to the App Home page and click on **App Settings** of an app. ![click-app-settings](https://catalyst-docs-development.zohostratus.in/images/help/slate/click-app-settings.webp) Similar to deployment level settings, you can configure all the above settings for the entire app, which will be applicable to all deployments of the app by default. ![app-settings](https://catalyst-docs-development.zohostratus.in/images/help/slate/deployment-settings.webp) ### Update the Node.js Runtime of an App You can change the Node.js runtime that Slate uses to build an existing app from its **App Settings**. Slate currently supports **Node.js 22** and **Node.js 20**. Node.js 20 has reached its end-of-life and is [deprecated](https://docs.catalyst.zoho.com/en/serverless/help/functions/runtime-support), so we recommend using Node.js 22. To update the runtime of an app: 1. Navigate to **Slate** in the Catalyst console and click the app to expand it. 2. Click **App Settings**. 3. Expand the **Framework and command** section, then click **Edit** in **General Details**. 4. In the **Edit Framework Commands** pop-up, select **Node 22** from the runtime drop-down. 5. Click **Update**. 6. Redeploy the app so that it is built with the new runtime. Changing the runtime does not rebuild your app automatically. * **Uploaded apps:** Click [Re-Upload](https://docs.catalyst.zoho.com/en/slate/help/direct-upload/#re-upload-application) on the app's **Overview** screen and upload your app. * **Git-connected apps:** Click **Create Deployment**, or push a new commit to your repository. > **Note:** The runtime option is available for apps built with a framework. Apps deployed as static files do not use a Node.js runtime. -------------------------------------------------------------------------------- title: "Delete Deployment" description: "Learn more about deleting deployments in Catalyst Slate and also disabling deployments directly from the Catalyst console." last_updated: "2026-08-17T12:16:04.000Z" source: "https://docs.catalyst.zoho.com/en/slate/help/delete-deployment/" service: "Slate" -------------------------------------------------------------------------------- # Delete Deployment Deleting deployments from Catalyst Slate simply removes the particular deployed version of the application permanently from your Catalyst project. The deleted deployment will no longer be accessible using the Slate Access URL and also the custom domain URL (if domain mapping is done), but you can deploy the same application as a newer version anytime required. You can use this feature to clean up old or unnecessary deployments. However, exercise caution to ensure that this action does not affect your current live application. You can delete any specific deployment in Catalyst Slate by following the below steps: 1. Navigate to the **Overview** tab in the left pane. This page displays details of the current deployment. Click on the ellipsis icon in the top-right corner and click **Delete**. ![click-delete](https://catalyst-docs-development.zohostratus.in/images/help/slate/click-delete.webp) 2. Enter the deployment name and click **Delete** to confirm deletion. ![confirm-delete](https://catalyst-docs-development.zohostratus.in/images/help/slate/confirm-delete.webp) The deployment will be deleted successfully. You can also disable a deployment temporarily, if required, by clicking on the **Disable** button as shown in the screenshot below. ![disable-delete](https://catalyst-docs-development.zohostratus.in/images/help/slate/disable-delete.webp) ### Git Integration -------------------------------------------------------------------------------- title: "Deploy a Slate Template" description: "Learn about deploying a front-end web application quickly by using the templates available in the Slate Starter Library." last_updated: "2026-09-02T08:55:12.000Z" source: "https://docs.catalyst.zoho.com/en/slate/help/git-integration/deploy-template/" service: "Slate" related: - Preview a Deployment (/en/slate/help/deployment-previews) - Cache a Deployment (/en/slate/help/cache) - Configure Environment Variables (/en/slate/help/environment-variables) - Custom Domain Mapping (/en/slate/help/custom-domains) - Monitor Deployments (/en/slate/help/monitor-deployment) - Fix a Failed Deployment (/en/slate/help/fix-failed-deployment) - Rollback a Deployment (/en/slate/help/rollback-deployment) -------------------------------------------------------------------------------- # Deploy a Slate Template ### Introduction Catalyst Slate provides ready-made application templates which can be used to get a project up and running with minimal setup efforts required from your end. There's a huge gallery of templates available for various use cases and configured using different client frameworks like [Slyte](https://slyte.dev/home), [Next.js](https://nextjs.org/), [Angular](https://angular.dev/), [Astro](https://astro.build/), [React](https://react.dev/), [SolidJS](https://www.solidjs.com/), [Preact](https://preactjs.com/), [Svelte](https://svelte.dev/), [Vue](https://vuejs.org/), [Vite](https://vitejs.dev/) and [Nuxt](https://nuxt.com/). You can simply select a pre-built template from Slate's Starter Template Gallery and deploy it to using Slate. The key benefits of Slate templates include: * **Reduced Setup Time and Focus on Development**: Slate templates allow you to save time by eliminating the need to set up boilerplate code for new projects repeatedly and eventually spend more time on developing unique features rather than configuring the initial project setup. * **Rapid Deployment and Minimal Learning Curve**: Slate templates allow you to deploy fully functional applications in just a few clicks. New developers can learn from well-structured, pre-built projects that demonstrate how to set up and configure different types of applications using varied frameworks. Experienced developers can use templates as reference implementations for best practices in Slate deployments. ### Steps to Deploy You can leverage Slate templates by following the below steps: 1. Navigate to the **Catalyst Slate** service in the console. In the **Starter Templates** section, click **Browse Templates**. ![slate-starter-template](https://catalyst-docs-development.zohostratus.in/images/help/slate/slate-starter-template.webp) 2. You can browse through templates of varied use cases and frameworks and select the template of your choice. ![select-template-framework](https://catalyst-docs-development.zohostratus.in/images/help/slate/select-template-framework.webp) 3. In the **Create Deployment** pop-up, select the required Git provider and authenticate your account. The source code of the chosen Slate template will be pushed to a new repository in the integrated Git account. ![template-create-deployment](https://catalyst-docs-development.zohostratus.in/images/help/slate/template-create-deployment.webp) 4. The template name will be auto-populated as the repository name by Slate. You can edit it, if required. Provide a deployment name of your choice. ![template-repo-name](https://catalyst-docs-development.zohostratus.in/images/help/slate/template-repo-name.webp) 5. The framework and node runtime of the application will be automatically populated based on the chosen template. You can edit the node run time, if required. ![template-runtime](https://catalyst-docs-development.zohostratus.in/images/help/slate/template-runtime.webp) > **Note:** The Node.js runtime lets you run JavaScript code outside a web browser, like on a server or your computer. It helps you build websites and apps by giving JavaScript access to files, networks, and other system tools. 6. In this deployment method, a new repository will be automatically created in your Git account, and the template code will be pushed into it. You can toggle the button to create a private repository as shown in the screenshot below. ![template-private-repo](https://catalyst-docs-development.zohostratus.in/images/help/slate/template-private-repo.webp) 7. Enable **Auto Deploy**, so that any code pushed to the repository will deployed automatically using Slate. ![template-auto-deploy](https://catalyst-docs-development.zohostratus.in/images/help/slate/template-auto-deploy.webp) The **Show Advanced Options** tab shows the output path, build command, and start command for the application deployment, and these fields will be auto-populated. ![template-show-advanced](https://catalyst-docs-development.zohostratus.in/images/help/slate/template-show-advanced.webp) 8. Click **Deploy** to deploy the application to Slate. > **Note:** * The output path is the directory where your application gets compiled or built for production. * The build command is the script that transforms your development code into production code. * The install command fetches and installs all dependencies required for your project. For example, the install commands for various client-side frameworks are: * **Slyte** → `npm install` * **React, Next.js, Vue, Angular, Svelte** → `npm install` or `yarn install` * **Astro** → `npm install` or `pnpm install` * **Vite** → `npm install` or `yarn install` * **SolidJS** → `npm install` or `pnpm install` The deployment has been successfully completed, and you can view the detailed logs of the deployment as shown in the screenshot below. ![template-deploy-success](https://catalyst-docs-development.zohostratus.in/images/help/slate/template-deploy-success.webp) You can click **Go to Manage** to view the overview details of the deployment as shown in the screenshot below. Click **Preview** to view the deployed application. ![template-edit-url](https://catalyst-docs-development.zohostratus.in/images/help/slate/template-edit-url.webp) You can fetch the generated [ access URL](https://docs.catalyst.zoho.com/en/slate/help/slate-access-url) of your application as shown in the screenshot above. You can edit the URL by clicking **Edit URL**. 1. You can disable **Auto-Deploy** for this deployment by clicking **Change**. ![template-auto-deploy-disable](https://catalyst-docs-development.zohostratus.in/images/help/slate/template-auto-deploy-disable.webp) 2. Enter the deployment name and click **Disable**. ![template-disable-popup](https://catalyst-docs-development.zohostratus.in/images/help/slate/template-disable-popup.webp) You can [sync the latest commit](https://docs.catalyst.zoho.com/en/slate/help/fix-failed-deployment) with the current deployment by clicking on the **Sync Now** button. You can also map the generated Slate URL with your [custom domain](https://docs.catalyst.zoho.com/en/slate/help/custom-domains) if required. You can view the list of deployments made to your application by switching to the **History** tab in the left pane. Refer to [this help section](https://docs.catalyst.zoho.com/en/slate/help/monitor-deployment) to learn more about it. You can [enable cache](https://docs.catalyst.zoho.com/en/slate/help/cache) for your deployment by navigating to the **Configuration** tab in the left pane. You also have the option to configure [environment variables](https://docs.catalyst.zoho.com/en/slate/help/environment-variables) required for your deployment, if required. -------------------------------------------------------------------------------- title: "Deploy from Private Repository" description: "Learn about deploying a front-end web application in Slate directly from a private repository by integrating with any of the supported Git providers." last_updated: "2026-10-30T17:47:18.000Z" source: "https://docs.catalyst.zoho.com/en/slate/help/git-integration/deploy-from-private-repository/" service: "Slate" related: - Preview a Deployment (/en/slate/help/deployment-previews) - Cache a Deployment (/en/slate/help/cache) - Configure Environment Variables (/en/slate/help/environment-variables) - Custom Domain Mapping (/en/slate/help/custom-domains) - Monitor Deployments (/en/slate/help/monitor-deployment) - Fix a Failed Deployment (/en/slate/help/fix-failed-deployment) - Rollback a Deployment (/en/slate/help/rollback-deployment) -------------------------------------------------------------------------------- # Git Integration Catalyst Slate allows you to [integrate with common Git providers](https://docs.catalyst.zoho.com/en/getting-started/set-up-a-catalyst-project/integrations-settings/#github-integration) and automatically deploy your applications. This enables seamless workflows and deployment management, enhancing developer productivity and deployment scalability to a greater extent. The supported Git providers include: * **[GitHub](https://github.com/)** * **[GitLab](https://about.gitlab.com/)** * **[Bitbucket](https://bitbucket.org/product/)** You can deploy code built in any Node based client framework of your choice. Additionally, Slate provides native support for a wide range of frameworks as well. Refer to [this help page](https://docs.catalyst.zoho.com/en/slate/help/introduction) to know the full list of supported frameworks. We will now delve deeper into each deployment method in detail in the upcoming help sections. ## Deploy from Private Repository Catalyst Slate allows you to integrate with your Git accounts seamlessly, access your private repositories, and directly deploy applications from those repositories. To deploy your web client application using the private repository integration method, please ensure to follow the below steps: 1. Navigate to the **Catalyst Slate** service in the console and click **Start Exploring**. ![slate-start-exploring](https://catalyst-docs-development.zohostratus.in/images/help/slate/slate-start-exploring.webp) 2. Select your preferred Git provider to integrate with Slate. ![slate-git-provider](https://catalyst-docs-development.zohostratus.in/images/help/slate/slate-git-provider.webp) 3. You will be redirected to **Catalyst Settings->Git Integration**. Click **Add Account**. ![git-integration-settings](https://catalyst-docs-development.zohostratus.in/images/help/slate/git-integration-settings.webp) 4. Click **Agree** to accept the terms and conditions of the Git provider. ![git-integration-agree](https://catalyst-docs-development.zohostratus.in/images/help/slate/git-integration-agree.webp) The Git account will now be integrated with Catalyst and listed here. ![git-integration-successful](https://catalyst-docs-development.zohostratus.in/images/help/slate/git-integration-successful.webp) You can simply close this tab and navigate back to Slate. The integrated Git account and its list of repositories will be displayed here. ![git-repository-linked](https://catalyst-docs-development.zohostratus.in/images/help/slate/git-repository-linked.webp) 5. You can click on the required repository to initiate a Slate deployment. In the **Create Deployment** pop-up, the repository name will automatically be considered as the application name as shown in the screenshot below. ![create-deployment-popup](https://catalyst-docs-development.zohostratus.in/images/help/slate/create-deployment-popup.webp) 6. Select the branch or commit of the repository that has to be deployed using Slate. ![select-deployment-source](https://catalyst-docs-development.zohostratus.in/images/help/slate/select-deployment-source.webp) 7. Provide a name for your deployment. ![enter-deployment-name](https://catalyst-docs-development.zohostratus.in/images/help/slate/enter-deployment-name.webp) 8. Choose the front-end framework of your application using the drop-down menu. ![choose-app-framework](https://catalyst-docs-development.zohostratus.in/images/help/slate/choose-app-framework.webp) 9. A compatible Node.js runtime will be selected by default. You can change it if required from the supported runtimes in the drop-down menu. > **Note:** * The Node.js runtime lets you run JavaScript code outside a web browser, like on a server or your computer. It helps you build websites and apps by giving JavaScript access to files, networks, and other system tools. * You should choose a runtime that matches the Node.js version your application is built with, as specified in your package.json file. * Slate currently supports Node.js 22 and Node.js 20 (deprecated). We recommend Node.js 22. You can change the runtime of an existing app later from its [App Settings](https://docs.catalyst.zoho.com/en/slate/help/monitor-deployment/#update-the-nodejs-runtime-of-an-app). ![choose-node-runtime](https://catalyst-docs-development.zohostratus.in/images/help/slate/choose-node-runtime.webp) 10. Set the root path of your application. > **Note:** The root path (often written as "/") refers to the base directory where your client application's main files, including the source code, configuration files, and dependencies, are located. ![set-root-path](https://catalyst-docs-development.zohostratus.in/images/help/slate/set-root-path.webp) 11. Enable **Auto Deploy**, so that any code pushed to the specific branch will get automatically deployed using Slate. This option is not applicable to commits. This step is optional. ![enable-auto-deploy](https://catalyst-docs-development.zohostratus.in/images/help/slate/enable-auto-deploy.webp) 12. The output path, build command, and the start command will be auto-populated based on the detected framework. You can edit them, if required. > **Note:** * The output path is the directory where your application gets compiled or built for production. * The build command is the script that transforms your development code into production code. * The install command fetches and installs all dependencies required for your project. For example, the install commands for various client-side frameworks are: * **Slyte** → `npm install` * **React, Next.js, Vue, Angular, Svelte** → `npm install` or `yarn install` * **Astro** → `npm install` or `pnpm install` * **Vite** → `npm install` or `yarn install` * **SolidJS** → `npm install` or `pnpm install` ![deploy-commands](https://catalyst-docs-development.zohostratus.in/images/help/slate/deploy-commands.webp) 13. Set the required [environment variables](https://docs.catalyst.zoho.com/en/slate/help/environment-variables) for the deployment, if required. This step is optional. ![set-app-variables](https://catalyst-docs-development.zohostratus.in/images/help/slate/set-app-variables.webp) 14. Click **Deploy**. You can click on **Preview** to view your live application. Click on **View Deployment Summary** for more details and configurations about the deployment. ![deployment-summary-private](https://catalyst-docs-development.zohostratus.in/images/help/slate/deployment-summary-private.webp) You can fetch the generated [access URL](https://docs.catalyst.zoho.com/en/slate/help/slate-access-url/) of your application as shown in the screenshot below. You can edit the subdomain part of the URL by clicking on **Edit URL**. ![edit-url-private](https://catalyst-docs-development.zohostratus.in/images/help/slate/edit-url-private.webp) You can disable **Auto-Deploy** for this deployment by clicking on **Change**. ![change-auto-deploy-private](https://catalyst-docs-development.zohostratus.in/images/help/slate/change-auto-deploy-private.webp) 15. Enter the deployment name and click **Disable**. ![confirm-disable-auto-deploy](https://catalyst-docs-development.zohostratus.in/images/help/slate/confirm-disable-auto-deploy.webp) You can [sync the latest commit](https://docs.catalyst.zoho.com/en/slate/help/fix-failed-deployment) with the current deployment by clicking on the **Sync Now** button. ![sync-now-button-private](https://catalyst-docs-development.zohostratus.in/images/help/slate/sync-now-button-private.webp) You can also map the generated Slate URL with your [custom domain](https://docs.catalyst.zoho.com/en/slate/help/custom-domains) if required. You can view the list of deployments made to your application by switching to the **History** tab in the left pane. Refer to [this help section](https://docs.catalyst.zoho.com/en/slate/help/monitor-deployment) to learn more about it. You can [enable cache](https://docs.catalyst.zoho.com/en/slate/help/cache) for your deployment by navigating to the **Configuration** tab in the left pane. You also have the option to configure [environment variables](https://docs.catalyst.zoho.com/en/slate/help/environment-variables) required for your deployment, if required. In the next section, we will discuss how to deploy an application directly from a public repository using Slate. -------------------------------------------------------------------------------- title: "Deploy from Public Repository" description: "Learn about deploying a front-end web application in Slate directly from a public repository by integarating with any of the supported Git providers." last_updated: "2026-10-25T04:52:45.000Z" source: "https://docs.catalyst.zoho.com/en/slate/help/git-integration/deploy-from-public-repository/" service: "Slate" related: - Preview a Deployment (/en/slate/help/deployment-previews) - Cache a Deployment (/en/slate/help/cache) - Configure Environment Variables (/en/slate/help/environment-variables) - Custom Domain Mapping (/en/slate/help/custom-domains) - Monitor Deployments (/en/slate/help/monitor-deployment) - Fix a Failed Deployment (/en/slate/help/fix-failed-deployment) - Rollback a Deployment (/en/slate/help/rollback-deployment) -------------------------------------------------------------------------------- # Deploy from Public Repository To deploy code from any public Git repository to Slate, please ensure to follow the below-listed steps: 1. Navigate to the **Catalyst Slate** service in the console. Provide the repository link in the **Public Repository** section. Click **Proceed**. ![public-url-enter](https://catalyst-docs-development.zohostratus.in/images/help/slate/public-url-enter.webp) > **Note:** Please make sure the repository link is in the **.git** format. 2. In the **Create Deployment** popup, the app name will automatically be populated as the repository name. You can give any deployment name of your choice. ![public-create-deployment](https://catalyst-docs-development.zohostratus.in/images/help/slate/public-create-deployment.webp) > **Note:** You can also edit the app name by clicking on the edit icon and saving it. 3. Connect with your preferred Git provider by simply clicking on the button, then authenticating your account. ![public-select-git-provider](https://catalyst-docs-development.zohostratus.in/images/help/slate/public-select-git-provider.webp) 4. After you integrate your account, a new repository will be automatically created with the app name in your Git account. Your new repository will be created by cloning the public one, and the deployment to Slate will happen from there. You can choose to create a private repository by enabling the toggle as shown in the screenshot below. ![public-enable-private-repo](https://catalyst-docs-development.zohostratus.in/images/help/slate/public-enable-private-repo.webp) > **Note:** You can change the Git account by simply clicking on the drop-down menu. 5. You can enable the **Auto Deploy** toggle, so that any changes pushed to the connected repository will automatically trigger a new deployment in Slate. ![public-enable-auto-deploy](https://catalyst-docs-development.zohostratus.in/images/help/slate/public-enable-auto-deploy.webp) 6. The framework, node runtime, and the root path of the application will be automatically detected by Slate. You can also edit them, if required. ![public-framework](https://catalyst-docs-development.zohostratus.in/images/help/slate/public-framework.webp) > **Note:** * The Node.js runtime lets you run JavaScript code outside a web browser, like on a server or your computer. It helps you build websites and apps by giving JavaScript access to files, networks, and other system tools. * You should choose a runtime that matches the Node.js version your application is built with, as specified in your package.json file. * The root path (often written as "/") refers to the base directory where your client application's main files, including the source code, configuration files, and dependencies, are located. * Slate currently supports Node.js 22 and Node.js 20 (deprecated). We recommend Node.js 22. You can change the runtime of an existing app later from its [App Settings](https://docs.catalyst.zoho.com/en/slate/help/monitor-deployment/#update-the-nodejs-runtime-of-an-app). 7. Click on **Show Advanced Options**. The output path, build command, and install command required for your application deployment will be auto-populated by Slate. ![public-show-advanced](https://catalyst-docs-development.zohostratus.in/images/help/slate/public-show-advanced.webp) > **Note:** * The output path is the directory where your application gets compiled or built for production. * The build command is the script that transforms your development code into production code. * The install command fetches and installs all dependencies required for your project. For example, the install commands for various client-side frameworks are: * **Slyte** → `npm install` * **React, Next.js, Vue, Angular, Svelte** → `npm install` or `yarn install` * **Astro** → `npm install` or `pnpm install` * **Vite** → `npm install` or `yarn install` * **SolidJS** → `npm install` or `pnpm install` You can also add the required [app variables](https://docs.catalyst.zoho.com/en/slate/help/environment-variables) required for the deployment as key-value pairs and click **Deploy**. 8. The deployment is now completed successfully. You will be able to view the live logs of the deployment as shown in the screenshot below. ![public-repo-deploy](https://catalyst-docs-development.zohostratus.in/images/help/slate/public-repo-deploy.webp) You can fetch the generated [access URL](https://docs.catalyst.zoho.com/en/slate/help/slate-access-url) of your application as shown in the screenshot below. You can edit subdomain part of the URL by clicking **Edit URL**. ![edit-url-public](https://catalyst-docs-development.zohostratus.in/images/help/slate/edit-url-public.webp) You can enable **Auto-Deploy** for this deployment by clicking **Change**. ![change-auto-deploy-public](https://catalyst-docs-development.zohostratus.in/images/help/slate/change-auto-deploy-public.webp) Enter the deployment name and click **Enable**. ![confirm-enable-auto-deploy](https://catalyst-docs-development.zohostratus.in/images/help/slate/confirm-enable-auto-deploy.webp) You can [sync the latest commit](https://docs.catalyst.zoho.com/en/slate/help/fix-failed-deployment) with the current deployment by clicking the **Sync Now** button. ![sync-now-button-public](https://catalyst-docs-development.zohostratus.in/images/help/slate/sync-now-button-public.webp) You can also map the generated Slate URL with your [custom domain](https://docs.catalyst.zoho.com/en/slate/help/custom-domains) if required. You can view the list of deployments made to your application by switching to the **History** tab in the left pane. Refer to [this help section](https://docs.catalyst.zoho.com/en/slate/help/monitor-deployment) to learn more about it. You can [enable cache](https://docs.catalyst.zoho.com/en/slate/help/cache) for your deployment by navigating to the **Configuration** tab in the left pane. You also have the option to configure [environment variables](https://docs.catalyst.zoho.com/en/slate/help/environment-variables) required for your deployment, if required. ## API Reference — Slate -------------------------------------------------------------------------------- title: "Redeploy App" description: "This API enables you to execute an existing Catalyst Pipeline from the Catalyst console." last_updated: "2026-08-17T12:16:04.000Z" source: "https://docs.catalyst.zoho.com/en/api/code-reference/slate/redeploy-app/" service: "Pipelines" -------------------------------------------------------------------------------- # Catalyst Slate [Slate](https://docs.catalyst.zoho.com/en/slate/help/introduction) is a robust front-end development service offered by Catalyst that enables you to seamlessly deploy, preview, and launch your web applications. It offers native support for the popular JavaScript frameworks, such as Next.js, Angular, and React, while seamlessly accommodating other frontend frameworks for hassle-free deployment. # Redeploy Application You can trigger a new build for an existing deployment in Slate by passing the unique Catalyst project ID, the specific Slate application name within the project, and the deployment ID to the API below. ### Request Details #### Request URL `POST` {api-domain}/slate/v1/project/{project_id}/app/{app_id}/deployment/{deployment_id}/redeploy - **api-domain** (URL): The domain URL of your DC - **project_id** (Numerical): The unique ID of the app in Slate - **deployment_id** (Numerical): The unique ID of the deployment in Slate > **Note:** Open the Slate deployment in the console, and you can fetch the following values from the URL. https://console.catalyst.zoho.com/baas/96403455/project/26879000000021001/slate/app/1860000000007114/deployment/1860000000007119 Here, `26879000000021001` is the `project_id`. `1860000000007114` is the `app_id` and `1860000000007119` is the `deployment_id`. #### Request Headers **Authorization:** Zoho-oauthtoken {oauth_token} **Content-Type:** application/json #### Request JSON Properties - **Environment Variable** (key-value pair, optional): Pass environment variables as key-value pairs through the request body. For example: {"API_KEY": "xxxxxxxx2433"} #### Scope ZohoCatalyst.Slate.app.CREATE ### Response Details The response will include the status of the new build deployment, detailed deployment information, the commit message, and the commit URL retrieved directly from the connected Git repository, along with additional metadata. **Sample Request** ```bash curl -X POST \ 'https://api.catalyst.zoho.com/slate/v1/project/4000000006007/app/29810101101/deployment/1860000000007119/redeploy' -H 'Authorization: Zoho-oauthtoken 1000.910*************************16.2f*************************57' \ -H 'Content-Type: application/json' \ -d ‘{ {"API_KEY": "xxxxxxx2433"} \ } ``` **Sample Response** ```json { "status": "success", "data": { "id": "2289000000006001", "status": "Queued", "created_time": "Feb 04, 2025 10:46 AM", "created_by": { "zuid": "92747509", "is_confirmed": false, "email_id": "amelia.b@zylker.com", "first_name": "Amelia", "last_name": "Burrows", "user_type": "SuperAdmin", "user_id": "28674000000016006" }, "deployment_id": "2289000000004006", "build_meta": { "event_type": "push", "commit_id": "18f6b8ef0d2586718a015be07701bd6ba486a18f", "commit_message": "Initial commit", "commit_url": "https://api.github.com/repos/ameliab-13966/nextjs-mongo-db/commits/18f6b8ef0d2586718a015be07701bd6ba486a18f", "timestamp": "2024-12-23T07:22:39Z", "author_name": "amelia-b-13966", "repo_id": "907257721", "repo_name": "nextjs-mongo-db", "web_url": "https://github.com/ameliab-13966/nextjs-mongo-db", "ssh_url": "git@github.com:ameliab-13966/nextjs-mongo-db.git", "http_url": "https://github.com/ameliab-13966/nextjs-mongo-db.git", "provider": "Github", "repo_slug": "nextjs-mongo-db" } } } ``` -------------------------------------------------------------------------------- title: "FAQ — Slate" description: "This section covers queries related to the key features of the Catalyst Slate service, such as deployment methods, caching, and environment variables." last_updated: "2026-11-13T05:00:22.000Z" source: "https://docs.catalyst.zoho.com/en/faq/slate/" -------------------------------------------------------------------------------- # Slate ### Can I map my custom domain to an application deployed with Catalyst Slate? Absolutely! Catalyst Slate allows you to easily map [custom domains](https://docs.catalyst.zoho.com/en/slate/help/custom-domains) to your deployed applications, giving you full control over your brand and online presence. ### How can I manage environment variables for my applications on Catalyst Slate? You can define [environment variables](https://docs.catalyst.zoho.com/en/slate/help/environment-variables) directly in the Catalyst console, where they are encrypted and stored. This gives you secure, centralized access to separate configurations for your Development and Production environments. ### Which front-end frameworks can I deploy in Catalyst Slate? Catalyst Slate provides native support for all popular JavaScript frameworks, including Next.js, React, Angular, Astro, Vue, SolidJS, Svelte, Vite and [more](https://docs.catalyst.zoho.com/en/slate/help/introduction). Also, you can seamlessly deploy applications built with other front-end frameworks as well. ### Can I preview my deployments on Catalyst Slate before making them live? Yes, Catalyst Slate allows you to preview every deployment in a sandboxed environment where you can view and test your application before it goes live. This ensures you can catch any issues early and maintain high-quality standards for your applications. ### How does Catalyst Slate ensure the security of my applications? Catalyst Slate prioritizes security with features like automatic SSL provision and robust infrastructure. Your applications are protected with industry-leading security measures, ensuring peace of mind for you and your users. ### Can I deploy my application to Slate using the CLI, just as I would with other applications? Yes, you can deploy your application to Slate using our CLI commands. Check out [this help page](https://docs.catalyst.zoho.com/en/slate/help/deploy-from-cli) to learn about the deploy commands and their usage in detail. ### Can I deploy applications that are not hosted in my private Git repository using Slate? Yes, you will be able to pull code from any public Git repositories, deploy and preview the full working application live using Catalyst Slate. You can check out our public Git integration feature in [Slate help documentation](https://docs.catalyst.zoho.com/en/slate/help/git-integration/deploy-from-public-repository/). ### Why is my application hosted on a custom domain not accessible, and what could be the possible reason? If you have edited your [Slate access URL](https://docs.catalyst.zoho.com/en/slate/help/slate-access-url) after mapping your custom domain, make sure to redo the mapping with the updated access URL. Note that this may not be the only issue, but it should be verified before troubleshooting other potential problems. # Domains and SSL ### Can I map a root domain such as zylker.com, without www, to my Catalyst Slate app? No. Catalyst Slate custom domains work with subdomains, such as `www.zylker.com` or `app.zylker.com`, not with a root domain. The mapping uses CNAME records, and many DNS providers do not allow a CNAME record on a root domain. Map a subdomain, then redirect the root domain to it at your DNS provider. 1. In your Slate app, open the deployment's **Deployment Overview** and click **Add Domain** in the **Domain Mapping** section. 2. Enter a subdomain such as `www.zylker.com` and click **Next**. 3. Add the Step 1 and Step 2 values as CNAME records at your DNS provider, clicking **Verify** after each. 4. Click **Request** to request the Group SSL certificate. 5. At your DNS provider, set up domain forwarding from `zylker.com` to `www.zylker.com` over HTTPS. Note: The Catalyst certificate covers only the subdomain you mapped, so opening the root domain over HTTPS shows a certificate error unless your DNS provider serves the redirect over HTTPS. Refer to the [Custom Domains help page](https://docs.catalyst.zoho.com/en/slate/help/custom-domains/) for more information. ### Why does my Slate custom domain fail Step 2 with 'CNAME record of www is not verified' when the record already resolves? In Catalyst Slate, Step 2 passes only when you click **Verify** and Catalyst finds the second CNAME record with exactly the host name and value shown under Step 2. Catalyst checks the record when you verify, so if your record is correct and resolves publicly, verify Step 2 again. 1. In the deployment's **Deployment Overview**, open the domain in the **Domain Mapping** section. 2. Compare your record with the Step 2 host name and value, character for character. If your DNS provider adds your domain to host names automatically, enter only the part before your domain. 3. Create it as a CNAME record, not an ALIAS, ANAME or URL redirect record. If your provider proxies records, set it to DNS only. 4. Click **Verify** for Step 2. When both steps are verified, click **Next**, then **Request** to request the SSL certificate. 5. If Step 2 still fails, contact Catalyst support with the domain, the app and deployment, the exact error and a screenshot of your DNS records. Refer to the [Custom Domains help page](https://docs.catalyst.zoho.com/en/slate/help/custom-domains/) for more information. # Pipelines ## Getting Started -------------------------------------------------------------------------------- title: "Introduction" description: "Learn about the Catalyst ConvoKraft service that provides abilities to integrate powerful chat bot assistants in your Catalyst application." last_updated: "2026-10-30T17:47:18.000Z" source: "https://docs.catalyst.zoho.com/en/pipelines/getting-started/introduction/" service: "Pipelines" -------------------------------------------------------------------------------- # Getting Started # Introduction Pipelines is a continuous integration and continuous delivery (CI/CD) service offered by Catalyst that helps to streamline and automate your software development and deployment process. With Catalyst Pipelines, you can efficiently build, test, and deploy applications across various platforms and cloud environments. By providing scalable infrastructure, along with seamless integration with popular version control systems and other Catalyst services, the Pipelines service empowers development teams to deliver high-quality software faster, with reduced manual intervention and improved collaboration. Before delving into specifics, let us begin by exploring the general concepts of CI/CD. ### Continuous Integration Continuous Integration (CI) is a software development practice where any updates to the source code repository trigger an automated build process. This process produces deployable release artifacts that progress through the continuous delivery pipeline and are deployed to the designated environments. The key features of Continuous Integration include: **Version Control Integration** CI seamlessly integrates with version control systems like GitHub, GitLab, and Bitbucket. The source code repository is continuously monitored; whenever commits are pushed to the integrated system, the pipeline automatically initiates the compilation, build, and test processes. This ensures that the latest version of the application is always available. **Automated Builds and Testing** CI systems support concurrent builds, which reduces build waiting times and accelerates the overall development process. By running builds in parallel and testing them simultaneously, feedback on multiple code changes is provided more quickly, enhancing productivity and allowing developers to address issues sooner. After the build process, CI systems can automatically run a suite of tests on the new code to identify any issues or regressions. **Instant Feedback** Continuous Integration aims to provide swift feedback on code changes, empowering teams to rectify issues early in the development cycle. This process enhances software quality, minimizes risks, and facilitates faster delivery of new features. ### Continuous Delivery Continuous Delivery builds upon the Continuous Integration (CI) process by taking the deployable release artifacts and automatically deploying them to selected environments. This software engineering approach emphasizes automating the software delivery pipeline, ensuring rapid deployments with minimal manual intervention. The key features of Continuous Delivery include: **Automated Deployments & Environment Management** Continuous Delivery streamlines the deployment of code changes across various environments, including development, testing, staging, and production, ensuring consistent and reliable deployment procedures. It efficiently manages multiple environments with different configurations, allowing code changes to be deployed and tested in isolated environments before being pushed to production. **Incremental Updates & Faster Time to Market** CD enables the smooth delivery of small, incremental changes to production environments. By breaking updates into manageable segments, CD reduces the risks associated with large-scale deployments. This approach promotes quicker feedback loops, allowing for prompt identification and resolution of issues. Ultimately, Continuous Delivery accelerates the time to market for new features and enhancements, ensuring faster delivery of value to end-users. ### CI/CD in Catalyst Pipelines Catalyst Pipelines employs the CI/CD approach to automate the building, testing, and deployment of your applications to preferred environments. Whether you are developing web or mobile applications, you can effortlessly deploy them to any platform, including Catalyst AppSail, Amazon S3, Google Cloud Platform, Heroku, Microsoft Azure, Firebase, and more. Regardless of your programming language, Catalyst Pipelines supports seamless automation for application building and deployment. You can check out some common examples of deployment targets from [this help page](https://docs.catalyst.zoho.com/en/pipelines/help/deployments/deploy-to-appsail). You can fully leverage the Catalyst ecosystem in the following ways: * Deploy any application in Catalyst using the [Catalyst AppSail](https://docs.catalyst.zoho.com/en/serverless/help/appsail/introduction/) service. * [Deploy Catalyst applications](https://docs.catalyst.zoho.com/en/cli/v1/deploy-resources/introduction/) built with the [Catalyst Serverless Functions](https://docs.catalyst.zoho.com/en/serverless/help/functions/introduction/) component to the Catalyst cloud. In both cases, you can seamlessly automate the entire process of building, testing, and deploying your application using the Catalyst Pipelines service. You can [create the pipeline](https://docs.catalyst.zoho.com/en/pipelines/help/pipelines/create-a-pipeline) directly from the [Catalyst console](https://console.catalyst.zoho.com/). Catalyst Pipelines are executed based on the YAML-based declarative code defined in the `catalyst-pipelines.yaml` file, where you must define the execution flow of the pipeline. You can define the flow by adding necessary components using our built-in YAML code editor or visual builder according to your specific needs. You can check out [this help page](https://docs.catalyst.zoho.com/en/pipelines/help/pipelines/components-of-pipeline) to learn more about the pipeline components. For more details on configuring the pipeline, refer to [this help page](https://docs.catalyst.zoho.com/en/pipelines/help/catalyst-pipelines.yaml/implementation). You can choose to integrate your pipeline with any Git provider you prefer, such as GitHub, GitLab or Bitbucket, to automate the execution process. We will delve deep into this topic in [this help page](https://docs.catalyst.zoho.com/en/pipelines/help/triggers/introduction/#automatic-trigger). You can also implement our Pipeline SDK methods in **[Java](https://docs.catalyst.zoho.com/en/sdk/java/v1/pipelines/get-pipeline-details)**, **[Node.js](https://docs.catalyst.zoho.com/en/sdk/nodejs/v2/pipelines/get-pipeline-details)** and **[Python](https://docs.catalyst.zoho.com/en/sdk/python/v1/pipelines/get-pipeline-details)** in your application, to fetch the details of the pipeline and execute a pipeline. Let us first understand the key advantages of using a pipeline in the next section. -------------------------------------------------------------------------------- title: "Benefits" description: "Learn about the Catalyst ConvoKraft service that provides abilities to integrate powerful chat bot assistants in your Catalyst application." last_updated: "2025-05-30T11:24:59.000Z" source: "https://docs.catalyst.zoho.com/en/pipelines/getting-started/benefits/" service: "Pipelines" -------------------------------------------------------------------------------- # Benefits **Expedite the software development lifecycle** Catalyst Pipelines automates the process of building, testing, and deploying code to selected environments, minimizing manual intervention and enabling rapid delivery of features to end-users. Furthermore, Catalyst pipelines accelerates the development process by providing prompt feedback to developers, facilitating quicker issue resolution and enhancing iteration speed and refinement. Ensuring Reliability and Minimizing Risk By employing automated deployment processes and testing procedures, Catalyst pipelines effectively mitigates the risk of deploying faulty code to production environments. This proactive strategy minimizes the likelihood of service interruptions and downtime. Automation significantly reduces the potential for human error during deployments, ensuring reliable delivery. Ultimately, these practices enhance the overall efficiency of the deployed source code. **Versatility in Development** Catalyst Pipelines facilitates the build process for a diverse range of programming languages, platforms, and tools, providing adaptability for developing, testing, and deploying applications. **Easily customizable & reusable configurations** The Catalyst Pipelines service uses a YAML-based declarative syntax for defining pipelines, allowing you to reuse pipeline definitions according to your needs. You can easily customize the workflow of the pipelines using our built-in YAML code editor or visual builder in the Catalyst console. **Scale up cost effectively** Catalyst Pipelines can handle projects of any size and complexity, from small personal projects to large enterprise-level applications due to its scalable infrastructure. This means it maintains workflow efficiency as the size of the codebase increases proportionally, without any increase in maintenance effort from your end. The automation process paves the way to cost savings in terms of time and resources. Additionally, earlier detection of bugs and issues can prevent costly rework later in the development cycle. **Automating workflows in the Catalyst ecosystem** Catalyst Pipelines seamlessly integrates with other Catalyst services, such as [Catalyst Serverless Functions](https://docs.catalyst.zoho.com/en/serverless/getting-started/introduction/) and [Catalyst AppSail](https://docs.catalyst.zoho.com/en/serverless/help/appsail/introduction/), enabling application development, streamlined workflow automation, and deployment within the Catalyst ecosystem. -------------------------------------------------------------------------------- title: "Usecases" description: "Learn about the Catalyst ConvoKraft service that provides abilities to integrate powerful chat bot assistants in your Catalyst application." last_updated: "2025-05-30T11:24:59.000Z" source: "https://docs.catalyst.zoho.com/en/pipelines/getting-started/use-cases/" service: "Pipelines" -------------------------------------------------------------------------------- # Use cases Here are some ideal use cases that showcase the versatility and efficiency of the Catalyst Pipelines service: 1. **Rapid Iteration for Startups :** For startups developing web applications, speed and agility are crucial. Catalyst Pipelines enables small teams to: * Quickly deploy new features and updates. * Automatically run tests before each deployment. * Roll back changes easily if any issue arises. * Maintain a stable production environment while experimenting with new ideas. This allows startups to stay competitive and responsive to market demands without sacrificing code quality or stability. 2. **Large-Scale Enterprise Deployments :** Enterprises managing complex web applications across multiple environments can leverage Catalyst Pipelines to: * Standardize deployment processes across teams and projects. * Coordinate deployments across staging, development, and production environments. * Manage A/B testing and other common testing methods at scale This ensures consistency, reduces human error, and streamlines the deployment pipeline for large organizations. 3. **DevOps Culture Enablement :** Organizations transitioning to a DevOps culture can use Catalyst Pipelines to: * Bridge the gap between development and operations teams. * Implement infrastructure-as-code practices. * Automate repetitive deployment tasks. * Provide real-time deployment status and metrics to all stakeholders. This fosters collaboration, increases transparency, and accelerates the software delivery lifecycle. 4. **Quality Assurance and Testing Automation :** QA teams can leverage Catalyst Pipelines to: * Automatically run comprehensive test suites before deployment. * Integrate various testing tools (unit, integration, performance, security). * Generate test reports and code coverage metrics. * Prevent deployments if critical tests fail. This ensures that only high-quality code makes it to production, reducing the risk of introducing bugs or security vulnerabilities. The possibilities are endless with Catalyst Pipelines as it supports a wide range of web application deployment scenarios. From small startups to large enterprises, and from simple websites to complex micro services architectures, the Pipelines service provides the tools necessary for efficient, reliable, and scalable deployments. -------------------------------------------------------------------------------- title: "Quick Start Guide" description: "Learn about the Catalyst ConvoKraft service that provides abilities to integrate powerful chat bot assistants in your Catalyst application." last_updated: "2026-08-28T06:26:16.000Z" source: "https://docs.catalyst.zoho.com/en/pipelines/getting-started/quick-start-guide/" service: "Pipelines" -------------------------------------------------------------------------------- # Quick Start Guide This section details the entire process of utilizing the Catalyst Pipelines service, from creating the pipeline and configuring it by defining the necessary components in a YAML file, to executing the pipeline. Let us have a look at the steps in detail: 1. **Create a Catalyst project:** Access the [Catalyst console](https://console.catalyst.zoho.com/baas/index) to [create a new project](https://docs.catalyst.zoho.com/en/getting-started/catalyst-projects/#create-a-catalyst-project). After the project creation is done, you will be able to access the [Catalyst Pipelines](https://docs.catalyst.zoho.com/en/pipelines) service in the console. You can also explore [other Catalyst services](https://docs.catalyst.zoho.com/en/) from the console. 2. **Create a pipeline:** In the Catalyst Pipelines service, you can create a pipeline directly from the console. Refer to [his help page](https://docs.catalyst.zoho.com/en/pipelines/help/pipelines/create-a-pipeline) to know the detailed steps to create a pipeline. * **Connect an Integration Source** - When creating a pipeline, you can choose to integrate it with any Git provider, such as [GitHub](https://github.com/), [GitLab](https://about.gitlab.com/), or [Bitbucket](https://bitbucket.org/product/). To enable this, you need to configure the pipeline execution flow in the `[catalyst-pipelines.yaml](https://docs.catalyst.zoho.com/en/pipelines/help/catalyst-pipelines.yaml/introduction)` file and commit this file to the integrated Git provider repository. This setup will automatically trigger the pipeline whenever changes are pushed to the linked repository. When the pipeline is triggered, the complete source code from the integrated Git repository, along with the YAML file, will be automatically fetched and downloaded as a ZIP file to Catalyst. Note that this integration is optional. > **Note:** You can also create the pipeline without integrating it with an external repository. In that case, you will need to manually trigger the pipeline every time from the Catalyst console. 3. **Configure the pipeline:** You can configure the pipeline execution flow by defining necessary components like [stages](https://docs.catalyst.zoho.com/en/pipelines/help/catalyst-pipelines.yaml/build-the-pipeline/stages), [jobs](https://docs.catalyst.zoho.com/en/pipelines/help/catalyst-pipelines.yaml/build-the-pipeline/jobs/introduction), [runners](https://docs.catalyst.zoho.com/en/pipelines/help/catalyst-pipelines.yaml/build-the-pipeline/runners), [images](https://docs.catalyst.zoho.com/en/pipelines/help/catalyst-pipelines.yaml/build-the-pipeline/images), [conditions](https://docs.catalyst.zoho.com/en/pipelines/help/catalyst-pipelines.yaml/build-the-pipeline/when-condition) and [variables](https://docs.catalyst.zoho.com/en/pipelines/help/catalyst-pipelines.yaml/build-the-pipeline/variables) based on your requirements in the `catalyst-pipelines.yaml`. You can use our built-in YAML code editor or visual builder for this purpose. Refer to [this page](https://docs.catalyst.zoho.com/en/pipelines/help/catalyst-pipelines.yaml/implementation) for more details on configuring the pipeline. 4. **Commit the catalyst-pipelines.yaml file:** This step applies only if you have linked an integration source with the pipeline during its creation. Once you have finished configuring the pipeline, you need to commit the `catalyst-pipelines.yaml` file to any preferred branch in your source repository. The YAML file will be committed to the branch in the selected integration source from **Step 2**. It is mandatory to commit the YAML file each time any changes are made to the pipeline flow. Note: If you have not connected the pipeline with an integration source, you can skip this step and proceed to execute the pipeline. 5. **Execute the pipeline:** After configuring the pipeline, you can initiate its execution directly from the Catalyst console. If the pipeline is linked to an integration source, it will automatically execute whenever any changes are pushed to the linked repository. Additionally, you can monitor the execution status and access detailed logs of the pipeline execution using the **Basic** and **Advanced** tabs within the **Execution History** section of the console. We will discuss this in detail in [this help page](https://docs.catalyst.zoho.com/en/pipelines/help/triggers/monitor-execution-status). ## Help Components ### catalyst-pipelines.yaml -------------------------------------------------------------------------------- title: "Introduction" description: "Learn about the Catalyst Pipelines service and the basics of YAML schema definitions." last_updated: "2026-08-28T06:26:16.000Z" source: "https://docs.catalyst.zoho.com/en/pipelines/help/catalyst-pipelines.yaml/introduction/" service: "Pipelines" related: - Pipeline Triggers (/en/pipelines/help/triggers/introduction) -------------------------------------------------------------------------------- # catalyst-pipelines.yaml # Introduction The `catalyst-pipelines.yaml` file serves as the core component for executing the pipeline, where we define its workflow. You can define the execution flow of the pipeline in this file by adding the required [pipeline components](https://docs.catalyst.zoho.com/en/pipelines/help/pipelines/components-of-pipeline) using our built-in code editor or visual builder. You can check out [this help page](https://docs.catalyst.zoho.com/en/pipelines/help/catalyst-pipelines.yaml/implementation) to learn more about configuring the pipeline. Whether the pipeline is triggered [manually](https://docs.catalyst.zoho.com/en/pipelines/help/triggers/introduction/#manual-trigger) or [automatically](https://docs.catalyst.zoho.com/en/pipelines/help/triggers/introduction/#automatic-trigger), this file dictates the pipeline's actions. If your pipeline is linked to a version control system, any modifications to the source code in the linked repository automatically trigger the pipeline execution, running the workflow defined in this file. Similarly, when the pipeline is triggered manually from the Catalyst console, this file is executed directly from the console interface. Before delving into the pre-defined YAML schema definitions of Catalyst Pipelines and its usage, let's take a moment to explore YAML in broader terms. A YAML file is a versatile format for representing structured data across various contexts, such as configuration files, data interchange, and serialization. The common characteristics of a YAML file include : * YAML is not tied to any specific programming language, making it suitable for exchanging data between different systems and platforms. * This file comprises of simple key-value pairs, lists, and maps, which can be combined and nested to represent complex data structures and configurations. * It uses indentation to define the structure of data. * YAML supports various data types, including scalars (strings, integers, floats, booleans, null), lists, maps (key-value pairs), and nested structures. Catalyst Pipelines follows its own YAML schema standards, which must be strictly followed when configuring the pipeline. In the next section, we'll delve deeper into the Catalyst YAML schema definitions. -------------------------------------------------------------------------------- title: "Schema Reference" description: "Learn in detail about the pre-defined schema definitions of the catalyst-pipelines.yaml file." last_updated: "2026-08-28T06:26:16.000Z" source: "https://docs.catalyst.zoho.com/en/pipelines/help/catalyst-pipelines.yaml/schema-reference/" service: "Pipelines" -------------------------------------------------------------------------------- # Schema Reference The YAML schema reference for Catalyst Pipelines outlines the pre-defined keys for various components of the pipeline. By using these keys, you can incorporate the necessary components and define the execution flow of the pipeline. We will be discussing the components in detail in their respective help pages. You can get started from [here](https://docs.catalyst.zoho.com/en/pipelines/help/catalyst-pipelines.yaml/build-the-pipeline/runners/). Refer to [this page](https://docs.catalyst.zoho.com/en/pipelines/help/catalyst-pipelines.yaml/implementation) to learn more about configuring the pipeline from the Catalyst console. ### YAML Definitions Here's the list of keys supported in Catalyst for the `catalyst-pipelines.yaml` file.
Keyword Description
`version` The pipeline version can be defined as any integer value, serving the purpose of preserving pipeline configurations as distinct and reusable versions.
`runners` A runner is a virtual machine configuration that can be defined at the **stage** level or **job** level. You can define the runner specification as a value of the `config-id` key in `runners`. Learn more about this detail from [this help page](https://docs.catalyst.zoho.com/en/pipelines/help/catalyst-pipelines.yaml/build-the-pipeline/runners).
`images` An image is a package or set of dependencies required for the execution of jobs in the pipeline. Images can be defined at the **stage** level or **job** level. You can define the name of the image in the `image` key and the URL of the external package registry (like Dockerhub) in the `registry` key. You must also define the `auth` key to authenticate the specified registry. Learn more about this detail from [this help page](https://docs.catalyst.zoho.com/en/pipelines/help/catalyst-pipelines.yaml/build-the-pipeline/images).
`auth` To authenticate any external registry accounts and pull the required packages for job execution, you will need to specify the `username` and `password` keys in the `auth` key. You can refer to [this help section](https://docs.catalyst.zoho.com/en/pipelines/help/catalyst-pipelines.yaml/build-the-pipeline/images) to know more about this.
`variables` This keyword is used to store placeholder values at the **pipeline** level or **job** level. Check out [this help page](https://docs.catalyst.zoho.com/en/pipelines/help/catalyst-pipelines.yaml/build-the-pipeline/variables) for more details.
`steps` They are a set of commands that can be defined to carry out the build, test, and deploy processes in the pipeline. You can define the steps based on the applications you build, the testing procedures for it, and the environments in which the application has to be deployed. Refer to [this help page](https://docs.catalyst.zoho.com/en/pipelines/help/catalyst-pipelines.yaml/build-the-pipeline/steps) to learn more about steps.
`jobs` A job is a sequence of steps defined in a stage. You can define up to five jobs within a stage, and under each job, you can define `steps`, `variables`, `runners`, and `images` using the `jobs` key. If you have configured the pipeline to build your application before testing or deploying it, you can temporarily store the generated build files of your code in the Catalyst Stratus service. These configurations can be defined using the `artifacts` key. This key includes two other sub-keys named `notify` and `approve`. You can learn more about this in detail from [this help page](https://docs.catalyst.zoho.com/en/pipelines/help/catalyst-pipelines.yaml/build-the-pipeline/jobs/introduction).
`notify` This key allows you to send notifications either at the start of job execution or upon successful completion of the job. You can use the `on-start` or `on-end` keys for this purpose. Check out [this help section](https://docs.catalyst.zoho.com/en/pipelines/help/catalyst-pipelines.yaml/build-the-pipeline/jobs/introduction) for more details.
`approve` This key is used for [approval jobs](https://docs.catalyst.zoho.com/en/pipelines/help/catalyst-pipelines.yaml/build-the-pipeline/jobs/introduction) to define the details of the job reviewer and the custom approval message. You can set the approval type using the `type-name` sub-key and add the email address of the reviewer and a custom review message in the `type-variables` key that includes the `reviewers` and `message` sub-keys, respectively.
`artifacts` This key is used to represent the upload and download process of the application build files generated during pipeline execution. For this, you can set the values in the `upload` and `download` keys respectively. You can learn more about artifacts from [ its help page](https://docs.catalyst.zoho.com/en/pipelines/help/catalyst-pipelines.yaml/build-the-pipeline/artifacts).
`upload` This key is used to store the generated build zip files in the Catalyst Stratus service. You must define the name of the build file, the location in which the file has to be stored, and other file conditions using the `name`, `location`, and `files` sub-keys respectively.
`download` This key can be used to retrieve the stored build zip files from the Catalyst Stratus service. You can also define the `name`, `location`, and `files` sub-keys similar to the upload keyword.
`[stages](https://docs.catalyst.zoho.com/en/pipelines/help/catalyst-pipelines.yaml/build-the-pipeline/stages)` A stage is a distinct phase that contains multiple jobs in it. You can define up to five stages in a pipeline, each containing a set of jobs. You can also define `runners` and `images` at the stage level.
`[when-equal](https://docs.catalyst.zoho.com/en/pipelines/help/catalyst-pipelines.yaml/build-the-pipeline/when-condition/#when-equal)` This key can be used to evaluate whether two values exactly match with one another and proceed with the specified execution flow of the pipeline, only if the validation holds true.
`[when-not](https://docs.catalyst.zoho.com/en/pipelines/help/catalyst-pipelines.yaml/build-the-pipeline/when-condition/#when-not)` This key can be used to evaluate whether a particular condition is either `true` or `false`. Based on the result of the evaluation, the defined pipeline flow will be executed.
`[when-not-equal](https://docs.catalyst.zoho.com/en/pipelines/help/catalyst-pipelines.yaml/build-the-pipeline/when-condition/#when-not-equal)` This key can be used to evaluate whether two values do not match with one another, then proceed with executing the defined pipeline flow.
`[when-and](https://docs.catalyst.zoho.com/en/pipelines/help/catalyst-pipelines.yaml/build-the-pipeline/when-condition/#when-andwhen-or)` This key can be used to evaluate whether the two conditions defined in the `and` key hold true. If yes, then the flow defined in the `when` condition gets executed.
`[when-or](https://docs.catalyst.zoho.com/en/pipelines/help/catalyst-pipelines.yaml/build-the-pipeline/when-condition/#when-andwhen-or)` This key can be used to evaluate whether either one of the conditions defined in the `or` key holds true. If yes, then the pipeline flow defined in the `when` key gets executed.
`[pipeline-when](https://docs.catalyst.zoho.com/en/pipelines/help/catalyst-pipelines.yaml/build-the-pipeline/when-condition/#global-configuration)` The conditional logic that can be defined at the pipeline level, which dictates the execution flow of the whole pipeline. You can use the `and`, `equal`, `or`, `not`, `not-equal` key along with the `pipeline-when` condition.
`[pipeline-runner](https://docs.catalyst.zoho.com/en/pipelines/help/catalyst-pipelines.yaml/build-the-pipeline/runners/#global-configuration)` This key can be used to define a runner at the pipeline level, which is accessible across all stages and jobs.
`[pipeline-image](https://docs.catalyst.zoho.com/en/pipelines/help/catalyst-pipelines.yaml/build-the-pipeline/images/#global-configuration)` This key can be used to define an image at the pipeline level, which is accessible across all stages and jobs.
> **Note:** When defining the pipeline execution flow in the [pipeline-image](https://docs.catalyst.zoho.com/en/pipelines/help/catalyst-pipelines.yaml/build-the-pipeline/images/#global-configuration) file, ensure to utilize the exact keywords designated by Catalyst as keys and assign the corresponding data to each key. -------------------------------------------------------------------------------- title: "Implementation" description: "Learn about the step-by-step instructions to configure the pipeline directly from the Catalyst console." last_updated: "2026-10-30T18:08:11.000Z" source: "https://docs.catalyst.zoho.com/en/pipelines/help/catalyst-pipelines.yaml/implementation/" service: "Pipelines" related: - Runners (/en/pipelines/help/catalyst-pipelines.yaml/build-the-pipeline/runners) - Images (/en/pipelines/help/catalyst-pipelines.yaml/build-the-pipeline/images) - Artifacts (/en/pipelines/help/catalyst-pipelines.yaml/build-the-pipeline/artifacts) - Variables (/en/pipelines/help/catalyst-pipelines.yaml/build-the-pipeline/variables) - When-condition (/en/pipelines/help/catalyst-pipelines.yaml/build-the-pipeline/when-condition) - Steps (/en/pipelines/help/catalyst-pipelines.yaml/build-the-pipeline/steps) - Jobs (/en/pipelines/help/catalyst-pipelines.yaml/build-the-pipeline/jobs/introduction) - Stages (/en/pipelines/help/catalyst-pipelines.yaml/build-the-pipeline/stages/) - YAML Schema Reference (/en/pipelines/help/catalyst-pipelines.yaml/schema-reference) - Pipeline Triggers (/en/pipelines/help/triggers/introduction) -------------------------------------------------------------------------------- # Implementation You can build a pipeline using the built-in visual builder or code editor directly from the [Catalyst console](https://console.catalyst.zoho.com/baas/index). Please ensure to follow the below listed steps: Let us begin by configuring the pipeline using the code editor. 1. After you create the pipeline, the code editor opens automatically. A basic YAML code will be pre-defined in this file, you can start updating it as required. ![code-editor-opened](https://catalyst-docs-development.zohostratus.in/images/help/pipelines/code-editor-opened.webp) 2. In the Assistant panel on the right, click **Add Variable**. Enter the key-value pairs and click **Generate**. ![create-variable-popup](https://catalyst-docs-development.zohostratus.in/images/help/pipelines/create-variable-popup.webp) 3. Click **Add to Code**. ![add-to-code](https://catalyst-docs-development.zohostratus.in/images/help/pipelines/add-to-code.webp) The variables are now added in the YAML code. ![variables-added](https://catalyst-docs-development.zohostratus.in/images/help/pipelines/variables-added.webp) 4. Now, let us add the required images for the pipeline execution. Click **Create Image**. In the **Create Image** pop-up, enter the Image Variable name, image name, the registry URL, the username and password of the registry. Click **Generate**. ![create-image-popup](https://catalyst-docs-development.zohostratus.in/images/help/pipelines/create-image-popup.webp) Click **Add to Code**. ![add-image](https://catalyst-docs-development.zohostratus.in/images/help/pipelines/add-image.webp) The image is now added in the YAML code. ![image-added](https://catalyst-docs-development.zohostratus.in/images/help/pipelines/image-added.webp) 5. Click **Add Runners**. Enter the runner name and choose the runner configuration. You can learn more about runner configurations from [this help page](https://docs.catalyst.zoho.com/en/pipelines/help/catalyst-pipelines.yaml/build-the-pipeline/runners). ![create-runner-popup](https://catalyst-docs-development.zohostratus.in/images/help/pipelines/create-runner-popup.webp) Click **Generate**. ![add-runner](https://catalyst-docs-development.zohostratus.in/images/help/pipelines/add-runner.webp) Click **Add to Code**. The runner is now added in the YAML code. ![added-runner](https://catalyst-docs-development.zohostratus.in/images/help/pipelines/added-runner.webp) 6. Let us now add the required jobs for the pipeline. Click **Add Job**. Provide a name for the job. You can create the job using any one of the following options: * **Create using Steps** : This option allows you to define your own set of commands in the script editor below. You can select the required [runner](https://docs.catalyst.zoho.com/en/pipelines/help/catalyst-pipelines.yaml/build-the-pipeline/runners) and [image](https://docs.catalyst.zoho.com/en/pipelines/help/catalyst-pipelines.yaml/build-the-pipeline/images) configurations for the job. Add the path of the current working directory as shown below. Click **Generate**. ![create-using-steps](https://catalyst-docs-development.zohostratus.in/images/help/pipelines/create-using-steps.webp) * **Create using Approvals** : This creates an [approval job](https://docs.catalyst.zoho.com/en/pipelines/help/catalyst-pipelines.yaml/build-the-pipeline/jobs/approval-job) for the pipeline. Select the required approver email address and enter a message as shown below. Click **Generate**. ![create-using-approvals](https://catalyst-docs-development.zohostratus.in/images/help/pipelines/create-using-approvals.webp) * **Create using Templates** : This creates the jobs using the pre-defined templates available in Catalyst. If your use case fits into any of these operations, you can directly choose the template. ![create-using-templates](https://catalyst-docs-development.zohostratus.in/images/help/pipelines/create-using-templates.webp) Click **Generate**. ![add-job](https://catalyst-docs-development.zohostratus.in/images/help/pipelines/add-job.webp) Click **Add to Code** and the job will be added to the YAML. 7. Now, let us define the stages of the pipeline. Click **Add Stage**. Provide the stage name and select the required jobs for the stage. ![add-stage-popup](https://catalyst-docs-development.zohostratus.in/images/help/pipelines/add-stage-popup.webp) Click **Show Advanced Options** and enable **Checks** if you need to add any conditional logic within the stage execution. ![add-checks](https://catalyst-docs-development.zohostratus.in/images/help/pipelines/add-checks.webp) You can add checks as shown below and click **Add to Stage**. Click **Generate** and click **Add to Code**. ![add-stage](https://catalyst-docs-development.zohostratus.in/images/help/pipelines/add-stage.webp) The stage is now added in the YAML code. Once you have completed configuring the YAML, you can click **Save**. When you need to save your configurations partially and continue editing them later, you can click **Save as Draft**. You can choose the branch in which the YAML file has to be committed as shown in the screenshot below and click **Commit**. ![select-branch](https://catalyst-docs-development.zohostratus.in/images/help/pipelines/select-branch.webp) Enter the commit message and click **Commit**. ![commit-yaml](https://catalyst-docs-development.zohostratus.in/images/help/pipelines/commit-yaml.webp) The `catalyst-pipelines.yaml` file will be updated in your Git repository. Similarly, you can configure the same pipeline using the visual builder. First, switch to the **Builder tab** as shown in the screenshot below. ![builder-tab](https://catalyst-docs-development.zohostratus.in/images/help/pipelines/builder-tab.webp) The drag-and-drop builder interface will open automatically. ![configure-pipeline-builder](https://catalyst-docs-development.zohostratus.in/images/help/pipelines/configure-pipeline-builder.webp) Here, you can simply drag and drop the components and follow the same steps as mentioned above. After configuring the YAML for the first time, you can make changes anytime by clicking on **Configure YAML**. ![edit-yaml](https://catalyst-docs-development.zohostratus.in/images/help/pipelines/edit-yaml.webp) You can also add global variables that are accessible throughout the pipeline by simply clicking on **Global Variables**. ![add-global-variable](https://catalyst-docs-development.zohostratus.in/images/help/pipelines/add-global-variable.webp) Add the variable name as key and its corresponding value. Click **Save**. ![add-key-value](https://catalyst-docs-development.zohostratus.in/images/help/pipelines/add-key-value.webp) We will be discussing executing the pipeline in the next section. #### Build a Pipeline -------------------------------------------------------------------------------- title: "Runners" description: "Learn about the Catalyst Pipelines runners in detail, the associated keywords and sample code snippets." last_updated: "2025-05-30T11:24:59.000Z" source: "https://docs.catalyst.zoho.com/en/pipelines/help/catalyst-pipelines.yaml/build-the-pipeline/runners/" service: "Pipelines" related: - Configure the Pipeline (/en/pipelines/help/catalyst-pipelines.yaml/implementation) -------------------------------------------------------------------------------- # Build the Pipeline In this section we will be discussing about the various pipeline components in detail, their usage in the `catalyst-pipelines.yaml` file, how to incorporate these components directly from the Catalyst console and build a Catalyst pipeline. Let us get started! # Runners ## Introduction A runner is an agent or computing resource that executes the jobs defined in a pipeline. Catalyst runners offer a robust and flexible infrastructure for efficiently and reliably building, testing, and deploying software applications. You can define the required runners for the pipeline as key-value pairs using the `runners` keyword. The runner configurations supported by Catalyst Pipelines are listed below:
Runner config RAM Storage CPU Capacity Disk Space
`Low` 1 GB 0.8 vCPU 2 GB
`Medium` 2 GB 1.2 vCPU 4 GB
`High` 4 GB 2.0 vCPU 8 GB
> **Note:** 1. Defining a runner is not mandatory. If a runner is not specified, the `medium` config runner is taken by default to execute the jobs. 2. You can define runners at the pipeline level, stage level, or job level. In case of multiple definitions, the one specified at the lowest level (i.e., job) takes precedence. ### Properties of a Runner
Key Value is Mandatory
Runner name (The runner variable name used to access the runner) Yes
`config-id` The ID of the required runner configuration. `Low` = `config-id` : 1 `Medium` = `config-id` :2 `High` = `config-id` : 3 Yes
### YAML Code Snippet for Runner ```yaml runners: runner1: config-id: 2 runner2: config-id: 3 ``` ### Global Configuration You can also define the runners at the pipeline level, if required. This runner configuration will be accessible to all the stages and jobs. You can configure a runner at the pipeline level as follows: ```yaml pipeline-runner:runner1 ``` -------------------------------------------------------------------------------- title: "Images" description: "Learn about the Catalyst Pipelines images in detail, the associated keywords and sample code snippets." last_updated: "2026-10-23T10:20:21.000Z" source: "https://docs.catalyst.zoho.com/en/pipelines/help/catalyst-pipelines.yaml/build-the-pipeline/images/" service: "Pipelines" related: - Configure the Pipeline (/en/pipelines/help/catalyst-pipelines.yaml/implementation) -------------------------------------------------------------------------------- # Images # Introduction An image is an executable package that contains dependencies needed to run a job in the pipeline. Catalyst Pipelines seamlessly integrates with container registries such as Docker Hub or other private registries to pull images and dependencies during the pipeline execution. You can pick from a wide range of images supporting varied operating systems, programming languages, frameworks, and tools to suit your specific requirements. Additionally, using predefined images ensures consistency and reproducibility across different stages of the pipeline and environments. You can pull images by specifying the container registry URL explicitly using the `registry` key. If the registry URL is not defined, the images are pulled from the [Dockerhub](https://hub.docker.com/) container by default. You can define the required images for the pipeline using the `images` key. ### Properties of an Image
Key Value is Mandatory
Image Variable Name The image variable name used to access the image Yes
`image` The name of the image Yes
`registry` The URL from which the image has to be fetched. No
`auth` Contains the username and password keys. Yes
`username` The account username credential of the specified registry. Yes
`password` The account password credential of the specified registry. Yes
> **Note:** 1. Defining an image is not mandatory. If an image is not specified, the default Ubuntu image with Catalyst CLI pre-installed is taken by default to execute the jobs. 2. You can define images at the pipeline level, stage level, or job level. In case of multiple definitions, the one specified at the lowest level (i.e., job) takes precedence. 3. If the same image is specified for two jobs within a stage, the cached image will automatically be reused for the second job, enhancing performance speed. 4. If the image name is specified and the registry URL is not given, then make sure to provide the `username` and `password` credentials of your [Dockerhub](https://hub.docker.com/) account in the `auth` key. The image will be pulled from DockerHub by default. For security reasons, we highly recommend you store your password information as a variable in the global configuration and access it using `<< env.{variable_name} >>` in the `catalyst-pipelines.yaml` file. You can refer to [this help section](https://docs.catalyst.zoho.com/en/pipelines/help/catalyst-pipelines.yaml/implementation) to learn how to configure variables globally from the console. ### YAML Code Snippet for Image Here's an example code snippet for images that can be defined in a pipeline: ```yaml images: testImage1: image: node:22 registry: my.private.registry.com auth: username: ameliab password: zylker@123 testImage2: image: node:24 auth: username: ameliab password: zylker@123 ``` The above code snippet illustrates the following: * Two images are defined in the pipeline(`testImage1` and `testImage2`). * The `testImage1` uses the node22 dependencies from the defined registry URL. We have added the authentication credentials for the registry to the keyword `auth`. * By default, since the registry is not specified, the `testimage2` uses the **node24** dependencies from [Dockerhub](https://hub.docker.com/). ### Global Configuration You can also define the image at the pipeline level, if required. This image configuration will be accessible to all the stages and jobs. You can configure an image at the pipeline level as follows: ```json pipeline-image: image1 ``` -------------------------------------------------------------------------------- title: "Variables" description: "Learn about the Catalyst Pipelines variables in detail, the associated keywords and sample code snippets." last_updated: "2026-11-03T15:16:51.000Z" source: "https://docs.catalyst.zoho.com/en/pipelines/help/catalyst-pipelines.yaml/build-the-pipeline/variables/" service: "Pipelines" related: - Configure the Pipeline (/en/pipelines/help/catalyst-pipelines.yaml/implementation) -------------------------------------------------------------------------------- # Variables # Introduction A variable is a placeholder value that can be defined at the job level or pipeline level as required. You cannot define a variable at the stage level. You can define the required variables for the pipeline as key-value pairs using the `variables` key. ### Properties of a Variable
Key Value is Mandatory
Variable Name Specify a string value for the variable Yes
### YAML Code Snippet for Variable You can declare a variable at the job level in the `catalyst-pipelines.yaml` file using the below syntax: ```yaml variables: target:'app3.1' ``` ### Global Variables You can define a variable at the pipeline level directly from the console. Refer to [this help page](https://docs.catalyst.zoho.com/en/pipelines/help/catalyst-pipelines.yaml/implementation) to know the exact steps to create a variable. > **Note:** You must mandatorily set a global variable named **CATALYST_TOKEN** and input the token generated from your Catalyst CLI, in case you have used Catalyst CLI in the pipeline execution. To fetch your token, please refer to the steps mentioned in [this help section](https://docs.catalyst.zoho.com/en/cli/v1/cli-options/#--token-token). ### Access the Variable A variable can be accessed by using any of the following methods: * **`<< variables.{variable_name} >>`** : This can be used to access any variable defined at the job level. * **`<< event.{variable_name} >>`** : This can be used to access any variables passed in the event JSON while triggering the pipeline manually from the console. * **`<< env.{variable_name} >>`** : This can be used to access variables defined at the pipeline level. -------------------------------------------------------------------------------- title: "When Condition" description: "Learn about the Catalyst Pipelines conditions in detail, the associated keywords and sample code snippets." last_updated: "2025-05-30T11:24:59.000Z" source: "https://docs.catalyst.zoho.com/en/pipelines/help/catalyst-pipelines.yaml/build-the-pipeline/when-condition/" service: "Pipelines" related: - Configure the Pipeline (/en/pipelines/help/catalyst-pipelines.yaml/implementation) -------------------------------------------------------------------------------- # When Condition # Introduction The when condition is a basic logic that can be configured to define the execution flow of the pipeline. You can define the when condition at the stage level, job level, or the pipeline level. It is important to note that the when condition can be applied at any of these levels, and the order of the components is not significant. The following operators can be used along with the when condition: ### when-equal ```yaml when: equal: - << status.build.package >> - success when-not-equal ``` ### when-not-equal ```yaml not-equal: - << status.build.package >> - failed ``` ### when-not ```yaml when: -not:true ``` ### when-and/when-or ```yaml when: or: - and: - equal: - << pipeline.status.build >> - success - not-equal: - << pipeline.status.build.hello-world >> - failed - equal: - << pipeline.event.{{Event Variable Placeholder}} >> ``` > **Note:** You will not be able to configure when conditions for [approval jobs](https://docs.catalyst.zoho.com/en/pipelines/help/catalyst-pipelines.yaml/build-the-pipeline/jobs/approval-job/). ### Global Configuration You can define a when condition at the pipeline level, if required. This condition solely determines the pipeline execution flow. You can configure the condition as follows: ```yaml pipeline-when: equal: - << event.ref >> - refs/heads/main ``` -------------------------------------------------------------------------------- title: "Steps" description: "Learn about the Catalyst Pipelines steps in detail, the associated keywords and sample code snippets." last_updated: "2025-05-30T11:24:59.000Z" source: "https://docs.catalyst.zoho.com/en/pipelines/help/catalyst-pipelines.yaml/build-the-pipeline/steps/" service: "Pipelines" related: - Configure the Pipeline (/en/pipelines/help/catalyst-pipelines.yaml/implementation) -------------------------------------------------------------------------------- # Steps # Introduction A step is the smallest building block of a pipeline. They are a set of commands to be executed to build, deploy, or test the source code. You can define the steps for your [job](https://docs.catalyst.zoho.com/en/pipelines/help/catalyst-pipelines.yaml/build-the-pipeline/jobs/introduction), by adding the commands using a hyphen (-). You can define the steps for the pipeline using the `steps` key. ### YAML Code Snippet for Steps ```yaml steps: - ls - >- catalyst deploy appsail --name spring-boot --build-path "/catalyst/SNAPSHOT.jar" --stack java17 --platform javase --command "sh -c 'java -jar SNAPSHOT.jar --server.port=\${X_ZOHO_CATALYST_LISTEN_PORT}'" --verbose ``` -------------------------------------------------------------------------------- title: "Artifacts" description: "Learn about the Catalyst Pipelines artifacts in detail, the associated keywords and sample code snippets." last_updated: "2026-08-28T06:26:16.000Z" source: "https://docs.catalyst.zoho.com/en/pipelines/help/catalyst-pipelines.yaml/build-the-pipeline/artifacts/" service: "Pipelines" related: - Configure the Pipeline (/en/pipelines/help/catalyst-pipelines.yaml/implementation) -------------------------------------------------------------------------------- # Artifacts # Introduction An artifact is a file or zip generated upon the application build process during the execution of the pipeline. These artifacts are deployable entities, which include infrastructure and apps. You can store and retrieve the artifacts during the pipeline execution in the Catalyst Stratus service. There are two types of artifacts : * **A single artifact file :** This build file can be directly uploaded to a bucket in Catalyst Stratus and then downloaded when required. * **An artifact zip :** This type includes configuring regular expressions to pick the relevant files, zip them and upload to a bucket in Catalyst Stratus and then download the zip when required. You can define the required artifacts for the pipeline as key-value pairs using the `artifacts` key. These artifacts can be included as a part of the jobs created using steps, in the Catalyst console. You can refer to [this help section](https://docs.catalyst.zoho.com/en/pipelines/help/catalyst-pipelines.yaml/implementation/) to learn more about artifact configuration in jobs. However they are not applicable to [parallel](https://docs.catalyst.zoho.com/en/pipelines/help/catalyst-pipelines.yaml/build-the-pipeline/jobs/parallel-job/) and [approval](https://docs.catalyst.zoho.com/en/pipelines/help/catalyst-pipelines.yaml/build-the-pipeline/jobs/approval-job/) jobs. ### Properties of an Artifact #### Upload
Key Value is Mandatory
`upload` This key contains the configurations required for the artifact upload process. Yes
`type` Provide the value as either `file` or `zip`. Yes
`name` The name of the artifact. (file name or zip name) For example : SNAPSHOT.jar (for file type) Build.zip (for zip type) Yes
`file` The source path of the artifact file. For example : target/demo-0.0.1-SNAPSHOT.jar Yes (if the artifact type is file)
`regex` The regular expression pattern that identifies files and compresses all the matching ones. For example : - /catalyst/node_modules/**/ Yes (if the artifact type is zip)
`location` The location path in Stratus where the file or zip has to be uploaded. For example : stratus://<>/ (destination) Yes
#### Download
Key Value is Mandatory
`download` This key contains the configurations required for the artifact download process. Yes
`type` file or zip. Provide this value based on your preference. Yes
`name` The name of the artifact in Stratus. For example : SNAPSHOT.jar (for file type) Build.zip (for zip type) Yes
`file` The destination path where the file has to be downloaded. For example : /SNAPSHOT.jar. Yes (if the artifact type is file)
`location` The Stratus location from which the file has to be downloaded. For example : stratus://<>/ artifact name Yes
> **Note:** If the artifact type is set to zip, the zip file will be downloaded to the root directory by default. Refer to [this section](https://docs.catalyst.zoho.com/en/pipelines/help/catalyst-pipelines.yaml/build-the-pipeline/jobs/introduction) for a sample YAML code snippet configured with artifacts. -------------------------------------------------------------------------------- title: "Stages" description: "Learn about the Catalyst Pipelines stages in detail, the associated keywords and sample code snippets." last_updated: "2026-08-28T06:26:16.000Z" source: "https://docs.catalyst.zoho.com/en/pipelines/help/catalyst-pipelines.yaml/build-the-pipeline/stages/" service: "Pipelines" related: - Configure the Pipeline (/en/pipelines/help/catalyst-pipelines.yaml/implementation) -------------------------------------------------------------------------------- # Stages # Introduction A stage is a pivotal component in a pipeline that organizes the execution sequence of jobs within a pipeline. Each stage represents a distinct phase in the software delivery process, such as building, testing, or deploying an application. Stages allow for logical grouping and separation of jobs, thereby enabling parallel execution for faster build and deployment times. They also facilitate efficient management of complex pipelines by breaking down the workflow into manageable units, providing clarity and control over the entire deployment process. You can define the required stages for the pipeline as key-value pairs using the `stages` key. You can fetch the current status of a stage by using `<< status.{stage_name} >>`. > **Note:** 1. Multiple stages in a pipeline run sequentially by default, proceeding one after the other. You have the option to define conditions for stage execution, allowing for personalized control over when each stage is triggered. Refer to [this section](https://docs.catalyst.zoho.com/en/pipelines/help/catalyst-pipelines.yaml/build-the-pipeline/when-condition) to learn about defining conditions in the pipeline. 2. In a pipeline configuration, there must be at least one stage and no more than five stages. Additionally, each stage can accommodate a maximum of five jobs, which includes [parallel jobs](https://docs.catalyst.zoho.com/en/pipelines/help/catalyst-pipelines.yaml/build-the-pipeline/jobs/parallel-job). ### Properties of a Stage You can define the stages in your pipeline with one or more combinations of the below listed attributes:
Key Value is Mandatory
name Provide the stage name as a string value. Yes
`[jobs](https://docs.catalyst.zoho.com/en/pipelines/help/catalyst-pipelines.yaml/build-the-pipeline/jobs/introduction)` An array of jobs Yes
`[runner](https://docs.catalyst.zoho.com/en/pipelines/help/catalyst-pipelines.yaml/build-the-pipeline/runners)` The name of the runner upon which the jobs have to be executed No
`[image](https://docs.catalyst.zoho.com/en/pipelines/help/catalyst-pipelines.yaml/build-the-pipeline/images)` The name of the image which is used for job execution in the particular stage. No
`[when](https://docs.catalyst.zoho.com/en/pipelines/help/catalyst-pipelines.yaml/build-the-pipeline/when-condition)` The conditional logic based on which the stage must be executed. You can use `"and"`, `"or"`, `"not"`, `"not-equal"`, or `"equal"` operators along with the base condition. No
### YAML Code Snippet for Stage Here's an example code snippet for stages that can be defined in a pipeline: ```yaml stages: - name: testStage1 runner: runner1 image: testImage1 jobs: - testJob1 when: - and: - equal: - << pipeline.event.branch >> - master - true - name: testStage2 jobs: - testJob1 - - testJob2 - testJob3 ``` The above code illustrates the following workflow: * There are two stages defined in the pipeline - `testStage1` and `testStage2`. * The stage `testStage1` executes one job(`testJob1`)and the stage `testStage2` executes three jobs(`testJob1` and a parallel job).The parallel job includes the jobs `testJob2` and `testJob3`,respectively. * The runner and image have been defined at the stage level and will be utilized by both the stages. * The when condition validates if the current branch points to master, and if that holds true, the `testJob1` will be executed. ##### Jobs -------------------------------------------------------------------------------- title: "Introduction" description: "Learn about the Catalyst Pipelines jobs in detail, the associated keywords and sample code snippets." last_updated: "2026-08-28T06:26:16.000Z" source: "https://docs.catalyst.zoho.com/en/pipelines/help/catalyst-pipelines.yaml/build-the-pipeline/jobs/introduction/" service: "Pipelines" related: - Configure the Pipeline (/en/pipelines/help/catalyst-pipelines.yaml/implementation) -------------------------------------------------------------------------------- # Jobs # Introduction A job is a sequence of [steps](https://docs.catalyst.zoho.com/en/pipelines/help/catalyst-pipelines.yaml/build-the-pipeline/steps) to be executed in the pipeline. It is mandatory to define at least one job in the pipeline. You can define the required jobs for the pipeline as key-value pairs using the `jobs` key. Apart from the regular jobs defined in the pipeline, you can configure the following jobs as well : * **Approval Job** * **Parallel Job** You can retrieve the status of a job by using `<< status.{stage_name}.{job_name} >>`. ### Properties of a Job
Key Value is Mandatory
`[variables](https://docs.catalyst.zoho.com/en/pipelines/help/catalyst-pipelines.yaml/build-the-pipeline/variables)` An array of variables No
`[artifacts](https://docs.catalyst.zoho.com/en/pipelines/help/catalyst-pipelines.yaml/build-the-pipeline/artifacts)` This includes the `upload` and `download` keys. Refer to [this help page](https://docs.catalyst.zoho.com/en/pipelines/help/catalyst-pipelines.yaml/build-the-pipeline/artifacts) for more details. No
`notify` This key can be configured to send notification emails about the job before it starts execution and after the job execution completes. Contains the sub-keys `on-start` and `on - end` No
`on-start / on -end` Contains the sub-keys `notify-type` and `notify-variables`. Yes (if `notify` is used)
`notify-type` Provide the value as `email` . Yes (if `notify` is used)
`notify-variables` Provide the email address to be notified when the job execution starts (for `on-start`) and the email address to be notified when the job successfully completes execution (for `on-end` ) Yes (if `notify` is used)
`[runner](https://docs.catalyst.zoho.com/en/pipelines/help/catalyst-pipelines.yaml/build-the-pipeline/runners)` Specify the runner name in which the jobs need to be executed. No
`[image](https://docs.catalyst.zoho.com/en/pipelines/help/catalyst-pipelines.yaml/build-the-pipeline/images)` Specify the name of the image needed for the specific job execution. No
`cwd` Specify the current working directory in which the job has to be executed. No
`[steps](https://docs.catalyst.zoho.com/en/pipelines/help/catalyst-pipelines.yaml/build-the-pipeline/steps)` An array containing the scripts that need to be executed in the pipeline. Yes
`[when](https://docs.catalyst.zoho.com/en/pipelines/help/catalyst-pipelines.yaml/build-the-pipeline/when-condition)` Specify the conditions that determine whether the job has to be executed or not. No
### YAML Code Snippet for Job Here's an example code snippet for jobs that can be defined in a pipeline: ```yaml jobs: testJob1: steps: - echo "Enter your scripts here" testJob2: variables: BRANCH: main artifacts: upload: - name: artifactTest type: zip location: stratus://mybucket/home/artifacts files: - '**/*' download: - name: artifactTest type: zip location: stratus://mybucket/home/artifacts notify: on-start: - notify-type: email notify-variables: to: amelia.burrows@zylker.com on-end: - notify-type: email notify-variables: to: amelia.burrows@zylker.com runner: runner2 image: testImage1 cwd: cd ./src steps: - echo "Enter your scripts here" and: - equal: - << pipeline.event.branch >> - main - true testJob3: steps: - echo "Hello" ``` The above code illustrates the following workflow: * There are three jobs defined in the pipeline - `testJob1`, `testJob2`, `testJob3`. * The `testJob2` is configured to be executed only if the current working branch in the repository is the main branch. * The `testJob2` handles the process to store and retrieve the generated build files to and from Catalyst Stratus. This is defined using the `upload` and `download` keys. * It also sends a notification to the defined email address in order to keep them informed about the start of the job execution and the completion of the job as well. This is achieved using the `notify on-start` and `on-end keys`. -------------------------------------------------------------------------------- title: "Approval Job" description: "Learn about the Catalyst Pipelines approval jobs in detail, the associated keywords and sample code snippets." last_updated: "2025-05-30T11:24:59.000Z" source: "https://docs.catalyst.zoho.com/en/pipelines/help/catalyst-pipelines.yaml/build-the-pipeline/jobs/approval-job/" service: "Pipelines" related: - Configure the Pipeline (/en/pipelines/help/catalyst-pipelines.yaml/implementation) -------------------------------------------------------------------------------- # Approval Job # Introduction The crucial tasks that require a manual review to proceed further can be defined as an approval job in the pipeline. The steps defined in the approval job are usually a set of validations required before a deployment runs. When an approval job is configured, the pipeline execution pauses until the approver approves the job. The approver will be sent an email notification to approve the job. They can also approve it from the console directly. Learn more about approving a job from the console in [this help section](https://docs.catalyst.zoho.com/en/pipelines/help/triggers/monitor-execution-status). You can define the approval jobs for the pipeline as key-value pairs using the approve key. ### Properties of an Approval Job
Key Value is Mandatory
`type` This key contains the sub-key type-name. Yes
`type-name` Specify this value as "approval". Yes
`type-variables` This key contains the sub-keys reviewers and message. Yes
`reviewers` Specify the email addresses of the reviewers who can approve this job. Yes
`message` Provide the message that has to be sent to the approver. Yes
> **Note:** 1. You can add only a single reviewer for the approval job. 2. The approval job has no specific timeout, meaning the pipeline execution will remain paused until the approver takes action. ### YAML Code Snippet for Approval Job Here's an example code snippet for an approval job: ```yaml approve: type: type-name: approval type-variables: reviewers: - amelia.b@zylker.com message: Review this ``` -------------------------------------------------------------------------------- title: "Parallel Job" description: "Learn about the Catalyst Pipelines parallel jobs in detail, the associated keywords and sample code snippets." last_updated: "2026-08-28T06:26:16.000Z" source: "https://docs.catalyst.zoho.com/en/pipelines/help/catalyst-pipelines.yaml/build-the-pipeline/jobs/parallel-job/" service: "Pipelines" related: - Configure the Pipeline (/en/pipelines/help/catalyst-pipelines.yaml/implementation) -------------------------------------------------------------------------------- # Parallel Job A parallel job can include two distinct jobs that can be executed in parallel. You can define a parallel job by adding two hyphens (--) before the first job name and a single hyphen (-) before the second job name. This symbolically denotes that both the jobs will be executed in parallel. > **Note:** A sequential job can be defined simply using a single hyphen(-). ### YAML Code Snippet for Parallel Job Here's an example code snippet for a parallel job: ```yaml name: testStage1 jobs: - testJob1 - - testJob2 - testJob3 ``` ### Deployment -------------------------------------------------------------------------------- title: "Deploy to AppSail" description: "Learn more about the sample YAML code snippet to deploy an application to Catalyst AppSail using the Pipelines service." last_updated: "2025-10-09T16:11:25.000Z" source: "https://docs.catalyst.zoho.com/en/pipelines/help/deployments/deploy-to-appsail/" service: "Pipelines" related: - Catalyst AppSail (/en/serverless/help/appsail/introduction/) -------------------------------------------------------------------------------- # Deploy to AppSail After building and testing your application, it has to be deployed to any virtual machine for users to use it. You can customize the deployment flow in the pipeline based on your specific needs. You can either automate the entire process or partially automate it by including an approval job to complete the deployment process. Here's a sample YAML code snippet that can be used to deploy a Java application built using Springboot framework in [Catalyst AppSail](https://docs.catalyst.zoho.com/en/serverless/help/appsail/introduction) service. Before executing the pipeline, you will have to configure the following keys as global variables in your pipeline. You can refer [this help section](https://docs.catalyst.zoho.com/en/pipelines/help/catalyst-pipelines.yaml/implementation) to learn about configuring variables. * `CATALYST_TOKEN` : A unique token to access the Catalyst CLI from the YAML. Refer to [this help page](https://docs.catalyst.zoho.com/en/cli/v1/working-with-tokens/generate-token/) to learn more about token generation. * `DOCKER_PASS` : The password of your [Docker Hub](https://hub.docker.com/) account. * `BUCKET_NAME` : The name of your Stratus bucket. ```json version: 1.0 runners: high: config-id: 3 pipeline-when: equal: - << event.ref >> - refs/heads/main images: maven: image: maven:3.8.5-openjdk-17 auth: username: ameliaburrows password: << env.DOCKER_PASS >> jobs: unit-test: steps: - mvn surefire-report:report artifacts: upload: - type: zip regex: - /catalyst/target/surefire-reports/** name: junit.zip location: stratus://<< env.BUCKET_NAME >>/ package: steps: - mvn clean package -DskipTests=true artifacts: upload: - type: file name: SNAPSHOT.jar file: target/demo-0.0.1-SNAPSHOT.jar location: stratus://<< env.BUCKET_NAME >>/ catalyst-deploy: when: equal: - << status.build.package >> - success steps: - npm install -g zcatalyst-cli@beta - >- catalyst deploy appsail --name spring-boot --build-path "/catalyst/SNAPSHOT.jar" --stack java17 --platform javase --command "sh -c 'java -jar SNAPSHOT.jar --server.port=\${X_ZOHO_CATALYST_LISTEN_PORT}'" --verbose artifacts: download: - type: file name: SNAPSHOT.jar file: /SNAPSHOT.jar location: stratus://<< env.BUCKET_NAME >>/ stages: - name: test image: maven jobs: - unit-test - name: build image: maven jobs: - package - name: deploy jobs: - catalyst-deploy ``` -------------------------------------------------------------------------------- title: "Deploy to Catalyst" description: "Learn more about the sample YAML code snippet to deploy an application to Catalyst using the Pipelines service." last_updated: "2026-08-28T06:26:16.000Z" source: "https://docs.catalyst.zoho.com/en/pipelines/help/deployments/deploy-to-catalyst/" service: "Pipelines" related: - Deploy Basic Web Client (/en/cli/v1/deploy-resources/deploy-client/) -------------------------------------------------------------------------------- # Deploy to Catalyst In this section, we'll look into a sample YAML code to automate the deployment of a [basic Catalyst web client](https://docs.catalyst.zoho.com/en/cli/v1/deploy-resources/deploy-client/) and [Catalyst Serverless Functions](https://docs.catalyst.zoho.com/en/serverless/help/functions/introduction/) component. This code is applicable to **Java**, **Node.js** and **Python**. You will have to configure the following keys as global variables in your pipeline. You can refer [this help section](https://docs.catalyst.zoho.com/en/pipelines/help/catalyst-pipelines.yaml/implementation) to learn about configuring variables. * `PROJECT_ID` : The unique ID of your project assigned by Catalyst. You can fetch this value from the [General Settings](https://docs.catalyst.zoho.com/en/getting-started/set-up-a-catalyst-project/general-settings/) in the console. * `CATALYST_ORG` : The Catalyst organization to which the current project belongs. You can fetch this value from the [Multi-Org portal](https://docs.catalyst.zoho.com/en/getting-started/catalyst-organizations/#access-the-multi-org-portal) in the console. * `CATALYST_TOKEN` : A unique token to access the Catalyst CLI from the YAML. Refer to [this help page](https://docs.catalyst.zoho.com/en/cli/v1/working-with-tokens/generate-token/) to learn more about token generation. * `USER_NAME` : The username of your [Docker Hub](https://hub.docker.com/) account. * `USER_PASSWORD` : The password of your [Docker Hub](https://hub.docker.com/) account. ```xml version: 1 runners: Machine: config-id: 2 images: DeployMachine: image: ubuntu auth: username: << env.USER_NAME >> password: << env.USER_PASSWORD >> jobs: Deploy_Client_Functions: steps: - apt-get update - apt-get -y install openjdk-17-jdk curl - curl -fsSL https://deb.nodesource.com/setup_18.x | bash - - apt-get install -y nodejs - apt-get update && \ - apt-get install -y software-properties-common wget curl && \ - add-apt-repository ppa:deadsnakes/ppa && \ - apt-get update && \ - apt-get install -y python3.10 python3.10-distutils && \ - wget https://bootstrap.pypa.io/get-pip.py && \ - python3.10 get-pip.py && \ - rm get-pip.py - npm i -g zcatalyst-cli - catalyst -v - cd functions/Node - npm install - cd ../.. - catalyst deploy --project << env.PROJECT_NAME >> --org << env.CATALYST_ORG >> --token << env.CATALYST_TOKEN >> stages: - name: build image: DeployMachine jobs: - Deploy_Client_Functions ``` ### Pipelines -------------------------------------------------------------------------------- title: "Introduction" description: "Learn about the basics of Catalyst Pipelines and the overall workflow of the service and its implementation" last_updated: "2026-09-08T11:07:33.000Z" source: "https://docs.catalyst.zoho.com/en/pipelines/help/pipelines/introduction/" service: "Pipelines" related: - Java SDK (/en/sdk/java/v1/pipelines/get-pipeline-details) - JavaScript SDK (/en/sdk/javascript/v1/pipelines/get-pipeline-details/) - Python SDK (/en/sdk/python/v1/pipelines/get-pipeline-details) - Configure the Pipeline (/en/pipelines/help/catalyst-pipelines.yaml/implementation) -------------------------------------------------------------------------------- # Pipelines # Introduction A pipeline is the highest level unit of work in the Catalyst Pipelines service. It includes a customizable sequence of [stages](https://docs.catalyst.zoho.com/en/pipelines/help/catalyst-pipelines.yaml/build-the-pipeline/stages), such as compiling code, running tests, and deploying applications, all orchestrated seamlessly to streamline your software lifecycle process. You can create a pipeline and [configure the flow](https://docs.catalyst.zoho.com/en/pipelines/help/catalyst-pipelines.yaml/implementation) of the pipeline directly from the [Catalyst console](https://console.catalyst.zoho.com/baas/index). We will be discussing the detailed steps to [this section](https://docs.catalyst.zoho.com/en/pipelines/help/pipelines/create-a-pipeline) in this section. While creating the pipeline, you can choose to integrate the pipeline with an external version control system such as [GitLab](https://github.com/), [GitHub](https://about.gitlab.com/) or [Bitbucket](https://bitbucket.org/product/). This integration enables you to link a particular repository in the version control system with the pipeline, and whenever any changes are pushed to the repository, the pipeline will get triggered automatically. You can also manually trigger the pipeline from the Catalyst console, if needed. For more information on pipeline triggers, you can refer to [this section](https://docs.catalyst.zoho.com/en/pipelines/help/triggers/introduction). Catalyst pipelines orchestrate based on the YAML code specified in the [catalyst-pipelines.yaml](https://docs.catalyst.zoho.com/en/pipelines/help/catalyst-pipelines.yaml/introduction) file. You can refer to [this page](https://docs.catalyst.zoho.com/en/pipelines/help/catalyst-pipelines.yaml/schema-reference) to understand the YAML schema definitions for Catalyst Pipelines and tailor the pipeline according to your specific needs. This YAML file is executed directly from the console for manual triggers or directly from the external version control system in the case of automatic triggers. You can also implement the manual pipeline trigger and fetch the details of an existing pipeline within your application code using our Pipelines SDK package available in [Java](https://docs.catalyst.zoho.com/en/sdk/java/v1/pipelines/get-pipeline-details), [Node.js](https://docs.catalyst.zoho.com/en/sdk/nodejs/v2/pipelines/get-pipeline-details) and [Python](https://docs.catalyst.zoho.com/en/sdk/python/v1/pipelines/get-pipeline-details). To define the execution flow of the pipeline in the YAML file, you have two options: you can either use our built-in drag-and-drop visual builder for an intuitive approach, or you can configure the YAML code using our code editor. You can find the step-by-step instructions to configure the pipeline in [this help page](https://docs.catalyst.zoho.com/en/pipelines/help/catalyst-pipelines.yaml/implementation). Now, let us explore the components of the pipeline, its hierarchical structure, and usage. -------------------------------------------------------------------------------- title: "Components of Pipeline" description: "Learn about the various components of Catalyst Pipelines, their usage functionality and hierarchy." last_updated: "2026-08-28T06:26:16.000Z" source: "https://docs.catalyst.zoho.com/en/pipelines/help/pipelines/components-of-pipeline/" service: "Pipelines" related: - Configure the Pipeline (/en/pipelines/help/catalyst-pipelines.yaml/implementation) -------------------------------------------------------------------------------- # Components of a Pipeline The pipeline can include any combination of the following components, each of which defines the sequence of execution of the pipeline. You can learn more about configuring the execution flow of the pipeline from [this help section](https://docs.catalyst.zoho.com/en/pipelines/help/catalyst-pipelines.yaml/implementation). * **Pipeline** : A tool for automating the build, test, and deployment processes of software applications. * **[Runner](https://docs.catalyst.zoho.com/en/pipelines/help/catalyst-pipelines.yaml/build-the-pipeline/runners)** : A virtual machine or container that provides the underlying infrastructure to execute the pipeline. * **[Image](https://docs.catalyst.zoho.com/en/pipelines/help/catalyst-pipelines.yaml/build-the-pipeline/images)** : An external resource that a pipeline relies on, such as libraries, packages, or services, to complete its execution successfully. * **[Variable](https://docs.catalyst.zoho.com/en/pipelines/help/catalyst-pipelines.yaml/build-the-pipeline/variables)** : The placeholders for values that can be reused at multiple instances within the scope of the pipeline. * **[Artifact](https://docs.catalyst.zoho.com/en/pipelines/help/catalyst-pipelines.yaml/build-the-pipeline/artifacts)** : The zip file produced during the application build process and stored in the Catalyst Stratus service, which can be deployed to specified environments. * **[When Condition](https://docs.catalyst.zoho.com/en/pipelines/help/catalyst-pipelines.yaml/build-the-pipeline/when-condition)** : The conditional logic that can be defined to instruct the execution flow of the pipeline. * **[Step](https://docs.catalyst.zoho.com/en/pipelines/help/catalyst-pipelines.yaml/build-the-pipeline/steps)** : A step is the lowest building block in a pipeline. It contains a set of commands to perform specific operations such as compiling code, running tests, or deploying an application. * **[Job](https://docs.catalyst.zoho.com/en/pipelines/help/catalyst-pipelines.yaml/build-the-pipeline/jobs/introduction)** : A job is a series of sequential or parallel steps that execute within the pipeline. * **[Stage](https://docs.catalyst.zoho.com/en/pipelines/help/catalyst-pipelines.yaml/build-the-pipeline/stages)** : The highest level of organization in the Catalyst Pipeline, representing distinct phases of the software delivery process. Each stage encompasses multiple jobs. You can code the execution flow of the pipeline by defining any of the above mentioned components in the `[catalyst-pipelines.yaml](https://docs.catalyst.zoho.com/en/pipelines/help/catalyst-pipelines.yaml/introduction)` file based on your specific requirements. Within the [Catalyst pipeline](https://docs.catalyst.zoho.com/en/pipelines/help/pipelines/introduction), [stages](https://docs.catalyst.zoho.com/en/pipelines/help/catalyst-pipelines.yaml/build-the-pipeline/stages), and [jobs](https://docs.catalyst.zoho.com/en/pipelines/help/catalyst-pipelines.yaml/build-the-pipeline/jobs/introduction), you have the flexibility to configure the other components such as [images](https://docs.catalyst.zoho.com/en/pipelines/help/catalyst-pipelines.yaml/build-the-pipeline/images), [runners](https://docs.catalyst.zoho.com/en/pipelines/help/catalyst-pipelines.yaml/build-the-pipeline/runners), [variables](https://docs.catalyst.zoho.com/en/pipelines/help/catalyst-pipelines.yaml/build-the-pipeline/variables), and [conditions](https://docs.catalyst.zoho.com/en/pipelines/help/catalyst-pipelines.yaml/build-the-pipeline/when-condition), each playing a distinct role in the pipeline execution. The following illustration provides a comprehensive overview of the components that can be defined at each level: ![defining-components](https://catalyst-docs-development.zohostratus.in/images/help/pipelines/defining-components.webp) We will be discussing in detail about each component in their respective help pages. Refer to [this help page](https://docs.catalyst.zoho.com/en/pipelines/help/catalyst-pipelines.yaml/schema-reference) to get started. The below diagram demonstrates the hierarchical sequence of the various pipeline components. ![component-hierarchy](https://catalyst-docs-development.zohostratus.in/images/help/pipelines/component-hierarchy.webp) ## Key considerations 1. A pipeline can contain up to five stages, with each stage accommodating a maximum of five jobs, including [parallel jobs](https://docs.catalyst.zoho.com/en/pipelines/help/catalyst-pipelines.yaml/build-the-pipeline/jobs/parallel-job). 2. It is mandatory to include at least one stage and job in the pipeline. 3. You can define variables, images, and runners at the pipeline level, stage level, or job level. In case of multiple definitions, the one specified at the lowest level (i.e., job) takes precedence. -------------------------------------------------------------------------------- title: "Pipeline Workflow" description: "Learn about the various CI/CD processes involved in the Catalyst Pipelines service." last_updated: "2026-08-28T06:26:16.000Z" source: "https://docs.catalyst.zoho.com/en/pipelines/help/pipelines/pipeline-workflow/" service: "Pipelines" related: - Configure the Pipeline (/en/pipelines/help/catalyst-pipelines.yaml/implementation) - Pipeline Triggers (/en/pipelines/help/triggers/introduction) - Catalyst Serverless Functions (/en/serverless/help/functions/introduction/) - Catalyst AppSail (/en/serverless/help/appsail/introduction/) -------------------------------------------------------------------------------- # Pipeline Workflow The below architecture diagram depicts the end-to-end flow of a Catalyst Pipeline. ![workflow-diagram](https://catalyst-docs-development.zohostratus.in/images/help/pipelines/workflow-diagram.webp) ### Trigger the Pipeline When creating a Catalyst pipeline, you can choose to integrate your pipeline with any of the supported version control systems (i.e., GitHub, GitLab or Bitbucket). This integration determines the mode of trigger for your pipeline : * **Automatic Pipeline Trigger :** The pipeline will be automatically triggered every time you push any code changes to the linked repository in the integrated version control system. When the pipeline is triggered, the complete source code from the integrated Git repository, along with the YAML file, will be automatically fetched and downloaded as a ZIP file to Catalyst. * **Manual Pipeline Trigger :** You can manually trigger the pipeline from the [Catalyst console](https://console.catalyst.zoho.com/baas/index). This is suitable for one-time tasks that do not require integration with the version control system. In both the above-mentioned cases, upon triggering the pipeline, the pipeline workflow coded in the `[catalyst-pipelines.yaml](https://docs.catalyst.zoho.com/en/pipelines/help/catalyst-pipelines.yaml/introduction)` file will be executed. Refer to [this section](https://docs.catalyst.zoho.com/en/pipelines/help/triggers/introduction) to learn in detail about Catalyst pipeline triggers and its implementation. ### Execute the Pipeline On trigger, the pipeline will be executed sequentially, one stage after another. The commonly achieved goals of executing a pipeline include the following: #### Build You can configure the pipeline to build applications of any scale using the Catalyst Pipelines service. Here are a few examples of commonly built applications: * **Web Applications :** You can build web applications developed with frameworks including ASP.NET, Node.js, Django, Flask or more. * **Mobile Applications :** Build mobile apps for platforms like iOS, Android, or Windows using frameworks like Xamarin, React Native, or Flutter. * **API services :** Build RESTful APIs or micro services using frameworks including Express.js, ASP.NET Web API, Spring Boot or more. * **Serverless Applications :** You can build serverless applications using [Catalyst Serverless Functions](https://docs.catalyst.zoho.com/en/serverless/help/functions/introduction/), Azure Functions, AWS Lambda, or Google Cloud Functions. * **Containerized Applications :** Build containerized applications using Docker, Kubernetes, or other container orchestration tools. There are vast options of applications that can be built automatically using the Catalyst Pipelines service. You will need to configure the [steps](https://docs.catalyst.zoho.com/en/pipelines/help/catalyst-pipelines.yaml/build-the-pipeline/steps) component in the pipeline with the specific commands to be executed in order to build the application efficiently. #### Test Once the application is built automatically, you can proceed to test it before deploying it to any environment. Similar to the build process, you can specify the required commands to test the application in the `[catalyst-pipelines.yaml](https://docs.catalyst.zoho.com/en/pipelines/help/catalyst-pipelines.yaml/introduction)` file. Here's a list of common tests that can be executed in the pipeline: * **Unit Tests:** Running unit tests for individual components or modules of the application to ensure they function correctly in isolation. * **Integration Tests:** Performing integration tests to verify interactions between various components or modules of the application. * **API Tests:** Testing the functionality, performance, and security of APIs used by the application, including both manual and automated API tests. * **Regression Tests:** Running regression tests to ensure that recent code changes have not introduced new bugs or regressions into the application. #### Deploy You can deploy your application in any environment, such as development, staging, or production, based on your specific needs. Here's a list of common deployment targets: * **Platform as a Service (PaaS):** Platforms like [Catalyst AppSail](https://docs.catalyst.zoho.com/en/serverless/help/appsail/introduction/), Heroku, or Google App Engine provide a managed environment for deploying web applications without needing to manage the underlying infrastructure. Developers can focus on writing code without worrying about server management. * **Containerization:** Using containerization technologies like Docker to package the web application along with its dependencies into containers. These containers can then be deployed consistently across different environments, providing portability and scalability. * **Container Orchestration:** Tools like Kubernetes enable automated deployment, scaling, and management of containerized applications. Kubernetes helps in deploying and managing containers at scale, providing features like load balancing and automatic scaling. We will be discussing the common deployment targets and the step-by-step instructions to configure the pipeline in [this help page](https://docs.catalyst.zoho.com/en/pipelines/help/deployments/deploy-to-appsail). -------------------------------------------------------------------------------- title: "Create a Pipeline" description: "Learn about the Catalyst Pipelines service and the step-by-step instructions to bots that provide conversation assistance to your application's end users." last_updated: "2026-08-28T06:26:16.000Z" source: "https://docs.catalyst.zoho.com/en/pipelines/help/pipelines/create-a-pipeline/" service: "Pipelines" related: - Configure the Pipeline (/en/pipelines/help/catalyst-pipelines.yaml/implementation) - YAML Schema Reference (/en/pipelines/help/catalyst-pipelines.yaml/schema-reference) -------------------------------------------------------------------------------- # Create a Pipeline To create a pipeline in the Catalyst console, please ensure to follow the below steps: 1. Click the **Pipelines** service icon from the left menu in the [Catalyst console](https://console.catalyst.zoho.com/baas/index). ![pipelines-icon](https://catalyst-docs-development.zohostratus.in/images/help/pipelines/pipelines-icon.webp) 2. Click **Create Pipeline**. ![create-new-pipeline](https://catalyst-docs-development.zohostratus.in/images/help/pipelines/create-new-pipeline.webp) 3. In the pop-up that appears, provide a name for the pipeline. ![enter-pipeline-name](https://catalyst-docs-development.zohostratus.in/images/help/pipelines/enter-pipeline-name.webp) 4. Select your preferred integration source. ![select-integration](https://catalyst-docs-development.zohostratus.in/images/help/pipelines/select-integration.webp) > **Note:** This step is completely optional. If you choose not to integrate your pipeline with any Git provider, then you can directly proceed with Step 8. 5. Add a new Git account by clicking the **+Add account** option. If you have any Git accounts integrated with your Catalyst project previously, they will be listed in the dropdown. Simply choose the account and proceed. ![add-git-account](https://catalyst-docs-development.zohostratus.in/images/help/pipelines/add-git-account.webp) 6. Select the organization your chosen account belongs to. ![select-org](https://catalyst-docs-development.zohostratus.in/images/help/pipelines/select-org.webp) > **Note:** This attribute refers to the name of your organization in GitHub, the project name in GitLab, and the workspace name in Bitbucket. 7. Select the repository where you want to commit the new `catalyst-pipelines.yaml` file. Click **Continue**. ![select-repo](https://catalyst-docs-development.zohostratus.in/images/help/pipelines/select-repo.webp) > **Note:** If a YAML file already exists in your repository, please ensure to name it `catalyst-pipelines.yaml` mandatorily. 8. The code editor is now opened. You can proceed to configure the pipeline by adding the required pipeline components in the editor. Also, you can select the branch in which the file has to be committed, as shown in the screenshot below. ![select-branch](https://catalyst-docs-development.zohostratus.in/images/help/pipelines/select-branch.webp) After you have defined the pipeline execution flow, click **Commit**. You can also save as a draft and work on the logic later, if required. You can choose to configure the pipeline in **Builder** mode by switching the tabs, as shown in the screenshot below. ![pipeline-builder-screen](https://catalyst-docs-development.zohostratus.in/images/help/pipelines/pipeline-builder-screen.webp) We will be discussing more about configuring the pipeline in [this help page](https://docs.catalyst.zoho.com/en/pipelines/help/catalyst-pipelines.yaml/schema-reference). ### Triggers -------------------------------------------------------------------------------- title: "Introduction" description: "Learn about the various pipeline triggers and their usage." last_updated: "2026-08-28T06:26:16.000Z" source: "https://docs.catalyst.zoho.com/en/pipelines/help/triggers/introduction/" service: "Pipelines" -------------------------------------------------------------------------------- # Triggers # Introduction ### Automatic Trigger Automatic Trigger in Catalyst Pipelines is the process of initiating pipeline runs based on certain events or conditions. When you create a pipeline from the console, you will have the option to integrate your pipeline with an external version control system. You can refer to [this section](https://docs.catalyst.zoho.com/en/pipelines/help/pipelines/create-a-pipeline) to learn more about this integration. It is important to note that connecting pipelines to version control systems is the recommended approach and offers many benefits, such as traceability, collaboration, and the ability to trigger builds based on code changes. When you have integrated your pipeline with an external version control system, the pipeline will start executing every time a push or merge event occurs in the linked repository. You can view the execution status of the pipeline from the Catalyst console. Refer to [this section](https://docs.catalyst.zoho.com/en/pipelines/help/triggers/monitor-execution-status) to learn more about monitoring the execution status of the pipeline. ### Manual Trigger In case when you have not integrated your pipeline with any external version control system, then you can execute the pipeline manually every time from the Catalyst console. To execute the pipeline directly from the console, follow the below-listed steps: 1. Click **Execute Pipeline**. ![execute-pipeline](https://catalyst-docs-development.zohostratus.in/images/help/pipelines/execute-pipeline.webp) 2. Provide any event details for the pipeline in the JSON format, if required. Click **Execute**. The event details are optional here. ![provide-json-details](https://catalyst-docs-development.zohostratus.in/images/help/pipelines/provide-json-details.webp) The pipeline execution will start now. ![pipeline-execution-details](https://catalyst-docs-development.zohostratus.in/images/help/pipelines/pipeline-execution-details.webp) The status of the pipeline will progress from **QUEUED** to **RUNNING** to **SUCCESS/FAILED**. You can view the status of the pipeline in the **Execution History** section. We will discuss it in the next section. -------------------------------------------------------------------------------- title: "Monitor Execution Status" description: "Learn about the Catalyst ConvoKraft bots that provide conversation assistance to your application's end users." last_updated: "2026-08-28T06:26:16.000Z" source: "https://docs.catalyst.zoho.com/en/pipelines/help/triggers/monitor-execution-status/" service: "Pipelines" -------------------------------------------------------------------------------- # Monitor Execution Status After the pipeline execution is triggered either automatically or manually, you can view the execution status of the pipeline directly from the [Catalyst console](https://console.catalyst.zoho.com/baas). 1. In the **Execution History** section, you can view the details of the pipeline execution. ![view-pipeline-details](https://catalyst-docs-development.zohostratus.in/images/help/pipelines/view-pipeline-details.webp) 2. Click on the execution record to view detailed information regarding the execution. The **Basic tab** allows you to view the execution status of each stage and job defined in the pipeline as an overview. ![open-basic-tab](https://catalyst-docs-development.zohostratus.in/images/help/pipelines/open-basic-tab.webp) You can switch to the **Advanced tab** to see live logs of the pipeline execution. ![open-advanced-tab](https://catalyst-docs-development.zohostratus.in/images/help/pipelines/open-advanced-tab.webp) > **Note:** While the pipeline is running, it will be paused if an approval job is configured for the pipeline. In that case, the pipeline execution will be resumed only after the reviewer approves the job. The reviewer can approve the job directly from the console in the **Basic Tab**. ## API Reference — Pipelines -------------------------------------------------------------------------------- title: "Get Pipeline Details" description: "This API enables you to fetch the details of an existing Catalyst Pipeline from the Catalyst console." last_updated: "2026-08-17T12:16:04.000Z" source: "https://docs.catalyst.zoho.com/en/api/code-reference/pipelines/get-pipeline-details/" service: "Pipelines" -------------------------------------------------------------------------------- # Catalyst Pipelines [Catalyst Pipelines](https://docs.catalyst.zoho.com/en/pipelines/getting-started/introduction) is a Catalyst CI/CD service that enables you to automate the build, test, and deploy processes of your applications. You can [create-a-pipeline](https://docs.catalyst.zoho.com/en/pipelines/getting-started/introduction) from the Catalyst console. We will be discussing the APIs that can be leveraged to trigger the pipeline and get the details of an existing pipeline in the next sections. # Get Pipeline Details This API enables you to fetch the details of a pipeline created in the Catalyst console. This can be done by passing the `pipeline_id` and the `project_id` in the request URL. The API fetches the details of the project in which the pipeline is created and the details of the pipeline. ### Request Details #### Request URL `GET` {api-domain}/baas/v1/project/{project_id}/pipeline/{pipeline_id} - **api-domain** (URL): The domain URL of your DC - **project_id** (Numerical): The [unique ID](https://docs.catalyst.zoho.com/en/getting-started/set-up-a-catalyst-project/general-settings/) of the project in which the pipeline has been created - **pipeline_id** (Numerical): The [unique ID](https://docs.catalyst.zoho.com/en/pipelines/help/triggers/monitor-execution-status) of the pipeline for which the details have to be fetched. #### Request Headers **Authorization:** Zoho-oauthtoken {oauth_token} **Content-Type:** application/json **Optional Headers** **CATALYST-ORG:** {org_id} **Environment:** Development #### Scope pipeline.READ ### Response Details The pipeline details object will be returned as a response. It includes the details such as the name of the pipeline, details of the project including the `project_name` and `project_type`, the details of the user who has created the pipeline including the `user_id`, `email_id`, `first_name`, `last_name` and `user_type`, the status of the pipeline, the details of the users who had modified the pipeline along with the modified time details and also the default runner configuration of the pipeline. **Sample Request** ```bash curl -X GET \ https://api.catalyst.zoho.com/baas/v1/project/4000000006007/pipeline/29810101101 \ -H "Authorization: Zoho-oauthtoken 1000.910*************************16.2f*************************57" \ ``` **Sample Response** ```json { "status": "success", "data": { "pipeline_id": "29810101101", "name": "test1", "project_details": { "project_name": "Project-Rainfall", "id": "4000000006007", "project_type": "Live" }, "created_by": { "zuid": "20257791", "is_confirmed": false, "email_id": "amelia.burrows@zylker.com", "first_name": "Amelia", "last_name": "Burrows", "user_type": "Admin", "user_id": "5000000000056" }, "created_time": "Mar 19, 2024 11:28 AM", "modified_by": { "zuid": "20257791", "is_confirmed": false, "email_id": "amelia.burrows@zylker.com", "first_name": "Amelia", "last_name": "Burrows", "user_type": "Admin", "user_id": "5000000000056" }, "modified_time": "Mar 19, 2024 11:28 AM", "git_account_id": "", "mask_regex": [ null ], "pipeline_status": "Active", "config_id": 2, "integ_id": 1 } } ``` ### SDK Documentation [Get Pipeline Details - Java SDK](https://docs.catalyst.zoho.com/en/sdk/java/v1/pipelines/get-pipeline-details/) [Get Pipeline Details - Node.js SDK](https://docs.catalyst.zoho.com/en/sdk/nodejs/v2/pipelines/get-pipeline-details/) [Get Pipeline Details - Python SDK](https://docs.catalyst.zoho.com/en/sdk/python/v1/pipelines/get-pipeline-details/) -------------------------------------------------------------------------------- title: "Execute Pipeline" description: "This API enables you to execute an existing Catalyst Pipeline from the Catalyst console." last_updated: "2026-08-17T12:16:04.000Z" source: "https://docs.catalyst.zoho.com/en/api/code-reference/pipelines/execute-pipeline/" service: "Pipelines" -------------------------------------------------------------------------------- # Execute Pipelines This API enables you to trigger the pipeline on a particular branch in the Git repository. This can be done by passing the branch name as a parameter in the request body. When triggering manual pipelines, you can simply ignore the branch name parameter in the request JSON. On triggering this API, the pipeline will be executed, and the status of execution will be returned as a response. # Get Pipeline Details This API enables you to fetch the details of a pipeline created in the Catalyst console. This can be done by passing the `pipeline_id` and the `project_id` in the request URL. The API fetches the details of the project in which the pipeline is created and the details of the pipeline. ### Request Details #### Request URL `POST` {api-domain}/baas/v1/project/{project_id}/pipeline/{pipeline_id}/run - **api-domain** (URL): The domain URL of your DC - **project_id** (Numerical): The [unique ID](https://docs.catalyst.zoho.com/en/getting-started/set-up-a-catalyst-project/general-settings/) of the project in which the pipeline has been created - **pipeline_id** (Numerical): The [unique ID](https://docs.catalyst.zoho.com/en/pipelines/help/triggers/monitor-execution-status) of the pipeline for which the details have to be fetched. #### Request Headers **Authorization:** Zoho-oauthtoken {oauth_token} **Content-Type:** application/json **Optional Headers** **CATALYST-ORG:** {org_id} **Environment:** Development **branch:**{{Git branch name}} > **Note:**`branch` can be used when you need to trigger a manual pipeline. #### Scope ZohoCatalyst.pipeline.execution.CREATE #### Request JSON Properties - **EVENT** (string, optional): Provide any event details - **URL** (url, optional): Any additional parameter required > **Note:** We have added the EVENT and URL keys as environment variables. You can pass any required keys for the execution of the pipeline in the event JSON. ### Response Details An object containing the pipeline creation history details will be returned as a response. The object includes details such as the `history_id`, `event_time`, `history_status`. **Sample Request** ```bash curl -X POST \ https://api.catalyst.zoho.com/baas/v1/project/4000000006007/pipeline/29810101101/run -H "Authorization: Zoho-oauthtoken 1000.910*************************16.2f*************************57" \ -H 'Content-Type: application/json' \ -d ‘{ "BRANCH_NAME" : "main", \ "EVENT": "push", \ "URL": "https://www.google.com" \ } ``` **Sample Response** ```json { "status": "success", "data": { "history_id": "5000000021007", "pipeline_id": "29810101101", "event_time": "Mar 20, 2024 02:02 PM", "event_details": { "BRANCH_NAME": "main", "EVENT": "push", "URL": "https://www.google.com" }, "history_status": "Queued" } } ``` ### SDK Documentation [Execute Pipeline - Java SDK](https://docs.catalyst.zoho.com/en/sdk/java/v1/pipelines/execute-pipeline/) [Execute Pipeline - Node.js SDK](https://docs.catalyst.zoho.com/en/sdk/nodejs/v2/pipelines/execute-pipeline/) [Execute Pipeline - Python SDK](https://docs.catalyst.zoho.com/en/sdk/python/v1/pipelines/execute-pipeline/) ## SDK — Java — Pipelines -------------------------------------------------------------------------------- title: "Get Pipeline Instance" description: "This page describes the method to fetch pipeline instance and use it for other pipeline operations." last_updated: "2026-09-08T11:07:33.000Z" source: "https://docs.catalyst.zoho.com/en/sdk/java/v1/pipelines/get-pipeline-instance/" service: "All Services" related: - Catalyst Pipelines (/en/pipelines/help/pipelines/introduction) - Create a Pipeline (/en/pipelines/help/pipelines/create-a-pipeline) - JavaScript SDK (/en/sdk/javascript/v1/pipelines/create-instance/) - Python SDK (/en/sdk/python/v1/pipelines/get-pipeline-instance) - REST API (/en/api/code-reference/pipelines/get-pipeline-details) -------------------------------------------------------------------------------- # Catalyst Pipelines [Catalyst Pipelines](https://docs.catalyst.zoho.com/en/pipelines/help/pipelines/introduction) implements a CI/CD approach to enable automation of building, testing, and deployment of web or mobile applications to preferred environments. You can [create a pipeline](https://docs.catalyst.zoho.com/en/pipelines/help/pipelines/create-a-pipeline) from the Catalyst console.Using the SDKs below, you can retrieve the details of a Catalyst Pipeline and also execute a pipeline by incorporating the code snippets in your application. #### Sample Code Snippet **Package Imports** ```java import com.zc.component.pipeline.ZCPipeline; import com.zc.component.pipeline.ZCPipelineDetails; import com.zc.component.pipeline.ZCPipelineRunHistory; ``` # Get Pipeline Instance A component instance is an object that can be used to access the properties specific to a particular component. You can create a component instance to perform the below listed actions in Catalyst Pipelines. You can create a new `pipelines_service` instance as shown below. This component instance will be used for all Pipeline operations in the Java SDK. ```java ZCPipeline pipelines_service = ZCPipeline.getInstance(); ``` -------------------------------------------------------------------------------- title: "Get Pipeline Details" description: "This page describes the method to fetch all the details of an existing Catalyst Pipeline." last_updated: "2026-09-08T11:07:33.000Z" source: "https://docs.catalyst.zoho.com/en/sdk/java/v1/pipelines/get-pipeline-details/" service: "All Services" related: - JavaScript SDK (/en/sdk/javascript/v1/pipelines/create-instance/) - Python SDK (/en/sdk/python/v1/pipelines/get-pipeline-instance) -------------------------------------------------------------------------------- # Get Pipeline Details You can fetch the details of the Catalyst Pipeline by passing the pipeline ID as a parameter to the `getPipelineDetails()` method. The name of the pipeline, details of the Catalyst project in which the pipeline has been created, the details of the user who created the pipeline, the time of creation, and if modifications have been done, the details of the user who modified the pipeline, the modified time, the status of the pipeline and other details like runner specifications are returned as response to this method. The `pipelines_service` reference used below is already defined in [this component instance page](https://docs.catalyst.zoho.com/en/sdk/java/v1/pipelines/get-pipeline-instance). ```java ZCPipelineDetails pipeline_details = pipelines_service.getPipelineDetails(16965000000019202L); ``` A sample response is shown below: ```java { "status": "success", "data": { "pipeline_id": "16965000000019202L", "name": "test1", "project_details": { "project_name": "Project-Rainfall", "id": "5000000000072", "project_type": "Live" }, "created_by": { "zuid": "20257791", "is_confirmed": false, "email_id": "amelia.burrows@zylker.com", "first_name": "Amelia", "last_name": "Burrows", "user_type": "Admin", "user_id": "5000000000056" }, "created_time": "Mar 19, 2024 11:28 AM", "modified_by": { "zuid": "20257791", "is_confirmed": false, "email_id": "amelia.burrows@zylker.com", "first_name": "Amelia", "last_name": "Burrows", "user_type": "Admin", "user_id": "5000000000056" }, "modified_time": "Mar 19, 2024 11:28 AM", "git_account_id": "", "mask_regex": [ null ], "pipeline_status": "Active", "config_id": 2, "integ_id": 1 } } ``` -------------------------------------------------------------------------------- title: "Execute Pipeline" description: "This page describes the method to run the Catalyst Pipeline manually." last_updated: "2026-09-08T11:07:33.000Z" source: "https://docs.catalyst.zoho.com/en/sdk/java/v1/pipelines/execute-pipeline/" service: "All Services" related: - JavaScript SDK (/en/sdk/javascript/v1/pipelines/create-instance/) - Python SDK (/en/sdk/python/v1/pipelines/get-pipeline-instance) -------------------------------------------------------------------------------- # Execute Pipeline You can initiate a Catalyst pipeline run by passing the pipeline ID and the branch name as parameters to the `runPipeline()` method. You can also pass environment variables required for the pipeline execution in a JSON object to this method, and it is completely optional. This method returns the execution history details of the pipeline as the response. ```java JSONObject env = new JSONObject(); env.put("EVENT", "push"); env.put("URL", "https://www.google.com"); ZCPipelineRunHistory run = pipelines_service.runPipeline(8431000000161112051L,main,env); ``` A sample response is shown below: ```java { "status": "success", "data": { "history_id": "5000000021007", "pipeline_id": "8431000000161112051L", "event_time": "Mar 20, 2024 02:02 PM", "event_details": { "BRANCH_NAME": "detective_pre", "EVENT": "push", "URL": "https://www.google.com" }, "history_status": "Queued" } } ``` ## SDK — Modular JavaScript SDK — Pipelines -------------------------------------------------------------------------------- title: "Overview" description: "This page describes the method to perform operations using the components in Pipelines services." last_updated: "2026-09-09T10:45:38.000Z" source: "https://docs.catalyst.zoho.com/en/sdk/javascript/v1/pipelines/overview/" service: "Pipelines" related: - Catalyst Pipelines (/en/pipelines/help/pipelines/introduction/) - Java SDK Documentation (/en/sdk/java/v1/pipelines/) - Python SDK Documentation (/en/sdk/python/v1/pipelines/) - REST API Documentation (/en/api/code-reference/smartbrowz/browser-grid/list-all-grids/#ListallBrowserGrids) -------------------------------------------------------------------------------- # Pipelines JavaScript SDK # Overview [Pipelines](https://docs.catalyst.zoho.com/en/pipelines/help/pipelines/introduction/) is a Catalyst service, that allows you to implement a CI/CD approach. This enables the automation of building, testing, and deployment of web and mobile applications to preferred environments. ### Prerequisites You will need to install the following package to be able to use the Pipelines SDK methods. ```sh npm install @zcatalyst/pipelines ``` > **Info:** Ensure that you have applied the [required authentication configuration](https://docs.catalyst.zoho.com/en/sdk/javascript/v1/auth-config/node-consideration/) to use the SDK methods of this component. ### Import Requirement You will need to import the following modules to use the SDK methods of Pipelines components. ```javascript const { Pipelines } = require('@zcatalyst/pipelines');//Pipelines module ``` ### List of SDK Methods
Category SDK Method Required Scope
General Operations [Get Pipelines Instance](https://docs.catalyst.zoho.com/en/sdk/javascript/v1/pipelines/create-instance/) **No requirement**
Pipelines Operations
  • [Get Details of a Pipeline](https://docs.catalyst.zoho.com/en/sdk/javascript/v1/pipelines/get-pipeline-details/)
  • [Execute Pipeline](https://docs.catalyst.zoho.com/en/sdk/javascript/v1/pipelines/execute-pipeline/)
**Admin**
> **Info:** [Learn more about the Pipelines service](https://docs.catalyst.zoho.com/en/pipelines/help/pipelines/introduction/). -------------------------------------------------------------------------------- title: "Create Pipelines Instance" description: "This page describes the method to perform operations using the components in the Pipelines Services." last_updated: "2026-09-09T10:45:38.000Z" source: "https://docs.catalyst.zoho.com/en/sdk/javascript/v1/pipelines/create-instance/" service: "Pipelines" related: - Catalyst Pipelines (/en/pipelines/help/pipelines/introduction/) - Java SDK Documentation (/en/sdk/java/v1/pipelines/get-pipeline-instance/) - Python SDK Documentation (/en/sdk/python/v1/pipelines/get-pipeline-instance/) - REST API Documentation (/en/api/code-reference/pipelines/get-pipeline-details/#GetPipelineDetails) -------------------------------------------------------------------------------- # Create Pipelines Instance > **Note:** Ensure you have installed the [required package](https://docs.catalyst.zoho.com/en/sdk/javascript/v1/pipelines/overview/#prerequisites) to use this SDK method. You can get the `pipelines` component reference as shown below. This will not fire a server-side call. You will refer to this component instance in various code snippets of working with Pipelines. ```javascript const pipelines = new Pipelines(); //Get a Pipelines instance ``` -------------------------------------------------------------------------------- title: "Get Details of a Pipeline" description: "This page describes the method to perform operations using the components in SmartBrowz Services." last_updated: "2026-09-09T10:45:38.000Z" source: "https://docs.catalyst.zoho.com/en/sdk/javascript/v1/pipelines/get-pipeline-details/" service: "Pipelines" related: - Catalyst Pipelines (/en/pipelines/help/pipelines/introduction/) - Java SDK Documentation (/en/sdk/java/v1/pipelines/get-pipeline-details/) - Python SDK Documentation (/en/sdk/python/v1/pipelines/get-pipeline-details/) - REST API Documentation (/en/api/code-reference/pipelines/get-pipeline-details/#GetPipelineDetails) -------------------------------------------------------------------------------- # Get Details of a Pipeline > **Note:** Ensure you have installed the [required package](https://docs.catalyst.zoho.com/en/sdk/javascript/v1/pipelines/overview/#prerequisites) to use this SDK method. You can fetch the details of a Pipeline by passing the [pipeline ID](https://docs.catalyst.zoho.com/en/pipelines/help/pipelines/create-a-pipeline/) to the `getPipelineDetails()` SDK method. The `pipelines` reference used in the code snippets below is the [component instance](https://docs.catalyst.zoho.com/en/sdk/javascript/v1/pipelines/create-instance/) created to perform these operations. ```javascript // get the pipeline details const pipeline_details = pipelines.getPipelineDetails("16965000000019146"); ``` #### Example of Expected Response The name of the pipeline, details of the Catalyst project in which the pipeline has been created, the details of the user who created the pipeline, the time of creation, and if modifications have been done, the details of the user who modified the pipeline, the modified time, the status of the pipeline, and other details like runner specifications are returned as response to this method. ```json { "pipeline_id": "16965000000019146", "name": "test1", "project_details": { "project_name": "Project-Rainfall", "id": "5000000000072", "project_type": "Live" }, "created_by": { "zuid": "20257791", "is_confirmed": false, "email_id": "amelia.burrows@zylker.com", "first_name": "Amelia", "last_name": "Burrows", "user_type": "Admin", "user_id": "5000000000056" }, "created_time": "Mar 19, 2024 11:28 AM", "modified_by": { "zuid": "20257791", "is_confirmed": false, "email_id": "amelia.burrows@zylker.com", "first_name": "Amelia", "last_name": "Burrows", "user_type": "Admin", "user_id": "5000000000056" }, "modified_time": "Mar 19, 2024 11:28 AM", "git_account_id": "", "mask_regex": [null], "pipeline_status": "Active", "config_id": 2, "integ_id": 1 } ``` -------------------------------------------------------------------------------- title: "Execute Pipeline" description: "This page describes the method to perform operations using the components in SmartBrowz Services." last_updated: "2026-09-09T10:45:38.000Z" source: "https://docs.catalyst.zoho.com/en/sdk/javascript/v1/pipelines/execute-pipeline/" service: "Pipelines" related: - Catalyst Pipelines (/en/pipelines/help/pipelines/introduction/) - Java SDK Documentation (/en/sdk/java/v1/pipelines/execute-pipeline/) - Python SDK Documentation (/en/sdk/python/v1/pipelines/execute-pipeline/) - REST API Documentation (/en/api/code-reference/pipelines/execute-pipeline/#ExecutePipeline) -------------------------------------------------------------------------------- # Execute Pipeline > **Note:** Ensure you have installed the [required package](https://docs.catalyst.zoho.com/en/sdk/javascript/v1/pipelines/overview/#prerequisites) to use this SDK method. You can initiate a Catalyst pipeline run by passing the [pipeline ID](https://docs.catalyst.zoho.com/en/pipelines/help/pipelines/create-a-pipeline/) and the branch name to the `runPipeline()` SDK method. You can also pass environment variables required for the pipeline execution in a JSON object to this method, and it is completely optional. This method returns the execution history details of the pipeline as the response. The `pipelines` reference used in the code snippets below is the [component instance](https://docs.catalyst.zoho.com/en/sdk/javascript/v1/pipelines/create-instance/) created to perform these operations. ```javascript // run the pipeline const execution_details = pipelines.runPipeline("PIPELINE_ID", 'BRANCH_NAME',{"EVENT": "push", "URL":"https://www.google.com"}); // replace the params with your pipeline id, branch, event and url ``` #### Example of Expected Response ```json { "history_id": "5000000021007", "pipeline_id": "8431000000162051", "event_time": "Mar 20, 2024 02:02 PM", "event_details": { "BRANCH_NAME": "main", "EVENT": "push", "URL": "https://www.google.com" }, "history_status": "Queued" } ``` ## SDK — Python — Pipelines -------------------------------------------------------------------------------- title: "Get Pipeline Instance" description: "This page describes the method to fetch pipeline instance and use it for other pipeline operations." last_updated: "2026-11-03T15:41:32.000Z" source: "https://docs.catalyst.zoho.com/en/sdk/python/v1/pipelines/get-pipeline-instance/" service: "All Services" related: - Catalyst Pipelines (/en/pipelines/help/pipelines/introduction) - Create a Pipeline (/en/pipelines/help/pipelines/create-a-pipeline) - Java SDK (/en/sdk/java/v1/pipelines/get-pipeline-instance) - JavaScript SDK (/en/sdk/javascript/v1/pipelines/create-instance/) - REST API (/en/api/code-reference/pipelines/get-pipeline-details) -------------------------------------------------------------------------------- # Catalyst Pipelines [Catalyst Pipelines](https://docs.catalyst.zoho.com/en/pipelines/help/pipelines/introduction) implements a CI/CD approach to enable automation of building, testing, and deployment of web or mobile applications to preferred environments. You can [create a pipeline](https://docs.catalyst.zoho.com/en/pipelines/help/pipelines/create-a-pipeline) from the Catalyst console.Using the SDKs below, you can retrieve the details of a Catalyst Pipeline and also execute a pipeline by incorporating the code snippets in your application. # Get Pipeline Instance A component instance is an object that can be used to access the properties specific to a particular component. You can create a component instance to perform the below listed actions in Catalyst Pipelines. The `app` reference used in the code below is the [Python object](https://docs.catalyst.zoho.com/en/sdk/python/v1/setup/#initializing-the-sdk) returned as a response during SDK initialization. You can create a new `pipelines_service` instance as shown below. ```python pipelines_service = app.pipeline() ``` This component instance will be used for all Pipeline operations in the Node.js SDK. -------------------------------------------------------------------------------- title: "Get Pipeline Details" description: "This page describes the method to fetch all the details of an existing Catalyst Pipeline." last_updated: "2026-09-08T11:07:33.000Z" source: "https://docs.catalyst.zoho.com/en/sdk/python/v1/pipelines/get-pipeline-details/" service: "All Services" related: - Catalyst Pipelines (/en/pipelines/help/pipelines/introduction) - Create a Pipeline (/en/pipelines/help/pipelines/create-a-pipeline) - Java SDK (/en/sdk/java/v1/pipelines/get-pipeline-instance) - JavaScript SDK (/en/sdk/javascript/v1/pipelines/create-instance/) - REST API (/en/api/code-reference/pipelines/get-pipeline-details) -------------------------------------------------------------------------------- # Get Pipeline Details You can fetch the details of the Catalyst Pipeline by passing the pipeline ID as a parameter to the `get_pipeline_details()` method. The name of the pipeline, details of the Catalyst project in which the pipeline has been created, the details of the user who created the pipeline, the time of creation, and if modifications have been done, the details of the user who modified the pipeline, the modified time, the status of the pipeline and other details like runner specifications are returned as response to this method. The `pipelines_service` reference used below is already defined in [this component instance page](https://docs.catalyst.zoho.com/en/sdk/nodejs/v2/pipelines/get-pipeline-instance). ```python pipeline_details = pipelines_service.get_pipeline_details("16965000000027475") ``` A sample response is shown below: ```python { "status": "success", "data": { "pipeline_id": "16965000000027475", "name": "test1", "project_details": { "project_name": "Project-Rainfall", "id": "5000000000072", "project_type": "Live" }, "created_by": { "zuid": "20257791", "is_confirmed": false, "email_id": "amelia.burrows@zylker.com", "first_name": "Amelia", "last_name": "Burrows", "user_type": "Admin", "user_id": "5000000000056" }, "created_time": "Mar 19, 2024 11:28 AM", "modified_by": { "zuid": "20257791", "is_confirmed": false, "email_id": "amelia.burrows@zylker.com", "first_name": "Amelia", "last_name": "Burrows", "user_type": "Admin", "user_id": "5000000000056" }, "modified_time": "Mar 19, 2024 11:28 AM", "git_account_id": "", "mask_regex": [ null ], "pipeline_status": "Active", "config_id": 2, "integ_id": 1 } } ``` -------------------------------------------------------------------------------- title: "Execute Pipeline" description: "This page describes the method to run the Catalyst Pipeline manually." last_updated: "2026-09-08T11:07:33.000Z" source: "https://docs.catalyst.zoho.com/en/sdk/python/v1/pipelines/execute-pipeline/" service: "All Services" related: - Catalyst Pipelines (/en/pipelines/help/pipelines/introduction) - Create a Pipeline (/en/pipelines/help/pipelines/create-a-pipeline) - Java SDK (/en/sdk/java/v1/pipelines/get-pipeline-instance) - JavaScript SDK (/en/sdk/javascript/v1/pipelines/create-instance/) - REST API (/en/api/code-reference/pipelines/get-pipeline-details) -------------------------------------------------------------------------------- # Execute Pipeline You can initiate a Catalyst pipeline run by passing the pipeline ID and the branch name as parameters to the `run_pipeline()` method. You can also pass environment variables required for the pipeline execution in a JSON object to this method, and it is completely optional. This method returns the execution history details of the pipeline as the response. The `pipelines_service` reference used below is already defined in [this component instance page](https://docs.catalyst.zoho.com/en/sdk/nodejs/v2/pipelines/get-pipeline-instance). ```python execution_details = pipelines_service.run_pipeline("18014000000023048", "main", {"EVENT": "push","URL":"https://www.google.com"}) ``` A sample response is shown below: ```python { "status": "success", "data": { "history_id": "5000000021007", "pipeline_id": "18014000000023048", "event_time": "Mar 20, 2024 02:02 PM", "event_details": { "BRANCH_NAME": "main", "EVENT": "push", "URL": "https://www.google.com" }, "history_status": "Queued" } } ``` # QuickML ## Getting Started -------------------------------------------------------------------------------- title: "Catalyst QuickML" description: "QuickML is a fully no-code ML pipeline builder service in the Catalyst development platform for creating machine-learning pipelines with end-to-end solutions." last_updated: "2026-08-28T06:26:16.000Z" source: "https://docs.catalyst.zoho.com/en/quickml/getting-started/introduction/" service: "QuickML" -------------------------------------------------------------------------------- # Catalyst QuickML ### Introduction QuickML is a fully no-code ML pipeline builder service in the Catalyst development platform for creating machine-learning pipelines with end-to-end machine learning solutions. QuickML helps you execute sequences of stages including wide ranges of data processing and machine learning sub tasks needed to efficiently build, test, deploy, and monitor effective ML models for different business requirements. Catalyst, as a whole, serves as a complete end-to-end development platform that provides you with services, components, and tools to build, code, test, deploy, and monitor web applications, mobile applications, and microservices. Catalyst offers a host of [backend services](https://docs.catalyst.zoho.com/en/cloud-scale/getting-started/introduction/), [FaaS components](https://docs.catalyst.zoho.com/en/serverless/help/functions/introduction/), [DevOps tools](https://docs.catalyst.zoho.com/en/devops/getting-started/introduction/), powerful AI and ML microservices, and more. The setup and management of the underlying server resources utilized by these applications are handled entirely by Catalyst, thereby completely eliminating the infrastructure maintenance, and costs from your end. Catalyst services can either be used independently, or be integrated with one another to build highly-functional, robust applications and micro services. You can access QuickML from the highly-integrated Catalyst console, from where you can [create a project and get started](https://docs.catalyst.zoho.com/en/getting-started/catalyst-projects/). You can [set up your Catalyst project](https://docs.catalyst.zoho.com/en/getting-started/set-up-a-catalyst-project/introduction/) and tailor it to your requirements, and access all the other services and components of Catalyst from the console as well. > **Note:** QuickML is currently not available to users accessing from the CA (Canada), JP (Japan) or SA (Saudi Arabia) data centers. ### What is a Machine Learning Pipeline? A machine learning pipeline is a series of instructions in the form of sequential steps, where each step is a particular process that is achieved by placing the respective components to develop, deploy, and monitor the machine-learning model. These sequential steps include end-to-end processes like data collection, data validation, preprocessing, model training, analysis, and deployment. When it comes to machine learning, iterations are the key to building and achieving an effective model with high accuracy. Breaking down complex solutions into smaller components is important, as these are easier and quicker when it comes to iterations. Having smaller components dedicated to individual roles makes it easier to replace them as well. The monolithic approach is not practically scalable in the long run. This is because when tweaking a particular area or context, the whole flow needs to be re-processed, as there is no segmentation available. Going through each step of a machine-learning pipeline manually is costly, time-consuming, and often erroneous. Automated machine-learning pipelines will help data scientists to focus on new models without having to manually keep previously developed models up to date by preprocessing data or running deployment scripts. In the early days, machine-learning models served as the primary product in the market. However, as we now consider machine learning to be a service, the major product in demand is actually the workflows defined by connecting the components to achieve desired machine-learning solutions (i.e., a machine-learning pipeline) is the product in demand. -------------------------------------------------------------------------------- title: "Why QuickML?" description: "QuickML is a fully no-code ML pipeline builder service in the Catalyst development platform for creating machine-learning pipelines with end-to-end solutions." last_updated: "2026-08-28T06:26:16.000Z" source: "https://docs.catalyst.zoho.com/en/quickml/getting-started/why-quickml/" service: "QuickML" -------------------------------------------------------------------------------- ### Why QuickML? In machine-learning solutions, there is a gap between the data scientists working on the different stages of machine learning, and the developers working on the models. QuickML focuses on giving data scientists an end-to-end control over the whole pipeline, making iterations much easier for improving accuracy. Creating a machine-learning model to get better predictions in order to help improve the businesses is an iterative process which involves dealing with many development and production difficulties, such as: - Data handling - Resources handling - Model management strategies - Model Monitoring - And other operational challenges QuickML promises to be the service to tackle all these difficulties, and take advantage of the data that is available over the cloud, with zero operational overheads. QuickML helps in creating these data and machine-learning-based systems effectively by providing a no-code platform for the developers, data analysts, data scientists, and others to get the most out of the data with minimal effort. It serves as a platform for developing, maintaining, and producing machine learning models. We have categorized the activities of QuickML into two main modules: - QuickML Machine Learning Pipelines - QuickML Data Pipelines ### QuickML Machine Learning Pipelines Machine-learning pipelines are the end-to-end execution of workflows for data and machine learning tasks, designed to orchestrate fully trained and accurate machine learning models to help provide predictive intelligence in a wide range of business requirements. QuickML has a unique no-code pipeline builder platform in which machine learning pipelines are designed and executed. It focuses on easing up the machine learning operations in the development of machine-learning models that are ready for production. ![QuickML Machine Learning Pipelines](https://docs.catalyst.zoho.com/images/help/quickml/introduction/ML_pipeline.webp) Users can build a machine learning model or improve the quality of the data by using this pipeline builder interface. The interface contains simple drag-and-drop UI for constructing the stages of a pipeline. Each of these stages can be further configured with output preview in the platform, based on the requirements. QuickML specializes in providing a good variety of basic ML algorithms and Artificial Intelligence features integrated as atomic Stages in the pipeline building flow. A pipeline execution flow can contain various combinations of Data operations, Machine-learning tasks and algorithms that can generate different feature focuses and resilient machine learning models with business data. ### QuickML Data Pipelines Data pipelines are part of the **Machine-Learning Model Lifecycle**, which often requires various manipulations that have to be applied to the data before passing to any machine-learning training process. QuickML data pipelines can be treated as independent data pipelines as well as part of ML pipelines based on requirements. Data can be either imported from other Zoho services or from external services like AWS S3/GCloud or from the local file system. Once the data is imported into the system, users will have the basic details about the data, such as the data quality. -------------------------------------------------------------------------------- title: "Use Cases" description: "QuickML is a fully no-code ML pipeline builder service in the Catalyst development platform for creating machine-learning pipelines with end-to-end solutions." last_updated: "2026-08-28T06:26:16.000Z" source: "https://docs.catalyst.zoho.com/en/quickml/getting-started/use-cases/" service: "QuickML" -------------------------------------------------------------------------------- ### Sales forecasting Accurate sales forecasting is crucial for businesses to make informed decisions about inventory management, resource allocation, and overall business strategy. ML classification algorithms can help businesses to forecast sales accurately by analyzing historical sales data, customer data, and other relevant variables. ### Sentiment Analysis Sentiment analysis involves analyzing text data such as customer reviews, social media posts, and other sources of feedback to determine the sentiment towards a product or service. By using ML classification algorithms, businesses can gain insights into customer preferences, identify areas for improvement, and make informed decisions about their marketing and product development strategies. Sentiment analysis can provide businesses with a better understanding of customer preferences and opinions. By analyzing the sentiment of customer reviews and social media posts, businesses can identify areas where they need to improve and take proactive steps to address customer concerns. It can also be used to monitor brand reputation and respond to negative feedback in real-time. ### Fraud detection Fraud detection is one of the most common business use cases that require ML classification algorithms as a solution. With the increase in online financial transactions, fraudulent activities have also increased significantly. Fraudulent activities such as identity theft, credit card fraud, and online banking fraud are some of the most common types of frauds that businesses need to be aware of. The ML classification algorithms can be used to analyze large volumes of financial transaction data and identify patterns that are indicative of fraudulent activities. This can be achieved by training the ML model on past transaction data and identifying the common features that are present in fraudulent transactions. The model can then be used to predict the likelihood of a new transaction being fraudulent by analyzing its features and comparing them to those of past transactions. ### Churn Prediction Churn refers to the rate at which customers or subscribers stop using a product or service over a given period of time. It is often used to measure customer attrition or loss, and is an important metric for businesses to understand because it directly affects their revenue and growth. High churn rates can be a sign of problems with a business's products, customer service, or pricing, and can lead to decreased revenue and profitability over time. To manage churn, businesses often focus on improving customer satisfaction and loyalty, addressing any issues that customers may have, and providing excellent customer service. They may also use data analytics and customer feedback to identify the reasons why customers are leaving, and develop strategies to address these issues. Additionally, businesses may offer incentives or promotions to encourage customers to stay, such as loyalty programs or discounts. ML classification algorithms can be used to analyze the user data and identify the customers who are about to churn. ### Inventory Forecasting Inventory forecasting is the practice of using past data, trends and known upcoming events to predict needed inventory levels for a future period. Inventory forecasting is crucial for businesses to ensure that they have sufficient stock to meet customer demand while avoiding overstocking, which can tie up capital and lead to wastage. ML Algorithms can be used to analyze the sales and correctly identify the amount of products that need to be restocked. ### Price Prediction Price Prediction aims to strike a balance between maximizing revenue and maintaining competitive pricing to attract customers. The goal is to set prices that will generate the highest possible profits while considering factors such as elasticity of demand, production costs, customer preferences, and market trends. They collect and analyze data on customer behavior, market dynamics, historical sales, and competitor pricing. Then ML Algorithms are used to identify the best score for the products. ### Spam detection Spam detection aims to differentiate between legitimate messages (ham) and unsolicited, irrelevant, or malicious messages (spam) that may contain advertisements, scams, phishing attempts, or other undesirable content. The goal is to automatically classify incoming messages as either spam or ham, allowing users to focus on genuine and important communications while minimizing the impact of spam. The labelled data is collected and analyzed. Then, ML Algorithms are used to learn the patterns in the data to correctly identify spam. ## Help Components -------------------------------------------------------------------------------- title: "Data Profiler and Viewer" description: "QuickML is a fully no-code ML pipeline builder service in the Catalyst development platform for creating machine-learning pipelines with end-to-end solutions." last_updated: "2026-11-11T10:19:21.000Z" source: "https://docs.catalyst.zoho.com/en/quickml/help/data-profiler-and-viewer/" service: "QuickML" -------------------------------------------------------------------------------- # Data Profiler and Viewer
**DC Availability:** The Data Profiler and Viewer is available across the **US**, **IN**, **EU**, **AU**, **JP**, **SA**, and **CA** data centers.
### What is Data Profiling? Data profiling is the process of reviewing raw data; understanding its structure, content, and interrelationships; and identifying opportunities for analytical insights. It is crucial while performing data preprocessing, performing data visualization, and improving data quality score. It also helps to improve the analysis by providing overall intelligence about the data being used. Examples of how data profiling can be used: - **Data preprocessing:** To identify missing values, unique and duplicate values, and inconsistent data formats, which helps to clean up and prepare the data for analysis. - **Data visualization:** Data profiling helps us to understand the actual distribution of data and identify any outliers, so that we can create more accurate and informative data visualizations. - **Improving data quality score:** By identifying and fixing the data quality issues, data profiling helps to improve the reliability of the data for further analysis. Data profiling involves an assortment of activities, including: - Collecting statistics details like min, max, mean, and more for numeric columns - Gathering data types and identifying recurring patterns in data - Finding redundancy and quality of data - Making inter-table analysis of tabular data ### Data Profiling in QuickML The uploaded data in the QuickML dataset module automatically goes through the data profiling section and provides rich understanding and valuable insights of the data. 1. **Records count, unique values and percentages:** QuickML can find the number of unique, duplicate values and their respective percentages of total in each column of your data that can be used to efficiently update the rows & columns. 2. **Data type and Visualization:** The QuickML Data profiler accurately identifies the data type of each feature in a dataset and visualises the distribution to get clear insights about the data. 3. **Missing values:** QuickML data profiler can fetch the count and percentage of missing values, such as blank and null values, and helps data scientists set up appropriate values. 4. **Statistical details:** QuickML data profilers generates below statistical data for numeric and categorical columns:
Numeric columns Sum, Min, Max, Mean, Median, Standard Deviation, Variance & low, medium, high percentiles
Catagorical columns Unique, Duplicates
5. **Dataset Versioning & Quality score** QuickML can profile multiple versions of the same data and generate quality scores for each version. The data profile can be viewed at any time using the version option on the Dataset details page. 6. **Correlation Heatmap** The data profiler generates a correlation heatmap for all versions of the dataset, which visualizes the interrelationships of the features and the extent to which they are related to each other and to the target feature. ![Data Profiler](https://catalyst-docs-development.zohostratus.in/images/help/quickml/data-profiler-and-viewer/data-profiler.webp) ### Data Viewer in QuickML A data preview is generated in the dataset details page by sampling 250 records from the original dataset, which helps to identify the data types of each feature. ![Data Viewer](https://catalyst-docs-development.zohostratus.in/images/help/quickml/data-profiler-and-viewer/data-viewer.webp) -------------------------------------------------------------------------------- title: "Zia Features" description: "QuickML is a fully no-code ML pipeline builder service in the Catalyst development platform for creating machine-learning pipelines with end-to-end solutions." last_updated: "2026-11-11T10:19:21.000Z" source: "https://docs.catalyst.zoho.com/en/quickml/help/zia-features/" service: "QuickML" --------------------------------------------------------------------------------
**DC Availability:** Zia features are available across the **US**, **IN**, **EU**, **AU**, **JP**, **SA**, and **CA** data centers.
# Zia Features QuickML is integrated with market-hot Zia text analytics features that are indigenously developed at Zoho . These Zia capabilities can be used for a wide variety of tasks that involve understanding and processing text. Zia is a powerful tool that can help businesses to improve their operations, make better decisions, and better understand their customers. The Key features in these categories are: - **Zia Sentiment Analysis** - **Zia Keyword extraction** - **Zia Language detection** - **Zia Emotion detection** - **Zia Intent Extraction** - **Zia Activity Extraction** - **Zia Commitment Classification** #### Zia Sentiment Analysis: Zia Sentiment Analysis is a part of text analytics that processes textual content to recognize the tone of the message, and the sentiments it conveys. It analyzes each sentence to determine if its tone is positive, negative, or neutral. It then determines the tone of the overall text as one of these three sentiments, based on the sentiments recognized in each sentence. #### Zia Keyword extraction: Keyword Extraction is a text analysis technique that involves extracting important and relevant terms from a piece of text, which provides an abstraction of the whole text. It also works on the principles of text mining, information retrieval, and natural language processing. Keyword extraction is similar to the areas of analyzing human language and developing precision with more training using rich data sets. It uses simple statistical approaches like word frequencies and collocations, as well as advanced machine learning approaches. #### Zia Language detection: In natural language processing, language identification or language detection is the technique of determining which natural language given content is in. Computational approaches to this problem view it as a special case of text categorization. Language detection is a great use case for machine-learning more specifically for text classification. Given some text from an email, news article, output of speech-to-text capabilities, or anywhere else, a language detection model will tell you what language it is in. #### Zia Emotion detection: Emotion detection is a subset of sentiment analysis, as it predicts the unique emotion rather than just stating positive, negative, or neutral. This is a technique for figuring out people’s attitudes, emotions, and sentiments about a certain objective or thing. Zia’s emotion predictor makes it easier to identify and analyze the emotions hidden in textual data. Happy, Enthusiasm, Discontentment, Frustration, Trust, Confusion, Gratitude, and Neutral are the 8 emotions that Zia’s algorithm can anticipate with good degree of accuracy. Give a sentence, Zia's emotion detection model will predict and tell what kind of emotion is involved in that sentence. #### Zia Intent Extraction: Intent extraction model is a deep learning model using Distilbert Transformers architecture, trained on a large set of English sentences that assist to determine the kind of action being expressed in a phrase as well as all of its constituent elements. Intent detection is the process of analyzing text data to find the author’s intention. Zia's intent extraction model can identify terms in a sentence that are relevant to complaints, requests, purchases, and queries. #### Zia Activity Extraction: Zia's activity extraction is a multi-class sequence classifier which will recognize activities such as an event, call and task from a given sentence by utilizing the Distilbert classifier. #### Zia Commitment Classification: Zia’s commitment classification will predict and identify the commitment-related clauses in a phrase, such as the due date, the promise of something, etc. Give any sentence, Zia's commitment classification model will detect and will return the commitment statement. -------------------------------------------------------------------------------- title: "Class Imbalance" description: "QuickML is a fully no-code ML pipeline builder service in the Catalyst development platform for creating machine-learning pipelines with end-to-end solutions." last_updated: "2025-08-11T10:14:23.000Z" source: "https://docs.catalyst.zoho.com/en/quickml/help/class-imbalance/" service: "QuickML" -------------------------------------------------------------------------------- ### What is Class Imbalance?   Class imbalance occurs when the number of samples in one class (called the majority class) significantly outnumbers those in another class (called the minority class) in classification problems. This imbalance can cause models to be biased towards predicting the majority class, resulting in poor detection of minority class cases, which are often the critical ones (e.g., detecting fraud or diagnosing rare diseases). ### Why is it Important?   If imbalance is not handled, models may: - Achieve high overall accuracy, but fail to detect minority class cases - Produce many false negatives (missed detections), which can be dangerous in fields like healthcare - Have misleading evaluation metrics because accuracy is dominated by the majority class - Struggle to generalize well on new data ### Techniques to Handle Imbalance  Class imbalance handling refers to a set of techniques used to deal with classification problems where one class (the majority) has significantly more samples than another (the minority). ### Oversampling Oversampling is used to address the issue of class imbalance in datasets—particularly common in binary classification problems where one class significantly outnumbers the other. In an imbalanced dataset, the majority class dominates, which can lead machine learning models to be biased toward predicting that class more often, ignoring the minority class entirely. This results in poor recall and precision for the minority class, which is often the class of interest. **What does oversampling do?** Oversampling increases the representation of the minority class by adding more samples, either by duplicating existing examples or generating new synthetic ones. The goal is to balance the class distribution, so the model receives equal learning exposure to both classes. **Common techniques:** - **SMOTE (Synthetic Minority Over-sampling Technique)**: Creates synthetic minority class samples by interpolating between existing minority examples. - **RandomOverSampler**: Simply duplicates minority class samples randomly. - **BorderlineSMOTE**: Generates synthetic samples only near the decision boundary where classes overlap. - **ADASYN**: Similar to SMOTE but focuses more on creating samples for harder-to-learn minority cases. **Example:** Suppose you have a fraud detection dataset:
Class Number of Samples
Legitimate 10,000
Fraud 200
Using **SMOTE**, you generate synthetic fraud cases to increase minority class samples from 200 to 10,000. This balanced dataset helps the model better learn fraud patterns, reducing missed fraud cases (false negatives) and improving detection rates. ### Undersampling Undersampling is a technique used to handle class imbalance in machine learning datasets by reducing the size of the majority class so that it is comparable to the size of the minority class. This helps create a more balanced dataset, ensuring that the model pays equal attention to both classes during training. In a typical imbalanced scenario, one class (usually the one we care less about) dominates the dataset. For example, in an email classification task, the number of “non-spam” emails might vastly outnumber the “spam” ones. Without balancing, a model might learn to predict only the majority class to optimize accuracy, while completely neglecting the minority class. **What does undersampling do?**  Undersampling reduces the skewed distribution by randomly or strategically removing samples from the majority class, thus shrinking it to match or get closer to the size of the minority class. This forces the model to learn more equally from both classes, which can improve its performance on the minority class. **Common techniques:** - **RandomUnderSampler**: Randomly removes samples from the majority class. - **TomekLinksUnderSampler**: Removes majority samples that are very close to minority samples (cleaning noisy overlaps). - **EditedNNUnderSampler**: Removes majority samples misclassified by nearest neighbors, reducing noise. - **NearMissUnderSampler**: Keeps majority samples that are close to minority samples (focuses on difficult boundary cases). **Example:** In a medical diagnosis dataset:
Class Number of Samples
Healthy 5000
Disease 300
Using **RandomUnderSampler**, the healthy samples are reduced from 5,000 to 300 to match the disease samples. This helps the model avoid bias towards the healthy class and better detect the disease. -------------------------------------------------------------------------------- title: "Periodic Sync" description: "QuickML is a fully no-code ML pipeline builder service in the Catalyst development platform for creating machine-learning pipelines with end-to-end solutions." last_updated: "2026-08-17T12:16:04.000Z" source: "https://docs.catalyst.zoho.com/en/quickml/help/periodic-sync/" service: "QuickML" -------------------------------------------------------------------------------- # Periodic Sync Periodic sync helps reduce the manual effort required to import data repeatedly from the same data connector at multiple intervals. By configuring sync, users can automate the data import process according to their chosen periodicity, minimizing the need for manual intervention. In QuickML, data sync can be configured using Sync Frequency, with various periodic interval options, including daily, weekly, monthly, yearly, and custom frequencies set in hours and minutes, with a minimum of 6 hours to a maximum of 23:59 hour intervals. ### Benefits of Using Periodic Sync in QuickML - **Reduces Manual Interference:** Users do not need to be available during the import process. - **Time-Saving:** Automating data import saves time spent on configuring the data connectors each time data needs to be imported. - **Consistency:** Ensures data is consistently updated within the QuickML platform, maintaining accuracy and reliability. - **Better Model Performance:** Having the latest data available helps in periodically training the model; the latest data ensures better and more consistent model performance, resulting in reliable predictions. - **Efficiency:** Reduces the risk of errors associated with manual data imports. - **Flexible Interval Options:** QuickML offers a range of scheduling options to meet different data import and update needs. ### Where to configure the sync frequency #### During data import: We can set the periodic sync frequency during the data import from any of these data connectors object storages, Zoho apps, and Databases. ![periodic-sync-1](https://catalyst-docs-development.zohostratus.in/images/help/quickml/periodic-sync/periodic-sync-1.webp) #### After the data import: In the dataset details page, there is a sync frequency field that conveys the chosen sync configuration from the data import stage. However, the user can modify the configuration as needed using the drop-down options, as shown below. ![periodic-sync-2](https://catalyst-docs-development.zohostratus.in/images/help/quickml/periodic-sync/periodic-sync-2.webp) #### Creating data pipeline: While creating the data pipeline for a periodic sync-enabled dataset, kindly make sure to enable the Execute pipeline after periodic sync option. This ensures that after every sync, the data pipeline will rerun and produce the next version of the transformed data. ![periodic-sync-3](https://catalyst-docs-development.zohostratus.in/images/help/quickml/periodic-sync/periodic-sync-3.webp) #### Creating ML Pipeline: While creating the ML pipeline for a periodic sync-enabled dataset, kindly make sure to enable the Retrain model when the dataset is updated option. This ensures that the model is automatically retrained whenever the dataset is updated. ![periodic-sync-4](https://catalyst-docs-development.zohostratus.in/images/help/quickml/periodic-sync/periodic-sync-4.webp) -------------------------------------------------------------------------------- title: "Create Data Pipeline" description: "QuickML is a fully no-code ML pipeline builder service in the Catalyst development platform for creating machine-learning pipelines with end-to-end solutions." last_updated: "2026-08-17T12:16:04.000Z" source: "https://docs.catalyst.zoho.com/en/quickml/help/create-data-pipeline/" service: "QuickML" -------------------------------------------------------------------------------- # Create your first Data Pipeline Let's look at how to create a data pipeline using the QuickML platform. ## Creating Data Pipeline using pipeline builder interface 1. Go to the **datasets** section 2. Click `Import Dataset` to upload a dataset to QuickML platform using the available data connector options. ![create-data-pipeline-1](https://catalyst-docs-development.zohostratus.in/images/help/quickml/create-data-pipeline/create-data-pipeline-1.webp) 3. Select the preferred data source to perform the import operation. ![create-data-pipeline-2](https://catalyst-docs-development.zohostratus.in/images/help/quickml/create-data-pipeline/create-data-pipeline-2.webp) After uploading the file from the above given options, the data quality score will be displayed. ![create-data-pipeline-3](https://catalyst-docs-development.zohostratus.in/images/help/quickml/create-data-pipeline/create-data-pipeline-3.webp) 4. In order to create a data pipeline, click `Go to Data Cleaning`. The Create pipeline popup will appear asking you to provide a pipeline name then click the `Create Pipeline` button. ![create-data-pipeline-4](https://catalyst-docs-development.zohostratus.in/images/help/quickml/create-data-pipeline/create-data-pipeline-4.webp) 5. You'll then be taken to the [Pipeline Builder ](https://docs.catalyst.zoho.com/en/quickml/help/pipeline-builder-interface/walkthrough/) page where you can perform the below Data preprocessing operations simply by drag and drop components as shown in the left pane and connecting to previous and subsequent components to create a pipeline. - [Data Cleaning ](https://docs.catalyst.zoho.com/en/quickml/help/data-preprocessing/data-cleaning/) - [Data Transformation ](https://docs.catalyst.zoho.com/en/quickml/help/data-preprocessing/data-transformation/) - [Data Extraction ](https://docs.catalyst.zoho.com/en/quickml/help/data-preprocessing/data-extraction/) ![create-data-pipeline-1](https://catalyst-docs-development.zohostratus.in/images/help/quickml/create-data-pipeline/create-data-pipeline-5.webp) Components under each data preprocessing step in the left pane can be viewed by expanding them. 6. Every operation performed inside the builder can be seen processed on the sample data in the preview section. **Example:** Drag and drop the Select/Drop component under the Data Cleaning section; select the required columns; and select the Drop/select operation. You will be able to confirm in the preview section that the columns have dropped. ![create-data-pipeline-6](https://catalyst-docs-development.zohostratus.in/images/help/quickml/create-data-pipeline/create-data-pipeline-6.webp) 7. In a similar manner, drag and drop all required components into the builder and connect the last component to the destination to finish building the pipeline. It will appear as follows: ![create-data-pipeline-7](https://catalyst-docs-development.zohostratus.in/images/help/quickml/create-data-pipeline/create-data-pipeline-7.webp) 8. To run the pipeline, click the Execute button. Once the pipeline is executed, it will appear as follows: ![create-data-pipeline-8](https://catalyst-docs-development.zohostratus.in/images/help/quickml/create-data-pipeline/create-data-pipeline-8.webp) 9. Clicking on the **car_price** dataset will take you to the car_prices dataset details page, where you can verify new versions and other relevant [Dataset profile](https://docs.catalyst.zoho.com/en/quickml/help/data-profiler-and-viewer/) information ![create-data-pipeline-9](https://catalyst-docs-development.zohostratus.in/images/help/quickml/create-data-pipeline/create-data-pipeline-9.webp) **Note:** QuickML uses Zoho IAM as an authentication manager. In order to use the service, the user must be signed in using [Zoho account](https://accounts.zoho.com/register?newsignup=true&servicename=AaaServer&serviceurl=https%3A%2F%2Faccounts.zoho.com%2Fhome%23profile%2Fpersonal). -------------------------------------------------------------------------------- title: "Create ML Pipeline" description: "QuickML is a fully no-code ML pipeline builder service in the Catalyst development platform for creating machine-learning pipelines with end-to-end solutions." last_updated: "2026-08-17T12:16:04.000Z" source: "https://docs.catalyst.zoho.com/en/quickml/help/create-ml-pipeline/" service: "QuickML" -------------------------------------------------------------------------------- # Create your first ML Pipeline Let's look at how to create an ML pipeline using the QuickML platform. ## Creating ML Pipeline using pipeline builder interface 1. Go to the Pipelines section 2. Click `Create-Pipeline` to create the ML pipeline in the QuickML platform using the uploaded dataset. ![Create ML Pipeline 1](https://catalyst-docs-development.zohostratus.in/images/help/quickml/create-ml-pipeline/Create_First_ML_1.webp) 3. Provide the ML Pipeline name, Model name, and Choose dataset with which you need to prepare the ML Pipeline. In Target column, select the column for which you are going to perform the prediction and click the Create Pipeline button. ![Create ML Pipeline 2](https://catalyst-docs-development.zohostratus.in/images/help/quickml/create-ml-pipeline/Create_First_ML_2.webp) **Note:** When you create an ML pipeline from the same dataset as your data pipeline, the output data (the modified version of the dataset from the data pipeline) will be fetched automatically. 4. Once the pipeline builder interface is opened, you can now drag and drop the required nodes to perform the ML operations. Example: In this picture, you can see the `Ordinal Encoder` [node](https://docs.catalyst.zoho.com/en/quickml/help/operations-in-quickml/encoding/#ordinal-encoder) has been connected to the source. In configuration, select all the columns except **year**, **mileage**, and **money** as these are already in numeric form. ![Create ML Pipeline 3](https://catalyst-docs-development.zohostratus.in/images/help/quickml/create-ml-pipeline/Create_First_ML_3.webp) Once the configuration is done, click `Save` and proceed further. 5. Likewise, you can connect all the required nodes to perform the prediction and complete the pipeline, as shown below. ![Create ML Pipeline 4](https://catalyst-docs-development.zohostratus.in/images/help/quickml/create-ml-pipeline/Create_First_ML_4.webp) 6. Once the pipeline is completed click `Save` and, then click `Execute`. ![Create ML Pipeline 5](https://catalyst-docs-development.zohostratus.in/images/help/quickml/create-ml-pipeline/Create_First_ML_5.webp) Once the pipeline is successfully executed, you can see the execution status as Success as shown above. 7. By clicking on the **model name** (Car Price Prediction ML Pipeline model) you will be redirected to model details page, where you can see the model evaluation metrics data, as shown below. ![Create ML Pipeline 6](https://catalyst-docs-development.zohostratus.in/images/help/quickml/create-ml-pipeline/Create_First_ML_6.webp) -------------------------------------------------------------------------------- title: "Create AutoML Pipeline" description: "QuickML is a fully no-code ML pipeline builder service in the Catalyst development platform for creating machine-learning pipelines with end-to-end solutions." last_updated: "2026-11-11T10:19:21.000Z" source: "https://docs.catalyst.zoho.com/en/quickml/help/create-automl-pipeline/" service: "QuickML" -------------------------------------------------------------------------------- # AutoML Pipeline
**DC Availability:** AutoML pipeline is available across the **US**, **IN**, **EU**, **AU**, **JP**, **SA**, and **CA** data centers.
### Steps to create AutoML pipeline in QuickML 1. Navigate to the bottom-left of the page, click the +Create button, and select Pipeline. 2. The Create Pipeline page will appear. Fill in the details, then check the Create an Auto-generated pipeline using AutoML checkbox. ![automl-pipeline-1](https://catalyst-docs-development.zohostratus.in/images/help/quickml/create-automl-pipeline/automl-pipeline-1.webp) 3. Click Create Pipeline. This will create an automated pipeline with the necessary configuration, as shown below: ![automl-pipeline-2](https://catalyst-docs-development.zohostratus.in/images/help/quickml/create-automl-pipeline/automl-pipeline-2.webp) The best performing model will be finalized and generated with all the evaluation metrics, as shown below. -------------------------------------------------------------------------------- title: "Custom Code" description: "QuickML is a fully no-code ML pipeline builder service in the Catalyst development platform for creating machine-learning pipelines with end-to-end solutions." last_updated: "2026-11-11T10:19:21.000Z" source: "https://docs.catalyst.zoho.com/en/quickml/help/custom-code/" service: "QuickML" --------------------------------------------------------------------------------
**DC Availability:** Custom code operations are available across the **US**, **IN**, **EU**, **AU**, **JP**, **SA**, and **CA** data centers.
### Custom code operations The Custom Code operations in the QuickML pipeline allow developers to insert their own logic into the model training process. By implementing Python classes provided in templates, users can customize how data is transformed, how features are processed, and even define the machine learning algorithm used. This capability is divided into three distinct components: - Custom Data Transformation - Custom ML Transformation - Custom Algorithm Each component plays a unique role in the machine learning lifecycle and comes with predefined method signatures that must be implemented by the user. > **Note:** The implementation is mandatory for all methods in the template class. ### Custom Data transformation Custom data transformation is used in optimizing the data by performing operations such as data cleaning, transforming, and extraction of raw data using custom logic. It is particularly useful for preprocessing steps like column removal, format conversions, and scaling that must remain consistent across both model training and prediction stages. The customized code handles complex requirements during data pre-processing and is implemented in the **transform()** method, which accepts and returns a DataFrame object and is executed during both training and inference. In the sample code below, the custom data transformation node preprocesses data before it’s used for model training or prediction. It removes the "Glucose" column from the dataset to ensure that irrelevant or potentially biased features do not influence the model's learning or predictions. ![customcode1.webp](https://catalyst-docs-development.zohostratus.in/images/help/quickml/custom-code/customcode1.webp) ### Custom ML transformation In the ML model development life cycle, custom ML transformation operations are used during the pre-processing step by performing feature engineering tasks specifically tailored to the use case using custom logic. These transformations are ideal for handling operations such as missing value imputation, feature encoding, and normalization—where the logic must learn from the training data and consistently apply the same transformation during prediction. This is accomplished through a **fit()** method, which learns the necessary parameters from the training data, and a **transform()** method, which applies those learned parameters to preprocess new data. Both methods accept and return a DataFrame object. In the sample code below, the custom ML transformation node handles missing value imputation as part of the data pre-processing step. During training, it computes the mean of each numeric column and stores it. Later, during prediction or inference, it fills missing values in those columns using the stored mean values, ensuring consistency between training and prediction phases. ![customcode2.webp](https://catalyst-docs-development.zohostratus.in/images/help/quickml/custom-code/customcode2.webp) ### Custom algorithm Allows you to plug in a custom ML model and define its training, prediction, and evaluation logic. This offers full control over which algorithm is used and how its performance is assessed. It has **fit**, **predict**, and **get_evaluation_metrics** functions. Fit is executed during model training, predict is executed during prediction, and get_evaluation_metrics is executed after model training to generate the evaluation metrics. The metrics returned from the **get_evaluation_metrics()** method will be displayed in the evaluation metrics section of the model details page. Custom algorithm operation refers to the application of custom algorithms tailored to specific business use cases. It allows users to plug in a custom ML model and define bespoke training, prediction, and evaluation logic. This approach offers full control over which algorithm is used and how its performance is assessed. It can be seen as an enhancement of standard pre-defined algorithms, enabling the solution of unique modeling problems using domain-specific rules. The operation includes three key methods: - **fit()** — executed during model training to learn from the data, - **predict()** — executed during prediction to generate outputs, and - **get_evaluation_metrics()** — executed post-training to compute and return evaluation metrics. > **Note:** The metrics returned from get_evaluation_metrics() are displayed in the evaluation section of the model details page, supporting customized model assessment workflows. In the sample code below, the custom algorithm node builds an ML model using the LightGBM classifier. It splits the input dataset into training and testing sets, trains the model on the training data, and stores the trained model instance. During prediction, it uses the trained model to generate outputs for unseen data. After training, it evaluates the model using accuracy, precision, recall, and F1-score metrics, which are computed on the test data and returned as a dictionary for performance analysis. ![customcode3.webp](https://catalyst-docs-development.zohostratus.in/images/help/quickml/custom-code/customcode3.webp) **List of py libraries form which import is supported:** *numpy, scipy, pandas, xgboost, catboost, lightgbm, sklearn, tld, patsy, tensorflow, statsmodels, tldextract, huggingface_hub, sentence_transformers, imbalanced_learn, hyperopt, shap, lime, transformers, pmdarima, lightfm, LibRecommender, subseq* -------------------------------------------------------------------------------- title: "Model Details" description: "QuickML is a fully no-code ML pipeline builder service in the Catalyst development platform for creating machine-learning pipelines with end-to-end solutions." last_updated: "2026-08-17T12:16:04.000Z" source: "https://docs.catalyst.zoho.com/en/quickml/help/models-details/" service: "QuickML" -------------------------------------------------------------------------------- # Models Once an ML pipeline is successfully executed, a respective ML model is created. This model view can be used to gain an understanding of its internal metrics. The list of models created can be viewed on the Models page along with the status of each model as seen below. ![Models](https://catalyst-docs-development.zohostratus.in/images/help/quickml/models/models.webp) ### Model Metrics QuickML users will have the access to view the model metrics for each version, which provide valuable insights into the performance of the machine learning models. These metrics serve as essential indicators to assess the accuracy and effectiveness of the model in making predictions. ![Model Metrics](https://catalyst-docs-development.zohostratus.in/images/help/quickml/models/model-metrics.webp) QuickML users have access to the following metrics. ### Confusion matrix In machine learning, a confusion matrix is used to measure the performance of a classification model. In simple terms, a confusion matrix is a summary of the number of correct and incorrect predictions made by the machine learning model. The matrix displays the number of true positives (TP), true negatives (TN), false positives (FP), and false negatives (FN) as shown below. ![Confusion matrix](https://catalyst-docs-development.zohostratus.in/images/help/quickml/models/confusion-matrix.webp) **TP:** True Positive is the count of instances where both predicted and actual values are positive. **TN:** True Negative is the count of instances where both predicted and actual values are negative. **FP:** False Positive is the count of instances where the model predicted them as positive but the actual values are negative. **FN:** False negative is the count of instances where the model predicted them as negative but the actual values are positive. ### Usecase Let's explain the confusion matrix with a use case: to predict airline's passenger satisfaction with flight service. **Brief explanation:** An airline gathers information about its passengers, including their demographics, flight information, and survey responses regarding their satisfaction with the airline's service. After that, the airline applies this information to create a machine learning classification model that predicts whether the passenger is **satisfied** or **neutral/dissatisfied**. Let's evaluate the performance of a classification model using a confusion matrix in QuickML as shown below: ![Usecase](https://catalyst-docs-development.zohostratus.in/images/help/quickml/models/usecase.webp) Values listed down from the confusion matrix:
Total response count 5,196
True Positive (TP) 2,930
False Negative (FN) 182
False Positive (FP) 35
True Negative (TN) 2,049
Commonly used performance metrics to evaluate any classification model are as follows. **Accuracy score:** The proportion of correctly predicted instances among the total instances. ```json Accuracy = TP+TN/Total Responses = (2,930+2,049)/5,196 = 0.958 ``` **Precision score:** Precision is a measure of how accurate the model's positive predictions are. It is calculated as the ratio of true positive predictions to the sum of true positive and false positive predictions. ```json Precision = TP/(TP+FP)= 2,930/(2,930+35) = 0.988 ``` **Recall score:** Recall score, also known as sensitivity, is the percentage of actual positive cases that a model correctly predicts. It is calculated by dividing the number of true positive predictions by the sum of the true positive and false negative predictions. In simpler terms, a recall score measures how well a model can identify all of the positive cases in a dataset. A high recall score means that the model is good at finding all of the positive cases, while a low recall score means that the model is missing a lot of positive cases. ```json Recall score = TP/(TP+FN) = 2930/3112 = 0.941 ``` **F1 score:** The harmonic mean of precision and recall, providing a balanced assessment of the model’s performance. ```json F1 Score = 2*Recall*Precision/(Recall+Precision) = 2*0.941*0.988/(0.941+0.988) = 0.9639 ``` From the above metrics, we can infer a few conclusions about the model. 1. The airline model accurately predicted 4,979 passengers' level of satisfaction where as, 182 are incorrectly predicted as satisfied and 35 as dissatisfied/neutral. 2. It has good performance with an accuracy of 95.8%, a precision of 98.8%, and a recall of 94.1%. However, it has missed 182 satisfied passenger predictions. Hence, the model should be fine-tuned to increase the recall score, which then would identify all the satisfied passengers. By examining these model metrics in QuickML, we can gain deeper insights into the performance of any machine learning model and make informed decisions on model selection and optimization. This will empower users to fine-tune their models and improve predictive accuracy. ### Evaluation metrics QuicML shows the below evaluation metrics regarding classification and regression models created. 1. #### Classification ![Classification](https://catalyst-docs-development.zohostratus.in/images/help/quickml/models/classification.webp) 2. #### Regression ![Regression](https://catalyst-docs-development.zohostratus.in/images/help/quickml/models/regression.webp) 3. #### [Recommendation ](https://docs.catalyst.zoho.com/en/quickml/help/learning-center/recommendation/#evaluation-metrics-for-specific-algorithms) 4. #### [Time Series](https://docs.catalyst.zoho.com/en/quickml/help/learning-center/time-series/#model-evaluation-metrics) ### Cross validation metrics Cross validation is a method for evaluating the performance of a machine learning model by splitting the training data into k folds, training the model on k-1 folds, and evaluating the model on the remaining fold. This process is repeated k times, and the average performance of the model on the k folds is used to evaluate its overall performance. In simpler terms, cross validation works by training the model on a subset of the training data and then evaluating its performance on the remaining subset of the training data. This is repeated multiple times, and the average performance of the model on all of the subsets is used to evaluate its overall performance. It helps to ensure that the model is not over fitting the training data and that it will generalize well to new data. QuickML provides you a plethora of cross validation metrics to track performance for both classification or regression models. The list of metric types provided in cross validation is below: 1. #### Classification Model ![Classification Model](https://catalyst-docs-development.zohostratus.in/images/help/quickml/models/classification-model.webp) **Metrics Types:** - ROC AUC OVR - ROC AUC OVO - ROC AUC OVR weighted - ROC AUC OVO weighted - Balanced accuracy - Average precision - F1 score - F1 macro - F1 micro - F1 samples - F1 weighted 2. #### Regression Model ![Regression Model](https://catalyst-docs-development.zohostratus.in/images/help/quickml/models/regression-model.webp) **Metrics Types:** - Negative mean-squared error - Negative mean-squared log error - Negative root mean-squared error - Negative mean absolute error - Negative median absolute error - Negative mean poisson deviance - Negative mean gamma deviance - Negative log loss - Negative brier score - R2 score ### Model Versions Model versioning is the process of tracking and managing different versions of a machine learning model. ![Model Versions](https://catalyst-docs-development.zohostratus.in/images/help/quickml/models/model-version.webp) This is important because it allows you to compare different versions of the model, track its performance, and select the best version for deployment. Model versioning can also help you roll back to a previous version of the model if necessary. ### Feature Importance Idenitfying the importance of each input feature used in building a machine learning model can help you track how they will affect the quality of the model and its decision making progress. A feature importance score is calculated to quantify the importance; the higher the score for a feature, the larger the impact of the feature on the model that predicts the target variable. By quantifying the importance of each feature, it provides insights into the data and the model, allowing for better understanding, interpretation, and potential improvement of the model's performance. Feature importance can be calculated using various methods, such as permutation importance or mean decrease in impurity, or using model-specific techniques like the feature importances attribute in tree-based models. #### Uses of Feature importance Feature importance is also used to understand the relationship between input features and target variables, similar to the correlation matrix. Highly relevant features that impact the model are identified using the importance score. - **Dimensionality Reduction:** Feature importance assists in reducing the dimensionality of the model by keeping features with higher scores and removing those with lower scores from the training data. This simplification reduces bias, removes noise, and speeds up model training, ultimately generating a better-performing model. - **Model Performance:** By focusing on the most relevant features, feature importance helps to optimize the model for better performance and improve its predictability. - **Stakeholder Insights:** Feature importance provides stakeholders with insights into which features have the highest impact on the model's predictions and helps in understanding the model’s behaviour. In short, feature importance explains the significance of each feature on the model. ![feature-importance](https://catalyst-docs-development.zohostratus.in/images/help/quickml/models/feature-importance.webp) In the QuickML model details page, a bar chart is generated to visually depict the feature importance score of the top 20 features in descending order, and the rest will be categorized as others. -------------------------------------------------------------------------------- title: "Pipeline Execution Metrics" description: "QuickML is a fully no-code ML pipeline builder service in the Catalyst development platform for creating machine-learning pipelines with end-to-end solutions." last_updated: "2026-08-17T12:16:04.000Z" source: "https://docs.catalyst.zoho.com/en/quickml/help/pipeline-execution-metrics/" service: "QuickML" -------------------------------------------------------------------------------- # Pipeline Execution Metrics Once any pipeline is published, it gets scheduled for execution in an independent environment. The pipeline executions will be versioned for subsequent executions and the execution details will be monitored and gathered by QuickML service. These execution details can be viewed from the **Pipeline Metrics viewer** integrated in QuickML. These metrics will help in finding the performance and resource usage of the pipeline execution and will be beneficial for improving and continuous development of pipelines with respect to ML pipelines. ![executed-ml-pipeline](https://catalyst-docs-development.zohostratus.in/images/help/quickml/pipeline-metric-viewer/executed-ml-pipeline.webp) The metrics viewer can be used to view the information of **full pipeline execution and stage execution**. The metrics listed below will be available for monitoring: - **Pipeline Execution Information** - Execution time - Average memory usage - Average Disk Usage - Average CPU usage - **Runtime details** - Best Pipeline run - Previous Pipeline run - **Resource usage charts** ### Pipeline Execution Information From the pipeline details page, the execution info window can be opened and it will contain the respective execution information like below. ![execution-stats-ml-pipeline](https://catalyst-docs-development.zohostratus.in/images/tutorials/car-price-prediction/execution-stats-ml-pipeline.webp) ### Resource usage graphs To keep track of time-based resource usage in pipeline execution, status charts and graphs are available in QuickML to get better understanding of the stage-wise execution and its details. These charts can also be zoomed in to chart based editors to have further analysis of the execution. ![Process_stats](https://docs.catalyst.zoho.com/images/help/quickml/pipeline-metric-viewer/Process_stats.webp) -------------------------------------------------------------------------------- title: "Pipeline Endpoints" description: "QuickML is a fully no-code ML pipeline builder service in the Catalyst development platform for creating machine-learning pipelines with end-to-end solutions." last_updated: "2026-08-17T12:16:04.000Z" source: "https://docs.catalyst.zoho.com/en/quickml/help/pipeline-endpoints/" service: "QuickML" -------------------------------------------------------------------------------- # QuickML Pipeline Endpoints # Endpoints The primary outcome of machine learning (ML) pipelines is to **create endpoints** that can be used to make predictions on new data. These endpoints are created using trained ML models, and they can be used for continuous inference. Once an ML model is **developed and trained**, QuickML users can create an endpoint with the latest version of the model. This endpoint can then be used to make predictions on new data. QuickML monitors all endpoints to identify areas where the model can be improved. ![Endpoints](https://catalyst-docs-development.zohostratus.in/images/help/quickml/endpoints/endpoints.webp) ### Published Model Version Once a machine learning model has been generated using the QuickML pipeline, a user can choose to **publish** it as an endpoint with a **specific model version**. This allows users to deploy and use the model to make accurate predictions. Models are versioned whenever there is change in pipeline stage configurations for the pipeline execution. ![Model Version](https://catalyst-docs-development.zohostratus.in/images/help/quickml/endpoints/model-version.webp) ### Model tester In order to check the accuracy of the model, a **Test the Model** component w.r t model versions has been integrated in QuickML endpoints module, in which live requests can be made within the web app using Endpoint URL to test the model's inference. ![Model Tester](https://catalyst-docs-development.zohostratus.in/images/help/quickml/endpoints/model-tester.webp) ### Model Explanation Chart Each input feature in the data used for training the machine learning model has an impact on the model's predictions. However, these models exhibit the black box behaviour, making it harder to understand how it arrived at those predictions. Quantifying the contribution of each feature to the final prediction is challenging, which hinders our understanding of the model's behavior. To address this issue, QuickML has created a Model Explanation Chart. This chart shows the effect on prediction on the x-axis and the list of features on the y-axis. For each feature, the effect on prediction is quantified by SHAP (SHapley Additive exPlanations) values, which explains the decision of the machine learning model. These values help to understand and interpret the model's decisions and increase transparency. The distribution of values on the x-axis indicates whether the respective feature has a positive or negative impact on the prediction, along with its score. This chart is located on the endpoint details page, as shown below. ![model-explanation-chart](https://catalyst-docs-development.zohostratus.in/images/help/quickml/endpoints/model-explanation-chart.webp) In summary, the Model Explanation Chart in QuickML shows the influence of each feature on the final prediction result for a given input. Quick ref video on model explanation chart view. A quick overview of the model explanation chart located in the endpoint details page shows the impact score of each feature on the prediction in the response box and visual representation of the impact in the chart above. ## Endpoints Authentication The live endpoints are exposed via REST APIs from QuickML service and they can be accessed with two modes: - External OAuth2 authentication - Internal authentication ### External OAuth2 authentication The endpoints that are exposed as REST APIs are authenticated with the Zoho accounts OAuth2 mechanism. Users can make the prediction calls externally by generating the tokens from the accounts [console](https://api-console.zoho.com/). - **Prediction guidelines:** To make the REST API calls, the user should provide the below given details, - **Request URL:** Deployment Url provided in details - **HTTP Method:** POST - **Headers :** ```json { 'X-QUICKML-ENDPOINT-KEY' : ************************, 'Authorization': 'Zoho-oauthtoken ', 'CATALYST-ORG': ******** 'Environment': , 'Development/Production' } ``` To generate an access token, please follow the steps in this document, - **Scope:** QuickML.deployment.READ -------------------------------------------------------------------------------- title: "Stage Reconfiguration" description: "QuickML is a fully no-code ML pipeline builder service in the Catalyst development platform for creating machine-learning pipelines with end-to-end solutions." last_updated: "2026-08-17T12:16:04.000Z" source: "https://docs.catalyst.zoho.com/en/quickml/help/stage-reconfiguration/" service: "QuickML" -------------------------------------------------------------------------------- ### Understanding stage reconfiguration in QuickML pipelines Building machine learning pipelines often involves chaining multiple operations, each dependent on the outcome of the previous. In complex pipelines with 20+ stages, modifying a single stage may trigger unintended configuration changes in downstream stages. This can lead to tedious reconfiguration work, loss of previous settings, and disrupted data flow. To address this challenge and simplify the maintenance of complex workflows, QuickML introduces the pipeline **Stage Reconfiguration**, an automated mechanism that runs in the background as you build pipelines. ### What is Stage Reconfiguration? Stage Reconfiguration is a smart, user-guided mechanism in QuickML that identifies downstream stages impacted by a change in a previous stage. Rather than automatically resetting the configurations of all successor stages, the system prompts users with the affected stages and options to reconfigure, skip, or reset only the necessary stages, enabling efficient and controlled pipeline management. This ensures: - Reduced impact of configuration changes on subsequent stages, enabling a smoother pipeline building process. - Transparency about which stages are affected - Flexibility to handle changes as per business needs. Let's consider a scenario to understand the use of stage reconfiguration in real-time. Imagine a retail company building a sales forecasting pipeline in QuickML to analyze product performance across different regions. The pipeline includes over 25 stages, covering everything from data ingestion to algorithm selection. In the initial pipeline version, the team selects the amount column in Stage 4 (Select Columns) and later applies a Type conversion to it in Stage 7. During refinement, a team member decides to remove the amount column in Stage 4, believing it’s no longer needed for analysis. QuickML’s Stage Reconfiguration mechanism instantly detects that this change impacts Stage 7, which still depends on the amount for type conversion. Instead of resetting all subsequent stages, the system pinpoints Stage 7 as affected and presents options. Since the column is no longer required, the team simply chooses to skip and merge Stage 7. This keeps the pipeline valid and avoids unnecessary disruptions, demonstrating how Stage Reconfiguration helps teams make precise changes without reworking the entire flow. ### Pipeline Types and Stage Reconfiguration Compatibility  Stage Reconfiguration is implemented across various pipeline types in QuickML, depending on whether the pipeline supports editable and user-configurable stages. The mechanism is especially useful in Classic mode pipelines, where changes made in one stage can directly affect subsequent stages and require reconfiguration. This reconfiguration is typically triggered only when there is a Schema change (such as adding, removing, or renaming columns) or Value change that affects how the data is processed in the following stages. However, in Smart mode pipelines, this feature is typically not required, because the stages do not involve manual configuration. Instead of resetting or reconfiguring, Smart mode handles updates through simple re-execution since the logic remains consistent and controlled by the system. The table below outlines which pipeline types support Stage Reconfiguration and explains the reason for its applicability or exclusion in each case:
Pipeline Type Stage Reconfiguration Applicable Reason
Data Transformation Yes Stages are user-configurable; reconfiguration is supported
Prediction Yes Stages are user-configurable; reconfiguration is supported
Text Analytics Only in Classic Mode In Smart mode, no stage-level edits required
Recommendation Yes Stages are user-configurable; reconfiguration is supported
Forecasting No Uses Smart mode by default; no stage-level edits required
Clustering Yes Stages are user-configurable; reconfiguration is supported
Anomaly Detection No Uses Smart mode by default; no stage-level edits required
### Working process of stage reconfiguration   When you make a change in a pipeline stage, QuickML automatically checks whether this change impacts the configurations of the stages that follow. Depending on what you changed, there are two possible outcomes. **Case 1: The change has no Impact on subsequent stage configurations** If your change doesn’t alter the schema of the dataset used in subsequent stages, QuickML will recognize that those stages are still valid. However, to maintain consistency in the pipeline, the system will re-execute the subsequent stages. In this case, you’ll see two options: - **Ignore and Reset All** - This resets the configurations of all subsequent stages, even though they aren’t affected by your change. - **Proceed** - This re-executes the subsequent stages using their existing configurations without requiring any rework. For example, suppose in Stage 2 you use a **Select/Drop** Columns operation to drop a column named **membership_category**, which is not used in any of the subsequent stages. Since none of the later stages rely on this column, your change doesn't impact their configuration. In this case, QuickML recognizes that the schema of subsequent stages remains intact. You can simply choose to proceed, and the pipeline will re-execute without requiring any reconfiguration. ![stagereconfig1.webp](https://catalyst-docs-development.zohostratus.in/images/help/quickml/stage-reconfiguration/stagereconfig1.webp) ![stagereconfig2.webp](https://catalyst-docs-development.zohostratus.in/images/help/quickml/stage-reconfiguration/stagereconfig2.webp) **Case 2: The change impacts the subsequent stage configurations** If your change affects the schema of the dataset used in later stages, QuickML will highlight which stages are impacted. You’ll then be given a set of options mentioned below to control how you want to handle the affected stages: - **Ignore and Reset All** - This ignores the configurations of all impacted stages and resets them. - **Configure Now** - This opens a pop-up that lists the affected stages and shows you what exactly has changed. Within the configuration pop-up, you can: - **Review and Edit** each impacted stage to update the configuration based on your recent change. - **Cancel** to undo the change you just made, taking the pipeline back to its previous state. - **Skip and Merge** a stage if it’s no longer required in the new flow. - **Discard** - This reverts the change made in the current stage itself and restores it to its original configuration, effectively undoing the edit you just applied. This is useful when you want to cancel the recent change due to its impact on the rest of the pipeline. Here’s an example: Suppose in Stage 2 you use a **Select Columns** operation to include the churn_risk_score column, and in Stage 4 you apply a **Type Conversion** to that column. If you remove the churn_risk_score column in Stage 2, Stage 4 will break because it depends on that column. QuickML will detect this and show you that Stage 4 is affected. You’ll then have the choice to either re-add the column in Stage 2, update Stage 4 to use a different column, or skip Stage 4 entirely if it’s no longer necessary. This approach gives you full control over how to handle changes without losing previous work unnecessarily. It also helps you avoid time-consuming reconfiguration by focusing only on what truly needs your attention. ![stagereconfig3.webp](https://catalyst-docs-development.zohostratus.in/images/help/quickml/stage-reconfiguration/stagereconfig3.webp) ![stagereconfig4.webp](https://catalyst-docs-development.zohostratus.in/images/help/quickml/stage-reconfiguration/stagereconfig4.webp) ![stagereconfig5.webp](https://catalyst-docs-development.zohostratus.in/images/help/quickml/stage-reconfiguration/stagereconfig5.webp) ### Stage-Specific Edge Cases **Behavior of Added Columns in the Select/Drop Stage**: Columns added during reconfiguration will not impact the configuration of subsequent stages. However, they will be listed in the Select Columns dropdown of any affected stages, allowing you to include them if needed. **Behavior of Dropped Columns in the Merge Columns Stage**: If a dropped column was previously used in a Merge Columns operation, you must initiate reconfiguration starting from the Merge Columns stage to clear the dependency and update the configuration accordingly. **Behavior of Dropped Columns in the Split Columns Stage**: If a dropped column is used in Split Columns and shared across two outputs, two separate reconfiguration layers will be shown based on how the column was modified. **Add Dataset Impact**: Changes in the Add Dataset stage can impact the entire pipeline.  **Points to remember** To make the most of the stage reconfiguration feature, it's important to keep the following key points in mind during its usage. - **Page Reload Handling**: Reloading the page during stage configuration will prompt you to either revert all changes or resume from where you left off. - **Effect of Delete Actions**: Delete Connection and Delete Stage reset the configurations of successor stages to default. - **Reconfiguration Cancellation**: Cancelling the reconfiguration during re-execution will revert all intermediate changes. -------------------------------------------------------------------------------- title: "QuickML Limitations" description: "QuickML is a fully no-code ML pipeline builder service in the Catalyst development platform for creating machine-learning pipelines with end-to-end solutions." last_updated: "2026-10-13T09:36:45.000Z" source: "https://docs.catalyst.zoho.com/en/quickml/help/quickml-limitations/" service: "QuickML" -------------------------------------------------------------------------------- # QuickML Limitations 1. ### Entity Limits
Maximum no.of datasets that can be created 25
Maximum no.of pipelines that can be created 25
Maximum no.of endpoints that can be created 10
No. of columns that can be configured in a single stage operation in builder 25
2. ### Dataset sample preview **Dataset details preview section**
Number of columns can be viewed 150
No of records can be viewed 250
**Pipeline builder Preview Section**
Number of columns can be viewed 150
No of records can be viewed 250
3. ### Visualization Limits
Maximum number of visualizations can be created 5
Max data points in Chart Preview 2000 records
Max data points in Chart 25000 records
Maximum number of categories displayed in a chart. Ex.Composition chart: Category vs Count The top 20 categories will be displayed, * The rest will be grouped into a category called "Others" (e.g., Pie, Funnel, etc.).
Maximum number of series or trend lines displayed in line charts 100
Correlation heatmap for maximum number of columns 25
Stage visualization in pipeline builder utilises maximum number of records 250
Chart events not available If any single series has more than 8000 points
4. ### Data source Limitations
Source Restrictions
Zoho apps 200K rows
Cloud Data Storages (Object Storages) 1GB size
Databases 100K rows
File Upload 1 GB size
4. ### Knowledge Base Limitations
Source Restrictions
Local Files Maximum 10 files per import session; 100 MB per file
Zoho WorkDrive Maximum 10 files per import session; 100 MB per file; sync configuration applies to all documents in the import session and cannot be configured separately; sync settings cannot be modified after upload
Zoho Learn One file per import session; sync can be configured
#### Points to remember
Local File System Dataset features will be named col_0, col_1, col_2, etc., if uploaded without column names.
Rules in feature engineering Feature names must not contain [, ], or <, >
### Advanced models -------------------------------------------------------------------------------- title: "Recommendation" description: "QuickML is a fully no-code ML pipeline builder service in the Catalyst development platform for creating machine-learning pipelines with end-to-end solutions." last_updated: "2026-11-11T10:19:21.000Z" source: "https://docs.catalyst.zoho.com/en/quickml/help/learning-center/recommendation/" service: "QuickML" -------------------------------------------------------------------------------- # Introduction to Recommendation System
**DC Availability:** Recommendation model is available across the **US**, **IN**, **EU**, **AU**, **JP**, **SA**, and **CA** data centers.
A **recommendation system** is a branch of machine learning focused on building recommendation models that predict user preferences and generate personalized item suggestions to users by analyzing their past interactions, behaviour, item attributes, and user demographic data. These systems are widely used across various domains, such as e-commerce, media streaming, and social networking platforms, where they help users discover relevant products, movies, books, or other content as per their previous interactions. Through personalized item suggestions, recommender systems will improve user satisfaction, boost engagement, increase user retention, and sales for businesses by presenting the most relevant options specifically for each user. ### Sample Business Applications Recommendation models are actively integrated into e-commerce platforms to solve multiple usecases ,which drives the business value. #### 1. Sequential Recommendations in E-commerce Platforms: Sequential Recommendation can be applied in e-commerce platforms to suggest products based on users' browsing and purchase history. By analyzing the sequence of products viewed or bought by users, businesses can provide personalized recommendations, thereby increasing sales and customer satisfaction. **Scenario:** In e-commerce platforms, analyzing the sequential patterns of user interactions can reveal insights into user preferences and purchasing habits. For example, if a user purchases running shoes followed by sports apparel, the platform can identify this sequence. Based on this information, the platform can recommend complementary products such as running socks, water bottles, or fitness trackers. These personalized recommendations not only increase the likelihood of additional purchases, but also enhance the overall shopping experience for the user. #### 2. Personalized Product Suggestions: Personalized recommendations in e-commerce platforms involve suggesting products to users based on their browsing history, purchase behavior, and preferences. By analyzing user interactions and historical data, e-commerce platforms can deliver tailored product recommendations, thereby enhancing user experience and increasing sales. **Scenario:** Consider an established e-commerce platform where users browse a vast array of products across different categories. By analyzing user behavior, such as past purchases, items added to the cart, and products viewed, the platform can generate personalized product suggestions. For example, if a user frequently purchases electronics and gadgets, the platform can identify this preference. Based on this insight, the platform can recommend similar products, accessories, or related items that align with the user's interests. These tailored recommendations not only improve user satisfaction but also increase the likelihood of conversion and repeat purchases. #### 3. Consumer Goods and FMCG (Fast-Moving Consumer Goods): In industries such as consumer goods and FMCG, where products are purchased frequently and regularly, optimizing repeat purchases is essential for businesses. The challenge lies in effectively recommending staple items or commonly purchased products to customers based on their purchase history and consumption patterns. **Scenario:** For example, in the food and beverage sector, a grocery delivery service can use repeat purchase recommendation algorithms to suggest staple items or commonly purchased groceries based on a customer's purchase history. By analyzing past orders and consumption patterns, the platform can anticipate when certain items are likely to be depleted and recommend replenishment to streamline the ordering process for customers. #### 4. Retail Inventory Management: By predicting the next occurrence of product purchases, retailers can optimize their inventory levels and ensure sufficient stock availability. This enables them to prevent stock outs, minimize overstocking, and enhance overall supply chain efficiency. **Scenario:** In e-commerce platforms or even retail vendors, offer subscription services with various renewal intervals, such as monthly or bimonths. Additionally, by analyzing recurring purchase patterns, retail businesses can better manage inventory, minimizing stock outs or overstocking. By optimizing inventory levels, businesses can ensure stock availability, consistently serving users’ needs. #### 5. Subscription Services: Subscription-based businesses, such as subscription boxes, meal kit delivery services, or subscription-based software platforms, rely on maintaining a steady stream of recurring revenue through subscription renewals. However, managing subscription renewals for plans that require manual reminders, especially when renewal interval patterns are complex, presents a challenge. **Scenario:** For example, in the case of a newspaper subscription service, some customers may only renew their subscriptions during specific periods, such visits to their vacation homes. In such cases, repeat purchase recommendation algorithms can play a crucial role in identifying subscription renewal dates and providing timely reminders to users. By analyzing subscribers' renewal history and understanding complex renewal patterns, the recommendation system can enhance retention rates and ensure a consistent flow of revenue for the business. Similar to e-commerce platforms, recommendation algorithms can also be applied in various industries to enhance user experience, engagement, and ultimately drive business value. Few examples are: - **Entertainment and Media:** Content streaming platforms such as movies, music, and articles based on past consumption. - **Education:** Generate course recommendations and customize learning paths based on the student's interests and learning style. - **Social Media:** Content suggestions, friends, and groups suggestions based on user interactions and interests. - **Healthcare:** Medication reminders, health care plans suggestions based on patient medical history and health data. These are just a few examples; many other industries are actively exploring ways to integrate recommendation models to drive value and enhance business outcomes. ## Recommendation Model Evaluation These evaluation metrics collectively provide insights into different aspects of the performance of a recommendation model, including the diversity, quality, predictive accuracy, and overall correctness of the item suggestions/recommendations the model generates. Let's explore and interpret the metrics used in evaluating the recommendation models: #### a. Coverage **What it tells you:** Coverage measures the proportion of all possible items that the system can recommend. **Intuition:** - High coverage means the system can recommend a wide variety of items, making it more diverse and less biased toward popular items. - Low coverage suggests that the recommendations are limited to a smaller set of items, which may not cater to all users. **Example Inference:** If coverage is 90%, the system can recommend 90% of the items in the catalog, ensuring diverse options for users. #### b. NDCG at K (Normalized Discounted Cumulative Gain at K) **What it tells you:** NDCG measures how well the recommendations are ranked, focusing on the position of relevant items within the top K recommendations. **Intuition:** - High NDCG means relevant items appear near the top of the list, making the recommendations more useful to users. - Low NDCG indicates that relevant items might be buried deeper in the list, reducing user satisfaction. **Example Inference:** If NDCG@10 is high, users are more likely to see relevant recommendations within their top 10 suggestions, enhancing their experience. #### c. Accuracy **What it tells you:** Accuracy is the percentage of correct predictions (relevant vs. irrelevant recommendations) made by the system. **Intuition:** - High accuracy means the system is generally good at distinguishing relevant recommendations from irrelevant ones. - However, it doesn’t capture how well the system handles edge cases, like rare items or user-specific preferences. **Example Inference:** If accuracy is 95%, most recommendations are likely correct, but it doesn’t ensure that all relevant items are included. #### d. ROC AUC (Receiver Operating Characteristic Area Under the Curve) **What it tells you:** ROC AUC evaluates how well the system can separate relevant from irrelevant items across different thresholds. **Intuition:** - High AUC means the system can effectively rank relevant items higher than irrelevant ones, regardless of the cut-off threshold. - Low AUC suggests that the system struggles to distinguish relevant items from irrelevant ones. Example Inference: If AUC is 0.95, the system is very reliable at ranking relevant items consistently across all users. #### e. Precision **What it tells you:** Precision measures the proportion of recommended items that are actually relevant. **Intuition:** - High precision means most of the recommendations made are useful and relevant to the user. - Low precision indicates that users are being shown many irrelevant items, which could reduce trust in the system. **Example Inference:** If precision is 80%, 8 out of every 10 recommendations are likely to be relevant. #### f. Recall **What it tells you:** Recall measures the proportion of all relevant items that are successfully recommended. **Intuition:** - High recall means the system is good at identifying all the relevant items, even if it occasionally includes irrelevant ones. - Low recall suggests that many relevant items are being missed. **Example Inference:** If recall is 70%, the system is finding 70% of all the relevant items for a user, but some are still being left out. #### g. Recurrence Rate **Definition:** The proportion or frequency of recurrent events or patterns within a dataset. **What it tells you intuitively:** - A higher recurrence rate means the dataset contains frequent repeated events or patterns. - A lower recurrence rate suggests fewer or rare repetitions in the data. **Example Inference:** If the recurrence rate is 60%, it means 60% of the events in the dataset are part of some repeating pattern. This helps identify how cyclical or predictable the data is. #### h. Mean Absolute Error (MAE) **Definition:** The average absolute difference in days between the predicted and actual recurrence. **What it tells you intuitively:** MAE shows how far off the predictions are, on average, from the true recurrence intervals, ignoring whether the difference is an overestimation or underestimation. Lower MAE means more accurate predictions. **Example Inference:** If MAE is 3 days, the predicted recurrence intervals are, on average, 3 days away from the actual intervals. This gives a straightforward sense of how precise the predictions are. #### i. Mean Squared Error (MSE) **Definition:** The average squared difference in days between predicted and actual recurrence. **What it tells you intuitively:** - MSE penalizes larger errors more heavily because it squares the differences. - Lower MSE means the model is generally accurate and avoids large mistakes in predictions. **Example Inference:** If MSE is 16 days², it indicates that while most predictions may be close, any larger errors in the recurrence interval predictions significantly impact the score. This makes it useful for identifying models prone to big errors. ### Evaluation metrics for specific algorithms Recommendation models vary in type, as previously mentioned. Hence, there is no single generic approach to evaluate the models. Instead, they can be evaluated using different metrics specific to each algorithm. The evaluation metrics for information retrieval algorithms are as follows: #### a. Information Retrieval
Recommendation type Algorithms Evaluation Metrics
`Sequential Recommendation` SubSeq
  • Coverage: Coverage measures the proportion of all possible items that the system can recommend.
  • NDCG at K (Normalized Discounted Cumulative Gain at K): NDCG measures how well the recommendations are ranked, focusing on the position of relevant items within the top K recommendations.
  • Accuracy: Accuracy is the percentage of correct predictions (relevant vs. irrelevant recommendations) made by the system.
`Personalized Recommendation` Light FM
  • ROC AUC (Receiver Operating Characteristic Area Under the Curve): : ROC AUC evaluates how well the system can separate relevant from irrelevant items across different thresholds.
  • Precision: : Precision measures the proportion of recommended items that are actually relevant.
  • Recall: Recall measures the proportion of all relevant items that are successfully recommended.
Pixie
  • Precision: Precision measures the proportion of recommended items that are actually relevant.
  • Recall: Recall measures the proportion of all relevant items that are successfully recommended.
  • Coverage: Coverage measures the proportion of all possible items that the system can recommend.
`Recurring Purchase Recommendations` Recurrence Finder
  • Recurrence Rate: The proportion or frequency of recurrent events or patterns within a dataset.
  • Mean Absolute Error (MAE): The average absolute difference in days between predicted and actual recurrence.
  • Mean Squared Error (MSE): The average squared difference in days between predicted and actual recurrence.
Each of these evaluation metrics serves a specific purpose in assessing the performance of a respective model, providing insights into its performance and reliability. -------------------------------------------------------------------------------- title: "Time Series" description: "QuickML is a fully no-code ML pipeline builder service in the Catalyst development platform for creating machine-learning pipelines with end-to-end solutions." last_updated: "2026-11-11T10:19:21.000Z" source: "https://docs.catalyst.zoho.com/en/quickml/help/learning-center/time-series/" service: "QuickML" -------------------------------------------------------------------------------- # Introduction to Time Series Data
**DC Availability:** Time series forecasting model is available across the **US**, **IN**, **EU**, **AU**, **JP**, **SA**, and **CA** data centers.
Time series refers to a sequence of data points representing how one or more features change over time. These data points are recorded at regular intervals, allowing for the analysis of trends, seasonality changes, patterns, and anomalies over time. Time series data can be categorized into two types: **univariate**, where only one feature is recorded, and **multivariate**, where multiple features are tracked in time simultaneously. The primary goal of time series analysis is often to predict future values of a feature, which serves as the target variable in tasks such as forecasting or anomaly detection. ### Components of Time series Time series components characterize the underlying patterns or behavior of the data series over time. These are just the factors that affect the values of observed data points. Understanding these components will help in creating better and accurate models. The four components of the time series data are: - Trend - Seasonal - Cyclic - Noise #### 1. Trend The trend component represents the long-term direction or movement in the time series. It indicates whether the data is generally increasing, decreasing, or staying constant over time. **Characteristics** - Reflects the underlying tendency of the series over a longer period. - Trends can be linear or non-linear. - Trends are not affected by short-term fluctuations or irregularities. **Example** ![Trend](https://catalyst-docs-development.zohostratus.in/images/help/quickml/time-series/trend.webp) In a company's sales data, a steady increase in sales over several years indicates a positive trend. #### 2. Seasonal The seasonal component represents regular, repeating patterns in the time series that occur within a fixed period, such as daily, monthly, or yearly. **Characteristics** - Seasonality occurs at regular intervals and has a fixed period. - Often driven by external factors such as weather, holidays, or cultural events. - Seasonal effects are predictable and recur at the same time each year, month, week, or day. **Example** ![Seasonal](https://catalyst-docs-development.zohostratus.in/images/help/quickml/time-series/seasonal.webp) The example here shows the monthly passengers with respect to each month from 1949 to 1960, where we can see the seasonal distribution of the passengers in the chart. #### 3. Cyclic The cyclic component refers to fluctuations in the time series that occur over longer periods, usually influenced by economic or business cycles. **Characteristics** - Cycles are usually irregular in period and amplitude. - They can last for more than a year, often several years. - Unlike seasonality, cyclic patterns are less predictable in their frequency and duration but are influenced by broader economic factors. **Example** ![Cyclic](https://catalyst-docs-development.zohostratus.in/images/help/quickml/time-series/cyclic.webp) Sales of new family houses fluctuate during certain periods, but these changes are not seasonal, as seen in the graph. These fluctuations could be influenced by periods of economic expansion and recession, which are less predictable than seasonal patterns. #### 4. Noise The noise component captures the random variation in the time series that cannot be attributed to trend, cyclic, or seasonal patterns. It represents the unpredictable, irregular fluctuations in the data. **Characteristics** - Noise is the residual part of the time series after removing trend, cyclic, and seasonal components. - Random and unpredictable. - Noise does not follow any specific pattern and can be caused by random factors or measurement errors. **Example** ![Noise](https://catalyst-docs-development.zohostratus.in/images/help/quickml/time-series/noise.webp) As we can conclude from the graph, there is no specific trend, seasonality, or cyclical pattern in the changes in the stock price of the company. The price fluctuations appear as random ups and downs with no predictable pattern. ### Stationarity Stationarity refers to a characteristic of time series data where the statistical propertie,s such as mean, variance, and autocorrelation, remain constant over time. - Mean is the average value of observations over a certain time period; - Variance is the measure of the spread or dispersion of the value around the mean, - Autocorrelation is the correlation of the series with its previous values. All the three statistical properties of the time series data should remain constant over time to conclude that the series is stationary. Understanding the series is stationary or not is important, as it informs the type of preprocessing needed to build an effective time series model.When a series is stationary, the recorded values either do not change or stay within the same range over time. Let's look at example use cases where the recorded series considered as stationary or non-stationary series. #### a. Non-stationary series A time series data considered non-stationary if the recorded values were affected at different times due to the presence of either trend, seasonality, cyclic or noise in the data. **Example:**\ Passengers of an Airline will be in increasing trend with seasonal fluctuations every year, as shown in the plot. Hence, this series is considered as non-stationary series. **The ADF test result to assess the presence of stationarity** ``` ADF Statistic: 0.81 p-value: 0.99 Critical Values: {'1%': -3.48, '5%':-2.88, '10%': -2.57} Fail to reject the null hypothesis: The series is not stationary. ``` ![Non-stationary-series](https://catalyst-docs-development.zohostratus.in/images/help/quickml/time-series/non-stationary-series.webp) #### b. Stationary series When a series is stationary, the recorded values either do not change or stay within the same range over time. **Example:**\ After applying differential transformation technique of lag 2 , the non-stationary series is converted to stationary series. If we plot the transformed values in a chart, it will appear as shown below: ![Non-stationary-series](https://catalyst-docs-development.zohostratus.in/images/help/quickml/time-series/non-stationary-series.webp) **ADF Test results to assess the presence of stationarity after data transformation** ``` ADF Statistic: -2.96 p-value: 0.03 Critical Values: { '1%': -3.48, '5%': -2.88, '10%':-2.57 } Reject the null hypothesis: The series is stationary. ``` Time series models are typically built using stationary data. If a series is non-stationary, it should be transformed into a stationary series before training the model to ensure accurate future predictions. Two statistical tests, known as the ADF and KPSS tests, are be performed on the time series data to determine whether stationarity is present in the series. #### Tests for Stationarity **Stationarity** in a time series means that the statistical properties of the series do not change over time. In other words, if you look at different parts of the series, they should look statistically similar. For a series to be stationary, it should have **a constant mean, constant variance, and constant auto correlation.** There are two types of statistical methods that can be performed on the time series data to check for the presence of stationarity. They are **ADF** test and **KPSS** test. However, before going to stationarity tests, let's understand a concept in statistical tests called hypothesis. **Hypothesis:** Hypothesis testing is a statistical method used to make inferences or draw conclusions about a dataset using sample data drawn from the entire available data. It helps us decide whether there is enough evidence in our sample to support or reject a particular claim or hypothesis about the whole dataset. - **Null Hypothesis (H₀)**: This is the assumption that there are no effects or differences. It represents the status quo. - **Alternative Hypothesis (H₁)**: This is the opposite of the null hypothesis, and it represents a new claim or effect. This is what you would need to test for. Now that we understand what the hypotheses mean, let's look into the stationarity tests: 1. #### ADF Test The Augmented Dickey-Fuller (ADF) test is a statistical test used to determine whether a time series has unit root or not. Presence of unit root indicates that the values are highly dependent on previous values indicates that series is non-stationary. **Goal:** ADF test is used to check if the series contains unit root. **Null hypothesis**: The time series has unit root, hence it is non-stationary. **Interpretation**: If the ADF test statistic is less than the critical value, then the null hypothesis is rejected concluding that the time series is Stationary. **Testing process**: The ADF test works by testing the null hypothesis to check the presence of a unit root in time series indicates that the series is non-stationary. 2. #### KPSS Test The Kwiatkowski-Phillips-Schmidt-Shin (KPSS) test is another statistical test used to check the stationarity of a time series. It differs from the ADF test in that it tests the null hypothesis that the time series is stationary around a mean or a deterministic trend. **Goal**: KPSS test is used to check if the series is stationary. **Null hypothesis**: The time series is stationary around a constant mean or deterministic trend. **Interpretation**: If the KPSS test statistic is greater than the critical value, the null hypothesis is rejected, indicating the series is non-stationary. **Testing process**: The KPSS test examines whether the time series is stationary by testing for a deterministic trend or mean around which it fluctuates. #### How to infer the test results ADF and KPSS tests generate a few statistical values that helps us to classify the series is stationary or not. These values are: - Test statistic - P-Value - Critical Values at 1%, 5%, and 10% Confidence Intervals #### Test Statistic Test statistic is the calculated value in the tests to determine how likely the value would be if the null hypothesis were true. Calculate the test statistic based on your sample data. - For a z-test: test statistic is z = (X̄ - μ) / ( σ/ √n) (Statistic value for Whole data) - For a t-test: test statistic is t = (X̄ - μ) / (s / √n) (Statistic value for Sample data) Here, X̄ is the sample mean, μ is the population mean, s is the standard deviation of Sample or σ is standard deviation for whole data, n is the sample size. In QuickML, the ADF and KPSS test statistics are calculated from their respective tests on the whole input data. Both these test statistic values provide a measure of the evidence against the null hypothesis. The strength of the evidence is assessed at three levels—strong, moderate, and weak—by comparing the test statistic value to the critical values at the 1%, 5%, and 10% significance levels. #### P-Value **What is p-Value?** The p-value in both tests indicates the probability of obtaining a test statistic value as extreme as the one observed, assuming the null hypothesis is true. P-value can be obtained from the statistical tables to determine whether to the null hypothesis should be rejected. **How is it derived?** 1. Formulating and estimating the ADF / KPSS regression model 2. Calculating the test statistics t𝛄 as mentioned above. 3. Comparing t𝛄 against critical values derived from simulation. 4. Interpolating to obtain an approximate p-value based on how the test statistic compares to critical values under the null hypothesis. #### In the ADF test **Null hypothesis:** The time series has unit root meaning it is non-stationary. **Interpretation:** Assuming the significance interval is set as 5%. 1. **Low p-value** ( ≤ 0.05): A low p-value indicates that you can reject the null hypothesis of a unit root, suggesting that the series is stationary. 2. **High p-value** ( > 0.05): A high p-value indicates that you failed to reject the null hypothesis of a unit root, suggesting that the series is non-stationary. #### In the KPSS test **Null hypothesis:** The time series is stationary around a constant mean or deterministic trend. **Interpretation:** Assuming the confidence interval is 5%. 1. **Low p-value** ( ≤ 0.05): A low p-value suggests you reject the null hypothesis indicates that the series is non-stationary. 2. **High p-value** ( > 0.05): A high p-value suggests you fail to reject the null hypothesis of stationary. #### Critical Values (at 1%, 5%, and 10% levels): Critical values are predefined thresholds or benchmarks used in stationarity tests like the Augmented Dickey-Fuller (ADF) and the Kwiatkowski-Phillips-Schmidt-Shin (KPSS) tests to determine whether to reject or fail to reject the null hypothesis. These values help assess the statistical significance of the test results. These values serve as benchmarks for decision-making in both KDF and KPSS tests. For example, at 5% significance interval: - **At Critical value at 1%**: It is a very strict criterion. If the test statistic value is more extreme than the 1% critical value, then there is a strong evidence to reject the null hypothesis. - **At Critical value at 5%**: If the test statistic is more extreme than the 5% critical value, then there is moderate evidence to reject the null hypothesis. - **At Critical value at 10%**: It is a more lenient criterion. If the test statistic is more extreme than the 10% critical value, then there is weaker evidence to reject the null hypothesis. **Example:**
ADF Test KPSS Test
  • Null Hypothesis: The series has a unit root hence it is non-stationary.
  • Example 1:
    • ADF statistic = -3.5
    • Critical values:
      • CV at 1%: -3.9
      • CV at 5%: -3.3
      • CV at 10%: -3.0
    • Since -3.5 is more extreme than -3.3 (the 5% critical value), you reject the null hypothesis at the 5% level with only moderate evidence.
    • And, if the p-value is 0.04, this confirms you can reject the null hypothesis at 5% confidence interval, since 0.04 < 0.05.
    • Test concludes the series is stationary.
  • Null Hypothesis: The series is stationary.
  • Example 1:
    • KPSS statistic = 0.6
    • Critical values:
      • CV at 1%: 0.73
      • CV at 5%: 0.46
      • CV at 10%: 0.34
    • Since 0.6 is greater than the 5% critical value (0.46), you reject the null hypothesis of stationarity at the 5% level with only moderate evidence.
    • If the p-value is 0.02, it means you can reject the null at the 5% level, since 0.02 < 0.05.
    • Test concludes the series is non-stationary.
  • Example 2:
    • ADF Statistic: 3.14
    • p-value: 1.0
    • Critical values:
      • CV at 1%: -3.46
      • CV at 5%: -2.87
      • CV at 10%: -2.57
    • The p-value is greater than the significance level 0.05 and ADF statistic is far greater than all the critical values, hence there is no sufficient evidence to reject the null hypothesis.
    • This concludes that the series is non-stationary.
  • Example 2:
    • KPSS Statistic: 1.65
    • p-value: 0.01
    • Critical values:
      • CV at 1%: 0.73
      • CV at 5%: 0.46
      • CV at 10%: 0.34
    • Reject the null hypothesis: The series is not stationary.
    • The test statistic (1.65) is greater than the critical value (0.46) at the 5% level, and the p-value (0.01) is less than 0.05, we reject the null hypothesis.
    • This means that we have strong evidence to conclude that the series is non-stationary.
#### Possible outcomes of the tests The following are the possible outcomes of applying both tests. **Outcome 1**: Both tests conclude that the given series is stationary - The series is stationary. **Outcome 2**: Both tests conclude that the given series is non-stationary - The series is non-stationary. **Outcome 3**: ADF concludes non-stationary, and KPSS concludes stationary - The series is trend stationary. To make the series strictly stationary, the trend needs to be removed in this case. Then, the de-trended series is checked for stationarity. **Outcome 4**: ADF concludes stationary, and KPSS concludes non-stationary - The series is difference stationary. Differencing is to be used to make the series stationary. The differenced series is then checked for stationarity. #### How to address the stationarity present in columns In QuickML, we will be using both Augmented Dickey-Fuller (ADF) test and Kwiatkowski-Phillips-Schmidt-Shin (KPSS) test as explained above to check the stationarity of each feature in the time series dataset. QuickML platform offers a set of data transformation techniques helps to transform non-stationary columns in dataset. By transforming these columns into stationary ones, QuickML ensures that the generated models using the transformed data are well-suited to capture underlying patterns and trends. Two data transformation techniques that are used primarily to address the stationarity present in columns are: #### Differencing Differencing is done by computing the differences between consecutive observations. It can help stabilize the mean of a time series by removing changes in the level of a time series and therefore eliminating (or reducing) trend and seasonality. Order of differencing indicates that the number of times the differencing needs to be performed on the non-stationary series to transform it into stationary series. Max order of differencing to be provided in QuickML is 5. If even after the fifth order of differencing the series is non-stationary, any of the methods in power transformations can be applied to stabilize the variance in the time series. #### Power transformation A power transform will make the probability distribution of a variable more Gaussian. This is often described as removing a skew in the distribution, although more generally, it is described as stabilizing the variance of the distribution. Apart from the log transformation, we can use a generalized version of the transform that finds a parameter (lambda) that best transforms a variable to a Gaussian probability distribution. In QuickML, there are two types of power transformations available - **Box Cox Transformation**\ The Box-Cox transformation aims to find the best power transformation of the data that reduces skewness and stabilises variance. It is effective when data exhibits heteroscedasticity (unequal variance across levels of predictors) and/or skewness. - **Yeo Johnson Transformation**\ The Yeo-Johnson transformation is a modification of the Box-Cox transformation that can handle both positive and negative values of the target variable. Like Box-Cox, Yeo-Johnson transforms data to stabilize variance and normalize distributions. It is more flexible, as it can handle negative values. Yeo-Johnson is often preferred when the data includes zeros or negative values, which the original Box-Cox cannot handle. A parameter in the Yeo-Johnson transformation, often referred to as lambda, is used to control the nature of the transform. DIfferent transformation techniques are selected based on the lambda value. - lambda = -1. is a reciprocal transform. - lambda = -0.5 is a reciprocal square root transform. - lambda = 0.0 is a log transform. - lambda = 0.5 is a square root transform. - lambda = 1.0 is no transform. ### Model evaluation metrics **Metrics for Forecasting** When evaluating forecasts in time series analysis, several metrics are commonly used to assess the accuracy and performance of the model. Each metric provides different insights into how well the forecasted values align with the actual observed values **1. Mean Absolute Percentage Error (MAPE)** MAPE expresses the average absolute percentage difference between predicted and actual values relative to the actual values. It provides insight into the relative accuracy of the forecasts and is particularly useful when comparing the accuracy of models across different datasets or scales. **Interpretation:** For example MAPE value is 8% indicates that the model is relatively accurate as it's predictions deviate, on average, by 8% from the actual values. Generally, MAPE values below 10% indicates that model is highly accurate, between 10-20% is good, and values above 20% may indicate the need for model performance improvement. **2.Symmetric Mean Absolute Percentage Error (SMAPE)** SMAPE addresses the issue of asymmetry in MAPE by using the average of the absolute values of the actual and predicted values in the denominator. It's often preferred when dealing with small or zero values in the dataset, as it avoids division by zero and provides a more balanced measure of accuracy. **Interpretation:** SMAPE offers a balanced perspective on error, particularly useful when actual values are small or zero. By using the average of the actual and predicted values in the denominator, SMAPE mitigates the impact of asymmetry. A lower SMAPE value indicates a smaller percentage difference between the actual and predicted values, signaling better model accuracy. It provides a symmetric measure that avoids the issues of extreme percentage errors present in other metrics like MAPE. **3. Mean Square Error (MSE)** MSE measures the average of the squares of the errors, giving more weight to large errors. It provides a more detailed insight into the spread of errors but can be heavily influenced by outliers due to the squaring operation. MSE is useful for penalising larger errors more significantly. **Interpretation:** MSE highlights the variance of errors, with larger errors receiving more weight due to the squaring function. This metric is particularly sensitive to outliers, making it ideal for cases where we want to penalize large deviations from the actual value. A lower MSE indicates a model with fewer and smaller errors on average, though it can be disproportionately affected by outliers. It is useful for understanding the spread of error but may not be as interpretable in real-world units. **4. Root Mean Square Error (RMSE)** RMSE is the square root of the MSE and is more interpretable in the same units as the original data. Like MSE, RMSE gives a measure of the average magnitude of the error, with higher values indicating larger average errors. It is widely used and provides a good balance between sensitivity to error size and interpretability. **Interpretation:** RMSE provides an average error magnitude, retaining the same units as the original data, which makes it more interpretable than MSE. RMSE is sensitive to large errors and is commonly used to understand typical prediction errors. A lower RMSE value indicates a model with lower error and better predictive accuracy. It is useful for models where interpreting errors in terms of the original data units is helpful, giving a clear sense of the "size" of errors. **5. Mean Square Log Error (MSLE)** MSLE calculates the mean of the squared differences between the natural logarithm of the predicted values plus one and the natural logarithm of the actual values plus one. It penalizes underestimates more heavily than overestimates. **Interpretation:** MSLE focuses on the ratio of predicted to actual values, dampening the impact of large values by applying a log transformation. This metric penalizes under-predictions more than over-predictions, making it suitable for models where underestimates are more detrimental than overestimates. A lower MSLE value implies that the predicted values align closely with the actual values on a logarithmic scale, reducing the penalty for high variance in large values and emphasizing performance on a multiplicative scale. **6. Root Mean Square Log Error (RMSLE)** RMSLE is simply the square root of MSLE. It provides a more interpretable measure in the same units as the target variable.Like MSLE, RMSLE penalizes underestimates more heavily than overestimates due to the squared differences. **Interpretation:** RMSLE is the square root of MSLE, preserving the interpretability in terms of the original units, though on a logarithmic scale. Like MSLE, RMSLE penalizes under-predictions more heavily, providing a measure that prioritizes errors in the lower range. A lower RMSLE value suggests closer alignment between predicted and actual values on a log scale, ideal when large positive discrepancies are tolerable but underestimations need to be minimized. -------------------------------------------------------------------------------- title: "Text Analytics" description: "QuickML is a fully no-code ML pipeline builder service in the Catalyst development platform for creating machine-learning pipelines with end-to-end solutions." last_updated: "2026-11-11T10:19:21.000Z" source: "https://docs.catalyst.zoho.com/en/quickml/help/learning-center/text-analytics/" service: "QuickML" -------------------------------------------------------------------------------- # Introduction to NLP in Text Analytics
**DC Availability:** Text analytics model is available across the **US**, **IN**, **EU**, **AU**, **JP**, **SA**, and **CA** data centers.
Natural Language Processing (NLP) is a subfield of artificial intelligence (AI) that enables the machines the ability to understand, interpret, and generate human language in way that is meaningful and useful. WIth the enormous amounts of textual data getting generated everyday, NLP blends computational linguistics, machine learning, and deep learning to allow machines to process natural language data and extract valuable insights from it, in turn generating value to businesses. Natural language processing enhances the user experience by proactively addressing data-driven concerns and challenges faced by business users, thereby adding significant value to the business. #### Why is it popular? NLP’s popularity is driven by its ability to make sense of complex human language and apply it to real-world problems, making interactions with technology more natural and intuitive. Key reasons for its increasing popularity include: - **Extracting Insights from Data**: Businesses collect vast amounts of textual data from various sources like social media, articles, product reviews, feedback, legal documentation, etc. They need to understand what customers or users are talking about their products or services. NLP provides efficient ways to process, analyze, and extract valuable insights from this large, unstructured data. - **User-Centric Applications**: With the advent of NLP, businesses rely on virtual assistants, chatbots, and automated customer service systems to address user queries faster and efficient manner. - **Translation Capabilities**: NLP enables machine translation, facilitating communication across languages and helping to remove language barriers in society. - **Summarization Capabilities**: Lengthy documents can be converted into short summaries for quick reading, saving time and effort. These are just a few applications, with more innovations emerging every day. ### Business applications NLP enables various applications in business environments by utilizing NLP tasks to help companies automate processes and extract actionable insights from large datasets. Let's looks at a few NLP tasks and their real-time business applications. #### NLP Tasks Tasks refer to specific objectives or problems that an NLP model is designed to perform or solve. Each task is focused on addressing a particular aspect of processing or analyzing natural language. **Examples of NLP Tasks**\ Tasks that could be performed using QuickML's Text analytics builder include: - **Spam detection**: Spam classification is the binary classification model, where the purpose is to classify the emails received as spam or not. The spam detection model takes the email, subject, sender details, and so on as input to the model and generates the probability the email being spam. Based on the threshold, it will classify the email as spam or not spam. Text classification tasks: Various other tasks that come under text classification similar to Spam classification for emails are intent detection, commitment classification, and emotion detection and tonality identification fall under the text classification tasks. - **Language detection**: Language detection is a fundamental step applied in various NLP applications like language translation, grammar correction, and text-to-speech. Detecting the language used to search for web content and return the results in the same language or used in chatbots/translation tools to provide response in the same language. - **Sentiment Analysis**: Determines the sentiment tone (positive, negative, or neutral) of a piece of text. In general, the input to a sentiment classification model would be a piece of text, and the output is the sentiment that is expressed in the text. In a real-world scenario, sentiment classification would be helpful for businesses to find out what their customers are feeling about their products using the product reviews and understand the negatively impacting areas. Tasks that can be performed using Zia features in QuickML are: [Zia Features](https://docs.catalyst.zoho.com/en/quickml/help/zia-features/) The following tasks can be performed using [Catalyst Zia services](https://console.catalyst.zoho.com/baas/825916373/project/2003000000101001/Development#/zia/face-analytics): - **Named Entity Recognition (NER**): Detectis proper nouns, such as names of people, places, and organizations. - **Keyword extraction**: A technique in NLP to identify and extract the most relevant keywords from text data, helping capture the main topics and, in turn, aiding in summarising information, indexing, and categorising documents. #### NLP applications Applications refer to the practical, real-world usecases of NLP models. An application is often built using one or more NLP tasks to solve broader, end-user problems or provide services. **Examples of NLP Applications**: - **Sentiment Analysis Tools**: Uses sentiment extraction, tonality, and emotion identification tasks to gauge public opinion. It is crucial for businesses and brands that place a large value on understanding customer experiences. It can be implemented for the following purposes: - Gauging and monitoring sentiments expressed by customers in social media platforms and opinion surveys - Automating the analysis of customer feedbacks and reviews and reducing the manual workload involved. - Identifying and addressing critical situations in real-time by the automated monitoring of negative sentiments - **Email Spam Filters**: Spam filters leverage tasks like spam classification to identify and filter unsolicited or unwanted emails, automatically moving them to the spam folder. This improves the user experience by reducing inbox clutter, saving time, and minimizing the risk of exposure to phishing attempts, fraudulent schemes, and other harmful scams. - **Customer Feedback analysis**: By leveraging multiple NLP tasks such as sentiment analysis and keyword extraction, businesses can gain insights into what customers are saying about their products in reviews or on social media. This enables them to address customer concerns or complaints effectively, ultimately enhancing customer satisfaction and improving the overall experience - **Enhance Customer support efficiency**: Tasks like Emotion detection enable businesses to analyze customer interactions with their customer support staff via chats, calls, complaints, feedback or reviews, social media posts, and more. This helps to identify emotions that their customer going through, such as happiness, frustration, or anger upon using their products or services. This helps businesses better understand their customer sentiment, allowing them to respond empathetically, tailor their services, and improve customer relationships. Detecting what their customer feels gives a window to implement proactive measures to address their concerns, resolve their issues, and thereby enhance brand loyalty. - **Customer support at scale**: Businesses leverage intent and activity classification tasks to interpret user queries accurately and provide responses accordingly. By automating the resolution of common or basic inquiries, organizations can significantly reduce response times and free up resources for more complex issues. This automation enables customer support to scale efficiently, extending the reach of its support services, and ensuring consistent service delivery. Additionally, virtual assistants are employed to model and deliver responses, further enhancing the speed and quality of support while maintaining a personalized user experience. An application is essentially a practical implementation where multiple tasks come together to create value for users. While tasks focus on specific language operations, applications focus on solving broader user-centric problems by combining several tasks. These are just a few examples of how NLP tasks are being applied in real-world businesses. With advancements in technology, a plethora of innovative applications continues to emerge, revolutionizing user experiences, streamlining processes, and fostering greater customer loyalty by addressing their needs more effectively ### Steps to build a pipeline QuickML uses classic mode and smart mode pipeline builders to create text analytics models. The **Classic mode** features a drag-and-drop pipeline builder interface where a list of data and machine learning operations are available for building NLP models. These nodes can be used to drag and drop into the builder to build the machine learning pipeline, which, upon execution, generates an NLP model. The Smart mode provides a prebuilt template for building NLP models, designed to simplify the model development process from data preprocessing, Feature Extraction, to model selection. With this prebuilt template, stages are predefined, and users are presented with various parameters to configure operations at each stage. This template removes the ambiguity of which operation to use and when, to build NLP model and streamlines the model-building process. #### Build a Model Using Smart Builder Building text-based machine learning models follows a similar process to other ML models, involving similar steps from data pre-processing, algorithm selection, and tuning the model. However, NLP models differ in the sequence of applying specific text-based operations. This sequence is crucial to build a model, as it ensures that the text data is transformed and processed in the most effective way before applying machine learning algorithms. In the Smart Mode of model building, the pipeline builder is streamlined into three main steps: - **Pre-processing**: In this step, raw text data is cleaned and prepared for further analysis. This involves operations such as tokenization, case conversion, stemming and lemmatization, stopword and noise removal, and normalization. - **Feature Extraction**: This step involves converting the text data into numerical features that can be understood by machine learning algorithms. Techniques like TF-IDF, word embeddings, and bag-of-words are commonly used. - **Algorithm Selection**: In the final step, a suitable algorithm is chosen from the available supervised or unsupervised learning algorithms based on the use case. The model is then trained using the pre-processed data from the feature extraction step. Each step in the Smart Mode Pipeline Builder comes with configurable stages/operations that allow you to configure the operations to your specific NLP problem. Let's deep dive into each step and explore the stages/operations available in them: #### Stage 1: Preprocess Text data is usually raw, so it's important to process the data before feeding it into any algorithm to improve performance. In our smart builder, textual data pre-processing stage has 7 operations where the first six operations work on the textual data and the final operation Label Encoding applied on the target column of the labeled datasets. The output of this stage is passed on to the Feature extraction stage, where the entire text data is converted to numerical format. Let's look at the operations in the preprocessing stage. #### a. Case conversion Convert raw text data with different cases to a common desired case (lower case in general). This would help in reducing sparsity (without common casing "NLP, Nlp, nlp" would be considered as three different words). #### b. Tokenization Tokenization is breaking the textual data down into further smaller units. For instance, paragraphs can be segmented into sentences, sentences into words, and words into individual characters, allowing to uncover patterns or insights that are not visible in larger segments. In QuickML, tokenization of sentences can be performed at both the word and character levels. After tokenization applied on the data at theWord level, subsequent operations (Stemming & lemmatization, Stop words removal, Noise Removal, Normalization) can be applied to the data as needed. However, at the Character level, only the Noise removal operation alone can be applied to the tokenized data. **Tokenization stages:** Text : Sentences ➔ words ➔ characters #### c. Stemming and Lemmatization Both techniques reduce words to their root forms, helping normalize word variations for more consistent analysis. Stemming trims trailing characters to obtain its root form, which may not always be a proper word. Lemmatization, however, reduces words to their dictionary form by considering context, resulting in a proper word with accurate meaning. The key difference is that stemming is faster but less precise, while lemmatization is more accurate but slower, as it relies on vocabulary and grammar. **Sample:**
Words Stem word Lemmatized word
Studying, Studies, Studied Studi Study
Running, Runner, Runs Run or Runn Run
Changing Chang Change
#### d. Stop word removal Languages have many filler words that do not provide any significant use during training. By removing them, we can make our model to focus more on important words. Articles, prepositions, and so on etc come under the stop words category. #### e. Noise removal Removing unwanted words or parts of text depending on the feature in hand. Example: sentiment classification in NLP does not require the email addresses. It could be done using regex or having a list of noise words. Additional spaces, special characters, and digits could also be considered as noise. #### f. Normalization Converting different formats of text into a standard format. Example: The words USA, usa, United states of America, The united states of America, the usa to usa. This could be achieved using dictionary mapping. Noise removal can also be considered as a part of text normalization.
Raw Normalized
2moro 2mrrw 2morrow 2mrw tomrw tomorrow
b4 before
otw on the way
:) :-) ;) smile
#### g. Label Encoding Label encoding is a method used to transform categorical variables into numerical values by assigning a unique integer to each category. It helps machine learning algorithms to process categorical data effectively. In the context of text data, the target label represents a categorical variable with various classes that can be converted into numeric form to train the model effectively. Now, our text data is cleaned and ready to be transformed into word vectors using the vectorization techniques available in the feature extraction stage below. ## Stage 2: Feature Extraction Textual data cannot be fed directly fed into an algorithm; it must first be converted into a numerical format. There are several methods for this conversion, known as vectorization techniques, which can also be used to extract additional features from the vectorized data. In this context, each word, sentence, or character presented to a model is treated as a feature. That being said, in QuickML, text -to-number conversion happens using the techniques below. This is the process of transforming textual data into numerical format that captures the semantic meaning of words or phrases. Techniques available in QuickML includes: #### a. Bag Of Words (BOW) Bag of words, create a vocabulary of unique words present in the whole text corpus. Each sentence is then represented as a vector, does mapping based on the presence of these words, with the values representing the frequency of occurrence of each word within that sentence. **Example:** Below is an example showcasing the vectorized representation of the Bag of Words model for the following sentences: **S1.** Machine learning solves real world problems **S2.** NLP popularity is rising **S3.** Language translation is NLP task **Bag of Words Table representation:** ![bag of words table](https://catalyst-docs-development.zohostratus.in/images/help/quickml/text/bag_of_words_table.webp) Rows represent the sentences provided, and columns represent each word in these sentences, and values represent the frequency of occurrence of the specific word in each sentence. **Vector Representation:** Each sentence is represented as a vector by having word counts from the BoW table. Vector length is equal to the number of unique words in the vocabulary. Below is the vectorized representation of the three sentences above. Sentence 1 → [ 1, 1, 1, 1, 1, 1, 0, 0, 0, 0, 0, 0, 0] Sentence 2 → [0, 0, 0, 0, 0, 0, 1, 1, 1, 1, 0, 0, 0] Sentence 3 → [0, 0, 0, 0, 0, 0, 1, 0, 1, 0, 1, 1, 1] BoW model represents text data as vectors and each word in the text corpus as a feature. It simplifies the data for modelling but fails to capture the sanctity of the order of words and its contextual meaning. #### b. TF-IDF (Term Frequency - Inverse Document Frequency) TF-IDF quantifies the importance of each word in the corpus and allows to extract important features from the text data that are helpful in training the model for better performance. The higher the TF-IDF score, the more important the word is, and vice versa. It can be calculated in three steps. **Step1: Term Frequency (TF)** measures how frequently a term appears in a document relative to the total number of unique words in that document. Term Frequency of a word (**TF**) = Number of times a word appears in a document / Total number of unique words in the document **Step2: Inverse Document Frequency (IDF)** measures how important a term is across the documents. IDF of a word= log(N/n), where, **N** is the total number of documents and **n** is the number of documents a word has appeared in. **Step 3: Calculate TF-IDF score** **TF-IDF = TF * IDF** The IDF of less commonoccurring words will be high and low for common words. Thus, words like 'the, is, a' etc. will have a low importance, and higher importance could be given to actual document specific words. **Example:** Let's use the sample example from Bag of Words: **S1.** Machine learning solves real world problems **S2.** NLP popularity is rising **S3.** Language translation is NLP task **Step 1: Calculate Term Frequency (TF)** ![TF table](https://catalyst-docs-development.zohostratus.in/images/help/quickml/text/term_frequency_table.webp) **Step 2: Calculate IDF score** ![IDF table](https://catalyst-docs-development.zohostratus.in/images/help/quickml/text/idf_table.webp) **Step 3: Calculate TF-IDF** Multiply TF by IDF for each term in each sentence ![TF-IDF table](https://catalyst-docs-development.zohostratus.in/images/help/quickml/text/tfidf_table.webp) Key insights from the example includeare: **High TF-IDF** values indicate that a term is important in a specific sentence and not common across all sentences. **Low TF-IDF** values suggest that a term is either common across sentences or not unique to any single sentence. TF-IDF highlights the words important for understanding the context in the corpus. It showcases how some words or terms are important in a specific text than others. #### c. Word2Vec Word2Vec is a pre-trained word embedding model that generates numerical vectors (embeddings) for words based on their semantic and contextual relationships. It is trained on a large text corpus to ensure that words with similar meanings or contexts have embedding vectors that are close in the vector space. These relationships can be quantified using cosine similarity, where a higher score indicates greater similarity. **Example:** Words like “king” and “queen” will have vectors that are close to each other, reflecting their shared context of royalty. Similarly, “man” and “woman” will have vectors that capture their relationship and shared meaning, demonstrating Word2Vec’s ability to model semantic relationships effectively. #### d. GloVe GloVe (Global Vectors for Word Representation) is a pre-trained word embedding model similar to Word2Vec that generates embedding vectors for given words. It is a count-based model that produces embeddings by factorising a word co-occurrence matrix derived from the entire corpus. GloVe captures global statistical information by analyzing how frequently words co-occur across the corpus. Unlike Word2Vec, which uses a predictive approach based on local context, GloVe relies on global co-occurrence statistics for training. It differs from Word2Vec in the method of training. **Example:** In GloVe, words like “king” and “queen” will have similar vectors, reflecting their semantic relationship (e.g., royalty). Additionally, GloVe excels at capturing analogical relationships. **For instance:** king - man + woman ≈ queen This analogy represents the transformation: The relationship between “king” and “man” (which can be thought of as “king is to man as queen is to woman”) is mathematically captured by subtracting “man” from “king” and adding “woman.” The result is “queen”, meaning that the model understands that just as king is to man, queen is to woman. This means the vector difference between “king” and “man” is similar to the difference between “queen” and “woman”, illustrating GloVe’s ability to model both meaning and relationships effectively. ## Stage 3: Algorithms & Modelling Text data is fed to algorithms in a vectorized form to generate an NLP model. The NLP models could be broadly classified into supervised and unsupervised learning models. In QuickML, we have algorithms that use labelled data to build supervised learning models. The algorithms include: - [Naive Bayes](https://docs.catalyst.zoho.com/en/quickml/help/ml-algorithms/text-analytics/#naive-bayes) - [SVM](https://docs.catalyst.zoho.com/en/quickml/help/ml-algorithms/text-analytics/#support-vector-machine-svm) ### Model Evaluation metrics NLP also has the common evaluation metrics like accuracy, precision, f1 score, etc. #### i. Log-Loss score Log-loss, also known as logistic loss or cross-entropy loss, is a commonly used evaluation metric in natural language processing (NLP) models, especially for binary and multi-class classification tasks. Log-loss quantifies the difference between the predicted probabilities and the actual class labels. Prediction probability of data record is the probability that the model has to predict for each class that it classified under. Actual class label is the true class that the data record belongs to. Log loss score indicates how close the prediction probability to the actual class label is. The more the predicted possibility values are diverged from actual values, the higher the lob loss score. ![logloss](https://catalyst-docs-development.zohostratus.in/images/help/quickml/text/logloss.webp) **where** i is the given observation/record, y is the actual/true value, p is the prediction probability, and ln refers to the natural logarithm (logarithmic value using base of e) of a number N is the number of observations It measures the performance of a classification model whose output is a probability value between 0 and 1. The lower the log-loss score, the better the model is fit, and the higher the performance. A model with a log-loss score of 0 has the perfect skill to predict. For example: In spam classification, the actual class of an email is “Spam.” The predicted probability for the email being “Spam” is 0.78, and for being “Not-Spam,” it is 0.22. The negative natural logarithm of the predicted probability for the correct class (Spam) is 0.2485, which represents the log-loss score for that particular record. The log-loss score of the model is calculated as the average of the negative natural logarithm of the predicted probabilities for the correct classes across all records #### ii. AUC-ROC Curve The Area under the Receiver Operating Characteristic (AUC-ROC) curve is a machine learning metric that measures how well a classification model is performing. AUC represents the area under ROC curve, where ROC is a graph that plots the True Positive Rate (TPR) against the False Positive Rate (FPR) at different classification thresholds. True Positive (TP) and False Positive (FP) are terms used in the [confusion matrix](https://docs.catalyst.zoho.com/en/quickml/help/models-details/#confusion-matrix) to evaluate the performance of classification models. 1. **True Positive Rate (TPR)**, also called sensitivity or recall, measures the proportion of actual positive records that are correctly identified by the model.
Recall score = TP/(TP+FN) where FN represents False Negatives.
2. **False Positive Rate (FPR)** measures the ratio of actual negative records that are incorrectly classified as positive.
FPR = FP/(FP + TN) where TN represents True Negatives.
FPR, is also calculated as: FPR = 1- Specificity
Specificity measures the actual negative instances that are correctly identified by the model. A visual interpretation of AUC - ROC curve is below. An ROC is the plot between TRP and FPR across all possible thresholds where as AUC is the entire area under the ROC Curve. ![auc roc curve](https://catalyst-docs-development.zohostratus.in/images/help/quickml/text/auc_roc_curve.webp) The AUC (Area Under the Curve) score ranges from 0 to 1, with higher scores indicating better model performance. 1. **An AUC of 1** signifies a perfect model, where the ROC (Receiver Operating Characteristic) curve forms a complete right-angle path, achieving 100% sensitivity (True Positive Rate) with 0% False Positive Rate. 2. **An AUC of 0.75** indicates that the model has a good ability to distinguish between positive and negative classes 75% of the time, showing better performance but still leaving room for improvement. 3. **An AUC of 0.5** suggests the model performs no better than random guessing, which is the least desirable outcome. A higher AUC score always reflects better model discrimination between classes. ### Visualizations #### Wordcloud A Word Cloud is a visual representation of the most frequently occurring words in a text corpus. The size of each word in the word cloud reflects its frequency of occurrence. Word clouds are commonly used to identify quickly and highlight the most prominent keywords or phrases in large text datasets, making it easier to communicate the key terms or concepts being discussed. **Example:** Let's take an example of an excerpt from "The Chronicles of Narnia: The Lion, the Witch, and the Wardrobe". ![Wordcloud_sentence](https://catalyst-docs-development.zohostratus.in/images/help/quickml/text/Wordcloud_sentence.webp) Let's analyze the word cloud below generated for that provided text to identify the frequent and significant words used. ![wordcloud](https://catalyst-docs-development.zohostratus.in/images/help/quickml/text/wordcloud.webp) With this word cloud, we can quickly extract important keywords, gain insights, and understand the overall context of the text in a visually engaging and time-efficient manner. -------------------------------------------------------------------------------- title: "Anomaly Detection" description: "QuickML is a fully no-code ML pipeline builder service in the Catalyst development platform for creating machine-learning pipelines with end-to-end solutions." last_updated: "2026-11-11T10:19:21.000Z" source: "https://docs.catalyst.zoho.com/en/quickml/help/learning-center/anomaly-detection/" service: "QuickML" --------------------------------------------------------------------------------
**DC Availability:** Anomaly Detection model is available across the **US**, **IN**, **EU**, **AU**, **JP**, **SA**, and **CA** data centers.
### Introduction   Anomaly detection is the process of identifying data points, events, or patterns that deviate significantly from the expected behavior in a dataset. These unusual observations, also called **outliers**, can indicate critical situations such as fraud, equipment malfunctions, cybersecurity threats, or unexpected shifts in consumer behavior. In QuickML, we broadly use **unsupervised learning algorithms** for anomaly detection, where algorithms learn patterns of normality without relying on predefined labels. Instead of being explicitly told what constitutes an anomaly, the algorithm builds an understanding of normal behavior and highlights data points that do not fall within the usual expected range. This makes anomaly detection especially valuable when anomalies are rare, labels are unavailable, or normal patterns are highly dynamic. Imagine a dataset of credit card transactions. Most transactions follow a typical pattern in terms of amount, frequency, and location. However, a sudden high-value purchase in a foreign country might be flagged as an anomaly. Detecting this anomaly in real time can prevent fraud, protect customers, and save costs for financial institutions. > To know about the ML algorithms used in anomaly detection, kindly refer to the [Anomaly Detection Machine Learning Algorithms help doc](https://docs.catalyst.zoho.com/en/quickml/help/ml-algorithms/anomaly-detection/). ### Business Impact of Anomaly Detection Anomaly detection is a business-critical process that enables organizations to protect assets, improve operations, and enhance decision-making. Below are some key reasons why anomaly detection is essential across industries:   - **Fraud detection**: In finance and e-commerce, anomalies often correspond to fraudulent activities. For example, an unusually high-value purchase made from a foreign location, when compared to a customer’s usual spending behavior, could be an early sign of credit card fraud. Identifying these patterns in real time prevents financial loss and safeguards customer trust. - **Predictive maintenance**: In manufacturing and industrial settings, machines continuously generate sensor data. Detecting anomalies in vibration, temperature, or pressure readings can indicate early signs of mechanical wear or failure. Predicting and addressing these anomalies before they lead to breakdowns significantly reduces downtime and maintenance costs. - **Cybersecurity and network protection**: Anomaly detection helps identify irregularities in system logs, network traffic, or user activity that may indicate a cyberattack, data breach, or unauthorized access. For instance, a sudden surge in login attempts or data transfer volume can reveal security threats that require immediate attention. - **Healthcare and life sciences**: In healthcare, anomaly detection can monitor patient vitals, lab results, or medical imaging data to flag potential health risks. For example, a sudden drop in oxygen saturation or an irregular heartbeat pattern can alert doctors to intervene before the condition becomes critical. - **Operational insights and decision support**: Organizations can use anomaly detection to uncover hidden insights that improve efficiency and support decision-making. For example, unusual spikes in website traffic may reveal marketing campaign success or unexpected customer interests. ### What Causes Data Anomalies?  Data anomalies can emerge from a variety of underlying causes, often depending on the nature of the data and the environment in which it is collected. The main contributing factors include: - **Human error**: Manual data entry mistakes, incorrect labeling, or improper configuration of systems can easily introduce irregularities. For example, a misplaced decimal point or an incorrect date format can significantly distort analysis results. Even simple oversights, such as forgetting to update a record or duplicating entries, can lead to anomalous data points. - **System failures**: Hardware malfunctions, software glitches, or communication breakdowns between systems can corrupt or distort data. For example, a temporary network outage during data transmission might result in incomplete or duplicated entries, while a software bug could generate unexpected values or inconsistencies. - **Fraudulent or malicious activity**: In areas like finance, cybersecurity, or e-commerce, anomalies often signal potential fraud or unauthorized access. Abnormally high-value transactions, unusual login patterns, or sudden shifts in user behavior may indicate deliberate attempts to exploit or manipulate the system. - **Environmental or external changes**: Unexpected shifts in external conditions, such as economic fluctuations, market volatility or seasonal changes can alter normal data patterns. These events introduce new variables that cause temporary or permanent deviations from established trends. ### Types of Anomaly Detection    Anomalies can be categorized into several types depending on the nature and context of the data. The following sections explain each type in detail with corresponding visualization and conceptual examples. 1. **Point anomalies** A point anomaly occurs when a single observation deviates significantly from the rest of the data. These are the most common anomalies and are typically easy to detect.   For example, in a dataset of credit card transactions, a sudden high-value transaction may be flagged as a point anomaly if it does not align with the user’s previous spending behavior.   ![point anomaly](https://catalyst-docs-development.zohostratus.in/images/help/quickml/anomaly-detection/pointanomaly.webp) Interpretation: The plot above illustrates how a few data points lie far away from the main data cluster. These isolated data points are clear examples of point anomalies because they differ substantially from the majority of normal data points. 2. **Contextual anomalies** A contextual anomaly is an observation that is considered anomalous only within a specific context. This type of anomaly is especially common in datasets where the same value may be normal under certain conditions but abnormal under others. For example, a temperature reading of 10°C may be normal in winter but would be an anomaly in summer. Similarly, an online store may see a high number of purchases during holiday sales, but the same number on an ordinary day could signal suspicious activity. ![contextual anomaly](https://catalyst-docs-development.zohostratus.in/images/help/quickml/anomaly-detection/contextualanomalies.webp) Interpretation: The plot illustrates two distinct contexts, each represented by a separate cluster of data points. These clusters reflect different patterns or environments in which the data behaves normally. The highlighted point lies near one of the clusters, appearing normal when compared to the overall dataset or when evaluated in the context of the other cluster. However, within its own cluster, (when analyzed relative to the specific characteristics and distribution of points in its local context), the point stands out as unusual. This situation highlights a contextual anomaly, where an observation is considered anomalous only within a particular context or under specific conditions, even though it may seem normal in a broader or different context. 3. **Collective anomalies** A collective anomaly arises when a group of related data points together behave unusually, even if individual points appear normal.   For example, in stock market data, a consistent drop in the stock price of a company over several consecutive days could represent a collective anomaly, especially if this pattern deviates from normal fluctuations.   ![collective anomaly](https://catalyst-docs-development.zohostratus.in/images/help/quickml/anomaly-detection/collectiveanomaly.webp) Interpretation: The plot above depicts a small group of points that form a distinct cluster separate from the majority of data. While each individual point within this group may appear normal when evaluated on its own, their collective behavior reveals a pattern that deviates significantly from the overall distribution. This indicates the presence of a collective anomaly, where the anomaly arises not from individual data points, but from their relationship to one another and to the rest of the dataset. ### Categories of Anomaly Detection   In QuickML, there are two broad categories of anomaly detection: **Time series anomaly detection** and **Non-time series anomaly detection**. Each of these approaches focuses on identifying outliers in different types of datasets, depending on whether time plays a role in the data’s structure. Here’s a comparison table showing the difference between Time-Series and Non-Time-Series Anomaly Detection:
Feature Time-Series Anomaly Detection Non-Time-Series Anomaly Detection
Data Structure Data points are indexed by time and follow a sequential order. Data points are not indexed by time and are treated as independent observations.
Temporal Dependency Requires algorithms that account for temporal dependencies, trends, and seasonality. Assumes data points are independent with no temporal relationship.
Detection Method Anomalies are detected by comparing actual values against historical patterns or forecasts. Anomalies are detected by evaluating similarity or distance between data points in feature space.
Influencing Factors Influenced by seasonality, trends, and long-term dependencies in time. Influenced by feature relationships and data distribution across multiple variables.
Common Algorithms ARIMA, LSTM Autoencoders, Prophet, Isolation Forest (time-based). Isolation Forest, One-Class SVM, DBSCAN, LOF.
Example Use Cases Monitoring stock prices, machine sensor readings, network performance over time. Detecting fraudulent transactions, defective products, or abnormal customer behavior.
Key Focus Focuses on pattern deviations over time. Focuses on feature-based outliers without considering time.
Now that we understand the key differences between time-series and non-time-series anomaly detection, let’s explore each of these approaches in depth to gain a clearer and more comprehensive understanding. ### Time Series Anomaly Detection Time series anomaly detection deals with data that is collected and organized in a sequential manner, where each data point is associated with a specific timestamp. This type of data reflects how **values change over time**, such as stock prices, server performance metrics, sensor readings, or website traffic. Because time is an inherent part of the dataset, detecting anomalies involves analyzing temporal patterns like trends, seasonality, and sudden deviations. In time series anomaly detection, the goal is to identify moments when the behavior of a system changes unexpectedly compared to its historical pattern. These anomalies can appear as sudden spikes, sharp drops, or irregular fluctuations that break from the usual rhythm of the data. Time series anomaly detection methods often use forecasting models that learn from past trends to predict expected future values. If the actual observation deviates significantly from the predicted value, the system flags it as an anomaly #### Building Intuition Behind Time-Series Anomaly Detection    In time-series datasets, observations are ordered in time, meaning each data point may depend on previous values. Detecting anomalies involves understanding temporal patterns, trends, and seasonality, in addition to feature relationships. The goal is to identify points or periods that deviate from expected temporal behavior. - **Temporal pattern perspective**: Each observation is part of a sequence, and normal points follow predictable patterns over time, including trends, seasonal cycles, and recurring fluctuations. Anomalies break these patterns and stand out as unusual points or sequences that deviate from expected behavior. - **Trend and seasonality consideration**: Sudden spikes, drops, or shifts from established trends often indicate anomalies. It is essential to account for seasonal changes, because deviations may only be anomalous if they violate expected seasonal patterns. For example, a high sales value might be normal during a holiday season but anomalous during a typical off-season period. Properly modeling trends and seasonality allows the system to distinguish between expected variations and true anomalies. - **Contextual dependencies**: Time-based context is critical because the same value may be normal at one point in time but anomalous at another, depending on the surrounding sequence. Additionally, relationships across multiple time-dependent variables can reveal anomalies that might not be apparent when analyzing a single series in isolation. Considering these multivariate temporal dependencies improves detection accuracy by capturing patterns that emerge only when multiple factors are observed together. - **Density and distribution over time**: Anomalies often occur in regions of low probability within the expected temporal distribution. Points that lie far from the predicted range or historical baseline can be flagged as unusual, and probabilistic approaches such as Gaussian processes or historical distribution modeling can quantify these deviations. By understanding the expected density of observations over time, the model can assign anomaly scores that reflect how unlikely each point is relative to normal temporal behavior. #### Key Success Criteria for Time-Series Anomaly Detection    Time-series anomaly detection focuses on sequences of data points over time. Success relies on capturing temporal patterns, trends, and seasonality while providing interpretable and actionable insights. Key criteria for success include: - **Temporal data understanding**: Accurately model trends, seasonality, and short- and long-term dependencies. Quality data preparation: Handle missing timestamps, irregular intervals, and inconsistent sampling rates. - **Effective feature engineering**: Include lag features, rolling statistics (mean, variance), differences, or Fourier transforms to capture temporal behavior. - **Representative historical patterns**: Ensure training data reflects normal temporal variations, including rare seasonal patterns, to reduce false positives. - **Robust model selection**: Choose algorithms capable of capturing temporal dependencies, trends, and seasonality.  For example, ARIMA, AutoRegressor, Auto ARIMA, or SARIMA. #### Business Applications of Time-Series Anomaly Detection   Time-series anomaly detection has wide-ranging applications across industries, helping organizations identify unusual patterns, prevent failures, and make data-driven decisions by monitoring how values evolve over time. 1) **Finance and banking** Time-series anomaly detection in finance and banking is used to monitor sequences of transactions for unusual patterns that may indicate fraud or other irregular activities. Sudden spikes in transfers, abnormal trading behaviors, or atypical account activities can be flagged in real time, allowing banks and financial institutions to investigate suspicious behavior promptly. By analyzing the temporal patterns of transactions, models can distinguish between legitimate seasonal or cyclical activity and genuine anomalies that require attention. 2) **IoT and industrial operations** In IoT and industrial operations, time-series anomaly detection plays a critical role in monitoring equipment and production processes. Sensor readings collected over time can reveal early signs of machine failure, deviations in performance, or inefficiencies in production lines. By identifying these anomalies early, organizations can schedule predictive maintenance before breakdowns occur, reduce downtime, and maintain optimal operational efficiency. Detecting irregular temporal patterns also helps prevent costly disruptions and ensures the longevity of equipment. 3) **Retail and E-commerce**   Time-series anomaly detection is also valuable in retail and e-commerce for monitoring sales, returns, and website activity over time. Sudden drops or spikes in these metrics may point to operational issues, shifts in customer behavior, or fraudulent activity. By analyzing temporal patterns, businesses can distinguish between normal seasonal fluctuations and true anomalies, enabling faster response to unexpected events, improving customer experience, and optimizing operational decisions. #### Univariate vs Multivariate Forecasting in Time Series    In time-series anomaly detection, the data being analyzed can either be **univariate** or **multivariate**, depending on the number of variables tracked over time. In QuickML, data is categorized this way to ensure that models are applied appropriately: univariate forecasting is simpler and computationally efficient for single-variable trends, while multivariate forecasting is necessary when anomalies arise from interactions between multiple features, which could be missed in a univariate approach. This distinction helps you to choose the right modeling strategy and feature representation for accurate anomaly detection, whether the focus is on a single metric or on complex patterns across several interdependent variables. It is important to understand the difference between univariate and multivariate data, as this choice directly impacts how anomalies are detected and interpreted in time-series analysis.
Feature Univariate Data Multivariate Data
Definition Tracks a single variable over time. Tracks multiple interrelated variables over time and forecasts a single target variable while accounting for its dependencies on other related variables (multivariate forecasting), similar to how traditional predictive models operate.
Focus Monitors trends, seasonality, and fluctuations of one metric. Monitors patterns and interactions among multiple metrics simultaneously.
Anomaly Detection Flags deviations in the single variable from expected behavior. Flags anomalies based on irregularities in relationships between variables, capturing patterns that may not appear in isolation.
Complexity Simpler and computationally efficient. More complex, requires modeling dependencies and interactions between variables.
Use Cases Website traffic, daily sales, electricity consumption, revenue monitoring. Retail analytics (sales vs marketing spend), stock market analysis (price, volume, volatility), healthcare monitoring (heart rate, blood pressure, oxygen levels).
Strengths Easy to implement and interpret; good for single-metric monitoring. Detects subtle anomalies that arise from variable interactions; captures complex patterns.
#### How Time-Series Anomaly Detection Works    Let’s go over time-series anomaly detection using the ARIMA (AutoRegressive Integrated Moving Average) model, one of the most widely used forecasting-based methods. 1) **Understand the time-series data** The process begins with collecting sequential data points, where each value is linked to a specific timestamp, for example, daily website visits, hourly temperature readings, or minute-by-minute stock prices. Because time is an essential factor, patterns such as trends (overall growth or decline) and seasonality (repeated cycles) are important to identify. 2) **Train the forecasting model** ARIMA learns from the historical time-series data to understand its underlying patterns. It combines three components: - **AR (AutoRegressive)**: Uses past values to predict future ones. - **I (Integrated)**: Makes the data stationary by removing trends. - **MA (Moving Average)**: Uses past forecast errors to refine predictions. The model is trained to capture how the data usually behaves over time. 3) **Generate forecasted values** After training, ARIMA predicts what the next data points should look like based on historical patterns. For each timestamp, the model produces an expected (forecasted) value and a confidence interval, which represents the normal range of variation. 4) **Compare actual vs. predicted values** The actual observed value from the dataset is then compared to the model’s predicted value. If the observed value lies far outside the expected range (for example, much higher or lower than the forecasted confidence band), it is considered an anomalous point. 5) **Detect and report anomalies** Once the entire time series is analyzed, the system flags timestamps where significant deviations occur. For example, a sudden spike in network traffic could indicate a cyberattack. The output typically highlights these timestamps and shows the number of detected anomalies for further investigation. Example: Imagine a company monitoring its website’s hourly traffic. ARIMA predicts that the next hour should have around 1,200 ± 100 visits, but the actual count drops suddenly to 400.Since this value lies far outside the expected range, the system flags it as an anomaly, prompting the company to investigate potential causes like a server crash or connectivity issue. #### Steps to Build a Time Series Anomaly Detection Pipeline In QuickML, time-series anomaly detection is implemented through the **Smart Builder**, which is designed specifically for datasets where observations are made over time. The Smart Builder structures this process into four main stages: **Source → Preprocessing → Algorithm → Destination**. **Stage 1: Source** The pipeline begins with ingesting the timeseries dataset, such as stock prices, machine sensor readings, or daily sales. Since these datasets are sequential, selecting the correct time-based input ensures the system can detect anomalies relative to historical patterns. **Stage 2: Preprocessing** Smart Builder automatically prepares raw time-based data for anomaly detection. **Frequency**: For timeseries datasets, data is resampled to a consistent frequency (e.g., daily, weekly). This standardization ensures anomalies are detected across uniform intervals rather than distorted by irregular timestamps. **Imputation**: Missing values in the dataset are handled through imputation. Without this step, gaps may be misinterpreted as anomalies or distort the model’s ability to recognize true patterns. **Transformation**: Transformation ensures the dataset is adjusted so that anomalies stand out more clearly rather than being hidden by trends or scale effects. In Smart Builder, this step can be configured directly, and users have two main options: **Differencing** or **Power Transformation**. - **Differencing**: Differencing works by calculating the difference between consecutive observations in a time series. This process helps stabilize the mean by removing shifts in the series’ level, effectively reducing or eliminating trends and seasonality. The order of differencing specifies how many times this operation is applied to transform a non-stationary series into a stationary one. In QuickML, you can specify a maximum order of differencing up to 5. If the series remains non-stationary even after the fifth order of differencing, you can apply one of the available power transformation methods to further stabilize the variance and make the series suitable for anomaly detection. - **Power Transformation**: Stabilizes variance and normalizes skewed data distributions. This is especially useful when raw data values are spread across very different scales, making anomalies in smaller values harder to detect. Available options for power transformation in Quickml are: - **Log Transformation**: Applies a logarithmic scale to compress large values and spread smaller ones. This helps reveal anomalies that might otherwise be overshadowed by extreme outliers. - **Square Root Transformation**: Useful when dealing with moderate skewness; it reduces the impact of high values while retaining the relative differences across smaller values. - **Box-Cox Transformation**: A flexible option that automatically determines the best power parameter (λ) to stabilize variance and normalize the dataset. Particularly effective when values are strictly positive and the distribution is heavily skewed. - **Yeo-Johnson Transformation**: Similar to Box-Cox but also works with zero or negative values, making it more versatile for datasets that aren’t strictly positive. **Stage 3: Algorithm** Once preprocessed, Smart Builder applies algorithms designed for timeseries anomaly detection, such as Isolation Forest or One-Class SVM. These models learn normal temporal behavior and flag deviations as potential anomalies, whether they appear as sudden spikes, drops, or irregular sequences. **Stage 4: Destination** Finally, Smart Builder outputs anomalies along with supporting metrics and visualizations. These results allow users to validate flagged anomalies, interpret the context, and take timely action. The system ensures anomalies are presented in an accessible format for faster decision-making. ### Non-Time Series Anomaly Detection   Non-time series anomaly detection deals with data that does not have an inherent temporal order, meaning the individual data points are independent of time or sequence. Each observation is treated as a standalone instance rather than part of a continuous timeline. Examples include credit card transactions, medical records, network packets, product reviews, or manufacturing measurements. In non-time series anomaly detection, the goal is to identify data points that behave differently from the majority of the dataset. Since there is no time component, detecting anomalies in non-sequential data focuses on spatial, relational, or statistical patterns rather than temporal ones. Methods analyze the distribution and structure of the data, measuring how far each point deviates from the normal population. #### Building Intuition Behind Non-Time-Series Anomaly Detection   In non-time-series datasets, observations are static and independent of time. Detecting anomalies involves understanding relationships between multiple features. The goal is to define the boundary that separates normal behavior from abnormal behavior. - **Feature space perspective**: Each observation can be visualized as a point in a high-dimensional space. Normal points cluster together, while anomalies lie far from these clusters. - **Density-based thinking**: Anomalies often occur in low-density regions where few data points exist. Algorithms use this intuition to assign anomaly scores. - **Multivariate dependencies**: Relationships between multiple features must be considered. A point might appear normal along individual dimensions but be anomalous when combined with other features. - **Context awareness**: In categorical or grouped data, normality can vary between groups. Understanding this contextual variation is essential for accurate detection. #### Key Success Criteria for Non-Time-Series Anomaly Detection   Non-time-series anomaly detection focuses on static or independent data points rather than sequences over time. Success depends on accurately identifying abnormal patterns within these static datasets, understanding relationships among features, and providing interpretable and actionable insights. Key criteria for success include: - **Quality data preparation**: Ensure data is clean, consistent, and representative of normal behavior. - **Effective feature engineering**: Choose features that capture meaningful variations in behavior. Combining numerical and categorical attributes provides a richer representation of normality. - **Representative normal samples**: The training data should cover the full range of legitimate patterns to prevent misclassification of valid variations as anomalies. - **Robust model selection**: The chosen algorithm must handle noise, outliers, and different data distributions. #### Business Applications of Non-Time Series Anomaly Detection   Non-time series anomaly detection is applied across many industries to identify unusual data points or behaviors that deviate from normal patterns. Because this type of data is not dependent on time, it helps organizations detect rare or suspicious events and strengthen decision-making across a wide range of operations. 1) **Healthcare**  In healthcare, non-time series anomaly detection is used to find unusual patient records or diagnostic results that may indicate errors, rare diseases, or potential fraud in insurance claims. For example, an unusually high number of procedures for a single patient or medical test results that differ greatly from normal ranges can be flagged for further review. Detecting these irregularities helps improve patient safety, reduce billing fraud, and maintain data accuracy in medical systems. 2) **Human Resources and Recruitment**  In HR and recruitment, anomaly detection can help identify unusual employee data, such as unexpected salary levels, inconsistent performance metrics, or irregular application patterns. Detecting these outliers helps organizations maintain fairness, detect data errors, and prevent possible policy violations. It also assists in spotting exceptional talent or early signs of workforce issues. 3) **Cybersecurity** In cybersecurity, anomaly detection helps identify suspicious network activities or system access patterns that differ from typical user behavior. For example, a login attempt from an unusual location, unauthorized data access, or abnormal file transfers can indicate potential cyberattacks or insider threats. By analyzing the relationships and characteristics of network data, security systems can detect and respond to threats quickly, even without relying on time-based sequences. #### How Non-Time Series Anomaly Detection Works    Now, let’s understand non-time series anomaly detection using the Isolation Forest algorithm, a popular method that works well for high-dimensional, tabular data. 1) **Understand the dataset** In non-time series data, each record is treated as an independent observation with multiple features (for example, customer age, income, and spending score). There’s no timestamp or sequential order, the goal is simply to find data points that look very different from most others. 2) **Build random trees** Isolation Forest creates many random decision trees by repeatedly splitting the dataset into smaller sections. Each split randomly selects a feature and a split value. The idea is that normal data points need more splits to be isolated, while anomalies, being rare and different, get isolated quickly with fewer splits. 3) **Measure isolation depth** For every data point, the algorithm calculates the average number of splits (path length) needed to isolate it across all trees. - If a point is isolated quickly, it is likely an anomaly. - If it takes many splits, it is considered normal. 4) **Compute anomaly scores** An anomaly score is then calculated for each record based on its average path length. Values closer to 1 indicate stronger anomalies, while values near 0 suggest normal behavior. 5) **Detect and report anomalies** Finally, the model classifies records with high anomaly scores as outliers and reports the number of anomalies detected in the dataset. These points can then be examined to understand why they differ from the norm, for example, fraudulent transactions or data-entry errors. Example: Imagine a bank analyzing customer transactions. Most customers spend amounts between $50 and $500, but a few transactions suddenly appear at $10,000+. Isolation Forest isolates these high-value transactions with very few splits, flags them as anomalies, and reports how many such suspicious cases exist, helping the bank focus on potential fraud. #### Steps to Build a Non-Time Series Anomaly Detection Pipeline  For non-timeseries data, such as customer transactions, employee records, or survey responses, anomaly detection pipelines are built using **Classic Builder**. Here, the process skips frequency alignment and temporal transformations, since the data is not sequential. Instead, Classic Builder directly prepares tabular data, applies algorithms, and outputs anomalies that highlight unusual or suspicious records. By separating Smart Builder for timeseries data and Classic Builder for non-timeseries data, QuickML ensures that each anomaly detection pipeline is tailored to the unique structure of the dataset, improving both accuracy and interpretability. **Stage 1: Data ingestion**   The process begins with loading the dataset into QuickML, which serves as the foundation for the anomaly detection workflow. This step involves importing data from various sources such as CSV files, relational databases, APIs, or cloud storage systems. Since non–time series data does not depend on temporal order, each record is treated as an independent observation. Ensuring accurate and complete data ingestion is critical for reliable anomaly detection results. **Stage 2: Data preprocessing**   Once the data is imported, it undergoes a preprocessing phase to ensure accuracy, consistency, and readiness for analysis. This step includes handling missing values through imputation or removal and encoding categorical variables using label or one-hot encoding. Effective preprocessing ensures that anomalies reflect true irregularities rather than data quality issues, improving the performance and interoperability of the detection model. **Stage 3: Algorithm selection**   After preprocessing, QuickML allows users to select an appropriate anomaly detection algorithm based on the characteristics of the dataset and the nature of expected anomalies. Common approaches include Isolation Forest, One-Class SVM, and Local Outlier Factor (LOF). Each algorithm uses different principles to distinguish normal data from anomalies. Choosing the right method is crucial for accurately capturing the unique patterns and relationships within the dataset. **Stage 4: Model training and detection**  In this step, the selected algorithm is trained on the processed data to learn the normal behavior or structure of the dataset. During training, the model identifies typical patterns, boundaries, or distributions and then evaluates each instance to detect those that deviate significantly from the learned norms. **Stage 5: Anomaly reporting**   After the model identifies anomalies, QuickML summarizes the results by displaying the number of anomalies detected in the dataset. This output provides a clear overview of how many data points deviate from normal patterns based on the trained model. ### Evaluation Metrics in Anomaly Detection  The evaluation metrics below help assess how well the anomaly detection model is identifying deviations from normal behavior and how accurate its underlying predictions are. These metrics quantify prediction error, model reliability, and ultimately the trust you can place in flagged anomalies. #### Mean Absolute Percentage Error (MAPE)   **What it tells you**: MAPE measures how far, on average, the model’s predicted values deviate from the actual observed values in percentage terms. It expresses the size of prediction errors relative to the magnitude of actual data, which makes it intuitive and easy to interpret across different datasets or scales. This metric is particularly useful when you need to understand how accurate your model’s predictions are in terms of percentage deviation rather than absolute difference. **Intuition**: - A lower MAPE indicates that the model’s predictions are closer to the true values. - A very high MAPE usually signals poor model accuracy — or that actual values are very small, which inflates percentage errors. **Example Inference**: If MAPE is **15%**, it means predictions deviate from actual values by 15% on average. #### Symmetric Mean Absolute Percentage Error (SMAPE)   **What it tells you**: SMAPE improves on MAPE by treating over-predictions and under-predictions equally. This makes it a fairer and more balanced measure, especially when your dataset contains small or zero values that can distort traditional percentage errors. SMAPE expresses how large prediction errors are compared to the average of the predicted and actual values, ensuring the metric remains stable even when actual values are close to zero. **Intuition**: - SMAPE ranges between 0% (perfect prediction) and 200% (completely inaccurate). - It is preferred over MAPE when your dataset contains very small or zero values to avoid disproportionately large errors. **Example Inference**: A SMAPE of **18.68%** indicates that, on average, predictions deviate by 18.68% from actuals in a symmetric fashion, which is a reasonably acceptable level of error for many real-world anomaly detection tasks. #### Mean Squared Error (MSE)   **What it tells you**: MSE calculates the average of squared differences between the predicted and actual values. By squaring the errors, it emphasizes large deviations, meaning big mistakes have a much stronger impact on the score. This makes MSE valuable for understanding how significantly prediction errors vary across the dataset and for identifying models that may be making large, costly errors. **Intuition**: - An MSE of 0 means perfect predictions. - Higher MSE values indicate a higher level of prediction error. - Because errors are squared, large deviations contribute disproportionately, making MSE sensitive to outliers. **Example Inference**: In the provided output, MSE is **0**, meaning the model’s predictions match the observed values exactly, which  is an ideal case. #### Root Mean Squared Error (RMSE)     **What it tells you**: RMSE is the square root of MSE and provides an error measure in the same unit as the original data, making it more interpretable. It represents the standard deviation of prediction errors, or how spread out the residuals are around the true values. RMSE is especially helpful when comparing models or assessing prediction consistency. **Intuition**: - RMSE is easier to interpret than MSE because it is expressed in the same unit as the predicted variable. - Lower RMSE means better prediction accuracy. **Example Inference**: An RMSE of **0.0041** indicates that, on average, the prediction error is very small and close to the true values. #### Mean Squared Log Error (MSLE)   **What it tells you**: MSLE measures the squared difference between the logarithms of predicted and actual values. Instead of focusing on absolute differences, it emphasizes relative errors, making it ideal for data that spans multiple scales or involves exponential growth (e.g., population, sales, or web traffic). MSLE rewards predictions that are proportionally close to actual values and penalizes underestimation more strongly than overestimation, which is useful when missing a spike is more serious than over-predicting one. **Intuition**: - MSLE penalizes underestimation more than overestimation. - Best used when your data spans multiple orders of magnitude (e.g., exponential growth patterns). **Example Inference**: An MSLE of **0** indicates perfect alignment between predicted and actual values in log scale, meaning no significant under- or over-prediction. #### Root Mean Squared Log Error (RMSLE)   **What it tells you**: RMSLE is the square root of MSLE, making it easier to interpret while retaining its focus on relative prediction accuracy. It helps evaluate how much the model’s predictions differ from actual values in percentage-like terms without being overly influenced by large outliers. RMSLE is particularly useful for problems where relative growth or proportional differences are more important than exact numerical accuracy. **Intuition**: - RMSLE is less sensitive to large absolute errors but emphasizes relative accuracy. - Particularly useful when percentage differences matter more than raw differences. **Example Inference**: An RMSLE of **0.0041** indicates that, on a log scale, the prediction errors are extremely low, confirming high-quality forecasting. #### Number of Anomalies   **What it tells you**: This metric represents the count of data points flagged as anomalies by the model after processing the dataset. It provides a direct measure of how frequently the system detects deviations from normal behavior. **Intuition**: - A very high number of anomalies might indicate that the model is too sensitive (many false positives). - A very low number might mean the model is too strict and missing meaningful anomalies. **Example Inference**: If the model detects **42** anomalies, you can review them to ensure they correspond to meaningful events, like sudden demand spikes or sensor failures, and not random noise. **How to use these metrics together** No single metric tells the full story of model performance. Use them collectively to get a holistic view; prediction error metrics (MAPE, SMAPE, MSE, RMSE, MSLE, RMSLE) indicate how accurately the model forecasts normal behavior, while the number of anomalies shows how often the model flags deviations. **Example**: Suppose your model has an RMSE of 0.0041, a MAPE of 15%, and detects 42 anomalies in a dataset. The low RMSE and moderate MAPE indicate that predictions are very close to actual values, and the number of anomalies is reasonable, suggesting the model is accurate and appropriately sensitive. If instead the model flagged 300 anomalies, you might suspect it’s too sensitive and producing many false positives. Interpreting these metrics together helps balance prediction accuracy with meaningful anomaly detection, giving you confidence in actionable insights. > **Note:** For non-time series anomaly detection, the evaluation focuses only on the number of anomalies detected, since there are no time-dependent predictions involved. Metrics like MAPE, MSE, or RMSE are not applicable because the model does not forecast sequential values. ### Visual Evaluation of Anomalies  Visual evaluation is a crucial step in validating the performance of a time-series anomaly detection model. It enables qualitative assessment of the model’s outputs by comparing predicted anomalies against the actual time-series behavior. This visualization enables users to: - Quickly validate whether detected anomalies align with real changes in the data. - Identify false alarms or missed anomalies. - Gain insight into the model’s reliability across different time segments and trends. ![visual anomaly](https://catalyst-docs-development.zohostratus.in/images/help/quickml/anomaly-detection/anomalyvisual.webp) **What it tells you**: This visualization shows how the model identifies anomalies in a time-series dataset. The chart plots actual data values over time, highlights the expected (normal) range, and marks points that deviate significantly as anomalies. **Intuition**: - **Green line**: Represents the actual observed values over time. - **Gray shaded area**: Indicates the expected or predicted range of normal behavior based on the model. - **Red circles**: Highlight points detected as anomalies, where the actual values significantly deviate from the expected range. - If the red anomaly points align with clear spikes, drops, or deviations outside the gray expected range, it indicates that the model is accurately capturing unusual patterns. - Few, well-placed anomalies suggest the model is stable and precise. - Frequent or random anomaly points within normal regions may indicate an overly sensitive threshold or noise in detection. **Example**: If anomalies appear at sharp peaks in the series (e.g., sudden increases in values), it suggests genuine outliers or unexpected events. If anomalies appear during normal fluctuations, it may indicate that the model needs threshold adjustment to reduce false positives. -------------------------------------------------------------------------------- title: "AutoML" description: "QuickML is a fully no-code ML pipeline builder service in the Catalyst development platform for creating machine-learning pipelines with end-to-end solutions." last_updated: "2026-11-11T10:19:21.000Z" source: "https://docs.catalyst.zoho.com/en/quickml/help/learning-center/automl/" service: "QuickML" --------------------------------------------------------------------------------
**DC Availability:** AutoML is available across the **US**, **IN**, **EU**, **AU**, **JP**, **SA**, and **CA** data centers.
### What is AutoML? Automated Machine learning, or AutoML, is an approach to build machine learning models. It automates the entire process of model development tasks, unlike the traditional method where tasks are done manually. AutoML empowers users ,from data scientists and ML engineers to business owners and stakeholder of varying skill levels, to build quality models without requiring any programming expertise or statistical knowledge by. This approach accelerates the time to take the model from idea to production in a short span, unlike the traditional process. ### Behind the Scenes of an AutoML Pipeline AutoML includes tasks like data-preprocessing, feature engineering, algorithm selection, hyperparameter tuning and model evaluation, which are done in one go without any manual intervention. It performs the essential operations sequentially according to optimize and make the input data ready by itself and executes the tasks automatically until the final goal, a high performing model, is built. General stages of machine learning model development which are automatically handled by AutoML are as follows: 1. **Data Preprocessing** - The first step AutoML performs is to clean and transform the raw data into usable format. It automatically addresses the missing values, outliers, encoding, and data normalization to optimize the data for model input. 2. **Feature Engineering** - AutoML reduces the size of the data and complexity by reducing the noise and unwanted features or creates new features when necessary to help improve the model performance and accuracy. Using important and most relevant features in model building results in a high performing model. 3. **Model Selection** - Various algorithms are tested for better performance that suits the dataset - to find the best fit. AutoML compares and identifies the most suitable model based on its performance. 4. **Hyperparameter Tuning** - AutoML also performs the task that is the heart of building a high performing model, hyperparameter tuning, to find the most effective combination. It applies multiple techniques like grid search, random search, or Bayesian optimization to improve model accuracy and reduce error rates. 5. **Model Evaluation** - Different evaluation metrics are being used for different models to evaluate the performance. After tuning, the model undergoes evaluation using a validation dataset, where key metrics like accuracy, precision, recall, F1 score, or mean squared error are evaluated. This stage helps determine the model’s quality and performance. 6. **Ensemble Methods** - AutoML also uses ensemble techniques, if required, combining multiple models to boost accuracy and performance. These methods can increase accuracy by blending the strengths of different algorithms. ### AutoML in QuickML QuickML’s AutoML feature automatically generates a complete pipeline with essential stages, offering an end-to-end solution that mirrors the custom pipeline building mode. Currently, AutoML in QuickML only supports prediction models, enabling users to build various types of Classification, Regression, and Ensemble models tailored to the input data and specific business requirements. This streamlined AutoML process simplifies model development while ensuring high-quality, data-driven predictions, making it an effective tool for users looking to accelerate their model-building workflow. #### Key benefits of QuickML's AutoML QuickML offers significant advantages with its AutoML capabilities, providing streamlines and accessible approach to build machine learning models. - Easy interpretation of pipeline stages - Triggering AutoML in a few clicks making it user-friendly for non-experts - Reduced resource dependency - Editable pipelines for optimization - Seamless endpoint creation for real-time predictions - Consistency and reliability in model quality - Time and cost efficiency - Scalable and adaptable for various use cases (Classification, Regression, Ensemble models) -------------------------------------------------------------------------------- title: "Clustering" description: "QuickML is a fully no-code ML pipeline builder service in the Catalyst development platform for creating machine-learning pipelines with end-to-end solutions." last_updated: "2026-11-11T10:19:21.000Z" source: "https://docs.catalyst.zoho.com/en/quickml/help/learning-center/clustering/" service: "QuickML" --------------------------------------------------------------------------------
**DC Availability:** Clustering model is available across the **US**, **IN**, **EU**, **AU**, **JP**, **SA**, and **CA** data centers.
### Introduction Clustering is a process of grouping similar data points into meaningful clusters, where items in the same group share common characteristics while differing from items in other groups. It falls under the domain of **unsupervised learning**, a branch of machine learning that works without predefined labels or outcomes. Instead of being told what the correct groupings are, the algorithm uncovers hidden structures within the data on its own. This makes clustering especially valuable when dealing with large, unorganized datasets, helping users detect patterns, discover natural groupings, and simplify complex information into more understandable segments. At its core, clustering answers the question: “Which data points are similar to each other?” It can be applied across domains such as customer segmentation, image recognition, anomaly detection, and document categorization, among many others. ### Building Intuition Behind Clustering   Before diving into types of clustering and its algorithms, let's begin with an intuitive understanding of clustering. Imagine you have a dataset of movie viewers, with each viewer described by multiple attributes such as the number of movies watched per genre, average rating given, and watch frequency. You don’t know in advance which viewers have similar tastes. By applying a clustering algorithm, each viewer is assigned to a cluster based on overall similarity across all features. At the end, you can visually see natural groupings of viewers: one cluster might contain fans of action and thriller movies, another could be comedy enthusiasts, and a third could represent viewers who prefer romance or drama. The algorithm has uncovered hidden patterns in viewer behavior without ever being told which viewers are similar.  ### Key Success Criteria for Clustering Analysis  Clustering is inherently iterative and exploratory, requiring domain expertise and human judgment. Unlike supervised learning, there are no labeled outcomes, so you cannot use traditional metrics like accuracy or RMSE to evaluate performance. This makes assessing clustering models subjective and dependent on business objectives. **Key criteria for success include:** - **Interpretability**: Can you explain why points were grouped together? - **Business usefulness**: Does the clustering output provide actionable insights? - **Knowledge discovery**: Have you learned new patterns or uncovered hidden structures in the data? Success in clustering often comes from combining algorithmic output with domain knowledge to refine clusters and extract meaningful insights. ### Business Applications of Clustering   Clustering finds applications in a wide range of industries, such as those listed below, because it helps reveal natural groupings in data that businesses can act upon. **Retail and Marketing** Clustering is widely used in retail and marketing to segment customers into groups, such as budget shoppers, seasonal buyers, or premium customers. These insights allow businesses to run targeted campaigns, design loyalty programs, and even optimize store layouts by identifying products that are frequently purchased together. **E-commerce and Online Platforms** E-commerce platforms rely heavily on clustering for personalization. By analyzing browsing and purchase histories, clustering algorithms can group users with similar behavior and generate product recommendations tailored to each segment. Beyond customers, clustering also helps organize vast product catalogs into categories, while unusual browsing or review patterns can be flagged as suspicious activity. **Finance and Banking** In the financial sector, clustering plays a key role in fraud detection by distinguishing normal transaction clusters from rare, isolated outliers that may represent fraudulent activity. Banks also use clustering to segment clients based on spending patterns and income levels, enabling them to design customized credit cards, loan offers, or investment portfolios. Similarly, analysts use clustering to group stocks that behave alike in the market, aiding in portfolio diversification. **Healthcare and Life Sciences** Healthcare and life sciences also benefit from clustering techniques. Patient records can be grouped to identify disease subtypes or high-risk populations, which supports early intervention and personalized treatment plans. Genetic and clinical data, when clustered, often reveal hidden biological groupings that accelerate drug discovery. Hospitals also use clustering to categorize patients by treatment costs, hospital stays, or outcomes, helping improve operational efficiency. **Telecom and Technology** Telecom companies apply clustering to understand user behavior, such as grouping customers by calling or internet usage patterns, which then informs the creation of personalized data plans. It is also used to detect anomalies in network traffic or to streamline customer service by automatically grouping support tickets into categories like billing, login issues, or technical faults. ### How Clustering Works  Let’s understand clustering using the K-Means algorithm, one of the most widely used methods. **Step 1: Choose the number of clusters (k)** The process begins by deciding how many clusters you want the algorithm to identify. This number, denoted as k, can be determined based on statistical techniques such as the Elbow Method which help estimate an optimal balance between accuracy and interoperability. **Step 2: Initialize centroids** Next, the algorithm randomly selects k data points from the dataset as the initial cluster centroids. These serve as the starting reference points around which clusters will begin to form. In some cases, improved initialization methods like K-Means++ are used to select better starting positions, which can help the algorithm converge faster and produce more reliable results. **Step 3: Assign data points to clusters** Once the centroids are initialized, each data point in the dataset is assigned to the nearest centroid based on a chosen distance metric, Euclidean distance, which measures how far apart two points are in space. The formula for Euclidean distance between two points (x1,y1) and (x2,y2) is: ``` Distance = √((x1 - x2)² + (y1 - y2)²) ``` where (x1,y1) and (x2,y2) are the coordinates of two points. This step effectively divides the dataset into k groups, where each point belongs to the cluster with the closest centroid. **Step 4: Update centroids** After all points have been assigned, the algorithm recalculates the position of each centroid. This is done by taking the mean of all the data points that belong to the same cluster. The new mean value becomes the updated centroid location, representing the center of that cluster more accurately than before. **Step 5: Repeat assignment and update** The process of assigning points and updating centroids is repeated iteratively. With each iteration, the centroids adjust their positions slightly, and points may shift between clusters as the algorithm refines the boundaries. This cycle continues until the cluster assignments no longer change significantly or the movement of centroids becomes minimal. **Step 6: Check for convergence** K-Means is said to have converged when the centroids stabilize, meaning they stop moving appreciably between iterations. Alternatively, the process may stop when a predefined maximum number of iterations is reached. At this stage, the algorithm considers the clustering process complete. **Step 7: Generate the final output** In the final step, each data point is assigned a cluster label (such as 0, 1, 2, …, k–1) corresponding to the group it belongs to. The final centroid coordinates represent the centers of these clusters. These results can then be used for real-time use cases such as customer segmentation. **Example** Let's apply these steps to a customer segmentation example for a better understanding. Imagine you run an online store and have a dataset of customers with multiple attributes, such as monthly spending, number of purchases, product preferences, and more. You don’t know in advance which customers behave similarly. After applying a clustering algorithm, such as K-Means, each customer is assigned to a cluster based on overall similarity across all features. To visualize the results, the data is reduced to two components: Component 1 and Component 2. Each customer becomes a point on a 2D scatter plot: - X-axis: Component 1 - Y-axis: Component 2 Points are color-coded according to their cluster. This visualization makes it easy to see natural groupings of customers.  ![example](https://catalyst-docs-development.zohostratus.in/images/help/quickml/clustering/clustering-1.webp) From the above plot, we can conclude that each cluster formed represents a group of customers with similar attributes and interests. And business can target these customer segments to increase the revenue and profits. K-Means is one algorithm falls under centroid based clustering. QuickML also supports various algorithms that fall under different types of clustering. Let's have a look at the types of clustering. ### Types of Clustering   Clustering methods can be broadly classified into four major types, each with its own approach and applications. **1. Centroid-based clustering**: It relies on a central point, or centroid, to represent each cluster. Data points are assigned to the cluster whose centroid they are closest to, with clusters formed by minimizing the distance between data points and these centroids. A common example is customer segmentation, where shoppers are grouped into categories like budget, mid-range, or premium based on their average monthly spending. ![centroid](https://catalyst-docs-development.zohostratus.in/images/help/quickml/clustering/clustering-2.webp) In this visualization, the data points are grouped around centroids — the red X markers represent these centroids. Each color indicates a distinct cluster, and every point belongs to the cluster whose centroid it’s closest to. The goal is to minimize the total distance between points and their assigned centroids. This method assumes clusters are roughly spherical and equally sized, which works well for simple, well-separated data distributions. Algorithms like K-Means and MiniBatchKMeans are examples of centroid-based clustering. **2. Medoid-based clustering**: It is similar to centroid but instead of using calculated centroids, it chooses actual data points, called medoids, as cluster representatives. This makes the approach more robust to noise and outliers, since the clusters are anchored on real observations. For instance, telecom companies may use medoid-based clustering to group users by selecting actual representative customer profiles from call behavior data. ![medoid](https://catalyst-docs-development.zohostratus.in/images/help/quickml/clustering/clustering-3.webp) Here, clusters are represented by medoids — actual data points shown as red diamond markers. Unlike centroids (which are averages), medoids are real observations from the dataset that minimize the total dissimilarity to other points in their cluster. This makes the approach more robust to noise and outliers since extreme values have less influence on the cluster centers. The plot shows how clusters are formed around representative data points. Algorithms like K-Medoids, CLARA, and CLARANS follow this principle. **3. Density-based clustering**: It takes a different path by identifying dense regions of data points and treating them as clusters, while areas of low density act as separators. One of its strengths is the natural detection of outliers, since points that don’t belong to any dense region are marked as noise. A typical application is in financial fraud detection, where dense regions correspond to normal spending behavior and sparse or isolated points indicate suspicious transactions. ![density](https://catalyst-docs-development.zohostratus.in/images/help/quickml/clustering/clustering-4.webp) In this plot, clusters are formed based on regions of high data density. The algorithm groups points that are close together and labels points in low-density regions as noise (often marked in a different color, such as -1 in DBSCAN). You can see that this approach captures complex, non-spherical cluster shapes (like the curved “two moons” pattern), which centroid or medoid-based methods struggle with. It’s ideal for datasets with irregular boundaries or when detecting outliers is important — for example, in fraud or anomaly detection. **4. Model-based clustering**: It assumes that data is generated from a mixture of underlying probability distributions, and it assigns probabilities of cluster membership rather than hard labels (each data point is assigned to exactly one cluster, like in K-Means). This probabilistic framework makes it especially useful in complex domains such as speech recognition, where overlapping sound patterns can be modeled as a mixture of Gaussian distributions. ![clustering model](https://catalyst-docs-development.zohostratus.in/images/help/quickml/clustering/clustering-5.webp) This visualization shows clusters formed by modeling the data as a mixture of Gaussian distributions. Each cluster corresponds to one Gaussian component, and data points have probabilistic membership — meaning a point can partially belong to multiple clusters. The colors indicate the most likely cluster assignment for each point. This method handles overlapping and elliptical clusters better than K-Means, making it suitable for more complex, continuous data distributions. > **Note:** Each clustering algorithm corresponds to one of the clustering types mentioned above, and you can refer to the details provided in the [clustering algorithm help doc](https://docs.catalyst.zoho.com/en/quickml/help/ml-algorithms/clustering/) to identify their categorization. ### Steps to Build a Clustering Pipeline in QuickML  Building a clustering pipeline in QuickML uses Classic Builder, which ensures accurate identification of clusters and actionable insights. **Step 1: Data ingestion** The process begins with loading the dataset into QuickML, which serves as the foundation for the clustering workflow. This step involves importing data from various sources such as CSV files, databases, or cloud storage systems. **Step 2: Data preprocessing** Once the data is ingested, it undergoes a preprocessing phase to ensure quality and consistency. This step includes handling missing values through techniques like imputation or removal, encoding categorical variables using methods like label or one-hot encoding, and applying data transformation techniques to improve data quality and model performance. Effective preprocessing reduces bias and improves the accuracy of clustering by ensuring that distance-based algorithms treat all features fairly. **Step 3: Algorithm selection** After preprocessing, QuickML allows users to select an appropriate clustering algorithm based on the data characteristics and desired outcome. Algorithms such as K-Means, DBSCAN, BIRCH, or Gaussian Mixture Models (GMM) can be applied depending on whether the dataset has well-separated, density-based, or probabilistic cluster structures. The selection of the right algorithm is crucial, as different methods capture different types of relationships and structures within the data. **Step 4: Model training** In this step, the selected algorithm is applied to the processed data to identify natural groupings. The model iteratively learns by assigning similar data points to the same cluster based on the defined similarity or distance measure. Key parameters, such as the number of clusters in K-Means or the epsilon value in DBSCAN, are fine-tuned to produce meaningful and stable results. The outcome of this phase is the identification of distinct data clusters that reveal hidden patterns and structures within the dataset. **Step 5: Cluster evaluation** After clusters are formed, QuickML evaluates their quality and validity using various statistical metrics. Commonly used metrics include the Silhouette Score, which measures how well each data point fits within its cluster; the Calinski-Harabasz Score, which assesses cluster compactness and separation; and the Davies-Bouldin Score, which evaluates average cluster similarity. These evaluation metrics help in determining whether the clustering results are both interpretable and reliable for practical applications. ### Clustering Evaluation Metrics  The evaluation metrics mentioned below collectively provide insights into different aspects of clustering model performance, such as how well the groups are separated, how compact they are, and whether the clusters reveal meaningful similarities in the data, rather than arbitrary groupings. Unlike supervised learning, clustering does not have predefined labels, so these metrics act as guiding measures to judge the quality of the clusters. Let’s explore and interpret the metrics commonly used in evaluating clustering models in QuickML: **1. Silhouette Score**    **What it tells you**: Measures how similar a data point is to its own cluster compared to other clusters. **Intuition:** - The silhouette score ranges from -1 to +1. - A high score (close to +1) indicates that data points are well-clustered, with tight grouping and clear separation from other clusters. - A score near 0 suggests overlapping clusters or points lying on the boundary between clusters. - A negative score (close to -1) indicates poor clustering where points may be assigned to the wrong cluster or clusters overlap significantly. **Example Inference:** If the silhouette score is 0.52, it means clusters are reasonably well-formed and separated, but there is still some overlap among data points. **2. Calinski-Harabasz Score** **What it tells you**: This score compares how far apart the clusters are (between-cluster dispersion) to how tight the points are within each cluster (within-cluster dispersion). **Intuition:** - The score is unbounded and ranges from -∞ to +∞. (higher is better). - A higher score indicates clusters are compact within themselves and well-separated from others. - A lower score suggests that clusters are either spread out internally or not distinctly separated. **Example Inference:** If the Calinski-Harabasz score is 950, it suggests that the clusters are relatively dense and distinctly partitioned, showing a good separation structure. **3. Davies-Bouldin Score** **What it tells you:** Measures the average similarity between clusters, based on the ratio of intra-cluster distance to inter-cluster separation. **Intuition:** - The score ranges from -∞ to +∞ (lower is better). - A lower score means clusters are more distinct and have less overlap. - A higher score suggests significant similarity between clusters, implying poor separation. **Example Inference:** If the Davies-Bouldin score is 0.60, it indicates the clusters are fairly well-separated, but not perfectly distinct — some overlap still exists. **4. Number of Clusters** Indicates how many distinct groups the algorithm has identified in the dataset. **Example Inference:** If the model outputs 3 clusters, it suggests that the dataset can be meaningfully divided into three distinct groups, for example, three types of customer segments: budget, mid-range, and premium buyers. ### Visual Evaluation of Clusters  Apart from numerical scores, cluster evaluation can also be done through visualization in QuickML. Cluster distribution and cluster plots give an intuitive sense of balance, separation, and structure within the data. **1. Cluster Distribution** **What it tells you:** This shows how many data points fall into each cluster using a histogram chart. **Intuition:** - A balanced distribution means clusters are relatively even in size, which often indicates a natural grouping. - An imbalanced distribution means one or more clusters dominate in size, which may suggest either real-world dominance (e.g., most customers belong to one segment) or a limitation of the clustering method. **Example Inference:** If Cluster 0 has 600 points, Cluster 1 has 150 points, and Cluster 2 has 30 points, it suggests that the majority of data points belong to Cluster 0, while Clusters 1 and 2 represent smaller, niche groups. ![distribution](https://catalyst-docs-development.zohostratus.in/images/help/quickml/clustering/clustering-9.webp) **2. Cluster Plot** **What it tells you:** Visualizes how clusters are separated in a lower-dimensional space using a scatter plot (usually using PCA or t-SNE for dimensionality reduction). **Intuition:** - Well-separated clusters in the plot indicate good performance of the clustering algorithm. - Overlapping clusters suggest ambiguity in assignments, meaning the algorithm found it difficult to clearly separate groups. **Example Inference:** If the plot shows clearly visible groups with distinct boundaries, it confirms the algorithm has identified meaningful clusters. If groups overlap heavily, it suggests the need to test a different algorithm (e.g., DBSCAN for irregular shapes). ![plot](https://catalyst-docs-development.zohostratus.in/images/help/quickml/clustering/clustering-7.webp) **3. Download Model Predictions** **What it tells you:** This allows you to export the model’s clustering results for the entire dataset. Each data point is labeled with the cluster it belongs to. **Benefits:** - Provides a direct mapping of data points to clusters, making it easy to analyze individual assignments outside QuickML. - Enables further downstream analysis, such as profiling clusters, cross-referencing with external data, or performing targeted actions (e.g., marketing to a specific customer segment). - This offers transparency and traceability as you can see exactly which data points were assigned to which cluster, which is useful for validation and reporting. **To download model predictions** 1. Navigate to the desired model details page. 2. Scroll down to the **Visualizations** section. 3. Click **View Model Predictions** button above to the cluster plot chart. A Model Predictions pop-up window appears from which you can download the predictions. ![model predictions](https://catalyst-docs-development.zohostratus.in/images/help/quickml/clustering/clustering-8.webp) ### Available Models -------------------------------------------------------------------------------- title: "GLM-4.7-Flash" description: "QuickML is a fully no-code ML pipeline builder service in the Catalyst development platform for creating machine-learning pipelines with end-to-end solutions." last_updated: "2026-10-30T17:47:28.000Z" source: "https://docs.catalyst.zoho.com/en/quickml/help/available-models/glm-4.7-flash/" service: "QuickML" -------------------------------------------------------------------------------- **GLM-4.7-Flash** is a 30B-A3B Mixture-of-Experts (MoE) large language model belonging to the GLM-4.7 family. It is designed for efficient, lightweight deployment. The notation 30B-A3B means the model has 30 billion total parameters, but only ~3 billion are activated per token during inference. This means it computes like a 3B model per token, keeping latency and cost low despite its large total capacity. Optimized for coding, reasoning, agent workflows, and long-context tasks, it balances high performance similar to larger models with low compute cost, making it practical for local or small-scale deployment. ### When should you use GLM-4.7 Flash? GLM-4.7-Flash is best suited for: - Cost-sensitive deployments requiring low per-token compute - Long-context tasks exceeding 100K tokens (e.g., document analysis, large codebases) - Local or small-scale inference where full 30B dense models are impractical ### Supported input and output formats **Input type**: Text only **Output formats**: Text **Model Key**: `crm-di-glm47b_30b_it` > **Note:** Multimodal (image/audio) input is not supported. ### Capabilities - Strong coding performance with high SWE-bench scores relative to model size - Multi-step reasoning stability across complex chains - Native tool calling support for Agentic workflows and multi-step workflows ### Model details To view the model details, go to the LLM Serving, select the **Models** tab, and choose the GLM-4.7-Flash model. - **Model Size**: The model comprises 30 billion (30B) parameters, enabling high-level language understanding and generation. - **Active Parameters/token**: The model has 30 billion parameters in total, it only uses about 3 billion of them to process each word (token). This keeps it fast and efficient without sacrificing quality. - **Architecture**: The Mixture-of-Experts design routes each token to a sparse subset of expert layers, enabling large total capacity while keeping per-token compute low. - **Input Context Window**: Supports inputs up to 200K tokens, allowing for processing of very large contexts. - **Max Output Tokens**: Will be able to generate up to 128,000 tokens as output response. The MoE design routes each token to a subset of expert layers. In a Mixture-of-Experts model, the parameters are split into groups called "experts." For each token, only a small number of these expert groups are selected and used. This reduces the compute per token while keeping the total model capacity large. ### Model parameters QuickML provides a robust and flexible LLM (Large Language Model) serving environment, enabling developers and businesses to fine-tune AI model behaviour through a variety of customizable parameters. Unlike other platforms that restrict user control, QuickML prioritises transparency and adaptability—allowing you to balance creativity with precision, determine the ideal response length, and guide the model to behave in ways that best serve your domain-specific needs. The GLM 4.7 Flash model exposes a set of advanced generation parameters in the LLM Serving playground that let you control how the model behaves during the response generation. These parameters fine-tune the model's context handling, reasoning, tool calling, and thinking, which gives you fine-grained control over response quality, creativity, and length. Whether you're building an internal assistant, a tool that needs external functions to access live information, or a customer support bot, QuickML's parameter configuration options ensure your application delivers responses that are not only relevant, but also contextually tailored to your use case. Here's a breakdown of the available parameters:
Parameter Description Values / Notes
Model The LLM used for serving GLM 4.7 Flash
Conversation Mode When enabled, prior messages are retained as context; when disabled, each query is treated independently (single-shot). True / False
Instructions System-level instruction that guides the model's behaviour, tone, and response style across the session Free text (Optional)
Enable Thinking When enabled, the model performs explicit step-by-step reasoning before generating its final answer; improves accuracy on complex tasks at the cost of added latency and tokens. True / False
Tools The model can call the function tools during response generation. Defined as a JSON function with name, description, parameters, the model returns a structured tool call for your application to execute. Supported on GLM 4.7 Flash only
Temperature Controls randomness in the output. Lower values produce focused, deterministic responses; higher values produce more varied, creative responses. 0.0 (Focused) – 1.0 (Creative); default 0.7
Max Tokens Sets the maximum length of the model's generated response. Numeric; limit varies by model (up to 4096 for GLM 4.7 Flash); default 500
> **Note:** Default values are suitable for most use cases; adjust them when you need to tune response quality, creativity, or length for a specific application. ### Access the model The **GLM-4.7-Flash** model can be accessed by creating an LLM Serving or RAG endpoint. Refer to the below help documentation to understand the process of creating endpoints for LLM and RAG. 1. LLM Serving — [LLM Endpoints](https://docs.catalyst.zoho.com/en/quickml/help/endpoints/llm-serving-endpoint/) 2. RAG endpoints — [RAG Endpoints](https://docs.catalyst.zoho.com/en/quickml/help/endpoints/rag-endpoint/) Once the endpoint is created, API details and the relevant SDK information will be provided for integration in downstream applications. #### 1. API Details The following details apply to the endpoint created for this model. - **Endpoint URL**: The Model API URL used to send prompts to the model. - **OAuth Scope**: The permission level required to access the model. - **Authentication**: Specifies OAuth as the method for verifying user identity. - **HTTP Method**: Indicates that API requests must be made using the POST method. - **Headers**: Requires metadata, including organization ID and OAuth token, for authorization. - **Sample Request**: A sample input JSON showing how to send a prompt to the GLM-4.7-Flash model along with parameters such as top_p, temperature, and max_tokens. ```json { "model": "glm-4.7-flash", "messages": [{ "role": "user", "content": "Your prompt here" }], "temperature": 0.7, "top_p": 0.9, "max_tokens": 1024 } ``` - **Sample Response**: The output JSON format containing the model's generated response based on the prompt. ```json { "id": "chatcmpl-abc123", "object": "chat.completion", "model": "glm-4.7-flash", "choices": [{ "message": { "role": "assistant", "content": "Response text here" }, "finish_reason": "stop" }], "usage": { "prompt_tokens": 12, "completion_tokens": 48, "total_tokens": 60 } } ``` > **Note:** The model served is fixed when the endpoint is created, so the model field in the request body is optional and does not change which model responds. Refer to the API documentation for the exact payload format. #### 2. SDK Integration In addition to calling the endpoint directly over REST, you can invoke it programmatically using the Catalyst SDKs, which handles authentication, trigger requests, and response parsing for you. QuickML endpoints are executed through a two-step pattern: create a QuickML component instance, then call either of the `converseWithLlm()` or `askLlm()` methods, passing the endpoint key (the unique ID of the published endpoint, copied from the Catalyst console) and your input data as key-value pairs. The method returns the model's output as a structured response. The SDK is available across languages, refer to the relevant guide for setup, authentication configuration, and method syntax: - **JavaScript** — [Overview](https://docs.catalyst.zoho.com/en/sdk/javascript/v1/quickml/create-quickml-instance/) · [Create QuickML Instance](https://docs.catalyst.zoho.com/en/sdk/javascript/v1/quickml/create-quickml-instance/) · [Execute QuickML Endpoint](https://docs.catalyst.zoho.com/en/sdk/javascript/v1/quickml/execute-llm-endpoint/) - **Java** — [Execute QuickML Endpoints](https://docs.catalyst.zoho.com/en/sdk/java/v1/quickml/execute-quickml-endpoints/) - **Python** — [Python SDK documentation](https://docs.catalyst.zoho.com/en/sdk/python/v1/overview/) For JavaScript, install the `@zcatalyst/quickml` package and import the QuickML module before using the SDK methods. Executing an endpoint requires the Admin scope. > **Note:** The model's endpoint must be published in your Catalyst project before the SDK method can be used. QuickML is currently available to Catalyst users in the US, IN, EU, and CA data centers. -------------------------------------------------------------------------------- title: "Qwen 3.6 - 35B Vision Language model" description: "QuickML is a fully no-code ML pipeline builder service in the Catalyst development platform for creating machine-learning pipelines with end-to-end solutions." last_updated: "2026-10-30T17:47:28.000Z" source: "https://docs.catalyst.zoho.com/en/quickml/help/available-models/qwen-3.6-35b-vision-language/" service: "QuickML" -------------------------------------------------------------------------------- **VL-Qwen3.6-35B-A3B** is a 35-billion-parameter Multimodal Mixture-of-Experts (MoE) model with approximately 3 billion active parameters, deployed in 8-bit precision. It is designed for combined text and image understanding, and offers advanced reasoning, Agentic coding, and thinking-preservation capabilities. The notation **35B-A3B** means the model has 35 billion total parameters, but only ~3 billion are activated per token during inference. It therefore computes like a 3B model per token, keeping latency and cost low despite its large total capacity. Optimized for Multimodal understanding, Advanced reasoning capabilities, Thinking preservation and Agentic coding workflows. It delivers performance comparable to larger dense models at a fraction of the compute cost, making it practical for cost-sensitive and small-scale deployments. ### When should you use Qwen 3.6 - 35B Vision Language? Qwen 3.6 - 35B Vision Language is best suited for: - Multimodal tasks combining text and images, such as document understanding, chart and diagram interpretation, and image-based question answering. - Small-scale or cost-efficient inference where a full 35B dense model would be impractical. - Cost-sensitive deployments requiring low per-token compute. ### Supported input and output formats **Input type**: Text and Image **Output formats**: Text **Model Key**: `VL-Qwen3.6-35B-A3B` > **Note:** Audio/Video input is not supported. The model accepts text and image inputs only. ### Capabilities - Natively Multimodal — meaning it is multimodal by design, instead of just an add-on layer. - Advanced perception capability that far exceeds the relative performance of other models of similar size with only 3 billion activated parameters. - Multimodal reasoning across modalities like documents, images, and charts with the instruction prompt combined. - Efficient multi-step reasoning ability across complex reasoning tasks. - Retains thinking context across conversation history. ### Model details To view the model details, go to LLM Serving, select the **Models** tab, and choose the Qwen 3.6 - 35B Vision Language model. - **Model Size**: 35 billion (35B) total parameters, providing large capacity for multimodal understanding and generation. - **Active Parameters**: Although the model holds 35 billion parameters in total, it only activates about 3 billion of them to process each word (token). This keeps inference fast and efficient without sacrificing quality. - **Precision**: Deployed in 8-bit precision to reduce memory footprint and serving cost. - **Architecture**: The Mixture-of-Experts design routes each token to a sparse subset of expert layers, enabling large total capacity while keeping per-token compute low. - **Input Context Window**: Supports inputs up to three images (6k tokens total) plus text (3k tokens), for approximately 9k tokens overall. In a Mixture-of-Experts model, the parameters are split into groups called "experts." For each token, only a small number of these expert groups are selected and used. This reduces the compute per token while keeping the total model capacity large. ### Model parameters QuickML provides a robust and flexible LLM (Large Language Model) serving environment, enabling developers and businesses to fine-tune AI model behavior through a variety of customizable parameters. Unlike other platforms that restrict user control, QuickML prioritizes transparency and adaptability—allowing you to balance creativity with precision, determine the ideal response length, and guide the model to behave in ways that best serve your domain-specific needs. The Qwen 3.6 - 35B Vision Language model exposes a set of advanced generation parameters in the LLM Serving playground. These parameters give you fine-grained control over the model's instructions and output behavior — including randomness, token selection, and response length. Whether you're extracting insights from documents, using a visual content analyzer, or answering Q&A about images, QuickML's parameter configuration options ensure your application delivers responses that are not only relevant, but also contextually tailored to your multi-modal inputs. Here's a breakdown of the available parameters:
Parameter Description Values / Notes
Model The VLM used for serving Qwen 3.6 35B A3B VLM
Instructions System-level instruction that guides the model's behavior, tone, and response style across the session. This enhances output relevance and consistency for specific application needs. For example, a legal firm can enter instructions like "Provide responses in a formal legal tone with citations where applicable.", ensuring AI-generated content aligns with compliance and professional standards. Free text (Optional)
Temperature Controls randomness in the output. Lower values produce focused, deterministic responses; higher values produce more varied, creative responses. For example, a financial institution setting Temperature to 0.2 would get precise responses like "The Federal Reserve increased interest rates by 0.25%." while setting it to 0.8 might generate "The Federal Reserve's recent rate hike of 0.25% aims to curb inflation, affecting mortgage and loan rates." 0.0 (Focused) – 1.0 (Creative); default 0.7
Top-K Limits next-token selection to the K most probable words, controlling how much vocabulary the model considers at each step. For example, a corporate HR chatbot with Top-K set to 10 may generate standard responses like "We value diversity in our hiring process.", whereas 50 allows for richer, more engaging responses like "At [Company Name], diversity is at the core of our hiring process, fostering innovation and inclusivity." 1 – 100; default 50
Top-P Cumulative probability threshold for selecting the next token (nucleus sampling); the model considers the smallest set of tokens whose combined probability meets this value. For example, a customer support AI using a Top-P setting of 0.3 might generate straightforward responses like "Your order will arrive in 3 days.", while 0.9 could lead to "Your order is expected to arrive within 3 days. You'll receive a tracking update soon! Let us know if you need further assistance." 0.0 – 1.0; default 0.9
Max Tokens Defines the maximum number of tokens (between 1 and 4096) that the model can generate in a response. QuickML allows precise control over response length, optimizing cost and latency. Numeric; limit varies by model (up to 4096 for GLM 4.7 Flash); default 500
> **Note:** Default values are suitable for most use cases; adjust them when you need to tune response quality, creativity, or length for a specific application. ### Access the model The **Qwen 3.6 - 35B Vision Language** model can be accessed by creating an LLM Serving . Refer to the below help documentation to understand the process of creating endpoints for LLM : - LLM Serving — [LLM Endpoints](https://docs.catalyst.zoho.com/en/quickml/help/endpoints/llm-serving-endpoint/) Once the endpoint is created, API details and the relevant SDK information will be provided for integration in downstream applications. #### 1. API Details The following details apply to the endpoint created for this model. - **Endpoint URL**: The Model API URL used to send prompts to the model. - **OAuth Scope**: The permission level required to access the model. - **Authentication**: Specifies OAuth as the method for verifying user identity. - **HTTP Method**: Indicates that API requests must be made using the POST method. - **Headers**: Requires metadata, including organization ID and OAuth token, for authorization. - **Sample Request**: A sample input JSON showing how to send a prompt to the Qwen 3.6 - 35B Vision Language model along with parameters such as top_p, temperature, and max_tokens. ```json { "prompt": "Fields to extract: Contact details, Skills, education and project details and give the results in the json format with keys as the above fields to extract and values as the original value in the document image", "images": [ "", "" ] } ``` - **Sample Response**: The output JSON format containing the model's generated response based on the prompt. ```json { "request_id": "a9df919e72da4ef1a1a9360fdb025641", "model": "VL-Qwen3.6-35B-A3B", "response": "```json\n{\n \"Contact\": {\n \"Email\": \"person.one@email.com\",\n \"Phone\": \"+91 98 7654 3210\",\n \"Address\": \"H#1, Area - Chennai 600001\"\n },\n \"Skills\": [\"Windows\", \"HTML5\", \"UI/UX DESIGN\", \"Communication\", \"MS Office\", \"CSS3\", \"WordPress\", \"Teamwork\", \"Internet\", \"JAVASCRIPT\", \"Python\", \"Project Mgmt.\"],\n \"Education\": {\n \"Degree\": \"Bachelor of Engineering in Computer Science\",\n \"Institute\": \"National Institute of Technology, Chennai\",\n \"Year\": \"Aug, 2023\"\n },\n \"Projects\": [\n \"Built a responsive e-commerce website for a local startup, resulting in a 15% increase in online sales.\",\n \"Contributed bug fixes and feature enhancements to the Bootstrap CSS framework.\",\n \"Personal portfolio website showcasing coding skills and past projects.\",\n \"Volunteered for Hack for Education, creating an e-learning platform for underprivileged children.\"\n ]\n}\n```", "metrics": { "input_text_token_length": 57, "input_image_token_length": 1750, "input_guided_prompt_length": 0, "output_text_token_length": 256, "queue_wait_time": 2.4174728393554688, "processing_time": 6.480634450912476, "total_time_taken": 8.898107290267944 } } ``` > **Note:** The model served is fixed when the endpoint is created, so the model field in the request body is optional and does not change which model responds. As this is a vision-language model, image inputs must be passed as additional content items within the message; refer to the API documentation for the exact Multimodal payload format. #### 2. SDK Integration In addition to calling the endpoint directly over REST, you can invoke it programmatically using the Catalyst SDKs, which handles authentication, trigger requests, and response parsing for you. QuickML endpoints are executed through a two-step pattern: create a QuickML component instance, then call the `analyzeImage()` method, passing the endpoint key (the unique ID of the published endpoint, copied from the Catalyst console) and your input data as key-value pairs. The method returns the model's output as a structured response. The SDK is available across languages, refer to the relevant guide for setup, authentication configuration, and method syntax: - **JavaScript** — [Overview](https://docs.catalyst.zoho.com/en/sdk/javascript/v1/quickml/create-quickml-instance/) · [Create QuickML Instance](https://docs.catalyst.zoho.com/en/sdk/javascript/v1/quickml/create-quickml-instance/) · [Execute QuickML Endpoint](https://docs.catalyst.zoho.com/en/sdk/javascript/v1/quickml/execute-vision-model-endpoint/) - **Java** — [Execute QuickML Endpoints](https://docs.catalyst.zoho.com/en/sdk/java/v1/quickml/execute-quickml-endpoints/) - **Python** — [Python SDK documentation](https://docs.catalyst.zoho.com/en/sdk/python/v1/overview/) For JavaScript, install the `@zcatalyst/quickml` package and import the QuickML module before using the SDK methods. Executing an endpoint requires the Admin scope. > **Note:** The model's endpoint must be published in your Catalyst project before the SDK method can be used. QuickML is currently available to Catalyst users in the US, IN, EU, and CA data centers. ### Data Connectors -------------------------------------------------------------------------------- title: "Zoho Apps" description: "QuickML is a fully no-code ML pipeline builder service in the Catalyst development platform for creating machine-learning pipelines with end-to-end solutions." last_updated: "2026-11-11T10:19:21.000Z" source: "https://docs.catalyst.zoho.com/en/quickml/help/data-connectors/zoho-apps/" service: "QuickML" -------------------------------------------------------------------------------- # Data Connectors
**DC Availability:** The Data Connectors is available across the **US**, **IN**, **EU**, **AU**, **JP**, **SA**, and **CA** data centers.
Data is the most crucial part to handle in any analytics or machine learning pipeline platform. Hence, the Data connectors are intended to import data into QuickML service that is stored in local file system, internal and external cloud storage solutions with ease. The data connectors will be acting as a data ingestion engine to import data into QuickML service using **cloud native approaches and asynchronous design**. Asynchronous data importing will be taken care of with schedulers in QuickML service. The data can be from any of the widely-used cloud storage services, such as Google Cloud, AWS S3 object storage, or Azure Blob. With proper access permissions, the data will be imported into QuickML service once the data import is initiated. The connectors will download the data that is requested to be imported by streaming and storing it into QuickML storage. This data can be used for model training or analytical purposes in QuickML. The supported data connector options are listed below. ![Data Connectors](https://catalyst-docs-development.zohostratus.in/images/help/quickml/data-connectors/Data-connectors.webp) ## Internal data Connectors The following are the in-house Zoho products that are available as data connectors in QuickML by default: - [Zoho CRM](https://help.zoho.com/portal/en/kb/crm/getting-started/articles/get-started-introduction-zoho-crm#What_is_CRM) - [Zoho Bigin](https://help.zoho.com/portal/en/kb/bigin/get-started-with-bigin/articles/about-bigin#What_is_Bigin) - [Zoho Creator](https://www.zoho.com/creator/help/new-quickstart-guide.html) - [Zoho Recruit](https://help.zoho.com/portal/en/kb/recruit/introduction-to-zoho-recruit/articles/zoho-recruit-introduction) - [Catalyst Data Store](https://docs.catalyst.zoho.com/en/cloud-scale/help/data-store/introduction/) -------------------------------------------------------------------------------- title: "Cloud Storage" description: "QuickML is a fully no-code ML pipeline builder service in the Catalyst development platform for creating machine-learning pipelines with end-to-end solutions." last_updated: "2023-10-09T12:48:15.000Z" source: "https://docs.catalyst.zoho.com/en/quickml/help/data-connectors/cloud-storage/" service: "QuickML" -------------------------------------------------------------------------------- ## External data Connectors 1. ### Amazon AWS S3 Amazon Simple Storage Service (Amazon S3) is a scalable, high-speed, web-based cloud storage service designed for online backup and archiving of data and applications on Amazon Web Services. The AWS S3 data connector can be used to access objects stored in Amazon S3 buckets. The objects in S3 can be public as well as private. QuickML does not need any authentication keys for fetching public objects. If the bucket has restricted access, then QuickML require accessKey and secretKey. #### Details required to import data: - **Bucket name** : The bucket in which data is stored. - **Object name** : Name of the file which needs to be imported. - **Region** : Data center region in which your bucket is stored. - **Access Key** : The Access key of AWS IAM user. - **Secret Key** : The secret key of AWS IAM user. - **File Type** : The format of the file to be imported. #### To import data from S3: You need to create an AWS IAM user as per this [link](https://docs.aws.amazon.com/IAM/latest/UserGuide/id_users_create.html). While creating a new IAM user, please make sure you provide the necessary permissions to access the S3 service. At the end of the IAM user creation process, you will get an "Access Key" and a "Secret Key". You have to store the “Secret Key” in some secured place as it cannot be reproduced again. If you have an IAM user with permission to access S3 objects, you can get the access and secret keys for that user from the AWS console. 2. ### Microsoft Azure Object Storage Microsoft Azure contains multiple storage solutions like SQL databases, NoSQL databases and file storage solutions. File storage solutions are mainly used to store and retrieve the unstructured data (text, csv, etc.) using streaming. This includes Blob Storage, Queue Storage, and Disk storage. #### Blob Storage: Blob storage is an object storage solution for the cloud that deals with data in blobs (tiny units) in three different ways, as per the requirement: Block blobs, Page blobs and Append blobs. Amongst them, Block blobs are the most-commonly used method to store objects. #### Details required to import data: - **Blob Name** : File name in azure storage account container that needs to be imported. - **Container Name** : Container name in which file is stored. - **Connection String** : Authentication string to be passed to validate the account and user details with Microsoft Azure. - **File Type** : Type of the file that is being imported. #### To get Connection String from Azure Portal: 1. Login into [Azure Portal.](http://portal.azure.com/) 2. Search for and select the storage account from which the data needs to be imported. 3. Search the access keys for a value of the connection strings provided (key 1 or key 2). 3. ### Google Cloud Storage Google Cloud Storage is a secure, high-performance object storage solution for archiving and storing files online. Using the connector provided, data stored in the any formats can be imported into QuickML. #### Details required to import data: - **Blob Name** : File name in Google storage that needs to be imported - **Bucket Name** : The bucket in which data is stored. - **File Type** : Type of the file that is being imported. - **Authentication json file** : Json file container authentication details to access the object Google Service account details will be required in order to request the data from the storage server. Steps to get the authentication details have been provided below. #### Steps to get the Authentication Service json file: 1. In the IAM & Admin section in [Google cloud portal](https://console.cloud.google.com/iam-admin), go to **Service Accounts.** 2. Create a service account if needed and provide access to the required projects. 3. In *Service Account* navigate to `Actions` tab and select `Create Key`. 4. Save the key as a json file and It can be used as value for file argument of the below-mentioned API parameters. 4. ### OneDrive Microsoft’s OneDrive object storage solution is also available as data connector in QuickML. It allows user to store and manage files of various formats securely. This integration empowers user to effortlessly incorporate OneDrive data into machine learning workflows, enhancing the efficiency and versatility of analysis. Using the connector provided, data stored in the any formats can be imported into QuickML. #### Details required to import data: - **Client Id**: This is the unique identifier assigned to your application by Microsoft when registering it in Azure Active Directory. - **Tenant Id**: This is the unique identifier for your organization's Azure Active Directory tenant. - **Client Secret**: A secret key associated with your registered application to ensure secure communication between the application and the service. - **User Email**: The email associated with your OneDrive account for authentication and access permissions. - **File Name**: The name of the file you wish to import from OneDrive. - **Source File Type**: The format of the file you're importing. -------------------------------------------------------------------------------- title: "External Databases" description: "QuickML is a fully no-code ML pipeline builder service in the Catalyst development platform for creating machine-learning pipelines with end-to-end solutions." last_updated: "2023-10-08T05:18:45.000Z" source: "https://docs.catalyst.zoho.com/en/quickml/help/data-connectors/databases/" service: "QuickML" -------------------------------------------------------------------------------- ## External Databases: QuickML offers seamless integration with different databases, allowing you to fetch and utilize data directly from these sources for your analysis and machine learning projects. Supported databases include: - **MySQL** - **PostgreSQL** - **SQL Server** - **Amazon Redshift** - **Amazon Aurora** - **Amazon RDS** Alongside the above-mentioned options, you can upload local files from your devices as well. -------------------------------------------------------------------------------- title: "Local File System" description: "QuickML is a fully no-code ML pipeline builder service in the Catalyst development platform for creating machine-learning pipelines with end-to-end solutions." last_updated: "2024-08-28T10:41:08.000Z" source: "https://docs.catalyst.zoho.com/en/quickml/help/data-connectors/local-file-upload/" service: "QuickML" -------------------------------------------------------------------------------- ## Local file system QuickML supports the dataset imports from local file system in various client machines like laptops, workstations, PC's provided user must have access to stable internet connectivity to ensure the success of file upload. Once the import process begins, a clear progress bar GUI is displayed to show how far the data upload has progressed. Quick ML can import data from a variety of file formats, including CSV, JSON, ORC, Parquet, text, XLS, XLSX, and XLSM. ### Data Preprocessing -------------------------------------------------------------------------------- title: "Data Cleaning" description: "QuickML is a fully no-code ML pipeline builder service in the Catalyst development platform for creating machine-learning pipelines with end-to-end solutions." last_updated: "2025-09-30T10:53:20.000Z" source: "https://docs.catalyst.zoho.com/en/quickml/help/data-preprocessing/data-cleaning/" service: "QuickML" -------------------------------------------------------------------------------- # Data Preprocessing Techniques in QuickML QuickML provides major data preprocessing techniques divided into three main categories. - **Data Cleaning** - **Data Transformation** - **Dataset Extraction** All the operations listed in upcoming slides are available as stages in the pipeline building process that helps the user to create better Machine learning models. # Data Cleaning Data cleaning is the process of fixing or removing incorrect, corrupted, incorrectly formatted, duplicate, or incomplete data within a dataset. If data is incorrect, outcomes and algorithms will be unreliable. 1. ### Fill Columns This is used to change the values of the specific column based on the criteria set by the user. If the criteria is not specified in the configuration, then all the values in that column will be replaced by the user-specific value / method.\ **Example:**\ For population data of a country which contains patient details like name, age, address,eligible for vote etc., We can fill in the eligible for vote column as yes for all people whose age is greater than 18 as criteria. 2. ### Filter This is used to extract the data from the dataset that we need to preprocess by applying criteria in the configuration. We are also able to use not satisfied data for preprocessing\ **Example:** - #### Single Output Filter: In student dataset, if we only require CSE department data, we can set criteria as `dept=CSE`, which will reduce data that we need to preprocess. - #### Double output Filter: If it is required to preprocess both boys and girls data of the student dataset in a different flow, we can use the **"Show unmatched records as secondary output"** checkbox in configuration. This will be helpful if you wanted to do some special operation or process for unmatched data from the filter node. ![Double Output Filter](https://docs.catalyst.zoho.com/images/help/quickml/data-preprocessing/Double_Output_Filter.webp) 3. ### Remove duplicates It is used to remove the duplicate rows in the dataset. We can also control how duplicate rows need to be removed.\ **Example:**\ For a student dataset which had five duplicate rows with student ID 101 at index 1,5,7. Keep preference option:\     **First** - Output dataset will have only row at index 1, other rows at index 5 & 7 will be removed.\     **Last** - Output dataset will have only row at index 7, other rows at index 1 & 5 will be removed.\     **None** - Output dataset will have no duplicate rows, rows at index 1,5 & 7 will be removed. 4. ### Select or Drop This is used to do both select or drop columns in dataset. If a user needs to have only two columns from dataset, can simply select the required two columns from drop down and choose select operation. For dropping columns, choose drop operation. -------------------------------------------------------------------------------- title: "Data Transformation" description: "QuickML is a fully no-code ML pipeline builder service in the Catalyst development platform for creating machine-learning pipelines with end-to-end solutions." last_updated: "2026-08-17T12:16:04.000Z" source: "https://docs.catalyst.zoho.com/en/quickml/help/data-preprocessing/data-transformation/" service: "QuickML" -------------------------------------------------------------------------------- # Data Transformation Data transformation is the process of converting data from one format or structure into another format or structure. 1. ### Date time Transformation This is used to extract date-time features, such as date, year, and month, from a column that contains dates. **Usecase 1:** A retail company wants to track the sales of their products over time. DateTime transformation helps them to extract the date, month, and year from the list of sales transactions. **Usecase 2:** A transportation company can use DateTime Transformation to extract the date, time, and location from a list of past deliveries to optimize their delivery routes. **Sample input:**
dt
2021-11-29 11:52:59
**Sample output:**
dt_day_of_week 1
dt_date_no 29
dt_year_no 2021
dt_month_no 11
dt_business_day 1
dt_week_no_year 48
dt_day_of_year 333
dt_AM_PM AM
dt_quarter_year 4
2. ### Email Transformation This is used to extract features like username, domain, and suffix from a column that contains emails. **Usecase 1:** A sales team can use Email Transformation to extract the username and domain name from a list of email addresses to personalize their email outreach to potential customers. **Usecase 2:** To identify phishing emails, a security team need features such as the domain name and suffix from a list of email addresses that have been flagged as suspicious **Sample input:**
mail
abc@zylker.com
**Sample output:**
mail_first mail_middle mail_last
abc zylker com
3. ### Extract Data Extract data component utilizes regex patterns to retrieve information from text columns. These patterns may encompass various date formats, emails, or numerical values embedded within the text columns **Example:**\ In the car price prediction dataset, to extract the Year of manufacture of the car from the name column, we use the POSIX regex pattern /d{4} applied on the same column. **Sample POSIX Regex patterns:** - **Date format:** \d{4}-\d{2}-\d{2} - **Email:** [a-zA-Z0-9_.+-]+@[a-zA-Z0-9-]+\.[a-zA-Z0-9-.]+ - **Number:** \d+ 4. ### Format This is used to modify the column values in dataset based on the function chosen by the user. The Function will be displayed based on the data types of the column. **Example:**\ In patient dataset, formatting age column using the absolute value function. The age column will no longer have any negative values in it. 5. ### Group By This is used to partition rows into groups based on their values in one or more columns. It is mandatory to provide at least one **aggregate** function for a column. Users can also set the `HAVING` criteria to filter the grouped dataset. **Example:**\ Example: In an employee salary dataset, users can sum the salaries given to each department by grouping the data by department. This allows users to see the total salary expenditure for each department. In `HAVING` section it can filter these groups to only include departments where the total salary exceeds 50,000. ![Join](https://catalyst-docs-development.zohostratus.in/images/help/quickml/data-preprocessing/groupby.webp) 6. ### Hash Generator This is used to hash one or several columns in the dataset. Users are also able to drop the source column once the hash is generated. 7. ### Join This is used to join two datasets into single dataset based on the primary column in both tables. User can able to perform Left, Right, Inner and Outer joins.\ **Note** : This stage requires selecting a dataset node.\ **Example:** ![Join](https://catalyst-docs-development.zohostratus.in/images/help/quickml/data-preprocessing/Join.webp) 8. ### Merge Column This is used to merge two or more columns into a single column using a separator specified by the user. User can also able to drop the source column after performing the merge operation. **Example:**\ In passenger dataset, We can combine first_name, middle_nam,e and last_name as Name column using a space separator. 9. ### Normalization Normalization is a statistical method that helps scale and compare variables on different scales or units. This node is used to normalize two or more columns. 10. ### Outliner Handler Outliers are the data points that falls outside of the normal distribution of the data, which can distort the results of data analysis and leads to incorrect conclusions. Outlier Handler can be used to remove outliers from a dataset or replace them with more reasonable values, such as the cap, mean, or median values of the respective columns in the data. 11. ### Sort This is used to sort the dataset by set of columns. Users are also able to choose the sorting order. 12. ### Split Column This is used to split a single column into two or more columns based on the separator specified by the user. The number of output columns will be determined based on the output names given by the user. **Example:**\ In passenger dataset, User can split Name column into three columns by specifying first_name, middle_name, and last_name in the output column text box. 13. ### String Transformation Used to produce word embeddings from columns that contain text. **Usecase 1:** To provide recommended content to its users, a social media company can utilize the String Transformation to get the word embeddings from the text of the posts that users have liked and shared. **Usecase 2:** From the text of the tickets, a customer support team needs to classify customer support tickets by identifying common issues that their customers are experiencing by using word embeddings produced by string transformation. 14. ### Type Conversion This is used to convert type of column into data type specified by the user. Users are able to handle the resultant dataset if an error occurs by using the `On Error` option in configuration. `Throw` will throw an exception if an error occurs and will stop the execution, while `Nullify` will return the original record if an error occurs for that particular record. 15. ### URL Transformation This is used to extract features such as sub_domain, domain, and suffix from a column that contains URLs. **Usecase 1:** A marketing team needs to determine which websites are most frequently visited by their target market. They can utilize URL Transformation to extract the domain names from a list of URLs that users of their website have clicked. **Usecase 2:** A fraud detection team can use URL transformation to find out the list of domains, subdomains, and suffixes of malicious websites from a list of URLs that has been flagged as suspicious. **Sample input:**
link
https://www.google.in/library?fetch=query#fragment_part
**Sample output:**
link_url_protocol https
link_url_domain www.google.in
link_url_path /library
link_url_query fetch=query
link_url_fragment fragment_part
link_domain_tld in
link_domain_country IN
subdomain www
16. ### Union This is used to combine two datasets into a single dataset. Users can able to drop duplicate rows after combining two datasets.\ **Note:** This stage requires selecting a dataset node. 17. ### Windowing This is used to perform window average operation in number columns. User should need to specify the windowing range which should be greater than 0.Moving averages are a simple and common type of smoothing used in time series analysis and time series forecasting. This can be used for time series dataset. 18. ### Fill Columns This is used to change the values of a specific column based on the criteria set by the user. If the criteria are not specified in the configuration, then all the values in that column will be replaced by the user-specified value or method. **Example:**\ For a population dataset of a country that contains patient details like name, age, address, and eligibility for voting, we can update the “eligible for vote” column to “yes” for all people whose age is greater than 18. 19. ### Rename This is used to rename any particular column name from the dataset. **Example:**\ For a dataset containing columns such as name, age, address, and eligible_for_vote, we can rename the eligible_for_vote column to voter_eligibility. 20. ### Custom Expression This allows users to create custom expressions to manipulate or calculate values in a dataset. Custom expressions can be used to derive new columns, transform existing data, or apply complex calculations based on the data. **Example:**\ For a dataset containing columns such as name, age, address, and salary, we can create a custom expression to calculate the yearly salary from the monthly salary. -------------------------------------------------------------------------------- title: "Data Extraction" description: "QuickML is a fully no-code ML pipeline builder service in the Catalyst development platform for creating machine-learning pipelines with end-to-end solutions." last_updated: "2023-09-04T14:32:30.000Z" source: "https://docs.catalyst.zoho.com/en/quickml/help/data-preprocessing/data-extraction/" service: "QuickML" -------------------------------------------------------------------------------- # Data Extraction: 1. ### Add Dataset This option allows you to choose a dataset different from the current one to perform various operations such as joins, unions, and more. 2. ### Split Dataset This is used to divide a single dataset into multiple datasets, following the method specified by the user. 1. #### Row Based Split: The dataset will be split based on the ratio provided by the user.\ **Example:**\ If the dataset contains 8 rows and the ratio is set as 1:3:4, the dataset will be split into three datasets with 1, 3, and 4 rows respectively. 2. #### Column Based Split: The dataset will be divided based on the column selected by the user. ### Data Visualization -------------------------------------------------------------------------------- title: "Overview" description: "QuickML is a fully no-code ML pipeline builder service in the Catalyst development platform for creating machine-learning pipelines with end-to-end solutions." last_updated: "2026-11-11T10:19:21.000Z" source: "https://docs.catalyst.zoho.com/en/quickml/help/data-visualization/overview/" service: "QuickML" -------------------------------------------------------------------------------- # Data Visualization
**DC Availability:** Data Visualization is available across the **US**, **IN**, **EU**, **AU**, **JP**, **SA**, and **CA** data centers.
## Introduction to Data Visualization: **Data Visualization** is the graphical representation of data in order to gain insights from complex datasets. It plays a crucial role in understanding the data by identifying correlations, patterns, and trends, aids in feature engineering, and more. It's very useful in building an efficient model. **Examples include:** - Scatter Plot: Used to visualize the relationship between two variables, such as input features and target outputs. They help identify correlations, outliers, and data clusters and facilitating feature selection. - Heatmap: Employed to evaluate the feature to feature and feature to target correlations, anomalies, patterns visually represented with color grading. - Pie chart: Used to show the proportion of each category of a feature in slices comprising a whole. **Data Visualization charts are segregated into the following four categories:**
Visualization types Brief use case
Composition charts Composition charts show how the parts of the data make up the whole
Distribution charts Distribution charts visually display the distribution or spread of categories in a group.
Comparison charts Comparison charts allow to compare two or more sets of data or variables.
Relationship charts Relationship charts visually illustrate the relationship between two or more variables and how they are correlated with each other.
-------------------------------------------------------------------------------- title: "Composition Charts" description: "QuickML is a fully no-code ML pipeline builder service in the Catalyst development platform for creating machine-learning pipelines with end-to-end solutions." last_updated: "2026-08-17T12:16:04.000Z" source: "https://docs.catalyst.zoho.com/en/quickml/help/data-visualization/composition-charts/" service: "QuickML" -------------------------------------------------------------------------------- # Composition Charts Composition charts, also known as part-to-whole charts, are graphical representations used to show how individual parts contribute to the whole of a dataset. These charts help display the proportions, percentages, or absolute values of different categories within a larger entity or dataset. Composition charts are particularly effective for illustrating the distribution of data and emphasizing the relationships between different components. 1. ### Bar Chart A bar chart is a type of data visualization that represents categorical data with rectangular bars. Each bar’s length or height is proportional to the value it represents. Bar charts are commonly used to compare the frequencies or values of different categories within a dataset. They are particularly useful for visualizing discrete data and understanding patterns or trends in the data. ![Bar_Charts](https://catalyst-docs-development.zohostratus.in/images/help/quickml/visualization-charts/bar_chart.webp) **Description:** - **Axes:** The horizontal axis (x-axis) usually represents the categories, and the vertical axis (y-axis) represents the value count. - **Shape:** Each category is represented by a separate bar. - **Sections:** Bars are drawn for each category, with their lengths or heights indicating the data values. 2. ### Pyramid Chart A pyramid chart, also known as a triangle diagram, is a visual tool used to showcase hierarchies, workflows, or simple datasets. It’s shaped like a triangle divided into horizontal sections. These charts are effective for comparing data, displaying proportions, or illustrating hierarchies and workflows. They’re commonly used in business presentations to show steps taken towards a task, market shares, hierarchy levels, or a sequence of actions. ![Pyramid_Chart](https://catalyst-docs-development.zohostratus.in/images/help/quickml/visualization-charts/pyramid_chart.webp) **Description:** - **Shape:** Resembles an three-dimensional triangle, forming a pyramid-like structure. - **Axes:** Pyramid charts don’t have traditional x and y axes like bar charts. Instead, they rely on the hierarchical structure of the data to convey information. - **Hierarchy Representation:** The layers of the pyramid chart represent different levels of a hierarchy, workflow, or a sequence of actions. The widest layer is at the bottom, and the layers become narrower as they move upward. - **Sections:** The triangular shape is divided into horizontal sections or layers. Each layer corresponds to a category, step in a process, or level in a hierarchy. - **Width and Height:** The height of each layer that indicates the proportion of a category. The width of the layers doesn't carry a specific meaning. 3. ### Pie Chart A pie chart is a circular visualization used to display categorical data as a set of “slices.” Each slice represents a specific category’s proportion within a whole. The size of each slice corresponds to the percentage of data it represents. Pie charts are valuable for showcasing parts of a whole and comparing relative contributions of different categories. ![Pie_Chart](https://catalyst-docs-development.zohostratus.in/images/help/quickml/visualization-charts/pie_chart.webp) **Description:** - **Circular Shape:** A pie chart is circular, resembling a full pie. The entire circle represents 100% of the data. - **Slices:** The circle is divided into slices, with each slice representing a specific category or data point. - **Proportional Representation:** The size of each slice is proportional to the percentage it contributes to the whole data set. Larger slices indicate higher proportions. 4. ### Stacked Bar Chart A stacked bar chart is a graphical representation used to show how different components contribute to a whole, while also comparing the contributions of multiple categories across different groups or segments. Each bar in the chart is divided into segments, with each segment representing a specific category’s contribution. The total height of each bar indicates the combined contribution of all categories, while the segments show the distribution of contributions within each bar. ![Stacked_Bar_Chart](https://catalyst-docs-development.zohostratus.in/images/help/quickml/visualization-charts/stacked_bar_chart.webp) **Description:** - **Segmented Bars:** Bars are divided into segments, each representing a category. - **Vertical Structure:** Bars are aligned vertically, with the y-axis representing value count and the x-axis showing different groups or segments. - **Contribution Comparison:** Stacked bars allow for comparing the contributions of different categories within each group and across multiple groups. 5. ### Stacked Area Chart A stacked area chart is a visual representation used to showcase the cumulative contributions of multiple categories or groups over time. It’s built upon the same principles as a regular area chart, but with multiple areas stacked on top of each other. Each area represents a category, and the combined height of the areas at any point on the chart reveals the total value at that point. ![Stacked_Area_Chart](https://catalyst-docs-development.zohostratus.in/images/help/quickml/visualization-charts/stacked_area_chart.webp) **Description:** - **Layered Areas:** Areas are layered on top of each other, with each layer representing a category or group. - **Axes:** The x-axis represents different categories or groups, and the y-axis represents the cumulative value of the data points within those categories. - **Cumulative Visualization:** The chart illustrates how the contributions of different categories accumulate to form the whole over time. -------------------------------------------------------------------------------- title: "Distribution Charts" description: "QuickML is a fully no-code ML pipeline builder service in the Catalyst development platform for creating machine-learning pipelines with end-to-end solutions." last_updated: "2026-08-17T12:16:04.000Z" source: "https://docs.catalyst.zoho.com/en/quickml/help/data-visualization/distribution-charts/" service: "QuickML" -------------------------------------------------------------------------------- # Distribution Charts Distribution charts are graphical representations used to visualize the frequency or distribution of values within a dataset. They provide insights into the spread, variability, and patterns of data points, allowing for a better understanding of how values are distributed across different ranges. Distribution charts are particularly useful for identifying central tendencies, outliers, and the overall shape of data distributions. 1. ### Scatter Plot A ScatterPlot is a graphical representation used to display the relationship between two variables or attributes. It comprises individual data points placed on a Cartesian plane, where each point represents a combination of values for the two variables. Scatter plots are particularly useful for revealing patterns, correlations, or outliers within data. ![ScatterPlot](https://catalyst-docs-development.zohostratus.in/images/help/quickml/visualization-charts/scatter_plot_chart.webp) **Description:** - **Individual Data Points:** Each data point on the chart represents a specific combination of values for the two variables. - **Cartesian Plane:** The chart is based on a Cartesian coordinate system, with one variable plotted along the x-axis and the other along the y-axis. - **Variable Relationships:** Scatter plots help visualize how changes in one variable correspond to changes in the other, indicating potential correlations or patterns. 2. ### BoxPlot A BoxPlot, also known as a box-and-whisker plot, is a graphical representation used to visualize the distribution, spread, and outliers within a dataset. It provides a concise summary of key statistics, such as the median, quartiles, and potential outliers. The chart comprises a rectangular **“box”** and lines extending from it, known as **“whiskers.”** ![BoxPlot](https://catalyst-docs-development.zohostratus.in/images/help/quickml/visualization-charts/boxplot_chart.webp) **Description:** - **Box:** The central rectangle (box) spans the interquartile range (IQR), showing where the middle 50% of the data is concentrated. The box’s vertical line inside represents the median. - **Whiskers:** Lines (whiskers) extend from the edges of the box to the minimum and maximum values within a defined range, excluding outliers. - **Outliers:** Points outside the whiskers are marked as individual data points and can indicate potential outliers. 3. ### Histogram A histogram is a graphical representation used to visualize the distribution of numerical data. It divides the data into bins or intervals along the x-axis and displays the frequency or count of data points falling within each bin on the y-axis. Histograms help you understand the shape, central tendency, and spread of a dataset. ![Histogram](https://catalyst-docs-development.zohostratus.in/images/help/quickml/visualization-charts/histogram.webp) **Description:** - **Binning:** Data is divided into intervals (bins) along the x-axis, and the y-axis represents the frequency or count of data points within each bin. - **Bar Heights:** The height of each bar corresponds to the number of data points in the respective bin. - **Shape Interpretation:** Histograms provide insights into data distribution patterns, such as whether it’s skewed, symmetric, or bimodal. -------------------------------------------------------------------------------- title: "Comparison Charts " description: "QuickML is a fully no-code ML pipeline builder service in the Catalyst development platform for creating machine-learning pipelines with end-to-end solutions." last_updated: "2026-08-17T12:16:04.000Z" source: "https://docs.catalyst.zoho.com/en/quickml/help/data-visualization/comparison-charts/" service: "QuickML" -------------------------------------------------------------------------------- # Comparison Charts Comparison charts are graphical representations used to compare data between different categories, groups, or time periods. They provide a visual way to highlight similarities, differences, trends, and relationships within datasets. Comparison charts are particularly effective for making data-driven decisions, identifying patterns, and conveying insights through easy-to-understand visualizations. 1. ### Area Chart An area chart is a graphical representation used to showcase the change or distribution of a dataset over time or along a continuous axis. It resembles a line chart, but the area between the line and the x-axis is filled, providing a visual depiction of the cumulative values. Area charts are particularly effective for revealing trends, comparing multiple datasets, and emphasizing the total values over time. ![Area_Chart](https://catalyst-docs-development.zohostratus.in/images/help/quickml/visualization-charts/area_chart.webp) **Description:** - **Filled Area:** Represents data using filled areas bounded by lines, visually emphasizing the cumulative or individual values over time or other continuous axis. - **Axes:** The x-axis of an area chart represents the distinct categories, groups, or timeperiods , while the y-axis represents the contributions associated with each category or time periods - **Trend Visualization:** Area charts help display trends, changes, or distributions of data over time or along a continuous axis. 2. ### Grouped Bar Chart A grouped bar chart is a graphical representation used to compare values of multiple categories across different groups or segments. It displays bars for each category within each group, allowing for direct comparisons between categories within the same group and across various groups. Grouped bar charts are effective for illustrating patterns, differences, and relationships in dataset values. ![Grouped_Bar_Chart](https://catalyst-docs-development.zohostratus.in/images/help/quickml/visualization-charts/grouped_bar_chart.webp) **Description:** - **Bar Groups:** Bars are grouped side by side for each category, and each group represents a distinct segment or category. - **Vertical Structure:** The chart is arranged vertically, with the y-axis representing values and the x-axis indicating the groups or segments. - **Comparison:** Grouped bars allow for easy visual comparison of values within categories across different groups. -------------------------------------------------------------------------------- title: "Relationship Charts" description: "QuickML is a fully no-code ML pipeline builder service in the Catalyst development platform for creating machine-learning pipelines with end-to-end solutions." last_updated: "2026-08-17T12:16:04.000Z" source: "https://docs.catalyst.zoho.com/en/quickml/help/data-visualization/relationship-charts/" service: "QuickML" -------------------------------------------------------------------------------- # Relationship Charts Relationship charts are graphical representations used to visualize the connections, associations, or interactions between different entities or variables within a dataset. These charts help reveal patterns, dependencies, and correlations, making it easier to understand how various elements are related. Relationship charts are particularly useful for identifying trends, uncovering dependencies, and gaining insights into complex data structures. 1. ### Line Chart A line chart is a graphical representation used to display trends, changes, or relationships within a dataset over time or along a continuous axis. It connects individual data points with lines, providing a visual depiction of how values evolve over a given period. Line charts are particularly effective for showing patterns, fluctuations, and comparisons between different data series. ![Line_Chart](https://catalyst-docs-development.zohostratus.in/images/help/quickml/visualization-charts/line_chart.webp) **Description:** - **Connected Data Points:** Data points are connected by lines, forming a continuous line that represents the trend or change. - **Axes:** The x-axis typically represents distinct categories or groups, or any other continuous variable. The y-axis represents the values associated with each category or group. - **Trend Visualization:** Line charts help visualize trends, fluctuations, or relationships within data over time or along a continuous axis. 2. ### Bubble Chart A bubble chart is a graphical representation used to display three dimensions of data simultaneously. It adds a third variable to a scatter plot, where each data point is represented as a circle (or bubble) with its position determined by two variables (usually on the x and y axes) and its size determined by the third variable. Bubble charts are effective for visualizing relationships, comparing multiple dimensions, and understanding patterns within data. ![Bubble_Chart](https://catalyst-docs-development.zohostratus.in/images/help/quickml/visualization-charts/bubble_chart.webp) **Description:** - **Bubbles:** Each data point is represented by a circle (bubble) on the chart. - **Position:** The position of the bubble along the x and y axes represents the values of two variables. - **Size:** The size of the bubble represents the value of a third variable. - **Color:** The color of the bubble represents the group differences. 3. ### Heatmap A heatmap chart is a graphical representation used to visualize the intensity or magnitude of values within a dataset by using color variations. It presents data in a grid format, where each cell is colored based on the value it represents. Heatmaps are effective for identifying patterns, trends, and variations within large datasets and making data-driven decisions based on visualized patterns. ![HeatMap](https://catalyst-docs-development.zohostratus.in/images/help/quickml/visualization-charts/heatmap.webp) **Description:** - **Color Mapping:** Each cell in the grid is colored according to a color scale, with the color intensity representing the value’s magnitude. - **Two-Dimensional Grid:** The data is organized in rows and columns, forming a grid where each cell represents a specific value. - **Pattern Detection:** Heatmaps help detect patterns, correlations, and anomalies by visually highlighting areas of high or low values. -------------------------------------------------------------------------------- title: "Chart Insights" description: "QuickML is a fully no-code ML pipeline builder service in the Catalyst development platform for creating machine-learning pipelines with end-to-end solutions." last_updated: "2026-11-11T10:19:21.000Z" source: "https://docs.catalyst.zoho.com/en/quickml/help/data-visualization/chart-insights/" service: "QuickML" -------------------------------------------------------------------------------- # Chart Insights for Data Visualization
**DC Availability:** Chart Insights is available across the **US**, **IN**, **EU**, and **CA** data centers.
QuickML includes a Chart Insights feature that generates key insights in natural language based on visualizations created during data analysis. This helps you interpret and explore the underlying dataset by providing meaningful explanations for each chart. These insights are generated using the Qwen 2.5 - 7B Vision Language model, a powerful 7-billion-parameter multimodal model designed to understand both text and images. It excels in reasoning tasks and is primarily used to generate accurate outputs based on images uploaded by the end-user.   By clicking the Chart Insights icon next to any chart, a side panel will open, presenting key insights and explanations about the selected chart. Within this panel, you can also choose to either copy the generated explanation or regenerate it, letting you refine the insights as needed. This feature provides a deeper understanding of the visualized data without requiring additional manual analysis. The Chart Insights can be accessed in two places: **While creating a chart** During chart creation, you will find an option to Generate Key Insights. This displays the newly created chart along with its auto-generated explanation. ![insights-1.webp](https://catalyst-docs-development.zohostratus.in/images/help/quickml/chart-insights/cinsights-1.webp) In the displayed histogram for the DiabetesPedigreeFunction attribute, the chart shows the occurrence count against bins. The single bin, labeled around 0.03, exhibits a high occurrence count of nearly 760. No other bins are present, indicating a lack of variation in the data within the shown range. QuickML’s Chart Explainer interprets this as a highly concentrated distribution around the value 0.03, suggesting that most records cluster tightly at this point with minimal spread across other values. **After chart creation** In the Visualization section, you can view explanations for previously created charts. Here, the model provides a breakdown of key points and insights related to the chart. ![insights-2.webp](https://catalyst-docs-development.zohostratus.in/images/help/quickml/chart-insights/insights-2.webp) ### Endpoints -------------------------------------------------------------------------------- title: "LLM Serving Endpoints" description: "QuickML is a fully no-code ML pipeline builder service in the Catalyst development platform for creating machine-learning pipelines with end-to-end solutions." last_updated: "2026-08-20T07:12:54.000Z" source: "https://docs.catalyst.zoho.com/en/quickml/help/endpoints/llm-serving-endpoint/" service: "QuickML" -------------------------------------------------------------------------------- ### 1. LLM interaction modes LLM Serving in QuickML now hosts a reasoning model, **GLM-4.7-Flash**, a 30B-A3B Mixture-of-Experts (MoE) large language model and a Vision-language model, **Qwen3.6-35B-A3B**, a more efficient 35 Billion parameter Multimodal mixture-of-Experts (MoE) model, with more models planned for future releases. Each model handles different use cases, as described in the [Available models](https://docs.catalyst.zoho.com/en/quickml/help/available-models/glm-4.7-flash/) section. The typical interaction flow looks like generating the responses from the LLM with required parameters and providing a text input for text-based models and an image input with prompt for vision-language model. QuickML is now equipped to generate the responses from the LLM while retaining the previous interactions as context along with the parameters and input requirements. A new interaction mode, the conversation mode, is introduced in the LLM Serving playground. **Quick explanation about the chat interaction modes in LLM Serving:** - **Single Shot Interaction**: The model handles each prompt sent as a separate query. It doesn't remember any earlier messages or context discussed prior while generating the responses. - **Conversation Mode**: The model maintains context from earlier interaction in the same session, allowing it to remember details from earlier in the conversation. It results in generating a well-informed response with the context. Currently, the single shot interaction is set as default interaction mode although it is not explicitly mentioned in the LLM chat interface, but it's just a click away to switch to conversation mode. Let's learn more about the interaction modes below: #### a. One-shot interaction mode One-Shot interaction Mode is already an existing capability in QuickML LLM Serving. In this mode, the language model only responds to the current prompt provided as the input, without keeping the context from earlier messages. Every request sent to the LLM must include all the details and instructions needed for the model to generate a proper response. After the model replies, it doesn’t store or reuse that information in future queries; each prompt is treated as a completely new session. **_When can I use this?_** One-shot Interaction mode is stateless, quick, and best suited for independent or one-time tasks where the answer depends only on the current input, not on any previous conversation. This mode is ideal for tasks that require quick, self-contained responses. **Sample use cases:** 1. **Generating summaries** — Send a transcript of a client meeting to the model and ask for key discussion points. Here, the model will instantly generate a focused summary from the information provided. It doesn’t rely on or remember any past requests. 2. **Information extraction** — Perform sentiment analysis, intent extraction, tonality identification, and more from each text provided to the model without any bias. These implementations are especially useful for customer-facing businesses, where the subjective feedback of each of their customers on products or services provided impacts the top line and bottom line revenues. 3. **Content drafting** — Perform tasks like drafting professional emails or news letters to customers based on their interactions or to thank the client for the meeting and confirm next actions. With the necessary information in a prompt, the model will produce a clear, polished email draft based solely on that prompt, which may nudge the customer to take action. **_Chat interface_** Single shot interaction is a default interaction mode in the LLM serving chat. Once the model is selected, we can see in the interface screen below that conversation mode is turned off. ![LLM-1.webp](https://catalyst-docs-development.zohostratus.in/images/help/quickml/llm-serving-endpoint/LLM-1.webp) It specifies that the current mode of interaction is set to one-shot interaction mode by default, which will just respond to the prompt provided without previous context. #### b. Conversation mode Conversation Mode is a new capability in QuickML LLM Serving. It enables the multi-turn, context-aware interactions within the interface. It helps the model maintain the context from previous messages just like any chat interaction, allowing it to remember details from earlier parts of the conversation. This means that the model doesn’t just respond to the latest input, it also considers previous messages, questions, and answers to give more meaningful and relevant responses. **_When can I use this?_** Unlike One-shot mode, Conversation mode is **stateful**, meaning it keeps track of what has already been discussed in the same session. This makes it ideal for ongoing, interactive tasks where the conversation naturally builds upon previous exchanges. **Sample use case:** **1. Drafting a follow-up email from a sales meeting** A sales manager has just wrapped up a client meeting and wants to turn the discussion into a polished follow-up email. They upload the meeting transcript to the LLM, then begin the conversation: - *"Can you summarize the key points from this transcript?"* - *"Turn that into a follow-up email draft."* - *"Make it more formal and mention our new pricing offer."* In **Conversation Mode**, the model retains context across each message. It remembers each step, the transcript, the summary it generated, and the draft it produced. Each follow-up refines the previous output naturally, without the user needing to repeat themselves. In **One-Shot Mode**, each message is treated independently. When the user asks to "Draft a follow-up email", the model has no memory of the earlier draft or the transcript it was based on. It may ask for the context again or produce an unrelated response, breaking the flow entirely. **_Chat interface_** Conversation mode in the LLM serving chat is available only for [GLM 4.7 Flash](https://docs.catalyst.zoho.com/en/quickml/help/available-models/glm-4.7-flash/) as of now. ![LLM-2.webp](https://catalyst-docs-development.zohostratus.in/images/help/quickml/llm-serving-endpoint/LLM-2.webp) Upon **clicking the toggle** button as highlighted, the Conversation mode is enabled. --- ### 2. LLM tool calling Tool calling lets the language model go beyond text generation by invoking external functions you define. Instead of answering only from its training, the model recognizes when a query needs an external action such as fetching the live data, performing a calculation, querying a system and creates a structured request. In QuickML, you define tools in the Tools panel of the LLM Serving configuration, and the model uses them automatically whenever needed. > **Note:** Tool calling is currently supported only by the GLM 4.7 Flash model. #### a. How the LLM utilizes tools The model does not execute tools itself. It decides when a tool is needed and returns a structured call for your application to run, following this cycle: 1. You define one or more tools in the configuration, each with a name, description, and input parameters. 2. When a user query matches a tool's purpose, the model invokes a tool call specifying the tool name with the required argument values it inferred. 3. Your application executes the tool and returns the result to the model. 4. The model incorporates the result along with the previous context and generates the final response. The model relies on each tool's description and parameter definitions to decide which tool to call and what arguments to pass, so clear and specific definitions directly improve accuracy. **Example** Consider a tool defined to create a lead in Zoho CRM: ```json { "name": "create_crm_lead", "description": "Creates a new lead in Zoho CRM. Use this when the user wants to capture a potential customer's details such as name, company, email, or phone.", "parameters": { "type": "object", "properties": { "last_name": { "type": "string", "description": "Last name of the lead. This is the mandatory field for creating a lead in Zoho CRM." }, "first_name": { "type": "string", "description": "First name of the lead." }, "company": { "type": "string", "description": "Name of the company the lead is associated with." }, "email": { "type": "string", "description": "Email address of the lead." }, "phone": { "type": "string", "description": "Contact phone number of the lead." }, "lead_source": { "type": "string", "description": "Channel through which the lead was acquired.", "enum": ["Website", "Advertisement", "Referral", "Cold Call", "Trade Show"] } }, "required": ["last_name", "company"] } } ``` With this tool defined, when a user enters "Add Jane Doe from Acme Corp as a lead, her email is [jane@acme.com](mailto:jane@acme.com)", the model returns a tool call to **create_crm_lead** with the arguments it inferred from the query: ```json { "name": "create_crm_lead", "arguments": { "first_name": "Jane", "last_name": "Doe", "company": "Acme Corp", "email": "jane@acme.com" } } ``` Your application executes this call against the Zoho CRM API, then returns the result to the model, which generates the final response confirming the lead was created. #### b. Supported models Tool calling is available only for **GLM 4.7 Flash** at this time. Other LLM Serving models do not expose the Tools panel. #### c. Adding a tool 1. In LLM Serving, select the GLM 4.7 Flash model. 2. In the configuration panel, expand the Tools section. ![LLM-3.webp](https://catalyst-docs-development.zohostratus.in/images/help/quickml/llm-serving-endpoint/LLM-3.webp) 3. Click **+ Add Tool**. The Add Tool editor opens with a JSON function template. ![LLM-4.webp](https://catalyst-docs-development.zohostratus.in/images/help/quickml/llm-serving-endpoint/LLM-4.webp) 4. Define the tool using the schema below, then click **Save**. The tool appears in the Tools list and can be edited or removed. #### d. Tool definition structure Each tool is defined as a JSON function specification: ```json { "name": "", "description": "", "parameters": { "type": "object", "properties": {}, "required": [] } } ``` - **name** — A unique identifier for the function (e.g., get_weather). - **description** — A clear explanation of what the tool does and when to use it. The model uses this to decide whether to call the tool. - **parameters** — A JSON Schema object describing the inputs the tool accepts. - **type** — Always object at the top level. - **properties** — The individual input fields, each with its own type and description. - **required** — The list of property names that must be supplied. #### e. Tool calling in endpoints Tools defined in the LLM serving playground will persist when the configuration is saved, and will carry into any endpoint created from that saved configuration. A deployed endpoint therefore exposes the same tools and tool-calling behavior as tested in the playground. The model invokes tool calls in its API response for your application to execute. #### f. Best practices - Write specific tool descriptions; the model selects tools based on them. - Give every parameter a clear type and description, and list all mandatory fields under required. --- ### 3. LLM endpoints In QuickML, as you may know, you can train your own custom AI models and access them using an REST API generated after creating an endpoint and publishing it. In the same manner, you can create a Generative AI endpoint for LLMs available in LLM Serving, and access it using a dedicated API and SDK. Beyond interacting with the large language models via chat playground interface, QuickML is equipped to expand the scope of utilization of these models and help businesses integrate them seamlessly into their applications. Therefore, QuickML's Generative AI module has been upgraded with endpoint creation capability across both LLM Serving and RAG with chosen parameters as per business needs. While the Custom ML and Gen AI models handles different use cases, the endpoint creation flow, publishing, and generating API & SDK information work the same way for both. In the Generative AI module, the endpoint creation coupled with the saved parameter configuration with an optional instruct prompt. #### a. Save the configuration QuickML now allows users to save their LLM parameter values. A saved configuration captures all configured parameters from the playground chat interface. **_Benefits of saving the parameters_** Saved parameter configs can be used for various purposes. - Reuse the same parameter values across multiple test sessions without re-entering them each time. - Create an endpoint with the saved parameter configuration, ensuring what's been tested is being deployed without errors. - Publish multiple endpoints using the same configuration when needed. **_How to save the parameters configuration?_** Let's look at the step by step process to save the parameters for the chosen LLM. 1. Navigate to the Generative AI section within [QuickML](https://docs.catalyst.zoho.com/en/quickml/help/generative-ai/llm-serving/). 2. Click the **LLM Serving** tab. ![LLM-5.webp](https://catalyst-docs-development.zohostratus.in/images/help/quickml/llm-serving-endpoint/LLM-5.webp) 3. Verify the available models in the Models tab, click on the chosen model to view model details. ![LLM-6.webp](https://catalyst-docs-development.zohostratus.in/images/help/quickml/llm-serving-endpoint/LLM-6.webp) 4. Click **Open Playground** to access the test instance. ![LLM-7.webp](https://catalyst-docs-development.zohostratus.in/images/help/quickml/llm-serving-endpoint/LLM-7.webp) 5. Set your desired parameters for the selected LLM model. 6. Click on **Save Configuration**. The save configuration pop-up window will appear. ![LLM-8.webp](https://catalyst-docs-development.zohostratus.in/images/help/quickml/llm-serving-endpoint/LLM-8.webp) 7. In the Save Configuration window, do the following: - Cross verify the parameter values used in the test instance. - Enter a **configuration name**. Note the name must start and end with alphanumeric characters and may only include letters, numbers, or underscores. - Optionally, add **Your prompt** if needed (the prompt used by default in request). 8. Click **Save** to save the parameters configuration. 9. **Navigate** to Saved Configurations tab beside the playground window, which displays the list of saved configurations. ![LLM-9.webp](https://catalyst-docs-development.zohostratus.in/images/help/quickml/llm-serving-endpoint/LLM-9.webp) 10. **Select** the config. You can verify the overview with details like Model used, Provider and the Parameters summary. **_Managing saved configurations_** During your testing, you can save multiple parameter configurations, which are accessible via the **Saved Configuration** tab. The tab displays all saved configs with their necessary details. ![LLM-10.webp](https://catalyst-docs-development.zohostratus.in/images/help/quickml/llm-serving-endpoint/LLM-10.webp) From this view, users can: - **Open the playground** instance with the saved parameters. - **Edit** a saved configuration to update parameters and save it as new. - **Delete** the selected configuration that is no longer needed. - **Create a new endpoint** from the selected configuration. > **Note:** Renaming or editing a saved configuration after it has been linked to an endpoint does not affect the endpoint's behavior. The endpoint retains a snapshot of the configuration at the time of creation. #### b. Create an endpoint QuickML took the user first approach by providing an intuitive way to tune the responses from LLM using the adjustable parameter configuration; use the same to create a deployable REST API endpoint and operationalize the API in a few clicks. As per the previous step, now the parameters are saved as per the requirement. The next step is to create an endpoint using the same configuration. **I. Step-by-step tutorial** Let's look at the endpoint creation step with the saved parameter configuration for the chosen LLM. 1. Go to the **Endpoints** tab in the left panel. ![LLM-11.webp](https://catalyst-docs-development.zohostratus.in/images/help/quickml/llm-serving-endpoint/LLM-11.webp) 2. Click **Create Endpoint**. ![LLM-12.webp](https://catalyst-docs-development.zohostratus.in/images/help/quickml/llm-serving-endpoint/LLM-12.webp) 3. Enter an **Endpoint Name**. 4. Under _Endpoint Type_, select **LLM Configuration**. 5. Select a **LLM Configuration** from the dropdown list. 6. Click **Create Endpoint**. 7. Once the endpoint is created, You'll be redirected to the Endpoint details page. You can find the following details.
    1. Saved parameter values.
    ![LLM-13.webp](https://catalyst-docs-development.zohostratus.in/images/help/quickml/llm-serving-endpoint/LLM-13.webp)
    1. Endpoint URL details to access the LLM
    2. Sample request and response
    ![LLM-14.webp](https://catalyst-docs-development.zohostratus.in/images/help/quickml/llm-serving-endpoint/LLM-14.webp)
    1. SDK information to integrate the endpoint
    ![LLM-15.webp](https://catalyst-docs-development.zohostratus.in/images/help/quickml/llm-serving-endpoint/LLM-15.webp)
    1. A basic test interface for the endpoint. Access the basic test interface beside the overview tab.
    ![LLM-16.webp](https://catalyst-docs-development.zohostratus.in/images/help/quickml/llm-serving-endpoint/LLM-16.webp)
This flow ensures that every endpoint used for integration reflects a parameter configuration that has been tested and optimized for its purpose, providing greater control and flexibility over how your endpoints behave in production. #### c. Authentication QuickML uses OAuth-based authentication for secure API access and efficient integration. Refer to the [OAuth documentation](https://www.zoho.com/developer/oauth/self-client/overview.html) for details on different types of OAuth applications and the steps required to generate and manage access tokens. #### d. Pricing API usage is charged based on token consumption. Refer to the [Catalyst Pricing page](https://www.zoho.com/catalyst/pricing.html) for details. --- ### 4. Endpoint details page The endpoint detail page provides a complete view of the deployed configuration and the integration details required to call it from an external application. ![LLM-17.webp](https://catalyst-docs-development.zohostratus.in/images/help/quickml/llm-serving-endpoint/LLM-17.webp) #### a. Details The Details section provides the basic metadata of the endpoint and its current publishing status.
Parameter Description Values
Configuration Associated LLM saved configuration Configuration name
Endpoint type Type of endpoint created LLM
Generative AI Model Model associated GLM-4.7 Flash
Publish Status Status of the endpoint Published / Unpublished
#### b. Model configuration Displays the parameters with captured values from the saved configuration at the time of endpoint creation. ![LLM-18.webp](https://catalyst-docs-development.zohostratus.in/images/help/quickml/llm-serving-endpoint/LLM-18.webp) #### c. Endpoint details The **Endpoint Details** section lists the connection information required to call the endpoint from an external application. ![LLM-19.webp](https://catalyst-docs-development.zohostratus.in/images/help/quickml/llm-serving-endpoint/LLM-19.webp)
Parameter Description Values
Endpoint URL The REST API URL used to send prediction requests. https://api.catalyst.zoho.com/quickml/v1/project/.../endpoints/predict
HTTP Method The HTTP method used for prediction requests. POST
OAuth Scope Required OAuth scope for authentication. QuickML.deployment.READ
Headers Required request headers for authorization and organization identification. CATALYST-ORG Authorization: Zoho-oauthtoken <access_token>
#### d. Test The endpoint detail page includes a built-in Test Interface that allows users to send queries and inspect responses directly from the UI without writing code. Evaluate the model in the test interface via a generic chat instance and a JSON format to identify how the request and response are being processed: - **Chat Interface UI:** A conversation-style panel with user and system message threads, and an input box. Enter a query, send it, and view the endpoint's response inline. ![LLM-20.webp](https://catalyst-docs-development.zohostratus.in/images/help/quickml/llm-serving-endpoint/LLM-20.webp) This mode is best for quickly checking response quality and behavior in a natural, interactive way. - **JSON Format:** A raw JSON request/response view that lets you validate the exact input payload and inspect the structured output. Use this mode to confirm your request body matches the expected input schema and to verify the format of the returned response before integrating the endpoint into your application. ![LLM-21.webp](https://catalyst-docs-development.zohostratus.in/images/help/quickml/llm-serving-endpoint/LLM-21.webp) This is best for checking field names, data types, and the overall request/response contract that your code will rely on. > **Note:** Use the Test Interface to validate the endpoint's responses before integrating it into a production application. #### e. Publish After creation, an endpoint will be callable by default. Hence, there is no publishing of endpoint is required unlike the traditional custom ML endpoints. -------------------------------------------------------------------------------- title: "RAG Endpoints" description: "QuickML is a fully no-code ML pipeline builder service in the Catalyst development platform for creating machine-learning pipelines with end-to-end solutions." last_updated: "2026-08-20T07:12:54.000Z" source: "https://docs.catalyst.zoho.com/en/quickml/help/endpoints/rag-endpoint/" service: "QuickML" -------------------------------------------------------------------------------- ### 1. RAG Modes Retrieval-Augmented Generation (RAG) in Catalyst QuickML combines a large language model with your organization's own knowledge base to deliver accurate, context-aware responses. As an enhancement to this basic flow, the RAG system now controls how each response is generated and delivered to the user, starting from refining the query from the user prompt, retrieving information from your documents while preserving the ground truth, mitigating language model hallucination, and performing multi-step autonomous reasoning, etc. across the retrieved context through an agent. With the introduction of RAG modes in QuickML, each designed for a different use case, you can select a mode and configure its parameters to match your business requirements. Every mode exposes its own dedicated parameters, giving you absolute control over how the RAG system functions. Selecting the right mode lets you tailor the system's behaviour to your specific use case. This flexibility means that both a lightweight document lookup and a complex, multi-step research assistant can be built on the same platform. #### a. Response Generation Response Generation is the standard RAG mode. The model retrieves relevant content from the document store and generates a natural language response grounded in the retrieved context. This is the recommended mode for question-answering, summarization, and conversational AI use cases. ![RAG-1.webp](https://catalyst-docs-development.zohostratus.in/images/help/quickml/rag-endpoint/RAG-1.webp) In Response Generation mode, you can restrict generic responses from the LLM and reduce the level of hallucination. This adds a layer of control, keeping responses aligned with the ground truth from the retrieved context alone, controlled through the **Strict Mode** and **Tolerance** parameters described below. #### Explore the parameters
Parameter Description Values
Model The LLM used to generate the response GLM 4.7 Flash
Response type Format of the generated output — "chat" for conversational response, "mail" for email format Chat, Email
Standard Email template When Response type is "mail": include salutations and subject (true) or omit them (false) Salutations and Subject
Tolerance Mitigates the hallucination during the response generation. Range: 0.0 (low similarity required, allows more hallucination) to 1.0 (high similarity required, strictest grounding) Default value: 0.2
Strict When true, model is constrained strictly to context provided; when false, allows more flexible responses. True / False
> **Note:** Setting Strict to True is recommended in regulated or compliance-sensitive environments where responses must be traceable to source documents. #### b. Agentic RAG Agentic RAG extends Response Generation by introducing an agent layer that can reason over complex queries, decompose them into sub-queries, and handle conversational interactions. This mode is suited for multi-hop reasoning scenarios, complex document-based Q&A, and agent-driven workflows. ![RAG-2.webp](https://catalyst-docs-development.zohostratus.in/images/help/quickml/rag-endpoint/RAG-2.webp) In addition to the parameters available in Response Generation mode, Agentic RAG exposes an **Agent Configuration** section with advanced parameters. With these, you can let the agent reason through multiple steps across your documents, access previous conversation history for better context, and refine the user query for better context retrieval and improved response generation, controlled through the **Perform Reasoning**, **Save Chat History**, and **Query Enrichment** parameters described below. #### Explore the parameters
Parameter Description Values
Agent Name Display name/role for the agent String (e.g. Personal assistant)
Instruction System-level instructions that guide the agent's behaviour and tone String (Free text prompt)
Query Enrichment When enabled, the LLM enriches and refines the user's query before retrieval to improve relevance. True / False
Do Chit Chat When enabled, the agent detects and responds to greetings and chitchat without triggering retrieval. True / False
Perform Reasoning When enabled, the agent decomposes complex queries into sub-queries and performs multi-hop reasoning before generating a final response. True / False
Save Chat History Passes prior conversation turns as context to the agent for multi-turn interactions. True / False
> **Note:** For most conversational deployments, enabling Query Enrichment, Do Chit Chat, and Perform Reasoning is recommended. #### c. Document Search Document Search is a retrieval-only task. It does not generate a response. Instead, it returns the most relevant chunks of content from the document store that matches the user's query. This is useful when the application needs raw retrieved passages for downstream processing, ranking, or custom rendering. ![RAG-3.webp](https://catalyst-docs-development.zohostratus.in/images/help/quickml/rag-endpoint/RAG-3.webp) The number of chunks returned is controlled by the `top_k` parameter, which retrieves the top K most relevant documents for the query. #### Explore the parameters
Parameter Description Values
Model The LLM used to perform the retrieval mechanism. GLM 4.7 Flash
Top_k Number of top matching chunks to return. Numeric value
> **Note:** Document Search returns only the retrieved chunks of information from the relevant documents. No response generation is performed in this mode. Use this only to get information on related documents for your query. --- ### 2. RAG Builder The RAG Builder is where you configure the required parameters and test it interactively before saving it. Key important selections include: - **Model Selection** — Choose a suitable LLM for your RAG use case from the drop-down in the top bar (for example, GLM 4.7 Flash). - **RAG Mode** — Select the RAG mode from the top-bar drop-down: Response Generation, Agentic RAG, or Document Search. The parameters panel updates to match the selected mode. - **Parameters panel** — On the right, configure the parameters for the selected model and RAG mode. It is organized into collapsible sections such as _Model Setup_ and, for Response Generation, a _Response Generation_ section (Response Type, Tolerance, Strict Mode). The panel also provides **Document Store** and **Model Details** tabs. ![RAG-4.webp](https://catalyst-docs-development.zohostratus.in/images/help/quickml/rag-endpoint/RAG-4.webp) Enter your query in the **Ask me anything** prompt input box at the bottom of the playground to test the current configuration against the documents in your document store. Adjust the model, RAG mode, or parameters and re-run as needed until the output meets your requirements. --- ### 3. RAG Endpoints QuickML's Generative AI has been upgraded with endpoint creation capability across both LLM Serving and RAG. While the two serve different use cases, the endpoint creation flow, publishing, and API integration work the same way for both. Once your RAG configuration is saved, you can deploy it as an endpoint and integrate it directly into your applications. RAG endpoints expose your configured parameters like chosen model, RAG Mode, configured parameters, and document store in a single REST API, making it straightforward to power chatbots, customer support tools, internal assistants, or any application that needs document-grounded responses. #### a. Save the configuration QuickML allows users to save their RAG parameter configurations for reuse across testing and deployment. A saved configuration captures the selected RAG mode, the associated documents, and all configured parameters. ![RAG-5.webp](https://catalyst-docs-development.zohostratus.in/images/help/quickml/rag-endpoint/RAG-5.webp) ##### **i. Benefits of saving the parameters** - Reuse the same parameter values and document store setup across multiple test sessions without re-configuring them each time. - Create endpoints using the saved configuration, ensuring consistent deployments. - Publish multiple endpoints using the same configuration when needed. ![RAG-6.webp](https://catalyst-docs-development.zohostratus.in/images/help/quickml/rag-endpoint/RAG-6.webp) > **Note:** Renaming or editing a saved configuration after it has been linked to an endpoint does not affect the endpoint's behaviour. The endpoint retains a snapshot of the configuration at the time of creation. ##### **ii. How to save the parameters configuration** 1. Navigate to the _Generative AI_ section within [QuickML](https://catalyst.zoho.com/quickml.html). 2. Click the **RAG** tab. ![RAG-7.webp](https://catalyst-docs-development.zohostratus.in/images/help/quickml/rag-endpoint/RAG-7.webp) 3. Choose the desired **model** from the available models on the dropdown. ![RAG-8.webp](https://catalyst-docs-development.zohostratus.in/images/help/quickml/rag-endpoint/RAG-8.webp) 4. Select a **RAG mode** in the RAG interface from the dropdown button. ![RAG-9.webp](https://catalyst-docs-development.zohostratus.in/images/help/quickml/rag-endpoint/RAG-9.webp) 5. Click **Add the documents** to add the required docs from Knowledge Base to the Document Store. ![RAG-10.webp](https://catalyst-docs-development.zohostratus.in/images/help/quickml/rag-endpoint/RAG-10.webp) 6. Configure the required parameters for the selected RAG mode. ![RAG-11.webp](https://catalyst-docs-development.zohostratus.in/images/help/quickml/rag-endpoint/RAG-11.webp) 7. Click **Save Configuration**. A pop-up window will appear. ![RAG-12.webp](https://catalyst-docs-development.zohostratus.in/images/help/quickml/rag-endpoint/RAG-12.webp) 8. In the _Save Configuration_ window, do the following: - Enter a **configuration name**. The name must start and end with alphanumeric characters and may only include letters, numbers, or underscores. ![RAG-13.webp](https://catalyst-docs-development.zohostratus.in/images/help/quickml/rag-endpoint/RAG-13.webp) 9. Click **Save**. The parameters will be saved in the Saved Configuration. 10. Click the **Saved Configuration** tab beside the RAG Builder to access the saved parameter configurations so far. ![RAG-14.webp](https://catalyst-docs-development.zohostratus.in/images/help/quickml/rag-endpoint/RAG-14.webp) 11. Select the config. For each saved configuration, the detailed information about the RAG parameters and Documents details are displayed. ##### **iii. Manage saved configurations** Saved configurations are accessible via the **Saved Configuration** tab. The list displays all saved configs with their names, associated documents, and creation details. ![RAG-15.webp](https://catalyst-docs-development.zohostratus.in/images/help/quickml/rag-endpoint/RAG-15.webp) From this view, users can: - **Open the Playground** with the saved configuration to make modifications or simply for testing purposes. - **Delete** a configuration that is no longer needed. - **Create an endpoint** directly from the configuration panel. > **Note:** Renaming or editing a saved configuration after it has been linked to a published endpoint does not affect the endpoint's behaviour. The endpoint retains a snapshot of the configuration at the time of its creation. Each endpoint is built from a saved parameter configuration, ensuring that what you tested in the RAG interface is exactly what gets deployed. #### b. Creating an endpoint QuickML took the user first approach by providing an intuitive way to tune the responses from RAG using the adjustable parameter configuration; use the same to create a deployable REST API endpoint and operationalize the API in a few clicks. As per the previous step, the parameters are saved as per the requirement. The next step is to create an endpoint using the same configuration. ##### **I. Step-by-step tutorial** Let's look at the endpoint creation step with the saved parameter configuration for the chosen RAG setup and deploying the endpoint for integration. 1. Go to the **Endpoints** tab in the left panel. ![RAG-16.webp](https://catalyst-docs-development.zohostratus.in/images/help/quickml/rag-endpoint/RAG-16.webp) 2. Click **Create Endpoint**. 3. Provide the required details in the popup: 1. Enter the **Endpoint name** in the input box. 2. Choose the **Endpoint type** as **RAG configuration** from the list. 3. Select the **configuration** from the **RAG Configuration** dropdown. ![RAG-17.webp](https://catalyst-docs-development.zohostratus.in/images/help/quickml/rag-endpoint/RAG-17.webp) 4. Click **Create Endpoint** to create the endpoint. 5. Once the endpoint has been created, you'll be redirected to the _Endpoint details_ page. You can find the following information in the page. 1. RAG Parameter values. 2. Documents added in Document Store. ![RAG-18.webp](https://catalyst-docs-development.zohostratus.in/images/help/quickml/rag-endpoint/RAG-18.webp) 3. Endpoint URL details to access the RAG system in the defined mode. 4. Sample request and response. ![RAG-19.webp](https://catalyst-docs-development.zohostratus.in/images/help/quickml/rag-endpoint/RAG-19.webp) 5. SDK information to integrate the endpoint. ![RAG-20.webp](https://catalyst-docs-development.zohostratus.in/images/help/quickml/rag-endpoint/RAG-20.webp) 6. A basic test interface for the endpoint. Access the basic test interface beside the overview tab. ![RAG-21.webp](https://catalyst-docs-development.zohostratus.in/images/help/quickml/rag-endpoint/RAG-21.webp) This flow ensures that every endpoint used for integration reflects a parameter configuration that has been tested and optimised for its purpose, providing greater control and flexibility over how your endpoints behave in production. #### c. Authentication QuickML uses OAuth-based authentication for secure API access and efficient integration. Refer to the [OAuth documentation](https://www.zoho.com/accounts/protocol/oauth/self-client/overview.html) for details on different types of OAuth applications and the steps required to generate and manage access tokens. #### d. Pricing API usage is charged based on token consumption. Refer to the [Catalyst Pricing page](https://www.zoho.com/catalyst/pricing.html) for details. --- ### 4. Endpoint details page The endpoint detail page provides a complete view of the deployed configuration and the integration details required to call it from an external application. ![RAG-22.webp](https://catalyst-docs-development.zohostratus.in/images/help/quickml/rag-endpoint/RAG-22.webp) #### a. Details The **Details** section provides the basic metadata of the endpoint and its current publishing status.
Parameter Description Values
Configuration Associated RAG saved configuration Configuration name
Endpoint type Type of endpoint created RAG
Generative AI Model Model associated GLM-4.7 Flash
RAG mode RAG mode selected (Response Generation, Agentic RAG, Document Search) Response Generation
Publish Status Status of the endpoint Published / Unpublished
#### b. RAG Configuration Displays the parameters with captured values from the saved configuration at the time of endpoint creation. #### c. Document Store All the documents that are associated with the saved configuration are also listed with their details in the document store. #### d. Endpoint Details The **Endpoint Details** section lists the connection information required to call the endpoint from an external application. ![RAG-23.webp](https://catalyst-docs-development.zohostratus.in/images/help/quickml/rag-endpoint/RAG-23.webp)
Parameter Description Values / Notes
Endpoint URL The REST API URL to send prediction requests to https://api.catalyst.zoho.com/quickml/v1/project/.../endpoints/predict
HTTP Method All requests must use POST POST
OAuth Scope Required scope for authentication QuickML.deployment.READ
Headers Required headers including the authorization token CATALYST-ORG Authorization: Zoho-oauthtoken <access_token>
#### e. Test The endpoint detail page includes a built-in Test Interface that allows users to send queries and inspect responses directly from the UI without writing code. Evaluate the model in the test interface via a generic chat instance and a JSON format to identify how the request and response are being processed: - **Chat Interface UI** A conversation-style panel with user and system message threads, and an input box. Enter a query, send it, and view the endpoint's response inline. ![RAG-24.webp](https://catalyst-docs-development.zohostratus.in/images/help/quickml/rag-endpoint/RAG-24.webp) This mode is best for quickly checking response quality and behaviour in a natural, interactive way. - **JSON Format** A raw JSON request/response view that lets you validate the exact input payload and inspect the structured output. Use this mode to confirm your request body matches the expected input schema and to verify the format of the returned response before integrating the endpoint into your application. ![RAG-25.webp](https://catalyst-docs-development.zohostratus.in/images/help/quickml/rag-endpoint/RAG-25.webp) This is best for checking field names, data types, and the overall request/response contract that your code will rely on. > **Note:** Use the Test Interface to validate the endpoint's responses before integrating it into a production application. #### f. Publish After creation, an endpoint will be callable by default. Hence, no separate publishing step is required unlike the traditional custom ML endpoints. ### Large Language Model -------------------------------------------------------------------------------- title: "LLM Serving" description: "QuickML is a fully no-code ML pipeline builder service in the Catalyst development platform for creating machine-learning pipelines with end-to-end solutions." last_updated: "2026-11-11T10:19:21.000Z" source: "https://docs.catalyst.zoho.com/en/quickml/help/generative-ai/llm-serving/" service: "QuickML" --------------------------------------------------------------------------------
**DC Availability:** LLM Serving is available across the **US**, **IN**, **EU**, **JP**, and **CA** data centers.
## Introduction to Large Language Model (LLM) A **Large Language Model (LLM)** is an advanced AI system trained to generate human-like text based on patterns learned from vast amounts of data such as books, websites, and articles. It leverages deep learning techniques, particularly the Transformer neural network architecture, which processes entire sequences of input in parallel—unlike earlier models like Recurrent Neural Networks (RNNs), which handled inputs sequentially. This parallelism enables the use of GPUs for efficient training, significantly accelerating the process. This training typically involves unsupervised or self-supervised learning, where the model learns to predict the next word in a sentence by recognizing patterns, grammar, and context within the data. ### Mechanism of LLM A fundamental aspect of how Large Language Models (LLMs) operate lies in their approach to representing words. Earlier machine learning models relied on simple numerical tables to represent individual words, which made it difficult to capture the relationships between words—particularly those with similar meanings. This limitation was addressed with the introduction of multi-dimensional vectors, known as word embeddings. These embeddings map words into a vector space where semantically or contextually similar words are positioned close to each other. With these embeddings, transformers convert text into numerical formats using the encoder, allowing the model to grasp context, meaning, and linguistic relationships—such as synonyms or grammatical roles. This processed understanding is then used by the decoder to generate meaningful and coherent text, enabling LLMs to produce responses that reflect the structure and flow of natural language. ### Applications of LLM     LLM enables real-time AI-powered solutions across various industries. Here are key applications where LLMs are making a significant impact: **Chatbots and virtual assistants** LLMs power AI-driven chatbots and virtual assistants used in customer service, e-commerce, and enterprise support. These assistants can handle customer queries, provide automated responses, and assist with troubleshooting. Businesses use them to enhance user experience and reduce response time. Content generation and summarization   Organizations leverage LLMs to generate high-quality content, such as articles, reports, and product descriptions. Additionally, LLMs summarize lengthy documents or news articles into concise and easy-to-read formats, saving time and effort for users. **Code generation and debugging** Developers benefit from LLMs that assist with writing, optimizing, and debugging code in multiple programming languages. These models help streamline software development by providing instant code suggestions and explanations, reducing development time. **Language translation and localization** LLMs enhance translation services by providing real-time, context-aware translations for businesses and individuals. This is particularly useful in global communication, enabling seamless interaction between people speaking different languages. Image and text analysis (Multimodal AI)    Advanced multimodal LLMs, such as Qwen 2.5 - 7B Vision Language, process both text and images. These models can describe images, recognize objects, and answer visual questions. Industries such as healthcare, accessibility, and digital content moderation use these capabilities for enhanced automation and decision-making. ## Understanding LLM Serving LLM Serving involves deploying and running large language models (LLMs) so they can handle real-time requests for predictions or responses. When an LLM is trained, it can be used to perform a variety of tasks, such as generating text, answering questions, translating languages, or even understanding and analyzing large datasets. ### Purpose of LLM Serving The primary purpose of LLM Serving is to bridge the gap between a trained model and its real-world usage. It enables organizations to: - Operationalize AI models in production environments - Ensure scalability and reliability for handling real-time, concurrent requests - Offer seamless integration into products, tools, and business processes - Transform LLMs from research tools into practical, usable systems that drive business outcomes ## Architecture of LLM Serving  A well-structured architecture ensures that an LLM-serving system runs efficiently and responds quickly. It typically consists of the following layers: - **Client layer**: Receives requests from users or applications, such as questions or text inputs. - **API layer**: Converts the requests into a format the LLM can understand and sends them to the model. - **Model layer**: Runs the LLM, processes the request, and generates a response. - **Data layer**: Handles input and output data, ensuring smooth data flow between the model and users. ![llm-15.webp](https://catalyst-docs-development.zohostratus.in/images/help/quickml/llm-serving/llm-15.webp) ### Unique features of LLM Serving in QuickML QuickML makes it easy to use various large language models (LLMs) within a chat interface. Users can select different models based on their needs and get real-time responses. Unlike many competing platforms that offer limited or rigid parameter tuning, QuickML empowers you with extensive customization options, ensuring greater flexibility and control. Here’s what sets QuickML apart: - **Fine-tune responses effortlessly**: Adjust creativity, coherence, and output length directly within the user-friendly interface. - **Seamless model switching**: Easily switch between multiple LLM models within a single chat interface to find the best fit for your needs. - **Effortless integration**: Deploy models into third-party applications using the provided endpoint URL for smooth and scalable implementation. - **Optimized performance & cost control**: Tailor responses to minimize unnecessary token usage, optimizing both speed and cost-efficiency. - **Enhanced accessibility**: No complex setup required; QuickML makes advanced AI capabilities accessible even for non-technical users. ### Breakdown of Chat Interface Before looking into how to access the LLM Serving feature in QuickML, let's have a brief look at how the chat interface is structured. **Model selection** Located at the top left under the “Chat” tab, this section allows you to choose from the available LLM models. It enables quick model switching within the same interface, making it easier to test different models for specific use cases without leaving the chat interface. ![llm-4.webp](https://catalyst-docs-development.zohostratus.in/images/help/quickml/llm-serving/llms-4.webp) **View model details** Next to the selected model name, the View Model Details option opens a pop-up window showing detailed information about the model. This includes aspects like model size, input token limits, training data, and integration options. It gives you deeper insights into what the model can do and how it can be used. ![llm-5.webp](https://catalyst-docs-development.zohostratus.in/images/help/quickml/llm-serving/llm-5.webp) **Chat interface (Conversation panel)** This central area is where all interactions take place. You can type prompts and view model-generated responses in a threaded format. Each response includes icons for actions like copying and regenerating individual responses. ![llm-6.webp](https://catalyst-docs-development.zohostratus.in/images/help/quickml/llm-serving/llm-6.webp) **Parameters panel** Found on the right side, this panel lets you fine-tune model behavior by adjusting parameters such as Temperature, Top-K, Top-P, and Max Tokens. There’s also an instruction field to specify tone, format, or domain-specific requirements. These settings help align the output to enterprise or user-specific needs. ![llm-7.webp](https://catalyst-docs-development.zohostratus.in/images/help/quickml/llm-serving/llm-7.webp) **Chatbox** At the bottom of the screen lies the chat input box—the main area where you can type your prompts or questions to interact with the selected language model. ### Parameters in LLM serving  QuickML provides a robust and flexible LLM (Large Language Model) serving environment, enabling developers and businesses to fine-tune AI model behavior through a variety of customizable parameters. These settings allow you to control how the model interprets inputs, generates responses, and aligns its output with your desired tone, structure, and purpose. Whether you're building a legal advisor bot, a content creation tool, or a customer service assistant, QuickML’s parameter configuration options ensure your application delivers responses that are not only relevant, but also contextually tailored. Unlike other platforms that restrict user control, QuickML prioritizes transparency and adaptability—allowing you to balance creativity with precision, determine the ideal response length, and guide the model to behave in ways that best serve your domain-specific needs. Here’s a breakdown of the available parameters: **Model name** The model field allows you to copy the model name for easy reference and deployment. **Instructions** In the Instructions field box, you can input detailed instructions, guiding the model’s response style and content generation approach. This enhances output relevance and consistency for specific applications. For example, a legal firm can enter instructions like "Provide responses in a formal legal tone with citations where applicable.", ensuring AI-generated content aligns with compliance and professional standards. **Temperature** Controls the creativity level of the model’s responses: - **Lower values (e.g., 0.0 - 0.3)**: More deterministic and precise responses. - **Higher values (e.g., 0.7 - 1.0)**: Increases variability and creativity, making responses more diverse and engaging. For example, a financial institution setting the Temperature to 0.2 would get precise responses like "The Federal Reserve increased interest rates by 0.25%." while setting it to 0.8 might generate "The Federal Reserve's recent rate hike of 0.25% aims to curb inflation, affecting mortgage and loan rates." **Top-K** Determines the number of top probable words considered for the next token prediction: - **Lower values (e.g., 10 - 20)**: Produces more predictable and controlled responses. - **Higher values (e.g., 50 - 100)**: Enhances diversity and variation in generated text. For example, a corporate HR chatbot with Top-K set to 10 may generate standard responses like "We value diversity in our hiring process.", whereas 50 allows for richer, more engaging responses like "At [Company Name], diversity is at the core of our hiring process, fostering innovation and inclusivity." **Top-P** Top-P sampling is also known as Nucleus sampling that generally ranges from 0.0 - 1.0. This parameter sets a cumulative probability threshold for the next token selection: - **Lower values (e.g., 0.1 - 0.3)**: Produces highly deterministic responses. - **Higher values (e.g., 0.8 - 0.9**): Enables more diverse text generation while maintaining coherence. For example, a customer support AI using a Top-P setting of 0.3 might generate straightforward responses like "Your order will arrive in 3 days.", while 0.9 could lead to "Your order is expected to arrive within 3 days. You'll receive a tracking update soon! Let us know if you need further assistance." **Max tokens** Defines the maximum number of tokens (between 1 and 4096) that the model can generate in a response. QuickML allows precise control over response length, optimizing cost and latency. For example, a compliance team setting Max Tokens to 50 ensures concise regulatory summaries, like "GDPR mandates data protection for EU citizens.", while 500 could generate a comprehensive legal analysis detailing key provisions and compliance measures. ### Working of LLM Serving in QuickML  1. When a user submits a request in QuickML's LLM serving chat interface, the selected model (such as Qwen 2.5 - 14B Instruct) processes the input. 2. The model analyzes the context, intent, and meaning of the query to generate a relevant and coherent response. 3. The response is formulated based on the model's training data, ensuring accuracy and contextual relevance. 4. Users can refine their queries or adjust model parameters to influence the response style, tone, and level of detail. ![llm-14.webp](https://catalyst-docs-development.zohostratus.in/images/help/quickml/llm-serving/llm-14.webp) **Key Points to be noted:** 1. The LLM serving feature is available to users who have access to the QuickML platform. 2. You can seamlessly switch between multiple LLM models within the QuickML chat interface. 3. At present, you cannot erase the previous chat conversations or open a new chat window; all conversations remain within the same chat interface. 4. Chats are user-specific, ensuring that one user cannot access another user's conversation. 5. You can upload images and type your query using the Qwen 2.5 - 7B Vision Language model for generating responses. 6. QuickML's LLM serving does not use your data for model training. All responses are generated based on its pre-trained data. ### Accessing LLM Serving in QuickML  LLM Serving can be accessed in QuickML by following the below steps, 1. Log in to [QuickML](https://catalyst.zoho.com/quickml.html) platform. 2. Under the *Generative AI* section, select **LLM Serving**. 3. Navigate to the **Chat** tab. ![llm-8.webp](https://catalyst-docs-development.zohostratus.in/images/help/quickml/llm-serving/llms-8.webp) 4. Select the desired LLM model from the drop-down. - You can select either *Qwen 2.5 - 14B Instruct*, *Qwen 2.5 - 7B Coder*, or *Qwen 2.5 - 7B Vision Language* ![llm-9.webp](https://catalyst-docs-development.zohostratus.in/images/help/quickml/llm-serving/llms-9.webp) 5. Start entering your queries in the chat interface. **Note:** The chat interface generates responses based on the default parameter configuration. However, you can adjust the settings as needed to suit your requirements. **To configure the parameters settings** 1. Under the *Generative AI* section, select **LLM Serving** tab. 2. Navigate to the **Chat** tab. ![llm-10.webp](https://catalyst-docs-development.zohostratus.in/images/help/quickml/llm-serving/llm-10.webp) 3. Under *Parameters* in the right panel, configure the following: - Enter the detailed instructions on how the model should perform. - Control the creativity level of the model’s responses by adjusting the **Temperature**. - Adjust the number of top probable words considered for the next token prediction in the **Top-K** field. - Set the parameter for a cumulative probability threshold for the next token selection in the **Top-P** field. - Define the maximum number of tokens the model generates per response in the **Max Tokens** field. 4. Click **Save**. ![llm-11.webp](https://catalyst-docs-development.zohostratus.in/images/help/quickml/llm-serving/llm-11.webp) Let's consider a sample use case to understand how these parameters can be configured in a real-time business scenario. **Configuring parameters for a customer support chatbot in a financial institution**   **Usecase:** A bank wants to assist customers with general banking inquiries while ensuring responses are accurate, concise, and aligned with regulatory guidelines. **Step 1**: Adjusting Parameters for Optimal Performance
Parameter Configuration Reason
Model Qwen 2.5 -14B Instruct Selected for its balance of accuracy and efficiency.
Instructions Provide responses in a formal and professional tone. Ensure compliance with banking regulations. Keep answers concise but informative. Ensures consistency in customer interactions.
Temperature 0.2 Keeps responses factual and avoids unnecessary creativity.
Top-K 20 Limits word selection to the most relevant choices, reducing variability.
Top-P 0.3 Keeps responses focused and predictable, ensuring regulatory compliance.
Max Tokens 200 Prevents overly long responses while maintaining enough detail for clarity.
**Step 2**: Engaging with the Chat Interface   Once the parameters are set, the chatbot is ready for use. Here’s an example interaction: User:"What are the eligibility criteria for a home loan?" Chatbot Response (Qwen 2.5 - 14B Instruct, with adjusted parameters): Eligibility criteria for a home loan typically include several key factors to ensure the borrower's ability to repay the loan. These criteria generally encompass: - **Age**: Borrowers must be within a specific age range, usually between 21 and 65 years old at the time of loan maturity. - **Income**: A stable and verifiable income is required to demonstrate the ability to repay the loan. Lenders may require proof of income through salary slips, bank statements, or tax returns. - **Credit Score**: A good credit score is essential as it reflects the borrower's creditworthiness and repayment history. - **Employment**: Borrowers should be employed with a stable job or have a consistent business income. Loan-to-Value (LTV) Ratio: This ratio compares the amount of the loan to the value of the property. Lenders have specific LTV limits based on the type of property and other factors. ![llm-12.webp](https://catalyst-docs-development.zohostratus.in/images/help/quickml/llm-serving/llm-12.webp) ### Integrate LLM into your Applications   Beyond utilizing LLM models within the QuickML platform, you can seamlessly integrate them into your own applications using the provided endpoint URL. This allows businesses to incorporate AI-powered responses into various business processes, such as customer support bots, content automation tools, and data analysis applications. To enable secure and efficient integration, QuickML supports OAuth-based authentication for access token generation. You can refer to this [documentation](https://www.zoho.com/accounts/protocol/oauth/self-client/overview.html) for details on different types of OAuth applications and the steps required to generate and manage access tokens. **To get the endpoint URL** 1. Navigate to the **Generative AI** section within [QuickML](https://catalyst.zoho.com/quickml.html). 2. Select the **LLM Serving** tab. 3. In the *Models* tab, choose the desired model.  4. In the *Model Details* pop-up window, scroll to the **API Details** section to get the endpoint URL. ![llm-13.webp](https://catalyst-docs-development.zohostratus.in/images/help/quickml/llm-serving/llm-13.webp) -------------------------------------------------------------------------------- title: "RAG" description: "QuickML is a fully no-code ML pipeline builder service in the Catalyst development platform for creating machine-learning pipelines with end-to-end solutions." last_updated: "2026-11-11T10:19:21.000Z" source: "https://docs.catalyst.zoho.com/en/quickml/help/generative-ai/rag/" service: "QuickML" --------------------------------------------------------------------------------
**DC Availability:** RAG is available across the **US**, **IN**, **EU**, **JP**, and **CA** data centers.
### What is Retrieval-Augmented Generation (RAG)? To understand RAG, let's consider a simple analogy: A user contacts tech support with an error code—“7C05”—displayed on their printer. Though experienced, the support agent hasn't encountered that specific code before. Instead of making an educated guess, the agent consults the official troubleshooting manual for that particular printer model to find an accurate solution. In this scenario, the agent represents the language model, and the manual represents the external knowledge source that RAG retrieves, allowing the agent to respond correctly without needing prior exposure to that exact issue. In technical terms, RAG is an advanced technique that enhances the accuracy, relevance, and reliability of large language model (LLM) outputs by incorporating information retrieved from authoritative, external knowledge sources. Rather than relying solely on the data available during training, RAG enables a model to consult up-to-date and domain-specific content at the time of inference, grounding its responses in verifiable and contextually appropriate information. LLMs are built upon neural network architectures and trained on vast volumes of textual data. Their performance is largely driven by billions of parameters, which capture generalized patterns in human language. This parameterized knowledge equips LLMs to perform a wide range of tasks, such as answering questions, translation, and text completion with impressive fluency. However, these models can be limited when asked to generate responses that require specific, detailed, or time-sensitive information beyond their training scope. RAG addresses this limitation by optimizing the generative process to retrieve relevant content from a curated knowledge base first—such as internal company documents, domain-specific databases, or trusted online sources—and then generate responses that are both informed and contextually grounded. This particular approach does not require any retraining of the base model, which makes it a cost-effective and scalable method for tailoring LLM capabilities to specific organizational needs or specialized domains. ### Benefits of RAG RAG offers a range of significant advantages that enhance the effectiveness, flexibility, and trustworthiness of generative AI solutions, particularly for organizations looking to implement domain-specific intelligence without the overhead of retraining large models. **Cost-efficient deployment** Most chatbot and AI application development begins with foundation models such as large language models (LLMs) trained on extensive, generalized datasets and typically accessed via APIs. Tailoring these models through retraining to accommodate organizational or industry-specific content is often prohibitively expensive and resource-intensive. RAG provides a more scalable and economical alternative. By enabling the model to retrieve and reference external data during inference, RAG enables businesses to integrate specific knowledge without modifying the underlying model, which makes generative AI solutions more attainable and cost-effective. **Access to timely, dynamic information** Maintaining up-to-date responses is a major challenge for static models, as their training data quickly becomes outdated. RAG addresses this issue by allowing the users to feed the model with continuously updated information sources. Whether it's the latest scientific research, breaking news, or real-time social media feeds, RAG equips generative AI models with access to current data. This ensures responses remain relevant and accurate, even in rapidly evolving domains. **Improved transparency and user trust** One of the key strengths of RAG is its ability to provide source-based answers. By referencing external documents and including citations, it offers transparency into where the information originated. Users can review these sources to verify the content or explore further, enhancing their trust in the system. This traceability makes generative AI responses not only more credible but also more aligned with compliance or quality assurance standards in regulated industries.   ### Applications of RAG Retrieval-Augmented Generation (RAG) is increasingly being adopted across industries to enhance the capabilities of large language models (LLMs), especially in areas requiring domain-specific knowledge, real-time information, or transparent outputs. Below are several key application areas where RAG delivers significant impact: **Enterprise knowledge assistants** Enterprises are increasingly turning to RAG-based assistants to streamline internal knowledge access for employees. These AI-powered tools are designed to query structured and unstructured data from company-specific repositories, such as internal wikis, SOPs, HR guidelines, compliance checklists, IT documentation, and onboarding materials. Unlike static chatbots, which rely on predefined rules or outdated training data, RAG dynamically fetches the most relevant documents, ensuring employees receive accurate, up-to-date, and policy-aligned responses. This leads to higher productivity, reduced dependency on support teams, and a unified source of truth across departments. **Customer support automation** Customer service platforms can significantly elevate the user experience by integrating RAG to deliver more intelligent and context-aware interactions. By retrieving content directly from product manuals, troubleshooting guides, warranty documents, and helpdesk knowledge bases, RAG-powered chatbots can resolve customer queries more effectively—even those related to recently launched or rarely encountered products. This eliminates the constant need to retrain models on new content and enables scalable support operations with minimal human intervention. The inclusion of traceable sources also builds customer trust and increases customer satisfaction. **Legal and regulatory research** Legal professionals operate in a domain where accuracy, citation, and traceability are paramount. RAG-based tools empower legal teams by enabling direct retrieval of clauses from statutes, prior case law, government policies, or internal compliance documents. Instead of sifting through voluminous texts manually, users can obtain concise summaries, cross-referenced with the original documents for legal soundness. These applications are especially useful in drafting legal opinions, conducting regulatory audits, or preparing responses for compliance reviews, ensuring that every output is grounded in verifiable legal context. **Healthcare and medical decision support** In the healthcare sector, timely and evidence-based decision-making can directly impact patient outcomes. RAG systems support clinicians, researchers, and administrators by referring to data from medical sources such as treatment guidelines and institutional clinical records. By incorporating relevant information into its responses, an RAG model can assist with clinical decision support, patient-specific care recommendations, diagnostic differentials, or drug interactions, all while citing source material. This approach enhances confidence in AI-driven recommendations. **Scientific research and technical writing** RAG plays a vital role in accelerating research workflows and ensuring content precision in technical writing. Researchers can query expansive academic databases to summarize the state of the art, generate literature reviews, or validate hypotheses with current findings. Similarly, technical writers can use RAG to draft product documentation based on the latest data and user manuals. Whether summarizing scientific developments or drafting reports, RAG ensures the generated content is supported by reliable, domain-specific sources, and thereby maintains both accuracy and credibility.   ### How does RAG work?  RAG integrates two key processes: retrieval and generation. Instead of relying solely on the knowledge encoded during a language model's training, RAG supplements it by dynamically pulling in relevant information from external sources (like databases, documents, or knowledge bases) at inference time. This approach enables the model to deliver responses that are more accurate, current, and contextually appropriate. Here's a simplified flow of how RAG works: - **User input/query**: The process begins when a user inputs a question or prompt. - **Retrieval**: The system uses the query to search a large external knowledge source (e.g., vector database, document store, or search index) to retrieve the top-k most relevant pieces of information (often called “passages” or “contexts”). This is typically done using semantic search powered by embeddings. - **Fusion/contextualization**: The retrieved passages are then passed along with the original query to a language model. These passages provide context that grounds the generation in factual or domain-specific knowledge. - **Generation step**: The language model (e.g., a transformer-based LLM) takes both the query and the retrieved documents as input and generates a coherent and informed response. - **Citation/traceability**: Since RAG models rely on actual documents for answers, they can provide traceable references or links to the source material, increasing transparency and trust. ![rag-1.webp](https://catalyst-docs-development.zohostratus.in/images/help/quickml/rag/rag-1.webp) ### What makes RAG in QuickML unique?  QuickML's RAG is designed to offer a seamless, secure, and transparent experience when generating responses powered by a knowledge base. Here's what sets RAG in QuickML apart: - Once a response is generated, a detailed response breakdown becomes available. This breakdown indicates which parts of the retrieved documents were referenced during the generation process and clearly shows the origin of the supporting information. It enhances transparency by allowing you to see exactly which documents contributed to the final output - QuickML's RAG implementation leverages the Zoho ecosystem—such as WorkDrive and Zoho Learn—to import relevant documents into the knowledge base seamlessly. This integration ensures that the most accurate and context-specific information is always available to support your queries. ### Available models in QuickML's RAG  RAG in QuickML leverages the Qwen 2.5 14B Instruct model to deliver contextual and relevant responses. Qwen 2.5 14B Instruct is a highly capable AI model engineered to perform a diverse range of language tasks with consistency and precision. Trained on large-scale, high-quality datasets, it delivers reliable outcomes and demonstrates strong performance across multiple benchmarks. What sets Qwen 2.5-14B-Instruct apart is its ability to quickly adapt and respond to dynamic real-world scenarios, making it exceptionally suited for enterprise and production-grade applications. **Qwen 2.5 14B Instruct model details** To view the model's details, go to the RAG tab and click on the View API option in the top-right corner of the chat interface. The model details include: - **Model size**: Comprises 14 billion parameters, enabling sophisticated comprehension and language generation capabilities. - **Training size**: Trained on 18 trillion tokens to ensure extensive coverage across a wide range of domains. - **Parameters**: Utilizes 14 billion trainable weights for generating nuanced and highly relevant responses. - **Input token limitations**: Supports 128K tokens with input context length, allowing for deep context and long document references during RAG execution. - **Endpoint URL**: This is the URL used to send API requests. - **OAuth Scope**: QuickML.deployment.READ; defines the access level required to use the deployment. - **Authentication**: OAuth is used to verify the client identity securely. - **HTTP method**: POST; all API calls must be made via the POST method. - **Headers**: Include required metadata and the authorization token to authenticate requests. - **Sample request**: A predefined JSON format shows how to structure your input prompt. - **Sample response**: Displays the model's output, including contextually grounded text generated based on both the prompt and the retrieved information from KB documents.   You can refer to the *Integrating RAG into your applications* section for the steps to integrate the model into your application. ![rag-2.webp](https://catalyst-docs-development.zohostratus.in/images/help/quickml/rag/rag-2.webp) ### Understanding the RAG interface in QuickML   The RAG feature in QuickML enables you to get document-based responses using Qwen 2.5 14B Instruct. The interface is designed to make it easy to upload documents, ask questions, and trace the source of each response. Here's a breakdown of how it looks. **Model selection** At the top of the chat panel, users can select the available model. Currently, Qwen 2.5 14B Instruct is supported for RAG-based conversations. This model is optimized for generating grounded and context-aware responses from uploaded documents. ![rag-3.webp](https://catalyst-docs-development.zohostratus.in/images/help/quickml/rag/rag-3.webp) **Chat interface (conversation panel)**   At the center is the core interaction space where you enter your queries and view responses. Each AI-generated answer is threaded beneath the user input and can include: - Action icons for copying or regenerating the response - A “View Response Breakdown” option, which gives insights into how the answer was generated and from which documents ![rag-4.webp](https://catalyst-docs-development.zohostratus.in/images/help/quickml/rag/rag-4.webp) **Response breakdown panel**   When you click on “View Response Breakdown”, a pop-up window appears, offering detailed insights: - **Thought process**: Shows the specific content snippets referenced during answer generation, along with their corresponding sources and document IDs. - **Citations**: Lists down the documents used and highlights the exact sections that are used to generate the response. **Document store** On the right side of the interface, the document store lists all documents currently active for retrieval. Each document shows its name, format, and size. Users can include relevant documents for response generation from the knowledge base by selecting the Add Documents option. ![rag-5.webp](https://catalyst-docs-development.zohostratus.in/images/help/quickml/rag/rag-5.webp) **Adding documents** Clicking **Add Documents** opens a panel labeled Add Documents From Knowledge Base. Here, users can either select existing documents or upload new ones. The panel includes a search bar to locate documents in the knowledge base quickly. ![rag-6.webp](https://catalyst-docs-development.zohostratus.in/images/help/quickml/rag/rag-6.webp) - **Upload options** When uploading a new document, three convenient methods are supported: - **From desktop**: Supports .pdf, .docx, and .txt files, with a size limit of 500KB per file. - **From WorkDrive**: Allows users to import files directly from cloud storage. - **Via Zoho Learn link**: Enables document import by pasting the URL of the desired Zoho Learn article. Each uploaded file is assigned a unique ID and becomes available for retrieval during conversations. ![rag-7.webp](https://catalyst-docs-development.zohostratus.in/images/help/quickml/rag/rag-7.webp) **Uploading the documents to the knowledge base** To ensure that documents appear in the Add Documents From Knowledge Base panel, relevant files must first be uploaded to the Knowledge Base repository. Please note that, upon clicking on **New Document** in the *Add Documents From Knowledge Base* panel, the documents would get automatically added to the knowledge base. The Knowledge Base functions as a centralized document repository where users can upload and manage content critical for context-aware generation. Integration with Zoho ecosystems like WorkDrive and Zoho Learn enables seamless import of internal files, manuals, FAQs, and other resources. This setup ensures that the Knowledge Base remains current and comprehensive, supporting the model’s ability to provide source-backed responses tailored to user queries. **To upload documents from the knowledge base** 1. Navigate to the *Knowledge Base* tab in the **QuickML** platform. 2. Click **Upload Document**. 3. Choose any of the following ways to upload the document, - Select **Upload a file** to upload the document from your desktop. Here, you have to enter the name and select the file to upload from your local system. - Select **Zoho Workdrive** to import the document from workdrive. Here, you have to provide the document name and workdrive link of your document. - Select **Zoho Learn** to import an article from Zoho Learn. Here, you have to enter the document name, select whether you're importing an article or a manual, and provide the article link. 4. Once uploaded, the document will appear in the knowledge base repository. From there, you can **delete** it or **copy** the document ID as needed. ![rag-8.webp](https://catalyst-docs-development.zohostratus.in/images/help/quickml/rag/rag-8.webp) ![rag-9.webp](https://catalyst-docs-development.zohostratus.in/images/help/quickml/rag/rag-9.webp) ![rag-10.webp](https://catalyst-docs-development.zohostratus.in/images/help/quickml/rag/rag-10.webp) **Notes:**   - Uploaded documents in the document store can be deleted by hovering over the desired document and clicking the Delete icon. - When a query is submitted with specific knowledge base documents added to the document store, RAG limits its search to only those added documents. If no documents are added to the document store, RAG automatically searches across all active knowledge base documents. This ensures that the query is answered using the most relevant available content without requiring manual document selection. **View API** The chat interface also includes a View API option in the top-right corner. Selecting this opens a panel that displays detailed information about the current model, such as its size, token limits, endpoint URL, and authentication requirements. ![rag-11.webp](https://catalyst-docs-development.zohostratus.in/images/help/quickml/rag/rag-11.webp) ### How RAG works in QuickML    Without RAG, a large language model (LLM) generates responses solely based on its training data. With RAG, the process is enhanced by introducing an external information retrieval step, allowing the model to access fresh, relevant data at the time of the query. Here's how it works in brief: **Ask a question** The user begins by entering a natural-language query, for example, "What's our company's return policy?" or "Summarize the latest updates in our product documentation." This query acts as an initial input that triggers the RAG pipeline. **Retrieve relevant information from your documents** Instead of relying solely on the language model's pre-trained knowledge, RAG connects to your knowledge base (like internal files, PDFs, etc.). Using advanced embedding and semantic search techniques, the system identifies and fetches the most relevant pieces of information based on the user's question. **Refine results with re-ranking** Once relevant documents are retrieved, a re-ranking process is applied to better align the selected content with the user’s intent. This step evaluates multiple signals—such as semantic similarity and keyword presence—to reorder the results and surface the most contextually appropriate content for the query. **Pass it to the LLM** The retrieved content is then combined with the original query and sent as an augmented prompt to the LLM (Qwen 2.5-14B-Instruct). This step allows the LLM to read the context-specific information and use it to generate an informed response. **Generate context-aware answers** With both the user query and supporting data in hand, the LLM crafts a response that's not only relevant but based on the actual source material. This approach helps ensure responses are based on verifiable information and aligned with the source material. It also allows users to trace answers back to original documents, which promotes transparency and builds confidence in the system. ![rag-12.webp](https://catalyst-docs-development.zohostratus.in/images/help/quickml/rag/rag-12.webp) **Important notes** - The RAG feature is available to users who have access to the QuickML platform. - Chats are user-specific, ensuring that one user cannot access any other user's conversation. Currently, chat history is not supported. Conversations remain visible until the page is refreshed; once refreshed, all chats are cleared. ### Accessing RAG in QuickML    RAG can be accessed within QuickML via these steps: 1. Log in to your **QuickML** account. 2. Under the *Generative AI* section, select **RAG**. ![rag-13.webp](https://catalyst-docs-development.zohostratus.in/images/help/quickml/rag/rag-13.webp) 3. Under *Document Store* in the right panel, click **Add Documents**. This will open a panel labeled Add Documents From Knowledge Base. ![rag-14.webp](https://catalyst-docs-development.zohostratus.in/images/help/quickml/rag/rag-14.webp) 4. In the *Add Documents From Knowledge Base* panel, select existing files or click **New Document** to upload from your desktop, WorkDrive, or Zoho Learn. ![rag-15.webp](https://catalyst-docs-development.zohostratus.in/images/help/quickml/rag/rag-15.webp) 5. Enter your queries in the chat interface. The model will retrieve relevant information from the knowledge base and provide context-aware responses, including the detailed response breakdown. **Note**: Responses are generated based on the documents stored in the knowledge base. You can add new documents as necessary to ensure the model has the required data to answer queries. Let's consider some sample use cases to understand how RAG can be used in a real-time business scenario. **Sample use case 1: Implementing RAG for employee policy assistance in an organization** A company aiming to improve employee understanding of ethics and training policies begins by gathering all relevant documents—such as the Code of Conduct, Office Etiquette Policy, Anti-Harassment Policy, Workplace Behavior Guidelines, and Mandatory Training Manuals—and uploading them into QuickML's RAG knowledge base. From the RAG chat interface, the administrator accesses the **Add Documents From Knowledge Base** panel to import or select existing files. Once uploaded, the documents form a centralized, structured repository that Qwen 2.5 14B Instruct can reference during user interactions. When an employee asks a question like *“What are the employee ethics policy?”*, QuickML’s RAG system conducts a semantic search across the uploaded policies, retrieves the most relevant information, and combines it with the query. This context is then sent to Qwen 2.5 14B Instruct, which generates a concise and contextually accurate answer. The user can also view a detailed breakdown of which documents and specific sections were used to generate the response—ensuring transparency and trust in the information provided. ![rag-16.webp](https://catalyst-docs-development.zohostratus.in/images/help/quickml/rag/rag-16.webp) **Sample use case 2: Enhancing customer support with RAG for a SaaS platform** A SaaS company aiming to improve its customer support experience leverages RAG to build an intelligent help assistant. The support team collects all relevant resources—product FAQs, user manuals, troubleshooting guides, release notes, and API documentation—and uploads them into the RAG knowledge base within QuickML. Through the RAG chat interface, the admin uses the **Add Documents From Knowledge Base** panel to populate the document store with this content, ensuring it stays up to date with each product release. Once set up, the RAG system becomes a central support repository. When a user submits a query like *“What are the possible error messages?”*, the system semantically searches the document store for the most relevant information, retrieves matching content, and forwards both the query and supporting context to the language model. The model then generates an accurate, easy-to-follow solution, referencing the precise documentation sections. Users can view the source material behind the response for transparency and further reading, reducing ticket volume and improving self-service effectiveness. ![rag-17.webp](https://catalyst-docs-development.zohostratus.in/images/help/quickml/rag/rag-17.webp) ### Integrating RAG into your applications  You can integrate QuickML's RAG into your applications using the provided endpoint URL. This enables businesses to enhance customer support tools, internal chatbots, and document automation systems with context-rich AI capabilities. To enable secure and efficient integration, QuickML supports OAuth-based authentication for access token generation. You can refer to this [documentation](https://www.zoho.com/accounts/protocol/oauth/self-client/overview.html) for details on different types of OAuth applications and the steps required to generate and manage access tokens. **To get the endpoint URL** 1. Navigate to the **Generative AI** section in QuickML. 2. Select the **RAG** tab. 3. Click the **View API** option in the top right corner of the chat interface. 4. In the *Model Details* pop-up window, scroll to the **API Details** section to get the endpoint URL. ![rag-18.webp](https://catalyst-docs-development.zohostratus.in/images/help/quickml/rag/rag-18.webp) -------------------------------------------------------------------------------- title: "Knowledge Base" description: "QuickML is a fully no-code ML pipeline builder service in the Catalyst development platform for creating machine-learning pipelines with end-to-end solutions." last_updated: "2026-11-11T10:27:04.000Z" source: "https://docs.catalyst.zoho.com/en/quickml/help/generative-ai/knowledge-base/" service: "QuickML" --------------------------------------------------------------------------------
**DC Availability:** Knowledge Base is available across the **US**, **IN**, **EU**, **JP**, and **CA** data centers.
### Introduction to knowledge base Organizations strive to manage and harness vast amounts of data and information. Whether it's for internal knowledge sharing, training materials, customer support, or feeding AI models, having a centralized repository of data is essential. This is where a knowledge base (KB) comes into play. A knowledge base is a structured repository that allows organizations to store, manage, and retrieve information efficiently. It typically includes documents, FAQs, guides, standard operating procedures, and more. These documents are curated to ensure accessibility, reliability, and contextual relevance. A well-maintained knowledge base helps reduce repetitive queries, supports onboarding, and empowers users with instant access to critical content. For example, a support agent might refer to the knowledge base to resolve a client issue more quickly, while a chatbot trained on the same repository can provide instant answers to end-users. In the context of QuickML, this knowledge base serves an even more powerful purpose—it enriches AI models, making machine responses smarter, contextual, and more accurate. ### The role of knowledge base in QuickML In QuickML, the knowledge base is not just a document storage system; it is a foundational layer that interacts directly with AI capabilities. Once documents are uploaded, they are intelligently indexed and leveraged as contextual data sources. This becomes especially crucial for features like [Retrieval-Augmented Generation (RAG)](https://docs.catalyst.zoho.com/en/quickml/help/generative-ai/rag/), where AI models tap into the knowledge base to retrieve and deliver accurate, context-rich answers in response to user queries. By enabling documents to be referenced by ML models dynamically, QuickML ensures that responses generated via APIs or chat interfaces are contextually relevant, factually accurate, and grounded in real-time organizational knowledge. This fusion of data and AI transforms passive documents into active, living inputs for intelligent decision-making systems. ### Accessing the knowledge base    In QuickML, you can access the **Knowledge Base** tab directly from the left navigation panel under the *GENERATIVE AI* section, alongside LLM Serving and RAG options, highlighting its strategic relevance in AI pipeline development. ![KB1.webp](https://catalyst-docs-development.zohostratus.in/images/help/quickml/knowledge-base/KB1.webp) ### Uploading documents to the knowledge base    To populate your knowledge base, QuickML provides three distinct upload methods. Each method offers flexibility based on your document’s source. **Upload a File (From Local Desktop)** This is the most straightforward method and is used to upload documents directly from your computer. **Fields required** - **Name**: A title for the document. - **Document file**: Drag and drop or select up to 10 files per import session in supported formats (.pdf, .docx, .txt), with a maximum file size of 100 MB per file. **Ideal for**: One-time static document uploads like HR policies, SOPs, or technical whitepapers. ![KB2.webp](https://catalyst-docs-development.zohostratus.in/images/help/quickml/knowledge-base/KB2.webp) **Zoho WorkDrive** This option lets you import documents hosted on Zoho WorkDrive via URLs. It includes options for dynamic sync to keep documents updated. **Fields required** - **Name**: The document's title in the knowledge base. - **Link**: Provide a direct link to the document in Zoho WorkDrive. You can import up to 10 files per session, with a maximum file size of 100 MB per file. The sync configuration applies to all documents in the import session and cannot be configured separately. Once the documents are uploaded, the sync settings cannot be modified. - **Sync frequency**: Choose how frequently the system should fetch updates (e.g., None, Hourly, Daily, Weekly, or Custom Frequency). **Ideal for**: Living documents like design specs, onboarding manuals, or internal wiki pages updated regularly. > **Note:** You must be part of an active Zoho WorkDrive account to use this option. If not, you will not be able to upload the documents through this option. ![KB3.webp](https://catalyst-docs-development.zohostratus.in/images/help/quickml/knowledge-base/KB3.webp) **Zoho Learn** Use this to pull documentation from your Zoho Learn hub. This is useful if your organization already uses Zoho Learn for training or policy documentation. **Fields required** - **Name**: A custom name for internal reference. - **Link**: Provide a direct URL to the article or manual. You can import one file at a time, and sync settings can be configured. - **Import option**: Choose whether to "Import an article using the article link" or "Import from a manual". Sync frequency: Choose how frequently the system should fetch updates (e.g., None, Hourly, Daily, Weekly, or Custom Frequency). ![KB4.webp](https://catalyst-docs-development.zohostratus.in/images/help/quickml/knowledge-base/KB4.webp) **Important note on Zoho Learn document links:** 1. You must be part of a Zoho Learn hub to use this option. If not, you will not be able to upload the documents using this method. 2. When sharing or uploading document links in Zoho Learn, do not copy the URL directly from the address bar, as it may include additional path elements (like /team/ or specific project names) that can render the link non-functional for others. **To upload documents to the knowledge base** 1. Log in to your [QuickML](https://catalyst.zoho.com/quickml.html) account. 2. Under the *Generative AI* section, select the **Knowledge Base** tab. 3. Click **Upload Document**. 4. Choose the desired document upload method: - Choose **Upload a file** to upload a document directly from your local computer. - Choose **Zoho Workdrive** to upload a document stored in your Zoho Workdrive. - Choose **Zoho Learn** to either import an article or a manual from your Zoho Learn workspace. ![KB5.webp](https://catalyst-docs-development.zohostratus.in/images/help/quickml/knowledge-base/KB5.webp) 5. The uploaded documents will appear in the knowledge base repository. ![KB6.webp](https://catalyst-docs-development.zohostratus.in/images/help/quickml/knowledge-base/KB6.webp) ### Managing uploaded documents Once your documents are uploaded, QuickML provides a clean card-style interface to interact with each document through certain actions in the knowledge base. **Document actions available** - **Delete**: Permanently remove the document from the knowledge base repository. ![KB7.webp](https://catalyst-docs-development.zohostratus.in/images/help/quickml/knowledge-base/KB7.webp) - **Copy Document ID**: Useful for referencing the document in your APIs or within RAG pipelines. ![KB9.webp](https://catalyst-docs-development.zohostratus.in/images/help/quickml/knowledge-base/KB9.webp) - **Meta description preview**: Upon hovering below the document title, you can view the first few lines of the document's contents as the meta description. ![KB8.webp](https://catalyst-docs-development.zohostratus.in/images/help/quickml/knowledge-base/KB8.webp) ### Exploring the RAG API options At the top-right corner, you’ll notice the Rag API button. This option is for technical users or developers looking to embed the RAG system into their applications using knowledge base documents. ![KB20.webp](https://catalyst-docs-development.zohostratus.in/images/help/quickml/knowledge-base/KB10.webp) When configuring a RAG API call, several parameters can be set. **OAuth Scope** This defines the specific level of access that the API token (access token) will grant. In this case, the scope is: QuickML.deployment.READ. This grants read-only access to the QuickML deployment, which includes querying knowledge base documents using the RAG (Retrieval-Augmented Generation) feature. **Authentication** Authentication ensures that only authorized users can make API calls. This RAG API uses OAuth, a secure authorization framework that enables applications to obtain limited access to user accounts. **HTTP method** The HTTP method used for this API call is: POST. This method is used because the API is not just retrieving static data; it is sending input (query and documents) to the server to receive a generated answer based on dynamic reasoning. **Endpoint URL** The Endpoint URL specifies the exact location of the RAG API service to which your application will send the POST request. **Headers** Headers are meta data sent along with the request. They help authenticate and route the request correctly. **Request body** The request body contains the actual payload sent to the API. In this case, the user’s query and which documents to search. ![KB11.webp](https://catalyst-docs-development.zohostratus.in/images/help/quickml/knowledge-base/KB11.webp) ### Best practices for effective knowledge base usage  To maximize the value of the knowledge base tab:   1. Ensure documents are formatted cleanly with headers, bullet points, and readable structure. 2. Regularly review and update the documents to maintain relevance. 3. Always copy and store the Document ID securely when planning to use it with APIs. ### ML Algorithms -------------------------------------------------------------------------------- title: "Classification Algorithms" description: "QuickML is a fully no-code ML pipeline builder service in the Catalyst development platform for creating machine-learning pipelines with end-to-end solutions." last_updated: "2023-10-09T12:48:15.000Z" source: "https://docs.catalyst.zoho.com/en/quickml/help/ml-algorithms/classification-algorithms/" service: "QuickML" -------------------------------------------------------------------------------- # ML Algorithms in QuickML QuickML mainly focuses on powering ML Pipelines with Machine Learning Operations in an effortless manner to provide smooth pipeline execution environment. Hence, it has been integrated with a wide range of ML algorithms & features to provide the best analytical results out of data. ML algorithms are programs that can learn from data and improve from experience, without any external intervention. The following algorithms and operations are all available in **QuickML as stages** that can be configured in one or more pipeline executions. The most widely used algorithms in the data science domain are, 1. **Classification algorithms** 2. **Regression algorithms** # Classification Algorithms Classification is the task of predicting a discrete class label. QuickML features following classification algorithms 1. ### AdaBoost Classification AdaBoost is a machine-learning algorithm that builds a series of small, one-step (one level) decision trees, adapting each tree to predict difficult cases missed by the previous trees and combining all trees into a single model. This classification begins by fitting a classifier on the original dataset, followed by additional copies of the classifier on the same dataset. The weights of these instances are adjusted according to the error of the current prediction. So that, subsequent classifiers focus more on difficult cases. #### Hyper Parameters:
Parameter Description Data Type Possible Values Default Values
`base_estimator` The base estimator from which the boosted ensemble is built. If none, then the base estimator is `DecisionTreeClassifier` initialized with **max_depth=1**. object Any classification model except KNN Classification model None
`n_estimators` (number of estimators) The maximum number of estimators at which boosting is terminated. In case of perfect fit, the learning procedure is stopped early. int [1, 500] 50
`learning_rate` Weight applied to each classifier at each boosting iteration. A higher learning rate increases the contribution of each classifier. float (0.0, +Inf) 1.0
`algorithm` If ‘SAMME.R’ then use the SAMME.R real boosting algorithm. base_estimator must support calculation of class probabilities. If ‘SAMME’ then use the SAMME discrete boosting algorithm. The SAMME.R algorithm typically converges faster than SAMME, achieving a lower test error with fewer boosting iterations. string {‘SAMME’, ‘SAMME.R’} ’SAMME.R’
2. ### CatBoost Classification CatBoost is based on gradient-boosted decision trees. During training, a set of decision trees is built consecutively. Each successive tree is built with reduced loss compared to the previous trees. The number of trees is controlled by the starting parameters. This classification has much **less prediction time** compared to others. #### Hyper Parameters:
Parameter Description Data Type Possible Values Default Values
`learning_rate` Used for reducing the gradient step. float (0,1] 0.03
`l2_leaf_reg` (l2_leaf_regularization) Coefficient at the L2 regularization term of the cost function. float [0,+inf) 3.0
`rsm` (random subspace method) The percentage of features to use at each split selection, when features are selected over again at random float (0,1] None
`loss_function` The metric to use in training. The specified value also determines the machine learning problem to solve. Some metrics support optional parameters. string {'Logloss', 'CrossEntropy', 'MultiClass', 'MultiClassOneVsAll'} 'MultiClass'
`nan_mode` The method for processing missing values in the input dataset. string {'Forbidden', 'Min', 'Max'} Min
`leaf_estimation_method` The method used to calculate the values in leaves. string {"Newton", "Gradient"} None
`score_function` The score type used to select the next split during the tree construction. string {L2, Cosine} Cosine
`max_depth` Maximum depth of the tree. int [1,+Inf) None
`n_estimators` (number of estimators) The maximum number of trees that can be built when solving machine learning problems. When using other parameters that limit the number of iterations, the final number of trees may be less than the number specified in this parameter int [1, 500] None
3. ### Decision-Tree Classification Decision tree builds classification or regression models in the form of a tree structure. It breaks down a dataset into smaller and smaller subsets, while at the same time an associated decision tree is incrementally developed. Decision trees can handle **both categorical and numerical data**. when predicting the output value of a set of features, it will predict the output based on the subset that the set of features falls into. #### Hyper Parameters
Parameter Description Data Type Possible Values Default Values
`criterion` The function to measure the quality of a split. string {“gini”, “entropy”} ”gini”
`splitter` The strategy used to choose the split at each node. string {“best”, “random”} ”best”
`max_depth` The maximum depth of the tree. If None, then nodes are expanded until all leaves are pure or until all leaves contain less than min_samples_split samples. int (0, +Inf) None
`min_samples_split` The minimum number of samples required to split an internal node. int or float [2, +Inf) or (0, 1.0] 2
`min_samples_leaf` The minimum number of samples required to be at a leaf node. A split point at any depth will only be considered if it leaves at least min_samples_leaf training samples in each of the left and right branches. int or float [1, +Inf) or (0, 0.5] 1
`min_weight_fraction_leaf` The minimum weighted fraction of the sum total of weights (of all the input samples) required to be at a leaf node. float [0, 0.5] 0
`max_features` The number of features to consider when looking for the best split int, float or string (0, n_features] or { “sqrt”, “log2”} None
`max_leaf_nodes` Grow a tree with max_leaf_nodes in best-first fashion. Best nodes are defined as relative reduction in impurity. If None then unlimited number of leaf nodes. int (1, +Inf) None
`min_impurity_decrease` A node will be split if this split induces a decrease of the impurity greater than or equal to this value. float [0, +Inf) 0.0
4. ### GB Classification Gradient-boosting classification calculates the difference between the current prediction and the known correct target value. This difference is called residual. After finding this value, the gradient-boosting classifier trains a weak model (Decision Tree) that maps features to that residual. This residual predicted by a weak model is added to the existing model input and thus this process nudges the model towards the correct target. Repeating this step multiple times improves the overall model prediction. #### Hyper Parameters:
Parameter Description Data Type Possible Values Default Values
`loss` The loss function to be optimized. ‘deviance’ refers to deviance (= logistic regression) for classification with probabilistic outputs. string {'deviance', 'exponential'} 'deviance'
`learning_rate` Learning rate shrinks the contribution of each tree by learning_rate. There is a trade-off between learning_rate and n_estimators. float (0.0, +Inf) 0.1
`n_estimators` (number of estimators) The number of boosting stages to perform. int [1, 500] 100
`criterion` The function to measure the quality of a split. string {'friedman_mse', 'mse', 'mae'} ’friedman_mse’
`subsample` The fraction of samples to be used for fitting the individual base learners. float (0.0, 1.0] 1.0
`max_depth` The maximum depth of the individual regression estimators. int (0, +Inf) None
`min_samples_split` The minimum number of samples required to split an internal node int or float [2, +Inf) or (0, 1.0] 2
`min_samples_leaf` The minimum number of samples required to be at a leaf node. int or float [1, +Inf) or (0, 0.5] 1
`min_weight_fraction_leaf` The minimum weighted fraction of the sum total of weights (of all the input samples) required to be at a leaf node. float [0, 0.5] 0
`max_features` The number of features to consider when looking for the best split int, float or string (0, n_features] or { “sqrt”, “log2”} None
`max_leaf_nodes` Grow trees with max_leaf_nodes in best-first fashion. Best nodes are defined as relative reduction in impurity. int (1, +Inf) None
`min_impurity_decrease` A node will be split if this split induces a decrease of the impurity greater than or equal to this value. float [0, +Inf) 0.0
`init` An estimator object that is used to compute the initial predictions. object or string estimator (Any classification model except SVM classification and catboost) or ‘zero’ None
`warm_start` When set to True, reuse the solution of the previous call to fit and add more estimators to the ensemble, otherwise, just erase the previous solution. bool True or False False
`tol` (tolerance) Tolerance for the early stopping. When the loss is not improving by at least tol for n_iter_no_change iterations (if set to a number), the training stops. float [0.0, +Inf) 1e-4
5. ### KNN Classification KNN works by finding the distances between a query (data instance) and all the examples in the data, selecting the specified number examples (K) closest to the query, then voting for the most frequent label in the neighbourhood. #### Hyper Parameters:
Parameter Description Data Type Possible Values Default Values
`n_neighbors` (number of neighbours) Number of neighbors to use by default for kneighbors queries. int [1, n] n = Total number of records in dataset 5
`weights` Weight function used in prediction. Possible values string {‘uniform’, ‘distance’} ’uniform’
`algorithm` Algorithm used to compute the nearest neighbors. string {‘auto’, ‘ball_tree’, ‘kd_tree’, ‘brute’} ’auto’
`leaf_size` Leaf size passed to BallTree or KDTree. This can affect the speed of the construction and query, as well as the memory required to store the tree. int (1, +Inf) 30
`p` Power parameter for the Minkowski metric. int [1,3] 2
`metric` Metric to use for distance computation. Default is “minkowski”, which results in the standard Euclidean distance when p = 2. string {‘cityblock’, ‘cosine’, 'euclidean', 'l1', 'l2', 'manhattan', 'nan_euclidean', ’minkowski’} ’minkowski’
6. ### LGBM Classification LGBM works by starting with an initial estimate that is updated using the output of each tree. The learning parameter controls the magnitude of this change in the estimates. It can be used on any data and provides a high degree of accuracy, as it contains many built-in preprocessing steps. The LightGBM algorithm grows vertically, meaning it grows leaf-wise, while other algorithms grow level-wise. LightGBM chooses the leaf with the largest loss to grow. It can lower more loss than a level-wise algorithm when growing the same leaf. #### Hyper Parameters:
Parameter Description Data Type Possible Values Default Values
`boosting_type` Method of boosting. string {‘gbdt’, ‘dart’, ‘goss’ } 'gbdt'
`num_leaves` Maximum tree leaves for base learners. int (1, +Inf) 31
`max_depth` Maximum tree depth for base learners, <= 0 means no limit. int (-Inf, +Inf) -1
`learning_rate` Boosting learning rate. You can use callbacks parameter of fit method to shrink/adapt learning rate in training using reset_parameter callback. float (0.0, +Inf) 0.1
`n_estimators` (number of estimators) Number of boosted trees to fit. int [1, 500] 100
`subsample_for_bin` Number of samples for constructing bins. int (0, +Inf) 200000
`min_split_gain` Minimum loss reduction required to make a further partition on a leaf node of the tree. float [0.0, +Inf) 0.0
`min_child_weight` Minimum sum of instance weight (Hessian) needed in a child (leaf). float [0.0, +Inf) 1e-3
`min_child_samples` Minimum number of data needed in a child (leaf). int [0, +Inf) 20
`subsample` Subsample ratio of the training instance. float (0.0, 1.0] 1.0
`subsample_freq` (subsample_frequency) Frequency of subsample, <= 0 means no enable. int (-Inf, +Inf) 0
`colsample_bytree` (column sample by tree) Subsample ratio of columns when constructing each tree. float (0.0, 1.0] 1.0
`reg_alpha` (alpha) L1 regularization term on weights. float (0.0, +Inf) 0.0
`reg_lambda` (lambda) L2 regularization term on weights. float (0.0, +Inf) 0.0
`importance_type` The type of feature importance to be filled into featureimportances. If ‘split’, result contains numbers of times the feature is used in a model. If ‘gain’, result contains total gains of splits which use the feature. string { ‘gain’, 'split'} 'split'
7. ### Logistic Regression When the target is **binary value**, we can use logistic classification. It maps the value between 0 and 1. #### Hyper Parameters:
Parameter Description Data Type Possible Values Default Values
`penalty` Specify the norm of the penalty:
  • 'none': no penalty is added;
  • 'l2': add a L2 penalty term and it is the default choice;
  • 'l1': add a L1 penalty term;
  • 'elasticnet': both L1 and L2 penalty terms are added.
string { ‘l1’, ‘l2’, ‘elasticnet’, ‘none’} ’l2’
`dual` Dual or primal formulation. Dual formulation is only implemented for l2 penalty with liblinear solver. bool True or False False
`tol` (tolerance) Tolerance for stopping criteria. float [0.0, +Inf) 1e-4
`C` Inverse of regularization strength; must be a positive float. float [0.0, +Inf) 1.0
`solver` Algorithm to use in the optimization problem. string { ‘newton-cg’, ‘lbfgs’, ‘liblinear’, ‘sag’, ‘saga’ } ’lbfgs’
`fit_intercept` Specifies if a constant (a.k.a. bias or intercept) should be added to the decision function. bool True or False True
`l1_ratio` The Elastic-Net mixing parameter, with 0 <= l1_ratio <= 1. Only used if penalty='elasticnet'. float [0, 1] None
`multi_class` If the option chosen is ‘ovr’, then a binary problem is fit for each label. For ‘multinomial’ the loss minimised is the multinomial loss fit across the entire probability distribution, even when the data is binary. string {'auto', 'ovr', 'multinomial'} 'auto'
`intercept_scaling` Useful only when the solver ‘liblinear’ is used and self.fit_intercept is set to True. The intercept becomes intercept_scaling * synthetic_feature_weight. float (0, +Inf) 1.0
> **Note:** The values in the "solver" parameter support only few of the values in the "penalty" parameter. So the supported penalties by the solver are mentioned below: * newton-cg’ - [‘l2’, ‘none’] * ‘lbfgs’ - [‘l2’, ‘none’] * ‘liblinear’ - [‘l1’, ‘l2’] * ‘sag’ - [‘l2’, ‘none’] * ‘saga’ - [‘elasticnet’, ‘l1’, ‘l2’, ‘none’] 8. ### Naive Bayes Classification Naive Bayes is a classifier that uses the **Bayes Theorem**. It predicts membership probabilities for each class, such as the probability that a given record or data point belongs to a particular class. The class with the highest probability is considered as the most likely class. 9. ### Random-Forest Classification The random forest is a classification algorithm consisting of many decisions trees. It uses bagging and feature randomness when building individual trees to try to create an uncorrelated forest of trees whose prediction by committee is more accurate than that of any individual tree. A Bagging is an ensemble meta-estimator that fits base classifiers/regressors on random subsets of the original dataset, then aggregates their individual predictions (either by voting or by averaging) to form a final prediction. #### Hyper Parameters:
Parameter Description Data Type Possible Values Default Values
`n_estimators` (number of estimators) The number of trees in the forest. int [1, 500] 100
`criterion` The function to measure the quality of a split. string {“gini”, “entropy”} ”gini”
`max_depth` The maximum depth of the tree. If None, then nodes are expanded until all leaves are pure or until all leaves contain less than min_samples_split samples. int (0, +Inf) None
`min_samples_split` The minimum number of samples required to split an internal node int or float [2, +Inf) or (0, 1.0] 2
`min_samples_leaf` The minimum number of samples required to be at a leaf node. A split point at any depth will only be considered if it leaves at least min_samples_leaf training samples in each of the left and right branches. int or float [1, +Inf) or (0, 0.5] 1
`min_weight_fraction_leaf` The minimum weighted fraction of the sum total of weights (of all the input samples) required to be at a leaf node. float [0, 0.5] 0.0
`max_features` The number of features to consider when looking for the best split int, float or string (0, n_features] or { “sqrt”} None
`max_leaf_nodes` Grow trees with max_leaf_nodes in best-first fashion. Best nodes are defined as relative reduction in impurity. int (1, +Inf) None
`min_impurity_decrease` A node will be split if this split induces a decrease of the impurity greater than or equal to this value. float [0, +Inf) 0.0
`bootstrap` Whether bootstrap samples are used when building trees. If False, the whole dataset is used to build each tree. bool True or False True
`oob_score`(out of bag score) Whether to use out-of-bag samples to estimate the generalization score. Only available if bootstrap=True. bool True or False False
`warm_start` When set to True, reuse the solution of the previous call to fit and add more estimators to the ensemble, otherwise, just fit a whole new forest. bool True or False False
10. ### SVM Classification SVM, or Support Vector Machine, is a linear model for classification and regression problems. It can solve linear and non-linear problems and work well for many practical problems. The idea of SVM is simple: The algorithm creates a line or a hyperplane that separates the data into classes. #### Hyper Parameters:
Parameter Description Data Type Possible Values Default Values
`C` Regularization parameter. The strength of the regularization is inversely proportional to C. float [0.0, +Inf) 1.0
`kernel` Specifies the kernel type to be used in the algorithm. If none is given, ‘rbf’ will be used. string {‘linear’, ‘poly’, ‘rbf’, ‘sigmoid’} ’rbf’
`degree` Degree of the polynomial kernel function (‘poly’). Ignored by all other kernels. int [0, +Inf) 3
`gamma` Kernel coefficient for ‘rbf’, ‘poly’ and ‘sigmoid’. string or float {‘scale’, ‘auto’} or (0.0, +Inf) ’scale’
`coef0` Independent term in kernel function. It is only significant in ‘poly’ and ‘sigmoid’. float (-Inf, +Inf) 0.0
`shrinking` Whether to use the shrinking heuristic. bool True or False True
`probability` Whether to enable probability estimates. bool True or False False
`tol` (tolerance) Tolerance for stopping criterion. float [0.0, +Inf) 1e-3
`decision_function_shape` Whether to return a one-vs-rest (‘ovr’) decision function of shape (n_samples, n_classes) as all other classifiers, or the original one-vs-one (‘ovo’) decision function of libsvm which has shape (n_samples, n_classes * (n_classes - 1) / 2). string {‘ovo’, ‘ovr’} ’ovr’
`break_ties` If true, decision_function_shape='ovr', and number of classes > 2, predict will break ties according to the confidence values of decision_function; otherwise the first class among the tied classes is returned. bool True or False False
11. ### XGB Classification XGBoost is an optimized distributed gradient boosting library designed to be highly efficient, flexible and portable. It implements machine-learning algorithms under the Gradient Boosting framework. It provides a parallel tree boosting to solve many data science problems quickly and accurately. It uses L1 and L2 regularisation to predict points and it fast in training. Each model has Fit (to train model), predict (to predict new data), get metrics (to get model's accuracy and other metrics), and feature_importances (importances of the input features for the prediction). Adaboost, CatBoost, Decision tree, Gradient boost(GB), LGBM, RandomForest, SVM, and XGB's basic working principles are almost identical for both regression and classification. #### Hyper Parameters:
Parameter Description Data Type Possible Values Default Values
`booster` Decides which booster to use. string {‘gbtree', 'gblinear', 'dart' } ’gbtree’
`learning_rate` Step size shrinkage used in update to prevents over fitting. After each boosting step, we can directly get the weights of new features, and eta shrinks the feature weights to make the boosting process more conservative. float [0,1] 0.1
`n_estimators` (number of estimators) Number of trees to fit. int [1, 500] 100
`objective` Logistic regression for binary classification. string Mentioned below the table . "binary:logistic"
`subsample` Control the sample's proportion. int (0,1] 1
`max_depth` Maximum depth of a tree. int (0, +Inf) 3
`max_delta_step` If the value is set to 0, it means there is no constraint. If it is set to a positive value, it can help making the update step more conservative. Usually this parameter is not needed, but it might help in logistic regression when class is extremely imbalanced. int or float [0, +Inf) 0
`colsample_bytree` (column sample by tree) Column's fraction of random samples. float (0.0, 1.0] 1.0
`colsample_bylevel` (column sample by level) It is the subsample ratio of columns for each level. Subsampling occurs once for every new depth level reached in a tree. Columns are subsampled from the set of columns chosen for the current tree. float (0.0, 1.0] 1.0
`min_child_weight` Minimum sum of weights. int [0, +Inf) 1
`reg_alpha` (alpha) L1 regularization term on weights. float [0.0, +Inf) 0.0
`reg_lambda` (lambda) L2 regularization term on weights. float [0.0, +Inf) 0.0
`scale_pos_weight` (scale positive weight) Control the balance of positive and negative weights, useful for unbalanced classes. int [0, +Inf) 1
**POSSIBLE VALUES FOR "OBJECTIVE" PARAM :** {binary:logistic, binary:logitraw, binary:hinge, multi:softmax, multi:softprob} -------------------------------------------------------------------------------- title: "Regression Algorithms" description: "QuickML is a fully no-code ML pipeline builder service in the Catalyst development platform for creating machine-learning pipelines with end-to-end solutions." last_updated: "2023-10-09T12:48:15.000Z" source: "https://docs.catalyst.zoho.com/en/quickml/help/ml-algorithms/regression-algorithms/" service: "QuickML" -------------------------------------------------------------------------------- # Regression algorithms Regression is the task of predicting a continuous quantity. QuickML features following regression algorithms 1. ### AdaBoost Regression Adaboost is a machine-learning algorithm that builds a series of small, one-step (one level) decision trees, adapting each tree to predict difficult cases missed by the previous trees and combining all trees into a single model. This regression begins by fitting a regressor on the original dataset, followed by fitting additional copies of the regressor on the same dataset. The weights of these instances are adjusted according to the error of the current prediction. So that, subsequent regressors focus more on difficult cases. Boosting in machine learning is a way of combining multiple simple models into a single composite model. This is also why boosting is known as an additive model, since simple models (also known as weak learners) are added one at a time, while keeping existing trees in the model unchanged. As we combine more and more simple models, the complete final model becomes a stronger predictor. #### Hyper Parameters:
Parameter Description Data Type Possible Values Default Values
`base_estimator` The base estimator from which the boosted ensemble is built. If None, then the base estimator is DecisionTreeRegressor initialized with max_depth=3. object Any regression model None
`n_estimators` (number of estimators) The maximum number of estimators at which boosting is terminated. In case of perfect fit, the learning procedure is stopped early. int [1, 500] 50
`learning_rate` Weight applied to each regressor at each boosting iteration. A higher learning rate increases the contribution of each regressor. float (0.0, +Inf) 1.0
`loss` The loss function to use when updating the weights after each boosting iteration. string {‘linear’, ‘square’, ‘exponential’} "linear"
2. ### CatBoost Regression CatBoost is based on gradient boosted decision trees. During training, a set of decision trees is built consecutively. Each successive tree is built with reduced loss compared to the previous trees. The number of trees is controlled by the starting parameters. It has much less prediction time compared to others. #### Hyper Parameters:
Parameter Description Data Type Possible Values Default Values
learning_rate The learning rate used for training. float (0,1] 0.03
`l2_leaf_reg` (l2_leaf_regularization) Coefficient at the L2 regularization term of the cost function. float [0,+Inf) 3.0
`rsm` (random subspace method) The percentage of features to use at each split selection, when features are selected over again at random. float (0,1] None
`loss_function` The metric to use in training. The specified value also determines the machine learning problem to solve. Some metrics support optional parameters. string {'RMSE', 'MAE', 'Quantile:alpha=value, 'LogLinQuantile: alpha=value', 'Poisson', 'MAPE', 'Lq:q=value', 'SurvivalAft:dist=value; scale=value'} Note : range of value = [0, 1] 'RMSE'
`nan_mode` The method for processing missing values in the input dataset. string {'Forbidden', 'Min', 'Max'} Min
`leaf_estimation_method` The method used to calculate the values in leaves. string {"Newton", "Gradient"} None
`score_function` The score type used to select the next split during the tree construction. string {L2, Cosine} Cosine
`max_depth` Maximum depth of the tree. int [1,+Inf) None
`n_estimators` (number of estimators) The maximum number of trees that can be built when solving machine learning problems. When using other parameters that limit the number of iterations, the final number of trees may be less than the number specified in this parameter. int [1, 500] None
3. ### Decision-Tree Regression Decision tree builds classification or regression models in the form of a tree structure. It breaks down a dataset into smaller and smaller subsets while at the same time an associated decision tree is incrementally developed. Decision trees can handle both categorical and numerical data. When predicting the output value of a set of features, it will predict the output based on the subset that the set of features falls into. #### Hyper Parameters:
Parameter Description Data Type Possible Values Default Values
`criterion` The function to measure the quality of a split. string {"mse", "friedman_mse", "mae"} "mse”
`splitter` The strategy used to choose the split at each node. string {“best”, “random”} ”best”
`max_depth` The maximum depth of the tree. If None, then nodes are expanded until all leaves are pure or until all leaves contain less than min_samples_split samples. int (0, +Inf) None
`min_samples_split` The minimum number of samples required to split an internal node int or float [2, +Inf) or (0, 1.0] 2
`min_samples_leaf` The minimum number of samples required to be at a leaf node. A split point at any depth will only be considered if it leaves at least min_samples_leaf training samples in each of the left and right branches. int or float [1, +Inf) or (0, 0.5] 1
`min_weight_fraction_leaf` The minimum weighted fraction of the sum total of weights (of all the input samples) required to be at a leaf node. float [0, 0.5] 0
`max_features` The number of features to consider when looking for the best split int, float or string (0, n_features] or { “sqrt”, “log2”}, None
`max_leaf_nodes` Grow a tree with max_leaf_nodes in best-first fashion. Best nodes are defined as relative reduction in impurity. int (1, +Inf) None
`min_impurity_decrease` A node will be split if this split induces a decrease of the impurity greater than or equal to this value. float [0, +Inf) 0.0
4. ### ElasticNet Regression Elastic net is a popular type of regularized linear regression that combines two popular penalties, specifically the L1 (Lasso Regression) and L2 (Ridge Regression) penalty functions. Elastic Net is an extension of linear regression that adds regularization penalties to the loss function during training. Regularization is a technique to prevent the model from over-fitting by adding extra information to it. In regularization technique, we reduce the magnitude of the features by keeping the same number of features. Sometimes, the lasso regression can cause a small bias (difference between predicted and actual value) in the model where the prediction is too dependent upon a particular variable. In these cases, elastic bet proves to be better performing by combining the regularization of both lasso and ridge regression. #### Hyper Parameters:
Parameter Description Data Type Possible Values Default Values
`alpha` Constant that multiplies the penalty terms. float (0, +Inf) 1.0
`l1_ratio` The ElasticNet mixing parameter, with 0 <= l1_ratio <= 1. For l1_ratio = 0 the penalty is an L2 penalty. For l1_ratio = 1 it is an L1 penalty. For 0 < l1_ratio < 1, the penalty is a combination of L1 and L2. float [0, 1] 0.5
`fit_intercept` Whether the intercept should be estimated or not. bool True or False True
`normalize` This parameter is ignored when fit_intercept is set to False. If True, the regressors X will be normalized before regression by subtracting the mean and dividing by the l2-norm. bool True or False False
`tol` (tolerance) The tolerance for the optimization: if the updates are smaller than tol, the optimization code checks the dual gap for optimality and continues until it is smaller than tol. float [0.0, +Inf) 1e-4
`warm_start` When set to True, reuse the solution of the previous call to fit as initialization, otherwise, just erase the previous solution. bool True or False False
`positive` When set to True, it forces the coefficients to be positive. bool True or False False
`selection` If set to ‘random’, a random coefficient is updated every iteration rather than looping over features sequentially by default. string {"cyclic", "random"} "cyclic"
5. ### GB Regression Gradient-boosting regression calculates the difference between the current prediction and the known correct target value. This difference is called residual. After obtaining this value, gradient-boosting regression trains a weak model (Decision Tree) that maps features to that residual. This residual predicted by a weak model is added to the existing model input, nudging the model towards the correct target. Repeating this step multiple times improves the overall model prediction. #### Hyper Parameters:
Parameter Description Data Type Possible Values Default Values
`loss` Loss function to be optimized. ‘ls’ refers to least squares regression. ‘lad’ (least absolute deviation) is a highly robust loss function solely based on order information of the input variables. ‘huber’ is a combination of the two. ‘quantile’ allows quantile regression (use alpha to specify the quantile). string {'ls', 'lad', 'huber', 'quantile'} ’ls’
`learning_rate` Learning rate shrinks the contribution of each tree by learning_rate. float (0.0, +inf) 0.1
`n_estimators` (number of estimators) The number of boosting stages to perform. Gradient boosting is fairly robust to over-fitting so a large number usually results in better performance. int [1, 500) 100
`criterion` The function to measure the quality of a split. string {'friedman_mse', 'mse', 'mae'} ’friedman_mse’
`subsample` The fraction of samples to be used for fitting the individual base learners. float (0.0, 1.0] 1.0
`max_depth` Maximum depth of the individual regression estimators. The maximum depth limits the number of nodes in the tree. int (0, +Inf) None
`min_samples_split` The minimum number of samples required to split an internal node int or float [2, +Inf) or (0, 1.0] 2
`min_samples_leaf` The minimum number of samples required to be at a leaf node. A split point at any depth will only be considered if it leaves at least min_samples_leaf training samples in each of the left and right branches. int or float [1, +Inf) or (0, 0.5] 1
`min_weight_fraction_leaf` The minimum weighted fraction of the sum total of weights (of all the input samples) required to be at a leaf node. float [0, 0.5] 0
`max_features` The number of features to consider when looking for the best split int, float or string (0, n_features] or { “sqrt”, “log2”} None
`max_leaf_nodes` Grow trees with max_leaf_nodes in best-first fashion. Best nodes are defined as relative reduction in impurity. int (1, +Inf) None
`min_impurity_decrease` A node will be split if this split induces a decrease of the impurity greater than or equal to this value. float [0, +Inf) 0.0
`init` An estimator object that is used to compute the initial predictions. init has to provide fit and predict. If ‘zero’, the initial raw predictions are set to zero. object estimator (Regression model except cat boost ) or ‘zero’ None
`warm_start` When set to True, reuse the solution of the previous call to fit and add more estimators to the ensemble, otherwise, just erase the previous solution. bool True or False False
`tol` (tolerance) Tolerance for the early stopping. When the loss is not improving by at least tol for n_iter_no_change iterations (if set to a number), the training stops. float [0.0, +Inf) 1e-4
6. ### KNN Regression KNN Regression works by finding the distances between a query (data instance) and all the examples in the data, selecting the specified number examples (K) closest to the query, then votes for the point that is the average of the observations in the same neighbourhood. In other words, it approximates the association between independent variables (input variables) and the continuous outcome (target) by averaging the observations in the same neighbourhood. #### Hyper Parameters:
Parameter Description Data Type Possible Values Default Values
`n_neighbors` (number of neighbours) Number of neighbors to use by default for kneighbors queries. int [1, n] n = Total number of records in dataset 5
`weights` Weight function used in prediction.
  • ‘uniform’: uniform weights. All points in each neighborhood are weighted equally.
  • ‘distance’: weight points by the inverse of their distance. in this case, closer neighbors of a query point will have a greater influence than neighbors which are further away.
string {‘uniform’, ‘distance’} ’uniform’
`algorithm` Algorithm used to compute the nearest neighbors string {‘auto’, ‘ball_tree’, ‘kd_tree’, ‘brute’} ’auto’
`leaf_size` Leaf size passed to BallTree or KDTree. This can affect the speed of the construction and query, as well as the memory required to store the tree. The optimal value depends on the nature of the problem. int (1, +Inf) 30
`p` Power parameter for the Minkowski metric. When p = 1, this is equivalent to using manhattan_distance (l1), and euclidean_distance (l2) for p = 2. For arbitrary p, minkowski_distance (l_p) is used. int [1,3] 2
`metric` Metric to use for distance computation. Default is “minkowski”, which results in the standard Euclidean distance when p = 2. str {‘cityblock’, ‘cosine’, 'euclidean', 'l1', 'l2', 'manhattan', 'nan_euclidean', ’minkowski’} ’minkowski’
7. ### kernel Regression This regression simply fits a line to a scatter plot. Kernel values are used to derive weights to predict outputs from given inputs. Kernel regression is a non-parametric technique to estimate the conditional expectation of a random variable. The objective is to find a non-linear relation between a pair of random variables X and Y. #### Hyper Parameters:
Parameter Description Data Type Possible Values Default Values
`alpha` Regularization strength; must be a positive float. Regularization improves the conditioning of the problem and reduces the variance of the estimates. Larger values specify stronger regularization. float [0, +Inf) 1.0
`kernel` Kernel mapping used internally. This parameter is directly passed to pairwise_kernel. If kernel is a string, it must be one of the metrics in pairwise. PAIRWISE_KERNEL_FUNCTIONS or “precomputed”. If kernel is “precomputed”, X is assumed to be a kernel matrix. string {‘additive_chi2’,'chi2' ‘linear’, ‘poly’, ‘polynomial’, ‘rbf’, ‘laplacian’, ‘sigmoid’, 'cosine’} ”linear”
`gamma` Gamma parameter for the RBF, laplacian, polynomial, exponential chi2 and sigmoid kernels. Interpretation of the default value is left to the kernel; see the documentation for sklearn.metrics.pairwise. float [0, +Inf) None
`degree` Degree of the polynomial kernel. float [0, +Inf) 3
`coef0` Zero coefficient for polynomial and sigmoid kernels. float (-Inf, +Inf) 1
8. ### LGBM Regression LGBM works by starting with an initial estimate that is updated using the output of each tree. The learning parameter controls the magnitude of this change in the estimates. It can be used on any data and provides a high degree of accuracy, as it contains many built-in preprocessing steps. The LightGBM algorithm grows vertically, meaning it grows leaf-wise, while other algorithms grow level-wise. LightGBM chooses the leaf with the largest loss to grow. It can lower more loss than a level-wise algorithm when growing the same leaf. #### Hyper Parameters:
Parameter Description Data Type Possible Values Default Values
`boosting_type` Method of Boosting. string {‘gbdt’, ‘dart’, ‘goss’} 'gbdt'
`num_leaves` Maximum tree leaves for base learners. int (1, +Inf) 31
`max_depth` Maximum tree depth for base learners, <= 0 means no limit. int (-Inf, +Inf) -1
`learning_rate` Boosting learning rate. float (0.0, +Inf) 0.1
`n_estimators` (number of estimators) Number of boosted trees to fit. int [1, 500] 100
`subsample_for_bin` Number of samples for constructing bins. int (0, +Inf) 200000
`min_split_gain` Minimum loss reduction required to make a further partition on a leaf node of the tree. float [0.0, +Inf) 0.0
`min_child_weight` Minimum sum of instance weight (Hessian) needed in a child (leaf). float [0.0, +Inf) 1e-3
`min_child_samples` Minimum number of data needed in a child (leaf). int [0, +Inf) 20
`subsample` Subsample ratio of the training instance. float (0.0, 1.0] 1.0
`subsample_freq` (subsample_frequency) Frequency of subsample, <= 0 means no enable. int (-Inf, +Inf) 0
`colsample_bytree` (column sample by tree) Subsample ratio of columns when constructing each tree. float (0.0, 1.0] 1.0
`reg_alpha` (alpha) L1 regularization term on weights. float (0.0, +Inf) 0.0
`reg_lambda` (lambda) L2 regularization term on weights. float (0.0, +Inf) 0.0
`importance_type` The type of feature importance to be filled into featureimportances. If ‘split’, result contains numbers of times the feature is used in a model. If ‘gain’, result contains total gains of splits which use the feature. string { ‘gain’, 'split'} 'split'
9. ### Lasso Regression Lasso regression is a regularization technique. It is used over regression methods for a more accurate prediction. Lasso regression is a type of linear regression that uses shrinkage. Shrinkage is where data values are shrunk towards a central point, like mean. The lasso procedure encourages simple, sparse models (i.e. models with fewer parameters). #### Hyper Parameters:
Parameter Description Data Type Possible Values Default Values
`alpha` Constant that multiplies the L1 term, controlling regularization strength. alpha must be a non-negative float float (0, +Inf) 1.0
`fit_intercept` Whether to calculate the intercept for this model. If set to False, no intercept will be used in calculations bool True or False True
`normalize` This parameter is ignored when fit_intercept is set to False. If True, the regressors X will be normalized before regression by subtracting the mean and dividing by the l2-norm. bool True or False False
`tol` (tolerance) The tolerance for the optimization: if the updates are smaller than tol, the optimization code checks the dual gap for optimality and continues until it is smaller than tol. float [0.0, +Inf) 1e-4
`warm_start` When set to True, reuse the solution of the previous call to fit as initialization, otherwise, just erase the previous solution. bool True or False False
`positive` When set to True, forces the coefficients to be positive. bool True or False False
`selection` If set to ‘random’, a random coefficient is updated every iteration rather than looping over features sequentially by default. string {"cyclic", "random"} "cyclic"
10. ### Linear Regression Linear regression is a regression model that estimates the linear relationship between independent variable (input) and dependent variable (target) using a straight line. It is the basic algorithm for regression type of problems. #### Hyper Parameters:
Parameter Description Data Type Possible Values Default Values
`fit_intercept` Whether to calculate the intercept for this model. If set to False, no intercept will be used in calculations. bool True or False True
`normalize` This parameter is ignored when fit_intercept is set to False. If True, the regressors X will be normalized before regression by subtracting the mean and dividing by the l2-norm. bool True or False False
11. ### Random-Forest Regression The random forest is a classification and regression algorithm consisting of many decisions trees. It uses bagging and feature randomness when building individual trees to try to create an uncorrelated forest of trees whose prediction by committee is more accurate than that of any individual tree. A Bagging is an ensemble meta-estimator that fits base classifiers/regressors on random subsets of the original dataset and then aggregate their individual predictions (either by voting or by averaging) to form a final prediction. #### Hyper Parameters:
Parameter Description Data Type Possible Values Default Values
`n_estimators` The number of trees in the forest. int [1, 500] 100
`criterion` The function to measure the quality of a split. Supported criteria are “squared_error” for the mean squared error, which is equal to variance reduction as feature selection criterion, “absolute_error” for the mean absolute error. string {"mse", "mae"} ”mse”
`max_depth` The maximum depth of the tree. If None, then nodes are expanded until all leaves are pure or until all leaves contain less than min_samples_split samples. int (0, +Inf) None
`min_samples_split` The minimum number of samples required to split an internal node int or float [2, +Inf) or (0, 1.0] 2
`min_samples_leaf` The minimum number of samples required to be at a leaf node. A split point at any depth will only be considered if it leaves at least min_samples_leaf training samples in each of the left and right branches. int or float [1, +Inf) or (0, 0.5] 1
`min_weight_fraction_leaf` The minimum weighted fraction of the sum total of weights (of all the input samples) required to be at a leaf node. Samples have equal weight when sample_weight is not provided. float [0, 0.5] 0.0
`max_features` The number of features to consider when looking for the best split int, float or string (0, n_features] or { “sqrt”, “log2”}, None None
`max_leaf_nodes` Grow trees with max_leaf_nodes in best-first fashion. Best nodes are defined as relative reduction in impurity. int (1, +Inf) None
`min_impurity_decrease` A node will be split if this split induces a decrease of the impurity greater than or equal to this value. float [0, +Inf) 0.0
`bootstrap` Whether bootstrap samples are used when building trees. If False, the whole dataset is used to build each tree. bool True or False True
`oob_score` (out of bag score) Whether to use out-of-bag samples to estimate the generalization score. Only available if bootstrap=True. bool True or False False
`warm_start` When set to True, reuse the solution of the previous call to fit and add more estimators to the ensemble, otherwise, just fit a whole new forest. bool True or False False
12. ### Ridge Regression Ridge regression is a method of estimating the coefficients of multiple-regression models in scenarios where independent variables are highly correlated. It can be used when the input variables are highly correlated with the target. #### Hyper Parameters:
Parameter Description Data Type Possible Values Default Values
`alpha` Constant that multiplies the L2 term, controlling regularization strength. float (0, +Inf) 1.0
`fit_intercept` Whether to fit the intercept for this model. If set to false, no intercept will be used in calculations. bool True or False True
`normalize` This parameter is ignored when fit_intercept is set to False. If True, the regressors X will be normalized before regression by subtracting the mean and dividing by the l2-norm. bool True or False False
`tol` (tolerance) Precision of the solution. float [0.0, +Inf) 1e-4
`solver` Solver to use in the computational routines: string {‘auto’, ‘svd’, ‘cholesky’, ‘lsqr’, ‘sparse_cg’, ‘sag’, ‘saga’} ’auto’
> **Note:** Values of the **solver** are: * '**auto**' chooses the solver automatically based on the type of data. * '**svd**' uses a Singular Value Decomposition of X to compute the Ridge coefficients. It is the most stable solver, in particular more stable for singular matrices than ‘cholesky’ at the cost of being slower. * '**cholesky**' uses the standard scipy.linalg.solve function to obtain a closed-form solution. * '**sparse_cg**' uses the conjugate gradient solver as found in scipy.sparse.linalg.cg. As an iterative algorithm, this solver is more appropriate than ‘cholesky’ for large-scale data (possibility to set tol and max_iter). * '**lsqr**' uses the dedicated regularized least-squares routine scipy.sparse.linalg.lsqr. It is the fastest and uses an iterative procedure. * '**sag**' uses a Stochastic Average Gradient descent, and ‘saga’ uses its improved, unbiased version named SAGA. Both methods also use an iterative procedure, and are often faster than other solvers when both n_samples and n_features are large. Note that ‘sag’ and ‘saga’ fast convergence is only guaranteed on features with approximately the same scale. You can preprocess the data with a scaler from sklearn.preprocessing. 13. ### SVM Regression Support vector regression is used to predict discrete values. Support vector regression uses the same principle as the SVMs. The basic idea behind SVM is to find the best fit line. In SVM, the best fit line is the hyperplane that has the maximum number of points. #### Hyper Parameters:
Parameter Description Data Type Possible Values Default Values
`C` Regularization parameter. The strength of the regularization is inversely proportional to C. Must be strictly positive. float (0.0, +Inf) 1.0
`kernel` Specifies the kernel type to be used in the algorithm. If none is given, `rbf` will be used. If a callable is given it is used to precompute the kernel matrix. string {‘linear’, ‘poly’, ‘rbf’, ‘sigmoid’} ’rbf’
`degree` Degree of the polynomial kernel function (‘poly’). int [0, +Inf) 3
`gamma` Kernel coefficient for ‘rbf’, ‘poly’ and ‘sigmoid’. string or float {‘scale’, ‘auto’} or (0.0, +Inf) ’scale’
`coef0` Independent term in kernel function. It is only significant in ‘poly’ and ‘sigmoid’. float (-Inf, +Inf) 0.0
`shrinking` Whether to use the shrinking heuristic. bool True or False True
`tol` (tolerance) Tolerance for stopping criterion. float [0.0, +Inf) 1e-3
`epsilon` Epsilon in the epsilon-SVM model. It specifies the epsilon-tube within which no penalty is associated in the training loss function with points predicted within a distance epsilon from the actual value. float [0, +Inf) 0.1
14. ### XGB Regression XGBoost is an optimized distributed gradient boosting library designed to be highly efficient, flexible, and portable. It implements machine-learning algorithms under the gradient-boosting framework. It provides a parallel tree boosting to solve many data science problems quickly and accurately. It uses L1 and L2 regularization to predict points and trains quickly. #### Hyper Parameters:
Parameter Description Data Type Possible Values Default Values
`booster` Decides which booster to use. string {‘gbtree', 'gblinear', 'dart' } ’gbtree’
`learning_rate` Step size shrinkage used in update to prevents overfitting. After each boosting step, we can directly get the weights of new features, and eta shrinks the feature weights to make the boosting process more conservative. float [0,1] 0.1
`n_estimators` (number of estimators) Number of trees to fit. int [1, 500] 100
`objective` Logistic regression for binary classification. string Mentioned below the table . "reg:linear"
`subsample` Control the sample's proportion. int (0,1] 1
`max_depth` Maximum depth of a tree. int (0, +Inf) 3
`max_delta_step` If the value is set to 0, it means there is no constraint. If it is set to a positive value, it can help making the update step more conservative. Usually this parameter is not needed, but it might help in logistic regression when class is extremely imbalanced. int or float [0, +Inf) 0
`colsample_bytree` (column sample by tree) Column's fraction of random samples. float (0, 1] 1.0
`colsample_bylevel` (column sample by level) It is the subsample ratio of columns for each level. Subsampling occurs once for every new depth level reached in a tree. Columns are subsampled from the set of columns chosen for the current tree. float (0, 1] 1.0
`min_child_weight` Minimum sum of weights. int [0, +Inf) 1
`reg_alpha` (alpha) L1 regularization term on weights. float [0.0, +Inf) 0.0
`reg_lambda` (lambda) L2 regularization term on weights. float [0.0, +Inf) 0.0
`scale_pos_weight` (scale positive weight) Control the balance of positive and negative weights, useful for unbalanced classes. int [0, +Inf) 1
**POSSIBLE VALUES FOR "OBJECTIVE" PARAM :** { "rank:pairwise", reg:tweedie, "reg:gamma", "reg:linear", "count:poisson"} -------------------------------------------------------------------------------- title: "Ensembling" description: "QuickML is a fully no-code ML pipeline builder service in the Catalyst development platform for creating machine-learning pipelines with end-to-end solutions." last_updated: "2026-08-17T12:16:04.000Z" source: "https://docs.catalyst.zoho.com/en/quickml/help/ml-algorithms/ensemble/" service: "QuickML" -------------------------------------------------------------------------------- # Ensembling Ensemble learning is a machine learning technique that enhances prediction accuracy and robustness by combining the outputs of multiple models. #### Stacking Ensembling technique ![Ensemble stacking](https://catalyst-docs-development.zohostratus.in/images/help/quickml/ensembling/ensemble-stacking.webp) 1. **Classification Ensemble** - A classification model that combines the predictions of multiple other models using voting techniques, namely hard voting and soft voting. In hard voting, the class that receives the majority of the votes among all the models is selected for the outcome, while soft voting takes the probabilities of each class prediction by all the base models and the class with the highest average probability is selected as the final prediction. 2. **Regression Ensemble** - A regression model that combines the predictions of multiple other models by averaging techniques, namely weighted average and non-weighted average. 3. **Stacking Classification** - An ensemble learning classifier that combines the predictions of multiple base classifiers (or models) to create a more powerful and robust meta-classifier. This is particularly useful when you have several diverse classifiers with complementary strengths and weaknesses. 4. **Stacking Regression** - An ensemble learning regressor that combines the predictions of multiple base regressors (or models) to create a more powerful and robust meta-regressor. This is particularly useful when you have several diverse regressors with complementary strengths and weaknesses. -------------------------------------------------------------------------------- title: "Recommendation" description: "QuickML is a fully no-code ML pipeline builder service in the Catalyst development platform for creating machine-learning pipelines with end-to-end solutions." last_updated: "2026-11-11T10:19:21.000Z" source: "https://docs.catalyst.zoho.com/en/quickml/help/ml-algorithms/recommendation/" service: "QuickML" --------------------------------------------------------------------------------
**DC Availability:** Recommendation model is available across the **US**, **IN**, **EU**, **AU**, **JP**, **SA**, and **CA** data centers.
# Recommendation Algorithms Recommendation algorithms leverage various datasets, such as historical transactions or interaction data, item attributes, and user demographics, to analyze patterns in user behavior and generate highly personalized recommendations that align with user interests. They play a critical role in driving interactions, improving retention, and enhancing the user experience across various platforms In QuickML, we currently support Information Retrieval algorithms designed to meet various business needs for building diverse recommendation models. ## Types of Recommendation Systems Types of recommendation models that are being used in real-time environments include: - Sequential recommendation system - Personalized recommendation system - Recurrence cycle recommendation system ## a. Information retrieval A recommender system is an intelligent tool that analyses past interactions, preferences, and behavior to suggest personalized products that are likely to be of interest to each user. It uses advanced algorithms to understand their tastes and needs, making accurate recommendations that match users' unique preferences. The information retrieval algorithms aim to generate accurate suggestions that enhance user experience and engagement by providing personalized recommendations. The algorithms that are used in each type of recommender systems within QuickML include. 1. ## Sequential recommendation system Sequential Recommendation algorithms utilize machine learning techniques to analyze the historical interaction data and predict the next item or items likely to be consumed in a sequence. This algorithm considers the sequential order of your past interactions to suggest products that align with your buying patterns. Algorithm that is used to build these models are: ### SubSequence **SuBSeq** or Succinct BWT-Based Sequence Prediction, is a powerful algorithm that utilizes the Burrows-Wheeler Transform (BWT), designed specifically for sequential recommendation systems, leveraging advanced techniques to extract meaningful patterns from transactions/interactions data. It focuses on subsequence mining, enabling it to identify recurring sequences and intricate patterns within user behavior sequences. Through a combination of efficient data processing and pattern recognition, SubSeq excels in capturing temporal dependencies, user preferences, and contextual nuances, ultimately leading to highly personalized recommendations tailored to individual behavior. It is particularly efficient in terms of memory usage and computational complexity #### Hyper-parameters:
Parameter Description Data Type Possible Values Default Values
`transactions_column` Column name for itemsets in the input data str column name in the dataset specified
`min_similar_sequence` Minimum number of similar sequences required int any positive integer 2
#### Sample scenarios to choose this algorithm: An online media platform aims to enhance user engagement by predicting the sequences of items users might consume based on their past behavior and interactions. The goal is to understand and anticipate user preferences, enabling the platform to provide personalized content recommendations. For instance, if a user watches three comedy movies, then switches to historical documentaries, a sequential recommendation algorithm identifies this change in consumption pattern and suggests more documentaries or a mix of both genres 2. ## Personalized Recommendation system Personalized recommendation algorithms aim to provide tailored recommendations to individual users based on their preferences, past interactions, product attributes, and demographic information. These algorithms leverage user-item interaction data to identify patterns and similarities among users and items. Algorithms that are used to build these models are: ### LightFM **LightFM** is a robust recommendation algorithm leveraging user profiles, product details, and interaction data to provide personalized recommendations. By merging collaborative filtering with matrix factorization techniques, LightFM captures user preferences and item features, ensuring accurate recommendations in the given domain. Analyzing user profiles and item characteristics, it delivers more relevant suggestions, simplifying the discovery of related products and adjusting recommendations promptly based on user behavior. With insights into user demographics, preferences, and interaction history, LightFM enhances recommendation experiences across diverse industries and applications, fostering engagement and satisfaction #### Hyper-parameters:
Parameter Description Data Type Possible Values Default Values
`no_components` The dimensionality of the latent feature embeddings. Higher values capture more complex relationships but may overfit if too large for the dataset. int Any positive integer 10
`n` For k-OS training, this specifies the maximum number of positive samples considered for each user during each update step. int Any positive integer 10
`learning_schedule` Determines the learning rate schedule to be used. Options include adaptive schedules like adagrad or adadelta, which adjust learning rates based on gradient information during training. str 'adagrad', 'adadelta'r 'adagrad'
`loss` Specifies the loss function to optimize:
  • 'logistic': no penalty is added;
  • 'bpr': add a L2 penalty term and it is the default choice;
  • 'warp': add a L1 penalty term;
  • 'warp-kos': both L1 and L2 penalty terms are added.
int Any positive integer 10
`learning_rate` The initial learning rate for the gradient descent optimizer. Smaller values result in slower but potentially more stable convergence. float Any positive float 0.05
`item_alpha` L2 regularization strength on item feature embeddings. Helps prevent overfitting by penalizing large weights. Higher values enforce stronger regularization. float Any non-negative float 0.0
`user_alpha` L2 regularization strength on user feature embeddings. Helps prevent overfitting by penalizing large weights. Similar behavior to item_alpha. float Any non-negative float 0.0
`train_split_ratio` used for training. The remaining data is reserved for evaluation. A higher ratio means more data for training but less for testing. float between 0 and 1 0.8
`td_uid_column` The name of the column in the transactions dataset representing unique user IDs. str Any valid column name in the dataset User-specified
`ud_uid_column` The name of the column in the user features dataset representing unique user IDs. str Any valid column name in the dataset User-specified
`pd_pid_column` The name of the column in the product features dataset representing unique product IDs. str Any valid column name in the dataset User-specified
#### Sample scenarios to choose this algorithm: - In e-commerce platforms, personalized recommendation algorithms suggest relevant items based on real-time user interactions and search activity. By analyzing user behavior, item characteristics, and transaction data, these models generate highly personalized suggestions that resonate with individual users. This approach not only enhances the user experience but also increases business value by promoting relevant and related products. - In e-learning platforms, facilitating the discovery of related courses that complement users' learning interests and objectives. These models enhance the discovery by analyzing the course similarities and user interests, ultimately leading to increased exploration and engagement. ### Pixie Building systems that provide high-quality personalized recommendations presents a major challenge due to a massive pool of items and a large number of users. These recommendations should be generated responsive to the user actions on demand. Pixie is a scalable real-time graph-based recommendation system that addresses this problem using its technique called random walks to explore a large graph of interconnected items to recommend relevant items to users. The graph comprises nodes and edges, where nodes represent items or users, and edges represent relationships or interactions between them. This algorithm is designed to be highly scalable, allowing it to operate efficiently in environments with a vast number of items and users. #### Hyper-parameters:
Parameter Description Data Type Possible Values Default Values
`user_id_colum` unique column name of the user_dataset str column name in the dataset specified
`product_id_column` unique column name of the product_dataset str column name in the dataset specified
`depth` Number of steps in each random walk. int Any Positive Integers 10
`n_epochs` Maximum number of steps for the random walk process. int Any Positive Integers 50
`higher_weight` Weight for biasing the graph edge towards more likely connections. float A float between 0 and 1 1.0
`lower_weight` Weight for biasing the graph edge towards less likely connections. float A float between 0 and 1 0.0001
`recommendation_type` Type of prediction to be made. str 'fbt', 'cwbab' 'cwbab'
`with_feature_encoding` Whether to use encoding of user features. bool True, False False
#### Sample scenarios to choose this algorithm: Pixie can suggest products to users based on their browsing history and purchase behavior, leading to improved product discovery and higher sales conversion rates. #### For example: An e-commerce platform specializing in consumer electronics leverages Pixie to improve its recommendation system. When a user purchases a smartphone, the algorithm uses recommendation_type: **fbt (Frequently Bought Together)** to recommend necessary co-purchases, such as screen protectors or chargers, which are immediately relevant to the current purchase. At the same time, if algorithm uses recommendation_type: "**cwbab (Customers who bought also bought)**" to suggest complementary products, like smartwatches or Bluetooth speakers, which the customer might consider buying later. By differentiating between immediate and potential future needs, the platform not only increases the average order value but also builds long-term customer engagement and satisfaction. 3. ## Recurrence cycle recommendation system The Recurrence Cycle Recommendation Model is trained to identify and suggest items based on recurring patterns in user behavior. By analyzing historical data, it detects the recurring cycles or intervals at which users are likely to repeat specific interactions, such as purchases, subscriptions, or engagements. The Recurrence Finder algorithm predicts the items users are most likely to repurchase, simplifying the process of restocking products or re-engaging with preferred items Algorithms that are used to build the recurring recommendation models are: ### Recurrence Finder **Recurrence Finder** identifies and predicts recurring events, including customer product purchases, event attendance, and daily alarm settings, leveraging historical timestamps to forecast future occurrences. By analyzing patterns from historical events, it provides the future occurrences of events, aiding in effective planning and decision-making. This model assists in optimizing strategies for customer retention, event management, and time management tools. With its ability to predict future occurrences, Recurrence Finder enhances efficiency and productivity across various domains, from e-commerce to healthcare. #### Hyperparameters:
Parameter Description Data Type Possible Values Default Values
`user` The name of the column in the dataset that contains unique user IDs. This column is essential for identifying the recurrence of transactions based on users. str Any valid column name in the dataset User-specified
`product` The name of the column in the dataset that contains unique product IDs. This column is used to track the recurrence of specific products in transactions. str Any valid column name in the dataset User-specified
`timestamp_column` The name of the column in the dataset that contains timestamps for the transactions. This column is critical for calculating the time intervals between recurring transactions. str Any valid column name in the dataset User-specified
`quantity` A boolean flag indicating whether the recurrence analysis should consider transaction quantities. If True, the quantity_column will be used to incorporate quantity-based recurrence patterns. bool True, False User-specified
`quantity_column` The name of the column in the dataset that contains the quantity of products purchased in each transaction. This is required if the quantity parameter is set to True. str Any valid column name in the dataset User-specified
#### Sample scenarios to choose this algorithm: - Subscription-based businesses can utilize recurrence predictions to forecast when customers are likely to renew their subscriptions. This allows them to implement targeted retention strategies, such as personalized offers or reminders, to increase renewal rates and customer loyalty. - Service-based businesses, such as healthcare providers or salons, can use recurrence predictions to schedule appointments efficiently. By anticipating when clients are likely to book appointments, they can optimize staff schedules, minimize wait times, and enhance customer satisfaction. ## Data Validation criteria Recommendation models are trained using three datasets: 1. Transactions/Interactions data 2. Users’ demographic data 3. Items’ attribute data The **Transactions dataset** contains transaction details, such as transactionID, userID, itemID, order value, purchase date, timestamp, etc., capturing each purchase the user has made. The **Users dataset** holds demographic information about the users of the business, providing insights into their characteristics and preferences. The **Items/Product features** dataset contains attributes and characteristics of the items being purchased by users, such as category, brand, and price. A validation check involving three datasets is automatically performed by the algorithm itself before model training begins. If any of the following criteria are not met, the algorithm stops training and throws an error: - No missing values should be present in the transactions, users, or items datasets. - Any userID or itemID/productID present in the Transactions dataset must also exist in their respective Users or Items datasets. -------------------------------------------------------------------------------- title: "Time Series" description: "QuickML is a fully no-code ML pipeline builder service in the Catalyst development platform for creating machine-learning pipelines with end-to-end solutions." last_updated: "2026-11-11T10:19:21.000Z" source: "https://docs.catalyst.zoho.com/en/quickml/help/ml-algorithms/time-series/" service: "QuickML" --------------------------------------------------------------------------------
**DC Availability:** Time series forecasting model is available across the **US**, **IN**, **EU**, **AU**, **JP**, **SA**, and **CA** data centers.
# Time Series Algorithms Time series forecasting is a predictive analytics task that involves the predicting future data points by utilizing the historical data collected over time. Let's deep dive into how forecasting in time series works and explore different algorithms that are being used to generate forecasting models. ### Forecasting Forecasting involves using statistical methods to predict future values by examining the trends and patterns in past data. This analysis helps business owners make well-informed decisions about future course of actions based on the predictions generated by the model. Time series forecasting algorithms can be classified into two categories: univariate and multivariate, each leading to the creation of corresponding types of models. #### 1. Univariate Forecasting Univariate forecasting models are built using univariate datasets, which contain only a single feature or variable that is recorded over time. These models focus exclusively on the temporal patterns, trends, and seasonality of that one variable for future forecasts, without incorporating the influence of other factors. Algorithmsused to build the univariate forecasting models include: - Moving Average - MA - Exponential Smoothing - Holt Winter's Method - Auto Autoregressive Integrated Moving Average - Auto ARIMA - Seasonal Autoregressive Integrated Moving Average - SARIMA - Autoregressive Moving Average - ARMA - Auto Regressor Let's understand how each of the algorithms works in detail. **a. Moving Average** The Moving Average (MA) model is a commonly used statistical technique for forecasting in time series analysis. Instead of calculating the average of past data points, it predicts future values based on a linear combination of past forecast errors (or residuals) over a fixed number of periods, known as the “window size.” This method smooths out random fluctuations, making it helpful for identifying short-term trends and patterns in the data. While the MA model is easy to apply and can be useful for various types of time series data, it relies solely on past errors and does not directly account for past values or other external factors that may affect the data. As a result, it is often recommended to combine the Moving Average model with other forecasting methods, like AutoRegressive models, to improve accuracy and capture more complex dynamics in the data. The number of past forecast errors used in a **Moving Average (MA)** model is defined by the MA order or lag (q). The MA order indicates how many previous error terms (lags of the residuals) are included in the model to predict the current value. For example, in an MA(q) model: - If q = 1, the model uses the previous error term (the first lag of the residual). - If q = 2, it uses the previous two error terms (the first and second lags), and so on. The choice of the MA order can significantly impact the model’s performance. **Advantages** - This Moving Average algorithm is well-suited for short-term forecasting, such as predicting sales for the next few periods. - It can help remove noise from time series data, making it easier to identify underlying patterns or trends by smoothing out random fluctuations. **Disadvantages** - Moving Average (MA) model is not suitable for long-term forecasting as it only relies on past forecast residuals(errors) and does not directly account for past values or other external factors that may affect the data in the long run. - It may react slowly to sudden changes or trends in the data based on the window size of residuals used for predictions. - MA models are primarily used for univariate time series forecasting, where the focus is on a single variable over time and its past errors. However, in multivariate time series forecasting, where multiple variables are involved, moving averages do not perform well. - In multivariate time series analysis, the goal is often to understand the relationships between multiple variables and to leverage these correlations for better forecasting. - The direct application of a simple moving average model to individual variables independently in a multivariate data fails to capture the potential interdependencies between the variables. **b. Auto Regressive Model** AutoRegressive (AR) models are a class of statistical models commonly used in time series analysis to forecast future values by using past values in the time series as input. They are particularly useful for capturing temporal dependencies in the data by assessing the correlation between preceding and succeeding values in the series. The model predicts future values as a linear combination of past observations, relying on the assumption that past values have a direct influence on future behavior. AR order (p), can be defined as the number of past observations used in an AutoRegressive (AR) model. It indicates how many previous values (lags) of the time series are included in the model to predict the current value. For example, in an AR(p) model: - If p = 1, the model uses the previous value (the first lag). - If p = 2, it uses the previous two values (the first and second lags), and so on. The choice of the AR order can significantly impact the model’s performance. **Advantages** - AR models are effective in capturing the temporal dependencies present in time series data. By regressing the current value on its own past values, they can capture patterns and trends in the data. - The parameters of AR models have clear interpretations. Each autoregressive parameter represents the influence of a specific lagged value on the current value, making it easy to understand the relationship between past and present observations. - AR models are robust to outliers and handle noisy data well. They can effectively filter out short-term fluctuations and focus on capturing long-term trends in the data. - AR models are computationally efficient, particularly for small to moderate-sized datasets. They require relatively fewer parameters compared to other time series models, making them suitable for quick analysis and forecasting. **Disadvantages** - AR models assume a linear relationship between past and present observations. This assumption may not hold for all time series data, particularly for non-linear relationships or complex patterns. - AR models assume that the underlying time series is stationary, meaning that its statistical properties do not change over time. However, many real-world time series exhibit non-stationary behavior, which can limit the applicability of AR models. - Choosing the appropriate order (AR lag(p)) for the AR model can be challenging and may require iterative experimentation or statistical diagnostics. Selecting an incorrect order can lead to poor model performance and inaccurate forecasts. - AR models may struggle to provide accurate forecasts for long-term horizons, especially when the underlying data is highly volatile or subject to structural changes. **c. ARMA Model** ARMA (AutoRegressive Moving Average) is a time series forecasting method that combines both AutoRegressive and Moving Average components. It builds a statistical model by using the past values from AutoRegressive and past residuals(errors) from Moving Average methods to predict future values. This model is particularly used in capturing short-term dependencies and patterns in stationary time series data. - Autoregressive (AR) Component: In the autoregressive component, the current value of the time series is modelled as a linear combination of its previous values. The "auto" in autoregressive signifies that the current value is regressed on its own past values. Higher values of p capture more complex dependencies. - Moving Average (MA) Component: In the moving average component, the current value of the time series is modelled as a linear combination of past forecast errors.The moving average parameters determine the weights assigned to past forecast errors in predicting the current value. Similar to autoregressive models, higher values of q capture more complex dependencies. ARMA models combine both autoregressive and moving average components to capture the temporal dependencies and random fluctuations present in the data. An ARMA(p, q) model is represented as the sum of the AR (p) and MA (q) components. **Advantages** - ARMA models can capture a wide range of patterns and dynamics present in time series data, making them versatile for various applications. - The parameters of ARMA models have clear interpretations, allowing analysts to understand the underlying relationships between past observations and future predictions. - ARMA models are robust to outliers and can handle noisy data well, making them suitable for real-world datasets with irregularities. - ARMA models are computationally efficient, particularly for small to moderate-sized datasets, allowing for quick model estimation and forecasting. **Disadvantages** - ARMA models assume that the underlying time series is stationary, meaning that its statistical properties do not change over time. However, many real-world time series exhibit non-stationary behavior, which can limit the applicability of ARMA models. - ARMA models may struggle to provide accurate forecasts for long-term horizons, especially when the underlying data is highly volatile or subject to structural changes. - Choosing the appropriate order (p and q) for the AR and MA components of an ARMA model can be challenging and may require iterative experimentation or statistical diagnostics. - The performance of ARMA models can be sensitive to the initial parameter estimates, leading to potential convergence issues or suboptimal solutions, particularly in high-dimensional parameter spaces. **d. ARIMA Model** The ARIMA (AutoRegressive Integrated Moving Average) model is a popular statistical method designed for time series forecasting to handle non-stationary data by incorporating differencing component in addition to AR and MA components as in ARMA model. It is a versatile and powerful method, as it can be applied to both stationary and non-stationary time series data. Here's a breakdown of its components: - **AutoRegressive (AR) term**: Represents the relationship between an observation and a certain number of lagged observations (previous time steps). In an AR (p) model, the value of the series at time 't' depends linearly on the values at times 't-1', 't-2', ..., 't-p'. - **Integrated (I) term**: Refers to the differencing of raw observations to make the time series stationary. Stationarity implies that the statistical properties of a time series, such as mean and variance, do not change over time. The order of differencing, denoted as 'd', indicates how many differences are required to achieve stationarity. - **Moving Average (MA) term**: Accounts for the relationship between an observation and a residual error from a moving average model applied to lagged observations. In an MA(q) model, the value of the series at time 't' depends linearly on the error terms at times 't-1', 't-2', ..., 't-q'. The ARIMA model is denoted as ARIMA(p, d, q), where: - 'p' is the order of the autoregressive part. - 'd' is the degree of differencing. - 'q' is the order of the moving average part. The ARIMA model makes predictions based on the linear combination of past observations, differencing to stabilise the series, and an error term that captures unexpected fluctuations not explained by the model. **Auto ARIMA** Auto ARIMA automatically searches through a range of possible ARIMA models, including different combinations of autoregressive (AR), integrated (I), and moving average (MA) components, to identify the model that best fits the data. It evaluates each model based on statistical criteria such as AIC (Akaike Information Criterion) or BIC (Bayesian Information Criterion) to determine the optimal model. **Advantages** - ARIMA can handle a wide range of time series data, including economic, financial, and social data, making it applicable in various fields. - The model parameters (p, d, q) can provide insights into the underlying dynamics of the time series, such as the lag effect and the impact of differencing. - ARIMA is based on solid statistical principles, making it a reliable method for time series analysis. - ARIMA can generate forecasts for future time periods, providing valuable insights for decision-making and planning. - ARIMA models do not require additional external factors or covariates, making them relatively straightforward to implement and interpret. **Disadvantages** - ARIMA assumes that the time series is stationary or can be made stationary through differencing. In practice, achieving stationarity can be challenging for some datasets. - Traditional ARIMA models are not well-suited for capturing seasonal patterns in the data. Seasonal ARIMA (SARIMA) or other methods are needed for seasonal data. - They are linear and may not effectively capture complex non-linear relationships present in some time series data. - ARIMA models require a sufficient amount of historical data to estimate the model parameters accurately. In cases of short or sparse data, ARIMA may not perform well. - ARIMA assumes that observations are independent of each other, which may not hold true for all time series data, particularly in cases of autocorrelation or serial correlation. **e. SARIMA Model** Seasonal Autoregressive Integrated Moving Average (SARIMA) is an extension of the ARIMA model that incorporates seasonality into the analysis and forecasting of time series data. SARIMA models are particularly useful for data that exhibit both non-seasonal and seasonal patterns: - **Seasonal Differencing**: SARIMA involves differencing the time series not only to remove trends but also to remove seasonal patterns. This is done by subtracting the observation at time 't' from the observation at time 't-s', where 's' represents the seasonal period. - **Seasonal Autoregressive (SAR) Term**: Seasonal AR lag, component accounts for the relationship between the current observation and past observations at seasonal intervals. It captures the seasonal patterns in the data. - **Seasonal Moving Average (SMA) Term**: Seasonal MA lag component models the dependence between the current observation and past forecast errors at seasonal intervals. - **Integration**: Like in ARIMA, integration is used to make the time series stationary by differencing. The order of integration (denoted by 'd') represents the number of non-seasonal differences needed to achieve stationarity. - **Autoregressive (AR) and Moving Average (MA) Terms**: These components, similar to ARIMA, capture the non-seasonal dynamics of the time series. **Advantages** - SARIMA explicitly models seasonal patterns in the data, allowing for more accurate forecasts of time series with periodic fluctuations, such as monthly sales data or quarterly economic indicators. - SARIMA models can handle a wide range of seasonal patterns, including multiplicative and additive seasonality, as well as irregular seasonal patterns. - Like ARIMA, SARIMA models provide interpretable parameters (e.g., AR, MA, seasonal AR, seasonal MA) that can offer insights into the underlying dynamics of the time series. - SARIMA models can be robust to changes in the underlying data patterns, provided that the appropriate seasonal period and model parameters are selected. **Disadvantages** - SARIMA models are more complex than non-seasonal ARIMA models, requiring additional parameters to capture seasonal dynamics. This complexity can make model estimation and interpretation more challenging. - Selecting the appropriate seasonal period and determining the orders of the AR, MA, seasonal AR, and seasonal MA terms can be difficult and may require extensive model diagnostics and testing. - Estimating SARIMA models, especially for large datasets or models with many parameters, can be computationally intensive and time-consuming. - SARIMA assumes that the time series is stationary after differencing. Ensuring stationarity may require careful examination of the data and iterative model fitting. Despite these challenges, SARIMA remains a powerful tool for time series forecasting, for data that exhibit both non-seasonal and seasonal patterns. With careful model specification and parameter selection, SARIMA models can provide accurate forecasts and valuable insights into time series data. **f. Exponential Smoothing Model** Exponential smoothing is a time series forecasting method for univariate data that can be extended to support data with a systematic trend or seasonal component. It also make predictions based on past observations like ARIMA but with a key difference in how they weigh these observations: - **Exponentially Decreasing Weights** - Unlike ARIMA, where weights can be arbitrary, Exponential Smoothing assigns exponentially decreasing weights to past observations. This means recent observations have a much greater influence on the forecast than older ones. - Example: If you’re predicting today’s sales, yesterday’s sales will have a bigger impact on the forecast than sales from a week ago. - **Types of Exponential Smoothing** - **Simple Exponential Smoothing (SES)**: Suitable for data without a trend or seasonality. It only uses past observations. - **Holt’s Linear Trend Model**: Extends SES to capture trends in the data. - **Holt-Winters Seasonal Model**: Further extends to capture seasonality (repeating patterns like monthly sales peaks). **Advantages** - Handles different patterns implies that it can be adapted to handle different types of time series data, including those with: - No trend (Simple Exponential Smoothing) - Linear trends (Holt’s Linear Trend Model), and - Seasonal patterns (Holt-Winters Seasonal Model) - Requires relatively less historical data compared to some other more complex forecasting methods like ARIMA or machine learning models. - Responsive to Changes because recent observations are given more weight, the method can quickly adapt to changes or shifts in the data **Disadvantages** - Exponential smoothing may struggle to capture complex relationships or irregular fluctuations present in the data. - The performance of exponential smoothing models can be sensitive to the choice of smoothing parameters, such as the smoothing factor (alpha). - Exponential smoothing assumes that the underlying time series is stationary, meaning that its statistical properties remain constant over time. However, many real-world time series exhibit non-stationary behavior. - Exponential smoothing models are sensitive to outliers or extreme values in the data. **g. Holt Winter's Seasonal Model** Holt-Winters' method, also known as triple exponential smoothing, is a widely used technique for forecasting time series data, especially when dealing with data that exhibit trend and seasonality. It extends simple exponential smoothing to handle these components more effectively. - **Level Component (lt)**: It represents the average value of the series over time. It is updated at each time step based on the observed value and the previous level.The updated level at time 't' is a combination of the observed value 'yt', the previous level 'lt-1', and the previous trend 'bt-1'. It's calculated using a smoothing parameter alpha. - **Trend Component (bt)**: It captures the direction and rate of change in the series over time. It is updated to reflect the trend observed in recent data.The updated trend at time 't' is a combination of the difference between the current level and the previous level, and the previous trend. It's calculated using a smoothing parameter beta. - **Seasonal Component (st)**: It accounts for seasonal variations or patterns that repeat at fixed intervals (e.g., daily, weekly, monthly). It's updated to reflect the seasonal behaviour observed in the data. The updated seasonal component at time 't' is a combination of the observed value and the corresponding seasonal component observed at the same time in previous seasons. It's calculated using a smoothing parameter gamma. There are two main types of Holt-Winters models **Additive model**: The Additive model is used when the seasonal variations are roughly constant through the series. It is suitable when the magnitude of the seasonal effect does not depend on the level of the time series. ``` Level : Lt=α(Yt−St−m)+(1−α)(Lt−1+Tt−1) Trend: Tt=β(Lt−Lt−1)+(1−β)Tt−1 Season: St=γ(Yt−Lt)+(1−γ)St−m Forecast: Yt+h=L t+hTt+St−m+h ``` **Multiplicative Model**: Multiplicative model is used when the seasonal variations change proportionally with the level of the series. It is suitable when the magnitude of the seasonal effect varies with the level of the time series. ``` Level : Lt=α(Yt/St−m)+(1−α)(Lt−1+Tt−1) Trend: Tt=β(Lt−Lt−1)+(1−β)Tt−1 Season: St=γ(Yt/Lt)+(1−γ)St−m Forecast: Yt+h=(Lt+hTt)St−m+h ``` **Advantages** - It's specifically designed to capture and forecast time series data with both trend and seasonality, making it suitable for a wide range of real-world applications. - The method adapts to changes in the underlying data patterns over time, making it robust in dynamic environments where the data may exhibit evolving trends or seasonal patterns. - The resulting forecasts can be easily interpreted as they are based on the level, trend, and seasonal components, providing insights into the future behavior of the time series. - While the method involves multiple components and parameters, it's relatively straightforward to implement compared to more complex forecasting techniques. **Disadvantages** - Selecting appropriate values for the smoothing parameters alpha, beta, and gamma can be challenging and may require expertise or extensive experimentation, especially for datasets with varying characteristics. - Sensitive to outliers or sudden changes in the data, which can impact the accuracy of forecasts, particularly if these anomalies are not appropriately addressed. - Like other exponential smoothing methods, Holt-Winters' method assumes linear relationships between the components, which may not adequately capture complex non-linear patterns present in some time series data. - Estimating and updating the components of the Holt-Winters' method for large datasets or high-frequency data can be computationally intensive, especially if implemented without optimization techniques #### 2. Multivariate Forecasting Algorithms **a. Vector Auto Regressor (VAR)** The Vector Auto Regression (VAR) model is a multivariate time series algorithm used to capture the linear interdependencies among multiple time series. It generalizes the univariate autoregressive (AR) model to multivariate time series data. Each variable in a VAR model is a linear function of past lags of itself and past lags of all the other variables in the system. **Advantages** - VAR models are well-suited for capturing the dynamic relationships between multiple time series without requiring the specification of dependent and independent variables. This makes them flexible in modelling complex interdependencies among variables. - All variables in a VAR model are treated as endogenous, meaning there is no need to categorise them as dependent or independent. This symmetry allows for a more comprehensive understanding of how the variables interact with each other over time. - VAR models explicitly account for the lagged effects of each variable on itself and others, allowing for a detailed analysis of temporal dependencies. - The VAR framework allows for Granger causality testing, which can identify whether one time series can predict another, providing insights into causal relationships between variables. - VAR models facilitate impulse response analysis, which helps to understand the effect of a shock to one variable on the other variables in the system over time. This is particularly useful in policy analysis and economic forecasting. **Disadvantages** - VAR models require the estimation of a large number of parameters, especially when dealing with many variables and lags. This can lead to over fitting, making the model sensitive to noise and reducing its generalizability. - The large number of parameters to estimate means that VAR models require a significant amount of data to achieve stable and reliable results. This can be a limitation when working with short time series or sparse data. - Although VAR models are powerful, interpreting the relationships between variables can be challenging, especially when the model includes many variables and lags. The model’s output can be complex and may require advanced statistical knowledge to interpret correctly. - VAR models assume linear relationships between variables. In reality, relationships between time series variables can be non-linear, which may limit the model's effectiveness in capturing the true dynamics. - The choice of lag length p is crucial in VAR modelling. Too few lags can lead to model misspecification, while too many can cause overfitting. Selecting the optimal lag length is not always straightforward and often requires careful testing and validation. - Unlike Structural VAR (SVAR) models, standard VAR models do not provide a structural interpretation of the relationships between variables. This can be a limitation in economic and policy analysis, where understanding the underlying mechanisms is important. - When the variables in the VAR model are highly correlated, multicollinearity can become a problem, leading to unreliable estimates of the coefficients. This can make it difficult to discern the true impact of each variable on others. - As the number of variables and lags increases, the computational burden of estimating the model parameters grows. This can make VAR models computationally intensive, especially for large datasets. #### Cross Validation Cross-validation in time series is a technique used to evaluate the performance of a model on a time series dataset. Unlike typical k-fold cross-validation used in standard machine learning, time series data has a temporal order that must be preserved. Therefore, specific methods are used to handle this temporal dependency. **i. Rolling Time Series Split** - This method involves splitting the time series data into training and validation sets multiple times in such a way that the training set always precedes the validation set. - It simulates the way new data becomes available over time and ensures that the model is always tested on future data, relative to the training set. - Refer to the below image for data split understanding ![time-series-split](https://catalyst-docs-development.zohostratus.in/images/help/quickml/time-series/time-series-split.webp) **ii. Blocking Time Series Split** - Involves splitting the data into contiguous blocks or folds, while ensuring that there is no overlap between the training and testing sets and maintaining the temporal order of the data. - Prevents the model from seeing future data during training, leading to over fitting. - Ensures that the training set always precedes the validation set, respecting the time order. ![blocking-time-series-split](https://catalyst-docs-development.zohostratus.in/images/help/quickml/time-series/blocking-time-series-split.webp) **iii. Day Forward Chaining** - Day Forward-Chaining is based on a method called forward-chaining and rolling-origin-recalibration evaluation. Using this method, we successively consider each day as the test set and assign all previous data into the training set - This method produces many different train/test splits. The error on each split is averaged in order to compute a robust estimate of the model error. ![day-forward-chaining](https://catalyst-docs-development.zohostratus.in/images/help/quickml/time-series/day-forward-chaining.webp) **iv. Regular Train Test Split - Default** In a standard train-test split scenario, a time series dataset is split into two subsets: a training set and a test set. The training set is used to train the model, which contains historical data, and then tested on the test set, which includes future unseen data. This allows for evaluating the model's performance and its generalization capabilities by testing its ability to predict future values based on past data. Visual representation of the Train-test split of the data as follows: ![regular-train-test-split](https://catalyst-docs-development.zohostratus.in/images/help/quickml/time-series/regular-train-test-split.webp) ### Build a pipeline QuickML uses smart mode pipeline builder to create time series models. The Smart Builder provides a prebuilt template for time series models, designed to simplify the model development process from data preprocessing to model selection. With these prebuilt templates, operations are predefined, and users are presented with various parameters to configure each stage. This template removes the ambiguity of which stage to use to build a time series model and streamlines the model-building process. ### Visualizations **Decomposition Chart** A decomposition chart breaks down time series data into its key components: trend, seasonal, and residual (or noise). It helps validate the presence of these components and understand their contributions to the overall pattern of the data. Decomposition is particularly useful for analyzing time series data recorded at regular intervals over different periods. In QuickML, the decomposition chart uses the additive technique, where the original time series is represented as the sum of its components: ```Original Series = Trend + Seasonality + Residual``` ![decomposition-chart](https://catalyst-docs-development.zohostratus.in/images/help/quickml/time-series/decomposition-chart.webp) This technique assumes that the magnitude of the seasonal and residual variations remains constant across the series. -------------------------------------------------------------------------------- title: "Text Analytics" description: "QuickML is a fully no-code ML pipeline builder service in the Catalyst development platform for creating machine-learning pipelines with end-to-end solutions." last_updated: "2026-11-11T10:19:21.000Z" source: "https://docs.catalyst.zoho.com/en/quickml/help/ml-algorithms/text-analytics/" service: "QuickML" --------------------------------------------------------------------------------
**DC Availability:** Text analytics model is available across the **US**, **IN**, **EU**, **AU**, **JP**, **SA**, and **CA** data centers.
# Text Analytics Algorithms Text data is fed to algorithms in a vectorized form to generate an NLP model. The NLP models could be broadly classified into supervised and unsupervised learning models. In QuickML, we have algorithms that use labelled data to build supervised learning models. The algorithms include: - Naive Bayes - Support vector machine (SVM) ### Naive Bayes A classification algorithm that works on Bayesian theorem with a naive assumption that there is a conditional independence between every pair of features considered. Bayes theorem calculates probability P(c|x) where c is the class of the possible target labels and x is the given instance which has to be classified, representing some certain features. P(c|x) = P(x|c) * P(c) / P(x) Hyper parameters: Parameters: 1. **priors: array-like of shape (n_classes,), default=None** Prior probabilities of the classes. If specified, the priors are not adjusted according to the data. 2. **var_smoothing: float, default=1e-9** Portion of the largest variance of all features that is added to variances for calculation stability. Attributes: 1. **class_count_: ndarray of shape (n_classes,)** number of training samples observed in each class. 2. **class_prior_: ndarray of shape (n_classes,)** probability of each class. 3. **classes_: ndarray of shape (n_classes,)** class labels known to the classifier. 4. **epsilon_: float** absolute additive value to variances. 5. **n_features_in_: int** Number of features seen during fit. 6. **feature_names_in_: ndarray of shape (n_features_in_,)** Names of features seen during fit. Defined only when X has feature names that are all strings. 7. **var_: ndarray of shape (n_classes, n_features)** Variance of each feature per class. 8. **theta_: ndarray of shape (n_classes, n_features)** Mean of each feature per class. ### Support vector machine (SVM) SVM in another popular classification machine learning algorithm which classifies data by determining the best hyperplane (decision boundary) #### Hyperparameters: 1. **C : float, default=1.0** Regularization parameter. The strength of the regularization is inversely proportional to C. Must be strictly positive. The penalty is a squared l2 penalty. 2. **kernel: {‘linear’, ‘poly’, ‘rbf’, ‘sigmoid’, ‘precomputed’} or callable, default=‘rbf’** Specifies the kernel type to be used in the algorithm. If none is given, ‘rbf’ will be used. If a callable is given it is used to pre-compute the kernel matrix from data matrices; that matrix should be an array of shape (n_samples, n_samples). 3. **degree: int, default=3** Degree of the polynomial kernel function (‘poly’). Must be non-negative. Ignored by all other kernels. 4. **gamma: {‘scale’, ‘auto’} or float, default=‘scale’** Kernel coefficient for ‘rbf’, ‘poly’ and ‘sigmoid’. - if gamma= ‘scale’ (default) is passed then it uses 1 / (n_features * X.var()) as value of gamma, - if ‘auto’, uses 1 / n_features - if float, must be non-negative. 5. **coef0: float, default=0.0** Independent term in kernel function. It is only significant in ‘poly’ and ‘sigmoid’. 6. **shrinking: bool, default=True** Whether to use the shrinking heuristic. See the User Guide. 7. **probability: bool, default=False** Whether to enable probability estimates. This must be enabled prior to calling fit, will slow down that method as it internally uses 5-fold cross-validation, and predict_proba may be inconsistent with predict. Read more in the User Guide. 8. **Tolerance: float, default=1e-3** Tolerance for stopping criterion. 9. **cache_size: float, default=200** Specify the size of the kernel cache (in MB). 10. **class_weight: dict or ‘balanced’, default=None** Set the parameter C of class i to class_weight[i]*C for SVC. If not given, all classes are supposed to have weight one. The “balanced” mode uses the values of y to automatically adjust weights inversely proportional to class frequencies in the input data as n_samples / (n_classes * np.bincount(y)). 11. **verbose: bool, default=False** Enable verbose output. Note that this setting takes advantage of a per-process runtime setting in libsvm that, if enabled, may not work properly in a multithreaded multi threaded context. 12. **max_iter: int, default=-1** Hard limit on iterations within solver, or -1 for no limit. 13. **decision_function_shape: {‘ovo’, ‘ovr’}, default=‘ovr’** Whether to return a one-vs-rest (‘ovr’) decision function of shape (n_samples, n_classes) as all other classifiers, or the original one-vs-one (‘ovo’) decision function of libsvm which has shape (n_samples, n_classes * (n_classes - 1) / 2). However, note that internally, one-vs-one (‘ovo’) is always used as a multi-class strategy to train models; an ovr matrix is only constructed from the ovo matrix. The parameter is ignored for binary classification. 14. **break_ties: bool, default=False** If true, decision_function_shape=‘ovr’, and number of classes > 2, predict will break ties according to the confidence values of decision_function; otherwise the first class among the tied classes is returned. Please note that breaking ties comes at a relatively high computational cost compared to a simple predict. 15. **random_state: int, RandomState instance or None, default=None** Controls the pseudo random number generation for shuffling the data for probability estimates. Ignored when probability is False. Pass an int for reproducible output across multiple function calls. -------------------------------------------------------------------------------- title: "Clustering" description: "QuickML is a fully no-code ML pipeline builder service in the Catalyst development platform for creating machine-learning pipelines with end-to-end solutions." last_updated: "2026-11-11T10:19:21.000Z" source: "https://docs.catalyst.zoho.com/en/quickml/help/ml-algorithms/clustering/" service: "QuickML" --------------------------------------------------------------------------------
**DC Availability:** Clustering model is available across the **US**, **IN**, **EU**, **AU**, **JP**, **SA**, and **CA** data centers.
# Clustering Algorithms  Clustering is an unsupervised machine learning model that focuses on grouping similar data points together based on their characteristics or patterns. Instead of relying on predefined labels, clustering uncovers natural structures in the data, making it especially useful for exploratory analysis and segmentation. Let’s dive deeper into how clustering works and explore the different types of clustering algorithms that can be used to build effective clustering models. Below are the clustering algorithms supported in Catalyst QuickML, along with their [Clustering type,](https://docs.catalyst.zoho.com/en/quickml/help/learning-center/clustering/#introduction) explanation, real-world use cases, and key parameters. > **Note:** Clustering is available in **early access** across all the data centers. To use this, request access via support@zohocatalyst.com # Centroid-Based Algorithms  ### K-Means **Explanation:** K-Means partitions data into k clusters by minimizing the variance within each cluster, measured as the sum of squared Euclidean distances between data points and their cluster centroids. It works by iteratively performing two steps: (1) assigning each data point to the nearest centroid (hard assignment), and (2) recalculating centroids as the mean of all points in the cluster. This process repeats until assignments no longer change or a maximum number of iterations is reached. **Mathematical formula:** ``` min(C1, C2, ..., Ck) Σ(i=1 to k) Σ(x ∈ Ci) ||x − μi||² ``` Where: - Ci = cluster i - μi = centroid (mean) of cluster i - ∣∣x−μi∣∣2 = squared Euclidean distance between data point x and centroid μi **Use case:** Retail companies use K-Means to segment customers into groups like “budget,” “regular,” and “premium” based on spending habits. **Key parameters:** > **Note:** In the parameter ranges provided, square brackets [ ] indicate that the boundary value is included, while parentheses ( ) indicate that the boundary value is excluded. Example: [1, ∞) means the range starts from 1 (included) and extends to infinity (excluded). hereas, (0, 1] means 0 is excluded but 1 is included.
Parameter Description Data Type Possible Values Default Value
n_clusters Defines how many clusters the algorithm should create and, accordingly, how many centroids will be generated. Choosing the right value is critical, as too few clusters may oversimplify the data while too many may lead to overfitting. int [1, n_rows] 8
init Specifies the method used to initialize the centroids before the clustering iterations begin. string {'k-means++', 'random'} 'k-means++'
max_iter Determines the maximum number of iterations the K-Means algorithm will perform in a single run. int [1, ∞) 300
algorithm Indicates the specific variant of the K-Means algorithm to use. string {'lloyd', 'elkan'} 'lloyd'
### MiniBatchKMeans    **Explanation:** MiniBatchKMeans is a faster and more memory-efficient version of K-Means that processes small random subsets (mini-batches) of the data at each iteration instead of the entire dataset. By using these mini-batches to update centroids, it converges much faster while giving results close to standard K-Means. This makes it especially useful for large datasets or streaming data, where running full K-Means would be too slow or resource-intensive. **Mathematical formula:** ``` min(C1, C2, ..., Ck) Σ(i=1 to k) Σ(x ∈ Bt ∩ Ci) ||x − μi||² ``` Where Bt is a random mini-batch at iteration t. **Use case:** E-commerce platforms with millions of users cluster browsing behavior in real time for product recommendations. **Key parameters:**
Parameter Description Data Type Possible Values Default Value
n_clusters Defines the number of clusters to be formed as well as the number of centroids to be generated. int [1, n_rows] 8
init Specifies the method used to initialize the centroids. string {'k-means++', 'random'} 'k-means++'
max_iter Determines the maximum number of iterations the K-Means algorithm will perform in a single run. int [1, ∞) 300
batch_size Size of the mini batches. int [1, ∞) 1024
### Fuzzy C-Means    **Explanation:** Fuzzy C-Means is similar to K-Means but allows soft assignments, meaning each data point can belong to multiple clusters with different degrees of membership. Instead of assigning each point to a single cluster, Fuzzy C-Means calculates a membership probability for every cluster based on the point’s distance from each centroid. This is particularly useful for data where clusters overlap, as it provides a more nuanced view of membership rather than forcing a hard choice. **Mathematical formula:** ``` J = Σ(i=1 to k) Σ(j=1 to n) uij^m ||xj − ci||² ``` Where: - uij = degree of membership of data point xj in cluster i - m = fuzziness parameter (m>1) - ci = centroid of cluster i **Use case:** Music apps group users whose tastes overlap across multiple genres (pop, rock, electronic). **Key parameter:**
Parameter Description Data Type Possible Values Default Value
n_clusters Defines the number of centers that should be initialized. int [1, n_rows] 8
### K-Medians    **Explanation:** K-Medians works like K-Means but uses the median instead of the mean to compute cluster centers. This small change makes the algorithm more robust to outliers, since medians are less influenced by extreme values. The algorithm still alternates between assigning points to the nearest cluster center and recalculating centers, but by using medians, it produces clusters that better represent the typical data point in skewed or heavy-tailed distributions. **Mathematical formula:** ``` min(C1, ..., Ck) Σ(i=1 to k) Σ(x ∈ Ci) ||x − mi|| ``` Where mi is the median of all points in cluster i. **Use case:** Healthcare organizations use K-Medians to group patients based on median treatment costs or hospital stay durations, ensuring clusters are not skewed by a few patients with exceptionally high bills or unusually long stays. **Key parameters:**
Parameter Description Data Type Possible Values Default Value
n_clusters Defines the number of clusters to be allocated. int [1, n_rows] 8
### K-Modes  **Explanation:** K-Modes is designed for clustering categorical data. It replaces means with modes (the most frequent category value in each cluster) and uses a simple matching dissimilarity measure to assign points to clusters. This makes it well suited for scenarios where numeric distance does not make sense, such as clustering customers by preferences or product categories. The algorithm iteratively updates cluster modes until they no longer change, producing groups defined by the most common category values. **Mathematical formula:** ``` min(C1, ..., Ck) Σ(i=1 to k) Σ(x ∈ Ci) d(x, θi) ``` Where d(x,θi) is the number of mismatches between categorical attributes of x and mode θi. **Use case:** Retailers cluster customers using categorical data like “prefers online/offline,” “electronics/clothing,” “discount/luxury.” **Key parameters:**
Parameter Description Data Type Possible Values Default Value
n_clusters Defines the number of clusters to be formed as well as the number of centroids to be generated. int [1, n_rows] 8
max_iter Determines the maximum number of iterations of the k-modes algorithm for a single run. int [1, ∞) 100
init Specifies the method used for initialization. string {'Huang', 'Cao', 'random'} 'Cao'
### Affinity Propagation   **Explanation:** Affinity Propagation clusters data by exchanging similarity messages between pairs of points until some points are identified as “exemplars,” which act as cluster centers. Unlike K-Means, you do not need to specify the number of clusters beforehand — the algorithm automatically determines how many clusters to form based on the input similarities and a “preference” parameter that controls how likely each point is to become an exemplar. This makes it especially useful when the natural number of clusters is unknown. **Use case:** In customer service, it can group incoming support queries into clusters without prior knowledge of how many categories exist. **Key parameters:**
Parameter Description Data Type Possible Values Default Value
damping Specifies the damping factor. float [0.5, 1.0) 0.5
max_iter Determines the maximum number of iterations. int [1, ∞) 200
convergence_iter Specifies the number of consecutive iterations during which the estimated number of clusters remains unchanged before the algorithm declares convergence. int [1, ∞) 15
affinity Determines the similarity measure used between data points. string {'precomputed', 'euclidean'} 'euclidean'
### Birch – Balanced Iterative Reducing and Clustering using Hierarchies  **Explanation:** BIRCH is designed for large or streaming datasets. It incrementally builds a CF (Clustering Feature) tree, which stores compact summaries of data points, and uses these summaries to perform clustering. The CF tree allows BIRCH to quickly group incoming data without having to store or process the full dataset at once. After building the tree, a final global clustering step (often using K-Means) can refine the clusters. This approach makes BIRCH extremely memory-efficient and scalable. **Use case:** In IoT applications, Birch can cluster continuous streams of sensor data (like smart city traffic monitoring) into meaningful groups in real time. **Key parameters:**
Parameter Description Data Type Possible Values Default Value
threshold Defines the maximum radius of a subcluster when merging with the closest existing subcluster. float (0, 1.0) 0.5
branching_factor Determines the maximum number of CF subclusters in each node. int [1, ∞) 50
n_clusters Determines the final number of clusters to form after the CF tree is built. int, None [1, ∞) 3
### K-Prototypes   **Explanation:** K-Prototypes extends K-Means and K-Modes to handle datasets containing both numerical and categorical variables. It calculates cluster centers using means for numerical features and modes for categorical features, combining the two using a weighting parameter that balances their influence. This makes it possible to cluster mixed-type data without extensive preprocessing or conversion. **Mathematical formula:** ``` d(x, y) = Σ(j ∈ num) (xj − yj)² + γ Σ(j ∈ cat) δ(xj, yj) ``` Where: - δ(xj,yj)=0 if equal, else 1 - γ = weight balancing numeric and categorical distances **Use case:** In HR analytics, companies can group employees based on mixed data — numerical (e.g., years of experience, salary) and categorical (e.g., department, role) — to identify workforce patterns. **Key parameters:**
Parameter Description Data Type Possible Values Default Value
n_clusters Specifies the number of clusters to form and the number of centroids to generate. int [1, n_rows] 8
max_iter Determines the maximum number of iterations of the k-modes algorithm for a single run. int [1, ∞) 100
init Specifies the method for initialization. string {'Huang', 'Cao', 'random'} 'Cao'
categorical Indicates the list of categorical columns. list, None List of columns None
# Density-Based Algorithms    ### MeanShift    **Explanation:** MeanShift finds clusters by treating data points as samples from a probability density function and iteratively shifting them toward the nearest region of highest density (mode). Points that converge to the same mode form a cluster. This approach can automatically determine the number of clusters and works well with arbitrarily shaped clusters, but its performance depends on the choice of bandwidth (the kernel size used for density estimation). **Mathematical formula:** ``` m(x) = Σ(xi ∈ N(x)) K(xi − x) xi / Σ(xi ∈ N(x)) K(xi − x) ``` Where: - K is the kernel function (e.g., Gaussian) - N(x) is the neighborhood around x **Use case:** Image segmentation where regions like “sky,” “water,” and “land” form clusters of similar pixels. **Key parameters:**
Parameter Description Data Type Possible Values Default Value
bin_seeding When set to True, the algorithm uses a binned version of the input data to initialize kernel locations instead of using every data point. This reduces the number of initial seeds, making the algorithm faster, especially on large datasets. bool {False, True} False
cluster_all Controls how unassigned points (orphans) are handled. If True, all points are forced into the nearest cluster. If False, orphan points that do not fall within any cluster are labeled as -1 (noise). bool {False, True} True
max_iter Specifies the maximum number of iterations allowed for each seed point. If a seed point has not converged by this limit, the process stops for that seed. int [1, ∞) 300
### DBSCAN    **Explanation:** DBSCAN (Density-Based Spatial Clustering of Applications with Noise) groups points that are closely packed together (dense regions) into clusters and labels points that lie alone in low-density regions as noise. It does not require specifying the number of clusters in advance, making it ideal for datasets with irregularly shaped clusters or when you want to identify outliers explicitly. Its performance depends heavily on the eps (neighborhood radius) and min_samples (minimum number of points in a dense region) parameters. **Mathematical formula:** ``` |Nε(p)| ≥ minPts ``` Where p is a core point and Nε(p) = set of points within distance ε of p. **Use case:** Banking systems cluster normal transaction patterns, while suspicious isolated ones are flagged as fraud. **Key parameters:**
Parameter Description Data Type Possible Values Default Value
eps Defines the maximum distance between two points for them to be considered neighbors. This parameter strongly influences the size and density of clusters, making it one of the most critical settings in DBSCAN. float (0, ∞) 0.5
min_samples Specifies the minimum number of neighboring samples required (including the point itself) for a data point to be classified as a core point. It controls how dense a region must be to form a cluster. int [1, ∞) 5
metric Determines the distance measure used to calculate similarity between data points. string {'cityblock', 'cosine', 'euclidean', 'l1', 'l2', 'manhattan', 'minkowski'} 'euclidean'
algorithm Indicates the nearest neighbor search method used to find pointwise distances efficiently. string {'auto', 'ball_tree', 'kd_tree', 'brute'} 'auto'
# Medoid-Based Algorithms    ### CLARA   **Explanation:** CLARA (Clustering Large Applications) is a scalable version of the Partitioning Around Medoids (PAM) algorithm that works by clustering multiple small random samples of the data rather than the entire dataset. It then evaluates the clustering quality on the full dataset and selects the best set of medoids. This sampling approach makes CLARA feasible for very large datasets where running PAM directly would be computationally expensive. **Mathematical formula:** Runs K-Medoids on small random samples St of the data: ``` min(M) Σ(x ∈ St) d(x, m(x)) ``` Then evaluates total cost on full dataset to pick the best sample. **Use case:** Telecom operators cluster millions of call records into categories like “international callers” using data samples instead of the entire dataset. **Key parameters:**
Parameter Description Data Type Possible Values Default Value
n_clusters Determines the number of clusters to form as well as the number of medoids to generate. int [1, n_rows] 8
max_iter Specifies the maximum number of iterations when fitting. int [1, ∞) 300
### CLARANS    **Explanation:** CLARANS (Clustering Large Applications based on Randomized Search) improves on CLARA by using a randomized search technique to explore different possible medoid configurations. Instead of checking all possible swaps, it explores only a subset of neighbors at each step, which strikes a balance between efficiency and clustering quality. This makes CLARANS better at finding near-optimal solutions for large datasets without exhaustive computation. **Mathematical concept:** Iteratively searches for better medoids using randomized local swaps: ``` min(M) Σ(x ∈ D) d(x, m(x)) ``` CLARANS explores random neighbor solutions rather than all possibilities, balancing speed and accuracy.   **Use case:** City transport authorities group bus routes by travel patterns to optimize scheduling. **Key parameters:**
Parameter Description Data Type Possible Values Default Value
n_clusters Determines the number of clusters to form as well as the number of medoids to generate. int [1, n_rows] 8
maxneighbor Specifies the maximum number of neighbors examined. int [1, ∞) 5
### K-Medoids   **Explanation:** K-Medoids is similar to K-Means, but instead of using the mean of data points as the cluster center, it uses an actual data point called the medoid. This makes it more robust to noise and outliers since medoids are less influenced by extreme values compared to centroids. K-Medoids is often used when datasets contain many outliers or when interpretability of clusters through actual data points is important. **Mathematical formula:** ``` min(M) Σ(i=1 to k) Σ(x ∈ Ci) d(x, mi) ``` Where: - M={m1,...,mk} are medoids (actual data points) - d(x,mi) is a distance metric (e.g., Euclidean, Manhattan) **Use case:** In healthcare, K-Medoids can cluster patient records based on symptoms and test results, using real patient profiles as representative medoids. This ensures that clusters are not skewed by patients with unusually rare or extreme medical conditions. **Key parameters:**
Parameter Description Data Type Possible Values Default Value
n_clusters Determines the number of clusters to form as well as the number of medoids to generate. int [1, n_rows] 8
init Specifies the medoid initialization method. string {'random', 'heuristic', 'k-medoids++', 'build'} 'heuristic'
metric Specifies the distance function used to measure similarity or dissimilarity between data points. string {'cityblock', 'cosine', 'euclidean', 'haversine', 'l2', 'l1', 'manhattan', 'nan_euclidean'} 'euclidean'
method Determines which algorithm to use. 'alternate' is faster while 'pam' is more accurate. string {'pam', 'alternate'} 'alternate'
max_iter Defines the maximum number of iterations the algorithm will run over the entire dataset. If the clustering process does not converge before reaching this limit, it stops and returns the current cluster assignments. int [1, ∞) 300
# Model-Based Algorithms    ### Gaussian Mixture Model (GMM)  **Explanation:** GMM models assumes that the data as a mixture of several Gaussian (normal) distributions, each representing a cluster. Unlike K-Means, which assigns each point to exactly one cluster, GMM assigns probabilities for each point to belong to each cluster (soft clustering). The model parameters (means, covariances, and mixing weights) are optimized using the Expectation-Maximization (EM) algorithm. This allows GMM to capture clusters with different shapes, sizes, and orientations, making it more flexible than K-Means when data are not well separated or have elliptical distributions. **Mathematical formula:** ``` p(x) = Σ(i=1 to k) πi 𝓝(x | μi, Σi) ``` Where: - πi = weight (probability) of component i - μi = mean vector - Σi = covariance matrix - N(x∣μi,Σi) = multivariate Gaussian distribution **Use case:** In marketing analytics, GMM is used to cluster customers into overlapping groups based on behavior and spending patterns, where each customer can have a probability of belonging to multiple segments. **Key parameters:**
Parameter Description Data Type Possible Values Default Value
n_components Specifies the number of mixture components. int (0, ∞) 2
covariance_type Defines the shape of the clusters by specifying the structure of the covariance matrix. string {'full', 'tied', 'diag', 'spherical'} 'full'
max_iter Sets the maximum number of iterations for the Expectation-Maximization (EM) algorithm. int [1, ∞) 100
init_params Determines how the initial parameters (weights, means, and covariances) are set before the EM algorithm starts. string {'kmeans', 'k-means++', 'random', 'random_from_data'} 'kmeans'
-------------------------------------------------------------------------------- title: "Anomaly Detection" description: "QuickML is a fully no-code ML pipeline builder service in the Catalyst development platform for creating machine-learning pipelines with end-to-end solutions." last_updated: "2026-11-11T10:19:21.000Z" source: "https://docs.catalyst.zoho.com/en/quickml/help/ml-algorithms/anomaly-detection/" service: "QuickML" --------------------------------------------------------------------------------
**DC Availability:** Anomaly Detection model is available across the **US**, **IN**, **EU**, **AU**, **JP**, **SA**, and **CA** data centers.
# Anomaly Detection Algorithms   Anomaly detection is an **unsupervised machine learning** technique that focuses on identifying data points, events, or observations that deviate significantly from the majority of the data. These outliers can represent critical incidents such as fraud, network intrusions, equipment failures, or data quality issues. Instead of predicting predefined labels, anomaly detection models learn normal behavior within the data and flag deviations that may require attention. > To have a conceptual understanding of anomaly detection, kindly refer to the [Anomaly Detection Help Doc](https://docs.catalyst.zoho.com/en/quickml/help/learning-center/anomaly-detection/). Anomaly detection in Catalyst QuickML is broadly categorized into Time Series and Non-Time Series, each offering its own set of algorithms and configurable parameters. # Time-Series Anomaly Detection Algorithms  Within Catalyst QuickML, anomaly detection for time series data focuses on identifying abnormal patterns or deviations in sequential data points over time. These methods account for temporal dependencies and seasonality, enabling the detection of sudden spikes, drops, or trend changes. Before exploring the individual time-series anomaly detection algorithms, it’s important to understand the common parameters used for **Anomaly Sensitivity Control**, as shown in the image below. These parameters are consistent across all time-series anomaly detection algorithms in Catalyst QuickML and are essential for controlling how anomalies are detected and interpreted. They allow users to fine-tune the threshold, window size, and anomaly scoring method, ensuring that the system accurately differentiates between normal fluctuations and true anomalous behavior. ![anomaly-1](https://catalyst-docs-development.zohostratus.in/images/help/quickml/anomaly-detection/anomaly-1.webp) **Common parameters**: - **Threshold**: Determines how sensitive the model is to deviations from expected behavior. A lower threshold increases sensitivity, flagging smaller fluctuations as anomalies, while a higher threshold reduces false positives. - **Window size**: Defines the rolling window of data points used for analysis. Applicable up to a maximum of 24 time steps. - **Anomaly scoring method**: Currently supports Z-Score, which measures how far a point deviates from the mean in terms of standard deviations. Below are the time series anomaly detection algorithms supported in Catalyst QuickML, along with their explanations, real-world use cases, and key parameters. ### Auto Regressor    **Explanation**: The Auto Regressor (AR) model predicts future values based on a linear combination of past observations. It assumes that past behavior directly influences the present, with coefficients representing the relationship strength between past and current values. QuickML extends this with flexible regression backends, including Linear Regressor, Random Forest Regressor, AdaBoost Regressor, and Gradient Boosting Regressor, enabling both linear and non-linear temporal modeling. **Mathematical intuition**: ``` Yₜ = c + ∑ᵢ₌₁ᵖ φᵢ Yₜ₋ᵢ + εₜ ``` Where: - Yt = current value - c = intercept (constant term) - ϕi = autoregressive coefficients - Yt−i = lagged observations - εt = random noise **Use case**: Used in financial forecasting, sensor drift detection, and predictive process monitoring, where recent history significantly affects the next outcome — e.g., predicting short-term stock trends or detecting abnormal fluctuations in temperature sensors. **Key parameters**: > **Note:** In parameter ranges, square brackets [ ] include boundaries, and parentheses ( ) exclude them.  
Parameter Description Data Type Possible Values Default Value
select_model_to_fit Chooses the regression model for fitting time series. string {‘Linear Regressor’, ‘Random-Forest Regressor’, ‘AdaBoost Regressor’, ‘Gradient Boosting Regressor’} ‘Linear Regressor’
max_lag Defines how many past time steps are used to predict the current value. int [1, ∞) 1
### Moving Average (MA)  **Explanation**: The Moving Average model focuses on modeling noise or random shocks within a time series. Instead of using past values directly, it predicts current observations as a weighted sum of past forecast errors. This approach helps smooth short-term volatility and is ideal for detecting unusual deviations from expected residual patterns. **Mathematical intuition**: ``` Yₜ = μ + ∑ᵢ₌₁ᵠ θᵢ εₜ₋ᵢ + εₜ ``` Where: - Yt = current observation - μ = mean of the series - θi = moving average coefficients - εt−i = past forecast errors **Use case**: Applied in stock price anomaly detection, manufacturing output monitoring, and short-term demand forecasting, where identifying irregular error patterns helps uncover transient anomalies or process instability. **Key parameters**:
Parameter Description Data Type Possible Values Default Value
ma_lag (q) Specifies the number of past forecast errors used to predict future values. int [0, 5] 1
### ARIMA (AutoRegressive Integrated Moving Average)    **Explanation**: ARIMA integrates three components: - AR (AutoRegressive) – Uses past values - I (Integrated) – Removes trend and non-stationarity through differencing - MA (Moving Average) – Models residual noise By combining these, ARIMA captures both temporal dependence and trend shifts. It’s highly effective for stationary time series and detecting deviations that violate established statistical relationships over time. **Mathematical intuition**: ``` Y′ₜ = c + ∑ᵢ₌₁ᵖ φᵢ Y′ₜ₋ᵢ + ∑ⱼ₌₁ᵠ θⱼ εₜ₋ⱼ + εₜ ``` Where Yt′ is the differenced series after applying order d. **Use case**: Widely used in economic indicator monitoring, system log anomaly detection, and production line forecasting, where detecting shifts from long-term trends or cyclical stability is crucial. **Key parameters**:
Parameter Description Data Type Possible Values Default Value
ar_lag (p) Number of lag observations included in the model. int [0, 5] 1
ma_lag (q) Number of lagged forecast errors in the prediction equation. int [0, 5] 1
integration (d) Number of times the data is differenced to achieve stationarity. int [0, 5] 0
### ARMA (AutoRegressive Moving Average)    **Explanation**: ARMA combines the strengths of AR and MA models but assumes the series is stationary (no differencing). It captures both dependency on past observations and correlations in error terms, providing a balance between trend sensitivity and noise filtering. **Mathematical intuition**: ``` Yₜ = c + ∑ᵢ₌₁ᵖ φᵢ Yₜ₋ᵢ + ∑ⱼ₌₁ᵠ θⱼ εₜ₋ⱼ + εₜ ``` **Use case**: Used in network latency monitoring, server performance analysis, and stable process anomaly detection, where consistent behavior over time makes small deviations highly significant. **Key parameters**:
Parameter Description Data Type Possible Values Default Value
ar_lag (p) Number of lag observations used in the model. int [0, 5] 1
ma_lag (q) Number of lagged forecast errors in the model. int [0, 5] 1
### Auto ARIMA    **Explanation**: Auto ARIMA automates ARIMA model selection by evaluating multiple combinations of parameters (p,d,q) and optionally seasonal parameters based on information criteria (like AIC or BIC). This allows optimal fitting without manual parameter tuning and ensures that the model adapts to changing time dynamics. **Mathematical intuition**: Automatically selects parameters minimizing: ``` AIC = 2k − 2ln(L) ``` Where k = number of parameters and L = maximum likelihood estimate. **Use case**: Ideal for seasonal retail forecasting, utility consumption anomaly tracking, and automated operational monitoring, where time series exhibit both periodic and non-periodic irregularities. **Key parameters**:
Parameter Description Data Type Possible Values Default Value
seasonal Indicates whether the model should account for seasonality. bool {True, False} True
ar_lag (p) Non-seasonal AR lag parameter. int [0, 5] 1
ma_lag (q) Non-seasonal MA lag parameter. int [0, 5] 1
integration (d) Non-seasonal differencing order. int [0, 5] 0
periodicity (s) Seasonal period length (e.g., 12 for monthly data). int [0, ∞) 12
integration (D) Seasonal differencing order. int [0, 5] 0
max_order Maximum total order of the model (optional). int [0, 5] 5
### SARIMA (Seasonal ARIMA) **Explanation**: SARIMA extends ARIMA by including seasonal autoregressive, differencing, and moving average components, allowing it to model periodic fluctuations (e.g., daily, monthly, yearly cycles). It excels in detecting anomalies that occur relative to seasonal expectations. **Mathematical intuition**: ``` Φᴾ(Bˢ) φᵖ(B) (1 − B)ᵈ (1 − Bˢ)ᴰ Yₜ = Θᵠ(Bˢ) θᵩ(B) εₜ ``` Where: - s = seasonal period - (p,d,q) = non-seasonal parameters - (P,D,Q) = seasonal parameters **Use case**: Applied in energy load anomaly detection, climate monitoring, and sales seasonality analysis, where deviations from expected seasonal behavior signal potential anomalies. **Key parameters**:
Parameter Description Data Type Possible Values Default Value
ar_lag (p) Non-seasonal AR term. int [0, 5] 1
ma_lag (q) Non-seasonal MA term. int [0, 5] 1
integration (d) Non-seasonal differencing. int [0, 5] 0
seasonal_ar (P) Seasonal AR term. int [0, 5] 1
seasonal_ma (Q) Seasonal MA term. int [0, 5] 1
seasonal_integration (D) Seasonal differencing. int [0, 5] 0
periodicity (s) Seasonal period (e.g., 12 for monthly seasonality). int [0, ∞) 12
enforce_stationarity Whether to enforce stationarity in the model. bool {True, False} False
enforce_invertibility Whether to enforce invertibility of the model. bool {True, False} False
### Exponential Smoothing **Explanation**: Exponential Smoothing predicts future values by giving exponentially decreasing weights to older observations. This emphasizes recent data while maintaining awareness of the overall trend. It’s highly responsive to sudden changes in trend or level. **Mathematical intuition**: ``` Ŷₜ₊₁ = αYₜ + (1 − α)Ŷₜ ``` Where: - Y^t+1 = forecast - α = smoothing parameter (0–1) - Yt = actual value **Use case**: Common in inventory control, sales trend monitoring, and machine telemetry, where rapid detection of shifts or decays in recent behavior is vital. **Key parameters**:
Parameter Description Data Type Possible Values Default Value
damped_trends Whether to apply damping to trend components. bool {True, False} False
season Type of seasonality to apply. string {‘Add’, ‘Mul’} ‘Add’
seasonal_periods Number of periods in a full seasonal cycle. int [1, ∞) 12
### Holt-Winter’s Method    **Explanation**: The Holt-Winter’s method (Triple Exponential Smoothing) extends exponential smoothing by adding trend and seasonal components. It can adapt to level changes, upward or downward trends, and cyclical variations, providing robust anomaly detection for periodic time series. **Mathematical intuition**: ``` Lₜ = α (Yₜ / Sₜ₋ₛ) + (1 − α)(Lₜ₋₁ + Tₜ₋₁) Tₜ = β (Lₜ − Lₜ₋₁) + (1 − β)Tₜ₋₁ Sₜ = γ (Yₜ / Lₜ) + (1 − γ)Sₜ₋ₛ Ŷₜ₊ₘ = (Lₜ + mTₜ) Sₜ₋ₛ₊ₘ ``` Where Lt = level, Tt = trend, St = seasonal component. **Use case**: Widely used in retail demand forecasting, resource utilization monitoring, and temperature anomaly detection, where both seasonality and trend shifts must be captured for accurate anomaly identification. **Key parameters**:
Parameter Description Data Type Possible Values Default Value
smoothing_level Smoothing factor for the level component. float [0, 1] 0.8
smoothing_trend Smoothing factor for the trend component. float [0, 1] 0.2
damping_trend Controls the damping of the trend component. bool {True, False} True
optimise Specifies whether parameters should be optimized automatically. string {‘Select’, ‘Manual’} ‘Select’
exponential Whether to use exponential trend smoothing. bool {True, False} False
# Non-Time Series Anomaly Detection Algorithms ### One-Class SVM **Explanation**: One-Class SVM (Support Vector Machine) learns a decision boundary around the majority of (normal) data points in feature space. Points that fall outside this boundary are classified as anomalies. It works well in high-dimensional datasets and is effective when anomalies are rare and distinct from normal data. **Mathematical Intuition**: The algorithm finds a function f(x) that is positive for regions with high data density (normal points) and negative for low-density regions (anomalies). It aims to solve: ``` min (1/2) ||w||² + (1 / (νn)) Σ ξᵢ − ρ subject to: (w · φ(xᵢ)) ≥ ρ − ξᵢ , ξᵢ ≥ 0 ``` Where: - ν: controls the upper bound of outliers - ξi: slack variables allowing soft margins - ϕ(x): kernel function mapping data to higher dimensions **Use case**: Used in fraud detection, network intrusion detection, or novelty detection in industrial systems where normal behavior is well-defined but anomalies are rare. **Key parameters**: > **Note:** In parameter ranges, square brackets [ ] include the boundary, while parentheses ( ) exclude it. Example: [1, ∞) → includes 1 and extends to infinity; (0, 1] → excludes 0 but includes 1.
Parameter Description Data Type Possible Values Default Value
kernel Specifies the kernel type to use. If none is given, 'rbf' is used. string {‘linear’, ‘poly’, ‘rbf’, ‘sigmoid’, ‘precomputed’} 'rbf'
degree Degree of the polynomial kernel function ('poly'). Ignored by other kernels. int [1, ∞) 3
gamma Kernel coefficient for 'rbf', 'poly', and 'sigmoid'. string {‘scale’, ‘auto’} 'scale'
coef0 Independent term in kernel function, significant in 'poly' and 'sigmoid'. float [0, 1] 0.0
tol Tolerance for stopping criterion. float [0, 1] 1e-3
nu Upper bound on fraction of training errors and lower bound on fraction of support vectors. float (0, 1] 0.5
shrinking Whether to use the shrinking heuristic. bool {False, True} True
max_iter Hard limit on solver iterations, or -1 for no limit. int [1, ∞), {-1} -1
### Isolation Forest **Explanation**: Isolation Forest identifies anomalies by isolating observations instead of modeling normal data points. It randomly selects a feature and splits the data based on a random threshold. Since anomalies are few and different, they are easier to isolate and require fewer splits. The average path length of trees is shorter for anomalies and longer for normal points. **Mathematical intuition**: The anomaly score is computed as: ``` s(x, n) = 2^(− E(h(x)) / c(n)) ``` Where: - E(h(x)): average path length of observation x - c(n): average path length of unsuccessful search in a Binary Search Tree - Scores close to 1 → anomalies; near 0.5 → normal **Use case**: Commonly used in fraud detection, network intrusion detection, manufacturing defect detection, and IoT sensor anomaly identification. In fraud detection, it helps uncover suspicious transactions that deviate from normal spending behavior. In network intrusion detection, it identifies abnormal access patterns or traffic spikes that may indicate a security breach. **Key parameters**:
Parameter Description Data Type Possible Values Default Value
n_estimators Number of base estimators (trees) in the ensemble. int [1, ∞) 100
max_samples Number of samples to draw to train each estimator. string, int, float [1, ∞), [0, 1], {'auto'} 'auto'
contamination Proportion of outliers in the dataset. string, float {‘auto’}, (0, 0.5] 'auto'
max_features Number of features to draw for each estimator. int, float [1, ∞), [0, 1] 1.0
bootstrap Whether to sample training data with replacement. bool {False, True} False
### Local Outlier Factor (LOF) **Explanation**: Local Outlier Factor detects anomalies by comparing the local density of a data point to that of its neighbors. If a point has a substantially lower density than its neighbors, it’s considered an anomaly. LOF is particularly effective in detecting local anomalies rather than global ones. **Mathematical intuition**: LOF is based on the concept of local reachability density (LRD). The LOF score of a data point A is given by: ``` LOFₖ(A) = ( Σ_{B ∈ Nₖ(A)} [LRDₖ(B) / LRDₖ(A)] ) / |Nₖ(A)| ``` Where: - Nk(A): k-nearest neighbors of A - LRDk(A): local reachability density of A - Values ≈ 1 → normal, > 1 → outlier **Use case**: It is effectively utilized across diverse domains where identifying local deviations from normal patterns is essential. In fraud detection, it highlights customers or transactions that behave differently from their peer groups, helping uncover subtle or evolving fraud patterns. For customer segmentation, it detects outlier profiles within defined segments, such as unusually high-value or inactive customers, enabling more accurate targeting and retention strategies. **Key parameters**:
Parameter Description Data Type Possible Values Default Value
n_neighbors Number of neighbors to use for kneighbors queries. int [1, n_samples) 20
algorithm Algorithm used to compute nearest neighbors. string {‘auto’, ‘ball_tree’, ‘kd_tree’, ‘brute’} 'auto'
leaf_size Leaf size for BallTree or KDTree, affecting speed and memory. int [1, ∞) 20
metric Metric for distance computation. string {'cityblock', 'cosine', 'euclidean', 'haversine', 'l1', 'l2', 'manhattan', 'nan_euclidean'} 'minkowski'
p Parameter for Minkowski metric (1=Manhattan, 2=Euclidean). float [1, ∞) 2
contamination Proportion of outliers in the dataset. float, string (0, 0.5], {'auto'} 'auto'
### Operations in QuickML -------------------------------------------------------------------------------- title: "Encoding" description: "QuickML is a fully no-code ML pipeline builder service in the Catalyst development platform for creating machine-learning pipelines with end-to-end solutions." last_updated: "2023-10-08T05:18:45.000Z" source: "https://docs.catalyst.zoho.com/en/quickml/help/operations-in-quickml/encoding/" service: "QuickML" -------------------------------------------------------------------------------- # Operations in QuickML Data Preprocessing is the step in which data gets transformed, or encoded, to help the machine parse it. In other words, the features of the data can now be easily interpreted by the algorithm. 1. **Encoding** 2. **Feature Engineering** 3. **Imputation** 4. **Normalization** 5. **Transformers** # Encoding Encoding is a technique of converting categorical variables (discrete) into numerical (continuous) values so they can be fit easily to a machine-learning model. 1. ### Ordinal Encoder An ordinal encoding involves mapping each unique label to an integer value. This type of encoding is really only appropriate if there is a known relationship between the categories. If the data is ordered, we can use ordinal encoding.\ **Example:**\ For temperature values, Low, Normal, and High, we can use ordinal encoding. After encoding the data will look like 0,1,2.(0-->Low temp,2-->High temp). Ordinal encoding uses a single column of integers to represent the classes. An optional mapping dict can be passed in. In this case, we use the knowledge that there is some true order to the classes themselves. Otherwise, the classes are assumed to have no true order and integers are selected at random. 2. ### One-Hot Encoding We use this categorical data-encoding technique when the features are nominal (do not have any order). In one-hot encoding, for each level of a categorical feature, we create a new variable. Each category is mapped with a binary variable containing either 0 or 1. Here, 0 represents the absence, and 1 represents the presence of that category. If the categorical feature is not ordinal (ordered data) and the number of categories in categorical features is less, so one-hot encoding can be effectively applied. **Sample input:**
color
blue
red
green
**Sample output:**
color_blue color_red color_green
1 0 0
0 1 0
0 0 1
3. ### JamesStein Encoder For feature value, the James-Stein estimator returns a weighted average of: 1. The mean target value for the observed feature value. 2. The mean target value (regardless of the feature value). 4. ### Label Encoding This is used to convert a categorical target column into a numerical column by assigning a unique integer or numerical label to each category in the categorical variable. It's important to note that encoding introduces ordering to the categorical variables, which may not be useful in every case. It is appropriate for ordinal variables where there is inherent order or ranking among the categories. 5. ### LeaveOneOut Encoder Leave one out encoding essentially calculates the mean of the target variables for all the records containing the same value for the categorical feature variable in question. The encoding algorithm is slightly different between training and test data set. For training data sets, the record under consideration is left out, hence the name leave one out. 6. ### Target Encoding In target encoding, we calculate the mean of the target variable for each category and replace the category variable with the mean value. In the case of the categorical target variables, the posterior probability of the target replaces each category.\ Target encoding is the process of replacing a categorical value with the mean of the target variable. Any non-categorical columns are automatically dropped by the target encoder model. 7. ### Count Encoder Count encoding is based on replacing categories with their counts computed on the train set. Counts may be the same for some of the variables, which may result in collision, encoding two categories as the same value. Count encoder can be used if the count of categories are not the same.
Sample Input 10 10 20 30 30 30
Sample Output 2 2 1 3 3 3
8. ### Backward Difference Encoding In backward difference coding, the mean of the dependent variable for a level is compared with the mean of the dependent variable for the prior level. This type of coding may be useful for a nominal or an ordinal variable. 9. ### Helmert Encoding The mean of the dependent variable for a level is compared to the mean of the dependent variable over all previous levels. This comparison does not make much sense for a nominal variable, such as race. 10. ### Catboost Encoding Catboost is a target-based categorical encoder. It replaces a categorical feature with average value of target corresponding to that category in training dataset combined with the target probability over the entire dataset. However, this introduces a target leakage, because the target is used to predict the target. -------------------------------------------------------------------------------- title: "Feature Engineering" description: "QuickML is a fully no-code ML pipeline builder service in the Catalyst development platform for creating machine-learning pipelines with end-to-end solutions." last_updated: "2026-08-28T06:26:16.000Z" source: "https://docs.catalyst.zoho.com/en/quickml/help/operations-in-quickml/feature-engineering/" service: "QuickML" -------------------------------------------------------------------------------- # Feature Engineering ### Feature Generation This is the process of transforming features that already exist into new ones to make them more relevant to the target feature. The following techniques used in feature generation: - **Operations** - A feature generation technique that generates new features based on mathematical operations on the existing numerical features. - **Autolearn** - A regression-based feature generation algorithm. Features are generated by mining pairwise feature associations, identifying the linear or non-linear relationship between each pair, applying regression and selecting those relationships that are stable and improve the prediction performance. - **Explorekit** - Generates a large set of candidate features by combining information in the original features, with the aim of maximizing predictive performance according to user-selected criteria. ### Feature Selection The techniques below helps to decrease the dimensionality of the feature space, streamline the model, and enhance generalization performance of model by choosing a subset of relevant features from the original list in the dataset. - **Embedded** - A technique where feature selection is integrated into the process of training a machine learning model. The model itself decides which features are most relevant during training; - **Filter** - A technique that involves selecting the most relevant features based on their statistical properties or ranking scores. - **Redundancy Elimination** - A process of removing features from a dataset that provide similar or duplicate information. - **Backward Feature Elimination** - A technique that starts with all features in the dataset and iteratively removes the least significant features one at a time. - **Exhaustive Feature Engineering** - A technique that considers all possible combinations of features to find the optimal subset that results in the best model performance. - **Forward Selection** - A technique that starts with an empty set of features and iteratively adds the most significant features one at a time. ### Feature Reduction These techniques are used to address the “curse of dimensionality,” which is when an algorithm struggles to train an effective model due to large number of features in dataset relative to observations. The following effective techniques are employed: - **PCA** - Principal Component Analysis (PCA) is a dimensionality reduction technique used to transform high-dimensional data into a lower-dimensional space while preserving as much of the original data's variability as possible. - **FA** - Factor Analysis (FA) is a statistical technique used to uncover underlying latent variables (factors) that explain patterns of correlations among observed variables in a dataset. It is commonly employed for dimensionality reduction and to gain insights into the structure of complex data. - **NMF** - NMF (Non-Negative Matrix Factorization) is a dimensionality reduction and feature extraction technique that is particularly useful when dealing with non-negative data, such as text data or image data with pixel intensities. - **ICA** - ICA ( Independent Component Analysis) is a technique used to separate a multivariate signal into statistically independent components, assuming that the observed data is a linear combination of non-Gaussian and independent source signals. - **LDA** - LDA (Linear Discriminant Analysis) is a supervised dimensionality reduction and classification technique used to find a linear combination of features that best separates two or more classes in the data. -------------------------------------------------------------------------------- title: "Imputers" description: "QuickML is a fully no-code ML pipeline builder service in the Catalyst development platform for creating machine-learning pipelines with end-to-end solutions." last_updated: "2023-10-08T05:18:45.000Z" source: "https://docs.catalyst.zoho.com/en/quickml/help/operations-in-quickml/imputers/" service: "QuickML" -------------------------------------------------------------------------------- # Imputers Imputation is a technique used for replacing the missing data in a dataset with some substitute value to retain most of the data/information of the dataset. 1. ### KNN Imputation This imputation utilises the k-Nearest neighbours method to replace the missing values in the datasets with the mean value from the parameter `n_neighbors` nearest neighbours found in the training set. By default, the `n_neigbours` parameter will be set to 5 and the Euclidean distance metric will be used to find the k nearest neighbours. 2. ### MissForest Imputation It initially imputes all missing data using the mean/mode. Then for each variable with missing values, a random forest model will be trained on the observed part and then predicts the missing part. 3. ### Mean Imputation Mean Imputation replaces the null values with the mean of that feature across the whole dataset. 4. ### Median Imputation Median Imputation replaces the null values with the median of that feature across the whole dataset. 5. ### Mode Imputation Mode Imputation replaces the null values with the mode of that feature across the whole dataset. 6. ### Group-By Imputation Group-by imputation takes the following 3 inputs for replacing the null values. * **Columns to Impute**: Columns that contains null values and that are needed to be replaced. * **Group-By Columns**: These columns will be grouped by while calculating values to replace null values. * **Aggregator**: Aggregate function like mean, median, minimum and maximum that need to be used. By using the above inputs, Group-By Imputation finds the required aggregate values by grouping the Group-By columns and fills the null values in the dataset with those aggregate values. -------------------------------------------------------------------------------- title: "Normalization" description: "QuickML is a fully no-code ML pipeline builder service in the Catalyst development platform for creating machine-learning pipelines with end-to-end solutions." last_updated: "2025-10-09T16:11:25.000Z" source: "https://docs.catalyst.zoho.com/en/quickml/help/operations-in-quickml/normalization/" service: "QuickML" -------------------------------------------------------------------------------- # Normalization Normalization is a technique often applied as part of data preparation for machine learning. The goal of normalization is to change the values of numeric columns in the dataset to a common scale, without distorting differences in the ranges of values or losing information. ### Min-Max Normalization Min-Max normalization is one of the most common ways to normalize data. For every feature, the minimum value of that feature gets transformed into a 0, the maximum value gets transformed into a 1, and every other value gets transformed into a decimal between 0 and 1. **Process:** ```json x_normalized = (x−min(x))/ (max(x)-min(x)) ``` **Where:** - x_normalized is the normalized value of the feature. - x is the original value of the feature. - min(x) is the minimum value of the feature across the dataset. - max(x) is the maximum value of the feature across the dataset. **Example:**
Sample Input 10 25 30
Sample Output 0 0.75 1
### Unit Normalization Unit normalization consists of dividing every entry in a column (feature) by its magnitude to create a feature of length 1 known as the unit vector. **Process:** ```json x_normalized = x / ||x|| ``` **Where:** - x_normalized is the normalized value of the feature. - x is the original value of the feature. - ||x|| is the magnitude which is calculated as - ||x|| = sqrt(x1^2 + x2^2 + ....... xn^2) - x1, x2, x3......xn are the original values of the feature. **Example:**
Sample Input 10 25 30
Sample Output 0.248 0.620 0.744
### Mean Normalization This transformer transforms the data based on the mean so that sum of the values equals to 0. **Process:** ```json x_normalized = x - mean(x) / max(x) - min(x) ``` **Where:** - x_normalized is the normalized value of the feature. - x is the original value of the feature. - mean(x) is the mean of feature across the dataset. - min(x) is the minimum value of the feature across the dataset. - max(x) is the maximum value of the feature across the dataset. **Example:**
Sample Input 10 25 30
Sample Output -0.583 0.166 0.416
### Mean-Std Normalization The data can be normalized by subtracting the mean (µ) of each feature and a division by the standard deviation (σ). This way, each feature has a mean of 0 and a standard deviation of 1. This results in faster convergence. **Process:** ```json x_normalized = x - mean(x) / std(x) ``` **Where** - x_normalized is the normalized value of the feature. - x is the original value of the feature. - mean(x) is the mean of feature across the dataset. - std(x) is the standard deviation of the feature across the dataset. **Example:**
Sample Input 10 25 30
Sample Output -1.120 0.320 0.800
### Robust Normalization Robust Scaler is a normalization technique that scales features using the **median** and **interquartile range (IQR)**, making it less sensitive to outliers compared to standard scaling methods. It centers the normalised data around the median and scales it according to the IQR, which helps maintain the structure of data with extreme values without letting those values skew the scaling. **Process:** ```json xrobust = IQR(x)x − median(x) ``` **Where** - x = original feature value - median(x) = median of the feature values - IQR(x) = interquartile range (75th percentile - 25th percentile) - xrobust = normalized value after robust scaling **Example** Suppose the feature values are: [10, 25, 30, 1000 (outlier)] - Median = 27.5 - IQR = 20 (between 25th percentile = 15 and 75th percentile = 35) Normalized values would be:
Input Value 10 25 30 1000
Output (Robust) -0.875 -0.125 0.125 48.625
Notice that the outlier (1000) has a large scaled value, but the rest are kept in a reasonable range without distortion. **Real-Time benefit of Robust Normalization** In real-world data, such as sensor readings, financial transactions, or health metrics, outliers are common. Using robust normalization prevents these extreme values from dominating the model training, resulting in: - More stable and reliable model - Better generalization to unseen data - Improved performance when the dataset has noisy or extreme values -------------------------------------------------------------------------------- title: "Transformer" description: "QuickML is a fully no-code ML pipeline builder service in the Catalyst development platform for creating machine-learning pipelines with end-to-end solutions." last_updated: "2023-10-08T05:18:45.000Z" source: "https://docs.catalyst.zoho.com/en/quickml/help/operations-in-quickml/transformer/" service: "QuickML" -------------------------------------------------------------------------------- # Transformer Transformation is a ML operation that transforms the data so that all feature data in same scale. Many normalization techniques are used for the same. 1. ### Square Transform This transforms the data into the square of the data.
Sample Input 5 10 12
Sample Output 25 100 144
2. ### Cube Transform This transforms the data into a cube of data.
Sample Input 2 4 5
Sample Output 8 64 125
3. ### Inverse Transform This transforms the data into an inverse of the data.
Sample Input 10 20 30
Sample Output 0.1 0.05 0.03333
4. ### Root Transform This transforms data into its square root.
Sample Input 25 100 64
Sample Output 5 10 8
5. ### Log Transform This transforms data into its log (data) value.
Sample Input 10 25 30
Sample Output 2.39789527 3.25809654 3.4339872
### Pipeline Builder Interface -------------------------------------------------------------------------------- title: "Walkthrough" description: "QuickML is a fully no-code ML pipeline builder service in the Catalyst development platform for creating machine-learning pipelines with end-to-end solutions." last_updated: "2026-11-11T10:19:21.000Z" source: "https://docs.catalyst.zoho.com/en/quickml/help/pipeline-builder-interface/walkthrough/" service: "QuickML" -------------------------------------------------------------------------------- # Pipeline Builder Interface
**DC Availability:** Pipeline builders are available across the **US**, **IN**, **EU**, **AU**, **JP**, **SA**, and **CA** data centers.
QuickML provides easy to use, convenient Drag and Drop editor powered with data and Machine learning capabilities as Stages. ### Stage A stage is a single task or unit of function that provides particular results based on the nature of computation assigned to it. A stage can be any data-related or ML related task that can be sequentially executed in a workflow. For example, a stage can be a data filter that takes raw data as input and provides filtered data as output based on the filter type. ### Pipeline A pipeline is a sequential combination of stages which is intended to do multiple operations and provide a collective result as output. Any data pipelines or ML pipelines can be created using QuickML service with provided functionalities. ### Pipeline Builder Interface The Pipeline Builder interface is a drag-and-drop, in-browser editor component provided in QuickML to construct pipelines with multiple or single stages of desired operations. This editor provides all the basic create, copy, edit, undo, redo and delete operations in the pipeline building process. Each data or ML module is segregated as stages in the editor and listed under data and ML categories. ![Pipeline Builder Interface](https://docs.catalyst.zoho.com/images/help/quickml/pipeline-builder-interface/Pipeline_Builder_Interface.webp) Each pipeline will have a mandatory source and destination stages. Other stages are customizable as per your pipeline requirements. Any stage that has been added to the editor needs to be connected with next or previous stages in the editor in order to form a pipeline execution flow. Once the mapping is done with stages, a preview will be shown in the editor for better understanding of the pipeline flow. ### Data Operations in the Editor The data-related operations are listed in the pipeline builder to add in the data pipeline construction. The details of each operation in the editor are provided in the data pipelines chapter of this manual. For each data operation available in the pipeline editor, a custom-configuration panel will be open to fill and feed configurations for that stage. ### Criteria Editor A criteria editor component has been provided in the builder to apply custom criteria over the resultant data of any stage based on your requirements. ![Criteria Editor](https://docs.catalyst.zoho.com/images/help/quickml/pipeline-builder-interface/Criteria_Editor.webp) ML operations in the Editor The ML operations will be available in the builder when the model pipeline needs to be constructed. The ML pipeline builder contains both data-related operations and ML operations to form an execution pipeline. These options are categorized as algorithms and operations for ML tasks. ML stages can be any algorithms or Zia features that are integrated as stages into the builder, and can be added to pipeline by dragging them into the builder. Once the pipeline is built, it can be saved and kept for future development, or can be published to execute in the background. These executions are versioned and execution results will be stored to keep track of the status. Any version of the pipeline can be viewed at any time and promoted as production-ready pipelines. ## SDK — Java — QuickML -------------------------------------------------------------------------------- title: "Create QuickML Instance" description: "This page describes the method to execute QuickML endpoints in your Java application with a sample code snippet." last_updated: "2026-09-08T09:48:40.000Z" source: "https://docs.catalyst.zoho.com/en/sdk/java/v1/quickml/execute-quickml-endpoints/" service: "QuickML" related: - QuickML (/en/quickml/) - QuickML Pipeline Endpoints (/en/quickml/help/pipeline-endpoints/) -------------------------------------------------------------------------------- # Catalyst QuickML [Catalyst QuickML](https://docs.catalyst.zoho.com/en/quickml/) is the no-code machine learning platform designed to build pipelines and train machine learning models with your own data fetched from the various data connectors. Access and integrate these trained models by creating endpoints with necessary authentications and publish them to serve live predictions in production environments. QuickML also provides access to Large Language Models, Vision Language Models, and Retrieval Augmented Generation (RAG) features under Generative AI offerings. You can create endpoints and access each of them through their isolated APIs and effortlessly integrate them with your applications. #### Create QuickML Instance The app reference used in the code below is the Java object returned as a response during SDK initialization. You will refer to this component instance in various code snippets of working with QuickML. You can create a new instance as shown below: # Create a QuickML instance. ```java import com.zc.component.quickml.ZCQuickMLDetail; import com.zc.component.quickml.ZCQuickML; // Create a QuickML instance. ZCQuickML quickMlInstance = ZCQuickML.getInstance(); ``` -------------------------------------------------------------------------------- title: "Execute Custom ML Endpoint" description: "This page describes the method to execute QuickML endpoints in your Java application with a sample code snippet." last_updated: "2026-09-09T11:01:45.000Z" source: "https://docs.catalyst.zoho.com/en/sdk/java/v1/quickml/execute-custom-ml-endpoint/" service: "QuickML" related: - QuickML (/en/quickml/) -------------------------------------------------------------------------------- The code snippet given below allows you to pass input data to a published [QuickML endpoint](https://docs.catalyst.zoho.com/en/quickml/help/pipeline-endpoints/) and retrieve the inference results from the ML model. The response contains the prediction generated by the ML model based on the input features provided. > **Note:** 1. You will need to have the ML pipeline and the model's endpoint configured and published in your project using the Catalyst console, before you execute this code to predict the outcome with the code snippet below. 2. QuickML is currently available to Catalyst users accessing from the US, IN, EU, JP, SA, or CA data centres. The `ZCQuickML` instance is initialized using the `getInstance()` method. This initialization does not make a server-side call. You must then create a `HashMap` containing the input data required by the ML model as key-value pairs. The keys in the `HashMap` must match the feature names expected by the trained model, and the corresponding values must contain the input data for those features. The `endpointKey` is the unique identifier of the endpoint published for the ML model in your Catalyst project. The endpoint key and input data are passed to the `runInference(endpointKey, input_data)` method to execute the ML endpoint. The `runInference()` method returns a `ZCQuickMLDetail` object containing the inference response. **_Sample Code Snippet_** ```java //ML-endpoint change method name for ml endpoint predict to runInference HashMap input_data = new HashMap<>(); // Give the column names and values based on your dataset. map.put("", ""); map.put("", ""); map.put("", ""); ZCQuickML quickMlInstance = ZCQuickML.getInstance(); String endpointKey = ""; ZCQuickMLDetail result = quickMlInstance.runInference(endpointKey, input_data); System.out.println(result.getResponse()); ``` The syntax of the model response received is shown below: ```json { "status": "success", "result": [ { "prediction": "1", "confidence": 0.87 } ] } ``` **Parameters Used**
Parameter Name Definition
endpointKey A mandatory parameter that specifies the unique ID of the endpoint published for the ML model.
input_data A mandatory parameter that contains the input data required by the ML model as key-value pairs. The keys must match the features expected by the trained model.
> **Note:** 1. The `predict(endpointKey, input_data)` method continues to be supported for existing implementations and performs the same operation as runInference(endpointKey, input_data). 2. We recommend using `runInference()` in new implementations for consistency with the other QuickML SDK methods. **Where to Find the Endpoint Information?** Create an endpoint for your trained ML model and open the endpoint details page in the Catalyst console. The endpoint details page provides information such as the **Endpoint URL, required headers, and sample request and response** . ![quickml-java-sdk-1.webp](https://catalyst-docs-development.zohostratus.in/images/sdk/java/quickml/quickml-java-sdk-1.webp) -------------------------------------------------------------------------------- title: "Execute LLM Endpoint" description: "This page describes the method to execute QuickML endpoints in your Java application with a sample code snippet." last_updated: "2026-09-09T11:01:45.000Z" source: "https://docs.catalyst.zoho.com/en/sdk/java/v1/quickml/execute-llm-endpoint/" service: "QuickML" related: - QuickML (/en/quickml/) -------------------------------------------------------------------------------- **LLM Serving** QuickML now provides Generative AI services by hosting Large Language Models and Vision Language Models (VLMs) under the Generative AI section in the console. LLM Serving is equipped with Chat instance with a set of parameters for each model to provide additional control over its responses. LLM serving is equipped with two interaction modes with language models. The only difference between these two is keeping the context of prior messages while responding to the query. Let's take a quick look at the explanation. * **Single-shot mode**: Each prompt request to the model is treated independently while generating the response, with no memory of previous turns. * **Conversation mode**: Maintains context throughout the session. Prior turns are passed as context, allowing multi-turn conversations. **Execute LLM Endpoint** With Catalyst QuickML, you can tune the responses of available large language models according to your needs and access them from your application using authenticated endpoints. An LLM Endpoint is created from a saved parameter configuration, so the model used, tools, Instructions, system prompt, and generation parameters you tested in the console are exactly what your application calls. > **Note:** 1. You will need to have the LLM endpoint created and published in your project using the Catalyst console, before you execute the code snippets below. 2. The model and its parameters are fixed at the time of endpoint creation and cannot be overridden through the SDK. 3. QuickML is currently available to Catalyst users accessing from the US, IN, & EU data centers. The SDK method you call depends on the interaction mode configured for the endpoint:
Interaction Mode SDK Method
Conversation mode OFF (Single-shot mode) askLlm(endpointKey, prompt)
Conversation mode ON converseWithLlm(endpointKey, prompt, conversationId)
### a. Generate an LLM Response Single-shot interaction with a language model requires an input prompt and a valid endpoint key. The endpoint key is generated when the LLM endpoint is created. The `askLlm(endpointKey, prompt)` method sends a single prompt to the published LLM endpoint and returns the generated response. Each request is processed independently, and no conversation context is retained between requests. **Parameters Used**
Parameter Description Value
endpointKey The unique ID of the LLM endpoint published in your project. String
prompt The message sent to the language model. String
**Sample Code Snippet** ```java ZCQuickML quickMlInstance = ZCQuickML.getInstance(); // Replace with the endpoint key copied from the Catalyst console. String endpointKey = ""; // Enter the prompt to send to the LLM. String prompt = ""; ZCQuickMLDetail result = quickMlInstance.askLlm(endpointKey, prompt); System.out.println(result.getResponse()); ``` The syntax of the model response received is shown below: ```json { "status": "success", "result": [ { "content": "The generated response text from the model.", "finish_reason": "stop", "usage": { "input_tokens": 42, "output_tokens": 128, "total_tokens": 170 } } ] } ``` Use this method for single-shot interaction tasks such as summarization, classification, content generation, or extraction. ### b. Converse with an LLM Conversation mode allows you to interact with a language model while retaining the context of previous interactions within the same conversation. To use conversation mode, you must provide a valid `endpointKey`, `prompt`, and `conversationId`. The endpoint key is generated when the LLM endpoint is created. The `converseWithLlm(endpointKey, prompt, conversationId)` method sends a prompt to a published LLM endpoint while retaining the context of previous interactions in the same conversation. **Parameters Used**
Parameter Description Value
endpointKey Mandatory parameter. The unique ID of the LLM endpoint published in your project. String
prompt Mandatory parameter. The message sent to the model. String
conversationId Optional parameter. Identifies the conversation thread the message belongs to. String
> **Note:** For the first request, you can either omit the conversationId or pass "-1" as its value. The response automatically generates and returns a unique conversation ID. Pass this conversation ID in each subsequent request to continue the same conversation thread. **Sample Code Snippet** ```java ZCQuickML quickMlInstance = ZCQuickML.getInstance(); // Replace with the endpoint key copied from the Catalyst console. String endpointKey = ""; // Enter your message. String prompt = ""; /* * For the first request, set the conversation ID to "-1". * For subsequent requests, use the conversation ID returned * in the previous response. */ String conversationId = ""; ZCQuickMLDetail result = quickMlInstance.converseWithLlm( endpointKey, prompt, conversationId ); System.out.println(result.getResponse()); ``` The syntax of the model response received is shown below: ```json { "status": "success", "result": [ { "conversationId": "55663000000288001", "content": "The generated response text from the model.", "finish_reason": "stop", "usage": { "input_tokens": 310, "output_tokens": 96, "total_tokens": 406 } } ] } ``` Use this method to build chat experiences where the model must remember what was discussed earlier. **Where to Find the Endpoint Information?** Create an endpoint for your Saved LLM configuration and access the endpoint details page to view the Endpoint URL, required headers and a sample request response. ![quickml-java-sdk-2.webp](https://catalyst-docs-development.zohostratus.in/images/sdk/java/quickml/quickml-java-sdk-2.webp) --- -------------------------------------------------------------------------------- title: "Execute Vision Model Endpoint" description: "This page describes the method to execute QuickML endpoints in your Java application with a sample code snippet." last_updated: "2026-09-23T13:11:30.000Z" source: "https://docs.catalyst.zoho.com/en/sdk/java/v1/quickml/execute-vision-model-endpoint/" service: "QuickML" related: - QuickML (/en/quickml/) -------------------------------------------------------------------------------- #### Vision Language Model QuickML hosts Vision Language Models in the LLM Serving module under the Generative AI section in the console. VLMs are multimodal models that accept a file object along with a text prompt and return a natural language response. The model interprets the image according to the text prompt instruction and generates an appropriate response. Interaction with Vision Language Model works similar to single shot interaction mode with LLM. Each request must carry its own file and prompt and is processed independently, with no memory of previous requests. To analyze the same image again with a different instruction, send a new request. **Execute Vision Model Endpoint** VLM is served with its own set of parameters, giving you control over the response before publishing it. You can test a model with sample images and prompts in the test interface, save the configuration, and create an endpoint from it to integrate with your application. A Vision Model endpoint is created from a saved parameter configuration, so the model, system prompt, instructions, and generation parameters you tested in the console are exactly what your application calls. The endpoint must be created from a configuration that uses a Vision Language Model, text-only LLM endpoints do not accept image input. Open the image in binary read mode and pass the file object to the method > **Note:** 1. You will need to have the Vision Language Model endpoint created and published in your project using the Catalyst console, before you execute the code snippet below. 2. QuickML is currently available to Catalyst users accessing from the US, IN, and EU data centers. ### a. Analyze an Image The `analyzeImage(endpointKey, image, prompt)` method requires the endpoint key, image file, and prompt. The endpoint key is generated when the endpoint is created. This method sends an image along with an accompanying prompt to a published Vision Language Model endpoint and returns the model's response. **Parameters Used**
Parameter Name Definition Value
endpointKey The unique ID of the VLM endpoint published in your project. String
image The image file object to be analyzed. File object
prompt The task the model must perform on the image. String
**Allowed file formats:** `.jpg`, `.jpeg`, `.png` **File size limit:** 500 KB **_Sample Code Snippet_** ```java // Replace with the endpoint key copied from the Catalyst console. String endpointKey = ""; // Replace with the path to the image you want to analyze. File image = new File(""); // Enter the prompt describing the task to perform on the image. String prompt = ""; ZCQuickMLDetail result = quickMlInstance.analyzeImage(endpointKey, image, prompt); System.out.println(result.getResponse()); ``` The syntax of the response received is shown below: ```json { "status": "success", "result": [ { "content": "A description of the image, as instructed by the prompt.", "finish_reason": "stop", "usage": { "input_tokens": 1064, "output_tokens": 74, "total_tokens": 1138 } } ] } ``` Use Vision Language Models for tasks such as image description, document and receipt understanding, chart interpretation, and visual question answering. **Where to Find the Endpoint Information?** Use Vision Language Model for tasks such as image description, document and receipt understanding, chart interpretation, and visual question answering, etc. ![quickml-java-sdk-3.webp](https://catalyst-docs-development.zohostratus.in/images/sdk/java/quickml/quickml-java-sdk-3.webp) -------------------------------------------------------------------------------- title: "Execute RAG Endpoint" description: "This page describes the method to execute QuickML endpoints in your Java application with a sample code snippet." last_updated: "2026-09-09T11:01:45.000Z" source: "https://docs.catalyst.zoho.com/en/sdk/java/v1/quickml/execute-rag-endpoint/" service: "QuickML" related: - QuickML (/en/quickml/) -------------------------------------------------------------------------------- **RAG** Retrieval-Augmented Generation (RAG) combines a large language model with your organization's own knowledge base to deliver accurate, context-aware responses grounded in the organization specific documents. Catalyst QuickML is equipped with RAG system under Generative AI services, to deliver responses grounded in the organization's own documents with ground truth citations of the documents for traceability. Multiple RAG modes have been introduced each designed for a different use case. Every mode exposes its own dedicated parameters, giving you absolute control over how the RAG system generates responses. Let's take a quick look at the RAG modes: * Response Generation : Response Generation is the standard RAG mode where model generates response grounded with relevant chunks of information from the documents * Agentic RAG : An agent layer on top of RAG that can reason over complex queries, decompose them into sub-queries, and handle conversational interactions * Document Search : It is retrieval-only task, doesn't generate a response but returns the most relevant chunks of content from the documents. **Execute RAG Endpoint** Create a RAG endpoint from a saved RAG configuration. The RAG mode, selected large language model, respective parameters, and document store are captured from the saved configuration at the time of endpoint creation. It cannot be overridden through the SDK. The SDK method you call depends on the RAG mode the endpoint was configured with:
RAG mode SDK method
Response Generation generateRagRsponse( endpointKey, prompt )
Document Search searchDocuments( endpointKey, query )
Agentic RAG (without history) askRagAgent( endpointKey, prompt )
Agentic RAG (with history) converseWithRagAgent( endpointKey, prompt, conversationId )
> **Note:** 1. You will need to have the RAG endpoint created and published in your project using the Catalyst console, before you execute the code snippets below. 2. QuickML is currently available to Catalyst users accessing from the US, IN, and EU data centers ### a. Generate a RAG Response The `generateRagResponse(endpointKey, prompt)` method sends a question to a published RAG endpoint. The service retrieves the most relevant content from the endpoint's document store and returns a summarized response grounded in the retrieved content. **Parameters used**
Parameter Description Values
endpointKey The unique ID of the RAG endpoint published in your project String
prompt The query which is sent to the model. String
**_Sample Code Snippet_** ```java // Replace with your endpoint key copied from the Catalyst console. String endpointKey = ""; // Enter your question. String prompt = ""; ZCQuickMLDetail result = quickMlInstance.generateRagResponse(endpointKey, prompt); System.out.println(result.getResponse()); ``` The syntax of the response received is shown below: ```json { "status": "success", "result": [ { "content": "The answer, grounded in the retrieved documents.", "citations": [ { "document_name": "employee_handbook_2026.pdf", "document_id": "doc_10294", "chunk_id": "chunk_58", "page_number": 14, "text": "The excerpt of source text the answer was grounded in.", "score": 0.91 } ], "usage": { "input_tokens": 1420, "output_tokens": 112, "total_tokens": 1532 } } ] } ``` **_Use this method for document-based question answering, summarization, and support assistants_** ### b. Search Documents The `searchDocuments(endpointKey, query)` method performs document retrieval only. It returns the chunks of content from the document store that most closely match the specified query, without generating a response. **Parameters used**
Parameter Description Values
endpointKey The unique ID of the RAG endpoint published in your project String
query The search query is sent to the document store. String
**_Sample Code Snippet_** ```java // Replace with your endpoint key copied from the Catalyst console. String endpointKey = ""; // Enter the search query. String query = ""; ZCQuickMLDetail result = quickMlInstance.searchDocuments(endpointKey, query); System.out.println(result.getResponse()); ``` The syntax of the response received is shown below: ```json { "status": "success", "result": [ { "chunk_id": "chunk_58", "document_name": "employee_handbook_2026.pdf", "document_id": "doc_10294", "page_number": 14, "text": "The retrieved chunk of content that matched the query.", "score": 0.91 }, { "chunk_id": "chunk_59", "document_name": "employee_handbook_2026.pdf", "document_id": "doc_10294", "page_number": 15, "text": "The next most relevant chunk of content.", "score": 0.84 } ] } ``` Use this method when your application needs the raw retrieved passages for downstream processing, ranking, or custom rendering ### c. Ask a RAG Agent The `askRagAgent(endpointKey, prompt` `)` method sends a single message to an Agentic RAG endpoint. The agent can decompose complex queries into sub-queries, refine them, and perform multi-step reasoning over the document store before returning a response. > **Note:** Each call is independent. No conversation context is retained. **Parameters used**
Parameter Description Values
endpointKey The unique ID of the RAG endpoint published in your project String
prompt The query which is sent to the model String
**_Sample Code Snippet_** ```java // Replace with your endpoint key copied from the Catalyst console. String endpointKey = ""; // Enter your message. String prompt = ""; ZCQuickMLDetail result = quickMlInstance.askRagAgent(endpointKey, prompt); System.out.println(result.getResponse()); ``` The syntax of the response received is shown below: ```json { "status": "success", "result": [ { "content": "The agent's answer after reasoning over the document store.", "sub_queries": [ "First decomposed sub-query the agent generated.", "Second decomposed sub-query the agent generated." ], "citations": [ { "document_name": "policy_v3.pdf", "document_id": "doc_10877", "chunk_id": "chunk_12", "page_number": 3, "text": "The excerpt of source text the answer was grounded in.", "score": 0.88 } ], "usage": { "input_tokens": 3180, "output_tokens": 204, "total_tokens": 3384 } } ] } ``` Use this method when your application needs **agentic reasoning over documents** for complex questions that may require query decomposition, refinement, and multi-step retrieval. ### d. Converse with a RAG Agent The `converseWithRagAgent(endpointKey, prompt, conversationId)` method sends a message to an Agentic RAG endpoint while retaining the context of previous turns. Use this method to build multi-turn assistants that answer follow-up questions using information from the same document store. **Parameters used**
Parameter Description Values
endpointKey The unique ID of the RAG endpoint published in your project String
prompt The query which is sent to the model String
conversationId Identifies the conversation thread to which the message belongs. String
> **Note:** For the first request, set conversationId to `"-1"`. The response returns a unique conversation ID, which you must pass in subsequent requests to continue the same conversation thread. **_Sample Code Snippet_** ```java // Replace with your endpoint key copied from the Catalyst console. String endpointKey = ""; // Enter your message. String prompt = ""; /* * For the first request, set the conversation ID to "-1". * For subsequent requests, use the conversation ID returned * in the previous response. */ String conversationId = ""; ZCQuickMLDetail result = quickMlInstance.converseWithRagAgent(endpointKey, prompt, conversationId); System.out.println(result.getResponse()); ``` **_The syntax of the response received is shown below:_** ```json { "status": "success", "result": [ { "conversationId": "55663000000288001", "content": "The agent's answer, informed by earlier turns in this conversation.", "citations": [ { "document_name": "policy_v3.pdf", "document_id": "doc_10877", "chunk_id": "chunk_12", "page_number": 3, "text": "The excerpt of source text the answer was grounded in.", "score": 0.88 } ], "usage": { "input_tokens": 3612, "output_tokens": 188, "total_tokens": 3800 } } ] } ``` The `conversationId` returned in the response identifies the conversation thread. Use this ID in subsequent requests to maintain the conversation context. Use this method to build **multi-turn RAG assistants** that can understand follow-up questions while retaining the context of previous interactions. **Where to find the endpoint information** Create an endpoint for your saved RAG configuration and access the **endpoint details** page to view the **Endpoint URL** , required headers, and a sample request and response. ![quickml-java-sdk-4.webp](https://catalyst-docs-development.zohostratus.in/images/sdk/java/quickml/quickml-java-sdk-4.webp) #### ## SDK — Modular JavaScript SDK — QuickML -------------------------------------------------------------------------------- title: "Create QuickML Instance" description: "This page describes the method to perform operations using the components in SmartBrowz Services." last_updated: "2026-09-10T11:33:54.000Z" source: "https://docs.catalyst.zoho.com/en/sdk/javascript/v1/quickml/create-quickml-instance/" service: "QuickML" related: - Catalyst QuickML (/en/quickml/) - Java SDK Documentation (/en/sdk/java/v1/quickml/execute-quickml-endpoints/) - NodeJS SDK Documentation (/en/sdk/nodejs/v2/quickml/execute-quickml-endpoints/) - Python SDK Documentation (/en/sdk/python/v1/pipelines/get-pipeline-instance/) - REST API Documentation (/en/api/code-reference/pipelines/get-pipeline-details/#GetPipelineDetails) -------------------------------------------------------------------------------- [Catalyst QuickML](https://docs.catalyst.zoho.com/en/quickml/) is the no-code machine learning platform designed to build pipelines and train machine learning models with your own data fetched from the various data connectors. Access and integrate these trained models by creating endpoints with necessary authentications and publish them to serve live predictions in production environments. QuickML also provides access to Large Language Models, Vision Language Models, and Retrieval Augmented Generation (RAG) features under Generative AI offerings. You can create endpoints and access each of them through their isolated APIs and effortlessly integrate them with your applications. **Create QuickML Instance** The app reference used in the code below is the Javascript object returned as a response during SDK initialization. You will refer to this component instance in various code snippets of working with QuickML. You can create a new instance as shown below: ```javascript // Create a QuickML instance. const quickML = new QuickML(app); ``` -------------------------------------------------------------------------------- title: "Execute Custom ML Endpoint" description: "This page describes the method to perform operations using the components in SmartBrowz Services." last_updated: "2026-10-30T17:47:18.000Z" source: "https://docs.catalyst.zoho.com/en/sdk/javascript/v1/quickml/execute-custom-ml-endpoint/" service: "QuickML" related: - Catalyst QuickML (/en/quickml/) - Java SDK Documentation (/en/sdk/java/v1/quickml/execute-quickml-endpoints/) - NodeJS SDK Documentation (/en/sdk/nodejs/v2/quickml/execute-quickml-endpoints/) - Python SDK Documentation (/en/sdk/python/v1/pipelines/execute-pipeline/) - REST API Documentation (/en/api/code-reference/pipelines/execute-pipeline/#ExecutePipeline) -------------------------------------------------------------------------------- The code snippet given below allows you to pass input data to a published [QuickML endpoint](https://docs.catalyst.zoho.com/en/quickml/help/pipeline-endpoints/), and get the inferences from the ML model. The output returns the prediction of the values of the target column that is defined while creating the ML pipeline. > **Note:** 1. You will need to have the LLM endpoint created and published in your project using the Catalyst console, before you execute the code snippets below. 2. The model and its parameters are fixed at the time of endpoint creation and cannot be overridden through the SDK. 3. QuickML is currently available to Catalyst users accessing from the US, IN, & EU data centers. The *QuickML instance* is created as shown below. Creating the instance does not make a server-side call. You can then define an input object containing the data to be passed to the model endpoint as key-value pairs. The keys in the input object must match the features expected by the model. The *endpointKey* is the unique ID of the endpoint published for the ML model configured in your project. Pass the endpoint key and input data to the **runInference(endpointKey, inputData)** method to run inference on the model. The app reference used in the code below is the Catalyst app instance returned during SDK initialization. **Sample Code Snippet** ```javascript //ML-endpoint change method name for ml endpoint predict to runInference const app = await zcAuth.init(req); const quickML = new QuickML(app); //ml endpoint const endpointKey = ""; // Replace with your model input. // The input object should match the features expected by your model. const inputData = { "": "", "": "" }; const predictionResponse = await quickML.runInference(endpointKey,inputData); console.log(predictionResponse); ``` The syntax of the model response received is shown below: ```javascript { "status": "success", "result": [ { "prediction": "1", "confidence": 0.87 } ] } ``` **Parameters Used**
Parameter Name Definition
endpointKey A mandatory parameter. Will store the unique ID of the endpoint published for the ML model.
inputData A mandatory parameter. Will pass the required data input to the endpoint.
> **Note:** The **predict(endpointKey, inputData)** method continues to be supported for existing implementations and performs the same operation as **runInference(endpointKey, inputData)**. We recommend using **runInference()** in new implementations for consistency with the updated QuickML SDK methods. **Where to find the endpoint information?** Create an endpoint for your trained ML model and access its endpoint details page in the Catalyst console. The page provides the Endpoint URL, required headers, and a sample request and response. ![sdk-javascript-1.webp](https://catalyst-docs-development.zohostratus.in/images/sdk/javascript/quickml/sdk-javascript-1.webp) > **Info :** Refer to the [SDK Scopes table](https://docs.catalyst.zoho.com/en/sdk/javascript/v1/scopes/) to determine the required permission level for performing the above operation. -------------------------------------------------------------------------------- title: "Execute LLM Endpoint" description: "This page describes the method to perform operations using the components in SmartBrowz Services." last_updated: "2026-09-23T13:11:30.000Z" source: "https://docs.catalyst.zoho.com/en/sdk/javascript/v1/quickml/execute-llm-endpoint/" service: "QuickML" related: - Catalyst QuickML (/en/quickml/) - Java SDK Documentation (/en/sdk/java/v1/quickml/execute-quickml-endpoints/) - NodeJS SDK Documentation (/en/sdk/nodejs/v2/quickml/execute-quickml-endpoints/) - Python SDK Documentation (/en/sdk/python/v1/pipelines/execute-pipeline/) - REST API Documentation (/en/api/code-reference/pipelines/execute-pipeline/#ExecutePipeline) -------------------------------------------------------------------------------- ## LLM Serving ## QuickML now provides Generative AI services by hosting Large Language Models and Vision Language Models (VLM) under Generative AI section in the console. LLM Serving is equipped with Chat instance with a set of parameters for each model to provide additional control over its responses. LLM serving is equipped with two interaction modes with language models. The only difference between these two is keeping the context of prior messages while responding to the query. Let's take a quick look at the explanation. - **Single-shot mode**: Each prompt request to the model is treated independently while generating the response, with no memory of previous turns. - **Conversation mode**: Maintains context throughout the session. Prior turns are passed as context, allowing multi-turn conversations. **Execute LLM Endpoint** With Catalyst QuickML, you can tune the responses of available large language models according to your needs and access them from your application using authenticated endpoints. An LLM Endpoint is created from a saved parameter configuration, so the model used, tools, Instructions, system prompt, and generation parameters you tested in the console are exactly what your application calls. > **Note:** 1. You will need to have the LLM endpoint created and published in your project using the Catalyst console, before you execute the code snippets below. 2. The model and its parameters are fixed at the time of endpoint creation and cannot be overridden through the SDK. 3. QuickML is currently available to Catalyst users accessing from the US, IN, & EU data centers. The SDK method you call depends on the interaction mode the endpoint was configured with:
Interaction mode SDK method
Conversation mode OFF (Single shot mode) askLlm(endpointKey, prompt)
Conversation mode ON converseWithLlm(endpointKey, prompt, conversationId)
### a. Generate an LLM Response Single-shot interaction with a language model requires a prompt and a valid endpoint key. The endpoint key is generated when the LLM endpoint is created. The **askLlm(llmEndpointKey, llmPrompt)** method sends a prompt to the published LLM endpoint and returns the generated response. Each request is processed independently, and no conversation context is retained between requests. **Parameter Used**
Parameter Description Values
llmEndpointKey The unique ID of the LLM endpoint published in your project String
llmPrompt The message sent to the model String

**Sample Code Snippet** ```javascript // ------------------------------------------------------------- // LLM - Generate Response // ------------------------------------------------------------ const llmEndpointKey = ""; const llmPrompt = ""; const llmResponse = await quickML.askLlm(llmEndpointKey,llmPrompt); console.log(llmResponse); ``` The syntax of the model response received is shown below: ```javascript { "status": "success", "result": [ { "content": "The generated response text from the model.", "finish_reason": "stop", "usage": { "input_tokens": 42, "output_tokens": 128, "total_tokens": 170 } } ] } ``` Use this method for single-shot interaction tasks such as summarization, classification, content generation, or extraction. > **Info :** Refer to the [SDK Scopes table](https://docs.catalyst.zoho.com/en/sdk/javascript/v1/scopes/) to determine the required permission level for performing the above operation. ### b. Converse with an LLM Conversation mode requires a prompt, a valid endpoint key, and a conversation ID. The endpoint key is generated when the LLM endpoint is created. The **converseWithLlm(llmConversationEndpointKey, llmConversationPrompt, conversationId)** method sends a prompt to a published LLM endpoint while retaining the context of previous interactions in the same conversation. **Parameters used**
Parameter Description Values
llmConversationEndpointKey Mandatory parameter. The unique ID of the LLM endpoint published in your project String
llmConversationPrompt Mandatory parameter. The message sent to the model String
conversationId Optional parameter. Identifies the conversation thread the message belongs to. String

> **Note:** For the first request, you can either omit the conversationId or pass "-1". The response generates and returns a unique conversation ID. Pass this ID in subsequent requests to continue the same conversation thread. **Sample Code Snippet** ```javascript // ------------------------------------------------------------------ // LLM - Chat with History // ------------------------------------------------------------------ // Replace with your endpoint key copied from the Catalyst console. const llmConversationEndpointKey = ""; const llmConversationPrompt = ""; /* * For the first request, use "-1". * For subsequent requests, use the conversation ID returned in the previous response. */ const conversationId = ""; const conversationResponse = await quickML.converseWithLlm(llmConversationEndpointKey, llmConversationPrompt, conversationId); console.log(conversationResponse); ``` The syntax of the model response received is shown below: ```javascript { "status": "success", "result": [ { "conversation_id": "55663000000288001", "content": "The generated response text from the model.", "finish_reason": "stop", "usage": { "input_tokens": 310, "output_tokens": 96, "total_tokens": 406 } } ] } ``` Use this method to build chat experiences where the model must retain the context of previous interactions. **Where to find the endpoint information** Create an endpoint for your saved LLM configuration and access the endpoint details page in the Catalyst console. The page provides the Endpoint URL, required headers, and a sample request and response. ![sdk-javascript-2.webp](https://catalyst-docs-development.zohostratus.in/images/sdk/javascript/quickml/sdk-javascript-2.webp) > **Info :** Refer to the [SDK Scopes table](https://docs.catalyst.zoho.com/en/sdk/javascript/v1/scopes/) to determine the required permission level for performing the above operation. -------------------------------------------------------------------------------- title: "Execute Vision Model Endpoint" description: "This page describes the method to perform operations using the components in SmartBrowz Services." last_updated: "2026-09-23T13:11:30.000Z" source: "https://docs.catalyst.zoho.com/en/sdk/javascript/v1/quickml/execute-vision-model-endpoint/" service: "QuickML" related: - Catalyst QuickML (/en/quickml/) - Java SDK Documentation (/en/sdk/java/v1/quickml/execute-quickml-endpoints/) - NodeJS SDK Documentation (/en/sdk/nodejs/v2/quickml/execute-quickml-endpoints/) - Python SDK Documentation (/en/sdk/python/v1/pipelines/execute-pipeline/) - REST API Documentation (/en/api/code-reference/pipelines/execute-pipeline/#ExecutePipeline) -------------------------------------------------------------------------------- ## Vision Language Model ## QuickML hosts Vision Language Models in the LLM Serving module under the Generative AI section in the console. VLMs are multimodal models that accept a file object along with a text prompt and return a natural language response. The model interprets the image according to the text prompt instruction and generates an appropriate response. Interaction with Vision Language Model works similar to single shot interaction mode with LLM. Each request must carry its own file and prompt and is processed independently, with no memory of previous requests. To analyze the same image again with a different instruction, send a new request. **Execute Vision Model Endpoint** VLM is served with its own set of parameters, giving you control over the response before publishing it. You can test a model with sample images and prompts in the test interface, save the configuration, and create an endpoint from it to integrate with your application. A Vision Model endpoint is created from a saved parameter configuration, so the model, system prompt, instructions, and generation parameters you tested in the console are exactly what your application calls. The endpoint must be created from a configuration that uses a Vision Language Model, text-only LLM endpoints do not accept image input. Open the image in binary read mode and pass the file object to the method. > **Note:** 1. You will need to have the Vision Language Model endpoint created and published in your project using the Catalyst console, before you execute the code snippet below. 2. QuickML is currently available to Catalyst users accessing from the US, IN, and EU data centes. ### a. Analyze an Image The **analyzeImage(imageEndpointKey, imageBase64, imagePrompt)** method requires the endpoint key, a Base64-encoded image, and an input prompt. The endpoint key is generated when the VLM endpoint is created. This method sends an image and an accompanying prompt to a published Vision Language Model (VLM) endpoint and returns the model's response. **Parameters used**
Parameter Description Values
imageEndpointKey The unique ID of the VLM endpoint published in your project String
imageBase64 The Base64-encoded image to be analyzed. String
imagePrompt The task the model must perform on the image String
**Allowed file formats:** .jpg, .jpeg, .png **File size limit:** 500 KB **Sample Code Snippet** ```javascript // ------------------------------------------------------------------- // Vision Model - Analyze Image // ------------------------------------------------------------------- const endpointKey = ""; // Replace with the path to your image. const imagePath = ""; const image = fs.createReadStream(imagePath); const prompt = ""; const result = await quickML.analyzeImage(imageEndpointKey, imageBase64, imagePrompt); console.log(result); ``` The syntax of the response received is shown below: ```javascript { "status": "success", "result": [ { "content": "A description of the image, as instructed by the prompt.", "finish_reason": "stop", "usage": { "input_tokens": 1064, "output_tokens": 74, "total_tokens": 1138 } } ] } ``` Use Vision Language Model for tasks such as image description, document and receipt understanding, chart interpretation, and visual question answering, etc. **Where to find the endpoint information** Create an endpoint for your Saved VLM configuration and access the endpoint details page to view the Endpoint URL, required headers and a sample request response. ![sdk-javascript-3.webp](https://catalyst-docs-development.zohostratus.in/images/sdk/javascript/quickml/sdk-javascript-3.webp) > **Info :** Refer to the [SDK Scopes table](https://docs.catalyst.zoho.com/en/sdk/javascript/v1/scopes/) to determine the required permission level for performing the above operation. -------------------------------------------------------------------------------- title: "Execute RAG Endpoint" description: "This page describes the method to perform operations using the components in SmartBrowz Services." last_updated: "2026-09-23T13:11:30.000Z" source: "https://docs.catalyst.zoho.com/en/sdk/javascript/v1/quickml/execute-rag-endpoint/" service: "QuickML" related: - Catalyst QuickML (/en/quickml/) - Java SDK Documentation (/en/sdk/java/v1/quickml/execute-quickml-endpoints/) - NodeJS SDK Documentation (/en/sdk/nodejs/v2/quickml/execute-quickml-endpoints/) - Python SDK Documentation (/en/sdk/python/v1/pipelines/execute-pipeline/) - REST API Documentation (/en/api/code-reference/pipelines/execute-pipeline/#ExecutePipeline) -------------------------------------------------------------------------------- ## RAG ## Retrieval-Augmented Generation (RAG) combines a large language model with your organization's own knowledge base to deliver accurate, context-aware responses grounded in the organization specific documents. Catalyst QuickML is equipped with RAG system under Generative AI services, to deliver responses grounded in the organization's own documents with ground truth citations of the documents for traceability. Multiple RAG modes have been introduced each designed for a different use case. Every mode exposes its own dedicated parameters, giving you absolute control over how the RAG system generates responses. Let's take a quick look at the RAG modes: - **Response Generation**: Response Generation is the standard RAG mode where model generates response grounded with relevant chunks of information from the documents. - **Agentic RAG**: An agent layer on top of RAG that can reason over complex queries, decompose them into sub-queries, and handle conversational interactions. - **Document Search**: It is retrieval-only task, doesn't generate a response but returns the most relevant chunks of content from the documents. ## Execute RAG Endpoint ## Create a RAG endpoint from a saved RAG configuration. The RAG mode, selected large language model, respective parameters, and document store are captured from the saved configuration at the time of endpoint creation. It cannot be overridden through the SDK. The SDK method you call depends on the RAG mode the endpoint was configured with:
RAG mode SDK method
Response Generation generateRagResponse(ragEndpointKey, ragPrompt)
Document Search searchDocuments(searchEndpointKey, searchQuery)
Agentic RAG (without history) askRagAgent(ragAgentEndpointKey, ragAgentPrompt)
Agentic RAG (with history) converseWithRagAgent(ragConversationEndpointKey, ragConversationPrompt, ragConversationId)

> **Note:** 1. You will need to have the RAG endpoint created and published in your project using the Catalyst console, before you execute the code snippets below. 2. QuickML is currently available to Catalyst users accessing from the US, IN, and EU data centers. ### a. Generate a RAG Response The **generateRagResponse(endpointKey, prompt)** method sends a question to a published RAG endpoint. The service retrieves the most relevant content from the endpoint's document store and generates a response grounded in that content. **Parameters used**
Parameter Description Values
endpointKey The unique ID of the RAG endpoint published in your project String
prompt The query which is sent to the model. String
**Sample Code Snippet** ```javascript // ------------------------------------------------------------------- // RAG - Generate Response // ------------------------------------------------------------------- const ragEndpointKey = ""; const ragPrompt = ""; const ragResponse = await quickML.generateRagResponse( ragEndpointKey, ragPrompt ); console.log(ragResponse); ``` The syntax of the response received is shown below: ```javascript { "status": "success", "result": [ { "content": "The answer, grounded in the retrieved documents.", "citations": [ { "document_name": "employee_handbook_2026.pdf", "document_id": "doc_10294", "chunk_id": "chunk_58", "page_number": 14, "text": "The excerpt of source text the answer was grounded in.", "score": 0.91 } ], "usage": { "input_tokens": 1420, "output_tokens": 112, "total_tokens": 1532 } } ] } ``` Use this method for document-based question answering, summarization, and support assistants. ### b. Search Documents The **searchDocuments(searchEndpointKey, searchQuery)** method performs retrieval only. It returns the chunks of content from the document store that most closely match the query, without generating a response. **Parameters used**
Parameter Description Values
searchEndpointKey The unique ID of the RAG endpoint published in your project String
searchQuery The search query is sent to the document store. String
**Sample Code Snippet** ```javascript // ------------------------------------------------------------------- // RAG - Document Search // ------------------------------------------------------------------- const searchEndpointKey = ""; const searchQuery = ""; const searchResponse = await quickML.searchDocuments( searchEndpointKey, searchQuery ); console.log(searchResponse); ``` The syntax of the response received is shown below: ```javascript { "status": "success", "result": [ { "chunk_id": "chunk_58", "document_name": "employee_handbook_2026.pdf", "document_id": "doc_10294", "page_number": 14, "text": "The retrieved chunk of content that matched the query.", "score": 0.91 }, { "chunk_id": "chunk_59", "document_name": "employee_handbook_2026.pdf", "document_id": "doc_10294", "page_number": 15, "text": "The next most relevant chunk of content.", "score": 0.84 } ] } ``` Use this method when your application needs the raw retrieved passages for downstream processing, ranking, or custom rendering. ### c. Ask a RAG Agent The **askRagAgent(endpointKey, prompt)** method sends a single message to an Agentic RAG endpoint. The agent can decompose complex queries into sub-queries, refine them, and perform multi-step reasoning over the document store before returning a response. > **Note:** Each call is independent. No conversation context is retained. **Parameters Used**
Parameter Description Values
endpointKey The unique ID of the RAG endpoint published in your project String
prompt The query which is sent to the model String
**Sample Code Snippet** ```javascript // ------------------------------------------------------------------- // RAG - Chat without History // ------------------------------------------------------------------- const ragAgentEndpointKey = ""; const ragAgentPrompt = ""; const ragAgentResponse = await quickML.askRagAgent( ragAgentEndpointKey, ragAgentPrompt ); console.log(ragAgentResponse); ``` The syntax of the response received is shown below: ```javascript { "status": "success", "result": [ { "content": "The agent's answer after reasoning over the document store.", "sub_queries": [ "First decomposed sub-query the agent generated.", "Second decomposed sub-query the agent generated." ], "citations": [ { "document_name": "policy_v3.pdf", "document_id": "doc_10877", "chunk_id": "chunk_12", "page_number": 3, "text": "The excerpt of source text the answer was grounded in.", "score": 0.88 } ], "usage": { "input_tokens": 3180, "output_tokens": 204, "total_tokens": 3384 } } ] } ``` ### d. Converse with a RAG Agent The **converseWithRagAgent(ragConversationEndpointKey, ragConversationPrompt, ragConversationId)** method sends a message to an Agentic RAG endpoint while retaining the context of previous turns. Use this method to build multi-turn assistants that answer follow-up questions using the same document store. **Parameters Used**
Parameter Description Values
ragConversationEndpointKey The unique ID of the RAG endpoint published in your project String
ragConversationPrompt The query which is sent to the model String
ragConversationId Identifies the conversation thread the message belongs to String
> **Note:** For the first request, you can either omit the ragConversationId or pass "-1". The response automatically generates and returns a unique conversation ID. Pass this ID in subsequent requests to continue the same conversation thread. **Sample Code Snippet** ```javascript // ------------------------------------------------------------------- // RAG - Chat with History // ------------------------------------------------------------------- const ragConversationEndpointKey = ""; const ragConversationPrompt = ""; /* * For the first request, use "-1". * For subsequent requests, use the conversation ID returned * in the previous response. */ const ragConversationId = ""; const ragConversationResponse = await quickML.converseWithRagAgent( ragConversationEndpointKey, ragConversationPrompt, ragConversationId ); console.log(ragConversationResponse); ``` The syntax of the response received is shown below: ```javascript { "status": "success", "result": [ { "conversation_id": "55663000000288001", "content": "The agent's answer, informed by earlier turns in this conversation.", "citations": [ { "document_name": "policy_v3.pdf", "document_id": "doc_10877", "chunk_id": "chunk_12", "page_number": 3, "text": "The excerpt of source text the answer was grounded in.", "score": 0.88 } ], "usage": { "input_tokens": 3612, "output_tokens": 188, "total_tokens": 3800 } } ] } ``` **Where to find the endpoint information** Create an endpoint for your Saved RAG configuration and access the endpoint details page to view the Endpoint URL, required headers and a sample request response. ![sdk-javascript-4.webp](https://catalyst-docs-development.zohostratus.in/images/sdk/javascript/quickml/sdk-javascript-4.webp) > **Info :** Refer to the [SDK Scopes table](https://docs.catalyst.zoho.com/en/sdk/javascript/v1/scopes/) to determine the required permission level for performing the above operation. ## SDK — Python — QuickML -------------------------------------------------------------------------------- title: "Create QuickML Instance" description: "This page describes the method to execute QuickML endpoints in your Python application with a sample code snippet." last_updated: "2026-09-08T09:48:40.000Z" source: "https://docs.catalyst.zoho.com/en/sdk/python/v1/quickml/execute-quickml-endpoints/" service: "QuickML" related: - QuickML Help (/en/quickml/) - QuickML Pipeline Endpoints (/en/quickml/help/pipeline-endpoints/) - SDK Scopes (/en/sdk/python/v1/sdk-scopes) -------------------------------------------------------------------------------- # Catalyst QuickML [Catalyst QuickML](https://docs.catalyst.zoho.com/en/quickml/) is the no-code machine learning platform designed to build pipelines and train machine learning models with your own data fetched from the various data connectors. Access and integrate these trained models by creating endpoints with necessary authentications and publish them to serve live predictions in production environments. QuickML also provides access to Large Language Models, Vision Language Models, and Retrieval Augmented Generation (RAG) features under Generative AI offerings. You can create endpoints and access each of them through their isolated APIs and effortlessly integrate them with your applications. #### Create QuickML Instance The app reference used in the code below is the [Python object](https://docs.catalyst.zoho.com/en/sdk/python/v1/setup/#initializing-the-sdk) returned as a response during SDK initialization. You will refer to this component instance in various code snippets of working with QuickML. You can create a new instance as shown below: ```python # Create a QuickML instance. quickml = app.quick_ml() ``` -------------------------------------------------------------------------------- title: "Execute Custom ML Endpoint" description: "This page describes the method to execute QuickML endpoints in your Python application with a sample code snippet." last_updated: "2026-09-15T05:25:35.000Z" source: "https://docs.catalyst.zoho.com/en/sdk/python/v1/quickml/execute-custom-ml-endpoint/" service: "QuickML" related: - QuickML Help (/en/quickml/) - QuickML Pipeline Endpoints (/en/quickml/help/pipeline-endpoints/) - SDK Scopes (/en/sdk/python/v1/sdk-scopes) -------------------------------------------------------------------------------- The code snippet given below allows you to pass input data to a published [QuickML endpoint](https://docs.catalyst.zoho.com/en/quickml/help/pipeline-endpoints/) , and get the inferences from the ML model . The output returns the prediction of the values of the target column that is defined while creating the ML pipeline. > **Note:** 1. You will need to have the ML pipeline and the model's endpoint configured and published in your project using the Catalyst console, before you execute this code to predict the outcome with the code snippet below. 2. QuickML is currently available to Catalyst users accessing from the US, IN, EU, JP, SA, or CA data centers. The _quickml component instance_ is created as shown, which will not fire a server-side call. You will need to create a data dictionary through which you can pass the input data to the model’s endpoint as key-value pairs. The dictionary keys must match the features from your trained dataset that is expected by the model. The endpoint_key mentioned is the unique ID of the endpoint published for the ML model configured in your project. The endpoint key and the input data are passed to the `run_inference` ( endpoint_key, input_data) method for execution. The app reference used in the code below is the [ python object](https://docs.catalyst.zoho.com/en/sdk/python/v1/setup/#initializing-the-sdk) returned as a response during SDK initialization. **Sample Code Snippet** ```python # Create a QuickML instance. quickml = app.quick_ml() # Run Inference # Replace with your endpoint key copied from the Catalyst console. endpoint_key = "" # Replace the sample feature names and values with the input expected by your model. input_data = { "": "", "": "" } response = quickml.run_inference (endpoint_key, input_data) print(response) ``` **The syntax of the model response received is shown below:** ```json { "status": "success", "result": [ { "prediction": "1", "confidence": 0.87 } ] } ``` **Parameters Used**
Parameter Name Definition
endpoint_key A mandatory parameter. Will store the unique ID of the endpoint published for the ML model.
input_data A mandatory parameter. Will pass the required data input to the endpoint.
> **Note:** The predict(endpoint_key, input_data) method continues to be supported for existing implementations and performs the same operation as run_inference(endpoint_key, input_data_) . We recommend using run_inference() in new implementations for consistency with the other QuickML SDK methods. **Where to find the endpoint information?** Create an endpoint for your trained ML model and access the endpoint details page to view the Endpoint URL, required headers and a sample request response. ![quickml-python-sdk-1.webp](https://catalyst-docs-development.zohostratus.in/images/sdk/python/quickml/quickml-python-sdk-1.webp) > **Info :** Refer to the [SDK Scopes table](https://docs.catalyst.zoho.com/en/sdk/python/v1/sdk-scopes) to determine the required permission level for performing the above operation. --- -------------------------------------------------------------------------------- title: "Execute LLM Endpoint" description: "This page describes the method to execute QuickML endpoints in your Python application with a sample code snippet." last_updated: "2026-09-09T11:01:45.000Z" source: "https://docs.catalyst.zoho.com/en/sdk/python/v1/quickml/execute-llm-endpoint/" service: "QuickML" related: - QuickML Help (/en/quickml/) - QuickML Pipeline Endpoints (/en/quickml/help/pipeline-endpoints/) - SDK Scopes (/en/sdk/python/v1/sdk-scopes) -------------------------------------------------------------------------------- **LLM Serving** QuickML now provides Generative AI services by hosting Large Language Models and Vision Language Models (VLM) under Generative AI section in the console. LLM Serving is equipped with Chat instance with a set of parameters for each model to provide additional control over its responses. LLM serving is equipped with two interaction modes with language models. The only difference between these two is keeping the context of prior messages while responding to the query. Let's take a quick look at the explanation. * **Single-shot mode** : Each prompt request to the model is treated independently while generating the response, with no memory of previous turns. * **Conversation mode** : Maintains context throughout the session. Prior turns are passed as context, allowing multi-turn conversations. **Execute LLM Endpoint** With Catalyst QuickML, you can tune the responses of available large language models according to your needs and access them from your application using authenticated endpoints. An LLM Endpoint is created from a saved parameter configuration, so the model used, tools, Instructions, system prompt, and generation parameters you tested in the console are exactly what your application calls. > **Note:** 1. You will need to have the LLM endpoint created and published in your project using the Catalyst console, before you execute the code snippets below. 2. The model and its parameters are fixed at the time of endpoint creation and cannot be overridden through the SDK. 3. QuickML is currently available to Catalyst users accessing from the US, IN, & EU data centers. The SDK method you call depends on the interaction mode the endpoint was configured with:
Interaction mode SDK method
Conversation mode OFF ( Single shot mode) ask_llm( endpoint_key, prompt )
Conversation mode ON converse_with_llm( endpoint_key, prompt, conversation_id )
### a. Generatean LLM response Single-shot mode of interaction with language model requires the input prompt along with the valid endpoint key. The endpoint key will be generated at the time of endpoint creation. The `ask_llm(endpoint_key, prompt)` method sends a single prompt to the published LLM serving endpoint and returns the generated response. Each call is processed independently; no conversation context is retained between requests. **Parameters Used**
Parameter Description Values
endpoint_key The unique ID of the LLM endpoint published in your project String
prompt The message sent to the model String
**Sample Code Snippet** ```python # Create a QuickML instance. quickml = app.quick_ml() # Ask LLM # Replace with your endpoint key copied from the Catalyst console. endpoint_key = "" # Enter the prompt you want to send to the LLM. prompt = "" response = quickml.ask_llm (endpoint_key, prompt) print(response) ``` The syntax of the model response received is shown below: ```json { "status": "success", "result": [ { "content": "The generated response text from the model.", "finish_reason": "stop", "usage": { "input_tokens": 42, "output_tokens": 128, "total_tokens": 170 } } ] } ``` Use this method for single-shot interaction tasks such as summarization, classification, content generation, or extraction. > **Info :** Refer to the [SDK Scopes table](https://docs.catalyst.zoho.com/en/sdk/python/v1/sdk-scopes) to determine the required permission level for performing the above operation. ### b. Converse with an LLM The conversation mode of interaction with language model required the input prompt with the valid endpoint_key and a conversation_id. The endpoint key will be generated at the time of endpoint creation. The `converse_with_llm(endpoint_key, prompt, conversation_id)` method sends a prompt to a published LLM endpoint while retaining the context of the previous interactions in the same conversation. **Parameters used**
Parameter Description Values
endpoint_key Mandatory parameter. The unique ID of the LLM endpoint published in your project String
prompt Mandatory parameter. The message sent to the model String
conversation_id Optional parameter. Identifies the conversation thread the message belongs to. String
> **Note:** In the first request, you can either ignore or pass "-1" as the value of conversation_id. The response automatically generates and returns a unique conversation ID along with the response, which you must pass in each subsequent requests to continue the same thread. **Sample Code Snippet** ```python # Create a QuickML instance. quickml = app.quick_ml() # Converse with LLM # Replace with your endpoint key copied from the Catalyst console. endpoint_key = "" # Enter your prompt. prompt = "" # For the first request, use "-1". # For subsequent requests, use the conversation ID returned in the previous response. conversation_id = "" response = quickml.converse_with_llm ( endpoint_key, prompt, conversation_id ) print(response) ``` The syntax of the model response received is shown below: ```json { "status": "success", "result": [ { "conversation_id": "55663000000288001 ", "content": "The generated response text from the model.", "finish_reason": "stop", "usage": { "input_tokens": 310, "output_tokens": 96, "total_tokens": 406 } } ] } ``` Use this method to build chat experiences where the model must remember what was discussed earlier. **Where to find the endpoint information** Create an endpoint for your Saved LLM configuration and access the endpoint details page to view the Endpoint URL, required headers and a sample request response. ![quickml-python-sdk-2.webp](https://catalyst-docs-development.zohostratus.in/images/sdk/python/quickml/quickml-python-sdk-2.webp) > **Info :** Refer to the [SDK Scopes table](https://docs.catalyst.zoho.com/en/sdk/python/v1/sdk-scopes) to determine the required permission level for performing the above operation. -------------------------------------------------------------------------------- title: "Execute Vision Model Endpoint" description: "This page describes the method to execute QuickML endpoints in your Python application with a sample code snippet." last_updated: "2026-09-09T11:01:45.000Z" source: "https://docs.catalyst.zoho.com/en/sdk/python/v1/quickml/execute-vision-model-endpoint/" service: "QuickML" related: - QuickML Help (/en/quickml/) - QuickML Pipeline Endpoints (/en/quickml/help/pipeline-endpoints/) - SDK Scopes (/en/sdk/python/v1/sdk-scopes) -------------------------------------------------------------------------------- **Vision Language Model** QuickML hosts Vision Language Models in the LLM Serving module under the Generative AI section in the console. VLMs are multimodal models that accept a file object along with a text prompt and return a natural language response. The model interprets the image according to the text prompt instruction and generates an appropriate response. Interaction with Vision Language Model works similar to single shot interaction mode with LLM. Each request must carry its own file and prompt and is processed independently, with no memory of previous requests. To analyze the same image again with a different instruction, send a new request. **Execute Vision Model Endpoint** VLM is served with its own set of parameters, giving you control over the response before publishing it. You can test a model with sample images and prompts in the test interface, save the configuration, and create an endpoint from it to integrate with your application. A Vision Model endpoint is created from a saved parameter configuration, so the model, system prompt, instructions, and generation parameters you tested in the console are exactly what your application calls. The endpoint must be created from a configuration that uses a Vision Language Model, text-only LLM endpoints do not accept image input. Open the image in binary read mode and pass the file object to the method > **Note:** 1. You will need to have the Vision Language Model endpoint created and published in your project using the Catalyst console, before you execute the code snippet below. 2. QuickML is currently available to Catalyst users accessing from the US, IN, and EU data centers. ### a. Analyze an Image The `analyze_image(endpoint_key, image, prompt)` method requires the input prompt along with a file object and the endpoint_key. The endpoint key will be generated at the time of endpoint creation. It sends an image and an accompanying prompt to a published Vision Language Model endpoint and returns the model's response. The model executes the prompt as described in the file attached. **Parameters used**
Parameter Description Values
endpoint_key The unique ID of the VLM endpoint published in your project String
image The image file object to be analy z ed File object
prompt The task the model must perform on the image String
**Allowed file formats:** jpg, .jpeg, .png, **File Size Limit:** 500KB **Sample Code Snippet** ```python # Create a QuickML instance. quickml = app.quick_ml() # Analyze Image # Replace with your endpoint key copied from the Catalyst console. endpoint_key = "" # Replace with the path to your image. image_path = "" with open(image_path, "rb") as image: # Enter the prompt describing the task to perform on the image. prompt = "" response = quickml.analyze_image ( endpoint_key, image, prompt ) print(response) ``` The syntax of the response received is shown below: ```json { "status": "success", "result": [ { "content": "A description of the image, as instructed by the prompt.", "finish_reason": "stop", "usage": { "input_tokens": 1064, "output_tokens": 74, "total_tokens": 1138 } } ] } ``` Use Vision Language Model for tasks such as image description, document and receipt understanding, chart interpretation, and visual question answering, etc. **Where to find the endpoint information** Create an endpoint for your Saved VLM configuration and access the endpoint details page to view the Endpoint URL, required headers and a sample request response. ![quickml-python-sdk-3.webp](https://catalyst-docs-development.zohostratus.in/images/sdk/python/quickml/quickml-python-sdk-3.webp) > **Info :** Refer to the [SDK Scopes table](https://docs.catalyst.zoho.com/en/sdk/python/v1/sdk-scopes) to determine the required permission level for performing the above operation. -------------------------------------------------------------------------------- title: "Execute RAG Endpoint" description: "This page describes the method to execute QuickML endpoints in your Python application with a sample code snippet." last_updated: "2026-09-09T11:01:45.000Z" source: "https://docs.catalyst.zoho.com/en/sdk/python/v1/quickml/execute-rag-endpoint/" service: "QuickML" related: - QuickML Help (/en/quickml/) - QuickML Pipeline Endpoints (/en/quickml/help/pipeline-endpoints/) - SDK Scopes (/en/sdk/python/v1/sdk-scopes) -------------------------------------------------------------------------------- **RAG** Retrieval-Augmented Generation (RAG) combines a large language model with your organization's own knowledge base to deliver accurate, context-aware responses grounded in the organization specific documents. Catalyst QuickML is equipped with RAG system under Generative AI services, to deliver responses grounded in the organization's own documents with ground truth citations of the documents for traceability. Multiple RAG modes have been introduced each designed for a different use case. Every mode exposes its own dedicated parameters, giving you absolute control over how the RAG system generates responses. Let's take a quick look at the RAG modes: * Response Generation : Response Generation is the standard RAG mode where model generates response grounded with relevant chunks of information from the documents * Agentic RAG : An agent layer on top of RAG that can reason over complex queries, decompose them into sub-queries, and handle conversational interactions * Document Search : It is retrieval-only task, doesn't generate a response but returns the most relevant chunks of content from the documents. **Execute RAG Endpoint** Create a RAG endpoint from a saved RAG configuration. The RAG mode, selected large language model, respective parameters, and document store are captured from the saved configuration at the time of endpoint creation. It cannot be overridden through the SDK. The SDK method you call depends on the RAG mode the endpoint was configured with:
RAG mode SDK method
Response Generationgenerate_rag_response(endpoint_key, prompt)
Document Searchsearch_documents(endpoint_key, query)
Agentic RAG (without history)ask_rag_agent(endpoint_key, prompt)
Agentic RAG (with history)converse_with_rag_agent(endpoint_key, prompt, conversation_id)
> **Note:** 1. You will need to have the RAG endpoint created and published in your project using the Catalyst console, before you execute the code snippets below. 2. QuickML is currently available to Catalyst users accessing from the US, IN, and EU data centers ### a. Generate a RAG Response The `generate_rag_response(endpoint_key, prompt)` method sends a question to a published RAG endpoint. The service retrieves the most relevant content from the endpoint's document store and returns a summarised response grounded in that content. **Parameters used**
Parameter Description Values
endpoint_keyThe unique ID of the RAG endpoint published in your projectString
promptThe query which is sent to the model.String
**Sample Code Snippet** ```python # Create a QuickML instance. quickml = app.quick_ml() # Generate RAG Response # Replace with your endpoint key copied from the Catalyst console. endpoint_key = "" # Enter your question. prompt = "" response = quickml.generate_rag_response ( endpoint_key, prompt ) print(response) ``` The syntax of the response received is shown below: ```json { "status": "success", "result": [ { "content": "The answer, grounded in the retrieved documents.", "citations": [ { "document_name": "employee_handbook_2026.pdf", "document_id": "doc_10294", "chunk_id": "chunk_58", "page_number": 14, "text": "The excerpt of source text the answer was grounded in.", "score": 0.91 } ], "usage": { "input_tokens": 1420, "output_tokens": 112, "total_tokens": 1532 } } ] } ``` Use this method for document-based question answering, summarization, and support assistants ### b. Search Documents The `search_documents(endpoint_key, query)` method performs retrieval only. It returns the chunks of content from the document store that most closely match the query, without generating a response. **Parameters used**
Parameter Description Values
endpoint_keyThe unique ID of the RAG endpoint published in your projectString
queryThe search query is sent to the document store.String
**Sample Code Snippet** ```python # Create a QuickML instance. quickml = app.quick_ml() # Search Documents # Replace with your endpoint key copied from the Catalyst console. endpoint_key = "" # Enter your search query. query = "" response = quickml.search_documents ( endpoint_key, query ) print(response) ``` The syntax of the response received is shown below: ```json { "status": "success", "result": [ { "chunk_id": "chunk_58", "document_name": "employee_handbook_2026.pdf", "document_id": "doc_10294", "page_number": 14, "text": "The retrieved chunk of content that matched the query.", "score": 0.91 }, { "chunk_id": "chunk_59", "document_name": "employee_handbook_2026.pdf", "document_id": "doc_10294", "page_number": 15, "text": "The next most relevant chunk of content.", "score": 0.84 } ] } ``` Use this method when your application needs the raw retrieved passages for downstream processing, ranking, or custom rendering ### c. Ask a RAG Agent The `ask_rag_agent(endpoint_key, prompt)` method sends a single message to an Agentic RAG endpoint. The agent can decompose complex queries into sub-queries, refine them, and perform multi-step reasoning over the document store before returning a response. > **Note :** Each call is independent. No conversation context is retained. **Parameters used**
Parameter Description Values
endpoint_keyThe unique ID of the RAG endpoint published in your projectString
promptThe query which is sent to the modelString
**Sample Code Snippet** ```python # Create a QuickML instance. quickml = app.quick_ml() # Ask RAG Agent # Replace with your endpoint key copied from the Catalyst console. endpoint_key = "" # Enter your prompt. prompt = "" response = quickml.ask_rag_agent ( endpoint_key, prompt ) print(response) ``` The syntax of the response received is shown below: ```json { "status": "success", "result": [ { "content": "The agent's answer after reasoning over the document store.", "sub_queries": [ "First decomposed sub-query the agent generated.", "Second decomposed sub-query the agent generated." ], "citations": [ { "document_name": "policy_v3.pdf", "document_id": "doc_10877", "chunk_id": "chunk_12", "page_number": 3, "text": "The excerpt of source text the answer was grounded in.", "score": 0.88 } ], "usage": { "input_tokens": 3180, "output_tokens": 204, "total_tokens": 3384 } } ] } ``` ### d. Converse with a RAG Agent The `converse_with_rag_agent(endpoint_key, prompt, conversation_id)` method sends a message to an Agentic RAG endpoint while retaining the context of previous turns. Use this method to build multi-turn assistants that answer follow-up questions from the same document store. **Parameters used**
Parameter Description Values
endpoint_keyThe unique ID of the RAG endpoint published in your projectString
promptThe query which is sent to the modelString
conversation_idIdentifies the conversation thread the message belongs toString
> **Note:** In the first request, you can either ignore or pass "-1" as the value of conversation_id. The response automatically generates and returns a unique conversation ID along with the response, which you must pass in each subsequent requests to continue the same thread . **Sample Code Snippet** ```python # Create a QuickML instance. quickml = app.quick_ml() # Converse with RAG Agent # Replace with your endpoint key copied from the Catalyst console. endpoint_key = "" # Enter your prompt. prompt = "" # For the first request, use "-1". # For subsequent requests, use the conversation ID returned in the previous response. conversation_id = "" response = quickml.converse_with_rag_agent ( endpoint_key, prompt, conversation_id ) print(response) ``` The syntax of the response received is shown below: ```json { "status": "success", "result": [ { "conversation_id": "55663000000288001 ", "content": "The agent's answer, informed by earlier turns in this conversation.", "citations": [ { "document_name": "policy_v3.pdf", "document_id": "doc_10877", "chunk_id": "chunk_12", "page_number": 3, "text": "The excerpt of source text the answer was grounded in.", "score": 0.88 } ], "usage": { "input_tokens": 3612, "output_tokens": 188, "total_tokens": 3800 } } ] } ``` **Where to find the endpoint information** Create an endpoint for your Saved RAG configuration and access the endpoint details page to view the Endpoint URL, required headers and a sample request response. ![quickml-python-sdk-4.webp](https://catalyst-docs-development.zohostratus.in/images/sdk/python/quickml/quickml-python-sdk-4.webp) > **Info :** Refer to the [SDK Scopes table](https://docs.catalyst.zoho.com/en/sdk/python/v1/sdk-scopes) to determine the required permission level for performing the above operation. -------------------------------------------------------------------------------- title: "FAQ — QuickML" description: "This section covers queries related to the Catalyst QuickML service, such as Data Connectors and Preprocessing, ML Algorithms, and Pipeline Builders." last_updated: "2026-11-13T05:00:22.000Z" source: "https://docs.catalyst.zoho.com/en/faq/quickml/" -------------------------------------------------------------------------------- # General ### What is the difference between AutoML and QuickML? AutoML is now a way to build a pipeline inside Catalyst QuickML, not a separate service. The separate AutoML component of Catalyst Zia Services was removed in June 2026, and its users moved to QuickML's AutoML. * **AutoML in QuickML:** when you create a pipeline, select **Create an Auto-generated pipeline using AutoML**. QuickML runs data preprocessing, feature engineering, algorithm selection, hyperparameter tuning and model evaluation for you, and finalizes the best-performing model with its evaluation metrics. * **A pipeline you build yourself in QuickML:** you choose the data preprocessing and transformation steps and the ML algorithms to train, and design the pipeline as you need, with no coding. Refer to the [Create AutoML Pipeline help page](https://docs.catalyst.zoho.com/en/quickml/help/create-automl-pipeline/) for the steps. ### How safe is my data in QuickML? Will the data be used to increase the QuickML platform's quality? User data is encrypted and stored safely by adhering to all the security measures applied in Zoho. The data uploaded will not be used to improve the accuracy of any of the QuickML Platform's algorithms. It is only used to train the intended customer model that the user configures. ### Is it possible to access a dataset in one Catalyst project from another project? Catalyst Projects are intended to provide a clear isolation between data that are being handled. It is not possible to access the data from one project from another. # Datasets ### How is my data quality score calculated? In Catalyst QuickML, the data quality score is calculated by internal metrics that consider the invalid and missing values present in the dataset. The score is displayed after you import a dataset, and QuickML generates a quality score for each version of the dataset, which you can view using the version option on the **Dataset details** page. The data profiler also reports the count and percentage of missing values, such as blank and null values, so you can fix them. Refer to the [QuickML Data Profiler and Viewer help page](https://docs.catalyst.zoho.com/en/quickml/help/data-profiler-and-viewer/) for more information. ### What is the maximum number of records that will be fetched from Zoho CRM? By using Zoho CRM Bulk APIs, maximum of six hundred thousand/ six lakh records will be fetched into QuickML even if synchronization is configured. ### Is it possible to pause and resume the synchronization for particular Dataset import? Yes, in Catalyst QuickML you can stop the synchronization of a particular dataset by choosing the None option in the **Sync Frequency** drop-down on the dataset details page, and choose a sync frequency again to resume it. Refer to the [QuickML Periodic Sync help page](https://docs.catalyst.zoho.com/en/quickml/help/periodic-sync/) for more information. # Pipelines ### Is it possible to use multiple datasets in single pipeline? Yes, in Catalyst QuickML you can use multiple datasets in a single pipeline by using the Add Dataset stage and configuring the required dataset in it. Refer to the [QuickML Data Extraction help page](https://docs.catalyst.zoho.com/en/quickml/help/data-preprocessing/data-extraction/) for more information. ### What is the difference between Data Pipeline and ML Pipeline? In Catalyst QuickML, a data pipeline is intended to do data pre-processing on the original dataset and reuse the dataset for future pipeline creations. Hence, the data pipeline will only have data operations while the ML pipeline will contain both data and ML operations. ### Why is there a statistics difference in dataset details page profile and pipeline source stage profile? In Catalyst QuickML, the profile on the dataset details page represents details for the whole data, but the profile in the pipeline source stage represents details for sampled data from the original dataset. ### Is it possible to change the target column of the ML pipeline? No, in Catalyst QuickML once the target column of an ML pipeline is saved, it cannot be changed. You will have to create a new ML pipeline with the new target column to experiment. ### Is Zia features in QuicML Pipeline builder is generated using customer data? Zia features are in-house ML/DL models that are pre-trained using large open-source dataset to solve common use-cases and integrated into builder to enhance data preprocessing capabilities. ### Why is my current operation processing for long time? All the pipeline executions are queued and handled asynchronously inside QuickML and based on demand the execution will take place. In certain cases, the operation might be costlier in terms of computation, so there may be a delay. However, the status of the pipeline execution will be updated respectively once the execution succeeds or fails. # Models ### How are the models created? In Catalyst QuickML, a model is created automatically when the ML pipeline executes successfully. Once the models are created, you can view the details associated with that model and pipeline in the **Models** module. Refer to the [QuickML Model Details help page](https://docs.catalyst.zoho.com/en/quickml/help/models-details/) for more information. # Endpoints ### Why do I get 'Production Environment is currently unavailable for QuickML service' when I open QuickML in the Production environment? This is expected. Catalyst QuickML no longer has separate Development and Production environments, so it can't be enabled in Production and nothing needs to be deployed. You build pipelines, publish endpoints and use LLM Serving, RAG and the Knowledge Base from your project's Development environment, and your application running in Production calls those same endpoints. 1. In the Catalyst console, switch your project to the **Development** environment and open QuickML. 2. Publish your model as an endpoint, or set up your LLM Serving or RAG endpoint. 3. Copy the endpoint URL, the required headers and the OAuth scope from the endpoint's details. 4. Call the endpoint from your Production function or application, using an OAuth token that has that scope. Note: QuickML datasets, pipelines and endpoints don't appear in **Settings** → **Environments** → **Deployments**, because they aren't moved between environments. Refer to the [QuickML Pipeline Endpoints help page](https://docs.catalyst.zoho.com/en/quickml/help/pipeline-endpoints/) and the [LLM Serving help page](https://docs.catalyst.zoho.com/en/quickml/help/generative-ai/llm-serving/) for more information. ### What are the modes used to integrate QuickML endpoints to external endpoints? There are two modes available to integrate QuickML endpoints. **REST API:** Zoho OAuth authenticated [REST API](https://docs.catalyst.zoho.com/en/quickml/help/pipeline-endpoints/) calls.\ **QuickML SDKs:** External calls can be made using [Java](https://docs.catalyst.zoho.com/en/sdk/java/v1/quickml/execute-quickml-endpoints/), [Python](https://docs.catalyst.zoho.com/en/sdk/python/v1/quickml/execute-quickml-endpoints/) and [NodeJs](https://docs.catalyst.zoho.com/en/sdk/nodejs/v2/quickml/execute-quickml-endpoints/) Catalyst SDKs. # Signals ## Getting Started -------------------------------------------------------------------------------- title: "Introduction" description: "Learn about getting started with Catalyst Signals that helps you establish seamless communication between decoupled applications." last_updated: "2026-11-03T10:01:15.000Z" source: "https://docs.catalyst.zoho.com/en/signals/getting-started/introduction/" service: "Signals" -------------------------------------------------------------------------------- # What is Catalyst Signals? Catalyst Signals is a cutting-edge event bus service that transforms how organizations adopt Event-Driven Architectures (EDAs) to streamline operations and improve efficiency. It enables near-instantaneous communication between decoupled applications and services, ensuring your workflows remain responsive, scalable, and reliable. Signals simplifies event-driven architectures by eliminating the need for extensive coding or complex configurations. Its intuitive interface makes it easy for users across different technical backgrounds to design and manage event flows between [Publishers](https://docs.catalyst.zoho.com/en/signals/help/publishers/key-aspects/) and [Targets](https://docs.catalyst.zoho.com/en/signals/help/targets/key-aspects/). ### Predefined Publishers and Schemas Catalyst Signals comes with a rich collection of predefined publishers from Zoho services and Catalyst’s own CloudScale services, including [Authentication](https://docs.catalyst.zoho.com/en/signals/help/publishers/supported-events/catalyst-publishers/#cloudscale-authentication), [Cache](https://docs.catalyst.zoho.com/en/signals/help/publishers/supported-events/catalyst-publishers/#cloudscale-cache), [Data Store](https://docs.catalyst.zoho.com/en/signals/help/publishers/supported-events/catalyst-publishers/#cloudscale-data-store) and [Stratus](https://docs.catalyst.zoho.com/en/signals/help/publishers/supported-events/catalyst-publishers/#cloudscale-stratus). These services come along with default events associated with their schemas, eliminating the need for manual schema creation. For Zoho service like [CRM](https://www.zoho.com/en-in/crm/), even custom modules are kept in sync to ensure compatibility during event transformations and webhook configurations. Even for custom publishers, you can generate schema from [live event payloads](https://docs.catalyst.zoho.com/en/signals/help/publishers/create-publisher/custom-publishers/#live). By removing the friction of schema setup, Catalyst Signals enables quick onboarding of business-critical workflows across applications. ### Flexible and Robust Event Orchestration Once events are captured, Catalyst Signals gives you full control over how they’re processed and routed. You can define smart rules to filter and transform events, assign delivery modes, configure retries, and route events to multiple targets like [webhooks](https://docs.catalyst.zoho.com/en/signals/help/webhooks/key-aspects/), [functions](https://docs.catalyst.zoho.com/en/serverless/help/functions/event-functions/) or [circuits](https://docs.catalyst.zoho.com/en/serverless/help/circuits/implementation/). Failures during delivery can now automatically trigger Application Alerts integrated from Catalyst DevOps. This enables teams to receive real-time email notifications and take immediate action about failed events. Additionally, Connections from Catalyst's Security & Identity services (under CloudScale) are built into the Webhook configuration, ensuring events are delivered securely to authorized endpoints with minimal effort. Each function or circuit receiving a Signal can be monitored independently using the logs available in their respective consoles, offering deeper visibility and traceability in event flow execution. ### Empowering Digital Transformation Catalyst Signals acts as a *Catalyst* for businesses modernizing their systems and embracing digital transformation. By combining Signals with other Catalyst components organizations can build scalable, loosely coupled systems that rapidly adapt to changes. Whether you’re automating internal workflows, reacting to user behavior, or synchronizing data across distributed systems, Catalyst Signals offers a flexible, low-maintenance foundation to optimize operations and drive innovation at scale. ### Architecture Let's walk you through the outright architecture of Signals to connect with multiple cloud environments to process and deliver real-time data. ![Catalyst Signals Architecture](https://catalyst-docs-development.zohostratus.in/images/help/signals/getting-started/architecture.webp) An [event](https://docs.catalyst.zoho.com/en/signals/help/events/) is a JSON-formatted message that represents a change or occurrence in a system. The [Target](https://docs.catalyst.zoho.com/en/signals/help/targets/key-aspects/) applications listen to these events from the [Publisher](https://docs.catalyst.zoho.com/en/signals/help/publishers/key-aspects/) to perform orchestrations. In this process, the event from one software source acts as a trigger for workflows in different software. Targets receive event details through [Webhooks](https://docs.catalyst.zoho.com/en/signals/help/webhooks/key-aspects/), [Functions](https://docs.catalyst.zoho.com/en/serverless/help/functions/event-functions/), and [Circuits](https://docs.catalyst.zoho.com/en/serverless/help/circuits/introduction/). Imagine that you have a travel and hospitality company called **Travel Bureau**. It has an online platform for booking accommodations, flights, and other travel related services. The company uses multiple services for handling different aspects of reservation management, customer service and support, personalized recommendations, and more. - **Booking Service**: When a user makes a booking on the company's platform, it publishes a 'New Booking' event to the Catalyst Signals. - **Reservation Management**: The Reservation Service subscribes to the 'New Booking' event. Upon receiving the event, it collects the details from it, such as reservation dates, customer preferences, and service selections. With these details, it updates and manages the reservation in real-time. - **Customer Service and Support**: The Customer Service also subscribes to the 'New Booking' event. Once the booking is completed, it reaches out to the user and inquires about any specific requirements, requests, and complaints, if any. - **Personalized Recommendations**: The Recommendation Engine listens for the 'New Booking' event with the user's preferences and service selections. It generates personalized recommendations for accommodations, activities, and destinations based on it. This helps in enhancing the user experience and increasing conversion rates. Catalyst Signals connects these software sources to deliver outstanding end-user experiences and optimize operations through real-time event processing and intelligent automation. Continue on to the next page to learn about the core elements and other features of Signals in detail. -------------------------------------------------------------------------------- title: "Ecosystem" description: "Learn about getting started with Catalyst Signals that helps you establish seamless communication between decoupled applications." last_updated: "2025-12-31T06:47:59.000Z" source: "https://docs.catalyst.zoho.com/en/signals/getting-started/ecosystem/" service: "Signals" -------------------------------------------------------------------------------- # Ecosystem of Signals **Elements** - [Events](https://docs.catalyst.zoho.com/en/signals/help/events/) A significant occurrence of action or change within an application. - [Publishers](https://docs.catalyst.zoho.com/en/signals/help/publishers/key-aspects/)A publisher is the primary source of events. - [Rules](https://docs.catalyst.zoho.com/en/signals/help/rules/key-aspects/)It guides the ingestion of incoming events from publisher to target. - [Targets](https://docs.catalyst.zoho.com/en/signals/help/targets/key-aspects/)An endpoint or application that serves as a destination for events. - [Webhooks](https://docs.catalyst.zoho.com/en/signals/help/webhooks/key-aspects/)An HTTP-based callback function that allows event-driven communication between decoupled apps. As depicted above, Catalyst Signals comprises of various elements, each with a specific functionality and scope. [**Events**](https://docs.catalyst.zoho.com/en/signals/help/events/): This refers to any significant occurrence of action or change within an environment or application. [**Publisher**](https://docs.catalyst.zoho.com/en/signals/help/publishers/key-aspects/): It acts as a source from where events will be published. The component helps in authenticating and managing the list of sources. It can either be any of the Zoho products, or a custom product. [**Rules**](https://docs.catalyst.zoho.com/en/signals/help/rules/key-aspects/): They establish a relationship between the Publisher and the Target. This relationship is based on the rule containing filters that determine when and where to convey the events from the Publisher. [**Targets**](https://docs.catalyst.zoho.com/en/signals/help/targets/key-aspects/): A target is usually an endpoint that serves as a destination for the events generated by a Publisher. Signals support three types of targets: Webhooks, [Functions](https://docs.catalyst.zoho.com/en/serverless/help/functions/introduction/) and [Circuits](https://docs.catalyst.zoho.com/en/serverless/help/circuits/introduction/). [**Webhooks**](https://docs.catalyst.zoho.com/en/signals/help/webhooks/key-aspects/): This is one of the majorly used target types to which the event details are shared with. The component holds the necessary configurations for a webhook to be used in Signals. -------------------------------------------------------------------------------- title: "Benefits" description: "Learn about getting started with Catalyst Signals that helps you establish seamless communication between decoupled applications." last_updated: "2026-10-30T17:47:18.000Z" source: "https://docs.catalyst.zoho.com/en/signals/getting-started/benefits/" service: "Signals" -------------------------------------------------------------------------------- # Benefits ### Serverless Management Catalyst Signals streamlines event-driven development through serverless architecture. This approach eliminates the need for infrastructure management and focus solely on crafting and deploying the event-driven applications. With Catalyst Signals, you can easily handle event processing and delivery, which results in accelerating the development cycle and boosting productivity. ### No-Code Event Management The platform facilitates connections and integrations between any applications or services, including the third-party ones. You can configure easy, streamlined workflows and transfer data between these systems without writing code. Setting up custom publishers and their events is also code-free. Additionally, you can customize the event schemas based on your requirements for each [Target](https://docs.catalyst.zoho.com/en/signals/help/targets/key-aspects/) in a [Rule](https://docs.catalyst.zoho.com/en/signals/help/rules/key-aspects/) without any coding. ### Scalable and Resilient Experience unparalleled scalability and resilience with Catalyst Signals. Its robust infrastructure effortlessly manages millions of events, ensuring optimal performance even under the most demanding workloads. It helps you stay agile and responsive while adapting to dynamic requirements with ease. ### Modernization of Monolithic Architectures Catalyst Signals simplifies the transformation of monolithic architectures by introducing seamless workflow decoupling and high-performance event broadcasting. This modernization initiative enhances agility, enabling swift adaptation and innovation in a rapidly changing landscape. ### Ad-hoc Integrations The trouble-free ad-hoc integrations between [Publishers](https://docs.catalyst.zoho.com/en/signals/help/publishers/key-aspects/) and [Targets](https://docs.catalyst.zoho.com/en/signals/help/targets/key-aspects/) allow you to process and deliver real-time data across diverse cloud environments. Catalyst Signals reduces development efforts and enhances operational efficiency as you need not configure workflows or handle integrations between applications through code. This will help organizations to quickly adapt to the various business needs and thrive in dynamic market conditions. ### Centralized Management Gain control with a centralized framework for tracking, monitoring, and managing events through the [Logs](https://docs.catalyst.zoho.com/en/signals/help/logs/) and [Dashboard](https://docs.catalyst.zoho.com/en/signals/help/dashboard/). Make your performance optimization simpler and ensure compliance with your application requirements. With this deeper insight into event [rules](https://docs.catalyst.zoho.com/en/signals/help/rules/key-aspects/), you can enhance operational efficiency and foster proactive decision-making across your event-driven architecture landscape. -------------------------------------------------------------------------------- title: "Use Cases" description: "Learn about getting started with Catalyst Signals that helps you establish seamless communication between decoupled applications." last_updated: "2025-05-30T11:44:32.000Z" source: "https://docs.catalyst.zoho.com/en/signals/getting-started/use-cases/" service: "Signals" -------------------------------------------------------------------------------- # Real-Life Use Cases Catalyst Signals presents a multitude of benefits across various scenarios to meet diverse needs. This section provides you with a glimpse into the versatility and potential of real-time event processing and dynamic scalability with Signals. ### 1. Lead Qualification Automation #### Scenario Upon completion of a [Zoho Survey](https://www.zoho.com/survey/help/) response, you need to automate lead qualification in [Zoho CRM](https://www.zoho.com/crm/help/). #### Solution Zoho Survey (publisher) sends a **Response Completion** event to a [Quick ML endpoint](https://docs.catalyst.zoho.com/en/quickml/help/pipeline-endpoints/) (target) that is configured as a [webhook](https://docs.catalyst.zoho.com/en/signals/help/webhooks/key-aspects/) in Signals. Quick ML assesses lead qualification based on various criteria, including demographic information and behavior patterns. ### 2. Advanced Lead Enrichment #### Scenario To enhance lead data after creating a lead in [Zoho CRM](https://www.zoho.com/crm/help/) to refine lead nurturing. #### Solution Zoho CRM (publisher) triggers a **New Lead Created** event to a [Catalyst Function](https://docs.catalyst.zoho.com/en/serverless/help/functions/introduction/) (target) through Signals. The function uses [Catalyst SmartBrowz](https://docs.catalyst.zoho.com/en/smartbrowz/) to scrape company details to enrich the lead data. Additionally, you can prioritize leads based on this data for higher conversion potential. ### 3. Automate Record Creation #### Scenario A customer portal application developed in Catalyst needs to automatically create records in the [Zoho CRM](https://www.zoho.com/crm/help/) Deals module whenever an order is placed. #### Solution The Customer Portal Application (publisher) sends an Order Placed event to a REST API URL of [Zoho CRM Functions](https://www.zoho.com/crm/developer/docs/functions/) (target), which is configured as a webhook in Signals. Using the received event details, the function creates a deal record in Zoho CRM. ### 4. Data Extraction and Approval Process #### Scenario Whenever a document is uploaded in an insurance company, you need to perform automatic data extraction and approval based on its contents using Optical Character Recognition (OCR). #### Solution The Insurance Company (publisher) sends a Document Uploaded event to [Catalyst Functions](https://docs.catalyst.zoho.com/en/serverless/help/functions/introduction/)(target) via Signals. The function uses [Zia Services](https://docs.catalyst.zoho.com/en/zia-services/) for OCR processing and automates the approval process based on the validation results. ### 5. Feedback Classification for Dynamic Decision-Making #### Scenario Whenever feedback is submitted on your business website, you need to classify it as positive, negative, or neutral for active decision-making. #### Solution The website (publisher) sends a Feedback Submitted event to the [Catalyst Functions](https://docs.catalyst.zoho.com/en/serverless/help/functions/introduction/) (target) via Signals. The function uses the Text Analytics feature of [Zia Services](https://docs.catalyst.zoho.com/en/zia-services/) to classify the feedback based on overall text sentiment. ### 6. Product Replacement in E-Commerce #### Scenario To streamline product replacement processes in an online platform and update the inventory and issuing dispatch products daily at a specific time. #### Solution The online platform (publisher) emits the Product Replacement events for each replacement request. These events are collected and delivered to [Catalyst Circuits](https://docs.catalyst.zoho.com/en/serverless/help/circuits/introduction/)(targets) via Signals based on a scheduled Batch policy. The circuit generates replacement orders, updates [Zoho Inventory](https://www.zoho.com/in/inventory/support/), and manages inventory accordingly. ### 7. Real-Time Integration with SaaS platform #### Scenario To share Shopify purchase details with [Zoho Analytics](https://www.zoho.com/analytics/help/) and [Zoho Inventory](https://www.zoho.com/in/inventory/support/) for sales analysis. #### Solution Shopify (publisher) generates and emits the Purchase Completion event to [Catalyst Functions](https://docs.catalyst.zoho.com/en/serverless/help/functions/introduction/) (target) through Signals. The function relays the event data to Zoho Inventory and Zoho Analytics for real-time sales analysis. -------------------------------------------------------------------------------- title: "Quick Start Guide" description: "Learn about getting started with Catalyst Signals that helps you establish seamless communication between decoupled applications." last_updated: "2026-11-03T07:48:52.000Z" source: "https://docs.catalyst.zoho.com/en/signals/getting-started/quick-start-guide/" service: "Signals" -------------------------------------------------------------------------------- # A Quick Start Guide Catalyst Signals is a user-friendly event bus service that helps you establish near instantaneous communication between applications. In this guide, we will walk you through the process of setting up a publisher, creating a webhook, and configuring rules to seamlessly manage your events. ## Create a Catalyst Project Log in to your [Catalyst Console](https://console.catalyst.zoho.com/) and create a [new project](https://docs.catalyst.zoho.com/en/getting-started/quick-start-guide/#step-1-create-a-catalyst-project) to leverage the components of Catalyst Signal and other services from the console. ![Home page of Catalyst Signals](https://catalyst-docs-development.zohostratus.in/images/help/signals/getting-started/home.webp) ## Accessing Catalyst Signals Elements Navigate to the Catalyst Signals in the left service menu, then click **Start Exploring**. ### Step 1 - Add your Publisher In the [Publishers](https://docs.catalyst.zoho.com/en/signals/help/publishers/key-aspects/) section, you can either add publishers from the default services offered in Catalyst Signals or create a [Custom Publisher](https://docs.catalyst.zoho.com/en/signals/help/publishers/create-publisher/custom-publishers/) of your choice. A few Zoho services and Catalyst CloudScale services are supported, along with a set of defined events for easy configuration. ![Creating a Publisher](https://catalyst-docs-development.zohostratus.in/images/help/signals/getting-started/quick-start-guide/publishers.gif) For [Zoho](https://docs.catalyst.zoho.com/en/signals/help/publishers/create-publisher/zoho-publishers/) and [Catalyst](https://docs.catalyst.zoho.com/en/signals/help/publishers/create-publisher/catalyst-publishers/) Publishers, internal authorization facilitates event reception. However, for Custom publishers, you need to provide the REST API URL of the events in your publisher application to receive events in Signals. [Learn how to create a custom publisher](https://docs.catalyst.zoho.com/en/signals/help/publishers/create-publisher/custom-publishers/) ### Step 2 - Create a Webhook Navigate to the Webhooks section within the Signals service, then create a webhook by providing the necessary details. In the Additional Settings of webhooks, configure the dispatch rate limits, headers, and parameters for the HTTPS webhook call. Refer to [this](https://docs.catalyst.zoho.com/en/signals/help/webhooks/create-webhook/) document for detailed guidelines. ![Creating a Webhook](https://catalyst-docs-development.zohostratus.in/images/help/signals/getting-started/quick-start-guide/webhooks.gif) Instead of using a webhook, you also have the option to create [functions](https://docs.catalyst.zoho.com/en/serverless/help/functions/event-functions/) and [circuits](https://docs.catalyst.zoho.com/en/serverless/help/circuits/implementation/) from the Catalyst Serverless to configure downstream workflows in your target systems. ### Step 3 - Configure Rule Shift to the Rules section and [create a rule](https://docs.catalyst.zoho.com/en/signals/help/rules/create-rule/) for a specific event from your publishers' list. To receive only relevant events, you can filter the events based on the properties available in the event payload. ![Configuring a Rule](https://catalyst-docs-development.zohostratus.in/images/help/signals/getting-started/quick-start-guide/rules.gif) Further, you can determine how events should be delivered to [Target](https://docs.catalyst.zoho.com/en/signals/help/targets/key-aspects/), which includes [dispatch policy](https://docs.catalyst.zoho.com/en/signals/help/targets/dispatch-policy/), consumer types, Time To Live, and retries. Transform the event payload effortlessly with a three-pane view, showcasing the existing payload, your [mapping](https://docs.catalyst.zoho.com/en/signals/help/targets/event-body-setup/event-transformation/), and the transformed payload. ![Sample event body transformation](https://catalyst-docs-development.zohostratus.in/images/help/signals/getting-started/quick-start-guide/event-transformation.gif) ### Step 4 - Monitoring Once the configured rule executes, you can monitor its performance using [Logs](https://docs.catalyst.zoho.com/en/signals/help/logs/) or the [Dashboard](https://docs.catalyst.zoho.com/en/signals/help/dashboard/) to get a quick glimpse of each configured rule in a [Catalyst Project](https://docs.catalyst.zoho.com/en/getting-started/catalyst-projects/). Perform a [migration](https://docs.catalyst.zoho.com/en/deployment-and-billing/environments/initial-deployment/) to deploy these rules to the [production environment](https://docs.catalyst.zoho.com/en/deployment-and-billing/environments/production-environment/) of Catalyst. ![Catalyst Signals Dashboard](https://catalyst-docs-development.zohostratus.in/images/help/signals/getting-started/quick-start-guide/db.webp) With Catalyst Signals, you can efficiently decouple different applications or components of a system, enabling them to operate automatically without any human interventions. ## Help Components -------------------------------------------------------------------------------- title: "Events" description: "An Event in Catalyst Signals is the core element of capturing and describing any significant change or occurrence within an application." last_updated: "2026-10-30T17:47:18.000Z" source: "https://docs.catalyst.zoho.com/en/signals/help/events/" service: "Signals" -------------------------------------------------------------------------------- # Events Events are a fundamental part of Catalyst Signals, describing any significant change or occurrence within an environment or application. They encircle a broad spectrum of actions and triggers ranging from user interactions to external stimuli. These events, in turn, serve as another trigger for innumerable actions or workflows across different environments or applications. In Catalyst Signals, these events are pivotal in driving real-time processing, automation, and seamless integration of disparate systems and applications. With this tool, you can capture, process, and route these events to various endpoints called [Targets](https://docs.catalyst.zoho.com/en/signals/help/targets/key-aspects/). Here are a couple of examples for an event: - In an **ecommerce marketing website**, when a customer places an order, the inventory management application is automatically updated. In this scenario, the event is the Order Placement. - In a **CRM application**, when a lead is created, the organization's website displays product recommendations based on the lead's details. In this scenario, lead creation serves as the event. ### Event Statuses To track the events within the Signals environment, they are categorized by their processing status. This represents the overall performance of an event, regardless of how many rules it is associated with or how many targets it is delivered to. The execution status of each rule and target can be found in the [logs help page](https://docs.catalyst.zoho.com/en/signals/help/logs/). The overall event performance statuses in Signals are mentioned as follows: - **Received** - Events received in Signals from all types of publishers. - **In Queue** - Events received but not yet processed. - **In Progress** - Events that are currently being processed. - **Success** - For an event to be marked as a success, it must be delivered to every target, across all associated rules. - **Failed** - Events that failed to be delivered to at least one target, in any of the associated rules, will carry an overall status as Failed. - **Unmatched** - Events that did not meet the conditions configured in the rule filters or have no active rules or targets, and therefore were not processed. - **Unprocessed** - Events that are associated with an inactive publisher, rule, or target. - **Dropped** - Events associated with a deleted or disabled target or rule. > **Note** The overall Event Status is determined by the [Event Execution Statuses](https://docs.catalyst.zoho.com/en/signals/help/logs/#comprehensive-event-capture), which track how an event performs across each rule and target it's associated with. - The overall Event Status follow this priority order: **Failed > Dropped > Success**. - If any execution is marked as **Failed** or **Dropped**, the event status will also be marked as **Failed** or **Dropped**. - If both **Failed** and **Dropped** execution statuses exist for an event, the overall event status will be marked as **Failed**, since it takes higher priority. ### Zoho Events The preconfigured services for [Zoho publishers](https://docs.catalyst.zoho.com/en/signals/help/publishers/create-publisher/zoho-publishers/) come equipped with default events, each accompanied by its own schema. This automated setup streamlines event management by eliminating the need for manual schema creation. Events from Zoho services are received into Signals through the internal authorization process of Catalyst with other services.Therefore, you need not perform any authorization configurations for Zoho publishers. Events will be defined by default for **custom modules** created within [Zoho CRM](https://www.zoho.com/en-in/crm/). **Custom fields** are also synchronized periodically to ensure trouble-free integration with event schemas during event transformation and webhook creation in Signals. The supported services for custom fields synchronization include: - [Zoho Bigin](https://www.bigin.com/) - [Zoho Billing](https://www.zoho.com/in/billing/) - [Zoho Books](https://www.zoho.com/in/books/) - [Zoho CRM](https://www.zoho.com/en-in/crm/) - [Zoho Expense](https://www.zoho.com/in/expense/) - [Zoho Inventory](https://www.zoho.com/in/inventory/) - [Zoho Invoice](https://www.zoho.com/us/invoice/) [Click here for the full list of supported Zoho Publishers](https://docs.catalyst.zoho.com/en/signals/help/publishers/create-publisher/zoho-publishers/) ### Catalyst Events A few Catalyst services are also supported as default [Catalyst Publishers](https://docs.catalyst.zoho.com/en/signals/help/publishers/create-publisher/catalyst-publishers/) in Signals. Each Catalyst service comes with its own set of predefined events and corresponding schemas. These events are automatically listed when the service is added as a publisher, eliminating the need for manual configuration. This allows you to seamlessly capture infrastructure-level changes such as data updates, cache modifications, file actions, or authentication activities and route them through Signals for monitoring, analytics, or integration with downstream processes. > **Notes:** * [Generate Sample Payload for Custom Events](https://docs.catalyst.zoho.com/en/cli/v1/gen-payload-catalyst-publishers/). * The default events of Zoho publisher are categorized into five main scopes: **Create**, **Delete**, **Update**, **Approve**, and **Reject**. Each scope represents a distinct type of action that results in generating and emitting events to the [targets](https://docs.catalyst.zoho.com/en/signals/help/targets/key-aspects/). ### Custom Events To receive custom events in Signals, the REST API key for these events has to be configured within the custom publisher application. Additionally, a sample payload of the specific event is required to generate its schema. Catalyst Signals offers two methods for adding event payloads to generate schemas: - **Live Event Payload**: You can use the URL provided in this method to capture the payload of an API call and populate it with the necessary keys to use it as an event schema. > **Note:** The URL provided for capturing an event payload is only valid for **15 minutes**. - **Manual Event Payload**: In this method, you need to manually provide the payload to generate the event schema. [Instructions for creating custom events and schemas for custom publishers](https://docs.catalyst.zoho.com/en/signals/help/publishers/create-publisher/custom-publishers/) > **Note:** * You can create and configure up to **200 events** across all publishers. This threshold is configured for baseline and standard scenarios only. We strongly urge you to email us at support@zohocatalyst.com with your requirement to increase this soft threshold. * Learn more about [generating sample payloads for Custom Events](https://docs.catalyst.zoho.com/en/cli/v1/gen-payload-catalyst-publishers/#sample-payload-for-custom-events). ### Event Schema Event Schema contains the metadata of the events to provide additional context and information about the event. You can also edit the event schema and tailor it to your requirements to further trigger the workflows in the target environment. [Learn how to extract or transform an event schema](https://docs.catalyst.zoho.com/en/signals/help/targets/event-body-setup/event-transformation/) Although this has been auto-generated by Catalyst Signals, let us analyze the default keys of an event schema to understand the processing of the events. **Event Schema** ```json { "$schema": "https://json-schema.org/draft/2020-12/schema#", "type": "object", "properties": { "rule_id": { "type": "string" }, "target_id": { "type": "string" }, "version": { "type": "integer" }, "attempt": { "type": "integer" }, "account": { "type": "object", "properties": { "org_id": { "type": "string" }, "project": { "type": "object", "properties": { "environment": { "type": "string" }, "name": { "type": "string" }, "id": { "type": "string" } } } } }, "events": { "type": "array", "items": { "type": "object", "properties": { "data": { "type": "object" }, "id": { "type": "string" }, "time_in_ms": { "type": "string" }, "source": { "type": "string" }, "event_config": { "type": "object", "properties": { "api_name": { "type": "string" }, "id": { "type": "string" } } } } } } } } ``` Here is a sample event payload generated based on the schema for your reference. **Sample Event Payload** ```json { "rule_id": "123456789", "target_id": "98765432", "version": 1, "attempt": 1, "account": { "org_id": "87359421", "project": { "environment": "DEVELOPMENT", "name": "Project-Rainfall", "id": "12950000000020015" } }, "events": [ { "data": { }, "id": "b05f449e-7eb0-4e7f-a40f-662820729d20", "time_in_ms": 1721312979144, "source": "publisher_id:12950000000021006/service:zohocrm/account:87394113", "event_config": { "api_name": "Lead Created", "id": "12950000000021007" } } ] } ``` #### Default API Keys in Schema
S.No. API Name Data Type Description
1 `rule_id` long string This is the unique ID of the [rule](https://docs.catalyst.zoho.com/en/signals/help/rules/key-aspects/) upon which the event has been generated.
2 `target_id` long string It refers to the unique ID of the [target](https://docs.catalyst.zoho.com/en/signals/help/targets/key-aspects/) to which the events and their details are delivered.
3 `version` integer The key represents the version of the event schema in Catalyst Signals.
4 `attempt` integer It denotes the current number of attempt for the event to reach the target. Attempts greater than one corresponds to the [retry count](https://docs.catalyst.zoho.com/en/signals/help/targets/key-aspects/#retry-policy) configured in the rule.
5 `account` object This comprises the following catalyst account details:
  • **org_id (string)** - The key refers to the [Catalyst organization](https://docs.catalyst.zoho.com/en/getting-started/catalyst-organizations/) ID using which the events are configured.
  • **project (object)** - It contains the name **(string)**, **environment (string)** and **id (string)** of the [Catalyst project](https://docs.catalyst.zoho.com/en/getting-started/catalyst-projects/) used to access the Signals service.
6 `events` array This is an array of objects. Each object in the array refers to one of the configured events of the [publisher](https://docs.catalyst.zoho.com/en/signals/help/publishers/key-aspects/). The following are the default keys present in the objects of this array:
  • **data (object)** - The object contains the event details.
  • **id (long string)** - It represents the unique ID of an event for this particular occurrence.
  • **time_in_ms (integer)** - This key denotes the time of event generation in milliseconds.
  • **source (string)** - This contains the publisher ID, service name, and its account ID separated by a slash (/).
  • **event_config (object)** - This comprises of the **id (long string)** and **api_name (string)** of the event.
> **Note:** * The keys within the **data** object differs for each and every event as it represents and describes the event. You can **add/remove keys** within the data object depending on your requirements. * You can also remove the default keys from the schema. [Learn how to customize the event schema](https://docs.catalyst.zoho.com/en/signals/help/targets/event-body-setup/event-transformation/) -------------------------------------------------------------------------------- title: "Dashboard" description: " Dashboard in Catalyst Signals provides an analytical view of events within a project for efficient event management." last_updated: "2026-08-17T12:16:04.000Z" source: "https://docs.catalyst.zoho.com/en/signals/help/dashboard/" service: "Signals" -------------------------------------------------------------------------------- # Dashboard The Analytics dashboard of Catalyst Signals provides a consolidated view of the event performances within a Catalyst project. It presents the data in an easy-to-understand format, allowing you to draw valuable insights. This includes analyzing trends, identifying patterns, and making informed decisions to optimize system performance and ensure seamless event processing. ![Catalyst Signals Dashboard](https://catalyst-docs-development.zohostratus.in/images/help/signals/help/dashboard/db.webp) You can use the refresh icon in the title bar to get real-time updates of the event performances. The time drop-down in the top-left corner of the dashboard lets you adjust the time period of the data you find in the dashboard. The default view is set to the **Last 3 hours** and offers an incremental time period. You even have a range calendar to get a complete analysis of your required business periods. ### Event Chart ![Event chart in the dashboard](https://catalyst-docs-development.zohostratus.in/images/help/signals/help/dashboard/event-chart.gif) The line graph illustrates the number of events processed in the Signals service over time, measured in minutes. It offers great flexibility by allowing you to adjust the time period, ranging from **one minute interval to a maximum of 15 minutes**. The icons below the chart help you adjust this interval with the help of a time scale. The graph represents three distinct lines, each representing the status of the events. - **Received** - All the events received in Signals from the publishers are denoted in blue color. - **Success** - Events that have successfully met the rule conditions and delivered to the targets are represented in the green color. - **Failed** - Events that have met the rule conditions but failed to reach the target due to any errors are denoted in the red color. > **Note:** Events that failed to reach the target after the configured Retry Counts will only be marked as **Failed**. Visualizing the number of events processed over time and differentiating between event statuses help you to understand the performance, reliability, and overall health of your event rules. ### Event Statistics ![Event Statistics in the dashboard](https://catalyst-docs-development.zohostratus.in/images/help/signals/help/dashboard/event-stat.webp) This statistics provide understanding into the number and percentage of events across different event processing status. It helps in understanding the anomalies and identifying areas of improvement to ensure an effective event processing. The following even statuses will be displayed: - **Received** - This denotes the total number of events that have been received by Signals from all the publishers. - **In Queue** - This represents the total number of events that have been received and not started to process. - **In Progress** - This denotes the total number of events that are currently under event processing. - **Success** - This indicates the total number of events that have been successfully delivered to the targets without encountering any errors. - **Failed** - This represents the total number of events that failed to be delivered to the target due to any errors. - **Unmatched** - This indicates the total number of events that did not meet the conditions configured in the rule filters or had no active rules or targets, and therefore were not processed. - **Dropped** - This denotes the total number of events that are dropped when either the target or rule is disabled or deleted. > **Note:** The **Success** and **Failed** statuses display the Key Performance Indicator metrics in terms of percentage relative to the selected time interval that is visible in the top-right corner of the title bar. For example, if the period is set to **Last 3 hours**, the percentage will reflect the comparison with the previous 3 hours. ### Top Publishers ![Top Publishers in the dashboard](https://catalyst-docs-development.zohostratus.in/images/help/signals/help/dashboard/top-pub.webp) This element lists the top five publishers and their total number of events irrespective of their status. This helps you gain deeper understanding of which publishers are most active and effective in generating valuable events. Recognizing these sources of significant event traffic helps you to assess the impact of individual publishers on the overall event processing workflow.This assists you in taking data driven decisions to enhance the performance and effectiveness of their event processing workflows. ### Most Failures ![Most Failures in the dashboard](https://catalyst-docs-development.zohostratus.in/images/help/signals/help/dashboard/most-failures.webp) The element highlights the top five failure targets, along with the number of failed events and their associated consumer type and name. It helps you to pinpoint areas of concern within your event processing workflow. This information facilitates focused debugging and troubleshooting that allows you to collaborate more efficiently with relevant teams responsible for managing the affected targets. -------------------------------------------------------------------------------- title: "Logs" description: "Logs in Catalyst Signals help you track the overall event performance along with its status across multiple rules and targets. " last_updated: "2026-08-17T12:16:04.000Z" source: "https://docs.catalyst.zoho.com/en/signals/help/logs/" service: "Signals" -------------------------------------------------------------------------------- # Logs Event logs provide a comprehensive record of all the events processed within the Signals. Each time a subscribed event occurs in the publisher system, a unique ID is generated and logged here with the time stamp, status, and other relevant details. It acts as a valuable source of insight which the managements can use to monitor, analyze, and effectively troubleshoot their event rules. ![Logs Home Page](https://catalyst-docs-development.zohostratus.in/images/help/signals/help/logs/list-view.webp) ## Key Aspects ### Log Details Event logs capture details about each event processed within the system, including event source, timestamp, status, dispatch type, and the number of attempts taken to reach the target in the details view page. Refer to the [Event Statuses](https://docs.catalyst.zoho.com/en/signals/help/events/#event-statuses) help page to learn more about each status. This data enables organizations to gain visibility into event flows and track the lifecycle of individual events. ### Comprehensive Event Capture Signals offers a **Log Details View** of an event that has been deployed in multiple [rules](https://docs.catalyst.zoho.com/en/signals/help/rules/key-aspects/) and [targets](https://docs.catalyst.zoho.com/en/signals/help/targets/key-aspects/) to achieve certain business requirements. Within the log page, you can track a particular event's performance across different rules and targets to help you analyze its flow and performance metrics. Following are the list of event execution statuses used for it, - **In Queue** - The event has been processed according to the rule configurations and is now queued for delivery to the target. - **In Progress** - Events that are currently being delivered to the target. - **Success** - The event has been successfully delivered to the target specified in the rule. - **Failed** - The event was either not delivered to the specified target in the rule or the target failed to respond to the received event. - **Dropped** - The event is linked to a target or rule that has been deleted or disabled. - **Batching** - The event is part of a batch that will be delivered to the target according to the selected dispatch policy. - **Scheduled** - The event has been received by Signals and is set to be delivered to the target at a scheduled time. - **Retry Scheduled** - When an event failed to reach the target, this denotes that a retry has been scheduled based on the configured [retry policy](https://docs.catalyst.zoho.com/en/signals/help/targets/key-aspects/#retry-policy). > **Note** Each event is assigned an overall [Event Status](https://docs.catalyst.zoho.com/en/signals/help/events/#event-statuses), which summarizes its delivery outcome across all associated targets. This status is influenced by the Event Execution Statuses. - The overall Event Status follow this priority order: **Failed > Dropped > Success**. - If any execution is marked as **Failed** or **Dropped**, the event status will also be marked as **Failed** or **Dropped**. - If both **Failed** and **Dropped** execution statuses exist for an event, the overall event status will be marked as **Failed**, since it takes higher priority. ### Log filters The filter icon on the top-left corner of the logs' list view page offers a range of filters that can help you locate specific events. The filters are categorized based on targets, status, rules, events and their Unique ID. In '**Filter By Events**', you can search for events by selecting its service, publisher, and the subscribed events. ![Overall logs filter](https://catalyst-docs-development.zohostratus.in/images/help/signals/help/logs/log-filter.gif) ### Debugging and Troubleshooting Each event log includes the status of the event processing flow. If an event fails, you can hover over its **Failed** status in the details view to see the failure message. This helps you quickly analyze errors, identify root causes, and resolve issues efficiently, ensuring system reliability. If an event is delivered to a [Function](https://docs.catalyst.zoho.com/en/serverless/help/functions/event-functions/) or a [Circuit](https://docs.catalyst.zoho.com/en/serverless/help/circuits/implementation/) as a target, a **Logs** icon appears next to it. - For **Functions**, clicking the icon takes you to the [Logs](https://docs.catalyst.zoho.com/en/devops/help/logs/introduction/) page in [DevOps](https://docs.catalyst.zoho.com/en/devops/), where function logs are recorded. - For **Circuits**, it redirects you to the [Circuit Execution History](https://docs.catalyst.zoho.com/en/serverless/help/circuits/implementation/#execution-history-of-a-circuit) page in the [Serverless](https://docs.catalyst.zoho.com/en/serverless/). If the target function takes too long to respond to an event, you can terminate it using the **Kill Function** icon next to the Logs icon. Terminating a function moves the event to a **Dropped** status, and the event data cannot be recovered. -------------------------------------------------------------------------------- title: "Deployment Notes" description: " Dashboard in Catalyst Signals provides an analytical view of events within a project for efficient event management." last_updated: "2026-11-03T07:48:52.000Z" source: "https://docs.catalyst.zoho.com/en/signals/help/deployment/" service: "Signals" -------------------------------------------------------------------------------- # Deployment Notes Catalyst by Zoho supports two distinct environments - **Development** and **Production**. This allows you to build, test, and validate your application in a sandboxed space before moving stable components to a live production environment. To understand the differences and usage of these environments, refer to the [Catalyst Environments help guide.](https://docs.catalyst.zoho.com/en/deployment-and-billing/environments/introduction/) Below are key considerations when deploying Catalyst Signals to the production environment: ### Deployment User Permissions The user initiating the deployment in Catalyst must be an admin in the [Zoho Publisher](https://docs.catalyst.zoho.com/en/signals/help/publishers/create-publisher/zoho-publishers) applications used. This is essential to ensure proper authorization between Catalyst Signals and Zoho publishers. ### Deploy All Dependent Catalyst Components If your Signals setup uses other Catalyst components, such as: - [CloudScale](https://docs.catalyst.zoho.com/en/cloud-scale/) Services as publishers - Serverless [Functions](https://docs.catalyst.zoho.com/en/serverless/help/functions/event-functions/) or [Circuits](https://docs.catalyst.zoho.com/en/serverless/help/circuits/implementation/) as [targets](https://docs.catalyst.zoho.com/en/signals/help/targets/key-aspects/) - Connections for [webhook](https://docs.catalyst.zoho.com/en/signals/help/webhooks/key-aspects/) authorization Ensure that all these **dependent components are deployed together** with Catalyst Signals. ### Publisher Deployment Limit You can deploy a **maximum of 25 publishers** to the production environment in a **single deployment**. This limit applies regardless of the publisher type supported in Signals. ### Rules Are Locked in Production In the production environment, you are permitted to **enable or disable** existing rules. However, you **cannot create, edit, or delete** rules directly in production. All structural changes to rules must be made in the development environment and then deployed. For **Zoho CRM Publisher**, you can **modify the organization associated with it during deployment**. This allows you to switch from a Sandbox organization used in development environment to the corresponding Production organization during deployment. ![Choosing org while deploying](https://catalyst-docs-development.zohostratus.in/images/help/signals/help/deploy.webp) ### Align Custom Components Before deploying Catalyst Signals, ensure that all custom modules and custom fields used in your rules within the development environment are available in the production organization during deployment. ### Publishers -------------------------------------------------------------------------------- title: "Key Aspects" description: "Publishers in Catalyst Signals are the primary source of generating and emitting events in which the targets are interested. " last_updated: "2026-01-30T09:03:37.000Z" source: "https://docs.catalyst.zoho.com/en/signals/help/publishers/key-aspects/" service: "Signals" -------------------------------------------------------------------------------- # Publishers A publisher is the primary source of events within a system. They generate events when an action or change occurs in an application in which the [targets](https://docs.catalyst.zoho.com/en/signals/help/targets/key-aspects/) are interested. Publishers are usually scalable to handle high volumes of event generation, and it can either be any Zoho or other external SAAS products. Here are a couple of examples for Publishers: - A ride-sharing **mobile application** serves as a Publisher, generating and emitting events whenever a driver is assigned to notify the user. - **Zoho Inventory** acts as a Publisher, emitting events whenever there is an update to the inventory list to change the stock count in an e-commerce platform. Publishers play a crucial role in enabling real-time event processing and event-driven workflows within targeted systems. ## Key Aspects ### Default Publishers Catalyst Signals offers a set of default publishers for ease of use. Additionally, you can also create your own authorized publisher and events in the Catalyst Signals. The default publishers are categorized into two types as follows: - [**Zoho Publishers**](https://docs.catalyst.zoho.com/en/signals/help/publishers/create-publisher/zoho-publishers/): This comprises all the products of Zoho with a set of default events based on the service provided by the product. Only the Zoho products created using the same ID as the Catalyst can be configured. - [**Catalyst Publishers**](https://docs.catalyst.zoho.com/en/signals/help/publishers/create-publisher/catalyst-publishers/): This lists down the Catalyst publishers and their supported events by default. Only the Catalyst Services created for the same project and organization can be configured. - [**Custom Publishers**](https://docs.catalyst.zoho.com/en/signals/help/publishers/create-publisher/custom-publishers/): You can create new publishers with the product of your choice. You will have to add, configure your own events, and provide the required REST API URLs. ### No-Code Schema Zoho and Catalyst publishers in Signals include event schema for each event by default. Even for [custom publishers](https://docs.catalyst.zoho.com/en/signals/help/publishers/create-publisher/custom-publishers/), adding just the event payload will auto-generate the schema for the custom events. You can manually add the event payload or use the [Live Event Payload](https://docs.catalyst.zoho.com/en/signals/help/publishers/create-publisher/custom-publishers/#live) option to capture it from an API call. Customizing an existing schema is also easy with just JSON path in Signals. [Event Transformation guide](https://docs.catalyst.zoho.com/en/signals/help/targets/event-body-setup/event-transformation/) ### Event Ordering Event Ordering ensures that events are delivered to the target in the same order they were received from the publisher. This is particularly useful for workflows that rely on **sequential event processing**. This feature works across all publisher types - Zoho, Catalyst, and Custom. When event ordering is enabled, Signals maintains the sequence of events as long as each one is successfully delivered on the first attempt. If an event fails and enters the **Dropped** status, it will be retried according to the configured retry policy. Subsequent events will still be delivered in the order they were received. To learn more about retry handling and event statuses, see the [Retry Policy](https://docs.catalyst.zoho.com/en/signals/help/targets/key-aspects/#retry-policy) and [Event Statuses](https://docs.catalyst.zoho.com/en/signals/help/events/#event-statuses) help page. #### Creating a Publisher -------------------------------------------------------------------------------- title: "Zoho Publishers" description: "Catalyst Signals provide a set of default Zoho Publishers to ease the flow of establishing an event-driven architecture." last_updated: "2026-09-28T11:04:26.000Z" source: "https://docs.catalyst.zoho.com/en/signals/help/publishers/create-publisher/zoho-publishers/" service: "Signals" -------------------------------------------------------------------------------- # Zoho Publishers Catalyst Signals provide default support to a few Zoho products, and you can establish a rule with them at ease. Following are the current Zoho products that are provided as default publishers. - [Zoho Bigin](https://docs.catalyst.zoho.com/en/signals/help/publishers/supported-events/zoho-publishers/zoho-bigin/) - [Zoho Billing](https://docs.catalyst.zoho.com/en/signals/help/publishers/supported-events/zoho-publishers/zoho-billing/) - [Zoho Books](https://docs.catalyst.zoho.com/en/signals/help/publishers/supported-events/zoho-publishers/zoho-books/) - [Zoho Commerce](https://docs.catalyst.zoho.com/en/signals/help/publishers/supported-events/zoho-publishers/zoho-commerce/) - [Zoho CRM](https://docs.catalyst.zoho.com/en/signals/help/publishers/supported-events/zoho-publishers/zoho-crm/) - [Zoho Expense](https://docs.catalyst.zoho.com/en/signals/help/publishers/supported-events/zoho-publishers/zoho-expense/) - [Zoho Inventory](https://docs.catalyst.zoho.com/en/signals/help/publishers/supported-events/zoho-publishers/zoho-inventory/) - [Zoho Invoice](https://docs.catalyst.zoho.com/en/signals/help/publishers/supported-events/zoho-publishers/zoho-invoice/) - [Zoho Meeting](https://docs.catalyst.zoho.com/en/signals/help/publishers/supported-events/zoho-publishers/zoho-meeting/) - [Zoho Survey](https://docs.catalyst.zoho.com/en/signals/help/publishers/supported-events/zoho-publishers/zoho-survey/) - [Zoho Assist](https://docs.catalyst.zoho.com/en/signals/help/publishers/supported-events/zoho-publishers/zoho-assist/) - [Zoho Campaigns](https://docs.catalyst.zoho.com/en/signals/help/publishers/supported-events/zoho-publishers/zoho-campaigns/) - [Zoho Marketing Automation](https://docs.catalyst.zoho.com/en/signals/help/publishers/supported-events/zoho-publishers/zoho-marketing-automation/) - [Zoho Sprints](https://docs.catalyst.zoho.com/en/signals/help/publishers/supported-events/zoho-publishers/zoho-sprints/) - [Zoho Backstage](https://docs.catalyst.zoho.com/en/signals/help/publishers/supported-events/zoho-publishers/zoho-backstage/) - [Zoho Desk](https://docs.catalyst.zoho.com/en/signals/help/publishers/supported-events/zoho-publishers/zoho-desk/) - [Zoho SalesIQ](https://docs.catalyst.zoho.com/en/signals/help/publishers/supported-events/zoho-publishers/zoho-salesiq/) > **Note:** You can configure up to **100** Zoho Publishers. This threshold is configured for baseline and standard scenarios only. We strongly urge you to email us at support@zohocatalyst.com with your requirement to increase this soft threshold. Catalyst Signals establishes connection with these default products through internal authorization. This eliminates the need for manual authorization and configuration of scopes, which results in a streamlined process. ### Creating a Zoho Publisher 1. Navigate to Publishers on the left menu and click the Add Publisher button. ![Publishers Home Page](https://catalyst-docs-development.zohostratus.in/images/help/signals/help/publishers/add-publisher.webp) 2. Choose the Publisher type you want to add. 3. Select the Zoho service that you want to add as a publisher. ![Default Zoho Services](https://catalyst-docs-development.zohostratus.in/images/help/signals/help/publishers/zoho/services.webp) 4. Fill in the details as shown in the below image. The values for the **API Name** field should not contain any white spaces or hyphens and must not exceed **50** characters. It accepts underscores and alphanumeric values but cannot start with a numeric value. The **Organization** field lists the organizations you have either created or joined using the same email address. ![Creating a Zoho Publisher](https://catalyst-docs-development.zohostratus.in/images/help/signals/help/publishers/zoho/create-publisher.webp) 5. Enable **Event Ordering** to ensure events are delivered in the same order they were received. Refer to the [Event Ordering](https://docs.catalyst.zoho.com/en/signals/help/publishers/key-aspects/#event-ordering) help section to learn more. ![Enabling Event Ordering](https://catalyst-docs-development.zohostratus.in/images/help/signals/help/publishers/zoho/event-ordering.gif) 6. Click the **Save** button in the top-right corner after providing the mandatory details. 7. An authorization message pops-up, and requests to access the data of the Zoho service you have created. Click **Authorize** to continue. ![Authorizing a Zoho Publisher](https://catalyst-docs-development.zohostratus.in/images/help/signals/help/publishers/zoho/auth.webp) ### Add Events from Zoho Publisher **Subscribed Events** of a Zoho Publisher are those with which you have created a [rule](https://docs.catalyst.zoho.com/en/signals/help/rules/key-aspects/). Whereas, **Non-Subscribed Events** are the default events that have not yet been associated with any rule. 1. Once you create the publisher, an Events tab appears below the General Details section, listing all supported events for the service. ![Subscribing an event](https://catalyst-docs-development.zohostratus.in/images/help/signals/help/publishers/zoho/add-rule.webp) 2. Click the **Add Rule** button to go to the Create Rule page, where you can subscribe to an event from the publisher. For more guidance, refer to the [Create Rule](https://docs.catalyst.zoho.com/en/signals/help/rules/create-rule/) help page. > **Note:** * The maximum allowed size for a single occurrence of an event from a Zoho publisher, generated and emitted to Signals, is **100 KB**. * An event can also carry data for multiple occurrences of the same event, with a combined size of up to **5 MB**. There is no upper limit on the number of times a particular event can occur. * You need to ensure that the required PII configurations pertaining to the data stored in the Publisher (**Zoho Services**) needs to be restricted at the publisher service level. This would ensure continued compliance with industry standard data practices. -------------------------------------------------------------------------------- title: "Catalyst Publishers" description: "Catalyst Signals provide default Catalyst services as Publishers to ease establishing an event-driven architecture within the Catalyst ecosystem." last_updated: "2026-11-04T10:10:44.000Z" source: "https://docs.catalyst.zoho.com/en/signals/help/publishers/create-publisher/catalyst-publishers/" service: "Signals" -------------------------------------------------------------------------------- # Catalyst Publishers Catalyst Signals offers default publisher support for several services within the Catalyst ecosystem, allowing you to easily set up event rules based on activities in these services. This helps you build responsive workflows or trigger functions automatically when specific events occur. Following are the current Catalyst publishers provided as default: - [CloudScale Authentication](https://docs.catalyst.zoho.com/en/signals/help/publishers/supported-events/catalyst-publishers/#cloudscale-authentication) - [CloudScale Cache](https://docs.catalyst.zoho.com/en/signals/help/publishers/supported-events/catalyst-publishers/#cloudscale-cache) - [CloudScale Data Store](https://docs.catalyst.zoho.com/en/signals/help/publishers/supported-events/catalyst-publishers/#cloudscale-data-store) - [CloudScale Stratus](https://docs.catalyst.zoho.com/en/signals/help/publishers/supported-events/catalyst-publishers/#cloudscale-stratus) > **Note:** You can configure these publishers only for services that belong to the same project and organization. Make sure the respective service is active and set up in your project before configuring it in Signals. ### Creating a Catalyst Publisher 1. Navigate to Publishers on the left menu and click the Add Publisher button. ![Publishers Home Page](https://catalyst-docs-development.zohostratus.in/images/help/signals/help/publishers/add-publisher.webp) 2. Choose the Publisher type as **Catalyst Publishers**. 3. Select the Catalyst service that you want to add as a publisher. ![Publishers Home Page](https://catalyst-docs-development.zohostratus.in/images/help/signals/help/publishers/catalyst/services.webp) 4. Fill in the details as shown in the below image. The values for the API Name field should not contain any white spaces or hyphens and must not exceed 50 characters. It can contain underscores and alphanumeric values but cannot start with a numeric value. The Organization and Project fields lists only the current organization and project as same as the Catalyst Signals project. ![Creating a Catalyst Publisher](https://catalyst-docs-development.zohostratus.in/images/help/signals/help/publishers/catalyst/create-publisher.webp) 5. Enable **Event Ordering** to ensure events are delivered in the same order they were received. Refer to the [Event Ordering](https://docs.catalyst.zoho.com/en/signals/help/publishers/key-aspects/#event-ordering) help section to learn more. ![Enabling Event Ordering](https://catalyst-docs-development.zohostratus.in/images/help/signals/help/publishers/catalyst/event-ordering.gif) 6. Click the **Save** button in the top-right corner after providing the required details. ### Add Events from Catalyst Publishers 1. Once you create the publisher, an Events tab appears below the General Details section, listing all supported events for the service. ![Subscribing an event](https://catalyst-docs-development.zohostratus.in/images/help/signals/help/publishers/catalyst/add-rule.webp) 2. Click the **Add Rule** button to go to the Create Rule page, where you can subscribe to an event from the publisher. For more guidance, refer to the [Create Rule](https://docs.catalyst.zoho.com/en/signals/help/rules/create-rule/) help page. -------------------------------------------------------------------------------- title: "Custom Publishers" description: "Build custom publishers in Catalyst Signals to connect your targets with third-party applications and automate workflows without human intervention." last_updated: "2026-10-30T17:47:18.000Z" source: "https://docs.catalyst.zoho.com/en/signals/help/publishers/create-publisher/custom-publishers/" service: "Signals" -------------------------------------------------------------------------------- # Custom Publishers In addition to the existing default publishers, you can create new publishers with the product of your choice. For custom publishers, you must add your own events. To ensure these events are received in Signals, provide the REST API URL of the custom events in the publisher application where the events will be posted. The API URL supports up to **500 requests per minute**. If this threshold is exceeded, the REST API will be locked for the next 60 seconds. > **Note:** * The REST API URL generated for custom events in the [development environment](https://docs.catalyst.zoho.com/en/deployment-and-billing/environments/development-environment/) differs from the URL created for the same custom events in the [production environment](https://docs.catalyst.zoho.com/en/deployment-and-billing/environments/production-environment/). Ensure you replace the URL when moving the project to production. * You can create and configure up to **25** Custom Publishers. This threshold is configured for baseline and standard scenarios only. We strongly urge you to email us at support@zohocatalyst.com with your requirement to increase this soft threshold. ### Creating a Custom Publisher To add a custom publisher: 1. Navigate to **Publishers** on the left menu and click the **Add Publisher** button. ![Publishers Home Page](https://catalyst-docs-development.zohostratus.in/images/help/signals/help/publishers/add-publisher.webp) 2. Go to the **Create Your Own Publisher** section in the menubar and fill in the necessary details as shown here. ![Creating a Custom Publisher](https://catalyst-docs-development.zohostratus.in/images/help/signals/help/publishers/custom/create-publisher.webp) Enable **Event Ordering** to ensure events are delivered in the same order they were received and click **Save**. Refer to the [Event Ordering](https://docs.catalyst.zoho.com/en/signals/help/publishers/key-aspects/#event-ordering) help section to learn more. ![Enabling Event Order](https://catalyst-docs-development.zohostratus.in/images/help/signals/help/publishers/custom/event-ordering.gif) 3. To add a custom event after providing the publisher details, click the **Add Event** button near the Events section. ![Adding an event to the Custom Publisher](https://catalyst-docs-development.zohostratus.in/images/help/signals/help/publishers/custom/add-event.webp) 4. Fill in the details of Events and click **Save**. The values for the **API Name** field should not contain any white spaces or hyphens and must not exceed **50** characters. It accepts underscores and alphanumeric values but cannot start with a numerical value. ![Creating an event to the Custom Publisher](https://catalyst-docs-development.zohostratus.in/images/help/signals/help/publishers/custom/create-event.webp) ### Add Schema to Custom Events 1. Click **Add Schema** of the custom event that you have created. ![Selecting the desired Custom Publisher](https://catalyst-docs-development.zohostratus.in/images/help/signals/help/publishers/custom/add-schema.webp) 2. A pop-up will appear with two methods to generate schema using the event payload. ![Generating Event Schema](https://catalyst-docs-development.zohostratus.in/images/help/signals/help/publishers/custom/schema-generation.webp) #### Manual You can manually add the schema to the custom events. Select the **Manual** option and provide the request payload of the event. The default keys of an event schema will be automatically populated on the right for the provided payload. ![Manual Event Schema Generation](https://catalyst-docs-development.zohostratus.in/images/help/signals/help/publishers/custom/manual-schema.gif) #### Live To capture an API call's request payload and populate it here, select the **Live Events** option and copy the URL displayed here. Provide this URL in the Publisher from which the API call is made. ![Live Event Schema Generation](https://catalyst-docs-development.zohostratus.in/images/help/signals/help/publishers/custom/live-schema.gif) In the GIF shown above, the live events URL is copied and provided to the publisher system. This URL listens to the publisher's API calls for the next 15 minutes and displays them on this platform. You can select the required payload from the listened API calls and add its schema to the custom events. > **Note:** The URL to capture the live events will last for only **15 minutes**. 3. Once you have generated the event schema, you can subscribe the event by associating it with a rule. ![Event Subscription](https://catalyst-docs-development.zohostratus.in/images/help/signals/help/publishers/custom/subscribe-event.webp) > **Note:** * For custom publishers, the maximum allowed size for events generated and emitted to Signals is **64 KB**, with an array of events up to **256 KB**, limited to a maximum of 25 events. * You need to ensure that the required PII configurations pertaining to the data stored in the Custom Publisher service needs to be restricted at the publisher service level. This would ensure continued compliance with industry standard data practices. #### Supported Events -------------------------------------------------------------------------------- title: "Catalyst Publishers" description: "Publishers in Catalyst Signals are the primary source of generating and emitting events in which the targets are interested. " last_updated: "2026-11-03T07:48:52.000Z" source: "https://docs.catalyst.zoho.com/en/signals/help/publishers/supported-events/catalyst-publishers/" service: "Signals" -------------------------------------------------------------------------------- # Catalyst Publishers Following are the default events supported for various Catalyst Publishers: ### CloudScale Authentication
No. Display Name API Name Description
1 User Signup `user_signedup` An event is generated when a user signs up to the app using Catalyst Authentication.
2 User Confirmation `user_confirmed` An event is generated when a user successfully verifies their account using Catalyst Authentication.
3 User Delete `user_deleted` An event is generated when a user is removed using Catalyst Authentication.
### CloudScale Cache
No. Display Name API Name Description
1 Item Create `cache_item_created` An event is generated when an item is created in Cache Segment.
2 Item Update `cache_item_updated` An event is generated when a cached item is updated in Cache Segment.
### CloudScale Data Store
No. Display Name API Name Description
1 Row Insert `row_inserted` An event is generated when a new row is inserted to the table in Catalyst Data Store.
2 Row Delete `row_deleted` An event is generated when a row is deleted in the table in Catalyst Data Store.
3 Row Update `row_updated` An event is generated when a row is updated in the table in Catalyst Data Store.
### CloudScale Stratus
No. Display Name API Name Description
1 Object Download `ustratus_object_downloaded` An event is generated when an object is downloaded from a bucket in Stratus.
2 Object Upload `stratus_object_uploaded` An event is generated when an object is uploaded to a bucket in Stratus.
3 Object Delete `stratus_object_deleted` An event is generated when an object is deleted from a bucket in Stratus.
4 Object Update `stratus_object_updated` An event is generated when an object is updated in a bucket in Stratus.
##### Zoho Publishers -------------------------------------------------------------------------------- title: "Zoho Bigin" description: "List of default events supported for Zoho Bigin." last_updated: "2026-03-06T16:19:28.000Z" source: "https://docs.catalyst.zoho.com/en/signals/help/publishers/supported-events/zoho-publishers/zoho-bigin/" service: "Signals" -------------------------------------------------------------------------------- # Zoho Bigin Following are the default events supported for the Zoho Bigin Publisher:
No. Display Name API Name Description
1 Contact Created `contact_created` An event is generated when a new contact is created in Zoho Bigin.
2 Call Created `call_created` An event is generated when a new call is created in Zoho Bigin.
3 Call Deleted `call_deleted` An event is generated when a call is deleted in Zoho Bigin.
4 Call Updated `call_updated` An event is generated when a call is updated in Zoho Bigin.
5 Company Created `account_created` An event is generated when a Company is created in Zoho Bigin.
6 Company Deleted `account_deleted` An event is generated when a Company is deleted in Zoho Bigin.
7 Company Updated `account_updated` An event is generated when a Company is updated in Zoho Bigin.
8 Contact Deleted `contact_deleted` An event is generated when a contact is deleted in Zoho Bigin.
9 Contact Updated `contact_updated` An event is generated when a contact is updated in Zoho Bigin.
10 Event Created `event_created` An event is generated when a new event is created in Zoho Bigin
11 Event Updated `event_updated` An event is generated when an event is updated in Zoho Bigin.
12 Pipeline Created `deal_created` An event is generated when a Pipeline is created in Zoho Bigin.
13 Pipeline Deleted `deal_deleted` An event is generated when a Pipeline is deleted in Zoho Bigin.
14 Pipeline Updated `deal_updated` An event is generated when a Pipeline is updated in Zoho Bigin.
15 Product Created `product_created` An event is generated when a new product is created in Zoho Bigin.
16 Product Deleted `product_deleted` An event is generated when a product is updated in Zoho Bigin.
17 Product Updated `product_updated` An event is generated when a product is updated in Zoho Bigin.
18 Task Created `task_created` An event is generated when a new task is created in Zoho Bigin.
19 Task Deleted `task_deleted` An event is generated when a task is deleted in Zoho Bigin.
20 Task Updated `task_updated` An event is generated when a task is updated in Zoho Bigin.
21 Event Deleted `event_deleted` An event is generated when an event is deleted in Zoho Bigin.
-------------------------------------------------------------------------------- title: "Zoho Billing" description: "List of default events supported for Zoho Billing." last_updated: "2026-03-06T16:19:28.000Z" source: "https://docs.catalyst.zoho.com/en/signals/help/publishers/supported-events/zoho-publishers/zoho-billing/" service: "Signals" -------------------------------------------------------------------------------- # Zoho Billing Following are the default events supported for the Zoho Billing Publisher: d
No. Display Name API Name Description
1 Subscription Created `subscription_created` An event is generated when a subscription is created in Zoho Billing.
2 Subscription Updated `subscription_updated` An event is generated when a subscription is updated in Zoho Billing.
3 Subscription Renewed `subscription_renewed` An event is generated when a subscription is renewed in Zoho Billing.
4 Subscription Cancelled `subscription_cancelled` An event is generated when a subscription is cancelled in Zoho Billing.
5 Subscription Deleted `subscription_deleted` An event is generated when a subscription is deleted in Zoho Billing.
6 Subscription Paused `subscription_paused` An event is generated when a subscription is paused in Zoho Billing.
7 Subscription Downgraded `subscription_downgraded` An event is generated when a subscription is downgraded in Zoho Billing.
8 Subscription Upgraded `subscription_upgraded` An event is generated when a subscription is upgraded in Zoho Billing.
9 Subscription Resumed `subscription_resumed` An event is generated when a subscription is resumed in Zoho Billing.
10 Subscription Expired `subscription_expired` An event is generated when a subscription is expired in Zoho Billing.
11 Subscription Unpaid `subscription_unpaid` An event is generated when a subscription is unpaid in Zoho Billing.
12 Invoice Created `invoice_created` An event is generated when an invoice is created in Zoho Billing.
13 Subscription Reactivated `subscription_reactivated` An event is generated when a subscription is reactivated in Zoho Billing.
14 Invoice Updated `invoice_updated` An event is generated when an invoice is updated in Zoho Billing.
15 Payment Refunded `payment_refunded` An event is generated when a payment is refunded in Zoho Billing.
16 Payment Succeede `payment_succeeded`An event is generated when a payment succeeds in Zoho Billing.
-------------------------------------------------------------------------------- title: "Zoho Books" description: "List of default events supported for Zoho Books." last_updated: "2026-03-06T16:19:28.000Z" source: "https://docs.catalyst.zoho.com/en/signals/help/publishers/supported-events/zoho-publishers/zoho-books/" service: "Signals" -------------------------------------------------------------------------------- # Zoho Books Following are the default events supported for the Zoho Books Publisher:
No. Display Name API Name Description
1 Bill Created `bill_created` An event is generated when a bill is created in Zoho Books.
2 Bill Updated `bill_updated` An event is generated when a bill is updated in Zoho Books.
3 Estimate Created `estimate_created` An event is generated when an estimate is created in Zoho Books.
4 Estimate Updated `estimate_updated` An event is generated when an estimate is updated in Zoho Books.
5 Expense Created `expense_created` An event is generated when an expense is created in Zoho Books.
6 Credit Note Created `credit_note_created` An event is generated when a credit note is created in Zoho Books.
7 Credit Note Updated `credit_note_updated` An event is generated when a credit note is updated in Zoho Books.
8 Customer Created `customer_created` An event is generated when a customer is created in Zoho Books.
9 Customer Updated `customer_updated` An event is generated when a customer is updated in Zoho Books.
10 Expense Updated `expense_updated` An event is generated when an expense is updated in Zoho Books.
11 Invoice Created `invoice_created` An event is generated when an invoice is created in Zoho Books.
12 Invoice Updated `invoice_updated` An event is generated when an invoice is updated in Zoho Books.
13 Purchase Order Created `purchase_order_created` An event is generated when a purchase order is created in Zoho Books.
14 Purchase Order Updated `purchase_order_updated` An event is generated when a purchase order is updated in Zoho Books.
15 Sales Order Created `sales_order_created` An event is generated when a sales order is created in Zoho Books.
16 Sales Order Updated `sales_order_updated` An event is generated when a sales order is updated in Zoho Books.
17 Customer Payment Created `customer_payment_created` An event is generated when a customer payment is created in Zoho Books.
18 Customer Payment Updated `customer_payment_updated` An event is generated when a customer payment is updated in Zoho Books.
19 Vendor Payment Created `vendor_payment_created` An event is generated when a vendor payment is created in Zoho Books.
20 Vendor Payment Updated `vendor_payment_updated` An event is generated when a vendor payment is updated in Zoho Books.
-------------------------------------------------------------------------------- title: "Zoho Commerce" description: "List of default events supported for Zoho Commerce." last_updated: "2026-03-06T16:19:28.000Z" source: "https://docs.catalyst.zoho.com/en/signals/help/publishers/supported-events/zoho-publishers/zoho-commerce/" service: "Signals" -------------------------------------------------------------------------------- # Zoho Commerce Following are the default events supported for the Zoho Commerce Publisher:
No. Display Name API Name Description
1 Sales Order Created `sales_order_created` An event is generated when a sales order is created in Zoho Commerce.
2 Sales Order Confirmed `sales_order_confirmed` An event is generated when a sales order is confirmed in Zoho Commerce.
3 Sales Order Cancelled `sales_order_cancelled` An event is generated when a sales order is cancelled in Zoho Commerce.
4 Sales Order Declined `sales_order_declined` An event is generated when a sales order is declined in Zoho Commerce.
5 Sales Order Shipped `sales_order_shipped` An event is generated when a sales order is shipped in Zoho Commerce.
6 Sales Order Delivered `sales_order_delivered` An event is generated when a sales order is delivered in Zoho Commerce.
-------------------------------------------------------------------------------- title: "Zoho CRM" description: "List of default events supported for Zoho CRM." last_updated: "2026-03-06T16:19:28.000Z" source: "https://docs.catalyst.zoho.com/en/signals/help/publishers/supported-events/zoho-publishers/zoho-crm/" service: "Signals" -------------------------------------------------------------------------------- # Zoho CRM Following are the default events supported for the Zoho CRM Publisher:
No. Display Name API Name Description
1 Lead Created `lead_created` An event is generated when a lead is created in Zoho CRM.
2 Lead Approved `lead_approved` An event is generated when a lead is approved in Zoho CRM.
3 Lead Converted `lead_converted` An event is generated when a lead is converted in Zoho CRM.
4 Lead Deleted `lead_deleted` An event is generated when a lead is deleted in Zoho CRM.
5 Lead Rejected `lead_rejected` An event is generated when a lead is rejected in Zoho CRM.
6 Lead Updated `lead_updated` An event is generated when a lead is updated in Zoho CRM.
7 Account Approved `account_approved` An event is generated when an account is approved in Zoho CRM.
8 Account Created `account_created` An event is generated when an account is created in Zoho CRM.
9 Account Deleted `account_deleted` An event is generated when an account is deleted in Zoho CRM.
10 Account Rejected `account_rejected` An event is generated when an account is rejected in Zoho CRM.
11 Account Updated `account_updated` An event is generated when an account is updated in Zoho CRM.
12 Contact Created `contact_created` An event is generated when a contact is created in Zoho CRM.
13 Contact Deleted `contact_deleted` An event is generated when a contact is deleted in Zoho CRM.
14 Contact Updated `contact_updated` An event is generated when a contact is updated in Zoho CRM.
15 Contacts Approved `contact_approved` An event is generated when a contact is approved in Zoho CRM.
16 Contacts Rejected `contact_rejected` An event is generated when a contact is rejected in Zoho CRM.
17 Deal Approved `deal_approved` An event is generated when a deal is approved in Zoho CRM.
18 Deal Created `deal_created` An event is generated when a deal is created in Zoho CRM.
19 Deal Deleted `deal_deleted` An event is generated when a deal is deleted in Zoho CRM.
20 Deal Rejected `deal_rejected` An event is generated when a deal is rejected in Zoho CRM.
21 Deal Updated `deal_updated` An event is generated when a deal is updated in Zoho CRM.
22 Product Created `product_created` An event is generated when a product is created in Zoho CRM.
23 Campaign Approved `campaign_approved` An event is generated when a campaign is approved in Zoho CRM.
24 Campaign Created `campaign_created` An event is generated when a campaign is created in Zoho CRM.
25 Campaign Deleted `campaign_deleted` An event is generated when a campaign is deleted in Zoho CRM.
26 Campaign Member Status Updated `campaign_member_status` An event is generated when a campaign member status is updated in Zoho CRM.
27 Campaign Rejected `campaign_rejected` An event is generated when a campaign is rejected in Zoho CRM.
28 Campaign Updated `campaign_updated` An event is generated when a campaign is updated in Zoho CRM.
29 Case Approved `case_approved` An event is generated when a case is approved in Zoho CRM.
30 Case Created `case_created` An event is generated when a case is created in Zoho CRM.
31 Case Deleted `case_deleted` An event is generated when a case is deleted in Zoho CRM.
32 Case Rejected `case_rejected` An event is generated when a case is rejected in Zoho CRM.
33 Case Updated `case_updated` An event is generated when a case is updated in Zoho CRM.
34 Product Approved `product_approved` An event is generated when a product is approved in Zoho CRM.
35 Product Deleted `product_deleted` An event is generated when a product is deleted in Zoho CRM.
36 Product Rejected `product_rejected` An event is generated when a product is rejected in Zoho CRM.
37 Product Updated `product_updated` An event is generated when a product is updated in Zoho CRM.
38 Solution Approved `solution_approved` An event is generated when a solution is approved in Zoho CRM.
39 Solution Created `solution_created` An event is generated when a solution is created in Zoho CRM.
40 Solution Deleted `solution_deleted` An event is generated when a solution is deleted in Zoho CRM.
41 Solution Rejected `solution_rejected` An event is generated when a solution is rejected in Zoho CRM.
42 Solution Updated `solution_updated` An event is generated when a solution is updated in Zoho CRM.
43 PriceBook Approved `price_book_approved` An event is generated when a price book is approved in Zoho CRM.
44 PriceBook Created `price_book_created` An event is generated when a price book is created in Zoho CRM.
45 PriceBook Deleted `price_book_deleted` An event is generated when a price book is deleted in Zoho CRM.
46 PriceBook Rejected `price_book_rejected` An event is generated when a price book is rejected in Zoho CRM.
47 PriceBook Updated `price_book_updated` An event is generated when a price book is updated in Zoho CRM.
48 Quote Approved `quote_approved` An event is generated when a quote is approved in Zoho CRM.
49 Quote Converted `quote_converted` An event is generated when a quote is converted in Zoho CRM.
50 Quote Created `quote_created` An event is generated when a quote is created in Zoho CRM.
51 Quote Deleted `quote_deleted` An event is generated when a quote is deleted in Zoho CRM.
52 Quote Rejected `quote_rejected` An event is generated when a quote is rejected in Zoho CRM.
53 Quote Updated `quote_updated` An event is generated when a quote is updated in Zoho CRM.
54 Vendor Approved `vendor_approved` An event is generated when a vendor is approved in Zoho CRM.
55 Vendor Created `vendor_created` An event is generated when a vendor is created in Zoho CRM.
56 Vendor Deleted `vendor_deleted` An event is generated when a vendor is deleted in Zoho CRM.
57 Vendor Rejected `vendor_rejected` An event is generated when a vendor is rejected in Zoho CRM.
58 Vendor Updated `vendor_updated` An event is generated when a vendor is updated in Zoho CRM.
59 Invoice Approved `invoice_approved` An event is generated when a invoice is approved in Zoho CRM.
60 Invoice Created `invoice_created` An event is generated when a invoice is created in Zoho CRM.
61 Invoice Deleted `invoice_deleted` An event is generated when a invoice is deleted in Zoho CRM.
62 Invoice Rejected `invoice_rejected` An event is generated when a invoice is rejected in Zoho CRM.
63 Invoice Updated `invoice_updated` An event is generated when a invoice is updated in Zoho CRM.
64 Note Approved `note_approved` An event is generated when a note is approved in Zoho CRM.
65 Note Created `note_created` An event is generated when a note is created in Zoho CRM.
66 Note Deleted `note_deleted` An event is generated when a note is deleted in Zoho CRM.
67 Note Rejected `note_rejected` An event is generated when a note is rejected in Zoho CRM.
68 Note Updated `note_updated` An event is generated when a note is updated in Zoho CRM.
69 PurchaseOrder Approved `purchase_order_approved` An event is generated when a purchase order is deleted in Zoho CRM.
70 PurchaseOrder Created `purchase_order_created` An event is generated when a purchase order is created in Zoho CRM.
71 PurchaseOrder Deleted `purchase_order_deleted` An event is generated when a purchase order is deleted in Zoho CRM.
72 PurchaseOrder Updated `purchase_order_updated` An event is generated when a purchase order is updated in Zoho CRM.
73 SalesOrder Approved `sales_order_approved` An event is generated when a sales order is approved in Zoho CRM.
74 SalesOrder Converted `sales_order_converted` An event is generated when a sales order is converted in Zoho CRM.
75 SalesOrder Created `sales_order_created` An event is generated when a sales order is created in Zoho CRM.
76 SalesOrder Deleted `sales_order_deleted` An event is generated when a sales order is deleted in Zoho CRM.
77 SalesOrder Rejected `sales_order_rejected` An event is generated when a sales order is rejected in Zoho CRM.
78 SalesOrder Updated `sales_order_updated` An event is generated when a sales order is updated in Zoho CRM.
79 Call Created `call_created` An event is generated when a call is created in Zoho CRM.
80 Call Deleted `call_deleted` An event is generated when a call is deleted in Zoho CRM.
81 Call Missed `call_missed` An event is generated when a call is missed in Zoho CRM.
82 Call Received `call_received` An event is generated whenever a call is received in Zoho CRM.
83 Call Updated `call_updated` An event is generated when a call is updated in Zoho CRM.
84 Email Bounced `email_bounced` An event is generated when an email is bounced in Zoho CRM.
85 Email Clicked `email_clicked` An event is generated when an email is clicked in Zoho CRM.
86 Email Opened `email_opened` An event is generated when an email is opened in Zoho CRM.
87 Email Received `email_received` An event is generated when an email is received in Zoho CRM.
88 Email Resubscribed `email_resubscribed` An event is generated when an email is resubscribed in Zoho CRM.
89 Email Sent `email_sent` An event is generated when an email is sent in Zoho CRM.
90 Email Unsubscribed `email_unsubscribed` An event is generated when an email is unsubscribed in Zoho CRM.
91 OutBound Call Unattended `outbound_call_unattended` An event is generated when an out bound call is unattended in Zoho CRM.
92 PurchaseOrder Rejected `purchase_order_rejected` An event is generated when a purchase order is rejected in Zoho CRM.
93 Meetings Approved `event_approved` An event is generated when a meeting is approved in Zoho CRM.
94 Meetings Created `event_created` An event is generated when a meeting is created in Zoho CRM.
95 Meetings Deleted `event_deleted` An event is generated when a meeting is deleted in Zoho CRM.
96 Meetings Rejected `event_rejected` An event is generated when a meeting is rejected in Zoho CRM.
97 Meetings Updated `event_updated` An event is generated when a meeting is updated in Zoho CRM.
98 Task Approved `task_approved` An event is generated when a task is approved in Zoho CRM.
99 Task Created `task_created` An event is generated when a task is created in Zoho CRM.
100 Task Deleted `task_deleted` An event is generated when a task is deleted in Zoho CRM.
101 Task Rejected `task_rejected` An event is generated when a task is rejected in Zoho CRM.
102 Task Updated `task_updated` An event is generated when a task is updated in Zoho CRM.
103 Webform Submitted `webform_submitted` An event is generated when a webform is updated in Zoho CRM.
-------------------------------------------------------------------------------- title: "Zoho Expense" description: "List of default events supported for Zoho Expense." last_updated: "2026-03-06T16:19:28.000Z" source: "https://docs.catalyst.zoho.com/en/signals/help/publishers/supported-events/zoho-publishers/zoho-expense/" service: "Signals" -------------------------------------------------------------------------------- # Zoho Expense Following are the default events supported for the Zoho Expense Publisher:
No. Display Name API Name Description
1 Trips Created `trips_created` An event is generated when a trip is created in Zoho Expense.
2 Trips Deleted `trips_deleted` An event is generated when a trip is deleted in Zoho Expense.
3 Trips Edited `trips_edited` An event is generated when a trip is edited in Zoho Expense.
4 Trips Submitted `trips_submitted` An event is generated when a trip is submitted in Zoho Expense.
5 Trips Approved `trips_approved` An event is generated when a trip is approved in Zoho Expense.
6 Trips Closed `trips_closed` An event is generated when a trip is closed in Zoho Expense.
7 Trips Recalled `trips_recalled` An event is generated when a trip is recalled in Zoho Expense.
8 Trips Rejected `trips_rejected` An event is generated when a trip is rejected in Zoho Expense.
9 Trips Cancelled `trips_cancelled` An event is generated when a trip is cancelled in Zoho Expense.
10 Trips Trip Option Approved `trips_trip_option_approved` An event is generated when a trip option is approved for a trip in Zoho Expense.
11 Trips Trip Option Selected `trips_trip_option_selected` An event is generated when a trip option is selected within a trip in Zoho Expense.
12 Trips Trip Option_Added `trips_trip_option_added` An event is generated when a trip option is added to a trip in Zoho Expense.
13 Trips Itinerary Rescheduled `trips_itinerary_rescheduled` An event is generated when the itinerary of a trip is rescheduled in Zoho Expense.
14 Trips More Option Requested `trips_more_option_requested` An event is generated when the more option for trips is requested in Zoho Expense.
15 Trips Trip Option Cancelled `trips_trip_option_cancelled` An event is generated when a trip option is cancelled for a trip in Zoho Expense.
16 Trips Trip Option Rejected `trips_trip_option_rejected` An event is generated when a trip option is rejected for a trip in Zoho Expense.
17 Reports Created `reports_created` An event is generated when a report is created in Zoho Expense.
18 Reports Edited `reports_edited` An event is generated when a report is edited in Zoho Expense.
19 Trips Itinerary Cancelled `trips_itinerary_cancelled` An event is generated when the itinerary of a trip is cancelled in Zoho Expense.
20 Trips Rescheduled `trips_rescheduled` An event is generated when a trip is rescheduled in Zoho Expense.
21 Reports Approved `reports_approved` An event is generated when a report is approved in Zoho Expense.
22 Reports Deleted `reports_deleted` An event is generated when a report is deleted in Zoho Expense.
23 Reports Submitted `reports_submitted` An event is generated when a report is submitted in Zoho Expense.
24 Reports Recalled `reports_recalled` An event is generated when a report is recalled in Zoho Expense.
25 Reports Reimbursed `reports_reimbursed` An event is generated when a report is reimbursed in Zoho Expense.
26 Reports Rejected `reports_rejected` An event is generated when a report is rejected in Zoho Expense.
27 Advances Created `advances_created` An event is generated when an advance is created in Zoho Expense.
28 Advances Deleted `advances_deleted` An event is generated when an advance is deleted in Zoho Expense.
29 Advances Edited `advances_edited` An event is generated when an advance is edited in Zoho Expense.
30 Reports Reimbursement Cancelled `reports_reimbursement_cancelled` An event is generated when the reimbursement for a report is cancelled in Zoho Expense.
31 Advance Refunds Created `advance_refunds_created` An event is generated when an advance refund is created in Zoho Expense.
32 Advance Refunds Deleted `advance_refunds_deleted` An event is generated when an advance refund is deleted in Zoho Expense.
33 Advance Refunds Edited `advance_refunds_edited` An event is generated when an advance refund is edited in Zoho Expense.
34 Advances Paid `advances_paid` An event is generated when an advance is paid in Zoho Expense.
35 Advances Rejected `advances_rejected` An event is generated when an advance is approved in Zoho Expense.
-------------------------------------------------------------------------------- title: "Zoho Inventory" description: "List of default events supported for Zoho Inventory." last_updated: "2026-03-06T16:19:28.000Z" source: "https://docs.catalyst.zoho.com/en/signals/help/publishers/supported-events/zoho-publishers/zoho-inventory/" service: "Signals" -------------------------------------------------------------------------------- # Zoho Inventory Following are the default events supported for the Zoho Inventory Publisher:
No. Display Name API Name Description
1 Item Created `item_created` An event is generated when an item is created in Zoho Inventory.
2 Item Updated `item_updated` An event is generated when an item is updated in Zoho Inventory.
3 Adjustment Created `adjustments_created` An event is generated when an inventory adjustment is created in Zoho Inventory.
4 Adjustment Deleted `adjustments_deleted` An event is generated when an inventory adjustment is deleted in Zoho Inventory.
5 Adjustment Updated `adjustments_updated` An event is generated when an inventory adjustment is updated in Zoho Inventory.
6 Customer Created `customer_created` A event is generated when a customer is created in Zoho Inventory.
7 Customer Deleted `customer_deleted` An event is generated when a customer is deleted in Zoho Inventory.
8 Customer Updated `customer_updated` An event is generated when a customer is updated in Zoho Inventory.
9 Item Deleted `item_deleted` An event is generated when an item is deleted in Zoho Inventory.
10 Invoice Created `invoice_created` An event is generated when an invoice is created in Zoho Inventory.
11 Sales Order Created `sales_order_created` An event is generated when a sales order is created in Zoho Inventory.
12 Sales Order Deleted `sales_order_deleted` An event is generated when a sales order is deleted in Zoho Inventory.
13 Sales Order Updated `sales_order_updated` An event is generated when a sales order is updated in Zoho Inventory.
14 Credit Note Created `credit_note_created` An event is generated when a credit note is created in Zoho Inventory.
15 Invoice Deleted `invoice_deleted` An event is generated when an invoice is deleted in Zoho Inventory.
16 Invoice Updated `invoice_updated` An event is generated when an invoice is updated in Zoho Inventory.
17 Credit Note Deleted `credit_note_deleted` An event is generated when a credit note is deleted in Zoho Inventory.
18 Credit Note Updated `credit_note_updated` An event is generated when a credit note is updated in Zoho Inventory.
19 Delivery Challan Created `delivery_challan_created` An event is generated when a delivery challan is created in Zoho Inventory.
20 Delivery Challan Deleted `delivery_challan_deleted` An event is generated when a delivery challan is deleted in Zoho Inventory.
21 Delivery Challan Updated `delivery_challan_updated` An event is generated when a delivery challan is updated in Zoho Inventory.
22 Bill Created `bill_created` An event is generated when a bill is created in Zoho Inventory.
23 Purchase Order Created `purchase_order_created` An event is generated when a purchase order is created in Zoho Inventory.
24 Purchase Order Deleted `purchase_order_deleted` An event is generated when a purchase order is deleted in Zoho Inventory.
25 Purchase Order Updated `purchase_order_updated` An event is generated when a purchase order is updated in Zoho Inventory.
26 Sales Returns Created `sales_returns_created` An event is generated when a sales return is created in Zoho Inventory.
27 Sales Returns Deleted `sales_returns_deleted` An event is generated when a sales return is deleted in Zoho Inventory.
28 Sales Returns Updated `sales_returns_updated` An event is generated when a sales return is updated in Zoho Inventory.
29 Bill Deleted `bill_deleted` An event is generated when a bill is deleted in Zoho Inventory.
30 Bill Updated `bill_updated` An event is generated when a bill is updated in Zoho Inventory.
31 Transfer Order Created `transfer_order_created` An event is generated when a transfer order is created in Zoho Inventory.
32 Transfer Order Updated `transfer_order_updated` An event is generated when a transfer order is updated in Zoho Inventory.
33 Vendor Credits Created `vendor_credits_created` An event is generated when a vendor credit is created in Zoho Inventory.
34 Vendor Credits Deleted `vendor_credits_deleted` An event is generated when a vendor credit is deleted in Zoho Inventory.
35 Vendor Credits Updated `vendor_credits_updated` An event is generated when a vendor credit is updated in Zoho Inventory.
36 Transfer Order Deleted `transfer_order_deleted` An event is generated when a transfer order is deleted in Zoho Inventory.
-------------------------------------------------------------------------------- title: "Zoho Invoice" description: "List of default events supported for Zoho Invoice." last_updated: "2026-03-06T16:19:28.000Z" source: "https://docs.catalyst.zoho.com/en/signals/help/publishers/supported-events/zoho-publishers/zoho-invoice/" service: "Signals" -------------------------------------------------------------------------------- # Zoho Invoice Following are the default events supported for the Zoho Invoice Publisher:
No. Display Name API Name Description
1 Estimate Created `estimate_created` An event is generated when an estimate is created in Zoho Invoice.
2 Estimate Updated `estimate_updated` An event is generated when an estimate is updated in Zoho Invoice.
3 Invoice Created `invoice_created` An event is generated when an invoice is created in Zoho Invoice.
4 Invoice Updated `invoice_updated` An event is generated when an invoice is updated in Zoho Invoice.
5 Customer Created `customer_created` An event is generated when a customer is created in Zoho Invoice.
6 Customer Updated `customer_updated` An event is generated when a customer is updated in Zoho Invoice.
7 Payment Received `payment_received` An event is generated when a payment is received in Zoho Invoice.
8 Payment Updated `payment_updated` An event is generated when a payment is updated in Zoho Invoice.
-------------------------------------------------------------------------------- title: "Zoho Survey" description: "List of default events supported for Zoho Survey." last_updated: "2026-03-06T16:19:28.000Z" source: "https://docs.catalyst.zoho.com/en/signals/help/publishers/supported-events/zoho-publishers/zoho-survey/" service: "Signals" -------------------------------------------------------------------------------- # Zoho Survey Following are the default events supported for the Zoho Survey Publisher:
No. Display Name API Name Description
1 Response Completed `response_completed` An event is generated when a response is completed in Zoho Survey.
2 Response Created `response_created` An event is generated when a response is created in Zoho Survey.
-------------------------------------------------------------------------------- title: "Zoho Meeting" description: "List of default events supported for Zoho Meeting." last_updated: "2026-03-06T16:19:28.000Z" source: "https://docs.catalyst.zoho.com/en/signals/help/publishers/supported-events/zoho-publishers/zoho-meeting/" service: "Signals" -------------------------------------------------------------------------------- # Zoho Meeting Following are the default events supported for the Zoho Meeting Publisher:
No. Display Name API Name Description
1 Meeting Created `meeting_created` An event is generated when a meeting is created in Zoho Meetings.
2 Meeting Canceled `meeting_canceled` An event is generated when a meeting is canceled in Zoho Meetings.
3 Meeting Updated `meeting_updated` An event is generated when a meeting is updated in Zoho Meetings.
4 Meeting Ended `meeting_ended` An event is generated when a meeting is ended in Zoho Meetings.
5 Meeting Started `meeting_started` An event is generated when a meeting is started in Zoho Meetings.
6 Webinar Created `webinar_created` An event is generated when a webinar is created in Zoho Meetings.
7 Webinar Canceled `webinar_canceled` An event is generated when a webinar is canceled in Zoho Meetings.
8 Webinar Updated `webinar_updated` An event is generated when a webinar is updated in Zoho Meetings.
9 Webinar Ended `webinar_ended` An event is generated when a webinar is ended in Zoho Meetings.
10 Webinar Started `webinar_started` An event is generated when a webinar is started in Zoho Meetings.
11 Webinar Member Joined `webinar_member_joined` An event is generated when a member joins a webinar in Zoho Meetings.
12 Webinar Registered `webinar_registered` An event is generated when a webinar is registered in Zoho Meetings.
13 Webinar Member Removed `webinar_member_removed` An event is generated when a member is removed from the webinar in Zoho Meetings.
-------------------------------------------------------------------------------- title: "Zoho Assist" description: "List of default events supported for Zoho Assist." last_updated: "2026-03-06T16:19:28.000Z" source: "https://docs.catalyst.zoho.com/en/signals/help/publishers/supported-events/zoho-publishers/zoho-assist/" service: "Signals" -------------------------------------------------------------------------------- # Zoho Assist Following are the default events supported for the Zoho Assist Publisher:
No. Display Name API Name Description
1 Outbound Session Started `outbound_session_start` An event is generated when an outbound session starts in Zoho Assist.
2 ScreenShare Session Started `session_start_ss` An event is generated when a screen-share session starts in Zoho Assist.
3 RemoteSupport Session Ended `session_end_rs` An event is generated when a remote-support session ends in Zoho Assist.
4 ScreenShare Session Ended `ssession_end_ss` An event is generated when a screen-share session ends in Zoho Assist.
5 RemoteSupport Customer Joined `customer_join_rs` An event is generated when a customer joins a remote-support session in Zoho Assist.
6 Inbound Request Created `inbound_request_create` An event is generated when an inbound request is created in Zoho Assist.
7 Inbound Request Transferred `inbound_request_transfer` An event is generated when an inbound request is transferred in Zoho Assist.
8 Inbound Request Delegated `inbound_request_delegate` An event is generated when an inbound request is delegated in Zoho Assist.
9 Inbound Request Picked `inbound_request_picked` An event is generated when an inbound request is picked in Zoho Assist.
10 Inbound Request Declined `inbound_request_declined` An event is generated when an inbound request is declined in Zoho Assist.
11 Inbound Request Dropped `inbound_request_dropped` An event is generated when an inbound request is dropped in Zoho Assist.
12 Inbound Request Expired `inbound_request_expired` An event is generated when an inbound request is expired in Zoho Assist.
13 Device Added `device_add` An event is generated when a device is added in Zoho Assist.
14 Device Online `device_online` An event is generated when a device goes online in Zoho Assist.
15 Device Offline `device_offline` An event is generated when a device goes offline in Zoho Assist.
16 Device Deleted `device_delete` An event is generated when a device is deleted in Zoho Assist.
17 Unattended Access Session Started `session_start_urs` An event is generated when an unattended-access session starts in Zoho Assist.
18 Unattended Access Session Ended `session_end_urs` An event is generated when an unattended-access session ends in Zoho Assist.
-------------------------------------------------------------------------------- title: "Zoho Campaigns" description: "List of default events supported for Zoho Campaigns." last_updated: "2026-03-06T16:19:28.000Z" source: "https://docs.catalyst.zoho.com/en/signals/help/publishers/supported-events/zoho-publishers/zoho-campaigns/" service: "Signals" -------------------------------------------------------------------------------- # Zoho Campaigns Following are the default events supported for the Zoho Campaigns Publisher:
No. Display Name API Name Description
1 Contact Subscribed `contact_subscribed` An event is generated when a contact subscribes to Zoho Campaigns.
2 Contact Unsubscribed `contact_unsubscribed` An event is generated when a contact unsubscribes from Zoho Campaigns.
3 Email Sent `email_sent` An event is generated when an email is sent using Zoho Campaigns.
4 Email Opened `email_opened` An event is generated when an email is opened in Zoho Campaigns.
5 Email Clicked `email_clicked` An event is generated when an email is accessed in Zoho Campaigns.
6 Email Replied `email_replied` An event is generated when an email is replied to from Zoho Campaigns.
7 Email Bounced `email_bounced` An event is generated when an email gets bounced in Zoho Campaigns.
8 Subscription Preference Updated `subscription_preference_updated` An event is generated when a contact updates their subscription preference in Zoho Campaigns.
9 Field Updated `field_updated` An event is generated when a contact's field is updated in Zoho Campaigns.
10 List Updated `list_updated` An event is generated when a list is updated in Zoho Campaigns.
11 Tag Updated `tag_updated` An event is generated when a contact's tag is updated in Zoho Campaigns.
12 Score Updated `score_updated` An event is generated when a contact's score is updated in Zoho Campaigns.
-------------------------------------------------------------------------------- title: "Zoho Marketing Automation" description: "List of default events supported for Zoho Marketing Automation." last_updated: "2026-03-06T16:19:28.000Z" source: "https://docs.catalyst.zoho.com/en/signals/help/publishers/supported-events/zoho-publishers/zoho-marketing-automation/" service: "Signals" -------------------------------------------------------------------------------- # Zoho Marketing Automation Following are the default events supported for the Zoho Marketing Automation Publisher:
No. Display Name API Name Description
1 Contact Subscribed `contact_subscribed` An event is generated when a contact subscribes to Zoho Marketing Automation.
2 Contact Unsubscribed `contact_unsubscribed` An event is generated when a contact unsubscribes from Zoho Marketing Automation.
3 Email Sent `email_sent` An event is generated when an email is sent using Zoho Marketing Automation.
4 Email Opened `email_opened` An event is generated when an email is opened in Zoho Marketing Automation.
5 Email Clicked `email_clicked` An event is generated when an email is accessed in Zoho Marketing Automation.
6 Email Replied `email_replied` An event is generated when an email is replied to from Zoho Marketing Automation.
7 Email Bounced `email_bounced` An event is generated when an email gets bounced in Zoho Marketing Automation.
8 Subscription Preference Updated `subscription_preference_updated` An event is generated when a contact updates their subscription preference in Zoho Marketing Automation.
9 Field Updated `field_updated` An event is generated when a contact's field is updated in Zoho Marketing Automation.
10 List Updated `list_updated` An event is generated when a list is updated in Zoho Marketing Automation.
11 Tag Updated `tag_updated` An event is generated when a contact's tag is updated in Zoho Marketing Automation.
12 Score Updated `score_updated` An event is generated when a contact's score is updated in Zoho Marketing Automation.
13 Stage Updated `stage_updated` An event is generated when a contact's stage is updated in Zoho Marketing Automation.
-------------------------------------------------------------------------------- title: "Zoho Sprints" description: "List of default events supported for Zoho Sprints." last_updated: "2026-04-09T15:19:52.000Z" source: "https://docs.catalyst.zoho.com/en/signals/help/publishers/supported-events/zoho-publishers/zoho-sprints/" service: "Signals" -------------------------------------------------------------------------------- # Zoho Sprints Following are the default events supported for the Zoho Sprints Publisher:
No. Display Name API Name Description
1 Project Create `project_create` An event is generated when a project is created in Zoho Sprints.
2 Project Update `project_update` An event is generated when a project is updated in Zoho Sprints.
3 Project Delete `project_delete` An event is generated when a project is deleted in Zoho Sprints.
4 Project Archive `project_archived` An event is generated when a project is archived in Zoho Sprints.
5 Sprint Create `sprint_create` An event is generated when a sprint is created in Zoho Sprints.
6 Sprint Update `sprint_update` An event is generated when a sprint is updated in Zoho Sprints.
7 Sprint Delete `sprint_delete` An event is generated when a sprint is deleted in Zoho Sprints.
8 Sprint Start `sprint_start` An event is generated when a sprint gets started in Zoho Sprints.
9 Sprint Complete `sprint_complete` An event is generated when a sprint is completed in Zoho Sprints.
10 Sprint Cancel `sprint_canceled` An event is generated when a sprint is cancelled in Zoho Sprints.
11 Epic Create `epic_create` An event is generated when a epic is created in Zoho Sprints.
12 Epic Update `epic_update` An event is generated when a epic is updated in Zoho Sprints.
13 Epic Delete `epic_delete` An event is generated when a epic is deleted in Zoho Sprints.
14 Item Create `item_create` An event is generated when an item is created in Zoho Sprints.
15 Item Update `item_update` An event is generated when an item is updated in Zoho Sprints.
16 Item Delete `item_delete` An event is generated when an item is deleted in Zoho Sprints.
17 Item Reopen `item_reopen` An event is generated when an item is reopened in Zoho Sprints.
18 Item Complete `item_complete` An event is generated when an item is completed in Zoho Sprints.
19 Release Create `release_create` An event is generated when a release is created in Zoho Sprints.
20 Release Update `release_update` An event is generated when a release is updated in Zoho Sprints.
21 Release Delete `release_delete` An event is generated when a release is deleted in Zoho Sprints.
22 Meeting Create `meeting_create` An event is generated when a meeting is created in Zoho Sprints.
23 Meeting Update `meeting_update` An event is generated when a meeting is updated in Zoho Sprints.
24 Meeting Delete `meeting_delete` An event is generated when a meeting is deleted in Zoho Sprints.
25 Meeting Start `meeting_start` An event is generated when a meeting is started in Zoho Sprints.
26 Workspace User Create `user_team_create` An event is generated when a workspace user is created in Zoho Sprints.
27 Workspace User Delete `user_team_delete` An event is generated when a workspace user is deleted in Zoho Sprints.
28 Project User Create `user_project_create` An event is generated when a project user is created in Zoho Sprints.
29 Project User Delete `user_project_delete` An event is generated when a project user is deleted in Zoho Sprints.
30 Log Hour Create `loghour_create` An event is generated when a log hour is created in Zoho Sprints.
31 Log Hour Update `loghour_update` An event is generated when a log hour is updated in Zoho Sprints.
32 Log Hour Delete `loghour_delete` An event is generated when a log hour is deleted in Zoho Sprints.
33 Sprint Comment Create `sprint_notes_create` An event is generated when a sprint comment is created in Zoho Sprints.
34 Sprint Comment Update `sprint_notes_update` An event is generated when a sprint comment is updated in Zoho Sprints.
35 Sprint Comment Delete `sprint_notes_delete` An event is generated when a sprint comment is deleted in Zoho Sprints.
36 Item Comment Create `item_notes_create` An event is generated when a item comment is created in Zoho Sprints.
37 Item Comment Update `item_notes_update` An event is generated when a item comment is updated in Zoho Sprints.
38 Item Comment Delete `item_notes_delete` An event is generated when a item comment is deleted in Zoho Sprints.
39 Meeting Comment Create `meeting_notes_create` An event is generated when a meeting comment is created in Zoho Sprints.
40 Meeting Comment Update `meeting_notes_update` An event is generated when a meeting comment is updated in Zoho Sprints.
41 Meeting Comment Delete `meeting_notes_delete` An event is generated when a meeting comment is deleted in Zoho Sprints.
-------------------------------------------------------------------------------- title: "Zoho Desk" description: "List of default events supported for Zoho Desk." last_updated: "2026-04-09T15:19:52.000Z" source: "https://docs.catalyst.zoho.com/en/signals/help/publishers/supported-events/zoho-publishers/zoho-desk/" service: "Signals" -------------------------------------------------------------------------------- # Zoho Desk Following are the default events supported for the Zoho Desk Publisher:
No. Display Name API Name Description
1 Ticket Created `ticket_created` An event is generated when a new ticket is created in Zoho Desk.
2 Ticket Updated `ticket_updated` An event is generated when a ticket is updated in Zoho Desk.
3 Ticket Status Changed `ticket_status_changed` An event is generated when a ticket status is changed in Zoho Desk.
4 Ticket Priority Changed `ticket_priority_changed` An event is generated when a ticket priority is changed in Zoho Desk.
5 Ticket Overdue `ticket_overdue` An event is generated when a ticket crosses overdue in Zoho Desk.
6 Ticket Escalated `ticket_escalated` An event is generated when a ticket is escalated in Zoho Desk.
7 Contact Created `contact_created` An event is generated when a new contact is created in Zoho Desk.
8 Contact Updated `contact_updated` An event is generated when a contact is updated in Zoho Desk.
9 Account Created `account_created` An event is generated when a new account is created in Zoho Desk.
10 Account Updated `account_updated` An event is generated when an account is updated in Zoho Desk.
11 Comment Added `comment_added` An event is generated when a new comment is added in Zoho Desk.
12 Comment Updated `comment_updated` An event is generated when a comment is updated in Zoho Desk.
13 Response Received `response_received` An event is generated when a new response is received in Zoho Desk.
14 Rating Added `rating_added` An event is generated when a new rating is added in Zoho Desk.
15 Ticket Deleted `ticket_deleted` An event is generated when a ticket is deleted in Zoho Desk.
16 Contact Deleted `contact_deleted` An event is generated when a contact is deleted in Zoho Desk.
17 Ticket Approval Added `ticket_approval_added` An event is generated when an approval request is created for a ticket in Zoho Desk.
18 Ticket Approval Updated `ticket_approval_updated` An event is generated when a ticket's approval request is updated in Zoho Desk.
19 Account Deleted `account_deleted` An event is generated when an account is deleted in Zoho Desk.
20 Department Added `department_added` An event is generated when a department is added in Zoho Desk.
21 Department Updated `department_updated` An event is generated when a department is updated in Zoho Desk.
22 Agent Added `agent_added` An event is generated when an agent is added in Zoho Desk.
23 Agent Deleted `agent_deleted` An event is generated when an agent is deleted in Zoho Desk.
24 Agent Updated `agent_updated` An event is generated when an agent is updated in Zoho Desk.
25 Agent Channel Preference Updated `agent_channel_preference_updated` An event is generated when an agent manually changes his channel preference in Zoho Desk.
26 Agent Presence Updated `agent_presence_updated` An event is generated when an agent comes online or goes offline in Zoho Desk.
27 Ticket Attachment Added `ticket_attachment_added` An event is generated when a sub-tab attachment is added to a ticket in Zoho Desk.
28 Ticket Attachment Updated `ticket_attachment_updated` An event is generated when a sub-tab attachment of a ticket is updated in Zoho Desk.
29 Task Added `task_added` An event is generated when a task is added in Zoho Desk.
30 Task Deleted `task_deleted` An event is generated when a task is deleted in Zoho Desk.
31 Task Updated `task_updated` An event is generated when a task is updated in Zoho Desk.
32 Ticket Attachment Deleted `ticket_attachment_deleted` An event is generated when a sub-tab attachment of a ticket is deleted in Zoho Desk.
33 Call Added `call_added` An event is generated when a call is added in Zoho Desk.
34 Call Deleted `call_deleted` An event is generated when a call activity is deleted in Zoho Desk.
35 Call Updated `call_updated` An event is generated when a call is updated in Zoho Desk.
36 Event Added `event_added` An event is generated when an event is added in Zoho Desk.
37 Event Deleted `event_deleted` An event is generated when an event is deleted in Zoho Desk.
38 Event Updated `event_updated` An event is generated when an event is updated in Zoho Desk.
39 Time Entry Added `time_entry_added` An event is generated when a time entry is added in Zoho Desk.
40 Article Added `article_added` An event is generated when an article is created in Zoho Desk.
41 Time Entry Deleted `time_entry_deleted` An event is generated when a time entry is deleted in Zoho Desk.
42 Time Entry Updated `time_entry_updated` An event is generated when a time entry is updated in Zoho Desk.
43 Article Updated `article_updated` An event is generated when an article is updated in Zoho Desk.
44 Article Deleted `article_deleted` An event is generated when an article is deleted in Zoho Desk.
45 Article Translation Added `article_translation_added` An event is generated when a translation of an article is created in Zoho Desk.
46 Article Translation Updated `article_translation_updated` An event is generated when an article or a translation of an article is updated in Zoho Desk.
47 Article Feedback Added `article_feedback_added` An event is generated when a feedback is added to the translation of an article in Zoho Desk.
48 Article Translation Deleted `article_translation_deleted` An event is generated when a translation of an article is deleted in Zoho Desk.
49 Knowledge Base Category Added `kb_category_added` An event is generated when a root category is added in a Knowledge Base in Zoho Desk.
50 Knowledge Base Category Updated `kb_category_updated` An event is generated when a root category is updated in a Knowledge Base in Zoho Desk.
51 Knowledge Base Category Deleted `kb_category_deleted` An event is generated when a root category is deleted in a Knowledge Base in Zoho Desk.
52 Knowledge Base Section Added `kb_section_added` An event is generated when a section is added in a Knowledge Base in Zoho Desk.
53 Knowledge Base Section Updated `kb_section_updated` An event is generated when a section is updated in a Knowledge Base in Zoho Desk.
54 IM Message Added `im_message_added` An event is generated when an incoming and outgoing IM message is received in Zoho Desk.
55 Knowledge Base Section Deleted `kb_section_deleted` An event is generated when a section is deleted in a Knowledge Base in Zoho Desk.
> **Note:** The number of rules you can create with Zoho Desk Events depends on your Zoho Desk subscription plan, as well as the number of webhooks permitted by your chosen service plan. [Go to Zoho Desk Pricing Plans](https://www.zoho.com/desk/pricing-comparison.html). -------------------------------------------------------------------------------- title: "Zoho SalesIQ" description: "List of default events supported for Zoho SalesIQ." last_updated: "2026-04-09T15:19:52.000Z" source: "https://docs.catalyst.zoho.com/en/signals/help/publishers/supported-events/zoho-publishers/zoho-salesiq/" service: "Signals" -------------------------------------------------------------------------------- # Zoho SalesIQ Following are the default events supported for the Zoho SalesIQ Publisher:
No. Display Name API Name Description
1 Conversation Missed `conversation_missed` An event is generated when a conversation is missed in Zoho SalesIQ.
2 Conversation Completed `conversation_completed` An event is generated when a conversation is completed in Zoho SalesIQ.
3 Conversation Rated `conversation_rated` An event is generated when a conversation is rated in Zoho SalesIQ.
4 Conversation Visitor Replied `conversation_visitor_replied` An event is generated when a visitor of a conversation replied in Zoho SalesIQ.
5 Conversation Created `conversation_created` An event is generated when a conversation is created in Zoho SalesIQ.
6 Conversation Attender Updated `conversation_attender_updated` An event is generated when operators pick up a chat in Zoho SalesIQ.
7 Conversation Operator Replied `conversation_operator_replied` An event is generated when an operator replies to the chat initiated by the visitor in Zoho SalesIQ.
8 Conversation Transfer Initiated `conversation_transfer_initiated` An event is generated when a conversation transfer is initiated in Zoho SalesIQ.
9 Conversation Transfer Accepted `conversation_transfer_accepted` An event is generated when a transferred chat is accepted by the operator in Zoho SalesIQ.
10 Conversation Transfer Rejected `conversation_transfer_rejected` An event is generated when a transferred chat is rejected by the operator in Zoho SalesIQ.
11 Participants Added `participants_added` An event is generated when participants are invited to a conversation in Zoho SalesIQ.
12 Participants Deleted `participants_deleted` An event is generated when a participant is removed from a conversation in Zoho SalesIQ.
13 Conversation Supervisor Added `conversation_supervisor_added` An event is generated when a supervisor is added to a conversation in Zoho SalesIQ.
14 Message Edited `message_edited` An event is generated when a message is edited in a chat in Zoho SalesIQ.
15 Message Deleted `message_deleted` An event is generated when a message is deleted in a chat in Zoho SalesIQ.
16 Conversation Metrics Generated `conversation_metrics_generated` An event is generated with a conversation's metrics/metadata as soon as the conversation concludes in Zoho SalesIQ.
17 Department Created `department_created` An event is generated when a department is created in Zoho SalesIQ.
18 Department Updated `department_updated` An event is generated when a department is updated in Zoho SalesIQ.
19 Department Deleted `department_deleted` An event is generated when a department is deleted in Zoho SalesIQ.
20 Operator Created `operator_created` An event is generated when an operator is added in Zoho SalesIQ.
21 Operator Updated `operator_updated` An event is generated when an operator's setting is modified in Zoho SalesIQ.
22 Operator Deleted `operator_deleted` An event is generated when an operator is removed in Zoho SalesIQ.
23 Operator Associated `operator_associated` An event is generated when an operator is associated with a department in Zoho SalesIQ.
24 Operator Dissociated `operator_dissociated` An event is generated when an operator is removed from a department in Zoho SalesIQ.
25 Visitor Updated `visitor_updated` An event is generated when a visitor is updated in Zoho SalesIQ.
> **Note:** The number of rules you can create with Zoho SalesIQ Events depends on your Zoho SalesIQ subscription plan, as well as the number of webhooks permitted by your chosen service plan. [Go to Zoho SalesIQ Pricing Plans](https://www.zoho.com/salesiq/pricing-comparison.html). -------------------------------------------------------------------------------- title: "Zoho Backstage" description: "List of default events supported for Zoho Backstage." last_updated: "2026-07-24T05:49:23.000Z" source: "https://docs.catalyst.zoho.com/en/signals/help/publishers/supported-events/zoho-publishers/zoho-backstage/" service: "Signals" -------------------------------------------------------------------------------- # Zoho Backstage Following are the default events supported for the Zoho Backstage Publisher:
No. Display Name API Name Description
1 Ticket Purchased `ticket_purchased` An event is generated when a ticket is purchased in Zoho Backstage.
2 Ticket Cancelled `ticket_cancelled` An event is generated when a ticket is cancelled in Zoho Backstage.
3 Attendee CheckedIn `attendee_checkedin` An event is generated when an attendee checks-in to Zoho Backstage.
4 Event Order Created `event_order_created` An event is generated when an event order is created in Zoho Backstage.
5 Event Order Cancelled `event_order_cancelled` An event is generated when an event order is cancelled in Zoho Backstage.
### Rules -------------------------------------------------------------------------------- title: "Key Aspects" description: "Rules help you ingest the events from publisher to various targets. Learn more about cutomizing and filtering the events depending upon the target." last_updated: "2026-09-28T11:04:26.000Z" source: "https://docs.catalyst.zoho.com/en/signals/help/rules/key-aspects/" service: "Signals" -------------------------------------------------------------------------------- # Rules Rule is a statement that guides the ingestion of incoming [events](https://docs.catalyst.zoho.com/en/signals/help/events/) from [Publisher](https://docs.catalyst.zoho.com/en/signals/help/publishers/key-aspects/) to [Target](https://docs.catalyst.zoho.com/en/signals/help/targets/key-aspects/). It prescribes the actions which should be taken when certain conditions are met for delivering the events. You can tailor the rule configurations, update matching criteria, and modify target actions as required to accommodate changing business needs. Following are a couple of examples of rules: - In a **Travel Bureau**, whenever a trip is booked through their online platform, the event should be delivered to multiple target services, such as reservation management, customer service and support, and personalized recommendations. To achieve this, you can create a rule with no condition and multiple targets. - In a **marketing software** managing several campaigns and trade shows for a product with various features, each feature department needs to be notified of customer interactions regularly. To achieve this, you can create a rule with a condition to match a feature. The rule can then direct the events to the specific feature department through webhook. > **Note:** You can create and configure up to **100 Rules**. This threshold is configured for baseline and standard scenarios only. We strongly urge you to email us at support@zohocatalyst.com with your requirement to increase this soft threshold. ## Key Aspects ### Event Sources Event source refers to the publisher from where the configured event will be dispatched to Signals. Each Rule connects an event from a Publisher to one or more Targets. A single Rule can serve **up to five Targets**, allowing diverse services to react to the same event. [Learn how to create a publisher](https://docs.catalyst.zoho.com/en/signals/help/publishers/create-publisher/zoho-publishers/) ### Filter Rules deploy filters to find out the necessary events that need to be delivered to the target. These filters are based on [event schema](https://docs.catalyst.zoho.com/en/signals/help/events/#event-schema) such as publisher, event details, or specific values within the event payload. This filtering capabilities of Signals assist you in precisely discovering the required events for triggering downstream processes in the target. > **Note:** You can configure up to **25 Filter** conditions per Rule. This threshold is configured for baseline and standard scenarios only. We strongly urge you to email us at support@zohocatalyst.com with your requirement to increase this soft threshold. ### Target Input Targets process the incoming events according to a few actions that involve data extraction and transformation of the event schema. They also implement a dispatch policy that determines whether events have to be delivered instantly or should meet any condition to be delivered as a batch. These events further trigger a downstream process through different consumer types. Refer to [Target types and Target Input](https://docs.catalyst.zoho.com/en/signals/help/targets/key-aspects/). ### Multiple Target Association Rules in Signals support multiple targets, allowing users to define multiple actions to be taken when any event matches the rule. This enables you to manage complex event routing and orchestration scenarios, where events may need to trigger multiple downstream processes in one or many targets. ### App Alerts Integration [Application Alerts](https://docs.catalyst.zoho.com/en/devops/help/application-alerts/introduction/) in the Catalyst ecosystem is supported within Catalyst Signals to help you stay informed about event delivery failures. When enabled, Application Alerts automatically sends email notifications whenever an event fails to reach its target. It is an optional support ensures you are alerted in real time, enabling faster resolution without the need for constant monitoring. You can configure Application Alerts under Catalyst DevOps service to define and manage alert settings. Learn more about [setting up Application Alerts](https://docs.catalyst.zoho.com/en/devops/help/application-alerts/implementation/). -------------------------------------------------------------------------------- title: "Creating a Rule" description: "Rules help you ingest the events from publisher to various targets. Learn more about cutomizing and filtering the events depending upon the target." last_updated: "2026-10-30T17:48:00.000Z" source: "https://docs.catalyst.zoho.com/en/signals/help/rules/create-rule/" service: "Signals" -------------------------------------------------------------------------------- # Creating a Rule You need to configure the publisher, its events, and target types beforehand to use them within the rule. [Webhooks](https://docs.catalyst.zoho.com/en/signals/help/webhooks/key-aspects/) can be configured within the Signals service; [functions](https://docs.catalyst.zoho.com/en/serverless/help/functions/event-functions/) and [circuits](https://docs.catalyst.zoho.com/en/serverless/help/circuits/implementation/) can be created in the Catalyst Serverless platform. ### I. Configuring the Event Source 1. Navigate to the **Rules** section and click the **Add Rule** button. ![Rules Home Page](https://catalyst-docs-development.zohostratus.in/images/help/signals/help/rules/add-rule.webp) 2. Provide a Name and Description for the rule in the title bar, as shown in this image. ![Providing rule name and description](https://catalyst-docs-development.zohostratus.in/images/help/signals/help/rules/name.webp) 3. Click on **Choose Events**. This will open a pop-up displaying the configured publishers from [Zoho](https://docs.catalyst.zoho.com/en/signals/help/publishers/create-publisher/zoho-publishers/), [Catalyst](https://docs.catalyst.zoho.com/en/signals/help/publishers/create-publisher/catalyst-publishers/), SAAS, and [Custom](https://docs.catalyst.zoho.com/en/signals/help/publishers/create-publisher/custom-publishers/) publishers. Select a publisher and choose an event from it. ![Choosing a publisher and an event](https://catalyst-docs-development.zohostratus.in/images/help/signals/help/rules/choose-event.gif) ### II. Setting up the Filter 1. Select the edit icon of the filter to determine which events you want to be sent to the target. ![Applying filter to the rule](https://catalyst-docs-development.zohostratus.in/images/help/signals/help/rules/filter-1.webp) You can choose to deliver all events or create conditions to filter and only share the required events with the target. 2. Select the **Events matching certain conditions** option and provide the condition. ![Creating criteria for the filter](https://catalyst-docs-development.zohostratus.in/images/help/signals/help/rules/filter-2.gif) The **Path** key in the filter lists all the properties of that particular event in payload. The following **comparators** are supported for creating a filter in the rule:
Data Type Supported Comparators
`String` is, isn't, contains, doesn\'t contain, starts with, ends with, is empty, is not empty
`Integer, Number` = (equals), != (not equals), < (less than), <= (lesser than or equals), > (greater than), >= (greater than or equals), between, not between, is empty, is not empty
`Boolean` is, isn't
`DateTime, Date` is, isn't, is before, is after, between, not between, is empty, is not empty, Today, Tomorrow, Tomorrow Onwards, Yesterday, Till Yesterday, Last Month, Current Month, Next Month, Last Week, Current Week, Next Week
### III. Configuring Target Input 1. Click the **Choose Target** button. ![Creating a target for rule](https://catalyst-docs-development.zohostratus.in/images/help/signals/help/rules/choose-target.webp) 2. In the pop-up window, provide the Target Name and choose your Consumer Type. 3. Upon selecting the preferred consumer type, you need to choose the respective [webhook](https://docs.catalyst.zoho.com/en/signals/help/webhooks/key-aspects/) / [function](https://docs.catalyst.zoho.com/en/serverless/help/functions/event-functions/) / [circuit](https://docs.catalyst.zoho.com/en/serverless/help/circuits/implementation/) for the rule. ![Configuring the target](https://catalyst-docs-development.zohostratus.in/images/help/signals/help/rules/configure-target.gif) > **Note:** You can configure up to **25 Filter** conditions per Rule. This threshold is configured for baseline and standard scenarios only. We strongly urge you to email us at support@zohocatalyst.com with your requirement to increase this soft threshold. #### Placeholders If you have chosen a webhook with dynamic values in headers or parameters, a new field called **Placeholders** will appear, as shown in the image. ![Customized headers and parameters](https://catalyst-docs-development.zohostratus.in/images/help/signals/help/rules/placeholders.gif) - Specify the values for the keys configured in the webhooks page for headers/parameters. ![Providing static value to the placeholder](https://catalyst-docs-development.zohostratus.in/images/help/signals/help/rules/static.webp) - You can either provide static values or dynamic values using JSON path of the [event schema](https://docs.catalyst.zoho.com/en/signals/help/events/#event-schema). Use JSON path to denote the key whose values you want to use. ![Providing a variable value to the placeholder](https://catalyst-docs-development.zohostratus.in/images/help/signals/help/rules/variable.webp) 4. Choose the preferred mode of event delivery to your target. [Learn more about dispatch policies](https://docs.catalyst.zoho.com/en/signals/help/targets/dispatch-policy/) ![Dispatch Policy in Catalyst Signals](https://catalyst-docs-development.zohostratus.in/images/help/signals/help/rules/dispatch-policy.gif) 5. Provide the number of retry attempts that should take place when any event fails to reach the target. ![Providing number of retry attempts](https://catalyst-docs-development.zohostratus.in/images/help/signals/help/rules/retry.webp) You can also set the frequency of retries based on your needs. Check [this](https://docs.catalyst.zoho.com/en/signals/help/targets/key-aspects/#retry-policy) help page to know more about the frequency of retry attempts. 6. In the **Target Input**, you can either deliver the complete event schema to the target or perform extraction and transformation based on your business requirements before delivering it to the target. #### Extraction - Select the **Extraction** option under **Target Input**. - The **Path** field will list you all the keys in terms of JSON path from the particular event schema. You can only select and extract a single key from the event schema. ![Extracting the desired key from an event.](https://catalyst-docs-development.zohostratus.in/images/help/signals/help/rules/extraction.webp) #### Transformation [Learn how to transform your schema](https://docs.catalyst.zoho.com/en/signals/help/targets/event-body-setup/event-transformation/) - Select the **Transformation** option under **Target Input**. A three-pane transformer will appear with a sample event payload on your left. ![Transforming the desired keys of an event](https://catalyst-docs-development.zohostratus.in/images/help/signals/help/rules/transform.webp) - In the center pane, build a JSON body with the custom keys that you would require for your target. ![Building a custom JSON body](https://catalyst-docs-development.zohostratus.in/images/help/signals/help/rules/template-compiler.webp) - In place of providing values to the keys, you can match the values from the default event payload. Refer to the sample event payload on the left and provide the JSON path of the key whose value you would want for the keys in the compiler. ![Mapping keys from the event payload](https://catalyst-docs-development.zohostratus.in/images/help/signals/help/rules/mapping.gif) - Click the **Generate Output** button in the right pane. This will provide the transformed payload with the custom keys mapped to the data from the default payload. ![Generating customized event body](https://catalyst-docs-development.zohostratus.in/images/help/signals/help/rules/generate-output.gif) Signlas will use the generated output as the new payload for the particular target in this rule. Once you have completed your transformation, click the **Confirm** button. [Learn more about event transformation and its guidelines](https://docs.catalyst.zoho.com/en/signals/help/targets/event-body-setup/event-transformation/) 7. Similarly, you can add a maximum of **five targets** to a rule. After adding the targets, click the **Save** button in the top-right corner. ![Saving the rule](https://catalyst-docs-development.zohostratus.in/images/help/signals/help/rules/save.webp) > **Note:** You can create and configure up to **100 Rules**. This threshold is configured for baseline and standard scenarios only. We strongly urge you to email us at support@zohocatalyst.com with your requirement to increase this soft threshold. ### IV. Configuring App Alert 1. After creating the rule, navigate to its detail page and click the **Configure Alert** button located at the top-right corner. ![Configuring Application Alerts](https://catalyst-docs-development.zohostratus.in/images/help/signals/help/rules/configure-alert.gif) 2. You will be redirected to the Application Alerts section under the Catalyst DevOps service to complete the configuration. For detailed instructions, refer to the [Application Alerts](https://docs.catalyst.zoho.com/en/devops/help/application-alerts/implementation/) help page. ### Targets -------------------------------------------------------------------------------- title: "Key Aspects" description: "Targets are any endpoint that serves as a destination for events generated and emitted from publishers." last_updated: "2026-10-30T17:47:18.000Z" source: "https://docs.catalyst.zoho.com/en/signals/help/targets/key-aspects/" service: "Signals" -------------------------------------------------------------------------------- # Targets A target is usually an endpoint that serves as a destination for the events generated by a [publisher](https://docs.catalyst.zoho.com/en/signals/help/publishers/key-aspects/). A target can receive multiple events from either the same or different publishers. Here are a couple of examples of the target: - In **UPI-based payment applications**, events like invalid payment attempts, unusual account activities, and anomalies in transaction patterns are delivered immediately to the fraud detection software. Here, the event data is shared to a webhook endpoint (target) which helps the fraud detection software to act accordingly. - In **social media applications**, events related to advertising campaigns, sponsored posts, and promotional activities are delivered to marketing software to assess campaign performances and optimize strategies. In this scenario, the event data is shared to Catalyst Circuits (target) which helps marketing software to process and act without human intervention. > **Note:** You can associate a maximum of **five** targets to a [rule](https://docs.catalyst.zoho.com/en/signals/help/rules/key-aspects/). ## Key Aspects Targets are responsible for processing the incoming events according to predefined [rules](https://docs.catalyst.zoho.com/en/signals/help/rules/key-aspects/) and filters within it. This processing in Signals may involve actions such as data extraction and transformation, dispatch, and triggering a downstream process. ### Target Types The platform supports the following various types of targets, which trigger downstream processes within them: - [Webhooks](https://docs.catalyst.zoho.com/en/signals/help/webhooks/key-aspects/) are HTTP callbacks that help you to share real-time data between applications. They are commonly used for event-driven integration between systems. - [Functions](https://docs.catalyst.zoho.com/en/serverless/help/functions/event-functions/) are configured to execute in response to received events. They consist of code snippets written in Java, Node.js and Python programming languages to perform specific tasks or execute business logic in targets. - [Circuits](https://docs.catalyst.zoho.com/en/serverless/help/circuits/implementation/) automate processes based on incoming events using predefined workflows. They allow you to design complex event-driven workflows without the need for coding. - [Data Streams](https://docs.catalyst.zoho.com/en/cloud-scale/help/data-streams/introduction/) enable real-time event streaming to subscribers through channels. When configured as a target, events are automatically published to a Data Streams channel and delivered to all connected subscribers over WebSocket connections. This allows you to build live dashboards, notification systems, and other real-time features without implementing custom messaging infrastructure. A single webhook/function/circuit/data streams channel can be used multiple times in a [Catalyst Project](https://docs.catalyst.zoho.com/en/getting-started/catalyst-projects/) in different target configuration name with variations in the dispatch policy, retry policy or body setup. ### Event Dispatch Timeouts When an event is dispatched to a target, Signals wait for a specified period for the target to respond. If the target fails to respond within this timeframe, the event is marked as **Failed**. Following are the time intervals for each target type:
Target Type Queue Dispatch Batch Dispatch
`Webhooks` 5 seconds 15 seconds
`Circuits` 5 seconds 15 seconds
`Functions` 15 minutes 15 minutes
`Data Streams` 5 seconds 15 seconds
### Dispatch Policy Catalyst Signals offer the flexibility in receiving events either individually in a queue or collectively as a batch. You can also customize each of these types. - **Instant** - Events are received instantly every time they occur in the publisher system. You can set a **customized Time To Live** period for the events to remain in Signals before sending them to the target. - **Batch** - Events are delivered collectively based on various dispatch methods and frequencies. The Time To Live period for events dispatched using this method is set to 24 hours by default and cannot be changed. Learn more about the [Types in the Dispatch policy](https://docs.catalyst.zoho.com/en/signals/help/targets/dispatch-policy/). ### Retry Policy Whenever an event fails to communicate with the target, Signals allow **up to 20 retry attempts** for that specific event to reach the target. These retries happen automatically, and you can customize the retry counts or their frequency based on your use cases. - **Auto** - In automatic frequency mode, the first retry attempt occurs one minute after the failed event. If the first retry was also a failure, the subsequent retries follow an exponential interval pattern based on the previous failure time. For example, if an event fails to reach the target, the first retry happens one minute after the failure. If this retry fails, each following retry will occur at intervals that double the previous time, **up to 10 minutes**. The intervals will be as follows: second retry - 2 minutes, third retry - 4 minutes, fourth retry - 8 minutes, fifth and subsequent retries - 10 minutes. This pattern continues until the event reaches the target or the configured retry count is reached. - **Manual** - In this mode, you can manually set the frequency interval for the retry attempts. You can configure it either in terms of hours or minutes based on your requirement. This frequency should be compatible with the Time To Live period of the events and must not exceed it. The manual frequency can be configured **between one minute and one hour**. > **Note:** The retry policy will be carried out within the configured **Time To Live** period of the specific event. If the retry count exceeds that period, it will be [dropped](https://docs.catalyst.zoho.com/en/signals/help/events/#event-statuses). ### Placeholders The placeholders play a crucial role in defining the headers or parameters of the webhook associated with this target. The field is visible only when you have used dynamic values for the headers and parameters in a webhook and associated it to this target. For static values, you can directly add your values according to your use cases. However, for dynamic values, you must specify the JSON path of the key in the [event schema](https://docs.catalyst.zoho.com/en/signals/help/events/#event-schema). ### Event Transformation [Event Schemas](https://docs.catalyst.zoho.com/en/signals/help/events/#event-schema) are automatically generated alongside the events and emitted to Signals. In the Targets page of Rules, you can customize the schemas before delivering them to the targets. You can either share the entire payload to the target or perform extraction and transformation to suit your business requirements. - **Extraction** - This action allows you to retrieve a specific key from the existing event schema and construct a new schema only with that property. This filters out unnecessary details for your configured workflows and shares only the optimized event data to the targets. - **Transformation** - This enables you to modify the key names and values within the event schema to align with your desired format. It provides the compatibility with your workflows or downstream processes in the target environment. [Step-by-step guide to extract and transform an event schema](https://docs.catalyst.zoho.com/en/signals/help/targets/event-body-setup/event-transformation/) -------------------------------------------------------------------------------- title: "Dispatch Policy" description: "Dispatch policy helps you to decide whether to deliver the events individually or as a batch to the targets." last_updated: "2025-05-30T11:44:32.000Z" source: "https://docs.catalyst.zoho.com/en/signals/help/targets/dispatch-policy/" service: "Signals" -------------------------------------------------------------------------------- # Dispatch Policy The dispatch policy in Signals determines how the events are delivered to the target systems after the publisher has emitted them. It provides options to handle them either individually or collectively that cater to a multitude of use cases and preferences. You can configure this policy based on your requirements, ensuring efficient and timely processing of events within the system. > **Note:** The maximum size of the events delivered to the target system at once is **1024 KB** (1 MB). ### Instant In this policy, events are delivered to the target immediately after they occur in the publisher application. This enables continuous monitoring of publisher activities and performance metrics. It results in triggering instant actions such as processing payments, updating inventories, and can also help in preventing potential security breaches. By default, Signals retains events for up to 24 hours between the publisher and target. This **Time to Live** (TTL) period can be customized in hours or minutes to suit your workflow needs. In some scenarios, events may be received in bulk. By default, these are instantly delivered as a batch. If you prefer to deliver each event individually, you can enable the **Send as Single Event** option under the Instant ploicy. > **Note:** You can configure the Time To Live (TTL) period for **up to 24 hours or 1440 minutes**. ### Batch This type helps in the collective delivery of events to the target systems. It enables you to gain insights from overall events, particularly in scenarios such as campaign responses and log management to trigger downstream workflows accordingly. The **Time To Live (TTL)** period for each event within Signals is **24 hours by default** and cannot be changed. Signals offer four dispatch types to define the event collection that must be delivered to the target. Following are the available dispatch types: - **By Count** - The Signals wait until the configured events count is reached before delivering them to the targets as a batch. Following are a couple of exceptional cases in this type: - If the events reach the maximum size of 1MB before reaching the configured count, Signals collect the remaining events in a new batch and deliver them to the targets as multiple batches. - If the configured count is not reached within the TTL period, the events will be delivered to the target systems based on the [One-Time Dispatch policy](https://docs.catalyst.zoho.com/en/signals/help/targets/dispatch-policy/#one-time-dispatch). > **Note:** The minimum event count is **two**, and the maximum event count that you can configure is **100**. - **By Size** - In this type, events are delivered when their combined size matches the configured size. If the configured size is not reached within the TTL period, then the events are delivered to the targets based on the One-Time Dispatch policy. > **Note:** The maximum event size that you can configure is **100 KB**. - **By Interval** - Events are delivered in regular intervals to the target. If events reach the maximum size of 1mb before the interval time, they are dispatched in multiple batches at the configured interval. > **Note:** The interval can be configured from a **minimum of two hours** to a **maximum of 12 hours**. - **By Schedule** - Events are delivered daily at the configured time, and it can be even customized to your timezone. If events reach the maximum size of 1MB before the scheduled time, they are dispatched in multiple batches at the configured scheduled time. ### One-Time Dispatch The One-Time Dispatch policy of Signals helps in preventing data loss in specific scenarios. The retry counts configured for the [Target](https://docs.catalyst.zoho.com/en/signals/help/targets/key-aspects/) will not be applicable, and failed events cannot be retrieved again. It occurs at the following two different instances: - **Before Clean-Up** - It takes place at the end of everyday to clear the data of failed events. Before cleaning-up, Signals checks for any batch events that have not met the dispatch conditions within 24 hours. If any are found, they are delivered to the target. - **Instant** - If any changes have been made to the dispatch types of an existing [rule](https://docs.catalyst.zoho.com/en/signals/help/rules/key-aspects/), events accumulated within Signals according to the previous dispatch type are instantly delivered to the target systems. > **Note:** If a [target](https://docs.catalyst.zoho.com/en/signals/help/targets/key-aspects/) or [rule](https://docs.catalyst.zoho.com/en/signals/help/rules/key-aspects/) for an event is **deleted/disabled**, the event status is logged as '**Failed**'. #### Event Body Setup -------------------------------------------------------------------------------- title: "Event Transformation" description: "Customize the event body before delivering it to the targets for operational efficiency." last_updated: "2026-08-17T12:16:04.000Z" source: "https://docs.catalyst.zoho.com/en/signals/help/targets/event-body-setup/event-transformation/" service: "Signals" -------------------------------------------------------------------------------- # Event Transformation You can tailor the event schema for each target system. This allows you to build complex orchestration flows with different schemas for the same event across diverse targets. Signals simplifies the process without coding by using JSON path and mapping logic for schema transformation. ### Extraction This approach allows extracting a single key from the schema and forwarding only that specific key to the designated target. #### How to extract data? 1. Create a rule following the instructions in [this](https://docs.catalyst.zoho.com/en/signals/help/rules/create-rule/) document. 2. While configuring *Target Input*, select **Extraction** under *Target Input*. 3. Click the box for **Path** to view all keys in the event schema. Choose the required key and save the rule. ![Extracting a key from the event body](https://catalyst-docs-development.zohostratus.in/images/help/signals/help/targets/event-transformation/extraction.webp) ### Transformation Data transformation relies on a mapping concept utilizing JSON path. #### How to transform data? 1. Create a rule following the instructions in [this](https://docs.catalyst.zoho.com/en/signals/help/rules/create-rule/) document. 2. While configuring *Target Input*, select **Transformation** under *Target Input*. 3. In the new template, provide the key name and in place of its value specify the JSON path of the desired key from the sample event schema. ![Simple transformation of an event body](https://catalyst-docs-development.zohostratus.in/images/help/signals/help/targets/event-transformation/simple.gif) 4. Employ the **for-each method** to create an array in your template. This will help you to access specific objects/keys from any array in the sample schema. Deploy this syntax **forEach((var{n})->{JSON_path_of_desired_key} )** next to the key that you want to be an array. In the syntax, **var{n}** designates the variable name of the array and the specific index in the array. In the place of **JSON_path** in the syntax, you can also employ a new key or a JSON object, which may or may not carry a for-each method within it. ![Complex transformation of an event body](https://catalyst-docs-development.zohostratus.in/images/help/signals/help/targets/event-transformation/complex.gif) To map a key value within the syntax, specify the **var{n}** (variable) that you have set in the argument and navigate to your desired key. > **Note:** Catalyst Signals provides **suggestions of JSON paths** in the template compiler pane based on the provided sample event schema. This eases the task of searching for keys and their order from the sample schema. -------------------------------------------------------------------------------- title: "Samples" description: "A few samples of customizing the event body before delivering it to the targets for operational efficiency." last_updated: "2026-08-17T12:16:04.000Z" source: "https://docs.catalyst.zoho.com/en/signals/help/targets/event-body-setup/samples/" service: "Signals" -------------------------------------------------------------------------------- # Examples Following is the sample event payload of the **Leads Created** event from the **Zoho CRM** service in Catalyst Signals. ### Sample Event Payload **Sample Event Payload** ```json { "rule_id": "123456789", "target_id": "98765432", "version": 1, "attempt": 1, "account": { "org_id": "85512289", "project": { "environment": "DEVELOPMENT", "name": "crm", "id": "10666000000021013" } }, "events": [ { "data": { "Owner": { "name": "Owner name", "id": "9876543210", "zuid": "654321" }, "Company": "Company", "Email": "test@zoho.com", "Lead_Status_Prediction": "value of picklist", "Last_Activity_Time": "2024-01-01T12:00:00+00:00", "Industry": "value of picklist", "Unsubscribed_Mode": "value of picklist", "Street": "Street", "Zip_Code": "Zip Code", "id": 9876543210, "Data_Source": "value of picklist", "Enrich_Status__s": "value of picklist", "Created_Time": "2024-01-01T12:00:00+00:00", "Change_Log_Time__s": "2024-01-01T12:00:00+00:00", "City": "City", "No_of_Employees": 1, "Data_Processing_Basis": "value of picklist", "Converted__s": true, "Converted_Date_Time": "2024-01-01T12:00:00+00:00", "Converted_Account": { "name": "lookup name", "id": "9876543210" }, "State": "State", "Country": "Country", "Created_By": { "name": "Owner name", "id": "9876543210", "zuid": "654321" }, "Annual_Revenue": 100, "Secondary_Email": "test@zoho.com", "Description": "Description", "Rating": "value of picklist", "Website": "https://catalyst.zoho.com", "Twitter": "Twitter", "Salutation": "value of picklist", "First_Name": "First Name", "Full_Name": "Full Name", "Lead_Status": "value of picklist", "Modified_By": { "name": "Owner name", "id": "9876543210" }, "Lead_Conversion_Time": 1, "Skype_ID": "Skype ID", "Phone": 9876543210, "Email_Opt_Out": true, "Designation": "Designation", "Modified_Time": "2024-01-01T12:00:00+00:00", "Lead_Status_Prediction_Score": 1, "Unsubscribed_Time": "2024-01-01T12:00:00+00:00", "Converted_Contact": { "name": "lookup name", "id": "9876543210" }, "Mobile": 9876543210, "Last_Name": "Last Name", "Locked__s": true, "Lead_Source": "value of picklist", "Tag": "Tag", "Fax": "Fax", "Last_Enriched_Time__s": "2024-01-01T12:00:00+00:00" }, "id": "c6b53699-94b1-48a1-86fd-80b8d4778e28", "time_in_ms": 1718780819204, "source": "publisher_id:10666000000021074/service:zohocrm/account:73756307", "event_config": { "api_name": "Leads Created", "id": "10666000000021075" } } ] } ``` With the help of this sample event payload, let us walk you through two mostly used transformation patterns for your targets. ### Scenario 1: Simple Transformation Let's perform a basic transformation of adding a new key-value pair and modifying the existing ones for only a particular indexed object in an array. #### New Payload Requirements - To retain the existing keys like Event ID, Lead ID, and Email. - To add this **"is_transformed": true** new key-value pair. - To retain the Lead's full name in a different key called **Name**. #### Expected Event Payload **Expected Event Payload** ```json { "id" : 9876543210, "name" : "Full Name", "email" : "test@zoho.com", "event_id" : "c6b53699-94b1-48a1-86fd-80b8d4778e28", "is_transformed" : true } ``` 1. Open a JSON object and add the "**id**" key, providing the JSON path of the corresponding key in the sample event payload instead of value. Repeat this step for the "**email**" and "**event_id**" key. ![Simple transformation of an event body](https://catalyst-docs-development.zohostratus.in/images/help/signals/help/targets/samples/simple-1.gif) 2. For the "**name**" key, provide the JSON path of the Full_Name key in the sample event payload. Finally, add this **"is_transformed": true** static key-value pair to denote that this payload is transformed to suit the orchestration configured for the particular event. ![Simple transformation of an event body](https://catalyst-docs-development.zohostratus.in/images/help/signals/help/targets/samples/simple-2.gif) You can also copy and paste the below template compiler for the Lead Created event in Zoho CRM service to witness the instant transformation of your payloads. **Template Compiler** ```json { "id" : $.events[0].data.id, "name" : $.events[0].data.Full_Name, "email" : $.events[0].data.Email, "event_id" : $.events[0].id, "is_transformed" : true } ``` > **Note:** This applies only to the first indexed JSON object in the events array.
### Scenario 2: Complex Transformation For the same requirements that we have seen in the above scenario, we need to apply the transformation to each and every JSON object within the **events** array instead of a particular indexed object. #### New Payload Requirements - To have an array of JSON objects called **data**. - Each JSON object in the array should carry the id, name, email, event_id keys as transformed in the previous scenario. - To add this **"is_transformed": true** new key-value pair. #### Expected Event Payload **Expected Event Payload** ```json { "data" : [ { "id" : 9876543210, "name" : "Full Name", "email" : "test@zoho.com", "event_id" : "c6b53699-94b1-48a1-86fd-80b8d4778e28" } ], "is_transformed" : true } ``` 1. To create an array, begin by opening a JSON object with the **data** key. Provide the JSON path of the **events** array from the sample payload and deploy this **forEach((var{n})->{JSON_path_of_desired_key} )** syntax instead of values. Replace var with the a variable name. ![Complex transformation of an event body](https://catalyst-docs-development.zohostratus.in/images/help/signals/help/targets/samples/complex-1.gif) 2. Enter the name of the keys (id, name, email, event_id) that you want to include within an object of this array. Instead of values, provide the JSON path of the corresponding keys from the particular array without the **$** symbol. ![Complex transformation of an event body](https://catalyst-docs-development.zohostratus.in/images/help/signals/help/targets/samples/complex-2.gif) This will iterate through each object starting from index 0 and generate an array of objects containing lead names, IDs, and Emails. 3. Add this **"is_transformed": true** static key-value pair to denote that this payload is transformed to suit the orchestration configured for the particular event. ![Complex transformation of an event body](https://catalyst-docs-development.zohostratus.in/images/help/signals/help/targets/samples/complex-3.gif) You can either practice this transformation step-by-step, or copy and paste the below template compiler for the Lead Created event in Zoho CRM service to witness the instant transformation of your payloads. **Template Compiler** ```json { "data" : $.events.forEach((array) -> { "id" : array.data.id, "name" : array.data.Full_Name, "email" : array.data.Email, "event_id" : array.id } ), "is_transformed" : true } ``` ### Webhooks -------------------------------------------------------------------------------- title: "Key Aspects" description: "An HTTP-based callback function that allows event-driven communication between decoupled apps." last_updated: "2026-11-03T15:41:32.000Z" source: "https://docs.catalyst.zoho.com/en/signals/help/webhooks/key-aspects/" service: "Signals" -------------------------------------------------------------------------------- # Webhooks Webhooks serves seamless sharing of real-time communication and data exchange between applications. These Hypertext Transfer Protocol Secure (HTTPS) callbacks allow near-instantaneous interaction between the different applications. With webhooks, Signals help you to automatically trigger actions in the [target](https://docs.catalyst.zoho.com/en/signals/help/targets/key-aspects/) systems based on predefined events that occur in the [publisher](https://docs.catalyst.zoho.com/en/signals/help/publishers/key-aspects/) environment. This eliminates the need for manual intervention and allows systems to react dynamically to the changes. > **Note:** You can create up to **100** webhooks in a [Catalyst Project](https://docs.catalyst.zoho.com/en/getting-started/catalyst-projects/). ## Key Aspects ### Authorization Connections provided under Catalyst CloudScale simplifies the authorization setup for webhooks. This helps developers to securely authenticate webhook requests without managing external credentials manually. ### Track Webhook Performance Each webhook has a dedicated **Activity** page that provides insights into its execution trends and performance. It displays the number of successful and failed executions over time. This feature helps developers monitor webhook reliability and troubleshoot issues efficiently through **Execution History**. It captures details like response JSON and status codes, making it easier to analyze failures, identify patterns, and optimize webhook performance. ### Supported HTTPS Methods Catalyst Signals supports multiple HTTPS methods for webhooks. It includes **POST**, **GET**, **PUT**, **PATCH**, **DELETE**, and **OPTIONS**. This flexibility enhances the management of event data, leading to robust and efficient event deliveries to the target applications. ### Invocation Rate Limit The invocation rate limit controls how frequently a webhook can be triggered per second. This limit helps in preventing excessive use of endpoints that may overload the target systems. You can configure this limit between 1 and 300 HTTPS calls per second, with **300 per second** as the default. ### Customizable Headers and Parameters Webhooks support customizable headers and parameters, which can be either static values or dynamic placeholders wrapped in double curly braces (***{{variable}}***). Once specified, you must configure them on the [target](https://docs.catalyst.zoho.com/en/signals/help/targets/key-aspects/) page under Placeholders. Each webhook supports up to **25 unique headers and parameters**, allowing precise control over transmitted data. [Learn how to configure Headers and Parameters for Webhook](https://docs.catalyst.zoho.com/en/signals/help/webhooks/create-webhook/) -------------------------------------------------------------------------------- title: "Creating a Webhook" description: "An HTTP-based callback function that allows event-driven communication between decoupled apps." last_updated: "2026-11-03T15:41:32.000Z" source: "https://docs.catalyst.zoho.com/en/signals/help/webhooks/create-webhook/" service: "Signals" -------------------------------------------------------------------------------- # Creating a Webhook 1. Navigate to the webhooks section and click **Create Webhook**. ![Webhooks Home Page](https://catalyst-docs-development.zohostratus.in/images/help/signals/help/webhooks/create-webhook.webp) 2. Provide the necessary details as shown in the following image and click **Save**. Select the required HTTPS method and provide the Endpoint URL based on your requirement. ![Creating a webhook](https://catalyst-docs-development.zohostratus.in/images/help/signals/help/webhooks/create.webp) [Learn more about HTTPS methods](https://docs.catalyst.zoho.com/en/signals/help/webhooks/key-aspects/#supported-https-methods) ### Headers & Parameters Settings 3. To include custom headers or parameters in the HTTPS call, enter the required key and its corresponding value. If you're using placeholder values, you'll be able to assign actual values when associating the webhook with a target. ![Creating custom parameters and headers](https://catalyst-docs-development.zohostratus.in/images/help/signals/help/webhooks/static-variable.gif) You can provide: - **Static values**: They remain fixed and can be directly assigned without any special format. - **Dynamic values**: Use the format ***{{event_data_key_name}}*** to reference values from the event payload. This allows you to pass data dynamically from each event. - **Placeholder-based static values**: Use the format ***{{static_value}}*** to represent static values that are assigned during rule configuration. This enables you to use the same webhook across multiple [targets](https://docs.catalyst.zoho.com/en/signals/help/targets/key-aspects/), while assigning a different static value to each target’s header or parameter. > **Note:** The Placeholder-based static values is especially useful when the underlying webhook configuration remains the same, but the contextual values vary by [targets](https://docs.catalyst.zoho.com/en/signals/help/targets/key-aspects/). 4. After setting up the headers/parameters, navigate to the [Rule](https://docs.catalyst.zoho.com/en/signals/help/rules/key-aspects/) where you want to use this webhook. In the Targets section of the rule, select the webhook you just created. 5. Once the webhook is selected, a new section called **Placeholders** will appear. This is where you can assign actual values for any placeholders you used in the header or parameter configuration. For variable values, provide the JSON path of the key whose value you want tp use for for the key. ![Placeholders in the target configuration page](https://catalyst-docs-development.zohostratus.in/images/help/signals/help/webhooks/placeholders-target.gif) ### Authorize via Connection 6. Select the 'Authorize via Connection' option and view all the connections created for the current project under the Catalyst CloudScale service. To create a new connection for the webhook, click the **Create New** option at the end of the list. You can refer to the step-by-step guide on Connections to help you through the process. ![Authorizing the webhook](https://catalyst-docs-development.zohostratus.in/images/help/signals/help/webhooks/authorize-connection.gif) ### Throttling Settings 7. In the webhook **Additional Settings**, you can set the dispatch rate limit per second for the webhook call. This will limit the excessive use of endpoints that may overload the target systems. ![Additional settings of a webhook](https://catalyst-docs-development.zohostratus.in/images/help/signals/help/webhooks/throttling-settings.webp) > **Note:*** You can only make **HTTPS** calls using this webhook. * You can configure a maximum dispatch rate limit of **up to 300 HTTPS calls per second**. -------------------------------------------------------------------------------- title: "FAQ — Signals" description: "This section covers queries related to the various features of the Catalyst Signals service, such as Publishers, Targets, Webhooks, Rules and more." last_updated: "2026-11-13T05:00:22.000Z" source: "https://docs.catalyst.zoho.com/en/faq/signals/" -------------------------------------------------------------------------------- # Signals ### Publishers ### Do I need to create an event schema for all events in the publisher? No, Catalyst Signals doesn't require you to create an event schema for every event. Zoho publishers in Signals come with [predefined events](https://docs.catalyst.zoho.com/en/signals/help/publishers/supported-events/zoho-publishers/zoho-bigin/) and their schemas. Even for custom events, you can easily capture the event payload using the [Live Events](https://docs.catalyst.zoho.com/en/signals/help/publishers/create-publisher/custom-publishers/#live) support and generate the schema within seconds. ### What's the maximum size of a Zoho event that Signals can process? The maximum size for a [Zoho publisher](https://docs.catalyst.zoho.com/en/signals/help/publishers/create-publisher/zoho-publishers/)'s event processed in Signals is **100 KB**, with an array of limitless Zoho events allowed up to **5 MB**. ### Why does my Signals custom event URL return 'Number of API requests exceeded the threshold limit' (TOO_MANY_REQUESTS)? This happens when your application sends more than 500 requests per minute to the REST API URL of a custom event in Catalyst Signals. Above that threshold, the URL is locked for the next 60 seconds, so requests sent during that time are refused. 1. Send events in batches: one call can carry an array of up to 25 events and 256 KB, with each event up to 64 KB. 2. Spread bursts over time, or queue events in your application and send them at a steady rate. 3. When a request is refused, wait for the lock to end before you retry. 4. If your volume still needs more than 500 requests per minute, contact Catalyst support with your use case, the peak rate per minute, the expected requests per day and the size of each request. Refer to the [Custom Publishers help page](https://docs.catalyst.zoho.com/en/signals/help/publishers/create-publisher/custom-publishers/) for details. ### Webhooks ### Can I customize webhook headers and parameters using event schema properties? Yes, Catalyst Signals lets you customize webhook headers and parameters with static or variable values from event payloads using JSON path. When you create the webhook, enter each header or parameter key with a static value, a dynamic value in the format `{{event_data_key_name}}`, or a placeholder in the format `{{static_value}}`. Then select the webhook as a target in a rule, and assign the values in the **Placeholders** section. For variable values, provide the JSON path of the payload key. Each webhook supports up to 25 unique headers and parameters. Refer to the [Creating a Webhook help page](https://docs.catalyst.zoho.com/en/signals/help/webhooks/create-webhook/) for details. ### What protocol and methods does Signals support for webhooks? Catalyst Signals supports only the **HTTPS** protocol and the methods **POST**, **GET**, **PUT**, **PATCH**, **DELETE**, and **OPTIONS** for [webhooks](https://docs.catalyst.zoho.com/en/signals/help/webhooks/key-aspects/). You select the HTTPS method and enter the endpoint URL when you create the webhook. In the webhook's **Additional Settings**, you can also set a dispatch rate limit between 1 and 300 HTTPS calls per second. The default is 300 per second. ### Rules ### How many events can I add to a rule? You can add only one event to a rule in Signals. However, you can customize the same [event](https://docs.catalyst.zoho.com/en/signals/help/events/) for each [target](https://docs.catalyst.zoho.com/en/signals/help/targets/key-aspects/) within the [rule](https://docs.catalyst.zoho.com/en/signals/help/rules/key-aspects/). ### Can I add multiple targets to a rule, and what's the maximum limit? Yes, you can add multiple [targets](https://docs.catalyst.zoho.com/en/signals/help/targets/key-aspects/) to a [rule](https://docs.catalyst.zoho.com/en/signals/help/rules/key-aspects/). The maximum number of targets allowed per rule is **five**. ### Dashboard ### What does the percentage near the Success and Failed status indicate in the Event Statistics element? In the Catalyst Signals dashboard, these percentages are Key Performance Indicator (KPI) metrics. They reflect the proportion of events in each status compared to the selected time interval on the top-right corner, providing a snapshot of recent performance. ### Logs ### Besides individual log entries, can I assess how an event performs across different rules and targets? Yes, each [event](https://docs.catalyst.zoho.com/en/signals/help/events/) record in Catalyst Signals offers a comprehensive overview, allowing you to analyze its performance across various [targets](https://docs.catalyst.zoho.com/en/signals/help/targets/key-aspects/) within the same [rule](https://docs.catalyst.zoho.com/en/signals/help/rules/key-aspects/) and across different rules.# API — INTRODUCTION & GENERAL ## Introduction to Catalyst API -------------------------------------------------------------------------------- title: "Overview and Prerequisites" description: "Access the various REST APIs offered by Catalyst that enable you to securely build and test your serverless applications" last_updated: "2026-11-03T15:19:21.000Z" source: "https://docs.catalyst.zoho.com/en/api/introduction/overview-and-prerequisites/" service: "All Services" -------------------------------------------------------------------------------- # Introduction to Catalyst API ### Overview Catalyst API offers a wide range of functionalities that enable an application developer to work with the Catalyst components remotely in their application. You can build and manage your Catalyst application using the APIs, as well as perform remote operations on it, similar to working with it using the Catalyst web console. For example, you can perform operations such as inserting data in a table in the Data Store, or executing a function using the respective APIs. Catalyst implements REST API standards, and supports HTTP requests and responses for accessing its resources. Catalyst resources are exposed through their endpoint URLs, and the HTTP clients can access these endpoints using their specific APIs. Catalyst implements the following basic REST API principles: - The endpoint URL of each instance of a Catalyst resource is unique. - The HTTP method in the request dictates the operation to be performed on the resource. - Additional payload information is passed as parameters in the request. They contain the details of the operation to be performed. - Each request initiates a response from Catalyst. You can refer to the [request format](https://docs.catalyst.zoho.com/en/api/introduction/request-format/#RequestFormat) and [response format](https://docs.catalyst.zoho.com/en/api/introduction/response-format/#ResponseFormat) sections for details and examples. > **Note:**You can implement Catalyst functionalities in your application using the SDK provided for each programming environment. Catalyst SDKs provide better convenience and ease in your application building process, and enable you to perform all Catalyst operations that you can perform while working with the API. Refer to the SDK help documentations of the supported programming environments in Catalyst: [Java SDK](https://docs.catalyst.zoho.com/en/sdk/java/v1/overview), [NodeJS SDK](https://docs.catalyst.zoho.com/en/sdk/nodejs/v2/overview), [Web SDK](https://docs.catalyst.zoho.com/en/sdk/web/v4/overview), [Android SDK](https://docs.catalyst.zoho.com/en/sdk/android/v2/overview), [iOS SDK](https://docs.catalyst.zoho.com/en/sdk/ios/v2/overview), [Flutter SDK](https://docs.catalyst.zoho.com/en/sdk/flutter/v2/overview). ### Prerequisites Before you begin working with Catalyst API, you must ensure that the following prerequisites are satisfied: - **A valid Zoho user account:** Ensure that you have a valid Zoho login email address and password. You can sign up for a Zoho account [here](https://www.zoho.com/signup.html). - **An authentication token:** You must obtain a valid OAuth `access_token` to access Catalyst API. The help pages in [OAuth 2.0 Authentication](https://docs.catalyst.zoho.com/en/api/oauth2/overview-and-terminology/#OverviewandTerminology) section will guide you in the process of understanding and obtaining authentication tokens. All Catalyst APIs will be accessible to a [Catalyst user in the App Administrator role](https://docs.catalyst.zoho.com/en/cloud-scale/help/authentication/user-management/roles/introduction/), (Catalyst application developer) after they obtain their `access_token`. All the [collaborators of a particular project](https://docs.catalyst.zoho.com/en/getting-started/set-up-a-catalyst-project/collaborators/) will also be able to execute all Catalyst APIs using their `access_token`. However, only certain operations are accessible for the [users in the App User role](https://docs.catalyst.zoho.com/en/cloud-scale/help/authentication/user-management/roles/introduction/), i.e., the end users of a Catalyst application with a Catalyst user authentication. The end user can only perform operations related to accessing specific application data, and not operations that modify the application. Each API help page will provide you with information on the execution permissions defined for it. > **Note:** - If you want to execute Catalyst operations without generating any authentication tokens, you can use Catalyst SDK instead - Catalyst currently does not support a separate API authentication process for end users of Catalyst applications. If you implement Catalyst SDK in your application code, the authentication is automatically handled as an App Administrator authentication. To use Catalyst API independently, you must follow the steps described in the [OAuth 2.0 Authentication section](https://docs.catalyst.zoho.com/en/api/oauth2/overview-and-terminology/#OverviewandTerminology) to generate OAuth authentication tokens. -------------------------------------------------------------------------------- title: "Multi-DC Support" description: "Explore the multi-data center support offered by Catalyst that allows you to robustly invoke the APIs from an appropriate domain based on your location." last_updated: "2026-08-17T12:16:04.000Z" source: "https://docs.catalyst.zoho.com/en/api/introduction/multi-dc-support/" service: "All Services" -------------------------------------------------------------------------------- # Multi-DC Support ### Overview Catalyst is currently hosted in seven data centers. The base API URI to access all Catalyst APIs and the Zoho Accounts Server URI will be different based on the data center you are accessing Catalyst from. You must use the appropriate domain based on your location while sending an API request in Catalyst. This prevents conflicts with your browser and enables a smooth integration with your current session. The seven data centers and their respective **base API URIs** supported by Catalyst for all APIs are: * **US** (USA): `https://api.catalyst.zoho.com` * **EU** (Europe): `https://api.catalyst.zoho.eu` * **IN** (India): `https://api.catalyst.zoho.in` * **AU** (Australia): `https://api.catalyst.zoho.com.au` * **CA** (Canada): `https://api.catalyst.zohocloud.ca` * **JP** (Japan): `https://api.catalyst.zoho.jp` * **SA** (Saudi Arabia): `https://api.catalyst.zoho.sa` The corresponding **Zoho Accounts Server URI** for the seven data centers that you must use while implementing [OAuth 2.0 authentication](https://docs.catalyst.zoho.com/en/api/oauth2/overview-and-terminology/#OverviewandTerminology) are: * **US:** `https://accounts.zoho.com` * **EU:** `https://accounts.zoho.eu` * **IN:** `https://accounts.zoho.in` * **AU:** `https://accounts.zoho.au` * **CA:** `https://accounts.zohocloud.ca` * **JP:** `https://accounts.zoho.jp` * **SA:** `https://accounts.zoho.sa` ### Usage You must ensure you perform the following actions to make use of Catalyst's multi-DC support: * You must use the appropriate Zoho Accounts Server URI in all the steps while implementing OAuth 2.0 authentication, such as while making an authorization request to generate the grant token, access token, or refresh token. For example, you can make this request to [generate the grant token using a redirect method](https://docs.catalyst.zoho.com/en/api/oauth2/generate-grant-token/#GenerateGrantToken) for the EU data center: ```bash https://accounts.zoho.eu/oauth/v2/auth?scope=ZohoCatalyst.tables.rows.CREATE,ZohoCatalyst.tables.rows.READ,ZohoCatalyst.tables.rows.UPDATE,ZohoCatalyst.tables.rows.DELETE&client_id=1000.0SRSxxxxxxxxxxxxxxxxxxxxx&state=testing&response_type=code&redirect_uri=https://www.zylker.eu/ShipmentTracking/&access_type=offline ``` A response with the grant token will be returned after redirecting to the redirect URI, which will contain a location parameter as shown below: ![](https://catalyst-docs-development.zohostratus.in/images/api/catalyst_api_8.webp) This `location` parameter specifies the domain of your account. In this case, the `location` is returned as `eu`. * You can enable multi-DC support after you register your client in Zoho's API console. This lets you provide access to your application to users of a specific domain alone. For example, you can disable access to your application for the IN users and enable it for the other users. Refer to [Register a New Client section](https://docs.catalyst.zoho.com/en/api/oauth2/register-new-client/#RegisteraNewClient) for details. * As mentioned earlier, you must use the appropriate base API URI while sending an API request. For example, to [fetch all rows](https://docs.catalyst.zoho.com/en/api/code-reference/cloud-scale/data-store/get-all-rows/#GetAllRows) in a table in your Data Store, you must execute the following request URL for the EU data center: `https://api.catalyst.zoho.eu/baas/v1/project/{project_id}/table/{tableIdentifier}/row` -------------------------------------------------------------------------------- title: "Multi-Org Support" description: "Explore the multi-org support offered by Catalyst that allows you to be a part of multiple organizations and execute APIs for any of them by passing the orgID" last_updated: "2026-11-03T15:41:32.000Z" source: "https://docs.catalyst.zoho.com/en/api/introduction/multi-org-support/" service: "All Services" -------------------------------------------------------------------------------- # Multi-Org Support ### Overview Catalyst allows you to [create](https://docs.catalyst.zoho.com/en/getting-started/catalyst-organizations/) and [manage](https://docs.catalyst.zoho.com/en/getting-started/catalyst-organizations/) multiple organizations within your Catalyst account. A unique Org ID will be generated for every organization you create. You can [create individual projects](https://docs.catalyst.zoho.com/en/getting-started/catalyst-projects/#create-a-catalyst-project) in each organization and also assign [access permissions](https://docs.catalyst.zoho.com/en/getting-started/set-up-a-catalyst-project/profiles-and-permissions) to people contributing to the project. You can only have one organization in your account as the default one. The organization marked as default will be logged in automatically when you sign in to your Catalyst account every time. While you execute an API from Catalyst, it will be executed for the default organization automatically. For instance, when you pass the project ID in your API request, Catalyst will automatically look for a project with the same ID in your default organization. However, you can execute an API for other organizations that are not the default by exclusively passing the unique Org ID of those organizations in your requests. ### Usage You can pass the Org ID as a header in an API request to access a project in that organization in this format: **Sample API Header Format** ```bash -H CATALYST-ORG: 15090237 ``` You can check a complete sample request from the [Request Format](https://docs.catalyst.zoho.com/en/api/introduction/request-format/#RequestFormat) section. -------------------------------------------------------------------------------- title: "Request Format" description: "Learn about the API request format and the parameters contained in a request" last_updated: "2025-12-09T16:21:15.000Z" source: "https://docs.catalyst.zoho.com/en/api/introduction/request-format/" service: "All Services" -------------------------------------------------------------------------------- # Request Format ### Request Methods Catalyst API follows the REST standards and supports the following HTTP methods for client requests for the described purposes: * `GET` : To fetch records from a Catalyst resource * `POST` : To insert new records in a Catalyst resource * `PUT` : To update existing records in a Catalyst resource * `DELETE` : To delete existing records in a Catalyst resource You must specify the request method for the operation while executing a Catalyst API request. ### Request URL The API requests are sent in the **CURL** format. A typical request URL is of the format: https://api.catalyst.zoho.com/baas/v1/project/*{project_id}* /*{resource_name}*/*{additional_resource_details}* > **Note:** The base API URL will be the following for the other [data centers](https://docs.catalyst.zoho.com/en/api/introduction/multi-dc-support/#Multi-DCSupport): * **EU:** `https://api.catalyst.zoho.eu` * **IN:** `https://api.catalyst.zoho.in` * **AU:** `https://api.catalyst.zoho.com.au` * **CA:** `https://api.catalyst.zohocloud.ca` * **JP:** `https://api.catalyst.zoho.jp` * **SA:** `https://api.catalyst.zoho.sa` The common parameters passed in the request URL include the [Project ID](https://docs.catalyst.zoho.com/en/getting-started/set-up-a-catalyst-project/general-settings/) of the Catalyst project and the resource ID of the specific resource instance that is being accessed. ### Request Headers Mandatory header passed in the cURL request includes the following: * **Authorization header:** OAuth token i.e., the ` [access\_token](https://docs.catalyst.zoho.com/en/api/oauth2/generate-access-and-refresh-token/#GenerateAccessandRefreshToken)` Recommended headers passed in the cURL request can include the following: * **Content-Type:** A REST API standard that indicates the original media type of the resource passed. It is highly recommended to pass this header when the API requests include JSON payload or form data, for example. Optional headers passed in the cURL request can include the following: * **Org ID:** The [Org ID](https://docs.catalyst.zoho.com/en/getting-started/catalyst-organizations/) of an organization that is not the default. You can obtain the Org ID from the multi-org portal in the Catalyst console. > **Note:** If you do not pass an Org ID in your request explicitly, the API will be executed for the default organization. * **Environment**: The environmental header to specify the [environment](https://docs.catalyst.zoho.com/en/deployment-and-billing/environments/introduction) the request must be executed for. You can indicate if the API request should be executed for the development or production environment of the project. > **Note:** If the project has been deployed to the production environment, then by default the API request will be executed for production, unless you specifically point to development using this header. If the project is not available in production, all API requests will be executed in the development environment automatically. ### Request Body Based on the purpose of the request, you can pass additional data in the body of the request in an API call, such as the column name and value for updating the column of a table, or the folder name for creating a folder. The particulars of the request to be sent, such as the headers and JSON attributes to be passed in the request, are specified in each API help page for the specific request. **Sample API Request** ```bash curl "https://api.catalyst.zoho.com/baas/v1/project/4000000006007/segment/4000000006023/cache" -X POST -d ‘{"cache_name":"City","cache_value":"London"}’ -H "CATALYST-ORG: 15090237" -H "Environment:Development" -H "Content-Type:application/json" -H "Authorization: Zoho-oauthtoken 1000.910*\*\*\*\*\*\*\*\*\*\*\*\*\*\*\*\*\*\*\*\*\*\*\*\*16.2f*\*\*\*\*\*\*\*\*\*\*\*\*\*\*\*\*\*\*\*\*\*\*\*\*57"" ``` -------------------------------------------------------------------------------- title: "Response Format" description: "Learn about the API response format and the elements contained in a server-side response sent for your API invocation." last_updated: "2025-11-19T15:07:41.000Z" source: "https://docs.catalyst.zoho.com/en/api/introduction/response-format/" service: "All Services" -------------------------------------------------------------------------------- # Response Format ### Overview All Catalyst API responses will be in the JSON format. The response is sent after a request is processed by the Catalyst server. A typical response contains the status of the request processing, which can be `success` or `failure`, and a set of data based on the request made. For example, if the request was made to delete a record in a resource, the data will contain the details of the record that was deleted. The response details of each API are specified in its help page in detail. If the request was not processed successfully, the response will contain an appropriate error code to specify the error that occurred. The next section contains the error codes recognized by Catalyst and their descriptions. **Sample API Response** ```json { "status": "success", "data": { "cache_name": "City", "cache_value": "London", "project_details": { "id": 56000000087108, "project_name": "ShipmentTracking" }, "segment_details": { "id": 56000000112489, "segment_name": "CustomerLocation" }, "expires_in": "Mar 28, 2019 02:03 AM", "expiry_in_hours": 7 } } ``` -------------------------------------------------------------------------------- title: "Error Codes" description: "Learn about the common error codes you can encounter while invoking Catalyst APIs" last_updated: "2026-04-15T10:08:18.000Z" source: "https://docs.catalyst.zoho.com/en/api/introduction/error-codes/" service: "All Services" -------------------------------------------------------------------------------- # Error Codes When the server encounters an error while processing a client request, it sends an appropriate HTTP Status Code in the response back to the client. The following errors are recognized by Catalyst:
HTTP Status Code Error Code Description
403 `API_LIMIT_REACHED` You have reached the upper limits for API calls in your account. Upgrade your license plan.
409 `CONFLICT` Contradicts with the existing value. Try giving another value.
409 `DUPLICATE_ENTRY` The email ID you have entered already exists. Please provide a different email ID.
409 `DUPLICATE_ENTRY` The domain name already exists. Please provide a different value.
409 `DUPLICATE_OPERATION` The requested operation is already under progress. Please wait until it is completed.
409 `DUPLICATE_VALUE` The value you have entered already exists. Please provide a different value.
500 `EMAIL_ERROR` Email sending process failed. Try again after some time.
410 `EXPIRED` The requested resource has expired. Please try creating it again.
410 `EXPIRED_LOG` The response log you are trying to download is expired.
202 `FUNCTION_ERROR` Encountered an internal server error.
500 `INTERNAL_SERVER_ERROR` Encountered an internal server error.
403 `INVALID_CONTENT` The given input is not in an acceptable format.
404 `INVALID_ID` The resource ID you have provided does not exist.
400 `INVALID_INPUT` The table name you have provided does not exist.
400 `INVALID_INPUT` The column name you have provided does not exist.
400 `INVALID_INPUT` The foreign key you have provided doesn't match with the ROWID of the parent table.
400 `INVALID_INPUT` The input you have provided is not valid.
404 `INVALID_NAME` The email ID you have provided does not exist.
404 `INVALID_NAME` The table name you have provided does not exist.
403 `INVALID_OPERATION` The requested operation is invalid.
405 `INVALID_REQUEST_METHOD` The requested method is not accepted.
400 `MISMATCH` The value provided does not match with the expected one.
400 `MISSING_FUNCTION` The function ID you have provided does not exists.
400 `MISSING_VALUE` The expected input is missing.
401 `NO_ACCESS` You don't have privileges to perform this action
204 `NO_CONTENT_AVAILABLE` The request returned an empty response.
401 `UNAUTHORISED` You are not authorized to perform this action.
403 `VERIFICATION_NEEDED` Your email address needs to be verified.
400 `ZCQL_QUERY_ERROR` The format of your query is invalid.
429 `TOO_MANY_REQUESTS` Concurrency or throttling limits reached for function, web client, or a Catalyst component execution.
## OAuth 2.0 Authentication -------------------------------------------------------------------------------- title: "Overview and Terminology" description: "Learn about the OAuth 2.0 protocol adhered by Catalyst that authenticates and authorizes API requests to gain secure access to Catalyst resources." last_updated: "2026-11-04T10:10:44.000Z" source: "https://docs.catalyst.zoho.com/en/api/oauth2/overview-and-terminology/" service: "All Services" -------------------------------------------------------------------------------- # OAuth 2.0 Authentication ### Overview OAuth 2.0 is an industry-standard protocol for authentication and authorization. The framework enables a host of third-party client applications to gain secure and delegated access to protected resources in Zoho through APIs. Some common characteristics of OAuth 2.0 are: - Clients are not required to support password authentication or store user credentials. API calls can be made to access resources without having to provide user credentials for each call. - Clients will only have access to resources authenticated by the user. - Users can revoke the client's delegated access at any time. - OAuth2.0 access tokens expire after a set time, which provides strong security. ### Terminology Before you learn about the steps involved in implementing OAuth 2.0, you must understand the following terms related to OAuth 2.0 in the Catalyst context:
Key Words Description
Protected Resource A Catalyst resource such as Cache, Cron, Table, or Folder
Resource Server The Catalyst server that hosts the Catalyst protected resources
Client An application that sends requests to the resource server to access the protected resources on behalf of the end-user
`client_id` The unique key generated for a registered client
`client_secret` The secret value generated for a specific registered client's `client_id`. When you register your Catalyst application in the Zoho API Console, a `client_id` and `client_secret` will be generated for it.
Authentication Server The Catalyst authorization server that provides the necessary credentials to a client, such as the `access_token`or `refresh_token`
Grant Token or `code` Catalyst authorization server generates a temporary token and sends it to the client via the browser. The client will send this code back to the authorization server to obtain the access and refresh tokens.
`access_token` A temporary token that is sent to the resource server to access the protected resources of the user. Clients use the `access_token` to make requests to the associated application using the APIs. Each `access_token` will be valid for a set time period and can only be used to perform operations described in the scope.
`refresh_token` A token that can be used to obtain new access tokens. This token has an unlimited lifetime until it is revoked by the end-user.
Scopes Scopes control the type of resources that the client application can access. Each token is usually created with selected scopes for better security. For example, you can generate an `access_token` with a scope to only read the data in the Data Store.The standard format to define a scope is `scope=service_name.scope_name.operation_type`. The next section lists the scopes available in Catalyst.
-------------------------------------------------------------------------------- title: "Scopes" description: "Authentication API" last_updated: "2026-08-17T12:59:01.000Z" source: "https://docs.catalyst.zoho.com/en/api/oauth2/scopes/" service: "All Services" -------------------------------------------------------------------------------- ### List of Scopes Available in Catalyst
Scope Name Available Scopes
`projects` ZohoCatalyst.projects.ALL, ZohoCatalyst.project.export.READ, ZohoCatalyst.project.export.CREATE, ZohoCatalyst.project.import.READ, ZohoCatalyst.project.import.CREATE, ZohoCatalyst.project.import.DELETE
`authentication` ZohoCatalyst.authentication.CREATE
`tables` ZohoCatalyst.tables.READ, ZohoCatalyst.tables.rows.READ, ZohoCatalyst.tables.rows.CREATE, ZohoCatalyst.tables.rows.UPDATE, ZohoCatalyst.tables.rows.DELETE, ZohoCatalyst.tables.columns.READ
`folders` ZohoCatalyst.folders.ALL
`files` ZohoCatalyst.files.CREATE, ZohoCatalyst.files.READ, ZohoCatalyst.files.DELETE
`cache` ZohoCatalyst.segments.ALL, ZohoCatalyst.cache.READ, ZohoCatalyst.cache.CREATE, ZohoCatalyst.cache.DELETE
`cron` ZohoCatalyst.cron.ALL
`zcql` ZohoCatalyst.zcql.CREATE
`functions` ZohoCatalyst.functions.ALL, ZohoCatalyst.functions.EXECUTE
`appsail` ZohoCatalyst.appsail.Read, ZohoCatalyst.appsail.Create, ZohoCatalyst.appsail.Update, ZohoCatalyst.appsail.Delete
`circuits` ZohoCatalyst.circuits.EXECUTE
`search` ZohoCatalyst.search.READ
`email` ZohoCatalyst.email.CREATE
`notifications` ZohoCatalyst.notifications.web, ZohoCatalyst.notifications.mobile
`mlkit` ZohoCatalyst.mlkit.READ
`quickml` QuickML.deployment.READ
`smartbrowz` ZohoCatalyst.pdfshot.execute, ZohoCatalyst.dataverse.execute
`pipelines` ZohoCatalyst.pipeline.READ, ZohoCatalyst.pipeline.execution.CREATE
`stratus` Stratus.fileop.CREATE, Stratus.fileop.ALL, Stratus.bucketop.ALL, ZohoCatalyst.buckets.objects.UPDATE, ZohoCatalyst.buckets.objects.READ, ZohoCatalyst.buckets.objects.DELETE, ZohoCatalyst.buckets.READ, ZohoCatalyst.buckets.objects.CREATE
`IAM` AaaServer.profile.READ
`tunneling` ZohoCatalyst.tunneling.READ, ZohoCatalyst.tunneling.UPDATE
`scheduling` ZohoCatalyst.jobpool.READ, ZohoCatalyst.job.ALL
`logs` ZohoCatalyst.cli.logs.CREATE
`security_rules` ZohoCatalyst.security.rules.Read, ZohoCatalyst.security.rules.Update
`NoSQL` ZohoCatalyst.nosql.READ, ZohoCatalyst.nosql.rows.ALL
`users` ZohoCatalyst.projects.users.READ, ZohoCatalyst.projects.users.CREATE, ZohoCatalyst.projects.users.DELETE, ZohoCatalyst.projects.users.UPDATE
`webapp` ZohoCatalyst.webapp.ALL
`queue` ZohoCatalyst.queue.ALL, ZohoCatalyst.queue.data.READ, ZohoCatalyst.queue.data.CREATE
`api gateway` ZohoCatalyst.apigateway.apis.READ, ZohoCatalyst.apigateway.apis.CREATE, ZohoCatalyst.apigateway.apis.UPDATE, ZohoCatalyst.apigateway.apis.DELETE, ZohoCatalyst.apigateway.READ, ZohoCatalyst.apigateway.UPDATE
-------------------------------------------------------------------------------- title: "Register a New Client" description: "Learn about the OAuth 2.0 protocol adhered by Catalyst that authenticates and authorizes API requests to gain secure access to Catalyst resources." last_updated: "2026-11-04T10:10:44.000Z" source: "https://docs.catalyst.zoho.com/en/api/oauth2/register-new-client/" service: "All Services" -------------------------------------------------------------------------------- # Step 1: Register a New Client ### Register the Client The first step towards obtaining an OAuth authentication token is to register your application with Zoho's API console and obtain your `client\_id` and `client\_secret`. 1. To register your application, visit the [Zoho API Console](https://api-console.zoho.com/) and click **Get Started**. ![](https://catalyst-docs-development.zohostratus.in/images/api/catalyst_api_1.webp) 2. Select a client type for your application. ![](https://catalyst-docs-development.zohostratus.in/images/api/catalyst_api_2.webp) You can refer to [Zoho's OAuth documentation](https://www.zoho.com/accounts/protocol/oauth.html) for more details. > **Note:** You can choose the _Self Client_ type to test the client-server handling for your application, or if your application does not have a domain. You need not provide any details for this type. You can only create one _Self Client_ client for your user account. 3. Provide the required details to register your application for the client type you chose. ![](https://catalyst-docs-development.zohostratus.in/images/api/catalyst_api_3.webp) * **Client Name:** The name of your application you want to register with Zoho * **Homepage URL:** The URL of your client's homepage * **Authorized Redirect URIs:** A valid URL of your application that Zoho Accounts redirects you to with the grant token after a successful authentication 4. Click **Create**. After the registration is successful, Zoho will provide you a set of OAuth 2.0 credentials: the `client\_id` and `client\_secret`, which are known to both Zoho and your application. ![](https://catalyst-docs-development.zohostratus.in/images/api/catalyst_api_4.webp) > **Note:** You must not share the `client\_id` and `client\_secret` anywhere. Ensure that you keep these credentials safe. ### Enable Multi DC for the Client As mentioned in the [Multi-DC Support section](https://docs.catalyst.zoho.com/en/api/introduction/multi-dc-support/#Multi-DCSupport), you can enable multi-DC support for your client from the _Settings_ tab in the API console after you register it. This is available for all client types, except the _Self Client_ type as it is used only for testing. This feature lets you provide access to your application to users of a specific domain alone. As mentioned earlier, Catalyst is currently available in the **EU, AU, IN, JP, SA** and **CA** domains. So you can enable or disable access to your application for specific DC users if you need. To access the multi-DC configurations for your client: 1. Open your client from the API console and click **Settings**. ![](https://catalyst-docs-development.zohostratus.in/images/api/catalyst_api_9.webp) 2. Enable or disable the client access for the data centers you need. You can only avail the data centers that Catalyst supports. When you enable a DC, the console will generate a different `client\_secret` for them by default. You can access it by clicking **Show Code** for the respective DC. The `client\_id` will remain the same for all DCs. You can choose to have the same `client\_secret` for all DCs by checking the **_Use the same OAuth credentials for all data centers_** checkbox. You must then click **OK** in the confirmation pop-up. ![](https://catalyst-docs-development.zohostratus.in/images/api/catalyst_api_10.webp) You can again unselect the checkbox to have a different `client\_secret`, and confirm the action similarly. -------------------------------------------------------------------------------- title: "Generate Grant Token" description: "Learn about the OAuth 2.0 protocol adhered by Catalyst that authenticates and authorizes API requests to gain secure access to Catalyst resources." last_updated: "2026-11-04T10:10:44.000Z" source: "https://docs.catalyst.zoho.com/en/api/oauth2/generate-grant-token/" service: "All Services" -------------------------------------------------------------------------------- # Step 2: Generate Grant Token After you generate the `client\_id` and `client\_secret`, you must generate a Grant Token or `code` for your application. > **Note:** Generating a Grant Token is a one-time process, provided you generate the `access\_token` and `refresh\_token` within the time the Grant Token is valid for. ### For Self Client Applications If you previously selected the _Self Client_ type, you must generate the Grant Token (`code`) in the following way: 1. After registering your application, select **Self Client** from the _Applications_ list in the [API console](https://api-console.zoho.com/) and click **Generate Code**. ![](https://catalyst-docs-development.zohostratus.in/images/api/catalyst_api_5.webp) 2. Enter a valid scope. You can check the list of scopes available in Catalyst from [this section](https://docs.catalyst.zoho.com/en/api/oauth2/scopes/#Scopes). 3. Choose a time duration from the dropdown list. The Grant Token generated in this step will expire after this time period. > **Note:** If the Grant Token is about to expire, you must generate a `refresh\_token` before it expires, as described in the next step. 4. Enter a description for the scope. 5. Click **Generate**. The API console will display the generated Grant Token or `code` value for your _Self Client_ application. ![](https://catalyst-docs-development.zohostratus.in/images/api/catalyst_api_6.webp) ### For Other Applications If you previously selected client types other than the _Self Client_ type, you must generate the Grant Token using a redirect method: 1. Send a request to the following URI with the params given below, to generate the Grant Token (`code`): `https://accounts.zoho.com/oauth/v2/auth?` > **Note:** You must access the respective domains for the other [data centers](https://docs.catalyst.zoho.com/en/api/introduction/multi-dc-support/#Multi-DCSupport): * **EU:** `https://accounts.zoho.eu/` * **AU:** `https://accounts.zoho.au/` * **IN:** `https://accounts.zoho.in/` * **CA:** `https://accounts.zohocloud.ca/` * **JP:** `https://accounts.zohocloud.jp/` * **SA:** `https://accounts.zohocloud.sa/`
Parameter Description
`**scope\***` The scope the Grant Token is to be generated for. You can provide multiple scopes by separating them using commas. You can check the list of scopes available in Catalyst from [this section](https://docs.catalyst.zoho.com/en/api/oauth2/scopes/#Scopes).
`**client\_id\*** ` The Client ID that was generated during the client registration
`**state** ` An opaque string that is round-tripped in the protocol, i.e., whatever value you provide here will be passed back to you
`**response\_type\***` `code `(Provide this literal string as the value)
`**redirect\_uri\*** ` One of the Authorized Redirect URIs you provided while registering the client in the previous step. You must not provide an unregistered redirect URI.
`**access\_type** ` The allowed values are `offline` and `online`. The online `access\_type` only provides the `Access Token` for your application, which is valid for one hour. The `offline access\_type` provides an `Access Token` as well as a `Refresh Token` for your application. The default value is considered to be `online`.
`**prompt** ` `Consent` (Provide this literal string as the value) Prompts for user consent every time your app tries to access user credentials. If you don't specify this parameter, the user will only be prompted for credentials the first time your app requests access.
> **Note:** * Fields marked with * are mandatory. * You can pass the parameters in the body of your request as `form-data`, for increased security. **Request Example** ```bash https://accounts.zoho.com/oauth/v2/auth?scope=ZohoCatalyst.tables.rows.CREATE,ZohoCatalyst.tables.rows.READ,ZohoCatalyst.tables.rows.UPDATE,ZohoCatalyst.tables.rows.DELETE&client_id=1000.0SRSxxxxxxxxxxxxxxxxx&state=testing&response_type=code&redirect_uri=https://www.zylker.com/ShipmentTracking/&access_type=offline ``` 2. If you send the `prompt` parameter in this request, a user consent page will open. After you click **Accept**, Zoho will redirect you to the `redirect\_uri` with the Grant Token in the `code` parameter. Save the `code` value for the next steps. ![](https://catalyst-docs-development.zohostratus.in/images/api/catalyst_api_7.webp) Based on your login details, the system automatically detects your domain and uses the domain-specific authentication URL to generate the Grant Token. The `state` parameter is also passed in the URL. If you click **Reject**, the browser redirects to the redirect URI with the parameter `error=access\_denied`. > **Note:** This code is only valid for 60 seconds. You must complete the next step within this time. -------------------------------------------------------------------------------- title: "Generate Access and Refresh Token" description: "Learn about the OAuth 2.0 protocol adhered by Catalyst that authenticates and authorizes API requests to gain secure access to Catalyst resources." last_updated: "2026-11-04T10:10:44.000Z" source: "https://docs.catalyst.zoho.com/en/api/oauth2/generate-access-and-refresh-token/" service: "All Services" -------------------------------------------------------------------------------- # Step 3: Generate Access Token and Refresh Token ### Request Execution After you obtain the Grant Token, send a `POST` request to the following URL with the params given below to generate the `access\_token`: `https://accounts.zoho.com/oauth/v2/token?` > **Note:** You must access the respective domains for the other [data centers](https://docs.catalyst.zoho.com/en/api/introduction/multi-dc-support/#Multi-DCSupport): * **EU:** `https://accounts.zoho.eu/` * **AU:** `https://accounts.zoho.au/` * **IN:** `https://accounts.zoho.in/` * **CA:** `https://accounts.zohocloud.ca/` * **JP:** `https://accounts.zohocloud.jp/` * **SA:** `https://accounts.zohocloud.sa/`
Parameter Description
`code`* The Grant Token or the value of code obtained in the previous step.
`client_id`* The Client ID that was generated during the client registration
`client_secret`* The Client Secret that was generated during the client registration
`grant_type`* `authorization_code` (Provide this literal string as the value)
`redirect_uri` One of the Authorized Redirect URIs you provided while registering the client in the previous step. You must not provide an unregistered redirect URI.
`scope` The scope the `access_token` is to be generated for. You can provide multiple scopes by separating them using commas. You can check the list of scopes available in Catalyst from [this section](https://docs.catalyst.zoho.com/en/api/oauth2/scopes/).
`state` An opaque string that is round-tripped in the protocol. In other words, whatever value you provide here will be passed back to you.
> **Note:** * Fields marked with * are mandatory. * You can pass the parameters in the body of your request as `form-data`, for increased security. * The `access\_token` will expire after the time period (in seconds) mentioned in the `expires\_in` parameter. * However, the `refresh\_token` is permanent and can be used to regenerate a new `access\_token` if the current one expires. * You can use the domain specified in `api\_domain` in your requests to make API calls to Catalyst. * The "Bearer" value in the `token\_type` indicates this is an `access\_token`. This completes the authentication process. Once you obtain the `access\_token` for your application, you can use it in the authorization header of your HTTP requests to access Catalyst APIs. You can refer to the [Request Format](https://docs.catalyst.zoho.com/en/api/introduction/request-format/#RequestFormat) section for an example. > **Note:** Each time a re-consent page is accepted, a new `refresh\_token` is generated. You can generate a maximum of 20 refresh tokens per user, and 5 refresh tokens in a minute. If this limit is crossed, the first `refresh\_token` is automatically deleted to accommodate the latest one. This is done irrespective of whether the first one is in use or not. **Sample Request** ```bash https://accounts.zoho.com/oauth/v2/token?code=1000.dd7xxxxxxxxxxxxxxxxxxxxxxxxx.b6c07xxxxxxxxxxxxxxxxxxxx&client_id=1000.0SRSxxxxxxxxxxxxxxxxx&client_secret=xxxxxxxxxxxxxxxxxxxxx&redirect_uri=http://www.zoho.com/catalyst&grant_type=authorization_code ``` **Sample Response** ```json { "access_token": "{access_token}", "refresh_token": "{refresh_token}", "api_domain": "https://www.zohoapis.com", "token_type": "Bearer", "expires_in": 3600 } ``` -------------------------------------------------------------------------------- title: "Refresh Access Token" description: "Learn about the OAuth 2.0 protocol adhered by Catalyst that authenticates and authorizes API requests to gain secure access to Catalyst resources." last_updated: "2026-11-04T10:10:44.000Z" source: "https://docs.catalyst.zoho.com/en/api/oauth2/refresh-access-token/" service: "All Services" -------------------------------------------------------------------------------- # Step 4: Refresh Access Token ### Request Execution When an `access\_token` expires, you must use the `refresh\_token` to generate a new `access\_token` for your application. To do so, send a `POST` request to the following URL with the params given below: `https://accounts.zoho.com/oauth/v2/token?` > **Note:** You must access the respective domains for the other [data centers](https://docs.catalyst.zoho.com/en/api/introduction/multi-dc-support/#Multi-DCSupport): * **EU:** `https://accounts.zoho.eu/` * **AU:** `https://accounts.zoho.au/` * **IN:** `https://accounts.zoho.in/` * **CA:** `https://accounts.zohocloud.ca/` * **JP:** `https://accounts.zohocloud.jp/` * **SA:** `https://accounts.zohocloud.sa/`
Parameter Description
`refresh_token`* The `refresh_token` obtained in the previous step
`client_id`* The Client ID that was generated during the client registration
`client_secret`* The Client Secret that was generated during the client registration
`grant_type`* `refresh_token` (Provide this literal string as the value)
`redirect_uri`* One of the Authorized Redirect URIs you provided while registering the client in the previous step. You must not provide an unregistered redirect URI.
> **Note:** Fields marked with \* are mandatory. **Sample Request** ```bash https://accounts.zoho.com/oauth/v2/token?refresh_token=1000.8ecdxxxxxxxxxxxxxxxxx.4638xxxxxxxxxxxxxxxxx&client_id=1000.0SRSxxxxxxxxxxxxxxx&client_secret=xxxxxxxxxxxxxxxxxxxxxxxx&redirect_uri=http://www.zoho.com/catalyst&grant_type=refresh_token ``` **Sample Response** ```json { "access_token": "{new_access_token}", "expires_in": 3600, "api_domain": "https://www.zohoapis.com", "token_type": "Bearer" } ``` -------------------------------------------------------------------------------- title: "Revoke Refresh Token" description: "Learn about the OAuth 2.0 protocol adhered by Catalyst that authenticates and authorizes API requests to gain secure access to Catalyst resources." last_updated: "2026-11-04T10:10:44.000Z" source: "https://docs.catalyst.zoho.com/en/api/oauth2/revoke-refresh-token/" service: "All Services" -------------------------------------------------------------------------------- # Step 5: Revoke Refresh Token ### Request Execution You may choose to manually revoke a `refresh\_token`, when you no longer need access for a particular scope. To revoke a `refresh\_token`, send a POST request to the following URL with the `refresh\_token` to be revoked as a parameter. `https://accounts.zoho.com/oauth/v2/token/revoke?` > **Note:** You must access the respective domains for the other [data centers](https://docs.catalyst.zoho.com/en/api/introduction/multi-dc-support/#Multi-DCSupport): * **EU:** `https://accounts.zoho.eu/` * **AU:** `https://accounts.zoho.au/` * **IN:** `https://accounts.zoho.in/` * **CA:** `https://accounts.zohocloud.ca/` * **JP:** `https://accounts.zohocloud.jp/` * **SA:** `https://accounts.zohocloud.sa/` Your refresh token now will become invalid. **Sample Request** ```bash https://accounts.zoho.com/oauth/v2/token/revoke?refresh_token=1000.8ecdxxxxxxxxxxxxxxxxxx.4638xxxxxxxxxxxxxxxxx ``` ## API — General ### Projects -------------------------------------------------------------------------------- title: "Get Specific Project" description: "This API enables you to fetch the details of a specific project that a user has created from their Catalyst account." last_updated: "2026-08-17T12:16:04.000Z" source: "https://docs.catalyst.zoho.com/en/api/code-reference/general/projects/get-specific-project/" service: "All Services" -------------------------------------------------------------------------------- # Catalyst Projects The Project APIs enable you to update, delete, and obtain details of a [Catalyst project](https://docs.catalyst.zoho.com/en/getting-started/catalyst-projects). You can perform these actions from the Catalyst console as well. [Catalyst CLI](https://docs.catalyst.zoho.com/en/cli/v1/cli-command-reference/) also enables you to create a project remotely and initialize resources in it. # Get the Details of a Specific Project ### Description This API enables you to fetch the details of a specific project that the Catalyst user, such as the developer or a [collaborator](https://docs.catalyst.zoho.com/en/getting-started/set-up-a-catalyst-project/collaborators/), logged in currently has created from their Catalyst account. The project is referred to by its `project_id`. The project details fetched are of the same Catalyst account the API is being executed from. ### Request Details #### Request URL `GET` {api-domain}/baas/v1/project/{project_id} - **api-domain** (URL): The DC-specific domain to access Catalyst API - **project_id** (Numerical): The [unique ID](https://docs.catalyst.zoho.com/en/getting-started/set-up-a-catalyst-project/general-settings/) of the project #### Request Headers **Authorization:** Zoho-oauthtoken {oauth_token} **Optional Headers** **CATALYST-ORG:** {org_id} **Environment:** Development #### Scope scope=ZOHOCATALYST.projects.Read ### Response Details The response will contain the details of the project including the project domain details such as the `project_domain_id` and `project_domain_name`, and the details of the user that created it, such as their `email_id` and `user_id`. **Sample Request** ```bash curl -X GET \ https://api.catalyst.zoho.com/baas/v1/project/4000000006007 \ -H "Authorization: Zoho-oauthtoken 1000.910*\*\*\*\*\*\*\*\*\*\*\*\*\*\*\*\*\*\*\*\*\*\*\*\*16.2f*\*\*\*\*\*\*\*\*\*\*\*\*\*\*\*\*\*\*\*\*\*\*\*\*57" ``` **Sample Response** ```json { "status": "success", "data": { "platforms": [], "project_name": "BillingDesk", "created_by": { "zuid": 780776954, "is_confirmed": false, "email_id": "amelia-burrows@zylker.com", "first_name": "Amelia", "last_name": "Burrows", "user_type": "Admin", "user_id": 11811000000003003 }, "created_time": "Jun 04, 2023 04:19 PM", "redirect_url": "", "project_domain_details": { "project_domain_id": 10060895541, "project_domain_name": "billingdesk-781316834.development", "project_domain": "https://billingdesk-781316834.development.catalystserverless.com", "user_auth": { "userAuth": {}, "createdTime": null, "createdBy": null }, "mobile_auth": {} }, "db_type": "SINGLE_DB", "id": 11811000000315013, "project_type": "Live", "env_details": [ { "id": 11811000000315049, "env_name": "Development", "env_type": 3, "env_status": "Active", "project_details": { "project_name": "BillingDesk", "id": 11811000000315013, "project_type": "Live" }, "is_default": true, "env_zgid": "781316834", "action_required": false } ], "timezone": "Asia/Kolkata" } } ``` -------------------------------------------------------------------------------- title: "Get All Projects" description: "This API enables you to fetch the details of all the projects of the user logged in currently." last_updated: "2026-08-17T12:16:04.000Z" source: "https://docs.catalyst.zoho.com/en/api/code-reference/general/projects/get-all-projects/" service: "All Services" -------------------------------------------------------------------------------- # Get the Details of All Projects ### Description This API enables you to fetch the details of all the projects in the remote console of the Catalyst user, such as the developer or a [collaborator](https://docs.catalyst.zoho.com/en/getting-started/set-up-a-catalyst-project/collaborators/), logged in currently. The project details fetched are of the same Catalyst account the API is being executed from. ### Request Details #### Request URL `GET` {api-domain}/baas/v1/project - **api-domain** (URL): The DC-specific domain to access Catalyst API #### Request Headers **Authorization:** Zoho-oauthtoken {oauth_token} **Optional Headers** **CATALYST-ORG:** {org_id} **Environment:** Development #### Scope ZOHOCATALYST.projects.Read ### Response Details The response will contain the details of all the projects the user created in their remote console, including the project domain details such as the `project_domain_id` and `project_domain_name`, and the details of the user that created it, such as their `email_id` and `user_id` of each project. **Sample Request** ```bash curl -X GET \ https://api.catalyst.zoho.com/baas/v1/project \ -H "Authorization: Zoho-oauthtoken 1000.910*\*\*\*\*\*\*\*\*\*\*\*\*\*\*\*\*\*\*\*\*\*\*\*\*16.2f*\*\*\*\*\*\*\*\*\*\*\*\*\*\*\*\*\*\*\*\*\*\*\*\*57" ``` **Sample Response** ```json { "status": "success", "data": [ { "platforms": [], "project_name": "BillingDesk", "created_by": { "zuid": 780776954, "is_confirmed": false, "email_id": "amelia.burrows@zylker.com", "first_name": "Amelia", "last_name": "Burrows", "user_type": "Admin", "user_id": 11811000000003003 }, "created_time": "Jun 04, 2023 04:19 PM", "redirect_url": "", "project_domain_details": { "project_domain_id": 10060895541, "project_domain_name": "billingdesk-781316834.development", "project_domain": "https://billingdesk-781316834.development.catalystserverless.com", "user_auth": { "userAuth": {}, "createdTime": null, "createdBy": null }, "mobile_auth": {} }, "db_type": "SINGLE_DB", "id": 11811000000315013, "project_type": "Live", "env_details": [ { "id": 11811000000315049, "env_name": "Development", "env_type": 3, "env_status": "Active", "project_details": { "project_name": "BillingDesk", "id": 11811000000315013, "project_type": "Live" }, "is_default": true, "env_zgid": "781316834", "action_required": false } ], "timezone": "Asia/Kolkata" }, { "platforms": [], "project_name": "Zia", "created_by": { "zuid": 780776954, "is_confirmed": false, "email_id": "amelia.burrows@zylker.com", "first_name": "Amelia", "last_name": "Burrows", "user_type": "Admin", "user_id": 11811000000003003 }, "created_time": "Jun 02, 2023 11:55 AM", "redirect_url": "", "project_domain_details": { "project_domain_id": 10060816047, "project_domain_name": "zia-781316834.development", "project_domain": "https://zia-781316834.development.catalystserverless.com", "user_auth": { "userAuth": {}, "createdTime": null, "createdBy": null }, "mobile_auth": {} }, "db_type": "SINGLE_DB", "id": 11811000000314001, "project_type": "Live", "env_details": [ { "id": 11811000000314037, "env_name": "Development", "env_type": 3, "env_status": "Active", "project_details": { "project_name": "Zia", "id": 11811000000314001, "project_type": "Live" }, "is_default": true, "env_zgid": "781316834", "action_required": false } ], "timezone": "Asia/Kolkata" } ``` -------------------------------------------------------------------------------- title: "Delete Project" description: "This API enables you to delete a particular project." last_updated: "2026-08-17T12:16:04.000Z" source: "https://docs.catalyst.zoho.com/en/api/code-reference/general/projects/delete-project/" service: "All Services" -------------------------------------------------------------------------------- # Delete Project ### Description This API enables you to [delete a particular project](https://docs.catalyst.zoho.com/en/getting-started/set-up-a-catalyst-project/general-settings/#delete-a-project), by referring to its Project ID. ### Request Details #### Request URL `DELETE` {api-domain}/baas/v1/project/{project_id} - **api-domain** (URL): The DC-specific domain to access Catalyst API - **project_id** (Numerical): The [unique ID](https://docs.catalyst.zoho.com/en/getting-started/set-up-a-catalyst-project/general-settings/) of the project #### Request Headers **Authorization:** Zoho-oauthtoken {oauth_token} **Content-Type:** application/json **Optional Headers** **CATALYST-ORG:** {org_id} **Environment:** Development #### Scope ZOHOCATALYST.projects.Delete #### Request JSON Properties - **project_name** (string, mandatory): New unique name of the project Max Size: 50 characters **Sample Request** ```bash curl -X DELETE \ https://api.catalyst.zoho.com/baas/v1/project/4000000006007 \ -H "Authorization: Zoho-oauthtoken 1000.910*\*\*\*\*\*\*\*\*\*\*\*\*\*\*\*\*\*\*\*\*\*\*\*\*16.2f*\*\*\*\*\*\*\*\*\*\*\*\*\*\*\*\*\*\*\*\*\*\*\*\*57" \ -H "Content-Type: application/json" \ ``` **Sample Response** ```json { "status": "success", "data": { "id": 4000000006007 } } ```# SDK — GENERAL ## SDK — Android ### Android v3 -------------------------------------------------------------------------------- title: "Overview" description: "Catalyst Android SDK is a library that enables you to build Android apps for your Catalyst project, with a host of tools and functionalities." last_updated: "2026-11-04T10:10:44.000Z" source: "https://docs.catalyst.zoho.com/en/sdk/android/v2/overview/" -------------------------------------------------------------------------------- # Android SDK ## Overview Catalyst Android SDK is a library that enables you to build mobile apps for your Catalyst project in the [Android](https://www.android.com/intl/en_in/) platform. The Catalyst Android SDK package contains a host of tools and functionalities that help you in developing dynamic and robust Android apps, with powerful backends. Catalyst Android SDK offers support for both of these development platforms for your Android apps: * Kotlin * Java The Android SDK package enables you to handle several backend jobs of various Catalyst services and components. Primarily, the Android SDK contains tools for [Catalyst CloudScale](https://docs.catalyst.zoho.com/en/cloud-scale/) and [Catalyst Serverless](https://docs.catalyst.zoho.com/en/serverless/) functionalities, such as user authentication and redirection, Data Store functionalities, and function executions. Android SDK wraps API requests to these components as method calls that you can avail. You can seamlessly integrate these Catalyst components in your Android app by implementing the ready-made functionalities provided by the SDK package, and build on them easily. This saves you from investing time and effort into coding the backend from scratch, and helps you focus more on designing the user experience of the app. The Android SDK documentation explains the entire process of setting up and building an Android app with Catalyst Android SDK. You can learn about the architecture, components, and configurations of the SDK package, and access sample code snippets for various operations in this documentation. > **Note**: After you develop and test your Android app, you can host and distribute the app using [Mobile Device Management.](https://docs.catalyst.zoho.com/en/cloud-scale/help/mobile-device-management/introduction) It also enables you to manage the app's versioning and end-users easily from the Catalyst console. However, Mobile Device Management is currently not available to Catalyst users accessing from the EU, AU, IN, or CA data centers. -------------------------------------------------------------------------------- title: "Class Hierarchy" description: "Class Hierarchy denotes the hierarchy of the Kotlin classes in the Catalyst Android SDK." last_updated: "2026-11-03T07:48:52.000Z" source: "https://docs.catalyst.zoho.com/en/sdk/android/v2/class-hierarchy/" -------------------------------------------------------------------------------- # Class Hierarchy ### Introduction All Catalyst components are modelled as Kotlin classes in Android SDK. The members and methods of these component classes define the behavior of the component, and enable you to perform various operations in the component. Catalyst Android SDK package contains tools to work with the following Catalyst components and features from various Catalyst services: * **General:** [Timezone](https://docs.catalyst.zoho.com/en/getting-started/set-up-a-catalyst-project/general-settings/#change-the-time-zone-of-the-project) * **Serverless:** [Functions](https://docs.catalyst.zoho.com/en/serverless/help/functions/introduction) * **CloudScale:** [Authentication](https://docs.catalyst.zoho.com/en/cloud-scale/help/authentication/introduction), [Data Store](https://docs.catalyst.zoho.com/en/cloud-scale/help/data-store/introduction), [Search](https://docs.catalyst.zoho.com/en/cloud-scale/help/search-integration/introduction), [ZCQL](https://docs.catalyst.zoho.com/en/cloud-scale/help/zcql/introduction) The hierarchy of the Catalyst Android SDK component classes is depicted in the architecture diagram below. ![android_sdk_components](https://catalyst-docs-development.zohostratus.in/images/sdk/android/android_sdk_components.webp) The `ZCatalystApp` is the base class of the Catalyst Android SDK. It is comprised of several methods that enable you to initialize the SDK and access the various components of the Catalyst project. The other classes pertain to the respective components and their specific features supported by the SDK. ### Instance Objects Each class available under `ZCatalystApp` contains functions to fetch the properties and data of its immediate child entities by executing API calls. However, it is not always effective to follow the class hierarchy all the way up to the top to fetch the data of a component at a lower level. This is because, such an action would involve API calls at every level and that will render the usage of your application inefficient. To avoid this situation and to make your app more cost-effective, Catalyst provides instance objects in every class. **Instance Objects** are present in each component class, which can be accessed through a `getInstance()` method. This method fetches a dummy object of the component, which can then be used to fetch methods of all its child entities. Therefore, to retrieve the properties of a Catalyst component, you must call the component's object with its `getInstance()` method. You must then use the same object to call the other methods defined by the component. This prevents unnecessary and excessive API calls. -------------------------------------------------------------------------------- title: "Exceptions" description: "This help page lists the common exceptions that can occur in your Catalyst Android app executions" last_updated: "2025-07-08T14:07:39.000Z" source: "https://docs.catalyst.zoho.com/en/sdk/android/v2/exceptions/" -------------------------------------------------------------------------------- # Exceptions Exceptions are unexpected faulty behaviors that occur during the app execution. All errors and exceptions in Catalyst Android apps are handled by enumerations called `ZCatalystException`, defined in the Android SDK package. If an exception occurs in your app, the following properties of the exception are returned: * **`code`:** Unique identifier of the error * **`errorMsg`:** General description about the error * **`errorDetails`:** Additional information about the error * **`originalException`:** The actual exception that was thrown A list of common error codes thrown by the Catalyst Android SDK and their descriptions are given below:
Error Codes Descriptions
INITIALIZATION_ERROR The SDK initialization failed
LOGIN_ERROR The login process failed for the user
LOGOUT_FAILED The logout process failed for the user
TOKEN_FETCH_ERROR Failed to fetch the access token
RESPONSE_PARSE_ERROR The received response is non-parseable
NO_NETWORK_AVAILABLE Network connectivity is not available to make the API call
API_FAILED The API invocation failed
INVALID_DATA The data submitted is not of a valid type for the specific format
FILE_SIZE_EXCEEDED The file size of an uploaded file exceeded the 100 MB file size limit
FUNCTION_EXECUTION_ERROR Failed to execute the function
JSON_EXCEPTION The body included in the request is not a valid JSON
INVALID_REQUEST The request created is not valid
INVALID_FILE_INPUT File submitted in the upload operation is not valid
INTERNAL_ERROR An internal error occurred in the SDK
INVALID_CONFIGURATION The SDK has not been initialized with the configuration required for the login. Reinitialize the SDK with the appropriate configuration for the login.
CUSTOM_LOGIN_DISABLED The parameters required for third-party authentication could not be found. Make sure you have enabled third-party authentication for the project or re-download the property file.
-------------------------------------------------------------------------------- title: "Prerequisites" description: "This page defines the prerequisites you would need to fulfill to work with the Catalyst Android SDK." last_updated: "2025-07-08T14:07:39.000Z" source: "https://docs.catalyst.zoho.com/en/sdk/android/v2/prerequisites/" -------------------------------------------------------------------------------- # Prerequisites Before you begin working with Catalyst Android SDK, you must ensure that you meet all the following prerequisites: * [Create a Catalyst project](https://docs.catalyst.zoho.com/en/getting-started/catalyst-projects/) in the Catalyst console to host your mobile app. > **Note**: You can host one Android app and one iOS app in each project. The Android or iOS can either be built natively with the Catalyst Android or [iOS](https://docs.catalyst.zoho.com/en/sdk/ios/v2/overview/) SDKs, or with Catalyst [Flutter SDK](https://docs.catalyst.zoho.com/en/sdk/flutter/v2/overview/). * Create or import an Android project in [Android Studio](https://developer.android.com/studio) * Ensure that your Android project and Android Studio meet these **minimum supported environments**: * Android Studio- 3.1.1 or later * OS- Android 21 (Lollipop 4.4) * Kotlin- 1.3.20 * Gradle- 3.4.0 After you have configured the prerequisite environments, you can register your app with Catalyst and download the configuration file that is provided tailored to your app. You must include this configuration file in your Android app's structure, as it will contain the definitions of certain properties required for your app to function properly. We will discuss these steps in detail in the *setup section*. -------------------------------------------------------------------------------- title: "Setup" description: "Steps to follow to setup the Catalyst project and the Android project." last_updated: "2026-08-17T12:16:04.000Z" source: "https://docs.catalyst.zoho.com/en/sdk/android/v2/setup/" -------------------------------------------------------------------------------- # Setup After you create the Catalyst project and the Android project, you must follow these steps to set up and integrate the Android SDK package with your app. ### Step 1: Register your Android app with Catalyst You can begin by creating a package for the Android app in Catalyst to register it, and downloading its unique configuration file. 1. Click the Settings icon from your Catalyst console in your project. ![catalyst_console_settings](https://catalyst-docs-development.zohostratus.in/images/sdk/flutter/catalyst_console_settings.webp) 2. Navigate to **Developer Tools** under *Project Settings* in the settings menu, then click on the **Android** tile. ![developer_tools_android_sdk](https://catalyst-docs-development.zohostratus.in/images/sdk/flutter/dev_tools_android_sdk.webp)Alternatively, you can click the **Add Package** button below. 3. Enter a package name that will identify it uniquely. Provide the URL to redirect the end-user to after they log in to the app, as the Redirect URL. ![android_sdk_create_package](https://catalyst-docs-development.zohostratus.in/images/sdk/flutter/dev_tools_android_sdk_package_1.webp)The values that you enter here will be auto-filled in the configuration file. > **Note**: A package name will be uniquely associated with that OS. Therefore, you cannot create packages with the same name for both Android and iOS apps. You must provide unique values. Ensure that Android is selected as the OS type. 4. Click **Create** to create the mobile SDK package. 5. The console will then display a window from where you can download the configuration file. Click **Download** to download the file. ![android_sdk_package_successful](https://catalyst-docs-development.zohostratus.in/images/sdk/flutter/dev_tools_android_sdk_package_2.webp) The file will be downloaded with all the required configurations. The properties in this file are explained in the next step. ### Step 2: Import the Configuration File in Your Android Project Catalyst provides two work environments to develop and build your applications in: a **Development** sandbox and a live **Production** environment. You can learn more about them from the [Environments help page](https://docs.catalyst.zoho.com/en/deployment-and-billing/environments/introduction). When you create a package in the console, only the development environment's configuration file will be available for download initially, irrespective of the environment you are working in currently. You can choose to download the configuration file from the console for any environment any time, once the package has been created. The configuration files of each environment would be named as: * Development: `app_configuration_development.properties` * Production: `app_configuration_production.properties` Based on the environment that you are working in, you must download and add the appropriate file to your Android app's structure. To obtain a production environment configuration file, you must [deploy your project to production](https://docs.catalyst.zoho.com/en/deployment-and-billing/environments/initial-deployment) first, and then [download the file](https://docs.catalyst.zoho.com/en/getting-started/set-up-a-catalyst-project/developer-tools) from the *Developer Tools* settings section. The configuration file must be added to the `assets` directory of your Android app module. Typically, the `assets` folder is created in the `app/src/main` directory. ![android_sdk_android_studs](https://catalyst-docs-development.zohostratus.in/images/sdk/android/android_sdk_android_studs.webp) Refer to the [official Android documentation](https://developer.android.com/studio/projects) for detailed help on Android app modules. #### Properties of the app_configuration_development.properties/ app_configuration_production.properties File The app configuration file defines the properties mentioned in the table below. All these values except the request headers are automatically populated, based on your project's details or the default standards. > **Note**: You can refer to the links specified in the table, to know where you can obtain these values from.
Property Data Type Description
`clientID` String Unique identifier of your app client registered in Catalyst. This is received in the configuration file.
`clientSecret` String Secret value generated for a specific `clientID`, which is passed along with the API hits. This is received in the configuration file.
`portalID` String Unique identifier received in the configuration file
`redirectUrl` String The callback URL of your app that you provided while creating a package for it in the console, in the previous step
`projectID` Long The [unique ID](https://docs.catalyst.zoho.com/en/getting-started/set-up-a-catalyst-project/general-settings/) of your Catalyst Project
`apiBaseURL` String The URL of the Catalyst server through which the internal API is called. You must use the appropriate URL ([development URL](https://docs.catalyst.zoho.com/en/deployment-and-billing/environments/development-environment/#function-url-and-web-app-url-in-the-development-environment) or [production URL](https://docs.catalyst.zoho.com/en/deployment-and-billing/environments/production-environment/#function-url-and-web-app-url-in-the-production-environment)), based on the environment you are working in.
`oauthScopes` String The scopes that would be used by the app to access the Catalyst APIs from your project. You can find the available OAuth scopes [here](https://docs.catalyst.zoho.com/en/api/oauth2/scopes/#Scopes).
`requestHeaders` String The headers that would be sent by the client in the HTTP requests The values of the request headers must be individual key-value pairs, separated by commas like: `requestHeaders=`*key1:value1, key2:value2*
`serverTLD` String The top level domain of the data server Acceptable values: `AU`, `CN`, `COM`, `EU` and `IN`
`printStackTrace` Boolean Enables you to obtain a detailed trace of the logs, if the `printStackTrace` value is set as '**true**'. The default value is '**false**'.
`minLogLevel` String Enables you to set the logging preferences for the app Acceptable values: `warnings`, `errors`, `information`, `debug`, `ALL`
`httpRequestMode` String Defines whether the HTTP requests are synchronous or asynchronous Acceptable values: `SYNC`, `ASYNC` Default value: `ASYNC`
`connectTimeOut InSec` Long The connection time out value (in seconds) of the HTTP request sent from the SDK If a response for the client request isn't received from the server within this time, the connection will be terminated
`readTimeOutInSec` Long The read time out value (in seconds) of the HTTP request sent from the SDK If data isn't received from the server within this time, the connection will be terminated
`writeTimeOutInSec` Long The write time out value (in seconds) of the HTTP request sent from the SDK If the request fails to write or send the request data to the server within this time, the connection will be terminated
`JWTClientID` String The client ID property of the custom server token (JSON Web Token token) generated for third-party authentication to be passed to the client
`JWTClientSecret` String The client secret property of the custom server token (JSON Web Token token) generated for third-party authentication to be passed to the client
> **Note**: * If the values of the `clientID`, `clientSecret`, `projectID`, or `portalID` are modified in the configuration file, it will affect the functioning of the SDK and your Android app. If you wish to change any of these configurations, you can [create a new package](https://docs.catalyst.zoho.com/en/getting-started/set-up-a-catalyst-project/developer-tools/#create-a-mobile-sdk-package) for the required project from the Developer Tools section and download a new configuration file for the appropriate environment, then add it to the `assets` directory in your app's structure. * The values of the properties that are populated in the downloaded configurations file can be dynamically accessed using the `ZCatalystApp.configs` object. ### Step 3: Add Catalyst Android SDK in your App The next step is to include the SDK package in your app. Catalyst Android SDK is available as a Gradle library. You can add the SDK in your Android project by accessing the Maven repository that contains the library, in the following manner: 1. Add the code snippet given below to the **project-level** `build.gradle` file in your Android app structure: ```bash maven { url "https://maven.zohodl.com/" } ``` 2. Add the code snippet given below to the **app-level** `build.gradle` file in your Android app structure: ```bash dependencies { implementation 'com.zoho.catalyst:android-sdk:3.0.1' } ``` ### Step 4: Configure App Login Redirection When a user logs in to your app successfully, they will be redirected to your app's home screen. This user login and redirection is handled by the Catalyst SDK. To ensure that this redirection is handled properly, include the string given below in the `strings.xml` file of your Android app: ```bash <string name="url_scheme">{redirection_url}</string> ``` The `strings.xml` file is automatically created when you create the Android project. You can find it by navigating to `app/src/main/res/values` in your app's structure. The file will already contain the string definition for your app name. Include this string along with it. You must pass the **Redirection URL** that you configured while [creating the package](https://docs.catalyst.zoho.com/en/sdk/android/v2/setup/#step-1-register-your-android-app-with-catalyst) for your app in Catalyst, in place of `redirection_url` in this code. ### Step 5: Set Required Permissions Catalyst SDK requires the following app permissions to be enabled, to ensure that your app functions seamlessly and to provide a smooth user experience: * `INTERNET`: To execute Catalyst APIs * `ACCESS_NETWORK_STATE`: To handle network failures To enable these permissions, you must declare them in the `AndroidManifest.xml` file, as shown below: ```bash <uses-permission android:name="android.permission.ACCESS_NETWORK_STATE"/> <uses-permission android:name="android.permission.INTERNET"/> ``` You can find the the `AndroidManifest.xml` file by navigating to `app/src/main` in your app's structure. All the required configurations to add and implement the Catalyst Android SDK are now done. After you execute all the steps mentioned above, you must [**build your project**](https://developer.android.com/studio/run). If the gradle build is successful, your app will be able to access the components of the Catalyst Android SDK. ### Step 6: Initialize the SDK You must initialize the Catalyst SDK to enable the functioning of the methods and features defined in the SDK package. Therefore, before you configure your app to consume the SDK methods, you must initialize the SDK in any one of the following methods: #### Method 1: By specifying the Environment The `Environment` indicates if the app is operating in the Development or the Production environment. Similar to including the appropriate configuration file (`app_configuration_development.properties/ app_configuration_production.properties`) based on the [environment](https://docs.catalyst.zoho.com/en/deployment-and-billing/environments/introduction) in your app's project, you must initialize the SDK for the appropriate environment. In this method, you must set the required configuration and specify the `Environment` of your app as either `DEVELOPMENT` or `PRODUCTION`, and pass it to the `init()` method through the `ZCatalystApp` class as shown below: ```bash ZCatalystApp.init( context: Context, Environment: ZCatalystSDKConfigs.Environment.{DEVELOPMENT} ): ZCatalystApp ``` #### Method 2: Without specifying the Environment If the `Environment` is not specified in the SDK initialization, it would be considered as `PRODUCTION` by default. Therefore, if your app is operating in the Production environment, you can initialize the SDK directly without specifying the `Environment` in the following way: ```bash ZCatalystApp.init(context: Context): ZCatalystApp ``` > **Note**: * If you make any changes to the `app_configuration_development.properties` or `app_configuration_production.properties` file, you must reinitialize the SDK. * If you configure a third-party authentication for your Android app, you will also need to re-initialize the SDK as new properties will be added in this configuration file. You can learn more from [this help page](https://docs.catalyst.zoho.com/en/sdk/android/v2/cloud-scale/authentication/third-party-authentication/). If the SDK is successfully initialized, the app will invoke the component methods and function as intended. #### General -------------------------------------------------------------------------------- title: "Get Current Time Zone" description: "This enables you to fetch the current time zone active for your project." last_updated: "2025-11-19T15:07:41.000Z" source: "https://docs.catalyst.zoho.com/en/sdk/android/v2/general/get-current-time-zone/" service: "All Services" related: - Time Zone Settings (/en/getting-started/set-up-a-catalyst-project/general-settings/#change-the-time-zone-of-the-project) -------------------------------------------------------------------------------- # Get Current Time Zone You can define and store a [time zone](https://docs.catalyst.zoho.com/en/getting-started/set-up-a-catalyst-project/general-settings/#change-the-time-zone-of-the-project) for your project from the General settings in the console, overriding the default time zone set based on the data center you access. This time zone you set will be applied across all services, components and features of the project. However, you can still define individual time zones for certain components. Catalyst enables you to fetch the current time zone active for your project. You can fetch the current time zone defined for your project in the console using the `getCurrentTimeZone()` method in the `ZCatalystUtil` class as shown in the syntax below. ```bash fun getCurrentTimeZone( success: (String) -> Unit, failure: ((ZCatalystException) -> Unit)? = null): ZCatalystRequest<ZCatalystResponse<JsonObject>>? ``` A sample code snippet is shown below: ```bash ZCatalystUtil.getCurrentTimeZone({ timeZone -> println("Current time zone + $timeZone") }, { println("Failed to get current time zone.") }) ``` ## SDK — Flutter ### Flutter v2 -------------------------------------------------------------------------------- title: "Overview" description: "Catalyst Flutter SDK is a library that enables you to build native mobile apps for your Catalyst project with Android and iOS." last_updated: "2026-11-04T10:10:44.000Z" source: "https://docs.catalyst.zoho.com/en/sdk/flutter/v2/overview/" -------------------------------------------------------------------------------- # Flutter SDK ## Overview [Flutter](https://flutter.dev/) is an open-source framework by Google built on the [Dart](https://dart.dev/) programming language that is used to develop natively-compiled, cross-platform applications for mobile, desktop, or any web browser from a single codebase. Flutter lets you choose a primary development target, which is a single primary OS that you build the app on. Catalyst Flutter SDK is a library that enables you to build mobile apps for your Catalyst project for the following supported [mobile development targets](https://flutter.dev/multi-platform/mobile) of Flutter: * **Android** * **iOS** The Catalyst Flutter SDK package contains a host of tools and functionalities that help you in developing dynamic and robust mobile apps, with powerful backends. This enables you to handle several backend jobs of various Catalyst services and components. Flutter SDK provides support for all supported functionalities in Catalyst native [Android SDK](https://docs.catalyst.zoho.com/en/sdk/android/v2/overview/) and [iOS SDK](https://docs.catalyst.zoho.com/en/sdk/ios/v2/overview/). Flutter SDK primarily contains tools for [Catalyst CloudScale](https://docs.catalyst.zoho.com/en/cloud-scale/) and [Catalyst Serverless](https://docs.catalyst.zoho.com/en/serverless/) functionalities, such as user authentication and redirection, Data Store functionalities, and function executions. The Catalyst entities like User, Data Store rows and columns are modelled as Dart Objects through data modelling. Flutter SDK wraps API requests to these components as method calls that you can avail. You can seamlessly integrate these Catalyst components in your mobile app by implementing the ready-made functionalities provided by the SDK package, and build on them easily. This saves you from investing time and effort into coding the backend from scratch, and helps you focus more on designing the user experience of the app. This documentation explains the entire process of setting up and building a mobile app with Catalyst Flutter SDK. You can learn about the configurations of the SDK package, and access sample code snippets for various operations in this documentation. You can also refer [Flutter's official guide for Android](https://docs.flutter.dev/get-started/flutter-for/android-devs) and [official guide for iOS](https://docs.flutter.dev/get-started/flutter-for/swiftui-devs) for building apps with those development platforms as your primary targets. After you develop your Flutter app in Android or iOS, you can deploy a build of your app in either or both of those platforms, and host them on Catalyst. Refer to Flutter's official guide on [deploying Android](https://docs.flutter.dev/deployment/android) and [deploying iOS](https://docs.flutter.dev/deployment/ios) apps. > **Note**: You can host and distribute the app using [Mobile Device Management.](https://docs.catalyst.zoho.com/en/cloud-scale/help/mobile-device-management/introduction/) It also enables you to manage the app's versioning and end-users easily from the Catalyst console. You can also configure [Push Notifications](https://docs.catalyst.zoho.com/en/cloud-scale/help/push-notifications/introduction/) for your app if you build it in iOS and enable push notifications to be sent in your app. -------------------------------------------------------------------------------- title: "Class Hierarchy" description: "Class Hierarchy denotes the hierarchy of the classes in the Catalyst Flutter SDK." last_updated: "2026-11-03T07:48:52.000Z" source: "https://docs.catalyst.zoho.com/en/sdk/flutter/v2/class-hierarchy/" -------------------------------------------------------------------------------- # Class Hierarchy ### Introduction All Catalyst component entities in Flutter SDK are modelled as Dart objects. The members and methods of these component classes define the behavior of the component, and enable you to perform various operations in the component. Catalyst Flutter SDK package contains tools to work with the following Catalyst components and features from various Catalyst services: * **General:** [Timezone](https://docs.catalyst.zoho.com/en/getting-started/set-up-a-catalyst-project/general-settings/#change-the-time-zone-of-the-project) * **Serverless:** [Functions](https://docs.catalyst.zoho.com/en/serverless/help/functions/introduction) * **CloudScale:** [Authentication](https://docs.catalyst.zoho.com/en/cloud-scale/help/authentication/introduction), [Data Store](https://docs.catalyst.zoho.com/en/cloud-scale/help/data-store/introduction), [Search](https://docs.catalyst.zoho.com/en/cloud-scale/help/search-integration/introduction), [ZCQL](https://docs.catalyst.zoho.com/en/cloud-scale/help/zcql/introduction) The hierarchy of the Catalyst Flutter SDK component classes is depicted in the architecture diagram below. ![flutter_sdk_components](https://catalyst-docs-development.zohostratus.in/images/sdk/android/android_sdk_components.webp) The `ZCatalystApp` is the base class of the Catalyst Flutter SDK. It comprises of several methods that enable you to initialize the SDK and access the various components of the Catalyst project. The other classes pertain to the respective components and their specific features supported by the SDK. ### Instance Objects Each class available under `ZCatalystApp` contains functions to fetch the properties and data of its immediate child entities by executing API calls. However, it is not always effective to follow the class hierarchy all the way up to the top to fetch the data of a component at a lower level. This is because, such an action would involve API calls at every level and that will render the usage of your application inefficient. To avoid this situation and to make your app more cost-effective, Catalyst provides instance objects in every class. **Instance Objects** are present in each component class, which can be accessed through a `getInstance()` method. This method fetches a dummy object of the component, which can then be used to fetch methods of all its child entities. Therefore, to retrieve the properties of a Catalyst component, you must call the component's object with its `getInstance()` method. You must then use the same object to call the other methods defined by the component. This prevents unnecessary and excessive API calls. -------------------------------------------------------------------------------- title: "Exceptions" description: "This help page lists the common exceptions that can occur in your Catalyst Android and iOS app executions built on Flutter SDK" last_updated: "2024-09-13T05:40:11.000Z" source: "https://docs.catalyst.zoho.com/en/sdk/flutter/v2/exceptions/" -------------------------------------------------------------------------------- # Exceptions Exceptions are unexpected faulty behaviors that occur during the app execution. All errors and exceptions in Android or iOS apps built on Flutter SDK are handled by enumerations called `ZCatalystException`, defined in the Android SDK package. If an exception occurs in your mobile app, the following Dart properties of the exception are returned: * **`code`:** Unique identifier of the error * **`errorMsg`:** General description about the error * **`errorDetails`:** Additional information about the error * **`originalException`:** The actual exception that was thrown A list of common error codes thrown by the Catalyst Flutter SDK and their descriptions are given below:
Error Codes Descriptions
INITIALIZATION_ERROR The SDK initialization failed
LOGIN_ERROR The login process failed for the user
LOGOUT_FAILED The logout process failed for the user
TOKEN_FETCH_ERROR Failed to fetch the access token
RESPONSE_PARSE_ERROR The received response is non-parseable
NO_NETWORK_AVAILABLE Network connectivity is not available to make the API call
API_FAILED The API invocation failed
INVALID_DATA The data submitted is not of a valid type for the specific format
FILE_SIZE_EXCEEDED The file size of an uploaded file exceeded the 100 MB file size limit
FUNCTION_EXECUTION_ERROR Failed to execute the function
JSON_EXCEPTION The body included in the request is not a valid JSON
INVALID_REQUEST The request created is not valid
INVALID_FILE_INPUT File submitted in the upload operation is not valid
INTERNAL_ERROR An internal error occurred in the SDK
INVALID_CONFIGURATION The SDK has not been initialized with the configuration required for the login. Reinitialize the SDK with the appropriate configuration for the login.
CUSTOM_LOGIN_DISABLED The parameters required for third-party authentication could not be found. Make sure you have enabled third-party authentication for the project or re-download the property file.
### Exceptions in iOS Apps If an error occurs in your iOS app, the following properties of the error are returned: * `code`: Unique identifier of the error * `message`: General description about the error * `details`: Additional information about the error A list of common error codes thrown by the Catalyst iOS SDK and their descriptions are given below:
Error Codes Descriptions
INVALID_DATA Data is in an invalid format
INTERNAL_ERROR Error occurred due to internal problems, servers, or something else
RESPONSE_NIL No response was returned from the server
TOKEN_FETCH_ERROR Failed to fetch the access token
OAUTH_FETCH_ERROR Error occurred while fetching the OAUTH token
UNABLE_TO_CONSTRUCT_URL Error occurred while constructing the URL
PROCESSING_ERROR Error occurred while processing the data
TYPECAST_ERROR Error occurred while type-casting the data
NO_INTERNET_CONNECTION Device is not connected to the internet
REQUEST_TIMEOUT Response from the server did not arrive on time
NETWORK_CONNECTION_LOST Device has lost its connection with the Internet
INITIALIZATION_ERROR Error occurred while initializing the SDK
FUNCTION_EXECUTION_ERROR Error occurred while executing a function
JSON_EXCEPTION Error occurred while parsing the JSON
-------------------------------------------------------------------------------- title: "Prerequisites" description: "This page defines the prerequisites you would need to fulfill to work with the Catalyst Flutter SDK." last_updated: "2024-09-13T05:40:11.000Z" source: "https://docs.catalyst.zoho.com/en/sdk/flutter/v2/prerequisites/" -------------------------------------------------------------------------------- # Prerequisites Before you begin working with Catalyst Flutter SDK, you must ensure that you meet the following prerequisites: 1. **Create Catalyst project:** You must [create a Catalyst project](https://docs.catalyst.zoho.com/en/getting-started/catalyst-projects/) in the Catalyst console to host your mobile app in. > **Note**: You can host one Android app and one iOS app in each project. The Android or iOS app can either be built natively with the Catalyst [Android](https://docs.catalyst.zoho.com/en/sdk/android/v2/overview/) or [iOS](https://docs.catalyst.zoho.com/en/sdk/ios/v2/overview/) SDKs, or with the Flutter SDK. 2. **Install IDE:** Depending on the development target you choose, you must install a [supporting IDE or editor](https://docs.flutter.dev/get-started/editor?tab=vscode). You must install an IDE and its version that supports working with Flutter SDK, extensions, and plugins. The supported choices are: [Android Studio](https://developer.android.com/studio), [IntelliJ IDEA](https://www.jetbrains.com/idea/), and [Visual Studio Code](https://code.visualstudio.com/). > **Note**: Flutter plugins will not work on IDEs other than these. For iOS apps, you can use one of these supported IDEs to develop the app, and then import it in [Xcode](https://developer.apple.com/xcode/) to build and deploy the iOS app. The minimum supported environments for Android and iOS are specified in the following sections. 3. **Install Flutter SDK:** You must install the following for your system's OS: * Flutter SDK * Any supporting or required libraries, plugins, or extensions based on your requirements * Platform-specific software and SDKs You can find help for installing Flutter based on your system OS here: [Windows](https://docs.flutter.dev/get-started/install/windows), [macOS](https://docs.flutter.dev/get-started/install/macos), [Linux](https://docs.flutter.dev/get-started/install/linux), [ChromeOS](https://docs.flutter.dev/get-started/install/chromeos). -------------------------------------------------------------------------------- title: "Get Started for Android" description: "To build your Flutter mobile app with Android as your primary development target, set up the environment required for developing an Android app." last_updated: "2026-11-04T10:10:44.000Z" source: "https://docs.catalyst.zoho.com/en/sdk/flutter/v2/setup-for-android/" -------------------------------------------------------------------------------- # Get Started for Android To build your Flutter mobile application with Android as your primary development target with the Flutter SDK, you will need to set up the environment required for developing an Android app in Catalyst. ### Prerequisites and Minimum Supported Environments Before you begin working with your Flutter app on the Android platform, you must ensure that you meet the following prerequisites and configure these minimum supported environments: * [Create a Flutter project in Android Studio or any supported IDE](https://docs.flutter.dev/get-started/test-drive?tab=androidstudio) * Ensure that your Android project meets these minimum supported environments: * OS- Android API Level 21 (Lollipop 4.4) * Kotlin- 1.3.20 * Gradle- 3.4.0 * Set up a device or an emulator in your IDE for running your app You can register your app with Catalyst and download the configuration file that is provided tailored to your app. You must include this configuration file in your Android app's structure, as it will contain the definitions of certain properties required for your app to function properly. ## Setup After you meet the prerequisites for the Flutter and Android setups, follow these steps to set up and integrate the Android package with your app. ### Step 1: Register your Android app with Catalyst You can begin by creating a package for the Android app in Catalyst to register it, and downloading its unique configuration file. 1. Click the Settings icon from your Catalyst console in your project. ![catalyst_console_settings](https://catalyst-docs-development.zohostratus.in/images/sdk/flutter/catalyst_console_settings.webp) 2. Navigate to **Developer Tools** under *Project Settings* in the settings menu, then click on the **Android** tile. ![developer_tools_android_sdk](https://catalyst-docs-development.zohostratus.in/images/sdk/flutter/dev_tools_android_sdk.webp)Alternatively, you can click the **Add Package** button below. 3. Enter a package name that will identify it uniquely. Provide the URL to redirect the end-user to after they login to the app, as the Redirect URL. ![android_sdk_create_package](https://catalyst-docs-development.zohostratus.in/images/sdk/flutter/dev_tools_android_sdk_package_1.webp)The values that you enter here will be auto-filled in the configuration file. > **Note**: A package name will be uniquely associated with that OS. Therefore, you cannot create packages with the same name for both Android and iOS apps. You must provide unique values. Ensure that Android is selected as the OS type. 4. Click **Create** to create the mobile SDK package. 5. The console will then display a window from where you can download the configuration file. Click **Download** to download the file. ![android_sdk_package_successful](https://catalyst-docs-development.zohostratus.in/images/sdk/flutter/dev_tools_android_sdk_package_2.webp) The file will be downloaded with all the required configurations. The properties in this file are explained in the next step. ### Step 2: Import the Configuration File in Your Android Project Catalyst provides two work environments to develop and build your applications in: a **Development** sandbox and a live **Production** environment. You can learn more about them from the [Environments help page](https://docs.catalyst.zoho.com/en/deployment-and-billing/environments/introduction). When you create a package in the console, only the development environment's configuration file will be available for download initially, irrespective of the environment you are working in currently. You can choose to download the configuration file from the console for any environment any time, once the package has been created. The configuration files of each environment would be named as: * Development: `app_configuration_development.properties` * Production: `app_configuration_production.properties` Based on the environment that you are working in, you must download and add the appropriate file to your Android app's structure. To obtain a production environment configuration file, you must [deploy your project to production](https://docs.catalyst.zoho.com/en/deployment-and-billing/environments/initial-deployment) first and then [download the file](https://docs.catalyst.zoho.com/en/getting-started/set-up-a-catalyst-project/developer-tools) from the *Developer Tools* settings section. The configuration file must be added to the `assets` directory of your Android app module. Typically, the `assets` folder is created in the `app/src/main` directory. ![android_sdk_android_studs](https://catalyst-docs-development.zohostratus.in/images/sdk/android/android_sdk_android_studs.webp) Refer to the [official Android documentation](https://developer.android.com/studio/projects) for detailed help on Android app modules. #### Properties of the app_configuration_development.properties/ app_configuration_production.properties File The app configuration file defines the properties mentioned in the table below. All these values except the request headers are automatically populated, based on your project's details or the default standards. > **Note**: You can refer to the links specified in the table, to know where you can obtain these values from.
Property Data Type Description
`clientID` String Unique identifier of your app client registered in Catalyst. This is received in the configuration file.
`clientSecret` String Secret value generated for a specific `clientID`, which is passed along with the API hits. This is received in the configuration file.
`portalID` String Unique identifier received in the configuration file
`redirectUrl` String The callback URL of your app that you provided while creating a package for it in the console, in the previous step
`projectID` Long The [unique ID](https://docs.catalyst.zoho.com/en/getting-started/set-up-a-catalyst-project/general-settings/) of your Catalyst Project
`apiBaseURL` String The URL of the Catalyst server through which the internal API is called. You must use the appropriate URL ([development URL](https://docs.catalyst.zoho.com/en/deployment-and-billing/environments/development-environment/#function-url-and-web-app-url-in-the-development-environment) or [production URL](https://docs.catalyst.zoho.com/en/deployment-and-billing/environments/production-environment/#function-url-and-web-app-url-in-the-production-environment)), based on the environment you are working in.
`oauthScopes` String The scopes that would be used by the app to access the Catalyst APIs from your project. You can find the available OAuth scopes [here](https://docs.catalyst.zoho.com/en/api/oauth2/scopes/#Scopes).
`requestHeaders` String The headers that would be sent by the client in the HTTP requests The values of the request headers must be individual key-value pairs, separated by commas like: `requestHeaders=`*key1:value1, key2:value2*
`serverTLD` String The top level domain of the data server Acceptable values: `AU`, `CN`, `COM`, `EU` and `IN`
`printStackTrace` Boolean Enables you to obtain a detailed trace of the logs, if the `printStackTrace` value is set as '**true**'. The default value is '**false**'.
`minLogLevel` String Enables you to set the logging preferences for the app Acceptable values: `warnings`, `errors`, `information`, `debug`, `ALL`
`httpRequestMode` String Defines whether the HTTP requests are synchronous or asynchronous Acceptable values: `SYNC`, `ASYNC` Default value: `ASYNC`
`connectTimeOut InSec` Long The connection time out value (in seconds) of the HTTP request sent from the SDK That is, if a response for the client request isn't received from the server within this time, the connection will be terminated
`readTimeOutInSec` Long The read time out value (in seconds) of the HTTP request sent from the SDK That is, if data isn't received from the server within this time, the connection will be terminated
`writeTimeOutInSec` Long The write time out value (in seconds) of the HTTP request sent from the SDK That is, if the request fails to write or send the request data to the server within this time, the connection will be terminated
`JWTClientID` String The client ID property of the custom server token (JSON Web Token token) generated for third-party authentication to be passed to the client
`JWTClientSecret` String The client secret property of the custom server token (JSON Web Token token) generated for third-party authentication to be passed to the client
> **Note**: * If the values of the `clientID`, `clientSecret`, `projectID`, or `portalID` are modified in the configuration file, it will affect the functioning of the SDK and your Android app. If you wish to change any of these configurations, you can [create a new package](https://docs.catalyst.zoho.com/en/getting-started/set-up-a-catalyst-project/developer-tools/#create-a-mobile-sdk-package) for the required project from the Developer Tools section and download a new configuration file for the appropriate environment, and add it to the `assets` directory in your app's structure. * The values of the properties that are populated in the downloaded configurations file can be dynamically accessed using the `ZCatalystApp.configs` object. ### Step 3: Configure App Login Redirection When a user logs in to your app successfully, they will be redirected to your app's home screen. This user login and redirection is handled by the Catalyst SDK. To ensure that this redirection is handled properly, include the URL schema given below in the `strings.xml` file of your Android app: ```bash <string name="url_scheme">{redirection_url}</string> ``` The `strings.xml` file is automatically created when you create the Android project. You can find it by navigating to `app/src/main/res/values` in your app's structure. The file will already contain the string definition for your app name. Include this string along with it. You must pass the **Redirection URL** that you configured while [creating the package](https://docs.catalyst.zoho.com/en/sdk/android/v2/setup/#step-1-register-your-android-app-with-catalyst) for your app in Catalyst, in place of `redirection_url` in this code. ### Step 4: Set Required Permissions Catalyst SDK requires the following app permissions to be enabled, to ensure that your app functions seamlessly and to provide a smooth user experience: * `INTERNET`: To execute Catalyst APIs * `ACCESS_NETWORK_STATE`: To handle network failures To enable these permissions, you must declare them in the `AndroidManifest.xml` file, as shown below: ```bash <uses-permission android:name="android.permission.ACCESS_NETWORK_STATE"/> <uses-permission android:name="android.permission.INTERNET"/> ``` You can find the the `AndroidManifest.xml` file by navigating to `app/src/main` in your app's structure. The setup for building a Flutter app with Android as the primary development target is now ready. You can now proceed to [implementing Catalyst Flutter SDK in your app](https://docs.catalyst.zoho.com/en/sdk/flutter/v2/implement-flutter-sdk/). -------------------------------------------------------------------------------- title: "Get Started for iOS" description: "To build your Flutter mobile app with iOS as your primary development target, set up the environment required for developing an iOS app." last_updated: "2026-11-04T10:10:44.000Z" source: "https://docs.catalyst.zoho.com/en/sdk/flutter/v2/setup-for-ios/" -------------------------------------------------------------------------------- # Get Started for iOS To build your Flutter mobile application with iOS as your primary development target with the Flutter SDK, you will need to set up the environment required for developing an iOS app in Catalyst. ### Prerequisites and Minimum Supported Environments Before you begin working with your Flutter app on the iOS platform, you must ensure that you meet the following prerequisites and configure these minimum supported environments: * [Create a Flutter project in any supported IDE or from the terminal](https://docs.flutter.dev/get-started/test-drive?tab=vscode) * Ensure that your iOS project meets these minimum supported environments: * [CocoaPods](https://guides.cocoapods.org/) * iOS- 9 or later * Swift- 4 or later * Set up a device or an emulator in your IDE for running your app You can now register your app with Catalyst and download the configuration file that is provided tailored to your app. You must include this configuration file in your iOS app's structure, as it will contain the definitions of certain properties required for your app to function properly. ## Setup After you create the Catalyst project and the iOS project, you must follow these steps to set up and integrate the iOS SDK package with your app. ### Step 1: Register your iOS app with Catalyst You can begin by creating a package for the iOS app in Catalyst to register it, and downloading its unique configuration file. 1. Click the **Settings icon** from your Catalyst console in your project. ![catalyst_sdk_android_settings_icon](https://catalyst-docs-development.zohostratus.in/images/sdk/flutter/catalyst_console_settings.webp) 2. Navigate to **Developer Tools** under *Project Settings* in the settings menu, then click on the **iOS** tile. ![ios_sdk_all_package](https://catalyst-docs-development.zohostratus.in/images/sdk/flutter/dev_tools_ios_sdk.webp) Alternatively, you can click the **Add Package** button below. 3. Enter a package name that will identify it uniquely. Provide the URL to redirect the end-user to after they login to the app, as the Redirect URL. ![ios_sdk_create_package](https://catalyst-docs-development.zohostratus.in/images/sdk/flutter/dev_tools_ios_sdk_package_1.webp) The values that you enter here will be auto-filled in the configuration file. > **Note**: A package name will be uniquely associated with that OS. Therefore, you cannot create packages with the same name for both Android and iOS apps. You must provide unique values. Ensure that iOS is selected as the OS type. 4. Click **Create** to create the mobile SDK package. 5. The console will then display a window from where you can download the configuration file. Click **Download** to download the file. ![ios_sdk_package_created](https://catalyst-docs-development.zohostratus.in/images/sdk/flutter/dev_tools_ios_sdk_package_2.webp) The file will be downloaded with all the required configurations. The properties in this file are explained in the next step. ### Step 2: Import the Configuration File in Your iOS Project Catalyst provides two work environments to develop and build your applications in: a **Development** sandbox and a live **Production** environment. You can learn more about them from the [Environments help page](https://docs.catalyst.zoho.com/en/deployment-and-billing/environments/introduction). When you create a package in the console, only the development environment's configuration file will be available for download initially, irrespective of the environment you are working in currently. You can choose to download the configuration file from the console for any environment any time, once the package has been created. The configuration files of each environment would be named as: * Development: `AppConfigurationDevelopment.plist` * Production: `AppConfigurationProduction.plist` Based on the environment that you are working in, you must download and add the appropriate file to **Targets** -> **Runner** your iOS project. To obtain a production environment configuration file, you must [deploy your project to production](https://docs.catalyst.zoho.com/en/deployment-and-billing/environments/initial-deployment) first and then [download the file](https://docs.catalyst.zoho.com/en/getting-started/set-up-a-catalyst-project/developer-tools) from the *Developer Tools* settings section. The configuration file must be added to **Targets** -> **Runner** of your iOS project. ![catalyst_sdk_ios_properties_file](https://catalyst-docs-development.zohostratus.in/images/sdk/ios/catalyst_sdk_ios_properties_file.webp) Refer to the [official iOS documentation](https://developer.apple.com/documentation/) for detailed help on iOS project structure. #### Properties of the AppConfigurationDevelopment.plist/ AppConfigurationProduction.plist File The app configuration file defines the properties mentioned in the table below. All these values except the request headers are automatically populated, based on your project's details or the default standards. > **Note**: You can refer to the links specified in the table, to know where you can obtain these values from.
Property Data Type Description
`ClientID` String Unique identifier of your app client registered in Catalyst. This is received in the configuration file.
`ClientSecretID` String Secret value generated for a specific `clientID`, which is passed along with the API hits. This is received in the configuration file.
`PortalID` String Unique identifier received in the configuration file
`RedirectURLScheme` String The callback URL of your app that you provided while creating a package for it in the console, in the previous step
`ProjectID` Long The [unique ID](https://docs.catalyst.zoho.com/en/getting-started/set-up-a-catalyst-project/general-settings/) of your Catalyst Project
`APIBaseURL` String The URL of the Catalyst server through which the internal API is called. You must use the appropriate URL ([development URL](https://docs.catalyst.zoho.com/en/deployment-and-billing/environments/development-environment/#function-url-and-web-app-url-in-the-development-environment) or [production URL](https://docs.catalyst.zoho.com/en/deployment-and-billing/environments/production-environment/#function-url-and-web-app-url-in-the-production-environment)), based on the environment you are working in.
`APIVersion` String Version of the API
`OauthScopes` String The scopes that would be used by the app to access the Catalyst APIs from your project. You can find the available OAuth scopes [here](https://docs.catalyst.zoho.com/en/api/oauth2/scopes/#Scopes).
`RequestHeaders` String The headers that would be sent by the client in the HTTP requests The values of the request headers must be individual key-value pairs, separated by commas like: `requestHeaders=`*key1:value1, key2:value2*
`ServerTLD` String The top level domain of the data server Acceptable values: `AU`, `CN`, `COM`, `EU` and `IN`
`MinLogLevel` String Enables you to set the logging preferences for the app Acceptable values: `warnings`, `errors`, `information`, `debug`, `ALL`
`TurnLoggerOn` Boolean Turns the logger on based on the value Acceptable values: `true`, `false`
`RequestTimeOut` Double The time duration (in seconds) a task must wait for additional data to arrive before giving up
`JWTClientID` String The client ID property of the custom server token (JSON Web Token token) generated for third-party authentication to be passed to the client
`JWTClientSecret` String The client secret property of the custom server token (JSON Web Token token) generated for third-party authentication to be passed to the client
> **Note**: * If the values of the `clientID`, `clientSecretID`, `projectID`, or `portalID` are modified in the configuration file, it will affect the functioning of the SDK and your iOS app. If you wish to change any of these configurations, you can [create a new package](https://docs.catalyst.zoho.com/en/getting-started/set-up-a-catalyst-project/developer-tools/#create-a-mobile-sdk-package) for the required project from the Developer Tools section and download a new configuration file for the appropriate environment, and add it to your iOS project. * The values of the properties that are populated in the downloaded configurations file can be dynamically accessed using the `ZCatalystApp.configs` object. ### Step 3: Configure App Login Redirection When a user logs in to your app successfully, they will be redirected to your app's home screen. This user login and redirection is handled by the Catalyst SDK. To ensure that this redirection is handled properly, include the key given below with the same configurations in the `info.plist` file of your iOS project: > Key - `URL Types` -----> `URL Schemes` Type - String Value - The Redirect URL that you configured while [creating the package](https://docs.catalyst.zoho.com/en/sdk/ios/v2/setup/#step-1-register-your-ios-app-with-catalyst) for your app in Catalyst ![catalyst_sdk_ios_info_plist](https://catalyst-docs-development.zohostratus.in/images/sdk/ios/catalyst_sdk_ios_info_plist.webp) The setup for building a Flutter app with iOS as the primary development target is now ready. You can now proceed to [implementing Catalyst Flutter SDK in your app](https://docs.catalyst.zoho.com/en/sdk/flutter/v2/implement-flutter-sdk/). -------------------------------------------------------------------------------- title: "Implement Flutter SDK" description: "After setting up the working environment for developing the Flutter app in Android or iOS, you must install, import, and initialize Flutter SDK in your project." last_updated: "2025-11-19T15:07:41.000Z" source: "https://docs.catalyst.zoho.com/en/sdk/flutter/v2/implement-flutter-sdk/" -------------------------------------------------------------------------------- # Implement Flutter SDK in your Project After setting up the working environment for developing the Flutter app primarily in Android or iOS and creating the Flutter project in the IDE, you can now proceed to implement the Catalyst Flutter SDK in your Flutter project. When you create a Flutter project, a basic [`pubspec.yaml`](https://docs.flutter.dev/tools/pubspec) file is generated and located at the top of the project tree. This file contains the metadata about the project and specifies the dependencies that the project requires. ### Install the SDK You will need to add the following configurations to implement the Catalyst Flutter SDK to the `pubspec.yaml` of your Flutter project: ```bash dependencies: zcatalyst_sdk: ^2.2.1 ``` To install the Flutter SDK in your project, you will need to execute the following command from your IDE's terminal: ```bash flutter pub get ``` > **Note**: You can also get this package in the following ways in your IDE: * VS Code: Click **Get Packages** located in right side of the action ribbon at the top of `pubspec.yaml` indicated by the Download icon. * Android Studio/IntelliJ: Click **Pub get** in the action ribbon at the top of `pubspec.yaml`. #### Alternate Method to install the SDK: You can execute the following command directly from your IDE's terminal in your Flutter project's directory to install the Flutter SDK, instead of adding the configurations in the `pubspec.yaml` file as mentioned above: ```bash flutter pub add zcatalyst_sdk ``` ### Import the SDK To import the SDK in the Dart code, you will need to add the following line of code in the the `lib`/`main.dart` file in your Flutter project directory: ```bash import 'package:zcatalyst_sdk/zcatalyst_sdk.dart'; ``` ### Initialize the SDK You must initialize the Catalyst SDK to enable the functioning of the methods and features defined in the SDK package. Therefore, before you configure your app to consume the SDK methods, you must initialize the SDK in your `main()` function using the `ZCatalystApp.init()` method in any one of the following methods: #### 1. Using the Catalyst Configuration File: The configuration function that you downloaded previously for [Android](https://docs.catalyst.zoho.com/en/sdk/flutter/v2/setup-for-android/#step-1-register-your-android-app-with-catalyst) or [iOS](https://docs.catalyst.zoho.com/en/sdk/flutter/v2/setup-for-ios/#step-1-register-your-ios-app-with-catalyst) will indicate the environment of the app. Similar to including the appropriate configuration file (`app_configuration_development.properties` / `app_configuration_production.properties` for Android and `AppConfigurationDevelopment.plist` / `AppConfigurationProduction.plist` for iOS) based on the [environment](https://docs.catalyst.zoho.com/en/deployment-and-billing/environments/introduction) in your app's project, you must initialize the SDK for the appropriate environment. **By specifying the environment:** In this method, you must set the required configuration and specify the `environment` of your app as either `DEVELOPMENT` or `PRODUCTION`, and pass it to the `init()` method through the `ZCatalystApp` class as shown below: ```bash ZCatalystApp.init({ ZCatalystEnvironment? environment, }); ``` A sample code snippet is shown below: ```bash void main() async { try { await ZCatalystApp.init(environment: ZCatalystEnvironment.DEVELOPMENT); } on ZCatalystException catch (ex) { print('Initialized Failed: ${ex.toString()}'); } } ``` **Without specifying the environment:** If the `environment` is not specified in the SDK initialization, it would be considered as `PRODUCTION` by default. Therefore, if your app is operating in the Production environment, you can initialize the SDK directly in the following way: ```bash await ZCatalystApp.init(); ``` A sample code snippet is shown below: ```bash void main() async { try { await ZCatalystApp.init(); } on ZCatalystException catch (ex) { print('Initialized Failed: ${ex.toString()}'); } } ``` > **Note**: If you make any changes to the Android or iOS configuration file, you must reinitialize the SDK. #### 2. By passing the custom SDK Configuration Object: Alternatively, you can initialize the Flutter SDK by building a custom `ZCatalystSDKConfigs` object that you can pass using the `ZCatalystSDKConfigsBuilder` class. **ZCatalystSDKConfigs Object** The `ZCatalystSDKConfigsBuilder` class has the following configuration properties:
Properties Datatype Description
`environment` `ZCatalystEnvironment` The [environment](https://docs.catalyst.zoho.com/en/deployment-and-billing/environments/introduction) under which the app is currently running
`apiBaseURL` String The URL of the Catalyst server through which the internal API is called. You must use the appropriate URL ([development URL](https://docs.catalyst.zoho.com/en/deployment-and-billing/environments/development-environment/#function-url-and-web-app-url-in-the-development-environment) or [production URL](https://docs.catalyst.zoho.com/en/deployment-and-billing/environments/production-environment/#function-url-and-web-app-url-in-the-production-environment)), based on the environment you are working in.
`clientID` String Unique identifier of your app client registered in Catalyst. This is received in the configuration file.
`clientSecret` String Secret value generated for a specific `clientID`, which is passed along with the API hits. This is received in the configuration file.
`projectID` int The [unique ID](https://docs.catalyst.zoho.com/en/getting-started/set-up-a-catalyst-project/general-settings/) of your Catalyst Project
`redirectURL` String The callback URL of your app that you provided while creating a package for [Android](https://docs.catalyst.zoho.com/en/sdk/flutter/v2/setup-for-android/) or [iOS](https://docs.catalyst.zoho.com/en/sdk/flutter/v2/setup-for-ios/) in the console
`portalID` String Unique identifier received in the configuration file while setting up the Android or iOS app
`oauthScopes` String The scopes that would be used by the app to access the Catalyst APIs from your project. You can find the available OAuth scopes [here](https://docs.catalyst.zoho.com/en/api/oauth2/scopes/#Scopes).
`JWTClientID` String The client ID property of the custom server token (JSON Web Token token) generated for third-party authentication to be passed to the client
`JWTClientSecret` String The client secret property of the custom server token (JSON Web Token token) generated for third-party authentication to be passed to the client
This `ZCatalystSDKConfigs` object can now be passed using the `ZCatalystSDKConfigsBuilder` class as shown below: ```bash ZCatalystSDKConfigs sdkConfigs = ZCatalystSDKConfigsBuilder( apiBaseURL: 'https://api.catalyst.zoho.com', accountsPortalBaseURL: 'https://accounts.zoho.com', clientID: '100****************************FX', clientSecret: '19ed***************************2s', environment: ZCatalystEnvironment.DEVELOPMENT, oauthScopes: 'ZOHOCATALYST.tables.rows.ALL, ZOHOCATALYST.tables.columns.ALL', portalID: '10******79', projectID: 28*******90, redirectURL: '*****') .setUserAgent("ZCatalyst Sample App") .build(); try { await ZCatalystApp.init(sdkConfigs: sdkConfigs); } on ZCatalystException catch (ex) { print('Initialized Failed: ${ex.toString()}'); } ``` If the SDK is successfully initialized, the app will invoke the component methods and function as intended. #### General -------------------------------------------------------------------------------- title: "Get Current Time Zone" description: "This enables you to fetch the current time zone active for your project." last_updated: "2025-11-19T15:07:41.000Z" source: "https://docs.catalyst.zoho.com/en/sdk/flutter/v2/general/get-current-time-zone/" service: "All Services" related: - Time Zone Settings (/en/getting-started/set-up-a-catalyst-project/general-settings/#change-the-time-zone-of-the-project) -------------------------------------------------------------------------------- # Get Current Time Zone You can define and store a [time zone](https://docs.catalyst.zoho.com/en/getting-started/set-up-a-catalyst-project/general-settings/#change-the-time-zone-of-the-project) for your project from the General settings in the console, overriding the default time zone set based on the data center you access. This time zone you set will be applied across all services, components and features of the project. However, you can still define individual time zones for certain components. Catalyst enables you to fetch the current time zone active for your project. You can fetch the current time zone defined for your project in the console using the `getCurrentTimeZone()` method in the `ZCatalystUtil` class as shown in the syntax below. ```bash Future ZCatalystUtil.getCurrentTimezone() ``` A sample code snippet is shown below: ```bash String currTimezone = await ZCatalystUtil.getCurrentTimeZone(); ``` ## SDK — iOS ### iOS v2 -------------------------------------------------------------------------------- title: "Overview" description: "Catalyst iOS SDK is a library that enables you to build iOS apps for your Catalyst project." last_updated: "2026-11-03T07:48:52.000Z" source: "https://docs.catalyst.zoho.com/en/sdk/ios/v2/overview/" -------------------------------------------------------------------------------- # iOS SDK ## Overview Catalyst iOS SDK is a library that enables you to build mobile apps for your Catalyst project in the [iOS](https://www.apple.com/in/ios/) platform. The Catalyst iOS SDK package contains a host of tools and functionalities that help you in developing dynamic and robust iOS apps, with powerful backends. The iOS SDK package enables you to handle several backend jobs of various Catalyst services and components. Primarily, the iOS SDK contains tools for [Catalyst CloudScale](https://docs.catalyst.zoho.com/en/cloud-scale/) and [Catalyst Serverless](https://docs.catalyst.zoho.com/en/serverless/) functionalities, such as user authentication and redirection, Data Store, and function executions. iOS SDK wraps API requests to these components as method calls that you can avail. You can seamlessly integrate these Catalyst components in your iOS app by implementing the ready-made functionalities provided by the SDK package, and build on them easily. This saves you from investing time and effort into coding the backend from scratch, and helps you focus more on designing the user experience of the app. The iOS SDK documentation explains the entire process of setting up and building an iOS app with Catalyst iOS SDK. You can learn about the architecture, components, and configurations of the SDK package, and access sample code snippets for various operations in this documentation. > **Note:** After you develop and test your iOS app, you can host and distribute the app using [Mobile Device Management](https://docs.catalyst.zoho.com/en/cloud-scale/help/mobile-device-management/introduction/). It also enables you to manage the app's versioning and end-users easily from the Catalyst console. You can also configure [Push Notifications](https://docs.catalyst.zoho.com/en/cloud-scale/help/push-notifications/introduction/) for your iOS app in Catalyst and enable push notifications to be sent in your app. -------------------------------------------------------------------------------- title: "Class Hierarchy" description: "Class Hierarchy denotes the hierarchy of the Swift classes in the Catalyst iOS SDK." last_updated: "2026-11-03T07:48:52.000Z" source: "https://docs.catalyst.zoho.com/en/sdk/ios/v2/class-heirarchy/" -------------------------------------------------------------------------------- # Class Hierarchy ### Introduction All Catalyst components are modelled as Swift classes in iOS SDK. The members and methods of these component classes define the behavior of the component, and enable you to perform various operations in the component. Catalyst iOS SDK package contains tools to work with the following Catalyst components and features from various Catalyst services: * **General:** [Timezone](https://docs.catalyst.zoho.com/en/getting-started/set-up-a-catalyst-project/general-settings/#change-the-time-zone-of-the-project) * **Serverless:** [Functions](https://docs.catalyst.zoho.com/en/serverless/help/functions/introduction) * **CloudScale:** [Authentication](https://docs.catalyst.zoho.com/en/cloud-scale/help/authentication/introduction), [Data Store](https://docs.catalyst.zoho.com/en/cloud-scale/help/data-store/introduction), [Search](https://docs.catalyst.zoho.com/en/cloud-scale/help/search-integration/introduction), [ZCQL](https://docs.catalyst.zoho.com/en/cloud-scale/help/zcql/introduction) The hierarchy of the Catalyst iOS SDK component classes is depicted in the architecture diagram below. ![catalyst_sdk_ios_hierarchy](https://catalyst-docs-development.zohostratus.in/images/sdk/ios/catalyst_sdk_ios_hierarchy.webp) The `ZCatalystApp` is the base class of the Catalyst iOS SDK. It comprises of several methods that enable you to initialize the SDK and access the various components of the Catalyst project. The other classes pertain to the respective components and their specific features supported by the SDK. ### Instance Objects Each class available under `ZCatalystApp` contains functions to fetch the properties and data of its immediate child entities by executing API calls. However, it is not always effective to follow the class hierarchy, all the way up to the top, to fetch the data of a component at a lower level. This is because, such an action would involve API calls at every level and that will render the usage of your application inefficient. To avoid this situation and to make your app more cost-effective, Catalyst provides instance objects in every class. **Instance Objects** are present in each component class, which can be accessed through a `getInstance()` method. This method fetches a dummy object of the component, which can then be used to fetch methods of all its child entities. Therefore, to retrieve the properties of a Catalyst component you must call the component's object with its `getInstance()` method. You must then use the same object to call the other methods defined by the component. This prevents unnecessary and excessive API calls. -------------------------------------------------------------------------------- title: "Errors" description: "This help page lists the common errors that can occur in your Catalyst iOS app executions" last_updated: "2023-09-02T19:36:41.000Z" source: "https://docs.catalyst.zoho.com/en/sdk/ios/v2/errors/" -------------------------------------------------------------------------------- # Errors Errors are the unexpected faulty behaviours that occur during the app execution. All errors and exceptions in Catalyst iOS apps are handled by enumerations called `ZCatalystError`, defined in the iOS SDK package. If an error occurs in your app, the following properties of the error are returned: * `code`: Unique identifier of the error * `message`: General description about the error * `details`: Additional information about the error A list of common error codes thrown by the Catalyst iOS SDK and their descriptions are given below:
Error Codes Descriptions
INVALID_DATA Data is in an invalid format
INTERNAL_ERROR Error occurred due to internal problems, servers, or something else
RESPONSE_NIL No response was returned from the server
TOKEN_FETCH_ERROR Failed to fetch the access token
OAUTH_FETCH_ERROR Error occurred while fetching the OAUTH token
UNABLE_TO_CONSTRUCT_URL Error occurred while constructing the URL
PROCESSING_ERROR Error occurred while processing the data
TYPECAST_ERROR Error occurred while type-casting the data
NO_INTERNET_CONNECTION Device is not connected to the internet
REQUEST_TIMEOUT Response from the server did not arrive on time
NETWORK_CONNECTION_LOST Device has lost its connection with the Internet
INITIALIZATION_ERROR Error occurred while initializing the SDK
FUNCTION_EXECUTION_ERROR Error occurred while executing a function
JSON_EXCEPTION Error occurred while parsing the JSON
-------------------------------------------------------------------------------- title: "Prerequisites" description: "The steps that need to be taken before you start developing using the Catalyst iOS SDK" last_updated: "2024-09-12T12:46:13.000Z" source: "https://docs.catalyst.zoho.com/en/sdk/ios/v2/prerequisites/" -------------------------------------------------------------------------------- # Prerequisites Before you begin working with Catalyst iOS SDK, you must ensure that you meet all these prerequisites: * [Create a Catalyst Project](https://docs.catalyst.zoho.com/en/getting-started/catalyst-projects/) in the Catalyst console to host your mobile app in > **Note**: You can host one Android app and one iOS app in each project. * Create or import an iOS project in [XCode](https://developer.apple.com/xcode/) > **Note**: You can host one Android app and one iOS app in each project. The Android or iOS can either be built natively with the [Catalyst Android](https://docs.catalyst.zoho.com/en/sdk/android/v2/overview/) or iOS SDKs, or with Catalyst [Flutter SDK](https://docs.catalyst.zoho.com/en/sdk/flutter/v2/overview/). * Ensure that your iOS project and the development environment meet these **minimum supported environments**: * XCode- 10.2 or later * [CocoaPods](https://guides.cocoapods.org/) * iOS- 9 or later * Swift- 4 or later After you have configured the prerequisite environments, you can register your app with Catalyst and download the configuration file that is provided tailored to your app. You must include this configuration file in your iOS app's structure, as it will contain the definitions of certain properties required for your app to function properly. We will discuss these steps in detail in the [next section](https://docs.catalyst.zoho.com/en/sdk/ios/v2/setup). -------------------------------------------------------------------------------- title: "Setup" description: "Steps to follow to setup the Catalyst project and the iOS project." last_updated: "2026-11-03T15:16:51.000Z" source: "https://docs.catalyst.zoho.com/en/sdk/ios/v2/setup/" -------------------------------------------------------------------------------- # Setup After you create the Catalyst project and the iOS project, you must follow these steps to set up and integrate the iOS SDK package with your app. ### Step 1: Register your iOS app with Catalyst You can begin by creating a package for the iOS app in Catalyst to register it, and downloading its unique configuration file. 1. Click the **Settings icon** from your Catalyst console in your project. ![catalyst_sdk_android_settings_icon](https://catalyst-docs-development.zohostratus.in/images/sdk/flutter/catalyst_console_settings.webp) 2. Navigate to **Developer Tools** under *Project Settings* in the settings menu, then click on the **iOS** tile. ![ios_sdk_all_package](https://catalyst-docs-development.zohostratus.in/images/sdk/flutter/dev_tools_ios_sdk.webp) Alternatively, you can click the **Add Package** button below. 3. Enter a package name that will identify it uniquely. Provide the URL to redirect the end-user to after they login to the app, as the Redirect URL. ![ios_sdk_create_package](https://catalyst-docs-development.zohostratus.in/images/sdk/flutter/dev_tools_ios_sdk_package_1.webp) The values that you enter here will be auto-filled in the configuration file. > **Note**: A package name will be uniquely associated with that OS. Therefore, you cannot create packages with the same name for both Android and iOS apps. You must provide unique values. Ensure that iOS is selected as the OS type. 4. Click **Create** to create the mobile SDK package. 5. The console will then display a window from where you can download the configuration file. Click **Download** to download the file. ![ios_sdk_package_created](https://catalyst-docs-development.zohostratus.in/images/sdk/flutter/dev_tools_ios_sdk_package_2.webp) The file will be downloaded with all the required configurations. The properties in this file are explained in the next step. ### Step 2: Import the Configuration File in Your iOS Project Catalyst provides two work environments to develop and build your applications in: a **Development** sandbox and a live **Production** environment. You can learn more about them from the [Environments help page](https://docs.catalyst.zoho.com/en/deployment-and-billing/environments/introduction). When you create a package in the console, only the development environment's configuration file will be available for download initially, irrespective of the environment you are working in currently. You can choose to download the configuration file from the console for any environment any time, once the package has been created. The configuration files of each environment would be named as: * Development: `AppConfigurationDevelopment.plist` * Production: `AppConfigurationProduction.plist` Based on the environment that you are working in, you must download and add the appropriate file to **Targets** -> **Runner** in your iOS project. To obtain a production environment configuration file, you must [deploy your project to production](https://docs.catalyst.zoho.com/en/deployment-and-billing/environments/initial-deployment) first and then [download the file](https://docs.catalyst.zoho.com/en/getting-started/set-up-a-catalyst-project/developer-tools) from the *Developer Tools* settings section. The configuration file must be added to **Targets** -> **Runner** of your iOS project. ![catalyst_sdk_ios_properties_file](https://catalyst-docs-development.zohostratus.in/images/sdk/ios/catalyst_sdk_ios_properties_file.webp) Refer to the [official iOS documentation](https://developer.apple.com/documentation/) for detailed help on iOS project structure. #### Properties of the AppConfigurationDevelopment.plist/ AppConfigurationProduction.plist File The app configuration file defines the properties mentioned in the table below. All these values except the request headers are automatically populated, based on your project's details or the default standards. > **Note**: You can refer to the links specified in the table, to know where you can obtain these values from.
Property Data Type Description
`ClientID` String Unique identifier of your app client registered in Catalyst. This is received in the configuration file.
`ClientSecretID` String Secret value generated for a specific `clientID`, which is passed along with the API hits. This is received in the configuration file.
`PortalID` String Unique identifier received in the configuration file
`RedirectURLScheme` String The callback URL of your app that you provided while creating a package for it in the console, in the previous step
`ProjectID` Long The [unique ID](https://docs.catalyst.zoho.com/en/getting-started/set-up-a-catalyst-project/general-settings/) of your Catalyst Project
`APIBaseURL` String The URL of the Catalyst server through which the internal API is called. You must use the appropriate URL ([development URL](https://docs.catalyst.zoho.com/en/deployment-and-billing/environments/development-environment/#function-url-and-web-app-url-in-the-development-environment) or [production URL](https://docs.catalyst.zoho.com/en/deployment-and-billing/environments/production-environment/#function-url-and-web-app-url-in-the-production-environment)), based on the environment you are working in.
`APIVersion` String Version of the API
`OauthScopes` String The scopes that would be used by the app to access the Catalyst APIs from your project. You can find the available OAuth scopes [here](https://docs.catalyst.zoho.com/en/api/oauth2/scopes/#Scopes).
`RequestHeaders` String The headers that would be sent by the client in the HTTP requests The values of the request headers must be individual key-value pairs, separated by commas like: `requestHeaders=`*key1:value1, key2:value2*
`ServerTLD` String The top level domain of the data server Acceptable values: `AU`, `CN`, `COM`, `EU` and `IN`
`MinLogLevel` String Enables you to set the logging preferences for the app Acceptable values: `warnings`, `errors`, `information`, `debug`, `ALL`
`TurnLoggerOn` Boolean Turns the logger on based on the value Acceptable values: `true`, `false`
`RequestTimeOut` Double The time duration (in seconds) a task must wait for additional data to arrive before giving up
`X-Catalyst-Environment` String The environment (development or production) that the configuration file is downloaded for
`X-CATALYST-USER` String The user role of the app's user
`AccountsPortalDomain` String Domain of your Zoho account's portal
`notificationAppID` String ID generated by Catalyst after you enroll for [Push Notifications](https://docs.catalyst.zoho.com/en/cloud-scale/help/push-notifications/ios/#configure-and-enroll-for-ios-push-notifications) for your iOS app
`JWTClientID` String The client ID property of the custom server token (JSON Web Token token) generated for third-party authentication to be passed to the client
`JWTClientSecret` String The client secret property of the custom server token (JSON Web Token token) generated for third-party authentication to be passed to the client
> **Note**: * If the values of the `clientID`, `clientSecretID`, `projectID`, or `portalID` are modified in the configuration file, it will affect the functioning of the SDK and your iOS app. If you wish to change any of these configurations, you can [create a new package](https://docs.catalyst.zoho.com/en/getting-started/set-up-a-catalyst-project/developer-tools/#create-a-mobile-sdk-package) for the required project from the Developer Tools section and download a new configuration file for the appropriate environment, and add it to your iOS project. * The values of the properties that are populated in the downloaded configurations file can be dynamically accessed using the `ZCatalystApp.configs` object. ### Step 3: Add Catalyst iOS SDK in Your App The next step is to include the SDK package in your app. You can install the Catalyst SDK libraries using [CocoaPods](https://guides.cocoapods.org/). To add the Catalyst iOS SDK as a dependency to your new or existing project: 1. Insert the code snippet given below in your project's **Podfile**, under your app's target: ```bash pod 'ZCatalyst', :git =>'https://github.com/zoho/Catalyst-iOS-SDK.git', :tag => '2.2.2' ``` 2. Execute the `pod install` command from your system's terminal. This will install the pod and the Catalyst iOS SDK will be added to your iOS app. ### Step 4: Configure App Login Redirection When a user logs in to your app successfully, they will be redirected to your app's home screen. This user login and redirection is handled by the Catalyst SDK. To ensure that this redirection is handled properly, include the key given below with the same configurations in the `info.plist` file of your iOS project: > Key - `URL Types` -----> `URL Schemes` Type - String Value - The Redirect URL that you configured while [creating the package](https://docs.catalyst.zoho.com/en/sdk/ios/v2/setup/#step-1-register-your-ios-app-with-catalyst) for your app in Catalyst ![catalyst_sdk_ios_info_plist](https://catalyst-docs-development.zohostratus.in/images/sdk/ios/catalyst_sdk_ios_info_plist.webp) ### Step 5: Initialize the SDK You must initialize the Catalyst SDK to enable the functioning of the methods and features defined in the SDK package. Therefore, before you configure your app to consume the SDK methods, you must initialize the SDK in the following way: ```bash public func initSDK( window : UIWindow, environment : ZCatalystEnvironment, appConfiguration : ZCatalystAppConfiguration ) throws ``` **Parameters:** * `window`: The window object that dispatches events to your views * `environment`: The environment of your app, either `.development` or `.production`. * `appConfiguration`: An object containing all the configuration details for the functioning of the SDK. The `environment` here indicates if the app is operating in the [Development or the Production](https://docs.catalyst.zoho.com/en/deployment-and-billing/environments/introduction) environment. Similar to including the appropriate plist configuration file based on the environment in your app's project, you must initialize the SDK for the appropriate environment. > **Note**: * If you make any changes to the `AppConfigurationDevelopment.plist` or `AppConfigurationProduction.plist` file, you must reinitialize the SDK. * If you configure a third-party authentication for your iOS app, you will also need to re-initialize the SDK as new properties will be added in this configuration file. You can learn more from [this help page](https://docs.catalyst.zoho.com/en/sdk/ios/v2/cloud-scale/authentication/third-party-authentication/). If the SDK is successfully initialized, the app will invoke the component methods and function as intended. ### Step 6: Configure Redirection to Application Screen If the login page configured in your iOS app is from a different domain, you can configure the redirection to your application screen. On successful login, this will redirect you to the application layer. The code for the `UIApplication`instance is given below: ```bash ZCatalystApp.shared.handleLoginRedirection( _ url : URL, sourceApplication : String?, annotation : Any ) AppDelegate.swift ``` **Parameters:** * `url`: The URL resource that must be opened after a successful login * `sourceApplication`: The bundle ID of the app that is requesting to open the URL * `annotation`: Additional data that the app wants to send along with the URL The code for the `UIScene` instance is given below: ```bash func scene(_ scene: UIScene, openURLContexts URLContexts: Set<UIOpenURLContext>) { if let context = URLContexts.first { ZCatalystApp.shared.handleLoginRedirection(context.url, sourceApplication: context.options.sourceApplication, annotation: context.options.annotation as Any) } } ``` The setup is complete and you can now build your iOS app with Catalyst iOS SDK. #### General -------------------------------------------------------------------------------- title: "Get Current Time Zone" description: "This enables you to fetch the current time zone active for your project." last_updated: "2025-11-19T15:07:41.000Z" source: "https://docs.catalyst.zoho.com/en/sdk/ios/v2/general/get-current-time-zone/" service: "All Services" related: - Time Zone Settings (/en/getting-started/set-up-a-catalyst-project/general-settings/#change-the-time-zone-of-the-project) -------------------------------------------------------------------------------- # Get Current Time Zone You can define and store a [time zone](https://docs.catalyst.zoho.com/en/getting-started/set-up-a-catalyst-project/general-settings/#change-the-time-zone-of-the-project) for your project from the General settings in the console, overriding the default time zone set based on the data center you access. This time zone you set will be applied across all services, components and features of the project. However, you can still define individual time zones for certain components. Catalyst enables you to fetch the current time zone active for your project. You can fetch the current time zone defined for your project in the console using the `getCurrentTimeZone()` method as shown in the syntax below. ```bash public func getCurrentTimeZone( completion : @escaping ( Result<TimeZone, ZCatalystError> ) ->Void ) ``` ## SDK — Java ### Java v1 -------------------------------------------------------------------------------- title: "Overview" description: "This page provides an overview of the Catalyst Java SDK package that enables you to create microservices, and web and mobile applications in Java." last_updated: "2026-11-04T10:10:44.000Z" source: "https://docs.catalyst.zoho.com/en/sdk/java/v1/overview/" -------------------------------------------------------------------------------- # Java SDK - Overview Java SDK for Catalyst paves the way for creating microservices, interactive web and mobile applications with Java programming elements and associating them with catalyst components. The SDK offers the necessary structures to access the Catalyst APIs comfortably. It acts as a wrapper for the REST APIs and helps you use Catalyst services effectively. Catalyst currently supports the following versions of Java: * **Java 25** * **Java 21** * **Java 17** * **Java 11** * **Java 8** ### Initialize Project To initialize Catalyst project, add the code snippet below to your Java source code as the very first statement, before you start writing your business logic. ```java ZCProject.initProject(); ``` > **Note:** In Java SDK it is not mandatory to include this initialize command as it will be automatically initialized in functions. #### Initialize Catalyst Projects with Specific SDK Scopes Catalyst allows you to initialize a project using the following scopes: * **Admin**: You have unrestricted access to all the components and their respective functionalities. For example, you have complete access to the Data Store to perform all operations like Read, Write, Delete, etc. * **User**: You can restrict access to components, and specific functionalities. For example, you can provide *Read* access alone to [Data Store](https://docs.catalyst.zoho.com/en/cloud-scale/help/data-store/introduction/). > **Note:** * It is not mandatory for you to initialize the projects with scopes. By default, a project that is initialized will have *Admin* privileges. * Ensure you have initialized the Catalyst SDK with the appropriate scope while you engineer your business logic. The permissions you define for your scope control your end-user's actions. * Scopes only apply to operations related [Data Store](https://docs.catalyst.zoho.com/en/cloud-scale/help/data-store/introduction/), and [ZCQL](https://docs.catalyst.zoho.com/en/cloud-scale/help/zcql/introduction/). * Depending on how you engineer your business logic, you can decide if your end-users can perform *Admin* or *User* actions. This is decided based on the [role](https://docs.catalyst.zoho.com/en/cloud-scale/help/authentication/user-management/roles/introduction/) assigned to your end-user when they sign up to your application in Catalyst Authentication. The permissions for the roles can be configured in the *Scopes & Permissions* section of the [Data Store](https://docs.catalyst.zoho.com/en/cloud-scale/help/data-store/scopes-and-permissions/). The SDK snippets below will allow you to initialize the project using either *Admin* or *User* scope, and perform a **SELECT** query in the Data Store: * **Initialize the Catalyst project with Admin Scope** ```java ZCProject adminProject = ZCProject.initProject("admin", ZCUserScope.ADMIN); ZCQL.getInstance(adminProject).executeQuery("select * from test"); ``` * **Initialize the Catalyst project with User Scope** ```java ZCProject userProject = ZCProject.initProject("user", ZCUserScope.USER); ZCQL.getInstance().executeQuery("select * from test"); ``` ### Class Hierarchy All the Catalyst components are modelled as Java classes with their members and methods defining the behaviour of the component. * `ZCProject` is the fundamental base class of the SDK package. It has methods to initialize the catalyst project configurations and associate the components of the project. * The class relations and hierarchy of the SDK follow the project hierarchy in Catalyst. * Each class has functions to fetch its properties and to fetch the data of its immediate child entities through an API call. For example, a Catalyst Data Store class, `ZCDataStore` will have member functions to access tables that can use the functions of its immediate child class `ZCTable` to set the table name, ID, etc. The class hierarchy of various Catalyst components is depicted as: ![flow_diagram](https://catalyst-docs-development.zohostratus.in/images/sdk/java/v1/flow_diagram.webp) ### Instance Objects It is not always effective to follow the class hierarchy all the way from the top to fetch the data of a component at a lower level, since this would involve API calls at every level. In order to avoid this, every component class has a `getInstance()` method to get its dummy object and methods to get dummy objects of its child entities. > **Note:** `getInstance()` methods will not have any of their properties filled in since no API call will be made. This will just return a dummy object that will be only used to access the non-static methods of the class. To retrieve the properties of a Catalyst component, call the component's object with its `getInstance()` method, then use the same object to call the other methods defined by the component. This avoids unnecessary API calls. ### Exceptions Unexpected faulty behaviours are called exceptions. All errors and exceptions are handled by a class called `ZCException` defined by our Java SDK. We have `ZCServerException` and `ZCClientException` classes to catch the specific exceptions thrown by the client and server codes. -------------------------------------------------------------------------------- title: "Upgrade Java SDK" description: "This page provides instructions on upgrading Java SDK" last_updated: "2026-10-28T13:20:18.000Z" source: "https://docs.catalyst.zoho.com/en/sdk/java/v1/upgrade-sdk/" -------------------------------------------------------------------------------- # Upgrade Java SDK Catalyst constantly endeavours to provide you with the latest, most relevant, and secure SDK packages to ensure you code your applications with as much ease as possible. This means that from time to time, Catalyst will upgrade its SDK packages to provide you with the best coding support. We strongly urge you to keep track of the latest developments in Catalyst SDKs from our [Release Notes section](https://docs.catalyst.zoho.com/en/release-notes/sdk/) and upgrade your SDK packages to the latest versions. We will also be posting our *bug fixes*, should any arise, in our **Release Notes**. > **Note:** If an immediate upgrade is required due to deprecation reasons, we will ensure you are notified on time via email to perform the necessary upgrades. Generally, it is highly recommended that you always upgrade your SDK to the latest version. ### Steps to Upgrade Your SDK There are two methods you can use to upgrade your Java SDK: * Installing the latest version from the *static download URL* available in the console. * Updating your **Maven configurations**, if you use [Maven for Java](https://docs.catalyst.zoho.com/en/tools/maven-tools/introduction/) development **Download the SDK from the console** #### Install using the static download URL available in the console 1. Go to the [Catalyst console](https://console.catalyst.zoho.com) and login to your account. 2. Open any of your Catalyst projects, and click on your **profile icon**. ![catalyst_java_sdk_upgrade_profile_icon](https://catalyst-docs-development.zohostratus.in/images/sdk/java/v1/catalyst_java_sdk_upgrade_profile_icon.webp) 3. Click on the **Java icon** under the *Download SDKs* list to download the latest version of the SDK. ![catalyst_sdk_java_upgrade_sdk_java_sel](https://catalyst-docs-development.zohostratus.in/images/sdk/java/v1/catalyst_sdk_java_upgrade_sdk_java_sel.webp) 4. Click **Save** in the local system prompt, and the latest version of the SDK will be stored in your local system as a ZIP file. ![catalyst_sdk_java_sys_prompt](https://catalyst-docs-development.zohostratus.in/images/sdk/java/v1/catalyst_sdk_java_sys_prompt.webp) Now, to use the latest SDK in a Java function, unzip the contents and paste them in the `lib` folder of your java function. The `lib` folder will be present in the source directory of your Java function. > **Note:** * You need to paste the SDK content in the `lib` folder of every Java function you have created and initialized in your project. * You can find the latest version of the Java SDK from our [release notes](https://docs.catalyst.zoho.com/en/release-notes/sdk/). **Update through Maven** #### Update SDK Through Maven To update Java SDK through [Maven](https://docs.catalyst.zoho.com/en/tools/maven-tools/introduction/), you will be need to make the following changes to your [`pom.xml`](https://docs.catalyst.zoho.com/en/tools/maven-tools/pom-xml/) file present in your project directory. ```xml <dependency> <groupId>com.zoho.catalyst</groupId> <artifactId>java-sdk</artifactId> <version>1.15.0</version> // replace with your required version here <dependency> ``` The latest version of the Java SDK will be available to you and it will be incorporated in your Java functions in the project once you **save your edit**. > **Note:** * You need to apply the same changes in every `pom.xml` file of every Java function present in your project, to ensure the SDK offerings are available throughout your project. * You can find the latest version of the Java SDK from our [release notes](https://docs.catalyst.zoho.com/en/release-notes/sdk/). -------------------------------------------------------------------------------- title: "Integrate SDK in Third-Party Apps" last_updated: "2026-11-03T07:48:52.000Z" source: "https://docs.catalyst.zoho.com/en/sdk/java/v1/integrate-sdk-in-third-party-apps/" -------------------------------------------------------------------------------- # Catalyst Java SDK Integration in Third-Party Applications You can integrate and use the Catalyst Java SDK methods in applications deployed outside the Catalyst environment. Say, a React app hosted on Vercel using a Flask backend (running outside Catalyst) can upload documents to [Catalyst CloudScale Stratus](https://docs.catalyst.zoho.com/en/cloud-scale/help/stratus/introduction/) or a data pipeline running on Amazon Web Services EC2 can push customer data into [Catalyst CloudScale Data Store](https://docs.catalyst.zoho.com/en/cloud-scale/help/data-store/introduction/) using [Catalyst CloudScale ZCQL](https://docs.catalyst.zoho.com/en/cloud-scale/help/zcql/introduction/) queries using the respective Java SDK operations. These are just a few common use cases where external applications can securely interact with Catalyst components without being deployed within the Catalyst platform. We have provided the code snippet to help you integrate the Catalyst Java SDK with external applications. However, before implementing the code in your application, please review the following prerequisites. ### Prerequisites for the SDK Integration To integrate the Catalyst Java SDK with your external application, ensure you have the following information: * **Project ID:** The unique identifier of your [Catalyst project](https://docs.catalyst.zoho.com/en/getting-started/catalyst-projects/). * **ZAID (Zoho Account ID):** A unique portal identifier assigned by Catalyst to link your project with the [Catalyst environment](https://docs.catalyst.zoho.com/en/deployment-and-billing/environments/introduction/) ([development](https://docs.catalyst.zoho.com/en/deployment-and-billing/environments/development-environment/) or [production](https://docs.catalyst.zoho.com/en/deployment-and-billing/environments/production-environment/)). * **Environment:** The [target environment](https://docs.catalyst.zoho.com/en/deployment-and-billing/environments/introduction/) ([development](https://docs.catalyst.zoho.com/en/deployment-and-billing/environments/development-environment/) or [production](https://docs.catalyst.zoho.com/en/deployment-and-billing/environments/production-environment/)) of your Catalyst project. * **OAuth Credentials:** This is required to authenticate and authorize your external application via Catalyst’s self-client portal to access Catalyst components. You will need the following: 1. Client ID 2. Client Secret 3. Refresh Token After you fetch these values , you can proceed with integrating the Java SDK into your application. ### Steps to Integrate Now, let's look at how to fetch each of these values and configure them in the code snippet. Please ensure you follow the steps outlined below: 1. **Create a project in the Catalyst Console:** You can create a new [Catalyst project](https://docs.catalyst.zoho.com/en/getting-started/catalyst-projects/#introduction-to-catalyst-projects) in the [console](https://console.catalyst.zoho.com/) by using the steps mentioned in [this help page](https://docs.catalyst.zoho.com/en/getting-started/catalyst-projects/#create-a-catalyst-project). 2. **Retrieve the Project ID:** Once you have created your project, you will need to make a note of the **Project ID**. The Project ID is the unique ID of your project that will be created automatically during the project’s creation. You can find it by clicking the **Settings** icon located in the top-right corner of the Catalyst console. ![click-settings](https://catalyst-docs-development.zohostratus.in/images/sdk/sdk-integration/click-settings.webp) In the **Settings** screen, navigate to **Project Settings** and select **General**. You can view and make a note of the Project ID from this section, as shown in the screenshot below. ![project-id](https://catalyst-docs-development.zohostratus.in/images/sdk/sdk-integration/project-id.webp) 3. **Retrieve the ZAID:** You will need to include your project’s **ZAID** in the code snippet provided in this section. The **ZAID** is a unique portal identifier assigned by Catalyst to link your project with the required Catalyst environment ([development](https://docs.catalyst.zoho.com/en/deployment-and-billing/environments/development-environment/) or [production](https://docs.catalyst.zoho.com/en/deployment-and-billing/environments/production-environment/)). To retrieve the ZAID, setting up the [Catalyst CloudScale Authentication](https://docs.catalyst.zoho.com/en/cloud-scale/help/authentication/introduction/) component is mandatory. However, using it for your application's authentication flow is optional. To fetch the ZAID: i. Navigate to the [Catalyst CloudScale](https://docs.catalyst.zoho.com/en/cloud-scale/) service in the console and under **Security & Identity**, select **Authentication**. ![select-authentication](https://catalyst-docs-development.zohostratus.in/images/sdk/sdk-integration/select-authentication.webp) ii. You will need to set up [Native Catalyst Authentication](https://docs.catalyst.zoho.com/en/cloud-scale/help/authentication/native-catalyst-authentication/introduction/), where Catalyst manages the entire authentication process for you, eliminating the need for any additional coding or infrastructure management on your part. iii. Click **Set Up**. ![click-setup](https://catalyst-docs-development.zohostratus.in/images/sdk/sdk-integration/click-setup.webp) iv. Select the **Hosted authentication** type, which enables you to host your login element on dedicated pages of your application. You can configure and design the authentication from the console, and Catalyst will render it for your application and handle all the backend requirements. ![hosted-authentication](https://catalyst-docs-development.zohostratus.in/images/sdk/sdk-integration/hosted-authentication.webp) v. You must enable the [Public Signup](https://docs.catalyst.zoho.com/en/cloud-scale/help/authentication/public-signup/) option to display the signup feature in your login component, allowing new users to register and access your application. You can refer to the [hosted authentication help page](https://docs.catalyst.zoho.com/en/cloud-scale/help/authentication/native-catalyst-authentication/hosted-authentication-type/introduction/) for a detailed step-by-step setup guide. ![public-signup](https://catalyst-docs-development.zohostratus.in/images/sdk/sdk-integration/public-signup.webp) vi. In the confirmation screen, click **Yes, proceed**. ![confirmation](https://catalyst-docs-development.zohostratus.in/images/sdk/sdk-integration/confirmation.webp) vii. You can enable any of the supported social login options listed below and retrieve the corresponding **ZAID** value from the selected provider. > **Note:** Social login providers such as Google, Microsoft, LinkedIn, and Facebook are supported for retrieving the ZAID. However, Zoho login is not supported for this purpose. [Learn how to obtain the ZAID for a specific social login](https://docs.catalyst.zoho.com/en/cloud-scale/help/authentication/social-logins/configuring-social-logins/). ![socials](https://catalyst-docs-development.zohostratus.in/images/sdk/sdk-integration/socials.webp) 4. **Register a Self Client Application:** You will need to obtain the **Refresh Token**, **Client ID**, and **Client Secret** to authenticate and authorize your application to access Catalyst resources on behalf of your application's user. For fetching the above required items, you must first register your application as a self-client in [API console](https://api-console.zoho.com). i. Log in to the API console and click on **Self-client**. ![self-client](https://catalyst-docs-development.zohostratus.in/images/sdk/sdk-integration/self-client.webp) ii. Configure the scope of the self-client application based on the operations your application needs to perform in Catalyst. [Learn more about available scopes](https://docs.catalyst.zoho.com/en/api/oauth2/scopes/#Scopes). iii. Provide the required scope, add an appropriate description, and click **Create**. ![create](https://catalyst-docs-development.zohostratus.in/images/sdk/sdk-integration/create.webp) iv. The grant token will be generated. Make sure to copy and store it securely, as this is a one-time process, and the token cannot be retrieved from the console again. [Learn more about generating a grant token](https://docs.catalyst.zoho.com/en/api/oauth2/generate-grant-token/#GenerateGrantToken). ![generated-code](https://catalyst-docs-development.zohostratus.in/images/sdk/sdk-integration/generated-code.webp) v. Switch to the **Client Secret** tab and note down the client ID and the client secret details. ![client-secret](https://catalyst-docs-development.zohostratus.in/images/sdk/sdk-integration/client-secret.webp) vi. You can generate the access and refresh token by using the request in [this help page](https://docs.catalyst.zoho.com/en/api/oauth2/generate-access-and-refresh-token/#GenerateAccessandRefreshToken). You can also refresh the access token by using the steps listed in [this page](https://docs.catalyst.zoho.com/en/api/oauth2/refresh-access-token/#RefreshAccessToken). After you have noted all the values mentioned above, you can configure them in the code snippet as shown below and integrate Java SDK into your application. The SpringBoot code below demonstrates this with the example of fetching buckets from [Catalyst CloudScale Stratus](https://docs.catalyst.zoho.com/en/cloud-scale/help/stratus/introduction/). ### Code Snippet ```java package com.example.demoapp; import org.springframework.boot.CommandLineRunner; import org.springframework.boot.SpringApplication; import org.springframework.boot.autoconfigure.SpringBootApplication; import org.springframework.stereotype.Component; import java.util.List; import java.util.logging.Logger; import org.json.simple.JSONObject; import com.zc.common.ZCProject; import com.zc.common.ZCProjectConfig; import com.catalyst.config.ZCThreadLocal; import com.zc.api.APIConstants.ZCAuthType; import com.zc.api.APIConstants.ZCUserScope; import com.zc.auth.ZCAuth; import com.zc.component.USER_TYPE; import com.zc.component.object.ZCObject; import com.zc.component.object.ZCRowObject; import com.zc.component.object.ZCTable; @SpringBootApplication public class DemoappApplication { private static final Logger logger = Logger.getLogger(DemoappApplication.class.getName()); public static void main(String[] args) { SpringApplication.run(DemoappApplication.class, args); } @Component public static class DataProcessor implements CommandLineRunner { @Override public void run(String... args) { try { ZCThreadLocal.putValue("user_type", USER_TYPE.ADMIN); JSONObject oAuthParams = new JSONObject(); oAuthParams.put("client_id", CLIENT_ID); //Provide CLient ID value here oAuthParams.put("client_secret", CLIENT_SECRET); //Provide CLient secret value here oAuthParams.put("refresh_token", REFRESH_TOKEN); //Provide refresh token value here oAuthParams.put("grant_type", "refresh_token"); ZCAuth auth = ZCAuth.getInstance(oAuthParams); auth.setScope(ZCUserScope.ADMIN); System.out.println("Auth Object: " + auth); ZCProjectConfig config = ZCProjectConfig.newBuilder() .setProjectId(PROJECT_ID) //Provide Project ID value here .setProjectKey(ZAID) //Provide ZAID value here .setZcAuth(auth) .setProjectDomain("https://api.catalyst.zoho.com") .setEnvironment("Development") //set the value as either "Development" or "Production" .build(); ZCProject project = ZCProject.initProject(config, ""); ZCStratus stratus = ZCStratus.getInstance(project); List buckets = stratus.listBuckets(); } catch (Exception e) { logger.severe("Error during data processing: " + e.getMessage()); } } } } ``` #### General ##### Projects -------------------------------------------------------------------------------- title: "Retrieve Project Data Cached During Project Initialization" description: "This page describes the method to retrieve project data cached during project initialization." last_updated: "2026-10-30T18:08:30.000Z" source: "https://docs.catalyst.zoho.com/en/sdk/java/v1/general/projects/retrieve-project-cached-data/" service: "All Services" related: - Initialize Projects (/en/cli/v1/initialize-resources/initialize-new-project/) -------------------------------------------------------------------------------- # Retrieve project data cached during project initialization Catalyst allows you to cache your project data in the backend as an app object during initialization. The SDK snippet below demonstrates how you can use the `getProject()` method to retrieve the cached app object at any time. #### Sample Code Snippet **Package Imports** ```java import com.zc.common.ZCProject; import com.zc.component.zcql.ZCQL; ``` ```java ZCProject userProject = ZCProject.getProject("user"); ZCQL.getInstance(userProject).executeQuery("select * from test"); // You must use the getInstance() method to create a ZCQL object with a custom scope that you specify ``` #### Connectors -------------------------------------------------------------------------------- title: "Connectors" description: "This page describes the method to use connectors to manage access token in your Java application with sample code snippets." last_updated: "2025-11-19T15:07:41.000Z" source: "https://docs.catalyst.zoho.com/en/sdk/java/v1/connectors/connectors/" service: "All Services" -------------------------------------------------------------------------------- # Connectors A Catalyst Connector provides a seamless connection between Catalyst and an external Zoho service established through **[Zoho OAuth authentication](https://www.zoho.com/accounts/protocol/oauth.html)**. You can avail the use of a connector in your Catalyst application if your business logic includes the use of an external Zoho service's API, such as a Zoho CRM or a Zoho WorkDrive API. Catalyst handles the connection by storing the Access Token you generate in [Zoho API console](https://api-console.zoho.com/) for a specific application in [Catalyst Cache](https://docs.catalyst.zoho.com/en/cloud-scale/help/cache/introduction/) until its expiry. After it expires, the connector will automatically fetch a new Access Token using the Refresh Token and store it in the cache. Each time the Access Token expires, the connector automatically fetches and caches a new token in the background, relieving you from the efforts of constructing the logic to maintain an uninterrupted connection with the external Zoho service in your application's business logic. > **Note:** Catalyst Connectors can only be used to maintain connections with an external Zoho service, and not any third-party services. This is because, the OAuth standards maintained across all Zoho services are uniform and compatible for Catalyst to implement the Connectors feature. Before you configure the connector in your Java business logic as shown below, you will need to register a new client in the [Zoho API console](https://api-console.zoho.com/), and follow the steps to generate an Authorization Code and an Access Token for the first time. You can then configure the connector with the Refresh Token received, as well as other standard OAuth parameters such as the Client ID, Client Secret, Authentication URL, and Refresh URL that are required to refresh the Access Token automatically in a periodical manner. You can also incorporate your own logic in the connector based on your requirements. > **Note:** * The name you provide for each connector in your logic must be unique. * If you create a server-based application in the Zoho API console and you allow the access token to be created for different users within the same application, then you will need to provide a different and unique connector name for each user. This is because, when the same connector is used for different users in an application, the token will be overwritten on the same cache segment resulting in fetching the wrong user's data from the external Zoho service. The code below illustrates a Java connector. #### Sample Code Snippet **Package Imports** ```java import org.json.simple.JSONObject; import com.zc.auth.connectors.ZCConnection; import com.zc.auth.connectors.ZCConnector; ``` ```java JSONObject authJson = new JSONObject(); // The JSON object holds the client_id, client_secret, refresh_token and refresh_url authJson.put("client_id","{client_id}"); authJson.put("client_secret","{client_secret}"); authJson.put("auth_url","{auth_url}"); authJson.put("refresh_url","{refresh_url}"); authJson.put("refresh_in","{refresh_in}"); //If refresh token is not provided, then you must provide the code to generate the refresh token authJson.put("refresh_token","{refresh_token}"); JSONObject connectorJson = new JSONObject(); connectorJson.put("CRMConnector",authJson); // You can create connectors for multiple Zoho services ZCConnection conn = ZCConnection.getInstance(connectorJson); ZCConnector crmConnector = conn.getConnector("CRMConnector"); // Fetches the AccessToken String accessToken = crmConnector.getAccessToken(); ``` ## SDK — Modular JavaScript SDK ### Modular JavaScript SDK v1 -------------------------------------------------------------------------------- title: "Overview" description: "Catalyst offers you JavaScript SDK in a modular architecture, providing you with a singular SDK for browser and server operations." last_updated: "2026-10-30T18:08:30.000Z" source: "https://docs.catalyst.zoho.com/en/sdk/javascript/v1/overview/" -------------------------------------------------------------------------------- # Overview The Catalyst **Modular JavaScript SDK** offers you a robust library you can use to access Catalyst components in order to implement server side and browser side operations required by your application. Complete with **TypeScript** support, the JavaScript SDK is offered to you in a modular structure to ensure you have precise access to only the components you require. ![catalyst_js_sdk_overview_dig_1](https://catalyst-docs-development.zohostratus.in/images/sdk/javascript/catalyst_js_sdk_overview_dig_1.webp) With this software development kit, you will have access to pre-built modules, classes, methods, and code samples, which you can leverage to quickly code the required logic that will dictate the Catalyst components to implement your required business logic. You can code your logic using any coding structures that are available in the [Catalyst Serverless](https://docs.catalyst.zoho.com/en/serverless/) service, or you can also implement them in a coding structure of your preference by importing the SDK to that development environment. JavaScript SDK allows you to significantly reduce your coding time. You no longer have to engineer your applications from scratch; access to the required component is readily available to you once you implement the required module in the SDK. For example, imagine that you require Catalyst components like [Stratus](https://docs.catalyst.zoho.com/en/cloud-scale/help/stratus/introduction/), [Data Store](https://docs.catalyst.zoho.com/en/cloud-scale/help/data-store/introduction/), and [Job Scheduling](https://docs.catalyst.zoho.com/en/job-scheduling/) to implement certain backend jobs like uploading app data, data querying, and scheduling operations, respectively. Additionally, you wish to use the Authentication component to handle the user authentication in the web browser. To implement these functionalities in your application, you don't need to start from scratch. You just have to tailor the available modules in the SDK to match your requirement. Additionally, since the JavaScript SDK is offered to you in a modular structure, you only need to import and use the SDK packages of the required components and not the entire Catalyst SDK. This further optimizes your application's code. This help documentation aims to provide you with all the necessary information, code snippets, and examples to ensure that you can easily set up and use JavaScript SDK to build your required applications. -------------------------------------------------------------------------------- title: "Why go modular?" description: "Catalyst offers you JavaScript SDK in a modular architecture, providing you with a singular SDK for browser and server operations." last_updated: "2026-10-30T18:08:30.000Z" source: "https://docs.catalyst.zoho.com/en/sdk/javascript/v1/motivation/" -------------------------------------------------------------------------------- # Need for Modular Architecture ### Motivation The current offering of Catalyst's JavaScript SDK is done so in a modular structure. This structure is different from the conventional Monolithic SDK. The primary motivation that backed this offering was to ensure that you, as a developer, have precise access to the coding tools that you require in a more developer-friendly manner. Using Catalyst's modular JavaScript SDK, you will be able to use the same SDK to quickly code server-side and web-based applications. ### Why change from Conventional Structure? Monolithic SDK cannot be leveraged to build your large scale applications in an optimized manner. While using the conventional Monolithic SDK method, even if you were going to use a singular Catalyst component, you were still required to install the entire SDK package. This produces the following disadvantages: * Monolithic SDKs, are generally tightly coupled. If there was an update, to a component that you weren't even using, you were still required to update your SDK packages, to ensure the code base remains functional. * Installing the entire SDK, produces a lot of dead code, which makes your application needlessly clunky. * Makes your code base harder to understand as the conventional Monolithic SDK is heavily nested in structure. This also produces the additional disadvantage of implementing unnecessarily long and verbose syntax. * Overall, SDKs that are offered in the Namespace structure are just not optimized enough to handle larger enterprise applications. All of these disadvantages can be effectively countered when you implement an SDK in the modular structure. ### Monolithic SDK vs Modular SDK The following table clearly illustrates the benefits of migrating to an SDK with a modular structure by comparing it against the conventional structure.
Criteria Monolithic SDK Modular SDK Resulting Advantage
Update & Patch Management You are required to update your entire SDK whenever there is a patch or enhancement in the SDK. This applies even when those fixes and enhancements are made to components that you have not used. You can isolate and install the required patches or enhancements only associated with the components that you are using. A modular structure never threatens the robustness or the functionality of your codebase, every time an enhancement or patch needs to be applied.
Structure Hierarchical format, tightly coupled, and deeply nested. The SDK structure is broken into independent modules. the modules are not coupled with the others, and they are self-contained. This allows for easier imports. You only need to install the module that you require, not the entire package.
Readability Complicated syntax and unnecessarily verbose. Precise imports and cleaner usage. Your codebase is easier to understand. This promotes smoother collaboration and even makes the learning curve more approachable for beginners.
Refactoring Your Codebase Complex and at times impossible to remove or delete unused components from your codebase. Modular SDKs' loosely coupled structure makes it significantly safer and easier to refactor your codebase. Modular SDKs allow you to precisely access the required component. This ensures you can easily refactor your codebase. Additionally, using the modular structure for your SDK allows for effective tree-shaking.
Scalability Harder to scale using Monolithic SDKs. The modules are independent, so it can scale easily. Modular SDKs are better suited when you are coding enterprise applications.
Tooling Support It is more compatible with conventional tools and as it is applied with older runtimes. Compatible with both older and newer runtimes. Modular SDK is the way forward, and it is designed to make it more compatible with existing and newer coding tools.
Robust TypeScript Support Support is not full-fledged or it is severely limited in the current Monolithic SDK structure. You have complete TypeScript support in this SDK structure. Providing TypeScript support provides an easier and more compatible coding experience when using popular front-end frameworks.
-------------------------------------------------------------------------------- title: "Architecture of the JavaScript Modular SDK" description: "Catalyst offers you JavaScript SDK in a modular architecture, providing you with a singular SDK for browser and server operations." last_updated: "2026-10-30T18:08:30.000Z" source: "https://docs.catalyst.zoho.com/en/sdk/javascript/v1/architecture/" -------------------------------------------------------------------------------- # Architecture of the JavaScript Modular SDK The following diagram is an overview to illustrate the structure of the JavaScript SDK. There is no class hierarchy that will be followed here as this structure is modeled as a Modular SDK, where each module representing a component can be accessed independently as and when required. ![catalyst_js_sdk_arch_dig](https://catalyst-docs-development.zohostratus.in/images/sdk/javascript/catalyst_js_sdk_arch_dig.webp) * The structure comprises three overarching layers: - **Component Layer**: This layer acts as the code scaffolding that will contain your required logic to access the different required Catalyst services programmatically. - **Authentication Layer**: This is the layer that handles all the authentication requirements, such as token storage, session management, identity management, to name a few. This layer is expressly used to ensure secure API access. This layer will also handle the authentication requirement to handle [server operations](https://docs.catalyst.zoho.com/en/sdk/javascript/v1/auth-config/node-consideration/) and [browser operations](https://docs.catalyst.zoho.com/en/sdk/javascript/v1/auth-config/browser-consideration/). - **Transport Layer**: This layer will handle all HTTP requests made to the required components through the SDK. * The authentication requirement to [initialize the SDK](https://docs.catalyst.zoho.com/en/sdk/javascript/v1/auth-config/node-consideration/#initialize-the-sdk) and access the required component through code is handled in the following manner: - **Environment-based Authentication**: This type of authentication comes into effect when you configure the required [authentication credentials as Environment Variables](https://docs.catalyst.zoho.com/en/sdk/javascript/v1/auth-config/node-consideration/#using-environment-variables) in your Functions. You will set the credentials in the `CATALYST_AUTH` variable and the configuration in the `CATALYST_CONFIG` variable. - **Reusing Initialized Authentication**: This is the authentication you use to initialize the SDK to access a particular component. You are not expressly required to [re-initialize each initialization](https://docs.catalyst.zoho.com/en/sdk/javascript/v1/auth-config/node-consideration/#get-instance-using-application-name), to access different components. You can reuse the authentication you had previously applied and continue to initialize the modules of the required components. * **Precedence in Authentication**: If you have implemented environment-based authentication, then that will be considered as default when you do not authenticate during initialization. This makes authentication during initialization of each component optional. -------------------------------------------------------------------------------- title: "Example Code Comparison" description: "Catalyst offers you JavaScript SDK in a modular architecture, providing you with a singular SDK for browser and server operations." last_updated: "2026-10-30T18:08:30.000Z" source: "https://docs.catalyst.zoho.com/en/sdk/javascript/v1/examples/" -------------------------------------------------------------------------------- # Example Snippets Highlighting Optimizations with Modular SDK The following snippets are examples highlighting the differences and advantages that are possible when you use the Modular JavaScript SDK instead of individually using Server SDK for server functionality and Web SDK for browser functionality. **Server SDK** ### Node Considerations **Monolithic SDK** The following snippet installs the entire Catalyst Node.js server SDK to use the Authentication and Stratus components. ```javascript 'use strict'; const catalyst = require('zcatalyst-sdk-node'); module.exports = async (req, res) => { var url = req.url; const app = catalyst.initialize(req); switch (url) { case '/stratus': { const stratus = app.stratus(); const bucket = stratus.bucket("bucketName"); const buckets = await bucket.getDetails(); console.log(buckets); } default: res.writeHead(404); res.write('You might find the page you are looking for at "/" path'); break; } res.end(); }; ``` **Modular SDK** Now, in the **Modular JavaScript SDK**, to use the required Authentication, and Stratus component, you are going to initialize those modules. ```javascript 'use strict'; const { IncomingMessage, ServerResponse } = require("http"); const { zcAuth } = require('@zcatalyst/auth'); const { Stratus } = require('@zcatalyst/stratus'); /** * @param {IncomingMessage} req * @param {ServerResponse} res */ module.exports = async (req, res) => { var url = req.url; switch (url) { case '/stratus': const auth = await zcAuth.init(req); const stratus = new Stratus(); const bucket = stratus.bucket("bucketName"); const buckets = await bucket.getDetails(); console.log(buckets); break; default: res.writeHead(404); res.write('You might find the page you are looking for at "/" path'); break; } res.end(); }; ``` **Web SDK** ### Browser Considerations **Monolithic SDK** The following snippet installs the entire WebSDK just to use the Authentication component. ```javascript <script src="https://static.zohocdn.com/catalyst/sdk/js/4.6.2/catalystWebSDK.js"></script> <script src="/__catalyst/sdk/init.js"></script> <script> catalyst.auth.signIn("your element ID here..."); </script> ``` **Modular SDK** Now, in the **Modular JavaScript SDK**, to use the required Authentication component, you are going to initialize the Authentication module. ```javascript <script type="module"> import { zcAuth } from 'zcatalyst.js'; const config = { cssUrl: "/css/embeddediframe.css", // Provide your custom CSS file path here. If no path is provided default css will be rendered serviceUrl: "/app/index.html", // This value is optional. You can provide your redirect URL here. isCustomizeForgotPassword: true, // Default value is false. Keep this value as true, if you wish to customize Forgot Password page forgotPasswordId: "forgotPasswordDivElementId", // The Element id in which forgot password page should be loaded. If no value is provided, it will be rendered in the "loginDivElementId" by default forgotPasswordCssUrl: "/css/forgotPwd.css" // Provide your custom CSS file path for the Forgot Password page. If no path is provided, then the default CSS will be rendered. }; zcAuth.signIn("element_id", config); </script> ``` -------------------------------------------------------------------------------- title: "Components List" description: "Catalyst offers you JavaScript SDK in a modular architecture, providing you with a singular SDK for browser and server operations." last_updated: "2026-10-30T18:08:30.000Z" source: "https://docs.catalyst.zoho.com/en/sdk/javascript/v1/components-list/" -------------------------------------------------------------------------------- # Components List In this section, you are going to take a look at the list of components from each Catalyst service that you can access through code using the JavaScript SDK to perform both server-side and browser-side functionalities in your application. As the Catalyst JavaScript SDK is offered to you in the modular structure, you can install the SDK packages of only the components that you require.
Catalyst Service Component SDK Method
[Serverless](https://docs.catalyst.zoho.com/en/serverless/) [Functions](https://docs.catalyst.zoho.com/en/serverless/help/functions/introduction/) [Execute Function](https://docs.catalyst.zoho.com/en/sdk/javascript/v1/serverless/functions/execute-function/)
[Circuits](https://docs.catalyst.zoho.com/en/serverless/help/circuits/introduction/) [Execute Circuit](https://docs.catalyst.zoho.com/en/sdk/javascript/v1/serverless/circuits/execute-circuit/)
[CloudScale](https://docs.catalyst.zoho.com/en/cloud-scale/) [Authentication](https://docs.catalyst.zoho.com/en/cloud-scale/help/authentication/introduction/)
  • [Add New User](https://docs.catalyst.zoho.com/en/sdk/javascript/v1/cloudscale/authentication/add-new-user/)
  • [Add New User to Existing Org](https://docs.catalyst.zoho.com/en/sdk/javascript/v1/cloudscale/authentication/add-user-to-org/)
  • [Reset Password](https://docs.catalyst.zoho.com/en/sdk/javascript/v1/cloudscale/authentication/reset-pwd/)
  • [Get User Details](https://docs.catalyst.zoho.com/en/sdk/javascript/v1/cloudscale/authentication/get-user-details/)
  • [Update User Details](https://docs.catalyst.zoho.com/en/sdk/javascript/v1/cloudscale/authentication/update-user-details/)
  • [Enable or Disable a User](https://docs.catalyst.zoho.com/en/sdk/javascript/v1/cloudscale/authentication/enable-disable-user/)
  • [Delete a User](https://docs.catalyst.zoho.com/en/sdk/javascript/v1/cloudscale/authentication/delete-user/)
[DataStore](https://docs.catalyst.zoho.com/en/cloud-scale/help/data-store/introduction/)
  • [Get Table Metadata](https://docs.catalyst.zoho.com/en/sdk/javascript/v1/cloudscale/datastore/get-table-metadata/)
  • [Get Column Metadata](https://docs.catalyst.zoho.com/en/sdk/javascript/v1/cloudscale/datastore/get-column-metadata/)
  • [Get Rows](https://docs.catalyst.zoho.com/en/sdk/javascript/v1/cloudscale/datastore/get-rows/)
  • [Insert Rows](https://docs.catalyst.zoho.com/en/sdk/javascript/v1/cloudscale/datastore/insert-rows/)
  • [Query DataStore](https://docs.catalyst.zoho.com/en/sdk/javascript/v1/cloudscale/datastore/query-datastore/)
  • [Search DataStore](https://docs.catalyst.zoho.com/en/sdk/javascript/v1/cloudscale/datastore/search-datastore/)
  • [Update Rows](https://docs.catalyst.zoho.com/en/sdk/javascript/v1/cloudscale/datastore/update-rows/)
  • [Delete a Row](https://docs.catalyst.zoho.com/en/sdk/javascript/v1/cloudscale/datastore/delete-rows/)
  • [Bulk Read Rows](https://docs.catalyst.zoho.com/en/sdk/javascript/v1/cloudscale/datastore/bulk-operations/bulk-read/)
  • [Bulk Write Rows](https://docs.catalyst.zoho.com/en/sdk/javascript/v1/cloudscale/datastore/bulk-operations/bulk-write/)
  • [Bulk Delete Rows](https://docs.catalyst.zoho.com/en/sdk/javascript/v1/cloudscale/datastore/bulk-operations/bulk-delete/)
[NoSQL](https://docs.catalyst.zoho.com/en/cloud-scale/help/nosql/introduction/)
  • [Get Table Metadata](https://docs.catalyst.zoho.com/en/sdk/javascript/v1/cloudscale/nosql/get-table-metadata/)
  • [Construct Item](https://docs.catalyst.zoho.com/en/sdk/javascript/v1/cloudscale/nosql/construct-item/)
  • [Insert Items](https://docs.catalyst.zoho.com/en/sdk/javascript/v1/cloudscale/nosql/insert-items/)
  • [Update Items](https://docs.catalyst.zoho.com/en/sdk/javascript/v1/cloudscale/nosql/update-item/)
  • [Fetch Items](https://docs.catalyst.zoho.com/en/sdk/javascript/v1/cloudscale/nosql/fetch-items/)
  • [Query Table](https://docs.catalyst.zoho.com/en/sdk/javascript/v1/cloudscale/nosql/query-table/)
  • [Query Index](https://docs.catalyst.zoho.com/en/sdk/javascript/v1/cloudscale/nosql/query-index/)
  • [Delete Items](https://docs.catalyst.zoho.com/en/sdk/javascript/v1/cloudscale/nosql/delete-item/)
[Stratus](https://docs.catalyst.zoho.com/en/cloud-scale/help/stratus/introduction/)
  • [Check Bucket Availability](https://docs.catalyst.zoho.com/en/sdk/javascript/v1/cloudscale/stratus/check-bucket-availability/)
  • [List Buckets](https://docs.catalyst.zoho.com/en/sdk/javascript/v1/cloudscale/stratus/list-buckets/)
  • [Get Bucket Details](https://docs.catalyst.zoho.com/en/sdk/javascript/v1/cloudscale/stratus/get-bucket-details/)
  • [Get Bucket CORS](https://docs.catalyst.zoho.com/en/sdk/javascript/v1/cloudscale/stratus/get-bucket-cors/)
  • [List Objects in a Bucket](https://docs.catalyst.zoho.com/en/sdk/javascript/v1/cloudscale/stratus/list-objects/)
  • [Check Object Availability](https://docs.catalyst.zoho.com/en/sdk/javascript/v1/cloudscale/stratus/check-object/)
  • [Download Object](https://docs.catalyst.zoho.com/en/sdk/javascript/v1/cloudscale/stratus/download-object/)
  • [Upload Object](https://docs.catalyst.zoho.com/en/sdk/javascript/v1/cloudscale/stratus/upload-object/)
  • [Extract a Zipped Object](https://docs.catalyst.zoho.com/en/sdk/javascript/v1/cloudscale/stratus/extract-zipped-object/)
  • [Copy Object](https://docs.catalyst.zoho.com/en/sdk/javascript/v1/cloudscale/stratus/copy-object/)
  • [Rename and Move Operations on an Object](https://docs.catalyst.zoho.com/en/sdk/javascript/v1/cloudscale/stratus/rename-move/)
  • [Delete Objects](https://docs.catalyst.zoho.com/en/sdk/javascript/v1/cloudscale/stratus/delete-object/)
  • [List Object Versions](https://docs.catalyst.zoho.com/en/sdk/javascript/v1/cloudscale/stratus/list-object-versions/)
  • [Get Object Details](https://docs.catalyst.zoho.com/en/sdk/javascript/v1/cloudscale/stratus/get-object-details/)
  • [Put Object Metadata](https://docs.catalyst.zoho.com/en/sdk/javascript/v1/cloudscale/stratus/put-object-metadata/)
[Cache](https://docs.catalyst.zoho.com/en/cloud-scale/help/cache/introduction/)
  • [Retrieve Data from the Cache](https://docs.catalyst.zoho.com/en/sdk/javascript/v1/cloudscale/cache/retreive-data/)
  • [Insert Data to Cache](https://docs.catalyst.zoho.com/en/sdk/javascript/v1/cloudscale/cache/insert-data/)
  • [Update Data in Cache](https://docs.catalyst.zoho.com/en/sdk/javascript/v1/cloudscale/cache/update-cache/)
  • [Delete Key Value Pair](https://docs.catalyst.zoho.com/en/sdk/javascript/v1/cloudscale/cache/delete-cache/)
[Mail](https://docs.catalyst.zoho.com/en/cloud-scale/help/mail/introduction/) [Send Mail](https://docs.catalyst.zoho.com/en/sdk/javascript/v1/cloudscale/mail/send-email/)
[Push Notifications](https://docs.catalyst.zoho.com/en/cloud-scale/help/push-notifications/introduction/) [Send Notifications](https://docs.catalyst.zoho.com/en/sdk/javascript/v1/cloudscale/push-notifications/send-web-notifications/)
[Zia Services](https://docs.catalyst.zoho.com/en/zia-services/) [OCR](https://docs.catalyst.zoho.com/en/zia-services/help/optical-character-recognition/introduction/) [OCR](https://docs.catalyst.zoho.com/en/sdk/javascript/v1/zia-services/ocr/)
[Face Analytics](https://docs.catalyst.zoho.com/en/zia-services/help/face-analytics/introduction/) [Face Analytics](https://docs.catalyst.zoho.com/en/sdk/javascript/v1/zia-services/face-analytics/)
[Identity Scanner](https://docs.catalyst.zoho.com/en/zia-services/help/identity-scanner/introduction/)
  • [Facial Comparison](https://docs.catalyst.zoho.com/en/sdk/javascript/v1/zia-services/identity-scanner/facial-comparisson/)
  • [Aadhaar](https://docs.catalyst.zoho.com/en/sdk/javascript/v1/zia-services/identity-scanner/aadhaar/)
  • [PAN](https://docs.catalyst.zoho.com/en/sdk/javascript/v1/zia-services/identity-scanner/pan/)
  • [Passbook](https://docs.catalyst.zoho.com/en/sdk/javascript/v1/zia-services/identity-scanner/passbook/)
  • [Cheque](https://docs.catalyst.zoho.com/en/sdk/javascript/v1/zia-services/identity-scanner/cheque/)
[Text Analytics](https://docs.catalyst.zoho.com/en/zia-services/help/text-analytics/introduction/)
  • [Sentiment Analysis](https://docs.catalyst.zoho.com/en/sdk/javascript/v1/zia-services/text-analytics/sentiment-analysis/)
  • [Named Entity Recognition](https://docs.catalyst.zoho.com/en/sdk/javascript/v1/zia-services/text-analytics/named-entity-recognition/)
  • [Keyword Extraction](https://docs.catalyst.zoho.com/en/sdk/javascript/v1/zia-services/text-analytics/keyword-extraction/)
  • [All Text Analytics](https://docs.catalyst.zoho.com/en/sdk/javascript/v1/zia-services/text-analytics/all-text-analytics/)
[Image Moderation](https://docs.catalyst.zoho.com/en/zia-services/help/image-moderation/introduction/) [Image Moderation](https://docs.catalyst.zoho.com/en/sdk/javascript/v1/zia-services/image-moderation/)
[Object Recognition](https://docs.catalyst.zoho.com/en/zia-services/help/object-recognition/introduction/) [Object Recognition](https://docs.catalyst.zoho.com/en/sdk/javascript/v1/zia-services/object-recognition/)
[Barcode Scanner](https://docs.catalyst.zoho.com/en/zia-services/help/barcode-scanner/introduction/) [Barcode Scanner](https://docs.catalyst.zoho.com/en/sdk/javascript/v1/zia-services/barcode-scanner/)
[QuickML](https://docs.catalyst.zoho.com/en/quickml/) [QuickML](https://docs.catalyst.zoho.com/en/quickml/help/data-connectors/zoho-apps/) Execute QuickML Endpoint
[SmartBrowz](https://docs.catalyst.zoho.com/en/smartbrowz/) [PDF & Screenshot](https://docs.catalyst.zoho.com/en/smartbrowz/help/pdfnscreenshot/introduction/)
  • [PDF or Screenshot from Template](https://docs.catalyst.zoho.com/en/sdk/javascript/v1/smartbrowz/pdf-and-screenshot/docs-templates-source/)
  • [Convert to PDF from HTML](https://docs.catalyst.zoho.com/en/sdk/javascript/v1/smartbrowz/pdf-and-screenshot/pdf-from-htmlcode/)
  • [Generate PDF from URL](https://docs.catalyst.zoho.com/en/sdk/javascript/v1/smartbrowz/pdf-and-screenshot/pdf-from-url-source/)
[Dataverse](https://docs.catalyst.zoho.com/en/smartbrowz/help/dataverse/introduction/)
  • [Lead Enrichment](https://docs.catalyst.zoho.com/en/sdk/javascript/v1/smartbrowz/dataverse/lead-enrichment/)
  • [Tech Stack Finder](https://docs.catalyst.zoho.com/en/sdk/javascript/v1/smartbrowz/dataverse/tech-stack-finder/)
  • [Similar Companies](https://docs.catalyst.zoho.com/en/sdk/javascript/v1/smartbrowz/dataverse/similar-companies/)
[Job Scheduling](https://docs.catalyst.zoho.com/en/job-scheduling/) [Job Pool](https://docs.catalyst.zoho.com/en/job-scheduling/help/jobpool/introduction/)
  • [Get All Job Pools’ Details](https://docs.catalyst.zoho.com/en/sdk/javascript/v1/job-scheduling/jobpool/get-all-jobpool/)
  • [Get Specific Job Pool's Details](https://docs.catalyst.zoho.com/en/sdk/javascript/v1/job-scheduling/jobpool/get-jobpool/)
[Jobs](https://docs.catalyst.zoho.com/en/job-scheduling/help/job/introduction/)
  • [Create Job](https://docs.catalyst.zoho.com/en/sdk/javascript/v1/job-scheduling/job/create-job/)
  • [Get Job Details](https://docs.catalyst.zoho.com/en/sdk/javascript/v1/job-scheduling/job/get-job-details/)
  • [Delete Job](https://docs.catalyst.zoho.com/en/sdk/javascript/v1/job-scheduling/job/delete-job/)
[Cron](https://docs.catalyst.zoho.com/en/job-scheduling/help/cron/introduction/)
  • [Create a One-Time Cron](https://docs.catalyst.zoho.com/en/sdk/javascript/v1/job-scheduling/cron/create-one-time-cron/)
  • [Create a Recurring Cron](https://docs.catalyst.zoho.com/en/sdk/javascript/v1/job-scheduling/cron/create-recurring-cron/)
  • [Create a Cron Using Cron Expressions](https://docs.catalyst.zoho.com/en/sdk/javascript/v1/job-scheduling/cron/create-cron-expressions/)
  • [Get Details of a Particular Cron](https://docs.catalyst.zoho.com/en/sdk/javascript/v1/job-scheduling/cron/get-cron-details/)
  • [Get Details of All Crons](https://docs.catalyst.zoho.com/en/sdk/javascript/v1/job-scheduling/cron/get-all-cron/)
  • [Update Cron](https://docs.catalyst.zoho.com/en/sdk/javascript/v1/job-scheduling/cron/update-cron/)
  • [Pause Cron](https://docs.catalyst.zoho.com/en/sdk/javascript/v1/job-scheduling/cron/pause-cron/)
  • [Resume Cron](https://docs.catalyst.zoho.com/en/sdk/javascript/v1/job-scheduling/cron/resume-cron/)
  • [Run Cron](https://docs.catalyst.zoho.com/en/sdk/javascript/v1/job-scheduling/cron/run-cron/)
  • [Delete Cron](https://docs.catalyst.zoho.com/en/sdk/javascript/v1/job-scheduling/cron/delete-cron/)
Connectors Connectors [JavaScript Connectors SDK](https://docs.catalyst.zoho.com/en/sdk/javascript/v1/connectors/js-connector/)
[Pipelines](https://docs.catalyst.zoho.com/en/pipelines/) [Pipelines](https://docs.catalyst.zoho.com/en/pipelines/help/pipelines/introduction/)
  • [Get Pipeline Details](https://docs.catalyst.zoho.com/en/sdk/javascript/v1/pipelines/get-pipeline-details/)
  • [Execute Pipeline](https://docs.catalyst.zoho.com/en/sdk/javascript/v1/pipelines/execute-pipeline/)
-------------------------------------------------------------------------------- title: "Scopes" description: "Catalyst offers you JavaScript SDK in a modular architecture, providing you with a singular SDK for browser and server operations." last_updated: "2026-10-30T18:08:30.000Z" source: "https://docs.catalyst.zoho.com/en/sdk/javascript/v1/scopes/" -------------------------------------------------------------------------------- # Scopes Scopes allow you to define the level of access that can be provided to access Catalyst components. There are primarily two scopes that define two levels of access: * **Admin**: If you initialize your SDK with this scope, you can access all the SDK methods of all the components. There are no restrictions. * **User**: If you initialize with this scope, you will only be able to access certain SDK methods of certain Catalyst components. > **Notes:** By default you will be able to initialize the SDK in the **Admin** scope. The following table will provide the complete list of SDK methods present in each Catalyst component, and the scope required to implement them.
Catalyst Service Component SDK Methods Required Scope
[Serverless](https://docs.catalyst.zoho.com/en/serverless/) [Functions](https://docs.catalyst.zoho.com/en/serverless/help/functions/introduction/) [Execute Function](https://docs.catalyst.zoho.com/en/sdk/javascript/v1/serverless/functions/execute-function/) **Admin, User**
[Circuits](https://docs.catalyst.zoho.com/en/serverless/help/circuits/introduction/) [Execute Circuits](https://docs.catalyst.zoho.com/en/sdk/javascript/v1/serverless/circuits/execute-circuit/) **Admin**
[CloudScale](https://docs.catalyst.zoho.com/en/cloud-scale/) [Authentication](https://docs.catalyst.zoho.com/en/cloud-scale/help/authentication/introduction/)
  • [Add New User](https://docs.catalyst.zoho.com/en/sdk/javascript/v1/cloudscale/authentication/add-new-user/)
  • [Get All Org IDs](https://docs.catalyst.zoho.com/en/sdk/javascript/v1/cloudscale/authentication/get-all-orgs/)
  • [Add New User to an Existing Organization](https://docs.catalyst.zoho.com/en/sdk/javascript/v1/cloudscale/authentication/add-user-to-org/)
  • [Get All Users in an Organization](https://docs.catalyst.zoho.com/en/sdk/javascript/v1/cloudscale/authentication/get-all-users-org/)
  • [Update User Details](https://docs.catalyst.zoho.com/en/sdk/javascript/v1/cloudscale/authentication/update-user-details/)
  • [Enable or Disable a User](https://docs.catalyst.zoho.com/en/sdk/javascript/v1/cloudscale/authentication/enable-disable-user/)
  • [Delete a User](https://docs.catalyst.zoho.com/en/sdk/javascript/v1/cloudscale/authentication/delete-user/)
**Admin**
  • [Reset Password](https://docs.catalyst.zoho.com/en/sdk/javascript/v1/cloudscale/authentication/reset-pwd/)
  • [Get User Details](https://docs.catalyst.zoho.com/en/sdk/javascript/v1/cloudscale/authentication/get-user-details/)
**Admin, User**
[DataStore](https://docs.catalyst.zoho.com/en/cloud-scale/help/data-store/introduction/)
  • [Get Column Metadata](https://docs.catalyst.zoho.com/en/sdk/javascript/v1/cloudscale/datastore/get-column-metadata/)
  • [Get Rows](https://docs.catalyst.zoho.com/en/sdk/javascript/v1/cloudscale/datastore/get-rows/)
  • [Insert Rows](https://docs.catalyst.zoho.com/en/sdk/javascript/v1/cloudscale/datastore/insert-rows/)
  • [Update Rows](https://docs.catalyst.zoho.com/en/sdk/javascript/v1/cloudscale/datastore/update-rows/)
  • [Delete a Row](https://docs.catalyst.zoho.com/en/sdk/javascript/v1/cloudscale/datastore/delete-rows/)
  • [Delete Rows](https://docs.catalyst.zoho.com/en/sdk/javascript/v1/cloudscale/datastore/delete-rows/)
  • [Search DataStore](https://docs.catalyst.zoho.com/en/sdk/javascript/v1/cloudscale/datastore/search-datastore/)
  • [Query DataStore](https://docs.catalyst.zoho.com/en/sdk/javascript/v1/cloudscale/datastore/query-datastore/)
**Admin, User**
[Get Table Metadata](https://docs.catalyst.zoho.com/en/sdk/javascript/v1/cloudscale/datastore/get-table-metadata/) **Admin**
[NoSQL](https://docs.catalyst.zoho.com/en/cloud-scale/help/nosql/introduction/) [All NoSQL SDK Methods](https://docs.catalyst.zoho.com/en/sdk/javascript/v1/cloudscale/nosql/overview/) **Admin**
[Stratus](https://docs.catalyst.zoho.com/en/cloud-scale/help/stratus/introduction/)
  • [Download Object](https://docs.catalyst.zoho.com/en/sdk/javascript/v1/cloudscale/stratus/download-object/)
  • [Upload Object](https://docs.catalyst.zoho.com/en/sdk/javascript/v1/cloudscale/stratus/upload-object/)
  • [Check Object Availability](https://docs.catalyst.zoho.com/en/sdk/javascript/v1/cloudscale/stratus/check-object/)
  • [Delete Object](https://docs.catalyst.zoho.com/en/sdk/javascript/v1/cloudscale/stratus/delete-object/)
**Admin, User**
  • [List Buckets](https://docs.catalyst.zoho.com/en/sdk/javascript/v1/cloudscale/stratus/list-buckets/)
  • [Check Bucket Availability](https://docs.catalyst.zoho.com/en/sdk/javascript/v1/cloudscale/stratus/check-bucket-availability/)
  • [Get Bucket CORS](https://docs.catalyst.zoho.com/en/sdk/javascript/v1/cloudscale/stratus/get-bucket-cors/)
  • [Get Bucket Details](https://docs.catalyst.zoho.com/en/sdk/javascript/v1/cloudscale/stratus/get-bucket-details/)
  • [List Objects in Bucket](https://docs.catalyst.zoho.com/en/sdk/javascript/v1/cloudscale/stratus/list-objects/)
  • [Generate Presigned URL to Download an Object](https://docs.catalyst.zoho.com/en/sdk/javascript/v1/cloudscale/stratus/download-object/#generate-presigned-url-to-download-an-object)
  • [Generate Presigned URL to Upload an Object](https://docs.catalyst.zoho.com/en/sdk/javascript/v1/cloudscale/stratus/upload-object/#generate-presigned-url-to-upload-an-object)
  • [Extract a Zipped Object](https://docs.catalyst.zoho.com/en/sdk/javascript/v1/cloudscale/stratus/extract-zipped-object/)
  • [Copy Object](https://docs.catalyst.zoho.com/en/sdk/javascript/v1/cloudscale/stratus/copy-object/)
  • [Move or Rename an Object](https://docs.catalyst.zoho.com/en/sdk/javascript/v1/cloudscale/stratus/rename-move/)
  • [List Object Versions](https://docs.catalyst.zoho.com/en/sdk/javascript/v1/cloudscale/stratus/list-object-versions/)
  • [Get Object Details](https://docs.catalyst.zoho.com/en/sdk/javascript/v1/cloudscale/stratus/get-object-details/)
  • [Put Object Metadata](https://docs.catalyst.zoho.com/en/sdk/javascript/v1/cloudscale/stratus/put-object-metadata/)
  • Multipart Download
**Admin**
[Cache](https://docs.catalyst.zoho.com/en/cloud-scale/help/cache/introduction/) [All Cache SDK Methods](https://docs.catalyst.zoho.com/en/sdk/javascript/v1/cloudscale/cache/overview/) **Admin**
[Mail](https://docs.catalyst.zoho.com/en/cloud-scale/help/mail/introduction/) [All Mail SDK Methods](https://docs.catalyst.zoho.com/en/sdk/javascript/v1/cloudscale/mail/overview/) **Admin**
[Push Notifications](https://docs.catalyst.zoho.com/en/cloud-scale/help/push-notifications/introduction/) [All Push Notifications SDK Methods](https://docs.catalyst.zoho.com/en/sdk/javascript/v1/cloudscale/push-notifications/overview/) **Admin**
[Zia Services](https://docs.catalyst.zoho.com/en/zia-services/) [All Zia Components](https://docs.catalyst.zoho.com/en/zia-services/help/face-analytics/introduction/) [All Zia Services SDK Methods](https://docs.catalyst.zoho.com/en/sdk/javascript/v1/cloudscale/push-notifications/overview/) **Admin**
[SmartBrowz](https://docs.catalyst.zoho.com/en/smartbrowz/) [PDF & Screenshot and Dataverse](https://docs.catalyst.zoho.com/en/smartbrowz/help/pdfnscreenshot/introduction/) [All SDK Methods](https://docs.catalyst.zoho.com/en/sdk/javascript/v1/smartbrowz/overview/) **Admin**
[Job Scheduling](https://docs.catalyst.zoho.com/en/job-scheduling/) [All Components](https://docs.catalyst.zoho.com/en/job-scheduling/help/jobpool/introduction/) [All SDK Methods](https://docs.catalyst.zoho.com/en/sdk/javascript/v1/job-scheduling/overview/) **Admin**
[Pipelines](https://docs.catalyst.zoho.com/en/pipelines/) [All Components](https://docs.catalyst.zoho.com/en/pipelines/help/pipelines/introduction/) [All SDK Methods](https://docs.catalyst.zoho.com/en/sdk/javascript/v1/pipelines/overview/) **Admin**
[QuickML](https://docs.catalyst.zoho.com/en/quickml/) [All Components](https://docs.catalyst.zoho.com/en/quickml/help/data-connectors/zoho-apps/) [All SDK Methods](https://docs.catalyst.zoho.com/en/sdk/javascript/v1/quickml/create-quickml-instance/) **Admin**
Connectors N/A [Connectors JavaScript SDK Methods](https://docs.catalyst.zoho.com/en/sdk/javascript/v1/connectors/js-connector/) **Admin**
### Implement SDK Methods with Scopes ```javascript // initialize the sdk with user scope const auth = await new ZCAuth().init(req, {scope: 'user'}); // initialize the sdk with admin scope const auth = await new ZCAuth().init(req, {scope: 'admin'}); ``` -------------------------------------------------------------------------------- title: "Setup" description: "Catalyst offers you JavaScript SDK in a modular architecture, providing you with a singular SDK for browser and server operations." last_updated: "2026-10-30T18:08:30.000Z" source: "https://docs.catalyst.zoho.com/en/sdk/javascript/v1/setup/" -------------------------------------------------------------------------------- # Setup This section will instruct you on the easiest way to add JavaScript SDK to your codebase. ### Prerequisites Before you begin installing and using the JavaScript SDK, you will need to ensure you have **any one** of the following package managers installed in your local environment. * `npm`: [Install from here](https://docs.npmjs.com/cli/v8/commands/npm-install) * `pnpm`: [Install from here](https://pnpm.io/installation) * `yarn`: [Install from here](https://classic.yarnpkg.com/lang/en/docs/install/#mac-stable) You can use any one of these package managers to add the JavaScript SDK to your codebase. ### Install the JavaScript SDK To add the JavaScript SDK to your code base: 1. You will need a suitable coding structure. You can either choose a suitable function type from the [Functions](https://docs.catalyst.zoho.com/en/serverless/help/functions/introduction/) component present in the [Serverless](https://docs.catalyst.zoho.com/en/serverless/) service, or, since you are using Catalyst, you can choose a custom coding structure and import the SDK to it and host it on [AppSail](https://docs.catalyst.zoho.com/en/serverless/help/appsail/introduction/). 2. You need to execute the following installation command in your CLI to install the required SDK. Since this is a modular SDK, you need to choose the respective installation command to access your required component.
Catalyst Service Component Install Command
[Serverless](https://docs.catalyst.zoho.com/en/serverless/) [Functions](https://docs.catalyst.zoho.com/en/serverless/help/functions/introduction/) `npm install @zcatalyst/functions`
[Circuits](https://docs.catalyst.zoho.com/en/serverless/help/circuits/introduction/) `npm install @zcatalyst/circuit`
[CloudScale](https://docs.catalyst.zoho.com/en/cloud-scale/) [DataStore](https://docs.catalyst.zoho.com/en/cloud-scale/help/data-store/introduction/) `npm install @zcatalyst/datastore`
[NoSQL](https://docs.catalyst.zoho.com/en/cloud-scale/help/nosql/introduction/) `npm install @zcatalyst/nosql`
[Stratus](https://docs.catalyst.zoho.com/en/cloud-scale/help/stratus/introduction/) `npm install @zcatalyst/stratus`
[Cache](https://docs.catalyst.zoho.com/en/cloud-scale/help/cache/introduction/) `npm install @zcatalyst/cache`
[Authentication](https://docs.catalyst.zoho.com/en/cloud-scale/help/authentication/introduction/) `npm install @zcatalyst/auth`
[Mail](https://docs.catalyst.zoho.com/en/cloud-scale/help/mail/introduction/) `npm install @zcatalyst/mail`
[Push Notifications](https://docs.catalyst.zoho.com/en/cloud-scale/help/push-notifications/introduction/) `npm install @zcatalyst/push-notification`
Connectors `npm install @zcatalyst/connector`
[Zia Services](https://docs.catalyst.zoho.com/en/zia-services/) All Components `npm install @zcatalyst/zia`
[SmartBrowz](https://docs.catalyst.zoho.com/en/smartbrowz/) All Components `npm install @zcatalyst/smartbrowz`
[Job Scheduling](https://docs.catalyst.zoho.com/en/job-scheduling/) All Components `npm install @zcatalyst/job-scheduling`
[QuickML](https://docs.catalyst.zoho.com/en/quickml/) All Components `npm install @zcatalyst/quickml`
[Pipelines](https://docs.catalyst.zoho.com/en/pipelines/) All Components `npm install @zcatalyst/pipelines`
Regardless of the package you install, the following packages will be installed by default: * `@zcatalyst/transport`: This package is required to handle the requests. * `@zcatalyst/utils`: This package is required to manage the common utilities of the SDK packages. ### Import the SDK to Your Codebase To access the components and use the functionalities of the required components, you need to import them to your coding structure once you install them. The following table contains the import statements for all the components. Based on your required component, add the import statement to your code, and you will be able to access the component.
Catalyst Service Component Import Command
[Serverless](https://docs.catalyst.zoho.com/en/serverless/) [Functions](https://docs.catalyst.zoho.com/en/serverless/help/functions/introduction/) `import {Functions} from '@zcatalyst/functions';`
[Circuits](https://docs.catalyst.zoho.com/en/serverless/help/circuits/introduction/) `import {Circuit} from '@zcatalyst/circuit';`
[CloudScale](https://docs.catalyst.zoho.com/en/cloud-scale/) [DataStore](https://docs.catalyst.zoho.com/en/cloud-scale/help/data-store/introduction/) `import {Datastore} from '@zcatalyst/datastore';`
[NoSQL](https://docs.catalyst.zoho.com/en/cloud-scale/help/nosql/introduction/) `import { NoSQL } from '@zcatalyst/nosql';`
[Stratus](https://docs.catalyst.zoho.com/en/cloud-scale/help/stratus/introduction/) `import {Stratus, TransferManager} from '@zcatalyst/stratus';`
[Cache](https://docs.catalyst.zoho.com/en/cloud-scale/help/cache/introduction/) `import {Cache} from '@zcatalyst/cache';`
[Authentication](https://docs.catalyst.zoho.com/en/cloud-scale/help/authentication/introduction/) `import {UserManagement} from '@zcatalyst/auth';`
[Mail](https://docs.catalyst.zoho.com/en/cloud-scale/help/mail/introduction/) `import {Mail} from '@zcatalyst/email';`
[Push Notifications](https://docs.catalyst.zoho.com/en/cloud-scale/help/push-notifications/introduction/) `import {PushNotifications} from '@zcatalyst/push-notifications';`
Connectors `import {Connectors} from '@zcatalyst/connector';`
[Zia Services](https://docs.catalyst.zoho.com/en/zia-services/) All Components `import {Zia} from '@zcatalyst/zia';`
[SmartBrowz](https://docs.catalyst.zoho.com/en/smartbrowz/) All Components `import {Smartbrowz} from '@zcatalyst/smartbrowz';`
[Job Scheduling](https://docs.catalyst.zoho.com/en/job-scheduling/) All Components `import {JobScheduling} from '@zcatalyst/job-scheduling';`
[QuickML](https://docs.catalyst.zoho.com/en/quickml/) All Components `import {QuickML} from '@zcatalyst/quickml';`
[Pipelines](https://docs.catalyst.zoho.com/en/pipelines/) All Components `import {Pipelines} from '@zcatalyst/pipelines';`
> **Info:** Once, you've imported the required module, ensure that you have applied the [required authentication configuration](https://docs.catalyst.zoho.com/en/sdk/javascript/v1/auth-config/node-consideration/) to use the SDK methods. -------------------------------------------------------------------------------- title: "Migrate to Modular JavaScript SDK" description: "Catalyst offers you JavaScript SDK in a modular architecture, providing you with a singular SDK for browser and server operations." last_updated: "2026-10-30T18:08:30.000Z" source: "https://docs.catalyst.zoho.com/en/sdk/javascript/v1/migration/" -------------------------------------------------------------------------------- # Migrate to Modular JavaScript SDK When you migrate your codebase to the Modular JavaScript SDK, you need to ensure the following steps are performed without fail: * Appropriate package import * Package initialization * Component initialization Consider the following example illustrating the changes you need to be more cautious about: **Monolithic SDK** ```javascript const catalyst = require('zcatalyst-sdk-node'); //import SDK const app = catalyst.initialize(req);//package initialization const stratus = app.stratus();// component initialization ``` **JavaScript Modular SDK** ```javascript const { Stratus } = require('@zcatalyst/stratus'); //import package const auth = await new ZCAuth().init(req); // package initialization const stratus = new Stratus(); // component initialization ``` -------------------------------------------------------------------------------- title: "WebSDK Bundle" description: "Catalyst offers you JavaScript SDK in a modular architecture, providing you with a singular SDK for browser and server operations." last_updated: "2026-10-30T18:08:30.000Z" source: "https://docs.catalyst.zoho.com/en/sdk/javascript/v1/webpack-bundler/" -------------------------------------------------------------------------------- # WebSDK Bundle for Catalyst JavaScript SDK Using the [Catalyst CLI](https://docs.catalyst.zoho.com/en/cli/v1/cli-command-reference/), you can generate a webSDK bundler called **Catalyst Bundle Studio** that will contain required SDK methods that can be accessed using the [User](https://docs.catalyst.zoho.com/en/sdk/javascript/v1/scopes/) scope. This bundler will be hosted locally on an available port in your machine. The WebSDK bundle offers you: * A user-friendly UI to select and install specific packages and versions. * Organized list of all the required SDKs with detailed information on each bundle and its associated method. * Extensive UI options to update existing bundle, remove, or add packages and generate updated bundles. ![catalyst_modular_sdk_webpack_gen_first_look](https://catalyst-docs-development.zohostratus.in/images/sdk/javascript/catalyst_modular_sdk_webpack_gen_first_look.webp) The **Catalyst Bundle Studio** will ensure that all SDK methods required for the front-end work of your Catalyst application is provided in an easy-to-use manner. You can directly use the SDK method from the webSDK bundle without meeting the prerequisites typically required for SDK methods that require **Admin** scope. ### Generate Catalyst WebSDK To generate and access the webSDK bundle: 1. Open the terminal present in your system and execute the following command. ```sh catalyst websdk:generate ``` ![catalyst_js_sdk_webpack_gen_cli-gen](https://catalyst-docs-development.zohostratus.in/images/sdk/javascript/catalyst_js_sdk_webpack_gen_cli-gen.webp) 2. Open the **localhost** endpoint in your preferred browser. ![catalyst_modular_sdk_webpack_gen_first_look](https://catalyst-docs-development.zohostratus.in/images/sdk/javascript/catalyst_modular_sdk_webpack_gen_first_look.webp) The webSDK for Catalyst JavaScript SDK has been generated and can be used to download the required package. ### Download the Required Bundle To download the required bundle from the Catalyst webSDK generator: 1. Select the required package and version from the bundle, and click **Generate WebSDK Bundle**. ![catalyst_modular_sdk_webpack_generating](https://catalyst-docs-development.zohostratus.in/images/sdk/javascript/catalyst_modular_sdk_webpack_generating.webp) 2. Once the bundle is generated, click **Download** to download the generated bundle. ![catalyst_modular_sdk_webpack_download_bundle](https://catalyst-docs-development.zohostratus.in/images/sdk/javascript/catalyst_modular_sdk_webpack_download_bundle.webp) You have the option to press **CTRL+C** in your CLI to terminate your bundle download. ![catalyst_modular_sdk_webpack_create-terminate-cli](https://catalyst-docs-development.zohostratus.in/images/sdk/javascript/catalyst_modular_sdk_webpack_create-terminate-cli.webp) Along with the SDK bundle, the following files will be downloaded and stored in your local system. * `catalyst-bundle.js` - Contains the webSDK bundle in the compressed form. * `manifest.json` - Contains detailed information on the packages that were downloaded in the bundle. * `package.json` - Contains a list of dependencies of the packages that were downloaded in the bundle. The required packages have been downloaded from the webSDK generated using the Catalyst CLI. ### Update the Generated Bundle To update the version or add more packages to your downloaded bundle: 1. Execute the following command in your Catalyst CLI to update the packages present in your webpack bundle. ```sh catalyst websdk:generate --action update ``` ![catalyst_modular_sdk_webpack_cli-update-cmd](https://catalyst-docs-development.zohostratus.in/images/sdk/javascript/catalyst_modular_sdk_webpack_cli-update-cmd.webp) 2. Open the *localhost* endpoint in your preferred browser, and click the **Update Existing Bundle** tab. Click the **Choose File** option. ![catalyst_modular_sdk_webpack_update_sel](https://catalyst-docs-development.zohostratus.in/images/sdk/javascript/catalyst_modular_sdk_webpack_update_sel.webp) 3. Select the `manifest.json` file from your downloaded bundle directory. ![catalyst_modular_sdk_webpack_update-manifest](https://catalyst-docs-development.zohostratus.in/images/sdk/javascript/catalyst_modular_sdk_webpack_update-manifest.webp) 4. Make the required updates and click **Generate Updated Bundle**. ![catalyst-modular-sdk-webpack-update-proj](https://catalyst-docs-development.zohostratus.in/images/sdk/javascript/catalyst-modular-sdk-webpack-update-proj.webp) 5. Now, the required packages will be built. ![catalyst-modular-sdk-webpack-update-building-bundle](https://catalyst-docs-development.zohostratus.in/images/sdk/javascript/catalyst-modular-sdk-webpack-update-building-bundle.webp) 6. Click **Download Updated Bundle** to download the generated bundle. ![catalyst-modular-sdk-download-updated-bundle](https://catalyst-docs-development.zohostratus.in/images/sdk/javascript/catalyst-modular-sdk-download-updated-bundle.webp) The updated bundle will be downloaded. Once, you've completed your required operation, ensure you press **CTRL+C** in your CLI to terminate the Catalyst Bundle Studio application. ### Browser-Supported JavaScript Methods The following table lists the Catalyst JavaScript SDK methods that can be accessed using the [User Scope](https://docs.catalyst.zoho.com/en/sdk/javascript/v1/scopes/#implement-sdk-methods-with-scopes).
Catalyst Service Component SDK Methods
[Serverless](https://docs.catalyst.zoho.com/en/serverless/) [Functions](https://docs.catalyst.zoho.com/en/serverless/help/functions/introduction/) [Execute Function](https://docs.catalyst.zoho.com/en/sdk/javascript/v1/serverless/functions/execute-function/)
[CloudScale](https://docs.catalyst.zoho.com/en/cloud-scale/) [Authentication](https://docs.catalyst.zoho.com/en/cloud-scale/help/authentication/introduction/) [Get User Details](https://docs.catalyst.zoho.com/en/sdk/javascript/v1/cloudscale/authentication/get-user-details/)
[Reset Password](https://docs.catalyst.zoho.com/en/sdk/javascript/v1/cloudscale/authentication/reset-pwd/)
[DataStore](https://docs.catalyst.zoho.com/en/cloud-scale/help/data-store/introduction/) [Get Table Metadata](https://docs.catalyst.zoho.com/en/sdk/javascript/v1/cloudscale/datastore/get-table-metadata/)
[Get Column Metadata](https://docs.catalyst.zoho.com/en/sdk/javascript/v1/cloudscale/datastore/get-column-metadata/)
[Get Rows](https://docs.catalyst.zoho.com/en/sdk/javascript/v1/cloudscale/datastore/get-rows/)
[Query DataStore](https://docs.catalyst.zoho.com/en/sdk/javascript/v1/cloudscale/datastore/query-datastore/)
[Search DataStore](https://docs.catalyst.zoho.com/en/sdk/javascript/v1/cloudscale/datastore/search-datastore/)
[Insert Rows](https://docs.catalyst.zoho.com/en/sdk/javascript/v1/cloudscale/datastore/insert-rows/)
[Update Rows](https://docs.catalyst.zoho.com/en/sdk/javascript/v1/cloudscale/datastore/update-rows/)
[Delete a Row](https://docs.catalyst.zoho.com/en/sdk/javascript/v1/cloudscale/datastore/delete-rows/)
[Bulk Delete Rows](https://docs.catalyst.zoho.com/en/sdk/javascript/v1/cloudscale/datastore/bulk-operations/bulk-delete/)
[Stratus](https://docs.catalyst.zoho.com/en/cloud-scale/help/stratus/introduction/) [Check Object Availability](https://docs.catalyst.zoho.com/en/sdk/javascript/v1/cloudscale/stratus/check-object/)
[Download Object](https://docs.catalyst.zoho.com/en/sdk/javascript/v1/cloudscale/stratus/download-object/)
[Upload Object](https://docs.catalyst.zoho.com/en/sdk/javascript/v1/cloudscale/stratus/upload-object/)
[Delete Objects](https://docs.catalyst.zoho.com/en/sdk/javascript/v1/cloudscale/stratus/delete-object/)
[Push Notifications](https://docs.catalyst.zoho.com/en/cloud-scale/help/push-notifications/introduction/) [Register a Client](https://docs.catalyst.zoho.com/en/sdk/javascript/v1/cloudscale/push-notifications/register-client/)
> **Note:** For these components alone, when they are initialized, no auth instance needs to be passed. They will be initialized with the required scope by default. #### Connectors -------------------------------------------------------------------------------- title: "JavaScript Connectors" description: "This page describes the method to perform operations using the components in SmartBrowz Services." last_updated: "2026-09-09T10:45:38.000Z" source: "https://docs.catalyst.zoho.com/en/sdk/javascript/v1/connectors/js-connector/" service: "All Services" related: - Java SDK Documentation (/en/sdk/java/v1/connectors/connectors/) - Python SDK Documentation (/en/sdk/python/v1/connectors/connectors/) -------------------------------------------------------------------------------- # Catalyst Connectors JavaScript SDK A **Catalyst Connector** provides a seamless connection between Catalyst and an external Zoho service established through [**Zoho OAuth authentication**](https://www.zoho.com/accounts/protocol/oauth.html). You can use a connector in your Catalyst application if your business logic includes an external Zoho service’s API, such as a Zoho CRM or a Zoho WorkDrive API. ### Prerequisites You need to install the following package to be able to use the Connector SDK methods. ```sh npm install @zcatalyst/connector ``` > **Info:** Ensure that you have applied the [required authentication configuration](https://docs.catalyst.zoho.com/en/sdk/javascript/v1/auth-config/node-consideration/) to use the SDK methods of this component. Catalyst handles the connection by storing the Access Token you generate in [Zoho API console](https://api-console.zoho.com/) for a specific application in [Catalyst Cache](https://docs.catalyst.zoho.com/en/cloud-scale/help/cache/introduction/) until its expiration. After it expires, the connector will automatically fetch a new Access Token using the Refresh Token and store it in the cache. Each time the Access Token expires, the connector automatically fetches and caches a new token in the background, relieving you from the efforts of constructing the logic to maintain an uninterrupted connection with the external Zoho service in your application’s business logic. > **Note:** Catalyst Connectors can only be used to maintain connections with an external Zoho service, and not any third-party services. This is because the OAuth standards maintained across all Zoho services are uniform and compatible for Catalyst to implement the Connectors feature. Before you configure the connector in your Node.js business logic as shown below, you will need to register a new client in the Zoho API console, and follow the steps to generate an Authorization Code and an Access Token for the first time. You can then configure the connector with the Refresh Token received, as well as other standard OAuth parameters, such as the Client ID, Client Secret, Authentication URL, and Refresh URL, that are required to refresh the Access Token automatically at a set rate. You can also incorporate your own logic in the connector based on your requirements. > **Notes:** * The name you provide for each connector in your logic must be unique. * If you create a server-based application in the Zoho API console and you allow the access token to be created for different users within the same application, you will need to provide a different and unique connector name for each user. This is because when the same connector is used for different users in an application, the token will be overwritten on the same cache segment resulting in fetching the wrong user’s data from the external Zoho service. ```javascript // Create a new connection with your connector configuration const connection = new Connection({ ConnectorName: { client_id: '{add_client_id}', // Client ID of your app client_secret: '{add_client_secret}', // Client Secret of your app auth_url: '{add_auth_url}', // OAuth authorization URL refresh_url: '{add_refresh_url}', // OAuth refresh token URL refresh_token: '{add_refresh_token}', // Refresh token obtained from OAuth flow refresh_in: '{add_refresh_in}', // Time (in secs) after which token should be refreshed expires_in: '{add_expires_in}', // Token expiry duration secret_key: 'sample' // Key used to encrypt stored tokens // Configure these OAuth parameters using the values you get // after registering your application in the Zoho API Console // and generating the authorization code. } }); // Get the connector using the connector's registered name const connector = connection.getConnector('ConnectorName'); // Fetch a valid access token const accessToken = await connector.getAccessToken(); ``` ## SDK — Python ### Python v1 -------------------------------------------------------------------------------- title: "Overview" description: "Catalyst Python SDK is a library that enables you to build Python apps for your Catalyst project, with a host of tools and functionalities." last_updated: "2026-11-04T10:10:44.000Z" source: "https://docs.catalyst.zoho.com/en/sdk/python/v1/overview/" -------------------------------------------------------------------------------- # Python SDK ## Overview Catalyst Python SDK is a library that helps you build robust Catalyst applications and microservices with powerful Python programming elements. The SDK package contains pre-defined modules, classes, and functions that can be used to access the various Catalyst services and their respective components. The prime purpose of Python SDK is to provide a readily available Python environment upon which you could build your Catalyst applications. Since the core attributes and behaviours of all the Catalyst components are pre-configured as a part of the SDK, you can quickly access them and implement the required component functionalities inside the [Catalyst Serverless functions](https://docs.catalyst.zoho.com/en/serverless/help/functions/introduction) and build your application logic upon them easily. You can create [Basic I/O](https://docs.catalyst.zoho.com/en/serverless/help/functions/basic-io), [Advanced I/O](https://docs.catalyst.zoho.com/en/serverless/help/functions/advanced-io), [Cron](https://docs.catalyst.zoho.com/en/serverless/help/functions/cron-functions), [Event](https://docs.catalyst.zoho.com/en/serverless/help/functions/event-functions) or [Integration](https://docs.catalyst.zoho.com/en/serverless/help/functions/integration-functions) functions using the Python programming environment. The SDK packages help to minimize the time and effort spent on building certain application features from scratch as the required component specific functionalities can be accessed instantly by calling the pre-defined Python methods in the SDK, using an object. The Catalyst Python SDK package allows you to perform multiple backend jobs such as user Authentication, Data Store, caching, querying, search, document processing, workflow management, Catalyst function executions, and more. The Python SDK documentation explains the process of building Catalyst applications in the Python environment. You can learn about the [components](https://docs.catalyst.zoho.com/en/sdk/python/v1/components), [configurations](https://docs.catalyst.zoho.com/en/sdk/python/v1/setup) of the SDK package, the [scopes](https://docs.catalyst.zoho.com/en/sdk/python/v1/sdk-scopes) of the SDK methods and also access the sample code snippets for various operations in this documentation. -------------------------------------------------------------------------------- title: "Components" description: "This page contains information regarding the Catalyst services and components that Catalyst Python SDK includes." last_updated: "2026-11-03T07:48:52.000Z" source: "https://docs.catalyst.zoho.com/en/sdk/python/v1/components/" -------------------------------------------------------------------------------- # Components of the Python SDK Catalyst Python SDK comprises of pre-defined packages and modules to work with all the Catalyst components. The classes present within each module include methods that help perform various operations using the Catalyst components in your application. The **`zcatalyst-sdk`** is the base package of the Catalyst Python SDK. It enables you to initialize the SDK package and implement the various Catalyst components in your application. The `zcatalyst-sdk` package allows you to implement the components of the following Catalyst services: ### CloudScale * [Authentication](https://docs.catalyst.zoho.com/en/cloud-scale/help/authentication/introduction) * [Data Store](https://docs.catalyst.zoho.com/en/cloud-scale/help/data-store/introduction) * [Stratus](https://docs.catalyst.zoho.com/en/cloud-scale/help/stratus/introduction) * [No SQL](https://docs.catalyst.zoho.com/en/cloud-scale/help/nosql/introduction) * [Search](https://docs.catalyst.zoho.com/en/cloud-scale/help/search-integration/introduction/) * [Cache](https://docs.catalyst.zoho.com/en/cloud-scale/help/cache/introduction) * [Mail](https://docs.catalyst.zoho.com/en/cloud-scale/help/mail/introduction) * [Push Notifications](https://docs.catalyst.zoho.com/en/cloud-scale/help/push-notifications/introduction) ### Serverless * [Functions](https://docs.catalyst.zoho.com/en/serverless/help/functions/introduction) * [AppSail](https://docs.catalyst.zoho.com/en/serverless/help/appsail/introduction) * [Circuits](https://docs.catalyst.zoho.com/en/serverless/help/circuits/introduction) ### Zia Services * [OCR](https://docs.catalyst.zoho.com/en/zia-services/help/optical-character-recognition/introduction) * [Face Analytics](https://docs.catalyst.zoho.com/en/zia-services/help/face-analytics/introduction) * [Identity Scanner](https://docs.catalyst.zoho.com/en/zia-services/help/identity-scanner/introduction) * [Image Moderation](https://docs.catalyst.zoho.com/en/zia-services/help/image-moderation/introduction) * [Object Recognition](https://docs.catalyst.zoho.com/en/zia-services/help/object-recognition/introduction) * [Barcode Scanner](https://docs.catalyst.zoho.com/en/zia-services/help/barcode-scanner/introduction) * [Text Analytics](https://docs.catalyst.zoho.com/en/zia-services/help/text-analytics/introduction) ### Other Services * [Job Scheduling](https://docs.catalyst.zoho.com/en/job-scheduling/getting-started/introduction) * [Pipelines](https://docs.catalyst.zoho.com/en/pipelines/getting-started/introduction) > **Note:** You can explore the scopes of the range of operations available for the mentioned components in the [Scopes Table](https://docs.catalyst.zoho.com/en/sdk/python/v1/sdk-scopes). The hierarchy of the entities present with the `zcatalyst-sdk` package is depicted in the diagram below. The core functionalities of the components such as the Data Store, Cache, Push Notifications, and the ones that are a part of the Zia services are configured in individual sub-packages within the base package. The features of other components such as Authentication, Circuits, Functions, Search, Cron and ZCQL are configured as individual modules within the base package and they include the corresponding Python classes and methods. ![python-sdk-components](https://catalyst-docs-development.zohostratus.in/images/sdk/python/v1/python-sdk-components.webp) ### Instance Objects The `zcatalyst-sdk` base package contains the pre-defined Python modules and packages for each Catalyst component. The classes present within the modules contains corresponding methods for each operation to be performed using the Catalyst components. You can access the methods by creating an instance of the Python object, that can be fetched during initialization of the SDK. For detailed steps on initialization of the Python SDK, please refer to the [setup help page](https://docs.catalyst.zoho.com/en/sdk/python/v1/setup). An **instance object** or **component instance** is a dummy object that can be used to retrieve the properties of a Catalyst component by accessing the methods present in the Python classes specific to that particular component. Therefore, to retrieve the properties of a particular Catalyst component you must call the component's object instance with the pre-defined method. -------------------------------------------------------------------------------- title: "SDK Scopes" description: "This page describes the SDK scopes of the Python SDK." last_updated: "2026-10-30T18:08:11.000Z" source: "https://docs.catalyst.zoho.com/en/sdk/python/v1/sdk-scopes/" -------------------------------------------------------------------------------- # Python SDK Scopes This section outlines the various SDK operations supported and their corresponding scopes. To perform these operations, you must initialize the SDK with either the **Admin** or **User** scope, as specified in the table. For more details on initializing the SDK with the required scopes, refer to [this section](https://docs.catalyst.zoho.com/en/sdk/python/v1/setup/#initializing-with-scopes).
Service Name Component Name SDK Operations Scope
Catalyst CloudScale DataStore [Get Meta Data of All Tables](https://docs.catalyst.zoho.com/en/sdk/python/v1/cloud-scale/data-store/get-table-meta/#get-metadata-of-all-tables), [Get All Columns](https://docs.catalyst.zoho.com/en/sdk/python/v1/cloud-scale/data-store/get-column-meta/#get-metadata-of-all-columns), [Get Column Details](https://docs.catalyst.zoho.com/en/sdk/python/v1/cloud-scale/data-store/get-column-meta/#get-a-columns-metadata-by-id), [Delete Single Row](https://docs.catalyst.zoho.com/en/sdk/python/v1/cloud-scale/data-store/delete-row/), [Delete All Rows](https://docs.catalyst.zoho.com/en/sdk/python/v1/cloud-scale/data-store/bulk-delete-rows/), [Update Single Row](https://docs.catalyst.zoho.com/en/sdk/python/v1/cloud-scale/data-store/update-rows/), [Update All Rows](https://docs.catalyst.zoho.com/en/sdk/python/v1/cloud-scale/data-store/update-rows/#update-multiple-rows), [Get Row](https://docs.catalyst.zoho.com/en/sdk/python/v1/cloud-scale/data-store/get-rows/#get-a-single-row), [Get All Rows](https://docs.catalyst.zoho.com/en/sdk/python/v1/cloud-scale/data-store/get-rows/#get-all-rows-through-pagination) User, Admin
Catalyst CloudScale DataStore Bulk Operations Admin
Catalyst CloudScale User Management [Get Details of Current User](https://docs.catalyst.zoho.com/en/sdk/python/v1/cloud-scale/authentication/get-user-details/), [Reset Password](https://docs.catalyst.zoho.com/en/sdk/python/v1/cloud-scale/authentication/reset-password/) User, Admin
Catalyst CloudScale Cache All Operations Admin
Catalyst CloudScale Search Execute Search Query User, Admin
Catalyst CloudScale ZCQL Execute Query User, Admin
Catalyst CloudScale Email Send Mail User, Admin
Catalyst CloudScale Push Notifications All Operations Admin
Catalyst Serverless Circuits All Operations Admin
Catalyst Zia Services All Components All Operations Admin
Catalyst Quick ML All Components All Operations Admin
Catalyst SmartBrowz All Components All Operations Admin
-------------------------------------------------------------------------------- title: "Setup" description: "This page describes the steps to follow to setup and initialize the Python SDK." last_updated: "2026-09-28T11:04:26.000Z" source: "https://docs.catalyst.zoho.com/en/sdk/python/v1/setup/" -------------------------------------------------------------------------------- # Python SDK Setup ### Prerequisites Before you begin developing your application logic with Catalyst Python SDK in your local environment, please ensure you have the following package manager and programming environment installed on your local machine: * **[Pip](https://pip.pypa.io/en/stable/installation/#) - Python Package Manager** * **[Python version 3.10 to 3.13](https://www.python.org/)** You can install Python from their [official website](https://www.python.org/) and the pip package manager will be auto-installed in your local system. Please make sure you install the pip package manually if you install Python from other sources. You can refer to the [pip installation documentation](https://pip.pypa.io/en/stable/installation/#) for installing pip. > **Note:** If you have other versions of Python installed in your local machine (any version outside the supported range of Python 3.10 to 3.13), then the execution of the Python functions in your directory will be skipped when the application is being [served](https://docs.catalyst.zoho.com/en/cli/v1/serve-resources/introduction) or [deployed](https://docs.catalyst.zoho.com/en/cli/v1/deploy-resources/introduction). These Python functions are also excluded when you [pull](https://docs.catalyst.zoho.com/en/cli/v1/pull-resources/introduction) the functions from the console to the [CLI](https://docs.catalyst.zoho.com/en/getting-started/installing-catalyst-cli/). If you are creating Python functions in an existing Catalyst project in your local directory, you can install the prerequisites mentioned above, and proceed to set up the function. The steps to set up a Python function in an existing [project directory](https://docs.catalyst.zoho.com/en/cli/v1/project-directory-structure/introduction) are given in [this help page](https://docs.catalyst.zoho.com/en/cli/v1/working-with-functions/introduction). To learn about initalizing a Python function during Catalyst project initialization, refer [this help page](https://docs.catalyst.zoho.com/en/cli/v1/initialize-resources/introduction). ### Installing the SDK When you initialize a Catalyst project in the CLI and [create](https://docs.catalyst.zoho.com/en/cli/v1/initialize-resources/initialize-functions/#initialize-a-python-function-of-any-type) or [set up](https://docs.catalyst.zoho.com/en/cli/v1/working-with-functions/set-up-functions/#set-up-a-python-function-of-any-type) a Python function in an existing project directory in your local environment, the Python SDK package (`zcatalyst-sdk`) will automatically be installed inside the [functions directory](https://docs.catalyst.zoho.com/en/cli/v1/project-directory-structure/introduction) of your current project. A main function file and a configuration file will be auto-generated with the boilerplate code in your function's directory by default when you create a [Catalyst Serverless function](https://docs.catalyst.zoho.com/en/serverless/help/functions/introduction) of any programming stack. For Python functions, an additional file named [`requirements.txt`](https://docs.catalyst.zoho.com/en/cli/v1/project-directory-structure/functions-directory/#python-modules-and-function-dependencies) will also be created. This file contains the list of installed dependencies that are needed to implement the Python function. By default, it contains the entry for Catalyst's Python SDK package (`zcatalyst-sdk`), when you create the Python function from the CLI. When you need to install external dependencies, you will need to add the name of the dependency manually in the `requirements.txt` file. > **Note:** If it is your first time initializing a Python function, you will need to additionally set the path information of Python installed in your system. You can set this information in a specific configuration file that is present in your local system as a hidden file. The path will need to be set using the `config:set <key=value>` CLI command. You can find out more about this command from [ this help page](https://docs.catalyst.zoho.com/en/cli/v1/cli-config/). You can use the following command to install the Catalyst Python SDK globally in your system: ```json pip install zcatalyst-sdk ``` ### Initializing the SDK After Python SDK is installed in your function's directory, you can begin coding the Python function. You must first initialize the SDK within the function's code, using the `initialize()` method to access the Catalyst components of the current project. The initialization methods for the Catalyst function types are given below: **Basic I/O Functions** ```python import zcatalyst_sdk def handler(context, basicio): app = zcatalyst_sdk.initialize() #This app variable is used to access the Catalyst components. #Your business logic comes here ``` **Advanced I/O Functions** ```python import zcatalyst_sdk def handler(request: Request): app = zcatalyst_sdk.initialize() #This app variable is used to access the Catalyst components. #Your business logic comes her ``` **Event Functions** ```python import zcatalyst_sdk def handler(event, context): app = zcatalyst_sdk.initialize() #This app variable is used to access the Catalyst components. #Your business logic comes here ``` **Cron Functions** ```python import zcatalyst_sdk def handler(cron_details, context): app = zcatalyst_sdk.initialize() #This app variable is used to access the Catalyst components. #Your business logic comes here ``` When you initialize the SDK package inside the function, it returns a Python object as the response. This object can be used to call the component-specific methods defined in the Python classes and access the required Catalyst components. > **Note :** You can create Python functions both from the web console or the CLI, based on your preference. However, you can only upload the function bundle from the local and can't code it in the console directly for now. We will be providing support for online editors in the future. ### Initializing with Scopes Catalyst allows you to initialize the SDK in a project using the following scopes: * **Admin**: You have unrestricted access to all the components and their respective functionalities. For example, you have complete access to the [Data Store](https://docs.catalyst.zoho.com/en/cloud-scale/help/data-store/introduction/) to perform all operations like Read, Write, Delete, etc. * **User**: You can restrict access to components, and specific functionalities. For example, you can provide Read access alone to Data Store. > **Note:** * It is not mandatory for you to initialize the projects with scopes. By default, a project that is initialized will have *Admin* privileges. * Ensure you have initialized the Catalyst SDK with the appropriate scope while you engineer your business logic. The permissions you define for your scope control your end-user's actions. * To learn more about the scopes of the SDK operations that can be performed in various components, refer to the [Scopes Table](https://docs.catalyst.zoho.com/en/sdk/python/v1/sdk-scopes) * Depending on how you engineer your business logic, you can decide if your end-users can perform *Admin* or *User* actions. This is decided based on the [role](https://docs.catalyst.zoho.com/en/cloud-scale/help/authentication/user-management/roles/introduction/) assigned to your end-user when they sign up to your application in Catalyst Authentication. The permissions for the roles can be configured in the *Scopes & Permissions* or the *Bucket Permissions* section of the [Data Store](https://docs.catalyst.zoho.com/en/cloud-scale/help/data-store/scopes-and-permissions/) and [Stratus](https://docs.catalyst.zoho.com/en/cloud-scale/help/stratus/introduction/) respectively. The SDK snippets below will allow you to initialize the SDK using either *Admin* or *User* scope : **Admin Scope** ```python import zcatalyst_sdk def handler(request: Request): app = zcatalyst_sdk.initialize(scope='admin') #This app variable is used to access the catalyst components. #You can refer the SDK docs for code samples. #Your business logic comes her ``` **User Scope** ```python import zcatalyst_sdk def handler(request: Request): app = zcatalyst_sdk.initialize(scope='user') #This app variable is used to access the catalyst components. #You can refer the SDK docs for code samples. #Your business logic comes here ``` We will be discussing about upgrading the Python SDK in the next section. -------------------------------------------------------------------------------- title: "Upgrade SDK" description: "This page describes the steps to upgrade the Python SDK to the latest supported version in your code" last_updated: "2026-10-30T18:08:11.000Z" source: "https://docs.catalyst.zoho.com/en/sdk/python/v1/upgrade-sdk/" -------------------------------------------------------------------------------- # Upgrade Your Python SDK Catalyst constantly strives to provide you with the latest, most secure, and efficient SDK packages to streamline your development process. We also upgrade our SDK support based on the upgrades in the technology. That is, when a new version of Python is released, Catalyst ensures we implement it in our SDK toolkit. This means that from time to time, Catalyst will upgrade its SDK version to provide you with the best coding support. We recommend keeping up with the latest Catalyst SDK updates and bug fixes through our [Release Notes](https://docs.catalyst.zoho.com/en/release-notes/sdk/) and upgrading to the latest versions as they become available. Our SDK updates align with official Python releases, incorporating their latest enhancements while phasing out deprecated versions. Additionally, we continuously introduce new components and features to enhance the SDK experience. > **Note:** If an immediate upgrade of your SDK is required due to deprecating an old SDK version, we will ensure you are notified on time via email to perform the necessary upgrades. Generally, it's highly recommended that you always upgrade your SDK to the latest version. You can upgrade your SDK globally and within Python functions. We will be discussing about steps to upgrade the SDK in both the places in this help doc. > **Note:** When you upgrade the SDK globally, the existing functions won't automatically reflect the updated version. To apply the global version, you need to remove the specified version from the `requirements.txt` file of each function. ### Upgrade SDK Globally To upgrade the Catalyst Python SDK globally, you can use the commands below from any directory in your terminal : Install a Specific Package To install a specific Python SDK version's package, execute the following command. Please ensure to replace the version number of the SDK package with the one you require. ```json pip install zcatalyst-sdk==0.0.2 ``` > **Note:** 1. It is always recommended that you install the latest version of the SDK rather than a specific version. 2. By default, while executing Python functions, the function considers the SDK package listed in the `requirements.txt` file. If want to use the SDK that is installed globally, please remove the SDK package from `requirements.txt` file. ### Install Latest Version Installing the latest version of the SDK gives you access to the newest features and includes all recent bug fixes. To install the latest available version of the SDK at any time, execute the following command: ```json pip install zcatalyst-sdk ``` ### Upgrade SDK in a Function To upgrade the Catalyst Python SDK for a specific function, please follow the below steps: 1. Launch your terminal and navigate to the Python function's source directory. For example, consider you have a Catalyst project named "Pets Conglomerate" installed through the CLI in your system: **/Users/user/apps/petsConglomerate**. In this project, you have a function named "dogs_spotted". You need to navigate to the function's source directory, which would appear like this: **/Users/user/apps/petsConglomerate/functions/dogs_spotted** 2. Open the `requirements.txt` file in this function's directory, and update the version of the Python SDK and save the file. For example : `zcatalyst-sdk==1.0.0rc1` 3. Execute the below command to make sure the updated SDK version is reflected in your CLI instance. ```json pip install -r requirements.txt ``` This command ensures the updates in the latest version are reflected in the CLI right away. -------------------------------------------------------------------------------- title: "Exceptions" description: "This help page lists the common exceptions that can occur in your Catalyst Python app executions" last_updated: "2026-08-06T05:54:02.000Z" source: "https://docs.catalyst.zoho.com/en/sdk/python/v1/exceptions/" -------------------------------------------------------------------------------- # Exceptions Exceptions are unexpected faulty behaviours that occur during execution of the application. All errors and exceptions thrown by the Catalyst applications built upon Python environment are handled by the `Exceptions` module and the classes within it. When an error or exception occurs in your application, the following properties of the exception are returned: * **`code`:** Unique identifier of the error. * **`errorMsg`:** General description about the error. * **`errorDetails`:** Additional information about the error. * **`originalException`:** In case of HTTP requests, returns HTTP status codes. Or else returns "None". The base class `CatalystError` is pre-defined in the `Exceptions` module of the Catalyst Python SDK package. It is inherited by multiple sub-classes which handles the exception and error scenarios that might occur during execution of the Catalyst components in your application. An individual error class is configured for each Catalyst component as a part of the Python SDK and any unexpected events in the defined flow of the component executions, the respective errors will be thrown. #### Example : Consider you are executing a [Catalyst Serverless function](https://docs.catalyst.zoho.com/en/serverless/help/functions/introduction) in your Catalyst application and the function returns an error code as the response. In this case, the respective error class pre-defined for the Functions component `(CatalystFunctionError)` will handle the scenario. Likewise, if you are performing an incorrect database specific operation in the Catalyst DataStore, the exception will be caught and handled within the `CatalystDataStoreError` class. Therefore, a unique error class is pre-defined for each Catalyst component as a part of the Exceptions module. The other common classes included in the module are `CatalystAuthenticationError`, `Catalyst CacheError`,`Catalyst CronError`,`CatalystZiaError` and more. Additionally, the exceptions that are not caught by any component specific Python classes are handled in the CatalystAPIError class. This class handles the exceptions caught at the API level and defines the error codes for the failed API requests. Listed below are some of the typical API error codes applicable to all Catalyst components:
Error Codes Descriptions
INVALID ARGUEMENT ERROR The arguments passed is not of a valid type for the specific format.
INVALID CREDENTIAL ERROR The credentials entered is not valid.
-------------------------------------------------------------------------------- title: "Integrate SDK in Third-Party Apps" last_updated: "2026-11-03T07:48:52.000Z" source: "https://docs.catalyst.zoho.com/en/sdk/python/v1/integrate-sdk-in-third-party-apps/" -------------------------------------------------------------------------------- # Catalyst Python SDK Integration in Third-Party Applications You can integrate and use the Catalyst Python SDK methods in applications deployed outside the Catalyst environment. Say, a React app hosted on Vercel using a Flask backend (running outside Catalyst) can upload documents to [Catalyst CloudScale Stratus](https://docs.catalyst.zoho.com/en/cloud-scale/help/stratus/introduction/) or a data pipeline running on Amazon Web Services EC2 can push customer data into [Catalyst CloudScale Data Store](https://docs.catalyst.zoho.com/en/cloud-scale/help/data-store/introduction/) using [Catalyst CloudScale ZCQL](https://docs.catalyst.zoho.com/en/cloud-scale/help/zcql/introduction/) queries using the respective Python SDK operations. These are just a few common use cases where external applications can securely interact with Catalyst components without being deployed within the Catalyst platform. We have provided the code snippet to help you integrate the Catalyst Python SDK with external applications. However, before implementing the code in your application, please review the following prerequisites. ### Prerequisites for the SDK Integration To integrate the Catalyst Python SDK with your external application, ensure you have the following information: * **Project ID:** The unique identifier of your [Catalyst project](https://docs.catalyst.zoho.com/en/getting-started/catalyst-projects/). * **ZAID (Zoho Account ID):** A unique portal identifier assigned by Catalyst to link your project with the [Catalyst environment](https://docs.catalyst.zoho.com/en/deployment-and-billing/environments/introduction/) ([development](https://docs.catalyst.zoho.com/en/deployment-and-billing/environments/development-environment/) or [production](https://docs.catalyst.zoho.com/en/deployment-and-billing/environments/production-environment/)). * **Environment:** The [target environment](https://docs.catalyst.zoho.com/en/deployment-and-billing/environments/introduction/) ([development](https://docs.catalyst.zoho.com/en/deployment-and-billing/environments/development-environment/) or [production](https://docs.catalyst.zoho.com/en/deployment-and-billing/environments/production-environment/)) of your Catalyst project. * **OAuth Credentials:** This is required to authenticate and authorize your external application via Catalyst’s self-client portal to access Catalyst components. You will need the following: 1. Client ID 2. Client Secret 3. Refresh Token After you fetch these values , you can proceed with integrating the Python SDK into your application. ### Steps to Integrate Now, let's look at how to fetch each of these values and configure them in the code snippet. Please ensure you follow the steps outlined below: 1. **Create a project in the Catalyst Console:** You can create a new [Catalyst project](https://docs.catalyst.zoho.com/en/getting-started/catalyst-projects/#introduction-to-catalyst-projects) in the [console](https://console.catalyst.zoho.com/) by using the steps mentioned in [this help page](https://docs.catalyst.zoho.com/en/getting-started/catalyst-projects/#create-a-catalyst-project). 2. **Retrieve the Project ID:** Once you have created your project, you will need to make a note of the **Project ID**. The Project ID is the unique ID of your project that will be created automatically during the project’s creation. You can find it by clicking the **Settings** icon located in the top-right corner of the Catalyst console. ![click-settings](https://catalyst-docs-development.zohostratus.in/images/sdk/sdk-integration/click-settings.webp) In the **Settings** screen, navigate to **Project Settings** and select **General**. You can view and make a note of the Project ID from this section, as shown in the screenshot below. ![project-id](https://catalyst-docs-development.zohostratus.in/images/sdk/sdk-integration/project-id.webp) 3. **Retrieve the ZAID:** You will need to include your project’s **ZAID** in the code snippet provided in this section. The **ZAID** is a unique portal identifier assigned by Catalyst to link your project with the required Catalyst environment ([development](https://docs.catalyst.zoho.com/en/deployment-and-billing/environments/development-environment/) or [production](https://docs.catalyst.zoho.com/en/deployment-and-billing/environments/production-environment/)). [Learn more about Catalyst environments](https://docs.catalyst.zoho.com/en/deployment-and-billing/environments/introduction/). To retrieve the ZAID, setting up the [Catalyst CloudScale Authentication](https://docs.catalyst.zoho.com/en/cloud-scale/help/authentication/introduction/) component is mandatory. However, using it for your application's authentication flow is optional. To fetch the ZAID: i. Navigate to the [Catalyst CloudScale](https://docs.catalyst.zoho.com/en/cloud-scale/) service in the console and under **Security & Identity**, select **Authentication**. ![select-authentication](https://catalyst-docs-development.zohostratus.in/images/sdk/sdk-integration/select-authentication.webp) ii. You will need to set up [Native Catalyst Authentication](https://docs.catalyst.zoho.com/en/cloud-scale/help/authentication/native-catalyst-authentication/introduction/), where Catalyst manages the entire authentication process for you, eliminating the need for any additional coding or infrastructure management on your part. iii. Click **Set Up**. ![click-setup](https://catalyst-docs-development.zohostratus.in/images/sdk/sdk-integration/click-setup.webp) iv. Select the **Hosted authentication** type, which enables you to host your login element on dedicated pages of your application. You can configure and design the authentication from the console, and Catalyst will render it for your application and handle all the backend requirements. ![hosted-authentication](https://catalyst-docs-development.zohostratus.in/images/sdk/sdk-integration/hosted-authentication.webp) v. You must enable the [Public Signup](https://docs.catalyst.zoho.com/en/cloud-scale/help/authentication/public-signup/) option to display the signup feature in your login component, allowing new users to register and access your application. You can refer to the [hosted authentication help page](https://docs.catalyst.zoho.com/en/cloud-scale/help/authentication/native-catalyst-authentication/hosted-authentication-type/introduction/) for a detailed step-by-step setup guide. ![public-signup](https://catalyst-docs-development.zohostratus.in/images/sdk/sdk-integration/public-signup.webp) vi. In the confirmation screen, click **Yes, proceed**. ![confirmation](https://catalyst-docs-development.zohostratus.in/images/sdk/sdk-integration/confirmation.webp) vii. You can enable any of the supported social login options listed below and retrieve the corresponding **ZAID** value from the selected provider. [Learn how to obtain the ZAID for a specific social login](https://docs.catalyst.zoho.com/en/cloud-scale/help/authentication/social-logins/configuring-social-logins/). > **Note:** Social login providers, such as Google, Microsoft, LinkedIn, and Facebook, are supported for retrieving the ZAID; however, Zoho login is not supported for this purpose. ![socials](https://catalyst-docs-development.zohostratus.in/images/sdk/sdk-integration/socials.webp) [Learn more about this hosted authentication type](https://docs.catalyst.zoho.com/en/cloud-scale/help/authentication/native-catalyst-authentication/hosted-authentication-type/introduction/). 4. **Register a Self Client Application:** You will need to obtain the **Refresh Token**, **Client ID**, and **Client Secret** to authenticate and authorize your application to access Catalyst resources on behalf of your application's user. For fetching the above required items, you must first register your application as a self-client in [API console](https://api-console.zoho.com). i. Log in to the API console and click on **Self-client**. ![self-client](https://catalyst-docs-development.zohostratus.in/images/sdk/sdk-integration/self-client.webp) ii. Configure the scope of the self-client application based on the operations your application needs to perform in Catalyst. [Learn more about available scopes](https://docs.catalyst.zoho.com/en/api/oauth2/scopes/#Scopes). iii. Provide the required scope, add an appropriate description, and click **Create**. ![create](https://catalyst-docs-development.zohostratus.in/images/sdk/sdk-integration/create.webp) iv. The grant token will be generated. Make sure to copy and store it securely, as this is a one-time process, and the token cannot be retrieved from the console again. [Learn more about generating a grant token](https://docs.catalyst.zoho.com/en/api/oauth2/generate-grant-token/#GenerateGrantToken). ![generated-code](https://catalyst-docs-development.zohostratus.in/images/sdk/sdk-integration/generated-code.webp) v. Switch to the **Client Secret** tab and note down the client ID and the client secret details. ![client-secret](https://catalyst-docs-development.zohostratus.in/images/sdk/sdk-integration/client-secret.webp) vi. You can generate the access and refresh token by using the request in [this help page](https://docs.catalyst.zoho.com/en/api/oauth2/generate-access-and-refresh-token/#GenerateAccessandRefreshToken). You can also refresh the access token by using the steps listed in [this page](https://docs.catalyst.zoho.com/en/api/oauth2/refresh-access-token/#RefreshAccessToken). After you have noted all the values mentioned above, you can configure them in the code snippet as shown below and integrate Python SDK into your application. The code below demonstrates this with the example of fetching buckets from [Catalyst CloudScale Stratus](https://docs.catalyst.zoho.com/en/cloud-scale/help/stratus/introduction/). ### Code Snippet ```python import zcatalyst_sdk from zcatalyst_sdk import credentials from zcatalyst_sdk import types from zcatalyst_sdk.types import ICatalystOptions from flask import Flask, Request, make_response, jsonify from typing import Dict, Literal app = Flask(__name__) def list_all_buckets(): Cred = { "refresh_token": "YOUR_REFRESH_TOKEN", //Provide refresh token value here "client_id": "CLIENT_ID", //Provide client ID value here "client_secret": "CLIENT_SECRET", //Provide client secret value here } project_id = PROJECT_ID //Provide Project ID value here project_key = ZAID //Provide ZAID value here environment = "Development" //Provide value as either "Development" or "Production" catalyst_credential = credentials.RefreshTokenCredential(Cred) catalyst_options = ICatalystOptions( project_id=project_id, project_key=project_key, project_domain="https://api.catalyst.zoho.com", environment=environment, ) catalystApp = zcatalyst_sdk.initialize_app( credential=catalyst_credential, options=catalyst_options, name="TaskSDKPython" ) stratus = catalystApp.stratus() buckets = stratus.list_buckets() print(buckets) return jsonify({"message": "Success", "bucket_data": buckets}) @app.route("/listbuckets", methods=["GET"]) def handle_list_all_buckets(): return list_all_buckets() if __name__ == "__main__": with app.app_context(): response = handle_list_all_buckets() port = 3006 printf("Server running on http://localhost:{port}") app.run(port=port) ``` #### Connectors -------------------------------------------------------------------------------- title: "Connectors" description: "This page describes the method to use connectors to manage access token in your Python application with sample code snippets." last_updated: "2025-06-20T10:51:48.000Z" source: "https://docs.catalyst.zoho.com/en/sdk/python/v1/connectors/connectors/" service: "All Services" related: - Cache Help (/en/cloud-scale/help/cache/introduction) - SDK Scopes (/en/sdk/python/v1/sdk-scopes) -------------------------------------------------------------------------------- # Connectors A Catalyst Connector provides a seamless connection between Catalyst and an external Zoho service established through **[Zoho OAuth authentication](https://www.zoho.com/accounts/protocol/oauth.html)**. You can avail the use of a connector in your Catalyst application if your business logic includes the use of an external Zoho service's API, such as a Zoho CRM or a Zoho WorkDrive API. Catalyst handles the connection by storing the Access Token you generate in [Zoho API console](https://api-console.zoho.com/) for a specific application in [Catalyst Cache](https://docs.catalyst.zoho.com/en/cloud-scale/help/cache/introduction/) until its expiry. After it expires, the connector will automatically fetch a new Access Token using the Refresh Token and store it in the cache. Each time the Access Token expires, the connector automatically fetches and caches a new token in the background, relieving you from the efforts of constructing the logic to maintain an uninterrupted connection with the external Zoho service in your application's business logic. > **Note:** Catalyst Connectors can only be used to maintain connections with an external Zoho service, and not any third-party services. This is because, the OAuth standards maintained across all Zoho services are uniform and compatible for Catalyst to implement the Connectors feature. Before you configure the connector in your Python business logic as shown below, you will need to register a new client in the [Zoho API console](https://api-console.zoho.com/), and follow the steps to generate an Authorization Code and an Access Token for the first time. You can then configure the connector with the Refresh Token received, as well as other standard OAuth parameters such as the Client ID, Client Secret, Authentication URL, and Refresh URL that are required to refresh the Access Token automatically in a periodical manner. > **Note:** * The name you provide for each connector in your logic must be unique. * If you create a server-based application in the Zoho API console and you allow the access token to be created for different users within the same application, then you will need to provide a different and unique connector name for each user. This is because, when the same connector is used for different users in an application, the token will be overwritten on the same cache segment resulting in fetching the wrong user's data from the external Zoho service. The code below illustrates a Python connector. The `app` reference used below is the [Python object](https://docs.catalyst.zoho.com/en/sdk/python/v1/setup/#initializing-the-sdk) returned as a response during SDK initialization. The response returns the access token: **Parameters Used**
Parameter Name Data Type Definition
`ConnectorName` Array A **Mandatory** parameter. Will store the connector details like client_id, client_secret, auth_url, refresh_url and refresh_token.
```python connector = app.connection( { "ConnectorName": { "client_id": {add_client_id}, "client_secret": {add_client_secret}, "auth_url": {add_auth_url}, "refresh_url": {add_refresh_url}, "refresh_token": {add_refresh_token}, "refresh_in": {add_refresh_in} # Configure the OAuth params from the values returned after registering your app and generating authorization code in Zoho API console } } ).get_connector("{ConnectorName}") #Provide a unique connector name for each connector you create access_token = connector.get_access_token() ``` > **Info :** Refer to the [SDK Scopes table](https://docs.catalyst.zoho.com/en/sdk/python/v1/sdk-scopes) to determine the required permission level for performing the above operation.# CLI REFERENCE ## v1 -------------------------------------------------------------------------------- title: "CLI Command Reference" description: "CLI Command Reference lists all commands available in Catalyst CLI that you can execute from your terminal." last_updated: "2026-11-03T15:16:51.000Z" source: "https://docs.catalyst.zoho.com/en/cli/v1/cli-command-reference/" service: "All Services" -------------------------------------------------------------------------------- # CLI Command Reference You must have Catalyst CLI installed in your system to access the Catalyst commands. Refer to the [Installing Catalyst CLI help page](https://docs.catalyst.zoho.com/en/getting-started/installing-catalyst-cli/) for the steps. ### Options
Command Syntax Usage
[ `-v` | `--version` ](https://docs.catalyst.zoho.com/en/cli/v1/cli-options/#-v----version) Print the Catalyst CLI version number
[`-p` | `--project <name_or_project_id>`](https://docs.catalyst.zoho.com/en/cli/v1/cli-options/#-p----project-name_or_project_id---org-org_id) Specify the Catalyst project to be used for a command
[`--org <org id>`](https://docs.catalyst.zoho.com/en/cli/v1/cli-options/#-p----project-name_or_project_id---org-org_id) Specify the Catalyst organization to be used for a command. Used with the `-p` option.
[`--token <token>`](https://docs.catalyst.zoho.com/en/cli/v1/cli-options/#--token-token) Supply an authentication token for a command
[`--dc <us|eu|in|jp|sa|au|ca>`](https://docs.catalyst.zoho.com/en/cli/v1/cli-options/#--dcuseuinjpsaauca) Supply a data center for a command
[`--verbose`](https://docs.catalyst.zoho.com/en/cli/v1/cli-options/#--verbose) Change the log level to verbose for debugging purposes
[`-h` | `--help`](https://docs.catalyst.zoho.com/en/cli/v1/cli-options/#-h----help) Display help for a Catalyst command
### Commands
Command Syntax Usage
[`login [options]`](https://docs.catalyst.zoho.com/en/cli/v1/login/login-from-cli/) Log the CLI in to your Catalyst account
[`token:generate [options]`](https://docs.catalyst.zoho.com/en/cli/v1/working-with-tokens/introduction/) Generate a token to authenticate accessing the CLI from a remote system
[`token:list`](https://docs.catalyst.zoho.com/en/cli/v1/working-with-tokens/list-tokens/) List all the available tokens generated in this CLI
[`token:revoke <id>`](https://docs.catalyst.zoho.com/en/cli/v1/working-with-tokens/revoke-token/) Revoke a token generated in this CLI
[`whoami`](https://docs.catalyst.zoho.com/en/cli/v1/identify-loggedin-user/) Print the email address of the user currently logged in
[`init [feature] [options]`](https://docs.catalyst.zoho.com/en/cli/v1/initialize-resources/introduction/) Initialize a Catalyst project, function, AppSail, and client resources in the local directory
[`project:list`](https://docs.catalyst.zoho.com/en/cli/v1/working-with-projects/list-catalyst-projects/) List all the Catalyst projects you have access to
[`project:use [name_or_project_id] `](https://docs.catalyst.zoho.com/en/cli/v1/working-with-projects/use-catalyst-project/) Set an active Catalyst project for your working directory
[`project:reset`](https://docs.catalyst.zoho.com/en/cli/v1/working-with-projects/reset-active-project/) Clear an active project selection and reset to the base project
[`pull [feature]`](https://docs.catalyst.zoho.com/en/cli/v1/pull-resources/introduction/) Pull resources of your project from the remote console to the local directory
[`iac:export [options]`](https://docs.catalyst.zoho.com/en/cli/v1/export-and-import-projects/introduction/) Export a project's code and configurations as a ZIP file
[`iac:import [options][file_path]`](https://docs.catalyst.zoho.com/en/cli/v1/export-and-import-projects/import-project/) Import a project's ZIP file and create a new project in the console
[`iac:pack [zip_name]`](https://docs.catalyst.zoho.com/en/cli/v1/export-and-import-projects/generate-zip-file/) Generate an import-ready ZIP file of a project in the standard format
[`iac:status [options]<operation>`](https://docs.catalyst.zoho.com/en/cli/v1/export-and-import-projects/export-import-job-status/) Obtain the current status of a scheduled import or export job
[`functions:setup`](https://docs.catalyst.zoho.com/en/cli/v1/working-with-functions/set-up-functions/) Set up and configure the function directory in your project directory
[`functions:add`](https://docs.catalyst.zoho.com/en/cli/v1/working-with-functions/add-functions/) Add a function of the required stack to the function directory
[`functions:config [function_name_or_id] [options] `](https://docs.catalyst.zoho.com/en/cli/v1/working-with-functions/configure-function-memory/) Perform advanced configurations such as memory allocation on a function in your project
[`functions:shell [options]`](https://docs.catalyst.zoho.com/en/cli/v1/working-with-functions/functions-shell/) Launch a node shell to test emulated functions of any stack or type, other than Advanced I/O functions
[`functions:delete [function_name_or_id] [options]`](https://docs.catalyst.zoho.com/en/cli/v1/working-with-functions/delete-functions/) Delete a function from the remote console or the local directory
[`config:set <key=value> `](https://docs.catalyst.zoho.com/en/cli/v1/cli-config/) Set Catalyst configuration as a key value pair
[`config:get <key>`](https://docs.catalyst.zoho.com/en/cli/v1/cli-config/#get-the-value-of-a-specific-key) Get Catalyst config value for the specified key
[`config:list`](https://docs.catalyst.zoho.com/en/cli/v1/cli-config/#list-configurations) List all Catalyst configurations
[`config:delete <key> `](https://docs.catalyst.zoho.com/en/cli/v1/cli-config/#delete-key) Delete a key from Catalyst config
[`appsail:add`](https://docs.catalyst.zoho.com/en/cli/v1/add-appsail/) Associate an existing Catalyst project directory with an AppSail service
[`client:setup`](https://docs.catalyst.zoho.com/en/cli/v1/working-with-the-client/introduction/) Set up and configure the client directory in your project directory
[`client:delete [client_version] [options]`](https://docs.catalyst.zoho.com/en/cli/v1/working-with-the-client/delete-client/) Delete a version of the client from the remote console or the local directory
[`ds:import [~CSV_file_path] [options]`](https://docs.catalyst.zoho.com/en/cli/v1/data-store-import-and-export/introduction/) Bulk write records to a table in the Catalyst Data Store
[`ds:export [options]`](https://docs.catalyst.zoho.com/en/cli/v1/data-store-import-and-export/export-operation/) Bulk read records from a table in the Catalyst Data Store
[`ds:status <operation> [job_id] [options]`](https://docs.catalyst.zoho.com/en/cli/v1/data-store-import-and-export/check-import-export-status/) Display the job status of a Data Store import or export operation
[`apig:enable`](https://docs.catalyst.zoho.com/en/cli/v1/working-with-api-gateway/introduction/) Enable API Gateway for your project
[`apig:disable`](https://docs.catalyst.zoho.com/en/cli/v1/working-with-api-gateway/disable-api-gateway/) Disable API Gateway for your project
[`apig:status [options]`](https://docs.catalyst.zoho.com/en/cli/v1/working-with-api-gateway/obtain-api-gateway-status/) Obtain the current status of API Gateway for your project and the schedule progress
[`event:generate` | `generate:event <source> <action> [options]`](https://docs.catalyst.zoho.com/en/cli/v1/event-generate/introduction/) Generate sample payloads from different components or custom event sources to test Event functions
[`event:generate:integ <service> [options]`](https://docs.catalyst.zoho.com/en/cli/v1/event-generate/sample-payload-integration-functions/) Generate sample payloads for the required integration service to test Integration functions
[`event:generate:job`](https://docs.catalyst.zoho.com/en/serverless/help/functions/job-functions/#testing-job-functions-using-catalyst-cli)Generate sample payloads to test Job functions
[`run-script` | `run [command]`](https://docs.catalyst.zoho.com/en/cli/v1/scripts/introduction/) Run a particular command script defined in `catalyst.json`
[`serve [options]`](https://docs.catalyst.zoho.com/en/cli/v1/serve-resources/introduction/) Serve Basic I/O, Advanced I/O, BrowserLogic functions, AppSail, and the client, to test them locally
[`deploy [options] [feature] `](https://docs.catalyst.zoho.com/en/cli/v1/deploy-resources/introduction/) Deploy the Catalyst project and project resources to the remote console from the local directory
[`help [command]`](https://docs.catalyst.zoho.com/en/cli/v1/cli-help/command-reference-help/) Display the command reference or help for a specific command
[`logout`](https://docs.catalyst.zoho.com/en/cli/v1/logout/) Log the CLI out of your Catalyst account
[`codelib:install`](https://docs.catalyst.zoho.com/en/codelib/install-a-codelib-solution/)Install the pre-configured Catalyst CodeLib components into your project
> **Note:** If you are a **Visual Studio Code IDE** user, you can install the Catalyst Tools extension, and perform these CLI operations using your IDE in place of the CLI. You can find more details about the Catalyst VS Code extension from this [help section](https://docs.catalyst.zoho.com/en/catalyst-extensions/vs-code-extension/introduction/). -------------------------------------------------------------------------------- title: "CLI Options" description: "Catalyst provides several CLI options that you can use with any of the CLI commands for various purposes." last_updated: "2026-08-28T06:26:16.000Z" source: "https://docs.catalyst.zoho.com/en/cli/v1/cli-options/" service: "All Services" -------------------------------------------------------------------------------- # CLI Options Catalyst provides the following CLI options that you can use with any of the CLI commands: ### -v | -\-version This option prints the version number of the Catalyst CLI that you are currently using. You can type `-v` or `-\\-version` with the `catalyst` command in the following way: ```sh catalyst --version ``` ![catalyst_cli_options_version](https://catalyst-docs-development.zohostratus.in/images/cli/cli-options/catalyst_cli_options_version.webp) ### -p | -\-project <name\_or\_project\_id> -\-org <org\_id> The `\-p` or `-\\-project` option is used to provide the name or the [ID of the Catalyst project](https://docs.catalyst.zoho.com/en/getting-started/set-up-a-catalyst-project/general-settings/) the CLI command must be executed for. This option is highly beneficial when you have not initialized or made a project active for your working directory in the CLI. You can also use this option if you are executing Catalyst CLI commands from a remote system, such as a remote code repository or CI system, without an active login session using a token. You can execute the Catalyst command by directly specifying the project the command is intended for, without having to initialize or enable a project in the CLI. The name or the ID of the project must be mentioned with the option. For example, to enable the API Gateway in a project called *ShipmentTracking*, you can execute the following CLI command with this option: ```sh catalyst apig:enable -p|--project ShipmentTracking ``` You can also optionally use the `-\\-org` option to provide the ID of the [Catalyst organization](https://docs.catalyst.zoho.com/en/getting-started/catalyst-organizations/) the project belongs to, and for which the CLI command must be executed. For example, to deploy the web client of a project from the CLI, we execute the following CLI command with both these options: ```sh catalyst deploy --only client -p|--project Test --org 72760298 ``` > **Note:**If you do not use the `-\\-org` option following the `\-p` or `-\\-project` option, the default org will be considered for the command execution. ![catalyst_cli_options_project](https://catalyst-docs-development.zohostratus.in/images/cli/cli-options/catalyst_cli_options_project.webp) ### -\-token <token> The `-\\-token` option is used to authenticate the execution of a Catalyst CLI command. The Catalyst CLI tokens allow you to execute CLI commands from a remote system, such as a CI tool, without an active user session logged in. You can learn more about Catalyst CLI tokens from the [Working with Tokens help page](https://docs.catalyst.zoho.com/en/cli/v1/working-with-tokens/introduction/) . You must [generate a token](https://docs.catalyst.zoho.com/en/cli/v1/working-with-tokens/generate-token/) when you are logged in to a user account from the CLI. You can then use that token from any remote system to perform all CLI operations without an active login session. This is done by specifying the token as an option following the CLI command. This token acts as an authenticating factor for that user account, and continues to map your command executions to the project you specify. For example, you can initialize the functions component of a Catalyst project from a remote system to your project directory using the `-\\-token` option as follows: ```sh catalyst init --only functions --token xxxxxxxxxxxxx ``` This will prompt Catalyst to verify the token, and begin the initialization process if the token is found to be valid. ![catalyst_cli_options_token](https://catalyst-docs-development.zohostratus.in/images/cli/cli-options/catalyst_cli_options_token.webp) ### -\-dc<us|eu|in|jp|sa|au|ca> The `-\\-dc` option enables you to execute a command from a specific DC login. Catalyst is currently available in seven data centers: **US** , **EU**, **IN**, **JP**, **SA**, **AU**, and **CA**. You can generally select the data center that you will be accessing Catalyst from while logging in to the CLI. Catalyst enables you to [maintain different logins](https://docs.catalyst.zoho.com/en/cli/v1/login/options/#--force) from each data center simultaneously. That is, you can have one valid token in both data centers each, to authenticate your command executions. You can then choose to execute a command from any one of the data centers, by specifying it using this option. For example, if you have a valid login in both EU and US DC simultaneously, you can initialize a project and its resources in your directory for the user account associated with the US data center by executing the command in the following way: ```sh catalyst init --dc us ``` This will enable Catalyst to initialize a project, after verifying the credentials in the data center that you specify. ![catalyst_cli_options_dc](https://catalyst-docs-development.zohostratus.in/images/cli/cli-options/catalyst_cli_options_dc.webp) > **Note:** If you have different logins maintained in both data centers and you don't use this option to specify the data center to execute this command from, then the most recent login will be used by default. ### -\-verbose The `-\\-verbose` option is used to display detailed information about the actions taking place when a CLI command is executed. Information including the details of the HTTP request sent to the server when the command is executed, details of the responses received, details about the CLI environment, the authorization tokens used to contact the server, and the cookies set are displayed. The `-\\-verbose` option helps you debug and troubleshoot the CLI command executions and enables you to identify the source of an error. You can execute any CLI command with the `-\\-verbose` option. For example, you can execute the projects list command using the verbose option as follows: ```sh catalyst project:list --verbose ``` ### -h | -\-help The `-h` or `-\\-help` option is used to get help with a CLI command. This provides a brief description of the command's functionality and lists the options that are available for the command and their syntax. For example, if you require help with the `catalyst functions:shell` command, you can execute the following command: ```sh catalyst functions:shell -h|--help ``` ![](https://catalyst-docs-development.zohostratus.in/images/cli/cli-options/catalyst_cli_options_help.webp) You can also get help for the command by executing [`catalyst help functions:shell` ](https://docs.catalyst.zoho.com/en/cli/v1/cli-help/command-reference-help/) . -------------------------------------------------------------------------------- title: "Identify Logged-In User" description: "You can find the identification of the user account that is currently logged in to the CLI with this command." last_updated: "2026-11-03T15:16:51.000Z" source: "https://docs.catalyst.zoho.com/en/cli/v1/identify-loggedin-user/" service: "All Services" -------------------------------------------------------------------------------- # Identify Logged-In User ### Command Execution You can easily find the identification of the user account that is currently logged in to the CLI. To identify the user currently logged in to the CLI, execute the following command: ```sh catalyst whoami ``` This will print the email address of the logged-in user. ![](https://catalyst-docs-development.zohostratus.in/images/cli/identify-logged-in-user/catalyst_cli_whoami.webp) ### Execute with -\-dc Option If you execute this command with the `-\\-dc` option and specify the data center, the command will return the email address of the user login of that data center. As explained in the [CLI Options help page](https://docs.catalyst.zoho.com/en/cli/v1/cli-options/#--dcuseuinjpsaauca) , Catalyst enables you to maintain valid login tokens for multiple data centers simultaneously. Therefore, if you had logged in to one data center with a user account, and another data center with a different user account, the `catalyst whoami` command will print the user login of that data center, when used with the `-\\-dc` option. You can identify the user currently logged in to a specific data center, by executing the following command: ```sh catalyst whoami --dc <us|eu|in|jp|sa|ca|au> ``` ![](https://catalyst-docs-development.zohostratus.in/images/cli/identify-logged-in-user/catalyst_cli_whoami_dc.webp) > **Note:** If you are a **Visual Studio Code IDE** user, you can install the **Catalyst Tools** extension, and perform CLI operations using your IDE in place of the CLI. Steps to perform the `whoami` operation in Visual Studio Code IDE can be found [here](https://docs.catalyst.zoho.com/en/catalyst-extensions/vs-code-extension/catalyst-tools-operations/#commands). -------------------------------------------------------------------------------- title: "CLI Config" description: "Catalyst enables you to set and manage the location of Python downloaded in your local system in a specific configuration file." last_updated: "2026-08-17T12:16:04.000Z" source: "https://docs.catalyst.zoho.com/en/cli/v1/cli-config/" service: "All Services" -------------------------------------------------------------------------------- # CLI Config File ### Introduction Configuration files in general are files that define parameters and values for any software or codebase settings. In this case, Catalyst provides CLI commands that enable you to set and manage the location of [Python](https://docs.catalyst.zoho.com/en/sdk/python/v1/overview/), and certain versions of [Java](https://docs.catalyst.zoho.com/en/sdk/java/v1/overview/) downloaded in your local system, in a specific configuration file. This particular configuration file is a hidden local file maintained in your system in varied locations, based on the OS installed in your system. It controls the operations of various utilities in your system. It also contains the configurations that allow the system to communicate effectively with the CLI. > **Note:** You can only set the Python, Java 11, Java 17, Java 21, or Java 25 path information in this configuration file for now. Catalyst currently does not support adding any other information in this file through the CLI. ### Set a Key-Value Pair You can add an entry to the config file in your local machine specifying the path of Python, Java 11, Java 17, Java 21, or Java 25 stored in your system, by providing the inputs in the form of a key-value pair. To do so, execute the command mentioned below from your system’s terminal: ```sh catalyst config:set <key=value> ``` You can set the path information for the function stacks in the following manner: - **Python**: ```sh catalyst config:set python3_10.bin=/Users/amelia-426/Downloads/Python-3.10 ``` - **Java 8**: ```sh catalyst config:set java8.bin=/Library/Java/JavaVirtualMachines/jdk1.8.0_291.jdk/Contents/Home/bin ``` - **Java 11**: ```sh catalyst config:set java11.bin=/Library/Java/JavaVirtualMachines/jdk-11.0.17.jdk/Contents/Home/bin ``` - **Java 17**: ```sh catalyst config:set java17.bin=/Library/Java/JavaVirtualMachines/jdk-17.jdk/Contents/Home/bin ``` - **Java 21**: ```sh catalyst config:set java21.bin=/Library/Java/JavaVirtualMachines/jdk-21.jdk/Contents/Home/bin ``` - **Java 25**: ```sh catalyst config:set java25.bin=/Library/Java/JavaVirtualMachines/jdk-25.jdk/Contents/Home/bin ``` > **Note:** * Currently, you can only set the key as `python3_10.bin`, `java8.bin`, `java11.bin`, `java17.bin`, `java21.bin`, or `java25.bin` * Replace the path listed in the above commands with your JDK or Python path * If your local system is running on **Windows OS**, kindly enclose the path in double-quotes. For example, you will set the Java 11 path in the following manner: ```sh catalyst config:set java11.bin="/Library/Java/JavaVirtualMachines/jdk-11.0.17.jdk/Contents/Home/bin" ``` ### Get the Value of a Specific Key You can fetch the value of any specific key in this particular configuration file by executing the terminal command below with the key: ```sh catalyst config:get <key> ``` - **Python**: ```sh catalyst config:get python3_10.bin ``` - **Java 8**: ```sh catalyst config:get java8.bin ``` - **Java 11**: ```sh catalyst config:get java11.bin ``` - **Java 17**: ```sh catalyst config:get java17.bin ``` - **Java 21**: ```sh catalyst config:get java21.bin ``` - **Java 25**: ```sh catalyst config:get java25.bin ``` This will return the path or the value of the key stored in the config file. For example: - **Python**: /Users/amelia-426/Downloads/Python-3.10 - **Java 8**: /Library/Java/JavaVirtualMachines/jdk1.8.0_291 - **Java 11**: /Library/Java/JavaVirtualMachines/jdk-11.0.17 - **Java 17**: /Library/Java/JavaVirtualMachines/jdk-17 - **Java 21**: /Library/Java/JavaVirtualMachines/jdk-21 - **Java 25**: /Library/Java/JavaVirtualMachines/jdk-25 > **Note:** * Currently, you can only retrieve the Python, Java 8, Java 11, Java 17, Java 21, or Java 25 path information from this file using this CLI command. * Replace the path listed in the above commands with your JDK or Python path * If your local system is running on **Windows OS**, kindly enclose the path in double-quotes. For example, you will set the Java 11 path in the following manner: ```sh catalyst config:get java11.bin="/Library/Java/JavaVirtualMachines/jdk-11.0.17.jdk/Contents/Home/bin" ``` ### List Configurations You can retrieve the list of all configurations (key-value pairs) that are present in the configuration file by executing the following command: ```sh catalyst config:list ``` ![catalyst_cli_config](https://catalyst-docs-development.zohostratus.in/images/cli/cli-config/catalyst_cli_config3.webp) > **Note:** Currently, this CLI command only retrieves the configuration information of the Python, Java 8, Java 11, Java 17, Java 21, or Java 25 path in your system. ### Delete Key You can delete an entry in the configuration file by executing the CLI command mentioned below: ```sh catalyst config:delete <key> ``` You must specify the key name of the entry that you want to delete. * **Python**: ```sh catalyst config:delete python3_10.bin ``` * **Java 8**: ```sh catalyst config:delete java8.bin ``` * **Java 11**: ```sh catalyst config:delete java11.bin ``` * **Java 17**: ```sh catalyst config:delete java17.bin ``` This will delete the key-value pair from the file. -------------------------------------------------------------------------------- title: "Add an AppSail Service" description: "Add a Catalyst AppSail web service in a Catalyst-managed runtime of Java, Node.js, and Python, or in a custom runtime as an OCI image to your project." last_updated: "2026-11-04T10:10:44.000Z" source: "https://docs.catalyst.zoho.com/en/cli/v1/add-appsail/" service: "All Services" -------------------------------------------------------------------------------- # Add an AppSail Service ### Introduction [AppSail](https://docs.catalyst.zoho.com/en/serverless/help/appsail/introduction/) is a serverless platform of Catalyst that you can use to deploy web services of any scale to the cloud and manage its platform instances. You can initialize an AppSail service in one of two ways: * **As a Catalyst-managed runtime**: Initialize and deploy applications of specific Java, Node.js, and Python runtimes supported by Catalyst directly to the remote console * **As a Container image**: Initialize and deploy an OCI image of your application of any runtime or framework from your local registry to the remote console > **Note:** * Catalyst only supports the deployment of [OCI-compliant images](https://github.com/opencontainers/image-spec) built for the Linux AMD64 (x86-64) platform. * Please note that when configuring write permissions for a Function or AppSail profile, the configured Function or AppSail will have privileges to perform all SDK operations within its project. In both cases, you can initialize an AppSail service for an app that is ready to be deployed, and associate it with a Catalyst project through this command. > **Info:** You can use this command to add an AppSail service in an existing Catalyst project directory. This can be used if you didn't [initialize AppSail](https://docs.catalyst.zoho.com/en/cli/v1/initialize-resources/initialize-appsail/#initialize-appsail-as-a-custom-runtime) when you initialized the project first, or to add additional AppSail services after your first one. If you did not initialize a project yet, you must first do so. You can also directly deploy an app without initialization through the [standalone command](https://docs.catalyst.zoho.com/en/cli/v1/deploy-resources/deploy-appsail/). You can add an AppSail service in an existing Catalyst project directory by executing this CLI command: ```sh catalyst appsail:add ``` ### Add AppSail as a Catalyst-Managed Runtime You can initialize an AppSail service for a Catalyst-managed runtime directly in your app's directory, or from a new directory. If you had selected AppSail during the project initialization, Catalyst will set it up after the client initialization. Catalyst creates an **[`app-config.json](https://docs.catalyst.zoho.com/en/serverless/help/appsail/catalyst-managed-runtimes/key-concepts/#the-app-configjson-file)`** file when an AppSail service is initialized in this method. 1. The CLI will prompt you to select the runtime type as **Catalyst-Managed Runtime** or **Docker Image**. Select the first option. ![catalyst_cli_appsail_init_1](https://catalyst-docs-development.zohostratus.in/images/cli/initialize-resources/catalyst_cli_appsail_init_0.webp) 2. You can now choose to get started with a readymade sample project by entering "Y" and pressing **Enter**, then selecting a sample app from the list. ![catalyst_cli_appsail_init_1](https://catalyst-docs-development.zohostratus.in/images/cli/initialize-resources/catalyst_cli_appsail_init_1.png) The sample app will be downloaded to the directory. Provide a name for it when prompted. ![catalyst_cli_appsail_init_1](https://catalyst-docs-development.zohostratus.in/images/cli/initialize-resources/catalyst_cli_appsail_init_2.png) If you want to initialize your own app, enter "N" , then press **Enter**. 3. Select if this will be your [source directory](https://docs.catalyst.zoho.com/en/serverless/help/appsail/catalyst-managed-runtimes/key-concepts/#source-directory-and-build-path) of your app by entering "Y". If you enter "N", the CLI will prompt you to type in the absolute path for your app's source in your directory. Press **Enter** after the entries. ![catalyst_cli_appsail_init_1](https://catalyst-docs-development.zohostratus.in/images/cli/initialize-resources/catalyst_cli_appsail_init_3.png) 4. Enter a name for your app. You can name the main file of your app's build anything you prefer. ![catalyst_cli_appsail_init_1](https://catalyst-docs-development.zohostratus.in/images/cli/initialize-resources/catalyst_cli_appsail_init_4.png) > **Note:** When you build your app as a Java WAR file, you will need to name the main file `root.war` or add specific controllers according to your code. 5. Enter the absolute [build path](https://docs.catalyst.zoho.com/en/serverless/help/appsail/catalyst-managed-runtimes/key-concepts/#source-directory-and-build-path) for your app, then press **Enter**. ![catalyst_cli_appsail_init_1](https://catalyst-docs-development.zohostratus.in/images/cli/initialize-resources/catalyst_cli_appsail_init_5.png) 6. Select a stack and runtime for your app and press **Enter**. ![catalyst_cli_appsail_init_1](https://catalyst-docs-development.zohostratus.in/images/cli/initialize-resources/catalyst_cli_appsail_init_6.png) If you select Java, the CLI will further prompt you to pick either **Java SE** or the **Java WAR** as your app's deployable format. You can learn more about this [here](https://docs.catalyst.zoho.com/en/serverless/help/appsail/catalyst-managed-runtimes/key-concepts/). ![catalyst_cli_appsail_init_1](https://catalyst-docs-development.zohostratus.in/images/cli/initialize-resources/catalyst_cli_appsail_init_7.png) If you select any other stack, this will be skipped. AppSail is now added in the source directory you selected, and the app is now associated with the Catalyst project. The configurations will be updated in [`catalyst.json`](https://docs.catalyst.zoho.com/en/cli/v1/project-directory-structure/catalyst-json/) file accordingly. ![catalyst_cli_appsail_init_1](https://catalyst-docs-development.zohostratus.in/images/cli/initialize-resources/catalyst_cli_appsail_init_8.webp) Catalyst creates an [`app-config.json](https://docs.catalyst.zoho.com/en/serverless/help/appsail/catalyst-managed-runtimes/key-concepts/#the-app-configjson-file)`file when an AppSail service is added in this method. This will be the only file that is specific to AppSail in your app's source directory. You can edit the values such as the startup command, environment variables, or memory in this file before deploying. ![catalyst_cli_appsail_init_1](https://catalyst-docs-development.zohostratus.in/images/cli/initialize-resources/catalyst_cli_appsail_init_9.webp) ### Add AppSail as a Custom Runtime You can initialize AppSail for a compliant OCI image of your app from a new directory. Catalyst supports two protocols that you can use to associate your app's image with AppSail. Each protocol has a distinct schema for identification and functioning. * **Docker Image Protocol:** Use this to associate a pre-built image of your app present in the local docker registry. The image must be built and [tagged](https://docs.docker.com/reference/cli/docker/image/tag/) to point to the local registry. Example: *docker://localhost/expres-hw:latest* * **Docker Archive Protocol:** Use this to point to an archive file (.tar or .tar.gz) of a pre-built image of your app in your system's directory. Example: *docker-archive://test.tar* > **Note:** The `.tar` file can be typically generated with the [`docker save` command](https://docs.docker.com/reference/cli/docker/image/save/). You need not provide any other details except the name for the AppSail for container images. The source or build path of the app, stack, and startup command are not required to be configured for OCI images, as they are already defined in the images. 1. The CLI will prompt you to select the runtime type as Catalyst-Managed Runtime or **Docker Image**. Select the second option. ![catalyst_cli_appsail_init_1](https://catalyst-docs-development.zohostratus.in/images/cli/initialize-resources/catalyst_cli_appsail_init_01.png) 2. Select the protocol as **Docker Image** or **Docker Archive**. ![catalyst_cli_appsail_init_1](https://catalyst-docs-development.zohostratus.in/images/cli/initialize-resources/catalyst_cli_appsail_init_02.png) 3. **Docker Image Protocol:** If you select **Docker Image**, the CLI will list all the available images with tags in the local docker registry. Select the image you need. ![catalyst_cli_appsail_init_1](https://catalyst-docs-development.zohostratus.in/images/cli/initialize-resources/catalyst_cli_appsail_init_03.png) **Docker Archive Protocol:** If you select **Docker Archive**, the CLI will prompt you to enter the absolute path to the TAR file image of your app in your local system. ![catalyst_cli_appsail_init_1](https://catalyst-docs-development.zohostratus.in/images/cli/initialize-resources/catalyst_cli_appsail_init_04.png) > **Note:** When the AppSail configuration is stored in the [`catalyst.json`](https://docs.catalyst.zoho.com/en/cli/v1/project-directory-structure/catalyst-json/) file, the path will be stored relative to that file's location. 4. Provide a name for the AppSail service. You can name it anything you prefer. ![catalyst_cli_appsail_init_1](https://catalyst-docs-development.zohostratus.in/images/cli/initialize-resources/catalyst_cli_appsail_init_05.png) AppSail is now added in your local directory, and the app's image is now associated with the AppSail service. The configurations will be updated in [`catalyst.json`](https://docs.catalyst.zoho.com/en/cli/v1/project-directory-structure/catalyst-json/) file accordingly. ![catalyst_cli_appsail_init_1](https://catalyst-docs-development.zohostratus.in/images/cli/initialize-resources/catalyst_cli_appsail_init_06.png) > **Note:** The [`app-config.json](https://docs.catalyst.zoho.com/en/serverless/help/appsail/catalyst-managed-runtimes/key-concepts/#the-app-configjson-file)` file will not be created when you add an AppSail with a container image. All the app specifications will be stored in the `catalyst.json` file. You can add certain custom configurations of your app in this file. Refer [here](https://docs.catalyst.zoho.com/en/serverless/help/appsail/appsail-configurations/) for details. You can now code your business logic in your app, then [serve the AppSail service](https://docs.catalyst.zoho.com/en/cli/v1/serve-resources/serve-all-resources/#serve-appsail-applications) through a localhost to [debug](https://docs.catalyst.zoho.com/en/serverless/help/appsail/debug-appsail/) and test it, or [deploy it](https://docs.catalyst.zoho.com/en/cli/v1/deploy-resources/deploy-appsail/) to the remote console directly. > **Info:** This command is available in Non-interactive mode. Refer to the [Non-Interactive Catalyst CLI Commands](https://docs.catalyst.zoho.com/en/ai-toolkit/ni-cli/ni-commands/) page for the complete syntax. -------------------------------------------------------------------------------- title: "Generate Payloads in Catalyst Signals" description: "Catalyst enables you to generate sample payloads from various event sources supported by Catalyst Publishers in Catalyst Signals using the CLI." last_updated: "2025-11-11T07:57:47.000Z" source: "https://docs.catalyst.zoho.com/en/cli/v1/gen-payload-catalyst-publishers/" service: "All Services" related: - Catalyst Signals (/en/signals/help/events/) -------------------------------------------------------------------------------- # Sample Payload for Events in Catalyst Publishers For events sourced by [Catalyst Publishers](https://docs.catalyst.zoho.com/en/signals/help/publishers/key-aspects/) in the [Catalyst Signal](https://docs.catalyst.zoho.com/en/signals/help/events/) service, you can use the following CLI command to generate sample payloads. ```sh catalyst signals:generate <publisher_service> <event_name> ``` The sample payload generated by this CLI command, can be used to test the functionality of the event function as per your requirement. Sample payloads can only be generated for the following Catalyst CloudScale components: * [DataStore](https://docs.catalyst.zoho.com/en/cloud-scale/help/data-store/introduction/) * [Stratus](https://docs.catalyst.zoho.com/en/cloud-scale/help/stratus/introduction/) * [Cache](https://docs.catalyst.zoho.com/en/cloud-scale/help/cache/introduction/) * [Authentication](https://docs.catalyst.zoho.com/en/cloud-scale/help/authentication/introduction/) The following table details the events for which sample payloads can be generated using the `catalyst signals: generate` command.
Publisher Service Event Name Event Action
DataStore `row_inserted` When a row is inserted to the table
`row_updated` When a row is updated in a table
`row_deleted` When a row is deleted from the table
Stratus `stratus_object_uploaded` When an object is uploaded to a bucket in Stratus
`stratus_object_downloaded` When an object is downloaded from a bucket in Stratus
`stratus_object_updated` When an object is updated in Stratus
`stratus_object_deleted` When an object is deleted from Stratus
Cache `cache_item_created` When a cache item is created
`cache_item_updates` When the cache is updated
Authentication `user_signedup` When a user signs up for an application
`user_confirmed` When a user completes the verification process
`user_deleted` When a user is removed from the application.
Consider this example, if you are required to generate a sample payload to test the functionality of an event function that is triggered when an object is uploaded to a bucket in Stratus, then the CLI command will be: ```sh catalyst signals: generate stratus stratus_object_upload ``` **Example Output**: The following JSON snippet details an example of the output that can be expected. **Example Output.json** ```json { "rule_id": "534143331281450898", "target_id": "33038437", "version": 1, "attempt": 1, "account": { "org_id": "96858155", "project": { "environment": "Development", "name": "Project-Rainfall", "id": "11365000000016052" } }, "events": [ { "data": { "action_time": "7437648374832", "bucket_details": { "bucket_name": "sample-bucket", "project_details": { "id": "11365000000016052", "project_name": "Project-Rainfall", "project_type": "Live" }, "created_by": { "email_id": "emmy@zylker.com", "user_type": "Admin", "user_id": "193334093726081", "is_confirmed": true, "last_name": "66028", "first_name": "97b6bc29b3", "zuid": "2369563417" }, "created_time": "May 23, 2025 06:21 PM", "modified_by": { "email_id": "emmy@zylker.com", "user_type": "Admin", "user_id": "193334093726081", "is_confirmed": true, "last_name": "66028", "first_name": "97b6bc29b3", "zuid": "2369563417" }, "modified_time": "May 23, 2025 06:21 PM", "bucket_meta": { "versioning": false, "caching": { "status": "Disabled" }, "encryption": false, "audit_consent": false } }, "object_key": "path1/path2/myfile.png" }, "id": "7a66cb17-967b-5ccd-dad0-34c34e63e5a", "time_in_ms": "1748004702399", "source": "publisher_id:51607702502369250/service:cloudscalestratus/account:41005674", "event_config": { "api_name": "stratus_object_uploaded", "id": "57515236254614294" } } ] } ``` ### Sample Payload for Custom Events To generate sample payloads for events that are sourced by custom applications or components, we can use the catalyst signals:generate CLI command in the following manner: ```sh catalyst signals:generate custom <custom_event> ``` To generate payloads for custom events, you need to define the custom events. That is, you need to have defined and configured the REST API key for the required event within your custom publisher. > **Learn More:** * [Custom Events](https://docs.catalyst.zoho.com/en/signals/help/events/#custom-events) * [Custom Publishers](https://docs.catalyst.zoho.com/en/signals/help/publishers/create-publisher/custom-publishers/) * [Add schema to custom events](https://docs.catalyst.zoho.com/en/signals/help/publishers/create-publisher/custom-publishers/#add-schema-to-custom-events) Consider the following example, you have another application that tracks end-users' diet and provides them with nutrition recommendation. You have a requirement where, in the event an end-user registers their diet plan, you have an appropriate logic that needs to be triggered. In this case, provided you have defined and configured the event schema and the required REST API key, then you can generate a sample payload for this event using the Catalyst CLI in the following manner: ```sh catalyst signals:generate custom diet_profile_registered ``` **Example Output**: The following JSON snippet details an example of the output that can be expected. **Example Output.json** ```json { "rule_id": "382913648739323890", "target_id": "70141764", "version": 1, "attempt": 1, "account": { "org_id": "60047207190", "project": { "environment": "Development", "name": "Project-Rainfall", "id": "21256000000010040" } }, "events": [ { "data": {}, "id": "53aea689-77ac-fd4b-560d-82fd532bd1a", "time_in_ms": "1760089550627", "source": "publisher_id:90216327659515060/service:custom", "event_config": { "api_name": "diet_profile_registered", "id": "97690672393764451" } } ] } ``` -------------------------------------------------------------------------------- title: "CLI Logout" description: "You can log out from your active account in the CLI by executing the logout command." last_updated: "2026-08-17T12:16:04.000Z" source: "https://docs.catalyst.zoho.com/en/cli/v1/logout/" service: "All Services" -------------------------------------------------------------------------------- # CLI Logout ### Command Execution You can log out from your CLI before terminating the terminal's execution. The authentication token containing your credentials of your logged-in user account will be revoked when you log out. When you log back in again, a fresh token will be generated for the session. To log out from the CLI, execute the following command: ```sh catalyst logout ``` The CLI will prompt you for a confirmation. Press **Y** and press **Enter** . ![CLI Logout](https://catalyst-docs-development.zohostratus.in/images/cli/cli-logout/catalyst_cli_logout.webp) Your user account will be logged out from the CLI. The CLI will display a message confirming that you are logged out. You can log back in to the CLI using the [catalyst login](https://docs.catalyst.zoho.com/en/cli/v1/login/login-from-cli/) command. > **Note:** If you are a **Visual Studio Code IDE** user, you can install the **Catalyst Tools** extension, and perform CLI operations using your IDE in place of the CLI. Steps to logout from Catalyst using Visual Studio Code IDE can be found [here](https://docs.catalyst.zoho.com/en/catalyst-extensions/vs-code-extension/catalyst-tools-explorer/#log-out-from-your-catalyst-account). ### CLI Help -------------------------------------------------------------------------------- title: "Command Reference Help" description: "Catalyst provides help options for your CLI command executions such as the command reference, command syntax help, and context-sensitive help." last_updated: "2026-11-04T10:10:44.000Z" source: "https://docs.catalyst.zoho.com/en/cli/v1/cli-help/command-reference-help/" service: "All Services" -------------------------------------------------------------------------------- # Command Reference Help ### View Command Reference Catalyst provides a variety of help options for your CLI command executions. You can use these options any time you require help with your CLI operations, such as for fetching the command reference or the list of options available for a particular command. You can easily obtain the command reference that lists all the available CLI commands with their syntax, along with brief descriptions of the commands and the actions they perform. This will also list the general [CLI options](https://docs.catalyst.zoho.com/en/cli/v1/cli-options/) that can be used with any CLI command, with their descriptions. To view the command reference, you can execute the following command from any directory: ```sh catalyst help ``` This will display all the commands and options available in the CLI version that you have installed. ![CLI Command Reference Help](https://catalyst-docs-development.zohostratus.in/images/cli/cli-help/catalyst_cli_help.webp) -------------------------------------------------------------------------------- title: "Command Syntax and Options Help" description: "Catalyst provides help options for your CLI command executions such as the command reference, command syntax help, and context-sensitive help." last_updated: "2026-11-04T10:10:44.000Z" source: "https://docs.catalyst.zoho.com/en/cli/v1/cli-help/command-syntax-and-options-help/" service: "All Services" -------------------------------------------------------------------------------- # Command Syntax and Options Help You can also get help with a specific command. This provides a brief usage description of the command's purpose, and lists the options that are available for the command and their syntaxes. You can access this help by specifying the command after `catalyst help` . For example, if you require help with `catalyst serve` , you can execute the following command: ```sh catalyst help serve ``` This will provide a brief description of the command, and list the options that it supports. ![Command Syntax and Options Help](https://catalyst-docs-development.zohostratus.in/images/cli/cli-help/catalyst_cli_help_serve.webp) -------------------------------------------------------------------------------- title: "The Help Option" description: "Catalyst provides help options for your CLI command executions such as the command reference, command syntax help, and context-sensitive help." last_updated: "2026-11-04T10:10:44.000Z" source: "https://docs.catalyst.zoho.com/en/cli/v1/cli-help/help-option/" service: "All Services" -------------------------------------------------------------------------------- # The Help Option You can also obtain help for a specific command by typing in the command and following it with a `-h` or `-\\-help` option. This performs the same functionality as the command syntax and options help mentioned in the previous section. For example, if you require help with the `catalyst functions:shell` command, you can execute the following command: ```sh catalyst functions:shell --help|-h ``` This is discussed in the [CLI options](https://docs.catalyst.zoho.com/en/cli/v1/cli-options/#-h----help) document in detail. -------------------------------------------------------------------------------- title: "Context Sensitive Help" description: "Catalyst provides help options for your CLI command executions such as the command reference, command syntax help, and context-sensitive help." last_updated: "2026-11-04T10:10:44.000Z" source: "https://docs.catalyst.zoho.com/en/cli/v1/cli-help/context-sensitive-help/" service: "All Services" -------------------------------------------------------------------------------- # Context Sensitive Help Catalyst also provides context sensitive help when you encounter an error during a CLI command execution. Catalyst will not only specify the reason behind the error, but it will also provide you help with the actions you can take to rectify or prevent the error, as well as a help link to the documentation of the particular action. This is discussed in the [CLI Context Sensitive Help page](https://docs.catalyst.zoho.com/en/cli/v1/context-sensitive-help/introduction/) in detail, which also includes a list of possible errors that you could encounter during each of your command executions. ### CLI Login -------------------------------------------------------------------------------- title: "Log in from Catalyst CLI" description: "Learn about logging in to Catalyst CLI before you execute a CLI command from your terminal." last_updated: "2026-09-02T11:17:14.000Z" source: "https://docs.catalyst.zoho.com/en/cli/v1/login/login-from-cli/" service: "All Services" -------------------------------------------------------------------------------- # Log in from Catalyst CLI ### Introduction Before you begin using Catalyst CLI, you need to log in to your Catalyst account in your CLI. This will connect your CLI with your online Zoho account. Once you are logged in from your CLI, you can work on your Catalyst project directly from your system's terminal. The changes you make in the CLI will be reflected and synchronized in your online Catalyst account when you deploy them. ### Steps to Log In To login to your online Zoho account from the CLI: 1. Execute the following command in your terminal: ```sh catalyst login ``` 2. You will be prompted to allow Catalyst to collect CLI error reporting information. Press **Y** to allow Catalyst to collect CLI error reporting information and press **Enter** . To deny permission, press **N** , then press **Enter**. 3. The CLI will then prompt you to select the data center that you will be accessing Catalyst from. Select the **US** , **EU**, **IN**, **JP**, **SA**, **AU**, or **CA** DC based on the DC your account belongs to, then press **Enter** . ![catalyst_cli_login_1](https://catalyst-docs-development.zohostratus.in/images/cli/cli-login/catalyst_cli_login_1.webp) You will be automatically redirected to your browser window, where the Zoho Accounts login page is opened. If you are not automatically redirected, visit the URL displayed under 'Visit this URL on this device to login'. ![](https://catalyst-docs-development.zohostratus.in/images/cli/cli-login/catalyst_cli_login_2.webp) > **Note:** Other than error reporting information, Catalyst also collects information about the performance and behaviour of the CLI, command logs, and other essentials. These are beneficial during bug fixes, if you approach Catalyst support for troubleshooting. If you deny the permission now, you will have to logout and login again, or perform a force login, to allow this permission again. The data is pushed to the Catalyst server only after you have authenticated your CLI. 4. If you aren't logged in to your Zoho account, sign in using your credentials in the Zoho Accounts login page. 5. You will be redirected to a page where Catalyst CLI requests permission to access the data in your Zoho account. Click **Accept** to provide these permissions to Catalyst CLI. ![](https://catalyst-docs-development.zohostratus.in/images/cli/cli-login/catalyst_cli_login_backend_permission_request.webp) 6. If your login attempt is successful, you will be redirected to a screen displaying a successful Catalyst CLI login message. ![](https://catalyst-docs-development.zohostratus.in/images/cli/cli-login/catalyst_cli_login_success_browser.webp) 7. Close the window and continue using the CLI in your terminal. The CLI also displays a successful login message. ![](https://catalyst-docs-development.zohostratus.in/images/cli/cli-login/catalyst_cli_login_success.webp) > **Note:** If you are a **Visual Studio Code IDE** user, you can install the **Catalyst Tools** extension, and perform these CLI operations using your IDE in place of the CLI. Steps to login to Catalyst through your Visual Studio Code IDE can be found [here](https://docs.catalyst.zoho.com/en/catalyst-extensions/vs-code-extension/implementation/#log-in-to-catalyst). > **Info:** This command is available in Non-interactive mode. Refer to the [Non-Interactive Catalyst CLI Commands](https://docs.catalyst.zoho.com/en/ai-toolkit/ni-cli/ni-commands/) page for the complete syntax. -------------------------------------------------------------------------------- title: "Login Options" description: "Learn about logging in to Catalyst CLI before you execute a CLI command from your terminal." last_updated: "2026-11-03T15:16:51.000Z" source: "https://docs.catalyst.zoho.com/en/cli/v1/login/options/" service: "All Services" -------------------------------------------------------------------------------- # Login Options Catalyst CLI enables you to use the following options with the `catalyst login` command. ### -\-no-localhost Catalyst provides you the convenience of using a different device to log in to the CLI. After providing your credentials and logging in from another device, you can continue using the CLI in your current device. This is highly beneficial when you are unable to access your server or use a browser on your current device. You can also use this option when you have to provide access to your user account's CLI to another collaborator. To log in to your CLI without using a browser, run the `catalyst login` command with the `-\\-no-localhost` option as follows: ```sh catalyst login --no-localhost ``` When you execute this command, you will be prompted to allow Catalyst to collect CLI error reporting information. Press **Y** to allow Catalyst to collect CLI error reporting information and press **Enter** . To deny permission, press **N** and press **Enter** . The CLI will then prompt you to select the data center that you will be accessing Catalyst from. Select the **US** , **EU**, **AU**, **JP**, **SA**, **IN**, or **CA** data center based on your location, then press **Enter** . Catalyst then provides you a URL and a verification code for your device. You can visit the URL from any device that can connect to the Zoho Accounts page. ![catalyst_cli_login_no_localhost](https://catalyst-docs-development.zohostratus.in/images/cli/cli-login/catalyst_cli_login_no_localhost.webp) Enter the verification code provided by Catalyst in that page and click **Verify** . ![catalyst_cli_login_no_localhost_verify](https://catalyst-docs-development.zohostratus.in/images/cli/cli-login/catalyst_cli_login_no_localhost_verify.webp) You will then be redirected to a sign-in page, where you can log in using your account credentials. If your account is already logged in, your CLI will be associated with that account automatically. You will be asked to provide permissions to Catalyst CLI to access the data in your Zoho account. After you provide the permissions, the browser window will display a message confirming that your device has been approved. ![catalyst_cli_login_no_localhost_approved](https://catalyst-docs-development.zohostratus.in/images/cli/cli-login/catalyst_cli_login_no_localhost_approved.webp) You can now begin using the CLI from the current device. ![](https://catalyst-docs-development.zohostratus.in/images/cli/cli-login/catalyst_cli_login_no_localhost_success.webp) ### -\-force If you encounter issues with user authentication, and the terminal prompts you for re-authentication, you can use the force login option, instead of logging out and logging in again. Force login discards the current authentication credentials for that data center, such as the grant token and the access token, and logs in the user to catalyst account all over again. You can also use this option to maintain different logins from different data centers simultaneously. That is, you can have one valid token in a single data center to authenticate your command executions. If you have already logged in to a data center with an account, and if you force log in again to another data center, both authentication tokens will be valid. You can then choose to execute a command from either one of the data centers, by [specifying it as an option](https://docs.catalyst.zoho.com/en/cli/v1/cli-options/#--dcuseuinjpsaauca) with the command. > **Note:** * You can have only one account logged in per data center. You will not be able to maintain multiple logins from the same data center. * If you have different logins maintained in different data centers and you don't use this option to specify the data center to execute this command from, then the most recent login will be used by default. To perform a force login in your CLI, run the `catalyst login` command with the `\--force` option as follows: ```sh catalyst login --force ``` After executing the command, follow the same steps as for `catalyst login` to log in to your online Zoho account from the CLI. ### Context-Sensitive Help -------------------------------------------------------------------------------- title: "Introduction" description: "Catalyst provides context-sensitive help when you encounter an error during a CLI command execution." last_updated: "2026-08-17T12:16:04.000Z" source: "https://docs.catalyst.zoho.com/en/cli/v1/context-sensitive-help/introduction/" service: "All Services" -------------------------------------------------------------------------------- # CLI Context-Sensitive Help ### Introduction Catalyst provides context-sensitive help when you encounter an error during a CLI command execution. For example, if there is an unexpected error in the usage of a command or while fetching a resource during a command execution, Catalyst will provide you help for the particular context of the error. Contextual help involves understanding the purpose or usage of a command by the user, and the reason for the error occurrence. Catalyst will analyze the situation dynamically to learn the reason behind not obtaining the expected result, and provide you customized help accordingly. When you run into an unexpected error during a command execution, Catalyst will not only specify the reason behind the error, but it will also provide you help with the actions you can take to rectify or prevent the error. Catalyst will also display a help link to the documentation of the particular command or action. You can simply open the help link URL in a browser and access the help documentation. #### Examples of Contextual Help * If you execute the `catalyst client:delete \[options\] \[client\_version\]` command to delete a live version of the client, the CLI will inform you that a currently live client cannot be deleted. It will also suggest that you could make a different version live or deploy a new version of the client before attempting the deletion operation again. It will also provide you a help link to the specific section in the CLI documentation that contains a detailed explanation. ![CLI Context-Sensitive Help](https://catalyst-docs-development.zohostratus.in/images/cli/cli-context-sensitive-help/catalyst_cli_con_help_1.webp) * If you execute a CLI command while being logged out from your Catalyst remote account, the CLI will inform you that it was unable to authenticate your command execution. It will suggest that you log in to your account or execute the command with a valid auth token, and provide a help link. ![CLI Context-Sensitive Help](https://catalyst-docs-development.zohostratus.in/images/cli/cli-context-sensitive-help/catalyst_cli_con_help_2.webp) * If you deploy a resource with a required configuration file missing, the CLI will inform you about the particular absent file and suggest you to include it in the directory. You can learn about the project directory structure from the help link provided, and rectify the errors. ![CLI Context-Sensitive Help](https://catalyst-docs-development.zohostratus.in/images/cli/cli-context-sensitive-help/catalyst_cli_con_help_3.webp) -------------------------------------------------------------------------------- title: "Possible Errors in Command Executions" description: "Catalyst provides context-sensitive help when you encounter an error during a CLI command execution." last_updated: "2026-11-03T15:16:51.000Z" source: "https://docs.catalyst.zoho.com/en/cli/v1/context-sensitive-help/possible-errors/" service: "All Services" -------------------------------------------------------------------------------- # List of Possible Errors in Command Executions Here are some common possible errors that you could encounter in your CLI during command executions, and the actions you can take to resolve them:
Command/Component Errors Fixes
Authentication Empty Token Basket [Generate a new token](https://docs.catalyst.zoho.com/en/cli/v1/working-with-tokens/generate-token/)
Token Retrieval Failure [Use a valid token from the list](https://docs.catalyst.zoho.com/en/cli/v1/working-with-tokens/list-tokens/)
Logged out of CLI [Log in to the CLI](https://docs.catalyst.zoho.com/en/cli/v1/login/login-from-cli/)
Refresh Token or Access Token Retrieval Failure [Log in to the CLI using `--no-localhost`](https://docs.catalyst.zoho.com/en/cli/v1/login/options)
Token Generation Failure [Generate a new token](https://docs.catalyst.zoho.com/en/cli/v1/working-with-tokens/generate-token/)
Invalid Token Provided with `--token` option [Provide a valid token with the option](https://docs.catalyst.zoho.com/en/cli/v1/cli-options/#--token-token)
Authentication Failure [Re-login with the `--force` option](https://docs.catalyst.zoho.com/en/cli/v1/login/options/#--force)
Data Center Invalid Input for the `--dc` Option [Specify a valid input and try again](https://docs.catalyst.zoho.com/en/cli/v1/cli-options/#--dcuseuinjpsaauca)
Project First Catalyst Project Not Created [Create a new project](https://docs.catalyst.zoho.com/en/getting-started/catalyst-projects/)
Project Provided with `-p` option Not Found [Select an existing project from the list](https://docs.catalyst.zoho.com/en/cli/v1/cli-options/#-p----project-name_or_project_id---org-org_id)
File Missing in Project Directory [Initialize the project](https://docs.catalyst.zoho.com/en/cli/v1/initialize-resources/introduction/) or set up the [missing component](https://docs.catalyst.zoho.com/en/cli/v1/project-directory-structure/introduction/)
Resource Not Found in Project Directory [Initialize the project](https://docs.catalyst.zoho.com/en/cli/v1/initialize-resources/introduction/) or set up the [missing component](https://docs.catalyst.zoho.com/en/cli/v1/project-directory-structure/introduction/)
Project Not Found in the Remote Console [Use an available project from the list](https://docs.catalyst.zoho.com/en/cli/v1/working-with-projects/use-catalyst-project/)
File Corrupted in Project Directory Delete the corrupted file and [initialize the project again](https://docs.catalyst.zoho.com/en/cli/v1/initialize-resources/initialize-options/)
Active Project Not Found in the Remote Console [Change the existing active project to an available one](https://docs.catalyst.zoho.com/en/cli/v1/working-with-projects/use-catalyst-project/)
API Gateway Enable APIG Failure- APIG Scheduler in Progress [Check the status of the scheduled job](https://docs.catalyst.zoho.com/en/cli/v1/working-with-api-gateway/obtain-api-gateway-status/) and try again after some time
APIG Reports Not Found [Deploy APIG rules from the CLI](https://docs.catalyst.zoho.com/en/cli/v1/deploy-resources/deploy-api-gateway/)
Disable APIG Failure- APIG Scheduler in Progress [Check the status of the scheduled job](https://docs.catalyst.zoho.com/en/cli/v1/working-with-api-gateway/obtain-api-gateway-status/) and try again after some time
Unable to Read APIG Rules File Rectify the specified errors and try again
APIG Rules File Missing [Create the missing file or specify a valid file name](https://docs.catalyst.zoho.com/en/cli/v1/working-with-api-gateway/api-gateway-json-file/)
Name Missing in APIG Rule [Provide a name for the APIG rule](https://docs.catalyst.zoho.com/en/cli/v1/working-with-api-gateway/api-gateway-json-file/)
Duplicate APIG Rule Name [Change the name or delete the APIG rule](https://docs.catalyst.zoho.com/en/cli/v1/working-with-api-gateway/api-gateway-json-file/)
Mandatory Values Missing in APIG Rule [Add the specified mandatory values to the APIG rule](https://docs.catalyst.zoho.com/en/cloud-scale/help/api-gateway/key-concepts/#routing)
Duplicate Values in APIG Rule [Modify the APIG rule and resolve the conflict](https://docs.catalyst.zoho.com/en/cloud-scale/help/api-gateway/key-concepts/#routing)
Invalid Client Specified in APIG Rule Rectify the specified errors in the client and try again
Cannot Authenticate APIG Rule with Client Target [Remove the specified key from the APIG rule](https://docs.catalyst.zoho.com/en/cloud-scale/help/api-gateway/key-concepts/#authentication-request-processor)
Invalid RegEx in APIG Rule [Rectify the specified RegEx error](https://docs.catalyst.zoho.com/en/cloud-scale/help/api-gateway/key-concepts/#routing)
Invalid Parameters in APIG Rule [Rectify the specified error to continue](https://docs.catalyst.zoho.com/en/cloud-scale/help/api-gateway/key-concepts/#routing)
Invalid Request or Target URL in APIG Rule [Provide a valid target URL in the APIG rule](https://docs.catalyst.zoho.com/en/cloud-scale/help/api-gateway/key-concepts/#routing)
Data Store Table Identifier Missing in Export/Import Operation [Provide the table identifier in the command or configuration file](https://docs.catalyst.zoho.com/en/cli/v1/data-store-import-and-export/introduction/)
Source File Missing in Import Operation [Provide the path of the CSV file in the local machine with the command](https://docs.catalyst.zoho.com/en/cli/v1/data-store-import-and-export/import-operation/#input-csv-file)
Client Web Client Not Found in the Local Machine [Create a new web client](https://docs.catalyst.zoho.com/en/cli/v1/working-with-the-client/set-up-client/)
Web Client Not Found in the Remote Console [Deploy a web client from the CLI](https://docs.catalyst.zoho.com/en/cli/v1/deploy-resources/deploy-client/)
Web Client Version Not Found in Local Machine/Remote Console to Delete [Delete a version from the list of versions available](https://docs.catalyst.zoho.com/en/cli/v1/working-with-the-client/delete-client/)
Web Client Version is Live and Cannot be Deleted [Change the live version to a different one](https://docs.catalyst.zoho.com/en/cloud-scale/help/web-client-hosting/implementation/#deploy-an-older-version-of-a-web-application) or [deploy a new version of the web client](https://docs.catalyst.zoho.com/en/cli/v1/deploy-resources/deploy-client/)
Cannot Use `--local` and `--remote` Options Simultaneously to Delete [Use either one of the options at a time](https://docs.catalyst.zoho.com/en/cli/v1/working-with-the-client/delete-client/#delete-client-options)
Client File Cannot be Parsed Rectify the specified error and try again
File Missing in Client Directory [Create the specified file in the client source directory](https://docs.catalyst.zoho.com/en/cli/v1/project-directory-structure/client-directory/)
File Corrupted in Client Directory [Rectify the specified error or provide valid targets](https://docs.catalyst.zoho.com/en/cli/v1/project-directory-structure/client-directory/)
Functions No Functions in the Remote Console to Configure or Use Feature for [Create a new function in the console](https://docs.catalyst.zoho.com/en/serverless/help/functions/implementation/) or [deploy a function to the console](https://docs.catalyst.zoho.com/en/cli/v1/deploy-resources/deploy-functions/)
Invalid Value with `--memory` Option while Configuring [Provide a valid number with the option](https://docs.catalyst.zoho.com/en/cli/v1/working-with-functions/configure-function-memory/)
Function Not Found in the Local Machine to Delete [Select an available function from the list to delete](https://docs.catalyst.zoho.com/en/cli/v1/working-with-functions/delete-functions/)
No Functions in the Local Machine to Delete [Create a new function in the project directory](https://docs.catalyst.zoho.com/en/cli/v1/working-with-functions/add-functions/)
Function Not Found in the Remote Console to Delete [Select an available function from the list to delete](https://docs.catalyst.zoho.com/en/cli/v1/working-with-functions/delete-functions/)
No Functions in the Remote Console to Delete [Create a new function in the console](https://docs.catalyst.zoho.com/en/cli/v1/working-with-functions/add-functions/) or [deploy a function to the console](https://docs.catalyst.zoho.com/en/cli/v1/deploy-resources/deploy-functions/)
Cannot Use Function ID in the Local Machine to Delete [Use the function name or execute the command without specifying any function identifiers](https://docs.catalyst.zoho.com/en/cli/v1/working-with-functions/delete-functions/)
Cannot Use `--local` and `--remote` Options Simultaneously to Delete [Use either one of the options at a time](https://docs.catalyst.zoho.com/en/cli/v1/working-with-functions/delete-functions/#delete-functions-options)
Configuration Files Functions Specified in Config File Not Found [Specify valid function names under the `functions` key](https://docs.catalyst.zoho.com/en/cli/v1/project-directory-structure/catalyst-json/)
Client Specified in Config File Not Found [Specify a valid client source directory under the `client` key](https://docs.catalyst.zoho.com/en/cli/v1/project-directory-structure/catalyst-json/)
Directory Specified in Config File Not Found [Specify a valid directory name that is available in the project directory](https://docs.catalyst.zoho.com/en/cli/v1/project-directory-structure/introduction/)
Invalid Targets in Config File [Specify valid values as `targets` in the config file](https://docs.catalyst.zoho.com/en/cli/v1/project-directory-structure/catalyst-json/)
File Missing in Project Root Directory [Initialize the project again](https://docs.catalyst.zoho.com/en/cli/v1/initialize-resources/introduction/)
Scripts Invalid Script Command [Specify the command in a valid format](https://docs.catalyst.zoho.com/en/cli/v1/scripts/introduction/)
Invalid Feature Specified [Specify a valid feature to execute the script](https://docs.catalyst.zoho.com/en/cli/v1/scripts/run-script/)
Script Unavailable in File [Run an available script](https://docs.catalyst.zoho.com/en/cli/v1/scripts/run-script/)
Script Exited with Error [Rectify the error and try again](https://docs.catalyst.zoho.com/en/cli/v1/scripts/run-script/)
Event Generate Options Provided Not in Pairs [Provide the options as pairs in the right format](https://docs.catalyst.zoho.com/en/cli/v1/event-generate/introduction/)
Source Invalid [Provide an available source](https://docs.catalyst.zoho.com/en/cli/v1/event-generate/introduction/)
Options in Invalid Format [Provide the options in a valid format](https://docs.catalyst.zoho.com/en/cli/v1/event-generate/introduction/)
Event Bus Name Missing in Custom Event [Provide the Event Bus name](https://docs.catalyst.zoho.com/en/cli/v1/event-generate/sample-payload-custom-event/)
Rule Identifier Missing in Custom Event [Provide the Rule Identifier](https://docs.catalyst.zoho.com/en/cli/v1/event-generate/sample-payload-custom-event/)
Event Bus Not Found in the Remote Console [Provide an available Event Bus name](https://docs.catalyst.zoho.com/en/cli/v1/event-generate/sample-payload-custom-event/)
Action Not Compatible with Source [Provide an action compatible with the source](https://docs.catalyst.zoho.com/en/cli/v1/event-generate/introduction/)
Incorrect Segment/Table/Folder Identifier [Provide a valid identifier with the option](https://docs.catalyst.zoho.com/en/cli/v1/event-generate/sample-payload-component-event/)
Event Generate: Integration Functions Incorrect Input Value for Cliq Integration Event [Provide the input in the right format](https://docs.catalyst.zoho.com/en/cli/v1/event-generate/sample-payload-integration-functions/)
Unknown Combination of Cliq Component [Choose the appropriate combination of Cliq components from the list ](https://docs.catalyst.zoho.com/en/cli/v1/event-generate/sample-payload-integration-functions/)
Integration Service Unavailable [Provide an available integration service](https://docs.catalyst.zoho.com/en/cli/v1/event-generate/sample-payload-integration-functions/)
Pull Invalid Value with Command [Provide the values `client`, `functions`, or `apig` with the command](https://docs.catalyst.zoho.com/en/cli/v1/pull-resources/pull-all-resources/)
Serve No Valid Components to Serve [Rectify the errors and try again](https://docs.catalyst.zoho.com/en/cli/v1/serve-resources/introduction/)
Ports in the Given Range Unavailable [Specify a port out of the given range](https://docs.catalyst.zoho.com/en/cli/v1/serve-resources/serve-options/)
Shell No Valid Functions to Serve [Rectify the errors and try again](https://docs.catalyst.zoho.com/en/cli/v1/working-with-functions/functions-shell/)
Deploy No Functions Ready for Deploy [Execute the deploy command with an appropriate option](https://docs.catalyst.zoho.com/en/cli/v1/deploy-resources/deploy-options/)
APIG Deploy Skipped [Enable API Gateway locally](https://docs.catalyst.zoho.com/en/cli/v1/working-with-api-gateway/enable-api-gateway/) and [deploy it once again](https://docs.catalyst.zoho.com/en/cli/v1/deploy-resources/introduction/)
Java Functions Configuration JAR File Missing in the Path Specified in Config File [Specify a valid path to the JAR file](https://docs.catalyst.zoho.com/en/cli/v1/project-directory-structure/functions-directory/)
File Corrupted in Function Directory [Delete the corrupted file and execute the command again](https://docs.catalyst.zoho.com/en/cli/v1/project-directory-structure/functions-directory/)
Project Name Mismatch in Config File [Change the project name to an appropriate value](https://docs.catalyst.zoho.com/en/cli/v1/project-directory-structure/introduction/)
Java Compiler Version Check Failure [Ensure that Java Compiler is installed](https://docs.catalyst.zoho.com/en/getting-started/installing-catalyst-cli/#pre-requisites) and execute the command again
Java Compiler Above Compatible Version [Downgrade Java Compiler to a supported version](https://docs.catalyst.zoho.com/en/getting-started/installing-catalyst-cli/#pre-requisites)
Main File Missing in Function Directory [Specify a valid main file in the config file](https://docs.catalyst.zoho.com/en/cli/v1/project-directory-structure/functions-directory/)
Java Compilation Error Rectify the specified errors to continue
Node.js Functions Configuration Main File Missing in Function Directory [Specify a valid main file in the config file](https://docs.catalyst.zoho.com/en/cli/v1/project-directory-structure/functions-directory/)
Options Usage Duplicate Targets Specified for Option Remove the duplicate value and try again
Invalid Target Specified with Option Provide a valid target as specified
Target Specified With and Without Filter Provide the target in a valid format
Unable to Debug Client Target Remove the client as a target in `-\-debug` and try again
Conflict in Option Usage Use only one of the options at a time
Invalid Input for Option Provide a valid input as specified and try again
APIG Cannot Be Served Separately [Include at least one other component like functions or client](https://docs.catalyst.zoho.com/en/cli/v1/serve-resources/introduction/)
Org Option is needed when Project Option is Supplied Provide org ID of the organization the project belongs to using `-\-org`when you refer to a specific project using [`-\-project` or `-p`](https://docs.catalyst.zoho.com/en/cli/v1/cli-options/#-p----project-name_or_project_id---org-org_id)
General Not in Catalyst App Directory during Command Execution [Run the command from a valid Catalyst directory](https://docs.catalyst.zoho.com/en/cli/v1/project-directory-structure/introduction/) or [initialize a project to make this a Catalyst app directory](https://docs.catalyst.zoho.com/en/cli/v1/initialize-resources/introduction/)
Incorrect Usage of Command [Use `catalyst help` or execute the command with the `--help` option to get usage instructions](https://docs.catalyst.zoho.com/en/cli/v1/cli-help/command-reference-help/)
Unable to Load File Rectify the specified errors to continue
Requested Port Unavailable Provide a different port with the command
### Data Store Import and Export -------------------------------------------------------------------------------- title: "Introduction" description: "Catalyst enables you to perform bulk read and bulk write operations on the tables in the Data Store using the CLI." last_updated: "2025-08-12T06:25:42.000Z" source: "https://docs.catalyst.zoho.com/en/cli/v1/data-store-import-and-export/introduction/" service: "All Services" -------------------------------------------------------------------------------- # Data Store Import and Export ### Introduction Catalyst enables you to perform bulk read and bulk write operations on the tables in the [Catalyst Data Store](https://docs.catalyst.zoho.com/en/cloud-scale/help/data-store/introduction/) using the CLI. * **Data Store Import:** The import operation can fetch thousands of records from a CSV file uploaded in a Bucket in [Stratus](https://docs.catalyst.zoho.com/en/cloud-scale/help/stratus/introduction/) and bulk write them to a specific table in the Data Store. After the import operation has executed successfully, a CSV report file containing the details of the job execution will be generated at a download URL. * **Data Store Export:** The export operation can bulk read thousands of records from a specific table in the Data Store, and generate a CSV file containing the results of the read operation if the job is successful. The specific requirements for both import and export operations can be defined in an optional input JSON configuration file, which you can pass along with your CLI commands. If you do not pass a configuration file, you must specify the mandatory information in the options of the command executions. You can configure a callback URL in both the operations, to enable automatic posting of the job status responses in it. You can also [manually check the job execution status](https://docs.catalyst.zoho.com/en/cli/v1/data-store-import-and-export/check-import-export-status/) whenever you need. > **Note:** Catalyst also provides APIs for Data Store import and export operations. You can create the jobs, check their statuses, and download the results using individual APIs for both operations. Refer to the [Bulk Read API](https://docs.catalyst.zoho.com/en/api/code-reference/cloud-scale/data-store/bulk-read-rows/create-bulk-read-job/#CreateBulkReadJob) and [Bulk Write API](https://docs.catalyst.zoho.com/en/api/code-reference/cloud-scale/data-store/bulk-write-rows/create-bulk-write-job/#CreateBulkWriteJob) documentations for more information. -------------------------------------------------------------------------------- title: "Import Operation" description: "Catalyst enables you to perform bulk read and bulk write operations on the tables in the Data Store using the CLI." last_updated: "2026-10-29T09:21:03.000Z" source: "https://docs.catalyst.zoho.com/en/cli/v1/data-store-import-and-export/import-operation/" service: "All Services" -------------------------------------------------------------------------------- # Data Store Import The general syntax of the Data Store import command is: ```sh catalyst ds:import [CSV_file_path] [options] ``` Before we discuss the command execution, let us look at the operations and configurations available for this command in detail. ### Operations There are three operations that can be performed using the Data Store import command: * **Insert:** Inserts new rows of data into the table from the CSV file * **Update:** Updates existing rows of data in the table * **Upsert:** Enables both insert and update operations at the same time. If the record already exists, the row is updated. If the record does not exist, a new row with the data is inserted. You can specify the operation to be executed in the input [JSON configuration file](https://docs.catalyst.zoho.com/en/cli/v1/data-store-import-and-export/import-operation/#json-configuration-file-structure). ### Input CSV File As mentioned earlier, the import operation bulk writes records from a CSV file to a table. You can provide the CSV file in two ways: 1. You can upload the CSV file containing the records to a Bucket in Stratus before you begin executing this operation. In this case, you must specify the unique [Object URL](https://docs.catalyst.zoho.com/en/cloud-scale/help/stratus/objects/introduction/#object-url) generated for the file in Stratus, in the JSON configuration file that you pass during the command execution. 2. If you do not pass any JSON configuration file with the command, you must specify the path of the CSV file in your system in your command execution, as shown in the general syntax above. Catalyst will then upload the CSV file you provide to your project's Bucket and automatically obtain it's Object URL for execution. You can select the path to save the file in Stratus. Catalyst will consider the CSV file specified with the command as the higher priority, over the Object URL specified in the JSON file. If the CSV file is not specified in either place, the CLI will display an error message during command execution. > **Note:** 1. The CSV file's first row must be the header row. In other words, the column names must be present as the header row. 2. The CSV file must contain data in the format that adheres to CSV file standards. If the file is not in the standard format, the data written to the table may be corrupted. 3. You can import up to 100,000 records in a single import. If the CSV file contains more records than that, the first 100,000 records will be written to the table and the others will be skipped. ### JSON Configuration File Structure A sample JSON configuration file specifying the requirements of the import operation, that you can optionally pass during the command execution, is shown below: ```json { "table_identifier" : "ZylkerEmpDatabase", "operation" : "upsert", "object_url" : "https://bucket-name-development.zohostratus.com/object-name", "callback" : { "url" : "https://hr.zylker.com/en/EmpRecords/_callback.php.com", "headers" : { "src" : "ZCatalyst", "operation" : "bulkwriteAPI" } }, "find_by" : "EmpID", "fk_mapping" : [ { "local_column" : "EmpID", "reference_column" : "EmployeeID" }, { "local_column" : "DeptID", "reference_column" : "DepartmentID" } ] } ``` The parameters supported by the JSON configuration file are defined below:
Attributes Description
`table_identifier` (String, Mandatory) The [unique ID of the table](https://docs.catalyst.zoho.com/en/cloud-scale/help/data-store/tables/) or the table name where data must be imported to. You can also pass the table identifier using the `[-\-table](https://docs.catalyst.zoho.com/en/cli/v1/data-store-import-and-export/import-operation/#import-options)` option.
`operation` (String, Optional) Specifies the operation to be executed. Allowed values:`insert`, `update`, `upsert` Default operation: `insert`
`object_url` (String, Mandatory) The [unique ID of the CSV file](https://docs.catalyst.zoho.com/en/cloud-scale/help/stratus/objects/introduction/#object-url) in Stratus. You can also specify the CSV file path with the command.
`find_by` (String, Mandatory for `update` and `upsert` operations. Not mandatory for `insert` operation) The unique column using which the records are identified. For example, if you specify a unique column called 'EmployeeID' as the `find_by` value, Catalyst will search the records in the Data Store table using the EmployeeID value. For the update operation, Catalyst will update the rows that match the EmployeeID value from the CSV file. For the upsert operation, Catalyst will update existing rows, and insert new rows if there are no records with matching EmployeeID values. Update: This can be a column with unique values as configured in the Data Store, or the [ROWID](https://docs.catalyst.zoho.com/en/cloud-scale/help/data-store/columns/#default-columns) generated by Catalyst for the records. Upsert: You can only specify a column with unique values as configured in the Data Store. You will not be able to specify the ROWID as the `find_by` value. This is because, upsert will insert new rows if matching ones are not found, and the ROWID values will not be available for rows not existing in the Data Store. Insert: If you specify a `find_by` column for an insert operation, any records matching the column values from the CSV file will be skipped and not inserted into the Data Store table. This is because, insert cannot update if a given record already exists.
`fk_mapping` (JSON, Optional) Foreign key mapping for the columns that are primary keys in other tables. This is specified if any columns imported from the CSV file should be configured as foreign keys. You must map foreign keys in the following format: { "local_column" : "local_column_name_1", "reference_column" : "reference_column_name_1" } where `local_column` is the name of the column in the table where the bulk write operation is processed, and `reference_column` is the name of the column in the table in which it is a primary key.
`callback` (JSON, Optional) The section where you can define the properties of the callback URL, where automatic JSON responses of the job statuses will be sent to. The properties to be included in this section are given in the table below.
#### Callback Properties
Attribute Description
`url` (String, Mandatory if you want to specify the callback URL) The URL where the automatic responses will be sent to using the HTTP `POST` method, each time the job status changes. Information about the job details will be contained in the body of the JSON response. The CLI will also display a live stream of the execution, and the final job status.
`headers` (String, Optional) Headers that you require to be passed in the JSON response to the callback URL You must specify the headers as: { "{header_name_1}" : "{header_value_1}", "{header_name_2}" : "{header_value_2}" } and so on.
`params` (String, Optional) Parameters that you require to be appended to the callback URL You must specify the parameters as: { "{param_name_1}" : "{param_value_1}", "{param_name_2}" : "{param_value_2}" } and so on.
> **Note:** If you don't specify the mandatory CSV file params and table identifier parameters in the JSON file, or if you don't pass a JSON file during the command execution, you must specify the CSV file path and the table identifier as [import options](https://docs.catalyst.zoho.com/en/cli/v1/data-store-import-and-export/import-operation/#import-options) . ### Import Job Processing States There are three job processing states for the import operation: * **In-Progress:** The job enters this state as soon as you execute the import command. The CLI will display a ` **job\_id** ` parameter that you can use to [check the status of the job execution](https://docs.catalyst.zoho.com/en/cli/v1/data-store-import-and-export/check-import-export-status/) for subsequent responses manually, if you have not configured a callback URL in the JSON. If you have configured a callback URL, a state response with the `job\_id` will also be posted to the URL in the format you defined. * **Success:** If the import operation is successful, Catalyst will provide a download URL where you can download a CSV report file that contains the details of the job execution. Catalyst also enables you to download the report file directly to your system through the CLI. If you have configured a callback URL, this response will be posted to it as well. * **Failed:** If the import operation fails, the CLI will display the details of the errors that occurred. If you have configured a callback URL, this response will be posted to it as well. ### Import Options The import command execution process is described in detail in this section, for each option. The Data Store import command supports the following options: #### -\-config <path> The `config` option enables you to define the path of the JSON configuration file in your system. For example, you can execute the import operation and pass the JSON file path as shown below: ![Data Store CLI Import](https://catalyst-docs-development.zohostratus.in/images/cli/datastore-import-and-export/catalyst_cli_import_1.webp) The CLI will then automatically schedule the job execution and mark it as "in-progress". It will display a live stream of the execution process, along with the ` [job_id](https://docs.catalyst.zoho.com/en/cli/v1/data-store-import-and-export/import-operation/#import-job-processing-states) ` . If the job executes successfully, the CLI will prompt you to download the report file to your system. Type '**y** ', then press **Enter** to download. ![Data Store CLI Import](https://catalyst-docs-development.zohostratus.in/images/cli/datastore-import-and-export/catalyst_cli_import_2.webp) The ZIP file containing the report file will be downloaded to your project directory. ![Data Store CLI Import](https://catalyst-docs-development.zohostratus.in/images/cli/datastore-import-and-export/catalyst_cli_import_3.webp) You can use the download URL provided by Catalyst to download the report even when you are not working in your CLI. You must execute it as an [API command](https://docs.catalyst.zoho.com/en/api/code-reference/cloud-scale/data-store/bulk-write-rows/download-bulk-write-result/#DownloadBulkWriteResult) . > **Note:** The download URL will be valid for 1 day since its generation. The CSV report file will list all the records that were skipped from being written, along with the reasons for it. ![Data Store CLI Import](https://catalyst-docs-development.zohostratus.in/images/cli/datastore-import-and-export/catalyst_cli_import_csv.webp) #### -\-table <name|id> The `-\\-table` option enables you to specify the table name or Table ID of the table, to which the records must be written. As mentioned earlier, if you don't specify the table identifier in the JSON file, or if you don't pass a JSON file during the command execution, you must specify it using this option. Catalyst will consider the table specified in the option as the higher priority, over the one specified in the JSON file. If the table is not specified in either place, the CLI will display an error message during command execution. For example, you can specify the table identifier along with the CSV file path in the following way: ![Data Store CLI Import](https://catalyst-docs-development.zohostratus.in/images/cli/datastore-import-and-export/catalyst_cli_import_select_folder.webp) If you specify the CSV file path, the CLI will then execute the import operation, bulk write the records to the specified table, and provide the report file in the same way. ![Data Store CLI Import](https://catalyst-docs-development.zohostratus.in/images/cli/datastore-import-and-export/catalyst_cli_import_select_folder_2.webp) > **Note:** Your bucket's [path](https://docs.catalyst.zoho.com/en/cloud-scale/help/stratus/objects/introduction/#path) cannot be empty. #### -\-production The `\--production` option enables you to directly execute the import operation in the [production environment](https://docs.catalyst.zoho.com/en/deployment-and-billing/environments/production-environment/) of your Catalyst project. If you use this option, the records from the input CSV file will be bulk written to the specified table directly in production. > **Note:** You can only use this option if the production environment is already enabled for your project. -------------------------------------------------------------------------------- title: "Export Operation" description: "Catalyst enables you to perform bulk read and bulk write operations on the tables in the Data Store using the CLI." last_updated: "2026-08-28T06:26:16.000Z" source: "https://docs.catalyst.zoho.com/en/cli/v1/data-store-import-and-export/export-operation/" service: "All Services" -------------------------------------------------------------------------------- # Data Store Export ### Introduction The general syntax of the Data Store export command is: ```sh catalyst ds:export [options] ``` ### JSON Configuration File Structure The Data Store Export command will obtain records from the table you specify, which match the criteria you define in the input JSON configuration file. If you don't pass the JSON file with the command, or if you don't specify any criteria, all records from the table will be read by default. A sample JSON configuration file specifying the requirements of the export operation, that you can optionally pass during the command execution, is shown below: ![Data Store Export JSON](https://catalyst-docs-development.zohostratus.in/images/cli/datastore-import-and-export/catalyst_cli_export_json.webp) The parameters supported by the JSON configuration file are defined below:
Attributes Description
`table_identifier` (String, Mandatory) The [unique ID](https://docs.catalyst.zoho.com/en/cloud-scale/help/data-store/tables/) of the table or the table name where data must be exported from. You can also pass the table identifier using the [`--table` option](https://docs.catalyst.zoho.com/en/cli/v1/data-store-import-and-export/export-operation/#export-options) .
`query` (JSON, Optional) The section where you can define the conditions and criteria for the export job
`page` (Numerical, Optional) The CSV file generated as the result of the bulk read process contains two hundred thousand/two lakh records in one page. Page value '1' indicates that the first two hundred thousand records matching your query will get exported. You can fetch subsequent records by increasing the page value. For example, if you want to fetch records from the range 200,001 to 400,000, then you must specify the page value as '2'. Default value: 1 You can also specify the page value using the [`--page` option](https://docs.catalyst.zoho.com/en/cli/v1/data-store-import-and-export/export-operation/#export-options).
`select_columns` (Array, Optional) Specific columns in the records that need to be fetched from the table. If you do not specify the columns, all columns will be selected and fetched. You can include multiple columns in an array.
`callback` (JSON, Optional) The section where you can define the properties of the callback URL, where automatic JSON responses of the job statuses will be sent to
`url` (String, Mandatory if you want to specify the callback URL The URL where the automatic responses will be sent to using the HTTP `POST` method, each time the job status changes. Information about the job details will be contained in the body of the JSON response. The CLI will also display a live stream of the execution, and the final job status.
`headers` (String, Optional) Headers that you require to be passed in the JSON response to the callback URL You must specify the headers as: { "{header_name_1}" : "{header_value_1}", "{header_name_2}" : "{header_value_2}" } and so on.
`params` (String, Optional) Parameters that you require to be appended to the callback URL You must specify the parameters as: { "{param_name_1}" : "{param_value_1}", "{param_name_2}" : "{param_value_2}" } and so on.
`criteria` (JSON, Optional) A set of conditions based on which the records will be fetched. The properties to be included in this section are given in the table below.
#### Criteria Properties
Attributes Description
`group_operator` (String, Mandatory if you want to specify the criteria The operator that will bind the criteria groups together. Supported Operators: `AND`, `OR` If you define two or more criteria groups, you can use the `AND` or the `OR` operator. For example, you can specify a criteria like "column1 equal value 1 AND column2 contains value 2" in the format specified in the previous section. > **Note:** You will not be able to use combinations of both the operators. You can either use `AND` or `OR` in a single command execution.
`group` (JSON, Mandatory if you want to specify the criteria) You can include upto 25 criteria sets in this section. The sample JSON file shows 2 criteria sets. Note: You can include only one overall group with one group operator in a single execution.
`column_name` (String, Mandatory if you want to specify the criteria) Name of the specific column from the table that the criteria should be defined for
`comparator` (String, Mandatory if you want to specify the criteria) The comparison operator that matches the column name with the criteria value Supported Comparators: `equal`, `not_equal`, `greater_than`, `greater_equal`, `less_than`, `less_equal`, `starts_with`, `ends_with`, `contains`, `not_contains`, `in`, `not_in`, `between`, `not_between` > **Note:** * You can specify multiple values for `in` and `not_in` comparators, separated by commas. * Catalyst supports only the `equal` comparator for an encrypted column. You will not be able to use other comparators as the criteria for an encrypted column.
`value` (String, Mandatory if you want to specify the criteria) The value for the specific column in the record that you require to be defined as a criteria
> **Note:** If you don't specify the mandatory table identifier parameter in the JSON file, or if you don't pass a JSON file during the command execution, you must specify it through the [export option](https://docs.catalyst.zoho.com/en/cli/v1/data-store-import-and-export/export-operation/#export-options) . ### Export Job Processing States There are three job processing states for the export operation: * **In-Progress:** The job enters this state as soon as you execute the import command. The CLI will display a `job_id ` parameter which you can use to [check the status of the job execution](https://docs.catalyst.zoho.com/en/cli/v1/data-store-import-and-export/check-import-export-status/) for subsequent responses manually, if you have not configured a callback URL in the JSON. If you have configured a callback URL, a state response with the `job_id` will also be posted to the URL in the format you defined. * **Success:** If the export operation is successful, Catalyst will provide a download URL where you can download the CSV file that contains the records matching your query. Catalyst also enables you to download the result file directly to your system through the CLI. If you have configured a callback URL, this response will be posted to it as well. * **Failed:** If the export operation fails, the CLI will display the details of the errors that occurred. If you have configured a callback URL, this response will be posted to it as well. ### Export Options The export command execution process is described in detail in this section, for each option. The Data Store export command supports the following options: #### -\-config <path> The `\--config` option enables you to define the path of the JSON configuration file in your system. For example, you can execute the export operation and pass the JSON file path as shown below: ![Data Store Export](https://catalyst-docs-development.zohostratus.in/images/cli/datastore-import-and-export/catalyst_cli_export_1.webp) The CLI will then automatically schedule the job execution and mark it as "in-progress". It will display a live stream of the execution process, along with the ` [job_id](https://docs.catalyst.zoho.com/en/cli/v1/data-store-import-and-export/export-operation/#export-job-processing-states)`. If the job executes successfully, the CLI will prompt you to download the result file to your system. Type '**y** ', then press **Enter** to download. ![Data Store Export](https://catalyst-docs-development.zohostratus.in/images/cli/datastore-import-and-export/catalyst_cli_export_2.webp) The ZIP file containing the result file will be downloaded to your project directory. ![Data Store Export](https://catalyst-docs-development.zohostratus.in/images/cli/datastore-import-and-export/catalyst_cli_export_3.webp) You can use the download URL provided by Catalyst to download the result file even when you are not working in your CLI. You must execute it as an [API command](https://docs.catalyst.zoho.com/en/api/code-reference/cloud-scale/data-store/bulk-read-rows/download-bulk-read-result/#DownloadBulkReadResult). > **Note:** The download URL will be valid for 1 day after its generation. The CSV result file will contain a list of all the records matching your export job query. ![Data Store Export](https://catalyst-docs-development.zohostratus.in/images/cli/datastore-import-and-export/catalyst_cli_export_csv.webp) #### -\-table <name|id> The `-\\-table` option enables you to specify the table name or Table ID of the table, where the records must be read from. As mentioned earlier, if you don't specify the table identifier in the JSON file, or if you don't pass a JSON file during the command execution, you must specify it using this option. Catalyst will consider the table specified in the option as the higher priority, over the one specified in the JSON file. If the table is not specified in either place, the CLI will display an error message during command execution. For example, you can specify the table identifier in the following way: ```sh catalyst ds:export --table EmpDetails ``` The CLI will then execute the export operation, bulk read the records from the specified table, and provide the results in the same way. #### -\-page <page> As discussed in the JSON parameters section, you can specify a page value to indicate the range of records to fetch from the table. For example, you can fetch records from the range 200,001 to 400,000 by executing the following command: ```sh catalyst ds:export --page 2 ``` #### -\-production The `-\\-production` option enables you to directly execute the export operation in the [production environment](https://docs.catalyst.zoho.com/en/deployment-and-billing/environments/introduction/) of your Catalyst project. If you use this option, the records from the table in the production environment will be bulk read. > **Note:** You can only use this option if the production environment is already enabled for your project. -------------------------------------------------------------------------------- title: "Check Import/Export Status" description: "Catalyst enables you to perform bulk read and bulk write operations on the tables in the Data Store using the CLI." last_updated: "2026-08-17T12:16:04.000Z" source: "https://docs.catalyst.zoho.com/en/cli/v1/data-store-import-and-export/check-import-export-status/" service: "All Services" -------------------------------------------------------------------------------- # Check the Status of an Import or Export Operation ### Introduction You can manually check the status of a Data Store import or export operation that you initiated previously any time you need. If you had not configured a callback URL in your JSON file, or if you had terminated the CLI import or export command execution, you can check the job status using this command. The CLI will inform you if the import or export job is in progress, has successfully executed, or failed. You must use the ` **job_id** ` that was assigned to the import or export job when you initiated the operation, in this command. ### Check Status Command The general syntax of the import or export job status check command is: ```sh ds:status [options] <operation> [job_id] ``` The value for **<operation>** must be either import or export, and you must specify it mandatorily. The `job\_id` is optional. If you don't specify the `job\_id` , all jobs of the specified operation executed in the last 24 hours will be listed. For example, if you specify the export operation without providing a `job\_id` , the CLI will display a list of all export jobs executed as shown below. ![Check Import/Export Status](https://catalyst-docs-development.zohostratus.in/images/cli/datastore-import-and-export/catalyst_cli_ds_status_1.webp) You can then select a specific job id from the list and press **Enter** , to view its detailed status. ![Check Import/Export Status](https://catalyst-docs-development.zohostratus.in/images/cli/datastore-import-and-export/catalyst_cli_ds_status_2.webp) The CLI will follow the same process of providing a download URL and enabling you to download the response file if the job executed successfully, as discussed in the previous sections. If you provide the `job\_id` with the command, the CLI will directly fetch and display the status of that particular job. ![Check Import/Export Status](https://catalyst-docs-development.zohostratus.in/images/cli/datastore-import-and-export/catalyst_cli_ds_status_3.webp) ### The -\-production Option The import/export status check command supports one option: `-\\-production` This option enables you to check the status of an operation that was executed in the [production environment](https://docs.catalyst.zoho.com/en/deployment-and-billing/environments/introduction/) of your Catalyst project. If you used the `-\\-production` option in an import or export command execution, you must use the option for checking its status as well. > **Note:** You can only use this option if the production environment is already enabled for your project. ### Deploy Resources -------------------------------------------------------------------------------- title: "Introduction" description: "Catalyst enables you to easily deploy your project and its resources like Functions, web client, AppSail, API Gateway, Slate apps to the cloud using the CLI." last_updated: "2025-11-03T10:48:29.000Z" source: "https://docs.catalyst.zoho.com/en/cli/v1/deploy-resources/introduction/" service: "All Services" -------------------------------------------------------------------------------- # Deploy Resources ### Introduction You can deploy the resources of your project from the CLI to the remote console, after you have developed and tested them. This will update the project in the console with the latest code. The components that you can deploy from the CLI are: **Client**, **Functions**, **AppSail**, **API Gateway rules**, and **Slate apps** that you developed in your local Catalyst project directory. You can deploy web client applications of all three types: **Basic web apps, Angular apps, and React apps**. When you deploy resources from the CLI, they will only be available in the [development environment](https://docs.catalyst.zoho.com/en/deployment-and-billing/environments/introduction/) of your Catalyst project. They will not affect the production environment of your application. To make the resources available in the production environment, you must [deploy the project to production](https://docs.catalyst.zoho.com/en/deployment-and-billing/environments/deployment-types/) from the console. You can also directly [host your web client application](https://docs.catalyst.zoho.com/en/cloud-scale/help/web-client-hosting/introduction/) from the Catalyst console, and [create or upload functions](https://docs.catalyst.zoho.com/en/serverless/help/functions/implementation/) directly in the console. You can also configure APIs in [API Gateway](https://docs.catalyst.zoho.com/en/cloud-scale/help/api-gateway/introduction/) directly in the console. Catalyst also supports a [standalone deploy option](https://docs.catalyst.zoho.com/en/cli/v1/deploy-resources/deploy-appsail/) for deploying your AppSail resource without initializing it in prior, in addition to the regular deployment. > **Note:** You cannot deploy resources of your mobile applications using the Catalyst CLI. You can host mobile apps using [Mobile Device Management](https://docs.catalyst.zoho.com/en/cloud-scale/help/mobile-device-management/introduction/). ### Deploy Command Execution To deploy your Catalyst project and all its resources from the CLI to the remote console, execute the following command in your terminal from your project directory: ```sh catalyst deploy ``` When you execute this command, it will deploy all deployable resources in your project directory by default. The CLI will consider the project that is active in your working directory. If any project other than the [directory's base project](https://docs.catalyst.zoho.com/en/cli/v1/initialize-resources/introduction/) is active in it, the CLI will display a warning informing you of it. After the deployment is complete, your project will be synchronized with your project in the cloud console. You will be able to access the functions, web client, AppSail, Slate apps, and updated API Gateway definitions that were deployed from the console. > **Note:** If you are a **Visual Studio Code IDE** user, you can install the **Catalyst Tools** extension, and perform CLI operations using your IDE in place of the CLI. Steps to deploy your Catalyst resources using Visual Studio Code IDE can be found [here](https://docs.catalyst.zoho.com/en/catalyst-extensions/vs-code-extension/implementation/#manage-your-project). ### Points to Remember: * A project can only be deployed successfully if its directory includes the client and the functions packages in the standard structure. The functions and client directories must contain the required configuration files in the standard format. For more information, refer to the [Project Directory Structure help](https://docs.catalyst.zoho.com/en/cli/v1/project-directory-structure/introduction/). * The [ `catalyst.json` ](https://docs.catalyst.zoho.com/en/cli/v1/project-directory-structure/catalyst-json/) file must be present in the project directory when the project is deployed using the CLI. It is not necessary to include this file when you are directly hosting the web client from the console. * The ` [catalyst-user-rules.json](https://docs.catalyst.zoho.com/en/cli/v1/working-with-api-gateway/api-gateway-json-file/) ` file that contains the definitions of the API Gateway rules must be present in the project's home directory, if you require it to be deployed. > **Note:** If you are a **Visual Studio Code IDE** user, you can install the **Catalyst Tools** extension, and perform CLI operations using your IDE in place of the CLI. Steps to deploy your Catalyst resources using Visual Studio Code IDE can be found [here](https://docs.catalyst.zoho.com/en/catalyst-extensions/vs-code-extension/implementation/#manage-your-project). -------------------------------------------------------------------------------- title: "Deploy Functions" description: "Catalyst enables you to easily deploy your project and its resources like Functions, web client, AppSail, API Gateway, Slate apps to the cloud using the CLI." last_updated: "2026-08-28T06:26:16.000Z" source: "https://docs.catalyst.zoho.com/en/cli/v1/deploy-resources/deploy-functions/" service: "All Services" -------------------------------------------------------------------------------- # Deploy Functions The CLI will compile all the Java functions in your project directory before deploying them. The compiled Java class files are available in their respective directories. The Node.js and Python functions are deployed directly. ![Deploy Functions](https://catalyst-docs-development.zohostratus.in/images/cli/deploy-resources/catalyst_cli_deploy_functions_1.webp) The CLI deploys each function individually. The CLI will display the status of each resource's deployment individually, indicating if it was successful or a failure. The [Basic I/O](https://docs.catalyst.zoho.com/en/serverless/help/functions/basic-io/) and [Advanced I/O](https://docs.catalyst.zoho.com/en/serverless/help/functions/advanced-io/) functions are deployed to the URLs displayed in the terminal, and you can access their endpoints from their URLs. The endpoints of the [Cron](https://docs.catalyst.zoho.com/en/serverless/help/functions/cron-functions/), [Event](https://docs.catalyst.zoho.com/en/serverless/help/functions/event-functions/), [Browser Logic](https://docs.catalyst.zoho.com/en/smartbrowz/help/browser-logic/introduction/), and [Integration](https://docs.catalyst.zoho.com/en/serverless/help/functions/integration-functions/) functions are not accessible through URLs, as they are associated with cron jobs, Catalyst Signals, or external integrations respectively. The CLI will just display their deployment status. ![Deploy Functions](https://catalyst-docs-development.zohostratus.in/images/cli/deploy-resources/catalyst_cli_deploy_functions_2.webp) > **Note:** The `/server/` part in the URL of a Catalyst application indicates a function. A Basic I/O function's URL contains an `/execute` after the function's name, whereas an Advanced I/O function's URL does not contain that keyword. -------------------------------------------------------------------------------- title: "Deploy Client" description: "Catalyst enables you to easily deploy your project and its resources like Functions, web client, AppSail, API Gateway, Slate apps to the cloud using the CLI." last_updated: "2026-08-28T06:26:16.000Z" source: "https://docs.catalyst.zoho.com/en/cli/v1/deploy-resources/deploy-client/" service: "All Services" -------------------------------------------------------------------------------- # Deploy Client The deployment of a web client will generate the URL endpoint of the [hosted web client](https://docs.catalyst.zoho.com/en/cloud-scale/help/web-client-hosting/implementation/), where you can access the application. ### Deploy Basic Client Applications The Basic web client will be deployed straight away. ![Deploy Client](https://catalyst-docs-development.zohostratus.in/images/cli/deploy-resources/catalyst_cli_deploy_client.webp) ### Deploy Angular Applications When you deploy an Angular app, the Catalyst plugin for your Angular app, [ `zcatalyst-cli-plugin-angular` ](https://docs.catalyst.zoho.com/en/cli/v1/initialize-resources/initialize-client/#angular-applications) , which is installed when the Angular app is initialized, will handle the deployment. The chunk files representing your Angular components and services, such as the polyfills and runtime files, are generated. The build is generated after the chunk files are generated. Angular applications are compiled and built into an output directory `dist/` . This folder will contain all the compiled files of your app, such as the entry point file, stylesheets, and templates of the HTML, CSS, JS or TS types in your app's source folder, `src` . The deployment details will be updated in the workspace configuration file `angular.json` . These fall under the [standard deployment procedure](https://angular.io/guide/deployment) of Angular applications. The CLI will display the deployment details of your Angular app. The URL endpoint of the deployed web client will be generated and displayed. You can open the application with this URL. ![Deploy Angular Applications](https://catalyst-docs-development.zohostratus.in/images/cli/deploy-resources/catalyst_cli_deploy_angular.webp) ### Deploy React Applications When you deploy a React app, the Catalyst plugin for your React app, [ `zcatalyst-cli-plugin-react` ](https://docs.catalyst.zoho.com/en/cli/v1/initialize-resources/initialize-client/#react-applications) , which is installed when the React app is initialized, will handle the deployment. The plugin will enable the compilation of the React app. React applications are compiled and built into an output directory `build/` . This folder will contain all the compiled files of your app, such as the HTML, stylesheet, JS and other files in your app's source folder `src` . The production-ready build is generated after the compilation. If you had developed your React app in TypeScript, the code will be transpiled to JavaScript during the compilation. These fall under the [standard deployment procedure](https://create-react-app.dev/docs/deployment/) of React applications. The CLI will display the deployment details of your React app. The URL endpoint of the deployed web client will be generated and displayed. You can open the application with this URL. ![Deploy React Applications](https://catalyst-docs-development.zohostratus.in/images/cli/deploy-resources/catalyst_cli_deploy_react.webp) > **Note:** * The `/app/` part in the URL of a Catalyst application indicates the client component. You can view the URLs of your application of both environments from the [Environments settings section](https://docs.catalyst.zoho.com/en/getting-started/set-up-a-catalyst-project/environment-settings/). * If you enter the application's URL in this format: ** https://_project\_domain\_name_.development.catalystserverless.com**, it will automatically redirect you to the application's homepage that you have configured in the [ `client-package.json` ](https://docs.catalyst.zoho.com/en/cli/v1/project-directory-structure/client-directory) file, in the [development environment](https://docs.catalyst.zoho.com/en/deployment-and-billing/environments/development-environment/). -------------------------------------------------------------------------------- title: "Deploy AppSail" description: "Catalyst enables you to easily deploy your project and its resources like Functions, web client, AppSail, API Gateway, Slate apps to the cloud using the CLI." last_updated: "2026-10-30T17:47:18.000Z" source: "https://docs.catalyst.zoho.com/en/cli/v1/deploy-resources/deploy-appsail/" service: "All Services" -------------------------------------------------------------------------------- # Deploy AppSail ### Introduction Catalyst enables you to deploy [AppSail services](https://docs.catalyst.zoho.com/en/serverless/help/appsail/introduction/) in two different ways: * **Regular Deploy:** The regular deploy execution applies when you have already initialized an AppSail resource either during the [project initialization](https://docs.catalyst.zoho.com/en/cli/v1/initialize-resources/initialize-appsail/) or by [adding it in an existing project directory](https://docs.catalyst.zoho.com/en/cli/v1/add-appsail/). * **Standalone Deploy:** You can do a standalone deploy of an app directly without initializing it as an AppSail service in prior. You can deploy the apps initialized as [Catalyst-managed runtimes](https://docs.catalyst.zoho.com/en/serverless/help/appsail/catalyst-managed-runtimes/key-concepts/) or [custom runtimes](https://docs.catalyst.zoho.com/en/serverless/help/appsail/custom-runtimes/container-registry-services/) through both these deployment methods. Given below are some important points for AppSail initialized or added in two different ways: * **Catalyst-Managed Runtimes:** Catalyst deploys all the executable files of your app present in the build path that you specified during the app initialization, in this case along with project configurations. > **Note:** You need not bundle or zip all the build files together, as AppSail will automatically bundle them during the application serve or deployment from the [build path](https://docs.catalyst.zoho.com/en/serverless/help/appsail/catalyst-managed-runtimes/key-concepts/#source-directory-and-build-path) specified. * **Container Images:** The OCI image of your app that is associated with Appsail is deployed, along with the configuration file of your project. > **Note:** Catalyst only supports the deployment of [OCI-compliant images](https://github.com/opencontainers/image-spec) built for the Linux AMD64 (x86-64) platform. ### Regular Deploy If the AppSail app is already initialized in the project directory, the CLI will automatically deploy the app with the rest of the project resources when you execute the `catalyst deploy` command. The CLI will display the endpoint URL of the app after it is deployed, that you can open it with. ![Deploy AppSail](https://catalyst-docs-development.zohostratus.in/images/cli/deploy-resources/cli-appsail-deploy-proj-init-1.png) If you have multiple AppSail apps in your project directory, you can access all of their URL endpoints from the CLI. You can also execute the following command to deploy the AppSail service alone from your app's source directory. ```sh catalyst deploy appsail ``` The deployment process is the same. ![Deploy AppSail](https://catalyst-docs-development.zohostratus.in/images/cli/deploy-resources/cli-appsail-deploy-proj-init-2.webp) ### Standalone Deploy You must execute the standalone deploy command from a Catalyst project directory's root. That is, `catalyst.json` and other [project dependency files](https://docs.catalyst.zoho.com/en/cli/v1/project-directory-structure/introduction/) must be present in the directory. > **Note:** If you execute the standalone deploy command without any of the [options specific to deploying container images](https://docs.catalyst.zoho.com/en/cli/v1/deploy-resources/deploy-appsail/#standalone-deploy-appsail-options), the CLI will prompt you for inputs related to Catalyst-managed runtime apps only by default. You must remember the following points about the standalone deployment. **Catalyst-managed runtime apps:** * You must ensure your app's deployable build files are present in the directory you execute the command from. This is because that directory will be considered the [build directory](https://docs.catalyst.zoho.com/en/serverless/help/appsail/catalyst-managed-runtimes/key-concepts/#source-directory-and-build-path) automatically. * The [`app-config.json`](https://docs.catalyst.zoho.com/en/serverless/help/appsail/catalyst-managed-runtimes/key-concepts/#the-app-configjson-file) file is not created when you do a standalone deploy to deploy an app without initializing it. The information that this file carries is fetched as input from you in the CLI during the deployment. **Container images:** * You can use the standalone deploy command with these options to deploy apps as container images: `--name <name>`, `--source <image>`, `--command <command>`, `--port <port>`. The first two are mandatory, while the last two are optional and can be used to override any startup commands or ports already configured in the container image definition. The options are explained in detail below. You can do the standalone deploy of an AppSail app in the following way: 1. Navigate to the directory the app's deployable files are present in, and execute the following command: ```sh catalyst deploy appsail ``` 2. Enter a name for your app. You can name the main file of your app’s build anything you prefer. ![Deploy AppSail](https://catalyst-docs-development.zohostratus.in/images/cli/deploy-resources/catalyst-appsail-standalone-deploy-1.webp) > **Note:** However, when you build your app as a Java WAR file, you will need to name the main file root.war or add specific controllers according to your code. 3. Select the build path for your app from the list and press **Enter**. ![Deploy AppSail](https://catalyst-docs-development.zohostratus.in/images/cli/deploy-resources/catalyst-appsail-standalone-deploy-2.webp) 4. Select a stack for your app and press **Enter**. ![Deploy AppSail](https://catalyst-docs-development.zohostratus.in/images/cli/deploy-resources/catalyst-appsail-standalone-deploy-3.webp) If you select Java, the CLI will further prompt you to pick either [Java SE or the Java WAR](https://docs.catalyst.zoho.com/en/serverless/help/appsail/catalyst-managed-runtimes/key-concepts/) as your app's deployable format. ![Deploy Functions](https://catalyst-docs-development.zohostratus.in/images/cli/deploy-resources/catalyst-appsail-standalone-deploy-4.webp) If you select any other stack, this will be skipped. 5. You must additionally specify the startup command for your app based on the stack, framework, and web server used. This information will be directly deployed and will be available in the Configurations section of your console after the app deployment. ![Deploy Functions](https://catalyst-docs-development.zohostratus.in/images/cli/deploy-resources/catalyst-appsail-standalone-deploy-5.webp) Your app is now directly deployed to the associated remote project without requiring you to initialize it as an AppSail resource. You can now access it with its endpoint URL displayed in the CLI. ![Deploy Functions](https://catalyst-docs-development.zohostratus.in/images/cli/deploy-resources/catalyst-appsail-standalone-deploy-6.webp) ### Standalone Deploy AppSail Options The catalyst deploy appsail standalone command supports the following options. Some of these are applicable to both Catalyst-managed runtime and container images apps, while some are specific to only one of them. **--name <name>** Use this to specify the name of your app. This is applicable to both Catalyst-managed runtime and container image apps. Example: ```sh --name DemoApp ``` **--build-path <path>** Use this to specify the [build path](https://docs.catalyst.zoho.com/en/serverless/help/appsail/catalyst-managed-runtimes/key-concepts/#source-directory-and-build-path) of your app. Provide an absolute path value. This is applicable only to Catalyst-managed runtime apps. Example: ```sh --build-path /users/amelia/catalystapp/demoapp/ ``` **--stack <stack>** Use this to specify the stack or runtime of your app. You must only specify the runtimes that are supported by Catalyst. This is applicable only to Catalyst-managed runtime apps. Example: ```sh --stack NodeJS 24 ``` **--platform <javase|war>** Use this to specify the platform of the Java stack alone that are supported in Catalyst: `javase` or `war`. This is applicable only to Catalyst-managed runtime apps. Example: ```sh --platform javase ``` **--command <command>** Use this to specify the [startup command](https://docs.catalyst.zoho.com/en/serverless/help/appsail/appsail-configurations/#startup-commands) for your app. This is applicable to both Catalyst-managed runtime and container image apps. This will override any values already configured in the container image definition. Example: ```sh --command npm start ``` **--source <image>** Use this to specify the source of the docker image to be deployed. This is applicable only to container image apps. You must start with '*docker://*' for Docker image protocol and '*docker-archive://*' for Docker archive protocol. [Refer here for details](https://docs.catalyst.zoho.com/en/cli/v1/initialize-resources/initialize-appsail/#initialize-appsail-as-a-custom-runtime). Example: ```sh --source docker://example-voting-app-worker:latest ``` **--port <port>** Use this to specify the port for the AppSail. This is applicable only to container image apps. This will override any values already configured in the container image definition. Example: ```sh --port 8000 ``` -------------------------------------------------------------------------------- title: "Deploy API Gateway" description: "Catalyst enables you to easily deploy your project and its resources like Functions, web client, AppSail, API Gateway, Slate apps to the cloud using the CLI." last_updated: "2026-08-17T12:16:04.000Z" source: "https://docs.catalyst.zoho.com/en/cli/v1/deploy-resources/deploy-api-gateway/" service: "All Services" -------------------------------------------------------------------------------- # Deploy API Gateway You can deploy the API Gateway's [JSON file](https://docs.catalyst.zoho.com/en/cli/v1/working-with-api-gateway/api-gateway-json-file/) for your project to the cloud. This will update the local API definitions in the remote console. ![Deploy API Gateway](https://catalyst-docs-development.zohostratus.in/images/cli/deploy-resources/catalyst_cli_deploy_apig.webp) > **Note:** If API Gateway is disabled for your project, the deployment of the API Gateway rules will be skipped. -------------------------------------------------------------------------------- title: "Deploy to Slate" description: "Catalyst enables you to easily deploy your project and its resources like Functions, web client, AppSail, API Gateway, Slate apps to the cloud using the CLI." last_updated: "2026-09-02T11:17:14.000Z" source: "https://docs.catalyst.zoho.com/en/cli/v1/deploy-resources/deploy-to-slate/" service: "All Services" -------------------------------------------------------------------------------- # Deploy to Slate You can deploy your front-end web application in Catalyst Slate using the below listed steps. Before you deploy any application in Slate, please make sure the project directory has been linked to the Slate service. For this, you can use the [`catalyst slate:link`](https://docs.catalyst.zoho.com/en/cli/v1/working-with-slate/link-slate-app) command. Execute the following command in your terminal from the Slate service's project directory: ```sh catalyst deploy slate ``` This deploys all the Slate components present in your project directory to the [Catalyst development environment](https://docs.catalyst.zoho.com/en/deployment-and-billing/environments/development-environment/). You can use the below option to provide a deployment message for the Slate deployment. ```sh catalyst deploy slate -m "deployment message" ``` To deploy a specific app alone from the project directory to Slate, you can directly use the below command: ```sh catalyst deploy --only slate:appname ``` If you wish to deploy the application to the production environment, please use the below command. Please ensure you have accessed the production environment in the console before initiating a production deployment. ```sh catalyst deploy slate --production ``` > **Info:** This command is available in Non-interactive mode. Refer to the [Non-Interactive Catalyst CLI Commands](https://docs.catalyst.zoho.com/en/ai-toolkit/ni-cli/ni-commands/) page for the complete syntax. -------------------------------------------------------------------------------- title: "Deploy Options" description: "Catalyst enables you to easily deploy your project and its resources to the remote console using the CLI." last_updated: "2026-08-17T12:16:04.000Z" source: "https://docs.catalyst.zoho.com/en/cli/v1/deploy-resources/deploy-options/" service: "All Services" -------------------------------------------------------------------------------- # Deploy Options Catalyst CLI enables you to deploy only specific resources, such as just the client package, specific functions, or an AppSail service, using two deploy options. The following options are available for the `catalyst deploy` command. > **Note:** Besides these deploy options, you can also deploy specific resources from your project by navigating to the target folder where the resources are located and executing the `catalyst deploy` command from that folder. This can be used when the deployable resources are all located in the same directory. For example, if you want to deploy a particular function alone, you can navigate to the function's folder in the CLI and run the `catalyst deploy` command. ### \--only <targets> The `-\\-only` option allows you to define the specific resources to be deployed. You can use this with `client`, `functions`, `appsail`, `slate`, or `apig` keywords. You can specify multiple resources separated by commas without any whitespace characters between them. For example, to deploy just the client directory, run the following command in your terminal: ```sh catalyst deploy --only client ``` This initiates the deployment of the client directory alone. The deployment process is the same as discussed in the previous section. You can also deploy specific functions or AppSail services using the `-\\-only` option. You must specify the names of the target functions or the AppSail services in the command separated by commas as shown below: ```sh catalyst deploy --only functions:InvoiceFetch,functions:CostAccounting ``` You can also deploy the client and certain functions, or an AppSail service and certain functions, alone as shown below: ```sh catalyst deploy --only functions:InvoiceSync,functions:CostAccounting,functions:FreightTracking ``` This will deploy only the specified resources from the project directory. ![Deploy Options](https://catalyst-docs-development.zohostratus.in/images/cli/deploy-resources/catalyst_cli_deploy_only.webp) ### \--except <targets> The `-\\-except` option allows you to define the resources to be excluded from deployment. It will deploy all the resources except for the ones that you specify. For example, if you use the `-\\-except` option with `client`, it will exclude the client package and deploy everything else. You can execute this command in the following way: ```sh catalyst deploy --except client ``` You can also use this option to exclude specific functions or AppSail services. For example: ```sh $ catalyst deploy --except appsail:customerapp,functions:CostAccounting ``` This will deploy all the other resources of the project. ![Deploy Options](https://catalyst-docs-development.zohostratus.in/images/cli/deploy-resources/catalyst_cli_deploy_except.webp) ### \--ignore-scripts Catalyst enables you to automate the CLI and terminal command executions by defining scripts in the [ `catalyst.json` ](https://docs.catalyst.zoho.com/en/cli/v1/project-directory-structure/catalyst-json/) file in your project directory. You can define two lifecycle scripts to execute before and after the `catalyst deploy` command respectively: `predeploy`, `postdeploy`. You can learn more about the lifecycle and custom scripts from the [Scripts help page](https://docs.catalyst.zoho.com/en/cli/v1/scripts/introduction/) . If you use the `-\\-ignore-scripts` option while executing the `catalyst deploy` command, the CLI will ignore the actions configured for the `predeploy` and `postdeploy` scripts in the `catalyst.json` file of your project directory. The deployment process will proceed without the execution of these lifecycle scripts. You can use the `-\\-ignore-scripts` option as follows: ```sh catalyst deploy --ignore-scripts ``` The deployment process will be the same as discussed earlier. > **Note:** If you are a **Visual Studio Code IDE** user, you can install the **Catalyst Tools** extension, and perform CLI operations using your IDE in place of the CLI. Steps to individually deploy Catalyst functions using Visual Studio Code IDE can be found [here](https://docs.catalyst.zoho.com/en/catalyst-extensions/vs-code-extension/implementation/#deploy-a-function), and steps to deploy client resources can be found [here](https://docs.catalyst.zoho.com/en/catalyst-extensions/vs-code-extension/implementation/#deploy-operation). ### Event Generate -------------------------------------------------------------------------------- title: "Introduction" description: "Catalyst enables you to generate sample payloads from various event sources supported by Catalyst Publishers in Catalyst Signals using the CLI." last_updated: "2026-08-17T12:16:04.000Z" source: "https://docs.catalyst.zoho.com/en/cli/v1/event-generate/introduction/" service: "All Services" -------------------------------------------------------------------------------- # Event Generate ### Introduction Catalyst enables you to generate sample payloads for events associated with [Catalyst Publishers](https://docs.catalyst.zoho.com/en/signals/help/publishers/create-publisher/catalyst-publishers/) in [Catalyst Signals](https://docs.catalyst.zoho.com/en/signals/) using the CLI. The `catalyst event:generate` command generates sample payloads for Catalyst Publishers in the CLI. You can specify the particular publisher and the action that you require the payload for. You can use the generated payload to test the Event functions in your project from the local environment. In addition to Event functions, you can also generate sample payloads and test the [Integration functions](https://docs.catalyst.zoho.com/en/serverless/help/functions/integration-functions/) in your project. The `catalyst event:generate:integ` command enables you to select the integration service, component source, and handler to generate the payload for. You can then [launch a Node shell](https://docs.catalyst.zoho.com/en/cli/v1/working-with-functions/functions-shell/) from the CLI to test and debug the Event or Integration function, by passing the generated sample payload data to the function. > **Note:** * Both event generation commands in the CLI only generate sample payloads to help you test functions in the local environment. These actions will not be reflected in Signals, [Functions](https://docs.catalyst.zoho.com/en/serverless/help/functions/introduction/), or any components that you have configured in your project or in the remote console. They will remain unaffected. * Cliq Integration Functions is currently not available to Catalyst users accessing from the EU, AU, IN, or CA data centers. ConvoKraft Integration Functions are available to users accessing from all DCs. * If you are a **Visual Studio Code IDE** user, you can install the **Catalyst Tools** extension, and perform CLI operations using your IDE in place of the CLI. Steps to debug Event, Cron, and Integration functions using Visual Studio Code IDE can be found [here](https://docs.catalyst.zoho.com/en/catalyst-extensions/vs-code-extension/implementation/#run-or-debug-a-function). -------------------------------------------------------------------------------- title: "Sample Payload for Component Events" description: "Catalyst enables you to generate sample payloads from various event sources supported by Catalyst Publishers in Catalyst Signals using the CLI." last_updated: "2026-08-17T12:16:04.000Z" source: "https://docs.catalyst.zoho.com/en/cli/v1/event-generate/sample-payload-component-event/" service: "All Services" -------------------------------------------------------------------------------- # Generate Sample Payload for a Component Event Source ### Payload Generation A [Catalyst Publisher](https://docs.catalyst.zoho.com/en/signals/help/publishers/create-publisher/catalyst-publishers/) listens for a specific event occurring in one of the Catalyst components, then triggers the associated target function and passes the component data to it. It is already created by default in a project. You can obtain sample data of the same pattern in the CLI, for the source and the action you require. The general command to generate a sample payload of an event in the CLI is: ```sh catalyst event:generate|generate:event [options] <source> <action> ``` You can provide any of the sources and associated actions of a Catalyst component event, in the command shown in the table below:
Source Action Optional Inputs
datastore Insert Update Delete --table <table_name_or_id>
cache Put --segment <segment_name_or_id>
user SignUp Delete NA
webapp Success NA
github Success Failure NA
For example, to generate a sample payload for a Data Store Insert event, execute the following command: ```sh catalyst event:generate|generate:event datastore Insert ``` This will generate the following JSON payload for this source and action. The payload will contain the actual details of your project, the default event bus details, and sample entity details. ![Component Event Payload Generation](https://catalyst-docs-development.zohostratus.in/images/cli/event-generate/catalyst_cli_eventgen_default.webp) You can pass this data to an event function through the functions shell, and test it as per your requirements. You can also directly save the JSON payload into a file instead of displaying it in the CLI, by creating a file for it in the path you require like: ```sh catalyst event:generate|generate:event user Signup>>payload.json ``` ### Optional Inputs In addition to the mandatory source and action pair, you can also supply optional inputs about the entity source, as shown in the table. For example, if you specify the table name or ID while generating the sample payload for a Data Store insert operation, Catalyst will check your remote project for a table with that name or ID. If the entity exists, the CLI will display the data of that table in the JSON payload. If you do not provide any optional inputs, or if there are no entities to be found matching your inputs, the CLI will generate the JSON payload with random sample data. For example, to generate a sample payload for a cache put event in an existing segment configured in the remote console, the following command is executed: ```sh catalyst event:generate|generate:event cache Put --segment <segment_name_or_id> ``` Catalyst checks for a segment of that name or ID. If it exists, it will generate the payload including that segment's data. The Segment ID that was passed is specified as the value for `source\_entity\_id` in the example shown below. ![Component Event Payload Generation](https://catalyst-docs-development.zohostratus.in/images/cli/event-generate/catalyst_cli_eventgen_default_inputs.webp) ### Component Event Generation Options The `catalyst event:generate` command supports two options that you can use it with. However, only one of those options is applicable when you generate a sample payload of a component event source. #### -e | -\-event-bus The `-\\-event-bus` or `\-e` option enables you to specify the name of the event bus that must be used in the sample payload. You can use this while generating the payload of any source or action. The `event\_bus\_details` JSON will contain the name that you pass as the bus's name. If you do not specify the event bus name, the bus name will be 'Default' in a component event's payload. For example, to generate the payload of a cache put event and to specify the event bus name with it, execute the following command: ```sh catalyst event:generate|generate:event cache Put --event-bus TrackerRequests ``` This will generate the payload and include the event bus name in `event\_bus\_details` . ![Component Event Payload Generation](https://catalyst-docs-development.zohostratus.in/images/cli/event-generate/catalyst_cli_eventgen_default_option.webp) We will discuss the available options in the context of a custom event source in the next section. > **Note:** If you are a **Visual Studio Code IDE** user, you can install the **Catalyst Tools** extension, and perform CLI operations using your IDE in place of the CLI. Steps to debug your event functions using Visual Studio Code IDE can be found [here](https://docs.catalyst.zoho.com/en/catalyst-extensions/vs-code-extension/implementation/#run-or-debug-a-function). -------------------------------------------------------------------------------- title: "Sample Payload for Custom Events" description: "Catalyst enables you to generate sample payloads from various event sources supported by Catalyst Signals using the CLI." last_updated: "2026-08-17T12:16:04.000Z" source: "https://docs.catalyst.zoho.com/en/cli/v1/event-generate/sample-payload-custom-event/" service: "All Services" -------------------------------------------------------------------------------- # Generate Sample Payload for a Custom Event Source ### Payload Generation A [Custom Publisher](https://docs.catalyst.zoho.com/en/signals/help/publishers/create-publisher/custom-publishers/) is used to pass data to a target function whenever its URL is invoked by the end user. Custom Publishers can contain multiple rules, which can be associated with different target functions. All rules of a Custom Publisher have the same URL endpoint, but each rule will contain a unique **rule identifier** variable that you can configure while creating it. This allows you to indicate the specific rule to invoke. > **Note:** Custom Publishers do not exist in a project by default. You must therefore first create a Custom Publisher in your project from the Catalyst console before generating a sample payload for it. You can create a rule in the CLI for testing purposes while generating the sample payload. This will not be reflected in the Custom Publisher configured in the console. You can generate a sample payload for a custom event by executing this same command: ```sh catalyst event:generate|generate:event [options] <source> <action> ``` However, Catalyst only accepts the following values for source and action for a custom event source:
Source Action
custom Produce
### Mandatory Command Options You must also use these options **mandatorily** while generating a sample payload for a custom event: #### -e | -\-event-bus The `\--event-bus` option performs the same action as discussed in the previous section. It enables you to specify the name of the event bus that must be used in the sample payload. The `event\_bus\_details` JSON will contain the name that you pass as the bus's name. #### -rid | -\-rule-id The `\--rule-id` option enables you to specify the rule identifier that must be used in the custom event payload. As mentioned earlier, a rule identifier uniquely identifies a rule in a custom event bus. The `data` field in the JSON will contain the rule identifier. You can generate a sample payload for a custom event, and pass the event bus name and rule identifier by executing the following command: ```sh catalyst event:generate|generate:event custom Produce --event-bus TrackerRequests --rule-id DomesticTracking ``` This will generate the following JSON payload. The payload will contain the details of your project, event bus, and rule identifier details you provided, as well as other sample data. ![Custom Event Payload Generation](https://catalyst-docs-development.zohostratus.in/images/cli/event-generate/catalyst_cli_eventgen_custom.webp) > **Note:** If you are a **Visual Studio Code IDE** user, you can install the **Catalyst Tools** extension, and perform CLI operations using your IDE in place of the CLI. Steps to debug your event functions using Visual Studio Code IDE can be found [here](https://docs.catalyst.zoho.com/en/catalyst-extensions/vs-code-extension/implementation/#run-or-debug-a-function). -------------------------------------------------------------------------------- title: "Sample Payload for Integration Functions" description: "Catalyst enables you to generate sample payloads for Integration functions using the CLI." last_updated: "2026-08-28T06:26:16.000Z" source: "https://docs.catalyst.zoho.com/en/cli/v1/event-generate/sample-payload-integration-functions/" service: "All Services" -------------------------------------------------------------------------------- # Generate Sample Payload to Test Integration Functions ### Payload Generation [Integration functions](https://docs.catalyst.zoho.com/en/serverless/help/functions/integration-functions/) enable you to code and use a Catalyst function as the backend of other Zoho services, and establish an integration with them. Catalyst currently supports integration with [Zoho Cliq](https://www.zoho.com/in/cliq/) and [ConvoKraft Bot Logic](https://docs.catalyst.zoho.com/en/convokraft/help/actions/bot-logic/catalyst-integration-functions/) through Integration functions. You can develop the backend of [Cliq extensions](https://www.zoho.com/cliq/help/platform/getting-started-with-cliq-platform.html) that bundle bots, commands, message actions, widgets, and functions through Integration functions. The CLI enables you to generate sample payloads for various handlers in each of these tools. > **Note:** Cliq Integration Functions is currently not available to Catalyst users accessing from the EU, AU, IN, or CA data centers. ConvoKraft Integration Functions are available to users accessing from all DCs. The general command to generate a sample payload to test an Integration function in the CLI is: ```sh catalyst event:generate:integ [options] <service> ``` Because Catalyst only supports integrations with Cliq currently, you must provide the following value as the service: ` **ZohoCliq** `. Catalyst supports the following Cliq components and handler classes that you can generate a sample payload for, in the CLI.
Component Handler Classes
bot welcome_handler message_handler context_handler mention_handler action_handler incomingwebhook_handler participation_handler
command execution_handler suggestion_handler
messageaction execution_handler
widget view_handler
function button_handler form_handler form_change_handler form_values_handler widget_button_handler
installation installation_handler installation_validator
1. Execute the following command to select the component and a handler class to generate the payload for: ```sh catalyst event:generate:integ ZohoCliq ``` 2. Select a component from the list and press **Enter** . ![Integration Functions Payload Generation](https://catalyst-docs-development.zohostratus.in/images/cli/event-generate/catalyst_cli_eventgen_integ_1.webp) 3. Select a handler class from the list and press **Enter** . ![Integration Functions Payload Generation](https://catalyst-docs-development.zohostratus.in/images/cli/event-generate/catalyst_cli_eventgen_integ_2.webp) The CLI will generate a sample JSON payload for that component and handler source. Depending on the component, the payload will contain relevant data. ![Integration Functions Payload Generation](https://catalyst-docs-development.zohostratus.in/images/cli/event-generate/catalyst_cli_eventgen_integ_3.webp) You can also directly save the JSON payload into a file instead of displaying it in the CLI. ### Integration Functions Event Generation Options #### \--inputs <inputs> You can generate a sample payload to test Integration functions by directly specifying the component and the handler you require the data for. The inputs must be specified in the following format: ```sh catalyst event:generate:integ ZohoCliq --inputs component,handler ``` For example, to generate a sample payload for a `form\_handler` class for the `function` component, execute the following command: ```sh catalyst event:generate:integ ZohoCliq --inputs function,form_handler ``` This will generate the following JSON payload. ![Integration Functions Payload Generation](https://catalyst-docs-development.zohostratus.in/images/cli/event-generate/catalyst_cli_eventgen_integ_inputs.webp) Refer to the table shown above for a list of Cliq components and handler classes supported by Catalyst. > **Note:** If you are a **Visual Studio Code IDE** user, you can install the **Catalyst Tools** extension, and perform CLI operations using your IDE in place of the CLI. Steps to debug your event functions using Visual Studio Code IDE can be found [here](https://docs.catalyst.zoho.com/en/catalyst-extensions/vs-code-extension/implementation/#run-or-debug-a-function). ### Export and Import Projects -------------------------------------------------------------------------------- title: "Introduction" description: "Catalyst enables you to export a project including its configurations and code as a ZIP file, and import the ZIP file into any new project." last_updated: "2023-04-19T10:02:07.000Z" source: "https://docs.catalyst.zoho.com/en/cli/v1/export-and-import-projects/introduction/" service: "All Services" -------------------------------------------------------------------------------- # Export and Import Projects ### Introduction Catalyst CLI provides the ability to perform IaC project export and import operations from the local environment. You can export a [Catalyst project](https://docs.catalyst.zoho.com/en/getting-started/catalyst-projects/), including the configurations of its components and its code, as an external ZIP file. You can then import the ZIP file as a new project into any Catalyst account. A project export is done from its [active project directory](https://docs.catalyst.zoho.com/en/cli/v1/project-directory-structure/introduction/) in the local environment. When you export a project, the export ZIP file is created in a specific format in the same directory. You can only import a project if this ZIP file is in this standard format. The CLI also enables you to directly import any project from a local directory without having to export it first, through a pack command which generates an import-ready ZIP file. The project export and import feature enables easy transfers of projects between data centers or between Catalyst accounts. It also enables easy access and testing of a project from an external environment, such as a GitHub repository. You can simply clone a Git repo containing a Catalyst project's components, generate its ZIP file to import it, and easily test the project. You can also easily perform these actions through a remote system, such as a CI system, or write scripts to automate these tasks. Catalyst also provides you the option to import a project to just the Catalyst remote console, or to both the remote console and the local environment. > **Note:** You can also perform the IaC project export and import operations from the *General Settings* in the remote console. You can learn about it from the **[ IaC Settings help page ](https://docs.catalyst.zoho.com/en/getting-started/set-up-a-catalyst-project/iac-settings/)**. -------------------------------------------------------------------------------- title: "Export/Import ZIP File Format" description: "Catalyst enables you to export a project including its configurations and code as a ZIP file, and import the ZIP file into any new project." last_updated: "2026-10-23T10:20:21.000Z" source: "https://docs.catalyst.zoho.com/en/cli/v1/export-and-import-projects/export-import-zip-file/" service: "All Services" -------------------------------------------------------------------------------- # Export/Import ZIP File Format ### Components of the ZIP File Catalyst enables you to export or import the schemas and configurations of a project, along with its [functions](https://docs.catalyst.zoho.com/en/serverless/help/functions/introduction/) and client code, without the data. Data, such as the records in the Data Store tables, the list of the application's users, will not be included in the ZIP file. The ZIP file that is created when a project is exported from its local directory contains the following components. ![IAC Export ZIP File](https://catalyst-docs-development.zohostratus.in/images/cli/export-and-import-projects/catalyst_cli_iac_export_zip.webp) * **ZIP File of the Functions Directory:** The export ZIP will contain the [ functions directory](https://docs.catalyst.zoho.com/en/cli/v1/project-directory-structure/functions-directory/) of the project in its standard structure. All functions that were initialized in the project directory will be present as individual ZIP files, with their configuration files and SDK components. * **ZIP File of the Client Directory:** The export ZIP will also include the [ client directory](https://docs.catalyst.zoho.com/en/cli/v1/project-directory-structure/client-directory/) of the project. The web client that was initialized in the project, with all the client files, will be present as a ZIP file in the `webclient` folder. * **Project-Template JSON File:** The configurations of the project's components will be present in a single JSON file in the export ZIP file. The JSON file contains the definitions of the project and component settings. These configurations include Data Store schemas and meta data, Cache segments, Cron jobs, Circuit configurations, Security rules, email domains and addresses, Signals rules, APIs in API Gateway, email templates, user profiles, and more. An extract from a sample project-template JSON is given below: ```json { "name" : "project-template", "version" : "1.0.0", "parameters" : { }, "components" : { "Circuits" : [ { "type" : "circuit", "name" : "InvoiceGen", "properties" : { "name" : "InvoiceGen", "states" : { "State1" : { "next" : "End", "start" : true, "type" : "pass" } } }, "dependsOn" : [ ] } ], "Functions" : [ { "type" : "function", "name" : "warehouseportal", "properties" : { "stack" : "node24", "code" : { "path" : "functions/warehouseportal.zip" }, "configuration" : { "memory" : 256 }, "type" : "basicio", "name" : "warehouseportal" }, "dependsOn" : [ ] } ], "WebClient" : [ { "type" : "client", "name" : "warehousePortal", "properties" : { "app_name" : "warehousePortal", "code" : { "path" : "webclient/warehousePortal.zip" } }, "dependsOn" : [ ] } ], "Cron" : [ { "type" : "cron", "name" : "dailyBackup", "properties" : { "cron_url_details" : { "headers" : { }, "request_body" : "", "request_method" : "POST", "params" : { }, "url" : "https://catalyst.zoho.com/help/index.html" }, "end_time" : -1, "description" : "", "cron_name" : "dailyBackup", "job_detail" : { "hour" : 1, "timezone" : "America/Los_Angeles", "minute" : 0, "second" : 0, "repetition_type" : "Daily" }, "cron_type" : "Calendar", "status" : true }, "dependsOn" : [ ] } ], "Datastore" : [ { "type" : "table", "name" : "InventoryDB", "properties" : { "table_name" : "InventoryDB" }, "dependsOn" : [ ] }, { "type" : "column", "name" : "InventoryDB-ProductID", "properties" : { "decimal_digits" : 2, "column_name" : "ProductID", "data_type" : "int", "is_unique" : false, "is_mandatory" : false, "search_index_enabled" : false, "table_id" : "InventoryDB", "table_name" : "InventoryDB", "max_length" : 10 }, "dependsOn" : [ "Datastore.table.InventoryDB" ] }, { "type" : "tableScope", "name" : "InventoryDB-App Administrator", "properties" : { "role_name" : "App Administrator", "table_scope" : "GLOBAL", "type" : "App Administrator", "table_name" : "InventoryDB" }, "dependsOn" : [ "Datastore.table.InventoryDB" ] }, { "type" : "tableScope", "name" : "InventoryDB-App User", "properties" : { "role_name" : "App User", "table_scope" : "GLOBAL", "type" : "App User", "table_name" : "InventoryDB" }, "dependsOn" : [ "Datastore.table.InventoryDB" ] }, { "type" : "tablePermission", "name" : "InventoryDB-App Administrator", "properties" : { "role_name" : "App Administrator", "type" : "App Administrator", "table_permissions" : [ "SELECT", "UPDATE", "INSERT", "DELETE" ], "table_name" : "InventoryDB" }, "dependsOn" : [ "Datastore.table.InventoryDB" ] }, { "type" : "tablePermission", "name" : "InventoryDB-App User", "properties" : { "role_name" : "App User", "type" : "App User", "table_permissions" : [ "SELECT" ], "table_name" : "InventoryDB" }, "dependsOn" : [ "Datastore.table.InventoryDB" ] }] } } ``` > **Note:** * Catalyst will not be able to import a project if the ZIP file does not contain the project-template JSON file. This is a mandatory file that defines the project's configurations. * Currently, the only way to generate the JSON file of a Catalyst project is by exporting it. You will not be able to generate it manually. The update to directly generate a project's JSON will be rolled out soon. -------------------------------------------------------------------------------- title: "Export Project" description: "Catalyst enables you to export a project including its configurations and code as a ZIP file, and import the ZIP file into any new project." last_updated: "2026-11-03T15:16:51.000Z" source: "https://docs.catalyst.zoho.com/en/cli/v1/export-and-import-projects/export-project/" service: "All Services" -------------------------------------------------------------------------------- # Export Project ### Command Execution When you export a project present in the local directory, the CLI will fetch the project's component configurations from the remote console. If no components have been configured, the default configurations will be written to the project-template JSON file. > **Note:** * The project must be mandatorily available in the remote console to be exported. * If the console contains updated functions or client code that are not present in the local directory, they will be fetched automatically. 1. To export a project associated with a Catalyst project directory in your local system, execute the following command from the directory in your terminal: ```sh catalyst iac:export ``` This will initiate the export job. Catalyst will assign a unique **Job ID** to the export operation. You can use this Job ID to [check the status](https://docs.catalyst.zoho.com/en/cli/v1/export-and-import-projects/export-import-job-status/) of the job at any time. ![CLI IaC Export](https://catalyst-docs-development.zohostratus.in/images/cli/export-and-import-projects/catalyst_cli_iac_export_1.webp) 2. After the export job is complete, the CLI will prompt you for the export ZIP file download. Press **Y** , then press **Enter** to download the ZIP into your project directory. ![CLI IaC Export](https://catalyst-docs-development.zohostratus.in/images/cli/export-and-import-projects/catalyst_cli_iac_export_2.webp) The ZIP file will be available in the home directory of your project directory in the [standard format](https://docs.catalyst.zoho.com/en/cli/v1/export-and-import-projects/export-import-zip-file/) as discussed in the previous section, along with the `functions` and `client` directories, and the ` [catalyst.json](https://docs.catalyst.zoho.com/en/cli/v1/project-directory-structure/catalyst-json/) ` file. > **Note:** You can export a project that is not associated with the current directory the command is being executed from, by using the `[\--project ](https://docs.catalyst.zoho.com/en/cli/v1/cli-options/#-p----project-name_or_project_id---org-org_id)` option. ### Export Project Options #### \--production You can export the [production environment](https://docs.catalyst.zoho.com/en/deployment-and-billing/environments/introduction/) of a project directly, instead of its development environment which is the default for all CLI actions. This can be done by pointing to the production environment using the `\--production` option while executing the command from the project directory like this: ```sh catalyst iac:export --production ``` This will export the configurations of the project from its production environment in the same manner as discussed in the previous section. -------------------------------------------------------------------------------- title: "Import Project" description: "Catalyst enables you to export a project including its configurations and code as a ZIP file, and import the ZIP file into any new project." last_updated: "2026-08-17T12:16:04.000Z" source: "https://docs.catalyst.zoho.com/en/cli/v1/export-and-import-projects/import-project/" service: "All Services" -------------------------------------------------------------------------------- # Import Project ### Introduction The import project option allows you to import a new Catalyst project. Catalyst will create and configure the project based on the source ZIP file. It will configure each component based on the definitions specified in the project-template JSON, and the functions and client code will be populated in the project. As mentioned in the Introduction, you can import a project in two different ways: * **IaC Import:** Executing the IaC import command will only import the project in the remote console. A new project will be created and configured in the console based on the source ZIP file. You will not be able to find this project in the local directory. * **Import through Initialization:** You can also import a project while [initializing a new project](https://docs.catalyst.zoho.com/en/cli/v1/initialize-resources/introduction/) from the CLI. This will perform the same actions as a project initialization, i.e., the project will be imported in both the Catalyst remote console and in the local environment. You will find a new project created and configured in the console based on the ZIP file. The project-template JSON file, and the function and client code will be available in the local directory as well. Every other feature of the import operation will be the same in both cases. Some important points to remember: * The source ZIP file containing the project definitions, and the functions and client code must be in the [standard format](https://docs.catalyst.zoho.com/en/cli/v1/export-and-import-projects/export-import-zip-file/) to be imported, as discussed earlier. * The project-template JSON file must be present in the root of the ZIP file. A project cannot be imported without this file. The `functions` or `client` directories, or the [catalyst.json](https://docs.catalyst.zoho.com/en/cli/v1/project-directory-structure/catalyst-json/) configuration file are not mandatory. * You can always pack any existing Catalyst project directory and generate an import-ready ZIP file using the ` [catalyst iac:pack](https://docs.catalyst.zoho.com/en/cli/v1/export-and-import-projects/generate-zip-file/) ` command. > **Note:** You will not be able to import a project directly into the production environment. ### IaC Import 1. To import a new project through the IaC import method, create and navigate to a new directory for the Catalyst project in your terminal, then execute this command from the directory: ```sh catalyst iac:import ``` 2. Provide a name for the new project, then press **Enter** . ![Import Project in CLI](https://catalyst-docs-development.zohostratus.in/images/cli/export-and-import-projects/catalyst_cli_iac_import_1.webp) 3. Catalyst will check the directory you executed the command from for ZIP files, and will ask you to select a ZIP file from the available ones as the project source. ![Import Project in CLI](https://catalyst-docs-development.zohostratus.in/images/cli/export-and-import-projects/catalyst_cli_iac_import_2.webp) If there are no ZIP files present in the directory, you can provide the path to the source ZIP file to be imported. ![Import Project in CLI](https://catalyst-docs-development.zohostratus.in/images/cli/export-and-import-projects/catalyst_cli_iac_import_3.webp) 4. The CLI will redirect you to a browser window to confirm the user login session briefly, and the import job will be initiated. You can close the browser window and return to the terminal. ![Import Project in CLI](https://catalyst-docs-development.zohostratus.in/images/cli/export-and-import-projects/catalyst_cli_iac_import_4.webp) Catalyst will assign a unique Job ID to the import operation. You can use this **Job ID** to [check the status](https://docs.catalyst.zoho.com/en/cli/v1/export-and-import-projects/export-import-job-status/) of the job at any time. ![Import Project in CLI](https://catalyst-docs-development.zohostratus.in/images/cli/export-and-import-projects/catalyst_cli_iac_import_5.webp) After the import job is complete, the CLI will display its status. If the import is successful, you will find a new project created in your Catalyst remote console with the components, functions, and client configured based on the ZIP file. ![Import Project in CLI](https://catalyst-docs-development.zohostratus.in/images/cli/export-and-import-projects/catalyst_cli_iac_imported.webp) You can always [pull the resources](https://docs.catalyst.zoho.com/en/cli/v1/pull-resources/introduction/) to the local environment from the console, to fetch the project in the local environment. Pulling the project will only fetch the functions, client, and API Gateway rules. It will not fetch any component configurations. ### Import Project Options #### \--name You can directly provide a name for the project while importing a project, using the `-\\-name` option with the import command in the following way: ```sh catalyst iac:import --name <project_name> ``` Provide a name for the project to be created by the import job with the `-\\-name` option. The CLI will then ask you to choose a ZIP file in the directory or provide a path to the source file, as discussed above. ### Import through Initialization 1. To import a project during the project initialization, execute the [project initialization](https://docs.catalyst.zoho.com/en/cli/v1/initialize-resources/initialize-new-project/) command from a new directory created for the project: ```sh catalyst init ``` 2. Select "**Import an existing project** " from the list of projects to associate the directory with. ![Import Project through init](https://catalyst-docs-development.zohostratus.in/images/cli/export-and-import-projects/catalyst_cli_iac_import_init_1.webp) 3. Provide a name for the project, then select a source ZIP file or provide a path to it to import, as discussed in the [IaC project import section](https://docs.catalyst.zoho.com/en/cli/v1/export-and-import-projects/import-project/#iac-import). The process will be the same. ![Import Project through init](https://catalyst-docs-development.zohostratus.in/images/cli/export-and-import-projects/catalyst_cli_iac_import_init_2.webp) Catalyst will assign a unique **Job ID** to the import operation after it is initiated. After the import job is complete, you can find the project created and configured in the remote console, as well as in the local directory.![Import Project through init](https://catalyst-docs-development.zohostratus.in/images/cli/export-and-import-projects/catalyst_cli_iac_import_init_3.webp) Because this imports the project in the local directory, the ` [catalyst.json](https://docs.catalyst.zoho.com/en/cli/v1/project-directory-structure/catalyst-json/) ` and the `.catalystrc` configuration files will be created with the project details. The project directory will also contain the `functions` and the `client` directories, if they were present in the ZIP file, and the project-template JSON file. ![Import Project through init](https://catalyst-docs-development.zohostratus.in/images/cli/export-and-import-projects/catalyst_cli_iac_imported_init.webp) -------------------------------------------------------------------------------- title: "Generate an Import-Ready ZIP File" description: "Catalyst enables you to export a project including its configurations and code as a ZIP file, and import the ZIP file into any new project." last_updated: "2026-08-28T06:26:16.000Z" source: "https://docs.catalyst.zoho.com/en/cli/v1/export-and-import-projects/generate-zip-file/" service: "All Services" -------------------------------------------------------------------------------- # Generate an Import-Ready ZIP File ### Introduction Catalyst enables you to directly import any project from a local directory without having to export it first. This means that you need not have an import-ready ZIP file already present in your local system to import a project. You can generate an import-ready ZIP file in the [standard format](https://docs.catalyst.zoho.com/en/cli/v1/export-and-import-projects/export-import-zip-file/) in an existing Catalyst project directory automatically, by executing this command. You can then provide the path to this ZIP file while importing the project. This saves you the effort of verifying if all files and sub-directories are present in the required format, and compressing each function folder or the client directory manually to prepare a source ZIP file to import. > **Note:** As the import operation requires the project-template JSON file, it must be mandatorily present in the directory the pack command is executed from. The functions or client directories, or the ` [catalyst.json](https://docs.catalyst.zoho.com/en/cli/v1/project-directory-structure/catalyst-json/) ` configuration file are not mandatory. ### IaC Pack You can pack a Catalyst project and generate its ZIP file in the standard format, by executing the following command from the project directory: ```sh catalyst iac:pack ``` This will create the ZIP file in the same directory. ![CLI IaC Pack](https://catalyst-docs-development.zohostratus.in/images/cli/export-and-import-projects/catalyst_cli_iac_pack.webp) You can also provide a name of your choice to the ZIP file by specifying the name following the command as shown below. ![CLI IaC Pack](https://catalyst-docs-development.zohostratus.in/images/cli/export-and-import-projects/catalyst_cli_iac_pack_options.webp) -------------------------------------------------------------------------------- title: "Obtain an Export or Import Job Status" description: "Catalyst enables you to export a project including its configurations and code as a ZIP file, and import the ZIP file into any new project." last_updated: "2026-08-17T12:16:04.000Z" source: "https://docs.catalyst.zoho.com/en/cli/v1/export-and-import-projects/export-import-job-status/" service: "All Services" -------------------------------------------------------------------------------- # Obtain an Export or Import Job Status ### Obtain Status If an export or an import job is being processed, or was recently processed, in a project directory, you can fetch the status of the job. To fetch the status of an export or import job, execute the following command from that directory: ```sh catalyst iac:status export|import ``` The CLI will display the status of the export or import job processed in that directory. ![IaC Job Status](https://catalyst-docs-development.zohostratus.in/images/cli/export-and-import-projects/catalyst_cli_iac_status_1.webp) ### Job Status Options #### \--id <id> You can fetch the status of a specific import or export job executed in any directory, by specifying the unique Job ID that was generated automatically when the job was initiated. Both export and import operations generate Job IDs. To fetch the status of any export or import job, specify the Job ID with the command in the following way: ```sh catalyst iac:status export|import --id <id> ``` The CLI will display the job's status. ![IaC Job Status with Job ID](https://catalyst-docs-development.zohostratus.in/images/cli/export-and-import-projects/catalyst_cli_iac_status_2.webp) ### Initialize Resources -------------------------------------------------------------------------------- title: "Introduction" description: "You can initialize a Catalyst project and project resources such as functions, client, and AppSail from the CLI" last_updated: "2025-12-09T16:21:15.000Z" source: "https://docs.catalyst.zoho.com/en/cli/v1/initialize-resources/introduction/" service: "All Services" -------------------------------------------------------------------------------- # Initialize Resources ### Introduction The first step in working with the Catalyst CLI is initializing a [Catalyst project](https://docs.catalyst.zoho.com/en/getting-started/catalyst-projects/) in a directory in your local system and associating that directory with that project. You cannot perform any project-related operations in the CLI until you have initialized a Catalyst project. The directory that you initialize a project in is referred to as the project directory. The required configuration files for your project are created automatically when the project is initialized. You can initialize four basic components of a Catalyst project: **[Functions](https://docs.catalyst.zoho.com/en/serverless/help/functions/introduction/)**, **[Client](https://docs.catalyst.zoho.com/en/cloud-scale/help/web-client-hosting/introduction/)**, **[AppSail](https://docs.catalyst.zoho.com/en/serverless/help/appsail/introduction/)**, and **[Slate](https://docs.catalyst.zoho.com/en/slate/)**. The directories of the components that you initialize are created automatically, along with required configuration files and dependencies. For detailed information on the project directory structure and the code structures of the configuration files, refer to the [ **Project Directory Structure help** ](https://docs.catalyst.zoho.com/en/cli/v1/project-directory-structure/introduction/) page. > **Note:** You can also pull a JSON file that contains the API definitions of API Gateway from the remote console, into your project directory. Refer to the [Working with API Gateway help page](https://docs.catalyst.zoho.com/en/cli/v1/working-with-api-gateway/introduction/) to learn more. After the initialization process is complete, this directory will be permanently bound to that project. Although you can use the directory to work with other projects using the [catalyst project:use](https://docs.catalyst.zoho.com/en/cli/v1/working-with-projects/use-catalyst-project/) command, this association will only be temporary. The project that you originally initialize in a directory will be considered to be the base project of that directory. > **Note:** * You will not be able to initialize a project in a directory whose root is already bound to another project. When a project is initialized in a directory, the CLI performs a check for Catalyst components beginning with the directory's root. If any components are found in the root, the CLI will not initialize a new project in it. * The best way to initialize a new project is to create an individual folder for it in your local system, navigate to it, and execute the initialize command from that directory. * If you are a **Visual Studio Code IDE** user, you can install the **Catalyst Tools** extension, and perform CLI operations using your IDE in place of the CLI. Steps to initialize your Catalyst project using Visual Studio Code IDE can be found [here](https://docs.catalyst.zoho.com/en/catalyst-extensions/vs-code-extension/implementation/#initialize-your-catalyst-project) -------------------------------------------------------------------------------- title: "Initialize a new Project" description: "You can initialize a Catalyst project and project resources such as functions, client, and AppSail from the CLI" last_updated: "2026-11-03T15:16:51.000Z" source: "https://docs.catalyst.zoho.com/en/cli/v1/initialize-resources/initialize-new-project/" service: "All Services" -------------------------------------------------------------------------------- # Initialize a New Project You can initialize a project, and then the functions, client, and an AppSail app as explained in these sections. To initialize a new project from the CLI: 1. Create a folder for the project on your local machine and navigate to it from the terminal. Initialize a project by executing the following command from that directory: ```sh catalyst init ``` 2. Select an organization for you to create the project in. You can create and work with [multiple organizations](https://docs.catalyst.zoho.com/en/getting-started/catalyst-organizations/) in Catalyst, and create projects in each. ![catalyst_org_choose](https://catalyst-docs-development.zohostratus.in/images/cli/initialize-resources/catalyst_cli_init_0.webp) 3. You can associate the current project directory with an existing Catalyst project in this organization. You can also create your own new project directly from the CLI or [import an existing project](https://docs.catalyst.zoho.com/en/cli/v1/export-and-import-projects/introduction/) in this organization. ![catalyst_cli_initialize-project](https://catalyst-docs-development.zohostratus.in/images/cli/initialize-resources/catalyst_cli_init_1.webp) * To select an existing Catalyst project from this org, select from the list of your projects using the arrows. Press **Enter** to confirm. > **Note:** You can run the command ` [catalyst project:use](https://docs.catalyst.zoho.com/en/cli/v1/working-with-projects/use-catalyst-project/) ` to associate an existing project, that has previously been initialized in the CLI, with the working directory. * To create a new project, navigate to the **Create a new project** option and press **Enter**. You will be re-directed to the Catalyst console to create a new project. You can provide a name for the project and click **Create**. * To import an existing project, you must select **Import an existing project** , then select the project source ZIP file. You can learn more about these steps from the [Export and Import Project help page](https://docs.catalyst.zoho.com/en/cli/v1/export-and-import-projects/import-project/#import-through-initialization). > **Note:** * You cannot create your first ever Catalyst project from the CLI. You can create the first project only [using the Catalyst web console](https://docs.catalyst.zoho.com/en/getting-started/catalyst-projects/#create-a-catalyst-project). You can create subsequent projects from the CLI. * You can create up to 50 projects in your account. You can request Catalyst for an increase in this limit by contacting our support at support@zohocatalyst.com. We will address each request on a case-by-case basis. 4. Now, select the components that you need to set up for your Catalyst application by pressing **Space** to select the features. Press **Enter** to confirm your choices. You can initialize any of these components: Functions, Client, AppSail. ![catalyst_cli_initialize-project](https://catalyst-docs-development.zohostratus.in/images/cli/initialize-resources/catalyst_cli_init_2.webp) > **Note:** * You can also initialize a project without selecting any components. Since the main purpose of a project initialization is to bind the directory to a particular project, it is not mandatory to initialize any of its components. In this case, a project folder will be created with just the [ `catalyst.json`](https://docs.catalyst.zoho.com/en/cli/v1/project-directory-structure/catalyst-json/) and `.catalystrc` files in it. * If you do not initialize a particular component while initializing the project, you can always set it up later at any time after the project is initialized. To learn more, refer to the [client setup](https://docs.catalyst.zoho.com/en/cli/v1/working-with-the-client/introduction/), [functions setup](https://docs.catalyst.zoho.com/en/cli/v1/working-with-functions/introduction/), and [AppSail add](https://docs.catalyst.zoho.com/en/cli/v1/add-appsail/) help sections. The project will be created with a unique [project ID](https://docs.catalyst.zoho.com/en/getting-started/set-up-a-catalyst-project/general-settings/) . The [`catalyst.json` ](https://docs.catalyst.zoho.com/en/cli/v1/project-directory-structure/catalyst-json/) file and the `.catalystrc` hidden file containing your project details will be created in the project directory. The Catalyst project directory will include [ directories, files, and dependencies](https://docs.catalyst.zoho.com/en/cli/v1/project-directory-structure/introduction/) based on all the components you initialized. The image below shows a sample project directory if a Java function and a basic client component were initialized in the project. ![catalyst_cli_initialize-project](https://catalyst-docs-development.zohostratus.in/images/cli/initialize-resources/catalyst_cli_init_proj_dir.webp) > **Note:** * If you're initializing resources in an existing project directory, the CLI will skip the steps to associate a project with the directory. * If you are initializing a component that is already present in the project directory, the CLI will display a message asking if the folder should be overwritten. You can press **Y** to overwrite the existing directory or **N** to skip the creation of the directory and then press **Enter**. * You can auto-fill queries with the default values if you press **Enter**. * If you are a **Visual Studio Code IDE** user, you can install the **Catalyst Tools** extension, and perform CLI operations using your IDE in place of the CLI. Steps to initialize your Catalyst project using Visual Studio Code IDE can be found [here](https://docs.catalyst.zoho.com/en/catalyst-extensions/vs-code-extension/implementation/#initialize-your-catalyst-project). > **Info:** This command is available in Non-interactive mode. Refer to the [Non-Interactive Catalyst CLI Commands](https://docs.catalyst.zoho.com/en/ai-toolkit/ni-cli/ni-commands/) page for the complete syntax. -------------------------------------------------------------------------------- title: "Initialize Functions" description: "You can initialize a Catalyst project and project resources such as functions, client, and AppSail from the CLI" last_updated: "2026-10-23T10:20:21.000Z" source: "https://docs.catalyst.zoho.com/en/cli/v1/initialize-resources/initialize-functions/" service: "All Services" -------------------------------------------------------------------------------- # Initialize Functions ### Set up Function Type If you choose to initialize the Functions directory for your project, Catalyst will initiate its setup process. 1. Select the type of function you would like to develop. Make your selection and press **Enter** . ![Initialize functions- Setup function type](https://catalyst-docs-development.zohostratus.in/images/cli/initialize-resources/catalyst_cli_init_setup_func_type.webp) The six types of functions that you can develop in Catalyst are: Basic I/O, Advanced I/O, Event, Cron, Browser Logic, Integration, and Browser Logic functions. To learn more about the function types and their purposes, refer to the [ **Functions help page.** ](https://docs.catalyst.zoho.com/en/serverless/help/functions/basic-io/) **Integration Functions:** The CLI initialization process is the same for all the other function types, except the Integration functions. If you select _Integration_ from the list, you have to perform these two extra steps before moving on to the next step: **i.** Select the service that you want to integrate with. You can currently only select **Cliq** integration.![Initialize functions- Integration Functions](https://catalyst-docs-development.zohostratus.in/images/cli/initialize-resources/catalyst_cli_init_integ_1.webp) **ii.** Select the handlers that you require. You can learn more about this from the [Integration Functions help page](https://docs.catalyst.zoho.com/en/serverless/help/functions/integration-functions/) . ![Initialize functions- Integration Functions](https://catalyst-docs-development.zohostratus.in/images/cli/initialize-resources/catalyst_cli_init_integ_2.webp)The rest of the setup process is the same for all function types. The process only varies with the function stack. > **Note:** Cliq Integration Functions is currently not available to Catalyst users accessing from the EU, AU, IN, or CA data centers. ConvoKraft Integration Functions are available to all DCs. 2. Select a stack to develop the server side functions in and press **Enter** . The list displays all supported runtimes. You can select the latest supported version of **Java**, **Node.js**, or **Python** from the list. > **Note:** You can create multiple Java, Node.js or Python functions within a single function directory using the [ `catalyst functions:add` ](https://docs.catalyst.zoho.com/en/cli/v1/working-with-functions/add-functions/) command. ### Initialize a Java Function of Any Type 1. If you initialize a Java function, select the required runtime from the supported runtimes: **Java 8**, **Java 11**, **Java 17**, **Java 21**, **Java 25**. ![](https://catalyst-docs-development.zohostratus.in/images/cli/initialize-resources/catalyst_cli_init_java_1.webp) > **Note:** Before choosing your version of Java function stack, ensure you have the relevant JDK installed in your system. You can also install the relevant JDKs from the following links: * [Java 8](https://www.oracle.com/technetwork/java/javase/downloads/index.html) * [Java 11](https://www.oracle.com/in/java/technologies/javase/jdk11-archive-downloads.html) * [Java 17](https://www.oracle.com/java/technologies/downloads/#java17) * [Java 21](https://www.oracle.com/java/technologies/downloads/#java21) * [Java 25](https://www.oracle.com/java/technologies/downloads/#java25) 2. Enter the reference name of the Java function when prompted and press **Enter** . This will also be the name of the function's folder. ![Initialize functions- Java Functions](https://catalyst-docs-development.zohostratus.in/images/cli/initialize-resources/catalyst_cli_init_java_2.webp) 3. Provide the main class name of the Java function and press **Enter** . The CLI will then download the [Java SDK package](https://docs.catalyst.zoho.com/en/sdk/java/v1/overview/) and complete the function setup process. ![Initialize functions- Java Functions](https://catalyst-docs-development.zohostratus.in/images/cli/initialize-resources/catalyst_cli_init_java_3.webp) 4. If it is your first time initializing a **Java 11**, **Java 17**, **Java 21**, or **Java 25** function, you will need to additionally set the path information of the JDKs installed in your system. You can set this information in a specific configuration file that is present in your local system as a hidden file. The path of the installed JDKs will need to be set using the `config:set <key=value>` CLI command. You can find out more about this command from this [help document](https://docs.catalyst.zoho.com/en/cli/v1/cli-config/). Set the path information in the configuration file as shown in the example below: **Java 11**: ```sh catalyst config:set java11.bin=/Library/Java/JavaVirtualMachines/jdk-11.0.17.jdk/Contents/Home/bin ``` **Java 17**: ```sh catalyst config:set java17.bin=/Library/Java/JavaVirtualMachines/jdk-17.jdk/Contents/Home/bin ``` **Java 21**: ```sh catalyst config:set java21.bin=/Library/Java/JavaVirtualMachines/jdk-21.jdk/Contents/Home/bin ``` **Java 25**: ```sh catalyst config:set java25.bin=/Library/Java/JavaVirtualMachines/jdk-25.jdk/Contents/Home/bin ``` > **Note:** * Replace the path listed in the above commands with your JDK path. * If your local system is running on **Windows OS**, kindly enclose the path in double-quotes. For example, you will set the Java 11 path in the following manner: ```sh catalyst config:set java11.bin="/Library/Java/JavaVirtualMachines/jdk-11.0.17.jdk/Contents/Home/bin" ``` ![catalyst_cli_functions_java_jdk_setup](https://catalyst-docs-development.zohostratus.in/images/cli/working-with-functions/catalyst_cli_functions_java_jdk_setup.webp) The Java function's folder will be created with the main `.java` class file, the library JAR files, `catalyst-config.json` , and other configuration files. These values will be updated in the [ `catalyst.json` ](https://docs.catalyst.zoho.com/en/cli/v1/project-directory-structure/catalyst-json/) configuration file. ![Initialize functions- Java Function Directory](https://catalyst-docs-development.zohostratus.in/images/cli/initialize-resources/catalyst_cli_init_func_dir_java.webp) You can learn about the Java function directory structure in detail from the [Project Directory Structure help page.](https://docs.catalyst.zoho.com/en/cli/v1/project-directory-structure/functions-directory/) ### Initialize a Node JS Function of Any Type 1. If you initialize a Node.js function, select the required runtime from the supported runtimes: **Node 24**, **Node 22**, **Node 20**, **Node 18**. ![Initialize functions- Node.js Functions](https://catalyst-docs-development.zohostratus.in/images/cli/initialize-resources/catalyst_cli_init_node_1.webp) 2. Provide a package name for your Node function when prompted and press **Enter** . ![Initialize functions- Node.js Functions](https://catalyst-docs-development.zohostratus.in/images/cli/initialize-resources/catalyst_cli_init_node_2.webp) 3. Provide the name of the entry point file and press **Enter** . 4. Provide a name for the function **author** and press **Enter** . 5. The CLI will then prompt you to allow installation of node dependencies. Press **Y** to confirm the installation, and press **Enter** to confirm your choice. If you don't install all the required dependencies, it could cause errors during the function's execution. ![Initialize functions- Node.js Functions](https://catalyst-docs-development.zohostratus.in/images/cli/initialize-resources/catalyst_cli_init_node_3.webp) The CLI will then download the [Node.js SDK package](https://docs.catalyst.zoho.com/en/sdk/nodejs/v2/overview/) and complete the function setup process. > **Note:** Catalyst enables you to create an Advanced I/O function in the Express template, which installs the [Express.js](https://expressjs.com/) modules. However, you will not be able to create the Express template from the CLI. But you can install Express on your system independently by executing [ `npm install express --save` ](https://expressjs.com/en/starter/installing.html) from a particular function's directory to use the Express modules in it. You can learn more the Express template from the [Advanced I/O Function help page](https://docs.catalyst.zoho.com/en/serverless/help/functions/advanced-io/) . The Node function's directory is now set up with the `.js` main function file, `catalyst-config.json` , and the necessary node modules and configuration files if you installed the dependencies. These values will be updated in the [ `catalyst.json` ](https://docs.catalyst.zoho.com/en/cli/v1/project-directory-structure/catalyst-json/) configuration file. ![Initialize functions- Node.js Function Directory](https://catalyst-docs-development.zohostratus.in/images/cli/initialize-resources/catalyst_cli_init_func_dir_node.webp) You can learn about the Node.js function directory structure in detail from the [Project Directory Structure help page](https://docs.catalyst.zoho.com/en/cli/v1/project-directory-structure/functions-directory/) . > **Note:** * You can add any number of sub-folders and files in a Java or a Node.js function's directory. Besides the main function file, a function's folder can contain other sub-functions. However, the configuration files and dependencies need to be in the function directory's root. * You can create sub-functions through the [Catalyst console](https://docs.catalyst.zoho.com/en/serverless/help/functions/implementation/) , or using external editors. You can also pull an existing function directory from the console to your local system using the [`catalyst pull`](https://docs.catalyst.zoho.com/en/cli/v1/pull-resources/introduction/) command. * If you need to initialize more than one function, you can do so by using the [ `catalyst functions:add` ](https://docs.catalyst.zoho.com/en/cli/v1/working-with-functions/add-functions/) command. ### Initialize a Python Function of Any Type 1. If you initialize a Python function, select the required runtime from the supported runtimes: **Python 3.10**, **Python 3.11**, **Python 3.12**, or **Python 3.13**. ![Initialize functions- Python Functions](https://catalyst-docs-development.zohostratus.in/images/cli/initialize-resources/catalyst_cli_init_python_updated.webp) 2. Provide a package name for your Python function when prompted and press **Enter** . 3. Provide the name of the entry point file and press **Enter**. ![Initialize functions- Python Functions](https://catalyst-docs-development.zohostratus.in/images/cli/initialize-resources/catalyst_cli_init_python2_updated.webp) Upon successful initialization of the Python function, the [Catalyst Python SDK](https://docs.catalyst.zoho.com/en/sdk/python/v1/overview) package will be automatically installed for your project and an entry will be made in the [`requirements.txt`](https://docs.catalyst.zoho.com/en/cli/v1/project-directory-structure/functions-directory/#requirementstxt-file) file. > **Note:** If it is your first time initializing a Python function, you will need to additionally set the path information of Python installed in your system. You can set this information in a specific configuration file that is present in your local system as a hidden file. The path will need to be set using the `config:set <key=value>` CLI command. You can find out more about this command from this [help document](https://docs.catalyst.zoho.com/en/cli/v1/cli-config/). The Python function's directory is now set up with the `.py` main function file, `catalyst-config.json` and the `requirements.txt` configuration file. These values will be updated in the `catalyst.json` configuration file. ![Initialize functions- Python Functions](https://catalyst-docs-development.zohostratus.in/images/cli/initialize-resources/catalyst_cli_init_python3_updated.webp) You can learn about the Python function directory structure in detail from the [Project Directory Structure help page](https://docs.catalyst.zoho.com/en/cli/v1/project-directory-structure/functions-directory/#python-modules-and-function-dependencies) . You can code the functions you initialized in your local environment and [deploy it](https://docs.catalyst.zoho.com/en/cli/v1/deploy-resources/deploy-functions/) to the console. You can use the [functions shell](https://docs.catalyst.zoho.com/en/cli/v1/working-with-functions/functions-shell/) to test and debug it before deploying. Similarly, you can [serve it](https://docs.catalyst.zoho.com/en/cli/v1/serve-resources/serve-all-resources/#serve-functions-and-basic-web-applications) through a localhost as well. > **Note:** * You can add any number of sub-folders and files in a Java, Node.js or Python function's directory. Besides the main function file, a function's folder can contain other sub-functions. However, the configuration files and dependencies need to be in the function directory's root. * You can create sub-functions for Node.js functions through the [Catalyst console](https://docs.catalyst.zoho.com/en/serverless/help/functions/implementation/). However, Java and Python functions can only be created and updated from the CLI and using external editors. * You can pull an existing function directory from the console to your local system using the [ `catalyst pull` ](https://docs.catalyst.zoho.com/en/cli/v1/pull-resources/introduction/) command. * If you need to initialize more than one function, you can do so by using the [ `catalyst functions:add` ](https://docs.catalyst.zoho.com/en/cli/v1/working-with-functions/add-functions/) command. -------------------------------------------------------------------------------- title: "Initialize the Client" description: "You can initialize a Catalyst project and project resources such as functions, client, and AppSail from the CLI" last_updated: "2026-08-17T12:16:04.000Z" source: "https://docs.catalyst.zoho.com/en/cli/v1/initialize-resources/initialize-client/" service: "All Services" -------------------------------------------------------------------------------- # Initialize the Client ### Introduction Catalyst enables you to develop three types of native client applications that can be hosted on [Web Client Hosting](https://docs.catalyst.zoho.com/en/cloud-scale/help/web-client-hosting/introduction/): * Angular Applications * React Applications * Basic Client Applications Catalyst provides ready-to-use templates for Angular and React client apps. When you initialize these apps, Catalyst will handle the entire setup procedure and prompt you to install the required dependencies. The Angular and React applications will be created in your project directory in their boilerplate structure. The basic client app is a simple version of the Catalyst client that will be created in its own standard structure. The installation procedures will differ for all three types of client apps. > **Note:** * You can add any number of sub-folders and files in the client's directory like HTML files, JavaScript files, logo images, and more. However, the configuration files and dependencies need to be in the client directory's root. * You can also pull a hosted web client from the console to your local system using the ` [catalyst pull](https://docs.catalyst.zoho.com/en/cli/v1/pull-resources/introduction/) ` command. * Web client hosting is suitable for basic and simple web applications. You can explore our robust frontend development service, **[Slate](https://docs.catalyst.zoho.com/en/slate/)**, that lets you seamlessly deploy web applications in a variety of popular JavaScript frameworks like Next.js, Angular, React, Vue, and more. Slate also provides automated deployments from GitHub, GitLab, or Bitbucket, and offers a host of other advanced features. If you initialize the client directory for your project, Catalyst will initiate its setup process after the functions initialization. Select one of the client types to initialize for your project from the options, then press **Enter**. ![Initialize Client- Setup](https://catalyst-docs-development.zohostratus.in/images/cli/initialize-resources/catalyst_cli_init_client_setup.webp) ### Angular Applications Angular is a front-end application design framework and development platform for creating efficient and sophisticated single-page apps. Angular follows a component-based architecture where the app is decoupled into individual, reusable functional and logical entities. The building blocks of Angular such as the components, templates, directives, dependency injections are combined into modules, that together form an Angular application. You can learn more from the [official Angular documentation](https://angular.io/docs) . It is recommended that you have Angular CLI installed in your local machine for developing Angular client applications. This CLI handles the installation and configuration of the required dependencies automatically, and enables easy development and testing of client applications. Catalyst will automatically initiate its installation during the client initialization process. Catalyst also provides a plugin for the Angular app, ` **zcatalyst-cli-plugin-angular** ` , which is installed when the Angular app is initialized. This plugin, compatible with the latest LTS version of Angular, handles several operations involved in the development and testing of the Angular app internally. This eases and quickens your application building task, and enables you to focus on the app's functionality instead of its setup and maintenance. > **Note:** The Catalyst plugin must be installed in the specific application's directory. The [ `catalyst.json` ](https://docs.catalyst.zoho.com/en/cli/v1/project-directory-structure/catalyst-json/) configuration file will specify the plugin's path. Catalyst has deprecated support for the global installation of the Angular plugin. Please update the code of your existing Angular apps accordingly. If you select **Angular Web App** from the options while initializing the client, Catalyst will initiate the standard setup procedure for Angular applications. The app will be created in the latest LTS version. > **Note:** The current Angular LTS version supported by Catalyst is v12. 1. The CLI will prompt you to provide a name for the client component of your project. Provide a name for the client and press **Enter** . ![Initialize Client- Angular](https://catalyst-docs-development.zohostratus.in/images/cli/initialize-resources/catalyst_cli_init_angular_1.webp) 2. If Angular CLI is not already installed in your system, Catalyst will automatically initiate a temporary installation of its LTS version. It will also install a Catalyst-specific schematics package that is required to generate an Angular app. Enter "Y" to confirm the installation of the required packages when prompted, then press **Enter** . ![Initialize Client- Angular](https://catalyst-docs-development.zohostratus.in/images/cli/initialize-resources/catalyst_cli_init_angular_2.webp) If the required packages already exist in your local system, the setup will skip to the next step. > **Note:** If you have an older or unsupported version of Angular installed in your system, Catalyst will prompt you to update the version to the latest supported version. 3. You can enable Angular routing to handle navigation between the different views you create. Enter "Y", then press **Enter** when prompted. ![Initialize Client- Angular](https://catalyst-docs-development.zohostratus.in/images/cli/initialize-resources/catalyst_cli_init_angular_3.webp) 4. You can style Angular components with any of the supported stylesheet formats as shown below. Select a stylesheet format for your app, then press **Enter** . ![Initialize Client- Angular](https://catalyst-docs-development.zohostratus.in/images/cli/initialize-resources/catalyst_cli_init_angular_4.webp) The routing and stylesheet prompts fall under the default set up procedures of Angular applications. Catalyst will then initiate the installation of the Angular application files, configuration files, and dependencies in their boilerplate structures. The node modules required for the development of the app are also installed through NPM. ![Initialize Client- Angular](https://catalyst-docs-development.zohostratus.in/images/cli/initialize-resources/catalyst_cli_init_angular_5.webp) The Angular client's directory is now set up with the standard application files, environment files, the plugin file, stylesheets, `index.html` , and TypeScript classes as shown below. The required node modules, JSON configuration files, and dependencies, including `client-package.json` specific to Catalyst, will also be present in the directory. ![Initialize Client- Angular Directory](https://catalyst-docs-development.zohostratus.in/images/cli/initialize-resources/catalyst_cli_init_client_angular_dir.webp) After these packages are installed, the `catalyst.json` configuration file will be updated with the client package details, including the path to the plugin file specified earlier. You can learn more about the Catalyst configuration files and the client directory from the [Project Directory Structure help page](https://docs.catalyst.zoho.com/en/cli/v1/project-directory-structure/client-directory/) . You can learn about testing and deploying an Angular app from the Catalyst CLI from the [Serve Resources](https://docs.catalyst.zoho.com/en/cli/v1/serve-resources/serve-all-resources/#serve-angular-applications) and [Deploy Resources](https://docs.catalyst.zoho.com/en/cli/v1/deploy-resources/deploy-client/#deploy-angular-applications) help pages. ### React Applications React is a front-end JavaScript library that enables you to build interactive applications and user interfaces. Its component-based architecture efficiently manages and renders the states in your application upon build. React provides ease and flexibility in developing single page client applications, and offers reusability of its components. You can learn more from the [official React documentation](https://reactjs.org/docs/getting-started.html) . Catalyst provides a plugin for the React app, `zcatalyst-cli-plugin-react` , which is installed when the React app is initialized. This plugin contains certain node modules and library files that handle several operations involved in the development and testing of the React app internally. This allows for a faster and efficient application building process. > **Note:** The Catalyst plugin must be installed in the specific application's directory. The [ `catalyst.json` ](https://docs.catalyst.zoho.com/en/cli/v1/project-directory-structure/catalyst-json/) configuration file will specify the plugin's path. Catalyst has deprecated support for the global installation of the React plugin. Please update the code of your existing React apps accordingly. When you initialize a React app, Catalyst will automatically facilitate its creation and configuration through the Yarn package manager by default. If you don't have Yarn installed in your local machine, the React app will be set up using NPM. Catalyst enables the handling of all configuration tasks such as linking and resolving packages, and installing dependencies, through the package manager automatically. If you select **React Web App** from the options while initializing the client, Catalyst will initiate the standard setup procedure for React applications. 1. You can create the React app with the standard JavaScript template or a TypeScript template. TypeScript is a typed superset of JavaScript that gets transpiled to plain JavaScript during compilation. Catalyst provides you with these options during the initialization to make the set up procedure easier and quicker. Select **JavaScript** or **TypeScript** from the options. ![](https://catalyst-docs-development.zohostratus.in/images/cli/initialize-resources/catalyst_cli_init_react_1.webp) 2. The CLI will prompt you to provide a name for the client component of your project. Provide a name for the client and press **Enter**. ![](https://catalyst-docs-development.zohostratus.in/images/cli/initialize-resources/catalyst_cli_init_react_2.webp) > **Note:** The client directory in your project is named client in the case of Angular and basic web client applications. However, for React applications, the name of the client directory is the same name you assign to the web client here during its initialization or set up. For example, if you name your web client as "vendorApp", the client directory will also be named `vendorApp` . This value will be updated accordingly in the `catalyst.json` configuration file. This will initiate the installation of the necessary React packages such as `react` , `react-dom` , and `react-scripts` through a Catalyst-specific [CRA template](https://www.npmjs.com/package/cra-template) . This base template will execute the ` [create-react-app](https://github.com/facebook/create-react-app) ` command. ![](https://catalyst-docs-development.zohostratus.in/images/cli/initialize-resources/catalyst_cli_init_react_2.webp) The package manager will then initialize a git repository for the React app, and install template dependencies. ![Initialize Client- React](https://catalyst-docs-development.zohostratus.in/images/cli/initialize-resources/catalyst_cli_init_react_3.webp) After the initialization is complete, you can find the React application files created in their boilerplate structures in your project directory. ![Initialize Client- React](https://catalyst-docs-development.zohostratus.in/images/cli/initialize-resources/catalyst_cli_init_react_4.webp) The React app directory structure will contain the application source files, public files, configuration files, node modules, and other dependencies including `client-package.json` specific to Catalyst as shown below. ![Initialize Client- React](https://catalyst-docs-development.zohostratus.in/images/cli/initialize-resources/catalyst_cli_init_client_react_dir.webp) After these packages are installed, the `catalyst.json` configuration file will be updated with the client package details, including the path to the plugin file specified earlier. You can learn more about the Catalyst configuration files and the client directory from the [Project Directory Structure help page](https://docs.catalyst.zoho.com/en/cli/v1/project-directory-structure/client-directory/) . When you [serve](https://docs.catalyst.zoho.com/en/cli/v1/serve-resources/serve-all-resources/#serve-react-applications) or [deploy](https://docs.catalyst.zoho.com/en/cli/v1/deploy-resources/deploy-client/#deploy-react-applications) the React app, a `build` folder will be created in this directory which will contain all the compiled files as per the standards of React.js. ### Basic Client Applications The basic client application is a simple version of the Catalyst client that is created without any external frameworks or libraries. You can create simple, functional web client applications by choosing the **Basic Web App** option during the client initialization. The CLI will then prompt you to provide a name for the client component of your project. Provide a name for the client and press **Enter** . ![Initialize Client- Basic](https://catalyst-docs-development.zohostratus.in/images/cli/initialize-resources/catalyst_cli_init_setup_client_name.webp) The client directory will now be created in the project's directory and the [ `catalyst.json` ](https://docs.catalyst.zoho.com/en/cli/v1/project-directory-structure/catalyst-json/) file will be updated with its information. ![Initialize Client- Basic](https://catalyst-docs-development.zohostratus.in/images/cli/initialize-resources/catalyst_cli_init_completed.webp) The basic client's directory will be set up with the main `index.html` file, `main.css`, `main.js` , and the `client-package.json` configuration. You can learn about the client directory structure in detail from the [Project Directory Structure help page](https://docs.catalyst.zoho.com/en/cli/v1/project-directory-structure/client-directory/). ![Initialize Client- Basic](https://catalyst-docs-development.zohostratus.in/images/cli/initialize-resources/catalyst_cli_init_client_dir.webp) You can [serve](https://docs.catalyst.zoho.com/en/cli/v1/serve-resources/serve-all-resources/#serve-functions-and-basic-web-applications) the client through a localhost to test it, and then [deploy it](https://docs.catalyst.zoho.com/en/cli/v1/deploy-resources/deploy-client/) to the cloud, or [host it from the console](https://docs.catalyst.zoho.com/en/cloud-scale/help/web-client-hosting/introduction/) directly. -------------------------------------------------------------------------------- title: "Initialize an AppSail service" description: "Initialize a Catalyst AppSail web service in a Catalyst-managed runtime of Java, Node.js, and Python, or in a custom runtime as an OCI image." last_updated: "2026-11-04T10:10:44.000Z" source: "https://docs.catalyst.zoho.com/en/cli/v1/initialize-resources/initialize-appsail/" service: "All Services" -------------------------------------------------------------------------------- # Initialize AppSail ### Introduction AppSail is a serverless platform of Catalyst that you can use to deploy web services of any scale to the cloud and manage its platform instances. You can initialize an AppSail service in one of two ways: * **As a Catalyst-managed runtime**: Initialize and deploy applications of specific Java, Node.js, and Python runtimes supported by Catalyst directly to the remote console * **As a Container image**: Initialize and deploy an OCI image of your application of any runtime or framework from your local registry to the remote console > **Note:** Catalyst only supports the deployment of [OCI-compliant images](https://github.com/opencontainers/image-spec) built for the Linux AMD64 (x86-64) platform. **[ Refer here for more details](https://docs.catalyst.zoho.com/en/serverless/help/appsail/introduction/).** In both cases, you can initialize an AppSail service for an app that is ready to be deployed, and associate it with a Catalyst project through this command. > **Info:** You can associate an existing Catalyst project directory with an AppSail app using the `[appsail:add command](https://docs.catalyst.zoho.com/en/cli/v1/add-appsail/)`. You can also directly deploy an app without initialization through the [standalone command](https://docs.catalyst.zoho.com/en/cli/v1/deploy-resources/deploy-appsail/). ### Initialize AppSail as a Catalyst-Managed Runtime You can initialize an AppSail service for a Catalyst-managed runtime directly in your app's directory, or from a new directory. If you had selected AppSail during the project initialization, Catalyst will set it up after the client initialization. Catalyst creates an **[`app-config.json](https://docs.catalyst.zoho.com/en/serverless/help/appsail/catalyst-managed-runtimes/key-concepts/#the-app-configjson-file)`** file when an AppSail service is initialized in this method. 1. The CLI will prompt you to select the runtime type as **Catalyst-Managed Runtime** or **Docker Image** when AppSail is initialized. Select the first option. ![catalyst_cli_appsail_init_1](https://catalyst-docs-development.zohostratus.in/images/cli/initialize-resources/catalyst_cli_appsail_init_0.webp) 2. You can now choose to get started with a readymade sample project by entering "Y" and pressing **Enter**, then selecting a sample app from the list. ![catalyst_cli_appsail_init_1](https://catalyst-docs-development.zohostratus.in/images/cli/initialize-resources/catalyst_cli_appsail_init_1.png) The sample app will be downloaded to the directory. Provide a name for it when prompted. ![catalyst_cli_appsail_init_1](https://catalyst-docs-development.zohostratus.in/images/cli/initialize-resources/catalyst_cli_appsail_init_2.png) If you want to initialize your own app, enter "N" , then press **Enter**. 3. Select if this will be your [source directory](https://docs.catalyst.zoho.com/en/serverless/help/appsail/catalyst-managed-runtimes/key-concepts/#source-directory-and-build-path) of your app by entering "Y". If you enter "N", the CLI will prompt you to type in the absolute path for your app's source in your directory. Press **Enter** after the entries. ![catalyst_cli_appsail_init_1](https://catalyst-docs-development.zohostratus.in/images/cli/initialize-resources/catalyst_cli_appsail_init_3.png) 4. Enter a name for your app. You can name the main file of your app's build anything you prefer. ![catalyst_cli_appsail_init_1](https://catalyst-docs-development.zohostratus.in/images/cli/initialize-resources/catalyst_cli_appsail_init_4.png) > **Note:** When you build your app as a Java WAR file, you will need to name the main file `root.war` or add specific controllers according to your code. 5. Enter the absolute [build path](https://docs.catalyst.zoho.com/en/serverless/help/appsail/catalyst-managed-runtimes/key-concepts/#source-directory-and-build-path) for your app, then press **Enter**. ![catalyst_cli_appsail_init_1](https://catalyst-docs-development.zohostratus.in/images/cli/initialize-resources/catalyst_cli_appsail_init_5.png) 6. Select a stack and runtime for your app and press **Enter**. ![catalyst_cli_appsail_init_1](https://catalyst-docs-development.zohostratus.in/images/cli/initialize-resources/catalyst_cli_appsail_init_6.png) If you select Java, the CLI will further prompt you to pick either **Java SE** or the **Java WAR** as your app's deployable format. You can learn more about this [here](https://docs.catalyst.zoho.com/en/serverless/help/appsail/catalyst-managed-runtimes/key-concepts/). ![catalyst_cli_appsail_init_1](https://catalyst-docs-development.zohostratus.in/images/cli/initialize-resources/catalyst_cli_appsail_init_7.png) If you select any other stack, this will be skipped. AppSail is now initialized in the source directory you selected, and the app is now associated with the Catalyst project. The configurations will be updated in [`catalyst.json`](https://docs.catalyst.zoho.com/en/cli/v1/project-directory-structure/catalyst-json/) file accordingly. ![catalyst_cli_appsail_init_1](https://catalyst-docs-development.zohostratus.in/images/cli/initialize-resources/catalyst_cli_appsail_init_8.webp) This initialization will only create the [`app-config.json](https://docs.catalyst.zoho.com/en/serverless/help/appsail/catalyst-managed-runtimes/key-concepts/#the-app-configjson-file)` configuration file that is specific to AppSail in your app's source directory. You can edit the values such as the startup command, environment variables, or memory in this file before deploying. ![catalyst_cli_appsail_init_1](https://catalyst-docs-development.zohostratus.in/images/cli/initialize-resources/catalyst_cli_appsail_init_9.webp) ### Initialize AppSail as a Custom Runtime You can initialize AppSail for a compliant OCI image of your app from a new directory. Catalyst supports two protocols that you can use to associate your app's image with AppSail. Each protocol has a distinct schema for identification and functioning. * **Docker Image Protocol:** Use this to associate a pre-built image of your app present in the local docker registry. The image must be built and [tagged](https://docs.docker.com/reference/cli/docker/image/tag/) to point to the local registry. Example: *docker://localhost/expres-hw:latest* * **Docker Archive Protocol:** Use this to point to an archive file (.tar or .tar.gz) of a pre-built image of your app in your system's directory. Example: *docker-archive://test.tar* > **Note:** The `.tar` file can be typically generated with the [`docker save` command](https://docs.docker.com/reference/cli/docker/image/save/). You need not provide any other details except the name for the AppSail for container images. The source or build path of the app, stack, and startup command are not required to be configured for OCI images, as they are already defined in the images. 1. The CLI will prompt you to select the runtime type as Catalyst-Managed Runtime or **Docker Image** when AppSail is initialized. Select the second option. ![catalyst_cli_appsail_init_1](https://catalyst-docs-development.zohostratus.in/images/cli/initialize-resources/catalyst_cli_appsail_init_01.png) 2. Select the protocol as **Docker Image** or **Docker Archive**. ![catalyst_cli_appsail_init_1](https://catalyst-docs-development.zohostratus.in/images/cli/initialize-resources/catalyst_cli_appsail_init_02.png) 3. **Docker Image Protocol:** If you select **Docker Image**, the CLI will list all the available images with tags in the local docker registry. Select the image you need. ![catalyst_cli_appsail_init_1](https://catalyst-docs-development.zohostratus.in/images/cli/initialize-resources/catalyst_cli_appsail_init_03.png) **Docker Archive Protocol:** If you select **Docker Archive**, the CLI will prompt you to enter the absolute path to the TAR file image of your app in your local system. ![catalyst_cli_appsail_init_1](https://catalyst-docs-development.zohostratus.in/images/cli/initialize-resources/catalyst_cli_appsail_init_04.png) > **Note:** When the AppSail configuration is stored in the [`catalyst.json`](https://docs.catalyst.zoho.com/en/cli/v1/project-directory-structure/catalyst-json/) file, the path will be stored relative to that file's location. 4. Provide a name for the AppSail service. You can name it anything you prefer. ![catalyst_cli_appsail_init_1](https://catalyst-docs-development.zohostratus.in/images/cli/initialize-resources/catalyst_cli_appsail_init_05.png) AppSail is now initialized in your local directory, and the app's image is now associated with the AppSail service. The configurations will be updated in [`catalyst.json`](https://docs.catalyst.zoho.com/en/cli/v1/project-directory-structure/catalyst-json/) file accordingly. ![catalyst_cli_appsail_init_1](https://catalyst-docs-development.zohostratus.in/images/cli/initialize-resources/catalyst_cli_appsail_init_06.png) > **Note:** The [`app-config.json](https://docs.catalyst.zoho.com/en/serverless/help/appsail/catalyst-managed-runtimes/key-concepts/#the-app-configjson-file)` file will not be created when you initialize AppSail with a container image. All the app specifications will be stored in the `catalyst.json` file. You can add certain custom configurations of your app in this file. Refer [here](https://docs.catalyst.zoho.com/en/serverless/help/appsail/appsail-configurations/) for details. You can now code your business logic in your app, then [serve the AppSail service](https://docs.catalyst.zoho.com/en/cli/v1/serve-resources/serve-all-resources/#serve-appsail-applications) through a localhost to [debug](https://docs.catalyst.zoho.com/en/serverless/help/appsail/debug-appsail/) and test it, or [deploy it](https://docs.catalyst.zoho.com/en/cli/v1/deploy-resources/deploy-appsail/) to the remote console directly. -------------------------------------------------------------------------------- title: "Initialize a Specific Resource" description: "You can initialize a Catalyst project and project resources such as functions, client, and AppSail from the CLI" last_updated: "2023-12-14T10:55:23.000Z" source: "https://docs.catalyst.zoho.com/en/cli/v1/initialize-resources/initialize-specific-resource/" service: "All Services" -------------------------------------------------------------------------------- # Initialize a Specific Resource You can initialize a specific resource in the following way: ```sh catalyst init [feature] ``` You must enter the keyword `client`, `appsail`, or `functions` . For example, to initialize the functions directory alone for your project, execute the following command from your project directory: ```sh catalyst init functions ``` -------------------------------------------------------------------------------- title: "Initialize Options" description: "You can initialize a Catalyst project and project resources such as functions, client, and AppSail from the CLI" last_updated: "2023-05-26T04:21:21.000Z" source: "https://docs.catalyst.zoho.com/en/cli/v1/initialize-resources/initialize-options/" -------------------------------------------------------------------------------- # Initialize Options ### -\-force Catalyst enables you to force initialize a project or its resources in a directory. If you encounter any issues with initializing a project, you can use this option. To perform a force initialization of a project, execute the following command: ```sh catalyst init --force ``` You can follow the same steps to initialize resources, as mentioned earlier. -------------------------------------------------------------------------------- title: "Initialize Slate" description: "Initialize a Catalyst Slate service when initializing the project resources from the CLI." last_updated: "2026-10-30T17:47:18.000Z" source: "https://docs.catalyst.zoho.com/en/cli/v1/initialize-resources/initialize-slate/" -------------------------------------------------------------------------------- # Initialize Slate # Introduction [Slate](https://docs.catalyst.zoho.com/en/sdk/java/v1/overview/) is a front-end development service offered by Catalyst that enables you to deploy, preview, and launch your web applications seamlessly. You can deploy applications built with any front-end frameworks, with native support for popular JavaScript frameworks such as [Next.js](https://nextjs.org/), [React](https://react.dev/), [Angular](https://angular.dev/), [Astro](https://astro.build/), [Vue](https://vuejs.org/), [SolidJS](https://www.solidjs.com/), [Svelte](https://svelte.dev/), and [Vite](https://vite.dev/). [View the entire list of supported frameworks](https://docs.catalyst.zoho.com/en/slate/help/introduction/). You can initialize a Slate service in your project directory using the steps discussed in the upcoming section. If you want to deploy any existing project directory to Catalyst slate, you must first link the directory with the Slate service, using the [`catalyst slate:link`](https://docs.catalyst.zoho.com/en/cli/v1/working-with-slate/link-slate-app/) command. You can also unlink it if required by using the [`catalyst slate:unlink`](https://docs.catalyst.zoho.com/en/cli/v1/working-with-slate/unlink-slate-app/) command. Additionally, you can add multiple Slate apps to a project directory where a Slate service is already initialized using the [`catalyst slate:create`](https://docs.catalyst.zoho.com/en/cli/v1/working-with-slate/create-slate-app/) command. [Learn how to deploy a Slate app](https://docs.catalyst.zoho.com/en/cli/v1/deploy-resources/deploy-to-slate/). ### Initialize Slate You can initialize a Slate service directly in your app’s directory, or from a new directory. If you had selected Slate during the project initialization, you can follow the below listed steps: You can also use the below command to initialize the Slate service directly: ```sh catalyst init slate ``` 1. Select the client framework of the application you wish to deploy in Slate. Press Enter to confirm. ![slate-init](https://catalyst-docs-development.zohostratus.in/images/cli/initialize-resources/slate-init.webp) > **Note:** This process automatically downloads a boilerplate template based on your chosen framework into your project directory, allowing you to customize and deploy it to Slate. 2. The CLI will set the default configuration for your Slate application based on the chosen framework. Provide a name for your application and press **Enter**. This configuration includes the install and build commands, as well as the build path of the respective framework. If you wish to proceed with the default configuration, enter N. Otherwise, enter Y to make the necessary updates. ![slate-init-1](https://catalyst-docs-development.zohostratus.in/images/cli/initialize-resources/slate-init-1.webp) > **Note:** 1. The install command instals the required dependencies, typically using a package manager. 2. The build command is the script that transforms your development code into production code. 3. The build path is the directory where the production-ready, optimized files are generated after running the build process. By default, the install command is auto-detected as **npm install** and the build command as **npm run build**. If you would like to change these, you can do so by entering N and providing the required package command. Once you confirm on the configuration, the Slate template code of the chosen framework will be downloaded to the project directory, and an entry will be added to the [catalyst.json](https://docs.catalyst.zoho.com/en/cli/v1/project-directory-structure/catalyst-json/) file, which serves as a connection between your project directory and the Catalyst Slate service. ![slate-init-2](https://catalyst-docs-development.zohostratus.in/images/cli/initialize-resources/slate-init-2.webp) ### Project Directory Structure -------------------------------------------------------------------------------- title: "Introduction" description: "The project directory structure refers to the default directory structure a Catalyst project is created in when you initialize it from the CLI." last_updated: "2023-04-19T10:02:07.000Z" source: "https://docs.catalyst.zoho.com/en/cli/v1/project-directory-structure/introduction/" service: "All Services" -------------------------------------------------------------------------------- # Project Directory Structure ### Introduction When you create or initialize a new project from the Catalyst CLI, it is created in a specific structure along with the necessary configuration files. This project is stored in the directory that you create it in, which will be considered as the project's home directory. The boiler plate code for the project is generated in the project's home directory during the creation. To learn about initializing a Catalyst project or any of its specific components from the CLI, refer to the [Initialize Resources help page](https://docs.catalyst.zoho.com/en/cli/v1/initialize-resources/introduction/). Before you host a web client in Catalyst, you must ensure that it contains all the resources in the standard project directory structure as described in this help page. Any discrepancies could cause errors in the production of your application. When you initialize a Catalyst project from the CLI, you will be asked to choose the components to initialize. The two fundamental components of a Catalyst project that you can initialize are: the **client** and **functions** If you initialize all of the components, the following resource directories are created in your project directory: 1. **Client** 2. **Functions** 3. `catalyst.json` Let us take a look at these resources in detail. -------------------------------------------------------------------------------- title: "Functions Directory" description: "The project directory structure refers to the default directory structure a Catalyst project is created in when you initialize it from the CLI." last_updated: "2026-10-23T10:20:21.000Z" source: "https://docs.catalyst.zoho.com/en/cli/v1/project-directory-structure/functions-directory/" service: "All Services" -------------------------------------------------------------------------------- # Functions Directory ### Introduction As discussed earlier, Catalyst supports functions written in **Java**, **Node.js** and **Python** programming environments. The `functions` folder in the project directory contains all the server-side functions of your microservice or application in individual folders. An individual function's folder in the Functions directory contains the main function file (the `.java` class file or the `.js` file or `.py` file), and all the other necessary dependencies and configuration files of the function. You can also create additional secondary functions in the function's folder that closely work with the main function. However, you cannot create secondary functions in a function folder from the CLI. You can either manually import the files in the folder from an external development environment, or [create them in the Catalyst console](https://docs.catalyst.zoho.com/en/serverless/help/functions/implementation/) and [pull them](https://docs.catalyst.zoho.com/en/cli/v1/pull-resources/introduction/) into the directory using the CLI. > **Note:** You can add any number of functions of Java, Node.js or Python stacks in the functions directory using the CLI or set up the functions component at any time using the CLI. To learn more, refer to the [Working with Functions help page](https://docs.catalyst.zoho.com/en/cli/v1/working-with-functions/introduction/) . When you [initialize functions from the CLI](https://docs.catalyst.zoho.com/en/cli/v1/initialize-resources/initialize-functions/) in the project directory, a folder named 'functions' will be created inside the project directory, along with the necessary dependencies based on the programming environment that you select. A **Java** function's folder is set up with the following components when it is created: 1. The main `.java` Class File 2. `catalyst-config.json` 3. The `.jar` Library Files A **Node.js** function's folder is set up with the following components when it is created: 1. The main function file (`index.js`) 2. `catalyst-config.json` 3. Node modules and Node.js function dependencies A **Python** function's folder is set up with the following components when it is created: 1. The main.py file 2. `catalyst-config.json` 3. `requirements.txt ` file Let us first discuss about the main function file and the `catalyst-config.json` file that are common in Java, Node.js and Python programming environments. ### The Main Function File The main function file is the file of the type `.java` or `.js` or `.py` , depending on the language that you select while initializing the function. The main function file is created with a sample code structure for Java, Node.js and Python. For a Java function, you will need to provide the class name of the main function, and the reference name of the function group while initializing it from the CLI. The name of the function folder will be the same as the reference name of the function. For a Node.js and Python function, you will need to provide the package name of the function. You will also need to provide the name of the entry point file or the main function file, which will be named index.js and main.py by default, respectively. The [`catalyst.json`](https://docs.catalyst.zoho.com/en/cli/v1/project-directory-structure/catalyst-json/) file will specify the reference or the package names of all the functions. ### catalyst-config json file The `catalyst-config.json` file specifies the configuration of the function, such as its deployment and execution specifications. ```json { "deployment":{ "name": "fn", "stack": "node24", "type": "advancedio", "env_variables": {} }, "execution": { "main": "index.js" } } ``` `deployment` information includes the following parameters: * `name`: The reference name of the function group that you provided while initializing it. If you modify the reference name of the function, ensure that you update the changes in _catalyst-config.json_ and rename the function folder with the same name. You must reflect the changes in `catalyst.json` as well. * `stack`: Indicates whether it is a Java, Node.js or Python function and the version information. Changing this value will result in errors. * `type`: Indicates the type of function. To learn more about function types, refer to the [Functions help page](https://docs.catalyst.zoho.com/en/serverless/help/functions/introduction/). Changing this value will result in errors. `execution` refers to the main function file which is the entry point, i.e., the name of the main `.java`, `.js` or `.py` function file. You must ensure that `catalyst-config.json` file is present in the root of the function folder and contains the right configurations, when you deploy the function. Let's now look at the Java library files, Node and Python function dependencies in detail : ### The Java Library Folder The library folder named `lib` contains the dependent JAR files for the function. The lib folder is added to the function directory automatically when you initialize the function for the Java environment from the CLI. ![Project Directory Structure- Java Function Directory](https://catalyst-docs-development.zohostratus.in/images/cli/project-directory-structure/catalyst_proj_dir_func_dir_java.webp) These JAR files are part of the [Java SDK](https://docs.catalyst.zoho.com/en/sdk/java/v1/overview/) package. During the runtime, the Java function calls these library files as they contain packages and features that are required by the function to execute. ### Node Modules and Node JS Function Dependencies A Node.js function's folder essentially includes the following: 1. The main function file 2. `catalyst-config.json` 3. `package-lock.json` 4. `package.json` 5. The Node modules folder We have previously discussed the main function file and the `catalyst-config.json` file. The node modules and node function dependencies are installed in your system when you install the [Node.js SDK](https://docs.catalyst.zoho.com/en/sdk/nodejs/v2/overview/) package. ![Project Dir Structure- Node.js Directory](https://catalyst-docs-development.zohostratus.in/images/cli/project-directory-structure/catalyst_proj_dir_func_dir_node_2.webp) The `package.json` and `package-lock.json` files are dependency files that contain the configuration of the function. The `package.json` files specifies information like the name of the function, main function file, version, author and more, whereas the `package-lock.json` specifies other dependency information in detail. > **Note:** If you rename the function, you must update the changes in these configuration files. The node modules folder contains the sub-folders of the modules. Each module contains individual library files, license files, configuration files, index files and more, that are essential for the execution of your Node.js functions. One of the node modules, `zcatalyst-sdk-node`, contains the Node.js SDK definitions of all Catalyst components grouped in a folder named `src`, and other dependency files. > **Note:** * When you create a function from the console, the function group will not contain all the required dependencies. For example, the node modules will not be added to a Node.js function group, although a folder will be created for it. In such cases, you can [pull the functions](https://docs.catalyst.zoho.com/en/cli/v1/pull-resources/pull-all-resources/#pull-functions) from the console to the project directory using the CLI. This will create a directory for those functions in the required structure. If the function group created in the console contains secondary functions, they will be included in the function's folder when you pull it from the console. * When you create a function from an external editor and import it into Catalyst, you must ensure that all the dependencies are included, and all the configuration files are created in the specified format. If there are any discrepancies, it could result in errors when the function is executed. ### Python Modules and Function Dependencies A Python function's folder essentially includes the following: 1. The main.py file 2. `catalyst-config.json` 3. `requirements.txt ` file We have already discussed about the main function file and the catalyst-config.json file in the previous sections. #### requirements.txt file This `requirements.txt` file contains the list of installed dependencies that are needed to implement the Python function. By default, it contains the entry for Catalyst's Python SDK package (`zcatalyst-sdk`), when you create the Python function from the CLI. When you install external dependencies or libraries for your function, you will have to configure the names and values of the dependencies in the form of key-value pairs manually in the requirements.txt file and save it. You can also upgrade the version of the Python SDK package or any of the external dependencies by simply configuring the appropriate version values in the `requirements.txt` file and save it. When you serve or deploy your Python function from the CLI, for the updated configurations to be reflected. > **Note:** You must configure all the external dependencies that you add in the function's directory in the requirements.txt file mandatorily. The Python function directory structure is as follows : ![Project Dir Structure- Python Directory](https://catalyst-docs-development.zohostratus.in/images/cli/project-directory-structure/catalyst_proj_dir_func_dir_python.webp) -------------------------------------------------------------------------------- title: "Client Directory" description: "The project directory structure refers to the default directory structure a Catalyst project is created in when you initialize it from the CLI." last_updated: "2026-08-17T12:16:04.000Z" source: "https://docs.catalyst.zoho.com/en/cli/v1/project-directory-structure/client-directory/" service: "All Services" -------------------------------------------------------------------------------- # Client Directory The `client` folder in the projects directory contains all the components of the front-end of your application. These include the HTML files of the webpages, the CSS files, the JavaScript files that enable the actionable elements in your webpage, and other required files. ### Client Directory Files By default, the client folder is set up with the following files: ![Project Directory Structure- Client Directory](https://catalyst-docs-development.zohostratus.in/images/cli/project-directory-structure/catalyst_proj_dir_client_dir.webp) `index.html`: The `index.html` file is the default file name for your web application's home page. It is created with a sample code structure. `main.css`: The `main.css` file contains the styling of your web application's pages. It is created as an empty file. `main.js`: The `main.js` file defines the functionality of the web application's home page. It is created as an empty file. ### client-package json file The `client-package.json` is the configuration file of your client resource. It contains the following specifics of your application by default: ```json { "name":"shipmentTracking", "version":"0.0.2", "homepage":"index.html", "login_redirect":"home.html", "404":"custom404.html" } ``` * `name:` The name of the web client. Once you set a name for it and host the application, you must not change it. Changing the name of the web application after it has been hosted will result in an error. * `version:` The version of the web application that is hosted, in the decimal format. With every subsequent update of your application, you can modify the version number in an incremental manner. You cannot decrement the version number. * `homepage:` The URL of the web application's home page. If you modify the name of the index.html file, you must change the value accordingly in this file as well. Apart from these mandatory specifics, you can include these properties as well: * `description:` The description of the web application. This can be modified during version upgrades. * `login\_redirect:` The page where the user has to be redirected after a successful login to the web application. * `404:` A custom 404 page that you can create for your application. Every time the users of your application try to access a non-existent page resulting in a 404 error, they will be redirected to this custom page. > **Note:** * If you are providing a path to a custom 404 page using the `404` key, you can name that file anything as you require. If you don't configure a `404` key in the `client-package.json` file, you can still include a page with the exact name `404.html` in the directory. * Catalyst will search for the key `404` in the `clientpackage.json` file. If it exists, Catalyst will render that file in the event of a 404 error occurrence in the application. If no path for a custom 404 page is provided in your app, Catalyst will search for any file named _404.html_ in the client directory. If neither exists, the users will be redirected to a default 404 page provided by Catalyst. You can further add more client files of your web application, and create sub-folders inside the client folder as you require. However, the `client-package.json` file must be mandatorily present only in the root of your client resource and not in any sub-folders. > **Note:** * A home page for your web application and the `client-package.json` file are required to be present mandatorily in the client directory. The CSS and JS files are optional, based on your application's functionality. You can delete the `main.css` and the `main.js` files if you don't need them. * When hosting a web application, you must ensure that the specifics mentioned in the `client-package.json` file are accurate, and you have followed all the guidelines mentioned above. To learn more about hosting a web application, refer to [Web Client Hosting](https://docs.catalyst.zoho.com/en/cloud-scale/help/web-client-hosting/introduction/) . * You can setup the client component at any time using the CLI while working with the project. To learn more, refer to [Working with the Client](https://docs.catalyst.zoho.com/en/cli/v1/working-with-the-client/introduction/) . -------------------------------------------------------------------------------- title: "catalyst.json" description: "The project directory structure refers to the default directory structure a Catalyst project is created in when you initialize it from the CLI." last_updated: "2026-08-28T06:26:16.000Z" source: "https://docs.catalyst.zoho.com/en/cli/v1/project-directory-structure/catalyst-json/" service: "All Services" -------------------------------------------------------------------------------- # The catalyst json Configuration File The `catalyst.json` file contains the configuration of the entire project's directory, i.e., the functions and the client directories. An example snippet is shown below: ```json { "functions": { "targets": [ "fn", "sendemail", "jaavafn", "mynode", "cert_gen_function" ], "ignore":[ ".output", ], "source":"functions" }, "client":{ "source":"client" } } ``` ### Parameters It contains the following specifications of the functions and the client directories: * `source:` The source specifies the target folder names of the functions and the client directories. You must not modify these values. * `targets:` The targets specify the directory names of each individual function in the project. * `ignore:` This field specifies the files in the component directory, or in one of its sub-directories, that must be ignored while deploying the code to production. You can mention the files to be ignored inside the square brackets. You can list the files directly or use glob patterns to specify the files. For example, if you specify _\*.css_ , all CSS files in the particular directory will be ignored during the deployment. ### Points to Remember * The `catalyst.json` file is created in the project directory irrespective of which components you initialize during the project creation from the CLI. Even if you do not select any components to initialize, the `catalyst.json` file will be created. Therefore, when you create a project from the Catalyst UI console, you must initialize it from the CLI for `catalyst.json` to be created with the configuration information of the project resources. * The `catalyst.json` file is not mandatory if you host your web application from the Catalyst console i.e., when you host the client resource and deploy the functions individually from the console. However, if you deploy your application as a whole from the CLI, or from an external source like [GitHub](https://docs.catalyst.zoho.com/en/devops/help/github-integration/introduction/), the `catalyst.json` file must be mandatorily present in the root folder of your application. * If you rename the functions or the client directory, you must update the changes in `catalyst.json` . * If you change the names of any of the functions, you must update the changes in `catalyst.json` . * If you execute the [ `catalyst functions:setup` ](https://docs.catalyst.zoho.com/en/cli/v1/working-with-functions/set-up-functions/) , [ `catalyst functions:add` ](https://docs.catalyst.zoho.com/en/cli/v1/working-with-functions/add-functions/) , [ `catalyst client:setup` ](https://docs.catalyst.zoho.com/en/cli/v1/working-with-the-client/set-up-client/) , or [ `catalyst pull` ](https://docs.catalyst.zoho.com/en/cli/v1/pull-resources/introduction/) commands from the CLI, the configuration information of the function or client is automatically updated in the `catalyst.json` file. * If you manually import any component files from an external development environment, you must create the configuration files in the format mentioned in this help page. > **Note:** If you are a **Visual Studio Code IDE** user, you can install the **Catalyst Tools** extension, and perform CLI operations using your IDE in place of the CLI. Steps to serve and deploy your Catalyst resources using the `catalyst.json` using Visual Studio Code IDE can be found [here](https://docs.catalyst.zoho.com/en/catalyst-extensions/vs-code-extension/implementation/#delete-operation). ### Pull Resources -------------------------------------------------------------------------------- title: "Introduction" description: "Catalyst enables you to pull resources from a Catalyst project in the remote console to the same project in your local project directory through the CLI." last_updated: "2024-01-09T11:37:13.000Z" source: "https://docs.catalyst.zoho.com/en/cli/v1/pull-resources/introduction/" service: "All Services" -------------------------------------------------------------------------------- # Pull Resources ### Introduction You can pull the features from a Catalyst project that was created in the UI console to the CLI easily. This allows you to download the components of a project from the console, to the same project that is active in your working directory in the CLI. You can use this feature to update your project directory with the changes that were made in the console. You can pull the three components of a Catalyst project: **Client**, **Functions**, **API Gateway Rules**. When you pull the client and function components, their respective home directories are created inside your working project directory. When you pull [API Gateway](https://docs.catalyst.zoho.com/en/cloud-scale/help/api-gateway/introduction/) rules, a JSON file that contains the definitions of the latest APIG rules will be pulled into your project's home directory. You can learn about the directory structure in detail from the [Project Directory Structure help page](https://docs.catalyst.zoho.com/en/cli/v1/project-directory-structure/introduction/) . > **Note:** * If your working directory doesn't have an active Catalyst project associated with it, you will be unable to pull any resources. Make sure that you have initialized and associated the directory with a Catalyst project before pulling resources into it. * If you are a **Visual Studio Code IDE** user, you can install the **Catalyst Tools** extension, and perform the above mentioned CLI operations using your IDE in place of the CLI. Steps to perform Pull operations on your Catalyst projects using Visual Studio Code IDE can be found [here](https://docs.catalyst.zoho.com/en/catalyst-extensions/vs-code-extension/catalyst-tools-explorer/#pull-project-resources) -------------------------------------------------------------------------------- title: "Pull All Resources" description: "Catalyst enables you to pull resources from a Catalyst project in the remote console to the same project in your local project directory through the CLI." last_updated: "2026-08-17T12:16:04.000Z" source: "https://docs.catalyst.zoho.com/en/cli/v1/pull-resources/pull-all-resources/" service: "All Services" -------------------------------------------------------------------------------- # Pull All Resources ### Command Execution To pull features from a Catalyst project to your CLI, navigate to the project directory where you want to pull the resources to, and execute the following command: ```sh catalyst pull ``` This will initiate the pull process. Select the resources that you want to pull. You can pull all three resources, or choose specific resources. Press **Enter** after selecting the resources. ![Pull Resources in CLI](https://catalyst-docs-development.zohostratus.in/images/cli/pull-resources/catalyst_cli_pull_resources.webp) ### Pull Functions If you selected Functions, select all the functions that you want to pull from your console to the project directory from the list. Press **Enter** after making the selection. ![Pull Functions in CLI](https://catalyst-docs-development.zohostratus.in/images/cli/pull-resources/catalyst_cli_pull_select_functions.webp) This will pull each function available in the console into its own directory in the [functions directory](https://docs.catalyst.zoho.com/en/cli/v1/project-directory-structure/functions-directory/) of your project, in your local machine. ### Pull the Client If you selected _client_ , choose the client app version that you want to pull, from the list. The CLI displays all versions of your client application hosted in the remote console. Make the selection and press **Enter** . ![Pull Client in CLI](https://catalyst-docs-development.zohostratus.in/images/cli/pull-resources/catalyst_cli_pull_select_client.webp) The client files of the version you select will be pulled into the [client directory](https://docs.catalyst.zoho.com/en/cli/v1/project-directory-structure/client-directory/) of your project, in your local machine. ### Pull API Gateway Rules If you selected API Gateway Rules, a ` **catalyst-user-rules.json** ` file will be created in your project's home directory. The latest definitions created for all your APIs in the remote console will be written to this file. You can learn about this file from the [Working with API Gateway CLI help page](https://docs.catalyst.zoho.com/en/cli/v1/working-with-api-gateway/introduction/) . If API Gateway is disabled for your project in the remote console, Catalyst will ask you to enable it from the CLI before pulling the API definitions. Type **Y** and press **Enter** to enable API Gateway. ![Pull API Gateway Rules in CLI](https://catalyst-docs-development.zohostratus.in/images/cli/pull-resources/catalyst_cli_pull_apig_enable.webp) If API Gateway is enabled, the API definitions will be automatically pulled and added to the `catalyst-user-rules.json` file. ![Pull API Gateway Rules in CLI](https://catalyst-docs-development.zohostratus.in/images/cli/pull-resources/catalyst_cli_pull_apig.webp) Catalyst will also update the ` [catalyst.json](https://docs.catalyst.zoho.com/en/cli/v1/project-directory-structure/catalyst-json/) ` file to include the information about the API Gateway rules JSON file. > **Note:** If you selected a resource to be pulled and it does not exist in the remote console, the CLI will throw an error. For example, if no APIs were created in the remote console, no API Gateway rules will be pulled. ### Overwrite Existing Resources If the function or the client directory, or the `catalyst-user-rules.json` file, does not exist in your project's root folder, they will be automatically created before the resources are pulled. However, if a resource is already present in your project folder, the CLI will ask you for confirmation to overwrite the existing file. Type **Y** to overwrite the existing files, or **N** to decline, and press **Enter** . If you confirm the overwriting, the pull process will be initiated. If you decline, the pull process will be aborted. ![Pull Resources- Overwrite Existing Resources](https://catalyst-docs-development.zohostratus.in/images/cli/pull-resources/catalyst_cli_pull_overwrite_client.webp) -------------------------------------------------------------------------------- title: "Pull a Specific Resource" description: "Catalyst enables you to pull resources from a Catalyst project in the remote console to the same project in your local project directory through the CLI." last_updated: "2026-09-02T11:17:14.000Z" source: "https://docs.catalyst.zoho.com/en/cli/v1/pull-resources/pull-specific-resource/" service: "All Services" -------------------------------------------------------------------------------- # Pull a Specific Resource You can pull a specific resource from your project in the following way: ```sh catalyst pull [feature] ``` You must specify the keyword `client` , `functions` , or `apig` . For example, to pull functions alone, execute the following command from your project directory: ```sh catalyst pull functions ``` This will list all the functions that you can pull into your directory. You can select and pull the required resources as discussed in the previous section. ![Pull a Specific Resource in CLI](https://catalyst-docs-development.zohostratus.in/images/cli/pull-resources/catalyst_cli_pull_feature.webp) > **Info:** This command is available in Non-interactive mode. Refer to the [Non-Interactive Catalyst CLI Commands](https://docs.catalyst.zoho.com/en/ai-toolkit/ni-cli/ni-commands/) page for the complete syntax. ### Scripts -------------------------------------------------------------------------------- title: "Introduction" description: "Catalyst provides the functionality for automating CLI and terminal command executions during the testing or deployment process in the form of scripts." last_updated: "2023-04-19T10:02:07.000Z" source: "https://docs.catalyst.zoho.com/en/cli/v1/scripts/introduction/" service: "All Services" -------------------------------------------------------------------------------- # Scripts ### Introduction Catalyst provides the functionality for automating CLI and terminal command executions during the testing or deployment process in the form of scripts. You can define Catalyst scripts in the ` [catalyst.json](https://docs.catalyst.zoho.com/en/cli/v1/project-directory-structure/catalyst-json/) ` file of your Catalyst project directory. Scripting enables abstraction of the details of processes behind a task runner. This helps you prevent performing iterative tasks manually, and automates the logic that needs to be executed during various stages of the testing or deployment process. Catalyst supports two kinds of scripts: 1. **Lifecycle Scripts:** Scripts that are executed during various lifecycle events 2. **Custom Scripts:** Scripts that you can define to be executed when you need You can also run a script manually and test it whenever you require, using the CLI. -------------------------------------------------------------------------------- title: "Lifecycle and Custom Scripts" description: "Catalyst provides the functionality for automating CLI and terminal command executions during the testing or deployment process in the form of scripts." last_updated: "2023-12-14T10:55:23.000Z" source: "https://docs.catalyst.zoho.com/en/cli/v1/scripts/lifecycle-and-custom-scripts/" service: "All Services" -------------------------------------------------------------------------------- # Lifecycle and Custom Scripts Before you learn about writing a script, let's discuss the two types of scripts supported in Catalyst. Catalyst supports the following lifecycle scripts: 1. ` **preserve:** ` The script is run automatically before the [catalyst serve](https://docs.catalyst.zoho.com/en/cli/v1/serve-resources/introduction/) command is executed. 2. ` **postserve:** ` The script is run automatically after the `catalyst serve` command is executed. 3. ` **predeploy:** ` The script is run automatically before the [catalyst deploy](https://docs.catalyst.zoho.com/en/cli/v1/deploy-resources/introduction/) command is executed. 4. ` **postdeploy:** ` The script is run automatically after the `catalyst deploy` command is executed. You can set custom scripts to automatically execute any time you need them to, in the order that you need, by calling them inside the lifecycle scripts. > **Note:** 1. All the above mentioned scripts will be executed in the source directory of the current Catalyst component. 2. You can choose to skip the executions of the lifecycle scripts configured in the `catalyst.json` file while testing or deploying the components. To do so, you must execute the `catalyst serve` or `catalyst deploy` with the `-\\-ignore-scripts` option. Refer to their respective help pages for details. -------------------------------------------------------------------------------- title: "Write a Script" description: "Catalyst provides the functionality for automating CLI and terminal command executions during the testing or deployment process in the form of scripts." last_updated: "2026-08-17T12:16:04.000Z" source: "https://docs.catalyst.zoho.com/en/cli/v1/scripts/write-script/" service: "All Services" -------------------------------------------------------------------------------- # Write a Script ### Introduction You can define and execute scripts for the client and the functions of your project. You can execute Catalyst CLI commands and terminal commands of your local environment through scripts. You must write the scripts in the `scripts` field of the `functions` or `client` scope in the [ `catalyst.json` ](https://docs.catalyst.zoho.com/en/cli/v1/project-directory-structure/catalyst-json/) file present in the root of your project directory. This file contains the configuration and target information of your project directory components. A sample code structure of the `catalyst.json` configuration file is shown below. ![CLI Write Script](https://catalyst-docs-development.zohostratus.in/images/cli/catalyst-scripts/catalyst_cli_scripts_catalyst_json.webp) ### Sample Script Let's discuss the script shown in the picture above. The code of this `catalyst.json` file defines two lifecycle scripts and two custom scripts. The execution of the lifecycle scripts will run the custom scripts. The scripts here are included inside the client's scope, because they are defined for the client component of the project. The code is given below: ```json { "functions": { "targets": [ "catly" ], "ignore": [], "source": "functions" }, "client": { "source": "client/app/build", "ignore": [], "scripts": { "packageJson": "cd client && cp client-package.json app/build/", "build": "cd client/app && yarn install && yarn build", "preserve": "catalyst run client:build && catalyst run client:packageJson", "predeploy": "catalyst run client:build && catalyst run client:packageJson" } } } ``` When you execute a custom script inside a lifecycle script using the [ ` catalyst run ` ](https://docs.catalyst.zoho.com/en/cli/v1/scripts/run-script/) command as shown in the example above, you must specify the component it is being executed for. This is necessary if, for example, there is a `cd` (change directory) terminal command to be executed. The root of that component's directory will be considered as the directory the change directory command is executed from. The logic flow of the scripts written above is as follows: 1. When you execute the `catalyst serve` or `catalyst deploy` command for the client component, the `preserve` or `predeploy` scripts are initiated respectively, before running the command. 2. Both the `preserve` and `predeploy` scripts contain the same command executions. The first action is the `catalyst run client:build` command, which executes the `build` custom script for the client component. The second action is the catalyst run client:packageJson , which executes the `packageJson` script for the client component. 3. The `build` custom script performs the following actions in sequence: * The terminal is navigated to the `client/app` directory. * The `yarn install` command is executed to install Node.js dependencies using the Yarn package manager. * The `yarn build` command is executed to build the client application. 4. The `packageJson` custom script performs the following actions one after the other: * The terminal is navigated to the `client` directory. * The `client-package.json` file is copied from the client directory and is pasted to the `app/build` directory. After these scripts are executed, the components are served or deployed. -------------------------------------------------------------------------------- title: "Run a Script" description: "Catalyst provides the functionality for automating CLI and terminal command executions during the testing or deployment process in the form of scripts." last_updated: "2026-08-17T12:16:04.000Z" source: "https://docs.catalyst.zoho.com/en/cli/v1/scripts/run-script/" service: "All Services" -------------------------------------------------------------------------------- # Run a Script You can also manually run a script whenever you need using the CLI, to test its execution. You can list the scripts available in the project directory by navigating to the directory and executing either of the following CLI commands: ```sh catalyst run-script | run ``` The CLI will display the lifecycle and custom scripts that are configured and available for each component in the [catalyst.json](https://docs.catalyst.zoho.com/en/cli/v1/project-directory-structure/catalyst-json/) file. ![CLI Run Script](https://catalyst-docs-development.zohostratus.in/images/cli/catalyst-scripts/catalyst_cli_scripts_list.webp) You can directly run a script by executing the `run` command with the script's name as shown below: ```sh catalyst run-script | run [command] ``` For example, to run the custom script `packageJson` , execute the following command from the project directory: ```sh catalyst run client:packageJson ``` This will execute the `packageJson` script defined in the example. ![CLI Run Script](https://catalyst-docs-development.zohostratus.in/images/cli/catalyst-scripts/catalyst_cli_scripts_list.webp) ### Serve Resources -------------------------------------------------------------------------------- title: "Introduction" description: "Catalyst enables you to test your project resources locally using the CLI before deploying them to the remote console." last_updated: "2025-12-04T10:53:00.000Z" source: "https://docs.catalyst.zoho.com/en/cli/v1/serve-resources/introduction/" service: "All Services" -------------------------------------------------------------------------------- # Serve Resources ### Introduction Catalyst CLI allows you the convenience of testing your project resources locally before [deploying them to the cloud](https://docs.catalyst.zoho.com/en/cli/v1/deploy-resources/introduction/). You can serve the resources through a localhost in your system for testing without affecting the live version of your application. You can serve these components of your project through the local server: **[Basic I/O functions](https://docs.catalyst.zoho.com/en/serverless/help/functions/basic-io/)**, **[Advanced I/O functions](https://docs.catalyst.zoho.com/en/serverless/help/functions/advanced-io/)**, **[Browser Logic Functions](https://docs.catalyst.zoho.com/en/smartbrowz/help/browser-logic/introduction/)**, **[AppSail apps](https://docs.catalyst.zoho.com/en/serverless/help/appsail/introduction/)**, **[Angular web apps](https://docs.catalyst.zoho.com/en/cli/v1/initialize-resources/initialize-client/#angular-applications)**, **[React web apps](https://docs.catalyst.zoho.com/en/cli/v1/initialize-resources/initialize-client/#react-applications)**, and **[Basic web apps](https://docs.catalyst.zoho.com/en/cli/v1/initialize-resources/initialize-client/#basic-client-applications)**. > **Note:** Catalyst will not be able to serve functions of the other types, i.e., Cron, Event, and Integration functions, as their endpoints are not directly accessible through URLs. The `serve` command also enables you to start a local server from any port, or start the server in a debug mode to analyze the execution of your code in detail. You can test specific targets of your project, proxy unknown requests to the local host URL, or ignore scripts. All these actions can be performed using the various options available for the serve command. > **Note:** * You can also launch a node shell exclusively to test and debug functions of all types except the Advanced I/O functions. To learn more about this, refer to the [Working with Functions help page](https://docs.catalyst.zoho.com/en/cli/v1/working-with-functions/introduction/). * The functions, client, and AppSail packages can be served successfully only if their directories are in the standard structures. The directories must contain the required configuration files in the standard format. For more information, refer to the [Project Directory Structure help page](https://docs.catalyst.zoho.com/en/cli/v1/project-directory-structure/introduction/). * To serve an AppSail app, you will need to have initialized an AppSail resource either [during the project initialization](https://docs.catalyst.zoho.com/en/cli/v1/initialize-resources/initialize-appsail/) or by [adding it in an existing project directory](https://docs.catalyst.zoho.com/en/cli/v1/add-appsail/). * If you are a **Visual Studio Code IDE** user, you can install the **Catalyst Tools** extension, and perform CLI operations using your IDE in place of the CLI. Steps to serve your Catalyst resources using Visual Studio Code IDE can be found [here](https://docs.catalyst.zoho.com/en/catalyst-extensions/vs-code-extension/implementation/#serve-operation). -------------------------------------------------------------------------------- title: "Serve All Resources" description: "Catalyst enables you to test your project resources locally using the CLI before deploying them to the remote console." last_updated: "2026-11-03T15:41:32.000Z" source: "https://docs.catalyst.zoho.com/en/cli/v1/serve-resources/serve-all-resources/" service: "All Services" -------------------------------------------------------------------------------- # Serve All Resources ### Serve Command Execution You can host the Basic I/O, Advanced I/O, and Browser Logic functions; AppSail apps; Angular, React, and Basic web client components of your Catalyst project locally by navigating to your project directory and executing the following command: ```sh catalyst serve ``` This will start a local server in a default port and serve your resources at the endpoint. ![Serve Resources](https://catalyst-docs-development.zohostratus.in/images/cli/serve-resources/catalyst_cli_serve.webp) The CLI will display the URLs of the local endpoints of your client, AppSail, and function endpoints that are served. As mentioned earlier, Catalyst can only serve Basic I/O, Advanced I/O, and Browser Logic functions. Therefore, if there are any Cron, Event, or Integration functions in your project directory, they will be skipped from being served. Similarly, the API Gateway Rules JSON file will also be skipped from being served. ### Serve Functions and Basic Web Applications You can test the Basic I/O, Advanced I/O, and Browser Logic functions that are hosted through the local server by accessing their URL endpoints. These endpoints can be accessed from an IDE environment or in your browser. The web client will open in your default browser automatically, after it is hosted through the local server. > **Note:** You can disable the automatic opening of the web client URL in your browser using the [ `\--no-open `](https://docs.catalyst.zoho.com/en/cli/v1/serve-resources/serve-options/#--no-open) option. When you access the home page or any of the sub-pages of your client, or your function endpoints after they are served, the CLI will display a live log of the endpoints accessed along with the request methods that are used to access them. The function invocation information also includes log levels and other log entries as shown below. ![](https://catalyst-docs-development.zohostratus.in/images/cli/serve-resources/catalyst_cli_serve_log.webp) ### Serve Angular Applications Angular applications in your project will be served similarly. The Catalyst plugin for your Angular app, ` [zcatalyst-cli-plugin-angular](https://docs.catalyst.zoho.com/en/cli/v1/initialize-resources/initialize-client/#angular-applications)` , which is installed when the Angular app is initialized, will handle the serve session. Angular implements [ Hot Module Replacement ](https://webpack.js.org/concepts/hot-module-replacement/) (HMR). The HMR is a Webpack feature that updates and reloads specific modules, without recompiling and reloading the entire project, when changes are made during a serve session. HMR is enabled when you serve the application through the Catalyst CLI by default. > **Note:** You can disable the live watch using the ` [\--no-watch](https://docs.catalyst.zoho.com/en/cli/v1/serve-resources/serve-options/#--no-watch) ` option while serving a component. ![Serve Angular Applications](https://catalyst-docs-development.zohostratus.in/images/cli/serve-resources/catalyst_cli_serve_angular_1.webp) When the Angular app is served, the modules in the app, such as `/router` , `/common` etc are all compiled initially. The CLI displays the details of the compilation and the build generation. You can also see the details of the individual files in the application, like the initial chunk files and their sizes. These fall under the default norms of the build and serve processes of Angular apps. ![Serve Angular Applications](https://catalyst-docs-development.zohostratus.in/images/cli/serve-resources/catalyst_cli_serve_angular_2.webp) The CLI will redirect to the default browser to open the web client automatically after the compilation is done. You can disable this using the ` [\--no-open](https://docs.catalyst.zoho.com/en/cli/v1/serve-resources/serve-options/#--no-open) ` option, similar to the basic web apps. You can see the live log of the endpoints accessed along with the request methods, in an Angular app's serve session as well. ![Serve Angular Applications](https://catalyst-docs-development.zohostratus.in/images/cli/serve-resources/catalyst_cli_serve_angular_3.webp) If the HMR has not been disabled, the changes you make in your Angular app will be reflected live in the serve session without a recompilation and reload of the entire component. The CLI will display the live logs of the updated modules, such as the details of the changed chunk files. ### Serve React Applications A Catalyst React app will be served similar to an Angular app. The Catalyst plugin for your React app, [ `zcatalyst-cli-plugin-react` ](https://docs.catalyst.zoho.com/en/cli/v1/initialize-resources/initialize-client/#react-applications) , which is installed when the React app is initialized, will handle the serve session. React applications implement [Hot Module Replacement](https://webpack.js.org/concepts/hot-module-replacement/) (HMR) similar to Angular applications. The HMR is a Webpack feature that updates and reloads specific modules, without recompiling and reloading the entire project, when changes are made during a serve session. HMR is enabled when you serve the application through the Catalyst CLI by default. > **Note:** You can disable the live watch using the [`-\-no-watch `](https://docs.catalyst.zoho.com/en/cli/v1/serve-resources/serve-options/#--no-watch) option while serving a component. ![Serve React Applications](https://catalyst-docs-development.zohostratus.in/images/cli/serve-resources/catalyst_cli_serve_react_1.webp) When the React app is served, the plugin compiles into a development build. The CLI displays the details of the compilation and the local endpoint to access the app. ![Serve React Applications](https://catalyst-docs-development.zohostratus.in/images/cli/serve-resources/catalyst_cli_serve_react_2.webp) The CLI will redirect to the default browser to open the web client automatically after the compilation is done. You can disable this using the ` [-\\-no-open](https://docs.catalyst.zoho.com/en/cli/v1/serve-resources/serve-options/#--no-open) ` option, similar to the basic web apps. You can see the live log of the endpoints accessed along with the request methods, in a React app's serve session as well. ![Serve React Applications](https://catalyst-docs-development.zohostratus.in/images/cli/serve-resources/catalyst_cli_serve_react_3.webp) If the HMR has not been disabled, the changes you make in your React app will be reflected live in the serve session without a recompilation and reload of the entire component. The CLI will display the live logs of the updated modules. ### Serve AppSail Applications The serve process for an AppSail app will be initiated depending on the stack, runtime, and framework of the app, as well as any embedded web server used. Based on these factors, your compiled code could be of any format in any structure. Refer to [Common Build Files](https://docs.catalyst.zoho.com/en/serverless/help/appsail/catalyst-managed-runtimes/key-concepts/#common-build-files) help section of AppSail for details. > **Note:** Catalyst serves all the executable files of your AppSail app present in the build path that you specified during the app initialization. You need not bundle or zip all the build files together, as AppSail will automatically bundle them during the application serve. ![Serve AppSail Apps](https://catalyst-docs-development.zohostratus.in/images/cli/serve-resources/catalyst_cli_serve_appsail.webp) You will also need to have the [startup commands](https://docs.catalyst.zoho.com/en/serverless/help/appsail/appsail-configurations/#startup-commands), [environmental variables](https://docs.catalyst.zoho.com/en/serverless/help/appsail/appsail-configurations/#environment-variables), as well as the required [memory allocation](https://docs.catalyst.zoho.com/en/serverless/help/appsail/appsail-configurations/#memory-and-disk-allocation) configured for your apps. > **Note:** * You need not configure any particular ports or startup commands for serving an AppSail app specifically. You can simply serve a deployable app, and Catalyst will handle all the required processes internally. * Catalyst CLI provides a live watch mode by default, which allows you to perform hot reload of the resources that are being served. However, this is currently not available for Catalyst AppSail applications and they will be served without a live watch mode. After you test the project resources, you can quit the serve session in your terminal by killing the running command based on your local environment. This will shut the local server down. ### Serve a Slate App You can host the Slate application in your Catalyst project locally by navigating to your project directory in local and executing the following command: ```sh catalyst serve --only slate ``` This catalyst serve command launches your Slate app locally by executing the `dev_command` defined in your `cli-config.json` file. This `dev_command` will be configured in the file when you [link](https://docs.catalyst.zoho.com/en/cli/v1/working-with-slate/link-slate-app/) or [create a Slate app](https://docs.catalyst.zoho.com/en/cli/v1/working-with-slate/create-slate-app/). Before running the catalyst serve command, you must update the `dev_command` to include the start command of your application with the `ZC_SLATE_PORT`. For example, if you're working with a React app, update the command to: `PORT=$ZC_SLATE_PORT npm start` ![dev-command](https://catalyst-docs-development.zohostratus.in/images/cli/working-with-slate/dev-command.webp) You will have to configure your start command here based on the framework of your application. You can refer to the below table for the default start commands of the frameworks supported by Catalyst Slate. You can modify the start command based on your application's needs, if required.
Framework Default Start Command
Create React App `PORT=$ZC_SLATE_PORT npm start`
Solid JS(Vite) `npm run dev -\- -\-port $ZC_SLATE_PORT`
React + Vite `npm run dev -\- -\-port $ZC_SLATE_PORT`
Next.js `npm run dev -\- -\-port $ZC_SLATE_PORT`
Astro `npm run dev -\- -\-port $ZC_SLATE_PORT`
Angular `npm start -\- -\-port $ZC_SLATE_PORT`
Vue (Vite) `npm run dev -\- -\-port $ZC_SLATE_PORT`
Preact `npm run dev -\- -\-port $ZC_SLATE_PORT`
Svelte `npm run dev -\- -\-port $ZC_SLATE_PORT`
When you serve the slate app, the start command mentioned in the cli-config.json file runs the application on a local server and the CLI will display the URL from which you can access your Slate application. ![serve-slate](https://catalyst-docs-development.zohostratus.in/images/cli/working-with-slate/serve-slate.webp) After you have finished testing your application locally, you can proceed to deploy it to the remote console. We will discuss the deployment commands in the next section. -------------------------------------------------------------------------------- title: "Serve Options" description: "Catalyst enables you to test your project resources locally using the CLI before deploying them to the remote console." last_updated: "2026-08-28T06:26:16.000Z" source: "https://docs.catalyst.zoho.com/en/cli/v1/serve-resources/serve-options/" service: "All Services" -------------------------------------------------------------------------------- # Catalyst Serve Options Catalyst CLI enables a variety of options that you can use with the `catalyst serve` command. ### \--http <port> You can serve the resources locally in any port you require, other than the default port 3000\. You can do this by using the `-\\-http` option and including the port number where you need the resources to be served from. For example, to serve your resources from port 2000, execute the following command from your project directory: ```sh catalyst serve --http 2000 ``` ![Catalyst Serve Options](https://catalyst-docs-development.zohostratus.in/images/cli/serve-resources/catalyst_cli_serve_http.webp) ### \--debug <type:port> Catalyst enables you to start the local server in the debug mode and attach a debugger to the live server. You can debug the code of your Basic I/O and Advanced I/O functions of your project. You can associate the server to a debugger instance of your IDE that you use to develop the code with. This allows you to debug the execution of your functions, and identify the errors and issues in the code. > **Note:** The catalyst serve `--debug` command is only available for Java and Node.js functions, and is not supported for Python functions. You can use a Python IDE for this purpose, and attach a local debugger to it. You can then serve the Python function and test it locally. Refer to [this help page](https://docs.catalyst.zoho.com/en/cli/v1/working-with-functions/functions-shell/#debugging-python-functions) for detailed steps to debug and serve Python functions. You can also choose to start the server at a port of your choice similar to the `\--http<port> ` option. The default port where Basic I/O functions are attached to the debugger is 8010 and Advanced I/O functions is 8000. You can start the local server in the debug mode by executing the following command from the project directory: ```sh catalyst serve --debug <advancedio:name:port,basicio:port> ``` You have to specify the name of the Advanced I/O functions while using this option. You need not specify the names of the Basic I/O functions. For example: ```sh catalyst serve --debug advancedio:InvoiceFetch:2000,basicio:4000 ``` This will start the local server at the default port 3000\. The resources will be served and the local endpoints will be displayed. You can then attach the debugger at port 2000 for the Advanced I/O function, and port 4000 for the Basic I/O functions. The server will be listening at these ports for the debugger. ![Catalyst Serve Options](https://catalyst-docs-development.zohostratus.in/images/cli/serve-resources/catalyst_cli_serve_debug.webp) After you see this message, open your IDE and attach the debugger to the ports you specified for the functions. The CLI will display a confirmation message after it is attached. You can now test your resources and debug them. The CLI will display the errors caught by the debugger, along with their details. ### \--proxy<url> Catalyst enables you to proxy an unknown request to the localhost URL generated by the server in the CLI. This allows you to proxy the requests that are encountered during the serve of functions. Such requests will be proxied to the Catalyst console by default. You can specify the URL to proxy the unknown requests to, while executing the serve command as follows: ```sh catalyst serve --proxy <url> ``` ### \--only<targets> You can serve specific targets instead of all the resources using this option. For example, you can serve specific functions, or the client package alone. To serve specific targets, execute the `catalyst serve` command with the `-\\-only` option followed by the targets to be served as shown below: ```sh catalyst serve --only client ``` ![Catalyst Serve Options](https://catalyst-docs-development.zohostratus.in/images/cli/serve-resources/catalyst_cli_serve_only.webp) ### \--no-watch Catalyst CLI provides a live watch mode by default, which allows you to perform hot reload of the resources that are being served. This enables you to view the updates of the changes you make instantly, without having to re-compile or re-serve the code. However, if you require the live watch mode to be disabled, you can do so using this option. You can use this option if you don't have to make changes in the code, such as while serving a production-ready build, or if don't require the updates to be reflected live. You can serve resources with the default live watch disabled as shown below: ```sh catalyst serve --no-watch ``` This will make the server compile the code only when the code is served initially. The server will not watch for changes after the code is served. The updates will not be reflected live when you test the resources. If you require the default live watch mode to be enabled again, you must exit the serve session, and re-serve the code without using this option. ### \--except<targets> You can choose to exclude specific resources from being served using this option. For example, you can exclude specific functions or the client package. To exclude a specific function, execute the `catalyst serve` command with the `\--except` option followed by the target name as shown below: ```sh catalyst serve -- except functions:InvoiceGeneration ``` ![Catalyst Serve Options](https://catalyst-docs-development.zohostratus.in/images/cli/serve-resources/catalyst_cli_serve_except.webp) ### \--ignore-scripts Catalyst enables you to automate the CLI and terminal command executions by defining scripts in the [ `catalyst.json` ](https://docs.catalyst.zoho.com/en/cli/v1/project-directory-structure/catalyst-json/) file in your project directory. You can define two lifecycle scripts to execute before and after the `catalyst serve` command respectively: `preserve`, `postserve` . You can learn more about the lifecycle and custom scripts from the [Scripts help page](https://docs.catalyst.zoho.com/en/cli/v1/scripts/introduction/) . If you use the `\--ignore-scripts` option while executing the `catalyst serve` command, the CLI will ignore the actions configured for the `preserve` and `postserve` scripts in the `catalyst.json` file of your project directory. The deployment process will proceed without the execution of these lifecycle scripts. You can use the `\--ignore-scripts` option as follows: ```sh catalyst serve --ignore-scripts ``` The serving process will be the same as discussed earlier. ### \--no-open When you execute the serve command and the server hosts the code, the CLI will redirect you to your default browser automatically to open the client component in your project. If you require this automatic redirection to be disabled, you can execute the serve command with this option as shown below: ```sh catalyst serve --no-open ``` The CLI will display the localhost URL of all the served components as usual. You can still open the web client manually by accessing the URL, if you require. ![Catalyst Serve Options](https://catalyst-docs-development.zohostratus.in/images/cli/serve-resources/catalyst_cli_serve_no_open.webp) You can use this option when you don't require the client component to be tested, or while performing a test run of a production-ready build. ### Working with API Gateway -------------------------------------------------------------------------------- title: "Introduction" description: "Catalyst CLI provides options for you to enable or disable API Gateway, and obtain the status of API creation in your local environment." last_updated: "2024-01-09T11:37:13.000Z" source: "https://docs.catalyst.zoho.com/en/cli/v1/working-with-api-gateway/introduction/" service: "All Services" -------------------------------------------------------------------------------- # Working with API Gateway ### Introduction Catalyst provides API Gateway as an advanced API management tool that enables you to create, maintain, and monitor HTTP requests generated from client applications and microservices. Catalyst API Gateway acts as an entryway into accessing the Basic I/O and Advanced I/O functions, as well as the web client components of your application. To learn more about this component in detail, refer to the [ **API Gateway help documentation** ](https://docs.catalyst.zoho.com/en/cloud-scale/help/api-gateway/introduction/) . The CLI provides options for you to perform the following actions in your application's API Gateway: * Enable the API Gateway * Obtain the status of the API Gateway and schedule progress * Disable the API Gateway After you enable the API Gateway for your project, you will be able to set up a JSON file in your project directory that contains the definitions of each API you create in your application. We will discuss this in detail in this help document. You can work on this JSON from the local environment and [deploy it to the remote console](https://docs.catalyst.zoho.com/en/cli/v1/deploy-resources/introduction/) , similar to the functions or client component. You can also pull the latest API definitions created in your remote console to your local project directory, and update the API Gateway JSON file. You can learn about this from the [Pull Resources help page](https://docs.catalyst.zoho.com/en/cli/v1/pull-resources/introduction/). > **Note:** If you are a **Visual Studio Code IDE** user, you can install the **Catalyst Tools** extension, and perform CLI operations using your IDE in place of the CLI. Steps to work with API Gateway using Visual Studio Code IDE can be found [here](https://docs.catalyst.zoho.com/en/catalyst-extensions/vs-code-extension/catalyst-tools-explorer/). -------------------------------------------------------------------------------- title: "Enable API Gateway" description: "Catalyst CLI provides options for you to enable or disable API Gateway, and obtain the status of API creation in your local environment." last_updated: "2026-08-17T12:16:04.000Z" source: "https://docs.catalyst.zoho.com/en/cli/v1/working-with-api-gateway/enable-api-gateway/" service: "All Services" -------------------------------------------------------------------------------- # Enable API Gateway You can enable API Gateway from the CLI for your project if it is disabled. You must enable it before you access it for the first time. > **Note:** When you enable the API Gateway for your Catalyst application, the configurations in [Security Rules](https://docs.catalyst.zoho.com/en/serverless/help/security-rules/introduction/) are automatically disabled. The functions and the web client hosted in your Catalyst project will immediately become inaccessible until you create APIs for them. You should therefore proceed with caution. Ensure that you create APIs for all your functions and web client immediately after enabling API Gateway. You must also ensure that the end users do not access them in the meantime. To enable API Gateway for your project, execute the following command from your project directory: ```sh catalyst apig:enable ``` The CLI will enable the component and update the configuration files with the API Gateway's status. This will also enable the API Gateway in the remote console. ![Enable API Gateway in CLI](https://catalyst-docs-development.zohostratus.in/images/cli/working-with-api-gateway/catalyst_cli_apig_enable.webp) You can always check the API Gateway's status of your project in the [`catalyst.json`](https://docs.catalyst.zoho.com/en/cli/v1/project-directory-structure/catalyst-json/) file in your project directory. The `enabled` parameter for the `apig` configuration will be updated to `true` . ![Enable API Gateway in CLI](https://catalyst-docs-development.zohostratus.in/images/cli/working-with-api-gateway/catalyst_cli_apig_catalyst_json.webp) > **Note:** If you are a **Visual Studio Code IDE** user, you can install the **Catalyst Tools** extension, and perform CLI operations using your IDE in place of the CLI. Steps to work with API Gateway using Visual Studio Code IDE can be found [here](https://docs.catalyst.zoho.com/en/catalyst-extensions/vs-code-extension/catalyst-tools-explorer/). -------------------------------------------------------------------------------- title: "Obtain API Gateway Status" description: "Catalyst CLI provides options for you to enable or disable API Gateway, and obtain the status of API creation in your local environment." last_updated: "2026-08-17T12:16:04.000Z" source: "https://docs.catalyst.zoho.com/en/cli/v1/working-with-api-gateway/obtain-api-gateway-status/" service: "All Services" -------------------------------------------------------------------------------- # Obtain API Gateway Status ### Command Execution You can obtain the current status of your project's API Gateway to verify if it is enabled or disabled. If API creation is in progress in API Gateway, for example an [auto-creation](https://docs.catalyst.zoho.com/en/cloud-scale/help/api-gateway/key-concepts/#auto-created-apis-custom-apis-and-the-default-api) process is in progress, this will also display the status of the schedule progress and inform you of its current state. To obtain the status of your project's API Gateway and its schedule progress, execute the following command from your project directory: ```sh catalyst apig:status ``` The current status will be displayed. ![Obtain API Gateway Status](https://catalyst-docs-development.zohostratus.in/images/cli/working-with-api-gateway/catalyst_cli_apig_status.webp) ### API Gateway Status Options You can also obtain the previous schedule status of your project's API Gateway, instead of the current status by executing the `$ catalyst apig:status` with the following option: ```sh catalyst apig:status --previous ``` This will display the previous recorded status of the API Gateway component. If the component was previously disabled or enabled, the CLI will inform you of this. ![Obtain API Gateway Status](https://catalyst-docs-development.zohostratus.in/images/cli/working-with-api-gateway/catalyst_cli_apig_disable.webp) > **Note:** If you are a **Visual Studio Code IDE** user, you can install the **Catalyst Tools** extension, and perform CLI operations using your IDE in place of the CLI. Steps to work with API Gateway using Visual Studio Code IDE can be found [here](https://docs.catalyst.zoho.com/en/catalyst-extensions/vs-code-extension/catalyst-tools-explorer/). -------------------------------------------------------------------------------- title: "API Gateway JSON File" description: "Catalyst CLI provides options for you to enable or disable API Gateway, and obtain the status of API creation in your local environment." last_updated: "2026-08-17T12:16:04.000Z" source: "https://docs.catalyst.zoho.com/en/cli/v1/working-with-api-gateway/api-gateway-json-file/" service: "All Services" -------------------------------------------------------------------------------- # API Gateway JSON File As mentioned in the introduction, you can include a JSON file in your project directory that will contain the definitions of each API created in the API Gateway component for your application. This `**catalyst-user-rules.json** ` file is created in the [project's home directory](https://docs.catalyst.zoho.com/en/cli/v1/project-directory-structure/introduction/). ![Catalyst User Roles JSON](https://catalyst-docs-development.zohostratus.in/images/cli/working-with-api-gateway/catalyst_cli_apig_user_rules_directory.webp) If you have not created any APIs in your project, you can still fetch the `catalyst-user-rules.json` file with sample API definitions using the [`catalyst pull` ](https://docs.catalyst.zoho.com/en/cli/v1/pull-resources/introduction/) command. This file will include the definitions for the [default API](https://docs.catalyst.zoho.com/en/cloud-scale/help/api-gateway/key-concepts/#auto-created-apis-custom-apis-and-the-default-api) called `Login Redirect` even if custom APIs have not yet been created. Sample definitions for a Basic I/O and an Advanced I/O function will also be included. If custom APIs have been created in the remote console, their latest definitions will be pulled to your project directory. The JSON file will contain the definitions of an API's source, target, the request method, and the details of the throttling limits and request processor, if configured. ![](https://catalyst-docs-development.zohostratus.in/images/cli/working-with-api-gateway/catalyst_cli_apig_user_rules.webp) You can define new APIs or modify existing API definitions in the local environment, and update it to the remote console by deploying the API Gateway rules using the [`catalyst deploy` command](https://docs.catalyst.zoho.com/en/cli/v1/deploy-resources/introduction/). > **Note:** If you are a **Visual Studio Code IDE** user, you can install the **Catalyst Tools** extension, and perform CLI operations using your IDE in place of the CLI. Steps to work with API Gateway using Visual Studio Code IDE can be found [here](https://docs.catalyst.zoho.com/en/catalyst-extensions/vs-code-extension/catalyst-tools-explorer/). -------------------------------------------------------------------------------- title: "Disable API Gateway" description: "Catalyst CLI provides options for you to enable or disable API Gateway, and obtain the status of API creation in your local environment." last_updated: "2026-08-17T12:16:04.000Z" source: "https://docs.catalyst.zoho.com/en/cli/v1/working-with-api-gateway/disable-api-gateway/" service: "All Services" -------------------------------------------------------------------------------- # Disable API Gateway You can disable the API Gateway in your project at any time from the CLI. This will immediately re-enable the definitions configured in the [Security Rules](https://docs.catalyst.zoho.com/en/serverless/help/security-rules/introduction/) . > **Note:** If you re-enable API Gateway after disabling it, all the APIs that you had created will still be available and will immediately be re-enabled when API Gateway is re-enabled. You will not have to create the same APIs again. To disable API Gateway for your project, execute the following command from your project directory: ```sh catalyst apig:disable ``` The CLI will disable the component and update the [ `catalyst.json` ](https://docs.catalyst.zoho.com/en/cli/v1/project-directory-structure/catalyst-json/) file with the API Gateway's status. The `enabled` parameter for the `apig` configuration will be updated to `false`. This will also disable the API Gateway in the remote console. ![Disable API Gateway](https://catalyst-docs-development.zohostratus.in/images/cli/working-with-api-gateway/catalyst_cli_apig_disable.webp) > **Note:** If you are a **Visual Studio Code IDE** user, you can install the **Catalyst Tools** extension, and perform CLI operations using your IDE in place of the CLI. Steps to work with API Gateway using Visual Studio Code IDE can be found [here](https://docs.catalyst.zoho.com/en/catalyst-extensions/vs-code-extension/catalyst-tools-explorer/). ### Working with Functions -------------------------------------------------------------------------------- title: "Introduction" description: "Catalyst CLI enables you to set up the functions component after the project is initialized, add functions, configure their memory, and test them." last_updated: "2026-11-04T10:10:44.000Z" source: "https://docs.catalyst.zoho.com/en/cli/v1/working-with-functions/introduction/" service: "All Services" -------------------------------------------------------------------------------- # Working with Functions ### Introduction Catalyst CLI enables you to set up and work with the project components that you did not initialize during the project initialization. You can set up the client and the functions directories from the CLI at any time while working with the project. This feature is very convenient if you did not initialize the functions package during the project initialization, or if you initialized an empty project, and then later need the functions component to be added to your application. You can set up the functions directory with one function, and later add more functions to it as needed. You can learn more about Catalyst functions from the [Functions help page.](https://docs.catalyst.zoho.com/en/serverless/help/functions/introduction/) When a Java, Node.js, or Python function is initialized or set up, the dependent files and the configuration files are added automatically to the function's folder by Catalyst. Therefore, it is recommended you create Catalyst functions either using the CLI or the Catalyst console. This allows for the boilerplate code of the dependency files to be added properly in the [standard project directory structure](https://docs.catalyst.zoho.com/en/cli/v1/project-directory-structure/introduction/) . The updated information about the function component will also be added to the ` [catalyst.json](https://docs.catalyst.zoho.com/en/cli/v1/project-directory-structure/catalyst-json/) ` file when you set it up. You can also launch a node shell for testing, executing, and debugging Catalyst functions locally from the CLI after you code them. The CLI also lets you delete the deployed functions. We will discuss each of these CLI commands in this help document. > **Note:** * Please note that when configuring write permissions for a Function or AppSail profile, the configured Function or AppSail will have privileges to perform all SDK operations within its project. * If you are a **Visual Studio Code IDE** user, you can install the **Catalyst Tools** extension, and perform CLI operations using your IDE in place of the CLI. Steps to work with Catalyst functions using Visual Studio Code IDE can be found [here](https://docs.catalyst.zoho.com/en/catalyst-extensions/vs-code-extension/implementation/#functions) -------------------------------------------------------------------------------- title: "Set up Functions" description: "Catalyst CLI enables you to set up the functions component after the project is initialized, add functions, configure their memory, and test them." last_updated: "2026-11-04T10:10:44.000Z" source: "https://docs.catalyst.zoho.com/en/cli/v1/working-with-functions/set-up-functions/" service: "All Services" -------------------------------------------------------------------------------- # Set Up Functions ### Set Up Function Type 1. You can set up the functions directory in your project by navigating to your project directory and executing the following command in your CLI: ```sh catalyst functions:setup ``` The procedure is the same as [initializing the functions directory](https://docs.catalyst.zoho.com/en/cli/v1/initialize-resources/initialize-functions/) during the project initialization. 2. Select the type of function you would like to develop and press **Enter** . ![Setup Functions Type](https://catalyst-docs-development.zohostratus.in/images/cli/working-with-functions/catalyst_cli_functions_setup_type.webp) The six types of functions that you can develop in Catalyst are: Basic I/O, Advanced I/O, Event, Cron, Integration, and Browser Logic functions. To learn more about the function types and their purposes, refer to the [ **Functions help page.** ](https://docs.catalyst.zoho.com/en/serverless/help/functions/basic-io/) **Integration Functions:** The CLI initialization process is the same for all the other function types, except the Integration functions. If you select _Integration_ from the list, you have to perform these two extra steps before moving on to the next step: i. Select the service that you want to integrate with. You can currently only select **Cliq** integration. ![Setup Integration Functions](https://catalyst-docs-development.zohostratus.in/images/cli/working-with-functions/catalyst_cli_functions_setup_integ_1.webp) ii. Select the handlers that you require. You can learn more about this from the [Integration Functions help page](https://docs.catalyst.zoho.com/en/serverless/help/functions/integration-functions/) . ![Setup Integration Functions](https://catalyst-docs-development.zohostratus.in/images/cli/working-with-functions/catalyst_cli_functions_setup_integ_2.webp)The rest of the setup process is the same for all function types. The process only varies with the function stack. > **Note:** Cliq Integration Functions are currently not available to Catalyst users accessing from the EU, AU, IN, or CA data centers. ConvoKraft Integration Functions are available to users accessing from all DCs. 3. Select a stack to develop the server side functions in and press **Enter** . The list displays all supported runtimes. You can select the latest supported runtime of **Java**, **Node.js **, or **Python** from the list. > **Note:** You can include Java, Node.js, or Python functions in a single function directory using the ` [catalyst functions:add](https://docs.catalyst.zoho.com/en/cli/v1/working-with-functions/add-functions/) ` command. ### Set Up a Java Function of Any Type 1. If you set up a Java function, select the required runtime from the supported runtimes: **Java 8**, **Java 11**, **Java 17**, **Java 21**, **Java 25**. ![Set up Java Function](https://catalyst-docs-development.zohostratus.in/images/cli/initialize-resources/catalyst_cli_init_java_1.webp) > **Note:** Before choosing your version of Java function stack, ensure you have the relevant JDK installed in your system. You can also install the relevant JDKs from the following links: * [Java 8](https://www.oracle.com/technetwork/java/javase/downloads/index.html) * [Java 11](https://www.oracle.com/in/java/technologies/javase/jdk11-archive-downloads.html) * [Java 17](https://www.oracle.com/java/technologies/downloads/#java17) * [Java 21](https://www.oracle.com/java/technologies/downloads/#java21) * [Java 25](https://www.oracle.com/java/technologies/downloads/#java25) 2. Enter the reference name of the Java function when prompted and press **Enter**, and enter the main class name of the Java function and press **Enter**. The CLI will then download the [Java SDK package](https://docs.catalyst.zoho.com/en/sdk/java/v1/overview/) and complete the functions setup process. ![Setup Java Function](https://catalyst-docs-development.zohostratus.in/images/cli/working-with-functions/catalyst_cli_functions_java_setup_complete.webp) 3. If it is your first time initializing or setting up a **Java 11**, **Java 17**, **Java 21**, or **Java 25** function, you will need to additionally set the path information of the JDKs installed in your system. You can set this information in a specific configuration file that is present in your local system as a hidden file. The path of the installed JDKs will need to be set using the `config:set <key=value>` CLI command. You can find out more about this command from this [help document](https://docs.catalyst.zoho.com/en/cli/v1/cli-config/). Set the path information in the configuration file as shown in the example below: **Java 11**: ```sh catalyst config:set java11.bin=/Library/Java/JavaVirtualMachines/jdk-11.0.17.jdk/Contents/Home/bin ``` **Java 17**: ```sh catalyst config:set java17.bin=/Library/Java/JavaVirtualMachines/jdk-17.jdk/Contents/Home/bin ``` **Java 21**: ```sh catalyst config:set java21.bin=/Library/Java/JavaVirtualMachines/jdk-21.jdk/Contents/Home/bin ``` **Java 25**: ```sh catalyst config:set java25.bin=/Library/Java/JavaVirtualMachines/jdk-25.jdk/Contents/Home/bin ``` > **Note:** * Replace the path listed in the above commands with your JDK path. * If your local system is running on **Windows OS**, kindly enclose the path in double-quotes. For example, you will set the Java 11 path in the following manner: ```sh catalyst config:set java11.bin="/Library/Java/JavaVirtualMachines/jdk-11.0.17.jdk/Contents/Home/bin" ``` ![catalyst_cli_functions_java_jdk_setup](https://catalyst-docs-development.zohostratus.in/images/cli/working-with-functions/catalyst_cli_functions_java_jdk_setup.webp) The Java function's folder will be created with the main `.java` class file, the library JAR files, `catalyst-config.json` , and other configuration files. These values will be updated in the [`catalyst.json`](https://docs.catalyst.zoho.com/en/cli/v1/project-directory-structure/catalyst-json/) configuration file. ![Java Function Directory](https://catalyst-docs-development.zohostratus.in/images/cli/working-with-functions/catalyst_cli_functions_setup_java_structure.webp) You can learn about the Java function directory structure in detail from the [Project Directory Structure help page](https://docs.catalyst.zoho.com/en/cli/v1/project-directory-structure/functions-directory/) . ### Set Up a Node.js Function of Any Type 1. If you set up a Node.js function, select the required runtime from the supported runtimes: **Node 24**, **Node 22**, **Node 20**, **Node 18**. ![](https://catalyst-docs-development.zohostratus.in/images/cli/working-with-functions/catalyst_cli_functions_setup_stack_node.webp) 2. Provide a package name for your Node function when prompted and press **Enter** . ![Set up Node Function](https://catalyst-docs-development.zohostratus.in/images/cli/working-with-functions/catalyst_cli_functions_setup_node_package_name.webp) 3. Enter the name of the entry point file and press **Enter** . ![Set up Node Function](https://catalyst-docs-development.zohostratus.in/images/cli/working-with-functions/catalyst_cli_functions_setup_node_entry_point.webp) 4. Enter a name for the function author and press **Enter** . ![Set up Node Function](https://catalyst-docs-development.zohostratus.in/images/cli/working-with-functions/catalyst_cli_functions_setup_node_author.webp) 5. The CLI will then prompt you to allow installation of node dependencies. Press **Y** to confirm the installation, and press **Enter** to confirm your choice. If you don't install all the required dependencies, it could cause errors during the function's execution. ![Set up Node Function](https://catalyst-docs-development.zohostratus.in/images/cli/working-with-functions/catalyst_cli_functions_node_setup_complete.webp) The CLI will then download the [Node.js SDK package](https://docs.catalyst.zoho.com/en/sdk/nodejs/v2/overview/) and complete the function setup process. > **Note:** Catalyst enables you to create an Advanced I/O Node.js function in the Express template, which installs the [Express.js](https://expressjs.com/) modules. However, you will not be able to create the Express template from the CLI. But you can install Express on your system independently by executing [ `npm install express --save` ](https://expressjs.com/en/starter/installing.html) from a particular function's directory to use the Express modules in it. You can learn more about the Express template from the [Advanced I/O Function help page](https://docs.catalyst.zoho.com/en/serverless/help/functions/advanced-io/#nodejs). The Node function's directory is now set up with the `.js` main function file, `catalyst-config.json`, and the necessary node modules and configuration files if you installed the dependencies. These values will be updated in the [`catalyst.json`](https://docs.catalyst.zoho.com/en/cli/v1/project-directory-structure/catalyst-json/) configuration file. ![Node Function Directory](https://catalyst-docs-development.zohostratus.in/images/cli/working-with-functions/catalyst_cli_functions_setup_node_structure.webp) You can learn about the Node.js function directory structure in detail from the [Project Directory Structure help page](https://docs.catalyst.zoho.com/en/cli/v1/project-directory-structure/functions-directory/) . ### Set Up a Python Function of Any Type 1. If you set up a Python function, select the required runtime from the supported runtimes: **Python 3.10**, **Python 3.11**, **Python 3.12**, or **Python 3.13**. ![](https://catalyst-docs-development.zohostratus.in/images/cli/working-with-functions/catalyst_cli_functions_setup_stack_python.webp) 2. Provide a package name for your Python function when prompted and press **Enter** . 3. Enter the name of the entry point file and press **Enter** . ![Set up Python Function](https://catalyst-docs-development.zohostratus.in/images/cli/working-with-functions/catalyst_cli_functions_setup_python1.webp) Upon successful initialization of the Python function, the [Catalyst Python SDK](https://docs.catalyst.zoho.com/en/sdk/python/v1/overview) package will be automatically installed for your project and an entry will be made in the [`requirements.txt`](https://docs.catalyst.zoho.com/en/cli/v1/project-directory-structure/functions-directory/#requirementstxt-file) file. > **Note:** If it is your first time initializing a Python function, you will need to additionally set the path information of Python installed in your system. You can set this information in a specific configuration file that is present in your local system as a hidden file. The path will need to be set using the `config:set <key=value>` CLI command. You can find out more about this command from this [help document](https://docs.catalyst.zoho.com/en/cli/v1/cli-config/). The Python function's directory is now set up with the `.py` main function file, `catalyst-config.json`, and the `requirements.txt` configuration file. These values will be updated in the `catalyst.json` configuration file. ![Set up Python Function](https://catalyst-docs-development.zohostratus.in/images/cli/working-with-functions/catalyst_cli_functions_python.webp) You can learn about the Python function directory structure in detail from the [Project Directory Structure help page](https://docs.catalyst.zoho.com/en/cli/v1/project-directory-structure/functions-directory) . > **Note:** * You can add any number of sub-folders and files in a Java, Node.js, or Python function's directory. Besides the main function file, a function's folder can contain other sub-functions. However, the configuration files and dependencies need to be in the function directory's root. * You can create sub-functions for Node.js functions through the [Catalyst console](https://docs.catalyst.zoho.com/en/serverless/help/functions/implementation/) , or using external editors. However, Java and Python functions can be created and updated only from the CLI. * You can also pull an existing function directory from the console to your local system using the [`catalyst pull`](https://docs.catalyst.zoho.com/en/cli/v1/pull-resources/introduction/) command. You can now work on the function that you set up. You can code the function by uploading the package to the Catalyst console, and working on it [using the online editor in the console](https://docs.catalyst.zoho.com/en/serverless/help/functions/implementation/) or by another editor of your choice. You can also use the functions shell to test and execute the function's code, and then deploy it to the console. -------------------------------------------------------------------------------- title: "Add Functions" description: "Catalyst CLI enables you to set up the functions component after the project is initialized, add functions, configure their memory, and test them." last_updated: "2026-11-04T10:10:44.000Z" source: "https://docs.catalyst.zoho.com/en/cli/v1/working-with-functions/add-functions/" service: "All Services" -------------------------------------------------------------------------------- # Add Functions You can add any number of new functions of the Java, Node.js, and Python stacks in the functions directory, after you have initialized or set up the first function for your project. Each new function will be created in its own directory inside the functions directory. > **Note:** This command is used to add additional functions in a project after the first function is created. Therefore, the functions directory must already be present in your project directory before you execute this command. You can add a new function in your functions directory by executing the following command from your project directory: ```sh catalyst functions:add ``` The procedure is the same as initializing or setting up a function. Refer to the [previous section](https://docs.catalyst.zoho.com/en/cli/v1/working-with-functions/set-up-functions/) for details. ![Add Functions in CLI](https://catalyst-docs-development.zohostratus.in/images/cli/working-with-functions/catalyst_cli_functions_add.webp) After the function is added, an individual folder will be created for it in the functions directory along with its dependencies and configuration files, as mentioned in the previous section. ![Add Functions in CLI](https://catalyst-docs-development.zohostratus.in/images/cli/working-with-functions/catalyst_cli_functions_added.webp) > **Note:** If you are a **Visual Studio Code IDE** user, you can install the **Catalyst Tools** extension, and perform CLI operations using your IDE in place of the CLI. Steps to add Catalyst functions using Visual Studio Code IDE can be found [here](https://docs.catalyst.zoho.com/en/catalyst-extensions/vs-code-extension/implementation/#manage-your-project) > **Info:** This command is available in Non-interactive mode. Refer to the [Non-Interactive Catalyst CLI Commands](https://docs.catalyst.zoho.com/en/ai-toolkit/ni-cli/ni-commands/) page for the complete syntax. -------------------------------------------------------------------------------- title: "Configure Function Memory" description: "Catalyst CLI enables you to set up the functions component after the project is initialized, add functions, configure their memory, and test them." last_updated: "2026-11-04T10:10:44.000Z" source: "https://docs.catalyst.zoho.com/en/cli/v1/working-with-functions/configure-function-memory/" service: "All Services" -------------------------------------------------------------------------------- # Configure Function Memory ### Configure Command Catalyst enables you to configure the memory for each of your functions. This memory will be allocated when the function is executed. You can choose a memory between 128 MB and 512 MB for any function. The default memory assigned to a function is 256 MB. That is, if you don't configure the memory, or if you had created a function before this feature was made available, the memory would be set to 256 MB automatically. > **Note:** The CPU is allocated automatically based on the memory you configure for your function. You won't be able to view or configure this value. You can modify this value for any of your existing functions as per your requirements in the following way: 1. Execute the following command from your function's project directory. ```sh catalyst functions:config ``` The CLI will list all the functions you have created in your project, along with information of their current memory allocation. 2. Select one of the functions to configure, and press **Enter** . ![Configure Function Memory in CLI](https://catalyst-docs-development.zohostratus.in/images/cli/working-with-functions/catalyst_cli_functions_config_memory_1.webp) 3. Select the memory to allocate to the function from the available options, and press **Enter** . ![Configure Function Memory in CLI](https://catalyst-docs-development.zohostratus.in/images/cli/working-with-functions/catalyst_cli_functions_config_memory_2.webp) The memory configuration for the function will be updated. ![Configure Function Memory in CLI](https://catalyst-docs-development.zohostratus.in/images/cli/working-with-functions/catalyst_cli_functions_config_memory_3.webp) You can also directly configure a function's memory by specifying the function's name or ID along with the command like: ```sh catalyst functions:config[function_name_or_id] ``` For example: ```sh catalyst functions:config Generate_Invoice ``` The CLI will then ask you to select a memory configuration in the same manner. ### Configure Function Memory Options You can also directly specify the memory you want allocated for a specific function using the ` -\\-memory <value> ` option for the `catalyst functions:config` command, followed by the function's name or ID. This can be done in the following way: ```sh catalyst functions:config [--memory <value>] [function_name_or_id] ``` For example, if you want to allocate 128 MB memory for a function named _MailOrder_ , then execute the following command: ```sh catalyst functions:config --memory 128MB MailOrder ``` The CLI will ask you for confirmation. Enter **Y** and press **Enter** . ![](https://catalyst-docs-development.zohostratus.in/images/cli/working-with-functions/catalyst_cli_functions_config_memory_options.webp) The memory configuration for the function will be updated. -------------------------------------------------------------------------------- title: "Launch a Shell for Functions" description: "Catalyst CLI enables you to set up the functions component after the project is initialized, add functions, configure their memory, and test them." last_updated: "2026-11-04T10:10:44.000Z" source: "https://docs.catalyst.zoho.com/en/cli/v1/working-with-functions/functions-shell/" service: "All Services" -------------------------------------------------------------------------------- # Launch a Shell for Functions ### Introduction The functions shell offers you the capabilities of a Node shell console combined with the efficiency of Catalyst CLI, to test and debug your functions. Using the Catalyst CLI functions shell, you can test and debug the following [types of functions](https://docs.catalyst.zoho.com/en/serverless/help/functions/basic-io/) of the Java, Node.js, or Python platforms in your project: **Basic I/O**, **Cron**, **Event**, and **Integration** functions. > **Note:** You will not be able to test Advanced I/O functions using the Node shell. However, you can serve Advanced I/O functions, and even Basic I/O functions and the client, from a local host and test their performance using the [`catalyst serve`](https://docs.catalyst.zoho.com/en/cli/v1/serve-resources/introduction/) command. The output of a function's execution is fetched and displayed in the CLI in the JSON format. For a Basic I/O function, the String output is generated in the CLI, and for the other function types, the appropriate responses are fetched. While testing a Basic I/O function of Java or Node.js stacks, you can also attach a debugger to the function's endpoint and test its code through a local server, or enable the HTTP mode for it in the shell. This is not supported for Python functions, but you can debug a Python function independently. Catalyst CLI also provides several other options for the functions shell that we will discuss later in this section. ### Functions Shell Command Execution To launch a shell for testing a function, navigate to the project directory of the function and execute the following command: ```sh catalyst functions:shell ``` This opens the shell in the CLI. You can test any function in your project other than Advanced I/O functions, pass inputs and execute it in case of a Basic I/O function, and perform other node shell operations on it. ![Functions Shell](https://catalyst-docs-development.zohostratus.in/images/cli/working-with-functions/catalyst_cli_shell.webp) You can pass inputs to a Basic I/O function in the shell in two ways: * Pass values to the function variables and run the function. * Declare a variable in the CLI, assign it to a function variable, and pass the input values through the declared variable. You can then bind the declared variable to that function and execute it. #### Example for Passing Direct Input Let's test a simple function called _EMI_ , which allows you to pass an input value for a variable called _principal_ . This function then calculates the EMI amount for a shipment service, based on some pre-defined constant values. We pass a value for the input variable and execute the _EMI_ function in the shell by entering the following statement: ```sh EMI({"principal":"10000"}) ``` This invokes the function _EMI_ and passes the input to its variable. Once the function execution is complete, the output is obtained from the server as a JSON response. The CLI displays the function's output along with the HTTP status code as sent by the server. ![Functions Shell](https://catalyst-docs-development.zohostratus.in/images/cli/working-with-functions/catalyst_cli_functions_shell_pass_value.webp) #### Example for Declaring a Variable and Binding it You can also declare a variable in the CLI and assign it to the variable in the function. This will allow you to use the declared variable in the place of the function's variable and pass input values to it easily. Let's declare a variable 'P', assign it to the _principal_ variable in the _EMI_ function, and pass an input value. This can be done by executing the following command in the shell: ```sh var P={"principal":"3000"} ``` This assigns _P_ to _principal_ and passes the input value of 3000 to P. You can verify if the variable is assigned by printing the value of P in the console. This can be done using the Node.js function `console.log()` in the following manner: ```sh console.log(P) ``` If the variable was assigned and the value was passed successfully, the shell will print the value of _principal_ that was passed. ![Functions Shell](https://catalyst-docs-development.zohostratus.in/images/cli/working-with-functions/catalyst_cli_functions_shell_variable_declaration.webp) You can now bind the declared variable to the function and execute it as follows: ```sh EMI(P) ``` This invokes the function and passes the input to its variable through _P_ . Once the function execution is complete, the CLI will display the output along with the HTTP status code as sent by the server. ![Functions Shell](https://catalyst-docs-development.zohostratus.in/images/cli/working-with-functions/catalyst_cli_functions_shell_variable_bind.webp) The CLI will return the appropriate HTTP response codes from the server if runtime errors occur. #### Exit Shell You can exit the functions shell by killing the terminal command based on your local environment or by executing the following command: ```sh .exit ``` Once your function is tested thoroughly, you can [deploy the function](https://docs.catalyst.zoho.com/en/cli/v1/deploy-resources/introduction/) from the local environment to the remote console. ### Functions Shell Options There are four options that you can use with the functions shell launch command. #### \--http \[port\] The `-\\-http` option invokes your Basic I/O function in the HTTP mode. The CLI serves your function through a local host, and provides you the access to its local endpoint. The server will be listening to the port where the function is hosted locally, and the CLI will display a live log of the activities at the port. The CLI will then open the functions shell where you can test your function. > **Note:** The `-\\-http` option is only applicable to Basic I/O functions, since the end points of Cron, Event, and Integration functions cannot be accessed directly. This option is similar to the functionality of the [ `catalyst serve` ](https://docs.catalyst.zoho.com/en/cli/v1/serve-resources/introduction/) command that serves Basic I/O functions, Advanced I/O functions, and the client components locally. You can start a function shell in the HTTP mode and test all the Basic I/O functions in a project, by executing the following command from the project directory: ```sh catalyst functions:shell --http ``` This will host all the Basic I/O functions in the functions directory of the project locally, in the **default port 8080** . The CLI will display the endpoint URLs of all the functions. You can access these functions by opening the URLs in your browser at any time while performing the shell operations. ![Functions Shell- HTTP Port](https://catalyst-docs-development.zohostratus.in/images/cli/working-with-functions/catalyst_cli_functions_shell_http.webp) You can now test and run your functions as discussed in the previous section using the shell, and view them in HTTP mode by accessing their URLs. You can also start the server in a different port, if you require, while executing this command and override the default port 8080. This can be done by specifying the port number with the `-\\-http` option. For example, if you prefer to use the port 7000, execute this command from the project directory: ```sh catalyst serve --http 7000 ``` #### \--debug \[port\] Catalyst allows you to test your Java and Node.js functions locally with a remote debugger attached to the live localhost server. > **Note:** The `catalyst functions:shell --debug` command is not supported for Python functions. To learn about the steps to debug a Python function, refer to [this section](https://docs.catalyst.zoho.com/en/cli/v1/working-with-functions/functions-shell/#debugging-python-functions). When you use the `-\\-debug` option and start the functions shell, Catalyst will listen for the transport `dt\_socket` at the default or custom port and will wait for the connection from the debugger to be established after invoking the function. Once the connection is established, the attached debugger will debug the execution of your function and identify any errors and issues in its code. You can start your functions shell and initiate the connection to the debugger by executing the following command from the project directory: ```sh catalyst functions:shell --debug ``` This will open the functions shell in the same way as before. When you invoke the function in the shell, Catalyst will establish the connection to the debugger. Catalyst CLI will allocate **port 8000** for the debugger by default. ![Functions Shell- Debug](https://catalyst-docs-development.zohostratus.in/images/cli/working-with-functions/catalyst_cli_functions_shell_debug.webp) Once the debugger is attached, the CLI will display a message to indicate this fact. Catalyst will then execute your function in the debugging mode and display the server response. You can override the default port 8000 and start the debugger in a different port, if required. This can be done by specifying the port number with the `-\\-debug` option. For example, if you prefer to use the port 7000, execute the following command from the project directory: ```sh catalyst serve --debug 7000 ``` #### \--ignore-scripts This option allows you to inform Catalyst to ignore the [pre- and post-lifecycle scripts](https://docs.catalyst.zoho.com/en/cli/v1/scripts/introduction/) written in the [ `catalyst.json` ](https://docs.catalyst.zoho.com/en/cli/v1/project-directory-structure/catalyst-json/) file for a particular function. Since you can host and access Basic I/O function endpoints using the `-\\-http` option in the functions shell, the `preserve` and `postserve` scripts are executed automatically when they are hosted. The `preserve` script executes before the function is served, and the `postserve` script executes after you exit the local serve, if available. You can inform Catalyst to ignore these pre- and post-lifecycle scripts when the functions are served using the `-\\-ignore-scripts` option. For example, let's configure the `catalyst.json` file of a project to include the following `preserve` and `postserve` scripts for a function. ![Functions Shell- Ignore Scripts](https://catalyst-docs-development.zohostratus.in/images/cli/working-with-functions/catalyst_cli_functions_ignore_scripts_code.webp) If you launch the functions shell without using the `\--ignore-scripts` option, the scripts will be executed before the shell opens and after you exit the shell respectively as shown below. ![Functions Shell- Ignore Scripts](https://catalyst-docs-development.zohostratus.in/images/cli/working-with-functions/catalyst_cli_functions_ignore_scripts_without.webp) To ignore the `preserve` and `postserve` scripts, launch the functions shell by executing the following command from your project directory: ```sh catalyst functions:shell --ignore-scripts ``` This will ignore the scripts and run the shell in the standard manner. ![Functions Shell- Ignore Scripts](https://catalyst-docs-development.zohostratus.in/images/cli/working-with-functions/catalyst_cli_functions_ignore_scripts.webp) #### \--no-watch Catalyst CLI enables a live watch mode in the functions shell by default. This mode actively watches for changes made in the function file or the function directory after the shell is opened. When it detects changes committed in the function file or the function directory, it enables a hot reload of the functions shell to reflect the updates live. You will therefore be able to access the updated version of the function in the live shell immediately after the changes are saved, without having to re-compile or re-serve the code. You can disable this default watch mode by launching the functions shell using the `-\\-no-watch` option, as shown below: ```sh catalyst functions:shell --no-watch ``` Now if you make any changes to the function file after you have launched it in the shell, the updates will not be reflected in the compiled function open in the shell. You can work with the updated version of the function either by re-invoking the function after the changes are made, or by exiting the shell and re-opening it. For example, let's consider a function that contains the default sample code of a Node.js Basic I/O function. It prints the message "Hello from index.js" when it is invoked in the functions shell. ![Functions Shell- No Watch](https://catalyst-docs-development.zohostratus.in/images/cli/working-with-functions/catalyst_cli_serve_no_watch_1.webp) If you make changes to the function's code as shown below, these updates are not reflected live in the CLI while the function is still open in the shell. ![Functions Shell- No Watch](https://catalyst-docs-development.zohostratus.in/images/cli/working-with-functions/catalyst_cli_serve_no_watch_2.webp) You will need to invoke the function again to get the output for the updated code. ![Functions Shell- No Watch](https://catalyst-docs-development.zohostratus.in/images/cli/working-with-functions/catalyst_cli_serve_no_watch_3.webp) However, if you don't use the `-\\-no-watch` option and launch the functions shell with the default watch mode enabled, the shell will detect the changes made in the code live and perform a hot reload of the function automatically, as shown below. ![Functions Shell- No Watch](https://catalyst-docs-development.zohostratus.in/images/cli/working-with-functions/catalyst_cli_serve_no_watch_4.webp) ### Debugging Python Functions To debug a Python function, you will need to use a Python IDE independently, as Catalyst currently does not offer CLI support to debug them. You can attach a local debugger with an IDE of your choice, such as Visual Studio Code or PyCharm. The debugger will listen to the port where the function is hosted locally and the IDE will display a live log of the activities at the port. The steps to debug a Python function using VS Code are given below: 1. To debug a particular Python function hosted in a local server from an IDE directly, you will need a debugger package to establish the connection between the local server and the IDE. In this case, we will be using the debugpy Python package. Open your Catalyst project directory in VS Code. In the `main.py` file, include the lines of code given below. ```python import debugpy debugpy.listen(<<"Enter port number here">>) debugpy.wait_for_client() ``` > **Note:** The default port to attach for VS Code debug configurations is 5678. This is the port where the Python function will be served. You can override the default port and change it while executing the serve command, if required, using the option specified below: ```sh catalyst serve --http <Port number> ``` 2. Navigate to your functions directory and, to install the `debugpy` package, execute this command in your IDE terminal: ```sh python -m pip install --upgrade debugpy ``` 3. Create a `launch.json` file in the root directory of your Catalyst project, if one doesn't exist already. You can refer to [ this help page](https://code.visualstudio.com/docs/python/debugging#_initialize-configurations) for the steps to create a `launch.json` file. Add the following code in the file and save it. ```json { "version": "0.2.0", "configurations": [ { "name": "Python: Remote Attach", "type": "python", "request": "attach", "connect": { "host": "localhost", "port": <> }, "pathMappings": [ { "localRoot": "${workspaceFolder}", "remoteRoot": "${workspaceFolder}/.build/" } ], "justMyCode": true } ] } ``` 4. Now, switch to Run and Debug view in VS Code and start the debugger. You can now execute the CLI serve command to view the function's execution details in your IDE terminal. > **Note:** You must ensure you specify the same port number mentioned in the configuration files while executing the command. ![](https://catalyst-docs-development.zohostratus.in/images/cli/working-with-functions/catalyst_cli_vscode_debug.webp) You can take a look at [this help page](https://code.visualstudio.com/docs/python/debugging#_debugging-by-attaching-over-a-network-connection) for more detailed steps on local script debugging of Python functions in VS code. > **Note:** If you are a **Visual Studio Code IDE** user, you can install the **Catalyst Tools** extension, and perform CLI operations using your IDE in place of the CLI. Steps to run and debug Catalyst functions using Visual Studio Code IDE can be found [here](https://docs.catalyst.zoho.com/en/catalyst-extensions/vs-code-extension/implementation/#run-or-debug-a-function) -------------------------------------------------------------------------------- title: "Delete Functions" description: "Catalyst CLI enables you to set up the functions component after the project is initialized, add functions, configure their memory, and test them." last_updated: "2026-11-04T10:10:44.000Z" source: "https://docs.catalyst.zoho.com/en/cli/v1/working-with-functions/delete-functions/" service: "All Services" -------------------------------------------------------------------------------- # Delete Functions ### Delete Command Execution You can permanently delete functions of your Catalyst project using the CLI. You can choose to delete functions from the remote console or from your local project directory while executing this command. > **Note:** If a function exists in both locations, it will only be deleted from the location you choose. For example, even if you delete a function from the remote console, it will still be present in your local project directory until you delete it from the local machine separately. 1. To delete functions in your project, execute the following command from your project directory: ```sh catalyst functions:delete ``` 2. The CLI will ask you to choose between the functions in the remote console or the functions in your local project directory. Select an option and press **Enter** . ![Delete Functions in CLI](https://catalyst-docs-development.zohostratus.in/images/cli/working-with-functions/catalyst_cli_functions_delete_1.webp) 3. The CLI will list all the functions in your remote console or in your local directory, based on the options you chose. Select the functions that need to be deleted and press **Enter** . ![Delete Functions in CLI](https://catalyst-docs-development.zohostratus.in/images/cli/working-with-functions/catalyst_cli_functions_delete_2.webp) 4. The CLI will ask for a confirmation. Enter "**Y** " and press **Enter** to confirm. The selected functions will be deleted from the chosen location. ![Delete Functions in CLI](https://catalyst-docs-development.zohostratus.in/images/cli/working-with-functions/catalyst_cli_functions_delete_3.webp) > **Note:** You can use the [ `catalyst pull` ](https://docs.catalyst.zoho.com/en/cli/v1/pull-resources/introduction/) command to pull resources from the remote console to the local directory, or [ `catalyst deploy` ](https://docs.catalyst.zoho.com/en/cli/v1/deploy-resources/introduction/) to deploy resources to the remote console from the local directory if you require synchronization. You can also directly specify the function to be deleted by including the function's name or ID along with the command like: ```sh catalyst functions:delete [function_name_or_id] ``` For example: ```sh catalyst functions:delete InvoiceFetch ``` The CLI will then prompt you to select between the remote console or the local directory, then ask you for the delete confirmation in the same manner. > **Note:** You can specify the function name or ID directly to delete a function from the remote console. However, to delete a function from the local directory, you must only provide the function name and not the ID. ### Delete Functions Options You can directly choose to list the functions in either the remote console or in your local project directory to delete using the respective options. To list functions available in your local project directory, execute the catalyst `functions:delete` command as follows: ```sh catalyst functions:delete --local ``` To list functions available in the remote console of your project, execute the catalyst `functions:delete` command as follows: ```sh catalyst functions:delete --remote ``` The CLI will list the functions accordingly, and you can delete the required functions as explained previously. You can also directly delete a function from the remote console or the local directory as shown below: ```sh catalyst functions:delete InvoiceFetch --remote ``` > **Note:** If you are a **Visual Studio Code IDE** user, you can install the **Catalyst Tools** extension, and perform CLI operations using your IDE in place of the CLI. Steps to delete Catalyst functions using Visual Studio Code IDE can be found [here](https://docs.catalyst.zoho.com/en/catalyst-extensions/vs-code-extension/implementation/#delete-operation) > **Info:** This command is available in Non-interactive mode. Refer to the [Non-Interactive Catalyst CLI Commands](https://docs.catalyst.zoho.com/en/ai-toolkit/ni-cli/ni-commands/) page for the complete syntax. ### Working with Projects -------------------------------------------------------------------------------- title: "List Catalyst Projects" description: "Catalyst CLI enables you to view a list of your Catalyst projects, associate a project with your working directory, and reset the active project." last_updated: "2026-08-17T12:16:04.000Z" source: "https://docs.catalyst.zoho.com/en/cli/v1/working-with-projects/list-catalyst-projects/" service: "All Services" -------------------------------------------------------------------------------- # Working with Projects ### List Catalyst Projects You can view a list of the Catalyst projects in [organizations](https://docs.catalyst.zoho.com/en/getting-started/catalyst-organizations/) that you have access to in your Catalyst user account, from the CLI. To view a list of all your existing Catalyst projects in the organization that is set as the default, execute the following command: ```sh catalyst project:list ``` If you require the projects from a different organization that is not the default one to be listed, you must execute the same command with the `--org` option and specify the unique org ID of that organization in this manner: ```sh catalyst project:list --org<org_id> ``` This will display a table with the names and the [Project IDs](https://docs.catalyst.zoho.com/en/getting-started/set-up-a-catalyst-project/general-settings/) of your existing Catalyst projects in the organization. ![List Projects in CLI](https://catalyst-docs-development.zohostratus.in/images/cli/working-with-projects/catalyst_cli_project_list.webp) The base project of the directory from which you executed the command is also specified in the project list. This is the project that you originally initialized in that directory. The list also indicates the project that is active in that directory. If the active project is not the directory's base project, the CLI will display an alert about this. > **Note:** If you are a **Visual Studio Code IDE** user, you can install the **Catalyst Tools** extension, and perform the above mentioned CLI operation using your IDE in place of the CLI. Steps to view a list of all your Catalyst projects using Visual Studio Code IDE can be found [here](https://docs.catalyst.zoho.com/en/catalyst-extensions/vs-code-extension/catalyst-tools-explorer/) -------------------------------------------------------------------------------- title: "Use a Catalyst Project" description: "Catalyst CLI enables you to view a list of your Catalyst projects, associate a project with your working directory, and reset the active project." last_updated: "2026-08-17T12:16:04.000Z" source: "https://docs.catalyst.zoho.com/en/cli/v1/working-with-projects/use-catalyst-project/" service: "All Services" -------------------------------------------------------------------------------- # Use a Catalyst Project Using Catalyst CLI, you can associate a Catalyst project for your working directory. You can add an existing Catalyst project and link it with your directory. However, your directory can only be bound and permanently associated with its base project, which is the project you initialized in that directory. Therefore, when you use another project in the directory, the association with that project will only be temporary. > **Note:** This command can only be run from an active Catalyst project directory. Therefore, if your current directory selection is not an active project directory, you can [initialize the project](https://docs.catalyst.zoho.com/en/cli/v1/initialize-resources/introduction/) , or [pull its components](https://docs.catalyst.zoho.com/en/cli/v1/pull-resources/introduction/) into the directory, instead. ### Command Execution 1. To use a Catalyst project in your working directory, execute the following command from the required directory: ```sh catalyst project:use ``` The CLI will display a list of your existing projects from your default organization. 2. Select the project that you require, using the arrow keys. Press **Enter** to confirm your choice. ![Use Catalyst Project in CLI](https://catalyst-docs-development.zohostratus.in/images/cli/working-with-projects/catalyst_cli_project_use.webp) Your project will now be added to your working directory and the CLI will display a confirmation message. ![Use Catalyst Project in CLI](https://catalyst-docs-development.zohostratus.in/images/cli/working-with-projects/catalyst_cli_project_use_1.webp) You can also execute the `catalyst project:use` command with the name or the [Project ID](https://docs.catalyst.zoho.com/en/getting-started/set-up-a-catalyst-project/general-settings/) of that project to use it in the working directory as follows: ```sh catalyst project:use [name_or_project_id] ``` ![Use Catalyst Project in CLI](https://catalyst-docs-development.zohostratus.in/images/cli/working-with-projects/catalyst_cli_project_use_2.webp) > **Note:** If you wish to use a project belonging to an organization which is not the default one, make sure to include the `--org` option and execute the below command to use the project: ```sh catalyst project:use [name_or_project_id] --org<org_id> ``` > **Note:** If you are a **Visual Studio Code IDE** user, you can install the **Catalyst Tools** extension, and perform the above mentioned CLI operation using your IDE in place of the CLI. Steps to add a Catalyst project to your existing working directory using Visual Studio Code IDE can be found [here](https://docs.catalyst.zoho.com/en/catalyst-extensions/vs-code-extension/catalyst-tools-explorer/) -------------------------------------------------------------------------------- title: "Reset the Active Project" description: "The project directory structure refers to the default directory structure a Catalyst project is created in when you initialize it from the CLI." last_updated: "2026-08-17T12:16:04.000Z" source: "https://docs.catalyst.zoho.com/en/cli/v1/working-with-projects/reset-active-project/" service: "All Services" -------------------------------------------------------------------------------- # Reset the Active Project You can clear the temporary active project of your working directory and reset it back to the base project that the directory was initialized with. Resetting the project helps you undo the `catalyst project:use` command. To clear the active project in your working directory and reset it to its base project, navigate to the directory and execute the following command: ```sh catalyst project:reset ``` ![Reset Active Project in CLI](https://catalyst-docs-development.zohostratus.in/images/cli/working-with-projects/catalyst_cli_project_reset.webp) > **Note:** If you are a **Visual Studio Code IDE** user, you can install the **Catalyst Tools** extension, and perform the above mentioned CLI operation using your IDE in place of the CLI. Steps to reset your Catalyst project using Visual Studio Code IDE can be found [here](https://docs.catalyst.zoho.com/en/catalyst-extensions/vs-code-extension/catalyst-tools-explorer/) ### Working with Slate -------------------------------------------------------------------------------- title: "Create Slate App" description: "Catalyst CLI enables you to create a Slate app configuration for the application in your project directory." last_updated: "2026-09-02T11:17:14.000Z" source: "https://docs.catalyst.zoho.com/en/cli/v1/working-with-slate/create-slate-app/" service: "All Services" -------------------------------------------------------------------------------- # Working with Slate # Create an Additional Slate App If your project directory is already linked to a Catalyst project and Slate is initialized, you can add a new Slate app to your project directory directly using the steps below. This operation will automatically add the Slate template code based on the chosen front-end framework to your project directory. 1. Execute the following command in the terminal from the Slate service's project directory: ```sh catalyst slate:create ``` 2. Select the required framework for your Slate application and provide a name for your application. ![slate-create](https://catalyst-docs-development.zohostratus.in/images/cli/working-with-slate/slate-create.webp) 3. Based on the chosen framework, the **install** and **build** commands, the **build path** of the framework will be automatically detected. If you wish to proceed with the default configuration, enter **N**. Else, enter **Y** to make the necessary updates. ![slate-init](https://catalyst-docs-development.zohostratus.in/images/cli/working-with-slate/slate-create-1.webp) After all the changes are made, the Slate app will be created in your project directory. ![slate-init](https://catalyst-docs-development.zohostratus.in/images/cli/working-with-slate/slate-create-2.webp) The **`catalyst.json`** file will be updated with the details of the newly created Slate app. You can also create a Slate application by directly providing a name for your application and the required framework. Execute the following command in your terminal: ```sh catalyst slate:create --name <name> --framework <framework_name> ``` > **Info:** This command is available in Non-interactive mode. Refer to the [Non-Interactive Catalyst CLI Commands](https://docs.catalyst.zoho.com/en/ai-toolkit/ni-cli/ni-commands/) page for the complete syntax. -------------------------------------------------------------------------------- title: "Link Slate App" description: "Catalyst CLI enables you to link a Slate configuration to an existing application in order to deploy them in Slate." last_updated: "2026-09-02T11:17:14.000Z" source: "https://docs.catalyst.zoho.com/en/cli/v1/working-with-slate/link-slate-app/" service: "All Services" -------------------------------------------------------------------------------- # Link a Slate App In order to deploy an existing project to Slate, you must mandatorily link the project's root path with the Slate service. For this you will have to initialize the Slate service first. This linking establishes a connection between your project directory and the Slate service locally and in order to deploy to the console, you must use the deploy command. This option can be used when an application of a supported framework by Slate was not originally initialized as a Slate service, but you later prefer to deploy it as a Slate service. In order to link the directory with Slate, please follow the below listed steps. 1. Execute the following command in the terminal from the app's project directory: ```sh catalyst slate:link ``` Select the source path that has to be linked to the Slate service and press **Enter**. ![slate-link](https://catalyst-docs-development.zohostratus.in/images/cli/working-with-slate/slate-link.webp) 2. Provide a name for your application as required and press **Enter**. ![slate-link-1](https://catalyst-docs-development.zohostratus.in/images/cli/working-with-slate/slate-link-1.webp) 3. The framework of the application will be automatically detected and listed along with its **install**, **build** commands, and the **build path**. Else, you will be able to select the framework manually from the terminal. If you wish to proceed with the default configuration, enter **N**. Else, enter **Y** to make the necessary updates. ![slate-link-2](https://catalyst-docs-development.zohostratus.in/images/cli/working-with-slate/slate-link-2.webp) After the configurations are set, an entry will be made in the `catalyst.json` file to establish a connection between the project directory's path and the Slate service. ![slate-link-3](https://catalyst-docs-development.zohostratus.in/images/cli/working-with-slate/slate-link-3.webp) > **Info:** This command is available in Non-interactive mode. Refer to the [Non-Interactive Catalyst CLI Commands](https://docs.catalyst.zoho.com/en/ai-toolkit/ni-cli/ni-commands/) page for the complete syntax. -------------------------------------------------------------------------------- title: "Unlink Slate App" description: "Catalyst CLI enables you to unlink a Slate configuration from an existing application if no longer required." last_updated: "2026-09-02T11:17:14.000Z" source: "https://docs.catalyst.zoho.com/en/cli/v1/working-with-slate/unlink-slate-app/" service: "All Services" -------------------------------------------------------------------------------- # Unlink a Slate App You can remove the connection between your project directory and the Slate service by using the steps listed below. This operation will only remove the Slate configuration in your project directory and not in the Catalyst console, if you have already deployed the application. 1. Execute the following command from the terminal from the app's project directory: ```sh catalyst slate:unlink ``` 2. Navigate using the arrow keys to choose the application and click **Enter** to confirm. ![slate-unlink](https://catalyst-docs-development.zohostratus.in/images/cli/working-with-slate/slate-unlink.webp) 3. Enter **Yes** to remove the Slate configuration from your application, its entry in the `catalyst.json` file and the source code of the application. Enter **No** to remove only the entry in the `catalyst.json` file while retaining the source code of your application. ![slate-unlink-1](https://catalyst-docs-development.zohostratus.in/images/cli/working-with-slate/slate-unlink-1.webp) For the same operation, you can also use the below command by directly providing the name of the application: ```sh catalyst slate:unlink --name <<app_name>> ``` > **Info:** This command is available in Non-interactive mode. Refer to the [Non-Interactive Catalyst CLI Commands](https://docs.catalyst.zoho.com/en/ai-toolkit/ni-cli/ni-commands/) page for the complete syntax. ### Working with the Client -------------------------------------------------------------------------------- title: "Introduction" description: "Catalyst CLI enables you to set up the client component as a Basic, React, or Angular app, even after the project is initialized." last_updated: "2025-12-09T16:21:15.000Z" source: "https://docs.catalyst.zoho.com/en/cli/v1/working-with-the-client/introduction/" service: "All Services" -------------------------------------------------------------------------------- # Working with the Client ### Introduction Catalyst CLI enables you to set up and work with the project components that you did not initialize during the project initialization. You can set up the client and the functions directories from the CLI at any time while working with the project. You can also add a new AppSail service any time. This feature is very convenient if you did not initialize the client package during the project initialization to host through web client hosting, or if you initialized an empty project, and then later need the client component to be added to your application. In such cases, you can quickly set up the client in its [standard directory structure](https://docs.catalyst.zoho.com/en/cli/v1/project-directory-structure/introduction/) in your project directory. The CLI will ensure that all the required configuration files of the client are initialized in their boilerplate structures. The updated information about the newly created client component will also be added to the [ `catalyst.json` ](https://docs.catalyst.zoho.com/en/cli/v1/project-directory-structure/catalyst-json/) file automatically, when you set it up. You can also perform a remote delete operation on the client component and delete any of its previously hosted versions from the CLI. > **Note:** * If you are a **Visual Studio Code IDE** user, you can install the **Catalyst Tools** extension, and perform CLI operations using your IDE in place of the CLI. Steps to work with Catalyst Client components using Visual Studio Code IDE can be found [here](https://docs.catalyst.zoho.com/en/catalyst-extensions/vs-code-extension/implementation/#client) * Web client hosting is suitable for basic and simple web applications. You can explore our robust frontend development service, **[Slate](https://docs.catalyst.zoho.com/en/slate/)**, that lets you seamlessly deploy web applications in a variety of popular JavaScript frameworks like Next.js, Angular, React, Vue, and more. Slate also provides automated deployments from GitHub, GitLab, or Bitbucket, and offers a host of other advanced features. -------------------------------------------------------------------------------- title: "Set up Client" description: "Catalyst CLI enables you to set up the client component as a Basic, React, or Angular app, even after the project is initialized." last_updated: "2026-09-02T11:17:14.000Z" source: "https://docs.catalyst.zoho.com/en/cli/v1/working-with-the-client/set-up-client/" service: "All Services" -------------------------------------------------------------------------------- # Set Up Client You can set up the client component from the CLI by navigating to your project directory and executing the following command: ```sh catalyst client:setup ``` The procedure is the same as [initializing the client directory](https://docs.catalyst.zoho.com/en/cli/v1/initialize-resources/initialize-client/) during the project initialization. The CLI will prompt you to provide a name for the client component of your project. Enter a name and press **Enter** . ![CLI Client Setup](https://catalyst-docs-development.zohostratus.in/images/cli/working-with-the-client/catalyst_cli_client_setup.webp) The client directory will now be created in the project's directory and the `catalyst.json` file will be updated with its information. ![CLI Client Setup](https://catalyst-docs-development.zohostratus.in/images/cli/working-with-the-client/catalyst_cli_client_setup_done.webp) The client directory will be set up with an `index.html`, a `main.css`, and a `main.js` file, along with the `client-package.json` configuration file. You can learn about the client directory structure in detail from the [Project Directory Structure help page](https://docs.catalyst.zoho.com/en/cli/v1/project-directory-structure/client-directory/). ![CLI Client Directory](https://catalyst-docs-development.zohostratus.in/images/cli/working-with-the-client/catalyst_cli_client_structure.webp) > **Note:** * You can add any number of sub-folders and files in the client's directory like HTML files, JavaScript files, logo images, and more. However, the configuration files and dependencies need to be in the client directory's root. * You can also pull a [hosted web client](https://docs.catalyst.zoho.com/en/cloud-scale/help/web-client-hosting/introduction/) from the console to your local system using the ` [catalyst pull](https://docs.catalyst.zoho.com/en/cli/v1/pull-resources/introduction/) ` command. After you build and [test the client component](https://docs.catalyst.zoho.com/en/cli/v1/serve-resources/introduction/), you can either host it through [ _Web Client Hosting_ ](https://docs.catalyst.zoho.com/en/cloud-scale/help/web-client-hosting/introduction/) in the Catalyst console or [deploy the client](https://docs.catalyst.zoho.com/en/cli/v1/deploy-resources/introduction/) from the CLI to the remote console. > **Note:** If you are a **Visual Studio Code IDE** user, you can install the **Catalyst Tools** extension, and perform CLI operations using your IDE in place of the CLI. Steps to set up your Client components using Visual Studio Code IDE can be found [here](https://docs.catalyst.zoho.com/en/catalyst-extensions/vs-code-extension/implementation/#manage-your-project) > **Info:** This command is available in Non-interactive mode. Refer to the [Non-Interactive Catalyst CLI Commands](https://docs.catalyst.zoho.com/en/ai-toolkit/ni-cli/ni-commands/) page for the complete syntax. -------------------------------------------------------------------------------- title: "Delete Client" description: "Catalyst CLI enables you to set up the client component as a Basic, React, or Angular app, even after the project is initialized." last_updated: "2026-09-02T11:17:14.000Z" source: "https://docs.catalyst.zoho.com/en/cli/v1/working-with-the-client/delete-client/" service: "All Services" -------------------------------------------------------------------------------- # Delete Client ### Command Execution You can permanently delete any older version of the client component in your Catalyst project using the CLI. You can choose to delete the client from the remote console or from your local project directory while executing this command. You can also delete a client version from the console through [Web Client Hosting](https://docs.catalyst.zoho.com/en/cloud-scale/help/web-client-hosting/introduction/). > **Note:** * You will not be able to delete the client version that is currently live. You can only delete a version that is not currently hosted live. * If a client version exists in both locations, it will only be deleted from the location you choose. For example, even if you delete the client version from the remote console, it will still be present in your local project directory until you delete it from the local machine separately. 1. To delete an older version of your client component from the CLI, execute the following command from the project directory structure: ```sh catalyst client:delete ``` 2. The CLI will ask you to choose between the client in the remote console or the client in your local project directory. Select an option and press **Enter** . ![Delete Client from CLI](https://catalyst-docs-development.zohostratus.in/images/cli/working-with-the-client/catalyst_cli_client_delete_1.webp) 3. The CLI will display all the versions of your web application that have previously been hosted. Select any version from the list, other than the live version, then press **Enter** . ![Delete Client from CLI](https://catalyst-docs-development.zohostratus.in/images/cli/working-with-the-client/catalyst_cli_client_delete_2.webp) The selected version will then be deleted from your Catalyst project from the chosen location.![Delete Client from CLI](https://catalyst-docs-development.zohostratus.in/images/cli/working-with-the-client/catalyst_cli_client_delete_3.webp) > **Note:** You can use the [ catalyst pull ](https://docs.catalyst.zoho.com/en/cli/v1/pull-resources/introduction/) command to pull resources from the remote console to the local directory, or [ `catalyst deploy` ](https://docs.catalyst.zoho.com/en/cli/v1/deploy-resources/introduction/) to deploy resources to the remote console from the local directory if you require synchronization. You can also directly specify the client version to be deleted in the following way: ```sh catalyst client:delete [client_version] ``` For example: ```sh catalyst client:delete 1.0.0 ``` The CLI will then prompt you to select between the remote console or the local directory, then ask you for the delete confirmation in the same manner. ### Delete Client Options You can directly choose to list the versions of the client in either the remote console or in your local project directory to delete using the respective options. To list the client versions available in your local project directory, execute the catalyst `client:delete` command as follows: ```sh catalyst client:delete --local ``` To list the client versions available in the remote console of your project, execute the catalyst `client:delete` command as follows: ```sh catalyst client:delete --remote ``` The CLI will list the client versions accordingly, and you can delete the required version as explained previously. You can also directly delete a version from the remote console or the local directory as shown below: ```sh catalyst client:delete 1.0.0 --remote ``` > **Note:** If you are a **Visual Studio Code IDE** user, you can install the **Catalyst Tools** extension, and perform CLI operations using your IDE in place of the CLI. Steps to set up your Client components using Visual Studio Code IDE can be found [here](https://docs.catalyst.zoho.com/en/catalyst-extensions/vs-code-extension/implementation/#delete-operation) > **Info:** This command is available in Non-interactive mode. Refer to the [Non-Interactive Catalyst CLI Commands](https://docs.catalyst.zoho.com/en/ai-toolkit/ni-cli/ni-commands/) page for the complete syntax. ### Working with Tokens -------------------------------------------------------------------------------- title: "Introduction" description: "Catalyst provides tokens that you can use to authenticate your CLI command executions when you are not actively logged in." last_updated: "2026-11-03T15:16:51.000Z" source: "https://docs.catalyst.zoho.com/en/cli/v1/working-with-tokens/introduction/" service: "All Services" -------------------------------------------------------------------------------- # Working with Tokens ### Introduction Catalyst CLI provides tokens that validate your CLI sessions by associating them with a particular user account. When you are logged in to your CLI, the commands you execute are authenticated by a token internally. However, you can also generate a token manually, and use it to perform all the CLI activities without an active login session. Tokens are highly useful when you access Catalyst CLI from a remote system, such as a Continuous Integration system, where you need not log in to the CLI exclusively. You can provide authentication for the CI system to access Catalyst and remotely execute CLI commands using a CLI token you generate. A CLI token can be generated only when you are logged in to a user account from the CLI. Once generated, you can then use that token anywhere from any device to perform CLI operations remotely, even without active login sessions. This token acts as an authenticating factor for that user account, and continues to map your command executions to a project that you specify. You can also provide tokens for a particular user account to the collaborators of your Catalyst project and allow them to perform CLI operations, without having to provide them the user login credentials. When a token is generated, a unique ID is created to identify that token. You must use this token ID while revoking a token. You must keep the following important points in mind while using tokens: * A token can only be generated from a CLI and can only be used in a CLI terminal. You will not be able to work with tokens outside of a CLI environment. * When you generate a token on a particular device's terminal, you will be able to revoke that token from the same terminal only. You will not be able to revoke it from another device's terminal. However, you can use that token to perform CLI operations from any device or environment. * A token is associated with the [data center](https://docs.catalyst.zoho.com/en/cli/v1/cli-options/#--dcuseuinjpsaauca) of the user account that it was generated with. Catalyst will therefore be accessed from the same data center, when you use a token with your command executions. * A token generated in Catalyst CLI is valid forever. It will not expire unless you personally revoke it. * You can create multiple tokens for a user account and use any of those tokens at any time from any device. > **Note:** If you are a **Visual Studio Code IDE** user, you can install the **Catalyst Tools** extension, and perform CLI operations using your IDE in place of the CLI. Steps to manage your authentication tokens in Visual Studio Code IDE can be found [here](https://docs.catalyst.zoho.com/en/catalyst-extensions/vs-code-extension/catalyst-tools-explorer/#manage-authentication-tokens). -------------------------------------------------------------------------------- title: "Generate a Token" description: "Catalyst provides tokens that you can use to authenticate your CLI command executions when you are not actively logged in." last_updated: "2026-11-03T15:16:51.000Z" source: "https://docs.catalyst.zoho.com/en/cli/v1/working-with-tokens/generate-token/" service: "All Services" -------------------------------------------------------------------------------- # Generate a Token ### Command Execution 1. You can generate a token for your user account from Catalyst CLI by executing the following command: ```sh catalyst token:generate ``` This will initiate the token generation process. The CLI will display a URL that you can visit from any device. It will also generate a device verification code, which you must enter in the web page of the URL. ![catalyst_cli_token_generate](https://catalyst-docs-development.zohostratus.in/images/cli/working-with-tokens/catalyst_cli_token_generate.webp) 2. Navigate to the URL displayed in the CLI and enter the verification code. Click **Verify** . The code will only be valid for five minutes. ![catalyst_cli_token_generate_verification](https://catalyst-docs-development.zohostratus.in/images/cli/working-with-tokens/catalyst_cli_token_generate_verification.webp) Once your device's CLI is verified, the token will be generated and displayed in your CLI. ![catalyst_cli_token_generated](https://catalyst-docs-development.zohostratus.in/images/cli/working-with-tokens/catalyst_cli_token_generated.webp) You can now use this token to perform any CLI operation from any remote device, even when logged out, by specifying it as an option with the CLI command in the following manner: ```sh catalyst command --token [token] ``` To learn more, refer to the [CLI options help page](https://docs.catalyst.zoho.com/en/cli/v1/cli-options/#--token-token) The CLI operation will be mapped to the user account that you generated the token for, and the command will be executed for the account's project that is active in that directory. ### Generate Token Options You can also use the `catalyst token:generate` command to check the token that's currently active in your logged-in session. To do so, execute the command with the option `-\\-current` in the following way: ```sh catalyst token:generate --current ``` This will display the token that is currently active and authenticated in the CLI. ![catalyst_cli_token_generate_current](https://catalyst-docs-development.zohostratus.in/images/cli/working-with-tokens/catalyst_cli_token_generate_current.webp) > **Note:** The `catalyst token:generate --current` command can only be used when you are logged in to a user account in the CLI. -------------------------------------------------------------------------------- title: "List Tokens" description: "Catalyst provides tokens that you can use to authenticate your CLI command executions when you are not actively logged in." last_updated: "2026-08-17T12:16:04.000Z" source: "https://docs.catalyst.zoho.com/en/cli/v1/working-with-tokens/list-tokens/" service: "All Services" -------------------------------------------------------------------------------- # List Tokens To view a list of the tokens available for your user account, execute the following command in the CLI: ```sh catalyst token:list ``` This will display a list of tokens that you had generated for that account, along with details like Token ID, created date and time. ![catalyst_cli_token_list](https://catalyst-docs-development.zohostratus.in/images/cli/working-with-tokens/catalyst_cli_token_list.webp) -------------------------------------------------------------------------------- title: "Revoke a Token" description: "Catalyst provides tokens that you can use to authenticate your CLI command executions when you are not actively logged in." last_updated: "2026-08-17T12:16:04.000Z" source: "https://docs.catalyst.zoho.com/en/cli/v1/working-with-tokens/revoke-token/" service: "All Services" -------------------------------------------------------------------------------- # Revoke a Token You can revoke a token that was previously generated in the same CLI. This will delete the token permanently, and you will not be able to use it to authenticate your CLI operations any longer. To revoke a token, execute the following command in the same device's terminal that was used to generate the token: ```sh catalyst token:revoke <token ID> ``` You must specify the token ID of the token to be revoked. You can find the ID of a token using the command mentioned in the previous section. ![catalyst_cli_token_revoke](https://catalyst-docs-development.zohostratus.in/images/cli/working-with-tokens/catalyst_cli_token_revoke.webp)# TUTORIALS ## Alien City ### Java -------------------------------------------------------------------------------- title: "Introduction" description: "Create a single-page web application using Catalyst Advanced I/O Function and Data Store that allows you to report or look up alien encounters in a city." last_updated: "2026-11-04T10:10:44.000Z" source: "https://docs.catalyst.zoho.com/en/tutorials/alien-city/java/introduction/" service: "All Services" related: - Project Directory Structure (/en/cli/v1/project-directory-structure/introduction/) - Java SDK (/en/sdk/java/v1/overview/) - Node.js SDK (/en/sdk/nodejs/v2/overview/) - Python SDK (/en/sdk/python/v1/overview/) -------------------------------------------------------------------------------- # Alien City ### Introduction This tutorial will help you build a simple web application, titled **Alien City**, that allows you to report and look up alien encounters in a city. Alien City is built as a single-page serverless application using Catalyst. The client application will appear as follows: ![/catalyst_alien_city_home_page](https://catalyst-docs-development.zohostratus.in/images/tutorials/alcity/catalyst_alien_city_home_page.webp) You can access a working application and test its functioning here: [Try the App!](https://alien-city.catalystserverlessapp.com/app/) The Alien City application utilizes components from the following Catalyst Services: [**Catalyst Serverless**](https://docs.catalyst.zoho.com/en/serverless/getting-started/introduction/): * [**Advanced I/O Function**](https://docs.catalyst.zoho.com/en/serverless/help/functions/advanced-io/): The Advanced I/O function is a component you can use to code your business logic in either [Java](https://docs.catalyst.zoho.com/en/sdk/java/v1/overview/), [Node.js](https://docs.catalyst.zoho.com/en/sdk/nodejs/v2/overview/), or [Python](https://docs.catalyst.zoho.com/en/sdk/python/v1/overview/) platform. It contains APIs that enable the user to report or check for an alien encounter in a city. [**Catalyst CloudScale**](https://docs.catalyst.zoho.com/en/cloud-scale/getting-started/introduction/): * **Web Client**: The frontend of the application that is hosted on Catalyst through [Web Client Hosting](https://docs.catalyst.zoho.com/en/cloud-scale/help/web-client-hosting/introduction/). * [**Data Store**](https://docs.catalyst.zoho.com/en/cloud-scale/help/data-store/introduction/): To store the database of the cities where alien encounters have been reported. * [**ZCQL**](https://docs.catalyst.zoho.com/en/cloud-scale/help/zcql/introduction/): To fetch data from the Data Store through querying. We will use the [Catalyst web console](https://console.catalyst.zoho.com/) and the [Catalyst Command Line Interface](https://docs.catalyst.zoho.com/en/cli/v1/cli-command-reference/) (CLI) to build this application. You will be given the code for the files to be included in the function and client components in this tutorial. You will just need to copy the code given here and paste it into the appropriate files as directed. ### Application Architecture The Alien City application’s functioning can be described as follows: * **Reporting an alien encounter** A user enters the name of a city where they experienced an alien encounter. If the city had already been reported previously, the client displays a message notifying the user of it. If the city has never been reported, the data will be added to a table in the Data Store identifying the city. * **Checking for an alien encounter** A user checks for a record of an alien encounter in a particular city by providing its name. If a record of that city exists in the Data Store, the client will display a positive response. Otherwise, it will display a negative response. ![alien-city-client](https://catalyst-docs-development.zohostratus.in/images/tutorials/alcity/catalyst_alcity_architecture.webp) -------------------------------------------------------------------------------- title: "Prerequisites" description: "Create a single-page web application using Catalyst Advanced I/O Function and Data Store that allows you to report or look up alien encounters in a city." last_updated: "2026-11-04T10:10:44.000Z" source: "https://docs.catalyst.zoho.com/en/tutorials/alien-city/java/prerequisites/" service: "All Services" related: - Catalyst CLI Documentation (/en/cli/v1/cli-command-reference/) -------------------------------------------------------------------------------- # Prerequisites Before you begin building the application, you must have the following prerequisites installed on your system: 1. [**Catalyst CLI**](https://docs.catalyst.zoho.com/en/cli/v1/cli-command-reference/) Catalyst CLI contains a host of tools that enable you to initialize, develop, test, and deploy the components of your application from your local machine. We will be working with Catalyst CLI in this tutorial. You must perform the following actions: * **Install Catalyst CLI**: Catalyst CLI is installed through NPM. You must therefore have NPM and Node.js installed on your system before you install the CLI. Refer to the [Install Catalyst CLI help page](https://docs.catalyst.zoho.com/en/getting-started/installing-catalyst-cli/) for details on the pre-requisites and the steps to install it. * **Log in to Catalyst CLI**: After you install Catalyst CLI, you must authenticate the CLI with your Catalyst account before using it. Refer to the [CLI Login help page](https://docs.catalyst.zoho.com/en/cli/v1/login/login-from-cli/) for the steps to login from Catalyst CLI and the various options available for it. 2. **Any IDE tool for Java function and client code development** You can use any IDE to work with the Advanced I/O function and the client code. Some popular choices include Visual Studio Code, IntelliJ IDEA, Eclipse, and Sublime Text. Download and install an IDE of your choice on your system. > If you are a Visual Studio Code IDE user, you can install the **Catalyst Tools** extension, and use your IDE itself in place of the CLI. You can find more details about the Catalyst VS Code extension from this [help section](https://docs.catalyst.zoho.com/en/catalyst-extensions/vs-code-extension/introduction/). -------------------------------------------------------------------------------- title: "Create a Project" description: "Create a single-page web application using Catalyst Advanced I/O Function and Data Store that allows you to report or look up alien encounters in a city." last_updated: "2026-11-04T10:10:44.000Z" source: "https://docs.catalyst.zoho.com/en/tutorials/alien-city/java/create-project/" service: "All Services" related: - Catalyst Console (/en/getting-started/catalyst-projects/) -------------------------------------------------------------------------------- # Create a Project Let’s [create a Catalyst project](https://docs.catalyst.zoho.com/en/getting-started/catalyst-projects/#create-a-catalyst-project) from the Catalyst console. 1. Log in to the [Catalyst console](https://console.catalyst.zoho.com/baas/index) and click **Create New Project**. ![catalyst_alien_city_create_project](https://catalyst-docs-development.zohostratus.in/images/tutorials/alcity/catalyst_alien_city_create_project.webp) 2. Enter the project’s name as "**AlienCity**" in the pop-up window, and click **Create**. ![catalyst_alien_city_project_create_name](https://catalyst-docs-development.zohostratus.in/images/tutorials/alcity/catalyst_alien_city_project_create_name.webp) Your project will be created then opened. -------------------------------------------------------------------------------- title: "Create a Table" description: "Create a single-page web application using Catalyst Advanced I/O Function and Data Store that allows you to report or look up alien encounters in a city." last_updated: "2026-11-04T10:10:44.000Z" source: "https://docs.catalyst.zoho.com/en/tutorials/alien-city/java/create-table/" service: "All Services" related: - Data Store (/en/cloud-scale/help/data-store/introduction/) -------------------------------------------------------------------------------- # Create a Table Let’s now create a table in the Data Store of the **AlienCity** project. This table is used to store records of city names where aliens were sighted. To create a table: 1. Navigate to the *CloudScale* section of the console, then click **Start Exploring**. ![catalyst_alien_city_cloud_scale_console_view](https://catalyst-docs-development.zohostratus.in/images/tutorials/alcity/alien-city-cloud-scale-updated.webp) 2. Navigate to **Data Store** under *Storage* and click **Create a New Table**. ![catalyst_alien_city_console_cloudscale_datastore_view](https://catalyst-docs-development.zohostratus.in/images/tutorials/alcity/alien-city-data-store-create-table.webp) 3. Enter the table’s name as "**AlienCity**" and click **Create**. ![catalyst_alien_city_confirm_table_name](https://catalyst-docs-development.zohostratus.in/images/tutorials/alcity/catalyst_alien_city_confirm_table_name.webp) > **Note:** Ensure that you enter the name exactly as instructed, because the application's code contains the same name. The table is now created. Next, let’s create a column in the table to store the names of the cities. 1. Click **New Column** in the *Schema View* section for the table. ![catalyst_alien_city_datastore_table_created](https://catalyst-docs-development.zohostratus.in/images/tutorials/alcity/catalyst_alien_city_datastore_table_created.webp) 2. Enter the column’s name as "**CityName**". Select the data type as **Var Char** and enter the max length as "**100**". Click the **Is Unique** toggle switch to enable it. ![catalyst_alien_city_create_column_datastore](https://catalyst-docs-development.zohostratus.in/images/tutorials/alcity/catalyst_alien_city_create_column_datastore.webp) > **Note:** Ensure that you enter the name exactly as instructed, because the application's code contains the same name. You can learn about the various data types supported by Catalyst, as well as the other properties of a column, from the [Data Store help page](https://docs.catalyst.zoho.com/en/cloud-scale/help/data-store/columns/). 3. Click **Create**. The column is now created and listed in the *Schema View* section. ![catalyst_alien_city_datastore_column_created](https://catalyst-docs-development.zohostratus.in/images/tutorials/alcity/catalyst_alien_city_datastore_column_created.webp) -------------------------------------------------------------------------------- title: "Initialize the Project" description: "Create a single-page web application using Catalyst Advanced I/O Function and Data Store that allows you to report or look up alien encounters in a city." last_updated: "2026-11-04T10:10:44.000Z" source: "https://docs.catalyst.zoho.com/en/tutorials/alien-city/java/initialize-the-project/" service: "All Services" related: - Initialize CLI Resources (/en/cli/v1/initialize-resources/introduction/) - Project Directory Structure (/en/cli/v1/project-directory-structure/introduction/) -------------------------------------------------------------------------------- # Initialize the Project from the CLI You can now begin working on your Catalyst project from the CLI. The first step is to initialize the project in an empty directory. This will be the home directory of your project and all of the project files will be saved in it. You can learn more about this from the [Project Directory Structure help page](https://docs.catalyst.zoho.com/en/cli/v1/project-directory-structure/introduction/). You can learn about initializing a project in detail from the [CLI help documentation](https://docs.catalyst.zoho.com/en/cli/v1/initialize-resources/introduction/). For the Alien City application, we will initialize the client and the [Advanced I/O function](https://docs.catalyst.zoho.com/en/serverless/help/functions/advanced-io/). The Advanced I/O function will be initialized in the [Java](https://docs.catalyst.zoho.com/en/sdk/java/v1/overview/) platform. However, as mentioned earlier, you can also initialize it in the [Python](https://docs.catalyst.zoho.com/en/sdk/python/v1/overview/) or [Node.js](https://docs.catalyst.zoho.com/en/sdk/nodejs/v2/overview/) platforms. The steps are as follows: 1. Create a folder for the project on your local machine and navigate to it from the terminal. 2. Initialize a project by executing the following command from that directory: ```sh catalyst init ``` 3. Navigate using the **arrow keys** and select your preferred portal and press the **Enter** key. If you have no other organizations associated with the account, then the default one will be selected automatically. ![catalyst_alien_city_select_account_portal](https://catalyst-docs-development.zohostratus.in/images/tutorials/alcity/catalyst_alien_city_select_account_portal.webp) You can find out more about Catalyst's multi-org portal feature from this [help document](https://docs.catalyst.zoho.com/en/getting-started/catalyst-organizations/#access-the-multi-org-portal). 4. The CLI will now ask you to associate a Catalyst project with the directory. Associate it with the project that we created earlier from the console. Select **AlienCity** from the list and press **Enter**. ![catalyst_alien_city_select_catalyst_project](https://catalyst-docs-development.zohostratus.in/images/tutorials/alcity/catalyst_alien_city_select_catalyst_project.webp) 5. Select **Client** and **Functions** using the **space-bar**, then press the **Enter** key to initialize. ![catalyst_alien_ctiy_func_client_setup](https://catalyst-docs-development.zohostratus.in/images/tutorials/alcity/catalyst_alien_ctiy_func_client_setup.webp) 6. The CLI will initiate the function setup. Select **AdvancedIO** as the function type. ![catalyst_alien_ctiy_func_advanced_io](https://catalyst-docs-development.zohostratus.in/images/tutorials/alcity/catalyst_alien_ctiy_func_advanced_io.webp) 7. Select the latest runtime of **Java** as the programming environment. ![catalyst_alien_city_select_functions_java](https://catalyst-docs-development.zohostratus.in/images/tutorials/alcity/catalyst_alien_city_select_functions_java.webp) 8. Enter "**AlienCityAIO**" as the folder name and press **Enter**. Enter the same name "**AlienCityAIO**" as the class name of the Java function as well and press **Enter**. ![catalyst_alien_city_select_java_installed](https://catalyst-docs-development.zohostratus.in/images/tutorials/alcity/catalyst_alien_city_select_java_installed.webp) 9. The CLI will now initiate the client set up. Select **Basic web app** as your client type. ![catalyst_alien_city_python_client_type_select](https://catalyst-docs-development.zohostratus.in/images/tutorials/alcity/catalyst_alien_city_python_client_type_select.webp) 10. Enter "**ALcity**" as the name for the client package and press **Enter**. You can also enter any name you prefer. ![catalyst_alien_city_client_setup_complete_python](https://catalyst-docs-development.zohostratus.in/images/tutorials/alcity/catalyst_alien_city_client_setup_complete_python.webp) The client directory will be created in the standard structure. Catalyst initialization is now complete. Your [project directory](https://docs.catalyst.zoho.com/en/cli/v1/project-directory-structure/introduction/) is now set up with the client directory and the functions directory along with configuration files and dependencies. The project directory also contains the [`catalyst.json`](https://docs.catalyst.zoho.com/en/cli/v1/project-directory-structure/catalyst-json/) configuration file and a hidden `.catalystrc` file. This is the structure of the AlienCity project’s directory, if the Advanced I/O function is of the Java platform, and the client is set up as a Basic web app. ![catalyst_alcity_dir_struct_java](https://catalyst-docs-development.zohostratus.in/images/tutorials/alcity/catalyst_alcity_dir_struct_java.webp) -------------------------------------------------------------------------------- title: "Configure the Advanced I/O Function" description: "Create a single-page web application using Catalyst Advanced I/O Function and Data Store that allows you to report or look up alien encounters in a city." last_updated: "2026-11-04T10:10:44.000Z" source: "https://docs.catalyst.zoho.com/en/tutorials/alien-city/java/configure-advio-function/" service: "All Services" related: - Functions (/en/serverless/help/functions/introduction/) - Advanced I/O Functions (/en/serverless/help/functions/advanced-io/) - Functions Directory Structure (/en/cli/v1/project-directory-structure/functions-directory/) -------------------------------------------------------------------------------- # Configure the Advanced I/O Function Let's begin coding the Alien City application by configuring the function component. The Java function directory ( `[ functions/AlienCityAIO ](https://docs.catalyst.zoho.com/en/cli/v1/project-directory-structure/functions-directory/)` ) contains the following files: - The `AlienCityAIO.java` main function file - The `catalyst-config.json` configuration file - Java library files in the lib folder - `.classpath` and `.project` dependency files You will be adding code in the `AlienCityAIO.java` main function file. The two APIs in the Advanced I/O function that handle the routing between the server and the Data Store are: - **`GET /alien`: To check whether aliens are present in a city - `POST /alien`**: To report an alien presence in a city Let's now add the code in the function file. Copy the code given below and paste it in `AlienCityAIO.java` in the `functions/AlienCityAIO` directory of your project, and save the file. You can use any IDE of your choice to work with the application's files. > **Note:** Please go through the code in this section to make sure you fully understand it. **AlienCityAIO.java** ```java import java.io.InputStreamReader; import java.util.ArrayList; import java.util.logging.Level; import java.util.logging.Logger; import com.zc.common.ZCProject; import javax.servlet.ServletInputStream; import javax.servlet.http.HttpServletRequest; import javax.servlet.http.HttpServletResponse; import com.catalyst.advanced.CatalystAdvancedIOHandler; import com.zc.component.object.ZCObject; import com.zc.component.object.ZCRowObject; import com.zc.component.zcql.ZCQL; import org.json.simple.JSONObject; import org.json.simple.parser.JSONParser; public class AlienCityAIO implements CatalystAdvancedIOHandler { private static final Logger LOGGER = Logger.getLogger(AlienCityAIO.class.getName()); private static String TABLENAME = "AlienCity"; private static String COLUMNNAME = "CityName"; JSONObject responseData = new JSONObject(); static String GET = "GET"; static String POST = "POST"; @Override @SuppressWarnings("unchecked") public void runner(HttpServletRequest request, HttpServletResponse response) throws Exception { try { ZCProject.initProject(); //Fetches the endpoint and method to which the call was made String url = request.getRequestURI(); String method = request.getMethod(); //The GET API that checks the table for an alien encounter in that city if ((url.equals("/alien")) && method.equals(GET)) { String cityName = request.getParameter("city_name"); //Queries the Catalyst Data Store table and checks whether a row is present for the given city int length = getAlienCountFromCatalystDataStore(cityName); if (length > 0) { responseData.put("message", "Uh oh! Looks like there are aliens in this city!"); responseData.put("signal", "positive"); } else { responseData.put("message", "Hurray! No alien encounters in this city yet!"); responseData.put("signal", "negative"); } } //The POST API that reports the alien encounter for a particular city else if ((url.equals("/alien")) && method.equals(POST)) { //Gets the request body and parses it ServletInputStream requestBody = request.getInputStream(); JSONParser jsonParser = new JSONParser(); JSONObject jsonObject = (JSONObject) jsonParser.parse(new InputStreamReader(requestBody, "UTF-8")); String cityName = (String) jsonObject.get("city_name"); //Queries the Catalyst Data Store table and checks whether a row is present for the given city int length = getAlienCountFromCatalystDataStore(cityName); if (length > 0) { responseData.put("message", "Looks like you are not the first person to encounter aliens in this city! Someone has already reported an alien encounter here!"); } //If the row is not present, then a new row is inserted else { ZCRowObject row = ZCRowObject.getInstance(); row.set("CityName", cityName); ZCObject.getInstance().getTableInstance(TABLENAME).insertRow(row); responseData.put("message", "Thanks for reporting!"); } } else { //The actions are logged. You can check the logs from Catalyst Logs. LOGGER.log(Level.SEVERE, "Error. Invalid Request"); responseData.put("error", "Request Endpoint not found"); response.setStatus(404); } //Sends the response back to the Client response.setContentType("application/json"); response.getWriter().write(responseData.toString()); response.setStatus(200); } catch (Exception e) { //The actions are logged. You can check the logs from Catalyst Logs. LOGGER.log(Level.SEVERE, "Exception in AlienCityAIO", e); responseData.put("error", "Internal server error occurred. Please try again in some time."); response.getWriter().write(responseData.toString()); response.setStatus(500); } } /** * Checks whether an alien encounter is already reported for the given city by * querying the Data Store table * * @param {*} catalystApp * @param {*} cityName */ private int getAlienCountFromCatalystDataStore(String cityName) throws Exception { String query = "SELECT * FROM AlienCity WHERE CityName = '" + cityName + "'"; //Gets the ZCQL instance and executes query using the query string ArrayList rowList = ZCQL.getInstance().executeQuery(query); return rowList.size(); } } ``` The functions directory is now configured. We will discuss the architecture of the function and the client in the next section. -------------------------------------------------------------------------------- title: "Configure the Client" description: "Create a single-page web application using Catalyst Advanced I/O Function and Data Store that allows you to report or look up alien encounters in a city." last_updated: "2026-11-04T10:10:44.000Z" source: "https://docs.catalyst.zoho.com/en/tutorials/alien-city/java/configure-client/" service: "All Services" related: - Client Directory Structure (/en/cli/v1/project-directory-structure/introduction/) - Web Client Hosting (/en/cloud-scale/help/web-client-hosting/introduction/) -------------------------------------------------------------------------------- # Configure the Client Now, let's configure the client component. The [client directory](https://docs.catalyst.zoho.com/en/cli/v1/project-directory-structure/client-directory/) contains: - The `index.html` file that contains the HTML code for the front-end application - The `main.css` file that contains the CSS code for the front-end application - The `main.js` file that contains the JavaScript code - The `client-package.json` configuration file We will be coding `index.html` and `main.js`. > **Note:** Please go through the code in this section to make sure you fully understand it. Copy the code below and paste it into the respective files located in the `client/directory` of your project using an IDE and save the files. **index.html** ```xml <!DOCTYPE html> <html> <head> <meta charset="utf-8" /> <meta http-equiv="X-UA-Compatible" content="IE=edge"> <title>AlientCityAppClient</title> <meta name="viewport" content="width=device-width, initial-scale=1"> <link rel="stylesheet" type="text/css" media="screen" href="main.css" /> <link rel="stylesheet" href="https://stackpath.bootstrapcdn.com/bootstrap/4.3.1/css/bootstrap.min.css" integrity="sha384-ggOyR0iXCbMQv3Xipma34MD+dH/1fQ784/j6cY/iJTQUOhcWr7x9JvoRxT2MZw1T" crossorigin="anonymous"> <script src="https://code.jquery.com/jquery-3.4.1.min.js" integrity="sha256-CSXorXvZcTkaix6Yvo6HppcZGetbYMGWSFlBw8HfCJo=" crossorigin="anonymous"></script> <script src="https://cdnjs.cloudflare.com/ajax/libs/popper.js/1.14.7/umd/popper.min.js" integrity="sha384-UO2eT0CpHqdSJQ6hJty5KVphtPhzWj9WO1clHTMGa3JDZwrnQq4sF86dIHNDz0W1" crossorigin="anonymous"> </script> <script src="https://stackpath.bootstrapcdn.com/bootstrap/4.3.1/js/bootstrap.min.js" integrity="sha384-JjSmVgyd0p3pXB1rRibZUAYoIIy6OrQ6VrjIEaFf/nJGzIxFDsf4x0xIM+B07jRM" crossorigin="anonymous"> </script> <script src="main.js"></script> </head> <body> <br> <br> <center> <h1>ALIEN CITY</h1> </center> <div class="container"> <ul class="nav nav-tabs" id="myTab" role="tablist"> <li class="nav-item"> <a class="nav-link active" id="check-tab" data-toggle="tab" href="#check" role="tab" aria-controls="check" aria-selected="true">Check My City</a> </li> <li class="nav-item"> <a class="nav-link" id="report-tab" data-toggle="tab" href="#report" role="tab" aria-controls="report" aria-selected="false">Report Alien Encounter</a> </li> </ul> <div class="tab-content" id="myTabContent"> <div class="tab-pane fade show active" id="check" role="tabpanel" aria-labelledby="check-tab"> <br> <br> <form> <div class="form-group"> <label for="city-get-input"><b>Check if your city has aliens:</b></label> <input type="text" class="form-control" id="city-get-input" aria-describedby="checkCity" placeholder="Enter City Name"> </div> <button type="submit" class="btn btn-primary" onclick="getAlienEncounter();return false;">Check</button> </form> <br> <br> <div id="result-container"> <div id="result-text"> </div> <br> <div id="result-image"> </div> </div> <div id="loader" style="display: none;"> <div class="spinner-border" role="status"> <span class="sr-only">Loading...</span> </div> </div> </div> <div class="tab-pane fade" id="report" role="tabpanel" aria-labelledby="report-tab"> <br> <br> <form> <div class="form-group"> <div class="city-post-input"> <label for="exampleInputEmail1"><b>Enter the name of the city where you encountered an alien:</b></label> <input type="text" class="form-control" id="city-post-input" aria-describedby="cityPost" placeholder="Enter City Name"> </div> </div> <button type="submit" class="btn btn-primary" onclick="postAlienEncounter();return false;">Report</button> </form> </div> </div> </div> </body> </html> ``` **main.js** ```javascript // Fires an API call to the server and adds the reported city as an alien city function postAlienEncounter() { var city = $("#city-post-input").val(); // Fires an Ajax call to the URL defined in the index.js function file // All URLs to the Advanced I/O function will be of the pattern: /server/{function_name}/{url_path} $.ajax({ url: "/server/AlienCityAIO/alien", type: "post", contentType: "application/json", data: JSON.stringify({ "city_name": city }), success: function (data) { alert(data.message); }, error: function (error) { alert(error.message); } }); } // Fires an API call to the server to check whether the given city is alien city or not function getAlienEncounter() { showLoader(); var positive = "https://media.giphy.com/media/Y1GYiLui9NHcxVKhdo/giphy.gif"; var negative = "https://media.giphy.com/media/fsPcMdeXPxSP6zKxCA/giphy.gif"; var city = $("#city-get-input").val(); // Fires an Ajax call to the URL defined in the index.js function file // All URLs to the Advanced I/O function will be of the pattern: /server/{function_name}/{url_path} $.ajax({ url: "/server/AlienCityAIO/alien?city_name=" + city, type: "get", success: function (data) { console.log(data); $("#result-text").text(""); $("#result-text").text(data.message); var imagesrc = negative; if (data.signal == 'positive') { imagesrc = positive; } $("#result-image").html(""); $("#result-image").html("<img src='" + imagesrc + "' />"); hideLoader(); }, error: function (error) { alert(error.message); } }); } function showLoader() { $("#result-container").hide(); $("#loader").show(); } function hideLoader() { $("#loader").hide(); $("#result-container").show(); } ``` The client directory is now configured. Let us quickly go through the working of the function and client components of the application: 1. **GET operation** - When you enter a city name in the client to check for a record of previous alien encounter, the `onClick` event for the **Check** button in `index.html` triggers the `getAlienEncounter()` function defined in `main.js`. - This fires an Ajax call to the URL route defined in the Advanced I/O function. The `GET` API defined in `AlienCityAIO.java` then invokes the `getDataFromCatalystDataStore` function and passes the request query. - This function searches for the data in the _AlienCity_ table in the Data Store by executing a ZCQL query. - If a record matching the city name is found in the table, a `positive` signal is sent as the response. Otherwise, a `negative` signal is sent as the response. - The client then displays the message that matches the response. A GIF matching the response defined in `main.js` is also displayed. 2. **POST operation** - When you enter a city name in the client to report an alien encounter, the `onClick` event for the **Report** button in `index.html` triggers the `postAlienEncounter()` function defined in `main.js`. - This fires an Ajax call to the URL route defined in the Advanced I/O function. The `POST` API defined in `AlienCityAIO.java` then invokes the `getDataFromCatalystDataStore` function and passes a request query to check if a record with the same city name already exists. - This function searches for the data in the _AlienCity_ table in the Data Store by executing a ZCQL query. If the record already exists, a response is sent, which enables the client to display an appropriate message to the user. - If there are no records for the city name, a new row is created in the _AlienCity_ table for the city name entered by the user. A pop-up box is displayed in the client confirming the insertion of the record in the Data Store. An appropriate message is also pushed to the logs which can be checked from _Logs_ under the _Monitor_ section in the console. -------------------------------------------------------------------------------- title: "Test the Application" description: "Create a single-page web application using Catalyst Advanced I/O Function and Data Store that allows you to report or look up alien encounters in a city." last_updated: "2026-11-04T10:10:44.000Z" source: "https://docs.catalyst.zoho.com/en/tutorials/alien-city/java/test-application/" service: "All Services" related: - Serve CLI Resources (/en/cli/v1/serve-resources/introduction/) -------------------------------------------------------------------------------- # Test the Application Before you deploy the application to the remote console, you can [test the application](https://docs.catalyst.zoho.com/en/cli/v1/serve-resources/introduction/) on a local server and check if everything works fine using the Catalyst CLI. To serve the Catalyst project locally, execute the following command from your project directory: ```sh catalyst serve ``` This Alien City application is now served at default port 3000. The local endpoint URLs of the components are displayed. > **Note:** Every time you access the home page or any of the sub-pages of your client, or the function, the CLI will display a live log of the URL accessed, along with the HTTP request method. ![catalyst_alcity_serve](https://catalyst-docs-development.zohostratus.in/images/tutorials/alcity/catalyst_alcity_serve.webp) You can now open the client component’s local URL in a browser to access the Alien City application. ![catalyst_alien_city_catalyst_serve](https://catalyst-docs-development.zohostratus.in/images/tutorials/alcity/catalyst_alien_city_catalyst_serve.webp) Let’s test the application by entering a city’s name and checking for the history of an alien encounter in the city. Since we have not reported an alien encounter in a city yet, the result should be negative. Enter a city name in the text box and click **Check**. ![catalyst_alien_city_new_york](https://catalyst-docs-development.zohostratus.in/images/tutorials/alcity/catalyst_alien_city_new_york.webp) Since a matching record for this city is not found in the Data Store, the client displays a negative response. ![catalyst_alien_city_new_york_no_alien](https://catalyst-docs-development.zohostratus.in/images/tutorials/alcity/catalyst_alien_city_new_york_no_alien.webp) Now, let’s report an alien encounter. Click the *Report Alien Encounter* tab. Enter a city name and click **Report**. We have entered "**Amsterdam**" in our application. ![catalyst_alien_city_report_encoutner](https://catalyst-docs-development.zohostratus.in/images/tutorials/alcity/catalyst_alien_city_report_encoutner.webp) The application will display a pop-up box confirming that the data is added to the Data Store. ![catalyst_alien_city_local_host_message](https://catalyst-docs-development.zohostratus.in/images/tutorials/alcity/catalyst_alien_city_local_host_message.webp) You can verify this by opening your Catalyst console and navigating to **Data Store** under *Storage* **>** *CloudScale*. Click the **Data View** tab to view the record that was just inserted. ![catalyst_alien_city_data_view](https://catalyst-docs-development.zohostratus.in/images/tutorials/alcity/catalyst_alien_city_data_view.webp) Next, let's search for this city in the client and check if it fetches this record from the Data Store. Click *Check My City* in the client application and enter the name of the city that you just reported. Here, we enter "**Amsterdam**". Click **Check**. ![catalyst_alien_city_report_created](https://catalyst-docs-development.zohostratus.in/images/tutorials/alcity/catalyst_alien_city_report_created.webp) The client displays a positive response. You can also check if the client displays the duplication message by reporting the same city again. ![catalyst_alien_ctiy_local_repeat_report](https://catalyst-docs-development.zohostratus.in/images/tutorials/alcity/catalyst_alien_ctiy_local_repeat_report.webp) If this setup is working correctly, we can deploy the application to production. -------------------------------------------------------------------------------- title: "Deploy the Project" description: "Create a single-page web application using Catalyst Advanced I/O Function and Data Store that allows you to report or look up alien encounters in a city." last_updated: "2026-11-04T10:10:44.000Z" source: "https://docs.catalyst.zoho.com/en/tutorials/alien-city/java/deploy-project/" service: "All Services" related: - Deploy CLI Resources (/en/cli/v1/deploy-resources/introduction/) - Web Client Hosting (/en/cloud-scale/help/web-client-hosting/introduction/) -------------------------------------------------------------------------------- # Deploy the Project To [deploy your Catalyst project](https://docs.catalyst.zoho.com/en/cli/v1/deploy-resources/introduction/) from the CLI, run the following command in your terminal from your project directory: ```sh catalyst deploy ``` The function is deployed first, followed by the client component. The production URLs of the components are displayed. ![catalyst_alcity_deploy](https://catalyst-docs-development.zohostratus.in/images/tutorials/alcity/catalyst_alcity_deploy.webp) You can now open the client component’s URL in a browser to access the deployed application. Alien City can be accessed now from its [web app URL](https://docs.catalyst.zoho.com/en/cloud-scale/help/web-client-hosting/key-concepts/#default-web-application-url). ![catalyst_alien_city_final_image](https://catalyst-docs-development.zohostratus.in/images/tutorials/alcity/catalyst_alien_city_final_image.webp) ### Node.js -------------------------------------------------------------------------------- title: "Introduction" description: "Create a single-page web application using Catalyst Advanced I/O Function and Data Store that allows you to report or look up alien encounters in a city." last_updated: "2026-11-04T10:10:44.000Z" source: "https://docs.catalyst.zoho.com/en/tutorials/alien-city/nodejs/introduction/" service: "All Services" related: - Project Directory Structure (/en/cli/v1/project-directory-structure/introduction/) - Java SDK (/en/sdk/java/v1/overview/) - Node.js SDK (/en/sdk/nodejs/v2/overview/) - Python SDK (/en/sdk/python/v1/overview/) -------------------------------------------------------------------------------- # Alien City ### Introduction This tutorial will help you build a simple web application, titled **Alien City**, that allows you to report and look up alien encounters in a city. Alien City is built as a single-page serverless application using Catalyst. The client application will appear as follows: ![/catalyst_alien_city_home_page](https://catalyst-docs-development.zohostratus.in/images/tutorials/alcity/catalyst_alien_city_home_page.webp) You can access a working application and test its functioning here: [Try the App!](https://alien-city.catalystserverlessapp.com/app/) The Alien City application utilizes components from the following Catalyst Services: [**Catalyst Serverless**](https://docs.catalyst.zoho.com/en/serverless/getting-started/introduction/): * [**Advanced I/O Function**](https://docs.catalyst.zoho.com/en/serverless/help/functions/advanced-io/): The Advanced I/O function is a component you can use to code your business logic in either [Java](https://docs.catalyst.zoho.com/en/sdk/java/v1/overview/), [Node.js](https://docs.catalyst.zoho.com/en/sdk/nodejs/v2/overview/), or [Python](https://docs.catalyst.zoho.com/en/sdk/python/v1/overview/) platform. It contains APIs that enable the user to report or check for an alien encounter in a city. [**Catalyst CloudScale**](https://docs.catalyst.zoho.com/en/cloud-scale/getting-started/introduction/): * **Web Client**: The frontend of the application that is hosted on Catalyst through [Web Client Hosting](https://docs.catalyst.zoho.com/en/cloud-scale/help/web-client-hosting/introduction/). * [**Data Store**](https://docs.catalyst.zoho.com/en/cloud-scale/help/data-store/introduction/): To store the database of the cities where alien encounters have been reported. * [**ZCQL**](https://docs.catalyst.zoho.com/en/cloud-scale/help/zcql/introduction/): To fetch data from the Data Store through querying. We will use the [Catalyst web console](https://console.catalyst.zoho.com/) and the [Catalyst Command Line Interface](https://docs.catalyst.zoho.com/en/cli/v1/cli-command-reference/) (CLI) to build this application. You will be given the code for the files to be included in the function and client components in this tutorial. You will just need to copy the code given here and paste it into the appropriate files as directed. ### Application Architecture The Alien City application’s functioning can be described as follows: * **Reporting an alien encounter** A user enters the name of a city where they experienced an alien encounter. If the city had already been reported previously, the client displays a message notifying the user of it. If the city has never been reported, the data will be added to a table in the Data Store identifying the city. * **Checking for an alien encounter** A user checks for a record of an alien encounter in a particular city by providing its name. If a record of that city exists in the Data Store, the client will display a positive response. Otherwise, it will display a negative response. ![alien-city-client](https://catalyst-docs-development.zohostratus.in/images/tutorials/alcity/catalyst_alcity_architecture.webp) -------------------------------------------------------------------------------- title: "Prerequisites" description: "Create a single-page web application using Catalyst Advanced I/O Function and Data Store that allows you to report or look up alien encounters in a city." last_updated: "2026-11-04T10:10:44.000Z" source: "https://docs.catalyst.zoho.com/en/tutorials/alien-city/nodejs/prerequisites/" service: "All Services" related: - Catalyst CLI Documentation (/en/cli/v1/cli-command-reference/) -------------------------------------------------------------------------------- # Prerequisites Before you begin building the application, you must have the following prerequisites installed on your system: 1. [**Catalyst CLI**](https://docs.catalyst.zoho.com/en/cli/v1/cli-command-reference/) Catalyst CLI contains a host of tools that enable you to initialize, develop, test, and deploy the components of your application from your local machine. We will be working with Catalyst CLI in this tutorial. You must perform the following actions: * **Install Catalyst CLI**: Catalyst CLI is installed through NPM. You must therefore have NPM and Node.js installed on your system before you install the CLI. Refer to the [Install Catalyst CLI help page](https://docs.catalyst.zoho.com/en/getting-started/installing-catalyst-cli/) for details on the pre-requisites and the steps to install it. * **Log in to Catalyst CLI**: After you install Catalyst CLI, you must authenticate the CLI with your Catalyst account before using it. Refer to the [CLI Login help page](https://docs.catalyst.zoho.com/en/cli/v1/login/login-from-cli/) for the steps to login from Catalyst CLI and the various options available for it. 2. **Any IDE tool for Node.js function and client code development** You can use any IDE to work with the Advanced I/O function and the client code. Some popular choices include Visual Studio Code, IntelliJ IDEA, Eclipse, and Sublime Text. Download and install an IDE of your choice on your system. > If you are a Visual Studio Code IDE user, you can install the **Catalyst Tools** extension, and use your IDE itself in place of the CLI. You can find more details about the Catalyst VS Code extension from this [help section](https://docs.catalyst.zoho.com/en/catalyst-extensions/vs-code-extension/introduction/). -------------------------------------------------------------------------------- title: "Create a Project" description: "Create a single-page web application using Catalyst Advanced I/O Function and Data Store that allows you to report or look up alien encounters in a city." last_updated: "2026-11-04T10:10:44.000Z" source: "https://docs.catalyst.zoho.com/en/tutorials/alien-city/nodejs/create-project/" service: "All Services" related: - Catalyst Console (/en/getting-started/catalyst-projects/) -------------------------------------------------------------------------------- # Create a Project Let’s [create a Catalyst project](https://docs.catalyst.zoho.com/en/getting-started/catalyst-projects/#create-a-catalyst-project) from the Catalyst console. 1. Log in to the [Catalyst console](https://console.catalyst.zoho.com/baas/index) and click **Create New Project**. ![catalyst_alien_city_create_project](https://catalyst-docs-development.zohostratus.in/images/tutorials/alcity/catalyst_alien_city_create_project.webp) 2. Enter the project’s name as "**AlienCity**" in the pop-up window, and click **Create**. ![catalyst_alien_city_project_create_name](https://catalyst-docs-development.zohostratus.in/images/tutorials/alcity/catalyst_alien_city_project_create_name.webp) Your project will be created then opened. You can access the project later, by clicking **Access Project**. ![catalyst_alien_city_access_project](https://catalyst-docs-development.zohostratus.in/images/tutorials/alcity/catalyst_alien_city_access_project.webp) -------------------------------------------------------------------------------- title: "Create a Table" description: "Create a single-page web application using Catalyst Advanced I/O Function and Data Store that allows you to report or look up alien encounters in a city." last_updated: "2026-11-04T10:10:44.000Z" source: "https://docs.catalyst.zoho.com/en/tutorials/alien-city/nodejs/create-table/" service: "All Services" related: - Data Store (/en/cloud-scale/help/data-store/introduction/) -------------------------------------------------------------------------------- # Create a Table Let’s now create a table in the Data Store of the **AlienCity** project. This table is used to store records of city names where aliens were sighted. To create a table: 1. Navigate to the *CloudScale* section of the console, then click **Start Exploring**. ![catalyst_alien_city_cloud_scale_console_view](https://catalyst-docs-development.zohostratus.in/images/tutorials/alcity/alien-city-cloud-scale-updated.webp) 2. Navigate to **Data Store** under *Storage* and click **Create a New Table**. ![catalyst_alien_city_console_cloudscale_datastore_view](https://catalyst-docs-development.zohostratus.in/images/tutorials/alcity/alien-city-data-store-create-table.webp) 3. Enter the table’s name as "**AlienCity**" and click **Create**. ![catalyst_alien_city_confirm_table_name](https://catalyst-docs-development.zohostratus.in/images/tutorials/alcity/catalyst_alien_city_confirm_table_name.webp) > **Note:** Ensure that you enter the name exactly as instructed, because the application's code contains the same name. The table is now created. Next, let’s create a column in the table to store the names of the cities. 1. Click **New Column** in the *Schema View* section for the table. ![catalyst_alien_city_datastore_table_created](https://catalyst-docs-development.zohostratus.in/images/tutorials/alcity/catalyst_alien_city_datastore_table_created.webp) 2. Enter the column’s name as "**CityName**". Select the data type as **Var Char** and enter the max length as "**100**". Click the **Is Unique** toggle switch to enable it. ![catalyst_alien_city_create_column_datastore](https://catalyst-docs-development.zohostratus.in/images/tutorials/alcity/catalyst_alien_city_create_column_datastore.webp) You can learn about the various data types supported by Catalyst, as well as the other properties of a column, from the [Data Store help page](https://docs.catalyst.zoho.com/en/cloud-scale/help/data-store/columns/). > **Note:** Ensure that you enter the name exactly as instructed, because the application's code contains the same name. 3. Click **Create**. The column is now created and listed in the *Schema View* section. ![catalyst_alien_city_datastore_column_created](https://catalyst-docs-development.zohostratus.in/images/tutorials/alcity/catalyst_alien_city_datastore_column_created.webp) -------------------------------------------------------------------------------- title: "Initialize the Project" description: "Create a single-page web application using Catalyst Advanced I/O Function and Data Store that allows you to report or look up alien encounters in a city." last_updated: "2026-11-04T10:10:44.000Z" source: "https://docs.catalyst.zoho.com/en/tutorials/alien-city/nodejs/initialize-project/" service: "All Services" related: - Initialize CLI Resources (/en/cli/v1/initialize-resources/introduction/) - Project Directory Structure (/en/cli/v1/project-directory-structure/introduction/) -------------------------------------------------------------------------------- # Initialize the Project from the CLI You can now begin working on your Catalyst project from the CLI. The first step is to initialize the project in an empty directory. This will be the home directory of your project and all of the project files will be saved in it. You can learn more about this from the [Project Directory Structure help page](https:/en/cli/v1/project-directory-structure/introduction/). You can learn about initializing a project in detail from the [CLI help documentation](https://docs.catalyst.zoho.com/en/cli/v1/initialize-resources/introduction/). For the Alien City application, we will initialize the client and the [Advanced I/O function](https://docs.catalyst.zoho.com/en/serverless/help/functions/advanced-io/). The Advanced I/O function will be initialized in the [Python](https://docs.catalyst.zoho.com/en/sdk/python/v1/overview/) platform. However, as mentioned [earlier](https://docs.catalyst.zoho.com/en/tutorials/alien-city/python/introduction), you can also initialize it in the [Java](https://docs.catalyst.zoho.com/en/sdk/java/v1/overview/) or [Node.js](https://docs.catalyst.zoho.com/en/sdk/nodejs/v2/overview/) platforms. 1. Create a folder for the project on your local machine and navigate to it from the terminal. 2. Initialize a project by executing the following command from that directory: ```sh catalyst init ``` 3. Navigate using the **arrow keys** and select your preferred portal and press the **Enter** key. If you have no other organizations associated with the account, then the default one will be selected automatically. ![catalyst_alien_city_select_account_portal](https://catalyst-docs-development.zohostratus.in/images/tutorials/alcity/catalyst_alien_city_select_account_portal.webp) You can find out more about Catalyst's multi-org portal feature from this [help document](https://docs.catalyst.zoho.com/en/getting-started/catalyst-organizations/#access-the-multi-org-portal). 4. The CLI will now ask you to associate a Catalyst project with the directory. Associate it with the project that we created earlier from the console. Select **AlienCity** from the list and press **Enter**. ![catalyst_alien_city_select_catalyst_project](https://catalyst-docs-development.zohostratus.in/images/tutorials/alcity/catalyst_alien_city_select_catalyst_project.webp) 5. Select **Client** and **Functions** using the **space-bar**, then press the **Enter** key to initialize. ![catalyst_alien_ctiy_func_client_setup](https://catalyst-docs-development.zohostratus.in/images/tutorials/alcity/catalyst_alien_ctiy_func_client_setup.webp) 6. The CLI will initiate the function setup. Select **AdvancedIO** as the function type. ![catalyst_alien_ctiy_func_advanced_io](https://catalyst-docs-development.zohostratus.in/images/tutorials/alcity/catalyst_alien_ctiy_func_advanced_io.webp) 7. Select the latest runtime of **NodeJS** as the programming environment. ![catalyst_alien_city_select_functions_node](https://catalyst-docs-development.zohostratus.in/images/tutorials/alcity/catalyst_alien_city_select_functions_node.webp) 8. Enter "**alien_city_function**" as the package name and "**index.js**" as the entry point, then press **Enter**. You can also just press **Enter** to use the default names generated by Catalyst, or enter any name of your preference. ![catalyst_alien_city_select_node_installed](https://catalyst-docs-development.zohostratus.in/images/tutorials/alcity/catalyst_alien_city_select_node_installed.webp) 9. The CLI will now initiate the client set up. Select **Basic web app** as your client type. ![catalyst_alien_city_python_client_type_select](https://catalyst-docs-development.zohostratus.in/images/tutorials/alcity/catalyst_alien_city_python_client_type_select.webp) 10. Enter "**ALcity**" as the name for the client package and press **Enter**. You can also enter any name you prefer. ![catalyst_alien_city_client_setup_complete_python](https://catalyst-docs-development.zohostratus.in/images/tutorials/alcity/catalyst_alien_city_client_setup_complete_python.webp) The client directory will be created in the standard structure. Catalyst initialization is now complete. Your [project directory](https://docs.catalyst.zoho.com/en/cli/v1/project-directory-structure/introduction/) is now set up with the client directory and the functions directory along with configuration files and dependencies. The project directory also contains the [`catalyst.json`](https://docs.catalyst.zoho.com/en/cli/v1/project-directory-structure/catalyst-json/) configuration file and a hidden `.catalystrc` file. This is the structure of the AlienCity project’s directory, if the Advanced I/O function is of the Python platform, and the client is set up as a Basic web app. ![catalyst_alien_city_folder_view_node](https://catalyst-docs-development.zohostratus.in/images/tutorials/alcity/catalyst_alien_city_folder_view_node.webp) -------------------------------------------------------------------------------- title: "Configure the Advanced I/O Function" description: "Create a single-page web application using Catalyst Advanced I/O Function and Data Store that allows you to report or look up alien encounters in a city." last_updated: "2026-11-04T10:10:44.000Z" source: "https://docs.catalyst.zoho.com/en/tutorials/alien-city/nodejs/configure-advio-function/" service: "All Services" related: - Functions (/en/serverless/help/functions/introduction/) - Advanced I/O Functions (/en/serverless/help/functions/advanced-io/) - Functions Directory Structure (/en/cli/v1/project-directory-structure/functions-directory/) -------------------------------------------------------------------------------- # Configure the Advanced I/O Function Let's begin coding the Alien City application by configuring the function component. The Node.js function directory ( `[ functions/alien_city_function ](https://docs.catalyst.zoho.com/en/cli/v1/project-directory-structure/functions-directory/)` ) contains the following files: * The `index.js` main function file * The `catalyst-config.json` configuration file * Node modules * `[package.json](https://docs.npmjs.com/files/package.json)` and `[package-lock.json](https://docs.npmjs.com/configuring-npm/package-lock-json.html)` dependency files You will be adding code in the `index.js` main function file. The two APIs in the Advanced I/O function that handle the routing between the server and the Data Store are: * **`GET /alien`**: To check whether aliens are present in a city * **`POST /alien`**: To report an alien presence in a city #### Install Express Node.js Framework For the Node.js function, you will be using the [Express Node.js framework](https://expressjs.com/). To import the Express package in the code, you must install the Express dependencies in your system. To install `Express.js` in your local machine, navigate to the Node function's directory (`functions/alien_city_function`) in your terminal and execute the following command: ```sh npm install express --save ``` This will install the Express module and save the dependencies. ![alien-city-client](https://catalyst-docs-development.zohostratus.in/images/tutorials/alcity/catalyst_alcity_install_express.webp) This information will also be updated in the package.json file. ![alien-city-client](https://catalyst-docs-development.zohostratus.in/images/tutorials/alcity/catalyst_alcity_package_json.webp) Let's now add the code in the function file. Copy the code given below and paste it in the `index.js` in the `functions/alien_city_function` directory of your project, and save the file. You can use any IDE of your choice to work with the application's files. > **Note:** Please go through the code in this section to make sure you fully understand it. **index.js** ```javascript 'use strict'; var express = require('express'); var app = express(); var catalyst = require('zcatalyst-sdk-node'); app.use(express.json()); const tableName = 'AlienCity'; // The table created in the Data Store const columnName = 'CityName'; // The column created in the table // The POST API that reports the alien encounter for a particular city app.post('/alien', (req, res) => { var cityJson = req.body; console.log(cityJson); // Initializing Catalyst SDK var catalystApp = catalyst.initialize(req); // Queries the Catalyst Data Store table and checks whether a row is present for the given city getDataFromCatalystDataStore(catalystApp, cityJson.city_name).then(cityDetails => { if (cityDetails.length == 0) { // If the row is not present, then a new row is inserted console.log("Alien alert!"); //Written to the logs. You can view this log from Logs under the Monitor section in the console var rowData = {} rowData[columnName] = cityJson.city_name; var rowArr = []; rowArr.push(rowData); // Inserts the city name as a row in the Catalyst Data Store table catalystApp.datastore().table(tableName).insertRows(rowArr).then(cityInsertResp => { res.send({ "message": "Thanks for reporting!" }); }).catch(err => { console.log(err); sendErrorResponse(res); }) } else { // If the row is present, then a message is sent indicating duplication res.send({ "message": "Looks like you are not the first person to encounter aliens in this city! Someone has already reported an alien encounter here!" }); } }).catch(err => { console.log(err); sendErrorResponse(res); }) }); // The GET API that checks the table for an alien encounter in that city app.get('/alien', (req, res) => { var city = req.query.city_name; // Initializing Catalyst SDK var catalystApp = catalyst.initialize(req); // Queries the Catalyst Data Store table and checks whether a row is present for the given city getDataFromCatalystDataStore(catalystApp, city).then(cityDetails => { if (cityDetails.length == 0) { res.send({ "message": "Hurray! No alien encounters in this city yet!", "signal": "negative" }); } else { res.send({ "message": "Uh oh! Looks like there are aliens in this city!", "signal": "positive" }); } }).catch(err => { console.log(err); sendErrorResponse(res); }) }); /** * Checks whether an alien encounter is already reported for the given city by querying the Data Store table * @param {*} catalystApp * @param {*} cityName */ function getDataFromCatalystDataStore(catalystApp, cityName) { return new Promise((resolve, reject) => { // Queries the Catalyst Data Store table catalystApp.zcql().executeZCQLQuery("SELECT * FROM AlienCity WHERE CityName = '" + cityName + "'").then(queryResponse => { resolve(queryResponse); }).catch(err => { reject(err); }) }); } /** * Sends an error response * @param {*} res */ function sendErrorResponse(res) { res.status(500); res.send({ "error": "Internal server error occurred. Please try again in some time." }); } module.exports = app; ``` The functions directory is now configured. We will discuss the architecture of the function and the client in the next section. -------------------------------------------------------------------------------- title: "Configure the Client" description: "Create a single-page web application using Catalyst Advanced I/O Function and Data Store that allows you to report or look up alien encounters in a city." last_updated: "2026-11-04T10:10:44.000Z" source: "https://docs.catalyst.zoho.com/en/tutorials/alien-city/nodejs/configure-client/" service: "All Services" related: - Client Directory Structure (/en/cli/v1/project-directory-structure/client-directory/) - Web Client Hosting (/en/cloud-scale/help/web-client-hosting/introduction/) -------------------------------------------------------------------------------- # Configure the Client Now, let's configure the client component. The [client directory](https://docs.catalyst.zoho.com/en/cli/v1/project-directory-structure/client-directory/) contains: * The `index.html` file that contains the HTML code for the front-end application * The `main.css` file that contains the CSS code for the front-end application * The `main.js` file that contains the JavaScript code * The `client-package.json` configuration file We will be coding `index.html` and `main.js`. > **Note:** Please go through the code in this section to make sure you fully understand it. Copy the code below and paste it into the respective files located in the `client/directory` of your project using an IDE and save the files. **index.html** ```xml <!DOCTYPE html> <html> <head> <meta charset="utf-8" /> <meta http-equiv="X-UA-Compatible" content="IE=edge"> <title>AlientCityAppClient</title> <meta name="viewport" content="width=device-width, initial-scale=1"> <link rel="stylesheet" type="text/css" media="screen" href="main.css" /> <link rel="stylesheet" href="https://stackpath.bootstrapcdn.com/bootstrap/4.3.1/css/bootstrap.min.css" integrity="sha384-ggOyR0iXCbMQv3Xipma34MD+dH/1fQ784/j6cY/iJTQUOhcWr7x9JvoRxT2MZw1T" crossorigin="anonymous"> <script src="https://code.jquery.com/jquery-3.4.1.min.js" integrity="sha256-CSXorXvZcTkaix6Yvo6HppcZGetbYMGWSFlBw8HfCJo=" crossorigin="anonymous"></script> <script src="https://cdnjs.cloudflare.com/ajax/libs/popper.js/1.14.7/umd/popper.min.js" integrity="sha384-UO2eT0CpHqdSJQ6hJty5KVphtPhzWj9WO1clHTMGa3JDZwrnQq4sF86dIHNDz0W1" crossorigin="anonymous"> </script> <script src="https://stackpath.bootstrapcdn.com/bootstrap/4.3.1/js/bootstrap.min.js" integrity="sha384-JjSmVgyd0p3pXB1rRibZUAYoIIy6OrQ6VrjIEaFf/nJGzIxFDsf4x0xIM+B07jRM" crossorigin="anonymous"> </script> <script src="main.js"></script> </head> <body> <br> <br> <center> <h1>ALIEN CITY</h1> </center> <div class="container"> <ul class="nav nav-tabs" id="myTab" role="tablist"> <li class="nav-item"> <a class="nav-link active" id="check-tab" data-toggle="tab" href="#check" role="tab" aria-controls="check" aria-selected="true">Check My City</a> </li> <li class="nav-item"> <a class="nav-link" id="report-tab" data-toggle="tab" href="#report" role="tab" aria-controls="report" aria-selected="false">Report Alien Encounter</a> </li> </ul> <div class="tab-content" id="myTabContent"> <div class="tab-pane fade show active" id="check" role="tabpanel" aria-labelledby="check-tab"> <br> <br> <form> <div class="form-group"> <label for="city-get-input"><b>Check if your city has aliens:</b></label> <input type="text" class="form-control" id="city-get-input" aria-describedby="checkCity" placeholder="Enter City Name"> </div> <button type="submit" class="btn btn-primary" onclick="getAlienEncounter();return false;">Check</button> </form> <br> <br> <div id="result-container"> <div id="result-text"> </div> <br> <div id="result-image"> </div> </div> <div id="loader" style="display: none;"> <div class="spinner-border" role="status"> <span class="sr-only">Loading...</span> </div> </div> </div> <div class="tab-pane fade" id="report" role="tabpanel" aria-labelledby="report-tab"> <br> <br> <form> <div class="form-group"> <div class="city-post-input"> <label for="exampleInputEmail1"><b>Enter the name of the city where you encountered an alien:</b></label> <input type="text" class="form-control" id="city-post-input" aria-describedby="cityPost" placeholder="Enter City Name"> </div> </div> <button type="submit" class="btn btn-primary" onclick="postAlienEncounter();return false;">Report</button> </form> </div> </div> </div> </body> </html> ``` **main.js** ```javascript /* Fires an API call to the server and adds the reported city as an alien city */ function postAlienEncounter() { var city = $("#city-post-input").val(); // Fires an Ajax call to the URL defined in the index.js function file // All URLs to the Advanced I/O function will be of the pattern: /server/{function_name}/{url_path} $.ajax({ url: "/server/alien_city_function/alien", type: "post", contentType: "application/json", data: JSON.stringify({ "city_name": city }), success: function (data) { alert(data.message); }, error: function (error) { alert(error.message); } }); } /** * Fires an API call to the server to check whether the given city is alien city or not */ function getAlienEncounter() { showLoader(); var positive = "https://media.giphy.com/media/Y1GYiLui9NHcxVKhdo/giphy.gif"; var negative = "https://media.giphy.com/media/fsPcMdeXPxSP6zKxCA/giphy.gif"; var city = $("#city-get-input").val(); // Fires an Ajax call to the URL defined in the index.js function file // All URLs to the Advanced I/O function will be of the pattern: /server/{function_name}/{url_path} $.ajax({ url: "/server/alien_city_function/alien?city_name=" + city, type: "get", success: function (data) { console.log(data); $("#result-text").text(""); $("#result-text").text(data.message); var imagesrc = negative; if (data.signal == 'positive') { imagesrc = positive; } $("#result-image").html(""); $("#result-image").html("<img src='" + imagesrc + "' />"); hideLoader(); }, errror: function (error) { alert(error.message); } }); } function showLoader() { $("#result-container").hide(); $("#loader").show(); } function hideLoader() { $("#loader").hide(); $("#result-container").show(); } ``` The client directory is now configured. Let us quickly go through the working of the function and client components of the application: 1. **GET operation** * When you enter a city name in the client to check for a record of previous alien encounter, the `onClick` event for the **Check** button in `index.html` triggers the `getAlienEncounter()` function defined in `main.js`. * This fires an Ajax call to the URL route defined in the Advanced I/O function. The `GET` API defined in `index.js` then invokes the `getDataFromCatalystDataStore` function and passes the request query. * This function searches for the data in the *AlienCity* table in the Data Store by executing a ZCQL query. * If a record matching the city name is found in the table, a `positive` signal is sent as the response. Otherwise, a `negative` signal is sent as the response. * The client then displays the message that matches the response. A GIF matching the response defined in `main.js` is also displayed. 2. **POST operation** * When you enter a city name in the client to report an alien encounter, the `onClick` event for the **Report** button in `index.html` triggers the `postAlienEncounter()` function defined in `main.js`. * This fires an Ajax call to the URL route defined in the Advanced I/O function. The `POST` API defined in `index.js` then invokes the `getDataFromCatalystDataStore` function and passes a request query to check if a record with the same city name already exists. * This function searches for the data in the *AlienCity* table in the Data Store by executing a ZCQL query. If the record already exists, a response is sent, which enables the client to display an appropriate message to the user. * If there are no records for the city name, a new row is created in the *AlienCity* table for the city name entered by the user. A pop-up box is displayed in the client confirming the insertion of the record in the Data Store. An appropriate message is also pushed to the logs which can be checked from *Logs* under the *Monitor* section in the console. -------------------------------------------------------------------------------- title: "Test the Application" description: "Create a single-page web application using Catalyst Advanced I/O Function and Data Store that allows you to report or look up alien encounters in a city." last_updated: "2026-11-04T10:10:44.000Z" source: "https://docs.catalyst.zoho.com/en/tutorials/alien-city/nodejs/test-application/" service: "All Services" related: - Serve CLI Resources (/en/cli/v1/serve-resources/introduction/) -------------------------------------------------------------------------------- # Test the Application Before you deploy the application to the remote console, you can [test the application](https://docs.catalyst.zoho.com/en/cli/v1/serve-resources/introduction/) on a local server and check if everything works fine using the Catalyst CLI. To serve the Catalyst project locally, execute the following command from your project directory: ```sh catalyst serve ``` This Alien City application is now served at default port 3000. The local endpoint URLs of the components are displayed. > **Note:** Every time you access the home page or any of the sub-pages of your client, or the function, the CLI will display a live log of the URL accessed, along with the HTTP request method. ![catalyst_alien_city_serve_node](https://catalyst-docs-development.zohostratus.in/images/tutorials/alcity/catalyst_alien_city_serve_node.webp) You can now open the client component’s local URL in a browser to access the Alien City application. ![catalyst_alien_city_catalyst_serve](https://catalyst-docs-development.zohostratus.in/images/tutorials/alcity/catalyst_alien_city_catalyst_serve.webp) Let’s test the application by entering a city’s name and checking for the history of an alien encounter in the city. Since we have not reported an alien encounter in a city yet, the result should be negative. Enter a city name in the text box and click **Check**. ![catalyst_alien_city_new_york](https://catalyst-docs-development.zohostratus.in/images/tutorials/alcity/catalyst_alien_city_new_york.webp) Since a matching record for this city is not found in the Data Store, the client displays a negative response. ![catalyst_alien_city_new_york_no_alien](https://catalyst-docs-development.zohostratus.in/images/tutorials/alcity/catalyst_alien_city_new_york_no_alien.webp) Now, let’s report an alien encounter. Click the *Report Alien Encounter* tab. Enter a city name and click **Report**. We have entered "**Amsterdam**" in our application. ![catalyst_alien_city_report_encoutner](https://catalyst-docs-development.zohostratus.in/images/tutorials/alcity/catalyst_alien_city_report_encoutner.webp) The application will display a pop-up box confirming that the data is added to the Data Store. ![catalyst_alien_city_local_host_message](https://catalyst-docs-development.zohostratus.in/images/tutorials/alcity/catalyst_alien_city_local_host_message.webp) You can verify this by opening your Catalyst console and navigating to **Data Store** under *Storage* **>** *CloudScale*. Click the **Data View** tab to view the record that was just inserted. ![catalyst_alien_city_data_view](https://catalyst-docs-development.zohostratus.in/images/tutorials/alcity/catalyst_alien_city_data_view.webp) Next, let's search for this city in the client and check if it fetches this record from the Data Store. Click *Check My City* in the client application and enter the name of the city that you just reported. Here, we enter "**Amsterdam**". Click **Check**. ![catalyst_alien_city_report_created](https://catalyst-docs-development.zohostratus.in/images/tutorials/alcity/catalyst_alien_city_report_created.webp) The client displays a positive response. You can also check if the client displays the duplication message by reporting the same city again. ![catalyst_alien_ctiy_local_repeat_report](https://catalyst-docs-development.zohostratus.in/images/tutorials/alcity/catalyst_alien_ctiy_local_repeat_report.webp) If this setup is working correctly, we can deploy the application to production. -------------------------------------------------------------------------------- title: "Deploy the Project" description: "Create a single-page web application using Catalyst Advanced I/O Function and Data Store that allows you to report or look up alien encounters in a city." last_updated: "2026-11-04T10:10:44.000Z" source: "https://docs.catalyst.zoho.com/en/tutorials/alien-city/nodejs/deploy-project/" service: "All Services" related: - Deploy CLI Resources (/en/cli/v1/deploy-resources/introduction/) - Web Client Hosting (/en/cloud-scale/help/web-client-hosting/introduction/) -------------------------------------------------------------------------------- # Deploy the Project To [deploy your Catalyst project](https://docs.catalyst.zoho.com/en/cli/v1/deploy-resources/introduction/) from the CLI, run the following command in your terminal from your project directory: ```sh catalyst deploy ``` The function is deployed first, followed by the client component. The production URLs of the components are displayed. ![catalyst_alien_city_catalyst_deploy_node](https://catalyst-docs-development.zohostratus.in/images/tutorials/alcity/catalyst_alien_city_catalyst_deploy_node.webp) You can now open the client component’s URL in a browser to access the deployed application. Alien City can be accessed now from its [web app URL](https://docs.catalyst.zoho.com/en/cloud-scale/help/web-client-hosting/key-concepts/#default-web-application-url). ![catalyst_alien_city_final_image](https://catalyst-docs-development.zohostratus.in/images/tutorials/alcity/catalyst_alien_city_final_image.webp) ### Python -------------------------------------------------------------------------------- title: "Introduction" description: "Create a single-page web application using Catalyst Advanced I/O Function and Data Store that allows you to report or look up alien encounters in a city." last_updated: "2026-11-04T10:10:44.000Z" source: "https://docs.catalyst.zoho.com/en/tutorials/alien-city/python/introduction/" service: "All Services" related: - Client Directory Structure (/en/cli/v1/project-directory-structure/introduction/) - Web Client Hosting (/en/cloud-scale/help/web-client-hosting/introduction/) -------------------------------------------------------------------------------- # Alien City ### Introduction This tutorial will help you build a simple web application, titled **Alien City**, that allows you to report and look up alien encounters in a city. Alien City is built as a single-page serverless application using Catalyst. The client application will appear as follows: ![/catalyst_alien_city_home_page](https://catalyst-docs-development.zohostratus.in/images/tutorials/alcity/catalyst_alien_city_home_page.webp) You can access a working application and test its functioning here: [Try the App!](https://alien-city.catalystserverlessapp.com/app/) The Alien City application utilizes components from the following Catalyst Services: [**Catalyst Serverless**](https://docs.catalyst.zoho.com/en/serverless/getting-started/introduction/): * [**Advanced I/O Function**](https://docs.catalyst.zoho.com/en/serverless/help/functions/advanced-io/): The Advanced I/O function is a component you can use to code your business logic in either [Java](https://docs.catalyst.zoho.com/en/sdk/java/v1/overview/), [Node.js](https://docs.catalyst.zoho.com/en/sdk/nodejs/v2/overview/), or [Python](https://docs.catalyst.zoho.com/en/sdk/python/v1/overview/) platform. It contains APIs that enable the user to report or check for an alien encounter in a city. [**Catalyst CloudScale**](https://docs.catalyst.zoho.com/en/cloud-scale/getting-started/introduction/): * **Web Client**: The frontend of the application that is hosted on Catalyst through [Web Client Hosting](https://docs.catalyst.zoho.com/en/cloud-scale/help/web-client-hosting/introduction/). * [**Data Store**](https://docs.catalyst.zoho.com/en/cloud-scale/help/data-store/introduction/): To store the database of the cities where alien encounters have been reported. * [**ZCQL**](https://docs.catalyst.zoho.com/en/cloud-scale/help/zcql/introduction/): To fetch data from the Data Store through querying. We will use the [Catalyst web console](https://console.catalyst.zoho.com/) and the [Catalyst Command Line Interface](https://docs.catalyst.zoho.com/en/cli/v1/cli-command-reference/) (CLI) to build this application. You will be given the code for the files to be included in the function and client components in this tutorial. You will just need to copy the code given here and paste it into the appropriate files as directed. ### Application Architecture The Alien City application’s functioning can be described as follows: * **Reporting an alien encounter** A user enters the name of a city where they experienced an alien encounter. If the city had already been reported previously, the client displays a message notifying the user of it. If the city has never been reported, the data will be added to a table in the Data Store identifying the city. * **Checking for an alien encounter** A user checks for a record of an alien encounter in a particular city by providing its name. If a record of that city exists in the Data Store, the client will display a positive response. Otherwise, it will display a negative response. ![alien-city-client](https://catalyst-docs-development.zohostratus.in/images/tutorials/alcity/catalyst_alcity_architecture.webp) -------------------------------------------------------------------------------- title: "Prerequisites" description: "Create a single-page web application using Catalyst Advanced I/O Function and Data Store that allows you to report or look up alien encounters in a city." last_updated: "2026-11-04T10:10:44.000Z" source: "https://docs.catalyst.zoho.com/en/tutorials/alien-city/python/prerequisites/" service: "All Services" related: - Catalyst CLI Documentation (/en/cli/v1/cli-command-reference/) -------------------------------------------------------------------------------- # Prerequisites Before you begin building the application, you must have the following prerequisites installed on your system: 1. [**Catalyst CLI**](https://docs.catalyst.zoho.com/en/cli/v1/cli-command-reference/) Catalyst CLI contains a host of tools that enable you to initialize, develop, test, and deploy the components of your application from your local machine. We will be working with Catalyst CLI in this tutorial. You must perform the following actions: * **Install Catalyst CLI**: Catalyst CLI is installed through NPM. You must therefore have NPM and Node.js installed on your system before you install the CLI. Refer to the [Install Catalyst CLI help page](https://docs.catalyst.zoho.com/en/getting-started/installing-catalyst-cli/) for details on the pre-requisites and the steps to install it. * **Log in to Catalyst CLI**: After you install Catalyst CLI, you must authenticate the CLI with your Catalyst account before using it. Refer to the [CLI Login help page](https://docs.catalyst.zoho.com/en/cli/v1/login/login-from-cli/) for the steps to login from Catalyst CLI and the various options available for it. 2. **Install Python 3.10** Catalyst supports Python versions 3.10 to 3.13. This tutorial uses Python 3.10. If you don't have Python 3.10 installed in your system, you can download the package from the [official Python website](https://www.python.org/downloads/). 3. **Install any IDE tool for Python function and client code development** You can use any IDE to work with the Advanced I/O function and the client code. Some popular choices include Visual Studio Code, IDLE, PyCharm, and Sublime Text. Download and install an IDE of your choice on your system. > If you are a Visual Studio Code IDE user, you can install the **Catalyst Tools** extension, and use your IDE itself in place of the CLI. You can find more details about the Catalyst VS Code extension from this [help section](https://docs.catalyst.zoho.com/en/catalyst-extensions/vs-code-extension/introduction/). -------------------------------------------------------------------------------- title: "Create a Project" description: "Create a single-page web application using Catalyst Advanced I/O Function and Data Store that allows you to report or look up alien encounters in a city." last_updated: "2026-11-04T10:10:44.000Z" source: "https://docs.catalyst.zoho.com/en/tutorials/alien-city/python/create-project/" service: "All Services" related: - Catalyst Console (/en/getting-started/catalyst-projects/) -------------------------------------------------------------------------------- # Create a Project Let’s [create a Catalyst project](https://docs.catalyst.zoho.com/en/getting-started/catalyst-projects/#create-a-catalyst-project) from the Catalyst console. 1. Log in to the [Catalyst console](https://console.catalyst.zoho.com/baas/index) and click **Create New Project**. ![catalyst_alien_city_create_project](https://catalyst-docs-development.zohostratus.in/images/tutorials/alcity/catalyst_alien_city_create_project.webp) 2. Enter the project’s name as "**AlienCity**" in the pop-up window, and click **Create**. ![catalyst_alien_city_project_create_name](https://catalyst-docs-development.zohostratus.in/images/tutorials/alcity/catalyst_alien_city_project_create_name.webp) Your project will be created then opened. You can access the project later, by clicking **Access Project**. ![catalyst_alien_city_access_project](https://catalyst-docs-development.zohostratus.in/images/tutorials/alcity/catalyst_alien_city_access_project.webp) -------------------------------------------------------------------------------- title: "Create a Table" description: "Create a single-page web application using Catalyst Advanced I/O Function and Data Store that allows you to report or look up alien encounters in a city." last_updated: "2026-11-04T10:10:44.000Z" source: "https://docs.catalyst.zoho.com/en/tutorials/alien-city/python/create-table/" service: "All Services" related: - Data Store (/en/cloud-scale/help/data-store/introduction/) -------------------------------------------------------------------------------- # Create a Table Let’s now create a table in the Data Store of the **AlienCity** project. This table is used to store records of city names where aliens were sighted. To create a table: 1. Navigate to the *CloudScale* section of the console, then click **Start Exploring**. ![catalyst_alien_city_cloud_scale_console_view](https://catalyst-docs-development.zohostratus.in/images/tutorials/alcity/alien-city-cloud-scale-updated.webp) 2. Navigate to **Data Store** under *Storage* and click **Create a New Table**. ![catalyst_alien_city_console_cloudscale_datastore_view](https://catalyst-docs-development.zohostratus.in/images/tutorials/alcity/alien-city-data-store-create-table.webp) 3. Enter the table’s name as "**AlienCity**" and click **Create**. ![catalyst_alien_city_confirm_table_name](https://catalyst-docs-development.zohostratus.in/images/tutorials/alcity/catalyst_alien_city_confirm_table_name.webp) > **Note:** Ensure that you enter the name exactly as instructed, because the application's code contains the same name. The table is now created. Next, let’s create a column in the table to store the names of the cities. 1. Click **New Column** in the *Schema View* section for the table. ![catalyst_alien_city_datastore_table_created](https://catalyst-docs-development.zohostratus.in/images/tutorials/alcity/catalyst_alien_city_datastore_table_created.webp) 2. Enter the column’s name as "**CityName**". Select the data type as **Var Char** and enter the max length as "**100**". Click the **Is Unique** toggle switch to enable it. ![catalyst_alien_city_create_column_datastore](https://catalyst-docs-development.zohostratus.in/images/tutorials/alcity/catalyst_alien_city_create_column_datastore.webp) You can learn about the various data types supported by Catalyst, as well as the other properties of a column, from the [Data Store help page](https://docs.catalyst.zoho.com/en/cloud-scale/help/data-store/columns/). > **Note:** Ensure that you enter the name exactly as instructed, because the application's code contains the same name. 3. Click **Create**. The column is now created and listed in the *Schema View* section. ![catalyst_alien_city_datastore_column_created](https://catalyst-docs-development.zohostratus.in/images/tutorials/alcity/catalyst_alien_city_datastore_column_created.webp) -------------------------------------------------------------------------------- title: "Initialize the Project" description: "Create a single-page web application using Catalyst Advanced I/O Function and Data Store that allows you to report or look up alien encounters in a city." last_updated: "2026-11-04T10:10:44.000Z" source: "https://docs.catalyst.zoho.com/en/tutorials/alien-city/python/initialize-project/" service: "All Services" related: - Initialize CLI Resources (/en/cli/v1/initialize-resources/introduction/) - Project Directory Structure (/en/cli/v1/project-directory-structure/introduction/) -------------------------------------------------------------------------------- # Initialize the Project from the CLI You can now begin working on your Catalyst project from the CLI. The first step is to initialize the project in an empty directory. This will be the home directory of your project and all of the project files will be saved in it. You can learn more about this from the [Project Directory Structure help page](https:/en/cli/v1/project-directory-structure/introduction/). You can learn about initializing a project in detail from the [CLI help documentation](https://docs.catalyst.zoho.com/en/cli/v1/initialize-resources/introduction/). For the Alien City application, we will initialize the client and the [Advanced I/O function](https://docs.catalyst.zoho.com/en/serverless/help/functions/advanced-io/). The Advanced I/O function will be initialized in the [Python](https://docs.catalyst.zoho.com/en/sdk/python/v1/overview/) platform. However, as mentioned [earlier](https://docs.catalyst.zoho.com/en/tutorials/alien-city/python/introduction), you can also initialize it in the [Java](https://docs.catalyst.zoho.com/en/sdk/java/v1/overview/) or [Node.js](https://docs.catalyst.zoho.com/en/sdk/nodejs/v2/overview/) platforms. 1. Create a folder for the project on your local machine and navigate to it from the terminal. 2. Initialize a project by executing the following command from that directory: ```sh catalyst init ``` 3. Navigate using the **arrow keys** and select your preferred portal and press the **Enter** key. If you have no other organizations associated with the account, then the default one will be selected automatically. ![catalyst_alien_city_select_account_portal](https://catalyst-docs-development.zohostratus.in/images/tutorials/alcity/catalyst_alien_city_select_account_portal.webp) You can find out more about Catalyst's multi-org portal feature from this [help document](https://docs.catalyst.zoho.com/en/getting-started/catalyst-organizations/#access-the-multi-org-portal). 4. The CLI will now ask you to associate a Catalyst project with the directory. Associate it with the project that we created earlier from the console. Select **AlienCity** from the list and press **Enter**. ![catalyst_alien_city_select_catalyst_project](https://catalyst-docs-development.zohostratus.in/images/tutorials/alcity/catalyst_alien_city_select_catalyst_project.webp) 5. Select **Client** and **Functions** using the **space-bar**, then press the **Enter** key to initialize. ![catalyst_alien_ctiy_func_client_setup](https://catalyst-docs-development.zohostratus.in/images/tutorials/alcity/catalyst_alien_ctiy_func_client_setup.webp) 6. The CLI will initiate the function setup. Select **AdvancedIO** as the function type. ![catalyst_alien_ctiy_func_advanced_io](https://catalyst-docs-development.zohostratus.in/images/tutorials/alcity/catalyst_alien_ctiy_func_advanced_io.webp) 7. Select the latest runtime of **Python** as the programming environment. ![catalyst_alien_city_select_functions_python](https://catalyst-docs-development.zohostratus.in/images/tutorials/alcity/catalyst_alien_city_select_functions_python.webp) 8. Enter "**alien_city_function**" as the package name and "**main.py**" as the entry point, then press **Enter**. You can also just press **Enter** to use the default names generated by Catalyst, or enter any name of your preference. ![catalyst_alien_city_select_python_installed](https://catalyst-docs-development.zohostratus.in/images/tutorials/alcity/catalyst_alien_city_select_python_installed.webp) 9. The CLI will now initiate the client set up. Select **Basic web app** as your client type. ![catalyst_alien_city_python_client_type_select](https://catalyst-docs-development.zohostratus.in/images/tutorials/alcity/catalyst_alien_city_python_client_type_select.webp) 10. Enter "**ALcity**" as the name for the client package and press **Enter**. You can also enter any name you prefer. ![catalyst_alien_city_client_setup_complete_python](https://catalyst-docs-development.zohostratus.in/images/tutorials/alcity/catalyst_alien_city_client_setup_complete_python.webp) The client directory will be created in the standard structure. Catalyst initialization is now complete. Your [project directory](https://docs.catalyst.zoho.com/en/cli/v1/project-directory-structure/introduction/) is now set up with the client directory and the functions directory along with configuration files and dependencies. The project directory also contains the [`catalyst.json`](https://docs.catalyst.zoho.com/en/cli/v1/project-directory-structure/catalyst-json/) configuration file and a hidden `.catalystrc` file. This is the structure of the AlienCity project’s directory, if the Advanced I/O function is of the Python platform, and the client is set up as a Basic web app. ![catalyst_alien_city_folder_view](https://catalyst-docs-development.zohostratus.in/images/tutorials/alcity/catalyst_alien_city_folder_view.webp) -------------------------------------------------------------------------------- title: "Configure the Advanced I/O Function" description: "Create a single-page web application using Catalyst Advanced I/O Function and Data Store that allows you to report or look up alien encounters in a city." last_updated: "2026-11-04T10:10:44.000Z" source: "https://docs.catalyst.zoho.com/en/tutorials/alien-city/python/configure-advanced-io-function/" service: "All Services" related: - Functions (/en/serverless/help/functions/introduction/) - Advanced I/O Functions (/en/serverless/help/functions/advanced-io/) - Functions Directory Structure (/en/cli/v1/project-directory-structure/functions-directory/) -------------------------------------------------------------------------------- # Configure the Advanced I/O Function Let’s begin coding the Alien City application by configuring the function component. The Python function directory ([`functions/alien_city_function`](https://docs.catalyst.zoho.com/en/cli/v1/project-directory-structure/functions-directory/)) contains the following files: * The `main.py` main function file * The `catalyst-config.json` configuration file * The `requirements.txt` file to mention any external libraries that you might add. You will be adding code in the `main.py` main function file. The two APIs in the Advanced I/O function that handle the routing between the server and the Data Store are: * `GET /alien`: To check whether aliens are present in a city * `POST /alien`: To report an alien presence in a city Let’s now add the code in the function file. Copy the code given below and paste it in the `main.py` in the `functions/alien_city_function` directory of your project, and save the file. You can use any IDE of your choice to work with the application's files. > **Note:** Please go through the code in this section to make sure you fully understand it. **main.py** ```python import json import zcatalyst_sdk import logging from flask import Request, make_response, jsonify tableName = 'AlienCity' # The table created in the Data Store columnName = 'CityName' # The column created in the table def handler(request: Request): try: app = zcatalyst_sdk.initialize() # Initializing Catalyst SDK logger = logging.getLogger() if request.path == "/alien" and request.method == 'POST': # The POST API that reports the alien encounter for a particular city req_data = request.get_json() name = req_data.get('city_name') rowid = getAlienCountFromCatalystDataStore(name) # Queries the Catalyst Data Store table and checks whether a row is present for the given city if len(rowid) == 0: # If the row is not present, then a new row is inserted logger.info("Alien alert!") # Written to the logs. You can view this log from Logs under the Monitor section in the console datastore_service = app.datastore() table_service = datastore_service.table(tableName) row_data = { columnName:name } table_service.insert_row(row_data) # Inserts the city name as a row in the Catalyst Data Store table response = make_response(jsonify({ "message": "Thanks for reporting!" }), 200) else: # If the row is present, then a message is sent indicating duplication response = make_response(jsonify({ "message": "Looks like you are not the first person to encounter aliens in this city! Someone has already reported an alien encounter here!" }), 200) return response elif request.path == "/alien" and request.method == 'GET': # The GET API that checks the table for an alien encounter in that city name = request.args.get('city_name') rowid = getAlienCountFromCatalystDataStore(name) # Queries the Catalyst Data Store table and checks whether a row is present for the given city if len(rowid) == 0: response = make_response({ "message": "Hurray! No alien encounters in this city yet!", "signal": "negative" }, 200) else: response = make_response(jsonify({ "message": "Uh oh! Looks like there are aliens in this city!", "signal": "positive" }), 200) return response else: response = make_response("Error. Invalid Request") response.status_code = 404 return response except Exception as err: # Sends an error response logger.error(f"Exception in AlienCityAIO :{err}") response = make_response(jsonify({ "error": "Internal server error occurred. Please try again in some time." }), 500) return response def getAlienCountFromCatalystDataStore(cityname): # Checks whether an alien encounter is already reported for the given city by querying the Data Store table app = zcatalyst_sdk.initialize() zcql_service = app.zcql() query = f"SELECT * FROM {tableName} WHERE {columnName} = '{cityname}'" output = zcql_service.execute_query(query) return output ``` The Advanced I/O function is now configured. We will discuss the architecture of the function and the client in the next section. -------------------------------------------------------------------------------- title: "Configure the Client" description: "Create a single-page web application using Catalyst Advanced I/O Function and Data Store that allows you to report or look up alien encounters in a city." last_updated: "2026-11-04T10:10:44.000Z" source: "https://docs.catalyst.zoho.com/en/tutorials/alien-city/python/configure-client/" service: "All Services" related: - Client Directory Structure (/en/cli/v1/project-directory-structure/introduction/) - Web Client Hosting (/en/cloud-scale/help/web-client-hosting/introduction/) -------------------------------------------------------------------------------- # Configure the Client Now, let’s configure the client component. The [client directory](https://docs.catalyst.zoho.com/en/cli/v1/project-directory-structure/client-directory/) contains: * The `index.html` file that contains the HTML code for the front-end application * The `main.css` file that contains the CSS code for the front-end application * The `main.js` file that contains the JavaScript code * The `client-package.json` configuration file We will be coding `index.html` and `main.js` files. > **Note:** Please go through the code in this section to make sure you fully understand it. Copy the code below and paste it into the respective files located in the `client/directory` of your project using an IDE and save the files. **index.html** ```xml <!DOCTYPE html> <html> <head> <meta charset="utf-8" /> <meta http-equiv="X-UA-Compatible" content="IE=edge"> <title>AlientCityAppClient</title> <meta name="viewport" content="width=device-width, initial-scale=1"> <link rel="stylesheet" type="text/css" media="screen" href="main.css" /> <link rel="stylesheet" href="https://stackpath.bootstrapcdn.com/bootstrap/4.3.1/css/bootstrap.min.css" integrity="sha384-ggOyR0iXCbMQv3Xipma34MD+dH/1fQ784/j6cY/iJTQUOhcWr7x9JvoRxT2MZw1T" crossorigin="anonymous"> <script src="https://code.jquery.com/jquery-3.4.1.min.js" integrity="sha256-CSXorXvZcTkaix6Yvo6HppcZGetbYMGWSFlBw8HfCJo=" crossorigin="anonymous"></script> <script src="https://cdnjs.cloudflare.com/ajax/libs/popper.js/1.14.7/umd/popper.min.js" integrity="sha384-UO2eT0CpHqdSJQ6hJty5KVphtPhzWj9WO1clHTMGa3JDZwrnQq4sF86dIHNDz0W1" crossorigin="anonymous"> </script> <script src="https://stackpath.bootstrapcdn.com/bootstrap/4.3.1/js/bootstrap.min.js" integrity="sha384-JjSmVgyd0p3pXB1rRibZUAYoIIy6OrQ6VrjIEaFf/nJGzIxFDsf4x0xIM+B07jRM" crossorigin="anonymous"> </script> <script src="main.js"></script> </head> <body> <br> <br> <center> <h1>ALIEN CITY</h1> </center> <div class="container"> <ul class="nav nav-tabs" id="myTab" role="tablist"> <li class="nav-item"> <a class="nav-link active" id="check-tab" data-toggle="tab" href="#check" role="tab" aria-controls="check" aria-selected="true">Check My City</a> </li> <li class="nav-item"> <a class="nav-link" id="report-tab" data-toggle="tab" href="#report" role="tab" aria-controls="report" aria-selected="false">Report Alien Encounter</a> </li> </ul> <div class="tab-content" id="myTabContent"> <div class="tab-pane fade show active" id="check" role="tabpanel" aria-labelledby="check-tab"> <br> <br> <form> <div class="form-group"> <label for="city-get-input"><b>Check if your city has aliens:</b></label> <input type="text" class="form-control" id="city-get-input" aria-describedby="checkCity" placeholder="Enter City Name"> </div> <button type="submit" class="btn btn-primary" onclick="getAlienEncounter();return false;">Check</button> </form> <br> <br> <div id="result-container"> <div id="result-text"> </div> <br> <div id="result-image"> </div> </div> <div id="loader" style="display: none;"> <div class="spinner-border" role="status"> <span class="sr-only">Loading...</span> </div> </div> </div> <div class="tab-pane fade" id="report" role="tabpanel" aria-labelledby="report-tab"> <br> <br> <form> <div class="form-group"> <div class="city-post-input"> <label for="exampleInputEmail1"><b>Enter the name of the city where you encountered an alien:</b></label> <input type="text" class="form-control" id="city-post-input" aria-describedby="cityPost" placeholder="Enter City Name"> </div> </div> <button type="submit" class="btn btn-primary" onclick="postAlienEncounter();return false;">Report</button> </form> </div> </div> </div> </body> </html> ``` **main.js** ```javascript /* Fires an API call to the server and adds the reported city as an alien city */ function postAlienEncounter() { var city = $("#city-post-input").val(); // Fires an Ajax call to the URL defined in the index.js function file // All URLs to the Advanced I/O function will be of the pattern: /server/{function_name}/{url_path} $.ajax({ url: "/server/alien_city_function/alien", type: "post", contentType: "application/json", data: JSON.stringify({ "city_name": city }), success: function (data) { alert(data.message); }, error: function (error) { alert(error.message); } }); } /*Fires an API call to the server to check whether the given city is alien city or not*/ function getAlienEncounter() { showLoader(); var positive = "https://media.giphy.com/media/Y1GYiLui9NHcxVKhdo/giphy.gif"; var negative = "https://media.giphy.com/media/fsPcMdeXPxSP6zKxCA/giphy.gif"; var city = $("#city-get-input").val(); // Fires an Ajax call to the URL defined in the index.js function file // All URLs to the Advanced I/O function will be of the pattern: /server/{function_name}/{url_path} $.ajax({ url: "/server/alien_city_function/alien?city_name=" + city, type: "get", success: function (data) { console.log(data); $("#result-text").text(""); $("#result-text").text(data.message); var imagesrc = negative; if (data.signal == 'positive') { imagesrc = positive; } $("#result-image").html("<img src='" + imagesrc + "' />"); hideLoader(); }, errror: function (error) { alert(error.message); } }); } function showLoader() { $("#result-container").hide(); $("#loader").show(); } function hideLoader() { $("#loader").hide(); $("#result-container").show(); } ``` The client directory is now configured. Let's quickly go through the working of the function and client components of the application: 1. **GET Operation** * GET operation When you enter a city name in the client to check for a record of previous alien encounter, the `onClick` event for the **Check** button in `index.html` triggers the `getAlienEncounter()` function defined in `main.js`. * This fires an Ajax call to the URL route defined in the Advanced I/O function. The `GET API` defined `main.py` then invokes the `getAlienCountFromCatalystDataStore()` function and passes the request query. * This function searches for the data in the *AlienCity* table in the Data Store by executing a ZCQL query. * If a record matching the city name is found in the table, a *positive* signal is sent as the response. Otherwise, a *negative* signal is sent as the response. * The client then displays the message that matches the response. A GIF matching the response defined in `main.js` is also displayed. 2. **POST Operation** * When you enter a city name in the client to report an alien encounter, the `onClick` event for the **Report** button in `index.html` triggers the `postAlienEncounter()` function defined in `main.js`. * This fires an Ajax call to the URL route defined in the Advanced I/O function. The POST API defined in main.py then invokes the getAlienCountFromCatalystDataStore() function and passes a request query to check if a record with the same city name already exists. * This function searches for the data in the *AlienCity* table in the Data Store by executing a ZCQL query. If the record already exists, a response is sent, which enables the client to display an appropriate message to the user. * If there are no records for the city name, a new row is created in the *AlienCity* table for the city name entered by the user. A pop-up box is displayed in the client confirming the insertion of the record in the Data Store. An appropriate message is also pushed to the logs which can be checked from [Logs](https://docs.catalyst.zoho.com/en/devops/help/logs/introduction/), a [Catalyst DevOps](https://docs.catalyst.zoho.com/en/devops/getting-started/introduction/) component under the *Monitor* section in the *DevOps* service section of the console. -------------------------------------------------------------------------------- title: "Test the Application" description: "Create a single-page web application using Catalyst Advanced I/O Function and Data Store that allows you to report or look up alien encounters in a city." last_updated: "2026-11-04T10:10:44.000Z" source: "https://docs.catalyst.zoho.com/en/tutorials/alien-city/python/test-application/" service: "All Services" related: - Serve CLI Resources (/en/cli/v1/serve-resources/introduction/) -------------------------------------------------------------------------------- # Test the Application Before you deploy the application to the remote console, you can [test the application](https://docs.catalyst.zoho.com/en/cli/v1/serve-resources/introduction/) on a local server and check if everything works fine using the Catalyst CLI. To serve the Catalyst project locally, execute the following command from your project directory: ```sh catalyst serve ``` This Alien City application is now served at default port 3000. The local endpoint URLs of the components are displayed. > **Note:** Every time you access the home page or any of the sub-pages of your client, or the function, the CLI will display a live log of the URL accessed, along with the HTTP request method. ![catalyst_alien_city_serve](https://catalyst-docs-development.zohostratus.in/images/tutorials/alcity/catalyst_alien_city_serve.webp) You can now open the client component’s local URL in a browser to access the Alien City application. ![catalyst_alien_city_catalyst_serve](https://catalyst-docs-development.zohostratus.in/images/tutorials/alcity/catalyst_alien_city_catalyst_serve.webp) Let’s test the application by entering a city’s name and checking for the history of an alien encounter in the city. Since we have not reported an alien encounter in a city yet, the result should be negative. Enter a city name in the text box and click **Check**. ![catalyst_alien_city_new_york](https://catalyst-docs-development.zohostratus.in/images/tutorials/alcity/catalyst_alien_city_new_york.webp) Since a matching record for this city is not found in the Data Store, the client displays a negative response. ![catalyst_alien_city_new_york_no_alien](https://catalyst-docs-development.zohostratus.in/images/tutorials/alcity/catalyst_alien_city_new_york_no_alien.webp) Now, let’s report an alien encounter. Click the *Report Alien Encounter* tab. Enter a city name and click **Report**. We have entered "**Amsterdam**" in our application. ![catalyst_alien_city_report_encoutner](https://catalyst-docs-development.zohostratus.in/images/tutorials/alcity/catalyst_alien_city_report_encoutner.webp) The application will display a pop-up box confirming that the data is added to the Data Store. ![catalyst_alien_city_local_host_message](https://catalyst-docs-development.zohostratus.in/images/tutorials/alcity/catalyst_alien_city_local_host_message.webp) You can verify this by opening your Catalyst console and navigating to **Data Store** under *Storage* **>** *CloudScale*. Click the **Data View** tab to view the record that was just inserted. ![catalyst_alien_city_data_view](https://catalyst-docs-development.zohostratus.in/images/tutorials/alcity/catalyst_alien_city_data_view.webp) Next, let's search for this city in the client and check if it fetches this record from the Data Store. Click *Check My City* in the client application and enter the name of the city that you just reported. Here, we enter "**Amsterdam**". Click **Check**. ![catalyst_alien_city_report_created](https://catalyst-docs-development.zohostratus.in/images/tutorials/alcity/catalyst_alien_city_report_created.webp) The client displays a positive response. You can also check if the client displays the duplication message by reporting the same city again. ![catalyst_alien_ctiy_local_repeat_report](https://catalyst-docs-development.zohostratus.in/images/tutorials/alcity/catalyst_alien_ctiy_local_repeat_report.webp) If this setup is working correctly, we can deploy the application to production. -------------------------------------------------------------------------------- title: "Deploy the Project" description: "Create a single-page web application using Catalyst Advanced I/O Function and Data Store that allows you to report or look up alien encounters in a city." last_updated: "2026-11-04T10:10:44.000Z" source: "https://docs.catalyst.zoho.com/en/tutorials/alien-city/python/deploy-project/" service: "All Services" related: - Deploy CLI Resources (/en/cli/v1/deploy-resources/introduction/) - Web Client Hosting (/en/cloud-scale/help/web-client-hosting/introduction/) -------------------------------------------------------------------------------- # Deploy the Project To [deploy your Catalyst project](https://docs.catalyst.zoho.com/en/cli/v1/deploy-resources/introduction/) from the CLI, run the following command in your terminal from your project directory: ```sh catalyst deploy ``` The function is deployed first, followed by the client component. The production URLs of the components are displayed. ![catalyst_alien_city_catalyst_deploy](https://catalyst-docs-development.zohostratus.in/images/tutorials/alcity/catalyst_alien_city_catalyst_deploy.webp) You can now open the client component’s URL in a browser to access the deployed application. Alien City can be accessed now from its [web app URL](https://docs.catalyst.zoho.com/en/cloud-scale/help/web-client-hosting/key-concepts/#default-web-application-url). ![catalyst_alien_city_final_image](https://catalyst-docs-development.zohostratus.in/images/tutorials/alcity/catalyst_alien_city_final_image.webp) ## Alien City Using AppSail ### Java -------------------------------------------------------------------------------- title: "Introduction" description: "Create an application and host it on Catalyst AppSail with Catalyst Data Store that allows you to report or look up alien encounters in a city." last_updated: "2026-11-04T10:10:44.000Z" source: "https://docs.catalyst.zoho.com/en/tutorials/alien-city-appsail/springboot/introduction/" service: "All Services" related: - Project Directory Structure (/en/cli/v1/project-directory-structure/introduction/) - Catalyst SDK for AppSail (/en/serverless/help/appsail/implement-catalyst-sdk/) -------------------------------------------------------------------------------- # Alien City Using AppSail ### Introduction This tutorial will help you build a Java Spring Boot web application called **Alien City** and host it using Catalyst's serverless offering, AppSail. AppSail is a highly scalable PaaS component that allows you to code your application in any programming framework of your choice, independent of any Catalyst-specific coding structures, and host it on Catalyst with ease. **Alien City** is a fun application that allows you to search for and report alien encounters in a city. The web application will appear as follows: ![catalyst_appsail_tut_showcase_app](https://catalyst-docs-development.zohostratus.in/images/tutorials/alien-city-appsail-express/catalyst_appsail_tut_showcase_app.webp) You can access a working application and test its functioning here: [Try the App!](https://alien-city.catalystserverlessapp.com/app/) The Alien City application utilizes components from the following Catalyst Services: 1. [**Catalyst Serverless**](https://docs.catalyst.zoho.com/en/serverless/getting-started/introduction/): - [AppSail](https://docs.catalyst.zoho.com/en/serverless/help/appsail/introduction/): To host the independent Java Spring Boot application. We will be building the front-end of the app as well as the backend logic, and bundling them together to deploy on AppSail. 2. [**Catalyst CloudScale**](https://docs.catalyst.zoho.com/en/cloud-scale/getting-started/introduction/): - [Data Store](https://docs.catalyst.zoho.com/en/cloud-scale/help/data-store/introduction/): To store the database of the cities where alien encounters have been reported. - [ZCQL](https://docs.catalyst.zoho.com/en/cloud-scale/help/zcql/introduction/): To fetch data from the **Data Store** through querying. You will use the [Catalyst web console](https://console.catalyst.zoho.com/) and the [Catalyst Command Line Interface](https://docs.catalyst.zoho.com/en/cli/v1/cli-command-reference/) (CLI) to build this application. You will be given the code for the files to be included in the application in this tutorial. You will just need to copy the code and paste it into the appropriate files as directed. ### Application Architecture The Alien City application’s functioning can be described as follows: * **Reporting an alien encounter** A user enters the name of a city where they experienced an alien encounter. If the city had already been reported previously, the app displays a message notifying the user of it. If the city has never been reported, the data will be added to a table in the **Data Store** identifying the city. * **Checking for an alien encounter** A user checks for a record of an alien encounter in a particular city by providing its name. If a record of that city exists in the **Data Store**, the app will display a positive response. Otherwise, it will display a negative response. ![catalyst_alcity_architecture](https://catalyst-docs-development.zohostratus.in/images/tutorials/alien-city-appsail-express/catalyst_alcity_architecture.webp) -------------------------------------------------------------------------------- title: "Prerequisites" description: "Create an application and host it on Catalyst AppSail with Catalyst Data Store that allows you to report or look up alien encounters in a city." last_updated: "2026-11-04T10:10:44.000Z" source: "https://docs.catalyst.zoho.com/en/tutorials/alien-city-appsail/springboot/prerequisites/" service: "All Services" related: - Catalyst CLI Documentation (/en/cli/v1/cli-command-reference/) -------------------------------------------------------------------------------- # Prerequisites Before you begin building the application, you must have the following prerequisites installed on your system: 1. [Catalyst CLI](https://docs.catalyst.zoho.com/en/cli/v1/cli-command-reference/) Catalyst CLI contains a host of tools that allow you to initialize, develop, test, and deploy the components of your application from your local machine. We will be working with Catalyst CLI in this tutorial. You must perform the following actions: * **Install Catalyst CLI**: Catalyst CLI is installed through NPM. You must therefore have NPM and Node.js installed on your system before you install the CLI. Refer to the [Install Catalyst CLI help page](https://docs.catalyst.zoho.com/en/getting-started/installing-catalyst-cli/) for details on the pre-requisites and the steps to install it. * **Log in to Catalyst CLI**: After you install Catalyst CLI, you must authenticate the CLI with your Catalyst account before using it. Refer to the [CLI Login help page](https://docs.catalyst.zoho.com/en/cli/v1/login/login-from-cli/) for the steps to log in from Catalyst CLI and the various options available for it. 2. **Any IDE tool for application development for HTML and JavaScript** You can use any IDE to code your application. Some popular choices include Visual Studio Code, IntelliJ IDEA, Eclipse, and Sublime Text. Download and install an IDE of your choice on your system. 3. **Install Apache Maven Build Automation Tool** To complete this tutorial, you need to install Maven in your local system. Install the compatible version from your system using this [link](https://maven.apache.org/download.cgi). > If you are a Visual Studio Code IDE user, you can install the **Catalyst Tools** extension, and use your IDE itself in place of the CLI. You can find more details about the Catalyst VS Code extension from this [help section](https://docs.catalyst.zoho.com/en/catalyst-extensions/vs-code-extension/introduction/). -------------------------------------------------------------------------------- title: "Create a Project" description: "Create an application and host it on Catalyst AppSail with Catalyst Data Store that allows you to report or look up alien encounters in a city." last_updated: "2026-11-04T10:10:44.000Z" source: "https://docs.catalyst.zoho.com/en/tutorials/alien-city-appsail/springboot/create-project/" service: "All Services" related: - Catalyst Console (/en/getting-started/catalyst-projects/) -------------------------------------------------------------------------------- # Create a Project Let’s [create a Catalyst project](https://docs.catalyst.zoho.com/en/getting-started/catalyst-projects/#create-a-catalyst-project) from the Catalyst console. 1. Log in to the [Catalyst console](https://console.catalyst.zoho.com/baas/index) and click **Create New Project**. ![catalyst_alien_city_create_project](https://catalyst-docs-development.zohostratus.in/images/tutorials/alien-city-appsail-express/catalyst-create-project.webp) 2. Enter the project’s name as "**AlienCity**" in the pop-up window, and click **Create**. ![catalyst_alien_city_project_create_name](https://catalyst-docs-development.zohostratus.in/images/tutorials/alien-city-appsail-express/catalyst_alien_city_project_create_name.webp) Your project will be created, then opened. -------------------------------------------------------------------------------- title: "Create a Table" description: "Create an application and host it on Catalyst AppSail with Catalyst Data Store that allows you to report or look up alien encounters in a city." last_updated: "2026-11-04T10:10:44.000Z" source: "https://docs.catalyst.zoho.com/en/tutorials/alien-city-appsail/springboot/create-table/" service: "All Services" related: - Data Store (/en/cloud-scale/help/data-store/introduction/) -------------------------------------------------------------------------------- # Create a Table Now let’s create a table in the [Data Store](https://docs.catalyst.zoho.com/en/cloud-scale/help/data-store/introduction/) of the **Alien City** project. This table is used to store records of city names where aliens were seen. To create a table: 1. Navigate to the *CloudScale* section of the console, then click **Start Exploring**. ![catalyst_alien_city_cloud_scale_homepage](https://catalyst-docs-development.zohostratus.in/images/tutorials/alien-city-appsail-express/catalyst_alien_city_cloud_scale_homepage.webp) 2. Navigate to **Data Store** under *Storage* and click **Create a New Table**. ![catalyst_alien_city_create_table](https://catalyst-docs-development.zohostratus.in/images/tutorials/alien-city-appsail-express/catalyst_alien_city_create_table.webp) 3. Enter the table’s name as "**AlienCity**" and click **Create**. ![catalyst_alien_city_create_tablename](https://catalyst-docs-development.zohostratus.in/images/tutorials/alien-city-appsail-express/catalyst_alien_city_create_tablename.webp) > **Note:** Ensure that you enter the name exactly as instructed, because the application's code contains the same name. The table is now created. Next, let’s create a column in the table to store the names of the cities. 1. Click **New Column** in the *Schema View* section for the table. ![catalyst_alien_city_create_new_clm](https://catalyst-docs-development.zohostratus.in/images/tutorials/alien-city-appsail-express/catalyst_alien_city_create_new_clm.webp) 2. Enter the column’s name as "**CityName**." Select the data type as **Var Char** and enter the max length as "**100**." Click the **Is Unique** toggle switch to enable it. ![catalyst_alien_city_create_clm_dets](https://catalyst-docs-development.zohostratus.in/images/tutorials/alien-city-appsail-express/catalyst_alien_city_create_clm_dets.webp) You can learn about the various data types supported by Catalyst, as well as the other properties of a column, from the [Data Store help page](https://docs.catalyst.zoho.com/en/cloud-scale/help/data-store/columns/). 3. Click **Create**. ![catalyst_alien_city_create_clm_created](https://catalyst-docs-development.zohostratus.in/images/tutorials/alien-city-appsail-express/catalyst_alien_city_create_clm_created.webp) The column is now created and listed in the *Schema View* section. -------------------------------------------------------------------------------- title: "Create a Spring Boot Project" description: "Create an application and host it on Catalyst AppSail with Catalyst Data Store that allows you to report or look up alien encounters in a city." last_updated: "2026-11-04T10:10:44.000Z" source: "https://docs.catalyst.zoho.com/en/tutorials/alien-city-appsail/springboot/initialize-springboot/" service: "All Services" related: - Catalyst SDK for AppSail (/en/cli/v1/initialize-resources/introduction/) - Spring Boot - JAR with AppSail (/en/serverless/help/appsail/help-guides/java/spring-boot/#spring-boot--jar) - Spring Boot - WAR with AppSail (/en/serverless/help/appsail/help-guides/java/spring-boot/#spring-boot---war) - Spring Boot Official Documentation (https://spring.io/guides/gs/spring-boot) -------------------------------------------------------------------------------- # Create a Spring Boot Project For this tutorial, we are going to create a **Spring Boot - JAR** project using the Spring Initializr website. 1. Go to the [Spring Initializr website](https://start.spring.io/) 2. Enter the required details in the following manner: - Select **Maven** as *Project*, **Java** as *Language*, and the latest Spring Boot version (avoid versions labeled SNAPSHOT or M). - Enter "**com.catalyst.appsail**" as the *Group*, and "**aliencity**" as the *Artificat*. The *Name* and *Package name* fields will be automatically generated. - Select **Jar** as the *Packaging*, and **17** as the *Java* version. ![catalyst_alcity_appsail_spring_init_populated](https://catalyst-docs-development.zohostratus.in/images/tutorials/alien-city-appsail-express/catalyst_alcity_appsail_spring_init_populated.webp) 3. Click the **ADD DEPENDENCIES** button, on the right side of the screen. ![catalyst_alcity_appsail_spring_init_depend_highlight](https://catalyst-docs-development.zohostratus.in/images/tutorials/alien-city-appsail-express/catalyst_alcity_appsail_spring_init_depend_highlight.webp) 4. Search for *Spring Web* in the drop-down and select the dependency. This step will install all the necessary dependencies required to build a Spring Boot web application when you generate the package. ![catalyst_alcity_appsail_spring_choose_dependancy](https://catalyst-docs-development.zohostratus.in/images/tutorials/alien-city-appsail-express/catalyst_alcity_appsail_spring_choose_dependancy.webp) 5. Confirm all your selections, and click **Generate**. ![catalyst_alcity_appsail_spring_init_generate_highlighty](https://catalyst-docs-development.zohostratus.in/images/tutorials/alien-city-appsail-express/catalyst_alcity_appsail_spring_init_generate_highlight.webp) The aliencity Spring Boot project will be downloaded to your local system as a zip file. Unzip the downloaded file and this directory, `aliencity/` will be our local directory where we initialize the *Catalyst AppSail* service for our project. Along with all the required dependencies, it will also contain the `AliencityApplication.java` file. This file will contain the logic that allows you to run the application on Spring Boot. The `aliencity/` **Spring Boot - JAR** directory will look like this: ![catalyst_alcity_appsail_spring_init_dir](https://catalyst-docs-development.zohostratus.in/images/tutorials/alien-city-appsail-express/catalyst_alcity_appsail_spring_init_dir.webp) > **Note:** This tutorial has created a Spring Boot project to demonstrate building a **Spring Boot - JAR** project, and deploying it as an *AppSail* service. You can learn how to do the same with **Spring Boot - WAR** projects from this [help documentation](https://docs.catalyst.zoho.com/en/serverless/help/appsail/help-guides/java/spring-boot/#spring-boot---war). For more information on how to create a Spring Boot project, you can visit their [official help documentation](https://spring.io/guides/gs/spring-boot). -------------------------------------------------------------------------------- title: "Initialize Your Catalyst Project" description: "Create an application and host it on Catalyst AppSail with Catalyst Data Store that allows you to report or look up alien encounters in a city." last_updated: "2026-11-04T10:10:44.000Z" source: "https://docs.catalyst.zoho.com/en/tutorials/alien-city-appsail/springboot/initialize-project/" service: "All Services" related: - Initialize CLI Resources (/en/cli/v1/initialize-resources/introduction/) - Project Directory Structure (/en/cli/v1/project-directory-structure/introduction/) -------------------------------------------------------------------------------- # Initialize Your Catalyst Project You can now begin working on your Catalyst project from the CLI. The first step is to initialize the project in an empty directory. This will be the home directory of your project and all of the project files will be saved in it. You can learn more about this from the [Project Directory Structure help page](https://docs.catalyst.zoho.com/en/cli/v1/project-directory-structure/introduction/). You can learn about initializing a project in detail from the [CLI help documentation](https://docs.catalyst.zoho.com/en/cli/v1/initialize-resources/introduction/). For this application, you will be initializing the AppSail component. The AppSail component will be initialized in the Java programming stack. 1. Launch Catalyst CLI terminal in the `/aliencity` directory you just unzipped, and execute the following CLI command. ```sh catalyst init ``` Navigate using the **arrow keys** and select your preferred portal and click **Enter**. If you have no other organizations associated with the account, then the default will be selected automatically. ![catalyst_alien_city_cli_portal_choice](https://catalyst-docs-development.zohostratus.in/images/tutorials/alien-city-appsail-express/catalyst_alien_city_cli_portal_choice.webp) You can find out more about Catalyst’s multi-org portal feature in this [help document](https://docs.catalyst.zoho.com/en/getting-started/catalyst-organizations/#access-the-multi-org-portal). 2. The CLI will now ask you to associate a Catalyst project with the directory. Associate it with the project that we created earlier from the console. Select **Alien City** from the list and click **Enter**. ![catalyst_alien_city_cli_project_choice](https://catalyst-docs-development.zohostratus.in/images/tutorials/alien-city-appsail-express/catalyst_alien_city_cli_project_choice.webp) 3. Select **AppSail** using the **space bar**, then click **Enter** to initialize. ![catalyst_alien_city_cli_appsail_select](https://catalyst-docs-development.zohostratus.in/images/tutorials/alien-city-appsail-express/alien-city-cli-init-appsail.webp) 4. The CLI will prompt you to choose between [Catalyst-Managed Runtime](https://docs.catalyst.zoho.com/en/serverless/help/appsail/catalyst-managed-runtimes/key-concepts/) and [Docker Image](https://docs.catalyst.zoho.com/en/serverless/help/appsail/custom-runtimes/container-registry-services/). Because you are creating this project from one of the Catalyst-Managed Runtime, select **Catalyst-Managed Runtime** and click **Enter**. ![catalyst_alien_city_cli_appsail_setup_start](https://catalyst-docs-development.zohostratus.in/images/tutorials/alien-city-appsail-express/aliencity-appsail-selection.webp) 5. The CLI will initiate the AppSail service: - Because you are creating your own project, enter "**n**" and click **Enter** for the prompt asking if you wish to get started with a list of recommended projects. - Because you have initialized the project in the `Alien City/` directory created specifically for this application, enter "**Y**" and click **Enter** for the prompt asking you to confirm if this the directory you wish to initialize your AppSail service. ![catalyst_alien_city_cli_appsail_setup_start](https://catalyst-docs-development.zohostratus.in/images/tutorials/alien-city-appsail-express/aliencity-appsail-selection-2.webp) 6. Next, we will begin configuring our AppSail service. Enter "**aliencity**" as the name of your AppSail service. 7. Select your current directory as the build path of your AppSail service, and choose the latest runtime of **Java** as the programming stack, and click **Enter**. ![catalyst_alcity_appsail_spring_choose_java_func](https://catalyst-docs-development.zohostratus.in/images/tutorials/alien-city-appsail-express/aliencity-appsail-java-selection.webp) 8. Choose **Java SE** as the platform for your AppSail service, and click **Enter**. ![catalyst_alcity_appsail_spring_choose_java_plat](https://catalyst-docs-development.zohostratus.in/images/tutorials/alien-city-appsail-express/catalyst_alcity_appsail_spring_choose_java_plat.webp) The AppSail service has been initialized for your Alien City project. ![catalyst_alcity_appsail_spring_init_completed](https://catalyst-docs-development.zohostratus.in/images/tutorials/alien-city-appsail-express/catalyst_alcity_appsail_spring_init_completed.webp) The `aliencity/` directory will be modified to contain the [`app-config.json`](https://docs.catalyst.zoho.com/en/serverless/help/appsail/catalyst-managed-runtimes/key-concepts/#the-app-configjson-file) file which includes the configuration of your AppSail service, along with the standard project configuration files such as the [`catalyst.json`](https://docs.catalyst.zoho.com/en/cli/v1/project-directory-structure/catalyst-json/) file and a hidden `.catalystrc` file. This structure of the *aliencity* Spring Boot project’s directory initialized with the AppSail service is shown below: ![catalyst_alcity_appsail_spring_catalyst_init_dir](https://catalyst-docs-development.zohostratus.in/images/tutorials/alien-city-appsail-express/catalyst_alcity_appsail_spring_catalyst_init_dir.webp) -------------------------------------------------------------------------------- title: "Code Your Application" description: "Create an application and host it on Catalyst AppSail with Catalyst Data Store that allows you to report or look up alien encounters in a city." last_updated: "2026-11-04T10:10:44.000Z" source: "https://docs.catalyst.zoho.com/en/tutorials/alien-city-appsail/springboot/code-app/" service: "All Services" related: - Catalyst SDK for AppSail (/en/cli/v1/initialize-resources/introduction/) -------------------------------------------------------------------------------- # Code Your Application In the `aliencity/src/main/java/com/catalyst/appsail/aliencity/` directory, create a Java code file and name it `AlienCity.java`. This code file will contain the backend logic of your application. In the `aliencity/src/main/resources/static` directory, create the following files: - `index.html`: The file that contains the HTML code for the front-end of the application. - `main.js`: The file that contains the JavaScript code that connects the front-end and backend. The final structure of the `aliencity/` **Spring Boot - JAR** project directory is shown below: ![catalyst_alcity_appsail_spring_complete](https://catalyst-docs-development.zohostratus.in/images/tutorials/alien-city-appsail-express/catalyst_alcity_appsail_spring_complete.webp) You will be coding the `AlienCity.java`, `AliencityApplication.java`, `index.html`, and `main.js`. You will also be updating the `app-config.json`, and the `pom.xml` file. > **Note:** Please go through the code in this section to make sure you fully understand it. Copy the code below and paste it into the respective files of your project using an IDE and save the files: **AlienCity.java** ```java package com.catalyst.appsail.aliencity; import org.springframework.web.bind.annotation.*; import com.fasterxml.jackson.databind.ObjectMapper; import com.zc.auth.CatalystSDK; import com.zc.component.object.ZCObject; import com.zc.component.object.ZCRowObject; import com.zc.component.zcql.ZCQL; import org.springframework.http.ResponseEntity; import org.apache.commons.logging.Log; import org.json.simple.JSONObject; import org.json.simple.parser.JSONParser; import org.springframework.http.HttpStatus; import org.springframework.http.MediaType; import java.util.ArrayList; import java.util.HashMap; import java.util.Map; import java.util.logging.Logger; import javax.servlet.http.HttpServletRequest; import javax.servlet.http.HttpServletResponse; @RestController public class AlienCity { Map<String, String> responseMap = new HashMap<>(); private int getAlienCountFromCatalystDataStore(String cityName) throws Exception { String query = "Select * from AlienCity where CityName = '" + cityName + "'"; Logger.getLogger(AlienCity.class.getName()).info("Query: " + query); ArrayList<ZCRowObject> rowList = ZCQL.getInstance().executeQuery(query); return rowList.size(); } @GetMapping("/alien") public ResponseEntity<String> getAlienEncounter(@RequestParam String city_name, HttpServletRequest request, HttpServletResponse response) throws Exception { CatalystSDK.init(request); try { int length = getAlienCountFromCatalystDataStore(city_name); if (length == 0) { responseMap.put("message", "Hurray! No alien encounters in this city yet!"); responseMap.put("signal", "negative"); String jsonResponse = new ObjectMapper().writeValueAsString(responseMap); return ResponseEntity.ok() .contentType(MediaType.APPLICATION_JSON) .body(jsonResponse); } else { responseMap.put("message", "Uh oh! Looks like there are aliens in this city!"); responseMap.put("signal", "positive"); String jsonResponse = new ObjectMapper().writeValueAsString(responseMap); return ResponseEntity.ok() .contentType(MediaType.APPLICATION_JSON) .body(jsonResponse); } } catch (Exception e) { e.printStackTrace(); responseMap.put("message", "Internal Server Error"); responseMap.put("signal", "error"); String jsonResponse = new ObjectMapper().writeValueAsString(responseMap); return ResponseEntity.status(HttpStatus.INTERNAL_SERVER_ERROR) .contentType(MediaType.APPLICATION_JSON) .body(jsonResponse); } } @PostMapping("/alien") public ResponseEntity<String> postAlienEncounter(HttpServletRequest request, HttpServletResponse response, @RequestBody String requestBody) throws Exception { CatalystSDK.init(request); JSONParser jsonParser = new JSONParser(); JSONObject jsonObject = (JSONObject) jsonParser.parse(requestBody); String cityname = (String) jsonObject.get("city_name"); try { int length = getAlienCountFromCatalystDataStore(cityname); if (length > 0) { responseMap.put("message", "Looks like you are not the first person to encounter aliens in this city! Someone has already reported an alien encounter here!"); String jsonResponse = new ObjectMapper().writeValueAsString(responseMap); return ResponseEntity.ok() .contentType(MediaType.APPLICATION_JSON) .body(jsonResponse); } else { ZCRowObject row = ZCRowObject.getInstance(); row.set("CityName", cityname); ZCObject.getInstance().getTableInstance("AlienCity").insertRow(row); responseMap.put("message", "Thanks for reporting!"); String jsonResponse = new ObjectMapper().writeValueAsString(responseMap); return ResponseEntity.ok() .contentType(MediaType.APPLICATION_JSON) .body(jsonResponse); } } catch (Exception e) { e.printStackTrace(); responseMap.put("message", "Internal Server Error"); String jsonResponse = new ObjectMapper().writeValueAsString(responseMap); return ResponseEntity.status(HttpStatus.INTERNAL_SERVER_ERROR) .contentType(MediaType.APPLICATION_JSON) .body(jsonResponse); } } } ``` **AliencityApplication.java** ```java package com.catalyst.appsail.aliencity; import java.util.Collections; import javax.servlet.http.HttpServlet; import org.springframework.boot.SpringApplication; import org.springframework.boot.autoconfigure.SpringBootApplication; @SpringBootApplication public class AliencityApplication extends HttpServlet { public static void main(String[] args) { String port = System.getenv().getOrDefault("X_ZOHO_CATALYST_LISTEN_PORT","3000"); SpringApplication app = new SpringApplication(AliencityApplication.class); app.setDefaultProperties(Collections.singletonMap("server.port",port)); app.run(args); } } ``` **index.html** ```xml <!DOCTYPE html> <html> <head> <meta charset="utf-8" /> <meta http-equiv="X-UA-Compatible" content="IE=edge"> <title>AlientCityAppClient</title> <meta name="viewport" content="width=device-width, initial-scale=1"> <link rel="stylesheet" type="text/css" media="screen" href="main.css" /> <link rel="stylesheet" href="https://stackpath.bootstrapcdn.com/bootstrap/4.3.1/css/bootstrap.min.css" integrity="sha384-ggOyR0iXCbMQv3Xipma34MD+dH/1fQ784/j6cY/iJTQUOhcWr7x9JvoRxT2MZw1T" crossorigin="anonymous"> <script src="https://code.jquery.com/jquery-3.4.1.min.js" integrity="sha256-CSXorXvZcTkaix6Yvo6HppcZGetbYMGWSFlBw8HfCJo=" crossorigin="anonymous"> </script> <script src="https://cdnjs.cloudflare.com/ajax/libs/popper.js/1.14.7/umd/popper.min.js" integrity="sha384-UO2eT0CpHqdSJQ6hJty5KVphtPhzWj9WO1clHTMGa3JDZwrnQq4sF86dIHNDz0W1" crossorigin="anonymous"> </script> <script src="https://stackpath.bootstrapcdn.com/bootstrap/4.3.1/js/bootstrap.min.js" integrity="sha384-JjSmVgyd0p3pXB1rRibZUAYoIIy6OrQ6VrjIEaFf/nJGzIxFDsf4x0xIM+B07jRM" crossorigin="anonymous"> </script> <script src="/main.js"> </script> </head> <body> <br> <br> <center> <h1>ALIEN CITY</h1> </center> <div class="container"> <ul class="nav nav-tabs" id="myTab" role="tablist"> <li class="nav-item"> <a class="nav-link active" id="check-tab" data-toggle="tab" href="#check" role="tab" aria-controls="check" aria-selected="true">Check My City</a> </li> <li class="nav-item"> <a class="nav-link" id="report-tab" data-toggle="tab" href="#report" role="tab" aria-controls="report" aria-selected="false">Report Alien Encounter</a> </li> </ul> <div class="tab-content" id="myTabContent"> <div class="tab-pane fade show active" id="check" role="tabpanel" aria-labelledby="check-tab"> <br> <br> <form> <div class="form-group"> <label for="city-get-input"> <b>Check if your city has aliens:</b> </label> <input type="text" class="form-control" id="city-get-input" aria-describedby="checkCity" placeholder="Enter City Name"> </div> <button type="submit" class="btn btn-primary" onclick="getAlienEncounter();return false;">Check</button> </form> <br> <br> <div id="result-container"> <div id="result-text"> </div> <br> <div id="result-image"> </div> </div> <div id="loader" style="display: none;"> <div class="spinner-border" role="status"> <span class="sr-only">Loading...</span> </div> </div> </div> <div class="tab-pane fade" id="report" role="tabpanel" aria-labelledby="report-tab"> <br> <br> <form> <div class="form-group"> <div class="city-post-input"> <label for="exampleInputEmail1"> <b>Enter the name of the city where you encountered an alien:</b> </label> <input type="text" class="form-control" id="city-post-input" aria-describedby="cityPost" placeholder="Enter City Name"> </div> </div> <button type="submit" class="btn btn-primary" onclick="postAlienEncounter();return false;">Report</button> </form> </div> </div> </div> </body> </html> ``` **main.js** ```javascript function postAlienEncounter() { debugger; var city = $("#city-post-input").val(); $.ajax({ url: "/alien", type: "post", contentType: "application/json", data: JSON.stringify({ "city_name": city }), success: function (data) { alert(data.message); }, error: function (error) { alert(error.message); } }); } function getAlienEncounter() { debugger showLoader(); var positive = "https://media.giphy.com/media/Y1GYiLui9NHcxVKhdo/giphy.gif"; var negative = "https://media.giphy.com/media/fsPcMdeXPxSP6zKxCA/giphy.gif"; var city = $("#city-get-input").val(); $.ajax({ url: "/alien?city_name=" + city, type: "get", success: function (data) { console.log(data); $("#result-text").text(""); $("#result-text").text(data.message); var imagesrc = negative; if (data.signal == 'positive') { imagesrc = positive; } $("#result-image").html(""); $("#result-image").html("<img src='" + imagesrc + "' />"); hideLoader(); }, error: function (error) { alert(error.message); } }); } function showLoader() { $("#result-container").hide(); $("#loader").show(); } function hideLoader() { $("#loader").hide(); $("#result-container").show(); } ``` **pom.xml** ```xml <?xml version="1.0" encoding="UTF-8"?> <project xmlns="http://maven.apache.org/POM/4.0.0" xmlns:xsi="http://www.w3.org/2001/XMLSchema-instance" xsi:schemaLocation="http://maven.apache.org/POM/4.0.0 https://maven.apache.org/xsd/maven-4.0.0.xsd"> <modelVersion>4.0.0</modelVersion> <parent> <groupId>org.springframework.boot</groupId> <artifactId>spring-boot-starter-parent</artifactId> <version>2.7.10</version> <!-- Change version to this value --> <relativePath /> </parent> <groupId>com.catalyst.appsail</groupId> <artifactId>aliencity</artifactId> <version>0.0.1-SNAPSHOT</version> <name>aliencity</name> <packaging>jar</packaging> <!-- Include this --> <description>learning Catalyst AppSail~</description> <properties> <java.version>17</java.version> </properties> <dependencies> <dependency> <groupId>org.springframework.boot</groupId> <artifactId>spring-boot-starter-web</artifactId> </dependency> <dependency> <groupId>org.springframework.boot</groupId> <artifactId>spring-boot-starter-test</artifactId> <scope>test</scope> </dependency> <dependency> <groupId>com.zoho.catalyst</groupId> <artifactId>java-sdk</artifactId> <version>0.0.1</version> </dependency> <dependency> <groupId>com.squareup.okhttp3</groupId> <artifactId>okhttp</artifactId> <version>3.9.0</version> <scope>compile</scope> </dependency> <dependency> <groupId>org.apache.httpcomponents</groupId> <artifactId>httpmime</artifactId> <version>4.5.3</version> <scope>compile</scope> </dependency> <!-- Servlet API for HttpServlet --> </dependencies> <build> <plugins> <plugin> <groupId>org.springframework.boot</groupId> <artifactId>spring-boot-maven-plugin</artifactId> <version>2.6.1</version> <!-- Use the version compatible with your project --> </plugin> <plugin> <groupId>org.springframework.boot</groupId> <artifactId>spring-boot-maven-plugin</artifactId> </plugin> </plugins> </build> <!--Insall required Repositories--> <repositories> <repository> <id>spring-milestones</id> <name>Spring Milestones</name> <url>https://repo.spring.io/milestone</url> </repository> <repository> <id>spring-snapshots</id> <name>Spring Snapshots</name> <url>https://repo.spring.io/snapshot</url> </repository> <repository> <id>java-sdk</id> <url>https://maven.zohodl.com</url> </repository> </repositories> <pluginRepositories> <pluginRepository> <id>spring-milestones</id> <name>Spring Milestones</name> <url>https://repo.spring.io/milestone</url> <snapshots> <enabled>false</enabled> </snapshots> </pluginRepository> <pluginRepository> <id>spring-snapshots</id> <name>Spring Snapshots</name> <url>https://repo.spring.io/snapshot</url> <releases> <enabled>false</enabled> </releases> </pluginRepository> </pluginRepositories> </project> ``` > **Note:** Do not change the version in line **14**. You can host your application on AppSail only if the version is `2.7.10` or less. **app-config.json** ```json { "command": "java -jar aliencity-0.0.1-SNAPSHOT.jar", "buildPath": "./target/", "stack": "java17", "env_variables": {}, "memory": 256, "scripts": { "preserve": "mvn clean package", "predeploy": "mvn clean package" }, "platform": "javase" } ``` > **Note:** Ensure you provide the right value for the `buildpath` key. Let’s quickly go through the working of the application: 1. **GET Operation** - When you enter a city name in the application to check for a record of previous alien encounters, the onClick event for the **Check** button in `index.html` triggers the `getAlienEncounter()` function defined in `main.js`. - This fires an Ajax call to the URL route defined in the `AlienCity.java` function. - The **GET API** defined in `AlienCity.java` then invokes the `getAlienCountFromCatalystDataStore()` function and passes the request query. - This function searches for the data in the **Alien City** table in the *Data Store* by executing a ZCQL query. - If a record matching the city name is found in the table, a *positive* signal is sent as the response. Otherwise, a *negative* signal is sent as the response. - The client then displays the message that matches the response. A GIF matching the response defined in `main.js` is also displayed. 2. **POST Operation** - When you enter a city name in the client to report an alien encounter, the onClick event for the **Report** button in `index.html` triggers the `postAlienEncounter()` function defined in `main.js`. - This fires an Ajax call to the URL route defined in the `AlienCity.java` function. The POST API defined in `AlienCity.java` then invokes the `getAlienCountFromCatalystDataStore()` function and passes a request query to check if a record with the same city name already exists. - This function searches for the data in the **Alien City** table in the *Data Store* by executing a ZCQL query. If the record already exists, a response is sent, which enables the application to display a message that the city name is already added. - If there are no records for the city name, a new row is created in the **Alien City** table for the city name entered by the user. A pop-up box is displayed in the client confirming the insertion of the record in the *Data Store*. An appropriate message is also pushed to the logs which can be checked from the [*Logs*](https://docs.catalyst.zoho.com/en/devops/help/logs/introduction/) component present in the [Catalyst DevOps](https://docs.catalyst.zoho.com/en/devops/) service. -------------------------------------------------------------------------------- title: "Test the Application" description: "Create an application and host it on Catalyst AppSail with Catalyst Data Store that allows you to report or look up alien encounters in a city." last_updated: "2026-11-04T10:10:44.000Z" source: "https://docs.catalyst.zoho.com/en/tutorials/alien-city-appsail/springboot/test-app/" service: "All Services" related: - Serve CLI Resources (/en/cli/v1/serve-resources/introduction/) -------------------------------------------------------------------------------- # Test the Application Before you deploy the application to the remote console, you can [test the application](https://docs.catalyst.zoho.com/en/cli/v1/serve-resources/introduction/) on a local server and check if everything works using the Catalyst CLI. To serve the Catalyst project locally, execute the following command from your project directory: ```sh catalyst serve ``` This Alien City application is now served at default port `3001`. ![catalyst_alcity_appsail_spring_serve_cli](https://catalyst-docs-development.zohostratus.in/images/tutorials/alien-city-appsail-express/catalyst_alcity_appsail_spring_serve_cli.webp) > **Note:** Every time you access the home page or any of the sub-pages of your application, the CLI will display a live log of the URL accessed, along with the HTTP request method. ![catalyst_alcity_appsail_spring_serve_cli_actions](https://catalyst-docs-development.zohostratus.in/images/tutorials/alien-city-appsail-express/catalyst_alcity_appsail_spring_serve_cli_actions.webp) You can now open the application's localhost URL in a browser to access the Alien City application. ![catalyst_alcity_catalyst_test_1](https://catalyst-docs-development.zohostratus.in/images/tutorials/alien-city-appsail-express/catalyst_alcity_catalyst_test_1.webp) Let’s test the application by entering a city’s name and checking for the history of an alien encounter in the city. Because we have not reported an alien encounter in a city yet, the result should be negative. Enter a city name in the text box and click **Check**. ![catalyst_alcity_catalyst_test_2](https://catalyst-docs-development.zohostratus.in/images/tutorials/alien-city-appsail-express/catalyst_alcity_catalyst_test_2.webp) A matching record for this city will not be found in the Data Store, and the application displays a negative response. ![catalyst_alcity_catalyst_test_3](https://catalyst-docs-development.zohostratus.in/images/tutorials/alien-city-appsail-express/catalyst_alcity_catalyst_test_3.webp) Now, let’s report an alien encounter. Click the **Report Alien Encounter** tab. Enter a city name and click **Report**. We have entered "**Monaco**" in our application. ![catalyst_alcity_catalyst_test_4](https://catalyst-docs-development.zohostratus.in/images/tutorials/alien-city-appsail-express/catalyst_alcity_catalyst_test_4.webp) The application will display a pop-up box confirming that the data has been added to the Data Store. ![catalyst_alcity_catalyst_test_5](https://catalyst-docs-development.zohostratus.in/images/tutorials/alien-city-appsail-express/catalyst_alcity_catalyst_test_5.webp) You can verify this by opening your Catalyst console and navigating to **Data Store** under *CloudScale*. Click the **Data View** tab of the table to view the record that was just inserted. ![catalyst_alcity_catalyst_test_6](https://catalyst-docs-development.zohostratus.in/images/tutorials/alien-city-appsail-express/catalyst_alcity_catalyst_test_6.webp) Next, let’s search for this city in the application and check if it fetches this record from the Data Store. Click the **Check My City** tab in the application and enter the name of the city that you just reported. Here, we enter "**Monaco**." Click **Check**. ![catalyst_alcity_catalyst_test_7](https://catalyst-docs-development.zohostratus.in/images/tutorials/alien-city-appsail-express/catalyst_alcity_catalyst_test_7.webp) The application displays a positive response. You can also check if the application displays the duplication message by reporting the same city again. ![catalyst_alcity_catalyst_test_8](https://catalyst-docs-development.zohostratus.in/images/tutorials/alien-city-appsail-express/catalyst_alcity_catalyst_test_8.webp) If this setup is working correctly, you can deploy the application. -------------------------------------------------------------------------------- title: "Deploy the Application" description: "Create an application and host it on Catalyst AppSail with Catalyst Data Store that allows you to report or look up alien encounters in a city." last_updated: "2026-11-04T10:10:44.000Z" source: "https://docs.catalyst.zoho.com/en/tutorials/alien-city-appsail/springboot/deploy-app/" service: "All Services" related: - Deploy CLI Resources (/en/cli/v1/deploy-resources/introduction/) - AppSail (/en/serverless/help/appsail/introduction/) -------------------------------------------------------------------------------- # Deploy the Application To [deploy your Catalyst project](https://docs.catalyst.zoho.com/en/cli/v1/deploy-resources/introduction/) from the CLI, run the following command in your terminal from your project directory: ```sh catalyst deploy ``` The URL of the AppSail service generated by Catalyst is displayed. ![catalyst_alcity_appsail_spring_deploy_cli](https://catalyst-docs-development.zohostratus.in/images/tutorials/alien-city-appsail-express/catalyst_alcity_appsail_spring_deploy_cli.webp) The application is now deployed to the Catalyst console. Now, if you navigate to the *AppSail* component located under the *Serverless* section, you will see your service has been deployed. ![catalyst_alcity_catalyst_console_deploy](https://catalyst-docs-development.zohostratus.in/images/tutorials/alien-city-appsail-express/catalyst_alcity_catalyst_console_deploy.webp) Click the **Alien City service** and you will be able to view the access URL generated by Catalyst. In this section you will also have access to a live dashboard denoting the number of instances the Alien City service has spawned at any given moment. Using this section you will also be able configure and manage the AppSail service. You can find out more about this [here](https://docs.catalyst.zoho.com/en/serverless/help/appsail/console/overview/). ![catalyst_alcity_appsail_spring_deploy_1](https://catalyst-docs-development.zohostratus.in/images/tutorials/alien-city-appsail-express/catalyst_alcity_appsail_spring_deploy_1.webp) You can now access the application using the AppSail URL generated by Catalyst. ![catalyst_alcity_appsail_spring_deploy_2](https://catalyst-docs-development.zohostratus.in/images/tutorials/alien-city-appsail-express/catalyst_alcity_appsail_spring_deploy_2.webp) ### NodeJS -------------------------------------------------------------------------------- title: "Introduction" description: "Create an application and host it on Catalyst AppSail with Catalyst Data Store that allows you to report or look up alien encounters in a city." last_updated: "2026-11-04T10:10:44.000Z" source: "https://docs.catalyst.zoho.com/en/tutorials/alien-city-appsail/express/introduction/" service: "All Services" related: - Project Directory Structure (/en/cli/v1/project-directory-structure/introduction/) - Catalyst SDK for AppSail (/en/serverless/help/appsail/implement-catalyst-sdk/) -------------------------------------------------------------------------------- # Alien City Using AppSail ### Introduction This tutorial will help you build a Node.js Express web application called Alien City, and host it using Catalyst's serverless offering, AppSail. AppSail is a highly scalable PaaS component that allows you to code your application in any programming framework of your choice, independent of any Catalyst-specific coding structures, and host it on Catalyst with ease. Alien City is a fun application that allows you to search for and report alien encounters in a city. The web application will appear as follows: ![catalyst_appsail_tut_showcase_app](https://catalyst-docs-development.zohostratus.in/images/tutorials/alien-city-appsail-express/catalyst_appsail_tut_showcase_app.webp) You can access a working application and test its functioning here: [Try the App!](https://alien-city.catalystserverlessapp.com/app/) The Alien City application utilizes components from the following Catalyst Services: 1. [**Catalyst Serverless**](https://docs.catalyst.zoho.com/en/serverless/getting-started/introduction/): - [AppSail](https://docs.catalyst.zoho.com/en/serverless/help/appsail/introduction/): To host the independent Node.js Express application. We will be building the front-end of the app as well as the backend logic, and bundling them together to deploy on AppSail. 2. [**Catalyst CloudScale**](https://docs.catalyst.zoho.com/en/cloud-scale/getting-started/introduction/): - [Data Store](https://docs.catalyst.zoho.com/en/cloud-scale/help/data-store/introduction/): To store the database of the cities where alien encounters have been reported. - [ZCQL](https://docs.catalyst.zoho.com/en/cloud-scale/help/zcql/introduction/): To fetch data from the Data Store through querying. You will use the [Catalyst web console](https://console.catalyst.zoho.com/) and the [Catalyst Command Line Interface](https://docs.catalyst.zoho.com/en/cli/v1/cli-command-reference/) (CLI) to build this application. You will be given the code for the files to be included in the application in this tutorial. You will just need to copy the code and paste it into the appropriate files as directed. ### Application Architecture The Alien City application’s functioning can be described as follows: * **Reporting an alien encounter** A user enters the name of a city where they experienced an alien encounter. If the city had already been reported previously, the app displays a message notifying the user of it. If the city has never been reported, the data will be added to a table in the Data Store identifying the city. * **Checking for an alien encounter** A user checks for a record of an alien encounter in a particular city by providing its name. If a record of that city exists in the Data Store, the app will display a positive response. Otherwise, it will display a negative response. ![catalyst_alcity_architecture](https://catalyst-docs-development.zohostratus.in/images/tutorials/alien-city-appsail-express/catalyst_alcity_architecture.webp) -------------------------------------------------------------------------------- title: "Prerequisites" description: "Create an application and host it on Catalyst AppSail with Catalyst Data Store that allows you to report or look up alien encounters in a city." last_updated: "2026-11-04T10:10:44.000Z" source: "https://docs.catalyst.zoho.com/en/tutorials/alien-city-appsail/express/prerequisites/" service: "All Services" related: - Catalyst CLI Documentation (/en/cli/v1/cli-command-reference/) -------------------------------------------------------------------------------- # Prerequisites Before you begin building the application, you must have the following prerequisites installed on your system: 1. [Catalyst CLI](https://docs.catalyst.zoho.com/en/cli/v1/cli-command-reference/) Catalyst CLI contains a host of tools that allow you to initialize, develop, test, and deploy the components of your application from your local machine. We will be working with Catalyst CLI in this tutorial. You must perform the following actions: * **Install Catalyst CLI**: Catalyst CLI is installed through NPM. You must therefore have NPM and Node.js installed on your system before you install the CLI. Refer to the [Install Catalyst CLI help page](https://docs.catalyst.zoho.com/en/getting-started/installing-catalyst-cli/) for details on the pre-requisites and the steps to install it. * **Log in to Catalyst CLI**: After you install Catalyst CLI, you must authenticate the CLI with your Catalyst account before using it. Refer to the [CLI Login help page](https://docs.catalyst.zoho.com/en/cli/v1/login/login-from-cli/) for the steps to log in from Catalyst CLI and the various options available for it. 2. **Any IDE tool for application development for HTML and JavaScript** You can use any IDE to code your application. Some popular choices include Visual Studio Code, IntelliJ IDEA, Eclipse, and Sublime Text. Download and install an IDE of your choice on your system. > If you are a Visual Studio Code IDE user, you can install the **Catalyst Tools** extension, and use your IDE itself in place of the CLI. You can find more details about the Catalyst VS Code extension from this [help section](https://docs.catalyst.zoho.com/en/catalyst-extensions/vs-code-extension/introduction/). -------------------------------------------------------------------------------- title: "Create a Project" description: "Create an application and host it on Catalyst AppSail with Catalyst Data Store that allows you to report or look up alien encounters in a city." last_updated: "2026-11-04T10:10:44.000Z" source: "https://docs.catalyst.zoho.com/en/tutorials/alien-city-appsail/express/create-project/" service: "All Services" related: - Catalyst Console (/en/getting-started/catalyst-projects/) -------------------------------------------------------------------------------- # Create a Project Let’s [create a Catalyst project](https://docs.catalyst.zoho.com/en/getting-started/catalyst-projects/#create-a-catalyst-project) from the Catalyst console. 1. Log in to the [Catalyst console](https://console.catalyst.zoho.com/baas/index) and click **Create New Project**. ![catalyst_alien_city_create_project](https://catalyst-docs-development.zohostratus.in/images/tutorials/alien-city-appsail-express/catalyst-create-project.webp) 2. Enter the project’s name as "**AlienCity**" in the pop-up window, and click **Create**. ![catalyst_alien_city_project_create_name](https://catalyst-docs-development.zohostratus.in/images/tutorials/alien-city-appsail-express/catalyst_alien_city_project_create_name.webp) Your project will be created, then opened. -------------------------------------------------------------------------------- title: "Create a Table" description: "Create an application and host it on Catalyst AppSail with Catalyst Data Store that allows you to report or look up alien encounters in a city." last_updated: "2026-11-04T10:10:44.000Z" source: "https://docs.catalyst.zoho.com/en/tutorials/alien-city-appsail/express/create-table/" service: "All Services" related: - Data Store (/en/cloud-scale/help/data-store/introduction/) -------------------------------------------------------------------------------- # Create a Table Now let’s create a table in the [Data Store](https://docs.catalyst.zoho.com/en/cloud-scale/help/data-store/introduction/) of the **Alien City** project. This table is used to store records of city names where aliens were seen. To create a table: 1. Navigate to the *CloudScale* section of the console, then click **Start Exploring**. ![catalyst_alien_city_cloud_scale_homepage](https://catalyst-docs-development.zohostratus.in/images/tutorials/alien-city-appsail-express/catalyst_alien_city_cloud_scale_homepage.webp) 2. Navigate to **Data Store** under *Storage* and click **Create a New Table**. ![catalyst_alien_city_create_table](https://catalyst-docs-development.zohostratus.in/images/tutorials/alien-city-appsail-express/catalyst_alien_city_create_table.webp) 3. Enter the table’s name as "**Alien City**" and click **Create**. ![catalyst_alien_city_create_tablename](https://catalyst-docs-development.zohostratus.in/images/tutorials/alien-city-appsail-express/catalyst_alien_city_create_tablename.webp) > **Note:** Ensure that you enter the name exactly as instructed, because the application's code contains the same name. The table is now created. Next, let’s create a column in the table to store the names of the cities. 1. Click **New Column** in the *Schema View* section for the table. ![catalyst_alien_city_create_new_clm](https://catalyst-docs-development.zohostratus.in/images/tutorials/alien-city-appsail-express/catalyst_alien_city_create_new_clm.webp) 2. Enter the column’s name as "**CityName**". Select the data type as **Var Char** and enter the max length as "**100**". Click the **Is Unique** toggle switch to enable it. ![catalyst_alien_city_create_clm_dets](https://catalyst-docs-development.zohostratus.in/images/tutorials/alien-city-appsail-express/catalyst_alien_city_create_clm_dets.webp) You can learn about the various data types supported by Catalyst, as well as the other properties of a column, from the [Data Store help page](https://docs.catalyst.zoho.com/en/cloud-scale/help/data-store/columns/). 3. Click **Create**. ![catalyst_alien_city_create_clm_created](https://catalyst-docs-development.zohostratus.in/images/tutorials/alien-city-appsail-express/catalyst_alien_city_create_clm_created.webp) The column is now created and listed in the *Schema View* section. -------------------------------------------------------------------------------- title: "Initialize Your Catalyst Project" description: "Create an application and host it on Catalyst AppSail with Catalyst Data Store that allows you to report or look up alien encounters in a city." last_updated: "2026-11-04T10:10:44.000Z" source: "https://docs.catalyst.zoho.com/en/tutorials/alien-city-appsail/express/initialize-project/" service: "All Services" related: - Initialize CLI Resources (/en/cli/v1/initialize-resources/introduction/) - Project Directory Structure (/en/cli/v1/project-directory-structure/introduction/) -------------------------------------------------------------------------------- # Initialize Your Catalyst Project You can now begin working on your Catalyst project from the CLI. The first step is to initialize the project in an empty directory. This will be the home directory of your project and all of the project files will be saved in it. You can learn more about this from the [Project Directory Structure help page](https://docs.catalyst.zoho.com/en/cli/v1/project-directory-structure/introduction/). You can learn about initializing a project in detail from the [CLI help documentation](https://docs.catalyst.zoho.com/en/cli/v1/initialize-resources/introduction/). For this application, you will be initializing the AppSail component. The AppSail component will be initialized in the Node.js programming stack. 1. Create a folder for the project on your local machine and navigate to it from the terminal. 2. Initialize a project by executing the following command from that directory: ```sh catalyst init ``` Navigate using the **arrow keys** and select your preferred portal and click **Enter**. If you have no other organizations associated with the account, then the default will be selected automatically. ![catalyst_alien_city_cli_portal_choice](https://catalyst-docs-development.zohostratus.in/images/tutorials/alien-city-appsail-express/catalyst_alien_city_cli_portal_choice.webp) You can find out more about Catalyst’s multi-org portal feature in this [help document](https://docs.catalyst.zoho.com/en/getting-started/catalyst-organizations/#access-the-multi-org-portal). 3. The CLI will now ask you to associate a Catalyst project with the directory. Associate it with the project that we created earlier from the console. Select **AlienCity** from the list and click **Enter**. ![catalyst_alien_city_cli_project_choice](https://catalyst-docs-development.zohostratus.in/images/tutorials/alien-city-appsail-express/catalyst_alien_city_cli_project_choice.webp) 4. Select **AppSail** using the *space bar*, then click **Enter** to initialize. ![catalyst_alien_city_cli_appsail_select](https://catalyst-docs-development.zohostratus.in/images/tutorials/alien-city-appsail-express/alien-city-cli-init-appsail.webp) 5. The CLI will prompt you to choose between [Catalyst-Managed Runtime](https://docs.catalyst.zoho.com/en/serverless/help/appsail/catalyst-managed-runtimes/key-concepts/) and [Docker Image](https://docs.catalyst.zoho.com/en/serverless/help/appsail/custom-runtimes/container-registry-services/). Because you are creating this project from one of the Catalyst-Managed Runtime, select **Catalyst-Managed Runtime** and click **Enter**. ![catalyst_alien_city_cli_appsail_setup_start](https://catalyst-docs-development.zohostratus.in/images/tutorials/alien-city-appsail-express/aliencity-appsail-selection.webp) 6. The CLI will initiate the AppSail service: * Because you are creating your own project, type "**n**" and click **Enter** for the prompt asking if you wish to get started with a list of recommended projects. * Because you have initialized the project in the `Alien City/` directory created specifically for this application, enter "**Y**" and click **Enter** for the prompt asking you to confirm if this the directory you wish to initialize your AppSail service. ![catalyst_alien_city_cli_appsail_setup_start](https://catalyst-docs-development.zohostratus.in/images/tutorials/alien-city-appsail-express/aliencity-appsail-selection-2.webp) 7. Next, we will begin configuring our AppSail service. Enter "**AlienCity**" as the name of your AppSail service. 8. Select your current directory as the build path of your AppSail service, and choose the latest runtime of **NodeJS** as the programming stack, and click **Enter**. ![catalyst_alien_city_cli_appsail_stack_select](https://catalyst-docs-development.zohostratus.in/images/tutorials/alien-city-appsail-express/app-sail-nodejs-cli-init-aliencity.webp) The AppSail service has been initialized for your Alien City project. ![catalyst_alien_city_cli_appsail_complete](https://catalyst-docs-development.zohostratus.in/images/tutorials/alien-city-appsail-express/catalyst_alien_city_cli_appsail_complete.webp) The directory will be created in the standard structure, and it will contain the [`app-config.json`](https://docs.catalyst.zoho.com/en/serverless/help/appsail/catalyst-managed-runtimes/key-concepts/#the-app-configjson-file) file which includes the configuration of your AppSail service , along with the standard project configuration files such as the [`catalyst.json`](https://docs.catalyst.zoho.com/en/cli/v1/project-directory-structure/catalyst-json/) file and a hidden `.catalystrc` file. This is the structure of the Alien City project’s directory initialized with the AppSail service. ![catalyst_alien_city_appsail_dir](https://catalyst-docs-development.zohostratus.in/images/tutorials/alien-city-appsail-express/catalyst_alien_city_appsail_dir.webp) -------------------------------------------------------------------------------- title: "Initialize Node Modules, Catalyst Node.js SDK, and the Express Package" description: "Create an application and host it on Catalyst AppSail with Catalyst Data Store that allows you to report or look up alien encounters in a city." last_updated: "2026-11-04T10:10:44.000Z" source: "https://docs.catalyst.zoho.com/en/tutorials/alien-city-appsail/express/initialize-modules/" service: "All Services" related: - Catalyst SDK for AppSail (/en/cli/v1/initialize-resources/introduction/) -------------------------------------------------------------------------------- # Initialize Node Modules, Catalyst Node.js SDK, and the Express Package To run the application on a Node.js Express framework, let's initialize Node modules, and Express package for your application. Enter the following command in your CLI in your project directory `/Alien City` to initialize the Node modules: ```sh npm init ``` ![catalyst_alien_city_cli_npm_init](https://catalyst-docs-development.zohostratus.in/images/tutorials/alien-city-appsail-express/catalyst_alien_city_cli_npm_init.webp) Enter "**aliencity**" as the package name, and "**index.js**" as the entry point. You can also just click **Enter** to use the default names generated by NPM, or enter any name of your preference. Click **Enter** for the rest of the prompts, and complete the initialization. Your preferences will be stored in a [`package.json`](https://docs.npmjs.com/cli/v10/configuring-npm/package-json) file. You can review your options in the terminal, and confirm your preferences by entering "**yes**." ![catalyst_alien_city_cli_package](https://catalyst-docs-development.zohostratus.in/images/tutorials/alien-city-appsail-express/catalyst_alien_city_cli_package.webp) Create a new file in your project directory and name it "**index.js**." If you have provided a different name for your entry point, ensure you provide the same name here. Install the Express package in your project's root folder using the following command: ```sh npm install express ``` ![catalyst_alien_city_expres_pack](https://catalyst-docs-development.zohostratus.in/images/tutorials/alien-city-appsail-express/catalyst_alien_city_expres_pack.webp) We will utilize Catalyst components such as Data Store and ZCQL queries in this app. To use them, you will also need to install the Catalyst Node.js SDK package in your project's root folder using the following CLI command: ```sh npm install zcatalyst-sdk-node ``` ![catalyst_alien_city_zcat_pack](https://catalyst-docs-development.zohostratus.in/images/tutorials/alien-city-appsail-express/catalyst_alien_city_zcat_pack.webp) Now your directory will contain the `node_modules` folder, the `package.json`, `package-lock.json`, and the `index.js` file, in addition to the existing files. ![catalyst_alien_city_cat_express_dir](https://catalyst-docs-development.zohostratus.in/images/tutorials/alien-city-appsail-express/catalyst_alien_city_cat_express_dir.webp) -------------------------------------------------------------------------------- title: "Code Your Application" description: "Create an application and host it on Catalyst AppSail with Catalyst Data Store that allows you to report or look up alien encounters in a city." last_updated: "2026-11-04T10:10:44.000Z" source: "https://docs.catalyst.zoho.com/en/tutorials/alien-city-appsail/express/code-app/" service: "All Services" related: - Catalyst SDK for AppSail (/en/cli/v1/initialize-resources/introduction/) -------------------------------------------------------------------------------- # Code Your Application You have created the "**index.js**" file in your project's root directory, and this will contain the backend logic of your application. Create a folder in your project's root directory and name it "**public**." This folder will contain the files for your front-end logic. Create the following files inside your public folder (`Alien City/public/`): * **index.html**: The file that contains the HTML code for the front-end of the application. * **main.js**: The file that contains the JavaScript code that connects the front-end and backend. This is the final folder structure of the **Alien City** project. ![catalyst_alien_city_complete_dir](https://catalyst-docs-development.zohostratus.in/images/tutorials/alien-city-appsail-express/catalyst_alien_city_complete_dir.webp) You will be coding the `index.js`, `index.html`, and `main.js` files. You will also be updating the `app-config.json` file. > **Note:** Please go through the code in this section to make sure you fully understand it. Copy the code below and paste it into the respective files of your project using an IDE and save the files. **index.js** ```javascript var express = require('express'); var app = express(); var catalyst = require('zcatalyst-sdk-node'); app.use(express.json()); app.use(express.static('public')); const tableName = 'AlienCity'; // The table created in the Data Store const columnName = 'CityName'; // The column created in the table app.post('/alien', (req, res) => { var cityJson = req.body; console.log(req.body) var catalystApp = catalyst.initialize(req); getDataFromCatalystDataStore(catalystApp, cityJson.city_name).then(cityDetails => { if (cityDetails.length == 0) { console.log("Alien alert!"); var rowData = {} rowData[columnName] = cityJson.city_name; var rowArr = []; rowArr.push(rowData); // Inserts the city name as a row in the Catalyst Data Store table catalystApp.datastore().table(tableName).insertRows(rowArr).then(cityInsertResp => { res.send({ "message": "Thanks for reporting!" }); }).catch(err => { console.log(err); sendErrorResponse(res); }) } else { res.send({ "message": "Looks like you are not the first person to encounter aliens in this city! Someone has already reported an alien encounter here!" }); } }).catch(err => { console.log(err); sendErrorResponse(res); }) }); app.get('/alien', (req, res) => { var city = req.query.city_name; // Initializing Catalyst SDK var catalystApp = catalyst.initialize(req); getDataFromCatalystDataStore(catalystApp, city).then(cityDetails => { if (cityDetails.length == 0) { res.send({ "message": "Hurray! No alien encounters in this city yet!", "signal": "negative" }); } else { res.send({ "message": "Uh oh! Looks like there are aliens in this city!", "signal": "positive" }); } }).catch(err => { console.log(err); sendErrorResponse(res); }) }); function getDataFromCatalystDataStore(catalystApp, cityName) { return new Promise((resolve, reject) => { // Queries the Catalyst Data Store table catalystApp.zcql().executeZCQLQuery("Select * from " + tableName + " where " + columnName + "='" + cityName + "'").then(queryResponse => { resolve(queryResponse); }).catch(err => { reject(err); }) }); } function sendErrorResponse(res) { res.status(500); res.send({ "error": "Internal server error occurred. Please try again in some time." }); } app.listen(process.env.X_ZOHO_CATALYST_LISTEN_PORT || 9000, () => { }) module.exports = app; ``` **index.html** ```xml <!DOCTYPE html> <html> <head> <meta charset="utf-8" /> <meta http-equiv="X-UA-Compatible" content="IE=edge"> <title>AlientCityAppClient</title> <meta name="viewport" content="width=device-width, initial-scale=1"> <link rel="stylesheet" type="text/css" media="screen" href="main.css" /> <link rel="stylesheet" href="https://stackpath.bootstrapcdn.com/bootstrap/4.3.1/css/bootstrap.min.css" integrity="sha384-ggOyR0iXCbMQv3Xipma34MD+dH/1fQ784/j6cY/iJTQUOhcWr7x9JvoRxT2MZw1T" crossorigin="anonymous"> <script src="https://code.jquery.com/jquery-3.4.1.min.js" integrity="sha256-CSXorXvZcTkaix6Yvo6HppcZGetbYMGWSFlBw8HfCJo=" crossorigin="anonymous"> </script> <script src="https://cdnjs.cloudflare.com/ajax/libs/popper.js/1.14.7/umd/popper.min.js" integrity="sha384-UO2eT0CpHqdSJQ6hJty5KVphtPhzWj9WO1clHTMGa3JDZwrnQq4sF86dIHNDz0W1" crossorigin="anonymous"> </script> <script src="https://stackpath.bootstrapcdn.com/bootstrap/4.3.1/js/bootstrap.min.js" integrity="sha384-JjSmVgyd0p3pXB1rRibZUAYoIIy6OrQ6VrjIEaFf/nJGzIxFDsf4x0xIM+B07jRM" crossorigin="anonymous"> </script> <script src="main.js"> </script> </head> <body> <br> <br> <center> <h1>ALIEN CITY</h1> </center> <div class="container"> <ul class="nav nav-tabs" id="myTab" role="tablist"> <li class="nav-item"> <a class="nav-link active" id="check-tab" data-toggle="tab" href="#check" role="tab" aria-controls="check" aria-selected="true">Check My City</a> </li> <li class="nav-item"> <a class="nav-link" id="report-tab" data-toggle="tab" href="#report" role="tab" aria-controls="report" aria-selected="false">Report Alien Encounter</a> </li> </ul> <div class="tab-content" id="myTabContent"> <div class="tab-pane fade show active" id="check" role="tabpanel" aria-labelledby="check-tab"> <br> <br> <form> <div class="form-group"> <label for="city-get-input"> <b>Check if your city has aliens:</b> </label> <input type="text" class="form-control" id="city-get-input" aria-describedby="checkCity" placeholder="Enter City Name"> </div> <button type="submit" class="btn btn-primary" onclick="getAlienEncounter();return false;">Check</button> </form> <br> <br> <div id="result-container"> <div id="result-text"> </div> <br> <div id="result-image"> </div> </div> <div id="loader" style="display: none;"> <div class="spinner-border" role="status"> <span class="sr-only">Loading...</span> </div> </div> </div> <div class="tab-pane fade" id="report" role="tabpanel" aria-labelledby="report-tab"> <br> <br> <form> <div class="form-group"> <div class="city-post-input"> <label for="exampleInputEmail1"> <b>Enter the name of the city where you encountered an alien:</b> </label> <input type="text" class="form-control" id="city-post-input" aria-describedby="cityPost" placeholder="Enter City Name"> </div> </div> <button type="submit" class="btn btn-primary" onclick="postAlienEncounter();return false;">Report</button> </form> </div> </div> </div> </body> </html> ``` **main.js** ```javascript function postAlienEncounter() { debugger; var city = $("#city-post-input").val(); $.ajax({ url: "/alien", type: "post", contentType: "application/json", data: JSON.stringify({ "city_name": city }), success: function (data) { alert(data.message); }, error: function (error) { alert(error.message); } }); } function getAlienEncounter() { showLoader(); var positive = "https://media.giphy.com/media/Y1GYiLui9NHcxVKhdo/giphy.gif"; var negative = "https://media.giphy.com/media/fsPcMdeXPxSP6zKxCA/giphy.gif"; var city = $("#city-get-input").val(); $.ajax({ url: "/alien?city_name=" + city, type: "get", success: function (data) { console.log(data); $("#result-text").text(""); $("#result-text").text(data.message); var imagesrc = negative; if (data.signal == 'positive') { imagesrc = positive; } $("#result-image").html(""); $("#result-image").html("<img src='" + imagesrc + "' />"); hideLoader(); }, error: function (error) { alert(error.message); } }); } function showLoader() { $("#result-container").hide(); $("#loader").show(); } function hideLoader() { $("#loader").hide(); $("#result-container").show(); } ``` Update the value of the key `command` as "**node index.js**" in the `app-config.json` file. This is the [startup command](https://docs.catalyst.zoho.com/en/serverless/help/appsail/appsail-configurations/#startup-commands) that is specific for this programming stack and framework. **app-config.json** ```json { "command": "node index.js", "buildPath": "/Users/amelia-426/Catalyst/Alien City", // provide your build path "stack": "node24", "env_variables": {}, "memory": 256, "scripts": {} } ``` Let’s quickly go through the working of the application: 1. **GET Operation** * When you enter a city name in the application to check for a record of previous alien encounters, the onClick event for the **Check** button in `index.html` triggers the `getAlienEncounter()` function defined in `main.js`. * This fires an Ajax call to the URL route defined in the `index.js` function. * The **GET API** defined in `index.js` then invokes the `getDataFromCatalystDataStore()` function and passes the request query. * This function searches for the data in the **Alien City** table in the Data Store by executing a ZCQL query. * If a record matching the city name is found in the table, a *positive* signal is sent as the response. Otherwise, a *negative* signal is sent as the response. * The client then displays the message that matches the response. A GIF matching the response defined in `main.js` is also displayed. 2. **POST Operation** * When you enter a city name in the client to report an alien encounter, the onClick event for the **Report** button in `index.html` triggers the `postAlienEncounter()` function defined in `main.js`. * This fires an Ajax call to the URL route defined in the `index.js` function. The POST API defined in `index.js` then invokes the `getDataFromCatalystDataStore()` function and passes a request query to check if a record with the same city name already exists. * This function searches for the data in the **Alien City** table in the Data Store by executing a ZCQL query. If the record already exists, a response is sent, which enables the application to display a message the city name is already added. * If there are no records for the city name, a new row is created in the **Alien City** table for the city name entered by the user. A pop-up box is displayed in the client confirming the insertion of the record in the Data Store. An appropriate message is also pushed to the logs which can be checked from the *Logs* component present in the [Catalyst DevOps](https://docs.catalyst.zoho.com/en/devops/) service. -------------------------------------------------------------------------------- title: "Test the Application" description: "Create an application and host it on Catalyst AppSail with Catalyst Data Store that allows you to report or look up alien encounters in a city." last_updated: "2026-11-04T10:10:44.000Z" source: "https://docs.catalyst.zoho.com/en/tutorials/alien-city-appsail/express/test-app/" service: "All Services" related: - Serve CLI Resources (/en/cli/v1/serve-resources/introduction/) -------------------------------------------------------------------------------- # Test the Application Before you deploy the application to the remote console, you can [test the application](https://docs.catalyst.zoho.com/en/cli/v1/serve-resources/introduction/) on a local server and check if everything works using the Catalyst CLI. To serve the Catalyst project locally, execute the following command from your project directory: ```sh catalyst serve ``` This Alien City application is now served at default port `3001`. > **Note:** Every time you access the home page or any of the sub-pages of your application, the CLI will display a live log of the URL accessed, along with the HTTP request method. ![catalyst_alcity_catalyst_serve](https://catalyst-docs-development.zohostratus.in/images/tutorials/alien-city-appsail-express/catalyst_alcity_catalyst_serve.webp) You can now open the application's localhost URL in a browser to access the Alien City application. ![catalyst_alcity_catalyst_test_1](https://catalyst-docs-development.zohostratus.in/images/tutorials/alien-city-appsail-express/catalyst_alcity_catalyst_test_1.webp) Let’s test the application by entering a city’s name and checking for the history of an alien encounter in the city. Because we have not reported an alien encounter in a city yet, the result should be negative. Enter a city name in the text box and click **Check**. ![catalyst_alcity_catalyst_test_2](https://catalyst-docs-development.zohostratus.in/images/tutorials/alien-city-appsail-express/catalyst_alcity_catalyst_test_2.webp) A matching record for this city will not be found in the Data Store, and the application displays a negative response. ![catalyst_alcity_catalyst_test_3](https://catalyst-docs-development.zohostratus.in/images/tutorials/alien-city-appsail-express/catalyst_alcity_catalyst_test_3.webp) Now, let’s report an alien encounter. Click the **Report Alien Encounter** tab. Enter a city name and click **Report**. We have entered "**Monaco**" in our application. ![catalyst_alcity_catalyst_test_4](https://catalyst-docs-development.zohostratus.in/images/tutorials/alien-city-appsail-express/catalyst_alcity_catalyst_test_4.webp) The application will display a pop-up box confirming that the data has been added to the Data Store. ![catalyst_alcity_catalyst_test_5](https://catalyst-docs-development.zohostratus.in/images/tutorials/alien-city-appsail-express/catalyst_alcity_catalyst_test_5.webp) You can verify this by opening your Catalyst console and navigating to **Data Store** under *CloudScale*. Click the **Data View** tab of the table to view the record that was just inserted. ![catalyst_alcity_catalyst_test_6](https://catalyst-docs-development.zohostratus.in/images/tutorials/alien-city-appsail-express/catalyst_alcity_catalyst_test_6.webp) Next, let’s search for this city in the application and check if it fetches this record from the Data Store. Click the **Check My City** tab in the application and enter the name of the city that you just reported. Here, we enter "**Monaco**." Click **Check**. ![catalyst_alcity_catalyst_test_7](https://catalyst-docs-development.zohostratus.in/images/tutorials/alien-city-appsail-express/catalyst_alcity_catalyst_test_7.webp) The application displays a positive response. You can also check if the application displays the duplication message by reporting the same city again. ![catalyst_alcity_catalyst_test_8](https://catalyst-docs-development.zohostratus.in/images/tutorials/alien-city-appsail-express/catalyst_alcity_catalyst_test_8.webp) If this setup is working correctly, you can deploy the application. -------------------------------------------------------------------------------- title: "Deploy the Application" description: "Create an application and host it on Catalyst AppSail with Catalyst Data Store that allows you to report or look up alien encounters in a city." last_updated: "2026-11-04T10:10:44.000Z" source: "https://docs.catalyst.zoho.com/en/tutorials/alien-city-appsail/express/deploy-app/" service: "All Services" related: - Deploy CLI Resources (/en/cli/v1/deploy-resources/introduction/) - AppSail (/en/serverless/help/appsail/introduction/) -------------------------------------------------------------------------------- # Deploy the Application To [deploy your Catalyst project](https://docs.catalyst.zoho.com/en/cli/v1/deploy-resources/introduction/) from the CLI, run the following command in your terminal from your project directory: ```sh catalyst deploy ``` The URL of the AppSail service generated by Catalyst is displayed. ![catalyst_alcity_catalyst_deploy](https://catalyst-docs-development.zohostratus.in/images/tutorials/alien-city-appsail-express/catalyst_alcity_catalyst_deploy.webp) The application is now deployed to the Catalyst console. Now, if you navigate to the *AppSail* component located under the *Serverless* section, you will see your service has been deployed. ![catalyst_alcity_catalyst_console_deploy](https://catalyst-docs-development.zohostratus.in/images/tutorials/alien-city-appsail-express/catalyst_alcity_catalyst_console_deploy.webp) Click the **Alien City service** and you will be able to view the access URL generated by Catalyst. In this section you will also have access to a live dashboard denoting the number of instances the Alien City service has spawned at any given moment. Using this section you will also be able configure and manage the AppSail service. You can find out more about this [here](https://docs.catalyst.zoho.com/en/serverless/help/appsail/console/overview/). ![catalyst_alcity_catalyst_deploy2](https://catalyst-docs-development.zohostratus.in/images/tutorials/alien-city-appsail-express/catalyst_alcity_catalyst_deploy2.webp) You can now access the application using the AppSail URL generated by Catalyst. ![catalyst_alcity_catalyst_deploy3](https://catalyst-docs-development.zohostratus.in/images/tutorials/alien-city-appsail-express/catalyst_alcity_catalyst_deploy3.webp) ### Python -------------------------------------------------------------------------------- title: "Introduction" description: "Create an application and host it on Catalyst AppSail with Catalyst Data Store that allows you to report or look up alien encounters in a city." last_updated: "2026-11-04T10:10:44.000Z" source: "https://docs.catalyst.zoho.com/en/tutorials/alien-city-appsail/python/introduction/" service: "All Services" related: - Project Directory Structure (/en/cli/v1/project-directory-structure/introduction/) - Catalyst SDK for AppSail (/en/serverless/help/appsail/implement-catalyst-sdk/) -------------------------------------------------------------------------------- # Alien City Using AppSail ### Introduction This tutorial will help you build a Python Flask web application called Alien City, and host it using Catalyst's serverless offering, AppSail. AppSail is a highly scalable PaaS component that allows you to code your application in any programming framework of your choice, independent of any Catalyst-specific coding structures, and host it on Catalyst with ease. Alien City is a fun application that allows you to search for and report alien encounters in a city. The web application will appear as follows: ![catalyst_appsail_tut_showcase_app](https://catalyst-docs-development.zohostratus.in/images/tutorials/alien-city-appsail-express/catalyst_appsail_tut_showcase_app.webp) You can access a working application and test its functioning here: [Try the App!](https://alien-city.catalystserverlessapp.com/app/) The Alien City application utilizes components from the following Catalyst Services: 1. [**Catalyst Serverless**](https://docs.catalyst.zoho.com/en/serverless/getting-started/introduction/): - [AppSail](https://docs.catalyst.zoho.com/en/serverless/help/appsail/introduction/): To host the independent Python Flask application. We will be building the front-end of the app as well as the backend logic, and bundling them together to deploy on AppSail. 2. [**Catalyst CloudScale**](https://docs.catalyst.zoho.com/en/cloud-scale/getting-started/introduction/): - [Data Store](https://docs.catalyst.zoho.com/en/cloud-scale/help/data-store/introduction/): To store the database of the cities where alien encounters have been reported. - [ZCQL](https://docs.catalyst.zoho.com/en/cloud-scale/help/zcql/introduction/): To fetch data from the Data Store through querying. You will be given the code for the files to be included in the application in this tutorial. You will just need to copy the code and paste it into the appropriate files as directed. ### Application Architecture The Alien City application’s functioning can be described as follows: * **Reporting an alien encounter** A user enters the name of a city where they experienced an alien encounter. If the city had already been reported previously, the app displays a message notifying the user of it. If the city has never been reported, the data will be added to a table in the Data Store identifying the city. * **Checking for an alien encounter** A user checks for a record of an alien encounter in a particular city by providing its name. If a record of that city exists in the Data Store, the app will display a positive response. Otherwise, it will display a negative response. ![catalyst_alcity_architecture](https://catalyst-docs-development.zohostratus.in/images/tutorials/alien-city-appsail-express/catalyst_alcity_architecture.webp) -------------------------------------------------------------------------------- title: "Prerequisites" description: "Create an application and host it on Catalyst AppSail with Catalyst Data Store that allows you to report or look up alien encounters in a city." last_updated: "2026-11-04T10:10:44.000Z" source: "https://docs.catalyst.zoho.com/en/tutorials/alien-city-appsail/python/prerequisites/" service: "All Services" related: - Catalyst CLI Documentation (/en/cli/v1/cli-command-reference/) -------------------------------------------------------------------------------- # Prerequisites Before you begin building the application, you must have the following prerequisites installed on your system: 1. [Catalyst CLI](https://docs.catalyst.zoho.com/en/cli/v1/cli-command-reference/) Catalyst CLI contains a host of tools that allow you to initialize, develop, test, and deploy the components of your application from your local machine. We will be working with Catalyst CLI in this tutorial. You must perform the following actions: * **Install Catalyst CLI**: Catalyst CLI is installed through NPM. You must therefore have NPM and Node.js installed on your system before you install the CLI. Refer to the [Install Catalyst CLI help page](https://docs.catalyst.zoho.com/en/getting-started/installing-catalyst-cli/) for details on the pre-requisites and the steps to install it. * **Log in to Catalyst CLI**: After you install Catalyst CLI, you must authenticate the CLI with your Catalyst account before using it. Refer to the [CLI Login help page](https://docs.catalyst.zoho.com/en/cli/v1/login/login-from-cli/) for the steps to log in from Catalyst CLI and the various options available for it. 2. **Install Python 3.10** Catalyst supports Python versions 3.10 to 3.13. This tutorial uses Python 3.10. If you don't have Python 3.10 installed in your system, you can download the package from the [official Python website](https://www.python.org/downloads/). 3. **Any IDE tool for application development using HTML and Flask** You can use any IDE to code your application. Some popular choices include Visual Studio Code, IDLE, PyCharm, and Sublime Text. Download and install an IDE of your choice on your system. > If you are a Visual Studio Code IDE user, you can install the **Catalyst Tools** extension, and use your IDE itself in place of the CLI. You can find more details about the Catalyst VS Code extension from this [help section](https://docs.catalyst.zoho.com/en/catalyst-extensions/vs-code-extension/introduction/). -------------------------------------------------------------------------------- title: "Create a Project" description: "Create an application and host it on Catalyst AppSail with Catalyst Data Store that allows you to report or look up alien encounters in a city." last_updated: "2026-11-04T10:10:44.000Z" source: "https://docs.catalyst.zoho.com/en/tutorials/alien-city-appsail/python/create-project/" service: "All Services" related: - Catalyst Console (/en/getting-started/catalyst-projects/) -------------------------------------------------------------------------------- # Create a Project Let’s [create a Catalyst project](https://docs.catalyst.zoho.com/en/getting-started/catalyst-projects/#create-a-catalyst-project) from the Catalyst console. 1. Log in to the [Catalyst console](https://console.catalyst.zoho.com/baas/index) and click **Create New Project**. ![catalyst_alien_city_create_project](https://catalyst-docs-development.zohostratus.in/images/tutorials/alien-city-appsail-express/catalyst-create-project.webp) 2. Enter the project’s name as "**AlienCity**" in the pop-up window, and click **Create**. ![catalyst_alien_city_project_create_name](https://catalyst-docs-development.zohostratus.in/images/tutorials/alien-city-appsail-express/catalyst_alien_city_project_create_name.webp) Your project will be created, then opened. -------------------------------------------------------------------------------- title: "Create a Table" description: "Create an application and host it on Catalyst AppSail with Catalyst Data Store that allows you to report or look up alien encounters in a city." last_updated: "2026-11-04T10:10:44.000Z" source: "https://docs.catalyst.zoho.com/en/tutorials/alien-city-appsail/python/create-table/" service: "All Services" related: - Data Store (/en/cloud-scale/help/data-store/introduction/) -------------------------------------------------------------------------------- # Create a Table Now let’s create a table in the [Data Store](https://docs.catalyst.zoho.com/en/cloud-scale/help/data-store/introduction/) of the **Alien City** project. This table is used to store records of city names where aliens were seen. To create a table: 1. Navigate to the *CloudScale* section of the console, then click **Start Exploring**. ![catalyst_alien_city_cloud_scale_homepage](https://catalyst-docs-development.zohostratus.in/images/tutorials/alien-city-appsail-express/catalyst_alien_city_cloud_scale_homepage.webp) 2. Navigate to **Data Store** under *Storage* and click **Create a New Table**. ![catalyst_alien_city_create_table](https://catalyst-docs-development.zohostratus.in/images/tutorials/alien-city-appsail-express/catalyst_alien_city_create_table.webp) 3. Enter the table’s name as "**AlienCity**" and click **Create**. ![catalyst_alien_city_create_tablename](https://catalyst-docs-development.zohostratus.in/images/tutorials/alien-city-appsail-express/catalyst_alien_city_create_tablename.webp) > **Note:** Ensure that you enter the name exactly as instructed, because the application's code contains the same name. The table is now created. Next, let’s create a column in the table to store the names of the cities. 1. Click **New Column** in the *Schema View* section for the table. ![catalyst_alien_city_create_new_clm](https://catalyst-docs-development.zohostratus.in/images/tutorials/alien-city-appsail-express/catalyst_alien_city_create_new_clm.webp) 2. Enter the column’s name as "**CityName**". Select the data type as **Var Char** and enter the max length as "**100**". Click the **Is Unique** toggle switch to enable it. ![catalyst_alien_city_create_clm_dets](https://catalyst-docs-development.zohostratus.in/images/tutorials/alien-city-appsail-express/catalyst_alien_city_create_clm_dets.webp) You can learn about the various data types supported by Catalyst, as well as the other properties of a column, from the [Data Store help page](https://docs.catalyst.zoho.com/en/cloud-scale/help/data-store/columns/). 3. Click **Create**. ![catalyst_alien_city_create_clm_created](https://catalyst-docs-development.zohostratus.in/images/tutorials/alien-city-appsail-express/catalyst_alien_city_create_clm_created.webp) The column is now created and listed in the *Schema View* section. -------------------------------------------------------------------------------- title: "Initialize Your Catalyst Project" description: "Create an application and host it on Catalyst AppSail with Catalyst Data Store that allows you to report or look up alien encounters in a city." last_updated: "2026-11-04T10:10:44.000Z" source: "https://docs.catalyst.zoho.com/en/tutorials/alien-city-appsail/python/initialize-project/" service: "All Services" related: - Initialize CLI Resources (/en/cli/v1/initialize-resources/introduction/) - Project Directory Structure (/en/cli/v1/project-directory-structure/introduction/) -------------------------------------------------------------------------------- # Initialize Your Catalyst Project You can now begin working on your Catalyst project from the CLI. The first step is to initialize the project in an empty directory. This will be the home directory of your project and all of the project files will be saved in it. You can learn more about this from the [Project Directory Structure help page](https://docs.catalyst.zoho.com/en/cli/v1/project-directory-structure/introduction/). You can learn about initializing a project in detail from the [CLI help documentation](https://docs.catalyst.zoho.com/en/cli/v1/initialize-resources/introduction/). For this application, you will be initializing the AppSail component. For this application, you will be initializing the AppSail component. The AppSail component will be initialized in the Python programming stack. 1. Create a folder for the project on your local machine and navigate to it from the terminal. 2. Initialize a project by executing the following command from that directory: ```sh catalyst init ``` Navigate using the **arrow keys** and select your preferred portal and click **Enter**. If you have no other organizations associated with the account, then the default will be selected automatically. ![catalyst_alien_city_cli_portal_choice](https://catalyst-docs-development.zohostratus.in/images/tutorials/alien-city-appsail-express/catalyst_alien_city_cli_portal_choice.webp) You can find out more about Catalyst’s multi-org portal feature in this [help document](https://docs.catalyst.zoho.com/en/getting-started/catalyst-organizations/#access-the-multi-org-portal). 3. The CLI will now ask you to associate a Catalyst project with the directory. Associate it with the project that we created earlier from the console. Select **Alien City** from the list and click **Enter**. ![catalyst_alien_city_cli_project_choice](https://catalyst-docs-development.zohostratus.in/images/tutorials/alien-city-appsail-express/catalyst_alien_city_cli_project_choice.webp) 4. Select **AppSail** using the *space bar*, then click **Enter** to initialize. ![catalyst_alien_city_cli_appsail_select](https://catalyst-docs-development.zohostratus.in/images/tutorials/alien-city-appsail-express/alien-city-cli-init-appsail.webp) 5. The CLI will prompt you to choose between [Catalyst-Managed Runtime](https://docs.catalyst.zoho.com/en/serverless/help/appsail/catalyst-managed-runtimes/key-concepts/) and [Docker Image](https://docs.catalyst.zoho.com/en/serverless/help/appsail/custom-runtimes/container-registry-services/). Because you are creating this project from one of the Catalyst-Managed Runtime, select **Catalyst-Managed Runtime** and click **Enter**. ![catalyst_alien_city_cli_appsail_setup_start](https://catalyst-docs-development.zohostratus.in/images/tutorials/alien-city-appsail-express/aliencity-appsail-selection.webp) 6. The CLI will initiate the AppSail service: * Because you are creating your own project, enter "**n**" and click **Enter** for the prompt asking if you wish to get started with a list of recommended projects. * Because you have initialized the project in the `Alien City/` directory created specifically for this application, enter "**Y**" and click **Enter** for the prompt asking you to confirm if this the directory you wish to initialize your AppSail service. ![catalyst_alien_city_cli_appsail_setup_start](https://catalyst-docs-development.zohostratus.in/images/tutorials/alien-city-appsail-express/aliencity-appsail-selection-2.webp) 7. Next, we will begin configuring our AppSail service. Enter "**AlienCity**" as the name of your AppSail service. 8. Select your current directory as the build path of your AppSail service, and choose the latest runtime of **Python** as the programming stack, and click **Enter**. ![catalyst_alien_city_cli_appsail_py_stack_select](https://catalyst-docs-development.zohostratus.in/images/tutorials/alien-city-appsail-express/catalyst_alien_city_cli_appsail_py_stack_select.webp) The AppSail service has been initialized for your *Alien City* project. ![catalyst_alien_city_cli_appsail_py_setup_complete](https://catalyst-docs-development.zohostratus.in/images/tutorials/alien-city-appsail-express/catalyst_alien_city_cli_appsail_py_setup_complete.webp) The directory will be created in the standard structure, and it will contain the [`app-config.json`](https://docs.catalyst.zoho.com/en/serverless/help/appsail/catalyst-managed-runtimes/key-concepts/#the-app-configjson-file) file which includes the configuration of your AppSail service , along with the standard project configuration files such as the [`catalyst.json`](https://docs.catalyst.zoho.com/en/cli/v1/project-directory-structure/catalyst-json/) file and a hidden `.catalystrc` file. This is the structure of the Alien City project’s directory initialized with the AppSail service. ![catalyst_alien_city_appsail_dir](https://catalyst-docs-development.zohostratus.in/images/tutorials/alien-city-appsail-express/catalyst_alien_city_appsail_dir.webp) -------------------------------------------------------------------------------- title: "Install Flask and Catalyst SDK Packages" description: "Create an application and host it on Catalyst AppSail with Catalyst Data Store that allows you to report or look up alien encounters in a city." last_updated: "2026-11-04T10:10:44.000Z" source: "https://docs.catalyst.zoho.com/en/tutorials/alien-city-appsail/python/initialize-modules/" service: "All Services" related: - Catalyst SDK for AppSail (/en/cli/v1/initialize-resources/introduction/) -------------------------------------------------------------------------------- # Install Flask and Catalyst SDK Packages To run the application in the Python-Flask environment, let's initialize the Catalyst SDK packages for Flask for your application. Create a new folder in your project's root directory (`/Alien City`) and name it "**lib**". This folder will contain the required Python packages. Using your CLI, navigate to the (`AlienCity/lib/`) directory and enter the following command to install the required Python packages for this application: ```sh pip3 install Flask zcatalyst-sdk -t. ``` ![catalyst_alien_city_cli_appsail_py_packages_install](https://catalyst-docs-development.zohostratus.in/images/tutorials/alien-city-appsail-express/catalyst_alien_city_cli_appsail_py_packages_install.webp) > **Note:** You can find out more about Catalyst SDK for AppSail from this [help documentation](https://docs.catalyst.zoho.com/en/serverless/help/appsail/implement-catalyst-sdk/). After you install the packages, your project directory will appear like this: ![catalyst_alien_city_cli_appsail_py_packages_dir](https://catalyst-docs-development.zohostratus.in/images/tutorials/alien-city-appsail-express/catalyst_alien_city_cli_appsail_py_packages_dir.webp) All the required packages for your Python Flask application have been installed. -------------------------------------------------------------------------------- title: "Code Your Application" description: "Create an application and host it on Catalyst AppSail with Catalyst Data Store that allows you to report or look up alien encounters in a city." last_updated: "2026-11-04T10:10:44.000Z" source: "https://docs.catalyst.zoho.com/en/tutorials/alien-city-appsail/python/code-app/" service: "All Services" related: - Catalyst SDK for AppSail (/en/cli/v1/initialize-resources/introduction/) -------------------------------------------------------------------------------- # Code Your Application Let's begin coding the application. Create the following files and directories to store your code: * A Python code file in your project's root directory (`AlienCity/`), name it "**app.py**". This file will contain the backend logic for your application. * A folder in your project's root directory, name it "**static**", and create the following files inside it (`AlienCity/static/`): - **index.html**: Contains the HTML code for the frontend of the application - **main.js**: Contains the JavaScript code of your application This is the final folder structure of the *AlienCity* project: ![catalyst_alien_city_cli_appsail_py_complete_dir](https://catalyst-docs-development.zohostratus.in/images/tutorials/alien-city-appsail-express/catalyst_alien_city_cli_appsail_py_complete_dir.webp) You will be coding the `app.py`, `index.html`, and `main.js` files. You will also be updating the `app-config.json` file. > **Note:** Please go through the code in this section to make sure you fully understand it. Copy the code below and paste it into the respective files of your project using an IDE and save the files. **app.py** ```python import sys sys.path.insert(0, './lib') from flask import Flask, request, jsonify import os import zcatalyst_sdk import logging tableName = 'AlienCity' # The table created in the Data Store columnName = 'CityName' app = Flask(__name__) @app.route('/') def index(): return app.send_static_file('index.html') @app.route('/alien', methods=['POST']) def post_alien_encounter(): try: logger = logging.getLogger() capp = zcatalyst_sdk.initialize(req=request) req_data = request.get_json() name = req_data.get('city_name') rowid = getAlienCountFromCatalystDataStore(request,name) # Queries the Catalyst Data Store table and checks whether a row is present for the given city if len(rowid) == 0: # If the row is not present, then a new row is inserted logger.info("Alien alert!") # Written to the logs. You can view this log from Logs under the Monitor section in the console datastore_service = capp.datastore() table_service = datastore_service.table(tableName) row_data = { columnName:name } table_service.insert_row(row_data) # Inserts the city name as a row in the Catalyst Data Store table return jsonify({ "message":"Thanks for reporting!!!" }),200 else: return jsonify({ "message": "Looks like you are not the first person to encounter aliens in this city! Someone has already reported an alien encounter here!" }), 200 except Exception as e: # If the row is present, then a message is sent indicating duplication print(e) return jsonify({ "message": "Internal server error" }), 500 @app.route('/alien', methods=['GET']) def get_alien_encounter(): try: name = request.args.get('city_name') rowid = getAlienCountFromCatalystDataStore(request,name) # Queries the Catalyst Data Store table and checks whether a row is present for the given city if len(rowid) == 0: return jsonify({ "message": "Hurray! No alien encounters in this city yet!", "signal": "negative" }), 200 else: return jsonify({ "message": "Uh oh! Looks like there are aliens in this city!", "signal": "positive" }), 200 except Exception as e: print(e) return jsonify({ "message": "Internal server error" }), 500 def getAlienCountFromCatalystDataStore(request,cityname): # Checks whether an alien encounter is already reported for the given city by querying the Data Store table capp = zcatalyst_sdk.initialize(req=request) zcql_service = capp.zcql() query = f"SELECT * FROM {tableName} WHERE {columnName} = '{cityname}'" output = zcql_service.execute_query(query) return output if __name__ == '__main__': port = int(os.environ.get('X_ZOHO_CATALYST_LISTEN_PORT', 9000)) app.run(host='0.0.0.0', port=port) ``` **index.html** ```xml <!DOCTYPE html> <html> <head> <meta charset="utf-8" /> <meta http-equiv="X-UA-Compatible" content="IE=edge"> <title>AlientCityAppClient</title> <meta name="viewport" content="width=device-width, initial-scale=1"> <link rel="stylesheet" type="text/css" media="screen" href="main.css" /> <link rel="stylesheet" href="https://stackpath.bootstrapcdn.com/bootstrap/4.3.1/css/bootstrap.min.css" integrity="sha384-ggOyR0iXCbMQv3Xipma34MD+dH/1fQ784/j6cY/iJTQUOhcWr7x9JvoRxT2MZw1T" crossorigin="anonymous"> <script src="https://code.jquery.com/jquery-3.4.1.min.js" integrity="sha256-CSXorXvZcTkaix6Yvo6HppcZGetbYMGWSFlBw8HfCJo=" crossorigin="anonymous"> </script> <script src="https://cdnjs.cloudflare.com/ajax/libs/popper.js/1.14.7/umd/popper.min.js" integrity="sha384-UO2eT0CpHqdSJQ6hJty5KVphtPhzWj9WO1clHTMGa3JDZwrnQq4sF86dIHNDz0W1" crossorigin="anonymous"> </script> <script src="https://stackpath.bootstrapcdn.com/bootstrap/4.3.1/js/bootstrap.min.js" integrity="sha384-JjSmVgyd0p3pXB1rRibZUAYoIIy6OrQ6VrjIEaFf/nJGzIxFDsf4x0xIM+B07jRM" crossorigin="anonymous"> </script> <script src="static/main.js"> </script> </head> <body> <br> <br> <center> <h1>ALIEN CITY</h1> </center> <div class="container"> <ul class="nav nav-tabs" id="myTab" role="tablist"> <li class="nav-item"> <a class="nav-link active" id="check-tab" data-toggle="tab" href="#check" role="tab" aria-controls="check" aria-selected="true">Check My City</a> </li> <li class="nav-item"> <a class="nav-link" id="report-tab" data-toggle="tab" href="#report" role="tab" aria-controls="report" aria-selected="false">Report Alien Encounter</a> </li> </ul> <div class="tab-content" id="myTabContent"> <div class="tab-pane fade show active" id="check" role="tabpanel" aria-labelledby="check-tab"> <br> <br> <form> <div class="form-group"> <label for="city-get-input"> <b>Check if your city has aliens:</b> </label> <input type="text" class="form-control" id="city-get-input" aria-describedby="checkCity" placeholder="Enter City Name"> </div> <button type="submit" class="btn btn-primary" onclick="getAlienEncounter();return false;">Check</button> </form> <br> <br> <div id="result-container"> <div id="result-text"> </div> <br> <div id="result-image"> </div> </div> <div id="loader" style="display: none;"> <div class="spinner-border" role="status"> <span class="sr-only">Loading...</span> </div> </div> </div> <div class="tab-pane fade" id="report" role="tabpanel" aria-labelledby="report-tab"> <br> <br> <form> <div class="form-group"> <div class="city-post-input"> <label for="exampleInputEmail1"> <b>Enter the name of the city where you encountered an alien:</b> </label> <input type="text" class="form-control" id="city-post-input" aria-describedby="cityPost" placeholder="Enter City Name"> </div> </div> <button type="submit" class="btn btn-primary" onclick="postAlienEncounter();return false;">Report</button> </form> </div> </div> </div> </body> </html> ``` **main.js** ```javascript function postAlienEncounter() { debugger; var city = $("#city-post-input").val(); $.ajax({ url: "/alien", type: "post", contentType: "application/json", data: JSON.stringify({ "city_name": city }), success: function (data) { alert(data.message); }, error: function (error) { alert(error.message); } }); } function getAlienEncounter() { debugger showLoader(); var positive = "https://media.giphy.com/media/Y1GYiLui9NHcxVKhdo/giphy.gif"; var negative = "https://media.giphy.com/media/fsPcMdeXPxSP6zKxCA/giphy.gif"; var city = $("#city-get-input").val(); $.ajax({ url: "/alien?city_name=" + city, type: "get", success: function (data) { console.log(data); $("#result-text").text(""); $("#result-text").text(data.message); var imagesrc = negative; if (data.signal == 'positive') { imagesrc = positive; } $("#result-image").html(""); $("#result-image").html("<img src='" + imagesrc + "' />"); hideLoader(); }, error: function (error) { alert(error.message); } }); } function showLoader() { $("#result-container").hide(); $("#loader").show(); } function hideLoader() { $("#loader").hide(); $("#result-container").show(); } ``` Update the value of the key `command` as "**python3 app.py**" in the `app-config.json` file. This is the [startup command](https://docs.catalyst.zoho.com/en/serverless/help/appsail/appsail-configurations/#startup-commands) that is specific for this programming stack and framework. **app-config.json** ```json { "command": "python3 app.py", "buildPath": "/Users/amelia-426/Catalyst/Alien City", // provide your build path "stack": "python_3_9", "env_variables": {}, "memory": 256, "scripts": {} } ``` Let’s quickly go through the working of the application: 1. **GET Operation** * When you enter a city name in the application to check for a record of previous alien encounters, the onClick event for the **Check** button in `index.html` triggers the `getAlienEncounter()` function defined in `main.js`. * This fires an Ajax call to the URL route defined in the function. The `GET` API defined in the `app.py` then invokes the `getAlienCountFromCatalystDataStore()` function and passes the request query. * This function searches for the data in the *AlienCity* table in the Data Store by executing a ZCQL query. * If a record matching the city name is found in the table, a *positive* signal is sent as the response. Otherwise, a *negative* signal is sent as the response. * The application then displays a message that matches the response. A GIF matching the response defined in `main.js` is also displayed. 2. **POST Operation** * When you enter a city name in the application to report an alien encounter, the onClick event for the **Report** button in `index.html` triggers the `postAlienEncounter()` function defined in `main.js`. * This fires an Ajax call to the URL route defined in the function. The `POST` API defined in `app.py` then invokes the `getAlienCountFromCatalystDataStore()` function and passes a request query to check if a record with the same city name already exists. * This function searches for the data in the *AlienCity* table in the Data Store by executing a ZCQL query. If the record already exists, a response is sent, which enables the client to display an appropriate message to the user. * If there are no records for the city name, a new row is created in the *AlienCity* table for the city name entered by the user. A pop-up box is displayed in the client confirming the insertion of the record in the Data Store. An appropriate message is also pushed to the logs which can be checked from [Logs](https://docs.catalyst.zoho.com/en/devops/help/logs/introduction/), a [Catalyst DevOps](https://docs.catalyst.zoho.com/en/devops/getting-started/introduction/) component under the *Monitor* section in the *DevOps* service section of the console. -------------------------------------------------------------------------------- title: "Test the Application" description: "Create an application and host it on Catalyst AppSail with Catalyst Data Store that allows you to report or look up alien encounters in a city." last_updated: "2026-11-04T10:10:44.000Z" source: "https://docs.catalyst.zoho.com/en/tutorials/alien-city-appsail/python/test-app/" service: "All Services" related: - Serve CLI Resources (/en/cli/v1/serve-resources/introduction/) -------------------------------------------------------------------------------- # Test the Application Before you deploy the application to the remote console, you can [test the application](https://docs.catalyst.zoho.com/en/cli/v1/serve-resources/introduction/) on a local server and check if everything works using the Catalyst CLI. To serve the Catalyst project locally, execute the following command from your project directory: ```sh catalyst serve ``` This Alien City application is now served at default port `3001`. > **Note:** Every time you access the home page or any of the sub-pages of your application, the CLI will display a live log of the URL accessed, along with the HTTP request method. ![catalyst_alien_city_cli_appsail_py_serve](https://catalyst-docs-development.zohostratus.in/images/tutorials/alien-city-appsail-express/catalyst_alien_city_cli_appsail_py_serve.webp) You can now open the application's localhost URL in a browser to access the Alien City application. ![catalyst_alcity_catalyst_test_1](https://catalyst-docs-development.zohostratus.in/images/tutorials/alien-city-appsail-express/catalyst_alcity_catalyst_test_1.webp) Let’s test the application by entering a city’s name and checking for the history of an alien encounter in the city. Because we have not reported an alien encounter in a city yet, the result should be negative. Enter a city name in the text box and click **Check**. ![catalyst_alcity_catalyst_test_2](https://catalyst-docs-development.zohostratus.in/images/tutorials/alien-city-appsail-express/catalyst_alcity_catalyst_test_2.webp) A matching record for this city will not be found in the Data Store, and the application displays a negative response. ![catalyst_alcity_catalyst_test_3](https://catalyst-docs-development.zohostratus.in/images/tutorials/alien-city-appsail-express/catalyst_alcity_catalyst_test_3.webp) Now, let’s report an alien encounter. Click the **Report Alien Encounter** tab. Enter a city name and click **Report**. We have entered "**Monaco**" in our application. ![catalyst_alcity_catalyst_test_4](https://catalyst-docs-development.zohostratus.in/images/tutorials/alien-city-appsail-express/catalyst_alcity_catalyst_test_4.webp) The application will display a pop-up box confirming that the data has been added to the Data Store. ![catalyst_alcity_catalyst_test_5](https://catalyst-docs-development.zohostratus.in/images/tutorials/alien-city-appsail-express/catalyst_alcity_catalyst_test_5.webp) You can verify this by opening your Catalyst console and navigating to **Data Store** under *CloudScale*. Click the **Data View** tab of the table to view the record that was just inserted. ![catalyst_alcity_catalyst_test_6](https://catalyst-docs-development.zohostratus.in/images/tutorials/alien-city-appsail-express/catalyst_alcity_catalyst_test_6.webp) Next, let’s search for this city in the application and check if it fetches this record from the Data Store. Click the **Check My City** tab in the application and enter the name of the city that you just reported. Here, we enter "**Monaco**." Click **Check**. ![catalyst_alcity_catalyst_test_7](https://catalyst-docs-development.zohostratus.in/images/tutorials/alien-city-appsail-express/catalyst_alcity_catalyst_test_7.webp) The application displays a positive response. You can also check if the application displays the duplication message by reporting the same city again. ![catalyst_alcity_catalyst_test_8](https://catalyst-docs-development.zohostratus.in/images/tutorials/alien-city-appsail-express/catalyst_alcity_catalyst_test_8.webp) If this setup is working correctly, you can deploy the application. -------------------------------------------------------------------------------- title: "Deploy the Application" description: "Create an application and host it on Catalyst AppSail with Catalyst Data Store that allows you to report or look up alien encounters in a city." last_updated: "2026-11-04T10:10:44.000Z" source: "https://docs.catalyst.zoho.com/en/tutorials/alien-city-appsail/python/deploy-app/" service: "All Services" related: - Deploy CLI Resources (/en/cli/v1/deploy-resources/introduction/) - AppSail (/en/serverless/help/appsail/introduction/) -------------------------------------------------------------------------------- # Deploy the Application To [deploy your Catalyst project](https://docs.catalyst.zoho.com/en/cli/v1/deploy-resources/introduction/) from the CLI, run the following command in your terminal from your project directory: ```sh catalyst deploy ``` The URL of the AppSail service generated by Catalyst is displayed. ![catalyst_alien_city_cli_appsail_py_deploy](https://catalyst-docs-development.zohostratus.in/images/tutorials/alien-city-appsail-express/catalyst_alien_city_cli_appsail_py_deploy.webp) The application is now deployed to the Catalyst console. Now, if you navigate to the *AppSail* component located under the *Serverless* section, you will see your service has been deployed. ![catalyst_alien_city_cli_appsail_py_deploy_console_1](https://catalyst-docs-development.zohostratus.in/images/tutorials/alien-city-appsail-express/catalyst_alien_city_cli_appsail_py_deploy_console_1.webp) Click the **Alien City service** and you will be able to view the access URL generated by Catalyst. In this section you will also have access to a live dashboard denoting the number of instances the Alien City service has spawned at any given moment. Using this section you will also be able configure and manage the AppSail service. You can find out more about this [here](https://docs.catalyst.zoho.com/en/serverless/help/appsail/console/overview/). ![catalyst_alien_city_cli_appsail_py_deploy_console_2](https://catalyst-docs-development.zohostratus.in/images/tutorials/alien-city-appsail-express/catalyst_alien_city_cli_appsail_py_deploy_console_2.webp) You can now access the application using the AppSail URL generated by Catalyst. ![catalyst_alcity_catalyst_complete](https://catalyst-docs-development.zohostratus.in/images/tutorials/alien-city-appsail-express/catalyst_alcity_catalyst_complete.webp) ## Android File Storage App -------------------------------------------------------------------------------- title: "Introduction" description: "Build an Android file storage app using Android Studio and the Catalyst Android SDK to store files securely in your Catalyst project's Stratus bucket." last_updated: "2026-11-04T10:10:44.000Z" source: "https://docs.catalyst.zoho.com/en/tutorials/zcdrive/introduction/" service: "All Services" related: - Android SDK (/en/sdk/android/v2/overview/) - Android Kotlin (https://kotlinlang.org/) -------------------------------------------------------------------------------- # Android File Storage App ### Introduction This tutorial will help you build an Android file storage application called **ZCDrive**, which stores files securely. You will be able to upload files in the app, and view, delete, or download them from the app's interface. The Android app will be associated with a Catalyst project that will enable you to use of our secure cloud storage component, [Catalyst CloudScale Stratus](https://docs.catalyst.zoho.com/en/cloud-scale/help/stratus/introduction/) and a few other components. When you upload or delete a file from the app, the actions will be synchronized in the [Stratus bucket](https://docs.catalyst.zoho.com/en/cloud-scale/help/stratus/buckets/name-bucket/) in your Catalyst project. This association will be handled by [Catalyst's Android SDK](https://docs.catalyst.zoho.com/en/sdk/android/v2/overview/). We will register the Android package with the Catalyst project and include the SDK in the app's source code. The ZCDrive app will be built on the [Kotlin development platform](https://kotlinlang.org/). Kotlin is a cross-platform, lightweight, concise programming language that is fully interoperable with Java in Android application building. Catalyst Android SDK offers support for both Java and Kotlin, and enables you to build robust apps on either platform. We will work with Android Studio to build the app, and perform a manual test on it using an emulated device in the IDE. The final application will look like this: ![working-app](https://catalyst-docs-development.zohostratus.in/images/tutorials/zcdrive/working-app.webp) You can access a working application's final source code from [**this GitHub repository**](https://github.com/catalystbyzoho/tutorial-zcdrive-android). > **Note:** You can learn about the fundamentals of Android application building and developing Android apps with Kotlin from the [official Android documentation](https://developer.android.com/docs) and [Android's Kotlin documentation](https://developer.android.com/kotlin). The ZCDrive app uses the following Catalyst components and the features they provide: 1. [**Catalyst CloudScale**](https://docs.catalyst.zoho.com/en/cloud-scale/getting-started/introduction/): - [Data Store](https://docs.catalyst.zoho.com/en/cloud-scale/help/data-store/introduction): We will create a table to store the metadata of the files that are stored in the app, such as the file name, uploaded time, file type, etc. - [Stratus](https://docs.catalyst.zoho.com/en/cloud-scale/help/stratus/introduction/): We will create a folder in Stratus to store the files uploaded through the mobile app. - [Authentication](https://docs.catalyst.zoho.com/en/cloud-scale/help/authentication/introduction/): The app enables you to sign up for an account and log in to it to store your files securely. ZCDrive will not include any Catalyst fundamental components such as the [Catalyst Serverless Functions](https://docs.catalyst.zoho.com/en/serverless/help/functions/introduction/) or the [Catalyst CloudScale Web Client Hosting](https://docs.catalyst.zoho.com/en/cloud-scale/help/web-client-hosting/introduction/). You will be given the files to be included in your app's source, with their code configured. You will just have to replace the given files with the existing files present in your app's directory, as directed. -------------------------------------------------------------------------------- title: "Prerequisites" description: "Build an Android file storage app using Android Studio and the Catalyst Android SDK to store files securely in your Catalyst project's Stratus bucket." last_updated: "2026-11-04T10:10:44.000Z" source: "https://docs.catalyst.zoho.com/en/tutorials/zcdrive/prerequisites/" service: "All Services" related: - Android SDK (/en/sdk/android/v2/overview/) -------------------------------------------------------------------------------- # Prerequisites Before you begin building the application, you must have the following prerequisite installed on your system: #### Android Studio Android Studio is the official IDE for Android application development, as recognized by Google. We will create a project in Android Studio and code the app. The Android project and the IDE must meet these minimum supported environments: * Android Studio- 3.1.1 or later * Minimum SDK - API 26: Android 5.0 (Lollipop) * Language : Kotlin DSL * Gradle- 3.4.0 You can [download the latest version of Android Studio](https://developer.android.com/studio) for your environment and [install it](https://developer.android.com/studio/install), if you don't have it installed on your system. You need not perform any additional configurations to set up your workspace for this app. -------------------------------------------------------------------------------- title: "Create a project" description: "Build an Android file storage app using Android Studio and the Catalyst Android SDK to store files securely in your Catalyst project's Stratus bucket." last_updated: "2026-11-04T10:10:44.000Z" source: "https://docs.catalyst.zoho.com/en/tutorials/zcdrive/create-project/" service: "All Services" related: - Project Directory (/en/cli/v1/project-directory-structure/introduction) - Set up Catalyst Projects (/en/getting-started/catalyst-projects) -------------------------------------------------------------------------------- # Create a Project Let's [create a Catalyst project](https://docs.catalyst.zoho.com/en/getting-started/catalyst-projects/#create-a-catalyst-project) from the Catalyst console. 1. Log in to the [Catalyst console](https://console.catalyst.zoho.com/baas/index) and click **Create New Project**. ![](https://catalyst-docs-development.zohostratus.in/images/tutorials/zcdrive/create-project.webp) 2. Enter the project's name as "**ZCDrive**" in the pop-up window. ![project-name](https://catalyst-docs-development.zohostratus.in/images/tutorials/zcdrive/project-name.webp) 3. Click **Create**. Your project will be created and opened in the console. ![serverless](https://catalyst-docs-development.zohostratus.in/images/tutorials/zcdrive/serverless.webp) -------------------------------------------------------------------------------- title: "Create a table" description: "Build an Android file storage app using Android Studio and the Catalyst Android SDK to store files securely in your Catalyst project's Stratus bucket." last_updated: "2026-11-04T10:10:44.000Z" source: "https://docs.catalyst.zoho.com/en/tutorials/zcdrive/create-table/" service: "All Services" related: - Data Store (/en/cloud-scale/help/data-store/introduction/) -------------------------------------------------------------------------------- # Create a Table in the Data Store Next, let's create a table in the Data Store in the _ZCDrive_ project. This table stores the metadata of the files that are uploaded in the Android app. To create a table: 1. Navigate to the **Catalyst CloudScale** service in the [Catalyst console](https://console.catalyst.zoho.com/) and click **Start Exploring**. ![cloudscale](https://catalyst-docs-development.zohostratus.in/images/tutorials/zcdrive/cloudscale.webp) 2. Click **Data Store** under Storage. Click **Create a New Table**. ![create-table](https://catalyst-docs-development.zohostratus.in/images/tutorials/zcdrive/create-table.webp) 3. Enter the table's name as "**Files**" and click **Create**. ![table-name](https://catalyst-docs-development.zohostratus.in/images/tutorials/zcdrive/table-name.webp) > **Note:** Ensure that you enter the name exactly as instructed, because the application's code contains the same name. ### Create Columns We will create **five columns** in this table to store the file ID, name, type, and the uploaded time of the file. 1. Click **+ New Column** in the **Schema View** section for the table. ![](https://catalyst-docs-development.zohostratus.in/images/tutorials/zcdrive/new-column.webp) 2. Enter the column's name as "**file\_id**". Select the data type as **Var Char** and enter the max length as **100**. You must enable the **Is Mandatory** toggle. ![fileid](https://catalyst-docs-development.zohostratus.in/images/tutorials/zcdrive/fileid.webp) You can learn about the various data types supported by Catalyst and the other properties of a column from the [Data Store help page](https://docs.catalyst.zoho.com/en/cloud-scale/help/data-store/columns). > **Note:** Ensure that you enter the name exactly as instructed, because the application's code contains the same name. 3. Click **Create**. Create the other columns in the same way with the values shown in the images: #### uploaded\_time: ![uploaded-time](https://catalyst-docs-development.zohostratus.in/images/tutorials/zcdrive/uploadedtime.webp) #### file\_type: ![file-type](https://catalyst-docs-development.zohostratus.in/images/tutorials/zcdrive/filetype.webp) #### bucket\_name: ![bucketname-column](https://catalyst-docs-development.zohostratus.in/images/tutorials/zcdrive/bucketname-column.webp) #### version\_id: ![version-id](https://catalyst-docs-development.zohostratus.in/images/tutorials/zcdrive/version-id.webp) All columns will be created and listed in the _Schema View_ section. ![columns-created](https://catalyst-docs-development.zohostratus.in/images/tutorials/zcdrive/columns-created.webp) The Data Store is now configured for the app. Each time you upload a file in the app, a row will get created for it in the _Files_ table. When you delete a file, its data row will also be deleted from the table automatically. -------------------------------------------------------------------------------- title: "Create a Bucket in Stratus" description: "Build an Android file storage app using Android Studio and the Catalyst Android SDK to store files securely in your Catalyst project's Stratus bucket." last_updated: "2026-11-04T10:10:44.000Z" source: "https://docs.catalyst.zoho.com/en/tutorials/zcdrive/create-bucket/" service: "All Services" related: - Stratus (/en/cloud-scale/help/stratus/introduction/) -------------------------------------------------------------------------------- # Create a Bucket in Stratus Next, let's create a bucket in the [Catalyst CloudScale Stratus](https://docs.catalyst.zoho.com/en/cloud-scale/help/stratus/introduction/) component of the Catalyst project. This bucket stores the files that you upload in the mobile app. To create a bucket in the Stratus component: 1. Navigate to **Stratus** under **Storage** and click **Create Bucket**. ![create-bucket](https://catalyst-docs-development.zohostratus.in/images/tutorials/zcdrive/create-bucket.webp) 2. Enter a globally unique bucket's name. Choose **Authenticated** as the **Permission Template**, enable **Versioning**, and click **Create**. ![bucket-name](https://catalyst-docs-development.zohostratus.in/images/tutorials/zcdrive/bucket-name.webp) 3. The bucket will be created and displayed in the Stratus component. A unique Folder ID will be created for it, which we will include in the app's code later. ![bucket-created](https://catalyst-docs-development.zohostratus.in/images/tutorials/zcdrive/bucket-created.webp) The Stratus bucket is now configured for the application. -------------------------------------------------------------------------------- title: "Configure Authentication" description: "Build an Android file storage app using Android Studio and the Catalyst Android SDK to store files securely in your Catalyst project's Stratus bucket." last_updated: "2026-11-04T10:10:44.000Z" source: "https://docs.catalyst.zoho.com/en/tutorials/zcdrive/configure-authentication/" service: "All Services" related: - Configure Authentication (/en/cloud-scale/help/authentication/introduction/) -------------------------------------------------------------------------------- # Configure Authentication Let's now setup the authentication of the Android application in Catalyst. Follow the below listed steps to configure the Authentication component: 1. Navigate to the **Catalyst CloudScale** service in the Catalyst console and click **Authentication** component from SECURITY & IDENTITY. 2. In the Native Authentication section, select **Set Up**. ![authentication](https://catalyst-docs-development.zohostratus.in/images/tutorials/zcdrive/authentication.webp) [Learn more about Native Catalyst Authentication](https://docs.catalyst.zoho.com/en/cloud-scale/help/authentication/native-catalyst-authentication/introduction/). 3. Choose **Hosted Authentication** and click **Next**. Provide the company name as **ZCDrive**, enable public signup and select **Zoho** for Social Login. Click **Next**. ![auth-config](https://catalyst-docs-development.zohostratus.in/images/tutorials/zcdrive/auth-config.webp) [Learn more about Public Signup](https://docs.catalyst.zoho.com/en/cloud-scale/help/authentication/public-signup/). [Learn more about Social Logins](https://docs.catalyst.zoho.com/en/cloud-scale/help/authentication/social-logins/introduction/). You can skip the Additional Settings step. 4. The authentication component is now configured. ![access-url](https://catalyst-docs-development.zohostratus.in/images/tutorials/zcdrive/access-url.webp) -------------------------------------------------------------------------------- title: "Create a project in Android Studio" description: "Build an Android file storage app using Android Studio and the Catalyst Android SDK to store files securely in your Catalyst project's Stratus bucket." last_updated: "2026-11-04T10:10:44.000Z" source: "https://docs.catalyst.zoho.com/en/tutorials/zcdrive/create-android-studio-project/" service: "All Services" related: - Android SDK (/en/sdk/android/v2/overview) -------------------------------------------------------------------------------- # Create a Project in Android Studio Let's now create a project in Android Studio. The project you create will contain the source code and the resource files of the app in a specific structure, based on the type of activity, language, and other configurations you initialize it with. You can learn more about an Android's project structure, Android Studio's UI and tools, the build system, and more from the [Android Studio User Guide](https://developer.android.com/studio/intro). > **Note:** The screen samples shown in this tutorial are from the **Android Studio version Narwhal | 2025.1.1**. Depending on the version you have installed, there might be differences in the user interface or navigation in the IDE. 1. Open the Android Studio installed on your system and find the option to create a new project. Click **New Project**. ![newproject](https://catalyst-docs-development.zohostratus.in/images/tutorials/zcdrive/newproject.webp) 2. Select the type of the project as **Empty Activity**, then click **Next**. ![empty-activity](https://catalyst-docs-development.zohostratus.in/images/tutorials/zcdrive/empty-activity.webp) 3. Configure the project with these values: * Project name: "**ZCDrive**" * Package name: "**com.catalyst.zcdrive**" * Minimum SDK: **API 21: Android 5.0 (Lollipop)** * Language: **Kotlin DSL** This will populate the app with the Kotlin sample code for that API level. ![android-project-config](https://catalyst-docs-development.zohostratus.in/images/tutorials/zcdrive/android-project-config.webp) 4. Click **Finish**. Android Studio will finish creating your project, and Gradle will synchronize the build. After the project is synchronized, you will be able to see the boilerplate code and resources created for it from the directory on the left. However, before we code the ZCDrive application, we must set up and integrate the Catalyst Android SDK package with the app. -------------------------------------------------------------------------------- title: "Register app with Catalyst" description: "Build an Android file storage app using Android Studio and the Catalyst Android SDK to store files securely in your Catalyst project's Stratus bucket." last_updated: "2026-11-04T10:10:44.000Z" source: "https://docs.catalyst.zoho.com/en/tutorials/zcdrive/register-app/" service: "All Services" related: - Developer Tools (/en/getting-started/set-up-a-catalyst-project/developer-tools) - Android SDK (/en/sdk/android/v2/overview) -------------------------------------------------------------------------------- # Register the Android App with Catalyst After you create the Catalyst project and the Android project, you must create a package for the Android app in Catalyst to register it, and download its unique configuration file. This configuration file, `app\_configuration\_development.properties`, contains the definitions of the Catalyst project, the app client, and other OAuth authentication properties, that are auto-populated in it. You can view a complete list of the properties that this file defines from [this help section](https://docs.catalyst.zoho.com/en/sdk/android/v2/setup/#step-2-import-the-configuration-file-in-your-android-project). > **Note:** Because we are working in the development sandbox with the Catalyst project, we will only be able to download the configuration file for the [development environment](https://docs.catalyst.zoho.com/en/deployment-and-billing/environments/introduction). If you have a project deployed to production, you will be able to access the same file with the production environment variables populated in it. 1. Click the Settings icon from your Catalyst console in your project and navigate to Developer Tools under Project Settings. Click the Android Tile. ![settings-page](https://catalyst-docs-development.zohostratus.in/images/tutorials/zcdrive/settings-page.webp) 2. You must enter the same package name that you entered in Android Studio while creating the project. Enter the following values and click **Create**. Package name: **"com.catalyst.zcdrive"** Redirect URL: **"home"** The redirect URL defines the URL the user will be redirected to, after they login to the app. ![android-package](https://catalyst-docs-development.zohostratus.in/images/tutorials/zcdrive/android-package.webp) The package will be created successfully. ![package-created](https://catalyst-docs-development.zohostratus.in/images/tutorials/zcdrive/package-created.webp) You can click **Download** to download the configuration file to your local system. The configuration file will be downloaded to your system with all the property definitions mentioned earlier. The _Mobile SDK_ section in _Developer Tools_ will display the details of the Android SDK package configured with this project. -------------------------------------------------------------------------------- title: "Import configuration file" description: "Build an Android file storage app using Android Studio and the Catalyst Android SDK to store files securely in your Catalyst project's Stratus bucket." last_updated: "2026-11-04T10:10:44.000Z" source: "https://docs.catalyst.zoho.com/en/tutorials/zcdrive/import-config-file/" service: "All Services" related: - Developer Tools (/en/getting-started/set-up-a-catalyst-project/developer-tools) - Android SDK (/en/sdk/android/v2/overview) -------------------------------------------------------------------------------- # Import the Configuration file into your Android Project You must now add the configuration file you downloaded from the console to the app's source code. You must create a new directory called `assets` in the `app` module in the ZCDrive project's structure, and add the file in it as described below: 1. Navigate to the ZCDrive project in the Android Studio. Select `app` from the directory, then right-click it. Select **New** \> **Directory**. ![assets-dir](https://catalyst-docs-development.zohostratus.in/images/tutorials/zcdrive/assets-dir.webp) 2. Type "**src/main/assets**", then press **Enter**. ![assets-dir-name](https://catalyst-docs-development.zohostratus.in/images/tutorials/zcdrive/assets-dir-name.webp) Alternatively, you can create this directory in the specified path through your system's file manager directly. 3. Copy the `app\_configuration\_development.properties` file that was downloaded. Now, right-click the `assets` directory that was created in Android Studio, then click **Paste** to paste the file. Confirm the action, if prompted. ![config-file-added](https://catalyst-docs-development.zohostratus.in/images/tutorials/zcdrive/config-file-added.webp) You can also locate the Android project in your system's storage, then navigate to `ZCDrive > app > src > main > assets`, and paste the file there directly. -------------------------------------------------------------------------------- title: "Replace source code" description: "Build an Android file storage app using Android Studio and the Catalyst Android SDK to store files securely in your Catalyst project's Stratus bucket." last_updated: "2026-11-04T10:10:44.000Z" source: "https://docs.catalyst.zoho.com/en/tutorials/zcdrive/replace-source-code/" service: "All Services" related: - Android SDK (/en/sdk/android/v2/overview) -------------------------------------------------------------------------------- # Replace the Source Code and Resource Files Next, let's update the source code of the ZCDrive app and its resource files. To make this easy, we have given you a link to the Git repository that contains the code for the necessary modules. You will simply have to replace your files with the given files. 1. Navigate to `ZCDrive > app > src > main` in your Android project directory from your system. 2. Delete the following directories and file in the main folder: * `java/` * `res/` * `AndroidManifest.xml` ![files-replace](https://catalyst-docs-development.zohostratus.in/images/tutorials/zcdrive/files-replace.webp) 3. Download the `java/` and `res/` directories, and the `AndroidManifest.xml` file from **[this Git repo](https://github.com/catalystbyzoho/tutorial-zcdrive-android)**. 4. Paste the downloaded files in the `main` folder. The source code and resources for the app are now updated. Let's take a quick look at the code of the ZCDrive app. > **Note:** Please go through the source code and the comments as you read through these points to make sure you fully understand them. * The `res` folder contains the [app's standard resources](https://developer.android.com/guide/topics/resources/providing-resources) optimized for different device configurations in type-specific individual directories. These resources include various XML files that define the layouts, views, bitmaps, and more. * The `[AndroidManifest.xml](https://developer.android.com/guide/topics/manifest/manifest-intro)` file contains crucial information about the app that is communicated to the build tools, the Android OS, and Google play. For example, it declares the app's components, permissions, and the hardware and software requirements of the target device for the app to run on. * The `assets` directory we created contains the `app\_configuration\_development.properties` file that was downloaded after registering the app in Catalyst. * The `java` directory contains the actual source code of the app in the form of various Kotlin files: * `Initialization.kt`: Contains the startup logic for the creation of the main activity. * `Signup.kt`: Defines the logic and the layout for the signup and login activities in the app. The `registerUser()` method fetches the details of a new user, such as their name and email address, during the signup and creates a new user instance through [Catalyst Authentication](https://docs.catalyst.zoho.com/en/sdk/android/v2/cloud-scale/authentication/create-user-instance/). * `MainActivity.kt`: The `[Activity](https://developer.android.com/guide/components/activities/intro-activities)` class informs the Android system to invoke specific callback methods in the `Activity` instance for the various stages of the app's lifecycle. `MainActivity` defines methods to initiate login and signup in the app. When you build and run your app, the system launches an instance of this `Activity` and loads its layout. * `HomeActivity.kt`: Contains methods involved in defining the app's home activity, such as for loading the home page after the authentication check, setting values of the file items to the `RecyclerView` container for displaying the files, fetching the metadata of the files from the Data Store through a `fileItem` object and rendering them in the view, rendering the view after the files are deleted, the user logout, and more. * `UploadDialog.kt`: Handles the file upload activity in the app. The file is uploaded to the configured bucket in the Stratus. A new row is created in the Data Store, and the file's metadata is extracted and set to the row's columns. An object for the `fileItem` class that contains the file's metadata is then created, and the file item is rendered in the `HomeActivity`. * `UserFileDownloadManager.kt`: Handles the file download activity in the app. When the download is initiated by the user, the file in the Stratus bucket is referred to by an instance, and it is fetched and stored in a temporary file path. `fileOutputStream` downloads the file from the path. * `DeleteDialog.kt`: Handles the file deletion activity. A file instance is created to refer to the file in the Stratus bucket, and the file is deleted using the `file.delete()` method. The row that stores the file's metadata is also fetched using a Data Store table instance, and the row is deleted from the table. * The `LinearViewAdapter` and the `GridViewAdapter` define the rendering of the file items in the adapters of the app's `LinearView` and `GridView` respectively. * `PreviewFile.kt`: Defines the methods for previewing a file in the app, after checking for permissions. The `previewFile()` method fetches the file instance from Stratus and opens a preview. The `java` directory also contains sub-directories that define instrumented Android tests and independent unit tests of the app, which we will not be performing. -------------------------------------------------------------------------------- title: "Configure source code" description: "Build an Android file storage app using Android Studio and the Catalyst Android SDK to store files securely in your Catalyst project's Stratus bucket." last_updated: "2026-11-04T10:10:44.000Z" source: "https://docs.catalyst.zoho.com/en/tutorials/zcdrive/configure-source-code/" service: "All Services" related: - Android SDK (/en/sdk/android/v2/overview) -------------------------------------------------------------------------------- # Configure Values in the Source Code The Stratus bucket that has been associated with the app is referred to in the source files by its unique name. You must configure the value of your Stratus bucket name in the code that you downloaded from the Git repo in the previous step. You can fetch the bucket name configured in Step 3 and configure it in the **AppConstants.kt** file in the **ZCDrive > app > src > main > java > com > catalyst> zcdrive** directory. ![bucket-name-config](https://catalyst-docs-development.zohostratus.in/images/tutorials/zcdrive/bucket-name-config.webp) You must save the changes made. If your project's Gradle prompts for a project sync, synchronize the files with the build. The source files are now fully configured. We can now proceed to configure the build scripts for the app. -------------------------------------------------------------------------------- title: "Update build scripts" description: "Build an Android file storage app using Android Studio and the Catalyst Android SDK to store files securely in your Catalyst project's Stratus bucket." last_updated: "2026-11-04T10:10:44.000Z" source: "https://docs.catalyst.zoho.com/en/tutorials/zcdrive/update-build-scripts/" service: "All Services" related: - Android SDK (/en/sdk/android/v2/overview) -------------------------------------------------------------------------------- # Update Gradle Build Scripts You must make some minor updates in the [Gradle build scripts](https://developer.android.com/studio/build) of the Android project. Gradle provides you with the flexibility to define your own custom build configurations, in place of the default build configurations that an Android project is created with. Gradle entirely handles the app's build process and enables you to run the app effectively. You must update two of the build configuration files in your Android project: `settings.gradle`, and the module-level `build.gradle`. ![](https://catalyst-docs-development.zohostratus.in/images/tutorials/zcdrive/catalyst_zcdrive_as_gradle_1.webp) `settings.gradle:` 1. Open `settings.gradle` from the Gradle scripts and locate the `dependencyResolutionManagement{}` interface. 2. Replace the default code with the following code: ```javascript dependencyResolutionManagement { repositories { google() mavenCentral() maven { url = uri("https://maven.zohodl.com/") } } } ``` This defines the repositories to be added to the project, and configures the dependency resolution for the build. Ensure that the following last two lines of the default code are still present, because Gradle will not be able to process the build without them: ```javascript rootProject.name="ZCDrive" include':app' ``` ![settings-gradle](https://catalyst-docs-development.zohostratus.in/images/tutorials/zcdrive/settings-gradle.webp) `build.gradle:` The module-level `build.gradle` file enables you to configure build settings specific to that particular module. For example, you can configure the minimum SDK and target SDK the app must be compatible with, the compile options, dependencies, or the JVM bytecode the Kotlin compiler must generate. 1. Open `build.gradle (Module: ZCDrive.app)` from the Gradle scripts and locate the `android{}` object. Set the following values for these parameters in it: `compileSdk 36` `targetSdk 36` `minSdk 26` ![build-gradle](https://catalyst-docs-development.zohostratus.in/images/tutorials/zcdrive/build-gradle.webp) 2. Replace the default `dependencies{}` module with the following code: ```javascript dependencies{ implementation("com.zoho.catalyst:android-sdk:3.0.1") implementation(libs.androidx.core.ktx) implementation(libs.androidx.lifecycle.runtime.ktx) implementation(libs.androidx.activity.compose) implementation(platform(libs.androidx.compose.bom)) implementation(libs.androidx.ui) implementation(libs.androidx.ui.graphics) implementation(libs.androidx.ui.tooling.preview) implementation(libs.androidx.material3) testImplementation(libs.junit) androidTestImplementation(libs.androidx.junit) androidTestImplementation(libs.androidx.espresso.core) androidTestImplementation(platform(libs.androidx.compose.bom)) androidTestImplementation(libs.androidx.ui.test.junit4) debugImplementation(libs.androidx.ui.tooling) debugImplementation(libs.androidx.ui.test.manifest) implementation(libs.androidx.appcompat) implementation(libs.androidx.recyclerview) implementation(libs.material) } ``` After you have made these changes, Gradle will need to synchronize the project build. Click **Sync Now** if prompted. ![sync-now](https://catalyst-docs-development.zohostratus.in/images/tutorials/zcdrive/sync-now.webp) The custom build configurations are updated. We can now build the Android project and test the app in Android Studio. -------------------------------------------------------------------------------- title: "Configure an AVD" description: "Build an Android file storage app using Android Studio and the Catalyst Android SDK to store files securely in your Catalyst project's Stratus bucket." last_updated: "2026-11-04T10:10:44.000Z" source: "https://docs.catalyst.zoho.com/en/tutorials/zcdrive/configure-avd/" service: "All Services" related: - Android SDK (/en/sdk/android/v2/overview) -------------------------------------------------------------------------------- # Configure an AVD in the Android Emulator After you code an application in Android Studio, you can build it and deploy it to a connected device or a virtual emulator device to run it. When you build a project, an Android Application Package (APK) is built for the app, and the default project activity is launched to the target device. As we have updated the run configurations and scripts that define the project's build specifications in the last step, we can proceed to configuring a virtual device to test the app on. The [Android Emulator](https://developer.android.com/studio/run/emulator) facilitates the simulation of virtual android devices in Android Studio that enables you to test your application on a variety of device configurations, API levels, and hardware profiles. If you don't already have a virtual device set up for the app's target API level, follow the steps mentioned below to create a virtual device through AVD (Android Virtual Device) Manager, and run the app on it. > **Note:** * If the Android Emulator is not installed in your Android Studio, navigate to **Settings > SDK Manager**, then select the **SDK Tools** tab. You can select the **Android Emulator** package and install it. * You must also ensure that you have installed an SDK package of API level 29 or higher to run on the simulated device, as we defined the target SDK as 36. 1. Navigate to **Device Manager** in the Android Studio in your project. ![](https://catalyst-docs-development.zohostratus.in/images/tutorials/zcdrive/device-manager.webp) 2. Create a new virtual device by clicking **Create Virtual Device**. ![new-device](https://catalyst-docs-development.zohostratus.in/images/tutorials/zcdrive/new-device.webp) 3. Select **Phone** and choose **Pixel 9** as the device. ![pixel-9](https://catalyst-docs-development.zohostratus.in/images/tutorials/zcdrive/pixel-9.webp) 4. Select the API as **API 36.0 Baklava** and the Services as **Google APIs**. Click on the download icon shown beside the system image and click **Finish**. ![virtual-device-config](https://catalyst-docs-development.zohostratus.in/images/tutorials/zcdrive/virtual-device-config.webp) > **Note:** * If you see **Download** next to the system image, you must download it. * You must ensure that you select the API level to be above the minimum SDK level the app targets, which is 26\. Since we defined our target SDK as 36, you can ideally install a system image of that API level or of a higher level. 5. You can verify the configuration properties, then click **Finish** to create the virtual device. ![](https://catalyst-docs-development.zohostratus.in/images/tutorials/zcdrive/catalyst_zcdrive_as_avd_5.webp) The AVD will be created and listed in the Device Manager section. -------------------------------------------------------------------------------- title: "Test app in the AVD" description: "Build an Android file storage app using Android Studio and the Catalyst Android SDK to store files securely in your Catalyst project's Stratus bucket." last_updated: "2026-11-04T10:10:44.000Z" source: "https://docs.catalyst.zoho.com/en/tutorials/zcdrive/test-app-in-avd/" service: "All Services" related: - Android SDK (/en/sdk/android/v2/overview) -------------------------------------------------------------------------------- # Test the App in the AVD Let's now test the app by launching it on the virtual device. You can also debug your app through the default debugger attached to the configured virtual device, or perform advanced tests on the app. However, we will simply run the app on the Emulator and test its functionalities manually as an end-user. When you run the app, the build process will be initiated and it will convert the Android project into a debug version of an APK that you can test. A build version of the app's source code and resource files will be generated. You will find the compiled source files and resource files in the `app > build` directory, along with the other components of the APK and compiled Kotlin class files. The APK will get installed on the virtual device automatically, enabling you to simply open the app after the device is powered on. #### Launch the App: 1. Click the **Run app** icon as shown in the screenshot below. ![run-app](https://catalyst-docs-development.zohostratus.in/images/tutorials/zcdrive/run-app.webp) This will launch the Android Emulator and your virtual device will be powered on. You might be prompted to perform some initial set up on the virtual device. Locate the ZCDrive app on the virtual device and double-click it to open it. ![installed-app](https://catalyst-docs-development.zohostratus.in/images/tutorials/zcdrive/installed-app.webp) #### Sign Up for an account: 1. You must perform an initial sign-up on the app to create your account in it. Click **Sign Up**. ![sign-up](https://catalyst-docs-development.zohostratus.in/images/tutorials/zcdrive/sign-up.webp) 2. Enter your name and email address to create an account, then click **Sign Up**. ![sign-up-creds](https://catalyst-docs-development.zohostratus.in/images/tutorials/zcdrive/sign-up-creds.webp) You will receive a toast in the app informing you that an email with an invitation link to set a password has been sent to the email address. 3. Open your email and click the link. ![verification-email](https://catalyst-docs-development.zohostratus.in/images/tutorials/zcdrive/verification-email.webp) You can set a password for the app. Confirm the password, then click **Update**. #### Change User's Permissions: Before you log into the app, you must configure some user permissions in the Catalyst console. The account you signed up for the app with will be added to the role of an [_App User_](https://docs.catalyst.zoho.com/en/cloud-scale/help/authentication/user-management/roles/introduction/) by default in Catalyst Authentication. However, an _App User_ will not have permissions to upload and delete files in the Stratus bucket, or insert and delete rows in the Data Store. We will therefore change the signed up user's role to _App Admin_ in the following way: 1. Open **Authentication** in the Catalyst console for your project. You will find the account you signed up with added as a new user in the User Management section. Click the ellipsis icon for the user, then click **Edit**. ![edit-role](https://catalyst-docs-development.zohostratus.in/images/tutorials/zcdrive/edit-role.webp) 2. Select the user's role as _**App Administrator**_ from the drop-down list, then click **Update**. ![update-role](https://catalyst-docs-development.zohostratus.in/images/tutorials/zcdrive/update-role.webp) You will now be able to perform all available operations in the Data Store and Stratus. This will enable you to upload and delete files from the app. #### Log into the App: 1. Navigate back to the app in the Android Emulator and click **Login**. Enter the email address you signed up with and the password you set on the login screen, then click **Sign In**. ![](https://catalyst-docs-development.zohostratus.in/images/tutorials/zcdrive/sign-in.webp) 2. The app's home will be opened after a successful sign-in. ![no-files](https://catalyst-docs-development.zohostratus.in/images/tutorials/zcdrive/no-files.webp) #### Upload a file in the app: 1. You can now upload a file in the app by clicking the (+) icon. The app will ask permission to access the files on your virtual device. Click **Allow** and select a file. > **Note:** If the virtual device was newly configured and launched, it will not contain any files in its storage. You can open the Camera app on the device and click a sample image for this testing purpose. You could also simply drag a file onto the emulator screen from your system, to add it to the virtual device. The file will be added to the /sdcard/Download/ directory in the device's storage. 2. Click **Yes** in the confirmation pop-up. ![](https://catalyst-docs-development.zohostratus.in/images/tutorials/zcdrive/upload-confirm.webp) The file will be uploaded to the app. Depending on the type of file, you will see an icon for it. ![](https://catalyst-docs-development.zohostratus.in/images/tutorials/zcdrive/catalyst_zcdrive_as_test_13.webp) The uploaded file will be present in the Stratus bucket of your Catalyst project. ![uploaded-file](https://catalyst-docs-development.zohostratus.in/images/tutorials/zcdrive/uploaded-file.webp) You will also find a new row created in the _Files_ table in the Data Store, that stores the metadata of the uploaded file. #### View or Download a file in the app: You can preview or download the file from the emulated device by clicking the ellipsis icon for it in the app, then clicking **View** or **Download**. The file will be downloaded to the virtual device's storage when you click the _Download_ option. #### Delete a file in the app: 1. You can delete an uploaded file from the app by clicking the ellipsis icon, then clicking **Delete**. ![delete-file](https://catalyst-docs-development.zohostratus.in/images/tutorials/zcdrive/delete-file.webp) 2. Click **Yes** to confirm.![delete-confirm](https://catalyst-docs-development.zohostratus.in/images/tutorials/zcdrive/delete-confirm.webp) The file will be deleted from the app and the action will be synchronized with Stratus. The file will no longer be present in the Stratus bucket. ![empty-bucket](https://catalyst-docs-development.zohostratus.in/images/tutorials/zcdrive/empty-bucket.webp) The row containing the metadata of the file will also be deleted from the _Files_ table in the Data Store. ![empty-table](https://catalyst-docs-development.zohostratus.in/images/tutorials/zcdrive/empty-table.webp) You can also locate the APK of the ZCDrive app in the Android Studio and install it in any test device, to test its UI or functioning in a variety of hardware configurations or Android API levels. The app's APK can be found in this path of your Android project's directory:**` app > build > outputs > apk > debug > app-debug.apk`** > **Note:** You can also host and distribute the mobile app in Catalyst using **Mobile Device Management (MDM)**. You will need to upload the APK file of the app in your project's MDM in Catalyst console to host it. You can learn about hosting an Android app in MDM in the console from the [Mobile Device Management help page](https://docs.catalyst.zoho.com/en/cloud-scale/help/mobile-device-management/introduction). If all these actions work without any errors in the Emulator, the app has been configured properly. ## Authenticate Catalyst Apps with Auth0 ### NodeJS -------------------------------------------------------------------------------- title: "Introduction" description: "Integrate Auth0 SPA authentication service with basic web applications hosted on Catalyst using OpenID Connect and 0Auth2.0 authentication protocols." last_updated: "2026-08-17T12:16:04.000Z" source: "https://docs.catalyst.zoho.com/en/tutorials/third-party-auth/nodejs/introduction/" service: "All Services" related: - Project Directory Structure (/en/cli/v1/project-directory-structure/introduction/) - Upload Object to Bucket (/en/cloud-scale/help/stratus/objects/upload-object/) - Stratus SDK (/en/sdk/nodejs/v2/cloud-scale/stratus/overview/) - Stratus API (/en/api/code-reference/cloud-scale/stratus/get-all-buckets/#GetAllBuckets) -------------------------------------------------------------------------------- # Authenticate Catalyst Apps with Auth0 ### Introduction In this tutorial, we will be integrating **Auth0's Single Page Application** (SPA) authentication service with applications created or hosted on Catalyst. This integration employs industry standard **OpenID Connect** and **OAuth 2.0** authentication protocols making it possible to add end-users to Catalyst applications using third-party authentication services. [Auth0](https://auth0.com/), much like Catalyst Authentication, is a cloud-based identity and access management platform that offers developers to add end-users to their application through Social Logins, multi-factor authentication, and more. The client of your application will be rendered in the following manner: ![catalyst_tutorials_third_party_app_deployed](https://catalyst-docs-development.zohostratus.in/images/tutorials/third-party-auth/catalyst_tutorials_third_party_app_deployed.webp) The logic of this application is coded by employing the following Catalyst services and its respective components: * [**Catalyst Serverless**](https://docs.catalyst.zoho.com/en/serverless/): - [AdvancedIO Function](https://docs.catalyst.zoho.com/en/serverless/help/functions/advanced-io/): Will contain the logic validate Auth0 access tokens and fetch user details. * [**Catalyst CloudScale**](https://docs.catalyst.zoho.com/en/cloud-scale/): - [Authentication](https://docs.catalyst.zoho.com/en/cloud-scale/help/authentication/introduction/): We will implement [Third-party Authentication type](https://docs.catalyst.zoho.com/en/cloud-scale/help/authentication/third-party-authentication/introduction/) to allow third-party (**Auth0**) service to fulfill the authentication requirement of the Catalyst Application. - [Web Client Hosting](https://docs.catalyst.zoho.com/en/cloud-scale/help/web-client-hosting/introduction/): We will host the client of the application using this component. You will be using the [Catalyst web console](https://console.catalyst.zoho.com/) and the [Catalyst Command Line Interface](https://docs.catalyst.zoho.com/en/cli/v1/cli-command-reference/) (**CLI**) to build this application. > **Note:** You will be given the code for the files to be included in the function and client components in this tutorial. You will just need to copy the provided code and paste it into the appropriate files as directed. ### Application Workflow The workflow of how an end-user is authenticated using Auth0 and added as a user to your Catalyst application is detailed below: 1. The end-user will be provided the option to log in to the application. 2. After the user attempts to log in, they will be directed to the login elements generated by the Auth0 service. Here, the end-user will be provided the option to **Signup** or **Sign** using *Google social login*, or by providing their user information such as their name, email address. 3. After the end-user is authenticated by the Auth0 service, the details will be forwarded to the client with an authorization code. 4. The authentication logic in the backend function will be triggered and an API call will be made to the Auth0 service using the authorization code. 5. After this API call, the required user details will be passed to Catalyst, and a Catalyst custom token will be generated. > **Info:** The code to generate custom server token is also available in this [help section](https://docs.catalyst.zoho.com/en/sdk/nodejs/v2/cloud-scale/authentication/third-party-server-token/) and in the Catalyst console. 6. Now, the user details will be made available in the client and in the *User Management* section of the *Catalyst Authentication* component. The end-users' details along with the token information will also be stored in the browser cookie through the Web SDK, to ensure the session is maintained. 7. The user will now access your application through its endpoints. The Catalyst Security Engine ensures that all the components associated with the application are accessed securely by end-users. > **Note:** The token will only remain valid for **one hour**. After that, the steps from **5** to **7** will be repeated in the background. After the end-user is authenticated and the login session continues to persist, they can securely access all the end points of your application until the token's expiration time. -------------------------------------------------------------------------------- title: "Prerequisites" description: "Integrate Auth0 SPA authentication service with basic web applications hosted on Catalyst using OpenID Connect and 0Auth2.0 authentication protocols." last_updated: "2026-02-23T16:47:04.000Z" source: "https://docs.catalyst.zoho.com/en/tutorials/third-party-auth/nodejs/prerequisites/" service: "All Services" related: - Catalyst CLI Documentation (/en/cli/v1/cli-command-reference/) - Catalyst VS Code Extension (/en/catalyst-extensions/vs-code-extension/introduction/) -------------------------------------------------------------------------------- # Prerequisites Before you begin building the application, you must have the following prerequisites installed on your system: 1. **Catalyst CLI**: Catalyst CLI contains a host of tools that enable you to initialize, develop, test, and deploy the components of your application from your local machine. We will be working with Catalyst CLI in this tutorial. You must perform the following actions:
- **Install Catalyst CLI**: Catalyst CLI is installed through NPM. You must have NPM and Node.js installed on your system before you install the CLI. Refer to the [Install Catalyst CLI help page](https://docs.catalyst.zoho.com/en/getting-started/installing-catalyst-cli/) for details on the prerequisites and the steps to install it. - **Log in to Catalyst CLI**: After you install Catalyst CLI, you must authenticate the CLI with your Catalyst account before using it. Refer to the [CLI Login help page](https://docs.catalyst.zoho.com/en/cli/v1/login/login-from-cli/) for the steps to log in from Catalyst CLI and the various options available for it. 2. **Any IDE tool for Node.js and client code development**: You can use any IDE to work with the *Advanced IO* function and the client code. Some popular choices include Visual Studio Code, and Sublime Text. Download and install an IDE of your choice on your system. > If you are a Visual Studio Code IDE user, you can install the **Catalyst Tools** extension, and use your IDE itself in place of the CLI. You can find more details about the Catalyst VS Code extension from this [help section](https://docs.catalyst.zoho.com/en/catalyst-extensions/vs-code-extension/introduction/). -------------------------------------------------------------------------------- title: "Create Project" description: "Integrate Auth0 SPA authentication service with basic web applications hosted on Catalyst using OpenID Connect and 0Auth2.0 authentication protocols." last_updated: "2026-11-03T15:16:51.000Z" source: "https://docs.catalyst.zoho.com/en/tutorials/third-party-auth/nodejs/create-project/" service: "All Services" related: - Catalyst Projects (/en/getting-started/catalyst-projects/) -------------------------------------------------------------------------------- # Create a Project Let’s [create a Catalyst project](https://docs.catalyst.zoho.com/en/getting-started/catalyst-projects/#create-a-catalyst-project) in the Catalyst console. 1. Log in to the [Catalyst console](https://console.catalyst.zoho.com/baas/index) and click **Create New Project**. ![catalyst_tutorials_jobscheduling_create_proj](https://catalyst-docs-development.zohostratus.in/images/tutorials/third-party-auth/catalyst_tutorials_jobscheduling_create_proj.webp) 2. Enter the project's name as "**Authenticate 360**" in the pop-up. ![catalyst_tutorials_third_party_auth_name_proj](https://catalyst-docs-development.zohostratus.in/images/tutorials/third-party-auth/catalyst_tutorials_third_party_auth_name_proj.webp) Your project will be created and opened. -------------------------------------------------------------------------------- title: "Enable Third-party Authentication" description: "Integrate Auth0 SPA authentication service with basic web applications hosted on Catalyst using OpenID Connect and 0Auth2.0 authentication protocols." last_updated: "2026-08-17T12:16:04.000Z" source: "https://docs.catalyst.zoho.com/en/tutorials/third-party-auth/nodejs/enable-third-party-auth/" service: "All Services" related: - Catalyst Authentication (/en/cloud-scale/help/authentication/introduction/) - Third-party Authentication Type (/en/cloud-scale/help/authentication/third-party-authentication/introduction/) - User Management (/en/cloud-scale/help/authentication/user-management/introduction/) - Authentication Types (/en/cloud-scale/help/authentication/authentication-types/) - Whitelisting (/en/cloud-scale/help/authentication/whitelisting/introduction/) - Email Templates (/en/cloud-scale/help/authentication/email-templates/introduction/) -------------------------------------------------------------------------------- # Enable Third-party Authentication Next, we will enable the third-party authentication type for the Catalyst project. > **Note:** In this step, we are going to enable [Public Signup](https://docs.catalyst.zoho.com/en/cloud-scale/help/authentication/public-signup/). We will be skipping the *Whitelisting* and the code snippets section in the console. The code snippets will be revisited when we code our authentication logic. To enable the third-party authentication type: 1. Navigate to the *CloudScale* service and click **Start Exploring**. ![catalyst_tutorials_third_party_cloudscale_explore](https://catalyst-docs-development.zohostratus.in/images/tutorials/third-party-auth/catalyst_tutorials_third_party_cloudscale_explore.webp) 2. Navigate to the **Authentication** component and click **Set Up** next to the **Third-party authentication** tab. ![catalyst_tutorials_third_party_sel_third_party_auth](https://catalyst-docs-development.zohostratus.in/images/tutorials/third-party-auth/catalyst_tutorials_third_party_sel_third_party_auth.webp) 3. You will be directed to the **Server-Side Configuration** code snippet. Enable **Public Signup** by clicking the toggle. ![catalyst_tutorials_third_party_sel_third_party_sel_first](https://catalyst-docs-development.zohostratus.in/images/tutorials/third-party-auth/catalyst_tutorials_third_party_sel_third_party_sel_first.webp) 4. Go through the confirmation pop up and click **Yes, Proceed**. ![catalyst_tutorials_third_party_sel_third_party_public_signup](https://catalyst-docs-development.zohostratus.in/images/tutorials/third-party-auth/catalyst_tutorials_third_party_sel_third_party_public_signup.webp) 5. Click **Next**. We will be revisiting the server-side configuration, when we code the authentication logic. ![catalyst_tutorials_third_party_sel_third_party_server_cmpltd](https://catalyst-docs-development.zohostratus.in/images/tutorials/third-party-auth/catalyst_tutorials_third_party_sel_third_party_server_cmpltd.webp) 6. Click **Next** again. We will be revising the client-side configuration, when the front-end of the application is being coded. ![catalyst_tutorials_third_party_sel_third_party_client_side](https://catalyst-docs-development.zohostratus.in/images/tutorials/third-party-auth/catalyst_tutorials_third_party_sel_third_party_client_side.webp) 7. For the purposes of this tutorial, we do not require the [Custom User Validation](https://docs.catalyst.zoho.com/en/cloud-scale/help/authentication/whitelisting/custom-user-validation/introduction/) or the need to [authorize domains](https://docs.catalyst.zoho.com/en/cloud-scale/help/authentication/whitelisting/authorized-domains/introduction/). So click **Finish**. ![catalyst_tutorials_third_party_sel_third_party_client_whitelisting](https://catalyst-docs-development.zohostratus.in/images/tutorials/third-party-auth/catalyst_tutorials_third_party_sel_third_party_client_whitelisting.webp) Third-party authentication has now been enabled for your application. ![catalyst_tutorials_third_party_sel_third_party_enabled](https://catalyst-docs-development.zohostratus.in/images/tutorials/third-party-auth/catalyst_tutorials_third_party_sel_third_party_enabled.webp) > **Learn more about:** * [User Management](https://docs.catalyst.zoho.com/en/cloud-scale/help/authentication/user-management/introduction/) * [Authentication Types](https://docs.catalyst.zoho.com/en/cloud-scale/help/authentication/authentication-types/) * [Whitelisting](https://docs.catalyst.zoho.com/en/cloud-scale/help/authentication/whitelisting/introduction/) * [Email Templates](https://docs.catalyst.zoho.com/en/cloud-scale/help/authentication/email-templates/introduction/) -------------------------------------------------------------------------------- title: "Initialize the Project" description: "Integrate Auth0 SPA authentication service with basic web applications hosted on Catalyst using OpenID Connect and 0Auth2.0 authentication protocols." last_updated: "2026-11-03T15:19:21.000Z" source: "https://docs.catalyst.zoho.com/en/tutorials/third-party-auth/nodejs/init-project/" service: "All Services" related: - Initialize CLI Resources (/en/cli/v1/initialize-resources/introduction) - Project Directory Structure (/en/cli/v1/project-directory-structure/introduction) -------------------------------------------------------------------------------- # Initialize the Project You can now begin working on your Catalyst project from the CLI. The first step is to initialize the project in an empty directory. This will be the home directory of your project, and all of the project files will be saved in it. You can learn more about this from the [Project Directory Structure help page](https://docs.catalyst.zoho.com/en/cli/v1/project-directory-structure/introduction/). You can learn about initializing a project in detail from the [CLI help documentation](https://docs.catalyst.zoho.com/en/cli/v1/cli-command-reference/). For this application, we will only be initializing the project. We will not be initializing any function or client components. 1. Create a folder for the project on your local machine and navigate to it from the terminal. 2. Initialize a project by executing the following command from that directory: ```sh catalyst init ``` Navigate using the **arrow keys** and select your preferred portal and click **Enter**. If you have no other organizations associated with the account, then the default will be selected automatically. > **Info:** [Learn more about Catalyst's multi-org portal feature](https://docs.catalyst.zoho.com/en/getting-started/catalyst-organizations/#access-the-multi-org-portal). 3. The CLI will now ask you to associate a Catalyst project with the directory. Associate it with the project that we created earlier from the console. Select **Authentication360** from the list and click **Enter**. ![catalyst_tutorials_third_party_cli_init_proj](https://catalyst-docs-development.zohostratus.in/images/tutorials/third-party-auth/catalyst_tutorials_third_party_cli_init_proj.webp) 4. Select **Functions** and **Client** using the space-bar and press **Enter** to initialize the function and client components of your application. ![catalyst_tutorials_third_party_cli_sel_func_client](https://catalyst-docs-development.zohostratus.in/images/tutorials/third-party-auth/catalyst_tutorials_third_party_cli_sel_func_client.webp) 5. The CLI will initiate the function setup. Select **AdvancedIO** function as the function type to code your authentication logic. ![catalyst_tutorials_third_party_func_sel_advio](https://catalyst-docs-development.zohostratus.in/images/tutorials/third-party-auth/catalyst_tutorials_third_party_func_sel_advio.webp) 6. Select the latest runtime of *Node.js* as the function stack. ![catalyst_tutorials_third_party_sel_node_runtime](https://catalyst-docs-development.zohostratus.in/images/tutorials/third-party-auth/catalyst_tutorials_third_party_sel_node_runtime.webp) 7. Enter "`custom_token_generation`" as the package name, "`index.js`" as the entry point, and your email address as the author, then press **Enter**. Alternatively, you can press **Enter** without entering inputs to fill in the default values. The CLI will prompt the initialization of the Node dependencies. Press **Y** to confirm the installation, and press **Enter** to confirm your choice. The Node modules will be installed. ![catalyst_tutorials_third_party_func_cmpltd](https://catalyst-docs-development.zohostratus.in/images/tutorials/third-party-auth/catalyst_tutorials_third_party_func_cmpltd.webp) The CLI will now initiate the client setup. 8. Select **Basic web app** and press **Enter** to initialize your client as a [basic web app](https://docs.catalyst.zoho.com/en/cli/v1/initialize-resources/initialize-client/#basic-client-applications). ![catalyst_tutorials_third_party_sel_client_basic](https://catalyst-docs-development.zohostratus.in/images/tutorials/third-party-auth/catalyst_tutorials_third_party_sel_client_basic.webp) 9. Enter a name for your client package and press **Enter**. For the purposes of this tutorial, we are naming our client package “`Authentication360`”. You can use the same of provide a name of your choice. ![catalyst_tutorials_third_party_sel_client_basic_cmpltd](https://catalyst-docs-development.zohostratus.in/images/tutorials/third-party-auth/catalyst_tutorials_third_party_sel_client_basic_cmpltd.webp) The Catalyst initialization is now complete. The project directory is now set up with the client directory and the functions directory along with configuration files and dependencies. The project directory also contains the [`catalyst.json`](https://docs.catalyst.zoho.com/en/cli/v1/project-directory-structure/catalyst-json/) configuration file and a hidden `.catalystrc` file. The structure of your project directory should now appear as shown below: ![catalyst_tutorials_third_party_app_dir](https://catalyst-docs-development.zohostratus.in/images/tutorials/third-party-auth/catalyst_tutorials_third_party_app_dir.webp) ### Deploy Your Application You will need to deploy the application to the Catalyst console to fetch the application URL. This URL is required to enable and Auth0 authentication service. To [deploy the application](https://docs.catalyst.zoho.com/en/cli/v1/deploy-resources/introduction/) from the CLI: Run the following command in your terminal from your project directory: ```sh catalyst deploy ``` The function is deployed first, followed by the client component. The URL endpoints of the components will be displayed in the CLI: ![catalyst_tutorials_third_party_deploy_1](https://catalyst-docs-development.zohostratus.in/images/tutorials/third-party-auth/catalyst_tutorials_third_party_deploy_1.webp) > **Note:** You can also use the `catalyst deploy –only client` CLI command to deploy the client component alone, as the function component is not required to enable Auth0 service. You can get the application URL at any point by navigating to the [Web Client Hosting](https://docs.catalyst.zoho.com/en/cloud-scale/help/web-client-hosting/) component. ![catalyst_tutorials_third_party_auth0_webclienthost](https://catalyst-docs-development.zohostratus.in/images/tutorials/third-party-auth/catalyst_tutorials_third_party_auth0_webclienthost.webp) We can now enable *Auth0* authentication service for your Catalyst application. -------------------------------------------------------------------------------- title: "Enable Auth0 Authentication Service" description: "Integrate Auth0 SPA authentication service with basic web applications hosted on Catalyst using OpenID Connect and 0Auth2.0 authentication protocols." last_updated: "2026-08-17T12:16:04.000Z" source: "https://docs.catalyst.zoho.com/en/tutorials/third-party-auth/nodejs/enable-auth0/" service: "All Services" related: - Third-party Authentication type (/en/cli/v1/initialize-resources/introduction) - Auth0 Help Documentation (https://auth0.com/docs) -------------------------------------------------------------------------------- # Enable Auth0 Authentication Service Next, lets's enable Auth0 authentication for your Catalyst application. To enable Auth0: 1. Navigate to the [**Auth0**](https://auth0.com/), and signup for the service. 2. After you get directed to the dashboard, click **Create Application**. ![catalyst_tutorials_third_party_start_auth0](https://catalyst-docs-development.zohostratus.in/images/tutorials/third-party-auth/catalyst_tutorials_third_party_start_auth0.webp) 3. Provide a name for your application, select **JavaScript** as the **Technology**, and select **Single-Page App** as your **Application Type**. Click **Create Application**. ![catalyst_tutorials_third_party_auth_init_setup](https://catalyst-docs-development.zohostratus.in/images/tutorials/third-party-auth/catalyst_tutorials_third_party_auth_init_setup.webp) 4. Click the **Settings** tab. ![catalyst_tutorials_third_party_auth0_spa_qs](https://catalyst-docs-development.zohostratus.in/images/tutorials/third-party-auth/catalyst_tutorials_third_party_auth0_spa_qs.webp) You will be able to view and copy the `Domain`, `Client ID`, and `Client Secret`. ![catalyst_tutorials_third_party_auth0_client_creds](https://catalyst-docs-development.zohostratus.in/images/tutorials/third-party-auth/catalyst_tutorials_third_party_auth0_client_creds.webp) 5. Add the required Application URIs in the following format: * **Application Login URI**: `application domain/app/index.html` * **Allowed Callback URLs**: `application domain/app/home.html` * **Allowed Logout URLs**: `application domain/app/home.html` You can fetch these URLs as directed in the [previous step](https://docs.catalyst.zoho.com/en/tutorials/third-party-auth/nodejs/init-project/#deploy-your-application). ![catalyst_tutorials_third_party_auth0_urls](https://catalyst-docs-development.zohostratus.in/images/tutorials/third-party-auth/catalyst_tutorials_third_party_auth0_urls.webp) > **Info:** We will be diving into and configuring the `index.html` and `home.html` pages, when we configure the client. 6. Enable **Cross-Origin Authentication** and provide the application URL as the **Allowed Origins (CORS)**, then click **Save**. ![catalyst_tutorials_third_party_auth0_final_save](https://catalyst-docs-development.zohostratus.in/images/tutorials/third-party-auth/catalyst_tutorials_third_party_auth0_final_save.webp) The *Auth0* service is configured and enabled for your application. -------------------------------------------------------------------------------- title: "Configure the Advanced IO Function" description: "Integrate Auth0 SPA authentication service with basic web applications hosted on Catalyst using OpenID Connect and 0Auth2.0 authentication protocols." last_updated: "2026-08-17T12:16:04.000Z" source: "https://docs.catalyst.zoho.com/en/tutorials/third-party-auth/nodejs/config-advancedio/" service: "All Services" related: - Third-party Authentication type (/en/cli/v1/initialize-resources/introduction) - Advanced IO Function (/en/serverless/help/functions/advanced-io/) - Third-party Authentication SDK (/en/sdk/nodejs/v2/cloud-scale/authentication/third-party-server-token/) - Auth0 Help Documentation (https://auth0.com/docs) -------------------------------------------------------------------------------- # Configure the Advanced IO Function Now, we will begin coding the authorization portal application by configuring the function component. The [function’s directory](https://docs.catalyst.zoho.com/en/cli/v1/project-directory-structure/functions-directory), (`functions/custom_token_generation`), contains: * The `ndex.js` main function file * The `catalyst-config.json` configuration file * Node modules * [`package.json`](https://docs.npmjs.com/files/package.json) and [`package-lock.json`](https://docs.npmjs.com/configuring-npm/package-lock-json.html) dependency files Before you start adding code, you need to install the following packages to ensure all required dependencies are satisfied. * **Express**: The [`express`](https://www.npmjs.com/package/express) package is required to handle HTTP routes * **Axios**: The [`axios`](https://www.npmjs.com/package/axios) package is required to handle outgoing HTTP requests Navigate to the function folder present in the `functions/custom_token_generation` directory and install the following packages using the command shown below: ```sh npm install express axios --save ``` ![catalyst_tutorials_third_party_package_install](https://catalyst-docs-development.zohostratus.in/images/tutorials/third-party-auth/catalyst_tutorials_third_party_package_install.webp) You will be adding code in the `index.js` file. The Advanced IO function contains the following functionalities:
Endpoint Request Method Purpose Possible Expected Responses
`/getauth` `GET`
  • Will read the Auth0 access token from the `zc-customauth` header.
  • Will call the Auth0 `/userinfo` and will generate a custom web token using the returned user details.
Returns the required **Catalyst Custom Token** (JSON) or a **401** if no token is obtained.
`/catalystUser` `GET` Initializes Catalyst using request context and retrieves the details of the authenticated user. Returns a JSON containing the end-user details.
Copy the code below and paste it into the `index.js` files of your project using an IDE and save the files. > **Note:** Go through the code in this section to make sure you fully understand it. **index.js** ```javascript 'use strict' // Import Catalyst Node SDK const catalyst = require('zcatalyst-sdk-node') // Import Express framework const express = require('express') const app = express() // Initialize express middleware app.use(express()) // Import axios to make HTTP requests to Auth0 const axios = require('axios') // Header name where Auth0 access token is expected const auth0TokenHeader = 'zc-customauth' // Replace with your Auth0 domain (example: https://your-domain.auth0.com) const auth0Domain = '{replace your Auth0 domain}' // Endpoint to validate Auth0 token and generate Catalyst custom token app.get('/getauth', async (req, res) => { try { // Read Auth0 access token from request header const auth0AccessToken = req.headers[auth0TokenHeader] // Auth0 user info endpoint const auth0Url = auth0Domain + '/userinfo' // Proceed only if token is provided if (auth0AccessToken !== undefined) { const url = auth0Url // Attach Authorization header with Bearer token const config = { headers: { Authorization: 'Bearer ' + auth0AccessToken } } // Call Auth0 to fetch user details const auth0response = await axios.get(url, config) // Initialize Catalyst app using request context const catalystApp = catalyst.initialize(req) // Generate Catalyst custom web token using Auth0 user details const tokenObj = await catalystApp.userManagement().generateCustomToken({ type: 'web', user_details: { email_id: auth0response.data.email, first_name: auth0response.data.given_name, last_name: auth0response.data.family_name } }) // Send generated Catalyst token back to client res.status(200).send(JSON.stringify(tokenObj)) } else { // If Auth0 token is missing in header res.status(401).send({ status: 'failure', message: 'Token not provided in the header' }) } } catch (error) { // Log error and return failure response console.log(error) res.status(error.response.status).send({ status: 'failure', message: 'An unexpected error has occured. Please try again after sometime.' }) } }) // Endpoint to fetch the currently authenticated Catalyst user app.get('/catalystUser', async (req, res) => { try { // Initialize Catalyst using request context const catalystApp = catalyst.initialize(req) // Retrieve current logged-in Catalyst user const currentUser = await catalystApp.userManagement().getCurrentUser() // Send user details as response res.status(200).send(JSON.stringify(currentUser)) } catch (error) { // Handle and log any unexpected errors console.log(error) res.status(500).send({ status: 'failure', message: error }) } }) // Export the Express app module.exports = app ``` > **Note:** Ensure you provide domain generated by Auth0 in line **14**. -------------------------------------------------------------------------------- title: "Configure the Client" description: "Integrate Auth0 SPA authentication service with basic web applications hosted on Catalyst using OpenID Connect and 0Auth2.0 authentication protocols." last_updated: "2026-08-28T07:59:38.000Z" source: "https://docs.catalyst.zoho.com/en/tutorials/third-party-auth/nodejs/config-client/" service: "All Services" related: - Third-party Authentication type (/en/cli/v1/initialize-resources/introduction) - Third-party Authentication SDK (/en/sdk/web/v4/cloud-scale/authentication/third-party-custom-token/) - Auth0 Help Documentation (https://auth0.com/docs) -------------------------------------------------------------------------------- # Configure the Client Let's configure the client component. The [client directory](https://docs.catalyst.zoho.com/en/cli/v1/project-directory-structure/client-directory/) contains: - `index.html`: Will act as the entry point of your application - `main.css`: Will contain the CSS code for the application - `main.js`: Will contain the JavaScript code for the application - `client-package.json`: Will contain the configuration file - You will need to create the following files: - `home.html`: Will contain two UI elements for Auth0 and Catalyst user details section. - `auth_config.json`: Will contain the values of the `domain`, `clientID` and the `redirectURL` values required to configure the authentication elements for your application. We will discuss the code of the entire application at the end of this section. > **Note:** Make sure to go through the code provided in this section to be sure you fully understand it. Copy the code below and paste it into the respective files located in the `authentication360/client/` of your project using an IDE and save the files. **index.html** ```xml <!DOCTYPE html> <html> <head> <meta charset="utf-8" /> <meta http-equiv="X-UA-Compatible" content="IE=edge"> <title>Auth0 App</title> <meta name="viewport" content="width=device-width, initial-scale=1"> <link rel="stylesheet" type="text/css" media="screen" href="main.css" /> <script src="https://cdn.auth0.com/js/auth0-spa-js/2.0/auth0-spa-js.production.js"></script> <script src="https://static.zohocdn.com/catalyst/sdk/js/4.6.2/catalystWebSDK.js"></script> <script src="/__catalyst/sdk/init.js"></script> <script src="main.js"></script> </head> <body style="background:#c0c0c0; font-family: 'Calibri';"> <center> <br> <br> <br> <img width="80px" height="80px" src="https://cdn2.iconfinder.com/data/icons/user-management/512/profile_settings-512.png"> <h1>Implementation of Third Party Authentication in Catalyst</h1> <h1>Login using Auth0</h1> <p>Welcome to our page!</p> <button onclick="login()" style="width:20%" id="btn-login">Log in</button> </center> </body> </html> ``` **home.html** ```xml <!-- Redirects here after login--> <!DOCTYPE html> <html> <head> <meta charset="utf-8" /> <meta http-equiv="X-UA-Compatible" content="IE=edge"> <title>Auth0 App</title> <meta name="viewport" content="width=device-width, initial-scale=1"> <link rel="stylesheet" type="text/css" media="screen" href="main.css" /> <script src="https://cdn.auth0.com/js/auth0-spa-js/2.0/auth0-spa-js.production.js"></script> <script src="https://static.zohocdn.com/catalyst/sdk/js/4.6.2/catalystWebSDK.js"></script> <script src="/__catalyst/sdk/init.js"></script> <script src="home.js"></script> <script> window.addEventListener("hashchange", function() { const hash = window.location.hash.toLowerCase(); if (hash === "#auth0profile") { document.getElementById("loader").style.display = "block"; document.getElementById("auth0Userdetails").style.display = "none"; document.getElementById("catalystUserdetails").style.display = "none"; getAuth0UserDetails(true); } else if (hash === "#catalystprofile") { document.getElementById("loader").style.display = "block"; document.getElementById("auth0Userdetails").style.display = "none"; document.getElementById("catalystUserdetails").style.display = "none"; getCatalystUserDetails(); } }); </script> <style> .card { max-width: 500px; margin: auto; text-align: center; font-family: arial; background-color: #a5a4a4; } .title { font-size: 23px; color: black; } button { border: none; outline: 0; display: inline-block; padding: 8px; color: white; background-color: #000; text-align: center; cursor: pointer; width: 50%; font-size: 18px; border-radius: 8px; } a { text-decoration: none; font-size: 22px; color: black; } button:hover, a:hover { opacity: 0.7; } body { background-color: #a5a4a4; font-size: 23px; } p, label { font-family: 'Calibri'; font-weight: normal; } </style> </head> <body style="font-family: 'Calibri';"> <center> <br> <br> <div id="loader" class="loader" style="display: block; margin-left: 46%; position: fixed;"> <div></div> <div></div> <div></div> </div> <div id="auth0Userdetails" style="display: none;"> <p>Welcome to our home page!</p> <p>You're seeing this content because you're currently <strong>logged in</strong>.</p> <label>User profile Information from Auth0:</label> <label>Profile picture:</label> <img id="myImg" src="" width="60" height="60" /> <p id="auth0Firstname"></p> <p id="auth0Lastname"></p> <p id="auth0email"></p> <button style="background-color: grey; width: 24%;"> <a id="getUserProfile" href="#CatalystProfile" style="font-family: Calibri">Get Catalyst Logged in User Details</a> </button> <p><button onclick="logout()" style="width:20%">Logout</button></p> </div> <div id="catalystUserdetails" style="display: none;"> <div> <a href="#Auth0Profile" style="margin-left: 70%;"><u>Back</u></a> </div> <div class="card"> <img width="80px" height="80px" src="https://cdn2.iconfinder.com/data/icons/user-management/512/profile_settings-512.png" alt="Profile" /> <h1 style="font-size:33px; font-family: 'Calibri';">User Profile Management</h1> <p class="title" id="fname"></p> <p class="title" id="lname"></p> <p class="title" id="mailid"></p> <p class="title" id="tzone"></p> <p class="title" id="ctime"></p> </div> <p><button onclick="logout()" style="width:20%">Logout</button></p> </div> </center> </body> </html> ``` **main.css** ```css .hidden { display: none; } label { margin-bottom: 10px; display: block; } div.login { padding-top: 10px; height: 260px; width: 500px; margin: 0 auto; } /* Set a style for all buttons */ button { background-color: #4CAF50; color: white; padding: 14px; margin: 8px 0; border: none; cursor: pointer; width: 200%; opacity: 0.9; } button:hover { opacity: 1; } /* Float cancel and signup buttons and add an equal width */ .seperatebtn { width: 10%; padding: 8px; border-radius: 8px; } /* Change styles for cancel button and signup button on extra small screens */ @media screen and (max-width: 100px) { .signupbtn { width: 100%; } } .loader- { display: inline-block; vertical-align: middle; position: fixed; left: 0px; top: 0px; width: 100%; height: 100%; z-index: 9999; text-align: center; } .loader div { display: inline-block; position: absolute; left: 8px; width: 16px; background: #fff; animation: loader 1.2s cubic-bezier(0, 0.5, 0.5, 1) infinite; } .loader div:nth-child(1) { left: 8px; animation-delay: -0.24s; } .loader div:nth-child(2) { left: 32px; animation-delay: -0.12s; } .loader div:nth-child(3) { left: 56px; animation-delay: 0; } @keyframes loader { 0% { top: 8px; height: 64px; } 50%, 100% { top: 24px; height: 32px; } } ``` **main.js** ```javascript const login = async () => { const fetchAuthConfig = () => fetch("./auth_config.json"); const config = await fetchAuthConfig(); const authConfig = await config.json(); await auth0Client.loginWithRedirect({ authorizationParams: { redirect_uri: authConfig.redirect_url + "/app/home.html" } }); }; window.onload = async () => { await configureClient(); debugger; let isAuthenticated = await auth0Client.isAuthenticated(); if (isAuthenticated) { document.body.innerHTML = "You are currently logged in. Redirecting you to the home page.."; setTimeout(function() { window.location.href = "home.html"; }, 2000); } else { window.history.replaceState({}, document.title, "/app/index.html"); } }; const configureClient = async () => { debugger; const fetchAuthConfig = () => fetch("./auth_config.json"); const config = await fetchAuthConfig(); const authConfig = await config.json(); auth0Client = await auth0.createAuth0Client({ domain: authConfig.domain, clientId: authConfig.clientId, useRefreshTokens: true, cacheLocation: "localstorage" }); }; const logout = async () => { debugger; const fetchAuthConfig = () => fetch("./auth_config.json"); const config = await fetchAuthConfig(); const authConfig = await config.json(); auth0Client.logout({}); catalyst.auth.signOut(authConfig.redirect_url); }; ``` **auth_config.json** ```json { "domain": "your_auth0_domain_here", "clientId": "your_auth0_client_id_here", "redirect_url": "Your_catalyst_app_URL_here" } ``` > **Note:** You will need to provide the **domain** and **ClientID** generated in Auth0 dashboard, as well as provide the **application's URL** as the redirect URL. The client directory is now configured. Let's go over the application code: * The application is intended to achieve the following functionalities: Use Auth0 to authenticate end-user access for your Catalyst application. Using secure token-based authorization we can integrate **Auth0 SPA** login elements onto the Catalyst application, and also store essential details of the user in Catalyst's backend. * When the end-user accesses the application, they will encounter the **Auth0** login section to authenticate their access. Here the user will provide their details or sign in to your application using **Google social login**. * The above action will generate an access token, and redirect the end-user to the application's redirect URL. The access token will be sent as header to `/getauth` the backend function containing the authentication logic. * `/getauth` will use this token to then fetch the end-user's required details from Auth0's `/userinfo` endpoint. * The `custom_token_generation` will then generate a Catalyst Custom Token using the user's details. This token is then returned to the client and the end-user can use this token to access your Catalyst application. * With the end-user authenticated their details are added to the Catalyst's interface using the `/catalystUser` endpoint. * If required, the authenticated user can log off from the application. The client and function components are now configured for your application. -------------------------------------------------------------------------------- title: "Test the Application" description: "Integrate Auth0 SPA authentication service with basic web applications hosted on Catalyst using OpenID Connect and 0Auth2.0 authentication protocols." last_updated: "2026-08-17T12:16:04.000Z" source: "https://docs.catalyst.zoho.com/en/tutorials/third-party-auth/nodejs/test-app/" service: "All Services" related: - Third-party Authentication type (/en/cli/v1/initialize-resources/introduction) - CLI Serve Resources (/en/cli/v1/serve-resources/introduction/) - Third-party Authentication SDK (/en/sdk/web/v4/cloud-scale/authentication/third-party-custom-token/) - Auth0 Help Documentation (https://auth0.com/docs) -------------------------------------------------------------------------------- # Test the Application You can test the functionality of your application on a local server using the Catalyst CLI. > **Info:** [Learn more about server resources](https://docs.catalyst.zoho.com/en/cli/v1/serve-resources/introduction). To server the Catalyst project locally, execute the following command in your Catalyst CLI: ```sh catalyst serve ``` The application will typically be served in the default `port 3000`. The local endpoint URLs of the components will be displayed in the CLI. ![catalyst_tutorials_third_party_auth0_serve_cli](https://catalyst-docs-development.zohostratus.in/images/tutorials/third-party-auth/catalyst_tutorials_third_party_auth0_serve_cli.webp) > **Note:** - To ensure you are able to locally test your application, you need to add your local endpoint URIs in the Auth0 configuration section, for example: - `http://localhost:3000/app/index.html` - `http://localhost:3000/app/home.html` - Every time you access the homepage or any of the sub-pages of your client, or the function, the CLI will display a live log of the accessed URL, along with the HTTP method that is used to access it. You can now open the client component’s local URL in a browser to access the application. Click **Log in**. ![catalyst_tutorials_third_party_serve_1](https://catalyst-docs-development.zohostratus.in/images/tutorials/third-party-auth/catalyst_tutorials_third_party_serve_1.webp) You will be directed to the Auth0 login elements. You can either input the required user details or attempt to sign in to the application using the **Google Social Login** button. ![catalyst_tutorials_third_party_serve_2](https://catalyst-docs-development.zohostratus.in/images/tutorials/third-party-auth/catalyst_tutorials_third_party_serve_2.webp) Click the **Get Catalyst Logged in User Details** button to add the user details to the Catalyst backend. ![catalyst_tutorials_third_party_serve_3](https://catalyst-docs-development.zohostratus.in/images/tutorials/third-party-auth/catalyst_tutorials_third_party_serve_3.webp) The user has now been authenticated using Auth0 and added their details have been added to the Catalyst backend. ![catalyst_tutorials_third_party_serve_4](https://catalyst-docs-development.zohostratus.in/images/tutorials/third-party-auth/catalyst_tutorials_third_party_serve_4.webp) You can verify that the user has been added to your Catalyst application by navigating to the [User Management](https://docs.catalyst.zoho.com/en/cloud-scale/help/authentication/user-management/introduction/) section in the **Authentication** component. ![catalyst_tutorials_third_party_auth0_user_mgmt](https://catalyst-docs-development.zohostratus.in/images/tutorials/third-party-auth/catalyst_tutorials_third_party_auth0_user_mgmt.webp) The application is working as intended. -------------------------------------------------------------------------------- title: "Deploy the Application" description: "Integrate Auth0 SPA authentication service with basic web applications hosted on Catalyst using OpenID Connect and 0Auth2.0 authentication protocols." last_updated: "2026-08-17T12:16:04.000Z" source: "https://docs.catalyst.zoho.com/en/tutorials/third-party-auth/nodejs/deploy-app/" service: "All Services" related: - Third-party Authentication type (/en/cli/v1/initialize-resources/introduction) - CLI Deploy Resources (/en/cli/v1/serve-resources/introduction/) - Third-party Authentication SDK (/en/sdk/web/v4/cloud-scale/authentication/third-party-custom-token/) -------------------------------------------------------------------------------- # Deploy the Application To [deploy your Catalyst project](https://docs.catalyst.zoho.com/en/cli/v1/deploy-resources/introduction/) from the CLI, run the following command in your terminal from your project directory: ```sh catalyst deploy ``` ![catalyst_tutorials_third_party_deploy_1](https://catalyst-docs-development.zohostratus.in/images/tutorials/third-party-auth/catalyst_tutorials_third_party_deploy_1.webp) You can now open the client component’s URL in a browser to access the deployed application. The authorization portal application can now be accessed from its web app URL. ![catalyst_tutorials_third_party_app_deployed](https://catalyst-docs-development.zohostratus.in/images/tutorials/third-party-auth/catalyst_tutorials_third_party_app_deployed.webp) ## Authorization Portal ### Java -------------------------------------------------------------------------------- title: "Introduction" description: "Create a Basic or React application using Catalyst Hosted Authentication that provides user sign-up, login, password reset, and federated sign-in." last_updated: "2026-11-04T10:10:44.000Z" source: "https://docs.catalyst.zoho.com/en/tutorials/hosted-login-app/java/introduction/" service: "All Services" related: - Project Directory Structure (/en/cli/v1/project-directory-structure/introduction/) - Hosted Authentication Type (/en/cloud-scale/help/authentication/native-catalyst-authentication/hosted-authentication-type/introduction/) - User Management (/en/cloud-scale/help/authentication/user-management/introduction/) - Custom User Validation (/en/cloud-scale/help/authentication/whitelisting/custom-user-validation/introduction/) - Social Logins (/en/cloud-scale/help/authentication/social-logins/introduction/) - Java SDK (/en/sdk/java/v1/overview/) - Node.js SDK (/en/sdk/nodejs/v2/overview/) - Python SDK (/en/sdk/python/v1/overview/) -------------------------------------------------------------------------------- # Authorization Portal ## Introduction This tutorial will help you build a simple client application that allows your end-users to log in to your application after they have been authenticated using Catalyst Hosted Authentication with a [Custom User Validation](https://docs.catalyst.zoho.com/en/cloud-scale/help/authentication/whitelisting/custom-user-validation/introduction/) function. The **Authorization Portal** application uses the following Catalyst services and their respective components: - [**Catalyst CloudScale**](https://docs.catalyst.zoho.com/en/cloud-scale/) - **Authentication**: The end-user will be authenticated to your application using the [Hosted Authentication](https://docs.catalyst.zoho.com/en/cloud-scale/help/authentication/native-catalyst-authentication/hosted-authentication-type/introduction/), a [Native Catalyst Authentication Type](https://docs.catalyst.zoho.com/en/cloud-scale/help/authentication/native-catalyst-authentication/introduction/). - **Web Client Hosting**: The front end of the application will be hosted on Catalyst using the [Web Client Hosting](https://docs.catalyst.zoho.com/en/cloud-scale/help/web-client-hosting/introduction/) component. You can initialize and configure the client as a [Basic web app](https://docs.catalyst.zoho.com/en/cli/v1/initialize-resources/initialize-client/#basic-client-applications), a [React app](https://docs.catalyst.zoho.com/en/cli/v1/initialize-resources/initialize-client/#react-applications), or an [Angular app](https://docs.catalyst.zoho.com/en/cli/v1/initialize-resources/initialize-client/#angular-applications). - [**Catalyst Serverless**](https://docs.catalyst.zoho.com/en/serverless/) - **Functions**: We will be coding the [Basic I/O function](https://docs.catalyst.zoho.com/en/serverless/help/functions/basic-io/) in Java to implement *Custom User Validation*. This tutorial will help you understand using the various features of *Hosted Authentication Type*. We will be incorporating the following functionalities in this tutorial: - Sign up end users to the web app using their email address - Log in end users to the app using the sign-up account information - Log in end users to the app using any or all of the following Federated Identity Providers: - [Zoho](https://docs.catalyst.zoho.com/en/cloud-scale/help/authentication/social-logins/configuring-social-logins/#enable-zoho-social-login) - [Google](https://docs.catalyst.zoho.com/en/cloud-scale/help/authentication/social-logins/configuring-social-logins/#enable-google-social-login) - [Microsoft 365](https://docs.catalyst.zoho.com/en/cloud-scale/help/authentication/social-logins/configuring-social-logins/#enable-microsoft-365-social-login) - [LinkedIn](https://docs.catalyst.zoho.com/en/cloud-scale/help/authentication/social-logins/configuring-social-logins/#enable-linkedin-social-login) - [Facebook](https://docs.catalyst.zoho.com/en/cloud-scale/help/authentication/social-logins/configuring-social-logins/#enable-facebook-social-login) - Reset the password in case an end-user forgets their password - Customize and style the login elements of the following pages- **Sign Up**, **Confirm Password**, **Log In**, and **Password Reset**. - Customize and configure the **Email Verification** and **Password Reset** [email templates](https://docs.catalyst.zoho.com/en/cloud-scale/help/authentication/email-templates/customizing-email-templates/). - Configure and add a [Custom User Validation](https://docs.catalyst.zoho.com/en/cloud-scale/help/authentication/whitelisting/custom-user-validation/introduction/) function - Logging in and out to the application The following image is an example of how the client application's login screen will appear: ![catalyst_authentication_hosted_catalyst_deploy_app_complete](https://catalyst-docs-development.zohostratus.in/images/tutorials/hosted-login/catalyst_authentication_hosted_catalyst_deploy_app_complete.webp) You will be using the following features of the Authentication component to build this application: * **User Management**: The user details are automatically saved in this [section](https://docs.catalyst.zoho.com/en/cloud-scale/help/authentication/user-management/introduction/), after they sign up for the application. Using this feature, you can manage the end-users’ access to your application and [configure their roles](https://docs.catalyst.zoho.com/en/cloud-scale/help/authentication/user-management/roles/introduction/). * **Authentication Type**: You will be able to view the [authentication type](https://docs.catalyst.zoho.com/en/cloud-scale/help/authentication/authentication-types/) you have configured for your application and edit your configurations if required. * **Whitelisting**: You will use this section to enable [Custom User Validation](https://docs.catalyst.zoho.com/en/cloud-scale/help/authentication/whitelisting/custom-user-validation/introduction/). You can also use this section to enable [CORS and iFrame access](https://docs.catalyst.zoho.com/en/cloud-scale/help/authentication/whitelisting/authorized-domains/introduction/) to your application. * **Email Templates**: You will be able to configure and customize *Email Verification* and *Password Reset* emails from this [section](https://docs.catalyst.zoho.com/en/cloud-scale/help/authentication/email-templates/introduction/). We will use the [Catalyst web console](https://console.catalyst.zoho.com/baas/index) and the [Catalyst Command Line Interface (CLI)](https://docs.catalyst.zoho.com/en/cli/v1/cli-command-reference/) to build this application. You will be given the code for the files to be included in the function and client directory of your project in this tutorial. You can either copy the provided code or customize it, should you feel it necessary and paste it into the appropriate files as directed. ### Application Architecture The authorization portal's application logic is described below: * **Login process**: The end-user will be directed to the login page. They can either opt in to log in to the application using the **Zoho**, **Google**, **LinkedIn**, **Microsoft 365**, or **Facebook** social logins, or click the **Sign Up** option provided to sign up using their email ID. * **Custom user validation**: The details inputted by the end-user during the login process will sent be as a JSON input to the *Custom User Validation* function. if the details are successfully validated per the custom logic present in the *Basic I/O function*, the verification email will be triggered. * **Email verification email triggered**: After a user signs up for the application, an email verification email will be sent to their email address used to register the account. The email verification content and style can be customized per your preference using the *Email Templates* feature of *Authentication*. * **Password setup**: When end-users click the link present in the email verification email, they will be directed to the password setup page. Here, the end-user can secure their account by setting a password of their preference. * **End-user account created**: After the password is set, the user account will be created, and the end-user will now be able to log in to the application using the credentials they created. You can confirm the account has been created by viewing the account details in the *User Management* section of the *Authentication* component. * **Password reset option**: End-users will have the option to reset the password by opting for the **Forgot Password** option present in the login page. They will then be prompted to provide any of their previous passwords to recover their account or go ahead with the reset option. After the users go ahead with the reset option, a one-time password (OTP) email will be sent to the user. After the OTP is verified, they can set a new password for their account. > **Note:** As we are using the **Hosted Login** method: - You do not have to code the additional logic to trigger the emails; they will be automatically handled by Catalyst in the backend. - You can style the login, sign up, and password reset pages in the console directly, so you do not have to code any additional style elements. -------------------------------------------------------------------------------- title: "Prerequisites" description: "Create a Basic or React application using Catalyst Hosted Authentication that provides user sign-up, login, password reset, and federated sign-in." last_updated: "2026-11-04T10:10:44.000Z" source: "https://docs.catalyst.zoho.com/en/tutorials/hosted-login-app/java/prerequisites/" service: "All Services" related: - CLI Command Reference (/en/cli/v1/cli-command-reference/) - Install CLI (/en/getting-started/installing-catalyst-cli/) - Login CLI (/en/cli/v1/login/login-from-cli/) -------------------------------------------------------------------------------- # Prerequisites Before you begin building the application, you must have the following prerequisites installed on your system: 1. **Catalyst CLI** Catalyst CLI contains a host of tools that enable you to initialize, develop, test, and deploy the components of your application from your local machine. We will be working with Catalyst CLI in this tutorial. You must perform the following actions: * **Install Catalyst CLI**: Catalyst CLI is installed through NPM. You must therefore have NPM and Node.js installed on your system before you install the CLI. Refer to the [Install Catalyst CLI help page](https://docs.catalyst.zoho.com/en/getting-started/installing-catalyst-cli/) for details on the pre-requisites and the steps to install it. * **Log in to Catalyst CLI**: After you install Catalyst CLI, you must authenticate the CLI with your Catalyst account before using it. Refer to the [CLI Login help page](https://docs.catalyst.zoho.com/en/cli/v1/login/login-from-cli/) for the steps to login from Catalyst CLI and the various options available for it. 2. **Any IDE tool for Java and client code development** You can use any IDE to work with the *Basic I/O function* and the client code. Some popular choices include Visual Studio Code, IntelliJ IDEA, Eclipse, and Sublime Text. Download and install an IDE of your choice on your system. > If you are a Visual Studio Code IDE user, you can install the **Catalyst Tools** extension, and use your IDE itself in place of the CLI. You can find more details about the Catalyst VS Code extension from this [help section](https://docs.catalyst.zoho.com/en/catalyst-extensions/vs-code-extension/introduction/). -------------------------------------------------------------------------------- title: "Create a Project" description: "Create a Basic or React application using Catalyst Hosted Authentication that provides user sign-up, login, password reset, and federated sign-in." last_updated: "2026-11-04T10:10:44.000Z" source: "https://docs.catalyst.zoho.com/en/tutorials/hosted-login-app/java/create-project/" service: "All Services" related: - Project Directory (/en/cli/v1/project-directory-structure/introduction) - Set up Catalyst Projects (/en/getting-started/catalyst-projects) -------------------------------------------------------------------------------- # Create a Project Let’s [create a Catalyst project](https://docs.catalyst.zoho.com/en/getting-started/catalyst-projects/#create-a-catalyst-project) from the Catalyst console. 1. Log in to the [Catalyst console](https://console.catalyst.zoho.com/baas/index) and click **Create New Project**. ![catalyst_authentication_create_project](https://catalyst-docs-development.zohostratus.in/images/tutorials/hosted-login/authentication-create-project.webp) 2. Enter the project’s name as "**AuthorizationPortal**" in the pop-up window, and click **Create**. ![catalyst_hosted_login_tutorial_project_name](https://catalyst-docs-development.zohostratus.in/images/tutorials/hosted-login/catalyst_hosted_login_tutorial_project_name.webp) Your project will be created and it will be opened. You can access the project later, by clicking **Access Project**. ![catalyst_hosted_login_tutorial_access_project](https://catalyst-docs-development.zohostratus.in/images/tutorials/hosted-login/catalyst_hosted_login_tutorial_access_project.webp) -------------------------------------------------------------------------------- title: "Configure the Hosted Authentication" description: "Create a Basic or React application using Catalyst Hosted Authentication that provides user sign-up, login, password reset, and federated sign-in." last_updated: "2026-11-04T10:10:44.000Z" source: "https://docs.catalyst.zoho.com/en/tutorials/hosted-login-app/java/configure-hosted-login/" service: "All Services" related: - Setup Hosted Authentication type (/en/cloud-scale/help/authentication/native-catalyst-authentication/hosted-authentication-type/configure-hosted-authentication/) - Configure Social Logins (/en/cloud-scale/help/authentication/social-logins/configuring-social-logins/) -------------------------------------------------------------------------------- # Configure Hosted Authentication for the Application Let's configure the *Native Catalyst Authentication* type, *Hosted Login* in this section. 1. Authentication is a [Catalyst CloudScale](https://docs.catalyst.zoho.com/en/cloud-scale/) component. Click the **CloudScale** icon on the console's side navigation menu to access the CloudScale service console, then click **Start Exploring**. ![catalyst_authentication_cloudscale_view](https://catalyst-docs-development.zohostratus.in/images/tutorials/hosted-login/catalyst_authentication_cloudscale_view.webp) 2. Click **Authentication** under *Security & Identity* to access the Authentication component. ![catalyst_authentication_console_view](https://catalyst-docs-development.zohostratus.in/images/tutorials/hosted-login/authorisation-portal-cloudscale-authentication.webp) 3. You can set up your application's authentication element using [*Native Catalyst Authentication*](https://docs.catalyst.zoho.com/en/cloud-scale/help/authentication/native-catalyst-authentication/introduction/) or a [*Third-party Authentication*](https://docs.catalyst.zoho.com/en/cloud-scale/help/authentication/third-party-authentication/introduction/) service. For this tutorial, we are going to set up the application's authentication using [*Hosted Login*](https://docs.catalyst.zoho.com/en/cloud-scale/help/authentication/native-catalyst-authentication/hosted-authentication-type/introduction/), a *Native Catalyst Authentication* type. Click the **Set Up** button in the *Native Catalyst Authentication* section to start configuring your login element. ![catalyst_authentication_native_setup_highlight](https://catalyst-docs-development.zohostratus.in/images/tutorials/hosted-login/catalyst_authentication_native_setup_highlight.webp) > **Note:** * [Embedded Login](https://docs.catalyst.zoho.com/en/cloud-scale/help/authentication/native-catalyst-authentication/embedded-authentication/introduction/) * [Third-party Authentication](https://docs.catalyst.zoho.com/en/cloud-scale/help/authentication/third-party-authentication/introduction/) 4. Select *Hosted Authentication* and click **Next**. ![catalyst_authentication_hosted_setup_highlight](https://catalyst-docs-development.zohostratus.in/images/tutorials/hosted-login/catalyst_authentication_hosted_setup_highlight.webp) 5. Enter your business name or other name of your choice in the *Company Name* field and upload an image file of your choice for the *Company Logo*. ![catalyst_authentication_hosted_name_n_logo](https://catalyst-docs-development.zohostratus.in/images/tutorials/hosted-login/catalyst_authentication_hosted_name_n_logo.webp) > **Note:** For the purpose of this tutorial, we are using "**Zylker Technologies Pvt. Ltd.**" as the company name. 6. Use the color palettes in the console to style your login element. Use the *Preview* section on the right and design the login element to match your preference. ![catalyst_authentication_hosted_design_color_pallete](https://catalyst-docs-development.zohostratus.in/images/tutorials/hosted-login/catalyst_authentication_hosted_design_color_pallete.webp) > **Note:** You can use the *Preview* section to simultaneously view the style of your *Sign In*, *Sign Up*, and *Password Reset* elements. However, to view the *Sign U* page, you need to enable Public Signup. The steps involved in enabling *Public Signup* are given below. 7. Click the **toggle button** to enable *Public Signup*. ![catalyst_authentication_hosted_oublic_toggle_highlight](https://catalyst-docs-development.zohostratus.in/images/tutorials/hosted-login/catalyst_authentication_hosted_oublic_toggle_highlight.webp) * Read the information pop-up and click **Yes, Proceed**. ![catalyst_authentication_hosted_public_signup_proceed](https://catalyst-docs-development.zohostratus.in/images/tutorials/hosted-login/catalyst_authentication_hosted_public_signup_proceed.webp) > **Note:** To learn more about *Public Signup*, visit this [help document](https://docs.catalyst.zoho.com/en/cloud-scale/help/authentication/public-signup/). 8. You can add any or all of the [Social Logins](https://docs.catalyst.zoho.com/en/cloud-scale/help/authentication/social-logins/introduction/) that are present in the console. ![catalyst_authentication_social_login_configurations](https://catalyst-docs-development.zohostratus.in/images/tutorials/hosted-login/catalyst_authentication_social_login_configurations.webp) To enable the **Zoho** social login: - Click the **Zoho** button, and enter "**AuthorizationPortal**" as the *Client Name*. ![catalyst_authentication_social_login_zoho_configuring](https://catalyst-docs-development.zohostratus.in/images/tutorials/hosted-login/catalyst_authentication_social_login_zoho_configuring.webp) - Click **Enable**. ![catalyst_authentication_hosted_zoho_sl_alone](https://catalyst-docs-development.zohostratus.in/images/tutorials/hosted-login/hosted-login-app-cloudscale-login.webp) Your end-users can now log in to your application using their Zoho credentials. > **Note:** As your application is being built on Catalyst by Zoho, you do not have to create OAuth `Client ID` and `Client Secret` credentials. To enable the **Google** social login: - Click the **Google** button, and enter the OAuth `Client ID` and `Client Secret` that you obtained in the Google console in their respective fields. ![catalyst_authentication_social_login_google_configuring](https://catalyst-docs-development.zohostratus.in/images/tutorials/hosted-login/catalyst_authentication_social_login_google_configuring.webp) > **Note:** Steps to obtain the OAuth `Client ID` and `Client Secret` for each of the social logins can be accessed in the following help documents: [Google](https://docs.catalyst.zoho.com/en/cloud-scale/help/authentication/social-logins/configuring-social-logins/#enable-google-social-login), [Microsoft 365](https://docs.catalyst.zoho.com/en/cloud-scale/help/authentication/social-logins/configuring-social-logins/#enable-microsoft-365-social-login), [LinkedIn](https://docs.catalyst.zoho.com/en/cloud-scale/help/authentication/social-logins/configuring-social-logins/#enable-linkedin-social-login), and [Facebook](https://docs.catalyst.zoho.com/en/cloud-scale/help/authentication/social-logins/configuring-social-logins/#enable-facebook-social-login). - Click **Enable**. ![catalyst_authentication_hosted_zoho_google_sl_alone](https://catalyst-docs-development.zohostratus.in/images/tutorials/hosted-login/catalyst_authentication_hosted_zoho_google_sl_alone.webp) Your end-users can now log in to your application using their **Google** credentials. You can repeat the same steps to enable the other social logins. ![catalyst_authentication_social_logins_configured](https://catalyst-docs-development.zohostratus.in/images/tutorials/hosted-login/catalyst_authentication_social_logins_configured.webp) 9. Click **Next**. > **Note:** You always have the option to [edit your design and social login configurations](https://docs.catalyst.zoho.com/en/cloud-scale/help/authentication/native-catalyst-authentication/hosted-authentication-type/edit-hosted-authentication/) at a later point using the *Authentication Type* section. 10. We will configure the *Additional Settings* section at a later point using the *Whitelisting* feature. Click **Finish**. ![catalyst_authentication_addn_settings_skip](https://catalyst-docs-development.zohostratus.in/images/tutorials/hosted-login/catalyst_authentication_addn_settings_skip.webp) You will now able to view and verify that *Hosted Authentication* type has been enabled for your application. ![catalyst_authentication_hoted_login_enabled](https://catalyst-docs-development.zohostratus.in/images/tutorials/hosted-login/catalyst_authentication_hoted_login_enabled.webp) You will also be able to view that Catalyst has generated secure `Access URLs` for your *Login*, *Sign Up*, and *Password Reset* pages, and has automatically rendered your styling preferences in all the concerned pages. ![catalyst_authentication_hoted_login_enabled_three_pages](https://catalyst-docs-development.zohostratus.in/images/tutorials/hosted-login/catalyst_authentication_hoted_login_enabled_three_pages.webp) -------------------------------------------------------------------------------- title: "Configure Email Templates" description: "Create a Basic or React application using Catalyst Hosted Authentication that provides user sign-up, login, password reset, and federated sign-in." last_updated: "2026-11-04T10:10:44.000Z" source: "https://docs.catalyst.zoho.com/en/tutorials/hosted-login-app/java/configure-email-templates/" service: "All Services" related: - Email Templates (/en/cloud-scale/help/authentication/email-templates/introduction/) -------------------------------------------------------------------------------- # Configure Email Templates Catalyst provides you with [Email Templates](https://docs.catalyst.zoho.com/en/cloud-scale/help/authentication/email-templates/introduction/) that you can use to send custom emails to your end-users when they sign up to your application, or on instances when they wish to change their password. To configure the email templates: 1. Click the **Email Templates** tab in the *Authentication* component to navigate to the relevant section. ![catalyst_authentication_hosted_email_template_intro](https://catalyst-docs-development.zohostratus.in/images/tutorials/hosted-login/catalyst_authentication_hosted_email_template_intro.webp) 2. Click the **Email Verification** tab, then click **Edit** to begin customizing and editing the email content. You can include [placeholders](https://docs.catalyst.zoho.com/en/cloud-scale/help/authentication/email-templates/benefits-and-key-concepts/#placeholders) for values to be inserted dynamically. ![catalyst_authentication_hosted_email_template_edit_highlight](https://catalyst-docs-development.zohostratus.in/images/tutorials/hosted-login/catalyst_authentication_hosted_email_template_edit_highlight.webp) > **Note:** * You can customize the email content to match your preference. * The placeholder content (the content that is present between `%%`) will be dynamically populated based on the user details. * The `%LINK%` placeholder will contain the application's redirection link. The URL is automatically generated by Catalyst when you host your application, and the redirection page can be specified in a [Catalyst configuration file of your project](https://docs.catalyst.zoho.com/en/cli/v1/project-directory-structure/client-directory/#client-package-json-file). You can also provide a custom link. 3. Make the necessary changes and click **Save**. ![catalyst_authentication_hosted_email_template_save_changes](https://catalyst-docs-development.zohostratus.in/images/tutorials/hosted-login/catalyst_authentication_hosted_email_template_save_changes.webp) 4. To customize the *Reset Password* emails, click the **Password Reset** tab and customize the email content in the same manner as above. ![catalyst_authentication_hosted_email_template_save_pwd_changes](https://catalyst-docs-development.zohostratus.in/images/tutorials/hosted-login/catalyst_authentication_hosted_email_template_save_pwd_changes.webp) The email templates will now be configured. > **Note:** * You can learn more about *Email Templates* from this [help document](https://docs.catalyst.zoho.com/en/cloud-scale/help/authentication/email-templates/introduction/). * Because we are using *Hosted Login* to authenticate this application, the handling of sending these emails at the required instances will be automatically configured by Catalyst, so you do not have to code the logic to trigger these emails. -------------------------------------------------------------------------------- title: "Initialize the Project" description: "Create a Basic or React application using Catalyst Hosted Authentication that provides user sign-up, login, password reset, and federated sign-in." last_updated: "2026-11-04T10:10:44.000Z" source: "https://docs.catalyst.zoho.com/en/tutorials/hosted-login-app/java/init-project/" service: "All Services" related: - Initialize CLI Resources (/en/cli/v1/initialize-resources/introduction) - Project Directory Structure (/en/cli/v1/project-directory-structure/introduction) -------------------------------------------------------------------------------- # Initialize the Project from the CLI You can now begin working on your Catalyst project from the CLI. The first step is to initialize the project in an empty directory. This will be the home directory of your project and all of the project files will be saved in it. You can learn more about this from the [Project Directory Structure help page](https://docs.catalyst.zoho.com/en/cli/v1/project-directory-structure/introduction/). You can learn about initializing a project in detail from the [CLI help documentation](https://docs.catalyst.zoho.com/en/cli/v1/initialize-resources/introduction). For this application, we will initialize a [Basic I/O function](https://docs.catalyst.zoho.com/en/serverless/help/functions/basic-io/), which will contain the logic for [Custom User Validation](https://docs.catalyst.zoho.com/en/cloud-scale/help/authentication/whitelisting/custom-user-validation/introduction/) and a [Basic web app](https://docs.catalyst.zoho.com/en/cli/v1/initialize-resources/initialize-client/#basic-client-applications) as the client component. > **Note:** Ensure that you enter the function's package name or class name exactly as instructed, because the application's code contains the same name. 1. Create a folder for the project on your local machine and navigate to it from the terminal. 2. Initialize a project by executing the following command from that directory: ```sh catalyst init ``` 3. Navigate using the **arrow keys**, select your preferred portal, and press the **Enter** key. If you have no other organizations associated with the account, then the default one will be selected automatically. ![catalyst_authorization_portal_multiorg_choice](https://catalyst-docs-development.zohostratus.in/images/tutorials/hosted-login/catalyst_authorization_portal_multiorg_choice.webp) > **Note:** You can find out more about Catalyst’s multi-org portal feature from this [help document](https://docs.catalyst.zoho.com/en/getting-started/catalyst-organizations/#access-the-multi-org-portal). 4. The CLI will now ask you to associate a Catalyst project with the directory. Associate it with the project that we created earlier from the console. Select **Authorization Portal** from the list and press **Enter**. ![catalyst_authentication_hosted_project_select](https://catalyst-docs-development.zohostratus.in/images/tutorials/hosted-login/catalyst_authentication_hosted_project_select.webp) 5. Navigate using the arrow keys and select **Functions**, **Client** using the space bar. Press **Enter** to initialize. ![catalyst_authentication_hosted_func_client_select](https://catalyst-docs-development.zohostratus.in/images/tutorials/hosted-login/catalyst_authentication_hosted_func_client_select.webp) 6. The CLI will initiate the function setup. Select **Basic IO** as the function type for your *Custom User Validation* function. ![catalyst_authentication_hosted_func_type_select](https://catalyst-docs-development.zohostratus.in/images/tutorials/hosted-login/catalyst_authentication_hosted_func_type_select.webp) 7. Select the latest runtime of *Java* as the function stack. ![catalyst_authentication_hosted_func_java_runtime_select](https://catalyst-docs-development.zohostratus.in/images/tutorials/hosted-login/catalyst_authentication_hosted_func_java_runtime_select.webp) 8. Enter "`authorized_portal_app`" as the package name, "`Custom_User_Validation_Java`" as the function name, then press **Enter**. Alternatively, you can press **Enter** without entering inputs to fill in the default values. The CLI will prompt the initialization of the Java dependencies. ![catalyst_authentication_hosted_java_func_setup_complete](https://catalyst-docs-development.zohostratus.in/images/tutorials/hosted-login/catalyst_authentication_hosted_java_func_setup_complete.webp) The CLI will now initiate the client setup. **Basic web app** 9. Select **Basic web app** and press **Enter** to initialize your client as a [basic web app](https://docs.catalyst.zoho.com/en/cli/v1/initialize-resources/initialize-client/#basic-client-applications). ![catalyst_authentication_hosted_client_type_select](https://catalyst-docs-development.zohostratus.in/images/tutorials/hosted-login/catalyst_authentication_hosted_client_type_select.webp) 10. Enter a name for your client package and press **Enter**. For the purposes of this tutorial, we are naming our client package "`ZylkerTechnologies`". You can use the same of provide a name of your choice. ![catalyst_authentication_hosted_client_choice_complete](https://catalyst-docs-development.zohostratus.in/images/tutorials/hosted-login/catalyst_authentication_hosted_client_choice_complete.webp) The Catalyst initialization is now complete. The project directory is now set up with the client directory and the functions directory along with configuration files and dependencies. The project directory also contains the [`catalyst.json`](https://docs.catalyst.zoho.com/en/cli/v1/project-directory-structure/catalyst-json/) configuration file and a hidden `.catalystrc` file. The structure of your project directory should now appear as shown below: ![catalyst_hosted_login_java_basic_directory](https://catalyst-docs-development.zohostratus.in/images/tutorials/hosted-login/catalyst_hosted_login_java_basic_directory.webp) **React web app** 9. Select **React web app** and press **Enter** to initialize your client as a [React web app](https://docs.catalyst.zoho.com/en/cli/v1/initialize-resources/initialize-client/#react-applications). ![catalyst_authentication_hosted_client_react_type_select](https://catalyst-docs-development.zohostratus.in/images/tutorials/hosted-login/catalyst_authentication_hosted_client_react_type_select.webp) 10. Select **JavaScript** as the React app type and press **Enter** ![catalyst_authentication_hosted_client_react_type_javascript_select](https://catalyst-docs-development.zohostratus.in/images/tutorials/hosted-login/catalyst_authentication_hosted_client_react_type_javascript_select.webp) 11. Enter "`zylkertechnologies`" as the name of your client package and click **Enter**. You can also provide any name of your choice. All of the required React packages, such as “`react`,” “`react-dom`,” and “`react-scripts`” will be installed through the Catalyst React plugin ([`zcatalyst-cli-plugin-react`](https://www.npmjs.com/package/zcatalyst-cli-plugin-react)). ![catalyst_authentication_hosted_client_react_type_initing](https://catalyst-docs-development.zohostratus.in/images/tutorials/hosted-login/catalyst_authentication_hosted_client_react_type_initing.webp) The client is now successfully initialized as a React web application. ![catalyst_authentication_hosted_client_react_type_init_complete](https://catalyst-docs-development.zohostratus.in/images/tutorials/hosted-login/catalyst_authentication_hosted_client_react_type_init_complete.webp) The [client directory](https://docs.catalyst.zoho.com/en/cli/v1/project-directory-structure/client-directory) will be created in the standard structure in the project directory. This is the structure of the *Authorization Portal* project’s directory if the client is initialized as a React app. ![catalyst_hosted_login_java_react_directory](https://catalyst-docs-development.zohostratus.in/images/tutorials/hosted-login/catalyst_hosted_login_java_react_directory.webp) Catalyst initialization is now complete. **Angular web app** 9. Select **Angular web app** and press **Enter** to initialize your client as a [Angular web app](https://docs.catalyst.zoho.com/en/cli/v1/initialize-resources/initialize-client/#angular-applications). ![catalyst_authentication_hosted_client_angular_type_select](https://catalyst-docs-development.zohostratus.in/images/tutorials/hosted-login/catalyst_authentication_hosted_client_angular_type_select.webp) 10. Name your Angular app "`ZylkerTechnologies`", and press the **Enter** key. Since this application does not require Angular Routing, enter "`N`" at the prompt. Finally, choose `CSS` as your stylesheet format and press the **Enter** key. ![catalyst_authentication_hosted_client_angular_type_init](https://catalyst-docs-development.zohostratus.in/images/tutorials/hosted-login/catalyst_authentication_hosted_client_angular_type_init.webp) Catalyst will initialize the client using the **Catalyst Angular plugin** ([`zcatalyst-cli-plugin-angular`](https://npm.io/package/zcatalyst-cli-plugin-angular)). ![catalyst_authentication_hosted_client_angular_type_init_complete](https://catalyst-docs-development.zohostratus.in/images/tutorials/hosted-login/catalyst_authentication_hosted_client_angular_type_init_complete.webp) The client is now successfully initialized as an Angular web application. The project directory is now set up with the client directory and the functions directory along with configuration files and dependencies. The project directory also contains the [`catalyst.json`](https://docs.catalyst.zoho.com/en/cli/v1/project-directory-structure/catalyst-json/) configuration file and a hidden `.catalystrc` file. The structure of your project directory should now appear as shown below: ![catalyst_authentication_hosted_java_client_angular_type_first_directory](https://catalyst-docs-development.zohostratus.in/images/tutorials/hosted-login/catalyst_authentication_hosted_java_client_angular_type_first_directory.webp) -------------------------------------------------------------------------------- title: "Configure the Basic I/O function" description: "Create a Basic or React application using Catalyst Hosted Authentication that provides user sign-up, login, password reset, and federated sign-in." last_updated: "2026-11-04T10:10:44.000Z" source: "https://docs.catalyst.zoho.com/en/tutorials/hosted-login-app/java/configure-function/" service: "All Services" related: - Basic I/O Functions (/en/serverless/help/functions/basic-io/) - Functions Directory Structure (/en/cli/v1/project-directory-structure/functions-directory) -------------------------------------------------------------------------------- # Configure the Function Now, we will begin coding the authorization portal application by configuring the function component. The [function’s directory](https://docs.catalyst.zoho.com/en/cli/v1/project-directory-structure/functions-directory), (`functions/authorized_portal_app`), contains: * The `Custom_User_Validation_Java.java` main function file * The `catalyst-config.json` configuration file * Java library files in the `lib` directory * `.classpath` and `.project` dependency files You will be adding code in the `Custom_User_Validation_Java.java` file. The Basic I/O function contains the following functionalities: * The end-user's details will provided as a JSON input to the *Custom User Validation* function. * The function is coded to implement a custom logic based upon which the end-user will either be authenticated or denied. > **Note:** For the purpose of this tutorial, we have coded a logic for the Custom User Validation function where if the user's email provider is anyone other than Zylker Technology (`@zylker.com`) the end-user will not be able to sign up to the application. You can either use the same or code a logic of your preference. Now, let’s begin coding the Basic I/O function. Copy the code given below and paste it in the `Custom_User_Validation_Java.java` file in the `functions/authorization_portal_function` directory of your project, and save the file. You can use any IDE of your choice to work with the application’s files. > **Note:** Please go through the code in this section to make sure you fully understand it. **Custom_User_Validation_Java.java** ```java import com.catalyst.Context; import com.catalyst.basic.BasicIO; import com.catalyst.basic.ZCFunction; import com.fasterxml.jackson.databind.ObjectMapper; import java.util.logging.Logger; import java.util.logging.Level; import com.zc.api.APIConstants.ZCSignupValidationStatus; import com.zc.common.ZCProject; import com.zc.component.auth.ZCSignupResponseUserDetails; import com.zc.component.auth.ZCSignupUserValidationRequest; import com.zc.component.auth.ZCSignupUserValidationResponse; import com.zc.component.users.ZCSignupUserService; public class Custom_User_Validation_Java implements ZCFunction { private static final Logger LOGGER = Logger.getLogger(Custom_User_Validation_Java.class.getName()); @Override public void runner(Context context, BasicIO basicIO) throws Exception { try { ZCProject.initProject(); ZCSignupUserValidationRequest requestDetails = ZCSignupUserService.getSignupValidationRequest(basicIO); if(requestDetails != null) { ZCSignupUserValidationResponse validationResponse = ZCSignupUserValidationResponse.getInstance(); if(requestDetails.getUserDetails().getEmailId().contains("@zylker.com")) { validationResponse.setStatus(ZCSignupValidationStatus.FAILURE); // The user has failed authentication } else { // The actions that occur in the event of a successful authentication can be customized validationResponse.setStatus(ZCSignupValidationStatus.SUCCESS); ZCSignupResponseUserDetails respUserDetails = ZCSignupResponseUserDetails.getInstance(); respUserDetails.setRoleIdentifier("App User"); // If you want to override the default role, you can specify the role id/name here. validationResponse.setUserDetails(respUserDetails); } basicIO.setStatus(200); basicIO.write(new ObjectMapper().writeValueAsString(validationResponse)); } } catch(Exception e) { LOGGER.log(Level.SEVERE,"Exception in Custom_User_Validation_Java",e); basicIO.setStatus(500); basicIO.write("An error has occured. Please try again after sometime."); } } } ``` > **Note:** You can also use this [SDK](https://docs.catalyst.zoho.com/en/sdk/java/v1/cloud-scale/authentication/custom-user-validation/) to code your own custom logic instead of the one implemented above. The function directory is now configured. We can now proceed to configuring the client directory. -------------------------------------------------------------------------------- title: "Enable Custom User Validation" description: "Create a Basic or React application using Catalyst Hosted Authentication that provides user sign-up, login, password reset, and federated sign-in." last_updated: "2026-11-04T10:10:44.000Z" source: "https://docs.catalyst.zoho.com/en/tutorials/hosted-login-app/java/enable-custom-validation/" service: "All Services" related: - Custom User Validation (/en/cloud-scale/help/authentication/whitelisting/custom-user-validation/introduction/) - Whitelisting (/en/cloud-scale/help/authentication/whitelisting/introduction/) - Catalyst Deploy Options (/en/cli/v1/deploy-resources/deploy-options/) -------------------------------------------------------------------------------- # Enable Custom User Validation Now that we have coded the logic, let's enable [Custom User Validation](https://docs.catalyst.zoho.com/en/cloud-scale/help/authentication/whitelisting/custom-user-validation/introduction/). To do this, you must first deploy the function to the console. Enter this CLI command to [deploy the function component](https://docs.catalyst.zoho.com/en/cli/v1/deploy-resources/deploy-options/#--only-targets) alone to the console. ```sh catalyst deploy --only functions ``` ![catalyst_authentication_hosted_func_deploy_alone](https://catalyst-docs-development.zohostratus.in/images/tutorials/hosted-login/catalyst_authentication_hosted_func_deploy_alone.webp) A function endpoint will be created for the function that allows you to access the function directly. The function will be deployed to the console. Now, go to the console, and implement the following steps: 1. Navigate to the *Whitelisting* section in the *Authentication* component, and click the **Custom User Validation** toggle. ![catalyst_authentication_hosted_whitelisting_intro](https://catalyst-docs-development.zohostratus.in/images/tutorials/hosted-login/catalyst_authentication_hosted_whitelisting_intro.webp) 2. Select the **Basic I/O function** from the drop-down in the pop-up. ![catalyst_authentication_hosted_whitelisting_func_select](https://catalyst-docs-development.zohostratus.in/images/tutorials/hosted-login/configure-custom-user-validation.webp) 3. Click **Configure**. ![catalyst_authentication_hosted_whitelisting_complete](https://catalyst-docs-development.zohostratus.in/images/tutorials/hosted-login/mail-confiration-complete.webp) The *Custom User Validation* function has been enabled for the project, and the end-users signing up for your application will now be additionally authenticated using this function. > **Note:** You can find out about the all of the features present in the *Whitelisting* section form in this [help document](https://docs.catalyst.zoho.com/en/cloud-scale/help/authentication/whitelisting/introduction/). -------------------------------------------------------------------------------- title: "Configure the Client" description: "Create a Basic or React application using Catalyst Hosted Authentication that provides user sign-up, login, password reset, and federated sign-in." last_updated: "2026-11-04T10:10:44.000Z" source: "https://docs.catalyst.zoho.com/en/tutorials/hosted-login-app/java/configure-client/" service: "All Services" related: - Client Directory Structure (/en/cli/v1/project-directory-structure/client-directory) -------------------------------------------------------------------------------- # Configure the Client Let’s configure the client component. **Basic web app** The [client directory](https://docs.catalyst.zoho.com/en/cli/v1/project-directory-structure/client-directory/) contains: * The `index.html` file that contains the HTML code for the frontend application * The `main.css` file that contains the CSS code for the frontend application * The `main.js` file that contains the JavaScript code * The `client-package.json` configuration file We will be coding `index.html` and `main.js`. We will also be making a change in the `client-package.json` to ensure that the homepage of the application is the authenticated page. We will discuss the code at the end of this section. > **Note:** Please go through the code provided in this section to make sure you fully understand it. Copy the code below and paste it into the respective files located in the `client/directory` of your project using an IDE and save the files. **index.html** ```xml <!DOCTYPE html> <html> <head> <title>Profile Information</title> <link rel="stylesheet" href="https://cdnjs.cloudflare.com/ajax/libs/font-awesome/4.7.0/css/font-awesome.min.css" > <script src="main.js"></script> <script src="https://static.zohocdn.com/catalyst/sdk/js/4.6.2/catalystWebSDK.js"> </script> <script src="/__catalyst/sdk/init.js"></script> <style> .card { max-width: 500px; margin: auto; text-align: center; font-family: arial; background-color: #a5a4a4; } .title { font-size: 23px; color: black; } button { border: none; outline: 0; display: inline-block; padding: 8px; color: white; background-color: #000; text-align: center; cursor: pointer; width: 50%; font-size: 18px; border-radius: 8px; } a { text-decoration: none; font-size: 22px; color: black; } button:hover, a:hover { opacity: 0.7; } body{ background-color:#a5a4a4; font-size: 20px; visibility: hidden; } p{ font-family: 'Trebuchet MS', 'Lucida Sans Unicode', 'Lucida Grande', 'Lucida Sans', Arial, sans-serif; font-size: 10px; font-weight: bold; } </style> </head> <body onload="showProfile()"> <h1 style="text-align:center">User Profile Information</h1> <div class="card"> <img width="200px" height="450px" src="https://cdn2.iconfinder.com/data/icons/user-management/512/profile_settings-512.png" alt="John" style="width:80px;height: 80px;" > <p class="title" id="fname"></p> <p class="title" id="lname"></p> <p class="title"id="mailid" ></p> <p class="title"id="tzone" ></p> <p class="title"id="ctime" ></p> <p><button onclick="logout()">Logout</button></p> </div> </body> </html> ``` **main.js** ```javascript function showProfile() { debugger; //The catalyst.auth.isUserAuthenticated() method allows only authenticated users, i.e., the users who are logged in, to access the pages //You can load this method in the body of your page to allow only authenticated users to access a particular page catalyst.auth.isUserAuthenticated().then(result => { //If the user is logged in, these contents of the page will be displayed to the user document.body.style.visibility = "visible"; const first_name = "First Name: " + result.content.first_name; document.getElementById("fname").innerHTML = first_name; const last_name = "Last Name: " + result.content.last_name; document.getElementById("lname").innerHTML = last_name; const mailid = "Email Address: " + result.content.email_id; document.getElementById("mailid").innerHTML = mailid; const tzone = "Time Zone: " + result.content.time_zone; document.getElementById("tzone").innerHTML = tzone; const created_time = " Joined On: " + result.content.created_time; document.getElementById("ctime").innerHTML = created_time; }).catch(err => { //If the user is not logged in, this will be displayed to the user and they will be redirected to the login page document.body.style.visibility = "visible"; document.body.innerHTML = 'You are not logged in. Please log in to continue. Redirecting you to the login page..'; setTimeout(function () { window.location.href = "/__catalyst/auth/login"; }, 5000); }); } function logout() { //The signOut method is used to sign the user out of the application const redirectURL = location.protocol +"//"+ location.hostname + "/__catalyst/auth/login"; catalyst.auth.signOut(redirectURL); } ``` **client-package.json** ```json { "name" : "ZylkerTechnologies", "version" : "0.0.1", "homepage" : "/__catalyst/auth/login", "login_redirect" : "index.html" } ``` > **Note:** The home page URL can be copied from the `Access URL` generated by Catalyst in the [Authentication Types](https://docs.catalyst.zoho.com/en/cloud-scale/help/authentication/authentication-types/) section of the console. The client directory is now configured. Let’s go over how the function and the client code works: * The end-user will first encounter the **Login Page** you have configured and styled in the console. * To create an account, they will click the **Sign Up** option and be directed to the *Sign Up* page. > **Note:** End-users can either sign up to your application using their [Social Logins](https://docs.catalyst.zoho.com/en/cloud-scale/help/authentication/social-logins/introduction/) or use the conventional method of signing up to the application using their email ID. * Once the information is inputted and they click **Sign Up**, or if they attempt to sign up using a Social Login of their choice, their details will be provided as a JSON input to the [Custom User Validation](https://docs.catalyst.zoho.com/en/cloud-scale/help/authentication/whitelisting/custom-user-validation/introduction/) function (`authorization_portal_function/CustomUserValidationFunc.java`). * The function will only authenticate users if the condition you have coded is satisfied. For this tutorial, the users will only be authenticated if they signed up to the application using a Zylker registered email address. * Upon successful authentication, an [Email Verification](https://docs.catalyst.zoho.com/en/cloud-scale/help/authentication/email-templates/introduction/) email will be sent to the account they used to sign up to the application. > **Note:** Because we are using [Hosted Login](https://docs.catalyst.zoho.com/en/cloud-scale/help/authentication/native-catalyst-authentication/hosted-authentication-type/introduction/), a native Catalyst authentication type, no additional logic to trigger the appropriate emails is required. It will be handled by Catalyst automatically. * Once the user verifies their email address by clicking the link provided in the email, they will be signed up to the application. Their details can be viewed in the [User Management](https://docs.catalyst.zoho.com/en/cloud-scale/help/authentication/user-management/introduction/) section of the *Authentication* component. * The end-user can now log in to the application using their authenticated credentials. * The end-user can also reset their password by clicking the **Forgot Password** option. In this event, the *Password Reset* email will be sent to their registered email. Following the steps mentioned in the email, they can easily reset their credentials. **React web app** Let’s configure the client component. The React web [client directory](https://docs.catalyst.zoho.com/en/cli/v1/project-directory-structure/client-directory) contains the following files: - The root directory of the client contains a `client-package.json` file, which is a configuration file defining the name, version, default home page, and redirect page of the client component. - The `zylkertechnologies` client directory contains two subfolders, as per the default project structure of a React app: - The `public` folder is generally used to hold files that can be openly accessed by browsers through public URLs, such as icon files of the web app, the `index.html` file, and the `404.html` file. - The `src` folder contains the application’s source files that will be included in the build folder when we compile the React app. - The client directory also contains the [`package.json`](https://docs.npmjs.com/files/package.json) dependency file and a hidden [`.gitignore`](https://docs.npmjs.com/files/package.json) file. - The files present in the `public` folder include: - [Native React files](https://reactjs.org/docs/getting-started.html?#try-react) such as setup `Tests.js`, `index.js`, `reportWebVitals.js`, `logo.svg`, and `App.test.js`. - `index.html` - Contains Catalyst web sdk that allows you to access Catalyst components. - We will be creating an additional `404.html` file that will contain the error handling elements. - The files present in the `src` folder include: - Native React files such as `setupTests.js`, `reportWebVitals.js`, `logo.svg`, and `App.test.js`. - `App.js` - Contains the hash routes to your application - `App.css` - Contains the overall styling elements of your application - `index.js` - The entry point of the react application. - `index.css` - Contains the styling of the elements present in the `index.js` file. - You will be creating the following files in the `src` folder: - `Button.css` - Contains the styling elements for the *Logout* button that will be present in the application. - `Button.js` - Contains the React component for the *Logout* present in the application. - `Layout.js` - Contains the React component for the application's logic - `LoginPage.js` - Contains the React component for the login pages you generated in the Catalyst console. - `UserProfile.css` - Contains the styling elements for the user information page that will be displayed once you log in to the application. - `UserProfile.js` - Contains the React component to render the user details after you login. We will be coding in the `index.html`, `404.html`, `App.js`, `App.css`, `index.css`, `index.js`, `Button.css`, `Button.js`, `Layout.js`, `LoginPage.js`, `UserProfile.css`, and `UserProfile.js` files. We will also be making a change in the `client-package.json`. to ensure that the homepage of the application is the authenticated page. > **Note:** You can delete the native React files as they not required for building this application. #### Install additional React packages The `react-router-dom` package needs to be installed in the `AuthorizationPortal/zylkertechnologies` client directory using the CLI command given below: ```sh npm install react-router-dom ``` This command will install the `react-router-dom` module, save the dependencies, and allow us to perform the required hash routing in our application. This is the client directory after you have created the required files and deleted the unnecessary files. ![catalyst_hosted_login_java_react_mod_directory](https://catalyst-docs-development.zohostratus.in/images/tutorials/hosted-login/catalyst_hosted_login_java_react_mod_directory.webp) > **Note:** Please go through the all code given in this section to ensure you fully understand it. Copy the code given below and paste it in `index.html` and `404.html`, respectively, located in the client directory (`zylkertechnologies/public/`) using an IDE and save the file. **index.html** ```xml <!DOCTYPE html> <html lang="en"> <head> <meta charset="utf-8" /> <meta name="viewport" content="width=device-width, initial-scale=1" /> <meta name="theme-color" content="#000000" /> <meta name="description" content="Web site created using create-react-app" /> <link rel="manifest" href="%PUBLIC_URL%/manifest.json" /> <title>React App</title> <script src="https://static.zohocdn.com/catalyst/sdk/js/4.6.2/catalystWebSDK.js"> </script> <script src="/__catalyst/sdk/init.js"></script> </head> <body> <noscript>You need to enable JavaScript to run this app.</noscript> <div id="root"></div> </body> </html> ``` **404.html** ```xml <!DOCTYPE html> <html lang="en"> <head> <h2>You are viewing this 404 page since you tried to access a page which does not exist.</h2> </head> </html> ``` Copy the code given below and paste it in `App.css`, `App.js`, `index.js`, `index.css`, `Button.css`, `Button.js`, `Layout.js`, `LoginPage.js`, `UserProfile.css`, and `UserProfile.js`, respectively, located in client directory (`zylkertechnologies/src/`) using an IDE and save the file. **App.css** ```css .App { text-align: center; } .App-logo { height: 40vmin; pointer-events: none; } @media (prefers-reduced-motion: no-preference) { .App-logo { animation: App-logo-spin infinite 20s linear; } } .App-header { background-color: #282c34; min-height: 100vh; display: flex; flex-direction: column; align-items: center; justify-content: center; font-size: calc(10px + 2vmin); color: white; } .App-link { color: #61dafb; } @keyframes App-logo-spin { from { transform: rotate(0deg); } to { transform: rotate(360deg); } } .inputs { width: 90%; padding: 15px; margin: 15px 0 22px 0; display: inline-block; border: none; background: #f1f1f1; border-radius: 8px; } #root { background-color: #c0c0c0; } h1, h2, h3, h4, h5, h6, p { margin: 1; } ``` **App.js** ```javascript import "./App.css"; import { HashRouter, Navigate, Route, Routes } from "react-router-dom"; import Layout from "./Layout"; function App() { return ( <HashRouter> <Routes> <Route path="/" element={<Layout />} /> <Route path="" element={<Navigate to="/" replace />} /> <Route path="*" element={<Navigate to="/" replace />} /> </Routes> </HashRouter> ); } export default App; ``` **index.css** ```css body { margin: 0; -webkit-font-smoothing: antialiased; -moz-osx-font-smoothing: grayscale; background-color: #c0c0c0; } ``` **index.js** ```javascript import React from "react"; import "./index.css"; import App from "./App"; import * as ReactDOM from "react-dom/client"; const root = ReactDOM.createRoot(document.getElementById("root")); root.render( <React.StrictMode> <App /> </React.StrictMode> ); ``` **Button.css** ```css button { border: none; outline: 0; display: inline-block; padding: 8px; color: white; background-color: #000; text-align: center; cursor: pointer; width: 20%; font-size: 18px; border-radius: 8px; } button:hover, .forgetPassword-btn:hover, a:hover { opacity: 0.7; } a { text-decoration: none; font-size: 22px; color: black; } ``` **Button.js** ```javascript import { useCallback } from "react"; import "./Button.css"; function Button({ title }) { const logout = useCallback(() => { const redirectURL = "/__catalyst/auth/login"; window.catalyst.auth.signOut(redirectURL); }, []); return ( <div id="logoutbtn" style={{ textAlign: "inline-block" }}> <button onClick={logout} id="logout" style={{ display: "inline-block" }}> {title} </button> </div> ); } export default Button; ``` **Layout.js** ```javascript import UserProfile from "./UserProfile"; import LoginPage from "./LoginPage.js"; import { useEffect, useState } from "react"; function Layout() { const [isUserAuthenticated, setIsUserAuthenticated] = useState(false); const [isFetching, setIsFetching] = useState(true); const [userDetails, setUserDetails] = useState({ firstName: "", lastName: "", mailid: "", timeZone: "", createdTime: "", }); useEffect(() => { window.catalyst.auth .isUserAuthenticated() .then((result) => { let userDetails = { firstName: result.content.first_name, lastName: result.content.last_name, mailid: result.content.email_id, timeZone: result.content.time_zone, createdTime: result.content.created_time, }; setUserDetails(userDetails); setIsUserAuthenticated(true); }) .catch((err) => {}) .finally(() => { setIsFetching(false); }); }, []); return ( <> {isFetching ? ( <p>Loading ....</p> ) : isUserAuthenticated ? ( <UserProfile userDetails={userDetails} /> ) : ( <LoginPage /> )} </> ); } export default Layout; ``` **LoginPage.js** ```javascript import { useEffect } from "react"; function Login() { useEffect(() => { window.location.href = window.origin + "/__catalyst/auth/login"; }, []); return null; } export default Login; ``` **UserProfile.css** ```css .card { margin: auto; text-align: center; font-family: arial; text-align: center; font-weight: bold; } .title { font-size: 23px; color: black; } #userimg { height: 20%; width: 15%; } div.login { padding-top: 10px; height: 260px; width: 500px; margin: 0 auto; } div.signup { display: none; } div.forgotpwd { display: none; } /* Full-width input fields */ input[type="text"] { width: 90%; padding: 15px; margin: 15px 0 22px 0; display: inline-block; border: none; background: #f1f1f1; border-radius: 8px; } /* Add a background color when the inputs get focus */ input[type="text"]:focus, input[type="password"]:focus { background-color: #ddd; outline: none; } /* Set a style for all buttons */ /* Float cancel and signup buttons and add an equal width */ .seperatebtn { width: 10%; padding: 8px; border-radius: 8px; } .signupbtn { width: 10%; padding: 8px; border-radius: 8px; } .signupfnbtn { width: 20%; padding: 8px; border-radius: 8px; } .pwdfnbtn { width: 40%; padding: 8px; border-radius: 8px; } /* The Modal (background) */ .modal { display: none; /* Hidden by default */ position: fixed; /* Stay in place */ z-index: 1; /* Sit on top */ left: 0; top: 0; width: 100%; /* Full width */ height: 100%; /* Full height */ overflow: auto; /* Enable scroll if needed */ background-color: #474e5d; } /* Modal Content/Box */ .modal-content { background-color: #c0c0c0; margin: 5% auto 15% auto; /* 5% from the top, 15% from the bottom and centered */ width: 25%; /* Could be more or less, depending on screen size */ } /* The Close Button (x) */ .close { position: absolute; right: 35px; top: 15px; font-size: 40px; font-weight: bold; color: #f1f1f1; } .close:hover, .close:focus { color: #f44336; cursor: pointer; } /* Clear floats */ .clearfix::after { content: ""; clear: both; display: table; } p.homepage { font-size: 23px; } /* Change styles for cancel button and signup button on extra small screens */ @media screen and (max-width: 100px) { .signupbtn { width: 100%; } } ``` **UserProfile.js** ```javascript import Button from "./Button"; import "./UserProfile.css"; function UserProfile({ userDetails }) { return ( <div className="card"> <br> </br> <h1 className="title">User Profile Information</h1> <img alt="usericon" id="userimg" width="200px" height="450px" src="https://cdn2.iconfinder.com/data/icons/user-management/512/profile_settings-512.png" /> <p className="title">First Name : {userDetails.firstName}</p> <p className="title">Last Name: {userDetails.lastName}</p> <p className="title">Email Address: {userDetails.mailid}</p> <p className="title">Time Zone: {userDetails.timeZone}</p> <p className="title">Joined On: {userDetails.createdTime}</p> <Button title="Logout"> </Button> </div> ); } export default UserProfile; ``` **client-package.json** ```json { "name": "zylkertechnologies", "version": "0.0.1", "homepage": "/__catalyst/auth/login", "login_redirect": "index.html" } ``` > **Note:** The home page URL can be copied from the `Access URL` generated by Catalyst in the [Authentication Types](https://docs.catalyst.zoho.com/en/cloud-scale/help/authentication/authentication-types/) section of the console. The client directory is now configured. Let’s go over the working of the function and the client code: * The end-user will first encounter the *Login Page* that you configured and styled in the console. * To create an account, they will click the **Sign Up** option and be directed to the *Sign Up* page. > **Note:** End-users can either sign up to your application using their [Social Logins](https://docs.catalyst.zoho.com/en/cloud-scale/help/authentication/social-logins/introduction/) or use the conventional method of signing up to the application using their email ID. * Once the information is inputted and they click **Sign Up**, or if they attempt to sign up using a Social Login of their choice, their details will be provided as a JSON input to the [Custom User Validation](https://docs.catalyst.zoho.com/en/cloud-scale/help/authentication/whitelisting/custom-user-validation/introduction/) function (`authorization_portal_function/CustomUserValidationFunc.java`). * The function will only authenticate users if the condition you have coded is satisfied. For this tutorial, the users will only be authenticated if they signed up to the application using a Zylker registered email address. * Upon successful authentication, an [Email Verification](https://docs.catalyst.zoho.com/en/cloud-scale/help/authentication/email-templates/introduction/) email will be sent to the account they used to sign up to the application. > **Note:** Because we are using [Hosted Login](https://docs.catalyst.zoho.com/en/cloud-scale/help/authentication/native-catalyst-authentication/hosted-authentication-type/introduction/), a native Catalyst authentication type, no additional logic to trigger the appropriate emails is required. It will be handled by Catalyst automatically. * Once the user verifies their email address by clicking the link provided in the email, they will be signed up to the application. Their details can be viewed in the [User Management](https://docs.catalyst.zoho.com/en/cloud-scale/help/authentication/user-management/introduction/) section of the *Authentication* component. * The end-user can now log in to the application using their authenticated credentials. * The end-user can also reset their password by clicking the **Forgot Password** option. In this event, the *Password Reset* email will be sent to their registered email. Following the steps mentioned in the email, they can easily reset their credentials. **Angular web app** Let’s configure the client component. The Angular web [client directory](https://docs.catalyst.zoho.com/en/cli/v1/project-directory-structure/client-directory/) contains: * The root directory of the client contains a `client-package.json` file, which is a configuration file defining the name, version, default home page, and redirect page of the client component. We will be modifying this file after we have coded the client component. * [Native Angular files](https://angular.io/docs) such as `angular.json`, `tsconfig.app.json`, `tsconfig.json`, and `tsconfig.spec.json` files. * The root directory of the client also contains the `package.json` dependency file, and a `.gitignorefile`. * The `src` folder contains the following files and directories as per the default project structure of the Angular app: - Native Angular files such as `favicon.ico`, `main.ts`, `polyfills.ts`, and `test.ts` files along with the `assets`, and environment directories. - `index.html`: The default entry point of the application. - `style.css`: Will contain any styling elements required by the overall application. * The files present in the `src/app/` directory are: - Native Angular files such as `app.component.css` and `app.component.spec.ts`. - `app.component.html`: Contains the HTML component that renders the routing that happens in the application. - `app.component.ts`: Contains the global interface of the application where a Catalyst variable is declared to use Catalyst Web SDK methods. - `app.module.ts`: Contains the routing logic involved in the application We will be coding the `index.html`, `app.component.html`, `app.component.ts`, and the `app.module.ts` files. #### Create a Layout Component You need to create a layout component in the `src/app/` directory path. This component will contain the the styling elements, client logic and redirect logic to provide appropriate responses to authenticated and non-authenticated users. Execute the following command in the `src/app/` directory using the Catalyst CLI: ```sh ng generate component layout ``` ![catalyst_authentication_client_layout_generate_angular](https://catalyst-docs-development.zohostratus.in/images/tutorials/hosted-login/catalyst_authentication_client_layout_generate_angular.webp) This will create a folder named `layout` in the `src/app/` directory. This `layout` folder will contain: * Native Angular file called `layout.component.pec.ts`. * `layout.component.html`: Will contain the HTML component required during user validation. * `layout.component.css`: Will contain the required styling elements. * `layout.component.ts`: Will contain the routing and redirect logic. We will be coding the `layout.component.html`, `layout.component.css`, and the `layout.component.ts` files. #### Create a Login Component You need to create a login component in the `src/app/` directory path. This component will contain the redirect logic to provide appropriate responses to authenticated and non-authenticated users. Execute the following command in the `src/app/` directory using the Catalyst CLI: ```sh ng generate component login ``` ![catalyst_authentication_client_login_generate_angular](https://catalyst-docs-development.zohostratus.in/images/tutorials/hosted-login/catalyst_authentication_client_login_generate_angular.webp) This will create a folder named `login` in the `src/app/` directory. This `login` folder will contain: * Native Angular file called `login.component.pec.ts`. * `login.component.html`: Will contain the HTML component required during user validation. * `login.component.css`: Will contain the required styling elements. * `login.component.ts`: Will contain the routing and redirect logic. We will be coding the `login.component.css`, and the `login.component.ts` files. The client directory should now look like the one depicted in the following image. ![catalyst_authentication_hosted_client_angular_type_last_directory](https://catalyst-docs-development.zohostratus.in/images/tutorials/hosted-login/catalyst_authentication_hosted_client_angular_type_last_directory.webp) You can now begin coding your client. > **Note:** Please go through the code given in this section to ensure you fully understand it. Copy the below code and paste it in the `index.html` file present in the `src/` directory. **index.html** ```xml <!DOCTYPE html> <html lang="en"> <head> <meta charset="utf-8" /> <title>Zylker Technologies</title> <base href="/app/" /> <meta name="viewport" content="width=device-width, initial-scale=1" /> <script src="https://static.zohocdn.com/catalyst/sdk/js/4.6.2/catalystWebSDK.js"> </script> <script src="/__catalyst/sdk/init.js"> </script> </head> <body> <app-root> </app-root> </body> </html> ``` Paste the following code in the `app.component.html`, `app.component.ts`, and the `app.module.ts` files present in the `src/app/` directory. **app.component.html** ```xml <router-outlet> </router-outlet> ``` **app.component.ts** ```javascript import { Component } from '@angular/core'; declare global { interface Window { catalyst: any; //This is a Catalyst variable that is required to access Catalyst Web SDK methods. } } @Component({ selector: 'app-root', templateUrl: './app.component.html', styleUrls: ['./app.component.css'], }) export class AppComponent { } ``` > **Note:** The variable `any` is a Catalyst variable we have declared globally. This variable is required to access [Catalyst Web SDK methods](https://docs.catalyst.zoho.com/en/sdk/web/v4/cloud-scale/authentication/get-auth-instance/). **app.module.ts** ```javascript import { NgModule } from '@angular/core'; import { BrowserModule } from '@angular/platform-browser'; import { CommonModule } from '@angular/common'; import { AppComponent } from './app.component'; import { FormsModule } from '@angular/forms'; import { RouterModule, Routes } from '@angular/router'; import { LayoutComponent } from './layout/layout.component'; import { LoginComponent } from './login/login.component'; const approutes: Routes = [ { path: '', component: LayoutComponent }, { path: 'login', component: LoginComponent }, { path: '**', redirectTo: '' }, ]; @NgModule({ declarations: [AppComponent, LayoutComponent, LoginComponent], imports: [ BrowserModule, CommonModule, FormsModule, RouterModule.forRoot(approutes, { useHash: true }), ], providers: [], bootstrap: [AppComponent], }) export class AppModule {} ``` Copy the following code and paste it in the `layout.component.html`, `layout.component.css`, and the `layout.component.ts` files present in the `src/app/layout` directory. **layout.component.html** ```xml <div class="card" *ngIf="isAuthenticated"> <div class="titleDiv"> <h1 class="title">User Profile Information</h1> </div> <div class="imgDiv"> <img id="userimg" width="200px" height="450px" src="https://cdn2.iconfinder.com/data/icons/user-management/512/profile_settings-512.png" /> </div> <div class="textDiv"> <p class="title" id="fname">First Name: {{ firstName }}</p> <p class="title" id="lname">Last Name: {{ lastName }}</p> <p class="title" id="mailid">Email ID: {{ mailID }}</p> <p class="title" id="tzone">Time Zone: {{ timezone }}</p> <p class="title" id="ctime">CreatedTime: {{ createdTime }}</p> </div> <div className="logoutDiv"> <button (click)="logout()" id="logoutBtn">Logout</button> </div> </div> <div *ngIf="isFetching" class="loading-div"> <p class="loading">Loading...</p> </div> ``` **layout.component.css** ```css .card { margin: auto; text-align: center; font-family: arial; text-align: center; font-weight: bold; } .title { font-size: 23px; color: black; margin-top: 30px; margin-bottom: 30px; font-weight: bold; } #userimg { height: 20%; width: 15%; } #logoutBtn { background-color: rgb(2, 136, 2); color: white; border: none; border-radius: 8px; width: 100px; height: 40px; margin-bottom: 30px; cursor: pointer; } #logoutBtn:hover { background-color: rgb(2, 165, 2); color: white; border: none; border-radius: 8px; width: 100px; height: 40px; margin-bottom: 30px; cursor: pointer; } body { width: 100%; } .loading-div { margin-left: 45%; } .loading { font-weight: bolder; font-size: large; } #logoutBtn:active { background-color: rgb(2, 172, 2); color: white; border: none; border-radius: 8px; width: 100px; height: 40px; margin-bottom: 30px; cursor: pointer; } ``` **layout.component.ts** ```javascript import { Component, OnInit } from '@angular/core'; //decorator which indicates this is a component import { Router } from '@angular/router'; @Component({ selector: 'app-layout', templateUrl: './layout.component.html', styleUrls: ['./layout.component.css'], }) export class LayoutComponent implements OnInit { constructor(private router: Router) {} firstName: any; lastName: any; mailID: any; timezone: any; createdTime: any; isAuthenticated: boolean = false; isFetching: boolean = true; ngOnInit(): void { window.catalyst.auth .isUserAuthenticated() .then((result: any) => { console.log(result); console.log(result.content.email_id); this.isAuthenticated = true; this.mailID = result.content.email_id; this.firstName = result.content.first_name; this.lastName = result.content.last_name; this.timezone = result.content.time_zone; this.createdTime = result.content.created_time; }) .catch((err: any) => { console.log(err); }) .finally(() => { console.log('finally'); this.isFetching = false; this.isAuthenticated ? this.router.navigate(['']) : this.router.navigate(['login']); }); } logout() { const redirectURL = '/__catalyst/auth/login'; console.log(redirectURL); var auth = window.catalyst.auth; auth.signOut(redirectURL); } } ``` Copy the following code and paste it in the `login.component.css`, and the `login.component.ts` files present in the `src/app/login` directory. **layout.component.css** ```css h1 { color: red; } ``` **login.component.ts** ```javascript import { Component, OnInit } from '@angular/core'; //decorator which indicates this is a component @Component({ selector: 'app-login', templateUrl: './login.component.html', styleUrls: ['./login.component.css'], }) export class LoginComponent { ngOnInit(): void { window.location.href = window.origin + '/__catalyst/auth/login'; // Will handle the login redirects } } ``` We will now modify the `client-package.json` file present in the client root directory. **client-package.json** ```json { "name": "zylkertechnologies", "version": "0.0.1", "homepage": "/__catalyst/auth/login", "login_redirect": "index.html" } ``` > **Note:** The `homepage URL` can be copied from the [`Access URL`](https://docs.catalyst.zoho.com/en/cloud-scale/help/authentication/native-catalyst-authentication/hosted-authentication-type/configure-hosted-authentication/) generated by Catalyst in the [Authentication Types section](https://docs.catalyst.zoho.com/en/cloud-scale/help/authentication/authentication-types/) of the console. The client directory is now configured. Let's go over the working of the function and client code. * The end-user will first encounter the Login Page that you configured and styled in the console. * To create an account, they will click the Sign Up option and be directed to the Sign Up page. > **Note:** End-users can either sign up to your application using the *Social Logins* or use the conventional method of signing up to the application using their email address * After the information has been entered and they click **Sign Up**, or if they attempt to sign up using a *Social Login* of their preference, their details will be populated and provided as a JSON input to the Custom User Validation function- `authorization_portal_function/index.js`. * The function will only authenticate users that have signed up to the application using a Zylker email address. * Upon successful authentication, an *Email Verification* email will be sent to the account they used to sign up to the application. > **Note:** Because we are using **Hosted Login**, no additional logic to trigger the appropriate emails is required. It will be handled by Catalyst automatically. * After the user verifies their email address by clicking the link provided in the email, they will be signed up for the application. Their details can be viewed in the *User Management* section of the Authentication component. * The end-user can now log in to application using their authenticated credentials. * The end-user can also reset their password by clicking the **Forgot Password** option. * In this event, the *Password Reset* email will be sent to their registered email. Following the steps mentioned in the email, they can easily reset their credentials. -------------------------------------------------------------------------------- title: "Test the Application" description: "Create a Basic or React application using Catalyst Hosted Authentication that provides user sign-up, login, password reset, and federated sign-in." last_updated: "2026-11-04T10:10:44.000Z" source: "https://docs.catalyst.zoho.com/en/tutorials/hosted-login-app/java/test-app/" service: "All Services" related: - Serve CLI Resources (/en/cli/v1/serve-resources/introduction) -------------------------------------------------------------------------------- # Test the Application Before you deploy the application to the remote console, you can test the application on a local server and check if everything works using the Catalyst CLI. For detailed information on `catalyst serve`, refer to the [Serve Resources help page](https://docs.catalyst.zoho.com/en/cli/v1/serve-resources/introduction). To serve the Catalyst project locally, execute the following command from your project directory: ```sh catalyst serve ``` The authorization portal application will now be served at default `port 3000`. The local endpoint URLs of the components will be displayed in the CLI. **Basic web app** ![catalyst_alcity_catalyst_java_basic_serve](https://catalyst-docs-development.zohostratus.in/images/tutorials/hosted-login/catalyst_alcity_catalyst_java_basic_serve.webp) > **Note:** Every time you access the homepage or any of the sub-pages of your client, or the function, the CLI will display a live log of the accessed URL, along with the HTTP method that is used to access it. You can now open the client component’s local URL in a browser to access the application. ![catalyst_authentication_hosted_catalyst_serve_intro](https://catalyst-docs-development.zohostratus.in/images/tutorials/hosted-login/catalyst_authentication_hosted_catalyst_serve_intro.webp) ### Test Case 1 #### Sign up using email address 1. Click **Sign Up** to create a new account. ![catalyst_authentication_hosted_catalyst_serve_sing_up_highlight](https://catalyst-docs-development.zohostratus.in/images/tutorials/hosted-login/catalyst_authentication_hosted_catalyst_serve_sing_up_highlight.webp) 2. Enter the required details and click **Sign Up**. ![catalyst_authentication_hosted_catalyst_serve_signup](https://catalyst-docs-development.zohostratus.in/images/tutorials/hosted-login/catalyst_authentication_hosted_catalyst_serve_signup.webp) 3. The [Email Verification](https://docs.catalyst.zoho.com/en/cloud-scale/help/authentication/email-templates/introduction/) email will be sent to the email address you used to sign up. ![catalyst_authentication_hosted_catalyst_serve_email_triggered](https://catalyst-docs-development.zohostratus.in/images/tutorials/hosted-login/catalyst_authentication_hosted_catalyst_serve_email_triggered.webp) 4. Click the link in the email ![catalyst_authentication_hosted_catalyst_serve_email_check](https://catalyst-docs-development.zohostratus.in/images/tutorials/hosted-login/catalyst_authentication_hosted_catalyst_serve_email_check.webp) 5. Follow the instructions and set your password ![catalyst_authentication_hosted_catalyst_serve_cnf_pwd](https://catalyst-docs-development.zohostratus.in/images/tutorials/hosted-login/catalyst_authentication_hosted_catalyst_serve_cnf_pwd.webp) Once the password is set, you will be signed in to the application. ![catalyst_authentication_hosted_catalyst_serve_logged_in](https://catalyst-docs-development.zohostratus.in/images/tutorials/hosted-login/catalyst_authentication_hosted_catalyst_serve_logged_in.webp) You can verify this by viewing the user information in the [User Management](https://docs.catalyst.zoho.com/en/cloud-scale/help/authentication/user-management/introduction/) section of the *Authentication* component in the console. ![catalyst_authentication_hosted_catalyst_serve_account_added](https://catalyst-docs-development.zohostratus.in/images/tutorials/hosted-login/catalyst_authentication_hosted_catalyst_serve_account_added.webp) ### Test Case 2 #### Test Custom User Validation 1. Sign up to the application using an email address that will induce a failure instance. ![catalyst_authentication_hosted_catalyst_serve_custom_check](https://catalyst-docs-development.zohostratus.in/images/tutorials/hosted-login/catalyst_authentication_hosted_catalyst_serve_custom_check.webp) > **Note:** For the purpose of this tutorial, we have coded a logic for the Custom User Validation function where if the user's email provider is anyone other than Zylker Technology (`@zylker.com`) the end-user will not be able to sign up to the application. 2. You will not be able to sign up to the application using any email address other than the one coded to permit in the function logic. ![catalyst_authentication_hosted_catalyst_serve_custom_success](https://catalyst-docs-development.zohostratus.in/images/tutorials/hosted-login/catalyst_authentication_hosted_catalyst_serve_custom_success.webp) ### Test Case 3 #### Sign up to the application using Social Logins 1. You can click a social login that you had configured to begin the sign up process. For this test, we are signing up using the [Zoho social login](https://docs.catalyst.zoho.com/en/cloud-scale/help/authentication/social-logins/configuring-social-logins/#enable-zoho-social-login). ![catalyst_authentication_hosted_catalyst_serve_zoho_login](https://catalyst-docs-development.zohostratus.in/images/tutorials/hosted-login/catalyst_authentication_hosted_catalyst_serve_zoho_login.webp) 2. Click **Accept**. ![catalyst_authentication_hosted_catalyst_serve_zoho_accept_login](https://catalyst-docs-development.zohostratus.in/images/tutorials/hosted-login/catalyst_authentication_hosted_catalyst_serve_zoho_accept_login.webp) You will be logged in to the application. ![catalyst_authentication_hosted_catalyst_serve_logged_in](https://catalyst-docs-development.zohostratus.in/images/tutorials/hosted-login/catalyst_authentication_hosted_catalyst_serve_logged_in.webp) You can verify the end-user has been added by viewing their details in the *User Management* section of the Authentication component in the console. ### Test Case 4 #### Password reset functionality 1. Click the **Forgot Password** option. ![catalyst_authentication_hosted_catalyst_serve_forgot_pwd_highlight](https://catalyst-docs-development.zohostratus.in/images/tutorials/hosted-login/catalyst_authentication_hosted_catalyst_serve_forgot_pwd_highlight.webp) 2. Enter the email address ![catalyst_authentication_hosted_catalyst_serve_pwd_email_enter](https://catalyst-docs-development.zohostratus.in/images/tutorials/hosted-login/catalyst_authentication_hosted_catalyst_serve_pwd_email_enter.webp) 3. Enter the captcha. ![catalyst_authentication_hosted_catalyst_serve_pwd_captcha](https://catalyst-docs-development.zohostratus.in/images/tutorials/hosted-login/catalyst_authentication_hosted_catalyst_serve_pwd_captcha.webp) 4. You can still unlock an option if you remember any earlier password you had used to create this account. However, to test this functionality, click **Continue to reset password**. ![catalyst_authentication_hosted_catalyst_serve_pwd_cont_reset](https://catalyst-docs-development.zohostratus.in/images/tutorials/hosted-login/catalyst_authentication_hosted_catalyst_serve_pwd_cont_reset.webp) 5. Click **SEND OTP** to send the OTP to your email address. ![catalyst_authentication_hosted_catalyst_serve_pwd_otp](https://catalyst-docs-development.zohostratus.in/images/tutorials/hosted-login/catalyst_authentication_hosted_catalyst_serve_pwd_otp.webp) 6. Enter the OTP received in your email and click **Verify**. ![catalyst_authentication_hosted_catalyst_serve_pwd_otp_entered](https://catalyst-docs-development.zohostratus.in/images/tutorials/hosted-login/catalyst_authentication_hosted_catalyst_serve_pwd_otp_entered.webp) 7. You can create your new password now and click **Change Password**. ![catalyst_authentication_hosted_catalyst_serve_pwd_confirm_reset](https://catalyst-docs-development.zohostratus.in/images/tutorials/hosted-login/catalyst_authentication_hosted_catalyst_serve_pwd_confirm_reset.webp) You will be redirected to the login page, where you can log in to the application using the new password. **React web app** ![catalyst_alcity_catalyst_java_react_serve](https://catalyst-docs-development.zohostratus.in/images/tutorials/hosted-login/catalyst_alcity_catalyst_java_react_serve.webp) > **Note:** Every time you access the homepage or any of the sub-pages of your client, or the function, the CLI will display a live log of the accessed URL, along with the HTTP method that is used to access it. You can now open the client component’s local URL in a browser to access the application. ![catalyst_authentication_hosted_catalyst_serve_intro](https://catalyst-docs-development.zohostratus.in/images/tutorials/hosted-login/catalyst_authentication_hosted_catalyst_serve_intro.webp) ### Test Case 1 #### Sign up using email address 1. Click **Sign Up** to create a new account. ![catalyst_authentication_hosted_catalyst_serve_sing_up_highlight](https://catalyst-docs-development.zohostratus.in/images/tutorials/hosted-login/catalyst_authentication_hosted_catalyst_serve_sing_up_highlight.webp) 2. Enter the required details and click **Sign Up**. ![catalyst_authentication_hosted_catalyst_serve_signup](https://catalyst-docs-development.zohostratus.in/images/tutorials/hosted-login/catalyst_authentication_hosted_catalyst_serve_signup.webp) 3. The [Email Verification](https://docs.catalyst.zoho.com/en/cloud-scale/help/authentication/email-templates/introduction/) email will be sent to the email address you used to sign up. ![catalyst_authentication_hosted_catalyst_serve_email_triggered](https://catalyst-docs-development.zohostratus.in/images/tutorials/hosted-login/catalyst_authentication_hosted_catalyst_serve_email_triggered.webp) 4. Click the link in the email ![catalyst_authentication_hosted_catalyst_serve_email_check](https://catalyst-docs-development.zohostratus.in/images/tutorials/hosted-login/catalyst_authentication_hosted_catalyst_serve_email_check.webp) 5. Follow the instructions and set your password ![catalyst_authentication_hosted_catalyst_serve_cnf_pwd](https://catalyst-docs-development.zohostratus.in/images/tutorials/hosted-login/catalyst_authentication_hosted_catalyst_serve_cnf_pwd.webp) Once the password is set, you will be signed in to the application. ![catalyst_authentication_hosted_catalyst_serve_logged_in](https://catalyst-docs-development.zohostratus.in/images/tutorials/hosted-login/catalyst_authentication_hosted_catalyst_serve_logged_in.webp) You can verify this by viewing the user information in the [User Management](https://docs.catalyst.zoho.com/en/cloud-scale/help/authentication/user-management/introduction/) section of the *Authentication* component in the console. ![catalyst_authentication_hosted_catalyst_serve_account_added](https://catalyst-docs-development.zohostratus.in/images/tutorials/hosted-login/catalyst_authentication_hosted_catalyst_serve_account_added.webp) ### Test Case 2 #### Test Custom User Validation 1. Sign up to the application using an email address that will induce a failure instance. ![catalyst_authentication_hosted_catalyst_serve_custom_check](https://catalyst-docs-development.zohostratus.in/images/tutorials/hosted-login/catalyst_authentication_hosted_catalyst_serve_custom_check.webp) > **Note:** For the purpose of this tutorial, we have coded a logic for the Custom User Validation function where if the user's email provider is anyone other than Zylker Technology (`@zylker.com`) the end-user will not be able to sign up to the application. 2. You will not be able to sign up to the application using any email address other than the one coded to permit in the function logic. ![catalyst_authentication_hosted_catalyst_serve_custom_success](https://catalyst-docs-development.zohostratus.in/images/tutorials/hosted-login/catalyst_authentication_hosted_catalyst_serve_custom_success.webp) ### Test Case 3 #### Sign up to the application using Social Logins 1. You can click a social login that you had configured to begin the sign up process. For this test, we are signing up using the [Zoho social login](https://docs.catalyst.zoho.com/en/cloud-scale/help/authentication/social-logins/configuring-social-logins/#enable-zoho-social-login). ![catalyst_authentication_hosted_catalyst_serve_zoho_login](https://catalyst-docs-development.zohostratus.in/images/tutorials/hosted-login/catalyst_authentication_hosted_catalyst_serve_zoho_login.webp) 2. Click **Accept**. ![catalyst_authentication_hosted_catalyst_serve_zoho_accept_login](https://catalyst-docs-development.zohostratus.in/images/tutorials/hosted-login/catalyst_authentication_hosted_catalyst_serve_zoho_accept_login.webp) You will be logged in to the application. ![catalyst_authentication_hosted_catalyst_serve_logged_in](https://catalyst-docs-development.zohostratus.in/images/tutorials/hosted-login/catalyst_authentication_hosted_catalyst_serve_logged_in.webp) You can verify the end-user has been added by viewing their details in the *User Management* section of the Authentication component in the console. ### Test Case 4 #### Password reset functionality 1. Click the **Forgot Password** option. ![catalyst_authentication_hosted_catalyst_serve_forgot_pwd_highlight](https://catalyst-docs-development.zohostratus.in/images/tutorials/hosted-login/catalyst_authentication_hosted_catalyst_serve_forgot_pwd_highlight.webp) 2. Enter the email address ![catalyst_authentication_hosted_catalyst_serve_pwd_email_enter](https://catalyst-docs-development.zohostratus.in/images/tutorials/hosted-login/catalyst_authentication_hosted_catalyst_serve_pwd_email_enter.webp) 3. Enter the captcha. ![catalyst_authentication_hosted_catalyst_serve_pwd_captcha](https://catalyst-docs-development.zohostratus.in/images/tutorials/hosted-login/catalyst_authentication_hosted_catalyst_serve_pwd_captcha.webp) 4. You can still unlock an option if you remember any earlier password you had used to create this account. However, to test this functionality, click **Continue to reset password**. ![catalyst_authentication_hosted_catalyst_serve_pwd_cont_reset](https://catalyst-docs-development.zohostratus.in/images/tutorials/hosted-login/catalyst_authentication_hosted_catalyst_serve_pwd_cont_reset.webp) 5. Click **SEND OTP** to send the OTP to your email address. ![catalyst_authentication_hosted_catalyst_serve_pwd_otp](https://catalyst-docs-development.zohostratus.in/images/tutorials/hosted-login/catalyst_authentication_hosted_catalyst_serve_pwd_otp.webp) 6. Enter the OTP received in your email and click **Verify**. ![catalyst_authentication_hosted_catalyst_serve_pwd_otp_entered](https://catalyst-docs-development.zohostratus.in/images/tutorials/hosted-login/catalyst_authentication_hosted_catalyst_serve_pwd_otp_entered.webp) 7. You can create your new password now and click **Change Password**. ![catalyst_authentication_hosted_catalyst_serve_pwd_confirm_reset](https://catalyst-docs-development.zohostratus.in/images/tutorials/hosted-login/catalyst_authentication_hosted_catalyst_serve_pwd_confirm_reset.webp) You will be redirected to the login page, where you can log in to the application using the new password. **Angular web app** ![catalyst_authentication_hosted_client_angular_catalyst_serve_cli](https://catalyst-docs-development.zohostratus.in/images/tutorials/hosted-login/catalyst_authentication_hosted_client_angular_catalyst_serve_cli.webp) Every time you access the homepage or any of the sub-pages of your client, or the function, the CLI will display a live log of the accessed URL, along with the HTTP method that is used to access it. ![catalyst_authentication_hosted_client_angular_catalyst_serve_cli_actions](https://catalyst-docs-development.zohostratus.in/images/tutorials/hosted-login/catalyst_authentication_hosted_client_angular_catalyst_serve_cli_actions.webp) You can now open the client component’s local URL in a browser to access the application. ### Test Case 1 #### Sign up using email address 1. Click **Sign Up** to create a new account. ![catalyst_authentication_hosted_catalyst_serve_sing_up_highlight](https://catalyst-docs-development.zohostratus.in/images/tutorials/hosted-login/catalyst_authentication_hosted_catalyst_serve_sing_up_highlight.webp) 2. Enter the required details and click **Sign Up**. ![catalyst_authentication_hosted_catalyst_serve_signup](https://catalyst-docs-development.zohostratus.in/images/tutorials/hosted-login/catalyst_authentication_hosted_catalyst_serve_signup.webp) 3. The [Email Verification](https://docs.catalyst.zoho.com/en/cloud-scale/help/authentication/email-templates/introduction/) email will be sent to the email address you used to sign up. ![catalyst_authentication_hosted_catalyst_serve_email_triggered](https://catalyst-docs-development.zohostratus.in/images/tutorials/hosted-login/catalyst_authentication_hosted_catalyst_serve_email_triggered.webp) 4. Click the link in the email ![catalyst_authentication_hosted_catalyst_serve_email_check](https://catalyst-docs-development.zohostratus.in/images/tutorials/hosted-login/catalyst_authentication_hosted_catalyst_serve_email_check.webp) 5. Follow the instructions and set your password ![catalyst_authentication_hosted_catalyst_serve_cnf_pwd](https://catalyst-docs-development.zohostratus.in/images/tutorials/hosted-login/catalyst_authentication_hosted_catalyst_serve_cnf_pwd.webp) Once the password is set, you will be signed in to the application. ![catalyst_authentication_hosted_catalyst_serve_logged_in](https://catalyst-docs-development.zohostratus.in/images/tutorials/hosted-login/catalyst_authentication_hosted_catalyst_serve_logged_in.webp) You can verify this by viewing the user information in the [User Management](https://docs.catalyst.zoho.com/en/cloud-scale/help/authentication/user-management/introduction/) section of the *Authentication* component in the console. ![catalyst_authentication_hosted_catalyst_serve_account_added](https://catalyst-docs-development.zohostratus.in/images/tutorials/hosted-login/catalyst_authentication_hosted_catalyst_serve_account_added.webp) ### Test Case 2 #### Test Custom User Validation 1. Sign up to the application using an email address that will induce a failure instance. ![catalyst_authentication_hosted_catalyst_serve_custom_check](https://catalyst-docs-development.zohostratus.in/images/tutorials/hosted-login/catalyst_authentication_hosted_catalyst_serve_custom_check.webp) > **Note:** For the purpose of this tutorial, we have coded a logic for the Custom User Validation function where if the user's email provider is anyone other than Zylker Technology (`@zylker.com`) the end-user will not be able to sign up to the application. 2. You will not be able to sign up to the application using any email address other than the one coded to permit in the function logic. ![catalyst_authentication_hosted_catalyst_serve_custom_success](https://catalyst-docs-development.zohostratus.in/images/tutorials/hosted-login/catalyst_authentication_hosted_catalyst_serve_custom_success.webp) ### Test Case 3 #### Sign up to the application using Social Logins 1. You can click a social login that you had configured to begin the sign up process. For this test, we are signing up using the [Zoho social login](https://docs.catalyst.zoho.com/en/cloud-scale/help/authentication/social-logins/configuring-social-logins/#enable-zoho-social-login). ![catalyst_authentication_hosted_catalyst_serve_zoho_login](https://catalyst-docs-development.zohostratus.in/images/tutorials/hosted-login/catalyst_authentication_hosted_catalyst_serve_zoho_login.webp) 2. Click **Accept**. ![catalyst_authentication_hosted_catalyst_serve_zoho_accept_login](https://catalyst-docs-development.zohostratus.in/images/tutorials/hosted-login/catalyst_authentication_hosted_catalyst_serve_zoho_accept_login.webp) You will be logged in to the application. ![catalyst_authentication_hosted_catalyst_serve_logged_in](https://catalyst-docs-development.zohostratus.in/images/tutorials/hosted-login/catalyst_authentication_hosted_catalyst_serve_logged_in.webp) You can verify the end-user has been added by viewing their details in the *User Management* section of the Authentication component in the console. ### Test Case 4 #### Password reset functionality 1. Click the **Forgot Password** option. ![catalyst_authentication_hosted_catalyst_serve_forgot_pwd_highlight](https://catalyst-docs-development.zohostratus.in/images/tutorials/hosted-login/catalyst_authentication_hosted_catalyst_serve_forgot_pwd_highlight.webp) 2. Enter the email address ![catalyst_authentication_hosted_catalyst_serve_pwd_email_enter](https://catalyst-docs-development.zohostratus.in/images/tutorials/hosted-login/catalyst_authentication_hosted_catalyst_serve_pwd_email_enter.webp) 3. Enter the captcha. ![catalyst_authentication_hosted_catalyst_serve_pwd_captcha](https://catalyst-docs-development.zohostratus.in/images/tutorials/hosted-login/catalyst_authentication_hosted_catalyst_serve_pwd_captcha.webp) 4. You can still unlock an option if you remember any earlier password you had used to create this account. However, to test this functionality, click **Continue to reset password**. ![catalyst_authentication_hosted_catalyst_serve_pwd_cont_reset](https://catalyst-docs-development.zohostratus.in/images/tutorials/hosted-login/catalyst_authentication_hosted_catalyst_serve_pwd_cont_reset.webp) 5. Click **SEND OTP** to send the OTP to your email address. ![catalyst_authentication_hosted_catalyst_serve_pwd_otp](https://catalyst-docs-development.zohostratus.in/images/tutorials/hosted-login/catalyst_authentication_hosted_catalyst_serve_pwd_otp.webp) 6. Enter the OTP received in your email and click **Verify**. ![catalyst_authentication_hosted_catalyst_serve_pwd_otp_entered](https://catalyst-docs-development.zohostratus.in/images/tutorials/hosted-login/catalyst_authentication_hosted_catalyst_serve_pwd_otp_entered.webp) 7. You can create your new password now and click **Change Password**. ![catalyst_authentication_hosted_catalyst_serve_pwd_confirm_reset](https://catalyst-docs-development.zohostratus.in/images/tutorials/hosted-login/catalyst_authentication_hosted_catalyst_serve_pwd_confirm_reset.webp) You will be redirected to the login page, where you can log in to the application using the new password. -------------------------------------------------------------------------------- title: "Deploy the Application" description: "Create a Basic or React application using Catalyst Hosted Authentication that provides user sign-up, login, password reset, and federated sign-in." last_updated: "2026-11-04T10:10:44.000Z" source: "https://docs.catalyst.zoho.com/en/tutorials/hosted-login-app/java/deploy-app/" service: "All Services" related: - Deploy CLI Resources (/en/cli/v1/deploy-resources/introduction/) - Web Client Hosting (/en/cloud-scale/help/web-client-hosting/introduction) -------------------------------------------------------------------------------- # Deploy the Application To [deploy your Catalyst project](https://docs.catalyst.zoho.com/en/cli/v1/deploy-resources/introduction/) from the CLI, run the following command in your terminal from your project directory: ```sh catalyst deploy ``` The function is deployed first, followed by the client component. The URL endpoints of the components will be displayed in the CLI: **Basic web app** ![catalyst_authentication_hosted_catalyst_java_basic_deploy](https://catalyst-docs-development.zohostratus.in/images/tutorials/hosted-login/catalyst_authentication_hosted_catalyst_java_basic_deploy.webp) > **Note** You can also use the `catalyst deploy --only client` CLI command to deploy the client component alone, as the function component was already deployed. You can now open the client component’s URL in a browser to access the deployed application. The authorization portal application can now be accessed from its web app URL. ![catalyst_authentication_hosted_client_angular_catalyst_complete](https://catalyst-docs-development.zohostratus.in/images/tutorials/hosted-login/catalyst_authentication_hosted_client_angular_catalyst_complete.webp) The authorization portal application is now functional and should work without any errors. **React web app** ![catalyst_authentication_hosted_catalyst_java_react_deploy](https://catalyst-docs-development.zohostratus.in/images/tutorials/hosted-login/catalyst_authentication_hosted_catalyst_java_react_deploy.webp) > **Note** You can also use the `catalyst deploy --only client` CLI command to deploy the client component alone, as the function component was already deployed. You can now open the client component’s URL in a browser to access the deployed application. The authorization portal application can now be accessed from its web app URL. ![catalyst_authentication_hosted_client_angular_catalyst_complete](https://catalyst-docs-development.zohostratus.in/images/tutorials/hosted-login/catalyst_authentication_hosted_client_angular_catalyst_complete.webp) The authorization portal application is now functional and should work without any errors. **Angular web app** The function is deployed first, followed by the client component. The URL endpoints of the components will be displayed in the CLI: ![catalyst_authentication_hosted_client_angular_catalyst_deploy_complete](https://catalyst-docs-development.zohostratus.in/images/tutorials/hosted-login/catalyst_authentication_hosted_client_angular_catalyst_deploy_complete.webp) > **Note:** You can also use the `catalyst deploy --only client` CLI command to deploy the client component alone, as the function component was already deployed. You can now open the client component’s URL in a browser to access the deployed application. The authorization portal application can now be accessed from its web app URL. ![catalyst_authentication_hosted_client_angular_catalyst_complete](https://catalyst-docs-development.zohostratus.in/images/tutorials/hosted-login/catalyst_authentication_hosted_client_angular_catalyst_complete.webp) The authorization portal application is now functional and should work without any errors. ### Node.js -------------------------------------------------------------------------------- title: "Introduction" description: "Create a Basic or React application using Catalyst Hosted Authentication that provides user sign-up, login, password reset, and federated sign-in." last_updated: "2026-11-04T10:10:44.000Z" source: "https://docs.catalyst.zoho.com/en/tutorials/hosted-login-app/nodejs/introduction/" service: "All Services" related: - Project Directory Structure (/en/cli/v1/project-directory-structure/introduction/) - Hosted Authentication Type (/en/cloud-scale/help/authentication/native-catalyst-authentication/hosted-authentication-type/introduction/) - User Management (/en/cloud-scale/help/authentication/user-management/introduction/) - Custom User Validation (/en/cloud-scale/help/authentication/whitelisting/custom-user-validation/introduction/) - Social Logins (/en/cloud-scale/help/authentication/social-logins/introduction/) - Java SDK (/en/sdk/java/v1/overview/) - Node.js SDK (/en/sdk/nodejs/v2/overview/) - Python SDK (/en/sdk/python/v1/overview/) -------------------------------------------------------------------------------- # Authorization Portal ## Introduction This tutorial will help you build a simple client application that allows your end-users to log in to your application after they have been authenticated using Catalyst Hosted Authentication with a [Custom User Validation](https://docs.catalyst.zoho.com/en/cloud-scale/help/authentication/whitelisting/custom-user-validation/introduction/) function. The *Authorization Portal* application uses the following Catalyst services and their respective components: - [**Catalyst CloudScale**](https://docs.catalyst.zoho.com/en/cloud-scale/) - **Authentication**: The end-user will be authenticated to your application using the [Hosted Authentication](https://docs.catalyst.zoho.com/en/cloud-scale/help/authentication/native-catalyst-authentication/hosted-authentication-type/introduction/), a [Native Catalyst Authentication Type](https://docs.catalyst.zoho.com/en/cloud-scale/help/authentication/native-catalyst-authentication/introduction/). - **Web Client Hosting**: The front end of the application will be hosted on Catalyst using the [Web Client Hosting](https://docs.catalyst.zoho.com/en/cloud-scale/help/web-client-hosting/introduction/) component. You can initialize and configure the client as a [Basic web app](https://docs.catalyst.zoho.com/en/cli/v1/initialize-resources/initialize-client/#basic-client-applications), a [React app](https://docs.catalyst.zoho.com/en/cli/v1/initialize-resources/initialize-client/#react-applications), or an [Angular app](https://docs.catalyst.zoho.com/en/cli/v1/initialize-resources/initialize-client/#angular-applications). - [**Catalyst Serverless**](https://docs.catalyst.zoho.com/en/serverless/) - **Functions**: We will be coding the [Basic I/O function](https://docs.catalyst.zoho.com/en/serverless/help/functions/basic-io/) in Node.js to implement *Custom User Validation*. This tutorial will help you understand using the various features of *Hosted Authentication Type*. We will be incorporating the following functionalities in this tutorial: - Sign up end users to the web app using their email address - Log in end users to the app using the sign-up account information - Log in end users to the app using any or all of the following Federated Identity Providers: - [Zoho](https://docs.catalyst.zoho.com/en/cloud-scale/help/authentication/social-logins/configuring-social-logins/#enable-zoho-social-login) - [Google](https://docs.catalyst.zoho.com/en/cloud-scale/help/authentication/social-logins/configuring-social-logins/#enable-google-social-login) - [Microsoft 365](https://docs.catalyst.zoho.com/en/cloud-scale/help/authentication/social-logins/configuring-social-logins/#enable-microsoft-365-social-login) - [LinkedIn](https://docs.catalyst.zoho.com/en/cloud-scale/help/authentication/social-logins/configuring-social-logins/#enable-linkedin-social-login) - [Facebook](https://docs.catalyst.zoho.com/en/cloud-scale/help/authentication/social-logins/configuring-social-logins/#enable-facebook-social-login) - Reset the password in case an end-user forgets their password - Customize and style the login elements of the following pages— **Sign Up**, **Confirm Password**, **Log In**, and **Password Reset**. - Customize and configure the **Email Verification** and **Password Reset** [email templates](https://docs.catalyst.zoho.com/en/cloud-scale/help/authentication/email-templates/customizing-email-templates/). - Configure and add a [Custom User Validation](https://docs.catalyst.zoho.com/en/cloud-scale/help/authentication/whitelisting/custom-user-validation/introduction/) function - Logging in and out to the application The following image is an example of how the client application's login screen will appear: ![catalyst_authentication_hosted_catalyst_deploy_app_complete](https://catalyst-docs-development.zohostratus.in/images/tutorials/hosted-login/catalyst_authentication_hosted_catalyst_deploy_app_complete.webp) You will be using the following features of the Authentication component to build this application: * **User Management**: The user details are automatically saved in this [section](https://docs.catalyst.zoho.com/en/cloud-scale/help/authentication/user-management/introduction/), after they sign up for the application. Using this feature, you can manage the end-users’ access to your application and [configure their roles](https://docs.catalyst.zoho.com/en/cloud-scale/help/authentication/user-management/roles/introduction/). * **Authentication Type**: You will be able to view the [authentication type](https://docs.catalyst.zoho.com/en/cloud-scale/help/authentication/authentication-types/) you have configured for your application and edit your configurations if required. * **Whitelisting**: You will use this section to enable [Custom User Validation](https://docs.catalyst.zoho.com/en/cloud-scale/help/authentication/whitelisting/custom-user-validation/introduction/). You can also use this section to enable [CORS and iFrame access](https://docs.catalyst.zoho.com/en/cloud-scale/help/authentication/whitelisting/authorized-domains/introduction/) to your application. * **Email Templates**: You will be able to configure and customize *Email Verification* and *Password Reset* emails from this [section](https://docs.catalyst.zoho.com/en/cloud-scale/help/authentication/email-templates/introduction/). We will use the [Catalyst web console](https://console.catalyst.zoho.com/baas/index) and the [Catalyst Command Line Interface (CLI)](https://docs.catalyst.zoho.com/en/cli/v1/cli-command-reference/) to build this application. > **Note:** If you are a *Visual Studio Code IDE* user, you can install the **Catalyst Tools** extension, and use your IDE in place of the CLI. You can find more details about the Catalyst VS Code extension from this [help section](https://docs.catalyst.zoho.com/en/catalyst-extensions/vs-code-extension/introduction/). You will be given the code for the files to be included in the function and client directory of your project in this tutorial. You can either copy the provided code or customize it, should you feel it necessary and paste it into the appropriate files as directed. ### Application Architecture The authorization portal's application logic is described below: * **Login process**: The end-user will be directed to the login page. They can either opt in to log in to the application using the **Zoho**, **Google**, **LinkedIn**, **Microsoft 365**, or **Facebook** social logins, or click the **Sign Up** option provided to sign up using their email ID. * **Custom user validation**: The details inputted by the end-user during the login process will sent be as a JSON input to the *Custom User Validation* function. if the details are successfully validated per the custom logic present in the *Basic I/O function*, the verification email will be triggered. * **Email verification email triggered**: After a user signs up for the application, an email verification email will be sent to their email address used to register the account. The email verification content and style can be customized per your preference using the *Email Templates* feature of *Authentication*. * **Password setup**: When end-users click the link present in the email verification email, they will be directed to the password setup page. Here, the end-user can secure their account by setting a password of their preference. * **End-user account created**: After the password is set, the user account will be created, and the end-user will now be able to log in to the application using the credentials they created. You can confirm the account has been created by viewing the account details in the *User Management* section of the *Authentication* component. * **Password reset option**: End-users will have the option to reset the password by opting for the **Forgot Password** option present in the login page. They will then be prompted to provide any of their previous passwords to recover their account or go ahead with the reset option. After the users go ahead with the reset option, a one-time password (OTP) email will be sent to the user. After the OTP is verified, they can set a new password for their account. > **Note:** As we are using the **Hosted Login** method: - You do not have to code the additional logic to trigger the emails; they will be automatically handled by Catalyst in the backend. - You can style the login, sign up, and password reset pages in the console directly, so you do not have to code any additional style elements. -------------------------------------------------------------------------------- title: "Prerequisites" description: "Create a Basic or React application using Catalyst Hosted Authentication that provides user sign-up, login, password reset, and federated sign-in." last_updated: "2026-11-04T10:10:44.000Z" source: "https://docs.catalyst.zoho.com/en/tutorials/hosted-login-app/nodejs/prerequisities/" service: "All Services" related: - CLI Command Reference (/en/cli/v1/cli-command-reference/) - Install CLI (/en/getting-started/installing-catalyst-cli/) - Login CLI (/en/cli/v1/login/login-from-cli/) -------------------------------------------------------------------------------- # Prerequisites Before you begin building the application, you must have the following prerequisites installed on your system: 1. **Catalyst CLI** Catalyst CLI contains a host of tools that enable you to initialize, develop, test, and deploy the components of your application from your local machine. We will be working with Catalyst CLI in this tutorial. You must perform the following actions: * **Install Catalyst CLI**: Catalyst CLI is installed through NPM. You must therefore have NPM and Node.js installed on your system before you install the CLI. Refer to the [Install Catalyst CLI help page](https://docs.catalyst.zoho.com/en/getting-started/installing-catalyst-cli/) for details on the pre-requisites and the steps to install it. * **Log in to Catalyst CLI**: After you install Catalyst CLI, you must authenticate the CLI with your Catalyst account before using it. Refer to the [CLI Login help page](https://docs.catalyst.zoho.com/en/cli/v1/login/login-from-cli/) for the steps to login from Catalyst CLI and the various options available for it. 2. **Any IDE tool for Node.js and client code development** You can use any IDE to work with the *Basic I/O function* and the client code. Some popular choices include Visual Studio Code, and Sublime Text. Download and install an IDE of your choice on your system. > If you are a Visual Studio Code IDE user, you can install the **Catalyst Tools** extension, and use your IDE itself in place of the CLI. You can find more details about the Catalyst VS Code extension from this [help section](https://docs.catalyst.zoho.com/en/catalyst-extensions/vs-code-extension/introduction/). -------------------------------------------------------------------------------- title: "Create a Project" description: "Create a Basic or React application using Catalyst Hosted Authentication that provides user sign-up, login, password reset, and federated sign-in." last_updated: "2026-11-04T10:10:44.000Z" source: "https://docs.catalyst.zoho.com/en/tutorials/hosted-login-app/nodejs/create-project/" service: "All Services" related: - Project Directory (/en/cli/v1/project-directory-structure/introduction) - Set up Catalyst Projects (/en/getting-started/catalyst-projects) -------------------------------------------------------------------------------- # Create a Project Let’s [create a Catalyst project](https://docs.catalyst.zoho.com/en/getting-started/catalyst-projects/#create-a-catalyst-project) from the Catalyst console. 1. Log in to the [Catalyst console](https://console.catalyst.zoho.com/baas/index) and click **Create New Project**. ![catalyst_authentication_create_project](https://catalyst-docs-development.zohostratus.in/images/tutorials/hosted-login/authentication-create-project.webp) 2. Enter the project’s name as "**AuthorizationPortal**" in the pop-up window, and click **Create**. ![catalyst_hosted_login_tutorial_project_name](https://catalyst-docs-development.zohostratus.in/images/tutorials/hosted-login/catalyst_hosted_login_tutorial_project_name.webp) Your project will be created and it will be opened. You can access the project later, by clicking **Access Project**. ![catalyst_hosted_login_tutorial_access_project](https://catalyst-docs-development.zohostratus.in/images/tutorials/hosted-login/catalyst_hosted_login_tutorial_access_project.webp) -------------------------------------------------------------------------------- title: "Configure the Hosted Authentication" description: "Create a Basic or React application using Catalyst Hosted Authentication that provides user sign-up, login, password reset, and federated sign-in." last_updated: "2026-11-04T10:10:44.000Z" source: "https://docs.catalyst.zoho.com/en/tutorials/hosted-login-app/nodejs/configure-hosted-login/" service: "All Services" related: - Setup Hosted Authentication type (/en/cloud-scale/help/authentication/native-catalyst-authentication/hosted-authentication-type/configure-hosted-authentication/) - Configure Social Logins (/en/cloud-scale/help/authentication/social-logins/configuring-social-logins/) -------------------------------------------------------------------------------- # Configure Hosted Authentication for the Application Let's configure the *Native Catalyst Authentication* type, *Hosted Login* in this section. 1. Authentication is a [Catalyst CloudScale](https://docs.catalyst.zoho.com/en/cloud-scale/) component. Click the **CloudScale** icon on the console's side navigation menu to access the CloudScale service console, then click **Start Exploring**. ![catalyst_authentication_cloudscale_view](https://catalyst-docs-development.zohostratus.in/images/tutorials/hosted-login/catalyst_authentication_cloudscale_view.webp) 2. Click **Authentication** under *Security & Identity* to access the Authentication component. ![catalyst_authentication_console_view](https://catalyst-docs-development.zohostratus.in/images/tutorials/hosted-login/authorisation-portal-cloudscale-authentication.webp) 3. You can set up your application's authentication element using [*Native Catalyst Authentication*](https://docs.catalyst.zoho.com/en/cloud-scale/help/authentication/native-catalyst-authentication/introduction/) or a [*Third-party Authentication*](https://docs.catalyst.zoho.com/en/cloud-scale/help/authentication/third-party-authentication/introduction/) service. For this tutorial, we are going to set up the application's authentication using [*Hosted Login*](https://docs.catalyst.zoho.com/en/cloud-scale/help/authentication/native-catalyst-authentication/hosted-authentication-type/introduction/), a *Native Catalyst Authentication* type. Click the **Set Up** button in the *Native Catalyst Authentication* section to start configuring your login element. ![catalyst_authentication_native_setup_highlight](https://catalyst-docs-development.zohostratus.in/images/tutorials/hosted-login/catalyst_authentication_native_setup_highlight.webp) > **Note:** * [Embedded Login](https://docs.catalyst.zoho.com/en/cloud-scale/help/authentication/native-catalyst-authentication/embedded-authentication/introduction/) * [Third-party Authentication ](https://docs.catalyst.zoho.com/en/cloud-scale/help/authentication/third-party-authentication/introduction/) 4. Select *Hosted Authentication* and click **Next**. ![catalyst_authentication_hosted_setup_highlight](https://catalyst-docs-development.zohostratus.in/images/tutorials/hosted-login/catalyst_authentication_hosted_setup_highlight.webp) 5. Enter your business name or other name of your choice in the *Company Name* field and upload an image file of your choice for the *Company Logo*. ![catalyst_authentication_hosted_name_n_logo](https://catalyst-docs-development.zohostratus.in/images/tutorials/hosted-login/catalyst_authentication_hosted_name_n_logo.webp) > **Note:** For the purpose of this tutorial, we are using "**Zylker Technologies Pvt. Ltd.**" as the company name. 6. Use the color palettes in the console to style your login element. Use the *Preview* section on the right and design the login element to match your preference. ![catalyst_authentication_hosted_design_color_pallete](https://catalyst-docs-development.zohostratus.in/images/tutorials/hosted-login/catalyst_authentication_hosted_design_color_pallete.webp) > **Note:** You can use the *Preview* section to simultaneously view the style of your *Sign In*, *Sign Up*, and *Password Reset* elements. However, to view the *Sign U* page, you need to enable Public Signup. The steps involved in enabling *Public Signup* are given below. 7. Click the **toggle button** to enable *Public Signup*. ![catalyst_authentication_hosted_oublic_toggle_highlight](https://catalyst-docs-development.zohostratus.in/images/tutorials/hosted-login/catalyst_authentication_hosted_oublic_toggle_highlight.webp) * Read the information pop-up and click **Yes, Proceed**. ![catalyst_authentication_hosted_public_signup_proceed](https://catalyst-docs-development.zohostratus.in/images/tutorials/hosted-login/catalyst_authentication_hosted_public_signup_proceed.webp) > **Note:** To learn more about *Public Signup*, visit this [help document](https://docs.catalyst.zoho.com/en/cloud-scale/help/authentication/public-signup/). 8. You can add any or all of the [Social Logins](https://docs.catalyst.zoho.com/en/cloud-scale/help/authentication/social-logins/introduction/) that are present in the console. ![catalyst_authentication_social_login_configurations](https://catalyst-docs-development.zohostratus.in/images/tutorials/hosted-login/catalyst_authentication_social_login_configurations.webp) To enable the **Zoho** social login: - Click the **Zoho** button, and enter "**AuthorizationPortal**" as the *Client Name*. ![catalyst_authentication_social_login_zoho_configuring](https://catalyst-docs-development.zohostratus.in/images/tutorials/hosted-login/catalyst_authentication_social_login_zoho_configuring.webp) - Click **Enable**. ![catalyst_authentication_hosted_zoho_sl_alone](https://catalyst-docs-development.zohostratus.in/images/tutorials/hosted-login/catalyst_authentication_hosted_zoho_sl_alone.webp) Your end-users can now log in to your application using their Zoho credentials. > **Note:** As your application is being built on Catalyst by Zoho, you do not have to create OAuth `Client ID` and `Client Secret` credentials. To enable the **Google** social login: - Click the **Google** button, and enter the OAuth `Client ID` and `Client Secret` that you obtained in the Google console in their respective fields. ![catalyst_authentication_social_login_google_configuring](https://catalyst-docs-development.zohostratus.in/images/tutorials/hosted-login/catalyst_authentication_social_login_google_configuring.webp) > **Note:** Steps to obtain the OAuth `Client ID` and `Client Secret` for each of the social logins can be accessed in the following help documents: [Google](https://docs.catalyst.zoho.com/en/cloud-scale/help/authentication/social-logins/configuring-social-logins/#enable-google-social-login), [Microsoft 365](https://docs.catalyst.zoho.com/en/cloud-scale/help/authentication/social-logins/configuring-social-logins/#enable-microsoft-365-social-login), [LinkedIn](https://docs.catalyst.zoho.com/en/cloud-scale/help/authentication/social-logins/configuring-social-logins/#enable-linkedin-social-login), and [Facebook](https://docs.catalyst.zoho.com/en/cloud-scale/help/authentication/social-logins/configuring-social-logins/#enable-facebook-social-login). - Click **Enable**. ![catalyst_authentication_hosted_zoho_google_sl_alone](https://catalyst-docs-development.zohostratus.in/images/tutorials/hosted-login/catalyst_authentication_hosted_zoho_google_sl_alone.webp) Your end-users can now log in to your application using their **Google** credentials. You can repeat the same steps to enable the other social logins. ![catalyst_authentication_social_logins_configured](https://catalyst-docs-development.zohostratus.in/images/tutorials/hosted-login/catalyst_authentication_social_logins_configured.webp) 9. Click **Next**. > **Note:** You always have the option to [edit your design and social login configurations](https://docs.catalyst.zoho.com/en/cloud-scale/help/authentication/native-catalyst-authentication/hosted-authentication-type/edit-hosted-authentication/) at a later point using the *Authentication Type* section. 10. We will configure the *Additional Settings* section at a later point using the *Whitelisting* feature. Click **Finish**. ![catalyst_authentication_addn_settings_skip](https://catalyst-docs-development.zohostratus.in/images/tutorials/hosted-login/catalyst_authentication_addn_settings_skip.webp) You will now able to view and verify that *Hosted Authentication* type has been enabled for your application. ![catalyst_authentication_hoted_login_enabled](https://catalyst-docs-development.zohostratus.in/images/tutorials/hosted-login/catalyst_authentication_hoted_login_enabled.webp) You will also be able to view that Catalyst has generated secure `Access URLs` for your *Login*, *Sign Up*, and *Password Reset* pages, and has automatically rendered your styling preferences in all the concerned pages. ![catalyst_authentication_hoted_login_enabled_three_pages](https://catalyst-docs-development.zohostratus.in/images/tutorials/hosted-login/catalyst_authentication_hoted_login_enabled_three_pages.webp) -------------------------------------------------------------------------------- title: "Configure Email Templates" description: "Create a Basic or React application using Catalyst Hosted Authentication that provides user sign-up, login, password reset, and federated sign-in." last_updated: "2026-11-04T10:10:44.000Z" source: "https://docs.catalyst.zoho.com/en/tutorials/hosted-login-app/nodejs/configure-email-templates/" service: "All Services" related: - Email Templates (/en/cloud-scale/help/authentication/email-templates/introduction/) -------------------------------------------------------------------------------- # Configure Email Templates Catalyst provides you with [Email Templates](https://docs.catalyst.zoho.com/en/cloud-scale/help/authentication/email-templates/introduction/) that you can use to send custom emails to your end-users when they sign up to your application, or on instances when they wish to change their password. To configure the email templates: 1. Click the **Email Templates** tab in the *Authentication* component to navigate to the relevant section. ![catalyst_authentication_hosted_email_template_intro](https://catalyst-docs-development.zohostratus.in/images/tutorials/hosted-login/catalyst_authentication_hosted_email_template_intro.webp) 2. Click the **Email Verification** tab, then click **Edit** to begin customizing and editing the email content. You can include [placeholders](https://docs.catalyst.zoho.com/en/cloud-scale/help/authentication/email-templates/benefits-and-key-concepts/#placeholders) for values to be inserted dynamically. ![catalyst_authentication_hosted_email_template_edit_highlight](https://catalyst-docs-development.zohostratus.in/images/tutorials/hosted-login/catalyst_authentication_hosted_email_template_edit_highlight.webp) > **Note:** * You can customize the email content to match your preference. * The placeholder content (the content that is present between `%%`) will be dynamically populated based on the user details. * The `%LINK%` placeholder will contain the application's redirection link. The URL is automatically generated by Catalyst when you host your application, and the redirection page can be specified in a [Catalyst configuration file of your project](https://docs.catalyst.zoho.com/en/cli/v1/project-directory-structure/client-directory/#client-package-json-file). You can also provide a custom link. 3. Make the necessary changes and click **Save**. ![catalyst_authentication_hosted_email_template_save_changes](https://catalyst-docs-development.zohostratus.in/images/tutorials/hosted-login/catalyst_authentication_hosted_email_template_save_changes.webp) 4. To customize the *Reset Password* emails, click the **Password Reset** tab and customize the email content in the same manner as above. ![catalyst_authentication_hosted_email_template_save_pwd_changes](https://catalyst-docs-development.zohostratus.in/images/tutorials/hosted-login/catalyst_authentication_hosted_email_template_save_pwd_changes.webp) The email templates will now be configured. > **Note:** * You can learn more about *Email Templates* from this [help document](https://docs.catalyst.zoho.com/en/cloud-scale/help/authentication/email-templates/introduction/). * Because we are using *Hosted Login* to authenticate this application, the handling of sending these emails at the required instances will be automatically configured by Catalyst, so you do not have to code the logic to trigger these emails. -------------------------------------------------------------------------------- title: "Initialize the Project" description: "Create a Basic or React application using Catalyst Hosted Authentication that provides user sign-up, login, password reset, and federated sign-in." last_updated: "2026-11-04T10:10:44.000Z" source: "https://docs.catalyst.zoho.com/en/tutorials/hosted-login-app/nodejs/init-project/" service: "All Services" related: - Initialize CLI Resources (/en/cli/v1/initialize-resources/introduction) - Project Directory Structure (/en/cli/v1/project-directory-structure/introduction) -------------------------------------------------------------------------------- # Initialize the Project from the CLI You can now begin working on your Catalyst project from the CLI. The first step is to initialize the project in an empty directory. This will be the home directory of your project and all of the project files will be saved in it. You can learn more about this from the [Project Directory Structure help page](https://docs.catalyst.zoho.com/en/cli/v1/project-directory-structure/introduction/). You can learn about initializing a project in detail from the [CLI help documentation](https://docs.catalyst.zoho.com/en/cli/v1/initialize-resources/introduction). For this application, we will initialize a [Basic I/O function](https://docs.catalyst.zoho.com/en/serverless/help/functions/basic-io/), which will contain the logic for [Custom User Validation](https://docs.catalyst.zoho.com/en/cloud-scale/help/authentication/whitelisting/custom-user-validation/introduction/) and a [Basic web app](https://docs.catalyst.zoho.com/en/cli/v1/initialize-resources/initialize-client/#basic-client-applications) as the client component. > **Note:** Ensure that you enter the function's package name or class name exactly as instructed, because the application's code contains the same name. 1. Create a folder for the project on your local machine and navigate to it from the terminal. 2. Initialize a project by executing the following command from that directory: ```sh catalyst init ``` 3. Navigate using the **arrow keys**, select your preferred portal, and press the **Enter** key. If you have no other organizations associated with the account, then the default one will be selected automatically. ![catalyst_authorization_portal_multiorg_choice](https://catalyst-docs-development.zohostratus.in/images/tutorials/hosted-login/catalyst_authorization_portal_multiorg_choice.webp) > **Note:** You can find out more about Catalyst’s multi-org portal feature from this [help document](https://docs.catalyst.zoho.com/en/getting-started/catalyst-organizations/#access-the-multi-org-portal). 4. The CLI will now ask you to associate a Catalyst project with the directory. Associate it with the project that we created earlier from the console. Select **Authorization Portal** from the list and press **Enter**. ![catalyst_authentication_hosted_project_select](https://catalyst-docs-development.zohostratus.in/images/tutorials/hosted-login/catalyst_authentication_hosted_project_select.webp) 5. Navigate using the arrow keys and select **Functions**, **Client** using the space bar. Press **Enter** to initialize. ![catalyst_authentication_hosted_func_client_select](https://catalyst-docs-development.zohostratus.in/images/tutorials/hosted-login/catalyst_authentication_hosted_func_client_select.webp) 6. The CLI will initiate the function setup. Select **Basic IO** as the function type for your *Custom User Validation* function. ![catalyst_authentication_hosted_func_type_select](https://catalyst-docs-development.zohostratus.in/images/tutorials/hosted-login/catalyst_authentication_hosted_func_type_select.webp) 7. Select the latest runtime of *Node.js* as the function stack. ![catalyst_authentication_hosted_func_runtime_select](https://catalyst-docs-development.zohostratus.in/images/tutorials/hosted-login/catalyst_authentication_hosted_func_runtime_select.webp) 8. Enter "`authorized_portal_function`" as the package name, "`index.js`" as the entry point, and your email address as the author, then press **Enter**. Alternatively, you can press **Enter** without entering inputs to fill in the default values. The CLI will prompt the initialization of the Node dependencies. Press **Y** to confirm the installation, and press **Enter** to confirm your choice. The Node modules will be installed. ![catalyst_authentication_hosted_func_setup_complete](https://catalyst-docs-development.zohostratus.in/images/tutorials/hosted-login/catalyst_authentication_hosted_func_setup_complete.webp) The CLI will now initiate the client setup. **Basic web app** 9. Select **Basic web app** and press **Enter** to initialize your client as a [basic web app](https://docs.catalyst.zoho.com/en/cli/v1/initialize-resources/initialize-client/#basic-client-applications). ![catalyst_authentication_hosted_client_type_select](https://catalyst-docs-development.zohostratus.in/images/tutorials/hosted-login/catalyst_authentication_hosted_client_type_select.webp) 10. Enter a name for your client package and press **Enter**. For the purposes of this tutorial, we are naming our client package "`ZylkerTechnologies`". You can use the same of provide a name of your choice. ![catalyst_authentication_hosted_client_choice_complete](https://catalyst-docs-development.zohostratus.in/images/tutorials/hosted-login/catalyst_authentication_hosted_client_choice_complete.webp) The Catalyst initialization is now complete. The project directory is now set up with the client directory and the functions directory along with configuration files and dependencies. The project directory also contains the [`catalyst.json`](https://docs.catalyst.zoho.com/en/cli/v1/project-directory-structure/catalyst-json/) configuration file and a hidden `.catalystrc` file. The structure of your project directory should now appear as shown below: ![catalyst_hosted_login_directory](https://catalyst-docs-development.zohostratus.in/images/tutorials/hosted-login/catalyst_hosted_login_directory.webp) **React web app** 9. Select **React web app** and press **Enter** to initialize your client as a [React web app](https://docs.catalyst.zoho.com/en/cli/v1/initialize-resources/initialize-client/#react-applications). ![catalyst_authentication_hosted_client_react_type_select](https://catalyst-docs-development.zohostratus.in/images/tutorials/hosted-login/catalyst_authentication_hosted_client_react_type_select.webp) 10. Select **JavaScript** as the React app type and press **Enter** ![catalyst_authentication_hosted_client_react_type_javascript_select](https://catalyst-docs-development.zohostratus.in/images/tutorials/hosted-login/catalyst_authentication_hosted_client_react_type_javascript_select.webp) 11. Enter "`zylkertechnologies`" as the name of your client package and click **Enter**. You can also provide any name of your choice. All of the required React packages, such as “`react`,” “`react-dom`,” and “`react-scripts`” will be installed through the Catalyst React plugin ([`zcatalyst-cli-plugin-react`](https://www.npmjs.com/package/zcatalyst-cli-plugin-react)). ![catalyst_authentication_hosted_client_react_type_initing](https://catalyst-docs-development.zohostratus.in/images/tutorials/hosted-login/catalyst_authentication_hosted_client_react_type_initing.webp) The client is now successfully initialized as a React web application. ![catalyst_authentication_hosted_client_react_type_init_complete](https://catalyst-docs-development.zohostratus.in/images/tutorials/hosted-login/catalyst_authentication_hosted_client_react_type_init_complete.webp) The [client directory](https://docs.catalyst.zoho.com/en/cli/v1/project-directory-structure/client-directory) will be created in the standard structure in the project directory. This is the structure of the *Authorization Portal* project’s directory if the client is initialized as a React app. ![catalyst_hosted_login_react_directory](https://catalyst-docs-development.zohostratus.in/images/tutorials/hosted-login/catalyst_hosted_login_react_directory.webp) Catalyst initialization is now complete. **Angular web app** 9. Select **Angular web app** and press **Enter** to initialize your client as a [Angular web app](https://docs.catalyst.zoho.com/en/cli/v1/initialize-resources/initialize-client/#angular-applications). ![catalyst_authentication_hosted_client_angular_type_select](https://catalyst-docs-development.zohostratus.in/images/tutorials/hosted-login/catalyst_authentication_hosted_client_angular_type_select.webp) 10. Name your Angular app "`ZylkerTechnologies`", and press the **Enter** key. Since this application does not require Angular Routing, enter "`N`" at the prompt. Finally, choose `CSS` as your stylesheet format and press the **Enter** key. ![catalyst_authentication_hosted_client_angular_type_init](https://catalyst-docs-development.zohostratus.in/images/tutorials/hosted-login/catalyst_authentication_hosted_client_angular_type_init.webp) Catalyst will initialize the client using the **Catalyst Angular plugin** ([`zcatalyst-cli-plugin-angular`](https://npm.io/package/zcatalyst-cli-plugin-angular)). ![catalyst_authentication_hosted_client_angular_type_init_complete](https://catalyst-docs-development.zohostratus.in/images/tutorials/hosted-login/catalyst_authentication_hosted_client_angular_type_init_complete.webp) The client is now successfully initialized as an Angular web application. The project directory is now set up with the client directory and the functions directory along with configuration files and dependencies. The project directory also contains the [`catalyst.json`](https://docs.catalyst.zoho.com/en/cli/v1/project-directory-structure/catalyst-json/) configuration file and a hidden `.catalystrc` file. The structure of your project directory should now appear as shown below: ![catalyst_authentication_hosted_node_client_angular_type_first_directory](https://catalyst-docs-development.zohostratus.in/images/tutorials/hosted-login/catalyst_authentication_hosted_node_client_angular_type_first_directory.webp) -------------------------------------------------------------------------------- title: "Configure the Basic I/O function" description: "Create a Basic or React application using Catalyst Hosted Authentication that provides user sign-up, login, password reset, and federated sign-in." last_updated: "2026-11-04T10:10:44.000Z" source: "https://docs.catalyst.zoho.com/en/tutorials/hosted-login-app/nodejs/configure-function/" service: "All Services" related: - Basic I/O Functions (/en/serverless/help/functions/basic-io/) - Functions Directory Structure (/en/cli/v1/project-directory-structure/functions-directory) -------------------------------------------------------------------------------- # Configure the Function Now, we will begin coding the authorization portal application by configuring the function component. The [function’s directory](https://docs.catalyst.zoho.com/en/cli/v1/project-directory-structure/functions-directory), (`functions/authorization_portal_function`), contains: * The `index.js` main function file * The `catalyst-config.json` configuration file * Node modules * [`package.json`](https://docs.npmjs.com/files/package.json) and [`package-lock.json`](https://docs.npmjs.com/configuring-npm/package-lock-json.html) dependency files You will be adding code in the `index.js` file. The Basic I/O function contains the following functionalities: * The end-user's details will provided as a JSON input to the *Custom User Validation* function. * The function is coded to implement a custom logic based upon which the end-user will either be authenticated or denied. > **Note:** For the purpose of this tutorial, we have coded a logic for the Custom User Validation function where if the user's email provider is anyone other than Zylker Technology (`@zylker.com`) the end-user will not be able to sign up to the application. You can either use the same or code a logic of your preference. Now, let’s begin coding the Basic I/O function. Copy the code given below and paste it in the `index.js` file in the `functions/authorization_portal_function` directory of your project, and save the file. You can use any IDE of your choice to work with the application’s files. > **Note:** Please go through the code in this section to make sure you fully understand it. **index.js** ```javascript const catalyst = require("zcatalyst-sdk-node"); module.exports = (context, basicIO) => { const catalystApp = catalyst.initialize(context); const requestDetails = catalystApp .userManagement() .getSignupValidationRequest(basicIO); if (requestDetails) { if (requestDetails.user_details.email_id.includes("@zylker.com")) { // The actions that occur in the event of a successful authentication can be customized basicIO.write( JSON.stringify({ status: "success", user_details: { first_name: requestDetails.user_details.first_name, last_name: requestDetails.user_details.last_name, email_id: requestDetails.user_details.email_id, role_identifier: "App User", // If you want to override the default role, you can specify the role id/name here. org_id: "", // If you are providing the Org ID, make sure it is copied exactly from the console. }, }) ); } else { // The user has failed authentication basicIO.write( JSON.stringify({ status: "failure", }) ); } } context.close(); }; ``` > **Note:** You can also use this [SDK](https://docs.catalyst.zoho.com/en/sdk/nodejs/v2/cloud-scale/authentication/custom-user-validation/) to code your own custom logic instead of the one implemented above. The function directory is now configured. We can now proceed to configuring the client directory. -------------------------------------------------------------------------------- title: "Enable Custom User Validation" description: "Create a Basic or React application using Catalyst Hosted Authentication that provides user sign-up, login, password reset, and federated sign-in." last_updated: "2026-11-04T10:10:44.000Z" source: "https://docs.catalyst.zoho.com/en/tutorials/hosted-login-app/nodejs/enable-custom-validation/" service: "All Services" related: - Custom User Validation (/en/cloud-scale/help/authentication/whitelisting/custom-user-validation/introduction/) - Whitelisting (/en/cloud-scale/help/authentication/whitelisting/introduction/) - Catalyst Deploy Options (/en/cli/v1/deploy-resources/deploy-options/) -------------------------------------------------------------------------------- # Enable Custom User Validation Now that we have coded the logic, let's enable [Custom User Validation](https://docs.catalyst.zoho.com/en/cloud-scale/help/authentication/whitelisting/custom-user-validation/introduction/). To do this, you must first deploy the function to the console. Enter this CLI command to [deploy the function component](https://docs.catalyst.zoho.com/en/cli/v1/deploy-resources/deploy-options/#--only-targets) alone to the console. ```sh catalyst deploy --only functions ``` ![catalyst_authentication_hosted_func_deploy_alone](https://catalyst-docs-development.zohostratus.in/images/tutorials/hosted-login/catalyst_authentication_hosted_func_deploy_alone.webp) A function endpoint will be created for the function that allows you to access the function directly. The function will be deployed to the console. Now, go to the console, and implement the following steps: 1. Navigate to the *Whitelisting* section in the *Authentication* component, and click the **Custom User Validation** toggle. ![catalyst_authentication_hosted_whitelisting_intro](https://catalyst-docs-development.zohostratus.in/images/tutorials/hosted-login/catalyst_authentication_hosted_whitelisting_intro.webp) 2. Select the **Basic I/O function** from the drop-down in the pop-up. ![catalyst_authentication_hosted_whitelisting_func_select](https://catalyst-docs-development.zohostratus.in/images/tutorials/hosted-login/catalyst_authentication_hosted_whitelisting_func_select.webp) 3. Click **Configure**. ![catalyst_authentication_hosted_whitelisting_complete](https://catalyst-docs-development.zohostratus.in/images/tutorials/hosted-login/catalyst_authentication_hosted_whitelisting_complete.webp) The *Custom User Validation* function has been enabled for the project, and the end-users signing up for your application will now be additionally authenticated using this function. > **Note:** You can find out about the all of the features present in the *Whitelisting* section form in this [help document](https://docs.catalyst.zoho.com/en/cloud-scale/help/authentication/whitelisting/introduction/). -------------------------------------------------------------------------------- title: "Configure the Client" description: "Create a Basic or React application using Catalyst Hosted Authentication that provides user sign-up, login, password reset, and federated sign-in." last_updated: "2026-11-04T10:10:44.000Z" source: "https://docs.catalyst.zoho.com/en/tutorials/hosted-login-app/nodejs/configure-client/" service: "All Services" related: - Client Directory Structure (/en/cli/v1/project-directory-structure/client-directory) -------------------------------------------------------------------------------- # Configure the Client Let’s configure the client component. **Basic web app** The [client directory](https://docs.catalyst.zoho.com/en/cli/v1/project-directory-structure/client-directory/) contains: * The `index.html` file that contains the HTML code for the frontend application * The `main.css` file that contains the CSS code for the frontend application * The `main.js` file that contains the JavaScript code * The `client-package.json` configuration file We will be coding `index.html` and `main.js`. We will also be making a change in the `client-package.json` to ensure that the homepage of the application is the authenticated page. We will discuss the code at the end of this section. > **Note:** Please go through the code provided in this section to make sure you fully understand it. Copy the code below and paste it into the respective files located in the `client/directory` of your project using an IDE and save the files. **index.html** ```xml <!DOCTYPE html> <html> <head> <title>Profile Information</title> <link rel="stylesheet" href="https://cdnjs.cloudflare.com/ajax/libs/font-awesome/4.7.0/css/font-awesome.min.css" > <script src="main.js"></script> <script src="https://static.zohocdn.com/catalyst/sdk/js/4.6.2/catalystWebSDK.js"> </script> <script src="/__catalyst/sdk/init.js"></script> <style> .card { max-width: 500px; margin: auto; text-align: center; font-family: arial; background-color: #a5a4a4; } .title { font-size: 23px; color: black; } button { border: none; outline: 0; display: inline-block; padding: 8px; color: white; background-color: #000; text-align: center; cursor: pointer; width: 50%; font-size: 18px; border-radius: 8px; } a { text-decoration: none; font-size: 22px; color: black; } button:hover, a:hover { opacity: 0.7; } body{ background-color:#a5a4a4; font-size: 20px; visibility: hidden; } p{ font-family: 'Trebuchet MS', 'Lucida Sans Unicode', 'Lucida Grande', 'Lucida Sans', Arial, sans-serif; font-size: 10px; font-weight: bold; } </style> </head> <body onload="showProfile()"> <h1 style="text-align:center">User Profile Information</h1> <div class="card"> <img width="200px" height="450px" src="https://cdn2.iconfinder.com/data/icons/user-management/512/profile_settings-512.png" alt="John" style="width:80px;height: 80px;" > <p class="title" id="fname"></p> <p class="title" id="lname"></p> <p class="title"id="mailid" ></p> <p class="title"id="tzone" ></p> <p class="title"id="ctime" ></p> <p><button onclick="logout()">Logout</button></p> </div> </body> </html> ``` **main.js** ```javascript function showProfile() { debugger; //The catalyst.auth.isUserAuthenticated() method allows only authenticated users, i.e., the users who are logged in, to access the pages //You can load this method in the body of your page to allow only authenticated users to access a particular page catalyst.auth.isUserAuthenticated().then(result => { //If the user is logged in, these contents of the page will be displayed to the user document.body.style.visibility = "visible"; const first_name = "First Name: " + result.content.first_name; document.getElementById("fname").innerHTML = first_name; const last_name = "Last Name: " + result.content.last_name; document.getElementById("lname").innerHTML = last_name; const mailid = "Email Address: " + result.content.email_id; document.getElementById("mailid").innerHTML = mailid; const tzone = "Time Zone: " + result.content.time_zone; document.getElementById("tzone").innerHTML = tzone; const created_time = " Joined On: " + result.content.created_time; document.getElementById("ctime").innerHTML = created_time; }).catch(err => { //If the user is not logged in, this will be displayed to the user and they will be redirected to the login page document.body.style.visibility = "visible"; document.body.innerHTML = 'You are not logged in. Please log in to continue. Redirecting you to the login page..'; setTimeout(function () { window.location.href = "/__catalyst/auth/login"; }, 5000); }); } function logout() { //The signOut method is used to sign the user out of the application const redirectURL = location.protocol +"//"+ location.hostname + "/__catalyst/auth/login"; catalyst.auth.signOut(redirectURL); } ``` **client-package.json** ```json { "name" : "ZylkerTechnologies", "version" : "0.0.1", "homepage" : "/__catalyst/auth/login", "login_redirect" : "index.html" } ``` > **Note:** The home page URL can be copied from the `Access URL` generated by Catalyst in the [Authentication Types](https://docs.catalyst.zoho.com/en/cloud-scale/help/authentication/authentication-types/) section of the console. The client directory is now configured. Let’s go over how the function and the client code works: * The end-user will first encounter the **Login Page** you have configured and styled in the console. * To create an account, they will click the **Sign Up** option and be directed to the *Sign Up* page. > **Note:** End-users can either sign up to your application using their [Social Logins](https://docs.catalyst.zoho.com/en/cloud-scale/help/authentication/social-logins/introduction/) or use the conventional method of signing up to the application using their email ID. * Once the information is inputted and they click **Sign Up**, or if they attempt to sign up using a Social Login of their choice, their details will be provided as a JSON input to the [Custom User Validation](https://docs.catalyst.zoho.com/en/cloud-scale/help/authentication/whitelisting/custom-user-validation/introduction/) function (`authorization_portal_function/index.js`). * The function will only authenticate users if the condition you have coded is satisfied. For this tutorial, the users will only be authenticated if they signed up to the application using a Zylker registered email address. * Upon successful authentication, an [Email Verification](https://docs.catalyst.zoho.com/en/cloud-scale/help/authentication/email-templates/introduction/) email will be sent to the account they used to sign up to the application. > **Note:** Because we are using [Hosted Login](https://docs.catalyst.zoho.com/en/cloud-scale/help/authentication/native-catalyst-authentication/hosted-authentication-type/introduction/), a native Catalyst authentication type, no additional logic to trigger the appropriate emails is required. It will be handled by Catalyst automatically. * Once the user verifies their email address by clicking the link provided in the email, they will be signed up to the application. Their details can be viewed in the [User Management](https://docs.catalyst.zoho.com/en/cloud-scale/help/authentication/user-management/introduction/) section of the *Authentication* component. * The end-user can now log in to the application using their authenticated credentials. * The end-user can also reset their password by clicking the **Forgot Password** option. In this event, the *Password Reset* email will be sent to their registered email. Following the steps mentioned in the email, they can easily reset their credentials. **React web app** Let’s configure the client component. The React web [client directory](https://docs.catalyst.zoho.com/en/cli/v1/project-directory-structure/client-directory) contains the following files: - The root directory of the client contains a `client-package.json` file, which is a configuration file defining the name, version, default home page, and redirect page of the client component. - The `zylkertechnologies` client directory contains two subfolders, as per the default project structure of a React app: - The `public` folder is generally used to hold files that can be openly accessed by browsers through public URLs, such as icon files of the web app, the `index.html` file, and the `404.html` file. - The `src` folder contains the application’s source files that will be included in the build folder when we compile the React app. - The client directory also contains the [`package.json`](https://docs.npmjs.com/files/package.json) dependency file and a hidden [`.gitignore`](https://docs.npmjs.com/files/package.json) file. - The files present in the `public` folder include: - [Native React files](https://reactjs.org/docs/getting-started.html?#try-react) such as setup `Tests.js`, `index.js`, `reportWebVitals.js`, `logo.svg`, and `App.test.js`. - `index.html` - Contains Catalyst web sdk that allows you to access Catalyst components. - We will be creating an additional `404.html` file that will contain the error handling elements. - The files present in the `src` folder include: - Native React files such as `setupTests.js`, `reportWebVitals.js`, `logo.svg`, and `App.test.js`. - `App.js` - Contains the hash routes to your application - `App.css` - Contains the overall styling elements of your application - `index.js` - The entry point of the react application. - `index.css` - Contains the styling of the elements present in the `index.js` file. - You will be creating the following files in the `src` folder: - `Button.css` - Contains the styling elements for the *Logout* button that will be present in the application. - `Button.js` - Contains the React component for the *Logout* present in the application. - `Layout.js` - Contains the React component for the application's logic - `LoginPage.js` - Contains the React component for the login pages you generated in the Catalyst console. - `UserProfile.css` - Contains the styling elements for the user information page that will be displayed once you log in to the application. - `UserProfile.js` - Contains the React component to render the user details after you login. We will be coding in the `index.html`, `404.html`, `App.js`, `App.css`, `index.css`, `index.js`, `Button.css`, `Button.js`, `Layout.js`, `LoginPage.js`, `UserProfile.css`, and `UserProfile.js` files. We will also be making a change in the `client-package.json`. to ensure that the homepage of the application is the authenticated page. > **Note:** You can delete the native React files as they not required for building this application. #### Install additional React packages The `react-router-dom` package needs to be installed in the `AuthorizationPortal/zylkertechnologies` client directory using the CLI command given below: ```sh npm install react-router-dom ``` This command will install the `react-router-dom` module, save the dependencies, and allow us to perform the required hash routing in our application. This is the client directory after you have created the required files and deleted the unnecessary files. ![catalyst_hosted_login_react_directory_modified](https://catalyst-docs-development.zohostratus.in/images/tutorials/hosted-login/catalyst_hosted_login_react_directory_modified.webp) > **Note:** Please go through the all code given in this section to ensure you fully understand it. Copy the code given below and paste it in `index.html` and `404.html`, respectively, located in the client directory (`zylkertechnologies/public/`) using an IDE and save the file. **index.html** ```xml <!DOCTYPE html> <html lang="en"> <head> <meta charset="utf-8" /> <meta name="viewport" content="width=device-width, initial-scale=1" /> <meta name="theme-color" content="#000000" /> <meta name="description" content="Web site created using create-react-app" /> <link rel="manifest" href="%PUBLIC_URL%/manifest.json" /> <title>React App</title> <script src="https://static.zohocdn.com/catalyst/sdk/js/4.6.2/catalystWebSDK.js"> </script> <script src="/__catalyst/sdk/init.js"></script> </head> <body> <noscript>You need to enable JavaScript to run this app.</noscript> <div id="root"></div> </body> </html> ``` **404.html** ```xml <!DOCTYPE html> <html lang="en"> <head> <h2>You are viewing this 404 page since you tried to access a page which does not exist.</h2> </head> </html> ``` Copy the code given below and paste it in `App.css`, `App.js`, `index.js`, `index.css`, `Button.css`, `Button.js`, `Layout.js`, `LoginPage.js`, `UserProfile.css`, and `UserProfile.js`, respectively, located in client directory (`zylkertechnologies/src/`) using an IDE and save the file. **App.css** ```css .App { text-align: center; } .App-logo { height: 40vmin; pointer-events: none; } @media (prefers-reduced-motion: no-preference) { .App-logo { animation: App-logo-spin infinite 20s linear; } } .App-header { background-color: #282c34; min-height: 100vh; display: flex; flex-direction: column; align-items: center; justify-content: center; font-size: calc(10px + 2vmin); color: white; } .App-link { color: #61dafb; } @keyframes App-logo-spin { from { transform: rotate(0deg); } to { transform: rotate(360deg); } } .inputs { width: 90%; padding: 15px; margin: 15px 0 22px 0; display: inline-block; border: none; background: #f1f1f1; border-radius: 8px; } #root { background-color: #c0c0c0; } h1, h2, h3, h4, h5, h6, p { margin: 1; } ``` **App.js** ```javascript import "./App.css"; import { HashRouter, Navigate, Route, Routes } from "react-router-dom"; import Layout from "./Layout"; function App() { return ( <HashRouter> <Routes> <Route path="/" element={<Layout />} /> <Route path="" element={<Navigate to="/" replace />} /> <Route path="*" element={<Navigate to="/" replace />} /> </Routes> </HashRouter> ); } export default App; ``` **index.css** ```css body { margin: 0; -webkit-font-smoothing: antialiased; -moz-osx-font-smoothing: grayscale; background-color: #c0c0c0; } ``` **index.js** ```javascript import React from "react"; import "./index.css"; import App from "./App"; import * as ReactDOM from "react-dom/client"; const root = ReactDOM.createRoot(document.getElementById("root")); root.render( <React.StrictMode> <App /> </React.StrictMode> ); ``` **Button.css** ```css button { border: none; outline: 0; display: inline-block; padding: 8px; color: white; background-color: #000; text-align: center; cursor: pointer; width: 20%; font-size: 18px; border-radius: 8px; } button:hover, .forgetPassword-btn:hover, a:hover { opacity: 0.7; } a { text-decoration: none; font-size: 22px; color: black; } ``` **Button.js** ```javascript import { useCallback } from "react"; import "./Button.css"; function Button({ title }) { const logout = useCallback(() => { const redirectURL = "/__catalyst/auth/login"; window.catalyst.auth.signOut(redirectURL); }, []); return ( <div id="logoutbtn" style={{ textAlign: "inline-block" }}> <button onClick={logout} id="logout" style={{ display: "inline-block" }}> {title} </button> </div> ); } export default Button; ``` **Layout.js** ```javascript import UserProfile from "./UserProfile"; import LoginPage from "./LoginPage.js"; import { useEffect, useState } from "react"; function Layout() { const [isUserAuthenticated, setIsUserAuthenticated] = useState(false); const [isFetching, setIsFetching] = useState(true); const [userDetails, setUserDetails] = useState({ firstName: "", lastName: "", mailid: "", timeZone: "", createdTime: "", }); useEffect(() => { window.catalyst.auth .isUserAuthenticated() .then((result) => { let userDetails = { firstName: result.content.first_name, lastName: result.content.last_name, mailid: result.content.email_id, timeZone: result.content.time_zone, createdTime: result.content.created_time, }; setUserDetails(userDetails); setIsUserAuthenticated(true); }) .catch((err) => {}) .finally(() => { setIsFetching(false); }); }, []); return ( <> {isFetching ? ( <p>Loading ....</p> ) : isUserAuthenticated ? ( <UserProfile userDetails={userDetails} /> ) : ( <LoginPage /> )} </> ); } export default Layout; ``` **LoginPage.js** ```javascript import { useEffect } from "react"; function Login() { useEffect(() => { window.location.href = window.origin + "/__catalyst/auth/login"; }, []); return null; } export default Login; ``` **UserProfile.css** ```css .card { margin: auto; text-align: center; font-family: arial; text-align: center; font-weight: bold; } .title { font-size: 23px; color: black; } #userimg { height: 20%; width: 15%; } div.login { padding-top: 10px; height: 260px; width: 500px; margin: 0 auto; } div.signup { display: none; } div.forgotpwd { display: none; } /* Full-width input fields */ input[type="text"] { width: 90%; padding: 15px; margin: 15px 0 22px 0; display: inline-block; border: none; background: #f1f1f1; border-radius: 8px; } /* Add a background color when the inputs get focus */ input[type="text"]:focus, input[type="password"]:focus { background-color: #ddd; outline: none; } /* Set a style for all buttons */ /* Float cancel and signup buttons and add an equal width */ .seperatebtn { width: 10%; padding: 8px; border-radius: 8px; } .signupbtn { width: 10%; padding: 8px; border-radius: 8px; } .signupfnbtn { width: 20%; padding: 8px; border-radius: 8px; } .pwdfnbtn { width: 40%; padding: 8px; border-radius: 8px; } /* The Modal (background) */ .modal { display: none; /* Hidden by default */ position: fixed; /* Stay in place */ z-index: 1; /* Sit on top */ left: 0; top: 0; width: 100%; /* Full width */ height: 100%; /* Full height */ overflow: auto; /* Enable scroll if needed */ background-color: #474e5d; } /* Modal Content/Box */ .modal-content { background-color: #c0c0c0; margin: 5% auto 15% auto; /* 5% from the top, 15% from the bottom and centered */ width: 25%; /* Could be more or less, depending on screen size */ } /* The Close Button (x) */ .close { position: absolute; right: 35px; top: 15px; font-size: 40px; font-weight: bold; color: #f1f1f1; } .close:hover, .close:focus { color: #f44336; cursor: pointer; } /* Clear floats */ .clearfix::after { content: ""; clear: both; display: table; } p.homepage { font-size: 23px; } /* Change styles for cancel button and signup button on extra small screens */ @media screen and (max-width: 100px) { .signupbtn { width: 100%; } } ``` **UserProfile.js** ```javascript import Button from "./Button"; import "./UserProfile.css"; function UserProfile({ userDetails }) { return ( <div className="card"> <br> </br> <h1 className="title">User Profile Information</h1> <img alt="usericon" id="userimg" width="200px" height="450px" src="https://cdn2.iconfinder.com/data/icons/user-management/512/profile_settings-512.png" /> <p className="title">First Name : {userDetails.firstName}</p> <p className="title">Last Name: {userDetails.lastName}</p> <p className="title">Email Address: {userDetails.mailid}</p> <p className="title">Time Zone: {userDetails.timeZone}</p> <p className="title">Joined On: {userDetails.createdTime}</p> <Button title="Logout"> </Button> </div> ); } export default UserProfile; ``` **client-package.json** ```json { "name": "zylkertechnologies", "version": "0.0.1", "homepage": "/__catalyst/auth/login", "login_redirect": "index.html" } ``` > **Note:** The home page URL can be copied from the `Access URL` generated by Catalyst in the [Authentication Types](https://docs.catalyst.zoho.com/en/cloud-scale/help/authentication/authentication-types/) section of the console. The client directory is now configured. Let’s go over the working of the function and the client code: * The end-user will first encounter the *Login Page* that you configured and styled in the console. * To create an account, they will click the **Sign Up** option and be directed to the *Sign Up* page. > **Note:** End-users can either sign up to your application using their [Social Logins](https://docs.catalyst.zoho.com/en/cloud-scale/help/authentication/social-logins/introduction/) or use the conventional method of signing up to the application using their email ID. * Once the information is inputted and they click **Sign Up**, or if they attempt to sign up using a Social Login of their choice, their details will be provided as a JSON input to the [Custom User Validation](https://docs.catalyst.zoho.com/en/cloud-scale/help/authentication/whitelisting/custom-user-validation/introduction/) function (`authorization_portal_function/index.js`). * The function will only authenticate users if the condition you have coded is satisfied. For this tutorial, the users will only be authenticated if they signed up to the application using a Zylker registered email address. * Upon successful authentication, an [Email Verification](https://docs.catalyst.zoho.com/en/cloud-scale/help/authentication/email-templates/introduction/) email will be sent to the account they used to sign up to the application. > **Note:** Because we are using [Hosted Login](https://docs.catalyst.zoho.com/en/cloud-scale/help/authentication/native-catalyst-authentication/hosted-authentication-type/introduction/), a native Catalyst authentication type, no additional logic to trigger the appropriate emails is required. It will be handled by Catalyst automatically. * Once the user verifies their email address by clicking the link provided in the email, they will be signed up to the application. Their details can be viewed in the [User Management](https://docs.catalyst.zoho.com/en/cloud-scale/help/authentication/user-management/introduction/) section of the *Authentication* component. * The end-user can now log in to the application using their authenticated credentials. * The end-user can also reset their password by clicking the **Forgot Password** option. In this event, the *Password Reset* email will be sent to their registered email. Following the steps mentioned in the email, they can easily reset their credentials. **Angular web app** Let’s configure the client component. The Angular web [client directory](https://docs.catalyst.zoho.com/en/cli/v1/project-directory-structure/client-directory/) contains: * The root directory of the client contains a `client-package.json` file, which is a configuration file defining the name, version, default home page, and redirect page of the client component. We will be modifying this file after we have coded the client component. * [Native Angular files](https://angular.io/docs) such as `angular.json`, `tsconfig.app.json`, `tsconfig.json`, and `tsconfig.spec.json` files. * The root directory of the client also contains the `package.json` dependency file, and a `.gitignorefile`. * The `src` folder contains the following files and directories as per the default project structure of the Angular app: - Native Angular files such as `favicon.ico`, `main.ts`, `polyfills.ts`, and `test.ts` files along with the `assets`, and environment directories. - `index.html`: The default entry point of the application. - `style.css`: Will contain any styling elements required by the overall application. * The files present in the `src/app/` directory are: - Native Angular files such as `app.component.css` and `app.component.spec.ts`. - `app.component.html`: Contains the HTML component that renders the routing that happens in the application. - `app.component.ts`: Contains the global interface of the application where a Catalyst variable is declared to use Catalyst Web SDK methods. - `app.module.ts`: Contains the routing logic involved in the application We will be coding the `index.html`, `app.component.html`, `app.component.ts`, and the `app.module.ts` files. #### Create a Layout Component You need to create a layout component in the `src/app/` directory path. This component will contain the the styling elements, client logic and redirect logic to provide appropriate responses to authenticated and non-authenticated users. Execute the following command in the `src/app/` directory using the Catalyst CLI: ```sh ng generate component layout ``` ![catalyst_authentication_client_layout_generate_angular](https://catalyst-docs-development.zohostratus.in/images/tutorials/hosted-login/catalyst_authentication_client_layout_generate_angular.webp) This will create a folder named `layout` in the `src/app/` directory. This `layout` folder will contain: * Native Angular file called `layout.component.pec.ts`. * `layout.component.html`: Will contain the HTML component required during user validation. * `layout.component.css`: Will contain the required styling elements. * `layout.component.ts`: Will contain the routing and redirect logic. We will be coding the `layout.component.html`, `layout.component.css`, and the `layout.component.ts` files. #### Create a Login Component You need to create a login component in the `src/app/` directory path. This component will contain the redirect logic to provide appropriate responses to authenticated and non-authenticated users. Execute the following command in the `src/app/` directory using the Catalyst CLI: ```sh ng generate component login ``` ![catalyst_authentication_client_login_generate_angular](https://catalyst-docs-development.zohostratus.in/images/tutorials/hosted-login/catalyst_authentication_client_login_generate_angular.webp) This will create a folder named `login` in the `src/app/` directory. This `login` folder will contain: * Native Angular file called `login.component.pec.ts`. * `login.component.html`: Will contain the HTML component required during user validation. * `login.component.css`: Will contain the required styling elements. * `login.component.ts`: Will contain the routing and redirect logic. We will be coding the `login.component.css`, and the `login.component.ts` files. The client directory should now look like the one depicted in the following image. ![catalyst_authentication_hosted_node_client_angular_type_last_directory](https://catalyst-docs-development.zohostratus.in/images/tutorials/hosted-login/catalyst_authentication_hosted_node_client_angular_type_last_directory.webp) You can now begin coding your client. > **Note:** Please go through the code given in this section to ensure you fully understand it. Copy the below code and paste it in the `index.html` file present in the `src/` directory. **index.html** ```xml <!DOCTYPE html> <html lang="en"> <head> <meta charset="utf-8" /> <title>Zylker Technologies</title> <base href="/app/" /> <meta name="viewport" content="width=device-width, initial-scale=1" /> <script src="https://static.zohocdn.com/catalyst/sdk/js/4.6.2/catalystWebSDK.js"> </script> <script src="/__catalyst/sdk/init.js"> </script> </head> <body> <app-root> </app-root> </body> </html> ``` Paste the following code in the `app.component.html`, `app.component.ts`, and the `app.module.ts` files present in the `src/app/` directory. **app.component.html** ```xml <router-outlet> </router-outlet> ``` **app.component.ts** ```javascript import { Component } from '@angular/core'; declare global { interface Window { catalyst: any; //This is a Catalyst variable that is required to access Catalyst Web SDK methods. } } @Component({ selector: 'app-root', templateUrl: './app.component.html', styleUrls: ['./app.component.css'], }) export class AppComponent { } ``` > **Note:** The variable `any` is a Catalyst variable we have declared globally. This variable is required to access [Catalyst Web SDK methods](https://docs.catalyst.zoho.com/en/sdk/web/v4/cloud-scale/authentication/get-auth-instance/). **app.module.ts** ```javascript import { NgModule } from '@angular/core'; import { BrowserModule } from '@angular/platform-browser'; import { CommonModule } from '@angular/common'; import { AppComponent } from './app.component'; import { FormsModule } from '@angular/forms'; import { RouterModule, Routes } from '@angular/router'; import { LayoutComponent } from './layout/layout.component'; import { LoginComponent } from './login/login.component'; const approutes: Routes = [ { path: '', component: LayoutComponent }, { path: 'login', component: LoginComponent }, { path: '**', redirectTo: '' }, ]; @NgModule({ declarations: [AppComponent, LayoutComponent, LoginComponent], imports: [ BrowserModule, CommonModule, FormsModule, RouterModule.forRoot(approutes, { useHash: true }), ], providers: [], bootstrap: [AppComponent], }) export class AppModule {} ``` Copy the following code and paste it in the `layout.component.html`, `layout.component.css`, and the `layout.component.ts` files present in the `src/app/layout` directory. **layout.component.html** ```xml <div class="card" *ngIf="isAuthenticated"> <div class="titleDiv"> <h1 class="title">User Profile Information</h1> </div> <div class="imgDiv"> <img id="userimg" width="200px" height="450px" src="https://cdn2.iconfinder.com/data/icons/user-management/512/profile_settings-512.png" /> </div> <div class="textDiv"> <p class="title" id="fname">First Name: {{ firstName }}</p> <p class="title" id="lname">Last Name: {{ lastName }}</p> <p class="title" id="mailid">Email ID: {{ mailID }}</p> <p class="title" id="tzone">Time Zone: {{ timezone }}</p> <p class="title" id="ctime">CreatedTime: {{ createdTime }}</p> </div> <div className="logoutDiv"> <button (click)="logout()" id="logoutBtn">Logout</button> </div> </div> <div *ngIf="isFetching" class="loading-div"> <p class="loading">Loading...</p> </div> ``` **layout.component.css** ```css .card { margin: auto; text-align: center; font-family: arial; text-align: center; font-weight: bold; } .title { font-size: 23px; color: black; margin-top: 30px; margin-bottom: 30px; font-weight: bold; } #userimg { height: 20%; width: 15%; } #logoutBtn { background-color: rgb(2, 136, 2); color: white; border: none; border-radius: 8px; width: 100px; height: 40px; margin-bottom: 30px; cursor: pointer; } #logoutBtn:hover { background-color: rgb(2, 165, 2); color: white; border: none; border-radius: 8px; width: 100px; height: 40px; margin-bottom: 30px; cursor: pointer; } body { width: 100%; } .loading-div { margin-left: 45%; } .loading { font-weight: bolder; font-size: large; } #logoutBtn:active { background-color: rgb(2, 172, 2); color: white; border: none; border-radius: 8px; width: 100px; height: 40px; margin-bottom: 30px; cursor: pointer; } ``` **layout.component.ts** ```javascript import { Component, OnInit } from '@angular/core'; //decorator which indicates this is a component import { Router } from '@angular/router'; @Component({ selector: 'app-layout', templateUrl: './layout.component.html', styleUrls: ['./layout.component.css'], }) export class LayoutComponent implements OnInit { constructor(private router: Router) {} firstName: any; lastName: any; mailID: any; timezone: any; createdTime: any; isAuthenticated: boolean = false; isFetching: boolean = true; ngOnInit(): void { window.catalyst.auth .isUserAuthenticated() .then((result: any) => { console.log(result); console.log(result.content.email_id); this.isAuthenticated = true; this.mailID = result.content.email_id; this.firstName = result.content.first_name; this.lastName = result.content.last_name; this.timezone = result.content.time_zone; this.createdTime = result.content.created_time; }) .catch((err: any) => { console.log(err); }) .finally(() => { console.log('finally'); this.isFetching = false; this.isAuthenticated ? this.router.navigate(['']) : this.router.navigate(['login']); }); } logout() { const redirectURL = '/__catalyst/auth/login'; console.log(redirectURL); var auth = window.catalyst.auth; auth.signOut(redirectURL); } } ``` Copy the following code and paste it in the `login.component.css`, and the `login.component.ts` files present in the `src/app/login` directory. **layout.component.css** ```css h1 { color: red; } ``` **login.component.ts** ```javascript import { Component, OnInit } from '@angular/core'; //decorator which indicates this is a component @Component({ selector: 'app-login', templateUrl: './login.component.html', styleUrls: ['./login.component.css'], }) export class LoginComponent { ngOnInit(): void { window.location.href = window.origin + '/__catalyst/auth/login'; // Will handle the login redirects } } ``` We will now modify the `client-package.json` file present in the client root directory. **client-package.json** ```json { "name": "zylkertechnologies", "version": "0.0.1", "homepage": "/__catalyst/auth/login", "login_redirect": "index.html" } ``` > **Note:** The `homepage URL` can be copied from the [`Access URL`](https://docs.catalyst.zoho.com/en/cloud-scale/help/authentication/native-catalyst-authentication/hosted-authentication-type/configure-hosted-authentication/) generated by Catalyst in the [Authentication Types section](https://docs.catalyst.zoho.com/en/cloud-scale/help/authentication/authentication-types/) of the console. The client directory is now configured. Let's go over the working of the function and client code. * The end-user will first encounter the Login Page that you configured and styled in the console. * To create an account, they will click the Sign Up option and be directed to the Sign Up page. > **Note:** End-users can either sign up to your application using the *Social Logins* or use the conventional method of signing up to the application using their email address * After the information has been entered and they click **Sign Up**, or if they attempt to sign up using a *Social Login* of their preference, their details will be populated and provided as a JSON input to the Custom User Validation function- `authorization_portal_function/index.js`. * The function will only authenticate users that have signed up to the application using a Zylker email address. * Upon successful authentication, an *Email Verification* email will be sent to the account they used to sign up to the application. > **Note:** Because we are using **Hosted Login**, no additional logic to trigger the appropriate emails is required. It will be handled by Catalyst automatically. * After the user verifies their email address by clicking the link provided in the email, they will be signed up for the application. Their details can be viewed in the *User Management* section of the Authentication component. * The end-user can now log in to application using their authenticated credentials. * The end-user can also reset their password by clicking the **Forgot Password** option. * In this event, the *Password Reset* email will be sent to their registered email. Following the steps mentioned in the email, they can easily reset their credentials. -------------------------------------------------------------------------------- title: "Test the Application" description: "Create a Basic or React application using Catalyst Hosted Authentication that provides user sign-up, login, password reset, and federated sign-in." last_updated: "2026-11-04T10:10:44.000Z" source: "https://docs.catalyst.zoho.com/en/tutorials/hosted-login-app/nodejs/test-app/" service: "All Services" related: - Serve CLI Resources (/en/cli/v1/serve-resources/introduction) -------------------------------------------------------------------------------- # Test the Application Before you deploy the application to the remote console, you can test the application on a local server and check if everything works using the Catalyst CLI. For detailed information on `catalyst serve`, refer to the [Serve Resources help page](https://docs.catalyst.zoho.com/en/cli/v1/serve-resources/introduction). To serve the Catalyst project locally, execute the following command from your project directory: ```sh catalyst serve ``` The authorization portal application will now be served at default `port 3000`. The local endpoint URLs of the components will be displayed in the CLI. **Basic web app** ![catalyst_authentication_hosted_catalyst_serve](https://catalyst-docs-development.zohostratus.in/images/tutorials/hosted-login/catalyst_authentication_hosted_catalyst_serve.webp) > **Note:** Every time you access the homepage or any of the sub-pages of your client, or the function, the CLI will display a live log of the accessed URL, along with the HTTP method that is used to access it. You can now open the client component’s local URL in a browser to access the application. ![catalyst_authentication_hosted_catalyst_serve_intro](https://catalyst-docs-development.zohostratus.in/images/tutorials/hosted-login/catalyst_authentication_hosted_catalyst_serve_intro.webp) ### Test Case 1 #### Sign up using email address 1. Click **Sign Up** to create a new account. ![catalyst_authentication_hosted_catalyst_serve_sing_up_highlight](https://catalyst-docs-development.zohostratus.in/images/tutorials/hosted-login/catalyst_authentication_hosted_catalyst_serve_sing_up_highlight.webp) 2. Enter the required details and click **Sign Up**. ![catalyst_authentication_hosted_catalyst_serve_signup](https://catalyst-docs-development.zohostratus.in/images/tutorials/hosted-login/catalyst_authentication_hosted_catalyst_serve_signup.webp) 3. The [Email Verification](https://docs.catalyst.zoho.com/en/cloud-scale/help/authentication/email-templates/introduction/) email will be sent to the email address you used to sign up. ![catalyst_authentication_hosted_catalyst_serve_email_triggered](https://catalyst-docs-development.zohostratus.in/images/tutorials/hosted-login/catalyst_authentication_hosted_catalyst_serve_email_triggered.webp) 4. Click the link in the email ![catalyst_authentication_hosted_catalyst_serve_email_check](https://catalyst-docs-development.zohostratus.in/images/tutorials/hosted-login/catalyst_authentication_hosted_catalyst_serve_email_check.webp) 5. Follow the instructions and set your password ![catalyst_authentication_hosted_catalyst_serve_cnf_pwd](https://catalyst-docs-development.zohostratus.in/images/tutorials/hosted-login/catalyst_authentication_hosted_catalyst_serve_cnf_pwd.webp) Once the password is set, you will be signed in to the application. ![catalyst_authentication_hosted_catalyst_serve_logged_in](https://catalyst-docs-development.zohostratus.in/images/tutorials/hosted-login/catalyst_authentication_hosted_catalyst_serve_logged_in.webp) You can verify this by viewing the user information in the [User Management](https://docs.catalyst.zoho.com/en/cloud-scale/help/authentication/user-management/introduction/) section of the *Authentication* component in the console. ![catalyst_authentication_hosted_catalyst_serve_account_added](https://catalyst-docs-development.zohostratus.in/images/tutorials/hosted-login/catalyst_authentication_hosted_catalyst_serve_account_added.webp) ### Test Case 2 #### Test Custom User Validation 1. Sign up to the application using an email address that will induce a failure instance. ![catalyst_authentication_hosted_catalyst_serve_custom_check](https://catalyst-docs-development.zohostratus.in/images/tutorials/hosted-login/catalyst_authentication_hosted_catalyst_serve_custom_check.webp) > **Note:** For the purpose of this tutorial, we have coded a logic for the Custom User Validation function where if the user's email provider is anyone other than Zylker Technology (`@zylker.com`) the end-user will not be able to sign up to the application. 2. You will not be able to sign up to the application using any email address other than the one coded to permit in the function logic. ![catalyst_authentication_hosted_catalyst_serve_custom_success](https://catalyst-docs-development.zohostratus.in/images/tutorials/hosted-login/catalyst_authentication_hosted_catalyst_serve_custom_success.webp) ### Test Case 3 #### Sign up to the application using Social Logins 1. You can click a social login that you had configured to begin the sign up process. For this test, we are signing up using the [Zoho social login](https://docs.catalyst.zoho.com/en/cloud-scale/help/authentication/social-logins/configuring-social-logins/#enable-zoho-social-login). ![catalyst_authentication_hosted_catalyst_serve_zoho_login](https://catalyst-docs-development.zohostratus.in/images/tutorials/hosted-login/catalyst_authentication_hosted_catalyst_serve_zoho_login.webp) 2. Click **Accept**. ![catalyst_authentication_hosted_catalyst_serve_zoho_accept_login](https://catalyst-docs-development.zohostratus.in/images/tutorials/hosted-login/catalyst_authentication_hosted_catalyst_serve_zoho_accept_login.webp) You will be logged in to the application. ![catalyst_authentication_hosted_catalyst_serve_logged_in](https://catalyst-docs-development.zohostratus.in/images/tutorials/hosted-login/catalyst_authentication_hosted_catalyst_serve_logged_in.webp) You can verify the end-user has been added by viewing their details in the *User Management* section of the Authentication component in the console. ### Test Case 4 #### Password reset functionality 1. Click the **Forgot Password** option. ![catalyst_authentication_hosted_catalyst_serve_forgot_pwd_highlight](https://catalyst-docs-development.zohostratus.in/images/tutorials/hosted-login/catalyst_authentication_hosted_catalyst_serve_forgot_pwd_highlight.webp) 2. Enter the email address ![catalyst_authentication_hosted_catalyst_serve_pwd_email_enter](https://catalyst-docs-development.zohostratus.in/images/tutorials/hosted-login/catalyst_authentication_hosted_catalyst_serve_pwd_email_enter.webp) 3. Enter the captcha. ![catalyst_authentication_hosted_catalyst_serve_pwd_captcha](https://catalyst-docs-development.zohostratus.in/images/tutorials/hosted-login/catalyst_authentication_hosted_catalyst_serve_pwd_captcha.webp) 4. You can still unlock an option if you remember any earlier password you had used to create this account. However, to test this functionality, click **Continue to reset password**. ![catalyst_authentication_hosted_catalyst_serve_pwd_cont_reset](https://catalyst-docs-development.zohostratus.in/images/tutorials/hosted-login/catalyst_authentication_hosted_catalyst_serve_pwd_cont_reset.webp) 5. Click **SEND OTP** to send the OTP to your email address. ![catalyst_authentication_hosted_catalyst_serve_pwd_otp](https://catalyst-docs-development.zohostratus.in/images/tutorials/hosted-login/catalyst_authentication_hosted_catalyst_serve_pwd_otp.webp) 6. Enter the OTP received in your email and click **Verify**. ![catalyst_authentication_hosted_catalyst_serve_pwd_otp_entered](https://catalyst-docs-development.zohostratus.in/images/tutorials/hosted-login/catalyst_authentication_hosted_catalyst_serve_pwd_otp_entered.webp) 7. You can create your new password now and click **Change Password**. ![catalyst_authentication_hosted_catalyst_serve_pwd_confirm_reset](https://catalyst-docs-development.zohostratus.in/images/tutorials/hosted-login/catalyst_authentication_hosted_catalyst_serve_pwd_confirm_reset.webp) You will be redirected to the login page, where you can log in to the application using the new password. **React web app** ![catalyst_hosted_login_react_catalyst_serve](https://catalyst-docs-development.zohostratus.in/images/tutorials/hosted-login/catalyst_hosted_login_react_catalyst_serve.webp) > **Note:** Every time you access the homepage or any of the sub-pages of your client, or the function, the CLI will display a live log of the accessed URL, along with the HTTP method that is used to access it. You can now open the client component’s local URL in a browser to access the application. ![catalyst_authentication_hosted_catalyst_serve_intro](https://catalyst-docs-development.zohostratus.in/images/tutorials/hosted-login/catalyst_authentication_hosted_catalyst_serve_intro.webp) ### Test Case 1 #### Sign up using email address 1. Click **Sign Up** to create a new account. ![catalyst_authentication_hosted_catalyst_serve_sing_up_highlight](https://catalyst-docs-development.zohostratus.in/images/tutorials/hosted-login/catalyst_authentication_hosted_catalyst_serve_sing_up_highlight.webp) 2. Enter the required details and click **Sign Up**. ![catalyst_authentication_hosted_catalyst_serve_signup](https://catalyst-docs-development.zohostratus.in/images/tutorials/hosted-login/catalyst_authentication_hosted_catalyst_serve_signup.webp) 3. The [Email Verification](https://docs.catalyst.zoho.com/en/cloud-scale/help/authentication/email-templates/introduction/) email will be sent to the email address you used to sign up. ![catalyst_authentication_hosted_catalyst_serve_email_triggered](https://catalyst-docs-development.zohostratus.in/images/tutorials/hosted-login/catalyst_authentication_hosted_catalyst_serve_email_triggered.webp) 4. Click the link in the email ![catalyst_authentication_hosted_catalyst_serve_email_check](https://catalyst-docs-development.zohostratus.in/images/tutorials/hosted-login/catalyst_authentication_hosted_catalyst_serve_email_check.webp) 5. Follow the instructions and set your password ![catalyst_authentication_hosted_catalyst_serve_cnf_pwd](https://catalyst-docs-development.zohostratus.in/images/tutorials/hosted-login/catalyst_authentication_hosted_catalyst_serve_cnf_pwd.webp) Once the password is set, you will be signed in to the application. ![catalyst_authentication_hosted_catalyst_serve_logged_in](https://catalyst-docs-development.zohostratus.in/images/tutorials/hosted-login/catalyst_authentication_hosted_catalyst_serve_logged_in.webp) You can verify this by viewing the user information in the [User Management](https://docs.catalyst.zoho.com/en/cloud-scale/help/authentication/user-management/introduction/) section of the *Authentication* component in the console. ![catalyst_authentication_hosted_catalyst_serve_account_added](https://catalyst-docs-development.zohostratus.in/images/tutorials/hosted-login/catalyst_authentication_hosted_catalyst_serve_account_added.webp) ### Test Case 2 #### Test Custom User Validation 1. Sign up to the application using an email address that will induce a failure instance. ![catalyst_authentication_hosted_catalyst_serve_custom_check](https://catalyst-docs-development.zohostratus.in/images/tutorials/hosted-login/catalyst_authentication_hosted_catalyst_serve_custom_check.webp) > **Note:** For the purpose of this tutorial, we have coded a logic for the Custom User Validation function where if the user's email provider is anyone other than Zylker Technology (`@zylker.com`) the end-user will not be able to sign up to the application. 2. You will not be able to sign up to the application using any email address other than the one coded to permit in the function logic. ![catalyst_authentication_hosted_catalyst_serve_custom_success](https://catalyst-docs-development.zohostratus.in/images/tutorials/hosted-login/catalyst_authentication_hosted_catalyst_serve_custom_success.webp) ### Test Case 3 #### Sign up to the application using Social Logins 1. You can click a social login that you had configured to begin the sign up process. For this test, we are signing up using the [Zoho social login](https://docs.catalyst.zoho.com/en/cloud-scale/help/authentication/social-logins/configuring-social-logins/#enable-zoho-social-login). ![catalyst_authentication_hosted_catalyst_serve_zoho_login](https://catalyst-docs-development.zohostratus.in/images/tutorials/hosted-login/catalyst_authentication_hosted_catalyst_serve_zoho_login.webp) 2. Click **Accept**. ![catalyst_authentication_hosted_catalyst_serve_zoho_accept_login](https://catalyst-docs-development.zohostratus.in/images/tutorials/hosted-login/catalyst_authentication_hosted_catalyst_serve_zoho_accept_login.webp) You will be logged in to the application. ![catalyst_authentication_hosted_catalyst_serve_logged_in](https://catalyst-docs-development.zohostratus.in/images/tutorials/hosted-login/catalyst_authentication_hosted_catalyst_serve_logged_in.webp) You can verify the end-user has been added by viewing their details in the *User Management* section of the Authentication component in the console. ### Test Case 4 #### Password reset functionality 1. Click the **Forgot Password** option. ![catalyst_authentication_hosted_catalyst_serve_forgot_pwd_highlight](https://catalyst-docs-development.zohostratus.in/images/tutorials/hosted-login/catalyst_authentication_hosted_catalyst_serve_forgot_pwd_highlight.webp) 2. Enter the email address ![catalyst_authentication_hosted_catalyst_serve_pwd_email_enter](https://catalyst-docs-development.zohostratus.in/images/tutorials/hosted-login/catalyst_authentication_hosted_catalyst_serve_pwd_email_enter.webp) 3. Enter the captcha. ![catalyst_authentication_hosted_catalyst_serve_pwd_captcha](https://catalyst-docs-development.zohostratus.in/images/tutorials/hosted-login/catalyst_authentication_hosted_catalyst_serve_pwd_captcha.webp) 4. You can still unlock an option if you remember any earlier password you had used to create this account. However, to test this functionality, click **Continue to reset password**. ![catalyst_authentication_hosted_catalyst_serve_pwd_cont_reset](https://catalyst-docs-development.zohostratus.in/images/tutorials/hosted-login/catalyst_authentication_hosted_catalyst_serve_pwd_cont_reset.webp) 5. Click **SEND OTP** to send the OTP to your email address. ![catalyst_authentication_hosted_catalyst_serve_pwd_otp](https://catalyst-docs-development.zohostratus.in/images/tutorials/hosted-login/catalyst_authentication_hosted_catalyst_serve_pwd_otp.webp) 6. Enter the OTP received in your email and click **Verify**. ![catalyst_authentication_hosted_catalyst_serve_pwd_otp_entered](https://catalyst-docs-development.zohostratus.in/images/tutorials/hosted-login/catalyst_authentication_hosted_catalyst_serve_pwd_otp_entered.webp) 7. You can create your new password now and click **Change Password**. ![catalyst_authentication_hosted_catalyst_serve_pwd_confirm_reset](https://catalyst-docs-development.zohostratus.in/images/tutorials/hosted-login/catalyst_authentication_hosted_catalyst_serve_pwd_confirm_reset.webp) You will be redirected to the login page, where you can log in to the application using the new password. **Angular web app** ![catalyst_authentication_hosted_client_angular_catalyst_serve_cli](https://catalyst-docs-development.zohostratus.in/images/tutorials/hosted-login/catalyst_authentication_hosted_client_angular_catalyst_serve_cli.webp) Every time you access the homepage or any of the sub-pages of your client, or the function, the CLI will display a live log of the accessed URL, along with the HTTP method that is used to access it. ![catalyst_authentication_hosted_client_angular_catalyst_serve_cli_actions](https://catalyst-docs-development.zohostratus.in/images/tutorials/hosted-login/catalyst_authentication_hosted_client_angular_catalyst_serve_cli_actions.webp) You can now open the client component’s local URL in a browser to access the application. ### Test Case 1 #### Sign up using email address 1. Click **Sign Up** to create a new account. ![catalyst_authentication_hosted_catalyst_serve_sing_up_highlight](https://catalyst-docs-development.zohostratus.in/images/tutorials/hosted-login/catalyst_authentication_hosted_catalyst_serve_sing_up_highlight.webp) 2. Enter the required details and click **Sign Up**. ![catalyst_authentication_hosted_catalyst_serve_signup](https://catalyst-docs-development.zohostratus.in/images/tutorials/hosted-login/catalyst_authentication_hosted_catalyst_serve_signup.webp) 3. The [Email Verification](https://docs.catalyst.zoho.com/en/cloud-scale/help/authentication/email-templates/introduction/) email will be sent to the email address you used to sign up. ![catalyst_authentication_hosted_catalyst_serve_email_triggered](https://catalyst-docs-development.zohostratus.in/images/tutorials/hosted-login/catalyst_authentication_hosted_catalyst_serve_email_triggered.webp) 4. Click the link in the email ![catalyst_authentication_hosted_catalyst_serve_email_check](https://catalyst-docs-development.zohostratus.in/images/tutorials/hosted-login/catalyst_authentication_hosted_catalyst_serve_email_check.webp) 5. Follow the instructions and set your password ![catalyst_authentication_hosted_catalyst_serve_cnf_pwd](https://catalyst-docs-development.zohostratus.in/images/tutorials/hosted-login/catalyst_authentication_hosted_catalyst_serve_cnf_pwd.webp) Once the password is set, you will be signed in to the application. ![catalyst_authentication_hosted_catalyst_serve_logged_in](https://catalyst-docs-development.zohostratus.in/images/tutorials/hosted-login/catalyst_authentication_hosted_catalyst_serve_logged_in.webp) You can verify this by viewing the user information in the [User Management](https://docs.catalyst.zoho.com/en/cloud-scale/help/authentication/user-management/introduction/) section of the *Authentication* component in the console. ![catalyst_authentication_hosted_catalyst_serve_account_added](https://catalyst-docs-development.zohostratus.in/images/tutorials/hosted-login/catalyst_authentication_hosted_catalyst_serve_account_added.webp) ### Test Case 2 #### Test Custom User Validation 1. Sign up to the application using an email address that will induce a failure instance. ![catalyst_authentication_hosted_catalyst_serve_custom_check](https://catalyst-docs-development.zohostratus.in/images/tutorials/hosted-login/catalyst_authentication_hosted_catalyst_serve_custom_check.webp) > **Note:** For the purpose of this tutorial, we have coded a logic for the Custom User Validation function where if the user's email provider is anyone other than Zylker Technology (`@zylker.com`) the end-user will not be able to sign up to the application. 2. You will not be able to sign up to the application using any email address other than the one coded to permit in the function logic. ![catalyst_authentication_hosted_catalyst_serve_custom_success](https://catalyst-docs-development.zohostratus.in/images/tutorials/hosted-login/catalyst_authentication_hosted_catalyst_serve_custom_success.webp) ### Test Case 3 #### Sign up to the application using Social Logins 1. You can click a social login that you had configured to begin the sign up process. For this test, we are signing up using the [Zoho social login](https://docs.catalyst.zoho.com/en/cloud-scale/help/authentication/social-logins/configuring-social-logins/#enable-zoho-social-login). ![catalyst_authentication_hosted_catalyst_serve_zoho_login](https://catalyst-docs-development.zohostratus.in/images/tutorials/hosted-login/catalyst_authentication_hosted_catalyst_serve_zoho_login.webp) 2. Click **Accept**. ![catalyst_authentication_hosted_catalyst_serve_zoho_accept_login](https://catalyst-docs-development.zohostratus.in/images/tutorials/hosted-login/catalyst_authentication_hosted_catalyst_serve_zoho_accept_login.webp) You will be logged in to the application. ![catalyst_authentication_hosted_catalyst_serve_logged_in](https://catalyst-docs-development.zohostratus.in/images/tutorials/hosted-login/catalyst_authentication_hosted_catalyst_serve_logged_in.webp) You can verify the end-user has been added by viewing their details in the *User Management* section of the Authentication component in the console. ### Test Case 4 #### Password reset functionality 1. Click the **Forgot Password** option. ![catalyst_authentication_hosted_catalyst_serve_forgot_pwd_highlight](https://catalyst-docs-development.zohostratus.in/images/tutorials/hosted-login/catalyst_authentication_hosted_catalyst_serve_forgot_pwd_highlight.webp) 2. Enter the email address ![catalyst_authentication_hosted_catalyst_serve_pwd_email_enter](https://catalyst-docs-development.zohostratus.in/images/tutorials/hosted-login/catalyst_authentication_hosted_catalyst_serve_pwd_email_enter.webp) 3. Enter the captcha. ![catalyst_authentication_hosted_catalyst_serve_pwd_captcha](https://catalyst-docs-development.zohostratus.in/images/tutorials/hosted-login/catalyst_authentication_hosted_catalyst_serve_pwd_captcha.webp) 4. You can still unlock an option if you remember any earlier password you had used to create this account. However, to test this functionality, click **Continue to reset password**. ![catalyst_authentication_hosted_catalyst_serve_pwd_cont_reset](https://catalyst-docs-development.zohostratus.in/images/tutorials/hosted-login/catalyst_authentication_hosted_catalyst_serve_pwd_cont_reset.webp) 5. Click **SEND OTP** to send the OTP to your email address. ![catalyst_authentication_hosted_catalyst_serve_pwd_otp](https://catalyst-docs-development.zohostratus.in/images/tutorials/hosted-login/catalyst_authentication_hosted_catalyst_serve_pwd_otp.webp) 6. Enter the OTP received in your email and click **Verify**. ![catalyst_authentication_hosted_catalyst_serve_pwd_otp_entered](https://catalyst-docs-development.zohostratus.in/images/tutorials/hosted-login/catalyst_authentication_hosted_catalyst_serve_pwd_otp_entered.webp) 7. You can create your new password now and click **Change Password**. ![catalyst_authentication_hosted_catalyst_serve_pwd_confirm_reset](https://catalyst-docs-development.zohostratus.in/images/tutorials/hosted-login/catalyst_authentication_hosted_catalyst_serve_pwd_confirm_reset.webp) You will be redirected to the login page, where you can log in to the application using the new password. -------------------------------------------------------------------------------- title: "Deploy the Application" description: "Create a Basic or React application using Catalyst Hosted Authentication that provides user sign-up, login, password reset, and federated sign-in." last_updated: "2026-11-04T10:10:44.000Z" source: "https://docs.catalyst.zoho.com/en/tutorials/hosted-login-app/nodejs/deploy-app/" service: "All Services" related: - Deploy CLI Resources (/en/cli/v1/deploy-resources/introduction/) - Web Client Hosting (/en/cloud-scale/help/web-client-hosting/introduction) -------------------------------------------------------------------------------- # Deploy the Application To [deploy your Catalyst project](https://docs.catalyst.zoho.com/en/cli/v1/deploy-resources/introduction/) from the CLI, run the following command in your terminal from your project directory: ```sh catalyst deploy ``` The function is deployed first, followed by the client component. The URL endpoints of the components will be displayed in the CLI: **Basic web app** ![catalyst_authentication_hosted_catalyst_deploy](https://catalyst-docs-development.zohostratus.in/images/tutorials/hosted-login/catalyst_authentication_hosted_catalyst_deploy.webp) > **Note** You can also use the `catalyst deploy --only client` CLI command to deploy the client component alone, as the function component was already deployed. You can now open the client component’s URL in a browser to access the deployed application. The authorization portal application can now be accessed from its web app URL. ![catalyst_authentication_hosted_catalyst_deploy_app_complete](https://catalyst-docs-development.zohostratus.in/images/tutorials/hosted-login/catalyst_authentication_hosted_catalyst_deploy_app_complete.webp) The authorization portal application is now functional and should work without any errors. **React web app** ![catalyst_hosted_login_react_catalyst_deploy](https://catalyst-docs-development.zohostratus.in/images/tutorials/hosted-login/catalyst_hosted_login_react_catalyst_deploy.webp) > **Note** You can also use the `catalyst deploy --only client` CLI command to deploy the client component alone, as the function component was already deployed. You can now open the client component’s URL in a browser to access the deployed application. The authorization portal application can now be accessed from its web app URL. ![catalyst_authentication_hosted_catalyst_deploy_app_complete](https://catalyst-docs-development.zohostratus.in/images/tutorials/hosted-login/catalyst_authentication_hosted_catalyst_deploy_app_complete.webp) The authorization portal application is now functional and should work without any errors. **Angular web app** The function is deployed first, followed by the client component. The URL endpoints of the components will be displayed in the CLI: ![catalyst_authentication_hosted_client_angular_catalyst_deploy_complete](https://catalyst-docs-development.zohostratus.in/images/tutorials/hosted-login/catalyst_authentication_hosted_client_angular_catalyst_deploy_complete.webp) > **Note:** You can also use the `catalyst deploy --only client` CLI command to deploy the client component alone, as the function component was already deployed. You can now open the client component’s URL in a browser to access the deployed application. The authorization portal application can now be accessed from its web app URL. ![catalyst_authentication_hosted_client_angular_catalyst_complete](https://catalyst-docs-development.zohostratus.in/images/tutorials/hosted-login/catalyst_authentication_hosted_client_angular_catalyst_complete.webp) The authorization portal application is now functional and should work without any errors. ### Python -------------------------------------------------------------------------------- title: "Introduction" description: "Create a Basic or React application using Catalyst Hosted Authentication that provides user sign-up, login, password reset, and federated sign-in." last_updated: "2026-11-04T10:10:44.000Z" source: "https://docs.catalyst.zoho.com/en/tutorials/hosted-login-app/python/introduction/" service: "All Services" related: - Project Directory Structure (/en/cli/v1/project-directory-structure/introduction/) - Hosted Authentication Type (/en/cloud-scale/help/authentication/native-catalyst-authentication/hosted-authentication-type/introduction/) - User Management (/en/cloud-scale/help/authentication/user-management/introduction/) - Custom User Validation (/en/cloud-scale/help/authentication/whitelisting/custom-user-validation/introduction/) - Social Logins (/en/cloud-scale/help/authentication/social-logins/introduction/) - Java SDK (/en/sdk/java/v1/overview/) - Node.js SDK (/en/sdk/nodejs/v2/overview/) - Python SDK (/en/sdk/python/v1/overview/) -------------------------------------------------------------------------------- # Authorization Portal ## Introduction This tutorial will help you build a simple client application that allows your end-users to log in to your application after they have been authenticated using Catalyst Hosted Authentication with a [Custom User Validation](https://docs.catalyst.zoho.com/en/cloud-scale/help/authentication/whitelisting/custom-user-validation/introduction/) function. The *Authorization Portal* application uses the following Catalyst services and their respective components: - [**Catalyst CloudScale**](https://docs.catalyst.zoho.com/en/cloud-scale/) - **Authentication**: The end-user will be authenticated to your application using the [Hosted Authentication](https://docs.catalyst.zoho.com/en/cloud-scale/help/authentication/native-catalyst-authentication/hosted-authentication-type/introduction/), a [Native Catalyst Authentication Type](https://docs.catalyst.zoho.com/en/cloud-scale/help/authentication/native-catalyst-authentication/introduction/). - **Web Client Hosting**: The front end of the application will be hosted on Catalyst using the [Web Client Hosting](https://docs.catalyst.zoho.com/en/cloud-scale/help/web-client-hosting/introduction/) component. You can initialize and configure the client as a [Basic web app](https://docs.catalyst.zoho.com/en/cli/v1/initialize-resources/initialize-client/#basic-client-applications), a [React app](https://docs.catalyst.zoho.com/en/cli/v1/initialize-resources/initialize-client/#react-applications), or an [Angular app](https://docs.catalyst.zoho.com/en/cli/v1/initialize-resources/initialize-client/#angular-applications). - [**Catalyst Serverless**](https://docs.catalyst.zoho.com/en/serverless/) - **Functions**: We will be coding the [Basic I/O function](https://docs.catalyst.zoho.com/en/serverless/help/functions/basic-io/) in Python to implement *Custom User Validation*. This tutorial will help you understand using the various features of *Hosted Authentication Type*. We will be incorporating the following functionalities in this tutorial: - Sign up end users to the web app using their email address - Log in end users to the app using the sign-up account information - Log in end users to the app using any or all of the following Federated Identity Providers: - [Zoho](https://docs.catalyst.zoho.com/en/cloud-scale/help/authentication/social-logins/configuring-social-logins/#enable-zoho-social-login) - [Google](https://docs.catalyst.zoho.com/en/cloud-scale/help/authentication/social-logins/configuring-social-logins/#enable-google-social-login) - [Microsoft 365](https://docs.catalyst.zoho.com/en/cloud-scale/help/authentication/social-logins/configuring-social-logins/#enable-microsoft-365-social-login) - [LinkedIn](https://docs.catalyst.zoho.com/en/cloud-scale/help/authentication/social-logins/configuring-social-logins/#enable-linkedin-social-login) - [Facebook](https://docs.catalyst.zoho.com/en/cloud-scale/help/authentication/social-logins/configuring-social-logins/#enable-facebook-social-login) - Reset the password in case an end-user forgets their password - Customize and style the login elements of the following pages— **Sign Up**, **Confirm Password**, **Log In**, and **Password Reset**. - Customize and configure the **Email Verification** and **Password Reset** [email templates](https://docs.catalyst.zoho.com/en/cloud-scale/help/authentication/email-templates/customizing-email-templates/). - Configure and add a [Custom User Validation](https://docs.catalyst.zoho.com/en/cloud-scale/help/authentication/whitelisting/custom-user-validation/introduction/) function - Logging in and out to the application The following image is an example of how the client application's login screen will appear: ![catalyst_authentication_hosted_catalyst_deploy_app_complete](https://catalyst-docs-development.zohostratus.in/images/tutorials/hosted-login/catalyst_authentication_hosted_catalyst_deploy_app_complete.webp) You will be using the following features of the Authentication component to build this application: * **User Management**: The user details are automatically saved in this [section](https://docs.catalyst.zoho.com/en/cloud-scale/help/authentication/user-management/introduction/), after they sign up for the application. Using this feature, you can manage the end-users’ access to your application and [configure their roles](https://docs.catalyst.zoho.com/en/cloud-scale/help/authentication/user-management/roles/introduction/). * **Authentication Type**: You will be able to view the [authentication type](https://docs.catalyst.zoho.com/en/cloud-scale/help/authentication/authentication-types/) you have configured for your application and edit your configurations if required. * **Whitelisting**: You will use this section to enable [Custom User Validation](https://docs.catalyst.zoho.com/en/cloud-scale/help/authentication/whitelisting/custom-user-validation/introduction/). You can also use this section to enable [CORS and iFrame access](https://docs.catalyst.zoho.com/en/cloud-scale/help/authentication/whitelisting/authorized-domains/introduction/) to your application. * **Email Templates**: You will be able to configure and customize *Email Verification* and *Password Reset* emails from this [section](https://docs.catalyst.zoho.com/en/cloud-scale/help/authentication/email-templates/introduction/). We will use the [Catalyst web console](https://console.catalyst.zoho.com/baas/index) and the [Catalyst Command Line Interface (CLI)](https://docs.catalyst.zoho.com/en/cli/v1/cli-command-reference/) to build this application. > **Note:** If you are a *Visual Studio Code IDE* user, you can install the **Catalyst Tools** extension, and use your IDE in place of the CLI. You can find more details about the Catalyst VS Code extension from this [help section](https://docs.catalyst.zoho.com/en/catalyst-extensions/vs-code-extension/introduction/). You will be given the code for the files to be included in the function and client directory of your project in this tutorial. You can either copy the provided code or customize it, should you feel it necessary and paste it into the appropriate files as directed. ### Application Architecture The authorization portal's application logic is described below: * **Login process**: The end-user will be directed to the login page. They can either opt in to log in to the application using the **Zoho**, **Google**, **LinkedIn**, **Microsoft 365**, or **Facebook** social logins, or click the **Sign Up** option provided to sign up using their email ID. * **Custom user validation**: The details inputted by the end-user during the login process will sent be as a JSON input to the *Custom User Validation* function. if the details are successfully validated per the custom logic present in the *Basic I/O function*, the verification email will be triggered. * **Email verification email triggered**: After a user signs up for the application, an email verification email will be sent to their email address used to register the account. The email verification content and style can be customized per your preference using the *Email Templates* feature of *Authentication*. * **Password setup**: When end-users click the link present in the email verification email, they will be directed to the password setup page. Here, the end-user can secure their account by setting a password of their preference. * **End-user account created**: After the password is set, the user account will be created, and the end-user will now be able to log in to the application using the credentials they created. You can confirm the account has been created by viewing the account details in the *User Management* section of the *Authentication* component. * **Password reset option**: End-users will have the option to reset the password by opting for the **Forgot Password** option present in the login page. They will then be prompted to provide any of their previous passwords to recover their account or go ahead with the reset option. After the users go ahead with the reset option, a one-time password (OTP) email will be sent to the user. After the OTP is verified, they can set a new password for their account. > **Note:** As we are using the **Hosted Login** method: - You do not have to code the additional logic to trigger the emails; they will be automatically handled by Catalyst in the backend. - You can style the login, sign up, and password reset pages in the console directly, so you do not have to code any additional style elements. -------------------------------------------------------------------------------- title: "Prerequisites" description: "Create a Basic or React application using Catalyst Hosted Authentication that provides user sign-up, login, password reset, and federated sign-in." last_updated: "2026-11-04T10:10:44.000Z" source: "https://docs.catalyst.zoho.com/en/tutorials/hosted-login-app/python/prerequisites/" service: "All Services" related: - CLI Command Reference (/en/cli/v1/cli-command-reference/) - Install CLI (/en/getting-started/installing-catalyst-cli/) - Login CLI (/en/cli/v1/login/login-from-cli/) -------------------------------------------------------------------------------- # Prerequisites Before you begin building the application, you must have the following prerequisites installed on your system: 1. **Catalyst CLI** Catalyst CLI contains a host of tools that enable you to initialize, develop, test, and deploy the components of your application from your local machine. We will be working with Catalyst CLI in this tutorial. You must perform the following actions: * **Install Catalyst CLI**: Catalyst CLI is installed through NPM. You must therefore have NPM and Node.js installed on your system before you install the CLI. Refer to the [Install Catalyst CLI help page](https://docs.catalyst.zoho.com/en/getting-started/installing-catalyst-cli/) for details on the pre-requisites and the steps to install it. * **Log in to Catalyst CLI**: After you install Catalyst CLI, you must authenticate the CLI with your Catalyst account before using it. Refer to the [CLI Login help page](https://docs.catalyst.zoho.com/en/cli/v1/login/login-from-cli/) for the steps to login from Catalyst CLI and the various options available for it. 2. **Any IDE tool for Python and client code development** You can use any IDE to work with the *Basic I/O function* and the client code. Some popular choices include Visual Studio Code, PyCharm, IDLE, and Sublime Text. Download and install an IDE of your choice on your system. > If you are a Visual Studio Code IDE user, you can install the **Catalyst Tools** extension, and use your IDE itself in place of the CLI. You can find more details about the Catalyst VS Code extension from this [help section](https://docs.catalyst.zoho.com/en/catalyst-extensions/vs-code-extension/introduction/). -------------------------------------------------------------------------------- title: "Create a Project" description: "Create a Basic or React application using Catalyst Hosted Authentication that provides user sign-up, login, password reset, and federated sign-in." last_updated: "2026-11-04T10:10:44.000Z" source: "https://docs.catalyst.zoho.com/en/tutorials/hosted-login-app/python/create-project/" service: "All Services" related: - Project Directory (/en/cli/v1/project-directory-structure/introduction) - Set up Catalyst Projects (/en/getting-started/catalyst-projects) -------------------------------------------------------------------------------- # Create a Project Let’s [create a Catalyst project](https://docs.catalyst.zoho.com/en/getting-started/catalyst-projects/#create-a-catalyst-project) from the Catalyst console. 1. Log in to the [Catalyst console](https://console.catalyst.zoho.com/baas/index) and click **Create New Project**. ![catalyst_authentication_create_project](https://catalyst-docs-development.zohostratus.in/images/tutorials/hosted-login/authentication-create-project.webp) 2. Enter the project’s name as "**AuthorizationPortal**" in the pop-up window, and click **Create**. ![catalyst_hosted_login_tutorial_project_name](https://catalyst-docs-development.zohostratus.in/images/tutorials/hosted-login/catalyst_hosted_login_tutorial_project_name.webp) Your project will be created and it will be opened. You can access the project later, by clicking **Access Project**. ![catalyst_hosted_login_tutorial_access_project](https://catalyst-docs-development.zohostratus.in/images/tutorials/hosted-login/catalyst_hosted_login_tutorial_access_project.webp) -------------------------------------------------------------------------------- title: "Configure the Hosted Authentication" description: "Create a Basic or React application using Catalyst Hosted Authentication that provides user sign-up, login, password reset, and federated sign-in." last_updated: "2026-11-04T10:10:44.000Z" source: "https://docs.catalyst.zoho.com/en/tutorials/hosted-login-app/python/configure-hosted-login/" service: "All Services" related: - Setup Hosted Authentication type (/en/cloud-scale/help/authentication/native-catalyst-authentication/hosted-authentication-type/configure-hosted-authentication/) - Configure Social Logins (/en/cloud-scale/help/authentication/social-logins/configuring-social-logins/) -------------------------------------------------------------------------------- # Configure Hosted Authentication for the Application Let's configure the *Native Catalyst Authentication* type, *Hosted Login* in this section. 1. Authentication is a [Catalyst CloudScale](https://docs.catalyst.zoho.com/en/cloud-scale/) component. Click the **CloudScale** icon on the console's side navigation menu to access the CloudScale service console, then click **Start Exploring**. ![catalyst_authentication_cloudscale_view](https://catalyst-docs-development.zohostratus.in/images/tutorials/hosted-login/catalyst_authentication_cloudscale_view.webp) 2. Click **Authentication** under *Security & Identity* to access the Authentication component. ![catalyst_authentication_console_view](https://catalyst-docs-development.zohostratus.in/images/tutorials/hosted-login/authorisation-portal-cloudscale-authentication.webp) 3. You can set up your application's authentication element using [*Native Catalyst Authentication*](https://docs.catalyst.zoho.com/en/cloud-scale/help/authentication/native-catalyst-authentication/introduction/) or a [*Third-party Authentication*](https://docs.catalyst.zoho.com/en/cloud-scale/help/authentication/third-party-authentication/introduction/) service. For this tutorial, we are going to set up the application's authentication using [*Hosted Login*](https://docs.catalyst.zoho.com/en/cloud-scale/help/authentication/native-catalyst-authentication/hosted-authentication-type/introduction/), a *Native Catalyst Authentication* type. Click the **Set Up** button in the *Native Catalyst Authentication* section to start configuring your login element. ![catalyst_authentication_native_setup_highlight](https://catalyst-docs-development.zohostratus.in/images/tutorials/hosted-login/catalyst_authentication_native_setup_highlight.webp) > **Note:** * [Embedded Login](https://docs.catalyst.zoho.com/en/cloud-scale/help/authentication/native-catalyst-authentication/embedded-authentication/introduction/) * [Third-party Authentication](https://docs.catalyst.zoho.com/en/cloud-scale/help/authentication/third-party-authentication/introduction/) 4. Select *Hosted Authentication* and click **Next**. ![catalyst_authentication_hosted_setup_highlight](https://catalyst-docs-development.zohostratus.in/images/tutorials/hosted-login/catalyst_authentication_hosted_setup_highlight.webp) 5. Enter your business name or other name of your choice in the *Company Name* field and upload an image file of your choice for the *Company Logo*. ![catalyst_authentication_hosted_name_n_logo](https://catalyst-docs-development.zohostratus.in/images/tutorials/hosted-login/catalyst_authentication_hosted_name_n_logo.webp) > **Note:** For the purpose of this tutorial, we are using "**Zylker Technologies Pvt. Ltd.**" as the company name. 6. Use the color palettes in the console to style your login element. Use the *Preview* section on the right and design the login element to match your preference. ![catalyst_authentication_hosted_design_color_pallete](https://catalyst-docs-development.zohostratus.in/images/tutorials/hosted-login/catalyst_authentication_hosted_design_color_pallete.webp) > **Note:** You can use the *Preview* section to simultaneously view the style of your *Sign In*, *Sign Up*, and *Password Reset* elements. However, to view the *Sign U* page, you need to enable Public Signup. The steps involved in enabling *Public Signup* are given below. 7. Click the **toggle button** to enable *Public Signup*. ![catalyst_authentication_hosted_oublic_toggle_highlight](https://catalyst-docs-development.zohostratus.in/images/tutorials/hosted-login/catalyst_authentication_hosted_oublic_toggle_highlight.webp) * Read the information pop-up and click **Yes, Proceed**. ![catalyst_authentication_hosted_public_signup_proceed](https://catalyst-docs-development.zohostratus.in/images/tutorials/hosted-login/catalyst_authentication_hosted_public_signup_proceed.webp) > **Note:** To learn more about *Public Signup*, visit this [help document](https://docs.catalyst.zoho.com/en/cloud-scale/help/authentication/public-signup/). 8. You can add any or all of the [Social Logins](https://docs.catalyst.zoho.com/en/cloud-scale/help/authentication/social-logins/introduction/) that are present in the console. ![catalyst_authentication_social_login_configurations](https://catalyst-docs-development.zohostratus.in/images/tutorials/hosted-login/catalyst_authentication_social_login_configurations.webp) To enable the **Zoho** social login: - Click the **Zoho** button, and enter "**AuthorizationPortal**" as the *Client Name*. ![catalyst_authentication_social_login_zoho_configuring](https://catalyst-docs-development.zohostratus.in/images/tutorials/hosted-login/catalyst_authentication_social_login_zoho_configuring.webp) - Click **Enable**. ![catalyst_authentication_hosted_zoho_sl_alone](https://catalyst-docs-development.zohostratus.in/images/tutorials/hosted-login/catalyst_authentication_hosted_zoho_sl_alone.webp) Your end-users can now log in to your application using their Zoho credentials. > **Note:** As your application is being built on Catalyst by Zoho, you do not have to create OAuth `Client ID` and `Client Secret` credentials. To enable the **Google** social login: - Click the **Google** button, and enter the OAuth `Client ID` and `Client Secret` that you obtained in the Google console in their respective fields. ![catalyst_authentication_social_login_google_configuring](https://catalyst-docs-development.zohostratus.in/images/tutorials/hosted-login/catalyst_authentication_social_login_google_configuring.webp) > **Note:** Steps to obtain the OAuth `Client ID` and `Client Secret` for each of the social logins can be accessed in the following help documents: [Google](https://docs.catalyst.zoho.com/en/cloud-scale/help/authentication/social-logins/configuring-social-logins/#enable-google-social-login), [Microsoft 365](https://docs.catalyst.zoho.com/en/cloud-scale/help/authentication/social-logins/configuring-social-logins/#enable-microsoft-365-social-login), [LinkedIn](https://docs.catalyst.zoho.com/en/cloud-scale/help/authentication/social-logins/configuring-social-logins/#enable-linkedin-social-login), and [Facebook](https://docs.catalyst.zoho.com/en/cloud-scale/help/authentication/social-logins/configuring-social-logins/#enable-facebook-social-login). - Click **Enable**. ![catalyst_authentication_hosted_zoho_google_sl_alone](https://catalyst-docs-development.zohostratus.in/images/tutorials/hosted-login/catalyst_authentication_hosted_zoho_google_sl_alone.webp) Your end-users can now log in to your application using their **Google** credentials. You can repeat the same steps to enable the other social logins. ![catalyst_authentication_social_logins_configured](https://catalyst-docs-development.zohostratus.in/images/tutorials/hosted-login/catalyst_authentication_social_logins_configured.webp) 9. Click **Next**. > **Note:** You always have the option to [edit your design and social login configurations](https://docs.catalyst.zoho.com/en/cloud-scale/help/authentication/native-catalyst-authentication/hosted-authentication-type/edit-hosted-authentication/) at a later point using the *Authentication Type* section. 10. We will configure the *Additional Settings* section at a later point using the *Whitelisting* feature. Click **Finish**. ![catalyst_authentication_addn_settings_skip](https://catalyst-docs-development.zohostratus.in/images/tutorials/hosted-login/catalyst_authentication_addn_settings_skip.webp) You will now able to view and verify that *Hosted Authentication* type has been enabled for your application. ![catalyst_authentication_hoted_login_enabled](https://catalyst-docs-development.zohostratus.in/images/tutorials/hosted-login/catalyst_authentication_hoted_login_enabled.webp) You will also be able to view that Catalyst has generated secure `Access URLs` for your *Login*, *Sign Up*, and *Password Reset* pages, and has automatically rendered your styling preferences in all the concerned pages. ![catalyst_authentication_hoted_login_enabled_three_pages](https://catalyst-docs-development.zohostratus.in/images/tutorials/hosted-login/catalyst_authentication_hoted_login_enabled_three_pages.webp) -------------------------------------------------------------------------------- title: "Configure Email Templates" description: "Create a Basic or React application using Catalyst Hosted Authentication that provides user sign-up, login, password reset, and federated sign-in." last_updated: "2026-11-04T10:10:44.000Z" source: "https://docs.catalyst.zoho.com/en/tutorials/hosted-login-app/python/configure-email-templates/" service: "All Services" related: - Email Templates (/en/cloud-scale/help/authentication/email-templates/introduction/) -------------------------------------------------------------------------------- # Configure Email Templates Catalyst provides you with [Email Templates](https://docs.catalyst.zoho.com/en/cloud-scale/help/authentication/email-templates/introduction/) that you can use to send custom emails to your end-users when they sign up to your application, or on instances when they wish to change their password. To configure the email templates: 1. Click the **Email Templates** tab in the *Authentication* component to navigate to the relevant section. ![catalyst_authentication_hosted_email_template_intro](https://catalyst-docs-development.zohostratus.in/images/tutorials/hosted-login/catalyst_authentication_hosted_email_template_intro.webp) 2. Click the **Email Verification** tab, then click **Edit** to begin customizing and editing the email content. You can include [placeholders](https://docs.catalyst.zoho.com/en/cloud-scale/help/authentication/email-templates/benefits-and-key-concepts/#placeholders) for values to be inserted dynamically. ![catalyst_authentication_hosted_email_template_edit_highlight](https://catalyst-docs-development.zohostratus.in/images/tutorials/hosted-login/catalyst_authentication_hosted_email_template_edit_highlight.webp) > **Note:** * You can customize the email content to match your preference. * The placeholder content (the content that is present between `%%`) will be dynamically populated based on the user details. * The `%LINK%` placeholder will contain the application's redirection link. The URL is automatically generated by Catalyst when you host your application, and the redirection page can be specified in a [Catalyst configuration file of your project](https://docs.catalyst.zoho.com/en/cli/v1/project-directory-structure/client-directory/#client-package-json-file). You can also provide a custom link. 3. Make the necessary changes and click **Save**. ![catalyst_authentication_hosted_email_template_save_changes](https://catalyst-docs-development.zohostratus.in/images/tutorials/hosted-login/catalyst_authentication_hosted_email_template_save_changes.webp) 4. To customize the *Reset Password* emails, click the **Password Reset** tab and customize the email content in the same manner as above. ![catalyst_authentication_hosted_email_template_save_pwd_changes](https://catalyst-docs-development.zohostratus.in/images/tutorials/hosted-login/catalyst_authentication_hosted_email_template_save_pwd_changes.webp) The email templates will now be configured. > **Note:** * You can learn more about *Email Templates* from this [help document](https://docs.catalyst.zoho.com/en/cloud-scale/help/authentication/email-templates/introduction/). * Because we are using *Hosted Login* to authenticate this application, the handling of sending these emails at the required instances will be automatically configured by Catalyst, so you do not have to code the logic to trigger these emails. -------------------------------------------------------------------------------- title: "Initialize the Project" description: "Create a Basic or React application using Catalyst Hosted Authentication that provides user sign-up, login, password reset, and federated sign-in." last_updated: "2026-11-04T10:10:44.000Z" source: "https://docs.catalyst.zoho.com/en/tutorials/hosted-login-app/python/init-project/" service: "All Services" related: - Initialize CLI Resources (/en/cli/v1/initialize-resources/introduction) - Project Directory Structure (/en/cli/v1/project-directory-structure/introduction) -------------------------------------------------------------------------------- # Initialize the Project from the CLI You can now begin working on your Catalyst project from the CLI. The first step is to initialize the project in an empty directory. This will be the home directory of your project and all of the project files will be saved in it. You can learn more about this from the [Project Directory Structure help page](https://docs.catalyst.zoho.com/en/cli/v1/project-directory-structure/introduction/). You can learn about initializing a project in detail from the [CLI help documentation](https://docs.catalyst.zoho.com/en/cli/v1/initialize-resources/introduction). For this application, we will initialize a [Basic I/O function](https://docs.catalyst.zoho.com/en/serverless/help/functions/basic-io/), which will contain the logic for [Custom User Validation](https://docs.catalyst.zoho.com/en/cloud-scale/help/authentication/whitelisting/custom-user-validation/introduction/) and a [Basic web app](https://docs.catalyst.zoho.com/en/cli/v1/initialize-resources/initialize-client/#basic-client-applications) as the client component. > **Note:** Ensure that you enter the function's package name or class name exactly as instructed, because the application's code contains the same name. 1. Create a folder for the project on your local machine and navigate to it from the terminal. 2. Initialize a project by executing the following command from that directory: ```sh catalyst init ``` 3. Navigate using the **arrow keys**, select your preferred portal, and press the **Enter** key. If you have no other organizations associated with the account, then the default one will be selected automatically. ![catalyst_authorization_portal_multiorg_choice](https://catalyst-docs-development.zohostratus.in/images/tutorials/hosted-login/catalyst_authorization_portal_multiorg_choice.webp) > **Note:** You can find out more about Catalyst’s multi-org portal feature from this [help document](https://docs.catalyst.zoho.com/en/getting-started/catalyst-organizations/#access-the-multi-org-portal). 4. The CLI will now ask you to associate a Catalyst project with the directory. Associate it with the project that we created earlier from the console. Select **Authorization Portal** from the list and press **Enter**. ![catalyst_authentication_hosted_project_select](https://catalyst-docs-development.zohostratus.in/images/tutorials/hosted-login/catalyst_authentication_hosted_project_select.webp) 5. Navigate using the arrow keys and select **Functions**, **Client** using the space bar. Press **Enter** to initialize. ![catalyst_authentication_hosted_func_client_select](https://catalyst-docs-development.zohostratus.in/images/tutorials/hosted-login/catalyst_authentication_hosted_func_client_select.webp) 6. The CLI will initiate the function setup. Select **Basic IO** as the function type for your *Custom User Validation* function. ![catalyst_authentication_hosted_func_type_select](https://catalyst-docs-development.zohostratus.in/images/tutorials/hosted-login/catalyst_authentication_hosted_func_type_select.webp) 7. Select the latest runtime of *Python* as the function stack. ![catalyst_authentication_hosted_python_func_runtime_select](https://catalyst-docs-development.zohostratus.in/images/tutorials/hosted-login/catalyst_authentication_hosted_python_func_runtime_select.webp) 8. Enter "`authorized_portal_function`" as the package name, "`main.py`" as the entry point, and your email address as the author, then press **Enter**. Alternatively, you can press **Enter** without entering inputs to fill in the default values. ![catalyst_authentication_hosted_python_func_setup_complete](https://catalyst-docs-development.zohostratus.in/images/tutorials/hosted-login/catalyst_authentication_hosted_python_func_setup_complete.webp) The CLI will now initiate the client setup. **Basic web app** 9. Select **Basic web app** and press **Enter** to initialize your client as a [basic web app](https://docs.catalyst.zoho.com/en/cli/v1/initialize-resources/initialize-client/#basic-client-applications). ![catalyst_authentication_hosted_client_type_select](https://catalyst-docs-development.zohostratus.in/images/tutorials/hosted-login/catalyst_authentication_hosted_client_type_select.webp) 10. Enter a name for your client package and press **Enter**. For the purposes of this tutorial, we are naming our client package "`ZylkerTechnologies`". You can use the same of provide a name of your choice. ![catalyst_authentication_hosted_client_choice_complete](https://catalyst-docs-development.zohostratus.in/images/tutorials/hosted-login/catalyst_authentication_hosted_client_choice_complete.webp) The Catalyst initialization is now complete. The project directory is now set up with the client directory and the functions directory along with configuration files and dependencies. The project directory also contains the [`catalyst.json`](https://docs.catalyst.zoho.com/en/cli/v1/project-directory-structure/catalyst-json/) configuration file and a hidden `.catalystrc` file. The structure of your project directory should now appear as shown below: ![catalyst_hosted_login_directory](https://catalyst-docs-development.zohostratus.in/images/tutorials/hosted-login/catalyst_hosted_py_basic_login_directory.webp) **React web app** 9. Select **React web app** and press **Enter** to initialize your client as a [React web app](https://docs.catalyst.zoho.com/en/cli/v1/initialize-resources/initialize-client/#react-applications). ![catalyst_authentication_hosted_client_react_type_select](https://catalyst-docs-development.zohostratus.in/images/tutorials/hosted-login/catalyst_authentication_hosted_client_react_type_select.webp) 10. Select **JavaScript** as the React app type and press **Enter** ![catalyst_authentication_hosted_client_react_type_javascript_select](https://catalyst-docs-development.zohostratus.in/images/tutorials/hosted-login/catalyst_authentication_hosted_client_react_type_javascript_select.webp) 11. Enter "`zylkertechnologies`" as the name of your client package and click **Enter**. You can also provide any name of your choice. All of the required React packages, such as “`react`,” “`react-dom`,” and “`react-scripts`” will be installed through the Catalyst React plugin ([`zcatalyst-cli-plugin-react`](https://www.npmjs.com/package/zcatalyst-cli-plugin-react)). ![catalyst_authentication_hosted_client_react_type_initing](https://catalyst-docs-development.zohostratus.in/images/tutorials/hosted-login/catalyst_authentication_hosted_client_react_type_initing.webp) The client is now successfully initialized as a React web application. ![catalyst_authentication_hosted_client_react_type_init_complete](https://catalyst-docs-development.zohostratus.in/images/tutorials/hosted-login/catalyst_authentication_hosted_client_react_type_init_complete.webp) The [client directory](https://docs.catalyst.zoho.com/en/cli/v1/project-directory-structure/client-directory) will be created in the standard structure in the project directory. This is the structure of the *Authorization Portal* project’s directory if the client is initialized as a React app. ![catalyst_hosted_login_react_directory](https://catalyst-docs-development.zohostratus.in/images/tutorials/hosted-login/catalyst_hosted_login_python_react_directory.webp) Catalyst initialization is now complete. **Angular web app** 9. Select **Angular web app** and press **Enter** to initialize your client as a [Angular web app](https://docs.catalyst.zoho.com/en/cli/v1/initialize-resources/initialize-client/#angular-applications). ![catalyst_authentication_hosted_client_angular_type_select](https://catalyst-docs-development.zohostratus.in/images/tutorials/hosted-login/catalyst_authentication_hosted_client_angular_type_select.webp) 10. Name your Angular app "`ZylkerTechnologies`", and press the **Enter** key. Since this application does not require Angular Routing, enter "`N`" at the prompt. Finally, choose `CSS` as your stylesheet format and press the **Enter** key. ![catalyst_authentication_hosted_client_angular_type_init](https://catalyst-docs-development.zohostratus.in/images/tutorials/hosted-login/catalyst_authentication_hosted_client_angular_type_init.webp) Catalyst will initialize the client using the **Catalyst Angular plugin** ([`zcatalyst-cli-plugin-angular`](https://npm.io/package/zcatalyst-cli-plugin-angular)). ![catalyst_authentication_hosted_client_angular_type_init_complete](https://catalyst-docs-development.zohostratus.in/images/tutorials/hosted-login/catalyst_authentication_hosted_client_angular_type_init_complete.webp) The client is now successfully initialized as an Angular web application. The project directory is now set up with the client directory and the functions directory along with configuration files and dependencies. The project directory also contains the [`catalyst.json`](https://docs.catalyst.zoho.com/en/cli/v1/project-directory-structure/catalyst-json/) configuration file and a hidden `.catalystrc` file. The structure of your project directory should now appear as shown below: ![catalyst_authentication_hosted_py_client_angular_type_first_directory](https://catalyst-docs-development.zohostratus.in/images/tutorials/hosted-login/catalyst_authentication_hosted_py_client_angular_type_first_directory.webp) -------------------------------------------------------------------------------- title: "Configure the Basic I/O function" description: "Create a Basic or React application using Catalyst Hosted Authentication that provides user sign-up, login, password reset, and federated sign-in." last_updated: "2026-11-04T10:10:44.000Z" source: "https://docs.catalyst.zoho.com/en/tutorials/hosted-login-app/python/configure-function/" service: "All Services" related: - Basic I/O Functions (/en/serverless/help/functions/basic-io/) - Functions Directory Structure (/en/cli/v1/project-directory-structure/functions-directory) -------------------------------------------------------------------------------- # Configure the Function Now, we will begin coding the authorization portal application by configuring the function component. The [function’s directory](https://docs.catalyst.zoho.com/en/cli/v1/project-directory-structure/functions-directory), (`functions/authorization_portal_function`), contains: * The `main.py` main function file * The `catalyst-config.json` configuration file * Handler files * [`requirements.txt`](https://docs.catalyst.zoho.com/en/cli/v1/project-directory-structure/functions-directory/#requirementstxt-file) file to mention any external libraries you might add You will be adding code in the `main.py` file. The Basic I/O function contains the following functionalities: * The end-user's details will provided as a JSON input to the *Custom User Validation* function. * The function is coded to implement a custom logic based upon which the end-user will either be authenticated or denied. > **Note:** For the purpose of this tutorial, we have coded a logic for the Custom User Validation function where if the user's email provider is anyone other than Zylker Technology (`@zylker.com`) the end-user will not be able to sign up to the application. You can either use the same or code a logic of your preference. Now, let’s begin coding the Basic I/O function. Copy the code given below and paste it in the `main.py` file in the `functions/authorization_portal_function` directory of your project, and save the file. You can use any IDE of your choice to work with the application’s files. > **Note:** Please go through the code in this section to make sure you fully understand it. **main.py** ```javascript import json import zcatalyst_sdk def handler(context, basicio): catalyst_app = zcatalyst_sdk.initialize() auth_service = catalyst_app.authentication() request_details = auth_service.get_signup_validation_request(basicio) if request_details: if "@zylker.com" in request_details["user_details"]["email_id"]: basicio.write(json.dumps({"status": "failure"})) //The user has failed authentication else: //The actions that occur in the event of a successful authentication can be customized basicio.write( json.dumps( { "status": "success", "user_details": { "first_name": request_details["user_details"]["first_name"], "last_name": request_details["user_details"]["last_name"], "email_id": request_details["user_details"]["email_id"], "role_identifier": "App User", //If you want to override the default role, you can specify the role id/name here. 'org_id': "orgId" //If you are providing the Org ID, make sure it is copied exactly from the console. }, } ) ) context.close() ``` > **Note:** You can also use this [SDK](https://docs.catalyst.zoho.com/en/sdk/python/v1/cloud-scale/authentication/custom-user-validation/) to code your own custom logic instead of the one implemented above. The function directory is now configured. We can now proceed to configuring the client directory. -------------------------------------------------------------------------------- title: "Enable Custom User Validation" description: "Create a Basic or React application using Catalyst Hosted Authentication that provides user sign-up, login, password reset, and federated sign-in." last_updated: "2026-11-04T10:10:44.000Z" source: "https://docs.catalyst.zoho.com/en/tutorials/hosted-login-app/python/enable-custom-validation/" service: "All Services" related: - Custom User Validation (/en/cloud-scale/help/authentication/whitelisting/custom-user-validation/introduction/) - Whitelisting (/en/cloud-scale/help/authentication/whitelisting/introduction/) - Catalyst Deploy Options (/en/cli/v1/deploy-resources/deploy-options/) -------------------------------------------------------------------------------- # Enable Custom User Validation Now that we have coded the logic, let's enable [Custom User Validation](https://docs.catalyst.zoho.com/en/cloud-scale/help/authentication/whitelisting/custom-user-validation/introduction/). To do this, you must first deploy the function to the console. Enter this CLI command to [deploy the function component](https://docs.catalyst.zoho.com/en/cli/v1/deploy-resources/deploy-options/#--only-targets) alone to the console. ```sh catalyst deploy --only functions ``` ![catalyst_authentication_hosted_func_deploy_alone](https://catalyst-docs-development.zohostratus.in/images/tutorials/hosted-login/catalyst_authentication_hosted_func_deploy_alone.webp) A function endpoint will be created for the function that allows you to access the function directly. The function will be deployed to the console. Now, go to the console, and implement the following steps: 1. Navigate to the *Whitelisting* section in the *Authentication* component, and click the **Custom User Validation** toggle. ![catalyst_authentication_hosted_whitelisting_intro](https://catalyst-docs-development.zohostratus.in/images/tutorials/hosted-login/catalyst_authentication_hosted_whitelisting_intro.webp) 2. Select the **Basic I/O function** from the drop-down in the pop-up. ![catalyst_authentication_hosted_whitelisting_func_select](https://catalyst-docs-development.zohostratus.in/images/tutorials/hosted-login/catalyst_authentication_hosted_whitelisting_func_select.webp) 3. Click **Configure**. ![catalyst_authentication_hosted_whitelisting_complete](https://catalyst-docs-development.zohostratus.in/images/tutorials/hosted-login/catalyst_authentication_hosted_whitelisting_complete.webp) The *Custom User Validation* function has been enabled for the project, and the end-users signing up for your application will now be additionally authenticated using this function. > **Note:** You can find out about the all of the features present in the *Whitelisting* section form in this [help document](https://docs.catalyst.zoho.com/en/cloud-scale/help/authentication/whitelisting/introduction/). -------------------------------------------------------------------------------- title: "Configure the Client" description: "Create a Basic or React application using Catalyst Hosted Authentication that provides user sign-up, login, password reset, and federated sign-in." last_updated: "2026-11-04T10:10:44.000Z" source: "https://docs.catalyst.zoho.com/en/tutorials/hosted-login-app/python/configure-client/" service: "All Services" related: - Client Directory Structure (/en/cli/v1/project-directory-structure/client-directory) -------------------------------------------------------------------------------- # Configure the Client Let’s configure the client component. **Basic web app** The [client directory](https://docs.catalyst.zoho.com/en/cli/v1/project-directory-structure/client-directory/) contains: * The `index.html` file that contains the HTML code for the frontend application * The `main.css` file that contains the CSS code for the frontend application * The `main.js` file that contains the JavaScript code * The `client-package.json` configuration file We will be coding `index.html` and `main.js`. We will also be making a change in the `client-package.json` to ensure that the homepage of the application is the authenticated page. We will discuss the code at the end of this section. > **Note:** Please go through the code provided in this section to make sure you fully understand it. Copy the code below and paste it into the respective files located in the `client/directory` of your project using an IDE and save the files. **index.html** ```xml <!DOCTYPE html> <html> <head> <title>Profile Information</title> <link rel="stylesheet" href="https://cdnjs.cloudflare.com/ajax/libs/font-awesome/4.7.0/css/font-awesome.min.css" > <script src="main.js"></script> <script src="https://static.zohocdn.com/catalyst/sdk/js/4.6.2/catalystWebSDK.js"> </script> <script src="/__catalyst/sdk/init.js"></script> <style> .card { max-width: 500px; margin: auto; text-align: center; font-family: arial; background-color: #a5a4a4; } .title { font-size: 23px; color: black; } button { border: none; outline: 0; display: inline-block; padding: 8px; color: white; background-color: #000; text-align: center; cursor: pointer; width: 50%; font-size: 18px; border-radius: 8px; } a { text-decoration: none; font-size: 22px; color: black; } button:hover, a:hover { opacity: 0.7; } body{ background-color:#a5a4a4; font-size: 20px; visibility: hidden; } p{ font-family: 'Trebuchet MS', 'Lucida Sans Unicode', 'Lucida Grande', 'Lucida Sans', Arial, sans-serif; font-size: 10px; font-weight: bold; } </style> </head> <body onload="showProfile()"> <h1 style="text-align:center">User Profile Information</h1> <div class="card"> <img width="200px" height="450px" src="https://cdn2.iconfinder.com/data/icons/user-management/512/profile_settings-512.png" alt="John" style="width:80px;height: 80px;" > <p class="title" id="fname"></p> <p class="title" id="lname"></p> <p class="title"id="mailid" ></p> <p class="title"id="tzone" ></p> <p class="title"id="ctime" ></p> <p><button onclick="logout()">Logout</button></p> </div> </body> </html> ``` **main.js** ```javascript function showProfile() { debugger; //The catalyst.auth.isUserAuthenticated() method allows only authenticated users, i.e., the users who are logged in, to access the pages //You can load this method in the body of your page to allow only authenticated users to access a particular page catalyst.auth.isUserAuthenticated().then(result => { //If the user is logged in, these contents of the page will be displayed to the user document.body.style.visibility = "visible"; const first_name = "First Name: " + result.content.first_name; document.getElementById("fname").innerHTML = first_name; const last_name = "Last Name: " + result.content.last_name; document.getElementById("lname").innerHTML = last_name; const mailid = "Email Address: " + result.content.email_id; document.getElementById("mailid").innerHTML = mailid; const tzone = "Time Zone: " + result.content.time_zone; document.getElementById("tzone").innerHTML = tzone; const created_time = " Joined On: " + result.content.created_time; document.getElementById("ctime").innerHTML = created_time; }).catch(err => { //If the user is not logged in, this will be displayed to the user and they will be redirected to the login page document.body.style.visibility = "visible"; document.body.innerHTML = 'You are not logged in. Please log in to continue. Redirecting you to the login page..'; setTimeout(function () { window.location.href = "/__catalyst/auth/login"; }, 5000); }); } function logout() { //The signOut method is used to sign the user out of the application const redirectURL = location.protocol +"//"+ location.hostname + "/__catalyst/auth/login"; catalyst.auth.signOut(redirectURL); } ``` **client-package.json** ```json { "name" : "ZylkerTechnologies", "version" : "0.0.1", "homepage" : "/__catalyst/auth/login", "login_redirect" : "index.html" } ``` > **Note:** The home page URL can be copied from the `Access URL` generated by Catalyst in the [Authentication Types](https://docs.catalyst.zoho.com/en/cloud-scale/help/authentication/authentication-types/) section of the console. The client directory is now configured. Let’s go over how the function and the client code works: * The end-user will first encounter the **Login Page** you have configured and styled in the console. * To create an account, they will click the **Sign Up** option and be directed to the *Sign Up* page. > **Note:** End-users can either sign up to your application using their [Social Logins](https://docs.catalyst.zoho.com/en/cloud-scale/help/authentication/social-logins/introduction/) or use the conventional method of signing up to the application using their email ID. * Once the information is inputted and they click **Sign Up**, or if they attempt to sign up using a Social Login of their choice, their details will be provided as a JSON input to the [Custom User Validation](https://docs.catalyst.zoho.com/en/cloud-scale/help/authentication/whitelisting/custom-user-validation/introduction/) function (`authorization_portal_function/main.py`). * The function will only authenticate users if the condition you have coded is satisfied. For this tutorial, the users will only be authenticated if they signed up to the application using a Zylker registered email address. * Upon successful authentication, an [Email Verification](https://docs.catalyst.zoho.com/en/cloud-scale/help/authentication/email-templates/introduction/) email will be sent to the account they used to sign up to the application. > **Note:** Because we are using [Hosted Login](https://docs.catalyst.zoho.com/en/cloud-scale/help/authentication/native-catalyst-authentication/hosted-authentication-type/introduction/), a native Catalyst authentication type, no additional logic to trigger the appropriate emails is required. It will be handled by Catalyst automatically. * Once the user verifies their email address by clicking the link provided in the email, they will be signed up to the application. Their details can be viewed in the [User Management](https://docs.catalyst.zoho.com/en/cloud-scale/help/authentication/user-management/introduction/) section of the *Authentication* component. * The end-user can now log in to the application using their authenticated credentials. * The end-user can also reset their password by clicking the **Forgot Password** option. In this event, the *Password Reset* email will be sent to their registered email. Following the steps mentioned in the email, they can easily reset their credentials. **React web app** Let’s configure the client component. The React web [client directory](https://docs.catalyst.zoho.com/en/cli/v1/project-directory-structure/client-directory) contains the following files: - The root directory of the client contains a `client-package.json` file, which is a configuration file defining the name, version, default home page, and redirect page of the client component. - The `zylkertechnologies` client directory contains two subfolders, as per the default project structure of a React app: - The `public` folder is generally used to hold files that can be openly accessed by browsers through public URLs, such as icon files of the web app, the `index.html` file, and the `404.html` file. - The `src` folder contains the application’s source files that will be included in the build folder when we compile the React app. - The client directory also contains the [`package.json`](https://docs.npmjs.com/files/package.json) dependency file and a hidden [`.gitignore`](https://docs.npmjs.com/files/package.json) file. - The files present in the `public` folder include: - [Native React files](https://reactjs.org/docs/getting-started.html?#try-react) such as setup `Tests.js`, `index.js`, `reportWebVitals.js`, `logo.svg`, and `App.test.js`. - `index.html` - Contains Catalyst web sdk that allows you to access Catalyst components. - We will be creating an additional `404.html` file that will contain the error handling elements. - The files present in the `src` folder include: - Native React files such as `setupTests.js`, `reportWebVitals.js`, `logo.svg`, and `App.test.js`. - `App.js` - Contains the hash routes to your application - `App.css` - Contains the overall styling elements of your application - `index.js` - The entry point of the react application. - `index.css` - Contains the styling of the elements present in the `index.js` file. - You will be creating the following files in the `src` folder: - `Button.css` - Contains the styling elements for the *Logout* button that will be present in the application. - `Button.js` - Contains the React component for the *Logout* present in the application. - `Layout.js` - Contains the React component for the application's logic - `LoginPage.js` - Contains the React component for the login pages you generated in the Catalyst console. - `UserProfile.css` - Contains the styling elements for the user information page that will be displayed once you log in to the application. - `UserProfile.js` - Contains the React component to render the user details after you login. We will be coding in the `index.html`, `404.html`, `App.js`, `App.css`, `index.css`, `index.js`, `Button.css`, `Button.js`, `Layout.js`, `LoginPage.js`, `UserProfile.css`, and `UserProfile.js` files. We will also be making a change in the `client-package.json`. to ensure that the homepage of the application is the authenticated page. > **Note:** You can delete the native React files as they not required for building this application. #### Install additional React packages The `react-router-dom` package needs to be installed in the `AuthorizationPortal/zylkertechnologies` client directory using the CLI command given below: ```sh npm install react-router-dom ``` This command will install the `react-router-dom` module, save the dependencies, and allow us to perform the required hash routing in our application. This is the client directory after you have created the required files and deleted the unnecessary files. ![catalyst_hosted_login_python_react_directory_modified](https://catalyst-docs-development.zohostratus.in/images/tutorials/hosted-login/catalyst_hosted_login_python_react_directory_modified.webp) > **Note:** Please go through the all code given in this section to ensure you fully understand it. Copy the code given below and paste it in `index.html` and `404.html`, respectively, located in the client directory (`zylkertechnologies/public/`) using an IDE and save the file. **index.html** ```xml <!DOCTYPE html> <html lang="en"> <head> <meta charset="utf-8" /> <meta name="viewport" content="width=device-width, initial-scale=1" /> <meta name="theme-color" content="#000000" /> <meta name="description" content="Web site created using create-react-app" /> <link rel="manifest" href="%PUBLIC_URL%/manifest.json" /> <title>React App</title> <script src="https://static.zohocdn.com/catalyst/sdk/js/4.6.2/catalystWebSDK.js"> </script> <script src="/__catalyst/sdk/init.js"></script> </head> <body> <noscript>You need to enable JavaScript to run this app.</noscript> <div id="root"></div> </body> </html> ``` **404.html** ```xml <!DOCTYPE html> <html lang="en"> <head> <h2>You are viewing this 404 page since you tried to access a page which does not exist.</h2> </head> </html> ``` Copy the code given below and paste it in `App.css`, `App.js`, `index.js`, `index.css`, `Button.css`, `Button.js`, `Layout.js`, `LoginPage.js`, `UserProfile.css`, and `UserProfile.js`, respectively, located in client directory (`zylkertechnologies/src/`) using an IDE and save the file. **App.css** ```css .App { text-align: center; } .App-logo { height: 40vmin; pointer-events: none; } @media (prefers-reduced-motion: no-preference) { .App-logo { animation: App-logo-spin infinite 20s linear; } } .App-header { background-color: #282c34; min-height: 100vh; display: flex; flex-direction: column; align-items: center; justify-content: center; font-size: calc(10px + 2vmin); color: white; } .App-link { color: #61dafb; } @keyframes App-logo-spin { from { transform: rotate(0deg); } to { transform: rotate(360deg); } } .inputs { width: 90%; padding: 15px; margin: 15px 0 22px 0; display: inline-block; border: none; background: #f1f1f1; border-radius: 8px; } #root { background-color: #c0c0c0; } h1, h2, h3, h4, h5, h6, p { margin: 1; } ``` **App.js** ```javascript import "./App.css"; import { HashRouter, Navigate, Route, Routes } from "react-router-dom"; import Layout from "./Layout"; function App() { return ( <HashRouter> <Routes> <Route path="/" element={<Layout />} /> <Route path="" element={<Navigate to="/" replace />} /> <Route path="*" element={<Navigate to="/" replace />} /> </Routes> </HashRouter> ); } export default App; ``` **index.css** ```css body { margin: 0; -webkit-font-smoothing: antialiased; -moz-osx-font-smoothing: grayscale; background-color: #c0c0c0; } ``` **index.js** ```javascript import React from "react"; import "./index.css"; import App from "./App"; import * as ReactDOM from "react-dom/client"; const root = ReactDOM.createRoot(document.getElementById("root")); root.render( <React.StrictMode> <App /> </React.StrictMode> ); ``` **Button.css** ```css button { border: none; outline: 0; display: inline-block; padding: 8px; color: white; background-color: #000; text-align: center; cursor: pointer; width: 20%; font-size: 18px; border-radius: 8px; } button:hover, .forgetPassword-btn:hover, a:hover { opacity: 0.7; } a { text-decoration: none; font-size: 22px; color: black; } ``` **Button.js** ```javascript import { useCallback } from "react"; import "./Button.css"; function Button({ title }) { const logout = useCallback(() => { const redirectURL = "/__catalyst/auth/login"; window.catalyst.auth.signOut(redirectURL); }, []); return ( <div id="logoutbtn" style={{ textAlign: "inline-block" }}> <button onClick={logout} id="logout" style={{ display: "inline-block" }}> {title} </button> </div> ); } export default Button; ``` **Layout.js** ```javascript import UserProfile from "./UserProfile"; import LoginPage from "./LoginPage.js"; import { useEffect, useState } from "react"; function Layout() { const [isUserAuthenticated, setIsUserAuthenticated] = useState(false); const [isFetching, setIsFetching] = useState(true); const [userDetails, setUserDetails] = useState({ firstName: "", lastName: "", mailid: "", timeZone: "", createdTime: "", }); useEffect(() => { window.catalyst.auth .isUserAuthenticated() .then((result) => { let userDetails = { firstName: result.content.first_name, lastName: result.content.last_name, mailid: result.content.email_id, timeZone: result.content.time_zone, createdTime: result.content.created_time, }; setUserDetails(userDetails); setIsUserAuthenticated(true); }) .catch((err) => {}) .finally(() => { setIsFetching(false); }); }, []); return ( <> {isFetching ? ( <p>Loading ....</p> ) : isUserAuthenticated ? ( <UserProfile userDetails={userDetails} /> ) : ( <LoginPage /> )} </> ); } export default Layout; ``` **LoginPage.js** ```javascript import { useEffect } from "react"; function Login() { useEffect(() => { window.location.href = window.origin + "/__catalyst/auth/login"; }, []); return null; } export default Login; ``` **UserProfile.css** ```css .card { margin: auto; text-align: center; font-family: arial; text-align: center; font-weight: bold; } .title { font-size: 23px; color: black; } #userimg { height: 20%; width: 15%; } div.login { padding-top: 10px; height: 260px; width: 500px; margin: 0 auto; } div.signup { display: none; } div.forgotpwd { display: none; } /* Full-width input fields */ input[type="text"] { width: 90%; padding: 15px; margin: 15px 0 22px 0; display: inline-block; border: none; background: #f1f1f1; border-radius: 8px; } /* Add a background color when the inputs get focus */ input[type="text"]:focus, input[type="password"]:focus { background-color: #ddd; outline: none; } /* Set a style for all buttons */ /* Float cancel and signup buttons and add an equal width */ .seperatebtn { width: 10%; padding: 8px; border-radius: 8px; } .signupbtn { width: 10%; padding: 8px; border-radius: 8px; } .signupfnbtn { width: 20%; padding: 8px; border-radius: 8px; } .pwdfnbtn { width: 40%; padding: 8px; border-radius: 8px; } /* The Modal (background) */ .modal { display: none; /* Hidden by default */ position: fixed; /* Stay in place */ z-index: 1; /* Sit on top */ left: 0; top: 0; width: 100%; /* Full width */ height: 100%; /* Full height */ overflow: auto; /* Enable scroll if needed */ background-color: #474e5d; } /* Modal Content/Box */ .modal-content { background-color: #c0c0c0; margin: 5% auto 15% auto; /* 5% from the top, 15% from the bottom and centered */ width: 25%; /* Could be more or less, depending on screen size */ } /* The Close Button (x) */ .close { position: absolute; right: 35px; top: 15px; font-size: 40px; font-weight: bold; color: #f1f1f1; } .close:hover, .close:focus { color: #f44336; cursor: pointer; } /* Clear floats */ .clearfix::after { content: ""; clear: both; display: table; } p.homepage { font-size: 23px; } /* Change styles for cancel button and signup button on extra small screens */ @media screen and (max-width: 100px) { .signupbtn { width: 100%; } } ``` **UserProfile.js** ```javascript import Button from "./Button"; import "./UserProfile.css"; function UserProfile({ userDetails }) { return ( <div className="card"> <br> </br> <h1 className="title">User Profile Information</h1> <img alt="usericon" id="userimg" width="200px" height="450px" src="https://cdn2.iconfinder.com/data/icons/user-management/512/profile_settings-512.png" /> <p className="title">First Name : {userDetails.firstName}</p> <p className="title">Last Name: {userDetails.lastName}</p> <p className="title">Email Address: {userDetails.mailid}</p> <p className="title">Time Zone: {userDetails.timeZone}</p> <p className="title">Joined On: {userDetails.createdTime}</p> <Button title="Logout"> </Button> </div> ); } export default UserProfile; ``` **client-package.json** ```json { "name": "zylkertechnologies", "version": "0.0.1", "homepage": "/__catalyst/auth/login", "login_redirect": "index.html" } ``` > **Note:** The home page URL can be copied from the `Access URL` generated by Catalyst in the [Authentication Types](https://docs.catalyst.zoho.com/en/cloud-scale/help/authentication/authentication-types/) section of the console. The client directory is now configured. Let’s go over the working of the function and the client code: * The end-user will first encounter the *Login Page* that you configured and styled in the console. * To create an account, they will click the **Sign Up** option and be directed to the *Sign Up* page. > **Note:** End-users can either sign up to your application using their [Social Logins](https://docs.catalyst.zoho.com/en/cloud-scale/help/authentication/social-logins/introduction/) or use the conventional method of signing up to the application using their email ID. * Once the information is inputted and they click **Sign Up**, or if they attempt to sign up using a Social Login of their choice, their details will be provided as a JSON input to the [Custom User Validation](https://docs.catalyst.zoho.com/en/cloud-scale/help/authentication/whitelisting/custom-user-validation/introduction/) function (`authorization_portal_function/main.py`). * The function will only authenticate users if the condition you have coded is satisfied. For this tutorial, the users will only be authenticated if they signed up to the application using a Zylker registered email address. * Upon successful authentication, an [Email Verification](https://docs.catalyst.zoho.com/en/cloud-scale/help/authentication/email-templates/introduction/) email will be sent to the account they used to sign up to the application. > **Note:** Because we are using [Hosted Login](https://docs.catalyst.zoho.com/en/cloud-scale/help/authentication/native-catalyst-authentication/hosted-authentication-type/introduction/), a native Catalyst authentication type, no additional logic to trigger the appropriate emails is required. It will be handled by Catalyst automatically. * Once the user verifies their email address by clicking the link provided in the email, they will be signed up to the application. Their details can be viewed in the [User Management](https://docs.catalyst.zoho.com/en/cloud-scale/help/authentication/user-management/introduction/) section of the *Authentication* component. * The end-user can now log in to the application using their authenticated credentials. * The end-user can also reset their password by clicking the **Forgot Password** option. In this event, the *Password Reset* email will be sent to their registered email. Following the steps mentioned in the email, they can easily reset their credentials. **Angular web app** Let’s configure the client component. The Angular web [client directory](https://docs.catalyst.zoho.com/en/cli/v1/project-directory-structure/client-directory/) contains: * The root directory of the client contains a `client-package.json` file, which is a configuration file defining the name, version, default home page, and redirect page of the client component. We will be modifying this file after we have coded the client component. * [Native Angular files](https://angular.io/docs) such as `angular.json`, `tsconfig.app.json`, `tsconfig.json`, and `tsconfig.spec.json` files. * The root directory of the client also contains the `package.json` dependency file, and a `.gitignorefile`. * The `src` folder contains the following files and directories as per the default project structure of the Angular app: - Native Angular files such as `favicon.ico`, `main.ts`, `polyfills.ts`, and `test.ts` files along with the `assets`, and environment directories. - `index.html`: The default entry point of the application. - `style.css`: Will contain any styling elements required by the overall application. * The files present in the `src/app/` directory are: - Native Angular files such as `app.component.css` and `app.component.spec.ts`. - `app.component.html`: Contains the HTML component that renders the routing that happens in the application. - `app.component.ts`: Contains the global interface of the application where a Catalyst variable is declared to use Catalyst Web SDK methods. - `app.module.ts`: Contains the routing logic involved in the application We will be coding the `index.html`, `app.component.html`, `app.component.ts`, and the `app.module.ts` files. #### Create a Layout Component You need to create a layout component in the `src/app/` directory path. This component will contain the the styling elements, client logic and redirect logic to provide appropriate responses to authenticated and non-authenticated users. Execute the following command in the `src/app/` directory using the Catalyst CLI: ```sh ng generate component layout ``` ![catalyst_authentication_client_layout_generate_angular](https://catalyst-docs-development.zohostratus.in/images/tutorials/hosted-login/catalyst_authentication_client_layout_generate_angular.webp) This will create a folder named `layout` in the `src/app/` directory. This `layout` folder will contain: * Native Angular file called `layout.component.pec.ts`. * `layout.component.html`: Will contain the HTML component required during user validation. * `layout.component.css`: Will contain the required styling elements. * `layout.component.ts`: Will contain the routing and redirect logic. We will be coding the `layout.component.html`, `layout.component.css`, and the `layout.component.ts` files. #### Create a Login Component You need to create a login component in the `src/app/` directory path. This component will contain the redirect logic to provide appropriate responses to authenticated and non-authenticated users. Execute the following command in the `src/app/` directory using the Catalyst CLI: ```sh ng generate component login ``` ![catalyst_authentication_client_login_generate_angular](https://catalyst-docs-development.zohostratus.in/images/tutorials/hosted-login/catalyst_authentication_client_login_generate_angular.webp) This will create a folder named `login` in the `src/app/` directory. This `login` folder will contain: * Native Angular file called `login.component.pec.ts`. * `login.component.html`: Will contain the HTML component required during user validation. * `login.component.css`: Will contain the required styling elements. * `login.component.ts`: Will contain the routing and redirect logic. We will be coding the `login.component.css`, and the `login.component.ts` files. The client directory should now look like the one depicted in the following image. ![catalyst_authentication_hosted_py_client_angular_type_last_directory](https://catalyst-docs-development.zohostratus.in/images/tutorials/hosted-login/catalyst_authentication_hosted_py_client_angular_type_last_directory.webp) You can now begin coding your client. > **Note:** Please go through the code given in this section to ensure you fully understand it. Copy the below code and paste it in the `index.html` file present in the `src/` directory. **index.html** ```xml <!DOCTYPE html> <html lang="en"> <head> <meta charset="utf-8" /> <title>Zylker Technologies</title> <base href="/app/" /> <meta name="viewport" content="width=device-width, initial-scale=1" /> <script src="https://static.zohocdn.com/catalyst/sdk/js/4.6.2/catalystWebSDK.js"> </script> <script src="/__catalyst/sdk/init.js"> </script> </head> <body> <app-root> </app-root> </body> </html> ``` Paste the following code in the `app.component.html`, `app.component.ts`, and the `app.module.ts` files present in the `src/app/` directory. **app.component.html** ```xml <router-outlet> </router-outlet> ``` **app.component.ts** ```javascript import { Component } from '@angular/core'; declare global { interface Window { catalyst: any; //This is a Catalyst variable that is required to access Catalyst Web SDK methods. } } @Component({ selector: 'app-root', templateUrl: './app.component.html', styleUrls: ['./app.component.css'], }) export class AppComponent { } ``` > **Note:** The variable `any` is a Catalyst variable we have declared globally. This variable is required to access [Catalyst Web SDK methods.](https://docs.catalyst.zoho.com/en/sdk/web/v4/cloud-scale/authentication/get-auth-instance/) **app.module.ts** ```javascript import { NgModule } from '@angular/core'; import { BrowserModule } from '@angular/platform-browser'; import { CommonModule } from '@angular/common'; import { AppComponent } from './app.component'; import { FormsModule } from '@angular/forms'; import { RouterModule, Routes } from '@angular/router'; import { LayoutComponent } from './layout/layout.component'; import { LoginComponent } from './login/login.component'; const approutes: Routes = [ { path: '', component: LayoutComponent }, { path: 'login', component: LoginComponent }, { path: '**', redirectTo: '' }, ]; @NgModule({ declarations: [AppComponent, LayoutComponent, LoginComponent], imports: [ BrowserModule, CommonModule, FormsModule, RouterModule.forRoot(approutes, { useHash: true }), ], providers: [], bootstrap: [AppComponent], }) export class AppModule {} ``` Copy the following code and paste it in the `layout.component.html`, `layout.component.css`, and the `layout.component.ts` files present in the `src/app/layout` directory. **layout.component.html** ```xml <div class="card" *ngIf="isAuthenticated"> <div class="titleDiv"> <h1 class="title">User Profile Information</h1> </div> <div class="imgDiv"> <img id="userimg" width="200px" height="450px" src="https://cdn2.iconfinder.com/data/icons/user-management/512/profile_settings-512.png" /> </div> <div class="textDiv"> <p class="title" id="fname">First Name: {{ firstName }}</p> <p class="title" id="lname">Last Name: {{ lastName }}</p> <p class="title" id="mailid">Email ID: {{ mailID }}</p> <p class="title" id="tzone">Time Zone: {{ timezone }}</p> <p class="title" id="ctime">CreatedTime: {{ createdTime }}</p> </div> <div className="logoutDiv"> <button (click)="logout()" id="logoutBtn">Logout</button> </div> </div> <div *ngIf="isFetching" class="loading-div"> <p class="loading">Loading...</p> </div> ``` **layout.component.css** ```css .card { margin: auto; text-align: center; font-family: arial; text-align: center; font-weight: bold; } .title { font-size: 23px; color: black; margin-top: 30px; margin-bottom: 30px; font-weight: bold; } #userimg { height: 20%; width: 15%; } #logoutBtn { background-color: rgb(2, 136, 2); color: white; border: none; border-radius: 8px; width: 100px; height: 40px; margin-bottom: 30px; cursor: pointer; } #logoutBtn:hover { background-color: rgb(2, 165, 2); color: white; border: none; border-radius: 8px; width: 100px; height: 40px; margin-bottom: 30px; cursor: pointer; } body { width: 100%; } .loading-div { margin-left: 45%; } .loading { font-weight: bolder; font-size: large; } #logoutBtn:active { background-color: rgb(2, 172, 2); color: white; border: none; border-radius: 8px; width: 100px; height: 40px; margin-bottom: 30px; cursor: pointer; } ``` **layout.component.ts** ```javascript import { Component, OnInit } from '@angular/core'; //decorator which indicates this is a component import { Router } from '@angular/router'; @Component({ selector: 'app-layout', templateUrl: './layout.component.html', styleUrls: ['./layout.component.css'], }) export class LayoutComponent implements OnInit { constructor(private router: Router) {} firstName: any; lastName: any; mailID: any; timezone: any; createdTime: any; isAuthenticated: boolean = false; isFetching: boolean = true; ngOnInit(): void { window.catalyst.auth .isUserAuthenticated() .then((result: any) => { console.log(result); console.log(result.content.email_id); this.isAuthenticated = true; this.mailID = result.content.email_id; this.firstName = result.content.first_name; this.lastName = result.content.last_name; this.timezone = result.content.time_zone; this.createdTime = result.content.created_time; }) .catch((err: any) => { console.log(err); }) .finally(() => { console.log('finally'); this.isFetching = false; this.isAuthenticated ? this.router.navigate(['']) : this.router.navigate(['login']); }); } logout() { const redirectURL = '/__catalyst/auth/login'; console.log(redirectURL); var auth = window.catalyst.auth; auth.signOut(redirectURL); } } ``` Copy the following code and paste it in the `login.component.css`, and the `login.component.ts` files present in the `src/app/login` directory. **layout.component.css** ```css h1 { color: red; } ``` **login.component.ts** ```javascript import { Component, OnInit } from '@angular/core'; //decorator which indicates this is a component @Component({ selector: 'app-login', templateUrl: './login.component.html', styleUrls: ['./login.component.css'], }) export class LoginComponent { ngOnInit(): void { window.location.href = window.origin + '/__catalyst/auth/login'; // Will handle the login redirects } } ``` We will now modify the `client-package.json` file present in the client root directory. **client-package.json** ```json { "name": "zylkertechnologies", "version": "0.0.1", "homepage": "/__catalyst/auth/login", "login_redirect": "index.html" } ``` > **Note:** The `homepage URL` can be copied from the [`Access URL`](https://docs.catalyst.zoho.com/en/cloud-scale/help/authentication/native-catalyst-authentication/hosted-authentication-type/configure-hosted-authentication/) generated by Catalyst in the [Authentication Types section](https://docs.catalyst.zoho.com/en/cloud-scale/help/authentication/authentication-types/) of the console. The client directory is now configured. Let's go over the working of the function and client code. * The end-user will first encounter the Login Page that you configured and styled in the console. * To create an account, they will click the Sign Up option and be directed to the Sign Up page. > **Note:** End-users can either sign up to your application using the *Social Logins* or use the conventional method of signing up to the application using their email address * After the information has been entered and they click **Sign Up**, or if they attempt to sign up using a *Social Login* of their preference, their details will be populated and provided as a JSON input to the Custom User Validation function—`authorization_portal_function/index.js`. * The function will only authenticate users that have signed up to the application using a Zylker email address. * Upon successful authentication, an *Email Verification* email will be sent to the account they used to sign up to the application. > **Note:** Because we are using **Hosted Login**, no additional logic to trigger the appropriate emails is required. It will be handled by Catalyst automatically. * After the user verifies their email address by clicking the link provided in the email, they will be signed up for the application. Their details can be viewed in the *User Management* section of the Authentication component. * The end-user can now log in to application using their authenticated credentials. * The end-user can also reset their password by clicking the **Forgot Password** option. * In this event, the *Password Reset* email will be sent to their registered email. Following the steps mentioned in the email, they can easily reset their credentials. -------------------------------------------------------------------------------- title: "Test the Application" description: "Create a Basic or React application using Catalyst Hosted Authentication that provides user sign-up, login, password reset, and federated sign-in." last_updated: "2026-11-04T10:10:44.000Z" source: "https://docs.catalyst.zoho.com/en/tutorials/hosted-login-app/python/test-app/" service: "All Services" related: - Serve CLI Resources (/en/cli/v1/serve-resources/introduction) -------------------------------------------------------------------------------- # Test the Application Before you deploy the application to the remote console, you can test the application on a local server and check if everything works using the Catalyst CLI. For detailed information on `catalyst serve`, refer to the [Serve Resources help page](https://docs.catalyst.zoho.com/en/cli/v1/serve-resources/introduction). To serve the Catalyst project locally, execute the following command from your project directory: ```sh catalyst serve ``` The authorization portal application will now be served at default `port 3000`. The local endpoint URLs of the components will be displayed in the CLI. **Basic web app** ![catalyst_alcity_catalyst_python_basic_serve](https://catalyst-docs-development.zohostratus.in/images/tutorials/hosted-login/catalyst_alcity_catalyst_python_basic_serve.webp) > **Note:** Every time you access the homepage or any of the sub-pages of your client, or the function, the CLI will display a live log of the accessed URL, along with the HTTP method that is used to access it. You can now open the client component’s local URL in a browser to access the application. ![catalyst_authentication_hosted_catalyst_serve_intro](https://catalyst-docs-development.zohostratus.in/images/tutorials/hosted-login/catalyst_authentication_hosted_catalyst_serve_intro.webp) ### Test Case 1 #### Sign up using email address 1. Click **Sign Up** to create a new account. ![catalyst_authentication_hosted_catalyst_serve_sing_up_highlight](https://catalyst-docs-development.zohostratus.in/images/tutorials/hosted-login/catalyst_authentication_hosted_catalyst_serve_sing_up_highlight.webp) 2. Enter the required details and click **Sign Up**. ![catalyst_authentication_hosted_catalyst_serve_signup](https://catalyst-docs-development.zohostratus.in/images/tutorials/hosted-login/catalyst_authentication_hosted_catalyst_serve_signup.webp) 3. The [Email Verification](https://docs.catalyst.zoho.com/en/cloud-scale/help/authentication/email-templates/introduction/) email will be sent to the email address you used to sign up. ![catalyst_authentication_hosted_catalyst_serve_email_triggered](https://catalyst-docs-development.zohostratus.in/images/tutorials/hosted-login/catalyst_authentication_hosted_catalyst_serve_email_triggered.webp) 4. Click the link in the email ![catalyst_authentication_hosted_catalyst_serve_email_check](https://catalyst-docs-development.zohostratus.in/images/tutorials/hosted-login/catalyst_authentication_hosted_catalyst_serve_email_check.webp) 5. Follow the instructions and set your password ![catalyst_authentication_hosted_catalyst_serve_cnf_pwd](https://catalyst-docs-development.zohostratus.in/images/tutorials/hosted-login/catalyst_authentication_hosted_catalyst_serve_cnf_pwd.webp) Once the password is set, you will be signed in to the application. ![catalyst_authentication_hosted_catalyst_serve_logged_in](https://catalyst-docs-development.zohostratus.in/images/tutorials/hosted-login/catalyst_authentication_hosted_catalyst_serve_logged_in.webp) You can verify this by viewing the user information in the [User Management](https://docs.catalyst.zoho.com/en/cloud-scale/help/authentication/user-management/introduction/) section of the *Authentication* component in the console. ![catalyst_authentication_hosted_catalyst_serve_account_added](https://catalyst-docs-development.zohostratus.in/images/tutorials/hosted-login/catalyst_authentication_hosted_catalyst_serve_account_added.webp) ### Test Case 2 #### Test Custom User Validation 1. Sign up to the application using an email address that will induce a failure instance. ![catalyst_authentication_hosted_catalyst_serve_custom_check](https://catalyst-docs-development.zohostratus.in/images/tutorials/hosted-login/catalyst_authentication_hosted_catalyst_serve_custom_check.webp) > **Note:** For the purpose of this tutorial, we have coded a logic for the Custom User Validation function where if the user's email provider is anyone other than Zylker Technology (`@zylker.com`) the end-user will not be able to sign up to the application. 2. You will not be able to sign up to the application using any email address other than the one coded to permit in the function logic. ![catalyst_authentication_hosted_catalyst_serve_custom_success](https://catalyst-docs-development.zohostratus.in/images/tutorials/hosted-login/catalyst_authentication_hosted_catalyst_serve_custom_success.webp) ### Test Case 3 #### Sign up to the application using Social Logins 1. You can click a social login that you had configured to begin the sign up process. For this test, we are signing up using the [Zoho social login](https://docs.catalyst.zoho.com/en/cloud-scale/help/authentication/social-logins/configuring-social-logins/#enable-zoho-social-login). ![catalyst_authentication_hosted_catalyst_serve_zoho_login](https://catalyst-docs-development.zohostratus.in/images/tutorials/hosted-login/catalyst_authentication_hosted_catalyst_serve_zoho_login.webp) 2. Click **Accept**. ![catalyst_authentication_hosted_catalyst_serve_zoho_accept_login](https://catalyst-docs-development.zohostratus.in/images/tutorials/hosted-login/catalyst_authentication_hosted_catalyst_serve_zoho_accept_login.webp) You will be logged in to the application. ![catalyst_authentication_hosted_catalyst_serve_logged_in](https://catalyst-docs-development.zohostratus.in/images/tutorials/hosted-login/catalyst_authentication_hosted_catalyst_serve_logged_in.webp) You can verify the end-user has been added by viewing their details in the *User Management* section of the Authentication component in the console. ### Test Case 4 #### Password reset functionality 1. Click the **Forgot Password** option. ![catalyst_authentication_hosted_catalyst_serve_forgot_pwd_highlight](https://catalyst-docs-development.zohostratus.in/images/tutorials/hosted-login/catalyst_authentication_hosted_catalyst_serve_forgot_pwd_highlight.webp) 2. Enter the email address ![catalyst_authentication_hosted_catalyst_serve_pwd_email_enter](https://catalyst-docs-development.zohostratus.in/images/tutorials/hosted-login/catalyst_authentication_hosted_catalyst_serve_pwd_email_enter.webp) 3. Enter the captcha. ![catalyst_authentication_hosted_catalyst_serve_pwd_captcha](https://catalyst-docs-development.zohostratus.in/images/tutorials/hosted-login/catalyst_authentication_hosted_catalyst_serve_pwd_captcha.webp) 4. You can still unlock an option if you remember any earlier password you had used to create this account. However, to test this functionality, click **Continue to reset password**. ![catalyst_authentication_hosted_catalyst_serve_pwd_cont_reset](https://catalyst-docs-development.zohostratus.in/images/tutorials/hosted-login/catalyst_authentication_hosted_catalyst_serve_pwd_cont_reset.webp) 5. Click **SEND OTP** to send the OTP to your email address. ![catalyst_authentication_hosted_catalyst_serve_pwd_otp](https://catalyst-docs-development.zohostratus.in/images/tutorials/hosted-login/catalyst_authentication_hosted_catalyst_serve_pwd_otp.webp) 6. Enter the OTP received in your email and click **Verify**. ![catalyst_authentication_hosted_catalyst_serve_pwd_otp_entered](https://catalyst-docs-development.zohostratus.in/images/tutorials/hosted-login/catalyst_authentication_hosted_catalyst_serve_pwd_otp_entered.webp) 7. You can create your new password now and click **Change Password**. ![catalyst_authentication_hosted_catalyst_serve_pwd_confirm_reset](https://catalyst-docs-development.zohostratus.in/images/tutorials/hosted-login/catalyst_authentication_hosted_catalyst_serve_pwd_confirm_reset.webp) You will be redirected to the login page, where you can log in to the application using the new password. **React web app** ![catalyst_alcity_catalyst_python_react_serve](https://catalyst-docs-development.zohostratus.in/images/tutorials/hosted-login/catalyst_alcity_catalyst_python_react_serve.webp) > **Note:** Every time you access the homepage or any of the sub-pages of your client, or the function, the CLI will display a live log of the accessed URL, along with the HTTP method that is used to access it. You can now open the client component’s local URL in a browser to access the application. ![catalyst_authentication_hosted_catalyst_serve_intro](https://catalyst-docs-development.zohostratus.in/images/tutorials/hosted-login/catalyst_authentication_hosted_catalyst_serve_intro.webp) ### Test Case 1 #### Sign up using email address 1. Click **Sign Up** to create a new account. ![catalyst_authentication_hosted_catalyst_serve_sing_up_highlight](https://catalyst-docs-development.zohostratus.in/images/tutorials/hosted-login/catalyst_authentication_hosted_catalyst_serve_sing_up_highlight.webp) 2. Enter the required details and click **Sign Up**. ![catalyst_authentication_hosted_catalyst_serve_signup](https://catalyst-docs-development.zohostratus.in/images/tutorials/hosted-login/catalyst_authentication_hosted_catalyst_serve_signup.webp) 3. The [Email Verification](https://docs.catalyst.zoho.com/en/cloud-scale/help/authentication/email-templates/introduction/) email will be sent to the email address you used to sign up. ![catalyst_authentication_hosted_catalyst_serve_email_triggered](https://catalyst-docs-development.zohostratus.in/images/tutorials/hosted-login/catalyst_authentication_hosted_catalyst_serve_email_triggered.webp) 4. Click the link in the email ![catalyst_authentication_hosted_catalyst_serve_email_check](https://catalyst-docs-development.zohostratus.in/images/tutorials/hosted-login/catalyst_authentication_hosted_catalyst_serve_email_check.webp) 5. Follow the instructions and set your password ![catalyst_authentication_hosted_catalyst_serve_cnf_pwd](https://catalyst-docs-development.zohostratus.in/images/tutorials/hosted-login/catalyst_authentication_hosted_catalyst_serve_cnf_pwd.webp) Once the password is set, you will be signed in to the application. ![catalyst_authentication_hosted_catalyst_serve_logged_in](https://catalyst-docs-development.zohostratus.in/images/tutorials/hosted-login/catalyst_authentication_hosted_catalyst_serve_logged_in.webp) You can verify this by viewing the user information in the [User Management](https://docs.catalyst.zoho.com/en/cloud-scale/help/authentication/user-management/introduction/) section of the *Authentication* component in the console. ![catalyst_authentication_hosted_catalyst_serve_account_added](https://catalyst-docs-development.zohostratus.in/images/tutorials/hosted-login/catalyst_authentication_hosted_catalyst_serve_account_added.webp) ### Test Case 2 #### Test Custom User Validation 1. Sign up to the application using an email address that will induce a failure instance. ![catalyst_authentication_hosted_catalyst_serve_custom_check](https://catalyst-docs-development.zohostratus.in/images/tutorials/hosted-login/catalyst_authentication_hosted_catalyst_serve_custom_check.webp) > **Note:** For the purpose of this tutorial, we have coded a logic for the Custom User Validation function where if the user's email provider is anyone other than Zylker Technology (`@zylker.com`) the end-user will not be able to sign up to the application. 2. You will not be able to sign up to the application using any email address other than the one coded to permit in the function logic. ![catalyst_authentication_hosted_catalyst_serve_custom_success](https://catalyst-docs-development.zohostratus.in/images/tutorials/hosted-login/catalyst_authentication_hosted_catalyst_serve_custom_success.webp) ### Test Case 3 #### Sign up to the application using Social Logins 1. You can click a social login that you had configured to begin the sign up process. For this test, we are signing up using the [Zoho social login](https://docs.catalyst.zoho.com/en/cloud-scale/help/authentication/social-logins/configuring-social-logins/#enable-zoho-social-login). ![catalyst_authentication_hosted_catalyst_serve_zoho_login](https://catalyst-docs-development.zohostratus.in/images/tutorials/hosted-login/catalyst_authentication_hosted_catalyst_serve_zoho_login.webp) 2. Click **Accept**. ![catalyst_authentication_hosted_catalyst_serve_zoho_accept_login](https://catalyst-docs-development.zohostratus.in/images/tutorials/hosted-login/catalyst_authentication_hosted_catalyst_serve_zoho_accept_login.webp) You will be logged in to the application. ![catalyst_authentication_hosted_catalyst_serve_logged_in](https://catalyst-docs-development.zohostratus.in/images/tutorials/hosted-login/catalyst_authentication_hosted_catalyst_serve_logged_in.webp) You can verify the end-user has been added by viewing their details in the *User Management* section of the Authentication component in the console. ### Test Case 4 #### Password reset functionality 1. Click the **Forgot Password** option. ![catalyst_authentication_hosted_catalyst_serve_forgot_pwd_highlight](https://catalyst-docs-development.zohostratus.in/images/tutorials/hosted-login/catalyst_authentication_hosted_catalyst_serve_forgot_pwd_highlight.webp) 2. Enter the email address ![catalyst_authentication_hosted_catalyst_serve_pwd_email_enter](https://catalyst-docs-development.zohostratus.in/images/tutorials/hosted-login/catalyst_authentication_hosted_catalyst_serve_pwd_email_enter.webp) 3. Enter the captcha. ![catalyst_authentication_hosted_catalyst_serve_pwd_captcha](https://catalyst-docs-development.zohostratus.in/images/tutorials/hosted-login/catalyst_authentication_hosted_catalyst_serve_pwd_captcha.webp) 4. You can still unlock an option if you remember any earlier password you had used to create this account. However, to test this functionality, click **Continue to reset password**. ![catalyst_authentication_hosted_catalyst_serve_pwd_cont_reset](https://catalyst-docs-development.zohostratus.in/images/tutorials/hosted-login/catalyst_authentication_hosted_catalyst_serve_pwd_cont_reset.webp) 5. Click **SEND OTP** to send the OTP to your email address. ![catalyst_authentication_hosted_catalyst_serve_pwd_otp](https://catalyst-docs-development.zohostratus.in/images/tutorials/hosted-login/catalyst_authentication_hosted_catalyst_serve_pwd_otp.webp) 6. Enter the OTP received in your email and click **Verify**. ![catalyst_authentication_hosted_catalyst_serve_pwd_otp_entered](https://catalyst-docs-development.zohostratus.in/images/tutorials/hosted-login/catalyst_authentication_hosted_catalyst_serve_pwd_otp_entered.webp) 7. You can create your new password now and click **Change Password**. ![catalyst_authentication_hosted_catalyst_serve_pwd_confirm_reset](https://catalyst-docs-development.zohostratus.in/images/tutorials/hosted-login/catalyst_authentication_hosted_catalyst_serve_pwd_confirm_reset.webp) You will be redirected to the login page, where you can log in to the application using the new password. **Angular web app** ![catalyst_authentication_hosted_client_angular_catalyst_serve_cli](https://catalyst-docs-development.zohostratus.in/images/tutorials/hosted-login/catalyst_authentication_hosted_client_angular_catalyst_serve_cli.webp) Every time you access the homepage or any of the sub-pages of your client, or the function, the CLI will display a live log of the accessed URL, along with the HTTP method that is used to access it. ![catalyst_authentication_hosted_client_angular_catalyst_serve_cli_actions](https://catalyst-docs-development.zohostratus.in/images/tutorials/hosted-login/catalyst_authentication_hosted_client_angular_catalyst_serve_cli_actions.webp) You can now open the client component’s local URL in a browser to access the application. ### Test Case 1 #### Sign up using email address 1. Click **Sign Up** to create a new account. ![catalyst_authentication_hosted_catalyst_serve_sing_up_highlight](https://catalyst-docs-development.zohostratus.in/images/tutorials/hosted-login/catalyst_authentication_hosted_catalyst_serve_sing_up_highlight.webp) 2. Enter the required details and click **Sign Up**. ![catalyst_authentication_hosted_catalyst_serve_signup](https://catalyst-docs-development.zohostratus.in/images/tutorials/hosted-login/catalyst_authentication_hosted_catalyst_serve_signup.webp) 3. The [Email Verification](https://docs.catalyst.zoho.com/en/cloud-scale/help/authentication/email-templates/introduction/) email will be sent to the email address you used to sign up. ![catalyst_authentication_hosted_catalyst_serve_email_triggered](https://catalyst-docs-development.zohostratus.in/images/tutorials/hosted-login/catalyst_authentication_hosted_catalyst_serve_email_triggered.webp) 4. Click the link in the email ![catalyst_authentication_hosted_catalyst_serve_email_check](https://catalyst-docs-development.zohostratus.in/images/tutorials/hosted-login/catalyst_authentication_hosted_catalyst_serve_email_check.webp) 5. Follow the instructions and set your password ![catalyst_authentication_hosted_catalyst_serve_cnf_pwd](https://catalyst-docs-development.zohostratus.in/images/tutorials/hosted-login/catalyst_authentication_hosted_catalyst_serve_cnf_pwd.webp) Once the password is set, you will be signed in to the application. ![catalyst_authentication_hosted_catalyst_serve_logged_in](https://catalyst-docs-development.zohostratus.in/images/tutorials/hosted-login/catalyst_authentication_hosted_catalyst_serve_logged_in.webp) You can verify this by viewing the user information in the [User Management](https://docs.catalyst.zoho.com/en/cloud-scale/help/authentication/user-management/introduction/) section of the *Authentication* component in the console. ![catalyst_authentication_hosted_catalyst_serve_account_added](https://catalyst-docs-development.zohostratus.in/images/tutorials/hosted-login/catalyst_authentication_hosted_catalyst_serve_account_added.webp) ### Test Case 2 #### Test Custom User Validation 1. Sign up to the application using an email address that will induce a failure instance. ![catalyst_authentication_hosted_catalyst_serve_custom_check](https://catalyst-docs-development.zohostratus.in/images/tutorials/hosted-login/catalyst_authentication_hosted_catalyst_serve_custom_check.webp) > **Note:** For the purpose of this tutorial, we have coded a logic for the Custom User Validation function where if the user's email provider is anyone other than Zylker Technology (`@zylker.com`) the end-user will not be able to sign up to the application. 2. You will not be able to sign up to the application using any email address other than the one coded to permit in the function logic. ![catalyst_authentication_hosted_catalyst_serve_custom_success](https://catalyst-docs-development.zohostratus.in/images/tutorials/hosted-login/catalyst_authentication_hosted_catalyst_serve_custom_success.webp) ### Test Case 3 #### Sign up to the application using Social Logins 1. You can click a social login that you had configured to begin the sign up process. For this test, we are signing up using the [Zoho social login](https://docs.catalyst.zoho.com/en/cloud-scale/help/authentication/social-logins/configuring-social-logins/#enable-zoho-social-login). ![catalyst_authentication_hosted_catalyst_serve_zoho_login](https://catalyst-docs-development.zohostratus.in/images/tutorials/hosted-login/catalyst_authentication_hosted_catalyst_serve_zoho_login.webp) 2. Click **Accept**. ![catalyst_authentication_hosted_catalyst_serve_zoho_accept_login](https://catalyst-docs-development.zohostratus.in/images/tutorials/hosted-login/catalyst_authentication_hosted_catalyst_serve_zoho_accept_login.webp) You will be logged in to the application. ![catalyst_authentication_hosted_catalyst_serve_logged_in](https://catalyst-docs-development.zohostratus.in/images/tutorials/hosted-login/catalyst_authentication_hosted_catalyst_serve_logged_in.webp) You can verify the end-user has been added by viewing their details in the *User Management* section of the Authentication component in the console. ### Test Case 4 #### Password reset functionality 1. Click the **Forgot Password** option. ![catalyst_authentication_hosted_catalyst_serve_forgot_pwd_highlight](https://catalyst-docs-development.zohostratus.in/images/tutorials/hosted-login/catalyst_authentication_hosted_catalyst_serve_forgot_pwd_highlight.webp) 2. Enter the email address ![catalyst_authentication_hosted_catalyst_serve_pwd_email_enter](https://catalyst-docs-development.zohostratus.in/images/tutorials/hosted-login/catalyst_authentication_hosted_catalyst_serve_pwd_email_enter.webp) 3. Enter the captcha. ![catalyst_authentication_hosted_catalyst_serve_pwd_captcha](https://catalyst-docs-development.zohostratus.in/images/tutorials/hosted-login/catalyst_authentication_hosted_catalyst_serve_pwd_captcha.webp) 4. You can still unlock an option if you remember any earlier password you had used to create this account. However, to test this functionality, click **Continue to reset password**. ![catalyst_authentication_hosted_catalyst_serve_pwd_cont_reset](https://catalyst-docs-development.zohostratus.in/images/tutorials/hosted-login/catalyst_authentication_hosted_catalyst_serve_pwd_cont_reset.webp) 5. Click **SEND OTP** to send the OTP to your email address. ![catalyst_authentication_hosted_catalyst_serve_pwd_otp](https://catalyst-docs-development.zohostratus.in/images/tutorials/hosted-login/catalyst_authentication_hosted_catalyst_serve_pwd_otp.webp) 6. Enter the OTP received in your email and click **Verify**. ![catalyst_authentication_hosted_catalyst_serve_pwd_otp_entered](https://catalyst-docs-development.zohostratus.in/images/tutorials/hosted-login/catalyst_authentication_hosted_catalyst_serve_pwd_otp_entered.webp) 7. You can create your new password now and click **Change Password**. ![catalyst_authentication_hosted_catalyst_serve_pwd_confirm_reset](https://catalyst-docs-development.zohostratus.in/images/tutorials/hosted-login/catalyst_authentication_hosted_catalyst_serve_pwd_confirm_reset.webp) You will be redirected to the login page, where you can log in to the application using the new password. -------------------------------------------------------------------------------- title: "Deploy the Application" description: "Create a Basic or React application using Catalyst Hosted Authentication that provides user sign-up, login, password reset, and federated sign-in." last_updated: "2026-11-04T10:10:44.000Z" source: "https://docs.catalyst.zoho.com/en/tutorials/hosted-login-app/python/deploy-app/" service: "All Services" related: - Deploy CLI Resources (/en/cli/v1/deploy-resources/introduction/) - Web Client Hosting (/en/cloud-scale/help/web-client-hosting/introduction) -------------------------------------------------------------------------------- # Deploy the Application To [deploy your Catalyst project](https://docs.catalyst.zoho.com/en/cli/v1/deploy-resources/introduction/) from the CLI, run the following command in your terminal from your project directory: ```sh catalyst deploy ``` The function is deployed first, followed by the client component. The URL endpoints of the components will be displayed in the CLI: **Basic web app** ![catalyst_authentication_hosted_catalyst_python_basic_deploy](https://catalyst-docs-development.zohostratus.in/images/tutorials/hosted-login/catalyst_authentication_hosted_catalyst_python_basic_deploy.webp) > **Note** You can also use the `catalyst deploy --only client` CLI command to deploy the client component alone, as the function component was already deployed. You can now open the client component’s URL in a browser to access the deployed application. The authorization portal application can now be accessed from its web app URL. ![catalyst_authentication_hosted_catalyst_deploy_app_complete](https://catalyst-docs-development.zohostratus.in/images/tutorials/hosted-login/catalyst_authentication_hosted_catalyst_deploy_app_complete.webp) The authorization portal application is now functional and should work without any errors. **React web app** ![catalyst_authentication_hosted_catalyst_python_react_deploy](https://catalyst-docs-development.zohostratus.in/images/tutorials/hosted-login/catalyst_authentication_hosted_catalyst_python_react_deploy.webp) > **Note** You can also use the `catalyst deploy --only client` CLI command to deploy the client component alone, as the function component was already deployed. You can now open the client component’s URL in a browser to access the deployed application. The authorization portal application can now be accessed from its web app URL. ![catalyst_authentication_hosted_catalyst_deploy_app_complete](https://catalyst-docs-development.zohostratus.in/images/tutorials/hosted-login/catalyst_authentication_hosted_catalyst_deploy_app_complete.webp) The authorization portal application is now functional and should work without any errors. **Angular web app** The function is deployed first, followed by the client component. The URL endpoints of the components will be displayed in the CLI: ![catalyst_authentication_hosted_client_angular_catalyst_deploy_complete](https://catalyst-docs-development.zohostratus.in/images/tutorials/hosted-login/catalyst_authentication_hosted_client_angular_catalyst_deploy_complete.webp) > **Note:** You can also use the `catalyst deploy --only client` CLI command to deploy the client component alone, as the function component was already deployed. You can now open the client component’s URL in a browser to access the deployed application. The authorization portal application can now be accessed from its web app URL. ![catalyst_authentication_hosted_client_angular_catalyst_complete](https://catalyst-docs-development.zohostratus.in/images/tutorials/hosted-login/catalyst_authentication_hosted_client_angular_catalyst_complete.webp) The authorization portal application is now functional and should work without any errors. ## Billing and Subscription Metrics -------------------------------------------------------------------------------- title: "Introduction" description: "Create a powerful ML pipeline that analyzed billing and subscription metrics for an OTT platform using the Catalyst QuickML components." last_updated: "2026-09-29T06:01:01.000Z" source: "https://docs.catalyst.zoho.com/en/tutorials/billing-and-subscription-metrics/introduction/" service: "All Services" -------------------------------------------------------------------------------- # OTT Platform: Billing and Subscription Metrics Tutorial ## Introduction This tutorial will guide you through building a time series Forecasting model using **[Catalyst QuickML](https://docs.catalyst.zoho.com/en/quickml/getting-started/introduction/)** to predict future billing and subscription metrics. Using daily historical data from the OTT platform’s billing system, the model aims to forecast trends such as total revenue, new subscriptions, cancellations, upgrades, and coupon usage. We will provide you with a sample dataset that can be used as the data source for the model. Before proceeding with the steps, let’s understand the basics of time series forecasting. Time series refers to a sequence of data points representing how one or more features change over time. These values are recorded at regular intervals, which allows for the analysis of trends, seasonal patterns, and anomalies within the data. Time series data can be univariate, where only a single feature (such as daily logins) is tracked, or multivariate, where multiple features (such as sessions, screen views, and file uploads) are recorded together over time. The primary objective of this analysis is to predict future billing and subscription outcomes. This helps businesses make informed decisions about revenue planning, churn management, promotional effectiveness, and capacity forecasting. By identifying temporal dependencies and usage patterns, the model provides actionable insights for optimizing subscription strategies and overall financial performance. To learn more about time series models, components of time series, and evaluation metrics, refer to the **[help document](https://docs.catalyst.zoho.com/en/quickml/help/learning-center/time-series/)**. Now, let's have a quick overview of the tutorial. ## Overview **1. Preprocess the dataset** The dataset contains daily billing and subscription metrics from the OTT platform, including features such as Total Revenue, New Subscriptions, Cancelled Subscriptions, Trial Conversions, Refunds Issued, Upgrades, and Coupon Usage. For this tutorial, we’ll use these multiple variables to build a multivariate forecasting model that captures the interdependencies between different business metrics over time. In Catalyst QuickML, the first step is to configure preprocessing. The Date column is designated as the timestamp, ensuring that the model correctly interprets the chronological sequence of data points. The dataset is aligned to a daily frequency to maintain consistent time intervals. Because the dataset contains missing values, imputation is applied to fill gaps in the data and preserve temporal continuity. For data normalization, a Square Root–Yeo Johnson transformation is performed to stabilize variance and make the data more normally distributed. **2. Build the time series pipeline** After preprocessing, the pipeline applies the **[Vector Auto Regressor (VAR) algorithm](https://docs.catalyst.zoho.com/en/quickml/help/ml-algorithms/time-series/)**. VAR is a multivariate time series model that simultaneously forecasts multiple related variables. Unlike uni-variate models, VAR captures the influence of each metric on the others; for instance, how new subscriptions and cancellations jointly affect total revenue trends.The pipeline runs from the source dataset, through preprocessing, into the VAR algorithm, and finally outputs the results to the destination component. **3. Deploy the model via endpoint** After training, the model can be deployed directly from the Catalyst console by generating an **[endpoint URL](https://docs.catalyst.zoho.com/en/quickml/help/pipeline-endpoints/)**. This endpoint allows external applications or dashboards to send recent billing data and receive real-time forecasts for future revenue and subscription metrics. Along with the predictions, the model also outputs evaluation metrics such as **[MAPE, RMSE, MSE, MSLE, RMSLE, and SMAPE](https://docs.catalyst.zoho.com/en/quickml/help/learning-center/time-series/#model-evaluation-metrics)**, which help assess its accuracy. Also, the model uses cross validation metrics to test its robustness over time, and mean percentage error to ensure that the model’s forecasting performance remains consistent across different time windows. The final output comprises the forecasted daily values for key billing and subscription metrics, along with validation scores that measure model performance. These forecasts help in revenue planning, churn analysis, and promotional strategy optimization. ![forecasting-tutorial-1.webp](https://catalyst-docs-development.zohostratus.in/images/tutorials/billing-subscription-metrics/forecasting-tutorial-1.webp) -------------------------------------------------------------------------------- title: "Prerequisites" description: "Create a powerful ML pipeline that analyzed billing and subscription metrics for an OTT platform using the Catalyst QuickML components." last_updated: "2026-09-23T13:11:30.000Z" source: "https://docs.catalyst.zoho.com/en/tutorials/billing-and-subscription-metrics/prerequisites/" service: "All Services" related: - Time Series Algorithm (/en/quickml/help/ml-algorithms/time-series/) -------------------------------------------------------------------------------- # Prerequisites Because this tutorial is focused on **[Catalyst QuickML](https://docs.catalyst.zoho.com/en/quickml/getting-started/introduction/)**, all tasks—including dataset preparation, pipeline creation, model training, and deployment—will be performed within the Catalyst console. Before getting started, download the following dataset: [OTT_Platform_Billing_Subscription_Metrics.csv](https://workdrive.zoho.in/file/s3q013a8ee619ac214b9aad9f57092e7ee3b8) This dataset will be preprocessed and used to train a **[multivariate time series forecasting](https://docs.catalyst.zoho.com/en/quickml/help/ml-algorithms/time-series/)** model with VAR in QuickML. -------------------------------------------------------------------------------- title: "Create a project" description: "Create a powerful ML pipeline that analyzed billing and subscription metrics for an OTT platform using the Catalyst QuickML components." last_updated: "2026-09-29T06:01:01.000Z" source: "https://docs.catalyst.zoho.com/en/tutorials/billing-and-subscription-metrics/create-a-project/" service: "All Services" related: - Catalyst Projects (/en/getting-started/catalyst-projects) -------------------------------------------------------------------------------- # Create a Project Let’s create a Catalyst project from the Catalyst console. 1. Log into the [Catalyst console](https://console.catalyst.zoho.com/baas/index), and click **Create new Project**. ![forecasting-tutorial-2.webp](https://catalyst-docs-development.zohostratus.in/images/tutorials/billing-subscription-metrics/forecasting-tutorial-2.webp) 2. Enter the project’s name as **TimeSeriesForecasting** (or a name you wish to give for the project) in the pop-up window that appears. ![forecasting-tutorial-3.webp](https://catalyst-docs-development.zohostratus.in/images/tutorials/billing-subscription-metrics/forecasting-tutorial-3.webp) 3. Click the **Create** button. Your project will be created and opened. -------------------------------------------------------------------------------- title: "Upload the dataset" description: "Create a powerful ML pipeline that analyzed billing and subscription metrics for an OTT platform using the Catalyst QuickML components." last_updated: "2026-11-03T15:16:51.000Z" source: "https://docs.catalyst.zoho.com/en/tutorials/billing-and-subscription-metrics/upload-dataset/" service: "All Services" related: - Create Your First pipeline (/en/quickml/help/create-ml-pipeline) -------------------------------------------------------------------------------- # Upload the Dataset Let's begin by uploading the dataset in Catalyst QuickML using the available dataset **[connectors](https://docs.catalyst.zoho.com/en/quickml/help/data-connectors/zoho-apps/)**. 1. Navigate to the QuickML service in the Catalyst console and click **Start Exploring**. ![forecasting-tutorial-4.webp](https://catalyst-docs-development.zohostratus.in/images/tutorials/billing-subscription-metrics/forecasting-tutorial-4.webp) 2. Navigate to the Datasets component and click **Import Dataset**. A pop-up will be displayed. ![forecasting-tutorial-5.webp](https://catalyst-docs-development.zohostratus.in/images/tutorials/billing-subscription-metrics/forecasting-tutorial-5.webp) 3. In the Import Dataset window, navigate to Files and click **Upload File**. ![forecasting-tutorial-6.webp](https://catalyst-docs-development.zohostratus.in/images/tutorials/billing-subscription-metrics/forecasting-tutorial-6.webp) 4. Upload the Billing Subscription Metrics dataset that you have downloaded already. 5. Set the Quotes Type as Double Quotes (") and Escape Character as Backslash (\), and click **Next**. ![forecasting-tutorial-7.webp](https://catalyst-docs-development.zohostratus.in/images/tutorials/billing-subscription-metrics/forecasting-tutorial-7.webp) 6. The name of the dataset will be auto-populated based on the name of the uploaded file. Edit it if required, and click **Upload**. ![forecasting-tutorial-8.webp](https://catalyst-docs-development.zohostratus.in/images/tutorials/billing-subscription-metrics/forecasting-tutorial-8.webp) The dataset is now uploaded successfully. ![forecasting-tutorial-9.webp](https://catalyst-docs-development.zohostratus.in/images/tutorials/billing-subscription-metrics/forecasting-tutorial-9.webp) > **Note:** The dataset contains missing values, and these gaps can affect the overall quality score. The score will improve once we address this during the pre-processing configuration step in the tutorial. The dataset will be displayed in the All Datasets section. You can click on the desired dataset name to view the dataset's details ![forecasting-tutorial-10.webp](https://catalyst-docs-development.zohostratus.in/images/tutorials/billing-subscription-metrics/forecasting-tutorial-10.webp) Once you click on the billing subscription dataset in the list, you'll be redirected to the Dataset Details page. The dataset's statistical **[profile overview, sample preview](https://docs.catalyst.zoho.com/en/quickml/help/data-profiler-and-viewer/#what-is-data-profiling)**, and visualization chart is shown below. ![forecasting-tutorial-11.webp](https://catalyst-docs-development.zohostratus.in/images/tutorials/billing-subscription-metrics/forecasting-tutorial-11.webp) -------------------------------------------------------------------------------- title: "Create time series pipeline" description: "Create a powerful ML pipeline that analyzed billing and subscription metrics for an OTT platform using the Catalyst QuickML components." last_updated: "2026-09-29T06:01:01.000Z" source: "https://docs.catalyst.zoho.com/en/tutorials/billing-and-subscription-metrics/create-time-series-pipeline/" service: "All Services" related: - Time Series Algorithm (/en/quickml/help/ml-algorithms/time-series/) -------------------------------------------------------------------------------- # Create Time Series Pipeline Now that the dataset is uploaded, we’ll create a **[time series pipeline](https://docs.catalyst.zoho.com/en/quickml/help/ml-algorithms/time-series/#build-a-pipeline)** using the uploaded dataset. 1. Navigate to the *Pipeline* component in the left menu and click on the **Create Pipeline** button. ![forecasting-tutorial-12.webp](https://catalyst-docs-development.zohostratus.in/images/tutorials/billing-subscription-metrics/forecasting-tutorial-12.webp) 2. In the *Create Pipeline* window, select the **Forecasting** pipeline model. ![forecasting-tutorial-13.webp](https://catalyst-docs-development.zohostratus.in/images/tutorials/billing-subscription-metrics/forecasting-tutorial-13.webp) 3. Name the pipeline as billing_subscription_metrics, set the operation type to Multivariate Forecasting, and choose the billing_subscription_metrics dataset from the dataset drop-down. After selecting the dataset, specify the date as the Date/Timestamp column and total revenue as the Target column. Click **Create** to create the pipeline. ![forecasting-tutorial-14.webp](https://catalyst-docs-development.zohostratus.in/images/tutorials/billing-subscription-metrics/forecasting-tutorial-14.webp) You'll land on the Time Series smart mode pipeline builder as seen in the below image. This is a pre-built pipeline template with required operations to build a forecasting pipeline seamlessly in a short time. ![forecasting-tutorial-15.webp](https://catalyst-docs-development.zohostratus.in/images/tutorials/billing-subscription-metrics/forecasting-tutorial-15.webp) The smart mode pipeline builder contains two main stages: Preprocessing and Algorithm, in the pipeline template as shown above. Also, if you navigate to the *Profile* tab in the builder beside the sample preview, there’s an option to show the profile for sample data and whole data. ![forecasting-tutorial-16.webp](https://catalyst-docs-development.zohostratus.in/images/tutorials/billing-subscription-metrics/forecasting-tutorial-16.webp) The profile for the sample data is generated by default after configuring each operation in the pre-processing and algorithm stages, but in case you need a profile of the whole dataset during the pipeline building process, select **Whole Data** and click **Generate**. # Pipeline Configuration The first step in building any ML model is data preprocessing. In the Smart Builder, we have **[predefined preprocessing operations](https://docs.catalyst.zoho.com/en/quickml/help/ml-algorithms/time-series/#build-a-pipeline)** required for time series data. Below are the list of operations to be configured in the preprocessing stage for our multivariate forecasting model: - **Frequency**: Daily (1-day interval) - **Imputation**: Fill in missing values in the Target column - **Transformation**: Square Root Transform—Yeo Johnson Let’s go through each stage and understand why it’s necessary to configure the model. # Frequency Time series data must follow a consistent time interval. Frequency alignment ensures that all records are uniformly spaced. Here, select the interval as 1 Day because the dataset contains daily billing subscription metrics. This ensures that the model can learn from a continuous daily sequence without irregular gaps. Once the frequency is set, click **Save** and **Run** the frequency operation. ![forecasting-tutorial-17.webp](https://catalyst-docs-development.zohostratus.in/images/tutorials/billing-subscription-metrics/forecasting-tutorial-17.webp) # Imputation Real-world time series data often contains missing values. Imputation is used to fill in these gaps so the sequence remains consistent. Here, the target column, Total Revenue—along with all other columns with missing values—are selected with datatype Decimal, and missing values are filled in using the mean of the available values. This approach fills in missing values in a way that maintains the overall continuity and trend of the time series, without distorting the data from sudden spikes or drops. Once the imputation is handled, click **Save** and **Run** the imputation operation. ![forecasting-tutorial-18.webp](https://catalyst-docs-development.zohostratus.in/images/tutorials/billing-subscription-metrics/forecasting-tutorial-18.webp) # Transformation Transformation refers to applying statistical data transformation techniques to the data (such as log transformation or differencing) in order to stabilize variance or stationarity. In this pipeline, a Square Root–Yeo Johnson power transformation is applied to normalize the data distribution and reduce skewness. This helps the model handle non-linear relationships more effectively and improves overall forecasting accuracy. Once the transformation is configured, click **Save** and **Run** the transformation operation. ![forecasting-tutorial-19.webp](https://catalyst-docs-development.zohostratus.in/images/tutorials/billing-subscription-metrics/forecasting-tutorial-19.webp) # Stationarity Test Upon executing the transformation operation, you can find the Stationarity Test tab appearing next to the Preview and Profile tabs. Click the **Stationarity Test** tab to view the results of the stationarity analysis performed on the transformed dataset. This tab helps you evaluate whether each time series feature in your dataset is stationary or non-stationary using two statistical tests—KPSS (Kwiatkowski-Phillips-Schmidt-Shin) and ADF (Augmented Dickey–Fuller). These tests are essential to verify that the data has a stable mean and variance over time indicates that the time-series is stationary, which is a necessity for forecasting models. ![forecasting-tutorial-20.webp](https://catalyst-docs-development.zohostratus.in/images/tutorials/billing-subscription-metrics/forecasting-tutorial-20.webp) You can gain certain stationarity insights using the below options. - **Transformation stage overview**: Located at the top left, this dropdown (set to Overview by default) lets you choose which transformed feature or dataset view you want to analyze for stationarity. You can select Overview to see the results for all columns together, or pick a specific feature such as Total Revenue, New Subscriptions, or Cancelled Subscriptions, to view detailed stationarity results for that individual column. Depending on the transformations applied (for example, Square Root, Yeo-Johnson, Log, or Differencing), the dropdown allows you to explore how each transformation impacts the stationarity of the selected variable. - **After/Before transformation toggle**: Right next to the dropdown, you’ll see two options: Before transformation (shows results on the raw data) and After transformation (shows results on the data after applying your transformation steps). In the screen below, After transformation is selected, showing that all features have become stationary after processing. - **p-Value Significance Selector**: Located toward the top center of the panel, this option lets you choose the significance level used to determine whether a feature is stationary. You can switch between 1%, 5%, or 10% thresholds depending on how strict you want the stationarity test to be. **Note**: Changing this value updates the Result column (Stationary/Non-Stationary) in both KPSS and ADF test results accordingly. - 1%: Very strict, only very small p-values indicate stationarity. - 5%: Standard threshold, commonly used in statistical testing. - 10%: More lenient: useful when working with noisy or short time series. Learn about the significance of p-Value **[here](https://docs.catalyst.zoho.com/en/quickml/help/learning-center/time-series/#p-value)** - **Sample Data/Whole Data toggle**: Located on the upper right side, this toggle allows you to decide whether the stationarity tests should run on a subset of your dataset or on the entire dataset. In the displayed screen, Sample Data is selected, meaning the stationarity report is generated using a sampled portion of the data. - **Summary panel**: Shown on the left side of the Stationarity Test tab, this panel provides a quick summary of how many features are stationary or non-stationary based on each statistical test. **Total Columns** displays the total number of time-series features analyzed. **KPSS Test** shows the number of columns classified as stationary or non-stationary according to the KPSS test. ADF Test shows the same classification results according to the **ADF test**. The underlying assumption is that the series should be made stationary according to both tests to help ensure a well-performing model. - **Results table**: Located in the main area of the screen, this table lists the detailed test results for each column in the dataset. It contains the following: - **Features list**: The names of each time series feature tested (e.g., Total Revenue, New Subscriptions, etc.). - **KPSS p-Value and Result**: The p-value and outcome from the KPSS test; higher p-values generally indicate stronger evidence of stationarity. - **ADF p-Value and Result**: The p-value and outcome from the ADF test; lower p-values generally indicate stronger evidence of stationarity. ![forecasting-tutorial-21.webp](https://catalyst-docs-development.zohostratus.in/images/tutorials/billing-subscription-metrics/forecasting-tutorial-21.webp) Now that the preprocessing stage configuration is completed, the dataset is ready for training. In the next step, the VAR algorithm will use this processed data to model the target variable and generate the corresponding forecasts. # Algorithm configuration After preprocessing the dataset, the next step is to configure and apply the forecasting algorithm. In this tutorial, we use **[VAR](https://docs.catalyst.zoho.com/en/quickml/help/ml-algorithms/time-series/#2-multivariate-forecasting-algorithms)**, a robust multivariate time series algorithm that captures relationships among multiple interdependent variables. VAR simultaneously analyzes several related variables; for example, Total Revenue, New Subscriptions, Cancellations, and Refunds, to understand how changes in one metric influence the others over time. In our parameter configuration, **Max Lag** is set to a value between 0 and 5. This parameter determines how many previous time steps (lags) the model will use to predict future values. Selecting an appropriate lag value helps the model capture temporal dependencies effectively while preventing overfitting. Here, click the **Algorithm** stage, choose **VAR** from the drop-down and retain with the given parameter configuration. Then, click **Save**. ![forecasting-tutorial-22.webp](https://catalyst-docs-development.zohostratus.in/images/tutorials/billing-subscription-metrics/forecasting-tutorial-22.webp) Now, execute the pipeline by clicking the **Execute** button at the top-right corner of the pipeline builder page. ![forecasting-tutorial-23.webp](https://catalyst-docs-development.zohostratus.in/images/tutorials/billing-subscription-metrics/forecasting-tutorial-23.webp) This will redirect you to the pipeline details page shown below, which provides details about the executed pipeline with execution status. You can see that the pipeline execution is successful. ![forecasting-tutorial-24.webp](https://catalyst-docs-development.zohostratus.in/images/tutorials/billing-subscription-metrics/forecasting-tutorial-24.webp) Click **Execution Stats** to view more details about each stage of the model execution. ![forecasting-tutorial-25.webp](https://catalyst-docs-development.zohostratus.in/images/tutorials/billing-subscription-metrics/forecasting-tutorial-25.webp) The time series forecasting model is ready to analyze the billing subscription metrics for the OTT platform, and its details can be accessed under the Model field. (Click on the **billing_subscription_metrics_model** following the successful execution of the pipeline.) ![forecasting-tutorial-26.webp](https://catalyst-docs-development.zohostratus.in/images/tutorials/billing-subscription-metrics/forecasting-tutorial-26.webp) Upon clicking the model hyperlink **billing_subscription_metrics_model**, the model details page will be opened with necessary information about model details, evaluation metrics, cross validation metrics, and versioning details. # Model evaluation The Model Details page contains the evaluation metrics that help you understand the model performance during the training and validation process, cross-validation metrics, and as well as model versioning details. Model versions are used specifically to track the improvement or degradation of the performance and accuracy of the model upon frequent model training. As shown in the image below, you can view information about the model on the Model Details page. ![forecasting-tutorial-27.webp](https://catalyst-docs-development.zohostratus.in/images/tutorials/billing-subscription-metrics/forecasting-tutorial-27.webp) Learn more about model evaluation metrics **[here](https://docs.catalyst.zoho.com/en/quickml/help/learning-center/time-series/#model-evaluation-metrics)**. -------------------------------------------------------------------------------- title: "Create an Endpoint" description: "Create a powerful ML pipeline that analyzed billing and subscription metrics for an OTT platform using the Catalyst QuickML components." last_updated: "2026-09-29T06:01:01.000Z" source: "https://docs.catalyst.zoho.com/en/tutorials/billing-and-subscription-metrics/create-endpoint/" service: "All Services" related: - Pipeline Endpoints (/en/quickml/help/pipeline-endpoints) -------------------------------------------------------------------------------- # Create Endpoint Now create an endpoint for the above model to allow **[external applications](https://docs.catalyst.zoho.com/en/quickml/help/pipeline-endpoints/#model-tester)** to interact with the model seamlessly and get model responses. 1. Navigate to the *Endpoints* component in the left menu and click **Create Endpoint**. ![forecasting-tutorial-28.webp](https://catalyst-docs-development.zohostratus.in/images/tutorials/billing-subscription-metrics/forecasting-tutorial-28.webp) 2. Provide a name for the endpoint in the Endpoint Name field; (we'll name it **billing subscription model**), select endpoint type as **ML Model**, and select the model pipeline name from the drop-down values of the *Choose Model* field. Click **Create Endpoint**. ![forecasting-tutorial-29.webp](https://catalyst-docs-development.zohostratus.in/images/tutorials/billing-subscription-metrics/forecasting-tutorial-29.webp) 3. Once the endpoint is created, you can view its details and test the deployed model directly from the Test the model section. In this view (as shown in the screenshot), the Request panel displays the input format expected by the model—typically the most recent timestamp or feature values required for generating the next forecast. For our use case, the model accepts the latest date value as input because the VAR model predicts the target variable based on the sequence of historical timestamps and related features processed during training. When you click **Get Result**, the model processes this input and generates the forecasted value, which appears in the Response panel on the right. The output includes a predicted value associated with the next forecasted date. This helps users validate that the model is returning predictions in the correct structure and for the correct time step before integrating the endpoint into business applications. ![forecasting-tutorial-30.webp](https://catalyst-docs-development.zohostratus.in/images/tutorials/billing-subscription-metrics/forecasting-tutorial-30.webp) 4. Click **Publish** and use the endpoint URL to integrate the created ML model with any other applications. ![forecasting-tutorial-31.webp](https://catalyst-docs-development.zohostratus.in/images/tutorials/billing-subscription-metrics/forecasting-tutorial-31.webp) 5. Upon publishing the endpoint, it will generate API details—which include Endpoint API URL, scope, headers, and more—used to access the model from external applications. ![forecasting-tutorial-32.webp](https://catalyst-docs-development.zohostratus.in/images/tutorials/billing-subscription-metrics/forecasting-tutorial-32.webp) > **Note:** You can also check out **[Endpoints Authentication](https://docs.catalyst.zoho.com/en/quickml/help/pipeline-endpoints/#external-oauth2-authentication)** document to implement pipeline authentication. This ensures secured access to endpoints, the ML models, and datasets. ## Birthday Greetings ### Node.js -------------------------------------------------------------------------------- title: "Introduction" description: "Build a birthday greetings application using the Job Scheduling service and automatically send out birthday greetings to the required person via their email." last_updated: "2026-11-03T07:48:52.000Z" source: "https://docs.catalyst.zoho.com/en/tutorials/birthday-greetings/nodejs/introduction/" service: "All Services" related: - Project Directory Structure (/en/cli/v1/project-directory-structure/introduction/) - Dynamic Cron (/en/job-scheduling/help/cron/key-concepts/#cron-types) - Job Scheudling SDK (/en/sdk/nodejs/v2/job-scheduling/overview/) - Job Scheduling API (/en/api/code-reference/job-scheduling/jobpool/get-all-jobpool/#GetAllJobPools) -------------------------------------------------------------------------------- # Birthday Greetings App ### Introduction This tutorial will help you build a simple React web application called **Birthday Greetings**. The application will allow you to configure email wishes you can send to your peers on their birthday. You can configure the wish with a custom birthday message and set it to be sent to the required person's email on the day of their birthday. You can perform the following actions in the application: * **Sign up**/**log in** to your application and employ the common authentication processes, including validating access using custom logic. * **Create**, **Update**, **Delete**, and manage the birthday wishes you configure. The client side of the application will look like this: ![catalyst_tutorials_jobscheduling_fistlook](https://catalyst-docs-development.zohostratus.in/images/tutorials/birthday-greetings/bday-greetings-frontpage.webp) You can explore the functionality of the application using this link: [Try the app!](https://jobscheduling-tutorial-860829830.development.catalystserverless.com/app/index.html) The backend logic of this tutorial is coded using the **Node.js** runtime. The Birthday Greeting application employs features of components from the following Catalyst services: 1. **[Catalyst Serverless](https://docs.catalyst.zoho.com/en/serverless/)** - [Functions](https://docs.catalyst.zoho.com/en/serverless/help/functions/introduction/): The backend logic will be coded using the following function types: - [Advanced I/O Function](https://docs.catalyst.zoho.com/en/serverless/help/functions/advanced-io/): The logic to interact with the client and create the dynamic cron will be coded in this function. - [Basic I/O Function](https://docs.catalyst.zoho.com/en/serverless/help/functions/basic-io/): The logic used for custom user validation will be coded in this function. - [Job Function](https://docs.catalyst.zoho.com/en/serverless/help/functions/job-functions/): The logic to trigger the email containing the birthday greeting will be coded in this function. 2. **[Catalyst CloudScale](https://docs.catalyst.zoho.com/en/cloud-scale/)** - [Data Store](https://docs.catalyst.zoho.com/en/cloud-scale/help/data-store/introduction/): To store the name, custom message, birthday, and email of the person you are creating and scheduling the greeting for. - [ZCQL](https://docs.catalyst.zoho.com/en/cloud-scale/help/zcql/introduction/): To post and fetch data from the Data Store through querying. - [Authentication](https://docs.catalyst.zoho.com/en/cloud-scale/help/authentication/introduction/): To employ the required login elements using the [Embedded Authentication](https://docs.catalyst.zoho.com/en/cloud-scale/help/authentication/native-catalyst-authentication/embedded-authentication/introduction/) type to allow users to sign up or log in to your application. - [Whitelisting](https://docs.catalyst.zoho.com/en/cloud-scale/help/authentication/whitelisting/introduction/): To use the [Custom User Validation](https://docs.catalyst.zoho.com/en/cloud-scale/help/authentication/whitelisting/custom-user-validation/introduction/) feature to employ the custom authentication logic. - [Email Templates](https://docs.catalyst.zoho.com/en/cloud-scale/help/authentication/email-templates/introduction/): To customize **Email Verification**, and **Forgot Password** email templates. - [Mail](https://docs.catalyst.zoho.com/en/cloud-scale/help/mail/introduction/): To verify the sender email address and send the email to the required person. - [Web Client Hosting](https://docs.catalyst.zoho.com/en/cloud-scale/help/web-client-hosting/introduction/): To host the front end of the application. You can initialize and configure the client as a *React app*. 3. **[Catalyst Job Scheduling](https://docs.catalyst.zoho.com/en/job-scheduling/)** - [Job Pool](https://docs.catalyst.zoho.com/en/job-scheduling/help/jobpool/introduction/): To execute the function jobs that will trigger the required job function to trigger the sending of the email containing the birthday greeting. - [Cron](https://docs.catalyst.zoho.com/en/job-scheduling/help/cron/introduction/): To schedule the sending of the greetings email using [Dynamic Cron](https://docs.catalyst.zoho.com/en/job-scheduling/help/cron/key-concepts/). - [Jobs](https://docs.catalyst.zoho.com/en/job-scheduling/help/job/introduction/): To trigger the required Job Function when executed from the Job Pool. We will use the [Catalyst web console](https://console.catalyst.zoho.com/) and the [Catalyst Command Line Interface](https://docs.catalyst.zoho.com/en/cli/v1/cli-command-reference/) (CLI) to build this application. > **Note:** You will be given the code for the files to be included in the function and client components in this tutorial. You will just need to copy the provided code and paste it into the appropriate files as directed. ### Application Workflow The workflow of the Birthday Greetings application is illustrated below: ![catalyst_tutorials_jobscheduling_workflow_dig](https://catalyst-docs-development.zohostratus.in/images/tutorials/birthday-greetings/catalyst_tutorials_jobscheduling_workflow_dig.webp) 1. You sign up or log in to the application. 2. You can provide a custom message, schedule when you want the birthday greeting to be sent, and to whom it needs to be sent using the UI elements in the client side. 3. The details are then used by the *Advanced I/O function* to create a *Dynamic Cron* using the [SDK](https://docs.catalyst.zoho.com/en/sdk/nodejs/v2/job-scheduling/cron/create-recurring-cron/). 4. At the scheduled time, the dynamic cron will submit a *function job* to the function job pool, from where the function job will be executed to trigger the *Job Function*. 5. The job function will use the [Mail SDK](https://docs.catalyst.zoho.com/en/sdk/nodejs/v2/cloud-scale/mail/send-email/) to send the email containing the birthday greetings to the required person. The entire workflow of the application will be explained in more detail when you code your [client logic](https://docs.catalyst.zoho.com/en/tutorials/birthday-greetings/nodejs/config-client/), which we recommend you check out as you follow along the steps. -------------------------------------------------------------------------------- title: "Prerequisites" description: "Build a birthday greetings application using the Job Scheduling service and automatically send out birthday greetings to the required person via their email." last_updated: "2025-09-29T11:02:42.000Z" source: "https://docs.catalyst.zoho.com/en/tutorials/birthday-greetings/nodejs/prerequisites/" service: "All Services" related: - Catalyst CLI Documentation (/en/cli/v1/cli-command-reference/) - Catalyst VS Code Extension (/en/catalyst-extensions/vs-code-extension/introduction/) -------------------------------------------------------------------------------- # Prerequisites Before you begin building the application, you must have the following prerequisites installed on your system: 1. **Catalyst CLI**: Catalyst CLI contains a host of tools that enable you to initialize, develop, test, and deploy the components of your application from your local machine. We will be working with Catalyst CLI in this tutorial. You must perform these actions: - **Install Catalyst CLI**: Catalyst CLI is installed through NPM. You must have NPM and Node.js installed on your system before you install the CLI. Refer to the [**Install Catalyst CLI help page**](https://docs.catalyst.zoho.com/en/getting-started/installing-catalyst-cli/) for details on the prerequisites and the steps to install it. - **Login Catalyst CLI**: After you install Catalyst CLI, you must authenticate the CLI with your Catalyst account before using it. Refer to the [**CLI Login help page**](https://docs.catalyst.zoho.com/en/cli/v1/login/login-from-cli/) for the steps to login from Catalyst CLI and the various options available for it. 2. **Any IDE tool for Node.js and client code development**: You can use any IDE to work with the function and the client code. Some popular choices include Visual Studio Code, IntelliJ IDEA, Eclipse, and Sublime Text. Download and install an IDE of your choice in your system. > If you are a Visual Studio Code IDE user, you can install the **Catalyst Tools** extension, and use your IDE itself in place of the CLI. You can find more details about the Catalyst VS Code extension from this [help section](https://docs.catalyst.zoho.com/en/catalyst-extensions/vs-code-extension/introduction/). -------------------------------------------------------------------------------- title: "Create Project" description: "Build a birthday greetings application using the Job Scheduling service and automatically send out birthday greetings to the required person via their email." last_updated: "2026-11-03T15:16:51.000Z" source: "https://docs.catalyst.zoho.com/en/tutorials/birthday-greetings/nodejs/create-project/" service: "All Services" related: - Catalyst Projects (/en/getting-started/catalyst-projects/) -------------------------------------------------------------------------------- # Create a Project Let’s [create a Catalyst project](https://docs.catalyst.zoho.com/en/getting-started/catalyst-projects/#create-a-catalyst-project) from the Catalyst console. 1. Log in to the [Catalyst console](https://console.catalyst.zoho.com/baas/index) and click **Create New Project**. ![catalyst_tutorials_jobscheduling_create_proj](https://catalyst-docs-development.zohostratus.in/images/tutorials/birthday-greetings/catalyst_tutorials_jobscheduling_create_proj.webp) 2. Enter the project’s name as "**BirthdayGreetings**" in the pop-up window. ![catalyst_tutorials_jobscheduling_name_proj](https://catalyst-docs-development.zohostratus.in/images/tutorials/birthday-greetings/catalyst_tutorials_jobscheduling_name_proj.webp) Your project will be created and opened. -------------------------------------------------------------------------------- title: "Create Table" description: "Build a birthday greetings application using the Job Scheduling service and automatically send out birthday greetings to the required person via their email." last_updated: "2026-11-03T07:48:52.000Z" source: "https://docs.catalyst.zoho.com/en/tutorials/birthday-greetings/nodejs/create-table/" service: "All Services" related: - Data Store (/en/cloud-scale/help/data-store/introduction/) - Scopes & Permissions (/en/cloud-scale/help/data-store/scopes-and-permissions/) - Roles (/en/cloud-scale/help/authentication/user-management/roles/introduction/) -------------------------------------------------------------------------------- # Create Table Next, let’s create a table in the [Data Store](https://docs.catalyst.zoho.com/en/cloud-scale/help/data-store/introduction/). This table is used to create the following columns to store the required details:
Column Name Data Type Purpose
`Name` `Var Char` To store the name of the people you are going to send wishes to.
`Message` `Text` To store the custom message.
`BirthDay` `Date` To store the date of the birthday.
`Email` `Var Char` To store the recipient's email address.
`AutoSend` `Boolean` To choose to send the email automatically to the required person at the scheduled time. The default value will be **True**.
To create a table: 1. Navigate to the Catalyst *CloudScale* service section in the console and click **Start Exploring**. ![catalyst_tutorials_jobscheduling_cloudscale_start_explore](https://catalyst-docs-development.zohostratus.in/images/tutorials/birthday-greetings/catalyst_tutorials_jobscheduling_cloudscale_start_explore.webp) 2. Navigate to the *Data Store* component under the *STORAGE* section and click **Create a new Table**. ![catalyst_tutorials_jobscheduling_datastore_table_create](https://catalyst-docs-development.zohostratus.in/images/tutorials/birthday-greetings/catalyst_tutorials_jobscheduling_datastore_table_create.webp) 3. Enter the table’s name as "`BirthDayReminder`" and click **Create**. ![catalyst_tutorials_jobscheduling_datastore_nme_table](https://catalyst-docs-development.zohostratus.in/images/tutorials/birthday-greetings/catalyst_tutorials_jobscheduling_datastore_nme_table.webp) > **Note:** Ensure that you enter the name exactly as instructed because the application's code contains the same name. The table will be created. ![catalyst_tutorials_jobscheduling_datastore_table_created](https://catalyst-docs-development.zohostratus.in/images/tutorials/birthday-greetings/catalyst_tutorials_jobscheduling_datastore_table_created.webp) Now, let’s create the required columns. > **Info:** You can learn about the various data types supported by Catalyst and the other properties of a column from the [Data Store help documentation](https://docs.catalyst.zoho.com/en/cloud-scale/help/data-store/introduction/). 4. Click **New Column** in the *Schema View* section. ![catalyst_tutorials_jobscheduling_datastore_clm_new_clm](https://catalyst-docs-development.zohostratus.in/images/tutorials/birthday-greetings/catalyst_tutorials_jobscheduling_datastore_clm_new_clm.webp) 5. Enter the column’s name as "`Name`". Select the data type as **Var Char**, and enter "`100`" as the **Max Length**. ![catalyst_tutorials_jobscheduling_datastore_clm_name_clm](https://catalyst-docs-development.zohostratus.in/images/tutorials/birthday-greetings/catalyst_tutorials_jobscheduling_datastore_clm_name_clm.webp) 6. Click **Create**. ![catalyst_tutorials_jobscheduling_datastore_clm_first_created](https://catalyst-docs-development.zohostratus.in/images/tutorials/birthday-greetings/catalyst_tutorials_jobscheduling_datastore_clm_first_created.webp) 7. Click the **New Column** button again to create the second column. Name it "`Message`", select **Text** as its data type, and click **Create**. ![catalyst_tutorials_jobscheduling_datastore_clm_2_created](https://catalyst-docs-development.zohostratus.in/images/tutorials/birthday-greetings/catalyst_tutorials_jobscheduling_datastore_clm_2_created.webp) 8. Click the **New Column** button again to create the third column. Name it "`BirthDay`", select **Date** as its data type, and click **Create**. ![catalyst_tutorials_jobscheduling_datastore_clm_3_created](https://catalyst-docs-development.zohostratus.in/images/tutorials/birthday-greetings/catalyst_tutorials_jobscheduling_datastore_clm_3_created.webp) 9. Click the **New Column** button again to create the fourth column. Name it "`Email`", select **Var Char** as its data type, enter "`120`" as the **Max Length**, and click **Create**. ![catalyst_tutorials_jobscheduling_datastore_clm_4_created](https://catalyst-docs-development.zohostratus.in/images/tutorials/birthday-greetings/catalyst_tutorials_jobscheduling_datastore_clm_4_created.webp) 10. Lastly, click the **New Column** button again to create the fifth column. Name it "`AutoSend`", select **Boolean** as its data type, select **True** as the **Default Value**, and click **Create**. ![catalyst_tutorials_jobscheduling_datastore_clm_5_created](https://catalyst-docs-development.zohostratus.in/images/tutorials/birthday-greetings/catalyst_tutorials_jobscheduling_datastore_clm_5_created.webp) All of the required columns have been created. ![catalyst_tutorials_jobscheduling_datastore_clms_created](https://catalyst-docs-development.zohostratus.in/images/tutorials/birthday-greetings/catalyst_tutorials_jobscheduling_datastore_clms_created.webp) ### Configure Scopes and Permissions To allow any user of the Birthday Greetings application to create and manage birthday messages from the client application, you must enable CRUD operations for the *App User* profile and set its [role](https://docs.catalyst.zoho.com/en/cloud-scale/help/authentication/user-management/roles/introduction/) as *User*. To enable the required permissions: 1. Click the **Scopes & Permissions** tab. ![catalyst_tutorials_jobscheduling_datastore_scopes_page](https://catalyst-docs-development.zohostratus.in/images/tutorials/birthday-greetings/catalyst_tutorials_jobscheduling_datastore_scopes_page.webp) 2. Select the **User** profile for the *App User* role. ![catalyst_tutorials_jobscheduling_datastore_scopes_roles_user](https://catalyst-docs-development.zohostratus.in/images/tutorials/birthday-greetings/catalyst_tutorials_jobscheduling_datastore_scopes_roles_user.webp) 3. Select the **Update**, **Insert**, and **Delete** permissions for the *App User* by clicking the respective check boxes. Ensure that you do not change any other permission setting. ![catalyst_tutorials_jobscheduling_datastore_scopes_roles_user_permissions_done](https://catalyst-docs-development.zohostratus.in/images/tutorials/birthday-greetings/catalyst_tutorials_jobscheduling_datastore_scopes_roles_user_permissions_done.webp) The *Data Store* component is now configured for the application. -------------------------------------------------------------------------------- title: "Set up Sender Email Address" description: "Build a birthday greetings application using the Job Scheduling service and automatically send out birthday greetings to the required person via their email." last_updated: "2026-11-03T07:48:52.000Z" source: "https://docs.catalyst.zoho.com/en/tutorials/birthday-greetings/nodejs/setup-mail/" service: "All Services" related: - Mail (/en/cloud-scale/help/mail/introduction/) - Domains (/en/cloud-scale/help/mail/domains/) - Email Configuration (/en/cloud-scale/help/mail/email-configuration/) -------------------------------------------------------------------------------- # Set up Sender Email Address We will be using [Mail](https://docs.catalyst.zoho.com/en/cloud-scale/help/mail/introduction/), a *Catalyst CloudScale* component, to set up the sender email address. This is the address from which the birthday wishes will be sent to the required people. To configure the sender’s email address: 1. Navigate to the **Mail** component under the *NOTIFY* section in the *CloudScale* console, and click **Add Email**. ![catalyst_tutorials_jobscheduling_datastore_mail_first_pg](https://catalyst-docs-development.zohostratus.in/images/tutorials/birthday-greetings/catalyst_tutorials_jobscheduling_datastore_mail_first_pg.webp) 2. Provide the required details for your sender email address, and click **Add Email**. You can provide an email address that you use. ![catalyst_tutorials_jobscheduling_mail_sender_mail](https://catalyst-docs-development.zohostratus.in/images/tutorials/birthday-greetings/catalyst_tutorials_jobscheduling_mail_sender_mail.webp) 3. The email address will be listed in the *Email Configuration* section. ![catalyst_tutorials_jobscheduling_mail_listed](https://catalyst-docs-development.zohostratus.in/images/tutorials/birthday-greetings/mail-component.webp) > **Note:** This email address will be the email ID from which the birthday wishes will be sent. 4. Click on **Click to confirm** to verify the email address provided. ![catalyst_tutorials_jobscheduling_mail_c2c](https://catalyst-docs-development.zohostratus.in/images/tutorials/birthday-greetings/mail-configuration-code.webp) This action will have automatically sent a Catalyst-generated confirmation code to the email address you provided. ![catalyst_tutorials_jobscheduling_mail_cnfirm_email](https://catalyst-docs-development.zohostratus.in/images/tutorials/birthday-greetings/catalyst_tutorials_jobscheduling_mail_cnfirm_email.webp) 5. Copy the confirmation code from your email, paste it in the space provided, and click **Confirm**. The email ID will be verified, and the `Verified` status will be indicated under the *Confirmation Status* column. ![catalyst_tutorials_jobscheduling_mail_verified_email](https://catalyst-docs-development.zohostratus.in/images/tutorials/birthday-greetings/mail-component-verified.webp) The sender email address has now been configured. ### Configure the Domain Next, we need to verify the domain we are using to send emails from the application. This verification will ensure that your emails reach your required inbox securely and not in their spam folder. > **Note:** This is a mandatory step to ensure that emails sent from your Catalyst applications are done with strict adherence to DKIM protocols. To verify the domain: 1. Navigate to the *Domain* tab and click **Add Domain**. ![catalyst_tutorials_jobscheduling_mail_adding_domain](https://catalyst-docs-development.zohostratus.in/images/tutorials/birthday-greetings/catalyst_tutorials_jobscheduling_mail_adding_domain.webp) 2. Enter the sender email address that you wish to configure and click **Create**. ![catalyst_tutorials_jobscheduling_mail_domain_create](https://catalyst-docs-development.zohostratus.in/images/tutorials/birthday-greetings/catalyst_tutorials_jobscheduling_mail_domain_create.webp) 3. The domain will be listed in the *Domain* tab. Click the **Verify code** button next to the **Yet to verify** option. ![catalyst_tutorials_jobscheduling_mail_domain_verify_code](https://catalyst-docs-development.zohostratus.in/images/tutorials/birthday-greetings/catalyst_tutorials_jobscheduling_mail_domain_verify_code.webp) This action will have automatically emailed you a verification code generated by Catalyst. ![catalyst_tutorials_jobscheduling_mail_domain_verify_code_mail_sent](https://catalyst-docs-development.zohostratus.in/images/tutorials/birthday-greetings/catalyst_tutorials_jobscheduling_mail_domain_verify_code_mail_sent.webp) 4. Copy the confirmation code from your email, paste it in the space provided, and click **Confirm**. ![catalyst_tutorials_jobscheduling_mail_domain_code_entry](https://catalyst-docs-development.zohostratus.in/images/tutorials/birthday-greetings/catalyst_tutorials_jobscheduling_mail_domain_code_entry.webp) The domain will be verified, and the `Email Verified` badge will be added to the domain. ![catalyst_tutorials_jobscheduling_mail_domain_verified](https://catalyst-docs-development.zohostratus.in/images/tutorials/birthday-greetings/catalyst_tutorials_jobscheduling_mail_domain_verified.webp) > **Info:** You can learn more about the Domain section and the Mail component from this [help documentation](https://docs.catalyst.zoho.com/en/cloud-scale/help/mail/domains/). The Mail component has now been configured for your application. -------------------------------------------------------------------------------- title: "Enable Authentication" description: "Build a birthday greetings application using the Job Scheduling service and automatically send out birthday greetings to the required person via their email." last_updated: "2026-08-17T12:16:04.000Z" source: "https://docs.catalyst.zoho.com/en/tutorials/birthday-greetings/nodejs/enable-auth/" service: "All Services" related: - Authentication (/en/cloud-scale/help/authentication/introduction/) - Embedded Authentication (/en/cloud-scale/help/authentication/native-catalyst-authentication/embedded-authentication/introduction/) - Public Signup (/en/cloud-scale/help/authentication/public-signup/) - Social Logins (/en/cloud-scale/help/authentication/social-logins/introduction/) - Whitelisting (/en/cloud-scale/help/authentication/whitelisting/introduction/) - Email Templates (/en/cloud-scale/help/authentication/email-templates/introduction/) -------------------------------------------------------------------------------- # Enable Authentication For this tutorial, we will be enabling the Embedded Authentication type to add end users to the application. To enable Embedded Authentication for your application: 1. Navigate to the *Authentication* component under *SECURITY & IDENTITY* and click **Set Up** in the **Native Authentication** option. ![catalyst_tutorials_jobscheduling_authentication_setup_strt](https://catalyst-docs-development.zohostratus.in/images/tutorials/birthday-greetings/catalyst_tutorials_jobscheduling_authentication_setup_strt.webp) 2. Select **Embedded Authentication** and click **Next**. ![catalyst_tutorials_jobscheduling_authentication_setup_embedded](https://catalyst-docs-development.zohostratus.in/images/tutorials/birthday-greetings/catalyst_tutorials_jobscheduling_authentication_setup_embedded.webp) 3. We will be implementing the script listed in this section when we configure our client. For now, click the **Public Signup** toggle to allow users to sign up to your application. ![catalyst_tutorials_jobscheduling_authentication_setup_embedded_public_toggle](https://catalyst-docs-development.zohostratus.in/images/tutorials/birthday-greetings/catalyst_tutorials_jobscheduling_authentication_setup_embedded_public_toggle.webp) > **Info:** You can learn more about the **Public Signup** feature from this [help documentation](https://docs.catalyst.zoho.com/en/cloud-scale/help/authentication/public-signup/). 4. Read the information in the pop-up and click **Yes, Proceed**. ![catalyst_tutorials_jobscheduling_authentication_setup_embedded_public_popup](https://catalyst-docs-development.zohostratus.in/images/tutorials/birthday-greetings/catalyst_tutorials_jobscheduling_authentication_setup_embedded_public_popup.webp) 5. *Public Signup* has now been enabled. Your end-users can sign up to your application, and if you choose it, you can allow them to sign up to your application using their Social Logins. Click **Next**. ![catalyst_tutorials_jobscheduling_authentication_setup_embedded_public_enabled](https://catalyst-docs-development.zohostratus.in/images/tutorials/birthday-greetings/catalyst_tutorials_jobscheduling_authentication_setup_embedded_public_enabled.webp) > **Info:** We will not be covering the Social Logins feature in this tutorial. You can find out more about it in this [help documentation](https://docs.catalyst.zoho.com/en/cloud-scale/help/authentication/social-logins/introduction/) 6. We will be skipping the *Additional Settings* section right now. We will revisit the *Custom User Validation* feature present in this section at a later step. Click **Finish**. ![catalyst_tutorials_jobscheduling_authentication_setup_embedded_addn_settings_finish](https://catalyst-docs-development.zohostratus.in/images/tutorials/birthday-greetings/catalyst_tutorials_jobscheduling_authentication_setup_embedded_addn_settings_finish.webp) Embedded authentication has been enabled for your application. ![catalyst_tutorials_jobscheduling_authentication_setup_embedded_auth_cmpltd](https://catalyst-docs-development.zohostratus.in/images/tutorials/birthday-greetings/catalyst_tutorials_jobscheduling_authentication_setup_embedded_auth_cmpltd.webp) ### Configure Email Templates **Email Templates** is a feature in *Authentication* that allows you to style and customize the *Email Verification* and *Password Reset* emails that will be sent from your application when an end user attempts to register or reset their password. To configure the required email templates: 1. Click the **Email Templates** tab in the *Authentication* component to navigate to the relevant section. Click **Edit** to customize the **Email Verification** template. ![catalyst_tutorials_jobscheduling_authentication_setup_email_templates_start](https://catalyst-docs-development.zohostratus.in/images/tutorials/birthday-greetings/catalyst_tutorials_jobscheduling_authentication_setup_email_templates_start.webp) 2. Customize and edit the content. You can also include [placeholders](https://docs.catalyst.zoho.com/en/cloud-scale/help/authentication/email-templates/benefits-and-key-concepts/#placeholders) in the templates for the values that need to be populated dynamically when the emails are invoked. Make the necessary changes and click **Save**. ![catalyst_tutorials_jobscheduling_authentication_setup_email_templates_editing](https://catalyst-docs-development.zohostratus.in/images/tutorials/birthday-greetings/catalyst_tutorials_jobscheduling_authentication_setup_email_templates_editing.webp) > **Notes:** * You can customize the email content to match your preference. * The placeholder content (content present between `%%`) will be dynamically altered and rendered based on the user details. * The `%LINK%` placeholder will contain the application’s link that is automatically generated by Catalyst. You can also provide a custom link. 3. To customize the Reset Password email template, click the **Password Reset** tab and customize the email content in the same manner as above. ![catalyst_tutorials_jobscheduling_authentication_setup_email_templates_forgot_pwd](https://catalyst-docs-development.zohostratus.in/images/tutorials/birthday-greetings/catalyst_tutorials_jobscheduling_authentication_setup_email_templates_forgot_pwd.webp) The email templates will now be configured. > **Info:** * You can learn more about Email Templates from this [help document](https://docs.catalyst.zoho.com/en/cloud-scale/help/authentication/email-templates/introduction/). * Because we are using Embedded Authentication (a **Native Authentication** type) to authenticate this application, the handling of sending these emails at the required instances will be automatically configured by Catalyst, so you do not have to code the logic to trigger these emails. -------------------------------------------------------------------------------- title: "Initialize the Project" description: "Build a birthday greetings application using the Job Scheduling service and automatically send out birthday greetings to the required person via their email." last_updated: "2026-11-03T15:19:21.000Z" source: "https://docs.catalyst.zoho.com/en/tutorials/birthday-greetings/nodejs/init-project/" service: "All Services" related: - Catalyst CLI (/en/cli/v1/cli-command-reference/) - Initialize Resources (/en/cli/v1/initialize-resources/introduction/) - Project Directory (/en/cli/v1/project-directory-structure/introduction/) - Catalyst Functions (/en/serverless/help/functions/introduction/) -------------------------------------------------------------------------------- # Initialize the Project You can now begin working on your Catalyst project from the CLI. The first step is to initialize the project in an empty directory. This will be the home directory of your project, and all of the project files will be saved in it. You can learn more about this from the [Project Directory Structure help page](https://docs.catalyst.zoho.com/en/cli/v1/project-directory-structure/introduction/). You can learn about initializing a project in detail from the [CLI help documentation](https://docs.catalyst.zoho.com/en/cli/v1/initialize-resources/introduction). For this application, we will initialize a [Basic I/O function](https://docs.catalyst.zoho.com/en/serverless/help/functions/basic-io/), which will contain the logic for [Custom User Validation](https://docs.catalyst.zoho.com/en/cloud-scale/help/authentication/whitelisting/custom-user-validation/introduction/) and a [React web app](https://docs.catalyst.zoho.com/en/cli/v1/initialize-resources/initialize-client/#react-applications) as the client component. Later, we will also initialize an [Advanced I/O function](https://docs.catalyst.zoho.com/en/serverless/help/functions/advanced-io/) and a [Job Function](https://docs.catalyst.zoho.com/en/serverless/help/functions/job-functions/). > **Note:** Ensure that you enter the function's package name or class name exactly as instructed because the application's code contains the same name. 1. Create a folder for the project on your local machine and navigate to it from the terminal. 2. Initialize a project by executing the following command from that directory: ```sh catalyst init ``` 3. Navigate using the **arrow keys**, select your preferred portal, and press the **Enter** key. If you have no other organizations associated with the account, then the default one will be selected automatically. ![catalyst_tutorials_jobscheduling_cli_portl_choice](https://catalyst-docs-development.zohostratus.in/images/tutorials/birthday-greetings/catalyst_tutorials_jobscheduling_cli_portl_choice.webp) > **Info:** You can find out more about Catalyst’s multi-org portal feature in this [help document](https://docs.catalyst.zoho.com/en/getting-started/catalyst-organizations/#access-the-multi-org-portal). 4. The CLI will now ask you to associate a Catalyst project with the directory. Associate it with the project that we created earlier from the console. Select **BirthdayGreetings** from the list and click **Enter**. ![catalyst_tutorials_jobscheduling_cli_project_choice](https://catalyst-docs-development.zohostratus.in/images/tutorials/birthday-greetings/catalyst_tutorials_jobscheduling_cli_project_choice.webp) 5. Select **Functions** and **Client** using the **space bar**, then click **Enter** to initialize. ![catalyst_tutorials_jobscheduling_cli_func_client_sel](https://catalyst-docs-development.zohostratus.in/images/tutorials/birthday-greetings/catalyst_tutorials_jobscheduling_cli_func_client_sel.webp) 6. The CLI will initiate the function setup. Select **Basic IO** as the function type to code your *Custom User Validation* function. ![catalyst_tutorials_jobscheduling_cli_basicio_sel](https://catalyst-docs-development.zohostratus.in/images/tutorials/birthday-greetings/catalyst_tutorials_jobscheduling_cli_basicio_sel.webp) 7. Select the latest runtime of **Node.js** as the function stack. ![catalyst_tutorials_jobscheduling_cli_basicio_node_sel](https://catalyst-docs-development.zohostratus.in/images/tutorials/birthday-greetings/catalyst_tutorials_jobscheduling_cli_basicio_node_sel.webp) 8. Enter "`basic_function`" as the package name, "`index.js`" as the entry point, and your email address as the author, then press **Enter**. Alternatively, you can press **Enter** without entering inputs to fill in the default values. The CLI will prompt the initialization of the Node dependencies. Press **Y** to confirm the installation, and press **Enter** to confirm your choice. The Node modules will be installed. ![catalyst_tutorials_jobscheduling_cli_basicio_cmpltd](https://catalyst-docs-development.zohostratus.in/images/tutorials/birthday-greetings/catalyst_tutorials_jobscheduling_cli_basicio_cmpltd.webp) The CLI will now initiate the client setup. 9. Select **React web app** and press **Enter** to initialize your client as a [React web app](https://docs.catalyst.zoho.com/en/cli/v1/initialize-resources/initialize-client/#react-applications). ![catalyst_tutorials_jobscheduling_cli_react_client_sel](https://catalyst-docs-development.zohostratus.in/images/tutorials/birthday-greetings/catalyst_tutorials_jobscheduling_cli_react_client_sel.webp) 10. Select **JavaScript** as the React app type and press **Enter**. ![catalyst_tutorials_jobscheduling_cli_react_client_js_choice](https://catalyst-docs-development.zohostratus.in/images/tutorials/birthday-greetings/catalyst_tutorials_jobscheduling_cli_react_client_js_choice.webp) 11. Enter "`birthdaygreetings`" as the name of your client package and click **Enter**. You can also provide any name of your choice. Enter "**y**" at the prompt to install the required React packages, such as "`react`", "`react-dom`," and "`react-scripts`." These packages will be installed through the Catalyst React plugin ([`zcatalyst-cli-plugin-react`](https://www.npmjs.com/package/zcatalyst-cli-plugin-react)). ![catalyst_tutorials_jobscheduling_cli_react_client_name_dep_enter](https://catalyst-docs-development.zohostratus.in/images/tutorials/birthday-greetings/catalyst_tutorials_jobscheduling_cli_react_client_name_dep_enter.webp) The client is now successfully initialized as a React web application. ![catalyst_tutorials_jobscheduling_cli_react_client_cmpltd](https://catalyst-docs-development.zohostratus.in/images/tutorials/birthday-greetings/catalyst_tutorials_jobscheduling_cli_react_client_cmpltd.webp) The [client directory](https://docs.catalyst.zoho.com/en/cli/v1/project-directory-structure/client-directory) will be created in the standard structure in the project directory. This is the current structure of the *Birthday Greetings* project’s directory. ![catalyst_tutorials_jobscheduling_dir_cur](https://catalyst-docs-development.zohostratus.in/images/tutorials/birthday-greetings/catalyst_tutorials_jobscheduling_dir_cur.webp) Now, we will begin initializing the Advanced I/O Function and Job Function using the following CLI command in the `BirthdayGreetings/functions/` directory: ```sh catalyst functions:add ``` This [CLI command](https://docs.catalyst.zoho.com/en/cli/v1/working-with-functions/add-functions/) will trigger the function set up and allow you to add the required functions to your project directory. 1. Select the **Advanced IO** function once the function setup starts. ![catalyst_tutorials_jobscheduling_cli_func_add_advaced](https://catalyst-docs-development.zohostratus.in/images/tutorials/birthday-greetings/catalyst_tutorials_jobscheduling_cli_func_add_advaced.webp) 2. Select the latest runtime of **Node.js** as the function stack. ![catalyst_tutorials_jobscheduling_cli_func_add_advaced_node_sel](https://catalyst-docs-development.zohostratus.in/images/tutorials/birthday-greetings/catalyst_tutorials_jobscheduling_cli_func_add_advaced_node_sel.webp) 3. Enter "`advance_function`" as the package name, "`index.js`" as the entry point, and your email address as the author, then press **Enter**. Alternatively, you can press **Enter** without entering inputs to fill in the default values. The CLI will prompt the initialization of the Node dependencies. Press **Y** to confirm the installation, and press **Enter** to confirm your choice. The Node modules will be installed. ![catalyst_tutorials_jobscheduling_cli_func_add_advaced_node_done](https://catalyst-docs-development.zohostratus.in/images/tutorials/birthday-greetings/catalyst_tutorials_jobscheduling_cli_func_add_advaced_node_done.webp) The Advanced I/O function has been initialized. Let's initialize the Job Function using the same CLI command. ```sh catalyst functions:add ``` 1. Select **Job** as the function type once the function setup starts. ![catalyst_tutorials_jobscheduling_cli_func_add_job_start](https://catalyst-docs-development.zohostratus.in/images/tutorials/birthday-greetings/catalyst_tutorials_jobscheduling_cli_func_add_job_start.webp) 2. Select the latest runtime of **Node.js** as the function stack. ![catalyst_tutorials_jobscheduling_cli_func_add_job_node_sel](https://catalyst-docs-development.zohostratus.in/images/tutorials/birthday-greetings/catalyst_tutorials_jobscheduling_cli_func_add_job_node_sel.webp) 3. Enter "`dynamic_cron`" as the package name, "`index.js`" as the entry point, and your email address as the author, then press **Enter**. Alternatively, you can press **Enter** without entering inputs to fill in the default values. The CLI will prompt the initialization of the Node dependencies. Press **Y** to confirm the installation, and press **Enter** to confirm your choice. The Node modules will be installed. ![catalyst_tutorials_jobscheduling_cli_func_add_job_node_cmpltd](https://catalyst-docs-development.zohostratus.in/images/tutorials/birthday-greetings/catalyst_tutorials_jobscheduling_cli_func_add_job_node_cmpltd.webp) All of the required client and function components have been initialized for your application. This is the current structure of the project directory: ![catalyst_tutorials_jobscheduling_dir_2](https://catalyst-docs-development.zohostratus.in/images/tutorials/birthday-greetings/catalyst_tutorials_jobscheduling_dir_2.webp) -------------------------------------------------------------------------------- title: "Enable Custom User Validation" description: "Build a birthday greetings application using the Job Scheduling service and automatically send out birthday greetings to the required person via their email." last_updated: "2026-11-03T15:16:51.000Z" source: "https://docs.catalyst.zoho.com/en/tutorials/birthday-greetings/nodejs/enable-custom-logic/" service: "All Services" related: - Authentication (/en/cloud-scale/help/authentication/introduction/) - Authentication SDK (/en/sdk/nodejs/v2/cloud-scale/authentication/get-component-instance/) - Whitelisting (/en/cloud-scale/help/authentication/whitelisting/introduction/) - Custom User Validation (/en/cloud-scale/help/authentication/whitelisting/custom-user-validation/introduction/) -------------------------------------------------------------------------------- # Enable Custom User Validation ### Code Your Custom Authentication Logic Now, we will code our custom logic that needs to be employed when an end user tries to register to your application. The [functions directory](https://docs.catalyst.zoho.com/en/cli/v1/project-directory-structure/functions-directory/), `BirthdayGreetings/functions/basic_function/` contains: * The `index.js` main function file * The `catalyst-config.json` configuration file * Node modules * [`package.json`](https://docs.npmjs.com/files/package.json) and [`package-lock.json`](https://docs.npmjs.com/configuring-npm/package-lock-json.html) dependency files. You will be adding code in the `index.js` file. The function contains the following functionalities: * The end-user’s details will be provided as a JSON input to the Custom User Validation function. * The function is coded to implement a custom logic based upon which the end-user will either be authenticated or denied. > **Note:** For the purpose of this tutorial, we have coded an example logic for the Custom User Validation function where if the user's email provider is anyone other than Zylker Technology (`@zylker.com`) the end user will not be able to sign up to the application. You can either use the same or code a logic of your preference. Copy the code given below and paste it in the `index.js` file in the `BirthdayGreetings/functions/basic_function` directory of your project, and save the file. You can use any IDE of your choice to work with the application’s files. > **Note:** Please go through the code in this section to make sure you fully understand it. **index.js** ```javascript const catalyst = require('zcatalyst-sdk-node') module.exports = (context, basicIO) => { const catalystApp = catalyst.initialize(context) const requestDetails = catalystApp.userManagement().getSignupValidationRequest(basicIO) if (requestDetails) { if (requestDetails.user_details.email_id.includes('@zylker.com')) { basicIO.write(JSON.stringify({ status: 'success', user_details: { first_name: requestDetails.user_details.first_name, last_name: requestDetails.user_details.last_name, email_id: requestDetails.user_details.email_id, role_identifier: 'App User', org_id: '' } })) } else { // The user has failed authentication basicIO.write(JSON.stringify({ status: 'failure' })) } } context.close() } ``` > **Notes:** * Ensure that you change the domain name in line `6` with one that matches your requirement. * You can also use this [SDK](https://docs.catalyst.zoho.com/en/sdk/nodejs/v2/cloud-scale/authentication/custom-user-validation/) to code your own custom logic instead of the one implemented above. ### Deploy the Function and Configure Custom User Validation To apply this custom logic, we need to deploy this function to the console to ensure that it is available to enable the Custom User Validation option present in the console. To deploy the function, execute the following CLI command to [deploy the function component alone](https://docs.catalyst.zoho.com/en/cli/v1/deploy-resources/deploy-options/#--only-targets) to the console. ```sh catalyst deploy --only functions ``` > **Info:** You can also alternatively choose to deploy just the Custom User Validation function using the following command: `catalyst deploy --only functions:function_name` ![catalyst_tutorials_jobscheduling_deploy_only_func](https://catalyst-docs-development.zohostratus.in/images/tutorials/birthday-greetings/catalyst_tutorials_jobscheduling_deploy_only_func.webp) Function endpoints will be created for all of the functions. This will allow you to access the functions directly. The functions will be deployed to the console. They can be accessed in the console using the Functions component in the Serverless section of the console. ![catalyst_tutorials_jobscheduling_serverless_func_view](https://catalyst-docs-development.zohostratus.in/images/tutorials/birthday-greetings/catalyst_tutorials_jobscheduling_serverless_func_view.webp) > **Note:** While we have deployed all of the functions of the project to the console, we will be redeploying them once again after we code the **Advanced I/O** and **Job functions**. Now, go to the **Authentication** component present in the *CloudScale* section of the console and implement the following steps: 1. Navigate to the **Whitelisting** section in the *Authentication* component, and click the **Custom User Validation** toggle. ![catalyst_tutorials_jobscheduling_authentication_csu_start](https://catalyst-docs-development.zohostratus.in/images/tutorials/birthday-greetings/catalyst_tutorials_jobscheduling_authentication_csu_start.webp) 2. Select the **Basic I/O** function from the drop-down in the pop-up. ![catalyst_tutorials_jobscheduling_authentication_csu_func_sel](https://catalyst-docs-development.zohostratus.in/images/tutorials/birthday-greetings/catalyst_tutorials_jobscheduling_authentication_csu_func_sel.webp) 3. Click **Configure**. ![catalyst_tutorials_jobscheduling_authentication_csu_cmpltd](https://catalyst-docs-development.zohostratus.in/images/tutorials/birthday-greetings/catalyst_tutorials_jobscheduling_authentication_csu_cmpltd.webp) The Custom User Validation function has been enabled for the project, and the end-users signing up for your application will now be additionally authenticated using this function. > **Note:** You can find out about all of the features present in the Whitelisting section form in this [help document](https://docs.catalyst.zoho.com/en/cloud-scale/help/authentication/whitelisting/introduction/). -------------------------------------------------------------------------------- title: "Configure the Job Scheduling Service" description: "Build a birthday greetings application using the Job Scheduling service and automatically send out birthday greetings to the required person via their email." last_updated: "2026-08-17T12:16:04.000Z" source: "https://docs.catalyst.zoho.com/en/tutorials/birthday-greetings/nodejs/config-jobscheduling/" service: "All Services" related: - Job Scheduling Service (/en/job-scheduling/) - Dynamic Cron (/en/job-scheduling/help/cron/key-concepts/#cron-types) - Job Pool (/en/job-scheduling/help/jobpool/introduction/) - Job Scheduling SDK (/en/sdk/nodejs/v2/job-scheduling/overview/) - Job Scheduling APIs (/en/api/code-reference/job-scheduling/jobpool/get-all-jobpool/#GetAllJobPools) -------------------------------------------------------------------------------- # Configure the Job Scheduling Service Now, we are going to configure the components of the Job Scheduling service to ensure that the required birthday greetings are sent out at the precise moment. First, we are going to create a **Job Pool** to execute our Jobs from. To create a Job Pool: 1. Navigate to the *Job Scheduling* section of the console and click **Start Exploring**. ![catalyst_tutorials_jobscheduling_js_service_explore](https://catalyst-docs-development.zohostratus.in/images/tutorials/birthday-greetings/catalyst_tutorials_jobscheduling_js_service_explore.webp) 2. Navigate to the **Job Pool** component and click **Create Job Pool**. ![catalyst_tutorials_jobscheduling_js_service_create_jp](https://catalyst-docs-development.zohostratus.in/images/tutorials/birthday-greetings/catalyst_tutorials_jobscheduling_js_service_create_jp.webp) 3. Enter the name of the Job Pool as "`MessageTrigger`" and select **Function** as the Job Pool type from the drop-down. ![catalyst_tutorials_jobscheduling_js_service_jp_func_type](https://catalyst-docs-development.zohostratus.in/images/tutorials/birthday-greetings/catalyst_tutorials_jobscheduling_js_service_jp_func_type.webp) 4. Select `2GB` as the **Max Allocated Memory** from the drop-down, and click **Create**. ![catalyst_tutorials_jobscheduling_js_service_jp_size_chk](https://catalyst-docs-development.zohostratus.in/images/tutorials/birthday-greetings/catalyst_tutorials_jobscheduling_js_service_jp_size_chk.webp) The Job Pool has been created. ![catalyst_tutorials_jobscheduling_js_service_jp_create_cmpltd](https://catalyst-docs-development.zohostratus.in/images/tutorials/birthday-greetings/catalyst_tutorials_jobscheduling_js_service_jp_create_cmpltd.webp) The Job Pool can now be referred to by its name and its ID. The Job Pool is now ready to execute Function Jobs that will trigger the required Job Function. -------------------------------------------------------------------------------- title: "Code the Advanced I/O Function" description: "Build a birthday greetings application using the Job Scheduling service and automatically send out birthday greetings to the required person via their email." last_updated: "2026-08-17T12:16:04.000Z" source: "https://docs.catalyst.zoho.com/en/tutorials/birthday-greetings/nodejs/code-advancedio/" service: "All Services" related: - Advanced I/O Functions (/en/serverless/help/functions/advanced-io/) - Node.js SDK (/en/sdk/nodejs/v2/overview/) -------------------------------------------------------------------------------- # Code the Advanced I/O Function Let's start configuring the Advanced I/O function. This function will be used to communicate with the client and will configure a [Dynamic Cron](https://docs.catalyst.zoho.com/en/job-scheduling/help/cron/key-concepts/#cron-types). The meta of the Cron will be obtained using the data inputted in the client with the help of the [Cron creation SDK](https://docs.catalyst.zoho.com/en/sdk/nodejs/v2/job-scheduling/cron/create-recurring-cron/). The Advanced I/O function present in the [functions directory](https://docs.catalyst.zoho.com/en/cli/v1/project-directory-structure/functions-directory/), `BirthdayGreetings/functions/advance_function/` contains: * The `index.js` main function file * The `catalyst-config.json` configuration file * Node modules * [`package.json`](https://docs.npmjs.com/files/package.json) and [`package-lock.json`](https://docs.npmjs.com/configuring-npm/package-lock-json.html) dependency files. You will be adding code in the `index.js` file. To code this function, you will be using the [Express Node.js framework](https://expressjs.com/). To import the Express package in the code, you must install the Express dependencies in your system. To install Express.js in your local machine, navigate to the `BirthdayGreetings/functions/advance_function/` in your terminal and execute the following command: ```sh npm install express --save ``` ![catalyst_tutorials_jobscheduling_advacned_func_express](https://catalyst-docs-development.zohostratus.in/images/tutorials/birthday-greetings/catalyst_tutorials_jobscheduling_advacned_func_express.webp) Copy the code given below and paste it in the `index.js` file. > **Note:** Please go through the code in this section to make sure you fully understand it. **index.js** ```javascript 'use strict'; const catalyst = require('zcatalyst-sdk-node'); const express = require('express'); const app = express(); app.use(express.json()); app.post('/insertReminder', async (req, res) => { console.log("Request body:", req.body); try { const catalystApp = catalyst.initialize(req); let userManagement = catalystApp.userManagement(); let userPromise = userManagement.getCurrentUser(); userPromise.then(async (currentUser) => { console.log(currentUser); const datastores = catalystApp.datastore(); const table = datastores.table('12096000001771061'); // Your Table ID await insertReminder(req.body, table, catalystApp); res.status(200).json({ status: 200, message: "Reminder added successfully" }); }); } catch (error) { console.error('Error adding reminder:', error); res.status(500).json({ Error: error.message }); } }); app.get('/getReminder', async (req, res) => { try { const catalystApp = catalyst.initialize(req); const datastores = catalystApp.datastore(); const table = datastores.table('12096000001771061'); // Your Table ID const reminders = await getReminders(catalystApp, table); res.status(200).json(reminders); } catch (error) { console.error('Error retrieving reminders:', error); res.status(500).json({ Error: error.message }); } }); app.put('/updateReminder', async (req, res) => { try { const catalystApp = catalyst.initialize(req); const datastores = catalystApp.datastore(); const table = datastores.table('12096000001771061'); // Your Table ID await updateReminder(req.body, table, catalystApp); res.status(200).json({ status: 200, message: "Reminder updated successfully" }); } catch (error) { console.error('Error updating reminder:', error); res.status(500).json({ Error: error.message }); } }); app.patch('/toggleAutoSend', async (req, res) => { try { const catalystApp = catalyst.initialize(req); const datastores = catalystApp.datastore(); const table = datastores.table('12096000001771061'); // Your Table ID await toggleAutoSend(req.body, table, catalystApp); res.status(200).json({ status: 200, message: "Auto send toggled status successfully" }); } catch (error) { console.error('Error toggling status:', error); res.status(500).json({ Error: error.message }); } }); app.delete('/deleteReminder/:id', async (req, res) => { try { const { id } = req.params; console.log("ID received:", id); const catalystApp = catalyst.initialize(req); const datastores = catalystApp.datastore(); const table = datastores.table('12096000001771061'); // Your Table ID await deleteReminder(id, table, catalystApp); res.status(200).json({ status: 200, message: "Reminder deleted successfully" }); } catch (error) { console.error('Error deleting reminder:', error); res.status(500).json({ Error: error.message }); } }); module.exports = app; async function toggleAutoSend(requestBody, table, catalystApp) { const { id, status } = requestBody; const enableStatus = status === 'enable'; const zcql = catalystApp.zcql(); const query = `SELECT * FROM BirthDayReminder WHERE ROWID = '${id}'`; const response = await zcql.executeZCQLQuery(query); if (!response || response.length === 0) throw new Error('Reminder not found.'); const row = response[0].BirthDayReminder; row.AutoSend = enableStatus; console.log("Row.autosend ", row.AutoSend); const jobScheduling = catalystApp.jobScheduling(); if (!enableStatus) { console.log("false"); await jobScheduling.CRON.deleteCron(`bday_${id.substring(10, 17)}`); } else { console.log("true"); await scheduleCronJob(row, catalystApp); } const updateQuery = `UPDATE BirthDayReminder SET AutoSend = ${enableStatus} WHERE ROWID = '${id}'`; await zcql.executeZCQLQuery(updateQuery); } async function insertReminder(requestBody, table, catalystApp) { const { name, birthday, message, email } = requestBody; if (!name || !birthday || !message || !email) throw new Error('Missing required fields.'); const row = { Name: name, BirthDay: birthday, Message: message, Email: email }; try { const insertedRow = await table.insertRow(row); await scheduleCronJob(insertedRow, catalystApp); } catch (error) { console.error('Error inserting reminder:', error); throw error; } } async function getReminders(catalystApp, table) { try { const zcql = catalystApp.zcql(); const query = 'SELECT * FROM BirthDayReminder'; const response = await zcql.executeZCQLQuery(query); if (!Array.isArray(response)) throw new Error('Invalid response from ZCQL query'); return response.map(row => { const reminder = row.BirthDayReminder; return { ID: reminder.ROWID || 'N/A', Name: reminder.Name || 'N/A', BirthDay: reminder.BirthDay || 'N/A', Message: reminder.Message || 'N/A', Email: reminder.Email || 'N/A', AutoSend: reminder.AutoSend || false }; }); } catch (error) { console.error('Error retrieving reminders:', error.message); throw error; } } async function updateReminder(requestBody, table, catalystApp) { const { ID, Name, BirthDay, Message, Email } = requestBody; const jobScheduling = catalystApp.jobScheduling(); if (!ID || !Name || !BirthDay || !Message || !Email) throw new Error('Missing required fields.'); const zcql = catalystApp.zcql(); const query = `SELECT AutoSend FROM BirthDayReminder WHERE ROWID = '${ID}'`; const response = await zcql.executeZCQLQuery(query); const AutoSend = response[0]?.BirthDayReminder?.AutoSend || false; const row = { ROWID: ID, Name: Name, BirthDay: BirthDay, Message: Message, Email: Email }; if (AutoSend) { await jobScheduling.CRON.deleteCron(`bday_${ID.substring(10, 17)}`); try { await table.updateRow(row); await scheduleCronJob(row, catalystApp); } catch (error) { console.error('Error updating reminder:', error); throw error; } } else { try { await table.updateRow(row); console.log('Row updated:', row); } catch (error) { console.error('Error updating reminder:', error); throw error; } } } async function deleteReminder(id, table, catalystApp) { if (!id) throw new Error('ID is missing.'); const zcql = catalystApp.zcql(); const query = `SELECT AutoSend FROM BirthDayReminder WHERE ROWID = '${id}'`; const response = await zcql.executeZCQLQuery(query); const AutoSend = response[0]?.BirthDayReminder?.AutoSend || false; const jobScheduling = catalystApp.jobScheduling(); if (AutoSend) { await jobScheduling.CRON.deleteCron(`bday_${id.substring(10, 17)}`); } await table.deleteRow(id); console.log('Reminder deleted:', id); } async function scheduleCronJob(row, catalystApp) { const jobScheduling = catalystApp.jobScheduling(); const { ROWID, BirthDay, Name, Email, Message } = row; const dob = new Date(BirthDay); const cronDetail = { cron_name: `bday_${ROWID.substring(10, 17)}`, description: `Birthday reminder for ${Name}`, cron_status: true, cron_type: 'CALENDAR', cron_detail: { hour: 0, minute: 0, second: 0, days: [dob.getDate()], months: [dob.getMonth()], repetition_type: 'YEARLY' }, job_meta: { job_name: `bday_${ROWID.substring(10, 17)}`, jobpool_name: 'Trigger_Message', // Your job pool name jobpool_id: '12096000001771827', // Your Job pool ID target_type: 'FUNCTION', target_name: 'dynamic_cron', // Your job function name job_service_identifier: 'default', retries: 2, retry_interval: 900, params: { id: ROWID, name: Name, email: Email, message: Message, birthday: BirthDay } } }; try { const yearlyCronDetails = await jobScheduling.CRON.createCron(cronDetail); console.log('Yearly cron created:', yearlyCronDetails); } catch (error) { console.error('Error scheduling cron job:', error); throw error; } } ``` > **Notes:** * Ensure that you provide your **Table ID** in lines `15`, `33`, `47`, `64`, and `85`. You can fetch this value for the table you created from the Data Store. * Ensure that you provide with your job meta details in lines `245`, `246`, and `248`. You can fetch these from the Job Pool section in Job Scheduling. Let's go over the APIs that were used to code the Advanced I/O function to handle the routing between the server, the Data Store, and the Job Scheduling service: * `POST /insertReminder`: Will add a new reminder to the Data Store with the details provided in the client. Will also schedule a dynamic cron job for the reminder using the Catalyst Job Scheduling service to automate tasks. * `GET /getReminder`: Will retrieve all of the reminders stored in the Data Store and return them as the response. * `PUT /updateReminder`: Will update an existing reminder in the Data Store with the details provided in the client. * `PATCH /toggleAutoSend`: Will toggle the auto-send status of a reminder based on the preference set by the user in the client side. * `DELETE /deleteReminder/:id`: Will delete a specific reminder from the Data Store and Cron using the provided `reminder ID`. -------------------------------------------------------------------------------- title: "Code the Job Function" description: "Build a birthday greetings application using the Job Scheduling service and automatically send out birthday greetings to the required person via their email." last_updated: "2025-11-19T15:07:41.000Z" source: "https://docs.catalyst.zoho.com/en/tutorials/birthday-greetings/nodejs/code-job-func/" service: "All Services" related: - Job Functions (/en/serverless/help/functions/job-functions/) - Job Scheduling SDK (/en/sdk/nodejs/v2/job-scheduling/overview/) - Job Scheduling API (/en/api/code-reference/job-scheduling/jobpool/get-all-jobpool/#GetAllJobPools) -------------------------------------------------------------------------------- # Code the Job Function Now let's code the job function that will be triggered when a Function Job is executed from the Function Job Pool. This function will be used to send out the birthday greeting to the required person via their email. This function will be employing the [Mail SDK](https://docs.catalyst.zoho.com/en/sdk/nodejs/v2/cloud-scale/mail/send-email/). The job function present in the [functions](https://docs.catalyst.zoho.com/en/cli/v1/project-directory-structure/functions-directory/) directory, `BirthdayGreetings/functions/dynamic_cron/` contains: * The `index.js` main function file * The `catalyst-config.json` configuration file * Node modules * [`package.json`](https://docs.npmjs.com/files/package.json) and [`package-lock.json`](https://docs.npmjs.com/configuring-npm/package-lock-json.html) dependency files. You will be adding code in the `index.js` file. Copy the code given below and paste it in the `index.js` file. > **Note:** Please go through the code in this section to make sure you fully understand it. **index.js** ```javascript 'use strict'; const catalyst = require('zcatalyst-sdk-node'); module.exports = async (jobRequest, context) => { const catalystApp = catalyst.initialize(context); try { console.log("Jobs", jobRequest.getAllJobParams()); const { id, name, email, message, birthday } = jobRequest.getAllJobParams(); await catalystApp.email().sendMail({ from_email: 'emmy@zylker.com', // Add sender's email address to_email: [email], html_mode: true, subject: `Birthday Wishes for ${name}`, content: `Hello ${name}, ${message}`, }); console.log(`Email sent successfully to ${email}`); context.closeWithSuccess('Email sent successfully.'); } catch (error) { console.error('Error:', error); context.closeWithFailure('Failed to send email.'); } }; ``` > **Note:** Ensure that you add the sender email address you configured using the Mail component in line `15`. All of the required functions have now been configured for your application. -------------------------------------------------------------------------------- title: "Configure the Client" description: "Build a birthday greetings application using the Job Scheduling service and automatically send out birthday greetings to the required person via their email." last_updated: "2026-08-28T07:59:38.000Z" source: "https://docs.catalyst.zoho.com/en/tutorials/birthday-greetings/nodejs/config-client/" service: "All Services" related: - Client Directory (/en/cli/v1/project-directory-structure/client-directory) -------------------------------------------------------------------------------- # Configure the Client Let's configure the client component. The React web [client directory](https://docs.catalyst.zoho.com/en/cli/v1/project-directory-structure/client-directory) contains the following files: - The root directory of the client contains a `client-package.json` file, which is a configuration file defining the name, version, default home page, and redirect page of the client component. - The `birthdaygreetings` client directory contains two subfolders, per the default project structure of a React app: - The `public` folder is generally used to hold files that can be openly accessed by browsers through public URLs, such as icon files of the web app, the `index.html` file. - The `src` folder contains the application’s source files that will be included in the build folder when we compile the React app. - The client directory also contains the [`package.json`](https://docs.npmjs.com/files/package.json) dependency file and a hidden [`.gitignore`](https://docs.npmjs.com/files/package.json) file. The files in the `BirthdayGreetings/birthdaygreetings/public` directory include: - [Native React files](https://reactjs.org/docs/getting-started.html#try-react) such as `Tests.js`, `index.js`, `reportWebVitals.js`, `logo.svg`, and `App.test.js`. - `index.html` Contains a Catalyst web SDK that allows you to access Catalyst components. - Additionally, we will be creating the following files: - `embeddediframe.css`: Will contain the styling elements required for the login forms present in your application. - `fpwd.css`: Will contain the styling elements required for the forgot password screens present in your application. The files in the `BirthdayGreetings/birthdaygreetings/src` directory include: - Native React files such as `setupTests.js`, `reportWebVitals.js`, `logo.svg`, and `App.test.js`. - `App.js`: Will contain the hash routes to your application. - `App.css`: Will contain the overall styling elements of your application. - `index.js`: Will act as the entry point of your application. - `index.css`: Contains the styling of the elements present in the `index.js` file. - We will be adding the following additional files to the `src` directory: - `Layout.js`: Will contain the React component for the application's logic. - `LoginPage.js`: Will contain the React component for the login pages you generated in the Catalyst console. - `UserProfile.js`: Will contain the user profile page, which displays a top bar and a form for submitting reminder data to the server. - `UserProfile.css`: Will contain the styling elements used for the user profile page, including custom scroll bar settings and layout adjustments for the header section. - `Signup.js`: Will contain the React component for the Signup pages you generated in the Catalyst console. - `Signup.css`: Will contain the styling elements for the Signup page in the application. - `ListUsers.js`: Will contain the page that lists out all of the reminders you have set up, allows editing and deletion, and provides the ability to toggle reminder status using Axios requests. - Additionally, you need to create a folder called `components` in the `src` directory. The `BirthdayGreetings/birthdaygreetings/src/components/` will include the following code files: - `form.jsx`: Will contain the form component responsible for managing form data, handling input changes, and submitting the form data to the parent component via the `onSubmit` function. - `modal.jsx`: Will contain the modal functionality for editing user data, including input fields for name, message, birthday, and email, along with an update button. - `modal.css`: Will contain the styling for the modal component, including layout, input fields, and buttons for editing user data with a backdrop and centered content. - `ToggleSwitch.jsx`: Will contain the logic for the toggle switch component, allowing users to toggle between two states, such as enabling or disabling a feature. - `toggleSwitch.css`: Will contain the styling for a sliding toggle switch with transition effects for the checked and unchecked states. - `TopBar.jsx`: Will contain the structure of the top navigation bar, including links to pages like "`Add User`" and "`List User`," a title in the center, and a "`Sign-out`" button on the right. - `topBar.css`: Will contain the styling elements required to style the top navigation bar, including layout, button appearance, and sticky positioning. - `UserList.jsx`: Will contain the structure for rendering a list of reminders with the option to toggle, edit, or delete each reminder. - `Userlist.css`: Will contain the styling elements required to style the user list, including layout, item styling. Will also contain the button designs for edit and delete actions. We will be coding the `index.html`, `embeddediframe.css`, `fpwd.css`, `App.js`, `App.css`, `index.css`, `index.js`, `Layout.js`, `LoginPage.js`, `UserProfile.css`, `UserProfile.js`, `Signup.js`, `Signup.css`, `form.jsx`, `Form.css`, `modal.jsx`, `modal.css`, `ToggleSwitch.jsx`, `toggleSwitch.css`, `TopBar.jsx`, `topBar.css`, `UserList.jsx`, and `Userlist.css` files. We will also be modifying the `client-package.json` to ensure that the homepage of the application is the login page. ### Install Additional React Packages Before you begin adding code to your files, you need to install the following packages: * `react-router-dom`: This package is required to perform hash routing. * `axios`: To smoothly handle client promises. Install the `react-router-dom` package by executing the following command in the `BirthdayGreetings/birthdaygreetings/public/` directory using your terminal: ```sh npm install react-router-dom ``` ![catalyst_tutorials_jobscheduling_client_router_dom](https://catalyst-docs-development.zohostratus.in/images/tutorials/birthday-greetings/catalyst_tutorials_jobscheduling_client_router_dom.webp) Install the `axios` package by executing the following command in the `BirthdayGreetings/birthdaygreetings/public/` directory using your terminal: ```sh npm install axios ``` ![catalyst_tutorials_jobscheduling_client_axios](https://catalyst-docs-development.zohostratus.in/images/tutorials/birthday-greetings/catalyst_tutorials_jobscheduling_client_axios.webp) This is the project directory after you have created the required files and deleted the unnecessary ones. ![catalyst_tutorials_jobscheduling_final_proj_dir](https://catalyst-docs-development.zohostratus.in/images/tutorials/birthday-greetings/catalyst_tutorials_jobscheduling_final_proj_dir.webp) Copy the code given below and paste it in the respective files located in the client directory (`birthdaygreetings/public/`) using an IDE and save the file. **index.html** ```xml <!DOCTYPE html> <html lang="en"> <head> <meta charset="utf-8" /> <link rel="icon" href="%PUBLIC_URL%/favicon.ico" /> <meta name="viewport" content="width=device-width, initial-scale=1" /> <meta name="theme-color" content="#000000" /> <meta name="description" content="Web site created using create-react-app" /> <link rel="apple-touch-icon" href="%PUBLIC_URL%/logo192.png" /> <link rel="manifest" href="%PUBLIC_URL%/manifest.json" /> <script src="https://static.zohocdn.com/catalyst/sdk/js/4.6.2/catalystWebSDK.js"> </script> <script src="/__catalyst/sdk/init.js"> </script> <title>React App</title> </head> <body> <noscript>You need to enable JavaScript to run this app.</noscript> <div id="root"> </div> </body> </html> ``` **embeddediframe.css** ```css @font-face { font-family: "Roboto Mono"; font-weight: 400; font-style: normal; src: url("https://webfonts.zohowebstatic.com/robotomonoregular/font.eot"); src: url("https://webfonts.zohowebstatic.com/robotomonoregular/font.eot?#iefix") format("eot"), url("https://webfonts.zohowebstatic.com/robotomonoregular/font.woff2") format("woff2"), url("https://webfonts.zohowebstatic.com/robotomonoregular/font.woff") format("woff"), url("https://webfonts.zohowebstatic.com/robotomonoregular/font.ttf") format("truetype"), url("https://webfonts.zohowebstatic.com/robotomonoregular/font.svg#RobotoMono-Regular") format("svg"); } @font-face { font-family: "LatoLgt"; font-weight: 300; font-style: normal; src: url("https://webfonts.zohowebstatic.com/latolight/font.eot"); src: url("https://webfonts.zohowebstatic.com/latolight/font.eot?#iefix") format("eot"), url("https://webfonts.zohowebstatic.com/latolight/font.woff2") format("woff2"), url("https://webfonts.zohowebstatic.com/latolight/font.woff") format("woff"), url("https://webfonts.zohowebstatic.com/latolight/font.ttf") format("truetype"), url("https://webfonts.zohowebstatic.com/latolight/font.svg#Lato-Light") format("svg"); } @font-face { font-family: "LatoReg"; font-weight: 400; font-style: normal; src: url("https://webfonts.zohowebstatic.com/latoregular/font.eot"); src: url("https://webfonts.zohowebstatic.com/latoregular/font.eot?#iefix") format("eot"), url("https://webfonts.zohowebstatic.com/latoregular/font.woff2") format("woff2"), url("https://webfonts.zohowebstatic.com/latoregular/font.woff") format("woff"), url("https://webfonts.zohowebstatic.com/latoregular/font.ttf") format("truetype"), url("https://webfonts.zohowebstatic.com/latoregular/font.svg#Lato-Regular") format("svg"); } @font-face { font-family: "LatoSB"; font-weight: 700; font-style: normal; src: url("https://webfonts.zohowebstatic.com/latobold/font.eot"); src: url("https://webfonts.zohowebstatic.com/latobold/font.eot?#iefix") format("eot"), url("https://webfonts.zohowebstatic.com/latobold/font.woff2") format("woff2"), url("https://webfonts.zohowebstatic.com/latobold/font.woff") format("woff"), url("https://webfonts.zohowebstatic.com/latobold/font.ttf") format("truetype"), url("https://webfonts.zohowebstatic.com/latobold/font.svg#Lato-Bold") format("svg"); } @font-face { font-family: "LatoB"; font-weight: 900; font-style: normal; src: url("https://webfonts.zohowebstatic.com/latoblack/font.eot"); src: url("https://webfonts.zohowebstatic.com/latoblack/font.eot?#iefix") format("eot"), url("https://webfonts.zohowebstatic.com/latoblack/font.woff2") format("woff2"), url("https://webfonts.zohowebstatic.com/latoblack/font.woff") format("woff"), url("https://webfonts.zohowebstatic.com/latoblack/font.ttf") format("truetype"), url("https://webfonts.zohowebstatic.com/latoblack/font.svg#Lato-Black") format("svg"); } @font-face { font-family: "signinicon"; src: url(/images/signinicon.eot); src: url(/images/signinicon.eot) format("embedded-opentype"), url(/__catalyst/auth/static-file?file_name=signinicon.woff2) format("woff2"), url(/__catalyst/auth/static-file?file_name=signinicon.ttf) format("truetype"), url(/__catalyst/auth/static-file?file_name=signinicon.woff) format("woff"), url("../images/fonts/signinicon.651f82b8f8f51f33cd0b6331f95b5b4f.svg") format("svg"); font-weight: normal; font-style: normal; font-display: block; } [class^="icon-"], [class*=" icon-"] { /* use !important to prevent issues with browser extensions that change fonts */ font-family: "signinicon" !important; speak: never; font-style: normal; font-weight: normal; font-variant: normal; text-transform: none; line-height: 1; /* Better Font Rendering =========== */ -webkit-font-smoothing: antialiased; -moz-osx-font-smoothing: grayscale; } .icon-hide:before { content: "\e907"; } .icon-show:before { content: "\e914"; } .icon-backarrow:before { content: "\e900"; } .icon-backup:before { content: "\e901"; } .icon-support:before { content: "\e915"; } body { font-family: "Roboto", sans-serif; margin: 0px; } .bg_one { display: block; position: fixed; top: 0px; left: 0px; height: 100%; width: 100%; background: url("../images/bg.49756b7c711696d95133fa95451f8e13.svg") transparent; background-size: auto 100%; z-index: -1; } .signin_container { height: 25rem; display: block; width: 520px; background-color: #fff; box-shadow: 0px 2px 30px #ccc6; margin: auto; position: relative; z-index: 1; margin-top: auto; overflow: hidden; } .mod_container { width: 500px; } .checkbox_label { display: inline-block; font-size: 14px; margin: 0px 6px; float: left; cursor: pointer; line-height: 20px; } .signin_box { min-height: 520px; height: auto; background: #fff; box-sizing: border-box; border-radius: 2px; transition: all 0.1s ease-in-out; float: left; overflow-y: auto; display: table-cell; border-right: 2px solid #f1f1f1; width: 100%; padding: 0px 30px; height: auto; border-right: none; } .nopassword_message { display: table-cell; font-size: 14px; color: #222222; letter-spacing: 0px; line-height: 20px; height: auto; width: auto; margin-left: 10px; font-weight: 400; padding-left: 10px; } .portal_logo { display: block; height: 30px; width: auto; margin-bottom: 20px; background-size: auto 100%; } .pointer { cursor: pointer; } #forgotpassword { cursor: default; } #forgotpassword > a { cursor: pointer; } .text16 { display: block; text-align: center; margin-bottom: 30px; color: #626262; font-size: 16px; font-weight: 500; text-decoration: none; } .checkbox { float: left; z-index: 0; height: 12px; width: 12px; display: inline-block; border: 2px solid #ccc; border-radius: 2px; position: relative; top: 1.5px; overflow: hidden; background-color: #fff; } .show_hide_password { font-size: 34px; color: #a7a7a7; position: relative; top: -39px; right: 13px; float: right; cursor: pointer; height: 20px; } .pass_policy, .pass_policy_error { color: #8c8c8c; font-size: 14px; padding-top: 10px; } .pass_policy_error { color: #ed7500; display: block; } .checkbox_check { position: absolute; z-index: 1; opacity: 0; left: 50px; margin: 0px; height: 16px; cursor: pointer; width: 16px; } .checkbox_div { display: none; height: 16px; width: auto; margin-bottom: 30px; } .checkbox_div { display: block; } #terminate_session_form .checkbox_mod { margin-top: 50px; } .checkbox_tick { display: block; height: 3px; width: 8px; border-bottom: 2px solid #fff; border-left: 2px solid #fff; transform: rotate(-45deg); margin: 2px 1px; } .passexpsuccess { display: none; height: 106px; width: 178px; background: url("../images/passexpiry.db4c66debd4dd8880655f338ead6b973.png") no-repeat transparent; background-size: auto 100%; margin: 0px auto; margin-bottom: 20px; } .signin_head { display: block; font-size: 24px; font-weight: 500; margin-bottom: 30px; line-height: 30px; transition: all 0.1s ease-in-out; } .rightside_box { width: 390px; height: auto; float: right; box-sizing: border-box; padding: 40px; background-color: #fff; display: table-cell; } .service_name, .backup_desc, .pass_name { display: block; font-size: 16px; color: #000; font-weight: 400; } .titlename { display: block; font-size: 24px; color: #000; font-weight: 400; text-transform: capitalize; width: auto; margin-bottom: 20px; } .extramargin { margin-top: 10px; } .show_hide_password { font-size: 34px; color: #a7a7a7; position: relative; top: -39px; right: 13px; float: right; cursor: pointer; height: 20px; } .textbox_div { display: block; margin-bottom: 30px; position: relative; } .textbox_label { display: block; font-size: 14px; color: #626262; padding-bottom: 10px; } .textbox { display: block; width: 100%; height: 44px; box-sizing: border-box; border-radius: 2px; text-indent: 12px; font-size: 16px; outline: none; border: none; padding-right: 12px; transition: all 0.2s ease-in-out; background: #f1f1f1; border: 1px solid #e4e4e4; } .textbox:valid { border: 2px solid #f4f6f8; } .textindent42 { text-indent: 36px; } .textindent62 { text-indent: 56px; } .textintent52 { text-indent: 46px; } ::-webkit-credentials-auto-fill-button { visibility: hidden; pointer-events: none; position: absolute; right: 0px; } input[type="text"], input[type="password"], input[type="email"], input[type="number"] { -webkit-appearance: none; -moz-appearance: none; appearance: none; } .errorborder:focus, .textbox.errorborder { border-bottom: 2px solid #ff8484; } .btn { cursor: pointer; display: block; width: 100%; height: 44px; border-radius: 4px; letter-spacing: 0.5; font-size: 14px; font-weight: 600; outline: none; border: none; margin: auto; text-transform: uppercase; margin-bottom: 30px; transition: all 0.2s ease-in-out; } .signupbtn { width: 250px; margin-left: 0px; } .blue { box-shadow: 0px 2px 2px #fff; background-color: #159aff; color: #fff; } .grey { background-color: #f3f3f3; color: #3a3a3a; letter-spacing: 0px; } .green { box-shadow: 0px 2px 2px #fff; background-color: #00c573; color: #fff; } .blue:hover { background-color: #0966c2; cursor: pointer; box-shadow: 0px 2px 2px rgba(90, 183, 254, 0.2); } .changeloadbtn { display: block; height: 44px; width: 44px; border-radius: 22px; padding: 0px; } .changeloadbtn:before { content: ""; height: 20px; width: 20px; display: inline-block; margin: 9px; border: 3px solid #fff; border-top: 3px solid #5ab7fe; border-radius: 50%; animation: spin 0.5s linear infinite; } @keyframes spin { 0% { transform: rotate(0deg); } 100% { transform: rotate(360deg); } } .hellouser { margin-bottom: 30px; } .username { display: inline-block; max-width: 100%; font-size: 16px; font-weight: 500; line-height: 24px; overflow: hidden; text-overflow: ellipsis; padding-right: 10px; float: left; } .Notyou { display: inline-block; font-size: 16px; line-height: 24px; } .signup_text { text-align: center; margin: 20px 0px; font-size: 16px; } .backbtn { display: none; float: left; height: 28px; width: 28px; border-radius: 50%; position: absolute; padding: 0px 5px; cursor: pointer; overflow: hidden; transition: all 0.1s ease; } .zeroheight { width: 0px; height: 0px; overflow: hidden; display: block; } #captcha, #bcaptcha { background: #fff; width: 60%; display: inline-block; } #captcha_img, #bcaptcha_img { width: 40%; float: right; background-color: #ffffff; border-left: none; } #captcha_img img, #bcaptcha_img img { height: 40px; } .reloadcaptcha { float: right; clear: both; margin-top: -37px; height: 30px; width: 30px; border-radius: 50px; background: url("../images/reload.eaef7ea18b680bc07558164c918909a6.png") no-repeat transparent 5px; background-size: 50%; display: inline-block; cursor: pointer; } #captcha_container { display: none; } .options { display: block; width: 100%; max-width: 500px; min-height: 80px; padding: 0px 50px; cursor: pointer; } .options:hover { background-color: #f9f9f9; } .option_details { display: inline-block; height: auto; width: 320px; margin-left: 15px; } .option_title { display: block; font-size: 16px; font-weight: 500; } .img_option { display: table-cell; height: 24px; width: 24px; color: #499aff; font-size: 24px; vertical-align: top; } .errorlabel { color: #e92b2b; } .fielderror { display: none; font-size: 14px; margin-top: 10px; } .fielderror a { text-decoration: none; color: #309ff4; } .bluetext { color: #309ff4; cursor: pointer; } #country_code_select { width: 50px; height: 40px; position: absolute; opacity: 0; display: none; z-index: 0; } .select_country_code { width: 50px; height: 40px; display: inline-block; float: left; position: absolute; line-height: 40px; text-align: center; font-size: 16px; color: black; display: none; z-index: 0; } .pic { width: 20px; height: 14px; background-size: 280px 252px; background-image: url("../images/Flags2x.0b8394efb0ea9167cef2465fb8f63d78.png"); float: left; } .cc { float: right; color: #aeaeae; } .cn { margin-left: 10px; } .select2-results__option--highlighted { background: #f4f6f8; } .searchparent { height: auto; } .searchlbl { font-size: 10px; font-weight: bolder; display: inline-block; margin-top: 15px; margin-bottom: 10px; margin-left: 10px; } .cntrysearch { width: 380px; height: 32px; border-radius: 2px; font-size: 14px; box-sizing: border-box; padding: 8px 10px; background: #f7f7f7; outline: none; border: none; margin-top: 10px; } .select2-results__option { list-style-type: none; height: 40px; box-sizing: border-box; padding: 12px 20px; font-size: 14px; line-height: 16px; } .select2-search__field { width: 380px; height: 32px; border: none; outline: none; background: #f7f7f7; border-radius: 2px; margin: 10px 0 0 10px; font-size: 14px; padding: 10.5px 8px; } .select2-selection { display: inline-block; outline: none; /* background-color: #F4F6F8; */ height: 40px; text-align: center; padding: 10px; box-sizing: border-box; cursor: pointer; } .selection { transition: all 0.2s ease-in-out; -webkit-user-select: none; display: inline-block; white-space: nowrap; overflow: hidden; width: 0px; height: 43px; } #select2-combobox-results { padding-left: 0px; max-height: 200px; overflow-y: scroll; overflow-x: hidden; width: 400px; margin-top: 10px; margin-bottom: 0px; background: white; } .select2-container--open { z-index: 10; background: #ffffff; box-shadow: 0 2px 4px 0 rgba(0, 0, 0, 0.13); width: auto; box-sizing: border-box; } .select2 { position: absolute; background: transparent; box-shadow: none; display: none; margin: 2px; } .select2-results__options { overflow-y: auto; max-height: 200px; } .selection { width: auto; width: -moz-fit-content; width: -webkit-fit-content; margin: auto; display: block; } .select2-search–-hide, .select2-selection__clear { display: none; } #otp_container, #enableotpoption, #mfa_ga_container, #mfa_otp_container, #mfa_totp_container, #recoverybtn, #recovery_container, #enableforgot, #enablesaml, .trustbrowser_ui, #backup_ver_container, #backup_container, #enablemore, .password_expiry_container, .terminate_session_container { display: none; } .errorlabel { color: #e92b2b; } .fielderror { display: none; font-size: 14px; margin-top: 10px; } .field_error { color: #f37272; font-size: 14px; padding-top: 10px; } #recoverybtn, #problemsignin, .tryanother { position: absolute; left: 0px; right: 0px; bottom: 40px; } .textbox_actions, .textbox_actions_saml, .textbox_actions_more { display: block; margin-top: 20px; height: 20px; } .bluetext_action { display: inline-block; float: left; font-size: 14px; color: #159aff; font-weight: 500; line-height: 16px; cursor: pointer; } .bluetext_action a { text-decoration: none; } .bluetext_action_right { float: right; } .textbox_actions { display: block; margin-top: 20px; height: 20px; } .Alert, .Errormsg { display: block; margin: auto; height: auto; min-width: 200px; width: fit-content; width: -moz-fit-content; max-width: 600px; background-color: #032239; border-radius: 6px; position: fixed; top: -100px; left: 0px; right: 0px; transition: all 0.2s ease; padding: 0px 20px; z-index: 2; } .tick_icon, .error_icon { display: inline-block; height: 20px; width: 20px; background-color: #22c856; border-radius: 50%; background-size: 60px; margin: 15px; float: left; } .tick_icon:after { display: block; content: ""; height: 5px; width: 9px; border-bottom: 2px solid #fff; border-left: 2px solid #fff; transform: rotate(-45deg); margin: 7px 6px; box-sizing: border-box; } .alert_message, .error_message { display: inline-block; font-size: 14px; color: #fff; line-height: 18px; margin: 16px 0px; margin-right: 20px; max-width: 510px; } .error_icon { background-color: #ff676f; } .error_icon:before, .error_icon:after { position: absolute; left: 44px; top: 20px; content: " "; height: 10px; width: 2px; background-color: #ffffff; } .error_icon:before { transform: rotate(45deg); } .error_icon:after { transform: rotate(-45deg); } .select2-results__options { padding-left: 0px; } .showcountry_code { width: 62px !important; } .textindent70 { text-indent: 70px; } .countrybox { width: 400px; height: 220px; overflow: auto; } .focusmanage { position: absolute; z-index: 10; width: 400px; height: 266px; box-sizing: border-box; padding: 10px; margin-top: -25px; background: #ffffff; box-shadow: 0 2px 4px 0 rgba(0, 0, 0, 0.13); border-radius: 2px; } .recoveryhead { margin-bottom: 10px; } .nopassword_container { display: none; background: #ebf4fb; border: 1px solid #cbe8ff; border-radius: 5px; width: 400px; height: auto; position: absolute; bottom: 50px; box-sizing: border-box; padding: 20px; } .nopassword_icon { display: table-cell; margin: 0px; height: 30px; width: 30px; color: #0091ff; font-size: 30px; vertical-align: middle; } .mailsearch { width: 400px; height: 30px; padding: 0px 0px; border: none; position: absolute; } .bolder1 { font-weight: bolder; } #ui-id-1 { height: 200px; width: auto; outline: none; border: none; overflow-x: hidden; overflow-y: scroll; } .ui-menu-item-wrapper { overflow: auto; } .nonclickelem { color: #626262; pointer-events: none; } .trustdevicebox { width: 500px; min-height: auto !important; } .trustdevice { width: auto; float: left; margin-right: 18px; min-width: 100px; margin-bottom: 0px; } .loadwithbtn { display: inline-block; height: 22px; width: 22px; border: 3px solid #fff; border-radius: 50%; position: absolute; margin: -2px; box-sizing: border-box; border-left: 3px solid transparent; animation-name: rotate1; animation-iteration-count: infinite; animation-duration: 1s; animation-timing-function: linear; } @keyframes rotate1 { from { transform: rotate(0deg); } to { transform: rotate(360deg); } } .waitbtn .waittext, .loadbtntext { display: inline-block; text-indent: 25px; } #waitbtn { display: none; } .loadwithbtn:before { display: inline-block; content: ""; height: 22px; width: 22px; border: 3px solid #ffffff30; border-radius: 50%; margin: -3px -11px; position: absolute; box-sizing: border-box; } .notnowbtn .loadwithbtn { border: 3px solid #3a3a3a; border-left: 3px solid transparent; } .trustdevice .loadwithbtn { display: none; } #recoverybtn, #problemsignin, .tryanother { display: none; bottom: 50px; width: fit-content; margin: 0px auto; cursor: pointer; } #recoverOption, #verify_totp_container, #verify_qr_container { display: none; } .backoption { width: 30px; height: 30px; font-size: 24px; display: inline-block; float: left; color: #666666; padding: 3px; box-sizing: border-box; margin-right: 5px; border-radius: 15px; cursor: pointer; } .backoption:hover { background: #f4f4f4; } .rec_head_text, .backoption { display: table-cell; } .options, .optionstry { display: table; width: 100%; height: auto; padding: 20px 50px; box-sizing: border-box; cursor: pointer; } .options:hover, .optionstry:hover { background-color: #f9f9f9; } .option_details, .option_details_try { height: auto; width: auto; padding-left: 10px; vertical-align: top; box-sizing: border-box; } .option_title_try { display: block; font-size: 16px; font-weight: 500; } .option_description { display: block; font-size: 13px; line-height: 20px; color: #696969; margin-top: 5px; } .img_option_try { margin: 12px 0px; } .img_option { font-size: 30px; color: #499aff; } .option_details { display: table-cell; } .problemsignincon, .recoverymodes, .addaptivetfalist, #recoverymodeContainer { width: auto; margin: 0px -50px; } .line { background-color: #f1f1f1; width: 100%; height: 2px; border-radius: 1px; margin-bottom: 20px; } .terminate_session_container .signin_head { margin-bottom: 20px; } #terminate_session_form .checkbox_div { position: relative; margin-bottom: 10px; } #terminate_session_form .checkbox_mod { margin-top: 30px; } #terminate_session_form .checkbox_check { left: 15px; } #terminate_session_form .checkbox_check:checked ~ .checkbox { background-color: #159aff; border-color: #159aff; } #terminate_session_form .showOneAuthLable { border: 1px solid #e7e7e7; border-radius: 10px 10px 0px 0px; box-sizing: border-box; max-width: 420px; height: auto; overflow: auto; margin-bottom: 0px; } .oneAuthLable { display: inline-flex; max-width: 420px; padding: 15px; align-items: center; margin-bottom: 10px; box-sizing: border-box; border: 1px solid #e7e7e7; border-top: none; border-radius: 0px 0px 15px 15px; } .oneauth_icon { display: inline-block; width: 40px; height: 40px; border-radius: 14px; background-size: 40px 40px; } .one_auth_icon_v2 { background-image: url(../images/oneAuth2.4b2a6945d5ecd70b703ba18f5f11eb68.png); } .oneAuthLable .text_container { flex: 1; margin: 0px 10px; } .oneAuthLable .text_header { font-size: 12px; font-weight: 500; margin-bottom: 4px; } .oneAuthLable .text_desc { font-size: 10px; line-height: 14px; } .oneAuthLable .togglebtn_div { height: 16px; padding: 4px; width: 30px; display: inline-block; position: relative; } .oneAuthLable .real_togglebtn { cursor: pointer; display: inline-block; position: relative; height: 16px; width: 30px; z-index: 1; opacity: 0; position: absolute; margin: 0px; } .real_togglebtn:checked ~ .togglebase { background-color: #10bc83; } .real_togglebtn:checked ~ .togglebase .toggle_circle { left: 16px; } .oneAuthLable .togglebase { height: 16px; width: 30px; display: inline-block; background: #ccc; border-radius: 10px; position: absolute; } .oneAuthLable .toggle_circle { transition: all 0.2s ease-in-out; height: 12px; width: 12px; background-color: #fff; border-radius: 10px; display: inline-block; position: absolute; left: 2px; top: 2px; box-shadow: 0px 0px 5px #999; } @media only screen and (-webkit-min-device-pixel-ratio: 2), not all, not all, not all, only screen and (min-resolution: 192dpi), only screen and (min-resolution: 2dppx) { .google_icon { background-color: #fff; box-shadow: 0px 0px 2px #00000012, 0px 2px 2px #00000024; } .google_icon .fed_icon { background: url("../images/signin_icons@2x.c0c72f3600a6f5ec03c9119d5a7d0518.png") no-repeat transparent; background-size: 205px auto; background-position: -10px -10px; } .MS_icon { background-color: #2f2f2f; } .MS_icon .fed_icon { background: url("../images/signin_icons@2x.c0c72f3600a6f5ec03c9119d5a7d0518.png") no-repeat transparent; background-size: 205px auto; background-position: -38px -10px; } .linkedin_fed_box { background-color: #0966c2; } .linkedin_fed_box .fed_icon { background: url("../images/signin_icons@2x.c0c72f3600a6f5ec03c9119d5a7d0518.png") no-repeat transparent; background-size: 205px auto; background-position: -67px -11px; } .large_box .linked_fed_icon { background-position: -9px -174px; } .fb_fed_box { background-color: #1877f2; } .fb_fed_box .fed_icon { background: url("../images/signin_icons@2x.c0c72f3600a6f5ec03c9119d5a7d0518.png") no-repeat transparent; background-size: 205px auto; background-position: -94px -10px; } .zoho_icon { background: url(../images/signin_icons@2x.c0c72f3600a6f5ec03c9119d5a7d0518.png) no-repeat transparent; background-size: 205px auto; background-position: -152px -174px; } } @media only screen and (max-width: 600px) { body { -webkit-tap-highlight-color: rgba(255, 255, 255, 0); } .nopassword_container { width: calc(100% - 60px); padding: 10px; box-sizing: border-box; } .signin_container { width: 100%; box-shadow: none; margin: 0 auto; position: relative; z-index: 1; margin-top: 40px; height: 27rem; overflow: hidden; } #captcha_img, #captcha, #bcaptcha_img, #bcaptcha { border: 2px solid #f4f6f8; border-radius: 2px; text-indent: 3px; width: 50%; outline: none; -webkit-appearance: none; -moz-appearance: none; appearance: none; } .textbox, #verify_totp { background-color: transparent; border: none; border-bottom: 2px solid #f4f6f8; text-indent: 0px; border-radius: 0px; } .textbox:focus, #verify_totp { border: none; border-bottom: 2px solid #159aff; } .errorborder:focus, .textbox.errorborder { border-bottom: 2px solid #ff8484; } .backoption { margin-bottom: 10px; } .img_option { margin: 0px 10px 0px 0px !important; } .bg_one, .line { display: none; } .signin_head { margin-bottom: 30px; } .btn { margin-top: 10px; border-radius: 4px; } .changeloadbtn { border-radius: 22px; } .more { margin-right: 0px !important; } .textindent42 { text-indent: 36px; } .textindent62 { text-indent: 56px; } .textintent52 { text-indent: 46px; } .select2-selection { background-color: #f1f9ff; } .devices .select2-selection { background-color: #f1f9ff; } .select2-search__field { width: 280px; } .applynormal { width: 46% !important; min-width: 0px; } .borderless, .borderlesstry { line-height: 12px; font-size: 14px; } .alert_message, .error_message { max-width: 300px; width: 75%; } .Alert, .Errormsg { max-width: 400px !important; padding: 0px; min-width: 300px; } .error_icon:before, .error_icon:after { left: 24px; } ::placeholder { font-weight: 500; } .mobilehide { display: none !important; } #forgotpassword { margin-bottom: 0px; } #forgotpassword a { display: inline-block; } .fielderror { position: absolute; margin-top: 5px; } .trustdevicebox { width: auto; height: auto; } #recoverybtn, #problemsignin, .tryanother { position: initial !important; margin-top: 70px !important; } .problemsignincon, .recoverymodes, #recoverymodeContainer { width: 100%; margin-left: 0px; } } .hover-tool-tip { position: absolute; top: 15px; left: 335px; background: #fff; padding: 20px; box-shadow: 0px 0px 10px #0000001a; transition: opacity 0.1s; border-radius: 5px; z-index: 9; opacity: 0; } .hover-tool-tip::after { content: ""; position: absolute; width: 0; height: 0; margin-left: -8px; top: 25px; left: 0; box-sizing: border-box; border: 6px solid black; border-color: #ffffff transparent transparent #ffffff; transform-origin: 0 0; transform: rotate(-45deg); box-shadow: -6px -6px 10px 0 #0000001a; } .hover-tool-tip.no-arrow::after { content: none; } .hover-tool-tip ul { padding: 0; margin: 0px 0px 0px 15px; list-style: none; } .hover-tool-tip p { margin: 0px 0px 10px 0px; font-size: 14px; font-weight: 500; } .hover-tool-tip ul li { font-size: 12px; display: flex; align-items: center; white-space: nowrap; line-height: 25px; } .hover-tool-tip ul li.success::before { background-color: #0dbc83; } .hover-tool-tip ul li::before { content: ""; margin-right: 10px; background-color: red; width: 8px; height: 8px; border-radius: 50%; } .titlename, .service_name { display: none !important; } .signin_head { padding-top: 20px; } #login_id { text-indent: 0 !important; } .showcountry_code { display: none !important; } ``` **fpwd.css** ```css @font-face { font-family: "Roboto Mono"; font-weight: 400; font-style: normal; src: url("https://webfonts.zohowebstatic.com/robotomonoregular/font.eot"); src: url("https://webfonts.zohowebstatic.com/robotomonoregular/font.eot?#iefix") format("eot"), url("https://webfonts.zohowebstatic.com/robotomonoregular/font.woff2") format("woff2"), url("https://webfonts.zohowebstatic.com/robotomonoregular/font.woff") format("woff"), url("https://webfonts.zohowebstatic.com/robotomonoregular/font.ttf") format("truetype"), url("https://webfonts.zohowebstatic.com/robotomonoregular/font.svg#RobotoMono-Regular") format("svg"); } @font-face { font-family: "LatoLgt"; font-weight: 300; font-style: normal; src: url("https://webfonts.zohowebstatic.com/latolight/font.eot"); src: url("https://webfonts.zohowebstatic.com/latolight/font.eot?#iefix") format("eot"), url("https://webfonts.zohowebstatic.com/latolight/font.woff2") format("woff2"), url("https://webfonts.zohowebstatic.com/latolight/font.woff") format("woff"), url("https://webfonts.zohowebstatic.com/latolight/font.ttf") format("truetype"), url("https://webfonts.zohowebstatic.com/latolight/font.svg#Lato-Light") format("svg"); } @font-face { font-family: "LatoReg"; font-weight: 400; font-style: normal; src: url("https://webfonts.zohowebstatic.com/latoregular/font.eot"); src: url("https://webfonts.zohowebstatic.com/latoregular/font.eot?#iefix") format("eot"), url("https://webfonts.zohowebstatic.com/latoregular/font.woff2") format("woff2"), url("https://webfonts.zohowebstatic.com/latoregular/font.woff") format("woff"), url("https://webfonts.zohowebstatic.com/latoregular/font.ttf") format("truetype"), url("https://webfonts.zohowebstatic.com/latoregular/font.svg#Lato-Regular") format("svg"); } @font-face { font-family: "LatoSB"; font-weight: 700; font-style: normal; src: url("https://webfonts.zohowebstatic.com/latobold/font.eot"); src: url("https://webfonts.zohowebstatic.com/latobold/font.eot?#iefix") format("eot"), url("https://webfonts.zohowebstatic.com/latobold/font.woff2") format("woff2"), url("https://webfonts.zohowebstatic.com/latobold/font.woff") format("woff"), url("https://webfonts.zohowebstatic.com/latobold/font.ttf") format("truetype"), url("https://webfonts.zohowebstatic.com/latobold/font.svg#Lato-Bold") format("svg"); } @font-face { font-family: "LatoB"; font-weight: 900; font-style: normal; src: url("https://webfonts.zohowebstatic.com/latoblack/font.eot"); src: url("https://webfonts.zohowebstatic.com/latoblack/font.eot?#iefix") format("eot"), url("https://webfonts.zohowebstatic.com/latoblack/font.woff2") format("woff2"), url("https://webfonts.zohowebstatic.com/latoblack/font.woff") format("woff"), url("https://webfonts.zohowebstatic.com/latoblack/font.ttf") format("truetype"), url("https://webfonts.zohowebstatic.com/latoblack/font.svg#Lato-Black") format("svg"); } @font-face { font-family: "Zoho_Puvi_Regular"; src: url("https://static.zohocdn.com/zohofonts/zohopuvi/4.0/Zoho_Puvi_Regular.eot"); src: url("https://static.zohocdn.com/zohofonts/zohopuvi/4.0/Zoho_Puvi_Regular.eot") format("embedded-opentype"), url("https://static.zohocdn.com/zohofonts/zohopuvi/4.0/Zoho_Puvi_Regular.woff2") format("woff2"), url("https://static.zohocdn.com/zohofonts/zohopuvi/4.0/Zoho_Puvi_Regular.otf") format("opentype"); font-weight: normal; font-style: normal; /* font-display: swap */ } @font-face { font-family: "signinicon"; src: url(/images/signinicon.eot); src: url(/images/signinicon.eot) format("embedded-opentype"), url(/images/signinicon.woff2) format("woff2"), url(/images/signinicon.ttf) format("truetype"), url(/images/signinicon.woff) format("woff"), url("../images/fonts/signinicon.651f82b8f8f51f33cd0b6331f95b5b4f.svg") format("svg"); font-weight: normal; font-style: normal; font-display: block; } [class^="icon-"], [class*=" icon-"] { /* use !important to prevent issues with browser extensions that change fonts */ font-family: "signinicon" !important; speak: never; font-style: normal; font-weight: normal; font-variant: normal; text-transform: none; line-height: 1; /* Better Font Rendering =========== */ -webkit-font-smoothing: antialiased; -moz-osx-font-smoothing: grayscale; } .icon-device:before { content: "\e90a"; } .icon-reload:before { content: "\e912"; } .icon-backarrow:before { content: "\e900"; } .icon-email:before { content: "\e904"; } .icon-hide:before { content: "\e907"; } .icon-otp:before { content: "\e90c"; } .icon-show:before { content: "\e914"; } body { margin: 0px; } ::placeholder { /* Chrome, Firefox, Opera, Safari 10.1+ */ color: #0003; } .bg_one { display: block; position: fixed; top: 0px; left: 0px; height: 100%; width: 100%; /* background: url("../images/bg.49756b7c711696d95133fa95451f8e13.svg") transparent; */ background-size: auto 100%; z-index: -1; } .titlename { display: block; font-size: 24px; color: #000; font-weight: 400; text-transform: capitalize; width: auto; margin-bottom: 20px; } .Alert, .Errormsg { display: flex; align-items: center; justify-content: center; margin: auto; height: auto; min-width: 200px; width: fit-content; width: -moz-fit-content; max-width: 600px; background-color: #032239; border-radius: 6px; position: fixed; top: -100px; left: 0px; right: 0px; transition: all 0.2s ease; padding: 0px 20px; z-index: 2; } .tick_icon, .error_icon { display: inline-block; height: 20px; width: 20px; background-color: #22c856; border-radius: 50%; background-size: 60px; margin: 0px 15px; float: left; position: relative; } .tick_icon:after { display: block; content: ""; height: 5px; width: 9px; border-bottom: 2px solid #fff; border-left: 2px solid #fff; transform: rotate(-45deg); margin: 7px 6px; box-sizing: border-box; } .alert_message, .error_message { display: inline-block; font-size: 14px; color: #fff; line-height: 18px; margin: 16px 0px; margin-right: 20px; max-width: 510px; } .error_icon { background-color: #ff676f; } .error_icon:before, .error_icon:after { position: absolute; left: 9px; top: 5px; content: " "; height: 10px; width: 2px; background-color: #ffffff; } .error_icon:before { transform: rotate(45deg); } .error_icon:after { transform: rotate(-45deg); } .loader { width: 36px; height: 36px; border: 4px solid #159aff; border-bottom: 4px solid transparent; border-radius: 50%; display: block; box-sizing: border-box; animation: rotate 1s linear infinite; position: absolute; top: 0px; z-index: 7; bottom: 0px; left: 0px; right: 0px; margin: auto; } @keyframes rotate { 0% { transform: rotate(0deg); } 100% { transform: rotate(360deg); } } .blur { top: 0px; left: 0px; bottom: 0px; background: #fff; width: 100%; height: auto; margin: auto; position: absolute; z-index: 3; opacity: 0.9; display: block; } .bold_font { font-weight: 500; } .searchparent { height: auto; } .textbox_div { display: block; margin-bottom: 30px; position: relative; } .textbox { display: block; width: 100%; height: 44px; box-sizing: border-box; border-radius: 2px; text-indent: 12px; font-size: 16px; outline: none; border: none; padding-right: 12px; transition: all 0.2s ease-in-out; background: #f9f9f9; border: 1px solid #dddddd; } .textbox:hover, .textbox:valid, .textbox:focus { border: 1px solid #b9b9b9; } #last_password { padding-right: 40px; } ::-webkit-credentials-auto-fill-button { visibility: hidden; pointer-events: none; position: absolute; right: 0px; } input[type="text"], input[type="password"], input[type="email"], input[type="number"] { -webkit-appearance: none; -moz-appearance: none; appearance: none; } .errorborder { border: 2px solid #ff8484 !important; } .textbox:-webkit-autofill, .textbox:-webkit-autofill:hover, .textbox:-webkit-autofill:focus, .textbox:-webkit-autofill:active { -webkit-box-shadow: inset 0 0 0px 9999px #f9f9f9; -webkit-text-fill-color: black; background-color: #f9f9f9 !important; } .fielderror { display: none; font-size: 14px; margin-top: 10px; } .fielderror a { text-decoration: none; color: #309ff4; } #captcha_container { display: none; border: 1px solid #dddddd; width: 250px; padding: 10px; box-sizing: border-box; margin-top: 10px; border-radius: 4px; } #captcha { width: 100%; display: inline-block; height: 40px; padding: 0px 12px; text-indent: 0px; background: #f9f9f9; } #captcha_img { background-color: #ffffff; border: none; height: 60px; width: 150px; margin-left: 20px; } #captcha_img img { height: 50px; width: 150px; box-sizing: border-box; margin: 0px; } .reloadcaptcha { height: 30px; width: 30px; border-radius: 50%; display: inline-block; cursor: pointer; position: absolute; right: 20px; top: 20px; background-color: #f2f2f2; font-size: 30px; box-sizing: border-box; color: #0006; } .reloadcaptcha:hover { color: #000000b3; } .load_captcha_btn { animation: spin 0.5s linear infinite; } #Last_password_div .head_info { margin: 0px; } .zeroheight { width: 0px; height: 0px; overflow: hidden; display: block; } .btn { cursor: pointer; display: block; width: 100%; height: 44px; border-radius: 4px; letter-spacing: 0.5; font-size: 14px; font-weight: 600; outline: none; border: none; margin: auto; text-transform: uppercase; margin-bottom: 30px; transition: width 0.2s ease-in-out; } .blue { background-color: #159aff; color: #fff; } .grey { background-color: #f3f3f3; color: #3a3a3a; letter-spacing: 0px; } .green { box-shadow: 0px 2px 2px #fff; background-color: #00c573; color: #fff; } .blue:hover { background: #118be9; } .changeloadbtn { display: block; height: 44px; width: 44px; border-radius: 22px; padding: 0px; } .changeloadbtn:before { content: ""; height: 20px; width: 20px; display: inline-block; margin: 9px; border: 3px solid #fff; border-top: 3px solid #5ab7fe; border-radius: 50%; animation: spin 0.5s linear infinite; } @keyframes spin { 0% { transform: rotate(0deg); } 100% { transform: rotate(360deg); } } .doneBtn { position: relative; } .doneBtn:before { content: ""; opacity: 1; height: 15px; width: 6px; border: unset; border-radius: unset; transform-origin: left top; border-right: 3px solid #fff; border-top: 3px solid #fff; left: 12px; top: 23px; margin: 0px; position: absolute; transform: scaleX(-1) rotate(135deg); animation: tickmark 0.8s ease; } @keyframes tickmark { 0% { height: 0px; width: 0px; border-radius: unset; opacity: 1; } 20% { height: 0px; width: 6px; opacity: 1; border-radius: unset; } 40% { height: 15px; width: 6px; opacity: 1; border-radius: unset; } 100% { height: 15px; width: 6px; opacity: 1; border-radius: unset; } } .doneWithContent span:before { content: ""; opacity: 1; height: 14px; width: 5px; border: unset; border-radius: unset; transform-origin: left top; border-right: 3px solid #fff; border-top: 3px solid #fff; display: inline-block; margin: 0px; position: relative; transform: scaleX(-1) rotate(135deg); top: 12px; left: -21px; } .doneWithContent { padding-left: 21px; position: relative; } .doneWithContent:after { position: absolute; height: 100%; content: ""; display: block; left: 0px; top: 0px; background: #00000008; animation-name: btn_loading; animation-duration: 4.3s; animation-iteration-count: 1; animation-timing-function: linear; } .restrict_icon { display: block; height: 102px; width: 100%; background: url(../images/URLError.76c2ce33de912ad7ae9d2fbfd93ec2c1.png) no-repeat transparent; background-size: auto 100%; margin: auto; margin-top: 30px; background-position: center; } .error_portion { display: none; } .error_content { text-align: center; } .error_content .error_header { font-size: 20px; font-weight: 500; margin-top: 30px; line-height: 26px; } .error_content .error_desc { font-size: 16px; margin: 10px 0px 30px 0px; line-height: 24px; font-weight: 500; color: #000000cc; } .retry_button { line-height: 44px; } .doneWithContent:hover { background: #159aff; } .doneWithContent span { width: 100%; display: block; transition: width 0.2s ease-in-out; white-space: nowrap; } @keyframes btn_loading { 0% { width: 0%; } 100% { width: 100%; } } .resend_label { display: block; text-align: center; } .push_resend { font-size: 14px; color: #626262; font-weight: 500; line-height: 16px; cursor: none; } .bottom_option { cursor: pointer; width: max-content; font-size: 16px; font-weight: 500; text-decoration: none; color: #0091ff; } .bottom_line_opt { width: 100%; display: flex; justify-content: center; position: absolute; left: 0px; bottom: 40px; } .errorlabel { color: #e92b2b; } .show_hide_password { font-size: 24px; color: #00000066; position: relative; top: -34px; right: 13px; float: right; cursor: pointer; line-height: 23px; } .show_hide_password:hover { color: #000000b3; } .select2-results__option { list-style-type: none; height: 40px; box-sizing: border-box; padding: 12px 20px; font-size: 14px; line-height: 16px; } .select2-search__field { width: 380px; height: 32px; border: none; outline: none; background: #f7f7f7; border-radius: 2px; margin: 10px 8px; font-size: 14px; padding: 10.5px 8px; } .select2-selection { display: inline-block; outline: none; background-color: #f9f9f9; height: 40px; text-align: center; padding: 10px; box-sizing: border-box; cursor: pointer; } .selection { transition: all 0.2s ease-in-out; -webkit-user-select: none; display: inline-block; white-space: nowrap; overflow: hidden; width: 0px; height: 43px; } #select2-combobox-results { padding-left: 0px; max-height: 200px; overflow-y: scroll; overflow-x: hidden; width: 400px; margin-top: 10px; margin-bottom: 0px; background: white; } .select2-container--open { z-index: 10; background: #ffffff; box-shadow: 0px 5px 8px 2px #0000000d; width: auto; box-sizing: border-box; } .select2 { position: absolute; background: transparent; box-shadow: none; display: none; margin: 2px; } .select2-results__options { overflow-y: auto; max-height: 200px; } .selection { width: auto; width: -moz-fit-content; width: -webkit-fit-content; margin: auto; display: block; } .select2-search--hide, .select2-selection__clear { display: none; } #country_code_select { width: 50px; height: 40px; position: absolute; opacity: 0; display: none; z-index: 0; } .select_country_code { width: 50px; height: 40px; display: inline-block; float: left; position: absolute; line-height: 39px; text-align: center; font-size: 16px; color: black; display: none; z-index: 0; } .pic { width: 20px; height: 14px; background-size: 280px 252px; background-image: url("../images/Flags2x.0b8394efb0ea9167cef2465fb8f63d78.png"); float: left; } .cc { float: right; color: #aeaeae; } .cn { margin-left: 10px; } .select2-results__option--highlighted { background: #f4f6f8; } .searchparent { height: auto; } .select2-results__options { padding-left: 0px; } .optionstry { display: table; width: 100%; height: auto; padding: 20px 50px; box-sizing: border-box; cursor: pointer; } .optionstry:hover { background-color: #f9f9f9; } .img_option_try { margin: 12px 0px; } .img_option { display: table-cell; width: 30px; color: #499aff; font-size: 30px; vertical-align: top; height: 30px; } .option_details_try { height: auto; width: auto; padding-left: 12px; vertical-align: top; box-sizing: border-box; } .option_title_try { display: block; font-size: 16px; font-weight: 500; } .option_description { display: block; font-size: 13px; line-height: 20px; color: #000c; margin-top: 5px; } #email_confirm_div .optionstry, #mobile_confirm_div .optionstry { padding: 22px 40px; } #email_confirm_div .img_option, #mobile_confirm_div .img_option { font-size: 20px; width: 20px; height: 20px; } #email_confirm_div .option_details_try, #mobile_confirm_div .option_details_try { line-height: 20px; } .otp_container::after, .mini_txtbox:after { content: attr(placeholder); height: 54px; line-height: 54px; position: absolute; color: #b9bcbe; left: 15px; top: 0px; z-index: 1; } .mini_txtbox:after { line-height: 42px; height: 42px; } .hidePlaceHolder::after { z-index: -1 !important; } .otp_verify { margin-top: 10px; } .toggle_active { background: #f9f9f9; border-radius: 2px; } .optionmod { margin-left: 0px; box-sizing: border-box; } .option_title_try { color: #000000; } .mini_btn { margin-left: 10px; width: 30%; float: right; font-size: 12px; margin-bottom: 0px; margin-right: 0px; } .backoption { width: 30px; height: 30px; font-size: 21px; display: inline-block; float: left; color: #666666; padding: 4px 0px; box-sizing: border-box; margin-right: 5px; border-radius: 15px; cursor: pointer; font-weight: 500; text-align: center; } .backoption:hover { background: #f4f4f4; } #select_reocvery_mobile .fieldcontainer, #other_options_div .fieldcontainer, #select_reocvery_email .fieldcontainer { width: auto; margin: 0 -40px; margin-bottom: 40px; } .text16 { display: block; text-align: center; margin-bottom: 30px; color: #626262; font-size: 16px; font-weight: 500; text-decoration: none; } .pointer { cursor: pointer; } .pass_policy { color: #8c8c8c; font-size: 14px; padding-top: 10px; } .nomargin { display: block; margin: 0px; } .tryanother, .extra_options { width: fit-content; margin: 0 auto; cursor: pointer; margin-top: 20px; } .bluetext_action { display: inline-block; font-size: 14px; color: #159aff; font-weight: 500; line-height: 16px; cursor: pointer; margin-top: 5px; } .nonclickelem { color: #626262; pointer-events: none; cursor: none; } .bluetext_action a { text-decoration: none; } .recovery_container { display: block; width: 480px; height: 350px; background-color: #fff; box-shadow: 0px 2px 30px 0px #2b2b2b17; margin: auto; position: relative; z-index: 1; overflow: hidden; } .recovery_box { width: 480px; min-height: 500px; height: auto; background: #fff; box-sizing: border-box; padding: 40px 40px; border-radius: 2px; transition: all 0.1s ease-in-out; float: left; overflow-y: auto; display: table-cell; border-right: 2px solid #f1f1f1; } .menuicon { display: inline-block; float: left; height: 14px; width: 14px; padding: 14px; font-size: 14px; text-align: center; } .user_info { display: inline-flex; justify-content: space-between; border: 1px solid #eeeeee; margin-bottom: 20px; border-radius: 7px; cursor: pointer; box-sizing: border-box; max-width: 100%; flex-wrap: nowrap; } .user_info_space { margin-top: 20px; } .support_temp_info { margin-bottom: 30px; line-height: 24px; } .menutext { display: inline-block; font-size: 16px; padding: 12px 14px; line-height: 20px; width: auto; word-break: break-all; } .fieldcontainer { margin-bottom: 40px; } .change_user { position: relative; float: right; font-size: 14px; padding: 0px 14px 0px 0px; display: inline-block; color: #0091ff; line-height: 38px; font-weight: 500; display: flex; align-items: center; justify-content: center; } .info_head { display: block; font-size: 20px; font-weight: 500; margin-bottom: 20px; line-height: 30px; overflow: auto; transition: all 0.1s ease-in-out; } .info_head #headtitle { display: block; } .head_info { font-size: 16px; margin: 10px 0px 0px 0px; line-height: 24px; font-weight: 400; color: #000000e6; } .user_info_space + .head_info { margin: 0px; } .otp_container { display: block; width: 100%; height: 54px; box-sizing: border-box; border-radius: 2px; font-size: 16px; outline: none; padding: 0px 15px; transition: all 0.2s ease-in-out; background: #f9f9f9; border: 1px solid #dddddd; text-indent: 0px; } .customOtp { border: none; outline: none; background: transparent; height: 100%; font-size: 16px; text-align: left; width: 22px; padding: 0px; } .textindent42 { text-indent: 46px; } .textindent62 { text-indent: 56px; } .textintent52 { text-indent: 51px; } .box_header_load { display: block; height: auto; padding: 50px 0px; -webkit-animation-name: blink; /* Safari 4.0 - 8.0 / -webkit-animation-duration: 1s; / Safari 4.0 - 8.0 */ animation-name: blink; animation-duration: 1s; animation-iteration-count: infinite; animation-timing-function: linear; opacity: 0.05; } .box_head_load { display: block; width: 180px; height: 18px; border-radius: 8px; background-color: #000; } .blink_btn { -webkit-animation-name: blink; /* Safari 4.0 - 8.0 / -webkit-animation-duration: 1s; / Safari 4.0 - 8.0 */ animation-name: blink; animation-duration: 1s; animation-iteration-count: infinite; animation-timing-function: linear; opacity: 0.05; } .box_define_load { display: block; max-width: 800px; width: 100%; height: 16px; border-radius: 8px; background-color: #000; margin-top: 20px; } @keyframes blink { 0% { opacity: 0.08; } 50% { opacity: 0.01; } 100% { opacity: 0.08; } } #loading_div, #Last_password_div, #mobile_confirm_div, #email_confirm_div, #confirm_otp_div, #other_options_div, #contact_support_div, #change_password_div, #recovery_device_div, #password_matched_div, #username_div, #terminate_session_div { display: none; } #multiple_reocvery_mobile, #single_reocvery_mobile, #multiple_reocvery_email, #single_reocvery_email { display: none; } .verify_mob_container, .verify_email_container, .select_device_othermodes { display: none; } .devices { position: relative; padding: 0px; width: fit-content !important; width: -moz-fit-content !important; width: -webkit-fit-content !important; margin: auto; border-radius: 8px; box-sizing: border-box; margin-bottom: 30px; background: #fcfcfc; } .device_title { position: absolute; top: 12px; left: 48px; font-size: 10px; font-weight: 600; text-transform: uppercase; color: #000000b3; line-height: 14px; z-index: 11; } .select2-container--device_select { margin: 0px; display: block; position: relative; margin: auto; cursor: pointer; border: 1px solid #dddddd; border-radius: 8px; overflow: hidden; } #recovery_device_select + .select2-container { width: fit-content !important; width: -moz-fit-content !important; width: -webkit-fit-content !important; } .select2-container--device_select .select2-selection__arrow { position: absolute; top: 0px; right: 14px; width: auto; height: 100%; } .select2-container--device_select .select2-selection__arrow b { border-color: transparent #00000066 #00000066 transparent; border-style: solid; transform: rotate(45deg); border-width: 2px; height: 4px; width: 4px; position: relative; border-radius: 1px; display: inline-block; top: 24px; } .select2-container--device_select .selection { margin: auto; height: 60px; box-sizing: border-box; min-width: 140px; } .select2-container--device_select .select2-selection { height: unset; padding: 12px 34px 12px 14px; } .select2-container--device_select .select_con { font-weight: 400; margin-left: 12px; margin-top: 16px; } .select2-container--device_select .select_icon { margin-top: 7px; } .select2-results__options { margin: 0px; } .select2-results__options .select_con { margin: 0px; } .select2-dropdown .select_con { width: 100%; overflow: hidden; text-overflow: ellipsis; white-space: nowrap; } .hideArrow .select2-selection { cursor: default; padding: 12px 14px; } .hideArrow .select2-selection__arrow { display: none; } .secondary_devices { display: none; width: 150px; margin: auto; padding: 8px 18px; border-radius: 18px; background-color: #f4f6f8; border: none; overflow: hidden; max-width: 200px; text-overflow: ellipsis; font-size: 16px; outline: none; } .secondary_devices .select2-container--open { width: 200px; } .device_select { display: block; position: unset; width: auto !important; } .device_selection { padding: 8px 14px; border-radius: 18px; } .deviceparent { text-align: center; display: none; text-overflow: ellipsis; overflow: hidden; width: 100%; white-space: nowrap; } .deviceparent { display: block; } .deviceinfo { display: inline-block; } .devicetext { margin: 0 auto; margin-left: 30px; } .select_icon { float: left; font-size: 20; color: #499aff; } .select_con { float: left; width: auto; overflow: hidden; margin-left: 5px; text-overflow: ellipsis; } .options_selct { max-width: 180px; font-size: 14px; line-height: 20px; font-weight: 500; width: auto; } .contact_support_class { min-height: unset; } .contact_support_class .recovery_box { min-height: unset; } #mfa_totp_section { display: none; } /* Terminate_session page */ #terminate_session_form { overflow: auto; } #terminate_session_form .checkbox_div { position: relative; } #terminate_session_form .checkbox_check { position: absolute; z-index: 1; opacity: 0; left: 15px; margin: 0px; height: 16px; cursor: pointer; width: 16px; } #terminate_session_form .checkbox { float: left; z-index: 0; height: 12px; width: 12px; display: inline-block; border: 2px solid #ccc; border-radius: 2px; position: relative; top: 1.5px; overflow: hidden; background-color: #fff; } #terminate_session_form .checkbox_check:hover ~ .checkbox { border: 2px solid #159aff; } #terminate_session_form .checkbox_check:checked ~ .checkbox { background-color: #159aff; border-color: #159aff; } #terminate_session_form .checkbox .checkbox_tick { display: block; height: 3px; width: 8px; border-bottom: 2px solid #fff; border-left: 2px solid #fff; transform: rotate(-45deg); margin: 2px 1px; } #terminate_session_form .checkbox_label { cursor: pointer; margin: 0px 6px; line-height: 20px; width: 85%; display: inline-block; } #terminate_session_form .showOneAuthLable { border: 1px solid #e7e7e7; border-radius: 10px 10px 0px 0px; box-sizing: border-box; max-width: 420px; } .oneAuthLable { display: inline-flex; max-width: 420px; padding: 15px; align-items: center; box-sizing: border-box; border: 1px solid #e7e7e7; border-top: none; border-radius: 0px 0px 15px 15px; } .oneauth_icon { display: inline-block; width: 40px; height: 40px; border-radius: 14px; background-size: 40px 40px; } .one_auth_icon_v2 { background-image: url(../images/oneAuth2.4b2a6945d5ecd70b703ba18f5f11eb68.png); } .oneAuthLable .text_container { flex: 1; margin: 0px 10px; } .oneAuthLable .text_header { font-size: 12px; font-weight: 500; margin-bottom: 4px; } .oneAuthLable .text_desc { font-size: 10px; line-height: 14px; } .oneAuthLable .togglebtn_div { height: 16px; padding: 4px; width: 30px; display: inline-block; position: relative; } .oneAuthLable .real_togglebtn { cursor: pointer; display: inline-block; position: relative; height: 16px; width: 30px; z-index: 1; opacity: 0; position: absolute; margin: 0px; } .real_togglebtn:checked ~ .togglebase { background-color: #10bc83; } .real_togglebtn:checked ~ .togglebase .toggle_circle { left: 16px; } .oneAuthLable .togglebase { height: 16px; width: 30px; display: inline-block; background: #ccc; border-radius: 10px; position: absolute; } .oneAuthLable .toggle_circle { transition: all 0.2s ease-in-out; height: 12px; width: 12px; background-color: #fff; border-radius: 10px; display: inline-block; position: absolute; left: 2px; top: 2px; box-shadow: 0px 0px 5px #999; } #terminate_session_submit { margin-top: 30px; } @media only screen and (max-width: 600px) { body { -webkit-tap-highlight-color: rgba(255, 255, 255, 0); } .bg_one { display: none; } .alert_message, .error_message { max-width: 300px; width: 75%; } .Alert, .Errormsg { max-width: 400px !important; padding: 0px; min-width: 300px; } .textbox, .otp_container { background-color: transparent; border: none; border-bottom: 2px solid #f4f6f8; border-radius: 0px; } .textbox { transition: unset; } .textbox:-webkit-autofill, .textbox:-webkit-autofill:hover, .textbox:-webkit-autofill:focus, .textbox:-webkit-autofill:active { -webkit-box-shadow: inset 0 0 0px 9999px white; -webkit-text-fill-color: black; } .textbox:valid, .textbox:hover { border: none; border-bottom: 2px solid #159aff; } #captcha { border-radius: 2px; outline: none; -webkit-appearance: none; -moz-appearance: none; appearance: none; } .changeloadbtn { border-radius: 22px; } .btn { margin-top: 10px; border-radius: 4px; } .mini_btn { margin-top: 0px; } .optionstry:hover { background-color: #fff; } .img_option { margin: 0px 10px 0px 0px !important; } .option_details_try { color: #555555; display: inline-block; margin: 0px; } #multiple_reocvery_mobile .fieldcontainer, #multiple_reocvery_email .fieldcontainer, #other_options_div .fieldcontainer { margin: 0 -30px; margin-bottom: 40px; } .optionmod { margin-left: 0px; padding: 15px 30px; line-height: 24px; } .recovery_box { width: 100%; padding: 0px 30px; height: auto; border-right: none; padding-bottom: 40px; } .recovery_container { width: 100%; box-shadow: none; margin: 0 auto; position: relative; z-index: 1; margin-top: 40px; height: auto; overflow: hidden; } .info_head { margin-bottom: 30px; } } .devices .select2-container--open { background: transparent; } @media only screen and (-webkit-min-device-pixel-ratio: 2), only screen and (min-moz-device-pixel-ratio: 2), only screen and (-o-min-device-pixel-ratio: 2/1), only screen and (min-device-pixel-ratio: 2), only screen and (min-resolution: 192dpi), only screen and (min-resolution: 2dppx) { .restrict_icon { background: url(../images/URLError2x.5e762e74a83ee0cda60b8f7c9df299a8.png) no-repeat transparent center/auto 100%; } } .hide { display: none; } .hover-tool-tip { position: absolute; top: 15px; left: 335px; background: #fff; padding: 20px; box-shadow: 0px 0px 10px #0000001a; transition: opacity 0.1s; border-radius: 5px; z-index: 9; opacity: 0; } .hover-tool-tip::after { content: ""; position: absolute; width: 0; height: 0; margin-left: -8px; top: 25px; left: 0; box-sizing: border-box; border: 6px solid black; border-color: #ffffff transparent transparent #ffffff; transform-origin: 0 0; transform: rotate(-45deg); box-shadow: -6px -6px 10px 0 #0000001a; } .hover-tool-tip.no-arrow::after { content: none; } .hover-tool-tip ul { padding: 0; margin: 0px 0px 0px 15px; list-style: none; } .hover-tool-tip p { margin: 0px 0px 10px 0px; font-size: 14px; font-weight: 500; } .hover-tool-tip ul li { font-size: 12px; display: flex; align-items: center; white-space: nowrap; line-height: 25px; } .hover-tool-tip ul li.success::before { background-color: #0dbc83; } .hover-tool-tip ul li::before { margin-right: 10px; background-color: red; width: 8px; height: 8px; border-radius: 50%; } .titlename { display: none !important; } /* #lookup_div { display: none !important; } */ #lookup_div .head_info { font-size: 0; } #lookup_div .head_info::before { content: "Enter your email address"; font-size: 15px; } .info_head { padding-top: 20px; } .rec_modes_other_options { display: none !important; } .recovery_container { height: 29rem; } .Last_password_div { margin-top: -30px; } ``` Copy the code given below and paste it in the respective files located in the client directory (`birthdaygreetings/src/components/`) using an IDE and save the file. **form.css** ```css .form-container { display: grid; height: 190px; grid-template-columns: 1fr 1fr; grid-template-rows: auto auto; gap: 20px; padding: 20px; max-width: 786px; margin: 75px auto; box-shadow: 0 4px 8px rgb(0 0 0 / 10%); border-radius: 8px; background-color: #fff; } .form-group { width: 100%; height: 0px; display: flex; justify-content: space-between; align-items: center; gap: 10px; margin-top: 42px; margin-bottom: 57px; } label { font-size: 19px; font-weight: bold; width: 123px; } input { font-size: 13px; padding: 8px; border: 1px solid #ccc; border-radius: 4px; flex: 1; } input:focus { border-color: #007bff; outline: none; box-shadow: 0 0 4px rgba(0, 123, 255, 0.25); } .form-container > .form-group:nth-child(1) { grid-column: 1; grid-row: 1; } .form-container > .form-group:nth-child(2) { grid-column: 2; grid-row: 1; } .form-container > .form-group:nth-child(3) { grid-column: 1; grid-row: 2; } .form-container > .form-group:nth-child(4) { grid-column: 2; grid-row: 2; } .submit-form{ height: 50px; width: 100%; margin-bottom: 64px; } .submit-btn{ background-color: #58d358; border: none; border-radius: 10px; color: #fff; font-size: 20px; height: 46px; margin-left: 42%; width: 16%; } ``` **form.jsx** ```js import { useState } from "react"; import "./form.css"; function Form({ onSubmit }) { const [formData, setFormData] = useState({ name: "", birthday: "", message: "", email: "", }); const handleChange = (e) => { const { id, value } = e.target; setFormData({ ...formData, [id]: value }); }; const handleSubmit = (e) => { e.preventDefault(); onSubmit(formData); }; const today = new Date().toISOString().split("T")[0]; return ( <> <form onSubmit={handleSubmit}> <div className="form-container"> <div className="form-group"> <label htmlFor="name">Name</label> <input type="text" id="name" value={formData.name} onChange={handleChange} /> </div> <div className="form-group"> <label htmlFor="birthday">Birthday</label> <input type="date" id="birthday" value={formData.birthday} onChange={handleChange} max={today} /> </div> <div className="form-group"> <label htmlFor="message">Message</label> <input type="text" id="message" value={formData.message} onChange={handleChange} /> </div> <div className="form-group"> <label htmlFor="email">Email</label> <input type="email" id="email" value={formData.email} onChange={handleChange} /> </div> </div> <div className="submit-form"> <button className="submit-btn" type="submit"> Submit </button> </div> </form> </> ); } export default Form; ``` **modal.css** ```css .modal { display: flex; justify-content: center; align-items: center; position: fixed; top: 0; left: 0; width: 100%; height: 100%; background-color: rgba(0, 0, 0, 0.5); z-index: 1000; padding: 20px; box-sizing: border-box; } .modal-content { background-color: #fff; padding: 20px; border-radius: 8px; width: 100%; max-width: 500px; position: relative; box-shadow: 0px 2px 15px rgba(0, 0, 0, 0.1); } .edit-heade{ width: 100%; height: 60px; display: flex; } .modal-header h2{ padding-left: 185px; font-size: 1.5rem; margin-bottom: 20px; } .modal-close { position: absolute; top: 10px; right: 15px; font-size: 1.5rem; cursor: pointer; color: #333; } .modal-input-group { margin-bottom: 15px; } .modal-label { font-weight: 700; font-weight: bold; display: block; margin-bottom: 5px; } .modal-input { width: 89%; padding: 10px; border-radius: 5px; border: 1px solid #ccc; font-size: 1rem; } .modal-submit { text-align: center; } .modal-button { background-color: #4CAF50; color: white; padding: 10px 20px; border: none; border-radius: 5px; cursor: pointer; font-size: 1rem; transition: background-color 0.3s; } .modal-button:hover { background-color: #45a049; } ``` **modal.jsx** ```js import { useState } from "react"; import "./modal.css" function Modal({ editData, onUpdate, onClose }) { const [formData, setFormData] = useState(editData); const handleChange = (e) => { const { name, value } = e.target; setFormData({ ...formData, [name]: value }); }; const handleSubmit = () => { onUpdate(formData); }; const today = new Date().toISOString().split("T")[0]; return ( <div className="modal"> <div className="modal-content"> <div className="edit-header"> <div className="modal-header"> <h2>Edit Greeting</h2> </div> <div className="modal-close"> <button onClick={onClose}>×</button> </div> </div> <div className="modal-input-group"> <input name="Name" value={formData.Name} onChange={handleChange} className="modal-input" /> </div> <div className="modal-input-group"> <input name="Message" value={formData.Message} onChange={handleChange} className="modal-input" /> </div> <div className="modal-input-group"> <input name="BirthDay" type="date" value={formData.BirthDay} onChange={handleChange} className="modal-input" max={today} // Set max date to today /> </div> <div className="modal-input-group"> <input name="Email" value={formData.Email} onChange={handleChange} className="modal-input" /> </div> <div className="modal-submit"> <button className="modal-button" onClick={handleSubmit}>Update</button> </div> </div> </div> ); } export default Modal; ``` **toggleSwitch.css** ```css .switch { display: block; position: relative; display: inline-block; width: 34px; height: 20px; } .switch input { opacity: 0; width: 0; height: 0; } .slide { position: absolute; cursor: pointer; top: 0; left: 0; right: 0; bottom: 0; background-color: #ccc; transition: 0.4s; border-radius: 20px; } .slide:before { position: absolute; content: ""; height: 14px; width: 14px; left: 3px; bottom: 3px; background-color: white; transition: 0.4s; border-radius: 50%; } input:checked + .slide { background-color: #2196f3; } input:checked + .slide:before { transform: translateX(14px); } ``` **ToggleSwitch.jsx** ```js import "./toggleSwitch.css" function ToggleSwitch({ isChecked, onToggle }) { return ( <label className="switch"> <input type="checkbox" checked={isChecked} onChange={(e) => onToggle(e.target.checked)} /> <span className="slide round"> </span> </label> ); } export default ToggleSwitch; ``` **topBar.css** ```css body{ margin: 0; padding: 0; } .topbarContainer{ height: 50px; width: 100%; background-color: rgb(58, 58, 98); display: flex; align-items: center; position: fixed; top: 0; z-index: 999; } .topbarLeft{ flex: 1 1; display: flex; align-items: center; gap: 22%; padding-left: 29px; } .naviagtion-btn{ height: 30px; background-color: white; border: none; border-radius: 7px; font-size: 14px; font-weight: 600; } .topLogo{ font-size: 24px; margin-left: 15px; color: white; cursor: pointer; } .topBarCenter{ flex: 1 1; color: white; padding-left: 8%; } .topbarRight{ flex: 0 1; display: flex; justify-content: space-between; padding-left: 24%; } .topRight-btn{ width: 74px; height: 31px; font-size: 15px; font-weight: 650; background-color: red; color: white; margin-right: 40px; border: none; border-radius: 7px; } .topbarlink{ display: flex; margin-left: 67px; color: white; } ``` **TopBar.jsx** ```js import React, { useCallback } from 'react' import "./topBar.css" import { Link } from 'react-router-dom' export default function TopBar() { const logout = useCallback(() => { window.catalyst.auth.signOut('/'); }, []); return ( <> <div className="topbarContainer"> <div className="topbarLeft"> <Link to="/addUserPage"> <button className='naviagtion-btn'>Add New Greetings</button> </Link> <Link to="/ListUsers"> <button className='naviagtion-btn'>Greetings List</button> </Link> </div> <div className="topBarCenter"> <div className="seacrhbar"> <h1>Birthday Greetings</h1> </div> </div> <div className="topbarRight"> <button className="topRight-btn" onClick={logout}>Log Out</button> </div> </div> </> ) } ``` **Userlist.css** ```css .users-container { display: flex; flex-direction: column; gap: 8px; } .users-lists { width: 88%; padding: 15px; border: 1px solid #ccc; border-radius: 22px; background-color: #f9f9f9; margin-left: 80px; margin-bottom: 34px; display: flex; flex-direction: column; align-items: flex-start; } .user-item { width: 100%; display: flex; align-items: center; justify-content: space-between; } .left-content { display: flex; flex-direction: column; } .left-content span { margin-bottom: 8px; } .name { font-size: 28px; font-weight: bold; } .date, .email { font-size: 16px; } .message { font-size: 20px; } .right-button { display: flex; align-items: center; gap: 20px; width: 25%; justify-content: flex-end; } .edit-btn, .delete-btn { width: 70px; height: 34px; border-radius: 10px; color: white; border: none; } .edit-btn { background-color: black; } .delete-btn { background-color: rgb(255, 0, 0); } ``` **UserList.jsx** ```js import ToggleSwitch from "./ToggleSwitch"; import "./UserList.css"; function UserList({ users, onEdit, onDelete, onToggle }) { return ( <div className="users-container"> {users.map((user) => ( <div className="users-lists" key={user.ID}> <div className="user-item"> <div className="left-content"> <span className="name">{user.Name}</span> <span className="date">{user.BirthDay}</span> <span className="message">{user.Message}</span> <span className="email">{user.Email}</span> </div> <div className="right-button"> <ToggleSwitch isChecked={user.AutoSend} onToggle={(checked) => onToggle(user.ID, checked)} /> <button className="edit-btn" onClick={() => onEdit(user.ID)}>Edit</button> <button className="delete-btn" onClick={() => onDelete(user.ID)}>Delete</button> </div> </div> </div> ))} </div> ); } export default UserList; ``` Copy the code given below and paste it in the respective files located in the client directory (`birthdaygreetings/src/`) using an IDE and save the file. **App.css** ```css body { margin: 0; -webkit-font-smoothing: antialiased; -moz-osx-font-smoothing: grayscale; background-color: #ffffff; height: inherit; } .inputs { width: 90%; padding: 15px; margin: 15px 0 22px 0; display: inline-block; border: none; background: #f1f1f1; border-radius: 8px; } h1, h2, h3, h4, h5, h6, p { margin: 1; } #login { height: 29rem; } .Header{ display: flex; align-items: center; gap: 54%; } ``` **App.js** ```js import { HashRouter, Routes, Route, Navigate } from "react-router-dom"; import Layout from "./Layout"; import Signup from "./SignUp"; import ListUsers from "./ListUsers"; import UserProfile from "./UserProfile"; function App() { return ( <HashRouter> <Routes> <Route path="/" element={<Layout />} /> <Route path="/signup" element={<Signup />} /> <Route path="/addUserPage" element={<UserProfile />} /> <Route path="/ListUsers" element={<ListUsers />} /> <Route path="" element={<Navigate to="/" replace />} /> <Route path="*" element={<Navigate to="/" replace />} /> </Routes> </HashRouter> ); } export default App; ``` **index.css** ```css body { margin: 0; font-family: -apple-system, BlinkMacSystemFont, 'Segoe UI', 'Roboto', 'Oxygen', 'Ubuntu', 'Cantarell', 'Fira Sans', 'Droid Sans', 'Helvetica Neue', sans-serif; -webkit-font-smoothing: antialiased; -moz-osx-font-smoothing: grayscale; } code { font-family: source-code-pro, Menlo, Monaco, Consolas, 'Courier New', monospace; } ``` **index.js** ```js import "./App.css"; import React from "react"; import { createRoot } from "react-dom/client"; import App from "./App"; const container = document.getElementById("root"); const root = createRoot(container); root.render( <React.StrictMode> <App /> </React.StrictMode> ); ``` **Layout.js** ```js import UserProfile from "./UserProfile"; import LoginPage from "./LoginPage.js"; import { useEffect, useState } from "react"; function Layout() { const [isFetching, setIsFetching] = useState(true); const [isUserAuthenticated, setIsUserAuthenticated] = useState(false); const [userDetails, setUserDetails] = useState({ firstName: "", lastName: "", mailid: "", timeZone: "", createdTime: "", }); useEffect(() => { window.catalyst.auth.isUserAuthenticated().then((result) => { setUserDetails({ firstName: result.content.first_name, lastName: result.content.last_name, mailid: result.content.email_id, timeZone: result.content.time_zone, createdTime: result.content.created_time, }); setIsUserAuthenticated(true); }) .catch((err) => {}) .finally(() => { setIsFetching(false); }); }, []); return ( <> {isFetching ? ( <p>Loading ….</p> ) : isUserAuthenticated ? ( <UserProfile userDetails={userDetails} /> ) : ( <LoginPage /> )} </> ); } export default Layout; ``` **ListUsers.js** ```js import { useState, useEffect } from "react"; import axios from "axios"; import UserList from "./components/UserList"; import Modal from "./components/modal"; import TopBar from "./components/TopBar"; function ListUsers() { const [users, setUsers] = useState([]); const [editData, setEditData] = useState(null); const [isModelOpen, setModal] = useState(false); const fetchUsers = async () => { try { const response = await axios.get("/server/advance_function/getReminder"); setUsers(response.data); } catch (error) { console.error("Error fetching users:", error); } }; useEffect(() => { fetchUsers(); }, []); const handleEdit = (id) => { const userToEdit = users.find((user) => user.ID === id); setEditData(userToEdit); setModal(true); }; const handleUpdate = async (updatedData) => { try { await axios.put("/server/advance_function/updateReminder", updatedData); alert("User updated successfully!"); setEditData(null); setModal(false); fetchUsers(); } catch (error) { console.error("Error updating user:", error); } }; const handleDelete = async (id) => { if (window.confirm("Are you sure you want to delete this birthday wish?")) { try { await axios.delete(`/server/advance_function/deleteReminder/${id}`); setUsers(users.filter((user) => user.ID !== id)); alert("User deleted successfully!"); } catch (error) { console.error("Error deleting user:", error); } } }; const handleToggle = async (ID, checked) => { const AutoSendStatus = checked ? "enable" : "disable"; try { await axios.patch("/server/advance_function/toggleAutoSend", { id: ID, status: AutoSendStatus, }); setUsers((prevUsers) => prevUsers.map((user) => user.ID === ID ? { ...user, AutoSend: checked } : user ) ); } catch (error) { console.error("Error toggling the user:", error); } }; return ( <> <div > <TopBar /> </div> <div className="userlist-div" style={{height: "calc(100vh - 60px)",margin: "60px 0 0"}}> <UserList users={users} onEdit={handleEdit} onDelete={handleDelete} onToggle={handleToggle} /> {isModelOpen && ( <Modal editData={editData} onUpdate={handleUpdate} onClose={() => setModal(false)} /> )} </div> </> ); } export default ListUsers; ``` **LoginPage.js** ```js import { useEffect } from "react"; import { Link } from "react-router-dom"; const LoginPage = () => { useEffect(() => { // Configuration is optional const config = { css_url: "/app/embeddediframe.css", // Login page customization CSS file path, if not provided default CSS will be rendered is_customize_forgot_password: false, // Default value is false. Set to true to customize Forgot Password page forgot_password_id: "login", // Element ID where the Forgot Password page should be loaded, defaults to "loginDivElementId" forgot_password_css_url: "/app/fpwd.css", // Forgot Password page customization CSS file path, if not provided default CSS will be rendered }; window.catalyst.auth.signIn("login", config); }, []); return ( <div className="container"> <center> <h1 className="title">Birthday Greetings</h1> </center> <div id="login"></div> <p className="homepage"> <b> Don't have an account?{" "} <Link to="/signup" style={{ color: "blue", textDecorationLine: "underline" }}> Sign-up </Link>{" "} now! </b> </p> </div> ); }; export default LoginPage; ``` **SignUp.css** ```css input[type="submit"] { background-color: green; color: white; width: 40%; padding: 8px; border-radius: 8px; text-align: center; border: none; cursor: pointer; } #link { font-size: medium; color: blue; } .modal-content { background-color: #c0c0c0; margin: 30px auto; } .signupfnbtn { width: 30%; padding: 8px; border-radius: 8px; background-color: green; height: 100%; } p { text-align: center; font-size: medium; font-weight: bold; } ``` **SignUp.js** ```js import "./SignUp.css"; import React, { useState } from "react"; function Signup() { const [displayText, setDisplayText] = useState(""); const [form, setForm] = useState({ firstName: "", lastName: "", email: "", }); const [showForm, setShowForm] = useState(true); const handleSubmit = async (event) => { event.preventDefault(); setShowForm(false); setDisplayText( "An account verification email has been sent to your email address" ); const data = { first_name: form.firstName, last_name: form.lastName, email_id: form.email, platform_type: "web", }; try { const auth = window.catalyst.auth; const signupResponse = await auth.signUp(data); if (signupResponse.status === 200) { setTimeout(() => { window.location.href = "index.html"; }, 3000); } else { alert(signupResponse.message); } } catch (error) { console.error("Error during signup:", error); alert("An error occurred during signup. Please try again."); setShowForm(true); // Show the form again if there's an error } }; const handleInputChange = (e) => { const { name, value } = e.target; setForm((prevForm) => ({ ...prevForm, [name]: value, })); }; return ( <div id="signup" className="signup"> {showForm ? ( <div> <center> <img width="80px" height="80px" src="https://cdn2.iconfinder.com/data/icons/user-management/512/profile_settings-512.png" alt="User Profile" /> <h1>User Profile Management</h1> </center> <form onSubmit={handleSubmit} className="modal-content"> <center> <h1>Sign Up</h1> <p>Please fill this form to sign up for a new account.</p> </center> <label htmlFor="firstName"> <b>First Name</b> <input name="firstName" className="inputs" placeholder="Enter First Name" value={form.firstName} onChange={handleInputChange} required /> </label> <label htmlFor="lastName"> <b>Last Name</b> <input name="lastName" className="inputs" placeholder="Enter Last Name" value={form.lastName} onChange={handleInputChange} required /> </label> <label htmlFor="email"> <b>Email</b> <input name="email" className="inputs" placeholder="Enter email address" value={form.email} onChange={handleInputChange} required /> </label> <p> By creating an account, you agree to our{" "} <a href="https://www.zoho.com/catalyst/terms.html" target="_blank" rel="noopener noreferrer" id="link" > Terms & Conditions </a> . </p> <center> <input type="submit" value="Sign Up" className="signupfnbtn" /> </center> </form> </div> ) : ( <p>{displayText}</p> )} </div> ); } export default Signup; ``` **UserProfile.css** ```css .app-container{ overflow: auto; } ::-webkit-scrollbar{ width: 5px; } ::-webkit-scrollbar-track{ background-color: rgb(34, 34, 59); } ::-webkit-scrollbar-thumb{ background-color: rgb(150, 150, 150); } .Header{ display: flex; align-items: center; gap: 54%; } ``` **UserProfile.js** ```js import "./UserProfile.css"; import axios from "axios"; import Form from "./components/form"; import TopBar from "./components/TopBar"; function UserProfile() { const handleSubmit = async (formData) => { try { await axios.post("/server/advance_function/insertReminder",formData); alert("Reminder added successfully!"); window.location.reload(); } catch (error) { console.error("Error submitting form:", error); } }; return ( <div className="app-container"> <div className="Header"> <TopBar /> </div> <div className="form-div"> <Form onSubmit={handleSubmit} /> </div> </div> ); } export default UserProfile; ``` Update the `client-package.json` file present in the `birthdaygreetings/` directory as shown below. **client-package.json** ```json { "name": "birthdaygreetings", "version": "0.0.1", "homepage": "index.html", "login_redirect": "index.html" } ``` The client directory is now configured. Let’s go over the business logic of the application. - **Authentication**: - The first page of the application will be the login page. Along with the login page, the user will be provided with the option to create a new account or reset the password of an existing account. - The user will only be able to create an account if they satisfy the condition coded in the Custom User Validation function. - When they successfully register for an account, they will have to verify their account using the verification link sent to their email. - Once they have verified their account and created a valid password, they will be allowed to log in to the app and begin using the application. - **Scheduling the cron** (reminder creation): - The end user will now create a birthday greeting by providing the following details: - Name - Date of birth - Custom message - Email address of the recipient - Once these details are submitted, the Dynamic Cron will be created, and it will be scheduled to submit a recurring job every year to the job pool on the date of the birthday. - **Manage the reminders**: - After creating the required reminders, you can view a list of reminders in the application. You can also disable, edit, and delete reminders. - The disable action is handled using a toggle. By default, it will be enabled. If disabled, or updated in any manner, the change will be updated in the Data Store, and the Dynamic Cron will be automatically adjusted per the new requirement. - **Log out functionality**: - Finally, once you have completed all of the required operations, you can safely log out of the application. -------------------------------------------------------------------------------- title: "Test the Application" description: "Build a birthday greetings application using the Job Scheduling service and automatically send out birthday greetings to the required person via their email." last_updated: "2026-08-17T12:16:04.000Z" source: "https://docs.catalyst.zoho.com/en/tutorials/birthday-greetings/nodejs/test-app/" service: "All Services" related: - CLI Help Documentation (/en/cli/v1/cli-command-reference/) - Serve Resources (/en/cli/v1/serve-resources/introduction/) -------------------------------------------------------------------------------- # Test the Application Before you deploy the application to the remote console, you can [test the application](https://docs.catalyst.zoho.com/en/cli/v1/serve-resources/introduction) on a local server and check if everything works fine using the Catalyst CLI. To serve the Catalyst project locally, execute the following command from your project directory: ```sh catalyst serve ``` ![catalyst_tutorials_jobscheduling_serve_1](https://catalyst-docs-development.zohostratus.in/images/tutorials/birthday-greetings/catalyst_tutorials_jobscheduling_serve_1.webp) The Birthday Greetings application will now be served at default `port 3000`. The local endpoint URLs of the components are displayed. ![catalyst_tutorials_jobscheduling_serve_2](https://catalyst-docs-development.zohostratus.in/images/tutorials/birthday-greetings/catalyst_tutorials_jobscheduling_serve_2.webp) > **Info:** Every time you access the home page or any of the sub-pages of your client or the function, the CLI will display a live log of the URL accessed, along with the HTTP request method. You can now open the application in a browser using the local URL of the client displayed in the CLI. ![catalyst_tutorials_jobscheduling_serve_3](https://catalyst-docs-development.zohostratus.in/images/tutorials/birthday-greetings/catalyst_tutorials_jobscheduling_serve_3.webp) ### Sign Up/Sign In When you serve the application, the first page you will encounter is the Sign In page. Since you have not signed up for the application, click the **Sign Up** option. ![catalyst_tutorials_jobscheduling_serve_auth_first_page](https://catalyst-docs-development.zohostratus.in/images/tutorials/birthday-greetings/catalyst_tutorials_jobscheduling_serve_auth_first_page.webp) Provide the required details and click the **Sign Up** button. ![catalyst_tutorials_jobscheduling_serve_auth_signup_page](https://catalyst-docs-development.zohostratus.in/images/tutorials/birthday-greetings/catalyst_tutorials_jobscheduling_serve_auth_signup_page.webp) > **Note:** Ensure that you create the account in a manner that satisfies the authentication logic you coded in the Custom User Validation function. You will have to verify your account using the link sent to you via email. The content of the email will be the one you configured using the Email Templates feature. ![catalyst_tutorials_jobscheduling_serve_auth_signup_email_verification](https://catalyst-docs-development.zohostratus.in/images/tutorials/birthday-greetings/catalyst_tutorials_jobscheduling_serve_auth_signup_email_verification.webp) Once you click the link, you will be asked to create a password. ![catalyst_tutorials_jobscheduling_serve_auth_confirm_pwd](https://catalyst-docs-development.zohostratus.in/images/tutorials/birthday-greetings/catalyst_tutorials_jobscheduling_serve_auth_confirm_pwd.webp) Your account will be registered to the application, and this can be confirmed in the **User Management** section in the Authentication component. You will also be able to see that the App User role will be assigned to the account. ![catalyst_tutorials_jobscheduling_serve_auth_user_mgmt](https://catalyst-docs-development.zohostratus.in/images/tutorials/birthday-greetings/catalyst_tutorials_jobscheduling_serve_auth_user_mgmt.webp) You will now be able to access the application. ### Create Greetings Enter the required details in the client app and click **Submit** to create the required greeting. ![catalyst_tutorials_jobscheduling_serve_submit_job](https://catalyst-docs-development.zohostratus.in/images/tutorials/birthday-greetings/catalyst_tutorials_jobscheduling_serve_submit_job.webp) This action will have created a Dynamic Cron in the Job Scheduling service. Navigate to the cron component present in the Job Scheduling service to view the cron details. ![catalyst_tutorials_jobscheduling_serve_cron_created](https://catalyst-docs-development.zohostratus.in/images/tutorials/birthday-greetings/catalyst_tutorials_jobscheduling_serve_cron_created.webp) Click the cron to view its details. ![catalyst_tutorials_jobscheduling_serve_cron_dets](https://catalyst-docs-development.zohostratus.in/images/tutorials/birthday-greetings/catalyst_tutorials_jobscheduling_serve_cron_dets.webp) From these details, we can understand that the cron has been scheduled to submit a job to the job pool at 12 AM on the date of the birthday. However, for our testing purposes, you can click the **Submit Job** button to submit a job to the job pool instantly. ![catalyst_tutorials_jobscheduling_serve_cron_submit_job](https://catalyst-docs-development.zohostratus.in/images/tutorials/birthday-greetings/catalyst_tutorials_jobscheduling_serve_cron_submit_job.webp) You can check the status of the job by clicking the **Execution History** button. ![catalyst_tutorials_jobscheduling_serve_cron_job_logs](https://catalyst-docs-development.zohostratus.in/images/tutorials/birthday-greetings/catalyst_tutorials_jobscheduling_serve_cron_job_logs.webp) > **Info**: If a failure status occurs, click the **View Logs** button. This will direct you to the [Logs](https://docs.catalyst.zoho.com/en/devops/help/logs/introduction/) component present in the [Catalyst DevOps](https://docs.catalyst.zoho.com/en/devops/) service where you can view detailed logs to aid your debugging process. Now if you check the email configured as the receiver, you will have received the birthday wish from the sender email address you configured using the Mail component. ![catalyst_tutorials_jobscheduling_serve_cron_success](https://catalyst-docs-development.zohostratus.in/images/tutorials/birthday-greetings/catalyst_tutorials_jobscheduling_serve_cron_success.webp) ### Manage Reminders You can click the **Greetings List** button to view the list of reminders you have configured. ![catalyst_tutorials_jobscheduling_serve_list_reminders](https://catalyst-docs-development.zohostratus.in/images/tutorials/birthday-greetings/catalyst_tutorials_jobscheduling_serve_list_reminders.webp) You can edit the reminders by clicking the **Edit** button. ![catalyst_tutorials_jobscheduling_serve_lmodify_remidners](https://catalyst-docs-development.zohostratus.in/images/tutorials/birthday-greetings/catalyst_tutorials_jobscheduling_serve_lmodify_remidners.webp) Click **Update** to apply the required changes. You can disable the cron by clicking the toggle to disable the wish from being sent out. You can also delete the greeting by clicking the **Delete** button. ![catalyst_tutorials_jobscheduling_serve_del_reminders](https://catalyst-docs-development.zohostratus.in/images/tutorials/birthday-greetings/catalyst_tutorials_jobscheduling_serve_del_reminders.webp) All the changes made in the application will be reflected in the Data Store, and the cron will be adjusted accordingly. The application is now working as intended. -------------------------------------------------------------------------------- title: "Deploy the Application" description: "Build a birthday greetings application using the Job Scheduling service and automatically send out birthday greetings to the required person via their email." last_updated: "2026-11-03T07:48:52.000Z" source: "https://docs.catalyst.zoho.com/en/tutorials/birthday-greetings/nodejs/deploy-app/" service: "All Services" related: - CLI Help Documentation (/en/cli/v1/cli-command-reference/) - Deploy Resources (/en/cli/v1/deploy-resources/introduction/) -------------------------------------------------------------------------------- # Deploy the Application You can now deploy the application to the remote console. To [deploy your Catalyst project from the CLI](https://docs.catalyst.zoho.com/en/cli/v1/deploy-resources/introduction), run the following command in your terminal from your project directory: ```sh catalyst deploy ``` The function is deployed first, followed by the client component. The app URLs of the components will be displayed. ![catalyst_tutorials_jobscheduling_deploy](https://catalyst-docs-development.zohostratus.in/images/tutorials/birthday-greetings/catalyst_tutorials_jobscheduling_deploy.webp) The application is now deployed to the Catalyst console. Now, if you navigate to the *Web Client Hosting* component located in the *CloudScale* section, you will be able to acquire the application’s invocation URL. ![catalyst_tutorials_jobscheduling_deploy_webclient_view](https://catalyst-docs-development.zohostratus.in/images/tutorials/birthday-greetings/catalyst_tutorials_jobscheduling_deploy_webclient_view.webp) You can use the invocation URL in a browser to access the deployed application. The Birthday Greetings application can now be accessed from its [web app URL](https://docs.catalyst.zoho.com/en/cloud-scale/help/web-client-hosting/introduction/). ![catalyst_tutorials_jobscheduling_deploy_final](https://catalyst-docs-development.zohostratus.in/images/tutorials/birthday-greetings/catalyst_tutorials_jobscheduling_deploy_final.webp) ## Cancer Detection -------------------------------------------------------------------------------- title: "Introduction" description: "Create and configure a powerful ML pipeline that can be used to predict the chances of being affected by breast cancer using the Catalyst QuickML service." last_updated: "2026-10-01T07:03:46.000Z" source: "https://docs.catalyst.zoho.com/en/tutorials/cancer-detection/introduction/" service: "All Services" -------------------------------------------------------------------------------- # Cancer Detection ## Introduction In this tutorial, we will guide you through the process of building a machine learning (ML) model for breast cancer detection using **[Catalyst QuickML](https://docs.catalyst.zoho.com/en/quickml/getting-started/introduction/)**. The goal is to preprocess medical datasets, construct data and ML pipelines, train the model, and deploy it for real-time predictions. Here's how we’ll go about it: **Stage 1: Preprocessing the Dataset** Before training any machine learning model, it’s essential to clean and **[preprocess the datasets](https://docs.catalyst.zoho.com/en/quickml/help/data-preprocessing/data-cleaning/)** to ensure it's in a usable format. This helps to ensure the data is clean and aligned with the requirements of machine learning algorithms. **Stage 2: Constructing the Data Pipeline** Once the data is preprocessed, we need to design a data pipeline to handle any necessary data transformations before feeding the data into the machine learning model. **Stage 3: Building the Machine Learning Model** With the preprocessed data ready, we will then focus on constructing the **[machine learning (ML)](https://docs.catalyst.zoho.com/en/quickml/help/create-ml-pipeline/)** pipeline to train the cancer detection model. Catalyst QuickML simplifies the training process by providing an easy-to-use platform to apply different machine learning algorithms. We will choose a suitable algorithm, train the model on the prepared data, and evaluate its performance to ensure it can accurately predict breast cancer outcomes. **Stage 4: Deploying the Model for Real-Time Predictions** Once the model is trained and evaluated, we need to make it available for real-time predictions. Catalyst QuickML deploys the trained model by generating an **[endpoint URL](https://docs.catalyst.zoho.com/en/quickml/help/pipeline-endpoints/)**. This endpoint enables external applications to interact with the model and request real-time predictions based on new data. By creating and exposing this API, we allow other systems or users to submit medical data and receive predictions from the model in real time. The Cancer Detection ML model is built using the following Catalyst service: Catalyst QuickML: Using this service, we will first preprocess the sample dataset by implementing **[node operations](https://docs.catalyst.zoho.com/en/quickml/help/operations-in-quickml/encoding/)** on them and constructing the **[data pipeline](https://docs.catalyst.zoho.com/en/quickml/help/pipeline-builder-interface/walkthrough/)**. This preprocessed data will be used to a create ML model by executing **[ML algorithms](https://docs.catalyst.zoho.com/en/quickml/help/ml-algorithms/classification-algorithms/)**. Finally, the Cancer Detection ML model can be accessed by external applications using the **[endpoint URL](https://docs.catalyst.zoho.com/en/quickml/help/pipeline-endpoints/)** generated in QuickML. The final output after creating all of the required data and ML pipelines in the **[Catalyst console](https://console.catalyst.zoho.com/baas/index)** will look like this: ![cancer-detection-1.webp](https://catalyst-docs-development.zohostratus.in/images/tutorials/cancer-detection/cancer-detection-1.webp) -------------------------------------------------------------------------------- title: "Prerequisites" description: "Create and configure a powerful ML pipeline that can be used to predict the chances of being affected by breast cancer using the Catalyst QuickML service." last_updated: "2026-09-29T10:57:52.000Z" source: "https://docs.catalyst.zoho.com/en/tutorials/cancer-detection/prerequisites/" service: "All Services" related: - Catalyst QuickML (/en/quickml/getting-started/introduction/) -------------------------------------------------------------------------------- # Prerequisites This tutorial will guide you through building data and ML pipelines, creating models, and training them to predict outcomes using Catalyst QuickML in the **[Catalyst console](https://console.catalyst.zoho.com/baas/index)**. Before starting, make sure to download the following datasets: * **[Cancer_detection_A](https://workdrive.zohoexternal.com/external/4973ea52565b9669680b95565145022d3b49c673976027b3120b6f7a3443a9d9)** * **[Cancer_detection_B](https://workdrive.zohoexternal.com/external/d68a54ed9e663eb654b0d23d09e32c3352309f5b23b2624fdbe6b1ec87ebe8dd)** Later, we'll be uploading these datasets to Catalyst QuickML for further use. -------------------------------------------------------------------------------- title: "Create a project" description: "Create and configure a powerful ML pipeline that can be used to predict the chances of being affected by breast cancer using the Catalyst QuickML service." last_updated: "2026-10-01T07:03:46.000Z" source: "https://docs.catalyst.zoho.com/en/tutorials/cancer-detection/create-a-project/" service: "All Services" related: - Catalyst Projects (/en/getting-started/catalyst-projects) -------------------------------------------------------------------------------- # Create a Project Let's [create a Catalyst project](https://docs.catalyst.zoho.com/en/getting-started/catalyst-projects) from the Catalyst console. 1. Log in to the [Catalyst console](https://console.catalyst.zoho.com/baas/index), and click **Create new Project**. 2. In the *Create Project* pop-up window, enter the project’s name as **CancerDetection**. ![cancer-detection-2.webp](https://catalyst-docs-development.zohostratus.in/images/tutorials/cancer-detection/cancer-detection-2.webp) 3. Click **Create**. Your project will be created and opened. -------------------------------------------------------------------------------- title: "Upload the dataset" description: "Create and configure a powerful ML pipeline that can be used to predict the chances of being affected by breast cancer using the Catalyst QuickML service." last_updated: "2026-10-01T07:03:46.000Z" source: "https://docs.catalyst.zoho.com/en/tutorials/cancer-detection/upload-dataset/" service: "All Services" related: - Data Connectors (/en/quickml/help/data-connectors/zoho-apps) -------------------------------------------------------------------------------- # Upload Dataset Let's begin by uploading the datasets in Catalyst QuickML using the available dataset [connectors](https://docs.catalyst.zoho.com/en/quickml/help/data-connectors/zoho-apps): 1. Navigate to the QuickML service in the Catalyst console and click **Start Exploring**. 2. In the left panel, navigate to Datasets and click **Import Dataset**. An *Import Dataset* pop-up will be displayed. ![cancer-detection-3.webp](https://catalyst-docs-development.zohostratus.in/images/tutorials/cancer-detection/cancer-detection-3.webp) 3. In the *Data Sources* step, scroll down to the *Files* section, and click **Upload File**. ![cancer-detection-4.webp](https://catalyst-docs-development.zohostratus.in/images/tutorials/cancer-detection/cancer-detection-4.webp) 4. In the *Data Source Details* step, upload "Cancer_detection_A" dataset that you downloaded and click **Next**. ![cancer-detection-5.webp](https://catalyst-docs-development.zohostratus.in/images/tutorials/cancer-detection/cancer-detection-5.webp) 5. In the *Name and Sync Configuration* step, the dataset name will be automatically populated based on the uploaded file. You can modify it if needed. Then, click **Upload**. ![cancer-detection-6.webp](https://catalyst-docs-development.zohostratus.in/images/tutorials/cancer-detection/cancer-detection-6.webp) Now, proceed with uploading the another dataset, "Cancer_detection_B" by repeating the same steps. ![cancer-detection-7.webp](https://catalyst-docs-development.zohostratus.in/images/tutorials/cancer-detection/cancer-detection-7.webp) Because the datasets in this tutorial are related to health and medical data, here are some key terms to remember: - **Patient_id**: Unique ID for each patient - **Patient_name**: Name of the patient - **Diagnosis**: (M = Malignant / B = Benign) The dataset also contains information about the breast mass features, such as: - **Radius**: Average distance from the center to the edge - **Texture**: Standard deviation of gray-scale values - **Perimeter**: Perimeter length - **Area**: Area of the mass - **Smoothness**: Variation in radius lengths - **Compactness**: (Perimeter^2 / Area) - 1.0 - **Concavity**: How much the contour is indented - **Concave Points**: Number of indentations on the contour - **Symmetry**: How symmetrical the mass is - **Fractal Dimension**: Measure of the complexity of the shape For each image, we computed the mean, standard error, and worst (largest of the three largest values) of these features, resulting in a total of 30 features, including the mean radius, radius standard error, and worst radius. -------------------------------------------------------------------------------- title: "Create a data pipeline" description: "Create and configure a powerful ML pipeline that can be used to predict the chances of being affected by breast cancer using the Catalyst QuickML service." last_updated: "2026-10-01T07:03:46.000Z" source: "https://docs.catalyst.zoho.com/en/tutorials/cancer-detection/create-data-pipeline/" service: "All Services" related: - Data Cleaning (/en/quickml/help/data-preprocessing/data-cleaning) - Data Transformation (/en/quickml/help/data-preprocessing/data-transformation) - Data Profiler and Viewer (/en/quickml/help/data-profiler-and-viewer/) -------------------------------------------------------------------------------- # Create Data Pipeline Now that we have uploaded the required datasets, we will proceed with creating a **[data pipeline](https://docs.catalyst.zoho.com/en/quickml/help/pipeline-builder-interface/walkthrough/#pipeline)**. 1. In the left panel, navigate to *Datasets*, and click the **Cancer_detection_A** dataset. The data pipeline details page will be displayed. ![cancer-detection-8.webp](https://catalyst-docs-development.zohostratus.in/images/tutorials/cancer-detection/cancer-detection-8.webp) 2. Click **Create Pipeline** from the top-right corner of the page. ![cancer-detection-9.webp](https://catalyst-docs-development.zohostratus.in/images/tutorials/cancer-detection/cancer-detection-9.webp) 3. In the *Create Pipeline* pop-up window, enter the name of the pipeline as “Pipeline_A” , and click **Create Pipeline**. ![cancer-detection-10.webp](https://catalyst-docs-development.zohostratus.in/images/tutorials/cancer-detection/cancer-detection-10.webp) The **[Pipeline Builder interface](https://docs.catalyst.zoho.com/en/quickml/help/pipeline-builder-interface/walkthrough/#pipeline-builder-interface-1)** will be opened, as shown in the screenshot below. ![cancer-detection-11.webp](https://catalyst-docs-development.zohostratus.in/images/tutorials/cancer-detection/cancer-detection-11.webp) We will be performing the following set of data preprocessing operations in order to clean, refine, and transform the datasets, then execute the data pipeline. Each of these operations involves individual **[data nodes](https://docs.catalyst.zoho.com/en/quickml/help/data-preprocessing/data-cleaning/)** that are used to construct the pipeline. ## Combine Datasets Because we have two datasets, we need to merge them before starting the training process. Please follow the steps below to merge the datasets: 1. In the *Operations* menu, expand the **Data Extraction** component. 2. Drag and drop the **Add Dataset** node into the Pipeline Builder. 3. Create the custom name for the node in the **Custom Name** field in the right panel. Here, we have created it as Cancer dataset 2. In the Add Dataset section on the right panel, choose **Cancer_detection_B** from Select Dataset field to merge the Cancer_detection_B dataset with the Cancer_detection_A dataset and click **Save**. ![cancer-detection-12.webp](https://catalyst-docs-development.zohostratus.in/images/tutorials/cancer-detection/cancer-detection-12.webp) 4. Open the Data Transformation component from the *Operations* menu, then drag and drop the **Union** node into the Pipeline Builder. 5. Make a connection between the nodes by joining the Source and Add Dataset node to the Union node. 6. In the *Union* section on the right panel, choose the **Drop Duplicate Records** checkbox and click **Save**. ![cancer-detection-13.webp](https://catalyst-docs-development.zohostratus.in/images/tutorials/cancer-detection/cancer-detection-13.webp) ## Select Fields for Model Training After combining the datasets, we will need to select the required fields in the merged dataset to train them further. 1. Open the **Data Cleaning** component from the *Operations* menu. 2. Drag and drop the **[Select/Drop](https://docs.catalyst.zoho.com/en/quickml/help/data-preprocessing/data-cleaning#select-or-drop)** node in the Pipeline Builder and make a connection with the Union node. 3. In the *Select/Drop* section on the right panel, select the “patient_id”, “patient_name” and “_c33” columns, choose the operation “Drop” to drop the columns from the merged dataset, and click **Save**. **Note**: In our case, these columns are generic, serving no purpose to be trained further, so we are removing them. ![cancer-detection-14.webp](https://catalyst-docs-development.zohostratus.in/images/tutorials/cancer-detection/cancer-detection-14.webp) ## Data Type Conversion For the mismatched datatypes in the columns of the datasets, we will be using the **[Type conversion node](https://docs.catalyst.zoho.com/en/quickml/help/data-preprocessing/data-transformation/#type-conversion)** to convert the data into the appropriate types. You can view the columns and their datatypes in the **Preview** tab of the Pipeline details page. In our dataset, the “**texture_mean**”, "**radius_mean**" and "**perimeter_mean**" column contains decimal values, but it is stored as type **String**. Please make sure to follow the below listed steps to carry out the conversion process: 1. Open the **Data Transformation** component from the *Operations* menu. 2. Drag and drop the **Type Conversion** node into the Pipeline Builder and connect with the Select/Drop node. 3. In the Type Conversion section on the right panel, choose the column as **texture_mean**, and select the Convert To Type input as **Decimal(16)** from the drop-down menu. Choose between **Throw** and **Nullify** in case of any errors. 4. Likewise, click the **+ Add button** and select the **radius_mean** and **perimeter_mean** columns, choose **Decimal(16)** as Convert to Type, and click **Save**. ![cancer-detection-15.webp](https://catalyst-docs-development.zohostratus.in/images/tutorials/cancer-detection/cancer-detection-15.webp) ## Handle Missing Values As a part of data preprocessing, we will need to check if there are missing values in any of the columns in the datasets and fill them. We will be using the Fill Columns node for executing this operation. 1. Open the **Data Cleaning** component from the *Operations* menu. 2. Drag and drop the **Fill Columns** node into the Pipeline Builder and connect it with the Type Conversion node. 3. In the *Fill Columns* section on the right panel, enable **Show only the columns with missing values** to select the columns that have empty records. 4. Select the columns you want to be filled with a custom value. Select **concavity_se**, and **area_worst** and choose the Fill with field as **Mean** and click **Save**. This fills the empty values in the column data with the mean value of the particular columns. ![cancer-detection-16.webp](https://catalyst-docs-development.zohostratus.in/images/tutorials/cancer-detection/cancer-detection-16.webp) Finally, make a connection between the **Fill Columns** and the **Destination** nodes and click **Execute**. ![cancer-detection-17.webp](https://catalyst-docs-development.zohostratus.in/images/tutorials/cancer-detection/cancer-detection-17.webp) The data pipeline will start execution, and the status will be displayed on the Pipeline Details page. Once the pipeline has completed execution, the status will change to “Success”. ![cancer-detection-18.webp](https://catalyst-docs-development.zohostratus.in/images/tutorials/cancer-detection/cancer-detection-18.webp) Click **Execution Stats** to view more details about each stage of the execution in detail. ![cancer-detection-19.webp](https://catalyst-docs-development.zohostratus.in/images/tutorials/cancer-detection/cancer-detection-19.webp) The dataset to develop the ML model has been prepared. We will be discussing more about the ML pipeline creation in the next section. > **Note :** The data pipeline can be reused to create multiple ML experiments for varied use cases within your Catalyst project. -------------------------------------------------------------------------------- title: "Create an ML Pipeline" description: "Create and configure a powerful ML pipeline that can be used to predict the chances of being affected by breast cancer using the Catalyst QuickML service." last_updated: "2026-10-30T17:47:18.000Z" source: "https://docs.catalyst.zoho.com/en/tutorials/cancer-detection/create-ml-pipeline/" service: "All Services" related: - ML Algorithms in QuickML (/en/quickml/help/ml-algorithms/classification-algorithms) - Operations in QuickML (/en/quickml/help/operations-in-quickml/encoding) -------------------------------------------------------------------------------- # Create ML Pipeline In this section, we will be building a prediction ML model using the preprocessed datasets in the previous section. The datasets will be the input to the **[ML Pipeline Builder](https://docs.catalyst.zoho.com/en/quickml/help/pipeline-builder-interface/walkthrough/)** which enables you to define the model's architecture and select a target column for prediction. **To create a ML pipeline:** 1. Navigate to the *Pipelines* component in the left menu and click **Create Pipeline**. ![cancer-detection-20.webp](https://catalyst-docs-development.zohostratus.in/images/tutorials/cancer-detection/cancer-detection-20.webp) 2. In the *Create Pipeline* pop-up, choose the desired Pipeline Type. Here, select **Prediction** as your pipeline type. ![cancer-detection-21.webp](https://catalyst-docs-development.zohostratus.in/images/tutorials/cancer-detection/cancer-detection-21.webp) 3. Enter **Pipeline_B** as the pipeline name, Choose Dataset as **Cancer_detection_A**, and Choose Target Column should be **diagnosis**. Note, the model name will be auto-populated based on the pipeline name. 4. Choose the **Retrain model** when the dataset is updated checkbox to retrain the pipeline whenever the dataset is updated with new data. **Note:** checkout this document on **[periodic-sync](https://docs.catalyst.zoho.com/en/quickml/help/periodic-sync/)**, and to create an auto-generated pipeline using AutoML refer to the document on **[AutoML pipeline](https://docs.catalyst.zoho.com/en/quickml/help/periodic-sync/)**. ![cancer-detection-22.webp](https://catalyst-docs-development.zohostratus.in/images/tutorials/cancer-detection/cancer-detection-22.webp) 5. Click **Create**. The pipeline details page will be displayed. ![cancer-detection-23.webp](https://catalyst-docs-development.zohostratus.in/images/tutorials/cancer-detection/cancer-detection-23.webp) Next, configure the pipeline by defining the nodes in the ML Pipeline Builder interface. ## Data Type Conversion Because the target column "**diagnosis**" contains categorical data of type **String**, we will encode it for further ML training standards. 1. In the **Operations** menu, navigate to *ML operations->Encoding->Label Encoder*. 2. Drag and drop the **[Label Encoder node](https://docs.catalyst.zoho.com/en/quickml/help/operations-in-quickml/encoding/#label-encoding)** to the ML Pipeline Builder Interface. Connect the Label Encoder node to the Source node. ![cancer-detection-24.webp](https://catalyst-docs-development.zohostratus.in/images/tutorials/cancer-detection/cancer-detection-24.webp) This operation will convert the column values of type String to Integer while maintaining the order and preserving data accuracy. ## Hyperparameter Tuning For any ML model, it's mandatory to implement an ML algorithm based on which the model will be trained. In this tutorial, we will be implementing the **[logistic classification algorithm](https://docs.catalyst.zoho.com/en/quickml/help/ml-algorithms/classification-algorithms/#logistic-regression)** to configure the tuning parameters for the ML model to ensure it is optimized for our preprocessed dataset. 1. In the *Operations* menu, navigate to *ML operations->Algorithm->Classification->Logistic Regression*. 2. Drag and drop the **Logistic Regression** node in the Pipeline Builder. The node will be connected to the **Destination** node automatically. 3. Connect the **Label Encoder** and the **Logistic Regression** nodes. For the Logistic Regression node, we will go with the default configuration. Click **Save**. ![cancer-detection-25.webp](https://catalyst-docs-development.zohostratus.in/images/tutorials/cancer-detection/cancer-detection-25.webp) Proceed with executing the pipeline by clicking on **Execute** for further evaluation and deployment. ![cancer-detection-26.webp](https://catalyst-docs-development.zohostratus.in/images/tutorials/cancer-detection/cancer-detection-26.webp) Click **Execution Stats** to view more details about each stage of the execution in detail. ![cancer-detection-27.webp](https://catalyst-docs-development.zohostratus.in/images/tutorials/cancer-detection/cancer-detection-27.webp) Upon successful execution of the ML Pipeline, the prediction model is created and will be displayed under the Models section. You can view the details of the model on the *Models details* page by clicking on the model name. ![cancer-detection-28.webp](https://catalyst-docs-development.zohostratus.in/images/tutorials/cancer-detection/cancer-detection-28.webp) Additionally, the accuracy of the generated model can be evaluated and viewed in the Metrics section of the *Models details* page. This provides valuable insights on the performance and effectiveness of the model in making predictions on the data. ![cancer-detection-29.webp](https://catalyst-docs-development.zohostratus.in/images/tutorials/cancer-detection/cancer-detection-29.webp) -------------------------------------------------------------------------------- title: "Create an Endpoint" description: "Create and configure a powerful ML pipeline that can be used to predict the chances of being affected by breast cancer using the Catalyst QuickML service." last_updated: "2026-10-01T07:03:46.000Z" source: "https://docs.catalyst.zoho.com/en/tutorials/cancer-detection/create-endpoint/" service: "All Services" related: - Pipeline Endpoints (/en/quickml/help/pipeline-endpoints) -------------------------------------------------------------------------------- # Create Endpoint We will now **[create an endpoint](https://docs.catalyst.zoho.com/en/quickml/help/pipeline-endpoints/)** for the Cancer Detection ML model to allow to interact with the model seamlessly and get predictions. 1. Navigate to the *Endpoints* component in the left panel and click **Create Endpoint**. ![cancer-detection-30.webp](https://catalyst-docs-development.zohostratus.in/images/tutorials/cancer-detection/cancer-detection-30.webp) 2. Enter the endpoint name as **Cancer_Detection**, select the Endpoint Type as **ML Model** , and choose the model as **Pipeline_B** model ML model that we created in the previous step, and click **Create Endpoint**. ![cancer-detection-31.webp](https://catalyst-docs-development.zohostratus.in/images/tutorials/cancer-detection/cancer-detection-31.webp) 3. In the *Endpoints details* page, first test the model by providing a sample request and click **Get Result**. For the below request, the model predicts the record is Cancer Malignant(M). The likelihood score is used in classification models to return the probability estimation; this value gives the model’s confidence in its predictions. 4. Click **Publish** and use the endpoint URL to integrate the ML model with any other applications. ![cancer-detection-32.webp](https://catalyst-docs-development.zohostratus.in/images/tutorials/cancer-detection/cancer-detection-32.webp) ![cancer-detection-33.webp](https://catalyst-docs-development.zohostratus.in/images/tutorials/cancer-detection/cancer-detection-33.webp) > **Note :** You can also check out [this document](https://docs.catalyst.zoho.com/en/quickml/help/pipeline-endpoints/#external-oauth2-authentication) to implement pipeline authentication to ensure secured access to endpoints, the ML models and datasets. ## Car Price Prediction -------------------------------------------------------------------------------- title: "Introduction" description: "car price predictionCreate a powerful ML pipeline that can be used to predict the car price using the Catalyst QuickML service." last_updated: "2026-08-17T12:16:04.000Z" source: "https://docs.catalyst.zoho.com/en/tutorials/car-price-prediction/introduction/" service: "All Services" -------------------------------------------------------------------------------- # Car Price Prediction ## Introduction In this tutorial, we will guide you through the process of building a powerful machine learning model using [Catalyst QuickML](https://docs.catalyst.zoho.com/en/quickml/getting-started/introduction/) to predict car prices. > **Note:** QuickML is currently not available to users accessing from the CA (Canada) data center. If your account is created in the CA DC (accounts.zohocloud.ca/), you will not be able to avail this service. We'll first do [preprocess the datasets](https://docs.catalyst.zoho.com/en/quickml/help/data-preprocessing/data-cleaning/) to make sure they're tidy and prepared for training. A [data pipeline](https://docs.catalyst.zoho.com/en/quickml/help/create-data-pipeline/) will be built next to handle data transformation, and an [ML pipeline](https://docs.catalyst.zoho.com/en/quickml/help/create-ml-pipeline/) will be built to train and test the model. Finally, we will provide an [endpoint](https://docs.catalyst.zoho.com/en/quickml/help/pipeline-endpoints/) for the trained model that enables interaction with external apps and provides car price predictions. The reason for building two pipelines is because we can reuse the data pipeline to build any number of ML pipelines in the future. The Car Price Prediction ML model is built using the following Catalyst service: **[Catalyst QuickML](https://docs.catalyst.zoho.com/en/quickml/getting-started/introduction/)** : Using this service, we will first preprocess the sample dataset by implementing [node operations](https://docs.catalyst.zoho.com/en/quickml/help/data-preprocessing/data-cleaning/) on them and constructing the [data pipeline](https://docs.catalyst.zoho.com/en/quickml/help/create-data-pipeline/). This preprocessed data will be used to create an ML model by executing [ML algorithms](https://docs.catalyst.zoho.com/en/quickml/help/ml-algorithms/classification-algorithms/). Finally, the Car Price Prediction ML model can be accessed by external applications using the [endpoint URL](https://docs.catalyst.zoho.com/en/quickml/help/pipeline-endpoints/) generated in QuickML. The final output, after creating all the required data and ML pipelines in the [Catalyst console](https://console.catalyst.zoho.com/baas/index), will look like this: ![final_output](https://catalyst-docs-development.zohostratus.in/images/tutorials/car-price-prediction/introduction.webp) -------------------------------------------------------------------------------- title: "Prerequisites" description: "car price predictionCreate a powerful ML pipeline that can be used to predict the car price using the Catalyst QuickML service." last_updated: "2024-04-05T18:11:34.000Z" source: "https://docs.catalyst.zoho.com/en/tutorials/car-price-prediction/prerequisites/" service: "All Services" related: - Machine Learning Algorithms (/en/quickml/help/ml-algorithms/classification-algorithms/) -------------------------------------------------------------------------------- # Prerequisites Since this tutorial involves only [Catalyst QuickML](https://docs.catalyst.zoho.com/en/quickml/getting-started/introduction/), we will be working entirely in the [Catalyst console](https://console.catalyst.zoho.com/baas/index) to build data and [ML pipelines](https://docs.catalyst.zoho.com/en/quickml/help/create-ml-pipeline/), create ML models, and train the models to predict outcomes. Before you begin working on this tutorial, please download the below dataset: - [Car_Price_1](https://workdrive.zohoexternal.com/external/588c8d9ac39d9ecd355ad14737d93462224c4da61c3ed51ae37d3bd889b3ae6c) - [Car_Price_2](https://workdrive.zohoexternal.com/external/e2d9526d1b1a0ba701ddadab7d654d8dbfe0696eeb806348987db0ac44caf400) This tutorial aims to implement cleaning, refining and pre-processing operations on the datasets, and then use them to train ML models. We will be uploading the dataset to Catalyst QuickML in the later sections of this tutorial. -------------------------------------------------------------------------------- title: "Create a project" description: "car price predictionCreate a powerful ML pipeline that can be used to predict the car price using the Catalyst QuickML service." last_updated: "2026-08-17T12:16:04.000Z" source: "https://docs.catalyst.zoho.com/en/tutorials/car-price-prediction/create-a-project/" service: "All Services" related: - Catalyst Projects (/en/getting-started/catalyst-projects) -------------------------------------------------------------------------------- # Create a Project Let's [create a Catalyst project](https://docs.catalyst.zoho.com/en/getting-started/catalyst-projects) from the Catalyst console. 1. Log in to the [Catalyst console](https://console.catalyst.zoho.com/baas/index), then click `Create a new Project`. ![catalyst_project_creation](https://catalyst-docs-development.zohostratus.in/images/tutorials/car-price-prediction/create-project.webp) 2. Enter the project’s name as "**CarPricePrediction**" (or a name you wish to give for the project) in the pop-up window that appears. ![project-name](https://catalyst-docs-development.zohostratus.in/images/tutorials/car-price-prediction/project-name.webp) 3. Click `Create`. Your project will be created and automatically opened. To access your project later, simply click on the `Access Project` button. ![access-project](https://catalyst-docs-development.zohostratus.in/images/tutorials/car-price-prediction/access-project.webp) -------------------------------------------------------------------------------- title: "Upload the dataset" description: "car price predictionCreate a powerful ML pipeline that can be used to predict the car price using the Catalyst QuickML service." last_updated: "2026-08-17T12:16:04.000Z" source: "https://docs.catalyst.zoho.com/en/tutorials/car-price-prediction/upload-dataset/" service: "All Services" related: - Create Your First pipeline (/en/quickml/help/create-ml-pipeline) -------------------------------------------------------------------------------- # Upload the Dataset Let's begin by uploading the dataset in Catalyst QuickML using the available dataset [dataset connectors](https://docs.catalyst.zoho.com/en/quickml/help/data-connectors/zoho-apps/). 1. Navigate to the QuickML service in the Catalyst console and click `Start Exploring`. ![Start Exploring](https://catalyst-docs-development.zohostratus.in/images/tutorials/car-price-prediction/start-exploring.webp) 2. Navigate to the `Datasets` component and click `Import Dataset`. ![Dataset Upload](https://catalyst-docs-development.zohostratus.in/images/tutorials/car-price-prediction/import-dataset-car-price-predict.webp) 3. An Import Dataset pop-up will be displayed. In the **Data Sources** step, navigate to File Upload and click `Upload File`. ![Upload Dataset](https://catalyst-docs-development.zohostratus.in/images/tutorials/cancer-detection/upload-file.webp) Upload the **Car_Price_1** dataset followed by the **Car_Price_2** dataset that you downloaded earlier. We can have the Quotes Type as "**Double Quotes(")**" and Escape Character as "**Backslash(\)**" and click `Next`. ![Upload Dataset](https://catalyst-docs-development.zohostratus.in/images/tutorials/car-price-prediction/dataset_detials.webp) The name of the dataset will be auto-populated based on the uploaded file. You can edit it, if required, and click `Upload`. ![Dataset Name](https://catalyst-docs-development.zohostratus.in/images/tutorials/car-price-prediction/dataset_name.webp) The dataset is now uploaded successfully. ![Dataset Name](https://catalyst-docs-development.zohostratus.in/images/tutorials/car-price-prediction/upload-successful.webp) The dataset will be displayed in the **All Datasets** section. You can click on the dataset name to view the dataset's details. On the dataset **Details** page, you can view the [profiling, data preview](https://docs.catalyst.zoho.com/en/quickml/help/data-profiler-and-viewer/#what-is-data-profiling) and [visualization chart](https://docs.catalyst.zoho.com/en/quickml/help/data-visualization/overview/) of the dataset. The dataset's details and its profile can be seen in the below screenshot. ![Dataset details page](https://catalyst-docs-development.zohostratus.in/images/tutorials/car-price-prediction/uploaded-dataset-car-price-predict.webp) -------------------------------------------------------------------------------- title: "Create a data pipeline" description: "car price predictionCreate a powerful ML pipeline that can be used to predict the car price using the Catalyst QuickML service." last_updated: "2026-08-17T12:16:04.000Z" source: "https://docs.catalyst.zoho.com/en/tutorials/car-price-prediction/create-data-pipeline/" service: "All Services" related: - Data Cleaning (/en/quickml/help/data-preprocessing/data-cleaning) - Data Transformation (/en/quickml/help/data-preprocessing/data-transformation) - Data Profiler and Viewer (/en/quickml/help/data-profiler-and-viewer/) -------------------------------------------------------------------------------- # Create a data pipeline Now that we have uploaded the dataset, we will proceed with creating a [data pipeline](https://docs.catalyst.zoho.com/en/quickml/help/create-data-pipeline/) with the dataset. 1. Navigate to the **Datasets** component in the left menu. There are two ways to create a data pipeline: - You can click on the dataset and then click `Create Pipeline` in the top-right corner of the page. ![create-pipeline](https://catalyst-docs-development.zohostratus.in/images/tutorials/car-price-prediction/create-pipeline.webp) - You can click on the pen icon located to the left of the dataset name, as shown in the image below. ![pen-icon](https://catalyst-docs-development.zohostratus.in/images/tutorials/car-price-prediction/pen-icon.webp) Here, we are uploading the **Car_price_1** dataset for preprocessing. **Car_Price_2** will be added to this dataset in the upcoming preprocessing steps. 2. Name the pipeline "**Car Price Prediction Data Pipeline**" and click `Create Pipeline`. ![Pipeline Name](https://catalyst-docs-development.zohostratus.in/images/tutorials/car-price-prediction/pipeline-name.webp) The [pipeline builder interface](https://docs.catalyst.zoho.com/en/quickml/help/pipeline-builder-interface/walkthrough/#pipeline-builder-interface-1) will open as shown in the screenshot below. ![Initial Pipeline](https://catalyst-docs-development.zohostratus.in/images/tutorials/car-price-prediction/initial-pipeline.webp) We will be performing the following set of data preprocessing operations in order to clean, refine, and transform the datasets, and then execute the data pipeline. Each of these operations involve individual [data nodes](https://docs.catalyst.zoho.com/en/quickml/help/data-preprocessing/data-cleaning/) that are used to construct the pipeline. ### Data preprocessing with QuickML 1. #### Combining two datasets With the aid of the `Add Dataset` [node](https://docs.catalyst.zoho.com/en/quickml/help/data-preprocessing/data-extraction/#add-dataset) in QuickML, we can add a new dataset (please note that you must first upload the dataset you wish to add). Here, we are adding the **Car_Price_2** dataset to merge with the existing dataset. ![add-dataset](https://catalyst-docs-development.zohostratus.in/images/tutorials/car-price-prediction/add-dataset.webp) Use the `Union` [node](https://docs.catalyst.zoho.com/en/quickml/help/data-preprocessing/data-transformation/#union) in the drag-and-drop QuickML interface from **Data Transformation > Union** to combine the two supplied datasets, Car_Price_1 and Car_Price_2, into a single dataset. If any duplicate records exist in either dataset, be careful to tick the box labeled "**Drop Duplicate Records**" while performing the operation. This will remove the duplicate records from both datasets. ![Union](https://catalyst-docs-development.zohostratus.in/images/tutorials/car-price-prediction/union.webp) 2. #### Select/drop columns Select or drop columns from a dataset is a common data preprocessing step in data analysis and machine learning. The choice to select or drop columns depends on the specific objectives and requirements of your analysis or modelling task. The columns we don't need for our model training are "**MPG,**" "**Convenience,**" "**Exterior,**" "**Clean title,**" "**Currency,**" and "**Name**" in the provided datasets. Using QuickML, you may quickly choose the necessary fields from the dataset for model training using the Select/Drop node from the Data Cleaning section. ![required-field-selection](https://catalyst-docs-development.zohostratus.in/images/tutorials/car-price-prediction/required-field-selection.webp) 3. #### Filter dataset Filtering a dataset typically involves selecting a subset of rows from a DataFrame that meet certain criteria or conditions. Here, we are filtering the "**Drivetrain**", "**Fuel Type**", "**Engine**", "**Transmission**", and "**Safety**" columns that have **non-empty** values using the `Filter` [node](https://docs.catalyst.zoho.com/en/quickml/help/data-preprocessing/data-cleaning/#filter) from the Data Cleaning section. ![Data Filter](https://catalyst-docs-development.zohostratus.in/images/tutorials/car-price-prediction/filter-dataset-car-price-prediction.webp) 4. #### Fill columns in dataset with values Using the `Fill Columns` [node](https://docs.catalyst.zoho.com/en/quickml/help/data-preprocessing/data-cleaning/#fill-columns) in QuickML, we can easily fill the column values based on any certain condition. We can fill the null values or non-null values based on our requirements. Here, we are filling in the "**new&used**" column with the custom value "**Used**" for any entries in the column that are not labeled as "**New**". For columns "**Accidents or damage**","**1-owner vehicle**", and "**Personal use only**", we are replacing the empty values with a custom value "**Not mentioned**". ![Fill Column](https://catalyst-docs-development.zohostratus.in/images/tutorials/car-price-prediction/fill-column.webp) 5. #### Save and execute Now connect the Fill Columns node to the **Destination** node. Once all the nodes are connected, click `Save` to save the pipeline and then click `Execute` to execute the pipeline. It will redirect you to a page that will show the executed pipeline with the execution status. ![Executed data pipeline](https://catalyst-docs-development.zohostratus.in/images/tutorials/car-price-prediction/before-execution-stats-car-price-predict.webp) Click on `Execution Stats` to view more details about each stage of the execution in detail. ![Execution stats for data pipeline](https://catalyst-docs-development.zohostratus.in/images/tutorials/car-price-prediction/execution-stats.webp) In this part, we've looked at how to process data using QuickML, giving you a variety of effective ways to get your data ready for the creation of machine learning models. This data pipeline can be reused to create multiple ML experiments for varied use cases within your Catalyst project. -------------------------------------------------------------------------------- title: "Create an ML Pipeline" description: "car price predictionCreate a powerful ML pipeline that can be used to predict the car price using the Catalyst QuickML service." last_updated: "2026-08-17T12:16:04.000Z" source: "https://docs.catalyst.zoho.com/en/tutorials/car-price-prediction/create-ml-pipeline/" service: "All Services" related: - ML Algorithms in QuickML (/en/quickml/help/ml-algorithms/classification-algorithms) - Operations in QuickML (/en/quickml/help/operations-in-quickml/encoding) -------------------------------------------------------------------------------- # Create an ML pipeline To build the prediction model, we will use the preprocessed dataset in the [ML Pipeline Builder](https://docs.catalyst.zoho.com/en/quickml/help/create-ml-pipeline/). The initial step in the ML Pipeline Builder involves selecting the **target column**, which is the column we are trying to predict. To create an ML pipeline, first navigate to the **Pipelines** section and click `Create Pipeline`. ![ML Pipeline Creation 1](https://catalyst-docs-development.zohostratus.in/images/tutorials/car-price-prediction/ml-pipeline-creation-1.webp) In the pop-up that appears, select **Prediction** as pipeline type and provide a name (here, we used **Car Price Model**) for the pipeline and specify the model name. Then, select the appropriate dataset and the column name of the target. In this case, our target is the column named "**money**". ![ML Pipeline Creation Meta](https://catalyst-docs-development.zohostratus.in/images/tutorials/car-price-prediction/ml-pipeline-name.webp) While selecting the dataset, we need to select the source dataset which we chose for building the data pipeline, as the preprocessed data is reflected in the source dataset. In our case, we will be importing the Car_Price_1 dataset, as we have selected this dataset for preprocessing and cleaning the data. ### Encoding categorical columns Encoders are used in various data preprocessing and machine learning tasks to convert categorical or non-numeric data into a numerical format that machine learning algorithms can work with effectively. Here, we are using [Ordinal Encoding](https://docs.catalyst.zoho.com/en/quickml/help/operations-in-quickml/encoding/#ordinal-encoder) for encoding all the categorical features. It assigns integers to the categories based on their order, making it possible for machine learning algorithms to capture the ordinal nature of the data. We may use the Ordinal Encoder node from **ML Operations > Encoding > Ordinal Encoder** in QuickML to turn the category columns into numerical columns. Here, we are converting **all categorical columns** to numerical format while retaining the columns' original order and data for model training. ![Ordinal Encoding](https://catalyst-docs-development.zohostratus.in/images/tutorials/car-price-prediction/ordinal-encoding.webp) ### Imputers Imputers are used in various fields, such as data analysis, statistics, and machine learning to handle missing or incomplete data. Here, we are using [Group By](https://docs.catalyst.zoho.com/en/quickml/help/operations-in-quickml/imputers/#group-by-imputation) Imputer from **ML operations > Imputers > Group-By Imputer** for imputing the missing values in the dataset. Group by Imputing refers to a data imputation technique where missing values are filled based on some grouping or categorization of selected columns. If we can say that a particular column can be imputed by considering another set of column values, we can use this imputation technique. Here, the columns with missing values are "**Mileage**", "**Exterior Color**", "**Interior Color**", and "**Seating**". We have grouped the columns "**brand**", "**Year**", and "**Model**" to fill in the missing values. ![Group By Imputer](https://catalyst-docs-development.zohostratus.in/images/tutorials/car-price-prediction/group-by-imputer.webp) ### Feature Engineering The act of developing new features (variables) from already existing data is referred to as [Feature Generation](https://docs.catalyst.zoho.com/en/quickml/help/operations-in-quickml/feature-engineering/#feature-generation). These additional features can be utilized to enhance the functionality of a machine learning model or to get more insight into the underlying data. A crucial part of the data preprocessing pipeline is feature generation, which can assist transforming raw data into something more suitable for modelling and extract useful information from it. Here, we have used the "**Autolearn**" feature generation technique to generate the features. This method generates features from the existing columns. We can select this node from **ML Operations > Feature Engineering > Feature Generation > Autolearn**. ![AutoLearn](https://catalyst-docs-development.zohostratus.in/images/tutorials/car-price-prediction/autolearn.webp) ### Selecting algorithm and model fitting The next step in ML pipeline building is selecting the appropriate algorithm for training the preprocessed data. Here, we'll use the [LightGBM Regressor Algorithm](https://docs.catalyst.zoho.com/en/quickml/help/ml-algorithms/regression-algorithms/#lgbm-regression) for training the data. LightGBM (Light Gradient Boosting Machine) is a popular gradient boosting framework used for various machine learning tasks, including regression problems. It is known for its efficiency and speed in training, making it a popular choice for large datasets. We can quickly construct the LightGBM Regression method in QuickML's ML Pipeline Builder by dragging and dropping the relevant **LightGBM Regression** node from **ML Operations > Algorithm > Regression > LGBM Regression**. In order to make sure the model is optimized for our particular dataset, we may also adjust the tuning parameters. In our instance, we can just stick with the default settings. When everything is configured, we may save the pipeline for further testing and deployment. ![LGBM-regression](https://catalyst-docs-development.zohostratus.in/images/tutorials/car-price-prediction/LGBM-regression.webp) Once we drag-and-drop the algorithm node, its end node will be automatically connected to the destination node. Once the pipeline is saved, you can execute the pipeline by clicking `Execute` at the top-right corner of the pipeline page. This will redirect you to the **execution** page, where you can see the execution of the pipeline. ![executed-ml-pipeline](https://catalyst-docs-development.zohostratus.in/images/tutorials/car-price-prediction/executed-ml-pipeline.webp) Click `Execution Stats` to view more details about each stage of the ML pipeline execution in detail. ![execution-stats-ml-pipeline](https://catalyst-docs-development.zohostratus.in/images/tutorials/car-price-prediction/execution-stats-ml-pipeline.webp) The prediction model is created and can be examined under the Model section (click on **Car Price Model model**) following the successful execution of the ML workflow. ![Model name](https://catalyst-docs-development.zohostratus.in/images/tutorials/car-price-prediction/model.webp) Metrics below offers useful perceptions into the efficiency and performance of the model while making predictions based on the data. ![Model-Metrics](https://catalyst-docs-development.zohostratus.in/images/tutorials/car-price-prediction/model-metrics.webp) -------------------------------------------------------------------------------- title: "Create an Endpoint" description: "car price predictionCreate a powerful ML pipeline that can be used to predict the car price using the Catalyst QuickML service." last_updated: "2026-08-17T12:16:04.000Z" source: "https://docs.catalyst.zoho.com/en/tutorials/car-price-prediction/create-endpoint/" service: "All Services" related: - Pipeline Endpoints (/en/quickml/help/pipeline-endpoints) -------------------------------------------------------------------------------- # Create an endpoint We will now create an endpoint for the above Deal Prediction model to allow external applications to interact with the model seamlessly and get predictions. 1. Navigate to the **Endpoints** component in the left menu and click `Create Endpoint`. ![endpoints](https://catalyst-docs-development.zohostratus.in/images/tutorials/car-price-prediction/endpoints.webp) 2. Name the endpoint as "**Car Price Prediction**", choose the model as **Car Price Model model**, the ML model that we created in the previous step, and click `Create Endpoint`. ![endpoint-name](https://catalyst-docs-development.zohostratus.in/images/tutorials/car-price-prediction/endpoint-name.webp) 3. On the endpoint's details page, you can test the model by providing a sample request in the Request column and click `Predict`. This will generate the predicted value in the Response column. ![predict](https://catalyst-docs-development.zohostratus.in/images/tutorials/car-price-prediction/predict.webp) 4. Click `Publish` and use the endpoint URL to integrate the ML model with any other applications. ![publish](https://catalyst-docs-development.zohostratus.in/images/tutorials/car-price-prediction/publish.webp) > **Note :** You can also check out [this document](https://docs.catalyst.zoho.com/en/quickml/help/pipeline-endpoints/#external-oauth2-authentication) to implement pipeline authentication to ensure secured access to endpoints, the ML models, and datasets. ## Catly ### NodeJS -------------------------------------------------------------------------------- title: "Introduction" description: "Create a URL shortener service, Cat.ly, as a single-page React application built using Catalyst's React plugin and various Catalyst components." last_updated: "2026-11-03T07:48:52.000Z" source: "https://docs.catalyst.zoho.com/en/tutorials/catly/nodejs/introduction/" service: "All Services" related: - Project Directory Structure (/en/cli/v1/project-directory-structure/introduction/) - Node.js SDK (/en/sdk/nodejs/v2/overview/) - Catalyst React Plugin (/en/cli/v1/initialize-resources/initialize-client/#react-applications) -------------------------------------------------------------------------------- # Catly ### Introduction In this tutorial, we will build a simple URL shortener application which will allow you to instantly trim lengthy URLs into easily shareable ones. We will build this application as a single page React application using [Catalyst's React plugin](https://docs.catalyst.zoho.com/en/cli/v1/initialize-resources/initialize-client/#react-applications) and by leveraging a few other Catalyst services. The final look of the client application will resemble this screen: ![catly-working-app](https://catalyst-docs-development.zohostratus.in/images/tutorials/react/catly-working-app.webp) You can access a working application and test its functioning here: [Try the App!](https://catlynodejs-860829830.development.catalystserverless.com/app/index.html) We will name this application **Cat.ly**, and it will be built using the following Catalyst components: 1. [**Catalyst Serverless**](https://docs.catalyst.zoho.com/en/serverless/getting-started/introduction/): - **[Functions](https://docs.catalyst.zoho.com/en/serverless/help/functions/introduction/)** : A **Node.js** function (of the type [Advanced I/O](https://docs.catalyst.zoho.com/en/serverless/help/functions/advanced-io/)) will contain the logic to shorten the given URL. 2. [**Catalyst CloudScale**](https://docs.catalyst.zoho.com/en/cloud-scale/getting-started/introduction/): - **[Data Store](https://docs.catalyst.zoho.com/en/cloud-scale/help/data-store/introduction/)** : Used to store the original URLs and their shortened versions. - **[ZCQL](https://docs.catalyst.zoho.com/en/cloud-scale/help/zcql/introduction/)** : Retrieves original URLs from the Data Store through queries when their shortened versions are accessed. - **[Cache](https://docs.catalyst.zoho.com/en/cloud-scale/help/cache/introduction/)** : Stores the frequently accessed URLs along with their shortened versions to enable faster retrieval and rendering. - **[Web Client Hosting](https://docs.catalyst.zoho.com/en/cloud-scale/help/web-client-hosting/introduction/)** : Hosts the front end of the application. The client will be built in the React framework using Catalyst's React plugin (`zcatalyst-cli-plugin-react`). This plugin contains certain node modules and library files that handle several operations involved in the development and testing of the React app internally. This allows for a faster and efficient application building process. We have provided the source code of the application in [this GitHub repository](https://github.com/catalystbyzoho/tutorial-cat.ly-node). You can download the code from this repository to your local system. We will be providing step by step instructions to work on the code in the repository's files and build the final deployable application in the next sections. The final Cat.ly application will contain the following [directory structure](https://docs.catalyst.zoho.com/en/cli/v1/project-directory-structure/introduction): ![project-dir](https://catalyst-docs-development.zohostratus.in/images/tutorials/react/project-dir.webp) Before we dive deep into the code, we will first look into the overall architecture of the application and the usage of each of the Catalyst components. ### Application Architecture The Cat.ly application's architecture can be described as follows: ![react_app_architecture](https://catalyst-docs-development.zohostratus.in/images/tutorials/react/react_app_architecture.webp) 1. A user enters a URL to be shortened in a text box in the application's client. 2. The Advanced I/O function checks if the entered URL is valid. If the URL is valid, a short ID, which is the ID part of the shortened version of the URL, is generated. 3. The original URL and the short ID of the URL are saved in a Catalyst CloudScale Cache segment for easier access. They are also saved on a table in the Catalyst CloudScale Data Store. 4. The original URL and its shortened version are displayed in the client application. A count variable is incremented to display the number of URLs shortened using the application. 5. When the user clicks on the shortened URL from the client, a ZCQL query is executed to fetch its original URL from the cache segment. If the cache item has expired, the data is fetched from the table in the Data Store instead and re-persisted to the cache. The cache item is overwritten every time the URL is accessed, and its expiry is updated each time. 6. A redirect signal is fired to the browser to open the original URL in a new tab. -------------------------------------------------------------------------------- title: "Prerequisites" description: "Create a URL shortener service, Cat.ly, as a single-page React application built using Catalyst's React plugin and various Catalyst components." last_updated: "2025-10-21T06:34:01.000Z" source: "https://docs.catalyst.zoho.com/en/tutorials/catly/nodejs/prerequisites/" service: "All Services" related: - CLI Command Reference (/en/cli/v1/cli-command-reference/) -------------------------------------------------------------------------------- # Prerequisites Before you begin building the application, you must have the following prerequisites installed on your system: 1. **Catalyst CLI** \ \ Catalyst CLI contains a host of tools that enable you to initialize, develop, test, and deploy the components of your application from your local machine. We will be working with Catalyst CLI in this tutorial. \ \ You must perform the following actions: 1. **Install Catalyst CLI:** Catalyst CLI is installed through NPM. You must therefore have NPM and Node.js installed on your system before you install the CLI. Refer to the [**Install Catalyst CLI help page**](https://docs.catalyst.zoho.com/en/getting-started/installing-catalyst-cli/) for details on the pre-requisites and the steps to install it. 2. **Log in to Catalyst CLI:** After you install Catalyst CLI, you must authenticate the CLI with your Catalyst account before using it. Refer to the [**CLI Login help page**](https://docs.catalyst.zoho.com/en/cli/v1/login/login-from-cli/) for the steps to login from Catalyst CLI and the various options available for it. 2. **Any IDE tool for Node.js function and client code development** \ \ You can use any IDE to work with the Advanced I/O function and the client code. Some popular choices include Visual Studio Code, IntelliJ IDEA, Eclipse, and Sublime Text. Download and install an IDE of your choice on your system. > If you are a Visual Studio Code IDE user, you can install the **Catalyst Tools** extension, and use your IDE itself in place of the CLI. You can find more details about the Catalyst VS Code extension from this [help section](https://docs.catalyst.zoho.com/en/catalyst-extensions/vs-code-extension/introduction/). -------------------------------------------------------------------------------- title: "Create a project" description: "Create a URL shortener service, Cat.ly, as a single-page React application built using Catalyst's React plugin and various Catalyst components." last_updated: "2026-08-17T12:16:04.000Z" source: "https://docs.catalyst.zoho.com/en/tutorials/catly/nodejs/create-project/" service: "All Services" related: - Project Directory (/en/cli/v1/project-directory-structure/introduction) - Set up Catalyst Projects (/en/getting-started/catalyst-projects) -------------------------------------------------------------------------------- # Create a Project Let's [create a Catalyst Project](https://docs.catalyst.zoho.com/en/getting-started/catalyst-projects) from the Catalyst console. 1. Log in to the [Catalyst Console](https://console.catalyst.zoho.com/baas/index) and click **Create a new Project**. ![create-new-project](https://catalyst-docs-development.zohostratus.in/images/tutorials/react/create-new-project.webp) 2. Enter the project's name as "**Catly**" in the pop-up window and click Create. ![enter-project-name](https://catalyst-docs-development.zohostratus.in/images/tutorials/react/enter-project-name.webp) Your project will be created and opened automatically. ![project-opened](https://catalyst-docs-development.zohostratus.in/images/tutorials/react/project-opened.webp) -------------------------------------------------------------------------------- title: "Create a table" description: "Create a URL shortener service, Cat.ly, as a single-page React application built using Catalyst's React plugin and various Catalyst components." last_updated: "2026-11-03T07:48:52.000Z" source: "https://docs.catalyst.zoho.com/en/tutorials/catly/nodejs/create-table/" service: "All Services" related: - Data Store (/en/cloud-scale/help/data-store/introduction) -------------------------------------------------------------------------------- # Create a Table in the Data Store We will create a table in the Catly project’s Data Store to hold the original URLs submitted by users, along with the corresponding short IDs generated by the application. This table is queried only when the required data isn’t found in the cache. To create a table, please make sure to follow the below steps: 1. Navigate to the **Catalyst CloudScale** service and click **Start Exploring**. ![cloudscale](https://catalyst-docs-development.zohostratus.in/images/tutorials/react/cloudscale.webp) 2. Select **Data Store** component under **Storage** and click **Create a new Table**. ![create-new-table](https://catalyst-docs-development.zohostratus.in/images/tutorials/react/create-new-table.webp) 3. Enter the table's name as "**UrlShorten**" and click **Create**. ![table-name](https://catalyst-docs-development.zohostratus.in/images/tutorials/react/table-name.webp) > **Note**: Ensure that you enter the name exactly as instructed, because the application's code that you will download from the GitHub repository contains the same name. The table is now created as shown in the screenshot below. ![created-table](https://catalyst-docs-development.zohostratus.in/images/tutorials/react/created-table.webp) ### Create Columns for the Table Let's now create two columns in the table for the original URL and its short ID. > **Note**: Ensure that you enter the name exactly as instructed. 1. Click **New Column** in the *Schema View* section for the table. ![create-new-column](https://catalyst-docs-development.zohostratus.in/images/tutorials/react/create-new-column.webp) 2. Enter the column's name as "**originalUrl**". Select the data type as **Var Char** and enter the max length as "100". Enable the *Is Unique* and *Is Mandatory* toggle switches and click **Create**. ![url-column](https://catalyst-docs-development.zohostratus.in/images/tutorials/react/url-column.webp) You can learn about the various data types supported by Catalyst and the other properties of a column from the [Data Store help page](https://docs.catalyst.zoho.com/en/cloud-scale/help/data-store/introduction). Similarly, create the second column named **"urlCode"**. Select the data type as **Var Char** and enter the max length as **"100"**. Enable the **Is Unique** and **Is Mandatory** toggle switches. Both the columns will be displayed in the **Schema View** section as shown in the screenshot below. ![created-column](https://catalyst-docs-development.zohostratus.in/images/tutorials/react/created-column.webp) The data is automatically populated in this table each time the user shortens a URL. You can view the records from the **Data View** section after you shorten a URL. -------------------------------------------------------------------------------- title: "Create a Cache segment" description: "Create a URL shortener service, Cat.ly, as a single-page React application built using Catalyst's React plugin and various Catalyst components." last_updated: "2026-08-17T12:16:04.000Z" source: "https://docs.catalyst.zoho.com/en/tutorials/catly/nodejs/create-cache/" service: "All Services" related: - Cache (/en/cloud-scale/help/cache/introduction) -------------------------------------------------------------------------------- # Create a Cache Segment Let's now create a [cache segment](https://docs.catalyst.zoho.com/en/cloud-scale/help/cache/introduction) in the **Catly** project. The cache segment is used to store the original URL and its short ID for easier access. To create a cache segment, please follow the below-listed steps: 1. Navigate to the **Cache** component under **Storage** and click **Create Segment** in the **Segments** page. ![create-segment](https://catalyst-docs-development.zohostratus.in/images/tutorials/react/create-segment.webp) 2. Enter the Segment Name as "**shortUrl**" in the pop-up window and click **Create** ![enter-segment-name](https://catalyst-docs-development.zohostratus.in/images/tutorials/react/enter-segment-name.webp) > **Note**: Ensure that you enter the name exactly as instructed, because the application's code that you will download from the GitHub repository contains the same name. The segment is created and listed in the **Segments** page. ![segments-page](https://catalyst-docs-development.zohostratus.in/images/tutorials/react/segments-page.webp) When a URL is shortened by the user, the original URL and its short ID are automatically populated as a cache item in the form of a key-value pair. The short ID is the key, and the value contains a string of details like the original URL, short ID, and the table details. You can learn more about cache segments from [this help page](https://docs.catalyst.zoho.com/en/cloud-scale/help/cache/key-concepts/). -------------------------------------------------------------------------------- title: "Initialize the project" description: "Create a URL shortener service, Cat.ly, as a single-page React application built using Catalyst's React plugin and various Catalyst components." last_updated: "2026-08-17T12:16:04.000Z" source: "https://docs.catalyst.zoho.com/en/tutorials/catly/nodejs/initialize-project/" service: "All Services" related: - Initialize Resources (/en/cli/v1/initialize-resources/introduction/) - Project Directory Structure (/en/cli/v1/project-directory-structure/introduction/) -------------------------------------------------------------------------------- # Initialize the Project from the CLI You can now begin working on your Catalyst project from the CLI. The first step is to initialize the project in an empty directory. This will be the home directory of your project and all of the project files will be saved in it. You can learn more about the project directory structure from [this help page](https://docs.catalyst.zoho.com/en/cli/v1/project-directory-structure/introduction). You can learn about initializing a project in detail from the [CLI help documentation](https://docs.catalyst.zoho.com/en/cli/v1/initialize-resources/introduction). In this tutorial we will initialize the project followed by the function and client components: 1. Create a folder for the project on your local machine and navigate to it from the terminal. Initialize a project by executing the following command from that directory: ```sh catalyst init ``` 2. The CLI will now ask you to select the organization in which your Catalyst project that we created earlier in the console resides. Select the organization and press **Enter**. ![select-portal](https://catalyst-docs-development.zohostratus.in/images/tutorials/react/select-portal.webp) 3. Select the project in the organization from the list and press **Enter**. ![select-project](https://catalyst-docs-development.zohostratus.in/images/tutorials/react/select-project.webp) 4. Select **Functions** and **Client** using the space bar. Press **Enter** to initialize the components. ![select-components](https://catalyst-docs-development.zohostratus.in/images/tutorials/react/select-components.webp) 5. The CLI will first initiate the function setup. Select AdvancedIO as the function type. ![advanced-io](https://catalyst-docs-development.zohostratus.in/images/tutorials/react/advanced-io.webp) 6. Select the latest runtime of **Node.js** as the function stack. ![select-node](https://catalyst-docs-development.zohostratus.in/images/tutorials/react/select-node.webp) 7. Enter **"catly"** as the package name, **"index.js"** as the entry point, and your email address as the author and press **Enter**. You can alternatively press Enter without entering inputs to fill in the default values. The CLI will prompt the initialization of the Node dependencies. Press **Y** to confirm the installation, and press **Enter** to confirm your choice. The Node modules will be installed. ![function-setup](https://catalyst-docs-development.zohostratus.in/images/tutorials/react/function-setup.webp) 8. The CLI will now initialize the client set up. Choose **"React web app"**, which will initialize the client as a React application using the Catalyst React plugin (`zcatalyst-cli-plugin-react`). ![select-react](https://catalyst-docs-development.zohostratus.in/images/tutorials/react/select-react.webp) 9. Choose **"TypeScript"** as they type of React application. ![select-typescript](https://catalyst-docs-development.zohostratus.in/images/tutorials/react/select-typescript.webp) 10. Provide the name of your React application as **"app"** and press **Enter**. The project initialization along with the function and client components is now complete and a [`catalyst.json`](https://docs.catalyst.zoho.com/en/cli/v1/project-directory-structure/catalyst-json) file and a `.catalystrc` hidden file containing your project details will be created in your project directory. ![init-complete](https://catalyst-docs-development.zohostratus.in/images/tutorials/react/init-complete.webp) -------------------------------------------------------------------------------- title: "Configure the Advanced I/O function" description: "Create a URL shortener service, Cat.ly, as a single-page React application built using Catalyst's React plugin and various Catalyst components." last_updated: "2026-08-17T12:16:04.000Z" source: "https://docs.catalyst.zoho.com/en/tutorials/catly/nodejs/configure-advancedio/" service: "All Services" related: - Advanced I/O Functions (/en/serverless/help/functions/advanced-io/) - Functions Directory Structure (/en/cli/v1/project-directory-structure/functions-directory) -------------------------------------------------------------------------------- # Configure the Advanced I/O Function The Advanced I/O function contains the logic that will shorten the URL that the user provides and handles the routing in the application. You can learn more about this function type from [this help page](https://docs.catalyst.zoho.com/en/serverless/help/functions/advanced-io). We have already provided the entire code of this application hosted in our GitHub repository in the Introduction section of the tutorial. In case you have missed it, you can now download the code from [this link](https://github.com/catalystbyzoho/tutorial-cat.ly-node). We will be adding files from this downloaded repository to our project directory. Let us first discuss the function component in detail. > **Note**: Please go through the code in the files provided while you read the points below. * The `urlshorten.js` in `/catly/routers` performs the major routing and shortening operations. There are two npm packages that are included in this file to perform the required tasks: - `valid-url`: [The valid URL module](https://www.npmjs.com/package/valid-url) is used to check the validity of the original URL entered by the user. If the URL is found to be invalid, it will not be shortened. - `shortid`: [The shortid module](https://www.npmjs.com/package/shortid) is used to generate a short browser-friendly unique ID for the original URL entered by the user. There are three routes defined in this file for the client component to pursue: - `/item/all`: To fetch all data from the Data Store. - `/:code`: To redirect to the original URL for a particular shortened URL - `/item`: To insert the original URL and generate its short ID We access the cache when we use `/:code` and `/item` to retrieve data, for faster processing. However, a new URL entered by the user is persisted to the Data Store first. * The `helper.js` file in `/catly/utils` defines the procedures to access the Data Store and the cache, to fetch data from them or to persist data in them. It executes [ZCQL queries](https://docs.catalyst.zoho.com/en/cloud-scale/help/zcql/introduction) to fetch data from the table in the Data Store. * The `constants.js` file in `/catly/utils` is used to store the constant values used by the other files, such as the ID of the cache segment and the name of the table that stores the original URLs and their short IDs. It also defines the error page to load when the URL is found to be invalid from the client directory. * The `index.js` is the main file of the server which defines the request and response parameters, and imports the [Node.js express framework](https://expressjs.com/) and the [npm body-parser middleware](https://www.npmjs.com/package/body-parser). * Besides these files, the functions directory contains [`package.json`](https://docs.npmjs.com/files/package.json) and [`package-lock.json`](https://docs.npmjs.com/configuring-npm/package-lock-json.html) in the `catly` folder. The `catalyst-config.json` file in the function's root contains the configuration of the function. You can learn more about these files from the [project directory structure help page](https://docs.catalyst.zoho.com/en/cli/v1/project-directory-structure/introduction). Now we will replace the functions folder in the root of the project directory functions folder in the downloaded repository. Your project directory should now contain the following structure: ![functions-dir](https://catalyst-docs-development.zohostratus.in/images/tutorials/react/functions-dir.webp) Please follow the below steps to complete the function configuration process : The repository you downloaded does not contain the node modules required for the application. Therefore, you must install NPM in the `catly` folder. 1. Navigate to `functions/catly` from your CLI and execute the following command: ```sh npm install express body-parser valid-url shortid ``` This will install the node modules required for the application and update the dependency files. 2. Now, open the `package.json` file using any IDE and replace the value of author (which is emma@zylker.com) with your email address. > **Note**: This is an optional step, as the author information will not affect the execution of the Cat.ly application. 3. Open `utils/constants.js` and replace the value of `short_url_segment` with the **Segment ID** of the cache segment you created in the *Catly* project. ![react_app_short_url_segment_json](https://catalyst-docs-development.zohostratus.in/images/tutorials/react/react_app_short_url_segment_json.webp) You can find the Segment ID of your cache segment from the Segments page by navigating to the Cache component in your Catalyst console. ![segment-id](https://catalyst-docs-development.zohostratus.in/images/tutorials/react/segment-id.webp) This is essential, since the original URL and the short ID received from the Cat.ly application must get stored in, or be fetched from, a valid cache segment. The functions directory is now properly configured. -------------------------------------------------------------------------------- title: "Configure the client" description: "Create a URL shortener service, Cat.ly, as a single-page React application built using Catalyst's React plugin and various Catalyst components." last_updated: "2026-08-17T12:16:04.000Z" source: "https://docs.catalyst.zoho.com/en/tutorials/catly/nodejs/configure-client/" service: "All Services" related: - Client (/en/cli/v1/project-directory-structure/client-directory) -------------------------------------------------------------------------------- # Configure the Client We have created a React app named **"app"** using the Catalyst React plugin already. Now we will add the required code for the app from the downloaded repository. The GitHub repository that you downloaded contains the following client directory structure: ![client-dir](https://catalyst-docs-development.zohostratus.in/images/tutorials/react/client-dir.webp) Let us now include Cat.ly's code in the client directory. To make this easy, simply replace the **"app"** directory in your project directory with the Cat.ly's files from the downloaded repository. Ensure you confirm that the following files and directories are duplicated: 1. The `package.json` file. 2. The hidden `.gitignore` file. 3. The `public` folder. 4. The `src` folder Your project directory should now contain all the client files in the same structure as the downloaded repository. > **Note**: Please go through the code in the files provided while you read the points below. Let us now look at the files in the client directory in detail. * The root directory of the client contains a [`client-package.json`](https://docs.catalyst.zoho.com/en/cli/v1/project-directory-structure/client-directory) file which is a configuration file defining the name, version, and default homepage of the client component. * The `app` folder contains two subfolders as per the default project structure of a React app. - The `public` folder is generally used to hold files that can be openly accessed by browsers through public URLs, such as icon files of the web app or `index.html`. - The `src` folder contains the application's source files that will be included in the `build` folder when we compile the React app. The `app` folder also contains the [`package.json`](https://docs.npmjs.com/files/package.json) dependency file, a [`.gitignore`](https://git-scm.com/docs/gitignore) file, and a [`yarn.lock`](https://legacy.yarnpkg.com/en/docs/yarn-lock/) file. - The `public` folder includes: - `index.html`: The default entry point of Cat.ly - `manifest.json`: Contains information about the web application including the `start_url` which is set to ".". This enables every shortened version of the URL the user enters to originate from the base URL [*Catalyst_web_app_URL/app/*](https://docs.catalyst.zoho.com/en/cloud-scale/help/web-client-hosting/key-concepts/#default-web-application-url) when the app is hosted. We will discuss this in the final step of the tutorial. - `error.html`: The page that Cat.ly redirects the user to, if they enter an invalid URL to shorten. - The `src` folder contains: - The JavaScript and CSS files for the client component. The `App.js` facilitates the behavior of the front end of the application. It handles the change and shrink events, and posts and obtains data using the three routes defined earlier. The other files are involved in rendering the DOM and defining the appearance of the web page. - `input`: This sub-folder contains the code to handle the input from the user. The `Header.js` enables increasing the URL count by one every time a new URL is shortened and displayed in the web page. The `InputForm.js` handles the input text bar and the submit button. The `List.js` enables the URLs that were shortened to be displayed as a list. - `utils`: This sub-folder contains `constants.js` to store the constant values of the three routes used by `App.js`. Please follow the below steps to complete the function configuration process : The repository you downloaded does not contain the React plugin dependency required for the application. Therefore, you must install the plugin in the app folder. Navigate to `/app` from your CLI and execute the following command: ```sh npm install zcatalyst-cli-plugin-react ``` This will install the Catalyst React plugin required for the application and update the dependency files. Let us now compile and test the React app. -------------------------------------------------------------------------------- title: "Test the application" description: "Create a URL shortener service, Cat.ly, as a single-page React application built using Catalyst's React plugin and various Catalyst components." last_updated: "2026-08-17T12:16:04.000Z" source: "https://docs.catalyst.zoho.com/en/tutorials/catly/nodejs/test-application/" service: "All Services" related: - Serve Resources (/en/cli/v1/serve-resources/introduction) -------------------------------------------------------------------------------- # Test the Application Before deploying the project, you can automatically compile and test the React app on a local server using the below command: To ensure that the project **"Catly"** executes locally, execute the following command from the root of your project directory: ```sh catalyst serve ``` The **Catly** application will now be served as a React application using the **Catalyst React** plugin. React applications implement the **[Hot Module Replacement(HMR)](https://webpack.js.org/concepts/hot-module-replacement/)** feature that updates and reloads specific modules, without recompiling and reloading the entire project, when changes are made during a serve session. HMR is enabled when you serve the application through the Catalyst CLI by default. ![catalyst-serve](https://catalyst-docs-development.zohostratus.in/images/tutorials/react/catalyst-serve.webp) You can now open the client component's local URL in a browser to access the Cat.ly application. Let us test the application by shortening a URL. Enter the URL in the text box and click **Shrink**. Cat.ly will shrink the URL and display its shortened version (/server/catly/short ID) on the web page along with the original URL if the setup is working correctly. The URL count is increased to 1. ![local-test](https://catalyst-docs-development.zohostratus.in/images/tutorials/react/local-test.webp) Let us check if the original URL and its short ID were added to the Data Store and Cache components. Open the Data Store of the Catly project in your Catalyst console. You should find the record populated in the UrlShorten table. ![data-entry](https://catalyst-docs-development.zohostratus.in/images/tutorials/react/data-entry.webp) Now open the cache component in your Catalyst console. You should find the cache item automatically created in the segment. ![cache-entry](https://catalyst-docs-development.zohostratus.in/images/tutorials/react/cache-entry.webp) As explained earlier, the cache item's key is the short ID and its value is a string of the short ID, original URL, and the meta details of the table. The cache item's expiry is set to the default expiry of two days. The cache item is overwritten every time a `GET` operation is performed to fetch the original URL. A new expiry time is written to the cache item through a POST operation and the expiry is set to two days by default after the most recent time it was accessed. This means that every time the URL is accessed, the cache item is stored in the shortUrl segment for two more days until it expires. If a URL is not accessed for two days, it is deleted from the cache. If it is accessed after the two days are up, the data is fetched from the **UrlShorten** table in the Data Store and it is written to the cache again as a new cache item. Let us now access the URL and verify the redirection. Click the arrow next to the shortened version or anywhere over the list item in the Cat.ly's front-end. The browser will be redirected to the original URL by Catalyst. If this setup is working correctly, we can deploy the application to production. -------------------------------------------------------------------------------- title: "Deploy the project" description: "Create a URL shortener service, Cat.ly, as a single-page React application built using Catalyst's React plugin and various Catalyst components." last_updated: "2026-11-03T15:41:32.000Z" source: "https://docs.catalyst.zoho.com/en/tutorials/catly/nodejs/deploy-application/" service: "All Services" related: - Deploy Resources (/en/cli/v1/deploy-resources/introduction/) -------------------------------------------------------------------------------- # Deploy the Project To deploy your Catalyst project from the CLI, run the following command in your terminal from your project directory: ```sh catalyst deploy ``` This will initialize the call of the Catalyst React plugin to compile the React application, followed by the deployment of functions first and finally the client component. A folder named `build` will be created inside the app folder during the build process, with the contents of the `public` folder in its root along with other required configuration and dependency files. The application's source files from the `src` folder are compiled and included inside a folder named `static` in the `build` directory. The required node modules are also added. The final access URLs of the components are displayed. ![deploy](https://catalyst-docs-development.zohostratus.in/images/tutorials/react/deploy.webp) You can now open the client component's URL in a browser to access the deployed Cat.ly application. Cat.ly can be accessed now from its [web app URL](https://docs.catalyst.zoho.com/en/cloud-scale/help/web-client-hosting/introduction/). ![final-output](https://catalyst-docs-development.zohostratus.in/images/tutorials/react/final-output.webp) Cat.ly displays the shortened URLs in descending order of how frequently they are accessed. We have successfully completed our tutorial, and the Catly app is now functional and will work without any errors. ## Churn For Bank Customers -------------------------------------------------------------------------------- title: "Introduction" description: "Churn for bank customers, Create a powerful ML pipeline that can be used to predict the churn using the Catalyst QuickML service." last_updated: "2026-08-17T12:16:04.000Z" source: "https://docs.catalyst.zoho.com/en/tutorials/churn-for-bank-customers/introduction/" service: "All Services" -------------------------------------------------------------------------------- # Churn for Bank Customers # Introduction In this tutorial, we will guide you through the process of building a powerful machine learning model using [Catalyst QuickML](https://docs.catalyst.zoho.com/en/quickml/getting-started/introduction/) to predict whether or not a client would leave. In this tutorial, we'll first do [preprocess the datasets](https://docs.catalyst.zoho.com/en/quickml/help/data-preprocessing/data-cleaning/) to make sure they're tidy and prepared for training. A [data pipeline](https://docs.catalyst.zoho.com/en/quickml/help/create-data-pipeline/) will be built next to handle data transformation, and an [ML pipeline](https://docs.catalyst.zoho.com/en/quickml/help/create-ml-pipeline/) will be built to train and test the model. Finally, we'll provide an [endpoint](https://docs.catalyst.zoho.com/en/quickml/help/pipeline-endpoints/) for the trained model that enables interaction with external apps and provides churn for bank customers. The churn for bank customers ML model is built using the following Catalyst service: **[Catalyst QuickML](https://docs.catalyst.zoho.com/en/quickml/getting-started/introduction/)** : Using this service, we will first pre-process the sample dataset by implementing [node operations](https://docs.catalyst.zoho.com/en/quickml/help/data-preprocessing/data-cleaning/) on them and constructing the [data pipeline](https://docs.catalyst.zoho.com/en/quickml/help/create-data-pipeline/). This pre-processed data will be used to create an ML model by executing [ML algorithms](https://docs.catalyst.zoho.com/en/quickml/help/ml-algorithms/classification-algorithms/). Finally, this churn for bank customers ML model can be accessed by external applications using the [endpoint URL](https://docs.catalyst.zoho.com/en/quickml/help/pipeline-endpoints/) generated in QuickML. The final output, after creating all the required data and ML pipelines in the [Catalyst console](https://console.catalyst.zoho.com/baas/index), will look like this: ![final_output](https://catalyst-docs-development.zohostratus.in/images/tutorials/churn-for-bank-customers/introduction.webp) -------------------------------------------------------------------------------- title: "Prerequisites" description: "Churn For Bank Customers, Create a powerful ML pipeline that can be used to predict the churn using the Catalyst QuickML service." last_updated: "2024-06-04T16:14:02.000Z" source: "https://docs.catalyst.zoho.com/en/tutorials/churn-for-bank-customers/prerequisites/" service: "All Services" related: - Machine Learning Algorithms (/en/quickml/help/ml-algorithms/classification-algorithms/) -------------------------------------------------------------------------------- # Prerequisites Since this tutorial involves only [Catalyst QuickML](https://docs.catalyst.zoho.com/en/quickml/getting-started/introduction/), we will be working entirely in the [Catalyst console](https://console.catalyst.zoho.com/baas/index) to build data and [ML pipelines](https://docs.catalyst.zoho.com/en/quickml/help/create-ml-pipeline/), create ML models, and train the models to predict outcomes. Before you begin working on this tutorial, please download the below dataset: - [Bank_Customers_Sample_Data](https://workdrive.zohoexternal.com/external/324bcf5f911d2d056c4b75d4c6a534ac2b139fb390d0812df7165c1965725083) This tutorial aims to implement cleaning, refining and pre-processing operations on the datasets, and then use them to train ML models. We will be uploading the dataset to Catalyst QuickML in the later sections of this tutorial. -------------------------------------------------------------------------------- title: "Create a Project" description: "Churn For Bank Customers, Create a powerful ML pipeline that can be used to predict the churn for bank customers using the Catalyst QuickML service." last_updated: "2026-08-17T12:16:04.000Z" source: "https://docs.catalyst.zoho.com/en/tutorials/churn-for-bank-customers/create-a-project/" service: "All Services" related: - Catalyst Projects (/en/getting-started/catalyst-projects) -------------------------------------------------------------------------------- # Create a Project Let's [create a Catalyst project](https://docs.catalyst.zoho.com/en/getting-started/catalyst-projects) from the Catalyst console. 1. Log in to the [Catalyst console](https://console.catalyst.zoho.com/baas/index), then click `Create a new Project` ![catalyst_project_creation](https://catalyst-docs-development.zohostratus.in/images/tutorials/churn-for-bank-customers/create-project-cd.webp) 2. Enter the project’s name as "**ChurnForBankCustomers**" (or a name you wish to give for the project) in the pop-up window that appears. ![project-name](https://catalyst-docs-development.zohostratus.in/images/tutorials/churn-for-bank-customers/project-name.webp) 3. Click on `Create` button. Your project will be created and automatically opened. To access your project later, simply click on the `Access Project` button. ![access-project](https://catalyst-docs-development.zohostratus.in/images/tutorials/churn-for-bank-customers/access-project.webp) -------------------------------------------------------------------------------- title: "Upload Dataset" description: "Churn For Bank Customers, Create a powerful ML pipeline that can be used to predict the churn using the Catalyst QuickML service." last_updated: "2026-08-17T12:16:04.000Z" source: "https://docs.catalyst.zoho.com/en/tutorials/churn-for-bank-customers/upload-dataset/" service: "All Services" related: - Create Your First pipeline (/en/quickml/help/create-ml-pipeline) -------------------------------------------------------------------------------- # Upload the Dataset Let's begin by uploading the dataset in Catalyst QuickML using the available dataset [dataset connectors](https://docs.catalyst.zoho.com/en/quickml/help/data-connectors/zoho-apps/). 1. Navigate to the QuickML service in the Catalyst console and click `Start Exploring`. ![Start Exploring](https://catalyst-docs-development.zohostratus.in/images/tutorials/churn-for-bank-customers/start-exploring.webp) 2. Navigate to the `Datasets` component and click `Import Dataset`. ![Dataset Upload](https://catalyst-docs-development.zohostratus.in/images/tutorials/cancer-detection/quick-ml-dataset.webp) 3. An Import Dataset pop-up will be displayed. In the **Data Sources** step, navigate to File Upload and click `Upload File`. ![Upload Dataset](https://catalyst-docs-development.zohostratus.in/images/tutorials/cancer-detection/upload-file.webp) Upload the **Bank_Customers_Sample_Data** dataset that you downloaded earlier. We can have the Quotes Type as "**Double Quotes(")**" and Escape Character as "**Backslash(\)**" and click `Next`. ![Upload Dataset](https://catalyst-docs-development.zohostratus.in/images/tutorials/churn-for-bank-customers/dataset_detials.webp) The name of the dataset will be auto-populated based on the uploaded file. You can edit it, if required, and click `Upload`. ![Dataset Name](https://catalyst-docs-development.zohostratus.in/images/tutorials/churn-for-bank-customers/dataset_name.webp) The dataset is now uploaded successfully. ![Dataset Name](https://catalyst-docs-development.zohostratus.in/images/tutorials/churn-for-bank-customers/upload-successful.webp) The dataset will be displayed in the **All Datasets** section. You can click on the dataset name to view the dataset's details. ![Dataset details page](https://catalyst-docs-development.zohostratus.in/images/tutorials/churn-for-bank-customers/dataset_list.webp) Once if you click on the **Bank_Customers_Sample_Data** dataset in the list, you'll be redirected to the **Dataset Details** page where you can view the [profiling, data preview](https://docs.catalyst.zoho.com/en/quickml/help/data-profiler-and-viewer/#what-is-data-profiling) and [visualization chart](https://docs.catalyst.zoho.com/en/quickml/help/data-visualization/overview/) of the dataset. ![Dataset details page](https://catalyst-docs-development.zohostratus.in/images/tutorials/churn-for-bank-customers/dataset-details-page.webp) -------------------------------------------------------------------------------- title: "Create Data Pipeline" description: "Churn For Bank Customers, Create a powerful ML pipeline that can be used to predict the churn using the Catalyst QuickML service." last_updated: "2026-08-17T12:16:04.000Z" source: "https://docs.catalyst.zoho.com/en/tutorials/churn-for-bank-customers/create-data-pipeline/" service: "All Services" related: - Data Cleaning (/en/quickml/help/data-preprocessing/data-cleaning) - Data Transformation (/en/quickml/help/data-preprocessing/data-transformation) - Data Profiler and Viewer (/en/quickml/help/data-profiler-and-viewer/) -------------------------------------------------------------------------------- # Create a data pipeline Now that we have uploaded the dataset, we will proceed with creating a [data pipeline](https://docs.catalyst.zoho.com/en/quickml/help/create-data-pipeline/) with the dataset. 1. Navigate to the **Datasets** component in the left menu. There are two ways to create a data pipeline: - You can click on the dataset and then click `Create Pipeline` in the top-right corner of the page. ![create-pipeline](https://catalyst-docs-development.zohostratus.in/images/tutorials/churn-for-bank-customers/churn-for-bank-customers-datasets.webp) - You can click on the pen icon located to the left of the dataset name, as shown in the image below. ![pen-icon](https://catalyst-docs-development.zohostratus.in/images/tutorials/churn-for-bank-customers/chun-for-bank-customers-datasets.webp) Here, we are uploading the **Bank_Customers_Sample_Data** dataset for preprocessing. 2. Name the pipeline "**Churn_Prediction_Data_Pipeline**" and click `Create Pipeline`. ![Pipeline Name](https://catalyst-docs-development.zohostratus.in/images/tutorials/churn-for-bank-customers/churn-for-bank-customers-create-pipeline.webp) The [pipeline builder interface](https://docs.catalyst.zoho.com/en/quickml/help/pipeline-builder-interface/walkthrough/#pipeline-builder-interface-1) will open as shown in the screenshot below. ![Initial Pipeline](https://catalyst-docs-development.zohostratus.in/images/tutorials/churn-for-bank-customers/initial-pipeline.webp) We will be performing the following set of data preprocessing operations in order to clean, refine, and transform the datasets, and then execute the data pipeline. Each of these operations involve individual [data nodes](https://docs.catalyst.zoho.com/en/quickml/help/data-preprocessing/data-cleaning/) that are used to construct the pipeline. ### Data preprocessing with QuickML 1. #### Select/drop columns Selecting or dropping columns from a dataset is a common data preprocessing step in data analysis and machine learning. The choice to select or drop columns depends on the specific objectives and requirements of your analysis or modelling task. The columns we don't need for our model training from this dataset are "**RowNumber**", "**CustomerId**" and "**Surname**" in the provided datasets. Using QuickML, you may quickly choose the necessary fields from the dataset for model training using the **Select/Drop** [node](https://docs.catalyst.zoho.com/en/quickml/help/data-preprocessing/data-cleaning/#select-or-drop) from the **Data Cleaning** component. ![required-field-selection](https://catalyst-docs-development.zohostratus.in/images/tutorials/churn-for-bank-customers/required-field-selection.webp) 2. #### Filling columns in dataset with values Using the `Fill Columns` [node](https://docs.catalyst.zoho.com/en/quickml/help/data-preprocessing/data-cleaning/#fill-columns) in **Data Cleaning**, we can easily fill the column values based on any certain condition. We can fill the null values or non-null values based on our requirements. For the columns "**EstimatedSalary,**" and "**Balance**" we are replacing the empty values with a custom value of "**0**". ![Fill Column](https://catalyst-docs-development.zohostratus.in/images/tutorials/churn-for-bank-customers/filling-columns-in-dataset-churn-bank-customers.webp) 3. #### Filter Data Filtering a dataset typically involves selecting a subset of rows from a DataFrame that meet certain criteria or conditions. Here we are using the Filter node from the **Data Cleaning** session to filter all the columns "**CreditScore**", "**Geography**", "**Gender**", "**Age**", "**Tenure**" and "**Exited**" that have non-empty values using the `Filter` [node](https://docs.catalyst.zoho.com/en/quickml/help/data-preprocessing/data-cleaning/#filter) from the Data Cleaning session. ![Data Filter](https://catalyst-docs-development.zohostratus.in/images/tutorials/churn-for-bank-customers/churn-for-bank-customers-filter-data.webp) 4. #### Save and Execute Once all the nodes are connected, click the `Save` button to save the pipeline. Then click on `Execute` button to execute the pipeline. ![Completed data pipeline](https://catalyst-docs-development.zohostratus.in/images/tutorials/churn-for-bank-customers/completed-data-pipeline.webp) You'll be redirected to the page below, which shows the executed pipeline with the execution status. We can see here that the pipeline execution was successful. ![Executed data pipeline](https://catalyst-docs-development.zohostratus.in/images/tutorials/churn-for-bank-customers/executed-pipeline.webp) Click on `Execution Stats` to access more details regarding the compute usage, as shown below. ![Execution stats for data pipeline](https://catalyst-docs-development.zohostratus.in/images/tutorials/churn-for-bank-customers/execution-stats.webp) In this part, we've looked at how to process data using QuickML, giving you a variety of effective ways to get your data ready for the creation of machine learning models. This data pipeline can be reused to create multiple ML experiments for varied use cases within your Catalyst project. -------------------------------------------------------------------------------- title: "Create ML Pipeline" description: "Churn For Bank Customers, Create a powerful ML pipeline that can be used to predict the churn using the Catalyst QuickML service." last_updated: "2026-08-17T12:16:04.000Z" source: "https://docs.catalyst.zoho.com/en/tutorials/churn-for-bank-customers/create-ml-pipeline/" service: "All Services" related: - ML Algorithms in QuickML (/en/quickml/help/ml-algorithms/classification-algorithms) - Operations in QuickML (/en/quickml/help/operations-in-quickml/encoding) -------------------------------------------------------------------------------- # Create an ML pipeline To build the prediction model, we will use the preprocessed dataset in the [ML Pipeline Builder](https://docs.catalyst.zoho.com/en/quickml/help/create-ml-pipeline/). The initial step in building the ML Pipeline involves selecting the **target column**, which is the column that we are trying to predict. To create an ML pipeline, first Navigate to the **Pipelines** component and click on the `Create Pipeline` option. ![ML Pipeline Creation 1](https://catalyst-docs-development.zohostratus.in/images/tutorials/churn-for-bank-customers/ml-pipeline-creation-1.webp) In the pop-up that appears, select **Prediction** as pipeline type and provide the pipeline name, we'll name the pipeline as **Churn_Prediction_ML_Pipeline** and the model **Churn_Prediction_ML_Pipeline Model** in the Create Pipeline pop-up. Then, select the appropriate dataset and the column name of the target. ![ML Pipeline Creation Meta](https://catalyst-docs-development.zohostratus.in/images/tutorials/churn-for-bank-customers/create-pipeline-churn-for-bank-cust.webp) We need to select the source dataset that is chosen for building the data pipeline, as the preprocessed data is reflected in the source dataset. In our case, we will be importing the **Bank_Customers_Sample_Data** dataset, as we have selected it for preprocessing and cleaning, and our target is the column named **Exited**. 1. ### Imputers Imputers are used in various fields, such as data analysis, statistics, and machine learning to handle missing or incomplete data. Here, we are using mean imputer by importing it from **ML operations > Imputers > Mean Imputer** for imputing the missing values in the dataset. Mean Imputing & Mode Imputing refers to a data imputation technique where missing values are filled based on some mean or mode of selected columns. ![Mean Imputer](https://catalyst-docs-development.zohostratus.in/images/tutorials/churn-for-bank-customers/mean-imputer.webp) Here, the columns should not contain empty values for best model predictions are "**CreditScore**","**Age**","**Tenure**","**Balance**","**NumOfProducts**","**HasCrCard**","**IsActiveMember**","**EstimatedSalary**" imputed by its mean values and the few columns that are imputed by their mode are "**Gender**","**Geography**". ![Mode Imputer](https://catalyst-docs-development.zohostratus.in/images/tutorials/churn-for-bank-customers/mode-imputer.webp) 2. ### Encoding Encoders are used in various data preprocessing and machine learning tasks to convert categorical or non-numeric data into a numerical format that machine learning algorithms can work with effectively. #### Ordinal encoding Here, we are using ordinal encoding to encode the following categorical features: "gender". It assigns integers to the categories based on their order, making it possible for machine learning algorithms to capture the ordinal nature of the data. We'll use the [Ordinal Encoder](https://docs.catalyst.zoho.com/en/quickml/help/operations-in-quickml/encoding/#ordinal-encoder) node by navigating to ML operations, clicking the ->**Encoding component**, and choosing -> **Ordinal Encoder** in QuickML to turn the selected category columns into numerical columns. ![Ordinal Encoder](https://catalyst-docs-development.zohostratus.in/images/tutorials/churn-for-bank-customers/ordinal-encoder.webp) #### Ordinal Encoder [Ordinal Encoding](https://docs.catalyst.zoho.com/en/quickml/help/operations-in-quickml/encoding/) involves mapping each unique label to an integer value. This type of encoding is really only appropriate if there is a known relationship between the categories. If the data is ordered, we can use ordinal encoding. Here we aare using `Ordinal Encoder` node to encode the **Gender** column. We can use the `Ordinal Encoder` node from **ML Operations** > **Encoding** > **Ordinal Encoder** in QuickML to turn the category columns into numerical columns. Here, we are converting all categorical columns to numerical format while retaining the columns’ original order and data for model training. 3. ### One-hot encoding [One-hot encoding](https://docs.catalyst.zoho.com/en/quickml/help/operations-in-quickml/encoding/#one-hot-encoding) is typically applied to categorical columns in a dataset, where each category represents a distinct class or group. This method typically increases the dimensionality of the dataset because it creates a new binary column for each unique category. The number of binary columns is equal to the number of unique categories minus one, as you can infer the presence of the last category from the absence of all others. Here, we are using `One-Hot Encoder` node to encode the following column: "**Geography**". We'll use the One-Hot Encoder node by navigating to **ML operations**, selecting the -> **Encoding** component and choosing -> **One-Hot Encoder** in QuickML to turn the selected category columns into numerical columns. ![One Hot Encoding](https://catalyst-docs-development.zohostratus.in/images/tutorials/churn-for-bank-customers/one-hot-encoding.webp) 4. ### Normalize the columns Navigate to **ML operations-> Normalization**. Drag and drop the **Min-Max Normalization** [node](https://docs.catalyst.zoho.com/en/quickml/help/operations-in-quickml/normalization/#min-max-normalization) to the ML pipeline builder interface. In the configuration box on the right panel, choose all the columns except **Exited** which is the target and click Save. ![Normalization](https://catalyst-docs-development.zohostratus.in/images/tutorials/churn-for-bank-customers/normalization.webp) 5. ### Feature Engineering: [Feature selection](https://docs.catalyst.zoho.com/en/quickml/help/operations-in-quickml/feature-engineering/#feature-selection) is the process of choosing a subset of the most relevant and important features (variables or columns) from the dataset to use in model training and analysis. The goal of feature selection is to improve the performance, efficiency, and interpretability of machine learning models. Feature selection is particularly crucial when dealing with high-dimensional datasets, as it can help reduce overfitting, reduce computation time, and enhance model interpretability. Here we are using the **PCA** [feature](http://localhost:1313/en/quickml/help/operations-in-quickml/feature-engineering/#feature-reduction) selection technique to generate the features. Select **PCA** node by navigating to **ML operations**, clicking ->**Feature Engineering**, and choosing -**>Feature Reduction**. ![Feature Selection](https://catalyst-docs-development.zohostratus.in/images/tutorials/churn-for-bank-customers/PCA.webp) 6. ### ML Algorithm: The next step in ML pipeline building is selecting the appropriate algorithm for training the preprocessed data. Here we'll use the [Random-Forest Classification](https://docs.catalyst.zoho.com/en/quickml/help/ml-algorithms/classification-algorithms/#random-forest-classification) to train the data. In order to make sure the model is optimized for our particular dataset, we may also adjust the tuning parameters; in our instance, we can just stick with the default settings. Select **Random-Forest Classification** node by navigating to **ML operations**, clicking ->**Algorithms**, and choosing ->**Classification**. When everything is configured, we may save the pipeline for further testing and deployment. ![random-forest-classification](https://catalyst-docs-development.zohostratus.in/images/tutorials/churn-for-bank-customers/random-forest-classification.webp) Once we drag-and-drop the algorithm node, its end node will be automatically connected to the destination node. Click `Save` to save the pipeline and execute the pipeline by clicking the `Execute` button at the top-right corner of the pipeline builder page. This will redirect you to the page below which shows the executed pipeline with execution status. We can clearly see here that the pipeline execution is successful. ![executed-ml-pipeline](https://catalyst-docs-development.zohostratus.in/images/tutorials/churn-for-bank-customers/executed-ml-pipeline.webp) Click `Execution Stats` to view more compute details about each stage of the model execution in detail. ![execution-stats-ml-pipeline](https://catalyst-docs-development.zohostratus.in/images/tutorials/churn-for-bank-customers/execution-stats-ml-pipeline.webp) The prediction model is created and can be examined under the Model section(click on **Churn_Prediction_ML_Pipeline Model**) following the successful completion of the ML workflow. ![Model name](https://catalyst-docs-development.zohostratus.in/images/tutorials/churn-for-bank-customers/model-name.webp) This offers useful perceptions into the efficiency and performance of the model while making predictions based on the data. ![Model-Metrics](https://catalyst-docs-development.zohostratus.in/images/tutorials/churn-for-bank-customers/model-metrics.webp) -------------------------------------------------------------------------------- title: "Create Endpoint" description: "Churn For Bank Customers, Create a powerful ML pipeline that can be used to predict the churn using the Catalyst QuickML service." last_updated: "2026-08-17T12:16:04.000Z" source: "https://docs.catalyst.zoho.com/en/tutorials/churn-for-bank-customers/create-endpoint/" service: "All Services" related: - Pipeline Endpoints (/en/quickml/help/pipeline-endpoints) -------------------------------------------------------------------------------- # Create an endpoint We will now create an endpoint for the above Deal Prediction model to allow external applications to interact with the model seamlessly and get predictions. 1. Navigate to the **Endpoints** component in the left menu and click `Create Endpoint`. ![endpoints](https://catalyst-docs-development.zohostratus.in/images/tutorials/churn-for-bank-customers/endpoints.webp) 2. Provide a name for the endpoint in **Endpoint Name** field; (we'll name it **Churn Prediction For Bank Customers**), and select the model pipeline name from the dropdown values of the Choose Model field. Then click `Create Endpoint`. ![endpoint-name](https://catalyst-docs-development.zohostratus.in/images/tutorials/churn-for-bank-customers/churn-for-bank-customers-create-endpoint.webp) 3. Once the endpoint is created, you can view the endpoint's details page, as shown below. You can test the model by providing a sample request in the Request column and click on the `Get Result` button. This will generate the predicted value in the Response column. ![predict](https://catalyst-docs-development.zohostratus.in/images/tutorials/churn-for-bank-customers/endpoint-created-churn-bank-customers.webp) 4. Click `Publish` and use the endpoint URL to integrate the ML model with any other applications. ![publish](https://catalyst-docs-development.zohostratus.in/images/tutorials/churn-for-bank-customers/publish.webp) > **Note :** You can also check out [this document](https://docs.catalyst.zoho.com/en/quickml/help/pipeline-endpoints/#external-oauth2-authentication) to implement pipeline authentication. This ensures secured access to endpoints, the ML models, and datasets. ## Churn Prediction -------------------------------------------------------------------------------- title: "Introduction" description: "churn prediction, Create a powerful ML pipeline that can be used to predict the churn using the Catalyst QuickML service." last_updated: "2026-09-29T06:01:01.000Z" source: "https://docs.catalyst.zoho.com/en/tutorials/churn-prediction/introduction/" service: "All Services" -------------------------------------------------------------------------------- # Customer Churn Prediction: Machine Learning Model Development ## Introduction This tutorial will guide you through building a powerful machine-learning model using **[Catalyst QuickML](https://docs.catalyst.zoho.com/en/quickml/getting-started/introduction/)** to predict customer churn. The process will begin with **[preprocessing the dataset](https://docs.catalyst.zoho.com/en/quickml/help/data-preprocessing/data-cleaning/)** to ensure it's clean and ready for training. Next, you'll build a data pipeline to handle necessary transformations, followed by creating an **[ML pipeline](https://docs.catalyst.zoho.com/en/quickml/help/create-ml-pipeline/)** to train and test the model. Finally, you'll expose the trained model through an endpoint, allowing external applications to interact with it and retrieve churn predictions. This churn prediction model will be constructed using the **[Catalyst QuickML](https://docs.catalyst.zoho.com/en/quickml/getting-started/introduction/)** service, starting with preprocessing the sample dataset using **[node operations](https://docs.catalyst.zoho.com/en/quickml/help/operations-in-quickml/encoding/)** to create the **[data pipeline](https://docs.catalyst.zoho.com/en/quickml/help/pipeline-builder-interface/walkthrough/)**. Once the data is ready, **[ML algorithms](https://docs.catalyst.zoho.com/en/quickml/help/ml-algorithms/classification-algorithms/)** will be executed to train the model. Once trained, the model can be accessed via an **[endpoint URL](https://docs.catalyst.zoho.com/en/quickml/help/pipeline-endpoints/)** generated in QuickML, making it available for use in external applications. The final result will look like this after all of the necessary data and ML pipelines are created in the **[Catalyst console](https://console.catalyst.zoho.com/baas/index)**: ![churn-1.webp](https://catalyst-docs-development.zohostratus.in/images/tutorials/churn-prediction/churn-1.webp) -------------------------------------------------------------------------------- title: "Prerequisites" description: "churn prediction, Create a powerful ML pipeline that can be used to predict the churn using the Catalyst QuickML service." last_updated: "2026-09-23T13:11:30.000Z" source: "https://docs.catalyst.zoho.com/en/tutorials/churn-prediction/prerequisites/" service: "All Services" related: - Machine Learning Algorithms (/en/quickml/help/ml-algorithms/classification-algorithms/) -------------------------------------------------------------------------------- # Prerequisites Because this tutorial involves only **[Catalyst QuickML](https://docs.catalyst.zoho.com/en/quickml/getting-started/introduction/)**, we will be working entirely in the **[Catalyst console](https://console.catalyst.zoho.com/baas/index)** to build data and **[ML pipelines](https://docs.catalyst.zoho.com/en/quickml/help/create-ml-pipeline/)**, create ML models, and train the models to predict outcomes. Before you begin working on this tutorial, please download the below dataset: - [Churn_1](https://workdrive.zohoexternal.com/external/0107330f706ec1b02997f01fce855067dce3efbbaac7b96bf2fba8682e873a09) - [Churn_2](https://workdrive.zohoexternal.com/external/1876fbcdd058652c2c512390cac5821e690f75522612bb862fc1297503a41850) -------------------------------------------------------------------------------- title: "Create a Project" description: "Churn prediction, Create a powerful ML pipeline that can be used to predict the churn using the Catalyst QuickML service." last_updated: "2026-09-29T06:01:01.000Z" source: "https://docs.catalyst.zoho.com/en/tutorials/churn-prediction/create-a-project/" service: "All Services" related: - Catalyst Projects (/en/getting-started/catalyst-projects) -------------------------------------------------------------------------------- # Create a Project Let's **[create a Catalyst project](https://docs.catalyst.zoho.com/en/getting-started/catalyst-projects)** from the Catalyst console. 1. Log in to the **[Catalyst console](https://console.catalyst.zoho.com/baas/index)**, then click **Create new Project**. ![churn-2.webp](https://catalyst-docs-development.zohostratus.in/images/tutorials/churn-prediction/churn-2.webp) 2. Enter the desired project name. Here, you can enter it as **ChurnPrediction** in the pop-up window that appears. ![churn-3.webp](https://catalyst-docs-development.zohostratus.in/images/tutorials/churn-prediction/churn-3.webp) 3. Click on **Create** button. Your project will be created. -------------------------------------------------------------------------------- title: "Upload Dataset" description: "churn prediction, Create a powerful ML pipeline that can be used to predict the churn using the Catalyst QuickML service." last_updated: "2026-09-29T06:01:01.000Z" source: "https://docs.catalyst.zoho.com/en/tutorials/churn-prediction/upload-dataset/" service: "All Services" related: - Create Your First pipeline (/en/quickml/help/create-ml-pipeline) -------------------------------------------------------------------------------- # Upload the dataset Let's begin by uploading the dataset in Catalyst QuickML using the available **[dataset connectors](https://docs.catalyst.zoho.com/en/quickml/help/data-connectors/zoho-apps/)**. 1. Navigate to the *QuickML* service in the Catalyst console and click **Start Exploring**. ![churn-4.webp](https://catalyst-docs-development.zohostratus.in/images/tutorials/churn-prediction/churn-4.webp) 2. Navigate to the *Datasets component* and click **Import Dataset**. An Import Dataset pop-up will be displayed. ![churn-5.webp](https://catalyst-docs-development.zohostratus.in/images/tutorials/churn-prediction/churn-5.webp) 3. In the *Import Dataset* pop-up window, scroll down to *File Upload* and click **Upload File**. ![churn-6.webp](https://catalyst-docs-development.zohostratus.in/images/tutorials/churn-prediction/churn-6.webp) 4. Upload the **Churn_1** dataset that you’ve already downloaded. 5. Set the *Quotes Type* as **Double Quotes (")** and *Escape Character* as **Backslash (\)**, and click **Next**. ![churn-7.webp](https://catalyst-docs-development.zohostratus.in/images/tutorials/churn-prediction/churn-7.webp) 6. The dataset name will be auto-populated based on the uploaded file's name. You can edit it if necessary, then click **Upload**. ![churn-8.webp](https://catalyst-docs-development.zohostratus.in/images/tutorials/churn-prediction/churn-8.webp) The dataset is now uploaded successfully. ![churn-9.webp](https://catalyst-docs-development.zohostratus.in/images/tutorials/churn-prediction/churn-9.webp) Now, repeat Step 2 to Step 6 to upload the Churn dataset 2 that you downloaded previously. ![churn-10.webp](https://catalyst-docs-development.zohostratus.in/images/tutorials/churn-prediction/churn-10.webp) The dataset will be displayed in the All Datasets section. You can click on the dataset name to view the dataset's details. ![churn-11.webp](https://catalyst-docs-development.zohostratus.in/images/tutorials/churn-prediction/churn-11.webp) Clicking on the **Churn_1** dataset in the list will take you to the *Dataset Details* page, where you can explore the dataset's **[profile, preview,](https://docs.catalyst.zoho.com/en/quickml/help/data-profiler-and-viewer/)** its contents, and view the visualization chart. ![churn-12.webp](https://catalyst-docs-development.zohostratus.in/images/tutorials/churn-prediction/churn-12.webp) -------------------------------------------------------------------------------- title: "Create Data Pipeline" description: "churn prediction, Create a powerful ML pipeline that can be used to predict the churn using the Catalyst QuickML service." last_updated: "2026-09-29T06:01:01.000Z" source: "https://docs.catalyst.zoho.com/en/tutorials/churn-prediction/create-data-pipeline/" service: "All Services" related: - Data Cleaning (/en/quickml/help/data-preprocessing/data-cleaning) - Data Transformation (/en/quickml/help/data-preprocessing/data-transformation) - Data Profiler and Viewer (/en/quickml/help/data-profiler-and-viewer/) -------------------------------------------------------------------------------- # Create a data pipeline Now that we’ve uploaded the dataset, we’ll create a **[data pipeline](https://docs.catalyst.zoho.com/en/quickml/help/pipeline-builder-interface/walkthrough/#pipeline)** with the dataset. 1. Navigate to the *Datasets component* in the left menu. There are two ways to create a data pipeline: - Click on the *dataset*, then click **Create Pipeline** in the top-right corner of the page. ![churn-13.webp](https://catalyst-docs-development.zohostratus.in/images/tutorials/churn-prediction/churn-13.webp) - Hover over the dataset name and click the pen icon. ![churn-14.webp](https://catalyst-docs-development.zohostratus.in/images/tutorials/churn-prediction/churn-14.webp) > **Note:** In this step, we are uploading the Churn_1 dataset for preprocessing. The Churn_2 dataset will be incorporated into this during the upcoming preprocessing steps. 2. Name the pipeline "Churn Prediction Data Pipeline" and click **Create Pipeline**. ![churn-15.webp](https://catalyst-docs-development.zohostratus.in/images/tutorials/churn-prediction/churn-15.webp) The **[pipeline builder interface](https://docs.catalyst.zoho.com/en/quickml/help/pipeline-builder-interface/walkthrough/#pipeline-builder-interface-1)** will be opened. ![churn-16.webp](https://catalyst-docs-development.zohostratus.in/images/tutorials/churn-prediction/churn-16.webp) The following data preprocessing operations will be performed to clean, refine, and transform the datasets before executing the data pipeline. Each operation is represented by individual **[data nodes](https://docs.catalyst.zoho.com/en/quickml/help/data-preprocessing/data-cleaning/)** that will be used to build the pipeline. # Data preprocessing with QuickML **Stage 1: Adding datasets** Using the *Add Dataset* node in QuickML, we can add a new dataset to the pipeline (please note that you must first upload the dataset you wish to add). Click **Data Extraction** in the left panel, and choose **Add Dataset**. Here, we’re adding the Churn_2 dataset to merge with the existing dataset. In the node configuration, choose **Churn_dataset2** and click **save**. ![churn-17.webp](https://catalyst-docs-development.zohostratus.in/images/tutorials/churn-prediction/churn-17.webp) **Stage 2: Combining two datasets** Select **Data Transformation** in the left panel and choose **Union**. This will combine Churn_1 and Churn_2 into a single dataset. If any duplicate records exist in either dataset, select the *"Drop Duplicate Records"* checkbox while performing the operation. ![churn-18.webp](https://catalyst-docs-development.zohostratus.in/images/tutorials/churn-prediction/churn-18.webp) **Stage 3: Selecting or droping columns** Selecting or dropping columns is a common step in data preprocessing for analysis and machine learning. The decision depends on the goals of your analysis or model. In this case, the columns we don't need for model training are *security_no, joining_date, avg_frequency_login_days, last_visit_time, and referral_id*. With QuickML, you can easily select the relevant fields for model training using the **Select/Drop** node from the **Data Cleaning** component. ![churn-19.webp](https://catalyst-docs-development.zohostratus.in/images/tutorials/churn-prediction/churn-19.webp) **Stage 4: Filling columns** With the *Fill Columns* node in QuickML, we can easily fill column values based on specific conditions. You can replace null or non-null values according to your needs. In this case, we’re filling the *columns joined_through_referral and medium_of_operation* by replacing rows with a "?" value with the custom label *Not mentioned*. For the *points_in_wallet column*, we’re replacing empty values with a custom value of 0. ![churn-20.webp](https://catalyst-docs-development.zohostratus.in/images/tutorials/churn-prediction/churn-20.webp) **Stage 5: Filtering data** Filtering a dataset involves selecting a subset of rows from a DataFrame that meet certain criteria or conditions. Here, we’re using the **Filter** node from the **Data Cleaning** section to filter the *days_since_last_login, avg_time_spent, and points_in_wallet* columns whose values are greater than or equal to 0, and for columns *preferred_offer_types and region_category* that have non-empty values. ![churn-21.webp](https://catalyst-docs-development.zohostratus.in/images/tutorials/churn-prediction/churn-21.webp) **Stage 6: Performing sentiment analysis** Sentiment analysis is a technique used to determine the sentiment or emotional tone expressed in a piece of text, such as customer feedback or reviews. The goal is to classify the text as positive, negative, or neutral based on the emotions or opinions it conveys. Here, we have the column named *feedback*, which contains the feedback about the product. We can classify the values of the column as positive, negative, or neutral using the **Sentiment Analysis** node under *Zia Features*. Select the *Replace in place* checkbox if you want to replace the value of the feedback column with the result of the *Sentiment Analysis* node. ![churn-22.webp](https://catalyst-docs-development.zohostratus.in/images/tutorials/churn-prediction/churn-22.webp) **Stage 7: Executing the pipeline** Now, connect the **Sentiment Analysis** node to the **Destination** node. Once all of the nodes are connected, click the Save button to save the pipeline. Then click the **Execute** button to execute the pipeline. ![churn-23.webp](https://catalyst-docs-development.zohostratus.in/images/tutorials/churn-prediction/churn-23.webp) You'll be redirected to a page that shows the executed pipeline with the execution status. ![churn-24.webp](https://catalyst-docs-development.zohostratus.in/images/tutorials/churn-prediction/churn-24.webp) Click on **Execution Stats** to access details regarding the compute usage. ![churn-25.webp](https://catalyst-docs-development.zohostratus.in/images/tutorials/churn-prediction/churn-25.webp) -------------------------------------------------------------------------------- title: "Create ML Pipeline" description: "churn prediction, Create a powerful ML pipeline that can be used to predict the churn using the Catalyst QuickML service." last_updated: "2026-09-29T06:01:01.000Z" source: "https://docs.catalyst.zoho.com/en/tutorials/churn-prediction/create-ml-pipeline/" service: "All Services" related: - ML Algorithms in QuickML (/en/quickml/help/ml-algorithms/classification-algorithms) - Operations in QuickML (/en/quickml/help/operations-in-quickml/encoding) -------------------------------------------------------------------------------- # Create an ML pipeline To build the prediction model, we will use the pre-processed dataset in the **[ML Pipeline Builder](https://docs.catalyst.zoho.com/en/quickml/help/pipeline-builder-interface/walkthrough/)**. The initial step in building the ML Pipeline involves selecting the target column, the column that we’re trying to predict. **To create an ML pipeline** 1. Navigate to the *Pipelines* component and click **Create Pipeline** in the top-right corner of the page. ![churn-26.webp](https://catalyst-docs-development.zohostratus.in/images/tutorials/churn-prediction/churn-26.webp) 2. In the *Create Pipeline* pop-up window, choose the **Prediction pipeline**. ![churn-27.webp](https://catalyst-docs-development.zohostratus.in/images/tutorials/churn-prediction/churn-27.webp) 3. Enter the pipeline name as **Churn Prediction**, choose Churn_datatset1, and *churn_risk_score* as the target column. Then click **Create**. ![churn-28.webp](https://catalyst-docs-development.zohostratus.in/images/tutorials/churn-prediction/churn-28.webp) **Model creation** The next step is to create the model in the pipeline editor. First select the appropriate encoders to convert categorical or non-numeric data into a numerical format that machine learning algorithms can work with effectively. **Stage 1: Ordinal encoding** Here, we’re using ordinal encoding to encode *"membership_category", "preferred_offer_types", "medium_of_operation", "internet_option", "gender", "used_special_discount", "past_complaints", "complaint_status" and "feedback"*. It assigns integers to the categories based on their order, making it possible for machine-learning algorithms to capture the ordinal nature of the data. To use the Ordinal Encoder node, navigate to *ML tab > ML operations > Encoding component > Ordinal Encoder* to turn the selected category columns into numerical columns. ![churn-29.webp](https://catalyst-docs-development.zohostratus.in/images/tutorials/churn-prediction/churn-29.webp) **Stage 2: One-hot encoder** One-hot encoding is applied to categorical columns in a dataset, where each category represents a distinct class or group. This increases the dimensionality of the dataset because it creates a new binary column for each unique category. The number of binary columns is equal to the number of unique categories minus one, as you can infer the presence of the last category from the absence of all others. Here, we’re using the One-Hot Encoder node to encode *"region_category", "joined_through_referral" and"offer_application_preference"*. To use the One-Hot Encoder node, navigate to *ML tab > ML operations > Encoding Component > One-Hot Encoder* in QuickML to turn the selected category columns into numerical columns. ![churn-30.webp](https://catalyst-docs-development.zohostratus.in/images/tutorials/churn-prediction/churn-30.webp) **Stage 3: Feature selection** Feature selection is the process of selecting the most relevant and important features (variables or columns) from a dataset to use for model training and analysis. The main goal is to enhance the performance, efficiency, and interpretability of machine-learning models. This process is especially important when working with high-dimensional datasets because it helps reduce over-fitting, decrease computation time, and improve model clarity. In this case, we’re using the **Redundancy Elimination** feature selection technique to select the features. This method identifies and removes redundant features—those that provide duplicate or highly correlated information and do not significantly improve model performance. To apply this, navigate to *ML tab > ML operations > Feature Engineering component > Feature Selection > Redundancy Elimination*. ![churn-31.webp](https://catalyst-docs-development.zohostratus.in/images/tutorials/churn-prediction/churn-31.webp) **Stage 4: ML algorithm selection** The next step in ML pipeline building is selecting the appropriate algorithm for training the preprocessed data. Here, we'll use the XGBoost classification algorithm to train the data. XGBoost (Extreme Gradient Boosting) is a popular and powerful machine-learning algorithm commonly used for classification tasks. It's an ensemble learning method that combines the predictions of multiple decision trees to create a strong predictive model. XGBoost is known for its speed, scalability, and ability to handle complex datasets. We can quickly construct the **XGBoost Classification** method in QuickML's ML Pipeline Builder by dragging and dropping the XGBoost Classification node from *ML tab > ML operations > Algorithm > Classification > XGBoost Classification.* To make sure the model is optimized for our particular dataset, we may also adjust the tuning parameters; in our case, we can just stick with the default settings. When everything is configured, we may save the pipeline for further testing and deployment. ![churn-32.webp](https://catalyst-docs-development.zohostratus.in/images/tutorials/churn-prediction/churn-32.webp) Once we drag and drop the algorithm node, its end node will be automatically connected to the destination node. Click **Save** to save the pipeline. Execute the pipeline by clicking the **Execute** button at the top-right corner of the pipeline builder page. ![churn-33.webp](https://catalyst-docs-development.zohostratus.in/images/tutorials/churn-prediction/churn-33.webp) This will redirect you to the executed pipeline page with execution status. ![churn-34.webp](https://catalyst-docs-development.zohostratus.in/images/tutorials/churn-prediction/churn-34.webp) Click **Execution Stats** to view compute details about each stage of the model execution. ![churn-35.webp](https://catalyst-docs-development.zohostratus.in/images/tutorials/churn-prediction/churn-35.webp) The prediction model is created and can be examined under the Model section (click on **Churn Prediction model**) following the successful completion of the ML workflow. ![churn-36.webp](https://catalyst-docs-development.zohostratus.in/images/tutorials/churn-prediction/churn-36.webp) This offers valuable insights into the model's efficiency and performance when making predictions based on the data. ![churn-37.webp](https://catalyst-docs-development.zohostratus.in/images/tutorials/churn-prediction/churn-37.webp) -------------------------------------------------------------------------------- title: "Create Endpoint" description: "churn prediction, Create a powerful ML pipeline that can be used to predict the churn using the Catalyst QuickML service." last_updated: "2026-09-29T06:01:01.000Z" source: "https://docs.catalyst.zoho.com/en/tutorials/churn-prediction/create-endpoint/" service: "All Services" related: - Pipeline Endpoints (/en/quickml/help/pipeline-endpoints) -------------------------------------------------------------------------------- # Create an endpoint Let's create an endpoint for the above Churn Prediction model, which contains Endpoint URL (model API) details, which allows external applications to access the model seamlessly and get predictions from it. 1. Navigate to the *Endpoints* component in the left menu and click **Create Endpoint**. ![churn-38.webp](https://catalyst-docs-development.zohostratus.in/images/tutorials/churn-prediction/churn-38.webp) 2. Enter the endpoint name as **Churn Prediction**, select the endpoint type as **ML Model**, and choose the **Churn Prediction Model** from the *Choose Model* field. Then click **Create Endpoint**. ![churn-39.webp](https://catalyst-docs-development.zohostratus.in/images/tutorials/churn-prediction/churn-39.webp) In the endpoint's detail page, test the model by providing a sample request in the *Request* box, then click the **Get Result** button. This will generate the predicted value in the Response box. **Note**: The "likelihood_score" displayed in the sample response indicates the model’s confidence in its prediction or generated result. In this case, a score of 0.98 suggests that the model is highly confident (98%) in the accuracy or relevance of the response it has provided. This metric helps users interpret the reliability of the output and make informed decisions based on it. ![churn-40.webp](https://catalyst-docs-development.zohostratus.in/images/tutorials/churn-prediction/churn-40.webp) 4. Click **Publish** on the top-right corner of the page, and Endpoint URL details will be generated. These details are used to integrate the ML model created with other applications. ![churn-41.webp](https://catalyst-docs-development.zohostratus.in/images/tutorials/churn-prediction/churn-41.webp) > **Note:** You can also check out [Endpoints Authentication](https://docs.catalyst.zoho.com/en/quickml/help/pipeline-endpoints/#external-oauth2-authentication) document to implement pipeline authentication. This ensures secured access to endpoints, the ML models, and datasets. ## Credit Card Fraud Detection -------------------------------------------------------------------------------- title: "Introduction" description: "Credit Card Fraud Detection, Create a powerful ML pipeline that can be used to detect the fraud in credit card transaction using the Catalyst QuickML service." last_updated: "2026-08-17T12:16:04.000Z" source: "https://docs.catalyst.zoho.com/en/tutorials/credit-card-fraud-detection/introduction/" service: "All Services" -------------------------------------------------------------------------------- # Credit Card Fraud Detection # Introduction In this tutorial, we will guide you through the process of building a powerful machine learning model using [Catalyst QuickML](https://docs.catalyst.zoho.com/en/quickml/getting-started/introduction/) to predict whether or not a client would leave. In this tutorial, we'll first do [preprocess the datasets](https://docs.catalyst.zoho.com/en/quickml/help/data-preprocessing/data-cleaning/) to make sure they're tidy and prepared for training. A [data pipeline](https://docs.catalyst.zoho.com/en/quickml/help/create-data-pipeline/) will be built next to handle data transformation, and an [ML pipeline](https://docs.catalyst.zoho.com/en/quickml/help/create-ml-pipeline/) will be built to train and test the model. Finally, we'll provide an [endpoint](https://docs.catalyst.zoho.com/en/quickml/help/pipeline-endpoints/) for the trained model that enables interaction with external apps and provides Credit Card Fraud Detections. The Credit Card Fraud Detection ML model is built using the following Catalyst service: **[Catalyst QuickML](https://docs.catalyst.zoho.com/en/quickml/getting-started/introduction/)** : Using this service, we will first pre-process the sample dataset by implementing [node operations](https://docs.catalyst.zoho.com/en/quickml/help/data-preprocessing/data-cleaning/) on them and constructing the [data pipeline](https://docs.catalyst.zoho.com/en/quickml/help/create-data-pipeline/). This pre-processed data will be used to create an ML model by executing [ML algorithms](https://docs.catalyst.zoho.com/en/quickml/help/ml-algorithms/classification-algorithms/). Finally, this Credit Card Fraud Detection ML model can be accessed by external applications using the [endpoint URL](https://docs.catalyst.zoho.com/en/quickml/help/pipeline-endpoints/) generated in QuickML. The final output, after creating all the required data and ML pipelines in the [Catalyst console](https://console.catalyst.zoho.com/baas/index), will look like this: ![final_output](https://catalyst-docs-development.zohostratus.in/images/tutorials/credit-card-fraud-detection/introduction.webp) -------------------------------------------------------------------------------- title: "Prerequisites" description: "Credit Card Fraud Detection, Create a powerful ML pipeline that can be used to detect the fraud in credit card transaction using the Catalyst QuickML service." last_updated: "2024-06-04T16:14:02.000Z" source: "https://docs.catalyst.zoho.com/en/tutorials/credit-card-fraud-detection/prerequisites/" service: "All Services" related: - Machine Learning Algorithms (/en/quickml/help/ml-algorithms/classification-algorithms/) -------------------------------------------------------------------------------- # Prerequisites Since this tutorial involves only [Catalyst QuickML](https://docs.catalyst.zoho.com/en/quickml/getting-started/introduction/), we will be working entirely in the [Catalyst console](https://console.catalyst.zoho.com/baas/index) to build data and [ML pipelines](https://docs.catalyst.zoho.com/en/quickml/help/create-ml-pipeline/), create ML models, and train the models to predict outcomes. Before you begin working on this tutorial, please download the below dataset: - [Fraud_detection](https://workdrive.zohoexternal.com/external/0b30d523d39e635f6d816ee15f8a368359908df275df0f0c66667625e8bb5d40) This tutorial aims to implement cleaning, refining and pre-processing operations on the datasets, and then use them to train ML models. We will be uploading the dataset to Catalyst QuickML in the later sections of this tutorial. -------------------------------------------------------------------------------- title: "Create a Project" description: "Credit Card Fraud Detection, Create a powerful ML pipeline that can be used to detect the fraud in credit card transaction using the Catalyst QuickML service." last_updated: "2026-08-17T12:16:04.000Z" source: "https://docs.catalyst.zoho.com/en/tutorials/credit-card-fraud-detection/create-a-project/" service: "All Services" related: - Catalyst Projects (/en/getting-started/catalyst-projects) -------------------------------------------------------------------------------- # Create a Project Let's [create a Catalyst project](https://docs.catalyst.zoho.com/en/getting-started/catalyst-projects) from the Catalyst console. 1. Log in to the [Catalyst console](https://console.catalyst.zoho.com/baas/index), then click `Create a new Project`. ![catalyst_project_creation](https://catalyst-docs-development.zohostratus.in/images/tutorials/credit-card-fraud-detection/create-project.webp) 2. Enter the project’s name as "**FraudDetection**" (or a name you wish to give for the project) in the pop-up window that appears. ![project-name](https://catalyst-docs-development.zohostratus.in/images/tutorials/credit-card-fraud-detection/project-name.webp) 3. Click on `Create` button. Your project will be created and automatically opened. To access your project later, simply click on the `Access Project` button. ![access-project](https://catalyst-docs-development.zohostratus.in/images/tutorials/credit-card-fraud-detection/access-project.webp) -------------------------------------------------------------------------------- title: "Upload Dataset" description: "Credit Card Fraud Detection, Create a powerful ML pipeline that can be used to detect the fraud in credit card transaction using the Catalyst QuickML service." last_updated: "2026-08-17T12:16:04.000Z" source: "https://docs.catalyst.zoho.com/en/tutorials/credit-card-fraud-detection/upload-dataset/" service: "All Services" related: - Create Your First pipeline (/en/quickml/help/create-ml-pipeline) -------------------------------------------------------------------------------- # Upload the Dataset Let's begin by uploading the dataset in Catalyst QuickML using the available dataset [dataset connectors](https://docs.catalyst.zoho.com/en/quickml/help/data-connectors/zoho-apps/). 1. Navigate to the QuickML service in the Catalyst console and click `Start Exploring`. ![Start Exploring](https://catalyst-docs-development.zohostratus.in/images/tutorials/credit-card-fraud-detection/start-exploring.webp) 2. Navigate to the `Datasets` component and click `Import Dataset`. ![Dataset Upload](https://catalyst-docs-development.zohostratus.in/images/tutorials/credit-card-fraud-detection/dataset-upload.webp) 3. An Import Dataset pop-up will be displayed. In the **Data Sources** step, navigate to File Upload and click `Upload File`. ![Upload Dataset](https://catalyst-docs-development.zohostratus.in/images/tutorials/credit-card-fraud-detection/upload-dataset.webp) Upload the **Fraud_detection** dataset that you downloaded earlier. We can have the Quotes Type as "**Double Quotes(")**" and Escape Character as "**Backslash(\)**" and click `Next`. ![Upload Dataset](https://catalyst-docs-development.zohostratus.in/images/tutorials/credit-card-fraud-detection/dataset_detials.webp) The name of the dataset will be auto-populated based on the uploaded file. You can edit it, if required, and click `Upload`. ![Dataset Name](https://catalyst-docs-development.zohostratus.in/images/tutorials/credit-card-fraud-detection/dataset_name.webp) The dataset is now uploaded successfully. ![Dataset Name](https://catalyst-docs-development.zohostratus.in/images/tutorials/credit-card-fraud-detection/upload-successful.webp) The dataset will be displayed in the **All Datasets** section. You can click on the dataset name to view the dataset's details. ![Dataset details page](https://catalyst-docs-development.zohostratus.in/images/tutorials/credit-card-fraud-detection/dataset_list.webp) Once if you click on the **Fraud_detection** dataset in the list, you'll be redirected to the **Dataset Details** page where you can view the [profiling, data preview](https://docs.catalyst.zoho.com/en/quickml/help/data-profiler-and-viewer/#what-is-data-profiling) and [visualization chart](https://docs.catalyst.zoho.com/en/quickml/help/data-visualization/overview/) of the dataset. ![Dataset details page](https://catalyst-docs-development.zohostratus.in/images/tutorials/churn-for-bank-customers/credit-card-detection-dataset-upload.webp) -------------------------------------------------------------------------------- title: "Create Data Pipeline" description: "Credit Card Fraud Detection, Create a powerful ML pipeline that can be used to detect the fraud in credit card transaction using the Catalyst QuickML service." last_updated: "2026-08-17T12:16:04.000Z" source: "https://docs.catalyst.zoho.com/en/tutorials/credit-card-fraud-detection/create-data-pipeline/" service: "All Services" related: - Data Cleaning (/en/quickml/help/data-preprocessing/data-cleaning) - Data Transformation (/en/quickml/help/data-preprocessing/data-transformation) - Data Profiler and Viewer (/en/quickml/help/data-profiler-and-viewer/) -------------------------------------------------------------------------------- # Create a data pipeline Now that we have uploaded the dataset, we will proceed with creating a [data pipeline](https://docs.catalyst.zoho.com/en/quickml/help/create-data-pipeline/) with the dataset. 1. Navigate to the **Datasets** component in the left menu. There are two ways to create a data pipeline: - You can click on the dataset and then click `Create Pipeline` in the top-right corner of the page. ![create-pipeline](https://catalyst-docs-development.zohostratus.in/images/tutorials/credit-card-fraud-detection/create-pipeline.webp) - You can click on the pen icon located to the left of the dataset name, as shown in the image below. ![pen-icon](https://catalyst-docs-development.zohostratus.in/images/tutorials/credit-card-fraud-detection/pen-icon.webp) 2. Name the pipeline "**Fraud Detection Data Pipeline**" and click `Create Pipeline`. ![Pipeline Name](https://catalyst-docs-development.zohostratus.in/images/tutorials/credit-card-fraud-detection/pipeline-name.webp) The [pipeline builder interface](https://docs.catalyst.zoho.com/en/quickml/help/pipeline-builder-interface/walkthrough/#pipeline-builder-interface-1) will open as shown in the screenshot below. ![Initial Pipeline](https://catalyst-docs-development.zohostratus.in/images/tutorials/credit-card-fraud-detection/initial-pipeline.webp) We will be performing the following set of data preprocessing operations in order to clean, refine, and transform the datasets, and then execute the data pipeline. Each of these operations involve individual [data nodes](https://docs.catalyst.zoho.com/en/quickml/help/data-preprocessing/data-cleaning/) that are used to construct the pipeline. ### Data preprocessing with QuickML 1. #### Select/drop columns Selecting or dropping columns from a dataset is a common data preprocessing step in data analysis and machine learning. The choice to select or drop columns depends on the specific objectives and requirements of your analysis or modelling task. The columns we don't need for our model training from this dataset are "**ID**", "**trans_date_trans_time**", "**cc_num**", "**Merchant**", "**First**", "**Last**", "**Street**", "**City**", "**Zip**", "**Lat**", "**Long**", "**job**", "**dob**", "**Trans_num**", "**Unix_Time**", "**merch_lat**", "**merch_long**" in the provided datasets. Using QuickML, you may quickly choose the necessary fields from the dataset for model training using the **Select/Drop** node from the **Data Cleaning** component. ![required-field-selection](https://catalyst-docs-development.zohostratus.in/images/tutorials/credit-card-fraud-detection/required-field-selection.webp) 2. #### Filter Data Filtering a dataset typically involves selecting a subset of rows from a DataFrame that meet certain criteria or conditions. Here we are using the [Filter](http://localhost:1313/en/quickml/help/data-preprocessing/data-cleaning/#filter) node from the Data Cleaning session to filter the "**state**" column whose values are non-empty. ![Data Filter](https://catalyst-docs-development.zohostratus.in/images/tutorials/credit-card-fraud-detection/data-filter.webp) 3. #### Save and Execute Now, connect the `Filter` [node](http://localhost:1313/en/quickml/help/data-preprocessing/data-cleaning/#filter) to the `Destination` node. Once all the nodes are connected, click the `Save` button to save the pipeline. Then click on `Execute` button to execute the pipeline. ![Completed data pipeline](https://catalyst-docs-development.zohostratus.in/images/tutorials/credit-card-fraud-detection/completed-data-pipeline.webp) You'll be redirected to the page below, which shows the executed pipeline with the execution status. We can see here that the pipeline execution was successful. ![Executed data pipeline](https://catalyst-docs-development.zohostratus.in/images/tutorials/credit-card-fraud-detection/executed-pipeline.webp) Click on `Execution Stats` to access more details regarding the compute usage, as shown below. ![Execution stats for data pipeline](https://catalyst-docs-development.zohostratus.in/images/tutorials/credit-card-fraud-detection/execution-stats.webp) In this part, we've looked at how to process data using QuickML, giving you a variety of effective ways to get your data ready for the creation of machine learning models. This data pipeline can be reused to create multiple ML experiments for varied use cases within your Catalyst project. -------------------------------------------------------------------------------- title: "Create ML Pipeline" description: "Credit Card Fraud Detection, Create a powerful ML pipeline that can be used to detect the fraud in credit card transaction using the Catalyst QuickML service." last_updated: "2026-08-17T12:16:04.000Z" source: "https://docs.catalyst.zoho.com/en/tutorials/credit-card-fraud-detection/create-ml-pipeline/" service: "All Services" related: - ML Algorithms in QuickML (/en/quickml/help/ml-algorithms/classification-algorithms) - Operations in QuickML (/en/quickml/help/operations-in-quickml/encoding) -------------------------------------------------------------------------------- # Create an ML pipeline To build the prediction model, we will use the preprocessed dataset in the [ML Pipeline Builder](https://docs.catalyst.zoho.com/en/quickml/help/create-ml-pipeline/). The initial step in building the ML Pipeline involves selecting the **target column**, which is the column that we are trying to predict. To create an ML pipeline, first Navigate to the **Pipelines** component and click on the `Create Pipeline` option. ![ML Pipeline Creation 1](https://catalyst-docs-development.zohostratus.in/images/tutorials/credit-card-fraud-detection/ml-pipeline-creation-1.webp) In the pop-up that appears, select **Prediction** as pipeline type and provide the pipeline name, we'll name the pipeline as **Fraud Detection ML pipeline** and the model **Fraud Detection ML pipeline Model** in the Create Pipeline pop-up. Then, select the appropriate dataset and the column name of the target. ![ML Pipeline Creation Meta](https://catalyst-docs-development.zohostratus.in/images/tutorials/credit-card-fraud-detection/ml-pipeline-name.webp) We need to select the source dataset that is chosen for building the data pipeline, as the preprocessed data is reflected in the source dataset. In our case, we will be importing the **Fraud Detection Dataset**, as we have selected it for preprocessing and cleaning, and our target is the column named **is_fraud**. 1. ### Normalize the columns Since the values of the features "**amt**", "**city_pop**", "**age**" are in various ranges, we will use the [Mean-Std Normalization](https://docs.catalyst.zoho.com/en/quickml/help/operations-in-quickml/normalization/#mean-std-normalization) component to scale down the values of the features to a common range, typically between **0** and **1**. Navigate to **ML operations->Normalization**. Drag and drop the `Mean-Std Normalization` node to the ML pipeline builder interface. In the configuration box on the right panel, choose all the columns except "**is_fraud**" and click `Save`. ![normalization](https://catalyst-docs-development.zohostratus.in/images/tutorials/credit-card-fraud-detection/normalization.webp) 2. ### Encoding categorical columns Encoders are used in various data preprocessing and machine learning tasks to convert categorical or non-numeric data into a numerical format that machine learning algorithms can work with effectively. - #### One-hot encoder [One-hot encoding](https://docs.catalyst.zoho.com/en/quickml/help/operations-in-quickml/encoding/#one-hot-encoding) is typically applied to categorical columns in a dataset, where each category represents a distinct class or group. This method typically increases the dimensionality of the dataset because it creates a new binary column for each unique category. The number of binary columns is equal to the number of unique categories minus one, as you can infer the presence of the last category from the absence of all others. Here, we are using the `One-Hot Encoder ` node to encode the following columns: "**category**", "**gender**" and "**state**". We'll use the One-Hot Encoder node by navigating to ML operations, selecting the -> **Encoding** component and choosing -> **One-Hot Encoder** in QuickML to turn the selected category columns into numerical columns. ![One Hot Encoding](https://catalyst-docs-development.zohostratus.in/images/tutorials/credit-card-fraud-detection/one-hot-encoder.webp) 3. ### ML Algorithm: The next step in ML pipeline building is selecting the appropriate algorithm for training the preprocessed data. Here we'll use the [XGBoost classification algorithm](https://docs.catalyst.zoho.com/en/quickml/help/ml-algorithms/classification-algorithms/#xgb-classification) to train the data. **XGBoost** (Extreme Gradient Boosting) is a popular and powerful machine learning algorithm commonly used for classification tasks. It's an ensemble learning method that combines the predictions of multiple decision trees to create a strong predictive model. XGBoost is known for its speed, scalability, and ability to handle complex datasets.\ We can quickly construct the XGBoost Classification method in QuickML's ML Pipeline Builder by dragging and dropping the relevant `XGBoost Classification` node from **ML operations**, selecting ->**Algorithm**, clicking ->**Classification**, and choosing ->**XGBoost Classification**.\ In order to make sure the model is optimized for our particular dataset, we may also adjust the tuning parameters; in our instance, we can just stick with the default settings. When everything is configured, we may save the pipeline for further testing and deployment. ![XGBClassification](https://catalyst-docs-development.zohostratus.in/images/tutorials/credit-card-fraud-detection/XGBClassification.webp) Once we drag-and-drop the algorithm node, its end node will be automatically connected to the destination node. Click `Save` to save the pipeline and execute the pipeline by clicking the `Execute` button at the top-right corner of the pipeline builder page. This will redirect you to the page below which shows the executed pipeline with execution status. We can clearly see here that the pipeline execution is successful. ![executed-ml-pipeline](https://catalyst-docs-development.zohostratus.in/images/tutorials/credit-card-fraud-detection/executed-ml-pipeline.webp) Click `Execution Stats` to view more compute details about each stage of the model execution in detail. ![execution-stats-ml-pipeline](https://catalyst-docs-development.zohostratus.in/images/tutorials/credit-card-fraud-detection/execution-stats-ml-pipeline.webp) The prediction model is created and can be examined under the Model section(click on **Fraud Detection ML pipeline model**) following the successful completion of the ML workflow. ![Model name](https://catalyst-docs-development.zohostratus.in/images/tutorials/credit-card-fraud-detection/model.webp) This offers useful perceptions into the efficiency and performance of the model while making predictions based on the data. ![Model-Metrics](https://catalyst-docs-development.zohostratus.in/images/tutorials/credit-card-fraud-detection/model-metrics.webp) -------------------------------------------------------------------------------- title: "Create Endpoint" description: "Credit Card Fraud Detection, Create a powerful ML pipeline that can be used to detect the fraud in credit card transaction using the Catalyst QuickML service." last_updated: "2026-08-17T12:16:04.000Z" source: "https://docs.catalyst.zoho.com/en/tutorials/credit-card-fraud-detection/create-endpoint/" service: "All Services" related: - Pipeline Endpoints (/en/quickml/help/pipeline-endpoints) -------------------------------------------------------------------------------- # Create an endpoint We will now create an endpoint for the above Deal Prediction model to allow external applications to interact with the model seamlessly and get predictions. 1. Navigate to the **Endpoints** component in the left menu and click `Create Endpoint`. ![endpoints](https://catalyst-docs-development.zohostratus.in/images/tutorials/credit-card-fraud-detection/fraud-detection-endpoint.webp) 2. Provide a name for the endpoint in **Endpoint Name** field; (we'll name it **Fraud Detection**), and select the model pipeline name from the dropdown values of the Choose Model field. Then click `Create Endpoint`. ![endpoint-name](https://catalyst-docs-development.zohostratus.in/images/tutorials/credit-card-fraud-detection/create-endpoint-credit-card-predict.webp) 3. Once the endpoint is created, you can view the endpoint's details page, as shown below. You can test the model by providing a sample request in the Request column and click on the `Get Result` button. This will generate the predicted value in the Response column. ![predict](https://catalyst-docs-development.zohostratus.in/images/tutorials/credit-card-fraud-detection/endpoint-get-result-credit-card-predict.webp) 4. Click `Publish` and use the endpoint URL to integrate the ML model with any other applications. ![publish](https://catalyst-docs-development.zohostratus.in/images/tutorials/credit-card-fraud-detection/published-endpoint-credit-card-predict.webp) > **Note :** You can also check out [this document](https://docs.catalyst.zoho.com/en/quickml/help/pipeline-endpoints/#external-oauth2-authentication) to implement pipeline authentication. This ensures secured access to endpoints, the ML models, and datasets. ## CRM Deal Prediction -------------------------------------------------------------------------------- title: "Introduction" description: "Create an ML pipeline that analyzes historic Zoho CRM data and predicts the likeliness of a successful deal using the Catalyst QuickML components." last_updated: "2026-11-04T10:10:44.000Z" source: "https://docs.catalyst.zoho.com/en/tutorials/crm-deal-prediction/introduction/" service: "All Services" -------------------------------------------------------------------------------- # CRM Deal Prediction # Introduction This tutorial will guide you through building a machine learning model using **[Catalyst QuickML](https://docs.catalyst.zoho.com/en/quickml/getting-started/introduction/)** to predict potential deals by analyzing data from Zoho CRM. A sample dataset is provided, which can be used as the data source for the model. **Stage 1: Preprocess the Dataset** Start by cleaning and **[preparing the dataset](https://docs.catalyst.zoho.com/en/quickml/help/data-preprocessing/data-cleaning/)** to ensure it is suitable for training. This involves handling missing values, encoding categorical fields, and applying any necessary data transformations. **Stage 2: Build the Data Pipeline** Create a **[data pipeline](https://docs.catalyst.zoho.com/en/quickml/help/create-data-pipeline/)** using Catalyst QuickML. Use **[node operations](https://docs.catalyst.zoho.com/en/quickml/help/data-preprocessing/data-cleaning/)** to manage tasks such as data cleaning, encoding, and feature engineering. This reusable pipeline ensures consistent preprocessing for all future model training. **Stage 3: Build the ML Pipeline** Construct the **[ML pipeline](https://docs.catalyst.zoho.com/en/quickml/help/create-ml-pipeline/)** by connecting the processed data from the data pipeline. Select an appropriate **[ML algorithms](https://docs.catalyst.zoho.com/en/quickml/help/ml-algorithms/classification-algorithms/)**, configure its parameters, and initiate the training process. QuickML automatically evaluates the model after training to validate its performance. **Stage 4: Deploy the Model via Endpoint** Once trained, generate an **[endpoint URL](https://docs.catalyst.zoho.com/en/quickml/help/pipeline-endpoints/)** within QuickML. This endpoint allows external applications to send input data and receive real-time predictions from the CRM Deal Prediction model. The final output, after creating all of the required data and ML pipelines in the **[Catalyst console](https://console.catalyst.zoho.com/baas/index)**, will look like this: ![crm-deal-1.webp](https://catalyst-docs-development.zohostratus.in/images/tutorials/crm-deal-prediction/crm-deal-1.webp) -------------------------------------------------------------------------------- title: "Prerequisites" description: "Create an ML pipeline that analyzes historic Zoho CRM data and predicts the likeliness of a successful deal using the Catalyst QuickML components." last_updated: "2026-11-04T10:10:44.000Z" source: "https://docs.catalyst.zoho.com/en/tutorials/crm-deal-prediction/prerequisites/" service: "All Services" related: - Machine Learning Algorithms (/en/quickml/help/ml-algorithms/classification-algorithms/) -------------------------------------------------------------------------------- # Prerequisites Because this tutorial is focused solely on **[Catalyst QuickML](https://docs.catalyst.zoho.com/en/quickml/getting-started/introduction/)**, all tasks—including building data and ML pipelines, creating models, and training them for predictions—will be performed within the **[Catalyst console](https://console.catalyst.zoho.com/baas/index)**. Before getting started, download the following dataset: **[CRM_Deal_Prediction_Sample_Dataset](https://workdrive.zohoexternal.com/external/32b8cbea341ba7a6789c6db1c1e8a58b58a05db3cb23c2ce04e3cd0b9ad4587a)** This tutorial walks you through cleaning, refining, and preprocessing the dataset, which will be uploaded later to Catalyst QuickML for model training. -------------------------------------------------------------------------------- title: "Create a project" description: "Create an ML pipeline that analyzes historic Zoho CRM data and predicts the likeliness of a successful deal using the Catalyst QuickML components." last_updated: "2026-11-04T10:10:44.000Z" source: "https://docs.catalyst.zoho.com/en/tutorials/crm-deal-prediction/create-a-project/" service: "All Services" related: - Catalyst Projects (/en/getting-started/catalyst-projects) -------------------------------------------------------------------------------- # Create a Project Let’s create a Catalyst project from the **[Catalyst console](https://console.catalyst.zoho.com/baas/index)**. 1. Log into the *Catalyst console* and click **Create new Project**. ![crm-deal-2.webp](https://catalyst-docs-development.zohostratus.in/images/tutorials/crm-deal-prediction/crm-deal-2.webp) 2. Enter the project’s name as “CRMDealPrediction” in the pop-up window that appears. ![crm-deal-3.webp](https://catalyst-docs-development.zohostratus.in/images/tutorials/crm-deal-prediction/crm-deal-3.webp) 3. Click **Create**. Your project will be created and opened. ![crm-deal-4.webp](https://catalyst-docs-development.zohostratus.in/images/tutorials/crm-deal-prediction/crm-deal-4.webp) -------------------------------------------------------------------------------- title: "Upload the dataset" description: "Create an ML pipeline that analyzes historic Zoho CRM data and predicts the likeliness of a successful deal using the Catalyst QuickML components." last_updated: "2026-11-04T10:10:44.000Z" source: "https://docs.catalyst.zoho.com/en/tutorials/crm-deal-prediction/upload-dataset/" service: "All Services" related: - Create Your First pipeline (/en/quickml/help/create-ml-pipeline) -------------------------------------------------------------------------------- # Upload the Dataset Begin by uploading the dataset in Catalyst QuickML using the available **[dataset connectors](https://docs.catalyst.zoho.com/en/quickml/help/data-connectors/zoho-apps/)**. 1. Navigate to the QuickML service in the Catalyst console and click **Start Exploring**. ![crm-deal-5.webp](https://catalyst-docs-development.zohostratus.in/images/tutorials/crm-deal-prediction/crm-deal-5.webp) 2. Navigate to the **Datasets** component and click **Import Dataset**. An Import Dataset pop-up will be displayed. ![crm-deal-6.webp](https://catalyst-docs-development.zohostratus.in/images/tutorials/crm-deal-prediction/crm-deal-6.webp) 3. In the *Import Dataset* pop-up window, scroll down to *Files* and click **Upload File**. ![crm-deal-7.webp](https://catalyst-docs-development.zohostratus.in/images/tutorials/crm-deal-prediction/crm-deal-7.webp) Upload the Zoho_CRM_Deal_Prediction_Sample dataset that you have downloaded already. Mention the Quotes Type as "Double Quotes (")" and Escape Character as "Backslash (\)" and click **Next**. ![crm-deal-8.webp](https://catalyst-docs-development.zohostratus.in/images/tutorials/crm-deal-prediction/crm-deal-8.webp) The name of the dataset will be auto-populated based on the uploaded file. You can edit it, if required, and click **Upload**. ![crm-deal-9.webp](https://catalyst-docs-development.zohostratus.in/images/tutorials/crm-deal-prediction/crm-deal-9.webp) The dataset is now uploaded successfully. ![crm-deal-10.webp](https://catalyst-docs-development.zohostratus.in/images/tutorials/crm-deal-prediction/crm-deal-10.webp) The dataset will be displayed in the *All Datasets* section. You can click on the dataset name to view the dataset's details. ![crm-deal-11.webp](https://catalyst-docs-development.zohostratus.in/images/tutorials/crm-deal-prediction/crm-deal-11.webp) On the dataset Details page, you can view the **[profile, preview](https://docs.catalyst.zoho.com/en/quickml/help/data-profiler-and-viewer/#what-is-data-profiling)** and visualization chart of the dataset. The dataset's details and its profile can be seen in the below screenshot. ![crm-deal-12.webp](https://catalyst-docs-development.zohostratus.in/images/tutorials/crm-deal-prediction/crm-deal-12.webp) ![crm-deal-13.webp](https://catalyst-docs-development.zohostratus.in/images/tutorials/crm-deal-prediction/crm-deal-13.webp) You can create a sample pie chart with stage as an X-axis. The data visualization with a sample pie chart and preview of the dataset can be seen below. -------------------------------------------------------------------------------- title: "Create a data pipeline" description: "Create an ML pipeline that analyzes historic Zoho CRM data and predicts the likeliness of a successful deal using the Catalyst QuickML components." last_updated: "2026-11-04T10:10:44.000Z" source: "https://docs.catalyst.zoho.com/en/tutorials/crm-deal-prediction/create-data-pipeline/" service: "All Services" related: - Data Cleaning (/en/quickml/help/data-preprocessing/data-cleaning) - Data Transformation (/en/quickml/help/data-preprocessing/data-transformation) - Data Profiler and Viewer (/en/quickml/help/data-profiler-and-viewer/) -------------------------------------------------------------------------------- # Create a data pipeline Since the dataset is uploaded, proceed with creating a data pipeline with the dataset. 1. Navigate to the **Datasets** component in the left menu and click the **Zoho_CRM_Deal_Prediction_Sample** dataset. ![crm-deal-14.webp](https://catalyst-docs-development.zohostratus.in/images/tutorials/crm-deal-prediction/crm-deal-14.webp) 2. In the *Dataset Details* page, click on **Create Pipeline** in the top-right corner of the page. ![crm-deal-15.webp](https://catalyst-docs-development.zohostratus.in/images/tutorials/crm-deal-prediction/crm-deal-15.webp) 3. Enter the pipeline name as "Deal Prediction Data Pipeline" and click **Create Pipeline**. ![crm-deal-16.webp](https://catalyst-docs-development.zohostratus.in/images/tutorials/crm-deal-prediction/crm-deal-16.webp) The **[pipeline builder interface](https://docs.catalyst.zoho.com/en/quickml/help/pipeline-builder-interface/walkthrough/#pipeline-builder-interface-1)** will be opened as shown in the screenshot below. ![crm-deal-17.webp](https://catalyst-docs-development.zohostratus.in/images/tutorials/crm-deal-prediction/crm-deal-17.webp) You will be performing the following set of data pre-processing operations in order to clean, refine, and transform the datasets, and then execute the data pipeline. Each of these operations involve individual **[data nodes](https://docs.catalyst.zoho.com/en/quickml/help/data-preprocessing/data-cleaning/)** that are used to construct the pipeline. ## Select fields for data pre-processing First, select the required fields in the dataset to modify them further. 1. Expand the **Data Cleaning** component in the *Operations* menu. Drag and drop the **Select/Drop** node in the pipeline builder and make a connection with the Source node. 2. In the *Select/Drop* section in the right panel, select the columns **"Record ID," " Closing Date", "Deal Name," "Currency," "Checkbox2"and "Created Time"**, and choose the operation **"Drop"** to drop the columns from the dataset, then click **Save**. In our case, these columns are generic, serving no purpose to be used further so we are removing them. ![crm-deal-18.webp](https://catalyst-docs-development.zohostratus.in/images/tutorials/crm-deal-prediction/crm-deal-18.webp) # Handle missing values To enhance the quality of the data used for training, you will filter out the non-empty data for the required columns using the **[Filter nodes](https://docs.catalyst.zoho.com/en/quickml/help/data-preprocessing/data-cleaning/#filter)** . This process eliminates irrelevant or incomplete data, ensuring that only valuable information is used for model development. Because the **Stage** is one of the key columns for our model training, you will be adding a filter to that column to avoid empty cells in it. If you want to process the unmatched data from the filter, choose **Show unmatched records** as a secondary output so you will get another output for unmatched data. ![crm-deal-19.webp](https://catalyst-docs-development.zohostratus.in/images/tutorials/crm-deal-prediction/crm-deal-19.webp) ## Fill columns As a part of data pre-processing, we will need to check if there are missing values in any of the columns in the datasets and fill them. We will be using the **[Fill Columns](https://docs.catalyst.zoho.com/en/quickml/help/data-preprocessing/data-cleaning/#fill-columns)** node for executing this operation. 1. Expand the **Data Cleaning** component in the *Operations* menu. Drag and drop the **Fill Columns** node into the pipeline builder and make a connection with the previous **Filter** node as shown below. ![crm-deal-20.webp](https://catalyst-docs-development.zohostratus.in/images/tutorials/crm-deal-prediction/crm-deal-20.webp) 2. From the drop-down named *Select Column*, choose **Stage**. In the Select Column Datatype field, choose **Text** Update the Fill with field as **Not mentioned**, and select the criteria as **Stage**, and **Contains** is **None** in the dropdown, then click **Save**. Likewise, fill the column for the " Pipeline" and Amount" field with "Is empty" criteria, then click Save. ![crm-deal-21.webp](https://catalyst-docs-development.zohostratus.in/images/tutorials/crm-deal-prediction/crm-deal-21.webp) As of now, the dataset is prepared, and we have configured the required nodes for this tutorial. Finally, make a connection between the last configured node **(Fill Columns)** and the **Destination** node. Click **Execute**. ![crm-deal-22.webp](https://catalyst-docs-development.zohostratus.in/images/tutorials/crm-deal-prediction/crm-deal-22.webp) The data pipeline will start the execution and the status of the execution will be displayed on the pipeline Details page as shown in the screenshot below. Once the pipeline has completed the execution, the execution status will display "**Success**". ![crm-deal-23.webp](https://catalyst-docs-development.zohostratus.in/images/tutorials/crm-deal-prediction/crm-deal-23.webp) Click on **Execution Stats** to view more details about each stage of the execution in detail. ![crm-deal-24.webp](https://catalyst-docs-development.zohostratus.in/images/tutorials/crm-deal-prediction/crm-deal-24.webp) Now, we have prepared our dataset, which can be used to develop the ML model. We will be discussing more about the ML pipeline creation in the next section. > **Note :** The data pipeline can be reused to create multiple ML experiments for varied use cases within your Catalyst project. -------------------------------------------------------------------------------- title: "Create an ML Pipeline" description: "Create an ML pipeline that analyzes historic Zoho CRM data and predicts the likeliness of a successful deal using the Catalyst QuickML components." last_updated: "2026-11-04T10:10:44.000Z" source: "https://docs.catalyst.zoho.com/en/tutorials/crm-deal-prediction/create-ml-pipeline/" service: "All Services" related: - ML Algorithms in QuickML (/en/quickml/help/ml-algorithms/classification-algorithms) - Operations in QuickML (/en/quickml/help/operations-in-quickml/encoding) -------------------------------------------------------------------------------- # Create an ML pipeline In this section, we will be building a prediction ML model using the preprocessed dataset from the previous section. This dataset will be the input to the **[ML pipeline builder](https://docs.catalyst.zoho.com/en/quickml/help/create-ml-pipeline/)**, which enables you to define the model's architecture and select a target column for prediction. **To create an ML pipeline, make sure to follow the steps below:** 1. Navigate to the *Pipelines* component in the left menu and click **Create Pipeline**. ![crm-deal-25.webp](https://catalyst-docs-development.zohostratus.in/images/tutorials/crm-deal-prediction/crm-deal-25.webp) ![crm-deal-26.webp](https://catalyst-docs-development.zohostratus.in/images/tutorials/crm-deal-prediction/crm-deal-26.webp) 2. In the pop-up that appears, select "**Prediction**" as the pipeline type, name the pipeline as "**Deal Prediction ML Pipeline**", and choose the input dataset as **Zoho_CRM_Deal_Prediction_Sampl**e. In our case, the target column should be "**Stage**". The model name will be auto-populated based on the pipeline name. Click **Create**. ![crm-deal-27.webp](https://catalyst-docs-development.zohostratus.in/images/tutorials/crm-deal-prediction/crm-deal-27.webp) 3. The *pipeline Details* page will be displayed as shown in the screenshot below. ![crm-deal-28.webp](https://catalyst-docs-development.zohostratus.in/images/tutorials/crm-deal-prediction/crm-deal-28.webp) Now that we have created our ML pipeline, we will proceed to configure the pipeline by defining the nodes in the ML pipeline builder interface. ## Encoding categorical columns Because our target column "**Stage**", contains categorical data of type String, we will encode them for further ML training standards. Please make sure to follow the below steps to encode the columns. 1. In the Operations menu, navigate to *ML tab > ML operations > Encoding > Label Encoder*. Drag and drop the **[Label Encoder](https://docs.catalyst.zoho.com/en/quickml/help/operations-in-quickml/encoding/#ordinal-encoder)** node to the ML pipeline builder interface. ![crm-deal-29.webp](https://catalyst-docs-development.zohostratus.in/images/tutorials/crm-deal-prediction/crm-deal-29.webp) 2. Navigate to *ML tab > ML operations > Encoding > One-Hot Encoder*. Drag and drop the **One-Hot encoder node** to the ML pipeline builder interface. In the configuration section on the right panel, choose the columns as "**Pipeline**" and click **Save**. ![crm-deal-30.webp](https://catalyst-docs-development.zohostratus.in/images/tutorials/crm-deal-prediction/crm-deal-30.webp) These encoding operations will convert the column values of type String to Integer, while maintaining the order and preserving data accuracy. ## Normalize the columns Because the values of all the features are in various ranges, we will use the **Mean-Std Normalization** component to scale down the values of the features to a common range, typically between 0 and 1. Navigate to *ML tab > ML operations > Normalization*. Drag and drop the **Mean-Std Normalization node** to the ML pipeline builder interface. In the configuration box on the right panel, choose "**Amount**" and click **Save**. Once normalization is applied, the ML pipeline builder page will be displayed as below: ![crm-deal-31.webp](https://catalyst-docs-development.zohostratus.in/images/tutorials/crm-deal-prediction/crm-deal-31.webp) ## ML algorithm and hyperparameter tuning For any ML model, it's necessary to implement an ML algorithm based on which the model will be trained. In this tutorial, we will be implementing the **Random-Forest Classification** algorithm to configure the tuning parameters for the ML model to ensure it is optimized for our pre-processed dataset. 1. In the Operations menu, navigate to* ML tab > ML operations > Algorithm > Classification*. Drag and drop the **Random-Forest Classification node** into the pipeline builder. The node will be automatically connected to the **Destination** node. Make an input connection with the **Mean-Std Normalization** and the **Random-Forest Classification** node. ![crm-deal-32.webp](https://catalyst-docs-development.zohostratus.in/images/tutorials/crm-deal-prediction/crm-deal-32.webp) 2. For the *Random-Forest Classification* node, we will go with the default configuration and click **Save**. Now, we have completed making the required node connections and configurations. Proceed to execute the pipeline by clicking **Execute** for further evaluation and deployment. ![crm-deal-33.webp](https://catalyst-docs-development.zohostratus.in/images/tutorials/crm-deal-prediction/crm-deal-33.webp) Click **Execution Stats** to view more details about each stage of the execution in detail. ![crm-deal-34.webp](https://catalyst-docs-development.zohostratus.in/images/tutorials/crm-deal-prediction/crm-deal-34.webp) Upon successful execution of the ML pipeline, the Deal Prediction model is created and will be displayed under the Models section. You can view the details of the model on the model's Details page by clicking on the model name. ![crm-deal-35.webp](https://catalyst-docs-development.zohostratus.in/images/tutorials/crm-deal-prediction/crm-deal-35.webp) -------------------------------------------------------------------------------- title: "Create an Endpoint" description: "Create an ML pipeline that analyzes historic Zoho CRM data and predicts the likeliness of a successful deal using the Catalyst QuickML components." last_updated: "2026-11-04T10:10:44.000Z" source: "https://docs.catalyst.zoho.com/en/tutorials/crm-deal-prediction/create-endpoint/" service: "All Services" related: - Pipeline Endpoints (/en/quickml/help/pipeline-endpoints) -------------------------------------------------------------------------------- # Create an endpoint We will now create an endpoint for the above Deal Prediction model to allow external applications to interact with the model seamlessly and get predictions. 1. Navigate to the *Endpoints* component in the left menu and click **Create Endpoint**. ![crm-deal-36.webp](https://catalyst-docs-development.zohostratus.in/images/tutorials/crm-deal-prediction/crm-deal-36.webp) 2. Name the endpoint as "**Deal prediction**", select the endpoint type as "**ML Model**", choose the model as **Deal Prediction ML pipeline model**, the ML model that we created in the previous step, and click **Create Endpoint**. ![crm-deal-37.webp](https://catalyst-docs-development.zohostratus.in/images/tutorials/crm-deal-prediction/crm-deal-37.webp) 3. On the endpoint's details page, you can test the model by providing a sample request and click **Get Result**. For the below request, the model predicts the stage of the deal as Closed Won. ![crm-deal-38.webp](https://catalyst-docs-development.zohostratus.in/images/tutorials/crm-deal-prediction/crm-deal-38.webp) 4. Click **Publish** and use the endpoint URL to integrate the ML model with any other applications. ![crm-deal-39.webp](https://catalyst-docs-development.zohostratus.in/images/tutorials/crm-deal-prediction/crm-deal-39.webp) > **Note:** You can also check out this document to implement pipeline authentication to ensure secured access to endpoints, the ML models, and datasets. ## Customer Segmentation Analysis -------------------------------------------------------------------------------- title: "Introduction" description: "Create and configure a data and ML pipeline with a readily available dataset to analyze customer segmentation, using the Catalyst QuickML service." last_updated: "2026-11-04T10:10:44.000Z" source: "https://docs.catalyst.zoho.com/en/tutorials/customer-segmentation-analysis/introduction/" service: "All Services" -------------------------------------------------------------------------------- # Customer Segmentation Analysis # Introduction This tutorial will guide you through building a clustering model using [Catalyst QuickML](https://docs.catalyst.zoho.com/en/quickml/getting-started/introduction/). Clustering models help segment records into clusters where each one is characteristically different from another. Using customer data such as demographics, transaction behavior, and transaction data as a training dataset, clusters can be formed out of similar customers so the business can advertise to specific customer segments. Targeting the right audience with the right strategy provides value to the customer,improving customer experience. We ' ll provide you with a sample dataset that contains data about credit card customers . With this dataset , we'll build a clustering model that can segment these customers into clusters with different behaviors. In the credit card service industry, customers can be offered a range of credit card options with rewards, benefits, and introductory and purchase offers , but targeting the right customers with relevant offers can be difficult . It involves identifying the spending behavior of customers and segmenting them into meaningful groups so that marketing teams can focus on building the right campaigns for the right segments . To learn more about clustering , check out our documentation below: * [Clustering](https://docs.catalyst.zoho.com/en/quickml/help/learning-center/clustering/) * [Algorithms](https://docs.catalyst.zoho.com/en/quickml/help/ml-algorithms/clustering/) * [Evaluation metrics](https://docs.catalyst.zoho.com/en/quickml/help/learning-center/clustering/#clustering-evaluation-metrics) Now, let's have a quick overview of what you'll learn. ## Overview **1\. Preprocess the dataset** The customers' credit card spending dataset has customer IDs, current balances, balance update frequencies, total purchases, one-off purchases, installment purchases, cash advance amounts, purchase frequencies, one-off purchase frequencies, installment purchase frequencies, cash advance frequencies, cash advance transaction counts, purchase transaction counts, credit limits, total payments, minimum payments, percentages of full payments made, and customer tenures. Together, these features describe how each customer spends, repays, and uses credit over time. All the data is numeric except customer ID, so we'll need a few preprocessing steps like dropping customer ID and filling in missing values. **2\. Build the clustering pipeline** In the clustering pipeline, we'll need to select a suitable algorithm for our dataset. For our customer segment analysis, we'll use the K-means algorithm. [K-means](https://docs.catalyst.zoho.com/en/quickml/help/ml-algorithms/clustering/#k-means) clustering uses proximity to determine the similarity between customers. This will give us our clustering model, along with downloadable information about the clusters created for the training dataset. **3\. Deploy the model via an endpoint** After training, the model can be deployed directly from the Catalyst console by generating an [endpoint URL](https://docs.catalyst.zoho.com/en/quickml/help/pipeline-endpoints/). This endpoint allows external applications to send customer information and get the cluster ID that the customer belongs to. -------------------------------------------------------------------------------- title: "Prerequisites" description: "Create and configure a data and ML pipeline with a readily available dataset to analyze customer segmentation, using the Catalyst QuickML service." last_updated: "2026-11-04T10:10:44.000Z" source: "https://docs.catalyst.zoho.com/en/tutorials/customer-segmentation-analysis/prerequisites/" service: "All Services" -------------------------------------------------------------------------------- # Pre requisites Because this tutorial is focused on [Catalyst QuickML](https://docs.catalyst.zoho.com/en/quickml/getting-started/introduction/), all tasks—including dataset preparation, pipeline creation, model training, and deployment—will be performed within the Catalyst console. Before getting started, download the following dataset: [Credit card customers](https://workdrive.zohoexternal.in/external/sheet/1eaf4a37b769af2045b08622003dbed9e775efdc357b8d526ad2d8f597606836) -------------------------------------------------------------------------------- title: "Create a project" description: "Create and configure a data and ML pipeline with a readily available dataset to analyze customer segmentation, using the Catalyst QuickML service." last_updated: "2026-11-04T10:10:44.000Z" source: "https://docs.catalyst.zoho.com/en/tutorials/customer-segmentation-analysis/create-a-project/" service: "All Services" -------------------------------------------------------------------------------- Let’s [create a Catalyst project](https://docs.catalyst.zoho.com/en/quickml/getting-started/introduction/) from the Catalyst console. 1. Log in to the [Catalyst console](https://console.catalyst.zoho.com/baas/index) and click **Create new Project** . ![access-project1](https://catalyst-docs-development.zohostratus.in/images/tutorials/customer-segmentation-analysis/access-project1.webp) 2. Enter the project’s name as **CreditcardCustomersClustering** in the pop-up window that appears. ![access-project2](https://catalyst-docs-development.zohostratus.in/images/tutorials/customer-segmentation-analysis/access-project2.webp) 3. Click the **Create** button. Your project will be created and opened. 4. Navigate to the _QuickML service_ in the left pane . Click **Start Exploring** . ![access-project3](https://catalyst-docs-development.zohostratus.in/images/tutorials/customer-segmentation-analysis/access-project3.webp) -------------------------------------------------------------------------------- title: "Upload the dataset" description: "Create an ML pipeline that analyzes historic Zoho CRM data and predicts the likeliness of a successful deal using the Catalyst QuickML components." last_updated: "2026-11-04T10:10:44.000Z" source: "https://docs.catalyst.zoho.com/en/tutorials/customer-segmentation-analysis/upload-dataset/" service: "All Services" -------------------------------------------------------------------------------- # Upload the Dataset Let's begin by uploading the dataset in Catalyst QuickML using the available dataset [connectors](https://docs.catalyst.zoho.com/en/quickml/help/data-connectors/zoho-apps/) . 1. Click **Datasets** to get started . ![upload-dataset-1](https://catalyst-docs-development.zohostratus.in/images/tutorials/customer-segmentation-analysis/upload-dataset-1.webp) 2. Click **Import Dataset** . A pop-up will be displayed. ![upload-dataset](https://catalyst-docs-development.zohostratus.in/images/tutorials/customer-segmentation-analysis/upload-dataset-2.webp) 3. We have the dataset downloaded locally, so , in the _Import Dataset_ window , navigate to _Files_ and click **Upload File** . ![upload-dataset](https://catalyst-docs-development.zohostratus.in/images/tutorials/customer-segmentation-analysis/upload-dataset-3.webp) 4. Upload the **Credit card customers dataset** that you have downloaded already. 5. Set the Quotes Type as **Double Quotes (")** and Escape Character as **Backslash (\\)**, and click **Next** . ![upload-dataset](https://catalyst-docs-development.zohostratus.in/images/tutorials/customer-segmentation-analysis/upload-dataset-4.webp) 6. The name of the dataset will be auto\-populated based on the name of the uploaded file. Edit it if required, and click **Upload** . ![upload-dataset](https://catalyst-docs-development.zohostratus.in/images/tutorials/customer-segmentation-analysis/upload-dataset-5.webp) The dataset is now uploaded successfully. ![upload-dataset](https://catalyst-docs-development.zohostratus.in/images/tutorials/customer-segmentation-analysis/upload-dataset-6.webp) > **Note:** The dataset contains missing values, and these gaps can affect the overall quality score . The score will improve once we address this during the pre processing configuration step in the tutorial. The dataset will be displayed in the _All Datasets_ section. You can click on a dataset name to view its details . ![upload-dataset](https://catalyst-docs-development.zohostratus.in/images/tutorials/customer-segmentation-analysis/upload-dataset-7.webp) Click on the **Credit card customers** dataset in the list . You'll be redirected to the _Dataset Details_ page. The dataset's [Statistical](https://docs.catalyst.zoho.com/en/quickml/help/data-profiler-and-viewer/#what-is-data-profiling) [ ](https://docs.catalyst.zoho.com/en/quickml/help/data-profiler-and-viewer/#what-is-data-profiling) [profile overview, sample preview](https://docs.catalyst.zoho.com/en/quickml/help/data-profiler-and-viewer/#what-is-data-profiling) [,](https://docs.catalyst.zoho.com/en/quickml/help/data-profiler-and-viewer/#what-is-data-profiling) and visualization chart are shown below. ![upload-dataset](https://catalyst-docs-development.zohostratus.in/images/tutorials/customer-segmentation-analysis/upload-dataset-8.webp) The uploaded dataset contains 8,950 records across 18 columns, with 0.19% **missing values**. 7. Click to the **Overview** drop-down button and select the **minimum_payments** column. ![upload-dataset](https://catalyst-docs-development.zohostratus.in/images/tutorials/customer-segmentation-analysis/upload-dataset-9.webp) In the **minimum_payments** column (313 missing values out of 8,637 available). These will be handled in the preprocessing stage. -------------------------------------------------------------------------------- title: "Create an Clustering Pipeline" description: "Create and configure a data and ML pipeline with a readily available dataset to analyze customer segmentation, using the Catalyst QuickML service." last_updated: "2026-11-04T10:10:44.000Z" source: "https://docs.catalyst.zoho.com/en/tutorials/customer-segmentation-analysis/create-clustering-pipeline/" service: "All Services" related: - ML Algorithms in QuickML (/en/quickml/help/ml-algorithms/classification-algorithms) - Operations in QuickML (/en/quickml/help/operations-in-quickml/encoding) -------------------------------------------------------------------------------- Now that the dataset is uploaded, we’ll create a clustering pipeline using the uploaded dataset. 1. Navigate to the **_Pipeline_** module in the left menu and click on the **Create Pipeline** button. ![create-clustering-pipeline-1](https://catalyst-docs-development.zohostratus.in/images/tutorials/customer-segmentation-analysis/create-clustering-pipeline-1.webp) 2. In the _Create Pipeline_ window, select the **Clustering** pipeline model. ![create-clustering-pipeline](https://catalyst-docs-development.zohostratus.in/images/tutorials/customer-segmentation-analysis/create-clustering-pipeline-2.webp) 3. Name the pipeline **Credit Card customer clustering** ,and choose the **Credit card customers dataset** from the dataset drop-down. Click **Create** to create the pipeline. ![create-clustering-pipeline](https://catalyst-docs-development.zohostratus.in/images/tutorials/customer-segmentation-analysis/create-clustering-pipeline-3.webp) You'll land on the custom model pipeline builder interface. ![create-clustering-pipeline](https://catalyst-docs-development.zohostratus.in/images/tutorials/customer-segmentation-analysis/create-clustering-pipeline-4.webp) Let's drag-drop the required stages and connect the pipeline. -------------------------------------------------------------------------------- title: "Pipeline Configuration" description: "Create and configure a data and ML pipeline with a readily available dataset to analyze customer segmentation, using the Catalyst QuickML service." last_updated: "2026-11-04T10:10:44.000Z" source: "https://docs.catalyst.zoho.com/en/tutorials/customer-segmentation-analysis/pipeline-configuration/" service: "All Services" related: - ML Algorithms in QuickML (/en/quickml/help/ml-algorithms/classification-algorithms) - Operations in QuickML (/en/quickml/help/operations-in-quickml/encoding) -------------------------------------------------------------------------------- To build any ML model, the pipeline should involve data cleaning, preprocessing stages , and choosing the right model . ## 1. Fill columns From the dataset profile generated during the upload stage, it's clear that there are missing values in the dataset , and they need to be handled . The fill columns stage is used in the pipeline to fill in cells that are empty or null. We’ll drag and drop the fill columns node by navigating to **Data Cleaning** then **Fill Columns** and connecting it to the source node. ![pipeline-config-1](https://catalyst-docs-development.zohostratus.in/images/tutorials/customer-segmentation-analysis/pipeline-config-1.webp) From the dataset profile page, we found the missing values in **minimum_payments** . In the fill columns configuration page, we'll substitute them with **Mean** values. This will update missing values with the column mean. Click **Save** to save the pipeline. ## 2. Select/Drop Now we have to drop the **cust_id** column, since ID columns aren't useful during the clustering model training process. We’ll drag and drop the _Select/Drop_ node by navigating to **Data Cleaning** and **Select/Drop** in the pipeline builder. Connect it to the previous node to open the node configuration panel. ![pipeline-config-2](https://catalyst-docs-development.zohostratus.in/images/tutorials/customer-segmentation-analysis/pipeline-config-2.webp) Choose **cust_id** in the columns dropdown as shown above, select **drop** as the operation to execute , and click **Save** to save the stage. The selected column has been dropped from the training dataset , which you can see in the preview section. ![pipeline-config-3](https://catalyst-docs-development.zohostratus.in/images/tutorials/customer-segmentation-analysis/pipeline-config-3.webp) ## 3. Mean normalization Now we have the full training dataset ready with the required columns and without any missing values. Check the value ranges from all the columns : each column has values across various ranges. We'll use the normalization technique to bring all the data to a common scale. Learn more about normalization in [our documentation](https://docs.catalyst.zoho.com/en/quickml/help/operations-in-quickml/normalization/) . This keeps the model's training process from getting dominated by data with a higher magnitude. For our case, we'll use mean normalization. Let's drag and drop the _Mean Normalisation_ node by navigating to **ML Operations**, **Normalisation**, and **Mean Normalisation** in the pipeline builder. ![pipeline-config-4](https://catalyst-docs-development.zohostratus.in/images/tutorials/customer-segmentation-analysis/pipeline-config-4.webp) Connect the node to the previous stage to open the configuration panel. Select all the available columns using the **Select all** button and click **Save** . With this, the preprocessing of the dataset is completed, and the dataset is ready. ## 4. K\-means algorithm The final step in the pipeline building process is to select the appropriate algorithm, configure it with the required number of clusters, and execute it. Let's use the K-means algorithm. We'll provide the number of clusters in the algorithm configuration panel, so the model must create only **K** clusters using our training dataset. Let's drag and drop the algorithm node by navigating to **ML Operations** , **Algorithms**, and **KMeans** in the pipeline builder. ![pipeline-config-5](https://catalyst-docs-development.zohostratus.in/images/tutorials/customer-segmentation-analysis/pipeline-config-5.webp) Connect it to the previous stage to open the configuration panel, and the other end will be automatically connected to destination. This finishes the pipeline building. > **Note:** We're using 3 clusters as a starting point for this tutorial. In practice, you can determine the optimal number of clusters by running the model with different K values and comparing the evaluation metrics to indicate better-defined clusters. Update the **Number of clusters** parameter to **3** and click **Save** . ![pipeline-config-6](https://catalyst-docs-development.zohostratus.in/images/tutorials/customer-segmentation-analysis/pipeline-config-6.webp) Now that the entire clustering pipeline is built and saved, click the **Execute** button at the top-right corner of the pipeline builder page to start executing the pipeline. This will redirect you to the pipeline details page shown below, which provides details about the executed pipeline with execution status. You can see that the pipeline execution is successful. ![pipeline-config-7](https://catalyst-docs-development.zohostratus.in/images/tutorials/customer-segmentation-analysis/pipeline-config-7.webp) Click **Execution Stats** to view compute usage details about each stage of the model execution. ![pipeline-config-8](https://catalyst-docs-development.zohostratus.in/images/tutorials/customer-segmentation-analysis/pipeline-config-8.webp) Now the model **Credit Card customer clustering model** is generated after training , and it's ready for evaluation. ![pipeline-config-9](https://catalyst-docs-development.zohostratus.in/images/tutorials/customer-segmentation-analysis/pipeline-config-9.webp) Click the model hyperlink **Credit Card customer clustering model** to open the model details page and see necessary information about model details, evaluation metrics, clustering visualizations , and versioning details. -------------------------------------------------------------------------------- title: "Model Evaluation" description: "Create and configure a data and ML pipeline with a readily available dataset to analyze customer segmentation, using the Catalyst QuickML service." last_updated: "2026-11-04T10:10:44.000Z" source: "https://docs.catalyst.zoho.com/en/tutorials/customer-segmentation-analysis/model-evaluation/" service: "All Services" related: - ML Algorithms in QuickML (/en/quickml/help/ml-algorithms/classification-algorithms) - Operations in QuickML (/en/quickml/help/operations-in-quickml/encoding) -------------------------------------------------------------------------------- The Model Details page contains evaluation metrics that help y ou understand model performance during the training and validation process, clustering visualizations to view the customer dispersion between clusters , and model versioning details. Model versions are typically used to track the improvement or degradation of the performance with selected metrics as evaluation criteria for frequent model trainings. **Evaluation metrics** Clustering metrics are derived by the performance of the model during the training and validation process , similar to any machine learning model . ![model-evaluation-1](https://catalyst-docs-development.zohostratus.in/images/tutorials/customer-segmentation-analysis/model-evaluation-1.webp) Learn more about model evaluation metrics in[ our documentation](https://docs.catalyst.zoho.com/en/quickml/help/learning-center/clustering/#clustering-evaluation-metrics) . **Visualizations** To evaluate the dispersion of records into clusters, QuickML can generate a couple of visualizations to assist in analysis . ![model-evaluation-2](https://catalyst-docs-development.zohostratus.in/images/tutorials/customer-segmentation-analysis/model-evaluation-2.webp) 1. Cluster distribution_ shows how many data points fall into each cluster . 2. Cluster _plot_ highlights how clusters are separated in a lower-dimensional space. Learn more about the cluster visualizations [in our documentation](https://docs.catalyst.zoho.com/en/quickml/help/learning-center/clustering/#visual-evaluation-of-clusters) . **View model predictions** On top of the model evaluation metrics and model visualizations, QuickML also provides a model predictions dataset. The original training dataset is equipped with a column called **Cluster** . This column contains the cluster information of each customer , which you can find using cust_id. It specifies a customer can belong to only one of the clusters . ![model-evaluation-3](https://catalyst-docs-development.zohostratus.in/images/tutorials/customer-segmentation-analysis/model-evaluation-3.webp) The model predictions dataset generated by the model can be downloaded locally and used for further analysis of each customer segment . -------------------------------------------------------------------------------- title: "Create an Endpoint" description: "Create and configure a data and ML pipeline with a readily available dataset to analyze customer segmentation, using the Catalyst QuickML service." last_updated: "2026-11-04T10:10:44.000Z" source: "https://docs.catalyst.zoho.com/en/tutorials/customer-segmentation-analysis/create-endpoint/" service: "All Services" -------------------------------------------------------------------------------- Now , let's create an endpoint to allow [external applications](https://docs.catalyst.zoho.com/en/quickml/help/pipeline-endpoints/#model-tester) to interact with the model and get responses. 1. Navigate to the Endpoints component in the left menu and click **Create Endpoint** . ![create-endpoint-1](https://catalyst-docs-development.zohostratus.in/images/tutorials/customer-segmentation-analysis/create-endpoint-1.webp) 2. Provide a name for the endpoint in the Endpoint Name field (we'll name it **Credit card customer clustering model** ) and select the model pipeline name from the drop-down values of the Choose Model field. Click **Create Endpoint** . ![create-endpoint-2](https://catalyst-docs-development.zohostratus.in/images/tutorials/customer-segmentation-analysis/create-endpoint-2.webp) 3. Once the endpoint is created, you can view its details and test the deployed model directly from the Test the model section. In this view , the Request panel displays the input format expected by the model. It indicates the sample record information with all the required input features. ![create-endpoint-3](https://catalyst-docs-development.zohostratus.in/images/tutorials/customer-segmentation-analysis/create-endpoint-3.webp) When you click **Get Result** , the model processes this customer information as JSON input and generates the cluster number in a JSON response which this customer falls in. This helps users validate that the model is returning predictions in the expected structure before integrating the endpoint into business applications. ![create-endpoint-4](https://catalyst-docs-development.zohostratus.in/images/tutorials/customer-segmentation-analysis/create-endpoint-4.webp) 4. Click **Publish** to publish the endpoint. ![create-endpoint-5](https://catalyst-docs-development.zohostratus.in/images/tutorials/customer-segmentation-analysis/create-endpoint-5.webp) 5. Upon publishing the endpoint, it will generate **API details** —which include the endpoint API URL, scope, headers and a sample request and response data which is used to access the model from external applications. ![create-endpoint-6](https://catalyst-docs-development.zohostratus.in/images/tutorials/customer-segmentation-analysis/create-endpoint-6.webp) > **Note:** You can also check out our endpoints authentication [ document](https://docs.catalyst.zoho.com/en/quickml/help/pipeline-endpoints/#external-oauth2-authentication) to implement pipeline authentication. This ensures secured access to endpoints, the ML models, and datasets. That's it! You've successfully built and deployed a customer segmentation model using Catalyst QuickML. You can now use the cluster assignments from the model predictions dataset to tailor campaigns to each customer segment, and understand new customer behavior in real time based on the cluster they belong to using the model's endpoint response. ## Dialer App ### NodeJS -------------------------------------------------------------------------------- title: "Introduction" description: "Build a dialer application using Catalyst Advanced I/O Functions, Data Store, and Twilio's Voice API to call customers from your sales team." last_updated: "2026-11-04T10:10:44.000Z" source: "https://docs.catalyst.zoho.com/en/tutorials/dialer-app/nodejs/introduction/" service: "All Services" related: - Project Directory Structure (/en/cli/v1/project-directory-structure/introduction/) - Node.js SDK (/en/sdk/nodejs/v2/overview/) - Twilio (https://www.twilio.com/) -------------------------------------------------------------------------------- # Dialer App ### Introduction In this tutorial, we will build a simple Dialer application on Catalyst by integrating with **Twilio**. The Dialer application allows you to initiate an outbound audio call connection between your sales team and customers. Twilio is a cloud communication platform that provides a rich set of REST APIs to establish meaningful and quick connections through voice, video, messaging, live-streaming, emails, and more. Twilio platform provides a variety of functionalities such as personalized customization of text-to-speech dial messages, call recordings, conference calling, call forwarding, and tracking. We will use the [Programmable Voice API](https://www.twilio.com/voice) of Twilio for setting up an outbound call between two phone numbers through a virtual phone number. > **Note**: You will need a paid Twilio account for this application, because integration with Twilio's APIs is not available in its free version. A Twilio phone number (virtual number) can be purchased from the Twilio console based on your country preference when you sign up for a Twilio account. The client application will look like this : ![dev-url](https://catalyst-docs-development.zohostratus.in/images/tutorials/dialer-app/dev-url.webp) The Dialer application contains the following fundamental Catalyst components : 1. [**Catalyst Serverless**](https://docs.catalyst.zoho.com/en/serverless/getting-started/introduction/): - **[Advanced I/O Function](https://docs.catalyst.zoho.com/en/serverless/help/functions/advanced-io)**: The Advanced I/O function is coded in **Node.js** programming environment. It contains backend logic that integrates with Twilio's Programmable Voice API to initiate outbound calls and also keep track of the call logs. 2. [**Catalyst CloudScale**](https://docs.catalyst.zoho.com/en/cloud-scale/getting-started/introduction/): - **[Data Store:](https://docs.catalyst.zoho.com/en/cloud-scale/help/data-store/introduction)** To store information related to the calls you make, such as the phone numbers, countries from which the calls are initiated, timestamp of the calls and the call statuses. - **[ZCQL:](https://docs.catalyst.zoho.com/en/cloud-scale/help/zcql/introduction)** To query the Data Store and fetch the call logs after a call is completed, to be rendered in the web client. - **[Client](https://docs.catalyst.zoho.com/en/cli/v1/project-directory-structure/client-directory/)**: The front end of the application that is hosted on Catalyst through [web client hosting](https://docs.catalyst.zoho.com/en/cloud-scale/help/web-client-hosting/introduction). We will use the Catalyst web console and the Catalyst Command Line Interface (CLI) to build this application. In this tutorial, we have provided the code for the files to be included in the Advanced I/O function and client components. You will just need to copy the provided code and paste it into the appropriate files as directed. ### Application Architecture The Dialer application architecture is depicted below: 1. The application accepts user input, such as the sales team's contact number and the customer’s phone number. 2. The phone numbers entered by the user are validated. Upon successful validation, the numbers will be stored in CallLogs table of Catalyst's Data Store and a request will be sent to the Twilio's Voice API. 3. On calling the Twilio API, an outbound call is initiated and routed from your Twilio number to the sales team's contact number. 4. At this point, the dialer application sends TwilML instructions to the Voice API in order to dictate the actions to be presented to the user once the call is on-going. In our application, we have configured an url that returns voice instructions back to the REST API. 5. Twilio's Voice Response function has pre-configured verbs that allow you to customize the call actions according to your preference. Here, we will use the [dial()](https://www.twilio.com/docs/voice/twiml/dial) and [say()](https://www.twilio.com/docs/voice/twiml/say) verbs to dial the sales number from your account's Twilio number and present a message to the caller once the respective call is being forwarded. 6. On successful completion of the call, the call details such as call duration, call status, called country and timestamp of the call are updated in the table. The call will be terminated when either of the parties hang up or if Twilio’s signal is busy. 7. The user can also view the call logs in the Dialer application. The logs will be fetched by querying the DataStore. ![dialer-arch-dia](https://catalyst-docs-development.zohostratus.in/images/tutorials/dialer-app/dialer-arch-dia.webp) The Dialer application serves as a quick solution to initiate outbound audio call communications to your customers. -------------------------------------------------------------------------------- title: "Prerequisites" description: "Build a dialer application using Catalyst Advanced I/O Functions, Data Store, and Twilio's Voice API to call customers from your sales team." last_updated: "2026-11-04T10:10:44.000Z" source: "https://docs.catalyst.zoho.com/en/tutorials/dialer-app/nodejs/prerequisites/" service: "All Services" related: - CLI Command Reference (/en/cli/v1/cli-command-reference/) - Install CLI (/en/getting-started/installing-catalyst-cli/) - Login CLI (/en/cli/v1/login/login-from-cli/) -------------------------------------------------------------------------------- # Prerequisites Before you begin building the application, you must have the following prerequisites installed on your system: 1. **Catalyst CLI** : Catalyst CLI contains a host of tools that enable you to initialize, develop, test, and deploy the components of your application from your local machine. We will be working with Catalyst CLI in this tutorial. You must perform these actions: 1. **Install Catalyst CLI**: Catalyst CLI is installed through NPM. You must therefore have NPM and Node.js installed on your system before you install the CLI. Refer to the [**Install Catalyst CLI help page**](https://docs.catalyst.zoho.com/en/getting-started/installing-catalyst-cli) for details on the pre-requisites and the steps to install it. 2. **Login Catalyst CLI**: After you install Catalyst CLI, you must authenticate the CLI with your Catalyst account before using it. Refer to the [**CLI Login help page**](https://docs.catalyst.zoho.com/en/cli/v1/login/login-from-cli/) for the steps to log in from Catalyst CLI and the various options available for it. 2. **Any IDE tool for Java, Node.js, and client code development** : Download and install an IDE of your choice in your system. You can use any IDE to work with the function and the client code. Some popular choices include Visual Studio Code, IntelliJ IDEA, Eclipse, and Sublime Text. > If you are a Visual Studio Code IDE user, you can install the **Catalyst Tools** extension, and use your IDE itself in place of the CLI. You can find more details about the Catalyst VS Code extension from this [help section](https://docs.catalyst.zoho.com/en/catalyst-extensions/vs-code-extension/introduction/). 3. ** Twilio account and credentials** : As discussed earlier, you will need to purchase a paid Twilio account in order to integrate with Twilio's Voice API. Make sure you obtain the below credentials in prior from your Twilio account: 1. **Twilio phone number** 2. **Twilio SID** 3. **AuthToken** You can navigate to the Twilio console to obtain your account’s SID and AuthToken. These are auto-generated by Twilio upon account creation. **SID** is a unique string value provided by Twilio to identify your account's call resource and AuthToken is generated to authenticate your API requests. Make sure to get a voice capable Twilio number. Again, this can be purchased for free from the Twilio console itself. As discussed earlier, the primary purpose of this number is to route calls in your application. We will use these credentials in our code section while calling Twilio's Voice API. ![twilio-credentials](https://catalyst-docs-development.zohostratus.in/images/tutorials/dialer-app//twilio-credentials.webp) -------------------------------------------------------------------------------- title: "Create a project" description: "Build a dialer application using Catalyst Advanced I/O Functions, Data Store, and Twilio's Voice API to call customers from your sales team." last_updated: "2026-11-04T10:10:44.000Z" source: "https://docs.catalyst.zoho.com/en/tutorials/dialer-app/nodejs/create-project/" service: "All Services" related: - Project Directory (/en/cli/v1/project-directory-structure/introduction) - Setup Catalyst Projects (/en/getting-started/catalyst-projects) -------------------------------------------------------------------------------- # Create a Project Let's [create a Catalyst project](https://docs.catalyst.zoho.com/en/getting-started/catalyst-projects) from the Catalyst console. 1. Log in to the [Catalyst console](https://console.catalyst.zoho.com/baas/index) and click **Create a new Project**. ![create-project](https://catalyst-docs-development.zohostratus.in/images/tutorials/dialer-app/create-project.webp) 2. Enter the project's name as `CatalystDialerApp` in the pop-up window. ![project-name](https://catalyst-docs-development.zohostratus.in/images/tutorials/dialer-app/project-name.webp) 3. Click **Create**. Your project will be created. ![project-opened](https://catalyst-docs-development.zohostratus.in/images/tutorials/dialer-app/project-opened.webp) -------------------------------------------------------------------------------- title: "Create a table" description: "Build a dialer application using Catalyst Advanced I/O Functions, Data Store, and Twilio's Voice API to call customers from your sales team." last_updated: "2026-11-04T10:10:44.000Z" source: "https://docs.catalyst.zoho.com/en/tutorials/dialer-app/nodejs/create-table/" service: "All Services" related: - Data Store (/en/cloud-scale/help/data-store/introduction) -------------------------------------------------------------------------------- # Create a Table in the Data Store Next, let's create a table in the Data Store in the **CatalystDialerApp** project. As discussed earlier, this table is used to store to-do list items created by the user. To create a table: 1. Navigate to the **Catalyst CloudScale Data Store** component in the console. Click **Start Exploring**. ![cloudscale](https://catalyst-docs-development.zohostratus.in/images/tutorials/dialer-app/cloudscale.webp) 2. Click **Create a new Table**. ![create-table](https://catalyst-docs-development.zohostratus.in/images/tutorials/dialer-app/create-table.webp) 3. Enter the table's name as "**CallLog**", then click **Create**. ![table-name](https://catalyst-docs-development.zohostratus.in/images/tutorials/dialer-app/table-name.webp) > **Note : ** Ensure that you enter the name exactly as instructed, because the application's code contains the same name. The table is now created and displayed in the Data Store page. ### Create Columns Next, let's create a column to store the details of the call. 1. Click **New Column** in the Schema View section of the table. ![new-column](https://catalyst-docs-development.zohostratus.in/images/tutorials/dialer-app/new-column.webp) 2. Enter the column's name as "**callDuration**". Select the data type as **'int'** and click **Create**. ![column-details](https://catalyst-docs-development.zohostratus.in/images/tutorials/dialer-app/column-details.webp) You can learn about the various data types supported by Catalyst and the other properties of a column from the [Data Store help page](https://docs.catalyst.zoho.com/en/cloud-scale/help/data-store/introduction). > **Note:** Ensure that you enter the name exactly as instructed, because the application's code contains the same name. The column is now created and listed in the _Schema View_ section. You must now create five other columns in the same way. The table must contain six columns in total with the following mandatory properties :
Column Name Data Type Max Length
callStatus varchar 255
calledCountry varchar 255
timeOfCall varchar 255
fromNumber varchar 255
toNumber text
![created-columns](https://catalyst-docs-development.zohostratus.in/images/tutorials/dialer-app/catalyst-dialer-app-datastore-table-list.webp) You have now configured all the necessary components from the console. You will now be working on coding the application from your local system. -------------------------------------------------------------------------------- title: "Initialize the project" description: "Build a dialer application using Catalyst Advanced I/O Functions, Data Store, and Twilio's Voice API to call customers from your sales team." last_updated: "2026-11-04T10:10:44.000Z" source: "https://docs.catalyst.zoho.com/en/tutorials/dialer-app/nodejs/initialize-project/" service: "All Services" related: - Project Directory Structure (/en/cli/v1/project-directory-structure/introduction) - Initialize Resources (/en/cli/v1/initialize-resources/introduction) -------------------------------------------------------------------------------- # Initialize the Project from the CLI You can now begin working on your Catalyst project from the CLI. The first step is to initialize the project in an empty directory. This will be the home directory of your project and all of the project files will be saved in it. You can learn more about this from the [Project Directory Structure help page](https://docs.catalyst.zoho.com/en/cli/v1/project-directory-structure/introduction). You can learn about initializing a project in detail from the [CLI help documentation](https://docs.catalyst.zoho.com/en/cli/v1/initialize-resources/introduction/). For the Dialer application, we will initialize the client and the Advanced I/O function components. 1. Create a folder for the project on your local machine and navigate to it from the terminal. 2. Initialize a project by executing the following command from that directory: ```sh catalyst init ``` 3. The CLI will now ask you to associate a Catalyst project with the directory. Associate it with the project that we created earlier from the console. Select **CatalystDialerApp** from the list and press **Enter**. ![select-project](https://catalyst-docs-development.zohostratus.in/images/tutorials/dialer-app/select-project.webp) 4. Select **Functions** and **Client** using the space bar. Press the **Enter** key to initialize. ![initialize-catalyst2](https://catalyst-docs-development.zohostratus.in/images/tutorials/dialer-app/dialer-app-functions-client-selection.webp) 5. The CLI will initiate the function setup. Select **AdvancedIO** as the function type.![select-function](https://catalyst-docs-development.zohostratus.in/images/tutorials/dialer-app/select-function.webp) 6. Select the latest runtime version of **NodeJS** platform listed. ![select-node-version](https://catalyst-docs-development.zohostratus.in/images/tutorials/dialer-app/select-node-version.webp) 7. Enter `dialer` as the package name, `index.js` as the entry point, and your email address as the author and press **Enter**. You can alternatively press **Enter** without entering inputs to fill in the default values. The CLI will prompt the initialization of the Node dependencies. Press **Y** to confirm the installation, and press **Enter** to confirm your choice. The Node modules will be installed.![functions-setup-updated](https://catalyst-docs-development.zohostratus.in/images/tutorials/dialer-app/functions-setup-updated.webp) The CLI will prompt the initialization of the Node dependencies. Press **Y** to confirm the installation, and press **Enter** to confirm your choice. The Node modules will be installed. > **Note**: Ensure that you enter the function's package name or class name exactly as instructed, because the application's code contains the same name. 8. The CLI will now initiate the client set up next. Enter **CatalystDialerApp** as the name for the client package and press **Enter**. You can enter any name you need. ![client-setup](https://catalyst-docs-development.zohostratus.in/images/tutorials/dialer-app/client-setup.webp) Catalyst initialization is now complete. Your [project directory](https://docs.catalyst.zoho.com/en/cli/v1/project-directory-structure/introduction) (CATALYST_PROJECT_HOME), [client directory](https://docs.catalyst.zoho.com/en/cli/v1/project-directory-structure/client-directory) (CATALYST_CLIENT_HOME), [functions directory](https://docs.catalyst.zoho.com/en/cli/v1/project-directory-structure/functions-directory) (CATALYST\_FUNCTIONS\_HOME) along with the configuration files and dependencies, [catalyst.json](https://docs.catalyst.zoho.com/en/cli/v1/project-directory-structure/catalyst-json) and a hidden `.catalystrc` file will be created in a standard structure. This is the structure of the CatalystDialerApp project's directory with both the function and client directories configured. ![project-directory-structure](https://catalyst-docs-development.zohostratus.in/images/tutorials/dialer-app/project-directory-structure.webp) -------------------------------------------------------------------------------- title: "Configure the Advanced I/O function" description: "Build a dialer application using Catalyst Advanced I/O Functions, Data Store, and Twilio's Voice API to call customers from your sales team." last_updated: "2026-11-04T10:10:44.000Z" source: "https://docs.catalyst.zoho.com/en/tutorials/dialer-app/nodejs/configure-advanced-function/" service: "All Services" related: - Advanced I/O Functions (/en/serverless/help/functions/advanced-io/) - Functions Directory Structure (/en/cli/v1/project-directory-structure/functions-directory) -------------------------------------------------------------------------------- # Configure the Advanced I/O Function Let's begin coding the Dialer app by configuring the function component. The function's directory,`functions/dialer` contains: * The `index.js` main function file * The `catalyst-config.json` configuration file * Node modules * `[package.json](https://docs.npmjs.com/files/package.json)` and `[package-lock.json](https://docs.npmjs.com/configuring-npm/package-lock-json.html)` dependency files ### Install packages for Node.js You will need to install two additional packages in the functions directory of your application before proceeding further. #### **Express** To import the [Express Node.js](https://expressjs.com/) package in the code, you must install the Express dependencies in your system. The express framework is used to manage routes and also respond to HTTP requests. To install `Express.js` in your local machine, navigate to the function's home directory (`functions/dialer`) in your terminal and execute the following command: ```sh npm install express --save ``` This will install the Express module and save the dependencies. ![install-express](https://catalyst-docs-development.zohostratus.in/images/tutorials/dialer-app/install-express.webp) #### **Twilio** You will also need to install the Twilio package for this tutorial. The Twilio library allows you to make HTTP requests to the Twilio API. Execute the below command to add the Twilio dependencies. ```sh npm install twilio ``` ![install-twilio](https://catalyst-docs-development.zohostratus.in/images/tutorials/dialer-app/install-twilio.webp) This information will also be updated in the `package.json` file. ![package-json](https://catalyst-docs-development.zohostratus.in/images/tutorials/dialer-app/package-json.webp) Next, let's add the code in the function file. Copy the Node js code and paste it in `index.js` in the `functions/dialer` directory. You can use any IDE of your choice to work with the application's files. > **Note**: Please go through the code given in this section to ensure you fully understand it. We will discuss the architecture of the function and the client in the next section. **index.js** ```javascript const express = require("express"); const app = express(); var twilio = require('twilio'); const VoiceResponse = require("twilio").twiml.VoiceResponse; var catalyst = require('zcatalyst-sdk-node'); var YOUR_TWILIO_NUMBER = '+15612993019'; //Replace with your Twilio Phone Number var accountSid = "xxxxxxxxxxxxxxx"; //Replace with your Twilio Account SID var authToken = "{{7xxxxxxxxxxxxxxxxx8}}"; //Replace with your Twilio Auth Token var twilioClient = twilio(accountSid, authToken); var bodyParser = require('body-parser'); app.use(bodyParser.json()); // support json encoded bodies app.use(bodyParser.urlencoded({ extended: true })); // support encoded bodies app.post("/makeCall", async (req, res) => { try { var salesNumber = req.body.salesNumber; console.log(req.body) const catalystApp = catalyst.initialize(req); let rowData = { fromNumber: req.body.phoneNumber, toNumber: req.body.salesNumber }; console.log(rowData) const catalystTable = catalystApp.datastore().table('CallLog'); const data = await catalystTable.insertRow(rowData); var url = 'https://' + req.headers.host + '/server/dialer/outbound/' + encodeURIComponent(salesNumber); var options = { to: req.body.phoneNumber, from: YOUR_TWILIO_NUMBER, url: url, method: 'post', statusCallbackEvent: ['answered', 'completed'], statusCallback: 'https://' + req.headers.host + '/server/dialer/statusCheck?ROWID=' + data.ROWID, statusCallbackMethod: 'POST' }; twilioClient.calls.create(options).then((call) => { res.status(200).send({ message: 'Call Initiated' }); }).catch((error) => { console.log(error); res.status(500).send({ "error": error }); }); } catch (e) { console.log("Exception while making a Call ::" + e); res.status(500).send({ "error": 'Internal Server Error Occured. Please Try again after sometime.' }); } }); app.post('/outbound/:salesNumber', function (req, res) { try { var salesNumber = req.params.salesNumber; var twimlResponse = new VoiceResponse(); twimlResponse.say('Thanks for trying out the Catalyst Dialer App. Please hold on so that we can connect with your Customer... ', { voice: 'alice' }); twimlResponse.dial(salesNumber); res.status(200).send(twimlResponse.toString()); } catch (e) { console.log("Exception while making Outbound Call ::" + e); res.status(500).send({ "error": 'Internal Server Error Occured. Please Try again after sometime.' }); } }); app.post('/statusCheck', async (req, res) => { try { const catalystApp = catalyst.initialize(req); if (req.body.CallStatus === "completed") { let updatedRowData = { callDuration: req.body.CallDuration, callStatus: req.body.CallStatus, calledCountry: req.body.CalledCountry, calledState: req.body.CalledState, timeOfCall: req.body.Timestamp, ROWID: req.body.ROWID }; console.log(updatedRowData) const catalystTable = catalystApp.datastore().table('CallLog'); await catalystTable.updateRow(updatedRowData); } res.status(200).send(' StatusCheck Completed'); } catch (e) { console.log("Exception while checking status :: " + e); res.status(500).send({ "error": 'Internal Server Error Occured. Please Try again after sometime.' }); } }); app.get('/getLogs', async function (req, res) { try { const catalystApp = catalyst.initialize(req); const query = 'SELECT callDuration,callStatus,calledCountry,timeOfCall,fromNumber,toNumber FROM CallLog'; const queryResult = await catalystApp.zcql().executeZCQLQuery(query); res.status(200).send(queryResult); } catch (e) { console.log("Exception while getting Call Logs ::" + e); res.status(500).send({ "error": 'Internal Server Error Occured. Please Try again after sometime.' }); } }); module.exports = app; ``` > **Note**: Please make sure you add your Twilio accountID, associated Twilio phone number, and auth token values in lines 6, 7, and 8. The functions directory is now configured. We will discuss the function and the client code in the next section. -------------------------------------------------------------------------------- title: "Configure the client" description: "Build a dialer application using Catalyst Advanced I/O Functions, Data Store, and Twilio's Voice API to call customers from your sales team." last_updated: "2026-11-04T10:10:44.000Z" source: "https://docs.catalyst.zoho.com/en/tutorials/dialer-app/nodejs/configure-client/" service: "All Services" related: - Client Directory Structure (/en/cli/v1/project-directory-structure/introduction) - Web Client Hosting (/en/cloud-scale/help/web-client-hosting/introduction) -------------------------------------------------------------------------------- # Configure the Client Next, let's configure the client component. The [client directory](https://docs.catalyst.zoho.com/en/cli/v1/project-directory-structure/client-directory/)contains: * The `index.html` file that contains the HTML code for the front-end application. * The `main.css` file that contains the CSS code for the front-end application. * The `main.js` file that contains the JavaScript code. * The `client-package.json` configuration file. We will be coding `index.html`, `main.css`, and `main.js`. > **Note : ** Please go through the code given in this section to make sure you fully understand it. Copy the code snippets given below and paste it in `index.html`, `main.css`, and `main.js` files respectively located in `client` directory using an IDE, then save the file. **index.html** ```xml <!DOCTYPE html> <html> <head> <meta charset="utf-8" /> <meta http-equiv="X-UA-Compatible" content="IE=edge"> <title>Catalyst Dialer App</title> <meta name="viewport" content="width=device-width, initial-scale=1"> <link rel="stylesheet" type="text/css" media="screen" href="main.css" /> <script src="main.js"></script> <script type="text/javascript" src="https://code.jquery.com/jquery-3.4.1.min.js"> </script> <script type="text/javascript" src="//media.twiliocdn.com/sdk/js/client/v1.3/twilio.min.js"> </script> <meta charset="utf-8" /> <meta http-equiv="X-UA-Compatible" content="IE=edge"> <meta name="viewport" content="width=device-width, initial-scale=1"> <link rel="stylesheet" type="text/css" media="screen" href="main.css" /> <link rel="stylesheet" href="https://stackpath.bootstrapcdn.com/bootstrap/4.3.1/css/bootstrap.min.css" integrity="sha384-ggOyR0iXCbMQv3Xipma34MD+dH/1fQ784/j6cY/iJTQUOhcWr7x9JvoRxT2MZw1T" crossorigin="anonymous"> <link href="https://cdnjs.cloudflare.com/ajax/libs/twitter-bootstrap/4.5.0/css/bootstrap.min.css" rel="stylesheet"> <link href="https://cdnjs.cloudflare.com/ajax/libs/mdbootstrap/4.19.1/css/mdb.min.css" rel="stylesheet"> <script src="https://code.jquery.com/jquery-3.4.1.min.js" integrity="sha256-CSXorXvZcTkaix6Yvo6HppcZGetbYMGWSFlBw8HfCJo=" crossorigin="anonymous"></script> <script src="https://cdnjs.cloudflare.com/ajax/libs/popper.js/1.14.7/umd/popper.min.js" integrity="sha384-UO2eT0CpHqdSJQ6hJty5KVphtPhzWj9WO1clHTMGa3JDZwrnQq4sF86dIHNDz0W1" crossorigin="anonymous"> </script> <script src="https://stackpath.bootstrapcdn.com/bootstrap/4.3.1/js/bootstrap.min.js" integrity="sha384-JjSmVgyd0p3pXB1rRibZUAYoIIy6OrQ6VrjIEaFf/nJGzIxFDsf4x0xIM+B07jRM" crossorigin="anonymous"> </script> <script src="main.js"></script> <link href="//maxcdn.bootstrapcdn.com/bootstrap/4.0.0/css/bootstrap.min.css" rel="stylesheet" id="bootstrap-css"> </head> <body onload="logButton()"> <center> <h1 class="display-4">Catalyst Dialer App ☏</h1><br><br> </center> <div style="width: 200px;float: right; margin-right: 50px;"><label for="switchbutton" id="btntext" class="btn btn-primary btn-block btn-outlined"></label> <button id="switchbutton" style="display: none;"></button> </div> <center> <div id="Dialer"> <br><br><br> <br><br> <div class="form-outline"> <label for="phoneNumber">Customer Phone Number   </label> <input type="text" placeholder="(+91/Country Code)<112233445566>" name="phoneNumber" size="35" id="phoneNumber"> <br><br><br> <label for="salesNumber">Your Sales Phone Number   </label> <input type="text" placeholder="(+91/Country Code)<8899773366>" name="salesNumber" size="35" id="salesNumber"> <br> </div> <br><br> <button type="submit" id='call-customer-button' class="btn btn-success" onclick="getFormDetails();return false;">Initiate Call</button> <br><br> <h2> <p class="info" id='call-status'></p> </h2> </div> </center> <div id="CallLogs" style="display: none;"> <h1 class="display-6">Call Logs : </h1><br><br> <p id="featData"></p> <div id="loader" style="display: none;"> <div class="spinner-border" role="status"> <span class="sr-only">Loading...</span> </div> </div> </div> </body> </html> ``` **main.css** ```css body { padding: 30px; } #loader { width: 100px; height: 100px; position: absolute; top: 0; bottom: 0; left: 0; right: 0; margin: auto; } #dataTable { font-family: Arial, Helvetica, sans-serif; border-collapse: collapse; width: 100%; } #dataTable td, #dataTable th { border: 1px solid #ddd; padding: 8px; } #dataTable tr:nth-child(even) { background-color: #f2f2f2; } #dataTable tr:hover { background-color: #ddd; } #dataTable th { padding-top: 12px; padding-bottom: 12px; text-align: left; background-color: rgb(76, 175, 170); color: white; } ``` **main.js** ```javascript //To fetch phone numbers from the client,validate and make an outbound call function getFormDetails() { let data = { phoneNumber: $('#phoneNumber').val(), salesNumber: $('#salesNumber').val() }; if (!validateData(data)) { return false; } $.ajax({ url: "/server/dialer/makeCall", method: "post", dataType: 'json', data: { phoneNumber: data.phoneNumber, salesNumber: data.salesNumber } }).done(function (data) { alert("Call Initiated. You can check the details in Call Logs once the Call is completed"); console.log(data); }).fail(function (error) { alert(JSON.stringify(error)); }); } //To render the call log webpage function logButton() { document.getElementById("btntext").innerHTML = "View Call Logs"; document.getElementById('switchbutton').setAttribute('onclick', 'showCallLogs()'); } //To show the call logs tab in the application function showCallLogs() { document.getElementById("btntext").innerHTML = "View Dialer"; $("#Dialer").hide(); $("#CallLogs").show(); document.getElementById('switchbutton').setAttribute('onclick', 'showDialer()'); loadLog(); } //To show the dialer tab in the application function showDialer() { document.getElementById("btntext").innerHTML = "View Call Logs"; $("#Dialer").show(); $("#CallLogs").hide(); document.getElementById('switchbutton').setAttribute('onclick', 'showCallLogs()'); } //To validate the sales contact number and customer mobile number entered by the user function validateData(data) { var regex = "[+][0-9]+$"; if (data.phoneNumber.length === 0) { alert('Customer Phone number cannot be empty'); return false; } if (!data.phoneNumber.startsWith('+')) { alert('Customer Phone number must start with country code'); return false; } if (data.salesNumber.length === 0) { alert('Sales Phone number cannot be empty'); return false; } if (!data.salesNumber.startsWith('+')) { alert('Sales Phone number must start with country code'); return false; } if (!data.phoneNumber.match(regex)) { alert('Enter a valid customer number'); return false; } if (!data.salesNumber.match(regex)) { alert('Enter a valid sales number'); return false; } return true; } //To render the table data in the client end function renderTable(respData) { console.log("respData"); console.log(respData); debugger; var col = []; for (var i = 0; i < respData.length; i++) { for (var key in respData[i]) { if (col.indexOf(key) === -1) { col.push(key); } } } var table = document.createElement("table"); table.classList.add("ca-table-view"); table.setAttribute('id', 'dataTable'); var tr = table.insertRow(-1); for (var i = 0; i < col.length; i++) { var th = document.createElement("th"); th.innerHTML = col[i]; tr.appendChild(th); } for (var i = 0; i < respData.length; i++) { tr = table.insertRow(-1); for (var j = 0; j < col.length; j++) { var tabCell = tr.insertCell(-1); tabCell.innerHTML = respData[i][col[j]]; } } debugger; var divContainer = document.getElementById("featData"); divContainer.innerHTML = ""; divContainer.appendChild(table); } //To store the call log data in appropriate columns function getRequiredData(data) { var i; var resp = []; for (i = 0; i < data.length; i++) { var gulp = { "From Number": data[i].fromNumber, "To Number": data[i].toNumber, "Call Duration": data[i].callDuration, "Call Status": data[i].callStatus, "Time Of Call": data[i].timeOfCall, "Called Country": data[i].calledCountry } resp.push(gulp); } console.log(resp); return resp; } //To fetch call logs by calling the /getLogs route and render the log data in the client function loadLog() { $("#loader").show(); $.ajax({ url: "/server/dialer/getLogs", method: "get" }).done(function (data) { $("#loader").hide(); var arr = []; for (i = 0; i < data.length; i++) { arr.push(data[i].CallLog); } var data = getRequiredData(arr); renderTable(data); }).fail(function (error) { alert(JSON.stringify(error)); }); } ``` The client directory is now configured. Let us quickly go through the working of the Advanced I/O function of the application: 1. **`validateData()` - Both the sales team's contact number and the customers number are validated in this function.The logic is defined to check whether the entered phone numbers are not an empty string, follows the standard phone number format that contains only numerals and is prefixed by a '+' symbol. 2. `getFormdetails()` - This function gets the input phone number details of the customer and the sales person's number entered by the user. The phone numbers are validated by calling the `validateData()` function. On successful validation of both the phone numbers, an ajax call is made to the `/makeCall` route. It initiates an outbound call from the sales team's contact number to the customer's mobile number, and renders a response back to the client once the call is initiated. 3. `getRequiredData()` - This function is used to set the columns of the call logs with respect to the call data retrieved by querying the DataStore in `/getLogs` route. 4. `renderTable()` - This function gets the data from the `getRequiredData()` function and renders it back in the client to display the call logs. 5. `showDialer()`** - This function is executed on click of the **'View Dialer'** button. 6. **`showCallLogs()`** - This function is executed on click of the **'View Call Logs'** button and triggers the **`loadLog()` function. 7. `loadLog()` - This function makes an ajax call to the `/getLogs` route defined in the Advanced I/O function to fetch the call log details and render them in the client. The Advanced I/O function defines the following APIs that perform various actions: 1. `/makeCall` Obtains the sales team's contact number and customer's phone number data from the `getFormDetails()` function. Inserts the phone number details in the `CallLog()` table in the DataStore. An outbound call is initiated by calling Twilio's Voice API and also sending the TwiML instructions defined in the `/outbound` route as a part of the API request. 2. `/outbound/:salesNumber`** Defines the TwiML instructions sent to Twilio that will be executed when a call is initialized. In our Dialer application we have used the **Dial()** verb of Twilio to route a call to the sales number from Twilio's phone number. And the **Say()** verb to specify the message to be presented when the sales person is awaiting a response from the customer's end. 3. **`/statusCheck` On completion of a call, this route sends relevant call information, such as call duration, call status, called country and timestamp, to the respective columns in the CallLogs table. 4. `/getLogs`** Executes the ZCQL query to fetch the call data from the CallLogs table. The query result returns the sales team's contact number, customer mobile number, duration of the call, timestamp of the call, status of the call and the country from which the call was initiated. -------------------------------------------------------------------------------- title: "Test the application" description: "Build a dialer application using Catalyst Advanced I/O Functions, Data Store, and Twilio's Voice API to call customers from your sales team." last_updated: "2026-11-04T10:10:44.000Z" source: "https://docs.catalyst.zoho.com/en/tutorials/dialer-app/nodejs/test-application/" service: "All Services" related: - Serve CLI Resources (/en/cli/v1/serve-resources/introduction) -------------------------------------------------------------------------------- # Test the application Before you deploy the application to the remote console, you can test the application on a local server and check if everything works using the Catalyst CLI. For detailed information on `catalyst serve`, refer to the [Serve Resources help page](https://docs.catalyst.zoho.com/en/cli/v1/serve-resources/introduction). To serve the Catalyst project locally, execute the following command from your project directory (CATALYST_PROJECT_HOME): ```sh catalyst serve ``` The CatalystDialer application will now be served at default port 3000. The local endpoint URLs of the components are displayed. > **Note : ** Every time you access the home page or any of the sub-pages of your client, or the function, the CLI will display a live log of the URL accessed, along with the HTTP method that is used to access it. ![local-serve](https://catalyst-docs-development.zohostratus.in/images/tutorials/dialer-app/local-serve.webp) You can now open the client component's local URL in a browser to access the Dialer application. ![localhost-url2](https://catalyst-docs-development.zohostratus.in/images/tutorials/dialer-app//localhost-url2.webp) Once you input the customer and sales person's contact number and initiate the call, you will be notified that the call has been successfully initiated. ![call-alert](https://catalyst-docs-development.zohostratus.in/images/tutorials/dialer-app//call-alert-updated.webp) After the call is done, you can click on **View Call Logs** to see the call logs. ![call-log](https://catalyst-docs-development.zohostratus.in/images/tutorials/dialer-app//call-log.webp) You can click **View Dialer** again to go back to the dialer screen.If this setup is working correctly, we can deploy the application to production. -------------------------------------------------------------------------------- title: "Deploy the project" description: "Build a dialer application using Catalyst Advanced I/O Functions, Data Store, and Twilio's Voice API to call customers from your sales team." last_updated: "2026-11-04T10:10:44.000Z" source: "https://docs.catalyst.zoho.com/en/tutorials/dialer-app/nodejs/deploy-project/" service: "All Services" related: - Deploy CLI Resources (/en/cli/v1/deploy-resources/introduction) - Web Client Hosting (/en/cloud-scale/help/web-client-hosting/introduction) -------------------------------------------------------------------------------- # Deploy the Project To [deploy your Catalyst project](https://docs.catalyst.zoho.com/en/cli/v1/deploy-resources/introduction) from the CLI, run the following command in your terminal from your project directory: ```sh catalyst deploy ``` The function is deployed first, followed by the client component. The production URLs of the components are displayed. ![catalyst-deploy](https://catalyst-docs-development.zohostratus.in/images/tutorials/dialer-app/catalyst-deploy.webp) You can now open the client component's URL in a browser to access the deployed application. The CatalystDialer application can now be accessed from its [web app URL](https://docs.catalyst.zoho.com/en/cloud-scale/help/web-client-hosting/implementation). ![dev-url](https://catalyst-docs-development.zohostratus.in/images/tutorials/dialer-app/dev-url.webp) Dialer application is now functional and will work without any errors. ## Dialer Mobile App ### Flutter -------------------------------------------------------------------------------- title: "Introduction" description: "Build a dialer application in Flutter using Catalyst Advanced I/O Functions, Data Store, and Twilio's Voice API to call customers from your sales team." last_updated: "2026-11-04T10:10:44.000Z" source: "https://docs.catalyst.zoho.com/en/tutorials/dialer-mobile-app/flutter/introduction/" service: "All Services" related: - Project Directory Structure (/en/cli/v1/project-directory-structure/introduction/) - Android SDK (/en/sdk/android/v2/overview/) - iOS SDK (/en/sdk/ios/v2/overview/) - Flutter SDK (/en/sdk/flutter/v2/overview/) - Twilio (https://www.twilio.com/) -------------------------------------------------------------------------------- # Dialer Mobile App ### Introduction In this tutorial, we will build a simple Android and iOS Dialer application in Catalyst by integrating with [Twillio](https://www.twilio.com/en-us). The applications for both the Android and iOS platforms will be built on the [Flutter framework](https://flutter.dev/) using the [Catalyst Flutter SDK](https://docs.catalyst.zoho.com/en/sdk/flutter/v2/overview/). The Dialer application allows you to initiate an outbound audio call connection between your sales team and customers. Flutter is an open-source framework by Google built on the Dart programming language that is used to develop natively-compiled, cross-platform applications. [Catalyst Flutter SDK](https://docs.catalyst.zoho.com/en/sdk/flutter/v2/overview/) contains tools for various Catalyst services and components, for both Android and iOS environments. [Twillio](https://www.twilio.com/en-us) is a cloud communication platform that provides a rich set of REST APIs to establish meaningful and quick connections through voice, video, messaging, live-streaming, emails, and more. Twilio platform provides a variety of functionalities such as personalized customization of text-to-speech dial messages, call recordings, conference calling, call forwarding, and tracking. We will use the [Programmable Voice API](https://www.twilio.com/voice) of Twilio for setting up an outbound call between two phone numbers through a virtual phone number. > **Note**: You will need a paid Twilio account for this application, because integration with Twilio's APIs is not available in its free version. A Twilio phone number (virtual number) can be purchased from the Twilio console based on your country preference when you sign up for a Twilio account. The mobile application will appear as follows: **Android** ![android-working-app](https://catalyst-docs-development.zohostratus.in/images/tutorials/dialer-app/flutter/android-working-app.webp) **iOS** ![ios-working-app](https://catalyst-docs-development.zohostratus.in/images/tutorials/dialer-app/flutter/ios-working-app.webp) The Dialer application contains the following fundamental Catalyst components and the features they provide: 1. [**Catalyst Serverless**](https://docs.catalyst.zoho.com/en/serverless/getting-started/introduction/): - **[Advanced I/O Function](https://docs.catalyst.zoho.com/en/serverless/help/functions/advanced-io)**: The Advanced I/O function is coded in **Node.js** programming environment. It contains backend logic that integrates with Twilio's Programmable Voice API to initiate outbound calls and also keep track of the call logs. 2. [**Catalyst CloudScale**](https://docs.catalyst.zoho.com/en/cloud-scale/getting-started/introduction/): - **[Data Store](https://docs.catalyst.zoho.com/en/cloud-scale/help/data-store/introduction)**: To store information related to the calls you make, such as the phone numbers, countries from which the calls are initiated, timestamp of the calls, and call statuses. - **[ZCQL](https://docs.catalyst.zoho.com/en/cloud-scale/help/zcql/introduction)**: To query the Data Store and fetch the call logs after a call is completed, to be rendered in the web client. You will need to configure both the Android and iOS apps in Catalyst to build them with the Catalyst Flutter SDK. This includes registering the apps with Catalyst to obtain Catalyst-specific property files for both, to be included in the respective code modules. We will use the Catalyst web console and the Catalyst Command Line Interface (CLI), as well as the required mobile IDEs and simulators for both Android and iOS, to build and test this application. In this tutorial, we have provided the code for the files to be included in the Advanced I/O function, and the Flutter code for both Android and iOS apps. You will just need to copy the provided code and paste it into the appropriate files as directed. ### Application Architecture The Dialer application architecture is depicted below: 1. The application accepts user input, such as the sales team's contact number and the customer’s phone number. 2. The phone numbers entered by the user are validated. Upon successful validation, the numbers will be stored in CallLogs table of Catalyst's Data Store and a request will be sent to the Twilio's Voice API. 3. Upon calling the Twilio API, an outbound call is initiated and routed from your Twilio number to the sales team's contact number. 4. At this point, the dialer application sends TwilML instructions to the Voice API in order to dictate the actions to be presented to the user once the call is on-going. In our application, we have configured an url that returns voice instructions back to the REST API. 5. Twilio's Voice Response function has pre-configured verbs that allow you to customize the call actions according to your preference. Here, we will use the [dial()](https://www.twilio.com/docs/voice/twiml/dial) and [say()](https://www.twilio.com/docs/voice/twiml/say) verbs to dial the sales number from your account's Twilio number and present a message to the caller once the respective call is being forwarded. 6. On successful completion of the call, the call details such as call duration, call status, called country, and timestamp of the call are updated in the table. The call will be terminated when either of the parties hang up or if Twilio’s signal is busy. 7. The user can also view the call logs in the Dialer application. The logs will be fetched by querying the Data Store. ![dialer-arch-dia](https://catalyst-docs-development.zohostratus.in/images/tutorials/dialer-app/dialer-arch-dia.webp) The Dialer application serves as a quick solution to initiate outbound audio call communications to your customers. -------------------------------------------------------------------------------- title: "Prerequisites" description: "Build a dialer application in Flutter using Catalyst Advanced I/O Functions, Data Store, and Twilio's Voice API to call customers from your sales team." last_updated: "2026-11-04T10:10:44.000Z" source: "https://docs.catalyst.zoho.com/en/tutorials/dialer-mobile-app/flutter/prerequisites/" service: "All Services" related: - CLI Command Reference (/en/cli/v1/cli-command-reference/) - Install CLI (/en/getting-started/installing-catalyst-cli/) - Login CLI (/en/cli/v1/login/login-from-cli/) -------------------------------------------------------------------------------- # Prerequisites Before you begin building the application, you must have the following prerequisites installed on your system: 1. **Catalyst CLI** : Catalyst CLI contains a host of tools that enable you to initialize, develop, test, and deploy the components of your application from your local machine. We will be working with Catalyst CLI in this tutorial. You must perform these actions: 1. **Install Catalyst CLI**: Catalyst CLI is installed through NPM. You must therefore have NPM and Node.js installed on your system before you install the CLI. Refer to the [**Install Catalyst CLI help page**](https://docs.catalyst.zoho.com/en/getting-started/installing-catalyst-cli) for details on the pre-requisites and the steps to install it. 2. **Login Catalyst CLI**: After you install Catalyst CLI, you must authenticate the CLI with your Catalyst account before using it. Refer to the [**CLI Login help page**](https://docs.catalyst.zoho.com/en/cli/v1/login/login-from-cli/) for the steps to log in from Catalyst CLI and the various options available for it. 2. **Any IDE tool for Node.js code development** : Download and install an IDE of your choice in your system. You can use any IDE to work with the function and the client code. Some popular choices include Visual Studio Code, IntelliJ IDEA, Eclipse, and Sublime Text. 3. **Install Flutter** 1. **Download and Install Flutter :** Visit the official Flutter website at [flutter.dev](https://docs.flutter.dev/get-started/install) and download the Flutter SDK for your operating system. 2. **Extract the Archive :** Extract the downloaded Flutter SDK archive to a location on your computer. 3. **Set up Environment Variables :** Add the Flutter SDK's bin directory to your system's PATH environment variable. This step allows you to access Flutter's command-line tools from any directory in your terminal. 4. **Run flutter doctor :** Open your terminal and run the following command : ``` flutter doctor ``` This command verifies if there are any additional requirements or dependencies needed for Flutter development and provides instructions to install or set them up. > **Note :** Refer to [Flutter's official documentation](https://docs.flutter.dev/) for help about the framework. 4. **Android studio** Download the latest version of Android studio from their official site. Run the downloaded installer in your machine. While installing, please make sure to select the following components mandatorily : * Android SDK (latest version available) * Android Virtual Device (AVD) * Device Emulator (You can skip it if you’ll test only on physical devices) Also, make sure the IDE must meet these minimum supported environments: * Android Studio- 3.1.1 or later * OS- Android 21 (Lollipop 4.4) * Kotlin- 1.3.20 * Gradle- 3.4.0 > If you are a Visual Studio Code IDE user, you can install the **Catalyst Tools** extension, and use your IDE itself in place of the CLI. You can find more details about the Catalyst VS Code extension from this [help section](https://docs.catalyst.zoho.com/en/catalyst-extensions/vs-code-extension/introduction/). 5. **iOS Setup** * To run the Flutter application on the iOS platform, please ensure to have these minimum supported environments in place: * [CocoaPods](https://guides.cocoapods.org/) * iOS - 9 or later * Swift - 4 or later * Set up a device or an emulator in your IDE for running your app * We will be using [XCode](https://developer.apple.com/xcode/) for running the application in iOS in this tutorial. * Instal Xcode from the Mac App Store. After it is installed, launch it and agree to the license agreement, if prompted. 6. ** Twilio account and credentials** : As discussed earlier, you will need to purchase a paid Twilio account in order to integrate with Twilio's Voice API. Make sure you obtain the below credentials in prior from your Twilio account: 1. **Twilio phone number** 2. **Twilio SID** 3. **AuthToken** You can navigate to the Twilio console to obtain your account’s SID and AuthToken. These are auto-generated by Twilio upon account creation. **SID** is a unique string value provided by Twilio to identify your account's call resource and AuthToken is generated to authenticate your API requests. Make sure to get a voice capable Twilio number. Again, this can be purchased for free from the Twilio console itself. As discussed earlier, the primary purpose of this number is to route calls in your application. We will use these credentials in our code section while calling Twilio's Voice API. ![twilio-credentials](https://catalyst-docs-development.zohostratus.in/images/tutorials/dialer-app//twilio-credentials.webp) -------------------------------------------------------------------------------- title: "Create a project" description: "Build a dialer application in Flutter using Catalyst Advanced I/O Functions, Data Store, and Twilio's Voice API to call customers from your sales team." last_updated: "2026-11-04T10:10:44.000Z" source: "https://docs.catalyst.zoho.com/en/tutorials/dialer-mobile-app/flutter/create-project/" service: "All Services" related: - Project Directory (/en/cli/v1/project-directory-structure/introduction) - Setup Catalyst Projects (/en/getting-started/catalyst-projects) -------------------------------------------------------------------------------- # Create a Project Let's [create a Catalyst project](https://docs.catalyst.zoho.com/en/getting-started/catalyst-projects) from the Catalyst console. 1. Log in to the [Catalyst console](https://console.catalyst.zoho.com/baas/index) and click **Create new Project**. ![project-creation](https://catalyst-docs-development.zohostratus.in/images/tutorials/dialer-app/flutter/project-creation.webp) 2. Enter the project's name as **'DialerApp'** in the pop-up window and click **Create**. ![project-name](https://catalyst-docs-development.zohostratus.in/images/tutorials/dialer-app/flutter/project-name.webp) Your project will be created and opened. ![project-console](https://catalyst-docs-development.zohostratus.in/images/tutorials/dialer-app/flutter/project-console.webp) -------------------------------------------------------------------------------- title: "Create a table" description: "Build a dialer application in Flutter using Catalyst Advanced I/O Functions, Data Store, and Twilio's Voice API to call customers from your sales team." last_updated: "2026-11-04T10:10:44.000Z" source: "https://docs.catalyst.zoho.com/en/tutorials/dialer-mobile-app/flutter/create-table/" service: "All Services" related: - Data Store (/en/cloud-scale/help/data-store/introduction) -------------------------------------------------------------------------------- # Create a Table in the Data Store Let's now create a table in the Data Store of the **Dialer** project. As discussed earlier, this table is used to store to-do list items created by the user. To create a table: 1. Navigate to **CloudScale** in the Catalyst console and click **Start Exploring**. ![click-start-exploring](https://catalyst-docs-development.zohostratus.in/images/tutorials/dialer-app/flutter/click-start-exploring.webp) 2. Navigate to **Data Store** on the left pane and click **Create a new Table**. ![create-table](https://catalyst-docs-development.zohostratus.in/images/tutorials/dialer-app/flutter/dialer-mobile-app-cloudscale-datastore.webp) 3. Enter the table's name as "**CallLog**" and click **Create**. ![enter-table-name](https://catalyst-docs-development.zohostratus.in/images/tutorials/dialer-app/flutter/enter-table-name.webp) > **Note : ** Ensure that you enter the name exactly as instructed, because the application's code contains the same name. The table is now created and displayed in the Data Store page. ### Create Columns Next, let's create a column to store the details of the call. 1. Click **New Column** in the Schema View section of the table. ![create-new-column](https://catalyst-docs-development.zohostratus.in/images/tutorials/dialer-app/flutter/create-new-column.webp) 2. Enter the column's name as "**callDuration**". Select the data type as **'int'** and click **Create**. ![create-new-column](https://catalyst-docs-development.zohostratus.in/images/tutorials/dialer-app/create-new-column.webp) You can learn about the various data types supported by Catalyst and the other properties of a column from the [Data Store help page](https://docs.catalyst.zoho.com/en/cloud-scale/help/data-store/introduction). The column will be created and listed in the Schema View section. You must now create five other columns in the same way. The table must contain six columns in total with the following mandatory properties :
Column Name Data Type Max Length
callStatus varchar 255
calledCountry varchar 255
timeOfCall varchar 255
fromNumber varchar 255
toNumber text
> **Note:** Ensure that you enter the name exactly as instructed, because the application's code contains the same name. ![datastore-view](https://catalyst-docs-development.zohostratus.in/images/tutorials/dialer-app/flutter/datastore-view.webp) You have now configured all the necessary components from the console. You will now be working on coding the application from your local system. -------------------------------------------------------------------------------- title: "Initialize the project" description: "Build a dialer application in Flutter using Catalyst Advanced I/O Functions, Data Store, and Twilio's Voice API to call customers from your sales team." last_updated: "2026-11-04T10:10:44.000Z" source: "https://docs.catalyst.zoho.com/en/tutorials/dialer-mobile-app/flutter/initialize-project/" service: "All Services" related: - Project Directory Structure (/en/cli/v1/project-directory-structure/introduction) - Initialize Resources (/en/cli/v1/initialize-resources/introduction) -------------------------------------------------------------------------------- # Initialize the Project from the CLI You can now begin working on your Catalyst project from the CLI. The first step is to initialize the project in an empty directory. This will be the home directory of your project and all of the project files will be saved in it. You can learn more about this from the [Project Directory Structure help page](https://docs.catalyst.zoho.com/en/cli/v1/project-directory-structure/introduction). You can learn about initializing a project in detail from the [CLI help documentation](https://docs.catalyst.zoho.com/en/cli/v1/initialize-resources/introduction/). For the Dialer application, we will initialize the Advanced I/O function component using the following steps. 1. Create a folder for the project on your local machine and navigate to it from the terminal. 2. Initialize a project by executing the following command from that directory: ```sh catalyst init ``` 3. The CLI will now ask you to select the default Catalyst organization. Select the organization in which you created the project in the first step of this tutorial and press **Enter**. 4. The CLI will now ask you to associate a Catalyst project with the directory. Associate it with the project that we created earlier from the console. Select **CatalystDialerApp** from the list and press **Enter**. ![select-project](https://catalyst-docs-development.zohostratus.in/images/tutorials/dialer-app/select-project.webp) 4. Select **Functions** using the space bar. Press the **Enter** key to initialize. ![initialize-catalyst](https://catalyst-docs-development.zohostratus.in/images/tutorials/dialer-app/flutter/dialer-mobile-app-functions-initialization.webp) 5. The CLI will initiate the function setup. Select **AdvancedIO** as the function type.![select-function](https://catalyst-docs-development.zohostratus.in/images/tutorials/dialer-app/select-function.webp) 6. Select the latest runtime version of **nodeJS** platform listed. ![select-node-version](https://catalyst-docs-development.zohostratus.in/images/tutorials/dialer-app/flutter/nodejs-initialization-dialer-mobile-app.webp) 7. Enter `dialer` as the package name, `index.js` as the entry point, and your email address as the author and press **Enter**. You can alternatively press **Enter** without entering inputs to fill in the default values. The CLI will prompt the initialization of the Node dependencies. Press **Y** to confirm the installation, and press **Enter** to confirm your choice. The Node modules will be installed.![functions-setup-updated](https://catalyst-docs-development.zohostratus.in/images/tutorials/dialer-app/functions-setup-updated.webp) The CLI will prompt the initialization of the Node dependencies. Press **Y** to confirm the installation, and press **Enter** to confirm your choice. The Node modules will be installed. > **Note**: Ensure that you enter the function's package name or class name exactly as instructed, because the application's code contains the same name. Catalyst initialization is now complete. Your [project directory](https://docs.catalyst.zoho.com/en/cli/v1/project-directory-structure/introduction) (CATALYST_PROJECT_HOME), [functions directory](https://docs.catalyst.zoho.com/en/cli/v1/project-directory-structure/functions-directory) (CATALYST\_FUNCTIONS\_HOME) along with the configuration files and dependencies, [catalyst.json](https://docs.catalyst.zoho.com/en/cli/v1/project-directory-structure/catalyst-json) and a hidden `.catalystrc` file will be created in a standard structure. This is the structure of the DailerApp project's directory with the function directory configured. ![project-directory-structure](https://catalyst-docs-development.zohostratus.in/images/tutorials/dialer-app/flutter/project-directory-structure2.webp) -------------------------------------------------------------------------------- title: "Configure the Advanced I/O function" description: "Build a dialer application in Flutter using Catalyst Advanced I/O Functions, Data Store, and Twilio's Voice API to call customers from your sales team." last_updated: "2026-11-04T10:10:44.000Z" source: "https://docs.catalyst.zoho.com/en/tutorials/dialer-mobile-app/flutter/configure-advanced-function/" service: "All Services" related: - Advanced I/O Functions (/en/serverless/help/functions/advanced-io/) - Functions Directory Structure (/en/cli/v1/project-directory-structure/functions-directory) -------------------------------------------------------------------------------- # Configure the Advanced I/O Function Let's begin coding the Dialer app by configuring the function component. The function's directory,`functions/dialer` contains: * The `index.js` main function file * The `catalyst-config.json` configuration file * Node modules * `[package.json](https://docs.npmjs.com/files/package.json)` and `[package-lock.json](https://docs.npmjs.com/configuring-npm/package-lock-json.html)` dependency files ### Install packages for Node.js You will need to install two additional packages in the functions directory of your application before proceeding further. #### **Express** To import the [Express Node.js](https://expressjs.com/) package in the code, you must install the Express dependencies in your system. The express framework is used to manage routes and also respond to HTTP requests. To install `Express.js` in your local machine, navigate to the function's home directory (`functions/dialer`) in your terminal and execute the following command: ```sh npm install express --save ``` This will install the Express module and save the dependencies. ![install-express](https://catalyst-docs-development.zohostratus.in/images/tutorials/dialer-app/install-express.webp) #### **Twilio** You will also need to install the [Twilio package](https://www.npmjs.com/package/twilio) for this tutorial. The Twilio library allows you to make HTTP requests to the Twilio API. Execute the below command to add the Twilio dependencies. ```sh npm install twilio ``` ![install-twilio](https://catalyst-docs-development.zohostratus.in/images/tutorials/dialer-app/install-twilio.webp) This information will also be updated in the `package.json` file. ![package-json](https://catalyst-docs-development.zohostratus.in/images/tutorials/dialer-app/package-json.webp) Next, let's add the code in the function file. Copy the Node js code and paste it in `index.js` in the `functions/dialer` directory. You can use any IDE of your choice to work with the application's files. > **Note**: Please go through the code given in this section to ensure you fully understand it. We will discuss the architecture of the function and the client in the next section. **index.js** ```javascript const express = require("express"); const app = express(); var twilio = require('twilio'); const VoiceResponse = require("twilio").twiml.VoiceResponse; var catalyst = require('zcatalyst-sdk-node'); var YOUR_TWILIO_NUMBER = '+xxxxxxxxxx'; var accountSid = "xxxxxxxxxxxxxx"; var authToken = "7xxxxxxxxxxxxxxx8"; var twilioClient = twilio(accountSid, authToken); var bodyParser = require('body-parser'); app.use(bodyParser.json()); // support json encoded bodies app.use(bodyParser.urlencoded({ extended: true })); // support encoded bodies app.post("/makeCall", async (req, res) => { try { var salesNumber = req.body.salesNumber; console.log(req.body) const catalystApp = catalyst.initialize(req); let rowData = { fromNumber: req.body.phoneNumber, toNumber: req.body.salesNumber }; console.log(rowData) const catalystTable = catalystApp.datastore().table('CallLog'); const data = await catalystTable.insertRow(rowData); var url = 'https://' + req.headers.host + '/server/dialer/outbound/' + encodeURIComponent(salesNumber); var options = { to: req.body.phoneNumber, from: YOUR_TWILIO_NUMBER, url: url, method: 'post', statusCallbackEvent: ['answered', 'completed'], statusCallback: 'https://' + req.headers.host + '/server/dialer/statusCheck?ROWID=' + data.ROWID, statusCallbackMethod: 'POST' }; twilioClient.calls.create(options).then((call) => { res.status(200).send({ message: 'Call Initiated' }); }).catch((error) => { console.log(error); res.status(500).send({ "error": error }); }); } catch (e) { console.log("Exception while making a Call ::" + e); res.status(500).send({ "error": 'Internal Server Error Occured. Please Try again after sometime.' }); } }); app.post('/outbound/:salesNumber', function (req, res) { try { var salesNumber = req.params.salesNumber; var twimlResponse = new VoiceResponse(); twimlResponse.say('Thanks for trying out the Catalyst Dialer App. Please hold on so that we can connect with your Customer... ', { voice: 'alice' }); twimlResponse.dial(salesNumber); res.status(200).send(twimlResponse.toString()); } catch (e) { console.log("Exception while making Outbound Call ::" + e); res.status(500).send({ "error": 'Internal Server Error Occured. Please Try again after sometime.' }); } }); app.post('/statusCheck', async (req, res) => { try { const catalystApp = catalyst.initialize(req); if (req.body.CallStatus === "completed") { let updatedRowData = { callDuration: req.body.CallDuration, callStatus: req.body.CallStatus, calledCountry: req.body.CalledCountry, calledState: req.body.CalledState, timeOfCall: req.body.Timestamp, ROWID: req.body.ROWID }; console.log(updatedRowData) const catalystTable = catalystApp.datastore().table('CallLog'); await catalystTable.updateRow(updatedRowData); } res.status(200).send(' StatusCheck Completed'); } catch (e) { console.log("Exception while checking status :: " + e); res.status(500).send({ "error": 'Internal Server Error Occured. Please Try again after sometime.' }); } }); app.get('/getLogs', async function (req, res) { try { const catalystApp = catalyst.initialize(req); const query = 'SELECT callDuration,callStatus,calledCountry,timeOfCall,fromNumber,toNumber FROM CallLog'; const queryResult = await catalystApp.zcql().executeZCQLQuery(query); res.status(200).send(queryResult); } catch (e) { console.log("Exception while getting Call Logs ::" + e); res.status(500).send({ "error": 'Internal Server Error Occured. Please Try again after sometime.' }); } }); module.exports = app; ``` > **Note**:Please make sure you add your Twilio accountID, associated Twilio phone number ,and auth token values in lines 6, 7, and 8. The functions directory is now configured. -------------------------------------------------------------------------------- title: "Register the application" description: "Build a dialer application in Flutter using Catalyst Advanced I/O Functions, Data Store, and Twilio's Voice API to call customers from your sales team." last_updated: "2026-11-04T10:10:44.000Z" source: "https://docs.catalyst.zoho.com/en/tutorials/dialer-mobile-app/flutter/register-app/" service: "All Services" related: - Android SDK Setup (/en/sdk/android/v2/setup/) - iOS SDK Setup (/en/sdk/ios/v2/setup/) -------------------------------------------------------------------------------- # Register the application Now, we will register the Android and iOS applications in Catalyst and fetch the configuration files. To build your Flutter app with Android or iOS as your development targets with the Flutter SDK, you will need to register your apps and fetch the property files generated by Catalyst and include them in both Android and iOS app directories. Please follow the steps below to register the mobile applications in Catalyst. To register an Android application in Catalyst: 1. Open your project in the Catalyst console and click on the **Settings** icon in the top right corner of the screen. ![open-settings](https://catalyst-docs-development.zohostratus.in/images/tutorials/dialer-app/flutter/open-settings.webp) 2. Navigate to **Project Settings → Developer Tools**. Click the **Android** tile. ![dev-tools](https://catalyst-docs-development.zohostratus.in/images/tutorials/dialer-app/flutter/dev-tools.webp) 3. Provide the package name as **com.example.dialer** and the redirect URL as dialerapp and then click **Create**. ![create-package](https://catalyst-docs-development.zohostratus.in/images/tutorials/dialer-app/flutter/create-package.webp) 4. Click **Download**. The configuration file gets downloaded to your local. ![click-download](https://catalyst-docs-development.zohostratus.in/images/tutorials/dialer-app/flutter/click-download.webp) > **Note:** You can refer to [this help documentation](https://docs.catalyst.zoho.com/en/sdk/flutter/v2/setup-for-android/) to learn more about the Android setup for Flutter SDK in detail. Similarly, to register an iOS application in Catalyst, follow the same steps as mentioned above by clicking the iOS tile. Provide the package name as **"com.example.catalyst.dialer"**, redirect url as **"dialerapp"** and download the iOS configuration file. > **Note:** You can refer to [this help documentation](https://docs.catalyst.zoho.com/en/sdk/flutter/v2/setup-for-ios/) to learn more about the iOS setup. -------------------------------------------------------------------------------- title: "Deploy the function" description: "Build a dialer application in Flutter using Catalyst Advanced I/O Functions, Data Store, and Twilio's Voice API to call customers from your sales team." last_updated: "2026-11-04T10:10:44.000Z" source: "https://docs.catalyst.zoho.com/en/tutorials/dialer-mobile-app/flutter/deploy-function/" service: "All Services" related: - Deploy CLI Resources (/en/cli/v1/deploy-resources/introduction) - Web Client Hosting (/en/cloud-scale/help/web-client-hosting/introduction) -------------------------------------------------------------------------------- # Deploy the Function We will now deploy the function from your local terminal to the Catalyst console. This will generate an endpoint URL for the function that can be incorporated in the mobile app's code. To [deploy the function](https://docs.catalyst.zoho.com/en/cli/v1/deploy-resources/deploy-functions/) component of your Catalyst project from the CLI, run the following command in your terminal from your project directory (CATALYST_PROJECT_HOME). ```sh catalyst deploy ``` The endpoint URL of the function component will be displayed. ![catalyst-deploy](https://catalyst-docs-development.zohostratus.in/images/tutorials/dialer-app/flutter/catalyst-deploy.webp) We will include this URL in the Android and iOS code in the next step. -------------------------------------------------------------------------------- title: "Configure the Flutter client" description: "Build a dialer application in Flutter using Catalyst Advanced I/O Functions, Data Store, and Twilio's Voice API to call customers from your sales team." last_updated: "2026-11-04T10:10:44.000Z" source: "https://docs.catalyst.zoho.com/en/tutorials/dialer-mobile-app/flutter/configure-client/" service: "All Services" related: - Client Directory Structure (/en/cli/v1/project-directory-structure/introduction) -------------------------------------------------------------------------------- # Configure Flutter Client We will be providing the entire Flutter code for your Dialer application. You can download the Flutter code from [here](https://learn.zoho.com/scroll/downloadFile.do?soid=671864332&fileId=5569550000021783853&articleId=5569550000012907037). The code directory will look like this : ![code-bundle](https://catalyst-docs-development.zohostratus.in/images/tutorials/dialer-app/flutter/code-bundle.webp) > **Note:** This code zip contains the source code required for both Android and iOS applications. In the code provided, we have already imported the Flutter SDK in the `lib/main.dart` file. You can check the detailed steps to import the SDK in this help page. After importing the SDK, we have initialized the SDK in the main()function using the `ZCatalystApp.init()` method. To know the steps to initialize the SDK, you can refer to this help page. > **Note:** Since the provided code includes the `build.gradle` file, you won’t need to rebuild the application manually. Now we will proceed to configure and run the application in Android Studio and Xcode. To configure the project in Android Studio please make sure to follow the below listed steps : 1. Click **File → Open** and open the downloaded code folder. ![file-open](https://catalyst-docs-development.zohostratus.in/images/tutorials/dialer-app/flutter/file-open.webp) 2. Navigate to **View → Tool Windows → Terminal**. Run the following command in the terminal to install the dependencies needed for the Flutter application. ```sh flutter pub get ``` ![pub-get](https://catalyst-docs-development.zohostratus.in/images/tutorials/dialer-app/flutter/pub-get.webp) 3. Navigate to the assets directory(**/assets**) of your Android app module and add the android configuration file you downloaded from the Catalyst console in [this step](https://docs.catalyst.zoho.com/en/tutorials/dialer-mobile-app/flutter/register-app). ![add-config](https://catalyst-docs-development.zohostratus.in/images/tutorials/dialer-app/flutter/add-config.webp) Next, we will need to configure the Catalyst function URLs for both `/makeCall` and `/getLogs` routes in the `catalyst_paramters.env` file in Android Studio. To fetch the Catalyst function url, navigate to **Serverless → Functions** and click the **dialer function**. ![function-page](https://catalyst-docs-development.zohostratus.in/images/tutorials/dialer-app/flutter/function-page.webp) Copy the invocation url as shown in the screenshot below and paste it in the `catalyst_paramters.env` file. ![invocation-url](https://catalyst-docs-development.zohostratus.in/images/tutorials/dialer-app/flutter/invocation-url.webp) For example: **CALL_INITIATION_URL** = https://catalystdialerapp-781316834.development.catalystserverless.com/server/dialer/makeCall **CALL_LOGS_URL** = https://catalystdialerapp-781316834.development.catalystserverless.com/server/dialer/getLogs To configure the iOS project in Xcode please make sure to follow the below listed steps : 1. Click **File → Open** and open the iOS folder and all other files from the code zip extracted earlier, except android folder. ![open-xcode](https://catalyst-docs-development.zohostratus.in/images/tutorials/dialer-app/flutter/open-xcode.webp) 2. Right click on **Runner**. Select **Add Files to Runner** and now add the iOS configuration file downloaded in [this step](https://docs.catalyst.zoho.com/en/tutorials/dialer-mobile-app/flutter/register-app). ![add-ios-config](https://catalyst-docs-development.zohostratus.in/images/tutorials/dialer-app/flutter/add-ios-config.webp) -------------------------------------------------------------------------------- title: "Test the application" description: "Build a dialer application in Flutter using Catalyst Advanced I/O Functions, Data Store, and Twilio's Voice API to call customers from your sales team." last_updated: "2026-11-04T10:10:44.000Z" source: "https://docs.catalyst.zoho.com/en/tutorials/dialer-mobile-app/flutter/test-application/" service: "All Services" related: - Serve CLI Resources (/en/cli/v1/serve-resources/introduction) -------------------------------------------------------------------------------- # Test the application Now we are done configuring both the Android and iOS project. We will begin to test the Flutter application. **Android :** 1. Open Android Studio and select a compatible emulator device that you have set up, then click **Run**. ![open-android](https://catalyst-docs-development.zohostratus.in/images/tutorials/dialer-app/flutter/open-android.webp) After the emulator device is powered on, open the Catalyst Dialer application from the installed apps. You will see the following screen: ![android-screen](https://catalyst-docs-development.zohostratus.in/images/tutorials/dialer-app/flutter/android-screen.webp) Enter the sales and customer number along with the country code in the Dial section, and click **Initiate call**. The call will be initiated, and on successful connection, a call log will be registered. You can access the logs by clicking the **Call Logs** button in the app from the bottom. ![android-logs](https://catalyst-docs-development.zohostratus.in/images/tutorials/dialer-app/flutter/android-logs.webp) **iOS**: To run the iOS application in the simulator, open XCode and click the **Run** button from the top. ![run-ios](https://catalyst-docs-development.zohostratus.in/images/tutorials/dialer-app/flutter/run-ios.webp) ![ios-screen](https://catalyst-docs-development.zohostratus.in/images/tutorials/dialer-app/flutter/ios-screen.webp) Enter the sales and customer numbers along with the country code and initiate the call. ![call-initiate](https://catalyst-docs-development.zohostratus.in/images/tutorials/dialer-app/flutter/call-initiate.webp) Similar to the Android application, the call logs can be viewed by clicking on **Call Logs**. ![ios-logs](https://catalyst-docs-development.zohostratus.in/images/tutorials/dialer-app/flutter/ios-logs.webp) Once your app runs successfully on the emulator or device, you can proceed to generate an installable file for distribution: * **For Android**: Generate an APK (Android Package) file. * **For iOS**: Generate an IPA (iOS App Store Package) file. **Steps to generate the build:** **For Android (APK):** 1. In Android Studio, go to **Build > Build Bundle(s) / APK(s) > Build APK(s)**. 2. Once the build is complete, click **Locate** to find the generated APK file. 3. You can then install this APK directly onto any Android device. **For iOS (IPA):** 1. Open the project in Xcode. 2. Select **Generic iOS Device** or a connected real device as the build target. 3. Go to **Product > Archive**. 4. After the archive is ready, use Organizer to export the build as an IPA file. 5. You can then install the IPA using tools like TestFlight, Apple Configurator, or through manual device provisioning. ## Document Processor ### NodeJS -------------------------------------------------------------------------------- title: "Introduction" description: "Create a React web app that detects and extracts data from input documents, and processes it using OCR, Barcode Scanner, and Identity Scanner of Zia Services." last_updated: "2026-11-03T07:48:52.000Z" source: "https://docs.catalyst.zoho.com/en/tutorials/document-processor/nodejs/introduction/" service: "All Services" related: - Advanced I/O Function (/en/serverless/help/functions/advanced-io/) - Catalyst Extensions (/en/catalyst-extensions/vs-code-extension/introduction/) -------------------------------------------------------------------------------- # Document Processor ### Introduction This tutorial will help you build a Document Processor React application in Catalyst that implements AI/ML capabilities to detect, process, and extract specific data from scanned documents and images. The Document Processor application built in this tutorial will be able to do the following: 1. Recognize handwritten or printed text in scanned digital documents or images, and convert them to a machine-readable format (a JSON response). 2. Scan printed barcodes (1D and 2D formats), and extract the encoded information in them. 3. Scan and process digital ID proof such as PAN, AADHAAR, and other documents including passbooks and cheques, and extract the field records from those documents. Also note that PAN and AADHAAR are identity proof documents specific to the India region. > **Note :** PAN and AADHAAR are identity proof documents specific to the India region. The client application will appear as follows: ![local-hosted](https://catalyst-docs-development.zohostratus.in/images/tutorials/document-processor/nodejs/local-hosted.webp) You can access a working application and test its functionality here: [Try the App!](https://ziaservices.catalystserverlessapp.com) The Document Processor application leverages the following Catalyst services and their components: 1. **[Catalyst Serverless](https://docs.catalyst.zoho.com/en/serverless/getting-started/introduction/)** - **[Functions](https://docs.catalyst.zoho.com/en/serverless/help/functions/introduction/)**: We will be coding an [Advanced I/O function](https://docs.catalyst.zoho.com/en/serverless/help/functions/advanced-io/) in **Node.js**. It contains the logic that enables you to process and extract data from the input documents or images. We have leveraged the [Catalyst Zia Services Node.js SDK](https://docs.catalyst.zoho.com/en/sdk/nodejs/v2/zia-services/ocr/) package for this purpose. 2. **[Catalyst CloudScale](https://docs.catalyst.zoho.com/en/cloud-scale/getting-started/introduction/)** - **[Web Client Hosting](https://docs.catalyst.zoho.com/en/cloud-scale/help/web-client-hosting/introduction/)** : We will be creating and initializing the web client as a [React application](https://docs.catalyst.zoho.com/en/cli/v1/initialize-resources/initialize-client/#react-applications) in this tutorial using in-built Catalyst plugins. The client application will be hosted in Catalyst using Web Client Hosting. 3. **[Catalyst Zia Services](https://docs.catalyst.zoho.com/en/zia-services/getting-started/introduction/)** - **[OCR](https://docs.catalyst.zoho.com/en/zia-services/help/optical-character-recognition/introduction/)** : This component helps you detect and recognize textual characters in your input digital documents or images, and convert them to machine-encoded text. Catalyst OCR can recognize texts in [10 major languages](https://docs.catalyst.zoho.com/en/zia-services/help/optical-character-recognition/key-concepts/#supported-languages). - **[Barcode Scanner](https://docs.catalyst.zoho.com/en/zia-services/help/barcode-scanner/introduction/)** : This component allows you to scan barcodes and extract the encoded information in them. You can learn more about the supported barcode formats from [this page](https://docs.catalyst.zoho.com/en/zia-services/help/barcode-scanner/key-concepts/#encoding-data-in-a-barcode). - **[Identity Scanner](https://docs.catalyst.zoho.com/en/zia-services/help/identity-scanner/introduction/)** : The Identity Scanner component enables you to scan and extract data from common ID proof documents such as AADHAAR cards, PAN cards, bank passbooks, and cheques. Refer to [this page](https://docs.catalyst.zoho.com/en/zia-services/help/identity-scanner/key-concepts/#model-types) to learn more about the supported languages, file formats, and file sizes. We will use the [Catalyst web console](https://console.catalyst.zoho.com/) and the [Catalyst Command Line Interface (CLI)](https://docs.catalyst.zoho.com/en/cli/v1/cli-command-reference/) to build this application. You can fetch the tutorial's code from this git repo. You will have to replace the files in the project directory as directed in the [function](https://docs.catalyst.zoho.com/en/tutorials/document-processor/nodejs/configure-advancedio) and [client configuration](https://docs.catalyst.zoho.com/en/tutorials/document-processor/nodejs/configure-client) sections of this tutorial. -------------------------------------------------------------------------------- title: "Prerequisites" description: "Create a Catalyst web application that detects, processes and extracts data from input digital documents using the components of Catalyst Zia Services." last_updated: "2025-09-29T11:02:42.000Z" source: "https://docs.catalyst.zoho.com/en/tutorials/document-processor/nodejs/prerequisites/" service: "All Services" related: - CLI Command Reference (/en/cli/v1/cli-command-reference/) - Install CLI (/en/getting-started/installing-catalyst-cli/) - Login CLI (/en/cli/v1/login/login-from-cli/) -------------------------------------------------------------------------------- # Prerequisites Before you begin building the application, you must have the following prerequisites installed on your system: 1. **Catalyst CLI**: Catalyst CLI contains a host of tools that enable you to initialize, develop, test, and deploy the components of your application from your local machine. We will be working with Catalyst CLI in this tutorial. You must perform these actions: 1. **Install Catalyst CLI**: Catalyst CLI is installed through NPM. You must therefore have NPM and Node.js installed on your system before you install the CLI. Refer to the [**Install Catalyst CLI help page**](https://docs.catalyst.zoho.com/en/getting-started/installing-catalyst-cli/) for details on the pre-requisites and the steps to install it. 2. **Login Catalyst CLI**: After you install Catalyst CLI, you must authenticate the CLI with your Catalyst account before using it. Refer to the [**CLI Login help page**](https://docs.catalyst.zoho.com/en/cli/v1/login/login-from-cli/) for the steps to log in from Catalyst CLI and the various options available for it. 2. **Any IDE tool for client code development**: You can use any IDE to work with the client code. Some popular choices include Visual Studio Code, IntelliJ IDEA, and Sublime Text. Download and install an IDE of your choice on your system. > If you are a Visual Studio Code IDE user, you can install the **Catalyst Tools** extension, and use your IDE itself in place of the CLI. You can find more details about the Catalyst VS Code extension from this [help section](https://docs.catalyst.zoho.com/en/catalyst-extensions/vs-code-extension/introduction/). -------------------------------------------------------------------------------- title: "Create a project" description: "Create a React web app that detects and extracts data from input documents, and processes it using OCR, Barcode Scanner, and Identity Scanner of Zia Services." last_updated: "2026-09-08T11:07:33.000Z" source: "https://docs.catalyst.zoho.com/en/tutorials/document-processor/nodejs/create-a-project/" service: "All Services" related: - JavaScript SDK (/en/sdk/javascript/v1/zia-services/ocr/) - Catalyst Project Creation (/en/getting-started/catalyst-projects/#create-a-catalyst-project) -------------------------------------------------------------------------------- # Create a project Let's first [create a Catalyst project](https://docs.catalyst.zoho.com/en/getting-started/catalyst-projects/#create-a-catalyst-project) from the [Catalyst console](https://console.catalyst.zoho.com/baas/index). 1. Log in to the [Catalyst console](https://console.catalyst.zoho.com/baas/index) and click **Create new Project**. ![create-project](https://catalyst-docs-development.zohostratus.in/images/tutorials/document-processor/nodejs/create-project-updated.webp) 2. Enter the project's name as **"ZiaServices"** in the pop-up window that appears. ![project-popup](https://catalyst-docs-development.zohostratus.in/images/tutorials/document-processor/nodejs/project-popup.webp) 3. Click **Create**. Your project will be created and opened. ![zia-page](https://catalyst-docs-development.zohostratus.in/images/tutorials/document-processor/nodejs/zia-page.webp) We will be implementing the components of [Zia Services](https://docs.catalyst.zoho.com/en/zia-services/) in this tutorial using the [Catalyst Zia Services SDK package](https://docs.catalyst.zoho.com/en/sdk/nodejs/v2/zia-services/ocr/). -------------------------------------------------------------------------------- title: "Initialize the project" description: "Create a Catalyst web application that detects, processes and extracts data from input digital documents using the components of Catalyst Zia Services." last_updated: "2026-08-17T12:16:04.000Z" source: "https://docs.catalyst.zoho.com/en/tutorials/document-processor/nodejs/initialize-project/" service: "All Services" related: - Initialize Resources (/en/cli/v1/initialize-resources/introduction) - Project Directory Structure (/en/cli/v1/project-directory-structure/introduction/) -------------------------------------------------------------------------------- # Initialize the Project from the CLI You can now begin working on your Catalyst project from the CLI. The first step is to initialize the project in an empty directory. This will be the home directory of your project, in which all of your project files will be saved. You can learn more about this from the [Project Directory Structure](https://docs.catalyst.zoho.com/en/cli/v1/project-directory-structure/introduction/) help page. You can learn about initializing a project in detail from the [CLI help documentation](https://docs.catalyst.zoho.com/en/cli/v1/initialize-resources/introduction/). For the Document Processor application, we will initialize the client and the Advanced I/O function components. In this tutorial, we will code the Advanced I/O function in the **Node.js** platform. Please follow the steps listed to initialize the project and create the function and client components required for the application: 1. Create a folder for the project on your local machine and navigate to it from the CLI terminal. 2. To initialize the project, execute the following command: ```sh catalyst init ``` 3. The CLI will now ask you to select the [default Catalyst organization](https://docs.catalyst.zoho.com/en/getting-started/catalyst-organizations/#the-default-organization). Select the organization in which you created the project in the first step of this tutorial, then press **Enter**. ![select-portal](https://catalyst-docs-development.zohostratus.in/images/tutorials/document-processor/nodejs/select-portal.webp) > **Note :** To find out the organization in which your project is present in, please access the [multi-org portal](https://docs.catalyst.zoho.com/en/getting-started/catalyst-organizations/#access-the-multi-org-portal) from your Catalyst console. 4. You can associate the current project directory with the Catalyst project you created in this organization. Select **Ecommerce** and press **Enter**. ![select-project](https://catalyst-docs-development.zohostratus.in/images/tutorials/document-processor/nodejs/select-project.webp) 5. Select **Functions** and **Client** by pressing **space**, then press **Enter** to confirm your choice and initialize your project. ![choose-resources](https://catalyst-docs-development.zohostratus.in/images/tutorials/document-processor/nodejs/choose-resources.webp) 6. The CLI will initiate the function setup. Select **AdvancedIO** as the function type. ![select-function](https://catalyst-docs-development.zohostratus.in/images/tutorials/document-processor/nodejs/select-function.webp) 7. Select the latest runtime of **Node.js** as the function stack. ![select-stack](https://catalyst-docs-development.zohostratus.in/images/tutorials/document-processor/nodejs/select-stack.webp) 8. Provide the package name as `"zia_services_function"` for your Node function when prompted and press **Enter**. You must also define the entry point as `index.js` and provide the author details in this step. You can alternatively press **Enter** without entering inputs to fill in the default values. The CLI will prompt the initialization of the Node dependencies. Press **Y** to confirm the installation, and press **Enter** to confirm your choice. The Node modules will be installed. > **Note :** Ensure that you enter the function's package name exactly as instructed, because the application's code contains the same name. ![functions-setup](https://catalyst-docs-development.zohostratus.in/images/tutorials/document-processor/nodejs/functions-setup.webp) 9. The CLI will now initiate the client set up. Select **React web app** and choose **JavaScript** from the option and press **Enter** to initialize your client as a [React web app](https://docs.catalyst.zoho.com/en/cli/v1/initialize-resources/initialize-client/#react-applications). ![react-app](https://catalyst-docs-development.zohostratus.in/images/tutorials/document-processor/nodejs/react-app.webp) 10. Enter **"app"** as the name of your client package and press **Enter**. You can also provide any name of your choice. ![choose-js](https://catalyst-docs-development.zohostratus.in/images/tutorials/document-processor/nodejs/client-initialization-setup-complete.webp) Catalyst initialization is now complete. The [project directory](https://docs.catalyst.zoho.com/en/cli/v1/project-directory-structure/introduction/) is now set up with the client directory and the functions directory along with configuration files and dependencies. The project directory also contains the `[catalyst.json](https://docs.catalyst.zoho.com/en/cli/v1/project-directory-structure/catalyst-json/)` configuration file and a hidden `.catalystrc` file. The structure of your project directory should appear as shown below: ![project-dir](https://catalyst-docs-development.zohostratus.in/images/tutorials/document-processor/nodejs/project-dir.webp) -------------------------------------------------------------------------------- title: "Configure the Advanced I/O function" description: "Create a React web app that detects and extracts data from input documents, and processes it using OCR, Barcode Scanner, and Identity Scanner of Zia Services." last_updated: "2026-08-17T12:16:04.000Z" source: "https://docs.catalyst.zoho.com/en/tutorials/document-processor/nodejs/configure-advancedio/" service: "All Services" related: - Functions Directory Structure (/en/cli/v1/project-directory-structure/functions-directory) - Advanced I/O Function (/en/serverless/help/functions/advanced-io/) -------------------------------------------------------------------------------- # Configure the Advanced I/O Function Next, we will begin coding the Document Processor application by configuring the functions component. The [functions directory](https://docs.catalyst.zoho.com/en/cli/v1/project-directory-structure/functions-directory) you initialized, `functions/zia_services_function`, contains: * The `index.js` main function file * The `catalyst-config.json` configuration file * node_modules * `[package.json](https://docs.npmjs.com/files/package.json)` and `[package-lock.json](https://docs.npmjs.com/configuring-npm/package-lock-json.html)` dependency files In addition to this directory, we will need to add a few sub-directories and files in the `functions/zia_services_function` directory. We have the tutorial's code in [this git repository](https://github.com/catalystbyzoho/tutorial-catalyst-zia-services). Download it as a ZIP file and extract its contents. Replace the `index.js` file in your project's `functions/zia_services_function` directory with the one in the extracted zip. The `functions/zia_services_function` directory from the downloaded ZIP will contain the sub-directories and files mentioned below, in addition to the default function files and dependencies. * `constants.js` file * `services` directory * `pojos` directory * `handlers` directory * `errors` directory Extract these files and add them to your project's function's directory. You can use any IDE of your choice to work with the application’s files. > **Note :** Please go through the code in this section to make sure you fully understand it. ### Install Express and Multer Frameworks for Node.js The Node.js function requires two frameworks to be installed for this application. You must install these frameworks to import their packages in your code. #### express This framework is used to enable communication between the client and server end via HTTP requests. To install `Express.js`, navigate to the Node function’s directory (`functions/zia_services_function`) in your terminal and execute the following command: ```sh npm install express ``` ![install-npm](https://catalyst-docs-development.zohostratus.in/images/tutorials/document-processor/nodejs/install-npm.webp) This will install the Express module and save the dependencies. #### multer Multer is middleware used to handle file upload operations from the client end. To install `multer.js`, navigate to the Node function’s directory (`functions/zia_services_function`) in your terminal and execute the following command: ```sh npm i multer ``` This will install the Multer module and save the dependencies. ![install-multer](https://catalyst-docs-development.zohostratus.in/images/tutorials/document-processor/nodejs/install-multer.webp) This information will also be updated in the `package.json` file. ![json-details](https://catalyst-docs-development.zohostratus.in/images/tutorials/document-processor/nodejs/json-details.webp) The function directory is now configured. We can now proceed to configuring the client directory. -------------------------------------------------------------------------------- title: "Configure the client" description: "Create a React web app that detects and extracts data from input documents, and processes it using OCR, Barcode Scanner, and Identity Scanner of Zia Services." last_updated: "2026-08-17T12:16:04.000Z" source: "https://docs.catalyst.zoho.com/en/tutorials/document-processor/nodejs/configure-client/" service: "All Services" related: - Client Directory Structure (/en/cli/v1/project-directory-structure/client-directory) - Install Tailwind CSS (https://tailwindcss.com/docs/guides/create-react-app) -------------------------------------------------------------------------------- # Configure the Client Next, let's configure the client component. The [client directory](https://docs.catalyst.zoho.com/en/cli/v1/project-directory-structure/client-directory/) (`/app`) you initialized will contain: * Application source files in the `/src` directory * Public files in the `/public` directory * Node modules * The `client-package.json` configuration file * `[package.json](https://docs.npmjs.com/files/package.json)` and `[package-lock.json](https://docs.npmjs.com/configuring-npm/package-lock-json.html)` dependency files You can fetch the entire client directory with configured code [this git repo](https://github.com/catalystbyzoho/tutorial-catalyst-zia-services) that you downloaded earlier. Replace the `src` folder in this directory with the one in the extracted zip using an IDE and save the files. > **Note:** Please go through the code in each file to make sure you fully understand it. ### Install React packages We will be installing the following additional React modules for the Document Processor application: * **`react-hot-toast`**: This library is used to display toast messages as status notifications in the client application. * **`react-router-dom`**: This package is used for routing purposes to load the content in the client application dynamically based on the URL. * **`axios`**: This client library is used to make HTTP requests from the client end to communicate with the APIs in the server side. * **`classnames`**: This attribute is used to set or return the value of an element's class attribute in React. To install these react packages, navigate to the project's client directory (`/app`) in your terminal and execute the following command: ```sh npm i react-hot-toast react-router-dom axios classnames ``` ![react-install](https://catalyst-docs-development.zohostratus.in/images/tutorials/document-processor/nodejs/react-install.webp) This will install the modules and save all their dependencies. The following information will also be updated in the `package.json` file. ![package-details](https://catalyst-docs-development.zohostratus.in/images/tutorials/document-processor/nodejs/package-details.webp) #### Install Tailwind CSS We have use the [Tailwind framework](https://tailwindcss.com/) to implement the pre-built CSS classes that scan all your html files and JS components, and generates a static CSS file for your project. Navigate to the project's client directory (`/app`) in your terminal and to install and initialize this framework, you will need to execute these two commands in your terminal: 1. To install Tailwind CSS: ```sh npm install -D tailwindcss@3 ``` ![tailwind](https://catalyst-docs-development.zohostratus.in/images/tutorials/document-processor/nodejs/tailwind.webp) 2. To initialize the `tailwind.config.js` file in your project: ```sh npx tailwindcss init ``` ![tailwind-init](https://catalyst-docs-development.zohostratus.in/images/tutorials/document-processor/nodejs/tailwind-init.webp) This will create the `tailwind.config.js` file in your client directory. Open the file, paste the code below , and save the file. You can learn more about tailwind installation from [this page](https://tailwindcss.com/docs/guides/create-react-app). ```javascript /** @type {import('tailwindcss').Config} */ module.exports = { content: [ "./src/**/*.{js,jsx,ts,tsx}", ], theme: { extend: {}, }, plugins: [], } ``` The client directory is now configured. Let us quickly go through the working of the function and client components of the application: The user enters an input image or a digital document to be processed in the client application. The `/:model` API in the `index.js` file is triggered and it defines which model to invoke. Based on the type of the input document, the corresponding logic of the model (`pan`, `cheque`, `ocr`, `barcode` or `passbook`) will get executed. All the listed below models (except barcode) use the [zia.extractOpticalCharacters()](https://docs.catalyst.zoho.com/en/sdk/nodejs/v2/zia-services/ocr/) method in the [Catalyst Zia Services Node.js SDK package](https://docs.catalyst.zoho.com/en/sdk/nodejs/v2/zia-services/ocr/) to extract the data from the input document or image and provides the response in the JSON format. * **`/pan`**: For this document, the `modelType` is configured as `PAN`. The user provides a scanned copy of the PAN card as the input and response includes the card holder's first name, last name, data of birth and the PAN card number. * **`/ocr`**: The `modelType` is configured as `OCR` for general OCR processing. The extracted text from the input document and a confidence score will be sent as a response. The confidence score is a percentage value depicting the accuracy of the text recognition and prediction in the given input document. * **`/cheque`**: For this document, the `modelType` is configured as `CHEQUE`.The user provides a cheque leaflet(only in the CTS-2010 format) and response includes the cheque number, bank details such as the bank name, branch, IFSC code, account number, amount and the date of issuance. * **`/barcode`**: The user provides either 1D or 2D barcodes as input and returns the encoded information it as response. We have used the `[zia.scanBarcode()](https://docs.catalyst.zoho.com/en/sdk/nodejs/v2/zia-services/barcode-scanner/)` method in the [Catalyst Zia Services Node.js SDK](https://docs.catalyst.zoho.com/en/sdk/nodejs/v2/zia-services/ocr/) to perform this operation. To learn more about the supported barcode formats, please refer to [this page](https://docs.catalyst.zoho.com/en/zia-services/help/barcode-scanner/introduction/). * **`/passbook`**: The user provides a passbook document as an input and the response includes information such as the account number, bank name, its branch and address. 6. The `/aadhaar` API in the `index.js` file is triggered when the user choose to process an aadhaar card in the client application. The user needs to provide both the front and back side images of the card separately, which will both be processed. This model recognizes the language of the document automatically and processes it. This API implements the `[zia.extractAadhaarCharacters()](https://docs.catalyst.zoho.com/en/sdk/nodejs/v2/zia-services/identity-scanner/aadhaar/)` method in the SDK package that extracts the parameters recognized in the aadhaar card such as the card holder’s name, address, gender and aadhaar card number. Let's have a look at the client components in detail: * The root directory of the client contains the Catalyst-specific [`client-package.json`](https://docs.catalyst.zoho.com/en/cli/v1/project-directory-structure/client-directory) file, which contains the default configurations of the client. * The `src` folder contains the application’s source files including the JavaScript and CSS files that will be included in the build folder when we compile the React app. The `App.jsx` facilitates the behaviour of the front end of the application. It handles the change and shrink events, and posts and obtains data using the APIs defined earlier. The files within the `views` folder are responsible for rendering the response as output in the client application. * The `public` folder is used to hold files that can be openly accessed by browsers through public URLs. It includes the following files: 1. `index.html`: The default entry point of application. 2. `manifest.json`: Contains information about the web application including the `start_url` which is set to “.”. This enables every shortened version of the URL the user enters to originate from the base URL [Catalyst_web_app_URL/app/](https://docs.catalyst.zoho.com/en/cloud-scale/help/web-client-hosting/key-concepts/#default-web-application-url) when the app is hosted. * `tailwind.config.js`: This file contains all the client side customizations of your application such as the CSS styles implemented in your project. -------------------------------------------------------------------------------- title: "Test the application" description: "Create a React web app that detects and extracts data from input documents, and processes it using OCR, Barcode Scanner, and Identity Scanner of Zia Services." last_updated: "2026-08-17T12:16:04.000Z" source: "https://docs.catalyst.zoho.com/en/tutorials/document-processor/nodejs/test-the-application/" service: "All Services" related: - Serve CLI Resources (/en/cli/v1/serve-resources/introduction) -------------------------------------------------------------------------------- # Test the Application Before you deploy the application to the remote console, you can test the application on a local server and check if everything works using the Catalyst CLI. For detailed information on catalyst serve, refer to the [Serve Resources help page](https://docs.catalyst.zoho.com/en/cli/v1/serve-resources/introduction). To serve the Catalyst project locally, execute the following command from your project directory: ```sh catalyst serve ``` This will first compile the React app and then serve it. To know more about serving react applications, please refer to [this page](https://docs.catalyst.zoho.com/en/cli/v1/serve-resources/introduction). The Document Processor application will now be served at default port 3000. The local endpoint URLs of the components will be displayed in the CLI. ![react-compilation](https://catalyst-docs-development.zohostratus.in/images/tutorials/document-processor/nodejs/react-compilation.webp) > **Note :** Every time you access the home page or any of the sub-pages of your client, or the function, the CLI will display a live log of the URL accessed, along with the HTTP request method. You can now open the application in a browser using the local URL of the client displayed in the CLI and test it. To test each of these, click on the required feature and upload an image file or a document file from your local system, then click **Process Image**. To test the Aadhaar functionality, you must upload two images of the front and the back of the Aadhaar card. The extracted text in case of OCR, Aadhaar, Pan, Passbook, and Cheque will be displayed in the output panel in the JSON format. In the case of Barcode Scanner, the decoded information from the barcode will be displayed. Also note that, Pan and Aadhaar are identity proof documents specific to India region. For OCR, the output will also contain a confidence score as a percentage value that represents the accuracy of information extraction and processing. > **Note:** The supported formats for input images are configured to be .jpeg, .webp, and .png, and the maximum file size allowed is 10MB. * **Cheque** ![cheque-test](https://catalyst-docs-development.zohostratus.in/images/tutorials/document-processor/nodejs/cheque-test.webp) * **PAN** ![pan-test](https://catalyst-docs-development.zohostratus.in/images/tutorials/document-processor/nodejs/pan-test.webp) * **Passbook** ![passbook-test](https://catalyst-docs-development.zohostratus.in/images/tutorials/document-processor/nodejs/passbook-test.webp) * **Aadhaar** ![aadhar-test](https://catalyst-docs-development.zohostratus.in/images/tutorials/document-processor/nodejs/aadhar-test.webp) * **Barcode Scanner** ![barcode-test](https://catalyst-docs-development.zohostratus.in/images/tutorials/document-processor/nodejs/barcode-test.webp) * **OCR** ![ocr-test](https://catalyst-docs-development.zohostratus.in/images/tutorials/document-processor/nodejs/ocr-test.webp) If this setup is working correctly, we can deploy the application to production. You can quit the serve session in your terminal by executing the command to kill a running process, based on your OS. -------------------------------------------------------------------------------- title: "Deploy the project" description: "Create a React web app that detects and extracts data from input documents, and processes it using OCR, Barcode Scanner, and Identity Scanner of Zia Services." last_updated: "2026-08-17T12:16:04.000Z" source: "https://docs.catalyst.zoho.com/en/tutorials/document-processor/nodejs/deploy-to-console/" service: "All Services" related: - Deploy Catalyst Project (/en/cli/v1/deploy-resources/introduction/) - Web Client Hosting (/en/cloud-scale/help/web-client-hosting/introduction/) -------------------------------------------------------------------------------- # Deploy to console To deploy your Catalyst project from the CLI, run the following command in your terminal from your project directory: ```sh catalyst deploy ``` The function is deployed first, followed by the client component. The app URLs of the components will be displayed. ![deploy-updated](https://catalyst-docs-development.zohostratus.in/images/tutorials/document-processor/nodejs/deploy-updated.webp) You can now open the client component’s URL in a browser to access the deployed application. The Document Processor application can now be accessed from its [web app URL](https://docs.catalyst.zoho.com/en/cloud-scale/help/web-client-hosting/introduction/). ![deploy-url](https://catalyst-docs-development.zohostratus.in/images/tutorials/document-processor/nodejs/deploy-url.webp) ## Ecommerce Bot ### Deluge -------------------------------------------------------------------------------- title: "Introduction" description: "Configure a sales assistant bot for an ecommerce website using Catalyst ConvoKraft, Deluge functions, and Zoho CRM that manages users' orders." last_updated: "2026-11-04T10:10:44.000Z" source: "https://docs.catalyst.zoho.com/en/tutorials/ecommerce-bot/deluge/introduction/" service: "All Services" related: - Catalyst ConvoKraft Actions (/en/convokraft/help/actions/overview/introduction) - Catalyst ConvoKraft Handlers (/en/convokraft/help/handlers/welcome-message-handler) - Catalyst CloudScale Web Client Hosting (/en/cloud-scale/help/web-client-hosting/introduction/) -------------------------------------------------------------------------------- # Ecommerce Bot ### Introduction This tutorial will help you build an ecommerce bot through [Catalyst ConvoKraft](https://docs.catalyst.zoho.com/en/convokraft/) that serves as an efficient sales assistant for your ecommerce website. Consider an online store that sells electronic gadgets and appliances through its website. We will be building a [ConvoKraft bot](https://docs.catalyst.zoho.com/en/convokraft/help/bots/introduction/) for the website that allows users to have engaging one-to-one conversations any time, without having to raise support tickets or contact customer care personnels for simpler, straightforward queries or frequently asked questions. The ecommerce bot can display the list of products available in the store's inventory, enable users to place an order with the store, view the details of an order, change the delivery address, or reschedule the tentative delivery of the order. The ecommerce bot will look like this after it is embedded in the website: ![ecommerce-about-hosted](https://catalyst-docs-development.zohostratus.in/images/tutorials/ecommerce-bot/deluge/ecommerce-about-hosted.webp) You can access a working ecommerce bot and test its functioning here: [Try the App!](https://ecommerce.catalystserverlessapp.com/app/) The ecommerce bot uses the following fundamental ConvoKraft components: * **[Actions](https://docs.catalyst.zoho.com/en/convokraft/help/actions/overview/introduction)** : We will be configuring the ecommerce bot to perform operations such as viewing the list of items available in the online store, placing an order, viewing details of an order, changing the delivery address and rescheduling the delivery date. * **Bot Logic** : We will be configuring the bot logic of our ecommerce bot in [Deluge](https://www.zoho.com/deluge/help/). The Deluge function will handle the complete backend logic of the actions that are configured. * **[Handlers](https://docs.catalyst.zoho.com/en/convokraft/help/handlers/welcome-message-handler)** : We will be configuring responses in the handler functions to greet the user while initiating a fresh conversation with the bot, to intimate the user on scenarios of failure or exceptions, and also to let the user know the bot is unable to comprehend a particular message. The core execution logic of the bot will also be configured in a handler function and we will be discussing more about it in [this section](https://docs.catalyst.zoho.com/en/tutorials/ecommerce-bot/deluge/configure-actions/). The ConvoKraft bot also uses other Catalyst components including : 1. [**Catalyst CloudScale**](https://docs.catalyst.zoho.com/en/cloud-scale/getting-started/introduction/): - **[Web Client Hosting](https://docs.catalyst.zoho.com/en/cloud-scale/help/web-client-hosting/introduction/)**: For [hosting the client application](https://docs.catalyst.zoho.com/en/cloud-scale/help/web-client-hosting/implementation/), i.e., the website, we will use this component of the [Catalyst CloudScale](https://docs.catalyst.zoho.com/en/cloud-scale/) service. We will be embedding the bot in the website using the front-end [Javascript SDK](https://docs.catalyst.zoho.com/en/convokraft/sdk/js/overview/) package provided by Catalyst. We will also be configuring the following Zoho service: * **[Zoho CRM](https://www.zoho.com/en-in/crm/)** : For storing the products in the online store and the data of all the orders placed, we will be creating custom modules in Zoho CRM and use it as our data source. To learn more about configuring custom modules, please refer to [this section](https://docs.catalyst.zoho.com/en/tutorials/ecommerce-bot/nodejs/create-custom-modules-in-crm/). In this tutorial, you will be given the code to build your ConvoKraft bot using Deluge functions and a simple client code for the ecommerce website. You will just have to copy the code given and paste it into the appropriate functions as directed. We will be configuring the required actions for the bot, coding the business logic, training and testing the bot, and finally embedding the bot in the website. -------------------------------------------------------------------------------- title: "Prerequisites" description: "Configure a sales assistant bot for an ecommerce website using Catalyst ConvoKraft, Deluge functions, and Zoho CRM that manages users' orders." last_updated: "2026-11-04T10:10:44.000Z" source: "https://docs.catalyst.zoho.com/en/tutorials/ecommerce-bot/deluge/prerequisites/" service: "All Services" related: - Login Zoho CRM (https://www.zoho.com/en-in/crm/) - CLI Command Reference (/en/cli/v1/cli-command-reference/) - Install CLI (/en/getting-started/installing-catalyst-cli/) - Login CLI (/en/cli/v1/login/login-from-cli/) -------------------------------------------------------------------------------- # Prerequisites Before you begin building the application, you must have the following prerequisites installed on your system: 1. **Catalyst CLI**: Catalyst CLI contains a host of tools that enable you to initialize, develop, test, and deploy the components of your application from your local machine. We will be working with Catalyst CLI in this tutorial. You must perform these actions: 1. **Install Catalyst CLI**: Catalyst CLI is installed through NPM. You must therefore have NPM and Node.js installed on your system before you install the CLI. Refer to the [**Install Catalyst CLI help page**](https://docs.catalyst.zoho.com/en/getting-started/installing-catalyst-cli/) for details on the pre-requisites and the steps to install it. 2. **Login Catalyst CLI**: After you install Catalyst CLI, you must authenticate the CLI with your Catalyst account before using it. Refer to the [**CLI Login help page**](https://docs.catalyst.zoho.com/en/cli/v1/login/login-from-cli/) for the steps to log in from Catalyst CLI and the various options available for it. 2. **Any IDE tool for client code development**: You can use any IDE to work with the client code. Some popular choices include Visual Studio Code, IntelliJ IDEA, Eclipse, and Sublime Text. Download and install an IDE of your choice on your system. > If you are a Visual Studio Code IDE user, you can install the **Catalyst Tools** extension, and use your IDE itself in place of the CLI. You can find more details about the Catalyst VS Code extension from this [help section](https://docs.catalyst.zoho.com/en/catalyst-extensions/vs-code-extension/introduction/). 3. **Zoho CRM account** : You will need to have a configured Zoho CRM account of any edition as the data source of the product inventory and orders for the ecommerce store. If you don’t have a Zoho CRM account, you can sign up for it [here](https://www.zoho.com/en-in/crm/). -------------------------------------------------------------------------------- title: "Create a project" description: "Configure a sales assistant bot for an ecommerce website using Catalyst ConvoKraft, Deluge functions, and Zoho CRM that manages users' orders." last_updated: "2026-11-04T10:10:44.000Z" source: "https://docs.catalyst.zoho.com/en/tutorials/ecommerce-bot/deluge/create-a-project/" service: "All Services" related: - Catalyst ConvoKraft (/en/convokraft/) - Catalyst Project Creation (/en/getting-started/catalyst-projects/#create-a-catalyst-project) -------------------------------------------------------------------------------- # Create a project Let's first [create a Catalyst project](https://docs.catalyst.zoho.com/en/getting-started/catalyst-projects/#create-a-catalyst-project) from the [Catalyst console](https://console.catalyst.zoho.com/baas/index). 1. Log in to the [Catalyst console](https://console.catalyst.zoho.com/baas/index) and click **Create new Project**. ![create-project](https://catalyst-docs-development.zohostratus.in/images/tutorials/ecommerce-bot/catalyst-create-project.webp) 2. Enter the project's name as "**Ecommerce**" in the pop-up window that appears. ![project-popup](https://catalyst-docs-development.zohostratus.in/images/tutorials/ecommerce-bot/deluge/project-popup.webp) 3. Click **Create**. Your project will be created and opened. ![convokraft-page](https://catalyst-docs-development.zohostratus.in/images/tutorials/ecommerce-bot/project-created-and-opened.webp) We will be using the [Catalyst ConvoKraft](https://docs.catalyst.zoho.com/en/convokraft/) service for this tutorial. You can navigate to **ConvoKraft** and click **Start Exploring**. -------------------------------------------------------------------------------- title: "Create a bot" description: "Configure a sales assistant bot for an ecommerce website using Catalyst ConvoKraft, Deluge functions, and Zoho CRM that manages users' orders." last_updated: "2026-11-04T10:10:44.000Z" source: "https://docs.catalyst.zoho.com/en/tutorials/ecommerce-bot/deluge/create-a-bot/" service: "All Services" related: - Create a bot (/en/convokraft/help/bots/create-a-bot/) -------------------------------------------------------------------------------- ### Create a bot Let's begin by [creating a bot](https://docs.catalyst.zoho.com/en/convokraft/help/bots/create-a-bot/) in ConvoKraft: 1. Navigate to the **ConvoKraft service** icon in the left pane of the [Catalyst console](https://console.catalyst.zoho.com/baas/index). ![convokraft-icon](https://catalyst-docs-development.zohostratus.in/images/tutorials/ecommerce-bot/convocraft-landing-screen.webp) 2. Click **Create New Bot**. 3. In the **Create New Bot** pop-up, enter the name of the bot as "EcommerceBot". Provide a short description of the bot and also an icon for your bot, if required. ![create-bot-popup](https://catalyst-docs-development.zohostratus.in/images/tutorials/ecommerce-bot/deluge/create-bot-popup.webp) 4. Click **Save**, and in the page that follows choose the development platform as Deluge, to code the business logic of your bot. To know more about Deluge in detail, please refer to [this page](https://docs.catalyst.zoho.com/en/convokraft/help/actions/bot-logic/deluge-functions/defining-deluge-functions/). ![choose-deluge](https://catalyst-docs-development.zohostratus.in/images/tutorials/ecommerce-bot/deluge/choose-deluge.webp) -------------------------------------------------------------------------------- title: "Configure Actions" description: "Configure a sales assistant bot for an ecommerce website using Catalyst ConvoKraft, Deluge functions, and Zoho CRM that manages users' orders." last_updated: "2026-11-04T10:10:44.000Z" source: "https://docs.catalyst.zoho.com/en/tutorials/ecommerce-bot/deluge/configure-actions/" service: "All Services" related: - Create Action (/en/convokraft/help/actions/create-an-action/) - Create Bot (/en/convokraft/help/bots/create-a-bot/) -------------------------------------------------------------------------------- # Configure Actions After [creating the bot](https://docs.catalyst.zoho.com/en/convokraft/help/bots/create-a-bot/), you will need to [create actions](https://docs.catalyst.zoho.com/en/convokraft/help/actions/create-an-action/) and configure the responses of the actions as required. You can generally choose to configure the response of an action to be either based on a business logic or a static direct response without involving any operation. In this tutorial, the response of all actions will be configured based on the execution of a business logic. We will be creating the following set of actions for the ecommerce bot, so that the users can directly interact with the bot and perform actions at ease. * **To list the products in the ecommerce store** * **To place a new order** * **To view the details of an order** * **To change the delivery address** * **To reschedule the order to a later date** In order to configure an action based on your application's specific needs, you must define the appropriate sample sentences and params for it. In this section, we will be discussing in detail about the [sample sentences](https://docs.catalyst.zoho.com/en/convokraft/help/actions/define-sample-sentences/) and [params](https://docs.catalyst.zoho.com/en/convokraft/help/actions/define-params/) to be configured for the actions mentioned above for your ecommerce bot. After you [create a ConvoKraft bot](https://docs.catalyst.zoho.com/en/tutorials/ecommerce-bot/deluge/create-a-bot/) and choose the appropriate development platform to build the business logic, the bot's details page will be displayed as shown in the screenshot below. Please follow the steps listed below to create and configure actions for the ecommerce bot : 1. Click on **Create Action** after you open the bot to add a new action. ![actions-page](https://catalyst-docs-development.zohostratus.in/images/tutorials/ecommerce-bot/deluge/actions-page.webp) 2. We will create the first action for our ecommerce bot to list the items available in the store. In the pop-up window that opens, provide the name of the action as "List the items available in Store". Select the response as **Based on a business logic** and then click **Next**. ![list-items-action](https://catalyst-docs-development.zohostratus.in/images/tutorials/ecommerce-bot/deluge/list-items-action.webp) 3. Configure the applicable sample sentences. In a conversational way, the user would prompt this action in many ways, such as "list the items available", "what are the products available in the store?". You can configure similar sentences as the sample sentences for the action and Click **Next**. ![list-items-sample-sentences](https://catalyst-docs-development.zohostratus.in/images/tutorials/ecommerce-bot/deluge/list-items-sample-sentences.webp) 4. We will not be configuring any params for this action. You can therefore skip this step and proceed to click **Save**. ![list-items-params](https://catalyst-docs-development.zohostratus.in/images/tutorials/ecommerce-bot/deluge/list-items-params.webp) 5. After configuring the sample sentences and params of an action, the Action's details page will be displayed. ![list-items-execution-function](https://catalyst-docs-development.zohostratus.in/images/tutorials/ecommerce-bot/deluge/list-items-execution-function.webp) Since we have chosen to build the business logic of the ConvoKraft bot using Deluge, the Execution function will be enabled by default. > **Note :** For this particular action, we will be using the Execution function only. Click **Edit Function** and the ConvoKraft Deluge Editor will be opened automatically. 6. To code the business logic, you can copy and paste the below mentioned code for this function in the editor and click **Save script**. ```javascript result = Map(); Accesstoken = invokeurl [ url :"https://test-773793963.development.catalystserverless.com/server/TokenGenerate/execute" type :GET ]; info Accesstoken.getJSON("output"); accesstoken = "Zoho-Oauthtoken " + Accesstoken.getJSON("output"); header_data = Map(); header_data.put("Content-Type","application/json"); header_data.put("Authorization",accesstoken); CRMresponse = invokeurl [ url :"https://www.zohoapis.com/crm/v2/EcomProducts?fields=Name,Product_image_url,Price,Inventory_Count,Product_image" type :GET headers:header_data ]; info CRMresponse; cardlist = List(); productNote = Map(); productNote.put("type","note"); productNote.put("content","List of items available are listed as follows "); cardlist.add(productNote); for each record in CRMresponse.getJSON("data") { info record; name = record.getJSON("Name"); price = record.getJSON("Price"); product_id = record.getJSON("id"); image = record.getJSON("Product_image_url"); inventory = record.getJSON("Inventory_Count"); listItem = Map(); listItem.put("type","list"); listItem.put("format","bullet"); listElements = List(); elem1 = {"label":"Name : " + name}; elem2 = {"label":"Total Price : $ " + price}; elem3 = {"label":"Product ID : " + product_id}; elem4 = {"label":"Stock : " + inventory}; listElements.add(elem1); listElements.add(elem2); listElements.add(elem3); listElements.add(elem4); listItem.put("elements",listElements); //info listItem; // defining the 'image' card // defining the 'note' card productPic = Map(); productPic.put("type","image"); productPic.put("content",record.getJSON("Product_image_url")); cardlist.add(productPic); cardlist.add(listItem); } info cardlist; result.put("card",cardlist); result.put("message","List of Objects in response"); return result; ``` > **Note :** To learn more about Deluge editor in detail, please refer to [this page.](https://www.zoho.com/deluge/help/deluge-editor.html) ![list-edit-exec](https://catalyst-docs-development.zohostratus.in/images/tutorials/ecommerce-bot/deluge/list-edit-exec.webp) 7. Click **Test this action** at the bottom right corner of the page to test the configurations being made to the current action. ![list-test-action](https://catalyst-docs-development.zohostratus.in/images/tutorials/ecommerce-bot/deluge/list-test-action.webp) Here, testing an action simply means interacting with the bot and asking questions related to the configurations being made for the particular action. > **Note :** The sample sentences configured for the action will be shown as suggestions in the chat window. You can either choose one from the list or start your own conversation with the ConvoKraft bot based on your preference. For example, enter "Can you list the items with their stock" in the chat window. The bot understands the intent of the message and tries to find a match with the defined sample sentences and executes the business logic to provide the response. ![test-list-action](https://catalyst-docs-development.zohostratus.in/images/tutorials/ecommerce-bot/deluge/test-list-action.webp) 8. After you test the action, proceed further by clicking **DONE**. Similarly, we will create the remaining actions of the ecommerce bot. The above mentioned steps will apply to all actions, additionally you might be required to [create params](https://docs.catalyst.zoho.com/en/convokraft/help/actions/define-params/) and configure the logic in a [context handler function](https://docs.catalyst.zoho.com/en/convokraft/help/actions/bot-logic/deluge-functions/context-handler-function/). ### Place an Order 1. Create a new action from the bot's details page to respond based on the business logic as discussed in the previous step, and name it as "Place an order". The sample sentences for this action can be defined as follows: * "I want to place an order" * "I would like to place an order of the product id :5804508000000460006 to be delivered on 10-Jul-2023" Click **Next** after configuring the sentences. ![place-order-params](https://catalyst-docs-development.zohostratus.in/images/tutorials/ecommerce-bot/deluge/place-order-params.webp) 2. Click on **New Param** and click **String**. Provide the name for the param as "productid" and add a prompt message by referring to the table below. To learn more about the attributes of each param type in detail, please refer to [this page](https://docs.catalyst.zoho.com/en/convokraft/help/actions/define-params/#attributes-of-a-param). ![productid-param](https://catalyst-docs-development.zohostratus.in/images/tutorials/ecommerce-bot/deluge/productid-param.webp) We will be creating the following params for this action:
Param Type Name Prompt message Prompt message for validation failure
String `productid` Please enter the Product ID The entered ProductID is invalid. Please check and retry.
Email `cxemail` Please enter your Email ID The entered email ID is invalid. Please check and retry.
Date `cxdate` Please enter the date on which you expect the delivery The entered date is invalid. Please check and retry.
String `cxaddr` Please enter the address where you want the order to be delivered The entered address is invalid. Please check and retry.
In a similar way, create the other three params, "cxemail", "cxdate", and "cxaddr" with the param type and prompt messages as mentioned in the table above. > **Note :** The mode of input for a date param can be selected as `Textual` or `Visual`, as per your preferences. 3. Map the params with the corresponding text in the sample sentences, in order to instruct the bot to prompt the inputs from the user consecutively in the conversation. For this, hover over the text in the sample sentence and choose the corresponding param to associate them. Here, we will be associating the "cxemail", "productid" and the "cxdate" with their corresponding example values in the sample sentences as shown in the screenshot below. ![place-order-association](https://catalyst-docs-development.zohostratus.in/images/tutorials/ecommerce-bot/deluge/place-order-association.webp) 4. After configuring the sample sentences and params for the action, click **Save**. 5. Now you can proceed to code the business logic in the execution function, similar to what we did for the previous action. Copy and paste the below code in the execution function page and click **Save Script.** ```javascript result = Map(); info productid; info cxemail; info cxdate; info cxaddr; placeorder = Map(); Accesstoken = invokeurl [ url :"https://test-773793963.development.catalystserverless.com/server/TokenGenerate/execute" type :GET ]; //Replace the org id of your project in the URL info Accesstoken.getJSON("output"); accesstoken = "Zoho-Oauthtoken " + Accesstoken.getJSON("output"); info accesstoken; header_data = Map(); header_data.put("Content-Type","application/json"); header_data.put("Authorization",accesstoken); try { //CRMresponse = invokeurl //[ // url :"https://www.zohoapis.com/crm/v2/EcomProducts/" + productid // type :GET // connection:"ecommerce" //]; CRMresponse = invokeurl [ url :"https://www.zohoapis.com/crm/v2/EcomProducts/" + productid type :GET headers:header_data ]; info CRMresponse; if(CRMresponse.isNull() && CRMresponse.getJSON("status") != "error") { stock_count = 0; info "Empty response. So stock count reset"; placeorder.put("Stiock","Empty"); } else { recordid = CRMresponse.getJSON("data").getJSON("id"); stock_count = CRMresponse.getJSON("data").getJSON("Inventory_Count"); imageurl = CRMresponse.getJSON("data").getJSON("Product_image_url"); productname = CRMresponse.getJSON("data").getJSON("Name"); price = CRMresponse.getJSON("data").getJSON("Price"); } } catch (e) { info e.lineNo; // Displays line number of the statement that caused the error info e.message; // Displays the error message info e; // Displays both line number and error message } if(stock_count > 0) { stock_count = stock_count - 1; reduceStock = Map(); reduceStock.put("id",recordid); reduceStock.put("Inventory_Count",stock_count); updatedata = list(); updatedata.add(reduceStock); updatedatamap = Map(); updatedatamap.put("data",updatedata); //updateResp = invokeurl //[ // url :"https://www.zohoapis.com/crm/v2/EcomProducts" // type :PUT // parameters:updatedatamap.toString() // connection:"ecommerce" //]; updateResp = invokeurl [ url :"https://www.zohoapis.com/crm/v2/EcomProducts" type :PUT parameters:updatedatamap.toString() headers:header_data ]; info updateResp; //info zoho.crm.updateRecord("EcomProducts",productid,reduceStock); placeorder.put("Name",productname + " " + cxdate); placeorder.put("Product_Name",productname); placeorder.put("Email",cxemail); placeorder.put("Delivery_Address",cxaddr); placeorder.put("Expected_Delivery_Date",cxdate.toDate("yyyy-mm-dd")); info toDate(cxdate,"yyyy-mm-dd"); info toDate(cxdate,"MM,d,yyyy"); placeorder.put("product_image_url",imageurl); placeorder.put("Price",price); placeorder.put("OrderID",productid + "_" + randomNumber(1111111,9999999)); placeorder.put("Order_Status","Reviewing the Order"); info placeorder; insertdata = list(); insertdata.add(placeorder); insertdatamap = Map(); insertdatamap.put("data",insertdata); //insertResp = invokeurl //[ // url :"https://www.zohoapis.com/crm/v2/Orders" // type :POST // parameters:insertdatamap.toString() // connection:"ecommerce" //]; insertResp = invokeurl [ url :"https://www.zohoapis.com/crm/v2/Orders" type :POST parameters:insertdatamap.toString() headers:header_data ]; info insertResp; //info zoho.crm.createRecord("Orders",placeorder); result.put("message","Your order for the product - " + CRMresponse.getJSON("data").getJSON("Name") + " is placed successfully. It will be tried to be delivered on " + cxdate + " to " + cxaddr + " . Our Sales team will reach out to your via email to discuss about COD or prepayment before delivery."); } else if(stock_count == 0) { info "The item is out of stock. Please retry after some days as we restock."; result.put("message","The item is out of stock. Please retry after some days as we restock."); } else { result.put("message","There was some issue during the order. Please contact support team. They shall assist in placing this order for you."); } info stock_count; //zoho.crm.updateRecord("EcomProducts",productid, ) //result.put("message","Function executed successfully"); broadcast.put("cxemail",cxemail); result.put("broadcast",broadcast); return result; ``` > **Note :** Please make sure to replace the org ID of your project in line 9 and then save the script. 6. Similar to the previous action, you can [test the action](https://docs.catalyst.zoho.com/en/convokraft/help/actions/test-an-action/) simultaneously from the ConvoKraft Deluge editor and then click **DONE**. ![test-place-order](https://catalyst-docs-development.zohostratus.in/images/tutorials/ecommerce-bot/deluge/test-place-order.webp) ### View Order Details 1. Create a new action, and choose to configure a response based on business logic. Name it as "View Order Details". 2. Add the following [sample sentences](https://docs.catalyst.zoho.com/en/convokraft/help/actions/define-sample-sentences/) for the action : * "Where is my order?" * "I want to view my order details of email id amelia.burrows@zylker.com" * "I want to check my order details" ![view-order-action](https://catalyst-docs-development.zohostratus.in/images/tutorials/ecommerce-bot/deluge/view-order-action.webp) 3. Define the params specified below for the action as discussed in the last section. You can associate the params with the sample sentence as shown in the screenshot above and click **Save**.
Param Type Name Prompt message Prompt message for validation failure
Email `cxemail` Please provide the email ID associated with your order The entered email ID is invalid. Please check and retry.
4. After you define the sample sentences and params for the action, the Action's Details page will be displayed. For this action, we will be configuring the [Context handler function](https://docs.catalyst.zoho.com/en/convokraft/help/actions/bot-logic/deluge-functions/context-handler-function/) along with the [Execution function](https://docs.catalyst.zoho.com/en/convokraft/help/actions/bot-logic/deluge-functions/execution-function/) . This is used to store the email address of the user in the [broadcast](https://docs.catalyst.zoho.com/en/convokraft/help/actions/bot-logic/deluge-functions/execution-function/#broadcast) argument of the execution function and instruct the ConvoKraft bot to remember the email address in the further conversations of the chat session instead of prompting from the user every time. Copy and paste the below code in the execution function page and click **Save Script**. ```javascript result = Map(); // making API call to search specific order details of the given email id //resp = zoho.crm.searchRecords("Orders","(Email:equals:" + cxemail + ")"); //extract required details from the JSON response //info resp; cardlist = List(); Accesstoken = invokeurl [ url :"https://test-773793963.development.catalystserverless.com/server/TokenGenerate/execute" type :GET ]; info Accesstoken.getJSON("output"); accesstoken = "Zoho-Oauthtoken " + Accesstoken.getJSON("output"); info accesstoken; header_data = Map(); header_data.put("Content-Type","application/json"); header_data.put("Authorization",accesstoken); //resp = invokeurl //[ // url :"https://www.zohoapis.com/crm/v3/Orders/search?criteria=" + "((Email:equals:" + cxemail + "))" // type :GET // connection:"ecommerce" //]; resp = invokeurl [ url :"https://www.zohoapis.com/crm/v4/Orders/search?criteria=" + "((Email:equals:" + cxemail + "))" type :GET headers:header_data ]; info resp; items_count = 0; if(!resp.isEmpty()) { for each order in resp.getJSON("data") { items_count = items_count + 1; info "+++++++++++"; // info order; orderid = order.getJSON("id"); //CRMresponse = invokeurl //[ // url :"https://www.zohoapis.com/crm/v3/Orders/" + orderid // type :GET // connection:"ecommerce" //]; CRMresponse = invokeurl [ url :"https://www.zohoapis.com/crm/v3/Orders/" + orderid type :GET headers:header_data ]; name = order.getJSON("Name"); contact = order.getJSON("Contact_No").toString(); email = order.getJSON("Email"); product_name = order.getJSON("Product_Name"); orderid = order.getJSON("OrderID").toString(); price = order.getJSON("Price").toString(); delivery_date = order.getJSON("Expected_Delivery_Date"); delivery_address = order.getJSON("Delivery_Address"); order_status = order.getJSON("Order_Status"); //defining the bullet list listItem = Map(); listItem.put("type","list"); listItem.put("format","bullet"); listElements = List(); elem1 = {"label":"Name : " + name}; elem2 = {"label":"Contact No :" + contact}; elem3 = {"label":"Email ID : " + email}; elem4 = {"label":"Product Name : " + product_name}; //elem5 = {"label":"Order ID : " + orderid}; elem6 = {"label":"Total Price : $ " + price}; elem7 = {"label":"Expected Delivery Date : " + delivery_date}; elem8 = {"label":"Delivery Address : " + delivery_address}; elem9 = {"label":"Order Status : " + order_status}; listElements.add(elem1); listElements.add(elem2); listElements.add(elem3); listElements.add(elem4); //listElements.add(elem5); listElements.add(elem6); listElements.add(elem7); listElements.add(elem8); listElements.add(elem9); listItem.put("elements",listElements); //info listItem; // defining the 'image' card // defining the 'note' card productNote = Map(); productNote.put("type","note"); productNote.put("content",items_count + ") Your order details for order id : " + orderid + " are listed as follows: "); cardlist.add(productNote); productPic = Map(); productPic.put("type","image"); productPic.put("content",CRMresponse.getJSON("data").getJSON("product_image_url")); cardlist.add(productPic); cardlist.add(listItem); info "+++++++++++"; } //info cardlist; result.put("card",cardlist); } else { } // defining broadcast broadcast.put("cxemail",email); result.put("broadcast",broadcast); result.put("message","The Shoppers Stores. You don't have an order."); return result; ``` > **Note :** Please make sure to replace the org ID of your project in line 9 and then save the script. 5. Navigate back to the Action's Details page and enable the **Context Handler Function** as shown in the screenshot below. ![view-order-context-handler](https://catalyst-docs-development.zohostratus.in/images/tutorials/ecommerce-bot/deluge/view-order-context-handler.webp) 6. After you enable the Context handler function, click **OK** in the pop-up that appears in order to proceed further. ![context-pop-up](https://catalyst-docs-development.zohostratus.in/images/tutorials/ecommerce-bot/deluge/context-pop-up.webp) 7. Now, copy and paste the below code in the Context handler function editor and click **Save Script**. ```javascript result = Map(); assign = Map(); if(broadcast != null) { //checking whether the 'broadcast' argument has any data cxemailid = broadcast.get("cxemailid"); //fetching the 'cxemailid' value from 'broadcast' assign.put("cxemailid",cxemailid); //assigning the cxemailid's value to the 'cxemailid' param result.put("assign",assign); result.put("todo","execute"); // jumps to the execution function } result.put("todo","prompt"); return result; ``` 8. Click **Test this action** and test the updated configurations of this action similar to the previous actions. ![test-view](https://catalyst-docs-development.zohostratus.in/images/tutorials/ecommerce-bot/deluge/test-view.webp) 9. After you test the changes, click **DONE**. ### Change Delivery Address 1. Similar to the actions created above, we will be configuring the response of this action to be based on a business logic. Enter the name of the action as "Change Delivery Address". For this action, you can define the sample sentences given below : * "I want my order to be delivered at a different address" * "I want to change delivery address for my order id 5804508000000460006 under the email amelia.burrows@zylker.com" Add the params given below for the action:
Param Type Name Prompt message Prompt message for validation failure
Email `cxemail` Please provide the email ID associated with your order. The entered email ID is invalid. Please check and retry.
String `cxorderid` Please enter your Order ID. The entered OrderID is invalid. Please check and retry.
String `cxaddr` Please enter the address where you want the order to be delivered. The entered address is invalid. Please check and retry.
You can associate the param "cxemail" to the sample sentence as shown in the screenshot below. ![delivery-address-params](https://catalyst-docs-development.zohostratus.in/images/tutorials/ecommerce-bot/deluge/delivery-address-params.webp) 2. After configuring the sample sentences and params, copy and paste the below code in the execution function page and click **Save Script**. ```javascript result = Map(); //fetching the order's 'id' from the cache argument Accesstoken = invokeurl [ url :"https://test-773793963.development.catalystserverless.com/server/TokenGenerate/execute" type :GET ]; info Accesstoken.getJSON("output"); accesstoken = "Zoho-Oauthtoken " + Accesstoken.getJSON("output"); info accesstoken; header_data = Map(); header_data.put("Content-Type","application/json"); header_data.put("Authorization",accesstoken); addrmap = Map(); //addrmap.put("Delivery_Address",cxaddr); //reduceStock = Map(); searchOrderresp = invokeurl [ url :"https://www.zohoapis.com/crm/v2/Orders/search?criteria=((OrderID:equals:" + cxorderid + "))" type :GET headers:header_data ]; recordid = searchOrderresp.getJSON("data").getJSON("id"); addrmap.put("id",recordid); addrmap.put("Delivery_Address",cxaddr); updatedata = list(); updatedata.add(addrmap); updatedatamap = Map(); updatedatamap.put("data",updatedata); updateResp = invokeurl [ url :"https://www.zohoapis.com/crm/v2/Orders" type :PUT parameters:updatedatamap.toString() headers:header_data ]; //making an API call to reschedule the order to given date broadcast.put("cxemail",cxemail); //configuring the 'broadcast' argument result.put("broadcast",broadcast); result.put("message","Your order has been rescheduled successfully."); return result; ``` > **Note :** Please make sure to replace the org ID of your project in line 5 and then save the script. 3. Again, test the action using **Test this Action** chat window by initiating conversations regarding this action. ![test-delivery-address](https://catalyst-docs-development.zohostratus.in/images/tutorials/ecommerce-bot/deluge/test-delivery-address.webp) ### Re-schedule order date 1. Enter the name of the action as "Reschedule order to later date". For this action, you can define the sample sentences given below: * "Reschedule my order to later date" * "Postpone the delivery date of my order" * "I want to change my orders delivery date as 19/07/2023 for my order id 5804508000000460006 of my email amelia.burrows@zylker.com" Add the params below for the action :
Param Type Name Prompt message Prompt message for validation failure
Email `cxemail` Please provide the email ID associated with your order. The entered email ID is invalid. Please check and retry.
String `cxorderid` Please enter your Order ID. The entered OrderID is invalid. Please check and retry.
Date `cxdate` Mention the date you would like to reschedule your order The entered date is invalid. Please check and retry.
You can associate the params as shown in the screenshot below and click **Save**. ![reschedule-params](https://catalyst-docs-development.zohostratus.in/images/tutorials/ecommerce-bot/deluge/reschedule-params.webp) 2. After configuring the sample sentences and params, copy and paste the below code in the execution function page and click **Save Script**. ```javascript result = Map(); //fetching the order's 'id' from the cache argument Accesstoken = invokeurl [ url :"https://test-773793963.development.catalystserverless.com/server/TokenGenerate/execute" type :GET ]; info Accesstoken.getJSON("output"); accesstoken = "Zoho-Oauthtoken " + Accesstoken.getJSON("output"); info accesstoken; header_data = Map(); header_data.put("Content-Type","application/json"); header_data.put("Authorization",accesstoken); searchOrderresp = invokeurl [ url :"https://www.zohoapis.com/crm/v2/Orders/search?criteria=((OrderID:equals:" + cxorderid + "))" type :GET headers:header_data ]; info searchOrderresp; recordid = searchOrderresp.getJSON("data").getJSON("id"); info recordid; datemap = Map(); datemap.put("id",recordid); datemap.put("Expected_Delivery_Date",cxdate.toDate()); info datemap; updatedata = list(); updatedata.add(datemap); updatedatamap = Map(); updatedatamap.put("data",updatedata); updateResp = invokeurl [ url :"https://www.zohoapis.com/crm/v2/Orders" type :PUT parameters:updatedatamap.toString() headers:header_data ]; info updateResp; //making an API call to reschedule the order to given date broadcast.put("cxemail",cxemail); //configuring the 'broadcast' argument result.put("broadcast",broadcast); result.put("message","Your order has been rescheduled successfully."); return result; ``` > **Note :** Please make sure to replace the org ID of your project in line 5 and then save the script. 3. Again like the previous actions, you can test this action as well and click **DONE**. ![test-reschedule](https://catalyst-docs-development.zohostratus.in/images/tutorials/ecommerce-bot/deluge/test-reschedule.webp) Now, we have configured all the required actions and the business logic for them. -------------------------------------------------------------------------------- title: "Create custom modules in CRM" description: "Configure a sales assistant bot for an ecommerce website using Catalyst ConvoKraft, Deluge functions, and Zoho CRM that manages users' orders." last_updated: "2026-11-04T10:10:44.000Z" source: "https://docs.catalyst.zoho.com/en/tutorials/ecommerce-bot/deluge/create-custom-modules-in-crm/" service: "All Services" related: - CRM Custom Modules (https://help.zoho.com/portal/en/kb/crm/customize-crm-account/customizing-modules/articles/customize-modules#Custom_Modules_or_User-Generated_Modules) -------------------------------------------------------------------------------- # Create Custom modules in CRM Modules in [Zoho CRM](https://help.zoho.com/portal/en/kb/crm/getting-started/articles/get-started-introduction-zoho-crm#What_is_CRM), let you categorize and track various aspects of your business. We will be creating two custom modules namely **EcomProducts** and **Orders** for storing the product inventory and the orders placed respectively. You can learn more about custom modules from the [CRM documentation](https://help.zoho.com/portal/en/kb/crm/customize-crm-account/customizing-modules/articles/customize-modules#Custom_Modules_or_User-Generated_Modules). To create a custom module in CRM, follow these steps: 1. [Login](https://www.zoho.com/crm/login.html) to your Zoho CRM account. 2. Click **Setup** in the top right corner of the dashboard as shown in the screenshot below, and under the **Customization** section, click **Modules and Fields**. ![crm-customization](https://catalyst-docs-development.zohostratus.in/images/tutorials/ecommerce-bot/crm-customization.webp) 3. Click **New Module**. ![create-new-module](https://catalyst-docs-development.zohostratus.in/images/tutorials/ecommerce-bot/create-new-module.webp) #### EcomProducts This module is used to store the details of various products available in the ecommerce online store. Please make sure to add the fields given below for the `EcomProducts` custom module.
Field Name Type
`EcomProductName` Single Line
`Product_image` URL
`Price` Number
`Inventory Count` Number
`EcomProduct Owner` Lookup
You can simply drag and drop the field type to add a new field. ![edit-custom-module](https://catalyst-docs-development.zohostratus.in/images/tutorials/ecommerce-bot/edit-custom-module.webp) After you add the fields, click **Save**. Provide the module name as "EcomProducts" and select the module permission as **Administrator** as shown in the screenshot below. ![module-name](https://catalyst-docs-development.zohostratus.in/images/tutorials/ecommerce-bot/module-name.webp) You can create any number of products by adding them as records in the module. Click on **Create EcomProduct** and provide the details for the fields, and click **Save**. ![crm-edit-product](https://catalyst-docs-development.zohostratus.in/images/tutorials/ecommerce-bot/crm-edit-product.webp) The products created under EcomProduct module will be listed as shown in the screenshot below. ![crm-products-page](https://catalyst-docs-development.zohostratus.in/images/tutorials/ecommerce-bot/crm-products-page.webp) #### Orders This module is created to store the order details of your ecommerce online store. Create this new module similarly mentioned before and name it "Orders". You can then configure the fields listed below for this custom module :
Field Name Type
`Order Name` Single Line
`Contact_No` Phone
`Product_Name` Single Line
`OrderID` Single Line
`Price` Number
`Expected_Delivery_Date` Single Line
`Delivery_Address` Multi Line
`Order Owner` Lookup
`Email Opt Out` Checkbox
`Order_Status` Single Line
`Product_Image` Image Upload
`product_image_url` URL
Whenever the user places an order, by conversing with the bot an entry will be automatically made in this module, i.e., the record will be created. ![crm-orders-page](https://catalyst-docs-development.zohostratus.in/images/tutorials/ecommerce-bot/crm-orders-page.webp) The record details will look like this : ![crm-edit-order](https://catalyst-docs-development.zohostratus.in/images/tutorials/ecommerce-bot/crm-edit-order.webp) > **Note :** Please make sure you use the exact same names for the fields, as we have used them in our bot's business logic. -------------------------------------------------------------------------------- title: "Initialize the project" description: "Configure a sales assistant bot for an ecommerce website using Catalyst ConvoKraft, Deluge functions, and Zoho CRM that manages users' orders." last_updated: "2026-11-04T10:10:44.000Z" source: "https://docs.catalyst.zoho.com/en/tutorials/ecommerce-bot/deluge/initialize-project/" service: "All Services" related: - Initialize Resources (/en/cli/v1/initialize-resources/introduction) -------------------------------------------------------------------------------- # Initialize the Project from the CLI After configuring the actions for a bot and coding the business logic for them, we will proceed to code the client application to embed the bot. We will be using the [Catalyst Web Client Hosting](https://docs.catalyst.zoho.com/en/cloud-scale/help/web-client-hosting/introduction/) component to host the client application in this tutorial. In order to code the Catalyst functions, we will need to first initialize the project from the [Catalyst CLI](https://docs.catalyst.zoho.com/en/cli/v1/login/login-from-cli/). The first step is to [login to the CLI](https://docs.catalyst.zoho.com/en/cli/v1/login/login-from-cli/) and [initialize the project](https://docs.catalyst.zoho.com/en/cli/v1/initialize-resources/introduction) in an empty local directory. This will be the home directory of your project and all of the project files will be saved in it. You can learn more about the project directory structure for all programming stacks supported by Catalyst from [this page](https://docs.catalyst.zoho.com/en/cli/v1/project-directory-structure/introduction/). You can learn about initializing a Catalyst project in detail from the [CLI help documentation](https://docs.catalyst.zoho.com/en/cli/v1/initialize-resources/introduction). Please follow the steps listed below to initialize the project and create the required functions and client components: 1. Create a folder for the project on your local machine and navigate to it from the CLI terminal. 2. To initialize the project, please execute the following command: ```sh catalyst init ``` 3. The CLI will now ask you to select the [default Catalyst organization](https://docs.catalyst.zoho.com/en/getting-started/catalyst-organizations/#the-default-organization). Select the organization in which you created the project in the first step of this tutorial and press **Enter**. ![select-portal](https://catalyst-docs-development.zohostratus.in/images/tutorials/ecommerce-bot/deluge/select-portal.webp) > **Note :** To know the organization in which your project resides in, please refer to the steps in [this page](https://docs.catalyst.zoho.com/en/getting-started/catalyst-organizations/#access-the-multi-org-portal). 4. You can associate the current project directory with the Catalyst project you created in this organization. Select **Ecommerce** and press **Enter**. ![select-project](https://catalyst-docs-development.zohostratus.in/images/tutorials/ecommerce-bot/deluge/select-project.webp) 5. Select the components that you need to set up for your Catalyst application. Navigate through the options using the arrow keys and select them by pressing space bar. Select **Client** and press **Enter** to confirm your choice. ![choose-client](https://catalyst-docs-development.zohostratus.in/images/tutorials/ecommerce-bot/deluge/choose-client.webp) 6. The CLI will initiate the client setup next. Select **Basic web app** as your client type. ![select-client-type](https://catalyst-docs-development.zohostratus.in/images/tutorials/ecommerce-bot/deluge/select-client-type.webp) 7. Enter **ecommerceclient** as the name of the client package and then press **Enter**. You can enter any name you need. ![setup-client](https://catalyst-docs-development.zohostratus.in/images/tutorials/ecommerce-bot/deluge/setup-client.webp) The client directory will be created in the standard structure and will look like this : ![client-directory](https://catalyst-docs-development.zohostratus.in/images/tutorials/ecommerce-bot/deluge/client-directory.webp) Catalyst initialization is now complete. The project directory will contain the client and other project dependency files. -------------------------------------------------------------------------------- title: "Configure the client" description: "Configure a sales assistant bot for an ecommerce website using Catalyst ConvoKraft, Deluge functions, and Zoho CRM that manages users' orders." last_updated: "2026-11-04T10:10:44.000Z" source: "https://docs.catalyst.zoho.com/en/tutorials/ecommerce-bot/deluge/configure-client/" service: "All Services" related: - ConvoKraft JS SDK (/en/convokraft/sdk/js/overview/) -------------------------------------------------------------------------------- # Configure the Client Lets now configure the client component. The client directory you initialized will contain: * The `index.html` file for the HTML code of the frontend application * The `main.css` for the CSS code * The `main.js` file for the JavaScript code * The `client-package.json` configuration file You can download this zip, copy all the files in it and replace them with the default client files created in your client directory. This [git repository](https://github.com/catalystbyzoho/tutorial-convokraft) contains additional files besides the default ones. We have the entire client code, and the required images and icon files all packed in this, you can simply download it as a zip file. > **Note :** Please go through the code in each file to make sure you fully understand it. Catalyst enables you to host the client part of the web application using the [Catalyst Web Client Hosting](https://docs.catalyst.zoho.com/en/cloud-scale/help/web-client-hosting/introduction/) component. We will be deploying the client to the console in the [next step](https://docs.catalyst.zoho.com/en/tutorials/ecommerce-bot/deluge/deploy-to-console/) of the tutorial. ### Embed the bot in the website In order to embed the ConvoKraft bot in your application, please make sure you add the javascript code snippet given below in the about.html file in your client directory and save it. We also offer a [ConvoKraft Javascript SDK](https://docs.catalyst.zoho.com/en/convokraft/sdk/js/overview/) package which contains pre-defined methods that can be quickly incorporated in your client application to customize the appearance of your ConvoKraft bot. ```xml <script src="https://console.catalyst.zoho.com/convokraft/assets/js/convokraft-chat-sdk.js"> </script> <style> div.anchor_zia_toBottom { width: 330px; height: 450px; position: fixed; bottom: 0; right: 0; } </style> <div class="anchor_zia_toBottom"> <convokraft-chat-bot bot-name="ecommercebot_2" project-id="10644000000029001" org-id="74779991"> </convokraft-chat-bot> </div> ``` > **Note :** When you replace the files in the zip the above code snippet will already be present in the `about.html` file. You will just have to add the correct values for the`bot-name`, `project-id` and `org-id` attributes in the above code. Open the EcommerceBot in the console and the Bots Details page, the namespace of the bot is the value of this `bot-name` attribute. [https://console.catalyst.zoho.com/baas/74779991/project/10644000000029001/Development#/convokraft/bots/50803000000018005](https://console.catalyst.zoho.com/baas/74779991/project/10644000000029001/Development#/convokraft/bots/50803000000018005) Here "74779991" is the `orgID` and "10644000000029001" is the `projectID`. -------------------------------------------------------------------------------- title: "Deploy to console" description: "Configure a sales assistant bot for an ecommerce website using Catalyst ConvoKraft, Deluge functions, and Zoho CRM that manages users' orders." last_updated: "2026-11-04T10:10:44.000Z" source: "https://docs.catalyst.zoho.com/en/tutorials/ecommerce-bot/deluge/deploy-to-console/" service: "All Services" related: - Deploy Catalyst Project (/en/cli/v1/deploy-resources/introduction/) -------------------------------------------------------------------------------- # Deploy to console To host the client application and test the functioning of the embedded bot directly in the application, you will first need to deploy the project to the console. 1. To [deploy your Catalyst project](https://docs.catalyst.zoho.com/en/cli/v1/deploy-resources/introduction/) from the CLI, run the following command in your terminal from your project directory : ```sh catalyst deploy ``` ![deploy-command-deluge](https://catalyst-docs-development.zohostratus.in/images/tutorials/ecommerce-bot/deluge/deploy-client.webp) You can access the hosted URL to view the client application. > **Note :** The ecommerce bot will not displayed in the client application in this step, since we have not deployed it to production yet. -------------------------------------------------------------------------------- title: "Train and test the bot" description: "Configure a sales assistant bot for an ecommerce website using Catalyst ConvoKraft, Deluge functions, and Zoho CRM that manages users' orders." last_updated: "2026-11-04T10:10:44.000Z" source: "https://docs.catalyst.zoho.com/en/tutorials/ecommerce-bot/deluge/train-and-test-the-bot/" service: "All Services" related: - Manage Bot (/en/convokraft/help/manage-a-bot/test-a-bot/) -------------------------------------------------------------------------------- # Train and Test the Bot After you create the required actions and configure the business logic for them, you can [train](https://docs.catalyst.zoho.com/en/convokraft/help/manage-a-bot/train-a-bot/) and [test the bot](https://docs.catalyst.zoho.com/en/convokraft/help/manage-a-bot/test-a-bot/) with all the actions. Training enables the bot to to analyze the common invocation patterns and the configurations made to the specific actions, and it enhances its NLP abilities. You can train the bot from the Bots Details page by clicking **Train**. This will initiate the training process by Catalyst in the background. After the bot has been trained successfully, you will be prompted with a status message. You can then test the bot by clicking **Test this Bot** in the minimized window below. ![train-and-test-updated](https://catalyst-docs-development.zohostratus.in/images/tutorials/ecommerce-bot/deluge/train-and-test-updated.webp) You can either choose to pick a task from the suggestion shown or initiate a fresh conversations in the chat window. ![test-bot](https://catalyst-docs-development.zohostratus.in/images/tutorials/ecommerce-bot/deluge/test-bot.webp) Let's test one of the actions configured. Choose **View my Order Details**. When you enter the associated email ID of the particular order, the bot fetches the relevant details from the Orders module in CRM. ![final-testing](https://catalyst-docs-development.zohostratus.in/images/tutorials/ecommerce-bot/deluge/final-testing.webp) You can similarly test the other actions as required, before proceeding to deploy the bot to production. -------------------------------------------------------------------------------- title: "Deploy to production" description: "Configure a sales assistant bot for an ecommerce website using Catalyst ConvoKraft, Deluge functions, and Zoho CRM that manages users' orders." last_updated: "2026-11-04T10:10:44.000Z" source: "https://docs.catalyst.zoho.com/en/tutorials/ecommerce-bot/deluge/deploy-to-production/" service: "All Services" related: - Development Environment (/en/deployment-and-billing/environments/development-environment/) - Production Environment (/en/deployment-and-billing/environments/production-environment/) -------------------------------------------------------------------------------- # Deploy to Production After you have tested the ecommerce bot in the development environment, you can proceed to [deploy the bot to the production environment](https://docs.catalyst.zoho.com/en/deployment-and-billing/environments/introduction/). This is done by [deploying the specific ConvoKraft bot](https://docs.catalyst.zoho.com/en/convokraft/help/manage-a-bot/deploy-a-bot/) alone, and then the entire project to production to enable the deployment of the associated function. 1. To deploy the bot to the production environment, navigate to the bot's details page and click **Deploy to Production**. ![deploy-to-production](https://catalyst-docs-development.zohostratus.in/images/tutorials/ecommerce-bot/deluge/deploy-to-production-updated.webp) 2. In the **Deploy to Production** dialog box, select all the updated actions and choose the release type as **Major**. You could also add descriptive release notes, if required. ![deploy-dialog](https://catalyst-docs-development.zohostratus.in/images/tutorials/ecommerce-bot/deluge/deploy-dialog.webp) 3. Next, we will need to deploy the Catalyst project to production. Please refer to [this page](https://docs.catalyst.zoho.com/en/deployment-and-billing/environments/deployment-types/) for detailed steps on Catalyst deployment. After you have deployed your project to production, you can switch to production environment directly from the console as shown in the screenshot below. ![switch-environments](https://catalyst-docs-development.zohostratus.in/images/tutorials/ecommerce-bot/deluge/switch-environments-updated.webp) You can also check the [usage stats](https://docs.catalyst.zoho.com/en/convokraft/help/manage-a-bot/usage-stats/) of your bot after you start using it by clicking the **Usage stats** tab in the bot's Details page. The ConvoKraft ecommerce bot is now live and functional. ![usage-screen](https://catalyst-docs-development.zohostratus.in/images/tutorials/ecommerce-bot/deluge/usage-screen.webp) > **Note:** The Client and Usage Stats tabs are enabled only in the production environment. Now, you can access the [client URL](https://docs.catalyst.zoho.com/en/tutorials/ecommerce-bot/deluge/deploy-to-console/) to view the complete application and the ConvoKraft bot will be [embedded](https://docs.catalyst.zoho.com/en/tutorials/ecommerce-bot/deluge/configure-client/) in it. ### NodeJS -------------------------------------------------------------------------------- title: "Introduction" description: "Configure a sales assistant bot for an ecommerce website using Catalyst ConvoKraft, Integration functions, and Zoho CRM that manages users' orders." last_updated: "2026-11-04T10:10:44.000Z" source: "https://docs.catalyst.zoho.com/en/tutorials/ecommerce-bot/nodejs/introduction/" service: "All Services" related: - Catalyst ConvoKraft Actions (/en/convokraft/help/actions/overview/introduction) - Catalyst ConvoKraft Handlers (/en/convokraft/help/handlers/welcome-message-handler) - Catalyst Serverless Functions (/en/serverless/help/functions/introduction/) - Catalyst CloudScale Web Client Hosting (/en/cloud-scale/help/web-client-hosting/introduction/) -------------------------------------------------------------------------------- # Ecommerce Bot ### Introduction This tutorial will help you build an ecommerce bot through [Catalyst ConvoKraft](https://docs.catalyst.zoho.com/en/convokraft/) that serves as an efficient sales assistant for your ecommerce website. Consider an online store that sells electronic gadgets and appliances through its website. We will be building a [ConvoKraft bot](https://docs.catalyst.zoho.com/en/convokraft/help/bots/introduction/) for the website that allows users to have engaging one-to-one conversations any time, without having to raise support tickets or contact customer care personnel for simpler, straightforward queries or frequently asked questions. The ecommerce bot can display the list of products available in the store's inventory, enable users to place an order with the store, view the details of an order, change the delivery address, or reschedule the tentative delivery of the order. The ecommerce bot will look like this after it is embedded in the website : ![ecommerce-website-hosted](https://catalyst-docs-development.zohostratus.in/images/tutorials/ecommerce-bot/ecommerce-website-hosted.webp) You can access a working ecommerce bot and test its functioning here: [Try the App!](https://ecommerce.catalystserverlessapp.com/app/) The ecommerce bot uses the following fundamental ConvoKraft components: * **[Actions](https://docs.catalyst.zoho.com/en/convokraft/help/actions/overview/introduction)** : We will be configuring the ecommerce bot to perform operations such as viewing the list of items available in the online store, placing an order, viewing details of an order, changing the delivery address and rescheduling the delivery date. * **Bot Logic** : We will be configuring the bot logic of our ecommerce bot using [Catalyst Integration Functions](https://docs.catalyst.zoho.com/en/convokraft/help/actions/bot-logic/catalyst-integration-functions/). The function will handle the backend logic of the actions that are configured. In this tutorial, we have coded the functions in **Node.js16**. * **[Handlers](https://docs.catalyst.zoho.com/en/convokraft/help/handlers/welcome-message-handler)** : We will be configuring responses in the handler functions to greet the user while initiating a fresh conversation with the bot, to intimate the user on scenarios of failure or exceptions, and also to let the user know the bot is unable to comprehend a particular message. The core execution logic of the bot will also be configured in a handler function and we will be discussing more about it in [this section](https://docs.catalyst.zoho.com/en/tutorials/ecommerce-bot/nodejs/configure-function/). > **Note:** Integration Functions is currently not available to Catalyst users accessing from the EU, AU, IN, or CA data centers. Users accessing from these DCs can instead build the bot logic with the Deluge function option. The ConvoKraft bot also uses other Catalyst services and their components including : 1. [**Catalyst Serverless**](https://docs.catalyst.zoho.com/en/serverless/getting-started/introduction/): - **[Functions](https://docs.catalyst.zoho.com/en/serverless/help/functions/introduction/)** : We will be using the [Catalyst Integration function](https://docs.catalyst.zoho.com/en/convokraft/help/actions/bot-logic/catalyst-integration-functions/) and code the ConvoKraft bot logic in it and then associate the created function with our ConvoKraft bot. 2. [**Catalyst CloudScale**](https://docs.catalyst.zoho.com/en/cloud-scale/getting-started/introduction/): - **[Web Client Hosting](https://docs.catalyst.zoho.com/en/cloud-scale/help/web-client-hosting/introduction/)** : For [hosting the client application](https://docs.catalyst.zoho.com/en/cloud-scale/help/web-client-hosting/implementation/), i.e., the website, we will use this component of the [Catalyst CloudScale](https://docs.catalyst.zoho.com/en/cloud-scale/) service. We will be embedding the bot in the website using the front-end [Javascript SDK](https://docs.catalyst.zoho.com/en/convokraft/sdk/js/overview/) package provided by Catalyst. We will also be configuring the following Zoho service: * **[Zoho CRM](https://www.zoho.com/en-in/crm/)** : For storing the products in the online store and the data of all the orders placed, we will be creating custom modules in Zoho CRM and use it as our data source. To learn more about configuring custom modules, please refer to [this section](https://docs.catalyst.zoho.com/en/tutorials/ecommerce-bot/nodejs/create-custom-modules-in-crm/). In this tutorial, you will be given the code to build the ConvoKraft bot using Catalyst Integration functions and a simple client code for the ecommerce website. You will just have to copy the code given here and paste it into the appropriate files as directed. We will be configuring the required actions for the bot, coding the business logic, training and testing the bot, and finally embedding the bot in the website. -------------------------------------------------------------------------------- title: "Prerequisites" description: "Create a web application using Catalyst Authentication that provides user sign-up, login, password reset, and Zoho and Google sign-in providers." last_updated: "2026-11-04T10:10:44.000Z" source: "https://docs.catalyst.zoho.com/en/tutorials/ecommerce-bot/nodejs/prerequisites/" service: "All Services" related: - Login Zoho CRM (https://www.zoho.com/en-in/crm/) - CLI Command Reference (/en/cli/v1/cli-command-reference/) - Install CLI (/en/getting-started/installing-catalyst-cli/) - Login CLI (/en/cli/v1/login/login-from-cli/) -------------------------------------------------------------------------------- # Prerequisites Before you begin building the application, you must have the following prerequisites installed on your system: 1. **Catalyst CLI**: Catalyst CLI contains a host of tools that enable you to initialize, develop, test, and deploy the components of your application from your local machine. We will be working with Catalyst CLI in this tutorial. You must perform these actions: 1. **Install Catalyst CLI**: Catalyst CLI is installed through NPM. You must therefore have NPM and Node.js installed on your system before you install the CLI. Refer to the [**Install Catalyst CLI help page**](https://docs.catalyst.zoho.com/en/getting-started/installing-catalyst-cli/) for details on the pre-requisites and the steps to install it. 2. **Login Catalyst CLI**: After you install Catalyst CLI, you must authenticate the CLI with your Catalyst account before using it. Refer to the [**CLI Login help page**](https://docs.catalyst.zoho.com/en/cli/v1/login/login-from-cli/) for the steps to log in from Catalyst CLI and the various options available for it. 2. **Any IDE tool for Node.js and client code development**: Download and install an IDE of your choice in your system. You can use any IDE to work with the function and the client code. Some popular choices include Visual Studio Code, IntelliJ IDEA, Eclipse, and Sublime Text. > If you are a Visual Studio Code IDE user, you can install the **Catalyst Tools** extension, and use your IDE itself in place of the CLI. You can find more details about the Catalyst VS Code extension from this [help section](https://docs.catalyst.zoho.com/en/catalyst-extensions/vs-code-extension/introduction/). 3. **Zoho CRM account** : You will need to have a configured Zoho CRM account of any edition as the data source of the product inventory and orders for the ecommerce store. If you don’t have a Zoho CRM account, you can sign up for it [here](https://www.zoho.com/en-in/crm/). -------------------------------------------------------------------------------- title: "Create a project" description: "Configure a sales assistant bot for an ecommerce website using Catalyst ConvoKraft, Integration functions, and Zoho CRM that manages users' orders." last_updated: "2026-11-04T10:10:44.000Z" source: "https://docs.catalyst.zoho.com/en/tutorials/ecommerce-bot/nodejs/create-a-project/" service: "All Services" related: - Catalyst ConvoKraft (/en/convokraft/) - Catalyst Project Creation (/en/getting-started/catalyst-projects/#create-a-catalyst-project) -------------------------------------------------------------------------------- # Create a project Let's first [create a Catalyst project](https://docs.catalyst.zoho.com/en/getting-started/catalyst-projects/#create-a-catalyst-project) from the [Catalyst console](https://console.catalyst.zoho.com/baas/index). 1. Log in to the [Catalyst console](https://console.catalyst.zoho.com/baas/index) and click **Create new Project**. ![create-new-project](https://catalyst-docs-development.zohostratus.in/images/tutorials/ecommerce-bot/catalyst-create-project.webp) 2. Enter the project's name as "**Ecommerce**" in the pop-up window that appears. ![new-project-popup](https://catalyst-docs-development.zohostratus.in/images/tutorials/ecommerce-bot/new-project-popup.webp) 3. Click **Create**. Your project will be created and opened. ![project-landing-page](https://catalyst-docs-development.zohostratus.in/images/tutorials/ecommerce-bot/project-created-and-opened.webp) We will be using the [Catalyst ConvoKraft](https://docs.catalyst.zoho.com/en/convokraft/) service for this tutorial. -------------------------------------------------------------------------------- title: "Create a bot" description: "Configure a sales assistant bot for an ecommerce website using Catalyst ConvoKraft, Integration functions, and Zoho CRM that manages users' orders." last_updated: "2026-11-04T10:10:44.000Z" source: "https://docs.catalyst.zoho.com/en/tutorials/ecommerce-bot/nodejs/create-a-bot/" service: "All Services" related: - Catalyst Integration Functions (/en/convokraft/help/actions/bot-logic/catalyst-integration-functions) -------------------------------------------------------------------------------- ### Create a bot Let's begin by [creating a bot](https://docs.catalyst.zoho.com/en/convokraft/help/bots/create-a-bot/) in ConvoKraft: 1. Navigate to the **ConvoKraft service** icon in the left pane of the [Catalyst console](https://console.catalyst.zoho.com/baas/index). Click **Start Exploring**. ![start-exploring](https://catalyst-docs-development.zohostratus.in/images/tutorials/ecommerce-bot/convocraft-landing-screen.webp) 2. Click **Create New Bot**. 3. In the **Create New Bot** pop-up, enter the name of the bot as "EcommerceBot". Provide a short description of the bot and also an icon for your bot, if required. ![create-new-bot-popup](https://catalyst-docs-development.zohostratus.in/images/tutorials/ecommerce-bot/create-new-bot-popup.webp) 4. Click **Save**. In the page that follows, choose the development platform upon which you would like to build the business logic of your bot. In this tutorial, we will be coding our backend logic using Catalyst Integration **Functions**. To learn more about Catalyst Integration functions in detail, please refer to [this page](https://docs.catalyst.zoho.com/en/convokraft/help/actions/bot-logic/catalyst-integration-functions). ![choose-function](https://catalyst-docs-development.zohostratus.in/images/tutorials/ecommerce-bot/e-commerce-bot-function.webp) You must select the integration function to be associated with your ConvoKraft bot by clicking on the **Select function** dropdown. We will be creating the integration function in the [later sections](https://docs.catalyst.zoho.com/en/tutorials/ecommerce-bot/nodejs/configure-function/) of this tutorial. > **Note:** You can just choose **Function**, click **Save** now, and associate the corresponding integration function later in the Bots details page. -------------------------------------------------------------------------------- title: "Configure Actions" description: "Configure a sales assistant bot for an ecommerce website using Catalyst ConvoKraft, Integration functions, and Zoho CRM that manages users' orders." last_updated: "2026-11-04T10:10:44.000Z" source: "https://docs.catalyst.zoho.com/en/tutorials/ecommerce-bot/nodejs/configure-actions/" service: "All Services" related: - Create ConvoKraft bot (/en/convokraft/help/bots/create-a-bot/) - Create Action (/en/convokraft/help/actions/create-an-action/) -------------------------------------------------------------------------------- # Configure Actions After [creating the bot](https://docs.catalyst.zoho.com/en/convokraft/help/bots/create-a-bot/), you will need to [create actions](https://docs.catalyst.zoho.com/en/convokraft/help/actions/create-an-action/) and configure the responses of those actions as required. You can generally choose to configure the response of an action to be either based on a business logic or a static direct response without involving any operation. In this tutorial, the response of all actions will be configured based on the execution of a business logic. We will be creating the following set of actions for the ecommerce bot, so that the users can directly interact with the bot and perform actions whenever they need. * **To list the products in the ecommerce store** * **To place a new order** * **To view the details of an order** * **To change the delivery address** * **To reschedule the order to a later date** In order to configure an action based on your application's specific needs, you must define the appropriate sample sentences and params for it. In this section, we will be discussing in detail about the [sample sentences](https://docs.catalyst.zoho.com/en/convokraft/help/actions/define-sample-sentences/) and [params](https://docs.catalyst.zoho.com/en/convokraft/help/actions/define-params/) to be configured for the actions mentioned above for your ecommerce bot. After you [create a ConvoKraft bot](https://docs.catalyst.zoho.com/en/tutorials/ecommerce-bot/nodejs/create-a-bot/) and choose the appropriate development platform to build the business logic, the bot's details page will be displayed. Follow the steps listed below to create and configure actions for the ecommerce bot: 1. Click **Create Action** after you open the bot to add a new action. ![create-bot-action](https://catalyst-docs-development.zohostratus.in/images/tutorials/ecommerce-bot/create-action-e-commerce.webp) 2. We will create the first action for our ecommerce bot to list the items available in the store. In the pop-up window that opens, provide the name of the action as "List the items available in Store". Select the response as **Based on a business logic**, then click **Next**. ![create-list-action](https://catalyst-docs-development.zohostratus.in/images/tutorials/ecommerce-bot/create-new-action-pup-up.webp) 3. Configure the applicable sample sentences. In a conversational way, the user would prompt this action in many ways, such as "list the items available" or "what are the products available in the store?". ![listofitems-sample](https://catalyst-docs-development.zohostratus.in/images/tutorials/ecommerce-bot/list-the-items-action.webp) 4. We will not be configuring any params for this action. You can therefore skip this step and proceed to click **Save**. ![params-page1](https://catalyst-docs-development.zohostratus.in/images/tutorials/ecommerce-bot/no-params-required.webp) Similarly, the steps to create the remaining actions of the ecommerce bot are given below. The steps mentioned above will apply to all actions, and additionally you might be required to [create params](https://docs.catalyst.zoho.com/en/convokraft/help/actions/define-params/) for certain actions. ### Place an Order 1. Create a new action from the bot's details page to respond based on the business logic as discussed in the previous step, and name it as "Place an order". The sample sentences for this action can be defined as follows: * "I want to place an order" * "Need to place order" * "I have an account **amelia.burrows@zylker.com** and I would like to place an order of the product id : 18392188283 to be delivered on 11-Dec-2025" 2. Click **Next** after configuring the sentences. 3. Click **New Param** and select the param type, as instructed below. Click **String** and a **New Param** dialog box will open. ![](https://catalyst-docs-development.zohostratus.in/images/tutorials/ecommerce-bot/place-an-order-param.webp) Provide the name for the param as "productid" and add a prompt message by referring to the table below. To learn more about the attributes of each param type in detail, please refer to [this page](https://docs.catalyst.zoho.com/en/convokraft/help/actions/define-params/#attributes-of-a-param). ![productid](https://catalyst-docs-development.zohostratus.in/images/tutorials/ecommerce-bot/productid.webp) We will be creating the following params for this action :
Param Type Name Prompt message Prompt message for validation failure
String `productid` Please enter the Product ID The entered ProductID is invalid. Please check and retry.
Email `cxemail` Please enter your Email Address The entered email address is invalid. Please check and retry.
Date `cxdate` Please enter the date on which you expect the delivery The entered date is invalid. Please check and retry.
String `cxaddr` Please enter the address where you want the order to be delivered The entered address is invalid. Please check and retry.
In a similar way, create the other three params, "cxemail", "cxdate", and "cxaddr" with the param type and prompt messages as mentioned in the table above. > **Note :** The mode of input for a date param can be selected as Textual or Visual, as per your preferences. 4. You can map the params with the corresponding text in the sample sentences, in order to instruct the bot to prompt the inputs from the user consecutively in the conversation. For this, hover over the text in the sample sentence and choose the corresponding param to associate them. ![place-order2](https://catalyst-docs-development.zohostratus.in/images/tutorials/ecommerce-bot/place-an-order-param-edit.webp) 5. After configuring the sample sentences and params for the action, click **Save**. ### View Order Details 1. Create a new action, and choose to configure a response based on business logic. Name it as "View Order Details". 2. Add the following [create a ConvoKraft bot](https://docs.catalyst.zoho.com/en/convokraft/help/actions/define-sample-sentences/) for the action : * "Where is my order?" * "I want to view my order details of email id amelia.burrows@zylker.com" * "I want to check my order details" 3. Define the params specified below for the action as discussed in the last section. You can associate the params with the sample sentence as shown in the screenshot above and click **Save**.
Param Type Name Prompt message Prompt message for validation failure
Email `cxemail` Please provide the email address associated with your order The entered email address is invalid. Please check and retry.
![view-order-sample-sentences](https://catalyst-docs-development.zohostratus.in/images/tutorials/ecommerce-bot/view-order-details-param-edit.webp) ### Change Delivery Address 1. Similar to the actions created above, we will be configuring the response of this action to be based on a business logic. Enter the name of the action as "Change Delivery Address". For this action, you can define the sample sentences given below : * "I want my order to be delivered at a different address" * "I want to change delivery address for my order id 5804508000000460006 under the email amelia.burrows@zylker.com" 2. Add the params given below for the action:
Param Type Name Prompt message Prompt message for validation failure
Email `cxemail` Please provide the email Address associated with your order. The entered email address is invalid. Please check and retry.
String `cxorderid` Please enter your Order ID. The entered OrderID is invalid. Please check and retry.
String `cxaddr` Please enter the address where you want the order to be delivered. The entered address is invalid. Please check and retry.
You can associate the params as shown in the screenshot below and click **Save**. ![change-delivery-address](https://catalyst-docs-development.zohostratus.in/images/tutorials/ecommerce-bot/change-delivery-address.webp) ### Re-schedule order date 1. Enter the name of the action as "Reschedule order date". You can define the below sample sentences for the action: * "Reschedule my order to later date" * "Postpone the delivery date of my order" * "I want to change my orders delivery date as 19/07/2023 for my order id 5804508000000460006 of my email amelia.burrows@zylker.com" 2. Add the params below for the action :
Param Type Name Prompt message Prompt message for validation failure
Email `cxemail` Please provide the email ID associated with your order. The entered email ID is invalid. Please check and retry.
String `cxorderid` Please enter your Order ID. The entered OrderID is invalid. Please check and retry.
Date `cxdate` Mention the date you would like to reschedule your order The entered date is invalid. Please check and retry.
![reschedule-order-sample](https://catalyst-docs-development.zohostratus.in/images/tutorials/ecommerce-bot/reschedule-order-sample.webp) The actions are now configured for the bot. ![all-actions](https://catalyst-docs-development.zohostratus.in/images/tutorials/ecommerce-bot/entire-action.webp) -------------------------------------------------------------------------------- title: "Create custom modules in CRM" description: "Configure a sales assistant bot for an ecommerce website using Catalyst ConvoKraft, Integration functions, and Zoho CRM that manages users' orders." last_updated: "2026-11-04T10:10:44.000Z" source: "https://docs.catalyst.zoho.com/en/tutorials/ecommerce-bot/nodejs/create-custom-modules-in-crm/" service: "All Services" related: - CRM Custom Modules (https://help.zoho.com/portal/en/kb/crm/customize-crm-account/customizing-modules/articles/customize-modules#Custom_Modules_or_User-Generated_Modules) -------------------------------------------------------------------------------- # Create Custom modules in CRM Modules in [Zoho CRM](https://help.zoho.com/portal/en/kb/crm/getting-started/articles/get-started-introduction-zoho-crm#What_is_CRM), let you categorize and track various aspects of your business. We will be creating two custom modules namely EcomProducts and Orders for storing the product inventory and the orders placed respectively. You can learn more about custom modules from the [CRM documentation](https://help.zoho.com/portal/en/kb/crm/customize-crm-account/customizing-modules/articles/customize-modules#Custom_Modules_or_User-Generated_Modules). To create a custom module in CRM, follow these steps: 1. [Login](https://www.zoho.com/crm/login.html) to your Zoho CRM account. 2. Click **Setup** in the top right corner of the dashboard as shown in the screenshot below, and under the **Customization** section, click **Modules and Fields**. ![crm-customization](https://catalyst-docs-development.zohostratus.in/images/tutorials/ecommerce-bot/crm-customization.webp) 3. Click **New Module**. ![create-new-module](https://catalyst-docs-development.zohostratus.in/images/tutorials/ecommerce-bot/create-new-module.webp) #### EcomProducts This module is used to store the details of various products available in the ecommerce online store. Please make sure to add the fields given below for the `EcomProducts` custom module.
Field Name Type
`EcomProductName` Single Line
`Product_image` URL
`Price` Number
`Inventory Count` Number
`EcomProduct Owner` User
You can simply drag and drop the field type to add a new field. ![ecom-product-module](https://catalyst-docs-development.zohostratus.in/images/tutorials/ecommerce-bot/ecom-product-module.webp) After you add the fields, click **Save**. Provide the module name as "EcomProducts" and select the module permission as **Administrator** as shown in the screenshot below. ![module-name](https://catalyst-docs-development.zohostratus.in/images/tutorials/ecommerce-bot/module-name.webp) Now, you can create any number of products by adding them as records in the module. Navigate back to the modules page, and click on **Ecomproducts** from the menu as shown in the screenshot below. ![select-ecom-products](https://catalyst-docs-development.zohostratus.in/images/tutorials/ecommerce-bot/select-ecom-products.webp) Click on **Create EcomProduct**. ![create-ecomproduct](https://catalyst-docs-development.zohostratus.in/images/tutorials/ecommerce-bot/create-ecomproduct.webp) Provide the values for all the fields and click Save. ![create-product](https://catalyst-docs-development.zohostratus.in/images/tutorials/ecommerce-bot/create-product.webp) #### Orders This module is created to store the order details of your ecommerce online store. Create this new module similarly mentioned before and name it "Orders". You can then configure the fields listed below for this custom module :
Field Name Type
`Order Name` Single Line
`Email` Email
`Contact_No` Phone
`Product_Name` Single Line
`OrderID` Single Line
`Order_Status` Single Line
`Order_Owner` User
`Modified By` Single Line
`Price` Number
`Delivery_Address` Multi Line
`product_image_url` URL
`Expected_Delivery_Date` Single Line
Whenever the user places an order, by conversing with the bot an entry will be automatically made in this module, i.e., the record will be created. ![orders-page](https://catalyst-docs-development.zohostratus.in/images/tutorials/ecommerce-bot/orders-page.webp) The record details will appear as follows: ![edit-order](https://catalyst-docs-development.zohostratus.in/images/tutorials/ecommerce-bot/edit-order.webp) > **Note :** Please make sure you use the exact same names for the fields, as we have used them in our bot's business logic. -------------------------------------------------------------------------------- title: "Initialize the project" description: "Configure a sales assistant bot for an ecommerce website using Catalyst ConvoKraft, Integration functions, and Zoho CRM that manages users' orders." last_updated: "2026-11-04T10:10:44.000Z" source: "https://docs.catalyst.zoho.com/en/tutorials/ecommerce-bot/nodejs/initialize-project/" service: "All Services" related: - Catalyst Integration Functions (/en/convokraft/help/actions/bot-logic/catalyst-integration-functions) - Project Directory Structure (/en/cli/v1/project-directory-structure/introduction/) -------------------------------------------------------------------------------- # Initialize the Project from the CLI After configuring the actions for a bot, we can proceed to configure the business logic of those actions. As mentioned earlier, we will be using [Catalyst Integration functions](https://docs.catalyst.zoho.com/en/convokraft/help/actions/bot-logic/catalyst-integration-functions) to code the bot logic of the ecommerce bot. In order to code the Catalyst functions, we will need to first initialize the project from the [Catalyst CLI](https://docs.catalyst.zoho.com/en/cli/v1/login/login-from-cli/). The first step is to [login to the CLI](https://docs.catalyst.zoho.com/en/cli/v1/login/login-from-cli/) and [initialize the project](https://docs.catalyst.zoho.com/en/cli/v1/initialize-resources/introduction) in an empty local directory. This will be the home directory of your project and all of the project files will be saved in it. You can learn more about the project directory structure for all programming stacks supported by Catalyst from [this page](https://docs.catalyst.zoho.com/en/cli/v1/project-directory-structure/introduction/). You can learn about initializing a Catalyst project in detail from the [CLI help documentation](https://docs.catalyst.zoho.com/en/cli/v1/initialize-resources/introduction). > **Note:** Ensure that you enter the function's package name exactly as instructed, because the application's code contains the same name. Please follow the steps listed below to initialize the project and create the required functions and client components: 1. Create a folder for the project on your local machine and navigate to it from the CLI terminal. 2. To initialize the project, please execute the following command: ```sh catalyst init ``` 3. The CLI will now ask you to select the [default Catalyst organization](https://docs.catalyst.zoho.com/en/getting-started/catalyst-organizations/#the-default-organization). Select the organization in which you created the project in the first step of this tutorial and press **Enter**. ![convokraft_ecommerce_bot_init_project](https://catalyst-docs-development.zohostratus.in/images/tutorials/ecommerce-bot/convokraft_ecommerce_bot_init_project.webp) 4. You can associate the current project directory with the Catalyst project you created in this organization. Select **Ecommerce** and press **Enter**. ![convokraft_ecommerce_bot_select_proj](https://catalyst-docs-development.zohostratus.in/images/tutorials/ecommerce-bot/convokraft_ecommerce_bot_select_proj.webp) 5. Select the components that you need to set up for your Catalyst application. Navigate through the options using the arrow keys and select them by pressing space bar. Select **Functions** and **Client** and press **Enter** to confirm your choices. ![convokraft_ecommerce_bot_select_funcs](https://catalyst-docs-development.zohostratus.in/images/tutorials/ecommerce-bot/convokraft_ecommerce_bot_select_funcs.webp) 6. Select the type of function you would like to develop. For this tutorial, choose **Functions** and **Client**. In the Functions setup step, select **Integration**. ![convokraft_ecommerce_bot_integ_select](https://catalyst-docs-development.zohostratus.in/images/tutorials/ecommerce-bot/convokraft_ecommerce_bot_integ_select.webp) 7. In the next step, select the service as **Convokraft**. ![convokraft_ecommerce_bot_convokraft](https://catalyst-docs-development.zohostratus.in/images/tutorials/ecommerce-bot/convokraft_ecommerce_bot_convokraft.webp) 8. Select the preferred stack to develop the Catalyst Integration function and press **Enter**. For this tutorial, we will be coding the functions in **Node.js 16**. ![convokraft_ecommerce_bot_node_select](https://catalyst-docs-development.zohostratus.in/images/tutorials/ecommerce-bot/convokraft_ecommerce_bot_node_select.webp) 9. Provide the package name as "ecommerce_function" for your Node function when prompted and press **Enter**. You must also define the entry point as `index.js` and author details in this step. > **Note:** Ensure that you enter the function's package name exactly as instructed, because the application's code contains the same name. ![convokraft_ecommerce_bot_node_installed](https://catalyst-docs-development.zohostratus.in/images/tutorials/ecommerce-bot/convokraft_ecommerce_bot_node_installed.webp) The function's directory will now contain the initialized `ecommerce_function`, its handler function files and other configuration files. You can also learn about the project directory structure in detail, from this [page](https://docs.catalyst.zoho.com/en/cli/v1/project-directory-structure/functions-directory/#node-modules-and-node-js-function-dependencies). 10. The CLI will initiate the client setup next. Select **Basic web app** as your client type. ![convokraft_ecommerce_bot_basic_client_select](https://catalyst-docs-development.zohostratus.in/images/tutorials/ecommerce-bot/convokraft_ecommerce_bot_basic_client_select.webp) 11. Enter `ecommerceclient` as the name of the client package and then press **Enter**. You can enter any name you need. ![convokraft_ecommerce_bot_basic_client_installed](https://catalyst-docs-development.zohostratus.in/images/tutorials/ecommerce-bot/convokraft_ecommerce_bot_basic_client_installed.webp) The client directory will be created in the standard structure and will look like this: ![convokraft_ecommerce_bot_basic_client_directory](https://catalyst-docs-development.zohostratus.in/images/tutorials/ecommerce-bot/convokraft_ecommerce_bot_basic_client_directory.webp) 12. This Catalyst Node.js function requires **express** framework to perform routing operations. To install the express modules in the function's directory, navigate to `functions/ecommerce_function` and execute the following command in the terminal: ```sh npm install express -save ``` ![convokraft_ecommerce_bot_express](https://catalyst-docs-development.zohostratus.in/images/tutorials/ecommerce-bot/convokraft_ecommerce_bot_express.webp) The function's directory will look like this: ![convokraft_ecommerce_func_directory](https://catalyst-docs-development.zohostratus.in/images/tutorials/ecommerce-bot/convokraft_ecommerce_func_directory.webp) Catalyst initialization is now complete. The project directory will contain the function and the client, as well as other project dependency files. -------------------------------------------------------------------------------- title: "Configure the Integration function" description: "Configure a sales assistant bot for an ecommerce website using Catalyst ConvoKraft, Integration functions, and Zoho CRM that manages users' orders." last_updated: "2026-11-04T10:10:44.000Z" source: "https://docs.catalyst.zoho.com/en/tutorials/ecommerce-bot/nodejs/configure-function/" service: "All Services" related: - Project Directory Structure (/en/cli/v1/project-directory-structure/introduction/) -------------------------------------------------------------------------------- # Configure the Integration Function Next, we will begin coding the execution logic of the ecommerce bot by configuring the Integration function that we initialized earlier. The function’s directory, `functions/ecommerce_function` contains: - The `index.js` main function file - The ConvoKraft handler function files - The `catalyst-config.json` configuration file - Node modules - [`package.json`](https://docs.npmjs.com/files/package.json) and [`package-lock.json`](https://docs.npmjs.com/configuring-npm/package-lock-json.html) dependency files We will be adding code in the handler functions: `execute.js`, `fallback.js`, `failure.js`, `welcome.js`, as well the main `index.js` file. Copy and paste the code given below carefully in the respective files using any IDE of your choice and save them. **execute.js** ```javascript import logger from "./logger.js"; import fetch from "node-fetch"; import catalyst from "zcatalyst-sdk-node"; // Function to make GET requests async function get(url, headers) { const response = await fetch(url, { method: 'GET', headers: headers }); return await response.json(); } function getRandomNumber(min, max) { return Math.floor(Math.random() * (max - min + 1)) + min; } // Function to make POST requests async function post(url, headers, body) { const response = await fetch(url, { method: 'POST', headers: headers, body: JSON.stringify(body) }); return await response.json(); } // Function to make PUT requests async function put(url, headers, body) { const response = await fetch(url, { method: 'PUT', headers: headers, body: JSON.stringify(body) }); return await response.json(); } async function getCRMToken(request) { const catalystApp = catalyst.initialize(request); var connector = catalystApp.connection({ CRMTOKEN: { client_id: `${process.env.client_id}`, client_secret: `${process.env.client_secret}`, auth_url: `${process.env.auth_url}`, refresh_url: `${process.env.refresh_url}`, refresh_token: `${process.env.refresh_token}` } }).getConnector('CRMTOKEN'); let accessTokenResponse=await connector.getAccessToken().then((accessToken) => { //console.log("Inside accesstoken"+accessToken); return accessToken; }); return accessTokenResponse; } // Invoke URL function async function invokeURL(options) { if (options.type === 'GET') { const response = await get(options.url, options.headers); return response; } else if (options.type === 'POST') { const response = await post(options.url, options.headers, options.body); return response; } else if (options.type === 'PUT') { const response = await put(options.url, options.headers, options.body); return response; } else { throw new Error(`Unsupported HTTP method: ${options.type}`); } } // Handle the execute functionality export default async function handleExecute(request) { logger.info('Handling execute request with params : '+JSON.stringify(request)); logger.info('Action NameSpace : '+request.action.namespace); logger.info('Params : '+JSON.stringify(request.params)); logger.info('Broadcast : '+JSON.stringify(request.broadcast)); const result = {}; const cardlist = []; switch(request.action.namespace) { case "listofitems_2": logger.info('Inside NameSpace '+request.action.namespace); const executeViewItemsLogic = async () => { //let zohocrmapiurl=process.env.crmapiurl; console.log("ENV VARIABLE "+JSON.stringify(process.env)); //console.log("Client ID"+`${process.env.client_id}`); const token=await getCRMToken(request); //console.log("ACCESSTOKEN RESP : "+token); const accessToken = 'Zoho-Oauthtoken ' + token; logger.info('Access Token : '+accessToken); const header_data = new Map(); header_data.set('Content-Type', 'application/json'); header_data.set('Authorization', accessToken); const CRMresponse = await invokeURL({ url: 'https://'+process.env.crmapiurl+'/crm/v2/EcomProducts?fields=Name,Product_image_url,Price,Inventory_Count,Product_image', type: 'GET', headers: header_data }); logger.info("Response for list of items "+ JSON.stringify(CRMresponse)); const productNote = { "type": "note", "content": "List of items available are listed as follows" }; cardlist.push(productNote); for (const record of CRMresponse.data) { logger.info('RECPORD INFO : '+JSON.stringify(record)); const name = record.Name; const price = record.Price; const product_id = record.id; const image = record.Product_image; const inventory = record.Inventory_Count; const listItem = { "type": "list", "format": "bullet", "elements": [ { "label": `Name : ${name}` }, { "label": `Total Price : $ ${price}` }, { "label": `Product ID : ${product_id}` }, { "label": `Stock : ${inventory}` } ] }; const productPic = { "type": "image", "content": image }; cardlist.push(productPic); cardlist.push(listItem); logger.info('Card List : : : :'+JSON.stringify(cardlist)); } result.card= cardlist; result.message= "List of Objects in response"; logger.info('Result Obj inside the : : : ' + result); logger.info('Result OF MAP : : : :'+JSON.stringify(result)); }; await executeViewItemsLogic(); logger.info('Result Obj before return : : : ' + JSON.stringify(result)); return result; break; case "vieworderdetails_3": logger.info('Inside NameSpace ' + request.action.namespace); const executeViewOrderLogic = async () => { const token=await getCRMToken(request); var cxemail=request.params.cxemail; const accessToken = 'Zoho-Oauthtoken ' + token; logger.info('Access Token: ' + accessToken); const header_data = new Map(); header_data.set('Content-Type', 'application/json'); header_data.set('Authorization', accessToken); let resp={} try{ resp = await invokeURL({ url: 'https://'+process.env.crmapiurl+'/crm/v4/Orders/search?criteria=((Email:equals:' + cxemail + '))', type: 'GET', headers: header_data }); }catch(er) { logger.info('ERROR WHILE CRM DATA SEARCH ' + er); } logger.info('Response: ' + JSON.stringify(resp)); let items_count = 0; for (const order of resp.data) { items_count++; logger.info('Inside Resp Iterator - Item count : '+items_count+' Order details : '+JSON.stringify(order)); const order_id = order.id; const CRMresponse = await invokeURL({ url: 'https://'+process.env.crmapiurl+'/crm/v3/Orders/' + order_id, type: 'GET', headers: header_data }); logger.info("CRMRESPONSE : : : :"+JSON.stringify(CRMresponse.data[0].product_image_url)); const orderid = order.OrderID; const name = order.Name; const contact = order.Contact_No; const email = order.Email; const product_name = order.Product_Name; const price = order.Price; const delivery_date = order.Expected_Delivery_Date; const delivery_address = order.Delivery_Address; const order_status = order.Order_Status; const listItem = { "type": "list", "format": "bullet", "elements": [ { "label": "Name: " + name }, { "label": "Contact No: " + contact }, { "label": "Email ID: " + email }, { "label": "Product Name: " + product_name }, { "label": "Total Price: $" + price }, { "label": "Expected Delivery Date: " + delivery_date }, { "label": "Delivery Address: " + delivery_address }, { "label": "Order Status: " + order_status } ] }; const productNote = { "type": "note", "content": items_count + ") Your order details for order id : " + orderid + " are listed as follows: " }; const productPic = { "type": "image", "content": CRMresponse.data[0].product_image_url }; cardlist.push(productNote); cardlist.push(productPic); cardlist.push(listItem); logger.info("CARD LIST : : : "+JSON.stringify(cardlist)); } result.card = cardlist; // defining broadcast result.broadcast = { "cxemail": cxemail }; result.message = "The Shoppers Stores. You don't have an order."; logger.info("Result JSON : : : "+JSON.stringify(result)); }; await executeViewOrderLogic(); //logger.info('Result Obj before return: ' + JSON.stringify(result)); return result; break; case "placeanorder_4": logger.info('Inside NameSpace ' + request.action.namespace); const executePlaceOrderLogic = async () => { const placeorder = {}; const token=await getCRMToken(request); const accessToken = 'Zoho-Oauthtoken ' + token; logger.info('Access Token: ' + accessToken); const header_data = new Map(); header_data.set('Content-Type', 'application/json'); header_data.set('Authorization', accessToken); try { const CRMresponse = await invokeURL({ url: 'https://'+process.env.crmapiurl+'/crm/v2/EcomProducts/' + request.params.productid, type: 'GET', headers: header_data }); logger.info('CRM Response: ' + JSON.stringify(CRMresponse)); if (CRMresponse.data == null && CRMresponse.status != 'error') { const stock_count = 0; logger.info('Empty response. Stock count reset.'); placeorder.put('Stock', 'Empty'); } else { const recordid = CRMresponse.data[0].id; let stock_count = CRMresponse.data[0].Inventory_Count; const imageurl = CRMresponse.data[0].Product_image; const productname = CRMresponse.data[0].Name; const price = CRMresponse.data[0].Price; logger.info(recordid+" "+stock_count+" "+imageurl+" "+productname+" "+price); if (stock_count > 0) { stock_count = stock_count - 1; const reduceStock = { id: recordid, Inventory_Count: stock_count }; const updatedata = [reduceStock]; const updatedatamap = { data: updatedata }; const updateResp = await invokeURL({ url: 'https://'+process.env.crmapiurl+'/crm/v2/EcomProducts', type: 'PUT', body: updatedatamap, headers: header_data }); logger.info('Update Response: ' + JSON.stringify(updateResp)); placeorder.Name = productname + ' ' + request.params.cxdate; // Assign the value using dot notation placeorder.Product_Name = productname; // Assign the value using dot notation placeorder.Email = request.params.cxemail; // Assign the value using dot notation placeorder.Delivery_Address = request.params.cxaddr; // Assign the value using dot notation placeorder.Expected_Delivery_Date = new Date(request.params.cxdate).toLocaleDateString(); // Assign the value using dot notation placeorder.product_image_url = imageurl; // Assign the value using dot notation placeorder.Price = price; // Assign the value using dot notation const orderID = request.params.productid + '_' + getRandomNumber(1111111, 9999999); //placeorder.put('OrderID', orderID); placeorder.OrderID = orderID; placeorder.Order_Status = 'Reviewing the Order'; // Assign the value using dot notation const insertdatamap = { data: [placeorder] }; logger.info("INSERT MAP : : :"+JSON.stringify(insertdatamap)); const insertResp = await invokeURL({ url: 'https://'+process.env.crmapiurl+'/crm/v2/Orders', type: 'POST', body: insertdatamap, headers: header_data }); logger.info('Insert Response: ' + JSON.stringify(insertResp)); result.message = 'Your order for the product - ' + CRMresponse.data[0].Name + ' is placed successfully. It will be tried to be delivered on ' + request.params.cxdate + ' to ' + request.params.cxaddr + '. Our Sales team will reach out to you via email to discuss COD or prepayment before delivery.'; } else { result.message = 'The item is out of stock. Please retry after some days as we restock.'; } } } catch (e) { logger.info(e.lineNo); logger.info(e.message); logger.info(e); result.message = 'There was some issue during the order. Please contact the support team. They shall assist in placing this order for you.'; } result.broadcast = { cxemail: request.params.cxemail }; }; await executePlaceOrderLogic(); return result; break; case "changedeliveryaddress": // New case for "changedeliveryaddress" logger.info('Inside NameSpace ' + request.action.namespace); const executeChangeDeliveryAddressLogic = async () => { const token=await getCRMToken(request); const cxorderid = request.params.cxorderid; const cxaddr = request.params.cxaddr; const cxemailid = request.params.cxemail; const accessToken = 'Zoho-Oauthtoken ' + token; logger.info('Access Token: ' + accessToken); const header_data = new Map(); header_data.set('Content-Type', 'application/json'); header_data.set('Authorization', accessToken); let searchOrderResp={}; try{ searchOrderResp = await invokeURL({ url: 'https://'+process.env.crmapiurl+'/crm/v4/Orders/search?criteria=((OrderID:equals:' + cxorderid + '))', type: 'GET', headers: header_data }); }catch(e) { logger.info("ERROR DURING SEARCH ORDER : : "+e); searchOrderResp={}; } logger.info("Result of search Order: : : "+JSON.stringify(searchOrderResp)); if(searchOrderResp.data!=undefined) { const recordId = searchOrderResp.data[0].id; //logger.info("Result of search Order: : : "+JSON.stringify(searchOrderResp.data[0])); const recordEmail=searchOrderResp.data[0].Email; const recordorderId=searchOrderResp.data[0].OrderID; if(cxemailid == recordEmail && cxorderid == recordorderId) { const updateData = [ { id: recordId, Delivery_Address: cxaddr } ]; const updateDataMap = { data: updateData }; const updateResp = await invokeURL({ url: 'https://'+process.env.crmapiurl+'/crm/v2/Orders', type: 'PUT', body: updateDataMap, headers: header_data }); logger.info('Update Response: ' + JSON.stringify(updateResp)); result.message = 'Delivery address updated successfully.'; } else{ result.message='Given Order ID or Email is not proper. Please check and retry'; } } else { result.message='Given Order ID or Email is not proper. Please check and retry'; } }; await executeChangeDeliveryAddressLogic(); return result; break; case "rescheduleorderdate": logger.info('Inside NameSpace ' + request.action.namespace); const executeChangeDeliveryDateLogic = async () => { const token=await getCRMToken(request); const accessToken = 'Zoho-Oauthtoken ' + token; logger.info('Access Token: ' + accessToken); const header_data = new Map(); header_data.set('Content-Type', 'application/json'); header_data.set('Authorization', accessToken); const cxemailid = request.params.cxemail; const cxorderid = request.params.cxorderid; let searchOrderResp={}; try{ searchOrderResp = await invokeURL({ url: 'https://'+process.env.crmapiurl+'/crm/v2/Orders/search?criteria=((OrderID:equals:' + request.params.cxorderid + '))', type: 'GET', headers: header_data }); }catch(e) { searchOrderResp={}; } if(searchOrderResp.data!=undefined){ logger.info("Result of search Order: : : "+JSON.stringify(searchOrderResp.data[0])); const recordId = searchOrderResp.data[0].id; const recordEmail=searchOrderResp.data[0].Email; const recordorderId=searchOrderResp.data[0].OrderID; if(cxemailid == recordEmail && cxorderid == recordorderId) { const datemap = { id: recordId, Expected_Delivery_Date: new Date(request.params.cxdate).toLocaleDateString() }; const updatedata = [datemap]; const updatedatamap = { data: updatedata }; logger.info("update Map : : : "+JSON.stringify(updatedatamap)); const updateResp = await invokeURL({ url: 'https://'+process.env.crmapiurl+'/crm/v2/Orders', type: 'PUT', body: updatedatamap, headers: header_data }); logger.info("updateResponse : : : "+JSON.stringify(updateResp)); result.broadcast = { cxemail: request.params.cxemail }; result.message = 'Your order has been rescheduled successfully.'; }else{ result.message='Given Order ID or Email is not proper. Please check and retry'; } } else{ result.message='Given Order ID or Email is not proper. Please check and retry'; } }; await executeChangeDeliveryDateLogic(); return result; break; default : result.message='Given request is invalid. Please check and retry'; return result; break; } //return response; } ``` **welcome.js** ```javascript import logger from "./logger.js"; // Handle the welcome functionality export default function handleWelcome() { logger.info('Handling welcome request'); return { "welcome_response": { "message": "Welcome to your Bot. Please ask your queries" } }; } ``` **failure.js** ```javascript import logger from "./logger.js"; // Handle the failure functionality export default function handleFailure() { logger.info('Handling failure request'); const result = { "message": "Something went wrong while checking your query. Please try again later." }; return JSON.stringify(result); } ``` **fallback.js** ```javascript import logger from "./logger.js"; // Handle the fallback functionality export default function handleFallback() { logger.info('Handling fallback request'); const result = { "message": "Sorry couldn't get that." }; return JSON.stringify(result); } ``` **index.js** ```javascript import logger from './logger.js'; import IntegResponse from './integ-response.js'; import handleWelcome from './welcome.js'; import handleFallback from './fallback.js'; import handleExecute from './execute.js'; import handleFailure from './failure.js'; export default async (request, response) => { let jsonResponse = {}; try { logger.info('REQUEST FLOW FOR : : : ' + request.todo); switch (request.todo) { case "welcome": jsonResponse = handleWelcome(); break; case "execute": jsonResponse = await handleExecute(request); break; case "fallback": jsonResponse = handleFallback(); break; case "failure": jsonResponse = handleFailure(); break; default: jsonResponse = JSON.stringify({ "message": "Error Trying to parse your details" }); } } catch (err) { logger.error('Error while executing handler: ' + err); logger.error('REQUEST OBJECT: ' + JSON.stringify(request)); jsonResponse = JSON.stringify({ "message": "Error Trying to parse your details" }); } //The Response has to be encapuslated into an IntegResponse Object response.end(new IntegResponse(jsonResponse)); }; ``` > **Note:** Please go through all the codes given in this section to ensure you fully understand it. Let's quickly go through each of the function files and the logic coded in them: 1. **`execute.js`**: This file contains the main execution logic of all the actions of our ecommerce bot. All these actions authenticate your Zoho CRM account using the configured environmental variables and fetches the required details or performs the below listed actions, as required. We will be configuring the environmental variables for the `ecommerce_function` Catalyst function directly from the Catalyst console, after deploying the function to the console in this step. * **`listofitems_2`** : This action initiates an API request and triggers a GET method on the custom CRM module `EcomProducts`, retrieving the product name, product ID, product image URL, price, and stock count. * **`placeanorder_4`** : This action accepts the product ID as an input from the user. It then checks for the stock availability of the particular product in the EcomProducts CRM module. If the stock is available, the bot proceeds to ask the user's email address, the expected date of delivery and the delivery address. Once these details are entered, the bot places an order by initiating an API request and triggering a POST method on the custom CRM module `Orders`.The user will be intimated on the successful placement of the order via the chatbot. If the product stock is not available, then the same will be informed to the user. * **`vieworderdetails_3`** :This action triggers the [Zoho CRM Search API](https://www.zoho.com/crm/developer/docs/api/v4/search-records.html) to perform a search operation on the custom module `Orders`. The customer name, contact number, email id, product name, price of the product, product image URL, expected delivery date, delivery address and status of the order details are fetched as the response. * **`changedeliveryaddress`** : This action accepts the email id associated with the order, the order ID and the address to which the order has to be delivered, as inputs. The [Zoho CRM Search API](https://www.zoho.com/crm/developer/docs/api/v4/search-records.html) is triggered on our custom module `Orders`. The given email id and order id are validated and the new address is updated in the order by executing a PUT method on the custom module `Orders`. * **`rescheduleorderdate`** : This action accepts the email id associated with the order, and the order ID as inputs. The [Zoho CRM Search API](https://www.zoho.com/crm/developer/docs/api/v4/search-records.html) is triggered on our custom module `Orders`, the search operation is done for the given orderID. The email id and order id are validated and the next possible date is updated as the delivery date in the order again by executing a PUT method on the custom module `Orders`. The above mentioned action names are namespaces of the action created in the console. Please make sure to update the namespaces generated for your actions in the code in line number 82, 145, 238, 337, 407 for the switch cases `listofitems_2`, `vieworderdetails`, `placeanorder`, `changedeliveryaddress`, `rescheduleordertolaterdate` respectively. You can get the namespaces of the action from the console as shown in the screenshot below. ![copy-namespace](https://catalyst-docs-development.zohostratus.in/images/tutorials/ecommerce-bot/copy-namespace.webp) 2. **`welcome.js`: In this file, we have configured the message to be displayed to greet the user when initiating a fresh conversation with the user. 3. `Fallback.js`: In this file, we have configured the message to be displayed to the user when the bot fails to comprehend user's message. In this case, this response will be shown in the conversation until the user enters the valid response and the bot understands it. 4. `failure.js`: In this file, we have configured the message to be displayed to the user when an exception occurs while executing the business logic. 5. `index.js`**: his is the entry point of the function and here we will map the corresponding handler files such as execute, welcome, fallback or failure based on the [`todo`](https://docs.catalyst.zoho.com/en/convokraft/help/actions/bot-logic/deluge-functions/context-handler-function/#todo) prompt during the bot conversation. -------------------------------------------------------------------------------- title: "Register the Client" description: "Configure a sales assistant bot for an ecommerce website using Catalyst ConvoKraft, Integration functions, and Zoho CRM that manages users' orders." last_updated: "2026-11-04T10:10:44.000Z" source: "https://docs.catalyst.zoho.com/en/tutorials/ecommerce-bot/nodejs/register-client/" service: "All Services" related: - Generate API Tokens (/en/api/oauth2/generate-access-and-refresh-token/#GenerateAccessandRefreshToken) -------------------------------------------------------------------------------- # Register the Client We will need to generate access tokens in order to authenticate and CRM resources effectively. Please make sure to follow the steps listed below. 1. Login to [Zoho's API Console](https://api-console.zoho.com/). Click **Self Client**. ![choose-self-client](https://catalyst-docs-development.zohostratus.in/images/tutorials/ecommerce-bot/choose-self-client.webp) 2. Add the following scope, then set the scope duration and provide a scope descripton. Click **Create**. You can learn more about scopes from [this section](https://www.zoho.com/crm/developer/docs/api/v6/scopes.html). ![edit-self-client](https://catalyst-docs-development.zohostratus.in/images/tutorials/ecommerce-bot/edit-self-client.webp) 3. Select **CRM** as the portal and choose your project on the right pane. Click **Create**. ![choose-portal](https://catalyst-docs-development.zohostratus.in/images/tutorials/ecommerce-bot/choose-portal.webp) 4. The [Grant token](https://docs.catalyst.zoho.com/en/api/oauth2/generate-grant-token/#GenerateGrantToken) will be generated for the specified scopes. You can fetch the [Client ID](https://docs.catalyst.zoho.com/en/api/oauth2/register-new-client/) and [Client Secret](https://docs.catalyst.zoho.com/en/api/oauth2/register-new-client/) credentials from Client Secret tab. You will need to generate the access and refresh tokens by following the steps mentioned in [this page](https://docs.catalyst.zoho.com/en/api/oauth2/generate-access-and-refresh-token/#GenerateAccessandRefreshToken). > **Note:** Please make sure you save these credentials. We will be configuring these values as environmental variables to our function in [this step.](https://docs.catalyst.zoho.com/en/tutorials/ecommerce-bot/nodejs/deploy-to-console) -------------------------------------------------------------------------------- title: "Configure the client" last_updated: "2025-11-07T11:51:15.000Z" source: "https://docs.catalyst.zoho.com/en/tutorials/ecommerce-bot/nodejs/configure-client/" service: "All Services" related: - ConvoKraft JS SDK (/en/convokraft/sdk/js/overview/) -------------------------------------------------------------------------------- # Configure the Client Lets now configure the client component. The client directory you initialized will contain: * The `index.html` file for the HTML code of the frontend application * The `main.css` for the CSS code * The `main.js` file for the JavaScript code * The `client-package.json` configuration file You can download this zip, copy all the files in it and replace them with the default client files created in your client directory. This [git repository](https://github.com/catalystbyzoho/tutorial-convokraft) contains additional files besides the default ones. We have the entire client code, and the required images and icon files all packed in this, you can simply download it as a zip file. > **Note :** Please go through the code in each file to make sure you fully understand it. Catalyst enables you to host the client part of the web application using the [Catalyst Web Client Hosting](https://docs.catalyst.zoho.com/en/cloud-scale/help/web-client-hosting/introduction/) component. We will be deploying the client to the console along with the functions [created earlier](https://docs.catalyst.zoho.com/en/tutorials/ecommerce-bot/nodejs/configure-function/), in [this step](https://docs.catalyst.zoho.com/en/tutorials/ecommerce-bot/nodejs/deploy-to-console/) of the tutorial. ### Embed the bot in the website In order to embed the ConvoKraft bot in your application, please make sure you add the javascript code snippet given below in the `contact.html` file in your client directory and save it. We also offer a [ConvoKraft Javascript SDK](https://docs.catalyst.zoho.com/en/convokraft/sdk/js/overview/) package which contains pre-defined methods that can be quickly incorporated in your client application to customize the appearance of your ConvoKraft bot. ```xml <script src="https://console.catalyst.zoho.com/convokraft/assets/js/convokraft-chat-sdk.js"> </script> <style> div.anchor_zia_toBottom { width: 330px; height: 450px; position: fixed; bottom: 0; right: 0; } </style> <div class="anchor_zia_toBottom"> <convokraft-chat-bot bot-name="ecommercebot_2" project-id="10644000000029001" org-id="74779991"> </convokraft-chat-bot> </div> ``` > **Note :** Please make sure you replace the correct values for the bot name, project ID, and org ID attributes in the above code. Open the `EcommerceBot` in the console and in the Bots Details page, the namespace of the bot is the value of this `bot-name attribute`. Take the URL of this page. It should appear as follows: [https://console.catalyst.zoho.com/baas/74779991/project/10644000000029001/Development#/convokraft/bots/50803000000018005](https://console.catalyst.zoho.com/baas/74779991/project/10644000000029001/Development#/convokraft/bots/50803000000018005) Here "74779991" is the `orgID` and "10644000000029001" is the `projectID`. -------------------------------------------------------------------------------- title: "Deploy to console" description: "Configure a sales assistant bot for an ecommerce website using Catalyst ConvoKraft, Integration functions, and Zoho CRM that manages users' orders." last_updated: "2026-11-04T10:10:44.000Z" source: "https://docs.catalyst.zoho.com/en/tutorials/ecommerce-bot/nodejs/deploy-to-console/" service: "All Services" related: - Deploy Catalyst Project (/en/cli/v1/deploy-resources/introduction/) -------------------------------------------------------------------------------- # Deploy to console To train and test the configured ecommerce bot in ConvoKraft from the console, you will first need to deploy the project to the console. 1. To [deploy your Catalyst project](https://docs.catalyst.zoho.com/en/cli/v1/deploy-resources/introduction/) from the CLI, run the following command in your terminal from your project directory : ```sh catalyst deploy ``` ![deploy-command](https://catalyst-docs-development.zohostratus.in/images/tutorials/ecommerce-bot/deploy-command.webp) After you deploy the functions directory it will available under the Serverless Functions component of the Catalyst console. ![uploaded-function](https://catalyst-docs-development.zohostratus.in/images/tutorials/ecommerce-bot/uploaded-function.webp) 2. Click on the function name **ecommerce_function**. Switch to the **Code** tab. You can edit the function from here and click **Save**, if required. ![functions-overview](https://catalyst-docs-development.zohostratus.in/images/tutorials/ecommerce-bot/functions-overview.webp) 3. Switch to the **Configuration** tab and expand the **Environmental variables** tab. Click **Create Variable**. ![create-env](https://catalyst-docs-development.zohostratus.in/images/tutorials/ecommerce-bot/create-env.webp) 4. Provide the key as `client_id` and add the value of ClientID that we have saved earlier in [this step](https://docs.catalyst.zoho.com/en/tutorials/ecommerce-bot/nodejs/register-client) as Development value here. Click **Save**. ![add-env](https://catalyst-docs-development.zohostratus.in/images/tutorials/ecommerce-bot/add-env.webp) Similarly you must create the following environmental variables:
Key Development Value
`client_secret` Value fetched from the API console
`auth_url` https://accounts.zoho.com/oauth/v2/auth
`refresh_url` https://accounts.zoho.com/oauth/v2/token
`refresh_token` Value fetched from the API console
`crmapiurl` www.zohoapis.com
> **Note :** 1. The `client_secret` and `refresh_token` values are the credentials generated in [this step](https://docs.catalyst.zoho.com/en/tutorials/ecommerce-bot/nodejs/register-client). 2. For the `crmapiurl`, `auth_url`, `refresh_url` values, please make sure to add your DC specific URLs. Before we proceed to host the client, we need to associate the created Catalyst function with our Convokraft bot. Please make sure you follow the steps listed below. Navigate to the ConvoKraft service and click **EcommerceBot**.The Bots Details page will be displayed. Click **Edit Details** as shown in the screenshot below: ![edit-details](https://catalyst-docs-development.zohostratus.in/images/tutorials/ecommerce-bot/edit-details.webp) In the Edit Bot dialog box, select the **ecommerce_function**, choose **At the end of an action context** and click **Save**. ![associate-function](https://catalyst-docs-development.zohostratus.in/images/tutorials/ecommerce-bot/associate-function.webp) Navigate to the **CloudScale** service by clicking on its icon from left pane of the Catalyst console as shown in the screenshot below. Click **Web Client Hosting**. You can access the hosted client URL from here. To learn more about the web client hosting component, you can check out [this page](https://docs.catalyst.zoho.com/en/cloud-scale/help/web-client-hosting/implementation/). ![web-url](https://catalyst-docs-development.zohostratus.in/images/tutorials/ecommerce-bot/web-url.webp) -------------------------------------------------------------------------------- title: "Train and test the bot" description: "Configure a sales assistant bot for an ecommerce website using Catalyst ConvoKraft, Integration functions, and Zoho CRM that manages users' orders." last_updated: "2026-11-04T10:10:44.000Z" source: "https://docs.catalyst.zoho.com/en/tutorials/ecommerce-bot/nodejs/train-and-test-the-bot/" service: "All Services" related: - Project Directory Structure (/en/cli/v1/project-directory-structure/introduction/) -------------------------------------------------------------------------------- # Train and Test the Bot After you create the required actions and configure the business logic for them, you can [train](https://docs.catalyst.zoho.com/en/convokraft/help/manage-a-bot/train-a-bot/) and test the bot with all the actions from the Bots Details page by clicking `Train` and `Test this bot` respectively. ![train-bot](https://catalyst-docs-development.zohostratus.in/images/tutorials/ecommerce-bot/train-bot.webp) You can either choose to pick a task from the suggestion shown or initiate a fresh conversations in the chat window. To learn more about `Test this bot` feature, please refer to [this page](https://docs.catalyst.zoho.com/en/convokraft/help/manage-a-bot/test-a-bot/). Click **list the items available in the store**. ![bot-options](https://catalyst-docs-development.zohostratus.in/images/tutorials/ecommerce-bot/bot-options.webp) The bot fetches the list from the `EcomProducts` CRM module and displays it to the user. ![bot-list-items](https://catalyst-docs-development.zohostratus.in/images/tutorials/ecommerce-bot/bot-list-items.webp) You can view the list of items available and make a note of the required product IDs in order to place an order in the next step. ![items-response](https://catalyst-docs-development.zohostratus.in/images/tutorials/ecommerce-bot/items-response.webp) Next, click **I want to place an order**. Provide the details prompted by the bot such as the Product ID, email address and the delivery address. ![place-order-in-bot](https://catalyst-docs-development.zohostratus.in/images/tutorials/ecommerce-bot/place-order-in-bot.webp) The order has been successfully placed now. ![placed-order](https://catalyst-docs-development.zohostratus.in/images/tutorials/ecommerce-bot/placed-order.webp) Please make a note of the orderID, in order to use it to check further details of your order with the EcommerceBot. Now, lets try to view our order details. Click **View my Order**. Provide the email address associated with your order. ![view-order-in-bot](https://catalyst-docs-development.zohostratus.in/images/tutorials/ecommerce-bot/view-order-in-bot.webp) The order details has been fetched from the `Orders` CRM module. Similarly, you can reschedule your order to a later date by clicking on the relevant suggestion. You can also type in your query directly to chat with the bot. ![reschedule-order-in-bot](https://catalyst-docs-development.zohostratus.in/images/tutorials/ecommerce-bot/reschedule-order-in-bot.webp) The order has been rescheduled successfully. Similarly, you can also change the delivery address of your order, if required. ![reschedule-order-in-bot](https://catalyst-docs-development.zohostratus.in/images/tutorials/ecommerce-bot/updated-delivery.webp) The order has been updated with its new delivery address now. Now, we have successfully tested our bot in the development environment. We will be deploying it to production in the next section. -------------------------------------------------------------------------------- title: "Deploy to production" description: "Configure a sales assistant bot for an ecommerce website using Catalyst ConvoKraft, Integration functions, and Zoho CRM that manages users' orders." last_updated: "2026-11-04T10:10:44.000Z" source: "https://docs.catalyst.zoho.com/en/tutorials/ecommerce-bot/nodejs/deploy-to-production/" service: "All Services" related: - Project Directory Structure (/en/cli/v1/project-directory-structure/introduction/) -------------------------------------------------------------------------------- # Deploy to Production After you have tested the ecommerce bot in the development environment, you can proceed to [deploy the bot to the production environment](https://docs.catalyst.zoho.com/en/deployment-and-billing/environments/introduction/). This is done by [deploying the specific ConvoKraft bot](https://docs.catalyst.zoho.com/en/convokraft/help/manage-a-bot/deploy-a-bot/) alone, and then the entire project to production to enable the deployment of the associated function. 1. To deploy the bot to the production environment, navigate to the Bots Details page and click **Deploy to Production**. ![deploy-to-production](https://catalyst-docs-development.zohostratus.in/images/tutorials/ecommerce-bot/deploy-to-production.webp) 2. In the *Deploy to Production* dialog box, enable **Include Catalyst Function Properties**. Choose the required release type and click **Deploy**. ![deploy-to-prod-popup](https://catalyst-docs-development.zohostratus.in/images/tutorials/ecommerce-bot/deploy-to-prod-popup.webp) 3. After you have deployed your bot to production, you can switch to the production environment directly from the console, as shown in the screenshot below. ![switch-environments](https://catalyst-docs-development.zohostratus.in/images/tutorials/ecommerce-bot/switch-environments.webp) You can now check the [usage stats](https://docs.catalyst.zoho.com/en/convokraft/help/manage-a-bot/usage-stats/) of your bot after you start using it by clicking the **Usage stats** tab in the bot's Details page. To learn more about usage stats, please refer to [this page](https://docs.catalyst.zoho.com/en/convokraft/help/manage-a-bot/usage-stats/). ![usage-stats-scree](https://catalyst-docs-development.zohostratus.in/images/tutorials/ecommerce-bot/usage-stats-scree.webp) > **Note:** The **Client** and **Usage stats** tabs are only enabled in the production environment. ## Embedded Authentication Portal ### Java -------------------------------------------------------------------------------- title: "Introduction" description: "Create a web application using Catalyst Embedded Authentication that provides user sign-up, login, password reset, and sign-in with identity providers." last_updated: "2026-11-04T10:10:44.000Z" source: "https://docs.catalyst.zoho.com/en/tutorials/embedded-auth/java/introduction/" service: "All Services" related: - Project Directory Structure (/en/cli/v1/project-directory-structure/introduction/) - Embedded Authentication Type (/en/cloud-scale/help/authentication/native-catalyst-authentication/embedded-authentication/introduction/) - User Management (/en/cloud-scale/help/authentication/user-management/introduction/) - Custom User Validation (/en/cloud-scale/help/authentication/whitelisting/custom-user-validation/introduction/) - Identity Providers (/en/cloud-scale/help/authentication/social-logins/introduction/) - Java SDK (/en/sdk/java/v1/overview/) -------------------------------------------------------------------------------- # Introduction This tutorial will help you build a simple client application that allows your end-users to log in to your application after they have been authenticated using [Embedded Authentication Type](https://docs.catalyst.zoho.com/en/cloud-scale/help/authentication/native-catalyst-authentication/embedded-authentication/introduction/) with a [Custom User Validation](https://docs.catalyst.zoho.com/en/cloud-scale/help/authentication/whitelisting/custom-user-validation/introduction/) function. The Embedded Authentication type allows you to load your login element as an iFrame in your application. The Embedded Authenication Portal app uses the following Catalyst services and their respective components: - [Catalyst CloudScale](https://docs.catalyst.zoho.com/en/cloud-scale/) - **Authentication**: The end-user will be authenticated to your application using [Embedded Authentication](https://docs.catalyst.zoho.com/en/cloud-scale/help/authentication/native-catalyst-authentication/embedded-authentication/introduction/), a [Native Catalyst Authentication Type](https://docs.catalyst.zoho.com/en/cloud-scale/help/authentication/native-catalyst-authentication/introduction/). - **Web Client Hosting**: The front end of the application is going to be hosted on Catalyst using the [Web Client Hosting](https://docs.catalyst.zoho.com/en/cloud-scale/help/web-client-hosting/introduction/) component. We will be initializing and configuring the client as a [Basic web app](https://docs.catalyst.zoho.com/en/cli/v1/initialize-resources/initialize-client/#basic-client-applications) and a [React app](https://docs.catalyst.zoho.com/en/cli/v1/initialize-resources/initialize-client/#react-applications). - [Catalyst Serverless](https://docs.catalyst.zoho.com/en/serverless/) - **Functions**: We will be using a [Basic I/O function](https://docs.catalyst.zoho.com/en/serverless/help/functions/basic-io/) to code the logic used to implement *Custom User Validation*. We will be coding the function in **Java**. This tutorial will help you understand the various features of *Embedded Authentication Type*. We will be incorporating the following functionalities in this tutorial: - Sign up to the web app using an email address - Log in to the app using the sign-up account information - Log in to the app using any or all of the following Identity Provider Logins: - [Zoho](https://docs.catalyst.zoho.com/en/cloud-scale/help/authentication/social-logins/configuring-social-logins/#enable-zoho-social-login) - [Google](https://docs.catalyst.zoho.com/en/cloud-scale/help/authentication/social-logins/configuring-social-logins/#enable-google-social-login) - [Microsoft 365](https://docs.catalyst.zoho.com/en/cloud-scale/help/authentication/social-logins/configuring-social-logins/#enable-microsoft-365-social-login) - [LinkedIn](https://docs.catalyst.zoho.com/en/cloud-scale/help/authentication/social-logins/configuring-social-logins/#enable-linkedin-social-login) - [Facebook](https://docs.catalyst.zoho.com/en/cloud-scale/help/authentication/social-logins/configuring-social-logins/#enable-facebook-social-login) - Reset the password option in case an end-user forgets their password - Configure **Email Verification** and **Password Reset** [email templates](https://docs.catalyst.zoho.com/en/cloud-scale/help/authentication/email-templates/customizing-email-templates/) - Configure and add a [Custom User Validation](https://docs.catalyst.zoho.com/en/cloud-scale/help/authentication/whitelisting/custom-user-validation/introduction/) function - View profile information after logging into the application - Log out of the application The following is an example of how the client application will appear: ![working_app](https://catalyst-docs-development.zohostratus.in/images/tutorials/embedded_auth/working_app.webp) You can access a working application and test its functionality here: [Try the App!](https://authentication.catalystserverlessapp.com/app/index.html) You will be using the following features of the Authentication component in this application: * **User Management**: The user profiles are automatically saved in this [section](https://docs.catalyst.zoho.com/en/cloud-scale/help/authentication/user-management/introduction/) when they sign up for the application. Using this feature, you can manage the end-users’ access to your application and [configure their roles](https://docs.catalyst.zoho.com/en/cloud-scale/help/authentication/user-management/roles/introduction/). * **Authentication Type**: You will be able to view the [authentication type](https://docs.catalyst.zoho.com/en/cloud-scale/help/authentication/authentication-types/) you have configured for your application, and edit your configurations when required. * **Whitelisting**: You will use this section to enable [Custom User Validation](https://docs.catalyst.zoho.com/en/cloud-scale/help/authentication/whitelisting/custom-user-validation/introduction/). You can also use this section to enable [CORS and iFrame access](https://docs.catalyst.zoho.com/en/cloud-scale/help/authentication/whitelisting/authorized-domains/introduction/) to your application. * **Email Templates**: You will be able to configure and customize *Email Verification* and *Password Reset* emails from this [section](https://docs.catalyst.zoho.com/en/cloud-scale/help/authentication/email-templates/introduction/). We will use the [Catalyst web console](https://console.catalyst.zoho.com/baas/index) and the [Catalyst Command Line Interface](https://docs.catalyst.zoho.com/en/cli/v1/cli-command-reference/) (CLI) to build this application. You will be given the code for the files to be included in the function and client directory of your project in this tutorial. You can either copy the provided code or customize it, should you feel it necessary and paste it into the appropriate files as directed. ### Application Architecture The authorization portal's application logic is described below: * **Login process**: The end-user will be directed to the login page. They can either opt in to log in to the application using the **Zoho**, **Google**, **LinkedIn**, **Microsoft 365**, or **Facebook** identity provider logins, or click the **Sign Up** option provided to sign up using their email address. * **Custom user validation**: The details inputted by the end-user during the login process will sent be as a JSON input to the *Custom User Validation* function. if the details are successfully validated per the custom logic present in the *Basic I/O function*, the verification email will be triggered. * **Email verification triggered**: Once users sign up for the application, an email verification email will be sent to the email address used to register the account. The email verification content and style can be customized per your preference using the *Email Templates* feature of *Authentication*. * **Password setup**: When end-users click the link present in the email verification email, they will be directed to the password setup page. Here, the end-user can secure their account by setting a password of their preference. * **End-user account created**: After the password is set, the user account will be created, and the end-user will now be able to log in to the application using the credentials they created. You can confirm the account has been created by viewing the account details in the *User Management* section of the *Authentication* component. * **Password reset option**: End-users will have the option to reset the password by opting for the **Forgot Password** option present in the login page. They will then be prompted to provide any of their previous passwords to recover their account or go ahead with the reset option. Once the users go ahead with the reset option, a one-time password (OTP) email will be sent to the user. Once the OTP is verified, they can set a new password for their account. > **Note:** * As we are using the **Embedded Login** method which is a native Catalyst Authentication type, you will be given the scripts for the native login form that can be added to your application's web client. You can also customize the design and branding of the login and password reset elements by configuring the css file mentioned in the script. Refer [this Styling Embedded Authentication type help section](https://docs.catalyst.zoho.com/en/cloud-scale/help/authentication/native-catalyst-authentication/embedded-authentication/reference-stylesheet-embedded/), to style your iFrame and the login element. * Instead of opting for the *Forgot Password* option, the end-user can also contact the app administrator to reset their credentials. Using the *User Management* feature, a **Password Reset** email can be sent from within Catalyst to the user, containing a link and instructions to reset their password. This email can be styled using the *Email Templates* feature. -------------------------------------------------------------------------------- title: "Prerequisites" description: "Create a web application using Catalyst Embedded Authentication that provides user sign-up, login, password reset, and sign-in with identity providers." last_updated: "2026-11-04T10:10:44.000Z" source: "https://docs.catalyst.zoho.com/en/tutorials/embedded-auth/java/prerequisities/" service: "All Services" related: - CLI Command Reference (/en/cli/v1/cli-command-reference/) - Install CLI (/en/getting-started/installing-catalyst-cli/) - Login CLI (/en/cli/v1/login/login-from-cli/) -------------------------------------------------------------------------------- # Prerequisites Before you begin building the application, you must have the following prerequisites installed on your system: 1. **Catalyst CLI** Catalyst CLI contains a host of tools that enable you to initialize, develop, test, and deploy the components of your application from your local machine. We will be working with Catalyst CLI in this tutorial. You must perform the following actions: * **Install Catalyst CLI**: Catalyst CLI is installed through NPM. You must therefore have NPM and Node.js installed on your system before you install the CLI. Refer to the [Install Catalyst CLI help page](https://docs.catalyst.zoho.com/en/getting-started/installing-catalyst-cli/) for details on the pre-requisites and the steps to install it. * **Log in to Catalyst CLI**: After you install Catalyst CLI, you must authenticate the CLI with your Catalyst account before using it. Refer to the [CLI Login help page](https://docs.catalyst.zoho.com/en/cli/v1/login/login-from-cli/) for the steps to login from Catalyst CLI and the various options available for it. 2. **Any IDE tool for Java and client code development** You can use any IDE to work with the Basic I/O function and the client code. Some popular choices include Visual Studio Code, IDLE, IntelliJ IDEA, Eclipse, and Sublime Text. Download and install an IDE of your choice on your system. > If you are a Visual Studio Code IDE user, you can install the **Catalyst Tools** extension, and use your IDE itself in place of the CLI. You can find more details about the Catalyst VS Code extension from this [help section](https://docs.catalyst.zoho.com/en/catalyst-extensions/vs-code-extension/introduction/). -------------------------------------------------------------------------------- title: "Create a Project" description: "Create a web application using Catalyst Embedded Authentication that provides user sign-up, login, password reset, and sign-in with identity providers." last_updated: "2026-11-04T10:10:44.000Z" source: "https://docs.catalyst.zoho.com/en/tutorials/embedded-auth/java/create-project/" service: "All Services" related: - Project Directory (/en/cli/v1/project-directory-structure/introduction) - Set up Catalyst Projects (/en/getting-started/catalyst-projects) -------------------------------------------------------------------------------- # Create a Project Let’s [create a Catalyst project](https://docs.catalyst.zoho.com/en/getting-started/catalyst-projects/#create-a-catalyst-project) from the Catalyst console. 1. Log in to the [Catalyst console](https://console.catalyst.zoho.com/baas/index) and click **Create New Project**. ![create_new_project](https://catalyst-docs-development.zohostratus.in/images/tutorials/embedded_auth/create_new_project.webp) 2. Enter the project’s name as "**AuthenticationPortal**" in the pop-up window, and click **Create**. ![enter_project_name](https://catalyst-docs-development.zohostratus.in/images/tutorials/embedded_auth/java/create-project-authentication-portal.webp) Your project will be created and it will be opened. You can access the project later, by clicking **Access Project**. ![open_project](https://catalyst-docs-development.zohostratus.in/images/tutorials/embedded_auth/open_project.webp) -------------------------------------------------------------------------------- title: "Configure Embedded Authentication Type" description: "Create a web application using Catalyst Embedded Authentication that provides user sign-up, login, password reset, and sign-in with identity providers." last_updated: "2026-11-04T10:10:44.000Z" source: "https://docs.catalyst.zoho.com/en/tutorials/embedded-auth/java/configure-embedded-login/" service: "All Services" related: - Setup Embedded Authentication type (/en/cloud-scale/help/authentication/native-catalyst-authentication/embedded-authentication/setup-embedded-auth/) - Configure Identity Provider Logins (/en/cloud-scale/help/authentication/social-logins/configuring-social-logins/) -------------------------------------------------------------------------------- # Configure Embedded Authentication Type Let's configure the *Native Catalyst Authentication* type, *Embedded Login* in this section. 1. Authentication is a [Catalyst CloudScale](https://docs.catalyst.zoho.com/en/cloud-scale/) component. Click the **CloudScale** icon on the console's side navigation menu to access the CloudScale service console, then click **Start Exploring**. ![cloudscale](https://catalyst-docs-development.zohostratus.in/images/tutorials/embedded_auth/cloudscale.webp) 2. Click **Authentication** under *Security & Identity* to access the Authentication component. ![catalyst_authentication_console_view](https://catalyst-docs-development.zohostratus.in/images/tutorials/embedded_auth/catalyst_authentication_console_view.webp) 3. Set up the application's authentication using [*Embedded Authentication*](https://docs.catalyst.zoho.com/en/cloud-scale/help/authentication/native-catalyst-authentication/embedded-authentication/introduction/), a Native Catalyst Authentication type. Click the **Set Up** button in the Native Catalyst Authentication section to start configuring your login element. ![catalyst_authentication_native_setup_highlight](https://catalyst-docs-development.zohostratus.in/images/tutorials/embedded_auth/catalyst_authentication_native_setup_highlight.webp) > **Note:** You can also learn about other authentication types here. * [Hosted Login](https://docs.catalyst.zoho.com/en/cloud-scale/help/authentication/native-catalyst-authentication/hosted-authentication-type/introduction/) * [Third-party Authentication](https://docs.catalyst.zoho.com/en/cloud-scale/help/authentication/third-party-authentication/introduction/) 4. Select *Embedded Authentication* and click **Next**. ![catalyst_authentication_embedded_setup_highlight](https://catalyst-docs-development.zohostratus.in/images/tutorials/embedded_auth/catalyst_authentication_embedded_setup_highlight.webp) 5. Click the **toggle button** to enable *Public Signup*. ![catalyst_authentication_embedded_public_toggle_highlight](https://catalyst-docs-development.zohostratus.in/images/tutorials/embedded_auth/java/authentication-setup-public-signup.webp) * Read the information pop-up and click **Yes, Proceed**. ![catalyst_authentication_embedded_public_signup_proceed](https://catalyst-docs-development.zohostratus.in/images/tutorials/embedded_auth/catalyst_authentication_embedded_public_signup_proceed.webp) > **Note:** To learn more about *Public Signup*, visit this [help document](https://docs.catalyst.zoho.com/en/cloud-scale/help/authentication/public-signup/). 6. You can add any or all of the [ Identity Provider Logins](https://docs.catalyst.zoho.com/en/cloud-scale/help/authentication/social-logins/introduction/) that are present in the console. To enable the **Zoho** identity provider login: - Click the **Zoho** button, and enter "**AuthorizationPortal**" as the *Client Name*. ![catalyst_authentication_social_login_zoho_configuring](https://catalyst-docs-development.zohostratus.in/images/tutorials/embedded_auth/catalyst_authentication_social_login_zoho_configuring.webp) > **Note:** As your application is being built on Catalyst, you do not have to create OAuth `Client ID` and `Client Secret` credentials. - Click **Enable**. Your end-users can now log in to your application using their Zoho credentials. To enable the **Google** identity provider login: - Click the **Google** button, and enter the OAuth `Client ID` and `Client Secret` that you obtained in the Google console in their respective fields. ![google](https://catalyst-docs-development.zohostratus.in/images/tutorials/embedded_auth/google.webp) > **Note:** Steps to obtain the OAuth `Client ID` and `Client Secret` for each of the identity provider logins can be accessed in the following help documents: [Google](https://docs.catalyst.zoho.com/en/cloud-scale/help/authentication/social-logins/configuring-social-logins/#enable-google-social-login), [Microsoft 365](https://docs.catalyst.zoho.com/en/cloud-scale/help/authentication/social-logins/configuring-social-logins/#enable-microsoft-365-social-login), [LinkedIn](https://docs.catalyst.zoho.com/en/cloud-scale/help/authentication/social-logins/configuring-social-logins/#enable-linkedin-social-login), and [Facebook](https://docs.catalyst.zoho.com/en/cloud-scale/help/authentication/social-logins/configuring-social-logins/#enable-facebook-social-login). - Click **Enable**. Your end-users can now log in to your application using their **Google** credentials. You can repeat the same steps to enable the other identity provider logins. 7. Click **Next**. > **Note:** You can also [edit your identity provider login configurations](https://docs.catalyst.zoho.com/en/cloud-scale/help/authentication/native-catalyst-authentication/embedded-authentication/setup-embedded-auth/) at a later point from the Authentication Type section. 8. We will configure the *Additional Settings* section at a later point using the *Whitelisting* feature. Click **Finish**. ![additional_settings](https://catalyst-docs-development.zohostratus.in/images/tutorials/embedded_auth/additional_settings.webp) You will now able to view and verify that *Embedded Authentication* type has been enabled for your application. ![catalyst_authentication_embedded_login_enabled](https://catalyst-docs-development.zohostratus.in/images/tutorials/embedded_auth/catalyst_authentication_embedded_login_enabled.webp) -------------------------------------------------------------------------------- title: "Configure Email Templates" description: "Create a web application using Catalyst Embedded Authentication that provides user sign-up, login, password reset, and sign-in with identity providers." last_updated: "2026-11-04T10:10:44.000Z" source: "https://docs.catalyst.zoho.com/en/tutorials/embedded-auth/java/configure-email-templates/" service: "All Services" related: - Email Templates (/en/cloud-scale/help/authentication/email-templates/introduction/) -------------------------------------------------------------------------------- # Configure Email Templates Catalyst provides you with [Email Templates](https://docs.catalyst.zoho.com/en/cloud-scale/help/authentication/email-templates/introduction/) that you can use to send custom emails to your end-users when they sign up to your application, or on instances when they wish to change their password. To configure the email templates: 1. Click the **Email Templates** tab in the *Authentication* component to navigate to the relevant section. ![email_templates](https://catalyst-docs-development.zohostratus.in/images/tutorials/embedded_auth/email_templates.webp) 2. Click the **Email Verification** tab, then click **Edit** to begin customizing and editing the content. You can also include [placeholders](https://docs.catalyst.zoho.com/en/cloud-scale/help/authentication/email-templates/benefits-and-key-concepts/#placeholders) in the templates for the values that need to be populated dynamically when the emails are invoked. ![edit_template](https://catalyst-docs-development.zohostratus.in/images/tutorials/embedded_auth/edit_template.webp) > **Note:** * You can customize the email content to match your preference. * The placeholder content (content present between `%%`) will be dynamically altered and rendered based on the user details. * The `%LINK%` placeholder will contain the application's link that is automatically generated by Catalyst. You can also provide a custom link. 3. Make the necessary changes and click **Save**. ![catalyst_authentication_embedded_email_template_save_changes](https://catalyst-docs-development.zohostratus.in/images/tutorials/embedded_auth/catalyst_authentication_embedded_email_template_save_changes.webp) 4. To customize the *Reset Password* emails, click the **Password Reset** tab and customize the email content in the same manner as above. ![catalyst_authentication_embedded_email_template_save_pwd_changes](https://catalyst-docs-development.zohostratus.in/images/tutorials/embedded_auth/catalyst_authentication_embedded_email_template_save_pwd_changes.webp) The email templates will now be configured. > **Note:** * You can learn more about *Email Templates* from this [help document](https://docs.catalyst.zoho.com/en/cloud-scale/help/authentication/email-templates/introduction/). * Because we are using *Embedded Login* to authenticate this application, the handling of sending these emails at the required instances will be automatically configured by Catalyst, so you do not have to code the logic to trigger these emails. -------------------------------------------------------------------------------- title: "Initialize the Project" description: "Create a web application using Catalyst Embedded Authentication that provides user sign-up, login, password reset, and sign-in with identity providers." last_updated: "2026-11-04T10:10:44.000Z" source: "https://docs.catalyst.zoho.com/en/tutorials/embedded-auth/java/init-project/" service: "All Services" related: - Initialize CLI Resources (/en/cli/v1/initialize-resources/introduction) - Project Directory Structure (/en/cli/v1/project-directory-structure/introduction) -------------------------------------------------------------------------------- # Initialize the Project from the CLI You can now begin working on your Catalyst project from the CLI. The first step is to initialize the project in an empty directory. This will be the home directory of your project and all of the project files will be saved in it. You can learn more about this from the [Project Directory Structure help page](https://docs.catalyst.zoho.com/en/cli/v1/project-directory-structure/introduction/). You can learn about initializing a project in detail from the [CLI help documentation](https://docs.catalyst.zoho.com/en/cli/v1/initialize-resources/introduction). For this application, we will initialize a [Basic I/O function](https://docs.catalyst.zoho.com/en/serverless/help/functions/basic-io/), which will contain the logic for [Custom User Validation](https://docs.catalyst.zoho.com/en/cloud-scale/help/authentication/whitelisting/custom-user-validation/introduction/) and a [Basic web app](https://docs.catalyst.zoho.com/en/cli/v1/initialize-resources/initialize-client/#basic-client-applications) as the client component. > **Note:** Ensure that you enter the function's package name or class name exactly as instructed, because the application's code contains the same name. 1. Create a folder for the project on your local machine and navigate to it from the terminal. 2. Initialize a project by executing the following command from that directory: ```sh catalyst init ``` 3. Navigate using the **arrow keys**, select your preferred portal, and press the **Enter** key. If you have no other organizations associated with the account, then the default one will be selected automatically. ![catalyst_authorization_portal_multiorg_choice](https://catalyst-docs-development.zohostratus.in/images/tutorials/embedded_auth/catalyst_authorization_portal_multiorg_choice.webp) > **Note:** You can find out more about Catalyst’s multi-org portal feature from this [help document](https://docs.catalyst.zoho.com/en/getting-started/catalyst-organizations/#access-the-multi-org-portal). 4. The CLI will now ask you to associate a Catalyst project with the directory. Associate it with the project that we created earlier from the console. Select **AuthenticationPortal** from the list and press **Enter**. ![catalyst_authentication_project_select](https://catalyst-docs-development.zohostratus.in/images/tutorials/embedded_auth/catalyst_authentication_project_select.webp) 5. Navigate using the arrow keys and select **Functions**, **Client** using the space bar. Press **Enter** to initialize. ![select_project_components](https://catalyst-docs-development.zohostratus.in/images/tutorials/embedded_auth/select_project_components.webp) 6. The CLI will initiate the function setup. Select **Basic IO** as the function type for your *Custom User Validation* function. ![select_basicio](https://catalyst-docs-development.zohostratus.in/images/tutorials/embedded_auth/select_basicio.webp) 7. Select the latest runtime of *Java* as the function stack. ![java-runtime](https://catalyst-docs-development.zohostratus.in/images/tutorials/embedded_auth/java/java-runtime.webp) 8. Enter "`authorization_portal_function`" as the folder name, "`Custom_User_Validation_Java`" as the class name, then press **Enter**. The functions directory will be created in your project directory with the configuration files and dependencies, along with the `catalyst.json` and a hidden `.catalystrc` file. ![java-function-setup](https://catalyst-docs-development.zohostratus.in/images/tutorials/embedded_auth/java/java-function-setup.webp) The CLI will now initiate the client setup. **Basic web app** 9. Select **Basic web app** and press **Enter** to initialize your client as a [basic web app](https://docs.catalyst.zoho.com/en/cli/v1/initialize-resources/initialize-client/#basic-client-applications). ![basic_webapp](https://catalyst-docs-development.zohostratus.in/images/tutorials/embedded_auth/basic_webapp.webp) 10. Enter a name for your client package and press **Enter**. For the purposes of this tutorial, we are naming our client package "`zylkertechnologies`". You can use the same of provide a name of your choice. ![client_name](https://catalyst-docs-development.zohostratus.in/images/tutorials/embedded_auth/client_name.webp) The Catalyst initialization is now complete. The project directory is now set up with the client directory and the functions directory along with configuration files and dependencies. The project directory also contains the [`catalyst.json`](https://docs.catalyst.zoho.com/en/cli/v1/project-directory-structure/catalyst-json/) configuration file and a hidden `.catalystrc` file. The structure of your project directory should now appear as shown below: ![basic-structure](https://catalyst-docs-development.zohostratus.in/images/tutorials/embedded_auth/java/basic-structure.webp) **React web app** 9. Select **React web app** and press **Enter** to initialize your client as a [React web app](https://docs.catalyst.zoho.com/en/cli/v1/initialize-resources/initialize-client/#react-applications). ![select_react](https://catalyst-docs-development.zohostratus.in/images/tutorials/embedded_auth/select_react.webp) 10. Select **JavaScript** as the React app type and press **Enter** ![select_js](https://catalyst-docs-development.zohostratus.in/images/tutorials/embedded_auth/select_js.webp) 11. Enter "`zylkertechnologies`" as the name of your client package and click **Enter**. You can also provide any name of your choice. All of the required React packages, such as “`react`,” “`react-dom`,” and “`react-scripts`” will be installed through the Catalyst React plugin ([`zcatalyst-cli-plugin-react`](https://www.npmjs.com/package/zcatalyst-cli-plugin-react)). ![client_setup_updated](https://catalyst-docs-development.zohostratus.in/images/tutorials/embedded_auth/client_setup_updated.webp) The client is now successfully initialized as a React web application. ![complete_init](https://catalyst-docs-development.zohostratus.in/images/tutorials/embedded_auth/complete_init.webp) The [client directory](https://docs.catalyst.zoho.com/en/cli/v1/project-directory-structure/client-directory) will be created in the standard structure in the project directory. This is the structure of the *Authorization Portal* project’s directory if the client is initialized as a React app. ![react_app_structure](https://catalyst-docs-development.zohostratus.in/images/tutorials/embedded_auth/java/react-structure.webp) Catalyst initialization is now complete. -------------------------------------------------------------------------------- title: "Configure the Basic I/O Function" description: "Create a web application using Catalyst Embedded Authentication that provides user sign-up, login, password reset, and sign-in with identity providers." last_updated: "2026-11-04T10:10:44.000Z" source: "https://docs.catalyst.zoho.com/en/tutorials/embedded-auth/java/configure-function/" service: "All Services" related: - Basic I/O Functions (/en/serverless/help/functions/basic-io/) - Functions Directory Structure (/en/cli/v1/project-directory-structure/functions-directory) -------------------------------------------------------------------------------- # Configure the Basic I/O Function Now, we will begin coding the authorization portal application by configuring the function component. The [function’s directory](https://docs.catalyst.zoho.com/en/cli/v1/project-directory-structure/functions-directory), (`functions/authorization_portal_function`), contains: * The `Custom_User_Validation.java` main function file * The `catalyst-config.json` configuration file * Java library files in the `lib` directory * `.classpath` and `.project` dependency files You will be adding code in the `Custom_User_Validation_Java.java` file. The Basic I/O function contains the following functionalities: * The end-user's details will provided as a JSON input to the *Custom User Validation* function. * The function is coded to implement a custom logic based upon which the end-user will either be authenticated or denied. > **Note:** For the purpose of this tutorial, we have coded a logic for the Custom User Validation function where if the user's email provider is anyone other than Zylker Technology (`@zylker.com`) the end-user will not be able to sign up to the application. You can either use the same or code a logic of your preference. Now, let’s begin coding the Basic I/O function. Copy the code given below and paste it in the `Custom_User_Validation_Java.java` file in the `functions/authorization_portal_function` directory of your project, and save the file. You can use any IDE of your choice to work with the application’s files. > **Note:** Please go through the code in this section to make sure you fully understand it. **Custom_User_Validation_Java.java** ```java import com.catalyst.Context; import com.catalyst.basic.BasicIO; import com.catalyst.basic.ZCFunction; import com.fasterxml.jackson.databind.ObjectMapper; import java.util.logging.Logger; import java.util.logging.Level; import com.zc.api.APIConstants.ZCSignupValidationStatus; import com.zc.common.ZCProject; import com.zc.component.auth.ZCSignupResponseUserDetails; import com.zc.component.auth.ZCSignupUserValidationRequest; import com.zc.component.auth.ZCSignupUserValidationResponse; import com.zc.component.users.ZCSignupUserService; public class Custom_User_Validation_Java implements ZCFunction { private static final Logger LOGGER = Logger.getLogger(Custom_User_Validation_Java.class.getName()); @Override public void runner(Context context, BasicIO basicIO) throws Exception { try { ZCProject.initProject(); ZCSignupUserValidationRequest requestDetails = ZCSignupUserService.getSignupValidationRequest(basicIO); if(requestDetails != null) { ZCSignupUserValidationResponse validationResponse = ZCSignupUserValidationResponse.getInstance(); if(requestDetails.getUserDetails().getEmailId().contains("@zylker.com")) { validationResponse.setStatus(ZCSignupValidationStatus.FAILURE); // The user has failed authentication } else { // The actions that occur in the event of a successful authentication can be customized validationResponse.setStatus(ZCSignupValidationStatus.SUCCESS); ZCSignupResponseUserDetails respUserDetails = ZCSignupResponseUserDetails.getInstance(); respUserDetails.setRoleIdentifier("App User"); // If you want to override the default role, you can specify the role id/name here. validationResponse.setUserDetails(respUserDetails); } basicIO.setStatus(200); basicIO.write(new ObjectMapper().writeValueAsString(validationResponse)); } } catch(Exception e) { LOGGER.log(Level.SEVERE,"Exception in Custom_User_Validation_Java",e); basicIO.setStatus(500); basicIO.write("An error has occured. Please try again after sometime."); } } } ``` > **Note:** You can also use this [SDK](https://docs.catalyst.zoho.com/en/sdk/java/v1/cloud-scale/authentication/custom-user-validation/) to code your own custom logic instead of the one implemented above. The function directory is now configured. We can now proceed to configuring the client directory. -------------------------------------------------------------------------------- title: "Enable Custom User Validation" description: "Create a web application using Catalyst Embedded Authentication that provides user sign-up, login, password reset, and sign-in with identity providers." last_updated: "2026-11-04T10:10:44.000Z" source: "https://docs.catalyst.zoho.com/en/tutorials/embedded-auth/java/enable-custom-validation/" service: "All Services" related: - Custom User Validation (/en/cloud-scale/help/authentication/whitelisting/custom-user-validation/introduction/) - Whitelisting (/en/cloud-scale/help/authentication/whitelisting/introduction/) - Catalyst Deploy Options (/en/cli/v1/deploy-resources/deploy-options/) -------------------------------------------------------------------------------- # Enable Custom User Validation Now that we have coded the logic, let's enable [Custom User Validation](https://docs.catalyst.zoho.com/en/cloud-scale/help/authentication/whitelisting/custom-user-validation/introduction/). To do this, you must first deploy the function to the console. Enter this CLI command to [deploy the function component](https://docs.catalyst.zoho.com/en/cli/v1/deploy-resources/deploy-options/#--only-targets) alone to the console. ```sh catalyst deploy --only functions ``` ![java-functions-deploy](https://catalyst-docs-development.zohostratus.in/images/tutorials/embedded_auth/java/java-functions-deploy.webp) A function endpoint will be created for the function that allows you to access the function directly. The function will be deployed to the console. Now, go to the console, and implement the following steps: 1. Navigate to the *Whitelisting* section in the *Authentication* component, and click the **Custom User Validation** toggle. ![custom_toggle](https://catalyst-docs-development.zohostratus.in/images/tutorials/embedded_auth/custom_toggle.webp) 2. Select the **Basic I/O function** from the drop-down in the pop-up. ![choose_function](https://catalyst-docs-development.zohostratus.in/images/tutorials/embedded_auth/java/choose-function.webp) 3. Click **Configure**. ![function_name](https://catalyst-docs-development.zohostratus.in/images/tutorials/embedded_auth/java/function-name.webp) The *Custom User Validation* function has been enabled for the project, and the end-users signing up for your application will now be additionally authenticated using this function. > **Note:** You can find out about the all of the features present in the *Whitelisting* section form in this [help document](https://docs.catalyst.zoho.com/en/cloud-scale/help/authentication/whitelisting/introduction/). -------------------------------------------------------------------------------- title: "Configure the Client" description: "Create a web application using Catalyst Embedded Authentication that provides user sign-up, login, password reset, and sign-in with identity providers." last_updated: "2026-11-04T10:10:44.000Z" source: "https://docs.catalyst.zoho.com/en/tutorials/embedded-auth/java/configure-client/" service: "All Services" related: - Client Directory Structure (/en/cli/v1/project-directory-structure/client-directory) -------------------------------------------------------------------------------- # Configure the Client Let’s configure the client component. **Basic web app** The [client directory](https://docs.catalyst.zoho.com/en/cli/v1/project-directory-structure/client-directory/) contains: * The `index.html` file that contains the HTML code for the frontend application * The `main.css` file that contains the CSS code for the frontend application * The `main.js` file that contains the JavaScript code * The `client-package.json` configuration file We will be coding `index.html` and `main.js`. We will also be making a change in the `client-package.json` to ensure that the homepage of the application is the authenticated page. You will need to create the additional files `home.html`,`embeddediframe.css`,`fpwd.css` in the `/client` folder of your project. The `embeddediframe.css` and `fpwd.css` files contain the styling configurations for the login and password reset forms of the application respectively. We will discuss the code at the end of this section. > **Note:** Please go through the code provided in this section to make sure you fully understand it. Copy the code below and paste it into the respective files located in the `client/directory` of your project using an IDE and save the files. **index.html** ```xml <!DOCTYPE html> <html> <head> <meta charset="utf-8" /> <meta http-equiv="X-UA-Compatible" content="IE=edge" /> <title>Authorization Portal</title> <meta name="viewport" content="width=device-width, initial-scale=1" /> <link rel="stylesheet" type="text/css" media="screen" href="main.css" /> <script src="main.js"></script> <script src="https://static.zohocdn.com/catalyst/sdk/js/4.6.2/catalystWebSDK.js"> </script> <script src="/__catalyst/sdk/init.js"></script> <script> const config = { css_url: "/app/embeddediframe.css", // Login page customization css file path, if not provided default css will be rendered is_customize_forgot_password: false, // Default value is false. Keep this value as true, if you wish to customize Forgot Password page forgot_password_id: "login", // Element id in which forgot password page should be loaded, by default will render in the "loginDivElementId" forgot_password_css_url: "/app/fpwd.css", // Forgot password page customization css file path, if not provided default css will be rendered }; catalyst.auth.signIn("login", config); </script> </head> <body style="background: #c0c0c0"> <div class="center"> <header> <img width="80px" height="80px" src="https://cdn2.iconfinder.com/data/icons/user-management/512/profile_settings-512.png"/> <h1>User Profile Management</h1> </header> </div> <div id="login"></div> <div class="signup" id="signup" > <form class="modal-content" onsubmit="signupAction(this);return false;"> <div class="center"> <h2 style="margin-top: -40px;">Sign Up</h2> <p>Please fill this form to sign up for a new account.</p> </div> <label for="firstname"><b>First Name</b></label> <input id="firstname" type="text" placeholder="Enter First Name" name="firstname" required /> <label for="lastname"><b>Last Name</b></label> <input id="lastname" type="text" placeholder="Enter Last Name" name="lastname" required /> <label for="email"><b>Email</b></label> <input id="mailid" type="text" placeholder="Enter Email address" name="email" required /> <p> By creating an account, you agree to our <a href="https://www.zoho.com/catalyst/terms.html" target="_blank" style="color: dodgerblue;" >Terms & Conditions </a> </p> <div class="center"> <button class="signupfnbtn" type="submit" class="signupbtn" > Sign Up </button> </div> </form> </div> <div id="buttons"> <p class="homepage center"> Don't have an account? <a class="underline" href="#" onclick="showDiv()">Sign-up</a> now! </p> </div> </body> </html> ``` **home.html** ```javascript <!DOCTYPE html> <html> <head> <title>User Profile Information</title> <link rel="stylesheet" href="https://cdnjs.cloudflare.com/ajax/libs/font-awesome/4.7.0/css/font-awesome.min.css"> <script src="main.js"></script> <script src="https://static.zohocdn.com/catalyst/sdk/js/4.6.2/catalystWebSDK.js"> </script> <script src="/__catalyst/sdk/init.js"></script> <link rel="stylesheet" type="text/css" media="screen" href="main.css" /> </head> <body onload="showProfile()"> <div id="profile" class="card" style="display: none;"> <h2 style="text-align:center">User Profile Information</h1> <img width="200px" height="450px" src="https://cdn2.iconfinder.com/data/icons/user-management/512/profile_settings-512.png" alt="John" style="width:80px;height: 80px;"> <p class="title" id="fname"></p> <p class="title" id="lname"></p> <p class="title"id="mailid" ></p> <p class="title"id="tzone" ></p> <p class="title"id="ctime" ></p> <button id="logoutbtn" onclick="logout()">Logout</button> </div> </body> </html> ``` **main.js** ```javascript async function signupAction() { //Get the details of the user from the HTML page var firstName = document.getElementById("firstname").value; var lastName = document.getElementById("lastname").value; var email = document.getElementById("mailid").value; //Create a JSON to use the details for the user sign-up var data = { first_name: firstName, last_name: lastName, email_id: email, platform_type: "web", }; var auth = catalyst.auth; //The signup method will sign up the user with the specified data var signupresponse = await auth.signUp(data); if (signupresponse.status == 200) { //If the signup is successful, the user will be asked to check their email document.body.innerHTML = "An account verification email has been sent to your email address"; setTimeout(function () { location.reload(); }, 5000); } else { alert(signupresponse.message); location.reload(); } } function showProfile() { //The catalyst.auth.isUserAuthenticated() method allows only authenticated users, i.e., the users who are logged in, to access the pages //You can load this method in the body of your page to allow only authenticated users to access a particular page catalyst.auth .isUserAuthenticated() .then((result) => { //If the user is logged in, these contents of the page will be displayed to the user var first_name = "First Name: " + result.content.first_name; document.getElementById("fname").innerHTML = first_name; var last_name = "Last Name: " + result.content.last_name; document.getElementById("lname").innerHTML = last_name; var mailid = "Email Address: " + result.content.email_id; document.getElementById("mailid").innerHTML = mailid; var tzone = "Time Zone: " + result.content.time_zone; document.getElementById("tzone").innerHTML = tzone; var created_time = " Joined On: " + result.content.created_time; document.getElementById("ctime").innerHTML = created_time; document.getElementById("profile").style.display = "block"; }) .catch((err) => { //If the user is not logged in, this will be displayed to the user and they will be redirected to the login page document.getElementById("profile").style.display = "block"; document.body.innerHTML = "You are not logged in. Please log in to continue. Redirecting you to the login page.."; setTimeout(function () { window.location.href = "index.html"; }, 3000); }); } function logout() { //The signOut method is used to sign the user out of the application var redirectURL = "/"; catalyst.auth.signOut(redirectURL); } function showDiv() { debugger; document.getElementById("login").style.display = "none"; document.getElementById("signup").style.display = "block"; document.getElementById("buttons").style.display = "none"; } ``` **main.css** ```css body { background-color: #ffffff; font-family: "Trebuchet MS", "Lucida Sans Unicode", Arial, sans-serif; font-size: 18px; margin: 0; padding: 0; } h1 { margin-bottom: 0; } p { font-size: 12px; font-weight: bold; } a { text-decoration: none; font-size: 20px; color: #000; transition: opacity 0.3s; } a:hover, button:hover { opacity: 0.7; } /* === Card Layout === */ .card { max-width: 480px; margin: 3rem auto; text-align: center; background: #b3b3b3; border-radius: 8px; padding: 20px; box-shadow: 0 4px 8px rgba(255, 255, 255, 0.1); } .title, .headtitle { color: #000; font-size: 22px; font-weight: 600; } /* === Input Fields === */ input[type="text"], input[type="password"] { width: 90%; padding: 12px; margin: 12px 0; border: none; border-radius: 8px; background: #f1f1f1; transition: background-color 0.2s; } input:focus { background: #ddd; outline: none; } /* === Buttons === */ button, .loginbutton { background-color: #4caf50; color: #fff; border: none; padding: 10px 20px; font-size: 16px; border-radius: 6px; cursor: pointer; transition: background 0.3s, transform 0.1s; } button:hover, .loginbutton:hover { background-color: #45a049; transform: scale(1.02); } /* Special Buttons */ .logoutbtn { width: 100%; padding: 14px; border-radius: 8px; background-color: #e53935; color: #fff; } .signupbtn, .seperatebtn, .signupfnbtn, .pwdfnbtn { border-radius: 8px; padding: 8px; } /* === Containers === */ #login { width: 480px; margin: 3rem auto; text-align: center; } .signup, .forgotpwd { display: none; } .center { text-align: center; } .underline { text-decoration: underline; color: #1e90ff; } /* === Modal === */ .modal { display: none; position: fixed; z-index: 10; inset: 0; background: rgba(0, 0, 0, 0.7); overflow: auto; } .modal-content { background: #b3b3b3; margin: 5% auto; padding: 20px; width: 40%; border-radius: 10px; } /* Close button */ .close { position: absolute; right: 25px; top: 15px; font-size: 35px; font-weight: bold; color: #fff; cursor: pointer; } .close:hover { color: #f44336; } /* Misc */ .clearfix::after { content: ""; display: table; clear: both; } p.homepage { font-size: 26px; color: #fff; } #BackToLoginbutton { position: absolute; top: 10px; left: 50%; transform: translateX(-50%); } ``` **embeddediframe.css** ```css @font-face { font-family: "Roboto Mono"; font-weight: 400; font-style: normal; src: url("https://webfonts.zohowebstatic.com/robotomonoregular/font.eot"); src: url("https://webfonts.zohowebstatic.com/robotomonoregular/font.eot?#iefix") format("eot"), url("https://webfonts.zohowebstatic.com/robotomonoregular/font.woff2") format("woff2"), url("https://webfonts.zohowebstatic.com/robotomonoregular/font.woff") format("woff"), url("https://webfonts.zohowebstatic.com/robotomonoregular/font.ttf") format("truetype"), url("https://webfonts.zohowebstatic.com/robotomonoregular/font.svg#RobotoMono-Regular") format("svg"); } @font-face { font-family: "LatoLgt"; font-weight: 300; font-style: normal; src: url("https://webfonts.zohowebstatic.com/latolight/font.eot"); src: url("https://webfonts.zohowebstatic.com/latolight/font.eot?#iefix") format("eot"), url("https://webfonts.zohowebstatic.com/latolight/font.woff2") format("woff2"), url("https://webfonts.zohowebstatic.com/latolight/font.woff") format("woff"), url("https://webfonts.zohowebstatic.com/latolight/font.ttf") format("truetype"), url("https://webfonts.zohowebstatic.com/latolight/font.svg#Lato-Light") format("svg"); } @font-face { font-family: "LatoReg"; font-weight: 400; font-style: normal; src: url("https://webfonts.zohowebstatic.com/latoregular/font.eot"); src: url("https://webfonts.zohowebstatic.com/latoregular/font.eot?#iefix") format("eot"), url("https://webfonts.zohowebstatic.com/latoregular/font.woff2") format("woff2"), url("https://webfonts.zohowebstatic.com/latoregular/font.woff") format("woff"), url("https://webfonts.zohowebstatic.com/latoregular/font.ttf") format("truetype"), url("https://webfonts.zohowebstatic.com/latoregular/font.svg#Lato-Regular") format("svg"); } @font-face { font-family: "LatoSB"; font-weight: 700; font-style: normal; src: url("https://webfonts.zohowebstatic.com/latobold/font.eot"); src: url("https://webfonts.zohowebstatic.com/latobold/font.eot?#iefix") format("eot"), url("https://webfonts.zohowebstatic.com/latobold/font.woff2") format("woff2"), url("https://webfonts.zohowebstatic.com/latobold/font.woff") format("woff"), url("https://webfonts.zohowebstatic.com/latobold/font.ttf") format("truetype"), url("https://webfonts.zohowebstatic.com/latobold/font.svg#Lato-Bold") format("svg"); } @font-face { font-family: "LatoB"; font-weight: 900; font-style: normal; src: url("https://webfonts.zohowebstatic.com/latoblack/font.eot"); src: url("https://webfonts.zohowebstatic.com/latoblack/font.eot?#iefix") format("eot"), url("https://webfonts.zohowebstatic.com/latoblack/font.woff2") format("woff2"), url("https://webfonts.zohowebstatic.com/latoblack/font.woff") format("woff"), url("https://webfonts.zohowebstatic.com/latoblack/font.ttf") format("truetype"), url("https://webfonts.zohowebstatic.com/latoblack/font.svg#Lato-Black") format("svg"); } @font-face { font-family: "signinicon"; src: url(/images/signinicon.eot); src: url(/images/signinicon.eot) format("embedded-opentype"), url(/__catalyst/auth/static-file?file_name=signinicon.woff2) format("woff2"), url(/__catalyst/auth/static-file?file_name=signinicon.ttf) format("truetype"), url(/__catalyst/auth/static-file?file_name=signinicon.woff) format("woff"), url("../images/fonts/signinicon.651f82b8f8f51f33cd0b6331f95b5b4f.svg") format("svg"); font-weight: normal; font-style: normal; font-display: block; } [class^="icon-"], [class*=" icon-"] { /* use !important to prevent issues with browser extensions that change fonts */ font-family: "signinicon" !important; speak: never; font-style: normal; font-weight: normal; font-variant: normal; text-transform: none; line-height: 1; /* Better Font Rendering =========== */ -webkit-font-smoothing: antialiased; -moz-osx-font-smoothing: grayscale; } .icon-hide:before { content: "\e907"; } .icon-show:before { content: "\e914"; } .icon-backarrow:before { content: "\e900"; } .icon-backup:before { content: "\e901"; } .icon-support:before { content: "\e915"; } body { font-family: "Roboto", sans-serif; margin: 0px; } .bg_one { display: block; position: fixed; top: 0px; left: 0px; height: 100%; width: 100%; background: url("../images/bg.49756b7c711696d95133fa95451f8e13.svg") transparent; background-size: auto 100%; z-index: -1; } .signin_container { display: block; width: 520px; min-height: 520px; background-color: #fff; box-shadow: 0px 2px 30px #ccc6; margin: auto; position: relative; z-index: 1; margin-top: 7%; overflow: hidden; } .mod_container { width: 500px; } .checkbox_label { display: inline-block; font-size: 14px; margin: 0px 6px; float: left; cursor: pointer; line-height: 20px; } .signin_box { width: 520px; min-height: 520px; height: auto; background: #fff; box-sizing: border-box; padding: 50px 50px; border-radius: 2px; transition: all 0.1s ease-in-out; float: left; overflow-y: auto; display: table-cell; border-right: 2px solid #f1f1f1; } .nopassword_message { display: table-cell; font-size: 14px; color: #222222; letter-spacing: 0px; line-height: 20px; height: auto; width: auto; margin-left: 10px; font-weight: 400; padding-left: 10px; } .portal_logo { display: block; height: 30px; width: auto; margin-bottom: 20px; background-size: auto 100%; } .pointer { cursor: pointer; } #forgotpassword { cursor: default; } #forgotpassword > a { cursor: pointer; } .text16 { display: block; text-align: center; margin-bottom: 30px; color: #626262; font-size: 16px; font-weight: 500; text-decoration: none; } .checkbox { float: left; z-index: 0; height: 12px; width: 12px; display: inline-block; border: 2px solid #ccc; border-radius: 2px; position: relative; top: 1.5px; overflow: hidden; background-color: #fff; } .show_hide_password { font-size: 34px; color: #a7a7a7; position: relative; top: -39px; right: 13px; float: right; cursor: pointer; height: 20px; } .pass_policy, .pass_policy_error { color: #8c8c8c; font-size: 14px; padding-top: 10px; } .pass_policy_error { color: #ed7500; display: block; } .checkbox_check { position: absolute; z-index: 1; opacity: 0; left: 50px; margin: 0px; height: 16px; cursor: pointer; width: 16px; } .checkbox_div { display: none; height: 16px; width: auto; margin-bottom: 30px; } .checkbox_div { display: block; } #terminate_session_form .checkbox_mod { margin-top: 50px; } .checkbox_tick { display: block; height: 3px; width: 8px; border-bottom: 2px solid #fff; border-left: 2px solid #fff; transform: rotate(-45deg); margin: 2px 1px; } .passexpsuccess { display: none; height: 106px; width: 178px; background: url("../images/passexpiry.db4c66debd4dd8880655f338ead6b973.png") no-repeat transparent; background-size: auto 100%; margin: 0px auto; margin-bottom: 20px; } .signin_head { display: block; font-size: 24px; font-weight: 500; margin-bottom: 30px; line-height: 30px; transition: all 0.1s ease-in-out; } .rightside_box { width: 390px; height: auto; float: right; box-sizing: border-box; padding: 40px; background-color: #fff; display: table-cell; } .service_name, .backup_desc, .pass_name { display: block; font-size: 16px; color: #000; font-weight: 400; } .titlename { display: block; font-size: 24px; color: #000; font-weight: 400; text-transform: capitalize; width: auto; margin-bottom: 20px; } .extramargin { margin-top: 10px; } .show_hide_password { font-size: 34px; color: #a7a7a7; position: relative; top: -39px; right: 13px; float: right; cursor: pointer; height: 20px; } .textbox_div { display: block; margin-bottom: 30px; position: relative; } .textbox_label { display: block; font-size: 14px; color: #626262; padding-bottom: 10px; } .textbox { display: block; width: 100%; height: 44px; box-sizing: border-box; border-radius: 2px; text-indent: 12px; font-size: 16px; outline: none; border: none; padding-right: 12px; transition: all 0.2s ease-in-out; background: #f1f1f1; border: 1px solid #e4e4e4; } .textbox:valid { border: 2px solid #f4f6f8; } .textindent42 { text-indent: 36px; } .textindent62 { text-indent: 56px; } .textintent52 { text-indent: 46px; } ::-webkit-credentials-auto-fill-button { visibility: hidden; pointer-events: none; position: absolute; right: 0px; } input[type="text"], input[type="password"], input[type="email"], input[type="number"] { -webkit-appearance: none; -moz-appearance: none; appearance: none; } .errorborder:focus, .textbox.errorborder { border-bottom: 2px solid #ff8484; } .btn { cursor: pointer; display: block; width: 100%; height: 44px; border-radius: 4px; letter-spacing: 0.5; font-size: 14px; font-weight: 600; outline: none; border: none; margin: auto; text-transform: uppercase; margin-bottom: 30px; transition: all 0.2s ease-in-out; } .signupbtn { width: 250px; margin-left: 0px; } .blue { box-shadow: 0px 2px 2px #fff; background-color: #159aff; color: #fff; } .grey { background-color: #f3f3f3; color: #3a3a3a; letter-spacing: 0px; } .green { box-shadow: 0px 2px 2px #fff; background-color: #00c573; color: #fff; } .blue:hover { box-shadow: 0px 2px 2px rgba(90, 183, 254, 0.2); } .changeloadbtn { display: block; height: 44px; width: 44px; border-radius: 22px; padding: 0px; } .changeloadbtn:before { content: ""; height: 20px; width: 20px; display: inline-block; margin: 9px; border: 3px solid #fff; border-top: 3px solid #5ab7fe; border-radius: 50%; animation: spin 0.5s linear infinite; } @keyframes spin { 0% { transform: rotate(0deg); } 100% { transform: rotate(360deg); } } .hellouser { margin-bottom: 30px; } .username { display: inline-block; max-width: 100%; font-size: 16px; font-weight: 500; line-height: 24px; overflow: hidden; text-overflow: ellipsis; padding-right: 10px; float: left; } .Notyou { display: inline-block; font-size: 16px; line-height: 24px; } .signup_text { text-align: center; margin: 20px 0px; font-size: 16px; } .backbtn { display: none; float: left; height: 28px; width: 28px; border-radius: 50%; position: absolute; padding: 0px 5px; cursor: pointer; overflow: hidden; transition: all 0.1s ease; } .zeroheight { width: 0px; height: 0px; overflow: hidden; display: block; } #captcha, #bcaptcha { background: #fff; width: 60%; display: inline-block; } #captcha_img, #bcaptcha_img { width: 40%; float: right; background-color: #ffffff; border-left: none; } #captcha_img img, #bcaptcha_img img { height: 40px; } .reloadcaptcha { float: right; clear: both; margin-top: -37px; height: 30px; width: 30px; border-radius: 50px; background: url("../images/reload.eaef7ea18b680bc07558164c918909a6.png") no-repeat transparent 5px; background-size: 50%; display: inline-block; cursor: pointer; } #captcha_container { display: none; } .options { display: block; width: 100%; max-width: 500px; min-height: 80px; padding: 0px 50px; cursor: pointer; } .options:hover { background-color: #f9f9f9; } .option_details { display: inline-block; height: auto; width: 320px; margin-left: 15px; } .option_title { display: block; font-size: 16px; font-weight: 500; } .img_option { display: table-cell; height: 24px; width: 24px; color: #499aff; font-size: 24px; vertical-align: top; } .errorlabel { color: #e92b2b; } .fielderror { display: none; font-size: 14px; margin-top: 10px; } .fielderror a { text-decoration: none; color: #309ff4; } .bluetext { color: #309ff4; cursor: pointer; } #country_code_select { width: 50px; height: 40px; position: absolute; opacity: 0; display: none; z-index: 0; } .select_country_code { width: 50px; height: 40px; display: inline-block; float: left; position: absolute; line-height: 40px; text-align: center; font-size: 16px; color: black; display: none; z-index: 0; } .pic { width: 20px; height: 14px; background-size: 280px 252px; background-image: url("../images/Flags2x.0b8394efb0ea9167cef2465fb8f63d78.png"); float: left; } .cc { float: right; color: #aeaeae; } .cn { margin-left: 10px; } .select2-results__option--highlighted { background: #f4f6f8; } .searchparent { height: auto; } .searchlbl { font-size: 10px; font-weight: bolder; display: inline-block; margin-top: 15px; margin-bottom: 10px; margin-left: 10px; } .cntrysearch { width: 380px; height: 32px; border-radius: 2px; font-size: 14px; box-sizing: border-box; padding: 8px 10px; background: #f7f7f7; outline: none; border: none; margin-top: 10px; } .select2-results__option { list-style-type: none; height: 40px; box-sizing: border-box; padding: 12px 20px; font-size: 14px; line-height: 16px; } .select2-search__field { width: 380px; height: 32px; border: none; outline: none; background: #f7f7f7; border-radius: 2px; margin: 10px 0 0 10px; font-size: 14px; padding: 10.5px 8px; } .select2-selection { display: inline-block; outline: none; /* background-color: #F4F6F8; */ height: 40px; text-align: center; padding: 10px; box-sizing: border-box; cursor: pointer; } .selection { transition: all 0.2s ease-in-out; -webkit-user-select: none; display: inline-block; white-space: nowrap; overflow: hidden; width: 0px; height: 43px; } #select2-combobox-results { padding-left: 0px; max-height: 200px; overflow-y: scroll; overflow-x: hidden; width: 400px; margin-top: 10px; margin-bottom: 0px; background: white; } .select2-container--open { z-index: 10; background: #ffffff; box-shadow: 0 2px 4px 0 rgba(0, 0, 0, 0.13); width: auto; box-sizing: border-box; } .select2 { position: absolute; background: transparent; box-shadow: none; display: none; margin: 2px; } .select2-results__options { overflow-y: auto; max-height: 200px; } .selection { width: auto; width: -moz-fit-content; width: -webkit-fit-content; margin: auto; display: block; } .select2-search--hide, .select2-selection__clear { display: none; } #otp_container, #enableotpoption, #mfa_ga_container, #mfa_otp_container, #mfa_totp_container, #recoverybtn, #recovery_container, #enableforgot, #enablesaml, .trustbrowser_ui, #backup_ver_container, #backup_container, #enablemore, .password_expiry_container, .terminate_session_container { display: none; } .errorlabel { color: #e92b2b; } .fielderror { display: none; font-size: 14px; margin-top: 10px; } .field_error { color: #f37272; font-size: 14px; padding-top: 10px; } #recoverybtn, #problemsignin, .tryanother { position: absolute; left: 0px; right: 0px; bottom: 40px; } .textbox_actions, .textbox_actions_saml, .textbox_actions_more { display: block; margin-top: 20px; height: 20px; } .bluetext_action { display: inline-block; float: left; font-size: 14px; color: #159aff; font-weight: 500; line-height: 16px; cursor: pointer; } .bluetext_action a { text-decoration: none; } .bluetext_action_right { float: right; } .textbox_actions { display: block; margin-top: 20px; height: 20px; } .Alert, .Errormsg { display: block; margin: auto; height: auto; min-width: 200px; width: fit-content; width: -moz-fit-content; max-width: 600px; background-color: #032239; border-radius: 6px; position: fixed; top: -100px; left: 0px; right: 0px; transition: all 0.2s ease; padding: 0px 20px; z-index: 2; } .tick_icon, .error_icon { display: inline-block; height: 20px; width: 20px; background-color: #22c856; border-radius: 50%; background-size: 60px; margin: 15px; float: left; } .tick_icon:after { display: block; content: ""; height: 5px; width: 9px; border-bottom: 2px solid #fff; border-left: 2px solid #fff; transform: rotate(-45deg); margin: 7px 6px; box-sizing: border-box; } .alert_message, .error_message { display: inline-block; font-size: 14px; color: #fff; line-height: 18px; margin: 16px 0px; margin-right: 20px; max-width: 510px; } .error_icon { background-color: #ff676f; } .error_icon:before, .error_icon:after { position: absolute; left: 44px; top: 20px; content: " "; height: 10px; width: 2px; background-color: #ffffff; } .error_icon:before { transform: rotate(45deg); } .error_icon:after { transform: rotate(-45deg); } .select2-results__options { padding-left: 0px; } .showcountry_code { width: 62px !important; } .textindent70 { text-indent: 70px; } .countrybox { width: 400px; height: 220px; overflow: auto; } .focusmanage { position: absolute; z-index: 10; width: 400px; height: 266px; box-sizing: border-box; padding: 10px; margin-top: -25px; background: #ffffff; box-shadow: 0 2px 4px 0 rgba(0, 0, 0, 0.13); border-radius: 2px; } .recoveryhead { margin-bottom: 10px; } .nopassword_container { display: none; background: #ebf4fb; border: 1px solid #cbe8ff; border-radius: 5px; width: 400px; height: auto; position: absolute; bottom: 50px; box-sizing: border-box; padding: 20px; } .nopassword_icon { display: table-cell; margin: 0px; height: 30px; width: 30px; color: #0091ff; font-size: 30px; vertical-align: middle; } .mailsearch { width: 400px; height: 30px; padding: 0px 0px; border: none; position: absolute; } .bolder1 { font-weight: bolder; } #ui-id-1 { height: 200px; width: auto; outline: none; border: none; overflow-x: hidden; overflow-y: scroll; } .ui-menu-item-wrapper { overflow: auto; } .nonclickelem { color: #626262; pointer-events: none; } .trustdevicebox { width: 500px; min-height: auto !important; } .trustdevice { width: auto; float: left; margin-right: 18px; min-width: 100px; margin-bottom: 0px; } .loadwithbtn { display: inline-block; height: 22px; width: 22px; border: 3px solid #fff; border-radius: 50%; position: absolute; margin: -2px; box-sizing: border-box; border-left: 3px solid transparent; animation-name: rotate1; animation-iteration-count: infinite; animation-duration: 1s; animation-timing-function: linear; } @keyframes rotate1 { from { transform: rotate(0deg); } to { transform: rotate(360deg); } } .waitbtn .waittext, .loadbtntext { display: inline-block; text-indent: 25px; } #waitbtn { display: none; } .loadwithbtn:before { display: inline-block; content: ""; height: 22px; width: 22px; border: 3px solid #ffffff30; border-radius: 50%; margin: -3px -11px; position: absolute; box-sizing: border-box; } .notnowbtn .loadwithbtn { border: 3px solid #3a3a3a; border-left: 3px solid transparent; } .trustdevice .loadwithbtn { display: none; } #recoverybtn, #problemsignin, .tryanother { display: none; bottom: 50px; width: fit-content; margin: 0px auto; cursor: pointer; } #recoverOption, #verify_totp_container, #verify_qr_container { display: none; } .backoption { width: 30px; height: 30px; font-size: 24px; display: inline-block; float: left; color: #666666; padding: 3px; box-sizing: border-box; margin-right: 5px; border-radius: 15px; cursor: pointer; } .backoption:hover { background: #f4f4f4; } .rec_head_text, .backoption { display: table-cell; } .options, .optionstry { display: table; width: 100%; height: auto; padding: 20px 50px; box-sizing: border-box; cursor: pointer; } .options:hover, .optionstry:hover { background-color: #f9f9f9; } .option_details, .option_details_try { height: auto; width: auto; padding-left: 10px; vertical-align: top; box-sizing: border-box; } .option_title_try { display: block; font-size: 16px; font-weight: 500; } .option_description { display: block; font-size: 13px; line-height: 20px; color: #696969; margin-top: 5px; } .img_option_try { margin: 12px 0px; } .img_option { font-size: 30px; color: #499aff; } .option_details { display: table-cell; } .problemsignincon, .recoverymodes, .addaptivetfalist, #recoverymodeContainer { width: auto; margin: 0px -50px; } .line { background-color: #f1f1f1; width: 100%; height: 2px; border-radius: 1px; margin-bottom: 20px; } /*---------------------terminate_session---------------------*/ .terminate_session_container .signin_head { margin-bottom: 20px; } #terminate_session_form .checkbox_div { position: relative; margin-bottom: 10px; } #terminate_session_form .checkbox_mod { margin-top: 30px; } #terminate_session_form .checkbox_check { left: 15px; } #terminate_session_form .checkbox_check:checked ~ .checkbox { background-color: #159aff; border-color: #159aff; } #terminate_session_form .showOneAuthLable { border: 1px solid #e7e7e7; border-radius: 10px 10px 0px 0px; box-sizing: border-box; max-width: 420px; height: auto; overflow: auto; margin-bottom: 0px; } .oneAuthLable { display: inline-flex; max-width: 420px; padding: 15px; align-items: center; margin-bottom: 10px; box-sizing: border-box; border: 1px solid #e7e7e7; border-top: none; border-radius: 0px 0px 15px 15px; } .oneauth_icon { display: inline-block; width: 40px; height: 40px; border-radius: 14px; background-size: 40px 40px; } .one_auth_icon_v2 { background-image: url(../images/oneAuth2.4b2a6945d5ecd70b703ba18f5f11eb68.png); } .oneAuthLable .text_container { flex: 1; margin: 0px 10px; } .oneAuthLable .text_header { font-size: 12px; font-weight: 500; margin-bottom: 4px; } .oneAuthLable .text_desc { font-size: 10px; line-height: 14px; } .oneAuthLable .togglebtn_div { height: 16px; padding: 4px; width: 30px; display: inline-block; position: relative; } .oneAuthLable .real_togglebtn { cursor: pointer; display: inline-block; position: relative; height: 16px; width: 30px; z-index: 1; opacity: 0; position: absolute; margin: 0px; } .real_togglebtn:checked ~ .togglebase { background-color: #10bc83; } .real_togglebtn:checked ~ .togglebase .toggle_circle { left: 16px; } .oneAuthLable .togglebase { height: 16px; width: 30px; display: inline-block; background: #ccc; border-radius: 10px; position: absolute; } .oneAuthLable .toggle_circle { transition: all 0.2s ease-in-out; height: 12px; width: 12px; background-color: #fff; border-radius: 10px; display: inline-block; position: absolute; left: 2px; top: 2px; box-shadow: 0px 0px 5px #999; } @media only screen and (-webkit-min-device-pixel-ratio: 2), not all, not all, not all, only screen and (min-resolution: 192dpi), only screen and (min-resolution: 2dppx) { .google_icon { background-color: #fff; box-shadow: 0px 0px 2px #00000012, 0px 2px 2px #00000024; } .google_icon .fed_icon { background: url("../images/signin_icons@2x.c0c72f3600a6f5ec03c9119d5a7d0518.png") no-repeat transparent; background-size: 205px auto; background-position: -10px -10px; } .MS_icon { background-color: #2f2f2f; } .MS_icon .fed_icon { background: url("../images/signin_icons@2x.c0c72f3600a6f5ec03c9119d5a7d0518.png") no-repeat transparent; background-size: 205px auto; background-position: -38px -10px; } .linkedin_fed_box { background-color: #0966c2; } .linkedin_fed_box .fed_icon { background: url("../images/signin_icons@2x.c0c72f3600a6f5ec03c9119d5a7d0518.png") no-repeat transparent; background-size: 205px auto; background-position: -67px -11px; } .large_box .linked_fed_icon { background-position: -9px -174px; } .fb_fed_box { background-color: #1877f2; } .fb_fed_box .fed_icon { background: url("../images/signin_icons@2x.c0c72f3600a6f5ec03c9119d5a7d0518.png") no-repeat transparent; background-size: 205px auto; background-position: -94px -10px; } .zoho_icon { background: url(../images/signin_icons@2x.c0c72f3600a6f5ec03c9119d5a7d0518.png) no-repeat transparent; background-size: 205px auto; background-position: -152px -174px; } } @media only screen and (max-width: 600px) { body { -webkit-tap-highlight-color: rgba(255, 255, 255, 0); } .nopassword_container { width: calc(100% - 60px); padding: 10px; box-sizing: border-box; } .signin_container { width: 100%; box-shadow: none; margin: 0 auto; position: relative; z-index: 1; margin-top: 40px; height: auto; overflow: hidden; } .signin_box { width: 100%; padding: 0px 30px; height: auto; border-right: none; } #captcha_img, #captcha, #bcaptcha_img, #bcaptcha { border: 2px solid #f4f6f8; border-radius: 2px; text-indent: 3px; width: 50%; outline: none; -webkit-appearance: none; -moz-appearance: none; appearance: none; } .textbox, #verify_totp { background-color: transparent; border: none; border-bottom: 2px solid #f4f6f8; text-indent: 0px; border-radius: 0px; } .textbox:focus, #verify_totp { border: none; border-bottom: 2px solid #159aff; } .errorborder:focus, .textbox.errorborder { border-bottom: 2px solid #ff8484; } .backoption { margin-bottom: 10px; } .img_option { margin: 0px 10px 0px 0px !important; } .bg_one, .line { display: none; } .signin_head { margin-bottom: 30px; } .btn { margin-top: 10px; border-radius: 4px; } .changeloadbtn { border-radius: 22px; } .more { margin-right: 0px !important; } .textindent42 { text-indent: 36px; } .textindent62 { text-indent: 56px; } .textintent52 { text-indent: 46px; } .select2-selection { background-color: #f1f9ff; } .devices .select2-selection { background-color: #f1f9ff; } .select2-search__field { width: 280px; } .applynormal { width: 46% !important; min-width: 0px; } .borderless, .borderlesstry { line-height: 12px; font-size: 14px; } .alert_message, .error_message { max-width: 300px; width: 75%; } .Alert, .Errormsg { max-width: 400px !important; padding: 0px; min-width: 300px; } .error_icon:before, .error_icon:after { left: 24px; } ::placeholder { font-weight: 500; } .mobilehide { display: none !important; } #forgotpassword { margin-bottom: 0px; } #forgotpassword a { display: inline-block; } .fielderror { position: absolute; margin-top: 5px; } .trustdevicebox { width: auto; height: auto; } #recoverybtn, #problemsignin, .tryanother { position: initial !important; margin-top: 70px !important; } .problemsignincon, .recoverymodes, #recoverymodeContainer { width: 100%; margin-left: 0px; } } .hover-tool-tip { position: absolute; top: 15px; left: 335px; background: #fff; padding: 20px; box-shadow: 0px 0px 10px #0000001a; transition: opacity 0.1s; border-radius: 5px; z-index: 9; opacity: 0; } .hover-tool-tip::after { content: ""; position: absolute; width: 0; height: 0; margin-left: -8px; top: 25px; left: 0; box-sizing: border-box; border: 6px solid black; border-color: #ffffff transparent transparent #ffffff; transform-origin: 0 0; transform: rotate(-45deg); box-shadow: -6px -6px 10px 0 #0000001a; } .hover-tool-tip.no-arrow::after { content: none; } .hover-tool-tip ul { padding: 0; margin: 0px 0px 0px 15px; list-style: none; } .hover-tool-tip p { margin: 0px 0px 10px 0px; font-size: 14px; font-weight: 500; } .hover-tool-tip ul li { font-size: 12px; display: flex; align-items: center; white-space: nowrap; line-height: 25px; } .hover-tool-tip ul li.success::before { background-color: #0dbc83; } .hover-tool-tip ul li::before { content: ""; margin-right: 10px; background-color: red; width: 8px; height: 8px; border-radius: 50%; } .titlename, .service_name { display: none !important; } .signin_head { padding-top: 20px; } #login_id { text-indent: 0 !important; } .showcountry_code { display: none !important; } ``` **fpwd.css** ```css /*$Id$*/ @font-face { font-family:"Roboto Mono"; font-weight:400; font-style:normal; src:url("https://webfonts.zohowebstatic.com/robotomonoregular/font.eot"); src:url("https://webfonts.zohowebstatic.com/robotomonoregular/font.eot?#iefix") format("eot"), url("https://webfonts.zohowebstatic.com/robotomonoregular/font.woff2") format("woff2"), url("https://webfonts.zohowebstatic.com/robotomonoregular/font.woff") format("woff"), url("https://webfonts.zohowebstatic.com/robotomonoregular/font.ttf") format("truetype"), url("https://webfonts.zohowebstatic.com/robotomonoregular/font.svg#RobotoMono-Regular") format("svg");} @font-face { font-family: "LatoLgt"; font-weight: 300; font-style: normal; src: url("https://webfonts.zohowebstatic.com/latolight/font.eot"); src: url("https://webfonts.zohowebstatic.com/latolight/font.eot?#iefix") format("eot"), url("https://webfonts.zohowebstatic.com/latolight/font.woff2") format("woff2"), url("https://webfonts.zohowebstatic.com/latolight/font.woff") format("woff"), url("https://webfonts.zohowebstatic.com/latolight/font.ttf") format("truetype"), url("https://webfonts.zohowebstatic.com/latolight/font.svg#Lato-Light") format("svg"); } @font-face { font-family: "LatoReg"; font-weight: 400; font-style: normal; src: url("https://webfonts.zohowebstatic.com/latoregular/font.eot"); src: url("https://webfonts.zohowebstatic.com/latoregular/font.eot?#iefix") format("eot"), url("https://webfonts.zohowebstatic.com/latoregular/font.woff2") format("woff2"), url("https://webfonts.zohowebstatic.com/latoregular/font.woff") format("woff"), url("https://webfonts.zohowebstatic.com/latoregular/font.ttf") format("truetype"), url("https://webfonts.zohowebstatic.com/latoregular/font.svg#Lato-Regular") format("svg"); } @font-face { font-family: "LatoSB"; font-weight: 700; font-style: normal; src: url("https://webfonts.zohowebstatic.com/latobold/font.eot"); src: url("https://webfonts.zohowebstatic.com/latobold/font.eot?#iefix") format("eot"), url("https://webfonts.zohowebstatic.com/latobold/font.woff2") format("woff2"), url("https://webfonts.zohowebstatic.com/latobold/font.woff") format("woff"), url("https://webfonts.zohowebstatic.com/latobold/font.ttf") format("truetype"), url("https://webfonts.zohowebstatic.com/latobold/font.svg#Lato-Bold") format("svg"); } @font-face { font-family: "LatoB"; font-weight: 900; font-style: normal; src: url("https://webfonts.zohowebstatic.com/latoblack/font.eot"); src: url("https://webfonts.zohowebstatic.com/latoblack/font.eot?#iefix") format("eot"), url("https://webfonts.zohowebstatic.com/latoblack/font.woff2") format("woff2"), url("https://webfonts.zohowebstatic.com/latoblack/font.woff") format("woff"), url("https://webfonts.zohowebstatic.com/latoblack/font.ttf") format("truetype"), url("https://webfonts.zohowebstatic.com/latoblack/font.svg#Lato-Black") format("svg"); } @font-face { font-family: "signinicon"; src: url(/images/signinicon.eot); src: url(/images/signinicon.eot) format("embedded-opentype"), url(/__catalyst/auth/static-file?file_name=signinicon.woff2) format("woff2"), url(/__catalyst/auth/static-file?file_name=signinicon.ttf) format("truetype"), url(/__catalyst/auth/static-file?file_name=signinicon.woff) format("woff"), url("../images/fonts/signinicon.651f82b8f8f51f33cd0b6331f95b5b4f.svg") format("svg"); font-weight: normal; font-style: normal; font-display: block; } [class^="icon-"], [class*=" icon-"] { /* use !important to prevent issues with browser extensions that change fonts */ font-family: 'signinicon' !important; speak: never; font-style: normal; font-weight: normal; font-variant: normal; text-transform: none; line-height: 1; /* Better Font Rendering =========== */ -webkit-font-smoothing: antialiased; -moz-osx-font-smoothing: grayscale; } .icon-device:before { content: "\e90a"; } .icon-reload:before { content: "\e912"; } .icon-backarrow:before { content: "\e900"; } .icon-email:before { content: "\e904"; } .icon-hide:before { content: "\e907"; } .icon-otp:before { content: "\e90c"; } .icon-show:before { content: "\e914"; } /*$Id$*/ body { margin: 0px; } ::placeholder { /* Chrome, Firefox, Opera, Safari 10.1+ */ color:#0003; } .bg_one { display: block; position: fixed; top: 0px; left: 0px; height: 100%; width: 100%; background: url('../images/bg.49756b7c711696d95133fa95451f8e13.svg') transparent; background-size: auto 100%; z-index: -1; } .titlename { display: block; font-size: 24px; color: #000; font-weight: 400; text-transform: capitalize; width: auto; margin-bottom: 20px; } .Alert,.Errormsg { display: flex; align-items: center; justify-content: center; margin: auto; height: auto; min-width: 200px; width: fit-content; width: -moz-fit-content; max-width:600px; background-color: #032239; border-radius: 6px; position: fixed; top: -100px; left: 0px; right: 0px; transition: all .2s ease; padding: 0px 20px; z-index:2; } .tick_icon,.error_icon { display: inline-block; height: 20px; width: 20px; background-color: #22C856; border-radius: 50%; background-size: 60px; margin: 0px 15px; float: left; position: relative; } .tick_icon:after { display: block; content: ""; height: 5px; width: 9px; border-bottom: 2px solid #fff; border-left: 2px solid #fff; transform: rotate(-45deg); margin: 7px 6px; box-sizing: border-box; } .alert_message,.error_message { display: inline-block; font-size: 14px; color: #fff; line-height: 18px; margin: 16px 0px; margin-right: 20px; max-width: 510px; } .error_icon { background-color: #FF676F; } .error_icon:before, .error_icon:after { position: absolute; left: 9px; top: 5px; content: ' '; height: 10px; width: 2px; background-color: #FFFFFF; } .error_icon:before { transform: rotate(45deg); } .error_icon:after { transform: rotate(-45deg); } .loader { width: 36px; height: 36px; border: 4px solid #EF7320; border-bottom: 4px solid transparent; border-radius: 50%; display: block; box-sizing: border-box; animation: rotate 1s linear infinite; position: absolute; top: 0px; z-index: 7; bottom: 0px; left: 0px; right: 0px; margin: auto; } @keyframes rotate { 0% { transform: rotate(0deg); } 100% { transform: rotate(360deg); } } .blur { top: 0px; left: 0px; bottom: 0px; background: #fff; width: 100%; height: auto; margin: auto; position: absolute; z-index: 3; opacity: 0.9; display:block; } .bold_font { font-weight: 500; } .searchparent { height: auto; } .textbox_div { display: block; margin-bottom: 30px; position: relative; } #confirm_otp_container .textbox_div{ margin-bottom: 40px; } .textbox { display: block; width: 100%; height: 44px; box-sizing: border-box; border-radius: 2px; text-indent: 12px; font-size: 16px; outline: none; border: none; padding-right: 12px; transition: all .2s ease-in-out; background: #F9F9F9; border: 1px solid #DDDDDD; } .textbox:focus { border: none; border-bottom: 2px solid #EF7320; } #last_password { padding-right: 40px; } ::-webkit-credentials-auto-fill-button { visibility: hidden; pointer-events: none; position: absolute; right: 0px; } input[type="text"],input[type="password"],input[type="email"],input[type="number"] { -webkit-appearance: none; -moz-appearance: none; appearance: none; } .errorborder { border-bottom: 2px solid #ff8484 !important; } .textbox:-webkit-autofill,.textbox:-webkit-autofill:hover, .textbox:-webkit-autofill:focus,.textbox:-webkit-autofill:active { -webkit-box-shadow: inset 0 0 0px 9999px #F9F9F9; -webkit-text-fill-color: black; background-color: #F9F9F9 !important; } .fielderror { display:none; font-size: 14px; margin-top: 5px; } .fielderror a { text-decoration: none; color: #309FF4; } #captcha_container { display: none; border: 1px solid #DDDDDD; width: 250px; padding: 10px; box-sizing: border-box; margin-top: 10px; border-radius: 4px; } #captcha { width: 100%; display: inline-block; height: 40px; padding: 0px 12px; text-indent: 0px; background: #F9F9F9; } #captcha_img { background-color: #FFFFFF; border: none; height: 60px; width: 150px; margin-left: 20px; } #captcha_img img { height: 50px; width: 150px; box-sizing: border-box; margin: 0px; } .reloadcaptcha { height: 30px; width: 30px; border-radius: 50%; display: inline-block; cursor: pointer; position: absolute; right: 20px; top: 20px; background-color: #F2F2F2; font-size: 30px; box-sizing: border-box; color: #0006; } .reloadcaptcha:hover { color:#000000b3; } .load_captcha_btn{ animation: spin 0.5s linear infinite; } #Last_password_div .head_info { margin:0px; } .zeroheight{ width:0px; height:0px; overflow: hidden; display: block; } .btn { cursor: pointer; display: block; width: 100%; height: 44px; border-radius: 4px; letter-spacing: .5; font-size: 14px; font-weight: 600; outline: none; border: none; margin: auto; text-transform: uppercase; margin-bottom: 30px; transition: width .2s ease-in-out; transform: translate(0, -20px) } #nextbtn{ margin-top: 40px !important; } #last_pwd_submit{ margin-top: 40px; } #dont_remember { margin-top:-40px; } .rec_modes_contact_support{ margin-top:-35px; } #reset_password_submit{ margin-top:35px; } user agent stylesheet div { display: block; unicode-bidi: isolate; } style attribute { visibility: visible; } body { font-family: 'ZohoPuvi', Georgia; font-weight: 400; } @media only screen and (max-width: 600px) { body { -webkit-tap-highlight-color: rgba(255, 255, 255, 0); } } .blue { background-color:#EF7320; color: #fff; } .grey { background-color: #F3F3F3; color: #3a3a3a; letter-spacing: 0px; } .green { box-shadow: 0px 2px 2px #fff; background-color: #00C573; color: #fff; } .blue:hover { background: #EF7320; } .changeloadbtn { display: block; height: 44px; width: 44px; border-radius: 22px; padding: 0px; } .changeloadbtn:before { content: ""; height: 20px; width: 20px; display: inline-block; margin: 9px; border: 3px solid #fff; border-top: 3px solid #5AB7FE; border-radius: 50%; animation: spin .5s linear infinite; } @keyframes spin { 0% { transform: rotate(0deg); } 100% { transform: rotate(360deg); } } .doneBtn { position:relative; } .doneBtn:before { content: ''; opacity: 1; height: 15px; width: 6px; border: unset; border-radius: unset; transform-origin: left top; border-right: 3px solid #fff; border-top: 3px solid #fff; left: 12px; top: 23px; margin: 0px; position: absolute; transform: scaleX(-1) rotate(135deg); animation:tickmark .8s ease; } @keyframes tickmark { 0% { height: 0px; width: 0px; border-radius: unset; opacity: 1; } 20% { height: 0px; width: 6px; opacity: 1; border-radius: unset; } 40% { height: 15px; width: 6px; opacity: 1; border-radius: unset; } 100% { height: 15px; width: 6px; opacity: 1; border-radius: unset; } } .doneWithContent span:before { content: ''; opacity: 1; height: 14px; width: 5px; border: unset; border-radius: unset; transform-origin: left top; border-right: 3px solid #fff; border-top: 3px solid #fff; display: inline-block; margin: 0px; position: relative; transform: scaleX(-1) rotate(135deg); top: 12px; left: -21px; } .doneWithContent { padding-left: 21px; position:relative; } .doneWithContent:after { position: absolute; height: 100%; content: ""; display: block; left: 0px; top: 0px; background: #00000008; animation-name: btn_loading; animation-duration: 4.3s; animation-iteration-count: 1; animation-timing-function: linear; } .restrict_icon { display: block; height: 102px; width: 100%; background: url(../images/URLError.76c2ce33de912ad7ae9d2fbfd93ec2c1.png) no-repeat transparent; background-size: auto 100%; margin: auto; margin-top: 30px; background-position: center; } .error_portion { display:none; } .error_content { text-align:center; } .error_content .error_header { font-size: 20px; font-weight: 500; margin-top: 30px; line-height: 26px; } .error_content .error_desc { font-size: 16px; margin: 10px 0px 30px 0px; line-height: 24px; font-weight: 500; color: #000000cc; } .retry_button { line-height:44px; } .doneWithContent:hover { background:#EF7320; } .doneWithContent span { width: 100%; display: block; transition: width .2s ease-in-out; white-space: nowrap; } @keyframes btn_loading { 0% {width:0%;} 100% {width: 100%;} } .resend_label { display:block; text-align:center; } .push_resend { font-size: 14px; color: #626262; font-weight: 500; line-height: 16px; cursor: none; } .bottom_option { cursor: pointer; width: max-content; font-size: 16px; font-weight: 500; text-decoration: none; color: #EF7320; /* transform: translate(10px, 58px); */ } .bottom_line_opt { width: 100%; display: flex; justify-content: center; position: absolute; left: 0px; /* bottom:20%; */ } .errorlabel { color: #E92B2B; } .show_hide_password { font-size: 24px; color: #00000066; position: relative; top: -34px; right: 13px; float: right; cursor: pointer; line-height: 23px; } .show_hide_password:hover { color: #000000b3; } .select2-results__option { list-style-type: none; height: 40px; box-sizing: border-box; padding: 12px 20px; font-size: 14px; line-height: 16px; } .select2-search__field { width: 380px; height: 32px; border: none; outline: none; background: #F7F7F7; border-radius: 2px; margin: 10px 8px; font-size: 14px; padding: 10.5px 8px; } .select2-selection { display: inline-block; outline: none; background-color: #F9F9F9; height: 40px; text-align: center; padding: 10px; box-sizing: border-box; cursor: pointer; } .selection { transition: all .2s ease-in-out; -webkit-user-select: none; display: inline-block; white-space: nowrap; overflow: hidden; width: 0px; height: 43px; } #select2-combobox-results { padding-left: 0px; max-height: 200px; overflow-y: scroll; overflow-x: hidden; width: 400px; margin-top: 10px; margin-bottom: 0px; background: white; } .select2-container--open { z-index: 10; background: #FFFFFF; box-shadow: 0px 5px 8px 2px #0000000d; width: auto; box-sizing: border-box; } .select2 { position: absolute; background: transparent; box-shadow: none; display:none; margin: 2px; } .select2-results__options{ overflow-y: auto; max-height: 200px; } .selection{ width:auto; width:-moz-fit-content; width:-webkit-fit-content; margin: auto; display: block; } .select2-search--hide,.select2-selection__clear { display: none; } #country_code_select { width: 50px; height: 40px; position: absolute; opacity: 0; display: none; z-index: 0; } .select_country_code{ width: 50px; height: 40px; display: inline-block; float: left; position: absolute; line-height: 39px; text-align: center; font-size: 16px; color: black; display: none; z-index: 0; } .pic { width: 20px; height: 14px; background-size: 280px 252px; background-image: url("../images/Flags2x.0b8394efb0ea9167cef2465fb8f63d78.png"); float: left; } .cc { float: right; color: #AEAEAE; } .cn { margin-left: 10px; } .select2-results__option--highlighted { background: #F4F6F8; } .searchparent { height: auto; } .select2-results__options{padding-left:0px;} .optionstry { display: table; width: 100%; height: auto; padding: 20px 50px; box-sizing: border-box; cursor: pointer; } .optionstry:hover { background-color: #F9F9F9; } .img_option_try { margin:12px 0px; } .img_option { display: table-cell; width: 30px; color: #499aff; font-size: 30px; vertical-align: top; height: 30px; } .option_details_try { height: auto; width: auto; padding-left: 12px; vertical-align: top; box-sizing: border-box; } .option_title_try { display: block; font-size: 16px; font-weight: 500; } .option_description { display: block; font-size: 13px; line-height: 20px; color: #000c; margin-top: 5px; } #email_confirm_div .optionstry,#mobile_confirm_div .optionstry { padding: 22px 40px; } #email_confirm_div .img_option,#mobile_confirm_div .img_option { font-size: 20px; width: 20px; height: 20px; } #email_confirm_div .option_details_try,#mobile_confirm_div .option_details_try { line-height: 20px; } .otp_container::after,.mini_txtbox:after { content:attr(placeholder); height: 54px; line-height: 54px; position: absolute; color: #B9BCBE; left: 15px; top: 0px; z-index: 1; } .mini_txtbox:after{line-height: 42px;height:42px;} .hidePlaceHolder::after{ z-index: -1 !important; } .otp_verify { margin-top: 10px; } .toggle_active { background: #F9F9F9; border-radius: 2px; } .optionmod { margin-left: 0px; box-sizing: border-box; } .option_title_try { color: #000000; } .mini_btn { margin-left: 10px; width: 30%; float: right; font-size: 12px; margin-bottom: 0px; margin-right: 0px; } .backoption { width: 30px; height: 30px; font-size: 21px; display: inline-block; float: left; color:#666666; padding: 4px 0px; box-sizing: border-box; margin-right: 5px; border-radius: 15px; cursor: pointer; font-weight: 500; text-align: center; } .backoption:hover { background: #f4f4f4; } #select_reocvery_mobile .fieldcontainer, #other_options_div .fieldcontainer, #select_reocvery_email .fieldcontainer { width: auto; margin: 0 -40px; margin-bottom: 40px; } .text16 { display: block; text-align: center; margin-bottom: 30px; color: #626262; font-size: 16px; font-weight:500; text-decoration: none; } .pointer { cursor: pointer; } .pass_policy { color: #8c8c8c; font-size: 14px; padding-top: 10px; } .nomargin { display: block; margin: 0px; } .tryanother, .extra_options { width: fit-content; margin: 0 auto; cursor: pointer; margin-top: 20px; } .bluetext_action { display: inline-block; font-size: 14px; color: #EF7320; font-weight:500; line-height: 16px; cursor: pointer; margin-top: 5px; } .nonclickelem { color: #626262; pointer-events: none; cursor:none; } .bluetext_action a { text-decoration: none; } .recovery_container { display: block; width: 350px; min-height: 350px; background-color: #fff; box-shadow: 0px 2px 30px 0px #2b2b2b17; margin: auto; position: relative; z-index: 1; /* margin-top: 7%; */ overflow: hidden; background: linear-gradient(180deg, rgba(255, 255, 255, 0.06) 40%, rgba(240, 242, 255, 0.18) 80%); box-shadow: 3.9769999980926514px 3.9769999980926514px 34.79999923706055px rgba(0, 0, 0, 0.15) } .recovery_box { width: 480px; min-height: 500px; height: auto; background: #fff; box-sizing: border-box; padding: 40px 40px; border-radius: 2px; transition: all .1s ease-in-out; float: left; overflow-y: auto; display: table-cell; border-right: 2px solid #f1f1f1; background: linear-gradient(180deg, rgba(255, 255, 255, 0.06) 40%, rgba(240, 242, 255, 0.18) 80%); } .menuicon { display: inline-block; float: left; height: 14px; width: 14px; padding: 14px; font-size: 14px; text-align:center; } .user_info { display: inline-flex; justify-content: space-between; border: 1px solid #EEEEEE; margin-bottom: 20px; border-radius: 7px; cursor: pointer; box-sizing: border-box; max-width: 100%; flex-wrap: nowrap; } .user_info_space { margin-top: 20px; } .support_temp_info { margin-bottom: 30px; line-height:24px; } .menutext { display: inline-block; font-size: 16px; padding: 12px 14px; line-height: 20px; width: auto; word-break: break-all; } .fieldcontainer { margin-bottom: 40px; } .change_user { position: relative; float: right; font-size: 14px; padding: 0px 14px 0px 0px; display: inline-block; color: #EF7320; line-height: 38px; font-weight: 500; display: flex; align-items: center; justify-content: center; } .info_head { display: block; font-size: 20px; font-weight: 500; margin-bottom: 20px; line-height: 30px; overflow: auto; transition: all .1s ease-in-out; } .info_head #headtitle { display:block; padding-top: 40px !important; } .head_info { font-size: 16px; margin: 10px 0px 0px 0px; line-height: 24px; font-weight: 400; color: #000000e6; } .user_info_space+.head_info { margin:0px } .otp_container { display: block; width: 100%; height: 54px; box-sizing: border-box; border-radius: 2px; font-size: 16px; outline: none; padding: 0px 15px; transition: all .2s ease-in-out; background: #F9F9F9; border: 1px solid #DDDDDD; text-indent: 0px; } .customOtp { border: none; outline: none; background: transparent; height: 100%; font-size: 16px; text-align: left; width: 22px; padding:0px; } .textindent42 { text-indent: 46px; } .textindent62 { text-indent: 56px; } .textintent52 { text-indent: 51px; } .box_header_load { display: block; height: auto; padding: 50px 0px; -webkit-animation-name: blink; /* Safari 4.0 - 8.0 */ -webkit-animation-duration: 1s; /* Safari 4.0 - 8.0 */ animation-name: blink; animation-duration: 1s; animation-iteration-count: infinite; animation-timing-function:linear; opacity: .05; } .box_head_load { display: block; width: 180px; height: 18px; border-radius: 8px; background-color: #000; } .blink_btn { -webkit-animation-name: blink; /* Safari 4.0 - 8.0 */ -webkit-animation-duration: 1s; /* Safari 4.0 - 8.0 */ animation-name: blink; animation-duration: 1s; animation-iteration-count: infinite; animation-timing-function:linear; opacity: .05; } .box_define_load { display: block; max-width: 800px; width: 100%; height: 16px; border-radius: 8px; background-color: #000; margin-top: 20px; } @keyframes blink { 0% { opacity: .08; } 50% { opacity: .01; } 100% { opacity: .08; } } #loading_div, #Last_password_div, #mobile_confirm_div, #email_confirm_div, #confirm_otp_div, #other_options_div, #contact_support_div, #change_password_div, #recovery_device_div, #password_matched_div, #username_div, #terminate_session_div { display:none; } #multiple_reocvery_mobile, #single_reocvery_mobile, #multiple_reocvery_email, #single_reocvery_email { display:none; } .verify_mob_container, .verify_email_container, .select_device_othermodes { display:none; } .devices { position: relative; padding: 0px; width: fit-content !important; width: -moz-fit-content !important; width: -webkit-fit-content !important; margin: auto; border-radius: 8px; box-sizing: border-box; margin-bottom: 30px; background: #FCFCFC; } .device_title { position: absolute; top: 12px; left: 48px; font-size: 10px; font-weight: 600; text-transform: uppercase; color: #000000b3; line-height:14px; z-index:11; } .select2-container--device_select { margin: 0px; display: block; position: relative; margin: auto; cursor: pointer; border: 1px solid #DDDDDD; border-radius: 8px; overflow: hidden; } #recovery_device_select+.select2-container { width: fit-content !important; width: -moz-fit-content !important; width: -webkit-fit-content !important; } .select2-container--device_select .select2-selection__arrow{ position: absolute; top: 0px; right: 14px; width: auto; height: 100%; } .select2-container--device_select .select2-selection__arrow b { border-color: transparent #00000066 #00000066 transparent; border-style: solid; transform: rotate(45deg); border-width: 2px; height: 4px; width: 4px; position: relative; border-radius: 1px; display: inline-block; top: 24px; } .select2-container--device_select .selection { margin: auto; height: 60px; box-sizing: border-box; min-width: 140px; } .select2-container--device_select .select2-selection { height: unset; padding: 12px 34px 12px 14px; } .select2-container--device_select .select_con { font-weight: 400; margin-left: 12px; margin-top: 16px; } .select2-container--device_select .select_icon { margin-top: 7px; } .select2-results__options { margin: 0px; } .select2-results__options .select_con { margin:0px; } .select2-dropdown .select_con{ width: 100%; overflow: hidden; text-overflow: ellipsis; white-space: nowrap; } .hideArrow .select2-selection { cursor: default; padding: 12px 14px; } .hideArrow .select2-selection__arrow { display: none; } .secondary_devices { display: none; width: 150px; margin: auto; padding: 8px 18px; border-radius: 18px; background-color: #F4F6F8; border: none; overflow: hidden; max-width: 200px; text-overflow: ellipsis; font-size: 16px; outline: none; } .secondary_devices .select2-container--open { width: 200px; } .device_select { display: block; position: unset; width: auto !important; } .device_selection { padding: 8px 14px; border-radius: 18px; } .deviceparent { text-align: center; display: none; text-overflow: ellipsis; overflow: hidden; width: 100%; white-space: nowrap; } .deviceparent { display: block; } .deviceinfo { display: inline-block; } .devicetext { margin: 0 auto; margin-left: 30px; } .select_icon { float:left;font-size: 20;color: #499aff; } .select_con { float:left; width: auto; overflow: hidden; margin-left: 5px; text-overflow: ellipsis; } .options_selct { max-width: 180px; font-size: 14px; line-height: 20px; font-weight: 500; width: auto; } .contact_support_class { min-height: unset; } .contact_support_class .recovery_box { min-height: unset; } #mfa_totp_section { display: none; } /* Terminate_session page */ #terminate_session_form { overflow: auto; } #terminate_session_form .checkbox_div { position: relative; } #terminate_session_form .checkbox_check { position: absolute; z-index: 1; opacity: 0; left: 15px; margin: 0px; height: 16px; cursor: pointer; width: 16px; } #terminate_session_form .checkbox { float: left; z-index: 0; height: 12px; width: 12px; display: inline-block; border: 2px solid #ccc; border-radius: 2px; position: relative; top: 1.5px; overflow: hidden; background-color: #fff; } #terminate_session_form .checkbox_check:hover ~ .checkbox { border: 2px solid #EF7320; } #terminate_session_form .checkbox_check:checked ~ .checkbox { background-color: #EF7320; border-color: #EF7320; } #terminate_session_form .checkbox .checkbox_tick { display: block; height: 3px; width: 8px; border-bottom: 2px solid #fff; border-left: 2px solid #fff; transform: rotate(-45deg); margin: 2px 1px; } #terminate_session_form .checkbox_label { cursor: pointer; margin: 0px 6px; line-height: 20px; width: 85%; display: inline-block; } #terminate_session_form .showOneAuthLable { border: 1px solid #E7E7E7; border-radius: 10px 10px 0px 0px; box-sizing: border-box; max-width: 420px; } .oneAuthLable { display: inline-flex; max-width: 420px; padding: 15px; align-items: center; box-sizing: border-box; border: 1px solid #E7E7E7; border-top: none; border-radius: 0px 0px 15px 15px; } .oneauth_icon { display: inline-block; width: 40px; height: 40px; border-radius: 14px; background-size: 40px 40px; } .one_auth_icon_v2 { background-image: url(../images/oneAuth2.4b2a6945d5ecd70b703ba18f5f11eb68.png); } .oneAuthLable .text_container { flex: 1; margin: 0px 10px; } .oneAuthLable .text_header { font-size: 12px; font-weight: 500; margin-bottom: 4px; } .oneAuthLable .text_desc { font-size: 10px; line-height: 14px; } .oneAuthLable .togglebtn_div { height: 16px; padding: 4px; width: 30px; display: inline-block; position: relative; } .oneAuthLable .real_togglebtn { cursor: pointer; display: inline-block; position: relative; height: 16px; width: 30px; z-index: 1; opacity: 0; position: absolute; margin: 0px; } .real_togglebtn:checked ~ .togglebase { background-color: #10bc83; } .real_togglebtn:checked ~ .togglebase .toggle_circle { left: 16px; } .oneAuthLable .togglebase { height: 16px; width: 30px; display: inline-block; background: #ccc; border-radius: 10px; position: absolute; } .oneAuthLable .toggle_circle { transition: all .2s ease-in-out; height: 12px; width: 12px; background-color: #fff; border-radius: 10px; display: inline-block; position: absolute; left: 2px; top: 2px; box-shadow: 0px 0px 5px #999; } #terminate_session_submit { margin-top: 30px; } @media only screen and (max-width: 600px) { body { -webkit-tap-highlight-color: rgba(255, 255, 255, 0); } .bg_one { display: none; } .alert_message,.error_message { max-width: 300px; width: 75%; } .Alert,.Errormsg { max-width: 400px !important; padding: 0px; min-width: 300px; } .textbox,.otp_container { background-color: transparent; border: none; border-bottom: 2px solid #F4F6F8; border-radius: 0px; } .textbox:-webkit-autofill,.textbox:-webkit-autofill:hover, .textbox:-webkit-autofill:focus,.textbox:-webkit-autofill:active { -webkit-box-shadow: inset 0 0 0px 9999px white; -webkit-text-fill-color: black; } .textbox:valid { border: none; border-bottom: 2px solid #EF7320; } #captcha { border-radius:2px;outline:none;-webkit-appearance: none;-moz-appearance: none; appearance: none; } .changeloadbtn{border-radius: 22px;} .btn { margin-top:10px;border-radius: 4px; } .mini_btn { margin-top: 0px; } .optionstry:hover { background-color: #fff; } .img_option{ margin: 0px 10px 0px 0px !important;} .option_details_try { color: #555555; display: inline-block; margin: 0px; } #multiple_reocvery_mobile .fieldcontainer, #multiple_reocvery_email .fieldcontainer, #other_options_div .fieldcontainer { margin: 0 -30px; margin-bottom: 40px; } .optionmod { margin-left: 0px; padding:15px 30px; line-height: 24px; } .recovery_box { width: 100%; padding: 0px 30px; height: auto; border-right: none; padding-bottom: 40px; } .recovery_container { width: 100%; box-shadow: none; margin: 0 auto; position: relative; z-index: 1; /* margin-top: 40px; */ height: 100vh; overflow: hidden; } .info_head { margin-bottom:30px; } } .devices .select2-container--open { background: transparent; } @media only screen and (-webkit-min-device-pixel-ratio: 2), only screen and ( min--moz-device-pixel-ratio: 2), only screen and ( -o-min-device-pixel-ratio: 2/1), only screen and ( min-device-pixel-ratio: 2), only screen and ( min-resolution: 192dpi), only screen and ( min-resolution: 2dppx) { .restrict_icon { background: url(../images/URLError2x.5e762e74a83ee0cda60b8f7c9df299a8.png) no-repeat transparent center/auto 100%; } } .hide { display:none; } .hover-tool-tip { position: absolute; top: 15px; left: 335px; background: #fff; padding: 20px; box-shadow: 0px 0px 10px #0000001a; transition: opacity 0.1s; border-radius: 5px; z-index: 9; opacity: 0; } .hover-tool-tip::after { content: ""; position: absolute; width: 0; height: 0; margin-left: -8px; top: 25px; left: 0; box-sizing: border-box; border: 6px solid black; border-color: #ffffff transparent transparent #ffffff; transform-origin: 0 0; transform: rotate(-45deg); box-shadow: -6px -6px 10px 0 #0000001a; } .hover-tool-tip.no-arrow::after { content: none; } .hover-tool-tip ul { padding: 0; margin: 0px 0px 0px 15px; list-style: none; } .hover-tool-tip p { margin: 0px 0px 10px 0px; font-size: 14px; font-weight: 500; } .hover-tool-tip ul li { font-size: 12px; display: flex; align-items: center; white-space: nowrap; line-height: 25px; } .hover-tool-tip ul li.success::before { background-color: #0dbc83; } .hover-tool-tip ul li::before { content: ""; margin-right: 10px; background-color: red; width: 8px; height: 8px; border-radius: 50%; } .titlename{ display:none !important; } #lookup_div .head_info{ display:none !important; } .info_head{ /* padding-top:20px */ } .rec_modes_other_options{ display: none !important; } #login_id{ text-indent: 0 !important; } .showcountry_code{ display:none !important; } ``` **client-package.json** ```json { "name": "zylkertechnologies", "version": "0.0.1", "homepage": "index.html", "login_redirect": "home.html" } ``` The client directory is now configured. Let’s go over how the function and the client code works: * The end-user will first encounter the **Login Page** you have configured and styled in the console. * To create an account, they will click the **Sign Up** option and be directed to the *Sign Up* page. > **Note:** End-users can either sign up to your application using their [Identity Provider Logins](https://docs.catalyst.zoho.com/en/cloud-scale/help/authentication/social-logins/introduction/) or use the conventional method of signing up to the application using their email ID. * Once the information is inputted and they click **Sign Up**, or if they attempt to sign up using a Identity Provider Login of their choice, their details will be provided as a JSON input to the [Custom User Validation](https://docs.catalyst.zoho.com/en/cloud-scale/help/authentication/whitelisting/custom-user-validation/introduction/) function (`authorization_portal_function/Custom_User_Validation_Java.java`). * The function will only authenticate users if the condition you have coded is satisfied. For this tutorial, the users will only be authenticated if they signed up to the application using a Zylker registered email address. * Upon successful authentication, an [Email Verification](https://docs.catalyst.zoho.com/en/cloud-scale/help/authentication/email-templates/introduction/) email will be sent to the account they used to sign up to the application. > **Note:** Because we are using Embedded Login, a native Catalyst authentication type, no additional logic to trigger the appropriate emails is required. It will be handled by Catalyst automatically. * Once the user verifies their email address by clicking the link provided in the email, they will be signed up to the application. Their details can be viewed in the [User Management](https://docs.catalyst.zoho.com/en/cloud-scale/help/authentication/user-management/introduction/) section of the *Authentication* component. * The end-user can now log in to the application using their authenticated credentials. * The end-user can also reset their password by clicking the **Forgot Password** option. In this event, the *Password Reset* email will be sent to their registered email. Following the steps mentioned in the email, they can easily reset their credentials. **React web app** Let’s configure the client component. The React web [client directory](https://docs.catalyst.zoho.com/en/cli/v1/project-directory-structure/client-directory) contains the following files: - The root directory of the client contains a `client-package.json` file, which is a configuration file defining the name, version, default home page, and redirect page of the client component. - The `zylkertechnologies` client directory contains two subfolders, as per the default project structure of a React app: - The `public` folder is generally used to hold files that can be openly accessed by browsers through public URLs, such as icon files of the web app, the `index.html` file, the `embeddediframe.css` and the `fpwd.css` file. - The `src` folder contains the application’s source files that will be included in the build folder when we compile the React app. - The client directory also contains the [`package.json`](https://docs.npmjs.com/files/package.json) dependency file and a hidden [`.gitignore`](https://docs.npmjs.com/files/package.json) file. - The files present in the `public` folder include: - [Native React files](https://reactjs.org/docs/getting-started.html?#try-react) such as setup `Tests.js`, `index.js`, `reportWebVitals.js`, `logo.svg`, and `App.test.js`. - `index.html` - Contains Catalyst web sdk that allows you to access Catalyst components. - We will be creating two additional files `embedddediframe.css` and `fpwd.css` that will contain the styling elements for the login and password reset forms of our application. - The files present in the `src` folder include: - Native React files such as `setupTests.js`, `reportWebVitals.js`, `logo.svg`, and `App.test.js`. - `App.js` - Contains the hash routes to your application - `App.css` - Contains the overall styling elements of your application - `index.js` - The entry point of the react application. - `index.css` - Contains the styling of the elements present in the `index.js` file. - You will be creating the following files in the `src` folder: - `Button.css` - Contains the styling elements for the *Logout* button that will be present in the application. - `Button.js` - Contains the React component for the *Logout* present in the application. - `Layout.js` - Contains the React component for the application's logic - `LoginPage.js` - Contains the React component for the login pages you generated in the Catalyst console. - `UserProfile.css` - Contains the styling elements for the user information page that will be displayed once you log in to the application. - `UserProfile.js` - Contains the React component to render the user details after you login. - `Signup.css` - Contains the styling elements for the Signup page in the application. - `Signup.js` - Contains the React component for the Signup pages you generated in the Catalyst console. We will be coding in the `index.html`, `embeddediframe.css`,`fpwd.css`, `App.js`, `App.css`, `index.css`, `index.js`, `Button.css`, `Button.js`, `Layout.js`, `LoginPage.js`, `UserProfile.css`, `UserProfile.js`, `Signup.js` and `Signup.css` files. We will also be making a change in the `client-package.json`. to ensure that the homepage of the application is the authenticated page. > **Note:** You can delete the native React files as they not required for building this application. #### Install additional React packages The `react-router-dom` package needs to be installed in the `AuthorizationPortal/zylkertechnologies` client directory using the CLI command given below: ```sh npm install react-router-dom ``` This command will install the `react-router-dom` module, save the dependencies, and allow us to perform the required hash routing in our application. This is the client directory after you have created the required files and deleted the unnecessary files. ![client_directory_auth](https://catalyst-docs-development.zohostratus.in/images/tutorials/embedded_auth/client_directory_auth.webp) > **Note:** Please go through the all code given in this section to ensure you fully understand it. Copy the code given below and paste it in `index.html` located in the client directory (`zylkertechnologies/public/`) using an IDE and save the file. You will need to create two new files in the same folder and name them `embeddediframe.css` and `fpwd.css`. Copy and paste the code given below in the respective files and save them. **index.html** ```xml <!DOCTYPE html> <html lang="en"> <head> <meta charset="utf-8" /> <link rel="icon" href="%PUBLIC_URL%/favicon.ico" /> <meta name="viewport" content="width=device-width, initial-scale=1" /> <meta name="theme-color" content="#000000" /> <meta name="description" content="Web site created using create-react-app" /> <link rel="apple-touch-icon" href="%PUBLIC_URL%/logo192.png" /> <!-- manifest.json provides metadata used when your web app is installed on a user's mobile device or desktop. See https://developers.google.com/web/fundamentals/web-app-manifest/ --> <link rel="manifest" href="%PUBLIC_URL%/manifest.json" /> <!-- Notice the use of %PUBLIC_URL% in the tags above. It will be replaced with the URL of the `public` folder during the build. Only files inside the `public` folder can be referenced from the HTML. Unlike "/favicon.ico" or "favicon.ico", "%PUBLIC_URL%/favicon.ico" will work correctly both with client-side routing and a non-root public URL. Learn how to configure a non-root public URL by running `npm run build`. --> <title>React App</title> </head> <body> <noscript>You need to enable JavaScript to run this app.</noscript> <div id="root"></div> <!-- This HTML file is a template. If you open it directly in the browser, you will see an empty page. You can add webfonts, meta tags, or analytics to this file. The build step will place the bundled scripts into the <body> tag. To begin the development, run `npm start` or `yarn start`. To create a production bundle, use `npm run build` or `yarn build`. --> </body> </html> ``` **embeddediframe.css** ```xml @font-face { font-family: "Roboto Mono"; font-weight: 400; font-style: normal; src: url("https://webfonts.zohowebstatic.com/robotomonoregular/font.eot"); src: url("https://webfonts.zohowebstatic.com/robotomonoregular/font.eot?#iefix") format("eot"), url("https://webfonts.zohowebstatic.com/robotomonoregular/font.woff2") format("woff2"), url("https://webfonts.zohowebstatic.com/robotomonoregular/font.woff") format("woff"), url("https://webfonts.zohowebstatic.com/robotomonoregular/font.ttf") format("truetype"), url("https://webfonts.zohowebstatic.com/robotomonoregular/font.svg#RobotoMono-Regular") format("svg"); } @font-face { font-family: "LatoLgt"; font-weight: 300; font-style: normal; src: url("https://webfonts.zohowebstatic.com/latolight/font.eot"); src: url("https://webfonts.zohowebstatic.com/latolight/font.eot?#iefix") format("eot"), url("https://webfonts.zohowebstatic.com/latolight/font.woff2") format("woff2"), url("https://webfonts.zohowebstatic.com/latolight/font.woff") format("woff"), url("https://webfonts.zohowebstatic.com/latolight/font.ttf") format("truetype"), url("https://webfonts.zohowebstatic.com/latolight/font.svg#Lato-Light") format("svg"); } @font-face { font-family: "LatoReg"; font-weight: 400; font-style: normal; src: url("https://webfonts.zohowebstatic.com/latoregular/font.eot"); src: url("https://webfonts.zohowebstatic.com/latoregular/font.eot?#iefix") format("eot"), url("https://webfonts.zohowebstatic.com/latoregular/font.woff2") format("woff2"), url("https://webfonts.zohowebstatic.com/latoregular/font.woff") format("woff"), url("https://webfonts.zohowebstatic.com/latoregular/font.ttf") format("truetype"), url("https://webfonts.zohowebstatic.com/latoregular/font.svg#Lato-Regular") format("svg"); } @font-face { font-family: "LatoSB"; font-weight: 700; font-style: normal; src: url("https://webfonts.zohowebstatic.com/latobold/font.eot"); src: url("https://webfonts.zohowebstatic.com/latobold/font.eot?#iefix") format("eot"), url("https://webfonts.zohowebstatic.com/latobold/font.woff2") format("woff2"), url("https://webfonts.zohowebstatic.com/latobold/font.woff") format("woff"), url("https://webfonts.zohowebstatic.com/latobold/font.ttf") format("truetype"), url("https://webfonts.zohowebstatic.com/latobold/font.svg#Lato-Bold") format("svg"); } @font-face { font-family: "LatoB"; font-weight: 900; font-style: normal; src: url("https://webfonts.zohowebstatic.com/latoblack/font.eot"); src: url("https://webfonts.zohowebstatic.com/latoblack/font.eot?#iefix") format("eot"), url("https://webfonts.zohowebstatic.com/latoblack/font.woff2") format("woff2"), url("https://webfonts.zohowebstatic.com/latoblack/font.woff") format("woff"), url("https://webfonts.zohowebstatic.com/latoblack/font.ttf") format("truetype"), url("https://webfonts.zohowebstatic.com/latoblack/font.svg#Lato-Black") format("svg"); } @font-face { font-family: "signinicon"; src: url(/images/signinicon.eot); src: url(/images/signinicon.eot) format("embedded-opentype"), url(/__catalyst/auth/static-file?file_name=signinicon.woff2) format("woff2"), url(/__catalyst/auth/static-file?file_name=signinicon.ttf) format("truetype"), url(/__catalyst/auth/static-file?file_name=signinicon.woff) format("woff"), url("../images/fonts/signinicon.651f82b8f8f51f33cd0b6331f95b5b4f.svg") format("svg"); font-weight: normal; font-style: normal; font-display: block; } [class^="icon-"], [class*=" icon-"] { /* use !important to prevent issues with browser extensions that change fonts */ font-family: "signinicon" !important; speak: never; font-style: normal; font-weight: normal; font-variant: normal; text-transform: none; line-height: 1; /* Better Font Rendering =========== */ -webkit-font-smoothing: antialiased; -moz-osx-font-smoothing: grayscale; } .icon-hide:before { content: "\e907"; } .icon-show:before { content: "\e914"; } .icon-backarrow:before { content: "\e900"; } .icon-backup:before { content: "\e901"; } .icon-support:before { content: "\e915"; } body { font-family: "Roboto", sans-serif; margin: 0px; } .bg_one { display: block; position: fixed; top: 0px; left: 0px; height: 100%; width: 100%; background: url("../images/bg.49756b7c711696d95133fa95451f8e13.svg") transparent; background-size: auto 100%; z-index: -1; } .signin_container { height: 25rem; display: block; width: 520px; background-color: #fff; box-shadow: 0px 2px 30px #ccc6; margin: auto; position: relative; z-index: 1; margin-top: auto; overflow: hidden; } .mod_container { width: 500px; } .checkbox_label { display: inline-block; font-size: 14px; margin: 0px 6px; float: left; cursor: pointer; line-height: 20px; } .signin_box { min-height: 520px; height: auto; background: #fff; box-sizing: border-box; border-radius: 2px; transition: all 0.1s ease-in-out; float: left; overflow-y: auto; display: table-cell; border-right: 2px solid #f1f1f1; width: 100%; padding: 0px 30px; height: auto; border-right: none; } .nopassword_message { display: table-cell; font-size: 14px; color: #222222; letter-spacing: 0px; line-height: 20px; height: auto; width: auto; margin-left: 10px; font-weight: 400; padding-left: 10px; } .portal_logo { display: block; height: 30px; width: auto; margin-bottom: 20px; background-size: auto 100%; } .pointer { cursor: pointer; } #forgotpassword { cursor: default; } #forgotpassword > a { cursor: pointer; } .text16 { display: block; text-align: center; margin-bottom: 30px; color: #626262; font-size: 16px; font-weight: 500; text-decoration: none; } .checkbox { float: left; z-index: 0; height: 12px; width: 12px; display: inline-block; border: 2px solid #ccc; border-radius: 2px; position: relative; top: 1.5px; overflow: hidden; background-color: #fff; } .show_hide_password { font-size: 34px; color: #a7a7a7; position: relative; top: -39px; right: 13px; float: right; cursor: pointer; height: 20px; } .pass_policy, .pass_policy_error { color: #8c8c8c; font-size: 14px; padding-top: 10px; } .pass_policy_error { color: #ed7500; display: block; } .checkbox_check { position: absolute; z-index: 1; opacity: 0; left: 50px; margin: 0px; height: 16px; cursor: pointer; width: 16px; } .checkbox_div { display: none; height: 16px; width: auto; margin-bottom: 30px; } .checkbox_div { display: block; } #terminate_session_form .checkbox_mod { margin-top: 50px; } .checkbox_tick { display: block; height: 3px; width: 8px; border-bottom: 2px solid #fff; border-left: 2px solid #fff; transform: rotate(-45deg); margin: 2px 1px; } .passexpsuccess { display: none; height: 106px; width: 178px; background: url("../images/passexpiry.db4c66debd4dd8880655f338ead6b973.png") no-repeat transparent; background-size: auto 100%; margin: 0px auto; margin-bottom: 20px; } .signin_head { display: block; font-size: 24px; font-weight: 500; margin-bottom: 30px; line-height: 30px; transition: all 0.1s ease-in-out; } .rightside_box { width: 390px; height: auto; float: right; box-sizing: border-box; padding: 40px; background-color: #fff; display: table-cell; } .service_name, .backup_desc, .pass_name { display: block; font-size: 16px; color: #000; font-weight: 400; } .titlename { display: block; font-size: 24px; color: #000; font-weight: 400; text-transform: capitalize; width: auto; margin-bottom: 20px; } .extramargin { margin-top: 10px; } .show_hide_password { font-size: 34px; color: #a7a7a7; position: relative; top: -39px; right: 13px; float: right; cursor: pointer; height: 20px; } .textbox_div { display: block; margin-bottom: 30px; position: relative; } .textbox_label { display: block; font-size: 14px; color: #626262; padding-bottom: 10px; } .textbox { display: block; width: 100%; height: 44px; box-sizing: border-box; border-radius: 2px; text-indent: 12px; font-size: 16px; outline: none; border: none; padding-right: 12px; transition: all 0.2s ease-in-out; background: #f1f1f1; border: 1px solid #e4e4e4; } .textbox:valid { border: 2px solid #f4f6f8; } .textindent42 { text-indent: 36px; } .textindent62 { text-indent: 56px; } .textintent52 { text-indent: 46px; } ::-webkit-credentials-auto-fill-button { visibility: hidden; pointer-events: none; position: absolute; right: 0px; } input[type="text"], input[type="password"], input[type="email"], input[type="number"] { -webkit-appearance: none; -moz-appearance: none; appearance: none; } .errorborder:focus, .textbox.errorborder { border-bottom: 2px solid #ff8484; } .btn { cursor: pointer; display: block; width: 100%; height: 44px; border-radius: 4px; letter-spacing: 0.5; font-size: 14px; font-weight: 600; outline: none; border: none; margin: auto; text-transform: uppercase; margin-bottom: 30px; transition: all 0.2s ease-in-out; } .signupbtn { width: 250px; margin-left: 0px; } .blue { box-shadow: 0px 2px 2px #fff; background-color: #159aff; color: #fff; } .grey { background-color: #f3f3f3; color: #3a3a3a; letter-spacing: 0px; } .green { box-shadow: 0px 2px 2px #fff; background-color: #00c573; color: #fff; } .blue:hover { background-color: #0966c2; cursor: pointer; box-shadow: 0px 2px 2px rgba(90, 183, 254, 0.2); } .changeloadbtn { display: block; height: 44px; width: 44px; border-radius: 22px; padding: 0px; } .changeloadbtn:before { content: ""; height: 20px; width: 20px; display: inline-block; margin: 9px; border: 3px solid #fff; border-top: 3px solid #5ab7fe; border-radius: 50%; animation: spin 0.5s linear infinite; } @keyframes spin { 0% { transform: rotate(0deg); } 100% { transform: rotate(360deg); } } .hellouser { margin-bottom: 30px; } .username { display: inline-block; max-width: 100%; font-size: 16px; font-weight: 500; line-height: 24px; overflow: hidden; text-overflow: ellipsis; padding-right: 10px; float: left; } .Notyou { display: inline-block; font-size: 16px; line-height: 24px; } .signup_text { text-align: center; margin: 20px 0px; font-size: 16px; } .backbtn { display: none; float: left; height: 28px; width: 28px; border-radius: 50%; position: absolute; padding: 0px 5px; cursor: pointer; overflow: hidden; transition: all 0.1s ease; } .zeroheight { width: 0px; height: 0px; overflow: hidden; display: block; } #captcha, #bcaptcha { background: #fff; width: 60%; display: inline-block; } #captcha_img, #bcaptcha_img { width: 40%; float: right; background-color: #ffffff; border-left: none; } #captcha_img img, #bcaptcha_img img { height: 40px; } .reloadcaptcha { float: right; clear: both; margin-top: -37px; height: 30px; width: 30px; border-radius: 50px; background: url("../images/reload.eaef7ea18b680bc07558164c918909a6.png") no-repeat transparent 5px; background-size: 50%; display: inline-block; cursor: pointer; } #captcha_container { display: none; } .options { display: block; width: 100%; max-width: 500px; min-height: 80px; padding: 0px 50px; cursor: pointer; } .options:hover { background-color: #f9f9f9; } .option_details { display: inline-block; height: auto; width: 320px; margin-left: 15px; } .option_title { display: block; font-size: 16px; font-weight: 500; } .img_option { display: table-cell; height: 24px; width: 24px; color: #499aff; font-size: 24px; vertical-align: top; } .errorlabel { color: #e92b2b; } .fielderror { display: none; font-size: 14px; margin-top: 10px; } .fielderror a { text-decoration: none; color: #309ff4; } .bluetext { color: #309ff4; cursor: pointer; } #country_code_select { width: 50px; height: 40px; position: absolute; opacity: 0; display: none; z-index: 0; } .select_country_code { width: 50px; height: 40px; display: inline-block; float: left; position: absolute; line-height: 40px; text-align: center; font-size: 16px; color: black; display: none; z-index: 0; } .pic { width: 20px; height: 14px; background-size: 280px 252px; background-image: url("../images/Flags2x.0b8394efb0ea9167cef2465fb8f63d78.png"); float: left; } .cc { float: right; color: #aeaeae; } .cn { margin-left: 10px; } .select2-results__option--highlighted { background: #f4f6f8; } .searchparent { height: auto; } .searchlbl { font-size: 10px; font-weight: bolder; display: inline-block; margin-top: 15px; margin-bottom: 10px; margin-left: 10px; } .cntrysearch { width: 380px; height: 32px; border-radius: 2px; font-size: 14px; box-sizing: border-box; padding: 8px 10px; background: #f7f7f7; outline: none; border: none; margin-top: 10px; } .select2-results__option { list-style-type: none; height: 40px; box-sizing: border-box; padding: 12px 20px; font-size: 14px; line-height: 16px; } .select2-search__field { width: 380px; height: 32px; border: none; outline: none; background: #f7f7f7; border-radius: 2px; margin: 10px 0 0 10px; font-size: 14px; padding: 10.5px 8px; } .select2-selection { display: inline-block; outline: none; /* background-color: #F4F6F8; */ height: 40px; text-align: center; padding: 10px; box-sizing: border-box; cursor: pointer; } .selection { transition: all 0.2s ease-in-out; -webkit-user-select: none; display: inline-block; white-space: nowrap; overflow: hidden; width: 0px; height: 43px; } #select2-combobox-results { padding-left: 0px; max-height: 200px; overflow-y: scroll; overflow-x: hidden; width: 400px; margin-top: 10px; margin-bottom: 0px; background: white; } .select2-container--open { z-index: 10; background: #ffffff; box-shadow: 0 2px 4px 0 rgba(0, 0, 0, 0.13); width: auto; box-sizing: border-box; } .select2 { position: absolute; background: transparent; box-shadow: none; display: none; margin: 2px; } .select2-results__options { overflow-y: auto; max-height: 200px; } .selection { width: auto; width: -moz-fit-content; width: -webkit-fit-content; margin: auto; display: block; } .select2-search--hide, .select2-selection__clear { display: none; } #otp_container, #enableotpoption, #mfa_ga_container, #mfa_otp_container, #mfa_totp_container, #recoverybtn, #recovery_container, #enableforgot, #enablesaml, .trustbrowser_ui, #backup_ver_container, #backup_container, #enablemore, .password_expiry_container, .terminate_session_container { display: none; } .errorlabel { color: #e92b2b; } .fielderror { display: none; font-size: 14px; margin-top: 10px; } .field_error { color: #f37272; font-size: 14px; padding-top: 10px; } #recoverybtn, #problemsignin, .tryanother { position: absolute; left: 0px; right: 0px; bottom: 40px; } .textbox_actions, .textbox_actions_saml, .textbox_actions_more { display: block; margin-top: 20px; height: 20px; } .bluetext_action { display: inline-block; float: left; font-size: 14px; color: #159aff; font-weight: 500; line-height: 16px; cursor: pointer; } .bluetext_action a { text-decoration: none; } .bluetext_action_right { float: right; } .textbox_actions { display: block; margin-top: 20px; height: 20px; } .Alert, .Errormsg { display: block; margin: auto; height: auto; min-width: 200px; width: fit-content; width: -moz-fit-content; max-width: 600px; background-color: #032239; border-radius: 6px; position: fixed; top: -100px; left: 0px; right: 0px; transition: all 0.2s ease; padding: 0px 20px; z-index: 2; } .tick_icon, .error_icon { display: inline-block; height: 20px; width: 20px; background-color: #22c856; border-radius: 50%; background-size: 60px; margin: 15px; float: left; } .tick_icon:after { display: block; content: ""; height: 5px; width: 9px; border-bottom: 2px solid #fff; border-left: 2px solid #fff; transform: rotate(-45deg); margin: 7px 6px; box-sizing: border-box; } .alert_message, .error_message { display: inline-block; font-size: 14px; color: #fff; line-height: 18px; margin: 16px 0px; margin-right: 20px; max-width: 510px; } .error_icon { background-color: #ff676f; } .error_icon:before, .error_icon:after { position: absolute; left: 44px; top: 20px; content: " "; height: 10px; width: 2px; background-color: #ffffff; } .error_icon:before { transform: rotate(45deg); } .error_icon:after { transform: rotate(-45deg); } .select2-results__options { padding-left: 0px; } .showcountry_code { width: 62px !important; } .textindent70 { text-indent: 70px; } .countrybox { width: 400px; height: 220px; overflow: auto; } .focusmanage { position: absolute; z-index: 10; width: 400px; height: 266px; box-sizing: border-box; padding: 10px; margin-top: -25px; background: #ffffff; box-shadow: 0 2px 4px 0 rgba(0, 0, 0, 0.13); border-radius: 2px; } .recoveryhead { margin-bottom: 10px; } .nopassword_container { display: none; background: #ebf4fb; border: 1px solid #cbe8ff; border-radius: 5px; width: 400px; height: auto; position: absolute; bottom: 50px; box-sizing: border-box; padding: 20px; } .nopassword_icon { display: table-cell; margin: 0px; height: 30px; width: 30px; color: #0091ff; font-size: 30px; vertical-align: middle; } .mailsearch { width: 400px; height: 30px; padding: 0px 0px; border: none; position: absolute; } .bolder1 { font-weight: bolder; } #ui-id-1 { height: 200px; width: auto; outline: none; border: none; overflow-x: hidden; overflow-y: scroll; } .ui-menu-item-wrapper { overflow: auto; } .nonclickelem { color: #626262; pointer-events: none; } .trustdevicebox { width: 500px; min-height: auto !important; } .trustdevice { width: auto; float: left; margin-right: 18px; min-width: 100px; margin-bottom: 0px; } .loadwithbtn { display: inline-block; height: 22px; width: 22px; border: 3px solid #fff; border-radius: 50%; position: absolute; margin: -2px; box-sizing: border-box; border-left: 3px solid transparent; animation-name: rotate1; animation-iteration-count: infinite; animation-duration: 1s; animation-timing-function: linear; } @keyframes rotate1 { from { transform: rotate(0deg); } to { transform: rotate(360deg); } } .waitbtn .waittext, .loadbtntext { display: inline-block; text-indent: 25px; } #waitbtn { display: none; } .loadwithbtn:before { display: inline-block; content: ""; height: 22px; width: 22px; border: 3px solid #ffffff30; border-radius: 50%; margin: -3px -11px; position: absolute; box-sizing: border-box; } .notnowbtn .loadwithbtn { border: 3px solid #3a3a3a; border-left: 3px solid transparent; } .trustdevice .loadwithbtn { display: none; } #recoverybtn, #problemsignin, .tryanother { display: none; bottom: 50px; width: fit-content; margin: 0px auto; cursor: pointer; } #recoverOption, #verify_totp_container, #verify_qr_container { display: none; } .backoption { width: 30px; height: 30px; font-size: 24px; display: inline-block; float: left; color: #666666; padding: 3px; box-sizing: border-box; margin-right: 5px; border-radius: 15px; cursor: pointer; } .backoption:hover { background: #f4f4f4; } .rec_head_text, .backoption { display: table-cell; } .options, .optionstry { display: table; width: 100%; height: auto; padding: 20px 50px; box-sizing: border-box; cursor: pointer; } .options:hover, .optionstry:hover { background-color: #f9f9f9; } .option_details, .option_details_try { height: auto; width: auto; padding-left: 10px; vertical-align: top; box-sizing: border-box; } .option_title_try { display: block; font-size: 16px; font-weight: 500; } .option_description { display: block; font-size: 13px; line-height: 20px; color: #696969; margin-top: 5px; } .img_option_try { margin: 12px 0px; } .img_option { font-size: 30px; color: #499aff; } .option_details { display: table-cell; } .problemsignincon, .recoverymodes, .addaptivetfalist, #recoverymodeContainer { width: auto; margin: 0px -50px; } .line { background-color: #f1f1f1; width: 100%; height: 2px; border-radius: 1px; margin-bottom: 20px; } /*---------------------terminate_session---------------------*/ .terminate_session_container .signin_head { margin-bottom: 20px; } #terminate_session_form .checkbox_div { position: relative; margin-bottom: 10px; } #terminate_session_form .checkbox_mod { margin-top: 30px; } #terminate_session_form .checkbox_check { left: 15px; } #terminate_session_form .checkbox_check:checked ~ .checkbox { background-color: #159aff; border-color: #159aff; } #terminate_session_form .showOneAuthLable { border: 1px solid #e7e7e7; border-radius: 10px 10px 0px 0px; box-sizing: border-box; max-width: 420px; height: auto; overflow: auto; margin-bottom: 0px; } .oneAuthLable { display: inline-flex; max-width: 420px; padding: 15px; align-items: center; margin-bottom: 10px; box-sizing: border-box; border: 1px solid #e7e7e7; border-top: none; border-radius: 0px 0px 15px 15px; } .oneauth_icon { display: inline-block; width: 40px; height: 40px; border-radius: 14px; background-size: 40px 40px; } .one_auth_icon_v2 { background-image: url(../images/oneAuth2.4b2a6945d5ecd70b703ba18f5f11eb68.png); } .oneAuthLable .text_container { flex: 1; margin: 0px 10px; } .oneAuthLable .text_header { font-size: 12px; font-weight: 500; margin-bottom: 4px; } .oneAuthLable .text_desc { font-size: 10px; line-height: 14px; } .oneAuthLable .togglebtn_div { height: 16px; padding: 4px; width: 30px; display: inline-block; position: relative; } .oneAuthLable .real_togglebtn { cursor: pointer; display: inline-block; position: relative; height: 16px; width: 30px; z-index: 1; opacity: 0; position: absolute; margin: 0px; } .real_togglebtn:checked ~ .togglebase { background-color: #10bc83; } .real_togglebtn:checked ~ .togglebase .toggle_circle { left: 16px; } .oneAuthLable .togglebase { height: 16px; width: 30px; display: inline-block; background: #ccc; border-radius: 10px; position: absolute; } .oneAuthLable .toggle_circle { transition: all 0.2s ease-in-out; height: 12px; width: 12px; background-color: #fff; border-radius: 10px; display: inline-block; position: absolute; left: 2px; top: 2px; box-shadow: 0px 0px 5px #999; } @media only screen and (-webkit-min-device-pixel-ratio: 2), not all, not all, not all, only screen and (min-resolution: 192dpi), only screen and (min-resolution: 2dppx) { .google_icon { background-color: #fff; box-shadow: 0px 0px 2px #00000012, 0px 2px 2px #00000024; } .google_icon .fed_icon { background: url("../images/signin_icons@2x.c0c72f3600a6f5ec03c9119d5a7d0518.png") no-repeat transparent; background-size: 205px auto; background-position: -10px -10px; } .MS_icon { background-color: #2f2f2f; } .MS_icon .fed_icon { background: url("../images/signin_icons@2x.c0c72f3600a6f5ec03c9119d5a7d0518.png") no-repeat transparent; background-size: 205px auto; background-position: -38px -10px; } .linkedin_fed_box { background-color: #0966c2; } .linkedin_fed_box .fed_icon { background: url("../images/signin_icons@2x.c0c72f3600a6f5ec03c9119d5a7d0518.png") no-repeat transparent; background-size: 205px auto; background-position: -67px -11px; } .large_box .linked_fed_icon { background-position: -9px -174px; } .fb_fed_box { background-color: #1877f2; } .fb_fed_box .fed_icon { background: url("../images/signin_icons@2x.c0c72f3600a6f5ec03c9119d5a7d0518.png") no-repeat transparent; background-size: 205px auto; background-position: -94px -10px; } .zoho_icon { background: url(../images/signin_icons@2x.c0c72f3600a6f5ec03c9119d5a7d0518.png) no-repeat transparent; background-size: 205px auto; background-position: -152px -174px; } } @media only screen and (max-width: 600px) { body { -webkit-tap-highlight-color: rgba(255, 255, 255, 0); } .nopassword_container { width: calc(100% - 60px); padding: 10px; box-sizing: border-box; } .signin_container { width: 100%; box-shadow: none; margin: 0 auto; position: relative; z-index: 1; margin-top: 40px; height: 27rem; overflow: hidden; } #captcha_img, #captcha, #bcaptcha_img, #bcaptcha { border: 2px solid #f4f6f8; border-radius: 2px; text-indent: 3px; width: 50%; outline: none; -webkit-appearance: none; -moz-appearance: none; appearance: none; } .textbox, #verify_totp { background-color: transparent; border: none; border-bottom: 2px solid #f4f6f8; text-indent: 0px; border-radius: 0px; } .textbox:focus, #verify_totp { border: none; border-bottom: 2px solid #159aff; } .errorborder:focus, .textbox.errorborder { border-bottom: 2px solid #ff8484; } .backoption { margin-bottom: 10px; } .img_option { margin: 0px 10px 0px 0px !important; } .bg_one, .line { display: none; } .signin_head { margin-bottom: 30px; } .btn { margin-top: 10px; border-radius: 4px; } .changeloadbtn { border-radius: 22px; } .more { margin-right: 0px !important; } .textindent42 { text-indent: 36px; } .textindent62 { text-indent: 56px; } .textintent52 { text-indent: 46px; } .select2-selection { background-color: #f1f9ff; } .devices .select2-selection { background-color: #f1f9ff; } .select2-search__field { width: 280px; } .applynormal { width: 46% !important; min-width: 0px; } .borderless, .borderlesstry { line-height: 12px; font-size: 14px; } .alert_message, .error_message { max-width: 300px; width: 75%; } .Alert, .Errormsg { max-width: 400px !important; padding: 0px; min-width: 300px; } .error_icon:before, .error_icon:after { left: 24px; } ::placeholder { font-weight: 500; } .mobilehide { display: none !important; } #forgotpassword { margin-bottom: 0px; } #forgotpassword a { display: inline-block; } .fielderror { position: absolute; margin-top: 5px; } .trustdevicebox { width: auto; height: auto; } #recoverybtn, #problemsignin, .tryanother { position: initial !important; margin-top: 70px !important; } .problemsignincon, .recoverymodes, #recoverymodeContainer { width: 100%; margin-left: 0px; } } .hover-tool-tip { position: absolute; top: 15px; left: 335px; background: #fff; padding: 20px; box-shadow: 0px 0px 10px #0000001a; transition: opacity 0.1s; border-radius: 5px; z-index: 9; opacity: 0; } .hover-tool-tip::after { content: ""; position: absolute; width: 0; height: 0; margin-left: -8px; top: 25px; left: 0; box-sizing: border-box; border: 6px solid black; border-color: #ffffff transparent transparent #ffffff; transform-origin: 0 0; transform: rotate(-45deg); box-shadow: -6px -6px 10px 0 #0000001a; } .hover-tool-tip.no-arrow::after { content: none; } .hover-tool-tip ul { padding: 0; margin: 0px 0px 0px 15px; list-style: none; } .hover-tool-tip p { margin: 0px 0px 10px 0px; font-size: 14px; font-weight: 500; } .hover-tool-tip ul li { font-size: 12px; display: flex; align-items: center; white-space: nowrap; line-height: 25px; } .hover-tool-tip ul li.success::before { background-color: #0dbc83; } .hover-tool-tip ul li::before { content: ""; margin-right: 10px; background-color: red; width: 8px; height: 8px; border-radius: 50%; } .titlename, .service_name { display: none !important; } .signin_head { padding-top: 20px; } #login_id { text-indent: 0 !important; } .showcountry_code { display: none !important; } ``` **fpwd.css** ```xml /*$Id$*/ @font-face { font-family: "Roboto Mono"; font-weight: 400; font-style: normal; src: url("https://webfonts.zohowebstatic.com/robotomonoregular/font.eot"); src: url("https://webfonts.zohowebstatic.com/robotomonoregular/font.eot?#iefix") format("eot"), url("https://webfonts.zohowebstatic.com/robotomonoregular/font.woff2") format("woff2"), url("https://webfonts.zohowebstatic.com/robotomonoregular/font.woff") format("woff"), url("https://webfonts.zohowebstatic.com/robotomonoregular/font.ttf") format("truetype"), url("https://webfonts.zohowebstatic.com/robotomonoregular/font.svg#RobotoMono-Regular") format("svg"); } @font-face { font-family: "LatoLgt"; font-weight: 300; font-style: normal; src: url("https://webfonts.zohowebstatic.com/latolight/font.eot"); src: url("https://webfonts.zohowebstatic.com/latolight/font.eot?#iefix") format("eot"), url("https://webfonts.zohowebstatic.com/latolight/font.woff2") format("woff2"), url("https://webfonts.zohowebstatic.com/latolight/font.woff") format("woff"), url("https://webfonts.zohowebstatic.com/latolight/font.ttf") format("truetype"), url("https://webfonts.zohowebstatic.com/latolight/font.svg#Lato-Light") format("svg"); } @font-face { font-family: "LatoReg"; font-weight: 400; font-style: normal; src: url("https://webfonts.zohowebstatic.com/latoregular/font.eot"); src: url("https://webfonts.zohowebstatic.com/latoregular/font.eot?#iefix") format("eot"), url("https://webfonts.zohowebstatic.com/latoregular/font.woff2") format("woff2"), url("https://webfonts.zohowebstatic.com/latoregular/font.woff") format("woff"), url("https://webfonts.zohowebstatic.com/latoregular/font.ttf") format("truetype"), url("https://webfonts.zohowebstatic.com/latoregular/font.svg#Lato-Regular") format("svg"); } @font-face { font-family: "LatoSB"; font-weight: 700; font-style: normal; src: url("https://webfonts.zohowebstatic.com/latobold/font.eot"); src: url("https://webfonts.zohowebstatic.com/latobold/font.eot?#iefix") format("eot"), url("https://webfonts.zohowebstatic.com/latobold/font.woff2") format("woff2"), url("https://webfonts.zohowebstatic.com/latobold/font.woff") format("woff"), url("https://webfonts.zohowebstatic.com/latobold/font.ttf") format("truetype"), url("https://webfonts.zohowebstatic.com/latobold/font.svg#Lato-Bold") format("svg"); } @font-face { font-family: "LatoB"; font-weight: 900; font-style: normal; src: url("https://webfonts.zohowebstatic.com/latoblack/font.eot"); src: url("https://webfonts.zohowebstatic.com/latoblack/font.eot?#iefix") format("eot"), url("https://webfonts.zohowebstatic.com/latoblack/font.woff2") format("woff2"), url("https://webfonts.zohowebstatic.com/latoblack/font.woff") format("woff"), url("https://webfonts.zohowebstatic.com/latoblack/font.ttf") format("truetype"), url("https://webfonts.zohowebstatic.com/latoblack/font.svg#Lato-Black") format("svg"); } @font-face { font-family: "Zoho_Puvi_Regular"; src: url("https://static.zohocdn.com/zohofonts/zohopuvi/4.0/Zoho_Puvi_Regular.eot"); src: url("https://static.zohocdn.com/zohofonts/zohopuvi/4.0/Zoho_Puvi_Regular.eot") format("embedded-opentype"), url("https://static.zohocdn.com/zohofonts/zohopuvi/4.0/Zoho_Puvi_Regular.woff2") format("woff2"), url("https://static.zohocdn.com/zohofonts/zohopuvi/4.0/Zoho_Puvi_Regular.otf") format("opentype"); font-weight: normal; font-style: normal; /* font-display: swap */ } @font-face { font-family: "signinicon"; src: url(/images/signinicon.eot); src: url(/images/signinicon.eot) format("embedded-opentype"), url(/images/signinicon.woff2) format("woff2"), url(/images/signinicon.ttf) format("truetype"), url(/images/signinicon.woff) format("woff"), url("../images/fonts/signinicon.651f82b8f8f51f33cd0b6331f95b5b4f.svg") format("svg"); font-weight: normal; font-style: normal; font-display: block; } [class^="icon-"], [class*=" icon-"] { /* use !important to prevent issues with browser extensions that change fonts */ font-family: "signinicon" !important; speak: never; font-style: normal; font-weight: normal; font-variant: normal; text-transform: none; line-height: 1; /* Better Font Rendering =========== */ -webkit-font-smoothing: antialiased; -moz-osx-font-smoothing: grayscale; } .icon-device:before { content: "\e90a"; } .icon-reload:before { content: "\e912"; } .icon-backarrow:before { content: "\e900"; } .icon-email:before { content: "\e904"; } .icon-hide:before { content: "\e907"; } .icon-otp:before { content: "\e90c"; } .icon-show:before { content: "\e914"; } /*$Id$*/ body { margin: 0px; } ::placeholder { /* Chrome, Firefox, Opera, Safari 10.1+ */ color: #0003; } .bg_one { display: block; position: fixed; top: 0px; left: 0px; height: 100%; width: 100%; /* background: url("../images/bg.49756b7c711696d95133fa95451f8e13.svg") transparent; */ background-size: auto 100%; z-index: -1; } .titlename { display: block; font-size: 24px; color: #000; font-weight: 400; text-transform: capitalize; width: auto; margin-bottom: 20px; } .Alert, .Errormsg { display: flex; align-items: center; justify-content: center; margin: auto; height: auto; min-width: 200px; width: fit-content; width: -moz-fit-content; max-width: 600px; background-color: #032239; border-radius: 6px; position: fixed; top: -100px; left: 0px; right: 0px; transition: all 0.2s ease; padding: 0px 20px; z-index: 2; } .tick_icon, .error_icon { display: inline-block; height: 20px; width: 20px; background-color: #22c856; border-radius: 50%; background-size: 60px; margin: 0px 15px; float: left; position: relative; } .tick_icon:after { display: block; content: ""; height: 5px; width: 9px; border-bottom: 2px solid #fff; border-left: 2px solid #fff; transform: rotate(-45deg); margin: 7px 6px; box-sizing: border-box; } .alert_message, .error_message { display: inline-block; font-size: 14px; color: #fff; line-height: 18px; margin: 16px 0px; margin-right: 20px; max-width: 510px; } .error_icon { background-color: #ff676f; } .error_icon:before, .error_icon:after { position: absolute; left: 9px; top: 5px; content: " "; height: 10px; width: 2px; background-color: #ffffff; } .error_icon:before { transform: rotate(45deg); } .error_icon:after { transform: rotate(-45deg); } .loader { width: 36px; height: 36px; border: 4px solid #159aff; border-bottom: 4px solid transparent; border-radius: 50%; display: block; box-sizing: border-box; animation: rotate 1s linear infinite; position: absolute; top: 0px; z-index: 7; bottom: 0px; left: 0px; right: 0px; margin: auto; } @keyframes rotate { 0% { transform: rotate(0deg); } 100% { transform: rotate(360deg); } } .blur { top: 0px; left: 0px; bottom: 0px; background: #fff; width: 100%; height: auto; margin: auto; position: absolute; z-index: 3; opacity: 0.9; display: block; } .bold_font { font-weight: 500; } .searchparent { height: auto; } .textbox_div { display: block; margin-bottom: 30px; position: relative; } .textbox { display: block; width: 100%; height: 44px; box-sizing: border-box; border-radius: 2px; text-indent: 12px; font-size: 16px; outline: none; border: none; padding-right: 12px; transition: all 0.2s ease-in-out; background: #f9f9f9; border: 1px solid #dddddd; } .textbox:hover, .textbox:valid, .textbox:focus { border: 1px solid #b9b9b9; } #last_password { padding-right: 40px; } ::-webkit-credentials-auto-fill-button { visibility: hidden; pointer-events: none; position: absolute; right: 0px; } input[type="text"], input[type="password"], input[type="email"], input[type="number"] { -webkit-appearance: none; -moz-appearance: none; appearance: none; } .errorborder { border: 2px solid #ff8484 !important; } .textbox:-webkit-autofill, .textbox:-webkit-autofill:hover, .textbox:-webkit-autofill:focus, .textbox:-webkit-autofill:active { -webkit-box-shadow: inset 0 0 0px 9999px #f9f9f9; -webkit-text-fill-color: black; background-color: #f9f9f9 !important; } .fielderror { display: none; font-size: 14px; margin-top: 10px; } .fielderror a { text-decoration: none; color: #309ff4; } #captcha_container { display: none; border: 1px solid #dddddd; width: 250px; padding: 10px; box-sizing: border-box; margin-top: 10px; border-radius: 4px; } #captcha { width: 100%; display: inline-block; height: 40px; padding: 0px 12px; text-indent: 0px; background: #f9f9f9; } #captcha_img { background-color: #ffffff; border: none; height: 60px; width: 150px; margin-left: 20px; } #captcha_img img { height: 50px; width: 150px; box-sizing: border-box; margin: 0px; } .reloadcaptcha { height: 30px; width: 30px; border-radius: 50%; display: inline-block; cursor: pointer; position: absolute; right: 20px; top: 20px; background-color: #f2f2f2; font-size: 30px; box-sizing: border-box; color: #0006; } .reloadcaptcha:hover { color: #000000b3; } .load_captcha_btn { animation: spin 0.5s linear infinite; } #Last_password_div .head_info { margin: 0px; } .zeroheight { width: 0px; height: 0px; overflow: hidden; display: block; } .btn { cursor: pointer; display: block; width: 100%; height: 44px; border-radius: 4px; letter-spacing: 0.5; font-size: 14px; font-weight: 600; outline: none; border: none; margin: auto; text-transform: uppercase; margin-bottom: 30px; transition: width 0.2s ease-in-out; } .blue { background-color: #159aff; color: #fff; } .grey { background-color: #f3f3f3; color: #3a3a3a; letter-spacing: 0px; } .green { box-shadow: 0px 2px 2px #fff; background-color: #00c573; color: #fff; } .blue:hover { background: #118be9; } .changeloadbtn { display: block; height: 44px; width: 44px; border-radius: 22px; padding: 0px; } .changeloadbtn:before { content: ""; height: 20px; width: 20px; display: inline-block; margin: 9px; border: 3px solid #fff; border-top: 3px solid #5ab7fe; border-radius: 50%; animation: spin 0.5s linear infinite; } @keyframes spin { 0% { transform: rotate(0deg); } 100% { transform: rotate(360deg); } } .doneBtn { position: relative; } .doneBtn:before { content: ""; opacity: 1; height: 15px; width: 6px; border: unset; border-radius: unset; transform-origin: left top; border-right: 3px solid #fff; border-top: 3px solid #fff; left: 12px; top: 23px; margin: 0px; position: absolute; transform: scaleX(-1) rotate(135deg); animation: tickmark 0.8s ease; } @keyframes tickmark { 0% { height: 0px; width: 0px; border-radius: unset; opacity: 1; } 20% { height: 0px; width: 6px; opacity: 1; border-radius: unset; } 40% { height: 15px; width: 6px; opacity: 1; border-radius: unset; } 100% { height: 15px; width: 6px; opacity: 1; border-radius: unset; } } .doneWithContent span:before { content: ""; opacity: 1; height: 14px; width: 5px; border: unset; border-radius: unset; transform-origin: left top; border-right: 3px solid #fff; border-top: 3px solid #fff; display: inline-block; margin: 0px; position: relative; transform: scaleX(-1) rotate(135deg); top: 12px; left: -21px; } .doneWithContent { padding-left: 21px; position: relative; } .doneWithContent:after { position: absolute; height: 100%; content: ""; display: block; left: 0px; top: 0px; background: #00000008; animation-name: btn_loading; animation-duration: 4.3s; animation-iteration-count: 1; animation-timing-function: linear; } .restrict_icon { display: block; height: 102px; width: 100%; background: url(../images/URLError.76c2ce33de912ad7ae9d2fbfd93ec2c1.png) no-repeat transparent; background-size: auto 100%; margin: auto; margin-top: 30px; background-position: center; } .error_portion { display: none; } .error_content { text-align: center; } .error_content .error_header { font-size: 20px; font-weight: 500; margin-top: 30px; line-height: 26px; } .error_content .error_desc { font-size: 16px; margin: 10px 0px 30px 0px; line-height: 24px; font-weight: 500; color: #000000cc; } .retry_button { line-height: 44px; } .doneWithContent:hover { background: #159aff; } .doneWithContent span { width: 100%; display: block; transition: width 0.2s ease-in-out; white-space: nowrap; } @keyframes btn_loading { 0% { width: 0%; } 100% { width: 100%; } } .resend_label { display: block; text-align: center; } .push_resend { font-size: 14px; color: #626262; font-weight: 500; line-height: 16px; cursor: none; } .bottom_option { cursor: pointer; width: max-content; font-size: 16px; font-weight: 500; text-decoration: none; color: #0091ff; } .bottom_line_opt { width: 100%; display: flex; justify-content: center; position: absolute; left: 0px; bottom: 40px; } .errorlabel { color: #e92b2b; } .show_hide_password { font-size: 24px; color: #00000066; position: relative; top: -34px; right: 13px; float: right; cursor: pointer; line-height: 23px; } .show_hide_password:hover { color: #000000b3; } .select2-results__option { list-style-type: none; height: 40px; box-sizing: border-box; padding: 12px 20px; font-size: 14px; line-height: 16px; } .select2-search__field { width: 380px; height: 32px; border: none; outline: none; background: #f7f7f7; border-radius: 2px; margin: 10px 8px; font-size: 14px; padding: 10.5px 8px; } .select2-selection { display: inline-block; outline: none; background-color: #f9f9f9; height: 40px; text-align: center; padding: 10px; box-sizing: border-box; cursor: pointer; } .selection { transition: all 0.2s ease-in-out; -webkit-user-select: none; display: inline-block; white-space: nowrap; overflow: hidden; width: 0px; height: 43px; } #select2-combobox-results { padding-left: 0px; max-height: 200px; overflow-y: scroll; overflow-x: hidden; width: 400px; margin-top: 10px; margin-bottom: 0px; background: white; } .select2-container--open { z-index: 10; background: #ffffff; box-shadow: 0px 5px 8px 2px #0000000d; width: auto; box-sizing: border-box; } .select2 { position: absolute; background: transparent; box-shadow: none; display: none; margin: 2px; } .select2-results__options { overflow-y: auto; max-height: 200px; } .selection { width: auto; width: -moz-fit-content; width: -webkit-fit-content; margin: auto; display: block; } .select2-search--hide, .select2-selection__clear { display: none; } #country_code_select { width: 50px; height: 40px; position: absolute; opacity: 0; display: none; z-index: 0; } .select_country_code { width: 50px; height: 40px; display: inline-block; float: left; position: absolute; line-height: 39px; text-align: center; font-size: 16px; color: black; display: none; z-index: 0; } .pic { width: 20px; height: 14px; background-size: 280px 252px; background-image: url("../images/Flags2x.0b8394efb0ea9167cef2465fb8f63d78.png"); float: left; } .cc { float: right; color: #aeaeae; } .cn { margin-left: 10px; } .select2-results__option--highlighted { background: #f4f6f8; } .searchparent { height: auto; } .select2-results__options { padding-left: 0px; } .optionstry { display: table; width: 100%; height: auto; padding: 20px 50px; box-sizing: border-box; cursor: pointer; } .optionstry:hover { background-color: #f9f9f9; } .img_option_try { margin: 12px 0px; } .img_option { display: table-cell; width: 30px; color: #499aff; font-size: 30px; vertical-align: top; height: 30px; } .option_details_try { height: auto; width: auto; padding-left: 12px; vertical-align: top; box-sizing: border-box; } .option_title_try { display: block; font-size: 16px; font-weight: 500; } .option_description { display: block; font-size: 13px; line-height: 20px; color: #000c; margin-top: 5px; } #email_confirm_div .optionstry, #mobile_confirm_div .optionstry { padding: 22px 40px; } #email_confirm_div .img_option, #mobile_confirm_div .img_option { font-size: 20px; width: 20px; height: 20px; } #email_confirm_div .option_details_try, #mobile_confirm_div .option_details_try { line-height: 20px; } .otp_container::after, .mini_txtbox:after { content: attr(placeholder); height: 54px; line-height: 54px; position: absolute; color: #b9bcbe; left: 15px; top: 0px; z-index: 1; } .mini_txtbox:after { line-height: 42px; height: 42px; } .hidePlaceHolder::after { z-index: -1 !important; } .otp_verify { margin-top: 10px; } .toggle_active { background: #f9f9f9; border-radius: 2px; } .optionmod { margin-left: 0px; box-sizing: border-box; } .option_title_try { color: #000000; } .mini_btn { margin-left: 10px; width: 30%; float: right; font-size: 12px; margin-bottom: 0px; margin-right: 0px; } .backoption { width: 30px; height: 30px; font-size: 21px; display: inline-block; float: left; color: #666666; padding: 4px 0px; box-sizing: border-box; margin-right: 5px; border-radius: 15px; cursor: pointer; font-weight: 500; text-align: center; } .backoption:hover { background: #f4f4f4; } #select_reocvery_mobile .fieldcontainer, #other_options_div .fieldcontainer, #select_reocvery_email .fieldcontainer { width: auto; margin: 0 -40px; margin-bottom: 40px; } .text16 { display: block; text-align: center; margin-bottom: 30px; color: #626262; font-size: 16px; font-weight: 500; text-decoration: none; } .pointer { cursor: pointer; } .pass_policy { color: #8c8c8c; font-size: 14px; padding-top: 10px; } .nomargin { display: block; margin: 0px; } .tryanother, .extra_options { width: fit-content; margin: 0 auto; cursor: pointer; margin-top: 20px; } .bluetext_action { display: inline-block; font-size: 14px; color: #159aff; font-weight: 500; line-height: 16px; cursor: pointer; margin-top: 5px; } .nonclickelem { color: #626262; pointer-events: none; cursor: none; } .bluetext_action a { text-decoration: none; } .recovery_container { display: block; width: 480px; height: 350px; background-color: #fff; box-shadow: 0px 2px 30px 0px #2b2b2b17; margin: auto; position: relative; z-index: 1; overflow: hidden; } .recovery_box { width: 480px; min-height: 500px; height: auto; background: #fff; box-sizing: border-box; padding: 40px 40px; border-radius: 2px; transition: all 0.1s ease-in-out; float: left; overflow-y: auto; display: table-cell; border-right: 2px solid #f1f1f1; } .menuicon { display: inline-block; float: left; height: 14px; width: 14px; padding: 14px; font-size: 14px; text-align: center; } .user_info { display: inline-flex; justify-content: space-between; border: 1px solid #eeeeee; margin-bottom: 20px; border-radius: 7px; cursor: pointer; box-sizing: border-box; max-width: 100%; flex-wrap: nowrap; } .user_info_space { margin-top: 20px; } .support_temp_info { margin-bottom: 30px; line-height: 24px; } .menutext { display: inline-block; font-size: 16px; padding: 12px 14px; line-height: 20px; width: auto; word-break: break-all; } .fieldcontainer { margin-bottom: 40px; } .change_user { position: relative; float: right; font-size: 14px; padding: 0px 14px 0px 0px; display: inline-block; color: #0091ff; line-height: 38px; font-weight: 500; display: flex; align-items: center; justify-content: center; } .info_head { display: block; font-size: 20px; font-weight: 500; margin-bottom: 20px; line-height: 30px; overflow: auto; transition: all 0.1s ease-in-out; } .info_head #headtitle { display: block; } .head_info { font-size: 16px; margin: 10px 0px 0px 0px; line-height: 24px; font-weight: 400; color: #000000e6; } .user_info_space + .head_info { margin: 0px; } .otp_container { display: block; width: 100%; height: 54px; box-sizing: border-box; border-radius: 2px; font-size: 16px; outline: none; padding: 0px 15px; transition: all 0.2s ease-in-out; background: #f9f9f9; border: 1px solid #dddddd; text-indent: 0px; } .customOtp { border: none; outline: none; background: transparent; height: 100%; font-size: 16px; text-align: left; width: 22px; padding: 0px; } .textindent42 { text-indent: 46px; } .textindent62 { text-indent: 56px; } .textintent52 { text-indent: 51px; } .box_header_load { display: block; height: auto; padding: 50px 0px; -webkit-animation-name: blink; /* Safari 4.0 - 8.0 */ -webkit-animation-duration: 1s; /* Safari 4.0 - 8.0 */ animation-name: blink; animation-duration: 1s; animation-iteration-count: infinite; animation-timing-function: linear; opacity: 0.05; } .box_head_load { display: block; width: 180px; height: 18px; border-radius: 8px; background-color: #000; } .blink_btn { -webkit-animation-name: blink; /* Safari 4.0 - 8.0 */ -webkit-animation-duration: 1s; /* Safari 4.0 - 8.0 */ animation-name: blink; animation-duration: 1s; animation-iteration-count: infinite; animation-timing-function: linear; opacity: 0.05; } .box_define_load { display: block; max-width: 800px; width: 100%; height: 16px; border-radius: 8px; background-color: #000; margin-top: 20px; } @keyframes blink { 0% { opacity: 0.08; } 50% { opacity: 0.01; } 100% { opacity: 0.08; } } #loading_div, #Last_password_div, #mobile_confirm_div, #email_confirm_div, #confirm_otp_div, #other_options_div, #contact_support_div, #change_password_div, #recovery_device_div, #password_matched_div, #username_div, #terminate_session_div { display: none; } #multiple_reocvery_mobile, #single_reocvery_mobile, #multiple_reocvery_email, #single_reocvery_email { display: none; } .verify_mob_container, .verify_email_container, .select_device_othermodes { display: none; } .devices { position: relative; padding: 0px; width: fit-content !important; width: -moz-fit-content !important; width: -webkit-fit-content !important; margin: auto; border-radius: 8px; box-sizing: border-box; margin-bottom: 30px; background: #fcfcfc; } .device_title { position: absolute; top: 12px; left: 48px; font-size: 10px; font-weight: 600; text-transform: uppercase; color: #000000b3; line-height: 14px; z-index: 11; } .select2-container--device_select { margin: 0px; display: block; position: relative; margin: auto; cursor: pointer; border: 1px solid #dddddd; border-radius: 8px; overflow: hidden; } #recovery_device_select + .select2-container { width: fit-content !important; width: -moz-fit-content !important; width: -webkit-fit-content !important; } .select2-container--device_select .select2-selection__arrow { position: absolute; top: 0px; right: 14px; width: auto; height: 100%; } .select2-container--device_select .select2-selection__arrow b { border-color: transparent #00000066 #00000066 transparent; border-style: solid; transform: rotate(45deg); border-width: 2px; height: 4px; width: 4px; position: relative; border-radius: 1px; display: inline-block; top: 24px; } .select2-container--device_select .selection { margin: auto; height: 60px; box-sizing: border-box; min-width: 140px; } .select2-container--device_select .select2-selection { height: unset; padding: 12px 34px 12px 14px; } .select2-container--device_select .select_con { font-weight: 400; margin-left: 12px; margin-top: 16px; } .select2-container--device_select .select_icon { margin-top: 7px; } .select2-results__options { margin: 0px; } .select2-results__options .select_con { margin: 0px; } .select2-dropdown .select_con { width: 100%; overflow: hidden; text-overflow: ellipsis; white-space: nowrap; } .hideArrow .select2-selection { cursor: default; padding: 12px 14px; } .hideArrow .select2-selection__arrow { display: none; } .secondary_devices { display: none; width: 150px; margin: auto; padding: 8px 18px; border-radius: 18px; background-color: #f4f6f8; border: none; overflow: hidden; max-width: 200px; text-overflow: ellipsis; font-size: 16px; outline: none; } .secondary_devices .select2-container--open { width: 200px; } .device_select { display: block; position: unset; width: auto !important; } .device_selection { padding: 8px 14px; border-radius: 18px; } .deviceparent { text-align: center; display: none; text-overflow: ellipsis; overflow: hidden; width: 100%; white-space: nowrap; } .deviceparent { display: block; } .deviceinfo { display: inline-block; } .devicetext { margin: 0 auto; margin-left: 30px; } .select_icon { float: left; font-size: 20; color: #499aff; } .select_con { float: left; width: auto; overflow: hidden; margin-left: 5px; text-overflow: ellipsis; } .options_selct { max-width: 180px; font-size: 14px; line-height: 20px; font-weight: 500; width: auto; } .contact_support_class { min-height: unset; } .contact_support_class .recovery_box { min-height: unset; } #mfa_totp_section { display: none; } /* Terminate_session page */ #terminate_session_form { overflow: auto; } #terminate_session_form .checkbox_div { position: relative; } #terminate_session_form .checkbox_check { position: absolute; z-index: 1; opacity: 0; left: 15px; margin: 0px; height: 16px; cursor: pointer; width: 16px; } #terminate_session_form .checkbox { float: left; z-index: 0; height: 12px; width: 12px; display: inline-block; border: 2px solid #ccc; border-radius: 2px; position: relative; top: 1.5px; overflow: hidden; background-color: #fff; } #terminate_session_form .checkbox_check:hover ~ .checkbox { border: 2px solid #159aff; } #terminate_session_form .checkbox_check:checked ~ .checkbox { background-color: #159aff; border-color: #159aff; } #terminate_session_form .checkbox .checkbox_tick { display: block; height: 3px; width: 8px; border-bottom: 2px solid #fff; border-left: 2px solid #fff; transform: rotate(-45deg); margin: 2px 1px; } #terminate_session_form .checkbox_label { cursor: pointer; margin: 0px 6px; line-height: 20px; width: 85%; display: inline-block; } #terminate_session_form .showOneAuthLable { border: 1px solid #e7e7e7; border-radius: 10px 10px 0px 0px; box-sizing: border-box; max-width: 420px; } .oneAuthLable { display: inline-flex; max-width: 420px; padding: 15px; align-items: center; box-sizing: border-box; border: 1px solid #e7e7e7; border-top: none; border-radius: 0px 0px 15px 15px; } .oneauth_icon { display: inline-block; width: 40px; height: 40px; border-radius: 14px; background-size: 40px 40px; } .one_auth_icon_v2 { background-image: url(../images/oneAuth2.4b2a6945d5ecd70b703ba18f5f11eb68.png); } .oneAuthLable .text_container { flex: 1; margin: 0px 10px; } .oneAuthLable .text_header { font-size: 12px; font-weight: 500; margin-bottom: 4px; } .oneAuthLable .text_desc { font-size: 10px; line-height: 14px; } .oneAuthLable .togglebtn_div { height: 16px; padding: 4px; width: 30px; display: inline-block; position: relative; } .oneAuthLable .real_togglebtn { cursor: pointer; display: inline-block; position: relative; height: 16px; width: 30px; z-index: 1; opacity: 0; position: absolute; margin: 0px; } .real_togglebtn:checked ~ .togglebase { background-color: #10bc83; } .real_togglebtn:checked ~ .togglebase .toggle_circle { left: 16px; } .oneAuthLable .togglebase { height: 16px; width: 30px; display: inline-block; background: #ccc; border-radius: 10px; position: absolute; } .oneAuthLable .toggle_circle { transition: all 0.2s ease-in-out; height: 12px; width: 12px; background-color: #fff; border-radius: 10px; display: inline-block; position: absolute; left: 2px; top: 2px; box-shadow: 0px 0px 5px #999; } #terminate_session_submit { margin-top: 30px; } @media only screen and (max-width: 600px) { body { -webkit-tap-highlight-color: rgba(255, 255, 255, 0); } .bg_one { display: none; } .alert_message, .error_message { max-width: 300px; width: 75%; } .Alert, .Errormsg { max-width: 400px !important; padding: 0px; min-width: 300px; } .textbox, .otp_container { background-color: transparent; border: none; border-bottom: 2px solid #f4f6f8; border-radius: 0px; } .textbox { transition: unset; } .textbox:-webkit-autofill, .textbox:-webkit-autofill:hover, .textbox:-webkit-autofill:focus, .textbox:-webkit-autofill:active { -webkit-box-shadow: inset 0 0 0px 9999px white; -webkit-text-fill-color: black; } .textbox:valid, .textbox:hover { border: none; border-bottom: 2px solid #159aff; } #captcha { border-radius: 2px; outline: none; -webkit-appearance: none; -moz-appearance: none; appearance: none; } .changeloadbtn { border-radius: 22px; } .btn { margin-top: 10px; border-radius: 4px; } .mini_btn { margin-top: 0px; } .optionstry:hover { background-color: #fff; } .img_option { margin: 0px 10px 0px 0px !important; } .option_details_try { color: #555555; display: inline-block; margin: 0px; } #multiple_reocvery_mobile .fieldcontainer, #multiple_reocvery_email .fieldcontainer, #other_options_div .fieldcontainer { margin: 0 -30px; margin-bottom: 40px; } .optionmod { margin-left: 0px; padding: 15px 30px; line-height: 24px; } .recovery_box { width: 100%; padding: 0px 30px; height: auto; border-right: none; padding-bottom: 40px; } .recovery_container { width: 100%; box-shadow: none; margin: 0 auto; position: relative; z-index: 1; margin-top: 40px; height: auto; overflow: hidden; } .info_head { margin-bottom: 30px; } } .devices .select2-container--open { background: transparent; } @media only screen and (-webkit-min-device-pixel-ratio: 2), only screen and (min--moz-device-pixel-ratio: 2), only screen and (-o-min-device-pixel-ratio: 2/1), only screen and (min-device-pixel-ratio: 2), only screen and (min-resolution: 192dpi), only screen and (min-resolution: 2dppx) { .restrict_icon { background: url(../images/URLError2x.5e762e74a83ee0cda60b8f7c9df299a8.png) no-repeat transparent center/auto 100%; } } .hide { display: none; } .hover-tool-tip { position: absolute; top: 15px; left: 335px; background: #fff; padding: 20px; box-shadow: 0px 0px 10px #0000001a; transition: opacity 0.1s; border-radius: 5px; z-index: 9; opacity: 0; } .hover-tool-tip::after { content: ""; position: absolute; width: 0; height: 0; margin-left: -8px; top: 25px; left: 0; box-sizing: border-box; border: 6px solid black; border-color: #ffffff transparent transparent #ffffff; transform-origin: 0 0; transform: rotate(-45deg); box-shadow: -6px -6px 10px 0 #0000001a; } .hover-tool-tip.no-arrow::after { content: none; } .hover-tool-tip ul { padding: 0; margin: 0px 0px 0px 15px; list-style: none; } .hover-tool-tip p { margin: 0px 0px 10px 0px; font-size: 14px; font-weight: 500; } .hover-tool-tip ul li { font-size: 12px; display: flex; align-items: center; white-space: nowrap; line-height: 25px; } .hover-tool-tip ul li.success::before { background-color: #0dbc83; } .hover-tool-tip ul li::before { margin-right: 10px; background-color: red; width: 8px; height: 8px; border-radius: 50%; } .titlename { display: none !important; } /* #lookup_div { display: none !important; } */ #lookup_div .head_info { font-size: 0; } #lookup_div .head_info::before { content: "Enter your email address"; font-size: 15px; } .info_head { padding-top: 20px; } .rec_modes_other_options { display: none !important; } .recovery_container { height: 29rem; } .Last_password_div { margin-top: -30px; } ``` Copy the code given below and paste it in `App.css`, `App.js`, `index.js`, `index.css`, `Button.css`, `Button.js`, `Layout.js`, `LoginPage.js`, `UserProfile.css`, `UserProfile.js`, `Signup.css` and `Signup.js` respectively, located in client directory (`zylkertechnologies/src/`) using an IDE and save the file. **App.css** ```css body { margin: 0; -webkit-font-smoothing: antialiased; -moz-osx-font-smoothing: grayscale; background-color: #c0c0c0; height: inherit; } .inputs { width: 90%; padding: 15px; margin: 15px 0 22px 0; display: inline-block; border: none; background: #f1f1f1; border-radius: 8px; } h1, h2, h3, h4, h5, h6, p { margin: 1; } #login { height: 29rem; } ``` **App.js** ```javascript import { HashRouter, Routes, Route, Navigate } from "react-router-dom"; import Layout from "./Layout"; import Signup from "./Signup"; function App() { return ( <HashRouter> <Routes> <Route path="/" element={<Layout />} /> <Route path="/signup" element={<Signup />} /> <Route path="" element={<Navigate to="/" replace />} /> <Route path="*" element={<Navigate to="/" replace />} /> </Routes> </HashRouter> ); } export default App; ``` **index.js** ```javascript import "./App.css"; import React from "react"; import { createRoot } from "react-dom/client"; import App from "./App"; const container = document.getElementById("root"); const root = createRoot(container); root.render( <React.StrictMode> <App /> </React.StrictMode> ); ``` **Button.css** ```css button { background-color: #4CAF50; color: white; padding: 8px 14px; margin: 8px 0; border: none; cursor: pointer; font-size: 16px; width: 120px; } ``` **Button.js** ```javascript import { useCallback } from "react"; import "./Button.css"; function Button({ btnvalue }) { const logout = useCallback(() => { window.catalyst.auth.signOut('/'); }, []); return ( <div id="logoutbtn"> <button onClick={logout} id="logout"> {btnvalue.title} </button> </div> ); } export default Button; ``` **Layout.js** ```javascript import UserProfile from "./UserProfile"; import LoginPage from "./LoginPage.js"; import { useEffect, useState, useRef } from "react"; function Layout() { const [isFetching, setIsFetching] = useState(true); const [isUserAuthenticated, setIsUserAuthenticated] = useState(false); const [userDetails, setUserDetails] = useState({ firstName: "", lastName: "", mailid: "", timeZone: "", createdTime: "", }); useEffect(() => { window.catalyst.auth .isUserAuthenticated() .then((result) => { setUserDetails({ firstName: result.content.first_name, lastName: result.content.last_name, mailid: result.content.email_id, timeZone: result.content.time_zone, createdTime: result.content.created_time, }); setIsUserAuthenticated(true); }) .catch((err) => {}) .finally(() => { setIsFetching(false); }); }, []); return ( <> {isFetching ? ( <p>Loading ....</p> ) : isUserAuthenticated ? ( <UserProfile userDetails={userDetails} /> ) : ( <LoginPage /> )} </> ); } export default Layout; ``` **LoginPage.js** ```javascript import { useEffect } from "react"; import { Link } from "react-router-dom"; const LoginPage = () => { useEffect(() => { //config is optional const config = { css_url : "/app/embeddediframe.css", // Login page customization css file path, if not provided default css will be rendered is_customize_forgot_password : false, // Default value is false. Keep this value as true, if you wish to customize Forgot Password page forgot_password_id : "login", // Element id in which forgot password page should be loaded, by default will render in the "loginDivElementId" forgot_password_css_url : "/app/fpwd.css" // Forgot password page customization css file path, if not provided default css will be rendered } catalyst.auth.signIn("login", config); }, []); return ( <div className="container"> <img width="80px" height="80px" src="https://cdn2.iconfinder.com/data/icons/user-management/512/profile_settings-512.png" /> <h1 className="title">User Profile Management</h1> <div id="login"></div> <p className="homepage"> <b> Don't have an account?{" "} <Link to="/signup" style={{ color: "blue", textDecorationLine: "underline" }} > Sign-up </Link>{" "} now! </b> </p> </div> ); }; export default LoginPage; ``` **UserProfile.css** ```css .card { margin: auto; text-align: center; font-family: arial; text-align: center; font-weight: bold; } .title { font-size: 23px; color: black; } #userimg { height: 20%; width: 15%; } div.forgotpwd { display: none; } /* Full-width input fields */ input[type="text"] { width: 90%; padding: 15px; margin: 15px 0 22px 0; display: inline-block; border: none; background: #f1f1f1; border-radius: 8px; } /* Add a background color when the inputs get focus */ input[type="text"]:focus, input[type="password"]:focus { background-color: #ddd; outline: none; } button:hover { opacity: 1; } /* Float cancel and signup buttons and add an equal width */ .seperatebtn { width: 10%; padding: 8px; border-radius: 8px; } .signupbtn { width: 10%; padding: 8px; border-radius: 8px; } .signupfnbtn { width: 20%; padding: 8px; border-radius: 8px; } .pwdfnbtn { width: 40%; padding: 8px; border-radius: 8px; } /* The Modal (background) */ .modal { display: none; /* Hidden by default */ position: fixed; /* Stay in place */ z-index: 1; /* Sit on top */ left: 0; top: 0; width: 100%; /* Full width */ height: 100%; /* Full height */ overflow: auto; /* Enable scroll if needed */ background-color: #474e5d; } /* Modal Content/Box */ .modal-content { background-color: #c0c0c0; margin: 5% auto 15% auto; /* 5% from the top, 15% from the bottom and centered */ width: 25%; /* Could be more or less, depending on screen size */ } /* The Close Button (x) */ .close { position: absolute; right: 35px; top: 15px; font-size: 40px; font-weight: bold; color: #f1f1f1; } .close:hover, .close:focus { color: #f44336; cursor: pointer; } /* Clear floats */ .clearfix::after { content: ""; clear: both; display: table; } p.homepage { font-size: 23px; } /* Change styles for cancel button and signup button on extra small screens */ @media screen and (max-width: 100px) { .signupbtn { width: 100%; } } .container { text-align: center; } ``` **UserProfile.js** ```javascript import Button from "./Button"; import "./UserProfile.css"; function UserProfile({ userDetails }) { return ( <div className="card"> <br></br> <h1 className="title">User Profile Information</h1> <img id="userimg" width="200px" height="450px" src="https://cdn2.iconfinder.com/data/icons/user-management/512/profile_settings-512.png" /> <p className="title" id="fname"> {"First Name : " + userDetails.firstName} </p> <p className="title" id="lname"> {"Last Name: " + userDetails.lastName} </p> <p className="title" id="mailid"> {"Email Address: " + userDetails.mailid} </p> <p className="title" id="tzone"> {"Time Zone: " + userDetails.timeZone} </p> <p className="title" id="ctime"> {"Joined On: " + userDetails.createdTime} </p> <Button btnvalue={{ title: "Logout" }}></Button> </div> ); } export default UserProfile; ``` **Signup.js** ```javascript import "./Signup.css"; import React, { useState } from "react"; function Signup() { const [displayText, setDisplayText] = useState(""); const [form, setForm] = useState({ firstName: "", lastName: "", email: "", }); const [showForm, setShowForm] = useState(true); const handleSubmit = async (event) => { event.preventDefault(); setShowForm(false); setDisplayText( "An account verification email has been sent to your email address" ); var data = { first_name: form.firstName, last_name: form.lastName, email_id: form.email, platform_type: "web", }; const auth = window.catalyst.auth; var signupResponse = await auth.signUp(data); debugger; if (signupResponse.status == 200) { setTimeout(function () { window.location.href = "index.html"; }, 3000); } else { alert(signupResponse.message); } }; return ( <div id="signup" className="signup"> {showForm ? ( <div> <center> <img width="80px" height="80px" src="https://cdn2.iconfinder.com/data/icons/user-management/512/profile_settings-512.png" /> <h1>User Profile Management</h1> </center> <form onSubmit={handleSubmit} className="modal-content"> <center> <h1>Sign Up</h1> <p>Please fill this form to sign up for a new account.</p> </center> <label htmlFor="firstName"> <b>First Name</b> <input name="firstName" className="inputs" placeholder="Enter First Name" value={form.firstName} onChange={(e) => { setForm({ ...form, firstName: e.target.value, }); }} required /> </label> <label htmlFor="lastName"> <b>Last Name</b> <input className="inputs" placeholder="Enter Last Name" value={form.lastName} onChange={(e) => { setForm({ ...form, lastName: e.target.value, }); }} required /> </label> <label htmlFor="email"> <b>Email</b> <input className="inputs" placeholder="Enter email address" value={form.email} onChange={(e) => { setForm({ ...form, email: e.target.value, }); }} required /> </label> <p> By creating an account, you agree to our{" "} <a href="https://www.zoho.com/catalyst/terms.html" target="_blank" rel="noopener noreferrer" id="link" > Terms & Conditions </a> . </p> <center> <input type="submit" value="Sign Up" className="signupfnbtn" /> </center> </form>{" "} </div> ) : ( <p>{displayText}</p> )} </div> ); } export default Signup; ``` **Signup.css** ```javascript input[type="submit"] { background-color: green; color: white; width: 40%; padding: 8px; border-radius: 8px; text-align: center; border: none; cursor: pointer; } #link { font-size: medium; color: blue; } .modal-content { background-color: #c0c0c0; margin: 30px auto; /* 5% from the top, 15% from the bottom and centered */ width: 25%; /* Could be more or less, depending on screen size */ } .signupfnbtn { width: 30%; padding: 8px; border-radius: 8px; background-color: green; height: 100%; } p { text-align: center; font-size: medium; font-weight: bold; } ``` **client-package.json** ```javascript { "name": "zylkertechnologies", "version": "0.0.1", "homepage": "index.html", "login_redirect": "index.html" } ``` The client directory is now configured. Let’s go over the working of the function and the client code: * The end-user will first encounter the *Login Page* that you configured and styled in the console. * To create an account, they will click the **Sign Up** option and be directed to the *Sign Up* page. > **Note:** End-users can either sign up to your application using their [Identity Provider Logins](https://docs.catalyst.zoho.com/en/cloud-scale/help/authentication/social-logins/introduction/) or use the conventional method of signing up to the application using their email address. * Once the information is inputted and they click **Sign Up**, or if they attempt to sign up using a Identity Provider Login of their choice, their details will be provided as a JSON input to the [Custom User Validation](https://docs.catalyst.zoho.com/en/cloud-scale/help/authentication/whitelisting/custom-user-validation/introduction/) function (`authorization_portal_function/Custom_User_Validation_Java.java`). * The function will only authenticate users if the condition you have coded is satisfied. For this tutorial, the users will only be authenticated if they signed up to the application using a Zylker registered email address. * Upon successful authentication, an [Email Verification](https://docs.catalyst.zoho.com/en/cloud-scale/help/authentication/email-templates/introduction/) email will be sent to the account they used to sign up to the application. > **Note:** Because we are using Embedded Login, a native Catalyst authentication type, no additional logic to trigger the appropriate emails is required. It will be handled by Catalyst automatically. * Once the user verifies their email address by clicking the link provided in the email, they will be signed up to the application. Their details can be viewed in the [User Management](https://docs.catalyst.zoho.com/en/cloud-scale/help/authentication/user-management/introduction/) section of the *Authentication* component. * The end-user can now log in to the application using their authenticated credentials. * The end-user can also reset their password by clicking the **Forgot Password** option. In this event, the *Password Reset* email will be sent to their registered email. Following the steps mentioned in the email, they can easily reset their credentials. -------------------------------------------------------------------------------- title: "Test the Application" description: "Create a web application using Catalyst Embedded Authentication that provides user sign-up, login, password reset, and sign-in with identity providers." last_updated: "2026-11-04T10:10:44.000Z" source: "https://docs.catalyst.zoho.com/en/tutorials/embedded-auth/java/test-app/" service: "All Services" related: - Serve CLI Resources (/en/cli/v1/serve-resources/introduction) -------------------------------------------------------------------------------- # Test the Application Before you deploy the application to the remote console, you can test the application on a local server and check if everything works using the Catalyst CLI. For detailed information on `catalyst serve`, refer to the [Serve Resources help page](https://docs.catalyst.zoho.com/en/cli/v1/serve-resources/introduction). To serve the Catalyst project locally, execute the following command from your project directory: ```sh catalyst serve ``` The authorization portal application will now be served at default `port 3000`. The local endpoint URLs of the components will be displayed in the CLI. **Basic web app** ![java-basic-serve](https://catalyst-docs-development.zohostratus.in/images/tutorials/embedded_auth/java/java-basic-serve.webp) > **Note:** Every time you access the homepage or any of the sub-pages of your client, or the function, the CLI will display a live log of the accessed URL, along with the HTTP method that is used to access it. You can now open the client component’s local URL in a browser to access the application. ![client_app](https://catalyst-docs-development.zohostratus.in/images/tutorials/embedded_auth/client_app.webp) ### Test Case 1 #### Sign up using email address 1. Click **Sign Up** to create a new account. ![signup](https://catalyst-docs-development.zohostratus.in/images/tutorials/embedded_auth/signup.webp) 2. Enter the required details and click **Sign Up**. ![signup_details](https://catalyst-docs-development.zohostratus.in/images/tutorials/embedded_auth/signup_details.webp) 3. The [Email Verification](https://docs.catalyst.zoho.com/en/cloud-scale/help/authentication/email-templates/introduction/) email will be sent to the email address you used to sign up. ![email_verification](https://catalyst-docs-development.zohostratus.in/images/tutorials/embedded_auth/email_verification.webp) 4. Click the link in the email ![email_link](https://catalyst-docs-development.zohostratus.in/images/tutorials/embedded_auth/email_link.webp) 5. Follow the instructions and set your password ![create_password](https://catalyst-docs-development.zohostratus.in/images/tutorials/embedded_auth/create_password.webp) Once the password is set, you will be signed in to the application. ![signed_in](https://catalyst-docs-development.zohostratus.in/images/tutorials/embedded_auth/signed_in.webp) You can verify this by viewing the user information in the [User Management](https://docs.catalyst.zoho.com/en/cloud-scale/help/authentication/user-management/introduction/) section of the *Authentication* component in the console. ![user_details](https://catalyst-docs-development.zohostratus.in/images/tutorials/embedded_auth/user_details.webp) ### Test Case 2 #### Test Custom User Validation 1. Sign up to the application using an email address that will induce a failure instance. ![signup_page2](https://catalyst-docs-development.zohostratus.in/images/tutorials/embedded_auth/signup_page2.webp) > **Note:** For the purpose of this tutorial, we have coded a logic for the Custom User Validation function where if the user's email provider is anyone other than Zylker Technology (`@zylker.com`) the end-user will not be able to sign up to the application. 2. You will not be able to sign up to the application using any email address other than the one coded to permit in the function logic. ![error_message](https://catalyst-docs-development.zohostratus.in/images/tutorials/embedded_auth/error_message.webp) ### Test Case 3 #### Sign up to the application using Identity Provider Logins 1. You can click a identity provider login that you had configured to begin the sign up process. For this test, we are signing up using the [Zoho Identity Provider login](https://docs.catalyst.zoho.com/en/cloud-scale/help/authentication/social-logins/configuring-social-logins/#enable-zoho-social-login). ![idp_login](https://catalyst-docs-development.zohostratus.in/images/tutorials/embedded_auth/idp_login.webp) 2. Click **Accept**. ![accept_login](https://catalyst-docs-development.zohostratus.in/images/tutorials/embedded_auth/accept_login.webp) You will be logged in to the application. ![logged_in](https://catalyst-docs-development.zohostratus.in/images/tutorials/embedded_auth/logged_in.webp) You can verify the end-user has been added by viewing their details in the *User Management* section of the Authentication component in the console. ### Test Case 4 #### Password reset functionality 1. Click the **Forgot Password** option. ![forgot_password](https://catalyst-docs-development.zohostratus.in/images/tutorials/embedded_auth/forgot_password.webp) 2. Enter the email address ![enter_email](https://catalyst-docs-development.zohostratus.in/images/tutorials/embedded_auth/enter_email.webp) 3. Enter the captcha. ![enter_captcha](https://catalyst-docs-development.zohostratus.in/images/tutorials/embedded_auth/enter_captcha.webp) 4. You can still unlock an option if you remember any earlier password you had used to create this account. However, to test this functionality, click **Continue to reset password**. ![send_otp](https://catalyst-docs-development.zohostratus.in/images/tutorials/embedded_auth/send_otp.webp) 5. Click **SEND OTP** to send the OTP to your email address. ![verify_otp](https://catalyst-docs-development.zohostratus.in/images/tutorials/embedded_auth/verify_otp.webp) 6. Enter the OTP received in your email and click **Verify**. ![create_new_password](https://catalyst-docs-development.zohostratus.in/images/tutorials/embedded_auth/create_new_password.webp) 7. You can create your new password now and click **Change Password**. ![catalyst_authentication_hosted_catalyst_serve_pwd_confirm_reset](https://catalyst-docs-development.zohostratus.in/images/tutorials/hosted-login/catalyst_authentication_hosted_catalyst_serve_pwd_confirm_reset.webp) You will be redirected to the login page, where you can log in to the application using the new password. **React web app** ![react-serve](https://catalyst-docs-development.zohostratus.in/images/tutorials/embedded_auth/java/java-react-serve.webp) > **Note:** Every time you access the homepage or any of the sub-pages of your client, or the function, the CLI will display a live log of the accessed URL, along with the HTTP method that is used to access it. You can now open the client component’s local URL in a browser to access the application. ![client_app](https://catalyst-docs-development.zohostratus.in/images/tutorials/embedded_auth/client_app.webp) ### Test Case 1 #### Sign up using email address 1. Click **Sign Up** to create a new account. ![signup](https://catalyst-docs-development.zohostratus.in/images/tutorials/embedded_auth/signup.webp) 2. Enter the required details and click **Sign Up**. ![signup_details](https://catalyst-docs-development.zohostratus.in/images/tutorials/embedded_auth/signup_details.webp) 3. The [Email Verification](https://docs.catalyst.zoho.com/en/cloud-scale/help/authentication/email-templates/introduction/) email will be sent to the email address you used to sign up. ![email_verification](https://catalyst-docs-development.zohostratus.in/images/tutorials/embedded_auth/email_verification.webp) 4. Click the link in the email ![email_link](https://catalyst-docs-development.zohostratus.in/images/tutorials/embedded_auth/email_link.webp) 5. Follow the instructions and set your password ![create_password](https://catalyst-docs-development.zohostratus.in/images/tutorials/embedded_auth/create_password.webp) Once the password is set, you will be signed in to the application. ![signed_in](https://catalyst-docs-development.zohostratus.in/images/tutorials/embedded_auth/signed_in.webp) You can verify this by viewing the user information in the [User Management](https://docs.catalyst.zoho.com/en/cloud-scale/help/authentication/user-management/introduction/) section of the *Authentication* component in the console. ![user_details](https://catalyst-docs-development.zohostratus.in/images/tutorials/embedded_auth/user_details.webp) ### Test Case 2 #### Test Custom User Validation 1. Sign up to the application using an email address that will induce a failure instance. ![signup_page2](https://catalyst-docs-development.zohostratus.in/images/tutorials/embedded_auth/signup_page2.webp) > **Note:** For the purpose of this tutorial, we have coded a logic for the Custom User Validation function where if the user's email provider is anyone other than Zylker Technology (`@zylker.com`) the end-user will not be able to sign up to the application. 2. You will not be able to sign up to the application using any email address other than the one coded to permit in the function logic. ![error_message](https://catalyst-docs-development.zohostratus.in/images/tutorials/embedded_auth/error_message.webp) ### Test Case 3 #### Sign up to the application using Identity Provider Logins 1. You can click a identity provider login that you had configured to begin the sign up process. For this test, we are signing up using the [Zoho Identity Provider login](https://docs.catalyst.zoho.com/en/cloud-scale/help/authentication/social-logins/configuring-social-logins/#enable-zoho-social-login). ![idp_login](https://catalyst-docs-development.zohostratus.in/images/tutorials/embedded_auth/idp_login.webp) 2. Click **Accept**. ![accept_login](https://catalyst-docs-development.zohostratus.in/images/tutorials/embedded_auth/accept_login.webp) You will be logged in to the application. ![logged_in](https://catalyst-docs-development.zohostratus.in/images/tutorials/embedded_auth/logged_in.webp) You can verify the end-user has been added by viewing their details in the *User Management* section of the Authentication component in the console. ### Test Case 4 #### Password reset functionality 1. Click the **Forgot Password** option. ![forgot_password](https://catalyst-docs-development.zohostratus.in/images/tutorials/embedded_auth/forgot_password.webp) 2. Enter the email address ![enter_email](https://catalyst-docs-development.zohostratus.in/images/tutorials/embedded_auth/enter_email.webp) 3. Enter the captcha. ![enter_captcha](https://catalyst-docs-development.zohostratus.in/images/tutorials/embedded_auth/enter_captcha.webp) 4. You can still unlock an option if you remember any earlier password you had used to create this account. However, to test this functionality, click **Continue to reset password**. ![send_otp](https://catalyst-docs-development.zohostratus.in/images/tutorials/embedded_auth/send_otp.webp) 5. Click **SEND OTP** to send the OTP to your email address. ![verify_otp](https://catalyst-docs-development.zohostratus.in/images/tutorials/embedded_auth/verify_otp.webp) 6. Enter the OTP received in your email and click **Verify**. ![create_new_password](https://catalyst-docs-development.zohostratus.in/images/tutorials/embedded_auth/create_new_password.webp) 7. You can create your new password now and click **Change Password**. ![catalyst_authentication_hosted_catalyst_serve_pwd_confirm_reset](https://catalyst-docs-development.zohostratus.in/images/tutorials/hosted-login/catalyst_authentication_hosted_catalyst_serve_pwd_confirm_reset.webp) You will be redirected to the login page, where you can log in to the application using the new password. -------------------------------------------------------------------------------- title: "Deploy the Application" description: "Create a web application using Catalyst Embedded Authentication that provides user sign-up, login, password reset, and sign-in with identity providers." last_updated: "2026-11-04T10:10:44.000Z" source: "https://docs.catalyst.zoho.com/en/tutorials/embedded-auth/java/deploy-app/" service: "All Services" related: - Deploy CLI Resources (/en/cli/v1/deploy-resources/introduction/) - Web Client Hosting (/en/cloud-scale/help/web-client-hosting/introduction) -------------------------------------------------------------------------------- # Deploy the Application To [deploy your Catalyst project](https://docs.catalyst.zoho.com/en/cli/v1/deploy-resources/introduction/) from the CLI, run the following command in your terminal from your project directory: ```sh catalyst deploy ``` The function is deployed first, followed by the client component. The URL endpoints of the components will be displayed in the CLI: **Basic web app** ![java-basic-deploy](https://catalyst-docs-development.zohostratus.in/images/tutorials/embedded_auth/java/java-basic-deploy.webp) > **Note** You can also use the `catalyst deploy --only client` CLI command to deploy the client component alone, as the function component was already deployed. You can now open the client component’s URL in a browser to access the deployed application. The authorization portal application can now be accessed from its web app URL. ![working_auth_app](https://catalyst-docs-development.zohostratus.in/images/tutorials/embedded_auth/working_auth_app.webp) The authorization portal application is now functional and should work without any errors. **React web app** ![java-react-deploy](https://catalyst-docs-development.zohostratus.in/images/tutorials/embedded_auth/java/java-react-deploy.webp) > **Note** You can also use the `catalyst deploy --only client` CLI command to deploy the client component alone, as the function component was already deployed. You can now open the client component’s URL in a browser to access the deployed application. The authorization portal application can now be accessed from its web app URL. ![working_react_app](https://catalyst-docs-development.zohostratus.in/images/tutorials/embedded_auth/working_react_app.webp) The authorization portal application is now functional and should work without any errors. ### Node.js -------------------------------------------------------------------------------- title: "Introduction" description: "Create a web application using Catalyst Embedded Authentication that provides user sign-up, login, password reset, and sign-in with identity providers." last_updated: "2026-11-04T10:10:44.000Z" source: "https://docs.catalyst.zoho.com/en/tutorials/embedded-auth/nodejs/introduction/" service: "All Services" related: - Project Directory Structure (/en/cli/v1/project-directory-structure/introduction/) - Embedded Authentication Type (/en/cloud-scale/help/authentication/native-catalyst-authentication/embedded-authentication/introduction/) - User Management (/en/cloud-scale/help/authentication/user-management/introduction/) - Custom User Validation (/en/cloud-scale/help/authentication/whitelisting/custom-user-validation/introduction/) - Identity Providers (/en/cloud-scale/help/authentication/social-logins/introduction/) - Node.js SDK (/en/sdk/nodejs/v2/overview/) -------------------------------------------------------------------------------- # Introduction This tutorial will help you build a simple client application that allows your end-users to log in to your application after they have been authenticated using [Embedded Authentication Type](https://docs.catalyst.zoho.com/en/cloud-scale/help/authentication/native-catalyst-authentication/embedded-authentication/introduction/) with a [Custom User Validation](https://docs.catalyst.zoho.com/en/cloud-scale/help/authentication/whitelisting/custom-user-validation/introduction/) function. The Embedded Authentication type allows you to load your login element as an iFrame in your application. The Embedded Authenication Portal app uses the following Catalyst services and their respective components: - [Catalyst CloudScale](https://docs.catalyst.zoho.com/en/cloud-scale/) - **Authentication**: The end-user will be authenticated to your application using [Embedded Authentication](https://docs.catalyst.zoho.com/en/cloud-scale/help/authentication/native-catalyst-authentication/embedded-authentication/introduction/), a [Native Catalyst Authentication Type](https://docs.catalyst.zoho.com/en/cloud-scale/help/authentication/native-catalyst-authentication/introduction/). - **Web Client Hosting**: The front end of the application is going to be hosted on Catalyst using the [Web Client Hosting](https://docs.catalyst.zoho.com/en/cloud-scale/help/web-client-hosting/introduction/) component. We will be initializing and configuring the client as a [Basic web app](https://docs.catalyst.zoho.com/en/cli/v1/initialize-resources/initialize-client/#basic-client-applications) and a [React app](https://docs.catalyst.zoho.com/en/cli/v1/initialize-resources/initialize-client/#react-applications). - [Catalyst Serverless](https://docs.catalyst.zoho.com/en/serverless/) - **Functions**: We will be using a [Basic I/O function](https://docs.catalyst.zoho.com/en/serverless/help/functions/basic-io/) to code the logic used to implement *Custom User Validation*. We will be coding the function in **Node.js**. This tutorial will help you understand the various features of *Embedded Authentication Type*. We will be incorporating the following functionalities in this tutorial: - Sign up to the web app using an email address - Log in to the app using the sign-up account information - Log in to the app using any or all of the following Identity Provider Logins: - [Zoho](https://docs.catalyst.zoho.com/en/cloud-scale/help/authentication/social-logins/configuring-social-logins/#enable-zoho-social-login) - [Google](https://docs.catalyst.zoho.com/en/cloud-scale/help/authentication/social-logins/configuring-social-logins/#enable-google-social-login) - [Microsoft 365](https://docs.catalyst.zoho.com/en/cloud-scale/help/authentication/social-logins/configuring-social-logins/#enable-microsoft-365-social-login) - [LinkedIn](https://docs.catalyst.zoho.com/en/cloud-scale/help/authentication/social-logins/configuring-social-logins/#enable-linkedin-social-login) - [Facebook](https://docs.catalyst.zoho.com/en/cloud-scale/help/authentication/social-logins/configuring-social-logins/#enable-facebook-social-login) - Reset the password option in case an end-user forgets their password - Configure **Email Verification** and **Password Reset** [email templates](https://docs.catalyst.zoho.com/en/cloud-scale/help/authentication/email-templates/customizing-email-templates/) - Configure and add a [Custom User Validation](https://docs.catalyst.zoho.com/en/cloud-scale/help/authentication/whitelisting/custom-user-validation/introduction/) function - View profile information after logging into the application - Log out of the application The following is an example of how the client application will appear: ![working_app](https://catalyst-docs-development.zohostratus.in/images/tutorials/embedded_auth/working_app.webp) You can access a working application and test its functionality here: [Try the App!](https://authentication.catalystserverlessapp.com/app/index.html) You will be using the following features of the Authentication component in this application: * **User Management**: The user profiles are automatically saved in this [section](https://docs.catalyst.zoho.com/en/cloud-scale/help/authentication/user-management/introduction/) when they sign up for the application. Using this feature, you can manage the end-users’ access to your application and [configure their roles](https://docs.catalyst.zoho.com/en/cloud-scale/help/authentication/user-management/roles/introduction/). * **Authentication Type**: You will be able to view the [authentication type](https://docs.catalyst.zoho.com/en/cloud-scale/help/authentication/authentication-types/) you have configured for your application, and edit your configurations when required. * **Whitelisting**: You will use this section to enable [Custom User Validation](https://docs.catalyst.zoho.com/en/cloud-scale/help/authentication/whitelisting/custom-user-validation/introduction/). You can also use this section to enable [CORS and iFrame access](https://docs.catalyst.zoho.com/en/cloud-scale/help/authentication/whitelisting/authorized-domains/introduction/) to your application. * **Email Templates**: You will be able to configure and customize *Email Verification* and *Password Reset* emails from this [section](https://docs.catalyst.zoho.com/en/cloud-scale/help/authentication/email-templates/introduction/). We will use the [Catalyst web console](https://console.catalyst.zoho.com/baas/index) and the [Catalyst Command Line Interface](https://docs.catalyst.zoho.com/en/cli/v1/cli-command-reference/) (CLI) to build this application. You will be given the code for the files to be included in the function and client directory of your project in this tutorial. You can either copy the provided code or customize it, should you feel it necessary and paste it into the appropriate files as directed. ### Application Architecture The authorization portal's application logic is described below: * **Login process**: The end-user will be directed to the login page. They can either opt in to log in to the application using the **Zoho**, **Google**, **LinkedIn**, **Microsoft 365**, or **Facebook** identity provider logins, or click the **Sign Up** option provided to sign up using their email address. * **Custom user validation**: The details inputted by the end-user during the login process will sent be as a JSON input to the *Custom User Validation* function. if the details are successfully validated per the custom logic present in the *Basic I/O function*, the verification email will be triggered. * **Email verification triggered**: Once users sign up for the application, an email verification email will be sent to the email address used to register the account. The email verification content and style can be customized per your preference using the *Email Templates* feature of *Authentication*. * **Password setup**: When end-users click the link present in the email verification email, they will be directed to the password setup page. Here, the end-user can secure their account by setting a password of their preference. * **End-user account created**: After the password is set, the user account will be created, and the end-user will now be able to log in to the application using the credentials they created. You can confirm the account has been created by viewing the account details in the *User Management* section of the *Authentication* component. * **Password reset option**: End-users will have the option to reset the password by opting for the **Forgot Password** option present in the login page. They will then be prompted to provide any of their previous passwords to recover their account or go ahead with the reset option. Once the users go ahead with the reset option, a one-time password (OTP) email will be sent to the user. Once the OTP is verified, they can set a new password for their account. > **Note:** * As we are using the **Embedded Login** method which is a native Catalyst Authentication type, you will be given the scripts for the native login form that can be added to your application's web client. You can also customize the design and branding of the login and password reset elements by configuring the css file mentioned in the script. Refer [this Styling Embedded Authentication type help section](https://docs.catalyst.zoho.com/en/cloud-scale/help/authentication/native-catalyst-authentication/embedded-authentication/reference-stylesheet-embedded/), to style your iFrame and the login element. * Instead of opting for the *Forgot Password* option, the end-user can also contact the app administrator to reset their credentials. Using the *User Management* feature, a **Password Reset** email can be sent from within Catalyst to the user, containing a link and instructions to reset their password. This email can be styled using the *Email Templates* feature. -------------------------------------------------------------------------------- title: "Prerequisites" description: "Create a web application using Catalyst Embedded Authentication that provides user sign-up, login, password reset, and sign-in with identity providers." last_updated: "2026-11-04T10:10:44.000Z" source: "https://docs.catalyst.zoho.com/en/tutorials/embedded-auth/nodejs/prerequisities/" service: "All Services" related: - CLI Command Reference (/en/cli/v1/cli-command-reference/) - Install CLI (/en/getting-started/installing-catalyst-cli/) - Login CLI (/en/cli/v1/login/login-from-cli/) -------------------------------------------------------------------------------- # Prerequisites Before you begin building the application, you must have the following prerequisites installed on your system: 1. **Catalyst CLI** Catalyst CLI contains a host of tools that enable you to initialize, develop, test, and deploy the components of your application from your local machine. We will be working with Catalyst CLI in this tutorial. You must perform the following actions: * **Install Catalyst CLI**: Catalyst CLI is installed through NPM. You must therefore have NPM and Node.js installed on your system before you install the CLI. Refer to the [Install Catalyst CLI help page](https://docs.catalyst.zoho.com/en/getting-started/installing-catalyst-cli/) for details on the pre-requisites and the steps to install it. * **Log in to Catalyst CLI**: After you install Catalyst CLI, you must authenticate the CLI with your Catalyst account before using it. Refer to the [CLI Login help page](https://docs.catalyst.zoho.com/en/cli/v1/login/login-from-cli/) for the steps to login from Catalyst CLI and the various options available for it. 2. **Any IDE tool for Node.js and client code development** You can use any IDE to work with the Basic I/O function and the client code. Some popular choices include Visual Studio Code, IDLE, IntelliJ IDEA, Eclipse, and Sublime Text. Download and install an IDE of your choice on your system. > If you are a Visual Studio Code IDE user, you can install the **Catalyst Tools** extension, and use your IDE itself in place of the CLI. You can find more details about the Catalyst VS Code extension from this [help section](https://docs.catalyst.zoho.com/en/catalyst-extensions/vs-code-extension/introduction/). -------------------------------------------------------------------------------- title: "Create a Project" description: "Create a web application using Catalyst Embedded Authentication that provides user sign-up, login, password reset, and sign-in with identity providers." last_updated: "2026-11-04T10:10:44.000Z" source: "https://docs.catalyst.zoho.com/en/tutorials/embedded-auth/nodejs/create-project/" service: "All Services" related: - Project Directory (/en/cli/v1/project-directory-structure/introduction) - Set up Catalyst Projects (/en/getting-started/catalyst-projects) -------------------------------------------------------------------------------- # Create a Project Let’s [create a Catalyst project](https://docs.catalyst.zoho.com/en/getting-started/catalyst-projects/#create-a-catalyst-project) from the Catalyst console. 1. Log in to the [Catalyst console](https://console.catalyst.zoho.com/baas/index) and click **Create New Project**. ![create_new_project](https://catalyst-docs-development.zohostratus.in/images/tutorials/embedded_auth/create_new_project.webp) 2. Enter the project’s name as "**AuthorizationPortal**" in the pop-up window, and click **Create**. ![enter_project_name](https://catalyst-docs-development.zohostratus.in/images/tutorials/embedded_auth/enter_project_name.webp) Your project will be created and it will be opened. You can access the project later, by clicking **Access Project**. ![open_project](https://catalyst-docs-development.zohostratus.in/images/tutorials/embedded_auth/open_project.webp) -------------------------------------------------------------------------------- title: "Configure Embedded Authentication Type" description: "Create a web application using Catalyst Embedded Authentication that provides user sign-up, login, password reset, and sign-in with identity providers." last_updated: "2026-11-04T10:10:44.000Z" source: "https://docs.catalyst.zoho.com/en/tutorials/embedded-auth/nodejs/configure-embedded-login/" service: "All Services" related: - Setup Embedded Authentication type (/en/cloud-scale/help/authentication/native-catalyst-authentication/embedded-authentication/setup-embedded-auth/) - Configure Identity Provider Logins (/en/cloud-scale/help/authentication/social-logins/configuring-social-logins/) -------------------------------------------------------------------------------- # Configure Embedded Authentication Type Let's configure the *Native Catalyst Authentication* type, *Embedded Login* in this section. 1. Authentication is a [Catalyst CloudScale](https://docs.catalyst.zoho.com/en/cloud-scale/) component. Click the **CloudScale** icon on the console's side navigation menu to access the CloudScale service console, then click **Start Exploring**. ![cloudscale](https://catalyst-docs-development.zohostratus.in/images/tutorials/embedded_auth/cloudscale.webp) 2. Click **Authentication** under *Security & Identity* to access the Authentication component. ![catalyst_authentication_console_view](https://catalyst-docs-development.zohostratus.in/images/tutorials/embedded_auth/catalyst_authentication_console_view.webp) 3. Set up the application's authentication using [*Embedded Authentication*](https://docs.catalyst.zoho.com/en/cloud-scale/help/authentication/native-catalyst-authentication/embedded-authentication/introduction/), a Native Catalyst Authentication type. Click the **Set Up** button in the Native Catalyst Authentication section to start configuring your login element. ![catalyst_authentication_native_setup_highlight](https://catalyst-docs-development.zohostratus.in/images/tutorials/embedded_auth/catalyst_authentication_native_setup_highlight.webp) > **Note:** You can also learn about other authentication types here. * [Hosted Login](https://docs.catalyst.zoho.com/en/cloud-scale/help/authentication/native-catalyst-authentication/hosted-authentication-type/introduction/) * [Third-party Authentication](https://docs.catalyst.zoho.com/en/cloud-scale/help/authentication/third-party-authentication/introduction/) 4. Select *Embedded Authentication* and click **Next**. ![catalyst_authentication_embedded_setup_highlight](https://catalyst-docs-development.zohostratus.in/images/tutorials/embedded_auth/catalyst_authentication_embedded_setup_highlight.webp) 5. Click the **toggle button** to enable *Public Signup*. ![catalyst_authentication_embedded_public_toggle_highlight](https://catalyst-docs-development.zohostratus.in/images/tutorials/embedded_auth/catalyst_authentication_embedded_public_toggle_highlight.webp) * Read the information pop-up and click **Yes, Proceed**. ![catalyst_authentication_embedded_public_signup_proceed](https://catalyst-docs-development.zohostratus.in/images/tutorials/embedded_auth/catalyst_authentication_embedded_public_signup_proceed.webp) > **Note:** To learn more about *Public Signup*, visit this [help document](https://docs.catalyst.zoho.com/en/cloud-scale/help/authentication/public-signup/). 6. You can add any or all of the [ Identity Provider Logins](https://docs.catalyst.zoho.com/en/cloud-scale/help/authentication/social-logins/introduction/) that are present in the console. To enable the **Zoho** identity provider login: - Click the **Zoho** button, and enter "**AuthorizationPortal**" as the *Client Name*. ![catalyst_authentication_social_login_zoho_configuring](https://catalyst-docs-development.zohostratus.in/images/tutorials/embedded_auth/catalyst_authentication_social_login_zoho_configuring.webp) > **Note:** As your application is being built on Catalyst, you do not have to create OAuth `Client ID` and `Client Secret` credentials. - Click **Enable**. Your end-users can now log in to your application using their Zoho credentials. To enable the **Google** identity provider login: - Click the **Google** button, and enter the OAuth `Client ID` and `Client Secret` that you obtained in the Google console in their respective fields. ![google](https://catalyst-docs-development.zohostratus.in/images/tutorials/embedded_auth/google.webp) > **Note:** Steps to obtain the OAuth `Client ID` and `Client Secret` for each of the identity provider logins can be accessed in the following help documents: [Google](https://docs.catalyst.zoho.com/en/cloud-scale/help/authentication/social-logins/configuring-social-logins/#enable-google-social-login), [Microsoft 365](https://docs.catalyst.zoho.com/en/cloud-scale/help/authentication/social-logins/configuring-social-logins/#enable-microsoft-365-social-login), [LinkedIn](https://docs.catalyst.zoho.com/en/cloud-scale/help/authentication/social-logins/configuring-social-logins/#enable-linkedin-social-login), and [Facebook](https://docs.catalyst.zoho.com/en/cloud-scale/help/authentication/social-logins/configuring-social-logins/#enable-facebook-social-login). - Click **Enable**. Your end-users can now log in to your application using their **Google** credentials. You can repeat the same steps to enable the other identity provider logins. 7. Click **Next**. > **Note:** You can also [edit your identity provider login configurations](https://docs.catalyst.zoho.com/en/cloud-scale/help/authentication/native-catalyst-authentication/embedded-authentication/setup-embedded-auth/) at a later point from the Authentication Type section. 8. We will configure the *Additional Settings* section at a later point using the *Whitelisting* feature. Click **Finish**. ![additional_settings](https://catalyst-docs-development.zohostratus.in/images/tutorials/embedded_auth/additional_settings.webp) You will now able to view and verify that *Embedded Authentication* type has been enabled for your application. ![catalyst_authentication_embedded_login_enabled](https://catalyst-docs-development.zohostratus.in/images/tutorials/embedded_auth/catalyst_authentication_embedded_login_enabled.webp) -------------------------------------------------------------------------------- title: "Configure Email Templates" description: "Create a web application using Catalyst Embedded Authentication that provides user sign-up, login, password reset, and sign-in with identity providers." last_updated: "2026-11-04T10:10:44.000Z" source: "https://docs.catalyst.zoho.com/en/tutorials/embedded-auth/nodejs/configure-email-templates/" service: "All Services" related: - Email Templates (/en/cloud-scale/help/authentication/email-templates/introduction/) -------------------------------------------------------------------------------- # Configure Email Templates Catalyst provides you with [Email Templates](https://docs.catalyst.zoho.com/en/cloud-scale/help/authentication/email-templates/introduction/) that you can use to send custom emails to your end-users when they sign up to your application, or on instances when they wish to change their password. To configure the email templates: 1. Click the **Email Templates** tab in the *Authentication* component to navigate to the relevant section. ![email_templates](https://catalyst-docs-development.zohostratus.in/images/tutorials/embedded_auth/email_templates.webp) 2. Click the **Email Verification** tab, then click **Edit** to begin customizing and editing the content. You can also include [placeholders](https://docs.catalyst.zoho.com/en/cloud-scale/help/authentication/email-templates/benefits-and-key-concepts/#placeholders) in the templates for the values that need to be populated dynamically when the emails are invoked. ![edit_template](https://catalyst-docs-development.zohostratus.in/images/tutorials/embedded_auth/edit_template.webp) > **Note:** * You can customize the email content to match your preference. * The placeholder content (content present between `%%`) will be dynamically altered and rendered based on the user details. * The `%LINK%` placeholder will contain the application's link that is automatically generated by Catalyst. You can also provide a custom link. 3. Make the necessary changes and click **Save**. ![catalyst_authentication_embedded_email_template_save_changes](https://catalyst-docs-development.zohostratus.in/images/tutorials/embedded_auth/catalyst_authentication_embedded_email_template_save_changes.webp) 4. To customize the *Reset Password* emails, click the **Password Reset** tab and customize the email content in the same manner as above. ![catalyst_authentication_embedded_email_template_save_pwd_changes](https://catalyst-docs-development.zohostratus.in/images/tutorials/embedded_auth/catalyst_authentication_embedded_email_template_save_pwd_changes.webp) The email templates will now be configured. > **Note:** * You can learn more about *Email Templates* from this [help document](https://docs.catalyst.zoho.com/en/cloud-scale/help/authentication/email-templates/introduction/). * Because we are using *Embedded Login* to authenticate this application, the handling of sending these emails at the required instances will be automatically configured by Catalyst, so you do not have to code the logic to trigger these emails. -------------------------------------------------------------------------------- title: "Initialize the Project" description: "Create a web application using Catalyst Embedded Authentication that provides user sign-up, login, password reset, and sign-in with identity providers." last_updated: "2026-11-04T10:10:44.000Z" source: "https://docs.catalyst.zoho.com/en/tutorials/embedded-auth/nodejs/init-project/" service: "All Services" related: - Initialize CLI Resources (/en/cli/v1/initialize-resources/introduction) - Project Directory Structure (/en/cli/v1/project-directory-structure/introduction) -------------------------------------------------------------------------------- # Initialize the Project from the CLI You can now begin working on your Catalyst project from the CLI. The first step is to initialize the project in an empty directory. This will be the home directory of your project and all of the project files will be saved in it. You can learn more about this from the [Project Directory Structure help page](https://docs.catalyst.zoho.com/en/cli/v1/project-directory-structure/introduction/). You can learn about initializing a project in detail from the [CLI help documentation](https://docs.catalyst.zoho.com/en/cli/v1/initialize-resources/introduction). For this application, we will initialize a [Basic I/O function](https://docs.catalyst.zoho.com/en/serverless/help/functions/basic-io/), which will contain the logic for [Custom User Validation](https://docs.catalyst.zoho.com/en/cloud-scale/help/authentication/whitelisting/custom-user-validation/introduction/) and a [Basic web app](https://docs.catalyst.zoho.com/en/cli/v1/initialize-resources/initialize-client/#basic-client-applications) as the client component. > **Note:** Ensure that you enter the function's package name or class name exactly as instructed, because the application's code contains the same name. 1. Create a folder for the project on your local machine and navigate to it from the terminal. 2. Initialize a project by executing the following command from that directory: ```sh catalyst init ``` 3. Navigate using the **arrow keys**, select your preferred portal, and press the **Enter** key. If you have no other organizations associated with the account, then the default one will be selected automatically. ![catalyst_authorization_portal_multiorg_choice](https://catalyst-docs-development.zohostratus.in/images/tutorials/embedded_auth/catalyst_authorization_portal_multiorg_choice.webp) > **Note:** You can find out more about Catalyst’s multi-org portal feature from this [help document](https://docs.catalyst.zoho.com/en/getting-started/catalyst-organizations/#access-the-multi-org-portal). 4. The CLI will now ask you to associate a Catalyst project with the directory. Associate it with the project that we created earlier from the console. Select **Authorization Portal** from the list and press **Enter**. ![catalyst_authentication_project_select](https://catalyst-docs-development.zohostratus.in/images/tutorials/embedded_auth/catalyst_authentication_project_select.webp) 5. Navigate using the arrow keys and select **Functions**, **Client** using the space bar. Press **Enter** to initialize. ![select_project_components](https://catalyst-docs-development.zohostratus.in/images/tutorials/embedded_auth/select_project_components.webp) 6. The CLI will initiate the function setup. Select **Basic IO** as the function type for your *Custom User Validation* function. ![select_basicio](https://catalyst-docs-development.zohostratus.in/images/tutorials/embedded_auth/select_basicio.webp) 7. Select the latest runtime of *Node.js* as the function stack. ![select_nodejs](https://catalyst-docs-development.zohostratus.in/images/tutorials/embedded_auth/select_nodejs.webp) 8. Enter "`authorization_portal_function`" as the package name, "`index.js`" as the entry point, and your email address as the author, then press **Enter**. Alternatively, you can press **Enter** without entering inputs to fill in the default values. The CLI will prompt the initialization of the Node dependencies. Press **Y** to confirm the installation, and press **Enter** to confirm your choice. The Node modules will be installed. ![node_function_setup](https://catalyst-docs-development.zohostratus.in/images/tutorials/embedded_auth/node_function_setup.webp) The CLI will now initiate the client setup. **Basic web app** 9. Select **Basic web app** and press **Enter** to initialize your client as a [basic web app](https://docs.catalyst.zoho.com/en/cli/v1/initialize-resources/initialize-client/#basic-client-applications). ![basic_webapp](https://catalyst-docs-development.zohostratus.in/images/tutorials/embedded_auth/basic_webapp.webp) 10. Enter a name for your client package and press **Enter**. For the purposes of this tutorial, we are naming our client package "`zylkertechnologies`". You can use the same of provide a name of your choice. ![client_name](https://catalyst-docs-development.zohostratus.in/images/tutorials/embedded_auth/client_name.webp) The Catalyst initialization is now complete. The project directory is now set up with the client directory and the functions directory along with configuration files and dependencies. The project directory also contains the [`catalyst.json`](https://docs.catalyst.zoho.com/en/cli/v1/project-directory-structure/catalyst-json/) configuration file and a hidden `.catalystrc` file. The structure of your project directory should now appear as shown below: ![basic_directory](https://catalyst-docs-development.zohostratus.in/images/tutorials/embedded_auth/basic_directory.webp) **React web app** 9. Select **React web app** and press **Enter** to initialize your client as a [React web app](https://docs.catalyst.zoho.com/en/cli/v1/initialize-resources/initialize-client/#react-applications). ![select_react](https://catalyst-docs-development.zohostratus.in/images/tutorials/embedded_auth/select_react.webp) 10. Select **JavaScript** as the React app type and press **Enter** ![select_js](https://catalyst-docs-development.zohostratus.in/images/tutorials/embedded_auth/select_js.webp) 11. Enter "`zylkertechnologies`" as the name of your client package and click **Enter**. You can also provide any name of your choice. All of the required React packages, such as “`react`,” “`react-dom`,” and “`react-scripts`” will be installed through the Catalyst React plugin ([`zcatalyst-cli-plugin-react`](https://www.npmjs.com/package/zcatalyst-cli-plugin-react)). ![client_setup_updated](https://catalyst-docs-development.zohostratus.in/images/tutorials/embedded_auth/client_setup_updated.webp) The client is now successfully initialized as a React web application. ![complete_init](https://catalyst-docs-development.zohostratus.in/images/tutorials/embedded_auth/complete_init.webp) The [client directory](https://docs.catalyst.zoho.com/en/cli/v1/project-directory-structure/client-directory) will be created in the standard structure in the project directory. This is the structure of the *Authorization Portal* project’s directory if the client is initialized as a React app. ![react_directory](https://catalyst-docs-development.zohostratus.in/images/tutorials/embedded_auth/react_directory.webp) Catalyst initialization is now complete. -------------------------------------------------------------------------------- title: "Configure the Basic I/O Function" description: "Create a web application using Catalyst Embedded Authentication that provides user sign-up, login, password reset, and sign-in with identity providers." last_updated: "2026-11-04T10:10:44.000Z" source: "https://docs.catalyst.zoho.com/en/tutorials/embedded-auth/nodejs/configure-function/" service: "All Services" related: - Basic I/O Functions (/en/serverless/help/functions/basic-io/) - Functions Directory Structure (/en/cli/v1/project-directory-structure/functions-directory) -------------------------------------------------------------------------------- # Configure the Basic I/O Function Now, we will begin coding the authorization portal application by configuring the function component. The [function’s directory](https://docs.catalyst.zoho.com/en/cli/v1/project-directory-structure/functions-directory), (`functions/authorization_portal_function`), contains: * The `index.js` main function file * The `catalyst-config.json` configuration file * Node modules * [`package.json`](https://docs.npmjs.com/files/package.json) and [`package-lock.json`](https://docs.npmjs.com/configuring-npm/package-lock-json.html) dependency files You will be adding code in the `index.js` file. The Basic I/O function contains the following functionalities: * The end-user's details will provided as a JSON input to the *Custom User Validation* function. * The function is coded to implement a custom logic based upon which the end-user will either be authenticated or denied. > **Note:** For the purpose of this tutorial, we have coded a logic for the Custom User Validation function where if the user's email provider is anyone other than Zylker Technology (`@zylker.com`) the end-user will not be able to sign up to the application. You can either use the same or code a logic of your preference. Now, let’s begin coding the Basic I/O function. Copy the code given below and paste it in the `index.js` file in the `functions/authorization_portal_function` directory of your project, and save the file. You can use any IDE of your choice to work with the application’s files. > **Note:** Please go through the code in this section to make sure you fully understand it. **index.js** ```javascript const catalyst = require('zcatalyst-sdk-node') module.exports = (context, basicIO) => { const catalystApp = catalyst.initialize(context) const requestDetails = catalystApp.userManagement().getSignupValidationRequest(basicIO) if (requestDetails) { if (requestDetails.user_details.email_id.includes('@zylker.com')) { // The actions that occur in the event of a successful authentication can be customized basicIO.write(JSON.stringify({ status: 'success', user_details: { first_name: requestDetails.user_details.first_name, last_name: requestDetails.user_details.last_name, email_id: requestDetails.user_details.email_id, role_identifier: 'App User', // If you want to override the default role, you can specify the role id/name here. org_id: '' // If you are providing the Org ID, make sure it is copied exactly from the console. } })) } else { // The user has failed authentication basicIO.write(JSON.stringify({ status: 'failure' })) } } context.close() } ``` > **Note:** You can also use this [SDK](https://docs.catalyst.zoho.com/en/sdk/nodejs/v2/cloud-scale/authentication/custom-user-validation/) to code your own custom logic instead of the one implemented above. The function directory is now configured. We can now proceed to configuring the client directory. -------------------------------------------------------------------------------- title: "Enable Custom User Validation" description: "Create a web application using Catalyst Embedded Authentication that provides user sign-up, login, password reset, and sign-in with identity providers." last_updated: "2026-11-04T10:10:44.000Z" source: "https://docs.catalyst.zoho.com/en/tutorials/embedded-auth/nodejs/enable-custom-validation/" service: "All Services" related: - Custom User Validation (/en/cloud-scale/help/authentication/whitelisting/custom-user-validation/introduction/) - Whitelisting (/en/cloud-scale/help/authentication/whitelisting/introduction/) - Catalyst Deploy Options (/en/cli/v1/deploy-resources/deploy-options/) -------------------------------------------------------------------------------- # Enable Custom User Validation Now that we have coded the logic, let's enable [Custom User Validation](https://docs.catalyst.zoho.com/en/cloud-scale/help/authentication/whitelisting/custom-user-validation/introduction/). To do this, you must first deploy the function to the console. Enter this CLI command to [deploy the function component](https://docs.catalyst.zoho.com/en/cli/v1/deploy-resources/deploy-options/#--only-targets) alone to the console. ```sh catalyst deploy --only functions ``` ![functions_deploy](https://catalyst-docs-development.zohostratus.in/images/tutorials/embedded_auth/functions_deploy.webp) A function endpoint will be created for the function that allows you to access the function directly. The function will be deployed to the console. Now, go to the console, and implement the following steps: 1. Navigate to the *Whitelisting* section in the *Authentication* component, and click the **Custom User Validation** toggle. ![custom_toggle](https://catalyst-docs-development.zohostratus.in/images/tutorials/embedded_auth/custom_toggle.webp) 2. Select the **Basic I/O function** from the drop-down in the pop-up. ![configure_function](https://catalyst-docs-development.zohostratus.in/images/tutorials/embedded_auth/configure_function.webp) 3. Click **Configure**. ![validation_setup](https://catalyst-docs-development.zohostratus.in/images/tutorials/embedded_auth/validation_setup.webp) The *Custom User Validation* function has been enabled for the project, and the end-users signing up for your application will now be additionally authenticated using this function. > **Note:** You can find out about the all of the features present in the *Whitelisting* section form in this [help document](https://docs.catalyst.zoho.com/en/cloud-scale/help/authentication/whitelisting/introduction/). -------------------------------------------------------------------------------- title: "Configure the Client" description: "Create a web application using Catalyst Embedded Authentication that provides user sign-up, login, password reset, and sign-in with identity providers." last_updated: "2026-11-04T10:10:44.000Z" source: "https://docs.catalyst.zoho.com/en/tutorials/embedded-auth/nodejs/configure-client/" service: "All Services" related: - Client Directory Structure (/en/cli/v1/project-directory-structure/client-directory) -------------------------------------------------------------------------------- # Configure the Client Let’s configure the client component. **Basic web app** The [client directory](https://docs.catalyst.zoho.com/en/cli/v1/project-directory-structure/client-directory/) contains: * The `index.html` file that contains the HTML code for the frontend application * The `main.css` file that contains the CSS code for the frontend application * The `main.js` file that contains the JavaScript code * The `client-package.json` configuration file We will be coding `index.html` and `main.js`. We will also be making a change in the `client-package.json` to ensure that the homepage of the application is the authenticated page. You will need to create the additional files `home.html`,`embeddediframe.css`,`fpwd.css` in the `/client` folder of your project. The `embeddediframe.css` and `fpwd.css` files contain the styling configurations for the login and password reset forms of the application respectively. We will discuss the code at the end of this section. > **Note:** Please go through the code provided in this section to make sure you fully understand it. Copy the code below and paste it into the respective files located in the `client/directory` of your project using an IDE and save the files. **index.html** ```xml <!DOCTYPE html> <html> <head> <meta charset="utf-8" /> <meta http-equiv="X-UA-Compatible" content="IE=edge" /> <title>Authorization Portal</title> <meta name="viewport" content="width=device-width, initial-scale=1" /> <link rel="stylesheet" type="text/css" media="screen" href="main.css" /> <script src="main.js"></script> <script src="https://static.zohocdn.com/catalyst/sdk/js/4.6.2/catalystWebSDK.js"> </script> <script src="/__catalyst/sdk/init.js"></script> <script> const config = { css_url: "/app/embeddediframe.css", // Login page customization css file path, if not provided default css will be rendered is_customize_forgot_password: false, // Default value is false. Keep this value as true, if you wish to customize Forgot Password page forgot_password_id: "login", // Element id in which forgot password page should be loaded, by default will render in the "loginDivElementId" forgot_password_css_url: "/app/fpwd.css", // Forgot password page customization css file path, if not provided default css will be rendered }; catalyst.auth.signIn("login", config); </script> </head> <body style="background: #c0c0c0"> <div class="center"> <header> <img width="80px" height="80px" src="https://cdn2.iconfinder.com/data/icons/user-management/512/profile_settings-512.png"/> <h1>User Profile Management</h1> </header> </div> <div id="login"></div> <div class="signup" id="signup" > <form class="modal-content" onsubmit="signupAction(this);return false;"> <div class="center"> <h2 style="margin-top: -40px;">Sign Up</h2> <p>Please fill this form to sign up for a new account.</p> </div> <label for="firstname"><b>First Name</b></label> <input id="firstname" type="text" placeholder="Enter First Name" name="firstname" required /> <label for="lastname"><b>Last Name</b></label> <input id="lastname" type="text" placeholder="Enter Last Name" name="lastname" required /> <label for="email"><b>Email</b></label> <input id="mailid" type="text" placeholder="Enter Email address" name="email" required /> <p> By creating an account, you agree to our <a href="https://www.zoho.com/catalyst/terms.html" target="_blank" style="color: dodgerblue;" >Terms & Conditions </a> </p> <div class="center"> <button class="signupfnbtn" type="submit" class="signupbtn" > Sign Up </button> </div> </form> </div> <div id="buttons"> <p class="homepage center"> Don't have an account? <a class="underline" href="#" onclick="showDiv()">Sign-up</a> now! </p> </div> </body> </html> ``` **home.html** ```javascript <!DOCTYPE html> <html> <head> <title>User Profile Information</title> <link rel="stylesheet" href="https://cdnjs.cloudflare.com/ajax/libs/font-awesome/4.7.0/css/font-awesome.min.css"> <script src="main.js"></script> <script src="https://static.zohocdn.com/catalyst/sdk/js/4.6.2/catalystWebSDK.js"> </script> <script src="/__catalyst/sdk/init.js"></script> <link rel="stylesheet" type="text/css" media="screen" href="main.css" /> </head> <body onload="showProfile()"> <div id="profile" class="card" style="display: none;"> <h2 style="text-align:center">User Profile Information</h1> <img width="200px" height="450px" src="https://cdn2.iconfinder.com/data/icons/user-management/512/profile_settings-512.png" alt="John" style="width:80px;height: 80px;"> <p class="title" id="fname"></p> <p class="title" id="lname"></p> <p class="title"id="mailid" ></p> <p class="title"id="tzone" ></p> <p class="title"id="ctime" ></p> <button id="logoutbtn" onclick="logout()">Logout</button> </div> </body> </html> ``` **main.css** ```css body { background-color: #ffffff; font-family: "Trebuchet MS", "Lucida Sans Unicode", Arial, sans-serif; font-size: 18px; margin: 0; padding: 0; } h1 { margin-bottom: 0; } p { font-size: 12px; font-weight: bold; } a { text-decoration: none; font-size: 20px; color: #000; transition: opacity 0.3s; } a:hover, button:hover { opacity: 0.7; } /* === Card Layout === */ .card { max-width: 480px; margin: 3rem auto; text-align: center; background: #b3b3b3; border-radius: 8px; padding: 20px; box-shadow: 0 4px 8px rgba(255, 255, 255, 0.1); } .title, .headtitle { color: #000; font-size: 22px; font-weight: 600; } /* === Input Fields === */ input[type="text"], input[type="password"] { width: 90%; padding: 12px; margin: 12px 0; border: none; border-radius: 8px; background: #f1f1f1; transition: background-color 0.2s; } input:focus { background: #ddd; outline: none; } /* === Buttons === */ button, .loginbutton { background-color: #4caf50; color: #fff; border: none; padding: 10px 20px; font-size: 16px; border-radius: 6px; cursor: pointer; transition: background 0.3s, transform 0.1s; } button:hover, .loginbutton:hover { background-color: #45a049; transform: scale(1.02); } /* Special Buttons */ .logoutbtn { width: 100%; padding: 14px; border-radius: 8px; background-color: #e53935; color: #fff; } .signupbtn, .seperatebtn, .signupfnbtn, .pwdfnbtn { border-radius: 8px; padding: 8px; } /* === Containers === */ #login { width: 480px; margin: 3rem auto; text-align: center; } .signup, .forgotpwd { display: none; } .center { text-align: center; } .underline { text-decoration: underline; color: #1e90ff; } /* === Modal === */ .modal { display: none; position: fixed; z-index: 10; inset: 0; background: rgba(0, 0, 0, 0.7); overflow: auto; } .modal-content { background: #b3b3b3; margin: 5% auto; padding: 20px; width: 40%; border-radius: 10px; } /* Close button */ .close { position: absolute; right: 25px; top: 15px; font-size: 35px; font-weight: bold; color: #fff; cursor: pointer; } .close:hover { color: #f44336; } /* Misc */ .clearfix::after { content: ""; display: table; clear: both; } p.homepage { font-size: 26px; color: #fff; } #BackToLoginbutton { position: absolute; top: 10px; left: 50%; transform: translateX(-50%); } ``` **main.js** ```javascript async function signupAction() { //Get the details of the user from the HTML page var firstName = document.getElementById("firstname").value; var lastName = document.getElementById("lastname").value; var email = document.getElementById("mailid").value; //Create a JSON to use the details for the user sign-up var data = { first_name: firstName, last_name: lastName, email_id: email, platform_type: "web", }; var auth = catalyst.auth; //The signup method will sign up the user with the specified data var signupresponse = await auth.signUp(data); if (signupresponse.status == 200) { //If the signup is successful, the user will be asked to check their email document.body.innerHTML = "An account verification email has been sent to your email address"; setTimeout(function () { location.reload(); }, 5000); } else { alert(signupresponse.message); location.reload(); } } function showProfile() { //The catalyst.auth.isUserAuthenticated() method allows only authenticated users, i.e., the users who are logged in, to access the pages //You can load this method in the body of your page to allow only authenticated users to access a particular page catalyst.auth .isUserAuthenticated() .then((result) => { //If the user is logged in, these contents of the page will be displayed to the user var first_name = "First Name: " + result.content.first_name; document.getElementById("fname").innerHTML = first_name; var last_name = "Last Name: " + result.content.last_name; document.getElementById("lname").innerHTML = last_name; var mailid = "Email Address: " + result.content.email_id; document.getElementById("mailid").innerHTML = mailid; var tzone = "Time Zone: " + result.content.time_zone; document.getElementById("tzone").innerHTML = tzone; var created_time = " Joined On: " + result.content.created_time; document.getElementById("ctime").innerHTML = created_time; document.getElementById("profile").style.display = "block"; }) .catch((err) => { //If the user is not logged in, this will be displayed to the user and they will be redirected to the login page document.getElementById("profile").style.display = "block"; document.body.innerHTML = "You are not logged in. Please log in to continue. Redirecting you to the login page.."; setTimeout(function () { window.location.href = "index.html"; }, 3000); }); } function logout() { //The signOut method is used to sign the user out of the application var redirectURL = "/"; catalyst.auth.signOut(redirectURL); } function showDiv() { debugger; document.getElementById("login").style.display = "none"; document.getElementById("signup").style.display = "block"; document.getElementById("buttons").style.display = "none"; } ``` **embeddediframe.css** ```css @font-face { font-family: "Roboto Mono"; font-weight: 400; font-style: normal; src: url("https://webfonts.zohowebstatic.com/robotomonoregular/font.eot"); src: url("https://webfonts.zohowebstatic.com/robotomonoregular/font.eot?#iefix") format("eot"), url("https://webfonts.zohowebstatic.com/robotomonoregular/font.woff2") format("woff2"), url("https://webfonts.zohowebstatic.com/robotomonoregular/font.woff") format("woff"), url("https://webfonts.zohowebstatic.com/robotomonoregular/font.ttf") format("truetype"), url("https://webfonts.zohowebstatic.com/robotomonoregular/font.svg#RobotoMono-Regular") format("svg"); } @font-face { font-family: "LatoLgt"; font-weight: 300; font-style: normal; src: url("https://webfonts.zohowebstatic.com/latolight/font.eot"); src: url("https://webfonts.zohowebstatic.com/latolight/font.eot?#iefix") format("eot"), url("https://webfonts.zohowebstatic.com/latolight/font.woff2") format("woff2"), url("https://webfonts.zohowebstatic.com/latolight/font.woff") format("woff"), url("https://webfonts.zohowebstatic.com/latolight/font.ttf") format("truetype"), url("https://webfonts.zohowebstatic.com/latolight/font.svg#Lato-Light") format("svg"); } @font-face { font-family: "LatoReg"; font-weight: 400; font-style: normal; src: url("https://webfonts.zohowebstatic.com/latoregular/font.eot"); src: url("https://webfonts.zohowebstatic.com/latoregular/font.eot?#iefix") format("eot"), url("https://webfonts.zohowebstatic.com/latoregular/font.woff2") format("woff2"), url("https://webfonts.zohowebstatic.com/latoregular/font.woff") format("woff"), url("https://webfonts.zohowebstatic.com/latoregular/font.ttf") format("truetype"), url("https://webfonts.zohowebstatic.com/latoregular/font.svg#Lato-Regular") format("svg"); } @font-face { font-family: "LatoSB"; font-weight: 700; font-style: normal; src: url("https://webfonts.zohowebstatic.com/latobold/font.eot"); src: url("https://webfonts.zohowebstatic.com/latobold/font.eot?#iefix") format("eot"), url("https://webfonts.zohowebstatic.com/latobold/font.woff2") format("woff2"), url("https://webfonts.zohowebstatic.com/latobold/font.woff") format("woff"), url("https://webfonts.zohowebstatic.com/latobold/font.ttf") format("truetype"), url("https://webfonts.zohowebstatic.com/latobold/font.svg#Lato-Bold") format("svg"); } @font-face { font-family: "LatoB"; font-weight: 900; font-style: normal; src: url("https://webfonts.zohowebstatic.com/latoblack/font.eot"); src: url("https://webfonts.zohowebstatic.com/latoblack/font.eot?#iefix") format("eot"), url("https://webfonts.zohowebstatic.com/latoblack/font.woff2") format("woff2"), url("https://webfonts.zohowebstatic.com/latoblack/font.woff") format("woff"), url("https://webfonts.zohowebstatic.com/latoblack/font.ttf") format("truetype"), url("https://webfonts.zohowebstatic.com/latoblack/font.svg#Lato-Black") format("svg"); } @font-face { font-family: "signinicon"; src: url(/images/signinicon.eot); src: url(/images/signinicon.eot) format("embedded-opentype"), url(/__catalyst/auth/static-file?file_name=signinicon.woff2) format("woff2"), url(/__catalyst/auth/static-file?file_name=signinicon.ttf) format("truetype"), url(/__catalyst/auth/static-file?file_name=signinicon.woff) format("woff"), url("../images/fonts/signinicon.651f82b8f8f51f33cd0b6331f95b5b4f.svg") format("svg"); font-weight: normal; font-style: normal; font-display: block; } [class^="icon-"], [class*=" icon-"] { /* use !important to prevent issues with browser extensions that change fonts */ font-family: "signinicon" !important; speak: never; font-style: normal; font-weight: normal; font-variant: normal; text-transform: none; line-height: 1; /* Better Font Rendering =========== */ -webkit-font-smoothing: antialiased; -moz-osx-font-smoothing: grayscale; } .icon-hide:before { content: "\e907"; } .icon-show:before { content: "\e914"; } .icon-backarrow:before { content: "\e900"; } .icon-backup:before { content: "\e901"; } .icon-support:before { content: "\e915"; } body { font-family: "Roboto", sans-serif; margin: 0px; } .bg_one { display: block; position: fixed; top: 0px; left: 0px; height: 100%; width: 100%; background: url("../images/bg.49756b7c711696d95133fa95451f8e13.svg") transparent; background-size: auto 100%; z-index: -1; } .signin_container { display: block; width: 520px; min-height: 520px; background-color: #fff; box-shadow: 0px 2px 30px #ccc6; margin: auto; position: relative; z-index: 1; margin-top: 7%; overflow: hidden; } .mod_container { width: 500px; } .checkbox_label { display: inline-block; font-size: 14px; margin: 0px 6px; float: left; cursor: pointer; line-height: 20px; } .signin_box { width: 520px; min-height: 520px; height: auto; background: #fff; box-sizing: border-box; padding: 50px 50px; border-radius: 2px; transition: all 0.1s ease-in-out; float: left; overflow-y: auto; display: table-cell; border-right: 2px solid #f1f1f1; } .nopassword_message { display: table-cell; font-size: 14px; color: #222222; letter-spacing: 0px; line-height: 20px; height: auto; width: auto; margin-left: 10px; font-weight: 400; padding-left: 10px; } .portal_logo { display: block; height: 30px; width: auto; margin-bottom: 20px; background-size: auto 100%; } .pointer { cursor: pointer; } #forgotpassword { cursor: default; } #forgotpassword > a { cursor: pointer; } .text16 { display: block; text-align: center; margin-bottom: 30px; color: #626262; font-size: 16px; font-weight: 500; text-decoration: none; } .checkbox { float: left; z-index: 0; height: 12px; width: 12px; display: inline-block; border: 2px solid #ccc; border-radius: 2px; position: relative; top: 1.5px; overflow: hidden; background-color: #fff; } .show_hide_password { font-size: 34px; color: #a7a7a7; position: relative; top: -39px; right: 13px; float: right; cursor: pointer; height: 20px; } .pass_policy, .pass_policy_error { color: #8c8c8c; font-size: 14px; padding-top: 10px; } .pass_policy_error { color: #ed7500; display: block; } .checkbox_check { position: absolute; z-index: 1; opacity: 0; left: 50px; margin: 0px; height: 16px; cursor: pointer; width: 16px; } .checkbox_div { display: none; height: 16px; width: auto; margin-bottom: 30px; } .checkbox_div { display: block; } #terminate_session_form .checkbox_mod { margin-top: 50px; } .checkbox_tick { display: block; height: 3px; width: 8px; border-bottom: 2px solid #fff; border-left: 2px solid #fff; transform: rotate(-45deg); margin: 2px 1px; } .passexpsuccess { display: none; height: 106px; width: 178px; background: url("../images/passexpiry.db4c66debd4dd8880655f338ead6b973.png") no-repeat transparent; background-size: auto 100%; margin: 0px auto; margin-bottom: 20px; } .signin_head { display: block; font-size: 24px; font-weight: 500; margin-bottom: 30px; line-height: 30px; transition: all 0.1s ease-in-out; } .rightside_box { width: 390px; height: auto; float: right; box-sizing: border-box; padding: 40px; background-color: #fff; display: table-cell; } .service_name, .backup_desc, .pass_name { display: block; font-size: 16px; color: #000; font-weight: 400; } .titlename { display: block; font-size: 24px; color: #000; font-weight: 400; text-transform: capitalize; width: auto; margin-bottom: 20px; } .extramargin { margin-top: 10px; } .show_hide_password { font-size: 34px; color: #a7a7a7; position: relative; top: -39px; right: 13px; float: right; cursor: pointer; height: 20px; } .textbox_div { display: block; margin-bottom: 30px; position: relative; } .textbox_label { display: block; font-size: 14px; color: #626262; padding-bottom: 10px; } .textbox { display: block; width: 100%; height: 44px; box-sizing: border-box; border-radius: 2px; text-indent: 12px; font-size: 16px; outline: none; border: none; padding-right: 12px; transition: all 0.2s ease-in-out; background: #f1f1f1; border: 1px solid #e4e4e4; } .textbox:valid { border: 2px solid #f4f6f8; } .textindent42 { text-indent: 36px; } .textindent62 { text-indent: 56px; } .textintent52 { text-indent: 46px; } ::-webkit-credentials-auto-fill-button { visibility: hidden; pointer-events: none; position: absolute; right: 0px; } input[type="text"], input[type="password"], input[type="email"], input[type="number"] { -webkit-appearance: none; -moz-appearance: none; appearance: none; } .errorborder:focus, .textbox.errorborder { border-bottom: 2px solid #ff8484; } .btn { cursor: pointer; display: block; width: 100%; height: 44px; border-radius: 4px; letter-spacing: 0.5; font-size: 14px; font-weight: 600; outline: none; border: none; margin: auto; text-transform: uppercase; margin-bottom: 30px; transition: all 0.2s ease-in-out; } .signupbtn { width: 250px; margin-left: 0px; } .blue { box-shadow: 0px 2px 2px #fff; background-color: #159aff; color: #fff; } .grey { background-color: #f3f3f3; color: #3a3a3a; letter-spacing: 0px; } .green { box-shadow: 0px 2px 2px #fff; background-color: #00c573; color: #fff; } .blue:hover { box-shadow: 0px 2px 2px rgba(90, 183, 254, 0.2); } .changeloadbtn { display: block; height: 44px; width: 44px; border-radius: 22px; padding: 0px; } .changeloadbtn:before { content: ""; height: 20px; width: 20px; display: inline-block; margin: 9px; border: 3px solid #fff; border-top: 3px solid #5ab7fe; border-radius: 50%; animation: spin 0.5s linear infinite; } @keyframes spin { 0% { transform: rotate(0deg); } 100% { transform: rotate(360deg); } } .hellouser { margin-bottom: 30px; } .username { display: inline-block; max-width: 100%; font-size: 16px; font-weight: 500; line-height: 24px; overflow: hidden; text-overflow: ellipsis; padding-right: 10px; float: left; } .Notyou { display: inline-block; font-size: 16px; line-height: 24px; } .signup_text { text-align: center; margin: 20px 0px; font-size: 16px; } .backbtn { display: none; float: left; height: 28px; width: 28px; border-radius: 50%; position: absolute; padding: 0px 5px; cursor: pointer; overflow: hidden; transition: all 0.1s ease; } .zeroheight { width: 0px; height: 0px; overflow: hidden; display: block; } #captcha, #bcaptcha { background: #fff; width: 60%; display: inline-block; } #captcha_img, #bcaptcha_img { width: 40%; float: right; background-color: #ffffff; border-left: none; } #captcha_img img, #bcaptcha_img img { height: 40px; } .reloadcaptcha { float: right; clear: both; margin-top: -37px; height: 30px; width: 30px; border-radius: 50px; background: url("../images/reload.eaef7ea18b680bc07558164c918909a6.png") no-repeat transparent 5px; background-size: 50%; display: inline-block; cursor: pointer; } #captcha_container { display: none; } .options { display: block; width: 100%; max-width: 500px; min-height: 80px; padding: 0px 50px; cursor: pointer; } .options:hover { background-color: #f9f9f9; } .option_details { display: inline-block; height: auto; width: 320px; margin-left: 15px; } .option_title { display: block; font-size: 16px; font-weight: 500; } .img_option { display: table-cell; height: 24px; width: 24px; color: #499aff; font-size: 24px; vertical-align: top; } .errorlabel { color: #e92b2b; } .fielderror { display: none; font-size: 14px; margin-top: 10px; } .fielderror a { text-decoration: none; color: #309ff4; } .bluetext { color: #309ff4; cursor: pointer; } #country_code_select { width: 50px; height: 40px; position: absolute; opacity: 0; display: none; z-index: 0; } .select_country_code { width: 50px; height: 40px; display: inline-block; float: left; position: absolute; line-height: 40px; text-align: center; font-size: 16px; color: black; display: none; z-index: 0; } .pic { width: 20px; height: 14px; background-size: 280px 252px; background-image: url("../images/Flags2x.0b8394efb0ea9167cef2465fb8f63d78.png"); float: left; } .cc { float: right; color: #aeaeae; } .cn { margin-left: 10px; } .select2-results__option--highlighted { background: #f4f6f8; } .searchparent { height: auto; } .searchlbl { font-size: 10px; font-weight: bolder; display: inline-block; margin-top: 15px; margin-bottom: 10px; margin-left: 10px; } .cntrysearch { width: 380px; height: 32px; border-radius: 2px; font-size: 14px; box-sizing: border-box; padding: 8px 10px; background: #f7f7f7; outline: none; border: none; margin-top: 10px; } .select2-results__option { list-style-type: none; height: 40px; box-sizing: border-box; padding: 12px 20px; font-size: 14px; line-height: 16px; } .select2-search__field { width: 380px; height: 32px; border: none; outline: none; background: #f7f7f7; border-radius: 2px; margin: 10px 0 0 10px; font-size: 14px; padding: 10.5px 8px; } .select2-selection { display: inline-block; outline: none; /* background-color: #F4F6F8; */ height: 40px; text-align: center; padding: 10px; box-sizing: border-box; cursor: pointer; } .selection { transition: all 0.2s ease-in-out; -webkit-user-select: none; display: inline-block; white-space: nowrap; overflow: hidden; width: 0px; height: 43px; } #select2-combobox-results { padding-left: 0px; max-height: 200px; overflow-y: scroll; overflow-x: hidden; width: 400px; margin-top: 10px; margin-bottom: 0px; background: white; } .select2-container--open { z-index: 10; background: #ffffff; box-shadow: 0 2px 4px 0 rgba(0, 0, 0, 0.13); width: auto; box-sizing: border-box; } .select2 { position: absolute; background: transparent; box-shadow: none; display: none; margin: 2px; } .select2-results__options { overflow-y: auto; max-height: 200px; } .selection { width: auto; width: -moz-fit-content; width: -webkit-fit-content; margin: auto; display: block; } .select2-search--hide, .select2-selection__clear { display: none; } #otp_container, #enableotpoption, #mfa_ga_container, #mfa_otp_container, #mfa_totp_container, #recoverybtn, #recovery_container, #enableforgot, #enablesaml, .trustbrowser_ui, #backup_ver_container, #backup_container, #enablemore, .password_expiry_container, .terminate_session_container { display: none; } .errorlabel { color: #e92b2b; } .fielderror { display: none; font-size: 14px; margin-top: 10px; } .field_error { color: #f37272; font-size: 14px; padding-top: 10px; } #recoverybtn, #problemsignin, .tryanother { position: absolute; left: 0px; right: 0px; bottom: 40px; } .textbox_actions, .textbox_actions_saml, .textbox_actions_more { display: block; margin-top: 20px; height: 20px; } .bluetext_action { display: inline-block; float: left; font-size: 14px; color: #159aff; font-weight: 500; line-height: 16px; cursor: pointer; } .bluetext_action a { text-decoration: none; } .bluetext_action_right { float: right; } .textbox_actions { display: block; margin-top: 20px; height: 20px; } .Alert, .Errormsg { display: block; margin: auto; height: auto; min-width: 200px; width: fit-content; width: -moz-fit-content; max-width: 600px; background-color: #032239; border-radius: 6px; position: fixed; top: -100px; left: 0px; right: 0px; transition: all 0.2s ease; padding: 0px 20px; z-index: 2; } .tick_icon, .error_icon { display: inline-block; height: 20px; width: 20px; background-color: #22c856; border-radius: 50%; background-size: 60px; margin: 15px; float: left; } .tick_icon:after { display: block; content: ""; height: 5px; width: 9px; border-bottom: 2px solid #fff; border-left: 2px solid #fff; transform: rotate(-45deg); margin: 7px 6px; box-sizing: border-box; } .alert_message, .error_message { display: inline-block; font-size: 14px; color: #fff; line-height: 18px; margin: 16px 0px; margin-right: 20px; max-width: 510px; } .error_icon { background-color: #ff676f; } .error_icon:before, .error_icon:after { position: absolute; left: 44px; top: 20px; content: " "; height: 10px; width: 2px; background-color: #ffffff; } .error_icon:before { transform: rotate(45deg); } .error_icon:after { transform: rotate(-45deg); } .select2-results__options { padding-left: 0px; } .showcountry_code { width: 62px !important; } .textindent70 { text-indent: 70px; } .countrybox { width: 400px; height: 220px; overflow: auto; } .focusmanage { position: absolute; z-index: 10; width: 400px; height: 266px; box-sizing: border-box; padding: 10px; margin-top: -25px; background: #ffffff; box-shadow: 0 2px 4px 0 rgba(0, 0, 0, 0.13); border-radius: 2px; } .recoveryhead { margin-bottom: 10px; } .nopassword_container { display: none; background: #ebf4fb; border: 1px solid #cbe8ff; border-radius: 5px; width: 400px; height: auto; position: absolute; bottom: 50px; box-sizing: border-box; padding: 20px; } .nopassword_icon { display: table-cell; margin: 0px; height: 30px; width: 30px; color: #0091ff; font-size: 30px; vertical-align: middle; } .mailsearch { width: 400px; height: 30px; padding: 0px 0px; border: none; position: absolute; } .bolder1 { font-weight: bolder; } #ui-id-1 { height: 200px; width: auto; outline: none; border: none; overflow-x: hidden; overflow-y: scroll; } .ui-menu-item-wrapper { overflow: auto; } .nonclickelem { color: #626262; pointer-events: none; } .trustdevicebox { width: 500px; min-height: auto !important; } .trustdevice { width: auto; float: left; margin-right: 18px; min-width: 100px; margin-bottom: 0px; } .loadwithbtn { display: inline-block; height: 22px; width: 22px; border: 3px solid #fff; border-radius: 50%; position: absolute; margin: -2px; box-sizing: border-box; border-left: 3px solid transparent; animation-name: rotate1; animation-iteration-count: infinite; animation-duration: 1s; animation-timing-function: linear; } @keyframes rotate1 { from { transform: rotate(0deg); } to { transform: rotate(360deg); } } .waitbtn .waittext, .loadbtntext { display: inline-block; text-indent: 25px; } #waitbtn { display: none; } .loadwithbtn:before { display: inline-block; content: ""; height: 22px; width: 22px; border: 3px solid #ffffff30; border-radius: 50%; margin: -3px -11px; position: absolute; box-sizing: border-box; } .notnowbtn .loadwithbtn { border: 3px solid #3a3a3a; border-left: 3px solid transparent; } .trustdevice .loadwithbtn { display: none; } #recoverybtn, #problemsignin, .tryanother { display: none; bottom: 50px; width: fit-content; margin: 0px auto; cursor: pointer; } #recoverOption, #verify_totp_container, #verify_qr_container { display: none; } .backoption { width: 30px; height: 30px; font-size: 24px; display: inline-block; float: left; color: #666666; padding: 3px; box-sizing: border-box; margin-right: 5px; border-radius: 15px; cursor: pointer; } .backoption:hover { background: #f4f4f4; } .rec_head_text, .backoption { display: table-cell; } .options, .optionstry { display: table; width: 100%; height: auto; padding: 20px 50px; box-sizing: border-box; cursor: pointer; } .options:hover, .optionstry:hover { background-color: #f9f9f9; } .option_details, .option_details_try { height: auto; width: auto; padding-left: 10px; vertical-align: top; box-sizing: border-box; } .option_title_try { display: block; font-size: 16px; font-weight: 500; } .option_description { display: block; font-size: 13px; line-height: 20px; color: #696969; margin-top: 5px; } .img_option_try { margin: 12px 0px; } .img_option { font-size: 30px; color: #499aff; } .option_details { display: table-cell; } .problemsignincon, .recoverymodes, .addaptivetfalist, #recoverymodeContainer { width: auto; margin: 0px -50px; } .line { background-color: #f1f1f1; width: 100%; height: 2px; border-radius: 1px; margin-bottom: 20px; } /*---------------------terminate_session---------------------*/ .terminate_session_container .signin_head { margin-bottom: 20px; } #terminate_session_form .checkbox_div { position: relative; margin-bottom: 10px; } #terminate_session_form .checkbox_mod { margin-top: 30px; } #terminate_session_form .checkbox_check { left: 15px; } #terminate_session_form .checkbox_check:checked ~ .checkbox { background-color: #159aff; border-color: #159aff; } #terminate_session_form .showOneAuthLable { border: 1px solid #e7e7e7; border-radius: 10px 10px 0px 0px; box-sizing: border-box; max-width: 420px; height: auto; overflow: auto; margin-bottom: 0px; } .oneAuthLable { display: inline-flex; max-width: 420px; padding: 15px; align-items: center; margin-bottom: 10px; box-sizing: border-box; border: 1px solid #e7e7e7; border-top: none; border-radius: 0px 0px 15px 15px; } .oneauth_icon { display: inline-block; width: 40px; height: 40px; border-radius: 14px; background-size: 40px 40px; } .one_auth_icon_v2 { background-image: url(../images/oneAuth2.4b2a6945d5ecd70b703ba18f5f11eb68.png); } .oneAuthLable .text_container { flex: 1; margin: 0px 10px; } .oneAuthLable .text_header { font-size: 12px; font-weight: 500; margin-bottom: 4px; } .oneAuthLable .text_desc { font-size: 10px; line-height: 14px; } .oneAuthLable .togglebtn_div { height: 16px; padding: 4px; width: 30px; display: inline-block; position: relative; } .oneAuthLable .real_togglebtn { cursor: pointer; display: inline-block; position: relative; height: 16px; width: 30px; z-index: 1; opacity: 0; position: absolute; margin: 0px; } .real_togglebtn:checked ~ .togglebase { background-color: #10bc83; } .real_togglebtn:checked ~ .togglebase .toggle_circle { left: 16px; } .oneAuthLable .togglebase { height: 16px; width: 30px; display: inline-block; background: #ccc; border-radius: 10px; position: absolute; } .oneAuthLable .toggle_circle { transition: all 0.2s ease-in-out; height: 12px; width: 12px; background-color: #fff; border-radius: 10px; display: inline-block; position: absolute; left: 2px; top: 2px; box-shadow: 0px 0px 5px #999; } @media only screen and (-webkit-min-device-pixel-ratio: 2), not all, not all, not all, only screen and (min-resolution: 192dpi), only screen and (min-resolution: 2dppx) { .google_icon { background-color: #fff; box-shadow: 0px 0px 2px #00000012, 0px 2px 2px #00000024; } .google_icon .fed_icon { background: url("../images/signin_icons@2x.c0c72f3600a6f5ec03c9119d5a7d0518.png") no-repeat transparent; background-size: 205px auto; background-position: -10px -10px; } .MS_icon { background-color: #2f2f2f; } .MS_icon .fed_icon { background: url("../images/signin_icons@2x.c0c72f3600a6f5ec03c9119d5a7d0518.png") no-repeat transparent; background-size: 205px auto; background-position: -38px -10px; } .linkedin_fed_box { background-color: #0966c2; } .linkedin_fed_box .fed_icon { background: url("../images/signin_icons@2x.c0c72f3600a6f5ec03c9119d5a7d0518.png") no-repeat transparent; background-size: 205px auto; background-position: -67px -11px; } .large_box .linked_fed_icon { background-position: -9px -174px; } .fb_fed_box { background-color: #1877f2; } .fb_fed_box .fed_icon { background: url("../images/signin_icons@2x.c0c72f3600a6f5ec03c9119d5a7d0518.png") no-repeat transparent; background-size: 205px auto; background-position: -94px -10px; } .zoho_icon { background: url(../images/signin_icons@2x.c0c72f3600a6f5ec03c9119d5a7d0518.png) no-repeat transparent; background-size: 205px auto; background-position: -152px -174px; } } @media only screen and (max-width: 600px) { body { -webkit-tap-highlight-color: rgba(255, 255, 255, 0); } .nopassword_container { width: calc(100% - 60px); padding: 10px; box-sizing: border-box; } .signin_container { width: 100%; box-shadow: none; margin: 0 auto; position: relative; z-index: 1; margin-top: 40px; height: auto; overflow: hidden; } .signin_box { width: 100%; padding: 0px 30px; height: auto; border-right: none; } #captcha_img, #captcha, #bcaptcha_img, #bcaptcha { border: 2px solid #f4f6f8; border-radius: 2px; text-indent: 3px; width: 50%; outline: none; -webkit-appearance: none; -moz-appearance: none; appearance: none; } .textbox, #verify_totp { background-color: transparent; border: none; border-bottom: 2px solid #f4f6f8; text-indent: 0px; border-radius: 0px; } .textbox:focus, #verify_totp { border: none; border-bottom: 2px solid #159aff; } .errorborder:focus, .textbox.errorborder { border-bottom: 2px solid #ff8484; } .backoption { margin-bottom: 10px; } .img_option { margin: 0px 10px 0px 0px !important; } .bg_one, .line { display: none; } .signin_head { margin-bottom: 30px; } .btn { margin-top: 10px; border-radius: 4px; } .changeloadbtn { border-radius: 22px; } .more { margin-right: 0px !important; } .textindent42 { text-indent: 36px; } .textindent62 { text-indent: 56px; } .textintent52 { text-indent: 46px; } .select2-selection { background-color: #f1f9ff; } .devices .select2-selection { background-color: #f1f9ff; } .select2-search__field { width: 280px; } .applynormal { width: 46% !important; min-width: 0px; } .borderless, .borderlesstry { line-height: 12px; font-size: 14px; } .alert_message, .error_message { max-width: 300px; width: 75%; } .Alert, .Errormsg { max-width: 400px !important; padding: 0px; min-width: 300px; } .error_icon:before, .error_icon:after { left: 24px; } ::placeholder { font-weight: 500; } .mobilehide { display: none !important; } #forgotpassword { margin-bottom: 0px; } #forgotpassword a { display: inline-block; } .fielderror { position: absolute; margin-top: 5px; } .trustdevicebox { width: auto; height: auto; } #recoverybtn, #problemsignin, .tryanother { position: initial !important; margin-top: 70px !important; } .problemsignincon, .recoverymodes, #recoverymodeContainer { width: 100%; margin-left: 0px; } } .hover-tool-tip { position: absolute; top: 15px; left: 335px; background: #fff; padding: 20px; box-shadow: 0px 0px 10px #0000001a; transition: opacity 0.1s; border-radius: 5px; z-index: 9; opacity: 0; } .hover-tool-tip::after { content: ""; position: absolute; width: 0; height: 0; margin-left: -8px; top: 25px; left: 0; box-sizing: border-box; border: 6px solid black; border-color: #ffffff transparent transparent #ffffff; transform-origin: 0 0; transform: rotate(-45deg); box-shadow: -6px -6px 10px 0 #0000001a; } .hover-tool-tip.no-arrow::after { content: none; } .hover-tool-tip ul { padding: 0; margin: 0px 0px 0px 15px; list-style: none; } .hover-tool-tip p { margin: 0px 0px 10px 0px; font-size: 14px; font-weight: 500; } .hover-tool-tip ul li { font-size: 12px; display: flex; align-items: center; white-space: nowrap; line-height: 25px; } .hover-tool-tip ul li.success::before { background-color: #0dbc83; } .hover-tool-tip ul li::before { content: ""; margin-right: 10px; background-color: red; width: 8px; height: 8px; border-radius: 50%; } .titlename, .service_name { display: none !important; } .signin_head { padding-top: 20px; } #login_id { text-indent: 0 !important; } .showcountry_code { display: none !important; } ``` **fpwd.css** ```css /*$Id$*/ @font-face { font-family:"Roboto Mono"; font-weight:400; font-style:normal; src:url("https://webfonts.zohowebstatic.com/robotomonoregular/font.eot"); src:url("https://webfonts.zohowebstatic.com/robotomonoregular/font.eot?#iefix") format("eot"), url("https://webfonts.zohowebstatic.com/robotomonoregular/font.woff2") format("woff2"), url("https://webfonts.zohowebstatic.com/robotomonoregular/font.woff") format("woff"), url("https://webfonts.zohowebstatic.com/robotomonoregular/font.ttf") format("truetype"), url("https://webfonts.zohowebstatic.com/robotomonoregular/font.svg#RobotoMono-Regular") format("svg");} @font-face { font-family: "LatoLgt"; font-weight: 300; font-style: normal; src: url("https://webfonts.zohowebstatic.com/latolight/font.eot"); src: url("https://webfonts.zohowebstatic.com/latolight/font.eot?#iefix") format("eot"), url("https://webfonts.zohowebstatic.com/latolight/font.woff2") format("woff2"), url("https://webfonts.zohowebstatic.com/latolight/font.woff") format("woff"), url("https://webfonts.zohowebstatic.com/latolight/font.ttf") format("truetype"), url("https://webfonts.zohowebstatic.com/latolight/font.svg#Lato-Light") format("svg"); } @font-face { font-family: "LatoReg"; font-weight: 400; font-style: normal; src: url("https://webfonts.zohowebstatic.com/latoregular/font.eot"); src: url("https://webfonts.zohowebstatic.com/latoregular/font.eot?#iefix") format("eot"), url("https://webfonts.zohowebstatic.com/latoregular/font.woff2") format("woff2"), url("https://webfonts.zohowebstatic.com/latoregular/font.woff") format("woff"), url("https://webfonts.zohowebstatic.com/latoregular/font.ttf") format("truetype"), url("https://webfonts.zohowebstatic.com/latoregular/font.svg#Lato-Regular") format("svg"); } @font-face { font-family: "LatoSB"; font-weight: 700; font-style: normal; src: url("https://webfonts.zohowebstatic.com/latobold/font.eot"); src: url("https://webfonts.zohowebstatic.com/latobold/font.eot?#iefix") format("eot"), url("https://webfonts.zohowebstatic.com/latobold/font.woff2") format("woff2"), url("https://webfonts.zohowebstatic.com/latobold/font.woff") format("woff"), url("https://webfonts.zohowebstatic.com/latobold/font.ttf") format("truetype"), url("https://webfonts.zohowebstatic.com/latobold/font.svg#Lato-Bold") format("svg"); } @font-face { font-family: "LatoB"; font-weight: 900; font-style: normal; src: url("https://webfonts.zohowebstatic.com/latoblack/font.eot"); src: url("https://webfonts.zohowebstatic.com/latoblack/font.eot?#iefix") format("eot"), url("https://webfonts.zohowebstatic.com/latoblack/font.woff2") format("woff2"), url("https://webfonts.zohowebstatic.com/latoblack/font.woff") format("woff"), url("https://webfonts.zohowebstatic.com/latoblack/font.ttf") format("truetype"), url("https://webfonts.zohowebstatic.com/latoblack/font.svg#Lato-Black") format("svg"); } @font-face { font-family: "signinicon"; src: url(/images/signinicon.eot); src: url(/images/signinicon.eot) format("embedded-opentype"), url(/__catalyst/auth/static-file?file_name=signinicon.woff2) format("woff2"), url(/__catalyst/auth/static-file?file_name=signinicon.ttf) format("truetype"), url(/__catalyst/auth/static-file?file_name=signinicon.woff) format("woff"), url("../images/fonts/signinicon.651f82b8f8f51f33cd0b6331f95b5b4f.svg") format("svg"); font-weight: normal; font-style: normal; font-display: block; } [class^="icon-"], [class*=" icon-"] { /* use !important to prevent issues with browser extensions that change fonts */ font-family: 'signinicon' !important; speak: never; font-style: normal; font-weight: normal; font-variant: normal; text-transform: none; line-height: 1; /* Better Font Rendering =========== */ -webkit-font-smoothing: antialiased; -moz-osx-font-smoothing: grayscale; } .icon-device:before { content: "\e90a"; } .icon-reload:before { content: "\e912"; } .icon-backarrow:before { content: "\e900"; } .icon-email:before { content: "\e904"; } .icon-hide:before { content: "\e907"; } .icon-otp:before { content: "\e90c"; } .icon-show:before { content: "\e914"; } /*$Id$*/ body { margin: 0px; } ::placeholder { /* Chrome, Firefox, Opera, Safari 10.1+ */ color:#0003; } .bg_one { display: block; position: fixed; top: 0px; left: 0px; height: 100%; width: 100%; background: url('../images/bg.49756b7c711696d95133fa95451f8e13.svg') transparent; background-size: auto 100%; z-index: -1; } .titlename { display: block; font-size: 24px; color: #000; font-weight: 400; text-transform: capitalize; width: auto; margin-bottom: 20px; } .Alert,.Errormsg { display: flex; align-items: center; justify-content: center; margin: auto; height: auto; min-width: 200px; width: fit-content; width: -moz-fit-content; max-width:600px; background-color: #032239; border-radius: 6px; position: fixed; top: -100px; left: 0px; right: 0px; transition: all .2s ease; padding: 0px 20px; z-index:2; } .tick_icon,.error_icon { display: inline-block; height: 20px; width: 20px; background-color: #22C856; border-radius: 50%; background-size: 60px; margin: 0px 15px; float: left; position: relative; } .tick_icon:after { display: block; content: ""; height: 5px; width: 9px; border-bottom: 2px solid #fff; border-left: 2px solid #fff; transform: rotate(-45deg); margin: 7px 6px; box-sizing: border-box; } .alert_message,.error_message { display: inline-block; font-size: 14px; color: #fff; line-height: 18px; margin: 16px 0px; margin-right: 20px; max-width: 510px; } .error_icon { background-color: #FF676F; } .error_icon:before, .error_icon:after { position: absolute; left: 9px; top: 5px; content: ' '; height: 10px; width: 2px; background-color: #FFFFFF; } .error_icon:before { transform: rotate(45deg); } .error_icon:after { transform: rotate(-45deg); } .loader { width: 36px; height: 36px; border: 4px solid #EF7320; border-bottom: 4px solid transparent; border-radius: 50%; display: block; box-sizing: border-box; animation: rotate 1s linear infinite; position: absolute; top: 0px; z-index: 7; bottom: 0px; left: 0px; right: 0px; margin: auto; } @keyframes rotate { 0% { transform: rotate(0deg); } 100% { transform: rotate(360deg); } } .blur { top: 0px; left: 0px; bottom: 0px; background: #fff; width: 100%; height: auto; margin: auto; position: absolute; z-index: 3; opacity: 0.9; display:block; } .bold_font { font-weight: 500; } .searchparent { height: auto; } .textbox_div { display: block; margin-bottom: 30px; position: relative; } #confirm_otp_container .textbox_div{ margin-bottom: 40px; } .textbox { display: block; width: 100%; height: 44px; box-sizing: border-box; border-radius: 2px; text-indent: 12px; font-size: 16px; outline: none; border: none; padding-right: 12px; transition: all .2s ease-in-out; background: #F9F9F9; border: 1px solid #DDDDDD; } .textbox:focus { border: none; border-bottom: 2px solid #EF7320; } #last_password { padding-right: 40px; } ::-webkit-credentials-auto-fill-button { visibility: hidden; pointer-events: none; position: absolute; right: 0px; } input[type="text"],input[type="password"],input[type="email"],input[type="number"] { -webkit-appearance: none; -moz-appearance: none; appearance: none; } .errorborder { border-bottom: 2px solid #ff8484 !important; } .textbox:-webkit-autofill,.textbox:-webkit-autofill:hover, .textbox:-webkit-autofill:focus,.textbox:-webkit-autofill:active { -webkit-box-shadow: inset 0 0 0px 9999px #F9F9F9; -webkit-text-fill-color: black; background-color: #F9F9F9 !important; } .fielderror { display:none; font-size: 14px; margin-top: 5px; } .fielderror a { text-decoration: none; color: #309FF4; } #captcha_container { display: none; border: 1px solid #DDDDDD; width: 250px; padding: 10px; box-sizing: border-box; margin-top: 10px; border-radius: 4px; } #captcha { width: 100%; display: inline-block; height: 40px; padding: 0px 12px; text-indent: 0px; background: #F9F9F9; } #captcha_img { background-color: #FFFFFF; border: none; height: 60px; width: 150px; margin-left: 20px; } #captcha_img img { height: 50px; width: 150px; box-sizing: border-box; margin: 0px; } .reloadcaptcha { height: 30px; width: 30px; border-radius: 50%; display: inline-block; cursor: pointer; position: absolute; right: 20px; top: 20px; background-color: #F2F2F2; font-size: 30px; box-sizing: border-box; color: #0006; } .reloadcaptcha:hover { color:#000000b3; } .load_captcha_btn{ animation: spin 0.5s linear infinite; } #Last_password_div .head_info { margin:0px; } .zeroheight{ width:0px; height:0px; overflow: hidden; display: block; } .btn { cursor: pointer; display: block; width: 100%; height: 44px; border-radius: 4px; letter-spacing: .5; font-size: 14px; font-weight: 600; outline: none; border: none; margin: auto; text-transform: uppercase; margin-bottom: 30px; transition: width .2s ease-in-out; transform: translate(0, -20px) } #nextbtn{ margin-top: 40px !important; } #last_pwd_submit{ margin-top: 40px; } #dont_remember { margin-top:-40px; } .rec_modes_contact_support{ margin-top:-35px; } #reset_password_submit{ margin-top:35px; } user agent stylesheet div { display: block; unicode-bidi: isolate; } style attribute { visibility: visible; } body { font-family: 'ZohoPuvi', Georgia; font-weight: 400; } @media only screen and (max-width: 600px) { body { -webkit-tap-highlight-color: rgba(255, 255, 255, 0); } } .blue { background-color:#EF7320; color: #fff; } .grey { background-color: #F3F3F3; color: #3a3a3a; letter-spacing: 0px; } .green { box-shadow: 0px 2px 2px #fff; background-color: #00C573; color: #fff; } .blue:hover { background: #EF7320; } .changeloadbtn { display: block; height: 44px; width: 44px; border-radius: 22px; padding: 0px; } .changeloadbtn:before { content: ""; height: 20px; width: 20px; display: inline-block; margin: 9px; border: 3px solid #fff; border-top: 3px solid #5AB7FE; border-radius: 50%; animation: spin .5s linear infinite; } @keyframes spin { 0% { transform: rotate(0deg); } 100% { transform: rotate(360deg); } } .doneBtn { position:relative; } .doneBtn:before { content: ''; opacity: 1; height: 15px; width: 6px; border: unset; border-radius: unset; transform-origin: left top; border-right: 3px solid #fff; border-top: 3px solid #fff; left: 12px; top: 23px; margin: 0px; position: absolute; transform: scaleX(-1) rotate(135deg); animation:tickmark .8s ease; } @keyframes tickmark { 0% { height: 0px; width: 0px; border-radius: unset; opacity: 1; } 20% { height: 0px; width: 6px; opacity: 1; border-radius: unset; } 40% { height: 15px; width: 6px; opacity: 1; border-radius: unset; } 100% { height: 15px; width: 6px; opacity: 1; border-radius: unset; } } .doneWithContent span:before { content: ''; opacity: 1; height: 14px; width: 5px; border: unset; border-radius: unset; transform-origin: left top; border-right: 3px solid #fff; border-top: 3px solid #fff; display: inline-block; margin: 0px; position: relative; transform: scaleX(-1) rotate(135deg); top: 12px; left: -21px; } .doneWithContent { padding-left: 21px; position:relative; } .doneWithContent:after { position: absolute; height: 100%; content: ""; display: block; left: 0px; top: 0px; background: #00000008; animation-name: btn_loading; animation-duration: 4.3s; animation-iteration-count: 1; animation-timing-function: linear; } .restrict_icon { display: block; height: 102px; width: 100%; background: url(../images/URLError.76c2ce33de912ad7ae9d2fbfd93ec2c1.png) no-repeat transparent; background-size: auto 100%; margin: auto; margin-top: 30px; background-position: center; } .error_portion { display:none; } .error_content { text-align:center; } .error_content .error_header { font-size: 20px; font-weight: 500; margin-top: 30px; line-height: 26px; } .error_content .error_desc { font-size: 16px; margin: 10px 0px 30px 0px; line-height: 24px; font-weight: 500; color: #000000cc; } .retry_button { line-height:44px; } .doneWithContent:hover { background:#EF7320; } .doneWithContent span { width: 100%; display: block; transition: width .2s ease-in-out; white-space: nowrap; } @keyframes btn_loading { 0% {width:0%;} 100% {width: 100%;} } .resend_label { display:block; text-align:center; } .push_resend { font-size: 14px; color: #626262; font-weight: 500; line-height: 16px; cursor: none; } .bottom_option { cursor: pointer; width: max-content; font-size: 16px; font-weight: 500; text-decoration: none; color: #EF7320; /* transform: translate(10px, 58px); */ } .bottom_line_opt { width: 100%; display: flex; justify-content: center; position: absolute; left: 0px; /* bottom:20%; */ } .errorlabel { color: #E92B2B; } .show_hide_password { font-size: 24px; color: #00000066; position: relative; top: -34px; right: 13px; float: right; cursor: pointer; line-height: 23px; } .show_hide_password:hover { color: #000000b3; } .select2-results__option { list-style-type: none; height: 40px; box-sizing: border-box; padding: 12px 20px; font-size: 14px; line-height: 16px; } .select2-search__field { width: 380px; height: 32px; border: none; outline: none; background: #F7F7F7; border-radius: 2px; margin: 10px 8px; font-size: 14px; padding: 10.5px 8px; } .select2-selection { display: inline-block; outline: none; background-color: #F9F9F9; height: 40px; text-align: center; padding: 10px; box-sizing: border-box; cursor: pointer; } .selection { transition: all .2s ease-in-out; -webkit-user-select: none; display: inline-block; white-space: nowrap; overflow: hidden; width: 0px; height: 43px; } #select2-combobox-results { padding-left: 0px; max-height: 200px; overflow-y: scroll; overflow-x: hidden; width: 400px; margin-top: 10px; margin-bottom: 0px; background: white; } .select2-container--open { z-index: 10; background: #FFFFFF; box-shadow: 0px 5px 8px 2px #0000000d; width: auto; box-sizing: border-box; } .select2 { position: absolute; background: transparent; box-shadow: none; display:none; margin: 2px; } .select2-results__options{ overflow-y: auto; max-height: 200px; } .selection{ width:auto; width:-moz-fit-content; width:-webkit-fit-content; margin: auto; display: block; } .select2-search--hide,.select2-selection__clear { display: none; } #country_code_select { width: 50px; height: 40px; position: absolute; opacity: 0; display: none; z-index: 0; } .select_country_code{ width: 50px; height: 40px; display: inline-block; float: left; position: absolute; line-height: 39px; text-align: center; font-size: 16px; color: black; display: none; z-index: 0; } .pic { width: 20px; height: 14px; background-size: 280px 252px; background-image: url("../images/Flags2x.0b8394efb0ea9167cef2465fb8f63d78.png"); float: left; } .cc { float: right; color: #AEAEAE; } .cn { margin-left: 10px; } .select2-results__option--highlighted { background: #F4F6F8; } .searchparent { height: auto; } .select2-results__options{padding-left:0px;} .optionstry { display: table; width: 100%; height: auto; padding: 20px 50px; box-sizing: border-box; cursor: pointer; } .optionstry:hover { background-color: #F9F9F9; } .img_option_try { margin:12px 0px; } .img_option { display: table-cell; width: 30px; color: #499aff; font-size: 30px; vertical-align: top; height: 30px; } .option_details_try { height: auto; width: auto; padding-left: 12px; vertical-align: top; box-sizing: border-box; } .option_title_try { display: block; font-size: 16px; font-weight: 500; } .option_description { display: block; font-size: 13px; line-height: 20px; color: #000c; margin-top: 5px; } #email_confirm_div .optionstry,#mobile_confirm_div .optionstry { padding: 22px 40px; } #email_confirm_div .img_option,#mobile_confirm_div .img_option { font-size: 20px; width: 20px; height: 20px; } #email_confirm_div .option_details_try,#mobile_confirm_div .option_details_try { line-height: 20px; } .otp_container::after,.mini_txtbox:after { content:attr(placeholder); height: 54px; line-height: 54px; position: absolute; color: #B9BCBE; left: 15px; top: 0px; z-index: 1; } .mini_txtbox:after{line-height: 42px;height:42px;} .hidePlaceHolder::after{ z-index: -1 !important; } .otp_verify { margin-top: 10px; } .toggle_active { background: #F9F9F9; border-radius: 2px; } .optionmod { margin-left: 0px; box-sizing: border-box; } .option_title_try { color: #000000; } .mini_btn { margin-left: 10px; width: 30%; float: right; font-size: 12px; margin-bottom: 0px; margin-right: 0px; } .backoption { width: 30px; height: 30px; font-size: 21px; display: inline-block; float: left; color:#666666; padding: 4px 0px; box-sizing: border-box; margin-right: 5px; border-radius: 15px; cursor: pointer; font-weight: 500; text-align: center; } .backoption:hover { background: #f4f4f4; } #select_reocvery_mobile .fieldcontainer, #other_options_div .fieldcontainer, #select_reocvery_email .fieldcontainer { width: auto; margin: 0 -40px; margin-bottom: 40px; } .text16 { display: block; text-align: center; margin-bottom: 30px; color: #626262; font-size: 16px; font-weight:500; text-decoration: none; } .pointer { cursor: pointer; } .pass_policy { color: #8c8c8c; font-size: 14px; padding-top: 10px; } .nomargin { display: block; margin: 0px; } .tryanother, .extra_options { width: fit-content; margin: 0 auto; cursor: pointer; margin-top: 20px; } .bluetext_action { display: inline-block; font-size: 14px; color: #EF7320; font-weight:500; line-height: 16px; cursor: pointer; margin-top: 5px; } .nonclickelem { color: #626262; pointer-events: none; cursor:none; } .bluetext_action a { text-decoration: none; } .recovery_container { display: block; width: 350px; min-height: 350px; background-color: #fff; box-shadow: 0px 2px 30px 0px #2b2b2b17; margin: auto; position: relative; z-index: 1; /* margin-top: 7%; */ overflow: hidden; background: linear-gradient(180deg, rgba(255, 255, 255, 0.06) 40%, rgba(240, 242, 255, 0.18) 80%); box-shadow: 3.9769999980926514px 3.9769999980926514px 34.79999923706055px rgba(0, 0, 0, 0.15) } .recovery_box { width: 480px; min-height: 500px; height: auto; background: #fff; box-sizing: border-box; padding: 40px 40px; border-radius: 2px; transition: all .1s ease-in-out; float: left; overflow-y: auto; display: table-cell; border-right: 2px solid #f1f1f1; background: linear-gradient(180deg, rgba(255, 255, 255, 0.06) 40%, rgba(240, 242, 255, 0.18) 80%); } .menuicon { display: inline-block; float: left; height: 14px; width: 14px; padding: 14px; font-size: 14px; text-align:center; } .user_info { display: inline-flex; justify-content: space-between; border: 1px solid #EEEEEE; margin-bottom: 20px; border-radius: 7px; cursor: pointer; box-sizing: border-box; max-width: 100%; flex-wrap: nowrap; } .user_info_space { margin-top: 20px; } .support_temp_info { margin-bottom: 30px; line-height:24px; } .menutext { display: inline-block; font-size: 16px; padding: 12px 14px; line-height: 20px; width: auto; word-break: break-all; } .fieldcontainer { margin-bottom: 40px; } .change_user { position: relative; float: right; font-size: 14px; padding: 0px 14px 0px 0px; display: inline-block; color: #EF7320; line-height: 38px; font-weight: 500; display: flex; align-items: center; justify-content: center; } .info_head { display: block; font-size: 20px; font-weight: 500; margin-bottom: 20px; line-height: 30px; overflow: auto; transition: all .1s ease-in-out; } .info_head #headtitle { display:block; padding-top: 40px !important; } .head_info { font-size: 16px; margin: 10px 0px 0px 0px; line-height: 24px; font-weight: 400; color: #000000e6; } .user_info_space+.head_info { margin:0px } .otp_container { display: block; width: 100%; height: 54px; box-sizing: border-box; border-radius: 2px; font-size: 16px; outline: none; padding: 0px 15px; transition: all .2s ease-in-out; background: #F9F9F9; border: 1px solid #DDDDDD; text-indent: 0px; } .customOtp { border: none; outline: none; background: transparent; height: 100%; font-size: 16px; text-align: left; width: 22px; padding:0px; } .textindent42 { text-indent: 46px; } .textindent62 { text-indent: 56px; } .textintent52 { text-indent: 51px; } .box_header_load { display: block; height: auto; padding: 50px 0px; -webkit-animation-name: blink; /* Safari 4.0 - 8.0 */ -webkit-animation-duration: 1s; /* Safari 4.0 - 8.0 */ animation-name: blink; animation-duration: 1s; animation-iteration-count: infinite; animation-timing-function:linear; opacity: .05; } .box_head_load { display: block; width: 180px; height: 18px; border-radius: 8px; background-color: #000; } .blink_btn { -webkit-animation-name: blink; /* Safari 4.0 - 8.0 */ -webkit-animation-duration: 1s; /* Safari 4.0 - 8.0 */ animation-name: blink; animation-duration: 1s; animation-iteration-count: infinite; animation-timing-function:linear; opacity: .05; } .box_define_load { display: block; max-width: 800px; width: 100%; height: 16px; border-radius: 8px; background-color: #000; margin-top: 20px; } @keyframes blink { 0% { opacity: .08; } 50% { opacity: .01; } 100% { opacity: .08; } } #loading_div, #Last_password_div, #mobile_confirm_div, #email_confirm_div, #confirm_otp_div, #other_options_div, #contact_support_div, #change_password_div, #recovery_device_div, #password_matched_div, #username_div, #terminate_session_div { display:none; } #multiple_reocvery_mobile, #single_reocvery_mobile, #multiple_reocvery_email, #single_reocvery_email { display:none; } .verify_mob_container, .verify_email_container, .select_device_othermodes { display:none; } .devices { position: relative; padding: 0px; width: fit-content !important; width: -moz-fit-content !important; width: -webkit-fit-content !important; margin: auto; border-radius: 8px; box-sizing: border-box; margin-bottom: 30px; background: #FCFCFC; } .device_title { position: absolute; top: 12px; left: 48px; font-size: 10px; font-weight: 600; text-transform: uppercase; color: #000000b3; line-height:14px; z-index:11; } .select2-container--device_select { margin: 0px; display: block; position: relative; margin: auto; cursor: pointer; border: 1px solid #DDDDDD; border-radius: 8px; overflow: hidden; } #recovery_device_select+.select2-container { width: fit-content !important; width: -moz-fit-content !important; width: -webkit-fit-content !important; } .select2-container--device_select .select2-selection__arrow{ position: absolute; top: 0px; right: 14px; width: auto; height: 100%; } .select2-container--device_select .select2-selection__arrow b { border-color: transparent #00000066 #00000066 transparent; border-style: solid; transform: rotate(45deg); border-width: 2px; height: 4px; width: 4px; position: relative; border-radius: 1px; display: inline-block; top: 24px; } .select2-container--device_select .selection { margin: auto; height: 60px; box-sizing: border-box; min-width: 140px; } .select2-container--device_select .select2-selection { height: unset; padding: 12px 34px 12px 14px; } .select2-container--device_select .select_con { font-weight: 400; margin-left: 12px; margin-top: 16px; } .select2-container--device_select .select_icon { margin-top: 7px; } .select2-results__options { margin: 0px; } .select2-results__options .select_con { margin:0px; } .select2-dropdown .select_con{ width: 100%; overflow: hidden; text-overflow: ellipsis; white-space: nowrap; } .hideArrow .select2-selection { cursor: default; padding: 12px 14px; } .hideArrow .select2-selection__arrow { display: none; } .secondary_devices { display: none; width: 150px; margin: auto; padding: 8px 18px; border-radius: 18px; background-color: #F4F6F8; border: none; overflow: hidden; max-width: 200px; text-overflow: ellipsis; font-size: 16px; outline: none; } .secondary_devices .select2-container--open { width: 200px; } .device_select { display: block; position: unset; width: auto !important; } .device_selection { padding: 8px 14px; border-radius: 18px; } .deviceparent { text-align: center; display: none; text-overflow: ellipsis; overflow: hidden; width: 100%; white-space: nowrap; } .deviceparent { display: block; } .deviceinfo { display: inline-block; } .devicetext { margin: 0 auto; margin-left: 30px; } .select_icon { float:left;font-size: 20;color: #499aff; } .select_con { float:left; width: auto; overflow: hidden; margin-left: 5px; text-overflow: ellipsis; } .options_selct { max-width: 180px; font-size: 14px; line-height: 20px; font-weight: 500; width: auto; } .contact_support_class { min-height: unset; } .contact_support_class .recovery_box { min-height: unset; } #mfa_totp_section { display: none; } /* Terminate_session page */ #terminate_session_form { overflow: auto; } #terminate_session_form .checkbox_div { position: relative; } #terminate_session_form .checkbox_check { position: absolute; z-index: 1; opacity: 0; left: 15px; margin: 0px; height: 16px; cursor: pointer; width: 16px; } #terminate_session_form .checkbox { float: left; z-index: 0; height: 12px; width: 12px; display: inline-block; border: 2px solid #ccc; border-radius: 2px; position: relative; top: 1.5px; overflow: hidden; background-color: #fff; } #terminate_session_form .checkbox_check:hover ~ .checkbox { border: 2px solid #EF7320; } #terminate_session_form .checkbox_check:checked ~ .checkbox { background-color: #EF7320; border-color: #EF7320; } #terminate_session_form .checkbox .checkbox_tick { display: block; height: 3px; width: 8px; border-bottom: 2px solid #fff; border-left: 2px solid #fff; transform: rotate(-45deg); margin: 2px 1px; } #terminate_session_form .checkbox_label { cursor: pointer; margin: 0px 6px; line-height: 20px; width: 85%; display: inline-block; } #terminate_session_form .showOneAuthLable { border: 1px solid #E7E7E7; border-radius: 10px 10px 0px 0px; box-sizing: border-box; max-width: 420px; } .oneAuthLable { display: inline-flex; max-width: 420px; padding: 15px; align-items: center; box-sizing: border-box; border: 1px solid #E7E7E7; border-top: none; border-radius: 0px 0px 15px 15px; } .oneauth_icon { display: inline-block; width: 40px; height: 40px; border-radius: 14px; background-size: 40px 40px; } .one_auth_icon_v2 { background-image: url(../images/oneAuth2.4b2a6945d5ecd70b703ba18f5f11eb68.png); } .oneAuthLable .text_container { flex: 1; margin: 0px 10px; } .oneAuthLable .text_header { font-size: 12px; font-weight: 500; margin-bottom: 4px; } .oneAuthLable .text_desc { font-size: 10px; line-height: 14px; } .oneAuthLable .togglebtn_div { height: 16px; padding: 4px; width: 30px; display: inline-block; position: relative; } .oneAuthLable .real_togglebtn { cursor: pointer; display: inline-block; position: relative; height: 16px; width: 30px; z-index: 1; opacity: 0; position: absolute; margin: 0px; } .real_togglebtn:checked ~ .togglebase { background-color: #10bc83; } .real_togglebtn:checked ~ .togglebase .toggle_circle { left: 16px; } .oneAuthLable .togglebase { height: 16px; width: 30px; display: inline-block; background: #ccc; border-radius: 10px; position: absolute; } .oneAuthLable .toggle_circle { transition: all .2s ease-in-out; height: 12px; width: 12px; background-color: #fff; border-radius: 10px; display: inline-block; position: absolute; left: 2px; top: 2px; box-shadow: 0px 0px 5px #999; } #terminate_session_submit { margin-top: 30px; } @media only screen and (max-width: 600px) { body { -webkit-tap-highlight-color: rgba(255, 255, 255, 0); } .bg_one { display: none; } .alert_message,.error_message { max-width: 300px; width: 75%; } .Alert,.Errormsg { max-width: 400px !important; padding: 0px; min-width: 300px; } .textbox,.otp_container { background-color: transparent; border: none; border-bottom: 2px solid #F4F6F8; border-radius: 0px; } .textbox:-webkit-autofill,.textbox:-webkit-autofill:hover, .textbox:-webkit-autofill:focus,.textbox:-webkit-autofill:active { -webkit-box-shadow: inset 0 0 0px 9999px white; -webkit-text-fill-color: black; } .textbox:valid { border: none; border-bottom: 2px solid #EF7320; } #captcha { border-radius:2px;outline:none;-webkit-appearance: none;-moz-appearance: none; appearance: none; } .changeloadbtn{border-radius: 22px;} .btn { margin-top:10px;border-radius: 4px; } .mini_btn { margin-top: 0px; } .optionstry:hover { background-color: #fff; } .img_option{ margin: 0px 10px 0px 0px !important;} .option_details_try { color: #555555; display: inline-block; margin: 0px; } #multiple_reocvery_mobile .fieldcontainer, #multiple_reocvery_email .fieldcontainer, #other_options_div .fieldcontainer { margin: 0 -30px; margin-bottom: 40px; } .optionmod { margin-left: 0px; padding:15px 30px; line-height: 24px; } .recovery_box { width: 100%; padding: 0px 30px; height: auto; border-right: none; padding-bottom: 40px; } .recovery_container { width: 100%; box-shadow: none; margin: 0 auto; position: relative; z-index: 1; /* margin-top: 40px; */ height: 100vh; overflow: hidden; } .info_head { margin-bottom:30px; } } .devices .select2-container--open { background: transparent; } @media only screen and (-webkit-min-device-pixel-ratio: 2), only screen and ( min--moz-device-pixel-ratio: 2), only screen and ( -o-min-device-pixel-ratio: 2/1), only screen and ( min-device-pixel-ratio: 2), only screen and ( min-resolution: 192dpi), only screen and ( min-resolution: 2dppx) { .restrict_icon { background: url(../images/URLError2x.5e762e74a83ee0cda60b8f7c9df299a8.png) no-repeat transparent center/auto 100%; } } .hide { display:none; } .hover-tool-tip { position: absolute; top: 15px; left: 335px; background: #fff; padding: 20px; box-shadow: 0px 0px 10px #0000001a; transition: opacity 0.1s; border-radius: 5px; z-index: 9; opacity: 0; } .hover-tool-tip::after { content: ""; position: absolute; width: 0; height: 0; margin-left: -8px; top: 25px; left: 0; box-sizing: border-box; border: 6px solid black; border-color: #ffffff transparent transparent #ffffff; transform-origin: 0 0; transform: rotate(-45deg); box-shadow: -6px -6px 10px 0 #0000001a; } .hover-tool-tip.no-arrow::after { content: none; } .hover-tool-tip ul { padding: 0; margin: 0px 0px 0px 15px; list-style: none; } .hover-tool-tip p { margin: 0px 0px 10px 0px; font-size: 14px; font-weight: 500; } .hover-tool-tip ul li { font-size: 12px; display: flex; align-items: center; white-space: nowrap; line-height: 25px; } .hover-tool-tip ul li.success::before { background-color: #0dbc83; } .hover-tool-tip ul li::before { content: ""; margin-right: 10px; background-color: red; width: 8px; height: 8px; border-radius: 50%; } .titlename{ display:none !important; } #lookup_div .head_info{ display:none !important; } .info_head{ /* padding-top:20px */ } .rec_modes_other_options{ display: none !important; } #login_id{ text-indent: 0 !important; } .showcountry_code{ display:none !important; } ``` **client-package.json** ```javascript { "name": "zylkertechnologies", "version": "0.0.1", "homepage": "index.html", "login_redirect": "home.html" } ``` The client directory is now configured. Let’s go over how the function and the client code works: * The end-user will first encounter the **Login Page** you have configured and styled in the console. * To create an account, they will click the **Sign Up** option and be directed to the *Sign Up* page. > **Note:** End-users can either sign up to your application using their [Identity Provider Logins](https://docs.catalyst.zoho.com/en/cloud-scale/help/authentication/social-logins/introduction/) or use the conventional method of signing up to the application using their email ID. * Once the information is inputted and they click **Sign Up**, or if they attempt to sign up using a Identity Provider Login of their choice, their details will be provided as a JSON input to the [Custom User Validation](https://docs.catalyst.zoho.com/en/cloud-scale/help/authentication/whitelisting/custom-user-validation/introduction/) function (`authorization_portal_function/index.js`). * The function will only authenticate users if the condition you have coded is satisfied. For this tutorial, the users will only be authenticated if they signed up to the application using a Zylker registered email address. * Upon successful authentication, an [Email Verification](https://docs.catalyst.zoho.com/en/cloud-scale/help/authentication/email-templates/introduction/) email will be sent to the account they used to sign up to the application. > **Note:** Because we are using Embedded Login, a native Catalyst authentication type, no additional logic to trigger the appropriate emails is required. It will be handled by Catalyst automatically. * Once the user verifies their email address by clicking the link provided in the email, they will be signed up to the application. Their details can be viewed in the [User Management](https://docs.catalyst.zoho.com/en/cloud-scale/help/authentication/user-management/introduction/) section of the *Authentication* component. * The end-user can now log in to the application using their authenticated credentials. * The end-user can also reset their password by clicking the **Forgot Password** option. In this event, the *Password Reset* email will be sent to their registered email. Following the steps mentioned in the email, they can easily reset their credentials. **React web app** Let’s configure the client component. The React web [client directory](https://docs.catalyst.zoho.com/en/cli/v1/project-directory-structure/client-directory) contains the following files: - The root directory of the client contains a `client-package.json` file, which is a configuration file defining the name, version, default home page, and redirect page of the client component. - The `zylkertechnologies` client directory contains two subfolders, as per the default project structure of a React app: - The `public` folder is generally used to hold files that can be openly accessed by browsers through public URLs, such as icon files of the web app, the `index.html` file, the `embeddediframe.css` and the `fpwd.css` file. - The `src` folder contains the application’s source files that will be included in the build folder when we compile the React app. - The client directory also contains the [`package.json`](https://docs.npmjs.com/files/package.json) dependency file and a hidden [`.gitignore`](https://docs.npmjs.com/files/package.json) file. - The files present in the `public` folder include: - [Native React files](https://reactjs.org/docs/getting-started.html?#try-react) such as setup `Tests.js`, `index.js`, `reportWebVitals.js`, `logo.svg`, and `App.test.js`. - `index.html` - Contains Catalyst web sdk that allows you to access Catalyst components. - We will be creating two additional files `embedddediframe.css` and `fpwd.css` that will contain the styling elements for the login and password reset forms of our application. - The files present in the `src` folder include: - Native React files such as `setupTests.js`, `reportWebVitals.js`, `logo.svg`, and `App.test.js`. - `App.js` - Contains the hash routes to your application - `App.css` - Contains the overall styling elements of your application - `index.js` - The entry point of the react application. - `index.css` - Contains the styling of the elements present in the `index.js` file. - You will be creating the following files in the `src` folder: - `Button.css` - Contains the styling elements for the *Logout* button that will be present in the application. - `Button.js` - Contains the React component for the *Logout* present in the application. - `Layout.js` - Contains the React component for the application's logic - `LoginPage.js` - Contains the React component for the login pages you generated in the Catalyst console. - `UserProfile.css` - Contains the styling elements for the user information page that will be displayed once you log in to the application. - `UserProfile.js` - Contains the React component to render the user details after you login. - `Signup.css` - Contains the styling elements for the Signup page in the application. - `Signup.js` - Contains the React component for the Signup pages you generated in the Catalyst console. We will be coding in the `index.html`, `embeddediframe.css`,`fpwd.css`, `App.js`, `App.css`, `index.css`, `index.js`, `Button.css`, `Button.js`, `Layout.js`, `LoginPage.js`, `UserProfile.css`, `UserProfile.js`, `Signup.js` and `Signup.css` files. We will also be making a change in the `client-package.json`. to ensure that the homepage of the application is the authenticated page. > **Note:** You can delete the native React files as they not required for building this application. #### Install additional React packages The `react-router-dom` package needs to be installed in the `AuthorizationPortal/zylkertechnologies` client directory using the CLI command given below: ```sh npm install react-router-dom ``` This command will install the `react-router-dom` module, save the dependencies, and allow us to perform the required hash routing in our application. This is the client directory after you have created the required files and deleted the unnecessary files. ![client_directory_auth](https://catalyst-docs-development.zohostratus.in/images/tutorials/embedded_auth/client_directory_auth.webp) > **Note:** Please go through the all code given in this section to ensure you fully understand it. Copy the code given below and paste it in `index.html` located in the client directory (`zylkertechnologies/public/`) using an IDE and save the file. You will need to create two new files in the same folder and name them `embeddediframe.css` and `fpwd.css`. Copy and paste the code given below in the respective files and save them. **index.html** ```xml <!DOCTYPE html> <html lang="en"> <head> <meta charset="utf-8" /> <link rel="icon" href="%PUBLIC_URL%/favicon.ico" /> <meta name="viewport" content="width=device-width, initial-scale=1" /> <meta name="theme-color" content="#000000" /> <meta name="description" content="Web site created using create-react-app" /> <link rel="apple-touch-icon" href="%PUBLIC_URL%/logo192.png" /> <!-- manifest.json provides metadata used when your web app is installed on a user's mobile device or desktop. See https://developers.google.com/web/fundamentals/web-app-manifest/ --> <link rel="manifest" href="%PUBLIC_URL%/manifest.json" /> <!-- Notice the use of %PUBLIC_URL% in the tags above. It will be replaced with the URL of the `public` folder during the build. Only files inside the `public` folder can be referenced from the HTML. Unlike "/favicon.ico" or "favicon.ico", "%PUBLIC_URL%/favicon.ico" will work correctly both with client-side routing and a non-root public URL. Learn how to configure a non-root public URL by running `npm run build`. --> <title>React App</title> </head> <body> <noscript>You need to enable JavaScript to run this app.</noscript> <div id="root"></div> <!-- This HTML file is a template. If you open it directly in the browser, you will see an empty page. You can add webfonts, meta tags, or analytics to this file. The build step will place the bundled scripts into the <body> tag. To begin the development, run `npm start` or `yarn start`. To create a production bundle, use `npm run build` or `yarn build`. --> </body> </html> ``` **embeddediframe.css** ```css @font-face { font-family: "Roboto Mono"; font-weight: 400; font-style: normal; src: url("https://webfonts.zohowebstatic.com/robotomonoregular/font.eot"); src: url("https://webfonts.zohowebstatic.com/robotomonoregular/font.eot?#iefix") format("eot"), url("https://webfonts.zohowebstatic.com/robotomonoregular/font.woff2") format("woff2"), url("https://webfonts.zohowebstatic.com/robotomonoregular/font.woff") format("woff"), url("https://webfonts.zohowebstatic.com/robotomonoregular/font.ttf") format("truetype"), url("https://webfonts.zohowebstatic.com/robotomonoregular/font.svg#RobotoMono-Regular") format("svg"); } @font-face { font-family: "LatoLgt"; font-weight: 300; font-style: normal; src: url("https://webfonts.zohowebstatic.com/latolight/font.eot"); src: url("https://webfonts.zohowebstatic.com/latolight/font.eot?#iefix") format("eot"), url("https://webfonts.zohowebstatic.com/latolight/font.woff2") format("woff2"), url("https://webfonts.zohowebstatic.com/latolight/font.woff") format("woff"), url("https://webfonts.zohowebstatic.com/latolight/font.ttf") format("truetype"), url("https://webfonts.zohowebstatic.com/latolight/font.svg#Lato-Light") format("svg"); } @font-face { font-family: "LatoReg"; font-weight: 400; font-style: normal; src: url("https://webfonts.zohowebstatic.com/latoregular/font.eot"); src: url("https://webfonts.zohowebstatic.com/latoregular/font.eot?#iefix") format("eot"), url("https://webfonts.zohowebstatic.com/latoregular/font.woff2") format("woff2"), url("https://webfonts.zohowebstatic.com/latoregular/font.woff") format("woff"), url("https://webfonts.zohowebstatic.com/latoregular/font.ttf") format("truetype"), url("https://webfonts.zohowebstatic.com/latoregular/font.svg#Lato-Regular") format("svg"); } @font-face { font-family: "LatoSB"; font-weight: 700; font-style: normal; src: url("https://webfonts.zohowebstatic.com/latobold/font.eot"); src: url("https://webfonts.zohowebstatic.com/latobold/font.eot?#iefix") format("eot"), url("https://webfonts.zohowebstatic.com/latobold/font.woff2") format("woff2"), url("https://webfonts.zohowebstatic.com/latobold/font.woff") format("woff"), url("https://webfonts.zohowebstatic.com/latobold/font.ttf") format("truetype"), url("https://webfonts.zohowebstatic.com/latobold/font.svg#Lato-Bold") format("svg"); } @font-face { font-family: "LatoB"; font-weight: 900; font-style: normal; src: url("https://webfonts.zohowebstatic.com/latoblack/font.eot"); src: url("https://webfonts.zohowebstatic.com/latoblack/font.eot?#iefix") format("eot"), url("https://webfonts.zohowebstatic.com/latoblack/font.woff2") format("woff2"), url("https://webfonts.zohowebstatic.com/latoblack/font.woff") format("woff"), url("https://webfonts.zohowebstatic.com/latoblack/font.ttf") format("truetype"), url("https://webfonts.zohowebstatic.com/latoblack/font.svg#Lato-Black") format("svg"); } @font-face { font-family: "signinicon"; src: url(/images/signinicon.eot); src: url(/images/signinicon.eot) format("embedded-opentype"), url(/__catalyst/auth/static-file?file_name=signinicon.woff2) format("woff2"), url(/__catalyst/auth/static-file?file_name=signinicon.ttf) format("truetype"), url(/__catalyst/auth/static-file?file_name=signinicon.woff) format("woff"), url("../images/fonts/signinicon.651f82b8f8f51f33cd0b6331f95b5b4f.svg") format("svg"); font-weight: normal; font-style: normal; font-display: block; } [class^="icon-"], [class*=" icon-"] { /* use !important to prevent issues with browser extensions that change fonts */ font-family: "signinicon" !important; speak: never; font-style: normal; font-weight: normal; font-variant: normal; text-transform: none; line-height: 1; /* Better Font Rendering =========== */ -webkit-font-smoothing: antialiased; -moz-osx-font-smoothing: grayscale; } .icon-hide:before { content: "\e907"; } .icon-show:before { content: "\e914"; } .icon-backarrow:before { content: "\e900"; } .icon-backup:before { content: "\e901"; } .icon-support:before { content: "\e915"; } body { font-family: "Roboto", sans-serif; margin: 0px; } .bg_one { display: block; position: fixed; top: 0px; left: 0px; height: 100%; width: 100%; background: url("../images/bg.49756b7c711696d95133fa95451f8e13.svg") transparent; background-size: auto 100%; z-index: -1; } .signin_container { height: 25rem; display: block; width: 520px; background-color: #fff; box-shadow: 0px 2px 30px #ccc6; margin: auto; position: relative; z-index: 1; margin-top: auto; overflow: hidden; } .mod_container { width: 500px; } .checkbox_label { display: inline-block; font-size: 14px; margin: 0px 6px; float: left; cursor: pointer; line-height: 20px; } .signin_box { min-height: 520px; height: auto; background: #fff; box-sizing: border-box; border-radius: 2px; transition: all 0.1s ease-in-out; float: left; overflow-y: auto; display: table-cell; border-right: 2px solid #f1f1f1; width: 100%; padding: 0px 30px; height: auto; border-right: none; } .nopassword_message { display: table-cell; font-size: 14px; color: #222222; letter-spacing: 0px; line-height: 20px; height: auto; width: auto; margin-left: 10px; font-weight: 400; padding-left: 10px; } .portal_logo { display: block; height: 30px; width: auto; margin-bottom: 20px; background-size: auto 100%; } .pointer { cursor: pointer; } #forgotpassword { cursor: default; } #forgotpassword > a { cursor: pointer; } .text16 { display: block; text-align: center; margin-bottom: 30px; color: #626262; font-size: 16px; font-weight: 500; text-decoration: none; } .checkbox { float: left; z-index: 0; height: 12px; width: 12px; display: inline-block; border: 2px solid #ccc; border-radius: 2px; position: relative; top: 1.5px; overflow: hidden; background-color: #fff; } .show_hide_password { font-size: 34px; color: #a7a7a7; position: relative; top: -39px; right: 13px; float: right; cursor: pointer; height: 20px; } .pass_policy, .pass_policy_error { color: #8c8c8c; font-size: 14px; padding-top: 10px; } .pass_policy_error { color: #ed7500; display: block; } .checkbox_check { position: absolute; z-index: 1; opacity: 0; left: 50px; margin: 0px; height: 16px; cursor: pointer; width: 16px; } .checkbox_div { display: none; height: 16px; width: auto; margin-bottom: 30px; } .checkbox_div { display: block; } #terminate_session_form .checkbox_mod { margin-top: 50px; } .checkbox_tick { display: block; height: 3px; width: 8px; border-bottom: 2px solid #fff; border-left: 2px solid #fff; transform: rotate(-45deg); margin: 2px 1px; } .passexpsuccess { display: none; height: 106px; width: 178px; background: url("../images/passexpiry.db4c66debd4dd8880655f338ead6b973.png") no-repeat transparent; background-size: auto 100%; margin: 0px auto; margin-bottom: 20px; } .signin_head { display: block; font-size: 24px; font-weight: 500; margin-bottom: 30px; line-height: 30px; transition: all 0.1s ease-in-out; } .rightside_box { width: 390px; height: auto; float: right; box-sizing: border-box; padding: 40px; background-color: #fff; display: table-cell; } .service_name, .backup_desc, .pass_name { display: block; font-size: 16px; color: #000; font-weight: 400; } .titlename { display: block; font-size: 24px; color: #000; font-weight: 400; text-transform: capitalize; width: auto; margin-bottom: 20px; } .extramargin { margin-top: 10px; } .show_hide_password { font-size: 34px; color: #a7a7a7; position: relative; top: -39px; right: 13px; float: right; cursor: pointer; height: 20px; } .textbox_div { display: block; margin-bottom: 30px; position: relative; } .textbox_label { display: block; font-size: 14px; color: #626262; padding-bottom: 10px; } .textbox { display: block; width: 100%; height: 44px; box-sizing: border-box; border-radius: 2px; text-indent: 12px; font-size: 16px; outline: none; border: none; padding-right: 12px; transition: all 0.2s ease-in-out; background: #f1f1f1; border: 1px solid #e4e4e4; } .textbox:valid { border: 2px solid #f4f6f8; } .textindent42 { text-indent: 36px; } .textindent62 { text-indent: 56px; } .textintent52 { text-indent: 46px; } ::-webkit-credentials-auto-fill-button { visibility: hidden; pointer-events: none; position: absolute; right: 0px; } input[type="text"], input[type="password"], input[type="email"], input[type="number"] { -webkit-appearance: none; -moz-appearance: none; appearance: none; } .errorborder:focus, .textbox.errorborder { border-bottom: 2px solid #ff8484; } .btn { cursor: pointer; display: block; width: 100%; height: 44px; border-radius: 4px; letter-spacing: 0.5; font-size: 14px; font-weight: 600; outline: none; border: none; margin: auto; text-transform: uppercase; margin-bottom: 30px; transition: all 0.2s ease-in-out; } .signupbtn { width: 250px; margin-left: 0px; } .blue { box-shadow: 0px 2px 2px #fff; background-color: #159aff; color: #fff; } .grey { background-color: #f3f3f3; color: #3a3a3a; letter-spacing: 0px; } .green { box-shadow: 0px 2px 2px #fff; background-color: #00c573; color: #fff; } .blue:hover { background-color: #0966c2; cursor: pointer; box-shadow: 0px 2px 2px rgba(90, 183, 254, 0.2); } .changeloadbtn { display: block; height: 44px; width: 44px; border-radius: 22px; padding: 0px; } .changeloadbtn:before { content: ""; height: 20px; width: 20px; display: inline-block; margin: 9px; border: 3px solid #fff; border-top: 3px solid #5ab7fe; border-radius: 50%; animation: spin 0.5s linear infinite; } @keyframes spin { 0% { transform: rotate(0deg); } 100% { transform: rotate(360deg); } } .hellouser { margin-bottom: 30px; } .username { display: inline-block; max-width: 100%; font-size: 16px; font-weight: 500; line-height: 24px; overflow: hidden; text-overflow: ellipsis; padding-right: 10px; float: left; } .Notyou { display: inline-block; font-size: 16px; line-height: 24px; } .signup_text { text-align: center; margin: 20px 0px; font-size: 16px; } .backbtn { display: none; float: left; height: 28px; width: 28px; border-radius: 50%; position: absolute; padding: 0px 5px; cursor: pointer; overflow: hidden; transition: all 0.1s ease; } .zeroheight { width: 0px; height: 0px; overflow: hidden; display: block; } #captcha, #bcaptcha { background: #fff; width: 60%; display: inline-block; } #captcha_img, #bcaptcha_img { width: 40%; float: right; background-color: #ffffff; border-left: none; } #captcha_img img, #bcaptcha_img img { height: 40px; } .reloadcaptcha { float: right; clear: both; margin-top: -37px; height: 30px; width: 30px; border-radius: 50px; background: url("../images/reload.eaef7ea18b680bc07558164c918909a6.png") no-repeat transparent 5px; background-size: 50%; display: inline-block; cursor: pointer; } #captcha_container { display: none; } .options { display: block; width: 100%; max-width: 500px; min-height: 80px; padding: 0px 50px; cursor: pointer; } .options:hover { background-color: #f9f9f9; } .option_details { display: inline-block; height: auto; width: 320px; margin-left: 15px; } .option_title { display: block; font-size: 16px; font-weight: 500; } .img_option { display: table-cell; height: 24px; width: 24px; color: #499aff; font-size: 24px; vertical-align: top; } .errorlabel { color: #e92b2b; } .fielderror { display: none; font-size: 14px; margin-top: 10px; } .fielderror a { text-decoration: none; color: #309ff4; } .bluetext { color: #309ff4; cursor: pointer; } #country_code_select { width: 50px; height: 40px; position: absolute; opacity: 0; display: none; z-index: 0; } .select_country_code { width: 50px; height: 40px; display: inline-block; float: left; position: absolute; line-height: 40px; text-align: center; font-size: 16px; color: black; display: none; z-index: 0; } .pic { width: 20px; height: 14px; background-size: 280px 252px; background-image: url("../images/Flags2x.0b8394efb0ea9167cef2465fb8f63d78.png"); float: left; } .cc { float: right; color: #aeaeae; } .cn { margin-left: 10px; } .select2-results__option--highlighted { background: #f4f6f8; } .searchparent { height: auto; } .searchlbl { font-size: 10px; font-weight: bolder; display: inline-block; margin-top: 15px; margin-bottom: 10px; margin-left: 10px; } .cntrysearch { width: 380px; height: 32px; border-radius: 2px; font-size: 14px; box-sizing: border-box; padding: 8px 10px; background: #f7f7f7; outline: none; border: none; margin-top: 10px; } .select2-results__option { list-style-type: none; height: 40px; box-sizing: border-box; padding: 12px 20px; font-size: 14px; line-height: 16px; } .select2-search__field { width: 380px; height: 32px; border: none; outline: none; background: #f7f7f7; border-radius: 2px; margin: 10px 0 0 10px; font-size: 14px; padding: 10.5px 8px; } .select2-selection { display: inline-block; outline: none; /* background-color: #F4F6F8; */ height: 40px; text-align: center; padding: 10px; box-sizing: border-box; cursor: pointer; } .selection { transition: all 0.2s ease-in-out; -webkit-user-select: none; display: inline-block; white-space: nowrap; overflow: hidden; width: 0px; height: 43px; } #select2-combobox-results { padding-left: 0px; max-height: 200px; overflow-y: scroll; overflow-x: hidden; width: 400px; margin-top: 10px; margin-bottom: 0px; background: white; } .select2-container--open { z-index: 10; background: #ffffff; box-shadow: 0 2px 4px 0 rgba(0, 0, 0, 0.13); width: auto; box-sizing: border-box; } .select2 { position: absolute; background: transparent; box-shadow: none; display: none; margin: 2px; } .select2-results__options { overflow-y: auto; max-height: 200px; } .selection { width: auto; width: -moz-fit-content; width: -webkit-fit-content; margin: auto; display: block; } .select2-search--hide, .select2-selection__clear { display: none; } #otp_container, #enableotpoption, #mfa_ga_container, #mfa_otp_container, #mfa_totp_container, #recoverybtn, #recovery_container, #enableforgot, #enablesaml, .trustbrowser_ui, #backup_ver_container, #backup_container, #enablemore, .password_expiry_container, .terminate_session_container { display: none; } .errorlabel { color: #e92b2b; } .fielderror { display: none; font-size: 14px; margin-top: 10px; } .field_error { color: #f37272; font-size: 14px; padding-top: 10px; } #recoverybtn, #problemsignin, .tryanother { position: absolute; left: 0px; right: 0px; bottom: 40px; } .textbox_actions, .textbox_actions_saml, .textbox_actions_more { display: block; margin-top: 20px; height: 20px; } .bluetext_action { display: inline-block; float: left; font-size: 14px; color: #159aff; font-weight: 500; line-height: 16px; cursor: pointer; } .bluetext_action a { text-decoration: none; } .bluetext_action_right { float: right; } .textbox_actions { display: block; margin-top: 20px; height: 20px; } .Alert, .Errormsg { display: block; margin: auto; height: auto; min-width: 200px; width: fit-content; width: -moz-fit-content; max-width: 600px; background-color: #032239; border-radius: 6px; position: fixed; top: -100px; left: 0px; right: 0px; transition: all 0.2s ease; padding: 0px 20px; z-index: 2; } .tick_icon, .error_icon { display: inline-block; height: 20px; width: 20px; background-color: #22c856; border-radius: 50%; background-size: 60px; margin: 15px; float: left; } .tick_icon:after { display: block; content: ""; height: 5px; width: 9px; border-bottom: 2px solid #fff; border-left: 2px solid #fff; transform: rotate(-45deg); margin: 7px 6px; box-sizing: border-box; } .alert_message, .error_message { display: inline-block; font-size: 14px; color: #fff; line-height: 18px; margin: 16px 0px; margin-right: 20px; max-width: 510px; } .error_icon { background-color: #ff676f; } .error_icon:before, .error_icon:after { position: absolute; left: 44px; top: 20px; content: " "; height: 10px; width: 2px; background-color: #ffffff; } .error_icon:before { transform: rotate(45deg); } .error_icon:after { transform: rotate(-45deg); } .select2-results__options { padding-left: 0px; } .showcountry_code { width: 62px !important; } .textindent70 { text-indent: 70px; } .countrybox { width: 400px; height: 220px; overflow: auto; } .focusmanage { position: absolute; z-index: 10; width: 400px; height: 266px; box-sizing: border-box; padding: 10px; margin-top: -25px; background: #ffffff; box-shadow: 0 2px 4px 0 rgba(0, 0, 0, 0.13); border-radius: 2px; } .recoveryhead { margin-bottom: 10px; } .nopassword_container { display: none; background: #ebf4fb; border: 1px solid #cbe8ff; border-radius: 5px; width: 400px; height: auto; position: absolute; bottom: 50px; box-sizing: border-box; padding: 20px; } .nopassword_icon { display: table-cell; margin: 0px; height: 30px; width: 30px; color: #0091ff; font-size: 30px; vertical-align: middle; } .mailsearch { width: 400px; height: 30px; padding: 0px 0px; border: none; position: absolute; } .bolder1 { font-weight: bolder; } #ui-id-1 { height: 200px; width: auto; outline: none; border: none; overflow-x: hidden; overflow-y: scroll; } .ui-menu-item-wrapper { overflow: auto; } .nonclickelem { color: #626262; pointer-events: none; } .trustdevicebox { width: 500px; min-height: auto !important; } .trustdevice { width: auto; float: left; margin-right: 18px; min-width: 100px; margin-bottom: 0px; } .loadwithbtn { display: inline-block; height: 22px; width: 22px; border: 3px solid #fff; border-radius: 50%; position: absolute; margin: -2px; box-sizing: border-box; border-left: 3px solid transparent; animation-name: rotate1; animation-iteration-count: infinite; animation-duration: 1s; animation-timing-function: linear; } @keyframes rotate1 { from { transform: rotate(0deg); } to { transform: rotate(360deg); } } .waitbtn .waittext, .loadbtntext { display: inline-block; text-indent: 25px; } #waitbtn { display: none; } .loadwithbtn:before { display: inline-block; content: ""; height: 22px; width: 22px; border: 3px solid #ffffff30; border-radius: 50%; margin: -3px -11px; position: absolute; box-sizing: border-box; } .notnowbtn .loadwithbtn { border: 3px solid #3a3a3a; border-left: 3px solid transparent; } .trustdevice .loadwithbtn { display: none; } #recoverybtn, #problemsignin, .tryanother { display: none; bottom: 50px; width: fit-content; margin: 0px auto; cursor: pointer; } #recoverOption, #verify_totp_container, #verify_qr_container { display: none; } .backoption { width: 30px; height: 30px; font-size: 24px; display: inline-block; float: left; color: #666666; padding: 3px; box-sizing: border-box; margin-right: 5px; border-radius: 15px; cursor: pointer; } .backoption:hover { background: #f4f4f4; } .rec_head_text, .backoption { display: table-cell; } .options, .optionstry { display: table; width: 100%; height: auto; padding: 20px 50px; box-sizing: border-box; cursor: pointer; } .options:hover, .optionstry:hover { background-color: #f9f9f9; } .option_details, .option_details_try { height: auto; width: auto; padding-left: 10px; vertical-align: top; box-sizing: border-box; } .option_title_try { display: block; font-size: 16px; font-weight: 500; } .option_description { display: block; font-size: 13px; line-height: 20px; color: #696969; margin-top: 5px; } .img_option_try { margin: 12px 0px; } .img_option { font-size: 30px; color: #499aff; } .option_details { display: table-cell; } .problemsignincon, .recoverymodes, .addaptivetfalist, #recoverymodeContainer { width: auto; margin: 0px -50px; } .line { background-color: #f1f1f1; width: 100%; height: 2px; border-radius: 1px; margin-bottom: 20px; } /* Terminate_session */ .terminate_session_container .signin_head { margin-bottom: 20px; } #terminate_session_form .checkbox_div { position: relative; margin-bottom: 10px; } #terminate_session_form .checkbox_mod { margin-top: 30px; } #terminate_session_form .checkbox_check { left: 15px; } #terminate_session_form .checkbox_check:checked ~ .checkbox { background-color: #159aff; border-color: #159aff; } #terminate_session_form .showOneAuthLable { border: 1px solid #e7e7e7; border-radius: 10px 10px 0px 0px; box-sizing: border-box; max-width: 420px; height: auto; overflow: auto; margin-bottom: 0px; } .oneAuthLable { display: inline-flex; max-width: 420px; padding: 15px; align-items: center; margin-bottom: 10px; box-sizing: border-box; border: 1px solid #e7e7e7; border-top: none; border-radius: 0px 0px 15px 15px; } .oneauth_icon { display: inline-block; width: 40px; height: 40px; border-radius: 14px; background-size: 40px 40px; } .one_auth_icon_v2 { background-image: url(../images/oneAuth2.4b2a6945d5ecd70b703ba18f5f11eb68.png); } .oneAuthLable .text_container { flex: 1; margin: 0px 10px; } .oneAuthLable .text_header { font-size: 12px; font-weight: 500; margin-bottom: 4px; } .oneAuthLable .text_desc { font-size: 10px; line-height: 14px; } .oneAuthLable .togglebtn_div { height: 16px; padding: 4px; width: 30px; display: inline-block; position: relative; } .oneAuthLable .real_togglebtn { cursor: pointer; display: inline-block; position: relative; height: 16px; width: 30px; z-index: 1; opacity: 0; position: absolute; margin: 0px; } .real_togglebtn:checked ~ .togglebase { background-color: #10bc83; } .real_togglebtn:checked ~ .togglebase .toggle_circle { left: 16px; } .oneAuthLable .togglebase { height: 16px; width: 30px; display: inline-block; background: #ccc; border-radius: 10px; position: absolute; } .oneAuthLable .toggle_circle { transition: all 0.2s ease-in-out; height: 12px; width: 12px; background-color: #fff; border-radius: 10px; display: inline-block; position: absolute; left: 2px; top: 2px; box-shadow: 0px 0px 5px #999; } @media only screen and (-webkit-min-device-pixel-ratio: 2), not all, not all, not all, only screen and (min-resolution: 192dpi), only screen and (min-resolution: 2dppx) { .google_icon { background-color: #fff; box-shadow: 0px 0px 2px #00000012, 0px 2px 2px #00000024; } .google_icon .fed_icon { background: url("../images/signin_icons@2x.c0c72f3600a6f5ec03c9119d5a7d0518.png") no-repeat transparent; background-size: 205px auto; background-position: -10px -10px; } .MS_icon { background-color: #2f2f2f; } .MS_icon .fed_icon { background: url("../images/signin_icons@2x.c0c72f3600a6f5ec03c9119d5a7d0518.png") no-repeat transparent; background-size: 205px auto; background-position: -38px -10px; } .linkedin_fed_box { background-color: #0966c2; } .linkedin_fed_box .fed_icon { background: url("../images/signin_icons@2x.c0c72f3600a6f5ec03c9119d5a7d0518.png") no-repeat transparent; background-size: 205px auto; background-position: -67px -11px; } .large_box .linked_fed_icon { background-position: -9px -174px; } .fb_fed_box { background-color: #1877f2; } .fb_fed_box .fed_icon { background: url("../images/signin_icons@2x.c0c72f3600a6f5ec03c9119d5a7d0518.png") no-repeat transparent; background-size: 205px auto; background-position: -94px -10px; } .zoho_icon { background: url(../images/signin_icons@2x.c0c72f3600a6f5ec03c9119d5a7d0518.png) no-repeat transparent; background-size: 205px auto; background-position: -152px -174px; } } @media only screen and (max-width: 600px) { body { -webkit-tap-highlight-color: rgba(255, 255, 255, 0); } .nopassword_container { width: calc(100% - 60px); padding: 10px; box-sizing: border-box; } .signin_container { width: 100%; box-shadow: none; margin: 0 auto; position: relative; z-index: 1; margin-top: 40px; height: 27rem; overflow: hidden; } #captcha_img, #captcha, #bcaptcha_img, #bcaptcha { border: 2px solid #f4f6f8; border-radius: 2px; text-indent: 3px; width: 50%; outline: none; -webkit-appearance: none; -moz-appearance: none; appearance: none; } .textbox, #verify_totp { background-color: transparent; border: none; border-bottom: 2px solid #f4f6f8; text-indent: 0px; border-radius: 0px; } .textbox:focus, #verify_totp { border: none; border-bottom: 2px solid #159aff; } .errorborder:focus, .textbox.errorborder { border-bottom: 2px solid #ff8484; } .backoption { margin-bottom: 10px; } .img_option { margin: 0px 10px 0px 0px !important; } .bg_one, .line { display: none; } .signin_head { margin-bottom: 30px; } .btn { margin-top: 10px; border-radius: 4px; } .changeloadbtn { border-radius: 22px; } .more { margin-right: 0px !important; } .textindent42 { text-indent: 36px; } .textindent62 { text-indent: 56px; } .textintent52 { text-indent: 46px; } .select2-selection { background-color: #f1f9ff; } .devices .select2-selection { background-color: #f1f9ff; } .select2-search__field { width: 280px; } .applynormal { width: 46% !important; min-width: 0px; } .borderless, .borderlesstry { line-height: 12px; font-size: 14px; } .alert_message, .error_message { max-width: 300px; width: 75%; } .Alert, .Errormsg { max-width: 400px !important; padding: 0px; min-width: 300px; } .error_icon:before, .error_icon:after { left: 24px; } ::placeholder { font-weight: 500; } .mobilehide { display: none !important; } #forgotpassword { margin-bottom: 0px; } #forgotpassword a { display: inline-block; } .fielderror { position: absolute; margin-top: 5px; } .trustdevicebox { width: auto; height: auto; } #recoverybtn, #problemsignin, .tryanother { position: initial !important; margin-top: 70px !important; } .problemsignincon, .recoverymodes, #recoverymodeContainer { width: 100%; margin-left: 0px; } } .hover-tool-tip { position: absolute; top: 15px; left: 335px; background: #fff; padding: 20px; box-shadow: 0px 0px 10px #0000001a; transition: opacity 0.1s; border-radius: 5px; z-index: 9; opacity: 0; } .hover-tool-tip::after { content: ""; position: absolute; width: 0; height: 0; margin-left: -8px; top: 25px; left: 0; box-sizing: border-box; border: 6px solid black; border-color: #ffffff transparent transparent #ffffff; transform-origin: 0 0; transform: rotate(-45deg); box-shadow: -6px -6px 10px 0 #0000001a; } .hover-tool-tip.no-arrow::after { content: none; } .hover-tool-tip ul { padding: 0; margin: 0px 0px 0px 15px; list-style: none; } .hover-tool-tip p { margin: 0px 0px 10px 0px; font-size: 14px; font-weight: 500; } .hover-tool-tip ul li { font-size: 12px; display: flex; align-items: center; white-space: nowrap; line-height: 25px; } .hover-tool-tip ul li.success::before { background-color: #0dbc83; } .hover-tool-tip ul li::before { content: ""; margin-right: 10px; background-color: red; width: 8px; height: 8px; border-radius: 50%; } .titlename, .service_name { display: none !important; } .signin_head { padding-top: 20px; } #login_id { text-indent: 0 !important; } .showcountry_code { display: none !important; } ``` **fpwd.css** ```css /* $Id$ */ @font-face { font-family: "Roboto Mono"; font-weight: 400; font-style: normal; src: url("https://webfonts.zohowebstatic.com/robotomonoregular/font.eot"); src: url("https://webfonts.zohowebstatic.com/robotomonoregular/font.eot?#iefix") format("eot"), url("https://webfonts.zohowebstatic.com/robotomonoregular/font.woff2") format("woff2"), url("https://webfonts.zohowebstatic.com/robotomonoregular/font.woff") format("woff"), url("https://webfonts.zohowebstatic.com/robotomonoregular/font.ttf") format("truetype"), url("https://webfonts.zohowebstatic.com/robotomonoregular/font.svg#RobotoMono-Regular") format("svg"); } @font-face { font-family: "LatoLgt"; font-weight: 300; font-style: normal; src: url("https://webfonts.zohowebstatic.com/latolight/font.eot"); src: url("https://webfonts.zohowebstatic.com/latolight/font.eot?#iefix") format("eot"), url("https://webfonts.zohowebstatic.com/latolight/font.woff2") format("woff2"), url("https://webfonts.zohowebstatic.com/latolight/font.woff") format("woff"), url("https://webfonts.zohowebstatic.com/latolight/font.ttf") format("truetype"), url("https://webfonts.zohowebstatic.com/latolight/font.svg#Lato-Light") format("svg"); } @font-face { font-family: "LatoReg"; font-weight: 400; font-style: normal; src: url("https://webfonts.zohowebstatic.com/latoregular/font.eot"); src: url("https://webfonts.zohowebstatic.com/latoregular/font.eot?#iefix") format("eot"), url("https://webfonts.zohowebstatic.com/latoregular/font.woff2") format("woff2"), url("https://webfonts.zohowebstatic.com/latoregular/font.woff") format("woff"), url("https://webfonts.zohowebstatic.com/latoregular/font.ttf") format("truetype"), url("https://webfonts.zohowebstatic.com/latoregular/font.svg#Lato-Regular") format("svg"); } @font-face { font-family: "LatoSB"; font-weight: 700; font-style: normal; src: url("https://webfonts.zohowebstatic.com/latobold/font.eot"); src: url("https://webfonts.zohowebstatic.com/latobold/font.eot?#iefix") format("eot"), url("https://webfonts.zohowebstatic.com/latobold/font.woff2") format("woff2"), url("https://webfonts.zohowebstatic.com/latobold/font.woff") format("woff"), url("https://webfonts.zohowebstatic.com/latobold/font.ttf") format("truetype"), url("https://webfonts.zohowebstatic.com/latobold/font.svg#Lato-Bold") format("svg"); } @font-face { font-family: "LatoB"; font-weight: 900; font-style: normal; src: url("https://webfonts.zohowebstatic.com/latoblack/font.eot"); src: url("https://webfonts.zohowebstatic.com/latoblack/font.eot?#iefix") format("eot"), url("https://webfonts.zohowebstatic.com/latoblack/font.woff2") format("woff2"), url("https://webfonts.zohowebstatic.com/latoblack/font.woff") format("woff"), url("https://webfonts.zohowebstatic.com/latoblack/font.ttf") format("truetype"), url("https://webfonts.zohowebstatic.com/latoblack/font.svg#Lato-Black") format("svg"); } @font-face { font-family: "Zoho_Puvi_Regular"; src: url("https://static.zohocdn.com/zohofonts/zohopuvi/4.0/Zoho_Puvi_Regular.eot"); src: url("https://static.zohocdn.com/zohofonts/zohopuvi/4.0/Zoho_Puvi_Regular.eot") format("embedded-opentype"), url("https://static.zohocdn.com/zohofonts/zohopuvi/4.0/Zoho_Puvi_Regular.woff2") format("woff2"), url("https://static.zohocdn.com/zohofonts/zohopuvi/4.0/Zoho_Puvi_Regular.otf") format("opentype"); font-weight: normal; font-style: normal; /* font-display: swap */ } @font-face { font-family: "signinicon"; src: url(/images/signinicon.eot); src: url(/images/signinicon.eot) format("embedded-opentype"), url(/images/signinicon.woff2) format("woff2"), url(/images/signinicon.ttf) format("truetype"), url(/images/signinicon.woff) format("woff"), url("../images/fonts/signinicon.651f82b8f8f51f33cd0b6331f95b5b4f.svg") format("svg"); font-weight: normal; font-style: normal; font-display: block; } [class^="icon-"], [class*=" icon-"] { /* use !important to prevent issues with browser extensions that change fonts */ font-family: "signinicon" !important; speak: never; font-style: normal; font-weight: normal; font-variant: normal; text-transform: none; line-height: 1; /* Better Font Rendering =========== */ -webkit-font-smoothing: antialiased; -moz-osx-font-smoothing: grayscale; } .icon-device:before { content: "\e90a"; } .icon-reload:before { content: "\e912"; } .icon-backarrow:before { content: "\e900"; } .icon-email:before { content: "\e904"; } .icon-hide:before { content: "\e907"; } .icon-otp:before { content: "\e90c"; } .icon-show:before { content: "\e914"; } /* $Id$ */ body { margin: 0px; } ::placeholder { /* Chrome, Firefox, Opera, Safari 10.1+ */ color: #0003; } .bg_one { display: block; position: fixed; top: 0px; left: 0px; height: 100%; width: 100%; /* background: url("../images/bg.49756b7c711696d95133fa95451f8e13.svg") transparent; */ background-size: auto 100%; z-index: -1; } .titlename { display: block; font-size: 24px; color: #000; font-weight: 400; text-transform: capitalize; width: auto; margin-bottom: 20px; } .Alert, .Errormsg { display: flex; align-items: center; justify-content: center; margin: auto; height: auto; min-width: 200px; width: fit-content; width: -moz-fit-content; max-width: 600px; background-color: #032239; border-radius: 6px; position: fixed; top: -100px; left: 0px; right: 0px; transition: all 0.2s ease; padding: 0px 20px; z-index: 2; } .tick_icon, .error_icon { display: inline-block; height: 20px; width: 20px; background-color: #22c856; border-radius: 50%; background-size: 60px; margin: 0px 15px; float: left; position: relative; } .tick_icon:after { display: block; content: ""; height: 5px; width: 9px; border-bottom: 2px solid #fff; border-left: 2px solid #fff; transform: rotate(-45deg); margin: 7px 6px; box-sizing: border-box; } .alert_message, .error_message { display: inline-block; font-size: 14px; color: #fff; line-height: 18px; margin: 16px 0px; margin-right: 20px; max-width: 510px; } .error_icon { background-color: #ff676f; } .error_icon:before, .error_icon:after { position: absolute; left: 9px; top: 5px; content: " "; height: 10px; width: 2px; background-color: #ffffff; } .error_icon:before { transform: rotate(45deg); } .error_icon:after { transform: rotate(-45deg); } .loader { width: 36px; height: 36px; border: 4px solid #159aff; border-bottom: 4px solid transparent; border-radius: 50%; display: block; box-sizing: border-box; animation: rotate 1s linear infinite; position: absolute; top: 0px; z-index: 7; bottom: 0px; left: 0px; right: 0px; margin: auto; } @keyframes rotate { 0% { transform: rotate(0deg); } 100% { transform: rotate(360deg); } } .blur { top: 0px; left: 0px; bottom: 0px; background: #fff; width: 100%; height: auto; margin: auto; position: absolute; z-index: 3; opacity: 0.9; display: block; } .bold_font { font-weight: 500; } .searchparent { height: auto; } .textbox_div { display: block; margin-bottom: 30px; position: relative; } .textbox { display: block; width: 100%; height: 44px; box-sizing: border-box; border-radius: 2px; text-indent: 12px; font-size: 16px; outline: none; border: none; padding-right: 12px; transition: all 0.2s ease-in-out; background: #f9f9f9; border: 1px solid #dddddd; } .textbox:hover, .textbox:valid, .textbox:focus { border: 1px solid #b9b9b9; } #last_password { padding-right: 40px; } ::-webkit-credentials-auto-fill-button { visibility: hidden; pointer-events: none; position: absolute; right: 0px; } input[type="text"], input[type="password"], input[type="email"], input[type="number"] { -webkit-appearance: none; -moz-appearance: none; appearance: none; } .errorborder { border: 2px solid #ff8484 !important; } .textbox:-webkit-autofill, .textbox:-webkit-autofill:hover, .textbox:-webkit-autofill:focus, .textbox:-webkit-autofill:active { -webkit-box-shadow: inset 0 0 0px 9999px #f9f9f9; -webkit-text-fill-color: black; background-color: #f9f9f9 !important; } .fielderror { display: none; font-size: 14px; margin-top: 10px; } .fielderror a { text-decoration: none; color: #309ff4; } #captcha_container { display: none; border: 1px solid #dddddd; width: 250px; padding: 10px; box-sizing: border-box; margin-top: 10px; border-radius: 4px; } #captcha { width: 100%; display: inline-block; height: 40px; padding: 0px 12px; text-indent: 0px; background: #f9f9f9; } #captcha_img { background-color: #ffffff; border: none; height: 60px; width: 150px; margin-left: 20px; } #captcha_img img { height: 50px; width: 150px; box-sizing: border-box; margin: 0px; } .reloadcaptcha { height: 30px; width: 30px; border-radius: 50%; display: inline-block; cursor: pointer; position: absolute; right: 20px; top: 20px; background-color: #f2f2f2; font-size: 30px; box-sizing: border-box; color: #0006; } .reloadcaptcha:hover { color: #000000b3; } .load_captcha_btn { animation: spin 0.5s linear infinite; } #Last_password_div .head_info { margin: 0px; } .zeroheight { width: 0px; height: 0px; overflow: hidden; display: block; } .btn { cursor: pointer; display: block; width: 100%; height: 44px; border-radius: 4px; letter-spacing: 0.5; font-size: 14px; font-weight: 600; outline: none; border: none; margin: auto; text-transform: uppercase; margin-bottom: 30px; transition: width 0.2s ease-in-out; } .blue { background-color: #159aff; color: #fff; } .grey { background-color: #f3f3f3; color: #3a3a3a; letter-spacing: 0px; } .green { box-shadow: 0px 2px 2px #fff; background-color: #00c573; color: #fff; } .blue:hover { background: #118be9; } .changeloadbtn { display: block; height: 44px; width: 44px; border-radius: 22px; padding: 0px; } .changeloadbtn:before { content: ""; height: 20px; width: 20px; display: inline-block; margin: 9px; border: 3px solid #fff; border-top: 3px solid #5ab7fe; border-radius: 50%; animation: spin 0.5s linear infinite; } @keyframes spin { 0% { transform: rotate(0deg); } 100% { transform: rotate(360deg); } } .doneBtn { position: relative; } .doneBtn:before { content: ""; opacity: 1; height: 15px; width: 6px; border: unset; border-radius: unset; transform-origin: left top; border-right: 3px solid #fff; border-top: 3px solid #fff; left: 12px; top: 23px; margin: 0px; position: absolute; transform: scaleX(-1) rotate(135deg); animation: tickmark 0.8s ease; } @keyframes tickmark { 0% { height: 0px; width: 0px; border-radius: unset; opacity: 1; } 20% { height: 0px; width: 6px; opacity: 1; border-radius: unset; } 40% { height: 15px; width: 6px; opacity: 1; border-radius: unset; } 100% { height: 15px; width: 6px; opacity: 1; border-radius: unset; } } .doneWithContent span:before { content: ""; opacity: 1; height: 14px; width: 5px; border: unset; border-radius: unset; transform-origin: left top; border-right: 3px solid #fff; border-top: 3px solid #fff; display: inline-block; margin: 0px; position: relative; transform: scaleX(-1) rotate(135deg); top: 12px; left: -21px; } .doneWithContent { padding-left: 21px; position: relative; } .doneWithContent:after { position: absolute; height: 100%; content: ""; display: block; left: 0px; top: 0px; background: #00000008; animation-name: btn_loading; animation-duration: 4.3s; animation-iteration-count: 1; animation-timing-function: linear; } .restrict_icon { display: block; height: 102px; width: 100%; background: url(../images/URLError.76c2ce33de912ad7ae9d2fbfd93ec2c1.png) no-repeat transparent; background-size: auto 100%; margin: auto; margin-top: 30px; background-position: center; } .error_portion { display: none; } .error_content { text-align: center; } .error_content .error_header { font-size: 20px; font-weight: 500; margin-top: 30px; line-height: 26px; } .error_content .error_desc { font-size: 16px; margin: 10px 0px 30px 0px; line-height: 24px; font-weight: 500; color: #000000cc; } .retry_button { line-height: 44px; } .doneWithContent:hover { background: #159aff; } .doneWithContent span { width: 100%; display: block; transition: width 0.2s ease-in-out; white-space: nowrap; } @keyframes btn_loading { 0% { width: 0%; } 100% { width: 100%; } } .resend_label { display: block; text-align: center; } .push_resend { font-size: 14px; color: #626262; font-weight: 500; line-height: 16px; cursor: none; } .bottom_option { cursor: pointer; width: max-content; font-size: 16px; font-weight: 500; text-decoration: none; color: #0091ff; } .bottom_line_opt { width: 100%; display: flex; justify-content: center; position: absolute; left: 0px; bottom: 40px; } .errorlabel { color: #e92b2b; } .show_hide_password { font-size: 24px; color: #00000066; position: relative; top: -34px; right: 13px; float: right; cursor: pointer; line-height: 23px; } .show_hide_password:hover { color: #000000b3; } .select2-results__option { list-style-type: none; height: 40px; box-sizing: border-box; padding: 12px 20px; font-size: 14px; line-height: 16px; } .select2-search__field { width: 380px; height: 32px; border: none; outline: none; background: #f7f7f7; border-radius: 2px; margin: 10px 8px; font-size: 14px; padding: 10.5px 8px; } .select2-selection { display: inline-block; outline: none; background-color: #f9f9f9; height: 40px; text-align: center; padding: 10px; box-sizing: border-box; cursor: pointer; } .selection { transition: all 0.2s ease-in-out; -webkit-user-select: none; display: inline-block; white-space: nowrap; overflow: hidden; width: 0px; height: 43px; } #select2-combobox-results { padding-left: 0px; max-height: 200px; overflow-y: scroll; overflow-x: hidden; width: 400px; margin-top: 10px; margin-bottom: 0px; background: white; } .select2-container--open { z-index: 10; background: #ffffff; box-shadow: 0px 5px 8px 2px #0000000d; width: auto; box-sizing: border-box; } .select2 { position: absolute; background: transparent; box-shadow: none; display: none; margin: 2px; } .select2-results__options { overflow-y: auto; max-height: 200px; } .selection { width: auto; width: -moz-fit-content; width: -webkit-fit-content; margin: auto; display: block; } .select2-search--hide, .select2-selection__clear { display: none; } #country_code_select { width: 50px; height: 40px; position: absolute; opacity: 0; display: none; z-index: 0; } .select_country_code { width: 50px; height: 40px; display: inline-block; float: left; position: absolute; line-height: 39px; text-align: center; font-size: 16px; color: black; display: none; z-index: 0; } .pic { width: 20px; height: 14px; background-size: 280px 252px; background-image: url("../images/Flags2x.0b8394efb0ea9167cef2465fb8f63d78.png"); float: left; } .cc { float: right; color: #aeaeae; } .cn { margin-left: 10px; } .select2-results__option--highlighted { background: #f4f6f8; } .searchparent { height: auto; } .select2-results__options { padding-left: 0px; } .optionstry { display: table; width: 100%; height: auto; padding: 20px 50px; box-sizing: border-box; cursor: pointer; } .optionstry:hover { background-color: #f9f9f9; } .img_option_try { margin: 12px 0px; } .img_option { display: table-cell; width: 30px; color: #499aff; font-size: 30px; vertical-align: top; height: 30px; } .option_details_try { height: auto; width: auto; padding-left: 12px; vertical-align: top; box-sizing: border-box; } .option_title_try { display: block; font-size: 16px; font-weight: 500; } .option_description { display: block; font-size: 13px; line-height: 20px; color: #000c; margin-top: 5px; } #email_confirm_div .optionstry, #mobile_confirm_div .optionstry { padding: 22px 40px; } #email_confirm_div .img_option, #mobile_confirm_div .img_option { font-size: 20px; width: 20px; height: 20px; } #email_confirm_div .option_details_try, #mobile_confirm_div .option_details_try { line-height: 20px; } .otp_container::after, .mini_txtbox:after { content: attr(placeholder); height: 54px; line-height: 54px; position: absolute; color: #b9bcbe; left: 15px; top: 0px; z-index: 1; } .mini_txtbox:after { line-height: 42px; height: 42px; } .hidePlaceHolder::after { z-index: -1 !important; } .otp_verify { margin-top: 10px; } .toggle_active { background: #f9f9f9; border-radius: 2px; } .optionmod { margin-left: 0px; box-sizing: border-box; } .option_title_try { color: #000000; } .mini_btn { margin-left: 10px; width: 30%; float: right; font-size: 12px; margin-bottom: 0px; margin-right: 0px; } .backoption { width: 30px; height: 30px; font-size: 21px; display: inline-block; float: left; color: #666666; padding: 4px 0px; box-sizing: border-box; margin-right: 5px; border-radius: 15px; cursor: pointer; font-weight: 500; text-align: center; } .backoption:hover { background: #f4f4f4; } #select_reocvery_mobile .fieldcontainer, #other_options_div .fieldcontainer, #select_reocvery_email .fieldcontainer { width: auto; margin: 0 -40px; margin-bottom: 40px; } .text16 { display: block; text-align: center; margin-bottom: 30px; color: #626262; font-size: 16px; font-weight: 500; text-decoration: none; } .pointer { cursor: pointer; } .pass_policy { color: #8c8c8c; font-size: 14px; padding-top: 10px; } .nomargin { display: block; margin: 0px; } .tryanother, .extra_options { width: fit-content; margin: 0 auto; cursor: pointer; margin-top: 20px; } .bluetext_action { display: inline-block; font-size: 14px; color: #159aff; font-weight: 500; line-height: 16px; cursor: pointer; margin-top: 5px; } .nonclickelem { color: #626262; pointer-events: none; cursor: none; } .bluetext_action a { text-decoration: none; } .recovery_container { display: block; width: 480px; height: 350px; background-color: #fff; box-shadow: 0px 2px 30px 0px #2b2b2b17; margin: auto; position: relative; z-index: 1; overflow: hidden; } .recovery_box { width: 480px; min-height: 500px; height: auto; background: #fff; box-sizing: border-box; padding: 40px 40px; border-radius: 2px; transition: all 0.1s ease-in-out; float: left; overflow-y: auto; display: table-cell; border-right: 2px solid #f1f1f1; } .menuicon { display: inline-block; float: left; height: 14px; width: 14px; padding: 14px; font-size: 14px; text-align: center; } .user_info { display: inline-flex; justify-content: space-between; border: 1px solid #eeeeee; margin-bottom: 20px; border-radius: 7px; cursor: pointer; box-sizing: border-box; max-width: 100%; flex-wrap: nowrap; } .user_info_space { margin-top: 20px; } .support_temp_info { margin-bottom: 30px; line-height: 24px; } .menutext { display: inline-block; font-size: 16px; padding: 12px 14px; line-height: 20px; width: auto; word-break: break-all; } .fieldcontainer { margin-bottom: 40px; } .change_user { position: relative; float: right; font-size: 14px; padding: 0px 14px 0px 0px; display: inline-block; color: #0091ff; line-height: 38px; font-weight: 500; display: flex; align-items: center; justify-content: center; } .info_head { display: block; font-size: 20px; font-weight: 500; margin-bottom: 20px; line-height: 30px; overflow: auto; transition: all 0.1s ease-in-out; } .info_head #headtitle { display: block; } .head_info { font-size: 16px; margin: 10px 0px 0px 0px; line-height: 24px; font-weight: 400; color: #000000e6; } .user_info_space + .head_info { margin: 0px; } .otp_container { display: block; width: 100%; height: 54px; box-sizing: border-box; border-radius: 2px; font-size: 16px; outline: none; padding: 0px 15px; transition: all 0.2s ease-in-out; background: #f9f9f9; border: 1px solid #dddddd; text-indent: 0px; } .customOtp { border: none; outline: none; background: transparent; height: 100%; font-size: 16px; text-align: left; width: 22px; padding: 0px; } .textindent42 { text-indent: 46px; } .textindent62 { text-indent: 56px; } .textintent52 { text-indent: 51px; } .box_header_load { display: block; height: auto; padding: 50px 0px; -webkit-animation-name: blink; /* Safari 4.0 - 8.0 */ -webkit-animation-duration: 1s; /* Safari 4.0 - 8.0 */ animation-name: blink; animation-duration: 1s; animation-iteration-count: infinite; animation-timing-function: linear; opacity: 0.05; } .box_head_load { display: block; width: 180px; height: 18px; border-radius: 8px; background-color: #000; } .blink_btn { -webkit-animation-name: blink; /* Safari 4.0 - 8.0 */ -webkit-animation-duration: 1s; /* Safari 4.0 - 8.0 */ animation-name: blink; animation-duration: 1s; animation-iteration-count: infinite; animation-timing-function: linear; opacity: 0.05; } .box_define_load { display: block; max-width: 800px; width: 100%; height: 16px; border-radius: 8px; background-color: #000; margin-top: 20px; } @keyframes blink { 0% { opacity: 0.08; } 50% { opacity: 0.01; } 100% { opacity: 0.08; } } #loading_div, #Last_password_div, #mobile_confirm_div, #email_confirm_div, #confirm_otp_div, #other_options_div, #contact_support_div, #change_password_div, #recovery_device_div, #password_matched_div, #username_div, #terminate_session_div { display: none; } #multiple_reocvery_mobile, #single_reocvery_mobile, #multiple_reocvery_email, #single_reocvery_email { display: none; } .verify_mob_container, .verify_email_container, .select_device_othermodes { display: none; } .devices { position: relative; padding: 0px; width: fit-content !important; width: -moz-fit-content !important; width: -webkit-fit-content !important; margin: auto; border-radius: 8px; box-sizing: border-box; margin-bottom: 30px; background: #fcfcfc; } .device_title { position: absolute; top: 12px; left: 48px; font-size: 10px; font-weight: 600; text-transform: uppercase; color: #000000b3; line-height: 14px; z-index: 11; } .select2-container--device_select { margin: 0px; display: block; position: relative; margin: auto; cursor: pointer; border: 1px solid #dddddd; border-radius: 8px; overflow: hidden; } #recovery_device_select + .select2-container { width: fit-content !important; width: -moz-fit-content !important; width: -webkit-fit-content !important; } .select2-container--device_select .select2-selection__arrow { position: absolute; top: 0px; right: 14px; width: auto; height: 100%; } .select2-container--device_select .select2-selection__arrow b { border-color: transparent #00000066 #00000066 transparent; border-style: solid; transform: rotate(45deg); border-width: 2px; height: 4px; width: 4px; position: relative; border-radius: 1px; display: inline-block; top: 24px; } .select2-container--device_select .selection { margin: auto; height: 60px; box-sizing: border-box; min-width: 140px; } .select2-container--device_select .select2-selection { height: unset; padding: 12px 34px 12px 14px; } .select2-container--device_select .select_con { font-weight: 400; margin-left: 12px; margin-top: 16px; } .select2-container--device_select .select_icon { margin-top: 7px; } .select2-results__options { margin: 0px; } .select2-results__options .select_con { margin: 0px; } .select2-dropdown .select_con { width: 100%; overflow: hidden; text-overflow: ellipsis; white-space: nowrap; } .hideArrow .select2-selection { cursor: default; padding: 12px 14px; } .hideArrow .select2-selection__arrow { display: none; } .secondary_devices { display: none; width: 150px; margin: auto; padding: 8px 18px; border-radius: 18px; background-color: #f4f6f8; border: none; overflow: hidden; max-width: 200px; text-overflow: ellipsis; font-size: 16px; outline: none; } .secondary_devices .select2-container--open { width: 200px; } .device_select { display: block; position: unset; width: auto !important; } .device_selection { padding: 8px 14px; border-radius: 18px; } .deviceparent { text-align: center; display: none; text-overflow: ellipsis; overflow: hidden; width: 100%; white-space: nowrap; } .deviceparent { display: block; } .deviceinfo { display: inline-block; } .devicetext { margin: 0 auto; margin-left: 30px; } .select_icon { float: left; font-size: 20; color: #499aff; } .select_con { float: left; width: auto; overflow: hidden; margin-left: 5px; text-overflow: ellipsis; } .options_selct { max-width: 180px; font-size: 14px; line-height: 20px; font-weight: 500; width: auto; } .contact_support_class { min-height: unset; } .contact_support_class .recovery_box { min-height: unset; } #mfa_totp_section { display: none; } /* Terminate_session page */ #terminate_session_form { overflow: auto; } #terminate_session_form .checkbox_div { position: relative; } #terminate_session_form .checkbox_check { position: absolute; z-index: 1; opacity: 0; left: 15px; margin: 0px; height: 16px; cursor: pointer; width: 16px; } #terminate_session_form .checkbox { float: left; z-index: 0; height: 12px; width: 12px; display: inline-block; border: 2px solid #ccc; border-radius: 2px; position: relative; top: 1.5px; overflow: hidden; background-color: #fff; } #terminate_session_form .checkbox_check:hover ~ .checkbox { border: 2px solid #159aff; } #terminate_session_form .checkbox_check:checked ~ .checkbox { background-color: #159aff; border-color: #159aff; } #terminate_session_form .checkbox .checkbox_tick { display: block; height: 3px; width: 8px; border-bottom: 2px solid #fff; border-left: 2px solid #fff; transform: rotate(-45deg); margin: 2px 1px; } #terminate_session_form .checkbox_label { cursor: pointer; margin: 0px 6px; line-height: 20px; width: 85%; display: inline-block; } #terminate_session_form .showOneAuthLable { border: 1px solid #e7e7e7; border-radius: 10px 10px 0px 0px; box-sizing: border-box; max-width: 420px; } .oneAuthLable { display: inline-flex; max-width: 420px; padding: 15px; align-items: center; box-sizing: border-box; border: 1px solid #e7e7e7; border-top: none; border-radius: 0px 0px 15px 15px; } .oneauth_icon { display: inline-block; width: 40px; height: 40px; border-radius: 14px; background-size: 40px 40px; } .one_auth_icon_v2 { background-image: url(../images/oneAuth2.4b2a6945d5ecd70b703ba18f5f11eb68.png); } .oneAuthLable .text_container { flex: 1; margin: 0px 10px; } .oneAuthLable .text_header { font-size: 12px; font-weight: 500; margin-bottom: 4px; } .oneAuthLable .text_desc { font-size: 10px; line-height: 14px; } .oneAuthLable .togglebtn_div { height: 16px; padding: 4px; width: 30px; display: inline-block; position: relative; } .oneAuthLable .real_togglebtn { cursor: pointer; display: inline-block; position: relative; height: 16px; width: 30px; z-index: 1; opacity: 0; position: absolute; margin: 0px; } .real_togglebtn:checked ~ .togglebase { background-color: #10bc83; } .real_togglebtn:checked ~ .togglebase .toggle_circle { left: 16px; } .oneAuthLable .togglebase { height: 16px; width: 30px; display: inline-block; background: #ccc; border-radius: 10px; position: absolute; } .oneAuthLable .toggle_circle { transition: all 0.2s ease-in-out; height: 12px; width: 12px; background-color: #fff; border-radius: 10px; display: inline-block; position: absolute; left: 2px; top: 2px; box-shadow: 0px 0px 5px #999; } #terminate_session_submit { margin-top: 30px; } @media only screen and (max-width: 600px) { body { -webkit-tap-highlight-color: rgba(255, 255, 255, 0); } .bg_one { display: none; } .alert_message, .error_message { max-width: 300px; width: 75%; } .Alert, .Errormsg { max-width: 400px !important; padding: 0px; min-width: 300px; } .textbox, .otp_container { background-color: transparent; border: none; border-bottom: 2px solid #f4f6f8; border-radius: 0px; } .textbox { transition: unset; } .textbox:-webkit-autofill, .textbox:-webkit-autofill:hover, .textbox:-webkit-autofill:focus, .textbox:-webkit-autofill:active { -webkit-box-shadow: inset 0 0 0px 9999px white; -webkit-text-fill-color: black; } .textbox:valid, .textbox:hover { border: none; border-bottom: 2px solid #159aff; } #captcha { border-radius: 2px; outline: none; -webkit-appearance: none; -moz-appearance: none; appearance: none; } .changeloadbtn { border-radius: 22px; } .btn { margin-top: 10px; border-radius: 4px; } .mini_btn { margin-top: 0px; } .optionstry:hover { background-color: #fff; } .img_option { margin: 0px 10px 0px 0px !important; } .option_details_try { color: #555555; display: inline-block; margin: 0px; } #multiple_reocvery_mobile .fieldcontainer, #multiple_reocvery_email .fieldcontainer, #other_options_div .fieldcontainer { margin: 0 -30px; margin-bottom: 40px; } .optionmod { margin-left: 0px; padding: 15px 30px; line-height: 24px; } .recovery_box { width: 100%; padding: 0px 30px; height: auto; border-right: none; padding-bottom: 40px; } .recovery_container { width: 100%; box-shadow: none; margin: 0 auto; position: relative; z-index: 1; margin-top: 40px; height: auto; overflow: hidden; } .info_head { margin-bottom: 30px; } } .devices .select2-container--open { background: transparent; } @media only screen and (-webkit-min-device-pixel-ratio: 2), only screen and (min--moz-device-pixel-ratio: 2), only screen and (-o-min-device-pixel-ratio: 2/1), only screen and (min-device-pixel-ratio: 2), only screen and (min-resolution: 192dpi), only screen and (min-resolution: 2dppx) { .restrict_icon { background: url(../images/URLError2x.5e762e74a83ee0cda60b8f7c9df299a8.png) no-repeat transparent center/auto 100%; } } .hide { display: none; } .hover-tool-tip { position: absolute; top: 15px; left: 335px; background: #fff; padding: 20px; box-shadow: 0px 0px 10px #0000001a; transition: opacity 0.1s; border-radius: 5px; z-index: 9; opacity: 0; } .hover-tool-tip::after { content: ""; position: absolute; width: 0; height: 0; margin-left: -8px; top: 25px; left: 0; box-sizing: border-box; border: 6px solid black; border-color: #ffffff transparent transparent #ffffff; transform-origin: 0 0; transform: rotate(-45deg); box-shadow: -6px -6px 10px 0 #0000001a; } .hover-tool-tip.no-arrow::after { content: none; } .hover-tool-tip ul { padding: 0; margin: 0px 0px 0px 15px; list-style: none; } .hover-tool-tip p { margin: 0px 0px 10px 0px; font-size: 14px; font-weight: 500; } .hover-tool-tip ul li { font-size: 12px; display: flex; align-items: center; white-space: nowrap; line-height: 25px; } .hover-tool-tip ul li.success::before { background-color: #0dbc83; } .hover-tool-tip ul li::before { margin-right: 10px; background-color: red; width: 8px; height: 8px; border-radius: 50%; } .titlename { display: none !important; } /* #lookup_div { display: none !important; } */ #lookup_div .head_info { font-size: 0; } #lookup_div .head_info::before { content: "Enter your email address"; font-size: 15px; } .info_head { padding-top: 20px; } .rec_modes_other_options { display: none !important; } .recovery_container { height: 29rem; } .Last_password_div { margin-top: -30px; } ``` Copy the code given below and paste it in `App.css`, `App.js`, `index.js`, `index.css`, `Button.css`, `Button.js`, `Layout.js`, `LoginPage.js`, `UserProfile.css`, `UserProfile.js`, `Signup.css` and `Signup.js` respectively, located in client directory (`zylkertechnologies/src/`) using an IDE and save the file. **App.css** ```css body { margin: 0; -webkit-font-smoothing: antialiased; -moz-osx-font-smoothing: grayscale; background-color: #c0c0c0; height: inherit; } .inputs { width: 90%; padding: 15px; margin: 15px 0 22px 0; display: inline-block; border: none; background: #f1f1f1; border-radius: 8px; } h1, h2, h3, h4, h5, h6, p { margin: 1; } #login { height: 29rem; } ``` **App.js** ```javascript import { HashRouter, Routes, Route, Navigate } from "react-router-dom"; import Layout from "./Layout"; import Signup from "./Signup"; function App() { return ( <HashRouter> <Routes> <Route path="/" element={<Layout />} /> <Route path="/signup" element={<Signup />} /> <Route path="" element={<Navigate to="/" replace />} /> <Route path="*" element={<Navigate to="/" replace />} /> </Routes> </HashRouter> ); } export default App; ``` **index.js** ```javascript import "./App.css"; import React from "react"; import { createRoot } from "react-dom/client"; import App from "./App"; const container = document.getElementById("root"); const root = createRoot(container); root.render( <React.StrictMode> <App /> </React.StrictMode> ); ``` **Button.css** ```css button { background-color: #4CAF50; color: white; padding: 8px 14px; margin: 8px 0; border: none; cursor: pointer; font-size: 16px; width: 120px; } ``` **Button.js** ```javascript import { useCallback } from "react"; import "./Button.css"; function Button({ btnvalue }) { const logout = useCallback(() => { window.catalyst.auth.signOut('/'); }, []); return ( <div id="logoutbtn"> <button onClick={logout} id="logout"> {btnvalue.title} </button> </div> ); } export default Button; ``` **Layout.js** ```javascript import UserProfile from "./UserProfile"; import LoginPage from "./LoginPage.js"; import { useEffect, useState, useRef } from "react"; function Layout() { const [isFetching, setIsFetching] = useState(true); const [isUserAuthenticated, setIsUserAuthenticated] = useState(false); const [userDetails, setUserDetails] = useState({ firstName: "", lastName: "", mailid: "", timeZone: "", createdTime: "", }); useEffect(() => { window.catalyst.auth .isUserAuthenticated() .then((result) => { setUserDetails({ firstName: result.content.first_name, lastName: result.content.last_name, mailid: result.content.email_id, timeZone: result.content.time_zone, createdTime: result.content.created_time, }); setIsUserAuthenticated(true); }) .catch((err) => {}) .finally(() => { setIsFetching(false); }); }, []); return ( <> {isFetching ? ( <p>Loading ....</p> ) : isUserAuthenticated ? ( <UserProfile userDetails={userDetails} /> ) : ( <LoginPage /> )} </> ); } export default Layout; ``` **LoginPage.js** ```javascript import { useEffect } from "react"; import { Link } from "react-router-dom"; const LoginPage = () => { useEffect(() => { //config is optional const config = { css_url : "/app/embeddediframe.css", // Login page customization css file path, if not provided default css will be rendered is_customize_forgot_password : false, // Default value is false. Keep this value as true, if you wish to customize Forgot Password page forgot_password_id : "login", // Element id in which forgot password page should be loaded, by default will render in the "loginDivElementId" forgot_password_css_url : "/app/fpwd.css" // Forgot password page customization css file path, if not provided default css will be rendered } catalyst.auth.signIn("login", config); }, []); return ( <div className="container"> <img width="80px" height="80px" src="https://cdn2.iconfinder.com/data/icons/user-management/512/profile_settings-512.png" /> <h1 className="title">User Profile Management</h1> <div id="login"></div> <p className="homepage"> <b> Don't have an account?{" "} <Link to="/signup" style={{ color: "blue", textDecorationLine: "underline" }} > Sign-up </Link>{" "} now! </b> </p> </div> ); }; export default LoginPage; ``` **UserProfile.css** ```css .card { margin: auto; text-align: center; font-family: arial; text-align: center; font-weight: bold; } .title { font-size: 23px; color: black; } #userimg { height: 20%; width: 15%; } div.forgotpwd { display: none; } /* Full-width input fields */ input[type="text"] { width: 90%; padding: 15px; margin: 15px 0 22px 0; display: inline-block; border: none; background: #f1f1f1; border-radius: 8px; } /* Add a background color when the inputs get focus */ input[type="text"]:focus, input[type="password"]:focus { background-color: #ddd; outline: none; } button:hover { opacity: 1; } /* Float cancel and signup buttons and add an equal width */ .seperatebtn { width: 10%; padding: 8px; border-radius: 8px; } .signupbtn { width: 10%; padding: 8px; border-radius: 8px; } .signupfnbtn { width: 20%; padding: 8px; border-radius: 8px; } .pwdfnbtn { width: 40%; padding: 8px; border-radius: 8px; } /* The Modal (background) */ .modal { display: none; /* Hidden by default */ position: fixed; /* Stay in place */ z-index: 1; /* Sit on top */ left: 0; top: 0; width: 100%; /* Full width */ height: 100%; /* Full height */ overflow: auto; /* Enable scroll if needed */ background-color: #474e5d; } /* Modal Content/Box */ .modal-content { background-color: #c0c0c0; margin: 5% auto 15% auto; /* 5% from the top, 15% from the bottom and centered */ width: 25%; /* Could be more or less, depending on screen size */ } /* The Close Button (x) */ .close { position: absolute; right: 35px; top: 15px; font-size: 40px; font-weight: bold; color: #f1f1f1; } .close:hover, .close:focus { color: #f44336; cursor: pointer; } /* Clear floats */ .clearfix::after { content: ""; clear: both; display: table; } p.homepage { font-size: 23px; } /* Change styles for cancel button and signup button on extra small screens */ @media screen and (max-width: 100px) { .signupbtn { width: 100%; } } .container { text-align: center; } ``` **UserProfile.js** ```javascript import Button from "./Button"; import "./UserProfile.css"; function UserProfile({ userDetails }) { return ( <div className="card"> <br></br> <h1 className="title">User Profile Information</h1> <img id="userimg" width="200px" height="450px" src="https://cdn2.iconfinder.com/data/icons/user-management/512/profile_settings-512.png" /> <p className="title" id="fname"> {"First Name : " + userDetails.firstName} </p> <p className="title" id="lname"> {"Last Name: " + userDetails.lastName} </p> <p className="title" id="mailid"> {"Email Address: " + userDetails.mailid} </p> <p className="title" id="tzone"> {"Time Zone: " + userDetails.timeZone} </p> <p className="title" id="ctime"> {"Joined On: " + userDetails.createdTime} </p> <Button btnvalue={{ title: "Logout" }}></Button> </div> ); } export default UserProfile; ``` **Signup.js** ```javascript import "./Signup.css"; import React, { useState } from "react"; function Signup() { const [displayText, setDisplayText] = useState(""); const [form, setForm] = useState({ firstName: "", lastName: "", email: "", }); const [showForm, setShowForm] = useState(true); const handleSubmit = async (event) => { event.preventDefault(); setShowForm(false); setDisplayText( "An account verification email has been sent to your email address" ); var data = { first_name: form.firstName, last_name: form.lastName, email_id: form.email, platform_type: "web", }; const auth = window.catalyst.auth; var signupResponse = await auth.signUp(data); debugger; if (signupResponse.status == 200) { setTimeout(function () { window.location.href = "index.html"; }, 3000); } else { alert(signupResponse.message); } }; return ( <div id="signup" className="signup"> {showForm ? ( <div> <center> <img width="80px" height="80px" src="https://cdn2.iconfinder.com/data/icons/user-management/512/profile_settings-512.png" /> <h1>User Profile Management</h1> </center> <form onSubmit={handleSubmit} className="modal-content"> <center> <h1>Sign Up</h1> <p>Please fill this form to sign up for a new account.</p> </center> <label htmlFor="firstName"> <b>First Name</b> <input name="firstName" className="inputs" placeholder="Enter First Name" value={form.firstName} onChange={(e) => { setForm({ ...form, firstName: e.target.value, }); }} required /> </label> <label htmlFor="lastName"> <b>Last Name</b> <input className="inputs" placeholder="Enter Last Name" value={form.lastName} onChange={(e) => { setForm({ ...form, lastName: e.target.value, }); }} required /> </label> <label htmlFor="email"> <b>Email</b> <input className="inputs" placeholder="Enter email address" value={form.email} onChange={(e) => { setForm({ ...form, email: e.target.value, }); }} required /> </label> <p> By creating an account, you agree to our{" "} <a href="https://www.zoho.com/catalyst/terms.html" target="_blank" rel="noopener noreferrer" id="link" > Terms & Conditions </a> . </p> <center> <input type="submit" value="Sign Up" className="signupfnbtn" /> </center> </form>{" "} </div> ) : ( <p>{displayText}</p> )} </div> ); } export default Signup; ``` **Signup.css** ```javascript input[type="submit"] { background-color: green; color: white; width: 40%; padding: 8px; border-radius: 8px; text-align: center; border: none; cursor: pointer; } #link { font-size: medium; color: blue; } .modal-content { background-color: #c0c0c0; margin: 30px auto; /* 5% from the top, 15% from the bottom and centered */ width: 25%; /* Could be more or less, depending on screen size */ } .signupfnbtn { width: 30%; padding: 8px; border-radius: 8px; background-color: green; height: 100%; } p { text-align: center; font-size: medium; font-weight: bold; } ``` **client-package.json** ```javascript { "name": "zylkertechnologies", "version": "0.0.1", "homepage": "index.html", "login_redirect": "index.html" } ``` The client directory is now configured. Let’s go over the working of the function and the client code: * The end-user will first encounter the *Login Page* that you configured and styled in the console. * To create an account, they will click the **Sign Up** option and be directed to the *Sign Up* page. > **Note:** End-users can either sign up to your application using their [Identity Provider Logins](https://docs.catalyst.zoho.com/en/cloud-scale/help/authentication/social-logins/introduction/) or use the conventional method of signing up to the application using their email address. * Once the information is inputted and they click **Sign Up**, or if they attempt to sign up using a Identity Provider Login of their choice, their details will be provided as a JSON input to the [Custom User Validation](https://docs.catalyst.zoho.com/en/cloud-scale/help/authentication/whitelisting/custom-user-validation/introduction/) function (`authorization_portal_function/index.js`). * The function will only authenticate users if the condition you have coded is satisfied. For this tutorial, the users will only be authenticated if they signed up to the application using a Zylker registered email address. * Upon successful authentication, an [Email Verification](https://docs.catalyst.zoho.com/en/cloud-scale/help/authentication/email-templates/introduction/) email will be sent to the account they used to sign up to the application. > **Note:** Because we are using Embedded Login, a native Catalyst authentication type, no additional logic to trigger the appropriate emails is required. It will be handled by Catalyst automatically. * Once the user verifies their email address by clicking the link provided in the email, they will be signed up to the application. Their details can be viewed in the [User Management](https://docs.catalyst.zoho.com/en/cloud-scale/help/authentication/user-management/introduction/) section of the *Authentication* component. * The end-user can now log in to the application using their authenticated credentials. * The end-user can also reset their password by clicking the **Forgot Password** option. In this event, the *Password Reset* email will be sent to their registered email. Following the steps mentioned in the email, they can easily reset their credentials. -------------------------------------------------------------------------------- title: "Test the Application" description: "Create a web application using Catalyst Embedded Authentication that provides user sign-up, login, password reset, and sign-in with identity providers." last_updated: "2026-11-04T10:10:44.000Z" source: "https://docs.catalyst.zoho.com/en/tutorials/embedded-auth/nodejs/test-app/" service: "All Services" related: - Serve CLI Resources (/en/cli/v1/serve-resources/introduction) -------------------------------------------------------------------------------- # Test the Application Before you deploy the application to the remote console, you can test the application on a local server and check if everything works using the Catalyst CLI. For detailed information on `catalyst serve`, refer to the [Serve Resources help page](https://docs.catalyst.zoho.com/en/cli/v1/serve-resources/introduction). To serve the Catalyst project locally, execute the following command from your project directory: ```sh catalyst serve ``` The authorization portal application will now be served at default `port 3000`. The local endpoint URLs of the components will be displayed in the CLI. **Basic web app** ![basic-serve](https://catalyst-docs-development.zohostratus.in/images/tutorials/embedded_auth/python/basic-serve.webp) > **Note:** Every time you access the homepage or any of the sub-pages of your client, or the function, the CLI will display a live log of the accessed URL, along with the HTTP method that is used to access it. You can now open the client component’s local URL in a browser to access the application. ![client_app](https://catalyst-docs-development.zohostratus.in/images/tutorials/embedded_auth/client_app.webp) ### Test Case 1 #### Sign up using email address 1. Click **Sign Up** to create a new account. ![signup](https://catalyst-docs-development.zohostratus.in/images/tutorials/embedded_auth/signup.webp) 2. Enter the required details and click **Sign Up**. ![signup_details](https://catalyst-docs-development.zohostratus.in/images/tutorials/embedded_auth/signup_details.webp) 3. The [Email Verification](https://docs.catalyst.zoho.com/en/cloud-scale/help/authentication/email-templates/introduction/) email will be sent to the email address you used to sign up. ![email_verification](https://catalyst-docs-development.zohostratus.in/images/tutorials/embedded_auth/email_verification.webp) 4. Click the link in the email ![email_link](https://catalyst-docs-development.zohostratus.in/images/tutorials/embedded_auth/email_link.webp) 5. Follow the instructions and set your password ![create_password](https://catalyst-docs-development.zohostratus.in/images/tutorials/embedded_auth/create_password.webp) Once the password is set, you will be signed in to the application. ![signed_in](https://catalyst-docs-development.zohostratus.in/images/tutorials/embedded_auth/signed_in.webp) You can verify this by viewing the user information in the [User Management](https://docs.catalyst.zoho.com/en/cloud-scale/help/authentication/user-management/introduction/) section of the *Authentication* component in the console. ![user_details](https://catalyst-docs-development.zohostratus.in/images/tutorials/embedded_auth/user_details.webp) ### Test Case 2 #### Test Custom User Validation 1. Sign up to the application using an email address that will induce a failure instance. ![signup_page2](https://catalyst-docs-development.zohostratus.in/images/tutorials/embedded_auth/signup_page2.webp) > **Note:** For the purpose of this tutorial, we have coded a logic for the Custom User Validation function where if the user's email provider is anyone other than Zylker Technology (`@zylker.com`) the end-user will not be able to sign up to the application. 2. You will not be able to sign up to the application using any email address other than the one coded to permit in the function logic. ![error_message](https://catalyst-docs-development.zohostratus.in/images/tutorials/embedded_auth/error_message.webp) ### Test Case 3 #### Sign up to the application using Identity Provider Logins 1. You can click a identity provider login that you had configured to begin the sign up process. For this test, we are signing up using the [Zoho Identity Provider login](https://docs.catalyst.zoho.com/en/cloud-scale/help/authentication/social-logins/configuring-social-logins/#enable-zoho-social-login). ![idp_login](https://catalyst-docs-development.zohostratus.in/images/tutorials/embedded_auth/idp_login.webp) 2. Click **Accept**. ![accept_login](https://catalyst-docs-development.zohostratus.in/images/tutorials/embedded_auth/accept_login.webp) You will be logged in to the application. ![logged_in](https://catalyst-docs-development.zohostratus.in/images/tutorials/embedded_auth/logged_in.webp) You can verify the end-user has been added by viewing their details in the *User Management* section of the Authentication component in the console. ### Test Case 4 #### Password reset functionality 1. Click the **Forgot Password** option. ![forgot_password](https://catalyst-docs-development.zohostratus.in/images/tutorials/embedded_auth/forgot_password.webp) 2. Enter the email address ![enter_email](https://catalyst-docs-development.zohostratus.in/images/tutorials/embedded_auth/enter_email.webp) 3. Enter the captcha. ![enter_captcha](https://catalyst-docs-development.zohostratus.in/images/tutorials/embedded_auth/enter_captcha.webp) 4. You can still unlock an option if you remember any earlier password you had used to create this account. However, to test this functionality, click **Continue to reset password**. ![send_otp](https://catalyst-docs-development.zohostratus.in/images/tutorials/embedded_auth/send_otp.webp) 5. Click **SEND OTP** to send the OTP to your email address. ![verify_otp](https://catalyst-docs-development.zohostratus.in/images/tutorials/embedded_auth/verify_otp.webp) 6. Enter the OTP received in your email and click **Verify**. ![create_new_password](https://catalyst-docs-development.zohostratus.in/images/tutorials/embedded_auth/create_new_password.webp) 7. You can create your new password now and click **Change Password**. ![catalyst_authentication_hosted_catalyst_serve_pwd_confirm_reset](https://catalyst-docs-development.zohostratus.in/images/tutorials/hosted-login/catalyst_authentication_hosted_catalyst_serve_pwd_confirm_reset.webp) You will be redirected to the login page, where you can log in to the application using the new password. **React web app** ![catalyst_serve](https://catalyst-docs-development.zohostratus.in/images/tutorials/embedded_auth/catalyst_serve.webp) > **Note:** Every time you access the homepage or any of the sub-pages of your client, or the function, the CLI will display a live log of the accessed URL, along with the HTTP method that is used to access it. You can now open the client component’s local URL in a browser to access the application. ![client_app](https://catalyst-docs-development.zohostratus.in/images/tutorials/embedded_auth/client_app.webp) ### Test Case 1 #### Sign up using email address 1. Click **Sign Up** to create a new account. ![signup](https://catalyst-docs-development.zohostratus.in/images/tutorials/embedded_auth/signup.webp) 2. Enter the required details and click **Sign Up**. ![signup_details](https://catalyst-docs-development.zohostratus.in/images/tutorials/embedded_auth/signup_details.webp) 3. The [Email Verification](https://docs.catalyst.zoho.com/en/cloud-scale/help/authentication/email-templates/introduction/) email will be sent to the email address you used to sign up. ![email_verification](https://catalyst-docs-development.zohostratus.in/images/tutorials/embedded_auth/email_verification.webp) 4. Click the link in the email ![email_link](https://catalyst-docs-development.zohostratus.in/images/tutorials/embedded_auth/email_link.webp) 5. Follow the instructions and set your password ![create_password](https://catalyst-docs-development.zohostratus.in/images/tutorials/embedded_auth/create_password.webp) Once the password is set, you will be signed in to the application. ![signed_in](https://catalyst-docs-development.zohostratus.in/images/tutorials/embedded_auth/signed_in.webp) You can verify this by viewing the user information in the [User Management](https://docs.catalyst.zoho.com/en/cloud-scale/help/authentication/user-management/introduction/) section of the *Authentication* component in the console. ![user_details](https://catalyst-docs-development.zohostratus.in/images/tutorials/embedded_auth/user_details.webp) ### Test Case 2 #### Test Custom User Validation 1. Sign up to the application using an email address that will induce a failure instance. ![signup_page2](https://catalyst-docs-development.zohostratus.in/images/tutorials/embedded_auth/signup_page2.webp) > **Note:** For the purpose of this tutorial, we have coded a logic for the Custom User Validation function where if the user's email provider is anyone other than Zylker Technology (`@zylker.com`) the end-user will not be able to sign up to the application. 2. You will not be able to sign up to the application using any email address other than the one coded to permit in the function logic. ![error_message](https://catalyst-docs-development.zohostratus.in/images/tutorials/embedded_auth/error_message.webp) ### Test Case 3 #### Sign up to the application using Identity Provider Logins 1. You can click a identity provider login that you had configured to begin the sign up process. For this test, we are signing up using the [Zoho Identity Provider login](https://docs.catalyst.zoho.com/en/cloud-scale/help/authentication/social-logins/configuring-social-logins/#enable-zoho-social-login). ![idp_login](https://catalyst-docs-development.zohostratus.in/images/tutorials/embedded_auth/idp_login.webp) 2. Click **Accept**. ![accept_login](https://catalyst-docs-development.zohostratus.in/images/tutorials/embedded_auth/accept_login.webp) You will be logged in to the application. ![logged_in](https://catalyst-docs-development.zohostratus.in/images/tutorials/embedded_auth/logged_in.webp) You can verify the end-user has been added by viewing their details in the *User Management* section of the Authentication component in the console. ### Test Case 4 #### Password reset functionality 1. Click the **Forgot Password** option. ![forgot_password](https://catalyst-docs-development.zohostratus.in/images/tutorials/embedded_auth/forgot_password.webp) 2. Enter the email address ![enter_email](https://catalyst-docs-development.zohostratus.in/images/tutorials/embedded_auth/enter_email.webp) 3. Enter the captcha. ![enter_captcha](https://catalyst-docs-development.zohostratus.in/images/tutorials/embedded_auth/enter_captcha.webp) 4. You can still unlock an option if you remember any earlier password you had used to create this account. However, to test this functionality, click **Continue to reset password**. ![send_otp](https://catalyst-docs-development.zohostratus.in/images/tutorials/embedded_auth/send_otp.webp) 5. Click **SEND OTP** to send the OTP to your email address. ![verify_otp](https://catalyst-docs-development.zohostratus.in/images/tutorials/embedded_auth/verify_otp.webp) 6. Enter the OTP received in your email and click **Verify**. ![create_new_password](https://catalyst-docs-development.zohostratus.in/images/tutorials/embedded_auth/create_new_password.webp) 7. You can create your new password now and click **Change Password**. ![catalyst_authentication_hosted_catalyst_serve_pwd_confirm_reset](https://catalyst-docs-development.zohostratus.in/images/tutorials/hosted-login/catalyst_authentication_hosted_catalyst_serve_pwd_confirm_reset.webp) You will be redirected to the login page, where you can log in to the application using the new password. -------------------------------------------------------------------------------- title: "Deploy the Application" description: "Create a web application using Catalyst Embedded Authentication that provides user sign-up, login, password reset, and sign-in with identity providers." last_updated: "2026-11-04T10:10:44.000Z" source: "https://docs.catalyst.zoho.com/en/tutorials/embedded-auth/nodejs/deploy-app/" service: "All Services" related: - Deploy CLI Resources (/en/cli/v1/deploy-resources/introduction/) - Web Client Hosting (/en/cloud-scale/help/web-client-hosting/introduction) -------------------------------------------------------------------------------- # Deploy the Application To [deploy your Catalyst project](https://docs.catalyst.zoho.com/en/cli/v1/deploy-resources/introduction/) from the CLI, run the following command in your terminal from your project directory: ```sh catalyst deploy ``` The function is deployed first, followed by the client component. The URL endpoints of the components will be displayed in the CLI: **Basic web app** ![deploy_auth_project](https://catalyst-docs-development.zohostratus.in/images/tutorials/embedded_auth/deploy_auth_project.webp) > **Note** You can also use the `catalyst deploy --only client` CLI command to deploy the client component alone, as the function component was already deployed. You can now open the client component’s URL in a browser to access the deployed application. The authorization portal application can now be accessed from its web app URL. ![working_auth_app](https://catalyst-docs-development.zohostratus.in/images/tutorials/embedded_auth/working_auth_app.webp) The authorization portal application is now functional and should work without any errors. **React web app** ![deploy_react](https://catalyst-docs-development.zohostratus.in/images/tutorials/embedded_auth/deploy_react.webp) > **Note** You can also use the `catalyst deploy --only client` CLI command to deploy the client component alone, as the function component was already deployed. You can now open the client component’s URL in a browser to access the deployed application. The authorization portal application can now be accessed from its web app URL. ![working_react_app](https://catalyst-docs-development.zohostratus.in/images/tutorials/embedded_auth/working_react_app.webp) The authorization portal application is now functional and should work without any errors. ### Python -------------------------------------------------------------------------------- title: "Introduction" description: "Create a web application using Catalyst Embedded Authentication that provides user sign-up, login, password reset, and sign-in with identity providers." last_updated: "2026-11-04T10:10:44.000Z" source: "https://docs.catalyst.zoho.com/en/tutorials/embedded-auth/python/introduction/" service: "All Services" related: - Project Directory Structure (/en/cli/v1/project-directory-structure/introduction/) - Embedded Authentication Type (/en/cloud-scale/help/authentication/native-catalyst-authentication/embedded-authentication/introduction/) - User Management (/en/cloud-scale/help/authentication/user-management/introduction/) - Custom User Validation (/en/cloud-scale/help/authentication/whitelisting/custom-user-validation/introduction/) - Identity Providers (/en/cloud-scale/help/authentication/social-logins/introduction/) - Python SDK (/en/sdk/python/v1/overview/) -------------------------------------------------------------------------------- # Introduction This tutorial will help you build a simple client application that allows your end-users to log in to your application after they have been authenticated using [Embedded Authentication Type](https://docs.catalyst.zoho.com/en/cloud-scale/help/authentication/native-catalyst-authentication/embedded-authentication/introduction/) with a [Custom User Validation function](https://docs.catalyst.zoho.com/en/cloud-scale/help/authentication/whitelisting/custom-user-validation/introduction/) function. The Embedded Authentication type allows you to load your login element as an iFrame in your application. The Embedded Authorization Portal application uses the following Catalyst services and their respective components: - [Catalyst CloudScale](https://docs.catalyst.zoho.com/en/cloud-scale/) - **Authentication**: The end-user will be authenticated to your application using the [Embedded Authentication](https://docs.catalyst.zoho.com/en/cloud-scale/help/authentication/native-catalyst-authentication/embedded-authentication/introduction/), a [Native Catalyst Authentication Type](https://docs.catalyst.zoho.com/en/cloud-scale/help/authentication/native-catalyst-authentication/introduction/). - **Web Client Hosting**: The front end of the application is going to be hosted on Catalyst using the [Web Client Hosting](https://docs.catalyst.zoho.com/en/cloud-scale/help/web-client-hosting/introduction/) component. We will be initializing and configuring the client as a [Basic web app](https://docs.catalyst.zoho.com/en/cli/v1/initialize-resources/initialize-client/#basic-client-applications) and a [React app](https://docs.catalyst.zoho.com/en/cli/v1/initialize-resources/initialize-client/#react-applications). - [Catalyst Serverless](https://docs.catalyst.zoho.com/en/serverless/) - **Functions**: We will be using [Basic I/O function](https://docs.catalyst.zoho.com/en/serverless/help/functions/basic-io/) to code the logic used to implement *Custom User Validation*. We will be coding the function in **Python.** This tutorial will help you understand and how to use the various features of *Embedded Authentication Type*. We will be incorporating the following functionalities in this tutorial: - Sign up to the web app using an email address - Log in to the app using the sign-up account information - Log in to the app using any or all of the following Identity Provider Logins: - [Zoho](https://docs.catalyst.zoho.com/en/cloud-scale/help/authentication/social-logins/configuring-social-logins/#enable-zoho-social-login) - [Google](https://docs.catalyst.zoho.com/en/cloud-scale/help/authentication/social-logins/configuring-social-logins/#enable-google-social-login) - [Microsoft 365](https://docs.catalyst.zoho.com/en/cloud-scale/help/authentication/social-logins/configuring-social-logins/#enable-microsoft-365-social-login) - [LinkedIn](https://docs.catalyst.zoho.com/en/cloud-scale/help/authentication/social-logins/configuring-social-logins/#enable-linkedin-social-login) - [Facebook](https://docs.catalyst.zoho.com/en/cloud-scale/help/authentication/social-logins/configuring-social-logins/#enable-facebook-social-login) - Reset the password option in case an end-user forgets their password - Configure **Email Verification** and **Password Reset** [email templates](https://docs.catalyst.zoho.com/en/cloud-scale/help/authentication/email-templates/customizing-email-templates/) - Configure and add a [Custom User Validation](https://docs.catalyst.zoho.com/en/cloud-scale/help/authentication/whitelisting/custom-user-validation/introduction/) function - View profile information after logging into the application - Log out of the application The following is an example of how the client application will appear: ![working_app](https://catalyst-docs-development.zohostratus.in/images/tutorials/embedded_auth/working_app.webp) You can access a working application and test its functionality here: [Try the App!](https://authentication.catalystserverlessapp.com/app/index.html) You will be using the following features of the Authentication component in this application: * **User Management**: The user profiles are automatically saved in this [section](https://docs.catalyst.zoho.com/en/cloud-scale/help/authentication/user-management/introduction/) when they sign up for the application. Using this feature, you can manage the end-users’ access to your application and [configure their roles](https://docs.catalyst.zoho.com/en/cloud-scale/help/authentication/user-management/roles/introduction/). * **Authentication Type**: You will be able to view the [authentication type](https://docs.catalyst.zoho.com/en/cloud-scale/help/authentication/authentication-types/) you have configured for your application, and edit your configurations when required. * **Whitelisting**: You will use this section to enable [Custom User Validation](https://docs.catalyst.zoho.com/en/cloud-scale/help/authentication/whitelisting/custom-user-validation/introduction/). You can also use this section to enable [CORS and iFrame access](https://docs.catalyst.zoho.com/en/cloud-scale/help/authentication/whitelisting/authorized-domains/introduction/) to your application. * **Email Templates**: You will be able to configure and customize *Email Verification* and *Password Reset* emails from this [section](https://docs.catalyst.zoho.com/en/cloud-scale/help/authentication/email-templates/introduction/). We will use the [Catalyst web console](https://console.catalyst.zoho.com/baas/index) and the [Catalyst Command Line Interface](https://docs.catalyst.zoho.com/en/cli/v1/cli-command-reference/) (CLI) to build this application. You will be given the code for the files to be included in the function and client directory of your project in this tutorial. You can either copy the provided code or customize it, should you feel it necessary and paste it into the appropriate files as directed. ### Application Architecture The authorization portal's application logic is described below: * **Login process**: The end-user will be directed to the login page. They can either opt in to log in to the application using the **Zoho**, **Google**, **LinkedIn**, **Microsoft 365**, or **Facebook** identity provider logins, or click the **Sign Up** option provided to sign up using their email address. * **Custom user validation**: The details inputted by the end-user during the login process will sent be as a JSON input to the *Custom User Validation* function. if the details are successfully validated per the custom logic present in the *Basic I/O function*, the verification email will be triggered. * **Email verification triggered**: Once users sign up for the application, an email verification email will be sent to the email address used to register the account. The email verification content and style can be customized per your preference using the *Email Templates* feature of *Authentication*. * **Password setup**: When end-users click the link present in the email verification email, they will be directed to the password setup page. Here, the end-user can secure their account by setting a password of their preference. * **End-user account created**: After the password is set, the user account will be created, and the end-user will now be able to log in to the application using the credentials they created. You can confirm the account has been created by viewing the account details in the *User Management* section of the *Authentication* component. * **Password reset option**: End-users will have the option to reset the password by opting for the **Forgot Password** option present in the login page. They will then be prompted to provide any of their previous passwords to recover their account or go ahead with the reset option. Once the users go ahead with the reset option, a one-time password (OTP) email will be sent to the user. Once the OTP is verified, they can set a new password for their account. > **Note:** * As we are using the **Embedded Login** method which is a native Catalyst Authentication type, you will be given the scripts for the native login form that can be added to your application's web client. You can also customize the design and branding of the login and password reset elements by configuring the css file mentioned in the script. Refer [this Styling Embedded Authentication type help section](https://docs.catalyst.zoho.com/en/cloud-scale/help/authentication/native-catalyst-authentication/embedded-authentication/reference-stylesheet-embedded/), to style your iFrame and the login element. * Instead of opting for the *Forgot Password* option, the end-user can also contact the app administrator to reset their credentials. Using the *User Management* feature, a **Password Reset** email can be sent from within Catalyst to the user, containing a link and instructions to reset their password. This email can be styled using the *Email Templates* feature. -------------------------------------------------------------------------------- title: "Prerequisites" description: "Create a web application using Catalyst Embedded Authentication that provides user sign-up, login, password reset, and sign-in with identity providers." last_updated: "2026-11-04T10:10:44.000Z" source: "https://docs.catalyst.zoho.com/en/tutorials/embedded-auth/python/prerequisities/" service: "All Services" related: - CLI Command Reference (/en/cli/v1/cli-command-reference/) - Install CLI (/en/getting-started/installing-catalyst-cli/) - Login CLI (/en/cli/v1/login/login-from-cli/) -------------------------------------------------------------------------------- # Prerequisites Before you begin building the application, you must have the following prerequisites installed on your system: 1. **Catalyst CLI** Catalyst CLI contains a host of tools that enable you to initialize, develop, test, and deploy the components of your application from your local machine. We will be working with Catalyst CLI in this tutorial. You must perform the following actions: * **Install Catalyst CLI**: Catalyst CLI is installed through NPM. You must therefore have NPM and Node.js installed on your system before you install the CLI. Refer to the [Install Catalyst CLI help page](https://docs.catalyst.zoho.com/en/getting-started/installing-catalyst-cli/) for details on the pre-requisites and the steps to install it. * **Log in to Catalyst CLI**: After you install Catalyst CLI, you must authenticate the CLI with your Catalyst account before using it. Refer to the [CLI Login help page](https://docs.catalyst.zoho.com/en/cli/v1/login/login-from-cli/) for the steps to login from Catalyst CLI and the various options available for it. 2. **Install Python version 3.10** Before you begin developing your application logic in Python, please ensure you have the following package manager and programming environment installed on your local machine: * **[Pip](https://pip.pypa.io/en/stable/installation/#)** - Python Package Manager * **[Python version 3.10](https://www.python.org/)** You can install Python from their [official website](https://www.python.org/) and the pip package manager will be auto-installed in your local system. Please make sure you install the pip package manually if you install Python from other sources. You can refer to [this doc](https://pip.pypa.io/en/stable/installation/#) for installing pip. > **Note:** If you have other versions of Python installed in your local machine (a Python version outside the supported range of Python 3.10 to 3.13), then the execution of the Python functions in your directory will be skipped when the application is being [served](https://docs.catalyst.zoho.com/en/cli/v1/serve-resources/introduction) or [deployed](https://docs.catalyst.zoho.com/en/cli/v1/deploy-resources/introduction). 3. **Any IDE tool for Python code development** You can use any IDE to work with the Integration function code. Some popular choices include Visual Studio Code, IntelliJ IDEA, Eclipse, PyCharm and Sublime Text. Download and install an IDE of your choice in your system. > If you are a Visual Studio Code IDE user, you can install the **Catalyst Tools** extension, and use your IDE itself in place of the CLI. You can find more details about the Catalyst VS Code extension from this [help section](https://docs.catalyst.zoho.com/en/catalyst-extensions/vs-code-extension/introduction/). -------------------------------------------------------------------------------- title: "Create a project" description: "Create a web application using Catalyst Embedded Authentication that provides user sign-up, login, password reset, and sign-in with identity providers." last_updated: "2026-11-04T10:10:44.000Z" source: "https://docs.catalyst.zoho.com/en/tutorials/embedded-auth/python/create-project/" service: "All Services" related: - Project Directory (/en/cli/v1/project-directory-structure/introduction) - Set up Catalyst Projects (/en/getting-started/catalyst-projects) -------------------------------------------------------------------------------- # Create a Project Let’s [create a Catalyst project](https://docs.catalyst.zoho.com/en/getting-started/catalyst-projects/#create-a-catalyst-project) from the Catalyst console. 1. Log in to the [Catalyst console](https://console.catalyst.zoho.com/baas/index) and click **Create New Project**. ![create_new_project](https://catalyst-docs-development.zohostratus.in/images/tutorials/embedded_auth/create_new_project.webp) 2. Enter the project’s name as "**AuthorizationPortal**" in the pop-up window, and click **Create**. ![enter_project_name](https://catalyst-docs-development.zohostratus.in/images/tutorials/embedded_auth/enter_project_name.webp) Your project will be created and it will be opened. You can access the project later, by clicking **Access Project**. ![open_project](https://catalyst-docs-development.zohostratus.in/images/tutorials/embedded_auth/open_project.webp) -------------------------------------------------------------------------------- title: "Configure Embedded Authentication Type" description: "Create a web application using Catalyst Embedded Authentication that provides user sign-up, login, password reset, and sign-in with identity providers." last_updated: "2026-11-04T10:10:44.000Z" source: "https://docs.catalyst.zoho.com/en/tutorials/embedded-auth/python/configure-embedded-login/" service: "All Services" related: - Setup Embedded Authentication type (/en/cloud-scale/help/authentication/native-catalyst-authentication/embedded-authentication/setup-embedded-auth/) - Configure Identity Provider Logins (/en/cloud-scale/help/authentication/social-logins/configuring-social-logins/) -------------------------------------------------------------------------------- # Configure Embedded Authentication Type Let's configure the *Native Catalyst Authentication* type, *Embedded Login* in this section. 1. Authentication is a [Catalyst CloudScale](https://docs.catalyst.zoho.com/en/cloud-scale/) component. Click the **CloudScale** icon on the console's side navigation menu to access the CloudScale service console, then click **Start Exploring**. ![cloudscale](https://catalyst-docs-development.zohostratus.in/images/tutorials/embedded_auth/cloudscale.webp) 2. Click **Authentication** under *Security & Identity* to access the Authentication component. ![catalyst_authentication_console_view](https://catalyst-docs-development.zohostratus.in/images/tutorials/embedded_auth/catalyst_authentication_console_view.webp) 3. Set up the application's authentication using [*Embedded Authentication*](https://docs.catalyst.zoho.com/en/cloud-scale/help/authentication/native-catalyst-authentication/embedded-authentication/introduction/), a Native Catalyst Authentication type. Click the **Set Up** button in the Native Catalyst Authentication section to start configuring your login element. ![catalyst_authentication_native_setup_highlight](https://catalyst-docs-development.zohostratus.in/images/tutorials/embedded_auth/catalyst_authentication_native_setup_highlight.webp) > **Note:** You can also learn about other authentication types here. * [Hosted Login](https://docs.catalyst.zoho.com/en/cloud-scale/help/authentication/native-catalyst-authentication/hosted-authentication-type/introduction/) * [Third-party Authentication](https://docs.catalyst.zoho.com/en/cloud-scale/help/authentication/third-party-authentication/introduction/) 4. Select *Embedded Authentication* and click **Next**. ![catalyst_authentication_embedded_setup_highlight](https://catalyst-docs-development.zohostratus.in/images/tutorials/embedded_auth/catalyst_authentication_embedded_setup_highlight.webp) 5. Click the **toggle button** to enable *Public Signup*. ![catalyst_authentication_embedded_public_toggle_highlight](https://catalyst-docs-development.zohostratus.in/images/tutorials/embedded_auth/catalyst_authentication_embedded_public_toggle_highlight.webp) * Read the information pop-up and click **Yes, Proceed**. ![catalyst_authentication_embedded_public_signup_proceed](https://catalyst-docs-development.zohostratus.in/images/tutorials/embedded_auth/catalyst_authentication_embedded_public_signup_proceed.webp) > **Note:** To learn more about *Public Signup*, visit this [help document](https://docs.catalyst.zoho.com/en/cloud-scale/help/authentication/public-signup/). 6. You can add any or all of the [ Identity Provider Logins](https://docs.catalyst.zoho.com/en/cloud-scale/help/authentication/social-logins/introduction/) that are present in the console. To enable the **Zoho** identity provider login: - Click the **Zoho** button, and enter "**AuthorizationPortal**" as the *Client Name*. ![catalyst_authentication_social_login_zoho_configuring](https://catalyst-docs-development.zohostratus.in/images/tutorials/embedded_auth/catalyst_authentication_social_login_zoho_configuring.webp) > **Note:** As your application is being built on Catalyst, you do not have to create OAuth `Client ID` and `Client Secret` credentials. - Click **Enable**. Your end-users can now log in to your application using their Zoho credentials. To enable the **Google** identity provider login: - Click the **Google** button, and enter the OAuth `Client ID` and `Client Secret` that you obtained in the Google console in their respective fields. ![google](https://catalyst-docs-development.zohostratus.in/images/tutorials/embedded_auth/google.webp) > **Note:** Steps to obtain the OAuth `Client ID` and `Client Secret` for each of the identity provider logins can be accessed in the following help documents: [Google](https://docs.catalyst.zoho.com/en/cloud-scale/help/authentication/social-logins/configuring-social-logins/#enable-google-social-login), [Microsoft 365](https://docs.catalyst.zoho.com/en/cloud-scale/help/authentication/social-logins/configuring-social-logins/#enable-microsoft-365-social-login), [LinkedIn](https://docs.catalyst.zoho.com/en/cloud-scale/help/authentication/social-logins/configuring-social-logins/#enable-linkedin-social-login), and [Facebook](https://docs.catalyst.zoho.com/en/cloud-scale/help/authentication/social-logins/configuring-social-logins/#enable-facebook-social-login). - Click **Enable**. Your end-users can now log in to your application using their **Google** credentials. You can repeat the same steps to enable the other identity provider logins. 7. Click **Next**. > **Note:** You can also [edit your identity provider login configurations](https://docs.catalyst.zoho.com/en/cloud-scale/help/authentication/native-catalyst-authentication/embedded-authentication/setup-embedded-auth/) at a later point from the Authentication Type section. 8. We will configure the *Additional Settings* section at a later point using the *Whitelisting* feature. Click **Finish**. ![additional_settings](https://catalyst-docs-development.zohostratus.in/images/tutorials/embedded_auth/additional_settings.webp) You will now able to view and verify that *Embedded Authentication* type has been enabled for your application. ![catalyst_authentication_embedded_login_enabled](https://catalyst-docs-development.zohostratus.in/images/tutorials/embedded_auth/catalyst_authentication_embedded_login_enabled.webp) -------------------------------------------------------------------------------- title: "Configure Email Templates" description: "Create a web application using Catalyst Embedded Authentication that provides user sign-up, login, password reset, and sign-in with identity providers." last_updated: "2026-11-04T10:10:44.000Z" source: "https://docs.catalyst.zoho.com/en/tutorials/embedded-auth/python/configure-email-templates/" service: "All Services" related: - Email Templates (/en/cloud-scale/help/authentication/email-templates/introduction/) -------------------------------------------------------------------------------- # Configure Email Templates Catalyst provides you with [Email Templates](https://docs.catalyst.zoho.com/en/cloud-scale/help/authentication/email-templates/introduction/) that you can use to send custom emails to your end-users when they sign up to your application, or on instances when they wish to change their password. To configure the email templates: 1. Click the **Email Templates** tab in the *Authentication* component to navigate to the relevant section. ![email_templates](https://catalyst-docs-development.zohostratus.in/images/tutorials/embedded_auth/email_templates.webp) 2. Click the **Email Verification** tab, then click **Edit** to begin customizing and editing the content. You can also include [placeholders](https://docs.catalyst.zoho.com/en/cloud-scale/help/authentication/email-templates/benefits-and-key-concepts/#placeholders) in the templates for the values that need to be populated dynamically when the emails are invoked. ![edit_template](https://catalyst-docs-development.zohostratus.in/images/tutorials/embedded_auth/edit_template.webp) > **Note:** * You can customize the email content to match your preference. * The placeholder content (content present between `%%`) will be dynamically altered and rendered based on the user details. * The `%LINK%` placeholder will contain the application's link that is automatically generated by Catalyst. You can also provide a custom link. 3. Make the necessary changes and click **Save**. ![catalyst_authentication_embedded_email_template_save_changes](https://catalyst-docs-development.zohostratus.in/images/tutorials/embedded_auth/catalyst_authentication_embedded_email_template_save_changes.webp) 4. To customize the *Reset Password* emails, click the **Password Reset** tab and customize the email content in the same manner as above. ![catalyst_authentication_embedded_email_template_save_pwd_changes](https://catalyst-docs-development.zohostratus.in/images/tutorials/embedded_auth/catalyst_authentication_embedded_email_template_save_pwd_changes.webp) The email templates will now be configured. > **Note:** * You can learn more about *Email Templates* from this [help document](https://docs.catalyst.zoho.com/en/cloud-scale/help/authentication/email-templates/introduction/). * Because we are using *Embedded Login* to authenticate this application, the handling of sending these emails at the required instances will be automatically configured by Catalyst, so you do not have to code the logic to trigger these emails. -------------------------------------------------------------------------------- title: "Initialize the project" description: "Create a web application using Catalyst Embedded Authentication that provides user sign-up, login, password reset, and sign-in with identity providers." last_updated: "2026-11-04T10:10:44.000Z" source: "https://docs.catalyst.zoho.com/en/tutorials/embedded-auth/python/init-project/" service: "All Services" related: - Initialize CLI Resources (/en/cli/v1/initialize-resources/introduction) - Project Directory Structure (/en/cli/v1/project-directory-structure/introduction) -------------------------------------------------------------------------------- # Initialize the Project from the CLI You can now begin working on your Catalyst project from the CLI. The first step is to initialize the project in an empty directory. This will be the home directory of your project and all of the project files will be saved in it. You can learn more about this from the [Project Directory Structure help page](https://docs.catalyst.zoho.com/en/cli/v1/project-directory-structure/introduction/). You can learn about initializing a project in detail from the [CLI help documentation](https://docs.catalyst.zoho.com/en/cli/v1/initialize-resources/introduction). For this application, we will initialize a [Basic I/O function](https://docs.catalyst.zoho.com/en/serverless/help/functions/basic-io/), which will contain the logic for [Custom User Validation](https://docs.catalyst.zoho.com/en/cloud-scale/help/authentication/whitelisting/custom-user-validation/introduction/) and a [Basic web app](https://docs.catalyst.zoho.com/en/cli/v1/initialize-resources/initialize-client/#basic-client-applications) as the client component. > **Note:** Ensure that you enter the function's package name or class name exactly as instructed, because the application's code contains the same name. 1. Create a folder for the project on your local machine and navigate to it from the terminal. 2. Initialize a project by executing the following command from that directory: ```sh catalyst init ``` 3. Navigate using the **arrow keys**, select your preferred portal, and press the **Enter** key. If you have no other organizations associated with the account, then the default one will be selected automatically. ![catalyst_authorization_portal_multiorg_choice](https://catalyst-docs-development.zohostratus.in/images/tutorials/embedded_auth/catalyst_authorization_portal_multiorg_choice.webp) > **Note:** You can find out more about Catalyst’s multi-org portal feature from this [help document](https://docs.catalyst.zoho.com/en/getting-started/catalyst-organizations/#access-the-multi-org-portal). 4. The CLI will now ask you to associate a Catalyst project with the directory. Associate it with the project that we created earlier from the console. Select **Authorization Portal** from the list and press **Enter**. ![catalyst_authentication_project_select](https://catalyst-docs-development.zohostratus.in/images/tutorials/embedded_auth/catalyst_authentication_project_select.webp) 5. Navigate using the arrow keys and select **Functions**, **Client** using the space bar. Press **Enter** to initialize. ![select_project_components](https://catalyst-docs-development.zohostratus.in/images/tutorials/embedded_auth/select_project_components.webp) 6. The CLI will initiate the function setup. Select **Basic IO** as the function type for your *Custom User Validation* function. ![select_basicio](https://catalyst-docs-development.zohostratus.in/images/tutorials/embedded_auth/select_basicio.webp) 7. Select the latest runtime of *Python* as the function stack. ![select-runtime](https://catalyst-docs-development.zohostratus.in/images/tutorials/embedded_auth/python/select-runtime.webp) 8. Enter "`authorization_portal_function`" as the package name, "`main.py`" as the entry point, and your email address as the author, then press **Enter**. Alternatively, you can press **Enter** without entering inputs to fill in the default values. The CLI will prompt the initialization of the Node dependencies. Press **Y** to confirm the installation, and press **Enter** to confirm your choice. The Node modules will be installed. ![python-function-setup](https://catalyst-docs-development.zohostratus.in/images/tutorials/embedded_auth/python/python-function-setup.webp) The CLI will now initiate the client setup. **Basic web app** 9. Select **Basic web app** and press **Enter** to initialize your client as a [basic web app](https://docs.catalyst.zoho.com/en/cli/v1/initialize-resources/initialize-client/#basic-client-applications). ![basic_webapp](https://catalyst-docs-development.zohostratus.in/images/tutorials/embedded_auth/basic_webapp.webp) 10. Enter a name for your client package and press **Enter**. For the purposes of this tutorial, we are naming our client package "`zylkertechnologies`". You can use the same of provide a name of your choice. ![client_name](https://catalyst-docs-development.zohostratus.in/images/tutorials/embedded_auth/client_name.webp) The Catalyst initialization is now complete. The project directory is now set up with the client directory and the functions directory along with configuration files and dependencies. The project directory also contains the [`catalyst.json`](https://docs.catalyst.zoho.com/en/cli/v1/project-directory-structure/catalyst-json/) configuration file and a hidden `.catalystrc` file. The structure of your project directory should now appear as shown below: ![basic-app-structure](https://catalyst-docs-development.zohostratus.in/images/tutorials/embedded_auth/python/basic-app-structure.webp) **React web app** 9. Select **React web app** and press **Enter** to initialize your client as a [React web app](https://docs.catalyst.zoho.com/en/cli/v1/initialize-resources/initialize-client/#react-applications). ![select_react](https://catalyst-docs-development.zohostratus.in/images/tutorials/embedded_auth/select_react.webp) 10. Select **JavaScript** as the React app type and press **Enter** ![select_js](https://catalyst-docs-development.zohostratus.in/images/tutorials/embedded_auth/select_js.webp) 11. Enter "`zylkertechnologies`" as the name of your client package and click **Enter**. You can also provide any name of your choice. All of the required React packages, such as “`react`,” “`react-dom`,” and “`react-scripts`” will be installed through the Catalyst React plugin ([`zcatalyst-cli-plugin-react`](https://www.npmjs.com/package/zcatalyst-cli-plugin-react)). ![client_setup](https://catalyst-docs-development.zohostratus.in/images/tutorials/embedded_auth/client_setup_updated.webp) The client is now successfully initialized as a React web application. ![complete_init](https://catalyst-docs-development.zohostratus.in/images/tutorials/embedded_auth/complete_init.webp) The [client directory](https://docs.catalyst.zoho.com/en/cli/v1/project-directory-structure/client-directory) will be created in the standard structure in the project directory. This is the structure of the *Authorization Portal* project’s directory if the client is initialized as a React app. ![react_app_structure](https://catalyst-docs-development.zohostratus.in/images/tutorials/embedded_auth/python/react-app-structure.webp) Catalyst initialization is now complete. -------------------------------------------------------------------------------- title: "Configure the Basic I/O function" description: "Create a web application using Catalyst Embedded Authentication that provides user sign-up, login, password reset, and sign-in with identity providers." last_updated: "2026-11-04T10:10:44.000Z" source: "https://docs.catalyst.zoho.com/en/tutorials/embedded-auth/python/configure-function/" service: "All Services" related: - Basic I/O Functions (/en/serverless/help/functions/basic-io/) - Functions Directory Structure (/en/cli/v1/project-directory-structure/functions-directory) -------------------------------------------------------------------------------- # Configure the Basic I/O Function Now, we will begin coding the authorization portal application by configuring the function component. The [function’s directory](https://docs.catalyst.zoho.com/en/cli/v1/project-directory-structure/functions-directory), (`functions/authorization_portal_function`), contains: * The `main.py` main function file * The `catalyst-config.json` configuration file * Handler files * [`requirements.txt`](https://docs.catalyst.zoho.com/en/cli/v1/project-directory-structure/functions-directory/#requirementstxt-file) file to mention any external libraries you might add You will be adding code in the `main.py` file. The Basic I/O function contains the following functionalities: * The end-user's details will provided as a JSON input to the *Custom User Validation* function. * The function is coded to implement a custom logic based upon which the end-user will either be authenticated or denied. > **Note:** For the purpose of this tutorial, we have coded a logic for the Custom User Validation function where if the user's email provider is anyone other than Zylker Technology (`@zylker.com`) the end-user will not be able to sign up to the application. You can either use the same or code a logic of your preference. Now, let’s begin coding the Basic I/O function. Copy the code given below and paste it in the `main.py` file in the `functions/authorization_portal_function` directory of your project, and save the file. You can use any IDE of your choice to work with the application’s files. > **Note:** Please go through the code in this section to make sure you fully understand it. **main.py** ```python import json import zcatalyst_sdk def handler(context, basicio): catalyst_app = zcatalyst_sdk.initialize() auth_service = catalyst_app.authentication() request_details = auth_service.get_signup_validation_request(basicio) if request_details: if "@zylker.com" in request_details["user_details"]["email_id"]: basicio.write(json.dumps({"status": "failure"})) # The user has failed authentication else: # The actions that occur in the event of a successful authentication can be customized basicio.write( json.dumps( { "status": "success", "user_details": { "first_name": request_details["user_details"]["first_name"], "last_name": request_details["user_details"]["last_name"], "email_id": request_details["user_details"]["email_id"], "role_identifier": "App User", # If you want to override the default role, you can specify the role id/name here. "org_id": "orgId" # If you are providing the Org ID, make sure it is copied exactly from the console. }, } ) ) context.close() ``` > **Note:** You can also use this [SDK](https://docs.catalyst.zoho.com/en/sdk/python/v1/cloud-scale/authentication/custom-user-validation/) to code your own custom logic instead of the one implemented above. The function directory is now configured. We can now proceed to configuring the client directory. -------------------------------------------------------------------------------- title: "Enable Custom User Validation" description: "Create a web application using Catalyst Embedded Authentication that provides user sign-up, login, password reset, and sign-in with identity providers." last_updated: "2026-11-04T10:10:44.000Z" source: "https://docs.catalyst.zoho.com/en/tutorials/embedded-auth/python/enable-custom-validation/" service: "All Services" related: - Custom User Validation (/en/cloud-scale/help/authentication/whitelisting/custom-user-validation/introduction/) - Whitelisting (/en/cloud-scale/help/authentication/whitelisting/introduction/) - Catalyst Deploy Options (/en/cli/v1/deploy-resources/deploy-options/) -------------------------------------------------------------------------------- # Enable Custom User Validation Now that we have coded the logic, let's enable [Custom User Validation](https://docs.catalyst.zoho.com/en/cloud-scale/help/authentication/whitelisting/custom-user-validation/introduction/). To do this, you must first deploy the function to the console. Enter this CLI command to [deploy the function component](https://docs.catalyst.zoho.com/en/cli/v1/deploy-resources/deploy-options/#--only-targets) alone to the console. ```sh catalyst deploy --only functions ``` ![functions_deploy](https://catalyst-docs-development.zohostratus.in/images/tutorials/embedded_auth/python/python-functions-deploy.webp) A function endpoint will be created for the function that allows you to access the function directly. The function will be deployed to the console. Now, go to the console, and implement the following steps: 1. Navigate to the *Whitelisting* section in the *Authentication* component, and click the **Custom User Validation** toggle. ![custom_toggle](https://catalyst-docs-development.zohostratus.in/images/tutorials/embedded_auth/custom_toggle.webp) 2. Select the **Basic I/O function** from the drop-down in the pop-up. ![configure_function](https://catalyst-docs-development.zohostratus.in/images/tutorials/embedded_auth/configure_function.webp) 3. Click **Configure**. ![validation_setup](https://catalyst-docs-development.zohostratus.in/images/tutorials/embedded_auth/validation_setup.webp) The *Custom User Validation* function has been enabled for the project, and the end-users signing up for your application will now be additionally authenticated using this function. > **Note:** You can find out about the all of the features present in the *Whitelisting* section form in this [help document](https://docs.catalyst.zoho.com/en/cloud-scale/help/authentication/whitelisting/introduction/). -------------------------------------------------------------------------------- title: "Configure the client" description: "Create a web application using Catalyst Embedded Authentication that provides user sign-up, login, password reset, and sign-in with identity providers." last_updated: "2026-11-04T10:10:44.000Z" source: "https://docs.catalyst.zoho.com/en/tutorials/embedded-auth/python/configure-client/" service: "All Services" related: - Client Directory Structure (/en/cli/v1/project-directory-structure/client-directory) -------------------------------------------------------------------------------- # Configure the Client Let’s configure the client component. **Basic web app** The [client directory](https://docs.catalyst.zoho.com/en/cli/v1/project-directory-structure/client-directory/) contains: * The `index.html` file that contains the HTML code for the frontend application * The `main.css` file that contains the CSS code for the frontend application * The `main.js` file that contains the JavaScript code * The `client-package.json` configuration file We will be coding `index.html` and `main.js`. We will also be making a change in the `client-package.json` to ensure that the homepage of the application is the authenticated page. You will need to create the additional files `home.html`,`embeddediframe.css`,`fpwd.css` in the `/client` folder of your project. The `embeddediframe.css` and `fpwd.css` files contain the styling configurations for the login and password reset forms of the application respectively. We will discuss the code at the end of this section. > **Note:** Please go through the code provided in this section to make sure you fully understand it. Copy the code below and paste it into the respective files located in the `client/directory` of your project using an IDE and save the files. **index.html** ```xml <!DOCTYPE html> <html> <head> <meta charset="utf-8" /> <meta http-equiv="X-UA-Compatible" content="IE=edge" /> <title>Authorization Portal</title> <meta name="viewport" content="width=device-width, initial-scale=1" /> <link rel="stylesheet" type="text/css" media="screen" href="main.css" /> <script src="main.js"></script> <script src="https://static.zohocdn.com/catalyst/sdk/js/4.6.2/catalystWebSDK.js"> </script> <script src="/__catalyst/sdk/init.js"></script> <script> const config = { css_url: "/app/embeddediframe.css", // Login page customization css file path, if not provided default css will be rendered is_customize_forgot_password: false, // Default value is false. Keep this value as true, if you wish to customize Forgot Password page forgot_password_id: "login", // Element id in which forgot password page should be loaded, by default will render in the "loginDivElementId" forgot_password_css_url: "/app/fpwd.css", // Forgot password page customization css file path, if not provided default css will be rendered }; catalyst.auth.signIn("login", config); </script> </head> <body style="background: #c0c0c0"> <div class="center"> <header> <img width="80px" height="80px" src="https://cdn2.iconfinder.com/data/icons/user-management/512/profile_settings-512.png"/> <h1>User Profile Management</h1> </header> </div> <div id="login"></div> <div class="signup" id="signup" > <form class="modal-content" onsubmit="signupAction(this);return false;"> <div class="center"> <h2 style="margin-top: -40px;">Sign Up</h2> <p>Please fill this form to sign up for a new account.</p> </div> <label for="firstname"><b>First Name</b></label> <input id="firstname" type="text" placeholder="Enter First Name" name="firstname" required /> <label for="lastname"><b>Last Name</b></label> <input id="lastname" type="text" placeholder="Enter Last Name" name="lastname" required /> <label for="email"><b>Email</b></label> <input id="mailid" type="text" placeholder="Enter Email address" name="email" required /> <p> By creating an account, you agree to our <a href="https://www.zoho.com/catalyst/terms.html" target="_blank" style="color: dodgerblue;" >Terms & Conditions </a> </p> <div class="center"> <button class="signupfnbtn" type="submit" class="signupbtn" > Sign Up </button> </div> </form> </div> <div id="buttons"> <p class="homepage center"> Don't have an account? <a class="underline" href="#" onclick="showDiv()">Sign-up</a> now! </p> </div> </body> </html> ``` **home.html** ```javascript <!DOCTYPE html> <html> <head> <title>User Profile Information</title> <link rel="stylesheet" href="https://cdnjs.cloudflare.com/ajax/libs/font-awesome/4.7.0/css/font-awesome.min.css"> <script src="main.js"></script> <script src="https://static.zohocdn.com/catalyst/sdk/js/4.6.2/catalystWebSDK.js"> </script> <script src="/__catalyst/sdk/init.js"></script> <link rel="stylesheet" type="text/css" media="screen" href="main.css" /> </head> <body onload="showProfile()"> <div id="profile" class="card" style="display: none;"> <h2 style="text-align:center">User Profile Information</h1> <img width="200px" height="450px" src="https://cdn2.iconfinder.com/data/icons/user-management/512/profile_settings-512.png" alt="John" style="width:80px;height: 80px;"> <p class="title" id="fname"></p> <p class="title" id="lname"></p> <p class="title"id="mailid" ></p> <p class="title"id="tzone" ></p> <p class="title"id="ctime" ></p> <button id="logoutbtn" onclick="logout()">Logout</button> </div> </body> </html> ``` **main.js** ```javascript async function signupAction() { //Get the details of the user from the HTML page var firstName = document.getElementById("firstname").value; var lastName = document.getElementById("lastname").value; var email = document.getElementById("mailid").value; //Create a JSON to use the details for the user sign-up var data = { first_name: firstName, last_name: lastName, email_id: email, platform_type: "web", }; var auth = catalyst.auth; //The signup method will sign up the user with the specified data var signupresponse = await auth.signUp(data); if (signupresponse.status == 200) { //If the signup is successful, the user will be asked to check their email document.body.innerHTML = "An account verification email has been sent to your email address"; setTimeout(function () { location.reload(); }, 5000); } else { alert(signupresponse.message); location.reload(); } } function showProfile() { //The catalyst.auth.isUserAuthenticated() method allows only authenticated users, i.e., the users who are logged in, to access the pages //You can load this method in the body of your page to allow only authenticated users to access a particular page catalyst.auth .isUserAuthenticated() .then((result) => { //If the user is logged in, these contents of the page will be displayed to the user var first_name = "First Name: " + result.content.first_name; document.getElementById("fname").innerHTML = first_name; var last_name = "Last Name: " + result.content.last_name; document.getElementById("lname").innerHTML = last_name; var mailid = "Email Address: " + result.content.email_id; document.getElementById("mailid").innerHTML = mailid; var tzone = "Time Zone: " + result.content.time_zone; document.getElementById("tzone").innerHTML = tzone; var created_time = " Joined On: " + result.content.created_time; document.getElementById("ctime").innerHTML = created_time; document.getElementById("profile").style.display = "block"; }) .catch((err) => { //If the user is not logged in, this will be displayed to the user and they will be redirected to the login page document.getElementById("profile").style.display = "block"; document.body.innerHTML = "You are not logged in. Please log in to continue. Redirecting you to the login page.."; setTimeout(function () { window.location.href = "index.html"; }, 3000); }); } function logout() { //The signOut method is used to sign the user out of the application var redirectURL = "/"; catalyst.auth.signOut(redirectURL); } function showDiv() { debugger; document.getElementById("login").style.display = "none"; document.getElementById("signup").style.display = "block"; document.getElementById("buttons").style.display = "none"; } ``` **main.css** ```css body { background-color: #ffffff; font-family: "Trebuchet MS", "Lucida Sans Unicode", Arial, sans-serif; font-size: 18px; margin: 0; padding: 0; } h1 { margin-bottom: 0; } p { font-size: 12px; font-weight: bold; } a { text-decoration: none; font-size: 20px; color: #000; transition: opacity 0.3s; } a:hover, button:hover { opacity: 0.7; } /* === Card Layout === */ .card { max-width: 480px; margin: 3rem auto; text-align: center; background: #b3b3b3; border-radius: 8px; padding: 20px; box-shadow: 0 4px 8px rgba(255, 255, 255, 0.1); } .title, .headtitle { color: #000; font-size: 22px; font-weight: 600; } /* === Input Fields === */ input[type="text"], input[type="password"] { width: 90%; padding: 12px; margin: 12px 0; border: none; border-radius: 8px; background: #f1f1f1; transition: background-color 0.2s; } input:focus { background: #ddd; outline: none; } /* === Buttons === */ button, .loginbutton { background-color: #4caf50; color: #fff; border: none; padding: 10px 20px; font-size: 16px; border-radius: 6px; cursor: pointer; transition: background 0.3s, transform 0.1s; } button:hover, .loginbutton:hover { background-color: #45a049; transform: scale(1.02); } /* Special Buttons */ .logoutbtn { width: 100%; padding: 14px; border-radius: 8px; background-color: #e53935; color: #fff; } .signupbtn, .seperatebtn, .signupfnbtn, .pwdfnbtn { border-radius: 8px; padding: 8px; } /* === Containers === */ #login { width: 480px; margin: 3rem auto; text-align: center; } .signup, .forgotpwd { display: none; } .center { text-align: center; } .underline { text-decoration: underline; color: #1e90ff; } /* === Modal === */ .modal { display: none; position: fixed; z-index: 10; inset: 0; background: rgba(0, 0, 0, 0.7); overflow: auto; } .modal-content { background: #b3b3b3; margin: 5% auto; padding: 20px; width: 40%; border-radius: 10px; } /* Close button */ .close { position: absolute; right: 25px; top: 15px; font-size: 35px; font-weight: bold; color: #fff; cursor: pointer; } .close:hover { color: #f44336; } /* Misc */ .clearfix::after { content: ""; display: table; clear: both; } p.homepage { font-size: 26px; color: #fff; } #BackToLoginbutton { position: absolute; top: 10px; left: 50%; transform: translateX(-50%); } ``` **embeddediframe.css** ```css @font-face { font-family: "Roboto Mono"; font-weight: 400; font-style: normal; src: url("https://webfonts.zohowebstatic.com/robotomonoregular/font.eot"); src: url("https://webfonts.zohowebstatic.com/robotomonoregular/font.eot?#iefix") format("eot"), url("https://webfonts.zohowebstatic.com/robotomonoregular/font.woff2") format("woff2"), url("https://webfonts.zohowebstatic.com/robotomonoregular/font.woff") format("woff"), url("https://webfonts.zohowebstatic.com/robotomonoregular/font.ttf") format("truetype"), url("https://webfonts.zohowebstatic.com/robotomonoregular/font.svg#RobotoMono-Regular") format("svg"); } @font-face { font-family: "LatoLgt"; font-weight: 300; font-style: normal; src: url("https://webfonts.zohowebstatic.com/latolight/font.eot"); src: url("https://webfonts.zohowebstatic.com/latolight/font.eot?#iefix") format("eot"), url("https://webfonts.zohowebstatic.com/latolight/font.woff2") format("woff2"), url("https://webfonts.zohowebstatic.com/latolight/font.woff") format("woff"), url("https://webfonts.zohowebstatic.com/latolight/font.ttf") format("truetype"), url("https://webfonts.zohowebstatic.com/latolight/font.svg#Lato-Light") format("svg"); } @font-face { font-family: "LatoReg"; font-weight: 400; font-style: normal; src: url("https://webfonts.zohowebstatic.com/latoregular/font.eot"); src: url("https://webfonts.zohowebstatic.com/latoregular/font.eot?#iefix") format("eot"), url("https://webfonts.zohowebstatic.com/latoregular/font.woff2") format("woff2"), url("https://webfonts.zohowebstatic.com/latoregular/font.woff") format("woff"), url("https://webfonts.zohowebstatic.com/latoregular/font.ttf") format("truetype"), url("https://webfonts.zohowebstatic.com/latoregular/font.svg#Lato-Regular") format("svg"); } @font-face { font-family: "LatoSB"; font-weight: 700; font-style: normal; src: url("https://webfonts.zohowebstatic.com/latobold/font.eot"); src: url("https://webfonts.zohowebstatic.com/latobold/font.eot?#iefix") format("eot"), url("https://webfonts.zohowebstatic.com/latobold/font.woff2") format("woff2"), url("https://webfonts.zohowebstatic.com/latobold/font.woff") format("woff"), url("https://webfonts.zohowebstatic.com/latobold/font.ttf") format("truetype"), url("https://webfonts.zohowebstatic.com/latobold/font.svg#Lato-Bold") format("svg"); } @font-face { font-family: "LatoB"; font-weight: 900; font-style: normal; src: url("https://webfonts.zohowebstatic.com/latoblack/font.eot"); src: url("https://webfonts.zohowebstatic.com/latoblack/font.eot?#iefix") format("eot"), url("https://webfonts.zohowebstatic.com/latoblack/font.woff2") format("woff2"), url("https://webfonts.zohowebstatic.com/latoblack/font.woff") format("woff"), url("https://webfonts.zohowebstatic.com/latoblack/font.ttf") format("truetype"), url("https://webfonts.zohowebstatic.com/latoblack/font.svg#Lato-Black") format("svg"); } @font-face { font-family: "signinicon"; src: url(/images/signinicon.eot); src: url(/images/signinicon.eot) format("embedded-opentype"), url(/__catalyst/auth/static-file?file_name=signinicon.woff2) format("woff2"), url(/__catalyst/auth/static-file?file_name=signinicon.ttf) format("truetype"), url(/__catalyst/auth/static-file?file_name=signinicon.woff) format("woff"), url("../images/fonts/signinicon.651f82b8f8f51f33cd0b6331f95b5b4f.svg") format("svg"); font-weight: normal; font-style: normal; font-display: block; } [class^="icon-"], [class*=" icon-"] { /* use !important to prevent issues with browser extensions that change fonts */ font-family: "signinicon" !important; speak: never; font-style: normal; font-weight: normal; font-variant: normal; text-transform: none; line-height: 1; /* Better Font Rendering =========== */ -webkit-font-smoothing: antialiased; -moz-osx-font-smoothing: grayscale; } .icon-hide:before { content: "\e907"; } .icon-show:before { content: "\e914"; } .icon-backarrow:before { content: "\e900"; } .icon-backup:before { content: "\e901"; } .icon-support:before { content: "\e915"; } body { font-family: "Roboto", sans-serif; margin: 0px; } .bg_one { display: block; position: fixed; top: 0px; left: 0px; height: 100%; width: 100%; background: url("../images/bg.49756b7c711696d95133fa95451f8e13.svg") transparent; background-size: auto 100%; z-index: -1; } .signin_container { display: block; width: 520px; min-height: 520px; background-color: #fff; box-shadow: 0px 2px 30px #ccc6; margin: auto; position: relative; z-index: 1; margin-top: 7%; overflow: hidden; } .mod_container { width: 500px; } .checkbox_label { display: inline-block; font-size: 14px; margin: 0px 6px; float: left; cursor: pointer; line-height: 20px; } .signin_box { width: 520px; min-height: 520px; height: auto; background: #fff; box-sizing: border-box; padding: 50px 50px; border-radius: 2px; transition: all 0.1s ease-in-out; float: left; overflow-y: auto; display: table-cell; border-right: 2px solid #f1f1f1; } .nopassword_message { display: table-cell; font-size: 14px; color: #222222; letter-spacing: 0px; line-height: 20px; height: auto; width: auto; margin-left: 10px; font-weight: 400; padding-left: 10px; } .portal_logo { display: block; height: 30px; width: auto; margin-bottom: 20px; background-size: auto 100%; } .pointer { cursor: pointer; } #forgotpassword { cursor: default; } #forgotpassword > a { cursor: pointer; } .text16 { display: block; text-align: center; margin-bottom: 30px; color: #626262; font-size: 16px; font-weight: 500; text-decoration: none; } .checkbox { float: left; z-index: 0; height: 12px; width: 12px; display: inline-block; border: 2px solid #ccc; border-radius: 2px; position: relative; top: 1.5px; overflow: hidden; background-color: #fff; } .show_hide_password { font-size: 34px; color: #a7a7a7; position: relative; top: -39px; right: 13px; float: right; cursor: pointer; height: 20px; } .pass_policy, .pass_policy_error { color: #8c8c8c; font-size: 14px; padding-top: 10px; } .pass_policy_error { color: #ed7500; display: block; } .checkbox_check { position: absolute; z-index: 1; opacity: 0; left: 50px; margin: 0px; height: 16px; cursor: pointer; width: 16px; } .checkbox_div { display: none; height: 16px; width: auto; margin-bottom: 30px; } .checkbox_div { display: block; } #terminate_session_form .checkbox_mod { margin-top: 50px; } .checkbox_tick { display: block; height: 3px; width: 8px; border-bottom: 2px solid #fff; border-left: 2px solid #fff; transform: rotate(-45deg); margin: 2px 1px; } .passexpsuccess { display: none; height: 106px; width: 178px; background: url("../images/passexpiry.db4c66debd4dd8880655f338ead6b973.png") no-repeat transparent; background-size: auto 100%; margin: 0px auto; margin-bottom: 20px; } .signin_head { display: block; font-size: 24px; font-weight: 500; margin-bottom: 30px; line-height: 30px; transition: all 0.1s ease-in-out; } .rightside_box { width: 390px; height: auto; float: right; box-sizing: border-box; padding: 40px; background-color: #fff; display: table-cell; } .service_name, .backup_desc, .pass_name { display: block; font-size: 16px; color: #000; font-weight: 400; } .titlename { display: block; font-size: 24px; color: #000; font-weight: 400; text-transform: capitalize; width: auto; margin-bottom: 20px; } .extramargin { margin-top: 10px; } .show_hide_password { font-size: 34px; color: #a7a7a7; position: relative; top: -39px; right: 13px; float: right; cursor: pointer; height: 20px; } .textbox_div { display: block; margin-bottom: 30px; position: relative; } .textbox_label { display: block; font-size: 14px; color: #626262; padding-bottom: 10px; } .textbox { display: block; width: 100%; height: 44px; box-sizing: border-box; border-radius: 2px; text-indent: 12px; font-size: 16px; outline: none; border: none; padding-right: 12px; transition: all 0.2s ease-in-out; background: #f1f1f1; border: 1px solid #e4e4e4; } .textbox:valid { border: 2px solid #f4f6f8; } .textindent42 { text-indent: 36px; } .textindent62 { text-indent: 56px; } .textintent52 { text-indent: 46px; } ::-webkit-credentials-auto-fill-button { visibility: hidden; pointer-events: none; position: absolute; right: 0px; } input[type="text"], input[type="password"], input[type="email"], input[type="number"] { -webkit-appearance: none; -moz-appearance: none; appearance: none; } .errorborder:focus, .textbox.errorborder { border-bottom: 2px solid #ff8484; } .btn { cursor: pointer; display: block; width: 100%; height: 44px; border-radius: 4px; letter-spacing: 0.5; font-size: 14px; font-weight: 600; outline: none; border: none; margin: auto; text-transform: uppercase; margin-bottom: 30px; transition: all 0.2s ease-in-out; } .signupbtn { width: 250px; margin-left: 0px; } .blue { box-shadow: 0px 2px 2px #fff; background-color: #159aff; color: #fff; } .grey { background-color: #f3f3f3; color: #3a3a3a; letter-spacing: 0px; } .green { box-shadow: 0px 2px 2px #fff; background-color: #00c573; color: #fff; } .blue:hover { box-shadow: 0px 2px 2px rgba(90, 183, 254, 0.2); } .changeloadbtn { display: block; height: 44px; width: 44px; border-radius: 22px; padding: 0px; } .changeloadbtn:before { content: ""; height: 20px; width: 20px; display: inline-block; margin: 9px; border: 3px solid #fff; border-top: 3px solid #5ab7fe; border-radius: 50%; animation: spin 0.5s linear infinite; } @keyframes spin { 0% { transform: rotate(0deg); } 100% { transform: rotate(360deg); } } .hellouser { margin-bottom: 30px; } .username { display: inline-block; max-width: 100%; font-size: 16px; font-weight: 500; line-height: 24px; overflow: hidden; text-overflow: ellipsis; padding-right: 10px; float: left; } .Notyou { display: inline-block; font-size: 16px; line-height: 24px; } .signup_text { text-align: center; margin: 20px 0px; font-size: 16px; } .backbtn { display: none; float: left; height: 28px; width: 28px; border-radius: 50%; position: absolute; padding: 0px 5px; cursor: pointer; overflow: hidden; transition: all 0.1s ease; } .zeroheight { width: 0px; height: 0px; overflow: hidden; display: block; } #captcha, #bcaptcha { background: #fff; width: 60%; display: inline-block; } #captcha_img, #bcaptcha_img { width: 40%; float: right; background-color: #ffffff; border-left: none; } #captcha_img img, #bcaptcha_img img { height: 40px; } .reloadcaptcha { float: right; clear: both; margin-top: -37px; height: 30px; width: 30px; border-radius: 50px; background: url("../images/reload.eaef7ea18b680bc07558164c918909a6.png") no-repeat transparent 5px; background-size: 50%; display: inline-block; cursor: pointer; } #captcha_container { display: none; } .options { display: block; width: 100%; max-width: 500px; min-height: 80px; padding: 0px 50px; cursor: pointer; } .options:hover { background-color: #f9f9f9; } .option_details { display: inline-block; height: auto; width: 320px; margin-left: 15px; } .option_title { display: block; font-size: 16px; font-weight: 500; } .img_option { display: table-cell; height: 24px; width: 24px; color: #499aff; font-size: 24px; vertical-align: top; } .errorlabel { color: #e92b2b; } .fielderror { display: none; font-size: 14px; margin-top: 10px; } .fielderror a { text-decoration: none; color: #309ff4; } .bluetext { color: #309ff4; cursor: pointer; } #country_code_select { width: 50px; height: 40px; position: absolute; opacity: 0; display: none; z-index: 0; } .select_country_code { width: 50px; height: 40px; display: inline-block; float: left; position: absolute; line-height: 40px; text-align: center; font-size: 16px; color: black; display: none; z-index: 0; } .pic { width: 20px; height: 14px; background-size: 280px 252px; background-image: url("../images/Flags2x.0b8394efb0ea9167cef2465fb8f63d78.png"); float: left; } .cc { float: right; color: #aeaeae; } .cn { margin-left: 10px; } .select2-results__option--highlighted { background: #f4f6f8; } .searchparent { height: auto; } .searchlbl { font-size: 10px; font-weight: bolder; display: inline-block; margin-top: 15px; margin-bottom: 10px; margin-left: 10px; } .cntrysearch { width: 380px; height: 32px; border-radius: 2px; font-size: 14px; box-sizing: border-box; padding: 8px 10px; background: #f7f7f7; outline: none; border: none; margin-top: 10px; } .select2-results__option { list-style-type: none; height: 40px; box-sizing: border-box; padding: 12px 20px; font-size: 14px; line-height: 16px; } .select2-search__field { width: 380px; height: 32px; border: none; outline: none; background: #f7f7f7; border-radius: 2px; margin: 10px 0 0 10px; font-size: 14px; padding: 10.5px 8px; } .select2-selection { display: inline-block; outline: none; /* background-color: #F4F6F8; */ height: 40px; text-align: center; padding: 10px; box-sizing: border-box; cursor: pointer; } .selection { transition: all 0.2s ease-in-out; -webkit-user-select: none; display: inline-block; white-space: nowrap; overflow: hidden; width: 0px; height: 43px; } #select2-combobox-results { padding-left: 0px; max-height: 200px; overflow-y: scroll; overflow-x: hidden; width: 400px; margin-top: 10px; margin-bottom: 0px; background: white; } .select2-container--open { z-index: 10; background: #ffffff; box-shadow: 0 2px 4px 0 rgba(0, 0, 0, 0.13); width: auto; box-sizing: border-box; } .select2 { position: absolute; background: transparent; box-shadow: none; display: none; margin: 2px; } .select2-results__options { overflow-y: auto; max-height: 200px; } .selection { width: auto; width: -moz-fit-content; width: -webkit-fit-content; margin: auto; display: block; } .select2-search--hide, .select2-selection__clear { display: none; } #otp_container, #enableotpoption, #mfa_ga_container, #mfa_otp_container, #mfa_totp_container, #recoverybtn, #recovery_container, #enableforgot, #enablesaml, .trustbrowser_ui, #backup_ver_container, #backup_container, #enablemore, .password_expiry_container, .terminate_session_container { display: none; } .errorlabel { color: #e92b2b; } .fielderror { display: none; font-size: 14px; margin-top: 10px; } .field_error { color: #f37272; font-size: 14px; padding-top: 10px; } #recoverybtn, #problemsignin, .tryanother { position: absolute; left: 0px; right: 0px; bottom: 40px; } .textbox_actions, .textbox_actions_saml, .textbox_actions_more { display: block; margin-top: 20px; height: 20px; } .bluetext_action { display: inline-block; float: left; font-size: 14px; color: #159aff; font-weight: 500; line-height: 16px; cursor: pointer; } .bluetext_action a { text-decoration: none; } .bluetext_action_right { float: right; } .textbox_actions { display: block; margin-top: 20px; height: 20px; } .Alert, .Errormsg { display: block; margin: auto; height: auto; min-width: 200px; width: fit-content; width: -moz-fit-content; max-width: 600px; background-color: #032239; border-radius: 6px; position: fixed; top: -100px; left: 0px; right: 0px; transition: all 0.2s ease; padding: 0px 20px; z-index: 2; } .tick_icon, .error_icon { display: inline-block; height: 20px; width: 20px; background-color: #22c856; border-radius: 50%; background-size: 60px; margin: 15px; float: left; } .tick_icon:after { display: block; content: ""; height: 5px; width: 9px; border-bottom: 2px solid #fff; border-left: 2px solid #fff; transform: rotate(-45deg); margin: 7px 6px; box-sizing: border-box; } .alert_message, .error_message { display: inline-block; font-size: 14px; color: #fff; line-height: 18px; margin: 16px 0px; margin-right: 20px; max-width: 510px; } .error_icon { background-color: #ff676f; } .error_icon:before, .error_icon:after { position: absolute; left: 44px; top: 20px; content: " "; height: 10px; width: 2px; background-color: #ffffff; } .error_icon:before { transform: rotate(45deg); } .error_icon:after { transform: rotate(-45deg); } .select2-results__options { padding-left: 0px; } .showcountry_code { width: 62px !important; } .textindent70 { text-indent: 70px; } .countrybox { width: 400px; height: 220px; overflow: auto; } .focusmanage { position: absolute; z-index: 10; width: 400px; height: 266px; box-sizing: border-box; padding: 10px; margin-top: -25px; background: #ffffff; box-shadow: 0 2px 4px 0 rgba(0, 0, 0, 0.13); border-radius: 2px; } .recoveryhead { margin-bottom: 10px; } .nopassword_container { display: none; background: #ebf4fb; border: 1px solid #cbe8ff; border-radius: 5px; width: 400px; height: auto; position: absolute; bottom: 50px; box-sizing: border-box; padding: 20px; } .nopassword_icon { display: table-cell; margin: 0px; height: 30px; width: 30px; color: #0091ff; font-size: 30px; vertical-align: middle; } .mailsearch { width: 400px; height: 30px; padding: 0px 0px; border: none; position: absolute; } .bolder1 { font-weight: bolder; } #ui-id-1 { height: 200px; width: auto; outline: none; border: none; overflow-x: hidden; overflow-y: scroll; } .ui-menu-item-wrapper { overflow: auto; } .nonclickelem { color: #626262; pointer-events: none; } .trustdevicebox { width: 500px; min-height: auto !important; } .trustdevice { width: auto; float: left; margin-right: 18px; min-width: 100px; margin-bottom: 0px; } .loadwithbtn { display: inline-block; height: 22px; width: 22px; border: 3px solid #fff; border-radius: 50%; position: absolute; margin: -2px; box-sizing: border-box; border-left: 3px solid transparent; animation-name: rotate1; animation-iteration-count: infinite; animation-duration: 1s; animation-timing-function: linear; } @keyframes rotate1 { from { transform: rotate(0deg); } to { transform: rotate(360deg); } } .waitbtn .waittext, .loadbtntext { display: inline-block; text-indent: 25px; } #waitbtn { display: none; } .loadwithbtn:before { display: inline-block; content: ""; height: 22px; width: 22px; border: 3px solid #ffffff30; border-radius: 50%; margin: -3px -11px; position: absolute; box-sizing: border-box; } .notnowbtn .loadwithbtn { border: 3px solid #3a3a3a; border-left: 3px solid transparent; } .trustdevice .loadwithbtn { display: none; } #recoverybtn, #problemsignin, .tryanother { display: none; bottom: 50px; width: fit-content; margin: 0px auto; cursor: pointer; } #recoverOption, #verify_totp_container, #verify_qr_container { display: none; } .backoption { width: 30px; height: 30px; font-size: 24px; display: inline-block; float: left; color: #666666; padding: 3px; box-sizing: border-box; margin-right: 5px; border-radius: 15px; cursor: pointer; } .backoption:hover { background: #f4f4f4; } .rec_head_text, .backoption { display: table-cell; } .options, .optionstry { display: table; width: 100%; height: auto; padding: 20px 50px; box-sizing: border-box; cursor: pointer; } .options:hover, .optionstry:hover { background-color: #f9f9f9; } .option_details, .option_details_try { height: auto; width: auto; padding-left: 10px; vertical-align: top; box-sizing: border-box; } .option_title_try { display: block; font-size: 16px; font-weight: 500; } .option_description { display: block; font-size: 13px; line-height: 20px; color: #696969; margin-top: 5px; } .img_option_try { margin: 12px 0px; } .img_option { font-size: 30px; color: #499aff; } .option_details { display: table-cell; } .problemsignincon, .recoverymodes, .addaptivetfalist, #recoverymodeContainer { width: auto; margin: 0px -50px; } .line { background-color: #f1f1f1; width: 100%; height: 2px; border-radius: 1px; margin-bottom: 20px; } /*---------------------terminate_session---------------------*/ .terminate_session_container .signin_head { margin-bottom: 20px; } #terminate_session_form .checkbox_div { position: relative; margin-bottom: 10px; } #terminate_session_form .checkbox_mod { margin-top: 30px; } #terminate_session_form .checkbox_check { left: 15px; } #terminate_session_form .checkbox_check:checked ~ .checkbox { background-color: #159aff; border-color: #159aff; } #terminate_session_form .showOneAuthLable { border: 1px solid #e7e7e7; border-radius: 10px 10px 0px 0px; box-sizing: border-box; max-width: 420px; height: auto; overflow: auto; margin-bottom: 0px; } .oneAuthLable { display: inline-flex; max-width: 420px; padding: 15px; align-items: center; margin-bottom: 10px; box-sizing: border-box; border: 1px solid #e7e7e7; border-top: none; border-radius: 0px 0px 15px 15px; } .oneauth_icon { display: inline-block; width: 40px; height: 40px; border-radius: 14px; background-size: 40px 40px; } .one_auth_icon_v2 { background-image: url(../images/oneAuth2.4b2a6945d5ecd70b703ba18f5f11eb68.png); } .oneAuthLable .text_container { flex: 1; margin: 0px 10px; } .oneAuthLable .text_header { font-size: 12px; font-weight: 500; margin-bottom: 4px; } .oneAuthLable .text_desc { font-size: 10px; line-height: 14px; } .oneAuthLable .togglebtn_div { height: 16px; padding: 4px; width: 30px; display: inline-block; position: relative; } .oneAuthLable .real_togglebtn { cursor: pointer; display: inline-block; position: relative; height: 16px; width: 30px; z-index: 1; opacity: 0; position: absolute; margin: 0px; } .real_togglebtn:checked ~ .togglebase { background-color: #10bc83; } .real_togglebtn:checked ~ .togglebase .toggle_circle { left: 16px; } .oneAuthLable .togglebase { height: 16px; width: 30px; display: inline-block; background: #ccc; border-radius: 10px; position: absolute; } .oneAuthLable .toggle_circle { transition: all 0.2s ease-in-out; height: 12px; width: 12px; background-color: #fff; border-radius: 10px; display: inline-block; position: absolute; left: 2px; top: 2px; box-shadow: 0px 0px 5px #999; } @media only screen and (-webkit-min-device-pixel-ratio: 2), not all, not all, not all, only screen and (min-resolution: 192dpi), only screen and (min-resolution: 2dppx) { .google_icon { background-color: #fff; box-shadow: 0px 0px 2px #00000012, 0px 2px 2px #00000024; } .google_icon .fed_icon { background: url("../images/signin_icons@2x.c0c72f3600a6f5ec03c9119d5a7d0518.png") no-repeat transparent; background-size: 205px auto; background-position: -10px -10px; } .MS_icon { background-color: #2f2f2f; } .MS_icon .fed_icon { background: url("../images/signin_icons@2x.c0c72f3600a6f5ec03c9119d5a7d0518.png") no-repeat transparent; background-size: 205px auto; background-position: -38px -10px; } .linkedin_fed_box { background-color: #0966c2; } .linkedin_fed_box .fed_icon { background: url("../images/signin_icons@2x.c0c72f3600a6f5ec03c9119d5a7d0518.png") no-repeat transparent; background-size: 205px auto; background-position: -67px -11px; } .large_box .linked_fed_icon { background-position: -9px -174px; } .fb_fed_box { background-color: #1877f2; } .fb_fed_box .fed_icon { background: url("../images/signin_icons@2x.c0c72f3600a6f5ec03c9119d5a7d0518.png") no-repeat transparent; background-size: 205px auto; background-position: -94px -10px; } .zoho_icon { background: url(../images/signin_icons@2x.c0c72f3600a6f5ec03c9119d5a7d0518.png) no-repeat transparent; background-size: 205px auto; background-position: -152px -174px; } } @media only screen and (max-width: 600px) { body { -webkit-tap-highlight-color: rgba(255, 255, 255, 0); } .nopassword_container { width: calc(100% - 60px); padding: 10px; box-sizing: border-box; } .signin_container { width: 100%; box-shadow: none; margin: 0 auto; position: relative; z-index: 1; margin-top: 40px; height: auto; overflow: hidden; } .signin_box { width: 100%; padding: 0px 30px; height: auto; border-right: none; } #captcha_img, #captcha, #bcaptcha_img, #bcaptcha { border: 2px solid #f4f6f8; border-radius: 2px; text-indent: 3px; width: 50%; outline: none; -webkit-appearance: none; -moz-appearance: none; appearance: none; } .textbox, #verify_totp { background-color: transparent; border: none; border-bottom: 2px solid #f4f6f8; text-indent: 0px; border-radius: 0px; } .textbox:focus, #verify_totp { border: none; border-bottom: 2px solid #159aff; } .errorborder:focus, .textbox.errorborder { border-bottom: 2px solid #ff8484; } .backoption { margin-bottom: 10px; } .img_option { margin: 0px 10px 0px 0px !important; } .bg_one, .line { display: none; } .signin_head { margin-bottom: 30px; } .btn { margin-top: 10px; border-radius: 4px; } .changeloadbtn { border-radius: 22px; } .more { margin-right: 0px !important; } .textindent42 { text-indent: 36px; } .textindent62 { text-indent: 56px; } .textintent52 { text-indent: 46px; } .select2-selection { background-color: #f1f9ff; } .devices .select2-selection { background-color: #f1f9ff; } .select2-search__field { width: 280px; } .applynormal { width: 46% !important; min-width: 0px; } .borderless, .borderlesstry { line-height: 12px; font-size: 14px; } .alert_message, .error_message { max-width: 300px; width: 75%; } .Alert, .Errormsg { max-width: 400px !important; padding: 0px; min-width: 300px; } .error_icon:before, .error_icon:after { left: 24px; } ::placeholder { font-weight: 500; } .mobilehide { display: none !important; } #forgotpassword { margin-bottom: 0px; } #forgotpassword a { display: inline-block; } .fielderror { position: absolute; margin-top: 5px; } .trustdevicebox { width: auto; height: auto; } #recoverybtn, #problemsignin, .tryanother { position: initial !important; margin-top: 70px !important; } .problemsignincon, .recoverymodes, #recoverymodeContainer { width: 100%; margin-left: 0px; } } .hover-tool-tip { position: absolute; top: 15px; left: 335px; background: #fff; padding: 20px; box-shadow: 0px 0px 10px #0000001a; transition: opacity 0.1s; border-radius: 5px; z-index: 9; opacity: 0; } .hover-tool-tip::after { content: ""; position: absolute; width: 0; height: 0; margin-left: -8px; top: 25px; left: 0; box-sizing: border-box; border: 6px solid black; border-color: #ffffff transparent transparent #ffffff; transform-origin: 0 0; transform: rotate(-45deg); box-shadow: -6px -6px 10px 0 #0000001a; } .hover-tool-tip.no-arrow::after { content: none; } .hover-tool-tip ul { padding: 0; margin: 0px 0px 0px 15px; list-style: none; } .hover-tool-tip p { margin: 0px 0px 10px 0px; font-size: 14px; font-weight: 500; } .hover-tool-tip ul li { font-size: 12px; display: flex; align-items: center; white-space: nowrap; line-height: 25px; } .hover-tool-tip ul li.success::before { background-color: #0dbc83; } .hover-tool-tip ul li::before { content: ""; margin-right: 10px; background-color: red; width: 8px; height: 8px; border-radius: 50%; } .titlename, .service_name { display: none !important; } .signin_head { padding-top: 20px; } #login_id { text-indent: 0 !important; } .showcountry_code { display: none !important; } ``` **fpwd.css** ```css /*$Id$*/ @font-face { font-family:"Roboto Mono"; font-weight:400; font-style:normal; src:url("https://webfonts.zohowebstatic.com/robotomonoregular/font.eot"); src:url("https://webfonts.zohowebstatic.com/robotomonoregular/font.eot?#iefix") format("eot"), url("https://webfonts.zohowebstatic.com/robotomonoregular/font.woff2") format("woff2"), url("https://webfonts.zohowebstatic.com/robotomonoregular/font.woff") format("woff"), url("https://webfonts.zohowebstatic.com/robotomonoregular/font.ttf") format("truetype"), url("https://webfonts.zohowebstatic.com/robotomonoregular/font.svg#RobotoMono-Regular") format("svg");} @font-face { font-family: "LatoLgt"; font-weight: 300; font-style: normal; src: url("https://webfonts.zohowebstatic.com/latolight/font.eot"); src: url("https://webfonts.zohowebstatic.com/latolight/font.eot?#iefix") format("eot"), url("https://webfonts.zohowebstatic.com/latolight/font.woff2") format("woff2"), url("https://webfonts.zohowebstatic.com/latolight/font.woff") format("woff"), url("https://webfonts.zohowebstatic.com/latolight/font.ttf") format("truetype"), url("https://webfonts.zohowebstatic.com/latolight/font.svg#Lato-Light") format("svg"); } @font-face { font-family: "LatoReg"; font-weight: 400; font-style: normal; src: url("https://webfonts.zohowebstatic.com/latoregular/font.eot"); src: url("https://webfonts.zohowebstatic.com/latoregular/font.eot?#iefix") format("eot"), url("https://webfonts.zohowebstatic.com/latoregular/font.woff2") format("woff2"), url("https://webfonts.zohowebstatic.com/latoregular/font.woff") format("woff"), url("https://webfonts.zohowebstatic.com/latoregular/font.ttf") format("truetype"), url("https://webfonts.zohowebstatic.com/latoregular/font.svg#Lato-Regular") format("svg"); } @font-face { font-family: "LatoSB"; font-weight: 700; font-style: normal; src: url("https://webfonts.zohowebstatic.com/latobold/font.eot"); src: url("https://webfonts.zohowebstatic.com/latobold/font.eot?#iefix") format("eot"), url("https://webfonts.zohowebstatic.com/latobold/font.woff2") format("woff2"), url("https://webfonts.zohowebstatic.com/latobold/font.woff") format("woff"), url("https://webfonts.zohowebstatic.com/latobold/font.ttf") format("truetype"), url("https://webfonts.zohowebstatic.com/latobold/font.svg#Lato-Bold") format("svg"); } @font-face { font-family: "LatoB"; font-weight: 900; font-style: normal; src: url("https://webfonts.zohowebstatic.com/latoblack/font.eot"); src: url("https://webfonts.zohowebstatic.com/latoblack/font.eot?#iefix") format("eot"), url("https://webfonts.zohowebstatic.com/latoblack/font.woff2") format("woff2"), url("https://webfonts.zohowebstatic.com/latoblack/font.woff") format("woff"), url("https://webfonts.zohowebstatic.com/latoblack/font.ttf") format("truetype"), url("https://webfonts.zohowebstatic.com/latoblack/font.svg#Lato-Black") format("svg"); } @font-face { font-family: "signinicon"; src: url(/images/signinicon.eot); src: url(/images/signinicon.eot) format("embedded-opentype"), url(/__catalyst/auth/static-file?file_name=signinicon.woff2) format("woff2"), url(/__catalyst/auth/static-file?file_name=signinicon.ttf) format("truetype"), url(/__catalyst/auth/static-file?file_name=signinicon.woff) format("woff"), url("../images/fonts/signinicon.651f82b8f8f51f33cd0b6331f95b5b4f.svg") format("svg"); font-weight: normal; font-style: normal; font-display: block; } [class^="icon-"], [class*=" icon-"] { /* use !important to prevent issues with browser extensions that change fonts */ font-family: 'signinicon' !important; speak: never; font-style: normal; font-weight: normal; font-variant: normal; text-transform: none; line-height: 1; /* Better Font Rendering =========== */ -webkit-font-smoothing: antialiased; -moz-osx-font-smoothing: grayscale; } .icon-device:before { content: "\e90a"; } .icon-reload:before { content: "\e912"; } .icon-backarrow:before { content: "\e900"; } .icon-email:before { content: "\e904"; } .icon-hide:before { content: "\e907"; } .icon-otp:before { content: "\e90c"; } .icon-show:before { content: "\e914"; } /*$Id$*/ body { margin: 0px; } ::placeholder { /* Chrome, Firefox, Opera, Safari 10.1+ */ color:#0003; } .bg_one { display: block; position: fixed; top: 0px; left: 0px; height: 100%; width: 100%; background: url('../images/bg.49756b7c711696d95133fa95451f8e13.svg') transparent; background-size: auto 100%; z-index: -1; } .titlename { display: block; font-size: 24px; color: #000; font-weight: 400; text-transform: capitalize; width: auto; margin-bottom: 20px; } .Alert,.Errormsg { display: flex; align-items: center; justify-content: center; margin: auto; height: auto; min-width: 200px; width: fit-content; width: -moz-fit-content; max-width:600px; background-color: #032239; border-radius: 6px; position: fixed; top: -100px; left: 0px; right: 0px; transition: all .2s ease; padding: 0px 20px; z-index:2; } .tick_icon,.error_icon { display: inline-block; height: 20px; width: 20px; background-color: #22C856; border-radius: 50%; background-size: 60px; margin: 0px 15px; float: left; position: relative; } .tick_icon:after { display: block; content: ""; height: 5px; width: 9px; border-bottom: 2px solid #fff; border-left: 2px solid #fff; transform: rotate(-45deg); margin: 7px 6px; box-sizing: border-box; } .alert_message,.error_message { display: inline-block; font-size: 14px; color: #fff; line-height: 18px; margin: 16px 0px; margin-right: 20px; max-width: 510px; } .error_icon { background-color: #FF676F; } .error_icon:before, .error_icon:after { position: absolute; left: 9px; top: 5px; content: ' '; height: 10px; width: 2px; background-color: #FFFFFF; } .error_icon:before { transform: rotate(45deg); } .error_icon:after { transform: rotate(-45deg); } .loader { width: 36px; height: 36px; border: 4px solid #EF7320; border-bottom: 4px solid transparent; border-radius: 50%; display: block; box-sizing: border-box; animation: rotate 1s linear infinite; position: absolute; top: 0px; z-index: 7; bottom: 0px; left: 0px; right: 0px; margin: auto; } @keyframes rotate { 0% { transform: rotate(0deg); } 100% { transform: rotate(360deg); } } .blur { top: 0px; left: 0px; bottom: 0px; background: #fff; width: 100%; height: auto; margin: auto; position: absolute; z-index: 3; opacity: 0.9; display:block; } .bold_font { font-weight: 500; } .searchparent { height: auto; } .textbox_div { display: block; margin-bottom: 30px; position: relative; } #confirm_otp_container .textbox_div{ margin-bottom: 40px; } .textbox { display: block; width: 100%; height: 44px; box-sizing: border-box; border-radius: 2px; text-indent: 12px; font-size: 16px; outline: none; border: none; padding-right: 12px; transition: all .2s ease-in-out; background: #F9F9F9; border: 1px solid #DDDDDD; } .textbox:focus { border: none; border-bottom: 2px solid #EF7320; } #last_password { padding-right: 40px; } ::-webkit-credentials-auto-fill-button { visibility: hidden; pointer-events: none; position: absolute; right: 0px; } input[type="text"],input[type="password"],input[type="email"],input[type="number"] { -webkit-appearance: none; -moz-appearance: none; appearance: none; } .errorborder { border-bottom: 2px solid #ff8484 !important; } .textbox:-webkit-autofill,.textbox:-webkit-autofill:hover, .textbox:-webkit-autofill:focus,.textbox:-webkit-autofill:active { -webkit-box-shadow: inset 0 0 0px 9999px #F9F9F9; -webkit-text-fill-color: black; background-color: #F9F9F9 !important; } .fielderror { display:none; font-size: 14px; margin-top: 5px; } .fielderror a { text-decoration: none; color: #309FF4; } #captcha_container { display: none; border: 1px solid #DDDDDD; width: 250px; padding: 10px; box-sizing: border-box; margin-top: 10px; border-radius: 4px; } #captcha { width: 100%; display: inline-block; height: 40px; padding: 0px 12px; text-indent: 0px; background: #F9F9F9; } #captcha_img { background-color: #FFFFFF; border: none; height: 60px; width: 150px; margin-left: 20px; } #captcha_img img { height: 50px; width: 150px; box-sizing: border-box; margin: 0px; } .reloadcaptcha { height: 30px; width: 30px; border-radius: 50%; display: inline-block; cursor: pointer; position: absolute; right: 20px; top: 20px; background-color: #F2F2F2; font-size: 30px; box-sizing: border-box; color: #0006; } .reloadcaptcha:hover { color:#000000b3; } .load_captcha_btn{ animation: spin 0.5s linear infinite; } #Last_password_div .head_info { margin:0px; } .zeroheight{ width:0px; height:0px; overflow: hidden; display: block; } .btn { cursor: pointer; display: block; width: 100%; height: 44px; border-radius: 4px; letter-spacing: .5; font-size: 14px; font-weight: 600; outline: none; border: none; margin: auto; text-transform: uppercase; margin-bottom: 30px; transition: width .2s ease-in-out; transform: translate(0, -20px) } #nextbtn{ margin-top: 40px !important; } #last_pwd_submit{ margin-top: 40px; } #dont_remember { margin-top:-40px; } .rec_modes_contact_support{ margin-top:-35px; } #reset_password_submit{ margin-top:35px; } user agent stylesheet div { display: block; unicode-bidi: isolate; } style attribute { visibility: visible; } body { font-family: 'ZohoPuvi', Georgia; font-weight: 400; } @media only screen and (max-width: 600px) { body { -webkit-tap-highlight-color: rgba(255, 255, 255, 0); } } .blue { background-color:#EF7320; color: #fff; } .grey { background-color: #F3F3F3; color: #3a3a3a; letter-spacing: 0px; } .green { box-shadow: 0px 2px 2px #fff; background-color: #00C573; color: #fff; } .blue:hover { background: #EF7320; } .changeloadbtn { display: block; height: 44px; width: 44px; border-radius: 22px; padding: 0px; } .changeloadbtn:before { content: ""; height: 20px; width: 20px; display: inline-block; margin: 9px; border: 3px solid #fff; border-top: 3px solid #5AB7FE; border-radius: 50%; animation: spin .5s linear infinite; } @keyframes spin { 0% { transform: rotate(0deg); } 100% { transform: rotate(360deg); } } .doneBtn { position:relative; } .doneBtn:before { content: ''; opacity: 1; height: 15px; width: 6px; border: unset; border-radius: unset; transform-origin: left top; border-right: 3px solid #fff; border-top: 3px solid #fff; left: 12px; top: 23px; margin: 0px; position: absolute; transform: scaleX(-1) rotate(135deg); animation:tickmark .8s ease; } @keyframes tickmark { 0% { height: 0px; width: 0px; border-radius: unset; opacity: 1; } 20% { height: 0px; width: 6px; opacity: 1; border-radius: unset; } 40% { height: 15px; width: 6px; opacity: 1; border-radius: unset; } 100% { height: 15px; width: 6px; opacity: 1; border-radius: unset; } } .doneWithContent span:before { content: ''; opacity: 1; height: 14px; width: 5px; border: unset; border-radius: unset; transform-origin: left top; border-right: 3px solid #fff; border-top: 3px solid #fff; display: inline-block; margin: 0px; position: relative; transform: scaleX(-1) rotate(135deg); top: 12px; left: -21px; } .doneWithContent { padding-left: 21px; position:relative; } .doneWithContent:after { position: absolute; height: 100%; content: ""; display: block; left: 0px; top: 0px; background: #00000008; animation-name: btn_loading; animation-duration: 4.3s; animation-iteration-count: 1; animation-timing-function: linear; } .restrict_icon { display: block; height: 102px; width: 100%; background: url(../images/URLError.76c2ce33de912ad7ae9d2fbfd93ec2c1.png) no-repeat transparent; background-size: auto 100%; margin: auto; margin-top: 30px; background-position: center; } .error_portion { display:none; } .error_content { text-align:center; } .error_content .error_header { font-size: 20px; font-weight: 500; margin-top: 30px; line-height: 26px; } .error_content .error_desc { font-size: 16px; margin: 10px 0px 30px 0px; line-height: 24px; font-weight: 500; color: #000000cc; } .retry_button { line-height:44px; } .doneWithContent:hover { background:#EF7320; } .doneWithContent span { width: 100%; display: block; transition: width .2s ease-in-out; white-space: nowrap; } @keyframes btn_loading { 0% {width:0%;} 100% {width: 100%;} } .resend_label { display:block; text-align:center; } .push_resend { font-size: 14px; color: #626262; font-weight: 500; line-height: 16px; cursor: none; } .bottom_option { cursor: pointer; width: max-content; font-size: 16px; font-weight: 500; text-decoration: none; color: #EF7320; /* transform: translate(10px, 58px); */ } .bottom_line_opt { width: 100%; display: flex; justify-content: center; position: absolute; left: 0px; /* bottom:20%; */ } .errorlabel { color: #E92B2B; } .show_hide_password { font-size: 24px; color: #00000066; position: relative; top: -34px; right: 13px; float: right; cursor: pointer; line-height: 23px; } .show_hide_password:hover { color: #000000b3; } .select2-results__option { list-style-type: none; height: 40px; box-sizing: border-box; padding: 12px 20px; font-size: 14px; line-height: 16px; } .select2-search__field { width: 380px; height: 32px; border: none; outline: none; background: #F7F7F7; border-radius: 2px; margin: 10px 8px; font-size: 14px; padding: 10.5px 8px; } .select2-selection { display: inline-block; outline: none; background-color: #F9F9F9; height: 40px; text-align: center; padding: 10px; box-sizing: border-box; cursor: pointer; } .selection { transition: all .2s ease-in-out; -webkit-user-select: none; display: inline-block; white-space: nowrap; overflow: hidden; width: 0px; height: 43px; } #select2-combobox-results { padding-left: 0px; max-height: 200px; overflow-y: scroll; overflow-x: hidden; width: 400px; margin-top: 10px; margin-bottom: 0px; background: white; } .select2-container--open { z-index: 10; background: #FFFFFF; box-shadow: 0px 5px 8px 2px #0000000d; width: auto; box-sizing: border-box; } .select2 { position: absolute; background: transparent; box-shadow: none; display:none; margin: 2px; } .select2-results__options{ overflow-y: auto; max-height: 200px; } .selection{ width:auto; width:-moz-fit-content; width:-webkit-fit-content; margin: auto; display: block; } .select2-search--hide,.select2-selection__clear { display: none; } #country_code_select { width: 50px; height: 40px; position: absolute; opacity: 0; display: none; z-index: 0; } .select_country_code{ width: 50px; height: 40px; display: inline-block; float: left; position: absolute; line-height: 39px; text-align: center; font-size: 16px; color: black; display: none; z-index: 0; } .pic { width: 20px; height: 14px; background-size: 280px 252px; background-image: url("../images/Flags2x.0b8394efb0ea9167cef2465fb8f63d78.png"); float: left; } .cc { float: right; color: #AEAEAE; } .cn { margin-left: 10px; } .select2-results__option--highlighted { background: #F4F6F8; } .searchparent { height: auto; } .select2-results__options{padding-left:0px;} .optionstry { display: table; width: 100%; height: auto; padding: 20px 50px; box-sizing: border-box; cursor: pointer; } .optionstry:hover { background-color: #F9F9F9; } .img_option_try { margin:12px 0px; } .img_option { display: table-cell; width: 30px; color: #499aff; font-size: 30px; vertical-align: top; height: 30px; } .option_details_try { height: auto; width: auto; padding-left: 12px; vertical-align: top; box-sizing: border-box; } .option_title_try { display: block; font-size: 16px; font-weight: 500; } .option_description { display: block; font-size: 13px; line-height: 20px; color: #000c; margin-top: 5px; } #email_confirm_div .optionstry,#mobile_confirm_div .optionstry { padding: 22px 40px; } #email_confirm_div .img_option,#mobile_confirm_div .img_option { font-size: 20px; width: 20px; height: 20px; } #email_confirm_div .option_details_try,#mobile_confirm_div .option_details_try { line-height: 20px; } .otp_container::after,.mini_txtbox:after { content:attr(placeholder); height: 54px; line-height: 54px; position: absolute; color: #B9BCBE; left: 15px; top: 0px; z-index: 1; } .mini_txtbox:after{line-height: 42px;height:42px;} .hidePlaceHolder::after{ z-index: -1 !important; } .otp_verify { margin-top: 10px; } .toggle_active { background: #F9F9F9; border-radius: 2px; } .optionmod { margin-left: 0px; box-sizing: border-box; } .option_title_try { color: #000000; } .mini_btn { margin-left: 10px; width: 30%; float: right; font-size: 12px; margin-bottom: 0px; margin-right: 0px; } .backoption { width: 30px; height: 30px; font-size: 21px; display: inline-block; float: left; color:#666666; padding: 4px 0px; box-sizing: border-box; margin-right: 5px; border-radius: 15px; cursor: pointer; font-weight: 500; text-align: center; } .backoption:hover { background: #f4f4f4; } #select_reocvery_mobile .fieldcontainer, #other_options_div .fieldcontainer, #select_reocvery_email .fieldcontainer { width: auto; margin: 0 -40px; margin-bottom: 40px; } .text16 { display: block; text-align: center; margin-bottom: 30px; color: #626262; font-size: 16px; font-weight:500; text-decoration: none; } .pointer { cursor: pointer; } .pass_policy { color: #8c8c8c; font-size: 14px; padding-top: 10px; } .nomargin { display: block; margin: 0px; } .tryanother, .extra_options { width: fit-content; margin: 0 auto; cursor: pointer; margin-top: 20px; } .bluetext_action { display: inline-block; font-size: 14px; color: #EF7320; font-weight:500; line-height: 16px; cursor: pointer; margin-top: 5px; } .nonclickelem { color: #626262; pointer-events: none; cursor:none; } .bluetext_action a { text-decoration: none; } .recovery_container { display: block; width: 350px; min-height: 350px; background-color: #fff; box-shadow: 0px 2px 30px 0px #2b2b2b17; margin: auto; position: relative; z-index: 1; /* margin-top: 7%; */ overflow: hidden; background: linear-gradient(180deg, rgba(255, 255, 255, 0.06) 40%, rgba(240, 242, 255, 0.18) 80%); box-shadow: 3.9769999980926514px 3.9769999980926514px 34.79999923706055px rgba(0, 0, 0, 0.15) } .recovery_box { width: 480px; min-height: 500px; height: auto; background: #fff; box-sizing: border-box; padding: 40px 40px; border-radius: 2px; transition: all .1s ease-in-out; float: left; overflow-y: auto; display: table-cell; border-right: 2px solid #f1f1f1; background: linear-gradient(180deg, rgba(255, 255, 255, 0.06) 40%, rgba(240, 242, 255, 0.18) 80%); } .menuicon { display: inline-block; float: left; height: 14px; width: 14px; padding: 14px; font-size: 14px; text-align:center; } .user_info { display: inline-flex; justify-content: space-between; border: 1px solid #EEEEEE; margin-bottom: 20px; border-radius: 7px; cursor: pointer; box-sizing: border-box; max-width: 100%; flex-wrap: nowrap; } .user_info_space { margin-top: 20px; } .support_temp_info { margin-bottom: 30px; line-height:24px; } .menutext { display: inline-block; font-size: 16px; padding: 12px 14px; line-height: 20px; width: auto; word-break: break-all; } .fieldcontainer { margin-bottom: 40px; } .change_user { position: relative; float: right; font-size: 14px; padding: 0px 14px 0px 0px; display: inline-block; color: #EF7320; line-height: 38px; font-weight: 500; display: flex; align-items: center; justify-content: center; } .info_head { display: block; font-size: 20px; font-weight: 500; margin-bottom: 20px; line-height: 30px; overflow: auto; transition: all .1s ease-in-out; } .info_head #headtitle { display:block; padding-top: 40px !important; } .head_info { font-size: 16px; margin: 10px 0px 0px 0px; line-height: 24px; font-weight: 400; color: #000000e6; } .user_info_space+.head_info { margin:0px } .otp_container { display: block; width: 100%; height: 54px; box-sizing: border-box; border-radius: 2px; font-size: 16px; outline: none; padding: 0px 15px; transition: all .2s ease-in-out; background: #F9F9F9; border: 1px solid #DDDDDD; text-indent: 0px; } .customOtp { border: none; outline: none; background: transparent; height: 100%; font-size: 16px; text-align: left; width: 22px; padding:0px; } .textindent42 { text-indent: 46px; } .textindent62 { text-indent: 56px; } .textintent52 { text-indent: 51px; } .box_header_load { display: block; height: auto; padding: 50px 0px; -webkit-animation-name: blink; /* Safari 4.0 - 8.0 */ -webkit-animation-duration: 1s; /* Safari 4.0 - 8.0 */ animation-name: blink; animation-duration: 1s; animation-iteration-count: infinite; animation-timing-function:linear; opacity: .05; } .box_head_load { display: block; width: 180px; height: 18px; border-radius: 8px; background-color: #000; } .blink_btn { -webkit-animation-name: blink; /* Safari 4.0 - 8.0 */ -webkit-animation-duration: 1s; /* Safari 4.0 - 8.0 */ animation-name: blink; animation-duration: 1s; animation-iteration-count: infinite; animation-timing-function:linear; opacity: .05; } .box_define_load { display: block; max-width: 800px; width: 100%; height: 16px; border-radius: 8px; background-color: #000; margin-top: 20px; } @keyframes blink { 0% { opacity: .08; } 50% { opacity: .01; } 100% { opacity: .08; } } #loading_div, #Last_password_div, #mobile_confirm_div, #email_confirm_div, #confirm_otp_div, #other_options_div, #contact_support_div, #change_password_div, #recovery_device_div, #password_matched_div, #username_div, #terminate_session_div { display:none; } #multiple_reocvery_mobile, #single_reocvery_mobile, #multiple_reocvery_email, #single_reocvery_email { display:none; } .verify_mob_container, .verify_email_container, .select_device_othermodes { display:none; } .devices { position: relative; padding: 0px; width: fit-content !important; width: -moz-fit-content !important; width: -webkit-fit-content !important; margin: auto; border-radius: 8px; box-sizing: border-box; margin-bottom: 30px; background: #FCFCFC; } .device_title { position: absolute; top: 12px; left: 48px; font-size: 10px; font-weight: 600; text-transform: uppercase; color: #000000b3; line-height:14px; z-index:11; } .select2-container--device_select { margin: 0px; display: block; position: relative; margin: auto; cursor: pointer; border: 1px solid #DDDDDD; border-radius: 8px; overflow: hidden; } #recovery_device_select+.select2-container { width: fit-content !important; width: -moz-fit-content !important; width: -webkit-fit-content !important; } .select2-container--device_select .select2-selection__arrow{ position: absolute; top: 0px; right: 14px; width: auto; height: 100%; } .select2-container--device_select .select2-selection__arrow b { border-color: transparent #00000066 #00000066 transparent; border-style: solid; transform: rotate(45deg); border-width: 2px; height: 4px; width: 4px; position: relative; border-radius: 1px; display: inline-block; top: 24px; } .select2-container--device_select .selection { margin: auto; height: 60px; box-sizing: border-box; min-width: 140px; } .select2-container--device_select .select2-selection { height: unset; padding: 12px 34px 12px 14px; } .select2-container--device_select .select_con { font-weight: 400; margin-left: 12px; margin-top: 16px; } .select2-container--device_select .select_icon { margin-top: 7px; } .select2-results__options { margin: 0px; } .select2-results__options .select_con { margin:0px; } .select2-dropdown .select_con{ width: 100%; overflow: hidden; text-overflow: ellipsis; white-space: nowrap; } .hideArrow .select2-selection { cursor: default; padding: 12px 14px; } .hideArrow .select2-selection__arrow { display: none; } .secondary_devices { display: none; width: 150px; margin: auto; padding: 8px 18px; border-radius: 18px; background-color: #F4F6F8; border: none; overflow: hidden; max-width: 200px; text-overflow: ellipsis; font-size: 16px; outline: none; } .secondary_devices .select2-container--open { width: 200px; } .device_select { display: block; position: unset; width: auto !important; } .device_selection { padding: 8px 14px; border-radius: 18px; } .deviceparent { text-align: center; display: none; text-overflow: ellipsis; overflow: hidden; width: 100%; white-space: nowrap; } .deviceparent { display: block; } .deviceinfo { display: inline-block; } .devicetext { margin: 0 auto; margin-left: 30px; } .select_icon { float:left;font-size: 20;color: #499aff; } .select_con { float:left; width: auto; overflow: hidden; margin-left: 5px; text-overflow: ellipsis; } .options_selct { max-width: 180px; font-size: 14px; line-height: 20px; font-weight: 500; width: auto; } .contact_support_class { min-height: unset; } .contact_support_class .recovery_box { min-height: unset; } #mfa_totp_section { display: none; } /* Terminate_session page */ #terminate_session_form { overflow: auto; } #terminate_session_form .checkbox_div { position: relative; } #terminate_session_form .checkbox_check { position: absolute; z-index: 1; opacity: 0; left: 15px; margin: 0px; height: 16px; cursor: pointer; width: 16px; } #terminate_session_form .checkbox { float: left; z-index: 0; height: 12px; width: 12px; display: inline-block; border: 2px solid #ccc; border-radius: 2px; position: relative; top: 1.5px; overflow: hidden; background-color: #fff; } #terminate_session_form .checkbox_check:hover ~ .checkbox { border: 2px solid #EF7320; } #terminate_session_form .checkbox_check:checked ~ .checkbox { background-color: #EF7320; border-color: #EF7320; } #terminate_session_form .checkbox .checkbox_tick { display: block; height: 3px; width: 8px; border-bottom: 2px solid #fff; border-left: 2px solid #fff; transform: rotate(-45deg); margin: 2px 1px; } #terminate_session_form .checkbox_label { cursor: pointer; margin: 0px 6px; line-height: 20px; width: 85%; display: inline-block; } #terminate_session_form .showOneAuthLable { border: 1px solid #E7E7E7; border-radius: 10px 10px 0px 0px; box-sizing: border-box; max-width: 420px; } .oneAuthLable { display: inline-flex; max-width: 420px; padding: 15px; align-items: center; box-sizing: border-box; border: 1px solid #E7E7E7; border-top: none; border-radius: 0px 0px 15px 15px; } .oneauth_icon { display: inline-block; width: 40px; height: 40px; border-radius: 14px; background-size: 40px 40px; } .one_auth_icon_v2 { background-image: url(../images/oneAuth2.4b2a6945d5ecd70b703ba18f5f11eb68.png); } .oneAuthLable .text_container { flex: 1; margin: 0px 10px; } .oneAuthLable .text_header { font-size: 12px; font-weight: 500; margin-bottom: 4px; } .oneAuthLable .text_desc { font-size: 10px; line-height: 14px; } .oneAuthLable .togglebtn_div { height: 16px; padding: 4px; width: 30px; display: inline-block; position: relative; } .oneAuthLable .real_togglebtn { cursor: pointer; display: inline-block; position: relative; height: 16px; width: 30px; z-index: 1; opacity: 0; position: absolute; margin: 0px; } .real_togglebtn:checked ~ .togglebase { background-color: #10bc83; } .real_togglebtn:checked ~ .togglebase .toggle_circle { left: 16px; } .oneAuthLable .togglebase { height: 16px; width: 30px; display: inline-block; background: #ccc; border-radius: 10px; position: absolute; } .oneAuthLable .toggle_circle { transition: all .2s ease-in-out; height: 12px; width: 12px; background-color: #fff; border-radius: 10px; display: inline-block; position: absolute; left: 2px; top: 2px; box-shadow: 0px 0px 5px #999; } #terminate_session_submit { margin-top: 30px; } @media only screen and (max-width: 600px) { body { -webkit-tap-highlight-color: rgba(255, 255, 255, 0); } .bg_one { display: none; } .alert_message,.error_message { max-width: 300px; width: 75%; } .Alert,.Errormsg { max-width: 400px !important; padding: 0px; min-width: 300px; } .textbox,.otp_container { background-color: transparent; border: none; border-bottom: 2px solid #F4F6F8; border-radius: 0px; } .textbox:-webkit-autofill,.textbox:-webkit-autofill:hover, .textbox:-webkit-autofill:focus,.textbox:-webkit-autofill:active { -webkit-box-shadow: inset 0 0 0px 9999px white; -webkit-text-fill-color: black; } .textbox:valid { border: none; border-bottom: 2px solid #EF7320; } #captcha { border-radius:2px;outline:none;-webkit-appearance: none;-moz-appearance: none; appearance: none; } .changeloadbtn{border-radius: 22px;} .btn { margin-top:10px;border-radius: 4px; } .mini_btn { margin-top: 0px; } .optionstry:hover { background-color: #fff; } .img_option{ margin: 0px 10px 0px 0px !important;} .option_details_try { color: #555555; display: inline-block; margin: 0px; } #multiple_reocvery_mobile .fieldcontainer, #multiple_reocvery_email .fieldcontainer, #other_options_div .fieldcontainer { margin: 0 -30px; margin-bottom: 40px; } .optionmod { margin-left: 0px; padding:15px 30px; line-height: 24px; } .recovery_box { width: 100%; padding: 0px 30px; height: auto; border-right: none; padding-bottom: 40px; } .recovery_container { width: 100%; box-shadow: none; margin: 0 auto; position: relative; z-index: 1; /* margin-top: 40px; */ height: 100vh; overflow: hidden; } .info_head { margin-bottom:30px; } } .devices .select2-container--open { background: transparent; } @media only screen and (-webkit-min-device-pixel-ratio: 2), only screen and ( min--moz-device-pixel-ratio: 2), only screen and ( -o-min-device-pixel-ratio: 2/1), only screen and ( min-device-pixel-ratio: 2), only screen and ( min-resolution: 192dpi), only screen and ( min-resolution: 2dppx) { .restrict_icon { background: url(../images/URLError2x.5e762e74a83ee0cda60b8f7c9df299a8.png) no-repeat transparent center/auto 100%; } } .hide { display:none; } .hover-tool-tip { position: absolute; top: 15px; left: 335px; background: #fff; padding: 20px; box-shadow: 0px 0px 10px #0000001a; transition: opacity 0.1s; border-radius: 5px; z-index: 9; opacity: 0; } .hover-tool-tip::after { content: ""; position: absolute; width: 0; height: 0; margin-left: -8px; top: 25px; left: 0; box-sizing: border-box; border: 6px solid black; border-color: #ffffff transparent transparent #ffffff; transform-origin: 0 0; transform: rotate(-45deg); box-shadow: -6px -6px 10px 0 #0000001a; } .hover-tool-tip.no-arrow::after { content: none; } .hover-tool-tip ul { padding: 0; margin: 0px 0px 0px 15px; list-style: none; } .hover-tool-tip p { margin: 0px 0px 10px 0px; font-size: 14px; font-weight: 500; } .hover-tool-tip ul li { font-size: 12px; display: flex; align-items: center; white-space: nowrap; line-height: 25px; } .hover-tool-tip ul li.success::before { background-color: #0dbc83; } .hover-tool-tip ul li::before { content: ""; margin-right: 10px; background-color: red; width: 8px; height: 8px; border-radius: 50%; } .titlename{ display:none !important; } #lookup_div .head_info{ display:none !important; } .info_head{ /* padding-top:20px */ } .rec_modes_other_options{ display: none !important; } #login_id{ text-indent: 0 !important; } .showcountry_code{ display:none !important; } ``` **client-package.json** ```json { "name": "zylkertechnologies", "version": "0.0.1", "homepage": "index.html", "login_redirect": "home.html" } ``` The client directory is now configured. Let’s go over how the function and the client code works: * The end-user will first encounter the **Login Page** you have configured and styled in the console. * To create an account, they will click the **Sign Up** option and be directed to the *Sign Up* page. > **Note:** End-users can either sign up to your application using their [Identity Provider Logins](https://docs.catalyst.zoho.com/en/cloud-scale/help/authentication/social-logins/introduction/) or use the conventional method of signing up to the application using their email ID. * Once the information is inputted and they click **Sign Up**, or if they attempt to sign up using a Identity Provider Login of their choice, their details will be provided as a JSON input to the [Custom User Validation](https://docs.catalyst.zoho.com/en/cloud-scale/help/authentication/whitelisting/custom-user-validation/introduction/) function (`authorization_portal_function/main.py`). * The function will only authenticate users if the condition you have coded is satisfied. For this tutorial, the users will only be authenticated if they signed up to the application using a Zylker registered email address. * Upon successful authentication, an [Email Verification](https://docs.catalyst.zoho.com/en/cloud-scale/help/authentication/email-templates/introduction/) email will be sent to the account they used to sign up to the application. > **Note:** Because we are using Embedded Login, a native Catalyst authentication type, no additional logic to trigger the appropriate emails is required. It will be handled by Catalyst automatically. * Once the user verifies their email address by clicking the link provided in the email, they will be signed up to the application. Their details can be viewed in the [User Management](https://docs.catalyst.zoho.com/en/cloud-scale/help/authentication/user-management/introduction/) section of the *Authentication* component. * The end-user can now log in to the application using their authenticated credentials. * The end-user can also reset their password by clicking the **Forgot Password** option. In this event, the *Password Reset* email will be sent to their registered email. Following the steps mentioned in the email, they can easily reset their credentials. **React web app** Let’s configure the client component. The React web [client directory](https://docs.catalyst.zoho.com/en/cli/v1/project-directory-structure/client-directory) contains the following files: - The root directory of the client contains a `client-package.json` file, which is a configuration file defining the name, version, default home page, and redirect page of the client component. - The `zylkertechnologies` client directory contains two subfolders, as per the default project structure of a React app: - The `public` folder is generally used to hold files that can be openly accessed by browsers through public URLs, such as icon files of the web app, the `index.html` file, the `embeddediframe.css` and the `fpwd.css` file. - The `src` folder contains the application’s source files that will be included in the build folder when we compile the React app. - The client directory also contains the [`package.json`](https://docs.npmjs.com/files/package.json) dependency file and a hidden [`.gitignore`](https://docs.npmjs.com/files/package.json) file. - The files present in the `public` folder include: - [Native React files](https://reactjs.org/docs/getting-started.html?#try-react) such as setup `Tests.js`, `index.js`, `reportWebVitals.js`, `logo.svg`, and `App.test.js`. - `index.html` - Contains Catalyst web sdk that allows you to access Catalyst components. - We will be creating two additional files `embedddediframe.css` and `fpwd.css` that will contain the styling elements for the login and password reset forms of our application. - The files present in the `src` folder include: - Native React files such as `setupTests.js`, `reportWebVitals.js`, `logo.svg`, and `App.test.js`. - `App.js` - Contains the hash routes to your application - `App.css` - Contains the overall styling elements of your application - `index.js` - The entry point of the react application. - `index.css` - Contains the styling of the elements present in the `index.js` file. - You will be creating the following files in the `src` folder: - `Button.css` - Contains the styling elements for the *Logout* button that will be present in the application. - `Button.js` - Contains the React component for the *Logout* present in the application. - `Layout.js` - Contains the React component for the application's logic - `LoginPage.js` - Contains the React component for the login pages you generated in the Catalyst console. - `UserProfile.css` - Contains the styling elements for the user information page that will be displayed once you log in to the application. - `UserProfile.js` - Contains the React component to render the user details after you login. - `Signup.css` - Contains the styling elements for the Signup page in the application. - `Signup.js` - Contains the React component for the Signup pages you generated in the Catalyst console. We will be coding in the `index.html`, `embeddediframe.css`,`fpwd.css`, `App.js`, `App.css`, `index.css`, `index.js`, `Button.css`, `Button.js`, `Layout.js`, `LoginPage.js`, `UserProfile.css`, `UserProfile.js`, `Signup.js` and `Signup.css` files. We will also be making a change in the `client-package.json`. to ensure that the homepage of the application is the authenticated page. > **Note:** You can delete the native React files as they not required for building this application. #### Install additional React packages The `react-router-dom` package needs to be installed in the `AuthorizationPortal/zylkertechnologies` client directory using the CLI command given below: ```sh npm install react-router-dom ``` This command will install the `react-router-dom` module, save the dependencies, and allow us to perform the required hash routing in our application. This is the client directory after you have created the required files and deleted the unnecessary files. ![client_directory_auth](https://catalyst-docs-development.zohostratus.in/images/tutorials/embedded_auth/client_directory_auth.webp) > **Note:** Please go through the all code given in this section to ensure you fully understand it. Copy the code given below and paste it in `index.html` located in the client directory (`zylkertechnologies/public/`) using an IDE and save the file. You will need to create two new files in the same folder and name them `embeddediframe.css` and `fpwd.css`. Copy and paste the code given below in the respective files and save them. **index.html** ```xml <!DOCTYPE html> <html lang="en"> <head> <meta charset="utf-8" /> <link rel="icon" href="%PUBLIC_URL%/favicon.ico" /> <meta name="viewport" content="width=device-width, initial-scale=1" /> <meta name="theme-color" content="#000000" /> <meta name="description" content="Web site created using create-react-app" /> <link rel="apple-touch-icon" href="%PUBLIC_URL%/logo192.png" /> <!-- manifest.json provides metadata used when your web app is installed on a user's mobile device or desktop. See https://developers.google.com/web/fundamentals/web-app-manifest/ --> <link rel="manifest" href="%PUBLIC_URL%/manifest.json" /> <!-- Notice the use of %PUBLIC_URL% in the tags above. It will be replaced with the URL of the `public` folder during the build. Only files inside the `public` folder can be referenced from the HTML. Unlike "/favicon.ico" or "favicon.ico", "%PUBLIC_URL%/favicon.ico" will work correctly both with client-side routing and a non-root public URL. Learn how to configure a non-root public URL by running `npm run build`. --> <title>React App</title> </head> <body> <noscript>You need to enable JavaScript to run this app.</noscript> <div id="root"></div> <!-- This HTML file is a template. If you open it directly in the browser, you will see an empty page. You can add webfonts, meta tags, or analytics to this file. The build step will place the bundled scripts into the <body> tag. To begin the development, run `npm start` or `yarn start`. To create a production bundle, use `npm run build` or `yarn build`. --> </body> </html> ``` **embeddediframe.css** ```css @font-face { font-family: "Roboto Mono"; font-weight: 400; font-style: normal; src: url("https://webfonts.zohowebstatic.com/robotomonoregular/font.eot"); src: url("https://webfonts.zohowebstatic.com/robotomonoregular/font.eot?#iefix") format("eot"), url("https://webfonts.zohowebstatic.com/robotomonoregular/font.woff2") format("woff2"), url("https://webfonts.zohowebstatic.com/robotomonoregular/font.woff") format("woff"), url("https://webfonts.zohowebstatic.com/robotomonoregular/font.ttf") format("truetype"), url("https://webfonts.zohowebstatic.com/robotomonoregular/font.svg#RobotoMono-Regular") format("svg"); } @font-face { font-family: "LatoLgt"; font-weight: 300; font-style: normal; src: url("https://webfonts.zohowebstatic.com/latolight/font.eot"); src: url("https://webfonts.zohowebstatic.com/latolight/font.eot?#iefix") format("eot"), url("https://webfonts.zohowebstatic.com/latolight/font.woff2") format("woff2"), url("https://webfonts.zohowebstatic.com/latolight/font.woff") format("woff"), url("https://webfonts.zohowebstatic.com/latolight/font.ttf") format("truetype"), url("https://webfonts.zohowebstatic.com/latolight/font.svg#Lato-Light") format("svg"); } @font-face { font-family: "LatoReg"; font-weight: 400; font-style: normal; src: url("https://webfonts.zohowebstatic.com/latoregular/font.eot"); src: url("https://webfonts.zohowebstatic.com/latoregular/font.eot?#iefix") format("eot"), url("https://webfonts.zohowebstatic.com/latoregular/font.woff2") format("woff2"), url("https://webfonts.zohowebstatic.com/latoregular/font.woff") format("woff"), url("https://webfonts.zohowebstatic.com/latoregular/font.ttf") format("truetype"), url("https://webfonts.zohowebstatic.com/latoregular/font.svg#Lato-Regular") format("svg"); } @font-face { font-family: "LatoSB"; font-weight: 700; font-style: normal; src: url("https://webfonts.zohowebstatic.com/latobold/font.eot"); src: url("https://webfonts.zohowebstatic.com/latobold/font.eot?#iefix") format("eot"), url("https://webfonts.zohowebstatic.com/latobold/font.woff2") format("woff2"), url("https://webfonts.zohowebstatic.com/latobold/font.woff") format("woff"), url("https://webfonts.zohowebstatic.com/latobold/font.ttf") format("truetype"), url("https://webfonts.zohowebstatic.com/latobold/font.svg#Lato-Bold") format("svg"); } @font-face { font-family: "LatoB"; font-weight: 900; font-style: normal; src: url("https://webfonts.zohowebstatic.com/latoblack/font.eot"); src: url("https://webfonts.zohowebstatic.com/latoblack/font.eot?#iefix") format("eot"), url("https://webfonts.zohowebstatic.com/latoblack/font.woff2") format("woff2"), url("https://webfonts.zohowebstatic.com/latoblack/font.woff") format("woff"), url("https://webfonts.zohowebstatic.com/latoblack/font.ttf") format("truetype"), url("https://webfonts.zohowebstatic.com/latoblack/font.svg#Lato-Black") format("svg"); } @font-face { font-family: "signinicon"; src: url(/images/signinicon.eot); src: url(/images/signinicon.eot) format("embedded-opentype"), url(/__catalyst/auth/static-file?file_name=signinicon.woff2) format("woff2"), url(/__catalyst/auth/static-file?file_name=signinicon.ttf) format("truetype"), url(/__catalyst/auth/static-file?file_name=signinicon.woff) format("woff"), url("../images/fonts/signinicon.651f82b8f8f51f33cd0b6331f95b5b4f.svg") format("svg"); font-weight: normal; font-style: normal; font-display: block; } [class^="icon-"], [class*=" icon-"] { /* use !important to prevent issues with browser extensions that change fonts */ font-family: "signinicon" !important; speak: never; font-style: normal; font-weight: normal; font-variant: normal; text-transform: none; line-height: 1; /* Better Font Rendering =========== */ -webkit-font-smoothing: antialiased; -moz-osx-font-smoothing: grayscale; } .icon-hide:before { content: "\e907"; } .icon-show:before { content: "\e914"; } .icon-backarrow:before { content: "\e900"; } .icon-backup:before { content: "\e901"; } .icon-support:before { content: "\e915"; } body { font-family: "Roboto", sans-serif; margin: 0px; } .bg_one { display: block; position: fixed; top: 0px; left: 0px; height: 100%; width: 100%; background: url("../images/bg.49756b7c711696d95133fa95451f8e13.svg") transparent; background-size: auto 100%; z-index: -1; } .signin_container { height: 25rem; display: block; width: 520px; background-color: #fff; box-shadow: 0px 2px 30px #ccc6; margin: auto; position: relative; z-index: 1; margin-top: auto; overflow: hidden; } .mod_container { width: 500px; } .checkbox_label { display: inline-block; font-size: 14px; margin: 0px 6px; float: left; cursor: pointer; line-height: 20px; } .signin_box { min-height: 520px; height: auto; background: #fff; box-sizing: border-box; border-radius: 2px; transition: all 0.1s ease-in-out; float: left; overflow-y: auto; display: table-cell; border-right: 2px solid #f1f1f1; width: 100%; padding: 0px 30px; height: auto; border-right: none; } .nopassword_message { display: table-cell; font-size: 14px; color: #222222; letter-spacing: 0px; line-height: 20px; height: auto; width: auto; margin-left: 10px; font-weight: 400; padding-left: 10px; } .portal_logo { display: block; height: 30px; width: auto; margin-bottom: 20px; background-size: auto 100%; } .pointer { cursor: pointer; } #forgotpassword { cursor: default; } #forgotpassword > a { cursor: pointer; } .text16 { display: block; text-align: center; margin-bottom: 30px; color: #626262; font-size: 16px; font-weight: 500; text-decoration: none; } .checkbox { float: left; z-index: 0; height: 12px; width: 12px; display: inline-block; border: 2px solid #ccc; border-radius: 2px; position: relative; top: 1.5px; overflow: hidden; background-color: #fff; } .show_hide_password { font-size: 34px; color: #a7a7a7; position: relative; top: -39px; right: 13px; float: right; cursor: pointer; height: 20px; } .pass_policy, .pass_policy_error { color: #8c8c8c; font-size: 14px; padding-top: 10px; } .pass_policy_error { color: #ed7500; display: block; } .checkbox_check { position: absolute; z-index: 1; opacity: 0; left: 50px; margin: 0px; height: 16px; cursor: pointer; width: 16px; } .checkbox_div { display: none; height: 16px; width: auto; margin-bottom: 30px; } .checkbox_div { display: block; } #terminate_session_form .checkbox_mod { margin-top: 50px; } .checkbox_tick { display: block; height: 3px; width: 8px; border-bottom: 2px solid #fff; border-left: 2px solid #fff; transform: rotate(-45deg); margin: 2px 1px; } .passexpsuccess { display: none; height: 106px; width: 178px; background: url("../images/passexpiry.db4c66debd4dd8880655f338ead6b973.png") no-repeat transparent; background-size: auto 100%; margin: 0px auto; margin-bottom: 20px; } .signin_head { display: block; font-size: 24px; font-weight: 500; margin-bottom: 30px; line-height: 30px; transition: all 0.1s ease-in-out; } .rightside_box { width: 390px; height: auto; float: right; box-sizing: border-box; padding: 40px; background-color: #fff; display: table-cell; } .service_name, .backup_desc, .pass_name { display: block; font-size: 16px; color: #000; font-weight: 400; } .titlename { display: block; font-size: 24px; color: #000; font-weight: 400; text-transform: capitalize; width: auto; margin-bottom: 20px; } .extramargin { margin-top: 10px; } .show_hide_password { font-size: 34px; color: #a7a7a7; position: relative; top: -39px; right: 13px; float: right; cursor: pointer; height: 20px; } .textbox_div { display: block; margin-bottom: 30px; position: relative; } .textbox_label { display: block; font-size: 14px; color: #626262; padding-bottom: 10px; } .textbox { display: block; width: 100%; height: 44px; box-sizing: border-box; border-radius: 2px; text-indent: 12px; font-size: 16px; outline: none; border: none; padding-right: 12px; transition: all 0.2s ease-in-out; background: #f1f1f1; border: 1px solid #e4e4e4; } .textbox:valid { border: 2px solid #f4f6f8; } .textindent42 { text-indent: 36px; } .textindent62 { text-indent: 56px; } .textintent52 { text-indent: 46px; } ::-webkit-credentials-auto-fill-button { visibility: hidden; pointer-events: none; position: absolute; right: 0px; } input[type="text"], input[type="password"], input[type="email"], input[type="number"] { -webkit-appearance: none; -moz-appearance: none; appearance: none; } .errorborder:focus, .textbox.errorborder { border-bottom: 2px solid #ff8484; } .btn { cursor: pointer; display: block; width: 100%; height: 44px; border-radius: 4px; letter-spacing: 0.5; font-size: 14px; font-weight: 600; outline: none; border: none; margin: auto; text-transform: uppercase; margin-bottom: 30px; transition: all 0.2s ease-in-out; } .signupbtn { width: 250px; margin-left: 0px; } .blue { box-shadow: 0px 2px 2px #fff; background-color: #159aff; color: #fff; } .grey { background-color: #f3f3f3; color: #3a3a3a; letter-spacing: 0px; } .green { box-shadow: 0px 2px 2px #fff; background-color: #00c573; color: #fff; } .blue:hover { background-color: #0966c2; cursor: pointer; box-shadow: 0px 2px 2px rgba(90, 183, 254, 0.2); } .changeloadbtn { display: block; height: 44px; width: 44px; border-radius: 22px; padding: 0px; } .changeloadbtn:before { content: ""; height: 20px; width: 20px; display: inline-block; margin: 9px; border: 3px solid #fff; border-top: 3px solid #5ab7fe; border-radius: 50%; animation: spin 0.5s linear infinite; } @keyframes spin { 0% { transform: rotate(0deg); } 100% { transform: rotate(360deg); } } .hellouser { margin-bottom: 30px; } .username { display: inline-block; max-width: 100%; font-size: 16px; font-weight: 500; line-height: 24px; overflow: hidden; text-overflow: ellipsis; padding-right: 10px; float: left; } .Notyou { display: inline-block; font-size: 16px; line-height: 24px; } .signup_text { text-align: center; margin: 20px 0px; font-size: 16px; } .backbtn { display: none; float: left; height: 28px; width: 28px; border-radius: 50%; position: absolute; padding: 0px 5px; cursor: pointer; overflow: hidden; transition: all 0.1s ease; } .zeroheight { width: 0px; height: 0px; overflow: hidden; display: block; } #captcha, #bcaptcha { background: #fff; width: 60%; display: inline-block; } #captcha_img, #bcaptcha_img { width: 40%; float: right; background-color: #ffffff; border-left: none; } #captcha_img img, #bcaptcha_img img { height: 40px; } .reloadcaptcha { float: right; clear: both; margin-top: -37px; height: 30px; width: 30px; border-radius: 50px; background: url("../images/reload.eaef7ea18b680bc07558164c918909a6.png") no-repeat transparent 5px; background-size: 50%; display: inline-block; cursor: pointer; } #captcha_container { display: none; } .options { display: block; width: 100%; max-width: 500px; min-height: 80px; padding: 0px 50px; cursor: pointer; } .options:hover { background-color: #f9f9f9; } .option_details { display: inline-block; height: auto; width: 320px; margin-left: 15px; } .option_title { display: block; font-size: 16px; font-weight: 500; } .img_option { display: table-cell; height: 24px; width: 24px; color: #499aff; font-size: 24px; vertical-align: top; } .errorlabel { color: #e92b2b; } .fielderror { display: none; font-size: 14px; margin-top: 10px; } .fielderror a { text-decoration: none; color: #309ff4; } .bluetext { color: #309ff4; cursor: pointer; } #country_code_select { width: 50px; height: 40px; position: absolute; opacity: 0; display: none; z-index: 0; } .select_country_code { width: 50px; height: 40px; display: inline-block; float: left; position: absolute; line-height: 40px; text-align: center; font-size: 16px; color: black; display: none; z-index: 0; } .pic { width: 20px; height: 14px; background-size: 280px 252px; background-image: url("../images/Flags2x.0b8394efb0ea9167cef2465fb8f63d78.png"); float: left; } .cc { float: right; color: #aeaeae; } .cn { margin-left: 10px; } .select2-results__option--highlighted { background: #f4f6f8; } .searchparent { height: auto; } .searchlbl { font-size: 10px; font-weight: bolder; display: inline-block; margin-top: 15px; margin-bottom: 10px; margin-left: 10px; } .cntrysearch { width: 380px; height: 32px; border-radius: 2px; font-size: 14px; box-sizing: border-box; padding: 8px 10px; background: #f7f7f7; outline: none; border: none; margin-top: 10px; } .select2-results__option { list-style-type: none; height: 40px; box-sizing: border-box; padding: 12px 20px; font-size: 14px; line-height: 16px; } .select2-search__field { width: 380px; height: 32px; border: none; outline: none; background: #f7f7f7; border-radius: 2px; margin: 10px 0 0 10px; font-size: 14px; padding: 10.5px 8px; } .select2-selection { display: inline-block; outline: none; /* background-color: #F4F6F8; */ height: 40px; text-align: center; padding: 10px; box-sizing: border-box; cursor: pointer; } .selection { transition: all 0.2s ease-in-out; -webkit-user-select: none; display: inline-block; white-space: nowrap; overflow: hidden; width: 0px; height: 43px; } #select2-combobox-results { padding-left: 0px; max-height: 200px; overflow-y: scroll; overflow-x: hidden; width: 400px; margin-top: 10px; margin-bottom: 0px; background: white; } .select2-container--open { z-index: 10; background: #ffffff; box-shadow: 0 2px 4px 0 rgba(0, 0, 0, 0.13); width: auto; box-sizing: border-box; } .select2 { position: absolute; background: transparent; box-shadow: none; display: none; margin: 2px; } .select2-results__options { overflow-y: auto; max-height: 200px; } .selection { width: auto; width: -moz-fit-content; width: -webkit-fit-content; margin: auto; display: block; } .select2-search--hide, .select2-selection__clear { display: none; } #otp_container, #enableotpoption, #mfa_ga_container, #mfa_otp_container, #mfa_totp_container, #recoverybtn, #recovery_container, #enableforgot, #enablesaml, .trustbrowser_ui, #backup_ver_container, #backup_container, #enablemore, .password_expiry_container, .terminate_session_container { display: none; } .errorlabel { color: #e92b2b; } .fielderror { display: none; font-size: 14px; margin-top: 10px; } .field_error { color: #f37272; font-size: 14px; padding-top: 10px; } #recoverybtn, #problemsignin, .tryanother { position: absolute; left: 0px; right: 0px; bottom: 40px; } .textbox_actions, .textbox_actions_saml, .textbox_actions_more { display: block; margin-top: 20px; height: 20px; } .bluetext_action { display: inline-block; float: left; font-size: 14px; color: #159aff; font-weight: 500; line-height: 16px; cursor: pointer; } .bluetext_action a { text-decoration: none; } .bluetext_action_right { float: right; } .textbox_actions { display: block; margin-top: 20px; height: 20px; } .Alert, .Errormsg { display: block; margin: auto; height: auto; min-width: 200px; width: fit-content; width: -moz-fit-content; max-width: 600px; background-color: #032239; border-radius: 6px; position: fixed; top: -100px; left: 0px; right: 0px; transition: all 0.2s ease; padding: 0px 20px; z-index: 2; } .tick_icon, .error_icon { display: inline-block; height: 20px; width: 20px; background-color: #22c856; border-radius: 50%; background-size: 60px; margin: 15px; float: left; } .tick_icon:after { display: block; content: ""; height: 5px; width: 9px; border-bottom: 2px solid #fff; border-left: 2px solid #fff; transform: rotate(-45deg); margin: 7px 6px; box-sizing: border-box; } .alert_message, .error_message { display: inline-block; font-size: 14px; color: #fff; line-height: 18px; margin: 16px 0px; margin-right: 20px; max-width: 510px; } .error_icon { background-color: #ff676f; } .error_icon:before, .error_icon:after { position: absolute; left: 44px; top: 20px; content: " "; height: 10px; width: 2px; background-color: #ffffff; } .error_icon:before { transform: rotate(45deg); } .error_icon:after { transform: rotate(-45deg); } .select2-results__options { padding-left: 0px; } .showcountry_code { width: 62px !important; } .textindent70 { text-indent: 70px; } .countrybox { width: 400px; height: 220px; overflow: auto; } .focusmanage { position: absolute; z-index: 10; width: 400px; height: 266px; box-sizing: border-box; padding: 10px; margin-top: -25px; background: #ffffff; box-shadow: 0 2px 4px 0 rgba(0, 0, 0, 0.13); border-radius: 2px; } .recoveryhead { margin-bottom: 10px; } .nopassword_container { display: none; background: #ebf4fb; border: 1px solid #cbe8ff; border-radius: 5px; width: 400px; height: auto; position: absolute; bottom: 50px; box-sizing: border-box; padding: 20px; } .nopassword_icon { display: table-cell; margin: 0px; height: 30px; width: 30px; color: #0091ff; font-size: 30px; vertical-align: middle; } .mailsearch { width: 400px; height: 30px; padding: 0px 0px; border: none; position: absolute; } .bolder1 { font-weight: bolder; } #ui-id-1 { height: 200px; width: auto; outline: none; border: none; overflow-x: hidden; overflow-y: scroll; } .ui-menu-item-wrapper { overflow: auto; } .nonclickelem { color: #626262; pointer-events: none; } .trustdevicebox { width: 500px; min-height: auto !important; } .trustdevice { width: auto; float: left; margin-right: 18px; min-width: 100px; margin-bottom: 0px; } .loadwithbtn { display: inline-block; height: 22px; width: 22px; border: 3px solid #fff; border-radius: 50%; position: absolute; margin: -2px; box-sizing: border-box; border-left: 3px solid transparent; animation-name: rotate1; animation-iteration-count: infinite; animation-duration: 1s; animation-timing-function: linear; } @keyframes rotate1 { from { transform: rotate(0deg); } to { transform: rotate(360deg); } } .waitbtn .waittext, .loadbtntext { display: inline-block; text-indent: 25px; } #waitbtn { display: none; } .loadwithbtn:before { display: inline-block; content: ""; height: 22px; width: 22px; border: 3px solid #ffffff30; border-radius: 50%; margin: -3px -11px; position: absolute; box-sizing: border-box; } .notnowbtn .loadwithbtn { border: 3px solid #3a3a3a; border-left: 3px solid transparent; } .trustdevice .loadwithbtn { display: none; } #recoverybtn, #problemsignin, .tryanother { display: none; bottom: 50px; width: fit-content; margin: 0px auto; cursor: pointer; } #recoverOption, #verify_totp_container, #verify_qr_container { display: none; } .backoption { width: 30px; height: 30px; font-size: 24px; display: inline-block; float: left; color: #666666; padding: 3px; box-sizing: border-box; margin-right: 5px; border-radius: 15px; cursor: pointer; } .backoption:hover { background: #f4f4f4; } .rec_head_text, .backoption { display: table-cell; } .options, .optionstry { display: table; width: 100%; height: auto; padding: 20px 50px; box-sizing: border-box; cursor: pointer; } .options:hover, .optionstry:hover { background-color: #f9f9f9; } .option_details, .option_details_try { height: auto; width: auto; padding-left: 10px; vertical-align: top; box-sizing: border-box; } .option_title_try { display: block; font-size: 16px; font-weight: 500; } .option_description { display: block; font-size: 13px; line-height: 20px; color: #696969; margin-top: 5px; } .img_option_try { margin: 12px 0px; } .img_option { font-size: 30px; color: #499aff; } .option_details { display: table-cell; } .problemsignincon, .recoverymodes, .addaptivetfalist, #recoverymodeContainer { width: auto; margin: 0px -50px; } .line { background-color: #f1f1f1; width: 100%; height: 2px; border-radius: 1px; margin-bottom: 20px; } /*---------------------terminate_session---------------------*/ .terminate_session_container .signin_head { margin-bottom: 20px; } #terminate_session_form .checkbox_div { position: relative; margin-bottom: 10px; } #terminate_session_form .checkbox_mod { margin-top: 30px; } #terminate_session_form .checkbox_check { left: 15px; } #terminate_session_form .checkbox_check:checked ~ .checkbox { background-color: #159aff; border-color: #159aff; } #terminate_session_form .showOneAuthLable { border: 1px solid #e7e7e7; border-radius: 10px 10px 0px 0px; box-sizing: border-box; max-width: 420px; height: auto; overflow: auto; margin-bottom: 0px; } .oneAuthLable { display: inline-flex; max-width: 420px; padding: 15px; align-items: center; margin-bottom: 10px; box-sizing: border-box; border: 1px solid #e7e7e7; border-top: none; border-radius: 0px 0px 15px 15px; } .oneauth_icon { display: inline-block; width: 40px; height: 40px; border-radius: 14px; background-size: 40px 40px; } .one_auth_icon_v2 { background-image: url(../images/oneAuth2.4b2a6945d5ecd70b703ba18f5f11eb68.png); } .oneAuthLable .text_container { flex: 1; margin: 0px 10px; } .oneAuthLable .text_header { font-size: 12px; font-weight: 500; margin-bottom: 4px; } .oneAuthLable .text_desc { font-size: 10px; line-height: 14px; } .oneAuthLable .togglebtn_div { height: 16px; padding: 4px; width: 30px; display: inline-block; position: relative; } .oneAuthLable .real_togglebtn { cursor: pointer; display: inline-block; position: relative; height: 16px; width: 30px; z-index: 1; opacity: 0; position: absolute; margin: 0px; } .real_togglebtn:checked ~ .togglebase { background-color: #10bc83; } .real_togglebtn:checked ~ .togglebase .toggle_circle { left: 16px; } .oneAuthLable .togglebase { height: 16px; width: 30px; display: inline-block; background: #ccc; border-radius: 10px; position: absolute; } .oneAuthLable .toggle_circle { transition: all 0.2s ease-in-out; height: 12px; width: 12px; background-color: #fff; border-radius: 10px; display: inline-block; position: absolute; left: 2px; top: 2px; box-shadow: 0px 0px 5px #999; } @media only screen and (-webkit-min-device-pixel-ratio: 2), not all, not all, not all, only screen and (min-resolution: 192dpi), only screen and (min-resolution: 2dppx) { .google_icon { background-color: #fff; box-shadow: 0px 0px 2px #00000012, 0px 2px 2px #00000024; } .google_icon .fed_icon { background: url("../images/signin_icons@2x.c0c72f3600a6f5ec03c9119d5a7d0518.png") no-repeat transparent; background-size: 205px auto; background-position: -10px -10px; } .MS_icon { background-color: #2f2f2f; } .MS_icon .fed_icon { background: url("../images/signin_icons@2x.c0c72f3600a6f5ec03c9119d5a7d0518.png") no-repeat transparent; background-size: 205px auto; background-position: -38px -10px; } .linkedin_fed_box { background-color: #0966c2; } .linkedin_fed_box .fed_icon { background: url("../images/signin_icons@2x.c0c72f3600a6f5ec03c9119d5a7d0518.png") no-repeat transparent; background-size: 205px auto; background-position: -67px -11px; } .large_box .linked_fed_icon { background-position: -9px -174px; } .fb_fed_box { background-color: #1877f2; } .fb_fed_box .fed_icon { background: url("../images/signin_icons@2x.c0c72f3600a6f5ec03c9119d5a7d0518.png") no-repeat transparent; background-size: 205px auto; background-position: -94px -10px; } .zoho_icon { background: url(../images/signin_icons@2x.c0c72f3600a6f5ec03c9119d5a7d0518.png) no-repeat transparent; background-size: 205px auto; background-position: -152px -174px; } } @media only screen and (max-width: 600px) { body { -webkit-tap-highlight-color: rgba(255, 255, 255, 0); } .nopassword_container { width: calc(100% - 60px); padding: 10px; box-sizing: border-box; } .signin_container { width: 100%; box-shadow: none; margin: 0 auto; position: relative; z-index: 1; margin-top: 40px; height: 27rem; overflow: hidden; } #captcha_img, #captcha, #bcaptcha_img, #bcaptcha { border: 2px solid #f4f6f8; border-radius: 2px; text-indent: 3px; width: 50%; outline: none; -webkit-appearance: none; -moz-appearance: none; appearance: none; } .textbox, #verify_totp { background-color: transparent; border: none; border-bottom: 2px solid #f4f6f8; text-indent: 0px; border-radius: 0px; } .textbox:focus, #verify_totp { border: none; border-bottom: 2px solid #159aff; } .errorborder:focus, .textbox.errorborder { border-bottom: 2px solid #ff8484; } .backoption { margin-bottom: 10px; } .img_option { margin: 0px 10px 0px 0px !important; } .bg_one, .line { display: none; } .signin_head { margin-bottom: 30px; } .btn { margin-top: 10px; border-radius: 4px; } .changeloadbtn { border-radius: 22px; } .more { margin-right: 0px !important; } .textindent42 { text-indent: 36px; } .textindent62 { text-indent: 56px; } .textintent52 { text-indent: 46px; } .select2-selection { background-color: #f1f9ff; } .devices .select2-selection { background-color: #f1f9ff; } .select2-search__field { width: 280px; } .applynormal { width: 46% !important; min-width: 0px; } .borderless, .borderlesstry { line-height: 12px; font-size: 14px; } .alert_message, .error_message { max-width: 300px; width: 75%; } .Alert, .Errormsg { max-width: 400px !important; padding: 0px; min-width: 300px; } .error_icon:before, .error_icon:after { left: 24px; } ::placeholder { font-weight: 500; } .mobilehide { display: none !important; } #forgotpassword { margin-bottom: 0px; } #forgotpassword a { display: inline-block; } .fielderror { position: absolute; margin-top: 5px; } .trustdevicebox { width: auto; height: auto; } #recoverybtn, #problemsignin, .tryanother { position: initial !important; margin-top: 70px !important; } .problemsignincon, .recoverymodes, #recoverymodeContainer { width: 100%; margin-left: 0px; } } .hover-tool-tip { position: absolute; top: 15px; left: 335px; background: #fff; padding: 20px; box-shadow: 0px 0px 10px #0000001a; transition: opacity 0.1s; border-radius: 5px; z-index: 9; opacity: 0; } .hover-tool-tip::after { content: ""; position: absolute; width: 0; height: 0; margin-left: -8px; top: 25px; left: 0; box-sizing: border-box; border: 6px solid black; border-color: #ffffff transparent transparent #ffffff; transform-origin: 0 0; transform: rotate(-45deg); box-shadow: -6px -6px 10px 0 #0000001a; } .hover-tool-tip.no-arrow::after { content: none; } .hover-tool-tip ul { padding: 0; margin: 0px 0px 0px 15px; list-style: none; } .hover-tool-tip p { margin: 0px 0px 10px 0px; font-size: 14px; font-weight: 500; } .hover-tool-tip ul li { font-size: 12px; display: flex; align-items: center; white-space: nowrap; line-height: 25px; } .hover-tool-tip ul li.success::before { background-color: #0dbc83; } .hover-tool-tip ul li::before { content: ""; margin-right: 10px; background-color: red; width: 8px; height: 8px; border-radius: 50%; } .titlename, .service_name { display: none !important; } .signin_head { padding-top: 20px; } #login_id { text-indent: 0 !important; } .showcountry_code { display: none !important; } ``` **fpwd.css** ```css /*$Id$*/ @font-face { font-family: "Roboto Mono"; font-weight: 400; font-style: normal; src: url("https://webfonts.zohowebstatic.com/robotomonoregular/font.eot"); src: url("https://webfonts.zohowebstatic.com/robotomonoregular/font.eot?#iefix") format("eot"), url("https://webfonts.zohowebstatic.com/robotomonoregular/font.woff2") format("woff2"), url("https://webfonts.zohowebstatic.com/robotomonoregular/font.woff") format("woff"), url("https://webfonts.zohowebstatic.com/robotomonoregular/font.ttf") format("truetype"), url("https://webfonts.zohowebstatic.com/robotomonoregular/font.svg#RobotoMono-Regular") format("svg"); } @font-face { font-family: "LatoLgt"; font-weight: 300; font-style: normal; src: url("https://webfonts.zohowebstatic.com/latolight/font.eot"); src: url("https://webfonts.zohowebstatic.com/latolight/font.eot?#iefix") format("eot"), url("https://webfonts.zohowebstatic.com/latolight/font.woff2") format("woff2"), url("https://webfonts.zohowebstatic.com/latolight/font.woff") format("woff"), url("https://webfonts.zohowebstatic.com/latolight/font.ttf") format("truetype"), url("https://webfonts.zohowebstatic.com/latolight/font.svg#Lato-Light") format("svg"); } @font-face { font-family: "LatoReg"; font-weight: 400; font-style: normal; src: url("https://webfonts.zohowebstatic.com/latoregular/font.eot"); src: url("https://webfonts.zohowebstatic.com/latoregular/font.eot?#iefix") format("eot"), url("https://webfonts.zohowebstatic.com/latoregular/font.woff2") format("woff2"), url("https://webfonts.zohowebstatic.com/latoregular/font.woff") format("woff"), url("https://webfonts.zohowebstatic.com/latoregular/font.ttf") format("truetype"), url("https://webfonts.zohowebstatic.com/latoregular/font.svg#Lato-Regular") format("svg"); } @font-face { font-family: "LatoSB"; font-weight: 700; font-style: normal; src: url("https://webfonts.zohowebstatic.com/latobold/font.eot"); src: url("https://webfonts.zohowebstatic.com/latobold/font.eot?#iefix") format("eot"), url("https://webfonts.zohowebstatic.com/latobold/font.woff2") format("woff2"), url("https://webfonts.zohowebstatic.com/latobold/font.woff") format("woff"), url("https://webfonts.zohowebstatic.com/latobold/font.ttf") format("truetype"), url("https://webfonts.zohowebstatic.com/latobold/font.svg#Lato-Bold") format("svg"); } @font-face { font-family: "LatoB"; font-weight: 900; font-style: normal; src: url("https://webfonts.zohowebstatic.com/latoblack/font.eot"); src: url("https://webfonts.zohowebstatic.com/latoblack/font.eot?#iefix") format("eot"), url("https://webfonts.zohowebstatic.com/latoblack/font.woff2") format("woff2"), url("https://webfonts.zohowebstatic.com/latoblack/font.woff") format("woff"), url("https://webfonts.zohowebstatic.com/latoblack/font.ttf") format("truetype"), url("https://webfonts.zohowebstatic.com/latoblack/font.svg#Lato-Black") format("svg"); } @font-face { font-family: "Zoho_Puvi_Regular"; src: url("https://static.zohocdn.com/zohofonts/zohopuvi/4.0/Zoho_Puvi_Regular.eot"); src: url("https://static.zohocdn.com/zohofonts/zohopuvi/4.0/Zoho_Puvi_Regular.eot") format("embedded-opentype"), url("https://static.zohocdn.com/zohofonts/zohopuvi/4.0/Zoho_Puvi_Regular.woff2") format("woff2"), url("https://static.zohocdn.com/zohofonts/zohopuvi/4.0/Zoho_Puvi_Regular.otf") format("opentype"); font-weight: normal; font-style: normal; /* font-display: swap */ } @font-face { font-family: "signinicon"; src: url(/images/signinicon.eot); src: url(/images/signinicon.eot) format("embedded-opentype"), url(/images/signinicon.woff2) format("woff2"), url(/images/signinicon.ttf) format("truetype"), url(/images/signinicon.woff) format("woff"), url("../images/fonts/signinicon.651f82b8f8f51f33cd0b6331f95b5b4f.svg") format("svg"); font-weight: normal; font-style: normal; font-display: block; } [class^="icon-"], [class*=" icon-"] { /* use !important to prevent issues with browser extensions that change fonts */ font-family: "signinicon" !important; speak: never; font-style: normal; font-weight: normal; font-variant: normal; text-transform: none; line-height: 1; /* Better Font Rendering =========== */ -webkit-font-smoothing: antialiased; -moz-osx-font-smoothing: grayscale; } .icon-device:before { content: "\e90a"; } .icon-reload:before { content: "\e912"; } .icon-backarrow:before { content: "\e900"; } .icon-email:before { content: "\e904"; } .icon-hide:before { content: "\e907"; } .icon-otp:before { content: "\e90c"; } .icon-show:before { content: "\e914"; } /*$Id$*/ body { margin: 0px; } ::placeholder { /* Chrome, Firefox, Opera, Safari 10.1+ */ color: #0003; } .bg_one { display: block; position: fixed; top: 0px; left: 0px; height: 100%; width: 100%; /* background: url("../images/bg.49756b7c711696d95133fa95451f8e13.svg") transparent; */ background-size: auto 100%; z-index: -1; } .titlename { display: block; font-size: 24px; color: #000; font-weight: 400; text-transform: capitalize; width: auto; margin-bottom: 20px; } .Alert, .Errormsg { display: flex; align-items: center; justify-content: center; margin: auto; height: auto; min-width: 200px; width: fit-content; width: -moz-fit-content; max-width: 600px; background-color: #032239; border-radius: 6px; position: fixed; top: -100px; left: 0px; right: 0px; transition: all 0.2s ease; padding: 0px 20px; z-index: 2; } .tick_icon, .error_icon { display: inline-block; height: 20px; width: 20px; background-color: #22c856; border-radius: 50%; background-size: 60px; margin: 0px 15px; float: left; position: relative; } .tick_icon:after { display: block; content: ""; height: 5px; width: 9px; border-bottom: 2px solid #fff; border-left: 2px solid #fff; transform: rotate(-45deg); margin: 7px 6px; box-sizing: border-box; } .alert_message, .error_message { display: inline-block; font-size: 14px; color: #fff; line-height: 18px; margin: 16px 0px; margin-right: 20px; max-width: 510px; } .error_icon { background-color: #ff676f; } .error_icon:before, .error_icon:after { position: absolute; left: 9px; top: 5px; content: " "; height: 10px; width: 2px; background-color: #ffffff; } .error_icon:before { transform: rotate(45deg); } .error_icon:after { transform: rotate(-45deg); } .loader { width: 36px; height: 36px; border: 4px solid #159aff; border-bottom: 4px solid transparent; border-radius: 50%; display: block; box-sizing: border-box; animation: rotate 1s linear infinite; position: absolute; top: 0px; z-index: 7; bottom: 0px; left: 0px; right: 0px; margin: auto; } @keyframes rotate { 0% { transform: rotate(0deg); } 100% { transform: rotate(360deg); } } .blur { top: 0px; left: 0px; bottom: 0px; background: #fff; width: 100%; height: auto; margin: auto; position: absolute; z-index: 3; opacity: 0.9; display: block; } .bold_font { font-weight: 500; } .searchparent { height: auto; } .textbox_div { display: block; margin-bottom: 30px; position: relative; } .textbox { display: block; width: 100%; height: 44px; box-sizing: border-box; border-radius: 2px; text-indent: 12px; font-size: 16px; outline: none; border: none; padding-right: 12px; transition: all 0.2s ease-in-out; background: #f9f9f9; border: 1px solid #dddddd; } .textbox:hover, .textbox:valid, .textbox:focus { border: 1px solid #b9b9b9; } #last_password { padding-right: 40px; } ::-webkit-credentials-auto-fill-button { visibility: hidden; pointer-events: none; position: absolute; right: 0px; } input[type="text"], input[type="password"], input[type="email"], input[type="number"] { -webkit-appearance: none; -moz-appearance: none; appearance: none; } .errorborder { border: 2px solid #ff8484 !important; } .textbox:-webkit-autofill, .textbox:-webkit-autofill:hover, .textbox:-webkit-autofill:focus, .textbox:-webkit-autofill:active { -webkit-box-shadow: inset 0 0 0px 9999px #f9f9f9; -webkit-text-fill-color: black; background-color: #f9f9f9 !important; } .fielderror { display: none; font-size: 14px; margin-top: 10px; } .fielderror a { text-decoration: none; color: #309ff4; } #captcha_container { display: none; border: 1px solid #dddddd; width: 250px; padding: 10px; box-sizing: border-box; margin-top: 10px; border-radius: 4px; } #captcha { width: 100%; display: inline-block; height: 40px; padding: 0px 12px; text-indent: 0px; background: #f9f9f9; } #captcha_img { background-color: #ffffff; border: none; height: 60px; width: 150px; margin-left: 20px; } #captcha_img img { height: 50px; width: 150px; box-sizing: border-box; margin: 0px; } .reloadcaptcha { height: 30px; width: 30px; border-radius: 50%; display: inline-block; cursor: pointer; position: absolute; right: 20px; top: 20px; background-color: #f2f2f2; font-size: 30px; box-sizing: border-box; color: #0006; } .reloadcaptcha:hover { color: #000000b3; } .load_captcha_btn { animation: spin 0.5s linear infinite; } #Last_password_div .head_info { margin: 0px; } .zeroheight { width: 0px; height: 0px; overflow: hidden; display: block; } .btn { cursor: pointer; display: block; width: 100%; height: 44px; border-radius: 4px; letter-spacing: 0.5; font-size: 14px; font-weight: 600; outline: none; border: none; margin: auto; text-transform: uppercase; margin-bottom: 30px; transition: width 0.2s ease-in-out; } .blue { background-color: #159aff; color: #fff; } .grey { background-color: #f3f3f3; color: #3a3a3a; letter-spacing: 0px; } .green { box-shadow: 0px 2px 2px #fff; background-color: #00c573; color: #fff; } .blue:hover { background: #118be9; } .changeloadbtn { display: block; height: 44px; width: 44px; border-radius: 22px; padding: 0px; } .changeloadbtn:before { content: ""; height: 20px; width: 20px; display: inline-block; margin: 9px; border: 3px solid #fff; border-top: 3px solid #5ab7fe; border-radius: 50%; animation: spin 0.5s linear infinite; } @keyframes spin { 0% { transform: rotate(0deg); } 100% { transform: rotate(360deg); } } .doneBtn { position: relative; } .doneBtn:before { content: ""; opacity: 1; height: 15px; width: 6px; border: unset; border-radius: unset; transform-origin: left top; border-right: 3px solid #fff; border-top: 3px solid #fff; left: 12px; top: 23px; margin: 0px; position: absolute; transform: scaleX(-1) rotate(135deg); animation: tickmark 0.8s ease; } @keyframes tickmark { 0% { height: 0px; width: 0px; border-radius: unset; opacity: 1; } 20% { height: 0px; width: 6px; opacity: 1; border-radius: unset; } 40% { height: 15px; width: 6px; opacity: 1; border-radius: unset; } 100% { height: 15px; width: 6px; opacity: 1; border-radius: unset; } } .doneWithContent span:before { content: ""; opacity: 1; height: 14px; width: 5px; border: unset; border-radius: unset; transform-origin: left top; border-right: 3px solid #fff; border-top: 3px solid #fff; display: inline-block; margin: 0px; position: relative; transform: scaleX(-1) rotate(135deg); top: 12px; left: -21px; } .doneWithContent { padding-left: 21px; position: relative; } .doneWithContent:after { position: absolute; height: 100%; content: ""; display: block; left: 0px; top: 0px; background: #00000008; animation-name: btn_loading; animation-duration: 4.3s; animation-iteration-count: 1; animation-timing-function: linear; } .restrict_icon { display: block; height: 102px; width: 100%; background: url(../images/URLError.76c2ce33de912ad7ae9d2fbfd93ec2c1.png) no-repeat transparent; background-size: auto 100%; margin: auto; margin-top: 30px; background-position: center; } .error_portion { display: none; } .error_content { text-align: center; } .error_content .error_header { font-size: 20px; font-weight: 500; margin-top: 30px; line-height: 26px; } .error_content .error_desc { font-size: 16px; margin: 10px 0px 30px 0px; line-height: 24px; font-weight: 500; color: #000000cc; } .retry_button { line-height: 44px; } .doneWithContent:hover { background: #159aff; } .doneWithContent span { width: 100%; display: block; transition: width 0.2s ease-in-out; white-space: nowrap; } @keyframes btn_loading { 0% { width: 0%; } 100% { width: 100%; } } .resend_label { display: block; text-align: center; } .push_resend { font-size: 14px; color: #626262; font-weight: 500; line-height: 16px; cursor: none; } .bottom_option { cursor: pointer; width: max-content; font-size: 16px; font-weight: 500; text-decoration: none; color: #0091ff; } .bottom_line_opt { width: 100%; display: flex; justify-content: center; position: absolute; left: 0px; bottom: 40px; } .errorlabel { color: #e92b2b; } .show_hide_password { font-size: 24px; color: #00000066; position: relative; top: -34px; right: 13px; float: right; cursor: pointer; line-height: 23px; } .show_hide_password:hover { color: #000000b3; } .select2-results__option { list-style-type: none; height: 40px; box-sizing: border-box; padding: 12px 20px; font-size: 14px; line-height: 16px; } .select2-search__field { width: 380px; height: 32px; border: none; outline: none; background: #f7f7f7; border-radius: 2px; margin: 10px 8px; font-size: 14px; padding: 10.5px 8px; } .select2-selection { display: inline-block; outline: none; background-color: #f9f9f9; height: 40px; text-align: center; padding: 10px; box-sizing: border-box; cursor: pointer; } .selection { transition: all 0.2s ease-in-out; -webkit-user-select: none; display: inline-block; white-space: nowrap; overflow: hidden; width: 0px; height: 43px; } #select2-combobox-results { padding-left: 0px; max-height: 200px; overflow-y: scroll; overflow-x: hidden; width: 400px; margin-top: 10px; margin-bottom: 0px; background: white; } .select2-container--open { z-index: 10; background: #ffffff; box-shadow: 0px 5px 8px 2px #0000000d; width: auto; box-sizing: border-box; } .select2 { position: absolute; background: transparent; box-shadow: none; display: none; margin: 2px; } .select2-results__options { overflow-y: auto; max-height: 200px; } .selection { width: auto; width: -moz-fit-content; width: -webkit-fit-content; margin: auto; display: block; } .select2-search--hide, .select2-selection__clear { display: none; } #country_code_select { width: 50px; height: 40px; position: absolute; opacity: 0; display: none; z-index: 0; } .select_country_code { width: 50px; height: 40px; display: inline-block; float: left; position: absolute; line-height: 39px; text-align: center; font-size: 16px; color: black; display: none; z-index: 0; } .pic { width: 20px; height: 14px; background-size: 280px 252px; background-image: url("../images/Flags2x.0b8394efb0ea9167cef2465fb8f63d78.png"); float: left; } .cc { float: right; color: #aeaeae; } .cn { margin-left: 10px; } .select2-results__option--highlighted { background: #f4f6f8; } .searchparent { height: auto; } .select2-results__options { padding-left: 0px; } .optionstry { display: table; width: 100%; height: auto; padding: 20px 50px; box-sizing: border-box; cursor: pointer; } .optionstry:hover { background-color: #f9f9f9; } .img_option_try { margin: 12px 0px; } .img_option { display: table-cell; width: 30px; color: #499aff; font-size: 30px; vertical-align: top; height: 30px; } .option_details_try { height: auto; width: auto; padding-left: 12px; vertical-align: top; box-sizing: border-box; } .option_title_try { display: block; font-size: 16px; font-weight: 500; } .option_description { display: block; font-size: 13px; line-height: 20px; color: #000c; margin-top: 5px; } #email_confirm_div .optionstry, #mobile_confirm_div .optionstry { padding: 22px 40px; } #email_confirm_div .img_option, #mobile_confirm_div .img_option { font-size: 20px; width: 20px; height: 20px; } #email_confirm_div .option_details_try, #mobile_confirm_div .option_details_try { line-height: 20px; } .otp_container::after, .mini_txtbox:after { content: attr(placeholder); height: 54px; line-height: 54px; position: absolute; color: #b9bcbe; left: 15px; top: 0px; z-index: 1; } .mini_txtbox:after { line-height: 42px; height: 42px; } .hidePlaceHolder::after { z-index: -1 !important; } .otp_verify { margin-top: 10px; } .toggle_active { background: #f9f9f9; border-radius: 2px; } .optionmod { margin-left: 0px; box-sizing: border-box; } .option_title_try { color: #000000; } .mini_btn { margin-left: 10px; width: 30%; float: right; font-size: 12px; margin-bottom: 0px; margin-right: 0px; } .backoption { width: 30px; height: 30px; font-size: 21px; display: inline-block; float: left; color: #666666; padding: 4px 0px; box-sizing: border-box; margin-right: 5px; border-radius: 15px; cursor: pointer; font-weight: 500; text-align: center; } .backoption:hover { background: #f4f4f4; } #select_reocvery_mobile .fieldcontainer, #other_options_div .fieldcontainer, #select_reocvery_email .fieldcontainer { width: auto; margin: 0 -40px; margin-bottom: 40px; } .text16 { display: block; text-align: center; margin-bottom: 30px; color: #626262; font-size: 16px; font-weight: 500; text-decoration: none; } .pointer { cursor: pointer; } .pass_policy { color: #8c8c8c; font-size: 14px; padding-top: 10px; } .nomargin { display: block; margin: 0px; } .tryanother, .extra_options { width: fit-content; margin: 0 auto; cursor: pointer; margin-top: 20px; } .bluetext_action { display: inline-block; font-size: 14px; color: #159aff; font-weight: 500; line-height: 16px; cursor: pointer; margin-top: 5px; } .nonclickelem { color: #626262; pointer-events: none; cursor: none; } .bluetext_action a { text-decoration: none; } .recovery_container { display: block; width: 480px; height: 350px; background-color: #fff; box-shadow: 0px 2px 30px 0px #2b2b2b17; margin: auto; position: relative; z-index: 1; overflow: hidden; } .recovery_box { width: 480px; min-height: 500px; height: auto; background: #fff; box-sizing: border-box; padding: 40px 40px; border-radius: 2px; transition: all 0.1s ease-in-out; float: left; overflow-y: auto; display: table-cell; border-right: 2px solid #f1f1f1; } .menuicon { display: inline-block; float: left; height: 14px; width: 14px; padding: 14px; font-size: 14px; text-align: center; } .user_info { display: inline-flex; justify-content: space-between; border: 1px solid #eeeeee; margin-bottom: 20px; border-radius: 7px; cursor: pointer; box-sizing: border-box; max-width: 100%; flex-wrap: nowrap; } .user_info_space { margin-top: 20px; } .support_temp_info { margin-bottom: 30px; line-height: 24px; } .menutext { display: inline-block; font-size: 16px; padding: 12px 14px; line-height: 20px; width: auto; word-break: break-all; } .fieldcontainer { margin-bottom: 40px; } .change_user { position: relative; float: right; font-size: 14px; padding: 0px 14px 0px 0px; display: inline-block; color: #0091ff; line-height: 38px; font-weight: 500; display: flex; align-items: center; justify-content: center; } .info_head { display: block; font-size: 20px; font-weight: 500; margin-bottom: 20px; line-height: 30px; overflow: auto; transition: all 0.1s ease-in-out; } .info_head #headtitle { display: block; } .head_info { font-size: 16px; margin: 10px 0px 0px 0px; line-height: 24px; font-weight: 400; color: #000000e6; } .user_info_space + .head_info { margin: 0px; } .otp_container { display: block; width: 100%; height: 54px; box-sizing: border-box; border-radius: 2px; font-size: 16px; outline: none; padding: 0px 15px; transition: all 0.2s ease-in-out; background: #f9f9f9; border: 1px solid #dddddd; text-indent: 0px; } .customOtp { border: none; outline: none; background: transparent; height: 100%; font-size: 16px; text-align: left; width: 22px; padding: 0px; } .textindent42 { text-indent: 46px; } .textindent62 { text-indent: 56px; } .textintent52 { text-indent: 51px; } .box_header_load { display: block; height: auto; padding: 50px 0px; -webkit-animation-name: blink; /* Safari 4.0 - 8.0 */ -webkit-animation-duration: 1s; /* Safari 4.0 - 8.0 */ animation-name: blink; animation-duration: 1s; animation-iteration-count: infinite; animation-timing-function: linear; opacity: 0.05; } .box_head_load { display: block; width: 180px; height: 18px; border-radius: 8px; background-color: #000; } .blink_btn { -webkit-animation-name: blink; /* Safari 4.0 - 8.0 */ -webkit-animation-duration: 1s; /* Safari 4.0 - 8.0 */ animation-name: blink; animation-duration: 1s; animation-iteration-count: infinite; animation-timing-function: linear; opacity: 0.05; } .box_define_load { display: block; max-width: 800px; width: 100%; height: 16px; border-radius: 8px; background-color: #000; margin-top: 20px; } @keyframes blink { 0% { opacity: 0.08; } 50% { opacity: 0.01; } 100% { opacity: 0.08; } } #loading_div, #Last_password_div, #mobile_confirm_div, #email_confirm_div, #confirm_otp_div, #other_options_div, #contact_support_div, #change_password_div, #recovery_device_div, #password_matched_div, #username_div, #terminate_session_div { display: none; } #multiple_reocvery_mobile, #single_reocvery_mobile, #multiple_reocvery_email, #single_reocvery_email { display: none; } .verify_mob_container, .verify_email_container, .select_device_othermodes { display: none; } .devices { position: relative; padding: 0px; width: fit-content !important; width: -moz-fit-content !important; width: -webkit-fit-content !important; margin: auto; border-radius: 8px; box-sizing: border-box; margin-bottom: 30px; background: #fcfcfc; } .device_title { position: absolute; top: 12px; left: 48px; font-size: 10px; font-weight: 600; text-transform: uppercase; color: #000000b3; line-height: 14px; z-index: 11; } .select2-container--device_select { margin: 0px; display: block; position: relative; margin: auto; cursor: pointer; border: 1px solid #dddddd; border-radius: 8px; overflow: hidden; } #recovery_device_select + .select2-container { width: fit-content !important; width: -moz-fit-content !important; width: -webkit-fit-content !important; } .select2-container--device_select .select2-selection__arrow { position: absolute; top: 0px; right: 14px; width: auto; height: 100%; } .select2-container--device_select .select2-selection__arrow b { border-color: transparent #00000066 #00000066 transparent; border-style: solid; transform: rotate(45deg); border-width: 2px; height: 4px; width: 4px; position: relative; border-radius: 1px; display: inline-block; top: 24px; } .select2-container--device_select .selection { margin: auto; height: 60px; box-sizing: border-box; min-width: 140px; } .select2-container--device_select .select2-selection { height: unset; padding: 12px 34px 12px 14px; } .select2-container--device_select .select_con { font-weight: 400; margin-left: 12px; margin-top: 16px; } .select2-container--device_select .select_icon { margin-top: 7px; } .select2-results__options { margin: 0px; } .select2-results__options .select_con { margin: 0px; } .select2-dropdown .select_con { width: 100%; overflow: hidden; text-overflow: ellipsis; white-space: nowrap; } .hideArrow .select2-selection { cursor: default; padding: 12px 14px; } .hideArrow .select2-selection__arrow { display: none; } .secondary_devices { display: none; width: 150px; margin: auto; padding: 8px 18px; border-radius: 18px; background-color: #f4f6f8; border: none; overflow: hidden; max-width: 200px; text-overflow: ellipsis; font-size: 16px; outline: none; } .secondary_devices .select2-container--open { width: 200px; } .device_select { display: block; position: unset; width: auto !important; } .device_selection { padding: 8px 14px; border-radius: 18px; } .deviceparent { text-align: center; display: none; text-overflow: ellipsis; overflow: hidden; width: 100%; white-space: nowrap; } .deviceparent { display: block; } .deviceinfo { display: inline-block; } .devicetext { margin: 0 auto; margin-left: 30px; } .select_icon { float: left; font-size: 20; color: #499aff; } .select_con { float: left; width: auto; overflow: hidden; margin-left: 5px; text-overflow: ellipsis; } .options_selct { max-width: 180px; font-size: 14px; line-height: 20px; font-weight: 500; width: auto; } .contact_support_class { min-height: unset; } .contact_support_class .recovery_box { min-height: unset; } #mfa_totp_section { display: none; } /* Terminate_session page */ #terminate_session_form { overflow: auto; } #terminate_session_form .checkbox_div { position: relative; } #terminate_session_form .checkbox_check { position: absolute; z-index: 1; opacity: 0; left: 15px; margin: 0px; height: 16px; cursor: pointer; width: 16px; } #terminate_session_form .checkbox { float: left; z-index: 0; height: 12px; width: 12px; display: inline-block; border: 2px solid #ccc; border-radius: 2px; position: relative; top: 1.5px; overflow: hidden; background-color: #fff; } #terminate_session_form .checkbox_check:hover ~ .checkbox { border: 2px solid #159aff; } #terminate_session_form .checkbox_check:checked ~ .checkbox { background-color: #159aff; border-color: #159aff; } #terminate_session_form .checkbox .checkbox_tick { display: block; height: 3px; width: 8px; border-bottom: 2px solid #fff; border-left: 2px solid #fff; transform: rotate(-45deg); margin: 2px 1px; } #terminate_session_form .checkbox_label { cursor: pointer; margin: 0px 6px; line-height: 20px; width: 85%; display: inline-block; } #terminate_session_form .showOneAuthLable { border: 1px solid #e7e7e7; border-radius: 10px 10px 0px 0px; box-sizing: border-box; max-width: 420px; } .oneAuthLable { display: inline-flex; max-width: 420px; padding: 15px; align-items: center; box-sizing: border-box; border: 1px solid #e7e7e7; border-top: none; border-radius: 0px 0px 15px 15px; } .oneauth_icon { display: inline-block; width: 40px; height: 40px; border-radius: 14px; background-size: 40px 40px; } .one_auth_icon_v2 { background-image: url(../images/oneAuth2.4b2a6945d5ecd70b703ba18f5f11eb68.png); } .oneAuthLable .text_container { flex: 1; margin: 0px 10px; } .oneAuthLable .text_header { font-size: 12px; font-weight: 500; margin-bottom: 4px; } .oneAuthLable .text_desc { font-size: 10px; line-height: 14px; } .oneAuthLable .togglebtn_div { height: 16px; padding: 4px; width: 30px; display: inline-block; position: relative; } .oneAuthLable .real_togglebtn { cursor: pointer; display: inline-block; position: relative; height: 16px; width: 30px; z-index: 1; opacity: 0; position: absolute; margin: 0px; } .real_togglebtn:checked ~ .togglebase { background-color: #10bc83; } .real_togglebtn:checked ~ .togglebase .toggle_circle { left: 16px; } .oneAuthLable .togglebase { height: 16px; width: 30px; display: inline-block; background: #ccc; border-radius: 10px; position: absolute; } .oneAuthLable .toggle_circle { transition: all 0.2s ease-in-out; height: 12px; width: 12px; background-color: #fff; border-radius: 10px; display: inline-block; position: absolute; left: 2px; top: 2px; box-shadow: 0px 0px 5px #999; } #terminate_session_submit { margin-top: 30px; } @media only screen and (max-width: 600px) { body { -webkit-tap-highlight-color: rgba(255, 255, 255, 0); } .bg_one { display: none; } .alert_message, .error_message { max-width: 300px; width: 75%; } .Alert, .Errormsg { max-width: 400px !important; padding: 0px; min-width: 300px; } .textbox, .otp_container { background-color: transparent; border: none; border-bottom: 2px solid #f4f6f8; border-radius: 0px; } .textbox { transition: unset; } .textbox:-webkit-autofill, .textbox:-webkit-autofill:hover, .textbox:-webkit-autofill:focus, .textbox:-webkit-autofill:active { -webkit-box-shadow: inset 0 0 0px 9999px white; -webkit-text-fill-color: black; } .textbox:valid, .textbox:hover { border: none; border-bottom: 2px solid #159aff; } #captcha { border-radius: 2px; outline: none; -webkit-appearance: none; -moz-appearance: none; appearance: none; } .changeloadbtn { border-radius: 22px; } .btn { margin-top: 10px; border-radius: 4px; } .mini_btn { margin-top: 0px; } .optionstry:hover { background-color: #fff; } .img_option { margin: 0px 10px 0px 0px !important; } .option_details_try { color: #555555; display: inline-block; margin: 0px; } #multiple_reocvery_mobile .fieldcontainer, #multiple_reocvery_email .fieldcontainer, #other_options_div .fieldcontainer { margin: 0 -30px; margin-bottom: 40px; } .optionmod { margin-left: 0px; padding: 15px 30px; line-height: 24px; } .recovery_box { width: 100%; padding: 0px 30px; height: auto; border-right: none; padding-bottom: 40px; } .recovery_container { width: 100%; box-shadow: none; margin: 0 auto; position: relative; z-index: 1; margin-top: 40px; height: auto; overflow: hidden; } .info_head { margin-bottom: 30px; } } .devices .select2-container--open { background: transparent; } @media only screen and (-webkit-min-device-pixel-ratio: 2), only screen and (min--moz-device-pixel-ratio: 2), only screen and (-o-min-device-pixel-ratio: 2/1), only screen and (min-device-pixel-ratio: 2), only screen and (min-resolution: 192dpi), only screen and (min-resolution: 2dppx) { .restrict_icon { background: url(../images/URLError2x.5e762e74a83ee0cda60b8f7c9df299a8.png) no-repeat transparent center/auto 100%; } } .hide { display: none; } .hover-tool-tip { position: absolute; top: 15px; left: 335px; background: #fff; padding: 20px; box-shadow: 0px 0px 10px #0000001a; transition: opacity 0.1s; border-radius: 5px; z-index: 9; opacity: 0; } .hover-tool-tip::after { content: ""; position: absolute; width: 0; height: 0; margin-left: -8px; top: 25px; left: 0; box-sizing: border-box; border: 6px solid black; border-color: #ffffff transparent transparent #ffffff; transform-origin: 0 0; transform: rotate(-45deg); box-shadow: -6px -6px 10px 0 #0000001a; } .hover-tool-tip.no-arrow::after { content: none; } .hover-tool-tip ul { padding: 0; margin: 0px 0px 0px 15px; list-style: none; } .hover-tool-tip p { margin: 0px 0px 10px 0px; font-size: 14px; font-weight: 500; } .hover-tool-tip ul li { font-size: 12px; display: flex; align-items: center; white-space: nowrap; line-height: 25px; } .hover-tool-tip ul li.success::before { background-color: #0dbc83; } .hover-tool-tip ul li::before { margin-right: 10px; background-color: red; width: 8px; height: 8px; border-radius: 50%; } .titlename { display: none !important; } /* #lookup_div { display: none !important; } */ #lookup_div .head_info { font-size: 0; } #lookup_div .head_info::before { content: "Enter your email address"; font-size: 15px; } .info_head { padding-top: 20px; } .rec_modes_other_options { display: none !important; } .recovery_container { height: 29rem; } .Last_password_div { margin-top: -30px; } ``` Copy the code given below and paste it in `App.css`, `App.js`, `index.js`, `index.css`, `Button.css`, `Button.js`, `Layout.js`, `LoginPage.js`, `UserProfile.css`, `UserProfile.js`, `Signup.css` and `Signup.js` respectively, located in client directory (`zylkertechnologies/src/`) using an IDE and save the file. **App.css** ```css body { margin: 0; -webkit-font-smoothing: antialiased; -moz-osx-font-smoothing: grayscale; background-color: #c0c0c0; height: inherit; } .inputs { width: 90%; padding: 15px; margin: 15px 0 22px 0; display: inline-block; border: none; background: #f1f1f1; border-radius: 8px; } h1, h2, h3, h4, h5, h6, p { margin: 1; } #login { height: 29rem; } ``` **App.js** ```javascript import { HashRouter, Routes, Route, Navigate } from "react-router-dom"; import Layout from "./Layout"; import Signup from "./Signup"; function App() { return ( <HashRouter> <Routes> <Route path="/" element={<Layout />} /> <Route path="/signup" element={<Signup />} /> <Route path="" element={<Navigate to="/" replace />} /> <Route path="*" element={<Navigate to="/" replace />} /> </Routes> </HashRouter> ); } export default App; ``` **index.js** ```javascript import "./App.css"; import React from "react"; import { createRoot } from "react-dom/client"; import App from "./App"; const container = document.getElementById("root"); const root = createRoot(container); root.render( <React.StrictMode> <App /> </React.StrictMode> ); ``` **Button.css** ```css button { background-color: #4CAF50; color: white; padding: 8px 14px; margin: 8px 0; border: none; cursor: pointer; font-size: 16px; width: 120px; } ``` **Button.js** ```javascript import { useCallback } from "react"; import "./Button.css"; function Button({ btnvalue }) { const logout = useCallback(() => { window.catalyst.auth.signOut('/'); }, []); return ( <div id="logoutbtn"> <button onClick={logout} id="logout"> {btnvalue.title} </button> </div> ); } export default Button; ``` **Layout.js** ```javascript import UserProfile from "./UserProfile"; import LoginPage from "./LoginPage.js"; import { useEffect, useState, useRef } from "react"; function Layout() { const [isFetching, setIsFetching] = useState(true); const [isUserAuthenticated, setIsUserAuthenticated] = useState(false); const [userDetails, setUserDetails] = useState({ firstName: "", lastName: "", mailid: "", timeZone: "", createdTime: "", }); useEffect(() => { window.catalyst.auth .isUserAuthenticated() .then((result) => { setUserDetails({ firstName: result.content.first_name, lastName: result.content.last_name, mailid: result.content.email_id, timeZone: result.content.time_zone, createdTime: result.content.created_time, }); setIsUserAuthenticated(true); }) .catch((err) => {}) .finally(() => { setIsFetching(false); }); }, []); return ( <> {isFetching ? ( <p>Loading ....</p> ) : isUserAuthenticated ? ( <UserProfile userDetails={userDetails} /> ) : ( <LoginPage /> )} </> ); } export default Layout; ``` **LoginPage.js** ```javascript import { useEffect } from "react"; import { Link } from "react-router-dom"; const LoginPage = () => { useEffect(() => { //config is optional const config = { css_url : "/app/embeddediframe.css", // Login page customization css file path, if not provided default css will be rendered is_customize_forgot_password : false, // Default value is false. Keep this value as true, if you wish to customize Forgot Password page forgot_password_id : "login", // Element id in which forgot password page should be loaded, by default will render in the "loginDivElementId" forgot_password_css_url : "/app/fpwd.css" // Forgot password page customization css file path, if not provided default css will be rendered } catalyst.auth.signIn("login", config); }, []); return ( <div className="container"> <img width="80px" height="80px" src="https://cdn2.iconfinder.com/data/icons/user-management/512/profile_settings-512.png" /> <h1 className="title">User Profile Management</h1> <div id="login"></div> <p className="homepage"> <b> Don't have an account?{" "} <Link to="/signup" style={{ color: "blue", textDecorationLine: "underline" }} > Sign-up </Link>{" "} now! </b> </p> </div> ); }; export default LoginPage; ``` **UserProfile.css** ```css .card { margin: auto; text-align: center; font-family: arial; text-align: center; font-weight: bold; } .title { font-size: 23px; color: black; } #userimg { height: 20%; width: 15%; } div.forgotpwd { display: none; } /* Full-width input fields */ input[type="text"] { width: 90%; padding: 15px; margin: 15px 0 22px 0; display: inline-block; border: none; background: #f1f1f1; border-radius: 8px; } /* Add a background color when the inputs get focus */ input[type="text"]:focus, input[type="password"]:focus { background-color: #ddd; outline: none; } button:hover { opacity: 1; } /* Float cancel and signup buttons and add an equal width */ .seperatebtn { width: 10%; padding: 8px; border-radius: 8px; } .signupbtn { width: 10%; padding: 8px; border-radius: 8px; } .signupfnbtn { width: 20%; padding: 8px; border-radius: 8px; } .pwdfnbtn { width: 40%; padding: 8px; border-radius: 8px; } /* The Modal (background) */ .modal { display: none; /* Hidden by default */ position: fixed; /* Stay in place */ z-index: 1; /* Sit on top */ left: 0; top: 0; width: 100%; /* Full width */ height: 100%; /* Full height */ overflow: auto; /* Enable scroll if needed */ background-color: #474e5d; } /* Modal Content/Box */ .modal-content { background-color: #c0c0c0; margin: 5% auto 15% auto; /* 5% from the top, 15% from the bottom and centered */ width: 25%; /* Could be more or less, depending on screen size */ } /* The Close Button (x) */ .close { position: absolute; right: 35px; top: 15px; font-size: 40px; font-weight: bold; color: #f1f1f1; } .close:hover, .close:focus { color: #f44336; cursor: pointer; } /* Clear floats */ .clearfix::after { content: ""; clear: both; display: table; } p.homepage { font-size: 23px; } /* Change styles for cancel button and signup button on extra small screens */ @media screen and (max-width: 100px) { .signupbtn { width: 100%; } } .container { text-align: center; } ``` **UserProfile.js** ```javascript import Button from "./Button"; import "./UserProfile.css"; function UserProfile({ userDetails }) { return ( <div className="card"> <br></br> <h1 className="title">User Profile Information</h1> <img id="userimg" width="200px" height="450px" src="https://cdn2.iconfinder.com/data/icons/user-management/512/profile_settings-512.png" /> <p className="title" id="fname"> {"First Name : " + userDetails.firstName} </p> <p className="title" id="lname"> {"Last Name: " + userDetails.lastName} </p> <p className="title" id="mailid"> {"Email Address: " + userDetails.mailid} </p> <p className="title" id="tzone"> {"Time Zone: " + userDetails.timeZone} </p> <p className="title" id="ctime"> {"Joined On: " + userDetails.createdTime} </p> <Button btnvalue={{ title: "Logout" }}></Button> </div> ); } export default UserProfile; ``` **Signup.js** ```javascript import "./Signup.css"; import React, { useState } from "react"; function Signup() { const [displayText, setDisplayText] = useState(""); const [form, setForm] = useState({ firstName: "", lastName: "", email: "", }); const [showForm, setShowForm] = useState(true); const handleSubmit = async (event) => { event.preventDefault(); setShowForm(false); setDisplayText( "An account verification email has been sent to your email address" ); var data = { first_name: form.firstName, last_name: form.lastName, email_id: form.email, platform_type: "web", }; const auth = window.catalyst.auth; var signupResponse = await auth.signUp(data); debugger; if (signupResponse.status == 200) { setTimeout(function () { window.location.href = "index.html"; }, 3000); } else { alert(signupResponse.message); } }; return ( <div id="signup" className="signup"> {showForm ? ( <div> <center> <img width="80px" height="80px" src="https://cdn2.iconfinder.com/data/icons/user-management/512/profile_settings-512.png" /> <h1>User Profile Management</h1> </center> <form onSubmit={handleSubmit} className="modal-content"> <center> <h1>Sign Up</h1> <p>Please fill this form to sign up for a new account.</p> </center> <label htmlFor="firstName"> <b>First Name</b> <input name="firstName" className="inputs" placeholder="Enter First Name" value={form.firstName} onChange={(e) => { setForm({ ...form, firstName: e.target.value, }); }} required /> </label> <label htmlFor="lastName"> <b>Last Name</b> <input className="inputs" placeholder="Enter Last Name" value={form.lastName} onChange={(e) => { setForm({ ...form, lastName: e.target.value, }); }} required /> </label> <label htmlFor="email"> <b>Email</b> <input className="inputs" placeholder="Enter email address" value={form.email} onChange={(e) => { setForm({ ...form, email: e.target.value, }); }} required /> </label> <p> By creating an account, you agree to our{" "} <a href="https://www.zoho.com/catalyst/terms.html" target="_blank" rel="noopener noreferrer" id="link" > Terms & Conditions </a> . </p> <center> <input type="submit" value="Sign Up" className="signupfnbtn" /> </center> </form>{" "} </div> ) : ( <p>{displayText}</p> )} </div> ); } export default Signup; ``` **Signup.css** ```css input[type="submit"] { background-color: green; color: white; width: 40%; padding: 8px; border-radius: 8px; text-align: center; border: none; cursor: pointer; } #link { font-size: medium; color: blue; } .modal-content { background-color: #c0c0c0; margin: 30px auto; /* 5% from the top, 15% from the bottom and centered */ width: 25%; /* Could be more or less, depending on screen size */ } .signupfnbtn { width: 30%; padding: 8px; border-radius: 8px; background-color: green; height: 100%; } p { text-align: center; font-size: medium; font-weight: bold; } ``` **client-package.json** ```javascript { "name": "zylkertechnologies", "version": "0.0.1", "homepage": "index.html", "login_redirect": "index.html" } ``` The client directory is now configured. Let’s go over the working of the function and the client code: * The end-user will first encounter the *Login Page* that you configured and styled in the console. * To create an account, they will click the **Sign Up** option and be directed to the *Sign Up* page. > **Note:** End-users can either sign up to your application using their [Identity Provider Logins](https://docs.catalyst.zoho.com/en/cloud-scale/help/authentication/social-logins/introduction/) or use the conventional method of signing up to the application using their email address. * Once the information is inputted and they click **Sign Up**, or if they attempt to sign up using a Identity Provider Login of their choice, their details will be provided as a JSON input to the [Custom User Validation](https://docs.catalyst.zoho.com/en/cloud-scale/help/authentication/whitelisting/custom-user-validation/introduction/) function (`authorization_portal_function/main.py`). * The function will only authenticate users if the condition you have coded is satisfied. For this tutorial, the users will only be authenticated if they signed up to the application using a Zylker registered email address. * Upon successful authentication, an [Email Verification](https://docs.catalyst.zoho.com/en/cloud-scale/help/authentication/email-templates/introduction/) email will be sent to the account they used to sign up to the application. > **Note:** Because we are using Embedded Login, a native Catalyst authentication type, no additional logic to trigger the appropriate emails is required. It will be handled by Catalyst automatically. * Once the user verifies their email address by clicking the link provided in the email, they will be signed up to the application. Their details can be viewed in the [User Management](https://docs.catalyst.zoho.com/en/cloud-scale/help/authentication/user-management/introduction/) section of the *Authentication* component. * The end-user can now log in to the application using their authenticated credentials. * The end-user can also reset their password by clicking the **Forgot Password** option. In this event, the *Password Reset* email will be sent to their registered email. Following the steps mentioned in the email, they can easily reset their credentials. -------------------------------------------------------------------------------- title: "Test the application" description: "Create a web application using Catalyst Embedded Authentication that provides user sign-up, login, password reset, and sign-in with identity providers." last_updated: "2026-11-04T10:10:44.000Z" source: "https://docs.catalyst.zoho.com/en/tutorials/embedded-auth/python/test-app/" service: "All Services" related: - Serve CLI Resources (/en/cli/v1/serve-resources/introduction) -------------------------------------------------------------------------------- # Test the Application Before you deploy the application to the remote console, you can test the application on a local server and check if everything works using the Catalyst CLI. For detailed information on `catalyst serve`, refer to the [Serve Resources help page](https://docs.catalyst.zoho.com/en/cli/v1/serve-resources/introduction). To serve the Catalyst project locally, execute the following command from your project directory: ```sh catalyst serve ``` The authorization portal application will now be served at default `port 3000`. The local endpoint URLs of the components will be displayed in the CLI. **Basic web app** ![basic-serve](https://catalyst-docs-development.zohostratus.in/images/tutorials/embedded_auth/python/basic-serve.webp) > **Note:** Every time you access the homepage or any of the sub-pages of your client, or the function, the CLI will display a live log of the accessed URL, along with the HTTP method that is used to access it. You can now open the client component’s local URL in a browser to access the application. ![client_app](https://catalyst-docs-development.zohostratus.in/images/tutorials/embedded_auth/client_app.webp) ### Test Case 1 #### Sign up using email address 1. Click **Sign Up** to create a new account. ![signup](https://catalyst-docs-development.zohostratus.in/images/tutorials/embedded_auth/signup.webp) 2. Enter the required details and click **Sign Up**. ![signup_details](https://catalyst-docs-development.zohostratus.in/images/tutorials/embedded_auth/signup_details.webp) 3. The [Email Verification](https://docs.catalyst.zoho.com/en/cloud-scale/help/authentication/email-templates/introduction/) email will be sent to the email address you used to sign up. ![email_verification](https://catalyst-docs-development.zohostratus.in/images/tutorials/embedded_auth/email_verification.webp) 4. Click the link in the email ![email_link](https://catalyst-docs-development.zohostratus.in/images/tutorials/embedded_auth/email_link.webp) 5. Follow the instructions and set your password ![create_password](https://catalyst-docs-development.zohostratus.in/images/tutorials/embedded_auth/create_password.webp) Once the password is set, you will be signed in to the application. ![signed_in](https://catalyst-docs-development.zohostratus.in/images/tutorials/embedded_auth/signed_in.webp) You can verify this by viewing the user information in the [User Management](https://docs.catalyst.zoho.com/en/cloud-scale/help/authentication/user-management/introduction/) section of the *Authentication* component in the console. ![user_details](https://catalyst-docs-development.zohostratus.in/images/tutorials/embedded_auth/user_details.webp) ### Test Case 2 #### Test Custom User Validation 1. Sign up to the application using an email address that will induce a failure instance. ![signup_page2](https://catalyst-docs-development.zohostratus.in/images/tutorials/embedded_auth/signup_page2.webp) > **Note:** For the purpose of this tutorial, we have coded a logic for the Custom User Validation function where if the user's email provider is anyone other than Zylker Technology (`@zylker.com`) the end-user will not be able to sign up to the application. 2. You will not be able to sign up to the application using any email address other than the one coded to permit in the function logic. ![error_message](https://catalyst-docs-development.zohostratus.in/images/tutorials/embedded_auth/error_message.webp) ### Test Case 3 #### Sign up to the application using Identity Provider Logins 1. You can click a identity provider login that you had configured to begin the sign up process. For this test, we are signing up using the [Zoho Identity Provider login](https://docs.catalyst.zoho.com/en/cloud-scale/help/authentication/social-logins/configuring-social-logins/#enable-zoho-social-login). ![idp_login](https://catalyst-docs-development.zohostratus.in/images/tutorials/embedded_auth/idp_login.webp) 2. Click **Accept**. ![accept_login](https://catalyst-docs-development.zohostratus.in/images/tutorials/embedded_auth/accept_login.webp) You will be logged in to the application. ![logged_in](https://catalyst-docs-development.zohostratus.in/images/tutorials/embedded_auth/logged_in.webp) You can verify the end-user has been added by viewing their details in the *User Management* section of the Authentication component in the console. ### Test Case 4 #### Password reset functionality 1. Click the **Forgot Password** option. ![forgot_password](https://catalyst-docs-development.zohostratus.in/images/tutorials/embedded_auth/forgot_password.webp) 2. Enter the email address ![enter_email](https://catalyst-docs-development.zohostratus.in/images/tutorials/embedded_auth/enter_email.webp) 3. Enter the captcha. ![enter_captcha](https://catalyst-docs-development.zohostratus.in/images/tutorials/embedded_auth/enter_captcha.webp) 4. You can still unlock an option if you remember any earlier password you had used to create this account. However, to test this functionality, click **Continue to reset password**. ![send_otp](https://catalyst-docs-development.zohostratus.in/images/tutorials/embedded_auth/send_otp.webp) 5. Click **SEND OTP** to send the OTP to your email address. ![verify_otp](https://catalyst-docs-development.zohostratus.in/images/tutorials/embedded_auth/verify_otp.webp) 6. Enter the OTP received in your email and click **Verify**. ![create_new_password](https://catalyst-docs-development.zohostratus.in/images/tutorials/embedded_auth/create_new_password.webp) 7. You can create your new password now and click **Change Password**. ![catalyst_authentication_hosted_catalyst_serve_pwd_confirm_reset](https://catalyst-docs-development.zohostratus.in/images/tutorials/hosted-login/catalyst_authentication_hosted_catalyst_serve_pwd_confirm_reset.webp) You will be redirected to the login page, where you can log in to the application using the new password. **React web app** ![react-serve](https://catalyst-docs-development.zohostratus.in/images/tutorials/embedded_auth/python/react-serve.webp) > **Note:** Every time you access the homepage or any of the sub-pages of your client, or the function, the CLI will display a live log of the accessed URL, along with the HTTP method that is used to access it. You can now open the client component’s local URL in a browser to access the application. ![client_app](https://catalyst-docs-development.zohostratus.in/images/tutorials/embedded_auth/client_app.webp) ### Test Case 1 #### Sign up using email address 1. Click **Sign Up** to create a new account. ![signup](https://catalyst-docs-development.zohostratus.in/images/tutorials/embedded_auth/signup.webp) 2. Enter the required details and click **Sign Up**. ![signup_details](https://catalyst-docs-development.zohostratus.in/images/tutorials/embedded_auth/signup_details.webp) 3. The [Email Verification](https://docs.catalyst.zoho.com/en/cloud-scale/help/authentication/email-templates/introduction/) email will be sent to the email address you used to sign up. ![email_verification](https://catalyst-docs-development.zohostratus.in/images/tutorials/embedded_auth/email_verification.webp) 4. Click the link in the email ![email_link](https://catalyst-docs-development.zohostratus.in/images/tutorials/embedded_auth/email_link.webp) 5. Follow the instructions and set your password ![create_password](https://catalyst-docs-development.zohostratus.in/images/tutorials/embedded_auth/create_password.webp) Once the password is set, you will be signed in to the application. ![signed_in](https://catalyst-docs-development.zohostratus.in/images/tutorials/embedded_auth/signed_in.webp) You can verify this by viewing the user information in the [User Management](https://docs.catalyst.zoho.com/en/cloud-scale/help/authentication/user-management/introduction/) section of the *Authentication* component in the console. ![user_details](https://catalyst-docs-development.zohostratus.in/images/tutorials/embedded_auth/user_details.webp) ### Test Case 2 #### Test Custom User Validation 1. Sign up to the application using an email address that will induce a failure instance. ![signup_page2](https://catalyst-docs-development.zohostratus.in/images/tutorials/embedded_auth/signup_page2.webp) > **Note:** For the purpose of this tutorial, we have coded a logic for the Custom User Validation function where if the user's email provider is anyone other than Zylker Technology (`@zylker.com`) the end-user will not be able to sign up to the application. 2. You will not be able to sign up to the application using any email address other than the one coded to permit in the function logic. ![error_message](https://catalyst-docs-development.zohostratus.in/images/tutorials/embedded_auth/error_message.webp) ### Test Case 3 #### Sign up to the application using Identity Provider Logins 1. You can click a identity provider login that you had configured to begin the sign up process. For this test, we are signing up using the [Zoho Identity Provider login](https://docs.catalyst.zoho.com/en/cloud-scale/help/authentication/social-logins/configuring-social-logins/#enable-zoho-social-login). ![idp_login](https://catalyst-docs-development.zohostratus.in/images/tutorials/embedded_auth/idp_login.webp) 2. Click **Accept**. ![accept_login](https://catalyst-docs-development.zohostratus.in/images/tutorials/embedded_auth/accept_login.webp) You will be logged in to the application. ![logged_in](https://catalyst-docs-development.zohostratus.in/images/tutorials/embedded_auth/logged_in.webp) You can verify the end-user has been added by viewing their details in the *User Management* section of the Authentication component in the console. ### Test Case 4 #### Password reset functionality 1. Click the **Forgot Password** option. ![forgot_password](https://catalyst-docs-development.zohostratus.in/images/tutorials/embedded_auth/forgot_password.webp) 2. Enter the email address ![enter_email](https://catalyst-docs-development.zohostratus.in/images/tutorials/embedded_auth/enter_email.webp) 3. Enter the captcha. ![enter_captcha](https://catalyst-docs-development.zohostratus.in/images/tutorials/embedded_auth/enter_captcha.webp) 4. You can still unlock an option if you remember any earlier password you had used to create this account. However, to test this functionality, click **Continue to reset password**. ![send_otp](https://catalyst-docs-development.zohostratus.in/images/tutorials/embedded_auth/send_otp.webp) 5. Click **SEND OTP** to send the OTP to your email address. ![verify_otp](https://catalyst-docs-development.zohostratus.in/images/tutorials/embedded_auth/verify_otp.webp) 6. Enter the OTP received in your email and click **Verify**. ![create_new_password](https://catalyst-docs-development.zohostratus.in/images/tutorials/embedded_auth/create_new_password.webp) 7. You can create your new password now and click **Change Password**. ![catalyst_authentication_hosted_catalyst_serve_pwd_confirm_reset](https://catalyst-docs-development.zohostratus.in/images/tutorials/hosted-login/catalyst_authentication_hosted_catalyst_serve_pwd_confirm_reset.webp) You will be redirected to the login page, where you can log in to the application using the new password. -------------------------------------------------------------------------------- title: "Deploy the application" description: "Create a web application using Catalyst Embedded Authentication that provides user sign-up, login, password reset, and sign-in with identity providers." last_updated: "2026-11-04T10:10:44.000Z" source: "https://docs.catalyst.zoho.com/en/tutorials/embedded-auth/python/deploy-app/" service: "All Services" related: - Deploy CLI Resources (/en/cli/v1/deploy-resources/introduction/) - Web Client Hosting (/en/cloud-scale/help/web-client-hosting/introduction) -------------------------------------------------------------------------------- # Deploy the Application To [deploy your Catalyst project](https://docs.catalyst.zoho.com/en/cli/v1/deploy-resources/introduction/) from the CLI, run the following command in your terminal from your project directory: ```sh catalyst deploy ``` The function is deployed first, followed by the client component. The URL endpoints of the components will be displayed in the CLI: **Basic web app** ![basic-deploy](https://catalyst-docs-development.zohostratus.in/images/tutorials/embedded_auth/python/basic-deploy.webp) > **Note** You can also use the `catalyst deploy --only client` CLI command to deploy the client component alone, as the function component was already deployed. You can now open the client component’s URL in a browser to access the deployed application. The authorization portal application can now be accessed from its web app URL. ![working_auth_app](https://catalyst-docs-development.zohostratus.in/images/tutorials/embedded_auth/working_auth_app.webp) The authorization portal application is now functional and should work without any errors. **React web app** ![react-deploy](https://catalyst-docs-development.zohostratus.in/images/tutorials/embedded_auth/python/react-deploy.webp) > **Note** You can also use the `catalyst deploy --only client` CLI command to deploy the client component alone, as the function component was already deployed. You can now open the client component’s URL in a browser to access the deployed application. The authorization portal application can now be accessed from its web app URL. ![working_react_app](https://catalyst-docs-development.zohostratus.in/images/tutorials/embedded_auth/working_react_app.webp) The authorization portal application is now functional and should work without any errors. ## Event App ### NodeJS -------------------------------------------------------------------------------- title: "Introduction" description: "Configure a Catalyst Event Function and associate it with a Rule in Catalyst Signals to send onboarding emails to application users when they sign up." last_updated: "2026-11-04T10:10:44.000Z" source: "https://docs.catalyst.zoho.com/en/tutorials/event-app/nodejs/introduction/" service: "All Services" related: - Project Directory Structure (/en/cli/v1/project-directory-structure/introduction/) - Node.js SDK (/en/sdk/nodejs/v2/overview/) -------------------------------------------------------------------------------- # Event App ### Introduction This tutorial will help you build an application called **Event App** in the **Node.js** runtime. In this application, you will be employing an event-driven architecture using [Catalyst Signals](https://docs.catalyst.zoho.com/en/signals/). Additionally, you will also be using the [Catalyst Serverless](https://docs.catalyst.zoho.com/en/serverless/) and [Catalyst CloudScale](https://docs.catalyst.zoho.com/en/cloud-scale/) services to handle other required functionalities expected of your application. The client components of the application are going to be a [Basic Web app](https://docs.catalyst.zoho.com/en/cli/v1/initialize-resources/initialize-client/#basic-client-applications). The client application will appear in the following manner to the end-user. ![catalyst_tutorials_signals_event_app_first_look](https://catalyst-docs-development.zohostratus.in/images/tutorials/event-app/catalyst_tutorials_signals_event_app_first_look.webp) The *Event App* utilizes components from the following Catalyst services: 1. [**Catalyst Serverless**](https://docs.catalyst.zoho.com/en/serverless/getting-started/introduction/): - [**Event Function**](https://docs.catalyst.zoho.com/en/serverless/help/functions/event-functions): The Event function coded is in the **Node.js** programming environment. It sends an automated onboarding email with a link to access the Event App to email addresses configured in Catalyst. 2. [**Catalyst CloudScale**](https://docs.catalyst.zoho.com/en/cloud-scale/getting-started/introduction/): - [**Authentication**](https://docs.catalyst.zoho.com/en/cloud-scale/help/authentication/introduction/): To set up an [Embedded Authentication type](https://docs.catalyst.zoho.com/en/cloud-scale/help/authentication/native-catalyst-authentication/embedded-authentication/introduction/) for this application that allows end-users to sign up and login to the app. You will also be configuring the [Zoho Social Login](https://docs.catalyst.zoho.com/en/cloud-scale/help/authentication/social-logins/configuring-social-logins/#enable-zoho-social-login) to facilitate Single Sign-Ons. - [**Mail**](https://docs.catalyst.zoho.com/en/cloud-scale/help/mail/introduction): To set up the sender email address. This email address will be used to send the required emails to the end-users. - [**Web Client Hosting**](https://docs.catalyst.zoho.com/en/cloud-scale/help/web-client-hosting/introduction/): To host and manage the *Event App*. 3. [**Catalyst Signals**](https://docs.catalyst.zoho.com/en/signals/): This service will allow you to apply an **event-driven architecture** to your application. We will be using this service to create a [Catalyst Publisher](https://docs.catalyst.zoho.com/en/signals/help/publishers/create-publisher/catalyst-publishers/), and we will configure a Rule that will trigger a '*product tour*' email in the event a '*user confirmation*' action occurs. You will use the [Catalyst web console](https://console.catalyst.zoho.com/) and the [Catalyst Command Line Interface](https://docs.catalyst.zoho.com/en/cli/v1/cli-command-reference/) (CLI) to build this application. You will be given the code for the files to be included in the application in this tutorial. You will just need to copy the code and paste it into the appropriate files as directed. ### Application Logic The business logic we are going to be implementing using the *Event App* is as follows: * The end-user will first be presented with the Sign Up/Login page implemented using Embedded Authentication. * Once the end-user provides the required details and clicks the Get Started button, an email will be sent to their entered email address instructing them to confirm their account. * Once the user clicks the link present in the email, and they set their password, their account will be confirmed, and they will be directed to a page in the application instructing them to check their email for a product tour. * Once the User Confirmation event occurs, the event function will be triggered. * The event function will then trigger the mail component, and a product tour email will be sent to the end-user's inbox. * They can click the link in the second email, and they will be directed to the configured page. ![Architecture-diagram](https://catalyst-docs-development.zohostratus.in/images/tutorials/event-app/event-app-architecture-diagram.webp) -------------------------------------------------------------------------------- title: "Prerequisites" description: "Configure a Catalyst Event Function and associate it with a Rule in Catalyst Signals to send onboarding emails to application users when they sign up." last_updated: "2026-11-04T10:10:44.000Z" source: "https://docs.catalyst.zoho.com/en/tutorials/event-app/nodejs/prerequisites/" service: "All Services" related: - CLI Command Reference (/en/cli/v1/cli-command-reference/) - Install CLI (/en/getting-started/installing-catalyst-cli/) - Login CLI (/en/cli/v1/login/login-from-cli/) -------------------------------------------------------------------------------- # Prerequisites Before you begin building the application, you must have the following prerequisites installed on your system: 1. **Catalyst CLI**: Catalyst CLI contains a host of tools that enable you to initialize, develop, test, and deploy the components of your application from your local machine. We will be working with Catalyst CLI in this tutorial. You must perform these actions: 1. **Install Catalyst CLI**: Catalyst CLI is installed through NPM. You must therefore have NPM and Node.js installed on your system before you install the CLI. Refer to the [**Install Catalyst CLI help page**](https://docs.catalyst.zoho.com/en/getting-started/installing-catalyst-cli/) for details on the pre-requisites and the steps to install it. 2. **Login Catalyst CLI**: After you install Catalyst CLI, you must authenticate the CLI with your Catalyst account before using it. Refer to the [**CLI Login help page**](https://docs.catalyst.zoho.com/en/cli/v1/login/login-from-cli/) for the steps to log in from Catalyst CLI and the various options available for it. 2. **Any IDE tool for Node.js and client code development**: Download and install an IDE of your choice in your system. You can use any IDE to work with the function and the client code. Some popular choices include Visual Studio Code, IntelliJ IDEA, and Sublime Text. > If you are a Visual Studio Code IDE user, you can install the **Catalyst Tools** extension, and use your IDE itself in place of the CLI. You can find more details about the Catalyst VS Code extension from this [help section](https://docs.catalyst.zoho.com/en/catalyst-extensions/vs-code-extension/introduction/). -------------------------------------------------------------------------------- title: "Create a Project" description: "Configure a Catalyst Event Function and associate it with a Rule in Catalyst Signals to send onboarding emails to application users when they sign up." last_updated: "2026-11-04T10:10:44.000Z" source: "https://docs.catalyst.zoho.com/en/tutorials/event-app/nodejs/create-project/" service: "All Services" related: - Project Directory (/en/cli/v1/project-directory-structure/introduction) - Set up Catalyst Projects (/en/getting-started/catalyst-projects) -------------------------------------------------------------------------------- # Create a Project Let's [create a Catalyst project](https://docs.catalyst.zoho.com/en/getting-started/catalyst-projects) from the Catalyst console. 1. Log in to the [Catalyst console](https://console.catalyst.zoho.com/baas/index) and click **Create a new Project**. ![catalyst_tutorials_eventapp_home_page](https://catalyst-docs-development.zohostratus.in/images/tutorials/event-app/catalyst_tutorials_eventapp_home_page.webp) 2. Enter the project's name as "**EventApp**", and click **Create**. ![catalyst_tutorials_eventapp_proj_name](https://catalyst-docs-development.zohostratus.in/images/tutorials/event-app/catalyst_tutorials_eventapp_proj_name.webp) 3. Your project will be created and opened. You can access the project at any time by clicking **Access Project**. ![catalyst_tutorials_eventapp_access_proj](https://catalyst-docs-development.zohostratus.in/images/tutorials/event-app/catalyst_tutorials_eventapp_access_proj.webp) -------------------------------------------------------------------------------- title: "Configure Authentication" description: "Configure a Catalyst Event Function and associate it with a Rule in Catalyst Signals to send onboarding emails to application users when they sign up." last_updated: "2026-11-04T10:10:44.000Z" source: "https://docs.catalyst.zoho.com/en/tutorials/event-app/nodejs/configure-authentication/" service: "All Services" related: - Catalyst Authentication (/en/cloud-scale/help/authentication/introduction/) - Embedded Authentication (/en/cloud-scale/help/authentication/native-catalyst-authentication/embedded-authentication/introduction/) - Social Logins (/en/cloud-scale/help/authentication/social-logins/introduction/) - Public Signup (/en/cloud-scale/help/authentication/public-signup/) - User Management (/en/cloud-scale/help/authentication/user-management/introduction/) - Email Templates (/en/cloud-scale/help/authentication/social-logins/introduction/) - Whitelisting (/en/cloud-scale/help/authentication/whitelisting/introduction/) -------------------------------------------------------------------------------- # Configure Authentication Let's configure [Embedded Authentication](https://docs.catalyst.zoho.com/en/cloud-scale/help/authentication/native-catalyst-authentication/embedded-authentication/introduction/) to allow end-users to sign up to the application. To configure Embedded Authentication: 1. Navigate to the *Catalyst CloudScale* section of the console and click **Start Exploring**. ![catalyst_tutorials_signals_event_app_cs_exploring](https://catalyst-docs-development.zohostratus.in/images/tutorials/event-app/catalyst_tutorials_signals_event_app_cs_exploring.webp) 2. Navigate to the **Authentication** component present under *Security & Identity* and click the **Set Up** button present in the **Native Catalyst Authentication** section. ![catalyst_tutorials_signals_event_app_sel_auth](https://catalyst-docs-development.zohostratus.in/images/tutorials/event-app/catalyst_tutorials_signals_event_app_sel_auth.webp) 3. Select **Embedded Authentication** and click **Next**. ![catalyst_tutorials_signals_event_app_sel_auth_embedded](https://catalyst-docs-development.zohostratus.in/images/tutorials/event-app/catalyst_tutorials_signals_event_app_sel_auth_embedded.webp) 4. We will be embedding these scripts in our HTML file, which we will cover in future steps. For now, to enable end-user sign ups, scroll down and click the **Public Signup** toggle. ![catalyst_tutorials_signals_event_app_public_signup_toggle](https://catalyst-docs-development.zohostratus.in/images/tutorials/event-app/catalyst_tutorials_signals_event_app_public_signup_toggle.webp) 5. Click **Yes, Proceed** after going through the information presented in the pop-up. ![catalyst_tutorials_signals_event_app_pop-up](https://catalyst-docs-development.zohostratus.in/images/tutorials/event-app/catalyst_tutorials_signals_event_app_pop-up.webp) > **Note:** You can learn more about Public Signup from this [help documentation](https://docs.catalyst.zoho.com/en/cloud-scale/help/authentication/public-signup/). 6. Now, you will be able to enable **Social Logins**. This will allow your users to sign up to your application using their common social platform accounts. Click on the **Zoho social login**, and click **Enable** once you enter the application's name as the **EventApp**. ![catalyst_tutorials_signals_event_app_social_login_enabled](https://catalyst-docs-development.zohostratus.in/images/tutorials/event-app/sign-in-using-zoho-event-app.webp) > **Notes:** * You can learn more about **Social Logins** from this [help documentation](https://docs.catalyst.zoho.com/en/cloud-scale/help/authentication/social-logins/introduction/). * You can also find detailed steps you need to implement to generate the required `Client ID` and `Client Secret` credentials from this [help documentation](https://docs.catalyst.zoho.com/en/cloud-scale/help/authentication/social-logins/configuring-social-logins/). 7. Click **Next**. ![catalyst_tutorials_signals_event_app_auth_final](https://catalyst-docs-development.zohostratus.in/images/tutorials/event-app/catalyst_tutorials_signals_event_app_auth_final.webp) 8. We do not require any of the configurations present in the *Additional Settings* section. Click **Finish** to enable Embedded Authentication for your application. ![catalyst_tutorials_signals_event_app_auth_skip_whiteliost](https://catalyst-docs-development.zohostratus.in/images/tutorials/event-app/catalyst_tutorials_signals_event_app_auth_skip_whiteliost.webp) > **Note:** You can learn more about **Whitelisting** from this [help documentation](https://docs.catalyst.zoho.com/en/cloud-scale/help/authentication/whitelisting/introduction/). Embedded Authentication has been enabled for your application. ![catalyst_tutorials_signals_event_app_auth_completed](https://catalyst-docs-development.zohostratus.in/images/tutorials/event-app/catalyst_tutorials_signals_event_app_auth_completed.webp) > **Notes:** * You can learn more about **Embedded Authentication** from this [help documentation](https://docs.catalyst.zoho.com/en/cloud-scale/help/authentication/native-catalyst-authentication/embedded-authentication/introduction/). * The **User Management**, **Authentication Type**, **Whitelisting**, and **Email Templates** sections are not required for the purposes of this application. However, you can still learn all about them from the extensive documentation present [here](https://docs.catalyst.zoho.com/en/cloud-scale/help/authentication/introduction/). -------------------------------------------------------------------------------- title: "Configure Sender Email Address" description: "Configure a Catalyst Event Function and associate it with a Rule in Catalyst Signals to send onboarding emails to application users when they sign up." last_updated: "2026-11-04T10:10:44.000Z" source: "https://docs.catalyst.zoho.com/en/tutorials/event-app/nodejs/configure-email-address/" service: "All Services" related: - Catalyst Mail (/en/cloud-scale/help/mail/introduction) -------------------------------------------------------------------------------- # Configure Sender Email Address In this application, we are going to be sending the product tour emails from within the application to the end-user using the Catalyst CloudScale [Mail](https://docs.catalyst.zoho.com/en/cloud-scale/help/mail/introduction/) component. You can configure the email address as follows: To configure an appropriate sender email address: 1. Navigate to the **Mail** component present under the *Notify* section in the *CloudScale* section of the console. ![catalyst_tutorials_signals_event_app_mail_start_look](https://catalyst-docs-development.zohostratus.in/images/tutorials/event-app/catalyst_tutorials_signals_event_app_mail_start_look.webp) 2. Enter the *Display Name* as **Onboarding**, and enter the email address you are going to use to send out emails to your end-users. Click **Add Email**. ![catalyst_tutorials_signals_event_app_enter_email](https://catalyst-docs-development.zohostratus.in/images/tutorials/event-app/catalyst_tutorials_signals_event_app_enter_email.webp) The email address will be added. ![catalyst_tutorials_signals_event_app_mail_added](https://catalyst-docs-development.zohostratus.in/images/tutorials/event-app/catalyst_tutorials_signals_event_app_mail_added.webp) But, to use it and to ensure that the email address used is secure and valid, you will need to verify it. 3. Click the **Click to confirm** button, and enter the code sent to the entered email address. ![catalyst_tutorials_signals_event_app_mail_confirmed](https://catalyst-docs-development.zohostratus.in/images/tutorials/event-app/catalyst_tutorials_signals_event_app_mail_confirmed.webp) The email address will be confirmed. ![catalyst_tutorials_signals_event_app_mail_first_action](https://catalyst-docs-development.zohostratus.in/images/tutorials/event-app/catalyst_tutorials_signals_event_app_mail_first_action.webp) Next step is to verify the domain. 4. Click the **Domain** tab, and click **Add Domain**. ![catalyst_tutorials_signals_event_app_mail_domain_start](https://catalyst-docs-development.zohostratus.in/images/tutorials/event-app/catalyst_tutorials_signals_event_app_mail_domain_start.webp) > **Note:** If you are using a public email service provider such as **Gmail** or **Outlook** for your sender address, you can skip this process. Domain validation is required only when you use a sender email hosted on a private or custom domain. For more details, refer to the [Help documentation](https://docs.catalyst.zoho.com/en/cloud-scale/help/mail/domains/). 5. Re-enter the email address you are going to be using to send out emails and click **Create**. ![catalyst_tutorials_signals_event_app_mail_renter_domain](https://catalyst-docs-development.zohostratus.in/images/tutorials/event-app/catalyst_tutorials_signals_event_app_mail_renter_domain.webp) Since the email address has already been confirmed, it will be automatically verified. ![catalyst_tutorials_signals_event_app_mail_domain_verified](https://catalyst-docs-development.zohostratus.in/images/tutorials/event-app/catalyst_tutorials_signals_event_app_mail_domain_verified.webp) With the email address confirmed and the domain verified, the Mail component has been successfully configured for this application. ![catalyst_tutorials_signals_event_app_mail_completed](https://catalyst-docs-development.zohostratus.in/images/tutorials/event-app/catalyst_tutorials_signals_event_app_mail_completed.webp) This email can now be used to send out the required mails to the end-users of your application. > **Note:** You can learn more about the **Mail** component from this [help documentation](https://docs.catalyst.zoho.com/en/cloud-scale/help/mail/introduction/). -------------------------------------------------------------------------------- title: "Configure a Publisher" description: "Configure a Catalyst Event Function and associate it with a Rule in Catalyst Signals to send onboarding emails to application users when they sign up." last_updated: "2026-11-04T10:10:44.000Z" source: "https://docs.catalyst.zoho.com/en/tutorials/event-app/nodejs/configure-publisher/" service: "All Services" related: - Catalyst Signals (/en/signals) - Signals Publisher (/en/signals/help/publishers/create-publisher/catalyst-publishers/) - Signals Events (/en/signals/help/events/) -------------------------------------------------------------------------------- # Configure a Publisher Now, you will need to configure a [Catalyst Publisher](https://docs.catalyst.zoho.com/en/signals/help/publishers/create-publisher/catalyst-publishers/) in the [Signals](https://docs.catalyst.zoho.com/en/signals/help/events/) service to configure the user-confirmation action as the [Event](https://docs.catalyst.zoho.com/en/signals/help/events/). Since this action is being handled through **Catalyst Authentication**, we are going to implement a **Catalyst Publisher**. > **Notes:** * You can learn more about **Publishers** from this [help documentation](https://docs.catalyst.zoho.com/en/signals/help/publishers/key-aspects/). * You can learn more about implementing other types of Publishers from this [help documentation](https://docs.catalyst.zoho.com/en/signals/help/publishers/create-publisher/zoho-publishers/). To create a Catalyst Publisher: 1. Navigate to the *Catalyst Signals* service and click **Start Exploring**. ![catalyst_tutorials_signals_event_signals_first_look](https://catalyst-docs-development.zohostratus.in/images/tutorials/event-app/catalyst_tutorials_signals_event_signals_first_look.webp) 2. Navigate to the **Publishers** component and click **Create Publisher**. ![catalyst_tutorials_signals_event_app_signals_create_publisher](https://catalyst-docs-development.zohostratus.in/images/tutorials/event-app/catalyst_tutorials_signals_event_app_signals_create_publisher.webp) 3. Click the **Catalyst Publishers** tab, and select **CloudScale Authentication**. ![catalyst_tutorials_signals_event_app_auth_sel_piublisher](https://catalyst-docs-development.zohostratus.in/images/tutorials/event-app/catalyst_tutorials_signals_event_app_auth_sel_piublisher.webp) 4. Choose your current organization from the **Organization** drop-down, and the **Publisher Name** and **API Name** fields will be auto-populated. ![catalyst_tutorials_signals_event_app_signals_org_sel](https://catalyst-docs-development.zohostratus.in/images/tutorials/event-app/catalyst_tutorials_signals_event_app_signals_org_sel.webp) > **Note:** Ensure you select the organization in which you have created your project. 5. Select your current project from the **Project** drop-down. ![catalyst_tutorials_signals_event_app_proj_sel](https://catalyst-docs-development.zohostratus.in/images/tutorials/event-app/catalyst_tutorials_signals_event_app_proj_sel.webp) 6. You can provide a suitable description and click **Save**. ![catalyst_tutorials_signals_event_app_signals_publihser_description](https://catalyst-docs-development.zohostratus.in/images/tutorials/event-app/catalyst_tutorials_signals_event_app_signals_publihser_description.webp) The required **Publisher** has been configured for your application. You will be able to see that Catalyst has automatically generated three events. Later, we will be configuring a rule for the **User Confirmation** event. ![catalyst_tutorials_signals_event_app_signals_publisher_created](https://catalyst-docs-development.zohostratus.in/images/tutorials/event-app/catalyst_tutorials_signals_event_app_signals_publisher_created.webp) You can click the **Show Sample Payload** button present in the **User Confirmation** section to view the structure of the payload. ![catalyst_tutorials_signals_event_app_signals_publisher_payload](https://catalyst-docs-development.zohostratus.in/images/tutorials/event-app/catalyst_tutorials_signals_event_app_signals_publisher_payload.webp) Similarly, you can click the **Show Schema** button to view the schema of the event. ![catalyst_tutorials_signals_event_app_signals_publisher_schema](https://catalyst-docs-development.zohostratus.in/images/tutorials/event-app/catalyst_tutorials_signals_event_app_signals_publisher_schema.webp) -------------------------------------------------------------------------------- title: "Initialize The Project" description: "Configure a Catalyst Event Function and associate it with a Rule in Catalyst Signals to send onboarding emails to application users when they sign up." last_updated: "2026-11-04T10:10:44.000Z" source: "https://docs.catalyst.zoho.com/en/tutorials/event-app/nodejs/initialize-project/" service: "All Services" related: - Initialize CLI Resources (/en/cli/v1/initialize-resources/introduction) - Project Directory Structure (/en/cli/v1/project-directory-structure/introduction) -------------------------------------------------------------------------------- # Initialize the Project You can now begin working on your Catalyst project from the CLI. The first step is to initialize the project in an empty directory. This will be the home directory of your project, and all of the project files will be saved in it. For this application, we will initialize an [Event Function](https://docs.catalyst.zoho.com/en/serverless/help/functions/event-functions/), which will contain the logic of the action that is required to occur once the event happens, and a [Basic web app](https://docs.catalyst.zoho.com/en/cli/v1/initialize-resources/initialize-client/#basic-client-applications) as the client component. > **Note:** Ensure that you enter the function's package name or class name exactly as instructed, because the application's code contains the same name. 1. Create a folder for the project on your local machine and navigate to it from the CLI. 2. Initialize a project by executing the following command from that directory: ```sh catalyst init ``` 3. Navigate using the **arrow keys**, select your preferred portal, and press the **Enter** key. If you have no other organizations associated with the account, then the default one will be selected automatically. ![catalyst_tutorials_eventapp_cli_init](https://catalyst-docs-development.zohostratus.in/images/tutorials/event-app/catalyst_tutorials_eventapp_cli_init.webp) > **Note:** You can find out more about Catalyst’s multi-org portal feature from this [help document](https://docs.catalyst.zoho.com/en/getting-started/catalyst-organizations/#access-the-multi-org-portal). 4. The CLI will now ask you to associate a Catalyst project with the directory. Associate it with the project that we created earlier from the console. Select **EventApp** from the list and press **Enter**. ![catalyst_tutorials_eventapp_cli_sel_proj](https://catalyst-docs-development.zohostratus.in/images/tutorials/event-app/catalyst_tutorials_eventapp_cli_sel_proj.webp) 5. Navigate using the arrow keys and select **Functions**, **Client** using the space bar. Press **Enter** to initialize. ![catalyst_tutorials_eventapp_cli_func_client_sel](https://catalyst-docs-development.zohostratus.in/images/tutorials/event-app/catalyst_tutorials_eventapp_cli_func_client_sel.webp) 6. The CLI will initiate the function setup. Select **Event** as the function type for your Event function. ![catalyst_tutorials_eventapp_cli_event_func_sel](https://catalyst-docs-development.zohostratus.in/images/tutorials/event-app/catalyst_tutorials_eventapp_cli_event_func_sel.webp) 7. Select the latest runtime of *Node.js* as the function stack. ![catalyst_tutorials_eventapp_cli_sel_node_versions](https://catalyst-docs-development.zohostratus.in/images/tutorials/event-app/catalyst_tutorials_eventapp_cli_sel_node_versions.webp) 8. Enter "`event_app`" as the package name, "`index.js`" as the entry point, and your email address as the author, then press **Enter**. Alternatively, you can press **Enter** without entering inputs to fill in the default values. The CLI will prompt the initialization of the Node dependencies. Press **Y** to confirm the installation, and press **Enter** to confirm your choice. The Node modules will be installed. ![catalyst_tutorials_eventapp_cli_func_init_completed](https://catalyst-docs-development.zohostratus.in/images/tutorials/event-app/catalyst_tutorials_eventapp_cli_func_init_completed.webp) The CLI will now initiate the client setup. 9. Select **Basic web app** and press **Enter** to initialize your client as a [basic web app](https://docs.catalyst.zoho.com/en/cli/v1/initialize-resources/initialize-client/#basic-client-applications). ![catalyst_tutorials_eventapp_cli_clientinit](https://catalyst-docs-development.zohostratus.in/images/tutorials/event-app/catalyst_tutorials_eventapp_cli_clientinit.webp) 10. Enter a name for your client package and press **Enter**. For the purposes of this tutorial, we are naming our client package "`EventAppClient`". You can use the same of provide a name of your choice. ![catalyst_tutorials_eventapp_cli_completed_client](https://catalyst-docs-development.zohostratus.in/images/tutorials/event-app/catalyst_tutorials_eventapp_cli_completed_client.webp) The Catalyst initialization is now complete. The project directory is now set up with the client directory and the functions directory along with configuration files and dependencies. The project directory also contains the [`catalyst.json`](https://docs.catalyst.zoho.com/en/cli/v1/project-directory-structure/catalyst-json/) configuration file and a hidden `.catalystrc` file. The structure of your project directory should now appear as shown below: ![catalyst_tutorials_eventapp_first_dir](https://catalyst-docs-development.zohostratus.in/images/tutorials/event-app/catalyst_tutorials_eventapp_first_dir.webp) -------------------------------------------------------------------------------- title: "Code Your Event Function" description: "Configure a Catalyst Event Function and associate it with a Rule in Catalyst Signals to send onboarding emails to application users when they sign up." last_updated: "2026-11-04T10:10:44.000Z" source: "https://docs.catalyst.zoho.com/en/tutorials/event-app/nodejs/configure-function/" service: "All Services" related: - Event Functions (/en/serverless/help/functions/event-functions/) - Functions Directory Structure (/en/cli/v1/project-directory-structure/functions-directory) - Web Client Hosting (/en/cloud-scale/help/web-client-hosting/introduction/) -------------------------------------------------------------------------------- # Code Your Event Function Let's now configure the Event function, `event_app`, that will send automated onboarding emails to the user with a link to a form. This form enables the user to provide their personal details to register for the client application. This function will be executed when the event listener triggers it. The [functions directory](https://docs.catalyst.zoho.com/en/cli/v1/project-directory-structure/functions-directory), `functions/event_app` contains: * The `index.js` main function file * The `catalyst-config.json` configuration file * Node modules * `[package.json](https://docs.npmjs.com/files/package.json)` and `[package-lock.json](https://docs.npmjs.com/configuring-npm/package-lock-json.html)` dependency files You will be adding code in the `index.js` file. Copy the Node.js code and paste it in `index.js` in the `functions/event_app` directory of your project, and save the file. You can use any IDE of your choice to work with the application's files. > **Note**: Please go through the code given in this section to ensure you fully understand it. **index.js** ```javascript const catalyst = require("zcatalyst-sdk-node"); const fs = require("fs"); const path = require("path"); module.exports = (event, context) => { try { const app = catalyst.initialize(context); let eventData = event.getRawData(); let userEmailId = eventData.email; let email = app.email(); let config = { from_email: "emmy@zylker.com", // Replace this with the email you configured to_email: userEmailId, subject: "We welcome you on board!", content: fs.readFileSync(path.join(__dirname, "invite.html")).toString(), html_mode: true, }; let mailPromise = email.sendMail(config); mailPromise.then((mailObject) => { console.log(mailObject); context.closeWithSuccess(); }); } catch (err) { console.error(err); context.closeWithFailure(); } }; ``` > **Note:** Replace the value of `from_email` in **line 11** with the email address that you configured for your application through Catalyst Mail previously. ### Deploy Your Project You need to deploy your project to the Catalyst console to ensure the event function and the application URL are available to use while configuring the [Rule](https://docs.catalyst.zoho.com/en/signals/help/rules/key-aspects/). > **Note:** We will be deploying the entire project to the Catalyst console one more time once we configure the client for your application and complete testing the application. To [deploy the project to the console](https://docs.catalyst.zoho.com/en/cli/v1/deploy-resources/introduction/), enter the following command in your CLI and execute it. ```sh catalyst deploy ``` ![catalyst_tutorials_eventapp_cli__first_deploy](https://catalyst-docs-development.zohostratus.in/images/tutorials/event-app/catalyst_tutorials_eventapp_cli__first_deploy.webp) The project has been deployed to the console. You can copy the application URL from the CLI, or you can copy it from the [Web Client Hosting](https://docs.catalyst.zoho.com/en/cloud-scale/help/web-client-hosting/introduction/) component. ![catalyst_tutorials_eventapp_web_cli_first_deploy](https://catalyst-docs-development.zohostratus.in/images/tutorials/event-app/catalyst_tutorials_eventapp_web_cli_first_deploy.webp) > **Note:** We will learn more about deploying your application to the console and to production when we reach **Step 6** of the tutorial. You can also learn more about deploying catalyst resources to the console form this [help documentation](https://docs.catalyst.zoho.com/en/cli/v1/deploy-resources/introduction/). ### Configure Your Product Tour Now, create a html file in the `functions/event_app` directory and name it `invite.html`. The `invite.html` page will contain the product tour. Copy the following code and paste it in the `invite.html` file. **invite.html** ```xml <div class="mT" style="background-color: #f2f2f2;padding: 4%;"> <div style="width: 100%;max-width: 750px; margin: 0px auto;padding-bottom:10px;"> <img src="" alt=""> </div> <div style="width: 100%;max-width: 750px;font-size: 16px; margin: 0 auto;background: #fff; font-family: lucida grande,lucida sans,lucida sans unicode,arial,helvetica,verdana,sans-serif;"> <table style="display: table;width: 100%;" cellspacing="0" cellpadding="0"> <tr> <td style="background-color: #e80f28;height: 2px;width:25%;"> </td> <td style="background-color: #e80f28;height: 2px;width:25%;"> </td> <td style="background-color: #e80f28;height: 2px;width:25%;"> </td> <td style="background-color: #e80f28;height: 2px;width:25%;"> </td> </tr> </table> <div style="padding: 8% 5%;border: 1px solid #f3f3f3;line-height: 1.625em;"> <div style="font-size: 0.8125em;color: #3c3c3c;">Hey there!</div> <br /> <div style="font-size: 0.8125em;color:#5d5d5d; line-height: 1.625em;padding-bottom: 20px;"> </div> Welcome to Event App! We have a range of interesting and innovative features for you to explore. Please take the time to read through our product tour document. <div style="font-size: 0.8125em;color: #5d5d5d;line-height: 1.625em;padding-bottom: 20px;"> <a href="https://eventapp-779513891.development.catalystserverless.com/app/tour.html">Take the tour!</a> <!-- Replace here --> </div> <div style="font-size: 0.8125em;color: #5d5d5d;line-height: 1.625em;padding-bottom: 20px;"> If the link doesn't work, please copy the following address and paste it in your browser. </div> <div style="font-size: 0.8125em; line-height: 1.625em; width: 100%; padding:10px 0px; background-color: rgb(241,241,241);border: rgb(253,253,253) solid 1.0px;margin: 0.0px auto;"> <div style="margin: 0.0px 10.0px;color: rgb(0,0,255);"> <a href="https://eventapp-779513891.development.catalystserverless.com/app/tour.html"> https://eventapp-779513891.development.catalystserverless.com/app/tour.html</a> <!-- Replace here --> </div> </div> <br /> <div style="font-size: 0.8125em;color: #5d5d5d;line-height: 1.625em;"> <div>Regards,</div> <div>EventApp Team</div> </div> </div> </div> </div> ``` > **Note:** Replace "**https://eventapp-779513891.development.catalystserverless.com**" in the code with the Project Domain Name you generated for your project in **lines 22 and 29**. The Event function is now configured. -------------------------------------------------------------------------------- title: "Code Your Client" description: "Configure a Catalyst Event Function and associate it with a Rule in Catalyst Signals to send onboarding emails to application users when they sign up." last_updated: "2026-11-04T10:10:44.000Z" source: "https://docs.catalyst.zoho.com/en/tutorials/event-app/nodejs/configure-client/" service: "All Services" related: - Client Directory (/en/cli/v1/project-directory-structure/introduction) -------------------------------------------------------------------------------- # Code Your Client Let’s now configure the client component. The client contains the signup page and the background script which obtains the data from the user and passes it on to Catalyst. The [client directory](https://docs.catalyst.zoho.com/en/cli/v1/project-directory-structure/client-directory) by default contains: * The `index.html` file for the HTML code of the frontend application. It will also contain the Web SDK required to implement Embedded Authentication. * The `main.css` for the CSS code * The `main.js` file for the JavaScript code * The `client-package.json` configuration file * We will be creating two new files in the `EventApp/client/`: - `tour.html`: Will contain the page that will be shown to your end-users once they confirm their account. - `redirect.html`: Will contain the page that the end-users will be redirected to once they sign up. We will be creating two new files in this directory. We will be coding `index.html`, `main.js`, `main.css`, `tour.html`, and `redirect.html` as well as the new files. > **Note**: Please go through the code in this section to make sure you fully understand it. Copy the code below and paste it in the respective files located in the `client/` directory of your project using an IDE and save the files. **index.html** ```xml <!DOCTYPE html> <html> <head> <meta charset="UTF-8"> <title>signup - label</title> <script src="https://www.zoho.com/crm/js/js-lib-file.js"> </script> <script src="https://static.zohocdn.com/catalyst/sdk/js/4.6.2/catalystWebSDK.js"> </script> <script src="/__catalyst/sdk/init.js"> </script> <script> catalyst.auth.signIn("login", {}); </script> <style> *, *:before, *:after { box-sizing: border-box; } html { overflow-y: scroll; } body { background: #c1bdba; font-family: 'Titillium Web', sans-serif; } a { text-decoration: none; color: #1ab188; transition: .5s ease; } a:hover { color: #179b77; } .form { background: rgba(19, 35, 47, 0.9); padding: 40px; max-width: 600px; margin: 40px auto; border-radius: 4px; box-shadow: 0 4px 10px 4px rgba(19, 35, 47, 0.3); } .tab-group { list-style: none; padding: 0; margin: 0 0 40px 0; } .tab-group:after { content: ""; display: table; clear: both; } .tab-group li a { display: block; text-decoration: none; padding: 12px; background: rgba(160, 179, 176, 0.25); color: #a0b3b0; font-size: 20px; float: left; width: 50%; text-align: center; cursor: pointer; transition: .5s ease; } .tab-group li a:hover { background: #179b77; color: #ffffff; } .tab-group .active a { background: #1ab188; color: #ffffff; } .tab-content>div:last-child { display: none; } h1 { text-align: center; color: #ffffff; font-weight: 600; margin: 0 0 30px; } label { position: absolute; -webkit-transform: translateY(6px); transform: translateY(6px); left: 13px; top: 8px; color: rgba(255, 255, 255, 0.5); transition: all 0.25s ease; -webkit-backface-visibility: hidden; pointer-events: none; font-size: 16px; } label .req { margin: 2px; color: #1ab188; } label.active { -webkit-transform: translateY(50px); transform: translateY(50px); left: 2px; font-size: 14px; } label.active .req { opacity: 0; } label.highlight { color: #ffffff; } input, textarea { font-size: 16px; display: block; width: 100%; /* height: 100%; */ padding: 12px 10px; background: none; background-image: none; border: 1px solid #a0b3b0; color: #ffffff; border-radius: 0; box-sizing: border-box; transition: border-color .25s ease, box-shadow .25s ease; } input:focus, textarea:focus { outline: 0; border-color: #1ab188; } textarea { border: 2px solid #a0b3b0; resize: vertical; } .field-wrap { position: relative; margin-bottom: 40px; } .top-row:after { content: ""; display: table; clear: both; } .top-row>div { float: left; width: 48%; margin-right: 4%; } .top-row>div:last-child { margin: 0; } .button { border: 0; outline: none; border-radius: 0; padding: 14px 0; font-size: 20px; font-weight: 600; text-transform: uppercase; letter-spacing: .1em; background: #1ab188; color: #ffffff; transition: all 0.5s ease; -webkit-appearance: none; } .button:hover, .button:focus { background: #179b77; } .button-block { display: block; width: 100%; } .forgot { margin-top: -20px; text-align: right; } .h-65 { height: 65vh; } </style> </head> <body> <div class="form"> <ul class="tab-group"> <li class="tab active"> <a href="#signup">Sign Up</a> </li> <li class="tab"> <a href="#login">Log In</a> </li> </ul> <div class="tab-content"> <div id="signup"> <h1>Sign up to Continue to EventApp</h1> <form> <div class="top-row"> <div class="field-wrap"> <label> First Name<span class="req">*</span> </label> <input id="firstname" type="text" required autocomplete="off" /> </div> <div class="field-wrap"> <label> Last Name<span class="req">*</span> </label> <input id="lastname" type="text" required autocomplete="off" /> </div> </div> <div class="field-wrap"> <label> Email Address<span class="req">*</span> </label> <input id="email" type="email" required autocomplete="off" /> </div> <button onclick="signupAction(this)" class="button button-block" /> Get Started </button> </form> </div> <div id="login" class="h-65"> </div> </div> <!-- tab-content --> </div> <!-- /form --> <script src="main.js"> </script> <script> $(document).ready(function () { $('.form').find('input, textarea').on('focus', function (e) { var $this = $(this), label = $this.prev('label'); label.addClass('active highlight'); }); $('.form').find('input, textarea').on('blur', function (e) { var $this = $(this), label = $this.prev('label'); if ($this.val() == '') { label.removeClass('active highlight'); } else { label.removeClass('highlight'); } }); $('.tab a').on('click', function (e) { e.preventDefault(); $(this).parent().addClass('active'); $(this).parent().siblings().removeClass('active'); target = $(this).attr('href'); $('.tab-content > div').not(target).hide(); $(target).fadeIn(600); }); }); </script> </body> </html> ``` **main.js** ```javascript function signupAction(ele) { var firstName = document.getElementById("firstname").value; var lastName = document.getElementById("lastname").value var email = document.getElementById("email").value; var data = { "first_name": firstName, "last_name": lastName, "email_id": email, "platform_type": "web" }; var auth = catalyst.auth; var signupPromise = auth.signUp(data); signupPromise .then((response) => { console.log(response.content); }) .catch((err) => { console.log(err); }); } ``` **main.css** ```css html, body { scroll-behavior: smooth; -webkit-scroll-behaviour: smooth; } .container { max-width: 960px; } .site-header { background-color: rgba(0, 0, 0, .85); -webkit-backdrop-filter: saturate(180%) blur(20px); backdrop-filter: saturate(180%) blur(20px); } .site-header a { color: #999; transition: ease-in-out color .15s; } .site-header a:hover { color: #fff; text-decoration: none; } .product-device { position: absolute; right: 10%; bottom: -30%; width: 300px; height: 540px; background-color: #333; border-radius: 21px; -webkit-transform: rotate(30deg); transform: rotate(30deg); } .product-device::before { position: absolute; top: 10%; right: 10px; bottom: 10%; left: 10px; content: ""; background-color: rgba(255, 255, 255, .1); border-radius: 5px; } .product-device-2 { top: -25%; right: auto; bottom: 0; left: 5%; background-color: #e5e5e5; } .border-top { border-top: 1px solid #e5e5e5; } .border-bottom { border-bottom: 1px solid #e5e5e5; } .box-shadow { box-shadow: 0 .25rem .75rem rgba(0, 0, 0, .05); } .flex-equal>* { -ms-flex: 1; -webkit-box-flex: 1; flex: 1; } @media (min-width: 768px) { .flex-md-equal>* { -ms-flex: 1; -webkit-box-flex: 1; flex: 1; } } .overflow-hidden { overflow: hidden; } ``` **tour.html** ```xml <!doctype html> <html lang="en"> <head> <meta charset="utf-8"> <meta name="viewport" content="width=device-width, initial-scale=1, shrink-to-fit=no"> <meta name="description" content=""> <meta name="author" content=""> <title>Welcome to Eventapp</title> <!-- Bootstrap core CSS --> <link href="https://stackpath.bootstrapcdn.com/bootstrap/4.4.1/css/bootstrap.min.css" rel="stylesheet" integrity="sha384-Vkoo8x4CGsO3+Hhxv8T/Q5PaXtkKtu6ug5TOeNV6gBiFeWPGFN9MuhOf23Q9Ifjh" crossorigin="anonymous"> <!-- Custom styles --> <link href="product.css" rel="stylesheet"> </head> <body> <nav class="site-header sticky-top py-1"> <div class="container d-flex flex-column flex-md-row justify-content-center"> <a class="py-2 d-none d-md-inline-block" href="#"> <svg xmlns="http://www.w3.org/2000/svg" width="24" height="24" viewBox="0 0 24 24" fill="none" stroke="currentColor" stroke-width="2" stroke-linecap="round" stroke-linejoin="round" class="d-inline-block align-self-center"> <circle cx="12" cy="12" r="10"> </circle> <line x1="14.31" y1="8" x2="20.05" y2="17.94"> </line> <line x1="9.69" y1="8" x2="21.17" y2="8"> </line> <line x1="7.38" y1="12" x2="13.12" y2="2.06"> </line> <line x1="9.69" y1="16" x2="3.95" y2="6.06"> </line> <line x1="14.31" y1="16" x2="2.83" y2="16"> </line> <line x1="16.62" y1="12" x2="10.88" y2="21.94"> </line> </svg> </a> </div> </nav> <div class="position-relative overflow-hidden p-3 p-md-5 m-md-3 text-center bg-light"> <div class="col-md-5 p-lg-5 mx-auto my-5"> <h1 class="display-4 font-weight-normal">Welcome to Event App</h1> <p class="lead font-weight-normal">Your one-stop destination to create, organize, and manage events!</p> <a class="btn btn-outline-secondary" href="#features">Features</a> </div> <div class="product-device box-shadow d-none d-md-block"> </div> <div class="product-device product-device-2 box-shadow d-none d-md-block"> </div> </div> <div class="d-md-flex flex-md-equal w-100 my-md-3 pl-md-3" id="features"> <div class="bg-dark mr-md-3 pt-3 px-3 pt-md-5 px-md-5 text-center text-white overflow-hidden"> <div class="my-3 py-3"> <h2 class="display-5">Trouble-free event management experience</h2> <p class="lead">Event App makes sure you have a seamless and an experience in organizing events by automating your tasks</p> </div> <div class="bg-light box-shadow mx-auto" style="width: 80%; height: 300px; border-radius: 21px 21px 0 0;"> </div> </div> <div class="bg-light mr-md-3 pt-3 px-3 pt-md-5 px-md-5 text-center overflow-hidden"> <div class="my-3 p-3"> <h2 class="display-5">Create and manage events of all types</h2> <p class="lead">Create events, group them in categories, customize them and add details as you need</p> </div> <div class="bg-dark box-shadow mx-auto" style="width: 80%; height: 300px; border-radius: 21px 21px 0 0;"> </div> </div> </div> <div class="d-md-flex flex-md-equal w-100 my-md-3 pl-md-3"> <div class="bg-light mr-md-3 pt-3 px-3 pt-md-5 px-md-5 text-center overflow-hidden"> <div class="my-3 p-3"> <h2 class="display-5">Invite people and keep track of their RSVPs</h2> <p class="lead">Invite people through various platforms to your events, record their RSVPs and obtain a final count of the attendees to your events</p> </div> <div class="bg-dark box-shadow mx-auto" style="width: 80%; height: 300px; border-radius: 21px 21px 0 0;"> </div> </div> <div class="bg-dark mr-md-3 pt-3 px-3 pt-md-5 px-md-5 text-center text-white overflow-hidden"> <div class="my-3 py-3"> <h2 class="display-5">Customize your event invites in your own creative ways</h2> <p class="lead">Embedd images, videos, and links in your event invitations, and customize the designs of the event invites based on their contexts</p> </div> <div class="bg-light box-shadow mx-auto" style="width: 80%; height: 300px; border-radius: 21px 21px 0 0;"> </div> </div> </div> <div class="d-md-flex flex-md-equal w-100 my-md-3 pl-md-3"> <div class="bg-dark mr-md-3 pt-3 px-3 pt-md-5 px-md-5 text-center text-white overflow-hidden"> <div class="my-3 py-3"> <h2 class="display-5">Integrate Event App with various social media platforms</h2> <p class="lead">Share your events on Facebook, Twitter, Instagram, Yelp, LinkedIn and other social media platforms</p> </div> <div class="bg-light box-shadow mx-auto" style="width: 80%; height: 300px; border-radius: 21px 21px 0 0;"> </div> </div> <div class="bg-light mr-md-3 pt-3 px-3 pt-md-5 px-md-5 text-center overflow-hidden"> <div class="my-3 py-3"> <h2 class="display-5">Track sales analytics and performances of your events</h2> <p class="lead">Event App also provides you reports and statistics of your event performances for your convenience</p> </div> <div class="bg-white box-shadow mx-auto" style="width: 80%; height: 300px; border-radius: 21px 21px 0 0;"> </div> </div> </div> <footer class="container-fluid py-5"> <div class="row"> <div class="col-md-7 p-lg-5 mx-auto text-center"> <h3 class="display-6 font-weight-normal">Get started with Event App today!</h3> </div> </div> </footer> </body> </html> ``` **redirect.html** ```xml <!doctype html> <html> <head> <meta charset="UTF-8"> <title>redirect.html</title> </head> <body> <h2>Please check your email for a product tour</h2> </body> </html> ``` Let us quickly discuss the client files: * `index.html`: Includes the web SDK to implement Embedded Authentication. * `main.js`: Contains the script for the sign-up page. This obtains the data from the form on the client page and passes it on to the event listener that listens for the user sign-up event. * `tour.html`: Contains the code of the page the user will be navigated to, from the onboarding email they receive. * `redirect.html` After the user completes setting up their password to access Event App, they will be redirected to this page. You must now enable this redirection to `redirect.html` by default. You can do this by configuring the `client-package.json` configuration file in the `/client` directory. Copy the code given below and replace it with the default code present in the `client-package.json` file. **client-package.json** ```json { "name": "EventAppClient", "version": "0.0.1", "homepage": "index.html", "login_redirect": "redirect.html" } ``` The client component of your Catalyst project is now configured successfully. ### Deploy Your Project We will be deploying the project once more to ensure the changes to code are available in the Catalyst console to successfully configure the required [Rule](https://docs.catalyst.zoho.com/en/signals/help/rules/key-aspects/). To [deploy the project to the console](https://docs.catalyst.zoho.com/en/cli/v1/deploy-resources/introduction/), enter the following command in your CLI and execute it. ```sh catalyst deploy ``` ![catalyst_tutorials_eventapp_cli__first_deploy](https://catalyst-docs-development.zohostratus.in/images/tutorials/event-app/catalyst_tutorials_eventapp_cli__first_deploy.webp) -------------------------------------------------------------------------------- title: "Configure The Rule" description: "Configure a Catalyst Event Function and associate it with a Rule in Catalyst Signals to send onboarding emails to application users when they sign up." last_updated: "2026-11-04T10:10:44.000Z" source: "https://docs.catalyst.zoho.com/en/tutorials/event-app/nodejs/configure-rule/" service: "All Services" related: - Catalyst Signals (/en/signals) - Signals Publisher (/en/signals/help/publishers/create-publisher/catalyst-publishers/) - Signals Events (/en/signals/help/events/) - Signals Rules (/en/signals/help/rules/key-aspects/) -------------------------------------------------------------------------------- # Configure The Rule To configure the required rule: 1. Navigate to the **Rules** component in the *Catalyst Signals* section of the console and click **Add Rule**. ![catalyst_tutorials_eventapp_signals_rule_add_rule](https://catalyst-docs-development.zohostratus.in/images/tutorials/event-app/catalyst_tutorials_eventapp_signals_rule_add_rule.webp) 2. Provide a suitable name and description for your Rule. ![catalyst_tutorials_eventapp_signals_rule_name_rule](https://catalyst-docs-development.zohostratus.in/images/tutorials/event-app/catalyst_tutorials_eventapp_signals_rule_name_rule.webp) 3. Click **Choose Event**, and select **Catalyst Publisher** to add the configured Publisher. ![catalyst_tutorials_eventapp_signals_rule_choose_publisher](https://catalyst-docs-development.zohostratus.in/images/tutorials/event-app/catalyst_tutorials_eventapp_signals_rule_choose_publisher.webp) 4. Choose **User Confirmation** as the event that triggers this rule, and click **Done**. ![catalyst_tutorials_eventapp_signals_rule_choose_rule_pub](https://catalyst-docs-development.zohostratus.in/images/tutorials/event-app/catalyst_tutorials_eventapp_signals_rule_choose_rule_pub.webp) 5. Click **Choose Target**. ![catalyst_tutorials_eventapp_signals_rule_target_choice_time](https://catalyst-docs-development.zohostratus.in/images/tutorials/event-app/catalyst_tutorials_eventapp_signals_rule_target_choice_time.webp) 6. Provide a name for your **Target**, select **Function** as the *Consumer Type*, and select the **Event Function** you created from the drop-down. ![catalyst_tutorials_eventapp_signals_rule_target_choose_func](https://catalyst-docs-development.zohostratus.in/images/tutorials/event-app/onboarding-rule-event-app.webp) 7. Set the *Dispatch Policy* as **Instant**, and enable the *Send as Single Event* option, and select **Transform** as the *Target Input*. ![catalyst_tutorials_eventapp_signals_rule_target_paylad_start](https://catalyst-docs-development.zohostratus.in/images/tutorials/event-app/transform-selection-event-app.webp) 8. Enter the text shown below in the *Template Compiler* section, and click **Generate Output**. ``` { "email" : $.events[0].data.email_id } ``` ![catalyst_tutorials_eventapp_signals_rule_target_gen_output](https://catalyst-docs-development.zohostratus.in/images/tutorials/event-app/template-compiler-section-event-app.webp) 9. Click **Save** to apply your **Target** configurations, and click **Save** to create your **Rule**. ![catalyst_tutorials_eventapp_signals_rule_target_complete_save_all](https://catalyst-docs-development.zohostratus.in/images/tutorials/event-app/catalyst_tutorials_eventapp_signals_rule_target_complete_save_all.webp) The required **Rule** has been configured. ![catalyst_tutorials_eventapp_signals_rule_target_all_done](https://catalyst-docs-development.zohostratus.in/images/tutorials/event-app/catalyst_tutorials_eventapp_signals_rule_target_all_done.webp) -------------------------------------------------------------------------------- title: "Test Your Application" description: "Configure a Catalyst Event Function and associate it with a Rule in Catalyst Signals to send onboarding emails to application users when they sign up." last_updated: "2026-11-04T10:10:44.000Z" source: "https://docs.catalyst.zoho.com/en/tutorials/event-app/nodejs/test-application/" service: "All Services" related: - Serve Resources (/en/cli/v1/serve-resources/introduction/) - Catalyst Signals (/en/signals) - Catalyst Mail (/en/cloud-scale/help/mail/introduction) - Catalyst Authentication (/en/cloud-scale/help/authentication/introduction/) -------------------------------------------------------------------------------- # Test Your Application Before you deploy the application to the remote console, you can test the application on a local server and check if everything works fine using the Catalyst CLI. To serve the Catalyst project locally, execute the following command from your project directory: ```sh catalyst serve ``` This application is now served at default port `3000`. The local endpoint URLs of the components are displayed. > **Note:** Every time you access the home page or any of the sub-pages of your client or the function, the CLI will display a live log of the URL accessed, along with the HTTP request method. ![catalyst_tutorials_eventapp_signals_serve](https://catalyst-docs-development.zohostratus.in/images/tutorials/event-app/catalyst_tutorials_eventapp_signals_serve.webp) You can now open the client component’s local URL in a browser to access the application. Provide any name to test in the form. Enter one of your email addresses for Catalyst to send the verification and onboarding emails to and click **Get Started**. ![catalyst_tutorials_eventapp_signals_serve_start](https://catalyst-docs-development.zohostratus.in/images/tutorials/event-app/catalyst_tutorials_eventapp_signals_serve_start.webp) A verification mail will be sent to your email. Click the link in the email to set up a password to access the client application. ![catalyst_tutorials_eventapp_signals_email_sent_1](https://catalyst-docs-development.zohostratus.in/images/tutorials/event-app/catalyst_tutorials_eventapp_signals_email_sent_1.webp) > **Note:** You can customize this verification email by navigating to **Email Templates** in the **Authentication** component in the Catalyst console. However, the default email template that Catalyst provides satisfies our needs. You can learn more about this in detail from the Email Templates [help page](https://docs.catalyst.zoho.com/en/cloud-scale/help/authentication/email-templates/introduction/). You will be redirected to a password setup page. Enter a password, confirm it, and click **Confirm**. ![catalyst_tutorials_eventapp_signals_pwd_set](https://catalyst-docs-development.zohostratus.in/images/tutorials/event-app/catalyst_tutorials_eventapp_signals_pwd_set.webp) When you click **Confirm**, you will be redirected to _redirect.html_ that we configured earlier. ![catalyst_tutorials_eventapp_signals_rule_test_product_tour](https://catalyst-docs-development.zohostratus.in/images/tutorials/event-app/catalyst_tutorials_eventapp_signals_rule_test_product_tour.webp) The Rule will now be triggered. You can check the status of the event's processing from the **Logs** component present in the *Signals* section of the Catalyst console. Once the event is processed it will be labelled as `Success`. ![catalyst_tutorials_eventapp_signals_email_signals_logs](https://catalyst-docs-development.zohostratus.in/images/tutorials/event-app/catalyst_tutorials_eventapp_signals_email_signals_logs.webp) If you click the **Logs** icon, you will be directed to the [Logs](https://docs.catalyst.zoho.com/en/devops/help/logs/introduction/) component present in the [Catalyst DevOps](https://docs.catalyst.zoho.com/en/devops/) service. Here, you will find detailed logs on the execution of the event. ![catalyst_tutorials_eventapp_signals_logs_devops](https://catalyst-docs-development.zohostratus.in/images/tutorials/event-app/catalyst_tutorials_eventapp_signals_logs_devops.webp) You can check your email to view the onboarding mail. ![catalyst_tutorials_eventapp_signals_email_pdt_tour](https://catalyst-docs-development.zohostratus.in/images/tutorials/event-app/catalyst_tutorials_eventapp_signals_email_pdt_tour.webp) Clicking the link will redirect you to the _tour.html_ page that we configured earlier. ![catalyst_tutorials_eventapp_signals_pdt_tour](https://catalyst-docs-development.zohostratus.in/images/tutorials/event-app/catalyst_tutorials_eventapp_signals_pdt_tour.webp) The configuration is now functional and works without any errors. -------------------------------------------------------------------------------- title: "Deploy Your App" description: "Configure a Catalyst Event Function and associate it with a Rule in Catalyst Signals to send onboarding emails to application users when they sign up." last_updated: "2026-11-04T10:10:44.000Z" source: "https://docs.catalyst.zoho.com/en/tutorials/event-app/nodejs/deploy-project/" service: "All Services" related: - Deploy CLI Resources (/en/cli/v1/deploy-resources/introduction/) - Web Client Hosting (/en/cloud-scale/help/web-client-hosting/introduction) -------------------------------------------------------------------------------- # Deploy Your App The function and client files are now ready to be deployed to the Catalyst remote console. To [deploy your Catalyst project](https://docs.catalyst.zoho.com/en/cli/v1/deploy-resources/introduction) from the CLI, run the following command in your terminal from your project directory: ```sh catalyst deploy ``` The function is deployed first, followed by the client component. The URL endpoints of the components are displayed. ![catalyst_tutorials_eventapp_cli__first_deploy](https://catalyst-docs-development.zohostratus.in/images/tutorials/event-app/catalyst_tutorials_eventapp_cli__first_deploy.webp) You can access the client application by opening the client's URL in a browser. You can also navigate to **Web Client Hosting** in the console and access the application URL from there. ![catalyst_tutorials_eventapp_signals_final](https://catalyst-docs-development.zohostratus.in/images/tutorials/event-app/catalyst_tutorials_eventapp_signals_final.webp) ## GitHub Bot on Cliq ### Java -------------------------------------------------------------------------------- title: "Introduction" description: "Build an extension on Zoho Cliq using Catalyst Integration Functions, that enables you to access and work with your GitHub repositories using a Cliq bot." last_updated: "2026-08-17T12:16:04.000Z" source: "https://docs.catalyst.zoho.com/en/tutorials/githubbot/java/introduction/" service: "All Services" related: - Project Directory Structure (/en/cli/v1/project-directory-structure/introduction/) - Java SDK (/en/sdk/java/v1/overview/) - Zoho Cliq (https://www.zoho.com/in/cliq/) - GitHub (https://github.com/) -------------------------------------------------------------------------------- # GitHub Bot on Cliq ### Introduction This tutorial will help you build an extension on [Zoho Cliq](https://www.zoho.com/in/cliq/) that will enable you to view the details of your [GitHub](https://github.com/) repositories using a Cliq bot. The Cliq extension will bundle the following internal components: Commands, Function, and Bot. You can learn about these components from the [Cliq help documentation](https://www.zoho.com/cliq/help/platform/getting-started-with-cliq-platform.html). The Cliq chat bot will provide the following information along with appropriate links when you enter the right command in the chat: * List of all the repositories in the GitHub account * Details of the last ten commits made in a specific repository * Details of the last ten issues raised in a specific repository For example, when you enter the command to display the latest issues raised in the Git repository, the chat bot will display details as shown below. ![catalyst_gitbot_cliq_bot_test_2](https://catalyst-docs-development.zohostratus.in/images/tutorials/githubbot/catalyst_gitbot_cliq_bot_test_2.webp) The bot will also send you an alert in the chat immediately after a commit is pushed to the Git repository, along with the commit details. This setup includes the following Catalyst component: 1. [**Catalyst Serverless**](https://docs.catalyst.zoho.com/en/serverless/getting-started/introduction/): - **[Integration Function](https://docs.catalyst.zoho.com/en/serverless/help/functions/integration-functions):** The backend of this Cliq extension will be built using an Integration function in the **Java** platform. This function will enable you to build and maintain the backend of the Cliq extension. We will associate this function with the extension while creating the extension on Cliq. After this integration is configured, the integration function will be invoked each time the Cliq bot is accessed. > **Note:** Integration Functions is currently not available to Catalyst users accessing from the EU, AU, IN, or CA data centers. Users accessing from these DCs will not be able to avail this tutorial to build the GitHub bot. This setup will not include a Catalyst client component. We will code a few [handlers](https://docs.catalyst.zoho.com/en/serverless/help/functions/integration-functions/#cliq-integration-function-structure) in the Integration function that will handle specific events and actions. We will also use the Catalyst Command Line Interface (CLI) to build this application. You will be given the code for the files to be included in the Integration function in this tutorial. You will just have to copy the code given here and paste it into the appropriate files as directed. ### Application Workflow ![GitHub Bot Architecture Diagram](https://catalyst-docs-development.zohostratus.in/images/tutorials/githubbot/GitHub-Bot-Arch-diagram.webp) -------------------------------------------------------------------------------- title: "Prerequisites" description: "Build an extension on Zoho Cliq using Catalyst Integration Functions, that enables you to access and work with your GitHub repositories using a Cliq bot" last_updated: "2025-09-29T11:02:42.000Z" source: "https://docs.catalyst.zoho.com/en/tutorials/githubbot/java/prerequisites/" service: "All Services" related: - CLI Command Reference (/en/cli/v1/cli-command-reference/) - Install CLI (/en/getting-started/installing-catalyst-cli/) - Login CLI (/en/cli/v1/login/login-from-cli/) -------------------------------------------------------------------------------- # Prerequisites Before you begin building the application, you must have the following prerequisites installed on your system: 1. **Catalyst CLI** Catalyst CLI contains a host of tools that enable you to initialize, develop, test, and deploy the components of your application from your local machine. We will be working with Catalyst CLI in this tutorial. You must perform these actions: 1. **Install Catalyst CLI:** Catalyst CLI is installed through NPM. You must therefore have NPM and Node.js installed on your system before you install the CLI. Refer to the [**Install Catalyst CLI help page**](https://docs.catalyst.zoho.com/en/getting-started/installing-catalyst-cli) for details on the pre-requisites and the steps to install it. 2. **Login Catalyst CLI:** After you install Catalyst CLI, you must authenticate the CLI with your Catalyst account before using it. Refer to the [**CLI Login help page**](https://docs.catalyst.zoho.com/en/cli/v1/login/login-from-cli/) for the steps to login from Catalyst CLI and the various options available for it. 2. **GitHub Account with Repositories** You must have an account on [GitHub](https://github.com/) that contains one or more repositories. Ensure that the repositories contain valid files. This will enable you to test the execution of the commands in the Cliq bot, and also verify if the bot sends you an alert when you push a commit to a repository. We will access GitHub to generate an access token and to configure a webhook with Cliq. 3. **Zoho Cliq Account** You must have a Zoho Cliq account set up. We will access the developer console of Zoho Cliq to create and configure the extension and associate it with the Catalyst Integration function. 4. **Any IDE tool for Java code development** You can use any IDE to work with the Integration function code. Some popular choices include Visual Studio Code, IntelliJ IDEA, Eclipse, and Sublime Text. Download and install an IDE of your choice in your system. > If you are a Visual Studio Code IDE user, you can install the **Catalyst Tools** extension, and use your IDE itself in place of the CLI. You can find more details about the Catalyst VS Code extension from this [help section](https://docs.catalyst.zoho.com/en/catalyst-extensions/vs-code-extension/introduction/). -------------------------------------------------------------------------------- title: "Create a project" description: "Build an extension on Zoho Cliq using Catalyst Integration Functions, that enables you to access and work with your GitHub repositories using a Cliq bot" last_updated: "2026-08-17T12:16:04.000Z" source: "https://docs.catalyst.zoho.com/en/tutorials/githubbot/java/create-project/" service: "All Services" related: - Catalyst Projects (/en/getting-started/catalyst-projects) - Project Directory Structure (/en/cli/v1/project-directory-structure/introduction) -------------------------------------------------------------------------------- # Create a Project Let's [create a Catalyst project](https://docs.catalyst.zoho.com/en/getting-started/catalyst-projects) from the Catalyst console. 1. Log in to the [Catalyst console](https://console.catalyst.zoho.com/baas/index) and click **Create new Project**. ![create_project](https://catalyst-docs-development.zohostratus.in/images/tutorials/githubbot/python/create_project.webp) 2. Enter the project's name as "**GitHubBot**" in the pop-up window. ![project_name](https://catalyst-docs-development.zohostratus.in/images/tutorials/githubbot/python/project_name.webp) 3. Click **Create**. Your project will be created and opened. -------------------------------------------------------------------------------- title: "Generate a personal access token on GitHub" description: "Build an extension on Zoho Cliq using Catalyst Integration Functions, that enables you to access and work with your GitHub repositories using a Cliq bot" last_updated: "2026-08-17T12:16:04.000Z" source: "https://docs.catalyst.zoho.com/en/tutorials/githubbot/java/generate-personal-access-token/" service: "All Services" related: - GitHub Integration (/en/devops/help/github-integration/introduction) -------------------------------------------------------------------------------- # Generate a Personal Access Token on GitHub Let us now generate a personal access token for the repositories in the Git account. A personal access token on GitHub functions like an OAuth access token and authenticates the access to the GitHub API. You can generate a personal access token on GitHub in the following way: 1. Navigate to your **Git account settings**, then **Developer Settings**. Click the **Personal access tokens** menu, then click **Tokens (classic)** → **Generate new token**. ![catalyst_gitbot_access_token_1](https://catalyst-docs-development.zohostratus.in/images/tutorials/githubbot/github-bot-generate-personal-access-token.webp) 2. Select **repo** as the scope. The token will be applicable for all the specified actions in your repositories. ![catalyst_gitbot_access_token_2](https://catalyst-docs-development.zohostratus.in/images/tutorials/githubbot/catalyst_gitbot_access_token_2.webp) 3. Click **Generate Token**. GitHub will display the personal access token only once. Ensure that you copy the token and store it in a safe space. ![catalyst_gitbot_access_token_3](https://catalyst-docs-development.zohostratus.in/images/tutorials/githubbot/catalyst_gitbot_access_token_3.webp) We will use this token in the Integration function's code, which will enable Catalyst to fetch necessary information about the repositories from GitHub. -------------------------------------------------------------------------------- title: "Initialize the project" description: "Build an extension on Zoho Cliq using Catalyst Integration Functions, that enables you to access and work with your GitHub repositories using a Cliq bot" last_updated: "2026-08-17T12:16:04.000Z" source: "https://docs.catalyst.zoho.com/en/tutorials/githubbot/java/initialize-project/" service: "All Services" related: - Initialize CLI Resources (/en/cli/v1/initialize-resources/introduction) - Project Directory Structure (/en/cli/v1/project-directory-structure/introduction) -------------------------------------------------------------------------------- # Initialize the Project from the CLI You can now begin working on your Catalyst project from the CLI. The first step is to initialize the project in an empty directory. This will be the home directory of your project and all of the project files will be saved in it. You can learn more about this from the [Project Directory Structure help page](https://docs.catalyst.zoho.com/en/cli/v1/project-directory-structure/introduction). You can learn about initializing a project in detail from the [CLI help documentation](https://docs.catalyst.zoho.com/en/cli/v1/cli-command-reference/). 1. Create a folder for the project on your local machine and navigate to it from the terminal. 2. Initialize a project by executing the following command from that directory: ```sh catalyst init ``` 3. Select the preferred portal (or organization) by navigating using the arrow keys and press **Enter** to confirm. If you have no other organizations associated with the account, then the default one will be selected automatically. ![select_portal](https://catalyst-docs-development.zohostratus.in/images/tutorials/githubbot/python/select_portal_updated.webp) 4. Now, CLI will ask you to associate a Catalyst project with the directory. Associate it with the project that we created earlier from the console. Select **GitHubBot** from the list and press **Enter**. ![select_default_project](https://catalyst-docs-development.zohostratus.in/images/tutorials/githubbot/python/select_default_project.webp) 5. Select **Functions** using the space bar. Press the **Enter** key to initialize. ![select_components](https://catalyst-docs-development.zohostratus.in/images/tutorials/githubbot/python/select_components_updated.webp) 6. The CLI will initiate the function setup. Select Integration as the function type. ![function_type](https://catalyst-docs-development.zohostratus.in/images/tutorials/githubbot/python/function_type.webp) 7. Select **Cliq** as the service and press Enter. ![select_service](https://catalyst-docs-development.zohostratus.in/images/tutorials/githubbot/python/select_service.webp) 8. All Cliq handlers classes will be selected by default. Press **Enter**. ![select_handlers](https://catalyst-docs-development.zohostratus.in/images/tutorials/githubbot/python/select_handlers.webp) 9. Select the latest supported runtime of Java as the function stack, and press **Enter**. ![catalyst_gitbot_init_6](https://catalyst-docs-development.zohostratus.in/images/tutorials/githubbot/catalyst_gitbot_init_6.webp) 10. Enter "**GithubExtension**" as the folder name and "**MainClass**" as the class name. Press **Enter** each time. ![catalyst_gitbot_init_7](https://catalyst-docs-development.zohostratus.in/images/tutorials/githubbot/catalyst_gitbot_init_7.webp) The CLI will download and install the latest [Catalyst Java SDK](https://docs.catalyst.zoho.com/en/sdk/java/v1/overview) package. > Note: Ensure that you enter the class name and folder name exactly as instructed, because the application's code contains the same names. The functions directory is now created in the standard structure. Catalyst initialization is complete. Your project directory is now set up with the [functions directory](https://docs.catalyst.zoho.com/en/cli/v1/project-directory-structure/functions-directory) (CATALYST\_FUNCTIONS\_HOME) along with configuration files and dependencies. The project directory also contains the `[catalyst.json](https://docs.catalyst.zoho.com/en/cli/v1/project-directory-structure/catalyst-json)` configuration file and a hidden `.catalystrc` file. This will be the final structure of your project directory. ![catalyst_gitbot_proj_dir_struct](https://catalyst-docs-development.zohostratus.in/images/tutorials/githubbot/github-bot-java-code-directory.webp) > **Note:** This image includes an additional file `GithubConstants.java`. We will create this file while configuring the functions directory in the next step. -------------------------------------------------------------------------------- title: "Configure the Integration function" description: "Build an extension on Zoho Cliq using Catalyst Integration Functions, that enables you to access and work with your GitHub repositories using a Cliq bot" last_updated: "2025-11-19T15:07:41.000Z" source: "https://docs.catalyst.zoho.com/en/tutorials/githubbot/java/configure-integration-function/" service: "All Services" related: - Integration Functions (/en/serverless/help/functions/integration-functions) -------------------------------------------------------------------------------- # Configure the Integration Function We will now configure the Integration function and add code to it. > **Note:** We will need to code and deploy the function to the Catalyst remote console before configuring the extension on Cliq, because we have to associate the extension with an existing function from the Catalyst console. The [Integration function's directory](https://docs.catalyst.zoho.com/en/serverless/help/functions/integration-functions)`functions/GithubExtension` contains: * The `MainClass.java` main function file * Handler files in the `com/handlers` folder * The `catalyst-config.json` configuration file * Java library files in the lib folder * `.classpath` and `.project` dependency files We will be coding `BotHandler.java`, `CommandHandler.java` and `FunctionHandler.java` in the `handlers` folder. We will also create a new class file `GithubConstants.java` in this directory and add code in it. > **Note:** Please go through the code in this section to make sure you fully understand it. We will discuss the code at the end of this section. Copy the code below and paste it into the respective files located in the `functions/GithubExtension/com/handlers` directory of your project using an IDE and save the files. **BotHandler.java** ```java package com.handlers; import java.util.ArrayList; import java.util.HashMap; import java.util.List; import java.util.Map; import java.util.logging.Logger; import java.util.logging.Level; import org.json.JSONObject; import org.json.JSONArray; import org.json.JSONException; import com.fasterxml.jackson.databind.ObjectMapper; import com.zc.cliq.enums.ACTION_TYPE; import com.zc.cliq.enums.BANNER_STATUS; import com.zc.cliq.enums.BUTTON_TYPE; import com.zc.cliq.enums.CHANNEL_OPERATION; import com.zc.cliq.enums.SLIDE_TYPE; import com.zc.cliq.objects.Action; import com.zc.cliq.objects.ActionData; import com.zc.cliq.objects.BotDetails; import com.zc.cliq.objects.ButtonObject; import com.zc.cliq.objects.Confirm; import com.zc.cliq.objects.Message; import com.zc.cliq.objects.Slide; import com.zc.cliq.requests.BotCallHandlerRequest; import com.zc.cliq.requests.BotContextHandlerRequest; import com.zc.cliq.requests.BotMentionHandlerRequest; import com.zc.cliq.requests.BotMenuActionHandlerRequest; import com.zc.cliq.requests.BotMessageHandlerRequest; import com.zc.cliq.requests.BotParticipationHandlerRequest; import com.zc.cliq.requests.BotWebhookHandlerRequest; import com.zc.cliq.requests.BotWelcomeHandlerRequest; import com.zc.cliq.responses.BannerResponse; import com.zc.cliq.responses.CoreResponse; import com.zc.cliq.responses.WebhookHandlerResponse; // import com.zc.cliq.util.ZCCliqUtil; public class BotHandler implements com.zc.cliq.interfaces.BotHandler, CoreResponse { Logger LOGGER = Logger.getLogger(BotHandler.class.getName()); @Override public CoreResponse messageHandler(BotMessageHandlerRequest req) throws JSONException { LOGGER.log(Level.SEVERE, "class BotHandler method messageHandler"); String message = req.getMessage(); String text; if (message == null) { text = "Hello! How can I help you?"; } else if (message.equalsIgnoreCase("hello")) { text = "Hello! How can I help you?"; } else if (message.equalsIgnoreCase("webhooktoken")) { Message msg = Message.getInstance("Click on the token generation button below!"); ButtonObject btnObj = new ButtonObject(); btnObj.setType(BUTTON_TYPE.GREEN_OUTLINE); btnObj.setLabel("Create Webhook"); Action action = new Action(); action.setType(ACTION_TYPE.INVOKE_FUNCTION); ActionData actionData = new ActionData(); actionData.setName("authenticate"); // ** ENTER YOUR BUTTON FUNCTION NAME HERE ** action.setData(actionData); Confirm confirm = new Confirm(); confirm.setTitle("Generate Webhooks for a GitLab Project"); confirm.setDescription("Connect to GitLab Projects from within Cliq"); confirm.setInput("user_webhook_token"); action.setConfirm(confirm); btnObj.setAction(action); msg.addButton(btnObj); return (CoreResponse) msg; } else { text = "Sorry, I'm not programmed yet to do this :sad:"; } Message resp = Message.getInstance(text); return (CoreResponse) resp; } @Override public CoreResponse menuActionHandler(BotMenuActionHandlerRequest req) throws Exception { LOGGER.log(Level.SEVERE, "class BotHandler method menuActionHandler"); Message msg = Message.getInstance(); BotDetails bot = BotDetails.getInstance(GithubConstants.BOT_NAME); msg.setBot(bot); if (req.getActionName().equals("Repos")) { JSONArray reposArray = CommandHandler.getRepos(); if (reposArray.length() == 0) { msg.setText("There aren't are repos created yet."); } else { Slide slide = Slide.getInstance(); msg.setText("Here's a list of the *repositories*"); slide.setType(SLIDE_TYPE.TABLE); slide.setTitle("Repo details"); List headers = new ArrayList<>(); headers.add("Name"); headers.add("Private"); headers.add("Open Issues"); headers.add("Link"); // Use Map instead of JSONObject Map data = new HashMap<>(); data.put("headers", headers); // Use List instead of JSONArray List> rows = new ArrayList<>(); for (int i = 0; i < reposArray.length(); i++) { JSONObject repo = reposArray.optJSONObject(i); Map row = new HashMap<>(); row.put("Name", repo.optString("name")); row.put("Private", repo.optBoolean("private") ? "Yes" : "No"); row.put("Open Issues", repo.optString("open_issues_count")); row.put("Link", "[Click here](" + repo.optString("html_url") + ")"); rows.add(row); } data.put("rows", rows); slide.setData(data); msg.addSlide(slide); } } else { msg.setText("Menu action triggered :fist:"); } return (CoreResponse) msg; } @Override public WebhookHandlerResponse webhookHandler(BotWebhookHandlerRequest req) throws Exception { LOGGER.log(Level.SEVERE, "class BotHandler method webhookHandler"); JSONObject reqBody = req.getBody(); LOGGER.info(reqBody.toString()); JSONObject commitJson = reqBody.optJSONArray("commits").optJSONObject(0); /// message Message msg = Message.getInstance("A commit has been pushed !"); msg.setBot(BotDetails.getInstance(GithubConstants.BOT_NAME)); /// commit msg Slide commitMsg = Slide.getInstance(); commitMsg.setType(SLIDE_TYPE.TEXT); commitMsg.setTitle("Commit message"); commitMsg.setData(commitJson.optString("message")); msg.addSlide(commitMsg); // slide Slide details = Slide.getInstance(); details.setType(SLIDE_TYPE.LABEL); details.setTitle("Details"); JSONArray dataArray = new JSONArray(); JSONObject committer = new JSONObject(); committer.put("Committer", commitJson.optJSONObject("author").optString("username")); dataArray.put(committer); JSONObject repoName = new JSONObject(); repoName.put("Repo Name", reqBody.optJSONObject("repository").optString("name")); dataArray.put(repoName); JSONObject timestamp = new JSONObject(); timestamp.put("Timestamp", commitJson.optString("timestamp")); dataArray.put(timestamp); JSONObject compare = new JSONObject(); compare.put("Compare", "[Click here](" + reqBody.optString("compare") + ")"); dataArray.put(compare); details.setData(dataArray); LOGGER.log(Level.SEVERE, "printing array"); ObjectMapper mapper = new ObjectMapper(); LOGGER.log(Level.SEVERE, mapper.writeValueAsString(dataArray)); msg.addSlide(details); return (WebhookHandlerResponse) msg; } @Override public CoreResponse participationHandler(BotParticipationHandlerRequest req) throws Exception { LOGGER.log(Level.SEVERE, "class BotHandler method participationHandler"); String text; if (req.getOperation().equals(CHANNEL_OPERATION.ADDED)) { text = "Hi. Thanks for adding me to the channel :smile:"; } else if (req.getOperation().equals(CHANNEL_OPERATION.REMOVED)) { text = "Bye-Bye :bye-bye:"; } else { text = "I'm too a participant of this chat :wink:"; } Message msg = Message.getInstance(text); return (CoreResponse) msg; } @Override public Message welcomeHandler(BotWelcomeHandlerRequest req) { LOGGER.log(Level.SEVERE, "class BotHandler method welcomeHandler"); String uName = req.getUser() != null ? req.getUser().getFirstName() : "user"; String text = "Hello " + uName + ". Thank you for subscribing :smile:"; Message msg = Message.getInstance(text); return msg; } @Override public CoreResponse contextHandler(BotContextHandlerRequest req) { LOGGER.log(Level.SEVERE, "class BotHandler method contextHandler"); BannerResponse resp = new BannerResponse("", BANNER_STATUS.SUCCESS); if (req.getContextId().equals("personal_details")) { Map answers = req.getAnswers(); StringBuilder str = new StringBuilder(); str.append("Name: ").append(answers.get("name")).append("\n"); str.append("Department: ").append(answers.get("dept")).append("\n"); resp = new BannerResponse("Nice ! I have collected your info: \n" + str.toString(), BANNER_STATUS.SUCCESS); } return (CoreResponse) resp; } @Override public CoreResponse mentionHandler(BotMentionHandlerRequest req) { LOGGER.log(Level.SEVERE, "class BotHandler method mentionHandler"); String text = "Hey *" + req.getUser().getFirstName() + "*, thanks for mentioning me here. I'm from Catalyst city"; BannerResponse resp = new BannerResponse(text, BANNER_STATUS.SUCCESS); return (CoreResponse) resp; } @Override public void callHandler(BotCallHandlerRequest req) throws Exception { LOGGER.log(Level.SEVERE, "class BotHandler method callHandler"); return; } } ``` **CommandHandler.java** ```java package com.handlers; import java.util.logging.Logger; import java.util.logging.Level; import java.util.ArrayList; import java.util.HashMap; import java.util.List; import java.util.Map; import org.json.JSONArray; import org.json.JSONObject; import com.zc.api.APIConstants.RequestMethod; import com.zc.api.APIRequest; import com.zc.cliq.enums.SLIDE_TYPE; import com.zc.cliq.objects.BotDetails; import com.zc.cliq.objects.CommandSuggestion; import com.zc.cliq.objects.Message; import com.zc.cliq.objects.Slide; import com.zc.cliq.requests.CommandHandlerRequest; import com.zc.cliq.responses.CoreResponse; import okhttp3.Response; public class CommandHandler implements com.zc.cliq.interfaces.CommandHandler { Logger LOGGER = Logger.getLogger(CommandHandler.class.getName()); @Override public CoreResponse executionHandler(CommandHandlerRequest req) throws Exception { LOGGER.log(Level.SEVERE, "class CommandHandler method executionHandler"); Message msg = Message.getInstance(); BotDetails bot = BotDetails.getInstance(GithubConstants.BOT_NAME); msg.setBot(bot); String commandName = req.getName(); if (commandName.equals("commits")) { List repoSuggestions = req.getSelections(); if (repoSuggestions == null || repoSuggestions.isEmpty()) { msg.setText("Please select a repo from the suggestions."); } else { String repoName = repoSuggestions.get(0).getTitle(); JSONArray commitsArray = getCommits(repoName); if (commitsArray.length() == 0) { msg.setText("There aren't are commits made yet."); } else { Slide slide = Slide.getInstance(); msg.setText("Here's a list of the latest " + GithubConstants.PER_PAGE + " commits made to the repository *" + repoName + "*."); slide.setType(SLIDE_TYPE.TABLE); slide.setTitle("Commit details"); List headers = new ArrayList<>(); headers.add("Date"); headers.add("Commit message"); headers.add("Committed by"); headers.add("Link"); // Use Map instead of JSONObject Map data = new HashMap<>(); data.put("headers", headers); // Use List instead of JSONArray List> rows = new ArrayList<>(); for (int i = 0; i < commitsArray.length(); i++) { JSONObject obj = commitsArray.optJSONObject(i); JSONObject commit = obj.optJSONObject("commit"); JSONObject author = commit.optJSONObject("author"); Map row = new HashMap<>(); row.put("Date", author.optString("date")); row.put("Commit message", commit.optString("message")); row.put("Committed by", author.optString("name")); row.put("Link", "[Click here](" + obj.optString("html_url") + ")"); rows.add(row); } data.put("rows", rows); slide.setData(data); msg.addSlide(slide); } } } else if (commandName.equals("issues")) { List repoSuggestions = req.getSelections(); if (repoSuggestions == null || repoSuggestions.isEmpty()) { msg.setText("Please select a repo from the suggestions."); } else { String repoName = repoSuggestions.get(0).getTitle(); JSONArray issuesArray = getIssues(repoName); if (issuesArray.length() == 0) { msg.setText("There aren't are issues raised yet."); } else { Slide slide = Slide.getInstance(); msg.setText("Here's a list of the latest " + GithubConstants.PER_PAGE + " issues raised to the repository *" + repoName + "*"); slide.setType(SLIDE_TYPE.TABLE); slide.setTitle("Issue details"); List headers = new ArrayList<>(); headers.add("Created At"); headers.add("Title"); headers.add("Created By"); headers.add("Link"); // Use Map instead of JSONObject Map data = new HashMap<>(); data.put("headers", headers); // Use List instead of JSONArray List> rows = new ArrayList<>(); for (int i = 0; i < issuesArray.length(); i++) { JSONObject issueObj = issuesArray.optJSONObject(i); Map row = new HashMap<>(); row.put("Created At", issueObj.optString("created_at")); row.put("Title", issueObj.optString("title")); row.put("Created By", issueObj.optJSONObject("user").optString("login")); row.put("Link", "[Click here](" + issueObj.optString("html_url") + ")"); rows.add(row); } data.put("rows", rows); slide.setData(data); msg.addSlide(slide); } } } else { msg.setText("Slash command executed"); } return (CoreResponse) msg; } @Override public List suggestionHandler(CommandHandlerRequest req) throws Exception { LOGGER.log(Level.SEVERE, "class CommandHandler method suggestionHandler"); List suggestionList = new ArrayList(); JSONArray reposArray = getRepos(); List repoNames = new ArrayList<>(); for (int i = 0; i < reposArray.length(); i++) { JSONObject repo = reposArray.optJSONObject(i); repoNames.add(repo.optString("name")); } if (req.getName().equals("commits") || req.getName().equals("issues")) { repoNames.forEach((name) -> { CommandSuggestion sugg = CommandSuggestion.getInstance(); sugg.setTitle(name); suggestionList.add(sugg); }); } return suggestionList; } public static JSONArray getRepos() throws Exception { APIRequest req = getRequestObj("https://api.github.com/user/repos"); req.executeRequest(); Response resp = req.getHttpResponse(); JSONArray reposArray = new JSONArray(resp.body().string()); return reposArray; } private String getUsername() throws Exception { LOGGER.log(Level.SEVERE, "class CommandHandler method getUsername"); APIRequest req = getRequestObj("https://api.github.com/user"); JSONObject respJson = new JSONObject(req.getResponse().getResponseJSON().get(0).toString()); return respJson.get("login").toString(); } private JSONArray getCommits(String repoName) throws Exception { LOGGER.log(Level.SEVERE, "class CommandHandler method getCommits"); APIRequest req = getRequestObj("https://api.github.com/repos/" + getUsername() + "/" + repoName + "/commits?per_page=" + GithubConstants.PER_PAGE); req.executeRequest(); Response resp = req.getHttpResponse(); JSONArray commitsArray = new JSONArray(resp.body().string()); return commitsArray; } private JSONArray getIssues(String repoName) throws Exception { LOGGER.log(Level.SEVERE, "class CommandHandler method getIssues"); APIRequest req = getRequestObj("https://api.github.com/repos/" + getUsername() + "/" + repoName + "/issues?per_page=" + GithubConstants.PER_PAGE); req.executeRequest(); Response resp = req.getHttpResponse(); JSONArray issuesArray = new JSONArray(resp.body().string()); return issuesArray; } private static APIRequest getRequestObj(String url) { APIRequest req = new APIRequest(); req.setUrl(url); req.setRequestMethod(RequestMethod.GET); req.setAuthNeeded(false); HashMap headers = new HashMap<>(); headers.put("Authorization", "Token " + GithubConstants.PERSONAL_ACCESS_TOKEN); req.setHeaders(headers); return req; } } ``` **FunctionHandler.java** ```java package com.handlers; import java.util.HashMap; import java.util.Map; import com.zc.cliq.objects.Form; import com.zc.cliq.objects.FormChangeResponse; import com.zc.cliq.objects.FormDynamicFieldResponse; import com.zc.cliq.objects.Message; import com.zc.cliq.objects.WidgetSection; import com.zc.cliq.requests.ButtonFunctionRequest; import com.zc.cliq.requests.FormFunctionRequest; import com.zc.cliq.requests.WidgetFunctionRequest; public class FunctionHandler implements com.zc.cliq.interfaces.FunctionHandler { @SuppressWarnings("unchecked") @Override public Message buttonFunctionHandler(ButtonFunctionRequest req) throws Exception { String text; if (req.getName().equals("authenticate")) { System.out.println("Arguments: " + req.getArguments()); text = req.getArguments().get("input").toString(); } else { text = "Button function executed"; } Message msg = Message.getInstance(text); return msg; } @Override public Message formSubmitHandler(FormFunctionRequest req) throws Exception { return Message.getInstance("Form submitted successfully"); } @Override public FormChangeResponse formChangeHandler(FormFunctionRequest req) throws Exception { FormChangeResponse resp = FormChangeResponse.getInstance(); return resp; } @Override public FormDynamicFieldResponse formDynamicFieldHandler(FormFunctionRequest req) throws Exception { FormDynamicFieldResponse resp = FormDynamicFieldResponse.getInstance(); return resp; } @Override public Form formViewHandler(FormFunctionRequest req) throws Exception { return Form.getInstance(); } @Override public WidgetSection widgetButtonHandler(WidgetFunctionRequest req) throws Exception { return getButtonsSection(); } private WidgetSection getButtonsSection() { WidgetSection buttonSection = WidgetSection.getInstance(); return buttonSection; } } ``` Next,create a new Java class file in the `handlers/directory` and name it ` GithubConstants.java`.Add the code given below to the file. **GithubConstants.java** ```java package com.handlers; public class GithubConstants { public static final String PERSONAL_ACCESS_TOKEN = "XXXXx"; public static final Integer PER_PAGE = 10; public static final String BOT_NAME = "github-bot"; } ``` > **Note:** After you copy and paste this code,**paste the personal access token that you obtained from GitHub** in Step 2 on line 6 in this code. The functions directory is now configured. Let's quickly go over the code of the handler classes.We will discuss the components specified here in detail while [configuring the extension](https://docs.catalyst.zoho.com/en/tutorials/githubbot/java/create-extension-on-cliq). * The `BotHandler.java` class contains the business logic of the GitHub bot component that we will configure in the Cliq extension. After you enable the chat bot, you can generate a webhook token to authenticate the connection to GitHub, list the details of your Git repositories, and obtain the details of the latest commits and issues in a repository. These actions are defined in this class. * The `CommandHandler.java` class handles the actions to be performed for the issues and commits commands. It also defines the suggestion handler that lists the repos of the Git account. The user must select a repo from the suggestion after entering the command, to execute the command for. `CommandHandler.java` also defines the APIs for fetching other information from the Git account. * The `FunctionHandler.java` class contains the business logic of the button function that authenticates the webhook token for GitHub. * The `GitHubConstants.java` class file stores the constant values of the function, such as the personal access token and the bot name. -------------------------------------------------------------------------------- title: "Deploy the function" description: "Build an extension on Zoho Cliq using Catalyst Integration Functions, that enables you to access and work with your GitHub repositories using a Cliq bot" last_updated: "2026-08-17T12:16:04.000Z" source: "https://docs.catalyst.zoho.com/en/tutorials/githubbot/java/deploy-function/" service: "All Services" related: - Deploy Resources (/en/cli/v1/deploy-resources/introduction) - Integration Functions (/en/serverless/help/functions/integration-functions) -------------------------------------------------------------------------------- # Deploy the Function Let's deploy the function to make it available in the Catalyst remote console. We will need to select it while creating the extension on Cliq. To [deploy your Catalyst project from the CLI](https://docs.catalyst.zoho.com/en/cli/v1/deploy-resources/introduction), run the following command in your terminal from your project directory: ```sh catalyst deploy ``` Each handler class in the Java function will be compiled and deployed to the Catalyst project in the console. ![catalyst_gitbot_deploy](https://catalyst-docs-development.zohostratus.in/images/tutorials/githubbot/catalyst_gitbot_deploy.webp) -------------------------------------------------------------------------------- title: "Create an extension on Cliq" description: "Build an extension on Zoho Cliq using Catalyst Integration Functions, that enables you to access and work with your GitHub repositories using a Cliq bot" last_updated: "2026-08-17T12:16:04.000Z" source: "https://docs.catalyst.zoho.com/en/tutorials/githubbot/java/create-extension-on-cliq/" service: "All Services" related: - Integration Functions (/en/serverless/help/functions/integration-functions) -------------------------------------------------------------------------------- # Create an Extension on Cliq You can now configure the extension in Cliq. As mentioned in the introduction, this Cliq extension will bundle all the development components that we will require for this setup. You can learn about Cliq extensions in detail from the [Cliq help documentation](https://www.zoho.com/cliq/help/platform/build-cliq-extensions.html). We will add the following Cliq components to be bundled in the extension: * **Command for issues:** A command handled by the `CommandHandler.java` class that fetches the last ten issues raised in a specific repository. * **Command for commits:** A command handled by the `CommandHandler.java` class that fetches the last ten commits made in a specific repository. * **Button function to authenticate the webhook token:** A function handled by the `FunctionHandler.java` class that is executed when a button is clicked in the chat bot. This function authenticates the webhook token for GitHub. * **GitHub bot:** A chat bot handled by the `BotHandler.java` class that enables you to execute these commands. The bot also includes a menu action that lists your existing repositories, and enables you to select a repo to execute a command for. You can configure the Cliq extension in the following way: 1. Log in to your Cliq account and open the [Cliq developer console](https://cliq.zoho.com/developer). 2. The index page contains all the extensions you develop in your Cliq account. Click **Create Extension**. ![catalyst_gitbot_cliq_create_ext_1](https://catalyst-docs-development.zohostratus.in/images/tutorials/githubbot/catalyst_gitbot_cliq_create_ext_1.webp) 3. Enter the name of the extension as "**GitHubExt**" and enter a description for it. ![catalyst_gitbot_cliq_create_ext_2](https://catalyst-docs-development.zohostratus.in/images/tutorials/githubbot/catalyst_gitbot_cliq_create_ext_2.webp) 4. Select the execution type as **Catalyst Function**. Select the Catalyst project **GitHubBot** that we created for this tutorial and the **GithubExtension** function from the dropdown lists. This lets the extension invoke the function whenever any of the components in the extension are accessed. We can now add the components that we will require for this extension. 5. Click **Add components**, then click **Command**. ![catalyst_gitbot_cliq_create_ext_3](https://catalyst-docs-development.zohostratus.in/images/tutorials/githubbot/catalyst_gitbot_cliq_create_ext_3.webp) 6. Enter the command's name as "issues". Configure it as shown in the image below. Click **Add**. ![catalyst_gitbot_cliq_create_ext_4](https://catalyst-docs-development.zohostratus.in/images/tutorials/githubbot/catalyst_gitbot_cliq_create_ext_4.webp) 7. Similarly, click the **Add components** button in the extension configuration again, then click **Command**. Configure the command "commits" as shown below. Click **Add**. ![catalyst_gitbot_cliq_create_ext_5](https://catalyst-docs-development.zohostratus.in/images/tutorials/githubbot/catalyst_gitbot_cliq_create_ext_5.webp) 8. Next, add a **function component** and configure the "authenticate" function as shown below. ![catalyst_gitbot_cliq_create_ext_6](https://catalyst-docs-development.zohostratus.in/images/tutorials/githubbot/catalyst_gitbot_cliq_create_ext_6.webp) 9. Finally, add a **bot component** and configure the "GitHub Bot" as shown below. ![catalyst_gitbot_cliq_create_ext_7](https://catalyst-docs-development.zohostratus.in/images/tutorials/githubbot/catalyst_gitbot_cliq_create_ext_7.webp) Enable the **Message Handler** and **Incoming Webhook Handler**, and select all the checkboxes. This will enable the bot to acknowledge messages in the chat and the webhook requests received from GitHub. You must also add a bot menu action "Repos" that lists and select all the checkboxes. ![catalyst_gitbot_cliq_create_ext_8](https://catalyst-docs-development.zohostratus.in/images/tutorials/githubbot/catalyst_gitbot_cliq_create_ext_8.webp) All the required components have been added. > **Note:** Ensure that you have given the same component names as specified, because we have configured the same names in the function code. 10. After you add all the components, click **Create Extension** in the extension configuration page. ![catalyst_gitbot_cliq_create_ext_9](https://catalyst-docs-development.zohostratus.in/images/tutorials/githubbot/catalyst_gitbot_cliq_create_ext_9.webp) The extension will be created and listed in your developer console. > **Note:** Since we have hardcoded the Personal Access token to access the GitHub API in the `GithubConstants.java` class, it is not advisable to publish this extension, as the code contains a confidential token. The Cliq bot will now be available in your Cliq account. The `issues` and `commits` commands, along with the `Repos` menu action will work in the bot. Before you test these commands, you must also enable alerts to be received automatically whenever a commit is pushed to one of the repositories in the GitHub account using a webhook. -------------------------------------------------------------------------------- title: "Configure a bot" description: "Build an extension on Zoho Cliq using Catalyst Integration Functions, that enables you to access and work with your GitHub repositories using a Cliq bot" last_updated: "2026-08-17T12:16:04.000Z" source: "https://docs.catalyst.zoho.com/en/tutorials/githubbot/java/configure-bot/" service: "All Services" related: - Integration Functions (/en/serverless/help/functions/integration-functions) -------------------------------------------------------------------------------- # Configure the Bot as an Incoming Webhook Notifier Next, let's configure the bot as an incoming webhook notifier, that performs actions when the webhook URL is invoked on GitHub. You can do this in the following way: 1. Generate a webhook token on the Cliq bot 2. Obtain the App Key of your extension 3. Obtain the webhook handler URL of your extension 4. Create a webhook on GitHub and configure these values We will discuss these actions in detail one after the other. This webhook gets triggered whenever a commit is pushed to one of the repositories on your Git account. When that event occurs, GitHub makes an HTTP request to the URL webhook handler URL with the credentials that we configure. It will pass the details of that push event to Cliq, and the Cliq bot will notify you of it and display the details. ### Generate a WebHook Token You can generate a webhook token on Cliq as described below. The webhook token is authenticated by the authenticate button function that we configured in the previous step. 1. Search for the GitHub bot in your Cliq account. Select the bot and click **Continue**. ![catalyst_gitbot_cliq_bot_search](https://catalyst-docs-development.zohostratus.in/images/tutorials/githubbot/catalyst_gitbot_cliq_bot_search.webp) 2. Provide permission for the bot to access your account details. ![catalyst_gitbot_cliq_bot_permissions](https://catalyst-docs-development.zohostratus.in/images/tutorials/githubbot/catalyst_gitbot_cliq_bot_permissions.webp) The chat will be activated. 3. Type "webhooktoken" in the chat and press **Enter**. ![catalyst_gitbot_cliq_bot_webhook_create_1](https://catalyst-docs-development.zohostratus.in/images/tutorials/githubbot/catalyst_gitbot_cliq_bot_webhook_create_1.webp) 4. Click the **Create Webhook** button. 5. Allow the extension to access your authorization token. ![catalyst_gitbot_cliq_bot_webhook_create_2](https://catalyst-docs-development.zohostratus.in/images/tutorials/githubbot/catalyst_gitbot_cliq_bot_webhook_create_2.webp) 6. The bot will now generate and display the webhook token. Copy this token. ![catalyst_gitbot_cliq_bot_webhook_create_3](https://catalyst-docs-development.zohostratus.in/images/tutorials/githubbot/catalyst_gitbot_cliq_bot_webhook_create_3.webp) This webhook token will be the value of the `zapikey` parameter in the URL that we will configure on GitHub. ### Obtain the App Key You can obtain the App Key of the extension in the following way: 1. Click on the **GitHubExt** extension from the extensions page in the [Cliq developer console](https://cliq.zoho.com/developer), then navigate to the **Connectors** section. 2. Copy the Sandbox App Key of your extension. ![catalyst_gitbot_cliq_sandbox_key](https://catalyst-docs-development.zohostratus.in/images/tutorials/githubbot/catalyst_gitbot_cliq_sandbox_key.webp) This key will be the value of the `appkey` parameter in the URL that we will configure on GitHub. ### Obtain the Webhook Handler URL You can obtain the Webhook Handler URL of the extension in the following way: 1. Navigate back to your Cliq account and click on your profile picture. Click on **Bots & Tools** in the menu section. ![catalyst_gitbot_cliq_webhookurl_1](https://catalyst-docs-development.zohostratus.in/images/tutorials/githubbot/catalyst_gitbot_cliq_webhookurl_1.webp) 2. Click on the **GitHub Bot** from your bots list. This will open a side panel. Copy the URL displayed under _Incoming WebHook Endpoint_. ![catalyst_gitbot_cliq_webhookurl_2](https://catalyst-docs-development.zohostratus.in/images/tutorials/githubbot/catalyst_gitbot_cliq_webhookurl_2.webp) This will be the base URL that we will configure on GitHub. ### Create a Webhook on GitHub The complete URL to configure on GitHub is: **_baseURL_?`appkey`\={{_appkey_}}&`zapikey`\={{_zapikey_}}** where _baseURL_ is the webhook handler URL, `appkey` is the sandbox App Key of your extension, and `zapikey` is the webhook token generated on Cliq. For example: **https://cliq.zoho.com/company/org_id/api/v2/githubbot/incoming?appkey={{_appkey_}}&zapikey={{_zapikey_}}** Let's now add this URL on GitHub in the following way: 1. Open your [GitHub](https://github.com/) account and navigate to any one of your repositories. 2. Open your **repository's settings**, then click **Webhooks -> Add webhook**. ![catalyst_gitbot_git_add_webhook_1](https://catalyst-docs-development.zohostratus.in/images/tutorials/githubbot/catalyst_gitbot_git_add_webhook_1.webp) 3. Enter the URL in the format specified above, substituting the values of `appkey` and `zapikey`. Configure the webhook as shown below. ![catalyst_gitbot_git_add_webhook_2](https://catalyst-docs-development.zohostratus.in/images/tutorials/githubbot/catalyst_gitbot_git_add_webhook_2.webp) You can select the events that you would like to be notified about. 4. Click **Add webhook**. This webhook will now enable alerts for the configured events in your repository. -------------------------------------------------------------------------------- title: "Test the GitHub bot" description: "Build an extension on Zoho Cliq using Catalyst Integration Functions, that enables you to access and work with your GitHub repositories using a Cliq bot." last_updated: "2026-08-17T12:16:04.000Z" source: "https://docs.catalyst.zoho.com/en/tutorials/githubbot/java/test-github-bot/" service: "All Services" related: - Integration Functions (/en/serverless/help/functions/integration-functions) -------------------------------------------------------------------------------- # Test the GitHub Bot We can now test the commands and functioning of the GitHub bot. Open your Cliq account and open **GitHub Bot**. Let's first test the _issues_ command. All Cliq commands must be entered with a preceding '/' backslash. Type "/issues" in the bot's chat. This will trigger the Integration function and enable the command handler to fetch the repositories in your Git account. Your repositories will be displayed in the chat. ![catalyst_gitbot_cliq_bot_test_1](https://catalyst-docs-development.zohostratus.in/images/tutorials/githubbot/catalyst_gitbot_cliq_bot_test_1.webp) Select a repository using the arrow buttons, then press **Enter**. This will display the details of the last ten issues raised to that repository, if any. You can view any of these issues on GitHub by clicking on its link. ![catalyst_gitbot_cliq_bot_test_2](https://catalyst-docs-development.zohostratus.in/images/tutorials/githubbot/catalyst_gitbot_cliq_bot_test_2.webp) You can click **Post here** to post the details as a message by the bot, and **Close** to remove the embedded view. Next, type "/commits" in the chat and select one of the repositories from the list. This will display the details of the last ten commits pushed to that repository, if any. ![catalyst_gitbot_cliq_bot_test_3](https://catalyst-docs-development.zohostratus.in/images/tutorials/githubbot/catalyst_gitbot_cliq_bot_test_3.webp) You can also test the bot menu action that you configured for the GitHub bot. Type "Repos" in the chat and press **Enter**. This will list the details of all the repositories in the GitHub account. ![catalyst_gitbot_cliq_bot_test_4](https://catalyst-docs-development.zohostratus.in/images/tutorials/githubbot/catalyst_gitbot_cliq_bot_test_4.webp) You can verify if the Cliq bot alerts you whenever a commit is pushed in the repository that you configured the webhook for. Make a commit in that repository. The Cliq bot will send you an alert with the commit details and a link to access that repository. ![catalyst_gitbot_commit_alert](https://catalyst-docs-development.zohostratus.in/images/tutorials/githubbot/catalyst_gitbot_commit_alert.webp) If all actions work fine, the GitHub bot is configured properly. ### Python -------------------------------------------------------------------------------- title: "Introduction" description: "Build an extension on Zoho Cliq using Catalyst Integration Functions, that enables you to access and work with your GitHub repositories using a Cliq bot." last_updated: "2026-08-17T12:16:04.000Z" source: "https://docs.catalyst.zoho.com/en/tutorials/githubbot/python/introduction/" service: "All Services" related: - Project Directory Structure (/en/cli/v1/project-directory-structure/introduction/) - Python SDK (/en/sdk/python/v1/overview/) - Zoho Cliq (https://www.zoho.com/in/cliq/) - GitHub (https://github.com/) -------------------------------------------------------------------------------- # GitHub Bot ### Introduction This tutorial will help you build an extension on [Zoho Cliq](https://www.zoho.com/in/cliq/) that will enable you to view the details of your [GitHub](https://github.com/) repositories using a Cliq bot. The Cliq extension will bundle the following internal components: Commands, Function, and Bot. You can learn about these components from the [Cliq help documentation](https://www.zoho.com/cliq/help/platform/getting-started-with-cliq-platform.html). The Cliq chat bot will provide the following information along with appropriate links when you enter the right command in the chat: * List of all the repositories in the GitHub account * Details of the last ten commits made in a specific repository * Details of the last ten issues raised in a specific repository For example, when you enter the command to display the list of repositories in your Git account, the chat bot will display details as shown below. ![working_bot](https://catalyst-docs-development.zohostratus.in/images/tutorials/githubbot/python/working_bot.webp) The bot will also send you an alert in the chat immediately after a commit is pushed to the Git repository, along with the commit details. This setup includes the following Catalyst component: 1. [**Catalyst Serverless**](https://docs.catalyst.zoho.com/en/serverless/getting-started/introduction/): - **[Integration Function](https://docs.catalyst.zoho.com/en/serverless/help/functions/integration-functions):** The backend of this Cliq extension will be built using an Integration function in the **Java** platform. This function will enable you to build and maintain the backend of the Cliq extension. We will associate this function with the extension while creating the extension on Cliq. After this integration is configured, the integration function will be invoked each time the Cliq bot is accessed. This setup will not include a Catalyst client component. We will code a few [handlers](https://docs.catalyst.zoho.com/en/serverless/help/functions/integration-functions/#cliq-integration-function-structure) in the Integration function that will handle specific events and actions. We will also use the Catalyst Command Line Interface (CLI) to build this application. You will be given the code for the files to be included in the Integration function in this tutorial. You will just have to copy the code given here and paste it into the appropriate files as directed. -------------------------------------------------------------------------------- title: "Prerequisites" description: "Build an extension on Zoho Cliq using Catalyst Integration Functions, that enables you to access and work with your GitHub repositories using a Cliq bot" last_updated: "2026-06-03T16:27:08.000Z" source: "https://docs.catalyst.zoho.com/en/tutorials/githubbot/python/prerequisites/" service: "All Services" related: - CLI Command Reference (/en/cli/v1/cli-command-reference/) - Install CLI (/en/getting-started/installing-catalyst-cli/) - Login CLI (/en/cli/v1/login/login-from-cli/) -------------------------------------------------------------------------------- # Prerequisites Before you begin building the application, you must have the following prerequisites installed on your system: 1. **Catalyst CLI** Catalyst CLI contains a host of tools that enable you to initialize, develop, test, and deploy the components of your application from your local machine. We will be working with Catalyst CLI in this tutorial. You must perform these actions: 1. **Install Catalyst CLI:** Catalyst CLI is installed through NPM. You must therefore have NPM and Node.js installed on your system before you install the CLI. Refer to the [**Install Catalyst CLI help page**](https://docs.catalyst.zoho.com/en/getting-started/installing-catalyst-cli) for details on the pre-requisites and the steps to install it. 2. **Login Catalyst CLI:** After you install Catalyst CLI, you must authenticate the CLI with your Catalyst account before using it. Refer to the [**CLI Login help page**](https://docs.catalyst.zoho.com/en/cli/v1/login/login-from-cli/) for the steps to login from Catalyst CLI and the various options available for it. 2. **GitHub Account with Repositories** You must have an account on [GitHub](https://github.com/) that contains one or more repositories. Ensure that the repositories contain valid files. This will enable you to test the execution of the commands in the Cliq bot, and also verify if the bot sends you an alert when you push a commit to a repository. We will access GitHub to generate an access token and to configure a webhook with Cliq. 3. **Zoho Cliq Account** You must have a Zoho Cliq account set up. We will access the developer console of Zoho Cliq to create and configure the extension and associate it with the Catalyst Integration function. 4. **Install Python version 3.10** Before you begin developing your application logic in Python, please ensure you have the following package manager and programming environment installed on your local machine: * **[Pip](https://pip.pypa.io/en/stable/installation/#)** - Python Package Manager * **[Python version 3.10](https://www.python.org/)** You can install Python from their [official website](https://www.python.org/) and the pip package manager will be auto-installed in your local system. Please make sure you install the pip package manually if you install Python from other sources. You can refer to [this doc](https://pip.pypa.io/en/stable/installation/#) for installing pip. > **Note:** If you have other versions of Python installed in your local machine (a Python version outside the supported range of Python 3.10 to 3.13), then the execution of the Python functions in your directory will be skipped when the application is being [served](https://docs.catalyst.zoho.com/en/cli/v1/serve-resources/introduction) or [deployed](https://docs.catalyst.zoho.com/en/cli/v1/deploy-resources/introduction). 5. **Any IDE tool for Python code development** You can use any IDE to work with the Integration function code. Some popular choices include Visual Studio Code, IntelliJ IDEA, Eclipse, and Sublime Text. Download and install an IDE of your choice in your system. > If you are a Visual Studio Code IDE user, you can install the **Catalyst Tools** extension, and use your IDE itself in place of the CLI. You can find more details about the Catalyst VS Code extension from this [help section](https://docs.catalyst.zoho.com/en/catalyst-extensions/vs-code-extension/introduction/). -------------------------------------------------------------------------------- title: "Create a project" description: "Build an extension on Zoho Cliq using Catalyst Integration Functions, that enables you to access and work with your GitHub repositories using a Cliq bot" last_updated: "2026-08-17T12:16:04.000Z" source: "https://docs.catalyst.zoho.com/en/tutorials/githubbot/python/create-project/" service: "All Services" related: - Catalyst Projects (/en/getting-started/catalyst-projects) - Project Directory Structure (/en/cli/v1/project-directory-structure/introduction) -------------------------------------------------------------------------------- # Create a Project Let's [create a Catalyst project](https://docs.catalyst.zoho.com/en/getting-started/catalyst-projects) from the Catalyst console. 1. Log in to the [Catalyst console](https://console.catalyst.zoho.com/baas/index) and click **Create new Project**. ![create_project](https://catalyst-docs-development.zohostratus.in/images/tutorials/githubbot/python/create_project.webp) 2. Enter the project's name as "**GitHubBot**" in the pop-up window. ![project_name](https://catalyst-docs-development.zohostratus.in/images/tutorials/githubbot/python/project_name.webp) 3. Click **Create**. Your project will be created and opened. -------------------------------------------------------------------------------- title: "Generate a Personal Access Token on GitHub" description: "Build an extension on Zoho Cliq using Catalyst Integration Functions, that enables you to access and work with your GitHub repositories using a Cliq bot" last_updated: "2026-08-17T12:16:04.000Z" source: "https://docs.catalyst.zoho.com/en/tutorials/githubbot/python/generate-personal-access-token/" service: "All Services" related: - GitHub Integration (/en/devops/help/github-integration/introduction) -------------------------------------------------------------------------------- # Generate a Personal Access Token on GitHub Let us now generate a personal access token for the repositories in the Git account. A personal access token on GitHub functions like an OAuth access token and authenticates the access to the GitHub API. You can generate a personal access token on GitHub by implementing the below steps: 1. Login to your Git account. Click on your profile icon in the top right corner. Click on **Settings**. ![settings](https://catalyst-docs-development.zohostratus.in/images/tutorials/githubbot/python/settings.webp) 2. Navigate to **Developer Settings**. ![developer_settings](https://catalyst-docs-development.zohostratus.in/images/tutorials/githubbot/python/developer_settings.webp) 3. Click **Tokens(classic)** under the **Personal access tokens** menu, then click **Generate new token**. ![generate_new_token](https://catalyst-docs-development.zohostratus.in/images/tutorials/githubbot/python/generate_new_token.webp) 4. Select **repo** as the scope. The token will be applicable for all the specified actions in your repositories. ![select_scopes](https://catalyst-docs-development.zohostratus.in/images/tutorials/githubbot/python/select_scopes.webp) 5. Click **Generate new token**. The personal access token will be generated and displayed. GitHub will display the personal access token only once, so make sure that you copy the token and store it in a safe space. ![personal_access_token](https://catalyst-docs-development.zohostratus.in/images/tutorials/githubbot/python/personal_access_token.webp) We will use this token in the Integration function’s code, which will enable Catalyst to fetch necessary information about the repositories from GitHub. -------------------------------------------------------------------------------- title: "Initialize the project" description: "Build an extension on Zoho Cliq using Catalyst Integration Functions, that enables you to access and work with your GitHub repositories using a Cliq bot" last_updated: "2026-08-17T12:16:04.000Z" source: "https://docs.catalyst.zoho.com/en/tutorials/githubbot/python/initialize-project/" service: "All Services" related: - Initialize CLI Resources (/en/cli/v1/initialize-resources/introduction) - Project Directory Structure (/en/cli/v1/project-directory-structure/introduction) -------------------------------------------------------------------------------- # Initialize the Project from the CLI You can now begin working on your Catalyst project from the CLI. The first step is to initialize the project in an empty directory. This will be the home directory of your project and all of the project files will be saved in it. You can learn more about this from the [Project Directory Structure help page](https://docs.catalyst.zoho.com/en/cli/v1/project-directory-structure/introduction). You can learn about initializing a project in detail from the [CLI help documentation](https://docs.catalyst.zoho.com/en/cli/v1/cli-command-reference/). 1. Create a folder for the project on your local machine and navigate to it from the terminal. 2. Initialize a project by executing the following command from that directory: ```sh catalyst init ``` 3. Select the preferred portal (or organization) by navigating using the arrow keys and press **Enter** to confirm. If you have no other organizations associated with the account, then the default one will be selected automatically. ![select_portal](https://catalyst-docs-development.zohostratus.in/images/tutorials/githubbot/python/select_portal_updated.webp) 4. Now, CLI will ask you to associate a Catalyst project with the directory. Associate it with the project that we created earlier from the console. Select **GitHubBot** from the list and press **Enter**. ![select_default_project](https://catalyst-docs-development.zohostratus.in/images/tutorials/githubbot/python/select_default_project.webp) 5. Select **Functions** using the space bar. Press the **Enter** key to initialize. ![select_components](https://catalyst-docs-development.zohostratus.in/images/tutorials/githubbot/python/select_components_updated.webp) 6. The CLI will initiate the function setup. Select Integration as the function type. ![function_type](https://catalyst-docs-development.zohostratus.in/images/tutorials/githubbot/python/function_type.webp) 7. Select **Cliq** as the service and press Enter. ![select_service](https://catalyst-docs-development.zohostratus.in/images/tutorials/githubbot/python/select_service.webp) 8. All Cliq handlers classes will be selected by default. Press **Enter**. ![select_handlers](https://catalyst-docs-development.zohostratus.in/images/tutorials/githubbot/python/select_handlers.webp) 9. Select **Python 3.10** as the function stack, and press **Enter**. ![select_python_runtime](https://catalyst-docs-development.zohostratus.in/images/tutorials/githubbot/python/select_python_runtime.webp) 10. Press **Enter** to confirm the default package name as `git_hub_bot_function` and the entry point as `main.py`. ![function_setup](https://catalyst-docs-development.zohostratus.in/images/tutorials/githubbot/python/function_setup.webp) The CLI will download and install the latest [Catalyst Python SDK](https://docs.catalyst.zoho.com/en/sdk/python/v1/overview) package. > **Note:** Ensure that you enter the package name and file name exactly as instructed, because the application's code contains the same names. The functions directory is now created in the standard structure. Catalyst initialization is complete. Your project directory is now set up with the [functions directory](https://docs.catalyst.zoho.com/en/cli/v1/project-directory-structure/functions-directory) (CATALYST\_FUNCTIONS\_HOME) along with configuration files and dependencies. The project directory also contains the `[catalyst.json](https://docs.catalyst.zoho.com/en/cli/v1/project-directory-structure/catalyst-json)`, a [requirements.txt file](https://docs.catalyst.zoho.com/en/cli/v1/project-directory-structure/functions-directory/#requirementstxt-file) and a hidden `.catalystrc` file. This will be the final structure of your project directory. ![functions_directory](https://catalyst-docs-development.zohostratus.in/images/tutorials/githubbot/python/function_directory.webp) -------------------------------------------------------------------------------- title: "Configure the Integration function" description: "Build an extension on Zoho Cliq using Catalyst Integration Functions, that enables you to access and work with your GitHub repositories using a Cliq bot" last_updated: "2025-11-19T15:07:41.000Z" source: "https://docs.catalyst.zoho.com/en/tutorials/githubbot/python/configure-integration-function/" service: "All Services" related: - Integration Functions (/en/serverless/help/functions/integration-functions) -------------------------------------------------------------------------------- # Configure the Integration Function We will now configure the Integration function and add code to it. > **Note:** We will need to code and deploy the function to the Catalyst remote console before configuring the extension on Cliq, because we have to associate the extension with an existing function from the Catalyst console. The [Integration function's directory](https://docs.catalyst.zoho.com/en/serverless/help/functions/integration-functions)`functions/git_hub_bot_function` contains: * The `main.py` main function file * Handler files * The `catalyst-config.json` configuration file * `requirements.txt` file to mention any external libraries that you might add Copy the code given below and paste it in the `bot_handler.py`, `command_handler.py` and `functions_handler.py` in the `functions/git_hub_bot_function` directory of your project, and save the file. You can use any IDE of your choice to work with the application’s files. We will also create a new file `GithubConstants.py` in this directory and add code in it. > **Note:** Please go through the code in this section to make sure you fully understand it. We will discuss the code at the end of this section. **bot_handler.py** ```java import json from handlers.GithubConstants import GithubConstants import handlers.command_handler from zcatalyst_cliq.bot_handler import ( welcome_handler, message_handler, context_handler, mention_handler, menu_action_handler, webhook_handler, participation_handler, BotWelcomeHandlerRequest, BotMessageHandlerRequest, BotContextHandlerRequest, BotMentionHandlerRequest, BotMenuActionHandlerRequest, BotParticipationHandlerRequest, BotWebHookHandlerRequest, HandlerResponse ) from zcatalyst_sdk.catalyst_app import CatalystApp import logging @welcome_handler def welcome_handler_fn(req: BotWelcomeHandlerRequest, res: HandlerResponse, *args): res.text = f'hello {req.user.first_name}. Thank you for subscribing :smile:' return res @message_handler def msg_handler(req: BotMessageHandlerRequest, res: HandlerResponse, *args): msg = req.message text = '' if not msg: text = 'Please enable \'Message\' in bot settings' elif msg == "webhooktoken": btnobj = res.new_button() btnobj.type = "+" action = btnobj.new_action_object() action.type = "invoke.function" conform = action.new_confirm_object() conform.title = "Generate Webhooks for a GitLab Project" conform.description = "Connect to GitLab Projects from within Cliq" conform.input = "user_webhook_token" Actdata = action.new_action_data_obj() Actdata.name = "authenticate" action.data = Actdata action.confirm = conform btnobj.action = action btnobj.label = "Create Webhook" res.add_button(btnobj) text = "Click on the token generation button below!" else: text = "Oops! Sorry, I'm not programmed yet to do this :sad:" res.text = text return res @context_handler def ctx_handler(req: BotContextHandlerRequest, res: HandlerResponse, *args): app: CatalystApp = args[0] if req.context_id == 'personal_details': answer = req.answers name = answer.name.text dept = answer.dept.text text = f'Nice! I have collected your info: \n*Name*: {name} \n*Department*: {dept}' if answer.cache.text == 'YES': try: default_segment = app.cache().segment() default_segment.put('Name', name) default_segment.put('Department', dept) text += '\nThis data is now available in Catalyst Cache\'s default segment.' except Exception as e: logging.error(e) res.set_text(text) return res @mention_handler def mention_handler(req: BotMentionHandlerRequest, res: HandlerResponse, *args): text = f"Hey *{req.user.first_name}*, thanks for mentioning me here. I'm from Catalyst city" res.set_text(text) return res @menu_action_handler def action(req: BotMenuActionHandlerRequest, res: HandlerResponse, *args): text = '' res.bot = res.new_bot_details(GithubConstants.BOT_NAME,text) if req.action_name == "Repos": reposArray = handlers.command_handler.getRepos() if len(reposArray) == 0: text = "There aren't are repos created yet." else: Slide = res.new_slide() text = "Here's a list of the *repositories*" Slide.type = 'table' Slide.title = "Repo details" headers = [] headers.append('Name') headers.append('Private') headers.append('Open Issues') headers.append('Link') data = { 'headers':headers } rows = [] for repo in reposArray: row = { "Name": repo.get("name"), "Private": "Yes" if repo.get("private") else "No", "Open Issues": repo.get("open_issues_count"), "Link": f"[Click here]({repo.get('html_url')})" } rows.append(row) data['rows'] = rows json_data = json.dumps(data) Slide.data = json_data res.add_slides(Slide) else: text = 'Menu action triggered :fist:' res.set_text(text) return res @participation_handler def participation(req: BotParticipationHandlerRequest, res: HandlerResponse, *args): text = '' if req.operation == 'added': text = 'Hi. Thanks for adding me to the channel :smile:' elif req.operation == 'removed': text = 'Bye-Bye :bye-bye:' else: text = 'I\'m too a participant of this chat :wink:' res.set_text(text) return res @webhook_handler def webhook_fn(req: BotWebHookHandlerRequest, res: HandlerResponse, *args): req_body: dict = json.loads(req.body) commitJson = req_body["commits"][0] res.new_message() res.text="A new commit has been pushed!" res.bot = res.new_bot_details(GithubConstants.BOT_NAME,img='') commitMsg = res.new_slide() commitMsg.type = "text" commitMsg.title = "Commit message" commitMsg.data = commitJson["message"] res.add_slides(commitMsg) details = res.new_slide() details.type = "label" details.title = "Details" dataArray = [] commiter = {} commiter['Committer'] = commitJson["author"]["username"] dataArray.append(commiter) repoName = {} repoName['Repo Name'] = req_body["repository"]["name"] dataArray.append(repoName) timestamp = {} timestamp['Timestamp'] = commitJson["timestamp"] dataArray.append(timestamp) compare = {} compare["Compare"] = f"[Click here]({req_body['compare']})" dataArray.append(compare) details.data = json.dumps(dataArray) res.add_slides(details) return res ``` **command_handler.py** ```java from typing import List import json from handlers.GithubConstants import GithubConstants import zcatalyst_cliq.command_handler as command import requests from zcatalyst_cliq.command_handler import ( execution_handler, suggestion_handler, CommandHandlerRequest, CommandSuggestion, HandlerResponse ) @execution_handler def executor(req: CommandHandlerRequest, res: HandlerResponse, *args): text = '' res.bot = res.new_bot_details(GithubConstants.BOT_NAME,img=text) cmd = req.name if cmd == 'commits': suggestions = req.selections if not suggestions: text = 'Please select a repo from the suggestions.' else: repoName = suggestions[0].title commitsArray = getCommits(repoName) if len(commitsArray) == 0: text = "There aren't any commits made yet." else: Slide = res.new_slide() text = f"Here's a list of the latest {GithubConstants.PER_PAGE} commits made to the repository *{repoName}*." Slide.type = "table" Slide.title = "Commit details" headers = [] headers.append('Date') headers.append('Commit message') headers.append('Committed by') headers.append('Link') data = { 'headers':headers } rows = [] for obj in commitsArray: commit = obj.get("commit") author = commit.get("author") row = { "Date": author.get("date"), "Commit message": commit.get("message"), "Committed by": author.get("name"), "Link": f"[Click here]({obj.get('html_url')})" } rows.append(row) data["rows"] = rows json_data = json.dumps(data) Slide.data = json_data res.add_slides(Slide) elif cmd == 'issues': suggestions = req.selections if not suggestions: text = 'Please select a repo from the suggestions.' else: repoName = suggestions[0].title IssuesArray = getIssues(repoName) if len(IssuesArray) == 0: text = "There aren't any issues made yet." else: Slide = res.new_slide() text = f"Here's a list of the latest {GithubConstants.PER_PAGE} issues raised to the repository *{repoName}*." Slide.type = "table" Slide.title = "Issue details" headers = [] headers.append('Created At') headers.append('Title') headers.append('Created By') headers.append('Link') data = { 'headers':headers } rows = [] for issueObj in IssuesArray: row = { "Created At": issueObj.get("created_at"), "Title": issueObj.get("title"), "Created By": issueObj.get("user").get("login"), "Link": f"[Click here]({issueObj.get('html_url')})" } rows.append(row) data["rows"] = rows json_data = json.dumps(data) Slide.data = json_data res.add_slides(Slide) else: text = "Slash command executed" res.text = text return res def getCommits(name): req = f"https://api.github.com/repos/{getUsername()}/{name}/commits?per_page={GithubConstants.PER_PAGE}" headers = {} headers['Authorization'] = f'Token {GithubConstants.PERSONAL_ACCESS_TOKEN}' response = requests.get(url=req,headers=headers) data = response.json() if response.status_code == 200: return data else: return [] def getUsername(): req = "https://api.github.com/user" headers = {} headers['Authorization'] = f'Token {GithubConstants.PERSONAL_ACCESS_TOKEN}' response = requests.get(url=req,headers=headers) data = response.json() return data["login"] def getRepos(): req = "https://api.github.com/user/repos" headers = {} headers['Authorization'] = f'Token {GithubConstants.PERSONAL_ACCESS_TOKEN}' response = requests.get(url=req,headers=headers) data = response.json() return data def getIssues(repoName): req = f"https://api.github.com/repos/{getUsername()}/{repoName}/issues?per_page={GithubConstants.PER_PAGE}" headers = {} headers['Authorization'] = f'Token {GithubConstants.PERSONAL_ACCESS_TOKEN}' response = requests.get(url=req,headers=headers) data = response.json() return (data) @suggestion_handler def suggester(req: CommandHandlerRequest, res: List[CommandSuggestion], *args): suggestionList = [] reposArray = getRepos() repos = reposArray repoNames = [] for repo in repos: name = repo["name"] repoNames.append(name) if req.name == "commits" or req.name == "issues": for name in repoNames: sugg= CommandSuggestion(title=name) suggestionList.append(sugg) return suggestionList ``` **function_handler.py** ```java from datetime import datetime from zcatalyst_cliq import function_handler from zcatalyst_cliq.function_handler import ( button_function_handler, form_submit_handler, form_change_handler, form_dynamic_field_handler, widget_button_handler, ButtonFunctionRequest, FormFunctionRequest, WidgetFunctionRequest, HandlerResponse, FormChangeResponse, FormDynamicFieldResponse, WidgetResponse ) @button_function_handler def button_fn_handler(req: ButtonFunctionRequest, res: HandlerResponse, *args): text = '' if req.name == 'authenticate': text = req.arguments.input else: text = "Button function executed" res.text = text return res @form_submit_handler def form_submit(req: FormFunctionRequest, res: HandlerResponse, *args): return {} @form_change_handler def change_form(req: FormFunctionRequest, res: FormChangeResponse, *args): return res @form_dynamic_field_handler def handle_dynamic_field(req: FormFunctionRequest, res: FormDynamicFieldResponse, *args): return res @widget_button_handler def widget_button(req: WidgetFunctionRequest, res: WidgetResponse, *args): return {} def get_button_section(): widget_response = function_handler.new_widget_response() button_section = widget_response.new_widget_section() return button_section ``` Next, create a new Python file in the `handlers` folder and name it GithubConstants.py . Add the code given below to the file. **GithubConstants.py** ```python import zcatalyst_cliq._handler class GithubConstants: PERSONAL_ACCESS_TOKEN = '{{Enter your Git personal access token here}}' PER_PAGE = 10 BOT_NAME = "GitHubBot" ``` > **Note:** After you copy and paste this code, **paste the personal access token that you obtained from GitHub** in Step 2 on line 5 in this code. The functions directory is now configured. Let's quickly go over the code of the handler classes.We will discuss the components specified here in detail while [configuring the extension](https://docs.catalyst.zoho.com/en/tutorials/githubbot/java/create-extension-on-cliq). * The `bot_handler.py` module contains the business logic of the GitHub bot component that we will configure in the Cliq extension. After you enable the chat bot, you can generate a webhook token to authenticate the connection to GitHub, list the details of your Git repositories, and obtain the details of the latest commits and issues in a repository. These actions are defined in this class. * The `command_handler.py` module handles the actions to be performed for the issues and commits commands. It also defines the suggestion handler that lists the repos of the Git account. The user must select a repo from the suggestion after entering the command, to execute the command for. `command_handler.py` also defines the APIs for fetching other information from the Git account. * The `function_handler.py` module contains the business logic of the button function that authenticates the webhook token for GitHub. * The `GithubConstants.py` class module stores the constant values of the function, such as the personal access token and the bot name. -------------------------------------------------------------------------------- title: "Deploy the function" description: "Build an extension on Zoho Cliq using Catalyst Integration Functions, that enables you to access and work with your GitHub repositories using a Cliq bot" last_updated: "2026-08-17T12:16:04.000Z" source: "https://docs.catalyst.zoho.com/en/tutorials/githubbot/python/deploy-function/" service: "All Services" related: - Deploy Resources (/en/cli/v1/deploy-resources/introduction) - Integration Functions (/en/serverless/help/functions/integration-functions) -------------------------------------------------------------------------------- # Deploy the Function Let's deploy the function to make it available in the Catalyst remote console. We will need to select it while creating the extension on Cliq. To [deploy your Catalyst project from the CLI](https://docs.catalyst.zoho.com/en/cli/v1/deploy-resources/introduction), run the following command in your terminal from your project directory: ```sh catalyst deploy ``` ![deploy_project](https://catalyst-docs-development.zohostratus.in/images/tutorials/githubbot/python/deploy_project_updated.webp) -------------------------------------------------------------------------------- title: "Create an extension on Cliq" description: "Build an extension on Zoho Cliq using Catalyst Integration Functions, that enables you to access and work with your GitHub repositories using a Cliq bot" last_updated: "2026-08-17T12:16:04.000Z" source: "https://docs.catalyst.zoho.com/en/tutorials/githubbot/python/create-extension-on-cliq/" service: "All Services" related: - Integration Functions (/en/serverless/help/functions/integration-functions) -------------------------------------------------------------------------------- # Create an Extension on Cliq You can now configure the extension in Cliq. As mentioned in the introduction, this Cliq extension will bundle all the development components that we will require for this setup. You can learn about Cliq extensions in detail from the [Cliq help documentation](https://www.zoho.com/cliq/help/platform/build-cliq-extensions.html). We will add the following Cliq components to be bundled in the extension: * **Command for issues:** A command handled by the `command_handler.py` class that fetches the last ten issues raised in a specific repository. * **Command for commits:** A command handled by the `command_handler.py` class that fetches the last ten commits made in a specific repository. * **Button function to authenticate the webhook token:** A function handled by the `function_handler.py` class that is executed when a button is clicked in the chat bot. This function authenticates the webhook token for GitHub. * **GitHub bot:** A chat bot handled by the `bot_handler.py` class that enables you to execute these commands. The bot also includes a menu action that lists your existing repositories, and enables you to select a repo to execute a command for. Please make sure to follow the below steps to configure the Cliq extension: 1. Log in to your Cliq account and open the [Cliq developer console](https://cliq.zoho.com/developer). Click **Create Extension**. ![create_extension](https://catalyst-docs-development.zohostratus.in/images/tutorials/githubbot/python/create_extension.webp) 2. Enter the name of the extension as "**GitHubExt**" and enter a description for it as shown in the screenshot below. Select the execution type as **Catalyst Function**. Choose your organization in which you have created the project in [this step](https://docs.catalyst.zoho.com/en/tutorials/githubbot/python/create-project). Select the project **GitHubBot** and the function `git_hub_bot_function` from the dropdown list. This allows the extension to invoke the function whenever any of the components in the extension are accessed. We can now proceed to add components that we will require for this extension. Select the Catalyst project **GitHubBot** that we created for this tutorial and the **GithubExtension** function from the dropdown lists. This lets the extension invoke the function whenever any of the components in the extension are accessed. We can now add the components that we will require for this extension. ![extension_details](https://catalyst-docs-development.zohostratus.in/images/tutorials/githubbot/python/extension_details.webp) 3. Click **Add components**, then click **Command**. ![add_component](https://catalyst-docs-development.zohostratus.in/images/tutorials/githubbot/python/add_component.webp) 4. Enter the command's name as "issues". Provide a hint for the command as shown in the description below. ![issues](https://catalyst-docs-development.zohostratus.in/images/tutorials/githubbot/python/issues.webp) In the **Command Handlers** section, choose **Attachments**, **Chat**, **Location** and **User** for the **Execution Handler**. Enable the **Suggestion Handler** and allow access for **Chat**, **Location** and **User**. Configure the command to execute on selecting only one suggestion. Click **Add**. ![issue_details](https://catalyst-docs-development.zohostratus.in/images/tutorials/githubbot/python/issue_details.webp) 5. Similarly, click the **Add components** button in the extension configuration again, then click **Command**. Provide the name of the command as **"commits"**. Make sure to implement the same configuration as that of the issues command here as well. Click **Add**. ![commits](https://catalyst-docs-development.zohostratus.in/images/tutorials/githubbot/python/commits.webp) 6. Next, we will add a **Function** component. Provide the name of the function as **“authenticate”**. Give a description for the function as shown in the screenshot below. Select the **Function Type** as **Button** and click **Add**. ![add_function](https://catalyst-docs-development.zohostratus.in/images/tutorials/githubbot/python/add_function.webp) 7. Finally, we will add a **Bot component** and configure the name as **"GitHub Bot"**. Give a description as shown in the screenshot below. Enable **Channel Participation** and select both **Listen to messages** and **Send messages**. ![add_bot](https://catalyst-docs-development.zohostratus.in/images/tutorials/githubbot/python/add_bot.webp) Enable all the handlers, and select all the enabled checkboxes. This will enable the bot to acknowledge messages in the chat and the webhook requests received from GitHub. You must also add a bot menu action **Repos** that lists and select all the checkboxes. ![add_bot](https://catalyst-docs-development.zohostratus.in/images/tutorials/githubbot/catalyst_gitbot_cliq_create_ext_8.webp) Now, we have added all the required components for the Cliq Extension. ![components](https://catalyst-docs-development.zohostratus.in/images/tutorials/githubbot/python/components.webp) > **Note:** Ensure that you have given the same component names as specified, because we have configured the same names in the function code. 8. Click **Create Extension** in the extension configuration page and the created extension will be listed in the Cliq developer console under the **Cliq Extensions** section. ![extension_page](https://catalyst-docs-development.zohostratus.in/images/tutorials/githubbot/python/extension_page.webp) > **Note:** Since we have hardcoded the Personal Access token to access the GitHub API in the `GithubConstants.py` class, it is not advisable to publish this extension, as the code contains a confidential token. The Cliq bot will now be available in your Cliq account. The `issues` and `commits` commands, along with the `Repos` menu action will work in the bot. Before you test these commands, you must also enable alerts to be received automatically whenever a commit is pushed to one of the repositories in the GitHub account using a webhook. -------------------------------------------------------------------------------- title: "Configure a bot" description: "Build an extension on Zoho Cliq using Catalyst Integration Functions, that enables you to access and work with your GitHub repositories using a Cliq bot" last_updated: "2026-08-17T12:16:04.000Z" source: "https://docs.catalyst.zoho.com/en/tutorials/githubbot/python/configure-bot/" service: "All Services" related: - Integration Functions (/en/serverless/help/functions/integration-functions) -------------------------------------------------------------------------------- # Configure the Bot as an Incoming Webhook Notifier Next, let's configure the bot as an incoming webhook notifier, that performs actions when the webhook URL is invoked on GitHub. You can do this in the following way: 1. Generate a webhook token on the Cliq bot 2. Obtain the App key of your extension 3. Obtain the webhook handler URL of your extension 4. Create a webhook on GitHub and configure these values We will discuss these actions in detail one after the other. This webhook gets triggered whenever a commit is pushed to one of the repositories on your Git account. When that event occurs, GitHub makes an HTTP request to the URL webhook handler URL with the credentials that we configure. It will pass the details of that push event to Cliq, and the Cliq bot will notify you of it and display the details. ### Generate a WebHook Token You can generate a webhook token on Cliq as described below. The webhook token is authenticated by the authenticate button function that we configured in the previous step. 1. Search for the GitHub bot in your Cliq account. Select the bot and click **Continue**. ![search_bot](https://catalyst-docs-development.zohostratus.in/images/tutorials/githubbot/python/search_bot.webp) 2. Provide permission for the bot to access your account details. ![allow_access](https://catalyst-docs-development.zohostratus.in/images/tutorials/githubbot/python/allow_access.webp) The chat will be activated. 3. Type **"webhooktoken"** in the chat and press **Enter**. Then click **Create Webhook**. ![create_webhook](https://catalyst-docs-development.zohostratus.in/images/tutorials/githubbot/python/create_webhook.webp) 4. Click **Create Webhook**. In the pop up that appears, we will need to enter the webhook token of the bot. ![webhook_popup](https://catalyst-docs-development.zohostratus.in/images/tutorials/githubbot/python/webhook_popup.webp) To fetch the webhook token, click on the **Profile** icon in the top right corner of the page. ![click_profile](https://catalyst-docs-development.zohostratus.in/images/tutorials/githubbot/python/click_profile.webp) Click **Bots & Tools**. ![bots_and_tools](https://catalyst-docs-development.zohostratus.in/images/tutorials/githubbot/python/bots_and_tools.webp) Click on **Webhook Tokens** in the Integrations menu. ![webhook_tokens](https://catalyst-docs-development.zohostratus.in/images/tutorials/githubbot/python/webhook_tokens.webp) Click **Generate New Token** and copy the generated token. ![copy_token](https://catalyst-docs-development.zohostratus.in/images/tutorials/githubbot/python/copy_token.webp) Paste the token value in the pop-up and click **Submit**. ![paste_token](https://catalyst-docs-development.zohostratus.in/images/tutorials/githubbot/python/paste_token.webp) ### Obtain the App Key You can obtain the App Key of the extension in the following way: 1. Click on the **GitHubExt** extension from the extensions page in the [Cliq developer console](https://cliq.zoho.com/developer), then navigate to the **Connectors** section. 2. Copy the Sandbox App Key of your extension. ![sandbox_key](https://catalyst-docs-development.zohostratus.in/images/tutorials/githubbot/python/sandbox_key.webp) This key will be the value of the `appkey` parameter in the URL that we will configure on GitHub. ### Obtain the Webhook Handler URL You can obtain the Webhook Handler URL of the extension in the following way: 1. Navigate back to your Cliq account and click on your profile picture. Click on **Bots & Tools** in the menu section. ![select_bots_tools](https://catalyst-docs-development.zohostratus.in/images/tutorials/githubbot/python/select_bots_tools.webp) 2. Click on the **GitHub Bot** from your bots list. This will open a side panel. Copy the URL displayed under _Incoming WebHook Endpoint_. ![incoming_webhook_endpoint](https://catalyst-docs-development.zohostratus.in/images/tutorials/githubbot/python/incoming_webhook_endpoint.webp) This will be the baseURL that we will configure on GitHub. ### Create a Webhook on GitHub The complete URL to configure on GitHub is: **_baseURL_?`appkey`\={{_appkey_}}&`zapikey`\={{_zapikey_}}** where _baseURL_ is the webhook handler URL, `appkey` is the sandbox App Key of your extension, and `zapikey` is the webhook token generated on Cliq. For example: **https://cliq.zoho.com/company/org_id/api/v2/githubbot/incoming?appkey={{_appkey_}}&zapikey={{_zapikey_}}** Let's now add this URL on GitHub in the following way: 1. Open your [GitHub](https://github.com/) account and navigate to any one of your repositories. 2. Open your **repository's settings**, then click **Webhooks -> Add webhook**. ![add_webhook](https://catalyst-docs-development.zohostratus.in/images/tutorials/githubbot/python/add_webhook.webp) 3. Enter the URL in the format specified above, substituting the values of `appkey` and `zapikey`. Configure the webhook as shown below. ![configure_url](https://catalyst-docs-development.zohostratus.in/images/tutorials/githubbot/python/configure_url.webp) You can select the events that you would like to be notified about. 4. Click **Add webhook**. ![configure_events](https://catalyst-docs-development.zohostratus.in/images/tutorials/githubbot/python/configure_events.webp) This webhook will now enable alerts for the configured events in your repository. -------------------------------------------------------------------------------- title: "Test the GitHub bot" description: "Build an extension on Zoho Cliq using Catalyst Integration Functions, that enables you to access and work with your GitHub repositories using a Cliq bot." last_updated: "2026-08-17T12:16:04.000Z" source: "https://docs.catalyst.zoho.com/en/tutorials/githubbot/python/test-github-bot/" service: "All Services" related: - Integration Functions (/en/serverless/help/functions/integration-functions) -------------------------------------------------------------------------------- # Test the GitHub Bot We can now test the commands and functioning of the GitHub bot. Open your Cliq account and open **GitHub Bot**. Let's first test the **issues** command. All Cliq commands must be entered with a preceding '/' backslash. Type **"/issues"** in the bot's chat. This will trigger the `git_hub_bot_function` and enable the command handler to fetch the repositories in your Git account. Your repositories will be displayed in the chat. ![test_issues](https://catalyst-docs-development.zohostratus.in/images/tutorials/githubbot/python/test_issues.webp) You can select a repository using the arrow buttons, then press **Enter**. This will display the details of the last ten issues raised to that repository, if any. You can view any of these issues on GitHub by clicking on its link. Next, type **"/commits"** in the chat and select one of the repositories from the list. This will display the details of the last ten commits pushed to that repository, if any. You can click **Post here** to post the details as a message by the bot, and **Close** to remove the embedded view. ![test_commits](https://catalyst-docs-development.zohostratus.in/images/tutorials/githubbot/python/test_commits.webp) You can also test the bot menu action that you configured for the GitHub bot. Click on **Repos** menu that is displayed below the chat window. This will list the details of all the repositories in the GitHub account. ![test_repos](https://catalyst-docs-development.zohostratus.in/images/tutorials/githubbot/python/test_repos.webp) You can verify if the Cliq bot alerts you whenever a commit is pushed in the repository that you configured the webhook for. Make a commit in that repository. The Cliq bot will send you an alert with the commit details and a link to access that repository. ![notify_commits](https://catalyst-docs-development.zohostratus.in/images/tutorials/githubbot/python/notify_commits.webp) If all actions work fine, the GitHub bot is configured properly. ## Invoice Notifier ### Java -------------------------------------------------------------------------------- title: "Introduction" description: "Create an Event Driven Architecture to automate invoice updates from Zoho Books to Zoho Cliq using Event Functions and Catalyst Signals." last_updated: "2026-08-17T12:16:04.000Z" source: "https://docs.catalyst.zoho.com/en/tutorials/invoice-notifier/java/introduction/" service: "All Services" related: - Project Directory Structure (/en/cli/v1/project-directory-structure/introduction/) - Java SDK (/en/sdk/java/v1/overview/) - Node.js SDK (/en/sdk/nodejs/v2/overview/) - Python SDK (/en/sdk/python/v1/overview/) -------------------------------------------------------------------------------- # Invoice Notifier ### Introduction In a fast-paced business environment, timely customer onboarding plays a key role in ensuring customer satisfaction. However, Customer Success teams often face delays due to a lack of real-time payment updates from billing applications. This tutorial demonstrates how you can use **Catalyst Signals** to bridge this gap and automate communication between decoupled systems. You will build an event-driven solution that listens to invoice updates from [**Zoho Books**](https://www.zoho.com/in/books/), filters the events based on payment status, and compiles a summary of paid invoices every hour. This summary will then be sent to a [**Catalyst Event Function**](https://docs.catalyst.zoho.com/en/serverless/help/functions/event-functions/), which will forward the report to your [**Zoho Cliq**](https://www.zoho.com/cliq/) channel. ![Invoice Notifier](https://catalyst-docs-development.zohostratus.in/images/tutorials/invoice-notifier/demo.webp) The event automation uses components from the following Catalyst Services: [**Catalyst Signals**](https://docs.catalyst.zoho.com/en/signals): * [**Publisher**](https://docs.catalyst.zoho.com/en/signals/help/publishers/key-aspects/): A primary source of [events](https://docs.catalyst.zoho.com/en/signals/help/events/) where they are generated when any action or change occurs in an application. * [**Rules**](https://docs.catalyst.zoho.com/en/signals/help/rules/key-aspects/): It is a statement that guides the ingestion of incoming events from Publisher to [Target](https://docs.catalyst.zoho.com/en/signals/help/targets/key-aspects/). [**Catalyst Serverless**](https://docs.catalyst.zoho.com/en/serverless/): * [**Event Function**](https://docs.catalyst.zoho.com/en/serverless/help/functions/event-functions/): It is an asynchronous task function that is associated with Catalyst Signals. An Event function is created to execute a task or a set of tasks on the occurrence of a specified event. We will use the [Catalyst web console](https://console.catalyst.zoho.com/) and the [Catalyst Command Line Interface](https://docs.catalyst.zoho.com/en/cli/v1/cli-command-reference/) (CLI) to build this application. You will be given the code for the files to be included in the function components in this tutorial. You will just need to copy the code given here and paste it into the appropriate files as directed. ### Event Flow The architecture of the event flow in this use case is outlined below: - A customer makes a payment, **triggering an invoice update** in Zoho Books. This event is published to Catalyst Signals. - Signals applies a **filter** to include only invoices marked as *Paid*. The filtered event data is then transformed and batched. - **Every hour**, the **batched events** are delivered to a Catalyst Event Function. The function further processes the event data and sends as a **report to a Zoho Cliq channel**. ![Event flow for Invoice Notifier](https://catalyst-docs-development.zohostratus.in/images/tutorials/invoice-notifier/event-flow.webp) -------------------------------------------------------------------------------- title: "Prerequisites" description: "Create an Event Driven Architecture to automate invoice updates from Zoho Books to Zoho Cliq using Event Functions and Catalyst Signals." last_updated: "2026-08-17T12:16:04.000Z" source: "https://docs.catalyst.zoho.com/en/tutorials/invoice-notifier/java/prerequisites/" service: "All Services" related: - CLI Command Reference (/en/cli/v1/cli-command-reference/) - Install CLI (/en/getting-started/installing-catalyst-cli/) - Login CLI (/en/cli/v1/login/login-from-cli/) - Zoho Books Organization Profile (https://www.zoho.com/in/books/help/settings/organization-profile.html) - Zoho Cliq Channels (https://www.zoho.com/cliq/help/channels/create-channel.html) - Zoho Cliq Bots (https://www.zoho.com/cliq/help/platform/managing-bots.html) -------------------------------------------------------------------------------- # Prerequisites Before you begin building the Invoice Notifier, you must have the following prerequisites installed on your system: ### 1. Catalyst CLI Catalyst CLI contains a host of tools that enable you to initialize, develop, test, and deploy the components of your application from your local machine. We will be working with Catalyst CLI in this tutorial. You must perform the following actions: 1. **Install Catalyst CLI:** Catalyst CLI is installed through NPM so you must have both NPM and Node.js installed beforehand. Refer to the [**Install Catalyst CLI help page**](https://docs.catalyst.zoho.com/en/getting-started/installing-catalyst-cli/) for details on the pre-requisites and the steps to install it. 2. **Login Catalyst CLI:** After installation, you must authenticate the CLI with your Catalyst account before using it. Refer to the [**CLI Login help page**](https://docs.catalyst.zoho.com/en/cli/v1/login/login-from-cli/) for the steps to login from Catalyst CLI and the various options available for it. ### 2. Any IDE tool for Node.js and client code development Use any IDE that supports Java development like Visual Studio Code, IntelliJ, or Eclipse to work on the event function. > If you are a Visual Studio Code IDE user, you can install the **Catalyst Tools** extension, and use your IDE itself in place of the CLI. You can find more details about the Catalyst VS Code extension from this [help section](https://docs.catalyst.zoho.com/en/catalyst-extensions/vs-code-extension/introduction/). ### 3. Zoho Books for Invoice Management Create an organization in [Zoho Books](https://www.zoho.com/in/books/) to maintain customer payment records in the form of invoices. > **Note:** You can also integrate any third-party tools for invoice generation. However, if you choose to do so, you will need to configure a [**custom publisher**](https://docs.catalyst.zoho.com/en/signals/help/publishers/create-publisher/custom-publishers) **in Catalyst Signals** for the external application and update the rule accordingly. ### 4. Zoho Cliq for Team Notifications Create an organization in [Zoho Cliq](https://www.zoho.com/cliq/) to act as internal communication platform for your Customer Success Team. Within this organization, - Create a Channel for updating invoice status of onboarding customers. Follow the steps given in the [How to create a channel in Zoho Cliq](https://help.zoho.com/portal/en/kb/zoho-cliq/user-guides/channels/channel-actions/articles/how-do-i-create-a-channel) help page for guidance. - Create and associate a bot to the channel so it can automatically post messages regarding the invoice updates. Refer to the [Managing Bots](https://www.zoho.com/cliq/help/platform/managing-bots.html) and [Bot Channel Participation](https://www.zoho.com/cliq/help/platform/bot-participation-handler.html) help resources for guidance. For this tutorial, you don’t need to add or edit any handlers for the bot. Ensure that the required channel participation permissions are configured correctly while creating the bot, as shown in the image below. ![Configuring Cliq Bot Permissions](https://catalyst-docs-development.zohostratus.in/images/tutorials/invoice-notifier/bot-config.webp) > **Note:** You can also integrate any third-party tools for internal team communication. However, if you choose to do so, you will need to **update the event function** accordingly to route notifications to the appropriate communication channel. -------------------------------------------------------------------------------- title: "Create a Project" description: "Create an Event Driven Architecture to automate invoice updates from Zoho Books to Zoho Cliq using Event Functions and Catalyst Signals." last_updated: "2026-11-03T15:16:51.000Z" source: "https://docs.catalyst.zoho.com/en/tutorials/invoice-notifier/java/create-project/" service: "All Services" related: - Catalyst Console (/en/getting-started/catalyst-projects/) -------------------------------------------------------------------------------- # Create a Project Let’s [create a Catalyst project](https://docs.catalyst.zoho.com/en/getting-started/catalyst-projects/#create-a-catalyst-project) from the Catalyst console. 1. Log in to the [Catalyst console](https://console.catalyst.zoho.com/baas/index) and click **Create New Project**. ![catalyst_invoice_notifier_create_project](https://catalyst-docs-development.zohostratus.in/images/tutorials/invoice-notifier/dev-console.webp) 2. Enter the project’s name as "**InvoiceNotifier**" in the pop-up window, and click **Create**. ![catalyst_invoice_notifier_project_create_name](https://catalyst-docs-development.zohostratus.in/images/tutorials/invoice-notifier/create-project.webp) Your project will be created then opened. You can access the project later, by clicking **Access Project**. ![catalyst_invoice_notifier_access_project](https://catalyst-docs-development.zohostratus.in/images/tutorials/invoice-notifier/access-project.webp) -------------------------------------------------------------------------------- title: "Add Publisher" description: "Create an Event Driven Architecture to automate invoice updates from Zoho Books to Zoho Cliq using Event Functions and Catalyst Signals." last_updated: "2026-08-17T12:16:04.000Z" source: "https://docs.catalyst.zoho.com/en/tutorials/invoice-notifier/java/configure-publisher/" service: "All Services" related: - Publishers (/en/signals/help/publishers/key-aspects/) -------------------------------------------------------------------------------- # Add Publisher Let us start by setting up a [**Publisher**](https://docs.catalyst.zoho.com/en/signals/help/publishers/key-aspects/) in the *InvoiceNotifier* project. This Publisher will listen for **Invoice Updated** events from [**Zoho Books**](https://www.zoho.com/in/books/) and forward them to [**Catalyst Signals**](https://docs.catalyst.zoho.com/en/signals). Follow these steps to configure the Publisher: 1. Navigate to the **Catalyst Signals** section in the Catalyst Console and click **Start Exploring**. ![Explore Signals](https://catalyst-docs-development.zohostratus.in/images/tutorials/invoice-notifier/explore.webp) 2. Go to **Publishers** and click **Create Publisher**. ![Create a Publisher](https://catalyst-docs-development.zohostratus.in/images/tutorials/invoice-notifier/create-pub.webp) 3. From the list of available Zoho Services, select **Zoho Books**. ![Select Zoho Books](https://catalyst-docs-development.zohostratus.in/images/tutorials/invoice-notifier/zoho-books.webp) 4. You will be taken to a configuration page. Fill in the required details: - Set the **Publisher Name** and **API Name** as Zylker. - Select the desired Zoho Books org from the **Organization** dropdown. It will list only the organizations linked to the same email address you use to access the Catalyst Console. ![Configure Zoho Books Publisher](https://catalyst-docs-development.zohostratus.in/images/tutorials/invoice-notifier/pub-config.webp) 5. Enable **Event Ordering** to ensure that events are delivered in the same order they are received. ![Enable Event Ordering](https://catalyst-docs-development.zohostratus.in/images/tutorials/invoice-notifier/event-ordering.webp) 6. Click **Save** to complete Setup and **Authorize** to use data from Zoho Books. ![Authourize Zoho Books](https://catalyst-docs-development.zohostratus.in/images/tutorials/invoice-notifier/authorize.webp) Your Zoho Books Publisher is now ready to send invoice events to Catalyst Signals. -------------------------------------------------------------------------------- title: "Initialize the Project from CLI" description: "Create an Event Driven Architecture to automate invoice updates from Zoho Books to Zoho Cliq using Event Functions and Catalyst Signals." last_updated: "2026-08-17T12:16:04.000Z" source: "https://docs.catalyst.zoho.com/en/tutorials/invoice-notifier/java/initialize-project/" service: "All Services" related: - Initialize CLI Resources (/en/cli/v1/initialize-resources/introduction/) - Project Directory Structure (/en/cli/v1/project-directory-structure/introduction/) -------------------------------------------------------------------------------- # Initialize the Project from the CLI You can now begin working on your Catalyst project from the CLI. The first step is to initialize the project in an empty directory. This will be the home directory of your project and all of the project files will be saved in it. You can learn more about this from the [Project Directory Structure help page](https://docs.catalyst.zoho.com/en/cli/v1/project-directory-structure/introduction/). You can learn about initializing a project in detail from the [CLI help documentation](https://docs.catalyst.zoho.com/en/cli/v1/initialize-resources/introduction/). For this InvoiceNotifier, we will initialize an [Event Function](https://docs.catalyst.zoho.com/en/serverless/help/functions/event-functions/), which will contain the logic of the action that is required to occur once the event happens and a [Basic web app](https://docs.catalyst.zoho.com/en/cli/v1/initialize-resources/initialize-client/#basic-client-applications) as the client component. The event function will be initialized in the [Java](https://docs.catalyst.zoho.com/en/sdk/java/v1/overview/) platform. However, you can also initialize it in the [Node JS](https://docs.catalyst.zoho.com/en/sdk/nodejs/v2/overview/) or [Python](https://docs.catalyst.zoho.com/en/sdk/python/v1/overview/) platforms. > **Note:** Ensure that you enter the function's package name or class name exactly as instructed, because the application's code contains the same name. 1. Create a folder for the project on your local machine and navigate to it from the terminal. 2. Initialize a project by executing the following command from that directory: ```sh catalyst init ``` 3. Navigate using the arrow keys and select your preferred portal and press the Enter key. If you have no other organizations associated with the account, then the default one will be selected automatically. ![catalyst_authorization_portal_multiorg_choice](https://catalyst-docs-development.zohostratus.in/images/tutorials/invoice-notifier/cli-portal.webp) You can find out more about Catalyst's multi-org portal feature from this [help document](https://docs.catalyst.zoho.com/en/getting-started/catalyst-organizations/#access-the-multi-org-portal). 4. The CLI will now ask you to associate a Catalyst project with the directory. Associate it with the project that we created earlier from the console. Select *InvoiceNotifier* from the list and press Enter. ![Select your project](https://catalyst-docs-development.zohostratus.in/images/tutorials/invoice-notifier/project-cli.webp) 5. Select **Functions** using the space-bar, then press the **Enter** key to initialize. ![Select Function component](https://catalyst-docs-development.zohostratus.in/images/tutorials/invoice-notifier/func-cli.webp) 6. The CLI will initiate the function setup. Select **Event** as the function type. ![Select function type](https://catalyst-docs-development.zohostratus.in/images/tutorials/invoice-notifier/eventfunc-cli.webp) 7. Select the latest runtime of **Java** as the stack and press **Enter**. ![Select language environment for function](https://catalyst-docs-development.zohostratus.in/images/tutorials/invoice-notifier/java-cli.webp) 8. Enter **Cliq_Notifier** as the folder name and press **Enter**. Provide the main class name as **CliqNotifier** and press **Enter**. ![Provide package name and other details](https://catalyst-docs-development.zohostratus.in/images/tutorials/invoice-notifier/java-package-cli.webp) The Catalyst initialization is now complete. The project directory is now set up with the functions directory along with configuration files and dependencies. The project directory also contains the [`catalyst.json`](https://docs.catalyst.zoho.com/en/cli/v1/project-directory-structure/catalyst-json/) configuration file and a hidden `.catalystrc` file. The structure of your project directory should now appear as shown below: ![Project Directory for Java](https://catalyst-docs-development.zohostratus.in/images/tutorials/invoice-notifier/java-proj-dir.webp) -------------------------------------------------------------------------------- title: "Register the Client" description: "Create an Event Driven Architecture to automate invoice updates from Zoho Books to Zoho Cliq using Event Functions and Catalyst Signals." last_updated: "2026-08-17T12:16:04.000Z" source: "https://docs.catalyst.zoho.com/en/tutorials/invoice-notifier/java/register-client/" service: "All Services" related: - Catalyst API Documentation (/en/api/introduction/overview-and-prerequisites/#OverviewandPrerequisites) -------------------------------------------------------------------------------- # Register the Client Application in Zoho API Console To enable secure and authorized communication between Catalyst and Zoho Cliq, you must register your client application in the Zoho API Console. This step is necessary to generate OAuth credentials that will be embedded in the Event Function code. By registering the client, you will receive the following: * **Client ID**: A unique identifier assigned to your registered application. * **Client Secret**: A confidential key used along with the Client ID to authenticate the client. We will use these credentials to generate the following OAuth tokens: * **Grant Token (code)**: A temporary token generated using the Client ID and Client Secret in the API console. This is used to fetch the Refresh Token. * **Refresh Token**: A persistent token used to request new Access Tokens when the previous ones expire. We will generate this in the REST API client in the next step. * **Access Token**: A temporary token that authorizes Zoho Cliq API calls. You do not need to manually generate this, as it will be automatically handled using the Refresh Token during runtime. The Client ID, Client Secret, and Refresh Token are added to the Event Function code. They enable Catalyst to programmatically perform actions (like posting messages) in your Zoho Cliq channel. The function will use the Refresh Token to continuously retrieve fresh Access Tokens, ensuring uninterrupted connectivity between Catalyst and Cliq. To register the client application in Zoho API console: 1. Go to the [Zoho API Console](https://api-console.zoho.com/) and click **Get Started** or **Add Client**. ![Zoho API Console](https://catalyst-docs-development.zohostratus.in/images/tutorials/invoice-notifier/api-console.webp) 2. Choose **Self Client** as the client type. Since both the Catalyst and the Cliq accounts are configured in the same organization, a Self Client can be used for this application. ![Choosing the client type](https://catalyst-docs-development.zohostratus.in/images/tutorials/invoice-notifier/self-client.webp) 3. In the popup, click **Create** to register your client. ![Creating a new self-client](https://catalyst-docs-development.zohostratus.in/images/tutorials/invoice-notifier/new-client.webp) The API console will generate and display the Client ID and Client Secret values for the registered client. ![Client Credentials for the new self-client](https://catalyst-docs-development.zohostratus.in/images/tutorials/invoice-notifier/client-credentials.webp) 4. Now, click the **Generate Code** tab to generate the Grant Token. - In the **Scope** field, enter: `ZohoCliq.Webhooks.CREATE` - Add a **Description** for the scope. - Set a **Time Duration** for the Grant Token. ![Generating grant token](https://catalyst-docs-development.zohostratus.in/images/tutorials/invoice-notifier/generate-code.webp) 5. Click **Create**. Once created, the Grant Token (code) will be displayed. ![Grant token](https://catalyst-docs-development.zohostratus.in/images/tutorials/invoice-notifier/grant-token.webp) Copy the generated Client ID, Client Secret, and Grant Token, and keep them ready. We will use these values in the upcoming step to generate the Refresh Token and configure the function files in the project. -------------------------------------------------------------------------------- title: "Generate the refresh token" description: "Create an Event Driven Architecture to automate invoice updates from Zoho Books to Zoho Cliq using Event Functions and Catalyst Signals." last_updated: "2026-08-17T12:16:04.000Z" source: "https://docs.catalyst.zoho.com/en/tutorials/invoice-notifier/java/refresh-token/" service: "All Services" related: - Catalyst API Documentation (/en/api/introduction/overview-and-prerequisites/#OverviewandPrerequisites) -------------------------------------------------------------------------------- # Generate Refresh Token Before configuring the function and client components, you need to generate a **Refresh Token**, which will be included in the function code to authorize interactions with Zoho Cliq. You can use any REST API client to perform this step. In this tutorial, we’ll walk you through the process using the [Postman API](https://www.postman.com/) platform. 1. Open your API client and create a new POST request to the following URL: * **Request URL:** `https://accounts.zoho.com/oauth/v2/token` * **Request Method:** POST 2. Add the following keys and values as query parameters in your request: * **`code`:** The Grant Token or the value of code obtained during the [client registration](https://docs.catalyst.zoho.com/en/tutorials/invoice-notifier/nodejs/register-client) in the API console * **`client\_id`:** The Client ID that was generated during the client registration * **`client\_secret`:** The Client Secret that was generated during the client registration * **`grant\_type`:** `authorization\_code` (Provide this literal string as the value) 3. Send the request with the above parameters to the specified request URL. If the request is successful, you will receive a response that includes: `access\_token`, `refresh\_token`, `api\_domain`, `token\_type`, `expires\_in`. We only require the Refresh Token. A screenshot of this step using Postman is provided below to guide you through the request and response. ![Generating refresh token](https://catalyst-docs-development.zohostratus.in/images/tutorials/invoice-notifier/refresh-token.webp) 4. Copy the `refresh\_token` value from the response received. You’ll use this in the function code in the next step of the tutorial. -------------------------------------------------------------------------------- title: "Configure the Event function" description: "Create an Event Driven Architecture to automate invoice updates from Zoho Books to Zoho Cliq using Event Functions and Catalyst Signals." last_updated: "2025-11-19T15:07:41.000Z" source: "https://docs.catalyst.zoho.com/en/tutorials/invoice-notifier/java/configure-function/" service: "All Services" related: - Event Functions (/en/serverless/help/functions/event-functions/) - Functions Directory Structure (/en/cli/v1/project-directory-structure/functions-directory) -------------------------------------------------------------------------------- # Configure the Event Function Let us now configure the event function `Cliq_Notifier`, which automatically sends a message to a Zoho Cliq channel. This message will include the invoice details of new customers who have successfully completed their payment. The function will be executed when it is triggered by Catalyst Signals. The [functions directory](https://docs.catalyst.zoho.com/en/cli/v1/project-directory-structure/functions-directory), `functions/Cliq_Notifier` contains: - The `CliqNotifier.java` main function file - The `catalyst-config.json` configuration file - Java library files in the `lib` folder - `.classpath` and `.project` dependency files You will be adding code in `CliqNotifier.java` file. > **Note:** Please go through the code in this section to make sure you fully understand it. You can directly copy the code below and paste it in `CliqNotifier.java` located in the `functions/Cliq_Notifier` directory and save the file. **CliqNotifier.java** ```java import java.util.logging.Level; import java.util.logging.Logger; import java.util.Arrays; import java.io.IOException; import org.json.JSONObject; import org.json.JSONArray; import org.json.JSONException; import com.catalyst.Context; import com.catalyst.event.EVENT_STATUS; import com.catalyst.event.EventRequest; import com.catalyst.event.CatalystEventHandler; import com.zc.auth.connectors.ZCConnection; import okhttp3.OkHttpClient; import okhttp3.MediaType; import okhttp3.Request; import okhttp3.RequestBody; import okhttp3.Response; public class CliqNotifier implements CatalystEventHandler { private static final Logger LOGGER = Logger.getLogger(CliqNotifier.class.getName()); private static final String ZBOOKSDOMAIN = "{{YOUR_ZBOOKS_DOMAIN}}"; //Enter your ZohoBooks Domain based on your region private static final String ZBOOKSORG = "{{YOUR_ZBOOKS_ORGANIZATION_ID}}"; //Enter your ZohoBooks Organization Id private static final String ZCLIQDOMAIN = "{{YOUR_ZCLIQ_DOMAIN}}"; //Enter your ZohoCliq Domain based on your region private static final String ZCLIQ_CHANNEL_UNIQUE_NAME = "{{YOUR_CHANNEL_UNIQUE_NAME}}"; //Enter the unique name of the channel where updates should be posted private static final String ZCLIQ_BOT_UNIQUE_NAME = "{{YOUR_BOT_UNIQUE_NAME}}"; //Enter the unique name of the bot that will post the messages private static final String ZACCOUNTSDOMAIN = "{{YOUR_ZACCOUNTS_DOMAIN}}"; //Enter your ZohoAccounts Domain based on your region @Override public EVENT_STATUS handleEvent(EventRequest event, Context context) throws Exception { try { JSONArray data = extractInvoiceData(event); JSONArray rows = transformInvoiceData(data); JSONObject requestBody = prepareCliqRequest(rows); String accessToken = getAccessToken(); sendToCliq(requestBody, accessToken); LOGGER.log(Level.INFO, "Message pushed to channel successfully"); return EVENT_STATUS.SUCCESS; } catch (Exception e) { LOGGER.log(Level.SEVERE, "An unexpected error occurred: ", e); return EVENT_STATUS.FAILURE; } } private JSONArray extractInvoiceData(EventRequest event) throws JSONException { JSONObject payload = (JSONObject) event.getRawData(); JSONArray data = payload.getJSONArray("data"); JSONArray rows = new JSONArray(); for (int i = 0; i < data.length(); i++) { JSONArray invoices = data.getJSONArray(i); for (int j = 0; j < invoices.length(); j++) { rows.put(invoices.getJSONObject(j)); } } return rows; } private JSONArray transformInvoiceData(JSONArray rows) throws JSONException { for (int i = 0; i < rows.length(); i++) { JSONObject row = rows.getJSONObject(i); String invoiceId = row.optString("Invoice Id"); row.put("Link", "https://" + ZBOOKSDOMAIN + "/app/" + ZBOOKSORG + "#/invoices/" + invoiceId); row.remove("Invoice Id"); } return rows; } private JSONObject prepareCliqRequest(JSONArray rows) throws JSONException { JSONArray headers = new JSONArray(Arrays.asList( "Customer", "Invoice Number", "Amount", "Paid On", "Link" )); JSONObject tableData = new JSONObject() .put("headers", headers) .put("rows", rows); JSONObject slide = new JSONObject() .put("type", "table") .put("data", tableData); return new JSONObject() .put("text", "Here are the invoices marked as Paid in the last hour:") .put("slides", new JSONArray().put(slide)); } @SuppressWarnings("unchecked") private String getAccessToken() throws Exception { org.json.simple.JSONObject authConfig = new org.json.simple.JSONObject(); org.json.simple.JSONObject connectorConfig = new org.json.simple.JSONObject(); authConfig.put("client_id", "{{YOUR_CLIENT_ID}}"); //Enter your Client ID authConfig.put("client_secret", "{{YOUR_CLIENT_SECRET}}"); //Enter your Client Secret authConfig.put("auth_url", "https://" + ZACCOUNTSDOMAIN + "/oauth/v2/auth"); authConfig.put("refresh_url", "https://" + ZACCOUNTSDOMAIN + "/oauth/v2/token"); authConfig.put("refresh_token", "{{YOUR_REFRESH_TOKEN}}"); //Enter your Refresh Token connectorConfig.put("CliqConnector", authConfig); return ZCConnection.getInstance(connectorConfig).getConnector("CliqConnector").getAccessToken(); } private void sendToCliq(JSONObject payload, String accessToken) throws IOException { String cliqUrl = "https://" + ZCLIQDOMAIN + "/api/v2/channelsbyname/" + ZCLIQ_CHANNEL_UNIQUE_NAME + "/message?bot_unique_name=" + ZCLIQ_BOT_UNIQUE_NAME; Request request = new Request.Builder() .url(cliqUrl) .addHeader("Authorization", "Zoho-oauthtoken " + accessToken) .addHeader("Content-Type", "application/json") .post(RequestBody.create(MediaType.parse("application/json"), payload.toString())) .build(); try (Response response = new OkHttpClient().newCall(request).execute()) { if (!response.isSuccessful()) { throw new IOException("Unexpected response from Cliq API: " + response.body().string()); } } } } ``` > **Note:** After you copy and paste the code into your function file, make sure to update the following placeholders with actual values, as indicated by the inline comments: - **Zoho Books Domain (line 27)**: Enter the domain corresponding to your [**Zoho Books**](https://www.zoho.com/in/books/) organization, based on your region. Example: books.zoho.com, books.zoho.eu, or books.zoho.in - **Zoho Books Organization ID (line 28)**: Provide the unique Organization ID of your Zoho Books account. - **Zoho Cliq Domain (line 30)**: Specify the domain of your [Zoho Cliq](https://www.zoho.com/cliq/) organization, based on your region. Example: cliq.zoho.com, cliq.zoho.eu - **Unique Name of your Zoho Cliq Channel (line 31)**: Enter the unique name of the [Zoho Cliq channel](https://help.zoho.com/portal/en/kb/zoho-cliq/user-guides/channels) where the paid invoice updates should be posted. - **Unique Name of your Zoho Cliq Bot (line 32)**: Provide the unique name of the [Zoho Cliq bot](https://www.zoho.com/cliq/help/platform/bots.html) that has been added to the above channel. - **Zoho Accounts Domain (line 34)**: Mention the [Zoho Accounts](https://www.accounts.zoho.com/) domain used to log into Catalyst, Zoho Books, and Zoho Cliq. Example: accounts.zoho.com, accounts.zoho.in - **Client ID (line 109)**: Paste the Client ID obtained during client registration in [Step 4](https://docs.catalyst.zoho.com/en/tutorials/invoice-notifier/nodejs/register-client/). - **Cient Secret (line 110)**: Paste the corresponding Client Secret generated in [Step 4](https://docs.catalyst.zoho.com/en/tutorials/invoice-notifier/java/register-client/). - **Refresh Token (line 113)**: Provide the Refresh Token you generated in [Step 5](https://docs.catalyst.zoho.com/en/tutorials/invoice-notifier/java/refresh-token/) using your API client tool. The Event function is now configured. -------------------------------------------------------------------------------- title: "Deploy the Project" description: "Create an Event Driven Architecture to automate invoice updates from Zoho Books to Zoho Cliq using Event Functions and Catalyst Signals." last_updated: "2026-08-17T12:16:04.000Z" source: "https://docs.catalyst.zoho.com/en/tutorials/invoice-notifier/java/deploy-project/" service: "All Services" related: - Deploy CLI Resources (/en/cli/v1/deploy-resources/introduction/) - Web Client Hosting (/en/cloud-scale/help/web-client-hosting/introduction) -------------------------------------------------------------------------------- # Deploy the Project To [deploy your Catalyst project](https://docs.catalyst.zoho.com/en/cli/v1/deploy-resources/introduction/) from the CLI, run the following command in your terminal from your project directory: ```sh catalyst deploy ``` The event function is now deployed to the console. ![Deploy the project](https://catalyst-docs-development.zohostratus.in/images/tutorials/invoice-notifier/java-deploy-cli.webp) -------------------------------------------------------------------------------- title: "Create a Rule" description: "Create an Event Driven Architecture to automate invoice updates from Zoho Books to Zoho Cliq using Event Functions and Catalyst Signals." last_updated: "2026-10-30T18:08:11.000Z" source: "https://docs.catalyst.zoho.com/en/tutorials/invoice-notifier/java/create-rule/" service: "All Services" related: - Publishers (/en/signals/help/publishers/key-aspects/) - Targets (/en/signals/help/targets/key-aspects/) - Rules (/en/signals/help/rules/key-aspects/) - Events (/en/signals/help/events/) - Event Functions (/en/serverless/help/functions/event-functions/) -------------------------------------------------------------------------------- # Create a Rule Now that the Publisher and the Event Function are configured, let us define how the events should be processed and delivered by setting up a Rule. Follow these steps to create the Rule: 1. In the Developer Console, select your project: *InvoiceNotifier*. 2. Go to **Catalyst Signals** and click on **Rules** in the left navigation. ![Add Rule](https://catalyst-docs-development.zohostratus.in/images/tutorials/invoice-notifier/rule.webp) 3. Click **Add Rule**, then provide a name and description for your rule. ![Provide name and description for the Rule](https://catalyst-docs-development.zohostratus.in/images/tutorials/invoice-notifier/create-rule.webp) ### Define Event Source 4. Under Source, click **Choose Event**, and select the Zoho Books Publisher you added earlier. 5. From the list of available events, choose *Customer Payment Created*, then click **Done**. ![Configure the publisher and event for the rule](https://catalyst-docs-development.zohostratus.in/images/tutorials/invoice-notifier/source.webp) ### Define Event Filter 6. In the Filter section, click the **edit icon** and choose **Events matching certain conditions**. ![Select Events matching certain conditions](https://catalyst-docs-development.zohostratus.in/images/tutorials/invoice-notifier/filter.webp) 7. Create a filter condition to include only events where the invoice status is **Paid**: - In the Path dropdown, select the JSON path that corresponds to the **payment_status** field. - Define the condition to match Paid. 8. Click **Save** to apply the filter. ![Configure filter for the rule](https://catalyst-docs-development.zohostratus.in/images/tutorials/invoice-notifier/filter-criteria.webp) ### Configure Target Settings 9. Click **Choose Target** and give your target a name. 10. Under **Consumer Type**, select the Event Function we created earlier using the CLI. 11. Set the **Dispatch Policy** to **Batch by Interval**: - Choose an interval of *one hour*. - Set the Retry Count to *five*. ![Configure target settings](https://catalyst-docs-development.zohostratus.in/images/tutorials/invoice-notifier/target-settings-invoice-notifier.webp) ### Transform the Payload 12. In the **Target Input** section, choose **Transform**. 13. From the default event payload of the *Customer Payment Created* event, select only the required data and structure them as shown below. **Expected Event Payload** ```json { "data" : [ [ { "Customer" : "test", "Invoice Number" : "Customer opening balance", "Amount" : "₹3,24,244.00", "Paid On" : "31/10/2023", "Invoice Id" : "275557000000158181" } ] ] } ``` **Data Mapping for Template Compiler** ```text { "data" : $.events.forEach((event)-> event.data.payment.invoices.forEach((invoice)-> { "Customer" : event.data.payment.customer_name, "Invoice Number" : invoice.invoice_number, "Amount" : invoice.total_formatted, "Paid On" : event.data.payment.date_formatted, "Invoice Id" : invoice.invoice_id } ) ) } ``` Paste this structure into the template compiler to extract the required fields and click **Generate Output**. ![Event Body Transformation](https://catalyst-docs-development.zohostratus.in/images/tutorials/invoice-notifier/transformation.webp) Check out the [Even Body Transformation help guide](https://docs.catalyst.zoho.com/en/signals/help/targets/event-body-setup/event-transformation/) to learn how to customize event payloads in detail. 14. Save the target configurations, then click **Save** again to finalize the rule. Now, whenever a customer completes a payment, the corresponding invoice in Zoho Books is updated. This update triggers an event that is processed every hour in Catalyst Signals and automatically sends a summarized message to the Zoho Cliq channel. ![Invoice Notifier](https://catalyst-docs-development.zohostratus.in/images/tutorials/invoice-notifier/demo.webp) ### Node.js -------------------------------------------------------------------------------- title: "Introduction" description: "Create an Event Driven Architecture to automate invoice updates from Zoho Books to Zoho Cliq using Event Functions and Catalyst Signals." last_updated: "2026-08-17T12:16:04.000Z" source: "https://docs.catalyst.zoho.com/en/tutorials/invoice-notifier/nodejs/introduction/" service: "All Services" related: - Project Directory Structure (/en/cli/v1/project-directory-structure/introduction/) - Node.js SDK (/en/sdk/nodejs/v2/overview/) -------------------------------------------------------------------------------- # Invoice Notifier ### Introduction In a fast-paced business environment, timely customer onboarding plays a key role in ensuring customer satisfaction. However, Customer Success teams often face delays due to a lack of real-time payment updates from billing applications. This tutorial demonstrates how you can use **Catalyst Signals** to bridge this gap and automate communication between decoupled systems. You will build an event-driven solution that listens to invoice updates from [**Zoho Books**](https://www.zoho.com/in/books/), filters the events based on payment status, and compiles a summary of paid invoices every hour. This summary will then be sent to a [**Catalyst Event Function**](https://docs.catalyst.zoho.com/en/serverless/help/functions/event-functions/), which will forward the report to your [**Zoho Cliq**](https://www.zoho.com/cliq/) channel. ![Invoice Notifier](https://catalyst-docs-development.zohostratus.in/images/tutorials/invoice-notifier/demo.webp) The event automation uses components from the following Catalyst Services: [**Catalyst Signals**](https://docs.catalyst.zoho.com/en/signals): * [**Publisher**](https://docs.catalyst.zoho.com/en/signals/help/publishers/key-aspects/): A primary source of [events](https://docs.catalyst.zoho.com/en/signals/help/events/) where they are generated when any action or change occurs in an application. * [**Rules**](https://docs.catalyst.zoho.com/en/signals/help/rules/key-aspects/): It is a statement that guides the ingestion of incoming events from Publisher to [Target](https://docs.catalyst.zoho.com/en/signals/help/targets/key-aspects/). [**Catalyst Serverless**](https://docs.catalyst.zoho.com/en/serverless/): * [**Event Function**](https://docs.catalyst.zoho.com/en/serverless/help/functions/event-functions/): It is an asynchronous task function that is associated with Catalyst Signals. An Event function is created to execute a task or a set of tasks on the occurrence of a specified event. We will use the [Catalyst web console](https://console.catalyst.zoho.com/) and the [Catalyst Command Line Interface](https://docs.catalyst.zoho.com/en/cli/v1/cli-command-reference/) (CLI) to build this application. You will be given the code for the files to be included in the function components in this tutorial. You will just need to copy the code given here and paste it into the appropriate files as directed. ### Event Flow The architecture of the event flow in this use case is outlined below: - A customer makes a payment, **triggering an invoice update** in Zoho Books. This event is published to Catalyst Signals. - Signals applies a **filter** to include only invoices marked as *Paid*. The filtered event data is then transformed and batched. - **Every hour**, the **batched events** are delivered to a Catalyst Event Function. The function further processes the event data and sends as a **report to a Zoho Cliq channel**. ![Event flow for Invoice Notifier](https://catalyst-docs-development.zohostratus.in/images/tutorials/invoice-notifier/event-flow.webp) -------------------------------------------------------------------------------- title: "Prerequisites" description: "Create an Event Driven Architecture to automate invoice updates from Zoho Books to Zoho Cliq using Event Functions and Catalyst Signals." last_updated: "2026-08-17T12:16:04.000Z" source: "https://docs.catalyst.zoho.com/en/tutorials/invoice-notifier/nodejs/prerequisites/" service: "All Services" related: - CLI Command Reference (/en/cli/v1/cli-command-reference/) - Install CLI (/en/getting-started/installing-catalyst-cli/) - Login CLI (/en/cli/v1/login/login-from-cli/) - Zoho Books Organization Profile (https://www.zoho.com/in/books/help/settings/organization-profile.html) - Zoho Cliq Channels (https://help.zoho.com/portal/en/kb/zoho-cliq/user-guides/channels) - Zoho Cliq Bots (https://www.zoho.com/cliq/help/platform/managing-bots.html) -------------------------------------------------------------------------------- # Prerequisites Before you begin building the Invoice Notifier, you must have the following prerequisites installed on your system: ### 1. Catalyst CLI Catalyst CLI contains a host of tools that enable you to initialize, develop, test, and deploy the components of your application from your local machine. We will be working with Catalyst CLI in this tutorial. You must perform the following actions: 1. **Install Catalyst CLI:** Catalyst CLI is installed through NPM so you must have both NPM and Node.js installed beforehand. Refer to the [**Install Catalyst CLI help page**](https://docs.catalyst.zoho.com/en/getting-started/installing-catalyst-cli/) for details on the pre-requisites and the steps to install it. 2. **Login Catalyst CLI:** After installation, you must authenticate the CLI with your Catalyst account before using it. Refer to the [**CLI Login help page**](https://docs.catalyst.zoho.com/en/cli/v1/login/login-from-cli/) for the steps to login from Catalyst CLI and the various options available for it. ### 2. Any IDE tool for Node.js and client code development Use any IDE that supports Node JS development like Visual Studio Code, IntelliJ, or Eclipse to work on the event function. > If you are a Visual Studio Code IDE user, you can install the **Catalyst Tools** extension, and use your IDE itself in place of the CLI. You can find more details about the Catalyst VS Code extension from this [help section](https://docs.catalyst.zoho.com/en/catalyst-extensions/vs-code-extension/introduction/). ### 3. Zoho Books for Invoice Management Create an organization in [Zoho Books](https://www.zoho.com/in/books/) to maintain customer payment records in the form of invoices. > **Note:** You can also integrate any third-party tools for invoice generation. However, if you choose to do so, you will need to configure a [**custom publisher**](https://docs.catalyst.zoho.com/en/signals/help/publishers/create-publisher/custom-publishers) **in Catalyst Signals** for the external application and update the rule accordingly. ### 4. Zoho Cliq for Team Notifications Create an organization in [Zoho Cliq](https://www.zoho.com/cliq/) to act as internal communication platform for your Customer Success Team. Within this organization, - Create a Channel for updating invoice status of onboarding customers. Follow the steps given in the [How to create a channel in Zoho Cliq](https://www.zoho.com/cliq/help/channels/create-channel.html) help page for guidance. - Create and associate a bot to the channel so it can automatically post messages regarding the invoice updates. Refer to the [Managing Bots](https://www.zoho.com/cliq/help/platform/managing-bots.html) and [Bot Channel Participation](https://www.zoho.com/cliq/help/platform/bot-participation-handler.html) help resources for guidance. For this tutorial, you don’t need to add or edit any handlers for the bot. Ensure that the required channel participation permissions are configured correctly while creating the bot, as shown in the image below. ![Configuring Cliq Bot Permissions](https://catalyst-docs-development.zohostratus.in/images/tutorials/invoice-notifier/bot-config.webp) > **Note:** You can also integrate any third-party tools for internal team communication. However, if you choose to do so, you will need to **update the event function** accordingly to route notifications to the appropriate communication channel. -------------------------------------------------------------------------------- title: "Create a Project" description: "Create an Event Driven Architecture to automate invoice updates from Zoho Books to Zoho Cliq using Event Functions and Catalyst Signals." last_updated: "2026-11-03T15:16:51.000Z" source: "https://docs.catalyst.zoho.com/en/tutorials/invoice-notifier/nodejs/create-project/" service: "All Services" related: - Catalyst Console (/en/getting-started/catalyst-projects/) -------------------------------------------------------------------------------- # Create a Project Let’s [create a Catalyst project](https://docs.catalyst.zoho.com/en/getting-started/catalyst-projects/#create-a-catalyst-project) from the Catalyst console. 1. Log in to the [Catalyst console](https://console.catalyst.zoho.com/baas/index) and click **Create New Project**. ![catalyst_invoice_notifier_create_project](https://catalyst-docs-development.zohostratus.in/images/tutorials/invoice-notifier/dev-console.webp) 2. Enter the project’s name as "**InvoiceNotifier**" in the pop-up window, and click **Create**. ![catalyst_invoice_notifier_project_create_name](https://catalyst-docs-development.zohostratus.in/images/tutorials/invoice-notifier/create-project.webp) Your project will be created then opened. You can access the project later, by clicking **Access Project**. ![catalyst_invoice_notifier_access_project](https://catalyst-docs-development.zohostratus.in/images/tutorials/invoice-notifier/access-project.webp) -------------------------------------------------------------------------------- title: "Add Publisher" description: "Create an Event Driven Architecture to automate invoice updates from Zoho Books to Zoho Cliq using Event Functions and Catalyst Signals." last_updated: "2026-08-17T12:16:04.000Z" source: "https://docs.catalyst.zoho.com/en/tutorials/invoice-notifier/nodejs/configure-publisher/" service: "All Services" related: - Publishers (/en/signals/help/publishers/key-aspects/) -------------------------------------------------------------------------------- # Add Publisher Let us start by setting up a [**Publisher**](https://docs.catalyst.zoho.com/en/signals/help/publishers/key-aspects/) in the *InvoiceNotifier* project. This Publisher will listen for **Invoice Updated** events from [**Zoho Books**](https://www.zoho.com/in/books/) and forward them to [**Catalyst Signals**](https://docs.catalyst.zoho.com/en/signals). Follow these steps to configure the Publisher: 1. Navigate to the **Catalyst Signals** section in the Catalyst Console and click **Start Exploring**. ![Explore Signals](https://catalyst-docs-development.zohostratus.in/images/tutorials/invoice-notifier/explore.webp) 2. Go to **Publishers** and click **Create Publisher**. ![Create a Publisher](https://catalyst-docs-development.zohostratus.in/images/tutorials/invoice-notifier/create-pub.webp) 3. From the list of available Zoho Services, select **Zoho Books**. ![Select Zoho Books](https://catalyst-docs-development.zohostratus.in/images/tutorials/invoice-notifier/zoho-books.webp) 4. You will be taken to a configuration page. Fill in the required details: - Set the **Publisher Name** and **API Name** as Zylker. - Select the desired Zoho Books org from the **Organization** dropdown. It will list only the organizations linked to the same email address you use to access the Catalyst Console. ![Configure Zoho Books Publisher](https://catalyst-docs-development.zohostratus.in/images/tutorials/invoice-notifier/pub-config.webp) 5. Enable **Event Ordering** to ensure that events are delivered in the same order they are received. ![Enable Event Ordering](https://catalyst-docs-development.zohostratus.in/images/tutorials/invoice-notifier/event-ordering.webp) 6. Click **Save** to complete Setup and **Authorize** to use data from Zoho Books. ![Authourize Zoho Books](https://catalyst-docs-development.zohostratus.in/images/tutorials/invoice-notifier/authorize.webp) Your Zoho Books Publisher is now ready to send invoice events to Catalyst Signals. -------------------------------------------------------------------------------- title: "Initialize the Project from CLI" description: "Create an Event Driven Architecture to automate invoice updates from Zoho Books to Zoho Cliq using Event Functions and Catalyst Signals." last_updated: "2026-08-17T12:16:04.000Z" source: "https://docs.catalyst.zoho.com/en/tutorials/invoice-notifier/nodejs/initialize-project/" service: "All Services" related: - Initialize CLI Resources (/en/cli/v1/initialize-resources/introduction/) - Project Directory Structure (/en/cli/v1/project-directory-structure/introduction/) -------------------------------------------------------------------------------- # Initialize the Project from the CLI You can now begin working on your Catalyst project from the CLI. The first step is to initialize the project in an empty directory. This will be the home directory of your project and all of the project files will be saved in it. You can learn more about this from the [Project Directory Structure help page](https://docs.catalyst.zoho.com/en/cli/v1/project-directory-structure/introduction/). You can learn about initializing a project in detail from the [CLI help documentation](https://docs.catalyst.zoho.com/en/cli/v1/initialize-resources/introduction/). For this InvoiceNotifier, we will initialize an [Event Function](https://docs.catalyst.zoho.com/en/serverless/help/functions/event-functions/), which will contain the logic of the action that is required to occur once the event happens and a [Basic web app](https://docs.catalyst.zoho.com/en/cli/v1/initialize-resources/initialize-client/#basic-client-applications) as the client component. The event function will be initialized in the [Node JS](https://docs.catalyst.zoho.com/en/sdk/nodejs/v2/overview/) platform. However, you can also initialize it in the [Java](https://docs.catalyst.zoho.com/en/sdk/java/v1/overview/) or [Python](https://docs.catalyst.zoho.com/en/sdk/python/v1/overview/) platforms. > **Note:** Ensure that you enter the function's package name or class name exactly as instructed, because the application's code contains the same name. 1. Create a folder for the project on your local machine and navigate to it from the terminal. 2. Initialize a project by executing the following command from that directory: ```sh catalyst init ``` 3. Navigate using the arrow keys and select your preferred portal and press the Enter key. If you have no other organizations associated with the account, then the default one will be selected automatically. ![catalyst_authorization_portal_multiorg_choice](https://catalyst-docs-development.zohostratus.in/images/tutorials/invoice-notifier/cli-portal.webp) You can find out more about Catalyst's multi-org portal feature from this [help document](https://docs.catalyst.zoho.com/en/getting-started/catalyst-organizations/#access-the-multi-org-portal). 4. The CLI will now ask you to associate a Catalyst project with the directory. Associate it with the project that we created earlier from the console. Select *InvoiceNotifier* from the list and press Enter. ![Select your project](https://catalyst-docs-development.zohostratus.in/images/tutorials/invoice-notifier/project-cli.webp) 5. Select **Functions** using the space-bar, then press the **Enter** key to initialize. ![Select Function component](https://catalyst-docs-development.zohostratus.in/images/tutorials/invoice-notifier/func-cli.webp) 6. The CLI will initiate the function setup. Select **Event** as the function type. ![Select function type](https://catalyst-docs-development.zohostratus.in/images/tutorials/invoice-notifier/eventfunc-cli.webp) 7. Select the latest runtime of **NodeJS** as the programming environment and Press **Enter**. ![Select language environment for function](https://catalyst-docs-development.zohostratus.in/images/tutorials/invoice-notifier/nodejs-cli.webp) 8. Enter **Cliq_Notifier** as the package name, "`index.js`" as the entry point, and your email address as the author, then press **Enter**. Alternatively, you can press **Enter** without entering inputs to fill in the default values. The CLI will prompt the initialization of the Node dependencies. Press **Y** to confirm the installation, and press **Enter** to confirm your choice. The Node modules will be installed. ![Provide package name and other details](https://catalyst-docs-development.zohostratus.in/images/tutorials/invoice-notifier/node-package-cli.webp) The Catalyst initialization is now complete. The project directory is now set up with the functions directory along with configuration files and dependencies. The project directory also contains the [`catalyst.json`](https://docs.catalyst.zoho.com/en/cli/v1/project-directory-structure/catalyst-json/) configuration file and a hidden `.catalystrc` file. The structure of your project directory should now appear as shown below: ![Project Directory for NodeJS](https://catalyst-docs-development.zohostratus.in/images/tutorials/invoice-notifier/node-proj-dir.webp) -------------------------------------------------------------------------------- title: "Register the Client" description: "Create an Event Driven Architecture to automate invoice updates from Zoho Books to Zoho Cliq using Event Functions and Catalyst Signals." last_updated: "2026-08-17T12:16:04.000Z" source: "https://docs.catalyst.zoho.com/en/tutorials/invoice-notifier/nodejs/register-client/" service: "All Services" related: - Catalyst API Documentation (/en/api/introduction/overview-and-prerequisites/#OverviewandPrerequisites) -------------------------------------------------------------------------------- # Register the Client Application in Zoho API Console To enable secure and authorized communication between Catalyst and Zoho Cliq, you must register your client application in the Zoho API Console. This step is necessary to generate OAuth credentials that will be embedded in the Event Function code. By registering the client, you will receive the following: * **Client ID**: A unique identifier assigned to your registered application. * **Client Secret**: A confidential key used along with the Client ID to authenticate the client. We will use these credentials to generate the following OAuth tokens: * **Grant Token (code)**: A temporary token generated using the Client ID and Client Secret in the API console. This is used to fetch the Refresh Token. * **Refresh Token**: A persistent token used to request new Access Tokens when the previous ones expire. We will generate this in the REST API client in the next step. * **Access Token**: A temporary token that authorizes Zoho Cliq API calls. You do not need to manually generate this, as it will be automatically handled using the Refresh Token during runtime. The Client ID, Client Secret, and Refresh Token are added to the Event Function code. They enable Catalyst to programmatically perform actions (like posting messages) in your Zoho Cliq channel. The function will use the Refresh Token to continuously retrieve fresh Access Tokens, ensuring uninterrupted connectivity between Catalyst and Cliq. To register the client application in Zoho API console: 1. Go to the [Zoho API Console](https://api-console.zoho.com/) and click **Get Started** or **Add Client**. ![Zoho API Console](https://catalyst-docs-development.zohostratus.in/images/tutorials/invoice-notifier/api-console.webp) 2. Choose **Self Client** as the client type. Since both the Catalyst and the Cliq accounts are configured in the same organization, a Self Client can be used for this application. ![Choosing the client type](https://catalyst-docs-development.zohostratus.in/images/tutorials/invoice-notifier/self-client.webp) 3. In the popup, click **Create** to register your client. ![Creating a new self-client](https://catalyst-docs-development.zohostratus.in/images/tutorials/invoice-notifier/new-client.webp) The API console will generate and display the Client ID and Client Secret values for the registered client. ![Client Credentials for the new self-client](https://catalyst-docs-development.zohostratus.in/images/tutorials/invoice-notifier/client-credentials.webp) 4. Now, click the **Generate Code** tab to generate the Grant Token. - In the **Scope** field, enter: `ZohoCliq.Webhooks.CREATE` - Add a **Description** for the scope. - Set a **Time Duration** for the Grant Token. ![Generating grant token](https://catalyst-docs-development.zohostratus.in/images/tutorials/invoice-notifier/generate-code.webp) 5. Click **Create**. Once created, the Grant Token (code) will be displayed. ![Grant token](https://catalyst-docs-development.zohostratus.in/images/tutorials/invoice-notifier/grant-token.webp) Copy the generated Client ID, Client Secret, and Grant Token, and keep them ready. We will use these values in the upcoming step to generate the Refresh Token and configure the function files in the project. -------------------------------------------------------------------------------- title: "Generate the refresh token" description: "Create an Event Driven Architecture to automate invoice updates from Zoho Books to Zoho Cliq using Event Functions and Catalyst Signals." last_updated: "2026-08-17T12:16:04.000Z" source: "https://docs.catalyst.zoho.com/en/tutorials/invoice-notifier/nodejs/refresh-token/" service: "All Services" related: - Catalyst API Documentation (/en/api/introduction/overview-and-prerequisites/#OverviewandPrerequisites) -------------------------------------------------------------------------------- # Generate Refresh Token Before configuring the function and client components, you need to generate a **Refresh Token**, which will be included in the function code to authorize interactions with Zoho Cliq. You can use any REST API client to perform this step. In this tutorial, we’ll walk you through the process using the [Postman API](https://www.postman.com/) platform. 1. Open your API client and create a new POST request to the following URL: * **Request URL:** `https://accounts.zoho.com/oauth/v2/token` * **Request Method:** POST 2. Add the following keys and values as query parameters in your request: * **`code`:** The Grant Token or the value of code obtained during the [client registration](https://docs.catalyst.zoho.com/en/tutorials/invoice-notifier/nodejs/register-client) in the API console * **`client\_id`:** The Client ID that was generated during the client registration * **`client\_secret`:** The Client Secret that was generated during the client registration * **`grant\_type`:** `authorization\_code` (Provide this literal string as the value) 3. Send the request with the above parameters to the specified request URL. If the request is successful, you will receive a response that includes: `access\_token`, `refresh\_token`, `api\_domain`, `token\_type`, `expires\_in`. We only require the Refresh Token. A screenshot of this step using Postman is provided below to guide you through the request and response. ![Generating refresh token](https://catalyst-docs-development.zohostratus.in/images/tutorials/invoice-notifier/refresh-token.webp) 4. Copy the `refresh\_token` value from the response received. You’ll use this in the function code in the next step of the tutorial. -------------------------------------------------------------------------------- title: "Configure the Event function" description: "Create an Event Driven Architecture to automate invoice updates from Zoho Books to Zoho Cliq using Event Functions and Catalyst Signals." last_updated: "2026-08-17T12:16:04.000Z" source: "https://docs.catalyst.zoho.com/en/tutorials/invoice-notifier/nodejs/configure-function/" service: "All Services" related: - Event Functions (/en/serverless/help/functions/event-functions/) - Functions Directory Structure (/en/cli/v1/project-directory-structure/functions-directory) -------------------------------------------------------------------------------- # Configure the Event Function Let us now configure the event function `Cliq_Notifier`, which automatically sends a message to a Zoho Cliq channel. This message will include the invoice details of new customers who have successfully completed their payment. The function will be executed when it is triggered by Catalyst Signals. The [functions directory](https://docs.catalyst.zoho.com/en/cli/v1/project-directory-structure/functions-directory), `functions/Cliq_Notifier` contains: - The `index.js` main function file - The `catalyst-config.json` configuration file - Node modules - `[package.json](https://docs.npmjs.com/files/package.json)` and `[package-lock.json](https://docs.npmjs.com/configuring-npm/package-lock-json.html)` dependency files You will be adding code in the `index.js` file. Our function will require axios package as a dependency for its efficient functioning. `axios` is a promise-based HTTP client that we will use to send asynchronous HTTP requests to the Cliq API endpoint to post messages. To install `axios`, navigate to the Node function's directory (`functions/Cliq_Notifier`) and execute the following command: ```sh npm install axios ``` This will install the module. ![installing axios dependencies](https://catalyst-docs-development.zohostratus.in/images/tutorials/invoice-notifier/axios-cli.webp) This will also update the `Package.json` file with **axios** dependency as shown in this image. ![Add dependencies for the fucntion](https://catalyst-docs-development.zohostratus.in/images/tutorials/invoice-notifier/dependency.webp) Copy the Node.js code and paste it in `index.js` in the `functions/Cliq_Notifier` directory of your project, and save the file. You can use any IDE of your choice to work with the application's files. > **Note**: Please go through the code given in this section to ensure you fully understand it. **index.js** ```javascript const axios = require('axios'); const catalyst = require('zcatalyst-sdk-node'); const ZBOOKSDOMAIN = "{{YOUR_ZBOOKS_DOMAIN}}"; //Enter your ZohoBooks Domain based on your region const ZBOOKSORG = "{{YOUR_ZBOOKS_ORGANIZATION_ID}}" //Enter your ZohoBooks Organization Id const ZCLIQDOMAIN = "{{YOUR_ZCLIQ_DOMAIN}}"; //Enter your ZohoCliq Domain based on your region const ZCLIQ_CHANNEL_UNIQUE_NAME = "{{YOUR_CHANNEL_UNIQUE_NAME}}" //Enter the unique name of the channel where updates should be posted const ZCLIQ_BOT_UNIQUE_NAME = "{{YOUR_BOT_UNIQUE_NAME}}" //Enter the unique name of the bot that will post the messages const ZACCOUNTSDOMAIN = "{{YOUR_ZACCOUNTS_DOMAIN}}" //Enter your ZohoAccounts Domain based on your region module.exports = async (event, context) => { try { const rows = transformEventData(event.getRawData()); const requestBody = buildCliqRequestBody(rows); const accessToken = await getAccessToken(context); await sendToCliq(requestBody, accessToken); console.log("Message pushed to channel successfully"); context.closeWithSuccess(); } catch (error) { console.error('Error occurred:', error); context.closeWithFailure(); } }; function transformEventData(rawData) { let rows = rawData.data.flat(); for (let row of rows) { const invoiceId = row["Invoice Id"]; delete row["Invoice Id"]; row["Link"] = `https://${ZBOOKSDOMAIN}/app/${ZBOOKSORG}#/invoices/${invoiceId}`; } return rows; } function buildCliqRequestBody(rows) { return { slides: [{ type: "table", data: { headers: ["Customer", "Invoice Number", "Amount", "Paid On", "Link"], rows: rows } }], text: "Here are the invoices marked as Paid in the last hour:" }; } async function getAccessToken(context) { const app = catalyst.initialize(context); var connector = app.connection({ CliqConnector: { client_id: "{{YOUR_CLIENT_ID}}", //Enter your Client ID client_secret: "{{YOUR_CLIENT_SECRET}}", //Enter your Client Secret auth_url: `https://${ZACCOUNTSDOMAIN}/oauth/v2/auth`,     refresh_url: `https://${ZACCOUNTSDOMAIN}/oauth/v2/token`, refresh_token: "{{YOUR_REFRESH_TOKEN}}" //Enter your Refresh Token } }) .getConnector('CliqConnector'); return await connector.getAccessToken(); } async function sendToCliq(body, accessToken) { const cliqChannelURL = `https://${ZCLIQDOMAIN}/api/v2/channelsbyname/${ZCLIQ_CHANNEL_UNIQUE_NAME}/message?bot_unique_name=${ZCLIQ_BOT_UNIQUE_NAME}`; const headers = { 'Content-Type': 'application/json', 'Authorization': 'Zoho-oauthtoken ' + accessToken }; const response = await axios.post(cliqChannelURL, body, { headers }); } ``` > **Note:** After you copy and paste the code into your function file, make sure to update the following placeholders with actual values, as indicated by the inline comments: - **Zoho Books Domain (line 4)**: Enter the domain corresponding to your [**Zoho Books**](https://www.zoho.com/in/books/) organization, based on your region. Example: books.zoho.com, books.zoho.eu, or books.zoho.in - **Zoho Books Organization ID (line 5)**: Provide the unique Organization ID of your Zoho Books account. - **Zoho Cliq Domain (line 7)**: Specify the domain of your [Zoho Cliq](https://www.zoho.com/cliq/) organization, based on your region. Example: cliq.zoho.com, cliq.zoho.eu - **Unique Name of your Zoho Cliq Channel (line 8)**: Enter the unique name of the [Zoho Cliq channel](https://help.zoho.com/portal/en/kb/zoho-cliq/user-guides/channels) where the paid invoice updates should be posted. - **Unique Name of your Zoho Cliq Bot (line 9)**: Provide the unique name of the [Zoho Cliq bot](https://www.zoho.com/cliq/help/platform/bots.html) that has been added to the above channel. - **Zoho Accounts Domain (line 11)**: Mention the [Zoho Accounts](https://www.accounts.zoho.com/) domain used to log into Catalyst, Zoho Books, and Zoho Cliq. Example: accounts.zoho.com, accounts.zoho.in - **Client ID (line 54)**: Paste the Client ID obtained during client registration in [Step 4](https://docs.catalyst.zoho.com/en/tutorials/invoice-notifier/nodejs/register-client/). - **Cient Secret (line 55)**: Paste the corresponding Client Secret generated in [Step 4](https://docs.catalyst.zoho.com/en/tutorials/invoice-notifier/nodejs/register-client/). - **Refresh Token (line 58)**: Provide the Refresh Token you generated in [Step 5](https://docs.catalyst.zoho.com/en/tutorials/invoice-notifier/nodejs/refresh-token/) using your API client tool. The Event function is now configured. -------------------------------------------------------------------------------- title: "Deploy the Project" description: "Create an Event Driven Architecture to automate invoice updates from Zoho Books to Zoho Cliq using Event Functions and Catalyst Signals." last_updated: "2026-08-17T12:16:04.000Z" source: "https://docs.catalyst.zoho.com/en/tutorials/invoice-notifier/nodejs/deploy-project/" service: "All Services" related: - Deploy CLI Resources (/en/cli/v1/deploy-resources/introduction/) - Web Client Hosting (/en/cloud-scale/help/web-client-hosting/introduction) -------------------------------------------------------------------------------- # Deploy the Project To [deploy your Catalyst project](https://docs.catalyst.zoho.com/en/cli/v1/deploy-resources/introduction/) from the CLI, navigate to the `functions/Cliq_Notifier` folder of your project and install npm. ```sh npm install ``` ![Install npm](https://catalyst-docs-development.zohostratus.in/images/tutorials/invoice-notifier/npm-cli.webp) Now, run the following command in your terminal from your project directory: ```sh catalyst deploy ``` The event function is now deployed to the console. ![Deploy the project](https://catalyst-docs-development.zohostratus.in/images/tutorials/invoice-notifier/node-deploy-cli.webp) -------------------------------------------------------------------------------- title: "Create a Rule" description: "Create an Event Driven Architecture to automate invoice updates from Zoho Books to Zoho Cliq using Event Functions and Catalyst Signals." last_updated: "2026-10-30T18:08:11.000Z" source: "https://docs.catalyst.zoho.com/en/tutorials/invoice-notifier/nodejs/create-rule/" service: "All Services" related: - Publishers (/en/signals/help/publishers/key-aspects/) - Targets (/en/signals/help/targets/key-aspects/) - Rules (/en/signals/help/rules/key-aspects/) - Events (/en/signals/help/events/) - Event Functions (/en/serverless/help/functions/event-functions/) -------------------------------------------------------------------------------- # Create a Rule Now that the Publisher and the Event Function are configured, let us define how the events should be processed and delivered by setting up a Rule. Follow these steps to create the Rule: 1. In the Developer Console, select your project: *InvoiceNotifier*. 2. Go to **Catalyst Signals** and click on **Rules** in the left navigation. ![Add Rule](https://catalyst-docs-development.zohostratus.in/images/tutorials/invoice-notifier/rule.webp) 3. Click **Add Rule**, then provide a name and description for your rule. ![Provide name and description for the Rule](https://catalyst-docs-development.zohostratus.in/images/tutorials/invoice-notifier/create-rule.webp) ### Define Event Source 4. Under Source, click **Choose Event**, and select the Zoho Books Publisher you added earlier. 5. From the list of available events, choose *Customer Payment Created*, then click **Done**. ![Configure the publisher and event for the rule](https://catalyst-docs-development.zohostratus.in/images/tutorials/invoice-notifier/source.webp) ### Define Event Filter 6. In the Filter section, click the **edit icon** and choose **Events matching certain conditions**. ![Select Events matching certain conditions](https://catalyst-docs-development.zohostratus.in/images/tutorials/invoice-notifier/filter.webp) 7. Create a filter condition to include only events where the invoice status is **Paid**: - In the Path dropdown, select the JSON path that corresponds to the **payment_status** field. - Define the condition to match Paid. 8. Click **Save** to apply the filter. ![Configure filter for the rule](https://catalyst-docs-development.zohostratus.in/images/tutorials/invoice-notifier/filter-criteria.webp) ### Configure Target Settings 9. Click **Choose Target** and give your target a name. 10. Under **Consumer Type**, select the Event Function we created earlier using the CLI. 11. Set the **Dispatch Policy** to **Batch by Interval**: - Choose an interval of *one hour*. - Set the Retry Count to *five*. ![Configure target settings](https://catalyst-docs-development.zohostratus.in/images/tutorials/invoice-notifier/target-settings.webp) ### Transform the Payload 12. In the **Target Input** section, choose **Transform**. 13. From the default event payload of the *Customer Payment Created* event, select only the required data and structure them as shown below. **Expected Event Payload** ```json { "data" : [ [ { "Customer" : "test", "Invoice Number" : "Customer opening balance", "Amount" : "₹3,24,244.00", "Paid On" : "31/10/2023", "Invoice Id" : "275557000000158181" } ] ] } ``` **Data Mapping for Template Compiler** ```text { "data" : $.events.forEach((event)-> event.data.payment.invoices.forEach((invoice)-> { "Customer" : event.data.payment.customer_name, "Invoice Number" : invoice.invoice_number, "Amount" : invoice.total_formatted, "Paid On" : event.data.payment.date_formatted, "Invoice Id" : invoice.invoice_id } ) ) } ``` Paste this structure into the template compiler to extract the required fields and click **Generate Output**. ![Event Body Transformation](https://catalyst-docs-development.zohostratus.in/images/tutorials/invoice-notifier/transformation.webp) Check out the [Even Body Transformation help guide](https://docs.catalyst.zoho.com/en/signals/help/targets/event-body-setup/event-transformation/) to learn how to customize event payloads in detail. 14. Save the target configurations, then click **Save** again to finalize the rule. Now, whenever a customer completes a payment, the corresponding invoice in Zoho Books is updated. This update triggers an event that is processed every hour in Catalyst Signals and automatically sends a summarized message to the Zoho Cliq channel. ![Invoice Notifier](https://catalyst-docs-development.zohostratus.in/images/tutorials/invoice-notifier/demo.webp) ### Python -------------------------------------------------------------------------------- title: "Introduction" description: "Create an Event Driven Architecture to automate invoice updates from Zoho Books to Zoho Cliq using Event Functions and Catalyst Signals." last_updated: "2026-08-17T12:16:04.000Z" source: "https://docs.catalyst.zoho.com/en/tutorials/invoice-notifier/python/introduction/" service: "All Services" related: - Project Directory Structure (/en/cli/v1/project-directory-structure/introduction/) - Java SDK (/en/sdk/java/v1/overview/) - Node.js SDK (/en/sdk/nodejs/v2/overview/) - Python SDK (/en/sdk/python/v1/overview/) -------------------------------------------------------------------------------- # Invoice Notifier ### Introduction In a fast-paced business environment, timely customer onboarding plays a key role in ensuring customer satisfaction. However, Customer Success teams often face delays due to a lack of real-time payment updates from billing applications. This tutorial demonstrates how you can use **Catalyst Signals** to bridge this gap and automate communication between decoupled systems. You will build an event-driven solution that listens to invoice updates from [**Zoho Books**](https://www.zoho.com/in/books/), filters the events based on payment status, and compiles a summary of paid invoices every hour. This summary will then be sent to a [**Catalyst Event Function**](https://docs.catalyst.zoho.com/en/serverless/help/functions/event-functions/), which will forward the report to your [**Zoho Cliq**](https://www.zoho.com/cliq/) channel. ![Invoice Notifier](https://catalyst-docs-development.zohostratus.in/images/tutorials/invoice-notifier/demo.webp) The event automation uses components from the following Catalyst Services: [**Catalyst Signals**](https://docs.catalyst.zoho.com/en/signals): * [**Publisher**](https://docs.catalyst.zoho.com/en/signals/help/publishers/key-aspects/): A primary source of [events](https://docs.catalyst.zoho.com/en/signals/help/events/) where they are generated when any action or change occurs in an application. * [**Rules**](https://docs.catalyst.zoho.com/en/signals/help/rules/key-aspects/): It is a statement that guides the ingestion of incoming events from Publisher to [Target](https://docs.catalyst.zoho.com/en/signals/help/targets/key-aspects/). [**Catalyst Serverless**](https://docs.catalyst.zoho.com/en/serverless/): * [**Event Function**](https://docs.catalyst.zoho.com/en/serverless/help/functions/event-functions/): It is an asynchronous task function that is associated with Catalyst Signals. An Event function is created to execute a task or a set of tasks on the occurrence of a specified event. We will use the [Catalyst web console](https://console.catalyst.zoho.com/) and the [Catalyst Command Line Interface](https://docs.catalyst.zoho.com/en/cli/v1/cli-command-reference/) (CLI) to build this application. You will be given the code for the files to be included in the function components in this tutorial. You will just need to copy the code given here and paste it into the appropriate files as directed. ### Event Flow The architecture of the event flow in this use case is outlined below: - A customer makes a payment, **triggering an invoice update** in Zoho Books. This event is published to Catalyst Signals. - Signals applies a **filter** to include only invoices marked as *Paid*. The filtered event data is then transformed and batched. - **Every hour**, the **batched events** are delivered to a Catalyst Event Function. The function further processes the event data and sends as a **report to a Zoho Cliq channel**. ![Event flow for Invoice Notifier](https://catalyst-docs-development.zohostratus.in/images/tutorials/invoice-notifier/event-flow.webp) -------------------------------------------------------------------------------- title: "Prerequisites" description: "Create an Event Driven Architecture to automate invoice updates from Zoho Books to Zoho Cliq using Event Functions and Catalyst Signals." last_updated: "2026-08-17T12:16:04.000Z" source: "https://docs.catalyst.zoho.com/en/tutorials/invoice-notifier/python/prerequisites/" service: "All Services" related: - CLI Command Reference (/en/cli/v1/cli-command-reference/) - Install CLI (/en/getting-started/installing-catalyst-cli/) - Login CLI (/en/cli/v1/login/login-from-cli/) - Zoho Books Organization Profile (https://www.zoho.com/in/books/help/settings/organization-profile.html) - Zoho Cliq Channels (https://www.zoho.com/cliq/help/channels/create-channel.html) - Zoho Cliq Bots (https://www.zoho.com/cliq/help/platform/managing-bots.html) -------------------------------------------------------------------------------- # Prerequisites Before you begin building the Invoice Notifier, you must have the following prerequisites installed on your system: ### 1. Catalyst CLI Catalyst CLI contains a host of tools that enable you to initialize, develop, test, and deploy the components of your application from your local machine. We will be working with Catalyst CLI in this tutorial. You must perform the following actions: 1. **Install Catalyst CLI:** Catalyst CLI is installed through NPM so you must have both NPM and Node.js installed beforehand. Refer to the [**Install Catalyst CLI help page**](https://docs.catalyst.zoho.com/en/getting-started/installing-catalyst-cli/) for details on the pre-requisites and the steps to install it. 2. **Login Catalyst CLI:** After installation, you must authenticate the CLI with your Catalyst account before using it. Refer to the [**CLI Login help page**](https://docs.catalyst.zoho.com/en/cli/v1/login/login-from-cli/) for the steps to login from Catalyst CLI and the various options available for it. ### 2. Any IDE tool for Node.js and client code development Use any IDE that supports Python development like Visual Studio Code, IntelliJ, or Eclipse to work on the event function. > If you are a Visual Studio Code IDE user, you can install the **Catalyst Tools** extension, and use your IDE itself in place of the CLI. You can find more details about the Catalyst VS Code extension from this [help section](https://docs.catalyst.zoho.com/en/catalyst-extensions/vs-code-extension/introduction/). ### 3. Zoho Books for Invoice Management Create an organization in [Zoho Books](https://www.zoho.com/in/books/) to maintain customer payment records in the form of invoices. > **Note:** You can also integrate any third-party tools for invoice generation. However, if you choose to do so, you will need to configure a [**custom publisher**](https://docs.catalyst.zoho.com/en/signals/help/publishers/create-publisher/custom-publishers) **in Catalyst Signals** for the external application and update the rule accordingly. ### 4. Zoho Cliq for Team Notifications Create an organization in [Zoho Cliq](https://www.zoho.com/cliq/) to act as internal communication platform for your Customer Success Team. Within this organization, - Create a Channel for updating invoice status of onboarding customers. Follow the steps given in the [How to create a channel in Zoho Cliq](https://www.zoho.com/cliq/help/channels/create-channel.html) help page for guidance. - Create and associate a bot to the channel so it can automatically post messages regarding the invoice updates. Refer to the [Managing Bots](https://www.zoho.com/cliq/help/platform/managing-bots.html) and [Bot Channel Participation](https://www.zoho.com/cliq/help/platform/bot-participation-handler.html) help resources for guidance. For this tutorial, you don’t need to add or edit any handlers for the bot. Ensure that the required channel participation permissions are configured correctly while creating the bot, as shown in the image below. ![Configuring Cliq Bot Permissions](https://catalyst-docs-development.zohostratus.in/images/tutorials/invoice-notifier/bot-config.webp) > **Note:** You can also integrate any third-party tools for internal team communication. However, if you choose to do so, you will need to **update the event function** accordingly to route notifications to the appropriate communication channel. -------------------------------------------------------------------------------- title: "Create a Project" description: "Create an Event Driven Architecture to automate invoice updates from Zoho Books to Zoho Cliq using Event Functions and Catalyst Signals." last_updated: "2026-11-03T15:16:51.000Z" source: "https://docs.catalyst.zoho.com/en/tutorials/invoice-notifier/python/create-project/" service: "All Services" related: - Catalyst Console (/en/getting-started/catalyst-projects/) -------------------------------------------------------------------------------- # Create a Project Let’s [create a Catalyst project](https://docs.catalyst.zoho.com/en/getting-started/catalyst-projects/#create-a-catalyst-project) from the Catalyst console. 1. Log in to the [Catalyst console](https://console.catalyst.zoho.com/baas/index) and click **Create New Project**. ![catalyst_invoice_notifier_create_project](https://catalyst-docs-development.zohostratus.in/images/tutorials/invoice-notifier/dev-console.webp) 2. Enter the project’s name as "**InvoiceNotifier**" in the pop-up window, and click **Create**. ![catalyst_invoice_notifier_project_create_name](https://catalyst-docs-development.zohostratus.in/images/tutorials/invoice-notifier/create-project.webp) Your project will be created then opened. You can access the project later, by clicking **Access Project**. ![catalyst_invoice_notifier_access_project](https://catalyst-docs-development.zohostratus.in/images/tutorials/invoice-notifier/access-project.webp) -------------------------------------------------------------------------------- title: "Add Publisher" description: "Create an Event Driven Architecture to automate invoice updates from Zoho Books to Zoho Cliq using Event Functions and Catalyst Signals." last_updated: "2026-08-17T12:16:04.000Z" source: "https://docs.catalyst.zoho.com/en/tutorials/invoice-notifier/python/configure-publisher/" service: "All Services" related: - Publishers (/en/signals/help/publishers/key-aspects/) -------------------------------------------------------------------------------- # Add Publisher Let us start by setting up a [**Publisher**](https://docs.catalyst.zoho.com/en/signals/help/publishers/key-aspects/) in the *InvoiceNotifier* project. This Publisher will listen for **Invoice Updated** events from [**Zoho Books**](https://www.zoho.com/in/books/) and forward them to [**Catalyst Signals**](https://docs.catalyst.zoho.com/en/signals). Follow these steps to configure the Publisher: 1. Navigate to the **Catalyst Signals** section in the Catalyst Console and click **Start Exploring**. ![Explore Signals](https://catalyst-docs-development.zohostratus.in/images/tutorials/invoice-notifier/explore.webp) 2. Go to **Publishers** and click **Create Publisher**. ![Create a Publisher](https://catalyst-docs-development.zohostratus.in/images/tutorials/invoice-notifier/create-pub.webp) 3. From the list of available Zoho Services, select **Zoho Books**. ![Select Zoho Books](https://catalyst-docs-development.zohostratus.in/images/tutorials/invoice-notifier/zoho-books.webp) 4. You will be taken to a configuration page. Fill in the required details: - Set the **Publisher Name** and **API Name** as Zylker. - Select the desired Zoho Books org from the **Organization** dropdown. It will list only the organizations linked to the same email address you use to access the Catalyst Console. ![Configure Zoho Books Publisher](https://catalyst-docs-development.zohostratus.in/images/tutorials/invoice-notifier/pub-config.webp) 5. Enable **Event Ordering** to ensure that events are delivered in the same order they are received. ![Enable Event Ordering](https://catalyst-docs-development.zohostratus.in/images/tutorials/invoice-notifier/event-ordering.webp) 6. Click **Save** to complete Setup and **Authorize** to use data from Zoho Books. ![Authourize Zoho Books](https://catalyst-docs-development.zohostratus.in/images/tutorials/invoice-notifier/authorize.webp) Your Zoho Books Publisher is now ready to send invoice events to Catalyst Signals. -------------------------------------------------------------------------------- title: "Initialize the Project from CLI" description: "Create an Event Driven Architecture to automate invoice updates from Zoho Books to Zoho Cliq using Event Functions and Catalyst Signals." last_updated: "2026-08-17T12:16:04.000Z" source: "https://docs.catalyst.zoho.com/en/tutorials/invoice-notifier/python/initialize-project/" service: "All Services" related: - Initialize CLI Resources (/en/cli/v1/initialize-resources/introduction/) - Project Directory Structure (/en/cli/v1/project-directory-structure/introduction/) -------------------------------------------------------------------------------- # Initialize the Project from the CLI You can now begin working on your Catalyst project from the CLI. The first step is to initialize the project in an empty directory. This will be the home directory of your project and all of the project files will be saved in it. You can learn more about this from the [Project Directory Structure help page](https://docs.catalyst.zoho.com/en/cli/v1/project-directory-structure/introduction/). You can learn about initializing a project in detail from the [CLI help documentation](https://docs.catalyst.zoho.com/en/cli/v1/initialize-resources/introduction/). For this InvoiceNotifier, we will initialize an [Event Function](https://docs.catalyst.zoho.com/en/serverless/help/functions/event-functions/), which will contain the logic of the action that is required to occur once the event happens and a [Basic web app](https://docs.catalyst.zoho.com/en/cli/v1/initialize-resources/initialize-client/#basic-client-applications) as the client component. The event function will be initialized in the [Python](https://docs.catalyst.zoho.com/en/sdk/python/v1/overview/) platform. However, you can also initialize it in the [Java](https://docs.catalyst.zoho.com/en/sdk/java/v1/overview/) or [Node JS](https://docs.catalyst.zoho.com/en/sdk/nodejs/v2/overview/) platforms. > **Note:** Ensure that you enter the function's package name or class name exactly as instructed, because the application's code contains the same name. 1. Create a folder for the project on your local machine and navigate to it from the terminal. 2. Initialize a project by executing the following command from that directory: ```sh catalyst init ``` 3. Navigate using the arrow keys and select your preferred portal and press the Enter key. If you have no other organizations associated with the account, then the default one will be selected automatically. ![catalyst_authorization_portal_multiorg_choice](https://catalyst-docs-development.zohostratus.in/images/tutorials/invoice-notifier/cli-portal.webp) You can find out more about Catalyst's multi-org portal feature from this [help document](https://docs.catalyst.zoho.com/en/getting-started/catalyst-organizations/#access-the-multi-org-portal). 4. The CLI will now ask you to associate a Catalyst project with the directory. Associate it with the project that we created earlier from the console. Select *InvoiceNotifier* from the list and press Enter. ![Select your project](https://catalyst-docs-development.zohostratus.in/images/tutorials/invoice-notifier/project-cli.webp) 5. Select **Functions** using the space-bar, then press the **Enter** key to initialize. ![Select Function component](https://catalyst-docs-development.zohostratus.in/images/tutorials/invoice-notifier/func-cli.webp) 6. The CLI will initiate the function setup. Select **Event** as the function type. ![Select function type](https://catalyst-docs-development.zohostratus.in/images/tutorials/invoice-notifier/eventfunc-cli.webp) 7. Select the latest runtime **Python** as the programming environment and Press **Enter**. ![Select language environment for function](https://catalyst-docs-development.zohostratus.in/images/tutorials/invoice-notifier/python-cli.webp) 8. Enter **Cliq_Notifier** as the package name, "`main.py`" as the entry point, and press **Enter**. Alternatively, you can press **Enter** without entering inputs to fill in the default values. ![Provide package name and other details](https://catalyst-docs-development.zohostratus.in/images/tutorials/invoice-notifier/python-package-cli.webp) The Catalyst initialization is now complete. The project directory is now set up with the functions directory along with configuration files and dependencies. The project directory also contains the [`catalyst.json`](https://docs.catalyst.zoho.com/en/cli/v1/project-directory-structure/catalyst-json/) configuration file and a hidden `.catalystrc` file. The structure of your project directory should now appear as shown below: ![Project Directory for NodeJS](https://catalyst-docs-development.zohostratus.in/images/tutorials/invoice-notifier/python-proj-dir.webp) -------------------------------------------------------------------------------- title: "Register the Client" description: "Create an Event Driven Architecture to automate invoice updates from Zoho Books to Zoho Cliq using Event Functions and Catalyst Signals." last_updated: "2026-08-17T12:16:04.000Z" source: "https://docs.catalyst.zoho.com/en/tutorials/invoice-notifier/python/register-client/" service: "All Services" related: - Catalyst API Documentation (/en/api/introduction/overview-and-prerequisites/#OverviewandPrerequisites) -------------------------------------------------------------------------------- # Register the Client Application in Zoho API Console To enable secure and authorized communication between Catalyst and Zoho Cliq, you must register your client application in the Zoho API Console. This step is necessary to generate OAuth credentials that will be embedded in the Event Function code. By registering the client, you will receive the following: * **Client ID**: A unique identifier assigned to your registered application. * **Client Secret**: A confidential key used along with the Client ID to authenticate the client. We will use these credentials to generate the following OAuth tokens: * **Grant Token (code)**: A temporary token generated using the Client ID and Client Secret in the API console. This is used to fetch the Refresh Token. * **Refresh Token**: A persistent token used to request new Access Tokens when the previous ones expire. We will generate this in the REST API client in the next step. * **Access Token**: A temporary token that authorizes Zoho Cliq API calls. You do not need to manually generate this, as it will be automatically handled using the Refresh Token during runtime. The Client ID, Client Secret, and Refresh Token are added to the Event Function code. They enable Catalyst to programmatically perform actions (like posting messages) in your Zoho Cliq channel. The function will use the Refresh Token to continuously retrieve fresh Access Tokens, ensuring uninterrupted connectivity between Catalyst and Cliq. To register the client application in Zoho API console: 1. Go to the [Zoho API Console](https://api-console.zoho.com/) and click **Get Started** or **Add Client**. ![Zoho API Console](https://catalyst-docs-development.zohostratus.in/images/tutorials/invoice-notifier/api-console.webp) 2. Choose **Self Client** as the client type. Since both the Catalyst and the Cliq accounts are configured in the same organization, a Self Client can be used for this application. ![Choosing the client type](https://catalyst-docs-development.zohostratus.in/images/tutorials/invoice-notifier/self-client.webp) 3. In the popup, click **Create** to register your client. ![Creating a new self-client](https://catalyst-docs-development.zohostratus.in/images/tutorials/invoice-notifier/new-client.webp) The API console will generate and display the Client ID and Client Secret values for the registered client. ![Client Credentials for the new self-client](https://catalyst-docs-development.zohostratus.in/images/tutorials/invoice-notifier/client-credentials.webp) 4. Now, click the **Generate Code** tab to generate the Grant Token. - In the **Scope** field, enter: `ZohoCliq.Webhooks.CREATE` - Add a **Description** for the scope. - Set a **Time Duration** for the Grant Token. ![Generating grant token](https://catalyst-docs-development.zohostratus.in/images/tutorials/invoice-notifier/generate-code.webp) 5. Click **Create**. Once created, the Grant Token (code) will be displayed. ![Grant token](https://catalyst-docs-development.zohostratus.in/images/tutorials/invoice-notifier/grant-token.webp) Copy the generated Client ID, Client Secret, and Grant Token, and keep them ready. We will use these values in the upcoming step to generate the Refresh Token and configure the function files in the project. -------------------------------------------------------------------------------- title: "Generate the refresh token" description: "Create an Event Driven Architecture to automate invoice updates from Zoho Books to Zoho Cliq using Event Functions and Catalyst Signals." last_updated: "2026-08-17T12:16:04.000Z" source: "https://docs.catalyst.zoho.com/en/tutorials/invoice-notifier/python/refresh-token/" service: "All Services" related: - Catalyst API Documentation (/en/api/introduction/overview-and-prerequisites/#OverviewandPrerequisites) -------------------------------------------------------------------------------- # Generate Refresh Token Before configuring the function and client components, you need to generate a **Refresh Token**, which will be included in the function code to authorize interactions with Zoho Cliq. You can use any REST API client to perform this step. In this tutorial, we’ll walk you through the process using the [Postman API](https://www.postman.com/) platform. 1. Open your API client and create a new POST request to the following URL: * **Request URL:** `https://accounts.zoho.com/oauth/v2/token` * **Request Method:** POST 2. Add the following keys and values as query parameters in your request: * **`code`:** The Grant Token or the value of code obtained during the [client registration](https://docs.catalyst.zoho.com/en/tutorials/invoice-notifier/nodejs/register-client) in the API console * **`client\_id`:** The Client ID that was generated during the client registration * **`client\_secret`:** The Client Secret that was generated during the client registration * **`grant\_type`:** `authorization\_code` (Provide this literal string as the value) 3. Send the request with the above parameters to the specified request URL. If the request is successful, you will receive a response that includes: `access\_token`, `refresh\_token`, `api\_domain`, `token\_type`, `expires\_in`. We only require the Refresh Token. A screenshot of this step using Postman is provided below to guide you through the request and response. ![Generating refresh token](https://catalyst-docs-development.zohostratus.in/images/tutorials/invoice-notifier/refresh-token.webp) 4. Copy the `refresh\_token` value from the response received. You’ll use this in the function code in the next step of the tutorial. -------------------------------------------------------------------------------- title: "Configure the Event function" description: "Create an Event Driven Architecture to automate invoice updates from Zoho Books to Zoho Cliq using Event Functions and Catalyst Signals." last_updated: "2026-08-17T12:16:04.000Z" source: "https://docs.catalyst.zoho.com/en/tutorials/invoice-notifier/python/configure-function/" service: "All Services" related: - Event Functions (/en/serverless/help/functions/event-functions/) - Functions Directory Structure (/en/cli/v1/project-directory-structure/functions-directory) -------------------------------------------------------------------------------- # Configure the Event Function Let us now configure the event function `Cliq_Notifier`, which automatically sends a message to a Zoho Cliq channel. This message will include the invoice details of new customers who have successfully completed their payment. The function will be executed when it is triggered by Catalyst Signals. The [functions directory](https://docs.catalyst.zoho.com/en/cli/v1/project-directory-structure/functions-directory), `functions/Cliq_Notifier` contains: - The `main.py` main function file - The `catalyst-config.json` configuration file - The `requirements.txt` file to mention any external libraries that you might add. You will be adding code in the `main.py` file. Our function will require `requests` library and Catalyst SDK as dependencies for its efficient functioning. To install them, navigate to the function's directory (`functions/Cliq_Notifier`) and create a lib folder. Execute the following command from the lib folder: ```sh pip3 install requests zcatalyst-sdk -t . ``` This will install the dependencies. ![installing requests dependencies](https://catalyst-docs-development.zohostratus.in/images/tutorials/invoice-notifier/requests-cli.webp) > **Note:** Please go through the code in this section to make sure you fully understand it. Copy the python code and paste it in `main.py` in the `functions/Cliq_Notifier` directory of your project, and save the file. You can use any IDE of your choice to work with the application's files. **main.py** ```python import sys sys.path.insert(0, 'lib') import logging import traceback import requests import zcatalyst_sdk logger = logging.getLogger() zbooksdomain = "{{YOUR_ZBOOKS_DOMAIN}}"; #Enter your ZohoBooks Domain based on your region zbooksorg = "{{YOUR_ZBOOKS_ORGANIZATION_ID}}" #Enter your ZohoBooks Organization Id zcliqdomain = "{{YOUR_ZCLIQ_DOMAIN}}"; #Enter your ZohoCliq Domain based on your region zcliq_channel_unique_name = "{{YOUR_CHANNEL_UNIQUE_NAME}}" #Enter the unique name of the channel where updates should be posted zcliq_bot_unique_name = "{{YOUR_BOT_UNIQUE_NAME}}" #Enter the unique name of the bot that will post the messages zaccountsdomain = "{{YOUR_ZACCOUNTS_DOMAIN}}" #Enter your ZohoAccounts Domain based on your region def handler(event, context): try: data = extract_invoice_data(event) rows = transform_invoice_data(data) request_body = prepare_cliq_request(rows) access_token = get_access_token() send_to_cliq(request_body, access_token) logger.info("Message pushed to channel successfully") context.close_with_success() except Exception as e: logger.error("An unexpected error occurred:\n%s", traceback.format_exc()) context.close_with_failure() def extract_invoice_data(event): event_payload = event.get_raw_data() data = event_payload.get("data") rows = [invoice for invoices in data for invoice in invoices] return rows def transform_invoice_data(rows): for row in rows: invoice_id = row.get("Invoice Id") row["Link"] = f"https://{zbooksdomain}/app/{zbooksorg}#/invoices/{invoice_id}" del row["Invoice Id"] return rows def prepare_cliq_request(rows): request_body = { "slides": [{ "type": "table", "data": { "headers": ["Customer", "Invoice Number", "Amount", "Paid On", "Link"], "rows": rows } }], "text": "Here are the invoices marked as Paid in the last hour:" } return request_body def get_access_token(): app = zcatalyst_sdk.initialize() connector_config = { "CliqConnector": { "client_id": "{{YOUR_CLIENT_ID}}", #Enter your Client ID "client_secret": "{{YOUR_CLIENT_SECRET}}", #Enter your Client Secret "auth_url": f"https://{zaccountsdomain}/oauth/v2/token", "refresh_url": f"https://{zaccountsdomain}/oauth/v2/token", "refresh_token": "{{YOUR_REFRESH_TOKEN}}" #Enter your Refresh Token } } connector = app.connection(connector_config).get_connector("CliqConnector") access_token = connector.get_access_token() return access_token def send_to_cliq(payload, access_token): cliq_channel_url = f"https://{zcliqdomain}/api/v2/channelsbyname/{zcliq_channel_unique_name}/message?bot_unique_name={zcliq_bot_unique_name}" headers = { "Content-Type": "application/json", "Authorization": f"Zoho-oauthtoken {access_token}" } response = requests.post(cliq_channel_url, headers=headers, json=payload) response.raise_for_status() ``` > **Note:** After you copy and paste the code into your function file, make sure to update the following placeholders with actual values, as indicated by the inline comments: - **Zoho Books Domain (line 11)**: Enter the domain corresponding to your [**Zoho Books**](https://www.zoho.com/in/books/) organization, based on your region. Example: books.zoho.com, books.zoho.eu, or books.zoho.in - **Zoho Books Organization ID (line 12)**: Provide the unique Organization ID of your Zoho Books account. - **Zoho Cliq Domain (line 14)**: Specify the domain of your [Zoho Cliq](https://www.zoho.com/cliq/) organization, based on your region. Example: cliq.zoho.com, cliq.zoho.eu - **Unique Name of your Zoho Cliq Channel (line 15)**: Enter the unique name of the [Zoho Cliq channel](https://help.zoho.com/portal/en/kb/zoho-cliq/user-guides/channels) where the paid invoice updates should be posted. - **Unique Name of your Zoho Cliq Bot (line 16)**: Provide the unique name of the [Zoho Cliq bot](https://www.zoho.com/cliq/help/platform/bots.html) that has been added to the above channel. - **Zoho Accounts Domain (line 18)**: Mention the [Zoho Accounts](https://www.accounts.zoho.com/) domain used to log into Catalyst, Zoho Books, and Zoho Cliq. Example: accounts.zoho.com, accounts.zoho.in - **Client ID (line 70)**: Paste the Client ID obtained during client registration in [Step 4](https://docs.catalyst.zoho.com/en/tutorials/invoice-notifier/nodejs/register-client/). - **Cient Secret (line 71)**: Paste the corresponding Client Secret generated in [Step 4](https://docs.catalyst.zoho.com/en/tutorials/invoice-notifier/java/register-client/). - **Refresh Token (line 74)**: Provide the Refresh Token you generated in [Step 5](https://docs.catalyst.zoho.com/en/tutorials/invoice-notifier/java/refresh-token/) using your API client tool. The Event function is now configured. -------------------------------------------------------------------------------- title: "Deploy the Project" description: "Create an Event Driven Architecture to automate invoice updates from Zoho Books to Zoho Cliq using Event Functions and Catalyst Signals." last_updated: "2026-08-17T12:16:04.000Z" source: "https://docs.catalyst.zoho.com/en/tutorials/invoice-notifier/python/deploy-project/" service: "All Services" related: - Deploy CLI Resources (/en/cli/v1/deploy-resources/introduction/) - Web Client Hosting (/en/cloud-scale/help/web-client-hosting/introduction) -------------------------------------------------------------------------------- # Deploy the Project To [deploy your Catalyst project](https://docs.catalyst.zoho.com/en/cli/v1/deploy-resources/introduction/) from the CLI, run the following command in your terminal from your project directory: ```sh catalyst deploy ``` The event function is now deployed to the console. ![Deploy the project](https://catalyst-docs-development.zohostratus.in/images/tutorials/invoice-notifier/python-deploy-cli.webp) -------------------------------------------------------------------------------- title: "Create a Rule" description: "Create an Event Driven Architecture to automate invoice updates from Zoho Books to Zoho Cliq using Event Functions and Catalyst Signals." last_updated: "2026-10-30T18:08:11.000Z" source: "https://docs.catalyst.zoho.com/en/tutorials/invoice-notifier/python/create-rule/" service: "All Services" related: - Publishers (/en/signals/help/publishers/key-aspects/) - Targets (/en/signals/help/targets/key-aspects/) - Rules (/en/signals/help/rules/key-aspects/) - Events (/en/signals/help/events/) - Event Functions (/en/serverless/help/functions/event-functions/) -------------------------------------------------------------------------------- # Create a Rule Now that the Publisher and the Event Function are configured, let us define how the events should be processed and delivered by setting up a Rule. Follow these steps to create the Rule: 1. In the Developer Console, select your project: *InvoiceNotifier*. 2. Go to **Catalyst Signals** and click on **Rules** in the left navigation. ![Add Rule](https://catalyst-docs-development.zohostratus.in/images/tutorials/invoice-notifier/rule.webp) 3. Click **Add Rule**, then provide a name and description for your rule. ![Provide name and description for the Rule](https://catalyst-docs-development.zohostratus.in/images/tutorials/invoice-notifier/create-rule.webp) ### Define Event Source 4. Under Source, click **Choose Event**, and select the Zoho Books Publisher you added earlier. 5. From the list of available events, choose *Customer Payment Created*, then click **Done**. ![Configure the publisher and event for the rule](https://catalyst-docs-development.zohostratus.in/images/tutorials/invoice-notifier/source.webp) ### Define Event Filter 6. In the Filter section, click the **edit icon** and choose **Events matching certain conditions**. ![Select Events matching certain conditions](https://catalyst-docs-development.zohostratus.in/images/tutorials/invoice-notifier/filter.webp) 7. Create a filter condition to include only events where the invoice status is **Paid**: - In the Path dropdown, select the JSON path that corresponds to the **payment_status** field. - Define the condition to match Paid. 8. Click **Save** to apply the filter. ![Configure filter for the rule](https://catalyst-docs-development.zohostratus.in/images/tutorials/invoice-notifier/filter-criteria.webp) ### Configure Target Settings 9. Click **Choose Target** and give your target a name. 10. Under **Consumer Type**, select the Event Function we created earlier using the CLI. 11. Set the **Dispatch Policy** to **Batch by Interval**: - Choose an interval of *one hour*. - Set the Retry Count to *five*. ![Configure target settings](https://catalyst-docs-development.zohostratus.in/images/tutorials/invoice-notifier/target-settings.webp) ### Transform the Payload 12. In the **Target Input** section, choose **Transform**. 13. From the default event payload of the *Customer Payment Created* event, select only the required data and structure them as shown below. **Expected Event Payload** ```json { "data" : [ [ { "Customer" : "test", "Invoice Number" : "Customer opening balance", "Amount" : "₹3,24,244.00", "Paid On" : "31/10/2023", "Invoice Id" : "275557000000158181" } ] ] } ``` **Data Mapping for Template Compiler** ```text { "data" : $.events.forEach((event)-> event.data.payment.invoices.forEach((invoice)-> { "Customer" : event.data.payment.customer_name, "Invoice Number" : invoice.invoice_number, "Amount" : invoice.total_formatted, "Paid On" : event.data.payment.date_formatted, "Invoice Id" : invoice.invoice_id } ) ) } ``` Paste this structure into the template compiler to extract the required fields and click **Generate Output**. ![Event Body Transformation](https://catalyst-docs-development.zohostratus.in/images/tutorials/invoice-notifier/transformation.webp) Check out the [Even Body Transformation help guide](https://docs.catalyst.zoho.com/en/signals/help/targets/event-body-setup/event-transformation/) to learn how to customize event payloads in detail. 14. Save the target configurations, then click **Save** again to finalize the rule. Now, whenever a customer completes a payment, the corresponding invoice in Zoho Books is updated. This update triggers an event that is processed every hour in Catalyst Signals and automatically sends a summarized message to the Zoho Cliq channel. ![Invoice Notifier](https://catalyst-docs-development.zohostratus.in/images/tutorials/invoice-notifier/demo.webp) ## Lead Manager App ### Java -------------------------------------------------------------------------------- title: "Introduction" description: "Build a Lead Manager application that connects to your Zoho CRM account using Catalyst connector to view, create, update, or delete leads." last_updated: "2026-11-04T10:10:44.000Z" source: "https://docs.catalyst.zoho.com/en/tutorials/leadmanager/java/introduction/" service: "All Services" related: - Project Directory Structure (/en/cli/v1/project-directory-structure/introduction/) - Java SDK (/en/sdk/java/v1/overview/) - Node.js SDK (/en/sdk/nodejs/v2/overview/) - Zoho CRM (https://www.zoho.com/in/crm/) -------------------------------------------------------------------------------- # Lead Manager App ### Introduction This tutorial will help you build a web application that can connect with your [Zoho CRM account](https://www.zoho.com/in/crm/) and enable you to manage leads in your organization. You will be able to access, add, edit, or delete leads in the [Leads module](https://help.zoho.com/portal/en/kb/crm/sales-force-automation/leads) in your CRM account, directly from this application. The connection to Zoho CRM is established using [OAuth 2.0 authentication protocol](https://docs.catalyst.zoho.com/en/api/oauth2/overview-and-terminology/#OverviewandTerminology). We will generate an OAuth Access Token for the Lead Manager application and use it to authorize the connection to access CRM data. We will also implement a **Catalyst connector** to manage this access to the CRM account. The connector will refresh the Access Token automatically each time it expires using a Refresh Token, and will maintain a constant connection between the client and the CRM account. These tokens can be generated after registering the client application in the Zoho API console and obtaining the required credentials. The client application will look like this: ![](https://catalyst-docs-development.zohostratus.in/images/tutorials/leadmanager/catalyst_leadmanager_final.webp) The Lead Manager application contains the following fundamental Catalyst components: 1. [**Catalyst Serverless**](https://docs.catalyst.zoho.com/en/serverless/getting-started/introduction/): - **[Advanced I/O Function](https://docs.catalyst.zoho.com/en/serverless/help/functions/advanced-io/):** The Advanced I/O Function is coded in the **Java** programming environment. The function defines the APIs that handle the CRUD actions of the CRM Leads module, such as adding or deleting a lead, from the client application. It also defines routes that handle the connection to CRM, authenticate the user, and generate the OAuth tokens. 2. [**Catalyst CloudScale**](https://docs.catalyst.zoho.com/en/cloud-scale/getting-started/introduction/): - **[Data Store](https://docs.catalyst.zoho.com/en/cloud-scale/help/data-store/introduction):** To store the Refresh Token and [UserID of the Catalyst user](https://docs.catalyst.zoho.com/en/cloud-scale/help/authentication/user-management/users/introduction/) fetched by the Advanced I/O function. The Refresh Token is fetched from this table by the function, whenever a new Access Token needs to be generated. - **[ZCQL](https://docs.catalyst.zoho.com/en/cloud-scale/help/zcql/introduction)**: To fetch data from the Data Store through querying. - **Client:** This is the front end of the application that is hosted on Catalyst through [web client hosting](https://docs.catalyst.zoho.com/en/cloud-scale/help/web-client-hosting/introduction). - **[Authentication:](https://docs.catalyst.zoho.com/en/cloud-scale/help/authentication/introduction)** To implement a Zoho sign-in option in the client application's login page, in addition to the standard login option, we will be implementing **[Embedded authentication](https://docs.catalyst.zoho.com/en/cloud-scale/help/authentication/native-catalyst-authentication/embedded-authentication/setup-embedded-auth/)** type in this tutorial. We will use the Catalyst web console and the Catalyst Command Line Interface (CLI) to build this application. You will be given the code for the files to be included in the function and client components in this tutorial. You will just need to copy the provided code and paste it into the appropriate files as directed. ### Application Architecture The Lead Manager application's architecture is depicted below: ![](https://catalyst-docs-development.zohostratus.in/images/tutorials/leadmanager/python/architechture.webp) We will explain the architecture in detail in the [Configure Client section](https://docs.catalyst.zoho.com/en/tutorials/leadmanager/java/configure-client-directory), after you configure the function and client components. -------------------------------------------------------------------------------- title: "Prerequisites" description: "Build a Lead Manager application that connects to your Zoho CRM account using Catalyst connector to view, create, update, or delete leads." last_updated: "2026-11-04T10:10:44.000Z" source: "https://docs.catalyst.zoho.com/en/tutorials/leadmanager/java/prerequisites/" service: "All Services" related: - Catalyst CLI Documentation (/en/cli/v1/cli-command-reference/) -------------------------------------------------------------------------------- # Prerequisites Before you begin building the application, you must have the following prerequisites installed on your system: 1. **Catalyst CLI** Catalyst CLI contains a host of tools that enable you to initialize, develop, test, and deploy the components of your application from your local machine. We will be working with Catalyst CLI in this tutorial. You must perform these actions: 1. **Install Catalyst CLI:** Catalyst CLI is installed through NPM. You must therefore have NPM and Node.js installed on your system before you install the CLI. Refer to the [**Install Catalyst CLI help page**](https://docs.catalyst.zoho.com/en/getting-started/installing-catalyst-cli/) for details on the pre-requisites and the steps to install it. 2. **Login Catalyst CLI:** After you install Catalyst CLI, you must authenticate the CLI with your Catalyst account before using it. Refer to the [**CLI Login help page**](https://docs.catalyst.zoho.com/en/cli/v1/login/login-from-cli/) for the steps to login from Catalyst CLI and the various options available for it. 2. **Zoho CRM Account** Because the Leads module is available in all editions of Zoho CRM, you can have a configured Zoho CRM account of any edition to establish a connection with the Lead Manager application. If you don't have a Zoho CRM account, you can sign up for it [here](https://www.zoho.com/in/crm/). 3. **Any IDE tool for Node.js and client code development** You can use any IDE to work with the function and the client code. Some popular choices include Visual Studio Code, IntelliJ IDEA, Eclipse, and Sublime Text. Download and install an IDE of your choice in your system. > If you are a Visual Studio Code IDE user, you can install the **Catalyst Tools** extension, and use your IDE itself in place of the CLI. You can find more details about the Catalyst VS Code extension from this [help section](https://docs.catalyst.zoho.com/en/catalyst-extensions/vs-code-extension/introduction/). -------------------------------------------------------------------------------- title: "Create a project" description: "Build a Lead Manager application that connects to your Zoho CRM account using Catalyst connector to view, create, update, or delete leads." last_updated: "2026-11-04T10:10:44.000Z" source: "https://docs.catalyst.zoho.com/en/tutorials/leadmanager/java/create-project/" service: "All Services" related: - Project Directory (/en/cli/v1/project-directory-structure/introduction) - Setup Catalyst Projects (/en/getting-started/catalyst-projects) -------------------------------------------------------------------------------- # Create a Project Let's [create a Catalyst project](https://docs.catalyst.zoho.com/en/getting-started/catalyst-projects) from the Catalyst console. 1. Log in to the [Catalyst console](https://console.catalyst.zoho.com/baas/index) and click **Create a new Project**. ![catalyst_leadmanager_home_page](https://catalyst-docs-development.zohostratus.in/images/tutorials/leadmanager/catalyst_leadmanager_home_page.webp) 2. Enter the project's name as "**LeadManager**" in the pop-up window. ![catalyst_leadmanager_create_project](https://catalyst-docs-development.zohostratus.in/images/tutorials/leadmanager/catalyst_leadmanager_create_project.webp) 3. Click **Create**. Your project will be created and opened. ![catalyst_leadmanager_access_project](https://catalyst-docs-development.zohostratus.in/images/tutorials/leadmanager/project-created-opened.webp) -------------------------------------------------------------------------------- title: "Create a table" description: "Build a Lead Manager application that connects to your Zoho CRM account using Catalyst connector to view, create, update, or delete leads." last_updated: "2026-11-04T10:10:44.000Z" source: "https://docs.catalyst.zoho.com/en/tutorials/leadmanager/java/create-table/" service: "All Services" related: - Data Store (/en/cloud-scale/help/data-store/introduction) -------------------------------------------------------------------------------- # Create a Table in the Data Store Next, let's create a table in the Data Store. This table is used to store the Refresh Token and `userID` values, which are retrieved whenever an Access Token needs to be generated. To create a table: 1. Navigate to **Catalyst CloudScale** service in the console and click **Data Store** under Storage. 2. Click **Create a new Table.** ![new-table](https://catalyst-docs-development.zohostratus.in/images/tutorials/leadmanager/python/new-table.webp) 3. Enter the table’s name as **“Token”** and click **Create**. ![token-table2](https://catalyst-docs-development.zohostratus.in/images/tutorials/leadmanager/python/token-table2.webp) > **Note:** Ensure that you enter the name exactly as instructed, because the application's code contains the same name. The table will be created and displayed in the **Data Store** page. Now, let’s create two columns in the table to store the **UserID** and the **Refresh Token** respectively. 1. Click **New Column** in the **Schema View** section of the Data Store table. ![add-new-column](https://catalyst-docs-development.zohostratus.in/images/tutorials/leadmanager/python/add-new-column.webp) 2. Enter the column's name as "**refresh\_token**". Select the data type as **Encrypted Text** and click **Create**. ![column-example](https://catalyst-docs-development.zohostratus.in/images/tutorials/leadmanager/python/column-example.webp) You can learn about the various data types supported by Catalyst and the other properties of a column from the [Data Store help page](https://docs.catalyst.zoho.com/en/cloud-scale/help/data-store/introduction). > **Note:** Ensure that you enter the name exactly as instructed, because the application's code contains the same name. 3. Create another column using the previous steps with the column name as "**userId**" of the data type "**BigInt**". You need not provide any other values. ![userid-column](https://catalyst-docs-development.zohostratus.in/images/tutorials/leadmanager/python/userid-column.webp) The columns will be created and listed in the Schema View section. #### Configure Scopes and Permissions To allow any user of the Lead Manager application to view or manage leads from the client application, you must enable an additional [table permission](https://docs.catalyst.zoho.com/en/cloud-scale/help/data-store/scopes-and-permissions) that will allow the user to fetch and store new Refresh Tokens, if needed. Click the **Scopes and Permissions** tab for the **Token** table, then check the **Insert** permission for the **App User** role under **Table Permissions** section. The **Select** permission will already be checked by default. ![permissions](https://catalyst-docs-development.zohostratus.in/images/tutorials/leadmanager/python/permissions.webp) The Data Store is now configured for the application. -------------------------------------------------------------------------------- title: "Enable Zoho sign-in" description: "Build a Lead Manager application that connects to your Zoho CRM account using Catalyst connector to view, create, update, or delete leads." last_updated: "2026-11-04T10:10:44.000Z" source: "https://docs.catalyst.zoho.com/en/tutorials/leadmanager/java/enable-zoho-sign-in/" service: "All Services" related: - Authentication (/en/cloud-scale/help/authentication/user-management/users/introduction/) -------------------------------------------------------------------------------- # Enable Zoho Sign-in The Lead Manager application contains a login page where you must provide valid credentials to access your Zoho CRM account. You can implement a signup functionality for this application by yourself, if needed. Otherwise, you can also integrate the Zoho sign-in feature that will enable you to sign in to the client application directly using your Zoho account. To configure Zoho sign-in for the Lead Manager application from the console: 1. Navigate to **Authentication** under the **Security & Identity** section, click **Setup** in the **Native Catalyst Authentication** tab. ![choose-native-auth](https://catalyst-docs-development.zohostratus.in/images/tutorials/leadmanager/python/choose-native-auth.webp) 2. Select **Embedded Authentication**. Click **Next**. ![choose-embedded](https://catalyst-docs-development.zohostratus.in/images/tutorials/leadmanager/python/choose-embedded-crop.webp) 3. In the Authentication Setup page, enable **Public Signup** and click **Zoho**. ![enable-public-signup](https://catalyst-docs-development.zohostratus.in/images/tutorials/leadmanager/authentication-page-lead-manager-app-zoho.webp) 4. In the dialog box that appears, click **Yes, proceed**. ![dialog-box](https://catalyst-docs-development.zohostratus.in/images/tutorials/leadmanager/python/dialog-box.webp) 5. Provide the Client Name as **"LeadManagerApp"** and click **Enable.** ![client-name](https://catalyst-docs-development.zohostratus.in/images/tutorials/leadmanager/python/client-name.webp) > **Note:** You can enter any name you need. However, please make a note that we will be using **"LeadManagerApp"** as the client name while initializing it in the CLI and while registering it in the Zoho API console. 6. We will not be configuring any additional authentication settings for our application. Click **Finish**. ![auth-settings](https://catalyst-docs-development.zohostratus.in/images/tutorials/leadmanager/python/auth-settings-crop.webp) Zoho sign-in will now be available for the client application. -------------------------------------------------------------------------------- title: "Initialize the project" description: "Build a Lead Manager application that connects to your Zoho CRM account using Catalyst connector to view, create, update, or delete leads." last_updated: "2026-11-04T10:10:44.000Z" source: "https://docs.catalyst.zoho.com/en/tutorials/leadmanager/java/initialize-project/" service: "All Services" related: - Initialize CLI Resources (/en/cli/v1/initialize-resources/introduction) - Project Directory Structure (/en/cli/v1/project-directory-structure/introduction) -------------------------------------------------------------------------------- # Initialize the Project from the CLI You can now begin working on your Catalyst project from the CLI. The first step is to initialize the project in an empty directory. This will be the home directory of your project, where all of your project files are saved. You can learn more about this from the [Project Directory Structure help page](https://docs.catalyst.zoho.com/en/cli/v1/project-directory-structure/introduction). You can learn about initializing a project in detail from the [CLI help documentation](https://docs.catalyst.zoho.com/en/cli/v1/initialize-resources/introduction/). For the Lead Manager application, we will initialize the Advanced I/O function in the Java or Node.js environment, and the client component. 1. Create a folder for the project on your local machine and navigate to it from the terminal. 2. Initialize a project by executing the following command from that directory: ```sh catalyst init ``` 3. The CLI will now ask you to associate a Catalyst project with the directory. Associate it with the project that we created earlier from the console. Select **Lead Manager** from the list and click **Enter**. ![catalyst_leadmanager_init_1](https://catalyst-docs-development.zohostratus.in/images/tutorials/leadmanager/cli-init-leadmanager.webp) 4. Select **Functions** and **Client** using the space bar. Press the **Enter** key to initialize. ![catalyst_leadmanager_init_1](https://catalyst-docs-development.zohostratus.in/images/tutorials/leadmanager/client-functions-init.webp) 5. The CLI will initiate the function setup. Select **AdvancedIO** as the function type. ![](https://catalyst-docs-development.zohostratus.in/images/tutorials/leadmanager/lead-manager-app-function-selection.webp) 6. Select the latest runtime of **Java** as the function stack, and press **Enter**. ![catalyst_leadmanager_init_4](https://catalyst-docs-development.zohostratus.in/images/tutorials/leadmanager/function-selection-leadmanager.webp) 7. Enter "**crmCRUD**" as the folder name and "**CRMCRUD**" as the class name. Press **Enter** each time. ![catalyst_leadmanager_init_5](https://catalyst-docs-development.zohostratus.in/images/tutorials/leadmanager/catalyst-sdk-installation-complete.webp) The CLI will download and install the latest [Catalyst Java SDK](https://docs.catalyst.zoho.com/en/sdk/java/v1/overview/) package on your local system. > **Note:** Ensure that you enter the package name, or class name and folder name, exactly as instructed, because the application's code contains the same names. 8. The CLI will initiate the client set up next. Select **Basic web app** as your client type. ![catalyst_leadmanager_init_7](https://catalyst-docs-development.zohostratus.in/images/tutorials/leadmanager/basic-web-app-selection.webp) 9. Enter "**LeadManagerApp**" as the name for the client package and press **Enter**. ![catalyst_leadmanager_init_7](https://catalyst-docs-development.zohostratus.in/images/tutorials/leadmanager/client-install-complete.webp) You can enter any name you need. However, you can use the same name that you used while enabling Zoho sign-in to maintain standardization. The client directory will be created in the standard structure. Catalyst initialization is now complete. Your project directory (CATALYST_PROJECT_HOME) is now set up with the [client directory](https://docs.catalyst.zoho.com/en/cli/v1/project-directory-structure/functions-directory) (CATALYST\_CLIENT\_HOME) and the [functions directory](https://docs.catalyst.zoho.com/en/cli/v1/project-directory-structure/client-directory) (CATALYST\_FUNCTIONS\_HOME) along with configuration files and dependencies. The project directory also contains the `[catalyst.json](https://docs.catalyst.zoho.com/en/cli/v1/project-directory-structure/catalyst-json)` configuration file and a hidden `.catalystrc` file. This is the structure of your project directory. ![catalyst_leadmanager_proj_dir_struct_java](https://catalyst-docs-development.zohostratus.in/images/tutorials/leadmanager/catalyst_leadmanager_proj_dir_struct_java.webp) > **Note:** These images includes an additional file `login.html`. This is the final directory of your project. We will create `login.html` while configuring the client directory. -------------------------------------------------------------------------------- title: "Configure functions directory" description: "Build a Lead Manager application that connects to your Zoho CRM account using Catalyst connector to view, create, update, or delete leads." last_updated: "2026-11-04T10:10:44.000Z" source: "https://docs.catalyst.zoho.com/en/tutorials/leadmanager/java/configure-functions-directory/" service: "All Services" related: - Advanced I/O Functions (/en/serverless/help/functions/advanced-io/) - Functions Directory Structure (/en/cli/v1/project-directory-structure/functions-directory) -------------------------------------------------------------------------------- # Configure the Functions Directory We will now begin coding the Lead Manager application by configuring the Advanced I/O function. The functions directory[](https://docs.catalyst.zoho.com/en/cli/v1/project-directory-structure/functions-directory) `functions/crmCRUD` contains: * The `CRMCRUD.java` main function file * The `catalyst-config.json` configuration file * Java library files in the `lib` folder * `.classpath` and `.project` dependency files You will be adding code in `CRMCRUD.java`. You can use any IDE to configure the function. > **Note:** Please go through the code in this section to make sure you fully understand it. We will discuss the function and client code, after you configure the client. You can directly copy the code below and paste it in `CRMCRUD.java` located in the `functions/crmCRUD` directory and save the file. **CRMCRUD.java** ```java import java.util.logging.Logger; import java.util.regex.Matcher; import java.util.regex.Pattern; import java.io.InputStreamReader; import java.util.ArrayList; import java.util.logging.Level; import javax.servlet.ServletInputStream; import javax.servlet.http.HttpServletRequest; import javax.servlet.http.HttpServletResponse; import com.catalyst.advanced.CatalystAdvancedIOHandler; import com.zc.auth.connectors.ZCConnection; import com.zc.component.ZCUserDetail; import com.zc.component.object.ZCObject; import com.zc.component.object.ZCRowObject; import com.zc.component.object.ZCTable; import com.zc.component.users.ZCUser; import com.zc.component.zcql.ZCQL; import org.json.simple.JSONObject; import org.json.simple.parser.JSONParser; import okhttp3.HttpUrl; import okhttp3.MediaType; import okhttp3.OkHttpClient; import okhttp3.Request; import okhttp3.RequestBody; public class CRMCRUD implements CatalystAdvancedIOHandler { private static final Logger LOGGER = Logger.getLogger(CRMCRUD.class.getName()); private String apiUrl = "https://www.zohoapis.com/crm/v2/Leads"; private String GET = "GET"; private String POST = "POST"; private String PUT = "PUT"; private String DELETE = "DELETE"; private String CLIENT_ID = "{{YOUR_CLIENT_ID}}"; //Add your client ID private String CLIENT_SECRET = "{{YOUR_CLIENT_SECRET}}"; //Add your client secret OkHttpClient client = new OkHttpClient(); @Override @SuppressWarnings("unchecked") public void runner(HttpServletRequest request, HttpServletResponse response) throws Exception { try { LOGGER.info("STARTED!!!"); String url = request.getRequestURI(); String method = request.getMethod(); String responseData = ""; String recordID = ""; Pattern p = Pattern.compile("([0-9]+)"); MediaType mediaType = MediaType.parse("application/json"); JSONParser jsonParser = new JSONParser(); JSONObject data = new JSONObject(); org.json.simple.JSONArray reqData = new org.json.simple.JSONArray(); //Fetches the Refresh Token by calling the getRefreshToken() function, and inserts it along with the userID in the Token table if (Pattern.matches("/generateToken", url) && method.equals(GET)) { LOGGER.info("generateToken!!!"); String code = request.getParameter("code"); String domain = (request.getHeader("host").contains("localhost") ? ("http://" + request.getHeader("host")) : ("https://") + request.getHeader("host").split(":")[0]); LOGGER.info("Domain: "+domain); LOGGER.info("Code: "+code); ZCUserDetail details = ZCUser.getInstance().getCurrentUser(); ZCObject object = ZCObject.getInstance(); ZCRowObject row = ZCRowObject.getInstance(); row.set("refresh_token", getRefreshToken(code, domain)); row.set("userId", details.getUserId()); ZCTable tab = object.getTable(1824000000686079L); //Replace this with the Table ID of your table tab.insertRow(row); response.setStatus(200); response.sendRedirect(domain + "/app/index.html"); //Fetches the user details by calling the getUserDetails() function } else if (Pattern.matches("/getUserDetails", url) && method.equals(GET)) { ArrayList<ZCRowObject> user = getUserDetails(); JSONObject resp = new JSONObject(); if (user.isEmpty()) { resp.put("userId", null); response.setContentType("application/json"); response.getWriter().write(resp.toJSONString()); response.setStatus(200); } else { resp.put("userId", user.get(0).get("Token", "userId")); response.setContentType("application/json"); response.getWriter().write(resp.toJSONString()); response.setStatus(200); } //Executes various APIs to access, add, or modify leads in CRM //Fetches all leads } else if (Pattern.matches("/crmData", url) && method.equals(GET)) { responseData = getResponse(GET, null); //Fetches a particular lead } else if (Pattern.matches("/crmData/([0-9]+)", url) && method.equals(GET)) { Matcher m = p.matcher(url); if (m.find()) { recordID = m.group(1); } apiUrl = apiUrl + "/" + recordID; responseData = getResponse(GET, null); //Adds a new lead } else if (Pattern.matches("/crmData", url) && method.equals(POST)) { ServletInputStream requestBody = request.getInputStream(); JSONObject jsonObject = (JSONObject) jsonParser.parse(new InputStreamReader(requestBody, "UTF-8")); reqData.add(jsonObject); data.put("data", reqData); RequestBody body = RequestBody.create(mediaType, data.toString()); responseData = getResponse(POST, body); //Deletes a lead } else if (Pattern.matches("/crmData/([0-9]+)", url) && method.equals(DELETE)) { Matcher m = p.matcher(url); if (m.find()) { recordID = m.group(1); } apiUrl = apiUrl + "/" + recordID; responseData = getResponse(DELETE, null); //Edits a lead } else if (Pattern.matches("/crmData/([0-9]+)", url) && method.equals(PUT)) { Matcher m = p.matcher(url); if (m.find()) { recordID = m.group(1); } apiUrl = apiUrl + "/" + recordID; ServletInputStream requestBody = request.getInputStream(); JSONObject jsonObject = (JSONObject) jsonParser.parse(new InputStreamReader(requestBody, "UTF-8")); reqData.add(jsonObject); data.put("data", reqData); RequestBody body = RequestBody.create(mediaType, data.toJSONString()); responseData = getResponse(PUT, body); } else { LOGGER.log(Level.SEVERE, "Error. Invalid Request"); //The actions are logged. You can check the logs from Catalyst response.setStatus(404); responseData = "Error. Invalid Request"; response.getWriter().write(responseData); } response.setContentType("application/json"); response.getWriter().write(responseData); response.setStatus(200); } catch (Exception e) { LOGGER.log(Level.SEVERE, "Exception in CRM Function ", e); response.setStatus(500); response.getWriter().write(e.toString()); } } @SuppressWarnings("unchecked") //Fetches an Access Token using the Refresh Token public String getAccessToken(Long userId) throws Exception { JSONObject authJson = new JSONObject(); JSONObject connectorJson = new JSONObject(); String query = "SELECT refresh_token FROM Token where UserId=" + userId; if (rowList.isEmpty()) { throw new RuntimeException("No token found for userId: " + userId); } Object refreshTokenObj = rowList.get(0).get("Token", "refresh_token"); if (refreshTokenObj == null) { throw new RuntimeException("Refresh token is null for userId: " + userId); } authJson.put("refresh_token", refreshTokenObj.toString()); ArrayList<ZCRowObject> rowList = ZCQL.getInstance().executeQuery(query); authJson.put("client_id", CLIENT_ID); authJson.put("client_secret", CLIENT_SECRET); authJson.put("auth_url", "https://accounts.zoho.com/oauth/v2/token"); authJson.put("refresh_url", "https://accounts.zoho.com/oauth/v2/token"); authJson.put("refresh_token", rowList.get(0).get("Token", "refresh_token")); connectorJson.put(userId.toString(), authJson); return ZCConnection.getInstance(connectorJson).getConnector(userId.toString()).getAccessToken(); } //Fetches the Refresh Token by passing the required details public String getRefreshToken(String code, String domain) throws Exception { HttpUrl.Builder urlBuilder = HttpUrl.parse("https://accounts.zoho.com/oauth/v2/token").newBuilder(); urlBuilder.addQueryParameter("code", code); urlBuilder.addQueryParameter("client_id", CLIENT_ID); urlBuilder.addQueryParameter("client_secret", CLIENT_SECRET); urlBuilder.addQueryParameter("grant_type", "authorization_code"); urlBuilder.addQueryParameter("redirect_uri", domain + "/server/crmcrud/generateToken"); String URL = urlBuilder.build().toString(); MediaType mediaType = MediaType.parse("text/plain"); RequestBody body = RequestBody.create(mediaType, ""); Request getResponse = new Request.Builder().url(URL).method(POST, body).build(); JSONParser jsonParser = new JSONParser(); JSONObject data = (JSONObject) jsonParser.parse(client.newCall(getResponse).execute().body().string()); return data.get("refresh_token").toString(); } //Passes the Access Token fetched to obtain the authorization needed to perform each action on the CRM module public String getResponse(String METHOD, RequestBody body) throws Exception { Long userId = ZCUser.getInstance().getCurrentUser().getUserId(); String accessToken = getAccessToken(userId); Request getResponse = new Request.Builder().url(apiUrl).method(METHOD, body) .addHeader("Authorization", "Zoho-oauthtoken " + accessToken).build(); return client.newCall(getResponse).execute().body().string(); } //Fetches the record from the Token table that contains the Refresh Token, by passing the userID public ArrayList<ZCRowObject> getUserDetails() throws Exception { Long userId = ZCUser.getInstance().getCurrentUser().getUserId(); String query = "SELECT * FROM Token where UserId=" + userId; ArrayList<ZCRowObject> rowList = ZCQL.getInstance().executeQuery(query); return rowList; } } ``` > **Note:** After you copy and paste this code in your function file, ensure that you replace the following values in it: * [Client ID](https://docs.catalyst.zoho.com/en/tutorials/leadmanager/java/register-client) in line 32 * [Client Secret](https://docs.catalyst.zoho.com/en/tutorials/leadmanager/java/register-client) in line 33 * [Table ID](https://docs.catalyst.zoho.com/en/tutorials/leadmanager/java/create-table) in line 61 The functions directory is now configured. We will discuss the function and client code, after you configure the client. -------------------------------------------------------------------------------- title: "Register the client" description: "Build a Lead Manager application that connects to your Zoho CRM account using Catalyst connector to view, create, update, or delete leads." last_updated: "2026-11-04T10:10:44.000Z" source: "https://docs.catalyst.zoho.com/en/tutorials/leadmanager/java/register-client/" service: "All Services" related: - Catalyst CLI Documentation (/en/cli/v1/cli-command-reference/) -------------------------------------------------------------------------------- # Register the Client Application in Zoho API Console We must now register the client application in the Zoho API console, to generate the following credentials: * **Client ID**: The unique key generated for a registered client * **Client Secret**: The secret value generated for a registered client's Client ID The Client ID and Client Secret are added in the function and client code in several places. These values are necessary to generate the Access Token and Refresh Token initially, and later to refresh the Access Token using the Refresh Token. To register the client application in Zoho API console: 1. Visit the [Zoho API Console](https://api-console.zoho.com/) and click **Get Started**. 2. Select **Server-based Applications** as the client type. ![catalyst_leadmanager_api_console_1](https://catalyst-docs-development.zohostratus.in/images/tutorials/leadmanager/catalyst_leadmanager_api_console_1.webp) 3. Enter "**LeadManagerApp**" as the client name. ![catalyst_leadmanager_api_console_2](https://catalyst-docs-development.zohostratus.in/images/tutorials/leadmanager/catalyst_leadmanager_api_console_2.webp) Provide the other details in the following format: * Homepage URL: **{APP\DOMAIN}/app/index.html** * Authorized Redirect URIs: **{APP\DOMAIN}/server/crm_crud/generateToken** Replace {APP_DOMAIN} with the application URL value of the LeadManager project you created in Catalyst. The application URL follows the below syntax : **https://{project name}-{orgID}.development.catalystserverless.com** > **Note:** 1. You can fetch the project name by navigating to **Settings** in the top right corner of the Catalyst console. Then go to **Project Settings->General**. Please make sure to enter your project name in small case without any spaces in the domain URL. 2. You can fetch the Org id value directly from the URL in the Catalyst console. Say for example in the below URL, **"687259092"** is the Org Id. **https://console.catalyst.zoho.com/baas/687259092/project/11811000000477018/Development** For example, the homepage URL in this case will be: **https://leadmanager-687259092.development.catalystserverless.com/app/index.html.** And the redirect URL will be: **https://leadmanager-687259092.development.catalystserverless.com/server/crm_crud/generateToken** We enter the path to the index page of the client as the homepage URL, and a route defined in the Node.js function as an authorized redirect URI. We will discuss these steps in the next sections. * You must add another Authorized Redirect URI for the client. We will serve the app through a localhost to test it after configuring the code. Because this will be redirected to a local domain, we must add that as another authorized redirect URI. Click the **(+) icon** under Authorized Redirect URIs and add: "**http://localhost:3000/server/crm\_crud/generateToken**" ![catalyst_leadmanager_api_console_4](https://catalyst-docs-development.zohostratus.in/images/tutorials/leadmanager/catalyst_leadmanager_api_console_4.webp) > **Note:** When you serve an application locally from the CLI, it is hosted from port 3000 by default. We are therefore adding the domain accordingly. 4. Click **Create** after configuring these details. The API console will generate and display the Client ID and Client Secret values for the registered client. ![catalyst_leadmanager_api_console_3](https://catalyst-docs-development.zohostratus.in/images/tutorials/leadmanager/client-details-api-console.webp) You will need to copy these values and paste them into the function and client files in your project directory. We will discuss this in the next section. -------------------------------------------------------------------------------- title: "Configure the client" description: "Build a Lead Manager application that connects to your Zoho CRM account using Catalyst connector to view, create, update, or delete leads." last_updated: "2026-11-04T10:10:44.000Z" source: "https://docs.catalyst.zoho.com/en/tutorials/leadmanager/java/configure-client-directory/" service: "All Services" related: - Client Directory Structure (/en/cli/v1/project-directory-structure/introduction) - Web Client Hosting (/en/cloud-scale/help/web-client-hosting/introduction/) -------------------------------------------------------------------------------- # Configure the Client Directory Let's now configure the client component. The [client directory](https://docs.catalyst.zoho.com/en/cli/v1/project-directory-structure/introduction) contains: * The `index.html` file that contains the HTML code for the frontend application * The `main.css` file that contains the CSS code * The `main.js` file that contains the JavaScript code * The `client-package.json` configuration file We will be coding `index.html`, `main.js` and `main.css`. We will also create a new file `login.html` in this directory and add code in it. > **Note:** Please go through the code in this section to make sure you fully understand it. We will discuss the code at the end of this section. Copy the code below and paste it in the respective files located in the `client/` directory of your project using an IDE and save the files. **index.html** ```xml <!DOCTYPE html> <html> <head> <meta charset="utf-8" /> <meta http-equiv="X-UA-Compatible" content="IE=edge"> <title>CRM Lead Manager</title> <meta name="viewport" content="width=device-width, initial-scale=1"> <link rel="stylesheet" type="text/css" media="screen" href="main.css" /> <link rel="stylesheet" href="https://stackpath.bootstrapcdn.com/bootstrap/4.3.1/css/bootstrap.min.css" integrity="sha384-ggOyR0iXCbMQv3Xipma34MD+dH/1fQ784/j6cY/iJTQUOhcWr7x9JvoRxT2MZw1T" crossorigin="anonymous"> <link href="https://cdnjs.cloudflare.com/ajax/libs/twitter-bootstrap/4.5.0/css/bootstrap.min.css" rel="stylesheet"> <link href="https://cdnjs.cloudflare.com/ajax/libs/mdbootstrap/4.19.1/css/mdb.min.css" rel="stylesheet"> <script src="https://code.jquery.com/jquery-3.4.1.min.js" integrity="sha256-CSXorXvZcTkaix6Yvo6HppcZGetbYMGWSFlBw8HfCJo=" crossorigin="anonymous"></script> <script src="https://cdnjs.cloudflare.com/ajax/libs/popper.js/1.14.7/umd/popper.min.js" integrity="sha384-UO2eT0CpHqdSJQ6hJty5KVphtPhzWj9WO1clHTMGa3JDZwrnQq4sF86dIHNDz0W1" crossorigin="anonymous"> </script> <script src="https://stackpath.bootstrapcdn.com/bootstrap/4.3.1/js/bootstrap.min.js" integrity="sha384-JjSmVgyd0p3pXB1rRibZUAYoIIy6OrQ6VrjIEaFf/nJGzIxFDsf4x0xIM+B07jRM" crossorigin="anonymous"> </script> <script src="main.js"></script> <script src="https://static.zohocdn.com/catalyst/sdk/js/4.6.2/catalystWebSDK.js"></script> <script src="/__catalyst/sdk/init.js"></script> <link href="//maxcdn.bootstrapcdn.com/bootstrap/4.0.0/css/bootstrap.min.css" rel="stylesheet" id="bootstrap-css"> <style> #connect { height: 260px; width: 500px; position: absolute; top: 0; bottom: 0; left: 0; right: 0; margin: auto; } </style> </head> <body onload="getUserDetails()"> <br> <center> <h1>CRM Lead Manager</h1><br> </center> <div id="connect"> <center> <p>Click here to connect to Zoho CRM</p> <button onclick='navigate()'> <img src="https://www.zohowebstatic.com/sites/default/files/styles/product-home-page/public/icon-crm_blue.png" style="width: 180px;height: 130px;"> </button> </center> </div> <div style="width: 200px;float: right; margin-right: 30px;"><label for="logoutbtn" class="btn btn-success btn-block btn-outlined">Logout</label> <button id="logoutbtn" onclick="logout()" style="display: none;"></button> </div> <div id="main"> <div class="container"> <ul class="nav nav-tabs nav-justified mb-3" id="myTab" role="tablist"> <li class="nav-item"> <a class="nav-link active" id="check-tab" data-toggle="tab" href="#check" role="tab" aria-controls="check" aria-selected="true">Add a Lead</a> </li> <li class="nav-item"> <a class="nav-link" id="report-tab" data-toggle="tab" href="#report" onclick="getLeads()" role="tab" aria-controls="report" aria-selected="false">Manage Leads</a> </li> </ul><br> <div class="tab-content" id="myTabContent"> <div class="tab-pane fade show active" id="check" role="tabpanel" aria-labelledby="check-tab"> <div class="tab-pane fade show active" id="ex3-tabs-1" role="tabpanel" aria-labelledby="ex3-tab-1"> <div style="margin-left: 100px; margin-right:100px;"> <form id="leads"> <!-- 2 column grid layout with text inputs for the first and last names --> <div class="row mb-4"> <div class="col"> <div class="form-outline"> <label class="form-label" for="form6Example1">First name</label> <input type="text" id="firstName" class="form-control" /> </div> </div> <div class="col"> <div class="form-outline"> <label class="form-label" for="form6Example2">Last name</label> <input type="text" id="lastName" class="form-control" required /> </div> </div> </div> <!-- Text input --> <div class="form-outline mb-4"> <label class="form-label" for="form6Example3">Company name</label> <input type="text" id="companyName" class="form-control" /> </div> <!-- Email input --> <div class="form-outline mb-4"> <label class="form-label" for="form6Example5">Email</label> <input type="email" id="email" class="form-control" /> </div> <!-- Text input --> <div class="form-outline mb-4"> <label class="form-label" for="form6Example4">State</label> <input type="text" id="state" class="form-control" /> </div> <!-- Number input --> <div class="form-outline mb-4"> <label class="form-label" for="form6Example6">Phone</label> <input type="number" id="phone" class="form-control" /> </div> <!-- Number input --> <div class="form-outline mb-4"> <label class="form-label" for="form6Example6">Lead Source</label> <input type="text" id="leadSource" class="form-control" /> </div> <!-- Submit button --> <center><button type="submit" onclick="createLead();return false;" class="btn btn-primary btn-block mb-4" style="width: 100px;">Add Lead</button> <div id="loader" style="display: none;"> <div class="spinner-border" role="status"> <span class="sr-only">Loading...</span> </div> </div> </center> </form> </div> </div> </div> <div class="tab-pane fade" id="report" role="tabpanel" aria-labelledby="report-tab"> <center> <div id="loaders" style="display: none; padding-top: 200px;"> <div class="spinner-border" role="status"> <span class="sr-only">Loading...</span> </div> </div> </center> <p id="showData"></p> </div> </div> </div> <!-- Modal --> <div class="modal fade" id="myModal" tabindex="-1" role="dialog" aria-labelledby="myModalLabel" aria-hidden="true"> <div class="vertical-alignment-helper"> <div class="modal-dialog vertical-align-center"> <div class="modal-content"> <center> <h4 class="modal-title" id="myModalLabel"></h4> <div class="modal-body" id="message"></div> <div class="modal-footer"> <button type="button" style="background-color: #007bff;color: white;" class="btn btn-default" data-dismiss="modal">Close</button> </div> </center> </div> </div> </div> </div> <div class="modal fade" id="editForm" tabindex="-1" role="dialog" aria-labelledby="myModalLabel" aria-hidden="true"> <div class="vertical-alignment-helper"> <div class="modal-dialog vertical-align-center"> <div class="modal-content"> <div style="margin-left: 80px; margin-right:80px;"> <br> <center> <h2>Edit Lead</h2> </center> <br> <form id="editLeads"> <!-- 2 column grid layout with text inputs for the first and last names --> <div class="row mb-4"> <div class="col"> <div class="form-outline"> <label class="form-label" for="form6Example1">First name</label> <input type="text" id="editfirstName" class="form-control" /> </div> </div> <div class="col"> <div class="form-outline"> <label class="form-label" for="form6Example2">Last name</label> <input type="text" id="editlastName" class="form-control" required /> </div> </div> </div> <!-- Text input --> <div class="form-outline mb-4"> <label class="form-label" for="form6Example3">Company name</label> <input type="text" id="editcompanyName" class="form-control" /> </div> <!-- Email input --> <div class="form-outline mb-4"> <label class="form-label" for="form6Example5">Email</label> <input type="email" id="editemail" class="form-control" /> </div> <!-- Text input --> <div class="form-outline mb-4"> <label class="form-label" for="form6Example4">State</label> <input type="text" id="editstate" class="form-control" /> </div> <!-- Number input --> <div class="form-outline mb-4"> <label class="form-label" for="form6Example6">Phone</label> <input type="number" id="editphone" class="form-control" /> </div> <!-- Submit button --> <center><button type="submit" id="editBtn" onclick="editLead();return false;" class="btn btn-primary btn-block mb-4" style="width: 100px;">Edit</button> <div id="loader" style="display: none;"> <div class="spinner-border" role="status"> <span class="sr-only">Loading...</span> </div> </div> </center> </form> </div> </div> </div> </div> </div> <div class="modal fade right" id="ModalDanger" tabindex="-1" role="dialog" aria-labelledby="myModalLabel" aria-hidden="true"> <div class="modal-dialog modal-notify modal-danger modal-side modal-top-right" role="document"> <!--Content--> <div class="modal-content"> <!--Header--> <div class="modal-header"> <p class="heading">Lead Deletion</p> <button type="button" class="close" data-dismiss="modal" aria-label="Close"> <span aria-hidden="true" class="white-text">×</span> </button> </div> <!--Body--> <div class="modal-body"> <div class="row"> <div class="col-9"> <p>Are you sure you want to delete the Lead?</p> </div> </div> </div> <!--Footer--> <div class="modal-footer justify-content-center"> <a type="button" class="btn btn-danger" id="delete-btn" onclick="deleteLead()">Delete</a> <a type="button" class="btn btn-outline-danger waves-effect" data-dismiss="modal">Cancel</a> </div> </div> <!--/.Content--> </div> </div> </div> </body> <script> //Add Your Client ID and Redirect URL here function navigate() { window.location.href = "https://accounts.zoho.com/oauth/v2/auth?scope=ZohoCRM.modules.ALL&client_id={{YOUR_CLIENT_ID}}&response_type=code&access_type=offline&redirect_uri="+location.protocol + '//' + location.host + "/server/crmcrud/generateToken"; } </script> </html> ``` > **Note:** After adding `index.html` to your client folder, make sure to replace **{{YOUR_CLIENT_ID}}** in the `navigate()` function with your actual Zoho Client ID. **main.js** ```javascript function createLead() { debugger; $("#loader").show(); var firstName = $("#firstName").val(); var lastName = $("#lastName").val(); if (lastName == "") { alert("Kindly Enter the Last Name"); $("#loader").hide(); return; } var companyName = $("#companyName").val(); var email = $("#email").val(); var state = $("#state").val(); var phone = $("#phone").val(); var leadSource = $("#leadSource").val(); $.ajax({ url: "/server/crmcrud/crmData", type: "post", contentType: "application/json", data: JSON.stringify({ "First_Name": firstName, "Last_Name": lastName, "Company": companyName, "Email": email, "State": state, "Phone": phone, "Lead_Source": leadSource, }), success: function (data) { debugger; $('#leads').trigger("reset"); $("#myModalLabel").html(" Success"); $("#message").html("Lead Created Successfully"); $("#loader").hide(); $('#myModal').modal('show'); }, error: function (error) { $('#leads').trigger("reset"); $("#myModalLabel").html(" Failure"); $("#message").html("Please try again after Sometime"); $("#loader").hide(); $('#myModal').modal('show'); } }); } function logout() { var redirectURL = "http://localhost:3000/app/login.html"; //Add your app domain var auth = catalyst.auth; auth.signOut(redirectURL); } function getUserDetails() { $("#main").hide(); $("#connect").hide(); catalyst.auth.isUserAuthenticated().then(result => { $("#loader").show(); $.ajax({ url: "/server/crmcrud/getUserDetails", type: "get", success: function (data) { $("#loader").hide(); if (data.userId) { $("#main").show(); $("#connect").hide(); } else { $("#connect").show(); $("#main").hide(); } }, error: function (error) { $("#myModalLabel").html(" Failure"); $("#message").html("Please try again after Sometime"); $("#loader").hide(); $('#myModal').modal('show'); } }); }).catch(err => { document.body.innerHTML = 'You are not logged in. Please log in to continue. Redirecting you to the login page..'; setTimeout(function () { window.location.href = "login.html"; }, 3000); }); } function getLeads() { debugger; var tableContainer = document.getElementById("showData"); tableContainer.innerHTML = ""; $("#loaders").show(); $.ajax({ url: "/server/crmcrud/crmData", type: "get", success: function (data) { debugger; var reqData = getRequiredData(data.data); $("#loaders").hide(); renderTable(reqData); }, error: function (error) { $("#myModalLabel").html(" Failure"); $("#message").html("Please try again after Sometime"); $("#loader").hide(); $('#myModal').modal('show'); } }); } function showDeletePopup(leadID) { $('#ModalDanger').modal('show'); var deleteBtn = document.getElementById("delete-btn"); deleteBtn.value = leadID; } function deleteLead() { var leadID = document.getElementById('delete-btn').value; $.ajax({ url: "/server/crmcrud/crmData/" + leadID, type: "delete", success: function (data) { debugger; $('#ModalDanger').modal('toggle'); $("#myModalLabel").html(" Success"); $("#message").html("Lead Deleted Successfully"); $('#myModal').modal('show'); setTimeout(function () { location.reload(); }, 3000); }, error: function (error) { $("#myModalLabel").html(" Failure"); $("#message").html("Please try again after Sometime"); $("#loader").hide(); $('#myModal').modal('show'); } }); } function showEditPopup(leadID) { $.ajax({ url: "/server/crmcrud/crmData/" + leadID, type: "get", success: function (data) { debugger; var respData = data.data; $('#editfirstName').val(respData[0].First_Name); $('#editlastName').val(respData[0].Last_Name); $('#editcompanyName').val(respData[0].Company); $('#editemail').val(respData[0].Email); $('#editstate').val(respData[0].State); $('#editphone').val(respData[0].Phone); $('#editleadSource').val(respData[0].Lead_Source); $('#editBtn').val(respData[0].id); $('#editfirstName').html(respData[0].First_Name); $('#editlastName').html(respData[0].Last_Name); $('#editcompanyName').html(respData[0].Company); $('#editemail').html(respData[0].Email); $('#editstate').html(respData[0].State); $('#editphone').html(respData[0].Phone); $('#editleadSource').html(respData[0].Lead_Source); $('#editForm').modal('show'); }, error: function (error) { $("#myModalLabel").html(" Failure"); $("#message").html("Please try again after Sometime"); $("#loader").hide(); $('#myModal').modal('show'); } }); } function editLead() { var firstName = $("#editfirstName").val(); var lastName = $("#editlastName").val(); if (lastName == "") { alert("Kindly Enter the Last Name"); return; } var companyName = $("#editcompanyName").val(); var email = $("#editemail").val(); var state = $("#editstate").val(); var phone = $("#editphone").val(); var leadSource = $("#editleadSource").val(); var leadID = $("#editBtn").val(); $.ajax({ url: "/server/crmcrud/crmData/" + leadID, type: "put", contentType: "application/json", data: JSON.stringify({ "First_Name": firstName, "Last_Name": lastName, "Company": companyName, "Email": email, "State": state, "Phone": phone, "Lead_Source": leadSource }), success: function (data) { debugger; $('#editForm').modal('toggle'); $("#myModalLabel").html(" Success"); $("#message").html("Lead Edited Successfully"); $('#myModal').modal('show'); setTimeout(function () { location.reload(); }, 3000); }, error: function (error) { $('#leads').trigger("reset"); $("#myModalLabel").html(" Failure"); $("#message").html("Please try again after Sometime"); $("#loader").hide(); $('#myModal').modal('show'); } }); } function getRequiredData(data) { var i; var resp = []; for (i = 0; i < data.length; i++) { var gulp = { "First Name": data[i].First_Name, "Last Name": data[i].Last_Name, "Phone": data[i].Phone, "Email": data[i].Email, "Company": data[i].Company, "Edit": '<center><a href="javascript:showEditPopup(\'' + data[i].id + '\')">✎︎</a></center>', "Delete": '<center><a href="javascript:showDeletePopup(\'' + data[i].id + '\')">🗑︎</a></center>' } resp.push(gulp); } console.log(resp); return resp; } function renderTable(respData) { var col = []; for (var i = 0; i < respData.length; i++) { for (var key in respData[i]) { if (col.indexOf(key) === -1) { col.push(key); } } } var table = document.createElement("table"); table.id = "dataTable"; var tr = table.insertRow(-1); for (var i = 0; i < col.length; i++) { var th = document.createElement("th"); th.innerHTML = col[i]; tr.appendChild(th); } for (var i = 0; i < respData.length; i++) { tr = table.insertRow(-1); for (var j = 0; j < col.length; j++) { var tabCell = tr.insertCell(-1); tabCell.innerHTML = respData[i][col[j]]; } } var divContainer = document.getElementById("showData"); divContainer.innerHTML = ""; divContainer.appendChild(table); } ``` **main.css** ```css #dataTable { font-family: Arial, Helvetica, sans-serif; border-collapse: collapse; width: 100%; } #dataTable td, #dataTable th { border: 1px solid #ddd; padding: 8px; } #dataTable tr:nth-child(even){background-color: #f2f2f2;} #dataTable tr:hover {background-color: #ddd;} #dataTable th { padding-top: 12px; padding-bottom: 12px; text-align: left; background-color: #007bff; color: white; } .vertical-alignment-helper { display: table; height: 100%; width: 100%; pointer-events: none; } .vertical-align-center { display: table-cell; vertical-align: middle; pointer-events: none; } .modal-content { width: inherit; max-width: inherit; height: inherit; margin: 0 auto; pointer-events: all; } ``` **login.html** ```xml <!DOCTYPE html> <html lang="en"> <head> <meta charset="utf-8" /> <meta http-equiv="X-UA-Compatible" content="IE=edge"> <title>CRM Lead Manager</title> <meta name="viewport" content="width=device-width, initial-scale=1"> <!-- Bootstrap --> <link rel="stylesheet" href="https://stackpath.bootstrapcdn.com/bootstrap/4.3.1/css/bootstrap.min.css" integrity="sha384-ggOyR0iXCbMQv3Xipma34MD+dH/1fQ784/j6cY/iJTQUOhcWr7x9JvoRxT2MZw1T" crossorigin="anonymous"> <!-- Catalyst SDK --> <script src="https://static.zohocdn.com/catalyst/sdk/js/4.6.2/catalystWebSDK.js"></script> <script src="/__catalyst/sdk/init.js"></script> <style> html, body { height: 100%; margin: 0; padding: 0; overflow: hidden; /* No page scroll */ background-color: #f8f9fa; font-family: "Segoe UI", Tahoma, Geneva, Verdana, sans-serif; } body { display: flex; flex-direction: column; justify-content: center; align-items: center; } h1 { margin-bottom: 30px; color: #333; } /* Bigger height to avoid internal iframe scroll */ #login { width: 90%; max-width: 500px; height: 500px; /* increased from 260px */ overflow: hidden; /* hides any internal scrollbars */ border-radius: 8px; background: #fff; box-shadow: 0 4px 10px rgba(0, 0, 0, 0.1); padding: 20px; } </style> </head> <body> <h1>CRM Lead Manager</h1> <div id="login"></div> <script> // Initialize Catalyst login widget catalyst.auth.signIn("login"); </script> <!-- Optional JS dependencies --> <script src="https://code.jquery.com/jquery-3.4.1.min.js" integrity="sha256-CSXorXvZcTkaix6Yvo6HppcZGetbYMGWSFlBw8HfCJo=" crossorigin="anonymous"></script> <script src="https://cdnjs.cloudflare.com/ajax/libs/popper.js/1.14.7/umd/popper.min.js" integrity="sha384-UO2eT0CpHqdSJQ6hJty5KVphtPhzWj9WO1clHTMGa3JDZwrnQq4sF86dIHNDz0W1" crossorigin="anonymous"></script> <script src="https://stackpath.bootstrapcdn.com/bootstrap/4.3.1/js/bootstrap.min.js" integrity="sha384-JjSmVgyd0p3pXB1rRibZUAYoIIy6OrQ6VrjIEaFf/nJGzIxFDsf4x0xIM+B07jRM" crossorigin="anonymous"></script> </body> </html> ``` The client directory is now configured. Let us quickly go through the working of the function and client components of the application: * The `login.html` file in the client component enables Catalyst Authentication login. This does not handle the Zoho sign-in feature, only the Catalyst login. * `index.html` contains the code for the front-end of the client. It defines a function `navigate()` that enables the connection to the CRM account by passing the required authorization information such as the Client ID and the scope. * The Advanced I/O function defines the following APIs that perform various actions: * **`/generateToken`:** Obtains the Refresh Token by calling the `getRefreshToken()` function, and inserts it along with the `userID` of the current user in the _Token_ table in the Data Store. It then redirects to the index page of the client. * **`/getUserDetails`:** Fetches the user details by calling the `getUserDetails()` function. If there is no record in the table, a JSON response with the `userID` alone is sent. If the record exists in the table, it is sent along with the `userID`. * **`/crmData`:** This route defines the path of all leads in the Leads module. The Node function executes the HTTP `GET` and `POST` operations to fetch all leads or create a new lead using this route respectively. * **`/crmData/:id`:** This route defines the path of a particular lead in the Leads module. The `id` represents the unique ID of the lead in CRM. The function executes the HTTP `PUT` and `DELETE` operations to edit or delete a lead respectively using this route. * The Advanced I/O function contains the following functions that are called by the APIs: * **`getRefreshToken()`:** Fetches the Refresh Token by passing the Client ID, Client Secret, Redirect URI and other required values as query string parameters * **`getAccessToken()`:** Fetches the Access Token by passing the Refresh Token queried from the Token table using ZCQL, and other required parameters. The Access Token is fetched each time an operation needs to be performed on the CRM module, such as adding a lead or editing a lead. * **`getResponse()`:** Passes the Access Token fetched to obtain the authorization needed to perform each action on the CRM module. This function is called with each `/crmData` and `/crmData/:id` API to authorize the request. * **`getUserDetails()`:** Fetches the record from the _Token_ table that contains the Refresh Token, by passing the userID * `main.js` is the JavaScript function in the client component that parses the JSON responses obtained from the function and renders them in the `index.html` page. This function defines the actions for all the UI elements in the client application. For example, `getLeads()` obtains all leads from the function response and renders them in the client, and `showEditPopup()` defines the actions for editing a lead. -------------------------------------------------------------------------------- title: "Test the application" description: "Build a Lead Manager application that connects to your Zoho CRM account using Catalyst connector to view, create, update, or delete leads." last_updated: "2026-11-04T10:10:44.000Z" source: "https://docs.catalyst.zoho.com/en/tutorials/leadmanager/java/test-application/" service: "All Services" related: - Serve CLI Resources (/en/cli/v1/serve-resources/introduction) -------------------------------------------------------------------------------- # Test the Application Before you deploy the application to the remote console, you can [test the application on a local server](https://docs.catalyst.zoho.com/en/cli/v1/serve-resources/introduction) and check if everything works fine using the Catalyst CLI. To serve the Catalyst project locally, execute the following command from your project directory: ```sh catalyst serve ``` The Lead Manager application will now be served at default port 3000\. The local endpoint URLs of the components are displayed. > **Note:** Every time you access the homepage or any of the sub-pages of your client, or the function, the CLI will display a live log of the URL accessed, along with the HTTP request method. ![catalyst_leadmanager_serve](https://catalyst-docs-development.zohostratus.in/images/tutorials/leadmanager/catalyst_leadmanager_serve.webp) You can now open the application in a browser using the local URL of the client displayed in the CLI. You will initially be redirected to the login page. If you configure a sign-up action on your own, you can sign up first, then log in to the application. Otherwise, you can log in using the Zoho sign-in icon. ![catalyst_leadmanager_test_1](https://catalyst-docs-development.zohostratus.in/images/tutorials/leadmanager/CRM-lead-manager-landing-page.webp) You will be redirected to the permissions page. Accept the permissions requested by the app to access your Zoho account details. ![catalyst_leadmanager_test_2](https://catalyst-docs-development.zohostratus.in/images/tutorials/leadmanager/lead-manager-zoho-signin.webp) You will then be redirected back to the application. Click the **Zoho CRM icon** in this page to connect to Zoho CRM. ![catalyst_leadmanager_test_3](https://catalyst-docs-development.zohostratus.in/images/tutorials/leadmanager/crm-connection-establishment.webp) You must now **choose the CRM account** that you wish to connect with the Lead Manager app, then click **Submit**. All your existing developer, sandbox, and production accounts will be listed. Click **Accept** to allow the Lead Manager app to access your Zoho CRM modules. ![catalyst_leadmanager_test_4](https://catalyst-docs-development.zohostratus.in/images/tutorials/leadmanager/crm-connection-zoho-api.webp) You will be redirected back to the application. You can now create and manage leads in your configured Zoho CRM account, directly from this application. To add a lead, enter the details of the lead in the _Add a Lead_ section and click **Add Lead**. ![catalyst_leadmanager_test_6](https://catalyst-docs-development.zohostratus.in/images/tutorials/leadmanager/lead-manager-landing-page.webp) A confirmation pop-up will display the status every time you add, edit, or delete a lead. ![catalyst_leadmanager_test_7](https://catalyst-docs-development.zohostratus.in/images/tutorials/leadmanager/catalyst_leadmanager_test_7.webp) You can click the **Manage Leads** tab to view all your leads from the Leads module. You can edit or delete any of them by clicking their respective icons in the table. ![catalyst_leadmanager_test_8](https://catalyst-docs-development.zohostratus.in/images/tutorials/leadmanager/catalyst_leadmanager_test_8.webp) You can update a lead's information, then click **Edit**. ![catalyst_leadmanager_test_9](https://catalyst-docs-development.zohostratus.in/images/tutorials/leadmanager/catalyst_leadmanager_test_9.webp) If you click the delete icon, you must confirm the action in the confirmation pop-up. ![catalyst_leadmanager_test_10](https://catalyst-docs-development.zohostratus.in/images/tutorials/leadmanager/catalyst_leadmanager_test_10.webp) You can also check the Refresh Token and `userID` values populated in the Data Store from your Catalyst console. Navigate to the **Data View** section of the _Token_ table to view the record that was added. ![catalyst_leadmanager_test_11](https://catalyst-docs-development.zohostratus.in/images/tutorials/leadmanager/catalyst_leadmanager_test_11.webp) If you delete this entry, you will have to authenticate your credentials in the client application and establish a connection to your CRM account again. You can log out of the application by clicking **Logout**. If this setup is working correctly, we can deploy the application to production. You can quit the `serve` session in your terminal by executing the command to kill a running process, based on your OS. -------------------------------------------------------------------------------- title: "Deploy the project" description: "Build a Lead Manager application that connects to your Zoho CRM account using Catalyst connector to view, create, update, or delete leads." last_updated: "2026-11-04T10:10:44.000Z" source: "https://docs.catalyst.zoho.com/en/tutorials/leadmanager/java/deploy-project/" service: "All Services" related: - Deploy CLI Resources (/en/cli/v1/deploy-resources/introduction) - Web Client Hosting (/en/cloud-scale/help/web-client-hosting/introduction/) -------------------------------------------------------------------------------- # Deploy the Project You can now deploy the application to the remote console. > **Note:** Since you had already logged into the Lead Manager application from the local server, a Refresh Token would have already been generated. This token will continue to authenticate your access. To [deploy your Catalyst project from the CLI](https://docs.catalyst.zoho.com/en/cli/v1/deploy-resources/introduction), run the following command in your terminal from your project directory: ```sh catalyst deploy ``` The function is deployed first, followed by the client component. The app URLs of the components will be displayed. ![catalyst_leadmanager_deploy](https://catalyst-docs-development.zohostratus.in/images/tutorials/leadmanager/catalyst_leadmanager_deploy.webp) You can now open the client component's URL in a browser to access the deployed application. Lead Manager application can now be accessed from its [web app URL](https://docs.catalyst.zoho.com/en/cloud-scale/help/web-client-hosting/introduction). ![catalyst_leadmanager_final](https://catalyst-docs-development.zohostratus.in/images/tutorials/leadmanager/catalyst_leadmanager_final.webp) ### NodeJS -------------------------------------------------------------------------------- title: "Introduction" description: "Build a Lead Manager application that connects to your Zoho CRM account using Catalyst connector to view, create, update, or delete leads." last_updated: "2026-11-04T10:10:44.000Z" source: "https://docs.catalyst.zoho.com/en/tutorials/leadmanager/nodejs/introduction/" service: "All Services" related: - Project Directory Structure (/en/cli/v1/project-directory-structure/introduction/) - Java SDK (/en/sdk/java/v1/overview/) - Node.js SDK (/en/sdk/nodejs/v2/overview/) - Zoho CRM (https://www.zoho.com/in/crm/) -------------------------------------------------------------------------------- # Lead Manager App ### Introduction This tutorial will help you build a web application that can connect with your [Zoho CRM account](https://www.zoho.com/in/crm/) and enable you to manage leads in your organization. You will be able to access, add, edit, or delete leads in the [Leads module](https://help.zoho.com/portal/en/kb/crm/sales-force-automation/leads) in your CRM account, directly from this application. The connection to Zoho CRM is established using [OAuth 2.0 authentication protocol](https://docs.catalyst.zoho.com/en/api/oauth2/overview-and-terminology/#OverviewandTerminology). We will generate an OAuth Access Token for the Lead Manager application and use it to authorize the connection to access CRM data. We will also implement a **Catalyst connector** to manage this access to the CRM account. The connector will refresh the Access Token automatically each time it expires using a Refresh Token, and will maintain a constant connection between the client and the CRM account. These tokens can be generated after registering the client application in the Zoho API console and obtaining the required credentials. The client application will look like this: ![](https://catalyst-docs-development.zohostratus.in/images/tutorials/leadmanager/catalyst_leadmanager_final.webp) The Lead Manager application contains the following fundamental Catalyst components: 1. [**Catalyst Serverless**](https://docs.catalyst.zoho.com/en/serverless/getting-started/introduction/): - **[Advanced I/O Function](https://docs.catalyst.zoho.com/en/serverless/help/functions/introduction):** The Advanced I/O Function is coded in the **Node.js** programming environment. The function defines the APIs that handle the CRUD actions of the CRM Leads module, such as adding or deleting a lead, from the client application. It also defines routes that handle the connection to CRM, authenticate the user, and generate the OAuth tokens. 2. [**Catalyst CloudScale**](https://docs.catalyst.zoho.com/en/cloud-scale/getting-started/introduction/): - **[Data Store](https://docs.catalyst.zoho.com/en/cloud-scale/help/data-store/introduction):** To store the Refresh Token and [UserID of the Catalyst user](https://docs.catalyst.zoho.com/en/cloud-scale/help/authentication/user-management/users/introduction/) fetched by the Advanced I/O function. The Refresh Token is fetched from this table by the function, whenever a new Access Token needs to be generated. - **[ZCQL](https://docs.catalyst.zoho.com/en/cloud-scale/help/zcql/introduction)**: To fetch data from the Data Store through querying. - **Client:** This is the front end of the application that is hosted on Catalyst through [web client hosting](https://docs.catalyst.zoho.com/en/cloud-scale/help/web-client-hosting/introduction). - **[Authentication:](https://docs.catalyst.zoho.com/en/cloud-scale/help/authentication/introduction)** To implement a Zoho sign-in option in the client application's login page, in addition to the standard login option, we will be implementing **[Embedded authentication](https://docs.catalyst.zoho.com/en/cloud-scale/help/authentication/native-catalyst-authentication/embedded-authentication/setup-embedded-auth/)** type in this tutorial. We will use the Catalyst web console and the Catalyst Command Line Interface (CLI) to build this application. You will be given the code for the files to be included in the function and client components in this tutorial. You will just need to copy the provided code and paste it into the appropriate files as directed. ### Application Architecture The Lead Manager application's architecture is depicted below: ![](https://catalyst-docs-development.zohostratus.in/images/tutorials/leadmanager/python/architechture.webp) We will explain the architecture in detail in the [Configure Client section](https://docs.catalyst.zoho.com/en/tutorials/leadmanager/nodejs/configure-client-directory), after you configure the function and client components. -------------------------------------------------------------------------------- title: "Prerequisites" description: "Build a Lead Manager application that connects to your Zoho CRM account using Catalyst connector to view, create, update, or delete leads." last_updated: "2026-11-04T10:10:44.000Z" source: "https://docs.catalyst.zoho.com/en/tutorials/leadmanager/nodejs/prerequisites/" service: "All Services" related: - CLI Command Reference (/en/cli/v1/cli-command-reference/) - Install CLI (/en/getting-started/installing-catalyst-cli/) - Login CLI (/en/cli/v1/login/login-from-cli/) -------------------------------------------------------------------------------- # Prerequisites Before you begin building the application, you must have the following prerequisites installed on your system: 1. **Catalyst CLI** Catalyst CLI contains a host of tools that enable you to initialize, develop, test, and deploy the components of your application from your local machine. We will be working with Catalyst CLI in this tutorial. You must perform these actions: 1. **Install Catalyst CLI:** Catalyst CLI is installed through NPM. You must therefore have NPM and Node.js installed on your system before you install the CLI. Refer to the [**Install Catalyst CLI help page**](https://docs.catalyst.zoho.com/en/getting-started/installing-catalyst-cli/) for details on the pre-requisites and the steps to install it. 2. **Login Catalyst CLI:** After you install Catalyst CLI, you must authenticate the CLI with your Catalyst account before using it. Refer to the [**CLI Login help page**](https://docs.catalyst.zoho.com/en/cli/v1/login/login-from-cli/) for the steps to login from Catalyst CLI and the various options available for it. 2. **Zoho CRM Account** Because the Leads module is available in all editions of Zoho CRM, you can have a configured Zoho CRM account of any edition to establish a connection with the Lead Manager application. If you don't have a Zoho CRM account, you can sign up for it [here](https://www.zoho.com/in/crm/). 3. **Any IDE tool for Node.js and client code development** You can use any IDE to work with the function and the client code. Some popular choices include Visual Studio Code, IntelliJ IDEA, Eclipse, and Sublime Text. Download and install an IDE of your choice in your system. > If you are a Visual Studio Code IDE user, you can install the **Catalyst Tools** extension, and use your IDE itself in place of the CLI. You can find more details about the Catalyst VS Code extension from this [help section](https://docs.catalyst.zoho.com/en/catalyst-extensions/vs-code-extension/introduction/). -------------------------------------------------------------------------------- title: "Create a project" description: "Build a Lead Manager application that connects to your Zoho CRM account using Catalyst connector to view, create, update, or delete leads." last_updated: "2026-11-04T10:10:44.000Z" source: "https://docs.catalyst.zoho.com/en/tutorials/leadmanager/nodejs/create-project/" service: "All Services" related: - Project Directory (/en/cli/v1/project-directory-structure/introduction) - Setup Catalyst Projects (/en/getting-started/catalyst-projects) -------------------------------------------------------------------------------- # Create a Project Let's [create a Catalyst project](https://docs.catalyst.zoho.com/en/getting-started/catalyst-projects) from the Catalyst console. 1. Log in to the [Catalyst console](https://console.catalyst.zoho.com/baas/index) and click **Create a new Project**. ![catalyst_leadmanager_home_page](https://catalyst-docs-development.zohostratus.in/images/tutorials/leadmanager/catalyst_leadmanager_home_page.webp) 2. Enter the project's name as "**LeadManager**" in the pop-up window. ![catalyst_leadmanager_create_project](https://catalyst-docs-development.zohostratus.in/images/tutorials/leadmanager/catalyst_leadmanager_create_project.webp) 3. Click **Create**. Your project will be created and opened. ![catalyst_leadmanager_access_project](https://catalyst-docs-development.zohostratus.in/images/tutorials/leadmanager/project-created-opened.webp) -------------------------------------------------------------------------------- title: "Create a table" description: "Build a Lead Manager application that connects to your Zoho CRM account using Catalyst connector to view, create, update, or delete leads." last_updated: "2026-11-04T10:10:44.000Z" source: "https://docs.catalyst.zoho.com/en/tutorials/leadmanager/nodejs/create-table/" service: "All Services" related: - Data Store (/en/cloud-scale/help/data-store/introduction) -------------------------------------------------------------------------------- # Create a Table in the Data Store Next, let's create a table in the Data Store. This table is used to store the Refresh Token and `userID` values, which are retrieved whenever an Access Token needs to be generated. To create a table: 1. Navigate to **Catalyst CloudScale** service in the console and click **Data Store** under Storage. 2. Click **Create a new Table.** ![new-table](https://catalyst-docs-development.zohostratus.in/images/tutorials/leadmanager/python/new-table.webp) 3. Enter the table’s name as **“Token”** and click **Create**. ![token-table2](https://catalyst-docs-development.zohostratus.in/images/tutorials/leadmanager/python/token-table2.webp) > **Note:** Ensure that you enter the name exactly as instructed, because the application's code contains the same name. The table will be created and displayed in the Data Store page. Now, let’s create two columns in the table to store the userID and the refresh token respectively. 1. Click **New Column** in the **Schema View** section of the Data Store table. ![add-new-column](https://catalyst-docs-development.zohostratus.in/images/tutorials/leadmanager/python/add-new-column.webp) 2. Enter the column's name as "**refresh\_token**". Select the data type as **Encrypted Text**, and click **Create**. ![column-example](https://catalyst-docs-development.zohostratus.in/images/tutorials/leadmanager/python/column-example.webp) You can learn about the various data types supported by Catalyst and the other properties of a column from the [Data Store help page](https://docs.catalyst.zoho.com/en/cloud-scale/help/data-store/introduction). > **Note:** Ensure that you enter the name exactly as instructed, because the application's code contains the same name. 3. Create another column using the previous steps with the column name as "**userId**" of the data type "**BigInt**". You need not provide any other values, just click **Create**. ![userid-column](https://catalyst-docs-development.zohostratus.in/images/tutorials/leadmanager/python/userid-column.webp) The columns will be created and listed in the Schema View section. #### Configure Scopes and Permissions To allow any user of the Lead Manager application to view or manage leads from the client application, you must enable an additional [table permission](https://docs.catalyst.zoho.com/en/cloud-scale/help/data-store/scopes-and-permissions) that will allow the user to fetch and store new Refresh Tokens, if needed. Click the **Scopes and Permissions** tab for the **Token** table, then check the **Insert** permission for the **App User** role under **Table Permissions** section. The **Select** permission will already be checked by default. ![permissions](https://catalyst-docs-development.zohostratus.in/images/tutorials/leadmanager/python/permissions.webp) The Data Store is now configured for the application. -------------------------------------------------------------------------------- title: "Enable Zoho sign-in" description: "Build a Lead Manager application that connects to your Zoho CRM account using Catalyst connector to view, create, update, or delete leads." last_updated: "2026-11-04T10:10:44.000Z" source: "https://docs.catalyst.zoho.com/en/tutorials/leadmanager/nodejs/enable-zoho-sign-in/" service: "All Services" related: - Authentication (/en/cloud-scale/help/authentication/user-management/users/introduction/) -------------------------------------------------------------------------------- # Enable Zoho Sign-in The Lead Manager application contains a login page where you must provide valid credentials to access your Zoho CRM account. You can implement a signup functionality for this application by yourself, if needed. Otherwise, you can also integrate the Zoho sign-in feature that will enable you to sign in to the client application directly using your Zoho account. To configure Zoho sign-in for the Lead Manager application from the console: 1. Navigate to **Authentication** under the **Security & Identity** section, click **Setup** in the **Native Catalyst Authentication** tab. ![choose-native-auth](https://catalyst-docs-development.zohostratus.in/images/tutorials/leadmanager/python/choose-native-auth.webp) 2. Select **Embedded Authentication**. Click **Next**. ![choose-embedded](https://catalyst-docs-development.zohostratus.in/images/tutorials/leadmanager/python/choose-embedded-crop.webp) 3. In the Authentication Setup page, enable **Public Signup** and click **Zoho**. ![enable-public-signup](https://catalyst-docs-development.zohostratus.in/images/tutorials/leadmanager/authentication-page-lead-manager-app-zoho.webp) 4. In the dialog box that appears, click **Yes, proceed**. ![dialog-box](https://catalyst-docs-development.zohostratus.in/images/tutorials/leadmanager/python/dialog-box.webp) 5. Provide the Client Name as **"LeadManagerApp"** and click **Enable.** ![client-name](https://catalyst-docs-development.zohostratus.in/images/tutorials/leadmanager/python/client-name.webp) > **Note:** You can enter any name you need. However, please make a note that we will be using **"LeadManagerApp"** as the client name while initializing it in the CLI and while registering it in the Zoho API console. 6. We will not be configuring any additional authentication settings for our application. Click **Finish** ![auth-settings](https://catalyst-docs-development.zohostratus.in/images/tutorials/leadmanager/python/auth-settings-crop.webp) Zoho sign-in will now be available for the client application. -------------------------------------------------------------------------------- title: "Initialize the project" description: "Build a Lead Manager application that connects to your Zoho CRM account using Catalyst connector to view, create, update, or delete leads." last_updated: "2026-11-04T10:10:44.000Z" source: "https://docs.catalyst.zoho.com/en/tutorials/leadmanager/nodejs/initialize-project/" service: "All Services" related: - Initialize CLI Resources (/en/cli/v1/initialize-resources/introduction) - Project Directory Structure (/en/cli/v1/project-directory-structure/introduction) -------------------------------------------------------------------------------- # Initialize the Project from the CLI You can now begin working on your Catalyst project from the CLI. The first step is to initialize the project in an empty directory. This will be the home directory of your project, where all of your project files are saved. You can learn more about this from the [Project Directory Structure help page](https://docs.catalyst.zoho.com/en/cli/v1/project-directory-structure/introduction). You can learn about initializing a project in detail from the [CLI help documentation](https://docs.catalyst.zoho.com/en/cli/v1/initialize-resources/introduction/). For the Lead Manager application, we will initialize the Advanced I/O function in the Java or Node.js environment, and the client component. 1. Create a folder for the project on your local machine and navigate to it from the terminal. 2. Initialize a project by executing the following command from that directory: ```sh catalyst init ``` 3. The CLI will now ask you to associate a Catalyst project with the directory. Associate it with the project that we created earlier from the console. Select **Lead Manager** from the list and click **Enter**. ![catalyst_leadmanager_init_1](https://catalyst-docs-development.zohostratus.in/images/tutorials/leadmanager/cli-init-leadmanager.webp) 4. Select **Functions** and **Client** using the space bar. Press the **Enter** key to initialize. ![catalyst_leadmanager_init_1](https://catalyst-docs-development.zohostratus.in/images/tutorials/leadmanager/client-functions-init.webp) 5. The CLI will initiate the function setup. Select **AdvancedIO** as the function type. ![catalyst_leadmanager_init_3](https://catalyst-docs-development.zohostratus.in/images/tutorials/leadmanager/catalyst_leadmanager_init_3.webp) 6. Select the latest runtime of **NodeJS** as the function stack, and press **Enter**. ![catalyst_leadmanager_init_4](https://catalyst-docs-development.zohostratus.in/images/tutorials/leadmanager/function-selection-leadmanager.webp) 7. Enter "**crm\_crud**" as the package name, "**index.js**" as the entry point, and your email address as the author and press **Enter** each time. You can press ** Enter ** to fill the default values. ![catalyst_leadmanager_init_6](https://catalyst-docs-development.zohostratus.in/images/tutorials/leadmanager/catalyst_leadmanager_init_6.webp) The CLI will prompt the initialization of the Node dependencies. Press **Y** to confirm the installation, and press **Enter** to confirm your choice. The [node modules](https://docs.catalyst.zoho.com/en/sdk/nodejs/v2/overview/) will be installed. > **Note:** Ensure that you enter the package name, or class name and folder name, exactly as instructed, because the application's code contains the same names. 8. The CLI will initiate the client set up next. Select **Basic web app** as your client type. ![catalyst_leadmanager_init_7](https://catalyst-docs-development.zohostratus.in/images/tutorials/leadmanager/basic-web-app-selection.webp) 9. Enter "**LeadManagerApp**" as the name for the client package and press **Enter**. ![catalyst_leadmanager_init_7](https://catalyst-docs-development.zohostratus.in/images/tutorials/leadmanager/client-install-complete.webp) You can enter any name you need. However, you can use the same name that you used while enabling Zoho sign-in to maintain standardization. The client directory will be created in the standard structure. Catalyst initialization is now complete. Your project directory (CATALYST_PROJECT_HOME) is now set up with the [client directory](https://docs.catalyst.zoho.com/en/cli/v1/project-directory-structure/functions-directory) (CATALYST\_CLIENT\_HOME) and the [functions directory](https://docs.catalyst.zoho.com/en/cli/v1/project-directory-structure/client-directory) (CATALYST\_FUNCTIONS\_HOME) along with configuration files and dependencies. The functions directory contains the Node.js function. The project directory also contains the `[catalyst.json](https://docs.catalyst.zoho.com/en/cli/v1/project-directory-structure/catalyst-json)` configuration file and a hidden `.catalystrc` file. This is the structure of your project directory. ![catalyst_leadmanager_proj_dir_struct_node](https://catalyst-docs-development.zohostratus.in/images/tutorials/leadmanager/catalyst_leadmanager_proj_dir_struct_node.webp) > **Note:** These images includes an additional file `login.html`. This is the final directory of your project. We will create `login.html` while configuring the client directory. -------------------------------------------------------------------------------- title: "Configure functions directory" description: "Build a Lead Manager application that connects to your Zoho CRM account using Catalyst connector to view, create, update, or delete leads." last_updated: "2026-11-04T10:10:44.000Z" source: "https://docs.catalyst.zoho.com/en/tutorials/leadmanager/nodejs/configure-functions-directory/" service: "All Services" related: - Advanced I/O Functions (/en/serverless/help/functions/advanced-io/) - Functions Directory Structure (/en/cli/v1/project-directory-structure/functions-directory) -------------------------------------------------------------------------------- # Configure the Functions Directory We will now begin coding the Lead Manager application by configuring the Advanced I/O function. The functions directory [](https://docs.catalyst.zoho.com/en/cli/v1/project-directory-structure/functions-directory) `functions/crm\_crud` contains: * The `index.js` main function file * The `catalyst-config.json` configuration file * Node modules * `[package.json](https://docs.npmjs.com/files/package.json)` and `[package-lock.json](https://docs.npmjs.com/configuring-npm/package-lock-json.html)` dependency files You will be adding code in `index.js`. You can use any IDE to configure the function. > **Note:** Please go through the code in this section to make sure you fully understand it. We will discuss the function and client code, after you configure the client. ### Install Express and Node Fetch Frameworks for Node.js The Node.js function requires three frameworks to be installed. You must install the [express](https://expressjs.com/), [node-fetch](https://www.npmjs.com/package/node-fetch), and [axios](https://www.npmjs.com/package/axios) dependencies to import those packages in your code. #### `express` To install `Express.js`, navigate to the Node function's directory (`functions/crm\_crud`) in your terminal and execute the following command: ```sh npm install express --save ``` This will install the Express module and save the dependencies. ![catalyst_leadmanager_install_express](https://catalyst-docs-development.zohostratus.in/images/tutorials/leadmanager/catalyst_leadmanager_install_express.webp) #### `node-fetch` To install `node-fetch`, execute the following command from the Node function's directory navigate to the Node function's directory (`functions/crm\_crud`): ```sh npm install node-fetch ``` This will install the module. ![catalyst_leadmanager_install_node_fetch](https://catalyst-docs-development.zohostratus.in/images/tutorials/leadmanager/catalyst_leadmanager_install_node_fetch.webp) #### `axios` To install `axios`, execute the following command from the Node function's directory navigate to the Node function's directory (`functions/crm\_crud`): ```sh npm install axios ``` This will install the module. ![catalyst_leadmanager_install_axios](https://catalyst-docs-development.zohostratus.in/images/tutorials/leadmanager/catalyst_leadmanager_install_axios.webp) This information will also be updated in the [package.json](https://docs.npmjs.com/files/package.json) file. ```json { "name": "crm_crud", "version": "1.0.0", "main": "index.js", "author": "amelia.burrows@zylker.com", "dependencies": { "axios": "^0.27.2", "express": "^4.18.1", "node-fetch": "^3.2.6", "zcatalyst-sdk-node": "latest" } } ``` You can now add the code in the function file. Copy the code below and paste it in `index.js` located in `functions/crm\_crud` directory and save the file. **index.js** ```javascript "use strict"; const express = require("express"); const http = require("https"); const app = express(); app.use(express.json()); const catalyst = require("zcatalyst-sdk-node"); const HOST = "www.zohoapis.com"; const AUTH_HOST = "https://accounts.zoho.com/oauth/v2/token"; const PORT = 443; const axios = require("axios"); const CLIENTID = '{{YOUR_CLIENT_ID}}'; //Add your client ID const CLIENT_SECRET = '{{YOUR_CLIENT_SECRET}}'; //Add your client secret app.get("/generateToken", async (req, res) => { try { const catalystApp = catalyst.initialize(req); const code = req.query.code; let userManagement = catalystApp.userManagement(); let userDetails = await userManagement.getCurrentUser(); const domain = `${process.env.X_ZOHO_CATALYST_IS_LOCAL === 'true' ? "http" : "https"}://${process.env.X_ZOHO_CATALYST_IS_LOCAL === 'true' ? req.headers.host : req.headers.host.split(':')[0]}` const refresh_token = await getRefreshToken(code, res, domain); const userId = userDetails.user_id; const catalystTable = catalystApp.datastore().table("Token"); await catalystTable.insertRow({ refresh_token, userId, }); res.status(200).redirect(`${domain}/app/index.html`); } catch (err) { console.log(err); res .status(500) .send({ message: "Internal Server Error. Please try again after sometime.", error: err, }); } }); app.get("/getUserDetails", async (req, res) => { try { const catalystApp = catalyst.initialize(req); const userDetails = await getUserDetails(catalystApp); if (userDetails.length !== 0) { res.status(200).send({ userId: userDetails[0].Token.userId }); } else { res.status(200).send({ userId: null }); } } catch (err) { console.log(err); res .status(500) .send({ message: "Internal Server Error in Getting User Details. Please try again after sometime.", error: err, }); } }); app.get("/crmData", async (req, res) => { try { console.log(); const catalystApp = catalyst.initialize(req); const userDetails = await getUserDetails(catalystApp); const accessToken = await getAccessToken(catalystApp, userDetails); const options = { hostname: HOST, port: PORT, method: "GET", path: `/crm/v2/Leads`, headers: { Authorization: `Zoho-oauthtoken ${accessToken}`, }, }; var data = ""; const request = http.request(options, function (response) { response.on("data", function (chunk) { data += chunk; }); response.on("end", function () { console.log(response.statusCode); res.setHeader("content-type", "application/json"); res.status(200).send(data); }); }); request.end(); } catch (err) { console.log(err); res .status(500) .send({ message: "Internal Server Error. Please try again after sometime.", }); } }); app.get("/crmData/:id", async (req, res) => { try { const catalystApp = catalyst.initialize(req); const userDetails = await getUserDetails(catalystApp); const accessToken = await getAccessToken(catalystApp, userDetails); const options = { hostname: HOST, port: PORT, method: "GET", path: `/crm/v2/Leads/${req.params.id}`, headers: { Authorization: `Zoho-oauthtoken ${accessToken}`, }, }; var data = ""; const request = http.request(options, function (response) { response.on("data", function (chunk) { data += chunk; }); response.on("end", function () { res.setHeader("content-type", "application/json"); res.status(200).send(data); }); }); request.end(); } catch (err) { console.log(err); res.status(500).send({ message: "Internal Server Error. Please try again after sometime.", }); } }); app.post("/crmData", async (req, res) => { try { const catalystApp = catalyst.initialize(req); const createData = req.body; const reqData = []; reqData.push(createData); const data = { data: reqData, }; if (!createData) { res.status(400).send({ message: "Data Not Found" }); } const userDetails = await getUserDetails(catalystApp); const accessToken = await getAccessToken(catalystApp, userDetails); const options = { hostname: HOST, port: PORT, method: "POST", path: `/crm/v2/Leads`, headers: { Authorization: `Zoho-oauthtoken ${accessToken}`, "Content-Type": "application/json", }, }; const request = http.request(options, function (response) { res.setHeader("content-type", "application/json"); response.pipe(res); }); request.write(JSON.stringify(data)); request.end(); } catch (err) { console.log(err); res .status(500) .send({ message: "Internal Server Error. Please try again after sometime.", }); } }); app.put("/crmData/:id", async (req, res) => { try { const catalystApp = catalyst.initialize(req); const updateData = req.body; const reqData = []; reqData.push(updateData); const data = { data: reqData, }; if (!updateData) { res.status(400).send({ message: "Update Data Not Found" }); } const userDetails = await getUserDetails(catalystApp); const accessToken = await getAccessToken(catalystApp, userDetails); const options = { hostname: HOST, port: PORT, method: "PUT", path: `/crm/v2/Leads/${req.params.id}`, headers: { Authorization: `Zoho-oauthtoken ${accessToken}`, "Content-Type": "application/json", }, }; const request = http.request(options, function (response) { res.setHeader("content-type", "application/json"); response.pipe(res); }); request.write(JSON.stringify(data)); request.end(); } catch (err) { console.log(err); res .status(500) .send({ message: "Internal Server Error. Please try again after sometime.", }); } }); app.delete("/crmData/:id", async (req, res) => { console.log(`/crm/v2/Leads/${req.params.id}`); try { const catalystApp = catalyst.initialize(req); const userDetails = await getUserDetails(catalystApp); const accessToken = await getAccessToken(catalystApp, userDetails); const options = { hostname: HOST, port: PORT, method: "DELETE", path: `/crm/v2/Leads/${req.params.id}`, headers: { Authorization: `Zoho-oauthtoken ${accessToken}`, "Content-Type": "application/json", }, }; const request = http.request(options, function (response) { res.setHeader("content-type", "application/json"); response.pipe(res); }); request.end(); } catch (err) { console.log(err); res.status(500).send({ message: "Internal Server Error. Please try again after sometime.", }); } }); async function getAccessToken(catalystApp, userDetails) { const refresh_token = userDetails[0].Token.refresh_token; const userId = userDetails[0].Token.userId; const credentials = { [userId]: { client_id: CLIENTID, client_secret: CLIENT_SECRET, auth_url: AUTH_HOST, refresh_url: AUTH_HOST, refresh_token, }, }; const accessToken = await catalystApp.connection(credentials).getConnector(userId).getAccessToken(); return accessToken; } async function getRefreshToken(code, res, domain) { try { const url = `${AUTH_HOST}?code=${code}&client_id=${CLIENTID}&client_secret=${CLIENT_SECRET}&grant_type=authorization_code&redirect_uri=${domain}/server/crm_crud/generateToken`; const response = await axios({ method: "POST", url }); return response.data.refresh_token; } catch (err) { console.log(err); res.status(500).send({ message: "Internal Server Error. Please try again after sometime.", error: err, }); } } async function getUserDetails(catalystApp) { let userDetails = await catalystApp.userManagement().getCurrentUser(); let userDetail = await catalystApp.zcql().executeZCQLQuery(`SELECT * FROM Token where UserId=${userDetails.user_id}`); return userDetail; } module.exports = app; ``` > **Note:** After you copy and paste this code in your function file, ensure that you replace the following values in it: * [Client ID](https://docs.catalyst.zoho.com/en/tutorials/leadmanager/nodejs/register-client) in line 11 * [Client Secret](https://docs.catalyst.zoho.com/en/tutorials/leadmanager/nodejs/register-client) in line 12 The functions directory is now configured. We will discuss the function and client code, after you configure the client. -------------------------------------------------------------------------------- title: "Register the client" description: "Build a Lead Manager application that connects to your Zoho CRM account using Catalyst connector to view, create, update, or delete leads." last_updated: "2026-11-04T10:10:44.000Z" source: "https://docs.catalyst.zoho.com/en/tutorials/leadmanager/nodejs/register-client/" service: "All Services" related: - Catalyst CLI Documentation (/en/cli/v1/cli-command-reference/) -------------------------------------------------------------------------------- # Register the Client Application in Zoho API Console We must now register the client application in the Zoho API console, to generate the following credentials: * **Client ID**: The unique key generated for a registered client * **Client Secret**: The secret value generated for a registered client's Client ID The Client ID and Client Secret are added in the function and client code in several places. These values are necessary to generate the Access Token and Refresh Token initially, and later to refresh the Access Token using the Refresh Token. To register the client application in Zoho API console: 1. Visit the [Zoho API Console](https://api-console.zoho.com/) and click **Get Started**. 2. Select **Server-based Applications** as the client type. ![catalyst_leadmanager_api_console_1](https://catalyst-docs-development.zohostratus.in/images/tutorials/leadmanager/catalyst_leadmanager_api_console_1.webp) 3. Enter "**LeadManagerApp**" as the client name. ![catalyst_leadmanager_api_console_2](https://catalyst-docs-development.zohostratus.in/images/tutorials/leadmanager/catalyst_leadmanager_api_console_2.webp) Provide the other details in the following format: * Homepage URL: **{APP\DOMAIN}/app/index.html** * Authorized Redirect URIs: **{APP\DOMAIN}/server/crm_crud/generateToken** Replace {APP_DOMAIN} with the application URL value of the LeadManager project you created in Catalyst. The application URL follows the below syntax : **https://{project name}-{orgID}.development.catalystserverless.com** > **Note:** 1. You can fetch the project name by navigating to **Settings** in the top right corner of the Catalyst console. Then go to **Project Settings->General**. Please make sure to enter your project name in small case without any spaces in the domain URL. 2. You can fetch the Org id value directly from the URL in the Catalyst console. Say for example in the below URL, **"687259092"** is the Org Id. **https://console.catalyst.zoho.com/baas/687259092/project/11811000000477018/Development** For example, the homepage URL in this case will be: **https://leadmanager-687259092.development.catalystserverless.com/app/index.html.** And the redirect URL will be: **https:
//leadmanager-687259092.development.catalystserverless.com/server/crm_crud/generateToken** We enter the path to the index page of the client as the homepage URL, and a route defined in the Node.js function as an authorized redirect URI. We will discuss these steps in the next sections. * You must add another Authorized Redirect URI for the client. We will serve the app through a localhost to test it after configuring the code. Because this will be redirected to a local domain, we must add that as another authorized redirect URI. Click the **(+) icon** under Authorized Redirect URIs and add: "**http://localhost:3000/server/crm\_crud/generateToken**" ![catalyst_leadmanager_api_console_4](https://catalyst-docs-development.zohostratus.in/images/tutorials/leadmanager/catalyst_leadmanager_api_console_4.webp) > **Note:** When you serve an application locally from the CLI, it is hosted from port 3000 by default. We are therefore adding the domain accordingly. 4. Click **Create** after configuring these details. The API console will generate and display the Client ID and Client Secret values for the registered client. ![catalyst_leadmanager_api_console_3](https://catalyst-docs-development.zohostratus.in/images/tutorials/leadmanager/client-details-api-console.webp) You will need to copy these values and paste them into the function and client files in your project directory. We will discuss this in the next section. -------------------------------------------------------------------------------- title: "Configure the client" description: "Build a Lead Manager application that connects to your Zoho CRM account using Catalyst connector to view, create, update, or delete leads." last_updated: "2026-11-04T10:10:44.000Z" source: "https://docs.catalyst.zoho.com/en/tutorials/leadmanager/nodejs/configure-client-directory/" service: "All Services" related: - Client Directory Structure (/en/cli/v1/project-directory-structure/introduction) - Web Client Hosting (/en/cloud-scale/help/web-client-hosting/introduction) -------------------------------------------------------------------------------- # Configure the Client Directory Let's now configure the client component. The [client directory](https://docs.catalyst.zoho.com/en/cli/v1/project-directory-structure/functions-directory) contains: * The `index.html` file that contains the HTML code for the frontend application * The `main.css` file that contains the CSS code * The `main.js` file that contains the JavaScript code * The `client-package.json` configuration file We will be coding `index.html`, `main.js` and `main.css`. We will also create a new file `login.html` in this directory and add code in it. > **Note:** Please go through the code in this section to make sure you fully understand it. We will discuss the code at the end of this section. Copy the code below and paste it in the respective files located in the `client/` directory of your project using an IDE and save the files. **index.html** ```xml <!DOCTYPE html> <html> <head> <meta charset="utf-8" /> <meta http-equiv="X-UA-Compatible" content="IE=edge"> <title>CRM Lead Manager</title> <meta name="viewport" content="width=device-width, initial-scale=1"> <link rel="stylesheet" type="text/css" media="screen" href="main.css" /> <link rel="stylesheet" href="https://stackpath.bootstrapcdn.com/bootstrap/4.3.1/css/bootstrap.min.css" integrity="sha384-ggOyR0iXCbMQv3Xipma34MD+dH/1fQ784/j6cY/iJTQUOhcWr7x9JvoRxT2MZw1T" crossorigin="anonymous"> <link href="https://cdnjs.cloudflare.com/ajax/libs/twitter-bootstrap/4.5.0/css/bootstrap.min.css" rel="stylesheet"> <link href="https://cdnjs.cloudflare.com/ajax/libs/mdbootstrap/4.19.1/css/mdb.min.css" rel="stylesheet"> <script src="https://code.jquery.com/jquery-3.4.1.min.js" integrity="sha256-CSXorXvZcTkaix6Yvo6HppcZGetbYMGWSFlBw8HfCJo=" crossorigin="anonymous"></script> <script src="https://cdnjs.cloudflare.com/ajax/libs/popper.js/1.14.7/umd/popper.min.js" integrity="sha384-UO2eT0CpHqdSJQ6hJty5KVphtPhzWj9WO1clHTMGa3JDZwrnQq4sF86dIHNDz0W1" crossorigin="anonymous"> </script> <script src="https://stackpath.bootstrapcdn.com/bootstrap/4.3.1/js/bootstrap.min.js" integrity="sha384-JjSmVgyd0p3pXB1rRibZUAYoIIy6OrQ6VrjIEaFf/nJGzIxFDsf4x0xIM+B07jRM" crossorigin="anonymous"> </script> <script src="main.js"></script> <script src="https://static.zohocdn.com/catalyst/sdk/js/4.6.2/catalystWebSDK.js"></script> <script src="/__catalyst/sdk/init.js"></script> <link href="//maxcdn.bootstrapcdn.com/bootstrap/4.0.0/css/bootstrap.min.css" rel="stylesheet" id="bootstrap-css"> <style> #connect { height: 260px; width: 500px; position: absolute; top: 0; bottom: 0; left: 0; right: 0; margin: auto; } </style> </head> <body onload="getUserDetails()"> <br> <center> <h1>CRM Lead Manager</h1><br> </center> <div id="connect"> <center> <p>Click here to connect to Zoho CRM</p> <button onclick='navigate()'> <img src="https://www.zohowebstatic.com/sites/default/files/styles/product-home-page/public/icon-crm_blue.png" style="width: 180px;height: 130px;"> </button> </center> </div> <div style="width: 200px;float: right; margin-right: 30px;"><label for="logoutbtn" class="btn btn-success btn-block btn-outlined">Logout</label> <button id="logoutbtn" onclick="logout()" style="display: none;"></button> </div> <div id="main"> <div class="container"> <ul class="nav nav-tabs nav-justified mb-3" id="myTab" role="tablist"> <li class="nav-item"> <a class="nav-link active" id="check-tab" data-toggle="tab" href="#check" role="tab" aria-controls="check" aria-selected="true">Add a Lead</a> </li> <li class="nav-item"> <a class="nav-link" id="report-tab" data-toggle="tab" href="#report" onclick="getLeads()" role="tab" aria-controls="report" aria-selected="false">Manage Leads</a> </li> </ul><br> <div class="tab-content" id="myTabContent"> <div class="tab-pane fade show active" id="check" role="tabpanel" aria-labelledby="check-tab"> <div class="tab-pane fade show active" id="ex3-tabs-1" role="tabpanel" aria-labelledby="ex3-tab-1"> <div style="margin-left: 100px; margin-right:100px;"> <form id="leads"> <!-- 2 column grid layout with text inputs for the first and last names --> <div class="row mb-4"> <div class="col"> <div class="form-outline"> <label class="form-label" for="form6Example1">First name</label> <input type="text" id="firstName" class="form-control" /> </div> </div> <div class="col"> <div class="form-outline"> <label class="form-label" for="form6Example2">Last name</label> <input type="text" id="lastName" class="form-control" required /> </div> </div> </div> <!-- Text input --> <div class="form-outline mb-4"> <label class="form-label" for="form6Example3">Company name</label> <input type="text" id="companyName" class="form-control" /> </div> <!-- Email input --> <div class="form-outline mb-4"> <label class="form-label" for="form6Example5">Email</label> <input type="email" id="email" class="form-control" /> </div> <!-- Text input --> <div class="form-outline mb-4"> <label class="form-label" for="form6Example4">State</label> <input type="text" id="state" class="form-control" /> </div> <!-- Number input --> <div class="form-outline mb-4"> <label class="form-label" for="form6Example6">Phone</label> <input type="number" id="phone" class="form-control" /> </div> <!-- Number input --> <div class="form-outline mb-4"> <label class="form-label" for="form6Example6">Lead Source</label> <input type="text" id="leadSource" class="form-control" /> </div> <!-- Submit button --> <center><button type="submit" onclick="createLead();return false;" class="btn btn-primary btn-block mb-4" style="width: 100px;">Add Lead</button> <div id="loader" style="display: none;"> <div class="spinner-border" role="status"> <span class="sr-only">Loading...</span> </div> </div> </center> </form> </div> </div> </div> <div class="tab-pane fade" id="report" role="tabpanel" aria-labelledby="report-tab"> <center> <div id="loaders" style="display: none; padding-top: 200px;"> <div class="spinner-border" role="status"> <span class="sr-only">Loading...</span> </div> </div> </center> <p id="showData"></p> </div> </div> </div> <!-- Modal --> <div class="modal fade" id="myModal" tabindex="-1" role="dialog" aria-labelledby="myModalLabel" aria-hidden="true"> <div class="vertical-alignment-helper"> <div class="modal-dialog vertical-align-center"> <div class="modal-content"> <center> <h4 class="modal-title" id="myModalLabel"></h4> <div class="modal-body" id="message"></div> <div class="modal-footer"> <button type="button" style="background-color: #007bff;color: white;" class="btn btn-default" data-dismiss="modal">Close</button> </div> </center> </div> </div> </div> </div> <div class="modal fade" id="editForm" tabindex="-1" role="dialog" aria-labelledby="myModalLabel" aria-hidden="true"> <div class="vertical-alignment-helper"> <div class="modal-dialog vertical-align-center"> <div class="modal-content"> <div style="margin-left: 80px; margin-right:80px;"> <br> <center> <h2>Edit Lead</h2> </center> <br> <form id="editLeads"> <!-- 2 column grid layout with text inputs for the first and last names --> <div class="row mb-4"> <div class="col"> <div class="form-outline"> <label class="form-label" for="form6Example1">First name</label> <input type="text" id="editfirstName" class="form-control" /> </div> </div> <div class="col"> <div class="form-outline"> <label class="form-label" for="form6Example2">Last name</label> <input type="text" id="editlastName" class="form-control" required /> </div> </div> </div> <!-- Text input --> <div class="form-outline mb-4"> <label class="form-label" for="form6Example3">Company name</label> <input type="text" id="editcompanyName" class="form-control" /> </div> <!-- Email input --> <div class="form-outline mb-4"> <label class="form-label" for="form6Example5">Email</label> <input type="email" id="editemail" class="form-control" /> </div> <!-- Text input --> <div class="form-outline mb-4"> <label class="form-label" for="form6Example4">State</label> <input type="text" id="editstate" class="form-control" /> </div> <!-- Number input --> <div class="form-outline mb-4"> <label class="form-label" for="form6Example6">Phone</label> <input type="number" id="editphone" class="form-control" /> </div> <!-- Submit button --> <center><button type="submit" id="editBtn" onclick="editLead();return false;" class="btn btn-primary btn-block mb-4" style="width: 100px;">Edit</button> <div id="loader" style="display: none;"> <div class="spinner-border" role="status"> <span class="sr-only">Loading...</span> </div> </div> </center> </form> </div> </div> </div> </div> </div> <div class="modal fade right" id="ModalDanger" tabindex="-1" role="dialog" aria-labelledby="myModalLabel" aria-hidden="true"> <div class="modal-dialog modal-notify modal-danger modal-side modal-top-right" role="document"> <!--Content--> <div class="modal-content"> <!--Header--> <div class="modal-header"> <p class="heading">Lead Deletion</p> <button type="button" class="close" data-dismiss="modal" aria-label="Close"> <span aria-hidden="true" class="white-text">×</span> </button> </div> <!--Body--> <div class="modal-body"> <div class="row"> <div class="col-9"> <p>Are you sure you want to delete the Lead?</p> </div> </div> </div> <!--Footer--> <div class="modal-footer justify-content-center"> <a type="button" class="btn btn-danger" id="delete-btn" onclick="deleteLead()">Delete</a> <a type="button" class="btn btn-outline-danger waves-effect" data-dismiss="modal">Cancel</a> </div> </div> <!--/.Content--> </div> </div> </div> </body> <script> //Add Your Client ID and Redirect URL here function navigate() { window.location.href = "https://accounts.zoho.com/oauth/v2/auth?scope=ZohoCRM.modules.ALL&client_id={{YOUR_CLIENT_ID}}&response_type=code&access_type=offline&redirect_uri="+location.protocol + '//' + location.host + "/server/crm_crud/generateToken"; } </script> </html> ``` > **Note:** After adding `index.html` to your client folder, make sure to replace **{{YOUR_CLIENT_ID}}** in the `navigate()` function with your actual Zoho Client ID. **main.js** ```javascript function createLead() { debugger; $("#loader").show(); var firstName = $("#firstName").val(); var lastName = $("#lastName").val(); if (lastName == "") { alert("Kindly Enter the Last Name"); $("#loader").hide(); return; } var companyName = $("#companyName").val(); var email = $("#email").val(); var state = $("#state").val(); var phone = $("#phone").val(); var leadSource = $("#leadSource").val(); $.ajax({ url: "/server/crm_crud/crmData", type: "post", contentType: "application/json", data: JSON.stringify({ "First_Name": firstName, "Last_Name": lastName, "Company": companyName, "Email": email, "State": state, "Phone": phone, "Lead_Source": leadSource, }), success: function (data) { debugger; $('#leads').trigger("reset"); $("#myModalLabel").html(" Success"); $("#message").html("Lead Created Successfully"); $("#loader").hide(); $('#myModal').modal('show'); }, error: function (error) { $('#leads').trigger("reset"); $("#myModalLabel").html(" Failure"); $("#message").html("Please try again after Sometime"); $("#loader").hide(); $('#myModal').modal('show'); } }); } function logout() { var redirectURL = "http://localhost:3000/app/login.html"; //Add your app domain var auth = catalyst.auth; auth.signOut(redirectURL); } function getUserDetails() { $("#main").hide(); $("#connect").hide(); catalyst.auth.isUserAuthenticated().then(result => { $("#loader").show(); $.ajax({ url: "/server/crm_crud/getUserDetails", type: "get", success: function (data) { $("#loader").hide(); if (data.userId) { $("#main").show(); $("#connect").hide(); } else { $("#connect").show(); $("#main").hide(); } }, error: function (error) { $("#myModalLabel").html(" Failure"); $("#message").html("Please try again after Sometime"); $("#loader").hide(); $('#myModal').modal('show'); } }); }).catch(err => { document.body.innerHTML = 'You are not logged in. Please log in to continue. Redirecting you to the login page..'; setTimeout(function () { window.location.href = "login.html"; }, 3000); }); } function getLeads() { debugger; var tableContainer = document.getElementById("showData"); tableContainer.innerHTML = ""; $("#loaders").show(); $.ajax({ url: "/server/crm_crud/crmData", type: "get", success: function (data) { debugger; var reqData = getRequiredData(data.data); $("#loaders").hide(); renderTable(reqData); }, error: function (error) { $("#myModalLabel").html(" Failure"); $("#message").html("Please try again after Sometime"); $("#loader").hide(); $('#myModal').modal('show'); } }); } function showDeletePopup(leadID) { $('#ModalDanger').modal('show'); var deleteBtn = document.getElementById("delete-btn"); deleteBtn.value = leadID; } function deleteLead() { var leadID = document.getElementById('delete-btn').value; $.ajax({ url: "/server/crm_crud/crmData/" + leadID, type: "delete", success: function (data) { debugger; $('#ModalDanger').modal('toggle'); $("#myModalLabel").html(" Success"); $("#message").html("Lead Deleted Successfully"); $('#myModal').modal('show'); setTimeout(function () { location.reload(); }, 3000); }, error: function (error) { $("#myModalLabel").html(" Failure"); $("#message").html("Please try again after Sometime"); $("#loader").hide(); $('#myModal').modal('show'); } }); } function showEditPopup(leadID) { $.ajax({ url: "/server/crm_crud/crmData/" + leadID, type: "get", success: function (data) { debugger; var respData = data.data; $('#editfirstName').val(respData[0].First_Name); $('#editlastName').val(respData[0].Last_Name); $('#editcompanyName').val(respData[0].Company); $('#editemail').val(respData[0].Email); $('#editstate').val(respData[0].State); $('#editphone').val(respData[0].Phone); $('#editleadSource').val(respData[0].Lead_Source); $('#editBtn').val(respData[0].id); $('#editfirstName').html(respData[0].First_Name); $('#editlastName').html(respData[0].Last_Name); $('#editcompanyName').html(respData[0].Company); $('#editemail').html(respData[0].Email); $('#editstate').html(respData[0].State); $('#editphone').html(respData[0].Phone); $('#editleadSource').html(respData[0].Lead_Source); $('#editForm').modal('show'); }, error: function (error) { $("#myModalLabel").html(" Failure"); $("#message").html("Please try again after Sometime"); $("#loader").hide(); $('#myModal').modal('show'); } }); } function editLead() { var firstName = $("#editfirstName").val(); var lastName = $("#editlastName").val(); if (lastName == "") { alert("Kindly Enter the Last Name"); return; } var companyName = $("#editcompanyName").val(); var email = $("#editemail").val(); var state = $("#editstate").val(); var phone = $("#editphone").val(); var leadSource = $("#editleadSource").val(); var leadID = $("#editBtn").val(); $.ajax({ url: "/server/crm_crud/crmData/" + leadID, type: "put", contentType: "application/json", data: JSON.stringify({ "First_Name": firstName, "Last_Name": lastName, "Company": companyName, "Email": email, "State": state, "Phone": phone, "Lead_Source": leadSource }), success: function (data) { debugger; $('#editForm').modal('toggle'); $("#myModalLabel").html(" Success"); $("#message").html("Lead Edited Successfully"); $('#myModal').modal('show'); setTimeout(function () { location.reload(); }, 3000); }, error: function (error) { $('#leads').trigger("reset"); $("#myModalLabel").html(" Failure"); $("#message").html("Please try again after Sometime"); $("#loader").hide(); $('#myModal').modal('show'); } }); } function getRequiredData(data) { var i; var resp = []; for (i = 0; i < data.length; i++) { var gulp = { "First Name": data[i].First_Name, "Last Name": data[i].Last_Name, "Phone": data[i].Phone, "Email": data[i].Email, "Company": data[i].Company, "Edit": '<center><a href="javascript:showEditPopup(\'' + data[i].id + '\')">✎︎</a></center>', "Delete": '<center><a href="javascript:showDeletePopup(\'' + data[i].id + '\')">🗑︎</a></center>' } resp.push(gulp); } console.log(resp); return resp; } function renderTable(respData) { var col = []; for (var i = 0; i < respData.length; i++) { for (var key in respData[i]) { if (col.indexOf(key) === -1) { col.push(key); } } } var table = document.createElement("table"); table.id = "dataTable"; var tr = table.insertRow(-1); for (var i = 0; i < col.length; i++) { var th = document.createElement("th"); th.innerHTML = col[i]; tr.appendChild(th); } for (var i = 0; i < respData.length; i++) { tr = table.insertRow(-1); for (var j = 0; j < col.length; j++) { var tabCell = tr.insertCell(-1); tabCell.innerHTML = respData[i][col[j]]; } } var divContainer = document.getElementById("showData"); divContainer.innerHTML = ""; divContainer.appendChild(table); } ``` **main.css** ```css #dataTable { font-family: Arial, Helvetica, sans-serif; border-collapse: collapse; width: 100%; } #dataTable td, #dataTable th { border: 1px solid #ddd; padding: 8px; } #dataTable tr:nth-child(even){background-color: #f2f2f2;} #dataTable tr:hover {background-color: #ddd;} #dataTable th { padding-top: 12px; padding-bottom: 12px; text-align: left; background-color: #007bff; color: white; } .vertical-alignment-helper { display: table; height: 100%; width: 100%; pointer-events: none; } .vertical-align-center { display: table-cell; vertical-align: middle; pointer-events: none; } .modal-content { width: inherit; max-width: inherit; height: inherit; margin: 0 auto; pointer-events: all; } ``` **login.html** ```xml <html> <meta charset="utf-8" /> <meta http-equiv="X-UA-Compatible" content="IE=edge"> <title>CRM Lead Manager</title> <meta name="viewport" content="width=device-width, initial-scale=1"> <link rel="stylesheet" type="text/css" media="screen" href="main.css" /> <script src="main.js"></script> <link rel="stylesheet" type="text/css" media="screen" href="main.css" /> <link rel="stylesheet" href="https://stackpath.bootstrapcdn.com/bootstrap/4.3.1/css/bootstrap.min.css" integrity="sha384-ggOyR0iXCbMQv3Xipma34MD+dH/1fQ784/j6cY/iJTQUOhcWr7x9JvoRxT2MZw1T" crossorigin="anonymous"> <script src="https://static.zohocdn.com/catalyst/sdk/js/4.6.2/catalystWebSDK.js"></script> <script src="https://code.jquery.com/jquery-3.4.1.min.js" integrity="sha256-CSXorXvZcTkaix6Yvo6HppcZGetbYMGWSFlBw8HfCJo=" crossorigin="anonymous"></script> <script src="https://cdnjs.cloudflare.com/ajax/libs/popper.js/1.14.7/umd/popper.min.js" integrity="sha384-UO2eT0CpHqdSJQ6hJty5KVphtPhzWj9WO1clHTMGa3JDZwrnQq4sF86dIHNDz0W1" crossorigin="anonymous"> </script> <script src="https://stackpath.bootstrapcdn.com/bootstrap/4.3.1/js/bootstrap.min.js" integrity="sha384-JjSmVgyd0p3pXB1rRibZUAYoIIy6OrQ6VrjIEaFf/nJGzIxFDsf4x0xIM+B07jRM" crossorigin="anonymous"> </script> <script src="https://static.zohocdn.com/catalyst/sdk/js/4.6.2/catalystWebSDK.js"></script> <script src="/__catalyst/sdk/init.js"></script> <script> catalyst.auth.signIn("login"); </script> <link href="//maxcdn.bootstrapcdn.com/bootstrap/4.0.0/css/bootstrap.min.css" rel="stylesheet" id="bootstrap-css"> <style> #login { height: 260px; width: 500px; position: absolute; top: 0; bottom: 0; left: 0; right: 0; margin: auto; } </style> <body> <br> <center> <h1>CRM Lead Manager</h1> </center> <div id="login"></div> </body> </html> ``` The client directory is now configured. Let us quickly go through the working of the function and client components of the application: * The `login.html` file in the client component enables Catalyst Authentication login. This does not handle the Zoho sign-in feature, only the Catalyst login. * `index.html` contains the code for the front-end of the client. It defines a function `navigate()` that enables the connection to the CRM account by passing the required authorization information such as the Client ID and the scope. * The Advanced I/O function defines the following APIs that perform various actions: * **`/generateToken`:** Obtains the Refresh Token by calling the `getRefreshToken()` function, and inserts it along with the `userID` of the current user in the _Token_ table in the Data Store. It then redirects to the index page of the client. * **`/getUserDetails`:** Fetches the user details by calling the `getUserDetails()` function. If there is no record in the table, a JSON response with the `userID` alone is sent. If the record exists in the table, it is sent along with the `userID`. * **`/crmData`:** This route defines the path of all leads in the Leads module. The Node function executes the HTTP `GET` and `POST` operations to fetch all leads or create a new lead using this route respectively. * **`/crmData/:id`:** This route defines the path of a particular lead in the Leads module. The `id` represents the unique ID of the lead in CRM. The function executes the HTTP `PUT` and `DELETE` operations to edit or delete a lead respectively using this route. * The Advanced I/O function contains the following functions that are called by the APIs: * **`getRefreshToken()`:** Fetches the Refresh Token by passing the Client ID, Client Secret, Redirect URI and other required values as query string parameters * **`getAccessToken()`:** Fetches the Access Token by passing the Refresh Token queried from the Token table using ZCQL, and other required parameters. The Access Token is fetched each time an operation needs to be performed on the CRM module, such as adding a lead or editing a lead. * **`getResponse()`:** Passes the Access Token fetched to obtain the authorization needed to perform each action on the CRM module. This function is called with each `/crmData` and `/crmData/:id` API to authorize the request. * **`getUserDetails()`:** Fetches the record from the _Token_ table that contains the Refresh Token, by passing the userID * `main.js` is the JavaScript function in the client component that parses the JSON responses obtained from the function and renders them in the `index.html` page. This function defines the actions for all the UI elements in the client application. For example, `getLeads()` obtains all leads from the function response and renders them in the client, and `showEditPopup()` defines the actions for editing a lead. -------------------------------------------------------------------------------- title: "Test the application" description: "Build a Lead Manager application that connects to your Zoho CRM account using Catalyst connector to view, create, update, or delete leads." last_updated: "2026-11-04T10:10:44.000Z" source: "https://docs.catalyst.zoho.com/en/tutorials/leadmanager/nodejs/test-application/" service: "All Services" related: - Serve CLI Resources (/en/cli/v1/serve-resources/introduction) -------------------------------------------------------------------------------- # Test the Application Before you deploy the application to the remote console, you can [test the application on a local server](https://docs.catalyst.zoho.com/en/cli/v1/serve-resources/introduction) and check if everything works fine using the Catalyst CLI. To serve the Catalyst project locally, execute the following command from your project directory: ```sh catalyst serve ``` The Lead Manager application will now be served at default port 3000\. The local endpoint URLs of the components are displayed. > **Note:** Every time you access the homepage or any of the sub-pages of your client, or the function, the CLI will display a live log of the URL accessed, along with the HTTP request method. ![catalyst_leadmanager_serve](https://catalyst-docs-development.zohostratus.in/images/tutorials/leadmanager/catalyst_leadmanager_serve.webp) You can now open the application in a browser using the local URL of the client displayed in the CLI. You will initially be redirected to the login page. If you configure a sign-up action on your own, you can sign up first, then log in to the application. Otherwise, you can log in using the Zoho sign-in icon. ![catalyst_leadmanager_test_1](https://catalyst-docs-development.zohostratus.in/images/tutorials/leadmanager/catalyst_leadmanager_test_1.webp) You will be redirected to the permissions page. Accept the permissions requested by the app to access your Zoho account details. ![catalyst_leadmanager_test_2](https://catalyst-docs-development.zohostratus.in/images/tutorials/leadmanager/lead-manager-zoho-signin.webp) You will then be redirected back to the application. Click the **Zoho CRM icon** in this page to connect to Zoho CRM. ![catalyst_leadmanager_test_3](https://catalyst-docs-development.zohostratus.in/images/tutorials/leadmanager/catalyst_leadmanager_test_3.webp) You must now **choose the CRM account** that you wish to connect with the Lead Manager app, then click **Submit**. All your existing developer, sandbox, and production accounts will be listed. Click **Accept** to allow the Lead Manager app to access your Zoho CRM modules. ![catalyst_leadmanager_test_4](https://catalyst-docs-development.zohostratus.in/images/tutorials/leadmanager/crm-connection-zoho-api.webp) You will be redirected back to the application. You can now create and manage leads in your configured Zoho CRM account, directly from this application. To add a lead, enter the details of the lead in the _Add a Lead_ section and click **Add Lead**. ![catalyst_leadmanager_test_6](https://catalyst-docs-development.zohostratus.in/images/tutorials/leadmanager/catalyst_leadmanager_test_6.webp) A confirmation pop-up will display the status every time you add, edit, or delete a lead. ![catalyst_leadmanager_test_7](https://catalyst-docs-development.zohostratus.in/images/tutorials/leadmanager/catalyst_leadmanager_test_7.webp) You can click the **Manage Leads** tab to view all your leads from the Leads module. You can edit or delete any of them by clicking their respective icons in the table. ![catalyst_leadmanager_test_8](https://catalyst-docs-development.zohostratus.in/images/tutorials/leadmanager/catalyst_leadmanager_test_8.webp) You can update a lead's information, then click **Edit**. ![catalyst_leadmanager_test_9](https://catalyst-docs-development.zohostratus.in/images/tutorials/leadmanager/catalyst_leadmanager_test_9.webp) If you click the delete icon, you must confirm the action in the confirmation pop-up. ![catalyst_leadmanager_test_10](https://catalyst-docs-development.zohostratus.in/images/tutorials/leadmanager/catalyst_leadmanager_test_10.webp) You can also check the Refresh Token and `userID` values populated in the Data Store from your Catalyst console. Navigate to the **Data View** section of the _Token_ table to view the record that was added. ![catalyst_leadmanager_test_11](https://catalyst-docs-development.zohostratus.in/images/tutorials/leadmanager/catalyst_leadmanager_test_11.webp) If you delete this entry, you will have to authenticate your credentials in the client application and establish a connection to your CRM account again. You can log out of the application by clicking **Logout**. If this setup is working correctly, we can deploy the application to production. You can quit the `serve` session in your terminal by executing the command to kill a running process, based on your OS. -------------------------------------------------------------------------------- title: "Deploy the project" description: "Build a Lead Manager application that connects to your Zoho CRM account using Catalyst connector to view, create, update, or delete leads." last_updated: "2026-11-04T10:10:44.000Z" source: "https://docs.catalyst.zoho.com/en/tutorials/leadmanager/nodejs/deploy-project/" service: "All Services" related: - Deploy CLI Resources (/en/cli/v1/deploy-resources/introduction) - Web Client Hosting (/en/cloud-scale/help/web-client-hosting/introduction/) -------------------------------------------------------------------------------- # Deploy the Project You can now deploy the application to the remote console. > **Note:** Since you had already logged into the Lead Manager application from the local server, a Refresh Token would have already been generated. This token will continue to authenticate your access. To [deploy your Catalyst project from the CLI](https://docs.catalyst.zoho.com/en/cli/v1/deploy-resources/introduction), run the following command in your terminal from your project directory: ```sh catalyst deploy ``` The function is deployed first, followed by the client component. The app URLs of the components will be displayed. ![catalyst_leadmanager_deploy](https://catalyst-docs-development.zohostratus.in/images/tutorials/leadmanager/catalyst_leadmanager_deploy.webp) You can now open the client component's URL in a browser to access the deployed application. Lead Manager application can now be accessed from its [web app URL](https://docs.catalyst.zoho.com/en/cloud-scale/help/web-client-hosting/introduction). ![catalyst_leadmanager_final](https://catalyst-docs-development.zohostratus.in/images/tutorials/leadmanager/catalyst_leadmanager_final.webp) ### Python -------------------------------------------------------------------------------- title: "Introduction" description: "Build a Lead Manager application that connects to your Zoho CRM account using Catalyst connector to view, create, update, or delete leads." last_updated: "2026-11-04T10:10:44.000Z" source: "https://docs.catalyst.zoho.com/en/tutorials/leadmanager/python/introduction/" service: "All Services" related: - Project Directory Structure (/en/cli/v1/project-directory-structure/introduction/) - Python SDK (/en/sdk/python/v1/overview/) - Zoho CRM (https://www.zoho.com/in/crm/) -------------------------------------------------------------------------------- # Lead Manager App ### Introduction This tutorial will help you build a web application that can connect with your [Zoho CRM account](https://www.zoho.com/in/crm/) and enable you to manage leads in your organization. You will be able to access, add, edit, or delete leads in the [Leads module](https://help.zoho.com/portal/en/kb/crm/sales-force-automation/leads) in your CRM account, directly from this application. The connection to Zoho CRM is established using [OAuth 2.0 authentication protocol](https://docs.catalyst.zoho.com/en/api/oauth2/overview-and-terminology/#OverviewandTerminology). We will generate an OAuth Access Token for the Lead Manager application and use it to authorize the connection to access CRM data. We will also implement a [Catalyst connector](https://docs.catalyst.zoho.com/en/sdk/python/v1/connectors/connectors/) to manage this access to the CRM account. The connector will refresh the Access Token automatically each time it expires using a Refresh Token, and will maintain a constant connection between the client and the CRM account. These tokens can be generated after registering the client application in the Zoho API console and obtaining the required credentials. The client application will look like this: ![](https://catalyst-docs-development.zohostratus.in/images/tutorials/leadmanager/python/working-app.webp) The Lead Manager application contains the following fundamental Catalyst components: 1. [**Catalyst Serverless**](https://docs.catalyst.zoho.com/en/serverless/getting-started/introduction/): - **[Advanced I/O Function](https://docs.catalyst.zoho.com/en/serverless/help/functions/advanced-io/):** The Advanced I/O Function is coded in the **Java** programming environment. The function defines the APIs that handle the CRUD actions of the CRM Leads module, such as adding or deleting a lead, from the client application. It also defines routes that handle the connection to CRM, authenticate the user, and generate the OAuth tokens. 2. [**Catalyst CloudScale**](https://docs.catalyst.zoho.com/en/cloud-scale/getting-started/introduction/): - **[Data Store](https://docs.catalyst.zoho.com/en/cloud-scale/help/data-store/introduction):** To store the Refresh Token and [UserID of the Catalyst user](https://docs.catalyst.zoho.com/en/cloud-scale/help/authentication/user-management/users/introduction/) fetched by the Advanced I/O function. The Refresh Token is fetched from this table by the function, whenever a new Access Token needs to be generated. - **[ZCQL](https://docs.catalyst.zoho.com/en/cloud-scale/help/zcql/introduction)**: To fetch data from the Data Store through querying. - **Client:** This is the front end of the application that is hosted on Catalyst through [web client hosting](https://docs.catalyst.zoho.com/en/cloud-scale/help/web-client-hosting/introduction). - **[Authentication:](https://docs.catalyst.zoho.com/en/cloud-scale/help/authentication/introduction)** To implement a Zoho sign-in option in the client application's login page, in addition to the standard login option, we will be implementing **[Embedded authentication](https://docs.catalyst.zoho.com/en/cloud-scale/help/authentication/native-catalyst-authentication/embedded-authentication/setup-embedded-auth/)** type in this tutorial. We will use the Catalyst web console and the Catalyst Command Line Interface (CLI) to build this application. You will be given the code for the files to be included in the function and client components in this tutorial. You will just need to copy the provided code and paste it into the appropriate files as directed. ### Application Architecture The Lead Manager application's architecture is depicted below: ![](https://catalyst-docs-development.zohostratus.in/images/tutorials/leadmanager/python/architechture.webp) We will explain the architecture in detail in the [Configure Client section](https://docs.catalyst.zoho.com/en/tutorials/leadmanager/python/configure-client-directory), after you configure the function and client components. -------------------------------------------------------------------------------- title: "Prerequisites" description: "Build a Lead Manager application that connects to your Zoho CRM account using Catalyst connector to view, create, update, or delete leads." last_updated: "2026-11-04T10:10:44.000Z" source: "https://docs.catalyst.zoho.com/en/tutorials/leadmanager/python/prerequisites/" service: "All Services" related: - CLI Command Reference (/en/cli/v1/cli-command-reference/) - Install CLI (/en/getting-started/installing-catalyst-cli/) - Login CLI (/en/cli/v1/login/login-from-cli/) -------------------------------------------------------------------------------- # Prerequisites Before you begin building the application, you must have the following prerequisites installed on your system: 1. **Catalyst CLI** Catalyst CLI contains a host of tools that enable you to initialize, develop, test, and deploy the components of your application from your local machine. We will be working with Catalyst CLI in this tutorial. You must perform these actions: 1. **Install Catalyst CLI:** Catalyst CLI is installed through NPM. You must therefore have NPM and Node.js installed on your system before you install the CLI. Refer to the [**Install Catalyst CLI help page**](https://docs.catalyst.zoho.com/en/getting-started/installing-catalyst-cli/) for details on the pre-requisites and the steps to install it. 2. **Login Catalyst CLI:** After you install Catalyst CLI, you must authenticate the CLI with your Catalyst account before using it. Refer to the [**CLI Login help page**](https://docs.catalyst.zoho.com/en/cli/v1/login/login-from-cli/) for the steps to login from Catalyst CLI and the various options available for it. 2. **Zoho CRM Account** Because the Leads module is available in all editions of Zoho CRM, you can have a configured Zoho CRM account of any edition to establish a connection with the Lead Manager application. If you don't have a Zoho CRM account, you can sign up for it [here](https://www.zoho.com/in/crm/). 3. **Install Python version 3.10** Before you begin developing your application logic in Python, please ensure you have the following package manager and programming environment installed on your local machine: * **[Pip](https://pip.pypa.io/en/stable/installation/#)** - Python Package Manager * **[Python version 3.10](https://www.python.org/)** You can install Python from their [official website](https://www.python.org/) and the pip package manager will be auto-installed in your local system. Please make sure you install the pip package manually if you install Python from other sources. You can refer to [this doc](https://pip.pypa.io/en/stable/installation/#) for installing pip. Note: If you have other versions of Python installed in your local machine (a Python version outside the supported range of Python 3.10 to 3.13), then the execution of the Python functions in your directory will be skipped when the application is being [served](https://docs.catalyst.zoho.com/en/cli/v1/serve-resources/introduction) or [deployed](https://docs.catalyst.zoho.com/en/cli/v1/deploy-resources/introduction). 4. **Any IDE tool for Node.js and client code development** You can use any IDE to work with the function and the client code. Some popular choices include Visual Studio Code, IntelliJ IDEA, Eclipse, and Sublime Text. Download and install an IDE of your choice in your system. > If you are a Visual Studio Code IDE user, you can install the **Catalyst Tools** extension, and use your IDE itself in place of the CLI. You can find more details about the Catalyst VS Code extension from this [help section](https://docs.catalyst.zoho.com/en/catalyst-extensions/vs-code-extension/introduction/). -------------------------------------------------------------------------------- title: "Create project" description: "Build a Lead Manager application that connects to your Zoho CRM account using Catalyst connector to view, create, update, or delete leads." last_updated: "2026-11-04T10:10:44.000Z" source: "https://docs.catalyst.zoho.com/en/tutorials/leadmanager/python/create-project/" service: "All Services" related: - Project Directory (/en/cli/v1/project-directory-structure/introduction) - Setup Catalyst Projects (/en/getting-started/catalyst-projects) -------------------------------------------------------------------------------- # Create a Project Let's [create a Catalyst project](https://docs.catalyst.zoho.com/en/getting-started/catalyst-projects) from the Catalyst console. 1. Log in to the [Catalyst console](https://console.catalyst.zoho.com/baas/index) and click **Create new Project**. ![console-page](https://catalyst-docs-development.zohostratus.in/images/tutorials/leadmanager/python/console-page.webp) 2. Enter the project's name as "**LeadManager**" in the pop-up window. ![project-name](https://catalyst-docs-development.zohostratus.in/images/tutorials/leadmanager/python/project-name.webp) 3. Click **Create**. Your project will be created and opened. ![catalyst_leadmanager_access_project](https://catalyst-docs-development.zohostratus.in/images/tutorials/leadmanager/project-created-opened.webp) -------------------------------------------------------------------------------- title: "Create a table" description: "Build a Lead Manager application that connects to your Zoho CRM account using Catalyst connector to view, create, update, or delete leads." last_updated: "2026-11-04T10:10:44.000Z" source: "https://docs.catalyst.zoho.com/en/tutorials/leadmanager/python/create-table/" service: "All Services" related: - Data Store (/en/cloud-scale/help/data-store/introduction) -------------------------------------------------------------------------------- # Create a Table in the Data Store Next, let's create a table in the Data Store. This table is used to store the Refresh Token and `userID` values, which are retrieved whenever an Access Token needs to be generated. To create a table: 1. Navigate to **Catalyst CloudScale** service in the console and click **Data Store** under Storage. 2. Click **Create a new Table.** ![new-table](https://catalyst-docs-development.zohostratus.in/images/tutorials/leadmanager/python/new-table.webp) 3. Enter the table’s name as **“Token”** and click **Create**. ![token-table2](https://catalyst-docs-development.zohostratus.in/images/tutorials/leadmanager/python/token-table2.webp) > **Note:** Ensure that you enter the name exactly as instructed, because the application's code contains the same name. The table will be created and displayed in the Data Store page. Now, let’s create two columns in the table to store the userID and the refresh token respectively. 1. Click **New Column** in the **Schema View** section of the Data Store table. ![add-new-column](https://catalyst-docs-development.zohostratus.in/images/tutorials/leadmanager/python/add-new-column.webp) 2. Enter the column's name as "**refresh\_token**". Select the data type as **Encrypted Text**, and click **Create**. ![column-example](https://catalyst-docs-development.zohostratus.in/images/tutorials/leadmanager/python/column-example.webp) You can learn about the various data types supported by Catalyst and the other properties of a column from the [Data Store help page](https://docs.catalyst.zoho.com/en/cloud-scale/help/data-store/introduction). > **Note:** Ensure that you enter the name exactly as instructed, because the application's code contains the same name. 3. Create another column using the previous steps with the column name as **"userId"** of the data type **"BigInt"**. You need not provide any other values. ![userid-column](https://catalyst-docs-development.zohostratus.in/images/tutorials/leadmanager/python/userid-column.webp) The columns will be created and listed in the Schema View section. #### Configure Scopes and Permissions To allow any user of the Lead Manager application to view or manage leads from the client application, you must enable an additional [table permission](https://docs.catalyst.zoho.com/en/cloud-scale/help/data-store/scopes-and-permissions) that will allow the user to fetch and store new Refresh Tokens, if needed. Click the **Scopes and Permissions** tab for the **Token** table, then check the **Insert** permission for the **App User** role under **Table Permissions** section. The **Select** permission will already be checked by default. ![permissions](https://catalyst-docs-development.zohostratus.in/images/tutorials/leadmanager/python/permissions.webp) The Data Store is now configured for the application. -------------------------------------------------------------------------------- title: "Enable Zoho sign-in" description: "Build a Lead Manager application that connects to your Zoho CRM account using Catalyst connector to view, create, update, or delete leads." last_updated: "2026-11-04T10:10:44.000Z" source: "https://docs.catalyst.zoho.com/en/tutorials/leadmanager/python/enable-zoho-sign-in/" service: "All Services" related: - Authentication (/en/cloud-scale/help/authentication/user-management/users/introduction/) -------------------------------------------------------------------------------- # Enable Zoho Sign-in The Lead Manager application contains a login page where you must provide valid credentials to access your Zoho CRM account. You can implement a signup functionality for this application by yourself, if needed. Otherwise, you can also integrate the Zoho sign-in feature that will enable you to sign in to the client application directly using your Zoho account. To configure Zoho sign-in for the Lead Manager application from the console: 1. Navigate to **Authentication** under the **Security & Identity** section, click **Setup** in the **Native Catalyst Authentication** tab. ![choose-native-auth](https://catalyst-docs-development.zohostratus.in/images/tutorials/leadmanager/python/choose-native-auth.webp) 2. Select **Embedded Authentication**. Click **Next**. ![choose-embedded](https://catalyst-docs-development.zohostratus.in/images/tutorials/leadmanager/python/choose-embedded.webp) 3. In the Authentication Setup page, enable **Public Signup** and click **Zoho**. ![enable-public-signup](https://catalyst-docs-development.zohostratus.in/images/tutorials/leadmanager/python/enable-public-signup.webp) 4. In the dialog box that appears, click Yes, proceed. ![dialog-box](https://catalyst-docs-development.zohostratus.in/images/tutorials/leadmanager/python/dialog-box.webp) 5. Provide the Client Name as **"LeadManagerApp"** and click **Enable.** ![client-name](https://catalyst-docs-development.zohostratus.in/images/tutorials/leadmanager/python/client-name.webp) > **Note:** You can enter any name you need. However, please make a note that we will be using **"LeadManagerApp"** as the client name while initializing it in the CLI and while registering it in the Zoho API console. 6. We will not be configuring any additional authentication settings for our application. Click **Finish** ![auth-settings](https://catalyst-docs-development.zohostratus.in/images/tutorials/leadmanager/python/auth-settings.webp) Zoho sign-in will now be available for the client application. -------------------------------------------------------------------------------- title: "Initialize the project" description: "Build a Lead Manager application that connects to your Zoho CRM account using Catalyst connector to view, create, update, or delete leads." last_updated: "2026-11-04T10:10:44.000Z" source: "https://docs.catalyst.zoho.com/en/tutorials/leadmanager/python/initialize-project/" service: "All Services" related: - Initialize CLI Resources (/en/cli/v1/initialize-resources/introduction) - Project Directory Structure (/en/cli/v1/project-directory-structure/introduction) -------------------------------------------------------------------------------- # Initialize the Project from the CLI We have now configured all the necessary components from the console. Next, we’ll be working on coding the application from our local system You can now begin working on your Catalyst project from the CLI. The first step is to initialize the project in an empty directory. This will be the home directory of your project, where all of your project files are saved. You can learn more about this from the [Project Directory Structure help page](https://docs.catalyst.zoho.com/en/cli/v1/project-directory-structure/introduction). You can learn about initializing a project in detail from the [CLI help documentation](https://docs.catalyst.zoho.com/en/cli/v1/initialize-resources/introduction/). For the Lead Manager application, we will initialize the Advanced I/O function in the Java or Node.js environment, and the client component. 1. Create a folder for the project on your local machine and navigate to it from the terminal. 2. Initialize a project by executing the following command from that directory: ```sh catalyst init ``` 3. Select the [portal](https://docs.catalyst.zoho.com/en/getting-started/catalyst-organizations/#access-the-multi-org-portal) (or organization) that you created your project in by navigating using the arrow keys and press **Enter** to confirm. ![select-org](https://catalyst-docs-development.zohostratus.in/images/tutorials/leadmanager/python/select-org.webp) 4. Now, CLI will ask you to associate a Catalyst project with the directory. Associate it with the project that we created earlier from the console. Select **LeadManager** from the list and press **Enter**. ![select-proj](https://catalyst-docs-development.zohostratus.in/images/tutorials/leadmanager/python/select-proj.webp) 5. Select **Functions** and **Client** using the space bar. Press the **Enter** key to initialize. ![select-comp](https://catalyst-docs-development.zohostratus.in/images/tutorials/leadmanager/python/select-comp.webp) 6. The CLI will initiate the function setup. Select **AdvancedIO** as the function type. ![function-setup](https://catalyst-docs-development.zohostratus.in/images/tutorials/leadmanager/python/function-setup.webp) 7. Select the latest runtime of **Python** as the function stack, and press **Enter.** ![select-python](https://catalyst-docs-development.zohostratus.in/images/tutorials/leadmanager/python/select-python.webp) 8. Press **Enter** to confirm the default package name as `lead_manager_function` and the entry point as `main.py`. ![functions-setup2](https://catalyst-docs-development.zohostratus.in/images/tutorials/leadmanager/python/functions-setup2.webp) The CLI will download and install the latest [Catalyst Python SDK](https://docs.catalyst.zoho.com/en/sdk/python/v1/overview) package. > **Note:** Ensure that you enter the package name, or class name and folder name, exactly as instructed, because the application's code contains the same names. 9. The CLI will initiate the client set up next. Choose **Basic web app.** ![basic-webapp](https://catalyst-docs-development.zohostratus.in/images/tutorials/leadmanager/python/basic-webapp.webp) 10. Provide the name of the client as **"LeadManagerApp"**. ![done-client-setup](https://catalyst-docs-development.zohostratus.in/images/tutorials/leadmanager/python/done-client-setup.webp) > **Note:** You can enter any name you need. However, you can use the same name that you used while enabling Zoho sign-in to maintain standardization. The functions and client directory is now created in the standard structure. Catalyst initialization is now complete. Your project directory (CATALYST_PROJECT_HOME) is now set up with the [client directory](https://docs.catalyst.zoho.com/en/cli/v1/project-directory-structure/client-directory) (CATALYST\_CLIENT\_HOME) and the [functions directory](https://docs.catalyst.zoho.com/en/cli/v1/project-directory-structure/functions-directory) (CATALYST\_FUNCTIONS\_HOME) along with configuration files and dependencies. The project directory also contains the [catalyst.json](https://docs.catalyst.zoho.com/en/cli/v1/project-directory-structure/catalyst-json) configuration file, a [requirements.txt](https://docs.catalyst.zoho.com/en/cli/v1/project-directory-structure/functions-directory/#requirementstxt-file) file and a hidden .catalystrc file. ![directory](https://catalyst-docs-development.zohostratus.in/images/tutorials/leadmanager/python/directory.webp) > **Note:** The above image includes an additional file `login.html`. This is the final directory structure of your project. We will create `login.html` while configuring the client directory. -------------------------------------------------------------------------------- title: "Configure functions directory" description: "Build a Lead Manager application that connects to your Zoho CRM account using Catalyst connector to view, create, update, or delete leads." last_updated: "2026-11-04T10:10:44.000Z" source: "https://docs.catalyst.zoho.com/en/tutorials/leadmanager/python/configure-functions-directory/" service: "All Services" related: - Advanced I/O Functions (/en/serverless/help/functions/advanced-io/) - Functions Directory Structure (/en/cli/v1/project-directory-structure/functions-directory) -------------------------------------------------------------------------------- # Configure the Functions Directory We will now begin coding the Lead Manager application by configuring the Advanced I/O function. The functions directory [](https://docs.catalyst.zoho.com/en/cli/v1/project-directory-structure/functions-directory) `functions/lead_manager_function` contains: * The `main.py` main function file * The `catalyst-config.json` configuration file * The `requirements.txt` file to mention any external libraries that you might add. You will be adding code in `main.py` and you can use any IDE to configure the function. > **Note:** Please go through the code in this section to make sure you fully understand it. We will discuss the function and client code, after you configure the client. You can directly copy the code below and paste it in `main.py` located in the `functions/lead_manager_function` directory and save the file. **main.py** ```javascript import json import random import zcatalyst_sdk import logging from flask import Request, make_response, jsonify,redirect import requests import os apiUrl = "https://www.zohoapis.com/crm/v2/Leads" url = "https://accounts.zoho.com/oauth/v2/token" GET = "GET" POST = "POST" PUT = "PUT" DELETE = "DELETE" CLIENT_ID = "1000.CEE5336HDV5JE3UHERR2BRITBI4NCN" CLIENT_SECRET = "5292351d5c5960d7cba13ee1684c646ed8df146530" logger = logging.getLogger() def handler(request: Request): try: app = zcatalyst_sdk.initialize() Datastore = app.datastore() id = os.path.basename(request.path) if request.path == "/generateToken" and request.method == GET: try: code = request.args.get('code') user_management_service = app.authentication() is_local = os.getenv('X_ZOHO_CATALYST_IS_LOCAL') == 'true' protocol = 'http' if is_local else 'https' host = request.headers['host'] if is_local else request.headers['host'].split(':')[0] domain = f"{protocol}://{host}" userDetails = user_management_service.get_current_user() user_id = userDetails["user_id"] tab = Datastore.table(12130000003381913) row = {"refresh_token":getRefreshToken(code,domain),"userId":user_id} tab.insert_row(row) redirect_uri = f"{domain}/app/index.html" return redirect(redirect_uri) except Exception as err: logger.error(err) response = make_response(({ "message": "Internal Server Error. Please try again after sometime.", "error": err, }), 500) elif request.path == "/getUserDetails" and request.method == GET: try: app = zcatalyst_sdk.initialize() userDetails = getUserId(app) if len(userDetails) != 0: response = make_response({ "userId":userDetails[0]["Token"]["userId"] },200) else: response = make_response({ "userId":None },200) return response except Exception as err: response = make_response({ "message":"Internal Server Error in Getting User Details. Please try again after sometime.", "error":err },500) return response elif request.path == "/crmData" and request.method == GET: try: app = zcatalyst_sdk.initialize() userDetails = getUserId(app) accesstoken = getAccessToken(userDetails,app) headers = { 'Authorization':f'Zoho-oauthtoken {accesstoken}', "Content-Type": "application/json" } response1 = requests.get(apiUrl,headers=headers) response = make_response(jsonify(response1.json()),200) return response except Exception as err: logger.error(err) response = make_response({ "message":"Internal Server Error.Please try again after sometime" },500) return response elif request.path == "/crmData" and request.method == POST: try: app = zcatalyst_sdk.initialize() data = {"data": [json.loads(request.data)]} userDetails = getUserId(app) accesstoken = getAccessToken(userDetails,app) headers = { 'Authorization':f'Zoho-oauthtoken {accesstoken}', "Content-Type": "application/json" } response1 = requests.post(apiUrl,headers=headers,json=data) if response1.status_code == 200 or response1.status_code == 201: response = make_response((response1.json()),200) return response else: logger.error(response1.json()) response = make_response((response1.json()),500) return response except Exception as err: logger.error(err) response = make_response({ "message":"Internal Server Error.Please try again after sometime" },500) return response elif request.path == f"/crmData/{id}" and request.method == GET: try: app = zcatalyst_sdk.initialize() userDetails = getUserId(app) accesstoken = getAccessToken(userDetails,app) headers = { 'Authorization':f'Zoho-oauthtoken {accesstoken}', "Content-Type": "application/json" } path = f"/{id}" response1 = requests.get(apiUrl+path,headers=headers) response = make_response((response1.json()),200) return response except Exception as err: logger.error(err) response = make_response({ "message":"Internal Server Errro.Please try again after sometime" },500) return response elif request.path == f"/crmData/{id}" and request.method == PUT: try: app = zcatalyst_sdk.initialize() reqData = request.get_json() data = { "data":[reqData] } if reqData is None: response = make_response({ "message":"Update Data not found" },400) userDetails = getUserId(app) accesstoken = getAccessToken(userDetails,app) headers = { 'Authorization':f'Zoho-oauthtoken {accesstoken}', "Content-Type": "application/json" } path = f"/{id}" response1 = requests.put(apiUrl+path,headers=headers,json=data) response = make_response((response1.json()),200) return response except Exception as err: logger.error(err) response = make_response({ "message":"Internal Server Error.Please try again after sometime" },500) return response elif request.path ==f"/crmData/{id}" and request.method == DELETE: try: app = zcatalyst_sdk.initialize() userDetails = getUserId(app) accesstoken = getAccessToken(userDetails,app) headers = { 'Authorization':f'Zoho-oauthtoken {accesstoken}', "Content-Type": "application/json" } path = f"/{id}" response1 = requests.delete(apiUrl+path,headers=headers) response = make_response((response1.json()),200) return response except Exception as err: logger.error(err) response = make_response({ "message":"Internal Server Errro.Please try again after sometime" },500) return response else: response = make_response('Unknown path') response.status_code = 400 return response except Exception as err: logger.error(f"Exception in CRM function {err}") response = make_response(500) return response def getRefreshToken(code,domain): params = { 'code':code, 'client_id':CLIENT_ID, 'client_secret':CLIENT_SECRET, 'grant_type':'authorization_code', 'redirect_uri':f"{domain}/server/lead_manager_function/generateToken" } response = requests.post(url,params = params) data = response.json() print(f'\n\nrefresh_token:{data}\n\n') return data['refresh_token'] def getAccessToken(userdetails,app): userId = userdetails[0]['Token']['userId'] Zcql = app.zcql() query = f"Select refresh_token FROM Token where userId={userId}" response = Zcql.execute_query(query) refresh_token = response[0]['Token']['refresh_token'] args = {} args["client_id"] = CLIENT_ID args["client_secret"] = CLIENT_SECRET args["auth_url"] = url args["refresh_url"] = url args["refresh_token"] = refresh_token connector_service = app.connection({userId:args}) access_token = connector_service.get_connector(userId).get_access_token() return access_token def getUserId(app): try: user = app.authentication().get_current_user() user_id = user["user_id"] response = app.zcql().execute_query(f"Select * from Token where userId = {user_id}") return response except Exception as err: response = make_response({ "message":"Internal Server error", "error":err },500) return response ``` > **Note:** After you copy and paste this code in your function file, ensure that you replace the following values in it: * [Client ID](https://docs.catalyst.zoho.com/en/tutorials/leadmanager/nodejs/register-client) in line 14 * [Client Secret](https://docs.catalyst.zoho.com/en/tutorials/leadmanager/nodejs/register-client) in line 15 * [Table ID](https://docs.catalyst.zoho.com/en/tutorials/leadmanager/java/create-table) in line 32 The functions directory is now configured. We will discuss the function and client code, after you configure the client. -------------------------------------------------------------------------------- title: "Register the client" description: "Build a Lead Manager application that connects to your Zoho CRM account using Catalyst connector to view, create, update, or delete leads." last_updated: "2026-11-04T10:10:44.000Z" source: "https://docs.catalyst.zoho.com/en/tutorials/leadmanager/python/register-client/" service: "All Services" related: - Catalyst CLI Documentation (/en/cli/v1/cli-command-reference/) -------------------------------------------------------------------------------- # Register the Client Application in Zoho API Console We must now register the client application in the Zoho API console, to generate the following credentials: * **Client ID**: The unique key generated for a registered client * **Client Secret**: The secret value generated for a registered client's Client ID The Client ID and Client Secret are added in the function and client code in several places. These values are necessary to generate the Access Token and Refresh Token initially, and later to refresh the Access Token using the Refresh Token. To register the client application in Zoho API console: 1. Visit the [Zoho API Console](https://api-console.zoho.com/) and click **Get Started**. 2. Select **Server-based Applications** as the client type. ![catalyst_leadmanager_api_console_1](https://catalyst-docs-development.zohostratus.in/images/tutorials/leadmanager/catalyst_leadmanager_api_console_1.webp) 3. Enter "**LeadManagerApp**" as the client name. ![catalyst_leadmanager_api_console_2](https://catalyst-docs-development.zohostratus.in/images/tutorials/leadmanager/catalyst_leadmanager_api_console_2.webp) Provide the other details in the following format: * Homepage URL: **{APP_DOMAIN}/app/index.html** * Authorized Redirect URIs: **{APP_DOMAIN}/server/lead_manager_function/generateToken** Replace {APP_DOMAIN} with the application URL value of the LeadManager project you created in Catalyst. The application URL follows the below syntax : **https://{project name}-{orgID}.development.catalystserverless.com** > **Note:** 1. You can fetch the project name by navigating to **Settings** in the top right corner of the Catalyst console. Then go to **Project Settings->General**. Please make sure to enter your project name in small case without any spaces in the domain URL. 2. You can fetch the Org id value directly from the URL in the Catalyst console. Say for example in the below URL, **"687259092"** is the Org Id. **https://console.catalyst.zoho.com/baas/687259092/project/11811000000477018/Development** For example, the homepage URL in this case will be: **https://leadmanager-687259092.development.catalystserverless.com/app/index.html.** And the redirect URL will be: **https:
//leadmanager-687259092.development.catalystserverless.com/server/lead_manager_function/generateToken** We will enter the path to the index page of the client as the homepage URL, and a route defined in the Python function as an authorized redirect URI. We will discuss these steps in the next sections. * You must add another Authorized Redirect URI for the client. We will serve the app through a localhost to test it after configuring the code. Because this will be redirected to a local domain, we must add that as another authorized redirect URI. Click the **(+) icon** under Authorized Redirect URIs and add: "**http://localhost:3000/server/lead_manager_function/generateToken**" > **Note:** When you serve an application locally from the CLI, it is hosted from port 3000 by default. We are therefore adding the domain accordingly. 4. Click **Create** after configuring these details. The API console will generate and display the Client ID and Client Secret values for the registered client under the **Client Secret** tab. You will need to copy these values and paste them into the function and client files in your project directory. We will discuss this in the next section. -------------------------------------------------------------------------------- title: "Configure the client" description: "Build a Lead Manager application that connects to your Zoho CRM account using Catalyst connector to view, create, update, or delete leads." last_updated: "2026-11-04T10:10:44.000Z" source: "https://docs.catalyst.zoho.com/en/tutorials/leadmanager/python/configure-client-directory/" service: "All Services" related: - Client Directory Structure (/en/cli/v1/project-directory-structure/introduction) - Web Client Hosting (/en/cloud-scale/help/web-client-hosting/introduction) -------------------------------------------------------------------------------- # Configure the Client Directory Let's now configure the client component. The [client directory](https://docs.catalyst.zoho.com/en/cli/v1/project-directory-structure/functions-directory) contains: * The `index.html` file that contains the HTML code for the frontend application * The `main.css` file that contains the CSS code * The `main.js` file that contains the JavaScript code * The `client-package.json` configuration file We will be coding `index.html`, `main.js` and `main.css`. We will also create a new file `login.html` in this directory and add code in it. > **Note:** Please go through the code in this section to make sure you fully understand it. We will discuss the code at the end of this section. Copy the code below and paste it in the respective files located in the `client/` directory of your project using an IDE and save the files. **index.html** ```xml <!DOCTYPE html> <html> <head> <meta charset="utf-8" /> <meta http-equiv="X-UA-Compatible" content="IE=edge"> <title>CRM Lead Manager</title> <meta name="viewport" content="width=device-width, initial-scale=1"> <link rel="stylesheet" type="text/css" media="screen" href="main.css" /> <link rel="stylesheet" href="https://stackpath.bootstrapcdn.com/bootstrap/4.3.1/css/bootstrap.min.css" integrity="sha384-ggOyR0iXCbMQv3Xipma34MD+dH/1fQ784/j6cY/iJTQUOhcWr7x9JvoRxT2MZw1T" crossorigin="anonymous"> <link href="https://cdnjs.cloudflare.com/ajax/libs/twitter-bootstrap/4.5.0/css/bootstrap.min.css" rel="stylesheet"> <link href="https://cdnjs.cloudflare.com/ajax/libs/mdbootstrap/4.19.1/css/mdb.min.css" rel="stylesheet"> <script src="https://code.jquery.com/jquery-3.4.1.min.js" integrity="sha256-CSXorXvZcTkaix6Yvo6HppcZGetbYMGWSFlBw8HfCJo=" crossorigin="anonymous"></script> <script src="https://cdnjs.cloudflare.com/ajax/libs/popper.js/1.14.7/umd/popper.min.js" integrity="sha384-UO2eT0CpHqdSJQ6hJty5KVphtPhzWj9WO1clHTMGa3JDZwrnQq4sF86dIHNDz0W1" crossorigin="anonymous"> </script> <script src="https://stackpath.bootstrapcdn.com/bootstrap/4.3.1/js/bootstrap.min.js" integrity="sha384-JjSmVgyd0p3pXB1rRibZUAYoIIy6OrQ6VrjIEaFf/nJGzIxFDsf4x0xIM+B07jRM" crossorigin="anonymous"> </script> <script src="main.js"></script> <script src="https://static.zohocdn.com/catalyst/sdk/js/4.6.2/catalystWebSDK.js"></script> <script src="/__catalyst/sdk/init.js"></script> <link href="//maxcdn.bootstrapcdn.com/bootstrap/4.0.0/css/bootstrap.min.css" rel="stylesheet" id="bootstrap-css"> <style> #connect { height: 260px; width: 500px; position: absolute; top: 0; bottom: 0; left: 0; right: 0; margin: auto; } </style> </head> <body onload="getUserDetails()"> <br> <center> <h1>CRM Lead Manager</h1><br> </center> <div id="connect"> <center> <p>Click here to connect to Zoho CRM</p> <button onclick='navigate()'> <img src="https://www.zohowebstatic.com/sites/default/files/styles/product-home-page/public/icon-crm_blue.png" style="width: 180px;height: 130px;"> </button> </center> </div> <div style="width: 200px;float: right; margin-right: 30px;"><label for="logoutbtn" class="btn btn-success btn-block btn-outlined">Logout</label> <button id="logoutbtn" onclick="logout()" style="display: none;"></button> </div> <div id="main"> <div class="container"> <ul class="nav nav-tabs nav-justified mb-3" id="myTab" role="tablist"> <li class="nav-item"> <a class="nav-link active" id="check-tab" data-toggle="tab" href="#check" role="tab" aria-controls="check" aria-selected="true">Add a Lead</a> </li> <li class="nav-item"> <a class="nav-link" id="report-tab" data-toggle="tab" href="#report" onclick="getLeads()" role="tab" aria-controls="report" aria-selected="false">Manage Leads</a> </li> </ul><br> <div class="tab-content" id="myTabContent"> <div class="tab-pane fade show active" id="check" role="tabpanel" aria-labelledby="check-tab"> <div class="tab-pane fade show active" id="ex3-tabs-1" role="tabpanel" aria-labelledby="ex3-tab-1"> <div style="margin-left: 100px; margin-right:100px;"> <form id="leads"> <!-- 2 column grid layout with text inputs for the first and last names --> <div class="row mb-4"> <div class="col"> <div class="form-outline"> <label class="form-label" for="form6Example1">First name</label> <input type="text" id="firstName" class="form-control" /> </div> </div> <div class="col"> <div class="form-outline"> <label class="form-label" for="form6Example2">Last name</label> <input type="text" id="lastName" class="form-control" required /> </div> </div> </div> <!-- Text input --> <div class="form-outline mb-4"> <label class="form-label" for="form6Example3">Company name</label> <input type="text" id="companyName" class="form-control" /> </div> <!-- Email input --> <div class="form-outline mb-4"> <label class="form-label" for="form6Example5">Email</label> <input type="email" id="email" class="form-control" /> </div> <!-- Text input --> <div class="form-outline mb-4"> <label class="form-label" for="form6Example4">State</label> <input type="text" id="state" class="form-control" /> </div> <!-- Number input --> <div class="form-outline mb-4"> <label class="form-label" for="form6Example6">Phone</label> <input type="number" id="phone" class="form-control" /> </div> <!-- Number input --> <div class="form-outline mb-4"> <label class="form-label" for="form6Example6">Lead Source</label> <input type="text" id="leadSource" class="form-control" /> </div> <!-- Submit button --> <center><button type="submit" onclick="createLead();return false;" class="btn btn-primary btn-block mb-4" style="width: 100px;">Add Lead</button> <div id="loader" style="display: none;"> <div class="spinner-border" role="status"> <span class="sr-only">Loading...</span> </div> </div> </center> </form> </div> </div> </div> <div class="tab-pane fade" id="report" role="tabpanel" aria-labelledby="report-tab"> <center> <div id="loaders" style="display: none; padding-top: 200px;"> <div class="spinner-border" role="status"> <span class="sr-only">Loading...</span> </div> </div> </center> <p id="showData"></p> </div> </div> </div> <!-- Modal --> <div class="modal fade" id="myModal" tabindex="-1" role="dialog" aria-labelledby="myModalLabel" aria-hidden="true"> <div class="vertical-alignment-helper"> <div class="modal-dialog vertical-align-center"> <div class="modal-content"> <center> <h4 class="modal-title" id="myModalLabel"></h4> <div class="modal-body" id="message"></div> <div class="modal-footer"> <button type="button" style="background-color: #007bff;color: white;" class="btn btn-default" data-dismiss="modal">Close</button> </div> </center> </div> </div> </div> </div> <div class="modal fade" id="editForm" tabindex="-1" role="dialog" aria-labelledby="myModalLabel" aria-hidden="true"> <div class="vertical-alignment-helper"> <div class="modal-dialog vertical-align-center"> <div class="modal-content"> <div style="margin-left: 80px; margin-right:80px;"> <br> <center> <h2>Edit Lead</h2> </center> <br> <form id="editLeads"> <!-- 2 column grid layout with text inputs for the first and last names --> <div class="row mb-4"> <div class="col"> <div class="form-outline"> <label class="form-label" for="form6Example1">First name</label> <input type="text" id="editfirstName" class="form-control" /> </div> </div> <div class="col"> <div class="form-outline"> <label class="form-label" for="form6Example2">Last name</label> <input type="text" id="editlastName" class="form-control" required /> </div> </div> </div> <!-- Text input --> <div class="form-outline mb-4"> <label class="form-label" for="form6Example3">Company name</label> <input type="text" id="editcompanyName" class="form-control" /> </div> <!-- Email input --> <div class="form-outline mb-4"> <label class="form-label" for="form6Example5">Email</label> <input type="email" id="editemail" class="form-control" /> </div> <!-- Text input --> <div class="form-outline mb-4"> <label class="form-label" for="form6Example4">State</label> <input type="text" id="editstate" class="form-control" /> </div> <!-- Number input --> <div class="form-outline mb-4"> <label class="form-label" for="form6Example6">Phone</label> <input type="number" id="editphone" class="form-control" /> </div> <!-- Submit button --> <center><button type="submit" id="editBtn" onclick="editLead();return false;" class="btn btn-primary btn-block mb-4" style="width: 100px;">Edit</button> <div id="loader" style="display: none;"> <div class="spinner-border" role="status"> <span class="sr-only">Loading...</span> </div> </div> </center> </form> </div> </div> </div> </div> </div> <div class="modal fade right" id="ModalDanger" tabindex="-1" role="dialog" aria-labelledby="myModalLabel" aria-hidden="true"> <div class="modal-dialog modal-notify modal-danger modal-side modal-top-right" role="document"> <!--Content--> <div class="modal-content"> <!--Header--> <div class="modal-header"> <p class="heading">Lead Deletion</p> <button type="button" class="close" data-dismiss="modal" aria-label="Close"> <span aria-hidden="true" class="white-text">×</span> </button> </div> <!--Body--> <div class="modal-body"> <div class="row"> <div class="col-9"> <p>Are you sure you want to delete the Lead?</p> </div> </div> </div> <!--Footer--> <div class="modal-footer justify-content-center"> <a type="button" class="btn btn-danger" id="delete-btn" onclick="deleteLead()">Delete</a> <a type="button" class="btn btn-outline-danger waves-effect" data-dismiss="modal">Cancel</a> </div> </div> <!--/.Content--> </div> </div> </div> </body> <script> //Add Your Client ID and Redirect URL here function navigate() { window.location.href = "https://accounts.zoho.com/oauth/v2/auth?scope=ZohoCRM.modules.ALL&client_id={{YOUR_CLIENT_ID}}&response_type=code&access_type=offline&redirect_uri="+location.protocol + '//' + location.host + "/server/lead_manager_function/generateToken"; } </script> </html> ``` > **Note:** After adding `index.html` to your client folder, make sure to replace **{{YOUR_CLIENT_ID}}** in the `navigate()` function with your actual Zoho Client ID. **main.js** ```javascript function createLead() { debugger; $("#loader").show(); var firstName = $("#firstName").val(); var lastName = $("#lastName").val(); if (lastName == "") { alert("Kindly Enter the Last Name"); $("#loader").hide(); return; } var companyName = $("#companyName").val(); var email = $("#email").val(); var state = $("#state").val(); var phone = $("#phone").val(); var leadSource = $("#leadSource").val(); $.ajax({ url: "/server/lead_manager_function/crmData", type: "post", contentType: "application/json", data: JSON.stringify({ "First_Name": firstName, "Last_Name": lastName, "Company": companyName, "Email": email, "State": state, "Phone": phone, "Lead_Source": leadSource, }), success: function (data) { debugger; $('#leads').trigger("reset"); $("#myModalLabel").html(" Success"); $("#message").html("Lead Created Successfully"); $("#loader").hide(); $('#myModal').modal('show'); }, error: function (error) { $('#leads').trigger("reset"); $("#myModalLabel").html(" Failure"); $("#message").html("Please try again after Sometime"); $("#loader").hide(); $('#myModal').modal('show'); } }); } function logout() { var redirectURL = "http://localhost:3000/app/login.html"; //Add your app domain var auth = catalyst.auth; auth.signOut(redirectURL); } function getUserDetails() { $("#main").hide(); $("#connect").hide(); catalyst.auth.isUserAuthenticated().then(result => { $("#loader").show(); $.ajax({ url: "/server/lead_manager_function/getUserDetails", type: "get", success: function (data) { $("#loader").hide(); if (data.userId) { $("#main").show(); $("#connect").hide(); } else { $("#connect").show(); $("#main").hide(); } }, error: function (error) { $("#myModalLabel").html(" Failure"); $("#message").html("Please try again after Sometime"); $("#loader").hide(); $('#myModal').modal('show'); } }); }).catch(err => { document.body.innerHTML = 'You are not logged in. Please log in to continue. Redirecting you to the login page..'; setTimeout(function () { window.location.href = "login.html"; }, 3000); }); } function getLeads() { debugger; var tableContainer = document.getElementById("showData"); tableContainer.innerHTML = ""; $("#loaders").show(); $.ajax({ url: "/server/lead_manager_function/crmData", type: "get", success: function (data) { debugger; var reqData = getRequiredData(data.data); $("#loaders").hide(); renderTable(reqData); }, error: function (error) { $("#myModalLabel").html(" Failure"); $("#message").html("Please try again after Sometime"); $("#loader").hide(); $('#myModal').modal('show'); } }); } function showDeletePopup(leadID) { $('#ModalDanger').modal('show'); var deleteBtn = document.getElementById("delete-btn"); deleteBtn.value = leadID; } function deleteLead() { var leadID = document.getElementById('delete-btn').value; $.ajax({ url: "/server/lead_manager_function/crmData/" + leadID, type: "delete", success: function (data) { debugger; $('#ModalDanger').modal('toggle'); $("#myModalLabel").html(" Success"); $("#message").html("Lead Deleted Successfully"); $('#myModal').modal('show'); setTimeout(function () { location.reload(); }, 3000); }, error: function (error) { $("#myModalLabel").html(" Failure"); $("#message").html("Please try again after Sometime"); $("#loader").hide(); $('#myModal').modal('show'); } }); } function showEditPopup(leadID) { $.ajax({ url: "/server/lead_manager_function/crmData/" + leadID, type: "get", success: function (data) { debugger; var respData = data.data; $('#editfirstName').val(respData[0].First_Name); $('#editlastName').val(respData[0].Last_Name); $('#editcompanyName').val(respData[0].Company); $('#editemail').val(respData[0].Email); $('#editstate').val(respData[0].State); $('#editphone').val(respData[0].Phone); $('#editleadSource').val(respData[0].Lead_Source); $('#editBtn').val(respData[0].id); $('#editfirstName').html(respData[0].First_Name); $('#editlastName').html(respData[0].Last_Name); $('#editcompanyName').html(respData[0].Company); $('#editemail').html(respData[0].Email); $('#editstate').html(respData[0].State); $('#editphone').html(respData[0].Phone); $('#editleadSource').html(respData[0].Lead_Source); $('#editForm').modal('show'); }, error: function (error) { $("#myModalLabel").html(" Failure"); $("#message").html("Please try again after Sometime"); $("#loader").hide(); $('#myModal').modal('show'); } }); } function editLead() { var firstName = $("#editfirstName").val(); var lastName = $("#editlastName").val(); if (lastName == "") { alert("Kindly Enter the Last Name"); return; } var companyName = $("#editcompanyName").val(); var email = $("#editemail").val(); var state = $("#editstate").val(); var phone = $("#editphone").val(); var leadSource = $("#editleadSource").val(); var leadID = $("#editBtn").val(); $.ajax({ url: "/server/lead_manager_function/crmData/" + leadID, type: "put", contentType: "application/json", data: JSON.stringify({ "First_Name": firstName, "Last_Name": lastName, "Company": companyName, "Email": email, "State": state, "Phone": phone, "Lead_Source": leadSource }), success: function (data) { debugger; $('#editForm').modal('toggle'); $("#myModalLabel").html(" Success"); $("#message").html("Lead Edited Successfully"); $('#myModal').modal('show'); setTimeout(function () { location.reload(); }, 3000); }, error: function (error) { $('#leads').trigger("reset"); $("#myModalLabel").html(" Failure"); $("#message").html("Please try again after Sometime"); $("#loader").hide(); $('#myModal').modal('show'); } }); } function getRequiredData(data) { var i; var resp = []; for (i = 0; i < data.length; i++) { var gulp = { "First Name": data[i].First_Name, "Last Name": data[i].Last_Name, "Phone": data[i].Phone, "Email": data[i].Email, "Company": data[i].Company, "Edit": '<center><a href="javascript:showEditPopup(\'' + data[i].id + '\')">✎︎</a></center>', "Delete": '<center><a href="javascript:showDeletePopup(\'' + data[i].id + '\')">🗑︎</a></center>' } resp.push(gulp); } console.log(resp); return resp; } function renderTable(respData) { var col = []; for (var i = 0; i < respData.length; i++) { for (var key in respData[i]) { if (col.indexOf(key) === -1) { col.push(key); } } } var table = document.createElement("table"); table.id = "dataTable"; var tr = table.insertRow(-1); for (var i = 0; i < col.length; i++) { var th = document.createElement("th"); th.innerHTML = col[i]; tr.appendChild(th); } for (var i = 0; i < respData.length; i++) { tr = table.insertRow(-1); for (var j = 0; j < col.length; j++) { var tabCell = tr.insertCell(-1); tabCell.innerHTML = respData[i][col[j]]; } } var divContainer = document.getElementById("showData"); divContainer.innerHTML = ""; divContainer.appendChild(table); } ``` **main.css** ```css #dataTable { font-family: Arial, Helvetica, sans-serif; border-collapse: collapse; width: 100%; } #dataTable td, #dataTable th { border: 1px solid #ddd; padding: 8px; } #dataTable tr:nth-child(even){background-color: #f2f2f2;} #dataTable tr:hover {background-color: #ddd;} #dataTable th { padding-top: 12px; padding-bottom: 12px; text-align: left; background-color: #007bff; color: white; } .vertical-alignment-helper { display: table; height: 100%; width: 100%; pointer-events: none; } .vertical-align-center { display: table-cell; vertical-align: middle; pointer-events: none; } .modal-content { width: inherit; max-width: inherit; height: inherit; margin: 0 auto; pointer-events: all; } ``` **login.html** ```xml <html> <meta charset="utf-8" /> <meta http-equiv="X-UA-Compatible" content="IE=edge"> <title>CRM Lead Manager</title> <meta name="viewport" content="width=device-width, initial-scale=1"> <link rel="stylesheet" type="text/css" media="screen" href="main.css" /> <script src="main.js"></script> <link rel="stylesheet" type="text/css" media="screen" href="main.css" /> <link rel="stylesheet" href="https://stackpath.bootstrapcdn.com/bootstrap/4.3.1/css/bootstrap.min.css" integrity="sha384-ggOyR0iXCbMQv3Xipma34MD+dH/1fQ784/j6cY/iJTQUOhcWr7x9JvoRxT2MZw1T" crossorigin="anonymous"> <script src="https://static.zohocdn.com/catalyst/sdk/js/4.6.2/catalystWebSDK.js"></script> <script src="https://code.jquery.com/jquery-3.4.1.min.js" integrity="sha256-CSXorXvZcTkaix6Yvo6HppcZGetbYMGWSFlBw8HfCJo=" crossorigin="anonymous"></script> <script src="https://cdnjs.cloudflare.com/ajax/libs/popper.js/1.14.7/umd/popper.min.js" integrity="sha384-UO2eT0CpHqdSJQ6hJty5KVphtPhzWj9WO1clHTMGa3JDZwrnQq4sF86dIHNDz0W1" crossorigin="anonymous"> </script> <script src="https://stackpath.bootstrapcdn.com/bootstrap/4.3.1/js/bootstrap.min.js" integrity="sha384-JjSmVgyd0p3pXB1rRibZUAYoIIy6OrQ6VrjIEaFf/nJGzIxFDsf4x0xIM+B07jRM" crossorigin="anonymous"> </script> <script src="https://static.zohocdn.com/catalyst/sdk/js/4.6.2/catalystWebSDK.js"></script> <script src="/__catalyst/sdk/init.js"></script> <script> catalyst.auth.signIn("login"); </script> <link href="//maxcdn.bootstrapcdn.com/bootstrap/4.0.0/css/bootstrap.min.css" rel="stylesheet" id="bootstrap-css"> <style> #login { height: 260px; width: 500px; position: absolute; top: 0; bottom: 0; left: 0; right: 0; margin: auto; } </style> <body> <br> <center> <h1>CRM Lead Manager</h1> </center> <div id="login"></div> </body> </html> ``` The client directory is now configured. Let us quickly go through the working of the function and client components of the application: * The `login.html` file in the client component enables Catalyst Authentication login. This does not handle the Zoho sign-in feature, only the Catalyst login. * `index.html` contains the code for the front-end of the client. It defines a function `navigate()` that enables the connection to the CRM account by passing the required authorization information such as the Client ID and the scope. * The Advanced I/O function defines the following APIs that perform various actions: * **`/generateToken`:** Obtains the Refresh Token by calling the `getRefreshToken()` function, and inserts it along with the `userID` of the current user in the _Token_ table in the Data Store. It then redirects to the index page of the client. * **`/getUserDetails`:** Fetches the user details by calling the `getUserDetails()` function. If there is no record in the table, a JSON response with the `userID` alone is sent. If the record exists in the table, it is sent along with the `userID`. * **`/crmData`:** This route defines the path of all leads in the Leads module. The Node function executes the HTTP `GET` and `POST` operations to fetch all leads or create a new lead using this route respectively. * **`/crmData/:id`:** This route defines the path of a particular lead in the Leads module. The `id` represents the unique ID of the lead in CRM. The function executes the HTTP `PUT` and `DELETE` operations to edit or delete a lead respectively using this route. * The Advanced I/O function contains the following functions that are called by the APIs: * **`getRefreshToken()`:** Fetches the Refresh Token by passing the Client ID, Client Secret, Redirect URI and other required values as query string parameters * **`getAccessToken()`:** Fetches the Access Token by passing the Refresh Token queried from the Token table using ZCQL, and other required parameters. The Access Token is fetched each time an operation needs to be performed on the CRM module, such as adding a lead or editing a lead. * **`getUserId()`:** Fetches the record from the _Token_ table that contains the Refresh Token, by passing the userID * `main.js` is the JavaScript function in the client component that parses the JSON responses obtained from the function and renders them in the `index.html` page. This function defines the actions for all the UI elements in the client application. For example, `getLeads()` obtains all leads from the function response and renders them in the client, and `showEditPopup()` defines the actions for editing a lead. -------------------------------------------------------------------------------- title: "Test the application" description: "Build a Lead Manager application that connects to your Zoho CRM account using Catalyst connector to view, create, update, or delete leads." last_updated: "2026-11-04T10:10:44.000Z" source: "https://docs.catalyst.zoho.com/en/tutorials/leadmanager/python/test-application/" service: "All Services" related: - Serve CLI Resources (/en/cli/v1/serve-resources/introduction) -------------------------------------------------------------------------------- # Test the Application Before you deploy the application to the remote console, you can [test the application on a local server](https://docs.catalyst.zoho.com/en/cli/v1/serve-resources/introduction) and check if everything works fine using the Catalyst CLI. To serve the Catalyst project locally, execute the following command from your project directory: ```sh catalyst serve ``` The Lead Manager application will now be served at default port 3000\. The local endpoint URLs of the components are displayed. ![serve-app](https://catalyst-docs-development.zohostratus.in/images/tutorials/leadmanager/python/serve-app.webp) > **Note:** Every time you access the homepage or any of the sub-pages of your client, or the function, the CLI will display a live log of the URL accessed, along with the HTTP request method. You can now open the application in a browser using the local URL of the client displayed in the CLI. ![localhost](https://catalyst-docs-development.zohostratus.in/images/tutorials/leadmanager/python/localhost.webp) You will initially be redirected to the login page. If you configure a sign-up action on your own, you can sign up first, then log in to the application. Otherwise, you can log in using the Zoho sign-in icon. You will be redirected to the permissions page. Accept the permissions requested by the app to access your Zoho account details. ![zoho-permissions](https://catalyst-docs-development.zohostratus.in/images/tutorials/leadmanager/python/zoho-permissions.webp) You will then be redirected back to the application. Click the **Zoho CRM icon** in this page to connect to Zoho CRM. ![crm-application](https://catalyst-docs-development.zohostratus.in/images/tutorials/leadmanager/python/crm-application.webp) You can now create and manage leads in your configured Zoho CRM account, directly from this application. > **Note:** If you are already signed in your Zoho CRM account, then you can proceed by adding leads. If not, the application will prompt you to choose the CRM account that you wish to connect with the Lead Manager app, then click **Submit**. All your existing developer, sandbox, and production accounts will be listed. To add a lead, enter the details of the lead in the **Add a Lead** section and click **Add Lead**. A confirmation pop-up will display the status every time you add, edit, or delete a lead. ![confirmation](https://catalyst-docs-development.zohostratus.in/images/tutorials/leadmanager/python/confirmation.webp) You can click the **Manage Leads** tab to view all your leads from the Leads module. You can edit or delete any of them by clicking their respective icons in the table. ![manage-leads](https://catalyst-docs-development.zohostratus.in/images/tutorials/leadmanager/python/manage-leads.webp) You can update a lead's information, then click **Edit**. ![edit-lead](https://catalyst-docs-development.zohostratus.in/images/tutorials/leadmanager/python/edit-lead.webp) If you click the delete icon, you must confirm the action in the confirmation pop-up. ![delete-popup](https://catalyst-docs-development.zohostratus.in/images/tutorials/leadmanager/python/delete-popup.webp) You can also check the Refresh Token and `userID` values populated in the Data Store from your Catalyst console. Navigate to the **Data View** section of the **Token** table to view the record that was added. ![check-table](https://catalyst-docs-development.zohostratus.in/images/tutorials/leadmanager/python/check-table.webp) If you delete this entry, you will have to authenticate your credentials in the client application and establish a connection to your CRM account again. You can log out of the application by clicking **Logout**. If this setup is working correctly, we can deploy the application to production. You can quit the `serve` session in your terminal by executing the command to kill a running process, based on your OS. -------------------------------------------------------------------------------- title: "Deploy the project" description: "Build a Lead Manager application that connects to your Zoho CRM account using Catalyst connector to view, create, update, or delete leads." last_updated: "2026-11-04T10:10:44.000Z" source: "https://docs.catalyst.zoho.com/en/tutorials/leadmanager/python/deploy-project/" service: "All Services" related: - Deploy CLI Resources (/en/cli/v1/deploy-resources/introduction) - Web Client Hosting (/en/cloud-scale/help/web-client-hosting/introduction/) -------------------------------------------------------------------------------- # Deploy the Project You can now deploy the application to the remote console. > **Note:** Since you had already logged into the Lead Manager application from the local server, a Refresh Token would have already been generated. This token will continue to authenticate your access. To [deploy your Catalyst project from the CLI](https://docs.catalyst.zoho.com/en/cli/v1/deploy-resources/introduction), run the following command in your terminal from your project directory: ```sh catalyst deploy ``` The function is deployed first, followed by the client component. The app URLs of the components will be displayed. ![deploy-lead](https://catalyst-docs-development.zohostratus.in/images/tutorials/leadmanager/python/deploy-lead.webp) You can now open the client component's URL in a browser to access the deployed application. Lead Manager application can now be accessed from its [web app URL](https://docs.catalyst.zoho.com/en/cloud-scale/help/web-client-hosting/introduction). ![final_app](https://catalyst-docs-development.zohostratus.in/images/tutorials/leadmanager/python/final_app.webp) ## Lead Manager App Using AppSail ### Java -------------------------------------------------------------------------------- title: "Introduction" description: "Build a Lead Manager application hosted on AppSail that connects to Zoho CRM using Catalyst connectors to view, create, update, or delete leads." last_updated: "2026-11-04T10:10:44.000Z" source: "https://docs.catalyst.zoho.com/en/tutorials/leadmanager-appsail/springboot/introduction/" service: "All Services" related: - Project Directory Structure (/en/cli/v1/project-directory-structure/introduction/) - Catalyst SDK for AppSail (/en/serverless/help/appsail/implement-catalyst-sdk/) -------------------------------------------------------------------------------- # Lead Manager App Using AppSail ### Introduction This tutorial will help you build a **Java Spring Boot** application web application called **Lead Manager**. This web app will allow you to connect with your [Zoho CRM account](https://www.zoho.com/in/crm/) and enable you to manage leads in your organization. You will be able to access, add, edit, or delete leads in the [Leads module](https://help.zoho.com/portal/en/kb/crm/sales-force-automation/leads) in your CRM account directly from this application. The connection to Zoho CRM is established using [OAuth 2.0 authentication protocol](https://docs.catalyst.zoho.com/en/api/oauth2/overview-and-terminology/#OverviewandTerminology). We will generate an `OAuth Access Token` for the *Lead Manager* application and use it to authorize the connection to access CRM data. The authentication requirement in this tutorial is handled using [Embedded Authentication](https://docs.catalyst.zoho.com/en/cloud-scale/help/authentication/native-catalyst-authentication/embedded-authentication/introduction/). We will also implement a [Catalyst Connector](https://docs.catalyst.zoho.com/en/sdk/java/v1/connectors/connectors/) to manage this access to the CRM account. The connector will refresh the `Access Token` automatically each time it expires using a `Refresh Token`, and will maintain a constant connection between the client and the CRM account. These tokens can be generated after registering the client application in the [Zoho API console](https://api-console.zoho.com/) and obtaining the required credentials. The client application will look like this: ![catalyst_tutorials_leadmanager_appsail_first_look](https://catalyst-docs-development.zohostratus.in/images/tutorials/leadmanager-appsail/catalyst_tutorials_leadmanager_appsail_first_look.webp) The Lead Manager application employs components from the following Catalyst services: - [**Catalyst Serverless**](https://docs.catalyst.zoho.com/en/serverless/): - [AppSail](https://docs.catalyst.zoho.com/en/serverless/help/appsail/introduction/): To host the independent *Java Spring Boot* application. We will be building the front-end of the app as well as the back-end logic, and bundling them together to deploy them on AppSail. - [**Catalyst CloudScale**](https://docs.catalyst.zoho.com/en/cloud-scale/): - [Data Store](https://docs.catalyst.zoho.com/en/cloud-scale/help/data-store/introduction/): To store the `Refresh Token` and [UserID of the Catalyst user](https://docs.catalyst.zoho.com/en/cloud-scale/help/authentication/user-management/users/introduction/) fetched by the function resource. The `Refresh Token` is fetched from this table by the function, whenever a new `Access Token` needs to be generated. - [ZCQL](https://docs.catalyst.zoho.com/en/cloud-scale/help/zcql/introduction/): To fetch data from the *Data Store* through querying. - [Catalyst Authentication](https://docs.catalyst.zoho.com/en/cloud-scale/help/authentication/introduction/): To implement a [Zoho social login](https://docs.catalyst.zoho.com/en/cloud-scale/help/authentication/social-logins/configuring-social-logins/#enable-zoho-social-login) in the client application’s login page, in addition to the standard login option, we will be implementing the [Embedded Authentication type](https://docs.catalyst.zoho.com/en/cloud-scale/help/authentication/native-catalyst-authentication/embedded-authentication/introduction/) in this tutorial. We will use the [Catalyst web console](https://console.catalyst.zoho.com) and the [Catalyst Command Line Interface](https://docs.catalyst.zoho.com/en/cli/v1/cli-command-reference/) (CLI) to build this application. > **Info:** You will be given the code for the files to be included in the function and client components in this tutorial. You will just need to copy the provided code and paste it into the appropriate files as directed. ### Application Architecture The Lead Manager application’s architecture is depicted below: ![catalyst_tutorials_leadmnager_appsail_architecture_dig](https://catalyst-docs-development.zohostratus.in/images/tutorials/leadmanager-appsail/catalyst_tutorials_leadmnager_appsail_architecture_dig.webp) The entire workflow of the application will be explained in more detail when you [code your front end logic](https://docs.catalyst.zoho.com/en/tutorials/leadmanager-appsail/springboot/code-app), which we recommend you check out as you follow along the steps. -------------------------------------------------------------------------------- title: "Prerequisites" description: "Build a Lead Manager application hosted on AppSail that connects to Zoho CRM using Catalyst connectors to view, create, update, or delete leads." last_updated: "2026-11-04T10:10:44.000Z" source: "https://docs.catalyst.zoho.com/en/tutorials/leadmanager-appsail/springboot/prerequisites/" service: "All Services" related: - Catalyst Tools VS Code Plugin (/en/catalyst-extensions/vs-code-extension/introduction/) -------------------------------------------------------------------------------- # Prerequisites Before you begin building the application, you must have the following prerequisites installed on your system: 1. **Catalyst CLI**: Catalyst CLI contains a host of tools that enable you to initialize, develop, test, and deploy the components of your application from your local machine. We will be working with Catalyst CLI in this tutorial. You must perform these actions: - **Install Catalyst CLI**: Catalyst CLI is installed through NPM. You must therefore have NPM and Node.js installed on your system before you install the CLI. Refer to the [**Install Catalyst CLI help page**](https://docs.catalyst.zoho.com/en/getting-started/installing-catalyst-cli/) for details on the pre-requisites and the steps to install it. - **Login Catalyst CLI**: After you install Catalyst CLI, you must authenticate the CLI with your Catalyst account before using it. Refer to the [**CLI Login help page**](https://docs.catalyst.zoho.com/en/cli/v1/login/login-from-cli/) for the steps to login from Catalyst CLI and the various options available for it. 2. **Zoho CRM Account**: Because the Leads module is available in all editions of Zoho CRM, you can have a configured Zoho CRM account of any edition to establish a connection with the Lead Manager application. If you don’t have a Zoho CRM account, you can sign up for it [here](https://www.zoho.com/in/crm/). 3. **Install Apache Maven Build Automation Tool**: To complete this tutorial, you need to install Maven in your local system. Install the compatible version from your system using this [link](https://maven.apache.org/download.cgi). 4. **Any IDE tool for Java and client code development** You can use any IDE to work with the function and the client code. Some popular choices include Visual Studio Code, IntelliJ IDEA, Eclipse, and Sublime Text. Download and install an IDE of your choice in your system. > If you are a Visual Studio Code IDE user, you can install the **Catalyst Tools** extension, and use your IDE itself in place of the CLI. You can find more details about the Catalyst VS Code extension from this [help section](https://docs.catalyst.zoho.com/en/catalyst-extensions/vs-code-extension/introduction/). -------------------------------------------------------------------------------- title: "Create a Project" description: "Build a Lead Manager application hosted on AppSail that connects to Zoho CRM using Catalyst connectors to view, create, update, or delete leads." last_updated: "2026-11-04T10:10:44.000Z" source: "https://docs.catalyst.zoho.com/en/tutorials/leadmanager-appsail/springboot/create-project/" service: "All Services" related: - Project Directory Structure (/en/cli/v1/project-directory-structure/introduction/) - Catalyst SDK for AppSail (/en/serverless/help/appsail/implement-catalyst-sdk/) -------------------------------------------------------------------------------- # Create a Project Let’s [create a Catalyst project](https://docs.catalyst.zoho.com/en/getting-started/catalyst-projects/#create-a-catalyst-project) from the Catalyst console. 1. Log in to the [Catalyst console](https://console.catalyst.zoho.com/baas/index) and click **Create New Project**. ![catalyst_tutorials_leadmanager_appsail_create_proj](https://catalyst-docs-development.zohostratus.in/images/tutorials/leadmanager-appsail/catalyst_tutorials_leadmanager_appsail_create_proj.webp) 2. Enter the project’s name as "**LeadManager**" in the pop-up window. ![catalyst_tutorials_leadmanage_appsail_proj_name](https://catalyst-docs-development.zohostratus.in/images/tutorials/leadmanager-appsail/catalyst_tutorials_leadmanage_appsail_proj_name.webp) Your project will be created. You can open the project by clicking **Access Project**. ![catalyst_tutorials_leradmanager_appsail_access_proj](https://catalyst-docs-development.zohostratus.in/images/tutorials/leadmanager-appsail/catalyst_tutorials_leradmanager_appsail_access_proj.webp) -------------------------------------------------------------------------------- title: "Create a Table" description: "Build a Lead Manager application hosted on AppSail that connects to Zoho CRM using Catalyst connectors to view, create, update, or delete leads." last_updated: "2026-11-04T10:10:44.000Z" source: "https://docs.catalyst.zoho.com/en/tutorials/leadmanager-appsail/springboot/create-table/" service: "All Services" related: - Data Store (/en/cloud-scale/help/data-store/introduction/) - ZCQL (/en/cloud-scale/help/zcql/introduction) -------------------------------------------------------------------------------- # Create a Table Next, let’s create a table in the **Data Store**. This table is used to store the *Refresh Token* and `userID` values, which are retrieved whenever an *Access Token* needs to be generated. To create a table: 1. Navigate to the [Catalyst CloudScale](https://docs.catalyst.zoho.com/en/cloud-scale/) service section in the console and click **Start Exploring**. ![catalyst_tutorials_leadmanager_appsail_start_explore_cloud_scale](https://catalyst-docs-development.zohostratus.in/images/tutorials/leadmanager-appsail/catalyst_tutorials_leadmanager_appsail_start_explore_cloud_scale.webp) 2. Click **Create a new Table**. ![catalyst_tutorials_lkeadmanager_appsail_create_table](https://catalyst-docs-development.zohostratus.in/images/tutorials/leadmanager-appsail/data-store-create-new-table.webp) 3. Enter the table’s name as "`Token`" and click **Create**. ![catalyst_tutorials_leadmanager_appsail_table_nme](https://catalyst-docs-development.zohostratus.in/images/tutorials/leadmanager-appsail/catalyst_tutorials_leadmanager_appsail_table_nme.webp) > **Note:** Ensure that you enter the name exactly as instructed because the application's code contains the same name. The table will be created. ![catalyst_tutorials_leadmnager_appsail_table_created](https://catalyst-docs-development.zohostratus.in/images/tutorials/leadmanager-appsail/catalyst_tutorials_leadmnager_appsail_table_created.webp) Now, let’s create two columns in the table to store the `userID` and the `refresh token` respectively. > **Info:** You can learn about the various data types supported by Catalyst and the other properties of a column from the [Data Store help documentation](https://docs.catalyst.zoho.com/en/cloud-scale/help/data-store/introduction/). 4. Click **New Column** in the *Schema View* section. ![catalyst_tutorials_leadmanager_appsail_new_clm](https://catalyst-docs-development.zohostratus.in/images/tutorials/leadmanager-appsail/catalyst_tutorials_leadmanager_appsail_new_clm.webp) 5. Enter the column’s name as "refresh_token". Select the data type as Encrypted Text. ![catalyst_tutorials_leadmanager_appsail_clm_name](https://catalyst-docs-development.zohostratus.in/images/tutorials/leadmanager-appsail/catalyst_tutorials_leadmanager_appsail_clm_name.webp) 6. Click **Create**. ![catalyst_tutorials_leadmanager_appsail_clm_1_created](https://catalyst-docs-development.zohostratus.in/images/tutorials/leadmanager-appsail/catalyst_tutorials_leadmanager_appsail_clm_1_created.webp) 7. Now click the **New Column** button again to create the second column. Name it "`userId`", and select **BigInt** as its data type. ![catalyst_tutorials_leadmanager_appsail_clm_2](https://catalyst-docs-development.zohostratus.in/images/tutorials/leadmanager-appsail/catalyst_tutorials_leadmanager_appsail_clm_2.webp) 8. Click **Create**. ![catalyst_tutorials_leadmanager_appsail_clms_created](https://catalyst-docs-development.zohostratus.in/images/tutorials/leadmanager-appsail/catalyst_tutorials_leadmanager_appsail_clms_created.webp) The required columns have been created. ### Configure Scopes and Permissions To allow any user of the Lead Manager application to view or manage leads from the client application, you must enable an additional [table permission](https://docs.catalyst.zoho.com/en/cloud-scale/help/data-store/scopes-and-permissions) that will allow the user to fetch and store new *Refresh Tokens*, if needed. To enable the required permissions: 1. Click the **Scopes and Permissions** tab. ![catalyst_tutorials_leadmanager_appsail_tables_permissions](https://catalyst-docs-development.zohostratus.in/images/tutorials/leadmanager-appsail/catalyst_tutorials_leadmanager_appsail_tables_permissions.webp) 2. Enable the **Insert** permission for the **App User** role under the *Table Permissions* section. Ensure you do not change any other permission setting. ![catalyst_tutorials_leadmanager_appsail_permission_aet](https://catalyst-docs-development.zohostratus.in/images/tutorials/leadmanager-appsail/catalyst_tutorials_leadmanager_appsail_permission_aet.webp) The Data Store component is now configured for the application. -------------------------------------------------------------------------------- title: "Enable Zoho Social Login" description: "Build a Lead Manager application hosted on AppSail that connects to Zoho CRM using Catalyst connectors to view, create, update, or delete leads." last_updated: "2026-11-04T10:10:44.000Z" source: "https://docs.catalyst.zoho.com/en/tutorials/leadmanager-appsail/springboot/enable-auth/" service: "All Services" related: - Authentication (/en/cloud-scale/help/authentication/introduction/) - Embedded Authentication (/en/cloud-scale/help/authentication/native-catalyst-authentication/embedded-authentication/introduction/) - Enable Social Login (/en/cloud-scale/help/authentication/social-logins/configuring-social-logins/) - Public Sign Up (/en/cloud-scale/help/authentication/public-signup/) -------------------------------------------------------------------------------- # Enable Zoho Social Login Using Embedded Authentication The Lead Manager application contains a login page where you must provide valid credentials to access your Zoho CRM account. You need to implement a signup functionality for this application. The functionality should also provide the option to login to the account using [Zoho Social Logins](https://docs.catalyst.zoho.com/en/cloud-scale/help/authentication/social-logins/configuring-social-logins/#enable-zoho-social-login). We will be implementing the [Embedded Authentication type](https://docs.catalyst.zoho.com/en/cloud-scale/help/authentication/native-catalyst-authentication/embedded-authentication/introduction/) to complete this requirement. To configure the Zoho social login for the Lead Manager application from the console: 1. Navigate to the **Authentication** component under the *Security & Identity* section, and click **Setup** in the **Native Catalyst Authentication** tab. ![catalyst_tutorials_leadmanager_appsail_native_auth_setup](https://catalyst-docs-development.zohostratus.in/images/tutorials/leadmanager-appsail/lead-manager-appsail-authentication.webp) 2. Select **Embedded Authentication**, and click **Next**. ![catalyst_tutorials_leadmanager_appsail_embed_sel_auth](https://catalyst-docs-development.zohostratus.in/images/tutorials/leadmanager-appsail/catalyst_tutorials_leadmanager_appsail_embed_sel_auth.webp) 3. You can copy and use the scripts provided in the **Configuration** step to setup your login functionality. However, since we are only going to be using *Zoho social login*, you need to enable the **Public Signup toggle** first. ![catalyst_tutorials_leadmanager_appsail_enable_public_signup](https://catalyst-docs-development.zohostratus.in/images/tutorials/leadmanager-appsail/catalyst_tutorials_leadmanager_appsail_enable_public_signup.webp) 4. Click **Yes, Proceed** in the dialog box after going through it. ![catalyst_tutorials_leadmanager_appsail_public_sign_popup](https://catalyst-docs-development.zohostratus.in/images/tutorials/leadmanager-appsail/catalyst_tutorials_leadmanager_appsail_public_sign_popup.webp) 5. Click the **Zoho** button to enable the social login. ![catalyst_tutorials_leadmanager_appsail_start_social](https://catalyst-docs-development.zohostratus.in/images/tutorials/leadmanager-appsail/catalyst_tutorials_leadmanager_appsail_start_social.webp) 6. Provide "`LeadManagerApp`" as the *Client Name* and click **Enable**. ![catalyst_tutorials_leadmanager_appsail_zoho_enabling_client](https://catalyst-docs-development.zohostratus.in/images/tutorials/leadmanager-appsail/catalyst_tutorials_leadmanager_appsail_zoho_enabling_client.webp) 7. Click **Next**. ![catalyst_tutorials_leadmanager_appsail_social_enabled_zoho_on](https://catalyst-docs-development.zohostratus.in/images/tutorials/leadmanager-appsail/catalyst_tutorials_leadmanager_appsail_social_enabled_zoho_on.webp) 8. We will not be configuring any additional authentication settings for our application. Click **Finish**. ![catalyst_tutorials_leadmanager_appsail_skip_step_fin](https://catalyst-docs-development.zohostratus.in/images/tutorials/leadmanager-appsail/catalyst_tutorials_leadmanager_appsail_skip_step_fin.webp) **Embedded Authentication** has been enabled for the application, and users can now login to the app using the **Zoho social login**. ![catalyst_tutorials_leadmanager_appsail_auth_zoho_enabled_cmpltd](https://catalyst-docs-development.zohostratus.in/images/tutorials/leadmanager-appsail/catalyst_tutorials_leadmanager_appsail_auth_zoho_enabled_cmpltd.webp) -------------------------------------------------------------------------------- title: "Generate a SpringBoot Project" description: "Build a Lead Manager application hosted on AppSail that connects to Zoho CRM using Catalyst connectors to view, create, update, or delete leads." last_updated: "2026-11-04T10:10:44.000Z" source: "https://docs.catalyst.zoho.com/en/tutorials/leadmanager-appsail/springboot/generate-springboot/" service: "All Services" related: - AppSail Help (/en/serverless/help/appsail/introduction/) - AppSail Guide for Spring Boot Apps (/en/serverless/help/appsail/help-guides/java/spring-boot/) -------------------------------------------------------------------------------- # Generate a SpringBoot Project For this tutorial, we are going to create a **Spring Boot - JAR** project using the **Spring Initializr** website. 1. Go to the [Spring Initializr website](https://start.spring.io/). ![catalyst_tutorials_leadmanager_appsail_springboot_homescreen](https://catalyst-docs-development.zohostratus.in/images/tutorials/leadmanager-appsail/catalyst_tutorials_leadmanager_appsail_springboot_homescreen.webp) 2. Choose or Enter the required details in the following manner: - Select **Maven** as *Project*, **Java** as *Language*, and latest *Spring Boot* version (avoid versions labeled SNAPSHOT or M). - Enter "`com.catalyst.appsail`" as the *Group*, "`leadmanager`" as the *Artifact*, and provide a suitable description. The *Name*, and *Package name* fields will be automatically populated. - Select **Jar** as the *Packaging*, and **17** as the *Java* version. ![catalyst_tutorials_leadmanager_appsail_springboot_populate_feilds](https://catalyst-docs-development.zohostratus.in/images/tutorials/leadmanager-appsail/catalyst_tutorials_leadmanager_appsail_springboot_populate_feilds.webp) 3. Click the **ADD DEPENDENCIES** button, on the right side of the screen, and select **Sping Web** in the drop-down and select the dependency. This step will install all the necessary dependencies required to build a Spring Boot web application when you generate the package. ![catalyst_tutorials_leadmanager_appsail_springboot_spring_web_sel](https://catalyst-docs-development.zohostratus.in/images/tutorials/leadmanager-appsail/catalyst_tutorials_leadmanager_appsail_springboot_spring_web_sel.webp) 4. Confirm all your selections, and click **Generate**. ![catalyst_tutorials_leadmanger_appsail_spriongboot_generate](https://catalyst-docs-development.zohostratus.in/images/tutorials/leadmanager-appsail/catalyst_tutorials_leadmanger_appsail_springboot_generate.webp) The **leadmanager** Spring Boot project will be downloaded to your local system as a zip file. Unzip the downloaded file and this directory, `leadmanager/` will be our local directory where we initialize the Catalyst AppSail service for our project. Along with all the required dependencies, it will also contain the `LeadManagerApplication.java` file. This file will contain the logic that allows you to run the application on Spring Boot. The `leadmanager/` **Spring Boot - JAR** directory will look like this: ![catalyst_tutorials_leadmanager_appsail_springboot_pre_init](https://catalyst-docs-development.zohostratus.in/images/tutorials/leadmanager-appsail/catalyst_tutorials_leadmanager_appsail_springboot_pre_init.webp) > **Info:** This tutorial has created a **Spring Boot** project to demonstrate building a **Spring Boot - JAR** project, and deploying it as an AppSail service. You can learn how to do the same with **Spring Boot - WAR** projects from this [help documentation](https://docs.catalyst.zoho.com/en/serverless/help/appsail/help-guides/java/spring-boot/#spring-boot---war). For more information on how to create a Spring Boot project, you can visit their official [help documentation](https://spring.io/guides/gs/spring-boot). -------------------------------------------------------------------------------- title: "Initialize the Project" description: "Build a Lead Manager application hosted on AppSail that connects to Zoho CRM using Catalyst connectors to view, create, update, or delete leads." last_updated: "2026-11-04T10:10:44.000Z" source: "https://docs.catalyst.zoho.com/en/tutorials/leadmanager-appsail/springboot/init-project/" service: "All Services" related: - Catalyst CLI (/en/cli/v1/cli-command-reference/) - Initialize Resources (/en/cli/v1/initialize-resources/introduction/) - Catalyst AppSail Help (/en/serverless/help/appsail/introduction/) - Project Directory (/en/cli/v1/project-directory-structure/introduction/) -------------------------------------------------------------------------------- # Initialize the Project You can now begin working on your Catalyst project from the CLI. The first step is to initialize the project in an empty directory. This will be the home directory of your project, and all of the project files will be saved in it. You can learn more about this from the [Project Directory Structure help page](https://docs.catalyst.zoho.com/en/cli/v1/project-directory-structure/introduction/). You can learn about initializing a project in detail from the [CLI help documentation](https://docs.catalyst.zoho.com/en/cli/v1/initialize-resources/introduction/). For this application, you will be initializing the [AppSail](https://docs.catalyst.zoho.com/en/serverless/help/appsail/introduction/) component alone. The *AppSail* component will be initialized in the **Node.js** programming stack. 1. Create a folder for the project on your local machine and navigate to it from the terminal. 2. Initialize a project by executing the following command from that directory: ```sh catalyst init ``` 3. Navigate using the **arrow keys** and select your preferred portal and click **Enter**. If you have no other organizations associated with the account, then the default will be selected automatically. ![catalyst_tutorials_leadmanager_appsail_catalyst_init](https://catalyst-docs-development.zohostratus.in/images/tutorials/leadmanager-appsail/catalyst_tutorials_leadmanager_appsail_catalyst_init.webp) > **Info:** You can find out more about Catalyst’s multi-org portal feature in this [help document](https://docs.catalyst.zoho.com/en/getting-started/catalyst-organizations/#access-the-multi-org-portal). 4. The CLI will now ask you to associate a Catalyst project with the directory. Associate it with the project that we created earlier from the console. Select **LeadManager** from the list and click **Enter**. ![catalyst_tutorials_leadmanager_appsail_cli_proj_sel](https://catalyst-docs-development.zohostratus.in/images/tutorials/leadmanager-appsail/catalyst_tutorials_leadmanager_appsail_cli_proj_sel.webp) 5. Select **AppSail** using the space bar, then click **Enter** to initialize. ![catalyst_tutorials_leadmanager_appsail_sel_appsail](https://catalyst-docs-development.zohostratus.in/images/tutorials/leadmanager-appsail/catalyst_tutorials_leadmanager_appsail_sel_appsail.webp) 6. The CLI will prompt you to choose between [Catalyst-Managed Runtime](https://docs.catalyst.zoho.com/en/serverless/help/appsail/catalyst-managed-runtimes/key-concepts/) and [Docker Image](https://docs.catalyst.zoho.com/en/serverless/help/appsail/custom-runtimes/container-registry-services/). Because you are creating this project from one of the Catalyst-Managed Runtime, select **Catalyst-Managed Runtime** and click **Enter**. ![catalyst_alien_city_cli_appsail_setup_start](https://catalyst-docs-development.zohostratus.in/images/tutorials/alien-city-appsail-express/aliencity-appsail-selection.webp) 7. The CLI will initiate the *AppSail* service. - As you are creating your own project, enter "`n`" and click **Enter** for the prompt asking if you wish to get started with a list of recommended projects. ![catalyst_tutorials_leadmanager_appsail_appsail_start_cli](https://catalyst-docs-development.zohostratus.in/images/tutorials/leadmanager-appsail/catalyst_tutorials_leadmanager_appsail_appsail_start_cli.webp) - Enter "`Y`" in the prompt to initialize the *AppSail* service in your current directory. ![catalyst_tutorials_leadmanager_appsail_appsail_process_cli](https://catalyst-docs-development.zohostratus.in/images/tutorials/leadmanager-appsail/catalyst_tutorials_leadmanager_appsail_appsail_process_cli.webp) 8. Enter "`LeadManagerApp`" as the name of your AppSail service, and enter your project directory path as the build path of your AppSail service. ![catalyst_tutorials_leadmanager_appsail_springboot_appsail_nme](https://catalyst-docs-development.zohostratus.in/images/tutorials/leadmanager-appsail/catalyst_tutorials_leadmanager_appsail_springboot_appsail_nme.webp) 9. Choose the latest runtime of **Java** as the programming stack, and click **Enter**. ![catalyst_tutorials_leadmanager_appsail_springboot_java_sel](https://catalyst-docs-development.zohostratus.in/images/tutorials/leadmanager-appsail/catalyst_tutorials_leadmanager_appsail_springboot_java_sel.webp) 10. Choose **Java SE** as the platform for your AppSail service. ![catalyst_leadmanger_tutorials_springboot_javase_choice](https://catalyst-docs-development.zohostratus.in/images/tutorials/leadmanager-appsail/catalyst_leadmanger_tutorials_springboot_javase_choice.webp) The AppSail service has been initialized for your Lead Manager application. ![catalyst_tutorials_leadmanager_appsail_springboot_init_success](https://catalyst-docs-development.zohostratus.in/images/tutorials/leadmanager-appsail/catalyst_tutorials_leadmanager_appsail_springboot_init_success.webp) The directory will be created in the standard structure, and it will contain the [`app-config.json`](https://docs.catalyst.zoho.com/en/serverless/help/appsail/catalyst-managed-runtimes/key-concepts/#the-app-configjson-file) file which includes the configuration of your AppSail service , along with the standard project configuration files such as the [`catalyst.json`](https://docs.catalyst.zoho.com/en/cli/v1/project-directory-structure/catalyst-json/) file and a hidden `.catalystrc` file. This is the structure of the **LeadManager** project’s directory initialized with the *AppSail* service. ![catalyst_tutorials_leadmanager_appsail_init_cmpltd](https://catalyst-docs-development.zohostratus.in/images/tutorials/leadmanager-appsail/catalyst_tutorials_leadmanager_appsail_init_cmpltd.webp) ### Deploy the Application You need to deploy the application to the console to fetch the required **application URL**. We need this URL when we register the client in the [Zoho API console](https://api-console.zoho.com/) to get the required `Client ID` and `Client Secret` values. > **Info:** We will be re-deploying the application service once we have completed coding and adding the `Client ID` and `Client Secret` values to the application. Enter the following CLI command to deploy the application: ```sh catalyst deploy ``` Now, to acquire the application URL: 1. Navigate to the [AppSail](https://docs.catalyst.zoho.com/en/serverless/help/appsail/introduction/) component present under the *COMPUTE* section of the **Catalyst Serverless** section of the console. ![catalyst_tutorials_leadmanager_appsail_javase_listed](https://catalyst-docs-development.zohostratus.in/images/tutorials/leadmanager-appsail/catalyst_tutorials_leadmanager_appsail_javase_listed.webp) You will be able to view that your application has been deployed as an AppSail service. 2. Now click your AppSail service, and you will be able to view the application URL. ![catslyst_tutorials_leadmanager_appsail_app_url](https://catalyst-docs-development.zohostratus.in/images/tutorials/leadmanager-appsail/catslyst_tutorials_leadmanager_appsail_app_url.webp) > **Info:** We will discuss more about the `catalyst deploy` CLI command and the AppSail service, after we re-deploy the application, towards the end of the tutorial. -------------------------------------------------------------------------------- title: "Register the Client" description: "Build a Lead Manager application hosted on AppSail that connects to Zoho CRM using Catalyst connectors to view, create, update, or delete leads." last_updated: "2026-11-04T10:10:44.000Z" source: "https://docs.catalyst.zoho.com/en/tutorials/leadmanager-appsail/springboot/register-client/" service: "All Services" related: - Catalyst Authentication (/en/cloud-scale/help/authentication/introduction/) - Social Logins (/en/cloud-scale/help/authentication/social-logins/introduction/) -------------------------------------------------------------------------------- # Register the Client We must now register the client application in the [Zoho API console](https://api-console.zoho.com/) to generate the following credentials: - `Client ID`: The unique key generated for a registered client - `Client Secret`: The secret value generated for a registered client’s `Client ID` The `Client ID` and `Client Secret` are added to the backend and frontend code in several places. These values are necessary to generate the `Access Token` and `Refresh Token` initially, and later to refresh the `Access Token` using the `Refresh Token`. To register the client application in the Zoho API console: 1. Visit the [Zoho API Console](https://api-console.zoho.com/) and click **Get Started**. ![catalyst_tutorials_lead_manager_appsail_api_console_start](https://catalyst-docs-development.zohostratus.in/images/tutorials/leadmanager-appsail/catalyst_tutorials_lead_manager_appsail_api_console_start.webp) 2. Select **Server-based Applications** as the client type. ![catalyst_tutorials_leadmnager_appsail_appsail_api_console_client_sel](https://catalyst-docs-development.zohostratus.in/images/tutorials/leadmanager-appsail/catalyst_tutorials_leadmnager_appsail_appsail_api_console_client_sel.webp) 3. Enter "`LeadManagerApp"` as the **Client Name**. ![catalyst_tutorials_leadmanager_appsail_api_console_client_nme](https://catalyst-docs-development.zohostratus.in/images/tutorials/leadmanager-appsail/catalyst_tutorials_leadmanager_appsail_api_console_client_nme.webp) 4. Provide the other details in the following format: - Homepage URL: **AppSail application URL** - Authorized Redirect URIs: **AppSail applicationURL/generateToken** ![catalyst_tutorials_leadmanager_appsail_adding_first_api_console_uri](https://catalyst-docs-development.zohostratus.in/images/tutorials/leadmanager-appsail/catalyst_tutorials_leadmanager_appsail_adding_first_api_console_uri.webp) Replace {**AppSail applicationURL**} with the application URL you acquired when you deployed your project earlier in this [step](https://docs.catalyst.zoho.com/en/tutorials/leadmanager-appsail/springboot/init-project/#deploy-the-application). 5. You will need to add another **Authorized Redirect URI** for the client. We will serve the app through a **localhost** to test it after configuring the code. Because this will be redirected to a local domain, we must add that as another authorized redirect URI. ![catalyst_tutorials_leadmanager_appsail_apiconsole_register_client_uris](https://catalyst-docs-development.zohostratus.in/images/tutorials/leadmanager-appsail/catalyst_tutorials_leadmanager_appsail_apiconsole_register_client_uris.webp) > **Info:** When you serve an application locally from the CLI, it is hosted from `port 3000` by default, unless the port is otherwise occupied. So ensure you are adding the domain accordingly. 6. Click **Create**. ![catalyst_tutorials_leadmanager_appsail_client_id_client_scrt](https://catalyst-docs-development.zohostratus.in/images/tutorials/leadmanager-appsail/catalyst_tutorials_leadmanager_appsail_client_id_client_scrt.webp) The API console will generate and display the `Client ID` and `Client Secret` values for the registered client. You will need to copy these values and paste them into the frontend and backend code of your application. We will discuss this in the following sections. -------------------------------------------------------------------------------- title: "Code Your Application" description: "Build a Lead Manager application hosted on AppSail that connects to Zoho CRM using Catalyst connectors to view, create, update, or delete leads." last_updated: "2026-11-04T10:10:44.000Z" source: "https://docs.catalyst.zoho.com/en/tutorials/leadmanager-appsail/springboot/code-app/" service: "All Services" related: - Web SDK for Authentication (/en/sdk/web/v4/cloud-scale/authentication/get-auth-instance/) -------------------------------------------------------------------------------- # Code Your Application In the `leadmanager/src/main/java/com/catalyst/appsail/leadmanager/` directory, create a Java code file and name it `LeadmanagerApplication.java`. This code file will contain the logic that will allow you to serve your application. Along with this file, you need to create the following code files in the same directory: * `LeadManager.java`: Will contain the business logic of your application. * `AuthProviderImpl.java`: Will contain the logic to initialize the [Catalyst SDK](https://docs.catalyst.zoho.com/en/sdk/java/v1/overview/). In the `/src/main/resources/static` directory, create the following files: * `index.html`: The file that contains the HTML code for the front-end of the application. * `login.html`: The file that contains the HTML code for the [Embedded Authentication](https://docs.catalyst.zoho.com/en/cloud-scale/help/authentication/native-catalyst-authentication/embedded-authentication/introduction/) logic. * `main.css`: The file that contains the styling elements of the application. * `main.js`: The file that contains the JavaScript code that connects the front-end and backend. The final structure of the `leadmanager/` **Spring Boot - JAR** project directory is shown below: ![catalyst_tutorials_leadmanager_appsail_complete_directory](https://catalyst-docs-development.zohostratus.in/images/tutorials/leadmanager-appsail/catalyst_tutorials_leadmanager_appsail_complete_directory.webp) You will be coding the `LeadManager.java`, `LeadmanagerApplication.java`, `AuthProviderImpl.java`, `index.html`, `login.html`, `main.css`, `main.js`, and `pom.xml` files. > **Note:** Please go through the code in this section to make sure you fully understand it. Copy the code below and paste it into the respective files of your project using an IDE and save the files. **LeadmanagerApplication.java** ```java package com.catalyst.appsail.leadmanager; import java.util.Collections; import org.springframework.boot.SpringApplication; import org.springframework.boot.autoconfigure.SpringBootApplication; import jakarta.servlet.http.HttpServlet; @SpringBootApplication public class LeadmanagerApplication extends HttpServlet { public static void main(String[] args) { String port = System.getenv().getOrDefault("X_ZOHO_CATALYST_LISTEN_PORT","3000"); SpringApplication app = new SpringApplication(LeadmanagerApplication.class); app.setDefaultProperties(Collections.singletonMap("server.port",port)); app.run(args); } } ``` **LeadManager.java** ```java package com.catalyst.appsail.leadmanager; import java.util.*; import java.util.logging.Logger; import com.zc.auth.CatalystSDK; import com.zc.auth.connectors.ZCConnection; import com.zc.component.ZCUserDetail; import com.zc.component.object.ZCObject; import com.zc.component.object.ZCRowObject; import com.zc.component.object.ZCTable; import com.zc.component.users.ZCUser; import com.zc.component.zcql.ZCQL; import org.json.simple.JSONObject; import org.json.simple.parser.JSONParser; import okhttp3.HttpUrl; import okhttp3.MediaType; import okhttp3.OkHttpClient; import okhttp3.Request; import org.springframework.web.bind.annotation.RequestBody; import org.springframework.web.bind.annotation.PathVariable; import org.springframework.web.bind.annotation.DeleteMapping; import org.springframework.web.bind.annotation.PostMapping; import org.springframework.web.bind.annotation.PutMapping; import org.springframework.web.bind.annotation.GetMapping; import org.springframework.web.bind.annotation.RestController; import jakarta.servlet.http.HttpServletRequest; import jakarta.servlet.http.HttpServletResponse; @RestController class LeadManager { @SuppressWarnings("unused") private static final Logger LOGGER = Logger.getLogger(LeadManager.class.getName()); private String apiUrl = "https://www.zohoapis.com/crm/v2/Leads"; private String GET = "GET"; private String POST = "POST"; private String PUT = "PUT"; private String DELETE = "DELETE"; private String CLIENT_ID = ""; //Add your client ID private String CLIENT_SECRET = ""; //Add your client secret OkHttpClient client = new OkHttpClient(); String responseData = ""; MediaType mediaType = MediaType.parse("application/json"); org.json.simple.JSONArray reqData = new org.json.simple.JSONArray(); JSONObject data = new JSONObject(); JSONParser jsonParser = new JSONParser(); @GetMapping("/generateToken") public void generateToken(HttpServletRequest request, HttpServletResponse response) throws Exception { CatalystSDK.init(new AuthProviderImpl((HttpServletRequest) request)); String code = request.getParameter("code"); String domain = (request.getHeader("host").contains("localhost") ? ("http://" + request.getHeader("host")) : ("https://") + request.getHeader("host").split(":")[0]); ZCUserDetail details = ZCUser.getInstance().getCurrentUser(); ZCObject object = ZCObject.getInstance(); ZCRowObject row = ZCRowObject.getInstance(); row.set("refresh_token", getRefreshToken(code, domain)); row.set("userId", details.getUserId()); ZCTable tab = object.getTable(********l); //Replace this with the Table ID of your table tab.insertRow(row); response.setStatus(HttpServletResponse.SC_OK); response.sendRedirect(domain + "/index.html"); } public String getRefreshToken(String code, String domain) throws Exception { HttpUrl.Builder urlBuilder = HttpUrl.parse("https://accounts.zoho.com/oauth/v2/token").newBuilder(); urlBuilder.addQueryParameter("code", code); urlBuilder.addQueryParameter("client_id", CLIENT_ID); urlBuilder.addQueryParameter("client_secret", CLIENT_SECRET); urlBuilder.addQueryParameter("grant_type", "authorization_code"); urlBuilder.addQueryParameter("redirect_uri", domain + "/generateToken"); String URL = urlBuilder.build().toString(); MediaType mediaType = MediaType.parse("text/plain"); okhttp3.RequestBody body = okhttp3.RequestBody.create(mediaType, ""); Request getResponse = new Request.Builder().url(URL).method(POST, body).build(); JSONParser jsonParser = new JSONParser(); JSONObject data = (JSONObject) jsonParser.parse(client.newCall(getResponse).execute().body().string()); return data.get("refresh_token").toString(); } @SuppressWarnings("unchecked") @GetMapping("/getUserDetails") public void getUserDetails(HttpServletRequest request, HttpServletResponse response) throws Exception { CatalystSDK.init(new AuthProviderImpl((HttpServletRequest) request)); Long userId = ZCUser.getInstance().getCurrentUser().getUserId(); String query = "SELECT * FROM Token where UserId="+userId; ArrayList<ZCRowObject> rowList = ZCQL.getInstance().executeQuery(query); JSONObject resp = new JSONObject(); if (rowList.isEmpty()) { resp.put("userId", null); response.setContentType("application/json"); response.getWriter().write(resp.toJSONString()); response.setStatus(200); } else { resp.put("userId", rowList.get(0).get("Token", "userId")); response.setContentType("application/json"); response.getWriter().write(resp.toJSONString()); response.setStatus(200); } } public ArrayList<ZCRowObject> getuserDetails(HttpServletRequest request) throws Exception { CatalystSDK.init(new AuthProviderImpl((HttpServletRequest) request)); Long userId = ZCUser.getInstance().getCurrentUser().getUserId(); String query = "SELECT * FROM Token where UserId="+userId; ArrayList<ZCRowObject> rowList = ZCQL.getInstance().executeQuery(query); return rowList; } @GetMapping("/crmData") public void getAllLeads(HttpServletRequest request,HttpServletResponse response) throws Exception { responseData = getResponse(GET, null,request,apiUrl); response.setContentType("application/json"); response.getWriter().write(responseData); response.setStatus(200); } @GetMapping("/crmData/{id}") public void getLead(@PathVariable Long id,HttpServletRequest request,HttpServletResponse response) throws Exception { String apiUri = apiUrl + "/" + id; responseData = getResponse(GET, null,request,apiUri); response.setContentType("application/json"); response.getWriter().write(responseData); response.setStatus(200); } @SuppressWarnings("unchecked") @PostMapping("/crmData") public void addLead(@RequestBody String leadData,HttpServletRequest request,HttpServletResponse response) throws Exception { JSONObject jsonObject = (JSONObject)jsonParser.parse(leadData); reqData.add(jsonObject); data.put("data", reqData); okhttp3.RequestBody body = okhttp3.RequestBody.create(mediaType,data.toString()); responseData = getResponse(POST, body,request,apiUrl); response.setContentType("application/json"); response.getWriter().write(responseData); response.setStatus(200); } @DeleteMapping("/crmData/{id}") public void deleteLead(@PathVariable Long id,HttpServletRequest request,HttpServletResponse response) throws Exception { String apiUri = apiUrl + "/" + id; responseData = getResponse(DELETE, null,request,apiUri); response.setContentType("application/json"); response.getWriter().write(responseData); response.setStatus(200); } @SuppressWarnings("unchecked") @PutMapping("/crmData/{id}") public void editLead(@PathVariable Long id, @RequestBody String leadData,HttpServletRequest request,HttpServletResponse response) throws Exception { String apiUri = apiUrl + "/" + id; JSONObject jsonObject = (JSONObject)jsonParser.parse(leadData); reqData.add(jsonObject); data.put("data", reqData); okhttp3.RequestBody body = okhttp3.RequestBody.create(mediaType,data.toString()); responseData = getResponse(PUT, body,request,apiUri); reqData.remove(jsonObject); response.setContentType("application/json"); response.getWriter().write(responseData); response.setStatus(200); } public String getResponse(String METHOD, okhttp3.RequestBody body,HttpServletRequest request,String apiUrl) throws Exception { CatalystSDK.init(new AuthProviderImpl((HttpServletRequest) request)); Long userId = ZCUser.getInstance().getCurrentUser().getUserId(); String accessToken = getAccessToken(userId,request); Request getResponse = new Request.Builder().url(apiUrl).method(METHOD, body) .addHeader("Authorization", "Zoho-oauthtoken " + accessToken).build(); String resp = client.newCall(getResponse).execute().body().string(); return resp; } @SuppressWarnings("unchecked") public String getAccessToken(Long userId,HttpServletRequest request) throws Exception { CatalystSDK.init(new AuthProviderImpl((HttpServletRequest) request)); JSONObject authJson = new JSONObject(); JSONObject connectorJson = new JSONObject(); String query = "SELECT refresh_token FROM Token where UserId="+userId; ArrayList<ZCRowObject> rowList = ZCQL.getInstance().executeQuery(query); authJson.put("client_id", CLIENT_ID); authJson.put("client_secret", CLIENT_SECRET); authJson.put("auth_url", "https://accounts.zoho.com/oauth/v2/token"); authJson.put("refresh_url", "https://accounts.zoho.com/oauth/v2/token"); authJson.put("refresh_token", rowList.get(0).get("Token", "refresh_token")); connectorJson.put(userId.toString(), authJson); return ZCConnection.getInstance(connectorJson).getConnector(userId.toString()).getAccessToken(); } } ``` > **Note:** * Ensure you add the `Client ID` and `Client Secret` values obtained after you registered the client in the Zoho API console to the lines **46** and **47** respectively, in the above code file. * Add the `Table ID` of the table you created in the *Data Store* in line **65**. **AuthProviderImpl.java** ```java package com.catalyst.appsail.leadmanager; import com.zc.auth.AuthHeaderProvider; import jakarta.servlet.http.HttpServletRequest; public class AuthProviderImpl implements AuthHeaderProvider { private HttpServletRequest request; AuthProviderImpl(HttpServletRequest request) { this.request = request; } @Override public String getHeaderValue(String s) { return request.getHeader(s); } } ``` **index.html** ```xml <!DOCTYPE html> <html> <head> <meta charset="utf-8" /> <meta http-equiv="X-UA-Compatible" content="IE=edge"> <title>CRM Lead Manager</title> <meta name="viewport" content="width=device-width, initial-scale=1"> <link rel="stylesheet" type="text/css" media="screen" href="main.css" /> <link rel="stylesheet" href="https://stackpath.bootstrapcdn.com/bootstrap/4.3.1/css/bootstrap.min.css" integrity="sha384-ggOyR0iXCbMQv3Xipma34MD+dH/1fQ784/j6cY/iJTQUOhcWr7x9JvoRxT2MZw1T" crossorigin="anonymous"> <link href="https://cdnjs.cloudflare.com/ajax/libs/twitter-bootstrap/4.5.0/css/bootstrap.min.css" rel="stylesheet"> <link href="https://cdnjs.cloudflare.com/ajax/libs/mdbootstrap/4.19.1/css/mdb.min.css" rel="stylesheet"> <script src="https://code.jquery.com/jquery-3.4.1.min.js" integrity="sha256-CSXorXvZcTkaix6Yvo6HppcZGetbYMGWSFlBw8HfCJo=" crossorigin="anonymous"> </script> <script src="https://cdnjs.cloudflare.com/ajax/libs/popper.js/1.14.7/umd/popper.min.js" integrity="sha384-UO2eT0CpHqdSJQ6hJty5KVphtPhzWj9WO1clHTMGa3JDZwrnQq4sF86dIHNDz0W1" crossorigin="anonymous"> </script> <script src="https://stackpath.bootstrapcdn.com/bootstrap/4.3.1/js/bootstrap.min.js" integrity="sha384-JjSmVgyd0p3pXB1rRibZUAYoIIy6OrQ6VrjIEaFf/nJGzIxFDsf4x0xIM+B07jRM" crossorigin="anonymous"> </script> <script src="main.js"> </script> <script src="https://static.zohocdn.com/catalyst/sdk/js/4.6.2/catalystWebSDK.js"> </script> <script src="/__catalyst/sdk/init.js"> </script> <link href="//maxcdn.bootstrapcdn.com/bootstrap/4.0.0/css/bootstrap.min.css" rel="stylesheet" id="bootstrap-css"> <style> #connect { height: 260px; width: 500px; position: absolute; top: 0; bottom: 0; left: 0; right: 0; margin: auto; } </style> </head> <body onload="getUserDetails()"> <br> <center> <h1>CRM Lead Manager</h1> <br> </center> <div id="connect"> <center> <p>Click here to connect to Zoho CRM</p> <button onclick='navigate()'> <img src="https://www.zohowebstatic.com/sites/default/files/styles/product-home-page/public/icon-crm_blue.png" style="width: 180px;height: 130px;"> </button> </center> </div> <div style="width: 200px;float: right; margin-right: 30px;"> <label for="logoutbtn" class="btn btn-success btn-block btn-outlined">Logout</label> <button id="logoutbtn" onclick="logout()" style="display: none;"> </button> </div> <div id="main"> <div class="container"> <ul class="nav nav-tabs nav-justified mb-3" id="myTab" role="tablist"> <li class="nav-item"> <a class="nav-link active" id="check-tab" data-toggle="tab" href="#check" role="tab" aria-controls="check" aria-selected="true">Add a Lead</a> </li> <li class="nav-item"> <a class="nav-link" id="report-tab" data-toggle="tab" href="#report" onclick="getLeads()" role="tab" aria-controls="report" aria-selected="false">Manage Leads</a> </li> </ul> <br> <div class="tab-content" id="myTabContent"> <div class="tab-pane fade show active" id="check" role="tabpanel" aria-labelledby="check-tab"> <div class="tab-pane fade show active" id="ex3-tabs-1" role="tabpanel" aria-labelledby="ex3-tab-1"> <div style="margin-left: 100px; margin-right:100px;"> <form id="leads"> <!-- 2 column grid layout with text inputs for the first and last names --> <div class="row mb-4"> <div class="col"> <div class="form-outline"> <label class="form-label" for="form6Example1">First name</label> <input type="text" id="firstName" class="form-control" /> </div> </div> <div class="col"> <div class="form-outline"> <label class="form-label" for="form6Example2">Last name</label> <input type="text" id="lastName" class="form-control" required /> </div> </div> </div> <!-- Text input --> <div class="form-outline mb-4"> <label class="form-label" for="form6Example3">Company name</label> <input type="text" id="companyName" class="form-control" /> </div> <!-- Email input --> <div class="form-outline mb-4"> <label class="form-label" for="form6Example5">Email</label> <input type="email" id="email" class="form-control" /> </div> <!-- Text input --> <div class="form-outline mb-4"> <label class="form-label" for="form6Example4">State</label> <input type="text" id="state" class="form-control" /> </div> <!-- Number input --> <div class="form-outline mb-4"> <label class="form-label" for="form6Example6">Phone</label> <input type="number" id="phone" class="form-control" /> </div> <!-- Number input --> <div class="form-outline mb-4"> <label class="form-label" for="form6Example6">Lead Source</label> <input type="text" id="leadSource" class="form-control" /> </div> <!-- Submit button --> <center> <button type="submit" onclick="createLead();return false;" class="btn btn-primary btn-block mb-4" style="width: 100px;">Add Lead</button> <div id="loader" style="display: none;"> <div class="spinner-border" role="status"> <span class="sr-only">Loading...</span> </div> </div> </center> </form> </div> </div> </div> <div class="tab-pane fade" id="report" role="tabpanel" aria-labelledby="report-tab"> <center> <div id="loaders" style="display: none; padding-top: 200px;"> <div class="spinner-border" role="status"> <span class="sr-only">Loading...</span> </div> </div> </center> <p id="showData"> </p> </div> </div> </div> <!-- Modal --> <div class="modal fade" id="myModal" tabindex="-1" role="dialog" aria-labelledby="myModalLabel" aria-hidden="true"> <div class="vertical-alignment-helper"> <div class="modal-dialog vertical-align-center"> <div class="modal-content"> <center> <h4 class="modal-title" id="myModalLabel"> </h4> <div class="modal-body" id="message"> </div> <div class="modal-footer"> <button type="button" style="background-color: #007bff;color: white;" class="btn btn-default" data-dismiss="modal">Close</button> </div> </center> </div> </div> </div> </div> <div class="modal fade" id="editForm" tabindex="-1" role="dialog" aria-labelledby="myModalLabel" aria-hidden="true"> <div class="vertical-alignment-helper"> <div class="modal-dialog vertical-align-center"> <div class="modal-content"> <div style="margin-left: 80px; margin-right:80px;"> <br> <center> <h2>Edit Lead</h2> </center> <br> <form id="editLeads"> <!-- 2 column grid layout with text inputs for the first and last names --> <div class="row mb-4"> <div class="col"> <div class="form-outline"> <label class="form-label" for="form6Example1">First name</label> <input type="text" id="editfirstName" class="form-control" /> </div> </div> <div class="col"> <div class="form-outline"> <label class="form-label" for="form6Example2">Last name</label> <input type="text" id="editlastName" class="form-control" required /> </div> </div> </div> <!-- Text input --> <div class="form-outline mb-4"> <label class="form-label" for="form6Example3">Company name</label> <input type="text" id="editcompanyName" class="form-control" /> </div> <!-- Email input --> <div class="form-outline mb-4"> <label class="form-label" for="form6Example5">Email</label> <input type="email" id="editemail" class="form-control" /> </div> <!-- Text input --> <div class="form-outline mb-4"> <label class="form-label" for="form6Example4">State</label> <input type="text" id="editstate" class="form-control" /> </div> <!-- Number input --> <div class="form-outline mb-4"> <label class="form-label" for="form6Example6">Phone</label> <input type="number" id="editphone" class="form-control" /> </div> <!-- Submit button --> <center> <button type="submit" id="editBtn" onclick="editLead();return false;" class="btn btn-primary btn-block mb-4" style="width: 100px;">Edit</button> <div id="loader" style="display: none;"> <div class="spinner-border" role="status"> <span class="sr-only">Loading...</span> </div> </div> </center> </form> </div> </div> </div> </div> </div> <div class="modal fade right" id="ModalDanger" tabindex="-1" role="dialog" aria-labelledby="myModalLabel" aria-hidden="true"> <div class="modal-dialog modal-notify modal-danger modal-side modal-top-right" role="document"> <!--Content--> <div class="modal-content"> <!--Header--> <div class="modal-header"> <p class="heading">Lead Deletion</p> <button type="button" class="close" data-dismiss="modal" aria-label="Close"> <span aria-hidden="true" class="white-text">×</span> </button> </div> <!--Body--> <div class="modal-body"> <div class="row"> <div class="col-9"> <p>Are you sure you want to delete the Lead?</p> </div> </div> </div> <!--Footer--> <div class="modal-footer justify-content-center"> <a type="button" class="btn btn-danger" id="delete-btn" onclick="deleteLead()">Delete</a> <a type="button" class="btn btn-outline-danger waves-effect" data-dismiss="modal">Cancel</a> </div> </div> <!--/.Content--> </div> </div> </div> </body> <script> //Add Your Client ID function navigate() { window.location.href = "https://accounts.zoho.com/oauth/v2/auth?scope=ZohoCRM.modules.ALL&client_id={{client_id}}&response_type=code&access_type=offline&redirect_uri=" + location.protocol + '//' + location.host + "/generateToken"; } </script> </html> ``` > **Note:** Ensure you enter the `Client ID` in line **252** **login.html** ```xml <html> </html> <meta charset="utf-8" /> <meta http-equiv="X-UA-Compatible" content="IE=edge"> <title>CRM Lead Manager</title> <meta name="viewport" content="width=device-width, initial-scale=1"> <link rel="stylesheet" type="text/css" media="screen" href="main.css" /> <script src="main.js"> </script> <link rel="stylesheet" type="text/css" media="screen" href="main.css" /> <link rel="stylesheet" href="https://stackpath.bootstrapcdn.com/bootstrap/4.3.1/css/bootstrap.min.css" integrity="sha384-ggOyR0iXCbMQv3Xipma34MD+dH/1fQ784/j6cY/iJTQUOhcWr7x9JvoRxT2MZw1T" crossorigin="anonymous"> <script src="https://static.zohocdn.com/catalyst/sdk/js/4.6.2/catalystWebSDK.js"> </script> <script src="https://code.jquery.com/jquery-3.4.1.min.js" integrity="sha256-CSXorXvZcTkaix6Yvo6HppcZGetbYMGWSFlBw8HfCJo=" crossorigin="anonymous"> </script> <script src="https://cdnjs.cloudflare.com/ajax/libs/popper.js/1.14.7/umd/popper.min.js" integrity="sha384-UO2eT0CpHqdSJQ6hJty5KVphtPhzWj9WO1clHTMGa3JDZwrnQq4sF86dIHNDz0W1" crossorigin="anonymous"> </script> <script src="https://stackpath.bootstrapcdn.com/bootstrap/4.3.1/js/bootstrap.min.js" integrity="sha384-JjSmVgyd0p3pXB1rRibZUAYoIIy6OrQ6VrjIEaFf/nJGzIxFDsf4x0xIM+B07jRM" crossorigin="anonymous"> </script> <script src="https://static.zohocdn.com/catalyst/sdk/js/4.6.2/catalystWebSDK.js"> </script> <script src="/__catalyst/sdk/init.js"> </script> <script> catalyst.auth.signIn("login"); </script> <link href="//maxcdn.bootstrapcdn.com/bootstrap/4.0.0/css/bootstrap.min.css" rel="stylesheet" id="bootstrap-css"> <style> #login { height: 100%; width: 100%; position: absolute; top: 0; bottom: 0; left: 0; right: 0; margin: auto; } </style> <body> <br> <center> <h1>CRM Lead Manager</h1> </center> <div id="login"> </div> </body> </html> ``` **main.css** ```css #dataTable { font-family: Arial, Helvetica, sans-serif; border-collapse: collapse; width: 100%; } #dataTable td, #dataTable th { border: 1px solid #ddd; padding: 8px; } #dataTable tr:nth-child(even){background-color: #f2f2f2;} #dataTable tr:hover {background-color: #ddd;} #dataTable th { padding-top: 12px; padding-bottom: 12px; text-align: left; background-color: #007bff; color: white; } .vertical-alignment-helper { display: table; height: 100%; width: 100%; pointer-events: none; } .vertical-align-center { display: table-cell; vertical-align: middle; pointer-events: none; } .modal-content { width: inherit; max-width: inherit; height: inherit; margin: 0 auto; pointer-events: all; } ``` **main.js** ```javascript function createLead() { debugger; $("#loader").show(); var firstName = $("#firstName").val(); var lastName = $("#lastName").val(); if (lastName == "") { alert("Kindly Enter the Last Name"); $("#loader").hide(); return; } var companyName = $("#companyName").val(); var email = $("#email").val(); var state = $("#state").val(); var phone = $("#phone").val(); var leadSource = $("#leadSource").val(); $.ajax({ url: "/crmData", type: "post", contentType: "application/json", data: JSON.stringify({ "First_Name": firstName, "Last_Name": lastName, "Company": companyName, "Email": email, "State": state, "Phone": phone, "Lead_Source": leadSource, }), success: function (data) { debugger; $('#leads').trigger("reset"); $("#myModalLabel").html("Success"); $("#message").html("Lead Created Successfully"); $("#loader").hide(); $('#myModal').modal('show'); }, error: function (error) { $('#leads').trigger("reset"); $("#myModalLabel").html("Failure"); $("#message").html("Please try again after Sometime"); $("#loader").hide(); $('#myModal').modal('show'); } }); } function logout() { var redirectURL = "/login.html"; //Add your app domain var auth = catalyst.auth; auth.signOut(redirectURL); } function getUserDetails() { $("#main").hide(); $("#connect").hide(); catalyst.auth.isUserAuthenticated().then(result => { console.log(result) $("#loader").show(); $.ajax({ url: "/getUserDetails", type: "get", success: function (data) { $("#loader").hide(); if (data.userId) { $("#main").show(); $("#connect").hide(); } else { $("#connect").show(); $("#main").hide(); } }, error: function (error) { $("#myModalLabel").html("Failure"); $("#message").html("Please try again after Sometime"); $("#loader").hide(); $('#myModal').modal('show'); } }); }).catch(err => { document.body.innerHTML = 'You are not logged in. Please log in to continue. Redirecting you to the login page..'; setTimeout(function () { window.location.href = "login.html"; }, 3000); }); } function getLeads() { debugger; var tableContainer = document.getElementById("showData"); tableContainer.innerHTML = ""; $("#loaders").show(); $.ajax({ url: "/crmData", type: "get", success: function (data) { debugger; var reqData = getRequiredData(data.data); $("#loaders").hide(); renderTable(reqData); }, error: function (error) { $("#myModalLabel").html("Failure"); $("#message").html("Please try again after Sometime"); $("#loader").hide(); $('#myModal').modal('show'); } }); } function showDeletePopup(leadID) { $('#ModalDanger').modal('show'); var deleteBtn = document.getElementById("delete-btn"); deleteBtn.value = leadID; } function deleteLead() { var leadID = document.getElementById('delete-btn').value; $.ajax({ url: "/crmData/" + leadID, type: "delete", success: function (data) { debugger; $('#ModalDanger').modal('toggle'); $("#myModalLabel").html("Success"); $("#message").html("Lead Deleted Successfully"); $('#myModal').modal('show'); setTimeout(function () { location.reload(); }, 3000); }, error: function (error) { $("#myModalLabel").html("Failure"); $("#message").html("Please try again after Sometime"); $("#loader").hide(); $('#myModal').modal('show'); } }); } function showEditPopup(leadID) { $.ajax({ url: "/crmData/" + leadID, type: "get", success: function (data) { debugger; var respData = data.data; $('#editfirstName').val(respData[0].First_Name); $('#editlastName').val(respData[0].Last_Name); $('#editcompanyName').val(respData[0].Company); $('#editemail').val(respData[0].Email); $('#editstate').val(respData[0].State); $('#editphone').val(respData[0].Phone); $('#editleadSource').val(respData[0].Lead_Source); $('#editBtn').val(respData[0].id); $('#editfirstName').html(respData[0].First_Name); $('#editlastName').html(respData[0].Last_Name); $('#editcompanyName').html(respData[0].Company); $('#editemail').html(respData[0].Email); $('#editstate').html(respData[0].State); $('#editphone').html(respData[0].Phone); $('#editleadSource').html(respData[0].Lead_Source); $('#editForm').modal('show'); }, error: function (error) { $("#myModalLabel").html("Failure"); $("#message").html("Please try again after Sometime"); $("#loader").hide(); $('#myModal').modal('show'); } }); } function editLead() { var firstName = $("#editfirstName").val(); var lastName = $("#editlastName").val(); if (lastName == "") { alert("Kindly Enter the Last Name"); return; } var companyName = $("#editcompanyName").val(); var email = $("#editemail").val(); var state = $("#editstate").val(); var phone = $("#editphone").val(); var leadSource = $("#editleadSource").val(); var leadID = $("#editBtn").val(); $.ajax({ url: "/crmData/" + leadID, type: "put", contentType: "application/json", data: JSON.stringify({ "First_Name": firstName, "Last_Name": lastName, "Company": companyName, "Email": email, "State": state, "Phone": phone, "Lead_Source": leadSource }), success: function (data) { debugger; $('#editForm').modal('toggle'); $("#myModalLabel").html("Success"); $("#message").html("Lead Edited Successfully"); $('#myModal').modal('show'); setTimeout(function () { location.reload(); }, 3000); }, error: function (error) { $('#leads').trigger("reset"); $("#myModalLabel").html("Failure"); $("#message").html("Please try again after Sometime"); $("#loader").hide(); $('#myModal').modal('show'); } }); } function getRequiredData(data) { var i; var resp = []; for (i = 0; i < data.length; i++) { var gulp = { "First Name": data[i].First_Name, "Last Name": data[i].Last_Name, "Phone": data[i].Phone, "Email": data[i].Email, "Company": data[i].Company, "Edit": '<center><a href="javascript:showEditPopup(\'' + data[i].id + '\')">✎︎</a></center>', "Delete": '<center><a href="javascript:showDeletePopup(\'' + data[i].id + '\')">🗑︎</a></center>' } resp.push(gulp); } console.log(resp); return resp; } function renderTable(respData) { var col = []; for (var i = 0; i < respData.length; i++) { for (var key in respData[i]) { if (col.indexOf(key) === -1) { col.push(key); } } } var table = document.createElement("table"); table.id = "dataTable"; var tr = table.insertRow(-1); for (var i = 0; i < col.length; i++) { var th = document.createElement("th"); th.innerHTML = col[i]; tr.appendChild(th); } for (var i = 0; i < respData.length; i++) { tr = table.insertRow(-1); for (var j = 0; j < col.length; j++) { var tabCell = tr.insertCell(-1); tabCell.innerHTML = respData[i][col[j]]; } } var divContainer = document.getElementById("showData"); divContainer.innerHTML = ""; divContainer.appendChild(table); } ``` **pom.xml** ```xml <?xml version="1.0" encoding="UTF-8"?> <project xmlns="http://maven.apache.org/POM/4.0.0" xmlns:xsi="http://www.w3.org/2001/XMLSchema-instance" xsi:schemaLocation="http://maven.apache.org/POM/4.0.0 https://maven.apache.org/xsd/maven-4.0.0.xsd"> <modelVersion>4.0.0</modelVersion> <parent> <groupId>org.springframework.boot</groupId> <artifactId>spring-boot-starter-parent</artifactId> <version>3.2.12-SNAPSHOT</version> <relativePath/> <!-- lookup parent from repository --> </parent> <groupId>com.catalyst.appsail</groupId> <artifactId>leadmanager</artifactId> <version>0.0.1-SNAPSHOT</version> <name>leadmanager</name> <description>Leadmanager Tutorial</description> <url/> <licenses> <license/> </licenses> <developers> <developer/> </developers> <scm> <connection/> <developerConnection/> <tag/> <url/> </scm> <properties> <java.version>17</java.version> </properties> <dependencies> <dependency> <groupId>org.springframework.boot</groupId> <artifactId>spring-boot-starter-web</artifactId> </dependency> <dependency> <groupId>org.springframework.boot</groupId> <artifactId>spring-boot-starter-test</artifactId> <scope>test</scope> </dependency> <dependency> <groupId>com.zoho.catalyst</groupId> <artifactId>java-sdk</artifactId> <version>2.0.0-beta04</version> </dependency> <dependency> <groupId>com.squareup.okhttp3</groupId> <artifactId>okhttp</artifactId> <version>3.9.0</version> <scope>compile</scope> </dependency> </dependencies> <build> <plugins> <plugin> <groupId>org.springframework.boot</groupId> <artifactId>spring-boot-maven-plugin</artifactId> </plugin> </plugins> </build> <repositories> <repository> <id>spring-snapshots</id> <name>Spring Snapshots</name> <url>https://repo.spring.io/snapshot</url> <releases> <enabled>false</enabled> </releases> </repository> <repository> <id>java-sdk</id> <url>https://maven.zohodl.com</url> </repository> </repositories> <pluginRepositories> <pluginRepository> <id>spring-snapshots</id> <name>Spring Snapshots</name> <url>https://repo.spring.io/snapshot</url> <releases> <enabled>false</enabled> </releases> </pluginRepository> </pluginRepositories> </project> ``` Addionally, you will also need to update the `app-config.json` file. **app-config.json** ```json { "command": "java -jar leadmanager-0.0.1-SNAPSHOT.jar", "build_path": "./target", "stack": "java17", "env_variables": {}, "memory": 256, "scripts": { "preserve": "./mvnw clean package", "predeploy": "./mvnw clean package" }, "raw": {}, "platform": "javase", "catalyst_auth": true, "login_redirect": "/index.html" } ``` Now let's go over the logic and functionality of the application code. * The `login.html` file in the client component enables Catalyst Embedded Authentication login, allowing you to log in using the Zoho social login. * The `index.html` file contains the code for the front-end of the client. It defines a function `navigate()` that enables the connection to the CRM account by passing the required authorization information such as the `Client ID` and the scope. * The backend logic of the application defines the following APIs that perform various actions: - `/generateToken`: Obtains the *Refresh Token* by calling the `getRefreshToken()` function, and inserts it along with the `userID` of the current user in the `Token` table in the *Data Store*. It then redirects to the index page of the client. - `/getUserDetails`: Fetches the user details by calling the `getUserDetails()` function. If there is no record in the table, a JSON response with the `userID` alone is sent. If the record exists in the table, it is sent along with the `userID`. - `/crmData`: This route defines the path of all leads in the Leads module. The Node function executes the HTTP `GET` and `POST` operations to fetch all leads or create a new lead using this route, respectively. - `/crmData/:id`: This route defines the path of a particular lead in the Leads module. The `id` represents the unique ID of the lead in CRM. The function executes the HTTP `PUT` and `DELETE` operations to edit or delete a lead, respectively, using this route. * The backend logic is implemented using the following functions that are called by the APIs: - `getRefreshToken()`: Fetches the *Refresh Token* by passing the `Client ID`, `Client Secret`, *Redirect URI* and other required values as query string parameters. - `getAccessToken()`: Fetches the *Access Token* by passing the *Refresh Token* queried from the Token table using [ZCQL](https://docs.catalyst.zoho.com/en/cloud-scale/help/zcql/introduction/), and other required parameters. The Access Token is fetched each time an operation needs to be performed on the CRM module, such as adding a lead or editing a lead. - `getResponse()`: Passes the *Access Token* fetched to obtain the authorization needed to perform each action on the CRM module. This function is called with each `/crmData` and `/crmData/:id` API to authorize the request. - `getUserDetails()`: Fetches the record from the *Token* table that contains the *Refresh Token*, by passing the `userID`. * `main.js`: It is the JavaScript function in the client component that parses the JSON responses obtained from the function and renders them in the `index.html` page. This function defines the actions for all the UI elements in the client application. For example, `getLeads()` obtains all leads from the function response and renders them in the client, and `showEditPopup()` defines the actions for editing a lead. -------------------------------------------------------------------------------- title: "Test the Application" description: "Build a Lead Manager application hosted on AppSail that connects to Zoho CRM using Catalyst connectors to view, create, update, or delete leads." last_updated: "2026-11-04T10:10:44.000Z" source: "https://docs.catalyst.zoho.com/en/tutorials/leadmanager-appsail/springboot/test-app/" service: "All Services" related: - CLI Help Documentation (/en/cli/v1/cli-command-reference/) - Serve Resources (/en/cli/v1/serve-resources/introduction/) -------------------------------------------------------------------------------- # Test the Application Before you deploy the application to the remote console, you can [test the application on a local server](https://docs.catalyst.zoho.com/en/cli/v1/serve-resources/introduction) and check if everything works fine using the Catalyst CLI. To serve the Catalyst project locally, execute the following command from your project directory: ```sh catalyst serve ``` The Lead Manager application will now be served at default `port 3000`. The local endpoint URLs of the components are displayed. > **Info:** Every time you access the home page or any of the sub-pages of your client or the function, the CLI will display a live log of the URL accessed, along with the HTTP request method. > **Note:** Ensure you have provided the required **Authorized Redirect URIs** when you [registered the client in Step **4**](https://docs.catalyst.zoho.com/en/tutorials/leadmanager-appsail/express/register-client/). ![catalyst_tutorials_leadmanager_appsail_springboot_cli_screen](https://catalyst-docs-development.zohostratus.in/images/tutorials/leadmanager-appsail/catalyst_tutorials_leadmanager_appsail_springboot_cli_screen.webp) You can now open the application in a browser using the local URL of the client displayed in the CLI. You will initially be redirected to the login page. If you configure a sign-up action on your own, you can sign up first, then log in to the application. Alternatively, you can also log in using the *Zoho Social Login*. ![catalyst_tutorials_leadmanager_appsail_serve_1](https://catalyst-docs-development.zohostratus.in/images/tutorials/leadmanager-appsail/catalyst_tutorials_leadmanager_appsail_serve_1.webp) You will be redirected to the permissions page. Accept the permissions requested by the app to access your Zoho account details. You will then be redirected back to the application. Click the **Zoho CRM** icon in this page to connect to Zoho CRM. ![catalyst_tutorials_leadmanager_appsail_serve_crm_icon](https://catalyst-docs-development.zohostratus.in/images/tutorials/leadmanager-appsail/catalyst_tutorials_leadmanager_appsail_serve_crm_icon.webp) You must now **choose the CRM account** that you wish to connect with the Lead Manager app, then click **Submit**. ![catalyst_tutorials_leadmanager_appsail_serve_choose_portal](https://catalyst-docs-development.zohostratus.in/images/tutorials/leadmanager-appsail/catalyst_tutorials_leadmanager_appsail_serve_choose_portal.webp) All your existing developer, sandbox, and production accounts will be listed. Click **Accept** to allow the *Lead Manager* app to access your Zoho CRM modules. ![catalyst_tutorials_leadmanager_appsail_serve_accept_action](https://catalyst-docs-development.zohostratus.in/images/tutorials/leadmanager-appsail/catalyst_tutorials_leadmanager_appsail_serve_accept_action.webp) You will be redirected back to the application. You can now create and manage leads in your configured Zoho CRM account directly from this application. To add a lead, enter the details of the lead in the *Add a Lead* section and click **Add Lead**. ![catalyst_tutorials_leadmamanger_appsail_serve_adding_lead](https://catalyst-docs-development.zohostratus.in/images/tutorials/leadmanager-appsail/catalyst_tutorials_leadmamanger_appsail_serve_adding_lead.webp) A confirmation pop-up will display the status every time you add, edit, or delete a lead. ![catalyst_tutorials_leadmanager_appsail_serve_confirmation_popup](https://catalyst-docs-development.zohostratus.in/images/tutorials/leadmanager-appsail/catalyst_tutorials_leadmanager_appsail_serve_confirmation_popup.webp) You can click the **Manage Leads** tab to view all your leads from the *Leads* module. You can **edit** or **delete** any of them by clicking their respective icons in the table. ![catalyst_tutorials_leadmanager_appsail_manage_leads_edit_del](https://catalyst-docs-development.zohostratus.in/images/tutorials/leadmanager-appsail/catalyst_tutorials_leadmanager_appsail_manage_leads_edit_del.webp) You can update a lead’s information, then click **Edit**. ![catalyst_tutorials_leadmanmager_appsail_serve_edit_lead](https://catalyst-docs-development.zohostratus.in/images/tutorials/leadmanager-appsail/catalyst_tutorials_leadmanmager_appsail_serve_edit_lead.webp) If you click the **delete** icon, you must confirm the action in the confirmation pop-up. ![catalyst_tutorials_leadmanager_appsail_serve_delete_lead](https://catalyst-docs-development.zohostratus.in/images/tutorials/leadmanager-appsail/catalyst_tutorials_leadmanager_appsail_serve_delete_lead.webp) You can also check the *Refresh Token* and `userID` values populated in the **Data Store** from your Catalyst console. Navigate to the **Data View** section of the *Token* table to view the record that was added. ![catalyst_tutorials_leadmanager_appsail_serve_datastoreview](https://catalyst-docs-development.zohostratus.in/images/tutorials/leadmanager-appsail/catalyst_tutorials_leadmanager_appsail_serve_datastoreview.webp) If you delete this entry, you will have to authenticate your credentials in the client application and establish a connection to your CRM account again. You can log out of the application by clicking **Logout**. You can quit the `serve` session in your terminal by executing the command to kill a running process, based on your OS. If this setup is working correctly, we can deploy the application to production. -------------------------------------------------------------------------------- title: "Deploy the Application" description: "Build a Lead Manager application hosted on AppSail that connects to Zoho CRM using Catalyst connectors to view, create, update, or delete leads." last_updated: "2026-11-04T10:10:44.000Z" source: "https://docs.catalyst.zoho.com/en/tutorials/leadmanager-appsail/springboot/deploy-app/" service: "All Services" related: - CLI Help Documentation (/en/cli/v1/cli-command-reference/) - Deploy Resources (/en/cli/v1/deploy-resources/introduction/) - AppSail Help Documentation (/en/serverless/help/appsail/introduction/) -------------------------------------------------------------------------------- # Deploy the Application You can now deploy the application to the remote console. > **Note:** Since you had already logged into the **Lead Manager** application from the local server, a *Refresh Token* would have already been generated. This token will continue to authenticate your access. To [deploy your Catalyst project from the CLI](https://docs.catalyst.zoho.com/en/cli/v1/deploy-resources/introduction), run the following command in your terminal from your project directory: ```sh catalyst deploy ``` The function is deployed first, followed by the client component. The app URLs of the components will be displayed. ![catalyst_tutorials_leadmanager_appsail_deploy_spriongboot](https://catalyst-docs-development.zohostratus.in/images/tutorials/leadmanager-appsail/catalyst_tutorials_leadmanager_appsail_deploy_spriongboot.webp) The application is now deployed to the Catalyst console. Now, if you once again navigate to the AppSail component located under the *Serverless* section, you will be able to acquire the application's invocation URL. ![catalyst_tutorials_leadmanager_appsail_deploy_final_2](https://catalyst-docs-development.zohostratus.in/images/tutorials/leadmanager-appsail/catalyst_tutorials_leadmanager_appsail_deploy_final_2.webp) In this section you will also have access to a live dashboard denoting the number of instances the Lead Manager app service has spawned at any given moment. Using this section you will also be able configure and manage the AppSail service. You can find out more about this [here](https://docs.catalyst.zoho.com/en/serverless/help/appsail/console/overview/). You can use the invocation URL in a browser to access the deployed application. Lead Manager application can now be accessed from its [web app URL](https://docs.catalyst.zoho.com/en/cloud-scale/help/web-client-hosting/introduction). ![catalyst_tutorials_leadmanager_appsail_deploy_app_final](https://catalyst-docs-development.zohostratus.in/images/tutorials/leadmanager-appsail/catalyst_tutorials_leadmanager_appsail_deploy_app_final.webp) ### Node.js -------------------------------------------------------------------------------- title: "Introduction" description: "Build a Lead Manager application hosted on AppSail that connects to Zoho CRM using Catalyst connectors to view, create, update, or delete leads." last_updated: "2026-11-04T10:10:44.000Z" source: "https://docs.catalyst.zoho.com/en/tutorials/leadmanager-appsail/express/introduction/" service: "All Services" related: - Project Directory Structure (/en/cli/v1/project-directory-structure/introduction/) - Catalyst SDK for AppSail (/en/serverless/help/appsail/implement-catalyst-sdk/) -------------------------------------------------------------------------------- # Lead Manager App Using AppSail ### Introduction This tutorial will help you build a **Node.js Express** application web application called **Lead Manager**. This web app will allow you to connect with your [Zoho CRM account](https://www.zoho.com/in/crm/) and enable you to manage leads in your organization. You will be able to access, add, edit, or delete leads in the [Leads module](https://help.zoho.com/portal/en/kb/crm/sales-force-automation/leads) in your CRM account directly from this application. The connection to Zoho CRM is established using [OAuth 2.0 authentication protocol](https://docs.catalyst.zoho.com/en/api/oauth2/overview-and-terminology/#OverviewandTerminology). We will generate an `OAuth Access Token` for the *Lead Manager* application and use it to authorize the connection to access CRM data. The authentication requirement in this tutorial is handled using [Embedded Authentication](https://docs.catalyst.zoho.com/en/cloud-scale/help/authentication/native-catalyst-authentication/embedded-authentication/introduction/). We will also implement a [Catalyst Connector](https://docs.catalyst.zoho.com/en/sdk/nodejs/v2/connectors/connectors/) to manage this access to the CRM account. The connector will refresh the `Access Token` automatically each time it expires using a `Refresh Token`, and will maintain a constant connection between the client and the CRM account. These tokens can be generated after registering the client application in the [Zoho API console](https://api-console.zoho.com/) and obtaining the required credentials. The client application will look like this: ![catalyst_tutorials_leadmanager_appsail_first_look](https://catalyst-docs-development.zohostratus.in/images/tutorials/leadmanager-appsail/catalyst_tutorials_leadmanager_appsail_first_look.webp) The Lead Manager application employs components from the following Catalyst services: - [**Catalyst Serverless**](https://docs.catalyst.zoho.com/en/serverless/): - [AppSail](https://docs.catalyst.zoho.com/en/serverless/help/appsail/introduction/): To host the independent *Node.js Express* application. We will be building the front-end of the app as well as the back-end logic, and bundling them together to deploy them on AppSail. - [**Catalyst CloudScale**](https://docs.catalyst.zoho.com/en/cloud-scale/): - [Data Store](https://docs.catalyst.zoho.com/en/cloud-scale/help/data-store/introduction/): To store the `Refresh Token` and [UserID of the Catalyst user](https://docs.catalyst.zoho.com/en/cloud-scale/help/authentication/user-management/users/introduction/) fetched by the function resource. The `Refresh Token` is fetched from this table by the function, whenever a new `Access Token` needs to be generated. - [ZCQL](https://docs.catalyst.zoho.com/en/cloud-scale/help/zcql/introduction/): To fetch data from the *Data Store* through querying. - [Catalyst Authentication](https://docs.catalyst.zoho.com/en/cloud-scale/help/authentication/introduction/): To implement a [Zoho social login](https://docs.catalyst.zoho.com/en/cloud-scale/help/authentication/social-logins/configuring-social-logins/#enable-zoho-social-login) in the client application’s login page, in addition to the standard login option, we will be implementing the [Embedded Authentication type](https://docs.catalyst.zoho.com/en/cloud-scale/help/authentication/native-catalyst-authentication/embedded-authentication/introduction/) in this tutorial. We will use the [Catalyst web console](https://console.catalyst.zoho.com) and the [Catalyst Command Line Interface](https://docs.catalyst.zoho.com/en/cli/v1/cli-command-reference/) (CLI) to build this application. > **Info:** You will be given the code for the files to be included in the function and client components in this tutorial. You will just need to copy the provided code and paste it into the appropriate files as directed. ### Application Architecture The Lead Manager application’s architecture is depicted below: ![catalyst_tutorials_leadmnager_appsail_architecture_dig](https://catalyst-docs-development.zohostratus.in/images/tutorials/leadmanager-appsail/catalyst_tutorials_leadmnager_appsail_architecture_dig.webp) The entire workflow of the application will be explained in more detail when you [code your front end logic](https://docs.catalyst.zoho.com/en/tutorials/leadmanager-appsail/express/frontend-code), which we recommend you check out as you follow along the steps. -------------------------------------------------------------------------------- title: "Prerequisites" description: "Build a Lead Manager application hosted on AppSail that connects to Zoho CRM using Catalyst connectors to view, create, update, or delete leads." last_updated: "2026-11-04T10:10:44.000Z" source: "https://docs.catalyst.zoho.com/en/tutorials/leadmanager-appsail/express/prerequisites/" service: "All Services" related: - Catalyst Tools VS Code Plugin (/en/catalyst-extensions/vs-code-extension/introduction/) -------------------------------------------------------------------------------- # Prerequisites Before you begin building the application, you must have the following prerequisites installed on your system: 1. **Catalyst CLI**: Catalyst CLI contains a host of tools that enable you to initialize, develop, test, and deploy the components of your application from your local machine. We will be working with Catalyst CLI in this tutorial. You must perform these actions: - **Install Catalyst CLI**: Catalyst CLI is installed through NPM. You must therefore have NPM and Node.js installed on your system before you install the CLI. Refer to the [**Install Catalyst CLI help page**](https://docs.catalyst.zoho.com/en/getting-started/installing-catalyst-cli/) for details on the pre-requisites and the steps to install it. - **Login Catalyst CLI**: After you install Catalyst CLI, you must authenticate the CLI with your Catalyst account before using it. Refer to the [**CLI Login help page**](https://docs.catalyst.zoho.com/en/cli/v1/login/login-from-cli/) for the steps to login from Catalyst CLI and the various options available for it. 2. **Zoho CRM Account**: Because the Leads module is available in all editions of Zoho CRM, you can have a configured Zoho CRM account of any edition to establish a connection with the Lead Manager application. If you don’t have a Zoho CRM account, you can sign up for it [here](https://www.zoho.com/in/crm/). 3. **Any IDE tool for Node.js and client code development**: You can use any IDE to work with the function and the client code. Some popular choices include Visual Studio Code, IntelliJ IDEA, Eclipse, and Sublime Text. Download and install an IDE of your choice in your system. > If you are a Visual Studio Code IDE user, you can install the **Catalyst Tools** extension, and use your IDE itself in place of the CLI. You can find more details about the Catalyst VS Code extension from this [help section](https://docs.catalyst.zoho.com/en/catalyst-extensions/vs-code-extension/introduction/). -------------------------------------------------------------------------------- title: "Create a Project" description: "Build a Lead Manager application hosted on AppSail that connects to Zoho CRM using Catalyst connectors to view, create, update, or delete leads." last_updated: "2026-11-04T10:10:44.000Z" source: "https://docs.catalyst.zoho.com/en/tutorials/leadmanager-appsail/express/create-project/" service: "All Services" related: - Project Directory Structure (/en/cli/v1/project-directory-structure/introduction/) - Catalyst SDK for AppSail (/en/serverless/help/appsail/implement-catalyst-sdk/) -------------------------------------------------------------------------------- # Create a Project Let’s [create a Catalyst project](https://docs.catalyst.zoho.com/en/getting-started/catalyst-projects/#create-a-catalyst-project) from the Catalyst console. 1. Log in to the [Catalyst console](https://console.catalyst.zoho.com/baas/index) and click **Create New Project**. ![catalyst_tutorials_leadmanager_appsail_create_proj](https://catalyst-docs-development.zohostratus.in/images/tutorials/leadmanager-appsail/catalyst_tutorials_leadmanager_appsail_create_proj.webp) 2. Enter the project’s name as "**LeadManager**" in the pop-up window. ![catalyst_tutorials_leadmanage_appsail_proj_name](https://catalyst-docs-development.zohostratus.in/images/tutorials/leadmanager-appsail/catalyst_tutorials_leadmanage_appsail_proj_name.webp) Your project will be created. You can open the project by clicking **Access Project**. ![catalyst_tutorials_leradmanager_appsail_access_proj](https://catalyst-docs-development.zohostratus.in/images/tutorials/leadmanager-appsail/catalyst_tutorials_leradmanager_appsail_access_proj.webp) -------------------------------------------------------------------------------- title: "Create a Table" description: "Build a Lead Manager application hosted on AppSail that connects to Zoho CRM using Catalyst connectors to view, create, update, or delete leads." last_updated: "2026-11-04T10:10:44.000Z" source: "https://docs.catalyst.zoho.com/en/tutorials/leadmanager-appsail/express/create-table/" service: "All Services" related: - Data Store (/en/cloud-scale/help/data-store/introduction/) - ZCQL (/en/cloud-scale/help/zcql/introduction) -------------------------------------------------------------------------------- # Create a Table Next, let’s create a table in the **Data Store**. This table is used to store the *Refresh Token* and `userID` values, which are retrieved whenever an *Access Token* needs to be generated. To create a table: 1. Navigate to the [Catalyst CloudScale](https://docs.catalyst.zoho.com/en/cloud-scale/) service section in the console and click **Start Exploring**. ![catalyst_tutorials_leadmanager_appsail_start_explore_cloud_scale](https://catalyst-docs-development.zohostratus.in/images/tutorials/leadmanager-appsail/catalyst_tutorials_leadmanager_appsail_start_explore_cloud_scale.webp) 2. Click **Create a new Table**. ![catalyst_tutorials_lkeadmanager_appsail_create_table](https://catalyst-docs-development.zohostratus.in/images/tutorials/leadmanager-appsail/data-store-create-new-table.webp) 3. Enter the table’s name as "`Token`" and click **Create**. ![catalyst_tutorials_leadmanager_appsail_table_nme](https://catalyst-docs-development.zohostratus.in/images/tutorials/leadmanager-appsail/catalyst_tutorials_leadmanager_appsail_table_nme.webp) > **Note:** Ensure that you enter the name exactly as instructed because the application's code contains the same name. The table will be created. ![catalyst_tutorials_leadmnager_appsail_table_created](https://catalyst-docs-development.zohostratus.in/images/tutorials/leadmanager-appsail/catalyst_tutorials_leadmnager_appsail_table_created.webp) Now, let’s create two columns in the table to store the `userID` and the `refresh token` respectively. > **Info:** You can learn about the various data types supported by Catalyst and the other properties of a column from the [Data Store help documentation](https://docs.catalyst.zoho.com/en/cloud-scale/help/data-store/introduction/). 4. Click **New Column** in the *Schema View* section. ![catalyst_tutorials_leadmanager_appsail_new_clm](https://catalyst-docs-development.zohostratus.in/images/tutorials/leadmanager-appsail/catalyst_tutorials_leadmanager_appsail_new_clm.webp) 5. Enter the column’s name as "refresh_token". Select the data type as Encrypted Text. ![catalyst_tutorials_leadmanager_appsail_clm_name](https://catalyst-docs-development.zohostratus.in/images/tutorials/leadmanager-appsail/catalyst_tutorials_leadmanager_appsail_clm_name.webp) 6. Click **Create**. ![catalyst_tutorials_leadmanager_appsail_clm_1_created](https://catalyst-docs-development.zohostratus.in/images/tutorials/leadmanager-appsail/catalyst_tutorials_leadmanager_appsail_clm_1_created.webp) 7. Now click the **New Column** button again to create the second column. Name it "`userId`", and select **BigInt** as its data type. ![catalyst_tutorials_leadmanager_appsail_clm_2](https://catalyst-docs-development.zohostratus.in/images/tutorials/leadmanager-appsail/catalyst_tutorials_leadmanager_appsail_clm_2.webp) 8. Click **Create**. ![catalyst_tutorials_leadmanager_appsail_clms_created](https://catalyst-docs-development.zohostratus.in/images/tutorials/leadmanager-appsail/catalyst_tutorials_leadmanager_appsail_clms_created.webp) The required columns have been created. ### Configure Scopes and Permissions To allow any user of the Lead Manager application to view or manage leads from the client application, you must enable an additional [table permission](https://docs.catalyst.zoho.com/en/cloud-scale/help/data-store/scopes-and-permissions) that will allow the user to fetch and store new *Refresh Tokens*, if needed. To enable the required permissions: 1. Click the **Scopes and Permissions** tab. ![catalyst_tutorials_leadmanager_appsail_tables_permissions](https://catalyst-docs-development.zohostratus.in/images/tutorials/leadmanager-appsail/catalyst_tutorials_leadmanager_appsail_tables_permissions.webp) 2. Enable the **Insert** permission for the **App User** role under the *Table Permissions* section. Ensure you do not change any other permission setting. ![catalyst_tutorials_leadmanager_appsail_permission_aet](https://catalyst-docs-development.zohostratus.in/images/tutorials/leadmanager-appsail/catalyst_tutorials_leadmanager_appsail_permission_aet.webp) The Data Store component is now configured for the application. -------------------------------------------------------------------------------- title: "Enable Zoho Social Login" description: "Build a Lead Manager application hosted on AppSail that connects to Zoho CRM using Catalyst connectors to view, create, update, or delete leads." last_updated: "2026-11-04T10:10:44.000Z" source: "https://docs.catalyst.zoho.com/en/tutorials/leadmanager-appsail/express/enable-auth/" service: "All Services" related: - Authentication (/en/cloud-scale/help/authentication/introduction/) - Embedded Authentication (/en/cloud-scale/help/authentication/native-catalyst-authentication/embedded-authentication/introduction/) - Enable Social Login (/en/cloud-scale/help/authentication/social-logins/configuring-social-logins/) - Public Sign Up (/en/cloud-scale/help/authentication/public-signup/) -------------------------------------------------------------------------------- # Enable Zoho Social Login Using Embedded Authentication The Lead Manager application contains a login page where you must provide valid credentials to access your Zoho CRM account. You need to implement a signup functionality for this application. The functionality should also provide the option to login to the account using [Zoho Social Logins](https://docs.catalyst.zoho.com/en/cloud-scale/help/authentication/social-logins/configuring-social-logins/#enable-zoho-social-login). We will be implementing the [Embedded Authentication type](https://docs.catalyst.zoho.com/en/cloud-scale/help/authentication/native-catalyst-authentication/embedded-authentication/introduction/) to complete this requirement. To configure the Zoho social login for the Lead Manager application from the console: 1. Navigate to the **Authentication** component under the *Security & Identity* section, and click **Setup** in the **Native Catalyst Authentication** tab. ![catalyst_tutorials_leadmanager_appsail_native_auth_setup](https://catalyst-docs-development.zohostratus.in/images/tutorials/leadmanager-appsail/lead-manager-appsail-authentication.webp) 2. Select **Embedded Authentication**, and click **Next**. ![catalyst_tutorials_leadmanager_appsail_embed_sel_auth](https://catalyst-docs-development.zohostratus.in/images/tutorials/leadmanager-appsail/catalyst_tutorials_leadmanager_appsail_embed_sel_auth.webp) 3. You can copy and use the scripts provided in the **Configuration** step to setup your login functionality. However, since we are only going to be using *Zoho social login*, you need to enable the **Public Signup toggle** first. ![catalyst_tutorials_leadmanager_appsail_enable_public_signup](https://catalyst-docs-development.zohostratus.in/images/tutorials/leadmanager-appsail/catalyst_tutorials_leadmanager_appsail_enable_public_signup.webp) 4. Click **Yes, Proceed** in the dialog box after going through it. ![catalyst_tutorials_leadmanager_appsail_public_sign_popup](https://catalyst-docs-development.zohostratus.in/images/tutorials/leadmanager-appsail/catalyst_tutorials_leadmanager_appsail_public_sign_popup.webp) 5. Click the **Zoho** button to enable the social login. ![catalyst_tutorials_leadmanager_appsail_start_social](https://catalyst-docs-development.zohostratus.in/images/tutorials/leadmanager-appsail/catalyst_tutorials_leadmanager_appsail_start_social.webp) 6. Provide "`LeadManagerApp`" as the *Client Name* and click **Enable**. ![catalyst_tutorials_leadmanager_appsail_zoho_enabling_client](https://catalyst-docs-development.zohostratus.in/images/tutorials/leadmanager-appsail/catalyst_tutorials_leadmanager_appsail_zoho_enabling_client.webp) 7. Click **Next**. ![catalyst_tutorials_leadmanager_appsail_social_enabled_zoho_on](https://catalyst-docs-development.zohostratus.in/images/tutorials/leadmanager-appsail/catalyst_tutorials_leadmanager_appsail_social_enabled_zoho_on.webp) 8. We will not be configuring any additional authentication settings for our application. Click **Finish**. ![catalyst_tutorials_leadmanager_appsail_skip_step_fin](https://catalyst-docs-development.zohostratus.in/images/tutorials/leadmanager-appsail/catalyst_tutorials_leadmanager_appsail_skip_step_fin.webp) **Embedded Authentication** has been enabled for the application, and users can now login to the app using the **Zoho social login**. ![catalyst_tutorials_leadmanager_appsail_auth_zoho_enabled_cmpltd](https://catalyst-docs-development.zohostratus.in/images/tutorials/leadmanager-appsail/catalyst_tutorials_leadmanager_appsail_auth_zoho_enabled_cmpltd.webp) -------------------------------------------------------------------------------- title: "Initialize the Project" description: "Build a Lead Manager application hosted on AppSail that connects to Zoho CRM using Catalyst connectors to view, create, update, or delete leads." last_updated: "2026-11-04T10:10:44.000Z" source: "https://docs.catalyst.zoho.com/en/tutorials/leadmanager-appsail/express/init-project/" service: "All Services" related: - Catalyst CLI (/en/cli/v1/cli-command-reference/) - Initialize Resources (/en/cli/v1/initialize-resources/introduction/) - Catalyst AppSail Help (/en/serverless/help/appsail/introduction/) - Project Directory (/en/cli/v1/project-directory-structure/introduction/) -------------------------------------------------------------------------------- # Initialize the Project You can now begin working on your Catalyst project from the CLI. The first step is to initialize the project in an empty directory. This will be the home directory of your project, and all of the project files will be saved in it. You can learn more about this from the [Project Directory Structure help page](https://docs.catalyst.zoho.com/en/cli/v1/project-directory-structure/introduction/). You can learn about initializing a project in detail from the [CLI help documentation](https://docs.catalyst.zoho.com/en/cli/v1/initialize-resources/introduction/). For this application, you will be initializing the [AppSail](https://docs.catalyst.zoho.com/en/serverless/help/appsail/introduction/) component alone. The *AppSail* component will be initialized in the **Node.js** programming stack. 1. Create a folder for the project on your local machine and navigate to it from the terminal. 2. Initialize a project by executing the following command from that directory: ```sh catalyst init ``` 3. Navigate using the **arrow keys** and select your preferred portal and click **Enter**. If you have no other organizations associated with the account, then the default will be selected automatically. ![catalyst_tutorials_leadmanager_appsail_catalyst_init](https://catalyst-docs-development.zohostratus.in/images/tutorials/leadmanager-appsail/catalyst_tutorials_leadmanager_appsail_catalyst_init.webp) > **Info:** You can find out more about Catalyst’s multi-org portal feature in this [help document](https://docs.catalyst.zoho.com/en/getting-started/catalyst-organizations/#access-the-multi-org-portal). 4. The CLI will now ask you to associate a Catalyst project with the directory. Associate it with the project that we created earlier from the console. Select **LeadManager** from the list and click **Enter**. ![catalyst_tutorials_leadmanager_appsail_cli_proj_sel](https://catalyst-docs-development.zohostratus.in/images/tutorials/leadmanager-appsail/catalyst_tutorials_leadmanager_appsail_cli_proj_sel.webp) 5. Select **AppSail** using the space bar, then click **Enter** to initialize. ![catalyst_tutorials_leadmanager_appsail_sel_appsail](https://catalyst-docs-development.zohostratus.in/images/tutorials/leadmanager-appsail/catalyst_tutorials_leadmanager_appsail_sel_appsail.webp) 6. The CLI will prompt you to choose between [Catalyst-Managed Runtime](https://docs.catalyst.zoho.com/en/serverless/help/appsail/catalyst-managed-runtimes/key-concepts/) and [Docker Image](https://docs.catalyst.zoho.com/en/serverless/help/appsail/custom-runtimes/container-registry-services/). Because you are creating this project from one of the Catalyst-Managed Runtime, select **Catalyst-Managed Runtime** and click **Enter**. ![catalyst_alien_city_cli_appsail_setup_start](https://catalyst-docs-development.zohostratus.in/images/tutorials/alien-city-appsail-express/aliencity-appsail-selection.webp) 7. The CLI will initiate the *AppSail* service. - As you are creating your own project, enter "`n`" and click **Enter** for the prompt asking if you wish to get started with a list of recommended projects. ![catalyst_tutorials_leadmanager_appsail_appsail_start_cli](https://catalyst-docs-development.zohostratus.in/images/tutorials/leadmanager-appsail/catalyst_tutorials_leadmanager_appsail_appsail_start_cli.webp) - Enter "`Y`" in the prompt to initialize the *AppSail* service in your current directory. ![catalyst_tutorials_leadmanager_appsail_appsail_process_cli](https://catalyst-docs-development.zohostratus.in/images/tutorials/leadmanager-appsail/catalyst_tutorials_leadmanager_appsail_appsail_process_cli.webp) 8. Enter "`LeadManagerApp`" as the name of your AppSail service, and enter your project directory path as the build path of your AppSail service. ![catalyst_tutorials_ledmanager_appsail_pwd_for_appsail](https://catalyst-docs-development.zohostratus.in/images/tutorials/leadmanager-appsail/catalyst_tutorials_ledmanager_appsail_pwd_for_appsail.webp) 9. Choose the latest runtime of **Node.js** as the programming stack, and click **Enter**. ![catalyst_tutorials_leadmanager_appsail_runtime_sel_cli](https://catalyst-docs-development.zohostratus.in/images/tutorials/leadmanager-appsail/catalyst_tutorials_leadmanager_appsail_runtime_sel_cli.webp) The AppSail service has been initialized for your Lead Manager application ![catalyst_tutorials_leadmanager_appsail_init-complete](https://catalyst-docs-development.zohostratus.in/images/tutorials/leadmanager-appsail/catalyst_tutorials_leadmanager_appsail_init-complete.webp) The directory will be created in the standard structure, and it will contain the [`app-config.json`](https://docs.catalyst.zoho.com/en/serverless/help/appsail/catalyst-managed-runtimes/key-concepts/#the-app-configjson-file) file which includes the configuration of your AppSail service , along with the standard project configuration files such as the [`catalyst.json file`](https://docs.catalyst.zoho.com/en/cli/v1/project-directory-structure/catalyst-json/) and a hidden `.catalystrc` file. This is the structure of the **LeadManager** project’s directory initialized with the AppSail service. ![catalyst_tutorials_leadmanager_appsail_first_dir](https://catalyst-docs-development.zohostratus.in/images/tutorials/leadmanager-appsail/catalyst_tutorials_leadmanager_appsail_first_dir.webp) ### Deploy the Application You need to deploy the application to the console to fetch the required **application URL**. We need this URL when we register the client in the [Zoho API console](https://api-console.zoho.com/) to get the required `Client ID` and `Client Secret` values. > **Info:** We will be re-deploying the application service once we have completed coding and adding the `Client ID` and `Client Secret` values to the application. Enter the following CLI command to deploy the application: ```sh catalyst deploy ``` Now, to acquire the application URL: 1. Navigate to the [AppSail](https://docs.catalyst.zoho.com/en/serverless/help/appsail/introduction/) component present under the *COMPUTE* section of the **Catalyst Serverless** section of the console. ![catalyst_tutorials_leadmanager_appsail_nodejs_first_deploy](https://catalyst-docs-development.zohostratus.in/images/tutorials/leadmanager-appsail/catalyst_tutorials_leadmanager_appsail_nodejs_first_deploy.webp) You will be able to view that your application has been deployed as an AppSail service. 2. Now click your AppSail service, and you will be able to view the application URL. ![catalyst_tutorials_leadmanager_appsail_appsail_invocation_url](https://catalyst-docs-development.zohostratus.in/images/tutorials/leadmanager-appsail/catalyst_tutorials_leadmanager_appsail_appsail_invocation_url.webp) > **Info:** We will discuss more about the `catalyst deploy` CLI command and the AppSail service, after we re-deploy the application, towards the end of the tutorial. -------------------------------------------------------------------------------- title: "Register the Client" description: "Build a Lead Manager application hosted on AppSail that connects to Zoho CRM using Catalyst connectors to view, create, update, or delete leads." last_updated: "2026-11-04T10:10:44.000Z" source: "https://docs.catalyst.zoho.com/en/tutorials/leadmanager-appsail/express/register-client/" service: "All Services" related: - Catalyst Authentication (/en/cloud-scale/help/authentication/introduction/) - Social Logins (/en/cloud-scale/help/authentication/social-logins/introduction/) -------------------------------------------------------------------------------- # Register the Client We must now register the client application in the [Zoho API console](https://api-console.zoho.com/) to generate the following credentials: - `Client ID`: The unique key generated for a registered client - `Client Secret`: The secret value generated for a registered client’s `Client ID` The `Client ID` and `Client Secret` are added to the backend and frontend code in several places. These values are necessary to generate the `Access Token` and `Refresh Token` initially, and later to refresh the `Access Token` using the `Refresh Token`. To register the client application in the Zoho API console: 1. Visit the [Zoho API Console](https://api-console.zoho.com/) and click **Get Started**. ![catalyst_tutorials_lead_manager_appsail_api_console_start](https://catalyst-docs-development.zohostratus.in/images/tutorials/leadmanager-appsail/catalyst_tutorials_lead_manager_appsail_api_console_start.webp) 2. Select **Server-based Applications** as the client type. ![catalyst_tutorials_leadmnager_appsail_appsail_api_console_client_sel](https://catalyst-docs-development.zohostratus.in/images/tutorials/leadmanager-appsail/catalyst_tutorials_leadmnager_appsail_appsail_api_console_client_sel.webp) 3. Enter "`LeadManagerApp"` as the **Client Name**. ![catalyst_tutorials_leadmanager_appsail_api_console_client_nme](https://catalyst-docs-development.zohostratus.in/images/tutorials/leadmanager-appsail/catalyst_tutorials_leadmanager_appsail_api_console_client_nme.webp) 4. Provide the other details in the following format: - Homepage URL: **AppSail application URL** - Authorized Redirect URIs: **AppSail applicationURL/generateToken** ![catalyst_tutorials_leadmanager_appsail_adding_first_api_console_uri](https://catalyst-docs-development.zohostratus.in/images/tutorials/leadmanager-appsail/catalyst_tutorials_leadmanager_appsail_adding_first_api_console_uri.webp) Replace {**AppSail applicationURL**} with the application URL you acquired when you deployed your project earlier in this [step](https://docs.catalyst.zoho.com/en/tutorials/leadmanager-appsail/express/init-project/#deploy-the-application). 5. You will need to add another **Authorized Redirect URI** for the client. We will serve the app through a **localhost** to test it after configuring the code. Because this will be redirected to a local domain, we must add that as another authorized redirect URI. ![catalyst_tutorials_leadmanager_appsail_apiconsole_register_client_uris](https://catalyst-docs-development.zohostratus.in/images/tutorials/leadmanager-appsail/catalyst_tutorials_leadmanager_appsail_apiconsole_register_client_uris.webp) > **Info:** When you serve an application locally from the CLI, it is hosted from `port 3000` by default, unless the port is otherwise occupied. So ensure you are adding the domain accordingly. 6. Click **Create**. ![catalyst_tutorials_leadmanager_appsail_client_id_client_scrt](https://catalyst-docs-development.zohostratus.in/images/tutorials/leadmanager-appsail/catalyst_tutorials_leadmanager_appsail_client_id_client_scrt.webp) The API console will generate and display the `Client ID` and `Client Secret` values for the registered client. You will need to copy these values and paste them into the frontend and backend code of your application. We will discuss this in the following sections. -------------------------------------------------------------------------------- title: "Install the Dependencies" description: "Build a Lead Manager application hosted on AppSail that connects to Zoho CRM using Catalyst connectors to view, create, update, or delete leads." last_updated: "2026-11-04T10:10:44.000Z" source: "https://docs.catalyst.zoho.com/en/tutorials/leadmanager-appsail/express/init-dependencies/" service: "All Services" related: - Node SDK (/en/sdk/nodejs/v2/overview/) -------------------------------------------------------------------------------- # Initialize and Install the Required Dependencies To run the application on a Node.js Express framework, let’s initialize the `Catalyst Node.js SDK`, Node modules, `Axios` and `Express` package for your application. Enter the following command in your CLI in your project directory `/LeadManager` to initialize the Node modules: ```sh npm init * Enter "`leadmanagerapp`" as the package name, and "`index.js`" as the entry point. You can also just click **Enter** to use the default names generated by NPM, or enter any name of your preference. ![catalyst_tutorials_leadmanager_appsail_init_npm](https://catalyst-docs-development.zohostratus.in/images/tutorials/leadmanager-appsail/catalyst_tutorials_leadmanager_appsail_init_npm.webp) * Click **Enter** for the rest of the prompts, and complete the initialization. Your preferences will be stored in a [`package.json file`](https://docs.npmjs.com/cli/v10/configuring-npm/package-json). You can review your options in the terminal and confirm your preferences by entering "**yes**". ![catalyst_tutorials_leadmanager_appsail_npm_init_cmpltd](https://catalyst-docs-development.zohostratus.in/images/tutorials/leadmanager-appsail/catalyst_tutorials_leadmanager_appsail_npm_init_cmpltd.webp) * Create a new file in your project directory and name it "`index.js`" If you have provided a different name for your entry point, ensure you provide the same name here. ### Install Express Now, let's install the `Express` package in your project’s root folder using the following command: ```sh npm install express ``` ![catalyst_tutorials_leadmanager_appsail_install_express](https://catalyst-docs-development.zohostratus.in/images/tutorials/leadmanager-appsail/catalyst_tutorials_leadmanager_appsail_install_express.webp) ### Install Axios Now, let's install the `Axios` package in your project’s root folder using the following command: ```sh npm install axios ``` ![catalyst_tutorials_leadmanger_appsail_axios_install](https://catalyst-docs-development.zohostratus.in/images/tutorials/leadmanager-appsail/catalyst_tutorials_leadmanger_appsail_axios_install.webp) ### Install Catalyst Node.js SDK We will utilize Catalyst components in this app. To use them, you will also need to install the [Catalyst Node.js SDK](https://docs.catalyst.zoho.com/en/sdk/nodejs/v2/overview/) package in your project’s root folder using the following CLI command: ```sh npm install zcatalyst-sdk-node ``` ![catalyst_tutorials_leadmanager_appsail_isntall_sdk_pack](https://catalyst-docs-development.zohostratus.in/images/tutorials/leadmanager-appsail/catalyst_tutorials_leadmanager_appsail_isntall_sdk_pack.webp) Now your directory will contain the `node_modules` folder, the `package.json`, `package-lock.json`, and the `index.js` file, in addition to the existing files. ![catalyst_tutorials_leadmanager_appsail_func_dir](https://catalyst-docs-development.zohostratus.in/images/tutorials/leadmanager-appsail/catalyst_tutorials_leadmanager_appsail_func_dir.webp) -------------------------------------------------------------------------------- title: "Code Your Backend Logic" description: "Build a Lead Manager application hosted on AppSail that connects to Zoho CRM using Catalyst connectors to view, create, update, or delete leads." last_updated: "2026-11-04T10:10:44.000Z" source: "https://docs.catalyst.zoho.com/en/tutorials/leadmanager-appsail/express/backend-code/" service: "All Services" related: - Node SDK (/en/sdk/nodejs/v2/overview/) -------------------------------------------------------------------------------- # Code Your Backend Logic You have created the "`index.js`" file in your project’s root directory, and this will contain the backend logic of your application. > **Note:** Please go through the code in this section to make sure you fully understand it. Copy the code below and paste it into the respective files of your project using an IDE and save the files. **index.js** ```javascript const catalyst = require('zcatalyst-sdk-node'); const express = require('express'); const axios = require('axios'); const http = require('https') const app = express() app.use(express.static('public')); app.use(express.json()); const HOST = "www.zohoapis.com"; const AUTH_HOST = "https://accounts.zoho.com/oauth/v2/token"; const PORT = 443; const CLIENTID = ''; //Add your client ID const CLIENT_SECRET = ''; //Add your client secret app.get("/generateToken", async (req, res) => { try { console.log("Entered generated token") const catalystApp = catalyst.initialize(req); const code = req.query.code; const domain = `${process.env.X_ZOHO_CATALYST_IS_LOCAL === 'true' ? "http" : "https"}://${process.env.X_ZOHO_CATALYST_IS_LOCAL === 'true' ? req.headers.host : req.headers.host.split(':')[0]}` let userManagement = catalystApp.userManagement(); const refresh_token = await getRefreshToken(code, res, domain); let userDetails = await userManagement.getCurrentUser(); const catalystTable = catalystApp.datastore().table("Token"); const userId = userDetails.user_id; await catalystTable.insertRow({ refresh_token, userId, }); res.status(200).redirect(`${domain}/index.html`); } catch (err) { console.error(err); res .status(500) .send({ message: "Internal Server Error. Please try again after sometime.", error: err, }); } }); app.get("/getUserDetails", async (req, res) => { try{ const catalystApp = catalyst.initialize(req); const userDetails = await getUserDetails(catalystApp); if (userDetails.length !== 0) { console.log("user present") res.status(200).send({ userId: userDetails[0].Token.userId }); } else { console.log("User not present") console res.status(200).send({ userId: null }); } } catch (err) { console.error(err); res .status(500) .send({ message: "Internal Server Error in Getting User Details. Please try again after sometime.", error: err }); } }); app.get("/crmData", async (req, res) => { try { const catalystApp = catalyst.initialize(req); const userDetails = await getUserDetails(catalystApp); const accessToken = await getAccessToken(catalystApp, userDetails); const options = { hostname: HOST, port: PORT, method: "GET", path: `/crm/v2/Leads`, headers: { Authorization: `Zoho-oauthtoken ${accessToken}`, }, }; var data = ""; const request = http.request(options, function (response) { response.on("data", function (chunk) { data += chunk; }); response.on("end", function () { res.setHeader("content-type", "application/json"); res.status(200).send(data); }); }); request.end(); } catch (err) { console.error(err); res .status(500) .send({ message: "Internal Server Error. Please try again after sometime.", }); } }); app.get("/crmData/:id", async (req, res) => { try { const catalystApp = catalyst.initialize(req); const userDetails = await getUserDetails(catalystApp); const accessToken = await getAccessToken(catalystApp, userDetails); const options = { hostname: HOST, port: PORT, method: "GET", path: `/crm/v2/Leads/${req.params.id}`, headers: { Authorization: `Zoho-oauthtoken ${accessToken}`, }, }; var data = ""; const request = http.request(options, function (response) { response.on("data", function (chunk) { data += chunk; }); response.on("end", function () { res.setHeader("content-type", "application/json"); res.status(200).send(data); }); }); request.end(); } catch (err) { console.error(err); res.status(500).send({ message: "Internal Server Error. Please try again after sometime.", }); } }); app.post("/crmData", async (req, res) => { try { const catalystApp = catalyst.initialize(req); const createData = req.body; const reqData = []; reqData.push(createData); const data = { data: reqData, }; if (!createData) { res.status(400).send({ message: "Data Not Found" }); } const userDetails = await getUserDetails(catalystApp); const accessToken = await getAccessToken(catalystApp, userDetails); const options = { hostname: HOST, port: PORT, method: "POST", path: `/crm/v2/Leads`, headers: { Authorization: `Zoho-oauthtoken ${accessToken}`, "Content-Type": "application/json", }, }; const request = http.request(options, function (response) { res.setHeader("content-type", "application/json"); let responseData = ''; response.on('data', (chunk) => { responseData += chunk; }); response.on('end', () => { console.log('Response from the external request:', responseData); }); response.pipe(res); }); request.write(JSON.stringify(data)); request.end(); } catch (err) { console.error(err); res.status(500).send({ message: "Internal Server Error. Please try again after sometime.", }); } }); app.put("/crmData/:id", async (req, res) => { try { const catalystApp = catalyst.initialize(req); const updateData = req.body; const reqData = []; reqData.push(updateData); const data = { data: reqData, }; if (!updateData) { res.status(400).send({ message: "Update Data Not Found" }); } const userDetails = await getUserDetails(catalystApp); const accessToken = await getAccessToken(catalystApp, userDetails); const options = { hostname: HOST, port: PORT, method: "PUT", path: `/crm/v2/Leads/${req.params.id}`, headers: { Authorization: `Zoho-oauthtoken ${accessToken}`, "Content-Type": "application/json", }, }; const request = http.request(options, function (response) { res.setHeader("content-type", "application/json"); response.pipe(res); }); request.write(JSON.stringify(data)); request.end(); } catch (err) { console.error(err); res.status(500).send({ message: "Internal Server Error. Please try again after sometime.", }); } }); app.delete("/crmData/:id", async (req, res) => { try { const catalystApp = catalyst.initialize(req); const userDetails = await getUserDetails(catalystApp); const accessToken = await getAccessToken(catalystApp, userDetails); const options = { hostname: HOST, port: PORT, method: "DELETE", path: `/crm/v2/Leads/${req.params.id}`, headers: { Authorization: `Zoho-oauthtoken ${accessToken}`, "Content-Type": "application/json", }, }; const request = http.request(options, function (response) { res.setHeader("content-type", "application/json"); response.pipe(res); }); request.end(); } catch (err) { console.error(err); res.status(500).send({ message: "Internal Server Error. Please try again after sometime.", }); } }); app.get("/getAccessToken",async (req, res)=>{ try{ const catalystApp = catalyst.initialize(req); const userDetails = await getUserDetails(catalystApp); const access_token = await getAccessToken(catalystApp, userDetails) res.send(access_token) } catch(err){ console.error(err); } }) async function getAccessToken(catalystApp, userDetails) { const refresh_token = userDetails[0].Token.refresh_token; const userId = userDetails[0].Token.userId; const credentials = { [userId]: { client_id: CLIENTID, client_secret: CLIENT_SECRET, auth_url: AUTH_HOST, refresh_url: AUTH_HOST, refresh_token, }, }; const accessToken = await catalystApp.connection(credentials).getConnector(userId).getAccessToken(); return accessToken; } async function getRefreshToken(code, res, domain) { try { const url = `${AUTH_HOST}?code=${code}&client_id=${CLIENTID}&client_secret=${CLIENT_SECRET}&grant_type=authorization_code&redirect_uri=${domain}/generateToken`; const response = await axios({ method: "POST", url }); console.log(response.data.refresh_token) return response.data.refresh_token; } catch (err) { console.log(err); res.status(500).send({ message: "Internal Server Error. Please try again after sometime.", error: err, }); } } async function getUserDetails(catalystApp) { let userDetails = await catalystApp.userManagement().getCurrentUser(); let userDetail = await catalystApp.zcql().executeZCQLQuery(`SELECT * FROM Token where UserId=${userDetails.user_id}`); return userDetail; } app.listen(process.env.X_ZOHO_CATALYST_LISTEN_PORT || 9000,()=>{ console.log(`Listening from port ${process.env.X_ZOHO_CATALYST_LISTEN_PORT}!!!`) }) module.exports = app; ``` > **Note:** Add the `Client ID` and `Client Secret` values obtained after you registered the client in the Zoho API console to the **11th** and **12th** line of code in the `index.js` file. -------------------------------------------------------------------------------- title: "Code Your Frontend Logic" description: "Build a Lead Manager application hosted on AppSail that connects to Zoho CRM using Catalyst connectors to view, create, update, or delete leads." last_updated: "2026-11-04T10:10:44.000Z" source: "https://docs.catalyst.zoho.com/en/tutorials/leadmanager-appsail/express/frontend-code/" service: "All Services" related: - Web SDK for Authentication (/en/sdk/web/v4/cloud-scale/authentication/get-auth-instance/) -------------------------------------------------------------------------------- # Code Your Frontend Logic Create a folder in your project’s root directory and name it "`public`." This folder will contain the files for your front-end logic. Create the following files inside your `public` folder (`LeadManager/public/`): - `index.html`: Will contain the HTML code for the front-end of the application. - `login.html`: Will contain the HTML code for the [Embedded Authentication](https://docs.catalyst.zoho.com/en/cloud-scale/help/authentication/native-catalyst-authentication/embedded-authentication/introduction/) logic. - `main.js`: Will contain the JavaScript code that connects the front-end and backend. - `main.css`: Will contain the styling of the application This is the final folder structure of the LeadManager project. ![catalyst_tutorials_leadmanager_appsail_complete_dir](https://catalyst-docs-development.zohostratus.in/images/tutorials/leadmanager-appsail/catalyst_tutorials_leadmanager_appsail_complete_dir.webp) You will be coding the `index.html`, `login.html`, and `main.js` files. You will also be updating the `app-config.json` file. > **Note:** Please go through the code in this section to make sure you fully understand it. Copy the code below and paste it into the respective files of your project using an IDE and save the files. **index.html** ```xml <!DOCTYPE html> <html> <head> <meta charset="utf-8" /> <meta http-equiv="X-UA-Compatible" content="IE=edge"> <title>CRM Lead Manager</title> <meta name="viewport" content="width=device-width, initial-scale=1"> <link rel="stylesheet" type="text/css" media="screen" href="main.css" /> <link rel="stylesheet" href="https://stackpath.bootstrapcdn.com/bootstrap/4.3.1/css/bootstrap.min.css" integrity="sha384-ggOyR0iXCbMQv3Xipma34MD+dH/1fQ784/j6cY/iJTQUOhcWr7x9JvoRxT2MZw1T" crossorigin="anonymous"> <link href="https://cdnjs.cloudflare.com/ajax/libs/twitter-bootstrap/4.5.0/css/bootstrap.min.css" rel="stylesheet"> <link href="https://cdnjs.cloudflare.com/ajax/libs/mdbootstrap/4.19.1/css/mdb.min.css" rel="stylesheet"> <script src="https://code.jquery.com/jquery-3.4.1.min.js" integrity="sha256-CSXorXvZcTkaix6Yvo6HppcZGetbYMGWSFlBw8HfCJo=" crossorigin="anonymous"> </script> <script src="https://cdnjs.cloudflare.com/ajax/libs/popper.js/1.14.7/umd/popper.min.js" integrity="sha384-UO2eT0CpHqdSJQ6hJty5KVphtPhzWj9WO1clHTMGa3JDZwrnQq4sF86dIHNDz0W1" crossorigin="anonymous"> </script> <script src="https://stackpath.bootstrapcdn.com/bootstrap/4.3.1/js/bootstrap.min.js" integrity="sha384-JjSmVgyd0p3pXB1rRibZUAYoIIy6OrQ6VrjIEaFf/nJGzIxFDsf4x0xIM+B07jRM" crossorigin="anonymous"> </script> <script src="main.js"> </script> <script src="https://static.zohocdn.com/catalyst/sdk/js/4.6.2/catalystWebSDK.js"> </script> <script src="/__catalyst/sdk/init.js"> </script> <link href="//maxcdn.bootstrapcdn.com/bootstrap/4.0.0/css/bootstrap.min.css" rel="stylesheet" id="bootstrap-css"> <style> #connect { height: 260px; width: 500px; position: absolute; top: 0; bottom: 0; left: 0; right: 0; margin: auto; } </style> </head> <body onload="getUserDetails()"> <br> <center> <h1>CRM Lead Manager</h1> <br> </center> <div id="connect"> <center> <p>Click here to connect to Zoho CRM</p> <button onclick='navigate()'> <img src="https://www.zohowebstatic.com/sites/default/files/styles/product-home-page/public/icon-crm_blue.png" style="width: 180px;height: 130px;"> </button> </center> </div> <div style="width: 200px;float: right; margin-right: 30px;"> <label for="logoutbtn" class="btn btn-success btn-block btn-outlined">Logout</label> <button id="logoutbtn" onclick="logout()" style="display: none;"> </button> </div> <div id="main"> <div class="container"> <ul class="nav nav-tabs nav-justified mb-3" id="myTab" role="tablist"> <li class="nav-item"> <a class="nav-link active" id="check-tab" data-toggle="tab" href="#check" role="tab" aria-controls="check" aria-selected="true">Add a Lead</a> </li> <li class="nav-item"> <a class="nav-link" id="report-tab" data-toggle="tab" href="#report" onclick="getLeads()" role="tab" aria-controls="report" aria-selected="false">Manage Leads</a> </li> </ul> <br> <div class="tab-content" id="myTabContent"> <div class="tab-pane fade show active" id="check" role="tabpanel" aria-labelledby="check-tab"> <div class="tab-pane fade show active" id="ex3-tabs-1" role="tabpanel" aria-labelledby="ex3-tab-1"> <div style="margin-left: 100px; margin-right:100px;"> <form id="leads"> <!-- 2 column grid layout with text inputs for the first and last names --> <div class="row mb-4"> <div class="col"> <div class="form-outline"> <label class="form-label" for="form6Example1">First name</label> <input type="text" id="firstName" class="form-control" /> </div> </div> <div class="col"> <div class="form-outline"> <label class="form-label" for="form6Example2">Last name</label> <input type="text" id="lastName" class="form-control" required /> </div> </div> </div> <!-- Text input --> <div class="form-outline mb-4"> <label class="form-label" for="form6Example3">Company name</label> <input type="text" id="companyName" class="form-control" /> </div> <!-- Email input --> <div class="form-outline mb-4"> <label class="form-label" for="form6Example5">Email</label> <input type="email" id="email" class="form-control" /> </div> <!-- Text input --> <div class="form-outline mb-4"> <label class="form-label" for="form6Example4">State</label> <input type="text" id="state" class="form-control" /> </div> <!-- Number input --> <div class="form-outline mb-4"> <label class="form-label" for="form6Example6">Phone</label> <input type="number" id="phone" class="form-control" /> </div> <!-- Number input --> <div class="form-outline mb-4"> <label class="form-label" for="form6Example6">Lead Source</label> <input type="text" id="leadSource" class="form-control" /> </div> <!-- Submit button --> <center> <button type="submit" onclick="createLead();return false;" class="btn btn-primary btn-block mb-4" style="width: 100px;">Add Lead</button> <div id="loader" style="display: none;"> <div class="spinner-border" role="status"> <span class="sr-only">Loading...</span> </div> </div> </center> </form> </div> </div> </div> <div class="tab-pane fade" id="report" role="tabpanel" aria-labelledby="report-tab"> <center> <div id="loaders" style="display: none; padding-top: 200px;"> <div class="spinner-border" role="status"> <span class="sr-only">Loading...</span> </div> </div> </center> <p id="showData"> </p> </div> </div> </div> <!-- Modal --> <div class="modal fade" id="myModal" tabindex="-1" role="dialog" aria-labelledby="myModalLabel" aria-hidden="true"> <div class="vertical-alignment-helper"> <div class="modal-dialog vertical-align-center"> <div class="modal-content"> <center> <h4 class="modal-title" id="myModalLabel"> </h4> <div class="modal-body" id="message"> </div> <div class="modal-footer"> <button type="button" style="background-color: #007bff;color: white;" class="btn btn-default" data-dismiss="modal">Close</button> </div> </center> </div> </div> </div> </div> <div class="modal fade" id="editForm" tabindex="-1" role="dialog" aria-labelledby="myModalLabel" aria-hidden="true"> <div class="vertical-alignment-helper"> <div class="modal-dialog vertical-align-center"> <div class="modal-content"> <div style="margin-left: 80px; margin-right:80px;"> <br> <center> <h2>Edit Lead</h2> </center> <br> <form id="editLeads"> <!-- 2 column grid layout with text inputs for the first and last names --> <div class="row mb-4"> <div class="col"> <div class="form-outline"> <label class="form-label" for="form6Example1">First name</label> <input type="text" id="editfirstName" class="form-control" /> </div> </div> <div class="col"> <div class="form-outline"> <label class="form-label" for="form6Example2">Last name</label> <input type="text" id="editlastName" class="form-control" required /> </div> </div> </div> <!-- Text input --> <div class="form-outline mb-4"> <label class="form-label" for="form6Example3">Company name</label> <input type="text" id="editcompanyName" class="form-control" /> </div> <!-- Email input --> <div class="form-outline mb-4"> <label class="form-label" for="form6Example5">Email</label> <input type="email" id="editemail" class="form-control" /> </div> <!-- Text input --> <div class="form-outline mb-4"> <label class="form-label" for="form6Example4">State</label> <input type="text" id="editstate" class="form-control" /> </div> <!-- Number input --> <div class="form-outline mb-4"> <label class="form-label" for="form6Example6">Phone</label> <input type="number" id="editphone" class="form-control" /> </div> <!-- Submit button --> <center> <button type="submit" id="editBtn" onclick="editLead();return false;" class="btn btn-primary btn-block mb-4" style="width: 100px;">Edit</button> <div id="loader" style="display: none;"> <div class="spinner-border" role="status"> <span class="sr-only">Loading...</span> </div> </div> </center> </form> </div> </div> </div> </div> </div> <div class="modal fade right" id="ModalDanger" tabindex="-1" role="dialog" aria-labelledby="myModalLabel" aria-hidden="true"> <div class="modal-dialog modal-notify modal-danger modal-side modal-top-right" role="document"> <!--Content--> <div class="modal-content"> <!--Header--> <div class="modal-header"> <p class="heading">Lead Deletion</p> <button type="button" class="close" data-dismiss="modal" aria-label="Close"> <span aria-hidden="true" class="white-text">×</span> </button> </div> <!--Body--> <div class="modal-body"> <div class="row"> <div class="col-9"> <p>Are you sure you want to delete the Lead?</p> </div> </div> </div> <!--Footer--> <div class="modal-footer justify-content-center"> <a type="button" class="btn btn-danger" id="delete-btn" onclick="deleteLead()">Delete</a> <a type="button" class="btn btn-outline-danger waves-effect" data-dismiss="modal">Cancel</a> </div> </div> <!--/.Content--> </div> </div> </div> </body> <script> //Add Your Client ID and Redirect URL here function navigate() { window.location.href = "https://accounts.zoho.com/oauth/v2/auth?scope=ZohoCRM.modules.ALL&client_id=<<client_id>>&response_type=code&access_type=offline&redirect_uri=" + location.protocol + '//' + location.host + "/generateToken"; } </script> </html> ``` > **Note:** Ensure you add the `Client ID` you configured in line **252**. **login.html** ```xml <html> </html> <meta charset="utf-8" /> <meta http-equiv="X-UA-Compatible" content="IE=edge"> <title>CRM Lead Manager</title> <meta name="viewport" content="width=device-width, initial-scale=1"> <link rel="stylesheet" type="text/css" media="screen" href="main.css" /> <script src="main.js"> </script> <link rel="stylesheet" type="text/css" media="screen" href="main.css" /> <link rel="stylesheet" href="https://stackpath.bootstrapcdn.com/bootstrap/4.3.1/css/bootstrap.min.css" integrity="sha384-ggOyR0iXCbMQv3Xipma34MD+dH/1fQ784/j6cY/iJTQUOhcWr7x9JvoRxT2MZw1T" crossorigin="anonymous"> <script src="https://static.zohocdn.com/catalyst/sdk/js/4.6.2/catalystWebSDK.js"> </script> <script src="https://code.jquery.com/jquery-3.4.1.min.js" integrity="sha256-CSXorXvZcTkaix6Yvo6HppcZGetbYMGWSFlBw8HfCJo=" crossorigin="anonymous"> </script> <script src="https://cdnjs.cloudflare.com/ajax/libs/popper.js/1.14.7/umd/popper.min.js" integrity="sha384-UO2eT0CpHqdSJQ6hJty5KVphtPhzWj9WO1clHTMGa3JDZwrnQq4sF86dIHNDz0W1" crossorigin="anonymous"> </script> <script src="https://stackpath.bootstrapcdn.com/bootstrap/4.3.1/js/bootstrap.min.js" integrity="sha384-JjSmVgyd0p3pXB1rRibZUAYoIIy6OrQ6VrjIEaFf/nJGzIxFDsf4x0xIM+B07jRM" crossorigin="anonymous"> </script> <script src="https://static.zohocdn.com/catalyst/sdk/js/4.6.2/catalystWebSDK.js"> </script> <script src="/__catalyst/sdk/init.js"> </script> <script> catalyst.auth.signIn("login"); </script> <link href="//maxcdn.bootstrapcdn.com/bootstrap/4.0.0/css/bootstrap.min.css" rel="stylesheet" id="bootstrap-css"> <style> #login { height: 260px; width: 500px; position: absolute; top: 0; bottom: 0; left: 0; right: 0; margin: auto; } </style> <body> <br> <center> <h1>CRM Lead Manager</h1> </center> <div id="login"> </div> </body> </html> ``` **main.js** ```javascript function createLead() { debugger; $("#loader").show(); var firstName = $("#firstName").val(); var lastName = $("#lastName").val(); if (lastName == "") { alert("Kindly Enter the Last Name"); $("#loader").hide(); return; } var companyName = $("#companyName").val(); var email = $("#email").val(); var state = $("#state").val(); var phone = $("#phone").val(); var leadSource = $("#leadSource").val(); $.ajax({ url: "/crmData", type: "post", contentType: "application/json", data: JSON.stringify({ "First_Name": firstName, "Last_Name": lastName, "Company": companyName, "Email": email, "State": state, "Phone": phone, "Lead_Source": leadSource, }), success: function(data) { debugger; $('#leads').trigger("reset"); $("#myModalLabel").html("Success"); $("#message").html("Lead Created Successfully"); $("#loader").hide(); $('#myModal').modal('show'); }, error: function(error) { $('#leads').trigger("reset"); $("#myModalLabel").html("Failure"); $("#message").html("Please try again after Sometime"); $("#loader").hide(); $('#myModal').modal('show'); } }); } function logout() { var redirectURL = "/login.html"; //Add your app domain var auth = catalyst.auth; auth.signOut(redirectURL); } function getUserDetails() { $("#main").hide(); $("#connect").hide(); catalyst.auth.isUserAuthenticated().then(result => { console.log(result) $("#loader").show(); $.ajax({ url: "/getUserDetails", type: "get", success: function(data) { $("#loader").hide(); if (data.userId) { $("#main").show(); $("#connect").hide(); } else { $("#connect").show(); $("#main").hide(); } }, error: function(error) { $("#myModalLabel").html("Failure"); $("#message").html("Please try again after Sometime"); $("#loader").hide(); $('#myModal').modal('show'); } }); }).catch(err => { document.body.innerHTML = 'You are not logged in. Please log in to continue. Redirecting you to the login page..'; setTimeout(function() { window.location.href = "login.html"; }, 3000); }); } function getLeads() { debugger; var tableContainer = document.getElementById("showData"); tableContainer.innerHTML = ""; $("#loaders").show(); $.ajax({ url: "/crmData", type: "get", success: function(data) { debugger; var reqData = getRequiredData(data.data); $("#loaders").hide(); renderTable(reqData); }, error: function(error) { $("#myModalLabel").html("Failure"); $("#message").html("Please try again after Sometime"); $("#loader").hide(); $('#myModal').modal('show'); } }); } function showDeletePopup(leadID) { $('#ModalDanger').modal('show'); var deleteBtn = document.getElementById("delete-btn"); deleteBtn.value = leadID; } function deleteLead() { var leadID = document.getElementById('delete-btn').value; $.ajax({ url: "/crmData/" + leadID, type: "delete", success: function(data) { debugger; $('#ModalDanger').modal('toggle'); $("#myModalLabel").html("Success"); $("#message").html("Lead Deleted Successfully"); $('#myModal').modal('show'); setTimeout(function() { location.reload(); }, 3000); }, error: function(error) { $("#myModalLabel").html("Failure"); $("#message").html("Please try again after Sometime"); $("#loader").hide(); $('#myModal').modal('show'); } }); } function showEditPopup(leadID) { $.ajax({ url: "/crmData/" + leadID, type: "get", success: function(data) { debugger; var respData = data.data; $('#editfirstName').val(respData[0].First_Name); $('#editlastName').val(respData[0].Last_Name); $('#editcompanyName').val(respData[0].Company); $('#editemail').val(respData[0].Email); $('#editstate').val(respData[0].State); $('#editphone').val(respData[0].Phone); $('#editleadSource').val(respData[0].Lead_Source); $('#editBtn').val(respData[0].id); $('#editfirstName').html(respData[0].First_Name); $('#editlastName').html(respData[0].Last_Name); $('#editcompanyName').html(respData[0].Company); $('#editemail').html(respData[0].Email); $('#editstate').html(respData[0].State); $('#editphone').html(respData[0].Phone); $('#editleadSource').html(respData[0].Lead_Source); $('#editForm').modal('show'); }, error: function(error) { $("#myModalLabel").html("Failure"); $("#message").html("Please try again after Sometime"); $("#loader").hide(); $('#myModal').modal('show'); } }); } function editLead() { var firstName = $("#editfirstName").val(); var lastName = $("#editlastName").val(); if (lastName == "") { alert("Kindly Enter the Last Name"); return; } var companyName = $("#editcompanyName").val(); var email = $("#editemail").val(); var state = $("#editstate").val(); var phone = $("#editphone").val(); var leadSource = $("#editleadSource").val(); var leadID = $("#editBtn").val(); $.ajax({ url: "/crmData/" + leadID, type: "put", contentType: "application/json", data: JSON.stringify({ "First_Name": firstName, "Last_Name": lastName, "Company": companyName, "Email": email, "State": state, "Phone": phone, "Lead_Source": leadSource }), success: function(data) { debugger; $('#editForm').modal('toggle'); $("#myModalLabel").html("Success"); $("#message").html("Lead Edited Successfully"); $('#myModal').modal('show'); setTimeout(function() { location.reload(); }, 3000); }, error: function(error) { $('#leads').trigger("reset"); $("#myModalLabel").html("Failure"); $("#message").html("Please try again after Sometime"); $("#loader").hide(); $('#myModal').modal('show'); } }); } function getRequiredData(data) { var i; var resp = []; for (i = 0; i < data.length; i++) { var gulp = { "First Name": data[i].First_Name, "Last Name": data[i].Last_Name, "Phone": data[i].Phone, "Email": data[i].Email, "Company": data[i].Company, "Edit": '<center><a href="javascript:showEditPopup(\'' + data[i].id + '\')">✎︎</a></center>', "Delete": '<center><a href="javascript:showDeletePopup(\'' + data[i].id + '\')">🗑︎</a></center>' } resp.push(gulp); } console.log(resp); return resp; } function renderTable(respData) { var col = []; for (var i = 0; i < respData.length; i++) { for (var key in respData[i]) { if (col.indexOf(key) === -1) { col.push(key); } } } var table = document.createElement("table"); table.id = "dataTable"; var tr = table.insertRow(-1); for (var i = 0; i < col.length; i++) { var th = document.createElement("th"); th.innerHTML = col[i]; tr.appendChild(th); } for (var i = 0; i < respData.length; i++) { tr = table.insertRow(-1); for (var j = 0; j < col.length; j++) { var tabCell = tr.insertCell(-1); tabCell.innerHTML = respData[i][col[j]]; } } var divContainer = document.getElementById("showData"); divContainer.innerHTML = ""; divContainer.appendChild(table); } ``` **main.css** ```css #dataTable { font-family: Arial, Helvetica, sans-serif; border-collapse: collapse; width: 100%; } #dataTable td, #dataTable th { border: 1px solid #ddd; padding: 8px; } #dataTable tr:nth-child(even) { background-color: #f2f2f2; } #dataTable tr:hover { background-color: #ddd; } #dataTable th { padding-top: 12px; padding-bottom: 12px; text-align: left; background-color: #007bff; color: white; } .vertical-alignment-helper { display: table; height: 100%; width: 100%; pointer-events: none; } .vertical-align-center { display: table-cell; vertical-align: middle; pointer-events: none; } .modal-content { width: inherit; max-width: inherit; height: inherit; margin: 0 auto; pointer-events: all; } ``` Update the value of the key command as "`node index.js`" in the `app-config.json` file. This is the [startup command](https://docs.catalyst.zoho.com/en/serverless/help/appsail/appsail-configurations/#startup-commands) that is specific for this programming stack and framework. **app-config.json** ```json { "command": "node index.js", "build_path": "/", "stack": "node24", "env_variables": {}, "memory": 256, "scripts": {}, "raw": {}, "catalyst_auth": true, "login_redirect": "/index.html" } ``` > **Note:** Ensure you add your build path in line **3**. Now let's go over the logic and functionality of the application code. * The `login.html` file in the client component enables Catalyst Embedded Authentication login, allowing you to log in using the Zoho social login. * The `index.html` file contains the code for the front-end of the client. It defines a function `navigate()` that enables the connection to the CRM account by passing the required authorization information such as the `Client ID` and the scope. * The backend logic of the application defines the following APIs that perform various actions: - `/generateToken`: Obtains the *Refresh Token* by calling the `getRefreshToken()` function, and inserts it along with the `userID` of the current user in the `Token` table in the *Data Store*. It then redirects to the index page of the client. - `/getUserDetails`: Fetches the user details by calling the `getUserDetails()` function. If there is no record in the table, a JSON response with the `userID` alone is sent. If the record exists in the table, it is sent along with the `userID`. - `/crmData`: This route defines the path of all leads in the Leads module. The Node function executes the HTTP `GET` and `POST` operations to fetch all leads or create a new lead using this route, respectively. - `/crmData/:id`: This route defines the path of a particular lead in the Leads module. The `id` represents the unique ID of the lead in CRM. The function executes the HTTP `PUT` and `DELETE` operations to edit or delete a lead, respectively, using this route. * The backend logic is implemented using the following functions that are called by the APIs: - `getRefreshToken()`: Fetches the *Refresh Token* by passing the `Client ID`, `Client Secret`, *Redirect URI* and other required values as query string parameters. - `getAccessToken()`: Fetches the *Access Token* by passing the *Refresh Token* queried from the Token table using [ZCQL](https://docs.catalyst.zoho.com/en/cloud-scale/help/zcql/introduction/), and other required parameters. The Access Token is fetched each time an operation needs to be performed on the CRM module, such as adding a lead or editing a lead. - `getResponse()`: Passes the *Access Token* fetched to obtain the authorization needed to perform each action on the CRM module. This function is called with each `/crmData` and `/crmData/:id` API to authorize the request. - `getUserDetails()`: Fetches the record from the *Token* table that contains the *Refresh Token*, by passing the `userID`. * `main.js`: It is the JavaScript function in the client component that parses the JSON responses obtained from the function and renders them in the `index.html` page. This function defines the actions for all the UI elements in the client application. For example, `getLeads()` obtains all leads from the function response and renders them in the client, and `showEditPopup()` defines the actions for editing a lead. -------------------------------------------------------------------------------- title: "Test the Application" description: "Build a Lead Manager application hosted on AppSail that connects to Zoho CRM using Catalyst connectors to view, create, update, or delete leads." last_updated: "2026-11-04T10:10:44.000Z" source: "https://docs.catalyst.zoho.com/en/tutorials/leadmanager-appsail/express/test-app/" service: "All Services" related: - CLI Help Documentation (/en/cli/v1/cli-command-reference/) - Serve Resources (/en/cli/v1/serve-resources/introduction/) -------------------------------------------------------------------------------- # Test the Application Before you deploy the application to the remote console, you can [test the application on a local server](https://docs.catalyst.zoho.com/en/cli/v1/serve-resources/introduction) and check if everything works fine using the Catalyst CLI. To serve the Catalyst project locally, execute the following command from your project directory: ```sh catalyst serve ``` The Lead Manager application will now be served at default `port 3000`. The local endpoint URLs of the components are displayed. > **Info:** Every time you access the home page or any of the sub-pages of your client or the function, the CLI will display a live log of the URL accessed, along with the HTTP request method. > **Note:** Ensure you have provided the required **Authorized Redirect URIs** when you [registered the client in Step **4**](https://docs.catalyst.zoho.com/en/tutorials/leadmanager-appsail/express/register-client/). ![catalyst_tutorials_leadmanager_appsail_catalyst_serve](https://catalyst-docs-development.zohostratus.in/images/tutorials/leadmanager-appsail/catalyst_tutorials_leadmanager_appsail_catalyst_serve.webp) You can now open the application in a browser using the local URL of the client displayed in the CLI. You will initially be redirected to the login page. If you configure a sign-up action on your own, you can sign up first, then log in to the application. Alternatively, you can also log in using the *Zoho Social Login*. ![catalyst_tutorials_leadmanager_appsail_serve_1](https://catalyst-docs-development.zohostratus.in/images/tutorials/leadmanager-appsail/catalyst_tutorials_leadmanager_appsail_serve_1.webp) You will be redirected to the permissions page. Accept the permissions requested by the app to access your Zoho account details. You will then be redirected back to the application. Click the **Zoho CRM** icon in this page to connect to Zoho CRM. ![catalyst_tutorials_leadmanager_appsail_serve_crm_icon](https://catalyst-docs-development.zohostratus.in/images/tutorials/leadmanager-appsail/catalyst_tutorials_leadmanager_appsail_serve_crm_icon.webp) You must now **choose the CRM account** that you wish to connect with the Lead Manager app, then click **Submit**. All your existing developer, sandbox, and production accounts will be listed. Click **Accept** to allow the *Lead Manager* app to access your Zoho CRM modules. ![catalyst_tutorials_leadmanager_appsail_serve_accept_action](https://catalyst-docs-development.zohostratus.in/images/tutorials/leadmanager-appsail/catalyst_tutorials_leadmanager_appsail_serve_accept_action.webp) You will be redirected back to the application. You can now create and manage leads in your configured Zoho CRM account directly from this application. To add a lead, enter the details of the lead in the *Add a Lead* section and click **Add Lead**. ![catalyst_tutorials_leadmamanger_appsail_serve_adding_lead](https://catalyst-docs-development.zohostratus.in/images/tutorials/leadmanager-appsail/catalyst_tutorials_leadmamanger_appsail_serve_adding_lead.webp) A confirmation pop-up will display the status every time you add, edit, or delete a lead. ![catalyst_tutorials_leadmanager_appsail_serve_confirmation_popup](https://catalyst-docs-development.zohostratus.in/images/tutorials/leadmanager-appsail/catalyst_tutorials_leadmanager_appsail_serve_confirmation_popup.webp) You can click the **Manage Leads** tab to view all your leads from the *Leads* module. You can **edit** or **delete** any of them by clicking their respective icons in the table. ![catalyst_tutorials_leadmanager_appsail_manage_leads_edit_del](https://catalyst-docs-development.zohostratus.in/images/tutorials/leadmanager-appsail/catalyst_tutorials_leadmanager_appsail_manage_leads_edit_del.webp) You can update a lead’s information, then click **Edit**. ![catalyst_tutorials_leadmanmager_appsail_serve_edit_lead](https://catalyst-docs-development.zohostratus.in/images/tutorials/leadmanager-appsail/catalyst_tutorials_leadmanmager_appsail_serve_edit_lead.webp) If you click the **delete** icon, you must confirm the action in the confirmation pop-up. ![catalyst_tutorials_leadmanager_appsail_serve_delete_lead](https://catalyst-docs-development.zohostratus.in/images/tutorials/leadmanager-appsail/catalyst_tutorials_leadmanager_appsail_serve_delete_lead.webp) You can also check the *Refresh Token* and `userID` values populated in the **Data Store** from your Catalyst console. Navigate to the **Data View** section of the *Token* table to view the record that was added. ![catalyst_tutorials_leadmanager_appsail_serve_datastoreview](https://catalyst-docs-development.zohostratus.in/images/tutorials/leadmanager-appsail/catalyst_tutorials_leadmanager_appsail_serve_datastoreview.webp) If you delete this entry, you will have to authenticate your credentials in the client application and establish a connection to your CRM account again. You can log out of the application by clicking **Logout**. You can quit the `serve` session in your terminal by executing the command to kill a running process, based on your OS. If this setup is working correctly, we can deploy the application to production. -------------------------------------------------------------------------------- title: "Deploy the Application" description: "Build a Lead Manager application hosted on AppSail that connects to Zoho CRM using Catalyst connectors to view, create, update, or delete leads." last_updated: "2026-11-04T10:10:44.000Z" source: "https://docs.catalyst.zoho.com/en/tutorials/leadmanager-appsail/express/deploy-app/" service: "All Services" related: - CLI Help Documentation (/en/cli/v1/cli-command-reference/) - Deploy Resources (/en/cli/v1/deploy-resources/introduction/) - AppSail Help Documentation (/en/serverless/help/appsail/introduction/) -------------------------------------------------------------------------------- # Deploy the Application You can now deploy the application to the remote console. > **Note:** Since you had already logged into the **Lead Manager** application from the local server, a *Refresh Token* would have already been generated. This token will continue to authenticate your access. To [deploy your Catalyst project from the CLI](https://docs.catalyst.zoho.com/en/cli/v1/deploy-resources/introduction), run the following command in your terminal from your project directory: ```sh catalyst deploy ``` The function is deployed first, followed by the client component. The app URLs of the components will be displayed. ![catalyst_tutorials_leadmanmager_appsail_deploy_cli](https://catalyst-docs-development.zohostratus.in/images/tutorials/leadmanager-appsail/catalyst_tutorials_leadmanmager_appsail_deploy_cli.webp) The application is now deployed to the Catalyst console. Now, if you once again navigate to the AppSail component located under the *Serverless* section, you will be able to acquire the application's invocation URL. ![catalyst_tutorials_leadmanager_appsail_deploy_final_2](https://catalyst-docs-development.zohostratus.in/images/tutorials/leadmanager-appsail/catalyst_tutorials_leadmanager_appsail_deploy_final_2.webp) In this section you will also have access to a live dashboard denoting the number of instances the Lead Manager app service has spawned at any given moment. Using this section you will also be able configure and manage the AppSail service. You can find out more about this [here](https://docs.catalyst.zoho.com/en/serverless/help/appsail/console/overview/). You can use the invocation URL in a browser to access the deployed application. Lead Manager application can now be accessed from its [web app URL](https://docs.catalyst.zoho.com/en/cloud-scale/help/web-client-hosting/introduction). ![catalyst_tutorials_leadmanager_appsail_deploy_app_final](https://catalyst-docs-development.zohostratus.in/images/tutorials/leadmanager-appsail/catalyst_tutorials_leadmanager_appsail_deploy_app_final.webp) ### Python -------------------------------------------------------------------------------- title: "Introduction" description: "Build a Lead Manager application hosted on AppSail that connects to Zoho CRM using Catalyst connectors to view, create, update, or delete leads." last_updated: "2026-11-04T10:10:44.000Z" source: "https://docs.catalyst.zoho.com/en/tutorials/leadmanager-appsail/flask/introduction/" service: "All Services" related: - Project Directory Structure (/en/cli/v1/project-directory-structure/introduction/) - Catalyst SDK for AppSail (/en/serverless/help/appsail/implement-catalyst-sdk/) -------------------------------------------------------------------------------- # Lead Manager App Using AppSail ### Introduction This tutorial will help you build a **Python Flask** application web application called **Lead Manager**. This web app will allow you to connect with your [Zoho CRM account](https://www.zoho.com/in/crm/) and enable you to manage leads in your organization. You will be able to access, add, edit, or delete leads in the [Leads module](https://help.zoho.com/portal/en/kb/crm/sales-force-automation/leads) in your CRM account directly from this application. The connection to Zoho CRM is established using [OAuth 2.0 authentication protocol](https://docs.catalyst.zoho.com/en/api/oauth2/overview-and-terminology/#OverviewandTerminology). We will generate an `OAuth Access Token` for the *Lead Manager* application and use it to authorize the connection to access CRM data. The authentication requirement in this tutorial is handled using [Embedded Authentication](https://docs.catalyst.zoho.com/en/cloud-scale/help/authentication/native-catalyst-authentication/embedded-authentication/introduction/). We will also implement a [Catalyst Connector](https://docs.catalyst.zoho.com/en/sdk/java/v1/connectors/connectors/) to manage this access to the CRM account. The connector will refresh the `Access Token` automatically each time it expires using a `Refresh Token`, and will maintain a constant connection between the client and the CRM account. These tokens can be generated after registering the client application in the [Zoho API console](https://api-console.zoho.com/) and obtaining the required credentials. The client application will look like this: ![catalyst_tutorials_leadmanager_appsail_first_look](https://catalyst-docs-development.zohostratus.in/images/tutorials/leadmanager-appsail/catalyst_tutorials_leadmanager_appsail_first_look.webp) The Lead Manager application employs components from the following Catalyst services: - [**Catalyst Serverless**](https://docs.catalyst.zoho.com/en/serverless/): - [AppSail](https://docs.catalyst.zoho.com/en/serverless/help/appsail/introduction/): To host the independent *Python Flask* application. We will be building the front-end of the app as well as the back-end logic, and bundling them together to deploy them on AppSail. - [**Catalyst CloudScale**](https://docs.catalyst.zoho.com/en/cloud-scale/): - [Data Store](https://docs.catalyst.zoho.com/en/cloud-scale/help/data-store/introduction/): To store the `Refresh Token` and [UserID of the Catalyst user](https://docs.catalyst.zoho.com/en/cloud-scale/help/authentication/user-management/users/introduction/) fetched by the function resource. The `Refresh Token` is fetched from this table by the function, whenever a new `Access Token` needs to be generated. - [ZCQL](https://docs.catalyst.zoho.com/en/cloud-scale/help/zcql/introduction/): To fetch data from the *Data Store* through querying. - [Catalyst Authentication](https://docs.catalyst.zoho.com/en/cloud-scale/help/authentication/introduction/): To implement a [Zoho social login](https://docs.catalyst.zoho.com/en/cloud-scale/help/authentication/social-logins/configuring-social-logins/#enable-zoho-social-login) in the client application’s login page, in addition to the standard login option, we will be implementing the [Embedded Authentication type](https://docs.catalyst.zoho.com/en/cloud-scale/help/authentication/native-catalyst-authentication/embedded-authentication/introduction/) in this tutorial. We will use the [Catalyst web console](https://console.catalyst.zoho.com) and the [Catalyst Command Line Interface](https://docs.catalyst.zoho.com/en/cli/v1/cli-command-reference/) (CLI) to build this application. > **Info:** You will be given the code for the files to be included in the function and client components in this tutorial. You will just need to copy the provided code and paste it into the appropriate files as directed. ### Application Architecture The Lead Manager application’s architecture is depicted below: ![catalyst_tutorials_leadmnager_appsail_architecture_dig](https://catalyst-docs-development.zohostratus.in/images/tutorials/leadmanager-appsail/catalyst_tutorials_leadmnager_appsail_architecture_dig.webp) The entire workflow of the application will be explained in more detail when you [code your front end logic](https://docs.catalyst.zoho.com/en/tutorials/leadmanager-appsail/flask/code-app), which we recommend you check out as you follow along the steps. -------------------------------------------------------------------------------- title: "Prerequisites" description: "Build a Lead Manager application hosted on AppSail that connects to Zoho CRM using Catalyst connectors to view, create, update, or delete leads." last_updated: "2026-11-04T10:10:44.000Z" source: "https://docs.catalyst.zoho.com/en/tutorials/leadmanager-appsail/flask/prerequisites/" service: "All Services" related: - Catalyst Tools VS Code Plugin (/en/catalyst-extensions/vs-code-extension/introduction/) -------------------------------------------------------------------------------- # Prerequisites Before you begin building the application, you must have the following prerequisites installed on your system: 1. **Catalyst CLI**: Catalyst CLI contains a host of tools that enable you to initialize, develop, test, and deploy the components of your application from your local machine. We will be working with Catalyst CLI in this tutorial. You must perform these actions: - **Install Catalyst CLI**: Catalyst CLI is installed through NPM. You must therefore have NPM and Node.js installed on your system before you install the CLI. Refer to the [**Install Catalyst CLI help page**](https://docs.catalyst.zoho.com/en/getting-started/installing-catalyst-cli/) for details on the pre-requisites and the steps to install it. - **Login Catalyst CLI**: After you install Catalyst CLI, you must authenticate the CLI with your Catalyst account before using it. Refer to the [**CLI Login help page**](https://docs.catalyst.zoho.com/en/cli/v1/login/login-from-cli/) for the steps to login from Catalyst CLI and the various options available for it. 2. **Zoho CRM Account**: Because the Leads module is available in all editions of Zoho CRM, you can have a configured Zoho CRM account of any edition to establish a connection with the Lead Manager application. If you don’t have a Zoho CRM account, you can sign up for it [here](https://www.zoho.com/in/crm/). 3. **Install Python 3.10**: Catalyst supports Python versions 3.10 to 3.13. This tutorial uses Python 3.10. If you don't have Python 3.10 installed in your system, you can download the package from the [official Python website](https://www.python.org/downloads/). 4. **Any IDE tool for Python and client code development** You can use any IDE to work with the function and the client code. Some popular choices include Visual Studio Code, PyCharm, IDLE, and Sublime Text. Download and install an IDE of your choice in your system. > If you are a Visual Studio Code IDE user, you can install the **Catalyst Tools** extension, and use your IDE itself in place of the CLI. You can find more details about the Catalyst VS Code extension from this [help section](https://docs.catalyst.zoho.com/en/catalyst-extensions/vs-code-extension/introduction/). -------------------------------------------------------------------------------- title: "Create a Project" description: "Build a Lead Manager application hosted on AppSail that connects to Zoho CRM using Catalyst connectors to view, create, update, or delete leads." last_updated: "2026-11-04T10:10:44.000Z" source: "https://docs.catalyst.zoho.com/en/tutorials/leadmanager-appsail/flask/create-project/" service: "All Services" related: - Project Directory Structure (/en/cli/v1/project-directory-structure/introduction/) - Catalyst SDK for AppSail (/en/serverless/help/appsail/implement-catalyst-sdk/) -------------------------------------------------------------------------------- # Create a Project Let’s [create a Catalyst project](https://docs.catalyst.zoho.com/en/getting-started/catalyst-projects/#create-a-catalyst-project) from the Catalyst console. 1. Log in to the [Catalyst console](https://console.catalyst.zoho.com/baas/index) and click **Create New Project**. ![catalyst_tutorials_leadmanager_appsail_create_proj](https://catalyst-docs-development.zohostratus.in/images/tutorials/leadmanager-appsail/catalyst_tutorials_leadmanager_appsail_create_proj.webp) 2. Enter the project’s name as "**LeadManager**" in the pop-up window. ![catalyst_tutorials_leadmanage_appsail_proj_name](https://catalyst-docs-development.zohostratus.in/images/tutorials/leadmanager-appsail/catalyst_tutorials_leadmanage_appsail_proj_name.webp) Your project will be created. You can open the project by clicking **Access Project**. ![catalyst_tutorials_leradmanager_appsail_access_proj](https://catalyst-docs-development.zohostratus.in/images/tutorials/leadmanager-appsail/catalyst_tutorials_leradmanager_appsail_access_proj.webp) -------------------------------------------------------------------------------- title: "Create a Table" description: "Build a Lead Manager application hosted on AppSail that connects to Zoho CRM using Catalyst connectors to view, create, update, or delete leads." last_updated: "2026-11-04T10:10:44.000Z" source: "https://docs.catalyst.zoho.com/en/tutorials/leadmanager-appsail/flask/create-table/" service: "All Services" related: - Data Store (/en/cloud-scale/help/data-store/introduction/) - ZCQL (/en/cloud-scale/help/zcql/introduction) -------------------------------------------------------------------------------- # Create a Table Next, let’s create a table in the **Data Store**. This table is used to store the *Refresh Token* and `userID` values, which are retrieved whenever an *Access Token* needs to be generated. To create a table: 1. Navigate to the [Catalyst CloudScale](https://docs.catalyst.zoho.com/en/cloud-scale/) service section in the console and click **Start Exploring**. ![catalyst_tutorials_leadmanager_appsail_start_explore_cloud_scale](https://catalyst-docs-development.zohostratus.in/images/tutorials/leadmanager-appsail/catalyst_tutorials_leadmanager_appsail_start_explore_cloud_scale.webp) 2. Click **Create a new Table**. ![catalyst_tutorials_lkeadmanager_appsail_create_table](https://catalyst-docs-development.zohostratus.in/images/tutorials/leadmanager-appsail/data-store-create-new-table.webp) 3. Enter the table’s name as "`Token`" and click **Create**. ![catalyst_tutorials_leadmanager_appsail_table_nme](https://catalyst-docs-development.zohostratus.in/images/tutorials/leadmanager-appsail/catalyst_tutorials_leadmanager_appsail_table_nme.webp) > **Note:** Ensure that you enter the name exactly as instructed because the application's code contains the same name. The table will be created. ![catalyst_tutorials_leadmnager_appsail_table_created](https://catalyst-docs-development.zohostratus.in/images/tutorials/leadmanager-appsail/catalyst_tutorials_leadmnager_appsail_table_created.webp) Now, let’s create two columns in the table to store the `userID` and the `refresh token` respectively. > **Info:** You can learn about the various data types supported by Catalyst and the other properties of a column from the [Data Store help documentation](https://docs.catalyst.zoho.com/en/cloud-scale/help/data-store/introduction/). 4. Click **New Column** in the *Schema View* section. ![catalyst_tutorials_leadmanager_appsail_new_clm](https://catalyst-docs-development.zohostratus.in/images/tutorials/leadmanager-appsail/catalyst_tutorials_leadmanager_appsail_new_clm.webp) 5. Enter the column’s name as "refresh_token". Select the data type as Encrypted Text. ![catalyst_tutorials_leadmanager_appsail_clm_name](https://catalyst-docs-development.zohostratus.in/images/tutorials/leadmanager-appsail/catalyst_tutorials_leadmanager_appsail_clm_name.webp) 6. Click **Create**. ![catalyst_tutorials_leadmanager_appsail_clm_1_created](https://catalyst-docs-development.zohostratus.in/images/tutorials/leadmanager-appsail/catalyst_tutorials_leadmanager_appsail_clm_1_created.webp) 7. Now click the **New Column** button again to create the second column. Name it "`userId`", and select **BigInt** as its data type. ![catalyst_tutorials_leadmanager_appsail_clm_2](https://catalyst-docs-development.zohostratus.in/images/tutorials/leadmanager-appsail/catalyst_tutorials_leadmanager_appsail_clm_2.webp) 8. Click **Create**. ![catalyst_tutorials_leadmanager_appsail_clms_created](https://catalyst-docs-development.zohostratus.in/images/tutorials/leadmanager-appsail/catalyst_tutorials_leadmanager_appsail_clms_created.webp) The required columns have been created. ### Configure Scopes and Permissions To allow any user of the Lead Manager application to view or manage leads from the client application, you must enable an additional [table permission](https://docs.catalyst.zoho.com/en/cloud-scale/help/data-store/scopes-and-permissions) that will allow the user to fetch and store new *Refresh Tokens*, if needed. To enable the required permissions: 1. Click the **Scopes and Permissions** tab. ![catalyst_tutorials_leadmanager_appsail_tables_permissions](https://catalyst-docs-development.zohostratus.in/images/tutorials/leadmanager-appsail/catalyst_tutorials_leadmanager_appsail_tables_permissions.webp) 2. Enable the **Insert** permission for the **App User** role under the *Table Permissions* section. Ensure you do not change any other permission setting. ![catalyst_tutorials_leadmanager_appsail_permission_aet](https://catalyst-docs-development.zohostratus.in/images/tutorials/leadmanager-appsail/catalyst_tutorials_leadmanager_appsail_permission_aet.webp) The Data Store component is now configured for the application. -------------------------------------------------------------------------------- title: "Enable Zoho Social Login" description: "Build a Lead Manager application hosted on AppSail that connects to Zoho CRM using Catalyst connectors to view, create, update, or delete leads." last_updated: "2026-11-04T10:10:44.000Z" source: "https://docs.catalyst.zoho.com/en/tutorials/leadmanager-appsail/flask/enable-auth/" service: "All Services" related: - Authentication (/en/cloud-scale/help/authentication/introduction/) - Embedded Authentication (/en/cloud-scale/help/authentication/native-catalyst-authentication/embedded-authentication/introduction/) - Enable Social Login (/en/cloud-scale/help/authentication/social-logins/configuring-social-logins/) - Public Sign Up (/en/cloud-scale/help/authentication/public-signup/) -------------------------------------------------------------------------------- # Enable Zoho Social Login Using Embedded Authentication The Lead Manager application contains a login page where you must provide valid credentials to access your Zoho CRM account. You need to implement a signup functionality for this application. The functionality should also provide the option to login to the account using [Zoho Social Logins](https://docs.catalyst.zoho.com/en/cloud-scale/help/authentication/social-logins/configuring-social-logins/#enable-zoho-social-login). We will be implementing the [Embedded Authentication type](https://docs.catalyst.zoho.com/en/cloud-scale/help/authentication/native-catalyst-authentication/embedded-authentication/introduction/) to complete this requirement. To configure the Zoho social login for the Lead Manager application from the console: 1. Navigate to the **Authentication** component under the *Security & Identity* section, and click **Setup** in the **Native Catalyst Authentication** tab. ![catalyst_tutorials_leadmanager_appsail_native_auth_setup](https://catalyst-docs-development.zohostratus.in/images/tutorials/leadmanager-appsail/lead-manager-appsail-authentication.webp) 2. Select **Embedded Authentication**, and click **Next**. ![catalyst_tutorials_leadmanager_appsail_embed_sel_auth](https://catalyst-docs-development.zohostratus.in/images/tutorials/leadmanager-appsail/catalyst_tutorials_leadmanager_appsail_embed_sel_auth.webp) 3. You can copy and use the scripts provided in the **Configuration** step to setup your login functionality. However, since we are only going to be using *Zoho social login*, you need to enable the **Public Signup toggle** first. ![catalyst_tutorials_leadmanager_appsail_enable_public_signup](https://catalyst-docs-development.zohostratus.in/images/tutorials/leadmanager-appsail/catalyst_tutorials_leadmanager_appsail_enable_public_signup.webp) 4. Click **Yes, Proceed** in the dialog box after going through it. ![catalyst_tutorials_leadmanager_appsail_public_sign_popup](https://catalyst-docs-development.zohostratus.in/images/tutorials/leadmanager-appsail/catalyst_tutorials_leadmanager_appsail_public_sign_popup.webp) 5. Click the **Zoho** button to enable the social login. ![catalyst_tutorials_leadmanager_appsail_start_social](https://catalyst-docs-development.zohostratus.in/images/tutorials/leadmanager-appsail/catalyst_tutorials_leadmanager_appsail_start_social.webp) 6. Provide "`LeadManagerApp`" as the *Client Name* and click **Enable**. ![catalyst_tutorials_leadmanager_appsail_zoho_enabling_client](https://catalyst-docs-development.zohostratus.in/images/tutorials/leadmanager-appsail/catalyst_tutorials_leadmanager_appsail_zoho_enabling_client.webp) 7. Click **Next**. ![catalyst_tutorials_leadmanager_appsail_social_enabled_zoho_on](https://catalyst-docs-development.zohostratus.in/images/tutorials/leadmanager-appsail/catalyst_tutorials_leadmanager_appsail_social_enabled_zoho_on.webp) 8. We will not be configuring any additional authentication settings for our application. Click **Finish**. ![catalyst_tutorials_leadmanager_appsail_skip_step_fin](https://catalyst-docs-development.zohostratus.in/images/tutorials/leadmanager-appsail/catalyst_tutorials_leadmanager_appsail_skip_step_fin.webp) **Embedded Authentication** has been enabled for the application, and users can now login to the app using the **Zoho social login**. ![catalyst_tutorials_leadmanager_appsail_auth_zoho_enabled_cmpltd](https://catalyst-docs-development.zohostratus.in/images/tutorials/leadmanager-appsail/catalyst_tutorials_leadmanager_appsail_auth_zoho_enabled_cmpltd.webp) -------------------------------------------------------------------------------- title: "Initialize the Project" description: "Build a Lead Manager application hosted on AppSail that connects to Zoho CRM using Catalyst connectors to view, create, update, or delete leads." last_updated: "2026-11-04T10:10:44.000Z" source: "https://docs.catalyst.zoho.com/en/tutorials/leadmanager-appsail/flask/init-project/" service: "All Services" related: - Catalyst CLI (/en/cli/v1/cli-command-reference/) - Initialize Resources (/en/cli/v1/initialize-resources/introduction/) - Catalyst AppSail Help (/en/serverless/help/appsail/introduction/) - Project Directory (/en/cli/v1/project-directory-structure/introduction/) -------------------------------------------------------------------------------- # Initialize the Project You can now begin working on your Catalyst project from the CLI. The first step is to initialize the project in an empty directory. This will be the home directory of your project, and all of the project files will be saved in it. You can learn more about this from the [Project Directory Structure help page](https://docs.catalyst.zoho.com/en/cli/v1/project-directory-structure/introduction/). You can learn about initializing a project in detail from the [CLI help documentation](https://docs.catalyst.zoho.com/en/cli/v1/initialize-resources/introduction/). For this application, you will be initializing the [AppSail](https://docs.catalyst.zoho.com/en/serverless/help/appsail/introduction/) component alone. The *AppSail* component will be initialized in the **Node.js** programming stack. 1. Create a folder for the project on your local machine and navigate to it from the terminal. 2. Initialize a project by executing the following command from that directory: ```sh catalyst init ``` 3. Navigate using the **arrow keys** and select your preferred portal and click **Enter**. If you have no other organizations associated with the account, then the default will be selected automatically. ![catalyst_tutorials_leadmanager_appsail_catalyst_init](https://catalyst-docs-development.zohostratus.in/images/tutorials/leadmanager-appsail/catalyst_tutorials_leadmanager_appsail_catalyst_init.webp) > **Info:** You can find out more about Catalyst’s multi-org portal feature in this [help document](https://docs.catalyst.zoho.com/en/getting-started/catalyst-organizations/#access-the-multi-org-portal). 4. The CLI will now ask you to associate a Catalyst project with the directory. Associate it with the project that we created earlier from the console. Select **LeadManager** from the list and click **Enter**. ![catalyst_tutorials_leadmanager_appsail_cli_proj_sel](https://catalyst-docs-development.zohostratus.in/images/tutorials/leadmanager-appsail/catalyst_tutorials_leadmanager_appsail_cli_proj_sel.webp) 5. Select **AppSail** using the space bar, then click **Enter** to initialize. ![catalyst_tutorials_leadmanager_appsail_sel_appsail](https://catalyst-docs-development.zohostratus.in/images/tutorials/leadmanager-appsail/catalyst_tutorials_leadmanager_appsail_sel_appsail.webp) 6. The CLI will prompt you to choose between [Catalyst-Managed Runtime](https://docs.catalyst.zoho.com/en/serverless/help/appsail/catalyst-managed-runtimes/key-concepts/) and [Docker Image](https://docs.catalyst.zoho.com/en/serverless/help/appsail/custom-runtimes/container-registry-services/). Because you are creating this project from one of the Catalyst-Managed Runtime, select **Catalyst-Managed Runtime** and click **Enter**. ![catalyst_alien_city_cli_appsail_setup_start](https://catalyst-docs-development.zohostratus.in/images/tutorials/alien-city-appsail-express/aliencity-appsail-selection.webp) 7. The CLI will initiate the *AppSail* service. - As you are creating your own project, enter "`n`" and click **Enter** for the prompt asking if you wish to get started with a list of recommended projects. ![catalyst_tutorials_leadmanager_appsail_appsail_start_cli](https://catalyst-docs-development.zohostratus.in/images/tutorials/leadmanager-appsail/catalyst_tutorials_leadmanager_appsail_appsail_start_cli.webp) - Enter "`Y`" in the prompt to initialize the *AppSail* service in your current directory. ![catalyst_tutorials_leadmanager_appsail_appsail_process_cli](https://catalyst-docs-development.zohostratus.in/images/tutorials/leadmanager-appsail/catalyst_tutorials_leadmanager_appsail_appsail_process_cli.webp) 8. Enter "`LeadManagerApp`" as the name of your AppSail service, and enter your project directory path as the build path of your AppSail service. ![catalyst_tutorials_leadmanager_appsail_springboot_appsail_nme](https://catalyst-docs-development.zohostratus.in/images/tutorials/leadmanager-appsail/catalyst_tutorials_leadmanager_appsail_springboot_appsail_nme.webp) 9. Choose the latest runtime of **Python** as the programming stack, and click **Enter**. ![catalyst_tutorials_leadmanager_appsail_python_py_choice](https://catalyst-docs-development.zohostratus.in/images/tutorials/leadmanager-appsail/catalyst_tutorials_leadmanager_appsail_python_py_choice.webp) The AppSail service has been initialized for your Lead Manager application. ![catalyst_tutorials_leadmanager_appsail_python_appsail_init_cmpltd](https://catalyst-docs-development.zohostratus.in/images/tutorials/leadmanager-appsail/catalyst_tutorials_leadmanager_appsail_python_appsail_init_cmpltd.webp) The directory will be created in the standard structure, and it will contain the [`app-config.json`](https://docs.catalyst.zoho.com/en/serverless/help/appsail/catalyst-managed-runtimes/key-concepts/#the-app-configjson-file) file which includes the configuration of your AppSail service , along with the standard project configuration files such as the [`catalyst.json`](https://docs.catalyst.zoho.com/en/cli/v1/project-directory-structure/catalyst-json/) file and a hidden `.catalystrc` file. This is the structure of the **LeadManager** project’s directory initialized with the *AppSail* service. ![catalyst_tutorials_leadmanager_appsail_python_pre_setup](https://catalyst-docs-development.zohostratus.in/images/tutorials/leadmanager-appsail/catalyst_tutorials_leadmanager_appsail_python_pre_setup.webp) ### Deploy the Application You need to deploy the application to the console to fetch the required **application URL**. We need this URL when we register the client in the [Zoho API console](https://api-console.zoho.com/) to get the required `Client ID` and `Client Secret` values. > **Info:** We will be re-deploying the application service once we have completed coding and adding the `Client ID` and `Client Secret` values to the application. Enter the following CLI command to deploy the application: ```sh catalyst deploy ``` Now, to acquire the application URL: 1. Navigate to the [AppSail](https://docs.catalyst.zoho.com/en/serverless/help/appsail/introduction/) component present under the *COMPUTE* section of the **Catalyst Serverless** section of the console. ![catalyst_tutorials_leadmanager_appsail_python_service_listing](https://catalyst-docs-development.zohostratus.in/images/tutorials/leadmanager-appsail/catalyst_tutorials_leadmanager_appsail_python_service_listing.webp) You will be able to view that your application has been deployed as an AppSail service. 2. Now click your AppSail service, and you will be able to view the application URL. ![catalyst_tutorials_leadmanager_appsail_python_appsail_url](https://catalyst-docs-development.zohostratus.in/images/tutorials/leadmanager-appsail/catalyst_tutorials_leadmanager_appsail_python_appsail_url.webp) > **Info:** We will discuss more about the `catalyst deploy` CLI command and the AppSail service, after we re-deploy the application, towards the end of the tutorial. ### Create Additional Folders & Files You need to create two folders in the root directory to store your client code: * `static`: Will contain the JS and CSS scripts required to complete the application * `templates`: Will contain the HTML code of the app You also need to execute the following command to create the "**main.py**" code file. ```sh touch main.py ``` This file will be used to store your backend code. This is the current structure of the LeadManager project’s directory: ![catalyst_tutorials_leadmanager_appsail_python_current_dir](https://catalyst-docs-development.zohostratus.in/images/tutorials/leadmanager-appsail/catalyst_tutorials_leadmanager_appsail_python_current_dir.webp) -------------------------------------------------------------------------------- title: "Register the Client" description: "Build a Lead Manager application hosted on AppSail that connects to Zoho CRM using Catalyst connectors to view, create, update, or delete leads." last_updated: "2026-11-04T10:10:44.000Z" source: "https://docs.catalyst.zoho.com/en/tutorials/leadmanager-appsail/flask/register-client/" service: "All Services" related: - Catalyst Authentication (/en/cloud-scale/help/authentication/introduction/) - Social Logins (/en/cloud-scale/help/authentication/social-logins/introduction/) -------------------------------------------------------------------------------- # Register the Client We must now register the client application in the [Zoho API console](https://api-console.zoho.com/) to generate the following credentials: - `Client ID`: The unique key generated for a registered client - `Client Secret`: The secret value generated for a registered client’s `Client ID` The `Client ID` and `Client Secret` are added to the backend and frontend code in several places. These values are necessary to generate the `Access Token` and `Refresh Token` initially, and later to refresh the `Access Token` using the `Refresh Token`. To register the client application in the Zoho API console: 1. Visit the [Zoho API Console](https://api-console.zoho.com/) and click **Get Started**. ![catalyst_tutorials_lead_manager_appsail_api_console_start](https://catalyst-docs-development.zohostratus.in/images/tutorials/leadmanager-appsail/catalyst_tutorials_lead_manager_appsail_api_console_start.webp) 2. Select **Server-based Applications** as the client type. ![catalyst_tutorials_leadmnager_appsail_appsail_api_console_client_sel](https://catalyst-docs-development.zohostratus.in/images/tutorials/leadmanager-appsail/catalyst_tutorials_leadmnager_appsail_appsail_api_console_client_sel.webp) 3. Enter "`LeadManagerApp"` as the **Client Name**. ![catalyst_tutorials_leadmanager_appsail_api_console_client_nme](https://catalyst-docs-development.zohostratus.in/images/tutorials/leadmanager-appsail/catalyst_tutorials_leadmanager_appsail_api_console_client_nme.webp) 4. Provide the other details in the following format: - Homepage URL: **AppSail application URL** - Authorized Redirect URIs: **AppSail applicationURL/generateToken** ![catalyst_tutorials_leadmanager_appsail_adding_first_api_console_uri](https://catalyst-docs-development.zohostratus.in/images/tutorials/leadmanager-appsail/catalyst_tutorials_leadmanager_appsail_adding_first_api_console_uri.webp) Replace {**AppSail applicationURL**} with the application URL you acquired when you deployed your project earlier in this [step](https://docs.catalyst.zoho.com/en/tutorials/leadmanager-appsail/flask/init-project/#deploy-the-application). 5. You will need to add another **Authorized Redirect URI** for the client. We will serve the app through a **localhost** to test it after configuring the code. Because this will be redirected to a local domain, we must add that as another authorized redirect URI. ![catalyst_tutorials_leadmanager_appsail_apiconsole_register_client_uris](https://catalyst-docs-development.zohostratus.in/images/tutorials/leadmanager-appsail/catalyst_tutorials_leadmanager_appsail_apiconsole_register_client_uris.webp) > **Info:** When you serve an application locally from the CLI, it is hosted from `port 3000` by default, unless the port is otherwise occupied. So ensure you are adding the domain accordingly. 6. Click **Create**. ![catalyst_tutorials_leadmanager_appsail_client_id_client_scrt](https://catalyst-docs-development.zohostratus.in/images/tutorials/leadmanager-appsail/catalyst_tutorials_leadmanager_appsail_client_id_client_scrt.webp) The API console will generate and display the `Client ID` and `Client Secret` values for the registered client. You will need to copy these values and paste them into the frontend and backend code of your application. We will discuss this in the following sections. -------------------------------------------------------------------------------- title: "Install the Dependencies" description: "Build a Lead Manager application hosted on AppSail that connects to Zoho CRM using Catalyst connectors to view, create, update, or delete leads." last_updated: "2026-11-04T10:10:44.000Z" source: "https://docs.catalyst.zoho.com/en/tutorials/leadmanager-appsail/flask/init-dependencies/" service: "All Services" related: - Python SDK (/en/sdk/python/v1/overview/) -------------------------------------------------------------------------------- # Install Flask and the Required Dependencies in a Virtual Environment To employ this Python Flask app, we will need to create a virtual environment in your system. You can create a virtual environment by executing the following commands in your terminal. **For Linux/Mac Users** ```sh python3.10 -m venv myenv ``` ```sh source myenv/bin/activate ``` **For Windows Users** ```sh python3.10 -m venv myenv ``` ```sh myenv\Scripts\activate ``` ![catalyst_tutorials_leadmanager_appsail_python_virtual_env](https://catalyst-docs-development.zohostratus.in/images/tutorials/leadmanager-appsail/catalyst_tutorials_leadmanager_appsail_python_virtual_env.webp) Now in the virtual environment you have just created, execute the following CLI command to install **Flask** and the required [Catalyst SDK](https://docs.catalyst.zoho.com/en/sdk/python/v1/overview/). ```sh python3 -m pip install zcatalyst-sdk ``` ![catalyst_tutorials_leadmanager_appsail_python_pip_install](https://catalyst-docs-development.zohostratus.in/images/tutorials/leadmanager-appsail/catalyst_tutorials_leadmanager_appsail_python_pip_install.webp) > **Note:** You can find out more about Catalyst SDK for AppSail from this [help documentation](https://docs.catalyst.zoho.com/en/serverless/help/appsail/implement-catalyst-sdk/). After you install the packages, your project directory will appear like this: ![catalyst_tutorials_leadmanager_appsail_dir_view_post_pip](https://catalyst-docs-development.zohostratus.in/images/tutorials/leadmanager-appsail/catalyst_tutorials_leadmanager_appsail_dir_view_post_pip.webp) All the required packages for your Python Flask application have been installed. -------------------------------------------------------------------------------- title: "Code Your Application" description: "Build a Lead Manager application hosted on AppSail that connects to Zoho CRM using Catalyst connectors to view, create, update, or delete leads." last_updated: "2026-11-04T10:10:44.000Z" source: "https://docs.catalyst.zoho.com/en/tutorials/leadmanager-appsail/flask/code-app/" service: "All Services" related: - Web SDK for Authentication (/en/sdk/web/v4/cloud-scale/authentication/get-auth-instance/) -------------------------------------------------------------------------------- # Code Your Application Let’s begin coding the application. The backend logic of your application will be coded in the `main.py` file present in the `LeadManager/` directory. The front end of your code will be stored in the following manner: * In the `LeadManager/templates/` directory, create the following files: - `index.html`: Contains the HTML code for the front-end of the application. - `login.html`: Contains the HTML code to enable [Embedded Authentication](https://docs.catalyst.zoho.com/en/cloud-scale/help/authentication/native-catalyst-authentication/embedded-authentication/introduction/) for the application. * In the `LeadManager/static/` directory, create the following files: - `main.css`: Contains the styling elements required for the app - `main.js`: Contains the JavaScript code that connects the front-end and backend. This is the final folder structure of the LeadManager project: ![catalyst_tutorials_leadmanager_appsail_flask_final_dir](https://catalyst-docs-development.zohostratus.in/images/tutorials/leadmanager-appsail/catalyst_tutorials_leadmanager_appsail_flask_final_dir.webp) You will be coding the `main.py`, `index.html`, `login.html`, `main.css`, and `main.js` files. You will also be updating the `app-config.json` file. > **Note:** Please go through the code in this section to make sure you fully understand it. Copy the code below and paste it into the respective files of your project using an IDE and save the files. **main.py** ```python import sys sys.path.insert(0, './myenv/lib/python3.9/site-packages') from flask import Flask, request, jsonify, make_response, redirect import os import json import logging import requests from flask.templating import render_template import zcatalyst_sdk app = Flask(__name__, static_url_path='/', static_folder='static', template_folder='templates') API_BASE = "https://www.zohoapis.com/crm/v2" LEADS_URL = f"{API_BASE}/Leads" TOKEN_URL = "https://accounts.zoho.com/oauth/v2/token" # Load credentials from the environment. Do not hardcode secrets in source. CLIENT_ID = os.environ.get('ZOHO_CLIENT_ID') CLIENT_SECRET = os.environ.get('ZOHO_CLIENT_SECRET') logger = logging.getLogger() def is_valid_record_id(record_id): return isinstance(record_id, str) and record_id.isdigit() @app.route('/') def index(): return render_template('index.html') @app.route('/index.html') def indexhtml(): return render_template('index.html') @app.route('/login.html') def login(): return render_template('login.html') @app.route('/generateToken', methods=['GET']) def generateToken(): try: catalyst_app = zcatalyst_sdk.initialize(req=request) user_management_service = catalyst_app.authentication() datastore = catalyst_app.datastore() code = request.args.get('code') user_details = user_management_service.get_current_user() user_id = user_details["user_id"] is_local = os.getenv('X_ZOHO_CATALYST_IS_LOCAL') == 'true' protocol = 'http' if is_local else 'https' host = request.headers['host'] if is_local else request.headers['host'].split(':')[0] domain = f"{protocol}://{host}" logger.info(f'domain:{domain}') tab = datastore.table('2113000000078743') # replace with your Table ID refresh_token = getRefreshToken(code, domain) logger.info('refresh_token retrieved successfully') # never log the token value row = {"refresh_token": refresh_token, "userId": user_id} tab.insert_row(row) redirect_uri = f"{domain}/index.html" return redirect(redirect_uri) except Exception as err: logger.error(f'Error on generateToken: {err}') return make_response({ "message": "Internal Server Error. Please try again after sometime." }, 500) @app.route('/getUserDetails', methods=['GET']) def userDetails(): try: catalyst_app = zcatalyst_sdk.initialize(req=request) user_details = getUserId(catalyst_app) if len(user_details) != 0: user_id = user_details[0]["Token"]["userId"] else: user_id = None return make_response({"userId": user_id}, 200) except Exception as err: logger.error(f'Error on getUserDetails: {err}') return make_response({ "message": "Internal Server Error in getting user details. Please try again after sometime." }, 500) @app.route('/crmData', methods=['GET']) def crmData(): try: catalyst_app = zcatalyst_sdk.initialize(req=request) user_details = getUserId(catalyst_app) access_token = getAccessToken(user_details, catalyst_app) headers = { 'Authorization': f'Zoho-oauthtoken {access_token}', "Content-Type": "application/json" } api_response = requests.get(LEADS_URL, headers=headers) return make_response(jsonify(api_response.json()), 200) except Exception as err: logger.error(err) return make_response({ "message": "Internal Server Error. Please try again after sometime." }, 500) @app.route('/crmData', methods=['POST']) def postcrmData(): try: catalyst_app = zcatalyst_sdk.initialize(req=request) data = {"data": [json.loads(request.data)]} user_details = getUserId(catalyst_app) access_token = getAccessToken(user_details, catalyst_app) headers = { 'Authorization': f'Zoho-oauthtoken {access_token}', "Content-Type": "application/json" } api_response = requests.post(LEADS_URL, headers=headers, json=data) if api_response.status_code in (200, 201): return make_response(api_response.json(), 200) logger.error(api_response.json()) return make_response(api_response.json(), 500) except Exception as err: logger.error(err) return make_response({ "message": "Internal Server Error. Please try again after sometime." }, 500) @app.route('/crmData/<id>', methods=['GET']) def getCRMData(id): if not is_valid_record_id(id): return make_response({"message": "Invalid record ID"}, 400) try: catalyst_app = zcatalyst_sdk.initialize(req=request) user_details = getUserId(catalyst_app) access_token = getAccessToken(user_details, catalyst_app) headers = { 'Authorization': f'Zoho-oauthtoken {access_token}', "Content-Type": "application/json" } api_response = requests.get(f"{LEADS_URL}/{id}", headers=headers) return make_response(api_response.json(), 200) except Exception as err: logger.error(err) return make_response({ "message": "Internal Server Error. Please try again after sometime." }, 500) @app.route('/crmData/<id>', methods=['PUT']) def putcrmData(id): if not is_valid_record_id(id): return make_response({"message": "Invalid record ID"}, 400) try: catalyst_app = zcatalyst_sdk.initialize(req=request) req_data = request.get_json() if req_data is None: return make_response({"message": "Update data not found"}, 400) data = {"data": [req_data]} user_details = getUserId(catalyst_app) access_token = getAccessToken(user_details, catalyst_app) headers = { 'Authorization': f'Zoho-oauthtoken {access_token}', "Content-Type": "application/json" } api_response = requests.put(f"{LEADS_URL}/{id}", headers=headers, json=data) return make_response(api_response.json(), 200) except Exception as err: logger.error(err) return make_response({ "message": "Internal Server Error. Please try again after sometime." }, 500) @app.route('/crmData/<id>', methods=['DELETE']) def deletelead(id): if not is_valid_record_id(id): return make_response({"message": "Invalid record ID"}, 400) try: catalyst_app = zcatalyst_sdk.initialize(req=request) user_details = getUserId(catalyst_app) access_token = getAccessToken(user_details, catalyst_app) headers = { 'Authorization': f'Zoho-oauthtoken {access_token}', "Content-Type": "application/json" } api_response = requests.delete(f"{LEADS_URL}/{id}", headers=headers) return make_response(api_response.json(), 200) except Exception as err: logger.error(err) return make_response({ "message": "Internal Server Error. Please try again after sometime." }, 500) def getRefreshToken(code, domain): if not code: raise ValueError("Authorization 'code' is missing from the request") if not CLIENT_ID or not CLIENT_SECRET: raise ValueError("ZOHO_CLIENT_ID / ZOHO_CLIENT_SECRET environment variables are not set") params = { 'code': code, 'client_id': CLIENT_ID, 'client_secret': CLIENT_SECRET, 'grant_type': 'authorization_code', 'redirect_uri': f"{domain}/generateToken" } response = requests.post(TOKEN_URL, params=params) try: data = response.json() except ValueError: logger.error(f'Token endpoint returned non-JSON (status {response.status_code}): {response.text}') raise if 'refresh_token' not in data: logger.error(f'Token exchange failed: {data}') raise ValueError(data.get('error', 'refresh_token not returned by token endpoint')) return data['refresh_token'] def getAccessToken(userdetails, catalyst_app): user_id = userdetails[0]['Token']['userId'] zcql = catalyst_app.zcql() query = f"Select refresh_token FROM Token where userId={user_id}" response = zcql.execute_query(query) refresh_token = response[0]['Token']['refresh_token'] args = { "client_id": CLIENT_ID, "client_secret": CLIENT_SECRET, "auth_url": TOKEN_URL, "refresh_url": TOKEN_URL, "refresh_token": refresh_token, } connector_service = catalyst_app.connection({user_id: args}) access_token = connector_service.get_connector(user_id).get_access_token() return access_token def getUserId(catalyst_app): user = catalyst_app.authentication().get_current_user() user_id = user["user_id"] return catalyst_app.zcql().execute_query( f"Select * from Token where userId = {user_id}" ) if __name__ == '__main__': port = int(os.environ.get('X_ZOHO_CATALYST_LISTEN_PORT', 9000)) app.run(host='0.0.0.0', port=port) ``` > **Note:** * The `Client ID` and `Client Secret` values obtained after you registered the client in the Zoho API console are read from the `ZOHO_CLIENT_ID` and `ZOHO_CLIENT_SECRET` environment variables. Set these as environment variables for your AppSail application in the [Catalyst console](https://docs.catalyst.zoho.com/en/serverless/help/appsail/appsail-configurations/#environment-variables), instead of hardcoding them in the source file. * Add the `Table ID` of the table you created in the *Data Store* in line **57**. **index.html** ```xml <!DOCTYPE html> <html> <head> <meta charset="utf-8" /> <meta http-equiv="X-UA-Compatible" content="IE=edge"> <title>CRM Lead Manager</title> <meta name="viewport" content="width=device-width, initial-scale=1"> <link rel="stylesheet" type="text/css" media="screen" href="main.css" /> <link rel="stylesheet" href="https://stackpath.bootstrapcdn.com/bootstrap/4.3.1/css/bootstrap.min.css" integrity="sha384-ggOyR0iXCbMQv3Xipma34MD+dH/1fQ784/j6cY/iJTQUOhcWr7x9JvoRxT2MZw1T" crossorigin="anonymous"> <link href="https://cdnjs.cloudflare.com/ajax/libs/twitter-bootstrap/4.5.0/css/bootstrap.min.css" rel="stylesheet"> <link href="https://cdnjs.cloudflare.com/ajax/libs/mdbootstrap/4.19.1/css/mdb.min.css" rel="stylesheet"> <script src="https://code.jquery.com/jquery-3.4.1.min.js" integrity="sha256-CSXorXvZcTkaix6Yvo6HppcZGetbYMGWSFlBw8HfCJo=" crossorigin="anonymous"> </script> <script src="https://cdnjs.cloudflare.com/ajax/libs/popper.js/1.14.7/umd/popper.min.js" integrity="sha384-UO2eT0CpHqdSJQ6hJty5KVphtPhzWj9WO1clHTMGa3JDZwrnQq4sF86dIHNDz0W1" crossorigin="anonymous"> </script> <script src="https://stackpath.bootstrapcdn.com/bootstrap/4.3.1/js/bootstrap.min.js" integrity="sha384-JjSmVgyd0p3pXB1rRibZUAYoIIy6OrQ6VrjIEaFf/nJGzIxFDsf4x0xIM+B07jRM" crossorigin="anonymous"> </script> <script src="main.js"> </script> <script src="https://static.zohocdn.com/catalyst/sdk/js/4.6.2/catalystWebSDK.js"> </script> <script src="/__catalyst/sdk/init.js"> </script> <link href="//maxcdn.bootstrapcdn.com/bootstrap/4.0.0/css/bootstrap.min.css" rel="stylesheet" id="bootstrap-css"> <style> #connect { height: 260px; width: 500px; position: absolute; top: 0; bottom: 0; left: 0; right: 0; margin: auto; } </style> </head> <body onload="getUserDetails()"> <br> <center> <h1>CRM Lead Manager</h1> <br> </center> <div id="connect"> <center> <p>Click here to connect to Zoho CRM</p> <button onclick='navigate()'> <img src="https://www.zohowebstatic.com/sites/default/files/styles/product-home-page/public/icon-crm_blue.png" style="width: 180px;height: 130px;"> </button> </center> </div> <div style="width: 200px;float: right; margin-right: 30px;"> <label for="logoutbtn" class="btn btn-success btn-block btn-outlined">Logout</label> <button id="logoutbtn" onclick="logout()" style="display: none;"> </button> </div> <div id="main"> <div class="container"> <ul class="nav nav-tabs nav-justified mb-3" id="myTab" role="tablist"> <li class="nav-item"> <a class="nav-link active" id="check-tab" data-toggle="tab" href="#check" role="tab" aria-controls="check" aria-selected="true">Add a Lead</a> </li> <li class="nav-item"> <a class="nav-link" id="report-tab" data-toggle="tab" href="#report" onclick="getLeads()" role="tab" aria-controls="report" aria-selected="false">Manage Leads</a> </li> </ul> <br> <div class="tab-content" id="myTabContent"> <div class="tab-pane fade show active" id="check" role="tabpanel" aria-labelledby="check-tab"> <div class="tab-pane fade show active" id="ex3-tabs-1" role="tabpanel" aria-labelledby="ex3-tab-1"> <div style="margin-left: 100px; margin-right:100px;"> <form id="leads"> <!-- 2 column grid layout with text inputs for the first and last names --> <div class="row mb-4"> <div class="col"> <div class="form-outline"> <label class="form-label" for="form6Example1">First name</label> <input type="text" id="firstName" class="form-control" /> </div> </div> <div class="col"> <div class="form-outline"> <label class="form-label" for="form6Example2">Last name</label> <input type="text" id="lastName" class="form-control" required /> </div> </div> </div> <!-- Text input --> <div class="form-outline mb-4"> <label class="form-label" for="form6Example3">Company name</label> <input type="text" id="companyName" class="form-control" /> </div> <!-- Email input --> <div class="form-outline mb-4"> <label class="form-label" for="form6Example5">Email</label> <input type="email" id="email" class="form-control" /> </div> <!-- Text input --> <div class="form-outline mb-4"> <label class="form-label" for="form6Example4">State</label> <input type="text" id="state" class="form-control" /> </div> <!-- Number input --> <div class="form-outline mb-4"> <label class="form-label" for="form6Example6">Phone</label> <input type="number" id="phone" class="form-control" /> </div> <!-- Number input --> <div class="form-outline mb-4"> <label class="form-label" for="form6Example6">Lead Source</label> <input type="text" id="leadSource" class="form-control" /> </div> <!-- Submit button --> <center> <button type="submit" onclick="createLead();return false;" class="btn btn-primary btn-block mb-4" style="width: 100px;">Add Lead</button> <div id="loader" style="display: none;"> <div class="spinner-border" role="status"> <span class="sr-only">Loading...</span> </div> </div> </center> </form> </div> </div> </div> <div class="tab-pane fade" id="report" role="tabpanel" aria-labelledby="report-tab"> <center> <div id="loaders" style="display: none; padding-top: 200px;"> <div class="spinner-border" role="status"> <span class="sr-only">Loading...</span> </div> </div> </center> <p id="showData"> </p> </div> </div> </div> <!-- Modal --> <div class="modal fade" id="myModal" tabindex="-1" role="dialog" aria-labelledby="myModalLabel" aria-hidden="true"> <div class="vertical-alignment-helper"> <div class="modal-dialog vertical-align-center"> <div class="modal-content"> <center> <h4 class="modal-title" id="myModalLabel"> </h4> <div class="modal-body" id="message"> </div> <div class="modal-footer"> <button type="button" style="background-color: #007bff;color: white;" class="btn btn-default" data-dismiss="modal">Close</button> </div> </center> </div> </div> </div> </div> <div class="modal fade" id="editForm" tabindex="-1" role="dialog" aria-labelledby="myModalLabel" aria-hidden="true"> <div class="vertical-alignment-helper"> <div class="modal-dialog vertical-align-center"> <div class="modal-content"> <div style="margin-left: 80px; margin-right:80px;"> <br> <center> <h2>Edit Lead</h2> </center> <br> <form id="editLeads"> <!-- 2 column grid layout with text inputs for the first and last names --> <div class="row mb-4"> <div class="col"> <div class="form-outline"> <label class="form-label" for="form6Example1">First name</label> <input type="text" id="editfirstName" class="form-control" /> </div> </div> <div class="col"> <div class="form-outline"> <label class="form-label" for="form6Example2">Last name</label> <input type="text" id="editlastName" class="form-control" required /> </div> </div> </div> <!-- Text input --> <div class="form-outline mb-4"> <label class="form-label" for="form6Example3">Company name</label> <input type="text" id="editcompanyName" class="form-control" /> </div> <!-- Email input --> <div class="form-outline mb-4"> <label class="form-label" for="form6Example5">Email</label> <input type="email" id="editemail" class="form-control" /> </div> <!-- Text input --> <div class="form-outline mb-4"> <label class="form-label" for="form6Example4">State</label> <input type="text" id="editstate" class="form-control" /> </div> <!-- Number input --> <div class="form-outline mb-4"> <label class="form-label" for="form6Example6">Phone</label> <input type="number" id="editphone" class="form-control" /> </div> <!-- Submit button --> <center> <button type="submit" id="editBtn" onclick="editLead();return false;" class="btn btn-primary btn-block mb-4" style="width: 100px;">Edit</button> <div id="loader" style="display: none;"> <div class="spinner-border" role="status"> <span class="sr-only">Loading...</span> </div> </div> </center> </form> </div> </div> </div> </div> </div> <div class="modal fade right" id="ModalDanger" tabindex="-1" role="dialog" aria-labelledby="myModalLabel" aria-hidden="true"> <div class="modal-dialog modal-notify modal-danger modal-side modal-top-right" role="document"> <!--Content--> <div class="modal-content"> <!--Header--> <div class="modal-header"> <p class="heading">Lead Deletion</p> <button type="button" class="close" data-dismiss="modal" aria-label="Close"> <span aria-hidden="true" class="white-text">×</span> </button> </div> <!--Body--> <div class="modal-body"> <div class="row"> <div class="col-9"> <p>Are you sure you want to delete the Lead?</p> </div> </div> </div> <!--Footer--> <div class="modal-footer justify-content-center"> <a type="button" class="btn btn-danger" id="delete-btn" onclick="deleteLead()">Delete</a> <a type="button" class="btn btn-outline-danger waves-effect" data-dismiss="modal">Cancel</a> </div> </div> <!--/.Content--> </div> </div> </div> </body> <script> //Add Your Client ID function navigate() { window.location.href = "https://accounts.zoho.com/oauth/v2/auth?scope=ZohoCRM.modules.ALL&client_id={{client_id}}&response_type=code&access_type=offline&redirect_uri=" + location.protocol + '//' + location.host + "/generateToken"; } </script> </html> ``` > **Note:** Ensure you enter the `Client ID` in line **252** **login.html** ```xml <html> </html> <meta charset="utf-8" /> <meta http-equiv="X-UA-Compatible" content="IE=edge"> <title>CRM Lead Manager</title> <meta name="viewport" content="width=device-width, initial-scale=1"> <link rel="stylesheet" type="text/css" media="screen" href="main.css" /> <script src="main.js"> </script> <link rel="stylesheet" type="text/css" media="screen" href="main.css" /> <link rel="stylesheet" href="https://stackpath.bootstrapcdn.com/bootstrap/4.3.1/css/bootstrap.min.css" integrity="sha384-ggOyR0iXCbMQv3Xipma34MD+dH/1fQ784/j6cY/iJTQUOhcWr7x9JvoRxT2MZw1T" crossorigin="anonymous"> <script src="https://static.zohocdn.com/catalyst/sdk/js/4.6.2/catalystWebSDK.js"> </script> <script src="https://code.jquery.com/jquery-3.4.1.min.js" integrity="sha256-CSXorXvZcTkaix6Yvo6HppcZGetbYMGWSFlBw8HfCJo=" crossorigin="anonymous"> </script> <script src="https://cdnjs.cloudflare.com/ajax/libs/popper.js/1.14.7/umd/popper.min.js" integrity="sha384-UO2eT0CpHqdSJQ6hJty5KVphtPhzWj9WO1clHTMGa3JDZwrnQq4sF86dIHNDz0W1" crossorigin="anonymous"> </script> <script src="https://stackpath.bootstrapcdn.com/bootstrap/4.3.1/js/bootstrap.min.js" integrity="sha384-JjSmVgyd0p3pXB1rRibZUAYoIIy6OrQ6VrjIEaFf/nJGzIxFDsf4x0xIM+B07jRM" crossorigin="anonymous"> </script> <script src="https://static.zohocdn.com/catalyst/sdk/js/4.6.2/catalystWebSDK.js"> </script> <script src="/__catalyst/sdk/init.js"> </script> <script> catalyst.auth.signIn("login"); </script> <link href="//maxcdn.bootstrapcdn.com/bootstrap/4.0.0/css/bootstrap.min.css" rel="stylesheet" id="bootstrap-css"> <style> #login { height: 100%; width: 100%; position: absolute; top: 0; bottom: 0; left: 0; right: 0; margin: auto; } </style> <body> <br> <center> <h1>CRM Lead Manager</h1> </center> <div id="login"> </div> </body> </html> ``` **main.css** ```css #dataTable { font-family: Arial, Helvetica, sans-serif; border-collapse: collapse; width: 100%; } #dataTable td, #dataTable th { border: 1px solid #ddd; padding: 8px; } #dataTable tr:nth-child(even){background-color: #f2f2f2;} #dataTable tr:hover {background-color: #ddd;} #dataTable th { padding-top: 12px; padding-bottom: 12px; text-align: left; background-color: #007bff; color: white; } .vertical-alignment-helper { display: table; height: 100%; width: 100%; pointer-events: none; } .vertical-align-center { display: table-cell; vertical-align: middle; pointer-events: none; } .modal-content { width: inherit; max-width: inherit; height: inherit; margin: 0 auto; pointer-events: all; } ``` **main.js** ```javascript function createLead() { debugger; $("#loader").show(); var firstName = $("#firstName").val(); var lastName = $("#lastName").val(); if (lastName == "") { alert("Kindly Enter the Last Name"); $("#loader").hide(); return; } var companyName = $("#companyName").val(); var email = $("#email").val(); var state = $("#state").val(); var phone = $("#phone").val(); var leadSource = $("#leadSource").val(); $.ajax({ url: "/crmData", type: "post", contentType: "application/json", data: JSON.stringify({ "First_Name": firstName, "Last_Name": lastName, "Company": companyName, "Email": email, "State": state, "Phone": phone, "Lead_Source": leadSource, }), success: function (data) { debugger; $('#leads').trigger("reset"); $("#myModalLabel").html("Success"); $("#message").html("Lead Created Successfully"); $("#loader").hide(); $('#myModal').modal('show'); }, error: function (error) { $('#leads').trigger("reset"); $("#myModalLabel").html("Failure"); $("#message").html("Please try again after Sometime"); $("#loader").hide(); $('#myModal').modal('show'); } }); } function logout() { var redirectURL = "/login.html"; //Add your app domain var auth = catalyst.auth; auth.signOut(redirectURL); } function getUserDetails() { $("#main").hide(); $("#connect").hide(); catalyst.auth.isUserAuthenticated().then(result => { console.log(result) $("#loader").show(); $.ajax({ url: "/getUserDetails", type: "get", success: function (data) { $("#loader").hide(); if (data.userId) { $("#main").show(); $("#connect").hide(); } else { $("#connect").show(); $("#main").hide(); } }, error: function (error) { $("#myModalLabel").html("Failure"); $("#message").html("Please try again after Sometime"); $("#loader").hide(); $('#myModal').modal('show'); } }); }).catch(err => { document.body.innerHTML = 'You are not logged in. Please log in to continue. Redirecting you to the login page..'; setTimeout(function () { window.location.href = "login.html"; }, 3000); }); } function getLeads() { debugger; var tableContainer = document.getElementById("showData"); tableContainer.innerHTML = ""; $("#loaders").show(); $.ajax({ url: "/crmData", type: "get", success: function (data) { debugger; var reqData = getRequiredData(data.data); $("#loaders").hide(); renderTable(reqData); }, error: function (error) { $("#myModalLabel").html("Failure"); $("#message").html("Please try again after Sometime"); $("#loader").hide(); $('#myModal').modal('show'); } }); } function showDeletePopup(leadID) { $('#ModalDanger').modal('show'); var deleteBtn = document.getElementById("delete-btn"); deleteBtn.value = leadID; } function deleteLead() { var leadID = document.getElementById('delete-btn').value; $.ajax({ url: "/crmData/" + leadID, type: "delete", success: function (data) { debugger; $('#ModalDanger').modal('toggle'); $("#myModalLabel").html("Success"); $("#message").html("Lead Deleted Successfully"); $('#myModal').modal('show'); setTimeout(function () { location.reload(); }, 3000); }, error: function (error) { $("#myModalLabel").html("Failure"); $("#message").html("Please try again after Sometime"); $("#loader").hide(); $('#myModal').modal('show'); } }); } function showEditPopup(leadID) { $.ajax({ url: "/crmData/" + leadID, type: "get", success: function (data) { debugger; var respData = data.data; $('#editfirstName').val(respData[0].First_Name); $('#editlastName').val(respData[0].Last_Name); $('#editcompanyName').val(respData[0].Company); $('#editemail').val(respData[0].Email); $('#editstate').val(respData[0].State); $('#editphone').val(respData[0].Phone); $('#editleadSource').val(respData[0].Lead_Source); $('#editBtn').val(respData[0].id); $('#editfirstName').html(respData[0].First_Name); $('#editlastName').html(respData[0].Last_Name); $('#editcompanyName').html(respData[0].Company); $('#editemail').html(respData[0].Email); $('#editstate').html(respData[0].State); $('#editphone').html(respData[0].Phone); $('#editleadSource').html(respData[0].Lead_Source); $('#editForm').modal('show'); }, error: function (error) { $("#myModalLabel").html("Failure"); $("#message").html("Please try again after Sometime"); $("#loader").hide(); $('#myModal').modal('show'); } }); } function editLead() { var firstName = $("#editfirstName").val(); var lastName = $("#editlastName").val(); if (lastName == "") { alert("Kindly Enter the Last Name"); return; } var companyName = $("#editcompanyName").val(); var email = $("#editemail").val(); var state = $("#editstate").val(); var phone = $("#editphone").val(); var leadSource = $("#editleadSource").val(); var leadID = $("#editBtn").val(); $.ajax({ url: "/crmData/" + leadID, type: "put", contentType: "application/json", data: JSON.stringify({ "First_Name": firstName, "Last_Name": lastName, "Company": companyName, "Email": email, "State": state, "Phone": phone, "Lead_Source": leadSource }), success: function (data) { debugger; $('#editForm').modal('toggle'); $("#myModalLabel").html("Success"); $("#message").html("Lead Edited Successfully"); $('#myModal').modal('show'); setTimeout(function () { location.reload(); }, 3000); }, error: function (error) { $('#leads').trigger("reset"); $("#myModalLabel").html("Failure"); $("#message").html("Please try again after Sometime"); $("#loader").hide(); $('#myModal').modal('show'); } }); } function getRequiredData(data) { var i; var resp = []; for (i = 0; i < data.length; i++) { var gulp = { "First Name": data[i].First_Name, "Last Name": data[i].Last_Name, "Phone": data[i].Phone, "Email": data[i].Email, "Company": data[i].Company, "Edit": '<center><a href="javascript:showEditPopup(\'' + data[i].id + '\')">✎︎</a></center>', "Delete": '<center><a href="javascript:showDeletePopup(\'' + data[i].id + '\')">🗑︎</a></center>' } resp.push(gulp); } console.log(resp); return resp; } function renderTable(respData) { var col = []; for (var i = 0; i < respData.length; i++) { for (var key in respData[i]) { if (col.indexOf(key) === -1) { col.push(key); } } } var table = document.createElement("table"); table.id = "dataTable"; var tr = table.insertRow(-1); for (var i = 0; i < col.length; i++) { var th = document.createElement("th"); th.innerHTML = col[i]; tr.appendChild(th); } for (var i = 0; i < respData.length; i++) { tr = table.insertRow(-1); for (var j = 0; j < col.length; j++) { var tabCell = tr.insertCell(-1); tabCell.innerHTML = respData[i][col[j]]; } } var divContainer = document.getElementById("showData"); divContainer.innerHTML = ""; divContainer.appendChild(table); } ``` **app-config.json** ```json { "command": "python3 -u main.py", "build_path": "/", "stack": "python_3_9", "env_variables": {}, "memory": 256, "scripts": {}, "raw": {}, "catalyst_auth": true, "login_redirect": "/index.html" } ``` > **Note:** Ensure you provide the right value for the `buildpath` key. Now let's go over the logic and functionality of the application code. * The `login.html` file in the client component enables Catalyst Embedded Authentication login, allowing you to log in using the Zoho social login. * The `index.html` file contains the code for the front-end of the client. It defines a function `navigate()` that enables the connection to the CRM account by passing the required authorization information such as the `Client ID` and the scope. * The backend logic of the application defines the following APIs that perform various actions: - `/generateToken`: Obtains the *Refresh Token* by calling the `getRefreshToken()` function, and inserts it along with the `userID` of the current user in the `Token` table in the *Data Store*. It then redirects to the index page of the client. - `/getUserDetails`: Fetches the user details by calling the `getUserDetails()` function. If there is no record in the table, a JSON response with the `userID` alone is sent. If the record exists in the table, it is sent along with the `userID`. - `/crmData`: This route defines the path of all leads in the Leads module. The Node function executes the HTTP `GET` and `POST` operations to fetch all leads or create a new lead using this route, respectively. - `/crmData/:id`: This route defines the path of a particular lead in the Leads module. The `id` represents the unique ID of the lead in CRM. The function executes the HTTP `PUT` and `DELETE` operations to edit or delete a lead, respectively, using this route. * The backend logic is implemented using the following functions that are called by the APIs: - `getRefreshToken()`: Fetches the *Refresh Token* by passing the `Client ID`, `Client Secret`, *Redirect URI* and other required values as query string parameters. - `getAccessToken()`: Fetches the *Access Token* by passing the *Refresh Token* queried from the Token table using [ZCQL](https://docs.catalyst.zoho.com/en/cloud-scale/help/zcql/introduction/), and other required parameters. The Access Token is fetched each time an operation needs to be performed on the CRM module, such as adding a lead or editing a lead. - `getResponse()`: Passes the *Access Token* fetched to obtain the authorization needed to perform each action on the CRM module. This function is called with each `/crmData` and `/crmData/:id` API to authorize the request. - `getUserDetails()`: Fetches the record from the *Token* table that contains the *Refresh Token*, by passing the `userID`. * `main.js`: It is the JavaScript function in the client component that parses the JSON responses obtained from the function and renders them in the `index.html` page. This function defines the actions for all the UI elements in the client application. For example, `getLeads()` obtains all leads from the function response and renders them in the client, and `showEditPopup()` defines the actions for editing a lead. -------------------------------------------------------------------------------- title: "Test the Application" description: "Build a Lead Manager application hosted on AppSail that connects to Zoho CRM using Catalyst connectors to view, create, update, or delete leads." last_updated: "2026-11-04T10:10:44.000Z" source: "https://docs.catalyst.zoho.com/en/tutorials/leadmanager-appsail/flask/test-app/" service: "All Services" related: - CLI Help Documentation (/en/cli/v1/cli-command-reference/) - Serve Resources (/en/cli/v1/serve-resources/introduction/) -------------------------------------------------------------------------------- # Test the Application Before you deploy the application to the remote console, you can [test the application on a local server](https://docs.catalyst.zoho.com/en/cli/v1/serve-resources/introduction) and check if everything works fine using the Catalyst CLI. To serve the Catalyst project locally, execute the following command from your project directory: ```sh catalyst serve ``` The Lead Manager application will now be served at default `port 3000`. The local endpoint URLs of the components are displayed. > **Info:** Every time you access the home page or any of the sub-pages of your client or the function, the CLI will display a live log of the URL accessed, along with the HTTP request method. > **Note:** Ensure you have provided the required **Authorized Redirect URIs** when you [registered the client in Step **4**](https://docs.catalyst.zoho.com/en/tutorials/leadmanager-appsail/express/register-client/). ![catalyst_tutorials_leadmanager_appsail_flask_local_serve](https://catalyst-docs-development.zohostratus.in/images/tutorials/leadmanager-appsail/catalyst_tutorials_leadmanager_appsail_flask_local_serve.webp) You can now open the application in a browser using the local URL of the client displayed in the CLI. You will initially be redirected to the login page. If you configure a sign-up action on your own, you can sign up first, then log in to the application. Alternatively, you can also log in using the *Zoho Social Login*. ![catalyst_tutorials_leadmanager_appsail_serve_1](https://catalyst-docs-development.zohostratus.in/images/tutorials/leadmanager-appsail/catalyst_tutorials_leadmanager_appsail_serve_1.webp) You will be redirected to the permissions page. Accept the permissions requested by the app to access your Zoho account details. You will then be redirected back to the application. Click the **Zoho CRM** icon in this page to connect to Zoho CRM. ![catalyst_tutorials_leadmanager_appsail_serve_crm_icon](https://catalyst-docs-development.zohostratus.in/images/tutorials/leadmanager-appsail/catalyst_tutorials_leadmanager_appsail_serve_crm_icon.webp) You must now **choose the CRM account** that you wish to connect with the Lead Manager app, then click **Submit**. All your existing developer, sandbox, and production accounts will be listed. Click **Accept** to allow the *Lead Manager* app to access your Zoho CRM modules. ![catalyst_tutorials_leadmanager_appsail_serve_accept_action](https://catalyst-docs-development.zohostratus.in/images/tutorials/leadmanager-appsail/catalyst_tutorials_leadmanager_appsail_serve_accept_action.webp) You will be redirected back to the application. You can now create and manage leads in your configured Zoho CRM account directly from this application. To add a lead, enter the details of the lead in the *Add a Lead* section and click **Add Lead**. ![catalyst_tutorials_leadmamanger_appsail_serve_adding_lead](https://catalyst-docs-development.zohostratus.in/images/tutorials/leadmanager-appsail/catalyst_tutorials_leadmamanger_appsail_serve_adding_lead.webp) A confirmation pop-up will display the status every time you add, edit, or delete a lead. ![catalyst_tutorials_leadmanager_appsail_serve_confirmation_popup](https://catalyst-docs-development.zohostratus.in/images/tutorials/leadmanager-appsail/catalyst_tutorials_leadmanager_appsail_serve_confirmation_popup.webp) You can click the **Manage Leads** tab to view all your leads from the *Leads* module. You can **edit** or **delete** any of them by clicking their respective icons in the table. ![catalyst_tutorials_leadmanager_appsail_manage_leads_edit_del](https://catalyst-docs-development.zohostratus.in/images/tutorials/leadmanager-appsail/catalyst_tutorials_leadmanager_appsail_manage_leads_edit_del.webp) You can update a lead’s information, then click **Edit**. ![catalyst_tutorials_leadmanmager_appsail_serve_edit_lead](https://catalyst-docs-development.zohostratus.in/images/tutorials/leadmanager-appsail/catalyst_tutorials_leadmanmager_appsail_serve_edit_lead.webp) If you click the **delete** icon, you must confirm the action in the confirmation pop-up. ![catalyst_tutorials_leadmanager_appsail_serve_delete_lead](https://catalyst-docs-development.zohostratus.in/images/tutorials/leadmanager-appsail/catalyst_tutorials_leadmanager_appsail_serve_delete_lead.webp) You can also check the *Refresh Token* and `userID` values populated in the **Data Store** from your Catalyst console. Navigate to the **Data View** section of the *Token* table to view the record that was added. ![catalyst_tutorials_leadmanager_appsail_serve_datastoreview](https://catalyst-docs-development.zohostratus.in/images/tutorials/leadmanager-appsail/catalyst_tutorials_leadmanager_appsail_serve_datastoreview.webp) If you delete this entry, you will have to authenticate your credentials in the client application and establish a connection to your CRM account again. You can log out of the application by clicking **Logout**. You can quit the `serve` session in your terminal by executing the command to kill a running process, based on your OS. If this setup is working correctly, we can deploy the application to production. -------------------------------------------------------------------------------- title: "Deploy the Application" description: "Build a Lead Manager application hosted on AppSail that connects to Zoho CRM using Catalyst connectors to view, create, update, or delete leads." last_updated: "2026-11-04T10:10:44.000Z" source: "https://docs.catalyst.zoho.com/en/tutorials/leadmanager-appsail/flask/deploy-app/" service: "All Services" related: - CLI Help Documentation (/en/cli/v1/cli-command-reference/) - Deploy Resources (/en/cli/v1/deploy-resources/introduction/) - AppSail Help Documentation (/en/serverless/help/appsail/introduction/) -------------------------------------------------------------------------------- # Deploy the Application You can now deploy the application to the remote console. > **Note:** Since you had already logged into the **Lead Manager** application from the local server, a *Refresh Token* would have already been generated. This token will continue to authenticate your access. To [deploy your Catalyst project from the CLI](https://docs.catalyst.zoho.com/en/cli/v1/deploy-resources/introduction), run the following command in your terminal from your project directory: ```sh catalyst deploy ``` The function is deployed first, followed by the client component. The app URLs of the components will be displayed. ![catalyst_tutorials_leadmanager_appsail_python_deploy](https://catalyst-docs-development.zohostratus.in/images/tutorials/leadmanager-appsail/catalyst_tutorials_leadmanager_appsail_python_deploy.webp) The application is now deployed to the Catalyst console. Now, if you once again navigate to the AppSail component located under the *Serverless* section, you will be able to acquire the application's invocation URL. ![catalyst_tutorials_leadmanager_appsail_deploy_final_2](https://catalyst-docs-development.zohostratus.in/images/tutorials/leadmanager-appsail/catalyst_tutorials_leadmanager_appsail_deploy_final_2.webp) In this section you will also have access to a live dashboard denoting the number of instances the Lead Manager app service has spawned at any given moment. Using this section you will also be able configure and manage the AppSail service. You can find out more about this [here](https://docs.catalyst.zoho.com/en/serverless/help/appsail/console/overview/). You can use the invocation URL in a browser to access the deployed application. Lead Manager application can now be accessed from its [web app URL](https://docs.catalyst.zoho.com/en/cloud-scale/help/web-client-hosting/introduction). ![catalyst_tutorials_leadmanager_appsail_deploy_app_final](https://catalyst-docs-development.zohostratus.in/images/tutorials/leadmanager-appsail/catalyst_tutorials_leadmanager_appsail_deploy_app_final.webp) ## Microservice ### Java -------------------------------------------------------------------------------- title: "Introduction" description: "Build a microservice using Catalyst Basic I/O Functions and Zoho CRM to send email alerts when more than a specific number of leads are created." last_updated: "2026-11-04T10:10:44.000Z" source: "https://docs.catalyst.zoho.com/en/tutorials/microservice/java/introduction/" service: "All Services" related: - Project Directory Structure (/en/cli/v1/project-directory-structure/introduction/) - Java SDK (/en/sdk/java/v1/overview/) - Node.js SDK (/en/sdk/nodejs/v2/overview/) - Zoho CRM (https://www.zoho.com/crm/login.html) -------------------------------------------------------------------------------- # Microservice ### Introduction This tutorial will help you build a simple microservice in Java using Catalyst Functions. This microservice sends an automated email alert when the counter in the function exceeds the threshold limit defined by the user. In this tutorial, we will integrate this function with [Zoho CRM](https://www.zoho.com/crm/login.html), and enable an automated email alert to be sent when more than a specified number of leads are created in the *Leads*. You can also integrate this function with Zoho Desk if you need to. This microservice is built only using a [Catalyst basic I/O function](https://docs.catalyst.zoho.com/en/serverless/help/functions/basic-io), and does not contain a [client](https://docs.catalyst.zoho.com/en/cli/v1/working-with-the-client/introduction/) component. It uses the following Catalyst components and the features they provide: 1. [**Catalyst CloudScale**](https://docs.catalyst.zoho.com/en/cloud-scale/getting-started/introduction/): - [ **Mail** ](https://docs.catalyst.zoho.com/en/cloud-scale/help/mail/introduction): You must configure the email address from which the email alert will be sent from in Catalyst Mail. - [ **Cache** ](https://docs.catalyst.zoho.com/en/cloud-scale/help/cache/introduction): The Java function writes to and reads the current counter value from the default segment in Catalyst Cache. We will use the Catalyst web console and the Catalyst Command Line Interface (CLI) to build this application. In this tutorial, we have provided the code to be included in the function file. You will just have to copy the code and paste it into the appropriate file. ### Application Logic The microservice's logic can be described as follows: 1. A counter is created for a feature in the function. The feature can be Zoho CRM, Zoho Desk, or any Zoho service you prefer. 2. The counter value in the function is increased by 1 every time the function is invoked. For example, every time a lead is created in Zoho CRM, the function is invoked and the counter value is increased by 1. This is done after obtaining the previous counter value from the default segment in the cache. 3. The current count value is written to the default segment in the cache every time it is updated. 4. A threshold limit for the counter is defined by the user and passed through the API from Zoho CRM or Zoho Desk, along with the feature's name. 5. After incrementing the counter every time, the function checks if the current counter value has crossed the specified threshold limit. 6. When the number of function invocations crosses the threshold limit, an automated email is sent to the user alerting them of the counter exceeding the limit. ![Architecture-diagram](https://catalyst-docs-development.zohostratus.in/images/tutorials/microservice/micro-service-arch-diagram.webp) -------------------------------------------------------------------------------- title: "Prerequisites" description: "Build a microservice using Catalyst Basic I/O Functions and Zoho CRM to send email alerts when more than a specific number of leads are created." last_updated: "2026-11-04T10:10:44.000Z" source: "https://docs.catalyst.zoho.com/en/tutorials/microservice/java/prerequisites/" service: "All Services" related: - CLI Command Reference (/en/cli/v1/cli-command-reference/) - Install Catalyst CLI (/en/getting-started/installing-catalyst-cli/) - Login CLI (/en/cli/v1/login/login-from-cli/) -------------------------------------------------------------------------------- # Prerequisites Before you begin building the application, you must have the following prerequisites installed on your system: 1. **Catalyst CLI** \ \ Catalyst CLI contains a host of tools that enable you to initialize, develop, test, and deploy the components of your application from your local machine. We will be working with Catalyst CLI in this tutorial. \ \ You must perform the following actions: 1. **Install Catalyst CLI:** Catalyst CLI is installed through NPM. You must therefore have NPM and Node.js installed on your system before you install the CLI. Refer to the [**Install Catalyst CLI help page**](https://docs.catalyst.zoho.com/en/getting-started/installing-catalyst-cli/) for details on the pre-requisites and the steps to install it. 2. **Log in to Catalyst CLI:** After you install Catalyst CLI, you must authenticate the CLI with your Catalyst account before using it. Refer to the [**CLI Login help page**](https://docs.catalyst.zoho.com/en/cli/v1/login/login-from-cli/) for the steps to login from Catalyst CLI and the various options available for it. 2. **Any IDE tool for Java function code development** \ \ You can use any IDE to work with the Basic I/O function. Some popular choices include Visual Studio Code, IntelliJ IDEA, Eclipse, and Sublime Text. Download and install an IDE of your choice on your system. > If you are a Visual Studio Code IDE user, you can install the **Catalyst Tools** extension, and use your IDE itself in place of the CLI. You can find more details about the Catalyst VS Code extension from this [help section](https://docs.catalyst.zoho.com/en/catalyst-extensions/vs-code-extension/introduction/). 3. **Zoho CRM Professional or Enterprise edition** \ \ To integrate the function with Zoho CRM, we will use [Webhooks](https://help.zoho.com/portal/en/kb/crm/automate-business-processes/actions/articles/webhooks-workflow) and associate it with a [workflow rule](https://help.zoho.com/portal/en/kb/crm/automate-business-processes/workflow-management). Webhooks are not available in the Free edition of Zoho CRM. You can check out the comparisons of various Zoho CRM editions and buy an edition from [this page](https://www.zoho.com/crm/comparison.html). -------------------------------------------------------------------------------- title: "Create a project" description: "Build a microservice using Catalyst Basic I/O Functions and Zoho CRM to send email alerts when more than a specific number of leads are created." last_updated: "2026-11-04T10:10:44.000Z" source: "https://docs.catalyst.zoho.com/en/tutorials/microservice/java/create-project/" service: "All Services" related: - Project Directory (/en/cli/v1/project-directory-structure/introduction) - Navigating Console (/en/getting-started/navigating-in-the-console) -------------------------------------------------------------------------------- # Create a project Let's [create a Catalyst Project](https://docs.catalyst.zoho.com/en/getting-started/catalyst-projects) from the Catalyst console. 1. Log in to the [Catalyst Console](https://console.catalyst.zoho.com/baas/index) and click **Create New Project**. ![catalyst_alien_city_create_project](https://catalyst-docs-development.zohostratus.in/images/tutorials/alien-city-appsail-express/catalyst-create-project.webp) 2. Enter the project's name as '**CounterBasedAlert**' in the pop-up window, and click **Create**. ![microservice_create-proj](https://catalyst-docs-development.zohostratus.in/images/tutorials/microservice/microservice_create-proj.webp) Your project will be created, then opened. -------------------------------------------------------------------------------- title: "Configure the email address" description: "Build a microservice using Catalyst Basic I/O Functions and Zoho CRM to send email alerts when more than a specific number of leads are created." last_updated: "2026-11-04T10:10:44.000Z" source: "https://docs.catalyst.zoho.com/en/tutorials/microservice/java/configure-mail/" service: "All Services" related: - Catalyst Mail (/en/cloud-scale/help/mail/introduction) -------------------------------------------------------------------------------- # Configure Email Address Let's set up the sender email address which sends the alert email when the counter exceeds its threshold limit. You can learn about Mail, a [Catalyst CloudScale](https://docs.catalyst.zoho.com/en/cloud-scale/getting-started/introduction/) component in detail from the [Mail help page](https://docs.catalyst.zoho.com/en/cloud-scale/help/mail/introduction). To add a new email address in Catalyst: 1. Navigate to the *CloudScale* section of ther console, and click **Start Exploring**. ![microservice_cloud_scale_select](https://catalyst-docs-development.zohostratus.in/images/tutorials/microservice/cloud-scale-dashboard-micro-service.webp) 2. Navigate to **Mail** under the *Notify* section in the console, and click **Add Email** in the *Email Configuration* section. ![microservice_config_email](https://catalyst-docs-development.zohostratus.in/images/tutorials/microservice/add-email-cloud-scale-micro-service.webp) 3. Enter the display name and the email address in the pop-up box. ![microservice_email_name](https://catalyst-docs-development.zohostratus.in/images/tutorials/microservice/microservice_email_name.webp) > **Note:** The email address can be a public domain email addresses such as Gmail, Yahoo, and Hotmail, or hosted in your organization's own domain. 4. Click **Add Email**. The email address is now added to your Catalyst account. You can find it in the *Email Configuration* page. ![microservice_email_view](https://catalyst-docs-development.zohostratus.in/images/tutorials/microservice/microservice_email_view.webp) Once you add an email address, you must verify it before you can use it. The *Confirmation Status* column displays the verification status for the email address. To confirm the email address, click **Click to confirm**. This will automatically send an email to the email address containing a confirmation code. ![microservice_test_email](https://catalyst-docs-development.zohostratus.in/images/tutorials/microservice/microservice_test_email.webp) Enter this confirmation code in the pop-up box and click **Confirm**. ![microservice_confirm_code](https://catalyst-docs-development.zohostratus.in/images/tutorials/microservice/microservice_confirm_code.webp) If you don't receive the email with the confirmation code, click **Resend Code**. Once the confirmation code is verified, you can use the address to send emails from Catalyst. ![microservice_config_view_email](https://catalyst-docs-development.zohostratus.in/images/tutorials/microservice/microservice_config_view_email.webp) -------------------------------------------------------------------------------- title: "Initialize the project" description: "Build a microservice using Catalyst Basic I/O Functions and Zoho CRM to send email alerts when more than a specific number of leads are created." last_updated: "2026-11-04T10:10:44.000Z" source: "https://docs.catalyst.zoho.com/en/tutorials/microservice/java/initialize-project/" service: "All Services" related: - Initialize Resources (/en/cli/v1/initialize-resources/introduction/) - Project Directory Structure (/en/cli/v1/project-directory-structure/introduction/) -------------------------------------------------------------------------------- # Initialize the Project from the CLI You can now begin working on your Catalyst project from the CLI. The first step is to initialize the project in an empty directory. This will be the home directory of your project and all of the project files will be saved in it. You can learn about initializing a project in detail from the [Project Directory Structure help page](https://docs.catalyst.zoho.com/en/cli/v1/project-directory-structure/introduction). For this microservice, we will initialize function component. 1. Create a folder for the project on your local machine and navigate to it from the terminal. 2. Initialize a project by executing the following command from that directory: ```sh catalyst init ``` 3. Select your preferred portal using the arrow-keys, and press **Enter** to select your preferred portal. ![catalyst_microservice_portal_select](https://catalyst-docs-development.zohostratus.in/images/tutorials/microservice/catalyst_microservice_portal_select.webp) 4. The CLI will now ask you to associate a Catalyst project with the directory. Associate it with the project that we created earlier from the console. Select **CounterBasedAlert** from the list and press **Enter**. ![micorservice_project_select](https://catalyst-docs-development.zohostratus.in/images/tutorials/microservice/micorservice_project_select.webp) 5. Select **Functions** using the space bar. Press the **Enter** key to initialize. ![microservice_project_init](https://catalyst-docs-development.zohostratus.in/images/tutorials/microservice/microservice_project_init.webp) 6. The CLI will initiate the functions set up. Select the [**BasicIO**](https://docs.catalyst.zoho.com/en/serverless/help/functions/basic-io/) type from the list to set up and press **Enter**. You can learn about the function types from the [Functions help page](https://docs.catalyst.zoho.com/en/serverless/help/functions/introduction). ![microservice_func_type_select](https://catalyst-docs-development.zohostratus.in/images/tutorials/microservice/microservice_func_type_select.webp) 7. Select the latest runtime of Java as the stack and press **Enter**. ![micorservice_java_select](https://catalyst-docs-development.zohostratus.in/images/tutorials/microservice/micorservice_java_select.webp) 8. Enter the name of the Java function and the folder as '**countfunction**'. This is also its reference name. Enter the name of the main class as '**CountAlert** and press **Enter** each time. ![microservice_function_setup_complete](https://catalyst-docs-development.zohostratus.in/images/tutorials/microservice/microservice_function_setup_complete.webp) > **Note:** Ensure that you enter the main class name and the function's name exactly as instructed, because the application's code contains the same names. The Catalyst Java SDK will now be downloaded to your system. Catalyst initialization is now complete. ![microservice_project_setup_complete](https://catalyst-docs-development.zohostratus.in/images/tutorials/microservice/microservice_project_setup_complete.webp) The functions directory will be created in your project directory with the configuration files and dependencies, along with the [`catalyst.json`](https://docs.catalyst.zoho.com/en/cli/v1/project-directory-structure/introduction) and a hidden `.catalystrc` file. ![microservice_java_directory](https://catalyst-docs-development.zohostratus.in/images/tutorials/microservice/microservice_java_directory.webp) -------------------------------------------------------------------------------- title: "Configure the Basic I/O function" description: "Build a microservice using Catalyst Basic I/O Functions and Zoho CRM to send email alerts when more than a specific number of leads are created." last_updated: "2026-11-04T10:10:44.000Z" source: "https://docs.catalyst.zoho.com/en/tutorials/microservice/java/configure-function/" service: "All Services" related: - Functions (/en/serverless/help/functions/introduction) - Functions Directory (/en/cli/v1/project-directory-structure/functions-directory) -------------------------------------------------------------------------------- # Configure the Function Let's begin coding the microservice. The [functions directory](https://docs.catalyst.zoho.com/en/cli/v1/project-directory-structure/functions-directory), in this case `functions/countfunction`, contains: * The `CountAlert.java` main function file * The `catalyst-config.json` configuration file * The JAR library files * Other dependencies We will be adding code in the `CountAlert.java` file. You can use any IDE of your choice to configure the function. > **Note**: Please go through the code given in this section for understanding it better. Copy the code given below and paste it in `CountAlert.java` and save the file. **CountAlert.java** ```java import com.catalyst.Context; import com.catalyst.basic.BasicIO; import com.catalyst.basic.ZCFunction; import com.zc.component.cache.ZCCache; import com.zc.component.mail.ZCMail; import com.zc.component.mail.ZCMailContent; import java.util.logging.Logger; import java.util.logging.Level; public class CountAlert implements ZCFunction { private static final Logger LOGGER = Logger.getLogger(CountAlert.class.getName()); private static final String FROM_EMAIL="emma@zylker.com"; // The email address of the sender. Replace this with the email address you configured in Mail. private static final String TO_EMAIL="brandon.cooper@zylker.com"; // Replace this with the email address that you want the alert email to be sent to. @Override public void runner(Context context, BasicIO basicIO) throws Exception { try { // Passes the feature name that was obtained from the input as the parameter. The feature name can be 'CRM' or 'Desk'. String featureName = (String) basicIO.getParameter("feature_name"); // Passes the threshold count that was obtained from the input as the parameter String mailCountThreshold = (String) basicIO.getParameter("mail_count_threshold"); // Gets the current count for the feature from the default segment of Catalyst Cache String value = ZCCache.getInstance() .getCacheValue("COUNTER_" + featureName) .getValue(); // If the value is null, then the count is set to 1. This is done during the first execution for the feature. if (value == null) { ZCCache.getInstance() .putCacheValue("COUNTER_" + featureName, String.valueOf(1), 1l); } else { Integer count = Integer.valueOf(value); // If the value is not null, then the count is incremented by 1. count++; // Writes the count value to the default segment of Catalyst cache ZCCache.getInstance().putCacheValue("COUNTER_"+featureName,count.toString(),1l); // If the current count is greater than the threshold value, then an email alert is sent to the receiver configured above if (count > Integer.valueOf(mailCountThreshold)) { ZCMailContent content = ZCMailContent.getInstance(); content.setFromEmail(FROM_EMAIL); content.setSubject("Alert!"); content.setContent("Count exceeded the threshold limit for the feature:" +featureName); content.setToEmail(TO_EMAIL); ZCMail.getInstance() .sendMail(content); LOGGER.log(Level.INFO, "Email alert sent");//Written to the logs. You can view this log from Logs under the Monitor section in the console } } // Handles the 200 status code basicIO.setStatus(200); basicIO.write("The function executed successfully"); }catch(Exception e) { LOGGER.log(Level.SEVERE,"Exception occurred while processing",e); //Written to the logs. You can view this log from Logs under the Monitor section in the console // Handles the 500 status code, when an exception occurs basicIO.setStatus(500); basicIO.write("Error in the function execution"); } } } ``` > **Note**: Before you proceed to the next step, ensure that you replace the values of `FROM_EMAIL` in line **14** and `TO_EMAIL` in **16** in the code as directed. ### Working of the Basic I/O function As discussed in the Introduction, the function obtains the inputs for `feature_name` and `mail_count_threshold` variables from the user through the API, when it is invoked. It obtains the current counter value from the cache and then increments it by 1 after every invocation. It then writes the new counter value to the cache. > **Note:** Since we are using the default segment in Catalyst Cache, we need not configure it. You can learn more about this from the [Cache help page](https://docs.catalyst.zoho.com/en/cloud-scale/help/cache/introduction). If the current counter value is greater than the threshold limit specified by the user, the email alert is sent to the address defined in the code. This information is also pushed to [Catalyst Logs](https://docs.catalyst.zoho.com/en/devops/help/logs/introduction) with an appropriate message. You can check this from *Logs* under the *Monitor* section in the Catalyst console. The functions directory is now configured. -------------------------------------------------------------------------------- title: "Test the function" description: "Build a microservice using Catalyst Basic I/O Functions and Zoho CRM to send email alerts when more than a specific number of leads are created." last_updated: "2026-11-04T10:10:44.000Z" source: "https://docs.catalyst.zoho.com/en/tutorials/microservice/java/test-function/" service: "All Services" related: - Serve Resources (/en/cli/v1/serve-resources/introduction) -------------------------------------------------------------------------------- # Test the Function Before you deploy the function to the remote console and integrate it with Zoho CRM, you can test it locally and check if everything works fine. You can test and debug a function by launching a node shell from the Catalyst CLI. You can learn about the functions shell in detail from the [Working with Functions help page](https://docs.catalyst.zoho.com/en/cli/v1/working-with-functions/functions-shell/). Let's test the function by launching the functions shell in the CLI. Navigate to your project directory in your terminal and execute the following command from the CLI: ```sh catalyst functions:shell ``` This opens the node shell. You can now pass inputs, execute the function, and perform other node shell operations in it. > **Note:** You can launch the function shell with your IDE's debugger attached to it. This will enable you to debug the function line by line in your IDE. You can do this by executing the command: `[catalyst functions:shell --debug [port] ](https://docs.catalyst.zoho.com/en/cli/v1/working-with-functions/functions-shell/#--debug-port)`. Let's test the `countfunction` by passing the input values for `feature_name` and `mail_count_threshold`. Execute this command in the function shell: ```sh countfunction({"feature_name":"CRM","mail_count_threshold":"1"}) ``` This assigns the threshold value as '1' for the feature 'CRM'. Therefore, when the function is invoked more than once for the feature, the counter will exceed the threshold limit. The CLI will invoke the function and pass the input values to the default segment in [Catalyst Cache](https://docs.catalyst.zoho.com/en/cloud-scale/help/cache/introduction/). The counter doesn't exceed the threshold during the first invocation. Therefore, the CLI will just display the output message that we configured for the status code 200. ![microservice_test_shell](https://catalyst-docs-development.zohostratus.in/images/tutorials/microservice/microservice_test_shell.webp) You can verify if the counter value is added to the cache, by navigating to **Cache** under *Storage* in the [**CloudScale**](https://docs.catalyst.zoho.com/en/cloud-scale/getting-started/introduction/) section of the Catalyst console. ![microservice_cache_name](https://catalyst-docs-development.zohostratus.in/images/tutorials/microservice/microservice_cache_name.webp) Click **Default** to open the default segment in the Segments page. You will be able to see a key-value pair added to the segment, with the key name '**COUNTER_CRM**' and the value '**1**' indicating that the function was invoked once. ![microservice_cache_info](https://catalyst-docs-development.zohostratus.in/images/tutorials/microservice/microservice_cache_info.webp) Now let's invoke the function a second time to exceed the threshold limit. Execute the `countfunction({"feature_name":"CRM","mail_count_threshold":"1"})` command again. This will invoke the function again and increment the counter value. Since the threshold limit of 1 has now been exceeded, the email alert will be sent automatically to the defined receiver email address. The CLI will display the message that was pushed to the logs indicating this. ![microservice_test_application](https://catalyst-docs-development.zohostratus.in/images/tutorials/microservice/microservice_test_application.webp) You can verify this by checking the receiver email. ![microservice_test_email](https://catalyst-docs-development.zohostratus.in/images/tutorials/microservice/microservice_test_email.webp) The value of the counter will also be updated in the cache. ![microservice_cache_update](https://catalyst-docs-development.zohostratus.in/images/tutorials/microservice/microservice_cache_update.webp) If this setup is working correctly, we can deploy the application to production. Once you’ve finished testing in the function shell, type `.exit` to exit the shell. -------------------------------------------------------------------------------- title: "Deploy the function" description: "Build a microservice using Catalyst Basic I/O Functions and Zoho CRM to send email alerts when more than a specific number of leads are created." last_updated: "2026-11-04T10:10:44.000Z" source: "https://docs.catalyst.zoho.com/en/tutorials/microservice/java/deploy-project/" service: "All Services" related: - Deploy Resources (/en/cli/v1/deploy-resources/introduction) -------------------------------------------------------------------------------- # Deploy the Function To [deploy your Catalyst project from the CLI](https://docs.catalyst.zoho.com/en/cli/v1/deploy-resources/introduction), run the following command in your terminal from your project directory: ```sh catalyst deploy ``` The function is deployed and the production URL of the function is displayed. ![microservice_java_catalyst_deploy](https://catalyst-docs-development.zohostratus.in/images/tutorials/microservice/microservice_java_catalyst_deploy.webp) This function will now be available in your Catalyst console. Navigate to **Functions** under *FAAS* in the [Serverless](https://docs.catalyst.zoho.com/en/serverless/getting-started/introduction/) section of the Catalyst console. ![microservice_functions_list](https://catalyst-docs-development.zohostratus.in/images/tutorials/microservice/microservice_functions_list.webp) You can click **countfunction** from the *Functions* page to view its statistics for the day. ![microservice_java_func_dets](https://catalyst-docs-development.zohostratus.in/images/tutorials/microservice/microservice_java_func_dets.webp) > **Note:** You will not be able to edit a Java function from the console. The provision for this will be rolled out soon. -------------------------------------------------------------------------------- title: "Integrate the function with Zoho CRM" description: "Build a microservice using Catalyst Basic I/O Functions and Zoho CRM to send email alerts when more than a specific number of leads are created." last_updated: "2026-11-04T10:10:44.000Z" source: "https://docs.catalyst.zoho.com/en/tutorials/microservice/java/intergrate-crm/" service: "All Services" related: - Functions (/en/serverless/help/functions/introduction) -------------------------------------------------------------------------------- # Integrate the Function with Zoho CRM Let's now integrate this function with Zoho CRM by creating a workflow rule with a webhook associated to it. You can go through the [help resources for Zoho CRM](https://www.zoho.com/crm/help/) to understand it better. To learn about Workflow Management refer to [this help page](https://help.zoho.com/portal/en/kb/crm/automate-business-processes/workflow-management). To learn about Webhooks, refer to [this help page](https://help.zoho.com/portal/en/kb/crm/automate-business-processes/actions/articles/webhooks-workflow). To integrate the function with Zoho CRM: 1. Navigate to **Setup** and then **Workflow Rules** under the *Automation* section. ![microservice_crm_workflow](https://catalyst-docs-development.zohostratus.in/images/tutorials/microservice/crm-setup-workflow-rules.webp) 2. Click **Create Rule** in the *Workflow Rules* page. ![microservice_crm_workflow](https://catalyst-docs-development.zohostratus.in/images/tutorials/microservice/microservice_crm_workflow.webp) 3. Select the **Leads** module and enter the rule name and description in the pop-up box as displayed below. Click **Next**. ![microservice_crm_rule_create](https://catalyst-docs-development.zohostratus.in/images/tutorials/microservice/microservice_crm_rule_create.webp) 4. Select **Create** and click **Next**. ![microservice_crm_alert_create](https://catalyst-docs-development.zohostratus.in/images/tutorials/microservice/microservice_crm_alert_create.webp) 5. Select **All Leads** and click **Next**. ![microservice_crm_all_leads](https://catalyst-docs-development.zohostratus.in/images/tutorials/microservice/microservice_crm_all_leads.webp) 6. Click **Instant Actions** and select **Webhooks**. ![microservice_crm_webhooks](https://catalyst-docs-development.zohostratus.in/images/tutorials/microservice/microservice_crm_webhooks.webp) 7. Enter the details as displayed below in the pop-up box. ![microservice_crm_webhooks_create](https://catalyst-docs-development.zohostratus.in/images/tutorials/microservice/crm-webhook-leads-setup.webp) You can obtain the Function URL from the Catalyst console or from the CLI as discussed in the previous step. You must append this at the end of the Function URL as shown in the picture: "**?feature_name=CRM&mail_count_threshold=5**". Select the HTTP method as **GET**. Click **Save and Associate**. The workflow rule will now be saved and webhook will be associated with it. We have defined the threshold as "5". Therefore, if more than 5 leads are created in the Leads module, the email alert will be sent automatically. The microservice is now functional and will work without any errors. ### NodeJS -------------------------------------------------------------------------------- title: "Introduction" description: "Build a microservice using Catalyst Basic I/O Functions and Zoho CRM to send email alerts when more than a specific number of leads are created." last_updated: "2026-11-04T10:10:44.000Z" source: "https://docs.catalyst.zoho.com/en/tutorials/microservice/nodejs/introduction/" service: "All Services" related: - Project Directory Structure (/en/cli/v1/project-directory-structure/introduction/) - Java SDK (/en/sdk/java/v1/overview/) - Node.js SDK (/en/sdk/nodejs/v2/overview/) - Zoho CRM (https://www.zoho.com/crm/login.html) -------------------------------------------------------------------------------- # Microservice ### Introduction This tutorial will help you build a simple microservice in Node.js using Catalyst Functions. This microservice sends an automated email alert when the counter in the function exceeds the threshold limit defined by the user. In this tutorial, we will integrate this function with [Zoho CRM](https://www.zoho.com/crm/login.html), and enable an automated email alert to be sent when more than a specified number of leads are created in the Leads module. You can also integrate this function with Zoho Desk, if needed. This microservice is built only using a [Catalyst basic I/O function](https://docs.catalyst.zoho.com/en/serverless/help/functions/basic-io), and does not contain a [client](https://docs.catalyst.zoho.com/en/cli/v1/working-with-the-client/introduction/) component. It uses the following Catalyst components and the features they provide: 1. [**Catalyst CloudScale**](https://docs.catalyst.zoho.com/en/cloud-scale/getting-started/introduction/): - [ **Mail** ](https://docs.catalyst.zoho.com/en/cloud-scale/help/mail/introduction): You must configure the email address from which the email alert will be sent from in Catalyst Mail. - [ **Cache** ](https://docs.catalyst.zoho.com/en/cloud-scale/help/cache/introduction): The NodeJS function writes to and reads the current counter value from the default segment in Catalyst Cache. We will use the Catalyst web console and the Catalyst Command Line Interface (CLI) to build this application. In this tutorial, we have provided the code to be included in the function file. You just have to copy the code and paste it into the appropriate file. ### Application Logic The microservice's logic can be described as follows: 1. A counter is created for a feature in the function. The feature can be Zoho CRM, Zoho Desk, or any Zoho service you prefer. 2. The counter value in the function is increased by 1 every time the function is invoked. For example, every time a lead is created in Zoho CRM, the function is invoked and the counter value is increased by 1. This is done after obtaining the previous counter value from the default segment in the cache. 3. The current count value is written to the default segment in the cache every time it is updated. 4. A threshold limit for the counter is defined by the user, and passed through the API from Zoho CRM or Zoho Desk, along with the feature's name. 5. After incrementing the counter each time, the function checks if the current counter value has crossed the specified threshold limit. 6. When the number of function invocations crosses the threshold limit, an automated email is sent to the user alerting them of the counter exceeding the limit. ![Architecture-diagram](https://catalyst-docs-development.zohostratus.in/images/tutorials/microservice/micro-service-arch-diagram.webp) -------------------------------------------------------------------------------- title: "Prerequisites" description: "Build a microservice using Catalyst Basic I/O Functions and Zoho CRM to send email alerts when more than a specific number of leads are created." last_updated: "2026-11-04T10:10:44.000Z" source: "https://docs.catalyst.zoho.com/en/tutorials/microservice/nodejs/prerequisites/" service: "All Services" related: - CLI Command Reference (/en/cli/v1/cli-command-reference/) - Install Catalyst CLI (/en/getting-started/installing-catalyst-cli/) - Login CLI (/en/cli/v1/login/login-from-cli/) -------------------------------------------------------------------------------- # Prerequisites Before you begin building the application, you must have the following prerequisites installed on your system: 1. **Catalyst CLI** \ \ Catalyst CLI contains a host of tools that enable you to initialize, develop, test, and deploy the components of your application from your local machine. We will be working with Catalyst CLI in this tutorial. \ \ You must perform the following actions: 1. **Install Catalyst CLI:** Catalyst CLI is installed through NPM. You must therefore have NPM and Node.js installed on your system before you install the CLI. Refer to the [**Install Catalyst CLI help page**](https://docs.catalyst.zoho.com/en/getting-started/installing-catalyst-cli/) for details on the pre-requisites and the steps to install it. 2. **Log in to Catalyst CLI:** After you install Catalyst CLI, you must authenticate the CLI with your Catalyst account before using it. Refer to the [**CLI Login help page**](https://docs.catalyst.zoho.com/en/cli/v1/login/login-from-cli/) for the steps to login from Catalyst CLI and the various options available for it. 2. **Any IDE tool for Node.js function code development** \ \ You can use any IDE to work with the Basic I/O function. Some popular choices include Visual Studio Code, IntelliJ IDEA, Eclipse, and Sublime Text. Download and install an IDE of your choice on your system. > If you are a Visual Studio Code IDE user, you can install the **Catalyst Tools** extension, and use your IDE itself in place of the CLI. You can find more details about the Catalyst VS Code extension from this [help section](https://docs.catalyst.zoho.com/en/catalyst-extensions/vs-code-extension/introduction/). 3. **Zoho CRM Professional or Enterprise edition** \ \ To integrate the function with Zoho CRM, we will use [Webhooks](https://help.zoho.com/portal/en/kb/crm/automate-business-processes/actions/articles/webhooks-workflow) and associate it with a [workflow rule](https://help.zoho.com/portal/en/kb/crm/automate-business-processes/workflow-management). Webhooks are not available in the Free edition of Zoho CRM. You can check out the comparisons of various Zoho CRM editions and buy an edition from [this page](https://www.zoho.com/crm/comparison.html). -------------------------------------------------------------------------------- title: "Create a project" description: "Build a microservice using Catalyst Basic I/O Functions and Zoho CRM to send email alerts when more than a specific number of leads are created." last_updated: "2026-11-04T10:10:44.000Z" source: "https://docs.catalyst.zoho.com/en/tutorials/microservice/nodejs/create-project/" service: "All Services" related: - Project Directory (/en/cli/v1/project-directory-structure/introduction) - Navigating Console (/en/getting-started/navigating-in-the-console) -------------------------------------------------------------------------------- # Create a project Let's [create a Catalyst Project](https://docs.catalyst.zoho.com/en/getting-started/catalyst-projects) from the Catalyst console. 1. Log in to the [Catalyst Console](https://console.catalyst.zoho.com/baas/index) and click **Create New Project**. ![catalyst_alien_city_create_project](https://catalyst-docs-development.zohostratus.in/images/tutorials/alien-city-appsail-express/catalyst-create-project.webp) 2. Enter the project's name as '**CounterBasedAlert**' in the pop-up window, and click **Create**. ![microservice_project_name](https://catalyst-docs-development.zohostratus.in/images/tutorials/microservice/microservice_create-proj.webp) Your project will be created, then opened. -------------------------------------------------------------------------------- title: "Configure the email address" description: "Build a microservice using Catalyst Basic I/O Functions and Zoho CRM to send email alerts when more than a specific number of leads are created." last_updated: "2026-11-04T10:10:44.000Z" source: "https://docs.catalyst.zoho.com/en/tutorials/microservice/nodejs/configure-mail/" service: "All Services" related: - Catalyst Mail (/en/cloud-scale/help/mail/introduction) -------------------------------------------------------------------------------- # Configure Mail Let's set up the sender email address which sends the alert email when the counter exceeds its threshold limit. You can learn about Mail, a [Catalyst CloudScale](https://docs.catalyst.zoho.com/en/cloud-scale/getting-started/introduction/) component in detail from the [Mail help page](https://docs.catalyst.zoho.com/en/cloud-scale/help/mail/introduction). To add a new email address in Catalyst: 1. Navigate to the *CloudScale* section of ther console, and click **Start Exploring**. ![microservice_cloud_scale_select](https://catalyst-docs-development.zohostratus.in/images/tutorials/microservice/cloud-scale-dashboard-micro-service.webp) 2. Navigate to **Mail** under the *Notify* section in the console, and click **Add Email** in the *Email Configuration* section. ![microservice_config_email](https://catalyst-docs-development.zohostratus.in/images/tutorials/microservice/add-email-cloud-scale-micro-service.webp) 3. Enter the display name and the email address in the pop-up box. ![microservice_email_name](https://catalyst-docs-development.zohostratus.in/images/tutorials/microservice/microservice_email_name.webp) > **Note:** The email address can be a public domain email addresses such as Gmail, Yahoo, and Hotmail, or hosted in your organization's own domain. 4. Click **Add Email**. The email address is now added to your Catalyst account. You can find it in the *Email Configuration* page. ![microservice_email_view](https://catalyst-docs-development.zohostratus.in/images/tutorials/microservice/microservice_email_view.webp) Once you add an email address, you must verify it before you can use it. The *Confirmation Status* column displays the verification status for the email address. To confirm the email address, click **Click to confirm**. This will automatically send an email to the email address containing a confirmation code. ![microservice_test_email](https://catalyst-docs-development.zohostratus.in/images/tutorials/microservice/microservice_test_email.webp) Enter this confirmation code in the pop-up box and click **Confirm**. ![microservice_confirm_code](https://catalyst-docs-development.zohostratus.in/images/tutorials/microservice/microservice_confirm_code.webp) If you don't receive the email with the confirmation code, click **Resend Code**. Once the confirmation code is verified, you can use the address to send emails from Catalyst. ![microservice_config_view_email](https://catalyst-docs-development.zohostratus.in/images/tutorials/microservice/microservice_config_view_email.webp) -------------------------------------------------------------------------------- title: "Initialize the project" description: "Build a microservice using Catalyst Basic I/O Functions and Zoho CRM to send email alerts when more than a specific number of leads are created." last_updated: "2026-11-04T10:10:44.000Z" source: "https://docs.catalyst.zoho.com/en/tutorials/microservice/nodejs/initialize-project/" service: "All Services" related: - Initialize Resources (/en/cli/v1/initialize-resources/introduction/) - Project Directory Structure (/en/cli/v1/project-directory-structure/introduction/) -------------------------------------------------------------------------------- # Initialize the Project from the CLI You can now begin working on your Catalyst project from the CLI. The first step is to initialize the project in an empty directory. This will be the home directory of your project and all of the project files will be saved in it. You can learn about initializing a project in detail from the [Project Directory Structure help page](https://docs.catalyst.zoho.com/en/cli/v1/project-directory-structure/introduction). For this microservice, we will initialize function component. 1. Create a folder for the project on your local machine and navigate to it from the terminal. 2. Initialize a project by executing the following command from that directory: ```sh catalyst init ``` 3. Select your preferred portal using the arrow-keys, and press **Enter** to select your preferred portal. ![catalyst_microservice_portal_select](https://catalyst-docs-development.zohostratus.in/images/tutorials/microservice/catalyst_microservice_portal_select.webp) 4. The CLI will now ask you to associate a Catalyst project with the directory. Associate it with the project that we created earlier from the console. Select **CounterBasedAlert** from the list and press **Enter**. ![micorservice_project_select](https://catalyst-docs-development.zohostratus.in/images/tutorials/microservice/micorservice_project_select.webp) 5. Select **Functions** using the space bar. Press the **Enter** key to initialize. ![microservice_project_init](https://catalyst-docs-development.zohostratus.in/images/tutorials/microservice/microservice_project_init.webp) 6. The CLI will initiate the functions set up. Select the [**BasicIO**](https://docs.catalyst.zoho.com/en/serverless/help/functions/basic-io/) type from the list to set up and press **Enter**. You can learn about the function types from the [Functions help page](https://docs.catalyst.zoho.com/en/serverless/help/functions/introduction). ![microservice_func_type_select](https://catalyst-docs-development.zohostratus.in/images/tutorials/microservice/microservice_func_type_select.webp) 7. Select the latest runtime of Node.js as the stack and press **Enter**. ![](https://catalyst-docs-development.zohostratus.in/images/tutorials/microservice/microservice_node_func_select.webp) 8. Enter "**counter_based_alert_function**" as the package name, "**index.js**" as the entry point, and your email address as the author and press **Enter**. You can alternatively press **Enter** without entering inputs to fill in the default values. The CLI will prompt the initialization of the Node dependencies. Press **Y** to confirm the installation, and press **Enter** to confirm your choice. The Node modules will be installed. ![microservice_node_func_init](https://catalyst-docs-development.zohostratus.in/images/tutorials/microservice/microservice_node_func_init.webp) > **Note:** Ensure that you enter the main class name and the function's name exactly as instructed, because the application's code contains the same names. The project and function initialization is now complete. The functions directory will be created in your project directory with the configuration files and dependencies, along with the [`catalyst.json`](https://docs.catalyst.zoho.com/en/cli/v1/project-directory-structure/introduction) and a hidden `.catalystrc` file. ![microservice_node_directory](https://catalyst-docs-development.zohostratus.in/images/tutorials/microservice/microservice_node_directory.webp) -------------------------------------------------------------------------------- title: "Configure the Basic I/O function" description: "Build a microservice using Catalyst Basic I/O Functions and Zoho CRM to send email alerts when more than a specific number of leads are created." last_updated: "2026-11-04T10:10:44.000Z" source: "https://docs.catalyst.zoho.com/en/tutorials/microservice/nodejs/configure-function/" service: "All Services" related: - Functions (/en/serverless/help/functions/introduction/) - Functions Directory (/en/cli/v1/project-directory-structure/functions-directory/) -------------------------------------------------------------------------------- # Configure the Function Let's begin coding the microservice. The [functions directory](https://docs.catalyst.zoho.com/en/cli/v1/project-directory-structure/functions-directory), in this case `functions/counter_based_alert_function`, contains: * The `index.js` main function file * The `catalyst-config.json` configuration file * Node modules * [`package.json`](https://docs.npmjs.com/files/package.json) and [`package-lock.json`](https://docs.npmjs.com/configuring-npm/package-lock-json.html) dependency files. We will be adding code in the `index.js` file. You can use any IDE of your choice to configure the function. > **Note:** Please go through the code given in this section for understanding it better. Copy the code given below and paste it in `index.js` and save the file. **index.js** ```javascript const catalyst = require("zcatalyst-sdk-node"); module.exports = async(context, basicIO) => { try { const FROM_EMAIL="emma@zylker.com"; // The email address of the sender. Replace this with the email address you configured in Mail. const TO_EMAIL="brandon.cooper@zylker.com"; // Replace this with the email address that you want the alert email to be sent to. let featureName = basicIO.getArgument("feature_name"); let mailCountThreshold = basicIO.getArgument("mail_count_threshold"); let app = catalyst.initialize(context); let value = null; let cache = app.cache(); let segment = cache.segment(); let cachePromise = segment.getValue("COUNTER_" + featureName); await cachePromise.then((entity) => { value = entity; }).catch((err) => { throw err; }); if (value == null) { await segment.put("COUNTER_" + featureName,1,1); } else { let count = parseInt(value); // If the value is not null, then the count is incremented by 1. count++; // Writes the count value to the default segment of Catalyst cache await segment.put("COUNTER_" + featureName,count,1); // If the current count is greater than the threshold value, then an email alert is sent to the receiver configured above if (count > parseInt(mailCountThreshold)) { //Create a config object with the email configuration let config = { from_email: FROM_EMAIL, to_email: [TO_EMAIL], subject: 'Alert!', content: "Count exceeded the threshold limit for the feature:" +featureName, }; //Send the mail by passing the config object let email = app.email(); let mailPromise = email.sendMail(config); await mailPromise.then((mailObject) => { console.log("Email Alert Sent"); }) .catch((err) => { throw err; }); } } // Handles the 200 status code basicIO.setStatus(200); basicIO.write("The function executed successfully"); } catch (error) { console.log("Exception occurred while processing",error.toString()); //Written to the logs. You can view this log from Logs under the Monitor section in the console // Handles the 500 status code, when an exception occurs basicIO.setStatus(500); basicIO.write("Error in the function execution"); } context.close(); //end of application }; ``` > **Note**: Before you proceed to the next step, ensure that you replace the values of `FROM_EMAIL` in line **5** and `TO_EMAIL` in line **6** in the code as directed. ### Working of the Basic I/O function As discussed in the Introduction, the function obtains the inputs for `feature_name` and `mail_count_threshold` from the user through the API, when it is invoked. It obtains the current counter value from the cache and then increments it by 1 after every invocation. It then writes the new counter value to the cache. > **Note**: Because we are using the default segment in Catalyst Cache, we need not configure it or create a new segment. You can learn more about this from the [Cache help page](https://docs.catalyst.zoho.com/en/cloud-scale/help/cache/introduction) If the current counter value is greater than the threshold limit specified by the user, the email alert will be sent to the address defined in the code. This information is also pushed to [Catalyst Logs](https://docs.catalyst.zoho.com/en/devops/help/logs/introduction) with an appropriate message. You can check this from *Logs* under the *Monitor* section in the Catalyst console. The functions directory is now configured. -------------------------------------------------------------------------------- title: "Test the function" description: "Build a microservice using Catalyst Basic I/O Functions and Zoho CRM to send email alerts when more than a specific number of leads are created." last_updated: "2026-11-04T10:10:44.000Z" source: "https://docs.catalyst.zoho.com/en/tutorials/microservice/nodejs/test-function/" service: "All Services" related: - Serve Resources (/en/cli/v1/serve-resources/introduction) -------------------------------------------------------------------------------- # Test the Function Before you deploy the function to the remote console and integrate it with Zoho CRM, you can test it locally and check if everything works fine. You can test and debug a function by launching a node shell from the Catalyst CLI. You can learn about the functions shell in detail from the [Working with Functions help page](https://docs.catalyst.zoho.com/en/cli/v1/working-with-functions/functions-shell/). Let's test the function by launching the functions shell in the CLI. Navigate to your project directory in your terminal and execute the following command from the CLI: ```sh catalyst functions:shell ``` This opens the node shell. You can now pass inputs, execute the function, and perform other node shell operations in it. > **Note:** You can launch the function shell with your IDE's debugger attached to it. This will enable you to debug the function line by line in your IDE. You can do this by executing the command: `[catalyst functions:shell --debug [port] ](https://docs.catalyst.zoho.com/en/cli/v1/working-with-functions/functions-shell/#--debug-port)`. Let's test the `counter_based_alert_function` by passing the input values for `feature_name` and `mail_count_threshold`. Execute this command in the function shell: ```sh counter_based_alert_function({"feature_name":"CRM","mail_count_threshold":"1"}) ``` This assigns the threshold value as '1' for the feature 'CRM'. Therefore, when the function is invoked more than once for the feature, the counter will exceed the threshold limit. The CLI will invoke the function and pass the input values to the default segment in [Catalyst Cache](https://docs.catalyst.zoho.com/en/cloud-scale/help/cache/introduction/). The counter doesn't exceed the threshold during the first invocation. Therefore, the CLI will just display the output message that we configured for the status code 200. ![microservice_node_func_shell](https://catalyst-docs-development.zohostratus.in/images/tutorials/microservice/microservice_node_func_shell.webp) You can verify if the counter value is added to the cache, by navigating to **Cache** under *Storage* in the [**CloudScale**](https://docs.catalyst.zoho.com/en/cloud-scale/getting-started/introduction/) section of the Catalyst console. ![microservice_cache_name](https://catalyst-docs-development.zohostratus.in/images/tutorials/microservice/microservice_cache_name.webp) Click **Default** to open the default segment in the Segments page. You will be able to see a key-value pair added to the segment, with the key name '**COUNTER_CRM**' and the value '**1**' indicating that the function was invoked once. ![microservice_cache_info](https://catalyst-docs-development.zohostratus.in/images/tutorials/microservice/microservice_cache_info.webp) Now let's invoke the function a second time to exceed the threshold limit. Execute the following command: ```sh counter_based_alert_function({"feature_name":"CRM","mail_count_threshold":"1"}) ``` This will invoke the function again and increment the counter value. Because the threshold limit of 1 has now been exceeded, the email alert will be sent automatically to the defined receiver email address. The CLI will display the message that was pushed to the logs indicating this. ![microservice_node_test_email_sent](https://catalyst-docs-development.zohostratus.in/images/tutorials/microservice/microservice_node_test_email_sent.webp) You can verify this by checking the receiver email. ![microservice_test_email](https://catalyst-docs-development.zohostratus.in/images/tutorials/microservice/microservice_test_email.webp) The value of the counter will also be updated in the cache. ![microservice_cache_update](https://catalyst-docs-development.zohostratus.in/images/tutorials/microservice/microservice_cache_update.webp) If this setup is working correctly, we can deploy the application to production. Once you’ve finished testing in the function shell, type `.exit` to exit the shell. -------------------------------------------------------------------------------- title: "Deploy the function" description: "Build a microservice using Catalyst Basic I/O Functions and Zoho CRM to send email alerts when more than a specific number of leads are created." last_updated: "2026-11-04T10:10:44.000Z" source: "https://docs.catalyst.zoho.com/en/tutorials/microservice/nodejs/deploy-project/" service: "All Services" related: - Deploy Resources (/en/cli/v1/deploy-resources/introduction) -------------------------------------------------------------------------------- # Deploy the Function To [deploy your Catalyst project from the CLI](https://docs.catalyst.zoho.com/en/cli/v1/deploy-resources/introduction), run the following command in your terminal from your project directory: ```sh catalyst deploy ``` The function is deployed and the production URL of the function is displayed. ![microservice_node_deploy](https://catalyst-docs-development.zohostratus.in/images/tutorials/microservice/microservice_node_deploy.webp) This function will now be available in your Catalyst console. Navigate to **Functions** under *FAAS* in the [Serverless](https://docs.catalyst.zoho.com/en/serverless/getting-started/introduction/) section of the Catalyst console. ![microservice_node_func_view](https://catalyst-docs-development.zohostratus.in/images/tutorials/microservice/microservice_node_func_view.webp) You can click **counter_based_alert_function** from the *Functions* page to view its statistics for the day. ![microservice_node_func_overview](https://catalyst-docs-development.zohostratus.in/images/tutorials/microservice/microservice_node_func_overview.webp) -------------------------------------------------------------------------------- title: "Integrate the function with Zoho CRM" description: "Build a microservice using Catalyst Basic I/O Functions and Zoho CRM to send email alerts when more than a specific number of leads are created." last_updated: "2026-11-04T10:10:44.000Z" source: "https://docs.catalyst.zoho.com/en/tutorials/microservice/nodejs/intergrate-crm/" service: "All Services" related: - Functions (/en/serverless/help/functions/introduction) -------------------------------------------------------------------------------- # Integrate the Function with Zoho CRM Let's now integrate this function with Zoho CRM by creating a workflow rule with a webhook associated to it. You can go through the [help resources for Zoho CRM](https://www.zoho.com/crm/help/) to understand it better. To learn about Workflow Management refer to [this help page](https://help.zoho.com/portal/en/kb/crm/automate-business-processes/workflow-management). To learn about Webhooks, refer to [this help page](https://help.zoho.com/portal/en/kb/crm/automate-business-processes/actions/articles/webhooks-workflow). To integrate the function with Zoho CRM: 1. Navigate to **Setup** and then **Workflow Rules** under the *Automation* section. ![microservice_crm_workflow](https://catalyst-docs-development.zohostratus.in/images/tutorials/microservice/crm-setup-workflow-rules.webp) 2. Click **Create Rule** in the *Workflow Rules* page. ![microservice_crm_workflow](https://catalyst-docs-development.zohostratus.in/images/tutorials/microservice/microservice_crm_workflow.webp) 3. Select the **Leads** module and enter the rule name and description in the pop-up box as displayed below. Click **Next**. ![microservice_crm_rule_create](https://catalyst-docs-development.zohostratus.in/images/tutorials/microservice/microservice_crm_rule_create.webp) 4. Select **Create** and click **Next**. ![microservice_crm_alert_create](https://catalyst-docs-development.zohostratus.in/images/tutorials/microservice/microservice_crm_alert_create.webp) 5. Select **All Leads** and click **Next**. ![microservice_crm_all_leads](https://catalyst-docs-development.zohostratus.in/images/tutorials/microservice/microservice_crm_all_leads.webp) 6. Click **Instant Actions** and select **Webhooks**. ![microservice_crm_webhooks](https://catalyst-docs-development.zohostratus.in/images/tutorials/microservice/microservice_crm_webhooks.webp) 7. Enter the details as displayed below in the pop-up box. ![microservice_crm_webhooks_create](https://catalyst-docs-development.zohostratus.in/images/tutorials/microservice/crm-webhook-leads-setup.webp) You can obtain the Function URL from the Catalyst console or from the CLI as discussed in the previous step. You must append this at the end of the Function URL as shown in the picture: "**?feature_name=CRM&mail_count_threshold=5**". Select the HTTP method as **GET**. Click **Save and Associate**. The workflow rule will now be saved and webhook will be associated with it. We have defined the threshold as "5". Therefore, if more than 5 leads are created in the Leads module, the email alert will be sent automatically. The microservice is now functional and will work without any errors. ## Movie Recommendation -------------------------------------------------------------------------------- title: "Introduction" description: "Create a powerful ML pipeline that analyzed historic Movie data and gives meaningful recommendation using the Catalyst QuickML components." last_updated: "2026-08-20T07:12:54.000Z" source: "https://docs.catalyst.zoho.com/en/tutorials/movie-recommendation/introduction/" service: "All Services" -------------------------------------------------------------------------------- # Movie Recommendation Tutorial # Introduction This tutorial will guide you through building a movie recommendation model using **[Catalyst QuickML](https://docs.catalyst.zoho.com/en/quickml/getting-started/introduction/)**. The model predicts movies that a user is most likely to enjoy by analyzing historical interactions between users and movies. We'll provide you with a sample dataset that can be used as the data source for the model. Before proceeding with the steps, let’s understand the basics of a recommendation system. A recommendation system is a branch of machine learning that focuses on predicting user preferences and delivering personalized suggestions. It does this by analyzing factors such as past user interactions, behavior patterns, item attributes, and demographic data. These systems are widely applied in domains like ecommerce, media streaming, and social networking, helping users discover relevant products, movies, books, or other content tailored to their interests. By providing personalized suggestions, recommendation systems enhance user satisfaction, boost engagement, improve retention, and drive business growth by presenting the most relevant options for each user. To learn more about recommendation models, their types, and evaluation metrics, refer to our [help document](https://docs.catalyst.zoho.com/en/quickml/help/learning-center/recommendation/). Now, let's have a quick overview of the tutorial. 1. Pre-process the Dataset Begin by [cleaning and preparing the datasets](https://docs.catalyst.zoho.com/en/quickml/help/data-preprocessing/data-cleaning/) — typically a Item features dataset (movie attributes), Interaction dataset (movie rating attributes), and User features dataset (user attributes). This step involves handling missing values, encoding categorical fields, and applying necessary data transformations to make the data ready for training. 2. Build the Unified Recommendation Pipeline In Catalyst QuickML, you can create a single [pipeline](https://docs.catalyst.zoho.com/en/quickml/help/create-data-pipeline/) for a recommendation model that integrates both data preprocessing and ML operations. Use [node operations](https://docs.catalyst.zoho.com/en/quickml/help/operations-in-quickml/encoding/) to perform tasks such as selecting or dropping fields and applying the appropriate encoder to transform categorical variables. Next, link the processed datasets directly to your chosen [recommendation algorithm](https://docs.catalyst.zoho.com/en/quickml/help/ml-algorithms/recommendation/) within the same pipeline. QuickML will then automatically evaluate the trained model to assess its accuracy and recommendation quality—delivering a unified, reusable workflow for your end-to-end process. 3. Deploy the Model via Endpoint Once trained, generate an [endpoint URL](https://docs.catalyst.zoho.com/en/quickml/help/pipeline-endpoints/) in QuickML. This endpoint allows external applications to send user or item data and receive real-time movie recommendations from the model. The final output, after creating all of the required data and ML pipelines in the [Catalyst console](https://console.catalyst.zoho.com/baas/index), will look like this: ![Introduction](https://catalyst-docs-development.zohostratus.in/images/tutorials/movie-recommendation/introduction.webp) -------------------------------------------------------------------------------- title: "Prerequisites" description: "Create a powerful ML pipeline that analyzed historic Movie data and gives meaningful recommendation using the Catalyst QuickML components." last_updated: "2026-02-24T17:50:04.000Z" source: "https://docs.catalyst.zoho.com/en/tutorials/movie-recommendation/prerequisites/" service: "All Services" related: - Machine Learning Algorithms (/en/quickml/help/ml-algorithms/classification-algorithms/) -------------------------------------------------------------------------------- # Prerequisites Since this tutorial is focused solely on Catalyst QuickML, all tasks—including building data and ML pipelines, creating models, and training them for recommendations—will be performed within the [Catalyst console](https://console.catalyst.zoho.com/). Before getting started, download the following datasets: * [Item_features_dataset.csv](https://workdrive.zohoexternal.com/external/9fd00bbcd32180b5dcc4c053314a424e8fff6c417dbe55004dc1908f78b7a58f): Contains movie-related details, such as titles, release dates, and genres * [Interaction_dataset.csv](https://workdrive.zohoexternal.com/external/d7cdd2670e6717d9e086769e897988af5f7ae2009cdc6b6cd263cb863c991428): Contains movie rating details * [User_features_dataset.csv](https://workdrive.zohoexternal.com/external/ed8754d1345b3814062040bc80dcacc5e7587b3332284a26feb97df5983d2a4c): Contains user information such as user ID, age, gender, and occupation This tutorial will guide you through cleaning, refining, and preprocessing these datasets, which will then be used for training the recommendation model. -------------------------------------------------------------------------------- title: "Create a project" description: "Create a powerful ML pipeline that analyzed historic Movie data and gives meaningful recommendation using the Catalyst QuickML components." last_updated: "2026-08-20T07:12:54.000Z" source: "https://docs.catalyst.zoho.com/en/tutorials/movie-recommendation/create-a-project/" service: "All Services" related: - Catalyst Projects (/en/getting-started/catalyst-projects) -------------------------------------------------------------------------------- # Create a Project Let's [create a Catalyst project](https://docs.catalyst.zoho.com/en/getting-started/catalyst-projects) from the Catalyst console. 1. Log in to the [Catalyst console](https://console.catalyst.zoho.com/baas/index), then click `Create a new Project` ![catalyst_project_creation](https://catalyst-docs-development.zohostratus.in/images/tutorials/movie-recommendation/create-project.webp) 2. Enter the project's name as **Movie-Recommendation** in the pop-up window that appears. ![project-name](https://catalyst-docs-development.zohostratus.in/images/tutorials/movie-recommendation/project-name.webp) 3. Click `Create`. Your project will be created and automatically opened. To access your project later, simply click on the `Access Project` button. ![access-project](https://catalyst-docs-development.zohostratus.in/images/tutorials/movie-recommendation/access-project.webp) -------------------------------------------------------------------------------- title: "Upload the dataset" description: "Create a powerful ML pipeline that analyzed historic Movie data and gives meaningful recommendation using the Catalyst QuickML components." last_updated: "2026-09-29T06:01:01.000Z" source: "https://docs.catalyst.zoho.com/en/tutorials/movie-recommendation/upload-dataset/" service: "All Services" related: - Create Your First pipeline (/en/quickml/help/create-ml-pipeline) -------------------------------------------------------------------------------- # Upload the Dataset Let's begin by uploading the dataset in Catalyst QuickML using the available dataset dataset connectors. 1. Navigate to the QuickML service in the Catalyst console and click `Start Exploring`. ![Start Exploring](https://catalyst-docs-development.zohostratus.in/images/tutorials/movie-recommendation/start-exploring.webp) 2. Navigate to the `Datasets` component and click `Import Dataset`. ![Dataset Upload](https://catalyst-docs-development.zohostratus.in/images/tutorials/movie-recommendation/import-dataset-movie-recommendation.webp) 3. An Import Dataset pop-up will be displayed. In the **Data Sources** step, navigate to File Upload and click `Upload File`. ![movie-recommendation-1.webp](https://catalyst-docs-development.zohostratus.in/images/tutorials/movie-recommendation/movie-recommendation-1.webp) Upload the [Item feature dataset](https://workdrive.zohoexternal.com/external/9fd00bbcd32180b5dcc4c053314a424e8fff6c417dbe55004dc1908f78b7a58f) that you have downloaded already. We can have the Quotes Type as "**Double Quotes(")**" and Escape Character as "**Backslash(\)**" and click `Next`. ![dataset_detials](https://catalyst-docs-development.zohostratus.in/images/tutorials/movie-recommendation/dataset_detials.webp) The name of the dataset will be auto-populated based on the uploaded file. You can edit it, if required, and click `Upload`. ![Dataset Name](https://catalyst-docs-development.zohostratus.in/images/tutorials/movie-recommendation/dataset_name.webp) The dataset is now uploaded successfully. ![Dataset Name](https://catalyst-docs-development.zohostratus.in/images/tutorials/movie-recommendation/upload-successful.webp) The dataset will be displayed in the **All Datasets** section. You can click on the dataset name to view the dataset's details. Likewise, upload the [Interaction_dataset](https://workdrive.zohoexternal.com/external/d7cdd2670e6717d9e086769e897988af5f7ae2009cdc6b6cd263cb863c991428) and [User_features_dataset](https://workdrive.zohoexternal.com/external/ed8754d1345b3814062040bc80dcacc5e7587b3332284a26feb97df5983d2a4c). Once all of the datasets are uploaded, they'll be displayed in the All Datasets section. You can click on the desired dataset name to view its details. ![All Datasets](https://catalyst-docs-development.zohostratus.in/images/tutorials/movie-recommendation/all-datasets.webp) On the dataset **Details** page, you can view the **[profile, preview,](https://docs.catalyst.zoho.com/en/quickml/help/data-profiler-and-viewer/)** and visualization chart of the dataset. For example, the Item_features_dataset's details and its profile can be seen in the screenshot below. ![Dataset details page](https://catalyst-docs-development.zohostratus.in/images/tutorials/movie-recommendation/dataset-details.webp) -------------------------------------------------------------------------------- title: "Create pipeline" description: "Create a powerful ML pipeline that analyzed historic Movie data and gives meaningful recommendation using the Catalyst QuickML components." last_updated: "2026-08-20T07:12:54.000Z" source: "https://docs.catalyst.zoho.com/en/tutorials/movie-recommendation/create-pipeline/" service: "All Services" related: - Data Cleaning (/en/quickml/help/data-preprocessing/data-cleaning) - Data Transformation (/en/quickml/help/data-preprocessing/data-transformation) - Data Profiler and Viewer (/en/quickml/help/data-profiler-and-viewer/) -------------------------------------------------------------------------------- # Create a pipeline Now, follow the steps below to create a unified recommendation pipeline that integrates both data pre-processing and ML operations with the uploaded datasets. 1. Navigate to the Pipelines component in the left menu and click **Create Pipeline**. ![All Datasets](https://catalyst-docs-development.zohostratus.in/images/tutorials/movie-recommendation/create-pipeline.webp) 2. In the Create Pipeline pop-up window, choose **Recommendation** as the pipeline type. ![All Datasets](https://catalyst-docs-development.zohostratus.in/images/tutorials/movie-recommendation/pipeline-type.webp) 3. Set the pipeline name to "Movie Recommendation" and select **Interaction_dataset** as the Transaction dataset. Enable the User dataset option, choose **User_features_dataset**, enable the Item dataset option, choose **Item_features_dataset**, and then click **Create**. > **Note:** The option to enable the User dataset and Item dataset is optional and can be enabled based on your business requirements. ![All Datasets](https://catalyst-docs-development.zohostratus.in/images/tutorials/movie-recommendation/pipeline-name.webp) The pipeline builder interface will be opened as shown in the screenshot below. ![All Datasets](https://catalyst-docs-development.zohostratus.in/images/tutorials/movie-recommendation/pipeline-builder.webp) You'll be performing the following set of data pre-processing and ML operations in different stages in order to clean, refine, and transform the datasets and then execute the pipeline. Each of these operations involves individual data nodes that are used to construct the pipeline. ## Data pre-processing stage First, select the required fields in the datasets to modify them further. Transaction dataset 1. Expand the [Data Cleaning](https://docs.catalyst.zoho.com/en/quickml/help/data-preprocessing/data-cleaning/) component in the Operations menu. Drag and drop the Select/Drop node in the pipeline builder and make a connection with the `Transaction dataset` node. 2. In the Select/Drop section in the right panel, select the columns **Unnamed** and **Timestamp**. 3. Choose the operation `Drop` to drop the columns from the Transaction dataset, then click `Save`. In our case, these columns are generic and serve no further purpose, so we're removing them. ![pre-data-processing](https://catalyst-docs-development.zohostratus.in/images/tutorials/movie-recommendation/pre-data-processing.webp) ### User Dataset 1. Expand the [Data Cleaning](https://docs.catalyst.zoho.com/en/quickml/help/data-preprocessing/data-cleaning/) component in the Operations menu. Drag and drop the Select/Drop node in the pipeline builder and make a connection with the **User dataset** node. 2. In the Select/Drop section in the right panel, select the columns **Unnamed** and **Zip-code**. 3. Choose the operation Drop to drop the columns from the User dataset, then click Save. In our case, these columns are generic and serve no further purpose, so we're removing them. ### Item Dataset 1. Expand the [Data Cleaning](https://docs.catalyst.zoho.com/en/quickml/help/data-preprocessing/data-cleaning/) component in the Operations menu. Drag and drop the Select/Drop node in the pipeline builder and make a connection with the `Item dataset` node. 2. In the Select/Drop section in the right panel, select the columns **Unnamed, movie title, release date,** and **unknown**. 3. Choose the operation `Drop` to drop the columns from the Item dataset, then click `Save`. In our case, these columns are generic and serve no further purpose, so we're removing them. ![item-dataset](https://catalyst-docs-development.zohostratus.in/images/tutorials/movie-recommendation/item-dataset.webp) ## Encoding categorical columns stage Since the columns Gender and Occupation in the User dataset contain categorical String-type data, we'll [One-Hot Encode](https://docs.catalyst.zoho.com/en/quickml/help/operations-in-quickml/encoding/) them to meet the requirements of standard ML training. Follow the steps below to perform the encoding. 1. Navigate to **ML tab > ML Operations > Encoding > One-Hot Encoder**. 2. Drag and drop the `One-Hot Encoder` node into the pipeline builder interface and connect it with the `Select/Drop` node of the User dataset. 3. In the One-Hot Encoder configuration panel on the right, select the columns **Gender** and **Occupation**, and then click `Save`. ![encoding](https://catalyst-docs-development.zohostratus.in/images/tutorials/movie-recommendation/encoding.webp) This operation will convert each unique value in these String columns into separate binary columns (0s and 1s), ensuring the model can interpret categorical attributes without losing information or introducing unintended ordinal relationships. ## Applying ML Algorithm Stage We are using the [Light FM](https://docs.catalyst.zoho.com/en/quickml/help/learning-center/recommendation/#evaluation-metrics-for-specific-algorithms) algorithm to build a hybrid recommendation system that combines both collaborative filtering and content-based filtering. This approach allows the model to learn from user-item interaction data (such as ratings or clicks) as well as from user and item feature data. 1. Navigate to **ML tab > ML Operations > Algorithms > Information Retrieval > Light FM**. 2. Drag and drop the `Light FM` node into the pipeline builder interface and connect it to the configured operations for the Transaction, User, and Item datasets as shown in the screenshot below. > **Note:**: The Light FM node will get auto-connected to the Destination node. ![light-fm](https://catalyst-docs-development.zohostratus.in/images/tutorials/movie-recommendation/light-fm.webp) 3. In the Light FM configuration panel on the right, choose the **UserID** and **MovieID** columns for the Transaction dataset, choose the **UserID** column for the User dataset, and choose the **movie id** column for the Item dataset. Set the loss function parameter to BPR, leave all other parameters unchanged, and click `Save`. Now we've finished making the required node connections and configurations. We can execute the pipeline by clicking `Execute` for further evaluation and deployment. ![execute](https://catalyst-docs-development.zohostratus.in/images/tutorials/movie-recommendation/execute.webp) Click `Execution Stats` to view more details about each stage of the execution in detail. ![execute-stats](https://catalyst-docs-development.zohostratus.in/images/tutorials/movie-recommendation/execute-stats.webp) ![execute-stats-preview](https://catalyst-docs-development.zohostratus.in/images/tutorials/movie-recommendation/execute-stats-preview.webp) Upon successful pipeline execution, the Movie Recommendation model is created and will be displayed under the Models section with a **Ready** state. ![model](https://catalyst-docs-development.zohostratus.in/images/tutorials/movie-recommendation/model.webp) You can view the details of the model on the model's Details page by clicking on the model name. ![model-stats](https://catalyst-docs-development.zohostratus.in/images/tutorials/movie-recommendation/model-stats.webp) -------------------------------------------------------------------------------- title: "Create an Endpoint" description: "Create a powerful ML pipeline that analyzed historic Movie data and gives meaningful recommendation using the Catalyst QuickML components." last_updated: "2026-09-29T06:01:01.000Z" source: "https://docs.catalyst.zoho.com/en/tutorials/movie-recommendation/create-endpoint/" service: "All Services" related: - Pipeline Endpoints (/en/quickml/help/pipeline-endpoints) -------------------------------------------------------------------------------- # Create an endpoint We will now [create an endpoint](https://docs.catalyst.zoho.com/en/quickml/help/pipeline-endpoints/) for our Movie Recommendation model to allow external applications to interact with the model seamlessly and get recommendations. 1. Navigate to the **Endpoints** component in the left menu and click `Create Endpoint`. ![endpoints](https://catalyst-docs-development.zohostratus.in/images/tutorials/movie-recommendation/endpoints.webp) 2. Name the endpoint **Movie Recommendation**, select the endpoint type as **ML Model**, choose the model as **Movie Recommendation model**, and click `Create Endpoint`. ![movie-recommendation-2.webp](https://catalyst-docs-development.zohostratus.in/images/tutorials/movie-recommendation/movie-recommendation-2.webp) 3. On the endpoint's details page, you can test the model by providing a sample request and clicking Get Result. For the request, you can provide the model with a user’s demographic and identifying details, and it will respond with the movie IDs it predicts that the user is most likely to enjoy, sorted in recommendation order. ![predict](https://catalyst-docs-development.zohostratus.in/images/tutorials/movie-recommendation/endpoint-creation-details.webp) 4. Click `Publish` on the top right corner of the page and use the endpoint URL to integrate the ML model with any other applications. ![publish](https://catalyst-docs-development.zohostratus.in/images/tutorials/movie-recommendation/publish.webp) > **Note:** You can also check out [Endpoints Authentication](https://docs.catalyst.zoho.com/en/quickml/help/pipeline-endpoints/#external-oauth2-authentication) document to implement pipeline authentication. This ensures secured access to endpoints, the ML models, and datasets. ## Movie review classification -------------------------------------------------------------------------------- title: "Introduction" description: "Create an ML pipeline that analyzes historic Zoho CRM data and predicts the likeliness of a successful deal using the Catalyst QuickML components." last_updated: "2026-11-04T10:10:44.000Z" source: "https://docs.catalyst.zoho.com/en/tutorials/movie-review-classification/introduction/" service: "All Services" -------------------------------------------------------------------------------- # Movie review classification ## Introduction This tutorial will guide you through building a movie recommendation model using [Catalyst QuickML](https://docs.catalyst.zoho.com/en/quickml/getting-started/introduction/). The model predicts movies that a user is most likely to enjoy by analyzing historical interactions between users and movies. We'll provide you with a sample dataset that can be used as the data source for the model. Before proceeding with the steps, let’s understand the basics of a recommendation system. A recommendation system is a branch of machine learning that focuses on predicting user preferences and delivering personalized suggestions. It does this by analyzing factors such as past user interactions, behavior patterns, item attributes, and demographic data. These systems are widely applied in domains like ecommerce, media streaming, and social networking, helping users discover relevant products, movies, books, or other content tailored to their interests. By providing personalized suggestions, recommendation systems enhance user satisfaction, boost engagement, improve retention, and drive business growth by presenting the most relevant options for each user. To learn more about recommendation models, their types, and evaluation metrics, refer to our [help document](https://docs.catalyst.zoho.com/en/quickml/help/learning-center/recommendation/). Now, let's have a quick overview of the tutorial. 1. Pre-process the Dataset Begin by [cleaning and preparing the datasets](https://docs.catalyst.zoho.com/en/quickml/help/data-preprocessing/data-cleaning/) — typically a Item features dataset (movie attributes), Interaction dataset (movie rating attributes), and User features dataset (user attributes). This step involves handling missing values, encoding categorical fields, and applying necessary data transformations to make the data ready for training. 2. Build the Unified Recommendation Pipeline In Catalyst QuickML, you can create a single [pipeline](https://docs.catalyst.zoho.com/en/quickml/help/create-data-pipeline/) for a recommendation model that integrates both data preprocessing and ML operations. Use [node operations](https://docs.catalyst.zoho.com/en/quickml/help/operations-in-quickml/encoding/) to perform tasks such as selecting or dropping fields and applying the appropriate encoder to transform categorical variables. Next, link the processed datasets directly to your chosen [recommendation algorithm](https://docs.catalyst.zoho.com/en/quickml/help/ml-algorithms/recommendation/) within the same pipeline. QuickML will then automatically evaluate the trained model to assess its accuracy and recommendation quality—delivering a unified, reusable workflow for your end-to-end process. 3. Deploy the Model via Endpoint Once trained, generate an [endpoint URL](https://docs.catalyst.zoho.com/en/quickml/help/pipeline-endpoints/) in QuickML. This endpoint allows external applications to send user or item data and receive real-time movie recommendations from the model. The final output, after creating all of the required data and ML pipelines in the [Catalyst console](https://console.catalyst.zoho.com/baas/index), will look like this: ![final_output](https://catalyst-docs-development.zohostratus.in/images/tutorials/movie-review-classification/introduction.webp) -------------------------------------------------------------------------------- title: "Prerequisites" description: "This tutorial will guide you through building a movie review classification model using Catalyst QuickML." last_updated: "2026-10-30T17:47:18.000Z" source: "https://docs.catalyst.zoho.com/en/tutorials/movie-review-classification/prerequisites/" service: "All Services" related: - Machine Learning Algorithms (/en/quickml/help/ml-algorithms/classification-algorithms/) -------------------------------------------------------------------------------- # Prerequisites Since this tutorial is focused on [Catalyst QuickML](https://docs.catalyst.zoho.com/en/quickml/getting-started/introduction/), all tasks, including building data and [ML pipelines](https://docs.catalyst.zoho.com/en/quickml/help/create-ml-pipeline/), creating models, and training them for classification, will be performed within the [Catalyst console](https://console.catalyst.zoho.com/baas/index). Before getting started, download the following dataset: * **[Movie review data ](https://workdrive.zoho.in/file/2ra2hfee8c81a7bea491f85f7258de7d42f5c)** This tutorial will guide you through the preprocessing and extraction operations on this dataset, which will then be used for training the sentiment analysis model. Now, let's begin the tutorial. -------------------------------------------------------------------------------- title: "Create a project" description: "This tutorial will guide you through building a movie review classification model using Catalyst QuickML." last_updated: "2026-08-20T07:12:54.000Z" source: "https://docs.catalyst.zoho.com/en/tutorials/movie-review-classification/create-a-project/" service: "All Services" related: - Catalyst Projects (/en/getting-started/catalyst-projects) -------------------------------------------------------------------------------- # Create a Project Let's [create a Catalyst project](https://docs.catalyst.zoho.com/en/getting-started/catalyst-projects) from the Catalyst console. 1. Log in to the [Catalyst console](https://console.catalyst.zoho.com/baas/index), then click `Create a new Project` ![catalyst_project_creation](https://catalyst-docs-development.zohostratus.in/images/tutorials/movie-review-classification/create-project.webp) 2. Enter the project's name as **Movie-Reviews-SentimentAnalysis** in the pop-up window that appears. ![project-name](https://catalyst-docs-development.zohostratus.in/images/tutorials/movie-review-classification/project-name.webp) 3. Click `Create`. Your project will be created and opened. ![access-project](https://catalyst-docs-development.zohostratus.in/images/tutorials/movie-review-classification/access-project.webp) -------------------------------------------------------------------------------- title: "Upload the dataset" description: "This tutorial will guide you through building a movie review classification model using Catalyst QuickML." last_updated: "2026-08-20T07:12:54.000Z" source: "https://docs.catalyst.zoho.com/en/tutorials/movie-review-classification/upload-dataset/" service: "All Services" related: - Create Your First pipeline (/en/quickml/help/create-ml-pipeline) -------------------------------------------------------------------------------- # Upload the Dataset Let's begin by uploading the dataset in Catalyst QuickML using the available dataset [dataset connectors](https://docs.catalyst.zoho.com/en/quickml/help/data-connectors/zoho-apps/). 1. Navigate to the QuickML service in the Catalyst console and click `Start Exploring`. ![Start Exploring](https://catalyst-docs-development.zohostratus.in/images/tutorials/movie-review-classification/start-exploring.webp) 2. Navigate to the `Datasets` component and click `Import Dataset`. ![Dataset Upload](https://catalyst-docs-development.zohostratus.in/images/tutorials/movie-review-classification/import-dataset-movie-review-classification.webp) 3. An Import Dataset pop-up will be displayed. In the **Data Sources** step, navigate to File Upload and click `Upload File`. ![Upload Dataset](https://catalyst-docs-development.zohostratus.in/images/tutorials/movie-review-classification/upload-file.webp) Upload the movie reviews dataset that you have already downloaded. We can have the Quotes Type as "**Double Quotes(")**" and Escape Character as "**Backslash(\)**" and click `Next`. ![Upload Dataset](https://catalyst-docs-development.zohostratus.in/images/tutorials/movie-review-classification/dataset_detials.webp) The name of the dataset will be auto-populated based on the uploaded file. You can edit it, if required, and click `Upload`. ![Dataset Name](https://catalyst-docs-development.zohostratus.in/images/tutorials/movie-review-classification/dataset_name.webp) The dataset is now uploaded successfully. ![Dataset Name](https://catalyst-docs-development.zohostratus.in/images/tutorials/movie-review-classification/upload-successful.webp) The dataset will be displayed in the **All Datasets** section. You can click on the dataset name to view the dataset's details. ![All Datasets](https://catalyst-docs-development.zohostratus.in/images/tutorials/movie-review-classification/all-dataset.webp) Once you click on the **Movie Review Sentiments dataset** in the list, you'll be redirected to the Dataset Details page. 1. The dataset's [statistical profile](https://docs.catalyst.zoho.com/en/quickml/help/data-profiler-and-viewer/) overview, sample preview, and visualization chart are shown below. ![All Datasets](https://catalyst-docs-development.zohostratus.in/images/tutorials/movie-review-classification/all-dataset.webp) ![Stats](https://catalyst-docs-development.zohostratus.in/images/tutorials/movie-review-classification/stats.webp) 2. In addition to it, upon selecting the text column, statistical information about the textual records (reviews in our case) and a [word cloud](https://docs.catalyst.zoho.com/en/quickml/help/learning-center/text-analytics/#visualizations) are generated automatically once the dataset is uploaded. ![profile](https://catalyst-docs-development.zohostratus.in/images/tutorials/movie-review-classification/stats.webp) -------------------------------------------------------------------------------- title: "Create an Pipeline" description: "This tutorial will guide you through building a movie review classification model using Catalyst QuickML." last_updated: "2026-08-20T07:12:54.000Z" source: "https://docs.catalyst.zoho.com/en/tutorials/movie-review-classification/create-pipeline/" service: "All Services" related: - ML Algorithms in QuickML (/en/quickml/help/ml-algorithms/classification-algorithms) - Operations in QuickML (/en/quickml/help/operations-in-quickml/encoding) -------------------------------------------------------------------------------- # Create a text analytics model ## Create a text analytics pipeline Let's create a [text analytics pipeline](https://docs.catalyst.zoho.com/en/quickml/help/pipeline-builder-interface/walkthrough/#pipeline) using the uploaded dataset. Click **Create** in the bottom left corner of the QuickML page and select Pipeline from the options shown. ![All Datasets](https://catalyst-docs-development.zohostratus.in/images/tutorials/movie-review-classification/create-pipeline.webp) In the Create Pipeline window, choose `Text Analytics` as the pipeline type. ![All Datasets](https://catalyst-docs-development.zohostratus.in/images/tutorials/movie-review-classification/Text-Analytics.webp) You'll be asked to choose a pipeline builder mode that works for you. Select `Smart Mode`. ![All Datasets](https://catalyst-docs-development.zohostratus.in/images/tutorials/movie-review-classification/smart-mode.webp) 2. In the Create Pipeline pop-up window, name the pipeline **Movie Reviews sentiment** and the model **Movie Reviews sentiment model**. Then, select the **Movie Review Sentiments dataset** in the Choose Dataset dropdown and select the target column **Label** (since we're building a model to extract the sentiments from movie reviews). ![All Datasets](https://catalyst-docs-development.zohostratus.in/images/tutorials/movie-review-classification/label.webp) Click Create to create the pipeline. You'll land on the Text analytics Smart mode pipeline builder. Smart mode builder is a prebuilt pipeline template with the required operations to build a pipeline seamlessly in short time. ![All Datasets](https://catalyst-docs-development.zohostratus.in/images/tutorials/movie-review-classification/pipeline-builder.webp) Smart mode pipeline builder contains three main stages: Preprocessing, Extraction, and Algorithm in the pipeline template, a sample preview as shown above. Also, if you navigate to the profile tab in the builder beside the sample preview, there is an option to show the profile for sample data and whole data. ![All Datasets](https://catalyst-docs-development.zohostratus.in/images/tutorials/movie-review-classification/sample-data.webp) Profile for the Sample data is generated by default after configuring each operation in the pre-processing and extraction stages, but if you need a profile of the whole dataset during the pipeline building process, select whole data and click generate. ## Pre-processing configuration The first step in building any ML model is pre-processing. In the smart builder, we have predefined, required, pre-processing operations. These operations are different from the prediction models that we had in earlier tutorials. Below is a list of operations to be configured in the pre-processing stage: 1. Tokenization : Word 2. Case conversion : Lower 3. Stemming : Porter stemming 4. Lemmatization : WordNet Lemmatizer 5. Noise removal : Stop words 6. Text Normalization : Default 7. Label Encoder : Target column Let's go through each stage and see why it's necessary to configure it. 1. Tokenization Tokenization refers to breaking down a large amount of text into smaller units like words. Here, select the option **Word** in the tokenization operation. ![tokenization](https://catalyst-docs-development.zohostratus.in/images/tutorials/movie-review-classification/tokenization.webp) 2. Case conversion This converts the raw text data with different cases into a unified case. Here, set case conversion as **Lower**. ![case-conversion](https://catalyst-docs-development.zohostratus.in/images/tutorials/movie-review-classification/case-conversion.webp) 3. Stemming and 4. Lemmatization Both these techniques reduce words to their root forms, helping normalize word variations for more consistent analysis. Here, configure the stemming operation with **Porter Stemmer**, a predefined library of words. ![stemming](https://catalyst-docs-development.zohostratus.in/images/tutorials/movie-review-classification/stemming.webp) Configure the lemmatization operation with **WordNet Lemmatizer**, a predefined library of words. ![wordnet](https://catalyst-docs-development.zohostratus.in/images/tutorials/movie-review-classification/wordnet.webp) 5. Noise Removal Noise removal removes unwanted words or parts of the sentences. Here, select the noise removal method as **Stop Words**, which fetches the unwanted words from its predefined library. ![noice-removal](https://catalyst-docs-development.zohostratus.in/images/tutorials/movie-review-classification/noice-removal.webp) 6. Text Normalization Text normalization converts different formats of text into a standard format using dictionary mapping. Here, set the text normalization operation to **Default**. ![text-normalization](https://catalyst-docs-development.zohostratus.in/images/tutorials/movie-review-classification/text-normalization.webp) 7. Label Encoder Label encoding is a method used to transform categorical variables into numerical values by assigning a unique integer to each category. In our movie reviews dataset, the target column **Label** contains the categorical values POSITIVE and NEGATIVE. These values need to be encoded in order to convert them to a numerical format. ![label-encoder](https://catalyst-docs-development.zohostratus.in/images/tutorials/movie-review-classification/label-encoder.webp) The pre-processing stage configuration is completed. ## Pre-processing execution Once all the pre-processing operations are configured, they need to be applied to the dataset. Click **Run** (as shown in the image below) and wait for the execution to finish. ![pre-processing](https://catalyst-docs-development.zohostratus.in/images/tutorials/movie-review-classification/pre-processing.webp) Upon completion, the operations are executed, and the pipeline is saved. Now, you can view the [profile](https://docs.catalyst.zoho.com/en/quickml/help/data-profiler-and-viewer/) and [preview](https://docs.catalyst.zoho.com/en/quickml/help/data-profiler-and-viewer/) for each operation in the pre-processing stage on sample data. To generate a profile for the entire dataset (instead of just the sample data), go to the Profile tab, choose **Whole Data** in the Generate Profile pop-up, and click Generate. ![whole-date](https://catalyst-docs-development.zohostratus.in/images/tutorials/movie-review-classification/whole-date.webp) This will apply all the pre-processing operations configured to the whole dataset and generate a profile for each operation. For now we selected Noise Removal stage to view the whole dataset profile. ![noice-removal-1](https://catalyst-docs-development.zohostratus.in/images/tutorials/movie-review-classification/noice-removal-1.webp) Now the pre-processing stage is configured and executed, and the data is transformed. Let's configure the extraction stage. ## Extraction configuration Textual data can't be fed directly into an algorithm; it must first be converted into a numerical format. The feature extraction stage, or extraction, contains several vectorization techniques that help us convert all the textual data in our Text column into numerical features. In this context, each word, sentence, or character presented to a model is treated as a feature. In the extraction stage, click on **Configure Operation** and select the **Bag of Words** option. ![bags-of-words](https://catalyst-docs-development.zohostratus.in/images/tutorials/movie-review-classification/bags-of-words.webp) It will auto populate the default hyperparameter values for the selected operation. Adjust the desired hyperparameter values for any of the selected extraction operation ![hyperparameter](https://catalyst-docs-development.zohostratus.in/images/tutorials/movie-review-classification/hyperparameter.webp) ## Algorithm selection The final step in building a text analytics pipeline is selecting the algorithm. Click on the **Configure Operation** button in the Algorithm stage and select **Multinomial Naive Bayes Classification**. ![multinomial-naive-bayes-classification](https://catalyst-docs-development.zohostratus.in/images/tutorials/movie-review-classification/multinomial-naive-bayes-classification.webp) In order to make sure the model is optimized for our particular dataset, we can also adjust the tuning parameters; in our case, let's just stick with the default settings. When everything is configured, save the pipeline and start executing it to generate your model. ![execute](https://catalyst-docs-development.zohostratus.in/images/tutorials/movie-review-classification/execute.webp) Click **Save** to save the pipeline and execute it by clicking **Execute** at the top-right corner of the pipeline builder page. This will redirect you to the pipeline details page, which provides details about the executed pipeline with execution status. You can see that the pipeline execution is successful. ![execution-stats](https://catalyst-docs-development.zohostratus.in/images/tutorials/movie-review-classification/execution-stats.webp) Click **Execution Stats** to view more details about each stage of the model execution. ![execution-stats-1](https://catalyst-docs-development.zohostratus.in/images/tutorials/movie-review-classification/execution-stats-1.webp) The Movie reviews Sentiment analysis model is now ready and can be used to identify the sentiment of each user review of movies. Our model and its details can be accessed under the **Models** module. (Click on **Movie Review sentiments model** after the pipeline is successful executed.) ![model](https://catalyst-docs-development.zohostratus.in/images/tutorials/movie-review-classification/model.webp) When you click the **Movie Review Sentiment model** button, its model details page will be opened with necessary information about evaluation metrics, and versioning details. ## Model evaluation The model details page contains evaluation metrics that help to understand performance during the training and validation process, cross validation metrics, and model versioning details. Model versions are used to track the improvement, degradation, and accuracy of the model. You can view information about the model in the model details page. ![model-metrics](https://catalyst-docs-development.zohostratus.in/images/tutorials/movie-review-classification/model-metrics.webp) -------------------------------------------------------------------------------- title: "Create an Endpoint" description: "This tutorial will guide you through building a movie review classification model using Catalyst QuickML." last_updated: "2026-08-20T07:12:54.000Z" source: "https://docs.catalyst.zoho.com/en/tutorials/movie-review-classification/create-endpoint/" service: "All Services" related: - Pipeline Endpoints (/en/quickml/help/pipeline-endpoints) -------------------------------------------------------------------------------- # Create an endpoint Now let's create an endpoint for the Movie review sentiment analysis model to allow [external applications](https://docs.catalyst.zoho.com/en/quickml/help/pipeline-endpoints/#model-tester) to interact with the model to get responses. 1. Navigate to the **Endpoints** component in the left menu and click `Create Endpoint`. ![endpoints](https://catalyst-docs-development.zohostratus.in/images/tutorials/movie-review-classification/endpoints.webp) 2. Provide a name for the endpoint in the EndpointName field (we'll name it **Movie review sentiment analysis**) and select the model pipeline name from the dropdown values in the Choose Model field.Then click `Create Endpoint`. ![endpoint-name](https://catalyst-docs-development.zohostratus.in/images/tutorials/movie-review-classification/endpoint-name.webp) 3. Once the endpoint is created, you can view the endpoint's details page. Details about the endpoint are available in the **Details** section. You can test the model by providing a sample request in the Request column and clicking **Get result**. This will generate the predicted value in the Response box. ![predict](https://catalyst-docs-development.zohostratus.in/images/tutorials/movie-review-classification/endpoint-creation-details.webp) 4. Click `Publish` and use the endpoint URL to integrate the created ML model with any other applications. ![publish](https://catalyst-docs-development.zohostratus.in/images/tutorials/movie-review-classification/publish.webp) 5. Upon publishing the endpoint, it will generate API details that include the endpoint API URL, scope, headers, and more information that's used to access the model from external applications. ![endpoint-repsonse.webp](https://catalyst-docs-development.zohostratus.in/images/tutorials/movie-review-classification/endpoint-repsonse.webp) > **Note :** You can also check out [this document](https://docs.catalyst.zoho.com/en/quickml/help/pipeline-endpoints/#external-oauth2-authentication) to implement pipeline authentication to ensure secured access to endpoints, the ML models, and datasets. ## Museum Finder -------------------------------------------------------------------------------- title: "Introduction" description: "Build a Museum Finder web app using Catalyst Functions to find museums by ratings and traveller type, and automate its workflow using Catalyst Circuits." last_updated: "2026-11-04T10:10:44.000Z" source: "https://docs.catalyst.zoho.com/en/tutorials/museum-finder/introduction/" service: "All Services" related: - Project Directory Structure (/en/cli/v1/project-directory-structure/introduction/) -------------------------------------------------------------------------------- # Museum Finder ### Introduction This tutorial will help you build a museum finder application that lists museums in the United States of America, based on certain criteria that the users input. The application fetches information from public datasets hosted by Catalyst that contain records of ratings and traveller type suitability of museums from various websites. The application processes these in parallel and emails the results to the user. The application's workflow is automated using a [Catalyst Circuit](https://docs.catalyst.zoho.com/en/serverless/help/circuits/introduction/), which orchestrates and executes each task to be carried out automatically. Refer to the [Circuits help page](https://docs.catalyst.zoho.com/en/serverless/help/circuits/introduction) for detailed help on Circuits. The client application will look like this: ![catalyst_museumfinder_client](https://catalyst-docs-development.zohostratus.in/images/tutorials/museum-finder/catalyst_museumfinder_client.webp) You can access a working application and test its functioning here: [Try the App!](https://museumfinder.catalystserverlessapp.com/app/) The Museum Finder application utilizes components from the following Catalyst Services: 1. [**Catalyst Serverless**](https://docs.catalyst.zoho.com/en/serverless/): - **[Circuit:](https://docs.catalyst.zoho.com/en/serverless/help/circuits/introduction)** Automates the entire workflow. > **Note:** Circuits is currently not available to Catalyst users accessing from the EU, AU, IN, JP, SA or CA data centers. You will not be able to execute Cron, Event, or Advanced I/O functions in a Catalyst circuit. - **[Basic I/O Functions](https://docs.catalyst.zoho.com/en/serverless/help/functions/basic-io/)**: Contains the following Basic I/O functions in the **Java** runtime: - `RatingProcessor`: Processes the rating input provided by the user and selects museums that fulfil the criteria - `TravellerTypeRatingProcessor`: Processes the traveller type input provided by the user and selects museums that fulfil the criteria - `MergeDataSet`: Merges the results obtained from `RatingProcessor` and `TravellerTypeRatingProcessor` - `Mailer`: Emails the results to the user - **[Advanced I/O Function](https://docs.catalyst.zoho.com/en/serverless/help/functions/advanced-io/)**: An Advanced I/O function in the **Node.js** runtime that automatically triggers the circuit to execute when the user submits the input form 2. [**Catalyst CloudScale**](https://docs.catalyst.zoho.com/en/cloud-scale/): - **Web Client Hosting** The front end of the application will be hosted on Catalyst using the [Web Client Hosting](https://docs.catalyst.zoho.com/en/cloud-scale/help/web-client-hosting/introduction) component. You will be initializing the client as a Basic web app. #### Application Architecture * When the user gives an input choosing the museum rating and traveller type suitability they require, the `RatingProcessor` and `TravellerTypeRatingProcessor` functions fetch two independent public datasets that contain records of ratings and traveller type of museums. * Both functions are processed in parallel, and results matching the criteria requested by the user are selected from both datasets. * The results from `RatingProcessor` and `TravellerTypeRatingProcessor` functions are sent to the `MergeDataSet` function which selects the museums that appear in both functions' results and merges them as one result. * This result is passed to the `Mailer` function which sends the email to the user with the final museum list. * This entire workflow is automated by a circuit that we will configure in this application. After the user submits the input, the circuit automatically executes the functions, processes conditions, and generates results as depicted below: ![catalyst_museumfinder_architecture](https://catalyst-docs-development.zohostratus.in/images/tutorials/museum-finder/catalyst_museumfinder_architecture.webp) -------------------------------------------------------------------------------- title: "Prerequisites" description: "Build a Museum Finder web app using Catalyst Functions to find museums by ratings and traveller type, and automate its workflow using Catalyst Circuits." last_updated: "2026-11-04T10:10:44.000Z" source: "https://docs.catalyst.zoho.com/en/tutorials/museum-finder/prerequisites/" service: "All Services" related: - CLI Command Reference (/en/cli/v1/cli-command-reference/) - Install CLI (/en/getting-started/installing-catalyst-cli/) - Login CLI (/en/cli/v1/login/login-from-cli/) -------------------------------------------------------------------------------- # Prerequisites Before you begin building the application, you must have the following prerequisites installed on your system: 1. **Catalyst CLI** Catalyst CLI contains a host of tools that enable you to initialize, develop, test, and deploy the components of your application from your local machine. We will be working with Catalyst CLI in this tutorial. You must perform these actions: 1. **Install Catalyst CLI:** Catalyst CLI is installed through NPM. You must therefore have NPM and Node.js installed on your system before you install the CLI. Refer to the [**Install Catalyst CLI help page**](https://docs.catalyst.zoho.com/en/getting-started/installing-catalyst-cli/) for details on the pre-requisites and the steps to install it. 2. **Login Catalyst CLI:** After you install Catalyst CLI, you must authenticate the CLI with your Catalyst account before using it. Refer to the [**CLI Login help page**](https://docs.catalyst.zoho.com/en/cli/v1/login/login-from-cli/) for the steps to login from Catalyst CLI and the various options available for it. 2. **Any IDE tool for Function and client code development** You can use any IDE to work with the function and the client code. Some popular choices include Visual Studio Code, IntelliJ IDEA, Eclipse, and Sublime Text. Download and install an IDE of your choice in your system. > If you are a Visual Studio Code IDE user, you can install the **Catalyst Tools** extension, and use your IDE itself in place of the CLI. You can find more details about the Catalyst VS Code extension from this [help section](https://docs.catalyst.zoho.com/en/catalyst-extensions/vs-code-extension/introduction/). -------------------------------------------------------------------------------- title: "Create a project" description: "Build a Museum Finder web app using Catalyst Functions to find museums by ratings and traveller type, and automate its workflow using Catalyst Circuits." last_updated: "2026-11-04T10:10:44.000Z" source: "https://docs.catalyst.zoho.com/en/tutorials/museum-finder/create-project/" service: "All Services" related: - Project Directory (/en/cli/v1/project-directory-structure/introduction) - Set up Catalyst Projects (/en/getting-started/catalyst-projects) -------------------------------------------------------------------------------- # Create a Project Let's [create a Catalyst project](https://docs.catalyst.zoho.com/en/getting-started/catalyst-projects) from the Catalyst console. 1. Log in to the [Catalyst console](https://console.catalyst.zoho.com/baas/index) and click **Create a new Project**. ![](https://catalyst-docs-development.zohostratus.in/images/tutorials/museum-finder/catalyst_museumfinder_home_page.webp) 2. Enter the project's name as '**MuseumFinder**' in the pop-up window, and click **Create**. ![create_project](https://catalyst-docs-development.zohostratus.in/images/tutorials/museum-finder/catalyst_museumfinder_create_project.webp) Your project will be created and opened. ![](https://catalyst-docs-development.zohostratus.in/images/tutorials/museum-finder/catalyst_museumfinder_access_project.webp) -------------------------------------------------------------------------------- title: "Configure the email address" description: "Build a Museum Finder web app using Catalyst Functions to find museums by ratings and traveller type, and automate its workflow using Catalyst Circuits." last_updated: "2026-11-04T10:10:44.000Z" source: "https://docs.catalyst.zoho.com/en/tutorials/museum-finder/configure-email-address/" service: "All Services" related: - Catalyst Mail (/en/cloud-scale/help/mail/introduction) -------------------------------------------------------------------------------- # Configure Email Address Before we set up the project directory or configure the circuit, let's quickly configure the sender email address for sending emails to the users with the list of museums. We will configure the email address in [Catalyst Mail](https://docs.catalyst.zoho.com/en/cloud-scale/help/mail/introduction). 1. Navigate to **CloudScale**, then **Mail**. Click **Add Email**. ![](https://catalyst-docs-development.zohostratus.in/images/tutorials/museum-finder/museum-finder-cloudscale-mail.webp) 2. Enter the name and email address of the sender, then click **Add Email**. ![](https://catalyst-docs-development.zohostratus.in/images/tutorials/museum-finder/catalyst_museumfinder_mail_2.webp) 3. You must now verify the email address. Click **Click to confirm**. ![](https://catalyst-docs-development.zohostratus.in/images/tutorials/museum-finder/museum-finder-email-configuration.webp) An email with a verification code will be sent to your email address. 4. Copy the verification code and paste it into the text box and click **Confirm**. ![](https://catalyst-docs-development.zohostratus.in/images/tutorials/museum-finder/catalyst_museumfinder_mail_4.webp) Your email address is now verified. You can now use this email address to send emails from Catalyst. ![](https://catalyst-docs-development.zohostratus.in/images/tutorials/museum-finder/catalyst_museumfinder_mail_5.webp) -------------------------------------------------------------------------------- title: "Initialize the project" description: "Build a Museum Finder web app using Catalyst Functions to find museums by ratings and traveller type, and automate its workflow using Catalyst Circuits." last_updated: "2026-11-04T10:10:44.000Z" source: "https://docs.catalyst.zoho.com/en/tutorials/museum-finder/initialize-project/" service: "All Services" related: - Initialize CLI Resources (/en/cli/v1/initialize-resources/introduction) - Project Directory Structure (/en/cli/v1/project-directory-structure/introduction) -------------------------------------------------------------------------------- # Initialize the Project from the CLI You can now begin working on your Catalyst project from the CLI. The first step is to initialize the project in an empty directory. This will be the home directory of your project and all of the project files will be saved in it. You can learn more about this from the [Project Directory Structure help page](https://docs.catalyst.zoho.com/en/cli/v1/project-directory-structure/introduction/). You can learn about initializing a project in detail from the [CLI help documentation](https://docs.catalyst.zoho.com/en/cli/v1/initialize-resources/introduction). For the Museum Finder application, we will first initialize the client and the Basic I/O function components. We will then add the other functions to the project directory. 1. Create a folder for the project on your local machine and navigate to it from the terminal. 2. Initialize a project by executing the following command from that directory: ```sh catalyst init ``` 3. The CLI will now ask you to associate a Catalyst project with the directory. Associate it with the project that we created earlier from the console. Select **MuseumFinder** from the list and click Enter. ![](https://catalyst-docs-development.zohostratus.in/images/tutorials/museum-finder/museum-finder-init.webp) 4. Select **Functions** and **Client** using the space bar. Press the Enter key to initialize. ![](https://catalyst-docs-development.zohostratus.in/images/tutorials/museum-finder/functions-client-init-museum-finder.webp) 5. The CLI will initiate the function setup. Select **BasicIO** as the function type. ![](https://catalyst-docs-development.zohostratus.in/images/tutorials/museum-finder/catalyst_museumfinder_init_3.webp) 6. Select the latest runtime of **Java** as the function stack. ![](https://catalyst-docs-development.zohostratus.in/images/tutorials/museum-finder/catalyst_museumfinder_init_4.webp) 7. Enter the name of the Java function and the folder as "**RatingProcessor**" and press **Enter**. This is also its reference name. Enter the same name as its main class name as well, and press **Enter**. The Catalyst Java SDK will now be downloaded to your system. ![](https://catalyst-docs-development.zohostratus.in/images/tutorials/museum-finder/catalyst_museumfinder_init_5.webp) > **Note:** Ensure that you enter the main class name and the function's name exactly as instructed, because the application's code contains the same names. 8. The CLI will initiate the client set up next. Select **Basic web app** as your client type. ![](https://catalyst-docs-development.zohostratus.in/images/tutorials/museum-finder/catalyst_museumfinder_init_6.webp) 9. Enter "**MuseumFinderClient**" as the name for the client package and press **Enter**. You can enter any name you need. ![](https://catalyst-docs-development.zohostratus.in/images/tutorials/museum-finder/client-initialization-complete-museum-finder.webp) The function and client directories will be created in the standard structure. Catalyst initialization is now complete. ### Add Functions to the Project Let's now add the other functions to the project. 1. Execute the following command from the project directory to [add a new function](https://docs.catalyst.zoho.com/en/cli/v1/working-with-functions/add-functions/) to it: ```sh catalyst functions:add ``` 2. The CLI will initiate the function setup. Follow the same steps as function initialization discussed above. Select **BasicIO** as the function type and the required version of Java as the function stack. Enter the function name and class name as "**TravellerTypeRatingProcessor**". ![](https://catalyst-docs-development.zohostratus.in/images/tutorials/museum-finder/catalyst_museumfinder_add_1.webp) Now, add two other Basic I/O functions of the Java stack in the same way. Enter their function names and class names as "**MergeDataSet**" and "**Mailer**" respectively. > **Note:** Ensure that you enter the main class name and the function's name of all the functions exactly as instructed, because the application's code contains the same names. The Java functions are now created. Let's now add the Node.js function to the project in the same way as above. 1. Execute the following command from the project directory again: ```sh catalyst functions:add ``` 2. The CLI will initiate the function setup. Select **AdvancedIO** as the function type and latest runtime of **nodeJS** as the function stack. Enter the package name as "**circuit**", "**index.js**" as the entry point, and your email address. You can press **Enter** to fill the default values. The CLI will prompt the initialization of the Node dependencies. Press **Y** to confirm the installation, and press **Enter** to confirm your choice. The Node modules will be installed. ![](https://catalyst-docs-development.zohostratus.in/images/tutorials/museum-finder/catalyst_museumfinder_add_2.webp) > **Note:** Ensure that you enter the function's package name exactly as instructed, because the application's code contains the same name. We have now initialized all the functions and client components in the project. The [client directory](https://docs.catalyst.zoho.com/en/cli/v1/project-directory-structure/client-directory) and the [functions directory](https://docs.catalyst.zoho.com/en/cli/v1/project-directory-structure/functions-directory) will be created in your project directory with the configuration files and dependencies, along with the [`catalyst.json`](https://docs.catalyst.zoho.com/en/cli/v1/project-directory-structure/catalyst-json) and a hidden `.catalystrc` file. This is the structure of your project directory. ![](https://catalyst-docs-development.zohostratus.in/images/tutorials/museum-finder/catalyst_museumfinder_proj_dir_struct.webp) -------------------------------------------------------------------------------- title: "Configure functions" description: "Build a Museum Finder web app using Catalyst Functions to find museums by ratings and traveller type, and automate its workflow using Catalyst Circuits." last_updated: "2026-11-04T10:10:44.000Z" source: "https://docs.catalyst.zoho.com/en/tutorials/museum-finder/configure-functions/" service: "All Services" related: - Basic I/O Functions (/en/serverless/help/functions/basic-io/) - Advanced I/O Functions (/en/serverless/help/functions/advanced-io/) - Functions Directory Structure (/en/cli/v1/project-directory-structure/functions-directory) -------------------------------------------------------------------------------- # Configure the Functions Directory Next, we'll begin coding the Museum Finder application by configuring the functions. All four Java functions contain the following files in their individual [function directories](https://docs.catalyst.zoho.com/en/cli/v1/project-directory-structure/functions-directory): * The main Java function file * The `catalyst-config.json` configuration file * The JAR library files * `.classpath` and `.project` dependency files The Node.js function contains the following files in its directory: * The `index.js` main function file * The `catalyst-config.json` configuration file * Node modules * `[package.json](https://docs.npmjs.com/files/package.json)` and `[package-lock.json](https://docs.npmjs.com/configuring-npm/package-lock-json.html)` dependency files We will be adding code in the main Java files of each Java function and in the `index.js` file of the Node.js function. You can use any IDE of your choice to configure the function. > **Note:** Please go through the code in this section to make sure you fully understand it. We will discuss the code of the functions at the end of the section. Copy the code below and paste it in `RatingProcessor.java` located in `functions/RatingProcessor` directory and save the file. **RatingProcessor.java** ```java import com.catalyst.Context; import com.catalyst.basic.BasicIO; import com.catalyst.basic.ZCFunction; import com.fasterxml.jackson.databind.ObjectMapper; import java.util.logging.Logger; import org.json.simple.JSONObject; import org.json.simple.parser.JSONParser; import java.io.File; import java.io.FileReader; import java.net.URLEncoder; import java.util.ArrayList; import java.util.Collections; import java.util.Comparator; import java.util.HashMap; import java.util.Iterator; import java.util.LinkedHashMap; import java.util.LinkedList; import java.util.List; import java.util.Map; import java.util.logging.Level; import com.zc.common.ZCProject; import com.zc.component.cache.ZCCache; import okhttp3.HttpUrl; import okhttp3.OkHttpClient; import okhttp3.Request; import okhttp3.Response; public class RatingProcessor implements ZCFunction { private static final Logger LOGGER = Logger.getLogger(RatingProcessor.class.getName()); private static Map<String, Integer> map = new HashMap() { { put("Excellent",0); put("Very good",1); put("Average",2); put("Poor",3); put("Terrible",4); } }; @Override @SuppressWarnings("unchecked") public void runner(Context context, BasicIO basicIO) throws Exception { try { Integer topCount = 10; if(basicIO.getParameter("count") != null) { topCount = Integer.parseInt(basicIO.getParameter("count").toString()); } String travellerRating = (String) basicIO.getParameter("type"); Integer type = 0; if(travellerRating != null) { if(map.containsKey(travellerRating)) { type = map.get(travellerRating); } } String url = "https://www.zoho.com/catalyst/downloads/static/tutorial/dataset/traveller-rating.json"; ZCProject.initProject(); HttpUrl.Builder httpBuilder = HttpUrl.parse(url).newBuilder(); OkHttpClient client = new OkHttpClient().newBuilder().build(); Request.Builder requestsBuilder = new Request.Builder(); requestsBuilder.url(httpBuilder.build()); requestsBuilder.get(); Response responses = client.newCall(requestsBuilder.build()).execute(); String responsebody = responses.body().string(); JSONParser parser = new JSONParser(); JSONObject dataJSON = (JSONObject) parser.parse(responsebody); HashMap<String, Long> execellentRating = new HashMap<>(); Iterator<String> itrJson = dataJSON.keySet().iterator(); while(itrJson.hasNext()) { String museumName = itrJson.next(); List<String> ratingList = new ObjectMapper().convertValue(dataJSON.get(museumName), List.class); Long exellentRating = Long.parseLong(ratingList.get(type)); execellentRating.put(museumName, exellentRating); } execellentRating = RatingProcessor.sortByValue(execellentRating); List<String> execellentMuseum = new ArrayList<>(); itrJson = execellentRating.keySet().iterator(); Integer i= 0; while(i++ < topCount && itrJson.hasNext()) { execellentMuseum.add(itrJson.next()); } basicIO.write(new ObjectMapper().writeValueAsString(execellentMuseum)); } catch(Exception e) { LOGGER.log(Level.SEVERE,"Exception in RatingProcessor",e); basicIO.setStatus(500); } } public static HashMap<String, Long> sortByValue(HashMap<String, Long> hm) { // Create a list from elements of HashMap List<Map.Entry<String, Long> > list = new LinkedList<Map.Entry<String, Long> >(hm.entrySet()); // Sort the list Collections.sort(list, new Comparator<Map.Entry<String, Long> >() { public int compare(Map.Entry<String, Long> o1, Map.Entry<String, Long> o2) { return (o2.getValue()).compareTo(o1.getValue()); } }); // Put the data from the sorted list to the HashMap HashMap<String, Long> temp = new LinkedHashMap<String, Long>(); for (Map.Entry<String, Long> aa : list) { temp.put(aa.getKey(), aa.getValue()); } return temp; } } ``` Copy the code below and paste it in `TravellerTypeRatingProcessor.java` located in `functions/TravellerTypeRatingProcessor` directory and save the file. **TravellerTypeRatingProcessor.java** ```java import java.io.File; import java.io.FileReader; import java.util.ArrayList; import java.util.Collections; import java.util.Comparator; import java.util.HashMap; import java.util.Iterator; import java.util.LinkedHashMap; import java.util.LinkedList; import java.util.List; import java.util.Map; import java.util.logging.Level; import java.util.logging.Logger; import org.json.simple.JSONObject; import org.json.simple.parser.JSONParser; import com.catalyst.Context; import com.catalyst.basic.BasicIO; import com.catalyst.basic.ZCFunction; import com.fasterxml.jackson.databind.ObjectMapper; import com.zc.common.ZCProject; import okhttp3.HttpUrl; import okhttp3.OkHttpClient; import okhttp3.Request; import okhttp3.Response; public class TravellerTypeRatingProcessor implements ZCFunction { private static final Logger LOGGER = Logger.getLogger(TravellerTypeRatingProcessor.class.getName()); private static Map<String, Integer> map = new HashMap() { { put("Families",0); put("Couples",1); put("Solo",2); put("Business",3); put("Friends",4); } }; @Override public void runner(Context context, BasicIO basicIO) throws Exception { try { Integer topCount = 10; String travellerType = (String) basicIO.getParameter("type"); Integer type = 0; if(travellerType != null) { if(map.containsKey(travellerType)) { type = map.get(travellerType); } } if(basicIO.getParameter("count") != null) { topCount = Integer.parseInt(basicIO.getParameter("count").toString()); } String url = "https://www.zoho.com/catalyst/downloads/static/tutorial/dataset/traveller-type-rating.json"; ZCProject.initProject(); HttpUrl.Builder httpBuilder = HttpUrl.parse(url).newBuilder(); OkHttpClient client = new OkHttpClient().newBuilder().build(); Request.Builder requestsBuilder = new Request.Builder(); requestsBuilder.url(httpBuilder.build()); requestsBuilder.get(); Response responses = client.newCall(requestsBuilder.build()).execute(); String responsebody = responses.body().string(); JSONParser parser = new JSONParser(); JSONObject dataJSON = (JSONObject) parser.parse(responsebody); HashMap<String, Long> execellentRating = new HashMap<>(); Iterator<String> itrJson = dataJSON.keySet().iterator(); while(itrJson.hasNext()) { String museumName = itrJson.next(); List<String> ratingList = new ObjectMapper().convertValue(dataJSON.get(museumName), List.class); Long rating = Long.parseLong(ratingList.get(type)); execellentRating.put(museumName, rating); } execellentRating = TravellerTypeRatingProcessor.sortByValue(execellentRating); List<String> execellentMuseum = new ArrayList<>(); itrJson = execellentRating.keySet().iterator(); Integer i= 0; while(i++ < topCount && itrJson.hasNext()) { execellentMuseum.add(itrJson.next()); } basicIO.write(new ObjectMapper().writeValueAsString(execellentMuseum)); } catch(Exception e) { LOGGER.log(Level.SEVERE,"Exception in TravellerTypeRatingProcessor",e); //You can view this log from Logs in the Catalyst console basicIO.setStatus(500); } } public static HashMap<String, Long> sortByValue(HashMap<String, Long> hm) { //Create a list from elements of HashMap List<Map.Entry<String, Long> > list = new LinkedList<Map.Entry<String, Long> >(hm.entrySet()); //Sort the list Collections.sort(list, new Comparator<Map.Entry<String, Long> >() { public int compare(Map.Entry<String, Long> o1, Map.Entry<String, Long> o2) { return (o2.getValue()).compareTo(o1.getValue()); } }); //Put the data from the sorted list to the HashMap HashMap<String, Long> temp = new LinkedHashMap<String, Long>(); for (Map.Entry<String, Long> aa : list) { temp.put(aa.getKey(), aa.getValue()); } return temp; } } ``` Copy the code below and paste it in `MergeDataSet.java` located in `functions/MergeDataSet` directory and save the file. **MergeDataSet.java** ```java import com.catalyst.Context; import com.catalyst.basic.BasicIO; import com.catalyst.basic.ZCFunction; import com.fasterxml.jackson.databind.ObjectMapper; import java.util.logging.Logger; import org.json.simple.JSONArray; import org.json.simple.JSONObject; import java.util.ArrayList; import java.util.List; import java.util.logging.Level; import com.zc.common.ZCProject; import com.zc.component.cache.ZCCache; import com.zc.component.object.ZCTable; public class MergeDataSet implements ZCFunction { private static final Logger LOGGER = Logger.getLogger(MergeDataSet.class.getName()); @Override public void runner(Context context, BasicIO basicIO) throws Exception { try { Object ratingList = basicIO.getArgument("rating_list"); Object typeRatingList = basicIO.getArgument("traveller_type_rating_list"); ObjectMapper mapper = new ObjectMapper(); List<String> travellerRatingList = mapper.readValue(ratingList.toString(), mapper.getTypeFactory().constructCollectionType(List.class, String.class));; List<String> travellerTypeRatingList = mapper.readValue(typeRatingList.toString(), mapper.getTypeFactory().constructCollectionType(List.class, String.class));; List<String> finalList = new ArrayList<>(); for(int i=0 ; i< travellerTypeRatingList.size() ; i++) { if(travellerRatingList.contains(travellerTypeRatingList.get(i))) { finalList.add(travellerTypeRatingList.get(i).toString()); } } JSONObject respJson = new JSONObject(); respJson.put("museum_list", finalList); LOGGER.log(Level.INFO, "Museum Count"+finalList.size()); //You can view this log from Logs in the Catalyst console basicIO.write(new ObjectMapper().writeValueAsString(respJson)); } catch(Exception e) { e.printStackTrace(); LOGGER.log(Level.SEVERE,"Exception in MergeDataSet",e); //You can view this log from Logs in the Catalyst console basicIO.setStatus(500); } } } ``` Copy the code below and paste it in `Mailer.java` located in `functions/Mailer` directory and save the file. **Mailer.java** ```java import java.util.logging.Level; import java.util.logging.Logger; import org.json.simple.JSONObject; import com.catalyst.Context; import com.catalyst.basic.BasicIO; import com.catalyst.basic.ZCFunction; import com.zc.common.ZCProject; import com.zc.component.mail.ZCMail; import com.zc.component.mail.ZCMailContent; public class Mailer implements ZCFunction { private static final Logger LOGGER = Logger.getLogger(Mailer.class.getName()); private static final String SUBJECT = "Museum Search Results"; private static final String FROM_MAIL = "emma@zylker.com"; //Enter the sender's email address you configured earlier @Override public void runner(Context context, BasicIO basicIO) throws Exception { try { ZCProject.initProject(); Object content = basicIO.getArgument("content"); //Obtains the final list from the MergeDataSet function Object mailId = basicIO.getArgument("mail_id"); //Obtains the user's email address from the provided input if(content != null) { String mailContent = content.toString(); ZCMailContent mail = ZCMailContent.getInstance(); mail.setSubject(SUBJECT); mail.setFromEmail(FROM_MAIL); if(mailId != null) { mail.setToEmail(mailId.toString()); } else { basicIO.write(constructErrorMessage("mail_id not found")); basicIO.setStatus(400); return; } mail.setContent(mailContent); mail.setHtmlMode(false); ZCMail.getInstance().sendMail(mail); basicIO.setStatus(200); basicIO.write(constructSuccessMessage("Mail has been sent to "+mailId+" successfully")); } } catch(Exception e) { LOGGER.log(Level.SEVERE,"Exception in Mailer",e); //You can view this log from Logs in the Catalyst console basicIO.setStatus(500); basicIO.write(constructErrorMessage(e.getMessage())); } } private JSONObject constructErrorMessage(String message) { JSONObject errorJSON = new JSONObject(); errorJSON.put("status", "failure"); errorJSON.put("message", message); return errorJSON; } private JSONObject constructSuccessMessage(String message) { JSONObject errorJSON = new JSONObject(); errorJSON.put("status", "success"); errorJSON.put("message", message); return errorJSON; } } ``` > **Note:** Provide the sender's email address you configured earlier, in line 19. #### Install Express Before we code the Node.js function, we must install the [Express Node.js](https://expressjs.com/) dependencies in the directory. To install Express.js in your local machine, navigate to the function's directory (`functions/circuit`) in your terminal and execute the following command: ```sh npm install express --save ``` This will install the Express module and save the dependencies. This information will also be updated in the `package.json` file. Let's code the `index.js` file now. Copy the code below and paste it in `index.js` located in `functions/circuit` directory and save the file. **index.js** ```javascript 'use strict'; var express = require('express'); var app = express(); var catalyst = require('zcatalyst-sdk-node'); app.use(express.json()); app.post('/triggerCircuit', (req, res) => { var CatalystApp = catalyst.initialize(req); var body = req.body; console.log(body); let execName = new Date().getTime().toString(); console.log(execName); let promiseResult = CatalystApp.circuit().execute("1028000000084051",execName, body); //Provide the circuit ID of the circuit you create in the console promiseResult.then((functionResponse) => { console.log(functionResponse); res.status(200).send({ message: "Please check your email for the list of museums." }); }).catch(err => { console.log(err); //You can view this log from Logs in the Catalyst console res.status(500).send({ message: "Please try again after sometime!" }); }) }); module.exports = app; ``` > **Note:** After we create the circuit in the Catalyst console, ensure that you provide the circuit ID in this function in line 14. Let's quickly go over the functions that we configured. `Circuit`: * The Advanced I/O `circuit` function contains an API `/triggerCircuit` that triggers the execution of the circuit which is configured in the Catalyst console. > **Note:** We will configure the circuit after deploying the project resources to the remote console. * The `circuit` function passes the input data obtained from the end-user in the client application to the circuit while triggering its execution. This data is passed to the circuit function by `main.js` in the client directory. * After the circuit has completed its execution, it will pass a message to be displayed in the client application prompting the user to check their email address for the list of museums that satisfy their criteria. This message is configured in this function. `RatingProcessor` and `TravellerTypeRatingProcessor`: * The `RatingProcessor` function stores the following ratings of the museums in a [Java HashMap](https://docs.oracle.com/javase/8/docs/api/java/util/HashMap.html): `Excellent`, `Very Good`, `Average`, `Poor`, `Terrible`. * The `TravellerTypeRatingProcessor` function stores the following traveller type suitability of the museums in a Java HashMap: `Families`, `Couples`, `Solo`, `Business`, `Friends`. * In addition to the rating and traveller type, the user provides an input for the number of museums that they want to be listed in the results. This value is stored in the `count` variable and is processed by both the functions. * The functions make calls to `traveller-rating.json` or `traveller-type-rating.json` datasets respectively, that are hosted by Catalyst. These datasets contain records of ratings and traveller type suitability provided by users on various websites. * Records are fetched from these datasets by both functions, based on the input provided by the user. For example, if the user selected `Excellent` as the rating type, museums with that rating are identified in the `traveller-rating.json` dataset. The museums with the highest number of `Excellent` ratings, not exceeding the count value provided by the user, are then sorted in a descending order and fetched. The records matching the traveller type input provided by the user are also fetched similarly from the `traveller-type-rating.json dataset.`. * The records that are fetched by both the functions are parsed as JSON objects and are written to `ObjectMapper` classes. They are then sorted in a list and added to new HashMaps in both the functions. `MergeDataSet`: * The `MergeDataSet` function obtains the records fetched by `RatingProcessor` and `TravellerTypeRatingProcessor` functions as arguments. * The function then intersects both the lists and checks for museum results that are present in both the lists. * It then adds the museums that are present in both the lists into a final list and returns the list as a JSON response. `Mailer`: * The `Mailer` function obtains the final list from the `MergeDataSet` function in the circuit that we will configure. This is set as the mail content. It also obtains the email address of the user from the input they provide. * We can configure the email's subject and sender's address in the function. The `Mailer` function then sends an email to the user's email address with the fetched content. The functions directory is now configured. -------------------------------------------------------------------------------- title: "Configure the client" description: "Build a Museum Finder web app using Catalyst Functions to find museums by ratings and traveller type, and automate its workflow using Catalyst Circuits." last_updated: "2026-11-04T10:10:44.000Z" source: "https://docs.catalyst.zoho.com/en/tutorials/museum-finder/configure-client/" service: "All Services" related: - Client Directory Structure (/en/cli/v1/project-directory-structure/client-directory) -------------------------------------------------------------------------------- # Configure the Client Let's now configure the client component. The [client directory](https://docs.catalyst.zoho.com/en/cli/v1/project-directory-structure/client-directory) contains: * The `index.html` file that contains the HTML code for the front-end application * The `main.css` file that contains the CSS code for the front-end application * The `main.js` file that contains the JavaScript code * The `client-package.json` configuration file We will be coding `index.html`, `main.css`, and `main.js`. > **Note:** Please go through the code in this section to make sure you fully understand it. Copy the code below and paste it in the respective files located in the `client/` directory using an IDE and save the files. **index.html** ```xml <!DOCTYPE html> <html> <head> <meta charset="utf-8" /> <meta http-equiv="X-UA-Compatible" content="IE=edge"> <title>Museum Finder</title> <meta name="viewport" content="width=device-width, initial-scale=1"> <link rel="stylesheet" type="text/css" media="screen" href="main.css" /> <script src="main.js"></script> <!-- Font Awesome --> <link rel="stylesheet" href="https://use.fontawesome.com/releases/v5.8.2/css/all.css"> <!-- Google Fonts --> <link rel="stylesheet" href="https://fonts.googleapis.com/css?family=Roboto:300,400,500,700&display=swap"> <!-- Bootstrap core CSS --> <link href="https://cdnjs.cloudflare.com/ajax/libs/twitter-bootstrap/4.5.0/css/bootstrap.min.css" rel="stylesheet"> <!-- Material Design Bootstrap --> <link href="https://cdnjs.cloudflare.com/ajax/libs/mdbootstrap/4.19.1/css/mdb.min.css" rel="stylesheet"> <script src="https://static.zohocdn.com/catalyst/sdk/js/4.6.2/catalystWebSDK.js"></script> <script src="https://ajax.googleapis.com/ajax/libs/jquery/3.5.1/jquery.min.js"></script> <!-- JQuery --> <!-- Bootstrap tooltips --> <script type="text/javascript" src="https://cdnjs.cloudflare.com/ajax/libs/popper.js/1.14.4/umd/popper.min.js"></script> <!-- Bootstrap core JavaScript --> <script type="text/javascript" src="https://cdnjs.cloudflare.com/ajax/libs/twitter-bootstrap/4.5.0/js/bootstrap.min.js"></script> <!-- MDB core JavaScript --> <script type="text/javascript" src="https://cdnjs.cloudflare.com/ajax/libs/mdbootstrap/4.19.1/js/mdb.min.js"></script> </head> <body> <div id="maindiv"> <nav class="navbar navbar-expand-lg navbar-dark brown"> <a class="navbar-brand" href="">Best Museum Finder ®</a> </nav> <br><br><br> <center> <h2>Get the list of best museums in the US based on your Choice and Rating !</h2> <br><br><br> <form id="myForm"> <label for="Type">Traveller Type: </label> <select name="Type" id="Type"> <option disabled selected value> -- select an option -- </option> <option value="Families">Families</option> <option value="Couples">Couples</option> <option value="Solo">Solo</option> <option value="Business">Business</option> <option value="Friends">Friends</option> <option>----------------------</option> </select>                  <label for="Rating">Select the rating : </label> <select name="Rating" id="Rating"> <option disabled selected value> -- select an option -- </option> <option value="Excellent">Excellent</option> <option value="Very good">Very good</option> <option value="Average">Average</option> <option value="Poor">Poor</option> <option value="Terrible">Terrible</option> <option>----------------------</option> </select><br><br><br> Enter the number of Museums you want : <input type="text" id="count" required><br><br><br> Enter your Mail ID : <input type="email" id="mailid" required><br><br><br><br> <button type="button" id="button" class="btn btn-brown" data-toggle="modal" data-target="#basicExampleModal" onclick="triggerCircuit()">Submit details</button></form> </center> </div> <div class="modal fade" id="basicExampleModal" tabindex="-1" role="dialog" aria-labelledby="exampleModalLabel" aria-hidden="true"> <div class="modal-dialog" role="document"> <div class="modal-content"> <div class="modal-body"> <center><br><p id="popuptext"></p><br> <button type="button" class="btn btn-brown" data-dismiss="modal">Close</button> </center> </div> </div> </div> </div> </body> </html> ``` **main.css** ```css .modal { padding-top: 350px; } ``` **main.js** ```javascript function triggerCircuit() { var count = document.getElementById("count").value; var Rating = document.getElementById("Rating").value; var Type = document.getElementById("Type").value; var MailID = document.getElementById("mailid").value; document.getElementById("myForm").reset(); if (count || Rating || Type || MailID) { console.log(count, Rating, Type, MailID); $.ajax({ url: "/server/circuit/triggerCircuit", type: "post", contentType: "application/json", data: JSON.stringify({ "count": count, "rating": Rating, "traveller": Type, "mail_id": MailID }), success: function (data) { console.log(data); //You can view these logs from Logs in the Catalyst console document.getElementById("popuptext").innerHTML = data.message; }, error: function (error) { console.log(error); document.getElementById("popuptext").innerHTML = "Please try again after sometime"; } }); } else { document.getElementById("popuptext").innerHTML = "Please provide data in the all the fields"; } } ``` As discussed in the previous section, the `main.js` function obtains the input values provided by the user in the client application and passes it to the circuit function by triggering its API. The HTTP `POST` method is used to post the data to the circuit function. The data passed includes the values for the number of museums required by the user, the preferred rating and traveller type, and the user's email address. The client directory is now configured. We will now deploy the function and client components to the remote console. -------------------------------------------------------------------------------- title: "Deploy the project" description: "Build a Museum Finder web app using Catalyst Functions to find museums by ratings and traveller type, and automate its workflow using Catalyst Circuits." last_updated: "2026-11-04T10:10:44.000Z" source: "https://docs.catalyst.zoho.com/en/tutorials/museum-finder/deploy-project/" service: "All Services" related: - Deploy CLI Resources (/en/cli/v1/deploy-resources/introduction/) - Web Client Hosting (/en/cloud-scale/help/web-client-hosting/introduction) -------------------------------------------------------------------------------- # Deploy The Project To [deploy your Catalyst project](https://docs.catalyst.zoho.com/en/cli/v1/deploy-resources/introduction) from the CLI, run the following command in your terminal from your project directory: ```sh catalyst deploy ``` The functions are deployed first, followed by the client component. The production URLs of the components are displayed. ![](https://catalyst-docs-development.zohostratus.in/images/tutorials/museum-finder/catalyst_museumfinder_deploy.webp) You can now open the Catalyst console and access the _MuseumFinder_ project. Click **Functions** from **Serverless** to check if all five functions were deployed properly. ![](https://catalyst-docs-development.zohostratus.in/images/tutorials/museum-finder/catalyst_museumfinder_functions_deployed.webp) > **Note:** The console editor is currently not available for Java functions in the Catalyst console. Therefore, you will not be able to view the code of the Java functions. Similarly, click **Web Client Hosting** from **CloudScale** to check if the web client has been deployed and [hosted](https://docs.catalyst.zoho.com/en/cloud-scale/help/web-client-hosting/introduction). ![](https://catalyst-docs-development.zohostratus.in/images/tutorials/museum-finder/catalyst_museumfinder_client_deployed.webp) Before we access the web client, let's create and configure the circuit. -------------------------------------------------------------------------------- title: "Create and configure a Circuit" description: "Build a Museum Finder web app using Catalyst Functions to find museums by ratings and traveller type, and automate its workflow using Catalyst Circuits." last_updated: "2026-11-04T10:10:44.000Z" source: "https://docs.catalyst.zoho.com/en/tutorials/museum-finder/create-and-configure-circuit/" service: "All Services" related: - Circuits (/en/serverless/help/circuits/introduction/) -------------------------------------------------------------------------------- # Create and Configure the Circuit The circuit automates the executions of all the functions based on the workflow we design. Therefore, after the user provides the input in the client application, the functions we configured will execute in a specific order and the email will be sent to the user with the results they require. To create a circuit from the console: 1. Navigate to **Circuits** from **Serverless** and click **Create Circuit**. ![](https://catalyst-docs-development.zohostratus.in/images/tutorials/museum-finder/catalyst_museumfinder_create_circuit_1.webp) 2. Enter a name for the circuit and click **Create**. You can enter any name. ![](https://catalyst-docs-development.zohostratus.in/images/tutorials/museum-finder/catalyst_museumfinder_create_circuit_2.webp) The circuit will be created and the _Builder View_ will open. You can learn about Circuits in detail from the [Circuits help page](https://docs.catalyst.zoho.com/en/serverless/help/circuits/introduction). ![](https://catalyst-docs-development.zohostratus.in/images/tutorials/museum-finder/catalyst_museumfinder_circuit_created.webp) Before we configure the circuit, perform the following action: 1. Click on the **arrow** next to the circuit name on the top-left corner to navigate to the _Circuits_ page. Copy the **Circuit ID** displayed in the page. ![](https://catalyst-docs-development.zohostratus.in/images/tutorials/museum-finder/catalyst_museumfinder_circuit_id.webp) 2. Now, navigate to **Functions** and click the `circuit` function. ![](https://catalyst-docs-development.zohostratus.in/images/tutorials/museum-finder/catalyst_museumfinder_functions.webp) 3. Click the **Code** tab and open `index.js` by clicking it. Paste the Circuit ID that you copied on line 14 and click **Save**. ![](https://catalyst-docs-development.zohostratus.in/images/tutorials/museum-finder/catalyst_museumfinder_circuit_function.webp) #### Configure the Circuit Now let's go back to configuring the circuit. 1. Navigate to **Circuits** and open the circuit that you created. We will first create a [parallel state](https://docs.catalyst.zoho.com/en/serverless/help/circuits/key-concepts/#parallel) to execute the `RatingProcessor` and `TravellerTypeRatingProcessor` functions in parallel. > **Note:** Ensure that you enter all the values for the circuit's states and configurations as described in this section. 2. Drag the **Parallel** state from the left panel onto the builder view and drop it anywhere. ![](https://catalyst-docs-development.zohostratus.in/images/tutorials/museum-finder/catalyst_museumfinder_circuit_left_panel.webp) This will open a pop-up box. 3. Enter the parallel state's name as "**Dataset Processing**". Set its previous state to "**Start**" and next state to the default "**State1**". Click **Create**. ![](https://catalyst-docs-development.zohostratus.in/images/tutorials/museum-finder/catalyst_museumfinder_circuit_configure_1.webp) 4. Now in the Dataset Processing state's configuration, click **Add Path** and enter path's name as "**rating\_list**". This will automatically assign the path to a new state called _New State 1_. Similarly, add another path and enter its name as "**traveller\_type\_rating\_list**". This will assign the path to _New State 2_. ![](https://catalyst-docs-development.zohostratus.in/images/tutorials/museum-finder/catalyst_museumfinder_circuit_configure_2.webp) > **Note:** We will configure the Input/Output of all the states in the end. 5. Now click on **New State 1** in the builder. Enter the state's name as "**Rating Processor**". Assign its type as a [Function state](https://docs.catalyst.zoho.com/en/serverless/help/circuits/key-concepts/#function) and associate it with the `RatingProcessor` function from the drop down-lists. ![](https://catalyst-docs-development.zohostratus.in/images/tutorials/museum-finder/catalyst_museumfinder_circuit_configure_3.webp) 6. Similarly, click on **New State 2** in the builder. Enter the state's name as "**Traveller Type Rating Processor**". Assign its type as **Function** and associate it with the `TravellerTypeRatingProcessor` function. ![](https://catalyst-docs-development.zohostratus.in/images/tutorials/museum-finder/catalyst_museumfinder_circuit_configure_4.webp) Both these functions will now execute in parallel every time the circuit is triggered. 7. Now click on **State1** in the builder. Enter the state's name as "**Merge Dataset**" and associate it with the `MergeDataSet` function. ![](https://catalyst-docs-development.zohostratus.in/images/tutorials/museum-finder/catalyst_museumfinder_circuit_configure_5.webp) 8. Let's add another function state. Drag and drop a function state from the left panel, and provide the following values. Click **Create**. ![](https://catalyst-docs-development.zohostratus.in/images/tutorials/museum-finder/catalyst_museumfinder_circuit_configure_6.webp) Associate this state with the `Mailer` function in the configuration. 9. Let's now add a [branch state](https://docs.catalyst.zoho.com/en/serverless/help/circuits/key-concepts/#branch) before the Mailer state to branch the circuit's processing. Drag and drop a branch state and provide the following values. Click **Create**. ![](https://catalyst-docs-development.zohostratus.in/images/tutorials/museum-finder/catalyst_museumfinder_circuit_configure_7.webp) > **Note:** We are adding the branch state after the Mailer state has been created to avoid creating a default branch. 10. In the Check Result state's configuration, click **Add Condition** and enter the condition as "**$.result.museum\_list.size() == 0**". This will automatically assign it to a New State 1. ![](https://catalyst-docs-development.zohostratus.in/images/tutorials/museum-finder/catalyst_museumfinder_circuit_configure_8.webp) 11. Now click on **New State 1** from the builder and associate it with a [Failure state](https://docs.catalyst.zoho.com/en/serverless/help/circuits/key-concepts/#failure). Name the state as "**Failure**". ![](https://catalyst-docs-development.zohostratus.in/images/tutorials/museum-finder/catalyst_museumfinder_circuit_configure_9.webp) Now if there are no results matching the criteria of the user's input, the circuit will traverse this branch and end in the failure state. Since a failure state is an end state, there will be no next state associated with it. If there are results matching the user's criteria, the circuit will traverse the other branch and execute the `Mailer` function that emails the results to the user. Your final circuit should look like this. ![](https://catalyst-docs-development.zohostratus.in/images/tutorials/museum-finder/catalyst_museumfinder_circuit_configure_10.webp) Let's now configure the [input paths, result paths, and parameters](https://docs.catalyst.zoho.com/en/serverless/help/circuits/key-concepts/#input-output-and-result) of some states. * **Dataset Processing:** Click on the **Dataset Processing** state from the builder and click the **Input/Output** tab for it. Enter the value for its result path as "**$.dataset\_results**". This will assign the results obtained from processing the `RatingProcessor` and `TravellerTypeRatingProcessor` functions to the variable dataset\_results. ![](https://catalyst-docs-development.zohostratus.in/images/tutorials/museum-finder/catalyst_museumfinder_circuit_configure_10.webp) * **Rating Processor:** Enter the following values for the Input/Output of the **Rating Processor** state. This selects the results obtained by the `RatingProcessor` function's execution and assigns it to the variable `result`. That value is then added to the [input JSON of the circuit](https://docs.catalyst.zoho.com/en/serverless/help/circuits/key-concepts/#input-output-and-result). Add two parameters named "**type**" and "**count**" to pass the `rating` and `count` input values from the user to the function respectively. ![](https://catalyst-docs-development.zohostratus.in/images/tutorials/museum-finder/catalyst_museumfinder_circuit_configure_11.webp) * **Traveller Type Rating Processor:** Enter the following values for the Input/Output of the **Traveller Type Rating Processor** state. These are the same as the previous one, except that the parameter "type" is assigned to the `traveller` input value. ![](https://catalyst-docs-development.zohostratus.in/images/tutorials/museum-finder/catalyst_museumfinder_circuit_configure_12.webp) * **Merge Dataset:** Enter the following values for the Input/Output of the **Merge Dataset** state. The result previously assigned as `dataset\_results` by the parallel processing, is passed as the input to this function, and the function's output is assigned to the `result` variable again. We will not be passing any parameters here. ![](https://catalyst-docs-development.zohostratus.in/images/tutorials/museum-finder/catalyst_museumfinder_circuit_configure_13.webp) * **Mailer:** Enter the following values for the Input/Output of the **Mailer** state. The final list (`result.museum\_list`) obtained from the `MergeDataSet` function is passed as the `content` parameter and the user's email address is passed as `mail\_id`. The museum list is also passed as the circuit's output by adding it as the result path in this state. ![](https://catalyst-docs-development.zohostratus.in/images/tutorials/museum-finder/catalyst_museumfinder_circuit_configure_14.webp) The circuit is now completely configured. Click **Save** to save it. > **Note:** You can also view the JSON code of the circuit to understand it better by clicking the **Code View** tab in the builder page. -------------------------------------------------------------------------------- title: "Test the application" description: "Build a Museum Finder web app using Catalyst Functions to find museums by ratings and traveller type, and automate its workflow using Catalyst Circuits." last_updated: "2026-11-04T10:10:44.000Z" source: "https://docs.catalyst.zoho.com/en/tutorials/museum-finder/test-application/" service: "All Services" related: - Web Client Hosting (/en/cloud-scale/help/web-client-hosting/introduction/) - Circuits (/en/serverless/help/circuits/introduction/) -------------------------------------------------------------------------------- # Test the Application Let's now test the client application, and verify if the circuit is triggered automatically and the entire workflow executes as intended. Navigate to **Web Client Hosting** from **CloudScale**. Click the [web app URL](https://docs.catalyst.zoho.com/en/cloud-scale/help/web-client-hosting/introduction). ![](https://catalyst-docs-development.zohostratus.in/images/tutorials/museum-finder/catalyst_museumfinder_client_deployed.webp) This will open the front-end of the Museum Finder application. ![](https://catalyst-docs-development.zohostratus.in/images/tutorials/museum-finder/catalyst_museumfinder_client_1.webp) Select values for **traveller type** and **rating** from the drop-down lists. Enter the value for museum count and an email address to receive the email. Click **Submit Details**. ![](https://catalyst-docs-development.zohostratus.in/images/tutorials/museum-finder/catalyst_museumfinder_client_2.webp) The application will display a pop-up box to let you know the results were emailed, or if no results were found. ![](https://catalyst-docs-development.zohostratus.in/images/tutorials/museum-finder/catalyst_museumfinder_client_3.webp) You can check your email to view the list of museums matching the criteria you selected. ![](https://catalyst-docs-development.zohostratus.in/images/tutorials/museum-finder/catalyst_museumfinder_email.webp) You can check the circuit's execution by navigating to the _Circuits_ page in the Catalyst console and clicking **Execution History**. ![](https://catalyst-docs-development.zohostratus.in/images/tutorials/museum-finder/catalyst_museumfinder_circuit_exec_1.webp) Open the latest execution from the _Execution History_ page. ![](https://catalyst-docs-development.zohostratus.in/images/tutorials/museum-finder/catalyst_museumfinder_circuit_exec_2.webp) You can view the circuit's output under _Execution Details_, along with other details in the **View Graph** section. The graph will display the path that was traversed during the circuit's processing. ![](https://catalyst-docs-development.zohostratus.in/images/tutorials/museum-finder/catalyst_museumfinder_circuit_exec_3.webp) You can access a [detailed execution log](https://docs.catalyst.zoho.com/en/serverless/help/circuits/implementation/#execution-history-of-a-circuit) by clicking **View Logs**. This displays every event that occurred in each state, the payload and parameters passed, exceptions generated, and more. ![](https://catalyst-docs-development.zohostratus.in/images/tutorials/museum-finder/catalyst_museumfinder_circuit_exec_4.webp) The Museum Finder application is now configured and will work without any errors. ## News App ### Java -------------------------------------------------------------------------------- title: "Introduction" description: "Build a news web app that fetches news from a third-party service periodically using Catalyst Cron, and a Job Function and Advanced I/O function in Java." last_updated: "2026-11-04T10:10:44.000Z" source: "https://docs.catalyst.zoho.com/en/tutorials/newsapp/java/introduction/" service: "All Services" related: - Project Directory Structure (/en/cli/v1/project-directory-structure/introduction/) - News API (https://newsapi.org/) -------------------------------------------------------------------------------- # NewsApp ### Introduction In this tutorial, we will create a news application called **The Daily Broadcast**, which retrieves the latest news from multiple trusted sources, refreshes the content at defined time intervals, and displays the updated news within the application. For this purpose, we will use the [NewsAPI](https://newsapi.org/), a third-party service that fetches headlines across various categories such as Business, Entertainment, Health, Science, Sports, and Technology from sources around the web. We will integrate this API into our application and display the news along with links to the original articles. The final look of the client application will resemble this screen: ![final-look](https://catalyst-docs-development.zohostratus.in/images/tutorials/cron/final-look.webp) You can access the working application from here : [Try the App!](https://news-fetcher.catalystserverlessapp.com/app/) We will build the news application using the following Catalyst Services and its Components, each playing a key role in the overall architecture: 1. [**Catalyst Serverless**](https://docs.catalyst.zoho.com/en/serverless/getting-started/introduction/): - **[Advanced I/O Function](https://docs.catalyst.zoho.com/en/serverless/help/functions/advanced-io/)** : This function is coded in **Java** and serves as the API layer of the application. It retrieves news data from the Catalyst CloudScale Data Store and delivers it to the frontend as a JSON response. - **[Job Function](https://docs.catalyst.zoho.com/en/serverless/help/functions/job-functions/)** : This function is coded in Java and contains the logic to call the [NewsAPI](https://newsapi.org/), fetch the latest headlines across different categories, and store them in the Data Store. 2. [**Catalyst CloudScale**](https://docs.catalyst.zoho.com/en/cloud-scale/getting-started/introduction/): - **[Data Store](https://docs.catalyst.zoho.com/en/cloud-scale/help/data-store/introduction/)** : This component acts as the central storage for all news data fetched from the [NewsAPI](https://newsapi.org/). It ensures fast and scalable access to news content. - **[ZCQL](https://docs.catalyst.zoho.com/en/cloud-scale/help/zcql/introduction/)** : This component is used to query the Data Store efficiently and retrieve the relevant news data. - **[Web Client Hosting](https://docs.catalyst.zoho.com/en/cloud-scale/help/web-client-hosting/introduction/)** : This component hosts the frontend of the application, allowing users to view the news content seamlessly through a web interface. 3. **[Catalyst Job Scheduling](https://docs.catalyst.zoho.com/en/job-scheduling/getting-started/introduction/)**: This component enables periodic execution of the Job Function, ensuring the application is updated with fresh news at defined intervals. Together, these components enable a fully functional, automated news application that stays up-to-date with the latest information from reliable sources. We will use the Catalyst web console and the Catalyst Command Line Interface (CLI) to build this application. You will be given the code for the files to be included in the function and client components in this tutorial. You will just have to copy the code given in this guide and paste it into the appropriate files as directed. ### Application Architecture The News application architecture is depicted in the workflow diagram below: ![app-arch](https://catalyst-docs-development.zohostratus.in/images/tutorials/cron/app-arch.webp) -------------------------------------------------------------------------------- title: "Prerequisites" description: "Build a news web app that fetches news from a third-party service periodically using Catalyst Cron, and a Job Function and Advanced I/O function in Java." last_updated: "2026-11-04T10:10:44.000Z" source: "https://docs.catalyst.zoho.com/en/tutorials/newsapp/java/prerequisites/" service: "All Services" related: - CLI Command Reference (/en/cli/v1/cli-command-reference/) -------------------------------------------------------------------------------- # Prerequisites Before you begin building the application, you must have the following prerequisites installed on your system: 1. **Catalyst CLI** \ \ Catalyst CLI contains a host of tools that enable you to initialize, develop, test, and deploy the components of your application from your local machine. We will be working with Catalyst CLI in this tutorial. \ \ You must perform the following actions: 1. **Install Catalyst CLI:** Catalyst CLI is installed through NPM. You must therefore have NPM and Node.js installed on your system before you install the CLI. Refer to the [**Install Catalyst CLI help page**](https://docs.catalyst.zoho.com/en/getting-started/installing-catalyst-cli/) for details on the pre-requisites and the steps to install it. 2. **Log in to Catalyst CLI:** After you install Catalyst CLI, you must authenticate the CLI with your Catalyst account before using it. Refer to the [**CLI Login help page**](https://docs.catalyst.zoho.com/en/cli/v1/login/login-from-cli/) for the steps to login from Catalyst CLI and the various options available for it. 2. **Any IDE tool for Java and client code development** \ \ You can use any IDE to work with the Advanced I/O function and the client code. Some popular choices include Visual Studio Code, IntelliJ IDEA, Eclipse, and Sublime Text. Download and install an IDE of your choice on your system. > If you are a Visual Studio Code IDE user, you can install the **Catalyst Tools** extension, and use your IDE itself in place of the CLI. You can find more details about the Catalyst VS Code extension from this [help section](https://docs.catalyst.zoho.com/en/catalyst-extensions/vs-code-extension/introduction/). -------------------------------------------------------------------------------- title: "Create a project" description: "Build a news web app that fetches news from a third-party service periodically using Catalyst Cron, and a Job Function and Advanced I/O function in Java." last_updated: "2026-11-04T10:10:44.000Z" source: "https://docs.catalyst.zoho.com/en/tutorials/newsapp/java/create-project/" service: "All Services" related: - Project Directory (/en/cli/v1/project-directory-structure/introduction) - Setup Catalyst Projects (/en/getting-started/catalyst-projects) -------------------------------------------------------------------------------- # Create a Project Let's [create a Catalyst Project](https://docs.catalyst.zoho.com/en/getting-started/catalyst-projects) from the Catalyst console. 1. Log in to the [Catalyst Console](https://console.catalyst.zoho.com/baas/index) and click **Create New Project**. ![cron_create_project](https://catalyst-docs-development.zohostratus.in/images/tutorials/cron/cron_create_project.webp) 2. Enter the project's name as "**NewsApp**" in the pop-up window. ![cron_project_name](https://catalyst-docs-development.zohostratus.in/images/tutorials/cron/cron_project_name.webp) 3. Click **Create**. Your project will be created. You can open the project by clicking **Access Project**. ![cron_access_project](https://catalyst-docs-development.zohostratus.in/images/tutorials/cron/cron_access_project.webp) -------------------------------------------------------------------------------- title: "Create tables" description: "Build a news web app that fetches news from a third-party service periodically using Catalyst Cron, and a Job Function and Advanced I/O function in Java." last_updated: "2026-11-04T10:10:44.000Z" source: "https://docs.catalyst.zoho.com/en/tutorials/newsapp/java/create-tables/" service: "All Services" related: - Data Store (/en/cloud-scale/help/data-store/introduction) -------------------------------------------------------------------------------- # Create Tables in the Data Store Next, let's create tables in the [Catalyst CloudScale Data Store](https://docs.catalyst.zoho.com/en/cloud-scale/help/data-store/introduction/) of the NewsApp project. We will be creating seven tables to store news of various news categories. Let's begin by creating the first table. To create a table, please follow the below-listed steps: 1. Navigate to the [CloudScale service](https://docs.catalyst.zoho.com/en/cloud-scale/getting-started/introduction/) from the Catalyst console, and click **Start Exploring**. ![cloudscale](https://catalyst-docs-development.zohostratus.in/images/tutorials/cron/cloudscale.webp) 2. Navigate to **Data Store** under the **Storage** section and click **Create a new Table**. ![create-new-table](https://catalyst-docs-development.zohostratus.in/images/tutorials/cron/create-new-table.webp) 3. Enter the table's name as '**HEADLINES**' and click **Create**. ![headlines](https://catalyst-docs-development.zohostratus.in/images/tutorials/cron/headlines.webp) This table will store the general headlines of the news items obtained through [NewsAPI](https://newsapi.org/). > **Note**: Ensure that you enter the name exactly as instructed, because the application's code contains the same name. The table is now created and displayed on the *Data Store* page. ![created-table](https://catalyst-docs-development.zohostratus.in/images/tutorials/cron/created-table.webp) Click on **New Table** to create the other tables in the same way. ![click-new-table](https://catalyst-docs-development.zohostratus.in/images/tutorials/cron/click-new-table.webp) We will need to create six other tables to store news data of varied categories and name them as follows: 'BUSINESS', 'ENTERTAINMENT', 'HEALTH', 'SCIENCE', 'SPORTS', 'TECHNOLOGY'. > **Note**: Ensure that you enter all the table names exactly as instructed, because the application's code contains the same names. The tables will be displayed on the left in the **Data Store** page. ![all-tables](https://catalyst-docs-development.zohostratus.in/images/tutorials/cron/all-tables.webp) ### Create Columns Now, let's create columns in all the tables. We will create two columns in each table: * **title**: To store the title of the news article * **url**: To store the original URL of the news article's source To create a column in a table, please make sure to follow the below steps: 1. Click **New Column** in the *Schema View* section for the table. ![new-column](https://catalyst-docs-development.zohostratus.in/images/tutorials/cron/new-column.webp) 2. Enter the column's name as '**title**'. Select the data type as **Var Char**, enter the max length as '**255**' and click **Create**. ![title](https://catalyst-docs-development.zohostratus.in/images/tutorials/cron/title.webp) You can learn about the various data types supported by Catalyst and the other properties of a column from the [Data Store help page](https://docs.catalyst.zoho.com/en/cloud-scale/help/data-store/introduction). > **Note**: Ensure that you enter the name exactly as instructed, because the application's code contains the same name. Now create the **'url'** column in the same way. Provide the same values and click **Create**. ![url](https://catalyst-docs-development.zohostratus.in/images/tutorials/cron/url.webp) The columns are now created for the table and will be listed in the *Schema View* section. ![columns-added](https://catalyst-docs-development.zohostratus.in/images/tutorials/cron/columns-added.webp) Now create the same columns with the same values in each of the other six tables. We have now configured the Data Store. We will work on coding the application from our local system. We will configure the Job Scheduling service later. -------------------------------------------------------------------------------- title: "Create a Job Pool" description: "Build a news web app that fetches news from a third-party service periodically using Catalyst Cron, and a Job Function and Advanced I/O function in Java." last_updated: "2026-11-04T10:10:44.000Z" source: "https://docs.catalyst.zoho.com/en/tutorials/newsapp/java/create-job-pool/" service: "All Services" related: - Job Scheduling (/en/cloud-scale/help/data-store/introduction) -------------------------------------------------------------------------------- # Create a Job Pool Let's now [create a job pool](https://docs.catalyst.zoho.com/en/job-scheduling/help/implementation/create-jobpool/) using the [Catalyst Job Scheduling service](https://docs.catalyst.zoho.com/en/job-scheduling/getting-started/introduction/). This component is responsible for executing jobs and triggering the [job function](https://docs.catalyst.zoho.com/en/serverless/help/functions/job-functions/) that we will configure in [Step 5](https://docs.catalyst.zoho.com/en/tutorials/newsapp/nodejs/configure-job-function). We will configure a [predefined cron](https://docs.catalyst.zoho.com/en/job-scheduling/help/implementation/submit-job-predefined-cron/) schedule to automatically submit jobs to the job pool at regular intervals (say once in every hour). You can learn more about the job execution in a job pool from [this help page](https://docs.catalyst.zoho.com/en/job-scheduling/help/jobpool/introduction/#architecture-of-job-execution-in-a-job-pool). To create a job pool, please ensure to follow the below-listed steps: 1. Navigate to the **Job Scheduling** service in the Catalyst console. ![job-scheduling](https://catalyst-docs-development.zohostratus.in/images/tutorials/cron/job-scheduling.webp) 2. Navigate to **Job Pool** under the **Job Source** section and click **Create Job Pool**. ![job-pool](https://catalyst-docs-development.zohostratus.in/images/tutorials/cron/job-pool.webp) In the pop-up window, provide the Job Pool name as **"News"** and select the Job Pool Type as **Function** (this is typically the job function we will be configuring in [Step 5](https://docs.catalyst.zoho.com/en/tutorials/newsapp/nodejs/configure-job-function)). You can select the required compute memory for the function. In our case, as an upper limit you can select up to 2GB and click **Create**. ![create-job-pool](https://catalyst-docs-development.zohostratus.in/images/tutorials/cron/news-app-job-pool-creation-pop-up.webp) The job pool is now created. ![job-pool-id](https://catalyst-docs-development.zohostratus.in/images/tutorials/cron/job-pool-creation-success.webp) -------------------------------------------------------------------------------- title: "Initialize the project" description: "Build a news web app that fetches news from a third-party service periodically using Catalyst Cron, and a Job Function and Advanced I/O function in Java." last_updated: "2026-11-04T10:10:44.000Z" source: "https://docs.catalyst.zoho.com/en/tutorials/newsapp/java/initialize-project/" service: "All Services" related: - Project Directory Structure (/en/cli/v1/project-directory-structure/introduction/) - Initialize Resources (/en/cli/v1/initialize-resources/introduction/) - Advanced I/O Functions (/en/serverless/help/functions/advanced-io/) -------------------------------------------------------------------------------- # Initialize the Project from the CLI You can now begin working on your Catalyst project from the CLI. The first step is to initialize the project in an empty directory. This will be the home directory of your project and all of the project files will be saved in it. You can learn more about this from the [Project Directory Structure help page](https://docs.catalyst.zoho.com/en/cli/v1/project-directory-structure/introduction/). You can learn about initializing a project in detail from the [CLI help documentation](https://docs.catalyst.zoho.com/en/cli/v1/initialize-resources/introduction/). For the news application, we will initialize a [job function](https://docs.catalyst.zoho.com/en/serverless/help/functions/job-functions/) and the [client](https://docs.catalyst.zoho.com/en/cli/v1/working-with-the-client/introduction/), and then [add an Advanced I/O function](https://docs.catalyst.zoho.com/en/serverless/help/functions/advanced-io) to the project directory. 1. Create a folder for the project on your local machine and navigate to it from the terminal. Initialize a project by executing the following command from that directory: ```sh catalyst init ``` 2. The CLI will now ask you to select the organization in which your Catalyst project that we created earlier in the console resides. Select the organization and press **Enter**. ![catalyst-portal](https://catalyst-docs-development.zohostratus.in/images/tutorials/cron/catalyst-portal.webp) 3. Select the project in the organization from the list and press **Enter**. ![select-project](https://catalyst-docs-development.zohostratus.in/images/tutorials/cron/select-project.webp) 4. Select **Functions** and **Client** using the space bar. Press **Enter** to initialize the components. ![select-components](https://catalyst-docs-development.zohostratus.in/images/tutorials/cron/select-components.webp) 5. The CLI will first initiate the function setup. Select **Job** as the function type. ![job-function](https://catalyst-docs-development.zohostratus.in/images/tutorials/cron/job-function.webp) 6. Select the latest runtime of **Java** as the function stack. ![select-java](https://catalyst-docs-development.zohostratus.in/images/tutorials/cron/select-java.webp) 7. Enter **“NewsFetch”** as the folder name and press **Enter**. Enter **“FetchNews”** as the class name and press **Enter**. ![setup-function-java](https://catalyst-docs-development.zohostratus.in/images/tutorials/cron/setup-function-java.webp) 8. The CLI will now initialize the client set up. Choose **"Basic web app"** as the client type. ![basic-web-app](https://catalyst-docs-development.zohostratus.in/images/tutorials/cron/basic-web-app.webp) 9. Enter **'NewsAppClient'** as the name for the client package and press **Enter**. You can enter any name you want. ![client-setup](https://catalyst-docs-development.zohostratus.in/images/tutorials/cron/client-setup.webp) The client directory will be created in the standard structure. Catalyst initialization is now complete. Let's now add an additional Advanced I/O function to the project directory. As mentioned earlier, we will be coding it in **Node.js** stack. 1. To add an additional function, execute the following command from the project directory: ```sh catalyst functions:add ``` 2. Select **AdvancedIO** as the function type and press **Enter**. ![advancedio](https://catalyst-docs-development.zohostratus.in/images/tutorials/cron/advancedio.webp) 3. Select the latest runtime of **Java** as the function stack, and press **Enter**. ![advancedio-java](https://catalyst-docs-development.zohostratus.in/images/tutorials/cron/advancedio-java.webp) 4. Enter **“NewsApp_AIO”** as the folder name and press **Enter**. Enter **“DatastoreFetch”** as the class name of the Java function and press **Enter**. ![advancedio-setup-java](https://catalyst-docs-development.zohostratus.in/images/tutorials/cron/advancedio-setup-java.webp) The CLI will install the Catalyst Java SDK on your local system and update the information in the configuration file. > **Note**: Ensure that you enter the class name and folder name, exactly as instructed, because the application's code contains the same names. Your project directory is now set up with the [client directory](https://docs.catalyst.zoho.com/en/cli/v1/project-directory-structure/client-directory) and the [functions directory](https://docs.catalyst.zoho.com/en/cli/v1/project-directory-structure/functions-directory) along with configuration files and dependencies. The functions directory contains both the Job and Advanced I/O functions in individual folders. The project directory also contains the [`catalyst.json`](https://docs.catalyst.zoho.com/en/cli/v1/project-directory-structure/catalyst-json) configuration file and a hidden `.catalystrc` file. The structure of the NewsApp project's directory will look like this: ![project-dir-java](https://catalyst-docs-development.zohostratus.in/images/tutorials/cron/project-dir-java.webp) -------------------------------------------------------------------------------- title: "Configure the Job function" description: "Build a news web app that fetches news from a third-party service periodically using Catalyst Cron, and a Job Function and Advanced I/O function in Java." last_updated: "2026-11-04T10:10:44.000Z" source: "https://docs.catalyst.zoho.com/en/tutorials/newsapp/java/configure-job-function/" service: "All Services" related: - Job Scheduling (/en/job-scheduling/getting-started/introduction/) - Job Functions (/en/serverless/help/functions/job-functions/) -------------------------------------------------------------------------------- # Configure the Job Function Next, we'll begin coding the news application by configuring the job function component. The function's directory, in this case `functions/NewsFetch`, contains: * The `FetchNews.java` main function file * The `catalyst-config.json` configuration file * Java library files in the `lib` folder * `.classpath` and `.project` dependency files We will be adding code in the `FetchNews.java` file. You will not be modifying the code of the configuration and dependency files. As mentioned in the [introduction](https://docs.catalyst.zoho.com/en/tutorials/newsapp/java/introduction/), the job function performs two tasks: making the API calls to the [NewsAPI](https://newsapi.org/) to fetch news, populating the news in Catalyst Data Store. The API calls are made using an API key provided by NewsAPI. ### Register with NewsAPI Before you code the job function, you must register for a free developer subscription with NewsAPI and obtain the API key in the following way: 1. Visit [https://newsapi.org/register](https://newsapi.org/register). 2. Provide the required details and click **Submit**. ![register-api-key](https://catalyst-docs-development.zohostratus.in/images/tutorials/cron/register-api-key.webp) After your registration is complete, NewsAPI will provide you with an API key. You must use this in your cron function, as instructed after the code section. ![api-key](https://catalyst-docs-development.zohostratus.in/images/tutorials/cron/api-key.webp) ### Add Function Code You can copy the code below and paste it in `FetchNews.java` located in the `functions/NewsFetch` directory of your project and save the file. You can use any IDE to work with the application's files. > **Note**: Please go through the code given in this section to make sure you fully understand it. **FetchNews.java** ```java import java.util.ArrayList; import java.util.logging.Level; import java.util.logging.Logger; import com.catalyst.Context; import com.catalyst.job.JOB_STATUS; import com.catalyst.job.JobRequest; import com.catalyst.job.CatalystJobHandler; import com.zc.common.ZCProject; import com.zc.component.object.ZCObject; import com.zc.component.object.ZCRowObject; import com.zc.component.object.ZCTable; import com.zc.component.zcql.ZCQL; import org.json.JSONArray; import org.json.JSONObject; import okhttp3.HttpUrl; import okhttp3.OkHttpClient; import okhttp3.Request; import okhttp3.Response; public class FetchNews implements CatalystJobHandler { private static final Logger LOGGER = Logger.getLogger(FetchNews.class.getName()); // Table names for each category static String[] TABLENAME = { "HEADLINES", "BUSINESS", "ENTERTAINMENT", "HEALTH", "SCIENCE", "SPORTS", "TECHNOLOGY" }; static String COUNTRY = "US"; static String APIKEY = "cc30ddcae1684e848f08ed474f6aaf0e"; // Provide the API key you obtained from NewsAPI inside the quotations @Override public JOB_STATUS handleJobExecute(JobRequest request, Context context) throws Exception { try { ZCProject.initProject(); OkHttpClient client = new OkHttpClient(); // Fetch news for each category for (int i = 0; i < TABLENAME.length; i++) { HttpUrl.Builder urlBuilder = HttpUrl.parse("http://newsapi.org/v2/top-headlines").newBuilder(); urlBuilder.addQueryParameter("country", COUNTRY); urlBuilder.addQueryParameter("apiKey", APIKEY); if (!TABLENAME[i].equals("HEADLINES")) { urlBuilder.addQueryParameter("category", TABLENAME[i]); } String url = urlBuilder.build().toString(); Request requests = new Request.Builder().url(url).build(); Response response = client.newCall(requests).execute(); if (response.code() == 200) { JSONObject responseObject = new JSONObject(response.body().string()); JSONArray responseArray = responseObject.getJSONArray("articles"); pushNewstoDatastore(responseArray, i); } else { LOGGER.log(Level.SEVERE, "Error fetching data from News API for " + TABLENAME[i]); } LOGGER.log(Level.INFO, "News updated for " + TABLENAME[i]); } } catch (Exception e) { LOGGER.log(Level.SEVERE, "Exception in Job Function", e); return JOB_STATUS.FAILURE; } return JOB_STATUS.SUCCESS; } private void pushNewstoDatastore(JSONArray responseArray, int length) throws Exception { String action = null; String query = "select ROWID from " + TABLENAME[length]; ArrayList<ZCRowObject> rowList = ZCQL.getInstance().executeQuery(query); ZCObject object = ZCObject.getInstance(); ZCTable table = object.getTable(TABLENAME[length]); // Loop safely through available articles (max 15) for (int i = 0; i < responseArray.length() && i < 15; i++) { JSONObject response = responseArray.getJSONObject(i); String title = response.optString("title", "No Title").replaceAll("'", ""); String url = response.optString("url", "No URL"); ZCRowObject row = ZCRowObject.getInstance(); row.set("title", title); row.set("url", url); if (rowList.size() > i) { String rowid = rowList.get(i).get("ROWID").toString(); Long ID = Long.parseLong(rowid); row.set("ROWID", ID); String upd = "Update " + TABLENAME[length] + " set title = '" + title + "', url = '" + url + "' where ROWID = " + rowid; ZCQL.getInstance().executeQuery(upd); action = "Update"; } else { table.insertRow(row); action = "Insert"; } } if ("Update".equals(action)) { LOGGER.log(Level.INFO, TABLENAME[length] + " table updated with latest news"); } else if ("Insert".equals(action)) { LOGGER.log(Level.INFO, TABLENAME[length] + " table inserted with new news"); } } } ``` > **Note**: After you copy and paste this code in your function file, ensure that you replace value of `APIKEY` in the line **26** with the API key you obtained from NewsAPI. The job function is now configured. We will discuss the application's architecture after we configure the client. -------------------------------------------------------------------------------- title: "Configure the Advanced I/O function" description: "Build a news web app that fetches news from a third-party service periodically using Catalyst Cron, and a Job Function and Advanced I/O function in Java." last_updated: "2026-11-04T10:10:44.000Z" source: "https://docs.catalyst.zoho.com/en/tutorials/newsapp/java/configure-advancedio/" service: "All Services" related: - Advanced I/O Function (/en/serverless/help/functions/advanced-io) - Data Store (/en/cloud-scale/help/data-store/introduction) - ZCQL (/en/cloud-scale/help/zcql/introduction) -------------------------------------------------------------------------------- # Configure the Advanced I/O Function The Advanced I/O function directory (`functions/NewsApp_AIO`) contains the following files: * The `DataStoreFetch.java` main function file * The `catalyst-config.json` configuration file * Java library files in the `lib` folder * `.classpath` and `.project` dependency files You will be adding code in the `DatastoreFetch.java` file. The Advanced I/O function fetches the news item from its source table in the Data Store and forwards it to the client component as a JSON response. Copy the code and paste it in the `DatastoreFetch.java ` in the `functions/NewsApp_AIO ` directory. **DatastoreFetch.java** ```java import java.util.logging.Logger; import java.util.ArrayList; import java.util.logging.Level; import javax.servlet.http.HttpServletRequest; import javax.servlet.http.HttpServletResponse; import com.catalyst.advanced.CatalystAdvancedIOHandler; import com.zc.component.object.ZCRowObject; import com.zc.component.zcql.ZCQL; import org.json.JSONArray; import org.json.JSONObject; public class DatastoreFetch implements CatalystAdvancedIOHandler { private static final Logger LOGGER = Logger.getLogger(DatastoreFetch.class.getName()); @Override public void runner(HttpServletRequest request, HttpServletResponse response) throws Exception { try { // Fetch the endpoint and HTTP method String url = request.getRequestURI(); String method = request.getMethod(); if (url.equals("/fetchData") && method.equals("GET")) { String tableName = request.getParameter("tablename"); // Query the Data Store using ZCQL String query = "select title, url from " + tableName; ArrayList<ZCRowObject> rowList = ZCQL.getInstance().executeQuery(query); JSONObject data = new JSONObject(); JSONArray content = new JSONArray(); // Construct JSON response for (int i = 0; i < rowList.size(); i++) { JSONObject rowData = new JSONObject(); JSONObject tableData = new JSONObject(); ZCRowObject row = rowList.get(i); String title = (String) row.get("title"); String urlVal = (String) row.get("url"); rowData.put("title", title); rowData.put("url", urlVal); tableData.put(tableName, rowData); content.put(tableData); } data.put("content", content); // Send response back to client response.setContentType("application/json"); response.getWriter().write(data.toString()); response.setStatus(200); } else { // Invalid request LOGGER.log(Level.SEVERE, "Error. Invalid Request"); response.setStatus(404); } } catch (Exception e) { LOGGER.log(Level.SEVERE, "Exception in DatastoreFetch", e); response.setStatus(500); } } } ``` The Advanced I/O function is now configured. We will discuss the application's architecture after we configure the client. -------------------------------------------------------------------------------- title: "Configure the client" description: "Build a news web app that fetches news from a third-party service periodically using Catalyst Cron, and a Job Function and Advanced I/O function in Java." last_updated: "2026-11-04T10:10:44.000Z" source: "https://docs.catalyst.zoho.com/en/tutorials/newsapp/java/configure-client/" service: "All Services" related: - Client (/en/cli/v1/project-directory-structure/introduction) - Advanced I/O Function (/en/serverless/help/functions/advanced-io) -------------------------------------------------------------------------------- # Configure the Client Let's now configure the client component. The [directory](https://docs.catalyst.zoho.com/en/cli/v1/project-directory-structure/introduction) contains: * The `index.html` file that contains the HTML code for the frontend application * The `main.css` file that contains the CSS code * The `main.js` file that contains the JavaScript code * The `client-package.json` configuration file We will be coding `index.html`, `main.js`, and `main.css`. > **Note**: Please go through the code in this section to make sure you fully understand it. Copy the code below and paste it in the respective files located in the `client/` directory of your project using an IDE and save the files. **index.html** ```xml <!DOCTYPE html> <html> <title>NewsApp</title> <script src="main.js"></script> <script src="https://ajax.googleapis.com/ajax/libs/jquery/3.5.1/jquery.min.js"></script> <link rel="stylesheet" type="text/css" media="screen" href="main.css" /> <head> <meta name="viewport" content="width=device-width, initial-scale=1"> </head> <body onload="fetchNews('HEADLINES')"> <center> <h1>Welcome to The Daily Broadcast</h1> <h3>Today's News</h3> <h2>HEADLINES</h2><br> </center> <div class="sidenav"> <img src="https://i.pinimg.com/236x/e6/71/5f/e6715f8bd963c783f75f11fdc37fa4aa.webp" width="220" height="200" onclick="fetchNews('HEADLINES')"><br> <a onclick="return fetchNews('BUSINESS');">Business</a><br> <a onclick="return fetchNews('ENTERTAINMENT');">Entertainment</a><br> <a onclick="return fetchNews('HEALTH');">Health</a><br> <a onclick="return fetchNews('SCIENCE');">Science</a><br> <a onclick="return fetchNews('SPORTS');">Sports</a><br> <a onclick="return fetchNews('TECHNOLOGY');">Technology</a><br> </div> <div class="loading" id="loader" style="display: none;"></div> <div class="main"> <ul id="newsList"></ul> </div> </body> </html> ``` **main.css** ```css .sidenav { height: 100%; width: 220px; position: fixed; z-index: 1; top: 0; left: 0; background-color: #111; overflow-x: hidden; } a{ cursor: pointer; } .sidenav a { padding: 6px 8px 6px 16px; text-decoration: none; font-size: 25px; font-family: "Helvetica", sans-serif; color: #818181; display: block; } .sidenav a:hover { color: #f1f1f1; } .main { margin-left: 200px; font-size: 20px; padding: 0px 10px; font-family: "Poynter", sans-serif; } @media screen and (max-height: 450px) { .sidenav { padding-top: 15px; } .sidenav a { font-size: 18px; } } .loading { height: 0; width: 0; padding: 15px; border: 6px solid rgb(155, 155, 155); border-right-color: rgb(88, 88, 88); border-radius: 22px; -webkit-animation: rotate 1s infinite linear; /* left, top and position just for the demo! */ position: absolute; left: 50%; top: 50%; } @-webkit-keyframes rotate { /* 100% keyframe for clockwise. use 0% instead for anticlockwise */ 100% { -webkit-transform: rotate(360deg); } } ``` **main.js** ```javascript function fetchNews(name) { //Since we display the news items as nodes, removes the existing nodes for every category change const nodes = document.getElementById("newsList"); nodes.innerHTML = ''; document.getElementById("loader").style.display = "block"; var tablename = name; console.log(tablename); //Makes an API call to the Advanced I/O function to fetch the news item from a particular table $.ajax({ url: "/server/NewsApp_AIO/fetchData?tablename=" + tablename, //If you initialized the Advanced I/O function with a different name, ensure you replace news_app_function with that name. type: "get", success: function (response) { var data = response; var i; document.getElementById("loader").style.display = "none"; //Parses the response from the Advanced I/O function, and renders it in the HTML page by creating a list of nodes for (i = 0; i < data.content.length; i++) { var list = document.getElementById('newsList'); var anchor = document.createElement('a'); var li = document.createElement('li'); var linebreak = document.createElement("br"); anchor.href = data.content[i][tablename].url; anchor.innerText = data.content[i][tablename].title; anchor.setAttribute('target', '_blank'); li.appendChild(anchor); list.appendChild(li); list.appendChild(linebreak); } }, error: function (error) { alert(error.data); } }); } ``` > **Note**: If you have chosen a different name for your Advanced I/O function, then replace **news_app_function** with that name in line **10**. The client directory is now configured. ### Working of Functions and Client Let us quickly go through the working of the function and client components of the application: * When a recursive cron is configured to execute in a specified time interval say once every hour and associated with the job function `FetchNews.java`, it automatically initiates the function's execution once every hour. * An API call to http://newsapi.org/v2/top-headlines is made to fetch the news headlines. This request is authenticated using the API key obtained from NewsAPI. The choice of country, the API key, and the news category associated with the respective table in the Data Store are passed as query parameters. * The `pushNewstoDatastore` method inserts the data obtained from the API call for the `title` and `url` parameters into a list. A [ ZCQL query](https://docs.catalyst.zoho.com/en/cloud-scale/help/zcql/introduction) then obtains the row count of each table. If data is already populated in a table from a previous API call made to NewsAPI, the data is replaced with the updated news items. If no rows exist, new data is pushed to the table. * The script defined in the client component `main.js` makes an API call to the Advanced I/O function by executing a `GET` request to the route `/fetchData` defined in the function. The table names are passed in the request URL. * The Advanced I/O function queries the relevant tables in the Data Store and obtains the `title` and `url` of the news items. This is constructed as a JSON response and passed back to `main.js`. * `main.js` parses the JSON response obtained from the function and renders it in the HTML page by creating a list of nodes. -------------------------------------------------------------------------------- title: "Test the application" description: "Build a news web app that fetches news from a third-party service periodically using Catalyst Cron, and a Job Function and Advanced I/O function in Java." last_updated: "2026-11-04T10:10:44.000Z" source: "https://docs.catalyst.zoho.com/en/tutorials/newsapp/java/test-application/" service: "All Services" related: - Serve Resources (/en/cli/v1/serve-resources/introduction/) -------------------------------------------------------------------------------- # Test the Application Before you deploy the application to the remote console, you can test the application on a local server and check if everything works fine using the Catalyst CLI. We will first test the cron function using the [functions shell](https://docs.catalyst.zoho.com/en/cli/v1/working-with-functions/functions-shell/) in the CLI, and then [serve the Advanced I/O function and the client locally](https://docs.catalyst.zoho.com/en/cli/v1/serve-resources/introduction/) to test the frontend of the application. Let's first execute the below command to generate a sample payload to pass in the functions shell which we will be accessing later: ```sh catalyst event:generate:job 10108000007982015 // Replace with the required Job Pool ID ``` You can copy the job pool ID from the job pool that was created in [Step 3](https://docs.catalyst.zoho.com/en/tutorials/newsapp/nodejs/create-job-pool) using the Catalyst console. ![job-pool-id](https://catalyst-docs-development.zohostratus.in/images/tutorials/cron/job-pool-id.webp) The generated payload will look like this : ![payload](https://catalyst-docs-development.zohostratus.in/images/tutorials/cron/payload.webp) Now open the functions shell in your CLI by executing the following command from your project directory (CATALYST_PROJECT_HOME): ```sh catalyst functions:shell ``` This will open the functions shell for the cron function in the CLI where you can test its execution. To invoke the function, enter `NewsFetch()` in the shell, pass the generated payload within the braces and press **Enter**. ![function-invoke-java](https://catalyst-docs-development.zohostratus.in/images/tutorials/cron/function-invoke-java.webp) When testing the Job Function using the shell command, the response indicates the execution status of the function, either `success` or `failure`. ![invoke-success-java](https://catalyst-docs-development.zohostratus.in/images/tutorials/cron/invoke-success-java.webp) The function's execution status is returned as success. This will make the API call to NewsAPI and fetch the news items from each category, and populate them in the Data Store. You can check the Data Store component if the data has been populated as expected. ![test-datastore-java](https://catalyst-docs-development.zohostratus.in/images/tutorials/cron/test-datastore-java.webp) Now, let's host the client component locally and check the frontend of the application. To serve the Catalyst project locally, execute the following command from your project directory (CATALYST_PROJECT_HOME): ```sh catalyst serve ``` The news application will now be served at default port 3000. The local endpoint URLs of the components (the client and the Advanced I/O function) are displayed. > **Note**: Every time you access the homepage or any of the sub-pages of your client or the function, the CLI will display a live log of the URL accessed, along with the HTTP request method. ![catalyst-serve-java](https://catalyst-docs-development.zohostratus.in/images/tutorials/cron/catalyst-serve-java.webp) You can now open the application in a browser using the local URL of the client displayed in the CLI. ![serve-output](https://catalyst-docs-development.zohostratus.in/images/tutorials/cron/serve-output.webp) The news application displays the general news headlines on the index page. You can click a topic on the left to check the latest headlines in that category. You can open the original news article by clicking on a headline. If this setup is working correctly, we can deploy the application to the console. -------------------------------------------------------------------------------- title: "Deploy the project" description: "Build a news web app that fetches news from a third-party service periodically using Catalyst Cron, and a Job Function and Advanced I/O function in Java." last_updated: "2026-11-04T10:10:44.000Z" source: "https://docs.catalyst.zoho.com/en/tutorials/newsapp/java/deploy-application/" service: "All Services" related: - Deploy Resources (/en/cli/v1/deploy-resources/introduction/) -------------------------------------------------------------------------------- # Deploy the Project To [deploy your Catalyst project from the CLI](https://docs.catalyst.zoho.com/en/cli/v1/deploy-resources/introduction/), run the following command in your terminal from your project directory (CATALYST_PROJECT_HOME): ```sh catalyst deploy ``` The functions are deployed first, followed by the client component. The production URLs of the components are displayed. ![catalyst-deploy-java](https://catalyst-docs-development.zohostratus.in/images/tutorials/cron/catalyst-deploy-java.webp) You can now open the client component's URL in a browser to access the deployed application. The news application can now be accessed from its [web app URL](https://docs.catalyst.zoho.com/en/cloud-scale/help/web-client-hosting/introduction). ![deploy-output](https://catalyst-docs-development.zohostratus.in/images/tutorials/cron/deploy-output.webp) -------------------------------------------------------------------------------- title: "Schedule a cron" description: "Build a news web app that fetches news from a third-party service periodically using Catalyst Cron, and a Job Function and Advanced I/O function in Java." last_updated: "2026-11-04T10:10:44.000Z" source: "https://docs.catalyst.zoho.com/en/tutorials/newsapp/java/schedule-cron/" service: "All Services" related: - Job Scheduling Cron (/en/job-scheduling/help/cron/introduction/) - Job Functions (/en/serverless/help/functions/job-functions/) -------------------------------------------------------------------------------- # Schedule a Cron Next, let’s [create a cron](https://docs.catalyst.zoho.com/en/job-scheduling/help/cron/introduction/), associate it with the Job Pool created in [Step 3](https://docs.catalyst.zoho.com/en/tutorials/newsapp/java/create-job-pool/), and schedule it to run every hour. This cron will trigger the [Job Function](https://docs.catalyst.zoho.com/en/tutorials/newsapp/nodejs/configure-job-function/) periodically to fetch the latest news from the [NewsAPI ](https://newsapi.org/) and update the application. By running once every hour, the cron ensures that the application remains up to date with fresh news content. Each time it runs, it automatically invokes the Job Function, which makes an API call to the NewsAPI to retrieve the latest headlines. To create a cron from the Catalyst console, please make sure to follow the below-listed steps: 1. Navigate to **Cron** under the **Job Executor** section and click **Create Cron**. ![create-cron](https://catalyst-docs-development.zohostratus.in/images/tutorials/cron/create-cron.webp) 2. Enter a name and a description for the cron. You can enter any name. Select the **Format Type** as **Standard Input**. Select the **Schedule Type** as **Recursive**. Select the **Repeat Type** as **Every**. You can set the **Schedule Time** as required and also choose to enable the **Cron termination details**. After entering all the details, click **Next**. ![cron-details-java](https://catalyst-docs-development.zohostratus.in/images/tutorials/cron/cron-details-java.webp) 3. Provide a name for the Job, select the Job Pool as News and the target function as **NewsFetch**. Click **Create**. ![job-create-java](https://catalyst-docs-development.zohostratus.in/images/tutorials/cron/job-create-java.webp) The cron has been created successfully. You can now submit the job to start its execution by clicking on the **Submit Job** button. ![job-submit-java](https://catalyst-docs-development.zohostratus.in/images/tutorials/cron/job-submit-java.webp) You can click on **Execution History** button to view the cron execution details. ![exec-history-java](https://catalyst-docs-development.zohostratus.in/images/tutorials/cron/exec-history-java.webp) You can navigate to the **Jobs** section and view the execution status of the jobs scheduled in the cron for every hour. ![job-history-java](https://catalyst-docs-development.zohostratus.in/images/tutorials/cron/job-history-java.webp) The news application is now functional and the news will be fetched from the NewsAPI and updated in the application for every one hour. ### NodeJS -------------------------------------------------------------------------------- title: "Introduction" description: "Build a news web app that fetches news from a third-party service periodically using Catalyst Cron, and a Job Function and Advanced I/O function in Node.js." last_updated: "2026-11-04T10:10:44.000Z" source: "https://docs.catalyst.zoho.com/en/tutorials/newsapp/nodejs/introduction/" service: "All Services" related: - Project Directory Structure (/en/cli/v1/project-directory-structure/introduction/) - News API (https://newsapi.org/) -------------------------------------------------------------------------------- # NewsApp ### Introduction In this tutorial, we will create a news application called **The Daily Broadcast**, which retrieves the latest news from multiple trusted sources, refreshes the content at defined time intervals, and displays the updated news within the application. For this purpose, we will use the [NewsAPI](https://newsapi.org/), a third-party service that fetches headlines across various categories such as Business, Entertainment, Health, Science, Sports, and Technology from sources around the web. We will integrate this API into our application and display the news along with links to the original articles. The final look of the client application will resemble this screen: ![final-look](https://catalyst-docs-development.zohostratus.in/images/tutorials/cron/final-look.webp) You can access the working application from here : [Try the App!](https://news-fetcher.catalystserverlessapp.com/app/) We will build the news application using the following Catalyst Services and their Components, each playing a key role in the overall architecture: 1. [**Catalyst Serverless**](https://docs.catalyst.zoho.com/en/serverless/getting-started/introduction/): - **[Advanced I/O Function](https://docs.catalyst.zoho.com/en/serverless/help/functions/advanced-io/)** : This function is coded in **NodeJS** and serves as the API layer of the application. It retrieves news data from the Catalyst CloudScale Data Store and delivers it to the frontend as a JSON response. - **[Job Function](https://docs.catalyst.zoho.com/en/serverless/help/functions/job-functions/)** : This function is coded in NodeJS and contains the logic to call the [NewsAPI](https://newsapi.org/), fetch the latest headlines across different categories, and store them in the Data Store. 2. [**Catalyst CloudScale**](https://docs.catalyst.zoho.com/en/cloud-scale/getting-started/introduction/): - **[Data Store](https://docs.catalyst.zoho.com/en/cloud-scale/help/data-store/introduction/)** : This component acts as the central storage for all news data fetched from the [NewsAPI](https://newsapi.org/). It ensures fast and scalable access to news content. - **[ZCQL](https://docs.catalyst.zoho.com/en/cloud-scale/help/zcql/introduction/)** : This component is used to query the Data Store efficiently and retrieve the relevant news data. - **[Web Client Hosting](https://docs.catalyst.zoho.com/en/cloud-scale/help/web-client-hosting/introduction/)** : This component hosts the frontend of the application, allowing users to view the news content seamlessly through a web interface. 3. **[Catalyst Job Scheduling](https://docs.catalyst.zoho.com/en/job-scheduling/getting-started/introduction/)**: This component enables periodic execution of the Job Function, ensuring the application is updated with fresh news at defined intervals. Together, these components enable a fully functional, automated news application that stays up-to-date with the latest information from reliable sources. We will use the Catalyst web console and the Catalyst Command Line Interface (CLI) to build this application. You will be given the code for the files to be included in the function and client components in this tutorial. You will just have to copy the code given in this guide and paste it into the appropriate files as directed. ### Application Architecture The News application architecture is depicted in the workflow diagram below: ![app-arch](https://catalyst-docs-development.zohostratus.in/images/tutorials/cron/app-arch.webp) -------------------------------------------------------------------------------- title: "Prerequisites" description: "Build a news web app that fetches news from a third-party service periodically using Catalyst Cron, and a Job Function and Advanced I/O function in Node.js." last_updated: "2026-11-04T10:10:44.000Z" source: "https://docs.catalyst.zoho.com/en/tutorials/newsapp/nodejs/prerequisites/" service: "All Services" related: - CLI Command Reference (/en/cli/v1/cli-command-reference/) -------------------------------------------------------------------------------- # Prerequisites Before you begin building the application, you must have the following prerequisites installed on your system: 1. **Catalyst CLI** \ \ Catalyst CLI contains a host of tools that enable you to initialize, develop, test, and deploy the components of your application from your local machine. We will be working with Catalyst CLI in this tutorial. \ \ You must perform the following actions: 1. **Install Catalyst CLI:** Catalyst CLI is installed through NPM. You must therefore have NPM and Node.js installed on your system before you install the CLI. Refer to the [**Install Catalyst CLI help page**](https://docs.catalyst.zoho.com/en/getting-started/installing-catalyst-cli/) for details on the pre-requisites and the steps to install it. 2. **Log in to Catalyst CLI:** After you install Catalyst CLI, you must authenticate the CLI with your Catalyst account before using it. Refer to the [**CLI Login help page**](https://docs.catalyst.zoho.com/en/cli/v1/login/login-from-cli/) for the steps to login from Catalyst CLI and the various options available for it. 2. **Any IDE tool for Node.js function and client code development** \ \ You can use any IDE to work with the Advanced I/O function and the client code. Some popular choices include Visual Studio Code, IntelliJ IDEA, Eclipse, and Sublime Text. Download and install an IDE of your choice on your system. > If you are a Visual Studio Code IDE user, you can install the **Catalyst Tools** extension, and use your IDE itself in place of the CLI. You can find more details about the Catalyst VS Code extension from this [help section](https://docs.catalyst.zoho.com/en/catalyst-extensions/vs-code-extension/introduction/). -------------------------------------------------------------------------------- title: "Create a project" description: "Build a news web app that fetches news from a third-party service periodically using Catalyst Cron, and a Job Function and Advanced I/O function in Node.js." last_updated: "2026-11-04T10:10:44.000Z" source: "https://docs.catalyst.zoho.com/en/tutorials/newsapp/nodejs/create-project/" service: "All Services" related: - Project Directory (/en/cli/v1/project-directory-structure/introduction) - Setup Catalyst Projects (/en/getting-started/catalyst-projects) -------------------------------------------------------------------------------- # Create a Project Let's [create a Catalyst Project](https://docs.catalyst.zoho.com/en/getting-started/catalyst-projects/) from the Catalyst console. 1. Log in to the [Catalyst Console](https://console.catalyst.zoho.com/baas/index) and click **Create New Project**. ![create-new-project](https://catalyst-docs-development.zohostratus.in/images/tutorials/cron/create-new-project.webp) 2. Enter the project's name as "**NewsApp**" in the pop-up window and click **Create**. ![project-name](https://catalyst-docs-development.zohostratus.in/images/tutorials/cron/project-name.webp) Your project will be created and opened automatically. ![project-open](https://catalyst-docs-development.zohostratus.in/images/tutorials/cron/project-open.webp) -------------------------------------------------------------------------------- title: "Create tables" description: "Build a news web app that fetches news from a third-party service periodically using Catalyst Cron, and a Job Function and Advanced I/O function in Node.js." last_updated: "2026-11-04T10:10:44.000Z" source: "https://docs.catalyst.zoho.com/en/tutorials/newsapp/nodejs/create-tables/" service: "All Services" related: - Data Store (/en/cloud-scale/help/data-store/introduction) -------------------------------------------------------------------------------- # Create Tables in the Data Store Next, let's create tables in the [Catalyst CloudScale Data Store](https://docs.catalyst.zoho.com/en/cloud-scale/help/data-store/introduction/) of the NewsApp project. We will be creating seven tables to store news of various news categories. Let's begin by creating the first table. To create a table, please follow the below-listed steps: 1. Navigate to the [CloudScale service](https://docs.catalyst.zoho.com/en/cloud-scale/getting-started/introduction/) from the Catalyst console, and click **Start Exploring**. ![cloudscale](https://catalyst-docs-development.zohostratus.in/images/tutorials/cron/cloudscale.webp) 2. Navigate to **Data Store** under the **Storage** section and click **Create a new Table**. ![create-new-table](https://catalyst-docs-development.zohostratus.in/images/tutorials/cron/create-new-table.webp) 3. Enter the table's name as '**HEADLINES**' and click **Create**. ![headlines](https://catalyst-docs-development.zohostratus.in/images/tutorials/cron/headlines.webp) This table will store the general headlines of the news items obtained through [NewsAPI](https://newsapi.org/). > **Note**: Ensure that you enter the name exactly as instructed, because the application's code contains the same name. The table is now created and displayed on the *Data Store* page. ![created-table](https://catalyst-docs-development.zohostratus.in/images/tutorials/cron/created-table.webp) Click on **New Table** to create the other tables in the same way. ![click-new-table](https://catalyst-docs-development.zohostratus.in/images/tutorials/cron/click-new-table.webp) We will need to create six other tables to store news data of varied categories and name them as follows: 'BUSINESS', 'ENTERTAINMENT', 'HEALTH', 'SCIENCE', 'SPORTS', 'TECHNOLOGY'. > **Note**: Ensure that you enter all the table names exactly as instructed, because the application's code contains the same names. The tables will be displayed on the left in the **Data Store** page. ![all-tables](https://catalyst-docs-development.zohostratus.in/images/tutorials/cron/all-tables.webp) ### Create Columns Now, let's create columns in all the tables. We will create two columns in each table: * **title**: To store the title of the news article * **url**: To store the original URL of the news article's source To create a column in a table, please make sure to follow the below steps: 1. Click **New Column** in the *Schema View* section for the table. ![new-column](https://catalyst-docs-development.zohostratus.in/images/tutorials/cron/new-column.webp) 2. Enter the column's name as '**title**'. Select the data type as **Var Char**, enter the max length as '**255**' and click **Create**. ![title](https://catalyst-docs-development.zohostratus.in/images/tutorials/cron/title.webp) You can learn about the various data types supported by Catalyst and the other properties of a column from the [Data Store help page](https://docs.catalyst.zoho.com/en/cloud-scale/help/data-store/introduction). > **Note**: Ensure that you enter the name exactly as instructed, because the application's code contains the same name. Now create the **'url'** column in the same way. Provide the same values and click **Create**. ![url](https://catalyst-docs-development.zohostratus.in/images/tutorials/cron/url.webp) The columns are now created for the table and will be listed in the *Schema View* section. ![columns-added](https://catalyst-docs-development.zohostratus.in/images/tutorials/cron/columns-added.webp) Now create the same columns with the same values in each of the other six tables. We have now configured the Data Store. We will work on coding the application from our local system. We will configure the Job Scheduling service later. -------------------------------------------------------------------------------- title: "Create a Job Pool" description: "Build a news web app that fetches news from a third-party service periodically using Catalyst Cron, and a Job Function and Advanced I/O function in Node.js." last_updated: "2026-11-04T10:10:44.000Z" source: "https://docs.catalyst.zoho.com/en/tutorials/newsapp/nodejs/create-job-pool/" service: "All Services" related: - Job Scheduling (/en/job-scheduling/getting-started/introduction/) -------------------------------------------------------------------------------- # Create a Job Pool Let's now [create a job pool](https://docs.catalyst.zoho.com/en/job-scheduling/help/implementation/create-jobpool/) using the [Catalyst Job Scheduling service](https://docs.catalyst.zoho.com/en/job-scheduling/getting-started/introduction/). This component is responsible for executing jobs and triggering the [job function](https://docs.catalyst.zoho.com/en/serverless/help/functions/job-functions/) that we will configure in [Step 5](https://docs.catalyst.zoho.com/en/tutorials/newsapp/nodejs/configure-job-function). We will configure a [predefined cron](https://docs.catalyst.zoho.com/en/job-scheduling/help/implementation/submit-job-predefined-cron/) schedule to automatically submit jobs to the job pool at regular intervals (say once in every hour). You can learn more about the job execution in a job pool from [this help page](https://docs.catalyst.zoho.com/en/job-scheduling/help/jobpool/introduction/#architecture-of-job-execution-in-a-job-pool). To create a job pool, please ensure to follow the below-listed steps: 1. Navigate to the **Job Scheduling** service in the Catalyst console. ![job-scheduling](https://catalyst-docs-development.zohostratus.in/images/tutorials/cron/job-scheduling.webp) 2. Navigate to **Job Pool** under the **Job Source** section and click **Create Job Pool**. ![job-pool](https://catalyst-docs-development.zohostratus.in/images/tutorials/cron/job-pool.webp) In the pop-up window, provide the Job Pool name as **"News"** and select the Job Pool Type as **Function** (this is typically the job function we will be configuring in [Step 5](https://docs.catalyst.zoho.com/en/tutorials/newsapp/nodejs/configure-job-function)). You can select the required compute memory for the function. In our case, as an upper limit you can select up to 2GB and click **Create**. ![create-job-pool](https://catalyst-docs-development.zohostratus.in/images/tutorials/cron/news-app-job-pool-creation-pop-up.webp) The job pool is now created. ![job-pool-id](https://catalyst-docs-development.zohostratus.in/images/tutorials/cron/job-pool-creation-success.webp) -------------------------------------------------------------------------------- title: "Initialize the project" description: "Build a news web app that fetches news from a third-party service periodically using Catalyst Cron, and a Job Function and Advanced I/O function in Node.js." last_updated: "2026-11-04T10:10:44.000Z" source: "https://docs.catalyst.zoho.com/en/tutorials/newsapp/nodejs/initialize-project/" service: "All Services" related: - Project Directory Structure (/en/cli/v1/project-directory-structure/introduction/) - Initialize Resources (/en/cli/v1/initialize-resources/introduction/) - Advanced I/O Functions (/en/serverless/help/functions/advanced-io/) - Job Functions (/en/serverless/help/functions/job-functions/) -------------------------------------------------------------------------------- # Initialize the Project from the CLI You can now begin working on your Catalyst project from the CLI. The first step is to initialize the project in an empty directory. This will be the home directory of your project and all of the project files will be saved in it. You can learn more about this from the [Project Directory Structure help page](https://docs.catalyst.zoho.com/en/cli/v1/project-directory-structure/introduction/). You can learn about initializing a project in detail from the [CLI help documentation](https://docs.catalyst.zoho.com/en/cli/v1/initialize-resources/introduction/). For the news application, we will initialize a [job function](https://docs.catalyst.zoho.com/en/serverless/help/functions/job-functions/) and the [client](https://docs.catalyst.zoho.com/en/cli/v1/working-with-the-client/introduction/), and then [add an Advanced I/O function](https://docs.catalyst.zoho.com/en/serverless/help/functions/advanced-io) to the project directory. 1. Create a folder for the project on your local machine and navigate to it from the terminal. Initialize a project by executing the following command from that directory: ```sh catalyst init ``` 2. The CLI will now ask you to select the organization in which your Catalyst project that we created earlier in the console resides. Select the organization and press **Enter**. ![catalyst-portal](https://catalyst-docs-development.zohostratus.in/images/tutorials/cron/catalyst-portal.webp) 3. Select the project in the organization from the list and press **Enter**. ![select-project](https://catalyst-docs-development.zohostratus.in/images/tutorials/cron/select-project.webp) 4. Select **Functions** and **Client** using the space bar. Press **Enter** to initialize the components. ![select-components](https://catalyst-docs-development.zohostratus.in/images/tutorials/cron/select-components.webp) 5. The CLI will first initiate the function setup. Select **Job** as the function type. ![job-function](https://catalyst-docs-development.zohostratus.in/images/tutorials/cron/job-function.webp) 6. Select the latest runtime of **Node.js** as the function stack. ![select-node](https://catalyst-docs-development.zohostratus.in/images/tutorials/cron/select-node.webp) 7. Enter **'NewsApp'** as the package name, **'index.js'** as the entry point, and your email address as the author and press Enter. You can press **Enter** to fill in the default values. The CLI will prompt the initialization of the Node dependencies. Press **Y** to confirm the installation, and press **Enter** to confirm your choice. The Node modules will be installed. ![setup-function](https://catalyst-docs-development.zohostratus.in/images/tutorials/cron/setup-function.webp) 8. The CLI will now initialize the client set up. Choose **"Basic web app"** as the client type. ![basic-web-app](https://catalyst-docs-development.zohostratus.in/images/tutorials/cron/basic-web-app.webp) 9. Enter **'NewsAppClient'** as the name for the client package and press **Enter**. You can enter any name you want. ![client-setup](https://catalyst-docs-development.zohostratus.in/images/tutorials/cron/client-setup.webp) The client directory will be created in the standard structure. Catalyst initialization is now complete. Let's now add an additional Advanced I/O function to the project directory. As mentioned earlier, we will be coding it in **Node.js** stack. 1. To add an additional function, execute the following command from the project directory: ```sh catalyst functions:add ``` 2. Select **AdvancedIO** as the function type and press **Enter**. ![advancedio](https://catalyst-docs-development.zohostratus.in/images/tutorials/cron/advancedio.webp) 3. Select the latest runtime of Node.js as the function stack, and press **Enter**. ![advancedio-node](https://catalyst-docs-development.zohostratus.in/images/tutorials/cron/advancedio-node.webp) 4. Enter "**news_app_function**" as the package name, "**index.js**" as the entry point, and your email address as the author and press Enter. You can press **Enter** to fill the default values. The CLI will prompt the initialization of the Node dependencies. Press **Y** to confirm the installation, and press **Enter** to confirm your choice. The Node modules will be installed. ![advancedio-setup](https://catalyst-docs-development.zohostratus.in/images/tutorials/cron/advancedio-setup.webp) > **Note**: Ensure that you enter the package name, or class name and folder name, exactly as instructed, because the application's code contains the same names. Your project directory is now set up with the [client directory](https://docs.catalyst.zoho.com/en/cli/v1/project-directory-structure/client-directory) and the [functions directory](https://docs.catalyst.zoho.com/en/cli/v1/project-directory-structure/functions-directory) along with configuration files and dependencies. The functions directory contains both the Job and Advanced I/O functions in individual folders. The project directory also contains the [`catalyst.json`](https://docs.catalyst.zoho.com/en/cli/v1/project-directory-structure/catalyst-json) configuration file and a hidden `.catalystrc` file. The structure of the NewsApp project's directory will look like this: ![project-dir](https://catalyst-docs-development.zohostratus.in/images/tutorials/cron/project-dir.webp) -------------------------------------------------------------------------------- title: "Configure the Job function" description: "Build a news web app that fetches news from a third-party service periodically using Catalyst Cron, and a Job Function and Advanced I/O function in Node.js." last_updated: "2026-11-04T10:10:44.000Z" source: "https://docs.catalyst.zoho.com/en/tutorials/newsapp/nodejs/configure-job-function/" service: "All Services" related: - Job Scheduling (/en/job-scheduling/getting-started/introduction/) - Job Functions (/en/serverless/help/functions/job-functions/) -------------------------------------------------------------------------------- # Configure the Job Function Next, we'll begin coding the news application by configuring the job function component. The function's directory, in this case `functions/NewsApp`, contains: * The `index.js` main function file * The `catalyst-config.json` configuration file * Node modules * [`package.json`](https://docs.npmjs.com/files/package.json) and [`package-lock.json`](https://docs.npmjs.com/configuring-npm/package-lock-json.html) dependency files We will be adding code in the `index.js` file. You will not be modifying the code of the configuration and dependency files. As mentioned in the [introduction](https://docs.catalyst.zoho.com/en/tutorials/newsapp/nodejs/introduction/), the job function performs two tasks: making the API calls to the [NewsAPI](https://newsapi.org/) to fetch news, populating the news in Catalyst Data Store. The API calls are made using an API key provided by NewsAPI. ### Register with NewsAPI Before you code the job function, you must register for a free developer subscription with NewsAPI and obtain the API key in the following way: 1. Visit [https://newsapi.org/register](https://newsapi.org/register). 2. Provide the required details and click **Submit**. ![register-api-key](https://catalyst-docs-development.zohostratus.in/images/tutorials/cron/register-api-key.webp) After your registration is complete, NewsAPI will provide you with an API key. You must use this in your cron function, as instructed after the code section. ![api-key](https://catalyst-docs-development.zohostratus.in/images/tutorials/cron/api-key.webp) ### Install Packages for Node.js The Node.js Cron function requires two packages to be installed: [`express`](https://www.npmjs.com/package/express) and [`axios`](https://www.npmjs.com/package/axios). `express` We will use the Express framework to manage the routing operations that enable us to fetch and delete files. To install `express`, navigate to the function's directory (`functions/NewsApp`) in your terminal and execute the following command: ```sh npm install express ``` This will install the Express module and save the dependencies. ![express](https://catalyst-docs-development.zohostratus.in/images/tutorials/cron/express.webp) `axios` `axios` is a promise-based HTTP client that we will use to fetch data by executing the NewsAPI. To install `axios`, navigate to the Node function's directory (`functions/NewsApp`) and execute the following command: ```sh npm install axios ``` This will install the module. ![axios](https://catalyst-docs-development.zohostratus.in/images/tutorials/cron/axios.webp) You can copy the code below and paste it in index.js located in the `functions/NewsApp` directory of your project and save the file. You can use any IDE to work with the application's files. > **Note**: Please go through the code given in this section to make sure you fully understand it. **index.js** ```javascript /** * * @param {import("./types/job").JobRequest} jobRequest * @param {import("./types/job").Context} context */ const catalyst = require("zcatalyst-sdk-node"); const axios = require('axios'); const HOST = "https://newsapi.org"; const TABLENAME = [ "HEADLINES", "BUSINESS", "ENTERTAINMENT", "HEALTH", "SCIENCE", "SPORTS", "TECHNOLOGY", ]; const COUNTRY = "US"; const APIKEY = "cc30ddcae1684e848f08ed474f6aaf0e"; const DATASTORE_LOAD = 5; const pushNewstoDatastore = async ({ table, rowIds, articles }) => { return Promise.all( articles.map(async (article, idx) => { const payload = { title: article.title, url: article.url, }; if (rowIds.length === 0) { //insert the new row return table.insertRow(payload); } return table.updateRow({ ...payload, ROWID: rowIds[idx] }); }) ); }; module.exports = async (jobRequest, context) => { try{ console.log('Execution started'); const catalystApp = catalyst.initialize(context); const zcqlAPI = catalystApp.zcql(); const datastoreAPI = catalystApp.datastore(); const metaArr = await Promise.all( TABLENAME.map(async (table) => { //construct request path to newsapi let url = `${HOST}/v2/top-headlines?country=${COUNTRY}&apiKey=${APIKEY}`; if (table !== TABLENAME[0]) { url += "&category=" + table; } const response = await axios({ method: "GET", url }); let data = response.data; //query using zcql to check if row exists const queryResult = await zcqlAPI.executeZCQLQuery( `SELECT ROWID FROM ${table}` ); return { table_name: table, table: datastoreAPI.table(table), zcql_response: queryResult, articles: data.articles.splice(0, 15), }; }) ); //sync insert/update to datastore for (const meta of metaArr) { let rowIds = []; while (meta.articles.length > 0) { const chunk = meta.articles.splice(0, DATASTORE_LOAD); if (meta.zcql_response.length > 0) { rowIds = meta.zcql_response .splice(0, DATASTORE_LOAD) .map((row) => row[meta.table_name].ROWID); } await pushNewstoDatastore({ ...meta, articles: chunk, rowIds }); } console.log( `${meta.table} table ${ rowIds.length === 0 ? "inserted" : "updated" } with current news'` ); } context.closeWithSuccess(); //end of application with success }catch(err){ console.log("Error :: "+err); context.closeWithFailure(); //end of application with failure }; }; ``` > **Note**: After you copy and paste this code in your function file, ensure that you replace value of `APIKEY` in the line **19** with the API key you obtained from NewsAPI. The job function is now configured. We will discuss the application's architecture after we configure the client. -------------------------------------------------------------------------------- title: "Configure the Advanced I/O function" description: "Build a news web app that fetches news from a third-party service periodically using Catalyst Cron, and a Job Function and Advanced I/O function in Node.js." last_updated: "2026-11-04T10:10:44.000Z" source: "https://docs.catalyst.zoho.com/en/tutorials/newsapp/nodejs/configure-advancedio/" service: "All Services" related: - Advanced I/O Function (/en/serverless/help/functions/advanced-io) - Data Store (/en/cloud-scale/help/data-store/introduction) - ZCQL (/en/cloud-scale/help/zcql/introduction) -------------------------------------------------------------------------------- # Configure the Advanced I/O Function The Advanced I/O function directory (`functions/news_app_function`) contains the following files: * The `index.js` main function file * The `catalyst-config.json` configuration file * Node modules * [`package.json`](https://docs.npmjs.com/files/package.json) and [`package-lock.json`](https://docs.npmjs.com/configuring-npm/package-lock-json.html) dependency files. You will be adding code in the `index.js` file. The Advanced I/O function fetches the news item from its source table in the Data Store and forwards it to the client component as a JSON response. ### Install Express Node.js Framework Since you are coding in the Node.js platform, you will be using the [`Express Node.js`](https://expressjs.com/) framework. To import the Express package in the code, you must install the Express dependencies in your system. ```sh npm install express ``` This will install the Express module and save the dependencies. ![advanced-express](https://catalyst-docs-development.zohostratus.in/images/tutorials/cron/advanced-express.webp) Copy the Node.js code and paste it in `index.js` in `functions/news_app_function` directory of your project, and save the file. You can use any IDE to work with the application's files. > **Note**: Please go through the code in this section to make sure you fully understand it. **index.js** ```javascript 'use strict'; var express = require('express'); var app = express(); var catalyst = require('zcatalyst-sdk-node'); app.use(express.json()); //GET API that gets the news from the required table app.get('/fetchData', (req, res) => { var tablename = req.query.tablename; console.log("Table Name "+tablename); //Initializing Catalyst SDK var catalystApp = catalyst.initialize(req); //Queries the Catalyst Data Store table and gets the required news getDataFromCatalystDataStore(catalystApp, tablename).then(newsDetails => { res.send({ "content": newsDetails }) }).catch(err => { console.log(err); sendErrorResponse(res); }) }); /** * Executes the Query and fetches the news from the table * @param {*} catalystApp * @param {*} tablename */ function getDataFromCatalystDataStore(catalystApp, tablename) { return new Promise((resolve, reject) => { //Queries the Catalyst Data Store table catalystApp.zcql().executeZCQLQuery("Select title,url from " + tablename).then(queryResponse => { resolve(queryResponse); }).catch(err => { reject(err); }) }); } /** * Sends an error response * @param {*} res */ function sendErrorResponse(res) { res.status(500); res.send({ "error": "Internal server error occurred. Please try again in some time." }); } module.exports = app; ``` The Advanced I/O function is now configured. We will discuss the application's architecture after we configure the client. -------------------------------------------------------------------------------- title: "Configure the client" description: "Build a news web app that fetches news from a third-party service periodically using Catalyst Cron, and a Job Function and Advanced I/O function in Node.js." last_updated: "2026-11-04T10:10:44.000Z" source: "https://docs.catalyst.zoho.com/en/tutorials/newsapp/nodejs/configure-client/" service: "All Services" related: - Client (/en/cli/v1/project-directory-structure/introduction) - Advanced I/O Function (/en/serverless/help/functions/advanced-io) -------------------------------------------------------------------------------- # Configure the Client Let's now configure the client component. The [directory](https://docs.catalyst.zoho.com/en/cli/v1/project-directory-structure/introduction) contains: * The `index.html` file that contains the HTML code for the frontend application * The `main.css` file that contains the CSS code * The `main.js` file that contains the JavaScript code * The `client-package.json` configuration file We will be coding `index.html`, `main.js`, and `main.css`. > **Note**: Please go through the code in this section to make sure you fully understand it. Copy the code below and paste it in the respective files located in the `client/` directory of your project using an IDE and save the files. **index.html** ```xml <!DOCTYPE html> <html> <title>NewsApp</title> <script src="main.js"></script> <script src="https://ajax.googleapis.com/ajax/libs/jquery/3.5.1/jquery.min.js"></script> <link rel="stylesheet" type="text/css" media="screen" href="main.css" /> <head> <meta name="viewport" content="width=device-width, initial-scale=1"> </head> <body onload="fetchNews('HEADLINES')"> <center> <h1>Welcome to The Daily Broadcast</h1> <h3>Today's News</h3> <h2>HEADLINES</h2><br> </center> <div class="sidenav"> <img src="https://i.pinimg.com/236x/e6/71/5f/e6715f8bd963c783f75f11fdc37fa4aa.webp" width="220" height="200" onclick="fetchNews('HEADLINES')"><br> <a onclick="return fetchNews('BUSINESS');">Business</a><br> <a onclick="return fetchNews('ENTERTAINMENT');">Entertainment</a><br> <a onclick="return fetchNews('HEALTH');">Health</a><br> <a onclick="return fetchNews('SCIENCE');">Science</a><br> <a onclick="return fetchNews('SPORTS');">Sports</a><br> <a onclick="return fetchNews('TECHNOLOGY');">Technology</a><br> </div> <div class="loading" id="loader" style="display: none;"></div> <div class="main"> <ul id="newsList"></ul> </div> </body> </html> ``` **main.css** ```css .sidenav { height: 100%; width: 220px; position: fixed; z-index: 1; top: 0; left: 0; background-color: #111; overflow-x: hidden; } a{ cursor: pointer; } .sidenav a { padding: 6px 8px 6px 16px; text-decoration: none; font-size: 25px; font-family: "Helvetica", sans-serif; color: #818181; display: block; } .sidenav a:hover { color: #f1f1f1; } .main { margin-left: 200px; font-size: 20px; padding: 0px 10px; font-family: "Poynter", sans-serif; } @media screen and (max-height: 450px) { .sidenav { padding-top: 15px; } .sidenav a { font-size: 18px; } } .loading { height: 0; width: 0; padding: 15px; border: 6px solid rgb(155, 155, 155); border-right-color: rgb(88, 88, 88); border-radius: 22px; -webkit-animation: rotate 1s infinite linear; /* left, top and position just for the demo! */ position: absolute; left: 50%; top: 50%; } @-webkit-keyframes rotate { /* 100% keyframe for clockwise. use 0% instead for anticlockwise */ 100% { -webkit-transform: rotate(360deg); } } ``` **main.js** ```javascript function fetchNews(name) { //Since we display the news items as nodes, removes the existing nodes for every category change const nodes = document.getElementById("newsList"); nodes.innerHTML = ''; document.getElementById("loader").style.display = "block"; var tablename = name; console.log(tablename); //Makes an API call to the Advanced I/O function to fetch the news item from a particular table $.ajax({ url: "/server/news_app_function/fetchData?tablename=" + tablename, //If you initialized the Advanced I/O function with a different name, ensure you replace news_app_function with that name. type: "get", success: function (response) { var data = response; var i; document.getElementById("loader").style.display = "none"; //Parses the response from the Advanced I/O function, and renders it in the HTML page by creating a list of nodes for (i = 0; i < data.content.length; i++) { var list = document.getElementById('newsList'); var anchor = document.createElement('a'); var li = document.createElement('li'); var linebreak = document.createElement("br"); anchor.href = data.content[i][tablename].url; anchor.innerText = data.content[i][tablename].title; anchor.setAttribute('target', '_blank'); li.appendChild(anchor); list.appendChild(li); list.appendChild(linebreak); } }, error: function (error) { alert(error.data); } }); } ``` > **Note**: If you have chosen a different name for your Advanced I/O function, then replace **news_app_function** with that name in line **10**. The client directory is now configured. ### Working of Functions and Client Let us quickly go through the working of the function and client components of the application: * When a recursive cron is configured to execute in a specified time interval say once every hour and associated with the job function `newsapp`, it automatically initiates the function's execution once every hour. * An API call to http://newsapi.org/v2/top-headlines is made to fetch the news headlines. This request is authenticated using the API key obtained from NewsAPI. The choice of country, the API key, and the news category associated with the respective table in the Data Store are passed as query parameters. * The `pushNewstoDatastore` method inserts the data obtained from the API call for the `title` and `url` parameters into a list. A [ ZCQL query](https://docs.catalyst.zoho.com/en/cloud-scale/help/zcql/introduction) then obtains the row count of each table. If data is already populated in a table from a previous API call made to NewsAPI, the data is replaced with the updated news items. If no rows exist, new data is pushed to the table. * The script defined in the client component `main.js` makes an API call to the Advanced I/O function by executing a `GET` request to the route `/fetchData` defined in the function. The table names are passed in the request URL. * The Advanced I/O function queries the relevant tables in the Data Store and obtains the `title` and `url` of the news items. This is constructed as a JSON response and passed back to `main.js`. * `main.js` parses the JSON response obtained from the function and renders it in the HTML page by creating a list of nodes. -------------------------------------------------------------------------------- title: "Test the application" description: "Build a news web app that fetches news from a third-party service periodically using Catalyst Cron, and a Job Function and Advanced I/O function in Node.js." last_updated: "2026-11-04T10:10:44.000Z" source: "https://docs.catalyst.zoho.com/en/tutorials/newsapp/nodejs/test-application/" service: "All Services" related: - Serve Resources (/en/cli/v1/serve-resources/introduction/) -------------------------------------------------------------------------------- # Test the Application Before you deploy the application to the remote console, you can test the application on a local server and check if everything works fine using the Catalyst CLI. We will first test the cron function using the [functions shell](https://docs.catalyst.zoho.com/en/cli/v1/working-with-functions/functions-shell/) in the CLI, and then [serve the Advanced I/O function and the client locally](https://docs.catalyst.zoho.com/en/cli/v1/serve-resources/introduction/) to test the frontend of the application. Let's first execute the below command to generate a sample payload to pass in the functions shell which we will be accessing later: ```sh catalyst event:generate:job 10108000007982015 // Replace with the required Job Pool ID ``` The generated payload will look like this : ![payload](https://catalyst-docs-development.zohostratus.in/images/tutorials/cron/payload.webp) Now open the functions shell in your CLI by executing the following command from your project directory (CATALYST_PROJECT_HOME): ```sh catalyst functions:shell ``` This will open the functions shell for the cron function in the CLI where you can test its execution. To invoke the function, enter `newsapp()` in the shell, pass the generated payload within the braces and press **Enter**. ![function-invoke](https://catalyst-docs-development.zohostratus.in/images/tutorials/cron/function-invoke.webp) When testing the Job Function using the shell command, the response indicates the execution status of the function, either `success` or `failure`. ![invoke-success](https://catalyst-docs-development.zohostratus.in/images/tutorials/cron/invoke-success.webp) The function's execution status is returned as success. This will make the API call to NewsAPI and fetch the news items from each category, and populate them in the Data Store. You can check the Data Store component if the data has been populated as expected. ![test-datastore](https://catalyst-docs-development.zohostratus.in/images/tutorials/cron/test-datastore.webp) Now, let's host the client component locally and check the frontend of the application. To serve the Catalyst project locally, execute the following command from your project directory (CATALYST_PROJECT_HOME): ```sh catalyst serve ``` The news application will now be served at default port 3000. The local endpoint URLs of the components (the client and the Advanced I/O function) are displayed. > **Note**: Every time you access the homepage or any of the sub-pages of your client or the function, the CLI will display a live log of the URL accessed, along with the HTTP request method. ![catalyst-serve](https://catalyst-docs-development.zohostratus.in/images/tutorials/cron/catalyst-serve.webp) You can now open the application in a browser using the local URL of the client displayed in the CLI. ![serve-output](https://catalyst-docs-development.zohostratus.in/images/tutorials/cron/serve-output.webp) The news application displays the general news headlines on the index page. You can click a topic on the left to check the latest headlines in that category. You can open the original news article by clicking on a headline. If this setup is working correctly, we can deploy the application to the console. -------------------------------------------------------------------------------- title: "Deploy the project" description: "Build a news web app that fetches news from a third-party service periodically using Catalyst Cron, and a Job Function and Advanced I/O function in Node.js." last_updated: "2026-11-04T10:10:44.000Z" source: "https://docs.catalyst.zoho.com/en/tutorials/newsapp/nodejs/deploy-application/" service: "All Services" related: - Deploy Resources (/en/cli/v1/deploy-resources/) -------------------------------------------------------------------------------- # Deploy the Project To [deploy your Catalyst project from the CLI](https://docs.catalyst.zoho.com/en/cli/v1/deploy-resources/introduction/), run the following command in your terminal from your project directory (CATALYST_PROJECT_HOME): ```sh catalyst deploy ``` The functions are deployed first, followed by the client component. The production URLs of the components are displayed. ![catalyst-deploy](https://catalyst-docs-development.zohostratus.in/images/tutorials/cron/catalyst-deploy.webp) You can now open the client component's URL in a browser to access the deployed application. The news application can now be accessed from its [web app URL](https://docs.catalyst.zoho.com/en/cloud-scale/help/web-client-hosting/introduction). ![deploy-output](https://catalyst-docs-development.zohostratus.in/images/tutorials/cron/deploy-output.webp) -------------------------------------------------------------------------------- title: "Schedule a cron" description: "Build a news web app that fetches news from a third-party service periodically using Catalyst Cron, and a Job Function and Advanced I/O function in Node.js." last_updated: "2026-11-04T10:10:44.000Z" source: "https://docs.catalyst.zoho.com/en/tutorials/newsapp/nodejs/schedule-cron/" service: "All Services" related: - Job Scheduling Cron (/en/job-scheduling/help/cron/introduction/) - Job Functions (/en/serverless/help/functions/job-functions/) -------------------------------------------------------------------------------- # Schedule a Cron Next, let’s [create a cron](https://docs.catalyst.zoho.com/en/job-scheduling/help/cron/introduction/), associate it with the Job Pool created in [Step 3](https://docs.catalyst.zoho.com/en/tutorials/newsapp/nodejs/create-job-pool/), and schedule it to run every hour. This cron will trigger the [Job Function](https://docs.catalyst.zoho.com/en/tutorials/newsapp/nodejs/configure-job-function/) periodically to fetch the latest news from the [NewsAPI ](https://newsapi.org/) and update the application. By running once every hour, the cron ensures that the application remains up to date with fresh news content. Each time it runs, it automatically invokes the Job Function, which makes an API call to the NewsAPI to retrieve the latest headlines. To create a cron from the Catalyst console, please make sure to follow the below-listed steps: 1. Navigate to **Cron** under the **Job Executor** section and click **Create Cron**. ![create-cron](https://catalyst-docs-development.zohostratus.in/images/tutorials/cron/create-cron.webp) 2. Enter a name and a description for the cron. You can enter any name. Select the **Format Type** as **Standard Input**. Select the **Schedule Type** as **Recursive**. Select the **Repeat Type** as **Every**.You can set the **Schedule Time** as required and also choose to enable the **Cron termination details**. After entering all the details, click **Next**. ![cron-details](https://catalyst-docs-development.zohostratus.in/images/tutorials/cron/cron-details.webp) 3. Provide a name for the Job, select the Job Pool as News and the target function as **newsapp**. Click **Create**. ![job-create](https://catalyst-docs-development.zohostratus.in/images/tutorials/cron/job-create.webp) The cron has been created successfully. You can now submit the job to start its execution by clicking on the **Submit Job** button. ![job-submit](https://catalyst-docs-development.zohostratus.in/images/tutorials/cron/job-submit.webp) You can click on **Execution History** button to view the cron execution details. ![exec-history](https://catalyst-docs-development.zohostratus.in/images/tutorials/cron/exec-history.webp) You can navigate to the **Jobs** section and view the execution status of the jobs scheduled in the cron for every hour. ![job-history](https://catalyst-docs-development.zohostratus.in/images/tutorials/cron/job-history.webp) The news application is now functional and the news will be fetched from the NewsAPI and updated in the application for every one hour. ### Python -------------------------------------------------------------------------------- title: "Introduction" description: "Build a news web app that fetches news from a third-party service periodically using Catalyst Cron, and a Job Function and Advanced I/O function in Python." last_updated: "2026-11-04T10:10:44.000Z" source: "https://docs.catalyst.zoho.com/en/tutorials/newsapp/python/introduction/" service: "All Services" related: - Project Directory Structure (/en/cli/v1/project-directory-structure/introduction/) - News API (https://newsapi.org/) -------------------------------------------------------------------------------- # NewsApp ### Introduction In this tutorial, we will create a news application called **The Daily Broadcast**, which retrieves the latest news from multiple trusted sources, refreshes the content at defined time intervals, and displays the updated news within the application. For this purpose, we will use the [NewsAPI](https://newsapi.org/), a third-party service that fetches headlines across various categories such as Business, Entertainment, Health, Science, Sports, and Technology from sources around the web. We will integrate this API into our application and display the news along with links to the original articles. The final look of the client application will resemble this screen: ![final-look](https://catalyst-docs-development.zohostratus.in/images/tutorials/cron/final-look.webp) You can access the working application from here : [Try the App!](https://news-fetcher.catalystserverlessapp.com/app/) We will build the news application using the following Catalyst Services and its Components, each playing a key role in the overall architecture: 1. [**Catalyst Serverless**](https://docs.catalyst.zoho.com/en/serverless/getting-started/introduction/): - **[Advanced I/O Function](https://docs.catalyst.zoho.com/en/serverless/help/functions/advanced-io/)** : This function is coded in **Python** and serves as the API layer of the application. It retrieves news data from the Catalyst CloudScale Data Store and delivers it to the frontend as a JSON response. - **[Job Function](https://docs.catalyst.zoho.com/en/serverless/help/functions/job-functions/)** : This function is coded in Python and contains the logic to call the [NewsAPI](https://newsapi.org/), fetch the latest headlines across different categories, and store them in the Data Store. 2. [**Catalyst CloudScale**](https://docs.catalyst.zoho.com/en/cloud-scale/getting-started/introduction/): - **[Data Store](https://docs.catalyst.zoho.com/en/cloud-scale/help/data-store/introduction/)** : This component acts as the central storage for all news data fetched from the [NewsAPI](https://newsapi.org/). It ensures fast and scalable access to news content. - **[ZCQL](https://docs.catalyst.zoho.com/en/cloud-scale/help/zcql/introduction/)** : This component is used to query the Data Store efficiently and retrieve the relevant news data. - **[Web Client Hosting](https://docs.catalyst.zoho.com/en/cloud-scale/help/web-client-hosting/introduction/)** : This component hosts the frontend of the application, allowing users to view the news content seamlessly through a web interface. 3. **[Catalyst Job Scheduling](https://docs.catalyst.zoho.com/en/job-scheduling/getting-started/introduction/)**: This component enables periodic execution of the Job Function, ensuring the application is updated with fresh news at defined intervals. Together, these components enable a fully functional, automated news application that stays up-to-date with the latest information from reliable sources. We will use the Catalyst web console and the Catalyst Command Line Interface (CLI) to build this application. You will be given the code for the files to be included in the function and client components in this tutorial. You will just have to copy the code given in this guide and paste it into the appropriate files as directed. ### Application Architecture The News application architecture is depicted in the workflow diagram below: ![app-arch](https://catalyst-docs-development.zohostratus.in/images/tutorials/cron/app-arch.webp) -------------------------------------------------------------------------------- title: "Prerequisites" description: "Build a news web app that fetches news from a third-party service periodically using Catalyst Cron, and a Job Function and Advanced I/O function in Python." last_updated: "2026-11-04T10:10:44.000Z" source: "https://docs.catalyst.zoho.com/en/tutorials/newsapp/python/prerequisites/" service: "All Services" related: - CLI Command Reference (/en/cli/v1/cli-command-reference/) -------------------------------------------------------------------------------- # Prerequisites Before you begin building the application, you must have the following prerequisites installed on your system: 1. **Catalyst CLI** \ \ Catalyst CLI contains a host of tools that enable you to initialize, develop, test, and deploy the components of your application from your local machine. We will be working with Catalyst CLI in this tutorial. \ \ You must perform the following actions: 1. **Install Catalyst CLI:** Catalyst CLI is installed through NPM. You must therefore have NPM and Node.js installed on your system before you install the CLI. Refer to the [**Install Catalyst CLI help page**](https://docs.catalyst.zoho.com/en/getting-started/installing-catalyst-cli/) for details on the pre-requisites and the steps to install it. 2. **Log in to Catalyst CLI:** After you install Catalyst CLI, you must authenticate the CLI with your Catalyst account before using it. Refer to the [**CLI Login help page**](https://docs.catalyst.zoho.com/en/cli/v1/login/login-from-cli/) for the steps to login from Catalyst CLI and the various options available for it. 2. **Any IDE tool for Python and client code development** \ \ You can use any IDE to work with the Advanced I/O function and the client code. Some popular choices include Visual Studio Code, IntelliJ IDEA, Eclipse, and Sublime Text. Download and install an IDE of your choice on your system. > If you are a Visual Studio Code IDE user, you can install the **Catalyst Tools** extension, and use your IDE itself in place of the CLI. You can find more details about the Catalyst VS Code extension from this [help section](https://docs.catalyst.zoho.com/en/catalyst-extensions/vs-code-extension/introduction/). -------------------------------------------------------------------------------- title: "Create a project" description: "Build a news web app that fetches news from a third-party service periodically using Catalyst Cron, and a Job Function and Advanced I/O function in Python." last_updated: "2026-11-04T10:10:44.000Z" source: "https://docs.catalyst.zoho.com/en/tutorials/newsapp/python/create-project/" service: "All Services" related: - Project Directory (/en/cli/v1/project-directory-structure/introduction) - Setup Catalyst Projects (/en/getting-started/catalyst-projects) -------------------------------------------------------------------------------- # Create a Project Let's [create a Catalyst Project](https://docs.catalyst.zoho.com/en/getting-started/catalyst-projects) from the Catalyst console. 1. Log in to the [Catalyst Console](https://console.catalyst.zoho.com/baas/index) and click **Create New Project**. ![cron_create_project](https://catalyst-docs-development.zohostratus.in/images/tutorials/cron/cron_create_project.webp) 2. Enter the project's name as "**NewsApp**" in the pop-up window. ![cron_project_name](https://catalyst-docs-development.zohostratus.in/images/tutorials/cron/cron_project_name.webp) 3. Click **Create**. Your project will be created. You can open the project by clicking **Access Project**. ![cron_access_project](https://catalyst-docs-development.zohostratus.in/images/tutorials/cron/cron_access_project.webp) -------------------------------------------------------------------------------- title: "Create tables" description: "Build a news web app that fetches news from a third-party service periodically using Catalyst Cron, and a Job Function and Advanced I/O function in Python." last_updated: "2026-11-04T10:10:44.000Z" source: "https://docs.catalyst.zoho.com/en/tutorials/newsapp/python/create-tables/" service: "All Services" related: - Data Store (/en/cloud-scale/help/data-store/introduction) -------------------------------------------------------------------------------- # Create Tables in the Data Store Next, let's create tables in the [Catalyst CloudScale Data Store](https://docs.catalyst.zoho.com/en/cloud-scale/help/data-store/introduction/) of the NewsApp project. We will be creating seven tables to store news of various news categories. Let's begin by creating the first table. To create a table, please follow the below-listed steps: 1. Navigate to the [CloudScale service](https://docs.catalyst.zoho.com/en/cloud-scale/getting-started/introduction/) from the Catalyst console, and click **Start Exploring**. ![cloudscale](https://catalyst-docs-development.zohostratus.in/images/tutorials/cron/cloudscale.webp) 2. Navigate to **Data Store** under the **Storage** section and click **Create a new Table**. ![create-new-table](https://catalyst-docs-development.zohostratus.in/images/tutorials/cron/create-new-table.webp) 3. Enter the table's name as '**HEADLINES**' and click **Create**. ![headlines](https://catalyst-docs-development.zohostratus.in/images/tutorials/cron/headlines.webp) This table will store the general headlines of the news items obtained through [NewsAPI](https://newsapi.org/). > **Note**: Ensure that you enter the name exactly as instructed, because the application's code contains the same name. The table is now created and displayed on the *Data Store* page. ![created-table](https://catalyst-docs-development.zohostratus.in/images/tutorials/cron/created-table.webp) Click on **New Table** to create the other tables in the same way. ![click-new-table](https://catalyst-docs-development.zohostratus.in/images/tutorials/cron/click-new-table.webp) We will need to create six other tables to store news data of varied categories and name them as follows: 'BUSINESS', 'ENTERTAINMENT', 'HEALTH', 'SCIENCE', 'SPORTS', 'TECHNOLOGY'. > **Note**: Ensure that you enter all the table names exactly as instructed, because the application's code contains the same names. The tables will be displayed on the left in the **Data Store** page. ![all-tables](https://catalyst-docs-development.zohostratus.in/images/tutorials/cron/all-tables.webp) ### Create Columns Now, let's create columns in all the tables. We will create two columns in each table: * **title**: To store the title of the news article * **url**: To store the original URL of the news article's source To create a column in a table, please make sure to follow the below steps: 1. Click **New Column** in the *Schema View* section for the table. ![new-column](https://catalyst-docs-development.zohostratus.in/images/tutorials/cron/new-column.webp) 2. Enter the column's name as '**title**'. Select the data type as **Var Char**, enter the max length as '**255**' and click **Create**. ![title](https://catalyst-docs-development.zohostratus.in/images/tutorials/cron/title.webp) You can learn about the various data types supported by Catalyst and the other properties of a column from the [Data Store help page](https://docs.catalyst.zoho.com/en/cloud-scale/help/data-store/introduction). > **Note**: Ensure that you enter the name exactly as instructed, because the application's code contains the same name. Now create the **'url'** column in the same way. Provide the same values and click **Create**. ![url](https://catalyst-docs-development.zohostratus.in/images/tutorials/cron/url.webp) The columns are now created for the table and will be listed in the *Schema View* section. ![columns-added](https://catalyst-docs-development.zohostratus.in/images/tutorials/cron/columns-added.webp) Now create the same columns with the same values in each of the other six tables. We have now configured the Data Store. We will work on coding the application from our local system. We will configure the Job Scheduling service later. -------------------------------------------------------------------------------- title: "Create a Job Pool" description: "Build a news web app that fetches news from a third-party service periodically using Catalyst Cron, and a Job Function and Advanced I/O function in Python." last_updated: "2026-11-04T10:10:44.000Z" source: "https://docs.catalyst.zoho.com/en/tutorials/newsapp/python/create-job-pool/" service: "All Services" related: - Job Scheduling (/en/cloud-scale/help/data-store/introduction) -------------------------------------------------------------------------------- # Create a Job Pool Let's now [create a job pool](https://docs.catalyst.zoho.com/en/job-scheduling/help/implementation/create-jobpool/) using the [Catalyst Job Scheduling service](https://docs.catalyst.zoho.com/en/job-scheduling/getting-started/introduction/). This component is responsible for executing jobs and triggering the [job function](https://docs.catalyst.zoho.com/en/serverless/help/functions/job-functions/) that we will configure in [Step 5](https://docs.catalyst.zoho.com/en/tutorials/newsapp/nodejs/configure-job-function). We will configure a [predefined cron](https://docs.catalyst.zoho.com/en/job-scheduling/help/implementation/submit-job-predefined-cron/) schedule to automatically submit jobs to the job pool at regular intervals (say once in every hour). You can learn more about the job execution in a job pool from [this help page](https://docs.catalyst.zoho.com/en/job-scheduling/help/jobpool/introduction/#architecture-of-job-execution-in-a-job-pool). To create a job pool, please ensure to follow the below-listed steps: 1. Navigate to the **Job Scheduling** service in the Catalyst console. ![job-scheduling](https://catalyst-docs-development.zohostratus.in/images/tutorials/cron/job-scheduling.webp) 2. Navigate to **Job Pool** under the **Job Source** section and click **Create Job Pool**. ![job-pool](https://catalyst-docs-development.zohostratus.in/images/tutorials/cron/job-pool.webp) In the pop-up window, provide the Job Pool name as **"News"** and select the Job Pool Type as **Function** (this is typically the job function we will be configuring in [Step 5](https://docs.catalyst.zoho.com/en/tutorials/newsapp/nodejs/configure-job-function)). You can select the required compute memory for the function. In our case, as an upper limit you can select up to 2GB and click **Create**. ![create-job-pool](https://catalyst-docs-development.zohostratus.in/images/tutorials/cron/news-app-job-pool-creation-pop-up.webp) The job pool is now created. ![job-pool-id](https://catalyst-docs-development.zohostratus.in/images/tutorials/cron/job-pool-creation-success.webp) -------------------------------------------------------------------------------- title: "Initialize the project" description: "Build a news web app that fetches news from a third-party service periodically using Catalyst Cron, and a Job Function and Advanced I/O function in Python." last_updated: "2026-11-04T10:10:44.000Z" source: "https://docs.catalyst.zoho.com/en/tutorials/newsapp/python/initialize-project/" service: "All Services" related: - Project Directory Structure (/en/cli/v1/project-directory-structure/introduction/) - Initialize Resources (/en/cli/v1/initialize-resources/introduction/) - Advanced I/O Functions (/en/serverless/help/functions/advanced-io/) -------------------------------------------------------------------------------- # Initialize the Project from the CLI You can now begin working on your Catalyst project from the CLI. The first step is to initialize the project in an empty directory. This will be the home directory of your project and all of the project files will be saved in it. You can learn more about this from the [Project Directory Structure help page](https://docs.catalyst.zoho.com/en/cli/v1/project-directory-structure/introduction/). You can learn about initializing a project in detail from the [CLI help documentation](https://docs.catalyst.zoho.com/en/cli/v1/initialize-resources/introduction/). For the news application, we will initialize a [job function](https://docs.catalyst.zoho.com/en/serverless/help/functions/job-functions/) and the [client](https://docs.catalyst.zoho.com/en/cli/v1/working-with-the-client/introduction/), and then [add an Advanced I/O function](https://docs.catalyst.zoho.com/en/serverless/help/functions/advanced-io) to the project directory. 1. Create a folder for the project on your local machine and navigate to it from the terminal. Initialize a project by executing the following command from that directory: ```sh catalyst init ``` 2. The CLI will now ask you to select the organization in which your Catalyst project that we created earlier in the console resides. Select the organization and press **Enter**. ![catalyst-portal](https://catalyst-docs-development.zohostratus.in/images/tutorials/cron/catalyst-portal.webp) 3. Select the project in the organization from the list and press **Enter**. ![select-project](https://catalyst-docs-development.zohostratus.in/images/tutorials/cron/select-project.webp) 4. Select **Functions** and **Client** using the space bar. Press **Enter** to initialize the components. ![select-components](https://catalyst-docs-development.zohostratus.in/images/tutorials/cron/select-components.webp) 5. The CLI will first initiate the function setup. Select **Job** as the function type. ![job-function](https://catalyst-docs-development.zohostratus.in/images/tutorials/cron/job-function.webp) 6. Select the latest runtime of **Python** as the function stack. ![select-python](https://catalyst-docs-development.zohostratus.in/images/tutorials/cron/select-python.webp) 7. Enter **“NewsApp”** as the package name, **"main.py"** as the entry point and press **Enter**. You can press **Enter** to fill in the default values. ![setup-function-python](https://catalyst-docs-development.zohostratus.in/images/tutorials/cron/setup-function-python.webp) 8. The CLI will now initialize the client set up. Choose **"Basic web app"** as the client type. ![basic-web-app](https://catalyst-docs-development.zohostratus.in/images/tutorials/cron/basic-web-app.webp) 9. Enter **'NewsAppClient'** as the name for the client package and press **Enter**. You can enter any name you want. ![client-setup](https://catalyst-docs-development.zohostratus.in/images/tutorials/cron/client-setup.webp) The client directory will be created in the standard structure. Catalyst initialization is now complete. Let's now add an additional Advanced I/O function to the project directory. As mentioned earlier, we will be coding it in **Node.js** stack. 1. To add an additional function, execute the following command from the project directory: ```sh catalyst functions:add ``` 2. Select **AdvancedIO** as the function type and press **Enter**. ![advancedio](https://catalyst-docs-development.zohostratus.in/images/tutorials/cron/advancedio.webp) 3. Select the latest runtime of **Python** as the function stack, and press **Enter**. ![advancedio-python](https://catalyst-docs-development.zohostratus.in/images/tutorials/cron/advancedio-python.webp) 4. Enter **'news_app_function'** as the package name, **'main.py'** as the entry point and press **Enter**. You can press **Enter** to fill in the default values. ![advancedio-setup-python](https://catalyst-docs-development.zohostratus.in/images/tutorials/cron/advancedio-setup-python.webp) > **Note**: Ensure that you enter the package name exactly as instructed, because the application's code contains the same names. Your project directory is now set up with the [client directory](https://docs.catalyst.zoho.com/en/cli/v1/project-directory-structure/client-directory) and the [functions directory](https://docs.catalyst.zoho.com/en/cli/v1/project-directory-structure/functions-directory) along with configuration files and dependencies. The functions directory contains both the Job and Advanced I/O functions in individual folders. The project directory also contains the [`catalyst.json`](https://docs.catalyst.zoho.com/en/cli/v1/project-directory-structure/catalyst-json) configuration file and a hidden `.catalystrc` file. The structure of the NewsApp project's directory will look like this: ![project-dir-python](https://catalyst-docs-development.zohostratus.in/images/tutorials/cron/project-dir-python.webp) -------------------------------------------------------------------------------- title: "Configure the Job function" description: "Build a news web app that fetches news from a third-party service periodically using Catalyst Cron, and a Job Function and Advanced I/O function in Python." last_updated: "2026-11-04T10:10:44.000Z" source: "https://docs.catalyst.zoho.com/en/tutorials/newsapp/python/configure-job-function/" service: "All Services" related: - Job Scheduling (/en/job-scheduling/getting-started/introduction/) - Job Functions (/en/serverless/help/functions/job-functions/) -------------------------------------------------------------------------------- # Configure the Job Function Next, we'll begin coding the news application by configuring the job function component. The function's directory, in this case `functions/NewsApp`, contains: * The `main.py` main function file * The `catalyst-config.json` configuration file * [requirements.txt](https://docs.catalyst.zoho.com/en/cli/v1/project-directory-structure/functions-directory/#python-modules-and-function-dependencies) file We will be adding code in the `main.py` file. You will not be modifying the code of the configuration and dependency files. As mentioned in the [introduction](https://docs.catalyst.zoho.com/en/tutorials/newsapp/java/introduction/), the job function performs two tasks: making the API calls to the [NewsAPI](https://newsapi.org/) to fetch news, populating the news in Catalyst Data Store. The API calls are made using an API key provided by NewsAPI. ### Register with NewsAPI Before you code the job function, you must register for a free developer subscription with NewsAPI and obtain the API key in the following way: 1. Visit [https://newsapi.org/register](https://newsapi.org/register). 2. Provide the required details and click **Submit**. ![register-api-key](https://catalyst-docs-development.zohostratus.in/images/tutorials/cron/register-api-key.webp) After your registration is complete, NewsAPI will provide you with an API key. You must use this in your cron function, as instructed after the code section. ![api-key](https://catalyst-docs-development.zohostratus.in/images/tutorials/cron/api-key.webp) ### Add Function Code You can copy the code below and paste it in `main.py` located in the `functions/NewsApp` directory of your project and save the file. You can use any IDE to work with the application's files. > **Note**: Please go through the code given in this section to make sure you fully understand it. **main.py** ```python import logging import zcatalyst_sdk import requests logger = logging.getLogger() def handler(job_request, context): logger.info("Fetching news!") # The names of the tables in the Data Store where the news items need to be stored table_name = ["HEADLINES", "BUSINESS", "ENTERTAINMENT", "HEALTH", "SCIENCE", "SPORTS", "TECHNOLOGY"] country = "US" #Fetches the news items from the United States of America api_key = "cc30ddcaxxxxxxxxxx" # Provide the API key you obtained from NewsAPI inside the quotations fetch_url = "https://newsapi.org/v2/top-headlines" #Fetches the breaking news of different categories with their headlines for category in table_name: # Constructing required to fetch news params = { 'country':country, 'apiKey':api_key, } if category != "HEADLINES": params['category'] = category # Makes an API call to the News API to fetch the data response = requests.get(fetch_url, params=params) # If the response is 200, the data is moved to the Data Store. If not, the error is logged. if response.status_code == 200: data = response.json() try: if 'articles' in data: array_data = data['articles'][:15] logger.info("15 days "+str(array_data)) # This method inserts/updates the news in the Data Store push_to_datastore(array_data,category) except requests.RequestException as e: logger.error("Request failed: "+ str(e)) context.close_with_failure() # end of application with failure # The actions are logged. You can check the logs from Catalyst Logs. logger.info("New updated") else: logger.error("Request failed with status :: ",response.status_code) context.close_with_failure() # end of application with failure context.close_with_success() # end of application with success def push_to_datastore(sliced_data,tableName): app = zcatalyst_sdk.initialize() zcql_service = app.zcql() datastore_service = app.datastore() #Defines the ZCQL query that will be used to find out the number of rows in a table query = "select ROWID from "+tableName zcql_result = zcql_service.execute_query(query) table_instance = datastore_service.table(tableName) #Inserts / Update the data obtained from the API into datastore for i in range(0,14): title = sliced_data[i]['title'] url = sliced_data[i]['url'] if len(zcql_result) == 0: # inserting new row row_data= {'title':title,'url':url} table_instance.insert_row(row_data) logger.info("Row inserted "+ str(row_data)) else: # updating row row_data= {'title':title,'url':url,'ROWID':zcql_result[i][tableName]['ROWID']} table_instance.update_row(row_data) logger.info("Row inserted "+ str(row_data)) ``` > **Note**: After you copy and paste this code in your function file, ensure that you replace value of `APIKEY` in the line **12** with the API key you obtained from NewsAPI. The job function is now configured. We will discuss the application's architecture after we configure the client. -------------------------------------------------------------------------------- title: "Configure the Advanced I/O function" description: "Build a news web app that fetches news from a third-party service periodically using Catalyst Cron, and a Job Function and Advanced I/O function in Python." last_updated: "2026-11-04T10:10:44.000Z" source: "https://docs.catalyst.zoho.com/en/tutorials/newsapp/python/configure-advancedio/" service: "All Services" related: - Advanced I/O Function (/en/serverless/help/functions/advanced-io) - Data Store (/en/cloud-scale/help/data-store/introduction) - ZCQL (/en/cloud-scale/help/zcql/introduction) -------------------------------------------------------------------------------- # Configure the Advanced I/O Function The Advanced I/O function directory (`functions/news_app_function`) contains the following files: * The `main.py` main function file * The `catalyst-config.json` configuration file * [requirements.txt](https://docs.catalyst.zoho.com/en/cli/v1/project-directory-structure/functions-directory/#python-modules-and-function-dependencies) file #### Add Code You will be adding code in the `main.py` file. The Advanced I/O function fetches the news item from its source table in the Data Store and forwards it to the client component as a JSON response. Copy the code and paste it in the `main.py` in the `functions/news_app_function ` directory. **main.py** ```python import logging from flask import Request, make_response, jsonify import zcatalyst_sdk def handler(request: Request): #Initializing Catalyst SDK app = zcatalyst_sdk.initialize() logger = logging.getLogger() # GET API that gets the news from the required table if request.path == "/fetchData": table_name = request.args.get("tablename") logger.info("Fetching news from datastore table - "+table_name) zcql_instance = app.zcql() # Query to fetch news from table query = "Select title,url from "+table_name #Queries the Catalyst Data Store table and gets the required news zcql_result = zcql_instance.execute_query(query) return jsonify({"content": zcql_result}), 200 else: # For undefined path error will be thrown response = make_response('Unknown path') response.status_code = 400 return response ``` The Advanced I/O function is now configured. We will discuss the application's architecture after we configure the client. -------------------------------------------------------------------------------- title: "Configure the client" description: "Build a news web app that fetches news from a third-party service periodically using Catalyst Cron, and a Job Function and Advanced I/O function in Python." last_updated: "2026-11-04T10:10:44.000Z" source: "https://docs.catalyst.zoho.com/en/tutorials/newsapp/python/configure-client/" service: "All Services" related: - Client (/en/cli/v1/project-directory-structure/introduction) - Advanced I/O Function (/en/serverless/help/functions/advanced-io) -------------------------------------------------------------------------------- # Configure the Client Let's now configure the client component. The [directory](https://docs.catalyst.zoho.com/en/cli/v1/project-directory-structure/introduction) contains: * The `index.html` file that contains the HTML code for the frontend application * The `main.css` file that contains the CSS code * The `main.js` file that contains the JavaScript code * The `client-package.json` configuration file We will be coding `index.html`, `main.js`, and `main.css`. > **Note**: Please go through the code in this section to make sure you fully understand it. Copy the code below and paste it in the respective files located in the `client/` directory of your project using an IDE and save the files. **index.html** ```xml <!DOCTYPE html> <html> <title>NewsApp</title> <script src="main.js"></script> <script src="https://ajax.googleapis.com/ajax/libs/jquery/3.5.1/jquery.min.js"></script> <link rel="stylesheet" type="text/css" media="screen" href="main.css" /> <head> <meta name="viewport" content="width=device-width, initial-scale=1"> </head> <body onload="fetchNews('HEADLINES')"> <center> <h1>Welcome to The Daily Broadcast</h1> <h3>Today's News</h3> <h2>HEADLINES</h2><br> </center> <div class="sidenav"> <img src="https://i.pinimg.com/236x/e6/71/5f/e6715f8bd963c783f75f11fdc37fa4aa.webp" width="220" height="200" onclick="fetchNews('HEADLINES')"><br> <a onclick="return fetchNews('BUSINESS');">Business</a><br> <a onclick="return fetchNews('ENTERTAINMENT');">Entertainment</a><br> <a onclick="return fetchNews('HEALTH');">Health</a><br> <a onclick="return fetchNews('SCIENCE');">Science</a><br> <a onclick="return fetchNews('SPORTS');">Sports</a><br> <a onclick="return fetchNews('TECHNOLOGY');">Technology</a><br> </div> <div class="loading" id="loader" style="display: none;"></div> <div class="main"> <ul id="newsList"></ul> </div> </body> </html> ``` **main.css** ```css .sidenav { height: 100%; width: 220px; position: fixed; z-index: 1; top: 0; left: 0; background-color: #111; overflow-x: hidden; } a{ cursor: pointer; } .sidenav a { padding: 6px 8px 6px 16px; text-decoration: none; font-size: 25px; font-family: "Helvetica", sans-serif; color: #818181; display: block; } .sidenav a:hover { color: #f1f1f1; } .main { margin-left: 200px; font-size: 20px; padding: 0px 10px; font-family: "Poynter", sans-serif; } @media screen and (max-height: 450px) { .sidenav { padding-top: 15px; } .sidenav a { font-size: 18px; } } .loading { height: 0; width: 0; padding: 15px; border: 6px solid rgb(155, 155, 155); border-right-color: rgb(88, 88, 88); border-radius: 22px; -webkit-animation: rotate 1s infinite linear; /* left, top and position just for the demo! */ position: absolute; left: 50%; top: 50%; } @-webkit-keyframes rotate { /* 100% keyframe for clockwise. use 0% instead for anticlockwise */ 100% { -webkit-transform: rotate(360deg); } } ``` **main.js** ```javascript function fetchNews(name) { //Since we display the news items as nodes, removes the existing nodes for every category change const nodes = document.getElementById("newsList"); nodes.innerHTML = ''; document.getElementById("loader").style.display = "block"; var tablename = name; console.log(tablename); //Makes an API call to the Advanced I/O function to fetch the news item from a particular table $.ajax({ url: "/server/news_app_function/fetchData?tablename=" + tablename, //If you initialized the Advanced I/O function with a different name, ensure you replace news_app_function with that name. type: "get", success: function (response) { var data = response; var i; document.getElementById("loader").style.display = "none"; //Parses the response from the Advanced I/O function, and renders it in the HTML page by creating a list of nodes for (i = 0; i < data.content.length; i++) { var list = document.getElementById('newsList'); var anchor = document.createElement('a'); var li = document.createElement('li'); var linebreak = document.createElement("br"); anchor.href = data.content[i][tablename].url; anchor.innerText = data.content[i][tablename].title; anchor.setAttribute('target', '_blank'); li.appendChild(anchor); list.appendChild(li); list.appendChild(linebreak); } }, error: function (error) { alert(error.data); } }); } ``` > **Note**: If you have chosen a different name for your Advanced I/O function, then replace **news_app_function** with that name in line **10**. The client directory is now configured. ### Working of Functions and Client Let us quickly go through the working of the function and client components of the application: * When a recursive cron is configured to execute in a specified time interval say once every hour and associated with the job function `NewsApp`, it automatically initiates the function's execution once every hour. * An API call to http://newsapi.org/v2/top-headlines is made to fetch the news headlines. This request is authenticated using the API key obtained from NewsAPI. The choice of country, the API key, and the news category associated with the respective table in the Data Store are passed as query parameters. * The `push_to_datastore` method inserts the data obtained from the API call for the `title` and `url` parameters into a list. A [ ZCQL query](https://docs.catalyst.zoho.com/en/cloud-scale/help/zcql/introduction) then obtains the row count of each table. If data is already populated in a table from a previous API call made to NewsAPI, the data is replaced with the updated news items. If no rows exist, new data is pushed to the table. * The script defined in the client component `main.js` makes an API call to the Advanced I/O function by executing a `GET` request to the route `/fetchData` defined in the function. The table names are passed in the request URL. * The Advanced I/O function queries the relevant tables in the Data Store and obtains the `title` and `url` of the news items. This is constructed as a JSON response and passed back to `main.js`. * `main.js` parses the JSON response obtained from the function and renders it in the HTML page by creating a list of nodes. -------------------------------------------------------------------------------- title: "Test the application" description: "Build a news web app that fetches news from a third-party service periodically using Catalyst Cron, and a Job Function and Advanced I/O function in Python." last_updated: "2026-11-04T10:10:44.000Z" source: "https://docs.catalyst.zoho.com/en/tutorials/newsapp/python/test-application/" service: "All Services" related: - Serve Resources (/en/cli/v1/serve-resources/introduction/) -------------------------------------------------------------------------------- # Test the Application Before you deploy the application to the remote console, you can test the application on a local server and check if everything works fine using the Catalyst CLI. We will test the cron function using the [functions shell](https://docs.catalyst.zoho.com/en/cli/v1/working-with-functions/functions-shell/) in the CLI, and then [serve the Advanced I/O function and the client locally](https://docs.catalyst.zoho.com/en/cli/v1/serve-resources/introduction/) to test the frontend of the application. Let's first execute the below command to generate a sample payload to pass in the functions shell which we will be accessing later: ```sh catalyst event:generate:job 10108000007982015 // Replace with the required Job Pool ID ``` The generated payload will look like this : ![payload](https://catalyst-docs-development.zohostratus.in/images/tutorials/cron/payload.webp) Now open the functions shell in your CLI by executing the following command from your project directory (CATALYST_PROJECT_HOME): ```sh catalyst functions:shell ``` This will open the functions shell for the cron function in the CLI where you can test its execution. To invoke the function, enter `NewsApp()` in the shell, pass the generated payload within the braces and press **Enter**. ![function-invoke-python](https://catalyst-docs-development.zohostratus.in/images/tutorials/cron/function-invoke-python.webp) When testing the Job Function using the shell command, the response indicates the execution status of the function, either `success` or `failure`. ![invoke-success-java](https://catalyst-docs-development.zohostratus.in/images/tutorials/cron/invoke-success-java.webp) The function's execution status is returned as success. This will make the API call to NewsAPI and fetch the news items from each category, and populate them in the Data Store. You can check the Data Store component if the data has been populated as expected. ![test-datastore-python](https://catalyst-docs-development.zohostratus.in/images/tutorials/cron/test-datastore-python.webp) Now, let's host the client component locally and check the frontend of the application. To serve the Catalyst project locally, execute the following command from your project directory (CATALYST_PROJECT_HOME): ```sh catalyst serve ``` The news application will now be served at default port 3000. The local endpoint URLs of the components (the client and the Advanced I/O function) are displayed. > **Note**: Every time you access the homepage or any of the sub-pages of your client or the function, the CLI will display a live log of the URL accessed, along with the HTTP request method. ![catalyst-serve-python](https://catalyst-docs-development.zohostratus.in/images/tutorials/cron/catalyst-serve-python.webp) You can now open the application in a browser using the local URL of the client displayed in the CLI. ![serve-output](https://catalyst-docs-development.zohostratus.in/images/tutorials/cron/serve-output.webp) The news application displays the general news headlines on the index page. You can click a topic on the left to check the latest headlines in that category. You can open the original news article by clicking on a headline. If this setup is working correctly, we can deploy the application to the console. -------------------------------------------------------------------------------- title: "Deploy the project" description: "Build a news web app that fetches news from a third-party service periodically using Catalyst Cron, and a Job Function and Advanced I/O function in Python." last_updated: "2026-11-04T10:10:44.000Z" source: "https://docs.catalyst.zoho.com/en/tutorials/newsapp/python/deploy-application/" service: "All Services" related: - Deploy Resources (/en/cli/v1/deploy-resources/introduction/) -------------------------------------------------------------------------------- # Deploy the Project To [deploy your Catalyst project from the CLI](https://docs.catalyst.zoho.com/en/cli/v1/deploy-resources/introduction/), run the following command in your terminal from your project directory (CATALYST_PROJECT_HOME): ```sh catalyst deploy ``` The functions are deployed first, followed by the client component. The production URLs of the components are displayed. ![catalyst-deploy-python](https://catalyst-docs-development.zohostratus.in/images/tutorials/cron/catalyst-deploy-python.webp) You can now open the client component's URL in a browser to access the deployed application. The news application can now be accessed from its [web app URL](https://docs.catalyst.zoho.com/en/cloud-scale/help/web-client-hosting/introduction). ![deploy-output](https://catalyst-docs-development.zohostratus.in/images/tutorials/cron/deploy-output.webp) -------------------------------------------------------------------------------- title: "Schedule a cron" description: "Build a news web app that fetches news from a third-party service periodically using Catalyst Cron, and a Job Function and Advanced I/O function in Python." last_updated: "2026-11-04T10:10:44.000Z" source: "https://docs.catalyst.zoho.com/en/tutorials/newsapp/python/schedule-cron/" service: "All Services" related: - Job Scheduling Cron (/en/job-scheduling/help/cron/introduction/) - Job Functions (/en/serverless/help/functions/job-functions/) -------------------------------------------------------------------------------- # Schedule a Cron Next, let’s [create a cron](https://docs.catalyst.zoho.com/en/job-scheduling/help/cron/introduction/), associate it with the Job Pool created in [Step 3](https://docs.catalyst.zoho.com/en/tutorials/newsapp/java/create-job-pool/), and schedule it to run every hour. This cron will trigger the [Job Function](https://docs.catalyst.zoho.com/en/tutorials/newsapp/nodejs/configure-job-function/) periodically to fetch the latest news from the [NewsAPI ](https://newsapi.org/) and update the application. By running once every hour, the cron ensures that the application remains up to date with fresh news content. Each time it runs, it automatically invokes the Job Function, which makes an API call to the NewsAPI to retrieve the latest headlines. To create a cron from the Catalyst console, please make sure to follow the below-listed steps: 1. Navigate to **Cron** under the **Job Executor** section and click **Create Cron**. ![create-cron](https://catalyst-docs-development.zohostratus.in/images/tutorials/cron/create-cron.webp) 2. Enter a name and a description for the cron. You can enter any name. Select the **Format Type** as **Standard Input**. Select the **Schedule Type** as **Recursive**. Select the **Repeat Type** as **Every**.You can set the **Schedule Time** as required and also choose to enable the **Cron termination details**. After entering all the details, click **Next**. ![cron-details-java](https://catalyst-docs-development.zohostratus.in/images/tutorials/cron/cron-details-java.webp) 3. Provide a name for the Job, select the Job Pool as News and the target function as **NewsApp**. Click **Create**. ![job-create-python](https://catalyst-docs-development.zohostratus.in/images/tutorials/cron/job-create-python.webp) The cron has been created successfully. You can now submit the job to start its execution by clicking on the **Submit Job** button. ![job-submit-python](https://catalyst-docs-development.zohostratus.in/images/tutorials/cron/job-submit-python.webp) You can click on **Execution History** button to view the cron execution details. ![exec-history-python](https://catalyst-docs-development.zohostratus.in/images/tutorials/cron/exec-history-python.webp) You can navigate to the **Jobs** section and view the execution status of the jobs scheduled in the cron for every hour. ![job-history-python](https://catalyst-docs-development.zohostratus.in/images/tutorials/cron/job-history-python.webp) The news application is now functional and the news will be fetched from the NewsAPI and updated in the application for every one hour. ## Payslip Generator ### Node.js -------------------------------------------------------------------------------- title: "Introduction" description: "Build a web app that uses Catalyst components to generate a PDF from a dynamic custom payslip template, and email the generated document to the end-user." last_updated: "2026-11-04T10:10:44.000Z" source: "https://docs.catalyst.zoho.com/en/tutorials/payslip-generator-app/nodejs/introduction/" service: "All Services" related: - Project Directory Structure (/en/cli/v1/project-directory-structure/introduction/) - Node.js SDK (/en/sdk/nodejs/v2/overview/) -------------------------------------------------------------------------------- # Payslip Generator App ### Introduction This tutorial will help you build an application in Catalyst that generates employee payslips. The application will allow users to style the template of the company's payslip, input employee details in a form, and send the payslip to the respective employees via email. The client application will look like this: ![smartbrowz_tutorial_payslip_first_look](https://catalyst-docs-development.zohostratus.in/images/tutorials/payslip-generator/smartbrowz_tutorial_payslip_first_look.webp) The email sent to the employee will look like this: ![smartbrowz_tutorial_payslip_first_look_email](https://catalyst-docs-development.zohostratus.in/images/tutorials/payslip-generator/smartbrowz_tutorial_payslip_first_look_email.webp) The payslip that is generated and emailed as a PDF will look like this: ![smartbrowz_tutorial_payslip_first_look_template](https://catalyst-docs-development.zohostratus.in/images/tutorials/payslip-generator/smartbrowz_tutorial_payslip_first_look_template.webp) You can access a working application and test their functionality here: [Try the App!](https://payslip.catalystserverlessapp.com/) The Payslip Generator application utilizes the following Catalyst Services and their components: 1. [**Catalyst SmartBrowz**](https://docs.catalyst.zoho.com/en/smartbrowz/getting-started/introduction/) - **Templates**: [Templates](https://docs.catalyst.zoho.com/en/smartbrowz/help/templates/create-templates/) is used to create a custom template of a payslip. - **PDF & Screenshot**: [PDF & Screenshot](https://docs.catalyst.zoho.com/en/smartbrowz/help/pdfnscreenshot/introduction/) will be used to test the template and to generate PDFs of the template in the backend. 2. [**Catalyst Serverless**](https://docs.catalyst.zoho.com/en/serverless/getting-started/introduction/) - **Advanced I/O Function**: The [Advanced I/O function](https://docs.catalyst.zoho.com/en/serverless/help/functions/advanced-io/) can be coded using Node.js. It contains the APIs that allow you to feed the details to your customized template and trigger the Mail component to send an email to the employee. 3. [**Catalyst CloudScale**](https://docs.catalyst.zoho.com/en/cloud-scale/getting-started/introduction/) - **Web Client Hosting**: The front/client end of the application will be hosted on Catalyst using [Web Client Hosting](https://docs.catalyst.zoho.com/en/cloud-scale/help/web-client-hosting/introduction/). You can initialize and create your web client as a [Basic web app](https://docs.catalyst.zoho.com/en/cli/v1/initialize-resources/initialize-client/#basic-client-applications) using Catalyst native plugins. - **Mail**: [Mail](https://docs.catalyst.zoho.com/en/cloud-scale/help/mail/introduction/) is used to set up the email address from which the automated emails will be sent to the employees. We will use the [Catalyst web console](https://console.catalyst.zoho.com/) and the [Catalyst Command Line Interface](https://docs.catalyst.zoho.com/en/cli/v1/cli-command-reference/) (CLI) to build this application. You will be given the code for the files to be included in the function and client components in this tutorial. You will have to copy the code given here and paste it into the appropriate files as directed. ### Application Architecture The payslip generator application's logic is described below: ![catalyst_payslip_architecture](https://catalyst-docs-development.zohostratus.in/images/tutorials/payslip-generator/catalyst_payslip_architecture.webp) * **Submitting the form**: The end-user will input the employee details on the form displayed in the client-side, such as name, designation, ID, email ID, basic salary, deductions, allowances, and mode of payment. Once the details are inputted the user will click **Submit**. * **The PDF & SDK Screenshot SDK will be triggered**: In the backend, the [PDF & Screenshot SDK](https://docs.catalyst.zoho.com/en/sdk/nodejs/v2/smartbrowz/generate-pdfnscreenshot/) will be triggered, and a [headless browser](https://docs.catalyst.zoho.com/en/smartbrowz/help/headless/introduction/) will be launched. Using the [Template ID](https://docs.catalyst.zoho.com/en/smartbrowz/help/templates/create-templates/) generated by Catalyst, the details collected in the form will be rendered in the template, and converted as a PDF. * **The email will be sent**: The generated PDF will be emailed as an attachment to the email ID inputted in the form using the [Send Mail SDK](https://docs.catalyst.zoho.com/en/sdk/nodejs/v2/cloud-scale/mail/send-email/), which invokes the *Mail* component. The user will be notified that the email has been sent, and the form will refresh and be ready to receive the next user details. -------------------------------------------------------------------------------- title: "Prerequisites" description: "Build a web app that uses Catalyst components to generate a PDF from a dynamic custom payslip template, and email the generated document to the end-user." last_updated: "2026-11-04T10:10:44.000Z" source: "https://docs.catalyst.zoho.com/en/tutorials/payslip-generator-app/nodejs/prerequisites/" service: "All Services" related: - CLI Command Reference (/en/cli/v1/cli-command-reference/) - Install Catalyst CLI (/en/getting-started/installing-catalyst-cli/) - Login CLI (/en/cli/v1/login/login-from-cli/) -------------------------------------------------------------------------------- # Prerequsities Before you begin building the application, you must have the following prerequisites installed on your system: 1. **Catalyst CLI**: [Catalyst CLI](https://docs.catalyst.zoho.com/en/cli/v1/cli-command-reference/) contains a host of tools that enable you to initialize, develop, test, and deploy the components of your application from your local machine. We will be working with Catalyst CLI in this tutorial. You must perform these actions: - **Install Catalyst CLI**: Catalyst CLI is installed through NPM. You must therefore have NPM and Node.js installed on your system before you install the CLI. Refer to the [Install Catalyst CLI help page](https://docs.catalyst.zoho.com/en/getting-started/installing-catalyst-cli/) for details on the pre-requisites and the steps to install it. - **Login Catalyst CLI**: After you install Catalyst CLI, you must authenticate the CLI with your Catalyst account before using it. Refer to the [CLI Login help page](https://docs.catalyst.zoho.com/en/cli/v1/login/login-from-cli/) for the steps to log in from Catalyst CLI and the various options available for it. 2. **Any IDE tool for Node.js and client code development**: Download and install an IDE of your choice in your system. You can use any IDE to work with the function and the client code. Some popular choices include Visual Studio Code, IntelliJ IDEA, Eclipse, and Sublime Text. > If you are a Visual Studio Code IDE user, you can install the **Catalyst Tools** extension, and use your IDE itself in place of the CLI. You can find more details about the Catalyst VS Code extension from this [help section](https://docs.catalyst.zoho.com/en/catalyst-extensions/vs-code-extension/introduction/). -------------------------------------------------------------------------------- title: "Create a project" description: "Build a web app that uses Catalyst components to generate a PDF from a dynamic custom payslip template, and email the generated document to the end-user." last_updated: "2026-11-04T10:10:44.000Z" source: "https://docs.catalyst.zoho.com/en/tutorials/payslip-generator-app/nodejs/create-project/" service: "All Services" related: - Catalyst Console (/en/getting-started/catalyst-projects/) -------------------------------------------------------------------------------- # Create a Project Let’s [create a Catalyst project](https://docs.catalyst.zoho.com/en/getting-started/catalyst-projects/#create-a-catalyst-project) from the Catalyst console. 1. Log in to the [Catalyst console](https://console.catalyst.zoho.com/baas/index) and click **Create New Project**. ![catalyst_payslip_create_project](https://catalyst-docs-development.zohostratus.in/images/tutorials/payslip-generator/catalyst-create-project.webp) 2. Enter the project’s name as "**PayslipGenerator**" in the pop-up window, and click **Create**. ![catalyst_payslip_naming_proj](https://catalyst-docs-development.zohostratus.in/images/tutorials/payslip-generator/catalyst_payslip_naming_proj.webp) Your project will be created and opened. To access the project later, click **Access Project**. ![catalyst_payslip_access_proj](https://catalyst-docs-development.zohostratus.in/images/tutorials/payslip-generator/catalyst_payslip_access_proj.webp) -------------------------------------------------------------------------------- title: "Create a Template" description: "Build a web app that uses Catalyst components to generate a PDF from a dynamic custom payslip template, and email the generated document to the end-user." last_updated: "2026-11-04T10:10:44.000Z" source: "https://docs.catalyst.zoho.com/en/tutorials/payslip-generator-app/nodejs/create-template/" service: "All Services" related: - Catalyst SmartBrowz (/en/smartbrowz/getting-started/introduction/) - Templates (/en/smartbrowz/help/templates/create-templates/) -------------------------------------------------------------------------------- # Create a Template You need to create a custom template using the [Catalyst SmartBrowz](https://docs.catalyst.zoho.com/en/smartbrowz/getting-started/introduction/) component, [Templates](https://docs.catalyst.zoho.com/en/smartbrowz/help/templates/create-templates/). This template will contain the design and the style of the payslip. This is the template that will be generated as a PDF and emailed to the end-users. To create a template: 1. Click the *Catalyst SmartBrowz* service icon in the console, and click **Start Exploring**. ![catalyst_payslip_smartbrowz_homescreen](https://catalyst-docs-development.zohostratus.in/images/tutorials/payslip-generator/payslip-generator-smartbrowz.webp) 2. Click **Templates** under Convert to access the *Templates* component, and click **Create Template**. ![catalyst_payslip_create_template](https://catalyst-docs-development.zohostratus.in/images/tutorials/payslip-generator/payslip-generator-smart-browz-tempaltes.webp) 3. Select *Custom*, enter "**Payslip**" as the name of the template, and click **Create**. ![catalyst_payslip_name_template](https://catalyst-docs-development.zohostratus.in/images/tutorials/payslip-generator/catalyst_payslip_name_template.webp) You will be able to view the template editor and the template preview window. ![catalyst_payslip_blank_template](https://catalyst-docs-development.zohostratus.in/images/tutorials/payslip-generator/catalyst_payslip_blank_template.webp) 4. Copy the given code and paste it in the appropriate editors as explained below: * Paste the following HTML code in the HTML editor **HTML** ```xml <!DOCTYPE html> <html> <head> <title>Payslip</title> <link rel="stylesheet" type="text/css" href="https://cdn.jsdelivr.net/npm/bootstrap@5.0.1/dist/css/bootstrap.min.css" /> <script src="https://cdn.jsdelivr.net/npm/bootstrap@5.0.1/dist/js/bootstrap.bundle.min.js"></script> <script src="https://cdnjs.cloudflare.com/ajax/libs/jquery/3.2.1/jquery.min.js"></script> </head> <body> <div class="container mt-5 mb-5"> <div class="row"> <div class="col-md-12"> <div class="text-center lh-1 mb-2"> <h6 class="fw-bold color_primary">{{company}} Payslip</h6> <span class="fw-normal color_sec" >Payment slip for the month of {{month}} {{year}}</span > </div> <div class="d-flex justify-content-end"> <span>Working Branch: NewYork</span> </div> <br> <div class="row"> <div class="col-md-10"> <div class="row"> <div class="col-sm-6"> <div> <span class="fw-bolder color_primary">EMP Code</span> <small class="ms-3 color_sec">{{employeeId}}</small> </div> </div> <div class="col-sm-6"> <div> <span class="fw-bolder color_primary">EMP Name</span> <small class="ms-3 color_sec">{{employeeName}}</small> </div> </div> </div> <div class="row"> <div class="col-sm-6"> <div> <span class="fw-bolder color_primary">Mode of Pay</span> <small class="ms-3 color_sec">{{paymentMethod}}</small> </div> </div> <div class="col-sm-6"> <div> <span class="fw-bolder color_primary">Ac No.</span> <small class="ms-3 color_sec">*******</small> </div> </div> </div> <div class="row"> <div class="col-sm-6"> <div> <span class="fw-bolder color_primary">Designation</span> <small class="ms-3 color_sec">{{designation}}</small> </div> </div> </div> </div> <table class="mt-4 table table-bordered"> <thead class="bg-dark text-white"> <tr> <th scope="col">Earnings</th> <th scope="col">Amount</th> <th scope="col">Deductions</th> <th scope="col">Amount</th> </tr> </thead> <tbody> <tr> <th scope="row">Basic</th> <td>{{basicSalary}}</td> <td>Tax</td> <td>{{deductions}}</td> </tr> <tr> <th scope="row">Allowances</th> <td>{{allowances}}</td> <td colspan="2"></td> </tr> <tr class="border-top"> <th scope="row">Total Earning</th> <td>{{totalEarnings}}</td> <td>Total Deductions</td> <td>{{deductions}}</td> </tr> </tbody> </table> </div> <div class="row"> <div class="col-md-4"> <br /> <span class="fw-bold">Net Pay : {{netSalary}}</span> </div> </div> </div> </div> <div> <br /> <p>**** This is a system generated payslip ****</p> </div> </div> </body> </html> ``` * Click the CSS tab and paste the following code **CSS** ```css body { font-family: "Times New Roman", Times, serif; } table { width: 100%; border-radius: 5px solid; border-spacing: 0; margin-bottom: 20px; } tr { border: solid 1px #524f4f; border-top-color: #524f4f; } th, td { padding: 8px; text-align: left; color: #101f3e; background-color: #fff; } th { background-color: #f8f9fb !important; color: #7888a8; } p { text-align: center; color: black; } .color_primary { color: black; } .color_sec { color: #4d618a; } ``` > **Note:** You can create your own custom template design using the editor. You can also create complex templates using the *JavaScript editor*, and use the *JSON Data editor* to provide placeholder values. 5. Click **Save**. You can view the template that will be rendered to the user from the preview section on the right. ![catalyst_payslip_html_css_template](https://catalyst-docs-development.zohostratus.in/images/tutorials/payslip-generator/catalyst_payslip_html_css_template.webp) 6. Click **Settings** to style and format the template further. ![catalyst_payslip_template_setting_highlight](https://catalyst-docs-development.zohostratus.in/images/tutorials/payslip-generator/template-settings-smart-browz-payslip-generator.webp) 7. We encourage you to explore the various options and style the visual format elements of the template as you prefer. The *Live Preview* section will render all of your changes in real-time and display the template that will appear to the user. ![catalyst_payslip_template_settings_style](https://catalyst-docs-development.zohostratus.in/images/tutorials/payslip-generator/catalyst_payslip_template_settings_style.webp) > **Note:** For the purposes of this tutorial, we recommend that you set the **Output Format** as PDF. 8. Click **Save Settings** to save your preferences. Click the **back-arrow icon** near the name of the template after you have completed customizing your template. ![catalyst_payslip_template_back_highlight](https://catalyst-docs-development.zohostratus.in/images/tutorials/payslip-generator/catalyst_payslip_template_back_highlight.webp) Your custom template is saved, and you will be able to view the unique **Template ID** generated by Catalyst. To learn more about the Templates component, visit this [help document](https://docs.catalyst.zoho.com/en/smartbrowz/help/templates/create-templates/). ![catalyst_payslip_template_saved_ID_highlight](https://catalyst-docs-development.zohostratus.in/images/tutorials/payslip-generator/catalyst_payslip_template_saved_ID_highlight.webp) -------------------------------------------------------------------------------- title: "Test the Template" description: "Build a web app that uses Catalyst components to generate a PDF from a dynamic custom payslip template, and email the generated document to the end-user." last_updated: "2026-11-04T10:10:44.000Z" source: "https://docs.catalyst.zoho.com/en/tutorials/payslip-generator-app/nodejs/test-template/" service: "All Services" related: - Catalyst SmartBrowz (/en/smartbrowz/getting-started/introduction/) - Templates (/en/smartbrowz/help/templates/create-templates/) -------------------------------------------------------------------------------- # Test Your Template Now that you have created your template, let's test it with sample JSON data to ensure that all of the data renders properly. To test the template: 1. Click **PDF & Screenshot** under *Convert* in the *SmartBrowz* side menu bar to access the component. ![smartbrowz_tutorial_payslip_template_test_pdfnscreen_first](https://catalyst-docs-development.zohostratus.in/images/tutorials/payslip-generator/payslip-generator-smartbrowz-pdf.webp) 2. Click **Playground**, and choose **Template** as the *Input Type*. ![smartbrowz_tutorial_payslip_template_test_pdfnscreen_template](https://catalyst-docs-development.zohostratus.in/images/tutorials/payslip-generator/smartbrowz_tutorial_payslip_template_test_pdfnscreen_template.webp) 3. Select the custom template you have created from the *Template* drop-down. ![smartbrowz_tutorial_payslip_template_test_template_select](https://catalyst-docs-development.zohostratus.in/images/tutorials/payslip-generator/template-dropdown-payslip-generator.webp) 4. Paste the following JSON snippet as the template data in the editor. **Sample JSON Data** ```json { "company": "Zylker Technologies", "employeeName": "Amelia Burrows", "employeeId": "ZT-789", "designation": "QA Analyst", "basicSalary": 10000, "allowances": 4500, "deductions": 1450, "totalEarnings": 14500, "netSalary": 13050, "paymentMethod": "Bank Transfer", "month": "September", "year": "2023" } ``` > **Note:** The sample JSON data above is only applicable for the template design that we have provided. If you have used your own custom design, you will need to provide a suitable JSON data as the input. 6. Click **Generate**. ![smartbrowz_tutorial_payslip_template_test_preview](https://catalyst-docs-development.zohostratus.in/images/tutorials/payslip-generator/click-generate-payslip-generator.webp) A preview window will open, and you can view your custom template with the JSON data rendered. You can click **Download** to save the visual document to your local system. -------------------------------------------------------------------------------- title: "Configure the email address" description: "Build a web app that uses Catalyst components to generate a PDF from a dynamic custom payslip template, and email the generated document to the end-user." last_updated: "2026-11-04T10:10:44.000Z" source: "https://docs.catalyst.zoho.com/en/tutorials/payslip-generator-app/nodejs/setup-email/" service: "All Services" related: - Catalyst CloudScale (/en/cloud-scale/getting-started/introduction/) - Mail (/en/cloud-scale/help/mail/introduction/) -------------------------------------------------------------------------------- # Set Up Email In this step, we will use the [Catalyst CloudScale](https://docs.catalyst.zoho.com/en/cloud-scale/getting-started/introduction/) component, [Mail](https://docs.catalyst.zoho.com/en/cloud-scale/help/mail/introduction/), to set up the sender email address. This is the address from where the payslips will be emailed to various employees. To configure the sender's email address: 1. Click the **Catalyst CloudScale** icon to access the *CloudScale* service, and click **Start Exploring**. ![smartbrowz_tutorial_payslip_mail_cloudscale_page](https://catalyst-docs-development.zohostratus.in/images/tutorials/payslip-generator/payslip-generator-cloudscale.webp) 2. Click **Mail** under *Notify* to access the Mail component, and click **Add Email**. ![smartbrowz_tutorial_payslip_mail_component](https://catalyst-docs-development.zohostratus.in/images/tutorials/payslip-generator/payslip-generator-cloudscale-mail.webp) 3. Provide the required details for your sender email address, and click **Add Email**. ![smartbrowz_tutorial_payslip_mail_details](https://catalyst-docs-development.zohostratus.in/images/tutorials/payslip-generator/smartbrowz_tutorial_payslip_mail_details.webp) The email details will be listed in the *Email Configuration* section. ![smartbrowz_tutorial_payslip_mail_listed](https://catalyst-docs-development.zohostratus.in/images/tutorials/payslip-generator/payslip-generator-mail-confirmation.webp) > **Note:** This email address will be the email ID from where the emails are sent to the employees. 4. Click on **Click to confirm** to verify the email address provided. ![smartbrowz_tutorial_payslip_mail_code_sent](https://catalyst-docs-development.zohostratus.in/images/tutorials/payslip-generator/payslip-generator-mail-confirmation-code.webp) A confirmation code will be generated by Catalyst and sent to the email address you provided. ![smartbrowz_tutorial_payslip_mail_code_mailed](https://catalyst-docs-development.zohostratus.in/images/tutorials/payslip-generator/smartbrowz_tutorial_payslip_mail_code_mailed.webp) 5. Copy the confirmation code from your email, paste it in the space provided, and click **Confirm**. ![smartbrowz_tutorial_payslip_mail_code_entry](https://catalyst-docs-development.zohostratus.in/images/tutorials/payslip-generator/smartbrowz_tutorial_payslip_mail_code_entry.webp) 6. The email ID will be verified, and the verified status will be indicated under the *Confirmation Status* column. ![smartbrowz_tutorial_payslip_mail_verified_high](https://catalyst-docs-development.zohostratus.in/images/tutorials/payslip-generator/smartbrowz_tutorial_payslip_mail_verified_high.webp) The email has been configured. You can learn more about the Mail component from this [help document](https://docs.catalyst.zoho.com/en/cloud-scale/help/mail/introduction/). -------------------------------------------------------------------------------- title: "Initialize the project" description: "Build a web app that uses Catalyst components to generate a PDF from a dynamic custom payslip template, and email the generated document to the end-user." last_updated: "2026-11-04T10:10:44.000Z" source: "https://docs.catalyst.zoho.com/en/tutorials/payslip-generator-app/nodejs/initialize-project/" service: "All Services" related: - Initialize CLI Resources (/en/cli/v1/initialize-resources/introduction/) - Project Directory Structure (/en/cli/v1/project-directory-structure/introduction/) -------------------------------------------------------------------------------- # Initialize the Project from the CLI You can now begin working on your Catalyst project from the CLI. The first step is to initialize the project in an empty directory. This will be the home directory of your project, and all of the project files will be saved in it. You can learn more about this from the [Project Directory Structure help page](https://docs.catalyst.zoho.com/en/cli/v1/project-directory-structure/introduction/). You can learn about initializing a project in detail from the [CLI help documentation](https://docs.catalyst.zoho.com/en/cli/v1/project-directory-structure/introduction/). For the payslip generator application, we will initialize the Advanced I/O function first, followed by the Client component. > **Note:** We recommend that you enter the function's package name or class name and the client's name exactly as instructed, because the application's code contains the same name. 1. Create a folder for the project on your local machine and navigate to it from the terminal. 2. Initialize a project by executing the following command from that directory: ```sh catalyst init ``` 3. Navigate using the **arrow keys** and select your preferred portal and press the **Enter** key. If you have no other organizations associated with the account, then the default one will be automatically selected. ![catalyst_payslip_portal_choice](https://catalyst-docs-development.zohostratus.in/images/tutorials/payslip-generator/catalyst_payslip_portal_choice.webp) You can find out more about Catalyst’s multi-org portal feature from this [help document](https://docs.catalyst.zoho.com/en/getting-started/catalyst-organizations/#access-the-multi-org-portal). 4. The CLI will now ask you to associate a Catalyst project with the directory. Associate it with the project that we created earlier from the console. Select **PayslipGenerator** from the list and press **Enter**. ![catalyst_payslip_project_choice](https://catalyst-docs-development.zohostratus.in/images/tutorials/payslip-generator/catalyst_payslip_project_choice.webp) 5. Navigate using **arrow keys** and select **Functions**, **Client** using the **space bar**. Press the **Enter** key to initialize. ![catalyst_payslip_func_client_init](https://catalyst-docs-development.zohostratus.in/images/tutorials/payslip-generator/catalyst_payslip_func_client_init.webp) 6. The CLI will initiate the function setup. Select **AdvancedIO** as the function type. ![catalyst_payslip_func_advacne_select](https://catalyst-docs-development.zohostratus.in/images/tutorials/payslip-generator/catalyst_payslip_func_advacne_select.webp) 7. Select the latest runtime of *Node.js* as the function stack. ![catalyst_payslip_func_node16_select](https://catalyst-docs-development.zohostratus.in/images/tutorials/payslip-generator/catalyst_payslip_func_node16_select.webp) 8. Enter "`payslip_generator_function`" as the package name, "`index.js`" as the entry point, and your email address, as the author and press **Enter**. You can alternatively press **Enter** without entering inputs to fill in the default values. The CLI will prompt the initialization of the Node dependencies. Press **Y** to confirm the installation, and press **Enter** to confirm your choice. The Node modules will be installed. ![catalyst_payslip_func_init_done](https://catalyst-docs-development.zohostratus.in/images/tutorials/payslip-generator/catalyst_payslip_func_init_done.webp) 9. The CLI will now initiate the client setup. Select "**Basic web app**" and press **Enter** to initialize your client as a [basic web app](https://docs.catalyst.zoho.com/en/cli/v1/initialize-resources/initialize-client/#basic-client-applications). ![catalyst_payslip_client_basic_select](https://catalyst-docs-development.zohostratus.in/images/tutorials/payslip-generator/catalyst_payslip_client_basic_select.webp) 10. Enter "**PayslipGenerator**" as the name of your client package and press **Enter**. You can also provide any name of your choice. ![catalyst_payslip_client_basic_init_complete](https://catalyst-docs-development.zohostratus.in/images/tutorials/payslip-generator/catalyst_payslip_client_basic_init_complete.webp) Catalyst initialization is now complete. The [project directory](https://docs.catalyst.zoho.com/en/cli/v1/project-directory-structure/introduction/) is now set up with the client directory and the functions directory along with configuration files and dependencies. The project directory also contains the [`catalyst.json`](https://docs.catalyst.zoho.com/en/cli/v1/project-directory-structure/catalyst-json/) configuration file and a hidden `.catalystrc` file. The structure of your project directory should appear as shown below: ![catalyst_payslip_proj_directory](https://catalyst-docs-development.zohostratus.in/images/tutorials/payslip-generator/catalyst_payslip_proj_directory.webp) -------------------------------------------------------------------------------- title: "Configure the Advanced I/O function" description: "Build a web app that uses Catalyst components to generate a PDF from a dynamic custom payslip template, and email the generated document to the end-user." last_updated: "2026-11-04T10:10:44.000Z" source: "https://docs.catalyst.zoho.com/en/tutorials/payslip-generator-app/nodejs/configure-function/" service: "All Services" related: - Functions (/en/serverless/help/functions/introduction/) - Advanced I/O Functions (/en/serverless/help/functions/advanced-io/) - Functions Directory Structure (/en/cli/v1/project-directory-structure/functions-directory/) -------------------------------------------------------------------------------- # Configure the Advanced I/O Function Now, we will begin coding the payslip generator application by configuring the function component. The [function’s directory](https://docs.catalyst.zoho.com/en/cli/v1/project-directory-structure/functions-directory), `functions/payslip_generator_function` contains: * The `index.js` main function file * The `catalyst-config.json` configuration file * Node modules * [`package.json`](https://docs.npmjs.com/files/package.json) and [`package-lock.json`](https://docs.npmjs.com/configuring-npm/package-lock-json.html) dependency files You will be adding code in the `index.js` file. The Advanced I/O function contains the following functionalities: * Triggers the [PDF & Screenshot SDK](https://docs.catalyst.zoho.com/en/sdk/nodejs/v2/smartbrowz/generate-pdfnscreenshot/#generate-visual-documents-using-template) to run a headless browser where we render the inputted details onto the template and generate a PDF document. * Triggers the [Send Mail SDK](https://docs.catalyst.zoho.com/en/sdk/nodejs/v2/cloud-scale/mail/send-email/) to attach the PDF document and send it via email from within the application. ### Install Express Framework for Node.js We will be using the [Express framework](https://expressjs.com/) to code the Advanced I/O function. To import the Express package in your function’s code, you must install the Express dependency in your system. To install `Express.js` in your local machine, navigate to the function’s home directory (`functions/payslip_generator_function`) in your terminal and execute the following command: ```sh npm install express --save ``` This will install the Express module and save the dependencies. ![catalyst_payslip_express_install](https://catalyst-docs-development.zohostratus.in/images/tutorials/payslip-generator/catalyst_payslip_express_install.webp) This information will also be updated in the `package.json` file. ![catalyst_payslip_package_json](https://catalyst-docs-development.zohostratus.in/images/tutorials/payslip-generator/catalyst_payslip_package_json.webp) Now, let's begin coding the Advanced I/O function. Copy the code given below and paste it in the `index.js` in the `functions/payslip_generator_function` directory of your project, and save the file. You can use any IDE of your choice to work with the application's files. > **Note:** * Please go through the code in this section to make sure you fully understand it. * Ensure you have provided your **Template ID** in line **33**, and the configured **email ID** in line **68**. **index.js** ```javascript 'use strict' const express = require('express') const catalyst = require('zcatalyst-sdk-node') const fs = require('fs') const app = express() const os = require('os') const path = require('path') app.use(express.json()) app.post('/generatepayslip', async (req, res) => { try { const catalystApp = catalyst.initialize(req) const smartbrowz = catalystApp.smartbrowz() if (!req.body) { throw new Error('Request body is empty') } const { employeeName, employeeEmail, employeeId, designation, basicSalary, allowances, deductions, paymentMethod } = req.body const date = new Date() const currentMonth = date.toLocaleString('default', { month: 'long' }) const currentYear = date.getFullYear() const filepath = path.join(os.tmpdir(), '/payslip.pdf') // Generate output from template await smartbrowz .generateFromTemplate('xxxxxxxx12345', // Provide your Template ID { // Data to be passed to the template retrieved from the client template_data: { company: 'Zylker Technologies', employeeName, employeeId, designation, basicSalary, allowances, deductions, totalEarnings: parseFloat(basicSalary) + parseFloat(allowances), netSalary: parseFloat(basicSalary) + parseFloat(allowances) - parseFloat(deductions), paymentMethod, month: currentMonth, year: currentYear } }) .then((inputStream) => { return new Promise((resolve, reject) => { inputStream .pipe(fs.createWriteStream(filepath)) .on('close', resolve) .on('error', reject) }) }).catch((err) => { throw err }) await catalystApp .email() .sendMail({ from_email: 'emmy@zylker.com', // Provide your email ID configured in the Console to_email: [employeeEmail], html_mode: true, subject: `Payslip for the month of ${currentMonth} ${currentYear}`, content: `Hello ${employeeName}, Your payslip for ${currentMonth} ${currentYear} has been issued. You can find your payslip attached with this email. Cheers,Zylker`, attachments: [fs.createReadStream(filepath)] // create a file stream for the file attachment }) .then((row) => { res.status(200).send('Payslip generated and sent to Employee email') }) .catch((err) => { throw err }) } catch (error) { console.log(error) res.status(500).send(error) } }) module.exports = app ``` The function directory is now configured. We can now proceed to configuring the client directory. -------------------------------------------------------------------------------- title: "Configure the client" description: "Build a web app that uses Catalyst components to generate a PDF from a dynamic custom payslip template, and email the generated document to the end-user." last_updated: "2026-11-04T10:10:44.000Z" source: "https://docs.catalyst.zoho.com/en/tutorials/payslip-generator-app/nodejs/configure-client/" service: "All Services" related: - Client Directory Structure (/en/cli/v1/project-directory-structure/client-directory/) - Web Client Hosting (/en/cloud-scale/help/web-client-hosting/introduction/) -------------------------------------------------------------------------------- # Configure the Client Now, let’s configure the client component. The [client directory](https://docs.catalyst.zoho.com/en/cli/v1/project-directory-structure/client-directory/) contains: * The `index.html` file that contains the HTML code for the front-end application * The `main.css` file that contains the CSS code for the front-end application * The `main.js` file that contains the JavaScript code * The `client-package.json` configuration file We will be coding `index.html`, `main.css`, and `main.js`. > **Note:** Please go through the code in this section to make sure you fully understand it. Copy the code below and paste it into the respective files located in the `client/directory` of your project using an IDE and save the files. **index.html** ```xml <!DOCTYPE html> <html> <head> <link rel="stylesheet" type="text/css" href="https://cdn.jsdelivr.net/npm/bootstrap@5.0.1/dist/css/bootstrap.min.css" /> <script src="https://cdn.jsdelivr.net/npm/bootstrap@5.0.1/dist/js/bootstrap.bundle.min.js"></script> <script src="https://cdnjs.cloudflare.com/ajax/libs/jquery/3.2.1/jquery.min.js"></script> <script src="main.js"></script> <link rel="stylesheet" type="text/css" href="main.css"/> <script> window.addEventListener("DOMContentLoaded", function () { // Retrieve input elements var basicSalaryInput = document.getElementById("basicSalary"); var allowancesInput = document.getElementById("allowances"); var deductionsInput = document.getElementById("deductions"); var netSalaryInput = document.getElementById("netSalary"); // Add event listeners to input fields basicSalaryInput.addEventListener("input", calculateNetSalary); allowancesInput.addEventListener("input", calculateNetSalary); deductionsInput.addEventListener("input", calculateNetSalary); // Function to calculate net salary function calculateNetSalary() { // Retrieve values from input fields var basicSalary = parseFloat(basicSalaryInput.value) || 0; var allowances = parseFloat(allowancesInput.value) || 0; var deductions = parseFloat(deductionsInput.value) || 0; // Calculate net salary var netSalary = basicSalary + allowances - deductions; // Update the net salary input field netSalaryInput.value = netSalary.toFixed(2); } }); </script> </head> <body> <div class="container mt-5 mb-5"> <h2>Payslip Generator</h2> <form onsubmit="generatePayslip();return false;"> <div class="row"> <div class="form-group col-md-6"> <label for="employeeName">Employee Name:</label> <input type="text" id="employeeName" name="employeeName" required /> </div> <div class="form-group col-md-6"> <label for="employeeId">Employee ID:</label> <input type="text" id="employeeId" name="employeeId" required /> </div> </div> <div class="row"> <div class="form-group col-md-6"> <label for="designation">Employee Designation:</label> <input type="text" id="designation" name="designation" required /> </div> <div class="form-group col-md-6"> <label for="employeeEmail">Employee Email:</label> <input type="text" id="employeeEmail" name="employeeEmail" required /> </div> </div> <div class="row"> <div class="form-group col-md-6"> <label for="basicSalary">Basic Salary:</label> <input type="number" id="basicSalary" name="basicSalary" min="0" oninput="validity.valid||(value='');" required /> </div> <div class="form-group col-md-6"> <label for="allowances">Allowances:</label> <input type="number" id="allowances" name="allowances" min="0" oninput="validity.valid||(value='');" required /> </div> </div> <div class="row"> <div class="form-group col-md-6"> <label for="deductions">Deductions:</label> <input type="number" id="deductions" name="deductions" min="0" oninput="validity.valid||(value='');" required /> </div> <div class="form-group col-md-6"> <label for="netSalary">Net Salary:</label> <input type="number" id="netSalary" name="netSalary" readonly /> </div> </div> <div class="row"> <div class="form-group col-md-6"> <label for="paymentMethod">Payment Method:</label> <select id="paymentMethod" name="paymentMethod" required> <option value="">Select</option> <option value="Bank Transfer">Bank Transfer</option> <option value="Cheque">Cheque</option> <option value="Cash">Cash</option> </select> </div> </div> <input type="submit" value="Submit" /> </form> </div> </body> </html> ``` **main.css** ```css .container { background-image: linear-gradient(to bottom, #ffffff, #f2f2f2); padding: 40px; margin-top: 50px; margin-bottom: 50px; box-shadow: 0 0 10px rgba(0, 0, 0, 0.1); } h2 { background: linear-gradient(to right, #4caf50, #45a049); -webkit-background-clip: text; -webkit-text-fill-color: transparent; text-align: center; margin-bottom: 40px; } /* Styling for the form labels */ label { transition: color 0.3s ease; /* Add a subtle animation on hover */ } label:hover { /* Change the color on hover */ color: #4caf50; } /* Styling for the form input fields */ input[type="text"], input[type="number"], select { /* Increase the height of the input fields */ height: 40px; /* Add a subtle box shadow */ } /* Styling for the form input groups */ .form-group { display: flex; align-items: center; margin-bottom: 10px; } .form-group label { flex: 0 0 200px; /* Set a fixed width for the labels */ margin-right: 10px; /* Add some spacing between label and input */ } .form-group input, .form-group select { flex: 1; /* Allow the inputs to take up remaining space */ } /* Styling for the submit button */ input[type="submit"] { /* Add a gradient background */ background-image: linear-gradient(to right, #4caf50, #45a049); /* Add a box shadow */ box-shadow: 0 2px 5px rgba(0, 0, 0, 0.3); margin-top: 15px; width: 150px; margin-left: 600px; } input[type="submit"]:hover { /* Darken the background on hover */ background-image: linear-gradient(to right, #45a049, #398e3d); } ``` > **Note:** The Node.js function package’s name `payslip_generator_function` has been added in the code for `main.js` in the line **13**. If you have provided a different package name, ensure you replace accordingly. **main.js** ```javascript function generatePayslip() { // Retrieve form values const employeeName = document.getElementById('employeeName').value; const employeeId = document.getElementById('employeeId').value; const designation = document.getElementById('designation').value; const paymentMethod = document.getElementById('paymentMethod').value; const employeeEmail = document.getElementById('employeeEmail').value; const basicSalary = parseFloat(document.getElementById('basicSalary').value); const allowances = parseFloat(document.getElementById('allowances').value); const deductions = parseFloat(document.getElementById('deductions').value); $.ajax({ url: '/server/payslip_generator_function/generatepayslip', //provide your function endpoint here type: 'post', contentType: 'application/json', data: JSON.stringify({ employeeName, employeeId, basicSalary, allowances, deductions, designation, paymentMethod, employeeEmail }), success: function (data) { alert(data); window.location.reload(); }, error: function (error) { console.log(error); alert(error.responseText); window.location.reload(); } }); } ``` The client directory is now configured. Let’s go over the working of the function and the client code: * The end-user enter inputs the employee details in the client-side. When the end-user clicks **Submit**, a `POST` call in `main.js` triggers the `/generatepayslip` API endpoint and the data is passed to the function in a JSON format. * The function triggers the [PDF & Screenshot SDK](https://docs.catalyst.zoho.com/en/sdk/nodejs/v2/smartbrowz/generate-pdfnscreenshot/#generate-visual-documents-using-template) and the request body is passed and the PDF document is generated. The PDF is then stored in a temporary location. * The [Send Mail SDK](https://docs.catalyst.zoho.com/en/sdk/nodejs/v2/cloud-scale/mail/send-email/) is triggered and the PDF document is read from the temporary location and attached to the email. The email is sent to the employee from the email ID set up using the [Mail](https://docs.catalyst.zoho.com/en/cloud-scale/help/mail/introduction/) component. * A response containing the acknowledgement message will be displayed on the client-side, after the PDF document has been emailed. -------------------------------------------------------------------------------- title: "Test the application" description: "Build a web app that uses Catalyst components to generate a PDF from a dynamic custom payslip template, and email the generated document to the end-user." last_updated: "2026-11-04T10:10:44.000Z" source: "https://docs.catalyst.zoho.com/en/tutorials/payslip-generator-app/nodejs/test-app/" service: "All Services" related: - Serve CLI Resources (/en/cli/v1/serve-resources/introduction/) -------------------------------------------------------------------------------- # Test the Application Before you deploy the application to the remote console, you can test the application on a local server and check if everything works using the Catalyst CLI. For detailed information on `catalyst serve`, refer to the [Serve Resources help page](https://docs.catalyst.zoho.com/en/cli/v1/serve-resources/introduction). To serve the Catalyst project locally, execute the following command from your project directory: ```sh catalyst serve ``` The payslip generator application will now be served at default `port 3000`. The local endpoint URLs of the components will be displayed in the CLI. ![catalyst_payslip_catalyst_serve](https://catalyst-docs-development.zohostratus.in/images/tutorials/payslip-generator/catalyst_payslip_catalyst_serve.webp) > **Note:** Every time you access the home page or any of the sub-pages of your client, or the function, the CLI will display a live log of the URL accessed, along with the HTTP method that is used to access it. You can now open the client component’s local URL in a browser to access the application. ![catalyst_payslip_catalyst_serve_1](https://catalyst-docs-development.zohostratus.in/images/tutorials/payslip-generator/catalyst_payslip_catalyst_serve_1.webp) Add sample data in the form to test the functionality of the application, and click **Submit**. ![catalyst_payslip_catalyst_serve_2](https://catalyst-docs-development.zohostratus.in/images/tutorials/payslip-generator/catalyst_payslip_catalyst_serve_2.webp) You will get a success prompt after the email is sent. ![catalyst_payslip_catalyst_serve_3](https://catalyst-docs-development.zohostratus.in/images/tutorials/payslip-generator/catalyst_payslip_catalyst_serve_3.webp) Log in to the email account you had entered here, and you will find an email that contains the payslip as a PDF attachment. ![catalyst_payslip_catalyst_serve_4](https://catalyst-docs-development.zohostratus.in/images/tutorials/payslip-generator/catalyst_payslip_catalyst_serve_4.webp) If you view the attachment, you will find the details you inputted in the form rendered in your custom template. ![catalyst_payslip_catalyst_serve_5](https://catalyst-docs-development.zohostratus.in/images/tutorials/payslip-generator/catalyst_payslip_catalyst_serve_5.webp) Depending on the email provider you use, you will also be able to download and save the `payslip.pdf` document in your local system. If the test run was successful, we can deploy the project to the console. -------------------------------------------------------------------------------- title: "Deploy the project" description: "Build a web app that uses Catalyst components to generate a PDF from a dynamic custom payslip template, and email the generated document to the end-user." last_updated: "2026-11-04T10:10:44.000Z" source: "https://docs.catalyst.zoho.com/en/tutorials/payslip-generator-app/nodejs/deploy-app/" service: "All Services" related: - Deploy CLI Resources (/en/cli/v1/deploy-resources/introduction/) - Web Client Hosting (/en/cloud-scale/help/web-client-hosting/introduction/) -------------------------------------------------------------------------------- # Deploy the Project To [deploy your Catalyst project](https://docs.catalyst.zoho.com/en/cli/v1/deploy-resources/introduction/) from the CLI, run the following command in your terminal from your project directory: ```sh catalyst deploy ``` The function is deployed first, followed by the client component. The URL endpoints of the components will be displayed in the CLI: ![catalyst_payslip_catalyst_deploy](https://catalyst-docs-development.zohostratus.in/images/tutorials/payslip-generator/catalyst_payslip_catalyst_deploy.webp) You can now open the client component’s URL in a browser to access the deployed application. The payslip generator application can now be accessed from its web app URL. ![catalyst_payslip_catalyst_deploy_final_app_view](https://catalyst-docs-development.zohostratus.in/images/tutorials/payslip-generator/catalyst_payslip_catalyst_deploy_final_app_view.webp) The payslip generator application is now functional and will work without any errors. ## PhotoStore App ### NodeJS -------------------------------------------------------------------------------- title: "Introduction" description: "Build a React gallery app to upload and share images in a Stratus bucket. Host the app on AppSail and deploy it from GitHub using Pipelines." last_updated: "2026-11-04T10:10:44.000Z" source: "https://docs.catalyst.zoho.com/en/tutorials/photo-store-app/nodejs/introduction/" service: "All Services" related: - Project Directory Structure (/en/cli/v1/project-directory-structure/introduction/) - Upload Object to Bucket (/en/cloud-scale/help/stratus/objects/upload-object/) - Stratus SDK (/en/sdk/nodejs/v2/cloud-scale/stratus/overview/) - Stratus API (/en/api/code-reference/cloud-scale/stratus/get-all-buckets/#GetAllBuckets) -------------------------------------------------------------------------------- # PhotoStore App ### Introduction This tutorial will help you build a React web application called **PhotoStore App**, which will allow you to upload and download images from your client. It will also feature the following functionalities: * All login functionalities. * You will also be able to view the uploaded images in different views, such as thumbnail, list, and full-size. * You will be able to adjust your dashboard view in a **Grid** or **List** view. * You will be able to share your uploaded images with other users that have signed on to the application. * There will be two dashboards presented to you: - **Your Gallery**: To showcase images uploaded by you. - **Shared Gallery**: To showcase images that were shared to you by other registered users. * You will also have the option to manage users' access to the images you had previously shared with them. The client side of the application will look like this: ![catalyst_tutorials_photostore_app_first_look](https://catalyst-docs-development.zohostratus.in/images/tutorials/photo-store/catalyst_tutorials_photostore_app_first_look.webp) The logic of this application is coded employing the following Catalyst services and its respective components: 1. [**Catalyst Serverless**](https://docs.catalyst.zoho.com/en/serverless/): - [**AppSail**](https://docs.catalyst.zoho.com/en/serverless/help/appsail/introduction/): You will be bundling the front end and client code together and deploying it on *AppSail*, to host the entire application. 2. [**Catalyst CloudScale**](https://docs.catalyst.zoho.com/en/cloud-scale/): - [**Authentication**](https://docs.catalyst.zoho.com/en/cloud-scale/help/authentication/introduction/): To add end users to the application. You will be implementing the [Hosted Authentication](https://docs.catalyst.zoho.com/en/cloud-scale/help/authentication/native-catalyst-authentication/hosted-authentication-type/introduction/) type to handle the authentication requirement. - [**Data Store**](https://docs.catalyst.zoho.com/en/cloud-scale/help/data-store/introduction/): To store the various details of the images that are present in the application. - [**ZCQL**](https://docs.catalyst.zoho.com/en/cloud-scale/help/zcql/introduction/): To post and fetch data from the *Data Store*. - [**Stratus**](https://docs.catalyst.zoho.com/en/cloud-scale/help/stratus/introduction/): To store the images that are being uploaded through the application. 3. [**Catalyst Pipelines**](https://docs.catalyst.zoho.com/en/pipelines/help/pipelines/introduction/): To maintain the entire project seamlessly in your [GitHub](https://github.com/) repository without ever missing a development lifecycle. More importantly, using Pipelines to deploy this Catalyst application allows us to use the [Sharp](https://www.npmjs.com/package/sharp), a platform dependent package, to convert uploaded images to thumbnails. In this manner, Pipelines handles all the dependencies needed to use the package and host it on Catalyst which runs on a Linux machine. You will use the [Catalyst web console](https://console.catalyst.zoho.com/) and the [Catalyst Command Line Interface](https://docs.catalyst.zoho.com/en/cli/v1/cli-command-reference/) (CLI) to build this application. > **Note:** You will be given the code for the files to be included in the function and client components in this tutorial. You will just need to copy the provided code and paste it into the appropriate files as directed. ### Application Workflow The workflow of the application occurs as described below: * An end-user signs up for the application. * They can either view, download, or upload images in the client. * If they choose to view the images, by default, the images will be displayed in the thumbnail-view. The details populated to provide more context for the images are handled in the *DataStore*. * When a user uploads an image from the client, the image is uploaded to *Stratus*, and the image will be referred using its [Object URL](https://docs.catalyst.zoho.com/en/cloud-scale/help/stratus/objects/introduction/#object-url). * The newly uploaded image will be displayed in a thumbnail size, along with its name, which can be viewed in full-size when a user clicks on it. * Additionally, any change you make to your application development cycle will be automatically rendered to your application present in your GitHub repository with the help of *Catalyst Pipelines*. ![catalyst_tutorials_photostore_deployment_flow](https://catalyst-docs-development.zohostratus.in/images/tutorials/photo-store/PhotoStoreApp-AppArchitecture-updated.webp) #### Deployment Flow ![catalyst_tutorials_photostore_app_architecture](https://catalyst-docs-development.zohostratus.in/images/tutorials/photo-store/PhotoStoreApp-DeploymentFlow.webp) -------------------------------------------------------------------------------- title: "Prerequisites" description: "Build a React gallery app to upload and share images in a Stratus bucket. Host the app on AppSail and deploy it from GitHub using Pipelines." last_updated: "2026-11-04T10:10:44.000Z" source: "https://docs.catalyst.zoho.com/en/tutorials/photo-store-app/nodejs/prerequisites/" service: "All Services" related: - Catalyst CLI Documentation (/en/cli/v1/cli-command-reference/) - Catalyst VS Code Extension (/en/catalyst-extensions/vs-code-extension/introduction/) -------------------------------------------------------------------------------- # Prerequisites Before you begin building the application, you must have the following prerequisites installed on your system: 1. **Catalyst CLI**: Catalyst CLI contains a host of tools that enable you to initialize, develop, test, and deploy the components of your application from your local machine. We will be working with Catalyst CLI in this tutorial. You must perform the following actions: - **Install Catalyst CLI**: Catalyst CLI is installed through NPM. You must have NPM and Node.js installed on your system before you install the CLI. Refer to the [**Install Catalyst CLI help page**](https://docs.catalyst.zoho.com/en/getting-started/installing-catalyst-cli/) for details on the prerequisites and the steps to install it. - **Login Catalyst CLI**: After you install Catalyst CLI, you must authenticate the CLI with your Catalyst account before using it. Refer to the [**CLI Login help page**](https://docs.catalyst.zoho.com/en/cli/v1/login/login-from-cli/) for the steps to log in from Catalyst CLI and the various options available for it. 2. **Any IDE tool for Node.js and client code development**: You can use any IDE to work with the function and the client code. Some popular choices include Visual Studio Code, IntelliJ IDEA, Eclipse, and Sublime Text. Download and install an IDE of your choice on your system. 3. **A [GitHub](https://github.com/) account**: To store and manage your application files in your personal repository. > If you are a Visual Studio Code IDE user, you can install the **Catalyst Tools** extension, and use your IDE itself in place of the CLI. You can find more details about the Catalyst VS Code extension from this [help section](https://docs.catalyst.zoho.com/en/catalyst-extensions/vs-code-extension/introduction/). -------------------------------------------------------------------------------- title: "Create Project" description: "Build a React gallery app to upload and share images in a Stratus bucket. Host the app on AppSail and deploy it from GitHub using Pipelines." last_updated: "2026-11-04T10:10:44.000Z" source: "https://docs.catalyst.zoho.com/en/tutorials/photo-store-app/nodejs/create-project/" service: "All Services" related: - Catalyst Projects (/en/getting-started/catalyst-projects/) -------------------------------------------------------------------------------- # Create a Project Let's [create a Catalyst project](https://docs.catalyst.zoho.com/en/getting-started/catalyst-projects/#create-a-catalyst-project) in the Catalyst console. 1. Log in to the [Catalyst console](https://console.catalyst.zoho.com/baas/index) and click **Create New Project**. ![catalyst_tutorials_jobscheduling_create_proj](https://catalyst-docs-development.zohostratus.in/images/tutorials/photo-store/catalyst_tutorials_jobscheduling_create_proj.webp) 2. Enter the project’s name as "**PhotoStoreApp**" in the pop-up window. ![catalyst_tutorials_photostore_name_proj](https://catalyst-docs-development.zohostratus.in/images/tutorials/photo-store/catalyst_tutorials_photostore_name_proj.webp) Your project will be created. You can open the project by clicking **Access Project**. ![catalyst_tutorials_photostore_access_proj](https://catalyst-docs-development.zohostratus.in/images/tutorials/photo-store/catalyst_tutorials_photostore_access_proj.webp) -------------------------------------------------------------------------------- title: "Create a Table" description: "Build a React gallery app to upload and share images in a Stratus bucket. Host the app on AppSail and deploy it from GitHub using Pipelines." last_updated: "2026-11-04T10:10:44.000Z" source: "https://docs.catalyst.zoho.com/en/tutorials/photo-store-app/nodejs/create-table/" service: "All Services" related: - Catalyst DataStore (/en/cloud-scale/help/data-store/introduction/) - Scopes and Permissions (/en/cloud-scale/help/data-store/scopes-and-permissions/) -------------------------------------------------------------------------------- # Create a Table Let's create a table in the [Data Store](https://docs.catalyst.zoho.com/en/cloud-scale/help/data-store/introduction/). This table is used to create the following columns to store the required details:
Column Name Data Type Purpose
`UserName` `Var Char` To store the details of the user accessing the application.
`BucketPath` `Var Char` To store the path of the required image (object).
`UserZuid` `Var Char` To store the unique user ID of the end user signed up to your application.
`IsUpdate` `Boolean` To store shared image access type as a Boolean: True for Edit, False for View.
`SharedBy` `Var Char` To store details of the registered user that had shared the image.
To create a table: 1. Navigate to the *Catalyst CloudScale* service section in the console and click **Start Exploring**. ![catalyst_tutorials_photostore_cs_first_explore](https://catalyst-docs-development.zohostratus.in/images/tutorials/photo-store/catalyst_tutorials_photostore_cs_first_explore.webp) 2. Navigate to the **Data Store** component present in the *Storage* section and click **Create a new Table**. ![catalyst_tutorials_photostore_datastore_create](https://catalyst-docs-development.zohostratus.in/images/tutorials/photo-store/catalyst_tutorials_photostore_datastore_create.webp) 3. Enter "**ImageShareDetails**" as the name of the table and click **Create**. ![catalyst_tutorials_photostore_name_create](https://catalyst-docs-development.zohostratus.in/images/tutorials/photo-store/catalyst_tutorials_photostore_name_create.webp) > **Note:** Ensure that you enter the name exactly as instructed because the application's code contains the same name. The table will be created. ![catalyst_tutorials_photostore_datastore_table_done](https://catalyst-docs-development.zohostratus.in/images/tutorials/photo-store/catalyst_tutorials_photostore_datastore_table_done.webp) Now, let’s create the four required columns. > **Info:** [Learn more about the various supported data types and properties of a column](https://docs.catalyst.zoho.com/en/cloud-scale/help/data-store/introduction/). 4. Click **New Column** in the *Schema View* section. ![catalyst_tutorials_photostore_datastore_table_new_clm_highlit](https://catalyst-docs-development.zohostratus.in/images/tutorials/photo-store/catalyst_tutorials_photostore_datastore_table_new_clm_highlit.webp) 5. Enter the column's name as "`UserName`". Select **Var Char** as its datatype, enter **Max Length** as `100`, and click **Create**. ![catalyst_tutorials_photostore_datastore_table_clm_1_create](https://catalyst-docs-development.zohostratus.in/images/tutorials/photo-store/catalyst_tutorials_photostore_datastore_table_clm_1_create.webp) The column will be created. ![catalyst_tutorials_photostore_datastore_table_clm_created](https://catalyst-docs-development.zohostratus.in/images/tutorials/photo-store/catalyst_tutorials_photostore_datastore_table_clm_created.webp) 6. Click the **New Column** button again to create the second column. Name the column as "`BucketPath`". Select **Var Char** as the data type and enter `255` as the **Max Length**. Click **Create**. ![catalyst_tutorials_photostore_datastore_table_new_clm_2_create](https://catalyst-docs-development.zohostratus.in/images/tutorials/photo-store/catalyst_tutorials_photostore_datastore_table_new_clm_2_create.webp) 7. Click the **New Column** button again to create the third column. Name the column "`UserZuid`". Select **Var Char** as the data type and enter `50` as the **Max Length**. Click **Create**. ![catalyst_tutorials_photostore_datastore_table_new_clm_3_create](https://catalyst-docs-development.zohostratus.in/images/tutorials/photo-store/catalyst_tutorials_photostore_datastore_table_new_clm_3_create.webp) 8. Click the **New Column** button again to create the fourth column. Name the column "`SharedBy`". Select **Var Char** as the data type and enter `100` as the **Max Length**. Click **Create**. ![catalyst_tutorials_photostore_datastore_table_new_clm_4_create](https://catalyst-docs-development.zohostratus.in/images/tutorials/photo-store/catalyst_tutorials_photostore_datastore_table_new_clm_4_create.webp) All the required columns have been created. ![catalyst_tutorials_photostore_datastore_table_all_clm_created](https://catalyst-docs-development.zohostratus.in/images/tutorials/photo-store/catalyst_tutorials_photostore_datastore_table_all_clm_created.webp) ### Configure Scopes and Permissions To allow your end users to provide the required data to populate the created columns, you need to enable the required permissions for the *App User* profile. To enable the required permissions: 1. Click the **Scopes & Permissions** tab. ![catalyst_tutorials_photostore_datastore_table_user_role](https://catalyst-docs-development.zohostratus.in/images/tutorials/photo-store/catalyst_tutorials_photostore_datastore_table_user_role.webp) 2. Select the **Update**, **Insert**, and **Delete** permissions for the *App User* by clicking the respective check boxes. Ensure that you do not change any other permission setting. ![catalyst_tutorials_photostore_datastore_table_user_role_all_permissions](https://catalyst-docs-development.zohostratus.in/images/tutorials/photo-store/catalyst_tutorials_photostore_datastore_table_user_role_all_permissions.webp) The Data Store component is now configured for the application. -------------------------------------------------------------------------------- title: "Enable Authentication" description: "Build a React gallery app to upload and share images in a Stratus bucket. Host the app on AppSail and deploy it from GitHub using Pipelines." last_updated: "2026-11-04T10:10:44.000Z" source: "https://docs.catalyst.zoho.com/en/tutorials/photo-store-app/nodejs/enable-auth/" service: "All Services" related: - Catalyst Authentication (/en/cloud-scale/help/authentication/introduction/) - Hosted Authentication (/en/cloud-scale/help/authentication/native-catalyst-authentication/hosted-authentication-type/introduction/) -------------------------------------------------------------------------------- # Enable Authentication For this tutorial, you will be enabling the **Hosted Authentication** type. This native authentication type will provide us with dedicated pages for each login element. To enable the Hosted Authentication type for your application: 1. Navigate to the **Authentication** component under *Security and Identity* and click **Set Up** in the [Native Catalyst Authentication](https://docs.catalyst.zoho.com/en/cloud-scale/help/authentication/native-catalyst-authentication/introduction/) option. ![catalyst_tutorials_photostore_authentication_first_look](https://catalyst-docs-development.zohostratus.in/images/tutorials/photo-store/catalyst_tutorials_photostore_authentication_first_look.webp) 2. Select **Hosted Authentication** and click **Next**. ![catalyst_tutorials_photostore_hosted_auth_type_sel](https://catalyst-docs-development.zohostratus.in/images/tutorials/photo-store/catalyst_tutorials_photostore_hosted_auth_type_sel.webp) > **Info:** * [Learn more about Hosted Authentication type](https://docs.catalyst.zoho.com/en/cloud-scale/help/authentication/native-catalyst-authentication/hosted-authentication-type/introduction/). * [Learn more about Embedded Authentication type](https://docs.catalyst.zoho.com/en/cloud-scale/help/authentication/native-catalyst-authentication/embedded-authentication/introduction/). * [Learn more about Third-party Authentication type](https://docs.catalyst.zoho.com/en/cloud-scale/help/authentication/third-party-authentication/introduction/). 3. Provide a name for your brand, and upload your logo as an image. You can use the color palettes in the console to style your login element. Use the *Preview* section on the right and design the login element to match your preference. ![catalyst_tutorials_photostore_hosted_auth_setip_inprog](https://catalyst-docs-development.zohostratus.in/images/tutorials/photo-store/catalyst_tutorials_photostore_hosted_auth_setip_inprog.webp) > **Note:** You can use the *Preview* section to simultaneously view the style of your **Sign In**, **Sign Up**, **Password Reset**, and **Confirm Password** login elements. However, to view the **Sign Up** page, you need to enable **Public Signup**. The steps involved in enabling **Public Signup** are detailed below. 4. Click the toggle button to enable *Public Signup*. ![catalyst_tutorials_photostore_hosted_auth_public_toggle](https://catalyst-docs-development.zohostratus.in/images/tutorials/photo-store/catalyst_tutorials_photostore_hosted_auth_public_toggle.webp) Read the information pop-up and click **Yes, Proceed**. ![catalyst_tutorials_photostore_toggle_confirm](https://catalyst-docs-development.zohostratus.in/images/tutorials/photo-store/catalyst_tutorials_photostore_toggle_confirm.webp) > **Info:** [Learn more about Public Signup](https://docs.catalyst.zoho.com/en/cloud-scale/help/authentication/public-signup/). 5. You can enable any of the **Social Logins** according to your preferences. ![catalyst_tutorials_photostore_hosted_auth_social_login](https://catalyst-docs-development.zohostratus.in/images/tutorials/photo-store/catalyst_tutorials_photostore_hosted_auth_social_login.webp) > **Info:** [Learn the steps to generate `Client ID` and `Client Secret` credentials required to configure other Social Logins](https://docs.catalyst.zoho.com/en/cloud-scale/help/authentication/social-logins/configuring-social-logins/). 6. We will be skipping the **Additional Settings** section right now. We will revisit the **Authorized Domains** feature present in this section at a later step. Click **Finish**. ![catalyst_tutorials_photostore_addn_settings](https://catalyst-docs-development.zohostratus.in/images/tutorials/photo-store/catalyst_tutorials_photostore_addn_settings.webp) Hosted Authentication will be enabled for your application. You will be able to view the style and secure access URLs generated for each of your login elements in the *Authentication* Types section. ![catalyst_tutorials_photostore_auth_done](https://catalyst-docs-development.zohostratus.in/images/tutorials/photo-store/catalyst_tutorials_photostore_auth_done.webp) > **Info:** The rest of the sections are not required for the functionality of the application. However, you can learn about them through the following links: * [Learn more about Authentication Types](https://docs.catalyst.zoho.com/en/cloud-scale/help/authentication/authentication-types/). * [Learn more about User Management](https://docs.catalyst.zoho.com/en/cloud-scale/help/authentication/user-management/introduction/). * [Learn more about Whitelisting](https://docs.catalyst.zoho.com/en/cloud-scale/help/authentication/whitelisting/introduction/). * [Learn more about Email Templates](https://docs.catalyst.zoho.com/en/cloud-scale/help/authentication/email-templates/introduction/). -------------------------------------------------------------------------------- title: "Configure Stratus" description: "Build a React gallery app to upload and share images in a Stratus bucket. Host the app on AppSail and deploy it from GitHub using Pipelines." last_updated: "2026-11-04T10:10:44.000Z" source: "https://docs.catalyst.zoho.com/en/tutorials/photo-store-app/nodejs/configure-stratus/" service: "All Services" related: - Catalyst Stratus (/en/cloud-scale/help/stratus/introduction/) - Bucket URL (/en/cloud-scale/help/stratus/buckets/create-bucket/#bucket-url) - Object URL (/en/cloud-scale/help/stratus/objects/introduction/#object-url) - Ideal Practices to Name a Bucket (/en/cloud-scale/help/stratus/buckets/name-bucket/#ideal-practices-to-name-a-bucket) - Stratus Node.js SDK (/en/sdk/nodejs/v2/cloud-scale/stratus/overview/) - Stratus REST API (/en/api/code-reference/cloud-scale/stratus/get-all-buckets/#GetAllBuckets) -------------------------------------------------------------------------------- # Configure Stratus The **Stratus** component is going to act as our storage solution. We are going to store all the images that are going to be uploaded from your client in a [Bucket](https://docs.catalyst.zoho.com/en/cloud-scale/help/stratus/buckets/name-bucket/) in [Stratus](https://docs.catalyst.zoho.com/en/cloud-scale/help/stratus/introduction/). This will ensure the images are referred to and rendered in the client as seamlessly and quickly as possible without any loss in quality. To configure Stratus: 1. Navigate to the **Stratus** component present in the *Storage* section of the *CloudScale* console. ![catalyst_tutorials_photostore_stratus_start](https://catalyst-docs-development.zohostratus.in/images/tutorials/photo-store/catalyst_tutorials_photostore_stratus_start.webp) 2. Provide a unique name for your bucket, select **Public** as the permission template, and click **Create**. ![catalyst_tutorials_photostore_stratus_bucket_create](https://catalyst-docs-development.zohostratus.in/images/tutorials/photo-store/catalyst_tutorials_photostore_stratus_bucket_create.webp) > **Info:** [Learn more about the bucket naming protocols](https://docs.catalyst.zoho.com/en/cloud-scale/help/stratus/buckets/name-bucket/#ideal-practices-to-name-a-bucket). The bucket will be created, and Catalyst will have generated a secure [Bucket URL](https://docs.catalyst.zoho.com/en/cloud-scale/help/stratus/buckets/create-bucket/#bucket-url) to refer to the bucket when required. ![catalyst_tutorials_photostore_stratus_bucket_url_done](https://catalyst-docs-development.zohostratus.in/images/tutorials/photo-store/catalyst_tutorials_photostore_stratus_bucket_url_done.webp) 3. Next, we are going to edit the permission template to ensure you can upload, download, and edit the images uploaded to the bucket in Stratus. Navigate to the **Bucket Permissions** tab and click **Edit Permissions**. ![catalyst_tutorials_photostore_stratus_bucket_permissions_pre_edit](https://catalyst-docs-development.zohostratus.in/images/tutorials/photo-store/catalyst_tutorials_photostore_stratus_bucket_permissions_pre_edit.webp) > **Info:** [Learn more about the syntax to define permissions](https://docs.catalyst.zoho.com/en/cloud-scale/help/stratus/stratus-permissions/). **Make sure to go through this document and the examples illustrated within to ensure you employ the right permissions for the bucket correctly**. 4. Copy the JSON snippet below and replace it in place of the default permission defined in the console and click **Update**. **Bucket Permission.json** ```json { "rules": [ { "rule_id": "PublicBucket", "condition": { "user": { "auth_type": "public" } }, "allowed_actions": [ "PutObject", "DeleteObject", "GetObject" ], "paths": [ "YOUR_BUCKET_NAME::/photos/*" ], "effect": "allow" } ], "version": "v1" } ``` ![catalyst_tutorials_photostore_stratus_bucket_permissions_edit_permission](https://catalyst-docs-development.zohostratus.in/images/tutorials/photo-store/catalyst_tutorials_photostore_stratus_bucket_permissions_edit_permission.webp) > **Notes:** * Ensure you provide your bucket name in line `16`. * The `Photos` path will be automatically created when you upload an image through the client. The Stratus component has been configured for your application. -------------------------------------------------------------------------------- title: "Initialize the Project" description: "Build a React gallery app to upload and share images in a Stratus bucket. Host the app on AppSail and deploy it from GitHub using Pipelines." last_updated: "2026-11-04T10:10:44.000Z" source: "https://docs.catalyst.zoho.com/en/tutorials/photo-store-app/nodejs/init-app/" service: "All Services" related: - Catalyst Stratus (/en/cloud-scale/help/stratus/introduction/) - CLI Help Documentation (/en/cli/v1/cli-command-reference/) - Initialize Resources From CLI (/en/cli/v1/initialize-resources/introduction/) - Project Directory Structure (/en/cli/v1/project-directory-structure/introduction/) - Catalyst AppSail (/en/serverless/help/appsail/introduction/) - Add an AppSail Service (/en/cli/v1/add-appsail/) - Catalyst Multi-Orgnization Portal (/en/getting-started/catalyst-organizations/#access-the-multi-org-portal) - Catalyst Tools (/en/catalyst-extensions/vs-code-extension/introduction/) -------------------------------------------------------------------------------- # Initialize the Project You can now begin working on your Catalyst project from the CLI. The first step is to initialize the project in an empty directory. This will be the home directory of your project, and all of the project files will be saved in it. You can learn more about this from the [Project Directory Structure help page](https://docs.catalyst.zoho.com/en/cli/v1/project-directory-structure/introduction/). You can learn about initializing a project in detail from the [CLI help documentation](https://docs.catalyst.zoho.com/en/cli/v1/cli-command-reference/). For this application, we will only be initializing the project. We will not be initializing any function or client components. 1. Create a folder for the project on your local machine and navigate to it from the terminal. 2. Initialize a project by executing the following command from that directory: ```sh catalyst init ``` Navigate using the **arrow keys** and select your preferred portal and click **Enter**. If you have no other organizations associated with the account, then the default will be selected automatically. ![catalyst_tutorials_photostore_cli_project_init](https://catalyst-docs-development.zohostratus.in/images/tutorials/photo-store/catalyst_tutorials_photostore_cli_project_init.webp) > **Info:** [Learn more about Catalyst’s multi-org portal feature](https://docs.catalyst.zoho.com/en/getting-started/catalyst-organizations/#access-the-multi-org-portal) . 3. The CLI will now ask you to associate a Catalyst project with the directory. Associate it with the project that we created earlier from the console. Select **PhotoStoreApp** from the list and click **Enter**. ![catalyst_tutorials_photostore_cli_proj_sel](https://catalyst-docs-development.zohostratus.in/images/tutorials/photo-store/catalyst_tutorials_photostore_cli_proj_sel.webp) 4. Press **Enter** without making any selection. ![catalyst_tutorials_photostore_cli_compont_sel](https://catalyst-docs-development.zohostratus.in/images/tutorials/photo-store/catalyst_tutorials_photostore_cli_compont_sel.webp) The project will be initialized, and a [`catalyst.json`](https://docs.catalyst.zoho.com/en/cli/v1/project-directory-structure/catalyst-json/) file will be created. ![catalyst_tutorials_photostore_cli_init_cmpltd](https://catalyst-docs-development.zohostratus.in/images/tutorials/photo-store/catalyst_tutorials_photostore_cli_init_cmpltd.webp) 5. Initialize an AppSail service in your project directory by executing the following CLI command: ```sh catalyst appsail:add ``` > **Note:** In this tutorial, we are using the `add` command to initialize the AppSail service to showcase alternative [Catalyst CLI commands](https://docs.catalyst.zoho.com/en/cli/v1/cli-command-reference/#commands) to initialize the AppSail service. 6. The CLI will prompt you to choose between [Catalyst-Managed Runtime](https://docs.catalyst.zoho.com/en/serverless/help/appsail/catalyst-managed-runtimes/key-concepts/) and [Docker Image](https://docs.catalyst.zoho.com/en/serverless/help/appsail/custom-runtimes/container-registry-services/). Because you are creating this project from one of the Catalyst-Managed Runtime, select **Catalyst-Managed Runtime** and click **Enter**. ![catalyst_alien_city_cli_appsail_setup_start](https://catalyst-docs-development.zohostratus.in/images/tutorials/alien-city-appsail-express/aliencity-appsail-selection.webp) 7. Enter "`photo-store-app`" as the name of the AppSail service. ![catalyst_tutorials_photostore_cli_appsail_init](https://catalyst-docs-development.zohostratus.in/images/tutorials/photo-store/catalyst_tutorials_photostore_cli_appsail_init.webp) 8. Enter "`.`" as the build path and select the latest runtime of *Node.js* as the function stack for your AppSail service. ![catalyst_tutorials_photostore_cli_appsail_func_stack](https://catalyst-docs-development.zohostratus.in/images/tutorials/photo-store/catalyst_tutorials_photostore_cli_appsail_func_stack.webp) The AppSail service will be initialized for your project. ![catalyst_tutorials_photostore_cli_appsail_completed](https://catalyst-docs-development.zohostratus.in/images/tutorials/photo-store/catalyst_tutorials_photostore_cli_appsail_completed.webp) 9. To initialize the client as a React web app, execute the following command: ```sh npx create-react-app photo-store-app ``` ![catalyst_tutorials_photostore_cli_react_app_start](https://catalyst-docs-development.zohostratus.in/images/tutorials/photo-store/catalyst_tutorials_photostore_cli_react_app_start.webp) The client will be initialized as a React web app. ![catalyst_tutorials_photostore_cli_react_app_completed](https://catalyst-docs-development.zohostratus.in/images/tutorials/photo-store/catalyst_tutorials_photostore_cli_react_app_completed.webp) The client and backend of the application have been initialized and are ready to be configured according to our requirements. 10. Run the following command in the `PhotostoreApp/photo-store-app` directory. ![catalyst_tutorials_photostore_stratus_npm_start_appsail_set_up](https://catalyst-docs-development.zohostratus.in/images/tutorials/photo-store/catalyst_tutorials_photostore_stratus_npm_start_appsail_set_up.webp) This is to ensure the project is getting served in localhost without any errors. ![catalyst_tutorials_photostore_app_init_compiled_success](https://catalyst-docs-development.zohostratus.in/images/tutorials/photo-store/catalyst_tutorials_photostore_app_init_compiled_success.webp) Your current project directory should appear as follows: ![catalyst_tutorials_photostore_stratus_first_dir_struct_1](https://catalyst-docs-development.zohostratus.in/images/tutorials/photo-store/catalyst_tutorials_photostore_stratus_first_dir_struct_1.webp) The AppSail service has been initialized for your application. -------------------------------------------------------------------------------- title: "Configure AppSail Service" description: "Build a React gallery app to upload and share images in a Stratus bucket. Host the app on AppSail and deploy it from GitHub using Pipelines." last_updated: "2026-11-04T10:10:44.000Z" source: "https://docs.catalyst.zoho.com/en/tutorials/photo-store-app/nodejs/config-appsail/" service: "All Services" related: - Catalyst Stratus (/en/cloud-scale/help/stratus/introduction/) - Catalyst AppSail (/en/serverless/help/appsail/introduction/) - Catalyst Pipelines (/en/pipelines/help/pipelines/introduction/) - Serve Resources (/en/cli/v1/serve-resources/introduction/) - Deploy Resources (/en/cli/v1/deploy-resources/introduction/) -------------------------------------------------------------------------------- # Configure AppSail Service Before we deploy your [AppSail](https://docs.catalyst.zoho.com/en/serverless/help/appsail/introduction/) service to the console, you need to add the following files and code to your project directory: - Create a folder named `server` in your project root directory, and create the following files in them: - `index.js`: This file will act as the proxy server to server your compiled react files. - Create a folder named `scripts`, and add the following files to it: - `filesHelper.js`: This file will be used to copy the files from the `server` and `photo-store-app` directories to the AppSail build path. - Create a folder named `build` in your project's root directory. This folder will contain the compiled react files of your client. You need to point this folder as your build path to start your application. Create the following folders in the build directory. - `server` - `photo-store-app` The application's directory should now appear in the following manner: ![catalyst_tutorials_photostore_stratus_second_dir_struct](https://catalyst-docs-development.zohostratus.in/images/tutorials/photo-store/catalyst_tutorials_photostore_stratus_second_dir_struct.webp) Next navigate to the `PhotoStoreApp/server/` directory and perform the following steps: 1. Run the following CLI command from your terminal: ```sh npm init ``` ![catalyst_tutorials_photostore_stratus_npm_start_appsail_npm_init](https://catalyst-docs-development.zohostratus.in/images/tutorials/photo-store/catalyst_tutorials_photostore_stratus_npm_start_appsail_npm_init.webp) 2. Run the following command to install the *Express* package to handle HTTP requests and responses. ```sh npm install express --save ``` ![catalyst_tutorials_photostore_stratus_express_install](https://catalyst-docs-development.zohostratus.in/images/tutorials/photo-store/catalyst_tutorials_photostore_stratus_express_install.webp) This will also create a `node_modules` folder in the `PhotoStoreApp/server` directory. 3. Add the following code to your `index.js` file present in the `PhotoStoreApp/server/` directory. **index.js** ```js 'use strict'; const express = require('express'); const path = require('path'); const app = express(); const appDir = path.join(__dirname, '../photo-store-app'); const port = process.env.X_ZOHO_CATALYST_LISTEN_PORT || 9000; app.get('/', function (req, res) { res.sendFile(path.join(appDir)); }); app.use(express.static(appDir)); app.listen(port, () => { console.log(`Example app listening on port ${port}`); }); ``` ![catalyst_tutorials_photostore_stratus_express_install](https://catalyst-docs-development.zohostratus.in/images/tutorials/photo-store/catalyst_tutorials_photostore_stratus_express_install.webp) > **Note:** You need to use the environment variable '`X_ZOHO_CATALYST_LISTEN_PORT`' to listen to the port configured by Catalyst. 4. Next, navigate to the `scripts` folder present in the `PhotoStoreApp/scripts` directory and execute the following command: ```sh npm init ``` Ensure you enter the defaults, and this command will create a `package.json` file. ![catalyst_tutorials_photostore_stratus_npm_start_appsail_scripts_npminit](https://catalyst-docs-development.zohostratus.in/images/tutorials/photo-store/catalyst_tutorials_photostore_stratus_npm_start_appsail_scripts_npminit.webp) 5. Execute the following command in your `scripts` folder to install the required packages: ```sh npm install path util fs ``` ![catalyst_tutorials_photostore_stratus_npm_start_appsail_scripts_npm_packs](https://catalyst-docs-development.zohostratus.in/images/tutorials/photo-store/catalyst_tutorials_photostore_stratus_npm_start_appsail_scripts_npm_packs.webp) This command will install the following packages: - `path`: This package will be used to handle file and directory paths. - `util`: This package is required to use utilities like `promisify`, `inherits`, and so on. - `fs`: This package is required to implement file system operations. 6. Copy the following code and paste it in the `filesHelper.js` file present in the `PhotoStoreApp/scripts` directory. **filesHelper.js** ```js const Path = require('path'); const { promisify } = require('util'); const Fs = require('fs'); const readdir = promisify(Fs.readdir); const stat = promisify(Fs.stat); const copyFile = promisify(Fs.copyFile); const mkdir = promisify(Fs.mkdir); const unlink = promisify(Fs.unlink); const rmdir = promisify(Fs.rmdir); if (process.argv.length < 4) { console.error('Usage: node copyAndDelete.js [-c|-d] <sourcePath> <destinationPath>'); process.exit(1); } const operation = process.argv[2]; if (operation !== '-c' && operation !== '-d') { console.error('Invalid operation. Use -c for copy or -d for delete.'); process.exit(1); } if (operation === '-c') { const sourcePath = Path.resolve(process.argv[3]); const destinationPath = Path.resolve(process.argv[4]); copyFolders(sourcePath, destinationPath) .then(() => { console.log('Copy completed successfully.'); }) .catch((err) => { console.error(`Error: ${err}`); }); } else if (operation === '-d') { const sourcePath = Path.resolve(process.argv[3]); deleteFolder(sourcePath) .then(() => { console.log('Delete completed successfully.'); }) .catch((err) => { console.error(`Error: ${err}`); }); } async function copyFolders(source, destination) { try { await mkdir(destination, { recursive: true }); const files = await readdir(source); for (const file of files) { const sourceFilePath = Path.join(source, file); const destFilePath = Path.join(destination, file); const fileStat = await stat(sourceFilePath); if (fileStat.isDirectory()) { await copyFolders(sourceFilePath, destFilePath); } else { await copyFile(sourceFilePath, destFilePath); } } } catch (err) { throw err; } } async function deleteFolder(destinationPath) { try { const files = await readdir(destinationPath); for (const file of files) { const filePath = Path.join(destinationPath, file); const fileStat = await stat(filePath); if (fileStat.isDirectory()) { await deleteFolder(filePath); } else { await unlink(filePath); } } await rmdir(destinationPath); } catch (err) { throw err; } } ``` Now, navigate to the `app-config.json` file present in the project directory `PhotoStoreApp/app-config.json` and paste the following code. **app-config.json** ```json { "command": "node ./server/index.js", "build_path": "./build", "stack": "node24", "env_variables": {}, "memory": 256, "scripts": { "preserve": "cd photo-store-app && npm run build && cd .. && cd server && npm install && cd .. && cd scripts && npm install && cd .. && node ./scripts/filesHelper.js -c ./server/ ./build/server/ && node ./scripts/filesHelper.js -c ./photo-store-app/build/ ./build/photo-store-app/", "postserve": "node ./scripts/filesHelper.js -d ./build/server && node ./scripts/filesHelper.js -d ./build/photo-store-app", "predeploy": "cd photo-store-app && npm run build && cd .. && node ./scripts/filesHelper.js -c ./server/ ./build/server/ && node ./scripts/filesHelper.js -c ./photo-store-app/build/ ./build/photo-store-app/", "postdeploy": "node ./scripts/filesHelper.js -d ./build/server && node ./scripts/filesHelper.js -d ./build/photo-store-app" }, "raw": {}, "catalyst_auth": true, "login_redirect": "/index.html" } ``` > **Note**: You need to include the the following key value pairs in the `app-config.json` file: * `catalyst_auth` key's value needs to be set as true, to enable [Catalyst Authentication](https://docs.catalyst.zoho.com/en/cloud-scale/help/authentication/introduction/) for the AppSail service. * You need to set the value of `login_redirect` key as `index.html` to ensure proper redirection after authentication process. ### Test and Deploy the AppSail Service Next, navigate to your project's root directory. To check if all the steps completed thus far are error free, we are going to serve the application from the CLI using the following Catalyst CLI command: ```sh catalyst serve ``` ![catalyst_tutorials_photostore_stratus_pipelines_serve_cli_1](https://catalyst-docs-development.zohostratus.in/images/tutorials/photo-store/catalyst_tutorials_photostore_stratus_pipelines_serve_cli_1.webp) This command will serve the application on your localhost. The local endpoint URLs of the components are displayed. ![catalyst_tutorials_photostore_stratus_catalyst_serve_init_2](https://catalyst-docs-development.zohostratus.in/images/tutorials/photo-store/catalyst_tutorials_photostore_stratus_catalyst_serve_init_2.webp) If the application is error free, the AppSail service will be successfully compiled and served typically on `localhost:3001`. > **Info:** Every time you access the home page or any of the sub-pages of your client or the function, the CLI will display a live log of the URL accessed, along with the HTTP request method. Once you ensure the application is running error free, you can [deploy the application](https://docs.catalyst.zoho.com/en/cli/v1/deploy-resources/introduction/) to the Catalyst console using the following Catalyst CLI command: ```sh catalyst deploy ``` ![catalyst_tutorials_photostore_stratus_catalyst_deploy](https://catalyst-docs-development.zohostratus.in/images/tutorials/photo-store/catalyst_tutorials_photostore_stratus_catalyst_deploy.webp) The application will now be deployed to the Catalyst console. You can access the AppSail service in the console by navigating to the **AppSail** component present in the *Catalyst Serverless* section. ![catalyst_tutorials_photostore_stratus_pipelines_icons](https://catalyst-docs-development.zohostratus.in/images/tutorials/photo-store/app-sail-navigation-photostore-app.webp) You can find more details about the *AppSail* service by clicking on the required service. ![catalyst_tutorials_photostore_stratus_catalyst_appsail_service_url_first_dep](https://catalyst-docs-development.zohostratus.in/images/tutorials/photo-store/catalyst_tutorials_photostore_stratus_catalyst_appsail_service_url_first_dep.webp) The AppSail service has been configured for your application. ### Enable Bucket CORS Once the AppSail service is deployed to the Catalyst console, we will have the application URL. Given that the domains for the bucket and the AppService are different, we need to enable Cross-Origin Resource Sharing (CORS) policy to authenticate and allow seamless interaction between the AppSail service and the Bucket. > **Info:** [Learn more about Bucket CORS](https://docs.catalyst.zoho.com/en/cloud-scale/help/stratus/stratus-config/bucket-cors/) To enable Bucket CORS: 1. Navigate to your Bucket present in Stratus. ![catalyst_tutorials-photostore-app-stratus-cors-start](https://catalyst-docs-development.zohostratus.in/images/tutorials/photo-store/catalyst_tutorials-photostore-app-stratus-cors-start.webp) 2. Navigate to the **Bucket CORS** section present in the **Configurations** tab, and click **Add Domain**. ![catalyst_tutorials-photostore-app-stratus-cors-config-domain](https://catalyst-docs-development.zohostratus.in/images/tutorials/photo-store/catalyst_tutorials-photostore-app-stratus-cors-config-domain.webp) 3. Select all **Request Methods** provided in the drop-down and paste the AppSail service's URL generated in the previous step. ![catalyst_tutorials-photostore-app-stratus-cors-domain-adding](https://catalyst-docs-development.zohostratus.in/images/tutorials/photo-store/catalyst_tutorials-photostore-app-stratus-cors-domain-adding.webp) 4. Click **Add**, and CORS will be enabled for the AppSail service, ensuring secure access. ![catalyst_tutorials-photostore-app-stratus-cors-domain-added](https://catalyst-docs-development.zohostratus.in/images/tutorials/photo-store/catalyst_tutorials-photostore-app-stratus-cors-domain-added.webp) ### Setup GitHub With the application deployed to the Catalyst console, you need to ensure that you have pushed the application files to your GitHub account. ![catalyst_tutorials_photostore_stratus_github_first_deploy](https://catalyst-docs-development.zohostratus.in/images/tutorials/photo-store/catalyst_tutorials_photostore_stratus_github_first_deploy.webp) > **Note:** Going ahead, we are going to implement the [Pipelines](https://docs.catalyst.zoho.com/en/pipelines/help/pipelines/introduction/) service to deploy the application and sync the GitHub project with the Catalyst console. -------------------------------------------------------------------------------- title: "Configure the Backend of your Application" description: "Build a React gallery app to upload and share images in a Stratus bucket. Host the app on AppSail and deploy it from GitHub using Pipelines." last_updated: "2026-11-04T10:10:44.000Z" source: "https://docs.catalyst.zoho.com/en/tutorials/photo-store-app/nodejs/config-backend/" service: "All Services" related: - Catalyst Stratus (/en/cloud-scale/help/stratus/introduction/) - Catalyst AppSail (/en/serverless/help/appsail/introduction/) - Stratus Node.js SDK (/en/sdk/nodejs/v2/cloud-scale/stratus/overview/) - Stratus REST API (/en/api/code-reference/cloud-scale/stratus/get-all-buckets/#GetAllBuckets) -------------------------------------------------------------------------------- # Configure the Backend of your Application In this step, you are going to configure the backend logic required for the application. Before you start adding code, you need to install the following packages to ensure all required dependencies are satisfied. Navigate to the server folder present in the `PhotoStoreApp/server` directory and install the following packages using the command shown below: - **Express**: The [`express`](https://www.npmjs.com/package/express) package is required to handle HTTP requests. - **Sharp**: The [`sharp`](https://www.npmjs.com/package/sharp) package is required to display the uploaded images as in varying sizes including thumbnails in the application. - **Multer**: The [`multer`](https://www.npmjs.com/package/multer) package is required to handle file uploads in Express applications. - [**Catalyst SDK**](https://docs.catalyst.zoho.com/en/sdk/nodejs/v2/overview/): To use the required SDK methods in the AppSail service. ```sh npm install express path zcatalyst-sdk-node@3.0.0-beta.3 multer sharp ``` ![catalyst_tutorials_photostore_stratus_install_backend_pack](https://catalyst-docs-development.zohostratus.in/images/tutorials/photo-store/catalyst_tutorials_photostore_stratus_install_backend_pack.webp) You will now add code to the following files, in order to implement the required backend logic. We will be adding to code to the following files present in the server folder in the `PhotoStoreApp/server/` directory: - `index.js`: This file will contain the required APIs to implement various application functionalities, such as, converting the images to thumbnails, getting all the images, and getting all the shared images. - `helperfunction.js`: This files contains the required helper functions to complete the processes detailed in the `index.js` file. The following table illustrates the backend logic of this application.
Application Functionality APIs Present in the `index.js` Functions present in the `helperfunction.js`
To resize and upload images as thumbnails `/convertToThumbnailAndUpload` `uploadToStratus()`
Get required images from the bucket `/fetchAllImages` `listMyObjects()`
Get shared images alone `/getSharedImages` `listSharedObjects()` `listMyObjects()`
Copy the code below and paste it into the respective files of your project using an IDE and save the files. > **Note:** Go through the code in this section to make sure you fully understand it. **index.js** ```js 'use strict'; const express = require('express'); const path = require('path'); let catalyst = require('zcatalyst-sdk-node'); const multer = require("multer"); const helperFunctions = require('./helper-functions'); const app = express(); const appDir = path.join(__dirname, '../photo-store-app'); const port = process.env.X_ZOHO_CATALYST_LISTEN_PORT || 9000; app.use(express.json()); app.use(express.static(appDir)); const upload = multer({ dest: "uploads/" }); app.get('/', function (req, res) { res.sendFile(path.join(appDir, 'index.html')); }); app.post("/convertToThumbnailAndUpload", upload.single("image"), async (req, res) => { try { const obj = catalyst.initialize(req, { scope: 'admin' }); const stratus = obj.stratus(); const bucket = stratus.bucket("YOUR_BUCKET_NAME"); const thumbnailName = req.file.originalname.substring(0, req.file.originalname.lastIndexOf(".")); const inputPath = req.file.path; const zuid = req.body.id; console.log("ID: " + zuid); const thumbnailPath = `photos/thumbnails/${zuid}/`; let result; await helperFunctions.uploadToStratus(bucket, inputPath, thumbnailPath, thumbnailName) .then(resp => { console.log("Success"); result = resp; res.json({ message: "Thumbnail created and uploaded successfully" }); }) .catch(error => { console.error("Error: " + JSON.stringify(error.message)); res.status(500).json({ message: "Error Occurred" }); return; }); } catch (error) { console.log("Error in convertToThumbnailAndUpload API: " + error.message); } }); app.get("/fetchAllImages", async (req, res) => { try { const obj = catalyst.initialize(req); const zuid = req.query.id; console.log("ID: " + zuid); const objPath = "photos/" + zuid; const stratus = obj.stratus(); const bucket = stratus.bucket("YOUR_BUCKET_NAME"); let resp = await helperFunctions.listMyObjects(bucket, objPath); res.json(resp); } catch (error) { console.error("Error at fetchAllImages API... ", error.message); res.status(500).send({ error: "An error occurred while fetching images." }); } }); app.get('/getAllUsers', async (req, res) => { try { const app = catalyst.initialize(req, { scope: "user" }); const appAdmin = catalyst.initialize(req, { scope: "admin" }); const userManagementAdmin = appAdmin.userManagement(); const userManagements = app.userManagement(); let allUserPromise = userManagementAdmin.getAllUsers(); let currentUserPromise = userManagements.getCurrentUser(); let details; let currentUser; await allUserPromise.then(allUserDetails => { details = allUserDetails; }).catch(err => { console.log("Error: " + err.message); }); await currentUserPromise.then(details => { currentUser = details.email_id; }).catch(err => { console.log("Error: " + err.message); }); const userDetails = details.map(id => ({ zuid: id.zuid, mailId: id.email_id, name: id.first_name })); const otherUsers = userDetails.filter(user => user.mailId !== currentUser); res.send(otherUsers); } catch (error) { console.error("Error in getAllUsers API: " + JSON.stringify(error.message)); res.status(500).send({ error: "An error occurred while fetching details." }); } }); app.post('/shareDetails', async (req, res) => { try { const app = catalyst.initialize(req); let zcql = app.zcql(); let query = `SELECT COUNT(ImageShareDetails.BucketPath) FROM ImageShareDetails WHERE BucketPath = '${req.body.imagePath}' AND UserZuid = '${req.body.zuid}'`; let result = await zcql.executeZCQLQuery(query); let isPresent = result[0].ImageShareDetails["COUNT(BucketPath)"]; if (isPresent == 0) { let rowData = { UserName: req.body.userName, BucketPath: req.body.imagePath, UserZuid: req.body.zuid, IsUpdate: req.body.isUpdate, SharedBy: req.body.sharedBy }; let datastore = app.datastore(); let table = datastore.table('ImageShareDetails'); let insertPromise = table.insertRow(rowData); insertPromise.then((row) => { console.log("Inserted Row: " + row); }).catch((err) => { console.error("Error: " + err.message); }); res.json({ message: "Access Provided" }); } else { res.json({ message: "Image Already Shared" }); } } catch (error) { console.error("Error in shareDetails API: " + error.message); res.status(500).send({ message: "Error Occurred" }); } }); app.get('/getSharedImages', async (req, res) => { try { const obj = catalyst.initialize(req); const zuid = req.query.id; const objPath = "photos/" + zuid; const stratus = obj.stratus(); const bucket = stratus.bucket("YOUR_BUCKET_NAME"); const zcql = obj.zcql(); let resp = await helperFunctions.listSharedObjects(bucket, objPath, zcql, zuid); res.json(resp); } catch (error) { console.error("Error in getSharedImages API: " + error.message); res.status(500).json({ message: "Error Occurred" }); } }); app.get('/getSharedDetails', async (req, res) => { try { const obj = catalyst.initialize(req); const zuid = req.query.id; let zcql = obj.zcql(); let query = `SELECT * FROM ImageShareDetails WHERE SharedBy = '${zuid}'`; let data = await zcql.executeZCQLQuery(query); const result = data.map(item => ({ UserName: item.ImageShareDetails.UserName, IsUpdate: item.ImageShareDetails.IsUpdate, BucketPath: item.ImageShareDetails.BucketPath, UserId: item.ImageShareDetails.UserZuid })); res.send(result); } catch (error) { console.error("Error in getSharedDetails API: " + error.message); res.status(500).json({ message: "Error Occurred" }); } }); app.patch('/updateSharedDetails', async (req, res) => { try { const obj = catalyst.initialize(req); const isRevoke = req.body.RevokeAccess; const zuid = req.body.UserId; const isUpdate = req.body.IsUpdate; const bucketPath = req.body.BucketPath; let zcql = obj.zcql(); let query; if (isRevoke == "yes") { query = `DELETE FROM ImageShareDetails WHERE UserZuid = '${zuid}' AND BucketPath = '${bucketPath}'`; } else { query = `UPDATE ImageShareDetails SET IsUpdate = ${isUpdate} WHERE UserZuid = '${zuid}' AND BucketPath = '${bucketPath}'`; } let data = await zcql.executeZCQLQuery(query); res.json({ message: "Updated Successfully" }); } catch (error) { console.error("Error in updateSharedDetails API: " + error); res.status(500).json({ message: "Error Occurred" }); } }); app.listen(port, () => { console.log(`Example app listening on port ${port}`); }); ``` > **Note:** Ensure you provide your bucket name in the lines **20**, **49**, and **127**. **helper-function.js** ```js const sharp = require("sharp"); async function listMyObjects(bucket, prefix, isEdit = true) { try { const objects = await bucket.listPagedObjects({ prefix: prefix }); let result = []; for (let i = 0; i < objects.contents.length; i++) { const objDetails = JSON.parse(objects.contents[i]); const imgInfo = { key: objDetails.key, object_url: objDetails.object_url, isEditAccess: isEdit }; result.push(imgInfo); } return result; } catch (error) { console.error("Error at listMyObjects function: " + error); } } async function uploadToStratus(bucket, inputPath, thumbnailPath, thumbnailName) { try { const streamData = await sharp(inputPath) .resize({ width: 150, height: 150 }) .toFormat("jpeg", { quality: 70 }) .toBuffer(); const result = await bucket.putObject( thumbnailPath + thumbnailName + ".jpeg", streamData ); console.log("uploadToStratus method Completed"); return result; } catch (error) { console.error("Error Occurred..." + JSON.stringify(error)); throw { message: "Error in uploading", code: 500 }; } } async function listSharedObjects(bucket, prefix, zcql, zuid) { try { let query = `SELECT * FROM ImageShareDetails WHERE UserZuid = ${zuid}`; let result = await zcql.executeZCQLQuery(query); const queryData = result.map(item => ({ path: item.ImageShareDetails.BucketPath, isEdit: item.ImageShareDetails.IsUpdate })); let allSharedImages = []; for (const item of queryData) { const result = await listMyObjects(bucket, item.path, item.isEdit); allSharedImages.push(result); } return allSharedImages; } catch (error) { console.error("Error Occurred..." + error.message); } } module.exports = { listMyObjects, uploadToStratus, listSharedObjects }; ``` -------------------------------------------------------------------------------- title: "Configure the Frontend of Your Application" description: "Build a React gallery app to upload and share images in a Stratus bucket. Host the app on AppSail and deploy it from GitHub using Pipelines." last_updated: "2026-11-04T10:10:44.000Z" source: "https://docs.catalyst.zoho.com/en/tutorials/photo-store-app/nodejs/config-frontend/" service: "All Services" related: - Catalyst Stratus (/en/cloud-scale/help/stratus/introduction/) - Path Functionality (/en/cloud-scale/help/stratus/objects/introduction/#path) - Hosted Authentication (/en/cloud-scale/help/authentication/native-catalyst-authentication/hosted-authentication-type/introduction/) - Stratus Web SDK (/en/sdk/web/v4/cloud-scale/stratus/overview/) - Upload Web SDK (/en/sdk/web/v4/cloud-scale/stratus/upload-object/) - Download Web SDK (/en/sdk/web/v4/cloud-scale/stratus/download-object/) - Delete Web SDK (/en/sdk/web/v4/cloud-scale/stratus/delete-object/) - Stratus REST API (/en/api/code-reference/cloud-scale/stratus/get-all-buckets/#GetAllBuckets) - Client Directory Structure (/en/cli/v1/project-directory-structure/client-directory/) - Web Client Hosting (/en/cloud-scale/help/web-client-hosting/introduction/) -------------------------------------------------------------------------------- # Configure the Frontend of Your Application Next, we are going to configure the front-end of our application. ### Install and Configure the Tailwind CSS Framework Before you start adding code, you need to ensure the [Tailwind framework](https://tailwindcss.com/) will allow you to implement pre-built CSS classes that can scan the HTML files and JS components, and generate the required static CSS files. To install the required framework: 1. Navigate to the `PhotoStoreApp/photo-store-app/` directory and execute the following command to complete the installation of the required Tailwind CSS framework. ```sh npm install -D tailwindcss@3.4.17 ``` ![catalyst_tutorials_photostore_stratus_frontend_tailwind_inst_cmpltd](https://catalyst-docs-development.zohostratus.in/images/tutorials/photo-store/catalyst_tutorials_photostore_stratus_frontend_tailwind_inst_cmpltd.webp) 2. Execute the following command to create a `tailwind.config.js` file in your `PhotoStoreApp/photo-store-app/` directory. ```sh npx tailwindcss init ``` A `tailwind.config.js` file will be created. The project directory should now look like the image shown below: ![catalyst_tutorials_photostore_stratus_tailwind_front_end_dir](https://catalyst-docs-development.zohostratus.in/images/tutorials/photo-store/catalyst_tutorials_photostore_stratus_tailwind_front_end_dir.webp) 3. Copy the code given below and paste it in the `tailwind.config.js` file. **tailwind.config.js** ```js /** @type {import('tailwindcss').Config} */ module.exports = { content: [ "./src/**/*.{js,jsx,ts,tsx}" ], theme: { extend: {}, }, plugins: [], }; ``` The `tailwind.config.js` file has been configured for your application. ### Install Required Packages To ensure all front-end dependencies are met, you need to install the following packages: * `axios`: This package lets you handle HTTP requests. * `hamburger-react`: This package lets you create a hamburger menu icon. * `react-toastify`: This package lets you display toast notifications. * `react-router-dom`: This package lets you handle client-side routing. * `react-icons`: This package lets you handle popular icon libraries. Navigate to the `PhotoStoreApp/photo-store-app/` directory and execute the following command in your terminal to install the required packages. ```sh npm install axios hamburger-react react-toastify react-router-dom react-icons ``` ![catalyst_tutorials_photostore_stratus_install_react_packs](https://catalyst-docs-development.zohostratus.in/images/tutorials/photo-store/catalyst_tutorials_photostore_stratus_install_react_packs.webp) ### Code Your Frontend We are going to add code in the following files: - In the `PhotoStoreApp/photo-store-app/src/` directory: - `App.js`: This file will contain the logic to render login components, all upload related operations, and share functionalities. The code also contains logic for responsive navigation bar, toast messages, and hamburger menu. - Create the following folders, and their respective files: - `service` - `ImageService.js`: Contains helper functions which defines logic to handle the following functionalities: - `fetchImages()`: Fetches the required image. - `fetchSharedImages()`: Fetches the required shared image. - `handleDelete()`: Contains the logic to delete the required image from the application and the bucket. - `handleDownload()`: Contains the logic to download the required image from the bucket to the local system. - `handleShareAction()`: Contains the logic to invoke the `/shareDetails` API to share the required image with another registered user. - `handleUpdateSharedDetails()`: Contains the logic to make update share permissions and image details. - `ImageThumbnail.js`: Contains the logic to render the uploaded images in thumbnail, full-scale, or list view. - `pages` - `Home.js`: Contains the logic to render the grid/list view for images. Permits CRUD operations on the images, and supports pagination view to display all the images uploaded to the bucket. - `ImageGrid.js`: Contains the logic render the a grid of all the uploaded images with options to download, preview, share, and delete. - `ImageList.js`: Contains the logic to render a list view of all the uploaded images with options to download, preview, share, and delete. - `Login.js`: Contains the logic to direct end-users to the [Catalyst Authentication](https://docs.catalyst.zoho.com/en/cloud-scale/help/authentication/introduction/) login components. - `Logout.js`: Contains the logic to sign out end-users from the application. - `SharedDetails.js`: Contains the logic to display the images that are shared with other users in a paginated manner. It also defines the logic to revoke and update access permissions for an image when required. - `SharedImageGrid.js`: Contains the logic to display the images in a responsive grid with options to download the required image provided the required permissions are granted. - `SharedImageList.js`: Contains the same logic as `SharedImageGrid.js` except the images are displayed in list view with images rendered as thumbnails. - `SharedImages.js`: Contains the logic to display shared images either in a grid view or list view through pagination. The logic of this code file also allows registered and permitted end-users to perform CRUD operations on the shared images. - `Upload.js`: Contains the logic to upload an image. The logic in this code is defined to check if another image exists to prevent duplicates. While uploading the image call is made to the `/convertToThumbnailAndUpload` API to convert the image to a thumbnail, and complete the upload. - `index.js`: Will act as the entry point for the application. - `index.css`: Required to use tailwind for our application. - In the `PhotoStoreApp/photo-store-app/public/` directory: - `index.html`: This file is the main HTML template for the entire application. Once all the files have been created for your application, your project directory will look like this: ![catalyst_tutorials_photostore_stratus_final_dir](https://catalyst-docs-development.zohostratus.in/images/tutorials/photo-store/catalyst_tutorials_photostore_stratus_final_dir.webp) Let's begin adding code to your files. > **Note:** Please go through the code in this section to make sure you fully understand it. Copy the code below and paste it into the respective files of your project using an IDE and save the files. **App.js** ```js import { useEffect, useState } from "react"; import { Route, Routes, useNavigate } from "react-router-dom"; import Upload from "./pages/Upload"; import "./App.css"; import Login from "./pages/Login"; import Logout from "./pages/Logout"; import { ToastContainer } from "react-toastify"; import { Turn as Hamburger } from "hamburger-react"; import SharedDetails from "./pages/SharedDetails"; import Home from "./pages/Home"; import SharedImages from "./pages/SharedImages"; function HeaderClick() { const navigate = useNavigate(); return ( <h1 className="text-2xl font-bold px-4 cursor-pointer hover:text-gray-300 transition duration-300" onClick={() => navigate("/")}> Photo Store App </h1> ); } function App() { const [isUserAuthenticated, setIsUserAuthenticated] = useState(false); const [isFetching, setIsFetching] = useState(true); const [userId, setUserId] = useState(null); const [isOpen, setOpen] = useState(false); const navigate = useNavigate(); useEffect(() => { const authenticateUser = async () => { try { const result = await window.catalyst.auth.isUserAuthenticated(); setUserId(result.content.zuid); setIsUserAuthenticated(true); } catch (err) { console.log("UNAUTHENTICATED"); } finally { setIsFetching(false); } }; authenticateUser(); }, []); return ( <div className="bg-black text-white min-h-screen flex flex-col overflow-hidden"> <nav className="flex justify-between items-center px-6 py-4 shadow-lg relative"> <div className="flex items-center relative"> <Hamburger toggled={isOpen} toggle={setOpen} /> {isOpen && ( <div className="absolute left-0 top-full mt-2 bg-gray-800 text-white w-64 h-screen shadow-lg p-4 z-50 overflow-y-auto flex flex-col justify-between text-lg"> <ul className="flex flex-col space-y-4"> <li className="py-2 px-4 cursor-pointer hover:bg-blue-700" onClick={() => { setOpen(false); navigate("/upload"); }} > Upload Image </li> <li className="py-2 px-4 cursor-pointer hover:bg-blue-700" onClick={() => { setOpen(false); navigate("/"); }} > Your Gallery </li> <li className="py-2 px-4 cursor-pointer hover:bg-blue-700" onClick={() => { setOpen(false); navigate("/sharedImages"); }} > Shared Gallery </li> <li className="py-2 px-4 cursor-pointer hover:bg-blue-700" onClick={() => { setOpen(false); navigate("/sharedDetails"); }} > Manage Shared Details </li> </ul> <ul className="pb-16 mt-auto"> <li className="py-2 px-4 cursor-pointer hover:bg-red-700" onClick={() => { setOpen(false); navigate("/logout"); }} > LogOut </li> </ul> </div> )} <HeaderClick /> </div> <ul className="flex space-x-32"> <li> <button onClick={() => navigate("/upload")} className="bg-blue-800 text-white px-4 py-2 rounded-md hover:bg-blue-900 transition duration-300" > Upload </button> </li> </ul> </nav> <div className="flex-grow flex justify-center items-center overflow-hidden"> {isFetching ? ( <div className="w-10 h-10 border-4 border-gray-300 border-t-transparent rounded-full animate-spin"></div> ) : isUserAuthenticated ? ( <Routes> <Route path="/upload" element=<Upload userId={userId} /> /> <Route path="/sharedDetails" element=<SharedDetails userId={userId} /> /> <Route path="/logout" element=<Logout /> /> <Route path="/" element=<Home userId={userId} /> /> <Route path="/sharedImages" element=<SharedImages userId={userId} /> /> <Route path="*" element=<Home userId={userId} /> /> </Routes> ) : ( <Login /> )} </div> <ToastContainer /> </div> ); } export default App; ``` **ImageService.js** ```js import { toast } from 'react-toastify'; export const fetchImages = async (userId, setImageDetails, setLoading) => { try { const response = await fetch(`/fetchAllImages?id=${userId}`); if (!response.ok) { throw new Error("Failed to fetch data"); } const data = await response.json(); data.map((image) => { image.object_url = image.object_url + "?responseCacheControl=max-age=3600"; }); setTimeout(() => { setLoading(false); }, 1000); setImageDetails(data || []); } catch (err) { console.error(err); toast.error("Error Occurred", { theme: "colored", }); } }; export const fetchUsers = async (setUsers) => { try { const response = await fetch("/getAllUsers"); const data = await response.json(); setUsers(data); } catch (error) { console.error("Error fetching users:", error); toast.error("Error Occurred", { theme: "colored", }); } }; export const handleDelete = async (imageKey, setImageDetails, setOpenMenuIndex) => { try { const stratus = window.catalyst.stratus; const bucket = stratus.bucket("YOUR_BUCKET_NAME"); await bucket.deleteObject(imageKey); const pathParts = imageKey.split("/"); const fileName = pathParts.pop(); const folderName = pathParts.pop(); const newFileName = fileName.replace(/\.[^/.]+$/, ".jpeg"); const thumbnailPath = ["photos", "thumbnails", folderName, newFileName].join("/"); await bucket.deleteObject(thumbnailPath); let zcql = window.catalyst.ZCatalystQL; let query = `DELETE FROM ImageShareDetails WHERE BucketPath = '${imageKey}'`; console.log("QUERY: " + query); await zcql.executeQuery(query) .then((response) => { console.log("ZCQL Response: " + JSON.stringify(response.content)); }) .catch((err) => { console.log("ZCQL Error: " + err); }); setImageDetails(prev => prev.filter(image => image.key !== imageKey)); if (setOpenMenuIndex != null) { setOpenMenuIndex(null); } toast.success("Image Deleted Successfully", { theme: "colored", }); } catch (error) { console.error("Error deleting image:", error); toast.error("Error deleting the file. Please try again.", { theme: "colored", }); } }; export const handleDownload = async (imageKey, setOpenMenuIndex) => { try { const stratus = window.catalyst.stratus; const bucket = stratus.bucket("YOUR_BUCKET_NAME"); const getObject = await bucket.getObject(imageKey); const getObjectStart = getObject.start(); if (setOpenMenuIndex != null) { setOpenMenuIndex(null); } await getObjectStart.then((blob) => { const url = URL.createObjectURL(blob.content); const a = document.createElement("a"); a.href = url; a.download = imageKey; document.body.appendChild(a); a.click(); document.body.removeChild(a); URL.revokeObjectURL(url); }).catch((error) => { console.error("Error downloading file:", error); }); setTimeout(() => { toast.success("File Downloaded Successfully", { theme: "colored", }); }, 2000); } catch (error) { console.error("Error downloading image:", error); toast.error("Error in downloading the file", { theme: "colored", }); } }; export const handleShareAction = async (name, id, path, action, userId) => { try { const response = await fetch(`/shareDetails`, { method: "POST", headers: { "Content-Type": "application/json", }, body: JSON.stringify({ userName: name, imagePath: path, zuid: id, isUpdate: action, sharedBy: userId }), }); const data = await response.json(); if (data.message === "Access Provided") { toast.success("Image Shared Successfully", { theme: "colored", }); } else { toast.error(data.message, { theme: "colored", }); } console.log("API Response:", data); } catch (error) { console.error("Error calling API:", error); } }; export const fetchSharedImages = async (userId, setImageDetails, setLoading) => { try { const response = await fetch(`/getSharedImages?id=${userId}`); if (!response.ok) { throw new Error("Failed to fetch data"); } const data = await response.json(); const flattenedImages = data.flatMap(item => item || []); setTimeout(() => { setLoading(false); }, 1000); setImageDetails(flattenedImages || []); } catch (err) { console.error(err); toast.error("Error Occurred", { theme: "colored", }); } }; export const fetchSharedDetails = async (userId, setDetails, setLoading) => { try { const response = await fetch(`/getSharedDetails?id=${userId}`); const data = await response.json(); setDetails(data); setLoading(false); } catch (error) { console.error("Error fetching details:", error); setLoading(false); } }; export const handleUpdateSharedDetails = async (updatedItem, navigate) => { try { const response = await fetch("/updateSharedDetails", { method: "PATCH", headers: { "Content-Type": "application/json" }, body: JSON.stringify(updatedItem), }); await response.json(); toast.success("Details Updated Successfully", { theme: "colored" }); navigate(0); } catch (error) { console.error("Error updating details:", error); toast.error("Error updating details", { theme: "colored" }); } }; ``` > **Note:** Ensure you provide your bucket name in the lines **38**, and **73**. **ImageThumbnail.js** ```js import { useState, useEffect } from "react"; export default function ImageThumbnail({ imageUrl, listStyle }) { console.log("Image URL: " + imageUrl); const [thumbnail, setThumbnail] = useState(null); const bucketUrl = "YOUR_BUCKET_URL"; const pathParts = imageUrl.split("/"); const fileName = pathParts.pop(); const folderName = pathParts.pop(); const newFileName = fileName.replace(/\.[^/.]+$/, ".jpeg"); const newFilePath = ["photos", "thumbnails", folderName, newFileName].join("/"); console.log(newFilePath); const thumbnailUrl = bucketUrl + newFilePath; console.log("ThumbNail URL: " + thumbnailUrl); useEffect(() => { setThumbnail(newFilePath); }, [imageUrl]); return ( <> {thumbnail ? ( listStyle ? ( <img src={thumbnailUrl} alt="Thumbnail" style={{ width: "1rem", height: "1rem" }} /> ) : ( <img src={thumbnailUrl} alt="Thumbnail image" className="w-40 h-40 object-cover rounded-lg transition-all duration-500 ease-in-out" /> ) ) : ( <p>Loading...</p> )} </> ); } ``` > **Note:** Ensure you provide your bucket's URL in line **5**. **Home.js** ```js import { useState, useEffect } from 'react'; import { FiX, FiList, FiGrid } from "react-icons/fi"; import { fetchImages, handleDelete, handleDownload, fetchUsers, handleShareAction } from "../service/ImageService"; import ImageGrid from './ImageGrid'; import ImageList from './ImageList'; export default function Home({ userId }) { const [imageDetails, setImageDetails] = useState([]); const [currentPage, setCurrentPage] = useState(1); const [openMenuIndex, setOpenMenuIndex] = useState(null); const [loading, setLoading] = useState(true); const [users, setUsers] = useState([]); const [selectedUserIndex, setSelectedUserIndex] = useState(null); const [openShareIndex, setOpenShareIndex] = useState(null); const [selectedImage, setSelectedImage] = useState(null); const [viewMode, setViewMode] = useState("grid"); const imagesPerPage = 9; useEffect(() => { fetchImages(userId, setImageDetails, setLoading); }, [userId]); useEffect(() => { const handleClickOutside = (event) => { if (openShareIndex !== null || selectedUserIndex !== null) { setOpenShareIndex(null); setSelectedUserIndex(null); } if (openMenuIndex !== null) { setOpenMenuIndex(null); } }; document.addEventListener("click", handleClickOutside); return () => document.removeEventListener("click", handleClickOutside); }, [openShareIndex, selectedUserIndex, openMenuIndex]); const handleShareClick = async (index, e) => { e.preventDefault(); e.stopPropagation(); if (openShareIndex === index) { setOpenShareIndex(null); setSelectedUserIndex(null); return; } await fetchUsers(setUsers); setOpenShareIndex(index); }; const toggleUserOptions = (index, e) => { e.preventDefault(); e.stopPropagation(); setSelectedUserIndex(selectedUserIndex === index ? null : index); }; const openPreview = (imageUrl) => setSelectedImage(imageUrl); const closePreview = () => setSelectedImage(null); const indexOfLastImage = currentPage * imagesPerPage; const indexOfFirstImage = indexOfLastImage - imagesPerPage; const currentImages = imageDetails.slice(indexOfFirstImage, indexOfLastImage); const nextPage = () => { if (indexOfLastImage < imageDetails.length) setCurrentPage(currentPage + 1); }; const prevPage = () => { if (currentPage > 1) setCurrentPage(currentPage - 1); }; const toggleMenu = (index, e) => { e.preventDefault(); e.stopPropagation(); setOpenMenuIndex(openMenuIndex === index ? null : index); }; return ( <div className="min-h-screen bg-black flex flex-col items-center p-6 relative"> {loading ? ( <div className="flex justify-center items-center h-screen"> <div className="w-10 h-10 border-4 border-gray-300 border-t-transparent rounded-full animate-spin"></div> </div> ) : ( <> {imageDetails.length === 0 ? ( <div className="flex items-center justify-center h-screen"> <p className="text-white text-lg font-semibold text-center"> No files found. Click the Upload button to upload your photos. </p> </div> ) : ( <> <button className="absolute top-4 right-4 bg-blue-700 text-white px-4 py-2 rounded shadow-lg flex items-center space-x-2" onClick={() => setViewMode(viewMode === "grid" ? "list" : "grid")} > {viewMode === "grid" ? <FiList size={20} /> : <FiGrid size={20} />} </button> <div className="max-w-screen-lg w-full mt-12"> {viewMode === "grid" ? ( <ImageGrid currentImages={currentImages} openShareIndex={openShareIndex} handleShareClick={handleShareClick} users={users} selectedUserIndex={selectedUserIndex} toggleUserOptions={toggleUserOptions} handleShareAction={handleShareAction} openPreview={openPreview} openMenuIndex={openMenuIndex} toggleMenu={toggleMenu} handleDelete={handleDelete} handleDownload={handleDownload} setImageDetails={setImageDetails} setOpenMenuIndex={setOpenMenuIndex} setOpenShareIndex={setOpenShareIndex} setSelectedUserIndex={setSelectedUserIndex} userId={userId} /> ) : ( <ImageList currentImages={currentImages} openShareIndex={openShareIndex} handleShareClick={handleShareClick} users={users} selectedUserIndex={selectedUserIndex} toggleUserOptions={toggleUserOptions} handleShareAction={handleShareAction} handleDelete={handleDelete} handleDownload={handleDownload} setImageDetails={setImageDetails} openPreview={openPreview} setOpenShareIndex={setOpenShareIndex} setSelectedUserIndex={setSelectedUserIndex} userId={userId} /> )} </div> {imageDetails.length > imagesPerPage && ( <div className="flex mt-6 justify-center items-center space-x-4"> <button onClick={prevPage} disabled={currentPage === 1} className="px-4 py-2 bg-blue-700 text-white rounded disabled:opacity-50 disabled:bg-blue-200" > Previous </button> <span className="text-lg font-semibold text-center w-20"> Page {currentPage} </span> <button onClick={nextPage} disabled={indexOfLastImage >= imageDetails.length} className="px-4 py-2 bg-blue-700 text-white rounded disabled:opacity-50 disabled:bg-blue-200" > Next </button> </div> )} </> )} </> )} {selectedImage && ( <div className="fixed inset-0 flex items-center justify-center bg-black bg-opacity-80 z-50"> <div className="relative"> <button className="absolute top-2 right-2 bg-white p-2 rounded-full shadow-md hover:bg-gray-100" onClick={closePreview} > <FiX size={20} className="text-gray-600" /> </button> <img src={selectedImage} alt="Preview" className="max-w-full max-h-[50vh] rounded-lg shadow-lg" /> </div> </div> )} </div> ); } ``` **ImageGrid.js** ```js import { FiShare2, FiChevronRight, FiMoreVertical } from "react-icons/fi"; import ImageThumbnail from "../service/ImageThumbnail"; export default function ImageGrid({ currentImages, openShareIndex, handleShareClick, users, selectedUserIndex, toggleUserOptions, handleShareAction, openPreview, openMenuIndex, toggleMenu, handleDelete, handleDownload, setImageDetails, setOpenMenuIndex, setOpenShareIndex, setSelectedUserIndex, userId }) { return ( <div className="grid grid-cols-1 sm:grid-cols-2 md:grid-cols-3 gap-6 place-items-center"> {currentImages.map((image, index) => ( <div key={image.key} className={`flex flex-col items-center w-full max-w-xs relative cursor-pointer ${ openShareIndex === index ? "" : "transition-transform hover:scale-110" }`} onClick={() => openPreview(image.object_url)} > <div className="max-w-xs h-auto flex items-center justify-center bg-gray-200 rounded-lg shadow-lg relative"> {/* Share Button */} <button className="absolute top-2 left-2 bg-white p-2 rounded-full shadow-md hover:bg-gray-100" onClick={(e) => handleShareClick(index, e)} > <FiShare2 size={15} className="text-gray-600" /> </button> {/* Share Dropdown */} {openShareIndex === index && users.length > 0 && ( <div className="absolute top-10 left-2 bg-white text-black border rounded shadow-lg w-40 text-sm z-50"> {users.map((user, idx) => ( <div key={user.id} className="relative"> <button className="flex justify-between items-center w-full text-left text-black px-4 py-2 hover:bg-gray-200" onClick={(e) => toggleUserOptions(idx, e)} > {user.name} <FiChevronRight className="text-gray-600" /> </button> {selectedUserIndex === idx && ( <div className="absolute top-0 left-full ml-2 bg-white text-black border rounded shadow-lg w-32 text-sm z-50" style={{ zIndex: 1000, pointerEvents: "auto" }} > <button className="block w-full px-4 py-2 text-left hover:bg-gray-200" onClick={(e) => { e.preventDefault(); e.stopPropagation(); handleShareAction(user.name, user.zuid, image.key, false, userId); setSelectedUserIndex(null); setOpenShareIndex(null); }} > View Access </button> <button className="block w-full px-4 py-2 text-left hover:bg-gray-200" onClick={(e) => { e.preventDefault(); e.stopPropagation(); handleShareAction(user.name, user.zuid, image.key, true, userId); setSelectedUserIndex(null); setOpenShareIndex(null); }} > Edit Access </button> </div> )} </div> ))} </div> )} {/* Image Thumbnail */} <ImageThumbnail imageUrl={image.object_url} /> {/* Options Menu Button */} <button className="absolute bottom-2 right-2 bg-white p-2 rounded-full shadow-md hover:bg-gray-100" onClick={(e) => toggleMenu(index, e)} > <FiMoreVertical size={15} className="text-gray-600" /> </button> {/* Options Menu Dropdown */} {openMenuIndex === index && ( <div className="absolute bottom-10 right-2 text-blue-600 bg-white border rounded shadow-lg w-32 text-sm z-50"> <button className="block w-full px-4 py-2 text-left hover:bg-gray-100" onClick={(e) => { e.preventDefault(); e.stopPropagation(); handleDownload(image.key, setOpenMenuIndex); }} > Download </button> <button className="block w-full px-4 py-2 text-left text-red-600 hover:bg-gray-100" onClick={(e) => { e.preventDefault(); e.stopPropagation(); handleDelete(image.key, setImageDetails, setOpenMenuIndex); }} > Delete </button> </div> )} </div> {/* Image Name */} <div className="w-full max-w-xs mt-3"> <p className="text-xl font-medium text-white text-center break-words"> {image.key.split("/").pop()} </p> </div> </div> ))} </div> ); }; ``` **ImageList.js** ```js import ImageThumbnail from '../service/ImageThumbnail'; import { FiDownload, FiTrash2, FiEye, FiChevronRight, FiShare2 } from "react-icons/fi"; export default function ImageList({ currentImages, openShareIndex, handleShareClick, users, selectedUserIndex, toggleUserOptions, handleShareAction, handleDelete, handleDownload, setImageDetails, openPreview, setOpenShareIndex, setSelectedUserIndex, userId }) { return ( <div className="flex flex-col space-y-2"> {currentImages.map((image, index) => ( <div key={image.key} className={`flex items-center w-full bg-gray-800 p-4 rounded-md ${ openShareIndex === index ? '' : 'transition-transform hover:scale-110' }`} > <ImageThumbnail imageUrl={image.object_url} listStyle={1} /> <div className="ml-2 flex-1"> <p className="text-white text-sm font-medium break-words"> {image.key.split('/').pop()} </p> </div> <button className="bg-white p-1 rounded-full shadow-md hover:bg-gray-100 mx-1" onClick={() => openPreview(image.object_url)} > <FiEye size={16} className="text-gray-600" /> </button> <button className="bg-white p-1 rounded-full shadow-md hover:bg-gray-100 mx-1" onClick={() => handleDownload(image.key, null)} > <FiDownload size={16} className="text-gray-600" /> </button> <button className="bg-white p-1 rounded-full shadow-md hover:bg-red-100" onClick={() => handleDelete(image.key, setImageDetails, null)} > <FiTrash2 size={16} className="text-red-600" /> </button> <button className="bg-white p-1 rounded-full shadow-md hover:bg-gray-100 mx-1" onClick={(e) => handleShareClick(index, e)} > <FiShare2 size={15} className="text-gray-600" /> </button> {openShareIndex === index && users.length > 0 && ( <div className="block top-10 right-4 bg-white text-black border rounded shadow-lg w-40 text-sm z-50"> {users.map((user, idx) => ( <div key={user.id} className="relative"> <button className="flex justify-between items-center w-full text-left text-black px-4 py-2 hover:bg-gray-200" onClick={(e) => toggleUserOptions(idx, e)} > {user.name} <FiChevronRight className="text-gray-600" /> </button> {selectedUserIndex === idx && ( <div className="absolute top-0 left-full ml-2 bg-white text-black border rounded shadow-lg w-32 text-sm z-50" style={{ zIndex: 1000, pointerEvents: "auto" }} > <button className="block w-full px-4 py-2 text-left hover:bg-gray-200" onMouseEnter={() => (document.body.style.pointerEvents = "none")} onMouseLeave={() => (document.body.style.pointerEvents = "auto")} onClick={(e) => { e.preventDefault(); e.stopPropagation(); handleShareAction(user.name, user.zuid, image.key, false, userId); setSelectedUserIndex(null); setOpenShareIndex(null); }} > View Access </button> <button className="block w-full px-4 py-2 text-left hover:bg-gray-200" onMouseEnter={() => (document.body.style.pointerEvents = "none")} onMouseLeave={() => (document.body.style.pointerEvents = "auto")} onClick={(e) => { e.preventDefault(); e.stopPropagation(); handleShareAction(user.name, user.zuid, image.key, true, userId); setSelectedUserIndex(null); setOpenShareIndex(null); }} > Edit Access </button> </div> )} </div> ))} </div> )} </div> ))} </div> ); } ``` **Login.js** ```js import { useEffect } from "react"; function Login() { useEffect(() => { window.location.href = `${window.origin}/__catalyst/auth/login`; }, []); return null; } export default Login; ``` **Logout.js** ```js import { useEffect } from "react"; export default function Logout() { useEffect(() => { const redirectURL = `${window.origin}/__catalyst/auth/login`; const auth = window.catalyst.auth; auth.signOut(redirectURL); }, []); return null; } ``` **SharedDetails.js** ```js import React, { useState, useEffect } from "react"; import { useNavigate } from "react-router-dom"; import { fetchSharedDetails, handleUpdateSharedDetails } from "../service/ImageService"; export default function SharedDetails({ userId }) { const [details, setDetails] = useState([]); const [loading, setLoading] = useState(true); const [currentPage, setCurrentPage] = useState(1); const rowsPerPage = 10; const navigate = useNavigate(); useEffect(() => { fetchSharedDetails(userId, setDetails, setLoading); }, [userId]); const handleChange = (index, key, value) => { const updatedData = [...details]; updatedData[index][key] = value; setDetails(updatedData); }; const indexOfLastRow = currentPage * rowsPerPage; const indexOfFirstRow = indexOfLastRow - rowsPerPage; const currentRows = details.slice(indexOfFirstRow, indexOfLastRow); const totalPages = Math.ceil(details.length / rowsPerPage); return ( <div className="p-6"> {loading ? ( <div className="w-10 h-10 border-4 border-gray-300 border-t-transparent rounded-full animate-spin"></div> ) : details.length === 0 ? ( <p className="text-white text-center text-lg font-bold">Nothing Shared</p> ) : ( <> <table className="w-full border-collapse border border-red-400"> <thead> <tr className="bg-purple-700"> <th className="border text-white border-white px-4 py-2">Username</th> <th className="border text-white border-white px-4 py-2">Image Name</th> <th className="border text-white border-white px-4 py-2">Access Type</th> <th className="border text-white border-white px-4 py-2">Revoke Access</th> <th className="border text-white border-white px-4 py-2">Action</th> </tr> </thead> <tbody> {currentRows.map((item, index) => ( <tr key={index} className="text-center"> <td className="border text-white border-white px-4 py-2">{item.UserName}</td> <td className="border text-white border-white px-4 py-2"> {item.BucketPath.split("/").pop()} </td> <td className="border text-white border-white px-4 py-2"> <select value={item.IsUpdate} onChange={(e) => handleChange(index, "IsUpdate", e.target.value === "true") } className="border bg-green-700 rounded px-2 py-1" > <option value="true">Edit Access</option> <option value="false">View Access</option> </select> </td> <td className="border p-2"> <label className="flex items-center justify-center cursor-pointer"> <input type="checkbox" className="sr-only" checked={item.RevokeAccess === "yes"} onChange={() => handleChange(index, "RevokeAccess", item.RevokeAccess === "yes" ? "no" : "yes") } /> <div className={`relative w-12 h-6 rounded-full transition ${ item.RevokeAccess === "yes" ? "bg-red-500" : "bg-gray-300" }`} > <div className={`absolute left-1 top-1 w-4 h-4 bg-white rounded-full shadow-md transition-transform ${ item.RevokeAccess === "yes" ? "translate-x-6" : "translate-x-0" }`} ></div> </div> <span className="ml-2 text-sm font-medium"> {item.RevokeAccess === "yes" ? "Yes" : "No"} </span> </label> </td> <td className="border border-white px-4 py-2"> <button onClick={() => handleUpdateSharedDetails(details[index], navigate)} className="bg-blue-700 text-white px-4 py-1 rounded hover:bg-blue-900" > Update </button> </td> </tr> ))} </tbody> </table> {details.length > rowsPerPage && ( <div className="flex justify-center mt-4"> <button onClick={() => setCurrentPage((prev) => Math.max(prev - 1, 1))} disabled={currentPage === 1} className="bg-gray-600 text-white px-3 py-1 mx-2 rounded disabled:opacity-50" > Previous </button> <span className="text-white mx-2"> Page {currentPage} of {totalPages} </span> <button onClick={() => setCurrentPage((prev) => Math.min(prev + 1, totalPages))} disabled={currentPage === totalPages} className="bg-gray-600 text-white px-3 py-1 mx-2 rounded disabled:opacity-50" > Next </button> </div> )} </> )} </div> ); } ``` **SharedImageGrid.js** ```js import ImageThumbnail from "../service/ImageThumbnail"; import { FiMoreVertical } from "react-icons/fi"; export default function SharedImageGrid({ currentImages, toggleMenu, handleDelete, handleDownload, setImageDetails, setOpenMenuIndex, openMenuIndex, openPreview }) { return ( <div className="grid grid-cols-1 sm:grid-cols-2 md:grid-cols-3 gap-6 place-items-center"> {currentImages.map((image, index) => ( <div key={image.key} className="flex flex-col items-center w-full max-w-xs relative cursor-pointer transition-transform hover:scale-110" onClick={() => openPreview(image.object_url)} > <div className="max-w-xs h-auto flex items-center justify-center bg-gray-200 rounded-lg shadow-lg relative"> <ImageThumbnail imageUrl={image.object_url} /> <button className="absolute bottom-2 right-2 bg-white p-2 rounded-full shadow-md hover:bg-gray-100" onClick={(e) => toggleMenu(index, e)} > <FiMoreVertical size={15} className="text-gray-600" /> </button> {openMenuIndex === index && ( <div className="absolute bottom-10 right-2 text-blue-600 bg-white border rounded shadow-lg w-32 text-sm z-50"> {image.isEditAccess && ( <button className="block w-full px-4 py-2 text-left text-red-600 hover:bg-gray-100" onClick={(e) => { e.preventDefault(); e.stopPropagation(); handleDelete(image.key, setImageDetails, setOpenMenuIndex); }} > Delete </button> )} <button className="block w-full px-4 py-2 text-left hover:bg-gray-100" onClick={(e) => { e.preventDefault(); e.stopPropagation(); handleDownload(image.key, setOpenMenuIndex); }} > Download </button> </div> )} </div> <div className="w-full max-w-xs mt-3"> <p className="text-xl font-medium text-white text-center break-words"> {image.key.split("/").pop()} </p> </div> </div> ))} </div> ); } ``` **SharedImageList.js** ```js import ImageThumbnail from '../service/ImageThumbnail'; import { FiDownload, FiTrash2, FiEye } from "react-icons/fi"; export default function SharedImageList({ currentImages, handleDelete, handleDownload, setImageDetails, openPreview }) { return ( <div className="flex flex-col space-y-2"> {currentImages.map((image) => ( <div key={image.key} className="flex items-center w-full bg-gray-800 p-4 rounded-md transition-transform hover:scale-110" > <ImageThumbnail imageUrl={image.object_url} listStyle={1} /> <div className="ml-2 flex-1"> <p className="text-white text-sm font-medium break-words"> {image.key.split('/').pop()} </p> </div> <button className="bg-white p-1 rounded-full shadow-md hover:bg-gray-100 mx-1" onClick={() => openPreview(image.object_url)} > <FiEye size={16} className="text-gray-600" /> </button> <button className="bg-white p-1 rounded-full shadow-md hover:bg-gray-100 mx-1" onClick={() => handleDownload(image.key, null)} > <FiDownload size={16} className="text-gray-600" /> </button> {image.isEditAccess && ( <button className="bg-white p-1 rounded-full shadow-md hover:bg-red-100" onClick={() => handleDelete(image.key, setImageDetails, null)} > <FiTrash2 size={16} className="text-red-600" /> </button> )} </div> ))} </div> ); } ``` **SharedImages.js** ```js import { useState, useEffect } from 'react'; import { FiList, FiGrid, FiX } from "react-icons/fi"; import { fetchSharedImages, handleDelete, handleDownload } from "../service/ImageService"; import SharedImageGrid from './SharedImageGrid'; import SharedImageList from './SharedImageList'; export default function SharedImages({ userId }) { const [imageDetails, setImageDetails] = useState([]); const [currentPage, setCurrentPage] = useState(1); const [openMenuIndex, setOpenMenuIndex] = useState(null); const [loading, setLoading] = useState(true); const [selectedImage, setSelectedImage] = useState(null); const [viewMode, setViewMode] = useState("grid"); const imagesPerPage = 9; useEffect(() => { fetchSharedImages(userId, setImageDetails, setLoading); }, [userId]); const indexOfLastImage = currentPage * imagesPerPage; const indexOfFirstImage = indexOfLastImage - imagesPerPage; const currentImages = imageDetails.slice(indexOfFirstImage, indexOfLastImage); const nextPage = () => { if (indexOfLastImage < imageDetails.length) setCurrentPage(currentPage + 1); }; const prevPage = () => { if (currentPage > 1) setCurrentPage(currentPage - 1); }; const toggleMenu = (index, e) => { e.preventDefault(); e.stopPropagation(); setOpenMenuIndex(openMenuIndex === index ? null : index); }; const openPreview = (imageUrl) => setSelectedImage(imageUrl); const closePreview = () => setSelectedImage(null); return ( <div className="min-h-screen bg-black flex flex-col items-center p-6 relative"> {loading ? ( <div className="flex justify-center items-center h-screen"> <div className="w-10 h-10 border-4 border-gray-300 border-t-transparent rounded-full animate-spin"></div> </div> ) : ( <> {imageDetails.length === 0 ? ( <div className="flex items-center justify-center h-screen"> <p className="text-white text-lg font-semibold text-center"> No Shared files found. </p> </div> ) : ( <> <button className="absolute top-4 right-4 bg-blue-700 text-white px-4 py-2 rounded shadow-lg flex items-center space-x-2" onClick={() => setViewMode(viewMode === "grid" ? "list" : "grid")} > {viewMode === "grid" ? <FiList size={20} /> : <FiGrid size={20} />} </button> <div className="max-w-screen-lg w-full mt-12"> {viewMode === "grid" ? ( <SharedImageGrid currentImages={currentImages} toggleMenu={toggleMenu} handleDelete={handleDelete} handleDownload={handleDownload} setImageDetails={setImageDetails} setOpenMenuIndex={setOpenMenuIndex} openMenuIndex={openMenuIndex} openPreview={openPreview} /> ) : ( <SharedImageList currentImages={currentImages} handleDelete={handleDelete} handleDownload={handleDownload} setImageDetails={setImageDetails} openPreview={openPreview} /> )} </div> {imageDetails.length > imagesPerPage && ( <div className="flex mt-6 justify-center items-center space-x-4"> <button onClick={prevPage} disabled={currentPage === 1} className="px-4 py-2 bg-blue-700 text-white rounded disabled:opacity-50 disabled:bg-blue-200" > Previous </button> <span className="text-lg font-semibold text-center w-20"> Page {currentPage} </span> <button onClick={nextPage} disabled={indexOfLastImage >= imageDetails.length} className="px-4 py-2 bg-blue-700 text-white rounded disabled:opacity-50 disabled:bg-blue-200" > Next </button> </div> )} </> )} </> )} {selectedImage && ( <div className="fixed inset-0 flex items-center justify-center bg-black bg-opacity-80 z-50"> <div className="relative"> <button className="absolute top-2 right-2 bg-white p-2 rounded-full shadow-md hover:bg-gray-100" onClick={closePreview} > <FiX size={20} className="text-gray-600" /> </button> <img src={selectedImage} alt="Preview" className="max-w-full max-h-[50vh] rounded-lg shadow-lg" /> </div> </div> )} </div> ); } ``` **Upload.js** ```js import React, { useState } from "react"; import { useNavigate } from "react-router-dom"; import axios from "axios"; import { toast } from 'react-toastify'; export default function Upload({ userId }) { const [file, setFile] = useState(null); const [isUploading, setIsUploading] = useState(false); const navigate = useNavigate(); const zuid = userId; const handleFileChange = (e) => { const selectedFile = e.target.files[0]; setFile(selectedFile); }; const handleSubmit = async (e) => { e.preventDefault(); try { setIsUploading(true); const stratus = window.catalyst.stratus; const bucket = stratus.bucket("YOUR_BUCKET_NAME"); const checkObjectAvailability = await bucket.headObject(`photos/${zuid}/${file.name}`); console.log("Availability: " + JSON.stringify(checkObjectAvailability)); if (checkObjectAvailability.content === true) { toast.error(`File named ${file.name} already exists`, { theme: "colored" }); setIsUploading(false); setFile(null); return; } const putObject = await bucket.putObject(`photos/${zuid}/${file.name}`, file); const response = await putObject.start(); console.log(JSON.stringify(response)); const formData = new FormData(); formData.append("image", file); formData.append("id", zuid); try { console.log("Thumbnail API Started"); const response = await axios.post("/convertToThumbnailAndUpload", formData); console.log("Response: " + JSON.stringify(response)); } catch (error) { console.error("Thumbnail Upload failed", error); } toast.success(`File uploaded: ${file.name}`, { theme: "colored" }); navigate("/"); } catch (error) { console.error("Error during upload:", error); toast.error("Error uploading the file. Please try again.", { theme: "colored" }); } finally { setIsUploading(false); setFile(null); } }; return ( <div className="flex items-center justify-center min-h-screen bg-black"> <div className="bg-white p-8 rounded-lg shadow-lg w-96 text-center flex flex-col items-center text-black"> <h1 className="text-2xl font-semibold mb-4 text-black">Upload Image</h1> <p className="text-sm text-black mb-4"> NOTE: Only .png, .jpg, and .jpeg files are allowed. </p> <form onSubmit={handleSubmit} className="flex flex-col items-center space-y-4 w-full"> <div className="flex justify-center w-full"> <input type="file" onChange={handleFileChange} className="border p-2 rounded w-full text-center" accept="image/png, image/jpg, image/jpeg" /> </div> <button type="submit" disabled={isUploading} className={`px-4 py-2 text-white rounded w-full ${ isUploading ? "bg-gray-400 cursor-not-allowed" : "bg-blue-500 hover:bg-blue-600" }`} > {isUploading ? "Uploading..." : "Upload"} </button> </form> </div> </div> ); } ``` > **Note:** Ensure you provide your bucket's name in line **19**. **index.js** ```js import React from 'react'; import ReactDOM from 'react-dom/client'; import './index.css'; import App from './App'; import reportWebVitals from './reportWebVitals'; import { HashRouter as Router } from "react-router-dom"; // Move Router here const root = ReactDOM.createRoot(document.getElementById('root')); root.render( <React.StrictMode> <Router> <App /> </Router> </React.StrictMode> ); // If you want to start measuring performance in your app, pass a function // to log results (for example: reportWebVitals(console.log)) // or send to an analytics endpoint. Learn more: https://bit.ly/CRA-vitals reportWebVitals(); ``` **index.css** ```css @tailwind base; @tailwind components; @tailwind utilities; ``` **index.html** ```xml <!DOCTYPE html> <html lang="en"> <head> <meta charset="utf-8" /> <link rel="icon" href="%PUBLIC_URL%/favicon.ico" /> <meta name="viewport" content="width=device-width, initial-scale=1" /> <meta name="theme-color" content="#000000" /> <meta name="description" content="Web site created using create-react-app" /> <link rel="apple-touch-icon" href="%PUBLIC_URL%/logo192.png" /> <!-- manifest.json provides metadata used when your web app is installed on a user's mobile device or desktop. See https://developers.google.com/web/fundamentals/web-app-manifest/ --> <link rel="manifest" href="%PUBLIC_URL%/manifest.json" /> <!-- Notice the use of %PUBLIC_URL% in the tags above. It will be replaced with the URL of the `public` folder during the build. Only files inside the `public` folder can be referenced from the HTML. Unlike "/favicon.ico" or "favicon.ico", "%PUBLIC_URL%/favicon.ico" will work correctly both with client-side routing and a non-root public URL. Learn how to configure a non-root public URL by running `npm run build`. --> <title>PhotoStore App</title> <script src="https://static.zohocdn.com/catalyst/sdk/js/4.6.2/catalystWebSDK.js"></script> <script src="/__catalyst/sdk/init.js"></script> </head> <body> <noscript>You need to enable JavaScript to run this app.</noscript> <div id="root"></div> <!-- This HTML file is a template. If you open it directly in the browser, you will see an empty page. You can add webfonts, meta tags, or analytics to this file. The build step will place the bundled scripts into the <body> tag. To begin the development, run `npm start` or `yarn start`. To create a production bundle, use `npm run build` or `yarn build`. --> </body> </html> ``` The frontend component for the application is now configured. Let's quickly go through the working of the function and client components of the application: 1. When the application URL is triggered, we direct the user to the *Login* page. The authentication requirement and all login functionalities are handled by Catalyst's [Hosted Authentication](https://docs.catalyst.zoho.com/en/cloud-scale/help/authentication/native-catalyst-authentication/hosted-authentication-type/introduction/). If the end-user is successfully authenticated, then they are redirected to the main page of the application. 2. Once the end-user is directed to the main page of the application, the `/fetchAllImages` API endpoint will be invoked. This API will return all the images that are stored in the bucket and display them as thumbnails in the client. 3. When the end-user tries to upload an image to the application, the image upload action will be completed using the [upload web SDK method](https://docs.catalyst.zoho.com/en/sdk/web/v4/cloud-scale/stratus/upload-object/). While the image is being uploaded, the `/convertToThumbnailAndUpload` API endpoint is invoked and the images are converted to thumbnails and rendered in the client, and the uploaded image is stored in the "`YOUR_BUCKET_NAME/photos/thumbnails/zuid of the logged in end-user`" [path](https://docs.catalyst.zoho.com/en/cloud-scale/help/stratus/objects/introduction/#path). 4. The logic defined to handle the [delete](https://docs.catalyst.zoho.com/en/cloud-scale/help/stratus/objects/manage-object/delete-object/) and [download](https://docs.catalyst.zoho.com/en/cloud-scale/help/stratus/objects/manage-object/download-object/) operations are defined in the `handleDownload()` and `handleDelete()` functions. When the end-user initiates the download operation, the image will be downloaded to their local system using the [download web SDK method](https://docs.catalyst.zoho.com/en/sdk/nodejs/v2/cloud-scale/stratus/download-object/). If the image is deleted from the application, it will also be deleted from Stratus using the [delete web SDK method](https://docs.catalyst.zoho.com/en/sdk/nodejs/v2/cloud-scale/stratus/delete-objects/). 5. The logic to handle the share feature is defined in `handleShareAction()`, which will invokes the `/shareDetails` API to share the required image with another registered user. When the end-user initiates the share feature, the `/getAllUsers` API endpoint is invoked, which will return the list of all registered end-users of the application. With the list of registered users, the end-user can choose to share the required image with **View** or **Edit** access. **View** access only allows the shared member to download the image, and **Edit** access allows them to update, download or delete the image. -------------------------------------------------------------------------------- title: "Test Your Application" description: "Build a React gallery app to upload and share images in a Stratus bucket. Host the app on AppSail and deploy it from GitHub using Pipelines." last_updated: "2026-11-04T10:10:44.000Z" source: "https://docs.catalyst.zoho.com/en/tutorials/photo-store-app/nodejs/test-app/" service: "All Services" related: - Catalyst Stratus (/en/cloud-scale/help/stratus/introduction/) - CLI Serve Resources (/en/cli/v1/serve-resources/introduction/) - Stratus Web SDK (/en/sdk/web/v4/cloud-scale/stratus/overview/) - Stratus REST API (/en/api/code-reference/cloud-scale/stratus/get-all-buckets/#GetAllBuckets) -------------------------------------------------------------------------------- # Test Your Application Before you deploy the application to the remote console, you can [test the application](https://docs.catalyst.zoho.com/en/cli/v1/serve-resources/introduction/) on a local server and check if everything works using the Catalyst CLI. To serve the Catalyst project locally, execute the following command from your project directory: ```sh catalyst serve ``` The application will be ideally served on the default port `3001`. ![catalyst_tutorials_photostore_stratus_catalyst_serve](https://catalyst-docs-development.zohostratus.in/images/tutorials/photo-store/catalyst_tutorials_photostore_stratus_catalyst_serve.webp) > **Note:** Every time you access the home page or any of the sub-pages of your application, the CLI will display a live log of the URL accessed, along with the HTTP request method. ![catalyst_tutorials_photostore_stratus_catalyst_serve_init_2](https://catalyst-docs-development.zohostratus.in/images/tutorials/photo-store/catalyst_tutorials_photostore_stratus_catalyst_serve_init_2.webp) > **Note:** Ensure that you have whitelisted your localhost URL using the Bucket CORS feature as demonstrated in [this step](https://docs.catalyst.zoho.com/en/tutorials/photo-store-app/nodejs/config-appsail/#enable-bucket-cors). You can now open the application’s localhost URL in a browser to access the PhotoStoreApp application. ![catalyst_tutorials_photostore_stratus_pipelines_serve_cli__browser](https://catalyst-docs-development.zohostratus.in/images/tutorials/photo-store/catalyst_tutorials_photostore_stratus_pipelines_serve_cli__browser.webp) ### Test Case 1: Login Functionality The first page of the application will be the Login screen. ![catalyst_tutorials_photostore_stratus_login_screen](https://catalyst-docs-development.zohostratus.in/images/tutorials/photo-store/catalyst_tutorials_photostore_stratus_login_screen.webp) Once you complete the login process, you will be added to the application, and be able to access all the applications' functionality. ![catalyst_tutorials_photostore_stratus_login_logged_on](https://catalyst-docs-development.zohostratus.in/images/tutorials/photo-store/catalyst_tutorials_photostore_stratus_login_logged_on.webp) You can manage end-user sign ups using the [**User Management**](https://docs.catalyst.zoho.com/en/cloud-scale/help/authentication/user-management/introduction/) feature present in the *Authentication* component. ![catalyst_tutorials_photostore_stratus_auth_user_mgmt](https://catalyst-docs-development.zohostratus.in/images/tutorials/photo-store/catalyst_tutorials_photostore_stratus_auth_user_mgmt.webp) ### Test Case 2: Upload Functionality You can try uploading an image from your local system to the application by clicking the **Upload** button. ![catalyst_tutorials_photostore_stratus_upload_hihg](https://catalyst-docs-development.zohostratus.in/images/tutorials/photo-store/catalyst_tutorials_photostore_stratus_upload_hihg.webp) Click **Upload** once you've chosen a file from your local system. ![catalyst_tutorials_photostore_stratus_upload_pic](https://catalyst-docs-development.zohostratus.in/images/tutorials/photo-store/catalyst_tutorials_photostore_stratus_upload_pic.webp) The image will be uploaded to the bucket and rendered in the application. ![catalyst_tutorials_photostore_stratus_uploaded_func](https://catalyst-docs-development.zohostratus.in/images/tutorials/photo-store/catalyst_tutorials_photostore_stratus_uploaded_func.webp) You can verify the upload in the bucket. ![catalyst_tutorials_photostore_stratus_objects_page](https://catalyst-docs-development.zohostratus.in/images/tutorials/photo-store/catalyst_tutorials_photostore_stratus_objects_page.webp) To view the object, you can either click the **Goto Preview** button or you can execute **Object URL** to view the object. ![catalyst_tutorials_photostore_stratus_objects_objctURL](https://catalyst-docs-development.zohostratus.in/images/tutorials/photo-store/catalyst_tutorials_photostore_stratus_objects_objctURL.webp) ### Test Case 3: View Functionality You can click the **hamburger menu** icon to view the uploaded images in the list view. ![catalyst_tutorials_photostore_stratus_list_view](https://catalyst-docs-development.zohostratus.in/images/tutorials/photo-store/catalyst_tutorials_photostore_stratus_list_view.webp) You can use the **hamburger-icon** again to switch the view back to thumbnails. ![catalyst_tutorials_photostore_stratus_thumbnail_view](https://catalyst-docs-development.zohostratus.in/images/tutorials/photo-store/catalyst_tutorials_photostore_stratus_thumbnail_view.webp) You can also click the required image to view it in its original size. ![catalyst_tutorials_photostore_stratus_og_view](https://catalyst-docs-development.zohostratus.in/images/tutorials/photo-store/catalyst_tutorials_photostore_stratus_og_view.webp) ### Test Case 4: Delete and Download Functionality You have the option to download or delete an uploaded image. To delete an image, you can click the **delete icon** in *list view* or click the **ellipsis icon** and click **Delete** in the *thumbnail view*. ![catalyst_tutorials_photostore_stratus_del_view](https://catalyst-docs-development.zohostratus.in/images/tutorials/photo-store/catalyst_tutorials_photostore_stratus_del_view.webp) The image will be deleted. ![catalyst_tutorials_photostore_stratus_del_cmpltd](https://catalyst-docs-development.zohostratus.in/images/tutorials/photo-store/catalyst_tutorials_photostore_stratus_del_cmpltd.webp) Similarly, to download an image, you can click the **download icon** in *list view* or click the **ellipsis icon** and click **Download** in the *thumbnail view*. ![catalyst_tutorials_photostore_stratus_download_sel](https://catalyst-docs-development.zohostratus.in/images/tutorials/photo-store/catalyst_tutorials_photostore_stratus_download_sel.webp) The required image will be downloaded to your local system. ![catalyst_tutorials_photostore_stratus_downloaded_cmpltd](https://catalyst-docs-development.zohostratus.in/images/tutorials/photo-store/catalyst_tutorials_photostore_stratus_downloaded_cmpltd.webp) ### Test Case 5: Share Functionality You can choose to share images with other registered end-users. Click the **share** icon to share your required image with other registered end-users. ![catalyst_tutorials_photostore_stratus_share_func](https://catalyst-docs-development.zohostratus.in/images/tutorials/photo-store/catalyst_tutorials_photostore_stratus_share_func.webp) You can also choose to share the image with the registered user in **View** or **Edit** access. ![catalyst_tutorials_photostore_stratus_share_func_permis](https://catalyst-docs-development.zohostratus.in/images/tutorials/photo-store/catalyst_tutorials_photostore_stratus_share_func_permis.webp) **View Access** will only allow the end-user to download the image. **Edit Access** allows the end-user to update, delete and download the image. Once you've shared an image to the end-user the end-user will be able to view the shared image in their Shared **Gallery**. ![catalyst_tutorials_photostore_stratus_shared_gallery](https://catalyst-docs-development.zohostratus.in/images/tutorials/photo-store/catalyst_tutorials_photostore_stratus_shared_gallery.webp) You can use the **Manage Shared Details** section to update access level of images. ![catalyst_tutorials_photostore_stratus_share_func_accesses](https://catalyst-docs-development.zohostratus.in/images/tutorials/photo-store/catalyst_tutorials_photostore_stratus_share_func_accesses.webp) Use the **Access Type** drop-down to update the access level for the required image and click **Update** to render the changes. ![catalyst_tutorials_photostore_stratus_share_update_access](https://catalyst-docs-development.zohostratus.in/images/tutorials/photo-store/catalyst_tutorials_photostore_stratus_share_update_access.webp) You can also use the **Revoke Access** toggle and click **Update** to remove all access to the required image. ![catalyst_tutorials_photostore_stratus_share_revoke_access](https://catalyst-docs-development.zohostratus.in/images/tutorials/photo-store/catalyst_tutorials_photostore_stratus_share_revoke_access.webp) The shared user will no longer be able to view the previously shared image. If the application is working as defined in this page, then you can deploy the application. -------------------------------------------------------------------------------- title: "Deploy Your Application" description: "Build a React gallery app to upload and share images in a Stratus bucket. Host the app on AppSail and deploy it from GitHub using Pipelines." last_updated: "2026-11-04T10:10:44.000Z" source: "https://docs.catalyst.zoho.com/en/tutorials/photo-store-app/nodejs/deploy-app/" service: "All Services" related: - Catalyst Stratus (/en/cloud-scale/help/stratus/introduction/) - Catalyst Pipelines (/en/pipelines/help/pipelines/introduction/) - Configure Pipelines Flow (/en/pipelines/help/catalyst-pipelines.yaml/implementation/) - CLI Deploy Resources (/en/cli/v1/serve-resources/introduction/) - Stratus Web SDK (/en/sdk/web/v4/cloud-scale/stratus/overview/) - Stratus REST API (/en/api/code-reference/cloud-scale/stratus/get-all-buckets/#GetAllBuckets) -------------------------------------------------------------------------------- # Deploy Your Application We're going to be using the [Catalyst Pipelines](https://docs.catalyst.zoho.com/en/pipelines/help/pipelines/introduction/) service to deploy and maintain your application in both the Catalyst console and your required GitHub repository. Using the Pipelines service allows us to use a platform dependent package like [Sharp](https://www.npmjs.com/package/sharp). We require the Sharp package to convert and render the uploaded images as thumbnails in the client. Catalyst runs on a Linux machine, in order to use the sharp package and host it on Catalyst, you could install Linux based package library for sharp package and deploy the application. Alternatively, you could easily deploy the application using the Catalyst Pipelines service and all the required dependencies will be handled automatically. Using the Pipelines service allows you to seamlessly sync your application files between your GitHub repository and the Catalyst console. To deploy the application using Pipelines: 1. Click the **Pipelines icon** present in the Console's sidebar to access the *Pipelines* service. ![catalyst_tutorials_photostore_stratus_pipelines_icons](https://catalyst-docs-development.zohostratus.in/images/tutorials/photo-store/catalyst_tutorials_photostore_stratus_pipelines_icons.webp) 2. Click **Create Pipelines** ![catalyst_tutorials_photostore_stratus_pipelines_create_pipeline](https://catalyst-docs-development.zohostratus.in/images/tutorials/photo-store/catalyst_tutorials_photostore_stratus_pipelines_create_pipeline.webp) 3. Name your pipeline as "`PhotoStore-pipeline`" and select **GitHub** as the integration source. ![catalyst_tutorials_photostore_stratus_name_github_sel](https://catalyst-docs-development.zohostratus.in/images/tutorials/photo-store/catalyst_tutorials_photostore_stratus_name_github_sel.webp) > **Info:** We are demonstrating the Pipelines service using GitHub. You can also use the GitLab and BitBucket sources if your requirement demands it. 4. Add your GitHub account from the drop-down. If you haven't added it previously, you can click the **+Add Account** button and follow the login steps to add the GitHub account to the *Catalyst Pipelines* service. ![catalyst_tutorials_photostore_stratus_sel_github_acc](https://catalyst-docs-development.zohostratus.in/images/tutorials/photo-store/catalyst_tutorials_photostore_stratus_sel_github_acc.webp) 5. Select your required GitHub *Organization*, and the repository you had earlier created to maintain the application files. ![catalyst_tutorials_photostore_stratus_sel_github_acc_repo_sel](https://catalyst-docs-development.zohostratus.in/images/tutorials/photo-store/catalyst_tutorials_photostore_stratus_sel_github_acc_repo_sel.webp) 6. You will now be directed to the **code-view** of the `catalyst-pipelines.yaml` file. ![catalyst_tutorials_photostore_stratus_pipelines_yml_code_file_org](https://catalyst-docs-development.zohostratus.in/images/tutorials/photo-store/catalyst_tutorials_photostore_stratus_pipelines_yml_code_file_org.webp) You can also click the **Builder** tab to configure the `.yaml` file using the UI. ![catalyst_tutorials_photostore_stratus_sel_github_acc_yaml_buildeR_file](https://catalyst-docs-development.zohostratus.in/images/tutorials/photo-store/catalyst_tutorials_photostore_stratus_sel_github_acc_yaml_buildeR_file.webp) 7. Copy and paste the following snippet to define the sequence of [stages](https://docs.catalyst.zoho.com/en/pipelines/help/catalyst-pipelines.yaml/build-the-pipeline/stages/) and [configure your Pipeline's flow](https://docs.catalyst.zoho.com/en/pipelines/help/catalyst-pipelines.yaml/implementation/). **catalyst-pipelines.yaml** ```xml version: 1 jobs: deploy: steps: - cd photo-store-app - npm install - npm run build - cd .. - cd server - npm install - cd .. - cd scripts - npm install - cd .. - node ./scripts/filesHelper.js -c ./server/ ./build/server/ - node ./scripts/filesHelper.js -c ./photo-store-app/build/ ./build/photo-store-app/ - npm install -g zcatalyst-cli@beta - catalyst deploy stages: - name: build jobs: - deploy ``` 8. Click **Commit** to execute your Pipeline. ![catalyst_tutorials_photostore_stratus_pipelines_yml_cmpltd](https://catalyst-docs-development.zohostratus.in/images/tutorials/photo-store/catalyst_tutorials_photostore_stratus_pipelines_yml_cmpltd.webp) 9. Provide a commit message and click **Commit**. ![catalyst_tutorials_photostore_stratus_pipelines_commit_msg](https://catalyst-docs-development.zohostratus.in/images/tutorials/photo-store/catalyst_tutorials_photostore_stratus_pipelines_commit_msg.webp) You will be directed to the overview section, where the status of the pipeline will be displayed along with other general details. ![catalyst_tutorials_photostore_stratus_pipelines_queued](https://catalyst-docs-development.zohostratus.in/images/tutorials/photo-store/catalyst_tutorials_photostore_stratus_pipelines_queued.webp) With this step, the Pipeline has been configured and it will automatically begin its execution. ### Add Global Variables We will be adding two Global Variables for this Pipeline. * `CATALYST_TOKEN`: This variable needs to be added to point your local CLI to the Pipeline. Steps to generate the required token are listed below. > **Note:** This variable should be mandatorily added if you are using the CLI for deploying using the Pipeline service. * `CI`: You will need to set the value as `False`. This will ensure that the Pipeline will not fail even if there happens to be warnings in your code. > **Info:** [Learn more about Global Variables](https://docs.catalyst.zoho.com/en/pipelines/help/catalyst-pipelines.yaml/build-the-pipeline/variables/#global-variables). #### Generate Catalyst Token We need to generate a token to allow Catalyst CLI to execute CLI commands from your local system to the Pipeline. To generate a token: 1. Execute the following command in your CLI ```sh catalyst token:generate ``` ![catalyst_tutorials_photostore_stratus_pipelines_token_gen](https://catalyst-docs-development.zohostratus.in/images/tutorials/photo-store/catalyst_tutorials_photostore_stratus_pipelines_token_gen.webp) 2. Navigate to the URL displayed in your CLI, enter the verification code generated in the CLI, and click **Verify**. ![catalyst_tutorials_photostore_stratus_pipelines_token_entered](https://catalyst-docs-development.zohostratus.in/images/tutorials/photo-store/catalyst_tutorials_photostore_stratus_pipelines_token_entered.webp) Once the CLI is verified, the token will be generated. ![catalyst_tutorials_photostore_stratus_pipelines_tokens_completed](https://catalyst-docs-development.zohostratus.in/images/tutorials/photo-store/catalyst_tutorials_photostore_stratus_pipelines_tokens_completed.webp) > **Info:** [Learn more about generating tokens](https://docs.catalyst.zoho.com/en/cli/v1/working-with-tokens/generate-token/) Now, let's begin adding the required global variables. To add Global Variables: 1. Click **Global Variables**. ![catalyst_tutorials_photostore_stratus_pipelines_gv_hihglit](https://catalyst-docs-development.zohostratus.in/images/tutorials/photo-store/catalyst_tutorials_photostore_stratus_pipelines_gv_hihglit.webp) 2. Enter `CATALYST_TOKEN` as key and the generated token as the value. Click the **+ icon** to add the next token. ![catalyst_tutorials_photostore_stratus_pipelines_tokens_gv_1](https://catalyst-docs-development.zohostratus.in/images/tutorials/photo-store/catalyst_tutorials_photostore_stratus_pipelines_tokens_gv_1.webp) 3. Enter `CI` as the key and `False` as its value. Click **Save** to add the variables. ![catalyst_tutorials_photostore_stratus_pipelines_tokens_gv_2](https://catalyst-docs-development.zohostratus.in/images/tutorials/photo-store/catalyst_tutorials_photostore_stratus_pipelines_tokens_gv_2.webp) The required variables have been added. You can check the status of the pipeline by clicking on the executed pipeline for more details. ![catalyst_tutorials_photostore_stratus_pipelines_running_status](https://catalyst-docs-development.zohostratus.in/images/tutorials/photo-store/catalyst_tutorials_photostore_stratus_pipelines_running_status.webp) Click the **Advanced** tab for more details on the process. ![catalyst_tutorials_photostore_stratus_pipelines_adv_processes](https://catalyst-docs-development.zohostratus.in/images/tutorials/photo-store/catalyst_tutorials_photostore_stratus_pipelines_adv_processes.webp) In a few moments, the pipeline will be successfully executed. ![catalyst_tutorials_photostore_stratus_pipelines_success_exec](https://catalyst-docs-development.zohostratus.in/images/tutorials/photo-store/catalyst_tutorials_photostore_stratus_pipelines_success_exec.webp) The application will now be in sync in GitHub and the Catalyst console. ![catalyst_tutorials_photostore_stratus_pipelines_success_github](https://catalyst-docs-development.zohostratus.in/images/tutorials/photo-store/catalyst_tutorials_photostore_stratus_pipelines_success_github.webp) You will now be able to access the deployed version of the application using the **App URL** generated in the AppSail component present in the *Catalyst Serverless* service. ![catalyst_tutorials_photostore_stratus_catalyst_appsail_service_url_first_dep](https://catalyst-docs-development.zohostratus.in/images/tutorials/photo-store/catalyst_tutorials_photostore_stratus_catalyst_appsail_service_url_first_dep.webp) You can execute this URL in the browser to access the deployed version of your application. ![catalyst_tutorials_photostore_stratus_pipelines_app_deployed_done](https://catalyst-docs-development.zohostratus.in/images/tutorials/photo-store/catalyst_tutorials_photostore_stratus_pipelines_app_deployed_done.webp) ## Task Manager App ### NodeJS -------------------------------------------------------------------------------- title: "Introduction" description: "Build a React task manager app to create and manage tasks. You can perform CRUD and filter functionality on tasks." last_updated: "2026-08-17T12:16:04.000Z" source: "https://docs.catalyst.zoho.com/en/tutorials/task-manager/nodejs/introduction/" service: "All Services" related: - Project Directory Structure (/en/cli/v1/project-directory-structure/introduction/) - NoSQL Table Keys (/en/cloud-scale/help/nosql/components/#table-keys) - NoSQL SDK (/en/sdk/nodejs/v2/cloud-scale/nosql/get-component-instance/) - NoSQL API (/en/api/code-reference/cloud-scale/nosql/insert-item/#InsertNewItem) -------------------------------------------------------------------------------- # Task Manager App ### Introduction This tutorial will help you build a React web application called **Task Manager**. The application will allow you to perform the following functionalities: * Create a task * Assign statuses to each task you create * Filter tasks * Update the created tasks * Delete tasks when they are no longer required The client side of the application will look like this: ![catalyst_tutorials_nosql_taskmanager_first_look](https://catalyst-docs-development.zohostratus.in/images/tutorials/task-manager/catalyst_tutorials_nosql_taskmanager_first_look.webp) The logic of this application is coded employing the following Catalyst services and its respective components: 1. [Catalyst Serverless](https://docs.catalyst.zoho.com/en/serverless/): * [Advanced IO Function](https://docs.catalyst.zoho.com/en/serverless/help/functions/advanced-io/): To code the backend logic of the application in the Node.js environment. 2. [Catalyst CloudScale](https://docs.catalyst.zoho.com/en/cloud-scale/): * [NoSQL](https://docs.catalyst.zoho.com/en/cloud-scale/help/nosql/introduction/): To store unstructured or semi-structured data where the data is passed as JSON or JSON arrays. * [Web Client Hosting](https://docs.catalyst.zoho.com/en/cloud-scale/help/web-client-hosting/introduction/): To host the front-end of the application as a React web app. You will use the [Catalyst web console](https://console.catalyst.zoho.com/) and the [Catalyst Command Line Interface](https://docs.catalyst.zoho.com/en/cli/v1/cli-command-reference/) (CLI) to build the application. > **Note:** You will be given the code for the files to be included in the function and client components in this tutorial. You need to copy the provided code and paste it into the appropriate files as directed. ### Featured Concepts Before we dive into the application, it is important you comprehend the following NoSQL table keys: * **Partition Key**: This key is a mandatory attribute as it defines how and where the data should be stored in the distributed NoSQL table. * **Sort Key**: This key is typically an optional attribute and that will help you in referring the required data that shares the same Partition Key. For example, if you have a NoSQL table that contains data on fruits, then the *fruit* itself will be the **Partition Key**, while its specific *variety* will be the **Sort Key**.
Fruit (Partition Key) Variety (Sort Key) Color (Index)
Apple Royal Gala Red
Apple Fuji Red
Banana Cavendish Yellow
Banana Red Dacca Red
> **Info:**: [Learn more about NoSQL Table Keys](https://docs.catalyst.zoho.com/en/cloud-scale/help/nosql/components/#table-keys). ### Application Workflow The workflow of the application is described below: * You will create a task by populating the input fields present in the client. The `UserID` will act as the **Partition Key**, and the `Task Name` will act as the **Sort Key**. * Once the task is created, the unstructured data will be stored in the NoSQL storage component. * You can filter the created tasks and the required tasks will be referred using its `UserID` (**Partition Key**) and `Task Name` (**Sort Key**). * You can also perform **Edit** and **Delete** operations on the created tasks. The data changes will be reflected in the NoSQL component. * Finally, the React application is hosted on Catalyst using the Web Client Hosting component. -------------------------------------------------------------------------------- title: "Prerequisites" description: "Build a React task manager app to create and manage tasks. You can perform CRUD and filter functionality on tasks." last_updated: "2025-11-26T10:08:32.000Z" source: "https://docs.catalyst.zoho.com/en/tutorials/task-manager/nodejs/prerequisites/" service: "All Services" related: - Catalyst CLI Documentation (/en/cli/v1/cli-command-reference/) - Catalyst VS Code Extension (/en/catalyst-extensions/vs-code-extension/introduction/) -------------------------------------------------------------------------------- # Prerequisites Before you begin building the application, you must have the following prerequisites installed on your system: 1. **Catalyst CLI**: Catalyst CLI contains a host of tools that enable you to initialize, develop, test, and deploy the components of your application from your local machine. We will be working with Catalyst CLI in this tutorial. You must perform the following actions: - **Install Catalyst CLI**: Catalyst CLI is installed through NPM. You must have NPM and Node.js installed on your system before you install the CLI. Refer to the [**Install Catalyst CLI help page**](https://docs.catalyst.zoho.com/en/getting-started/installing-catalyst-cli/) for details on the prerequisites and the steps to install it. - **Login Catalyst CLI**: After you install Catalyst CLI, you must authenticate the CLI with your Catalyst account before using it. Refer to the [**CLI Login help page**](https://docs.catalyst.zoho.com/en/cli/v1/login/login-from-cli/) for the steps to log in from Catalyst CLI and the various options available for it. 2. **Any IDE tool for Node.js and client code development**: You can use any IDE to work with the function and the client code. Some popular choices include Visual Studio Code, IntelliJ IDEA, Eclipse, and Sublime Text. Download and install an IDE of your choice on your system. > **Info:** If you are a Visual Studio Code IDE user, you can install the **Catalyst Tools** extension, and use your IDE itself in place of the CLI. You can find more details about the Catalyst VS Code extension from this [help section](https://docs.catalyst.zoho.com/en/catalyst-extensions/vs-code-extension/introduction/). -------------------------------------------------------------------------------- title: "Create Project" description: "Build a React task manager app to create and manage tasks. You can perform CRUD and filter functionality on tasks." last_updated: "2026-11-03T15:16:51.000Z" source: "https://docs.catalyst.zoho.com/en/tutorials/task-manager/nodejs/create-project/" service: "All Services" related: - Catalyst Projects (/en/getting-started/catalyst-projects/) -------------------------------------------------------------------------------- # Create a Project Let's [create a project](https://docs.catalyst.zoho.com/en/getting-started/catalyst-projects/#create-a-catalyst-project) in the Catalyst console. 1. Log in to the [Catalyst console](https://console.catalyst.zoho.com/baas/index) and click **Create New Project**. ![catalyst_tutorials_nosql_taskmanager_create_project](https://catalyst-docs-development.zohostratus.in/images/tutorials/task-manager/catalyst_tutorials_nosql_taskmanager_create_project.webp) 2. Enter the project's name as "`TaskManager`" in the pop-up window, and click **Create**. ![catalyst_tutorials_nosql_taskmanager_proj_nme](https://catalyst-docs-development.zohostratus.in/images/tutorials/task-manager/catalyst_tutorials_nosql_taskmanager_proj_nme.webp) Your project will be created. You can open the project by clicking **Access Project**. ![catalyst_tutorials_nosql_taskmanager_access_proj](https://catalyst-docs-development.zohostratus.in/images/tutorials/task-manager/catalyst_tutorials_nosql_taskmanager_access_proj.webp) -------------------------------------------------------------------------------- title: "Create a NoSQL Table" description: "Build a React task manager app to create and manage tasks. You can perform CRUD and filter functionality on tasks." last_updated: "2026-08-17T12:16:04.000Z" source: "https://docs.catalyst.zoho.com/en/tutorials/task-manager/nodejs/config-nosql/" service: "All Services" related: - Catalyst NoSQL Help Documentation (/en/cloud-scale/help/nosql/introduction/) - Catalyst NoSQL NodeJS SDK (/en/sdk/nodejs/v2/cloud-scale/nosql/get-component-instance/) - Catalyst NoSQL API (/en/api/code-reference/cloud-scale/nosql/insert-item/#InsertNewItem) -------------------------------------------------------------------------------- # Create a NoSQL Table Let's create a table in [NoSQL](https://docs.catalyst.zoho.com/en/cloud-scale/help/nosql/introduction/). This table will be used to store the unstructured or semi-structured JSON data generated in the application through user inputs. To create a NoSQL table: 1. Navigate to the *Catalyst CloudScale* service section in the console and click **Start Exploring**. ![catalyst_tutorials_nosql_taskmanager_cloudscale_service](https://catalyst-docs-development.zohostratus.in/images/tutorials/task-manager/catalyst_tutorials_nosql_taskmanager_cloudscale_service.webp) 2. Navigate to the **NoSQL** component under *STORAGE*, and click **Create Table**. ![catalyst_tutorials_nosql_taskmanager_nosql_create_table](https://catalyst-docs-development.zohostratus.in/images/tutorials/task-manager/catalyst_tutorials_nosql_taskmanager_nosql_create_table.webp) 3. Name your table "`TaskHandler`". ![catalyst_tutorials_nosql_taskmanager_table_nme](https://catalyst-docs-development.zohostratus.in/images/tutorials/task-manager/catalyst_tutorials_nosql_taskmanager_table_nme.webp) 4. Enter "`UserID`" as the **Partition Key**, and select **String** as the **Data Type**. You can use the UserID field to represent an individual who creates and manages their tasks. This should be kept unique for each user. ![catalyst_tutorials_nosql_taskmanager_table_part_keys](https://catalyst-docs-development.zohostratus.in/images/tutorials/task-manager/catalyst_tutorials_nosql_taskmanager_table_part_keys.webp) 5. Select **Yes** to include **Sort Key**. Enter "`TaskName`" as the **Sort Key**, and select **String** as the **Data Type**. ![catalyst_tutorials_nosql_taskmanager_sort_key](https://catalyst-docs-development.zohostratus.in/images/tutorials/task-manager/catalyst_tutorials_nosql_taskmanager_sort_key.webp) 6. Click **Create**. ![catalyst_tutorials_nosql_taskmanager_table_created](https://catalyst-docs-development.zohostratus.in/images/tutorials/task-manager/catalyst_tutorials_nosql_taskmanager_table_created.webp) > **Note:** * We do not require any additional *Sort Keys* or need to make use of the *TTL feature* for the purposes of this tutorial. * [Learn more about Sort Keys and TTL](https://docs.catalyst.zoho.com/en/cloud-scale/help/nosql/components/#table-keys). The table will be created and a unique [Table ID](https://docs.catalyst.zoho.com/en/cloud-scale/help/nosql/create-manage-tables/#the-overview-section) will be generated by Catalyst to refer to the table. ### Configure Table Indexes Next, we are going to configure indexes for the NoSQL table. Indexes are required to create other attributes that can be used to search for data stored in the table. > **Info:** [Learn more about NoSQL Indexes](https://docs.catalyst.zoho.com/en/cloud-scale/help/nosql/indexing/introduction/). To create an Index: 1. Navigate to the **Indexes** tab, and click **Add Index**. ![catalyst_tutorials_nosql_taskmanager_table_index](https://catalyst-docs-development.zohostratus.in/images/tutorials/task-manager/catalyst_tutorials_nosql_taskmanager_table_index.webp) 2. Enter "`PrimaryIndex`" as the name of the index. ![catalyst_tutorials_nosql_taskmanager_table_index_name](https://catalyst-docs-development.zohostratus.in/images/tutorials/task-manager/catalyst_tutorials_nosql_taskmanager_table_index_name.webp) 3. Enter "`UserID`" as the name of the **Partition Key** and select **String** as the **Data Type**. ![catalyst_tutorials_nosql_taskmanager_table_part_keys_sel_dt](https://catalyst-docs-development.zohostratus.in/images/tutorials/task-manager/catalyst_tutorials_nosql_taskmanager_table_part_keys_sel_dt.webp) 4. Select **No**, as no additional *Sort Keys* are required for the index, select **All Attributes** as the **Attribute Type**, and click **Create**. ![catalyst_tutorials_nosql_taskmanager_table_attribute_types](https://catalyst-docs-development.zohostratus.in/images/tutorials/task-manager/catalyst_tutorials_nosql_taskmanager_table_attribute_types.webp) The required index has been created. ![catalyst_tutorials_nosql_taskmanager_table_index_cmpltd](https://catalyst-docs-development.zohostratus.in/images/tutorials/task-manager/catalyst_tutorials_nosql_taskmanager_table_index_cmpltd.webp) The NoSQL component has been configured for the application. -------------------------------------------------------------------------------- title: "Initialize the Project" description: "Build a React task manager app to create and manage tasks. You can perform CRUD and filter functionality on tasks." last_updated: "2026-08-17T12:16:04.000Z" source: "https://docs.catalyst.zoho.com/en/tutorials/task-manager/nodejs/init-project/" service: "All Services" related: - Catalyst NoSQL Help Documentation (/en/cloud-scale/help/nosql/introduction/) - CLI Help Documentation (/en/cli/v1/cli-command-reference/) - Initialize Resources From CLI (/en/cli/v1/initialize-resources/introduction/) - Project Directory Structure (/en/cli/v1/project-directory-structure/introduction/) - Catalyst Multi-Orgnization Portal (/en/getting-started/catalyst-organizations/#access-the-multi-org-portal) - Catalyst Tools (/en/catalyst-extensions/vs-code-extension/introduction/) -------------------------------------------------------------------------------- # Initialize the Project You can now begin working on your Catalyst project from the CLI. The first step is to initialize the project in an empty directory. This will be the home directory of your project, and all of the project files will be saved in it. > **Info:** * [Learn more about Project Directory Structures](https://docs.catalyst.zoho.com/en/cli/v1/project-directory-structure/introduction/). * [Learn more about Catalyst CLI](https://docs.catalyst.zoho.com/en/cli/v1/cli-command-reference/). For this application, we will be initializing the project, an Advanced IO function, and React client components. 1. Create a folder for the project on your local machine and navigate to it from the terminal. 2. Initialize the project by executing the following command from that directory: ```sh catalyst init ``` 3. Navigate using the arrow keys and select your preferred portal and click Enter. If you have no other organizations associated with the account, then the default will be selected automatically. ![catalyst_tutorials_nosql_taskmanager_cli_init_portal](https://catalyst-docs-development.zohostratus.in/images/tutorials/task-manager/catalyst_tutorials_nosql_taskmanager_cli_init_portal.webp) > **Info:** [Learn more about Catalyst’s multi-org portal feature](https://docs.catalyst.zoho.com/en/getting-started/catalyst-organizations/#access-the-multi-org-portal). 4. The CLI will now ask you to associate a Catalyst project with the directory. Associate it with the project that we created earlier from the console. Select **TaskManager** from the list and click **Enter**. ![catalyst_tutorials_nosql_taskmanager_cli_proj_sel](https://catalyst-docs-development.zohostratus.in/images/tutorials/task-manager/catalyst_tutorials_nosql_taskmanager_cli_proj_sel.webp) 5. Navigate using the arrow keys and select **Functions**, **Client** using the space bar. Press **Enter** to initialize. ![catalyst_tutorials_nosql_taskmanager_cli_proj_func_client](https://catalyst-docs-development.zohostratus.in/images/tutorials/task-manager/catalyst_tutorials_nosql_taskmanager_cli_proj_func_client.webp) 6. The CLI will initiate the function setup. Select **Advanced IO** as the function type to code your backend logic. ![catalyst_tutorials_nosql_taskmanager_cli_func_sel](https://catalyst-docs-development.zohostratus.in/images/tutorials/task-manager/catalyst_tutorials_nosql_taskmanager_cli_func_sel.webp) 7. Select the latest runtime of **Node.js** as the function stack. ![catalyst_tutorials_nosql_taskmanager_cli_func_runtime](https://catalyst-docs-development.zohostratus.in/images/tutorials/task-manager/catalyst_tutorials_nosql_taskmanager_cli_func_runtime.webp) 8. Enter "`task_manager_function`" as the package name, "`index.js`" as the entry point, and your email address as the author, then press **Enter**. Alternatively, you can press **Enter** without entering inputs to fill in the default values. The CLI will prompt the initialization of the Node dependencies. Press **Y** to confirm the installation, and press **Enter** to confirm your choice. The Node modules will be installed. ![catalyst_tutorials_nosql_taskmanager_cli_func_cmpltd](https://catalyst-docs-development.zohostratus.in/images/tutorials/task-manager/catalyst_tutorials_nosql_taskmanager_cli_func_cmpltd.webp) The CLI will now initiate the client setup. 9. Select **React web app** and press **Enter** to initialize your client as a [React web app](https://docs.catalyst.zoho.com/en/cli/v1/initialize-resources/initialize-client/#react-applications). ![catalyst_tutorials_nosql_taskmanager_cli_client_sel](https://catalyst-docs-development.zohostratus.in/images/tutorials/task-manager/catalyst_tutorials_nosql_taskmanager_cli_client_sel.webp) 10. Select **JavaScript** as the React app type and press **Enter**. ![catalyst_tutorials_nosql_taskmanager_cli_client_js_sel](https://catalyst-docs-development.zohostratus.in/images/tutorials/task-manager/catalyst_tutorials_nosql_taskmanager_cli_client_js_sel.webp) 11. Enter "`task-manager-client`" as the name of your client package and click **Enter**. You can also provide any name of your choice. All of the required React packages, such as "`react`," "`react-dom`," and "`react-scripts`" will be installed through the **Catalyst React plugin** ([`zcatalyst-cli-plugin-react`](https://www.npmjs.com/package/zcatalyst-cli-plugin-react)). ![catalyst_tutorials_nosql_taskmanager_cli_client_name_config](https://catalyst-docs-development.zohostratus.in/images/tutorials/task-manager/catalyst_tutorials_nosql_taskmanager_cli_client_name_config.webp) The client is now successfully initialized as a React web application. ![catalyst_tutorials_nosql_taskmanager_cli_init_cmpltd](https://catalyst-docs-development.zohostratus.in/images/tutorials/task-manager/catalyst_tutorials_nosql_taskmanager_cli_init_cmpltd.webp) The [client directory](https://docs.catalyst.zoho.com/en/cli/v1/project-directory-structure/client-directory) will be created in the standard structure in the project directory. This is the structure of the *TaskManager* project’s directory if the client is initialized as a React app. ![catalyst_tutorials_nosql_taskmanager_proj_first_dir](https://catalyst-docs-development.zohostratus.in/images/tutorials/task-manager/catalyst_tutorials_nosql_taskmanager_proj_first_dir.webp) Catalyst initialization is now complete. -------------------------------------------------------------------------------- title: "Configure the Advanced IO Function" description: "Build a React task manager app to create and manage tasks. You can perform CRUD and filter functionality on tasks." last_updated: "2026-08-17T12:16:04.000Z" source: "https://docs.catalyst.zoho.com/en/tutorials/task-manager/nodejs/config-function/" service: "All Services" related: - Catalyst NoSQL Help Documentation (/en/cloud-scale/help/nosql/introduction/) - NoSQL NodeJS SDK (/en/sdk/nodejs/v2/cloud-scale/nosql/get-component-instance/) - Advanced IO Function (/en/serverless/help/functions/advanced-io/) - Function Directory Structure (/en/cli/v1/project-directory-structure/functions-directory) -------------------------------------------------------------------------------- # Configure the Advanced IO Function Now, we will begin coding the task manager application by configuring the function component. The [function’s directory](https://docs.catalyst.zoho.com/en/cli/v1/project-directory-structure/functions-directory), `functions/task_manager_function` contains: * The `index.js` main function file * The `catalyst-config.json` configuration file * Node modules * [`package.json`](https://docs.npmjs.com/files/package.json) and [`package-lock.json`](https://docs.npmjs.com/configuring-npm/package-lock-json.html) dependency files You will be adding code in the `index.js` file. The Advanced I/O function contains the following functionalities:
Request Method Endpoint Purpose
`POST` `/addtask` To create a new task.
`GET` `/filtertask` To filter created tasks by *UserID*, *TaskName* or *Status* fields.
`DELETE` `/deletetask` To delete tasks that are no longer required.
`POST` `/updatetask` To update the content of an existing task.
### Install Required Dependencies We will be using the [Express](https://expressjs.com/) and [Axios](https://www.npmjs.com/package/axios) framework to code the Advanced I/O function. To import the **Express** and **Axios** package in your function’s code, you must install the the required dependency in your system.
Package Name Purpose
`Express` To route HTTP requests.
`Axios` To send and handle HTTP requests
To install them in your local machine, navigate to the function’s home directory (`functions/task_manager_function`) in your terminal and execute the following command: ```sh npm install express axios --save ``` ![catalyst_tutorials_nosql_taskmanager_func_cli_pack_install](https://catalyst-docs-development.zohostratus.in/images/tutorials/task-manager/catalyst_tutorials_nosql_taskmanager_func_cli_pack_install.webp) This information will also be updated in the `package.json` file. ![catalyst_tutorials_nosql_taskmanager_packagejson](https://catalyst-docs-development.zohostratus.in/images/tutorials/task-manager/catalyst_tutorials_nosql_taskmanager_packagejson.webp) Now, let’s begin coding the Advanced I/O function. Copy the code given below and paste it in the `index.js` in the `functions/task_manager_function` directory of your project, and save the file. You can use any IDE of your choice to work with the application’s files. > **Note:** Please go through the code in this section to make sure you fully understand it. **index.js** ```javascript 'use strict'; var express=require('express'); var catalyst=require('zcatalyst-sdk-node'); const{NoSQLItem}=require('zcatalyst-sdk-node/lib/no-sql'); const{NoSQLReturnValue,NoSQLConditionGroupOperator}=require('zcatalyst-sdk-node/lib/no-sql/enum'); const{NoSQLMarshall,NoSQLEnum}=require('zcatalyst-sdk-node/lib/no-sql'); const{NoSQLOperator}=NoSQLEnum; var app=express(); app.use(express.json()); app.use(express.static('public')); // Add a task app.post('/addtask',async(req,res)=>{ let{userID,taskName,dueDate,priority,status}=req.body; var capp=catalyst.initialize(req); const nosql=capp.nosql(); const table=nosql.table('YOUR_TABLE_ID'); try{ await table.insertItems({ item:NoSQLItem.from({UserID:userID,DueDate:dueDate,TaskName:taskName,Priority:priority,Status:status}), return:NoSQLReturnValue.NULL }); res.send({message:"Thanks! Your task has been successfully inserted."}); }catch(error){ res.status(500).send({error:"Internal server error occurred. Please try again in some time."}); } }); // Filter task app.get('/filtertask',async(req,res)=>{ const query=req.query; const parsedData={index_data:{userID:query.userID,taskName:query.taskName,status:query.status}}; const userId=parsedData.index_data.userID; var capp=catalyst.initialize(req); const nosql=capp.nosql(); const table=nosql.table('YOUR_TABLE_ID'); try{ if(userId!=null&&parsedData.index_data.taskName===''){ if(parsedData.index_data.status==='')return res.status(400).json({error:"Oops! You forgot to select a status."}); const groupOpInsert=await table.queryTable({ key_condition:{attribute:'UserID',operator:NoSQLOperator.EQUALS,value:NoSQLMarshall.makeString(parsedData.index_data.userID)}, consistent_read:true, limit:10, forward_scan:true }); let responseData=[]; groupOpInsert.getResponseData().forEach(data=>{ responseData.push({ UserID:data.item.get("UserID"), TaskName:data.item.get("TaskName"), DueDate:data.item.get("DueDate"), Priority:data.item.get("Priority"), Status:data.item.get("Status") }); }); const filteredData=await filterByStatus(responseData,parsedData); res.status(200).send(filteredData); }else if(userId!=null&&parsedData.index_data.taskName!=null){ if(parsedData.index_data.status==='')return res.status(400).json({error:"Oops! You forgot to select a status."}); const groupOpInsert=await table.queryTable({ key_condition:{ group_operator:NoSQLConditionGroupOperator.AND, group:[ {attribute:'UserID',operator:NoSQLOperator.EQUALS,value:NoSQLMarshall.makeString(parsedData.index_data.userID)}, {attribute:'TaskName',operator:NoSQLOperator.EQUALS,value:NoSQLMarshall.makeString(parsedData.index_data.taskName)} ] }, consistent_read:true, limit:10, forward_scan:true }); let responseData=[]; groupOpInsert.getResponseData().forEach(data=>{ responseData.push({ UserID:data.item.get("UserID"), TaskName:data.item.get("TaskName"), DueDate:data.item.get("DueDate"), Priority:data.item.get("Priority"), Status:data.item.get("Status") }); }); const filteredData=await filterByStatus(responseData,parsedData); res.send(filteredData); }else return res.send("Kindly enter partiyion key user ID and sort key Taskname"); }catch(error){ res.status(500).send({error:"Internal server error occurred. Please try again in some time."}); } }); // Delete Task app.delete('/deletetask',async(req,res)=>{ const query=req.query; const parsedData={index_data:{userID:query.userID,taskName:query.taskName}}; var capp=catalyst.initialize(req); const nosql=capp.nosql(); const table=nosql.table('YOUR_TABLE_ID'); try{ await table.deleteItems({keys:NoSQLItem.from({UserID:parsedData.index_data.userID,TaskName:parsedData.index_data.taskName})}); res.status(200).json({message:"Data deleted successfully!"}); }catch(error){ res.status(500).send({error:"Internal server error occurred. Please try again in some time."}); } }); // Update Task app.post('/updatetask',async(req,res)=>{ let{UserID,TaskName,DueDate,Priority,Status}=req.body; var capp=catalyst.initialize(req); const nosql=capp.nosql(); const table=nosql.table('YOUR_TABLE_ID'); try{ await table.insertItems({ item:NoSQLItem.from({UserID:UserID,DueDate:DueDate,TaskName:TaskName,Priority:Priority,Status:Status}), return:NoSQLReturnValue.NULL }); res.send({message:"Items updated successfully!"}); }catch(error){ res.status(500).send({error:"Internal server error occurred. Please try again in some time."}); } }); async function filterByStatus(data,parseData){ return data.filter(task=>task.Status.toLowerCase()===parseData.index_data.status.toLowerCase()); } module.exports=app; ``` > **Note:** Ensure you provide your table ID in lines **16**, **34**, **93**, and **106**. The function directory is now configured. We can now proceed to configuring the client directory. -------------------------------------------------------------------------------- title: "Configure the Client" description: "Build a React task manager app to create and manage tasks. You can perform CRUD and filter functionality on tasks." last_updated: "2026-08-17T12:16:04.000Z" source: "https://docs.catalyst.zoho.com/en/tutorials/task-manager/nodejs/config-client/" service: "All Services" related: - Catalyst NoSQL Help Documentation (/en/cloud-scale/help/nosql/introduction/) - Client Directory Structure (/en/cli/v1/project-directory-structure/client-directory/) - Web Client Hosting (/en/cloud-scale/help/web-client-hosting/introduction/) -------------------------------------------------------------------------------- # Configure the Client Let's configure the client component. The React web [client directory](https://docs.catalyst.zoho.com/en/cli/v1/project-directory-structure/client-directory) contains the following files: - The root directory of the client contains a `client-package.json` file, which is a configuration file defining the name, version, default home page, and redirect page of the client component. - The `task-manager-client` client directory contains two subfolders, as per the default project structure of a React app: - The `public` folder is generally used to hold files that can be openly accessed by browsers through public URLs, such as icon files of the web app, the `index.html` file, and the `404.html` file. - The `src` folder contains the application’s source files that will be included in the build folder when we compile the React app. - The client directory also contains the [`package.json`](https://docs.npmjs.com/files/package.json) dependency file and a hidden [`.gitignore`](https://docs.npmjs.com/files/package.json) file. - The files present in the `src` folder include: - [Native React files](https://reactjs.org/docs/getting-started.html#try-react) such as `index.js`, `index.css`, `setupTests.js`, `reportWebVitals.js`, `logo.svg`, and `App.test.js`. - `App.css`: Contains the required styling elements for the applications interface. - `App.js`: Contains the hash routing logic to define routes for **AddTask** and **FilterTask** files. - You need to add the following files to the `src/` folder: - `AddTask.css`: Contains the required styling elements for the task creation action. - `AddTask.js`: To collect task details using form inputs. - `FilterTask.css`: Contains the required styling for the filter functionality. - `FilterTask.js`: To contain the logic of filtering the tasks based on `UserID`, `TaskName`, and `Status`. Also contains the logic to perform edit and delete operations. - `Header.css`: Contains the styling elements of the application - `Header.js`: Contains the logic that defines the primary aspects of the application such as, application title, navigation buttons, and more. ### Install Additional React Packages To allow our application to behave as a multi-page application, we need to install the `react-router-dom` package. To install the `react-router-dom` package, navigate to the `TaskManager/task-manager-client/` directory and execute the CLI command given below: ```sh npm install react-router-dom ``` This command will install the `react-router-dom` module, save the dependencies, and allow us to perform the required hash routing in our application. ![catalyst_tutorials_nosql_taskmanager_client_react_router_install](https://catalyst-docs-development.zohostratus.in/images/tutorials/task-manager/catalyst_tutorials_nosql_taskmanager_client_react_router_install.webp) This is the client directory after you have created the required files. ![catalyst_tutorials_nosql_taskmanager_proj_final_dir](https://catalyst-docs-development.zohostratus.in/images/tutorials/task-manager/catalyst_tutorials_nosql_taskmanager_proj_final_dir.webp) > **Note:** Please go through the all code given in this section to ensure you fully understand it. Copy the code given below and paste it in the respective files. **App.css** ```css .App{ text-align:center; } .App-logo{ height:40vmin; pointer-events:none; } @media(prefers-reduced-motion:no-preference){ .App-logo{ animation:App-logo-spin infinite 20s linear; } } .App-header{ background-color:#282c34; min-height:100vh; display:flex; flex-direction:column; align-items:center; justify-content:center; font-size:calc(10px+2vmin); color:white; } .App-link{ color:#61dafb; } @keyframes App-logo-spin{ from{ transform:rotate(0deg); } to{ transform:rotate(360deg); } } ``` **App.js** ```javascript import React from 'react' import {HashRouter,Route,Routes,Navigate} from 'react-router-dom' import AddTask from './AddTask' import FilterTask from './FilterTask' import Header from './Header' export default function App() { return ( <div> <HashRouter> <Header /> <div className='router'> <Routes> <Route path='' element={<Navigate to='/AddTask' />} /> <Route path='/AddTask' element={<AddTask />} /> <Route path='/FilterTask' element={<FilterTask />} /> </Routes> </div> </HashRouter> </div> ) } ``` **AddTask.css** ```css body { font-family: Arial, sans-serif; background-color: #f8f9fa; margin: 0; padding: 0; } .container { max-width: 800px; margin: 20px auto; padding: 20px; background: #ffffff; box-shadow: 0px 4px 6px rgba(0,0,0,0.1); border-radius: 10px; } h1 { color: #121111; font-size: 2.5rem; font-weight: bold; margin-bottom: 20px; text-align: center; } .card { border: none; background-color: #fdfdfd; box-shadow: 0 2px 5px rgba(0,0,0,0.1); border-radius: 8px; overflow: hidden; } .card-header { background-color: #439600; color: white; padding: 15px; font-size: 1.25rem; font-weight: bold; text-align: center; } .card-body { padding: 20px; } .form-row { display: flex; flex-wrap: wrap; gap: 15px; margin-bottom: 15px; } .col-md-6,.col-md-4 { flex: 1 1 calc(50% - 15px); min-width: 200px; } label { display: block; font-weight: 600; margin-bottom: 5px; color: #495057; } input,select { width: 93%; padding: 10px; font-size: 1rem; border: 1px solid #ced4da; border-radius: 5px; transition: border-color 0.2s; } input:focus,select:focus { border-color: #007bff; outline: none; box-shadow: 0 0 4px rgba(0,123,255,0.25); } .buttons { display: flex; justify-content: space-between; gap: 10px; } button { padding: 10px 20px; font-size: 1rem; border: none; border-radius: 5px; transition: background-color 0.2s; } button.btn-primary { width: 16%; background-color: #000000; color: white; } button.btn-primary:hover { background-color: #34de19; } button.btn-secondary { background-color: #000000; width: 14%; color: white; font-size: 1rem; font-weight: 600; } button.btn-secondary:hover { background-color: #f00000; } #status.form-control { width: 387%; } .card-header h2 { color: white; } ``` **AddTask.js** ```javascript import React, { useState } from 'react' import './AddTask.css' import axios from 'axios' export default function AddTask() { const [userID, setUserID] = useState('') const [taskName, setTaskName] = useState('') const [dueDate, setDueDate] = useState('') const [priority, setPriority] = useState('High') const [status, setStatus] = useState('Pending') const today = new Date().toISOString().split('T')[0] const addTask = async (event) => { event.preventDefault() const newTask = { userID, taskName, dueDate, priority, status } await axios.post('/server/task_manager_function/addtask', newTask).then(() => { window.confirm('Task added successfully') clearForm() }).catch((error) => { alert(error.message) }) } const clearForm = () => { setUserID('') setTaskName('') setDueDate('') setPriority('High') setStatus('Pending') } return ( <div className="container my-4"> <div className="card my-4"> <div className="card-header"> <h2>Add New Task</h2> </div> <div className="card-body"> <form onSubmit={addTask}> <div className="form-row"> <div className="col-md-6 mb-3"> <label htmlFor="userID" className="userID">User ID</label> <input type="text" className="form-control" id="userID" value={userID} onChange={(e) => setUserID(e.target.value)} required /> </div> <div className="col-md-6 mb-3"> <label htmlFor="taskName">Task Name</label> <input type="text" className="form-control" id="taskName" value={taskName} onChange={(e) => setTaskName(e.target.value)} required /> </div> </div> <div className="form-row align-items-center"> <div className="col-md-4 mb-3"> <label htmlFor="dueDate">Due Date</label> <input type="date" className="form-control" id="dueDate" value={dueDate} onChange={(e) => setDueDate(e.target.value)} min={today} required /> </div> <div className="col-md-4 mb-3"> <label htmlFor="priority">Priority</label> <select className="form-control" id="priority" value={priority} onChange={(e) => setPriority(e.target.value)} required> <option value="High">High</option> <option value="Medium">Medium</option> <option value="Low">Low</option> </select> </div> <div className="status-cls"> <label htmlFor="status">Status</label> <select className="form-control" id="status" value={status} onChange={(e) => setStatus(e.target.value)} required> <option value="Pending">Pending</option> <option value="Completed">Completed</option> </select> </div> </div> <div className="buttons mt-4"> <button type="submit" className="btn btn-primary">Add Task</button> <button type="button" className="btn btn-secondary" onClick={clearForm}>Clear</button> </div> </form> </div> </div> </div> ) } ``` **FilterTask.css** ```css @import url("https://fonts.googleapis.com/css2?family=Inter:wght@100..900&display=swap"); * { font-family: "Inter", sans-serif; box-sizing: border-box; margin: 0; padding: 0; } h2 { font-size: 38px; font-weight: bold; margin-bottom: 20px; text-align: center; padding: 10px; border-bottom: 1px dashed #ccc; color: #000; } .btn1 { color: white; padding: 8px 10px; border: none; border-radius: 4px; cursor: pointer; background-color: #ccc; } .green { background-color: green; } .container { margin: 30px auto; padding: 20px; max-width: 900px; background-color: #f9f9f9; border-radius: 8px; box-shadow: 0 4px 8px rgba(0,0,0,0.1); } h3 { text-align: center; color: #333; font-family: Arial, sans-serif; } .table { width: 100%; border-collapse: collapse; margin-top: 20px; font-family: Arial, sans-serif; } .table th, .table td { padding: 12px 15px; text-align: left; border-bottom: 1px solid #ddd; } .table th { background-color: #439600; color: white; } .table tbody tr:nth-child(even) { background-color: #f4f4f4; } .table tbody tr:hover { background-color: #e9e9e9; } .btn { padding: 6px 12px; border: none; border-radius: 4px; cursor: pointer; font-size: 14px; font-weight: bold; background-color: #1100ec; color: white; } .btn:hover { background-color: rgb(32,239,0); } .btn:focus { outline: none; } .btn.green { background-color: #28a745; color: white; } .btn.green:hover { background-color: #218838; } td button { margin-right: 8px; } table tr:hover { background-color: #ddd; } .filter-tasks-container { background-color: #ffffff; padding: 25px 30px; border-radius: 10px; box-shadow: 0 8px 15px rgba(0,0,0,0.15); max-width: 650px; margin: 30px auto 59px; } .filter-tasks-header { font-size: 2rem; font-weight: 700; color: #ffffff; text-align: center; padding: 15px; background: #439600; border-radius: 8px 8px 0 0; margin: -30px -30px 20px -30px; position: relative; } .filter-tasks-header::after { content: ''; display: block; width: 50px; height: 4px; margin: 10px auto 0; border-radius: 2px; } .form-row { display: flex; gap: 20px; margin-bottom: 15px; } .filter-label { font-weight: 600; margin-bottom: 5px; display: block; color: #333; font-size: 0.9rem; } .form-control { border: 1px solid #ddd; border-radius: 6px; font-size: 1rem; padding: 3px; transition: all 0.3s ease; color: black; } .form-control:focus { border-color: #007bff; box-shadow: 0 0 8px rgba(0,123,255,0.2); outline: none; } .btn-primary { color: #ffffff; border: none; padding: 12px 24px; font-size: 1rem; font-weight: 600; border-radius: 6px; width: 26%; background-color: black; } .btn-wraper { display: flex; align-items: center; justify-content: space-between; } .cleartask-btn { width: 22%; color: #ffffff; border: none; padding: 12px 24px; font-size: 1rem; font-weight: 600; border-radius: 6px; background-color: black; } .cleartask-btn:hover { background-color: #e80000; transform: translateY(-2px); } .btn-primary:hover { background-color: #60f389; transform: translateY(-2px); } .btn-primary:active { background-color: #141517; transform: translateY(0); } @media (max-width: 768px) { .form-row { flex-direction: column; gap: 15px; } .btn-primary { width: 100%; } } .task-list-container { width: 59%; padding: 5px; background-color: #f9f9f9; border-radius: 8px; box-shadow: 0 4px 12px rgba(0,0,0,0.1); margin-left: 20%; } .task-list-table { width: 100%; border-collapse: collapse; } .task-list-table-striped thead { background-color: #69f086; color: #ffffff; } .task-list-table-striped th, .task-list-table-striped td { padding: 12px 15px; text-align: left; } .task-list-table-striped tbody tr:nth-child(even) { background-color: #f2f2f2; } .task-list-table-striped tbody tr:hover { background-color: #e0e0e0; } .task-list-table-striped th { font-weight: bold; font-size: 16px; } .task-list-table-striped td { font-size: 14px; } .task-list-table-striped td[data-priority="High"] { color: #dc3545; font-weight: bold; } .task-list-table-striped td[data-priority="Medium"] { color: #ffc107; } .task-list-table-striped td[data-priority="Low"] { color: #28a745; } .task-list-table-striped td[data-status="Completed"] { color: #28a745; font-weight: bold; } .task-list-table-striped td[data-status="Pending"] { color: #ffc107; font-weight: bold; } .task-list-table-striped td[data-status="Overdue"] { color: #dc3545; font-weight: bold; text-decoration: underline; } @media (max-width: 768px) { .task-list-table-striped th, .task-list-table-striped td { padding: 10px; } } .modal { display: block; position: fixed; z-index: 1; left: 0; top: 0; width: 100%; height: 100%; background-color: rgba(0,0,0,0.5); overflow: auto; } .modal-content { background-color: white; margin: 10% auto; padding: 20px; text-align: left; width: 56%; height: 62%; border: 1px solid black; } .close { color: #aaa; float: right; font-size: 28px; font-weight: bold; } .close:hover, .close:focus { color: rgb(245,0,0); cursor: pointer; } .updateContent { margin-bottom: 10%; } .modal-content h2 { font-size: 20px; margin-bottom: 20px; text-align: center; } .modal-content div { margin-bottom: 15px; } .modal-content label { display: block; font-weight: bold; margin-bottom: 5px; } .modal-content input[type="text"], .modal-content input[type="date"], .modal-content select { width: 100%; padding: 8px; border: 1px solid #ccc; border-radius: 4px; box-sizing: border-box; } .modal-content select { cursor: pointer; } .modal-content button { display: inline-block; width: 19%; padding: 10px; background-color: #2c2d2e; color: white; font-size: 16px; font-weight: bold; border: none; border-radius: 4px; cursor: pointer; } .modal-content button:hover { background-color: #43c265; } .head { display: flex; } .applyfilter { font-weight: bold; background-color: black; color: white; } .applyfilter:hover { background-color: #00fe19; transform: translateY(-2px); } .btnDelete { padding: 6px 12px; border: none; border-radius: 4px; cursor: pointer; font-size: 14px; font-weight: bold; background-color: rgb(200,26,17); color: white; } .btnDelete:hover { background-color: rgb(255,0,0); } .btnDelete.green { background-color: #ba2929; color: white; } .btnDelete.green:hover { background-color: #218838; } .btnDelete:focus { outline: none; } .placeholder { color: gray; } ``` **FilterTask.js** ```javascript import React from 'react' import { useState } from 'react' import axios from "axios" import './FilterTask.css' export default function FilterTask() { const [tasks,setTasks]=useState([]) const [isModelopen,setModal]=useState(false) const [userData,setUserdata]=useState({UserID:"",TaskName:"",DueDate:"",Status:""}) const [userID,setUserID]=useState('') const [taskName,setTaskName]=useState('') const [status,setStatus]=useState('') const filterTasks=async()=>{try{const response=await axios.get('/server/task_manager_function/filtertask',{params:{userID,taskName,status}});setTasks(response.data)}catch(error){if(error.response&&error.response.data&&error.response.data.error){console.error('Backend Error:',error.response.data.error);alert(error.response.data.error)}else{alert('Something went wrong. Please try again.')}}} const handleDelete=async(taskData)=>{const isConfirmed=window.confirm("Are you sure you want to delete this task!");const userID=taskData.UserID;const taskName=taskData.TaskName;if(isConfirmed){await axios.delete(`/server/task_manager_function/deleteTask`,{params:{userID,taskName}}).then((response)=>{if(window.confirm(response.data.message)){window.location.reload()}}).catch(function(error){alert(error.message)})}} const handleEdit=async(data)=>{setUserdata(data);setModal(true)} const closeModal=async()=>{setModal(false)} const clearTask=()=>{setUserID('');setTaskName('');setStatus('')} const handleChange=(e)=>{const{name,value}=e.target;setUserdata(prevData=>({...prevData,[name]:value}))} const handleSubmit=async(e)=>{e.preventDefault();await axios.post("/server/task_manager_function/updatetask",userData).then((response)=>{if(window.confirm(response.data.message)){window.location.reload()}}).catch(function(error){alert(error.message)})} return( <> <div className="filter-tasks-container"> <h4 className="filter-tasks-header">Filter Tasks</h4> <div className="form-row"> <div className="col-md-4"> <label htmlFor="filterUserID" className="filter-label">User ID</label> <input type="text" className="form-control" id="filterUserID" placeholder="Enter User ID" value={userID} onChange={(e)=>setUserID(e.target.value)}/> </div> <div className="col-md-4"> <label htmlFor="filterTaskName" className="filter-label">Task Name</label> <input type="text" className="form-control" id="filterTaskName" placeholder="Enter Task Name" value={taskName} onChange={(e)=>setTaskName(e.target.value)}/> </div> <div className="col-md-4"> <label htmlFor="filterStatus" className="filter-label">Status</label> <select className="form-control" id="filterStatus" value={status} onChange={(e)=>setStatus(e.target.value)}> <option value="" disabled hidden className="placeholder">Status</option> <option value="Pending">Pending</option> <option value="Completed">Completed</option> </select> </div> </div> <div className="btn-wraper mt-3"> <button className="applyfilter" onClick={filterTasks}>Apply Filters</button> <button className="cleartask-btn" onClick={clearTask}>Clear</button> </div> </div> {tasks.length>0&&( <div className='container'> <h2>Task List</h2> <table className='table'> <thead> <tr> <th>S. No</th> <th>User ID</th> <th>Task Name</th> <th>Due Date</th> <th>Status</th> <th>Update</th> <th>Delete</th> </tr> </thead> <tbody> {tasks.map((task,index)=>( <tr key={index+1}> <td>{index+1}</td> <td>{task.UserID}</td> <td>{task.TaskName}</td> <td>{task.DueDate}</td> <td>{task.Status}</td> <td><button className='btn' onClick={()=>handleEdit(task)}>Edit</button></td> <td><button className='btnDelete' onClick={()=>handleDelete(task)}>Delete</button></td> </tr> ))} </tbody> </table> {isModelopen&&( <div className='modal'> <div className='modal-content'> <span className='close' onClick={closeModal}>×</span> <h2>User Details</h2> <div> <label htmlFor="userID">UserID:</label> <input type="text" id="userID" name="UserID" value={userData.UserID} onChange={handleChange} required/> </div> <div> <label htmlFor="taskName">TaskName:</label> <input type="text" id="taskName" name="TaskName" value={userData.TaskName} onChange={handleChange} required/> </div> <div> <label htmlFor="dueDate">DueDate:</label> <input type="date" id="dueDate" name="DueDate" value={userData.DueDate} onChange={handleChange} min={new Date().toISOString().split('T')[0]} required/> </div> <div> <label htmlFor="status">Status:</label> <select id="status" name="Status" value={userData.Status} onChange={handleChange} required> <option value="">Select Status</option> <option value="Pending">Pending</option> <option value="Completed">Completed</option> </select> </div> <div> <button onClick={handleSubmit}>Submit</button> </div> </div> </div> )} </div> )} </> ) } ``` **Header.css** ```css #root{ display:flex; flex-direction:column; height:100vh; } .heading{ align-items:center; background-color:black; box-shadow:0 2px 4px #0000001a; color:#fff; display:flex; justify-content:space-between; padding:10px 20px; } .heading span{ font-size:1.5rem; font-weight:bold; } .heading ul{ list-style:none; display:flex; gap:20px; margin:0; padding:0; } .heading li{ font-size:1rem; } .heading a{ text-decoration:none; color:#ffffff; transition:color 0.3s ease; font-weight:bold; } .heading a:hover{ color:#007bff; } .naviagtion-btn{ height:36px; background-color:white; border:none; border-radius:7px; font-size:13px; font-weight:bold; } .naviagtion-btn:hover{ background-color:blue; color:white; } ``` **Header.js** ```javascript import React from 'react' import { Link } from 'react-router-dom' import './Header.css' export default function Header() { return ( <div className='heading'> <span>Task Manager</span> <ul> <li> <Link to='/AddTask'> <button className='naviagtion-btn'>Add task</button> </Link> </li> <li> <Link to='/FilterTask'> <button className='naviagtion-btn'>Filter task</button> </Link> </li> </ul> </div> ) } ``` The client directory is now configured. Let’s go over the working of the application: 1. **Create a Task** - After an end-user submits a new task by entering the `UserID`, `Task Name`, deadline date, and `Status` from the **Add Task** page, a task creation action is initiated. - The details are sent to the backend via an `Axios **POST**` call to the `/server/task_manager_function/addtask` API endpoint. - This API will validate and store the new task in the NoSQL storage. This action will trigger a confirmation message. - Now, the task will be available for retrieval through the operations. 2. **Filter a Task** - In the **Filter Task** page, the filtering operations are handled entirely through the `/filtertask` API endpoint. - An end-user can choose to filter the created tasks by `UserID`, `Task Name`, or `Status`. The tasks that satisfy the filtered requirement is fetched using an `Axios **GET**` call to the `/server/task_manager_function/filtertask` API endpoint. This call will fetch the required details from the NoSQL table. 3. **Edit or Delete a Task** - Along with the filtered task, each of the tasks listed will provide the end-user with the option to edit or delete the listed tasks. - The logic of the edit and delete operations is defined in the `handleEdit()` and `handleDelete()` functions. - If the end-user chooses to **delete a task**, then: - the `/deleteTask` API endpoint is invoked using an `Axios **DELETE**` request. - this will remove the corresponding entry from the NoSQL table. - a success message is displayed in the client once the required task is successfully deleted. - If the end-user chooses to **update a task**, then: - the existing task details are populated into a modal using the `handleEdit()` function. - when the end-user updates and submits the modified task information, the `/updatetask` API endpoint is invoked via an `Axios **POST**` request. - this API updates the task record in the NoSQL table with the newly provided values. - after the update operation is complete, the page will reload to reflect the latest data in the filtered task list. -------------------------------------------------------------------------------- title: "Test the Application" description: "Build a React task manager app to create and manage tasks. You can perform CRUD and filter functionality on tasks." last_updated: "2026-08-17T12:16:04.000Z" source: "https://docs.catalyst.zoho.com/en/tutorials/task-manager/nodejs/test-app/" service: "All Services" related: - Catalyst NoSQL Help Documentation (/en/cloud-scale/help/nosql/introduction/) - CLI Serve Resources (/en/cli/v1/serve-resources/introduction/) -------------------------------------------------------------------------------- # Test the Application Before you deploy the application to the remote console, you can [test the application](https://docs.catalyst.zoho.com/en/cli/v1/serve-resources/introduction/) on a local server and check if everything works using the Catalyst CLI. To serve the Catalyst project locally, execute the following command from your project directory: ```sh catalyst serve ``` > **Info:** The application will be ideally served on the default port `3001`. If the port happens to be occupied by another process in your local system, it will be served in the next available port. ![catalyst_tutorials_nosql_taskmanager_cli_serve](https://catalyst-docs-development.zohostratus.in/images/tutorials/task-manager/catalyst_tutorials_nosql_taskmanager_cli_serve.webp) > **Note:** Every time you access the home page or any of the sub-pages of your application, the CLI will display a live log of the URL accessed, along with the HTTP request method. ![catalyst_tutorials_nosql_taskmanager_cli_serve_live_act](https://catalyst-docs-development.zohostratus.in/images/tutorials/task-manager/catalyst_tutorials_nosql_taskmanager_cli_serve_live_act.webp) You can now open the application’s localhost URL in a browser to access the Task Manager application. ![catalyst_tutorials_nosql_taskmanager_serve_main_screen](https://catalyst-docs-development.zohostratus.in/images/tutorials/task-manager/catalyst_tutorials_nosql_taskmanager_serve_main_screen.webp) ### Test Create Functionality 1. Populate the required fields and click **Add Task**, to create a task. ![catalyst_tutorials_nosql_taskmanager_serve_screen__add_task_1](https://catalyst-docs-development.zohostratus.in/images/tutorials/task-manager/catalyst_tutorials_nosql_taskmanager_serve_screen__add_task_1.webp) 2. The task will be created. You can verify, if your task has been created by searching for the data in the NoSQL table present in the console. ![catalyst_tutorials_nosql_taskmanager_serve_nosql_first_local](https://catalyst-docs-development.zohostratus.in/images/tutorials/task-manager/catalyst_tutorials_nosql_taskmanager_serve_nosql_first_local.webp) 3. Choose the table *TaskHandler* from the Index drop-down, and search using either the `UserID` (**Partition Key**), or `Task Name` (**Sort Key**). Provide values for the required attributes to search by. ![catalyst_tutorials_nosql_taskmanager_serve_nosql_first_local_2](https://catalyst-docs-development.zohostratus.in/images/tutorials/task-manager/catalyst_tutorials_nosql_taskmanager_serve_nosql_first_local_2.webp) ### Test Filter Functionality 1. Click the **Filter Task** button in the client app to navigate to the filter operations section. You can search for tasks that match the criteria of the filters you provide. ![catalyst_tutorials_nosql_taskmanager_serve_filter_button_highlit](https://catalyst-docs-development.zohostratus.in/images/tutorials/task-manager/catalyst_tutorials_nosql_taskmanager_serve_filter_button_highlit.webp) 2. Enter the required inputs and click **Apply Filters**, to view the filtered results. ![catalyst_tutorials_nosql_taskmanager_serve_filter_apply](https://catalyst-docs-development.zohostratus.in/images/tutorials/task-manager/catalyst_tutorials_nosql_taskmanager_serve_filter_apply.webp) ### Test Edit and Delete Operations After you've queried for a task, you can perform edit and delete operations on the task. To edit a task: 1. Click **Edit** to edit the task. ![catalyst_tutorials_nosql_taskmanager_serve_filter_update_hihglit](https://catalyst-docs-development.zohostratus.in/images/tutorials/task-manager/catalyst_tutorials_nosql_taskmanager_serve_filter_update_hihglit.webp) 2. Click **Submit** once you've updated the task. ![catalyst_tutorials_nosql_taskmanager_serve_filter_submit_update](https://catalyst-docs-development.zohostratus.in/images/tutorials/task-manager/catalyst_tutorials_nosql_taskmanager_serve_filter_submit_update.webp) The task will be updated. To delete a task: 1. Click **Delete** on the task you no longer require. ![catalyst_tutorials_nosql_taskmanager_serve_filter_del_apply](https://catalyst-docs-development.zohostratus.in/images/tutorials/task-manager/catalyst_tutorials_nosql_taskmanager_serve_filter_del_apply.webp) 2. Click **OK** to confirm the delete operation. ![catalyst_tutorials_nosql_taskmanager_serve_filter_submit_confirm](https://catalyst-docs-development.zohostratus.in/images/tutorials/task-manager/catalyst_tutorials_nosql_taskmanager_serve_filter_submit_confirm.webp) The task will be permanently deleted from the NoSQL table, and from the application. You can open NoSQL in your console to check if these updates were made. If the application is working as defined in this page, then you can deploy the application. -------------------------------------------------------------------------------- title: "Deploy The Application" description: "Build a React task manager app to create and manage tasks. You can perform CRUD and filter functionality on tasks." last_updated: "2026-08-17T12:16:04.000Z" source: "https://docs.catalyst.zoho.com/en/tutorials/task-manager/nodejs/deploy-app/" service: "All Services" related: - Catalyst NoSQL Help Documentation (/en/cloud-scale/help/nosql/introduction/) - Web Client Hosting Help Documentation (/en/cloud-scale/help/web-client-hosting/introduction/) - CLI Deploy Resources (/en/cli/v1/serve-resources/introduction/) -------------------------------------------------------------------------------- # Deploy The Application To [deploy your Catalyst project](https://docs.catalyst.zoho.com/en/cli/v1/deploy-resources/introduction/) from the CLI to the Catalyst console in the cloud, run the following command in your terminal from your project directory: ```sh catalyst deploy ``` ![catalyst_tutorials_nosql_taskmanager_cli_deploy_cmd](https://catalyst-docs-development.zohostratus.in/images/tutorials/task-manager/catalyst_tutorials_nosql_taskmanager_cli_deploy_cmd.webp) The function is deployed first, followed by the client component. The URL endpoints of the components will be displayed in the CLI. ![catalyst_tutorials_nosql_taskmanager_cli_deploy_cmpltd](https://catalyst-docs-development.zohostratus.in/images/tutorials/task-manager/catalyst_tutorials_nosql_taskmanager_cli_deploy_cmpltd.webp) You can access the deployed application from the **Web Client Hosting** component present in the *CloudScale* service section under the *HOST & MANAGE* section. ![catalyst_tutorials_nosql_taskmanager_deploy_wch](https://catalyst-docs-development.zohostratus.in/images/tutorials/task-manager/catalyst_tutorials_nosql_taskmanager_deploy_wch.webp) You can now open the client component’s URL in a browser to access the deployed application. The **Task Manager** application can now be accessed from its web app URL. ![catalyst_tutorials_nosql_taskmanager_deploy_final](https://catalyst-docs-development.zohostratus.in/images/tutorials/task-manager/catalyst_tutorials_nosql_taskmanager_deploy_final.webp) The Task Manager application is now functional and will work without any errors. ## To-Do List ### Java -------------------------------------------------------------------------------- title: "Introduction" description: "Build a Basic, React, or Angular to-do list web app using Catalyst Advanced I/O Function and Data Store to note down tasks and delete them when done." last_updated: "2026-11-04T10:10:44.000Z" source: "https://docs.catalyst.zoho.com/en/tutorials/todo-list/java/introduction/" service: "All Services" related: - Project Directory Structure (/en/cli/v1/project-directory-structure/introduction/) - Java SDK (/en/sdk/java/v1/overview/) - Node.js SDK (/en/sdk/nodejs/v2/overview/) - Python SDK (/en/sdk/python/v1/overview/) -------------------------------------------------------------------------------- # To-Do List Application ### Introduction This tutorial will help you build a simple, single-page to-do list web application in Catalyst. The application will enable users to note down tasks to be done, then delete them after they are completed. The client application will look like this: ![todolist_sample](https://catalyst-docs-development.zohostratus.in/images/tutorials/todo-list/todolist_sample.webp) You can access a working application of each type and test their functioning here: * **[Basic web app](https://to-do-basic.catalystserverlessapp.com/app/)** * **[React web app](https://to-do-react.catalystserverlessapp.com/app/)** * **[Angular web app](https://to-do-angular.catalystserverlessapp.com/app/)** The to-do list application contains the following fundamental Catalyst components: [**Catalyst Serverless**](https://docs.catalyst.zoho.com/en/serverless/getting-started/introduction/): * **[**Advanced I/O Function**](https://docs.catalyst.zoho.com/en/serverless/help/functions/introduction)**: The Advanced I/O function can be coded in the **Java** or **Node.js** programming environment. It contains the APIs that enable the users to create, view, and delete list items. [**Catalyst CloudScale**](https://docs.catalyst.zoho.com/en/cloud-scale/getting-started/introduction/): * **[Data Store](https://docs.catalyst.zoho.com/en/cloud-scale/help/data-store/introduction):** To store the to-do list items in a table. * **[ZCQL](https://docs.catalyst.zoho.com/en/cloud-scale/help/zcql/introduction):** To fetch data from the Data Store through querying. * **[Client](https://docs.catalyst.zoho.com/en/cli/v1/working-with-the-client/introduction/)**: The front end of the application that is hosted on Catalyst through [web client hosting](https://docs.catalyst.zoho.com/en/cloud-scale/help/web-client-hosting/introduction/). You can initialize the web client as a basic Catalyst web app, an Angular app, or a React app. This tutorial will cover the steps for all three types of web clients. We will be using the native plugins offered by Catalyst to easily build, test, and deploy Angular and React apps. We will use the Catalyst web console and the Catalyst Command Line Interface (CLI) to build this application. You will be given the code for the files to be included in the function and client components in this tutorial. You will just have to copy the code given here and paste it into the appropriate files as directed. ### Application Architecture The to-do list application's functioning can be described as follows: * **Adding a note**: A user enters a note in the client application and adds it as a to-do list item. The client component triggers the Advanced I/O function. The function saves the note as a record in the table in the Catalyst Data Store using an HTTP POST request. The corresponding response (note) will be added to the existing to-do list. * **Viewing a note**: When the user opens the application, the client component triggers the Advanced I/O function to fetch existing to-do list items from the Catalyst Data Store using a HTTP GET request. This list is then displayed to the user. * **Deleting a note**: When the user clicks on a note in the client application, it triggers an HTTP DELETE request. The corresponding record from the Data Store is deleted, ensuring the note is also deleted from the client. The updated to-do list is displayed in the client. ![catalyst_todo_architecture](https://catalyst-docs-development.zohostratus.in/images/tutorials/todo-list/catalyst_todo_architecture.webp) -------------------------------------------------------------------------------- title: "Prerequisites" description: "Build a Basic, React, or Angular to-do list web app using Catalyst Advanced I/O Function and Data Store to note down tasks and delete them when done." last_updated: "2026-11-04T10:10:44.000Z" source: "https://docs.catalyst.zoho.com/en/tutorials/todo-list/java/prerequisites/" service: "All Services" related: - CLI Command Reference (/en/cli/v1/cli-command-reference/) - Install CLI (/en/getting-started/installing-catalyst-cli/) - Login CLI (/en/cli/v1/login/login-from-cli/) -------------------------------------------------------------------------------- # Prerequisites Before you begin building the application, you must have the following prerequisites installed on your system: 1. **Catalyst CLI**: Catalyst CLI contains a host of tools that enable you to initialize, develop, test, and deploy the components of your application from your local machine. We will be working with Catalyst CLI in this tutorial. To get started, you will need to perform the following actions: 1. **Install Catalyst CLI**: Catalyst CLI is installed through NPM. You must therefore have NPM and Node.js installed on your system before you install the CLI. Refer to the **Install Catalyst CLI** [**help page**](https://docs.catalyst.zoho.com/en/getting-started/installing-catalyst-cli/) for details on the pre-requisites and the steps to install it. 2. **Login Catalyst CLI**: After you install Catalyst CLI, you must authenticate the CLI with your Catalyst account before using it. Refer to the **CLI Login** [**help page**](https://docs.catalyst.zoho.com/en/cli/v1/login/login-from-cli/) for the steps to log in from Catalyst CLI and the various options available for it. 2. **Any IDE tool for Java and client code development**: Download and install an IDE of your choice in your system. You can use any IDE to work with the function and the client code. Some popular choices include Visual Studio Code, IntelliJ IDEA, Eclipse, and Sublime Text. > **Note**: If you have decided to configure the client component of the Catalyst application as an Angular app, ensure you have the Angular CLI installed. You can find detailed instructions on how to do so in the [Angular CLI documentation](https://angular.io/guide/setup-local#install-the-angular-cli). > If you are a Visual Studio Code IDE user, you can install the **Catalyst Tools** extension, and use your IDE itself in place of the CLI. You can find more details about the Catalyst VS Code extension from this [help section](https://docs.catalyst.zoho.com/en/catalyst-extensions/vs-code-extension/introduction/). -------------------------------------------------------------------------------- title: "Create a project" description: "Build a Basic, React, or Angular to-do list web app using Catalyst Advanced I/O Function and Data Store to note down tasks and delete them when done." last_updated: "2026-11-04T10:10:44.000Z" source: "https://docs.catalyst.zoho.com/en/tutorials/todo-list/java/create-project/" service: "All Services" related: - Project Directory (/en/cli/v1/project-directory-structure/introduction) - Set up Catalyst Projects (/en/getting-started/catalyst-projects) -------------------------------------------------------------------------------- # Create a Project Let’s create a [Catalyst project](https://docs.catalyst.zoho.com/en/getting-started/catalyst-projects/#create-a-catalyst-project) from the Catalyst console. 1. Log in to the [Catalyst console](https://console.catalyst.zoho.com/baas/index) and click **Create New Project**. ![catalyst_todolist_create_project](https://catalyst-docs-development.zohostratus.in/images/tutorials/todo-list/catalyst_todolist_create_project.webp)
2. Enter the project’s name as "**ToDoList**" in the pop-up window, and click **Create**. ![catalyst_todolist_proj_name](https://catalyst-docs-development.zohostratus.in/images/tutorials/todo-list/catalyst_todolist_proj_name.webp)
Your project will be created; once ready, click **Access Project** to continue. -------------------------------------------------------------------------------- title: "Create a table" description: "Build a Basic, React, or Angular to-do list web app using Catalyst Advanced I/O Function and Data Store to note down tasks and delete them when done." last_updated: "2026-11-04T10:10:44.000Z" source: "https://docs.catalyst.zoho.com/en/tutorials/todo-list/java/create-table/" service: "All Services" related: - Data Store (/en/cloud-scale/help/data-store/introduction/) -------------------------------------------------------------------------------- # Create a Table Let’s now create a table in the **Data Store** of the *ToDoList* project. As discussed earlier, this table is used to store to-do list items created by the user. To create a table: 1. Navigate to the *CloudScale* section of the console, and click **Start Exploring**. ![catalyst_todolist_cloud_scale_console_view](https://catalyst-docs-development.zohostratus.in/images/tutorials/todo-list/catalyst_todolist_cloud_scale_console_view.webp)
2. Navigate to **Data Store** under *Storage* and click **Create a New Table**. ![catalyst_todolist_console_cloudscale_datastore_view](https://catalyst-docs-development.zohostratus.in/images/tutorials/todo-list/catalyst_todolist_console_cloudscale_datastore_view.webp)
3. Enter the table’s name as "**TodoItems**", then click **Create**. ![catalyst_todo_table_name](https://catalyst-docs-development.zohostratus.in/images/tutorials/todo-list/catalyst_todo_table_name.webp)
> **Note:** Ensure that you enter the name exactly as instructed, because the application's code contains the same name. The table is now created and displayed in the *Data Store* page. ### Create Columns Now, let us create a column in the table to store the to-do list items. 1. Click **New Column** in the *Schema View* section of the table. ![catalyst_todo_datastore_viewblock](https://catalyst-docs-development.zohostratus.in/images/tutorials/todo-list/catalyst_todo_datastore_viewblock.webp)
2. Enter the column’s name as "**Notes**". Select the data type as **Text** and click the **Is Mandatory** toggle switch to enable it. ![catalyst_todo_column_name](https://catalyst-docs-development.zohostratus.in/images/tutorials/todo-list/catalyst_todo_column_name.webp)
You can learn about the various data types supported by Catalyst and the other properties of a column from the Data Store [help page](https://docs.catalyst.zoho.com/en/cloud-scale/help/data-store/columns). > **Note:** Ensure that you enter the name exactly as instructed, because the application's code contains the same name. 3. Click **Create**. The column is now created and listed in the *Schema View* section. ![catalyst_todo_table_view](https://catalyst-docs-development.zohostratus.in/images/tutorials/todo-list/catalyst_todo_table_view.webp)
You have now configured all the necessary components from the console. You will now be working on coding the application from your local system. -------------------------------------------------------------------------------- title: "Initialize the project" description: "Build a Basic, React, or Angular to-do list web app using Catalyst Advanced I/O Function and Data Store to note down tasks and delete them when done." last_updated: "2026-11-04T10:10:44.000Z" source: "https://docs.catalyst.zoho.com/en/tutorials/todo-list/java/initialize-project/" service: "All Services" related: - Initialize CLI Resources (/en/cli/v1/initialize-resources/introduction) - Project Directory Structure (/en/cli/v1/project-directory-structure/introduction) -------------------------------------------------------------------------------- # Initialize the Project from the CLI You can now begin working on your Catalyst project from the CLI. The first step is to initialize the project in an empty directory. This will be the home directory of your project and all of the project files will be saved in it. You can learn more about this from the [Project Directory Structure help page](https://docs.catalyst.zoho.com/en/cli/v1/project-directory-structure/introduction/). You can learn about initializing a project in detail from the [CLI help documentation](https://docs.catalyst.zoho.com/en/cli/v1/initialize-resources/introduction). For the to-do list application, we will initialize the Advanced I/O function first, and initialize the Client component later. > **Note:** Ensure that you enter the function's package name or class name exactly as instructed, because the application's code contains the same name. 1. Create a folder for the project on your local machine and navigate to it from the terminal. 2. Initialize a project by executing the following command from that directory: ```sh catalyst init ``` 3. Navigate using the **arrow keys** and select your preferred portal and press the **Enter** key. If you have no other organizations associated with the account, then the default one will be automatically selected. ![catalyst_todo_portal_choice](https://catalyst-docs-development.zohostratus.in/images/tutorials/todo-list/catalyst_todo_portal_choice.webp) You can find out more about Catalyst's multi-org portal feature from this [help document](https://docs.catalyst.zoho.com/en/getting-started/catalyst-organizations/#access-the-multi-org-portal). 4. The CLI will now ask you to associate a Catalyst project with the directory. Associate it with the project that we created earlier from the console. Select **ToDoList** from the list and press **Enter**. ![catalyst_todo_project_selection](https://catalyst-docs-development.zohostratus.in/images/tutorials/todo-list/catalyst_todo_project_selection.webp) 5. Select **Functions** using the **space bar**. Press the **Enter** key to initialize. As mentioned earlier, we will initialize and setup the client after we configure the function. ![catalyst_todo_func_cli_select](https://catalyst-docs-development.zohostratus.in/images/tutorials/todo-list/catalyst_todo_func_cli_select.webp) 6. The CLI will initiate the function setup. Select **AdvancedIO** as the function type, and then choose Java as the runtime environment. ![catalyst_todo_function_type_select](https://catalyst-docs-development.zohostratus.in/images/tutorials/todo-list/catalyst_todo_function_type_select.webp) 7. Enter "ToDoList" as the folder name and press **Enter**. Enter "ToDoList" as the class name of the Java function as well and press **Enter**.![catalyst_todo_java_function_setup](https://catalyst-docs-development.zohostratus.in/images/tutorials/todo-list/catalyst_todo_java_function_setup.webp) The project and function initialization is now complete. The current project directory will be created in the standard structure. The [functions directory](https://docs.catalyst.zoho.com/en/cli/v1/project-directory-structure/functions-directory) will be created in your project directory with the configuration files and dependencies, along with the [`catalyst.json`](https://docs.catalyst.zoho.com/en/cli/v1/project-directory-structure/catalyst-json) and a hidden `.catalystrc` file This is the structure of the ToDoList project's directory without the Client component. ![catalyst_todo_image_12](https://catalyst-docs-development.zohostratus.in/images/tutorials/todo-list/catalyst_todo_image_12.webp) -------------------------------------------------------------------------------- title: "Configure the functions directory" description: "Build a Basic, React, or Angular to-do list web app using Catalyst Advanced I/O Function and Data Store to note down tasks and delete them when done." last_updated: "2026-11-04T10:10:44.000Z" source: "https://docs.catalyst.zoho.com/en/tutorials/todo-list/java/configure-function/" service: "All Services" related: - Advanced I/O Functions (/en/serverless/help/functions/advanced-io/) - Functions Directory Structure (/en/cli/v1/project-directory-structure/functions-directory) -------------------------------------------------------------------------------- # Configure the Advanced I/O Function Next, we will begin coding the to-do list application by configuring the function component. The [functions directory](https://docs.catalyst.zoho.com/en/cli/v1/project-directory-structure/functions-directory), `functions/ToDoList` contains: * The `ToDoList.java` main function file * The `catalyst-config.json` configuration file * Java library files in the `lib` directory * `.classpath` and `.project` dependency files You will be adding code in the `ToDoList.java` file. The three APIs in the Advanced I/O function that handle the routing between the server and the Data Store are: * **GET /todo:** To obtain the to-do list items from the _TodoItems_ table in the Data Store * **POST /todo:** To create and save a new list item in the Data Store * **DELETE /todo:** To delete a list item from the Data Store Next, let's add the code in the function file. Copy the Java code and paste it in `ToDoList.java` in the `functions/TodoList` directory of your project, and save the file. You can use any IDE of your choice to work with the application's files. > **Note**: Please go through the code given in this section to ensure you fully understand it. We will discuss the architecture of the function and the client in the next section. **ToDoList.java** ```java import java.util.ArrayList; import java.util.HashMap; import java.util.logging.Level; import java.util.logging.Logger; import java.io.InputStreamReader; import javax.servlet.ServletInputStream; import javax.servlet.http.HttpServletRequest; import javax.servlet.http.HttpServletResponse; import org.json.simple.JSONObject; import org.json.simple.parser.JSONParser; import com.catalyst.advanced.CatalystAdvancedIOHandler; import com.fasterxml.jackson.databind.ObjectMapper; import com.zc.component.object.ZCObject; import com.zc.component.object.ZCRowObject; import com.zc.component.object.ZCTable; import com.zc.component.zcql.ZCQL; public class ToDoList implements CatalystAdvancedIOHandler { private static final String GET = "GET"; private static final String POST = "POST"; private static final String DELETE = "DELETE"; private JSONObject responseData = new JSONObject(); private static final Logger LOGGER = Logger.getLogger(ToDoList.class.getName()); @SuppressWarnings("unchecked") @Override public void runner(HttpServletRequest request, HttpServletResponse response) throws Exception { try { String uri = request.getRequestURI(); String method = request.getMethod(); // GET method gets data from the TodoItems table in the Data Store. if (method.equals(GET) && uri.equals("/all")) { Integer page = Integer.parseInt(request.getParameter("page")); Integer perPage = Integer.parseInt(request.getParameter("perPage")); ArrayList<ZCRowObject> rowList = ZCQL.getInstance().executeQuery("SELECT COUNT(ROWID) FROM TodoItems"); Integer totalTodos = Integer.parseInt(new ObjectMapper().writeValueAsString(rowList.get(0).get("TodoItems", "COUNT(ROWID)"))); Boolean hasMore = totalTodos > page * perPage; ArrayList<HashMap<String, String>> todoItems = new ArrayList<>(); ZCQL.getInstance().executeQuery(String.format("SELECT ROWID, Notes FROM TodoItems LIMIT %d, %d", (page - 1) * perPage, perPage)).forEach(row -> { HashMap<String, String> item = new HashMap<>(); item.put("id", row.get("TodoItems", "ROWID").toString()); item.put("notes", row.get("TodoItems", "Notes").toString()); todoItems.add(item); }); response.setStatus(200); responseData.put("status", "success"); responseData.put("data", new JSONObject() { { put("hasMore", hasMore); put("todoItems", todoItems); } }); // POST method adds a new todo item to the TodoItems table in the Data Store. } else if (method.equals(POST) && uri.equals("/add")) { JSONParser jsonParser = new JSONParser(); ServletInputStream requestBody = request.getInputStream(); JSONObject jsonObject = (JSONObject) jsonParser.parse(new InputStreamReader(requestBody, "UTF-8")); String notes = jsonObject.get("notes").toString(); ZCRowObject row = ZCRowObject.getInstance(); row.set("Notes", notes); ZCRowObject todoItem = ZCObject.getInstance().getTable("TodoItems").insertRow(row); response.setStatus(200); responseData.put("status", "success"); responseData.put("data", new JSONObject() { { put("todoItem", new JSONObject() { { put("id", todoItem.get("ROWID").toString()); put("notes", todoItem.get("Notes").toString()); } }); } }); // DELETE method deletes a todo item from the Data Store by its ID. } else if (method.equals(DELETE) && uri.matches("/\\d+")) { ZCTable table = ZCObject.getInstance().getTable("TodoItems"); table.deleteRow(Long.parseLong(uri.substring(1))); response.setStatus(200); responseData.put("status", "success"); responseData.put("data", new JSONObject() { { put("todoItem", new JSONObject() { { put("id", uri.substring(1)); } }); } }); } else { response.setStatus(404); responseData.put("status", "failure"); responseData.put("message", "Please check if the URL trying to access is a correct one"); } } catch (Exception e) { LOGGER.log(Level.SEVERE, "Exception in Main", e); responseData.put("status", "failure"); responseData.put("message", "We're unable to process the request."); } response.setContentType("application/json"); response.getWriter().write(responseData.toString()); } } ``` The functions directory is now configured. -------------------------------------------------------------------------------- title: "Initialize the Client" description: "Build a Basic, React, or Angular to-do list web app using Catalyst Advanced I/O Function and Data Store to note down tasks and delete them when done." last_updated: "2026-11-04T10:10:44.000Z" source: "https://docs.catalyst.zoho.com/en/tutorials/todo-list/java/initialize-client/" service: "All Services" related: - Client Directory Structure (/en/cli/v1/project-directory-structure/client-directory) - Initialize the Client (/en/cli/v1/initialize-resources/initialize-client/) -------------------------------------------------------------------------------- # Initialize the Client Now, let's initialize the client. You can initialize the client in one of the three types supported by Catalyst: 1. **Basic web app**: The basic client application is a simple version of the Catalyst client that is created without any external frameworks or libraries. 2. **Angular web app**: You can choose this client type if you prefer to create the To-Do List app using the Angular framework. 3. **React web app**: You can choose this client type if you prefer to create the To-Do List app using the React framework. > **Note**: Catalyst provides native plugin support to create React and Angular apps. These plugins also handle several operations related to setting up, testing and deploying your applications. Since, you are initializing the client after the project has already been initialized, you can set it up independently by executing the following command from your project directory: ```sh catalyst client:setup ``` Use the arrow keys and select your preference by pressing **Enter**. ![catalyst_todo_client_select](https://catalyst-docs-development.zohostratus.in/images/tutorials/todo-list/catalyst_todo_client_select.webp)
Based on your choice, navigate to the relevant section for the steps to initialize the web app: **Basic web app** #### Initialize the client as a Basic web app If you chose **Basic web app** while setting up the client using the Catalyst command `catalyst client:setup`, Catalyst will initialize the client accordingly. Enter "**ToDoApp**" as the name for the client package and press **Enter**. ![catalyst_todo_basic_init_complete](https://catalyst-docs-development.zohostratus.in/images/tutorials/todo-list/catalyst_todo_basic_init_complete.webp) The client is now successfully initialized as a Basic web application. The [client directory](https://docs.catalyst.zoho.com/en/cli/v1/project-directory-structure/client-directory) will be created in the standard structure in the project directory. This is the structure of the ToDoList project's directory if the client is initialized as a basic web app. ![catalyst_todo_basic_java_directory](https://catalyst-docs-development.zohostratus.in/images/tutorials/todo-list/catalyst_todo_basic_java_directory.webp) **Angular web app** #### Initialize the client as an Angular web app If you chose to set up the client as an Angular app, Catalyst will initialize it using the **Catalyst Angular plugin** ([`zcatalyst-cli-plugin-angular`](https://npm.io/package/zcatalyst-cli-plugin-angular)). 1. Name your Angular app as "**app**", then type "**Y**" and press the **Enter** key to enable the auto-completion feature. This will provide auto-completion for your Angular terminal commands. ![catalyst_todo_angular_autocomplete](https://catalyst-docs-development.zohostratus.in/images/tutorials/todo-list/catalyst_todo_angular_autocomplete.webp) 2. You can choose to share your application data with the Angular by entering "**Y**" or opt out of it by entering "**N**", then press **Enter**. Since the application does not require Angular routing, type "**N**" and press **Enter**. ![catalyst_todo_angular_routing](https://catalyst-docs-development.zohostratus.in/images/tutorials/todo-list/catalyst_todo_angular_routing.webp) 3. For this application we will be using CSS style sheet. Press the **Enter** key after choosing CSS. ![catalyst_todo_angular_stylesheet](https://catalyst-docs-development.zohostratus.in/images/tutorials/todo-list/catalyst_todo_angular_stylesheet.webp) 4. Now all the required Angular application files, configuration files, and dependencies will be installed through the Catalyst Angular plugin. ![catalyst_todo_angular_init](https://catalyst-docs-development.zohostratus.in/images/tutorials/todo-list/catalyst_todo_angular_init.webp) 5. The client is now successfully initialized as an Angular web application. ![catalyst_todo_angular_init_complete](https://catalyst-docs-development.zohostratus.in/images/tutorials/todo-list/catalyst_todo_angular_init_complete.webp) The [client directory](https://docs.catalyst.zoho.com/en/cli/v1/project-directory-structure/client-directory) will be created in the standard structure in the project directory. This is the structure of the ToDoList project's directory if the client is initialized as an Angular app. ![catalyst_todo_angular_java_directory](https://catalyst-docs-development.zohostratus.in/images/tutorials/todo-list/catalyst_todo_angular_java_directory.webp) **React web app** #### Initialize the client as a React web app If you chose to set up the client as a React app, Catalyst will initialize the React app using the Catalyst React plugin ([`zcatalyst-cli-plugin-react`](https://www.npmjs.com/package/zcatalyst-cli-plugin-react)). 1. Next you will be prompted to choose the type of React application. Choose "**JavaScript**" as the type for this tutorial. ![catalyst_todo_react_init_1](https://catalyst-docs-development.zohostratus.in/images/tutorials/todo-list/catalyst_todo_react_init_1.webp) 2. Name your React application as "**app**," and press **Enter**. All the required React packages such as `react`, `react-dom`, and `react-scripts` will be installed through the Catalyst React plugin. ![catalyst_todo_react_client_init](https://catalyst-docs-development.zohostratus.in/images/tutorials/todo-list/catalyst_todo_react_client_init.webp) The client is now successfully initialized as a React web application. ![catalyst_todo_react_init_complete](https://catalyst-docs-development.zohostratus.in/images/tutorials/todo-list/catalyst_todo_react_init_complete.webp) The [client directory](https://docs.catalyst.zoho.com/en/cli/v1/project-directory-structure/client-directory) will be created in the standard structure in the project directory. This is the structure of the ToDoList project's directory if the client is initialized as a React app. ![catalyst_todo_react_client_java_directory](https://catalyst-docs-development.zohostratus.in/images/tutorials/todo-list/catalyst_todo_react_client_java_directory.webp) -------------------------------------------------------------------------------- title: "Configure the client" description: "Build a Basic, React, or Angular to-do list web app using Catalyst Advanced I/O Function and Data Store to note down tasks and delete them when done." last_updated: "2026-11-04T10:10:44.000Z" source: "https://docs.catalyst.zoho.com/en/tutorials/todo-list/java/configure-client/" service: "All Services" related: - Client Directory Structure (/en/cli/v1/project-directory-structure/client-directory) -------------------------------------------------------------------------------- # Configure the Client Next, let's configure the client component. Based on your earlier preference, you can navigate to the relevant section: **Basic Web App** The [client directory](https://docs.catalyst.zoho.com/en/cli/v1/project-directory-structure/client-directory) contains: * The `index.html` file that contains the HTML code for the front-end application. * The `main.css` file that contains the CSS code for the front-end application. * The `main.js` file that contains the JavaScript code. * The `client-package.json` configuration file We will be coding `index.html`, `main.css`, and `main.js`. > **Note**: Please go through the code given in this section to make sure you fully understand it. Copy the code snippets given below and paste it in the respective files located in the `client/` directory using an IDE, then save the files. **index.html** ```html <!DOCTYPE html> <html lang="en"> <head> <meta charset="utf-8"/> <meta name="viewport" content="width=device-width, initial-scale=1"/> <meta name="theme-color" content="#000000"/> <meta name="description" content="A Simple Catalyst Application."/> <link rel="preconnect" href="https://fonts.googleapis.com"/> <link rel="preconnect" href="https://fonts.gstatic.com" crossorigin/> <link href="https://fonts.googleapis.com/css2?family=Poppins:wght@400;700&display=swap" rel="stylesheet"/> <link rel="stylesheet" href="main.css"/> <script src="main.js"></script> <script src="https://ajax.googleapis.com/ajax/libs/jquery/3.6.0/jquery.min.js"> </script> <title>To Do</title> </head> <body> <div class="container"> <div class="dF aI-center jC-center h-inh" id="page-loader"> <div class="loader--lg"></div> </div> <div id="layout" class="dN"> <div class="title-container px-20"> <p class="text-white text-28 font-700">To Do</p> </div> <div class="create-container"> <form class="dF aI-center w-full" onsubmit="createTodo(event)" autocomplete="off"> <input id="notes" type="text" placeholder="Enter a Task" class="input input--valid" oninput="onNotesChange(this)"/> <button id="create-task-btn" class="btn btn--primary ml-10" type="submit">Create Task <div class="btn--primary__loader ml-5 dN" id="create-task-btn-loader"></div> </button> </form> </div> <div class="task-container" id="tasks"></div> </div> </div> </body> </html> ``` **main.css** ```css body, p { margin: 0; } * { box-sizing: border-box; font-family: 'Poppins', sans-serif; } input { margin: 0; resize: none; border: none; outline: none; -webkit-appearance: none; -moz-appearance: none; appearance: none; } button { padding: 0; border: none; outline: none; cursor: pointer; background: transparent; } /* Application Styles */ .container { height: 100vh; } .title-container { top: 0; left: 0; right: 0; z-index: 1; height: 4rem; display: flex; position: fixed; align-items: center; background: rgb(5, 150, 105); } .create-container { z-index: 1; top: 4rem; left: 0; right: 0; height: 5rem; padding: 20px; display: flex; position: fixed; background: #fff; align-items: center; } .task-container { padding-top: 9rem; } .task { display: flex; margin: 0 20px; font-size: 16px; padding: 12px 20px; align-items: center; border-radius: 5px; } .task:hover { background: rgba(5, 150, 105, 0.1); } .task__no { color: #111111; margin-right: 5px; } .task__title { flex: 1; margin-right: 5px; word-break: break-all; } .task__btn { width: 18px; height: 18px; opacity: 0.5; } .task__btn:hover { opacity: 1; } .input { width: 100%; font-size: 15px; padding: 12px 16px; border-radius: 5px; border: 1px solid #e0e0e0; } .input:focus { border: 1px solid rgb(5, 150, 105); box-shadow: 0px 0px 1px 1px rgb(5, 150, 105); } .input::-moz-placeholder { color: #919191; font-size: 15px; } .input:-ms-input-placeholder { color: #919191; font-size: 15px; } .input::placeholder { color: #919191; font-size: 15px; } .input:disabled { background: #f8f8f8; } .loader--lg { width: 60px; height: 60px; display: block; border-radius: 50%; box-sizing: border-box; border-top: 7px solid rgb(5, 150, 105); border-right: 7px solid rgb(5, 150, 105); border-bottom: 7px solid transparent; animation: spin 0.8s linear infinite; } .loader--sm { width: 25px; height: 25px; display: block; border-radius: 50%; box-sizing: border-box; border-top: 4px solid rgb(5, 150, 105); border-right: 4px solid rgb(5, 150, 105); border-bottom: 4px solid transparent; -webkit-animation: spin 0.8s linear infinite; animation: spin 0.8s linear infinite; } .loader--xs { width: 20px; height: 20px; display: block; border-radius: 50%; box-sizing: border-box; border-top: 4px solid rgb(5, 150, 105); border-right: 4px solid rgb(5, 150, 105); border-bottom: 4px solid transparent; -webkit-animation: spin 0.8s linear infinite; animation: spin 0.8s linear infinite; } .btn { flex-shrink: 0; display: flex; cursor: pointer; font-size: 15px; font-weight: 500; padding: 12px 16px; align-items: center; border-radius: 5px; } .btn--primary { color: #fff; background: rgb(5, 150, 105); } .btn--primary__loader { width: 15px; height: 15px; margin: 0 5px; display: block; border-radius: 50%; box-sizing: border-box; border-top: 3px solid #fff; border-right: 3px solid #fff; border-bottom: 3px solid transparent; -webkit-animation: spin 0.8s linear infinite; animation: spin 0.8s linear infinite; } .btn--primary:disabled { cursor: not-allowed; background: rgba(5, 150, 105, 0.7); } @keyframes spin { from { transform: rotate(0deg); } to { transform: rotate(360deg); } } /* Helper Styles */ .my-5 { margin-top: 5px; margin-bottom: 5px; } .mr-5 { margin-right: 5px; } .ml-10 { margin-left: 10px; } .px-20 { padding-left: 20px; padding-right: 20px; } .p-20 { padding: 20px; } .w-full { width: 100%; } .text-28 { font-size: 28px; } .text-16 { font-size: 16px; } .text-white { color: #fff; } .text-info { color: #919191; } .dF { display: flex; } .aI-center { align-items: center; } .jC-center { justify-content: center; } .flex-1 { flex-grow: 1; } .h-inh { height: inherit; } .font-700 { font-weight: 700; } .dN { display: none; } .dB { display: block; } ``` **main.js** ```javascript var page = 1; var todoItems = []; var hasMore = false; window.onload = () => { getTodos(1); toggleCreateTaskBtn(''); }; //GET API. Contains the logic to fetch existing to-do items. function getTodos() { $.ajax({ url: `/server/ToDoList/all?page=${page}&perPage=200`, //Ensure that 'ToDoList' is the package name of your function. success: function (data) { const { data: { todoItems, hasMore } } = data; window.todoItems = [ ...new Map( Array.from(window.todoItems) .concat(todoItems) .map((item) => [item.id, item]) ).values() ]; window.hasMore = hasMore; renderTodo(); }, error: function (err) { console.log(err); }, complete: function () { $('#infinite-scroll-loader').removeClass('dB').addClass('dN'); $('#page-loader').removeClass('dF').addClass('dN'); $('#layout').removeClass('dN').addClass('dB'); } }); } function onMouseEnter(element) { const id = element.id; const delBtn = $(`#${id}-del`); if (delBtn && delBtn.attr('data-deleting')) { delBtn.removeClass('dN').addClass('dB'); } } function onMouseLeave(element) { const id = element.id; const delBtn = $(`#${id}-del`); if (delBtn && delBtn.attr('data-deleting')) { delBtn.removeClass('dB').addClass('dN'); } } function onNotesChange(element) { toggleCreateTaskBtn($(`#${element.id}`).val()); } function toggleCreateTaskBtn(value) { if (value) { $('#create-task-btn').attr('disabled', false); } else { $('#create-task-btn').attr('disabled', true); } } // DELETE API. Contains the logic to delete a to-do item. function deleteTodo(id) { $(`#${id}-del`).attr({ disabled: true, 'data-deleting': true, class: 'dN' }); $(`#${id}-del-loader`).removeClass('dN').addClass('dB'); $.ajax({ method: 'DELETE', url: `/server/ToDoList/${id}`, success: function () { todoItems = todoItems.filter((obj) => obj.id !== id); renderTodo(); }, error: function (err) { console.log(err); $(`#${id}-del`).attr({ disabled: false, 'data-deleting': false, class: 'dB' }); $(`#${id}-del-loader`).removeClass('dB').addClass('dN'); } }); } function renderTodo() { if (!todoItems.length) { $('#tasks').html( ` <div class='p-20 dF jC-center'> <p class='text-info text-16'> No tasks available, Create a new task. </p> </div> ` ); } else { let html = ''; todoItems.forEach((item, index) => { html += `<div class='task' id=${item.id} onmouseenter="onMouseEnter(this)" onMouseLeave="onMouseLeave(this)" > <p class='task__no'>${index + 1 + ') '}</p> <p class='task__title'>${item.notes}</p> <div class='loader--xs dN' id="${item.id}-del-loader" ></div> <button id="${item.id + '-del'}" class="dN" onclick="deleteTodo('${ item.id }')" data-deleting=false > <svg class='task__btn' fill='none' stroke='currentColor' viewBox='0 0 24 24' xmlns='http://www.w3.org/2000/svg' > <path stroke-linecap='round' stroke-linejoin='round' stroke-width='2' d='M19 7l-.867 12.142A2 2 0 0116.138 21H7.862a2 2 0 01-1.995-1.858L5 7m5 4v6m4-6v6m1-10V4a1 1 0 00-1-1h-4a1 1 0 00-1 1v3M4 7h16' ></path> </svg> </button> </div>`; }); $('#tasks').html(html); const observer = new IntersectionObserver((entries) => { if (entries[0].isIntersecting && hasMore) { page += 1; $('#tasks') .append(` <div class="dF jC-center my-5" id="infinite-scroll-loader"> <div class="loader--sm"></div> </div> `); getTodos(); } }); observer.observe( document.getElementById(todoItems[todoItems.length - 1].id) ); } } //POST API. Contains the logic to create a to-do item. function createTodo(event) { event.preventDefault(); const notes = $(`#notes`).val(); $(`#notes`).attr({ readOnly: true }); $('#create-task-btn').attr('disabled', true); $('#create-task-btn-loader').removeClass('dN').addClass('dB'); $.ajax({ method: 'POST', contentType: 'application/json', url: '/server/ToDoList/add', //Ensure that 'ToDoList' is the package name of your function. data: JSON.stringify({ notes }), success: function (data) { const { data: { todoItem } } = data; todoItems = [todoItem].concat(todoItems); renderTodo(); }, error: function (error) { console.log(error); }, complete: function () { $(`#notes`) .attr({ readOnly: false }) .val(''); $('#create-task-btn-loader').removeClass('dB').addClass('dN'); } }); return false; } ``` > **Note**: The Java function's name `ToDoList` has been added in the code for `main.js` in the lines **13** and **182**. If you created the Advanced I/O function in the Node.js environment, you must replace the Java function's name with the Node.js function's name. The client directory is now configured. Let's quickly go over the working of the function and the client code: 1. **POST Operation** * When the user enters a to-do list item in the app and saves it, the `submit` event associated with the **Create Task** button triggers an Ajax call to the POST API. * The `main.js` in the client handles the Ajax operation and the URL, and it calls the POST API defined in the `ToDoList.java` function file. * The POST API defined in `ToDoList.java` inserts the data as a record in the _TodoItems_ table in the Data Store. The list item is inserted as the value of the _Notes_ column. * After a record insertion is done, the response (new task) will be added to the to-do list. 2. **GET Operation** * The `reload` event triggers an Ajax call to the GET API. The URL and the Ajax operation are handled in `main.js`. * The GET API defined in `ToDoList.java` obtains all the records from the Data Store by executing a ZCQL query. The ZCQL query contains the fetch operation along with the start-limit and the end-limit of the number of records that can be fetched. * The response containing the records (tasks) will be added to the existing to-do list. 3. **DELETE Operation** * The `main.js` handles the Ajax call to the DELETE API. When the user hovers on a particular task, and clicks on the appearing delete-bin icon in the client app, the DELETE API is triggered. * The DELETE API defined in `ToDoList.java` then executes the delete operation for the record in the _TodoItems_ table matching the ROWID and sends the response back to the client. * The `main.js` removes the respective record (deleted task) from the to-do list and displays the updated to-do list in the client app upon a successful delete operation. **Angular Web App** ### Configure an Angular Web App The Angular web client directory contains the following files: * The root directory of the client contains a [`client-package.json`](https://docs.catalyst.zoho.com/en/cli/v1/project-directory-structure/client-directory) file, which is a configuration file defining the name, version, and default home page of the client component. * [Native Angular files](https://angular.io/docs) such as **`angular.json`, `karma.conf.js`, `tsconfig.app.json`, `tsconfig.json`, `tsconfig.spec.json` files, and the `dist`** directory. * The root directory of the client also contains the [`package.json`](https://docs.npmjs.com/files/package.json) dependency file, and a [`.gitignorefile`](https://git-scm.com/docs/gitignore). * The `src` folder contains the following files and directories as per the default project structure of the Angular app: * Native Angular files such as **`favicon.ico`, `main.ts`, `polyfills.ts`, and `test.ts`** files along with the assets, and environment directories. * `index.html`: The default entry point of the to-do list application. * `styles.css`: Contains all the style elements of the to-do list application. * The files present in the `src/app/` directory are: * Native Angular files such as **`app.component.css` and `app.component.spec.ts`**. * `app.component.html`: Contains the HTML component of each event generated by the user. * `app.component.ts`: Contains the logic of the to-do list application. * `app.module.ts`: Contains the meta of all the components used in building the to-do list application. We will be coding the `index.html`, `styles.css`, `app.component.html`, `app.component.ts`, and the `app.module.ts` files. #### Create a Task Component You must create a `task` component that contains the logic associated with each to-do task the end- user enters. Execute the following command in the **`client/src/app/`** directory to create the `task` component: ```sh ng generate component task ``` This will create a folder named `task` that contains: * The `task.css` and the `task.spec.ts` files native to Angular. * `task.html`: Contains the HTML component of each to-do task entered by the user. * `task.ts`: Contains the logic of each to-do task entered by the user. We will be coding the `task.html` and `task.ts` files as well. #### Install the Axios Package We will also need the `axios` package to create a request from client to server. To install `axios`, navigate to the client directory (`client/`) and execute the following command: ```sh npm install axios ``` This will install the axios module and save the dependencies. ![catalyst_todo_angular_axios](https://catalyst-docs-development.zohostratus.in/images/tutorials/todo-list/catalyst_todo_angular_axios.webp) You can now begin adding code in your files. > **Note**: Please go through the code given in this section to ensure you fully understand it. Copy the code given below and paste it in `index.html` and `styles.css` files located in client directory (`client/src/`) respectively using an IDE and save the file. **index.html** ```xml <!DOCTYPE html> <html lang="en"> <head> <link rel="preconnect" href="https://fonts.googleapis.com" /> <link rel="preconnect" href="https://fonts.gstatic.com" crossorigin /> <link href="https://fonts.googleapis.com/css2?family=Poppins:wght@400;700&display=swap" rel="stylesheet"/> <meta charset="utf-8" /> <title>To Do</title> <base href="/app/" /> </head> <body> <app-root></app-root> </body> </html> ``` **styles.css** ```css body, p { margin: 0; } * { box-sizing: border-box; font-family: "Poppins", sans-serif; } input { margin: 0; resize: none; border: none; outline: none; -webkit-appearance: none; -moz-appearance: none; appearance: none; } button { padding: 0; border: none; outline: none; cursor: pointer; background: transparent; } /* Main Classess */ .container { height: 100vh; } .title-container { top: 0; left: 0; right: 0; z-index: 1; height: 4rem; display: flex; position: fixed; align-items: center; background: rgb(5, 150, 105); } .create-container { z-index: 1; top: 4rem; left: 0; right: 0; height: 5rem; padding: 20px; display: flex; position: fixed; background: #fff; align-items: center; } .task-container { padding-top: 9rem; } .task { display: flex; margin: 0 20px; font-size: 16px; padding: 12px 20px; align-items: center; border-radius: 5px; } .task:hover { background: rgba(5, 150, 105, 0.1); } .task__no { color: #111111; margin-right: 5px; } .task__title { flex: 1; margin-right: 5px; word-break: break-all; } .task__btn { width: 18px; height: 18px; opacity: 0.5; } .task__btn:hover { opacity: 1; } .input { width: 100%; font-size: 15px; padding: 12px 16px; border-radius: 5px; border: 1px solid #e0e0e0; } .input:focus { border: 1px solid rgb(5, 150, 105); box-shadow: 0px 0px 1px 1px rgb(5, 150, 105); } .input::-moz-placeholder { color: #919191; font-size: 15px; } .input:-ms-input-placeholder { color: #919191; font-size: 15px; } .input::placeholder { color: #919191; font-size: 15px; } .input:disabled { background: #f8f8f8; } .loader--lg { width: 60px; height: 60px; display: block; border-radius: 50%; box-sizing: border-box; border-top: 7px solid rgb(5, 150, 105); border-right: 7px solid rgb(5, 150, 105); border-bottom: 7px solid transparent; animation: spin 0.8s linear infinite; } .loader--sm { width: 25px; height: 25px; display: block; border-radius: 50%; box-sizing: border-box; border-top: 4px solid rgb(5, 150, 105); border-right: 4px solid rgb(5, 150, 105); border-bottom: 4px solid transparent; -webkit-animation: spin 0.8s linear infinite; animation: spin 0.8s linear infinite; } .loader--xs { width: 20px; height: 20px; display: block; border-radius: 50%; box-sizing: border-box; border-top: 4px solid rgb(5, 150, 105); border-right: 4px solid rgb(5, 150, 105); border-bottom: 4px solid transparent; -webkit-animation: spin 0.8s linear infinite; animation: spin 0.8s linear infinite; } .btn { flex-shrink: 0; display: flex; cursor: pointer; font-size: 15px; font-weight: 500; padding: 12px 16px; align-items: center; border-radius: 5px; } .btn--primary { color: #fff; background: rgb(5, 150, 105); } .btn--primary__loader { width: 15px; height: 15px; margin: 0 5px; display: block; border-radius: 50%; box-sizing: border-box; border-top: 3px solid #fff; border-right: 3px solid #fff; border-bottom: 3px solid transparent; -webkit-animation: spin 0.8s linear infinite; animation: spin 0.8s linear infinite; } .btn--primary:disabled { background: rgba(5, 150, 105, 0.7); } @keyframes spin { from { transform: rotate(0deg); } to { transform: rotate(360deg); } } /* Helper Classes */ .my-5 { margin-top: 5px; margin-bottom: 5px; } .mr-5 { margin-right: 5px; } .ml-10 { margin-left: 10px; } .px-20 { padding-left: 20px; padding-right: 20px; } .p-20 { padding: 20px; } .w-full { width: 100%; } .text-28 { font-size: 28px; } .text-16 { font-size: 16px; } .text-white { color: #fff; } .text-info { color: #919191; } .dF { display: flex; } .aI-center { align-items: center; } .jC-center { justify-content: center; } .flex-1 { flex-grow: 1; } .h-inh { height: inherit; } .font-700 { font-weight: 700; } ``` Copy the code given below and paste it in `app.component.html`, `app.component.ts`, `app.module.ts` files respectively located in the client directory (`client/src/app/`) using an IDE and save the file. **app.component.html** ```xml <div class="container"> <div class="dF aI-center jC-center h-inh" *ngIf="fetchState === 'init'"> <div class="loader--lg"></div> </div> <div *ngIf="fetchState !== 'init'"> <div class="title-container px-20"> <p class="text-white text-28 font-700">To Do</p> </div> <div class="create-container"> <form class="dF aI-center w-full" (ngSubmit)="createTodo()" autocomplete="off"> <input type="text" name="notes" [(ngModel)]="notes" placeholder="Enter a Task" class="input input--valid" [readOnly]="submitting" /> <button class="btn btn--primary ml-10" type="submit" [disabled]="notes.length === 0 || submitting"> Create Task <div class="btn--primary__loader ml-5" *ngIf="submitting"></div> </button> </form> </div> <div class="task-container"> <div class="p-20 dF jC-center" *ngIf="todoItems.length === 0"> <p class="text-info text-16">No tasks available, Create a new task.</p> </div> <div *ngIf="todoItems.length !== 0"> <app-task *ngFor="let item of todoItems; let i = index" [notes]="item.notes" [index]="i + 1" [id]="item.id" [isLast]="i === todoItems.length - 1" (removeTodo)="removeTodo($event)" (changePage) = "changePage()" #task > </app-task> </div> <div class="dF jC-center my-5" *ngIf="fetchState === 'loading'"> <div class="loader--sm"></div> </div> </div> </div> </div> ``` **app.component.ts** ```javascript import axios from 'axios'; import { Component, OnInit } from '@angular/core'; @Component({ selector: 'app-root', templateUrl: './app.component.html', }) export class AppComponent implements OnInit { notes: string; page: number; hasMore: boolean; todoItems: Array<{ id: string; notes: string; }>; submitting: boolean; fetchState: 'init' | 'fetched' | 'loading'; constructor() { this.notes = ''; this.hasMore = false; this.page = 1; this.todoItems = []; this.submitting = false; this.fetchState = 'init'; } //GET API. The existing to-do items from the Datastore is being fetched. getTodos = (): void => { axios .get('/server/ToDoList/all', { //Ensure that 'ToDoList' is the package name of your function. params: { page: this.page, perPage: 200, }, }) .then((response) => { const { data: { todoItems, hasMore }, } = response.data; if (this.page === 1) { this.todoItems = todoItems as Array<{ id: string; notes: string }>; } else { this.todoItems = [ ...new Map( this.todoItems.concat(todoItems).map((item) => [item.id, item]) ).values(), ]; } this.hasMore = hasMore; this.fetchState = 'fetched'; }) .catch((err) => { console.error(err?.response?.data ?? err); }); }; //POST API. A new to-do item is being created. createTodo = (): void => { this.submitting = true; axios .post('/server/ToDoList/add', { //Ensure that 'ToDoList' is the package name of your function. notes: this.notes, }) .then((response) => { const { data: { todoItem }, } = response.data; this.notes = ''; this.todoItems = [{ ...todoItem }].concat(this.todoItems); }) .catch((err) => { console.error(err.response.data); }) .finally(() => { this.submitting = false; }); }; removeTodo = (id: string): void => { this.todoItems = this.todoItems.filter((obj) => obj.id !== id); }; changePage = (): void => { if (this.hasMore) { this.page += 1; this.fetchState = 'loading'; this.getTodos(); } }; ngOnInit() { this.fetchState = 'init'; this.getTodos(); } } ``` > **Note**: The Java function's name `ToDoList` has been added in the code for `app.component.ts` in the lines **33**, and **65**. If you created the Advanced I/O function in the Node.js environment, you must replace the Java function's name with the Node.js function's name. **app.module.ts** ```javascript import { NgModule } from '@angular/core'; import { BrowserModule } from '@angular/platform-browser'; import { FormsModule } from '@angular/forms'; import { AppComponent } from './app.component'; import { Task } from './task/task'; @NgModule({ declarations: [AppComponent, Task], imports: [BrowserModule, FormsModule], providers: [], bootstrap: [AppComponent], }) export class AppModule {} ``` Copy the code given below and paste it in `task.html` and `task.ts`, files located in the client directory (`client/src/app/task/`) using an IDE and save the file. **task.html** ```xml <div class="task" ref="{ref}" (mouseenter)="mouseEnter()" (mouseleave)="mouseLeave()" > <p class="task__no">{{ index }} )</p> <p class="task__title">{{ notes }}</p> <div class="loader--xs" *ngIf="deleting === true"></div> <button *ngIf="!deleting && options" (click)="deleteTodo()"> <svg class="task__btn" fill="none" stroke="currentColor" viewBox="0 0 24 24" xmlns="http://www.w3.org/2000/svg" > <path stroke-linecap="round" stroke-linejoin="round" stroke-width="2" d="M19 7l-.867 12.142A2 2 0 0116.138 21H7.862a2 2 0 01-1.995-1.858L5 7m5 4v6m4-6v6m1-10V4a1 1 0 00-1-1h-4a1 1 0 00-1 1v3M4 7h16" ></path> </svg> </button> </div> ``` **task.ts** ```javascript import axios from 'axios'; import { Component, EventEmitter, Input, Output, ElementRef, AfterViewInit, OnDestroy, } from '@angular/core'; @Component({ selector: 'app-task', templateUrl: './task.html', }) export class Task implements OnDestroy, AfterViewInit { @Input() id: string; @Input() notes: string; @Input() index: number; @Input() isLast: boolean; @Output() removeTodo: EventEmitter<string>; @Output() changePage: EventEmitter<void>; public options: boolean; public deleting: boolean; private observer?: IntersectionObserver; constructor(private element: ElementRef) { this.id = ''; this.index = 0; this.notes = ''; this.isLast = false; this.options = false; this.deleting = false; this.removeTodo = new EventEmitter(); this.changePage = new EventEmitter(); } mouseEnter = () => { this.options = true; }; mouseLeave = () => { this.options = false; }; deleteTodo = () => { this.deleting = true; //DELETE API. The call to delete the to-do item from the data store occurs here. axios .delete(`/server/ToDoList/${this.id}`) //Ensure that 'ToDoList' is the package name of your function. .then((response) => { const { data: { todoItem: { id }, }, } = response.data; this.removeTodo.emit(id); }) .catch((err) => { console.log(err.response.data); }) .finally(() => { this.deleting = false; }); }; ngAfterViewInit() { if (this.isLast && this.element) { this.observer = new IntersectionObserver((entries) => { if (entries[0].isIntersecting) { this.changePage.emit(); } }); this.observer.observe(this.element.nativeElement); } } ngOnDestroy() { if (this.observer) { this.observer.disconnect(); } } } ``` > **Note**: The Java function's name `ToDoList` has been added in the code for `task.ts` in the lines **51**. If you created the Advanced I/O function in the Node.js environment, you must replace the Java function's name with the Node.js function's name. The client directory is now configured. Let's quickly go over the working of the function and the client code: 1. **POST Operation** * When the user enters a to-do list item in the app and saves it, the `submit` event **Create Task** button triggers an Ajax call to the POST API. * The `app.component.ts` in the client handles the Ajax operation and the URL, and it calls the POST API defined in the `ToDoList.java` function file. * The POST API defined in `ToDoList.java` inserts the data as a record in the _TodoItems_ table in the Data Store. The list item is inserted as the value of the _Notes_ column. * After a record insertion is done, the response (new task) will be added to the to-do list. 2. **GET Operation** * The `reload` event triggers an Ajax call to the GET API. The URL and the Ajax operation are handled in `app.component.ts`. * The GET API defined in `ToDoList.java` obtains all the records from the Data Store by executing a ZCQL query. The ZCQL query contains the fetch operation along with the start-limit and the end-limit of the number of records that can be fetched. * The response containing the records (tasks) will be added to the existing to-do list. 3. **DELETE Operation** * When the user clicks on a list item in the client app, the DELETE API is triggered. * The `task.ts` handles the Ajax call to the DELETE API. When the user hovers on a particular task, and clicks on the delete-bin icon that appears in the client, the DELETE API is triggered. * The DELETE API defined in `ToDoList.java` then executes the delete operation for the record in the _TodoItems_ table matching the ROWID and sends the response back to the client. * The `app.component.ts` removes the respective record (deleted task) from the To-Do list and displays the updated list in the client app upon a successful delete operation. **React Web App** ### Configure a React Web App The React client directory contains the following files: * The root directory of the client contains a `client-package.json` file which is a configuration file defining the name, version, and default home page of the client component. * The `app` folder contains two subfolders as per the default project structure of a React app: * The `public` folder is generally used to hold files that can be openly accessed by browsers through public URLs, such as icon files of the web app and `index.html`. * The `src` folder contains the application's source files that will be included in the `build` folder when we compile the React app. The `app` folder also contains the [`package.json`](https://docs.npmjs.com/files/package.json) dependency file, and a [`.gitignore`](https://git-scm.com/docs/gitignore) file. * The `public` folder contains the following files: * [Native React files](https://reactjs.org/docs/getting-started.html?#try-react) such as **`favicon.ico`, `logo192.png`, `manifest.json`, `logi512.png` and `robots.txt`**. These files will not be necessary for rendering the to-do list application. * `index.html`: The default entry point of the to-do list application. * The files present in the `src` folder include: * Native React files such as **`setupTests.js`, `index.js`, `reportWebVitals.js`, `logo.svg`, and `App.test.js`**. * `App.js`: Contains the logic of to-do list. * `index.css`: Contains the styling elements of the native elements. * `App.css`: Contains the styling elements of the application. * You will also be creating an additional file `helper.css`. This file will contain utility classes, that will be responsible for certain minor styling. We will be coding `index.html`, `App.js`, `helper.css`, `index.css`, and the `App.css` files. #### Install the Axios Package We will need the `axios` package to create a request from client to server. To install `axios`, navigate to the client directory (`app/`) and execute the following command: ```sh npm install axios ``` This will install the axios module and save the dependencies. ![catalyst_todo_react_axios.webp](https://catalyst-docs-development.zohostratus.in/images/tutorials/todo-list/catalyst_todo_react_axios.webp) > **Note**: Please go through the code given in this section to ensure you fully understand it. Copy the code given below and paste it in `index.html` located in client directory (`app/public/`) using an IDE and save the file. **index.html** ```java <!DOCTYPE html> <html lang="en"> <head> <meta charset="utf-8" /> <meta name="viewport" content="width=device-width, initial-scale=1" /> <meta name="theme-color" content="#000000" /> <meta name="description" content="A Simple Catalyst Application." /> <link rel="preconnect" href="https://fonts.googleapis.com" /> <link rel="preconnect" href="https://fonts.gstatic.com" crossorigin /> <link href="https://fonts.googleapis.com/css2?family=Poppins:wght@400;700&display=swap" rel="stylesheet" /> <title>To Do</title> </head> <body> <noscript>You need to enable JavaScript to run this app.</noscript> <div id="root"></div> </body> </html> ``` Copy the respective code given below and paste it in `App.js`, `index.css`, `App.css` and `helper.css` respectively located in client directory (`app/src/`) using an IDE and save the file. **App.js** ```javascript import './App.css'; import './helper.css'; import axios from 'axios'; import { forwardRef, useCallback, useEffect, useRef, useState } from 'react'; //This segment contains the logic that displays each individual task present in the to-do list const Task = forwardRef(({ id, notes, index, removeTask }, ref) => { const [deleting, setDeleting] = useState(false); const [showOptions, setShowOptions] = useState(false); const onMouseEnter = useCallback(() => { setShowOptions(true); }, []); const onMouseLeave = useCallback(() => { setShowOptions(false); }, []); //Contains the logic to delete the taks from the Datastore const deleteTask = useCallback(() => { setDeleting(true); axios .delete(`/server/ToDoList/${id}`) //Ensure that 'ToDoList' is the package name of your function. .then((response) => { const { data: { todoItem: { id } } } = response.data; removeTask(id); }) .catch((err) => { console.log(err.response); }).finally(()=>{ setDeleting(false) }) }, [id, removeTask]); return ( <div className='task' ref={ref} onMouseEnter={onMouseEnter} onMouseLeave={onMouseLeave} > <p className='task__no'>{index + 1 + ') '}</p> <p className='task__title'>{notes}</p> {deleting ? ( <div className='loader--xs'></div> ) : ( showOptions && ( <button onClick={deleteTask}> <svg className='task__btn' fill='none' stroke='currentColor' viewBox='0 0 24 24' xmlns='http://www.w3.org/2000/svg' > <path strokeLinecap='round' strokeLinejoin='round' strokeWidth='2' d='M19 7l-.867 12.142A2 2 0 0116.138 21H7.862a2 2 0 01-1.995-1.858L5 7m5 4v6m4-6v6m1-10V4a1 1 0 00-1-1h-4a1 1 0 00-1 1v3M4 7h16' ></path> </svg> </button> ) )} </div> ); }); //This segment contains the logic for loading the application function App() { const observer = useRef(null); const [page, setPage] = useState(1); const [notes, setNotes] = useState(''); const [todoItems, setTodoItems] = useState([]); const [hasMore, setHasMore] = useState(false); const [submitting, setSubmitting] = useState(false); const [fetchState, setFetchState] = useState('init'); const onChange = useCallback((event) => { const { value } = event.target; setNotes(value); }, []); useEffect(() => { if (fetchState !== 'fetched') { axios .get('/server/ToDoList/all', { //Ensure that 'ToDoList' is the package name of your function. params: { page, perPage: 200 } //The parameters contain the start limit and the end limit of data (tasks) that can be fetched from the data store }) .then((response) => { const { data: { todoItems, hasMore } } = response.data; if (page === 1) { setTodoItems(todoItems); } else { setTodoItems((prev) => [ ...new Map( Array.from(prev) .concat(todoItems) .map((item) => [item.id, item]) ).values() ]); } setHasMore(hasMore); setFetchState('fetched'); }) .catch((err) => { console.log(err.response); }); } }, [fetchState, page]); const lastElement = useCallback( (node) => { if (fetchState !== 'fetched') { return; } if (observer.current) { observer.current.disconnect(); } observer.current = new IntersectionObserver((entries) => { if (entries[0].isIntersecting && hasMore) { setPage((c) => c + 1); setFetchState('loading'); } }); if (node) { observer.current.observe(node); } }, [fetchState, hasMore] ); /// This segment contains the logic for creating a new task const createTodo = useCallback( (event) => { event.preventDefault(); setSubmitting(true); axios .post('/server/ToDoList/add', { //Ensure that 'ToDoList' is the package name of your function. notes }) .then((response) => { const { data: { todoItem } } = response.data; setNotes(''); setTodoItems((prev) => [{ ...todoItem }].concat(Array.from(prev))); }) .catch((err) => { console.log(err); }) .finally(() => { setSubmitting(false); }); }, [notes] ); //This segment contains the logic for deleting a task from the application const removeTask = useCallback((id) => { setTodoItems((prev) => Array.from(prev).filter((obj) => obj.id !== id)); }, []); return ( <div className='container'> {fetchState === 'init' ? ( <div className='dF aI-center jC-center h-inh'> <div className='loader--lg'></div> </div> ) : ( <> <div className='title-container px-20'> <p className='text-white text-28 font-700'>To Do</p> </div> <div className='create-container'> <form className='dF aI-center w-full' onSubmit={createTodo}> <input type='text' value={notes} onChange={onChange} placeholder='Enter a Task' className='input input--valid' readOnly={submitting} /> <button className='btn btn--primary ml-10' disabled={!notes.length || submitting} type='submit' > Create Task {submitting && ( <div className='btn--primary__loader ml-5'></div> )} </button> </form> </div> <div className='task-container'> {todoItems.length ? ( todoItems.map((item, index) => ( <Task key={item.id} {...item} ref={index === todoItems.length - 1 ? lastElement : null} index={index} removeTask={removeTask} /> )) ) : ( <div className='p-20 dF jC-center'> <p className='text-info text-16'> No tasks available, Create a new task. </p> </div> )} {fetchState === 'loading' && ( <div className='dF jC-center my-5'> <div className='loader--sm'></div> </div> )} </div> </> )} </div> ); } export default App; ``` > **Note**: The Java function's name `ToDoList` has been added in the code in `App.js` in the lines **26**, **97** and **153**. If you created the Advanced I/O function in the Node.js environment, you must replace the Java function's name with the Node.js function's name. **index.css** ```css body, p { margin: 0; } * { box-sizing: border-box; font-family: 'Poppins', sans-serif; } input { margin: 0; resize: none; border: none; outline: none; -webkit-appearance: none; -moz-appearance: none; appearance: none; } button { padding: 0; border: none; outline: none; cursor: pointer; background: transparent; } ``` **App.css** ```css .container { height: 100vh; } .title-container { top: 0; left: 0; right: 0; z-index: 1; height: 4rem; display: flex; position: fixed; align-items: center; background: rgb(5, 150, 105); } .create-container { z-index: 1; top: 4rem; left: 0; right: 0; height: 5rem; padding: 20px; display: flex; position: fixed; background: #fff; align-items: center; } .task-container { padding-top: 9rem; } .task { display: flex; margin: 0 20px; font-size: 16px; padding: 12px 20px; align-items: center; border-radius: 5px; } .task:hover { background: rgba(5, 150, 105, 0.1); } .task__no { color: #111111; margin-right: 5px; } .task__title { flex: 1; margin-right: 5px; word-break: break-all; } .task__btn { width: 18px; height: 18px; opacity: 0.5; } .task__btn:hover { opacity: 1; } .input { width: 100%; font-size: 15px; padding: 12px 16px; border-radius: 5px; border: 1px solid #e0e0e0; } .input:focus { border: 1px solid rgb(5, 150, 105); box-shadow: 0px 0px 1px 1px rgb(5, 150, 105); } .input::-moz-placeholder { color: #919191; font-size: 15px; } .input:-ms-input-placeholder { color: #919191; font-size: 15px; } .input::placeholder { color: #919191; font-size: 15px; } .input:disabled { background: #f8f8f8; } .loader--lg { width: 60px; height: 60px; display: block; border-radius: 50%; box-sizing: border-box; border-top: 7px solid rgb(5, 150, 105); border-right: 7px solid rgb(5, 150, 105); border-bottom: 7px solid transparent; animation: spin 0.8s linear infinite; } .loader--sm { width: 25px; height: 25px; display: block; border-radius: 50%; box-sizing: border-box; border-top: 4px solid rgb(5, 150, 105); border-right: 4px solid rgb(5, 150, 105); border-bottom: 4px solid transparent; -webkit-animation: spin 0.8s linear infinite; animation: spin 0.8s linear infinite; } .loader--xs { width: 20px; height: 20px; display: block; border-radius: 50%; box-sizing: border-box; border-top: 4px solid rgb(5, 150, 105); border-right: 4px solid rgb(5, 150, 105); border-bottom: 4px solid transparent; -webkit-animation: spin 0.8s linear infinite; animation: spin 0.8s linear infinite; } .btn { flex-shrink: 0; display: flex; cursor: pointer; font-size: 15px; font-weight: 500; padding: 12px 16px; align-items: center; border-radius: 5px; } .btn--primary { color: #fff; background: rgb(5, 150, 105); } .btn--primary__loader { width: 15px; height: 15px; margin: 0 5px; display: block; border-radius: 50%; box-sizing: border-box; border-top: 3px solid #fff; border-right: 3px solid #fff; border-bottom: 3px solid transparent; -webkit-animation: spin 0.8s linear infinite; animation: spin 0.8s linear infinite; } .btn--primary:disabled { background: rgba(5, 150, 105, 0.7); } @keyframes spin { from { transform: rotate(0deg); } to { transform: rotate(360deg); } } ``` In the (`app/src/`) directory, create a new file named (`helper.css`), then copy and paste the below code into it. **helper.css** ```css .my-5 { margin-top: 5px; margin-bottom: 5px; } .mr-5 { margin-right: 5px; } .ml-10 { margin-left: 10px; } .px-20 { padding-left: 20px; padding-right: 20px; } .p-20 { padding: 20px; } .w-full { width: 100%; } .text-28 { font-size: 28px; } .text-16 { font-size: 16px; } .text-white { color: #fff; } .text-info { color: #919191; } .dF { display: flex; } .aI-center { align-items: center; } .jC-center { justify-content: center; } .flex-1 { flex-grow: 1; } .h-inh { height: inherit; } .font-700 { font-weight: 700; } ``` The client directory is now configured. Let's quickly go over the working of the function and the client code: 1. **POST Operation** * When the user enters a to-do list item in the app and saves it, the `submit` event associated with the **Create Task** button triggers an Ajax call to the POST API. * The `App.js` in the client handles the Ajax operation and the URL, and it calls the POST API defined in the `ToDoList.java` function file. * The POST API defined in `ToDoList.java` inserts the data as a record in the _TodoItems_ table in the Data Store. The list item is inserted as the value of the _Notes_ column. * After a record insertion is done, the response (new task) will be added to the to-do list. 2. **GET Operation** * The `reload` event triggers an Ajax call to the GET API. The URL and the Ajax operation are handled in `App.js`. * The GET API defined in `ToDoList.java` obtains all the records from the Data Store by executing a ZCQL query. The ZCQL query contains the fetch operation along with the start-limit and the end-limit of the number of records that can be fetched. * The response containing the records (tasks) will be added to the existing to-do list. 3. **DELETE Operation** * The `App.js` handles the Ajax call to the DELETE API. When the user hovers on a particular task, and clicks on the appearing delete-bin icon in the client app, the DELETE API is triggered. * The DELETE API defined in `ToDoList.java` then executes the delete operation for the record in the _TodoItems_ table matching the ROWID and sends the response back to the client. * The `App.js` removes the respective record (deleted task) from the to-do list and displays the updated to-do list in the client app upon a successful delete operation. -------------------------------------------------------------------------------- title: "Test the application" description: "Build a Basic, React, or Angular to-do list web app using Catalyst Advanced I/O Function and Data Store to note down tasks and delete them when done." last_updated: "2026-11-04T10:10:44.000Z" source: "https://docs.catalyst.zoho.com/en/tutorials/todo-list/java/test-application/" service: "All Services" related: - Serve CLI Resources (/en/cli/v1/serve-resources/introduction) - Data Store (/en/cloud-scale/help/data-store/introduction) -------------------------------------------------------------------------------- # Test the Application Before you deploy the application to the remote console, you can test the application on a local server and check if everything works using the Catalyst CLI. For detailed information on `catalyst serve`, refer to the [Serve Resources help page](https://docs.catalyst.zoho.com/en/cli/v1/serve-resources/introduction). To serve the Catalyst project locally, execute the following command from your project directory: ```sh catalyst serve ``` The to-do list application will now be served at default port 3000. The local endpoint URLs of the components are displayed. **Basic web app** ![catalyst_todo_basic_serve](https://catalyst-docs-development.zohostratus.in/images/tutorials/todo-list/catalyst_todo_basic_serve.webp) **Angular web app** ![catalyst_todo_angular_serve](https://catalyst-docs-development.zohostratus.in/images/tutorials/todo-list/catalyst_todo_angular_serve.webp) **React web app** ![catalyst_todo_react_serve](https://catalyst-docs-development.zohostratus.in/images/tutorials/todo-list/catalyst_todo_react_serve.webp) > **Note**: Every time you access the home page or any of the sub-pages of your client, or the function, the CLI will display a live log of the URL accessed, along with the HTTP method that is used to access it. You can now open the client component's local URL in a browser to access the application. ![catalyst_todo_serve_1](https://catalyst-docs-development.zohostratus.in/images/tutorials/todo-list/catalyst_todo_serve_1.webp) Let's test the application by adding a task to the to-do list. Enter a task and click **Create Task**. ![catalyst_todo_serve_2](https://catalyst-docs-development.zohostratus.in/images/tutorials/todo-list/catalyst_todo_serve_2.webp) The task will be added and displayed in the app. ![catalyst_todo_serve_3](https://catalyst-docs-development.zohostratus.in/images/tutorials/todo-list/catalyst_todo_serve_3.webp) Let's verify this. Open the _TodoItems_ table in the **Data Store** from your Catalyst console. Click the **Data View** tab to view the record. A row will be created for the list item that was added. ![catalyst_datastore_dataview](https://catalyst-docs-development.zohostratus.in/images/tutorials/todo-list/catalyst_datastore_dataview.webp) Let's add a few more tasks to the to-do list app. We can now test the delete operation. ![catalyst_todo_serve_4](https://catalyst-docs-development.zohostratus.in/images/tutorials/todo-list/catalyst_todo_serve_4.webp) When you hover on a task, the delete-bin icon appears in the top-right corner. The delete operation is executed when you click the icon. The task will be removed from the list. The app displays the updated list. ![catalyst_todo_serve_5](https://catalyst-docs-development.zohostratus.in/images/tutorials/todo-list/catalyst_todo_serve_5.webp) Let's verify if the record was deleted in the Data Store. Open the _TodoItems_ table in the **Data Store** and click **Data View** to view the records. The row for the list of items will be deleted from the table. ![catalyst_datastore_dataview_deleted](https://catalyst-docs-development.zohostratus.in/images/tutorials/todo-list/catalyst_datastore_dataview_deleted.webp) If this setup is working correctly, we can deploy the application to production. -------------------------------------------------------------------------------- title: "Deploy the project" description: "Build a Basic, React, or Angular to-do list web app using Catalyst Advanced I/O Function and Data Store to note down tasks and delete them when done." last_updated: "2026-11-04T10:10:44.000Z" source: "https://docs.catalyst.zoho.com/en/tutorials/todo-list/java/deploy-project/" service: "All Services" related: - Deploy CLI Resources (/en/cli/v1/deploy-resources/introduction/) - Web Client Hosting (/en/cloud-scale/help/web-client-hosting/introduction) -------------------------------------------------------------------------------- # Deploy the Project To [deploy your Catalyst project](https://docs.catalyst.zoho.com/en/cli/v1/deploy-resources/introduction/) from the CLI, run the following command in your terminal from your project directory: ```sh catalyst deploy ``` The function is deployed first, followed by the client component. The URL endpoints of the components are displayed below: **Basic web app** ![catalyst_todo_basic_deploy](https://catalyst-docs-development.zohostratus.in/images/tutorials/todo-list/catalyst_todo_basic_deploy.webp) **Angular web app** ![catalyst_todo_angular_deploy](https://catalyst-docs-development.zohostratus.in/images/tutorials/todo-list/catalyst_todo_angular_deploy.webp) **React web app** ![catalyst_todo_react_deploy](https://catalyst-docs-development.zohostratus.in/images/tutorials/todo-list/catalyst_todo_react_deploy.webp) You can now open the client component's URL in a browser to access the deployed application. The to-do list application can now be accessed from its [web app URL](https://docs.catalyst.zoho.com/en/cloud-scale/help/web-client-hosting/key-concepts/#default-web-application-url). ![catalyst_todo_serve_4](https://catalyst-docs-development.zohostratus.in/images/tutorials/todo-list/catalyst_todo_serve_4.webp) The to-do list application is now functional and will work without any errors. ### NodeJS -------------------------------------------------------------------------------- title: "Introduction" description: "Build a Basic, React, or Angular to-do list web app using Catalyst Advanced I/O Function and Data Store to note down tasks and delete them when done." last_updated: "2026-11-04T10:10:44.000Z" source: "https://docs.catalyst.zoho.com/en/tutorials/todo-list/nodejs/introduction/" service: "All Services" related: - Project Directory Structure (/en/cli/v1/project-directory-structure/introduction/) - Java SDK (/en/sdk/java/v1/overview/) - Node.js SDK (/en/sdk/nodejs/v2/overview/) - Python SDK (/en/sdk/python/v1/overview/) -------------------------------------------------------------------------------- # To-Do List Application ### Introduction This tutorial will help you build a simple, single-page to-do list web application in Catalyst. The application will enable users to note down tasks to be done, then delete them after they are completed. The client application will look like this: ![todolist_sample](https://catalyst-docs-development.zohostratus.in/images/tutorials/todo-list/todolist_sample.webp) You can access a working application of each type and test their functioning here: * **[Basic web app](https://to-do-basic.catalystserverlessapp.com/app/)** * **[React web app](https://to-do-react.catalystserverlessapp.com/app/)** * **[Angular web app](https://to-do-angular.catalystserverlessapp.com/app/)** The to-do list application contains the following fundamental Catalyst components: [**Catalyst Serverless**](https://docs.catalyst.zoho.com/en/serverless/getting-started/introduction/): * **[**Advanced I/O Function**](https://docs.catalyst.zoho.com/en/serverless/help/functions/introduction)**: The Advanced I/O function can be coded in the **Java** or **Node.js** programming environment. It contains the APIs that enable the users to create, view, and delete list items. [**Catalyst CloudScale**](https://docs.catalyst.zoho.com/en/cloud-scale/getting-started/introduction/): * **[Data Store:](https://docs.catalyst.zoho.com/en/cloud-scale/help/data-store/introduction)** To store the to-do list items in a table. * **[ZCQL:](https://docs.catalyst.zoho.com/en/cloud-scale/help/zcql/introduction)** To fetch data from the Data Store through querying. * **[Client](https://docs.catalyst.zoho.com/en/cli/v1/working-with-the-client/introduction/)**: The front end of the application that is hosted on Catalyst through [web client hosting](https://docs.catalyst.zoho.com/en/cloud-scale/help/web-client-hosting/introduction/). You can initialize the web client as a basic Catalyst web app, an Angular app, or a React app. This tutorial will cover the steps for all three types of web clients. We will be using the native plugins offered by Catalyst to easily build, test, and deploy Angular and React apps. We will use the Catalyst web console and the Catalyst Command Line Interface (CLI) to build this application. You will be given the code for the files to be included in the function and client components in this tutorial. You will just have to copy the code given here and paste it into the appropriate files as directed. ### Application Architecture The to-do list application's functioning can be described as follows: * **Adding a note**: A user enters a note in the client application and adds it as a to-do list item. The client component triggers the Advanced I/O function. The function saves the note as a record in the table in the Catalyst Data Store using an HTTP POST request. The corresponding response (note) will be added to the existing to-do list. * **Viewing a note**: When the user opens the application,the client component triggers the Advanced I/O function to fetch existing to-do list items from the Catalyst Data Store using a HTTP GET request. This list is then displayed to the user. * **Deleting a note**: When the user clicks on a note in the client application, it triggers an HTTP DELETE request. The corresponding record from the Data Store is deleted, ensuring the note is also deleted from the client. The updated to-do list is displayed in the client. ![catalyst_todo_architecture](https://catalyst-docs-development.zohostratus.in/images/tutorials/todo-list/catalyst_todo_architecture.webp) -------------------------------------------------------------------------------- title: "Prerequisites" description: "Build a Basic, React, or Angular to-do list web app using Catalyst Advanced I/O Function and Data Store to note down tasks and delete them when done." last_updated: "2026-11-04T10:10:44.000Z" source: "https://docs.catalyst.zoho.com/en/tutorials/todo-list/nodejs/prerequisites/" service: "All Services" related: - CLI Command Reference (/en/cli/v1/cli-command-reference/) - Install CLI (/en/getting-started/installing-catalyst-cli/) - Login CLI (/en/cli/v1/login/login-from-cli/) -------------------------------------------------------------------------------- # Prerequisites Before you begin building the application, you must have the following prerequisites installed on your system: 1. **Catalyst CLI**: Catalyst CLI contains a host of tools that enable you to initialize, develop, test, and deploy the components of your application from your local machine. We will be working with Catalyst CLI in this tutorial. To get started, you will need to perform the following actions: 1. **Install Catalyst CLI**: Catalyst CLI is installed through NPM. You must therefore have NPM and Node.js installed on your system before you install the CLI. Refer to the **Install Catalyst CLI** [**help page**](https://docs.catalyst.zoho.com/en/getting-started/installing-catalyst-cli/) for details on the pre-requisites and the steps to install it. 2. **Login Catalyst CLI**: After you install Catalyst CLI, you must authenticate the CLI with your Catalyst account before using it. Refer to the **CLI Login** [**help page**](https://docs.catalyst.zoho.com/en/cli/v1/login/login-from-cli/) for the steps to log in from Catalyst CLI and the various options available for it. 2. **Any IDE tool for Node.js and client code development**: Download and install an IDE of your choice in your system. You can use any IDE to work with the function and the client code. Some popular choices include Visual Studio Code, IntelliJ IDEA, Eclipse, and Sublime Text. > **Note**: If you have decided to configure the client component of the Catalyst application as an Angular app, ensure you have the Angular CLI installed. You can find detailed instructions on how to do so in the [Angular CLI documentation](https://angular.io/guide/setup-local#install-the-angular-cli) > If you are a Visual Studio Code IDE user, you can install the **Catalyst Tools** extension, and use your IDE itself in place of the CLI. You can find more details about the Catalyst VS Code extension from this [help section](https://docs.catalyst.zoho.com/en/catalyst-extensions/vs-code-extension/introduction/). -------------------------------------------------------------------------------- title: "Create a project" description: "Build a Basic, React, or Angular to-do list web app using Catalyst Advanced I/O Function and Data Store to note down tasks and delete them when done." last_updated: "2026-11-04T10:10:44.000Z" source: "https://docs.catalyst.zoho.com/en/tutorials/todo-list/nodejs/create-project/" service: "All Services" related: - Project Directory (/en/cli/v1/project-directory-structure/introduction) - Set up Catalyst Projects (/en/getting-started/catalyst-projects) -------------------------------------------------------------------------------- # Create a Project Let’s create a [ Catalyst project](https://docs.catalyst.zoho.com/en/getting-started/catalyst-projects/#create-a-catalyst-project) from the Catalyst console. 1. Log in to the [Catalyst console](https://console.catalyst.zoho.com/baas/index) and click **Create New Project**. ![catalyst_todolist_create_project](https://catalyst-docs-development.zohostratus.in/images/tutorials/todo-list/catalyst_todolist_create_project.webp) 2. Enter the project’s name as "**ToDoList**" in the pop-up window, and click **Create**. ![catalyst_todolist_proj_name](https://catalyst-docs-development.zohostratus.in/images/tutorials/todo-list/catalyst_todolist_proj_name.webp) Your project will be created; once ready, click **Access Project** to continue. -------------------------------------------------------------------------------- title: "Create a table" description: "Build a Basic, React, or Angular to-do list web app using Catalyst Advanced I/O Function and Data Store to note down tasks and delete them when done." last_updated: "2026-11-04T10:10:44.000Z" source: "https://docs.catalyst.zoho.com/en/tutorials/todo-list/nodejs/create-table/" service: "All Services" related: - Data Store (/en/cloud-scale/help/data-store/introduction/) -------------------------------------------------------------------------------- # Create a Table Let’s now create a table in the Data Store of the *ToDoList* project. As discussed earlier, this table is used to store to-do list items created by the user. To create a table: 1. Navigate to the *CloudScale* section of the console, and click **Start Exploring**. ![catalyst_todolist_cloud_scale_console_view](https://catalyst-docs-development.zohostratus.in/images/tutorials/todo-list/catalyst_todolist_cloud_scale_console_view.webp) 2. Navigate to **Data Store** under *Storage* and click **Create a New Table**. ![catalyst_todolist_console_cloudscale_datastore_view](https://catalyst-docs-development.zohostratus.in/images/tutorials/todo-list/catalyst_todolist_console_cloudscale_datastore_view.webp) 3. Enter the table’s name as "**TodoItems**", then click **Create**. ![catalyst_todo_table_name](https://catalyst-docs-development.zohostratus.in/images/tutorials/todo-list/catalyst_todo_table_name.webp) > **Note:** Ensure that you enter the name exactly as instructed, because the application's code contains the same name. The table is now created and displayed in the *Data Store* page. ### Create Columns Now, let us create a column in the table to store the to-do list items. 1. Click **New Column** in the *Schema View* section of the table. ![catalyst_todo_datastore_viewblock](https://catalyst-docs-development.zohostratus.in/images/tutorials/todo-list/catalyst_todo_datastore_viewblock.webp) 2. Enter the column’s name as "**Notes**". Select the data type as **Text** and click the **Is Mandatory** toggle switch to enable it. ![catalyst_todo_column_name](https://catalyst-docs-development.zohostratus.in/images/tutorials/todo-list/catalyst_todo_column_name.webp) You can learn about the various data types supported by Catalyst and the other properties of a column from the [Data Store help page](https://docs.catalyst.zoho.com/en/cloud-scale/help/data-store/columns). > **Note:** Ensure that you enter the name exactly as instructed, because the application's code contains the same name. 3. Click **Create**. The column is now created and listed in the *Schema View* section. ![catalyst_todo_table_view](https://catalyst-docs-development.zohostratus.in/images/tutorials/todo-list/catalyst_todo_table_view.webp) You have now configured all the necessary components from the console. You will now be working on coding the application from your local system. -------------------------------------------------------------------------------- title: "Initialize the project" description: "Build a Basic, React, or Angular to-do list web app using Catalyst Advanced I/O Function and Data Store to note down tasks and delete them when done." last_updated: "2026-11-04T10:10:44.000Z" source: "https://docs.catalyst.zoho.com/en/tutorials/todo-list/nodejs/initialize-project/" service: "All Services" related: - Initialize CLI Resources (/en/cli/v1/initialize-resources/introduction) - Project Directory Structure (/en/cli/v1/project-directory-structure/introduction) -------------------------------------------------------------------------------- # Initialize the Project from the CLI You can now begin working on your Catalyst project from the CLI. The first step is to initialize the project in an empty directory. This will be the home directory of your project and all of the project files will be saved in it. You can learn more about this from the [Project Directory Structure help page](https://docs.catalyst.zoho.com/en/cli/v1/project-directory-structure/introduction/). You can learn about initializing a project in detail from the [CLI help documentation](https://docs.catalyst.zoho.com/en/cli/v1/initialize-resources/introduction). For the to-do list application, we will initialize the Advanced I/O function first, and initialize the Client component later. > **Note:** Ensure that you enter the function's package name or class name exactly as instructed, because the application's code contains the same name. 1. Create a folder for the project on your local machine and navigate to it from the terminal. 2. Initialize a project by executing the following command from that directory: ```sh catalyst init ``` 3. Navigate using the **arrow keys** and select your preferred portal and press the **Enter** key. If you have no other organizations associated with the account, then the default one will be automatically selected. ![catalyst_todo_portal_choice](https://catalyst-docs-development.zohostratus.in/images/tutorials/todo-list/catalyst_todo_portal_choice.webp) You can find out more about Catalyst's multi-org portal feature from this [help document](https://docs.catalyst.zoho.com/en/getting-started/catalyst-organizations/#access-the-multi-org-portal). 4. The CLI will now ask you to associate a Catalyst project with the directory. Associate it with the project that we created earlier from the console. Select **ToDoList** from the list and press **Enter**. ![catalyst_todo_project_selection](https://catalyst-docs-development.zohostratus.in/images/tutorials/todo-list/catalyst_todo_project_selection.webp) 5. Select **Functions** using the **space bar**. Press the **Enter** key to initialize. As mentioned earlier, we will initialize and setup the client after we configure the function. ![catalyst_todo_func_cli_select](https://catalyst-docs-development.zohostratus.in/images/tutorials/todo-list/catalyst_todo_func_cli_select.webp) 6. The CLI will initiate the function setup. Select **AdvancedIO** as the function type, and then choose **Node.js** as the runtime environment. ![catalyst_todo_function_type_select](https://catalyst-docs-development.zohostratus.in/images/tutorials/todo-list/catalyst_todo_function_type_select.webp) 7. Enter "to\_do\_list\_function" as the package name, "index.js" as the entry point, and your email address as the author and press **Enter**. You can alternatively press **Enter** without entering inputs to fill in the default values. The CLI will prompt the initialization of the Node dependencies. Press **Y** to confirm the installation, and press **Enter** to confirm your choice. The Node modules will be installed. ![catalyst_todo_node_function_setup](https://catalyst-docs-development.zohostratus.in/images/tutorials/todo-list/catalyst_todo_node_function_setup.webp) The project and function initialization is now complete. The current project directory will be created in the standard structure. The [functions directory](https://docs.catalyst.zoho.com/en/cli/v1/project-directory-structure/functions-directory) will be created in your project directory with the configuration files and dependencies, along with the [`catalyst.json`](https://docs.catalyst.zoho.com/en/cli/v1/project-directory-structure/catalyst-json) and a hidden `.catalystrc` file This is the structure of the ToDoList project's directory without the Client component. ![catalyst_todo_node_func_directory](https://catalyst-docs-development.zohostratus.in/images/tutorials/todo-list/catalyst_todo_node_func_directory.webp) -------------------------------------------------------------------------------- title: "Configure the functions directory" description: "Build a Basic, React, or Angular to-do list web app using Catalyst Advanced I/O Function and Data Store to note down tasks and delete them when done." last_updated: "2026-11-04T10:10:44.000Z" source: "https://docs.catalyst.zoho.com/en/tutorials/todo-list/nodejs/configure-function/" service: "All Services" related: - Advanced I/O Functions (/en/serverless/help/functions/advanced-io/) - Functions Directory Structure (/en/cli/v1/project-directory-structure/functions-directory) -------------------------------------------------------------------------------- # Configure the Advanced I/O Function Next, we will begin coding the to-do list application by configuring the function component. The [function's directory](https://docs.catalyst.zoho.com/en/cli/v1/project-directory-structure/functions-directory), `functions/to\_do\_list\_function` contains: * The `index.js` main function file * The `catalyst-config.json` configuration file * Node modules * `[package.json](https://docs.npmjs.com/files/package.json)` and `[package-lock.json](https://docs.npmjs.com/configuring-npm/package-lock-json.html)` dependency files You will be adding code in the `index.js` file. The three APIs in the Advanced I/O function that handle the routing between the server and the Data Store are: * **GET /todo:** To obtain the to-do list items from the _TodoItems_ table in the Data Store * **POST /todo:** To create and save a new list item in the Data Store * **DELETE /todo:** To delete a list item from the Data Store #### Install Express Framework for Node.js We will need to use the [Express framework](https://expressjs.com/) to perform routing operations. To import the Express package in your function's code, you must install the Express dependency in your system. To install `Express.js` in your local machine, navigate to the function's home directory (`functions/to\_do\_list\_function`) in your terminal and execute the following command: ```sh npm install express --save ``` This will install the Express module and save the dependencies. ![catalyst_to_node_express_install](https://catalyst-docs-development.zohostratus.in/images/tutorials/todo-list/catalyst_to_node_express_install.webp) This information will also be updated in the `package.json` file. ![catalyst_todo_package_json](https://catalyst-docs-development.zohostratus.in/images/tutorials/todo-list/catalyst_todo_package_json.webp) Next, let's add the code in the function file. Copy the Node.js code and paste it in `index.js` in the `functions/to\_do\_list\_function` directory of your project, and save the file. You can use any IDE of your choice to work with the application's files. > **Note**: Please go through the code given in this section to ensure you fully understand it. We will discuss the architecture of the function and the client in the next section. **index.js** ```javascript const express = require('express'); const catalystSDK = require('zcatalyst-sdk-node'); const app = express(); app.use(express.json()); app.use((req, res, next) => { const catalyst = catalystSDK.initialize(req); res.locals.catalyst = catalyst; next(); }); //GET API. Get existing tasks if any from the server. app.get('/all', async (req, res) => { try { const { catalyst } = res.locals; const page = parseInt(req.query.page); const perPage = parseInt(req.query.perPage); const zcql = catalyst.zcql(); const hasMore = await zcql .executeZCQLQuery(`SELECT COUNT(ROWID) FROM TodoItems`) .then((rows) => parseInt(rows[0].TodoItems.ROWID) > page * perPage); const todoItems = await zcql .executeZCQLQuery( `SELECT ROWID,Notes FROM TodoItems LIMIT ${ (page - 1) * perPage + 1 },${perPage}` ) .then((rows) => rows.map((row) => ({ id: row.TodoItems.ROWID, notes: row.TodoItems.Notes })) ); res.status(200).send({ status: 'success', data: { todoItems, hasMore } }); } catch (err) { console.log(err); res.status(500).send({ status: 'failure', message: "We're unable to process the request." }); } }); // POST API. Contains the logic to create a task app.post('/add', async (req, res) => { try { const { notes } = req.body; const { catalyst } = res.locals; const table = catalyst.datastore().table('TodoItems'); const { ROWID: id } = await table.insertRow({ Notes:notes }); res.status(200).send({ status: 'success', data: { todoItem: { id, notes } } }); } catch (err) { console.log(err); res.status(500).send({ status: 'failure', message: "We're unable to process the request." }); } }); // DELETE API. Contains the logic to delete a task. app.delete('/:ROWID', async (req, res) => { try { const { ROWID } = req.params; const { catalyst } = res.locals; const table = catalyst.datastore().table('TodoItems'); await table.deleteRow(ROWID); res.status(200).send({ status: 'success', data: { todoItem: { id: ROWID } } }); } catch (err) { console.log(err); res.status(500).send({ status: 'failure', message: "We're unable to process the request." }); } }); module.exports = app; ``` The functions directory is now configured. -------------------------------------------------------------------------------- title: "Initialize the Client" description: "Build a Basic, React, or Angular to-do list web app using Catalyst Advanced I/O Function and Data Store to note down tasks and delete them when done." last_updated: "2026-11-04T10:10:44.000Z" source: "https://docs.catalyst.zoho.com/en/tutorials/todo-list/nodejs/initialize-client/" service: "All Services" related: - Client Directory Structure (/en/cli/v1/project-directory-structure/client-directory) - Initialize the Client (/en/cli/v1/initialize-resources/initialize-client/) -------------------------------------------------------------------------------- # Initialize the Client Now, let's initialize the client. You can initialize the client in one of the three types supported by Catalyst: 1. **Basic web app**: The basic client application is a simple version of the Catalyst client that is created without any external frameworks or libraries. 2. **Angular web app**: You can choose this client type if you prefer to create the To-Do List app using the Angular framework. 3. **React web app**: You can choose this client type if you prefer to create the To-Do List app using the React framework. > **Note**: Catalyst provides native plugin support to create React and Angular apps. These plugins also handle several operations related to setting up, testing and deploying your applications. Since, you are initializing the client after the project has already been initialized, you can set it up independently by executing the following command from your project directory: ```sh catalyst client:setup ``` Use the arrow keys and select your preference by pressing **Enter**. ![catalyst_todo_client_select](https://catalyst-docs-development.zohostratus.in/images/tutorials/todo-list/catalyst_todo_client_select.webp) Based on your choice, navigate to the relevant section for the steps to initialize the web app: **Basic web app** #### Initialize the client as a Basic web app If you chose **Basic web app** while setting up the client using the Catalyst command `catalyst client:setup`, Catalyst will initialize the client accordingly. Enter "**ToDoApp**" as the name of the name for the client package and press **Enter**. ![catalyst_todo_basic_init_complete](https://catalyst-docs-development.zohostratus.in/images/tutorials/todo-list/catalyst_todo_basic_init_complete.webp) The client is now successfully initialized as a Basic web application. The [client directory](https://docs.catalyst.zoho.com/en/cli/v1/project-directory-structure/client-directory) will be created in the standard structure in the project directory. This is the structure of the ToDoList project's directory if the client is initialized as a basic web app. ![catalyst_todo_basic_node_directory](https://catalyst-docs-development.zohostratus.in/images/tutorials/todo-list/catalyst_todo_basic_node_directory.webp) **Angular web app** #### Initialize the client as an Angular web app If you chose to set up the client as an Angular app, Catalyst will initialize it using the **Catalyst Angular plugin** ([`zcatalyst-cli-plugin-angular`](https://npm.io/package/zcatalyst-cli-plugin-angular)). 1. Name your Angular app as "**app**", then type "**Y**" and press the **Enter** key to enable the auto-completion feature. This will provide auto-completion for your Angular terminal commands. ![catalyst_todo_angular_autocomplete](https://catalyst-docs-development.zohostratus.in/images/tutorials/todo-list/catalyst_todo_angular_autocomplete.webp) 2. You can choose to share your application data with the Angular by entering "**Y**" or opt out of it by entering "**N**", then press **Enter**. Since the application does not require Angular routing, type "**N**" and press **Enter**. ![catalyst_todo_angular_routing](https://catalyst-docs-development.zohostratus.in/images/tutorials/todo-list/catalyst_todo_angular_routing.webp) 3. For this application we will be using CSS style sheet. Press the **Enter** key after choosing CSS. ![catalyst_todo_angular_stylesheet](https://catalyst-docs-development.zohostratus.in/images/tutorials/todo-list/catalyst_todo_angular_stylesheet.webp) 4. Now all the required Angular application files, configuration files, and dependencies will be installed through the Catalyst Angular plugin. ![catalyst_todo_angular_init](https://catalyst-docs-development.zohostratus.in/images/tutorials/todo-list/catalyst_todo_angular_init.webp) 5. The client is now successfully initialized as an Angular web application. ![catalyst_todo_angular_init_complete](https://catalyst-docs-development.zohostratus.in/images/tutorials/todo-list/catalyst_todo_angular_init_complete.webp) The [client directory](https://docs.catalyst.zoho.com/en/cli/v1/project-directory-structure/client-directory) will be created in the standard structure in the project directory. This is the structure of the ToDoList project's directory if the client is initialized as an Angular app. ![catalyst_todo_angular_node_directory](https://catalyst-docs-development.zohostratus.in/images/tutorials/todo-list/catalyst_todo_angular_node_directory.webp) **React web app** #### Initialize the client as a React web app If you chose to set up the client as a React app, Catalyst will initialize the React app using the Catalyst React plugin ([`zcatalyst-cli-plugin-react`](https://www.npmjs.com/package/zcatalyst-cli-plugin-react)). 1. Next you will be prompted to choose the type of React application. Choose "**JavaScript**" as the type for this tutorial. ![catalyst_todo_react_init_1](https://catalyst-docs-development.zohostratus.in/images/tutorials/todo-list/catalyst_todo_react_init_1.webp) 2. Name your React application as "**app**," and press **Enter**. All the required React packages such as `react`, `react-dom`, and `react-scripts` will be installed through the Catalyst React plugin. ![catalyst_todo_react_client_init](https://catalyst-docs-development.zohostratus.in/images/tutorials/todo-list/catalyst_todo_react_client_init.webp) The client is now successfully initialized as a React web application. ![catalyst_todo_react_init_complete](https://catalyst-docs-development.zohostratus.in/images/tutorials/todo-list/catalyst_todo_react_init_complete.webp) The [client directory](https://docs.catalyst.zoho.com/en/cli/v1/project-directory-structure/client-directory) will be created in the standard structure in the project directory. This is the structure of the ToDoList project's directory if the client is initialized as a React app. ![catalyst_todo_react_client_node_directory](https://catalyst-docs-development.zohostratus.in/images/tutorials/todo-list/catalyst_todo_react_client_node_directory.webp) -------------------------------------------------------------------------------- title: "Configure the client" description: "Build a Basic, React, or Angular to-do list web app using Catalyst Advanced I/O Function and Data Store to note down tasks and delete them when done." last_updated: "2026-11-04T10:10:44.000Z" source: "https://docs.catalyst.zoho.com/en/tutorials/todo-list/nodejs/configure-client/" service: "All Services" related: - Client Directory Structure (/en/cli/v1/project-directory-structure/client-directory) -------------------------------------------------------------------------------- # Configure the Client Next, let's configure the client component. Based on your earlier preference, you can navigate to the relevant section: **Basic Web App** ### Configure a Basic Web App The [client directory](https://docs.catalyst.zoho.com/en/cli/v1/project-directory-structure/client-directory) contains: * The `index.html` file that contains the HTML code for the front-end application. * The `main.css` file that contains the CSS code for the front-end application. * The `main.js` file that contains the JavaScript code. * The `client-package.json` configuration file We will be coding `index.html`, `main.css`, and `main.js`. > **Note**: Please go through the code given in this section to make sure you fully understand it. Copy the code snippets given below and paste it in the respective files located in the `client/` directory using an IDE, then save the files. **index.html** ```xml <!DOCTYPE html> <html lang="en"> <head> <meta charset="utf-8" /> <meta name="viewport" content="width=device-width, initial-scale=1" /> <meta name="theme-color" content="#000000" /> <meta name="description" content="A Simple Catalyst Application." /> <link rel="preconnect" href="https://fonts.googleapis.com" /> <link rel="preconnect" href="https://fonts.gstatic.com" crossorigin /> <link href="https://fonts.googleapis.com/css2?family=Poppins:wght@400;700&display=swap" rel="stylesheet" /> <link rel="stylesheet" href="main.css" /> <script src="main.js"></script> <script src="https://ajax.googleapis.com/ajax/libs/jquery/3.6.0/jquery.min.js"> </script> <title>To Do</title> </head> <body> <div class="container"> <div class="dF aI-center jC-center h-inh" id="page-loader"> <div class="loader--lg"></div> </div> <div id="layout" class="dN"> <div class="title-container px-20"> <p class="text-white text-28 font-700">To Do</p> </div> <div class="create-container"> <form class="dF aI-center w-full" onsubmit="createTodo(event)" autocomplete="off" > <input id="notes" type="text" placeholder="Enter a Task" class="input input--valid" oninput="onNotesChange(this)" /> <button id="create-task-btn" class="btn btn--primary ml-10" type="submit" > Create Task <div class="btn--primary__loader ml-5 dN" id="create-task-btn-loader" ></div> </button> </form> </div> <div class="task-container" id="tasks"> </div> </div> </div> </body> </html> ``` **main.css** ```css body, p { margin: 0; } * { box-sizing: border-box; font-family: 'Poppins', sans-serif; } input { margin: 0; resize: none; border: none; outline: none; -webkit-appearance: none; -moz-appearance: none; appearance: none; } button { padding: 0; border: none; outline: none; cursor: pointer; background: transparent; } /* Application Styles */ .container { height: 100vh; } .title-container { top: 0; left: 0; right: 0; z-index: 1; height: 4rem; display: flex; position: fixed; align-items: center; background: rgb(5, 150, 105); } .create-container { z-index: 1; top: 4rem; left: 0; right: 0; height: 5rem; padding: 20px; display: flex; position: fixed; background: #fff; align-items: center; } .task-container { padding-top: 9rem; } .task { display: flex; margin: 0 20px; font-size: 16px; padding: 12px 20px; align-items: center; border-radius: 5px; } .task:hover { background: rgba(5, 150, 105, 0.1); } .task__no { color: #111111; margin-right: 5px; } .task__title { flex: 1; margin-right: 5px; word-break: break-all; } .task__btn { width: 18px; height: 18px; opacity: 0.5; } .task__btn:hover { opacity: 1; } .input { width: 100%; font-size: 15px; padding: 12px 16px; border-radius: 5px; border: 1px solid #e0e0e0; } .input:focus { border: 1px solid rgb(5, 150, 105); box-shadow: 0px 0px 1px 1px rgb(5, 150, 105); } .input::-moz-placeholder { color: #919191; font-size: 15px; } .input:-ms-input-placeholder { color: #919191; font-size: 15px; } .input::placeholder { color: #919191; font-size: 15px; } .input:disabled { background: #f8f8f8; } .loader--lg { width: 60px; height: 60px; display: block; border-radius: 50%; box-sizing: border-box; border-top: 7px solid rgb(5, 150, 105); border-right: 7px solid rgb(5, 150, 105); border-bottom: 7px solid transparent; animation: spin 0.8s linear infinite; } .loader--sm { width: 25px; height: 25px; display: block; border-radius: 50%; box-sizing: border-box; border-top: 4px solid rgb(5, 150, 105); border-right: 4px solid rgb(5, 150, 105); border-bottom: 4px solid transparent; -webkit-animation: spin 0.8s linear infinite; animation: spin 0.8s linear infinite; } .loader--xs { width: 20px; height: 20px; display: block; border-radius: 50%; box-sizing: border-box; border-top: 4px solid rgb(5, 150, 105); border-right: 4px solid rgb(5, 150, 105); border-bottom: 4px solid transparent; -webkit-animation: spin 0.8s linear infinite; animation: spin 0.8s linear infinite; } .btn { flex-shrink: 0; display: flex; cursor: pointer; font-size: 15px; font-weight: 500; padding: 12px 16px; align-items: center; border-radius: 5px; } .btn--primary { color: #fff; background: rgb(5, 150, 105); } .btn--primary__loader { width: 15px; height: 15px; margin: 0 5px; display: block; border-radius: 50%; box-sizing: border-box; border-top: 3px solid #fff; border-right: 3px solid #fff; border-bottom: 3px solid transparent; -webkit-animation: spin 0.8s linear infinite; animation: spin 0.8s linear infinite; } .btn--primary:disabled { cursor: not-allowed; background: rgba(5, 150, 105, 0.7); } @keyframes spin { from { transform: rotate(0deg); } to { transform: rotate(360deg); } } /* Helper Styles */ .my-5 { margin-top: 5px; margin-bottom: 5px; } .mr-5 { margin-right: 5px; } .ml-10 { margin-left: 10px; } .px-20 { padding-left: 20px; padding-right: 20px; } .p-20 { padding: 20px; } .w-full { width: 100%; } .text-28 { font-size: 28px; } .text-16 { font-size: 16px; } .text-white { color: #fff; } .text-info { color: #919191; } .dF { display: flex; } .aI-center { align-items: center; } .jC-center { justify-content: center; } .flex-1 { flex-grow: 1; } .h-inh { height: inherit; } .font-700 { font-weight: 700; } .dN { display: none; } .dB { display: block; } ``` **main.js** ```javascript var page = 1; var todoItems = []; var hasMore = false; window.onload = () => { getTodos(1); toggleCreateTaskBtn(''); }; //GET API. Contains the logic to fetch existing to-do items. function getTodos() { $.ajax({ url: `/server/to_do_list_function/all?page=${page}&perPage=200`, //Ensure that 'to_do_list_function' is the package name of your function. success: function (data) { const { data: { todoItems, hasMore } } = data; window.todoItems = [ ...new Map( Array.from(window.todoItems) .concat(todoItems) .map((item) => [item.id, item]) ).values() ]; window.hasMore = hasMore; renderTodo(); }, error: function (err) { console.log(err); }, complete: function () { $('#infinite-scroll-loader').removeClass('dB').addClass('dN'); $('#page-loader').removeClass('dF').addClass('dN'); $('#layout').removeClass('dN').addClass('dB'); } }); } function onMouseEnter(element) { const id = element.id; const delBtn = $(`#${id}-del`); if (delBtn && delBtn.attr('data-deleting')) { delBtn.removeClass('dN').addClass('dB'); } } function onMouseLeave(element) { const id = element.id; const delBtn = $(`#${id}-del`); if (delBtn && delBtn.attr('data-deleting')) { delBtn.removeClass('dB').addClass('dN'); } } function onNotesChange(element) { toggleCreateTaskBtn($(`#${element.id}`).val()); } function toggleCreateTaskBtn(value) { if (value) { $('#create-task-btn').attr('disabled', false); } else { $('#create-task-btn').attr('disabled', true); } } // DELETE API. Contains the logic to delete a to-do item. function deleteTodo(id) { $(`#${id}-del`).attr({ disabled: true, 'data-deleting': true, class: 'dN' }); $(`#${id}-del-loader`).removeClass('dN').addClass('dB'); $.ajax({ method: 'DELETE', url: `/server/to_do_list_function/${id}`, success: function () { todoItems = todoItems.filter((obj) => obj.id !== id); renderTodo(); }, error: function (err) { console.log(err); $(`#${id}-del`).attr({ disabled: false, 'data-deleting': false, class: 'dB' }); $(`#${id}-del-loader`).removeClass('dB').addClass('dN'); } }); } function renderTodo() { if (!todoItems.length) { $('#tasks').html( ` <div class='p-20 dF jC-center'> <p class='text-info text-16'> No tasks available, Create a new task. </p> </div> ` ); } else { let html = ''; todoItems.forEach((item, index) => { html += `<div class='task' id=${item.id} onmouseenter="onMouseEnter(this)" onMouseLeave="onMouseLeave(this)" > <p class='task__no'>${index + 1 + ') '}</p> <p class='task__title'>${item.notes}</p> <div class='loader--xs dN' id="${item.id}-del-loader" ></div> <button id="${item.id + '-del'}" class="dN" onclick="deleteTodo('${ item.id }')" data-deleting=false > <svg class='task__btn' fill='none' stroke='currentColor' viewBox='0 0 24 24' xmlns='http://www.w3.org/2000/svg' > <path stroke-linecap='round' stroke-linejoin='round' stroke-width='2' d='M19 7l-.867 12.142A2 2 0 0116.138 21H7.862a2 2 0 01-1.995-1.858L5 7m5 4v6m4-6v6m1-10V4a1 1 0 00-1-1h-4a1 1 0 00-1 1v3M4 7h16' ></path> </svg> </button> </div>`; }); $('#tasks').html(html); const observer = new IntersectionObserver((entries) => { if (entries[0].isIntersecting && hasMore) { page += 1; $('#tasks') .append(` <div class="dF jC-center my-5" id="infinite-scroll-loader"> <div class="loader--sm"></div> </div> `); getTodos(); } }); observer.observe( document.getElementById(todoItems[todoItems.length - 1].id) ); } } //POST API. Contains the logic to create a to-do item. function createTodo(event) { event.preventDefault(); const notes = $(`#notes`).val(); $(`#notes`).attr({ readOnly: true }); $('#create-task-btn').attr('disabled', true); $('#create-task-btn-loader').removeClass('dN').addClass('dB'); $.ajax({ method: 'POST', contentType: 'application/json', url: '/server/to_do_list_function/add', //Ensure that 'to_do_list_function' is the package name of your function. data: JSON.stringify({ notes }), success: function (data) { const { data: { todoItem } } = data; todoItems = [todoItem].concat(todoItems); renderTodo(); }, error: function (error) { console.log(error); }, complete: function () { $(`#notes`) .attr({ readOnly: false }) .val(''); $('#create-task-btn-loader').removeClass('dB').addClass('dN'); } }); return false; } ``` > **Note**: The Node.js function's name `to_do_list_function` has been added in the code for `main.js` in the lines **13** and **182**. If you created the Advanced I/O function in the Java environment, you must replace the Node.js function's name with the Java function's name. The client directory is now configured. Let's quickly go over the working of the function and the client code: 1. **POST Operation** * When the user enters a to-do list item in the app and saves it, the `submit` event associated with the **Create Task** button triggers an Ajax call to the POST API. * The `main.js` in the client handles the Ajax operation and the URL, and it calls the POST API defined in the `index.js` function file. * The POST API defined in `index.js` inserts the data as a record in the _TodoItems_ table in the Data Store. The list item is inserted as the value of the _Notes_ column. * After a record insertion is done, the response (new task) will be added to the to-do list. 2. **GET Operation** * The `reload` event triggers an Ajax call to the GET API. The URL and the Ajax operation are handled in `main.js`. * The GET API defined in `index.js` obtains all the records from the Data Store by executing a ZCQL query. The ZCQL query contains the fetch operation along with the start-limit and the end-limit of the number of records that can be fetched. * The response containing the records (tasks) will be added to the existing to-do list. 3. **DELETE Operation** * The `main.js` handles the Ajax call to the DELETE API. When the user hovers on a particular task, and clicks on the appearing delete-bin icon in the client app, the DELETE API is triggered. * The DELETE API defined in `index.js` then executes the delete operation for the record in the _TodoItems_ table matching the ROWID and sends the response back to the client. * The `main.js` removes the respective record (deleted task) from the to-do list and displays the updated to-do list in the client app upon a successful delete operation. **Angular Web App** ### Configure an Angular Web App The Angular web client directory contains the following files: * The root directory of the client contains a [`client-package.json`](https://docs.catalyst.zoho.com/en/cli/v1/project-directory-structure/client-directory)file, which is a configuration file defining the name, version, and default home page of the client component. * [Native Angular files](https://angular.io/docs) such as **`angular.json`, `karma.conf.js`, `tsconfig.app.json`, `tsconfig.json`, `tsconfig.spec.json` files, and the `dist`** directory. * The root directory of the client also contains the [`package.json`](https://docs.npmjs.com/files/package.json) dependency file, and a [`.gitignorefile`](https://git-scm.com/docs/gitignore). * The `src` folder contains the following files and directories as per the default project structure of the Angular app: * Native Angular files such as **`favicon.ico`, `main.ts`, `polyfills.ts`, and `test.ts`** files along with the assets, and environment directories. * `index.html`: The default entry point of the to-do list application. * `styles.css`: Contains all the style elements of the to-do list application. * The files present in the `src/app/` directory are: * Native Angular files such as **`app.component.css` and `app.component.spec.ts`**. * `app.component.html`: Contains the HTML component of each event generated by the user. * `app.component.ts`: Contains the logic of the to-do list application. * `app.module.ts`: Contains the meta of all the components used in building the to-do list application. We will be coding the `index.html`, `styles.css`, `app.component.html`, `app.component.ts`, and the `app.module.ts` files. #### Create a Task Component You must create a `task` component that contains the logic associated with each to-do task the end- user enters. Execute the following command in the **`client/src/app/`** directory to create the `task` component: ```sh ng generate component task ``` This will create a folder named `task` that contains: * The `task.css` and the `task.spec.ts` files native to Angular. * `task.html`: Contains the HTML component of each to-do task entered by the user. * `task.ts`: Contains the logic of each to-do task entered by the user. We will be coding the `task.html` and `task.ts` files as well. #### Install the Axios Package We will also need the `axios` package to create a request from client to server. To install `axios`, navigate to the client directory (`client/`) and execute the following command: ```sh npm install axios ``` This will install the axios module and save the dependencies. ![catalyst_todo_angular_axios](https://catalyst-docs-development.zohostratus.in/images/tutorials/todo-list/catalyst_todo_angular_axios.webp) You can now begin adding code in your files. > **Note**: Please go through the code given in this section to ensure you fully understand it. Copy the code given below and paste it in `index.html` and `styles.css` files located in client directory (`client/src/`) respectively using an IDE and save the file. **index.html** ```xml <!DOCTYPE html> <html lang="en"> <head> <link rel="preconnect" href="https://fonts.googleapis.com" /> <link rel="preconnect" href="https://fonts.gstatic.com" crossorigin /> <link href="https://fonts.googleapis.com/css2?family=Poppins:wght@400;700&display=swap" rel="stylesheet" /> <meta charset="utf-8" /> <title>To Do</title> <base href="/app/" /> </head> <body> <app-root></app-root> </body> </html> ``` **styles.css** ```css body, p { margin: 0; } * { box-sizing: border-box; font-family: "Poppins", sans-serif; } input { margin: 0; resize: none; border: none; outline: none; -webkit-appearance: none; -moz-appearance: none; appearance: none; } button { padding: 0; border: none; outline: none; cursor: pointer; background: transparent; } /* Main Classess */ .container { height: 100vh; } .title-container { top: 0; left: 0; right: 0; z-index: 1; height: 4rem; display: flex; position: fixed; align-items: center; background: rgb(5, 150, 105); } .create-container { z-index: 1; top: 4rem; left: 0; right: 0; height: 5rem; padding: 20px; display: flex; position: fixed; background: #fff; align-items: center; } .task-container { padding-top: 9rem; } .task { display: flex; margin: 0 20px; font-size: 16px; padding: 12px 20px; align-items: center; border-radius: 5px; } .task:hover { background: rgba(5, 150, 105, 0.1); } .task__no { color: #111111; margin-right: 5px; } .task__title { flex: 1; margin-right: 5px; word-break: break-all; } .task__btn { width: 18px; height: 18px; opacity: 0.5; } .task__btn:hover { opacity: 1; } .input { width: 100%; font-size: 15px; padding: 12px 16px; border-radius: 5px; border: 1px solid #e0e0e0; } .input:focus { border: 1px solid rgb(5, 150, 105); box-shadow: 0px 0px 1px 1px rgb(5, 150, 105); } .input::-moz-placeholder { color: #919191; font-size: 15px; } .input:-ms-input-placeholder { color: #919191; font-size: 15px; } .input::placeholder { color: #919191; font-size: 15px; } .input:disabled { background: #f8f8f8; } .loader--lg { width: 60px; height: 60px; display: block; border-radius: 50%; box-sizing: border-box; border-top: 7px solid rgb(5, 150, 105); border-right: 7px solid rgb(5, 150, 105); border-bottom: 7px solid transparent; animation: spin 0.8s linear infinite; } .loader--sm { width: 25px; height: 25px; display: block; border-radius: 50%; box-sizing: border-box; border-top: 4px solid rgb(5, 150, 105); border-right: 4px solid rgb(5, 150, 105); border-bottom: 4px solid transparent; -webkit-animation: spin 0.8s linear infinite; animation: spin 0.8s linear infinite; } .loader--xs { width: 20px; height: 20px; display: block; border-radius: 50%; box-sizing: border-box; border-top: 4px solid rgb(5, 150, 105); border-right: 4px solid rgb(5, 150, 105); border-bottom: 4px solid transparent; -webkit-animation: spin 0.8s linear infinite; animation: spin 0.8s linear infinite; } .btn { flex-shrink: 0; display: flex; cursor: pointer; font-size: 15px; font-weight: 500; padding: 12px 16px; align-items: center; border-radius: 5px; } .btn--primary { color: #fff; background: rgb(5, 150, 105); } .btn--primary__loader { width: 15px; height: 15px; margin: 0 5px; display: block; border-radius: 50%; box-sizing: border-box; border-top: 3px solid #fff; border-right: 3px solid #fff; border-bottom: 3px solid transparent; -webkit-animation: spin 0.8s linear infinite; animation: spin 0.8s linear infinite; } .btn--primary:disabled { background: rgba(5, 150, 105, 0.7); } @keyframes spin { from { transform: rotate(0deg); } to { transform: rotate(360deg); } } /* Helper Classes */ .my-5 { margin-top: 5px; margin-bottom: 5px; } .mr-5 { margin-right: 5px; } .ml-10 { margin-left: 10px; } .px-20 { padding-left: 20px; padding-right: 20px; } .p-20 { padding: 20px; } .w-full { width: 100%; } .text-28 { font-size: 28px; } .text-16 { font-size: 16px; } .text-white { color: #fff; } .text-info { color: #919191; } .dF { display: flex; } .aI-center { align-items: center; } .jC-center { justify-content: center; } .flex-1 { flex-grow: 1; } .h-inh { height: inherit; } .font-700 { font-weight: 700; } ``` Copy the code given below and paste it in `app.component.html`, `app.component.ts`, `app.module.ts` files respectively located in the client directory (`client/src/app/`) using an IDE and save the file. **app.component.html** ```xml <div class="container"> <div class="dF aI-center jC-center h-inh" *ngIf="fetchState === 'init'"> <div class="loader--lg"></div> </div> <div *ngIf="fetchState !== 'init'"> <div class="title-container px-20"> <p class="text-white text-28 font-700">To Do</p> </div> <div class="create-container"> <form class="dF aI-center w-full" (ngSubmit)="createTodo()" autocomplete="off" > <input type="text" name="notes" [(ngModel)]="notes" placeholder="Enter a Task" class="input input--valid" [readOnly]="submitting" /> <button class="btn btn--primary ml-10" type="submit" [disabled]="notes.length === 0 || submitting" > Create Task <div class="btn--primary__loader ml-5" *ngIf="submitting"></div> </button> </form> </div> <div class="task-container"> <div class="p-20 dF jC-center" *ngIf="todoItems.length === 0"> <p class="text-info text-16">No tasks available, Create a new task.</p> </div> <div *ngIf="todoItems.length !== 0"> <app-task *ngFor="let item of todoItems; let i = index" [notes]="item.notes" [index]="i + 1" [id]="item.id" [isLast]="i === todoItems.length - 1" (removeTodo)="removeTodo($event)" (changePage) = "changePage()" #task > </app-task> </div> <div class="dF jC-center my-5" *ngIf="fetchState === 'loading'"> <div class="loader--sm"></div> </div> </div> </div> </div> ``` **app.component.ts** ```javascript import axios from 'axios'; import { Component, OnInit } from '@angular/core'; @Component({ selector: 'app-root', templateUrl: './app.component.html', }) export class AppComponent implements OnInit { notes: string; page: number; hasMore: boolean; todoItems: Array<{ id: string; notes: string; }>; submitting: boolean; fetchState: 'init' | 'fetched' | 'loading'; constructor() { this.notes = ''; this.hasMore = false; this.page = 1; this.todoItems = []; this.submitting = false; this.fetchState = 'init'; } //GET API. The existing to-do items from the Datastore is being fetched. getTodos = (): void => { axios .get('/server/to_do_list_function/all', { //Ensure that 'to_do_list_function' is the package name of your function. params: { page: this.page, perPage: 200, }, }) .then((response) => { const { data: { todoItems, hasMore }, } = response.data; if (this.page === 1) { this.todoItems = todoItems as Array<{ id: string; notes: string }>; } else { this.todoItems = [ ...new Map( this.todoItems.concat(todoItems).map((item) => [item.id, item]) ).values(), ]; } this.hasMore = hasMore; this.fetchState = 'fetched'; }) .catch((err) => { console.error(err.response.data); }); }; //POST API. A new to-do item is being created. createTodo = (): void => { this.submitting = true; axios .post(`/server/to_do_list_function/add`, { //Ensure that 'to_do_list_function' is the package name of your function. notes: this.notes, }) .then((response) => { const { data: { todoItem }, } = response.data; this.notes = ''; this.todoItems = [{ ... todoItem }].concat(this.todoItems); }) .catch((err) => { console.error(err.response.data); }) .finally(() => { this.submitting = false; }); }; removeTodo = (id: string): void => { this.todoItems = this.todoItems.filter((obj) => obj.id !== id); }; changePage = (): void => { if (this.hasMore) { this.page += 1; this.fetchState = 'loading'; this.getTodos(); } }; ngOnInit() { this.fetchState = 'init'; this.getTodos(); } } ``` > **Note**: The Node.js function's name `to_do_list_function` has been added in the code for `app.component.ts` in the lines **33**, and **65**. If you created the Advanced I/O function in the Java environment, you must replace the Node.js function's name with the Java function's name. **app.module.ts** ```javascript import { NgModule } from '@angular/core'; import { BrowserModule } from '@angular/platform-browser'; import { FormsModule } from '@angular/forms'; import { AppComponent } from './app.component'; import { Task } from './task/task'; @NgModule({ declarations: [AppComponent, Task], imports: [BrowserModule, FormsModule], providers: [], bootstrap: [AppComponent], }) export class AppModule {} ``` Copy the code given below and paste it in `task.html` and `task.ts`, files located in the client directory (`client/src/app/task/`) using an IDE and save the file. **task.html** ```xml <div class="task" ref="{ref}" (mouseenter)="mouseEnter()" (mouseleave)="mouseLeave()" > <p class="task__no">{{ index }} )</p> <p class="task__title">{{ notes }}</p> <div class="loader--xs" *ngIf="deleting === true"></div> <button *ngIf="!deleting && options" (click)="deleteTodo()"> <svg class="task__btn" fill="none" stroke="currentColor" viewBox="0 0 24 24" xmlns="http://www.w3.org/2000/svg" > <path stroke-linecap="round" stroke-linejoin="round" stroke-width="2" d="M19 7l-.867 12.142A2 2 0 0116.138 21H7.862a2 2 0 01-1.995-1.858L5 7m5 4v6m4-6v6m1-10V4a1 1 0 00-1-1h-4a1 1 0 00-1 1v3M4 7h16" ></path> </svg> </button> </div> ``` **task.ts** ```javascript import axios from 'axios'; import { Component, EventEmitter, Input, Output, ElementRef, AfterViewInit, OnDestroy, } from '@angular/core'; @Component({ selector: 'app-task', templateUrl: './task.html', }) export class Task implements OnDestroy, AfterViewInit { @Input() id: string; @Input() notes: string; @Input() index: number; @Input() isLast: boolean; @Output() removeTodo: EventEmitter<string>; @Output() changePage: EventEmitter<void>; public options: boolean; public deleting: boolean; private observer?: IntersectionObserver; constructor(private element: ElementRef) { this.id = ''; this.index = 0; this.notes = ''; this.isLast = false; this.options = false; this.deleting = false; this.removeTodo = new EventEmitter(); this.changePage = new EventEmitter(); } mouseEnter = () => { this.options = true; }; mouseLeave = () => { this.options = false; }; deleteTodo = () => { this.deleting = true; //DELETE API. The call to delete the to-do item from the data store occurs here. axios .delete(`/server/to_do_list_function/${this.id}`) //Ensure that 'to_do_list_function' is the package name of your function. .then((response) => { const { data: { todoItem: { id }, }, } = response.data; this.removeTodo.emit(id); }) .catch((err) => { console.log(err.response.data); }) .finally(() => { this.deleting = false; }); }; ngAfterViewInit() { if (this.isLast && this.element) { this.observer = new IntersectionObserver((entries) => { if (entries[0].isIntersecting) { this.changePage.emit(); } }); this.observer.observe(this.element.nativeElement); } } ngOnDestroy() { if (this.observer) { this.observer.disconnect(); } } } ``` > **Note**: The Node.js function's name `to_do_list_function` has been added in the code for `task.ts` in the lines **51**. If you created the Advanced I/O function in the Java environment, you must replace the Node.js function's name with the Java function's name. The client directory is now configured. Let's quickly go over the working of the function and the client code: 1. **POST Operation** * When the user enters a to-do list item in the app and saves it, the `submit` event **Create Task** button triggers an Ajax call to the POST API. * The `app.component.ts` in the client handles the Ajax operation and the URL, and it calls the POST API defined in the `index.js` function file. * The POST API defined in `index.js` inserts the data as a record in the _TodoItems_ table in the Data Store. The list item is inserted as the value of the _Notes_ column. * After a record insertion is done, the response (new task) will be added to the to-do list. 2. **GET Operation** * The `reload` event triggers an Ajax call to the GET API. The URL and the Ajax operation are handled in `app.component.ts`. * The GET API defined in `index.js` obtains all the records from the Data Store by executing a ZCQL query. The ZCQL query contains the fetch operation along with the start-limit and the end-limit of the number of records that can be fetched. * The response containing the records (tasks) will be added to the existing to-do list. 3. **DELETE Operation** * When the user clicks on a list item in the client app, the DELETE API is triggered. * The `task.ts` handles the Ajax call to the DELETE API. When the user hovers on a particular task, and clicks on the delete-bin icon that appears in the client, the DELETE API is triggered. * The DELETE API defined in `index.js` then executes the delete operation for the record in the _TodoItems_ table matching the ROWID and sends the response back to the client. * The `app.component.ts` removes the respective record (deleted task) from the To-Do list and displays the updated list in the client app upon a successful delete operation. **React Web App** ### Configure a React Web App The React client directory contains the following files: * The root directory of the client contains a `client-package.json` file which is a configuration file defining the name, version, and default home page of the client component. * The `app` folder contains two subfolders as per the default project structure of a React app: * The `public` folder is generally used to hold files that can be openly accessed by browsers through public URLs, such as icon files of the web app and `index.html`. * The `src` folder contains the application's source files that will be included in the `build` folder when we compile the React app. The `app` folder also contains the [`package.json`](https://docs.npmjs.com/files/package.json) dependency file, and a [`.gitignore`](https://git-scm.com/docs/gitignore) file. * The `public` folder contains the following files: * [Native React files](https://reactjs.org/docs/getting-started.html?#try-react) such as **`favicon.ico`, `logo192.png`, `manifest.json`, `logi512.png` and `robots.txt`**. These files will not be necessary for rendering the to-do list application. * `index.html`: The default entry point of the to-do list application. * The files present in the `src` folder include: * Native React files such as **`setupTests.js`, `index.js`, `reportWebVitals.js`, `logo.svg`, and `App.test.js`**. * `App.js`: Contains the logic of to-do list. * `index.css`: Contains the styling elements of the native elements. * `App.css`: Contains the styling elements of the application. * You will also be creating an additional file `helper.css`. This file will contain utility classes, that will be responsible for certain minor styling. We will be coding `index.html`, `App.js`, `helper.css`, `index.css`, and the `App.css` files. #### Install the Axios Package We will need the `axios` package to create a request from client to server. To install `axios`, navigate to the client directory (`app/`) and execute the following command: ```sh npm install axios ``` This will install the axios module and save the dependencies. ![catalyst_todo_react_axios.webp](https://catalyst-docs-development.zohostratus.in/images/tutorials/todo-list/catalyst_todo_react_axios.webp) > **Note**: Please go through the code given in this section to ensure you fully understand it. Copy the code given below and paste it in `index.html` located in client directory (`app/public/`) using an IDE and save the file. **index.html** ```xml <!DOCTYPE html> <html lang="en"> <head> <meta charset="utf-8" /> <meta name="viewport" content="width=device-width, initial-scale=1" /> <meta name="theme-color" content="#000000" /> <meta name="description" content="A Simple Catalyst Application." /> <link rel="preconnect" href="https://fonts.googleapis.com" /> <link rel="preconnect" href="https://fonts.gstatic.com" crossorigin /> <link href="https://fonts.googleapis.com/css2?family=Poppins:wght@400;700&display=swap" rel="stylesheet" /> <title>To Do</title> </head> <body> <noscript>You need to enable JavaScript to run this app.</noscript> <div id="root"></div> </body> </html> ``` Copy the respective code given below and paste it in `App.js`, `index.css`, `App.css` and `helper.css` respectively located in client directory (`app/src/`) using an IDE and save the file. **App.js** ```javascript import './App.css'; import './helper.css'; import axios from 'axios'; import { forwardRef, useCallback, useEffect, useRef, useState } from 'react'; //This segment contains the logic that displays each individual task present in the to-do list const Task = forwardRef(({ id, notes, index, removeTask }, ref) => { const [deleting, setDeleting] = useState(false); const [showOptions, setShowOptions] = useState(false); const onMouseEnter = useCallback(() => { setShowOptions(true); }, []); const onMouseLeave = useCallback(() => { setShowOptions(false); }, []); //Contains the logic to delete the taks from the Datastore const deleteTask = useCallback(() => { setDeleting(true); axios .delete(`/server/to_do_list_function/${id}`) //Ensure that 'to_do_list_function' is the package name of your function. .then((response) => { const { data: { todoItem: { id } } } = response.data; removeTask(id); }) .catch((err) => { console.log(err.response); }).finally(()=>{ setDeleting(false) }) }, [id, removeTask]); return ( <div className='task' ref={ref} onMouseEnter={onMouseEnter} onMouseLeave={onMouseLeave} > <p className='task__no'>{index + 1 + ') '}</p> <p className='task__title'>{notes}</p> {deleting ? ( <div className='loader--xs'></div> ) : ( showOptions && ( <button onClick={deleteTask}> <svg className='task__btn' fill='none' stroke='currentColor' viewBox='0 0 24 24' xmlns='http://www.w3.org/2000/svg' > <path strokeLinecap='round' strokeLinejoin='round' strokeWidth='2' d='M19 7l-.867 12.142A2 2 0 0116.138 21H7.862a2 2 0 01-1.995-1.858L5 7m5 4v6m4-6v6m1-10V4a1 1 0 00-1-1h-4a1 1 0 00-1 1v3M4 7h16' ></path> </svg> </button> ) )} </div> ); }); //This segment contains the logic for loading the application function App() { const observer = useRef(null); const [page, setPage] = useState(1); const [notes, setNotes] = useState(''); const [todoItems, setTodoItems] = useState([]); const [hasMore, setHasMore] = useState(false); const [submitting, setSubmitting] = useState(false); const [fetchState, setFetchState] = useState('init'); const onChange = useCallback((event) => { const { value } = event.target; setNotes(value); }, []); useEffect(() => { if (fetchState !== 'fetched') { axios .get('/server/to_do_list_function/all', { //Ensure that 'to_do_list_function' is the package name of your function. params: { page, perPage: 200 } //The parameters contain the start limit and the end limit of data (tasks) that can be fetched from the data store }) .then((response) => { const { data: { todoItems, hasMore } } = response.data; if (page === 1) { setTodoItems(todoItems); } else { setTodoItems((prev) => [ ...new Map( Array.from(prev) .concat(todoItems) .map((item) => [item.id, item]) ).values() ]); } setHasMore(hasMore); setFetchState('fetched'); }) .catch((err) => { console.log(err.response); }); } }, [fetchState, page]); const lastElement = useCallback( (node) => { if (fetchState !== 'fetched') { return; } if (observer.current) { observer.current.disconnect(); } observer.current = new IntersectionObserver((entries) => { if (entries[0].isIntersecting && hasMore) { setPage((c) => c + 1); setFetchState('loading'); } }); if (node) { observer.current.observe(node); } }, [fetchState, hasMore] ); /// This segment contains the logic for creating a new task const createTodo = useCallback( (event) => { event.preventDefault(); setSubmitting(true); axios .post('/server/to_do_list_function/add', { //Ensure that 'to_do_list_function' is the package name of your function. notes }) .then((response) => { const { data: { todoItem } } = response.data; setNotes(''); setTodoItems((prev) => [{ ...todoItem }].concat(Array.from(prev))); }) .catch((err) => { console.log(err); }) .finally(() => { setSubmitting(false); }); }, [notes] ); //This segment contains the logic for deleting a task from the application const removeTask = useCallback((id) => { setTodoItems((prev) => Array.from(prev).filter((obj) => obj.id !== id)); }, []); return ( <div className='container'> {fetchState === 'init' ? ( <div className='dF aI-center jC-center h-inh'> <div className='loader--lg'></div> </div> ) : ( <> <div className='title-container px-20'> <p className='text-white text-28 font-700'>To Do</p> </div> <div className='create-container'> <form className='dF aI-center w-full' onSubmit={createTodo}> <input type='text' value={notes} onChange={onChange} placeholder='Enter a Task' className='input input--valid' readOnly={submitting} /> <button className='btn btn--primary ml-10' disabled={!notes.length || submitting} type='submit' > Create Task {submitting && ( <div className='btn--primary__loader ml-5'></div> )} </button> </form> </div> <div className='task-container'> {todoItems.length ? ( todoItems.map((item, index) => ( <Task key={item.id} {...item} ref={index === todoItems.length - 1 ? lastElement : null} index={index} removeTask={removeTask} /> )) ) : ( <div className='p-20 dF jC-center'> <p className='text-info text-16'> No tasks available, Create a new task. </p> </div> )} {fetchState === 'loading' && ( <div className='dF jC-center my-5'> <div className='loader--sm'></div> </div> )} </div> </> )} </div> ); } export default App; ``` > **Note**: The Node.js function's name `to_do_list_function` has been added in the code in `App.js` in the lines **26**, **97** and **153**. If you created the Advanced I/O function in the Java environment, you must replace the Node.js function's name with the Java function's name. **index.css** ```css body, p { margin: 0; } * { box-sizing: border-box; font-family: 'Poppins', sans-serif; } input { margin: 0; resize: none; border: none; outline: none; -webkit-appearance: none; -moz-appearance: none; appearance: none; } button { padding: 0; border: none; outline: none; cursor: pointer; background: transparent; } ``` **App.css** ```css .container { height: 100vh; } .title-container { top: 0; left: 0; right: 0; z-index: 1; height: 4rem; display: flex; position: fixed; align-items: center; background: rgb(5, 150, 105); } .create-container { z-index: 1; top: 4rem; left: 0; right: 0; height: 5rem; padding: 20px; display: flex; position: fixed; background: #fff; align-items: center; } .task-container { padding-top: 9rem; } .task { display: flex; margin: 0 20px; font-size: 16px; padding: 12px 20px; align-items: center; border-radius: 5px; } .task:hover { background: rgba(5, 150, 105, 0.1); } .task__no { color: #111111; margin-right: 5px; } .task__title { flex: 1; margin-right: 5px; word-break: break-all; } .task__btn { width: 18px; height: 18px; opacity: 0.5; } .task__btn:hover { opacity: 1; } .input { width: 100%; font-size: 15px; padding: 12px 16px; border-radius: 5px; border: 1px solid #e0e0e0; } .input:focus { border: 1px solid rgb(5, 150, 105); box-shadow: 0px 0px 1px 1px rgb(5, 150, 105); } .input::-moz-placeholder { color: #919191; font-size: 15px; } .input:-ms-input-placeholder { color: #919191; font-size: 15px; } .input::placeholder { color: #919191; font-size: 15px; } .input:disabled { background: #f8f8f8; } .loader--lg { width: 60px; height: 60px; display: block; border-radius: 50%; box-sizing: border-box; border-top: 7px solid rgb(5, 150, 105); border-right: 7px solid rgb(5, 150, 105); border-bottom: 7px solid transparent; animation: spin 0.8s linear infinite; } .loader--sm { width: 25px; height: 25px; display: block; border-radius: 50%; box-sizing: border-box; border-top: 4px solid rgb(5, 150, 105); border-right: 4px solid rgb(5, 150, 105); border-bottom: 4px solid transparent; -webkit-animation: spin 0.8s linear infinite; animation: spin 0.8s linear infinite; } .loader--xs { width: 20px; height: 20px; display: block; border-radius: 50%; box-sizing: border-box; border-top: 4px solid rgb(5, 150, 105); border-right: 4px solid rgb(5, 150, 105); border-bottom: 4px solid transparent; -webkit-animation: spin 0.8s linear infinite; animation: spin 0.8s linear infinite; } .btn { flex-shrink: 0; display: flex; cursor: pointer; font-size: 15px; font-weight: 500; padding: 12px 16px; align-items: center; border-radius: 5px; } .btn--primary { color: #fff; background: rgb(5, 150, 105); } .btn--primary__loader { width: 15px; height: 15px; margin: 0 5px; display: block; border-radius: 50%; box-sizing: border-box; border-top: 3px solid #fff; border-right: 3px solid #fff; border-bottom: 3px solid transparent; -webkit-animation: spin 0.8s linear infinite; animation: spin 0.8s linear infinite; } .btn--primary:disabled { background: rgba(5, 150, 105, 0.7); } @keyframes spin { from { transform: rotate(0deg); } to { transform: rotate(360deg); } } ``` In the (`app/src/`) directory, create a new file named (`helper.css`), then copy and paste the below code into it. **helper.css** ```css .my-5 { margin-top: 5px; margin-bottom: 5px; } .mr-5 { margin-right: 5px; } .ml-10 { margin-left: 10px; } .px-20 { padding-left: 20px; padding-right: 20px; } .p-20 { padding: 20px; } .w-full { width: 100%; } .text-28 { font-size: 28px; } .text-16 { font-size: 16px; } .text-white { color: #fff; } .text-info { color: #919191; } .dF { display: flex; } .aI-center { align-items: center; } .jC-center { justify-content: center; } .flex-1 { flex-grow: 1; } .h-inh { height: inherit; } .font-700 { font-weight: 700; } ``` The client directory is now configured. Let's quickly go over the working of the function and the client code: 1. **POST Operation** * When the user enters a to-do list item in the app and saves it, the `submit` event associated with the **Create Task** button triggers an Ajax call to the POST API. * The `App.js` in the client handles the Ajax operation and the URL, and it calls the POST API defined in the `index.js` function file. * The POST API defined in `index.js` inserts the data as a record in the _TodoItems_ table in the Data Store. The list item is inserted as the value of the _Notes_ column. * After a record insertion is done, the response (new task) will be added to the to-do list. 2. **GET Operation** * The `reload` event triggers an Ajax call to the GET API. The URL and the Ajax operation are handled in `App.js`. * The GET API defined in `index.js` obtains all the records from the Data Store by executing a ZCQL query. The ZCQL query contains the fetch operation along with the start-limit and the end-limit of the number of records that can be fetched. * The response containing the records (tasks) will be added to the existing to-do list. 3. **DELETE Operation** * The `App.js` handles the Ajax call to the DELETE API. When the user hovers on a particular task, and clicks on the appearing delete-bin icon in the client app, the DELETE API is triggered. * The DELETE API defined in `index.js` then executes the delete operation for the record in the _TodoItems_ table matching the ROWID and sends the response back to the client. * The `App.js` removes the respective record (deleted task) from the to-do list and displays the updated to-do list in the client app upon a successful delete operation. -------------------------------------------------------------------------------- title: "Test the application" description: "Build a Basic, React, or Angular to-do list web app using Catalyst Advanced I/O Function and Data Store to note down tasks and delete them when done." last_updated: "2026-11-04T10:10:44.000Z" source: "https://docs.catalyst.zoho.com/en/tutorials/todo-list/nodejs/test-application/" service: "All Services" related: - Serve CLI Resources (/en/cli/v1/serve-resources/introduction) - Data Store (/en/cloud-scale/help/data-store/introduction) -------------------------------------------------------------------------------- # Test the Application Before you deploy the application to the remote console, you can test the application on a local server and check if everything works using the Catalyst CLI. For detailed information on `catalyst serve`, refer to the [Serve Resources help page](https://docs.catalyst.zoho.com/en/cli/v1/serve-resources/introduction). To serve the Catalyst project locally, execute the following command from your project directory: ```sh catalyst serve ``` The to-do list application will now be served at default port 3000. The local endpoint URLs of the components are displayed. **Basic web app** ![catalyst_todo_basic_serve](https://catalyst-docs-development.zohostratus.in/images/tutorials/todo-list/catalyst_todo_basic_serve.webp) **Angular web app** ![catalyst_todo_angular_serve](https://catalyst-docs-development.zohostratus.in/images/tutorials/todo-list/catalyst_todo_angular_serve.webp) **React web app** ![catalyst_todo_react_serve](https://catalyst-docs-development.zohostratus.in/images/tutorials/todo-list/catalyst_todo_react_serve.webp) > **Note**: Every time you access the home page or any of the sub-pages of your client, or the function, the CLI will display a live log of the URL accessed, along with the HTTP method that is used to access it. You can now open the client component's local URL in a browser to access the application. ![catalyst_todo_serve_1](https://catalyst-docs-development.zohostratus.in/images/tutorials/todo-list/catalyst_todo_serve_1.webp) Let's test the application by adding a task to the to-do list. Enter a task and click **Create Task**. ![catalyst_todo_serve_2](https://catalyst-docs-development.zohostratus.in/images/tutorials/todo-list/catalyst_todo_serve_2.webp) The task will be added and displayed in the app. ![catalyst_todo_serve_3](https://catalyst-docs-development.zohostratus.in/images/tutorials/todo-list/catalyst_todo_serve_3.webp) Let's verify this. Open the _TodoItems_ table in the **Data Store** from your Catalyst console. Click the **Data View** tab to view the record. A row will be created for the list item that was added. ![catalyst_datastore_dataview](https://catalyst-docs-development.zohostratus.in/images/tutorials/todo-list/catalyst_datastore_dataview.webp) Let's add a few more tasks to the to-do list app. We can now test the delete operation. ![catalyst_todo_serve_4](https://catalyst-docs-development.zohostratus.in/images/tutorials/todo-list/catalyst_todo_serve_4.webp) When you hover on a task, the delete-bin icon appears in the top-right corner. The delete operation is executed when you click the icon. The task will be removed from the list. The app displays the updated list. ![catalyst_todo_serve_5](https://catalyst-docs-development.zohostratus.in/images/tutorials/todo-list/catalyst_todo_serve_5.webp) Let's verify if the record was deleted in the Data Store. Open the _TodoItems_ table in the **Data Store** and click **Data View** to view the records. The row for the list of items will be deleted from the table. ![catalyst_datastore_dataview_deleted](https://catalyst-docs-development.zohostratus.in/images/tutorials/todo-list/catalyst_datastore_dataview_deleted.webp) If this setup is working correctly, we can deploy the application to production. -------------------------------------------------------------------------------- title: "Deploy the project" description: "Build a Basic, React, or Angular to-do list web app using Catalyst Advanced I/O Function and Data Store to note down tasks and delete them when done." last_updated: "2026-11-04T10:10:44.000Z" source: "https://docs.catalyst.zoho.com/en/tutorials/todo-list/nodejs/deploy-project/" service: "All Services" related: - Deploy CLI Resources (/en/cli/v1/deploy-resources/introduction/) - Web Client Hosting (/en/cloud-scale/help/web-client-hosting/introduction) -------------------------------------------------------------------------------- # Deploy the Project To [deploy your Catalyst project](https://docs.catalyst.zoho.com/en/cli/v1/deploy-resources/introduction/) from the CLI, run the following command in your terminal from your project directory: ```sh catalyst deploy ``` The function is deployed first, followed by the client component. The URL endpoints of the components are displayed below: **Basic web app** ![catalyst_todo_basic_deploy](https://catalyst-docs-development.zohostratus.in/images/tutorials/todo-list/catalyst_todo_basic_deploy.webp) **Angular web app** ![catalyst_todo_angular_deploy](https://catalyst-docs-development.zohostratus.in/images/tutorials/todo-list/catalyst_todo_angular_deploy.webp) **React web app** ![catalyst_todo_react_deploy](https://catalyst-docs-development.zohostratus.in/images/tutorials/todo-list/catalyst_todo_react_deploy.webp) You can now open the client component's URL in a browser to access the deployed application. The to-do list application can now be accessed from its [web app URL](https://docs.catalyst.zoho.com/en/cloud-scale/help/web-client-hosting/key-concepts/#default-web-application-url). ![catalyst_todo_serve_4](https://catalyst-docs-development.zohostratus.in/images/tutorials/todo-list/catalyst_todo_serve_4.webp) The to-do list application is now functional and will work without any errors. ### Python -------------------------------------------------------------------------------- title: "Introduction" description: "Build a Basic, React, or Angular to-do list web app using Catalyst Advanced I/O Function and Data Store to note down tasks and delete them when done." last_updated: "2026-11-04T10:10:44.000Z" source: "https://docs.catalyst.zoho.com/en/tutorials/todo-list/python/introduction/" service: "All Services" related: - Project Directory Structure (/en/cli/v1/project-directory-structure/introduction/) - Java SDK (/en/sdk/java/v1/overview/) - Node.js SDK (/en/sdk/nodejs/v2/overview/) - Python SDK (/en/sdk/python/v1/overview/) -------------------------------------------------------------------------------- # To-Do List Application ### Introduction This tutorial will help you build a simple, single-page to-do list web application in Catalyst. The application will enable users to note down tasks to be done, then delete them after they are completed. The client application will look like this: ![todolist_sample](https://catalyst-docs-development.zohostratus.in/images/tutorials/todo-list/todolist_sample.webp) You can access a working application of each type and test their functioning here: * **[Basic web app](https://to-do-basic.catalystserverlessapp.com/app/)** * **[React web app](https://to-do-react.catalystserverlessapp.com/app/)** * **[Angular web app](https://to-do-angular.catalystserverlessapp.com/app/)** The to-do list application utilizes components from the following Catalyst components: 1. [**Catalyst Serverless**](https://docs.catalyst.zoho.com/en/serverless/getting-started/introduction/): - [**Advanced I/O Function**](https://docs.catalyst.zoho.com/en/serverless/help/functions/advanced-io/): The Advanced I/O function can be coded in the [Java](https://docs.catalyst.zoho.com/en/sdk/java/v1/overview/), [Node.js](https://docs.catalyst.zoho.com/en/sdk/nodejs/v2/overview/), or [Python](https://docs.catalyst.zoho.com/en/sdk/python/v1/overview/) programming environment. It contains the APIs that enable the users to create, view, and delete list items. 2. [**Catalyst CloudScale**](https://docs.catalyst.zoho.com/en/cloud-scale/getting-started/introduction/): - [**Data Store**](https://docs.catalyst.zoho.com/en/cloud-scale/help/data-store/introduction/): To store the to-do list items in a table. - [**ZCQL**](https://docs.catalyst.zoho.com/en/cloud-scale/help/zcql/introduction/): To fetch data from the Data Store through querying. - **Client**: The front end of the application that is hosted on Catalyst through [web client hosting](https://docs.catalyst.zoho.com/en/cloud-scale/help/web-client-hosting/introduction/). You can initialize the web client as a basic Catalyst web app, an Angular app, or a React app. This tutorial will cover the steps for all three types of web clients. We will be using the native plugins offered by Catalyst to easily build, test, and deploy Angular and React apps. We will use the [Catalyst web console](https://console.catalyst.zoho.com/) and the [Catalyst Command Line Interface](https://docs.catalyst.zoho.com/en/cli/v1/cli-command-reference/) (CLI) to build this application. You will be given the code for the files to be included in the function and client components in this tutorial. You will just have to copy the code given here and paste it into the appropriate files as directed. #### Application Architecture The to-do list application’s functioning can be described as follows: * **Adding a note**: A user enters a note in the client application and adds it as a to-do list item. The client component triggers the Serverless Advanced I/O function. The function saves the note as a record in the table in the CloudScale Data Store using an HTTP POST request. The corresponding response (note) will be added to the existing to-do list. * **Viewing a note**: When the user opens the application,the client component triggers the Advanced I/O function to fetch existing to-do list items from the Data Store using a HTTP GET request. This list is then displayed to the user. * **Deleting a note**: When the user clicks on a note in the client application, it triggers an HTTP DELETE request. The corresponding record from the Data Store is deleted, ensuring the note is also deleted from the client. The updated to-do list is displayed in the client. ![catalyst_todo_architecture](https://catalyst-docs-development.zohostratus.in/images/tutorials/todo-list/catalyst_todo_architecture.webp) -------------------------------------------------------------------------------- title: "Prerequisites" description: "Build a Basic, React, or Angular to-do list web app using Catalyst Advanced I/O Function and Data Store to note down tasks and delete them when done." last_updated: "2026-11-04T10:10:44.000Z" source: "https://docs.catalyst.zoho.com/en/tutorials/todo-list/python/prerequisites/" service: "All Services" related: - CLI Command Reference (/en/cli/v1/cli-command-reference/) - Install CLI (/en/getting-started/installing-catalyst-cli/) - Login CLI (/en/cli/v1/login/login-from-cli/) -------------------------------------------------------------------------------- # Prerequisites Before you begin building the application, you must have the following prerequisites installed on your system: 1. [**Catalyst CLI**](https://docs.catalyst.zoho.com/en/cli/v1/cli-command-reference/) Catalyst CLI contains a host of tools that enable you to initialize, develop, test, and deploy the components of your application from your local machine. We will be working with Catalyst CLI in this tutorial. You must perform the following actions: * **Install Catalyst CLI**: Catalyst CLI is installed through NPM. You must therefore have NPM and Node.js installed on your system before you install the CLI. Refer to the [Install Catalyst CLI help page](https://docs.catalyst.zoho.com/en/getting-started/installing-catalyst-cli/) for details on the pre-requisites and the steps to install it. * **Log in to Catalyst CLI**: After you install Catalyst CLI, you must authenticate the CLI with your Catalyst account before using it. Refer to the [CLI Login help page](http:///en/cli/v1/login/login-from-cli/) for the steps to login from Catalyst CLI and the various options available for it. 2. **Install Python 3.10** Catalyst supports Python versions 3.10 to 3.13. This tutorial uses Python 3.10. If you don't have Python 3.10 installed in your system, you can download the package from the [official Python website](https://www.python.org/downloads/). 3. **Any IDE tool for Python function and client code development** You can use any IDE to work with the Advanced I/O function and the client code. Some popular choices include Visual Studio Code, IDLE, PyCharm, and Sublime Text. Download and install an IDE of your choice on your system. > **Note:** If you have decided to configure the client component of the Catalyst application as an Angular app, ensure you have the Angular CLI installed. You can find detailed instructions on how to do so in the [Angular CLI documentation](https://angular.io/guide/setup-local#install-the-angular-cli). > If you are a Visual Studio Code IDE user, you can install the **Catalyst Tools** extension, and use your IDE itself in place of the CLI. You can find more details about the Catalyst VS Code extension from this [help section](https://docs.catalyst.zoho.com/en/catalyst-extensions/vs-code-extension/introduction/). -------------------------------------------------------------------------------- title: "Create a project" description: "Build a Basic, React, or Angular to-do list web app using Catalyst Advanced I/O Function and Data Store to note down tasks and delete them when done." last_updated: "2026-11-04T10:10:44.000Z" source: "https://docs.catalyst.zoho.com/en/tutorials/todo-list/python/create-project/" service: "All Services" related: - Project Directory (/en/cli/v1/project-directory-structure/introduction) - Set up Catalyst Projects (/en/getting-started/catalyst-projects) -------------------------------------------------------------------------------- # Create a Project Let’s [create a Catalyst](https://docs.catalyst.zoho.com/en/getting-started/catalyst-projects/#create-a-catalyst-project) project from the Catalyst console. 1. Log in to the [Catalyst console](https://console.catalyst.zoho.com/baas/index) and click **Create New Project**. ![catalyst_todolist_create_project](https://catalyst-docs-development.zohostratus.in/images/tutorials/todo-list/catalyst_todolist_create_project.webp) 2. Enter the project’s name as "**ToDoList**" in the pop-up window, and click **Create**. ![catalyst_todolist_proj_name](https://catalyst-docs-development.zohostratus.in/images/tutorials/todo-list/catalyst_todolist_proj_name.webp) Your project will be created; once ready, click **Access Project** to continue. -------------------------------------------------------------------------------- title: "Create a table" description: "Build a Basic, React, or Angular to-do list web app using Catalyst Advanced I/O Function and Data Store to note down tasks and delete them when done." last_updated: "2026-11-04T10:10:44.000Z" source: "https://docs.catalyst.zoho.com/en/tutorials/todo-list/python/create-table/" service: "All Services" related: - Data Store (/en/cloud-scale/help/data-store/introduction/) -------------------------------------------------------------------------------- # Create a Table Let’s now create a table in the Data Store of the *ToDoList* project. As discussed earlier, this table is used to store to-do list items created by the user. To create a table: 1. Navigate to the *CloudScale* section of the console, and click **Start Exploring**. ![catalyst_todolist_cloud_scale_console_view](https://catalyst-docs-development.zohostratus.in/images/tutorials/todo-list/catalyst_todolist_cloud_scale_console_view.webp) 2. Navigate to **Data Store** under *Storage* and click **Create a New Table**. ![catalyst_todolist_console_cloudscale_datastore_view](https://catalyst-docs-development.zohostratus.in/images/tutorials/todo-list/catalyst_todolist_console_cloudscale_datastore_view.webp) 3. Enter the table’s name as "**TodoItems**", then click **Create**. ![catalyst_todo_table_name](https://catalyst-docs-development.zohostratus.in/images/tutorials/todo-list/catalyst_todo_table_name.webp) > **Note:** Ensure that you enter the name exactly as instructed, because the application's code contains the same name. The table is now created and displayed in the *Data Store* page. ### Create Columns Now, let us create a column in the table to store the to-do list items. 1. Click **New Column** in the *Schema View* section of the table. ![catalyst_todo_datastore_viewblock](https://catalyst-docs-development.zohostratus.in/images/tutorials/todo-list/catalyst_todo_datastore_viewblock.webp) 2. Enter the column’s name as "**Notes**". Select the data type as **Text** and click the **Is Mandatory** toggle switch to enable it. ![catalyst_todo_column_name](https://catalyst-docs-development.zohostratus.in/images/tutorials/todo-list/catalyst_todo_column_name.webp) You can learn about the various data types supported by Catalyst and the other properties of a column from the [Data Store help page](https://docs.catalyst.zoho.com/en/cloud-scale/help/data-store/columns). > **Note:** Ensure that you enter the name exactly as instructed, because the application's code contains the same name. 3. Click **Create**. The column is now created and listed in the *Schema View* section. ![catalyst_todo_table_view](https://catalyst-docs-development.zohostratus.in/images/tutorials/todo-list/catalyst_todo_table_view.webp) You have now configured all the necessary components from the console. You will now be working on coding the application from your local system. -------------------------------------------------------------------------------- title: "Initialize the project" description: "Build a Basic, React, or Angular to-do list web app using Catalyst Advanced I/O Function and Data Store to note down tasks and delete them when done." last_updated: "2026-11-04T10:10:44.000Z" source: "https://docs.catalyst.zoho.com/en/tutorials/todo-list/python/initialize-project/" service: "All Services" related: - Initialize CLI Resources (/en/cli/v1/initialize-resources/introduction) - Project Directory Structure (/en/cli/v1/project-directory-structure/introduction) -------------------------------------------------------------------------------- # Initialize the Project from the CLI You can now begin working on your Catalyst project from the CLI. The first step is to initialize the project in an empty directory. This will be the home directory of your project and all of the project files will be saved in it. You can learn more about this from the [Project Directory Structure help page](https://docs.catalyst.zoho.com/en/cli/v1/project-directory-structure/introduction/). You can learn about initializing a project in detail from the [CLI help documentation](https://docs.catalyst.zoho.com/en/cli/v1/initialize-resources/introduction). For the to-do list application, we will initialize the Advanced I/O function first, and initialize the Client component later. > **Note:** Ensure that you enter the function's package name or class name exactly as instructed, because the application's code contains the same name. 1. Create a folder for the project on your local machine and navigate to it from the terminal. 2. Initialize a project by executing the following command from that directory: ```sh catalyst init ``` 3. Navigate using the **arrow keys** and select your preferred portal and press the **Enter** key. If you have no other organizations associated with the account, then the default one will be automatically selected. ![catalyst_todo_portal_choice](https://catalyst-docs-development.zohostratus.in/images/tutorials/todo-list/catalyst_todo_portal_choice.webp) You can find out more about Catalyst's multi-org portal feature from this [help document](https://docs.catalyst.zoho.com/en/getting-started/catalyst-organizations/#access-the-multi-org-portal). 4. The CLI will now ask you to associate a Catalyst project with the directory. Associate it with the project that we created earlier from the console. Select **ToDoList** from the list and press **Enter**. ![catalyst_todo_project_selection](https://catalyst-docs-development.zohostratus.in/images/tutorials/todo-list/catalyst_todo_project_selection.webp) 5. Select **Functions** using the **space bar**. Press the **Enter** key to initialize. As mentioned earlier, we will initialize and setup the client after we configure the function. ![catalyst_todo_func_cli_select](https://catalyst-docs-development.zohostratus.in/images/tutorials/todo-list/catalyst_todo_func_cli_select.webp) 6. The CLI will initiate the function setup. Select **AdvancedIO** as the function type. ![catalyst_todo_function_type_select](https://catalyst-docs-development.zohostratus.in/images/tutorials/todo-list/catalyst_todo_function_type_select.webp) 7. Select **Python 3.10** as the function stack. ![catalyst_todo_func_select_python_type](https://catalyst-docs-development.zohostratus.in/images/tutorials/todo-list/catalyst_todo_func_select_python_type.webp) 8. Enter "**to_do_list_function**" as the package name, and "**main.py**" as the entry point, and press **Enter**. You can also just press **Enter**, to use the default names generated by Catalyst, or enter any name of your preference. ![catalyst_todo_python_setup_complete](https://catalyst-docs-development.zohostratus.in/images/tutorials/todo-list/catalyst_todo_python_setup_complete.webp) The project and function initialization is now complete. The current project directory will be created in the standard structure. The [functions directory](https://docs.catalyst.zoho.com/en/cli/v1/project-directory-structure/functions-directory) will be created in your project directory with the configuration files and dependencies, along with the [`catalyst.json`](https://docs.catalyst.zoho.com/en/cli/v1/project-directory-structure/catalyst-json) and a hidden `.catalystrc` file. This is the structure of the *ToDoList* project’s directory without the Client component. ![catalyst_todo_python_func_directory](https://catalyst-docs-development.zohostratus.in/images/tutorials/todo-list/catalyst_todo_python_func_directory.webp) -------------------------------------------------------------------------------- title: "Configure the Functions Directory" description: "Build a Basic, React, or Angular to-do list web app using Catalyst Advanced I/O Function and Data Store to note down tasks and delete them when done." last_updated: "2026-11-04T10:10:44.000Z" source: "https://docs.catalyst.zoho.com/en/tutorials/todo-list/python/configure-function/" service: "All Services" related: - Advanced I/O Functions (/en/serverless/help/functions/advanced-io/) - Functions Directory Structure (/en/cli/v1/project-directory-structure/functions-directory) -------------------------------------------------------------------------------- # Configure the Advanced I/O Function Next, we will begin coding the to-do list application by configuring the function component. The [function’s directory](https://docs.catalyst.zoho.com/en/cli/v1/project-directory-structure/functions-directory), `functions/to_do_list_function` contains: * The `main.py` main function file * The `catalyst-config.json` configuration file * The `requirements.txt` file to mention any external libraries that you might add. You will be adding code in the `main.py` file. The three APIs in the Advanced I/O function that handle the routing between the server and the Data Store are: * **GET /todo**: To obtain the to-do list items from the *TodoItems* table in the Data Store * **POST /todo**: To create and save a new list item in the Data Store * **DELETE /todo**: To delete a list item from the Data Store Next, let’s add the code in the function file. Copy the Python code and paste it in `main.py` in the `functions/to_do_list_function` directory of your project, and save the file. You can use any IDE of your choice to work with the application’s files. > **Note:** Please go through the code given in this section to ensure you fully understand it. We will discuss the architecture of the function and the client in the next section. **main.py** ```python import json import zcatalyst_sdk import logging from flask import Request, make_response, jsonify logger = logging.getLogger() def handler(request: Request): try: app = zcatalyst_sdk.initialize() logger = logging.getLogger() if request.path == "/add" and request.method == 'POST': req_data = request.get_json() notes = req_data.get("notes") table = app.datastore().table('TodoItems') row = table.insert_row({ 'Notes': notes }) todo_item = {'id': row['ROWID'], 'notes': notes} response_data = { 'status': 'success', 'data': { 'todoItem': todo_item } } return make_response(jsonify(response_data), 200) elif request.path == "/all" and request.method == 'GET': page = request.args.get('page') per_page = request.args.get('perPage') page = int(page) logger.info(page) per_page = int(per_page) logger.info(per_page) zcql_service = app.zcql() row_count = zcql_service.execute_query('SELECT COUNT(ROWID) FROM TodoItems') row_id = int(row_count[0]['TodoItems']['COUNT(ROWID)']) has_more = int(row_id) > (page) * (per_page) logger.info(has_more) query_result = zcql_service.execute_query(f'SELECT ROWID, Notes FROM TodoItems LIMIT {(page - 1) * per_page + 1},{per_page}') todo_items = [{'id': item['TodoItems']['ROWID'], 'notes': item['TodoItems']['Notes']} for item in query_result] get_resp = { 'status': 'success', 'data': { 'todoItems': todo_items, 'hasMore': has_more } } return make_response(jsonify(get_resp), 200) elif request.method == 'DELETE': row_id = request.path[1:] if row_id: datastore_service = app.datastore() table_service = datastore_service.table("ToDoItems") table_service.delete_row(row_id) row_response = { 'status': 'success', 'data': { 'todoItem': { 'id': row_id } }} logging.info(row_response) return make_response(jsonify(row_response), 200) else: message = { 'status': 'failure', 'error': 'Please provide a valid rowid in the request path' } return make_response(jsonify(message), 400) else: print('working') except Exception as err: logger.error(f"Exception in to_do_list_function :{err}") response = make_response(jsonify({ "error": "Internal server error occurred. Please try again in some time." }), 500) return response ``` The functions directory is now configured. -------------------------------------------------------------------------------- title: "Initialize the Client" description: "Build a Basic, React, or Angular to-do list web app using Catalyst Advanced I/O Function and Data Store to note down tasks and delete them when done." last_updated: "2026-11-04T10:10:44.000Z" source: "https://docs.catalyst.zoho.com/en/tutorials/todo-list/python/initialize-client/" service: "All Services" related: - Client Directory Structure (/en/cli/v1/project-directory-structure/client-directory) - Initialize the Client (/en/cli/v1/initialize-resources/initialize-client/) -------------------------------------------------------------------------------- # Initialize the Client Now, let's initialize the client. You can initialize the client in one of the three types supported by Catalyst: 1. **Basic web app**: The basic client application is a simple version of the Catalyst client that is created without any external frameworks or libraries. 2. **Angular web app**: You can choose this client type if you prefer to create the To-Do List app using the Angular framework. 3. **React web app**: You can choose this client type if you prefer to create the To-Do List app using the React framework. > **Note**: Catalyst provides native plugin support to create React and Angular apps. These plugins also handle several operations related to setting up, testing and deploying your applications. Since, you are initializing the client after the project has already been initialized, you can set it up independently by executing the following command from your project directory: ```sh catalyst client:setup ``` Use the arrow keys and select your preference by pressing **Enter**. ![catalyst_todo_client_select](https://catalyst-docs-development.zohostratus.in/images/tutorials/todo-list/catalyst_todo_client_select.webp) Based on your choice, navigate to the relevant section for the steps to initialize the web app: **Basic web app** #### Initialize the client as a Basic web app If you chose **Basic web app** while setting up the client using the Catalyst command `catalyst client:setup`, Catalyst will initialize the client accordingly. Enter "**ToDoApp**" as the name of the name for the client package and press **Enter**. ![catalyst_todo_basic_init_complete](https://catalyst-docs-development.zohostratus.in/images/tutorials/todo-list/catalyst_todo_basic_init_complete.webp) The client is now successfully initialized as a Basic web application. The [client directory](https://docs.catalyst.zoho.com/en/cli/v1/project-directory-structure/client-directory) will be created in the standard structure in the project directory. This is the structure of the ToDoList project's directory if the client is initialized as a basic web app. ![catalyst_todo_python_basic_folder_view](https://catalyst-docs-development.zohostratus.in/images/tutorials/todo-list/catalyst_todo_python_basic_folder_view.webp) **Angular web app** #### Initialize the client as an Angular web app If you chose to set up the client as an Angular app, Catalyst will initialize it using the **Catalyst Angular plugin** ([`zcatalyst-cli-plugin-angular`](https://npm.io/package/zcatalyst-cli-plugin-angular)). 1. Name your Angular app as "**app**", then type "**Y**" and press the **Enter** key to enable the auto-completion feature. This will provide auto-completion for your Angular terminal commands. ![catalyst_todo_angular_autocomplete](https://catalyst-docs-development.zohostratus.in/images/tutorials/todo-list/catalyst_todo_angular_autocomplete.webp) 2. You can choose to share your application data with the Angular by entering "**Y**" or opt out of it by entering "**N**", then press **Enter**. Since the application does not require Angular routing, type "**N**" and press **Enter**. ![catalyst_todo_angular_routing](https://catalyst-docs-development.zohostratus.in/images/tutorials/todo-list/catalyst_todo_angular_routing.webp) 3. For this application we will be using CSS style sheet. Press the **Enter** key after choosing CSS. ![catalyst_todo_angular_stylesheet](https://catalyst-docs-development.zohostratus.in/images/tutorials/todo-list/catalyst_todo_angular_stylesheet.webp) 4. Now all the required Angular application files, configuration files, and dependencies will be installed through the Catalyst Angular plugin. ![catalyst_todo_angular_init](https://catalyst-docs-development.zohostratus.in/images/tutorials/todo-list/catalyst_todo_angular_init.webp) 5. The client is now successfully initialized as an Angular web application. ![catalyst_todo_angular_init_complete](https://catalyst-docs-development.zohostratus.in/images/tutorials/todo-list/catalyst_todo_angular_init_complete.webp) The [client directory](https://docs.catalyst.zoho.com/en/cli/v1/project-directory-structure/client-directory) will be created in the standard structure in the project directory. This is the structure of the ToDoList project's directory if the client is initialized as an Angular app. ![catalyst_todo_python_angular_folder_view](https://catalyst-docs-development.zohostratus.in/images/tutorials/todo-list/catalyst_todo_python_angular_folder_view.webp) **React web app** #### Initialize the client as a React web app If you chose to set up the client as a React app, Catalyst will initialize the React app using the Catalyst React plugin ([`zcatalyst-cli-plugin-react`](https://www.npmjs.com/package/zcatalyst-cli-plugin-react)). 1. Next you will be prompted to choose the type of React application. Choose "**JavaScript**" as the type for this tutorial. ![catalyst_todo_react_init_1](https://catalyst-docs-development.zohostratus.in/images/tutorials/todo-list/catalyst_todo_react_init_1.webp) 2. Name your React application as "**app**," and press **Enter**. All the required React packages such as `react`, `react-dom`, and `react-scripts` will be installed through the Catalyst React plugin. ![catalyst_todo_react_client_init](https://catalyst-docs-development.zohostratus.in/images/tutorials/todo-list/catalyst_todo_react_client_init.webp) The client is now successfully initialized as a React web application. ![catalyst_todo_react_init_complete](https://catalyst-docs-development.zohostratus.in/images/tutorials/todo-list/catalyst_todo_react_init_complete.webp) The [client directory](https://docs.catalyst.zoho.com/en/cli/v1/project-directory-structure/client-directory) will be created in the standard structure in the project directory. This is the structure of the ToDoList project's directory if the client is initialized as a React app. ![catalyst_todo_python_react_folder_view](https://catalyst-docs-development.zohostratus.in/images/tutorials/todo-list/catalyst_todo_python_react_folder_view.webp) -------------------------------------------------------------------------------- title: "Configure the client" description: "Build a Basic, React, or Angular to-do list web app using Catalyst Advanced I/O Function and Data Store to note down tasks and delete them when done." last_updated: "2026-11-04T10:10:44.000Z" source: "https://docs.catalyst.zoho.com/en/tutorials/todo-list/python/configure-client/" service: "All Services" related: - Client Directory Structure (/en/cli/v1/project-directory-structure/client-directory) -------------------------------------------------------------------------------- # Configure the Client Next, let's configure the client component. Based on your earlier preference, you can navigate to the relevant section: **Basic web app** #### Configure a Basic web app The [client directory](https://docs.catalyst.zoho.com/en/cli/v1/project-directory-structure/client-directory) contains: * The `index.html` file that contains the HTML code for the front-end application. * The `main.css` file that contains the CSS code for the front-end application. * The `main.js` file that contains the JavaScript code. * The `client-package.json` configuration file We will be coding `index.html`, `main.css`, and `main.js`. > **Note**: Please go through the code given in this section to make sure you fully understand it. Copy the code snippets given below and paste it in the respective files located in the `client/` directory using an IDE, then save the files. **index.html** ```xml <!DOCTYPE html> <html lang="en"> <head> <meta charset="utf-8" /> <meta name="viewport" content="width=device-width, initial-scale=1" /> <meta name="theme-color" content="#000000" /> <meta name="description" content="A Simple Catalyst Application." /> <link rel="preconnect" href="https://fonts.googleapis.com" /> <link rel="preconnect" href="https://fonts.gstatic.com" crossorigin /> <link href="https://fonts.googleapis.com/css2?family=Poppins:wght@400;700&display=swap" rel="stylesheet" /> <link rel="stylesheet" href="main.css" /> <script src="main.js"></script> <script src="https://ajax.googleapis.com/ajax/libs/jquery/3.6.0/jquery.min.js"> </script> <title>To Do</title> </head> <body> <div class="container"> <div class="dF aI-center jC-center h-inh" id="page-loader"> <div class="loader--lg"></div> </div> <div id="layout" class="dN"> <div class="title-container px-20"> <p class="text-white text-28 font-700">To Do</p> </div> <div class="create-container"> <form class="dF aI-center w-full" onsubmit="createTodo(event)" autocomplete="off"> <input id="notes" type="text" placeholder="Enter a Task" class="input input--valid" oninput="onNotesChange(this)" /> <button id="create-task-btn" class="btn btn--primary ml-10" type="submit"> Create Task <div class="btn--primary__loader ml-5 dN" id="create-task-btn-loader"></div> </button> </form> </div> <div class="task-container" id="tasks"> </div> </div> </div> </body> </html> ``` **main.css** ```css body, p { margin: 0; } * { box-sizing: border-box; font-family: 'Poppins', sans-serif; } input { margin: 0; resize: none; border: none; outline: none; -webkit-appearance: none; -moz-appearance: none; appearance: none; } button { padding: 0; border: none; outline: none; cursor: pointer; background: transparent; } /* Application Styles \*/ .container { height: 100vh; } .title-container { top: 0; left: 0; right: 0; z-index: 1; height: 4rem; display: flex; position: fixed; align-items: center; background: rgb(5, 150, 105); } .create-container { z-index: 1; top: 4rem; left: 0; right: 0; height: 5rem; padding: 20px; display: flex; position: fixed; background: #fff; align-items: center; } .task-container { padding-top: 9rem; } .task { display: flex; margin: 0 20px; font-size: 16px; padding: 12px 20px; align-items: center; border-radius: 5px; } .task:hover { background: rgba(5, 150, 105, 0.1); } .task__no { color: #111111; margin-right: 5px; } .task__title { flex: 1; margin-right: 5px; word-break: break-all; } .task__btn { width: 18px; height: 18px; opacity: 0.5; } .task__btn:hover { opacity: 1; } .input { width: 100%; font-size: 15px; padding: 12px 16px; border-radius: 5px; border: 1px solid #e0e0e0; } .input:focus { border: 1px solid rgb(5, 150, 105); box-shadow: 0px 0px 1px 1px rgb(5, 150, 105); } .input::-moz-placeholder { color: #919191; font-size: 15px; } .input:-ms-input-placeholder { color: #919191; font-size: 15px; } .input::placeholder { color: #919191; font-size: 15px; } .input:disabled { background: #f8f8f8; } .loader--lg { width: 60px; height: 60px; display: block; border-radius: 50%; box-sizing: border-box; border-top: 7px solid rgb(5, 150, 105); border-right: 7px solid rgb(5, 150, 105); border-bottom: 7px solid transparent; animation: spin 0.8s linear infinite; } .loader--sm { width: 25px; height: 25px; display: block; border-radius: 50%; box-sizing: border-box; border-top: 4px solid rgb(5, 150, 105); border-right: 4px solid rgb(5, 150, 105); border-bottom: 4px solid transparent; -webkit-animation: spin 0.8s linear infinite; animation: spin 0.8s linear infinite; } .loader--xs { width: 20px; height: 20px; display: block; border-radius: 50%; box-sizing: border-box; border-top: 4px solid rgb(5, 150, 105); border-right: 4px solid rgb(5, 150, 105); border-bottom: 4px solid transparent; -webkit-animation: spin 0.8s linear infinite; animation: spin 0.8s linear infinite; } .btn { flex-shrink: 0; display: flex; cursor: pointer; font-size: 15px; font-weight: 500; padding: 12px 16px; align-items: center; border-radius: 5px; } .btn--primary { color: #fff; background: rgb(5, 150, 105); } .btn--primary__loader { width: 15px; height: 15px; margin: 0 5px; display: block; border-radius: 50%; box-sizing: border-box; border-top: 3px solid #fff; border-right: 3px solid #fff; border-bottom: 3px solid transparent; -webkit-animation: spin 0.8s linear infinite; animation: spin 0.8s linear infinite; } .btn--primary:disabled { cursor: not-allowed; background: rgba(5, 150, 105, 0.7); } @keyframes spin { from { transform: rotate(0deg); } to { transform: rotate(360deg); } } /* Helper Styles */ .my-5 { margin-top: 5px; margin-bottom: 5px; } .mr-5 { margin-right: 5px; } .ml-10 { margin-left: 10px; } .px-20 { padding-left: 20px; padding-right: 20px; } .p-20 { padding: 20px; } .w-full { width: 100%; } .text-28 { font-size: 28px; } .text-16 { font-size: 16px; } .text-white { color: #fff; } .text-info { color: #919191; } .dF { display: flex; } .aI-center { align-items: center; } .jC-center { justify-content: center; } .flex-1 { flex-grow: 1; } .h-inh { height: inherit; } .font-700 { font-weight: 700; } .dN { display: none; } .dB { display: block; } ``` **main.js** ```javascript var page = 1; var todoItems = []; var hasMore = false; window.onload = () => { getTodos(1); toggleCreateTaskBtn(''); }; //GET API. Contains the logic to fetch existing to-do items. function getTodos() { $.ajax({ url: `/server/to_do_list_function/all?page=${page}&perPage=200`, //Ensure that 'to_do_list_function' is the package name of your function. success: function (data) { const { data: { todoItems, hasMore } } = data; window.todoItems = [ ...new Map( Array.from(window.todoItems) .concat(todoItems) .map((item) => [item.id, item]) ).values() ]; window.hasMore = hasMore; renderTodo(); }, error: function (err) { console.log(err); }, complete: function () { $('#infinite-scroll-loader').removeClass('dB').addClass('dN'); $('#page-loader').removeClass('dF').addClass('dN'); $('#layout').removeClass('dN').addClass('dB'); } }); } function onMouseEnter(element) { const id = element.id; const delBtn = $(`#${id}-del`); if (delBtn && delBtn.attr('data-deleting')) { delBtn.removeClass('dN').addClass('dB'); } } function onMouseLeave(element) { const id = element.id; const delBtn = $(`#${id}-del`); if (delBtn && delBtn.attr('data-deleting')) { delBtn.removeClass('dB').addClass('dN'); } } function onNotesChange(element) { toggleCreateTaskBtn($(`#${element.id}`).val()); } function toggleCreateTaskBtn(value) { if (value) { $('#create-task-btn').attr('disabled', false); } else { $('#create-task-btn').attr('disabled', true); } } // DELETE API. Contains the logic to delete a to-do item. function deleteTodo(id) { $(`#${id}-del`).attr({ disabled: true, 'data-deleting': true, class: 'dN' }); $(`#${id}-del-loader`).removeClass('dN').addClass('dB'); $.ajax({ method: 'DELETE', url: `/server/to_do_list_function/${id}`, success: function () { todoItems = todoItems.filter((obj) => obj.id !== id); renderTodo(); }, error: function (err) { console.log(err); $(`#${id}-del`).attr({ disabled: false, 'data-deleting': false, class: 'dB' }); $(`#${id}-del-loader`).removeClass('dB').addClass('dN'); } }); } function renderTodo() { if (!todoItems.length) { $('#tasks').html( ` <div class='p-20 dF jC-center'> <p class='text-info text-16'> No tasks available, Create a new task. </p> </div> ` ); } else { let html = ''; todoItems.forEach((item, index) => { html += `<div class='task' id=${item.id} onmouseenter="onMouseEnter(this)" onMouseLeave="onMouseLeave(this)" > <p class='task__no'>${index + 1 + ') '}</p> <p class='task__title'>${item.notes}</p> <div class='loader--xs dN' id="${item.id}-del-loader" ></div> <button id="${item.id + '-del'}" class="dN" onclick="deleteTodo('${item.id }')" data-deleting=false > <svg class='task__btn' fill='none' stroke='currentColor' viewBox='0 0 24 24' xmlns='http://www.w3.org/2000/svg' > <path stroke-linecap='round' stroke-linejoin='round' stroke-width='2' d='M19 7l-.867 12.142A2 2 0 0116.138 21H7.862a2 2 0 01-1.995-1.858L5 7m5 4v6m4-6v6m1-10V4a1 1 0 00-1-1h-4a1 1 0 00-1 1v3M4 7h16' ></path> </svg> </button> </div>`; }); $('#tasks').html(html); const observer = new IntersectionObserver((entries) => { if (entries[0].isIntersecting && hasMore) { page += 1; $('#tasks') .append(` <div class="dF jC-center my-5" id="infinite-scroll-loader"> <div class="loader--sm"></div> </div> `); getTodos(); } }); observer.observe( document.getElementById(todoItems[todoItems.length - 1].id) ); } } //POST API. Contains the logic to create a to-do item. function createTodo(event) { event.preventDefault(); const notes = $(`#notes`).val(); $(`#notes`).attr({ readOnly: true }); $('#create-task-btn').attr('disabled', true); $('#create-task-btn-loader').removeClass('dN').addClass('dB'); $.ajax({ method: 'POST', contentType: 'application/json', url: '/server/to_do_list_function/add', //Ensure that 'to_do_list_function' is the package name of your function. data: JSON.stringify({ notes }), success: function (data) { const { data: { todoItem } } = data; todoItems = [todoItem].concat(todoItems); renderTodo(); }, error: function (error) { console.log(error); }, complete: function () { $(`#notes`) .attr({ readOnly: false }) .val(''); $('#create-task-btn-loader').removeClass('dB').addClass('dN'); } }); return false; } ``` > **Note**: The Python function package name `to_do_list_function` has been added in the code for `main.js` in the lines **13** and **182**. If you have provided a different package name, ensure you replace accordingly. The client directory is now configured. Let's quickly go over the working of the function and the client code: 1. **POST Operation** * When the user enters a to-do list item in the app and saves it, the `submit` event associated with the **Create Task** button triggers an Ajax call to the POST API. * The `main.js` in the client handles the Ajax operation and the URL, and it calls the POST API defined in the `main.py` function file. * The POST API defined in `main.py` inserts the data as a record in the _TodoItems_ table in the Data Store. The list item is inserted as the value of the _Notes_ column. * After a record insertion is done, the response (new task) will be added to the to-do list. 2. **GET Operation** * The `reload` event triggers an Ajax call to the GET API. The URL and the Ajax operation are handled in `main.js`. * The GET API defined in `main.py` obtains all the records from the Data Store by executing a ZCQL query. The ZCQL query contains the fetch operation along with the start-limit and the end-limit of the number of records that can be fetched. * The response containing the records (tasks) will be added to the existing to-do list. 3. **DELETE Operation** * The `main.js` handles the Ajax call to the DELETE API. When the user hovers on a particular task, and clicks on the appearing delete-bin icon in the client app, the DELETE API is triggered. * The DELETE API defined in `main.py` then executes the delete operation for the record in the _TodoItems_ table matching the ROWID and sends the response back to the client. * The `main.js` removes the respective record (deleted task) from the to-do list and displays the updated to-do list in the client app upon a successful delete operation. **Angular web app** #### Configure an Angular web app The Angular web client directory contains the following files: * The root directory of the client contains a [`client-package.json`](https://docs.catalyst.zoho.com/en/cli/v1/project-directory-structure/client-directory)file, which is a configuration file defining the name, version, and default home page of the client component. * [Native Angular files](https://angular.io/docs) such as **`angular.json`, `karma.conf.js`, `tsconfig.app.json`, `tsconfig.json`, `tsconfig.spec.json` files, and the `dist`** directory. * The root directory of the client also contains the [`package.json`](https://docs.npmjs.com/files/package.json) dependency file, and a [`.gitignorefile`](https://git-scm.com/docs/gitignore). * The `src` folder contains the following files and directories as per the default project structure of the Angular app: * Native Angular files such as **`favicon.ico`, `main.ts`, `polyfills.ts`, and `test.ts`** files along with the assets, and environment directories. * `index.html`: The default entry point of the to-do list application. * `styles.css`: Contains all the style elements of the to-do list application. * The files present in the `src/app/` directory are: * Native Angular files such as **`app.component.css` and `app.component.spec.ts`**. * `app.component.html`: Contains the HTML component of each event generated by the user. * `app.component.ts`: Contains the logic of the to-do list application. * `app.module.ts`: Contains the meta of all the components used in building the to-do list application. We will be coding the `index.html`, `styles.css`, `app.component.html`, `app.component.ts`, and the `app.module.ts` files. #### Create a Task Component You must create a `task` component that contains the logic associated with each to-do task the end- user enters. Execute the following command in the **`client/src/app/`** directory to create the `task` component: ```sh ng generate component task ``` This will create a folder named `task` that contains: * The `task.css` and the `task.spec.ts` files native to Angular. * `task.html`: Contains the HTML component of each to-do task entered by the user. * `task.ts`: Contains the logic of each to-do task entered by the user. We will be coding the `task.html` and `task.ts` files as well. #### Install the Axios Package We will also need the `axios` package to create a request from client to server. To install `axios`, navigate to the client directory (`client/`) and execute the following command: ```sh npm install axios ``` This will install the axios module and save the dependencies. ![catalyst_todo_angular_axios](https://catalyst-docs-development.zohostratus.in/images/tutorials/todo-list/catalyst_todo_angular_axios.webp) You can now begin adding code in your files. > **Note**: Please go through the code given in this section to ensure you fully understand it. Copy the code given below and paste it in `index.html` and `styles.css` files located in client directory (`client/src/`) respectively using an IDE and save the file. **index.html** ```xml <!DOCTYPE html> <html lang="en"> <head> <link rel="preconnect" href="https://fonts.googleapis.com" /> <link rel="preconnect" href="https://fonts.gstatic.com" crossorigin /> <link href="https://fonts.googleapis.com/css2?family=Poppins:wght@400;700&display=swap" rel="stylesheet" /> <meta charset="utf-8" /> <title>To Do</title> <base href='/app/'/> </head> <body> <app-root></app-root> </body> </html> ``` **styles.css** ```css body, p { margin: 0; } * { box-sizing: border-box; font-family: "Poppins", sans-serif; } input { margin: 0; resize: none; border: none; outline: none; -webkit-appearance: none; -moz-appearance: none; appearance: none; } button { padding: 0; border: none; outline: none; cursor: pointer; background: transparent; } /* Main Classess \*/ .container { height: 100vh; } .title-container { top: 0; left: 0; right: 0; z-index: 1; height: 4rem; display: flex; position: fixed; align-items: center; background: rgb(5, 150, 105); } .create-container { z-index: 1; top: 4rem; left: 0; right: 0; height: 5rem; padding: 20px; display: flex; position: fixed; background: #fff; align-items: center; } .task-container { padding-top: 9rem; } .task { display: flex; margin: 0 20px; font-size: 16px; padding: 12px 20px; align-items: center; border-radius: 5px; } .task:hover { background: rgba(5, 150, 105, 0.1); } .task__no { color: #111111; margin-right: 5px; } .task__title { flex: 1; margin-right: 5px; word-break: break-all; } .task__btn { width: 18px; height: 18px; opacity: 0.5; } .task__btn:hover { opacity: 1; } .input { width: 100%; font-size: 15px; padding: 12px 16px; border-radius: 5px; border: 1px solid #e0e0e0; } .input:focus { border: 1px solid rgb(5, 150, 105); box-shadow: 0px 0px 1px 1px rgb(5, 150, 105); } .input::-moz-placeholder { color: #919191; font-size: 15px; } .input:-ms-input-placeholder { color: #919191; font-size: 15px; } .input::placeholder { color: #919191; font-size: 15px; } .input:disabled { background: #f8f8f8; } .loader--lg { width: 60px; height: 60px; display: block; border-radius: 50%; box-sizing: border-box; border-top: 7px solid rgb(5, 150, 105); border-right: 7px solid rgb(5, 150, 105); border-bottom: 7px solid transparent; animation: spin 0.8s linear infinite; } .loader--sm { width: 25px; height: 25px; display: block; border-radius: 50%; box-sizing: border-box; border-top: 4px solid rgb(5, 150, 105); border-right: 4px solid rgb(5, 150, 105); border-bottom: 4px solid transparent; -webkit-animation: spin 0.8s linear infinite; animation: spin 0.8s linear infinite; } .loader--xs { width: 20px; height: 20px; display: block; border-radius: 50%; box-sizing: border-box; border-top: 4px solid rgb(5, 150, 105); border-right: 4px solid rgb(5, 150, 105); border-bottom: 4px solid transparent; -webkit-animation: spin 0.8s linear infinite; animation: spin 0.8s linear infinite; } .btn { flex-shrink: 0; display: flex; cursor: pointer; font-size: 15px; font-weight: 500; padding: 12px 16px; align-items: center; border-radius: 5px; } .btn--primary { color: #fff; background: rgb(5, 150, 105); } .btn--primary__loader { width: 15px; height: 15px; margin: 0 5px; display: block; border-radius: 50%; box-sizing: border-box; border-top: 3px solid #fff; border-right: 3px solid #fff; border-bottom: 3px solid transparent; -webkit-animation: spin 0.8s linear infinite; animation: spin 0.8s linear infinite; } .btn--primary:disabled { background: rgba(5, 150, 105, 0.7); } @keyframes spin { from { transform: rotate(0deg); } to { transform: rotate(360deg); } } /* Helper Classes */ .my-5 { margin-top: 5px; margin-bottom: 5px; } .mr-5 { margin-right: 5px; } .ml-10 { margin-left: 10px; } .px-20 { padding-left: 20px; padding-right: 20px; } .p-20 { padding: 20px; } .w-full { width: 100%; } .text-28 { font-size: 28px; } .text-16 { font-size: 16px; } .text-white { color: #fff; } .text-info { color: #919191; } .dF { display: flex; } .aI-center { align-items: center; } .jC-center { justify-content: center; } .flex-1 { flex-grow: 1; } .h-inh { height: inherit; } .font-700 { font-weight: 700; } ``` Copy the code given below and paste it in `app.component.html`, `app.component.ts`, `app.module.ts` files respectively located in the client directory (`client/src/app/`) using an IDE and save the file. **app.component.html** ```xml <div class="container"> <div class="dF aI-center jC-center h-inh" *ngIf="fetchState === 'init'"> <div class="loader--lg"></div> </div> <div *ngIf="fetchState !== 'init'"> <div class="title-container px-20"> <p class="text-white text-28 font-700">To Do</p> </div> <div class="create-container"> <form class="dF aI-center w-full" (ngSubmit)="createTodo()" autocomplete="off" > <input type="text" name="notes" [(ngModel)]="notes" placeholder="Enter a Task" class="input input--valid" [readOnly]="submitting" /> <button class="btn btn--primary ml-10" type="submit" [disabled]="notes.length === 0 || submitting" > Create Task <div class="btn--primary__loader ml-5" *ngIf="submitting"></div> </button> </form> </div> <div class="task-container"> <div class="p-20 dF jC-center" *ngIf="todoItems.length === 0"> <p class="text-info text-16">No tasks available, Create a new task.</p> </div> <div *ngIf="todoItems.length !== 0"> <app-task *ngFor="let item of todoItems; let i = index" [notes]="item.notes" [index]="i + 1" [id]="item.id" [isLast]="i === todoItems.length - 1" (removeTodo)="removeTodo($event)" (changePage) = "changePage()" #task > </app-task> </div> <div class="dF jC-center my-5" *ngIf="fetchState === 'loading'"> <div class="loader--sm"></div> </div> </div> </div> </div> ``` **app.component.ts** ```javascript import axios from 'axios'; import { Component, OnInit } from '@angular/core'; @Component({ selector: 'app-root', templateUrl: './app.component.html', }) export class AppComponent implements OnInit { notes: string; page: number; hasMore: boolean; todoItems: Array<{ id: string; notes: string; }>; submitting: boolean; fetchState: 'init' | 'fetched' | 'loading'; constructor() { this.notes = ''; this.hasMore = false; this.page = 1; this.todoItems = []; this.submitting = false; this.fetchState = 'init'; } //GET API. The existing to-do items from the Datastore is being fetched. getTodos = (): void => { axios .get('/server/to_do_list_function/all', { //Ensure that 'to_do_list_function' is the package name of your function. params: { page: this.page, perPage: 200, }, }) .then((response) => { const { data: { todoItems, hasMore }, } = response.data; if (this.page === 1) { this.todoItems = todoItems as Array<{ id: string; notes: string }>; } else { this.todoItems = [ ...new Map( this.todoItems.concat(todoItems).map((item) => [item.id, item]) ).values(), ]; } this.hasMore = hasMore; this.fetchState = 'fetched'; }) .catch((err) => { console.error(err.response.data); }); }; //POST API. A new to-do item is being created. createTodo = (): void => { this.submitting = true; axios .post(`/server/to_do_list_function/add`, { //Ensure that 'to_do_list_function' is the package name of your function. notes: this.notes, }) .then((response) => { const { data: { todoItem }, } = response.data; this.notes = ''; this.todoItems = [{ ...todoItem }].concat(this.todoItems); }) .catch((err) => { console.error(err.response.data); }) .finally(() => { this.submitting = false; }); }; removeTodo = (id: string): void => { this.todoItems = this.todoItems.filter((obj) => obj.id !== id); }; changePage = (): void => { if (this.hasMore) { this.page += 1; this.fetchState = 'loading'; this.getTodos(); } }; ngOnInit() { this.fetchState = 'init'; this.getTodos(); } } ``` > **Note**: The Python function package's name `to_do_list_function` has been added in the code for `app.component.ts` in the lines **33**, and **65**. If you have provided a different package name, ensure you replace accordingly. **app.module.ts** ```javascript import { NgModule } from '@angular/core'; import { BrowserModule } from '@angular/platform-browser'; import { FormsModule } from '@angular/forms'; import { AppComponent } from './app.component'; import { Task } from './task/task'; @NgModule({ declarations: [AppComponent, Task], imports: [BrowserModule, FormsModule], providers: [], bootstrap: [AppComponent], }) export class AppModule {} ``` Copy the code given below and paste it in `task.html` and `task.ts`, files located in the client directory (`client/src/app/task/`) using an IDE and save the file. **task.html** ```xml <div class="task" ref="{ref}" (mouseenter)="mouseEnter()" (mouseleave)="mouseLeave()" > <p class="task__no">{{ index }} )</p> <p class="task__title">{{ notes }}</p> <div class="loader--xs" *ngIf="deleting === true"></div> <button *ngIf="!deleting && options" (click)="deleteTodo()"> <svg class="task__btn" fill="none" stroke="currentColor" viewBox="0 0 24 24" xmlns="http://www.w3.org/2000/svg" > <path stroke-linecap="round" stroke-linejoin="round" stroke-width="2" d="M19 7l-.867 12.142A2 2 0 0116.138 21H7.862a2 2 0 01-1.995-1.858L5 7m5 4v6m4-6v6m1-10V4a1 1 0 00-1-1h-4a1 1 0 00-1 1v3M4 7h16" ></path> </svg> </button> </div> ``` **task.ts** ```javascript import axios from 'axios'; import { Component, EventEmitter, Input, Output, ElementRef, AfterViewInit, OnDestroy, } from '@angular/core'; @Component({ selector: 'app-task', templateUrl: './task.html', }) export class Task implements OnDestroy, AfterViewInit { @Input() id: string; @Input() notes: string; @Input() index: number; @Input() isLast: boolean; @Output() removeTodo: EventEmitter<string>;; @Output() changePage: EventEmitter<void>; public options: boolean; public deleting: boolean; private observer?: IntersectionObserver; constructor(private element: ElementRef) { this.id = ''; this.index = 0; this.notes = ''; this.isLast = false; this.options = false; this.deleting = false; this.removeTodo = new EventEmitter(); this.changePage = new EventEmitter(); } mouseEnter = () => { this.options = true; }; mouseLeave = () => { this.options = false; }; deleteTodo = () => { this.deleting = true; //DELETE API. The call to delete the to-do item from the data store occurs here. axios .delete(`/server/to_do_list_function/${this.id}`) //Ensure that 'to_do_list_function' is the package name of your function. .then((response) => { const { data: { todoItem: { id }, }, } = response.data; this.removeTodo.emit(id); }) .catch((err) => { console.log(err.response.data); }) .finally(() => { this.deleting = false; }); }; ngAfterViewInit() { if (this.isLast && this.element) { this.observer = new IntersectionObserver((entries) => { if (entries[0].isIntersecting) { this.changePage.emit(); } }); this.observer.observe(this.element.nativeElement); } } ngOnDestroy() { if (this.observer) { this.observer.disconnect(); } } } ``` > **Note**: The Python function package's name `to_do_list_function` has been added in the code for `task.ts` in the lines **51**. If you have provided a different package name, ensure you replace accordingly. The client directory is now configured. Let's quickly go over the working of the function and the client code: 1. **POST Operation** * When the user enters a to-do list item in the app and saves it, the `submit` event **Create Task** button triggers an Ajax call to the POST API. * The `app.component.ts` in the client handles the Ajax operation and the URL, and it calls the POST API defined in the `main.py` function file. * The POST API defined in `main.py` inserts the data as a record in the _TodoItems_ table in the Data Store. The list item is inserted as the value of the _Notes_ column. * After a record insertion is done, the response (new task) will be added to the to-do list. 2. **GET Operation** * The `reload` event triggers an Ajax call to the GET API. The URL and the Ajax operation are handled in `app.component.ts`. * The GET API defined in `main.py` obtains all the records from the Data Store by executing a ZCQL query. The ZCQL query contains the fetch operation along with the start-limit and the end-limit of the number of records that can be fetched. * The response containing the records (tasks) will be added to the existing to-do list. 3. **DELETE Operation** * When the user clicks on a list item in the client app, the DELETE API is triggered. * The `task.ts` handles the Ajax call to the DELETE API. When the user hovers on a particular task, and clicks on the delete-bin icon that appears in the client, the DELETE API is triggered. * The DELETE API defined in `main.py` then executes the delete operation for the record in the _TodoItems_ table matching the ROWID and sends the response back to the client. * The `app.component.ts` removes the respective record (deleted task) from the To-Do list and displays the updated list in the client app upon a successful delete operation. **React web app** #### Configure a React web app The React web [client directory](https://docs.catalyst.zoho.com/en/cli/v1/project-directory-structure/client-directory) contains the following files: * The root directory of the client contains a `client-package.json` file which is a configuration file defining the name, version, and default home page of the client component. * The `app` folder contains two subfolders as per the default project structure of a React app: * The `public` folder is generally used to hold files that can be openly accessed by browsers through public URLs, such as icon files of the web app and `index.html`. * The `src` folder contains the application's source files that will be included in the `build` folder when we compile the React app. The `app` folder also contains the [`package.json`](https://docs.npmjs.com/files/package.json) dependency file, and a [`.gitignore`](https://git-scm.com/docs/gitignore) file. * The `public` folder contains the following files: * [Native React files](https://reactjs.org/docs/getting-started.html?#try-react) such as **`favicon.ico`, `logo192.png`, `manifest.json`, `logi512.png` and `robots.txt`**. These files will not be necessary for rendering the to-do list application. * `index.html`: The default entry point of the to-do list application. * The files present in the `src` folder include: * Native React files such as **`setupTests.js`, `index.js`, `reportWebVitals.js`, `logo.svg`, and `App.test.js`**. * `App.js`: Contains the logic of to-do list. * `index.css`: Contains the styling elements of the native elements. * `App.css`: Contains the styling elements of the application. * You will also be creating an additional file `helper.css`. This file will contain utility classes, that will be responsible for certain minor styling. We will be coding `index.html`, `App.js`, `helper.css`, `index.css`, and the `App.css` files. #### Install the Axios Package We will need the `axios` package to create a request from client to server. To install `axios`, navigate to the client directory (`app/`) and execute the following command: ```sh npm install axios ``` This will install the axios module and save the dependencies. ![catalyst_todo_react_axios.webp](https://catalyst-docs-development.zohostratus.in/images/tutorials/todo-list/catalyst_todo_react_axios.webp) > **Note**: Please go through the code given in this section to ensure you fully understand it. Copy the code given below and paste it in `index.html` located in client directory (`app/public/`) using an IDE and save the file. **index.html** ```xml <!DOCTYPE html> <html lang="en"> <head> <meta charset="utf-8" /> <meta name="viewport" content="width=device-width, initial-scale=1" /> <meta name="theme-color" content="#000000" /> <meta name="description" content="A Simple Catalyst Application." /> <link rel="preconnect" href="https://fonts.googleapis.com" /> <link rel="preconnect" href="https://fonts.gstatic.com" crossorigin /> <link href="https://fonts.googleapis.com/css2?family=Poppins:wght@400;700&display=swap" rel="stylesheet" /> <title>To Do</title> </head> <body> <noscript>You need to enable JavaScript to run this app.</noscript> <div id="root"></div> </body> </html> ``` Copy the respective code given below and paste it in `App.js`, `index.css`, `App.css` and `helper.css` respectively located in client directory (`app/src/`) using an IDE and save the file. **App.js** ```javascript import './App.css'; import './helper.css'; import axios from 'axios'; import { forwardRef, useCallback, useEffect, useRef, useState } from 'react'; //This segment contains the logic that displays each individual task present in the to-do list const Task = forwardRef(({ id, notes, index, removeTask }, ref) => { const [deleting, setDeleting] = useState(false); const [showOptions, setShowOptions] = useState(false); const onMouseEnter = useCallback(() => { setShowOptions(true); }, []); const onMouseLeave = useCallback(() => { setShowOptions(false); }, []); //Contains the logic to delete the taks from the Datastore const deleteTask = useCallback(() => { setDeleting(true); axios .delete(`/server/to_do_list_function/${id}`) //Ensure that 'to_do_list_function' is the package name of your function. .then((response) => { const { data: { todoItem: { id } } } = response.data; removeTask(id); }) .catch((err) => { console.log(err.response); }).finally(()=>{ setDeleting(false) }) }, [id, removeTask]); return ( <div className='task' ref={ref} onMouseEnter={onMouseEnter} onMouseLeave={onMouseLeave} > <p className='task__no'>{index + 1 + ') '}</p> <p className='task__title'>{notes}</p> {deleting ? ( <div className='loader--xs'></div> ) : ( showOptions && ( <button onClick={deleteTask}> <svg className='task__btn' fill='none' stroke='currentColor' viewBox='0 0 24 24' xmlns='http://www.w3.org/2000/svg' > <path strokeLinecap='round' strokeLinejoin='round' strokeWidth='2' d='M19 7l-.867 12.142A2 2 0 0116.138 21H7.862a2 2 0 01-1.995-1.858L5 7m5 4v6m4-6v6m1-10V4a1 1 0 00-1-1h-4a1 1 0 00-1 1v3M4 7h16' ></path> </svg> </button> ) )} </div> ); }); //This segment contains the logic for loading the application function App() { const observer = useRef(null); const [page, setPage] = useState(1); const [notes, setNotes] = useState(''); const [todoItems, setTodoItems] = useState([]); const [hasMore, setHasMore] = useState(false); const [submitting, setSubmitting] = useState(false); const [fetchState, setFetchState] = useState('init'); const onChange = useCallback((event) => { const { value } = event.target; setNotes(value); }, []); useEffect(() => { if (fetchState !== 'fetched') { axios .get('/server/to_do_list_function/all', { //Ensure that 'to_do_list_function' is the package name of your function. params: { page, perPage: 200 } //The parameters contain the start limit and the end limit of data (tasks) that can be fetched from the data store }) .then((response) => { const { data: { todoItems, hasMore } } = response.data; if (page === 1) { setTodoItems(todoItems); } else { setTodoItems((prev) => [ ...new Map( Array.from(prev) .concat(todoItems) .map((item) => [item.id, item]) ).values() ]); } setHasMore(hasMore); setFetchState('fetched'); }) .catch((err) => { console.log(err.response); }); } }, [fetchState, page]); const lastElement = useCallback( (node) => { if (fetchState !== 'fetched') { return; } if (observer.current) { observer.current.disconnect(); } observer.current = new IntersectionObserver((entries) => { if (entries[0].isIntersecting && hasMore) { setPage((c) => c + 1); setFetchState('loading'); } }); if (node) { observer.current.observe(node); } }, [fetchState, hasMore] ); /// This segment contains the logic for creating a new task const createTodo = useCallback( (event) => { event.preventDefault(); setSubmitting(true); axios .post('/server/to_do_list_function/add', { //Ensure that 'to_do_list_function' is the package name of your function. notes }) .then((response) => { const { data: { todoItem } } = response.data; setNotes(''); setTodoItems((prev) => [{ ...todoItem }].concat(Array.from(prev))); }) .catch((err) => { console.log(err); }) .finally(() => { setSubmitting(false); }); }, [notes] ); //This segment contains the logic for deleting a task from the application const removeTask = useCallback((id) => { setTodoItems((prev) => Array.from(prev).filter((obj) => obj.id !== id)); }, []); return ( <div className='container'> {fetchState === 'init' ? ( <div className='dF aI-center jC-center h-inh'> <div className='loader--lg'></div> </div> ) : ( <> <div className='title-container px-20'> <p className='text-white text-28 font-700'>To Do</p> </div> <div className='create-container'> <form className='dF aI-center w-full' onSubmit={createTodo}> <input type='text' value={notes} onChange={onChange} placeholder='Enter a Task' className='input input--valid' readOnly={submitting} /> <button className='btn btn--primary ml-10' disabled={!notes.length || submitting} type='submit' > Create Task {submitting && ( <div className='btn--primary__loader ml-5'></div> )} </button> </form> </div> <div className='task-container'> {todoItems.length ? ( todoItems.map((item, index) => ( <Task key={item.id} {...item} ref={index === todoItems.length - 1 ? lastElement : null} index={index} removeTask={removeTask} /> )) ) : ( <div className='p-20 dF jC-center'> <p className='text-info text-16'> No tasks available, Create a new task. </p> </div> )} {fetchState === 'loading' && ( <div className='dF jC-center my-5'> <div className='loader--sm'></div> </div> )} </div> </> )} </div> ); } export default App; ``` > **Note**: The Python function package's name `to_do_list_function` has been added in the code in `App.js` in the lines **26**, **97** and **153**. If you have provided a different package name, ensure you replace accordingly. **index.css** ```css body, p { margin: 0; } * { box-sizing: border-box; font-family: 'Poppins', sans-serif; } input { margin: 0; resize: none; border: none; outline: none; -webkit-appearance: none; -moz-appearance: none; appearance: none; } button { padding: 0; border: none; outline: none; cursor: pointer; background: transparent; } ``` **App.css** ```css .container { height: 100vh; } .title-container { top: 0; left: 0; right: 0; z-index: 1; height: 4rem; display: flex; position: fixed; align-items: center; background: rgb(5, 150, 105); } .create-container { z-index: 1; top: 4rem; left: 0; right: 0; height: 5rem; padding: 20px; display: flex; position: fixed; background: #fff; align-items: center; } .task-container { padding-top: 9rem; } .task { display: flex; margin: 0 20px; font-size: 16px; padding: 12px 20px; align-items: center; border-radius: 5px; } .task:hover { background: rgba(5, 150, 105, 0.1); } .task__no { color: #111111; margin-right: 5px; } .task__title { flex: 1; margin-right: 5px; word-break: break-all; } .task__btn { width: 18px; height: 18px; opacity: 0.5; } .task__btn:hover { opacity: 1; } .input { width: 100%; font-size: 15px; padding: 12px 16px; border-radius: 5px; border: 1px solid #e0e0e0; } .input:focus { border: 1px solid rgb(5, 150, 105); box-shadow: 0px 0px 1px 1px rgb(5, 150, 105); } .input::-moz-placeholder { color: #919191; font-size: 15px; } .input:-ms-input-placeholder { color: #919191; font-size: 15px; } .input::placeholder { color: #919191; font-size: 15px; } .input:disabled { background: #f8f8f8; } .loader--lg { width: 60px; height: 60px; display: block; border-radius: 50%; box-sizing: border-box; border-top: 7px solid rgb(5, 150, 105); border-right: 7px solid rgb(5, 150, 105); border-bottom: 7px solid transparent; animation: spin 0.8s linear infinite; } .loader--sm { width: 25px; height: 25px; display: block; border-radius: 50%; box-sizing: border-box; border-top: 4px solid rgb(5, 150, 105); border-right: 4px solid rgb(5, 150, 105); border-bottom: 4px solid transparent; -webkit-animation: spin 0.8s linear infinite; animation: spin 0.8s linear infinite; } .loader--xs { width: 20px; height: 20px; display: block; border-radius: 50%; box-sizing: border-box; border-top: 4px solid rgb(5, 150, 105); border-right: 4px solid rgb(5, 150, 105); border-bottom: 4px solid transparent; -webkit-animation: spin 0.8s linear infinite; animation: spin 0.8s linear infinite; } .btn { flex-shrink: 0; display: flex; cursor: pointer; font-size: 15px; font-weight: 500; padding: 12px 16px; align-items: center; border-radius: 5px; } .btn--primary { color: #fff; background: rgb(5, 150, 105); } .btn--primary__loader { width: 15px; height: 15px; margin: 0 5px; display: block; border-radius: 50%; box-sizing: border-box; border-top: 3px solid #fff; border-right: 3px solid #fff; border-bottom: 3px solid transparent; -webkit-animation: spin 0.8s linear infinite; animation: spin 0.8s linear infinite; } .btn--primary:disabled { background: rgba(5, 150, 105, 0.7); } @keyframes spin { from { transform: rotate(0deg); } to { transform: rotate(360deg); } } ``` In the (`app/src/`) directory, create a new file named (`helper.css`), then copy and paste the below code into it. **helper.css** ```css .my-5 { margin-top: 5px; margin-bottom: 5px; } .mr-5 { margin-right: 5px; } .ml-10 { margin-left: 10px; } .px-20 { padding-left: 20px; padding-right: 20px; } .p-20 { padding: 20px; } .w-full { width: 100%; } .text-28 { font-size: 28px; } .text-16 { font-size: 16px; } .text-white { color: #fff; } .text-info { color: #919191; } .dF { display: flex; } .aI-center { align-items: center; } .jC-center { justify-content: center; } .flex-1 { flex-grow: 1; } .h-inh { height: inherit; } .font-700 { font-weight: 700; } ``` The client directory is now configured. Let's quickly go over the working of the function and the client code: 1. **POST Operation** * When the user enters a to-do list item in the app and saves it, the `submit` event associated with the **Create Task** button triggers an Ajax call to the POST API. * The `App.js` in the client handles the Ajax operation and the URL, and it calls the POST API defined in the `main.py` function file. * The POST API defined in `main.py` inserts the data as a record in the _TodoItems_ table in the Data Store. The list item is inserted as the value of the _Notes_ column. * After a record insertion is done, the response (new task) will be added to the to-do list. 2. **GET Operation** * The `reload` event triggers an Ajax call to the GET API. The URL and the Ajax operation are handled in `App.js`. * The GET API defined in `main.py` obtains all the records from the Data Store by executing a ZCQL query. The ZCQL query contains the fetch operation along with the start-limit and the end-limit of the number of records that can be fetched. * The response containing the records (tasks) will be added to the existing to-do list. 3. **DELETE Operation** * The `App.js` handles the Ajax call to the DELETE API. When the user hovers on a particular task, and clicks on the appearing delete-bin icon in the client app, the DELETE API is triggered. * The DELETE API defined in `main.py` then executes the delete operation for the record in the _TodoItems_ table matching the ROWID and sends the response back to the client. * The `App.js` removes the respective record (deleted task) from the to-do list and displays the updated to-do list in the client app upon a successful delete operation. -------------------------------------------------------------------------------- title: "Test the application" description: "Build a Basic, React, or Angular to-do list web app using Catalyst Advanced I/O Function and Data Store to note down tasks and delete them when done." last_updated: "2026-11-04T10:10:44.000Z" source: "https://docs.catalyst.zoho.com/en/tutorials/todo-list/python/test-application/" service: "All Services" related: - Serve CLI Resources (/en/cli/v1/serve-resources/introduction) - Data Store (/en/cloud-scale/help/data-store/introduction) -------------------------------------------------------------------------------- # Test the Application Before you deploy the application to the remote console, you can test the application on a local server and check if everything works using the Catalyst CLI. For detailed information on `catalyst serve`, refer to the [Serve Resources help page](https://docs.catalyst.zoho.com/en/cli/v1/serve-resources/introduction). To serve the Catalyst project locally, execute the following command from your project directory: ```sh catalyst serve ``` The to-do list application will now be served at default port 3000. The local endpoint URLs of the components are displayed. **Basic web app** ![catalyst_todo_basic_serve](https://catalyst-docs-development.zohostratus.in/images/tutorials/todo-list/catalyst_todo_basic_serve.webp) **Angular web app** ![catalyst_todo_angular_serve](https://catalyst-docs-development.zohostratus.in/images/tutorials/todo-list/catalyst_todo_angular_serve.webp) **React web app** ![catalyst_todo_react_serve](https://catalyst-docs-development.zohostratus.in/images/tutorials/todo-list/catalyst_todo_react_serve.webp) > **Note**: Every time you access the home page or any of the sub-pages of your client, or the function, the CLI will display a live log of the URL accessed, along with the HTTP method that is used to access it. You can now open the client component's local URL in a browser to access the application. ![catalyst_todo_serve_1](https://catalyst-docs-development.zohostratus.in/images/tutorials/todo-list/catalyst_todo_serve_1.webp) Let's test the application by adding a task to the to-do list. Enter a task and click **Create Task**. ![catalyst_todo_serve_2](https://catalyst-docs-development.zohostratus.in/images/tutorials/todo-list/catalyst_todo_serve_2.webp) The task will be added and displayed in the app. ![catalyst_todo_serve_3](https://catalyst-docs-development.zohostratus.in/images/tutorials/todo-list/catalyst_todo_serve_3.webp) Let's verify this. Open the _TodoItems_ table in the **Data Store** from your Catalyst console. Click the **Data View** tab to view the record. A row will be created for the list item that was added. ![catalyst_datastore_dataview](https://catalyst-docs-development.zohostratus.in/images/tutorials/todo-list/catalyst_datastore_dataview.webp) Let's add a few more tasks to the to-do list app. We can now test the delete operation. ![catalyst_todo_serve_4](https://catalyst-docs-development.zohostratus.in/images/tutorials/todo-list/catalyst_todo_serve_4.webp) When you hover on a task, the delete-bin icon appears in the top-right corner. The delete operation is executed when you click the icon. The task will be removed from the list. The app displays the updated list. ![catalyst_todo_serve_5](https://catalyst-docs-development.zohostratus.in/images/tutorials/todo-list/catalyst_todo_serve_5.webp) Let's verify if the record was deleted in the Data Store. Open the _TodoItems_ table in the **Data Store** and click **Data View** to view the records. The row for the list of items will be deleted from the table. ![catalyst_datastore_dataview_deleted](https://catalyst-docs-development.zohostratus.in/images/tutorials/todo-list/catalyst_datastore_dataview_deleted.webp) If this setup is working correctly, we can deploy the application to production. -------------------------------------------------------------------------------- title: "Deploy the project" description: "Build a Basic, React, or Angular to-do list web app using Catalyst Advanced I/O Function and Data Store to note down tasks and delete them when done." last_updated: "2026-11-04T10:10:44.000Z" source: "https://docs.catalyst.zoho.com/en/tutorials/todo-list/python/deploy-project/" service: "All Services" related: - Deploy CLI Resources (/en/cli/v1/deploy-resources/introduction/) - Web Client Hosting (/en/cloud-scale/help/web-client-hosting/introduction) -------------------------------------------------------------------------------- # Deploy the Project To [deploy your Catalyst project](https://docs.catalyst.zoho.com/en/cli/v1/deploy-resources/introduction/) from the CLI, run the following command in your terminal from your project directory: ```sh catalyst deploy ``` The function is deployed first, followed by the client component. The URL endpoints of the components are displayed below: **Basic web app** ![catalyst_todo_basic_deploy](https://catalyst-docs-development.zohostratus.in/images/tutorials/todo-list/catalyst_todo_basic_deploy.webp) **Angular web app** ![catalyst_todo_angular_deploy](https://catalyst-docs-development.zohostratus.in/images/tutorials/todo-list/catalyst_todo_angular_deploy.webp) **React web app** ![catalyst_todo_react_deploy](https://catalyst-docs-development.zohostratus.in/images/tutorials/todo-list/catalyst_todo_react_deploy.webp) You can now open the client component's URL in a browser to access the deployed application. The to-do list application can now be accessed from its [web app URL](https://docs.catalyst.zoho.com/en/cloud-scale/help/web-client-hosting/key-concepts/#default-web-application-url). ![catalyst_todo_serve_4](https://catalyst-docs-development.zohostratus.in/images/tutorials/todo-list/catalyst_todo_serve_4.webp) The to-do list application is now functional and will work without any errors. ## WorkDrive Sync App ### Java -------------------------------------------------------------------------------- title: "Introduction" description: "Build a web app that syncs file uploads and deletions between Catalyst Stratus and Zoho WorkDrive through APIs, using Catalyst functions and Event Listener." last_updated: "2026-11-04T10:10:44.000Z" source: "https://docs.catalyst.zoho.com/en/tutorials/workdrivesync/java/introduction/" service: "All Services" related: - Project Directory Structure (/en/cli/v1/project-directory-structure/introduction/) - Java SDK (/en/sdk/java/v1/overview/) - Node.js SDK (/en/sdk/nodejs/v2/overview/) - Zoho WorkDrive (https://www.zoho.com/workdrive/) -------------------------------------------------------------------------------- # WorkDrive Sync App # Introduction This tutorial will help you build a web application that can synchronize actions between the [Stratus](https://docs.catalyst.zoho.com/en/cloud-scale/help/stratus/introduction) and [Zoho WorkDrive](https://www.zoho.com/workdrive/). WorkDrive is a cloud-based file management tool that enables you to create a shared space to store, organize, and manage files with your organization. This tutorial enables synchronization between two folders in your project's bucket present in Stratus and in your WorkDrive, respectively. You can upload the files through the client application that you will build in this tutorial. The file will be uploaded in the required Bucket, then made available in WorkDrive automatically. This synchronization is automated through an event-driven architecture implemented using Catalyst Signals. The client application also allows you to download or delete the files that were uploaded. The delete action will remove the file from both Stratus and the WorkDrive. This connection between Catalyst and WorkDrive is established using [OAuth 2.0 authentication protocol](https://docs.catalyst.zoho.com/en/api/oauth2/overview-and-terminology/#OverviewandTerminology). We will configure a client in the Zoho API console, and generate the necessary OAuth tokens to authenticate the access to WorkDrive. The client application will look like this: ![catalyst_workdrive_client](https://catalyst-docs-development.zohostratus.in/images/tutorials/workdrivesync/work-drive-sync-app-landing-page.webp) > **Note:** The synchronization with the WorkDrive folder might sometimes take a little while if many events are queued in the Event Listener to be processed. The WorkDrive Sync application uses the following Catalyst Components: 1. [**Catalyst Serverless**](https://docs.catalyst.zoho.com/en/serverless/getting-started/introduction/): - **[Event Function](https://docs.catalyst.zoho.com/en/serverless/help/functions/event-functions):** The Event function can be coded either in the **Java or Node.js** platform. This function is triggered by the event listener each time a file upload takes place in Stratus. It fetches the event data and the uploaded file, and posts the file to WorkDrive through an API. 2. [**Catalyst CloudScale**](https://docs.catalyst.zoho.com/en/cloud-scale/getting-started/introduction/): - **[Data Store](https://docs.catalyst.zoho.com/en/cloud-scale/help/data-store/introduction):** Stores the metadata of the files that are uploaded through the client, such as the file name, size, and WorkDrive sync status. These details are fetched and displayed in the client app. - **[ZCQL](https://docs.catalyst.zoho.com/en/cloud-scale/help/zcql/introduction):** To fetch, update, and delete data from the Data Store table through querying. - **[Stratus](https://docs.catalyst.zoho.com/en/cloud-scale/help/stratus/introduction):** We will create a Bucket in Stratus and upload files into it through the client application. - **[Authentication](https://docs.catalyst.zoho.com/en/cloud-scale/help/authentication/introduction):** Implements authentication in the client app. We will add a Zoho sign-in option in the login page, in addition to the standard login option. - **Web Client:** This is the front end of the application that is hosted on Catalyst through [web client hosting](https://docs.catalyst.zoho.com/en/cloud-scale/help/web-client-hosting/introduction). 3. [**Signals**](https://docs.catalyst.zoho.com/en/signals/): Listens for the file upload event in Stratus and triggers the associated Event function upon its occurrence. It will then pass the event data to the function, which then enables it to synchronize the data with WorkDrive. We will use the Catalyst web console and the Catalyst Command Line Interface (CLI) to build this application. You will be given the code for the files to be included in the function and client components in this tutorial. You will just have to copy the code provided here and paste it into the appropriate files as directed. ### Application Architecture The WorkDrive Sync Application's architecture is depicted below: ![](https://catalyst-docs-development.zohostratus.in/images/tutorials/workdrivesync/workdrive-sync-app-arch.webp) -------------------------------------------------------------------------------- title: "Prerequisites" description: "Build a web app that syncs file uploads and deletions between Catalyst Stratus and Zoho WorkDrive through APIs, using Catalyst functions and Event Listener." last_updated: "2026-11-04T10:10:44.000Z" source: "https://docs.catalyst.zoho.com/en/tutorials/workdrivesync/java/prerequisites/" service: "All Services" related: - Catalyst CLI Documentation (/en/cli/v1/cli-command-reference) -------------------------------------------------------------------------------- # Prerequisites Before you begin building the application, you must have the following prerequisites installed on your system: 1. **Catalyst CLI** Catalyst CLI contains a host of tools that enable you to initialize, develop, test, and deploy the components of your application from your local machine. We will be working with Catalyst CLI in this tutorial. You must perform these actions: 1. **Install Catalyst CLI:** Catalyst CLI is installed through NPM. You must therefore have NPM and Node.js installed on your system before you install the CLI. Refer to the [**Install Catalyst CLI help page**](https://docs.catalyst.zoho.com/en/getting-started/installing-catalyst-cli) for details on the pre-requisites and the steps to install it. 2. **Login Catalyst CLI:** After you install Catalyst CLI, you must authenticate the CLI with your Catalyst account before using it. Refer to the [**CLI Login help page**](https://docs.catalyst.zoho.com/en/cli/v1/login/login-from-cli/) for the steps to login from Catalyst CLI and the various options available for it. 2. **Zoho WorkDrive Account** You must have a Zoho WorkDrive account of the same organization as your Catalyst account to synchronize files between them. The WorkDrive account can be of any tier or pricing plans, or even a free account. You will create a folder in WorkDrive in this tutorial, and associate that folder with this application. [Sign up for or sign in to Zoho WorkDrive](https://www.zoho.com/workdrive/) before you configure the folder. 3. **Any REST API Client Tool** After you create the required credentials for the WorkDrive API, you will have to generate a Refresh Token to configure in the functions for the WorkDrive connector. This Refresh Token can be fetched by sending a request to Zoho OAuth with the necessary credentials using a REST API client. You can install or access any API client such as Postman, SoapUI, or RapidAPI. 4. **Any IDE tool for Functions and Client Code Development** You can use any IDE to work with the function and client code. Some popular choices include Visual Studio Code, IntelliJ IDEA, Eclipse, and Sublime Text. Download and install an IDE of your choice in your system. > If you are a Visual Studio Code IDE user, you can install the **Catalyst Tools** extension, and use your IDE itself in place of the CLI. You can find more details about the Catalyst VS Code extension from this [help section](https://docs.catalyst.zoho.com/en/catalyst-extensions/vs-code-extension/introduction/). -------------------------------------------------------------------------------- title: "Create a project" description: "Build a web app that syncs file uploads and deletions between Catalyst Stratus and Zoho WorkDrive through APIs, using Catalyst functions and Event Listener." last_updated: "2026-11-04T10:10:44.000Z" source: "https://docs.catalyst.zoho.com/en/tutorials/workdrivesync/java/create-project/" service: "All Services" related: - Project Directory (/en/cli/v1/project-directory-structure/introduction) - Set up Catalyst Projects (/en/getting-started/catalyst-projects) -------------------------------------------------------------------------------- # Create a Project Let's [create a Catalyst project](https://docs.catalyst.zoho.com/en/getting-started/catalyst-projects) from the Catalyst console. 1. Log in to the [Catalyst console](https://console.catalyst.zoho.com/baas/index) and click **Create a new Project**. ![create-new-project](https://catalyst-docs-development.zohostratus.in/images/tutorials/workdrivesync/create-new-project.webp) 2. Enter the project's name as "**WorkDriveSync**" in the pop-up window. ![project-name](https://catalyst-docs-development.zohostratus.in/images/tutorials/workdrivesync/project-name.webp) 3. Click **Create**. Your project will be created and opened. ![open-project](https://catalyst-docs-development.zohostratus.in/images/tutorials/workdrivesync/open-project.webp) -------------------------------------------------------------------------------- title: "Create a table" description: "Build a web app that syncs file uploads and deletions between Catalyst Stratus and Zoho WorkDrive through APIs, using Catalyst functions and Event Listener." last_updated: "2026-11-04T10:10:44.000Z" source: "https://docs.catalyst.zoho.com/en/tutorials/workdrivesync/java/create-table/" service: "All Services" related: - Data Store (/en/cloud-scale/help/data-store/introduction) -------------------------------------------------------------------------------- # Create a Table in the Data Store Let's now create a table in the Data Store in the _WorkDriveSync_ project. This table stores the details of the files that are uploaded through the client application. This data is fetched to be displayed in the client, and is updated or deleted whenever the corresponding actions are performed. To create a table: 1. Navigate to **Catalyst CloudScale** service in the console. ![cloudscale-service](https://catalyst-docs-development.zohostratus.in/images/tutorials/workdrivesync/cloud-scale-landing-page-work-drive-sync.webp) 2. Navigate to the **Catalyst CloudScale DataStore** component and click **Create a new Table**. ![create-new-table](https://catalyst-docs-development.zohostratus.in/images/tutorials/workdrivesync/cloud-scale-data-store-create-table.webp) 3. Enter the table's name as "**FileVault**" and click **Create**. ![table-name](https://catalyst-docs-development.zohostratus.in/images/tutorials/workdrivesync/table-name-workdrive-sync-app.webp) > **Note:** Ensure that you enter the name exactly as instructed, because the application's code contains the same name. ### Create Columns Next, let's create columns in the table to store the metadata of the files. 1. Click **New Column** in the _Schema View_ section for the table. 2. Enter the column's name as "**FileName**". Select the data type as **Var Char** with maximum size of **255**.![fileid-column](https://catalyst-docs-development.zohostratus.in/images/tutorials/workdrivesync/file-name-column-creation-work-drive-sync.webp) You can learn about the various data types supported by Catalyst and the other properties of a column from the [Data Store help page](https://docs.catalyst.zoho.com/en/cloud-scale/help/data-store/columns). > **Note:** Ensure that you enter the name exactly as instructed, because the application's code contains the same name. 3. Click **Create**. You must now **create 5 other columns** in the same way. The table must contain 6 columns in total with the following mandatory properties:
Column Name Data Type Max Length
StratusUpload Var Char 255
WorkDriveSync Var Char 255
UploadedTime Var Char 255
FileSize Int -
WorkDriveFileID Text -
Create these columns and configure the specified values. You can ignore the other properties of the columns. The columns will be created and listed in the Schema View section. ![all-columns](https://catalyst-docs-development.zohostratus.in/images/tutorials/workdrivesync/table-created-data-store-workdrive-sync.webp) #### Configure Scopes and Permissions Catalyst Data Store enables you to configure scopes and permissions for accessing each table by end users based on their [user roles](https://docs.catalyst.zoho.com/en/cloud-scale/help/authentication/user-management/users/introduction/). Because this application involves viewing, inserting, updating, and deleting rows from this table, we must enable all these permissions for the role _App User_. This will enable all authenticated users to perform these actions through the client application. They will be enabled for the role _App Administrator_ by default. Click the **Scopes & Permissions** tab, then **enable all permissions** for _App User_. ![scopes](https://catalyst-docs-development.zohostratus.in/images/tutorials/workdrivesync/table-permissions-workdrive-sync-app.webp) -------------------------------------------------------------------------------- title: "Enable Zoho sign-in" description: "Build a web app that syncs file uploads and deletions between Catalyst Stratus and Zoho WorkDrive through APIs, using Catalyst functions and Event Listener." last_updated: "2026-11-04T10:10:44.000Z" source: "https://docs.catalyst.zoho.com/en/tutorials/workdrivesync/java/enable-zoho-sign-in/" service: "All Services" related: - Authentication (/en/cloud-scale/help/authentication/introduction) -------------------------------------------------------------------------------- # Enable Zoho Sign-in The WorkDrive Sync app contains a login page where you must sign in with valid credentials to access the app, and upload and sync files. You can implement a signup functionality for this app by yourself, if needed. Otherwise, you can also integrate the Zoho sign-in feature that will enable you to sign in to the client application directly using your Zoho account. > **Note:** As mentioned in the prerequisites, you must have a Zoho WorkDrive account of the same organization as your Catalyst account to sign in with your Zoho account credentials. To configure Zoho sign-in for the WorkDrive Sync app from the console: 1. Navigate to **Authentication** under the **Security & Identity** section, click **Setup** in the **Native Catalyst Authentication** tab. ![select-native-auth](https://catalyst-docs-development.zohostratus.in/images/tutorials/workdrivesync/work-drive-sync-app-authentication.webp) 2. Select **Embedded Authentication**. Click **Next**. ![select-embedded-auth](https://catalyst-docs-development.zohostratus.in/images/tutorials/workdrivesync/embedded-authentication-setup-workdrive.webp) 3. In the Authentication Setup page, enable **Public Signup** and click **Zoho**. ![public-signup](https://catalyst-docs-development.zohostratus.in/images/tutorials/workdrivesync/public-signup-authentication-workdrive.webp) 4. In the dialog box that appears, click Yes, proceed. ![enable-popup](https://catalyst-docs-development.zohostratus.in/images/tutorials/workdrivesync/enable-popup.webp) 5. Provide the Client Name as **"WorkDriveSyncApp"** and click **Enable.** ![zoho-client-name](https://catalyst-docs-development.zohostratus.in/images/tutorials/workdrivesync/zoho-client-name.webp) > **Note:** You can enter any name you need. However, please make a note that we will be using **"WorkDriveSyncApp"** as the client name while initializing it in the CLI and while registering it in the Zoho API console. 6. We will not be configuring any additional authentication settings for our application. Click **Finish**. ![additional-settings](https://catalyst-docs-development.zohostratus.in/images/tutorials/workdrivesync/finish-authentication-workdrive.webp) Zoho sign-in will now be available for the client application. -------------------------------------------------------------------------------- title: "Create a Bucket in Stratus" description: "Build a web app that syncs file uploads and deletions between Catalyst Stratus and Zoho WorkDrive through APIs, using Catalyst functions and Event Listener." last_updated: "2026-11-04T10:10:44.000Z" source: "https://docs.catalyst.zoho.com/en/tutorials/workdrivesync/java/create-bucket/" service: "All Services" related: - Stratus (/en/cloud-scale/help/stratus/introduction) -------------------------------------------------------------------------------- # Create a Bucket in Stratus Let's now create a bucket in Stratus. This folder stores the files that you upload in the client application. We will configure the synchronization between this bucket and a folder in WorkDrive. To create a Bucket: 1. Navigate to **Catalyst CloudScale Stratus** component in the console. Click **Create Bucket**. ![catalyst_workdrive_create_bucket](https://catalyst-docs-development.zohostratus.in/images/tutorials/workdrivesync/catalyst_workdrive_create_bucket.webp) > **Note:** Provide a custom name for your bucket. You will not be able to use same name that provided in the demonstration, as a bucket can only be creted if its name is globally unique. 2. Enter the bucket's name, ensure that the Permission Template is set as Authenticated and click **Create**. ![catalyst_workdrive_authenticated_choice](https://catalyst-docs-development.zohostratus.in/images/tutorials/workdrivesync/create-bucket-stratus.webp) The bucket will be created and displayed in Stratus. ![bucket_created](https://catalyst-docs-development.zohostratus.in/images/tutorials/workdrivesync/bucket_created.webp) #### Configure Permissions Similar to the Data Store, you must enable permissions for object download, upload, and delete to all [users](https://docs.catalyst.zoho.com/en/cloud-scale/help/authentication/user-management/users/introduction/) of the role _App User_. This will allow any authenticated user to upload, download, or delete files from the client. 1. Click on the **Bucket Permissions** tab and click the **Edit Permission** button. ![permissions_start_edit](https://catalyst-docs-development.zohostratus.in/images/tutorials/workdrivesync/permissions_start_edit.webp) 2. Copy the following JSON and paste it in the Permissions section, and click **Update**. ```json { "rules": [ { "rule_id": "AuthenticatedBucket_Rule1", "condition": { "user": { "auth_type": "authenticated", "zuid": "*" } }, "allowed_actions": [ "GetObject", "PutObject", "DeleteObject" ], "paths": [ "zylkerworkdrivesync1::/*" // replace with your bucket path ], "effect": "allow" } ], "version": "v1" } ``` ![permissions_done](https://catalyst-docs-development.zohostratus.in/images/tutorials/workdrivesync/permissions_done.webp) The Stratus is now configured for the application. -------------------------------------------------------------------------------- title: "Create a WorkDrive folder" description: "Build a web app that syncs file uploads and deletions between Catalyst Stratus and Zoho WorkDrive through APIs, using Catalyst functions and Event Listener." last_updated: "2026-11-04T10:10:44.000Z" source: "https://docs.catalyst.zoho.com/en/tutorials/workdrivesync/java/create-workdrive-folder/" service: "All Services" related: - Zoho WorkDrive (https://www.zoho.com/workdrive/) -------------------------------------------------------------------------------- # Create a Folder in WorkDrive You can now access WorkDrive and create a folder there, to associate with this application. 1. Access your [WorkDrive account](https://www.zoho.com/workdrive/). If you had not configured your WorkDrive previously, you can create a team in your organization to collaborate and share resources with or create an individual space. You can learn about using WorkDrive in detail from their [help documentation.](https://www.zoho.com/workdrive/help/) 2. Open the _My Folders_ section in WorkDrive, then click **New**. Select **Folder** from the options. ![catalyst_workdrive_create_workdrive_folder_1](https://catalyst-docs-development.zohostratus.in/images/tutorials/workdrivesync/workdrive-sync-app.webp) 3. Enter the folder's name as "**CatalystFileSync**" and press **Enter**. ![catalyst_workdrive_create_workdrive_folder_2](https://catalyst-docs-development.zohostratus.in/images/tutorials/workdrivesync/workdrive-create-new-folder.webp) The folder will be created and displayed in your WorkDrive repository. WorkDrive is now configured for the application. -------------------------------------------------------------------------------- title: "Create Publisher" description: "Build a web app that syncs file uploads and deletions between Catalyst Stratus and Zoho WorkDrive through APIs, using Catalyst functions and Event Listener." last_updated: "2026-11-04T10:10:44.000Z" source: "https://docs.catalyst.zoho.com/en/tutorials/workdrivesync/java/create-publisher/" service: "All Services" related: - Zoho WorkDrive (https://www.zoho.com/workdrive/) -------------------------------------------------------------------------------- # Add Publisher Let us start by setting up a [**Publisher**](https://docs.catalyst.zoho.com/en/signals/help/publishers/key-aspects/) for our app. This Publisher will listen for any **Stratus Upload/Delete** events and forward them to **Zoho WorkDrive**. Follow these steps to configure the Publisher: 1. Navigate to the **Catalyst Signals** section in the Catalyst Console and click **Start Exploring**. ![Explore Signals](https://catalyst-docs-development.zohostratus.in/images/tutorials/invoice-notifier/explore.webp) 2. Go to **Publishers** and click **Create Publisher**. ![Create a Publisher](https://catalyst-docs-development.zohostratus.in/images/tutorials/invoice-notifier/create-pub.webp) 3. Select **Catalyst Publishers** and click **CloudScale Stratus** from the available Services. You will be redirected to **Info & Details** page. ![Select Zoho Books](https://catalyst-docs-development.zohostratus.in/images/tutorials/workdrivesync/publisher-creation-workdrive-sync-app.webp) 4. From the **Details** section, select the current organization you are working on from the dropdown that shows the list of organizations. After selection, you can find the Publisher Name and API Name gets auto populated based on the selected organization. It can also be modified as per your will. ![Select Zoho Books](https://catalyst-docs-development.zohostratus.in/images/tutorials/workdrivesync/add-publisher-details-org-selection.webp) 5. Select the current project you are working on from the **Project** dropdown list and click **Save**. Your **Catalyst Publisher** is now ready to send the Stratus Upload/Delete events to **Zoho Workdrive**. ![Select Zoho Books](https://catalyst-docs-development.zohostratus.in/images/tutorials/workdrivesync/publisher-creation-complete-workdrive-sync.webp) -------------------------------------------------------------------------------- title: "Initialize the project" description: "Build a web app that syncs file uploads and deletions between Catalyst Stratus and Zoho WorkDrive through APIs, using Catalyst functions and Event Listener." last_updated: "2026-11-04T10:10:44.000Z" source: "https://docs.catalyst.zoho.com/en/tutorials/workdrivesync/java/initialize-project/" service: "All Services" related: - Initialize CLI Resources (/en/cli/v1/initialize-resources/introduction) - Project Directory Structure (/en/cli/v1/project-directory-structure/introduction) -------------------------------------------------------------------------------- # Initialize the Project from the CLI You can now begin working on your Catalyst project from the CLI. The first step is to initialize the project in an empty directory. This will be the home directory of your project, where all of your project files are saved. You can learn more about this from the [Project Directory Structure help page](https://docs.catalyst.zoho.com/en/cli/v1/project-directory-structure/introduction). You can learn about initializing a project in detail from the [CLI help documentation.](https://docs.catalyst.zoho.com/en/cli/v1/initialize-resources/introduction) For the WorkDrive Sync app, we will initialize an Event function in the Java or Node.js environment, and the client component. You can later add an Advanced I/O function in the directory after initializing the project with these resources. 1. Create a folder for the project on your local machine and navigate to it from the terminal. 2. Initialize a project by executing the following command from that directory: ```sh catalyst init ``` 3. The CLI will now ask you to associate a Catalyst project with the directory. Associate it with the project that we created earlier from the console. Select **WorkDriveSync** from the list and click Enter. ![catalyst_workdrive_init_1](https://catalyst-docs-development.zohostratus.in/images/tutorials/workdrivesync/catalyst-init-workdrivesync.webp) 4. Select **Functions** and **Client** using the space bar. Press the Enter key to initialize. ![catalyst_workdrive_init_2](https://catalyst-docs-development.zohostratus.in/images/tutorials/workdrivesync/functions-client-initialize.webp) 5. The CLI will initiate the function setup. Select **Event** as the function type. ![catalyst_workdrive_init_3](https://catalyst-docs-development.zohostratus.in/images/tutorials/workdrivesync/catalyst_workdrive_init_3.webp) 6. Select the latest runtime of Java as the function stack, and press **Enter**. ![catalyst_workdrive_init_4](https://catalyst-docs-development.zohostratus.in/images/tutorials/workdrivesync/runtime-workdrive-sync-app.webp) 7. Enter "**WorkDrive**" as the folder name and "**WorkDriveSync**" as the class name. Press **Enter** each time. ![](https://catalyst-docs-development.zohostratus.in/images/tutorials/workdrivesync/java-console-initialize-workdrive-sync.webp) The CLI will download and install the latest [Catalyst Java SDK](https://docs.catalyst.zoho.com/en/sdk/java/v1/overview) package on your local system. > **Note:** Ensure that you enter the package name, or class name and folder name, exactly as instructed, because the application's code contains the same names. 8. The CLI will now begin the client setup process. From the available options, select **Basic web app** and press **Enter**. ![catalyst_workdrive_init_7](https://catalyst-docs-development.zohostratus.in/images/tutorials/workdrivesync/basic-web-app-workdrive-synca-app.webp) 9. When prompted, specify **WorkDriveSyncApp** as the client package name, then press **Enter** to finalize the client setup. ![catalyst_workdrive_init_7](https://catalyst-docs-development.zohostratus.in/images/tutorials/workdrivesync/client-initialize-complete-workdrive-sync.webp) You can enter any name you need. However, you can use the same name that you used while enabling Zoho sign-in to maintain standardization. The client directory will be created in the standard structure. Catalyst initialization is now complete. Your project directory is now set up with the [client directory](https://docs.catalyst.zoho.com/en/cli/v1/project-directory-structure/client-directory) (CATALYST\_CLIENT\_HOME) and the [functions directory](https://docs.catalyst.zoho.com/en/cli/v1/project-directory-structure/functions-directory) (CATALYST\_FUNCTIONS\_HOME) along with configuration files and dependencies. The project directory also contains the `[catalyst.json](https://docs.catalyst.zoho.com/en/cli/v1/project-directory-structure/catalyst-json)` configuration file and a hidden `.catalystrc` file. This is the structure of your project directory. ![catalyst_workdrive_proj_dir_struct_java](https://catalyst-docs-development.zohostratus.in/images/tutorials/workdrivesync/project-directory-structure-workdrive-sync-app.webp) -------------------------------------------------------------------------------- title: "Register the client" description: "Build a web app that syncs file uploads and deletions between Catalyst Stratus and Zoho WorkDrive through APIs, using Catalyst functions and Event Listener." last_updated: "2026-11-04T10:10:44.000Z" source: "https://docs.catalyst.zoho.com/en/tutorials/workdrivesync/java/register-client/" service: "All Services" related: - Catalyst API Documentation (/en/api/introduction/overview-and-prerequisites/#OverviewandPrerequisites) -------------------------------------------------------------------------------- # Register the Client Application in Zoho API Console We must now register the client application in the Zoho API console, to generate the following credentials: * **Client ID**: The unique key generated for a registered client * **Client Secret**: The secret value generated for a registered client's Client ID We will use these credentials to generate the following OAuth tokens: * **Grant Token or code:** A temporary token generated using the Client ID and Client Secret in the API console. This is used to fetch the Refresh Token. * **Refresh Token:** A token that can be used to obtain new Access Tokens every time they expire. We will generate this in the REST API client. * **Access Token:** A temporary token that authorizes the requests made to WorkDrive using the API. We need not generate this token, as we will configure a self client for this application in the API console. The Client ID, Client Secret, and the Refresh Token are added in the code of both the functions. These are used to authorize the file posting and deletion operations performed in WorkDrive. The functions use the Refresh Token to automatically fetch a new Access Token each time it expires, enabling a seamless connection between Catalyst and WorkDrive. To register the client application in Zoho API console: 1. Visit the [Zoho API Console](https://api-console.zoho.com/) and click **Get Started** or **Add Client**. 2. Select **Self Client** as the client type. Because both the Catalyst and the WorkDrive accounts are configured in the same organization, a Self Client can be used for this application. ![catalyst_workdrive_api_1](https://catalyst-docs-development.zohostratus.in/images/tutorials/workdrivesync/api-console.webp) 3. Click **Create** in the pop-up box. ![catalyst_workdrive_api_2](https://catalyst-docs-development.zohostratus.in/images/tutorials/workdrivesync/catalyst_workdrive_api_2.webp) The API console will generate and display the Client ID and Client Secret values for the registered client. ![catalyst_workdrive_api_3](https://catalyst-docs-development.zohostratus.in/images/tutorials/workdrivesync/catalyst_workdrive_api_3.webp) 4. Now, click the **Generate Code** tab to generate the Grant Token. ![catalyst_workdrive_api_4](https://catalyst-docs-development.zohostratus.in/images/tutorials/workdrivesync/catalyst_workdrive_api_4.webp) You must add the following scopes: `WorkDrive.files.UPDATE`, `WorkDrive.files.CREATE`. Add a scope description and set a time duration for the validity of the Grant Token. 5. Click **Create**. The Grant Token will be generated for the specified scopes and the time duration. ![catalyst_workdrive_api_5](https://catalyst-docs-development.zohostratus.in/images/tutorials/workdrivesync/catalyst_workdrive_api_5.webp) You will need to copy these values and paste them into the function files in your project directory. We will discuss this in the functions configuration step. -------------------------------------------------------------------------------- title: "Generate the refresh token" description: "Build a web app that syncs file uploads and deletions between Catalyst Stratus and Zoho WorkDrive through APIs, using Catalyst functions and Event Listener." last_updated: "2026-11-04T10:10:44.000Z" source: "https://docs.catalyst.zoho.com/en/tutorials/workdrivesync/java/generate-refresh-token/" service: "All Services" related: - Functions (/en/serverless/help/functions/introduction) -------------------------------------------------------------------------------- # Generate Refresh Token Before we move on to configuring the function and client components, we must first generate the Refresh Token to include in the function code. As mentioned earlier, you can use a REST API client tool of your choice for this purpose. In this tutorial, we will explain this step using the [Postman API](https://www.postman.com/) platform. Access your API client tool and create a new request. You must send the request to the following URL, using the specified HTTP method: * **Request URL:** `https://accounts.zoho.com/oauth/v2/token?` * **Request Method:** POST You must include the following keys and values as the query params in the request: * **`code`:** The Grant Token or the value of code obtained during the [client registration](https://docs.catalyst.zoho.com/en/tutorials/workdrivesync/java/register-client) in the API console * **`client\_id`:** The Client ID that was generated during the client registration * **`client\_secret`:** The Client Secret that was generated during the client registration * **`grant\_type`:** `authorization\_code` (Provide this literal string as the value) Send the request with these parameters to the specified request URL. If the request is successfully processed, the API client will return a response containing these values: `access\_token`, `refresh\_token`, `api\_domain`, `token\_type`, `expires\_in`. We only require the Refresh Token. A screenshot of the Postman API platform is shown below with the request sent and the response received. ![catalyst_workdrive_postman](https://catalyst-docs-development.zohostratus.in/images/tutorials/workdrivesync/catalyst_workdrive_postman.webp) Copy the `refresh\_token` value from the response received. You will need to paste this into the function files in the next step. -------------------------------------------------------------------------------- title: "Configure the Event function" description: "Build a web app that syncs file uploads and deletions between Catalyst Stratus and Zoho WorkDrive through APIs, using Catalyst functions and Event Listener." last_updated: "2026-11-04T10:10:44.000Z" source: "https://docs.catalyst.zoho.com/en/tutorials/workdrivesync/java/configure-event-function/" service: "All Services" related: - Event Functions (/en/serverless/help/functions/event-functions) -------------------------------------------------------------------------------- # Configure the Event Function We will now begin coding the WorkDrive Sync app by configuring the Event function. > **Note:** We will need to code and deploy the application code to the Catalyst remote console before configuring the event listener in the Catalyst console, because we have to associate it with the Event function. The [functions directory](https://docs.catalyst.zoho.com/en/cli/v1/project-directory-structure/functions-directory)`functions/WorkDrive` contains: * The `WorkDriveSync.java` main function file * The `catalyst-config.json` configuration file * Java library files in the `lib` folder * `.classpath` and `.project` dependency files You will be adding code in `WorkDriveSync.java`. You can use any IDE to configure the function. > **Note:** Please go through the code in this section to make sure you fully understand it. We will discuss the function and client code, after you configure the client. You can directly copy the code below and paste it in `WorkDriveSync.java` located in the `functions/WorkDrive` directory and save the file. **WorkDriveSync.java** ```java import com.catalyst.Context; import com.catalyst.event.EVENT_STATUS; import com.catalyst.event.EventRequest; import com.catalyst.event.CatalystEventHandler; import java.util.logging.Level; import java.util.logging.Logger; import java.util.List; import java.util.ArrayList; import java.net.URLEncoder; import java.nio.charset.StandardCharsets; import java.io.File; import java.io.FileOutputStream; import java.io.InputStream; import java.io.OutputStream; import org.json.JSONObject; import org.json.JSONArray; import com.zc.component.object.ZCRowObject; import com.zc.component.object.ZCTable; import com.zc.component.zcql.ZCQL; import com.zc.component.object.ZCObject; import com.zc.component.object.ZCRowObject; import com.zc.component.object.ZCTable; import com.zc.auth.connectors.ZCConnection; import com.zc.component.stratus.ZCStratus; import com.zc.component.stratus.ZCBucket; import okhttp3.MediaType; import okhttp3.MultipartBody; import okhttp3.OkHttpClient; import okhttp3.Request; import okhttp3.RequestBody; import okhttp3.Response; public class WorkDriveSync implements CatalystEventHandler { private static final Logger LOGGER = Logger.getLogger(WorkDriveSync.class.getName()); private static final String CLIENT_ID = "{{YOUR_CLIENT_ID}}"; //Enter your Client ID private static final String CLIENT_SECRET = "{{YOUR_CLIENT_SECRET}}"; //Enter your Client Secret private static final String AUTH_URL = "https://accounts.zoho.com/oauth/v2/token"; private static final String REFRESH_URL = "https://accounts.zoho.com/oauth/v2/token"; private static final String REFRESH_TOKEN = "{{YOUR_REFRESH_TOKEN}}"; //Enter your Refresh Token private static final String WORKDRIVE_FOLDER_ID = "{{YOUR_WORKDRIVE_FOLDER_ID}}"; //Enter your WorkDrive Folder ID private static final String STRATUS_BUCKET_NAME = "{{YOUR_STRATUS_BUCKET_NAME}}"; // Enter you bucket name private static final String FILE_VAULT_TABLE_NAME = "FileVault"; private static final OkHttpClient okHttpClient = new OkHttpClient().newBuilder().build(); @Override public EVENT_STATUS handleEvent(EventRequest paramEventRequest, Context paramContext) throws Exception { try { JSONObject eventData = (JSONObject) paramEventRequest.getRawData(); JSONArray eventsArray = (JSONArray) eventData.get("events"); JSONObject firstEvent = (JSONObject) eventsArray.get(0); String eventType = (String) ((JSONObject) firstEvent.get("event_config")).get("api_name"); String fileName = (String) ((JSONObject) ((JSONArray) ((JSONObject) firstEvent.get("data")).get("object_details")).get(0)).get("key"); LOGGER.log(Level.INFO, "Received event: " + eventType + " for file: " + fileName); String query = "SELECT ROWID, WorkDriveFileID FROM " + FILE_VAULT_TABLE_NAME + " WHERE FileName='" + fileName + "'"; List<ZCRowObject> queryResult = ZCQL.getInstance().executeQuery(query); if (queryResult.isEmpty()) { LOGGER.log(Level.INFO, "No entry found in " + FILE_VAULT_TABLE_NAME + " for file: " + fileName); return EVENT_STATUS.SUCCESS; } ZCRowObject fileVaultEntry = queryResult.get(0); Long rowId = Long.valueOf((String) fileVaultEntry.get("ROWID")); String workDriveFileId = (String) fileVaultEntry.get("WorkDriveFileID"); LOGGER.log(Level.INFO, "Row Id: " + rowId + " , WorkDriveFileID: " + workDriveFileId); if ("stratus_object_uploaded".equals(eventType)) { handleUploadEvent(paramContext, fileName, rowId); } else if ("stratus_object_deleted".equals(eventType)) { handleDeleteEvent(paramContext, fileName, rowId, workDriveFileId); } return EVENT_STATUS.SUCCESS; } catch(Exception ex) { LOGGER.log(Level.SEVERE, "Exception in WorkDriveSync Function: ", ex); return EVENT_STATUS.FAILURE; } } private void handleUploadEvent(Context context, String fileName, Long rowId) throws Exception { ZCStratus stratus = ZCStratus.getInstance(); ZCBucket bucket = stratus.bucketInstance(STRATUS_BUCKET_NAME); LOGGER.log(Level.INFO, "Going to fetch the file " + fileName + " from the bucket " + STRATUS_BUCKET_NAME); String encodedFileName = URLEncoder.encode(fileName, StandardCharsets.UTF_8.toString()); InputStream dataStream = bucket.getObject(encodedFileName); byte[] buffer = new byte[dataStream.available()]; dataStream.read(buffer); File targetFile = new File(fileName); OutputStream outStream = new FileOutputStream(targetFile); outStream.write(buffer); outStream.close(); String accessToken = getAccessToken(); RequestBody body = new MultipartBody.Builder() .setType(MultipartBody.FORM) .addFormDataPart("content", fileName, RequestBody.create(MediaType.parse("application/octet-stream"), new File(fileName))) .build(); Request request = new Request.Builder() .url("https://workdrive.zoho.com/api/v1/upload?filename=" + fileName + "&override-name-exist=true&parent_id=" + WORKDRIVE_FOLDER_ID) .method("POST", body) .addHeader("Authorization", "Zoho-oauthtoken " + accessToken) .build(); Response response = okHttpClient.newCall(request).execute(); JSONObject responseJSON = new JSONObject(response.body().string()); JSONObject data = responseJSON.getJSONArray("data").getJSONObject(0); String resourceId = data.getJSONObject("attributes").getString("resource_id"); LOGGER.log(Level.INFO, "WorkDrive File ID :: " + resourceId); ZCObject object = ZCObject.getInstance(); ZCTable table = object.getTable(FILE_VAULT_TABLE_NAME); List<ZCRowObject> rowsToUpdate = new ArrayList<>(); ZCRowObject row = ZCRowObject.getInstance(); row.set("ROWID", rowId); row.set("WorkDriveFileID", resourceId); row.set("WorkDriveSync", "Uploaded"); rowsToUpdate.add(row); table.updateRows(rowsToUpdate); LOGGER.log(Level.INFO, "FileVault table updated for ROWID: " + rowId + " with WorkDriveFileID: " + resourceId); } private void handleDeleteEvent(Context context, String fileName, Long rowId, String workDriveFileId) throws Exception { JSONObject requestBody = new JSONObject(); JSONObject dataObject = new JSONObject(); JSONObject attributesObject = new JSONObject(); attributesObject.put("status", "51"); dataObject.put("attributes", attributesObject); dataObject.put("type", "files"); requestBody.put("data", dataObject); Request request = new Request.Builder() .url(String.format("https://workdrive.zoho.com/api/v1/files/%s", workDriveFileId)) .patch(RequestBody.create(MediaType.parse("application/json"), requestBody.toString())) .addHeader("Authorization", "Zoho-oauthtoken " + getAccessToken()) .addHeader("Accept", "application/vnd.api+json") .addHeader("Content-Type", "application/json") .build(); Response response = okHttpClient.newCall(request).execute(); LOGGER.log(Level.INFO, "WorkDrive Delete Response Status: " + response.code()); LOGGER.log(Level.INFO, "WorkDrive Delete Response Body: " + response.body().string()); ZCObject object = ZCObject.getInstance(); ZCTable table = object.getTable(FILE_VAULT_TABLE_NAME); table.deleteRow(rowId); LOGGER.log(Level.INFO, "FileVault table entry deleted for ROWID: " + rowId); } @SuppressWarnings("unchecked") public String getAccessToken() throws Exception { org.json.simple.JSONObject authJson = new org.json.simple.JSONObject(); org.json.simple.JSONObject connectorJson = new org.json.simple.JSONObject(); authJson.put("client_id", CLIENT_ID); authJson.put("client_secret", CLIENT_SECRET); authJson.put("auth_url", AUTH_URL); authJson.put("refresh_url", REFRESH_URL); authJson.put("refresh_token", REFRESH_TOKEN); connectorJson.put("WorkDriveConnector", authJson); return ZCConnection.getInstance(connectorJson).getConnector("WorkDriveConnector").getAccessToken(); } } ``` > **Note:** After you copy and paste this code in your function file, ensure that you provide the following values in it, as indicated by the comments: * **[Client ID](https://docs.catalyst.zoho.com/en/tutorials/workdrivesync/java/register-client)** * **[Client Secret](https://docs.catalyst.zoho.com/en/tutorials/workdrivesync/java/register-client)** * The Zoho service links used in this code (for example, accounts.zoho.com, workdrive.zoho.com, etc.) are Data Center (DC) specific. Replace **.com** with your corresponding Zoho data center domain. Ensure that all URLs in the code use the same DC domain to avoid authentication or API errors. * **[Refresh Token](https://docs.catalyst.zoho.com/en/tutorials/workdrivesync/java/generate-refresh-token)** * **WorkDrive Folder ID:** You can obtain this value by opening the [folder you created in WorkDrive earlier](https://docs.catalyst.zoho.com/en/tutorials/workdrivesync/java/create-workdrive-folder). The URL contains the Folder ID of the WorkDrive folder. Copy the ID displayed after `folders/` from the URL. ![catalyst_workdrive_folderid](https://catalyst-docs-development.zohostratus.in/images/tutorials/workdrivesync/workdrive-folder-id-through-link.webp) * **Table ID:** You can obtain the [table ID of your table]() in the Data Store under its name. ![catalyst_workdrive_tableid](https://catalyst-docs-development.zohostratus.in/images/tutorials/workdrivesync/catalyst_workdrive_tableid.webp) The Event function is now configured. -------------------------------------------------------------------------------- title: "Configure the client directory" description: "Build a web app that syncs file uploads and deletions between Catalyst Stratus and Zoho WorkDrive through APIs, using Catalyst functions and Event Listener." last_updated: "2026-11-04T10:10:44.000Z" source: "https://docs.catalyst.zoho.com/en/tutorials/workdrivesync/java/configure-client-directory/" service: "All Services" related: - Client Directory Structure (/en/cli/v1/project-directory-structure/client-directory) -------------------------------------------------------------------------------- # Configure the Client Directory Let's now configure the client component. The [client directory](https://docs.catalyst.zoho.com/en/cli/v1/project-directory-structure/client-directory) contains: * The `index.html` file that contains the HTML code for the frontend application * The `main.css` file that contains the CSS code * The `main.js` file that contains the JavaScript code * The `client-package.json` configuration file We will be coding `index.html`, `main.js` and `main.css`. > **Note:** Please go through the code in this section to make sure you fully understand it. We will discuss the code at the end of this section. Copy the code below and paste it in the respective files located in the `client/` directory of your project using an IDE and save the files. **index.html** ```xml <!DOCTYPE html> <html lang="en"> <head> <meta charset="UTF-8"> <meta name="viewport" content="width=device-width, initial-scale=1.0"> <title>Catalyst File Vault</title> <script src="https://cdn.tailwindcss.com"></script> <link rel="stylesheet" href="main.css"> </head> <body class="min-h-screen bg-gradient-to-br from-[#DCE7FF] to-blue-100 text-gray-800 flex items-center justify-center p-4"> <main class="w-full max-w-6xl"> <div class="bg-white p-6 rounded-lg shadow-2xl border border-blue-100 animate-card-fade-in-scale"> <div class="flex flex-col sm:flex-row items-center justify-between mb-6 pb-4 border-b border-gray-200"> <button id="logout-button" class="bg-transparent border-2 border-red-500 text-red-600 hover:bg-red-100 hover:text-red-700 font-semibold py-2 px-5 rounded-full shadow hover:shadow-lg transition-all duration-300 flex items-center justify-center text-sm order-2 sm:order-1 mt-4 sm:mt-0"> <svg xmlns="http://www.w3.org/2000/svg" class="h-5 w-5 mr-2" viewBox="0 0 24 24" fill="none" stroke="currentColor" stroke-width="2" stroke-linecap="round" stroke-linejoin="round"> <path d="M9 21H5a2 2 0 0 1-2-2V5a2 2 0 0 1 2-2h4"></path> <polyline points="17 17 22 12 17 7"></polyline> <line x1="22" y1="12" x2="12" y2="12"></line> </svg> LOGOUT </button> <h1 class="text-4xl sm:text-5xl font-extrabold text-blue-700 text-center flex-grow order-1 sm:order-2">Catalyst File Vault</h1> <button id="upload-button" class="bg-transparent border-2 border-green-500 text-green-600 hover:bg-green-100 hover:text-green-700 font-semibold py-2 px-5 rounded-full shadow hover:shadow-lg transition-all duration-300 flex items-center justify-center text-sm order-3 sm:order-3 mt-4 sm:mt-0"> <svg xmlns="http://www.w3.org/2000/svg" class="h-5 w-5 mr-2" viewBox="0 0 24 24" fill="none" stroke="currentColor" stroke-width="2" stroke-linecap="round" stroke-linejoin="round"> <path d="M21 15v4a2 2 0 0 1-2 2H5a2 2 0 0 1-2-2v-4"></path> <polyline points="17 8 12 3 7 8"></polyline> <line x1="12" y1="3" x2="12" y2="15"></line> </svg> UPLOAD FILE </button> <input type="file" id="file-input" class="hidden"> </div> <div class="overflow-x-auto"> <table class="min-w-full bg-white border border-gray-200 rounded-lg overflow-hidden"> <thead> <tr class="table-header-bg text-sm uppercase tracking-wider"> <th class="py-3 px-4 text-left font-bold">File Name</th> <th class="py-3 px-4 text-left font-bold">Uploaded Time</th> <th class="py-3 px-4 text-left font-bold">File Size</th> <th class="py-3 px-4 text-left font-bold">Stratus Upload</th> <th class="py-3 px-4 text-left font-bold">WorkDrive Sync</th> <th class="py-3 px-4 text-center font-bold">Download File</th> <th class="py-3 px-4 text-center font-bold">Delete File</th> </tr> </thead> <tbody id="file-table-body" class="divide-y divide-gray-100"> <tr id="loading-row"> <td colspan="7" class="py-6 text-center"> <div class="flex flex-col items-center justify-center"> <div class="animate-spin-custom rounded-full h-10 w-10 border-t-4 border-b-4 border-[#0059E9] mb-3"> </div> <p class="text-gray-500">Loading files...</p> </div> </td> </tr> <tr id="no-files-row" class="hidden"> <td colspan="7" class="py-16 text-center bg-blue-50/50 rounded-b-lg"> <div class="flex flex-col items-center justify-center text-gray-700"> <svg xmlns="http://www.w3.org/2000/svg" class="h-20 w-20 text-blue-500 mb-4" viewBox="0 0 24 24" fill="none" stroke="currentColor" stroke-width="1.5" stroke-linecap="round" stroke-linejoin="round"> <path d="M14.5 2H6a2 2 0 0 0-2 2v16a2 2 0 0 0 2 2h12a2 2 0 0 0 2-2V7.5L14.5 2z"> </path> <polyline points="14 2 14 8 20 8"></polyline> <line x1="12" y1="18" x2="12" y2="12"></line> <line x1="9" y1="15" x2="15" y2="15"></line> </svg> <p class="text-3xl font-extrabold mb-2 text-blue-800">No files here yet!</p> <p class="text-lg text-gray-600 mt-4">Your vault is empty. Click the 'Upload File' button in the top right to add your first file!</p> </div> </td> </tr> </tbody> </table> </div> </div> </main> <div id="message-overlay" class="message-overlay hidden"> <div class="message-box"> <p id="message-text" class="text-lg font-semibold mb-4"></p> <button id="message-close-button" class="px-4 py-2 bg-blue-500 text-white rounded hover:bg-blue-600">Close</button> </div> </div> <script src="https://static.zohocdn.com/catalyst/sdk/js/4.6.2/catalystWebSDK.js"></script> <script src="/__catalyst/sdk/init.js"></script> <script src="main.js" defer></script> </body> </html> ``` **main.css** ```css @keyframes spin { from { transform: rotate(0deg); } to { transform: rotate(360deg); } } .animate-spin-custom { animation: spin 1s linear infinite; } body { font-family: 'Inter', sans-serif; } .table-header-bg { background-image: linear-gradient(to right, #DBEAFE, #BFDBFE); color: #1E40AF; } #file-table-body tr:nth-child(even) { background-color: #F9FAFB; } @keyframes cardFadeInScale { from { opacity: 0; transform: scale(0.98); } to { opacity: 1; transform: scale(1); } } .animate-card-fade-in-scale { animation: cardFadeInScale 0.8s ease-out forwards; animation-delay: 0.2s; } .message-overlay { position: fixed; top: 0; left: 0; width: 100%; height: 100%; background-color: rgba(0, 0, 0, 0.5); display: flex; align-items: center; justify-content: center; z-index: 1000; } .message-box { background-color: white; padding: 2rem; border-radius: 0.5rem; box-shadow: 0 4px 6px rgba(0, 0, 0, 0.1); text-align: center; max-width: 400px; width: 90%; } ``` **main.js** ```javascript const bucket_name = "file-vault"; // Replace with your actual bucket name const loginURL = "https://p1-807759706.development.catalystserverless.com/__catalyst/auth/login"; // Replace your login URL document.addEventListener('DOMContentLoaded', async () => { const fileTableBody = document.getElementById('file-table-body'); const loadingRow = document.getElementById('loading-row'); const noFilesRow = document.getElementById('no-files-row'); const logoutButton = document.getElementById('logout-button'); const uploadButton = document.getElementById('upload-button'); const fileInput = document.getElementById('file-input'); const messageOverlay = document.getElementById('message-overlay'); const messageText = document.getElementById('message-text'); const messageCloseButton = document.getElementById('message-close-button'); async function checkSignInStatus() { let userIsActuallySignedIn = false; try { await catalyst.auth.isUserAuthenticated(); userIsActuallySignedIn = true; console.log("User is signed in."); } catch (err) { console.log("User not signed in:", err); userIsActuallySignedIn = false; } try { if (!userIsActuallySignedIn) { fileTableBody.innerHTML = ` <tr> <td colspan="7" class="py-6 text-center text-red-600 font-semibold"> Error: Not signed in. Redirecting to login... </td> </tr> `; window.location.href = loginURL; } } catch (error) { console.error("Failed to redirect:", error); } } function showMessage(text, isError = false) { messageText.textContent = text; if (isError) { messageText.classList.add('text-red-600'); messageText.classList.remove('text-gray-800'); } else { messageText.classList.add('text-gray-800'); messageText.classList.remove('text-red-600'); } messageOverlay.classList.remove('hidden'); } function hideMessage() { messageOverlay.classList.add('hidden'); } messageCloseButton.addEventListener('click', hideMessage); function createFileStatusBadge(status) { let bgColorClass, textColorClass, dotColorClass; switch (status) { case 'Uploaded': bgColorClass = 'bg-green-100'; textColorClass = 'text-green-800'; dotColorClass = 'text-green-400'; break; case 'Deleted': bgColorClass = 'bg-gray-200'; textColorClass = 'text-gray-700'; dotColorClass = 'text-gray-500'; break; case 'Failed': bgColorClass = 'bg-red-100'; textColorClass = 'text-red-800'; dotColorClass = 'text-red-400'; break; default: bgColorClass = 'bg-yellow-100'; textColorClass = 'text-yellow-800'; dotColorClass = 'text-yellow-400'; } return ` <span class="inline-flex items-center px-2.5 py-0.5 rounded-full text-xs font-medium ${bgColorClass} ${textColorClass}"> <svg class="-ml-0.5 mr-1.5 h-2 w-2 ${dotColorClass}" fill="currentColor" viewBox="0 0 8 8"> <circle cx="4" cy="4" r="3" /> </svg> ${status} </span> `; } function createFileRow(file) { const row = document.createElement('tr'); row.classList.add('hover:bg-blue-50', 'transition-colors', 'duration-150'); row.dataset.rowId = file.ROWID; row.dataset.fileName = file.FileName; const fileSizeFormatted = file.FileSize ? (file.FileSize / 1024).toFixed(2) + ' KB' : 'N/A'; const uploadedTimeFormatted = file.UploadedTime || 'N/A'; const isActionDisabled = file.StratusUpload === 'Deleted' || file.StratusUpload === 'Failed'; const disabledClass = isActionDisabled ? 'opacity-50 cursor-not-allowed' : ''; const downloadButtonState = isActionDisabled ? 'disabled' : ''; const deleteButtonState = isActionDisabled ? 'disabled' : ''; row.innerHTML = ` <td class="py-3 px-4 text-left text-gray-800 font-medium">${file.FileName}</td> <td class="py-3 px-4 text-left text-gray-600">${uploadedTimeFormatted}</td> <td class="py-3 px-4 text-left text-gray-600">${file.FileSize ? (file.FileSize / 1024).toFixed(2) + ' KB' : 'N/A'}</td> <td class="py-3 px-4 text-left text-gray-600">${createFileStatusBadge(file.StratusUpload)}</td> <td class="py-3 px-4 text-left text-gray-600">${createFileStatusBadge(file.WorkDriveSync)}</td> <td class="py-3 px-4 text-center"> <button class="p-2 rounded-full text-blue-600 hover:bg-blue-50 hover:text-blue-800 transition-colors duration-200 download-btn ${disabledClass}" title="Download ${file.FileName}" ${downloadButtonState}> <svg xmlns="http://www.w3.org/2000/svg" class="h-5 w-5 inline" fill="none" viewBox="0 0 24 24" stroke="currentColor" stroke-width="2"> <path stroke-linecap="round" stroke-linejoin="round" d="M4 16v1a3 3 0 003 3h10a3 3 0 003-3v-1m-4-4l-4 4m0 0l-4-4m4 4V4" /> </svg> </button> </td> <td class="py-3 px-4 text-center"> <button class="p-2 rounded-full text-red-600 hover:bg-red-50 hover:text-red-800 transition-colors duration-200 delete-btn ${disabledClass}" title="Delete ${file.FileName}" ${deleteButtonState}> <svg xmlns="http://www.w3.org/2000/svg" class="h-5 w-5 inline" fill="none" viewBox="0 0 24 24" stroke="currentColor" stroke-width="2"> <path stroke-linecap="round" stroke-linejoin="round" d="M19 7l-.867 12.142A2 2 0 0116.138 21H7.862a2 2 0 01-1.995-1.858L5 7m5 4v6m4-6v6m1-10V4a1 1 0 00-1-1h-4a1 1 0 00-1 1v3M4 7h16" /> </svg> </button> </td> `; return row; } logoutButton.addEventListener('click', async () => { console.log('Logging out...'); showMessage('Logging out...', false); try { await catalyst.auth.signOut(loginURL); } catch (error) { console.error('Logout failed:', error); showMessage('Logout failed. Please try again.', true); } }); uploadButton.addEventListener('click', () => { fileInput.click(); }); fileInput.addEventListener('change', async (event) => { const file = event.target.files[0]; if (file) { showMessage(`Uploading "${file.name}"...`, false); console.log('Selected file for upload:', file.name, file.type, file.size); let uploadSuccess = false; let rowId = null; try { const table = catalyst.table.tableId('FileVault'); const details = [ { "FileName": file.name, "FileSize": file.size, "StratusUpload": "Pending", "WorkDriveSync": "Pending" } ]; const insertResponse = await table.addRow(details); rowId = insertResponse.content[0].ROWID; const bucket = catalyst.stratus.bucket(bucket_name); const putObject = await bucket.putObject(file.name, file); const putObjectResponse = await putObject.start(); if (putObjectResponse.status !== 200) { throw new Error("Something went wrong!"); } uploadSuccess = true; const date = new Date(); const options = { month: "long", day: "2-digit", year: "numeric", hour: "2-digit", minute: "2-digit", hour12: true, }; const parts = new Intl.DateTimeFormat("en-US", options).formatToParts(date); const lookup = Object.fromEntries(parts.map(p => [p.type, p.value])); const currentTime = `${lookup.month} ${lookup.day}, ${lookup.year} ${lookup.hour}:${lookup.minute} ${lookup.dayPeriod}`; const updateDetails = [ { "UploadedTime": currentTime, "StratusUpload": "Uploaded", "ROWID": rowId } ]; await table.updateRow(updateDetails); } catch (err) { console.error('Error during upload process:', err); if (rowId) { try { const table = catalyst.table.tableId('FileVault'); const row = table.rowId(rowId); await row.delete(); } catch (updateErr) { console.error('Failed to update row status after upload error:', updateErr); } } } if (uploadSuccess) { showMessage(`"${file.name}" uploaded successfully!`, false); fetchFiles(); setTimeout(hideMessage, 1500); } else { showMessage(`Failed to upload "${file.name}". Please check console for details.`, true); setTimeout(hideMessage, 2000); } } event.target.value = null; }); async function fetchFiles() { fileTableBody.innerHTML = ''; loadingRow.classList.remove('hidden'); noFilesRow.classList.add('hidden'); fileTableBody.appendChild(loadingRow); try { const table = catalyst.table.tableId('FileVault'); const response = await table.getPagedRows({}); loadingRow.classList.add('hidden'); if (response.status === 200) { if (response.content && response.content.length > 0) { renderFiles(response.content); noFilesRow.classList.add('hidden'); } else { fileTableBody.innerHTML = ''; noFilesRow.classList.remove('hidden'); fileTableBody.appendChild(noFilesRow); } } else { fileTableBody.innerHTML = ` <tr> <td colspan="7" class="py-6 text-center text-red-600 font-semibold"> Error: Failed to load files. ${response.statusText || 'Please check your Catalyst Function.'} </td> </tr> `; console.error('Failed to fetch files:', response.statusText); } } catch (error) { loadingRow.classList.add('hidden'); fileTableBody.innerHTML = ` <tr> <td colspan="7" class="py-6 text-center text-red-600 font-semibold"> Network Error: Could not connect or retrieve data. <p class="text-sm text-gray-500 mt-2">Check console for details.</p> </td> </tr> `; console.error('Error during file fetch:', error); } } function renderFiles(files) { files.forEach(file => { fileTableBody.appendChild(createFileRow(file)); }); } async function downloadFile(fileName) { showMessage(`Preparing to download "${fileName}"...`, false); try { const bucket = catalyst.stratus.bucket(bucket_name); const getObject = await bucket.getObject(fileName); const getObjectResponse = await getObject.start(); const fileBlob = getObjectResponse.content; if (fileBlob) { const blobUrl = URL.createObjectURL(fileBlob); const a = document.createElement('a'); a.href = blobUrl; a.download = fileName; document.body.appendChild(a); a.click(); document.body.removeChild(a); URL.revokeObjectURL(blobUrl); hideMessage(); } else { showMessage(`Failed to retrieve file content for "${fileName}".`, true); setTimeout(hideMessage, 2000); } } catch (error) { console.error('Error during file download:', error); let errorMessage = `Error downloading "${fileName}". Please try again.`; if (error && error.message && error.message.includes("404")) { errorMessage = `File "${fileName}" not found in Stratus.`; } showMessage(errorMessage, true); setTimeout(hideMessage, 3000); } } async function deleteFile(rowId, fileName) { showMessage(`Are you sure you want to delete "${fileName}"? This will remove it from storage and mark it as deleted.`, false); messageCloseButton.textContent = 'Cancel'; const confirmDeleteButton = document.createElement('button'); confirmDeleteButton.textContent = 'Delete'; confirmDeleteButton.className = 'ml-4 px-4 py-2 bg-red-500 text-white rounded hover:bg-red-600'; const originalCloseHandler = messageCloseButton.onclick; messageCloseButton.onclick = () => { hideMessage(); messageCloseButton.textContent = 'Close'; messageCloseButton.onclick = originalCloseHandler; confirmDeleteButton.remove(); }; messageCloseButton.parentNode.appendChild(confirmDeleteButton); confirmDeleteButton.onclick = async () => { hideMessage(); messageCloseButton.textContent = 'Close'; messageCloseButton.onclick = originalCloseHandler; confirmDeleteButton.remove(); showMessage(`Processing deletion for "${fileName}"...`, false); console.log(`Attempting to delete file from Stratus (Name: ${fileName}) and update DB (ROWID: ${rowId})`); let dbUpdateSuccess = false; let stratusDeleteSuccess = false; try { const bucket = catalyst.stratus.bucket(bucket_name); await bucket.deleteObject(fileName); stratusDeleteSuccess = true; } catch (error) { console.error('Error deleting file from Stratus:', error); showMessage(`Failed to remove "${fileName}" from storage.`, true); } try { const table = catalyst.table.tableId('FileVault'); const updateDetails = [ { "ROWID": rowId, "StratusUpload": "Deleted" } ]; await table.updateRow(updateDetails); dbUpdateSuccess = true; } catch (error) { console.error('Error updating Data Store row to "Deleted":', error); if (stratusDeleteSuccess) { showMessage(`File "${fileName}" removed from storage, but failed to mark as deleted in database.`, true); } else { showMessage(`Failed to mark "${fileName}" as deleted in database.`, true); } } if (dbUpdateSuccess && stratusDeleteSuccess) { showMessage(`"${fileName}" removed from storage!`, false); fetchFiles(); setTimeout(hideMessage, 1500); } else { fetchFiles(); setTimeout(hideMessage, 3000); } }; } fileTableBody.addEventListener('click', (event) => { const targetButton = event.target.closest('.download-btn, .delete-btn'); if (!targetButton || targetButton.disabled) return; const row = targetButton.closest('tr'); if (!row) return; const rowId = row.dataset.rowId; const fileName = row.dataset.fileName; if (targetButton.classList.contains('download-btn')) { downloadFile(fileName); } else if (targetButton.classList.contains('delete-btn')) { deleteFile(rowId, fileName); } }); await checkSignInStatus(); fetchFiles(); }); ``` Next, update your `client-package.json` with the below code. **client-package.json** ```json { "name": "WorkDriveSyncApp", "version": "0.0.1", "homepage" : "/__catalyst/auth/login", "login_redirect" : "index.html" } ``` The client directory is now configured. Let us quickly go through the working of the functions and the client of the application: * `index.html` contains the code for the front-end of the client. The CSS is defined in `main.css`. * `main.js`: The JavaScript function in the client component that handles the various actions performed in the client through these functions: * **`checkSignInStatus()`:** Verifies whether the user is authenticated or not, if authenticated it allows user access to the app else displays an error and redirects the user to the login page. * **`fetchFiles()`:** Fetches all file records from the Catalyst Data Store table. * **`uploadFile (triggered via file input)`:** Handles file upload to Catalyst Stratus and updates metadata in the Data Store. * **`downloadFile(fileName)`:** Downloads a file from the Stratus Bucket. * **`deleteFile(rowId, fileName)`:** Deletes a file both from Stratus and the Data Store. * **`logout()`**: Logs the user out of the application * The **Event function** is triggered each time the event listener executes. This function performs the following actions: * Downloads the file that was sent in as the event data by the event listener using a file stream * Uploads the file and its metadata to WorkDrive through an API with the POST method. The OAuth credentials are passed to authorize this action. * If the action is successful, the Work Drive sync status is set to "Completed". The record in the Data Store is updated with the WorkDrive file ID and the sync status. -------------------------------------------------------------------------------- title: "Deploy the project" description: "Build a web app that syncs file uploads and deletions between Catalyst Stratus and Zoho WorkDrive through APIs, using Catalyst functions and Event Listener." last_updated: "2026-11-04T10:10:44.000Z" source: "https://docs.catalyst.zoho.com/en/tutorials/workdrivesync/java/deploy-project/" service: "All Services" related: - Deploy CLI Resources (/en/cli/v1/deploy-resources/introduction) - Web Client Hosting (/en/cloud-scale/help/web-client-hosting/introduction) -------------------------------------------------------------------------------- # Deploy the Project We will now deploy the project to the remote console in order to create an event listener associated with the Event function. We will test the application after we configure the event listener. To [deploy your Catalyst project from the CLI](https://docs.catalyst.zoho.com/en/cli/v1/deploy-resources/introduction), run the following command in your terminal from your project directory: ```sh catalyst deploy ``` The function is deployed first, then the client component. The app URLs of the components will be displayed. ![catalyst_workdrive_deploy](https://catalyst-docs-development.zohostratus.in/images/tutorials/workdrivesync/catalyst_workdrive_deploy.webp) Retrieve/Store the domain of the client URL displayed when deploying the changes. It can also be viewed in the **Web Client Hosting** component of CloudScale service. -------------------------------------------------------------------------------- title: "Post Deploy Configurations" description: "Build a web app that syncs file uploads and deletions between Catalyst Stratus and Zoho WorkDrive through APIs, using Catalyst functions and Event Listener." last_updated: "2026-11-04T10:10:44.000Z" source: "https://docs.catalyst.zoho.com/en/tutorials/workdrivesync/java/post-deploy-config/" service: "All Services" -------------------------------------------------------------------------------- # Post Deploy Configurations ### Update CORS in Stratus To allow your application to Upload or Delete files in **Stratus**, you must whitelist your app domain in Stratus **Bucket CORS** settings. Without this configuration, Stratus will reject requests from unknown origins. To complete this setup, follow the below steps: 1. In the Stratus component. Go to the **Configuration** tab → **Bucket CORS** → **Add Domain**. ![permissions_done](https://catalyst-docs-development.zohostratus.in/images/tutorials/workdrivesync/bucket-cors-setup-stratus.webp) 2. From the pop-up that appears, select **PUT, GET** and **DELETE** as allowed request methods and paste your app domain obtained from the previous step in the Domain URL. ![permissions_done](https://catalyst-docs-development.zohostratus.in/images/tutorials/workdrivesync/bucket-cors-pop-up.webp) 3. Click **Add** to save the domain settings. ![permissions_done](https://catalyst-docs-development.zohostratus.in/images/tutorials/workdrivesync/stratus-request-mathods-selection.webp) > Note: If you are running the app locally using Catalyst Serve, add your localhost URL with the active port to the Bucket CORS list to enable Stratus access. ## Create Rule Now that the Publisher and the Event Function are configured, let us define how the events should be processed and delivered by setting up a Rule. Follow these steps to create the Rule: 1. In the Developer Console, select your project: *WorkDriveSync*. 2. Go to **Catalyst Signals** and click on **Rules** in the left navigation. ![Add Rule](https://catalyst-docs-development.zohostratus.in/images/tutorials/workdrivesync/signals-rule-creation-workdrive-sync.webp) 3. Click **Add Rule**, then provide a name and description for your rule. ![Provide name and description for the Rule](https://catalyst-docs-development.zohostratus.in/images/tutorials/workdrivesync/setup-rule-name-description.webp) ### Define Event Source 4. Under Source, click **Choose Event**, switch to **Catalyst Publishers** tab, and select the CloudScale Stratus Publisher you added earlier. Select the **Object Upload** event and click on **Next**. ![Choose event and select catalyst publisher](https://catalyst-docs-development.zohostratus.in/images/tutorials/workdrivesync/catalyst-publisher-stratus-event-object-upload.webp) 5. Choose your target bucket in the **Additional Settings** and click **Done**. ![Select target bucket and setup additional settings](https://catalyst-docs-development.zohostratus.in/images/tutorials/workdrivesync/additional-settings-pop-up-workdrive-sync.webp) 6. Click **Choose Target** and name your target. ![Choose Target and set target name](https://catalyst-docs-development.zohostratus.in/images/tutorials/workdrivesync/choose-target-workdrive-sync.webp) 7. Under Consumer Type, select the Event Function we created earlier using the CLI. ![Select event function](https://catalyst-docs-development.zohostratus.in/images/tutorials/workdrivesync/select-event-function-target.webp) 8. Set the **Dispatch Policy** to **Instant** and check on **Send as Single Event**. ![Select dispatch policy](https://catalyst-docs-development.zohostratus.in/images/tutorials/workdrivesync/single-select-event-workdrive.webp) 9. Save the target configurations, then click **Save** again to finalize the rule. ![Save the rule](https://catalyst-docs-development.zohostratus.in/images/tutorials/workdrivesync/click-save-rule-workdrive-sync.webp) 10. Repeat the above steps for the **Object Delete** event with the same configurations. Once you have created the Rule for **Object Delete**, the Rule setup is complete. You can now proceed to test the application. -------------------------------------------------------------------------------- title: "Test the application" description: "Build a web app that syncs file uploads and deletions between Catalyst Stratus and Zoho WorkDrive through APIs, using Catalyst functions and Event Listener." last_updated: "2026-11-04T10:10:44.000Z" source: "https://docs.catalyst.zoho.com/en/tutorials/workdrivesync/java/test-application/" service: "All Services" related: - Serve CLI Resources (/en/cli/v1/serve-resources/introduction) - Web Client Hosting (/en/cloud-scale/help/web-client-hosting/introduction) -------------------------------------------------------------------------------- # Test the Application We can now test the client application to check if it works fine. Navigate to **Web Client Hosting** under _Host and Manage_ to access the [web client URL](https://docs.catalyst.zoho.com/en/cloud-scale/help/web-client-hosting/introduction). Click the URL to open it. This will open the client app in your browser. You will initially be redirected to the login page. If you had configured a sign-up action on your own, you can sign up first, then log in to the application. Otherwise, you can log in using the Zoho sign-in icon. ![catalyst_workdrive_test_1](https://catalyst-docs-development.zohostratus.in/images/tutorials/workdrivesync/sign-in-page-workdrive-sync-app.webp) You will be redirected to the permissions page. Accept the permissions requested by the app to access your Zoho account details. ![catalyst_workdrive_test_2](https://catalyst-docs-development.zohostratus.in/images/tutorials/workdrivesync/zoho-login-accept-workdrive.webp) You will then be redirected back to the application. You can upload a file by clicking **Upload File**. ![catalyst_workdrive_test_3](https://catalyst-docs-development.zohostratus.in/images/tutorials/workdrivesync/catalyst-file-valut-landing-page.webp) Upload any file from your local system. The client will display the uploaded file, along with its details including the _Stratus Upload_ status and _WorkDrive Sync_ status. The [_WorkDrive Sync_ status]() will change from "Pending" to "Uploaded" after the file is uploaded to the WorkDrive folder. ![catalyst_workdrive_test_4](https://catalyst-docs-development.zohostratus.in/images/tutorials/workdrivesync/stratus-upload-successful.webp) You will find the file uploaded in the Stratus of your project in the _WorkDrive_ folder. ![uploaded-file](https://catalyst-docs-development.zohostratus.in/images/tutorials/workdrivesync/stratus-upload-sucessful-work-drive-sync.webp) Similarly, a row will be created in the Data Store table and its details, including the File ID of the file in the WorkDrive folder, will be written to the table after the sync is completed. You can check this from the _Data View_ section. ![updated-row](https://catalyst-docs-development.zohostratus.in/images/tutorials/workdrivesync/data-store-successful-message.webp) You can also check the Signal's execution details from the Processed Events section of the _WorkDriveSync_ rule. You can view the logs of the event function, by clicking **View Logs** to open [Catalyst Logs](https://docs.catalyst.zoho.com/en/devops/help/logs/introduction). Open the WorkDrive folder _CatalystFileSync_ to verify if the uploaded file is present there. ![catalyst_workdrive_test_8](https://catalyst-docs-development.zohostratus.in/images/tutorials/workdrivesync/workdrive-upload-successful.webp) If the file upload is successful, you can test the file download and delete actions from the client. Click the **Download File** icon. This will initiate the download to your local system. Now, click the **Delete File** icon. ![catalyst_workdrive_test_9](https://catalyst-docs-development.zohostratus.in/images/tutorials/workdrivesync/download-delete-option-workdrive-sync.webp) This will open a confirmation pop-up. Click **Delete**. ![catalyst_workdrive_test_10](https://catalyst-docs-development.zohostratus.in/images/tutorials/workdrivesync/delete-popup-workdrive-sync.webp) The file will be deleted from the Stratus, and the record will be deleted from the Data Store. This action will also be synchronized with the WorkDrive folder. You can open the *CatalystFileSync* folder to verify. ![catalyst_workdrive_test_12](https://catalyst-docs-development.zohostratus.in/images/tutorials/workdrivesync/deleted-workdrive-folder.webp) You can log out of the application by clicking **Logout** from the client. WorkDrive Sync app is now functional and will work without any errors. ### NodeJS -------------------------------------------------------------------------------- title: "Introduction" description: "Build a web app that syncs file uploads and deletions between Catalyst Stratus and Zoho WorkDrive through APIs, using Catalyst functions and Event Listener." last_updated: "2026-11-04T10:10:44.000Z" source: "https://docs.catalyst.zoho.com/en/tutorials/workdrivesync/nodejs/introduction/" service: "All Services" related: - Project Directory Structure (/en/cli/v1/project-directory-structure/introduction/) - Java SDK (/en/sdk/java/v1/overview/) - Node.js SDK (/en/sdk/nodejs/v2/overview/) - Zoho WorkDrive (https://www.zoho.com/workdrive/) -------------------------------------------------------------------------------- # WorkDrive Sync App # Introduction This tutorial will help you build a web application that can synchronize actions between the [Stratus](https://docs.catalyst.zoho.com/en/cloud-scale/help/stratus/introduction) and [Zoho WorkDrive](https://www.zoho.com/workdrive/). WorkDrive is a cloud-based file management tool that enables you to create a shared space to store, organize, and manage files with your organization. This tutorial enables synchronization between two folders in your project's bucket present in Stratus and in your WorkDrive, respectively. You can upload the files through the client application that you will build in this tutorial. The file will be uploaded in the required Bucket, then made available in WorkDrive automatically. This synchronization is automated through an event-driven architecture implemented using Catalyst Signals. The client application also allows you to download or delete the files that were uploaded. The delete action will remove the file from both Stratus and the WorkDrive. This connection between Catalyst and WorkDrive is established using [OAuth 2.0 authentication protocol](https://docs.catalyst.zoho.com/en/api/oauth2/overview-and-terminology/#OverviewandTerminology). We will configure a client in the Zoho API console, and generate the necessary OAuth tokens to authenticate the access to WorkDrive. The client application will look like this: ![catalyst_workdrive_client](https://catalyst-docs-development.zohostratus.in/images/tutorials/workdrivesync/work-drive-sync-app-landing-page.webp) > **Note:** The synchronization with the WorkDrive folder might sometimes take a little while if many events are queued in the Event Listener to be processed. The WorkDrive Sync application uses the following Catalyst Components: 1. [**Catalyst Serverless**](https://docs.catalyst.zoho.com/en/serverless/getting-started/introduction/): - **[Event Function](https://docs.catalyst.zoho.com/en/serverless/help/functions/event-functions):** The Event function can be coded either in the **Java or Node.js** platform. This function is triggered by the event listener each time a file upload takes place in Stratus. It fetches the event data and the uploaded file, and posts the file to WorkDrive through an API. 2. [**Catalyst CloudScale**](https://docs.catalyst.zoho.com/en/cloud-scale/getting-started/introduction/): - **[Data Store](https://docs.catalyst.zoho.com/en/cloud-scale/help/data-store/introduction):** Stores the metadata of the files that are uploaded through the client, such as the file name, size, and WorkDrive sync status. These details are fetched and displayed in the client app. - **[ZCQL](https://docs.catalyst.zoho.com/en/cloud-scale/help/zcql/introduction):** To fetch, update, and delete data from the Data Store table through querying. - **[Stratus](https://docs.catalyst.zoho.com/en/cloud-scale/help/stratus/introduction):** We will create a Bucket in Stratus and upload files into it through the client application. - **[Authentication](https://docs.catalyst.zoho.com/en/cloud-scale/help/authentication/introduction):** Implements authentication in the client app. We will add a Zoho sign-in option in the login page, in addition to the standard login option. - **Web Client:** This is the front end of the application that is hosted on Catalyst through [web client hosting](https://docs.catalyst.zoho.com/en/cloud-scale/help/web-client-hosting/introduction). 3. [**Signals**](https://docs.catalyst.zoho.com/en/signals/): Listens for the file upload event in Stratus and triggers the associated Event function upon its occurrence. It will then pass the event data to the function, which then enables it to synchronize the data with WorkDrive. We will use the Catalyst web console and the Catalyst Command Line Interface (CLI) to build this application. You will be given the code for the files to be included in the function and client components in this tutorial. You will just have to copy the code provided here and paste it into the appropriate files as directed. ### Application Architecture The WorkDrive Sync Application's architecture is depicted below: ![](https://catalyst-docs-development.zohostratus.in/images/tutorials/workdrivesync/workdrive-sync-app-arch.webp) -------------------------------------------------------------------------------- title: "Prerequisites" description: "Build a web app that syncs file uploads and deletions between Catalyst Stratus and Zoho WorkDrive through APIs, using Catalyst functions and Event Listener." last_updated: "2026-11-04T10:10:44.000Z" source: "https://docs.catalyst.zoho.com/en/tutorials/workdrivesync/nodejs/prerequisites/" service: "All Services" related: - Catalyst CLI Documentation (/en/cli/v1/cli-command-reference) -------------------------------------------------------------------------------- # Prerequisites Before you begin building the application, you must have the following prerequisites installed on your system: 1. **Catalyst CLI** Catalyst CLI contains a host of tools that enable you to initialize, develop, test, and deploy the components of your application from your local machine. We will be working with Catalyst CLI in this tutorial. You must perform these actions: 1. **Install Catalyst CLI:** Catalyst CLI is installed through NPM. You must therefore have NPM and Node.js installed on your system before you install the CLI. Refer to the [**Install Catalyst CLI help page**](https://docs.catalyst.zoho.com/en/getting-started/installing-catalyst-cli) for details on the pre-requisites and the steps to install it. 2. **Login Catalyst CLI:** After you install Catalyst CLI, you must authenticate the CLI with your Catalyst account before using it. Refer to the [**CLI Login help page**](https://docs.catalyst.zoho.com/en/cli/v1/login/login-from-cli/) for the steps to login from Catalyst CLI and the various options available for it. 2. **Zoho WorkDrive Account** You must have a Zoho WorkDrive account of the same organization as your Catalyst account to synchronize files between them. The WorkDrive account can be of any tier or pricing plans, or even a free account. You will create a folder in WorkDrive in this tutorial, and associate that folder with this application. [Sign up for or sign in to Zoho WorkDrive](https://www.zoho.com/workdrive/) before you configure the folder. 3. **Any REST API Client Tool** After you create the required credentials for the WorkDrive API, you will have to generate a Refresh Token to configure in the functions for the WorkDrive connector. This Refresh Token can be fetched by sending a request to Zoho OAuth with the necessary credentials using a REST API client. You can install or access any API client such as Postman, SoapUI, or RapidAPI. 4. **Any IDE tool for Functions and Client Code Development** You can use any IDE to work with the function and client code. Some popular choices include Visual Studio Code, IntelliJ IDEA, Eclipse, and Sublime Text. Download and install an IDE of your choice in your system. > If you are a Visual Studio Code IDE user, you can install the **Catalyst Tools** extension, and use your IDE itself in place of the CLI. You can find more details about the Catalyst VS Code extension from this [help section](https://docs.catalyst.zoho.com/en/catalyst-extensions/vs-code-extension/introduction/). -------------------------------------------------------------------------------- title: "Create a project" description: "Build a web app that syncs file uploads and deletions between Catalyst Stratus and Zoho WorkDrive through APIs, using Catalyst functions and Event Listener." last_updated: "2026-11-04T10:10:44.000Z" source: "https://docs.catalyst.zoho.com/en/tutorials/workdrivesync/nodejs/create-project/" service: "All Services" related: - Project Directory (/en/cli/v1/project-directory-structure/introduction) - Set up Catalyst Projects (/en/getting-started/catalyst-projects) -------------------------------------------------------------------------------- # Create a Project Let's [create a Catalyst project](https://docs.catalyst.zoho.com/en/getting-started/catalyst-projects) from the Catalyst console. 1. Log in to the [Catalyst console](https://console.catalyst.zoho.com/baas/index) and click **Create a new Project**. ![create-new-project](https://catalyst-docs-development.zohostratus.in/images/tutorials/workdrivesync/create-new-project.webp) 2. Enter the project's name as "**WorkDriveSync**" in the pop-up window. ![project-name](https://catalyst-docs-development.zohostratus.in/images/tutorials/workdrivesync/project-name.webp) 3. Click **Create**. Your project will be created and opened. ![open-project](https://catalyst-docs-development.zohostratus.in/images/tutorials/workdrivesync/open-project.webp) -------------------------------------------------------------------------------- title: "Create a table" description: "Build a web app that syncs file uploads and deletions between Catalyst Stratus and Zoho WorkDrive through APIs, using Catalyst functions and Event Listener." last_updated: "2026-11-04T10:10:44.000Z" source: "https://docs.catalyst.zoho.com/en/tutorials/workdrivesync/nodejs/create-table/" service: "All Services" related: - Data Store (/en/cloud-scale/help/data-store/introduction) -------------------------------------------------------------------------------- # Create a Table in the Data Store Let's now create a table in the Data Store in the _WorkDriveSync_ project. This table stores the details of the files that are uploaded through the client application. This data is fetched to be displayed in the client, and is updated or deleted whenever the corresponding actions are performed. To create a table: 1. Navigate to **Catalyst CloudScale** service in the console. ![cloudscale-service](https://catalyst-docs-development.zohostratus.in/images/tutorials/workdrivesync/cloud-scale-landing-page-work-drive-sync.webp) 2. Navigate to the **Catalyst CloudScale DataStore** component and click **Create a new Table**. ![create-new-table](https://catalyst-docs-development.zohostratus.in/images/tutorials/workdrivesync/cloud-scale-data-store-create-table.webp) 3. Enter the table's name as "**FileVault**" and click **Create**. ![table-name](https://catalyst-docs-development.zohostratus.in/images/tutorials/workdrivesync/table-name-workdrive-sync-app.webp) > **Note:** Ensure that you enter the name exactly as instructed, because the application's code contains the same name. ### Create Columns Next, let's create columns in the table to store the metadata of the files. 1. Click **New Column** in the _Schema View_ section for the table. 2. Enter the column's name as "**FileName**". Select the data type as **Var Char** with maximum size of **255**.![fileid-column](https://catalyst-docs-development.zohostratus.in/images/tutorials/workdrivesync/file-name-column-creation-work-drive-sync.webp) You can learn about the various data types supported by Catalyst and the other properties of a column from the [Data Store help page](https://docs.catalyst.zoho.com/en/cloud-scale/help/data-store/columns). > **Note:** Ensure that you enter the name exactly as instructed, because the application's code contains the same name. 3. Click **Create**. You must now **create 5 other columns** in the same way. The table must contain 6 columns in total with the following mandatory properties:
Column Name Data Type Max Length
StratusUpload Var Char 255
WorkDriveSync Var Char 255
UploadedTime Var Char 255
FileSize Int -
WorkDriveFileID Text -
Create these columns and configure the specified values. You can ignore the other properties of the columns. The columns will be created and listed in the Schema View section. ![all-columns](https://catalyst-docs-development.zohostratus.in/images/tutorials/workdrivesync/table-created-data-store-workdrive-sync.webp) #### Configure Scopes and Permissions Catalyst Data Store enables you to configure scopes and permissions for accessing each table by end users based on their [user roles](https://docs.catalyst.zoho.com/en/cloud-scale/help/authentication/user-management/users/introduction/). Because this application involves viewing, inserting, updating, and deleting rows from this table, we must enable all these permissions for the role _App User_. This will enable all authenticated users to perform these actions through the client application. They will be enabled for the role _App Administrator_ by default. Click the **Scopes & Permissions** tab, then **enable all permissions** for _App User_. ![scopes](https://catalyst-docs-development.zohostratus.in/images/tutorials/workdrivesync/table-permissions-workdrive-sync-app.webp) -------------------------------------------------------------------------------- title: "Enable Zoho sign-in" description: "Build a web app that syncs file uploads and deletions between Catalyst Stratus and Zoho WorkDrive through APIs, using Catalyst functions and Event Listener." last_updated: "2026-11-04T10:10:44.000Z" source: "https://docs.catalyst.zoho.com/en/tutorials/workdrivesync/nodejs/enable-zoho-sign-in/" service: "All Services" related: - Authentication (/en/cloud-scale/help/authentication/introduction) -------------------------------------------------------------------------------- # Enable Zoho Sign-in The WorkDrive Sync app contains a login page where you must sign in with valid credentials to access the app, and upload and sync files. You can implement a signup functionality for this app by yourself, if needed. Otherwise, you can also integrate the Zoho sign-in feature that will enable you to sign in to the client application directly using your Zoho account. > **Note:** As mentioned in the prerequisites, you must have a Zoho WorkDrive account of the same organization as your Catalyst account to sign in with your Zoho account credentials. To configure Zoho sign-in for the WorkDrive Sync app from the console: 1. Navigate to **Authentication** under the **Security & Identity** section, click **Setup** in the **Native Catalyst Authentication** tab. ![select-native-auth](https://catalyst-docs-development.zohostratus.in/images/tutorials/workdrivesync/work-drive-sync-app-authentication.webp) 2. Select **Embedded Authentication**. Click **Next**. ![select-embedded-auth](https://catalyst-docs-development.zohostratus.in/images/tutorials/workdrivesync/embedded-authentication-setup-workdrive.webp) 3. In the Authentication Setup page, enable **Public Signup** and click **Zoho**. ![public-signup](https://catalyst-docs-development.zohostratus.in/images/tutorials/workdrivesync/public-signup-authentication-workdrive.webp) 4. In the dialog box that appears, click Yes, proceed. ![enable-popup](https://catalyst-docs-development.zohostratus.in/images/tutorials/workdrivesync/enable-popup.webp) 5. Provide the Client Name as **"WorkDriveSyncApp"** and click **Enable.** ![zoho-client-name](https://catalyst-docs-development.zohostratus.in/images/tutorials/workdrivesync/zoho-client-name.webp) > **Note:** You can enter any name you need. However, please make a note that we will be using **"WorkDriveSyncApp"** as the client name while initializing it in the CLI and while registering it in the Zoho API console. 6. We will not be configuring any additional authentication settings for our application. Click **Finish**. ![additional-settings](https://catalyst-docs-development.zohostratus.in/images/tutorials/workdrivesync/finish-authentication-workdrive.webp) Zoho sign-in will now be available for the client application. -------------------------------------------------------------------------------- title: "Create a Bucket in Stratus" description: "Build a web app that syncs file uploads and deletions between Catalyst Stratus and Zoho WorkDrive through APIs, using Catalyst functions and Event Listener." last_updated: "2026-11-04T10:10:44.000Z" source: "https://docs.catalyst.zoho.com/en/tutorials/workdrivesync/nodejs/create-bucket/" service: "All Services" related: - Stratus (/en/cloud-scale/help/stratus/introduction) -------------------------------------------------------------------------------- # Create a Bucket in Stratus Let's now create a bucket in Stratus. This folder stores the files that you upload in the client application. We will configure the synchronization between this bucket and a folder in WorkDrive. To create a Bucket: 1. Navigate to **Catalyst CloudScale Stratus** component in the console. Click **Create Bucket**. ![catalyst_workdrive_create_bucket](https://catalyst-docs-development.zohostratus.in/images/tutorials/workdrivesync/catalyst_workdrive_create_bucket.webp) > **Note:** Provide a custom name for your bucket. You will not be able to use same name that provided in the demonstration, as a bucket can only be creted if its name is globally unique. 2. Enter the bucket's name, ensure that the Permission Template is set as Authenticated and click **Create**. ![catalyst_workdrive_authenticated_choice](https://catalyst-docs-development.zohostratus.in/images/tutorials/workdrivesync/create-bucket-stratus.webp) The bucket will be created and displayed in Stratus. ![bucket_created](https://catalyst-docs-development.zohostratus.in/images/tutorials/workdrivesync/bucket_created.webp) #### Configure Permissions Similar to the Data Store, you must enable permissions for object download, upload, and delete to all [users](https://docs.catalyst.zoho.com/en/cloud-scale/help/authentication/user-management/users/introduction/) of the role _App User_. This will allow any authenticated user to upload, download, or delete files from the client. 1. Click on the **Bucket Permissions** tab and click the **Edit Permissions** button. ![permissions_start_edit](https://catalyst-docs-development.zohostratus.in/images/tutorials/workdrivesync/permissions_start_edit.webp) 2. Copy the following JSON and paste it in the Permissions section, and click **Update**. ```json { "rules": [ { "rule_id": "AuthenticatedBucket_Rule1", "condition": { "user": { "auth_type": "authenticated", "zuid": "*" } }, "allowed_actions": [ "GetObject", "PutObject", "DeleteObject" ], "paths": [ "zylkerworkdrivesync1::/*" // replace with your bucket path ], "effect": "allow" } ], "version": "v1" } ``` ![permissions_done](https://catalyst-docs-development.zohostratus.in/images/tutorials/workdrivesync/permissions_done.webp) Stratus is now configured for the application. -------------------------------------------------------------------------------- title: "Create a WorkDrive folder" description: "Build a web app that syncs file uploads and deletions between Catalyst Stratus and Zoho WorkDrive through APIs, using Catalyst functions and Event Listener." last_updated: "2026-11-04T10:10:44.000Z" source: "https://docs.catalyst.zoho.com/en/tutorials/workdrivesync/nodejs/create-workdrive-folder/" service: "All Services" related: - Zoho WorkDrive (https://www.zoho.com/workdrive/) -------------------------------------------------------------------------------- # Create a Folder in WorkDrive You can now access WorkDrive and create a folder there, to associate with this application. 1. Access your [WorkDrive account](https://www.zoho.com/workdrive/). If you had not configured your WorkDrive previously, you can create a team in your organization to collaborate and share resources with or create an individual space. You can learn about using WorkDrive in detail from their [help documentation.](https://www.zoho.com/workdrive/help/) 2. Open the _My Folders_ section in WorkDrive, then click **New**. Select **Folder** from the options. ![catalyst_workdrive_create_workdrive_folder_1](https://catalyst-docs-development.zohostratus.in/images/tutorials/workdrivesync/workdrive-sync-app.webp) 3. Enter the folder's name as "**CatalystFileSync**" and press **Enter**. ![catalyst_workdrive_create_workdrive_folder_2](https://catalyst-docs-development.zohostratus.in/images/tutorials/workdrivesync/workdrive-create-new-folder.webp) The folder will be created and displayed in your WorkDrive repository. WorkDrive is now configured for the application. -------------------------------------------------------------------------------- title: "Create Publisher" description: "Build a web app that syncs file uploads and deletions between Catalyst Stratus and Zoho WorkDrive through APIs, using Catalyst functions and Event Listener." last_updated: "2026-11-04T10:10:44.000Z" source: "https://docs.catalyst.zoho.com/en/tutorials/workdrivesync/nodejs/create-publisher/" service: "All Services" related: - Zoho WorkDrive (https://www.zoho.com/workdrive/) -------------------------------------------------------------------------------- # Add Publisher Let us start by setting up a [**Publisher**](https://docs.catalyst.zoho.com/en/signals/help/publishers/key-aspects/) for our app. This Publisher will listen for any **Stratus Upload/Delete** events and forward them to **Zoho WorkDrive**. Follow these steps to configure the Publisher: 1. Navigate to the **Catalyst Signals** section in the Catalyst Console and click **Start Exploring**. ![Explore Signals](https://catalyst-docs-development.zohostratus.in/images/tutorials/invoice-notifier/explore.webp) 2. Go to **Publishers** and click **Create Publisher**. ![Create a Publisher](https://catalyst-docs-development.zohostratus.in/images/tutorials/invoice-notifier/create-pub.webp) 3. Select **Catalyst Publishers** and click **CloudScale Stratus** from the available Services. You will be redirected to **Info & Details** page. ![Select Zoho Books](https://catalyst-docs-development.zohostratus.in/images/tutorials/workdrivesync/publisher-creation-workdrive-sync-app.webp) 4. From the **Details** section, select the current organization you are working on from the dropdown that shows the list of organizations. After selection, you can find the Publisher Name and API Name gets auto populated based on the selected organization. It can also be modified as per your will. ![Select Zoho Books](https://catalyst-docs-development.zohostratus.in/images/tutorials/workdrivesync/add-publisher-details-org-selection.webp) 5. Select the current project you are working on from the **Project** dropdown list and click **Save**. Your **Catalyst Publisher** is now ready to send the Stratus Upload/Delete events to **Zoho Workdrive**. ![Select Zoho Books](https://catalyst-docs-development.zohostratus.in/images/tutorials/workdrivesync/publisher-creation-complete-workdrive-sync.webp) -------------------------------------------------------------------------------- title: "Initialize the project" description: "Build a web app that syncs file uploads and deletions between Catalyst Stratus and Zoho WorkDrive through APIs, using Catalyst functions and Event Listener." last_updated: "2026-11-04T10:10:44.000Z" source: "https://docs.catalyst.zoho.com/en/tutorials/workdrivesync/nodejs/initialize-project/" service: "All Services" related: - Initialize CLI Resources (/en/cli/v1/initialize-resources/introduction) - Project Directory Structure (/en/cli/v1/project-directory-structure/introduction) -------------------------------------------------------------------------------- # Initialize the Project from the CLI You can now begin working on your Catalyst project from the CLI. The first step is to initialize the project in an empty directory. This will be the home directory of your project, where all of your project files are saved. You can learn more about this from the [Project Directory Structure help page](https://docs.catalyst.zoho.com/en/cli/v1/project-directory-structure/introduction). You can learn about initializing a project in detail from the [CLI help documentation](https://docs.catalyst.zoho.com/en/cli/v1/initialize-resources/introduction). For the WorkDrive Sync app, we will initialize an Event function in the Java or Node.js environment, and the client component. You can later add an Advanced I/O function in the directory after initializing the project with these resources. 1. Create a folder for the project on your local machine and navigate to it from the terminal. 2. Initialize a project by executing the following command from that directory: ```sh catalyst init ``` 3. Select **Client** and **Functions** using the space bar. Press the **Enter** key to initialize. ![catalyst_workdrive_init_1](https://catalyst-docs-development.zohostratus.in/images/tutorials/workdrivesync/catalyst_workdrive_init_1.webp) 4. The CLI will now ask you to associate a Catalyst project with the directory. Associate it with the project that we created earlier from the console. Select **WorkDriveSync** from the list and press **Enter**. ![catalyst_workdrive_init_2](https://catalyst-docs-development.zohostratus.in/images/tutorials/workdrivesync/catalyst_workdrive_init_2.webp) 5. The CLI will initiate the function setup. Select **Event** as the function type. ![catalyst_workdrive_init_3](https://catalyst-docs-development.zohostratus.in/images/tutorials/workdrivesync/catalyst_workdrive_init_3.webp) 6. Select the latest runtime of Node.js based on your requirements as the function stack, and press **Enter**. ![catalyst_workdrive_init_4](https://catalyst-docs-development.zohostratus.in/images/tutorials/workdrivesync/catalyst_workdrive_init_4.webp) 7. Enter "**workdrivesync**" as the package name, "**index.js**" as the entry point, and your email address as the author and press **Enter** each time. You can press **Enter** to fill the default values. ![](https://catalyst-docs-development.zohostratus.in/images/tutorials/workdrivesync/catalyst_workdrive_init_5.webp) The CLI will prompt the initialization of the Node dependencies. Press **Y** to confirm the installation, and press **Enter** to confirm your choice. The node modules will be installed. > **Note:**Ensure that you enter the package name, or class name and folder name, exactly as instructed, because the application's code contains the same names. 8. The CLI will now begin the client setup process. From the available options, select **Basic web app** and press **Enter**. ![catalyst_workdrive_init_7](https://catalyst-docs-development.zohostratus.in/images/tutorials/workdrivesync/basic-web-app-workdrive-synca-app.webp) 9. When prompted, specify **WorkDriveSyncApp** as the client package name, then press **Enter** to finalize the client setup. ![catalyst_workdrive_init_7](https://catalyst-docs-development.zohostratus.in/images/tutorials/workdrivesync/client-initialize-complete-workdrive-sync.webp) You can enter any name you need. However, you can use the same name that you used while enabling Zoho sign-in to maintain standardization. Your project directory is now set up with the [client directory](https://docs.catalyst.zoho.com/en/cli/v1/project-directory-structure/client-directory) (CATALYST\_CLIENT\_HOME) and the [functions directory](https://docs.catalyst.zoho.com/en/cli/v1/project-directory-structure/functions-directory) (CATALYST\_FUNCTIONS\_HOME) along with configuration files and dependencies. The project directory also contains the `[catalyst.json](https://docs.catalyst.zoho.com/en/cli/v1/project-directory-structure/catalyst-json)` configuration file and a hidden `.catalystrc` file. This is the structure of your project directory. ![catalyst_workdrive_proj_dir_struct_java](https://catalyst-docs-development.zohostratus.in/images/tutorials/workdrivesync/project-directory-structure-workdrive-sync-app.webp) -------------------------------------------------------------------------------- title: "Register the client" description: "Build a web app that syncs file uploads and deletions between Catalyst Stratus and Zoho WorkDrive through APIs, using Catalyst functions and Event Listener." last_updated: "2026-11-04T10:10:44.000Z" source: "https://docs.catalyst.zoho.com/en/tutorials/workdrivesync/nodejs/register-client/" service: "All Services" related: - Catalyst API Documentation (/en/api/introduction/overview-and-prerequisites/#OverviewandPrerequisites) -------------------------------------------------------------------------------- # Register the Client Application in Zoho API Console We must now register the client application in the Zoho API console, to generate the following credentials: * **Client ID**: The unique key generated for a registered client * **Client Secret**: The secret value generated for a registered client's Client ID We will use these credentials to generate the following OAuth tokens: * **Grant Token or code:** A temporary token generated using the Client ID and Client Secret in the API console. This is used to fetch the Refresh Token. * **Refresh Token:** A token that can be used to obtain new Access Tokens every time they expire. We will generate this in the REST API client. * **Access Token:** A temporary token that authorizes the requests made to WorkDrive using the API. We need not generate this token, as we will configure a self client for this application in the API console. The Client ID, Client Secret, and the Refresh Token are added in the code of both the functions. These are used to authorize the file posting and deletion operations performed in WorkDrive. The functions use the Refresh Token to automatically fetch a new Access Token each time it expires, enabling a seamless connection between Catalyst and WorkDrive. To register the client application in Zoho API console: 1. Visit the [Zoho API Console](https://api-console.zoho.com/) and click **Get Started** or **Add Client**. 2. Select **Self Client** as the client type. Because both the Catalyst and the WorkDrive accounts are configured in the same organization, a Self Client can be used for this application. ![catalyst_workdrive_api_1](https://catalyst-docs-development.zohostratus.in/images/tutorials/workdrivesync/api-console.webp) 3. Click **Create** in the pop-up box. ![catalyst_workdrive_api_2](https://catalyst-docs-development.zohostratus.in/images/tutorials/workdrivesync/catalyst_workdrive_api_2.webp) The API console will generate and display the Client ID and Client Secret values for the registered client. ![catalyst_workdrive_api_3](https://catalyst-docs-development.zohostratus.in/images/tutorials/workdrivesync/catalyst_workdrive_api_3.webp) 4. Now, click the **Generate Code** tab to generate the Grant Token. ![catalyst_workdrive_api_4](https://catalyst-docs-development.zohostratus.in/images/tutorials/workdrivesync/catalyst_workdrive_api_4.webp) You must add the following scopes: `WorkDrive.files.UPDATE`, `WorkDrive.files.CREATE`. Add a scope description and set a time duration for the validity of the Grant Token. 5. Click **Create**. The Grant Token will be generated for the specified scopes and the time duration. ![catalyst_workdrive_api_5](https://catalyst-docs-development.zohostratus.in/images/tutorials/workdrivesync/catalyst_workdrive_api_5.webp) You will need to copy these values and paste them into the function files in your project directory. We will discuss this in the functions configuration step. -------------------------------------------------------------------------------- title: "Generate the refresh token" description: "Build a web app that syncs file uploads and deletions between Catalyst Stratus and Zoho WorkDrive through APIs, using Catalyst functions and Event Listener." last_updated: "2026-11-04T10:10:44.000Z" source: "https://docs.catalyst.zoho.com/en/tutorials/workdrivesync/nodejs/generate-refresh-token/" service: "All Services" related: - Functions (/en/serverless/help/functions/introduction) -------------------------------------------------------------------------------- # Generate Refresh Token Before we move on to configuring the function and client components, we must first generate the Refresh Token to include in the function code. As mentioned earlier, you can use a REST API client tool of your choice for this purpose. In this tutorial, we will explain this step using the [Postman API](https://www.postman.com/) platform. Access your API client tool and create a new request. You must send the request to the following URL, using the specified HTTP method: * **Request URL:** `https://accounts.zoho.com/oauth/v2/token?` * **Request Method:** POST You must include the following keys and values as the query params in the request: * **`code`:** The Grant Token or the value of code obtained during the [client registration](https://docs.catalyst.zoho.com/en/tutorials/workdrivesync/nodejs/register-client) in the API console * **`client\_id`:** The Client ID that was generated during the client registration * **`client\_secret`:** The Client Secret that was generated during the client registration * **`grant\_type`:** `authorization\_code` (Provide this literal string as the value) Send the request with these parameters to the specified request URL. If the request is successfully processed, the API client will return a response containing these values: `access\_token`, `refresh\_token`, `api\_domain`, `token\_type`, `expires\_in`. We only require the Refresh Token. A screenshot of the Postman API platform is shown below with the request sent and the response received. ![catalyst_workdrive_postman](https://catalyst-docs-development.zohostratus.in/images/tutorials/workdrivesync/catalyst_workdrive_postman.webp) Copy the `refresh\_token` value from the response received. You will need to paste this into the function files in the next step. -------------------------------------------------------------------------------- title: "Configure the Event function" description: "Build a web app that syncs file uploads and deletions between Catalyst Stratus and Zoho WorkDrive through APIs, using Catalyst functions and Event Listener." last_updated: "2026-11-04T10:10:44.000Z" source: "https://docs.catalyst.zoho.com/en/tutorials/workdrivesync/nodejs/configure-event-function/" service: "All Services" related: - Event Functions (/en/serverless/help/functions/event-functions) -------------------------------------------------------------------------------- # Configure the Event Function We will now begin coding the WorkDrive Sync app by configuring the Event function. > **Note:** We will need to code and deploy the application code to the Catalyst remote console before configuring the event listener in the Catalyst console, because we have to associate it with the Event function. The [function directory](https://docs.catalyst.zoho.com/en/cli/v1/project-directory-structure/functions-directory) `functions/workdrivesync` contains: * The `index.js` main function file * The `catalyst-config.json` configuration file * Node modules * `[package.json](https://docs.npmjs.com/files/package.json)` and `[package-lock.json](https://docs.npmjs.com/configuring-npm/package-lock-json.html)` dependency files You can use any IDE to configure the function. ### Install Packages for Node.js The Node.js Event function requires three packages to be installed: [`axios`](https://www.npmjs.com/package/axios), [`form-data`](https://www.npmjs.com/package/form-data), and [`fs`](https://www.npmjs.com/package/fs). #### `axios` `axios` is a promise-based HTTP client that we will use to send asynchronous HTTP requests to the WorkDrive API endpoint to post files. To install `axios`, navigate to the Node function's directory (`functions/workdrivesync`) and execute the following command: ```sh npm install axios ``` This will install the module. ![catalyst_workdrive_npm_axios](https://catalyst-docs-development.zohostratus.in/images/tutorials/workdrivesync/catalyst_workdrive_npm_axios.webp) #### `form-data` We will use `form-data` to upload the file to WorkDrive, after reading it from the event data sent in by the event listener. To install `form-data`, navigate to the Node function's directory (`functions/workdrivesync`) and execute the following command: ```sh npm install form-data ``` This will install the module. ![catalyst_workdrive_npm_formdata](https://catalyst-docs-development.zohostratus.in/images/tutorials/workdrivesync/catalyst_workdrive_npm_formdata.webp) #### `fs` The `fs` module enables us to access the physical file system and create a read stream to fetch the file from the event data. To install `fs`, navigate to the Node function's directory (`functions/workdrivesync`) and execute the following command: ```sh npm install fs ``` This will install the module. ![catalyst_workdrive_npm_fs](https://catalyst-docs-development.zohostratus.in/images/tutorials/workdrivesync/catalyst_workdrive_npm_fs.webp) #### `qs` The `qs` module helps with parsing and stringify URL query strings when working with APIs or data that need to be sent or received through query parameters. To install `qs`, navigate to the Node function's directory (`functions/workdrivesync`) and execute the following command: ```sh npm install qs ``` Information about these packages will also be updated in the [`package.json`](https://docs.npmjs.com/files/package.json) file of the Event function. ```json { "name": "workdrivesync", "version": "1.0.0", "main": "index.js", "author": "emma@zylker.com", "dependencies": { "axios": "^1.13.1", "form-data": "^4.0.4", "fs": "^0.0.1-security", "qs": "^6.14.0", "zcatalyst-sdk-node": "latest" } } ``` You can now add the code in the function file. Copy the code below and paste it in `index.js` located in `functions/workdrivesync` directory and save the file. > **Note:** Please go through the code in this section to make sure you fully understand it. We will discuss the function and client code, after you configure the client. **index.js** ```javascript const catalyst = require('zcatalyst-sdk-node'); const axios = require('axios').default; const FormData = require('form-data'); const fs = require('fs'); const credentials = { WorkDriveConnector: { client_id: '{{YOUR_CLIENT_ID}}', //Enter your Client ID client_secret: '{{YOUR_CLIENT_SECRET}}', //Enter your Client Secret auth_url: 'https://accounts.zoho.com/oauth/v2/token', refresh_url: 'https://accounts.zoho.com/oauth/v2/token', refresh_token: '{{YOUR_REFRESH_TOKEN}}' //Enter your Refresh Token } } const FOLDERID = '5m0kq28f2efdbc2464a37866cec7d6580cb47'; //Enter your WorkDrive Folder ID module.exports = async (event, context) => { try { const eventData = event.getRawData().events[0]; const eventType = eventData.event_config.api_name; const fileName = eventData.data.object_details[0].key; const app = catalyst.initialize(context); const query = `SELECT ROWID, WorkDriveFileID FROM FileVault where FileName='${fileName}'`; const queryResult = await app.zcql().executeZCQLQuery(query); console.log(queryResult); const ROWID = queryResult[0].FileVault.ROWID; const accessToken = await app.connection(credentials).getConnector('WorkDriveConnector').getAccessToken(); if (eventType === "stratus_object_uploaded") { const stratus = app.stratus(); const bucket = stratus.bucket("file-vault-demo"); // Replace your bucket name let fileStream = await bucket.getObject(fileName); const chunks = []; for await (const chunk of fileStream) { chunks.push(chunk); } const buffer = Buffer.concat(chunks); fs.writeFileSync(__dirname + '/' + fileName, buffer); var data = new FormData(); data.append('content', fs.createReadStream(__dirname + '/' + fileName)); const config = { method: 'POST', url: `https://workdrive.zoho.com/api/v1/upload?filename=${fileName}&override-name-exist=true&parent_id=${FOLDERID}`, headers: { 'Authorization': `Zoho-oauthtoken ${accessToken}`, ...data.getHeaders() }, data: data }; const response = await axios(config); console.log(response); const WorkDriveSync = 'Uploaded'; const body = response.data; const WorkDriveFileID = body.data[0].attributes.resource_id; const catalystTable = app.datastore().table('FileVault'); await catalystTable.updateRow({ WorkDriveFileID, WorkDriveSync, ROWID }); } else if (eventType === "stratus_object_deleted") { const WorkDriveFileID = queryResult[0].FileVault.WorkDriveFileID; const config = { method: "PATCH", url: `https://workdrive.zoho.com/api/v1/files/${WorkDriveFileID}`, headers: { Authorization: `Zoho-oauthtoken ${accessToken}`, Accept: "application/vnd.api+json", }, data: JSON.stringify({ data: { attributes: { status: "51", }, type: "files", }, }), }; console.log(config); await axios(config); const table = app.datastore().table("FileVault"); await table.deleteRow(ROWID); } context.closeWithSuccess(); } catch (err) { console.log(err); context.closeWithFailure(); } }; ``` > **Note:** After you copy and paste this code in your function file, ensure that you provide the following values in it as indicated by the comments: * **[Client ID](https://docs.catalyst.zoho.com/en/tutorials/workdrivesync/nodejs/register-client)** * **[Client Secret](https://docs.catalyst.zoho.com/en/tutorials/workdrivesync/nodejs/register-client)** * The Zoho service links used in this code (for example, accounts.zoho.com, workdrive.zoho.com, etc.) are Data Center (DC) specific. Replace .com with your corresponding Zoho data center domain. Ensure that all URLs in the code use the same DC domain to avoid authentication or API errors. * **[Refresh Token](https://docs.catalyst.zoho.com/en/tutorials/workdrivesync/nodejs/generate-refresh-token)** * [WorkDrive Folder ID](https://docs.catalyst.zoho.com/en/tutorials/workdrivesync/nodejs/create-workdrive-folder): You can obtain this value by opening the [folder you created in WorkDrive earlier](https://docs.catalyst.zoho.com/en/tutorials/workdrivesync/nodejs/create-workdrive-folder). The URL contains the Folder ID of the WorkDrive folder. Copy the ID displayed after `folders/` from the URL. ![catalyst_workdrive_folderid](https://catalyst-docs-development.zohostratus.in/images/tutorials/workdrivesync/workdrive-folder-id-through-link.webp) The Event function is now configured. -------------------------------------------------------------------------------- title: "Configure the client directory" description: "Build a web app that syncs file uploads and deletions between Catalyst Stratus and Zoho WorkDrive through APIs, using Catalyst functions and Event Listener." last_updated: "2026-11-04T10:10:44.000Z" source: "https://docs.catalyst.zoho.com/en/tutorials/workdrivesync/nodejs/configure-client-directory/" service: "All Services" related: - Client Directory Structure (/en/cli/v1/project-directory-structure/client-directory) -------------------------------------------------------------------------------- # Configure the Client Directory Let's now configure the client component. The [client directory](https://docs.catalyst.zoho.com/en/cli/v1/project-directory-structure/client-directory) contains: * The `index.html` file that contains the HTML code for the frontend application * The `main.css` file that contains the CSS code * The `main.js` file that contains the JavaScript code * The `client-package.json` configuration file We will be coding `index.html`, `main.js` and `main.css`. > **Note:** Please go through the code in this section to make sure you fully understand it. We will discuss the code at the end of this section. Copy the code below and paste it in the respective files located in the `client/` directory of your project using an IDE and save the files. **index.html** ```xml <!DOCTYPE html> <html lang="en"> <head> <meta charset="UTF-8"> <meta name="viewport" content="width=device-width, initial-scale=1.0"> <title>Catalyst File Vault</title> <script src="https://cdn.tailwindcss.com"> </script> <link rel="stylesheet" href="main.css"> </head> <body class="min-h-screen bg-gradient-to-br from-[#DCE7FF] to-blue-100 text-gray-800 flex items-center justify-center p-4"> <main class="w-full max-w-6xl"> <div class="bg-white p-6 rounded-lg shadow-2xl border border-blue-100 animate-card-fade-in-scale"> <div class="flex flex-col sm:flex-row items-center justify-between mb-6 pb-4 border-b border-gray-200"> <button id="logout-button" class="bg-transparent border-2 border-red-500 text-red-600 hover:bg-red-100 hover:text-red-700 font-semibold py-2 px-5 rounded-full shadow hover:shadow-lg transition-all duration-300 flex items-center justify-center text-sm order-2 sm:order-1 mt-4 sm:mt-0"> <svg xmlns="http://www.w3.org/2000/svg" class="h-5 w-5 mr-2" viewBox="0 0 24 24" fill="none" stroke="currentColor" stroke-width="2" stroke-linecap="round" stroke-linejoin="round"> <path d="M9 21H5a2 2 0 0 1-2-2V5a2 2 0 0 1 2-2h4"> </path> <polyline points="17 17 22 12 17 7"> </polyline> <line x1="22" y1="12" x2="12" y2="12"> </line> </svg> LOGOUT </button> <h1 class="text-4xl sm:text-5xl font-extrabold text-blue-700 text-center flex-grow order-1 sm:order-2">Catalyst File Vault</h1> <button id="upload-button" class="bg-transparent border-2 border-green-500 text-green-600 hover:bg-green-100 hover:text-green-700 font-semibold py-2 px-5 rounded-full shadow hover:shadow-lg transition-all duration-300 flex items-center justify-center text-sm order-3 sm:order-3 mt-4 sm:mt-0"> <svg xmlns="http://www.w3.org/2000/svg" class="h-5 w-5 mr-2" viewBox="0 0 24 24" fill="none" stroke="currentColor" stroke-width="2" stroke-linecap="round" stroke-linejoin="round"> <path d="M21 15v4a2 2 0 0 1-2 2H5a2 2 0 0 1-2-2v-4"> </path> <polyline points="17 8 12 3 7 8"> </polyline> <line x1="12" y1="3" x2="12" y2="15"> </line> </svg> UPLOAD FILE </button> <input type="file" id="file-input" class="hidden"> </div> <div class="overflow-x-auto"> <table class="min-w-full bg-white border border-gray-200 rounded-lg overflow-hidden"> <thead> <tr class="table-header-bg text-sm uppercase tracking-wider"> <th class="py-3 px-4 text-left font-bold">File Name</th> <th class="py-3 px-4 text-left font-bold">Uploaded Time</th> <th class="py-3 px-4 text-left font-bold">File Size</th> <th class="py-3 px-4 text-left font-bold">Stratus Upload</th> <th class="py-3 px-4 text-left font-bold">WorkDrive Sync</th> <th class="py-3 px-4 text-center font-bold">Download File</th> <th class="py-3 px-4 text-center font-bold">Delete File</th> </tr> </thead> <tbody id="file-table-body" class="divide-y divide-gray-100"> <tr id="loading-row"> <td colspan="7" class="py-6 text-center"> <div class="flex flex-col items-center justify-center"> <div class="animate-spin-custom rounded-full h-10 w-10 border-t-4 border-b-4 border-[#0059E9] mb-3"> </div> <p class="text-gray-500">Loading files...</p> </div> </td> </tr> <tr id="no-files-row" class="hidden"> <td colspan="7" class="py-16 text-center bg-blue-50/50 rounded-b-lg"> <div class="flex flex-col items-center justify-center text-gray-700"> <svg xmlns="http://www.w3.org/2000/svg" class="h-20 w-20 text-blue-500 mb-4" viewBox="0 0 24 24" fill="none" stroke="currentColor" stroke-width="1.5" stroke-linecap="round" stroke-linejoin="round"> <path d="M14.5 2H6a2 2 0 0 0-2 2v16a2 2 0 0 0 2 2h12a2 2 0 0 0 2-2V7.5L14.5 2z"> </path> <polyline points="14 2 14 8 20 8"> </polyline> <line x1="12" y1="18" x2="12" y2="12"> </line> <line x1="9" y1="15" x2="15" y2="15"> </line> </svg> <p class="text-3xl font-extrabold mb-2 text-blue-800">No files here yet!</p> <p class="text-lg text-gray-600 mt-4">Your vault is empty. Click the 'Upload File' button in the top right to add your first file!</p> </div> </td> </tr> </tbody> </table> </div> </div> </main> <div id="message-overlay" class="message-overlay hidden"> <div class="message-box"> <p id="message-text" class="text-lg font-semibold mb-4"> </p> <button id="message-close-button" class="px-4 py-2 bg-blue-500 text-white rounded hover:bg-blue-600">Close</button> </div> </div> <script src="https://static.zohocdn.com/catalyst/sdk/js/4.6.2/catalystWebSDK.js"> </script> <script src="/__catalyst/sdk/init.js"> </script> <script src="main.js" defer> </script> </body> </html> ``` **main.css** ```css @keyframes spin { from { transform: rotate(0deg); } to { transform: rotate(360deg); } } .animate-spin-custom { animation: spin 1s linear infinite; } body { font-family: 'Inter', sans-serif; } .table-header-bg { background-image: linear-gradient(to right, #DBEAFE, #BFDBFE); color: #1E40AF; } #file-table-body tr:nth-child(even) { background-color: #F9FAFB; } @keyframes cardFadeInScale { from { opacity: 0; transform: scale(0.98); } to { opacity: 1; transform: scale(1); } } .animate-card-fade-in-scale { animation: cardFadeInScale 0.8s ease-out forwards; animation-delay: 0.2s; } .message-overlay { position: fixed; top: 0; left: 0; width: 100%; height: 100%; background-color: rgba(0, 0, 0, 0.5); display: flex; align-items: center; justify-content: center; z-index: 1000; } .message-box { background-color: white; padding: 2rem; border-radius: 0.5rem; box-shadow: 0 4px 6px rgba(0, 0, 0, 0.1); text-align: center; max-width: 400px; width: 90%; } ``` **main.js** ```javascript const bucket_name = "file-vault"; // Replace with your actual bucket name const loginURL = "https://p1-807759706.development.catalystserverless.com/__catalyst/auth/login"; // Replace your login URL document.addEventListener('DOMContentLoaded', async () => { const fileTableBody = document.getElementById('file-table-body'); const loadingRow = document.getElementById('loading-row'); const noFilesRow = document.getElementById('no-files-row'); const logoutButton = document.getElementById('logout-button'); const uploadButton = document.getElementById('upload-button'); const fileInput = document.getElementById('file-input'); const messageOverlay = document.getElementById('message-overlay'); const messageText = document.getElementById('message-text'); const messageCloseButton = document.getElementById('message-close-button'); async function checkSignInStatus() { let userIsActuallySignedIn = false; try { await catalyst.auth.isUserAuthenticated(); userIsActuallySignedIn = true; console.log("User is signed in."); } catch (err) { console.log("User not signed in:", err); userIsActuallySignedIn = false; } try { if (!userIsActuallySignedIn) { fileTableBody.innerHTML = ` Error: Not signed in. Redirecting to login... `; window.location.href = loginURL; } } catch (error) { console.error("Failed to redirect:", error); } } function showMessage(text, isError = false) { messageText.textContent = text; if (isError) { messageText.classList.add('text-red-600'); messageText.classList.remove('text-gray-800'); } else { messageText.classList.add('text-gray-800'); messageText.classList.remove('text-red-600'); } messageOverlay.classList.remove('hidden'); } function hideMessage() { messageOverlay.classList.add('hidden'); } messageCloseButton.addEventListener('click', hideMessage); function createFileStatusBadge(status) { let bgColorClass, textColorClass, dotColorClass; switch (status) { case 'Uploaded': bgColorClass = 'bg-green-100'; textColorClass = 'text-green-800'; dotColorClass = 'text-green-400'; break; case 'Deleted': bgColorClass = 'bg-gray-200'; textColorClass = 'text-gray-700'; dotColorClass = 'text-gray-500'; break; case 'Failed': bgColorClass = 'bg-red-100'; textColorClass = 'text-red-800'; dotColorClass = 'text-red-400'; break; default: bgColorClass = 'bg-yellow-100'; textColorClass = 'text-yellow-800'; dotColorClass = 'text-yellow-400'; } return ` ${status} `; } function createFileRow(file) { const row = document.createElement('tr'); row.classList.add('hover:bg-blue-50', 'transition-colors', 'duration-150'); row.dataset.rowId = file.ROWID; row.dataset.fileName = file.FileName; const fileSizeFormatted = file.FileSize ? (file.FileSize / 1024).toFixed(2) + ' KB' : 'N/A'; const uploadedTimeFormatted = file.UploadedTime || 'N/A'; const isActionDisabled = file.StratusUpload === 'Deleted' || file.StratusUpload === 'Failed'; const disabledClass = isActionDisabled ? 'opacity-50 cursor-not-allowed' : ''; const downloadButtonState = isActionDisabled ? 'disabled' : ''; const deleteButtonState = isActionDisabled ? 'disabled' : ''; row.innerHTML = ` ${file.FileName} ${uploadedTimeFormatted} ${file.FileSize ? (file.FileSize / 1024).toFixed(2) + ' KB' : 'N/A'} ${createFileStatusBadge(file.StratusUpload)} ${createFileStatusBadge(file.WorkDriveSync)} `; return row; } logoutButton.addEventListener('click', async () => { console.log('Logging out...'); showMessage('Logging out...', false); try { await catalyst.auth.signOut(loginURL); } catch (error) { console.error('Logout failed:', error); showMessage('Logout failed. Please try again.', true); } }); uploadButton.addEventListener('click', () => { fileInput.click(); }); fileInput.addEventListener('change', async (event) => { const file = event.target.files[0]; if (file) { showMessage(`Uploading "${file.name}"...`, false); console.log('Selected file for upload:', file.name, file.type, file.size); let uploadSuccess = false; let rowId = null; try { const table = catalyst.table.tableId('FileVault'); const details = [ { "FileName": file.name, "FileSize": file.size, "StratusUpload": "Pending", "WorkDriveSync": "Pending" } ]; const insertResponse = await table.addRow(details); rowId = insertResponse.content[0].ROWID; const bucket = catalyst.stratus.bucket(bucket_name); const putObject = await bucket.putObject(file.name, file); const putObjectResponse = await putObject.start(); if (putObjectResponse.status !== 200) { throw new Error("Something went wrong!"); } uploadSuccess = true; const date = new Date(); const options = { month: "long", day: "2-digit", year: "numeric", hour: "2-digit", minute: "2-digit", hour12: true, }; const parts = new Intl.DateTimeFormat("en-US", options).formatToParts(date); const lookup = Object.fromEntries(parts.map(p => [p.type, p.value])); const currentTime = `${lookup.month} ${lookup.day}, ${lookup.year} ${lookup.hour}:${lookup.minute} ${lookup.dayPeriod}`; const updateDetails = [ { "UploadedTime": currentTime, "StratusUpload": "Uploaded", "ROWID": rowId } ]; await table.updateRow(updateDetails); } catch (err) { console.error('Error during upload process:', err); if (rowId) { try { const table = catalyst.table.tableId('FileVault'); const row = table.rowId(rowId); await row.delete(); } catch (updateErr) { console.error('Failed to update row status after upload error:', updateErr); } } } if (uploadSuccess) { showMessage(`"${file.name}" uploaded successfully!`, false); fetchFiles(); setTimeout(hideMessage, 1500); } else { showMessage(`Failed to upload "${file.name}". Please check console for details.`, true); setTimeout(hideMessage, 2000); } } event.target.value = null; }); async function fetchFiles() { fileTableBody.innerHTML = ''; loadingRow.classList.remove('hidden'); noFilesRow.classList.add('hidden'); fileTableBody.appendChild(loadingRow); try { const table = catalyst.table.tableId('FileVault'); const response = await table.getPagedRows({}); loadingRow.classList.add('hidden'); if (response.status === 200) { if (response.content && response.content.length > 0) { renderFiles(response.content); noFilesRow.classList.add('hidden'); } else { fileTableBody.innerHTML = ''; noFilesRow.classList.remove('hidden'); fileTableBody.appendChild(noFilesRow); } } else { fileTableBody.innerHTML = ` Error: Failed to load files. ${response.statusText || 'Please check your Catalyst Function.'} `; console.error('Failed to fetch files:', response.statusText); } } catch (error) { loadingRow.classList.add('hidden'); fileTableBody.innerHTML = ` Network Error: Could not connect or retrieve data.

Check console for details.

`; console.error('Error during file fetch:', error); } } function renderFiles(files) { files.forEach(file => { fileTableBody.appendChild(createFileRow(file)); }); } async function downloadFile(fileName) { showMessage(`Preparing to download "${fileName}"...`, false); try { const bucket = catalyst.stratus.bucket(bucket_name); const getObject = await bucket.getObject(fileName); const getObjectResponse = await getObject.start(); const fileBlob = getObjectResponse.content; if (fileBlob) { const blobUrl = URL.createObjectURL(fileBlob); const a = document.createElement('a'); a.href = blobUrl; a.download = fileName; document.body.appendChild(a); a.click(); document.body.removeChild(a); URL.revokeObjectURL(blobUrl); hideMessage(); } else { showMessage(`Failed to retrieve file content for "${fileName}".`, true); setTimeout(hideMessage, 2000); } } catch (error) { console.error('Error during file download:', error); let errorMessage = `Error downloading "${fileName}". Please try again.`; if (error && error.message && error.message.includes("404")) { errorMessage = `File "${fileName}" not found in Stratus.`; } showMessage(errorMessage, true); setTimeout(hideMessage, 3000); } } async function deleteFile(rowId, fileName) { showMessage(`Are you sure you want to delete "${fileName}"? This will remove it from storage and mark it as deleted.`, false); messageCloseButton.textContent = 'Cancel'; const confirmDeleteButton = document.createElement('button'); confirmDeleteButton.textContent = 'Delete'; confirmDeleteButton.className = 'ml-4 px-4 py-2 bg-red-500 text-white rounded hover:bg-red-600'; const originalCloseHandler = messageCloseButton.onclick; messageCloseButton.onclick = () => { hideMessage(); messageCloseButton.textContent = 'Close'; messageCloseButton.onclick = originalCloseHandler; confirmDeleteButton.remove(); }; messageCloseButton.parentNode.appendChild(confirmDeleteButton); confirmDeleteButton.onclick = async () => { hideMessage(); messageCloseButton.textContent = 'Close'; messageCloseButton.onclick = originalCloseHandler; confirmDeleteButton.remove(); showMessage(`Processing deletion for "${fileName}"...`, false); console.log(`Attempting to delete file from Stratus (Name: ${fileName}) and update DB (ROWID: ${rowId})`); let dbUpdateSuccess = false; let stratusDeleteSuccess = false; try { const bucket = catalyst.stratus.bucket(bucket_name); await bucket.deleteObject(fileName); stratusDeleteSuccess = true; } catch (error) { console.error('Error deleting file from Stratus:', error); showMessage(`Failed to remove "${fileName}" from storage.`, true); } try { const table = catalyst.table.tableId('FileVault'); const updateDetails = [ { "ROWID": rowId, "StratusUpload": "Deleted" } ]; await table.updateRow(updateDetails); dbUpdateSuccess = true; } catch (error) { console.error('Error updating Data Store row to "Deleted":', error); if (stratusDeleteSuccess) { showMessage(`File "${fileName}" removed from storage, but failed to mark as deleted in database.`, true); } else { showMessage(`Failed to mark "${fileName}" as deleted in database.`, true); } } if (dbUpdateSuccess && stratusDeleteSuccess) { showMessage(`"${fileName}" removed from storage!`, false); fetchFiles(); setTimeout(hideMessage, 1500); } else { fetchFiles(); setTimeout(hideMessage, 3000); } }; } fileTableBody.addEventListener('click', (event) => { const targetButton = event.target.closest('.download-btn, .delete-btn'); if (!targetButton || targetButton.disabled) return; const row = targetButton.closest('tr'); if (!row) return; const rowId = row.dataset.rowId; const fileName = row.dataset.fileName; if (targetButton.classList.contains('download-btn')) { downloadFile(fileName); } else if (targetButton.classList.contains('delete-btn')) { deleteFile(rowId, fileName); } }); await checkSignInStatus(); fetchFiles(); }); ``` Next, update your `client-package.json` with the below code. **client-package.json** ```json { "name": "WorkDriveSyncApp", "version": "0.0.1", "homepage" : "/__catalyst/auth/login", "login_redirect" : "index.html" } ``` The client directory is now configured. Let us quickly go through the working of the functions and the client of the application: * `index.html` contains the code for the front-end of the client. The CSS is defined in `main.css`. * `main.js`: The JavaScript function in the client component that handles the various actions performed in the client through these functions: * **`checkSignInStatus()`:** Verifies whether the user is authenticated or not, if authenticated it allows user access to the app else displays an error and redirects the user to the login page. * **`fetchFiles()`:** Fetches all file records from the Catalyst Data Store table. * **`uploadFile (triggered via file input)`:** Handles file upload to Catalyst Stratus and updates metadata in the Data Store. * **`downloadFile(fileName)`:** Downloads a file from the Stratus Bucket. * **`deleteFile(rowId, fileName)`:** Deletes a file both from Stratus and the Data Store. * **`logout()`**: Logs the user out of the application * The **Event function** is triggered each time the event listener executes. This function performs the following actions: * Downloads the file that was sent in as the event data by the event listener using a file stream * Uploads the file and its metadata to WorkDrive through an API with the POST method. The OAuth credentials are passed to authorize this action. * If the action is successful, the Work Drive sync status is set to "Completed". The record in the Data Store is updated with the WorkDrive file ID and the sync status. -------------------------------------------------------------------------------- title: "Deploy the project" description: "Build a web app that syncs file uploads and deletions between Catalyst Stratus and Zoho WorkDrive through APIs, using Catalyst functions and Event Listener." last_updated: "2026-11-04T10:10:44.000Z" source: "https://docs.catalyst.zoho.com/en/tutorials/workdrivesync/nodejs/deploy-project/" service: "All Services" related: - Deploy CLI Resources (/en/cli/v1/deploy-resources/introduction) - Web Client Hosting (/en/cloud-scale/help/web-client-hosting/introduction) -------------------------------------------------------------------------------- # Deploy the Project We will now deploy the project to the remote console in order to create an event listener associated with the Event function. We will test the application after we configure the event listener. To [deploy your Catalyst project from the CLI](https://docs.catalyst.zoho.com/en/cli/v1/deploy-resources/introduction), run the following command in your terminal from your project directory: ```sh catalyst deploy ``` The function is deployed first, then the client component. The app URLs of the components will be displayed. ![catalyst_workdrive_deploy](https://catalyst-docs-development.zohostratus.in/images/tutorials/workdrivesync/catalyst_workdrive_deploy.webp) Retrieve/Store the domain of the client URL displayed when deploying the changes. It can also be viewed in the **Web Client Hosting** component of CloudScale service. -------------------------------------------------------------------------------- title: "Post Deploy Configurations" description: "Build a web app that syncs file uploads and deletions between Catalyst Stratus and Zoho WorkDrive through APIs, using Catalyst functions and Event Listener." last_updated: "2026-11-04T10:10:44.000Z" source: "https://docs.catalyst.zoho.com/en/tutorials/workdrivesync/nodejs/post-deploy-config/" service: "All Services" -------------------------------------------------------------------------------- # Post Deploy Configurations ### Update CORS in Stratus To allow your application to Upload or Delete files in **Stratus**, you must whitelist your app domain in Stratus **Bucket CORS** settings. Without this configuration, Stratus will reject requests from unknown origins. To complete this setup, follow the below steps: 1. In the Stratus component. Go to the **Configuration** tab → **Bucket CORS** → **Add Domain**. ![permissions_done](https://catalyst-docs-development.zohostratus.in/images/tutorials/workdrivesync/bucket-cors-setup-stratus.webp) 2. From the pop-up that appears, select **PUT, GET** and **DELETE** as allowed request methods and paste your app domain obtained from the previous step in the Domain URL. ![permissions_done](https://catalyst-docs-development.zohostratus.in/images/tutorials/workdrivesync/bucket-cors-pop-up.webp) 3. Click **Add** to save the domain settings. ![permissions_done](https://catalyst-docs-development.zohostratus.in/images/tutorials/workdrivesync/stratus-request-mathods-selection.webp) > Note: If you are running the app locally using Catalyst Serve, add your localhost URL with the active port to the Bucket CORS list to enable Stratus access. ## Create Rule Now that the Publisher and the Event Function are configured, let us define how the events should be processed and delivered by setting up a Rule. Follow these steps to create the Rule: 1. In the Developer Console, select your project: *WorkDriveSync*. 2. Go to **Catalyst Signals** and click on **Rules** in the left navigation. ![Add Rule](https://catalyst-docs-development.zohostratus.in/images/tutorials/workdrivesync/signals-rule-creation-workdrive-sync.webp) 3. Click **Add Rule**, then provide a name and description for your rule. ![Provide name and description for the Rule](https://catalyst-docs-development.zohostratus.in/images/tutorials/workdrivesync/setup-rule-name-description.webp) ### Define Event Source 4. Under Source, click **Choose Event**, switch to **Catalyst Publishers** tab, and select the CloudScale Stratus Publisher you added earlier. Select the **Object Upload** event and click on **Next**. ![Choose event and select catalyst publisher](https://catalyst-docs-development.zohostratus.in/images/tutorials/workdrivesync/catalyst-publisher-stratus-event-object-upload.webp) 5. Choose your target bucket in the **Additional Settings** and click **Done**. ![Select target bucket and setup additional settings](https://catalyst-docs-development.zohostratus.in/images/tutorials/workdrivesync/additional-settings-pop-up-workdrive-sync.webp) 6. Click **Choose Target** and name your target. ![Choose Target and set target name](https://catalyst-docs-development.zohostratus.in/images/tutorials/workdrivesync/choose-target-workdrive-sync.webp) 7. Under Consumer Type, select the Event Function we created earlier using the CLI. ![Select event function](https://catalyst-docs-development.zohostratus.in/images/tutorials/workdrivesync/select-event-function-target.webp) 8. Set the **Dispatch Policy** to **Instant** and check on **Send as Single Event**. ![Select dispatch policy](https://catalyst-docs-development.zohostratus.in/images/tutorials/workdrivesync/single-select-event-workdrive.webp) 9. Save the target configurations, then click **Save** again to finalize the rule. ![Save the rule](https://catalyst-docs-development.zohostratus.in/images/tutorials/workdrivesync/click-save-rule-workdrive-sync.webp) 10. Repeat the above steps for the **Object Delete** event with the same configurations. Once you have created the Rule for **Object Delete**, the Rule setup is complete. You can now proceed to test the application. -------------------------------------------------------------------------------- title: "Test the application" description: "Build a web app that syncs file uploads and deletions between Catalyst Stratus and Zoho WorkDrive through APIs, using Catalyst functions and Event Listener." last_updated: "2026-11-04T10:10:44.000Z" source: "https://docs.catalyst.zoho.com/en/tutorials/workdrivesync/nodejs/test-application/" service: "All Services" related: - Serve CLI Resources (/en/cli/v1/serve-resources/introduction) - Web Client Hosting (/en/cloud-scale/help/web-client-hosting/introduction) -------------------------------------------------------------------------------- # Test the Application We can now test the client application to check if it works fine. Navigate to **Web Client Hosting** under _Host and Manage_ to access the [web client URL](https://docs.catalyst.zoho.com/en/cloud-scale/help/web-client-hosting/introduction). Click the URL to open it. This will open the client app in your browser. You will initially be redirected to the login page. If you had configured a sign-up action on your own, you can sign up first, then log in to the application. Otherwise, you can log in using the Zoho sign-in icon. ![catalyst_workdrive_test_1](https://catalyst-docs-development.zohostratus.in/images/tutorials/workdrivesync/sign-in-page-workdrive-sync-app.webp) You will be redirected to the permissions page. Accept the permissions requested by the app to access your Zoho account details. ![catalyst_workdrive_test_2](https://catalyst-docs-development.zohostratus.in/images/tutorials/workdrivesync/zoho-login-accept-workdrive.webp) You will then be redirected back to the application. You can upload a file by clicking **Upload File**. ![catalyst_workdrive_test_3](https://catalyst-docs-development.zohostratus.in/images/tutorials/workdrivesync/catalyst-file-valut-landing-page.webp) Upload any file from your local system. The client will display the uploaded file, along with its details including the _Stratus Upload_ status and _WorkDrive Sync_ status. The [_WorkDrive Sync_ status]() will change from "In Progress" to "Completed" after the file is uploaded to the WorkDrive folder. ![catalyst_workdrive_test_4](https://catalyst-docs-development.zohostratus.in/images/tutorials/workdrivesync/stratus-upload-successful.webp) You will find the file uploaded in Stratus of your project in the _WorkDrive_ folder. ![uploaded-file](https://catalyst-docs-development.zohostratus.in/images/tutorials/workdrivesync/stratus-upload-sucessful-work-drive-sync.webp) Similarly, a row will be created in the Data Store table and its details, including the File ID of the file in the WorkDrive folder, will be written to the table after the sync is completed. You can check this from the _Data View_ section. ![updated-row](https://catalyst-docs-development.zohostratus.in/images/tutorials/workdrivesync/data-store-successful-message.webp) You can also check the event listener's execution details from the Processed Events section of the _WorkDriveSync_ rule. You can view the logs of the event function, and also the Advanced I/O function, by clicking **View Logs** to open [Catalyst Logs](https://docs.catalyst.zoho.com/en/devops/help/logs/introduction). Open the WorkDrive folder _CatalystFileSync_ to verify if the uploaded file is present there. ![catalyst_workdrive_test_8](https://catalyst-docs-development.zohostratus.in/images/tutorials/workdrivesync/workdrive-upload-successful.webp) If the file upload is successful, you can test the file download and delete actions from the client. Click the **Download File** icon. This will initiate the download to your local system. Now, click the **Delete File** icon. ![catalyst_workdrive_test_9](https://catalyst-docs-development.zohostratus.in/images/tutorials/workdrivesync/download-delete-option-workdrive-sync.webp) This will open a confirmation pop-up. Click **Delete**. ![catalyst_workdrive_test_10](https://catalyst-docs-development.zohostratus.in/images/tutorials/workdrivesync/delete-popup-workdrive-sync.webp) The file will be deleted from the Stratus, and the record will be deleted from the Data Store. This action will also be synchronized with the WorkDrive folder. You can open the *CatalystFileSync* folder to verify. ![catalyst_workdrive_test_12](https://catalyst-docs-development.zohostratus.in/images/tutorials/workdrivesync/deleted-workdrive-folder.webp) You can log out of the application by clicking **Logout** from the client. WorkDrive Sync app is now functional and will work without any errors.# OTHER RESOURCES ## AI Agent Toolkit -------------------------------------------------------------------------------- title: "Context for LLM" description: "An overview of Catalyst Context for LLM." last_updated: "2026-09-15T06:29:39.000Z" source: "https://docs.catalyst.zoho.com/en/ai-toolkit/context-serve/" service: "AI Toolkit" -------------------------------------------------------------------------------- # Catalyst Context for LLM The **right context** drives the **right output**. To ensure your LLM has the right context about the Catalyst by Zoho service, and its respective components and features, the help documentation site has various easy-to-use options that you can avail to feed your LLM with the necessary context. Catalyst by Zoho help documentation content is available in two versions, the standard HTML version for humans and an MD version to cater to Agents. This promotes better agent discovery and allows you to serve Catalyst context in the most appropriate medium for your LLM. You can serve catalyst documentation in the .md format using the following options: ### llms-full.txt The documentation site serves an `llms-full.txt` file containing complete documentation content in plain text, allowing your LLM to retrieve full context in a single request. * At the root of the documentation site, `llms-full.txt` contains the entire site's documentation, including Getting Started, all services along with their related API reference, SDK, and FAQ content, the CLI reference, tutorials, and other resources. * At each service section, `llms-full.txt` contains that service's own content along with its related API reference, SDK, and FAQ content. You can access the llms-full.txt content using the following URL: ``` https://docs.catalyst.zoho.com/en/llms-full.txt ``` ![catalyst-aitoolkit-llms-full-demo](https://catalyst-docs-development.zohostratus.in/images/ai-toolkit/context-serve/catalyst-aitoolkit-llms-full-demo.webp) Paste this content into your LLM to give it the context it needs on Catalyst so it can help you build your applications on the platform. ### .md Endpoints To get the markdown version of a help documentation, simply append `/index.md` to the end of the page URL. This will return the same content stripped down to clean, structured markdown, free of HTML markup, navigation clutter, or UI elements. For example, to get rich context from the following Catalyst help document URL: `https://docs.catalyst.zoho.com/en/cloud-scale/help/nosql/components/` Then, simply append the URL with `/index.md`. ``` https://docs.catalyst.zoho.com/en/cloud-scale/help/nosql/components/index.md ``` Now, this format is ideal for feeding directly into an LLM, since it will give your model precise, readable context about Catalyst NoSQL components without the overhead of parsing a full webpage. ### Request Markdown from Canonical URL You can also run a curl request in the following format to fetch the required context in .md format. `curl help-documentation-link/index.md` For example, to serve context to your LLM about the Job Pool component, you need to run the following curl command: ``` curl https://docs.catalyst.zoho.com/en/job-scheduling/help/jobpool/introduction/index.md ``` This command will fetch the content present in the URL in .md format, allowing you to easily feed context on JobPools to your LLM. ### Copy as .md The `Copy as .md` button is available in every Catalyst document help page. ![catalyst-aitoolkit-copy-as-md](https://catalyst-docs-development.zohostratus.in/images/ai-toolkit/context-serve/catalyst-aitoolkit-copy-as-md.webp) The purpose of this button, is to copy the help context of any particular help page in Markdown format. You can then paste it in any LLM to provide it with the required component's context. Additionally, selecting the copy option from the dropdown copies not just the current page's content, but the entire component's documentation in Markdown format. This content will contain everything about the component, including its SDKs in all runtimes, and information on its REST APIs. This gives your LLM complete context in a single step, without the need to gather it page by page. ### Seek AI Assistance This selection is available in every help page, you can choose to seek AI assistance from popular AI tools like Claude.ai, ChatGPT, and Perplexity on any particular page. ![catalyst-aitoolkit-ai-assist](https://catalyst-docs-development.zohostratus.in/images/ai-toolkit/context-serve/catalyst-aitoolkit-ai-assist.webp) Clicking on any of these options will direct you to the respective LLM, and you will be able to execute a pre-populated prompt which will contain the Markdown content of the required page. Armed with this new context, the chosen LLM will be able to assist you on queries about the component. ### AI Plugin -------------------------------------------------------------------------------- title: "Overview" description: "An overview of the Catalyst AI Plugin and its two core components: the Catalyst Dynamic MCP Server and the curated skill file set." last_updated: "2026-09-15T06:29:39.000Z" source: "https://docs.catalyst.zoho.com/en/ai-toolkit/catalyst-plugin/overview/" service: "AI Toolkit" related: - Catalyst AI Plugin Offerings (/en/ai-toolkit/catalyst-plugin/offerings/) - Install Catalyst AI Plugin (/en/ai-toolkit/catalyst-plugin/install-catalyst-ai-plugin/) -------------------------------------------------------------------------------- # Catalyst AI Plugin The Catalyst AI Plugin essentially provides you with the required tools to power your AI models like [Claude.ai](https://claude.ai/login), [Codex](https://chatgpt.com/codex/) into a Catalyst-aware coding agent, allowing you to vibe code enterprise-ready applications from within your preferred LLM with complete infrastructure and backend support from Catalyst. ![catalyst-aitoolkit-plugin-architecture](https://catalyst-docs-development.zohostratus.in/images/ai-toolkit/plugin/catalyst-aitoolkit-plugin-architecture.gif) The [Catalyst Dynamic MCP server](https://docs.catalyst.zoho.com/en/ai-toolkit/catalyst-mcp-server/overview/#catalyst-mcp-server-1), and [curated skill file set](https://github.com/catalystbyzoho/agent-skills) are the core components that make up the Catalyst plugin. The *Catalyst Dynamic MCP server* once authorized by you will provide your AI model with the necessary MCP tools through dynamic tool discovery allowing it to garner required context to perform the required operations in the Catalyst console. While the MCP server provides the required context, the curated skill file set equips your AI model with a blueprint that precisely defines the approach it needs to take in using the acquired context to engineer your requirement. -------------------------------------------------------------------------------- title: "Offerings" description: "An overview of the capabilities and features offered by the Catalyst AI Plugin." last_updated: "2026-10-06T06:21:49.000Z" source: "https://docs.catalyst.zoho.com/en/ai-toolkit/catalyst-plugin/offerings/" service: "AI Toolkit" related: - Catalyst AI Plugin Overview (/en/ai-toolkit/catalyst-plugin/overview/) - Install Catalyst AI Plugin (/en/ai-toolkit/catalyst-plugin/install-catalyst-ai-plugin/) -------------------------------------------------------------------------------- # Catalyst Plugin Offerings This section details all the features that constitute the Catalyst AI Plugin. ### Components The following table lists the components that make up the plugin:
Component Name Purpose
[Dynamic MCP Server](https://docs.catalyst.zoho.com/en/ai-toolkit/catalyst-mcp-server/overview/#catalyst-mcp-server-1) To provide AI models with the required context and access to perform actions in the Catalyst console. Being a Dynamic server it does not require tool context to be configured. It'll automatically load the required MCP Tool to execute your prompt.
[15 Product Skill Files](https://github.com/catalystbyzoho/agent-skills) Carefully crafted skill files to instruct the AI model on the implementation steps of various Catalyst components.
[4 AI Architect Skill Files](https://github.com/catalystbyzoho/agent-skills) Skill files exclusively tailored to feed popular AI models like Claude.ai, Codex, CoPilot, and Cursor with context in the most optimized manner.
### Complete AI-Powered Ecosystem An entire app building ecosystem, from creation, initialization, setup, coding to deploy, all powered by Catalyst working harmoniously with your LLM, made possible with the Catalyst AI Plugin. When your LLM is connected to the Catalyst AI Plugin, the plugin's components provides your LLM with the necessary context to access and perform required operations in the Catalyst console. You leverage the intelligence of your LLM and feed it with necessary context using the Catalyst AI plugin, and you can build your entire application code and console actions all without ever leaving your LLM prompt space. ### Supported Coding Agents You can connect the Catalyst AI Plugin to the following coding agents:
Coding Agent Steps to Connect Download Catalyst AI Plugin
Claude Code [Steps to Connect to Claude Code](https://docs.catalyst.zoho.com/en/ai-toolkit/catalyst-plugin/install-catalyst-ai-plugin/#claude-code) [Install Now](https://claude.com/plugins/catalyst-by-zoho)
Codex [Steps to Connect to Codex](https://docs.catalyst.zoho.com/en/ai-toolkit/catalyst-plugin/install-catalyst-ai-plugin/#chatgpt-codex) [Install Now](https://chatgpt.com/plugins/share/bfcaf08ef64b4f1984849450cfbc2564)
CoPilot [Steps to Connect to CoPilot](https://docs.catalyst.zoho.com/en/ai-toolkit/catalyst-plugin/install-catalyst-ai-plugin/#vs-code-copilot) [Install Now](http://vscode://chat-plugin/install?source=catalystbyzoho/copilot-plugin&plugin=catalyst-by-zoho)
### Curated Skill Files With the Catalyst AI Plugin, your LLM will have access to the following skill files. Using these skill files, your LLM will gather necessary context on using the various Catalyst services and components.
Skill File Description
[`catalyst-by-zoho`](https://github.com/catalystbyzoho/agent-skills/tree/main/catalyst-by-zoho) Entry point and routing layer for the Catalyst skill set. Establishes the core development philosophy and directs queries to the most relevant skill.
[`catalyst-basics`](https://github.com/catalystbyzoho/agent-skills/tree/main/skills/catalyst-basics) Provides context on [CLI commands](https://docs.catalyst.zoho.com/en/cli/v1/cli-command-reference/), project structure, environments (Local, Development, Production), and how to locate Catalyst IDs such as Project ID, ZAID, Table ID, and Segment ID.
[`catalyst-functions`](https://github.com/catalystbyzoho/agent-skills/tree/main/skills/catalyst-functions) Provides context on all 7 [serverless function](https://docs.catalyst.zoho.com/en/serverless/help/functions/introduction/) types, handler signatures, [API Gateway](https://docs.catalyst.zoho.com/en/cloud-scale/help/api-gateway/introduction/) configuration, Security Rules, CORS, and file uploads.
[`catalyst-appsail`](https://github.com/catalystbyzoho/agent-skills/tree/main/skills/catalyst-appsail) Provides context on the [AppSail](https://docs.catalyst.zoho.com/en/serverless/help/appsail/introduction/) PaaS layer: managed runtimes ([Node.js](https://docs.catalyst.zoho.com/en/sdk/nodejs/v2/overview/), [Java](https://docs.catalyst.zoho.com/en/sdk/java/v1/overview/), [Python](https://docs.catalyst.zoho.com/en/sdk/python/v1/overview/)) and custom Docker container deployment.
[`catalyst-slate`](https://github.com/catalystbyzoho/agent-skills/tree/main/skills/catalyst-slate) Provides context on [Slate](https://docs.catalyst.zoho.com/en/slate/help/introduction/) frontend hosting: Git-based deployments, framework setup, and cross-domain function calls from the frontend.
[`catalyst-authentication`](https://github.com/catalystbyzoho/agent-skills/tree/main/skills/catalyst-authentication) Provides context on Catalyst [authentication](https://docs.catalyst.zoho.com/en/cloud-scale/help/authentication/introduction/): user signup and login, ZAID, hosted and embedded login, and OAuth Connections for external APIs.
[`catalyst-datastore`](https://github.com/catalystbyzoho/agent-skills/tree/main/skills/catalyst-datastore) Provides context on the relational [Data Store](https://docs.catalyst.zoho.com/en/cloud-scale/help/data-store/introduction/): ZCQL queries, CRUD operations, table permissions, result unwrapping, and pagination.
[`catalyst-nosql`](https://github.com/catalystbyzoho/agent-skills/tree/main/skills/catalyst-nosql) Provides context on the [NoSQL](https://docs.catalyst.zoho.com/en/cloud-scale/help/nosql/introduction/) document store: key-value tables, the NoSQLItem builder, and schemaless data patterns.
[`catalyst-cache`](https://github.com/catalystbyzoho/agent-skills/tree/main/skills/catalyst-cache) Provides context on the in-memory [Cache](https://docs.catalyst.zoho.com/en/cloud-scale/help/cache/introduction/): key-value storage with TTL, Segment IDs, and TTL reset behavior.
[`catalyst-stratus`](https://github.com/catalystbyzoho/agent-skills/tree/main/skills/catalyst-stratus) Provides context on [Stratus](https://docs.catalyst.zoho.com/en/cloud-scale/help/stratus/introduction/) object storage: file upload and download, signed URLs, multipart uploads, and bucket naming.
[`catalyst-signals`](https://github.com/catalystbyzoho/agent-skills/tree/main/skills/catalyst-signals) Provides context on the [Signals](https://docs.catalyst.zoho.com/en/signals/getting-started/introduction/) event-driven architecture: publishers, events, rules, targets, dispatch policies, and deployment constraints.
[`catalyst-smartbrowz`](https://github.com/catalystbyzoho/agent-skills/tree/main/skills/catalyst-smartbrowz) Provides context on [SmartBrowz](https://docs.catalyst.zoho.com/en/smartbrowz/getting-started/introduction/): browser automation, [Browser Logic](https://docs.catalyst.zoho.com/en/smartbrowz/help/browser-logic/introduction/) functions, PDF and screenshot generation, and [Dataverse](https://docs.catalyst.zoho.com/en/smartbrowz/help/dataverse/introduction/).
[`catalyst-zia`](https://github.com/catalystbyzoho/agent-skills/tree/main/skills/catalyst-zia) Provides context on [Zia Services](https://docs.catalyst.zoho.com/en/zia-services/getting-started/introduction/) and [QuickML](https://docs.catalyst.zoho.com/en/quickml/getting-started/introduction/): OCR, face analytics, text analytics, object detection, barcode scanning, content moderation, and custom AutoML model training.
[`catalyst-zoho-mcp`](https://github.com/catalystbyzoho/agent-skills/tree/main/skills/catalyst-zoho-mcp) Provides context on MCP setup and usage: connecting Zoho MCP to an AI client, using `CatalystbyZoho_*` tools via `ZohoMCP_*` meta-tools, and switching data centers.
[`catalyst-sdk`](https://github.com/catalystbyzoho/agent-skills/tree/main/skills/catalyst-sdk) Provides context on SDK initialization patterns and service access methods for [Node.js](https://docs.catalyst.zoho.com/en/sdk/nodejs/v2/overview/), [Java](https://docs.catalyst.zoho.com/en/sdk/java/v1/overview/), [Python](https://docs.catalyst.zoho.com/en/sdk/python/v1/overview/), [JavaScript](https://docs.catalyst.zoho.com/en/sdk/javascript/v1/overview/), Android, iOS, and Flutter.
[`catalyst-pricing`](https://github.com/catalystbyzoho/agent-skills/tree/main/skills/catalyst-pricing) Provides context on free tier limits, pay-as-you-go rates, GB-seconds calculation, and cost estimation.
-------------------------------------------------------------------------------- title: "Install Catalyst AI Plugin" description: "Step-by-step guide to installing the Catalyst AI Plugin." last_updated: "2026-10-01T07:03:46.000Z" source: "https://docs.catalyst.zoho.com/en/ai-toolkit/catalyst-plugin/install-catalyst-ai-plugin/" service: "AI Toolkit" related: - Catalyst AI Plugin Overview (/en/ai-toolkit/catalyst-plugin/overview/) - Catalyst AI Plugin Offerings (/en/ai-toolkit/catalyst-plugin/offerings/) - Catalyst Skill Files GitHub Repository (https://github.com/catalystbyzoho/agent-skills) -------------------------------------------------------------------------------- # Install Catalyst AI Plugin This help section will detail the steps that you need to follow to connect the Catalyst AI Plugin to popular AI models. ### Claude Code To install and use the Catalyst AI Plugin in Claude Code: 1. Launch the [Claude terminal](https://code.claude.com/docs/en/terminal-guide) in your system. 2. Click **Yes**, to enable access. 3. Run `/plugins` 4. Search "`catalyst`". 5. Select `catalyst-by-zoho` plugin. 6. Press **Enter** to begin installing. 7. Once installed, run `/reload-plugins` to ensure the plugin is synced. 8. Now, run `/mcp`. 9. Find the installed MCP server, and proceed to authenticate it. > Turn your **audio on** before you begin. This video is narrated. [Video: Install Catalyst Plugin for Claude Code](https://catalyst-docs-development.zohostratus.in/images/ai-toolkit/plugin/Claude_old.mp4) #### Install Commands Run the following commands in the Claude CLI: /plugin marketplace add catalystbyzoho/claude-plugin /plugin install catalyst-by-zoho@catalyst-by-zoho #### Switch DC & Authorize Always ensure you are installing and authorizing using the right DC. To choose the right DC: 1. Run the following command in your Claude CLI /catalyst-by-zoho:switch-dc 2. Depending on your location, choose the right DC. > **Note:** * If you're part of the US DC, you don't need to switch DCs to authorize. * IN, US, EU, AU, JP, and CA are the only supported DCs. The Plugin is installed and can now be used by Claude Code. ### ChatGPT Codex To install and use the Catalyst AI Plugin in Codex: 1. Go to [ChatGPT](https://chatgpt.com/codex/), and click **Plugins** from the side-panel. 2. Search for "`catalyst`". 3. Click **Install** on the **Catalyst by Zoho** plugin. 4. Click **+ Install plugin**. 5. Approve the integration request. 6. Follow the authentication steps to authorize and allow the integration. 7. You can test the plugin installation and availability using the Codex prompt space. > Turn your **audio on** before you begin. This video is narrated. [Video: Install Catalyst Plugin for ChatGPT Codex](https://catalyst-docs-development.zohostratus.in/images/ai-toolkit/plugin/Codex_Plugin.mp4) #### Install Commands Run the following commands in the Codex CLI: codex plugin marketplace add https://github.com/catalystbyzoho/codex-plugin --ref main codex plugin add catalyst-by-zoho@catalyst-by-zoho-marketplace #### Switch DC & Authorize Always ensure you are installing and authorizing using the right DC. To choose the right DC: 1. Run the following command in your Claude CLI /catalyst-by-zoho:switch-dc 2. Depending on your location, choose the right DC. > **Note:** * If you're part of the US DC, you don't need to switch DCs to authorize. * IN, US, EU, AU, JP, and CA are the only supported DCs. The plugin is installed and can now be used by Codex. ### VS Code CoPilot To install the Catalyst AI Plugin in CoPilot: 1. Access **Agent Mode** in your VS Code IDE. 2. Click **Plugins** in the *Customizations* section. 3. Click **Browse Marketplace**. 4. Search `catalyst-by-zoho`. 5. Select to install the required plugin. 6. Now, click **MCP Servers** in the *Customizations* section. 7. You will find the MCP server installed with the plugin, under the **Plugins** section. 8. Authenticate and authorize the MCP server connection. > Turn your **audio on** before you begin. This video is narrated. [Video: Install Catalyst Plugin for GitHub Copilot](https://catalyst-docs-development.zohostratus.in/images/ai-toolkit/plugin/GithubCopilot.mp4) #### Install Commands To install the plugin: Click the button below, or open the URL directly in your browser. **(OR)** vscode://chat-plugin/install?source=github/awesome-copilot&plugin=catalyst-by-zoho Ensure you confirm the prompt when your browser asks to open the app. #### Switch DC & Authorize Always ensure you are installing and authorizing using the right DC. To choose the right DC: 1. Ask CLAY in chat to switch the data centre, then review the updated `mcp.json`. 2. Run the entry from the gutter and authorize the MCP server in your browser. 3. Reopen the MCP servers view, and `catalyst-by-zoho` should show as connected. The plugin is installed and can now be used by CoPilot. ### MCP Server -------------------------------------------------------------------------------- title: "Overview" description: "An overview of Catalyst MCP Server — what MCP is, how Zoho MCP works, and the types of Catalyst MCP Servers available." last_updated: "2026-09-15T06:29:39.000Z" source: "https://docs.catalyst.zoho.com/en/ai-toolkit/catalyst-mcp-server/overview/" service: "AI Toolkit" related: - Zoho MCP Help (https://help.zoho.com/portal/en/kb/mcp) - Zoho MCP Tool List (https://zoho-mcp-manual-tool-guide.onslate.in/) - Catalyst MCP Server Example Prompts (/en/ai-toolkit/catalyst-mcp-server/example-prompts/) -------------------------------------------------------------------------------- # Catalyst MCP Server ### What is MCP? Model Context Protocol (**MCP**), is an open-source standard that defines how AI models and LLMs can connect, interact, and operate on other systems. Using MCP, you can instruct an AI model with precise context on the operation you require it to carry out in another system. ### What is Zoho MCP? [Zoho MCP](https://www.zoho.com/mcp/), is a service that offers you pre-defined, and on-demand MCP servers to which you can add MCP tools to from Zoho and other supported third party services. A Zoho MCP Server acts as the communicative bridge between your LLM and a supported service. The [MCP tools](https://help.zoho.com/portal/en/kb/mcp/reference/articles/zoho-mcp-glossary#MCP_Tool) configured in the server provide your LLM with the context it needs to understand and interact with that service. With this context, your LLM can precisely carry out your prompted actions. ![catalyst-mcp-server-mcp-arch](https://catalyst-docs-development.zohostratus.in/images/ai-toolkit/mcp-server/catalyst-mcp-server-mcp-arch.webp) > **Learn more**: * [Zoho MCP service](https://help.zoho.com/portal/en/kb/mcp) * [List of Zoho MCP supported services](https://zoho-mcp-manual-tool-guide.onslate.in/) ### Catalyst MCP Server The Catalyst MCP server's primary objective is to provide your preferred LLM with the required context to interact and perform operations in the Catalyst console, without ever leaving your coding environment. ![catalyst-mcp-server-catalyst-server-arch](https://catalyst-docs-development.zohostratus.in/images/ai-toolkit/mcp-server/catalyst-mcp-server-catalyst-server-arch.webp) The Catalyst MCP server, is essentially, a Zoho MCP server that is configured with all the MCP tools of the Catalyst service. ![catalyst-mcp-server-fl-mcp-console](https://catalyst-docs-development.zohostratus.in/images/ai-toolkit/mcp-server/catalyst-mcp-server-fl-mcp-console.webp) > **Learn more**: [Complete list of Catalyst's MCP tools](https://zoho-mcp-manual-tool-guide.onslate.in/zoho-services/catalyst-by-zoho). You can invoke two types of Catalyst MCP servers; **Catalyst Dynamic MCP Server**, **Catalyst Custom MCP Servers**. #### Catalyst Dynamic MCP Server A Dynamic MCP Server does not load all its configured tools with every invocation, instead, it uses dynamic discovery. When a prompt is provided, the LLM infers the required actions and queries the Dynamic MCP Server directory to identify only the tools needed to complete those actions. Only those tools are loaded and enabled for use. This eliminates unnecessary hallucinations caused by tool overload. Furthermore, it removes the manual effort of selecting tools from the MCP console. Also, using a Dynamic MCP Server effectively lifts any tool limitation put in place by the LLMs by ensuring only the required tool is active at any given time. The *Catalyst by Zoho* service is MCP-compatible and has a Dynamic MCP server. Meaning by just connecting and authorizing this server, your LLM will be able to access all **100+ MCP tools** of the Catalyst service and perform required actions in the console. The access URL to use Catalyst Dynamic MCP server is: `https://catalyst.zohomcp.com/mcp/message` #### Catalyst Custom MCP Server A Custom MCP Server is a Zoho MCP Server where you manually configure the exact tools required for your operation using the MCP console. Using a Custom MCP server is recommended when you are absolutely sure about the list of tools that you would require for your operation. > **Learn more:** [Adding Catalyst MCP tools to an MCP server](https://docs.catalyst.zoho.com/en/ai-toolkit/catalyst-mcp-server/connect-catalyst-mcp/connect-custom-mcp/#configure-mcp-server-with-catalysts-mcp-tools). A typical access url structure for a Custom MCP server is: `https://mcp-server-name-serverID.zohomcp.com/mcp/APIKEY/message` -------------------------------------------------------------------------------- title: "Example Prompts" description: "Example prompts and use cases to help you get started with Catalyst MCP Server across different AI tools." last_updated: "2026-10-30T17:47:18.000Z" source: "https://docs.catalyst.zoho.com/en/ai-toolkit/catalyst-mcp-server/example-prompts/" service: "AI Toolkit" related: - Zoho MCP Help (https://help.zoho.com/portal/en/kb/mcp) - Zoho MCP Tool List (https://zoho-mcp-manual-tool-guide.onslate.in/) - Catalyst MCP Server Overview (/en/ai-toolkit/catalyst-mcp-server/overview/) -------------------------------------------------------------------------------- # Example Prompts Once you've connected your Catalyst MCP server, you can test its functionality using the following prompts. ### Workflows using only Catalyst MCP Tools The following prompts can be handled by your preferred MCP Client, if the connected MCP server is either the Catalyst Dynamic MCP Server, or a Custom MCP Server configured with only Catalyst MCP Tools. #### Build a Subscription-Based SaaS Application > I am building a subscription management platform. Enable authentication for the project and configure roles for Super Admin, Account Owner, and Member. Create API Gateway routes for subscription creation, renewal, cancellation, and usage tracking. Deploy the application as a web app and configure CORS domains for the client portal origin. Set up a job pool to manage concurrent subscription renewal jobs and create an immediate job handler for on-demand plan upgrades. Cache active subscription states in a dedicated segment to reduce authentication overhead on every request. Schedule a cron job to run at midnight on the first of every month to trigger renewal processing and store monthly billing summaries as versioned objects in a Stratus bucket called 'billing-archives'. Generate pre-signed URLs for each billing summary so account owners can securely download their invoices without platform authentication. With Catalyst MCP server connected, the LLM uses the given prompt to access and implement the following Catalyst components:
Catalyst Component MCP Tool Purpose
[Authentication](https://docs.catalyst.zoho.com/en/cloud-scale/help/authentication/introduction/) `Enable_Authentication` Enables user authentication on the project, securing all subscription endpoints before access is granted
`List_All_Roles` Retrieves existing roles to verify and configure Super Admin, Account Owner, and Member access levels
[API Gateway](https://docs.catalyst.zoho.com/en/cloud-scale/help/api-gateway/introduction/) `Configure_API_Gateway_Route` Creates the subscription creation, renewal, cancellation, and usage tracking API endpoints
`Create_CORS_Domain` Registers the client portal origin to permit cross-origin API requests from the front-end
[Web Client Hosting](https://docs.catalyst.zoho.com/en/cloud-scale/help/web-client-hosting/introduction/) `List_All_Web_Apps` Retrieves web app configurations to support deploying the client-facing subscription portal
[Job Pool](https://docs.catalyst.zoho.com/en/job-scheduling/help/jobpool/introduction/) `Create_Job_Pool` Creates a pool to manage concurrent subscription renewal job execution
[Jobs](https://docs.catalyst.zoho.com/en/job-scheduling/help/job/introduction/) `Create_Immediate_Job` Triggers on-demand plan upgrade jobs instantly for real-time plan change requests
[Cache](https://docs.catalyst.zoho.com/en/cloud-scale/help/cache/introduction/) `Create_Segment` Creates a dedicated cache segment to hold active subscription state data
`Create_Cache_Item` Stores individual subscription states in the segment to reduce authentication overhead per request
[Cron](https://docs.catalyst.zoho.com/en/job-scheduling/help/cron/introduction/) `Create_Cron_Job` Schedules the monthly midnight renewal processing job to run on the first of every month
[Stratus](https://docs.catalyst.zoho.com/en/cloud-scale/help/stratus/introduction/) `Create_Bucket` Creates the billing-archives bucket to store versioned monthly billing summaries
`Generate_Signed_URL` Generates pre-signed URLs for account owners to securely download their invoices without platform authentication
#### Build a B2B Sales Intelligence and Prospecting Engine > I am building a B2B sales prospecting platform on Catalyst. Use the Lead Enrichment tool to gather detailed company and contact data for a target list of accounts. Use Similar Companies to identify adjacent prospects in the same industry vertical and Tech Stack Finder to qualify each prospect based on their existing technology infrastructure. Store all enriched and qualified lead records in a datastore table called 'Prospect Pipeline' and configure a bulk write job to import any existing CRM exports into the same table. Set up a serverless circuit to orchestrate the full enrichment and qualification workflow end to end. Configure a job pool to manage concurrent enrichment jobs across large prospect batches and schedule a weekly cron job every Monday at 6:00 AM to refresh the pipeline with newly enriched data. Expose the prospect data via API Gateway routes so the front-end sales dashboard can consume ranked and filtered lead lists in real time. Cache the top 100 ranked prospects in a dedicated segment for instant dashboard load. Store all prospect export files in a Stratus bucket called 'sales-intelligence' and generate pre-signed URLs for the sales team to download their assigned prospect lists securely. With Catalyst MCP server connected, the LLM uses the given prompt to access and implement the following Catalyst components:
Catalyst Component MCP Tool Purpose
[Dataverse](https://docs.catalyst.zoho.com/en/smartbrowz/help/dataverse/introduction/) `Lead_Enrichment` Gathers detailed company and contact data to enrich the target prospect records
`Similar_Companies` Identifies adjacent prospects in the same industry vertical for pipeline expansion
`Tech_Stack_Finder` Qualifies prospects based on their existing technology infrastructure
[Datastore](https://docs.catalyst.zoho.com/en/cloud-scale/help/data-store/introduction/) `Create_Table` Creates the Prospect Pipeline table to store all enriched and qualified lead records
`Insert_Rows` Inserts enriched lead records into the Prospect Pipeline table
[Jobs](https://docs.catalyst.zoho.com/en/job-scheduling/help/job/introduction/) `Create_Bulk_Write_Job` Imports existing CRM exports into the Prospect Pipeline table via a bulk write operation
[Circuits](https://docs.catalyst.zoho.com/en/serverless/help/circuits/introduction/) `Execute_Circuit` Orchestrates the end-to-end enrichment and qualification workflow from lead intake to scoring
[Job Pool](https://docs.catalyst.zoho.com/en/job-scheduling/help/jobpool/introduction/) `Create_Job_Pool` Creates a pool to manage concurrent enrichment jobs across large prospect batches
[Cron](https://docs.catalyst.zoho.com/en/job-scheduling/help/cron/introduction/) `Create_Cron_Job` Schedules the weekly Monday 6:00 AM refresh job to pull in newly enriched pipeline data
[API Gateway](https://docs.catalyst.zoho.com/en/cloud-scale/help/api-gateway/introduction/) `Configure_API_Gateway_Route` Exposes prospect data via API routes for the front-end sales dashboard to consume
[Cache](https://docs.catalyst.zoho.com/en/cloud-scale/help/cache/introduction/) `Create_Segment` Creates a dedicated cache segment to store the top-ranked prospect records
`Create_Cache_Item` Caches the top 100 ranked prospects for instant dashboard load without datastore queries
[Stratus](https://docs.catalyst.zoho.com/en/cloud-scale/help/stratus/introduction/) `Create_Bucket` Creates the sales-intelligence bucket to store prospect export files
`Generate_Signed_URL` Generates pre-signed URLs for the sales team to securely download their assigned prospect lists
#### Build a Real-Time Logistics and Delivery Tracking Platform > I am building a logistics platform for tracking deliveries across multiple regions. Create API Gateway routes for order intake, driver assignment, status updates, and delivery confirmation mapped to their respective serverless functions. Execute each function via POST and PATCH methods for order creation and status transitions. Configure a job pool to manage concurrent dispatch jobs and create immediate jobs for urgent on-demand delivery assignments. Cache real-time delivery status data in a dedicated segment so the tracking dashboard can poll status without hitting the backend functions on every request. Set up a cron job to run every hour to reconcile undelivered orders and flag exceptions. Store all delivery confirmation documents and proof-of-delivery images in a Stratus bucket called 'delivery-records' with pre-signed URLs generated for customer access. Configure environment variables for all functions with region-specific API keys and routing service credentials. Retrieve application logs filtered by error level to proactively monitor failed delivery events. With Catalyst MCP server connected, the LLM uses the given prompt to access and implement the following Catalyst components:
Catalyst Component MCP Tool Purpose
[API Gateway](https://docs.catalyst.zoho.com/en/cloud-scale/help/api-gateway/introduction/) `Configure_API_Gateway_Route` Creates endpoints for order intake, driver assignment, status updates, and delivery confirmation
[Serverless Functions](https://docs.catalyst.zoho.com/en/serverless/help/functions/introduction/) `Execute_Function_Via_POST` Executes order creation and assignment functions via POST for new delivery submissions
`Execute_Function_Via_PATCH` Executes status update functions via PATCH for incremental delivery status transitions
`Create_Env_Variables` Sets region-specific API keys and routing service credentials as function environment variables
[Job Pool](https://docs.catalyst.zoho.com/en/job-scheduling/help/jobpool/introduction/) `Create_Job_Pool` Creates a pool to manage concurrent dispatch jobs across simultaneous delivery assignments
[Jobs](https://docs.catalyst.zoho.com/en/job-scheduling/help/job/introduction/) `Create_Immediate_Job` Triggers urgent on-demand delivery assignment jobs instantly for priority dispatches
[Cache](https://docs.catalyst.zoho.com/en/cloud-scale/help/cache/introduction/) `Create_Segment` Creates a dedicated cache segment to hold real-time delivery status data
`Create_Cache_Item` Caches per-order delivery status so the tracking dashboard polls without backend round-trips
[Cron](https://docs.catalyst.zoho.com/en/job-scheduling/help/cron/introduction/) `Create_Cron_Job` Schedules an hourly job to reconcile undelivered orders and surface delivery exceptions
[Stratus](https://docs.catalyst.zoho.com/en/cloud-scale/help/stratus/introduction/) `Create_Bucket` Creates the delivery-records bucket to store confirmation documents and proof-of-delivery images
`Generate_Signed_URL` Generates pre-signed URLs for customers to access delivery confirmation records securely
[Logs](https://docs.catalyst.zoho.com/en/devops/help/logs/introduction/) `Get_Logs` Retrieves logs filtered by error level to proactively detect and monitor failed delivery events
#### Build an AI-Powered Content Publishing Platform > I am building a content publishing platform where writers submit articles, editors review them, and publishers approve and schedule them for release. Enable authentication and configure roles for Writer, Editor, and Publisher with appropriate table permissions and scopes for each role. Create API Gateway routes for content submission, review, approval, and scheduling. Configure serverless circuits to orchestrate the end-to-end editorial workflow from submission through to publication. Set up a cron job to automatically publish approved articles at their scheduled time and another to send digest notifications every Friday at 9:00 AM. Store all media assets including images, videos, and attachments in a Stratus bucket called 'content-assets' with pre-signed upload signatures for direct writer uploads. Cache the most recently published articles in a dedicated segment to accelerate front-end load times. Deploy the platform as a web app and configure CORS domains for the editorial dashboard and the public-facing reader portal separately. With Catalyst MCP server connected, the LLM uses the given prompt to access and implement the following Catalyst components:
Catalyst Component MCP Tool Purpose
[Authentication](https://docs.catalyst.zoho.com/en/cloud-scale/help/authentication/introduction/) `Enable_Authentication` Enables user authentication to secure the content platform across all editorial roles
`List_All_Roles` Retrieves existing roles to configure Writer, Editor, and Publisher access levels
[API Gateway](https://docs.catalyst.zoho.com/en/cloud-scale/help/api-gateway/introduction/) `Configure_API_Gateway_Route` Creates endpoints for content submission, review, approval, and scheduling
`Create_CORS_Domain` Registers the editorial dashboard and public reader portal as separate allowed CORS origins
[Circuits](https://docs.catalyst.zoho.com/en/serverless/help/circuits/introduction/) `Execute_Circuit` Orchestrates the end-to-end editorial workflow from submission through to publication
[Cron](https://docs.catalyst.zoho.com/en/job-scheduling/help/cron/introduction/) `Create_Cron_Job` Schedules automated article publication at release times and weekly digest notifications every Friday
[Stratus](https://docs.catalyst.zoho.com/en/cloud-scale/help/stratus/introduction/) `Create_Bucket` Creates the content-assets bucket to store media files including images, videos, and attachments
`Create_Upload_Signature` Generates pre-signed upload signatures for writers to upload media assets directly from the browser
[Cache](https://docs.catalyst.zoho.com/en/cloud-scale/help/cache/introduction/) `Create_Segment` Creates a dedicated cache segment to hold recently published article data
`Create_Cache_Item` Caches the most recently published articles to accelerate front-end load times
[Web Client Hosting](https://docs.catalyst.zoho.com/en/cloud-scale/help/web-client-hosting/introduction/) `List_All_Web_Apps` Retrieves web app configurations to support deploying the content platform
#### Build a Multi-Region Event Management Platform > I am building an event management platform that handles registrations, ticketing, and post-event reporting across multiple regions. Create API Gateway routes for event creation, attendee registration, ticket generation, and cancellation mapped to serverless functions executed via GET, POST, PUT, and DELETE methods. Enable authentication and configure roles for Event Organizer, Attendee, and Platform Admin. Set up a job pool to manage high-concurrency ticket processing during peak registration windows and configure immediate jobs for on-demand ticket reissuance. Store all event assets including banners, schedules, and speaker profiles in a Stratus bucket called 'event-assets' and generate pre-signed URLs for secure attendee access to event materials. Cache event capacity and availability data in a dedicated segment to prevent overselling under high load. Schedule a cron job to run one hour before each event to send automated reminders and another post-event to trigger a bulk read job exporting attendee data for reporting. Store all exported reports as versioned objects in a Stratus bucket called 'event-reports'. With Catalyst MCP server connected, the LLM uses the given prompt to access and implement the following Catalyst components:
Catalyst Component MCP Tool Purpose
[API Gateway](https://docs.catalyst.zoho.com/en/cloud-scale/help/api-gateway/introduction/) `Configure_API_Gateway_Route` Creates endpoints for event creation, attendee registration, ticket generation, and cancellation
[Serverless Functions](https://docs.catalyst.zoho.com/en/serverless/help/functions/introduction/) `Execute_Function_Via_GET` Executes event and ticket retrieval functions via GET requests
`Execute_Function_Via_POST` Executes event creation and attendee registration functions via POST requests
`Execute_Function_Via_PUT` Executes event update functions via PUT requests
`Execute_Function_Via_DELETE` Executes cancellation and cleanup functions via DELETE requests
[Authentication](https://docs.catalyst.zoho.com/en/cloud-scale/help/authentication/introduction/) `Enable_Authentication` Enables user authentication to secure event creation, ticketing, and registration operations
`List_All_Roles` Retrieves and configures roles for Event Organizer, Attendee, and Platform Admin
[Job Pool](https://docs.catalyst.zoho.com/en/job-scheduling/help/jobpool/introduction/) `Create_Job_Pool` Creates a pool to manage high-concurrency ticket processing during peak registration windows
[Jobs](https://docs.catalyst.zoho.com/en/job-scheduling/help/job/introduction/) `Create_Immediate_Job` Triggers on-demand ticket reissuance jobs instantly when requested
`Create_Bulk_Read_Job` Creates a bulk read job to export attendee data for post-event reporting
[Cache](https://docs.catalyst.zoho.com/en/cloud-scale/help/cache/introduction/) `Create_Segment` Creates a dedicated cache segment to store event capacity and availability data
`Create_Cache_Item` Caches event capacity state to prevent overselling under high registration load
[Cron](https://docs.catalyst.zoho.com/en/job-scheduling/help/cron/introduction/) `Create_Cron_Job` Schedules pre-event automated reminder dispatch and post-event attendee data export trigger
[Stratus](https://docs.catalyst.zoho.com/en/cloud-scale/help/stratus/introduction/) `Create_Bucket` Creates the event-assets and event-reports buckets for event materials and exported attendee data
`Generate_Signed_URL` Generates pre-signed URLs for attendees to securely access event materials
#### Build a Catalyst AppSail-Powered Microservices Platform > I am building a microservices platform on Catalyst using AppSail to host independent services for authentication, payments, notifications, and analytics. Retrieve all existing AppSail configurations and map each service to its corresponding API Gateway route. Configure environment variables per service deployment with the required runtime credentials and service-to-service communication keys. Set up serverless circuits to orchestrate cross-service workflows such as payment confirmation triggering notification dispatch and analytics event logging. Configure a job pool to manage concurrent background processing jobs across all microservices and schedule cron jobs for each service's maintenance window payments reconciliation at 2:00 AM, analytics aggregation at 3:00 AM, and notification queue flush at 4:00 AM. Cache inter-service authentication tokens in a dedicated segment to eliminate redundant token generation on every service call. Store all service-level audit logs in a Stratus bucket called 'microservices-audit' and configure CORS domains for each service's permitted front-end origin. Enable authentication at the platform level and configure roles scoped to each microservice domain. With Catalyst MCP server connected, the LLM uses the given prompt to access and implement the following Catalyst components:
Catalyst Component MCP Tool Purpose
[AppSail](https://docs.catalyst.zoho.com/en/serverless/help/appsail/) `List_All_AppSail` Retrieves all existing AppSail service configurations for mapping to API routes
`Get_AppSail` Retrieves detailed configuration for each individual AppSail service
`Create_Env_Variables` Sets runtime credentials and service-to-service communication keys per service deployment
[API Gateway](https://docs.catalyst.zoho.com/en/cloud-scale/help/api-gateway/introduction/) `Configure_API_Gateway_Route` Maps each microservice to its corresponding API Gateway route
`Create_CORS_Domain` Registers each service's permitted front-end origin as a separate CORS domain
[Circuits](https://docs.catalyst.zoho.com/en/serverless/help/circuits/introduction/) `Execute_Circuit` Orchestrates cross-service workflows such as payment confirmation triggering notifications and analytics logging
[Job Pool](https://docs.catalyst.zoho.com/en/job-scheduling/help/jobpool/introduction/) `Create_Job_Pool` Creates a pool to manage concurrent background processing jobs across all microservices
[Cron](https://docs.catalyst.zoho.com/en/job-scheduling/help/cron/introduction/) `Create_Cron_Job` Schedules maintenance window jobs for payments reconciliation, analytics aggregation, and notification queue flush
[Cache](https://docs.catalyst.zoho.com/en/cloud-scale/help/cache/introduction/) `Create_Segment` Creates a dedicated cache segment to store inter-service authentication tokens
`Create_Cache_Item` Caches authentication tokens to eliminate redundant token generation on every service call
[Stratus](https://docs.catalyst.zoho.com/en/cloud-scale/help/stratus/introduction/) `Create_Bucket` Creates the microservices-audit bucket to store service-level audit logs
[Authentication](https://docs.catalyst.zoho.com/en/cloud-scale/help/authentication/introduction/) `Enable_Authentication` Enables platform-level authentication to secure all microservice interactions
`List_All_Roles` Retrieves and configures roles scoped to each microservice domain
#### Build a Healthcare Appointment and Records Management System > I am building a healthcare platform for managing patient appointments, medical records, and physician workflows. Enable authentication for the project and configure roles for Patient, Physician, Nurse, and Admin with granular table permissions and scopes ensuring patients can only access their own records. Create API Gateway routes for appointment booking, cancellation, rescheduling, and medical record retrieval mapped to serverless functions. Execute functions via GET for record retrieval and POST and PATCH for appointment management. Configure a serverless circuit to orchestrate the appointment confirmation workflow including availability checks, booking confirmation, and notification dispatch. Set up a cron job to run every morning at 7:00 AM to generate the day's appointment schedule and another at 10:00 PM to archive completed appointment records. Store all patient documents, lab reports, and prescriptions in a Stratus bucket called 'patient-records' with pre-signed URLs generated per patient for secure time-limited document access. Cache physician availability slots in a dedicated segment to accelerate the booking experience. Configure environment variables for all functions with HIPAA-compliant service credentials and encryption keys. With Catalyst MCP server connected, the LLM uses the given prompt to access and implement the following Catalyst components:
Catalyst Component MCP Tool Purpose
[Authentication](https://docs.catalyst.zoho.com/en/cloud-scale/help/authentication/introduction/) `Enable_Authentication` Enables user authentication for the healthcare platform, securing all patient and physician data
`List_All_Roles` Configures Patient, Physician, Nurse, and Admin roles with appropriate access levels
[Datastore](https://docs.catalyst.zoho.com/en/cloud-scale/help/data-store/introduction/) `Update_Table_Permissions` Sets granular table permissions so patients can only read and write their own records
`Update_Table_Scopes` Configures table scope to enforce per-user data isolation across patient records
[API Gateway](https://docs.catalyst.zoho.com/en/cloud-scale/help/api-gateway/introduction/) `Configure_API_Gateway_Route` Creates endpoints for appointment booking, cancellation, rescheduling, and medical record retrieval
[Serverless Functions](https://docs.catalyst.zoho.com/en/serverless/help/functions/introduction/) `Execute_Function_Via_GET` Executes medical record and schedule retrieval functions via GET requests
`Execute_Function_Via_POST` Executes appointment booking functions via POST requests
`Execute_Function_Via_PATCH` Executes appointment rescheduling functions via PATCH for partial updates
`Create_Env_Variables` Configures HIPAA-compliant service credentials and encryption keys as function environment variables
[Circuits](https://docs.catalyst.zoho.com/en/serverless/help/circuits/introduction/) `Execute_Circuit` Orchestrates the appointment confirmation workflow including availability checks and notification dispatch
[Cron](https://docs.catalyst.zoho.com/en/job-scheduling/help/cron/introduction/) `Create_Cron_Job` Schedules the 7:00 AM daily schedule generation job and the 10:00 PM completed appointment archival job
[Stratus](https://docs.catalyst.zoho.com/en/cloud-scale/help/stratus/introduction/) `Create_Bucket` Creates the patient-records bucket to store documents, lab reports, and prescriptions
`Generate_Signed_URL` Generates per-patient time-limited pre-signed URLs for secure document access
[Cache](https://docs.catalyst.zoho.com/en/cloud-scale/help/cache/introduction/) `Create_Segment` Creates a dedicated cache segment to store physician availability slots
`Create_Cache_Item` Caches physician availability slots to accelerate the appointment booking experience
#### Build a Catalyst-Powered IoT Data Ingestion and Monitoring Platform > I am building an IoT platform on Catalyst to ingest, process, and monitor sensor data from thousands of connected devices across multiple facilities. Configure API Gateway routes for device registration, data ingestion, threshold alerts, and device status updates mapped to serverless functions executed via POST for ingestion and GET for status retrieval. Set up a job pool to manage high-concurrency data ingestion jobs from simultaneous device streams and configure immediate jobs for on-demand device diagnostics triggered by field engineers. Create a serverless circuit to orchestrate the alert workflow evaluating incoming sensor readings against defined thresholds, triggering alerts for breaches, and logging events. Schedule a cron job to run every 15 minutes to aggregate device telemetry and another at midnight to archive the day's sensor data via a bulk read job. Store all archived telemetry data and device configuration files in a Stratus bucket called 'iot-telemetry' as versioned objects. Cache the latest sensor readings per device in a dedicated segment so the monitoring dashboard reflects near real-time device status without querying the datastore on every poll. Retrieve application logs filtered by error level to detect device connectivity failures and configure environment variables for all ingestion functions with facility-specific device authentication credentials. With Catalyst MCP server connected, the LLM uses the given prompt to access and implement the following Catalyst components:
Catalyst Component MCP Tool Purpose
[API Gateway](https://docs.catalyst.zoho.com/en/cloud-scale/help/api-gateway/introduction/) `Configure_API_Gateway_Route` Creates endpoints for device registration, data ingestion, threshold alerts, and device status updates
[Serverless Functions](https://docs.catalyst.zoho.com/en/serverless/help/functions/introduction/) `Execute_Function_Via_POST` Executes data ingestion functions via POST for incoming sensor data streams
`Execute_Function_Via_GET` Executes device status retrieval functions via GET requests
`Create_Env_Variables` Configures facility-specific device authentication credentials as function environment variables
[Job Pool](https://docs.catalyst.zoho.com/en/job-scheduling/help/jobpool/introduction/) `Create_Job_Pool` Creates a pool to manage high-concurrency data ingestion jobs from simultaneous device streams
[Jobs](https://docs.catalyst.zoho.com/en/job-scheduling/help/job/introduction/) `Create_Immediate_Job` Triggers on-demand device diagnostic jobs instantly for field engineer requests
`Create_Bulk_Read_Job` Creates a bulk read job to export the day's sensor data for archival at midnight
[Circuits](https://docs.catalyst.zoho.com/en/serverless/help/circuits/introduction/) `Execute_Circuit` Orchestrates the alert workflow evaluating sensor readings against thresholds and triggering breach notifications
[Cron](https://docs.catalyst.zoho.com/en/job-scheduling/help/cron/introduction/) `Create_Cron_Job` Schedules the 15-minute telemetry aggregation job and the midnight sensor data archival job
[Stratus](https://docs.catalyst.zoho.com/en/cloud-scale/help/stratus/introduction/) `Create_Bucket` Creates the iot-telemetry bucket to store versioned archived telemetry and device configuration files
[Cache](https://docs.catalyst.zoho.com/en/cloud-scale/help/cache/introduction/) `Create_Segment` Creates a dedicated cache segment to store the latest sensor readings per device
`Create_Cache_Item` Caches the most recent sensor reading per device for near real-time dashboard display
[Logs](https://docs.catalyst.zoho.com/en/devops/help/logs/introduction/) `Get_Logs` Retrieves logs filtered by error level to detect device connectivity failures
### Catalyst MCP Tools in Multi-Service Zoho Workflows You can execute these prompts using: * **2 Zoho MCP Servers**: Catalyst Dynamic MCP Server and a Custom Zoho MCP Server configured with the required MCP Tools of other Zoho services. * A Custom Zoho MCP Server, configured to contain MCP tools from multiple Zoho Services, including Catalyst by Zoho. #### Build an Automated Customer Support Intelligence Platform > I am building a customer support intelligence platform that connects helpdesk operations with CRM data and analytics. Pull all open and overdue tickets from the helpdesk and enrich each ticket's associated contact with additional company and lead data using Catalyst Dataverse. Cross-reference the enriched contact records against CRM leads and accounts to identify high-value customers experiencing support issues and escalate their tickets with priority tags. Create a Catalyst serverless circuit to orchestrate the full triage workflow receiving new ticket webhooks, enriching the contact, evaluating priority, and triggering an automatic reassignment to the most suitable agent based on department. Store all enriched ticket and contact data in a Catalyst datastore table called 'Support Intelligence' and schedule a cron job every morning at 7:00 AM to generate a daily support health report. Export the report as a bulk read job, store it in a Stratus bucket called 'support-reports', and push a summary into a Zoho Analytics dashboard with a chart report breaking down ticket volume by priority, department, and resolution time. With Catalyst MCP server connected, the LLM uses the given prompt to access and implement the following Catalyst components:
Zoho Service MCP Tool Purpose
[Catalyst by Zoho](https://docs.catalyst.zoho.com/en/ai-toolkit/catalyst-mcp-server/overview/) `Create_Table` Creates the Support Intelligence datastore table to store enriched ticket and contact records
`Insert_Rows` Inserts enriched ticket and contact data into the Support Intelligence table
`Execute_Circuit` Orchestrates the full triage workflow from ticket webhook receipt through enrichment, priority evaluation, and agent reassignment
`Create_Cron_Job` Schedules the daily 7:00 AM job to generate and export the support health report
`Create_Bulk_Read_Job` Exports the daily report data from the datastore for storage in the support-reports Stratus bucket
`Create_Immediate_Job` Triggers on-demand triage and enrichment for newly received ticket webhooks outside the scheduled run
[Zoho Desk](https://www.zoho.com/en-in/desk/) `getTickets` Pulls all open and overdue tickets from the helpdesk for triage and enrichment
`searchTickets` Searches tickets to filter overdue and high-priority cases requiring escalation
`getContact` Retrieves the contact details associated with each ticket for Dataverse enrichment
`updateTicket` Updates ticket priority tags to escalate issues from identified high-value customers
`getAgents` Retrieves available agents by department for automatic ticket reassignment
[Zoho CRM](https://www.zoho.com/en-in/crm/?src=zGlobalAllProducts&src1=zGlobalAllProductsFilter) `getLeadsRecords` Cross-references enriched contacts against CRM lead records to identify high-value prospects with active support issues
`getAccountsRecord` Retrieves CRM account data to flag high-value customers experiencing recurring support problems
`Lead_Enrichment` Enriches ticket contact records with additional company and lead intelligence from Catalyst Dataverse
[Zoho Analytics](https://www.zoho.com/analytics/) `import_data` Pushes enriched ticket and contact data into the Zoho Analytics workspace
`query_data` Queries aggregated support data to compile the daily health report
`create_chart_report` Creates a chart breaking down ticket volume by priority, department, and resolution time
`create_summary_report` Creates a summary report for the daily support health dashboard
#### Launch a Full Product Lifecycle Management Platform > I am building a product lifecycle management platform that tracks products from initial sales estimate through to delivery and invoicing. When a new sales order is approved in Zoho Books, trigger a Catalyst serverless circuit to initiate the fulfillment workflow — create a delivery challan, assign the responsible team member, and update the project task status in the associated project. Configure API Gateway routes for order status, fulfillment tracking, and invoice generation. Set up a recurring invoice profile for subscription-based product orders and enable auto-bill against the customer's stored payment method. Schedule a cron job every Monday at 8:00 AM to generate a weekly sales summary using a bulk read job and store the export in a Stratus bucket called 'sales-exports'. Push all order, invoice, and delivery data into a Zoho Analytics workspace with a pivot report showing revenue by product category and customer, and a summary report tracking order-to-delivery cycle times. Set up a webhook in Zoho Books to notify the Catalyst circuit whenever an invoice is approved or overdue, triggering automated payment reminder emails to the customer. With Catalyst MCP server connected, the LLM uses the given prompt to access and implement the following Catalyst components:
Zoho Service MCP Tool Purpose
[Catalyst by Zoho](https://docs.catalyst.zoho.com/en/ai-toolkit/catalyst-mcp-server/overview/) `Execute_Circuit` Triggers the fulfillment workflow when a Books sales order is approved, orchestrating delivery challan creation, team assignment, and project task updates
`Configure_API_Gateway_Route` Creates API endpoints for order status, fulfillment tracking, and invoice generation
`Create_Cron_Job` Schedules the weekly Monday 8:00 AM sales summary generation job
`Create_Bulk_Read_Job` Generates the weekly sales summary by exporting order data from the datastore for storage in the sales-exports bucket
`Create_Serverless_Function` Creates the webhook handler function that receives and processes Zoho Books invoice approval and overdue events
[Zoho Books](https://www.zoho.com/us/books/) `create_sales_order` Creates a sales order when a new product order is initiated in the platform
`create_invoice` Generates invoices for completed and approved product orders
`create_delivery_challan` Creates a delivery challan when the Catalyst circuit triggers fulfillment for an approved order
`create_recurring_invoice` Sets up a recurring invoice profile for subscription-based product orders
`enable_recurring_invoice_autobill` Enables automatic billing against the customer's stored payment method for recurring subscriptions
`create_webhook` Sets up a Zoho Books webhook to notify the Catalyst circuit when invoices are approved or become overdue
`bulk_invoice_reminder` Sends automated payment reminder emails to customers with overdue invoices
[Zoho Analytics](https://www.zoho.com/analytics/) `import_data` Pushes order, invoice, and delivery data into the Zoho Analytics workspace
`create_pivot_report` Creates a pivot report showing revenue broken down by product category and customer
`create_summary_report` Creates a summary report tracking order-to-delivery cycle times
`create_chart_report` Creates a chart report for visual revenue trend analysis across the product portfolio
#### Build a Unified B2B Revenue Operations Platform > I am building a revenue operations platform that unifies sales intelligence, CRM pipeline management, financial reporting, and meeting productivity. Use Catalyst Lead Enrichment and Similar Companies to identify and qualify new prospects and push enriched lead records directly into Zoho CRM as new lead records with assigned owners. Configure a CRM workflow rule that triggers when a lead reaches the qualified stage automatically creating a sales estimate in Zoho Books and scheduling a Zoho Meeting with the assigned sales rep and the prospect. After each meeting, retrieve the participant report and store attendance and engagement data in a Catalyst datastore table called 'Meeting Intelligence'. Configure a Catalyst cron job every Friday at 5:00 PM to generate a weekly pipeline report. Also, open deals from CRM, outstanding estimates from Zoho Books, and meeting engagement data from the datastore — then push the consolidated report into a Zoho Analytics dashboard with a chart report showing pipeline value by stage and a summary report tracking estimate-to-deal conversion rates. With Catalyst MCP server connected, the LLM uses the given prompt to access and implement the following Catalyst components:
Zoho Service MCP Tool Purpose
[Catalyst by Zoho](https://docs.catalyst.zoho.com/en/ai-toolkit/catalyst-mcp-server/overview/) `Lead_Enrichment` Enriches prospect records with detailed company and contact intelligence for qualification
`Similar_Companies` Identifies new prospects similar to existing high-value accounts for pipeline expansion
`Tech_Stack_Finder` Qualifies prospects based on their existing technology infrastructure before CRM entry
`Create_Cron_Job` Schedules the weekly Friday 5:00 PM pipeline report generation job
`Create_Table` Creates the Meeting Intelligence table to store post-meeting attendance and engagement data
`Insert_Rows` Stores participant report and meeting engagement data in the Meeting Intelligence table
[Zoho CRM](https://www.zoho.com/en-in/crm/?src=zGlobalAllProducts&src1=zGlobalAllProductsFilter) `createLeadsRecords` Pushes enriched prospect records into Zoho CRM as new lead entries with assigned owners
`postWorkflowRule` Configures the CRM workflow rule that triggers when a lead reaches the qualified stage to initiate the estimate and meeting flow
`getDealsRecords` Retrieves open deal data from CRM for the weekly pipeline report consolidation
`updateLeadsRecord` Updates lead records with qualification status and owner assignments after enrichment
[Zoho Books](https://www.zoho.com/us/books/) `create_estimate` Creates a sales estimate in Zoho Books when a CRM lead reaches the qualified stage
`email_estimate` Sends the estimate to the prospect for review immediately after creation
`approve_estimate` Marks estimates as approved for tracking in the estimate-to-deal conversion pipeline
[Zoho Meeting](https://www.zoho.com/meeting/) `createMeetingSession` Schedules a Zoho Meeting between the assigned sales rep and the qualified prospect
`getParticipantReport` Retrieves post-meeting attendance and engagement data for storage in the Meeting Intelligence table
`getMeetingDetails` Retrieves full meeting metadata to store alongside engagement records in the Meeting Intelligence table
[Zoho Analytics](https://www.zoho.com/analytics/) `import_data` Pushes consolidated pipeline, estimate, and meeting engagement data into the Analytics workspace
`query_data` Queries CRM deals, Books estimates, and Meeting Intelligence data for the weekly pipeline report
`create_chart_report` Creates a pipeline value by stage chart report for the weekly revenue summary
`create_summary_report` Creates an estimate-to-deal conversion rate summary report for the dashboard
#### Build a Multi-Channel Customer Engagement and Retention Platform > I am building a customer engagement platform that monitors customer health across support, CRM, calendar, and analytics touchpoints. Pull all contacts from Zoho Desk that have more than three unresolved tickets in the past 30 days and cross-reference them against CRM accounts to identify at-risk customers. For each identified at-risk account, trigger a Catalyst serverless circuit that creates a CRM task for the account owner, schedules a follow-up meeting via Zoho Calendar, and generates a personalised retention estimate in Zoho Books with a special pricing offer applied from a custom pricebook. Store all at-risk account data and engagement actions in a Catalyst cache segment for fast retrieval by the account management dashboard. Configure a Catalyst cron job every Sunday at 6:00 AM to refresh the at-risk account list and a job pool to manage concurrent engagement workflows across large account volumes. Push all customer health metrics ticket volume, deal stage, meeting history, and estimate status into a Zoho Analytics workspace with a summary report tracking engagement actions per account owner and a chart report visualising at-risk account distribution by industry and revenue band. With Catalyst MCP server connected, the LLM uses the given prompt to access and implement the following Catalyst components:
Zoho Service MCP Tool Purpose
[Catalyst by Zoho](https://docs.catalyst.zoho.com/en/ai-toolkit/catalyst-mcp-server/overview/) `Execute_Circuit` Orchestrates the engagement workflow per at-risk account, triggering CRM task creation, meeting scheduling, and retention estimate generation
`Create_Cache_Item` Stores at-risk account data and engagement action states in a cache segment for fast retrieval by the account management dashboard
`Create_Job_Pool` Manages concurrent engagement workflows across large at-risk account volumes
`Create_Cron_Job` Schedules the Sunday 6:00 AM refresh of the at-risk account list
`Create_Immediate_Job` Triggers the engagement workflow immediately for newly identified at-risk accounts outside the scheduled refresh
[Zoho Desk](https://www.zoho.com/en-in/desk/) `getTickets` Pulls open tickets to identify contacts with more than three unresolved tickets in the past 30 days
`searchTickets` Searches for unresolved tickets from the past 30 days to build the at-risk contact list
`getContact` Retrieves contact details for ticket owners to cross-reference against CRM accounts
`getContactStatistics` Gets ticket statistics per contact to identify those exceeding the three-ticket threshold in the 30-day window
[Zoho CRM](https://www.zoho.com/en-in/crm/?src=zGlobalAllProducts&src1=zGlobalAllProductsFilter) `getAccountsRecord` Retrieves CRM account records to match against identified at-risk contacts and confirm account value
`updateDealsRecord` Updates deal records for at-risk accounts to flag escalation status for the account owner
`createWorkflowTasks` Creates a CRM follow-up task for the account owner for each identified at-risk account
[Zoho Books](https://www.zoho.com/us/books/) `create_pricebook` Creates the custom pricebook containing special retention pricing offers for at-risk accounts
`create_estimate` Generates a personalised retention estimate with the special pricing offer for each at-risk account
`apply_pricebook_to_invoice` Applies the retention pricebook pricing to the generated estimate for the at-risk customer
[Zoho Analytics](https://www.zoho.com/analytics/) `import_data` Pushes customer health metrics including ticket volume, deal stage, meeting history, and estimate status into the Analytics workspace
`create_summary_report` Creates a report tracking engagement actions taken per account owner across the at-risk portfolio
`create_chart_report` Creates a chart visualising at-risk account distribution by industry and revenue band
#### Connect Catalyst MCP Server -------------------------------------------------------------------------------- title: "Connect Catalyst Custom MCP Server to an MCP Client" description: "Step-by-step guide to creating, configuring, and connecting a Catalyst Custom MCP Server to your preferred MCP client." last_updated: "2026-10-01T07:03:46.000Z" source: "https://docs.catalyst.zoho.com/en/ai-toolkit/catalyst-mcp-server/connect-catalyst-mcp/connect-custom-mcp/" service: "AI Toolkit" related: - Zoho MCP Help (https://help.zoho.com/portal/en/kb/mcp) - Zoho MCP Tool List (https://zoho-mcp-manual-tool-guide.onslate.in/) - Connect Catalyst Dynamic MCP Server (/en/ai-toolkit/catalyst-mcp-server/connect-catalyst-mcp/dynamic-mcp/) -------------------------------------------------------------------------------- # Connect Catalyst Custom MCP Server to an MCP Client To connect with a Custom MCP server to an LLM, you need to first generate an MCP URL, by creating and configuring a Catalyst MCP server. ### Create an MCP Server To create an MCP server: 1. Go to [Zoho MCP console](https://mcp.zoho.in/). 2. Click **Create MCP Server**. 3. Provide a name for your MCP server, then click **Create**. ![catalyst_mcp_server_create_ondemand_mcp_console](https://catalyst-docs-development.zohostratus.in/images/ai-toolkit/mcp-server/catalyst_mcp_server_create_ondemand_mcp_console.gif) Your MCP server will be created. ### Configure MCP Server with Catalyst's MCP Tools To configure your Catalyst Custom MCP server: 1. Click **Add Tools**. 2. Search for **Catalyst by Zoho**. 3. Add your required tools. 4. Click **Add Now**. ![catalyst_mcp_server_add-tools_ondemand_mcp_console](https://catalyst-docs-development.zohostratus.in/images/ai-toolkit/mcp-server/catalyst_mcp_server_add-tools_ondemand_mcp_console.gif) The required tools will be added to your Catalyst MCP server. ### Get MCP URL To get the MCP URL: 1. Click **Connect** present in the side-panel of the MCP console. 2. Copy the MCP Server URL. ![catalyst_mcp_server-mcp-url_ondemand_mcp_console](https://catalyst-docs-development.zohostratus.in/images/ai-toolkit/mcp-server/catalyst_mcp_server-mcp-url_ondemand_mcp_console.gif) Your Catalyst Custom MCP Server is now ready to be connected with your preferred MCP Client. ### Connect Catalyst Custom MCP Server Use the MCP URL to connect your server to your preferred MCP client. The configuration process may vary depending on the client used. **Claude.ai** ### Connect Catalyst Custom MCP Server to Claude.ai To connect your Catalyst MCP server to Claude.ai: 1. Navigate to the *Connect* section present in the [MCP Console](https://mcp.zoho.in/mcp-client#/mcp-client/server). 2. Copy the MCP URL. 3. Go to [http://claude.ai/settings/integrations](http://claude.ai/settings/integrations). 4. Click the **Add** drop-down. 5. Click **Add Custom Connectors**. 6. Provide a name for the MCP server, and paste your MCP URL. The MCP server is now added to your MCP Client. To complete the connection, you need to authorize the MCP Server connection to Claude. 7. Access your MCP server from the list of *Connectors* and click **Connect**. 8. Follow the authorization process, and your MCP server will be connected and ready to use. ![catalyst-mcp-server-claude-ondemand](https://catalyst-docs-development.zohostratus.in/images/ai-toolkit/mcp-server/catalyst-mcp-server-claude-ondemand.gif) You can now leverage the artificial intelligence of Claude.ai through the Catalyst Custom MCP Server, which equips Claude with the required context it needs to understand and execute your operations on the Catalyst console. **ChatGPT** ### Connect Catalyst Custom MCP Server to ChatGPT To connect your Catalyst Custom MCP Server to ChatGPT: 1. Navigate to the **Profile > Settings > Apps** section in ChatGPT, then click **Create App**. 2. Provide a name and description for your server. 3. Paste your MCP Server URL. 4. Select **OAuth** as the authentication type. 5. Click **Create**. You will be directed to the Zoho MCP authorization screen in your local host. 6. Click **Allow**. Follow the authorization process, and your MCP server will be connected and ready to use. ![catalyst-mcp-server-chatgpt-ondemand](https://catalyst-docs-development.zohostratus.in/images/ai-toolkit/mcp-server/catalyst-mcp-server-chatgpt-ondemand.gif) You can now leverage the artificial intelligence of ChatGPT through the Catalyst Custom MCP Server, which equips ChatGPT with the context it needs to understand and execute your operations on the Catalyst console. **Cursor** ### Connect Catalyst Custom MCP Server to Cursor Unlike other MCP Clients that require manual steps to add MCP servers, Cursor offers you automatic configuration, in addition to manual configuration. **Automatic Configuration** To connect your MCP server to Cursor using **automatic configuration**: 1. Navigate to the *Connect* section in the MCP console. 2. Select **Cursor** from the list of MCP Clients. 3. Click **Add to Cursor**. The required configurations to add your MCP server to Cursor will be automatically handled. However, for Cursor to access your MCP server and the tools configured in it, you need to connect and provide the required authorizations. ![catalyst-mcp-server-cursor-on-demand-automatic](https://catalyst-docs-development.zohostratus.in/images/ai-toolkit/mcp-server/catalyst-mcp-server-cursor-on-demand-automatic.gif) **Manual Configuration** To connect your Catalyst MCP server to Cursor: 1. Navigate to the *Connect* section present in the [MCP Console](https://mcp.zoho.in/mcp-client#/mcp-client/server). 2. Copy the MCP URL. 3. Navigate to the **Tools & Integrations** tab in the *Settings* section in Cursor, and click **Add Custom MCP**. 4. You will be directed to the `mcp_config.json` file. 5. Paste the following code snippet in the file and replace `Your-MCP-URL` with the MCP URL you copied: ```json { "mcpServers": { "ZohoMCP": { "command": "npx", "args": [ "mcp-remote", "Your-MCP-URL", "--transport", "http-only" ] } } } ``` Once you click **Save**, you will be directed to the Zoho MCP authorization screen in your local host. 6. Click **Allow**. Follow the authorization process, and your MCP server will be connected and ready to use. You can now leverage the artificial intelligence of Cursor's AI models through the Catalyst Custom MCP Server, which equips them with the context they need to understand and execute your operations on the Catalyst console. **CoPilot** ### Connect Catalyst Custom MCP Server to CoPilot Unlike other MCP Clients that require manual steps to add MCP servers, VS Code offers you automatic configuration in addition to manual configuration. **Automatic Configuration** To connect your MCP server to VS Code using **automatic configuration**: 1. Navigate to the *Connect* section present in the MCP console. 2. Select **VS Code** from the list of MCP Clients. 3. Click **Add to VS Code**. The required configurations to add your MCP server to VS Code will be automatically handled. However, for VS Code to access your MCP server and the tools configured in it, you need to connect and provide the required authorizations. ![catalyst-mcp-server-on-demand-automatic-connect](https://catalyst-docs-development.zohostratus.in/images/ai-toolkit/mcp-server/catalyst-mcp-server-on-demand-automatic-connect.gif) **Manual Configuration** To manually connect your Catalyst MCP server to CoPilot: 1. Navigate to the *Connect* section present in the [MCP Console](https://mcp.zoho.in/mcp-client#/mcp-client/server). 2. Copy the MCP URL. 3. Ensure GitHub Copilot is installed, active, and set to **Agent** mode. 4. Access the VS Code Command Palette. - On Mac: **⇧ + ⌘ + P** - On Windows: **Ctrl + Shift + P** 5. Search for "**MCP:Add Server...**". 6. Choose the "**HTTP (HTTP or Server-Sent Events)**" option, then press **Enter**. 7. In the **Server Key** input field, paste the MCP URL you copied, then press **Enter**. 8. Provide a name for your MCP server and press **Enter**. You will be directed to the Zoho MCP authorization screen in your local host. 9. Click **Allow**. Follow the authorization process, and your MCP server will be connected and ready to use. You can now leverage the artificial intelligence of the AI models present in CoPilot through the Catalyst Custom MCP Server, which equips them with the context they need to understand and execute your operations on the Catalyst console. **Custom MCP Client** ### Connect Catalyst Custom MCP Server to a Custom MCP Client To connect your Catalyst MCP server to a custom MCP client, ensure: * It is compatible to accept remote MCP servers. * It supports connection through **HTTP** or **Streamable Transport**. Once you confirm the fulfillment of the above requirements: 1. Navigate to the *Connect* section present in the [MCP Console](https://mcp.zoho.in/mcp-client#/mcp-client/server). 2. Copy the MCP URL. 3. Ensure **Agent mode** or its equivalent mode is enabled in your tool. 4. Create a `mcp_config.json` file or search and find the appropriate file in your AI tool. 5. Paste the following code snippet in the file and replace `Your-MCP-URL` with the MCP URL you copied: ```json { "mcpServers": { "ZohoMCP": { "command": "npx", "args": [ "mcp-remote", "Your-MCP-URL", "--transport", "http-only" ] } } } ``` Follow the authorization process, and your MCP server will be connected and ready to use. If you are facing further difficulties, reach out to [Catalyst Support](mailto:support@zohocatalyst.com). ##### Connect Catalyst Dynamic MCP Server -------------------------------------------------------------------------------- title: "Claude.ai" description: "Connect the Catalyst Dynamic MCP Server to Claude.ai using the universal MCP URL." last_updated: "2026-10-01T07:03:46.000Z" source: "https://docs.catalyst.zoho.com/en/ai-toolkit/catalyst-mcp-server/connect-catalyst-mcp/dynamic-mcp/connect-dynamic-mcp-claude/" service: "AI Toolkit" related: - Zoho MCP Help (https://help.zoho.com/portal/en/kb/mcp) - Zoho MCP Tool List (https://zoho-mcp-manual-tool-guide.onslate.in/) - Connect Catalyst Custom MCP Server (/en/ai-toolkit/catalyst-mcp-server/connect-catalyst-mcp/connect-custom-mcp/) -------------------------------------------------------------------------------- # Connect Catalyst Dynamic MCP Server to Claude.ai A [Catalyst Dynamic MCP server](https://docs.catalyst.zoho.com/en/ai-toolkit/catalyst-mcp-server/overview/#catalyst-mcp-server-1) has a universal MCP URL, you can use to connect to your required MCP Client (LLM). No MCP Tool configuration needs to be done in the MCP console. You only have to connect the following MCP URL to Claude.ai. `https://catalyst.zohomcp.com/mcp/message` To connect your Catalyst Dynamic MCP Server to Claude.ai: 1. Copy the Catalyst Dynamic MCP URL [`https://catalyst.zohomcp.com/mcp/message`]. 2. Go to [http://claude.ai/settings/integrations](http://claude.ai/settings/integrations). 3. Click the **Add** drop-down. 4. Click **Add Custom Connectors**. 5. Provide a name for the MCP server, and paste the global MCP URL. The MCP server is now added to your MCP Client. To complete the connection, you need to authorize the MCP Server connection to Claude. 6. Access your MCP server from the list of *Connectors* and click **Connect**. 7. Follow the authorization process, and your MCP server will be connected and ready to use. ![catalyst-claude-global-mcp-connect](https://catalyst-docs-development.zohostratus.in/images/ai-toolkit/mcp-server/catalyst-claude-global-mcp-connect.gif) You can now leverage the artificial intelligence of Claude.ai through the Catalyst Dynamic MCP Server, which equips Claude with the context it needs to understand and execute your operations on the Catalyst console. -------------------------------------------------------------------------------- title: "ChatGPT" description: "Connect the Catalyst Dynamic MCP Server to ChatGPT using the universal MCP URL." last_updated: "2026-10-06T06:21:49.000Z" source: "https://docs.catalyst.zoho.com/en/ai-toolkit/catalyst-mcp-server/connect-catalyst-mcp/dynamic-mcp/connect-dynamic-mcp-chatgpt/" service: "AI Toolkit" related: - Zoho MCP Help (https://help.zoho.com/portal/en/kb/mcp) - Zoho MCP Tool List (https://zoho-mcp-manual-tool-guide.onslate.in/) - Connect Catalyst Custom MCP Server (/en/ai-toolkit/catalyst-mcp-server/connect-catalyst-mcp/connect-custom-mcp/) -------------------------------------------------------------------------------- # Connect Catalyst Dynamic MCP Server to ChatGPT For ChatGPT, Catalyst by Zoho has an official [Codex plugin](https://docs.catalyst.zoho.com/en/ai-toolkit/catalyst-plugin/overview/) that when used will allow you to directly connect to Catalyst Dynamic MCP Server, and additionally provide you with access to Skill files to power Codex as a Catalyst coding agent. To install the plugin: 1. Navigate to the **Profile > Settings > Plugins** section in ChatGPT, then click **Browse Plugins**. 2. Search for **Catalyst by Zoho** plugin, and select the plugin. You will be directed to the Zoho MCP authorization screen in your local host. 3. Click **Allow**. Follow the authorization process, and your MCP server will be connected and ready to use. ![chatgpt-global-mcp](https://catalyst-docs-development.zohostratus.in/images/ai-toolkit/mcp-server/chatgpt-global-mcp.gif) You can now leverage the artificial intelligence of ChatGPT through this plugin, which equips ChatGPT with the context it needs to understand and execute your operations on the Catalyst console. -------------------------------------------------------------------------------- title: "Cursor" description: "Connect the Catalyst Dynamic MCP Server to Cursor using the universal MCP URL and mcp_config.json." last_updated: "2026-10-01T07:03:46.000Z" source: "https://docs.catalyst.zoho.com/en/ai-toolkit/catalyst-mcp-server/connect-catalyst-mcp/dynamic-mcp/connect-dynamic-mcp-cursor/" service: "AI Toolkit" related: - Zoho MCP Help (https://help.zoho.com/portal/en/kb/mcp) - Zoho MCP Tool List (https://zoho-mcp-manual-tool-guide.onslate.in/) - Connect Catalyst Custom MCP Server (/en/ai-toolkit/catalyst-mcp-server/connect-catalyst-mcp/connect-custom-mcp/) -------------------------------------------------------------------------------- # Connect Catalyst Dynamic MCP Server to Cursor A [Catalyst Dynamic MCP server](https://docs.catalyst.zoho.com/en/ai-toolkit/catalyst-mcp-server/overview/#catalyst-mcp-server-1) has a universal MCP URL, you can use to connect to your required MCP Client (LLM). No MCP Tool configuration needs to be done in the MCP console. You only have to connect the following MCP URL to Cursor. `https://catalyst.zohomcp.com/mcp/message` To connect your Catalyst Dynamic MCP Server to Cursor: 1. Navigate to the **Tools & Integrations** tab in the *Settings* section in Cursor, and click **Add Custom MCP**. 2. You will be directed to the `mcp_config.json` file. 3. Paste the following code snippet in the file: ```json { "mcpServers": { "ZohoMCP": { "command": "npx", "args": [ "mcp-remote", "https://catalyst.zohomcp.com/mcp/message", "--transport", "http-only" ] } } } ``` Once you click **Save**, you will be directed to the Zoho MCP authorization screen in your local host. 4. Click **Allow**. Follow the authorization process, and your MCP server will be connected and ready to use. ![catalyst-mcp-server-connect-cursor-global-mcp](https://catalyst-docs-development.zohostratus.in/images/ai-toolkit/mcp-server/catalyst-mcp-server-connect-cursor-global-mcp.gif) You can now leverage the artificial intelligence of Cursor's AI models through the Catalyst Dynamic MCP Server, which equips them with the context it needs to understand and execute your operations on the Catalyst console. -------------------------------------------------------------------------------- title: "CoPilot" description: "Connect the Catalyst Dynamic MCP Server to GitHub Copilot in VS Code using the universal MCP URL." last_updated: "2026-10-01T07:03:46.000Z" source: "https://docs.catalyst.zoho.com/en/ai-toolkit/catalyst-mcp-server/connect-catalyst-mcp/dynamic-mcp/connect-dynamic-mcp-copilot/" service: "AI Toolkit" related: - Zoho MCP Help (https://help.zoho.com/portal/en/kb/mcp) - Zoho MCP Tool List (https://zoho-mcp-manual-tool-guide.onslate.in/) - Connect Catalyst Custom MCP Server (/en/ai-toolkit/catalyst-mcp-server/connect-catalyst-mcp/connect-custom-mcp/) -------------------------------------------------------------------------------- # Connect Catalyst Dynamic MCP Server to CoPilot A [Catalyst Dynamic MCP server](https://docs.catalyst.zoho.com/en/ai-toolkit/catalyst-mcp-server/overview/#catalyst-mcp-server-1) has a universal MCP URL, you can use to connect to your required MCP Client (LLM). No MCP Tool configuration needs to be done in the MCP console. You only have to connect the following MCP URL to CoPilot. `https://catalyst.zohomcp.com/mcp/message` To connect your Catalyst Dynamic MCP Server to CoPilot: 1. Ensure GitHub Copilot is installed, active, and set to **Agent** mode. 2. Access the VS Code Command Palette. - On Mac: **⇧ + ⌘ + P** - On Windows: **Ctrl + Shift + P** 3. Search for "**MCP:Add Server...**". 4. Choose the "**HTTP (HTTP or Server-Sent Events)**" option, then press **Enter**. 5. In the **Server Key** input field, paste the global MCP Server URL, then press **Enter**. 6. Provide a name for your MCP server and press **Enter**. You will be directed to the Zoho MCP authorization screen in your local host. 7. Click **Allow**. Follow the authorization process, and your MCP server will be connected and ready to use. ![catalyst-mcp-server-connect-copilot-global-mcp](https://catalyst-docs-development.zohostratus.in/images/ai-toolkit/mcp-server/catalyst-mcp-server-connect-copilot-global-mcp.gif) You can now leverage the artificial intelligence of the AI models present in CoPilot through the Catalyst Dynamic MCP Server, which equips them with the context they need to understand and execute your operations on the Catalyst console. -------------------------------------------------------------------------------- title: "Custom MCP Client" description: "Connect the Catalyst Dynamic MCP Server to any MCP-compatible AI client using the universal MCP URL." last_updated: "2026-10-01T07:03:46.000Z" source: "https://docs.catalyst.zoho.com/en/ai-toolkit/catalyst-mcp-server/connect-catalyst-mcp/dynamic-mcp/connect-dynamic-mcp-custom/" service: "AI Toolkit" related: - Zoho MCP Help (https://help.zoho.com/portal/en/kb/mcp) - Zoho MCP Tool List (https://zoho-mcp-manual-tool-guide.onslate.in/) - Connect Catalyst Custom MCP Server (/en/ai-toolkit/catalyst-mcp-server/connect-catalyst-mcp/connect-custom-mcp/) -------------------------------------------------------------------------------- # Connect Catalyst Dynamic MCP Server with any MCP Client A [Catalyst Dynamic MCP server](https://docs.catalyst.zoho.com/en/ai-toolkit/catalyst-mcp-server/overview/#catalyst-mcp-server-1) has a universal MCP URL, you can use to connect to your required MCP Client (LLM). No MCP Tool configuration needs to be done in the MCP console. You only have to connect the following MCP URL to your required MCP Client. `https://catalyst.zohomcp.com/mcp/message` If you have a requirement to connect the Catalyst Dynamic MCP server to a custom AI Model, LLM, AI-compatible IDE, then you need to ensure: * It is compatible to accept remote MCP servers. * It supports connection through **HTTP** or **Streamable Transport** Once you confirm the fulfillment of the above requirements, then: 1. Ensure **Agent mode** or its equivalent mode is enabled in your tool. 2. Create a `mcp_config.json` file or search and find the appropriate file in your AI tool. 3. Paste the following code snippet in the file. ```json { "mcpServers": { "ZohoMCP": { "command": "npx", "args": [ "mcp-remote", "https://catalyst.zohomcp.com/mcp/message", "--transport", "http-only" ] } } } ``` Follow the authorization process, and your MCP server will be connected and ready to use. If you are facing further difficulties, reach out to [Catalyst Support](mailto:support@zohocatalyst.com). ### Non-Interactive CLI -------------------------------------------------------------------------------- title: "Motivation" description: "Why the NI CLI exists and the problem it solves." last_updated: "2026-09-15T06:29:39.000Z" source: "https://docs.catalyst.zoho.com/en/ai-toolkit/ni-cli/motivation/" service: "AI Toolkit" related: - Access Non-Interactive CLI (/en/ai-toolkit/ni-cli/install-cli/) - CLI vs NI CLI (/en/ai-toolkit/ni-cli/cli-vs-ni/) - Non-Interactive Catalyst CLI Commands (/en/ai-toolkit/ni-cli/ni-commands/) - Interactive Catalyst CLI (/en/cli/v1/cli-command-reference/) -------------------------------------------------------------------------------- # CLI for Agents The CLI for agents is essentially the Catalyst CLI presented with a non-interactive (**NI**) mode. Using this mode, your AI agent will be able to perform necessary CLI operations autonomously guided by your prompts. The AI agent won't have to halt its operations asking for your input due to an interaction with the Catalyst CLI. The NI mode permits the CLI to take every answer up front from the options you pass and from built-in defaults. If something required is still missing, it stops immediately with a clear error instead of waiting for a response. ### Motivation The Catalyst CLI provides you with the flexibility to handle browser-incompatible and crucial project operations without leaving your coding environment. However, the standard, or rather user-friendly, CLI is highly interactive. For example, to initialize your project, you execute the following command: ```sh catalyst init ``` Then you'll have to interact with the CLI and complete the following tasks for initialization to complete: * Select organization. * Select the required project. * Choose to initialize functions, client, Slate, and other resources. * Based on these selections, you will provide a name, choose your required runtime, and all the necessary dependencies are installed. All of these little interactions need to happen. Even though default options are provided in the CLI, you still need to interact with it and provide the necessary inputs to initialize the project successfully. All of these minor interactions are crucial for successful initialization. However, when choosing to code and build your applications using AI agents, your focus is more on building resilient applications as quickly as possible. Having an AI agent chosen for accelerating your build time interact with our Catalyst CLI is not efficient. Hence, our motivation is to create a non-interactive mode in the CLI that agents can use seamlessly. -------------------------------------------------------------------------------- title: "Access Non-Interactive CLI" description: "Step-by-step guide to installing the Catalyst CLI and accessing its non-interactive mode." last_updated: "2026-10-23T10:20:21.000Z" source: "https://docs.catalyst.zoho.com/en/ai-toolkit/ni-cli/install-cli/" service: "AI Toolkit" related: - Motivation (/en/ai-toolkit/ni-cli/motivation/) - CLI vs NI CLI (/en/ai-toolkit/ni-cli/cli-vs-ni/) - Non-Interactive Catalyst CLI Commands (/en/ai-toolkit/ni-cli/ni-commands/) - Interactive Catalyst CLI (/en/cli/v1/cli-command-reference/) -------------------------------------------------------------------------------- # Access Non-Interactive CLI Execute the following command to install the Catalyst CLI globally: ```sh npm install -g zcatalyst-cli ``` > **Note:** If the command fails, try again with elevated privileges: `sudo` on **macOS/Linux**, or a terminal running as administrator on **Windows**. You can verify the installation by executing the following command: ```sh catalyst --version ``` > **Note:** Catalyst CLI requires Node.js v14 or higher to install, as npm is bundled with Node.js. ### Update the CLI A running log of all of Catalyst CLI updates is available in the [Catalyst Release Notes](https://docs.catalyst.zoho.com/en/release-notes/cli/). To update your Catalyst CLI, execute the following command: ```sh npm install -g zcatalyst-cli ``` To update to a specific version, execute the following command: ```sh npm install -g zcatalyst-cli@<version> ``` ### Troubleshooting CLI installation If you are unable to install the Catalyst CLI try troubleshooting with the following steps: * Confirm Node and npm versions by executing `node -v` and `npm -v`. If they return a compatible version (v14 or higher), then uninstall and reinstall Catalyst CLI (use `sudo` on **macOS**, or an administrator command prompt on **Windows**). * If you hit a TLS authorization error, run `set NODE_TLS_REJECT_UNAUTHORIZED=0`, then retry the command. This disables TLS certificate verification for the session. Only use it as a temporary workaround, and set it back afterward (`set NODE_TLS_REJECT_UNAUTHORIZED=1`). * If the CLI shows abnormal behavior, check the `catalyst-debug.log` file created automatically in the directory the command was run from, and send it to support@zohocatalyst.com with a description of the issue. ### Access Non-interactive Mode in Catalyst CLI You can access the Non-interactive mode in the Catalyst CLI either using a command flag, environment variable, or programmatically using the appropriate argument.
Method How to activate Example
Command flag Add `-ni` (or `--non-interactive`) to any command `catalyst functions:add -ni --name InvoiceFetch --type bio --stack node24`
Environment variable Set `ZCATALYST_NON_INTERACTIVE` to 1, true, or yes. (This applies to every command in that terminal session.) For **macOS/Linux**: `export ZCATALYST_NON_INTERACTIVE=1` OR For **Windows**: `ZCATALYST_NON_INTERACTIVE=1`
Programmatically Pass the non-interactive option when invoking the CLI from code. Pass the equivalent of `-ni` as an argument in your script/CI call to the CLI.
> **Note:** Execute `catalyst <command> -ni --help` to access the non-interactive CLI specific help section for that command. -------------------------------------------------------------------------------- title: "CLI vs NI CLI" description: "A comparison between the Catalyst CLI and the NI CLI." last_updated: "2026-09-15T06:29:39.000Z" source: "https://docs.catalyst.zoho.com/en/ai-toolkit/ni-cli/cli-vs-ni/" service: "AI Toolkit" related: - Motivation (/en/ai-toolkit/ni-cli/motivation/) - Access Non-Interactive CLI (/en/ai-toolkit/ni-cli/install-cli/) - Non-Interactive Catalyst CLI Commands (/en/ai-toolkit/ni-cli/ni-commands/) - Interactive Catalyst CLI (/en/cli/v1/cli-command-reference/) -------------------------------------------------------------------------------- # CLI vs Non-Interactive CLI The following table details various common use cases and which mode of the Catalyst CLI is best suited to successfully complete them.
Common Use Cases Interactive CLI Non-Interactive CLI
CI/CD pipelines **Bad fit.** There's no one to answer "which project?" or "overwrite this file?", so the pipeline run just hangs waiting for input that never comes. **Good fit.** Every answer comes from the options and defaults you supply; if something required is missing, it fails immediately with a clear message instead of hanging.
Local development / first-time project setup **Good fit.** A person is at the terminal, so prompts and pick-lists guide you through choices you may not know yet (project, stack, framework). **Bad fit.** Requires every value (project, org, stack, etc.) to be known and supplied up front, which defeats the point when you're still figuring things out.
Automation scripts / scheduled jobs **Bad fit.** An unattended scheduled job will stall on the first prompt it hits, with no one to clear it. **Good fit.** Runs start to finish without attendance, and destructive actions (like overwrite) stay safe by default unless explicitly flagged.
Exploratory work **Good fit.** Pick-lists show you the available options (stacks, functions, versions) so you don't need to know the exact name or ID. **Bad fit.** List choices must be supplied directly by name, value, or position; an unrecognized value just errors out instead of showing you what's valid.
Remote systems with no active session (e.g., a CI server) **Bad fit.** Assumes a live terminal or browser session with someone present to respond to prompts. **Good fit.** Built for exactly this: no active login session needed, given the right options and token.
Manual, one-off debugging **Good fit.** Confirmations ("are you sure?") and step-by-step prompts suit a human working through a problem interactively. **Bad fit.** Its safety rails exist for unattended runs, so forcing every value up front adds friction with no benefit when you're already there to answer prompts yourself.
Agent / programmatic invocation **Bad fit.** An agent isn't a person choosing from a list; it has no way to answer a prompt, so the command just sits waiting on input that will never arrive. **Good fit.** Removes every point where a command would otherwise stall waiting on a human, which is what makes it safely callable from code or by an agent.
-------------------------------------------------------------------------------- title: "Non-Interactive Catalyst CLI Commands" description: "Reference for the commands available in the NI CLI." last_updated: "2026-10-23T10:20:21.000Z" source: "https://docs.catalyst.zoho.com/en/ai-toolkit/ni-cli/ni-commands/" service: "AI Toolkit" related: - Motivation (/en/ai-toolkit/ni-cli/motivation/) - Access Non-Interactive CLI (/en/ai-toolkit/ni-cli/install-cli/) - CLI vs NI CLI (/en/ai-toolkit/ni-cli/cli-vs-ni/) - Interactive Catalyst CLI (/en/cli/v1/cli-command-reference/) -------------------------------------------------------------------------------- # Non-Interactive Catalyst CLI Commands The following help section details all the Catalyst CLI commands that are compatible and non-compatible with Non-interactive mode. ### Global CLI Options The following table covers the options that are possible in the Catalyst CLI:
Options Purpose
`--ni` | `--non-interactive` Turns on non-interactive mode for the command
`--dc <data-center>` Selects the data center (us, eu, in, au, ca, sa, jp, uae)
`--org <org>` Selects the organization/portal (name or ID)
`--project <project>` Selects the project (name or ID)
### Commands That Support Non-Interactive Mode The following table details all the Catalyst CLI commands that are compatible with non-interactive mode:
Command Required Options Good to Know NI CLI Command
[`catalyst init`](https://docs.catalyst.zoho.com/en/cli/v1/initialize-resources/initialize-new-project/) `--project`
  • `--org` required only if more than one org exists (a single org is chosen automatically).
  • Only `project` initialization is supported in NI mode.
  • `--force` overwrites an existing project association.
```sh catalyst init -ni --project MyProject ```
[`catalyst functions:add`](https://docs.catalyst.zoho.com/en/cli/v1/working-with-functions/add-functions/)
  • `--name`
  • `--type`
  • `--stack`
  • Replaces `functions:setup`.
  • `--integ-service` required only when `--type` is `integ`.
  • `--overwrite` required only to replace an existing function of the same name.
  • Sample class/entry-point names use built-in defaults; dependency installation is confirmed automatically.
```sh catalyst functions:add -ni --name InvoiceFetch --type bio --stack node24 ```
[`catalyst functions:delete`](https://docs.catalyst.zoho.com/en/cli/v1/working-with-functions/delete-functions/) `[function name or ID]`
  • Defaults to local deletion if no location is specified.
  • `--remote` is blocked in NI mode.
  • Delete confirmation is accepted automatically.
```sh catalyst functions:delete -ni InvoiceFetch ```
`catalyst functions:execute` `[function name]` conditional
  • Replaces `functions:shell`.
  • Function name required only if more than one function exists.
  • `--key` required only when the function has multiple named inputs.
  • `--input` and `--debug` are optional.
```sh catalyst functions:execute -ni InvoiceFetch --input '{"orderId":"123"}' ```
[`catalyst appsail:add`](https://docs.catalyst.zoho.com/en/cli/v1/add-appsail/)
  • `--name`
  • `--source`
  • Runtime (Catalyst-managed vs. Docker) is detected from `--source`.
  • `--stack` required for Catalyst-managed runtime.
  • `--platform` conditional for Java.
  • `--port` is ignored (with warning) for managed runtime.
  • `--stack`/`--build`/`--platform`/`--overwrite-config` are ignored for Docker runtime.
  • `--overwrite-config` required only to replace an existing service config.
```sh catalyst appsail:add -ni --name MyApp --source ./app --stack node24 ```
[`catalyst client:setup`](https://docs.catalyst.zoho.com/en/cli/v1/working-with-the-client/set-up-client/)
  • `--type`
  • `--name`
  • `--flavour` required only for React (`js`/`ts`).
  • `--stylesheet` conditional for Angular.
  • `--routing` optional, Angular only.
  • `--overwrite` required only if the client folder already exists.
```sh catalyst client:setup -ni --type react --name myclient --flavour js ```
[`catalyst client:delete`](https://docs.catalyst.zoho.com/en/cli/v1/working-with-the-client/delete-client/) `[client version]` optional
  • Defaults to local deletion if no location is specified.
  • `--remote` is blocked in NI mode.
  • Delete confirmation is accepted automatically.
```sh catalyst client:delete -ni 1.0.0 ```
[`catalyst slate:link`](https://docs.catalyst.zoho.com/en/cli/v1/working-with-slate/link-slate-app/) `--source`
  • `--name` and `--framework` optional (framework auto-detected; a valid `--framework` overrides detection).
  • `--template` and `--default` are ignored with a warning.
```sh catalyst slate:link -ni --source ./my-app ```
[`catalyst slate:create`](https://docs.catalyst.zoho.com/en/cli/v1/working-with-slate/create-slate-app/)
  • `--name`
  • `--framework`
  • `--template` optional.
  • No `--source` option, since create always scaffolds a fresh directory.
  • `--default` is ignored with a warning.
```sh catalyst slate:create -ni --name MyApp --framework react ```
[`catalyst slate:unlink`](https://docs.catalyst.zoho.com/en/cli/v1/working-with-slate/unlink-slate-app/) `--name`
  • An unknown or missing name fails with the list of available apps.
  • `--remove-source` optional (deletes the source directory; kept by default).
```sh catalyst slate:unlink -ni --name MyApp ```
[`catalyst pull`](https://docs.catalyst.zoho.com/en/cli/v1/pull-resources/pull-specific-resource/)
  • `[feature]`
  • `--resource`
  • Only one feature pulled per run.
  • `--overwrite` required only if the target already exists locally.
  • Enabling and pulling API Gateway rules is confirmed automatically.
```sh catalyst pull -ni functions --resource InvoiceFetch ```
[`catalyst deploy slate`](https://docs.catalyst.zoho.com/en/cli/v1/deploy-resources/deploy-to-slate/) `[name]`
  • `-m <message>` optional deploy message.
  • `--production` deploys to production.
  • `--no-wait` skips waiting for completion.
```sh catalyst deploy slate -ni MyApp ```
[`catalyst login`](https://docs.catalyst.zoho.com/en/cli/v1/login/login-from-cli/) `--dc`
  • Data center must be specified; it is not prompted.
  • `--no-localhost` and `--force` optional.
```sh catalyst login -ni --dc us ```
### Commands That Are Disabled in Non-Interactive Mode The following table details the Catalyst CLI commands that are disabled in non-interactive mode:
Command Why It's Disabled Use Instead Complete Command
[`catalyst functions:setup`](https://docs.catalyst.zoho.com/en/cli/v1/working-with-functions/set-up-functions/) It's the interactive setup wizard for the first function in a project. It walks through picking a function type, stack, and several other selections as prompts and doesn't have an option-driven equivalent for every step, so it's blocked outright rather than partially supported. [`catalyst functions:add`](https://docs.catalyst.zoho.com/en/cli/v1/working-with-functions/add-functions/) ```sh catalyst functions:add -ni --name InvoiceFetch --type bio --stack node24 ```
[`catalyst functions:shell`](https://docs.catalyst.zoho.com/en/cli/v1/working-with-functions/functions-shell/) It launches a live Node shell session for testing and debugging a function interactively, which has no meaningful non-interactive form since the whole point is a human typing commands into it. `catalyst functions:execute` (for Event, Job, and Integration functions) ```sh catalyst functions:execute -ni InvoiceFetch --input '{"orderId":"123"}' ```
## Tools ### Catalyst Maven Tools -------------------------------------------------------------------------------- title: "Introduction" description: "Catalyst Maven Tools include Maven archetypes to create Basic I/O and Advanced I/O functions, the Java SDK as a Maven dependency, and a Maven plugin." last_updated: "2026-11-04T10:10:44.000Z" source: "https://docs.catalyst.zoho.com/en/tools/maven-tools/introduction/" service: "Serverless" -------------------------------------------------------------------------------- # Catalyst Maven Tools ### Introduction Catalyst offers Java application developers the flexibility and convenience of working in their preferred IDE throughout the entire lifecycle of application development. This includes the stages right from the initialization of a Java Serverless function to building its code, testing, and deploying it to the Catalyst remote project. This support is provided in the form of several features for the [Apache Maven](https://maven.apache.org/) build automation tool, widely used for Java projects. Maven follows a Project Object Model (POM) and can handle project management including build and dependency management, project maintenance, test-driven deployment, and provides a host of plugins that assist in Java programming. Catalyst offers the following Maven tools for Java application development: * **Catalyst Maven Archetypes:** Catalyst provides two Maven archetypes to create serverless [Basic I/O](https://docs.catalyst.zoho.com/en/serverless/help/functions/basic-io/) and [Advanced I/O](https://docs.catalyst.zoho.com/en/serverless/help/functions/advanced-io/) functions respectively within a Java IDE directly, without having to [initialize](https://docs.catalyst.zoho.com/en/cli/v1/initialize-resources/introduction/) them in the CLI. * **Catalyst Java SDK as a Maven Dependency:** The [Java SDK](https://docs.catalyst.zoho.com/en/sdk/java/v1/overview/) package provided by Catalyst can be included as a dependency in a Maven configuration file, and need not be downloaded or installed manually. * **Catalyst Maven Plugins:** Catalyst also offers a plugin in the Maven framework that allow you to package, [serve](https://docs.catalyst.zoho.com/en/cli/v1/serve-resources/introduction/), and [deploy](https://docs.catalyst.zoho.com/en/cli/v1/deploy-resources/introduction/) a Java function with the archetypes from your IDE, instead of the CLI. You can avail the Catalyst Maven tools in any of Java IDEs that you work with, such as Eclipse, IntelliJ IDEA, NetBeans, or Visual Studio Code. You can find the details of the Java development environments that include Maven integration from their [official documentation](https://maven.apache.org/ide.html). Catalyst's Maven support facilitates easy Java application development with reduced workload and enhanced functionality. You can save efforts from manually handling Java dependencies or the versioning of the SDK package. This support ensures you perform all your operations including setting up your application's environment, code, test, deploy, and manage within a single interface without having to switch to the CLI for basic actions. > **Note:** The Maven archetypes, dependency, and plugin that Catalyst provides do not include all Catalyst operations that you can execute from a local environment. You can utilize [Catalyst CLI](https://docs.catalyst.zoho.com/en/cli/v1/cli-command-reference/) for the other operations in parallel with the Maven tools. ### Prerequisites To work with the Catalyst Maven tools, you will need to ensure that Maven is installed in your Java IDE. * **Eclipse**: [Eclipse](https://www.eclipse.org/m2e/) runs an embedded version of Maven and provides built-in support for Maven. M2Eclipse provides a tight integration with Maven with a host of built-in features. You can install it as a new software or search for Maven in the Eclipse Marketplace. * **IntelliJ IDEA**: [IntelliJ IDEA](https://www.jetbrains.com/help/idea/maven-support.html) offers a fully-functional integration with Maven that allows you to create a Maven project directly or add Maven support to an existing project. * **NetBeans**: [Apache NetBean](https://bits.netbeans.org/mavenutilities/nbm-maven-plugin/)s has a built-in support for Maven, and provides several utilities to build and populate NetBeans artefacts using Maven. * **Visual Studio Code**: [VS Code](https://code.visualstudio.com/docs/java/java-build) provides a fully-integrated Maven extension that allows you to perform Maven operations after you install it. > **Note:** If you are using VS Code, you will need to configure the executable path for Maven if you are installing it for the first time. This can be configured in VS Code settings as shown below. ![maven-settings-executable](https://catalyst-docs-development.zohostratus.in/images/catalyst-extension/maven/maven-settings-executable.webp) -------------------------------------------------------------------------------- title: "Catalyst Maven Archetypes" description: "Catalyst provides pre-defined Maven archetypes to create Basic I/O and Advanced I/O functions in your IDE directly, from the Maven Central Repository." last_updated: "2026-11-04T10:10:44.000Z" source: "https://docs.catalyst.zoho.com/en/tools/maven-tools/maven-archetypes/" service: "Serverless" -------------------------------------------------------------------------------- # Maven Archetypes ### Introduction A [Maven archetype](https://maven.apache.org/guides/introduction/introduction-to-archetypes.html) is a toolkit that defines a Maven project's template. Maven archetypes provide Java developers the means to generate parameterized versions of the project's template in a standardized manner. Catalyst provides pre-defined Maven archetypes to create [Serverless](https://docs.catalyst.zoho.com/en/serverless/) functions of the types [Basic I/O](https://docs.catalyst.zoho.com/en/serverless/help/functions/basic-io/) and [Advanced I/O](https://docs.catalyst.zoho.com/en/serverless/help/functions/advanced-io/). These archetypes will be listed from the [Maven Central Repository](https://mvnrepository.com/repos/central). With these archetypes, you can simply provide input values containing the function details, and they will create and initialize the function in the [standard structure](https://docs.catalyst.zoho.com/en/cli/v1/project-directory-structure/introduction/) and include the required dependencies in the Maven project's directory. You can add multiple functions this way in individual POM directories. You must remember the following points about creating functions with the Maven archetypes: * When you [initialize a function](https://docs.catalyst.zoho.com/en/cli/v1/initialize-resources/introduction/) from the CLI, you will be required to initialize the project first or [add the function](https://docs.catalyst.zoho.com/en/cli/v1/working-with-functions/add-functions/) in an existing Catalyst project directory. In the case of Maven, you will not be able to initialize a project separately. You can directly create the function. * The function you create with an archetype will be created in the destination folder you select, as explained in the next section. * You can associate a function you create with the archetype with an existing project from your remote account by configuring its [Project ID](https://docs.catalyst.zoho.com/en/getting-started/set-up-a-catalyst-project/general-settings/) in the [`pom.xml`](https://docs.catalyst.zoho.com/en/tools/maven-tools/pom-xml/) Maven configuration file which is discussed in a later section. You will also need to add the [Org ID](https://docs.catalyst.zoho.com/en/getting-started/catalyst-organizations/) of your Catalyst organization in this file. * You will not be able to create functions of any other type besides Basic I/O and Advanced I/O, or of any other stack, or the client component through the Maven tools. You will need to utilize the CLI to initialize these resources in your local environment. ### Create a Basic I/O or an Advanced I/O Function with the Archetypes In this help document, we cover the steps of working with the Catalyst Maven tools using the example of VS Code IDE. Some details may vary based on the IDE you use. You can create a Basic I/O or an Advanced I/O function in the following way: 1. Create a new Maven project in your IDE. Depending on the IDE you use, the steps might vary. You can also convert an existing project to Maven, based on your IDE. For VS Code, click the **+** icon under Maven to create a new Maven project. ![maven-create-project](https://catalyst-docs-development.zohostratus.in/images/catalyst-extension/maven/maven-create-project.webp) 2. Type in "com.zoho.catalyst" in the archetype search bar. Select one of the following based on the type of function you want to create: * `catalyst-archetype-basicio`: To create a Basic I/O function * `catalyst-archetype-advancedio`: To create an Advanced I/O function with Catalyst SDK * `catalyst-archetype-advancedio-basic`: To create an Advanced I/O function without Catalyst SDK ![maven-archetype-create-function](https://catalyst-docs-development.zohostratus.in/images/catalyst-extension/maven/maven-archetype-create-function.webp) > **Note:** If the Catalyst archetypes are not listed in the results or if you want to fetch the latest archetype definitions, you might need to update the Maven archetype catalog in your IDE to access the latest published archetypes. Depending on your IDE you can look up the steps to update the catalog and perform the required actions. In VS Code, open the command palette and select *Maven: Update Maven Archetype Catalog*. 3. Select the version of the archetype you choose. It is recommended to select the latest version. ![maven-archetype-function-version](https://catalyst-docs-development.zohostratus.in/images/catalyst-extension/maven/maven-archetype-function-version.webp) 4. Enter a [group ID](https://maven.apache.org/guides/mini/guide-naming-conventions.html) for the project. This ID uniquely identifies your Maven project. You can press **Enter** to fill it with the default value. ![maven-group-id](https://catalyst-docs-development.zohostratus.in/images/catalyst-extension/maven/maven-group-id.webp) 5. Enter an [artifact ID](https://maven.apache.org/guides/mini/guide-naming-conventions.html) for the project. This is the name of the JAR without version. You can press **Enter** to fill it with the default value. ![maven-artifact-id](https://catalyst-docs-development.zohostratus.in/images/catalyst-extension/maven/maven-artifact-id.webp) 6. Select a destination folder to save your Maven project. 7. You will be prompted for some inputs in the terminal. Press **Enter** after each input. You can also directly press **Enter** without an input to submit the default value. * Version of the output JAR file's [`SNAPSHOT`](https://maven.apache.org/guides/getting-started/index.html#what-is-a-snapshot-version) * Maven Package name * The `appName` or the Catalyst reference name of the Java function * Main class name of the function * The [project ID](https://docs.catalyst.zoho.com/en/getting-started/set-up-a-catalyst-project/general-settings/) of the project this function will be associated with * The [org ID](https://docs.catalyst.zoho.com/en/getting-started/catalyst-organizations/) of your Catalyst organization that the project belongs to ![maven-create-function-1](https://catalyst-docs-development.zohostratus.in/images/catalyst-extension/maven/maven-create-function-1.webp) > **Note:** The project ID and org ID values will be stored in the [`pom.xml`](https://docs.catalyst.zoho.com/en/tools/maven-tools/pom-xml/) configuration file. You can choose to configure these directly in `pom.xml` later, and press Enter to skip entering these values now. 8. Confirm the properties configuration of your Maven project by entering "**Y**" and pressing **Enter**. ![maven-create-function-2](https://catalyst-docs-development.zohostratus.in/images/catalyst-extension/maven/maven-create-function-2.webp) The function will be created in your Maven project with the directory structure as shown below. ![maven-function-structure](https://catalyst-docs-development.zohostratus.in/images/catalyst-extension/maven/maven-function-structure.webp) When you intialize a Java function from the CLI, the function gets created with the [`catalyst.json`](https://docs.catalyst.zoho.com/en/cli/v1/project-directory-structure/catalyst-json/) project configuration file in the project's root, the [Catalyst Java SDK](https://docs.catalyst.zoho.com/en/sdk/java/v1/overview/) JAR files in the function's root, as well as with other project dependencies. Creating a function using a Catalyst Maven archetype will not include the Java SDK files or any of the project dependencies in these directories. The function's directory will instead contain the source and target directories separately, and in addition, will also include `pom.xml` specific to the Maven environment. The main Java function file will also be created with the default code based on the function type, and the [`catalyst-config.json`](https://docs.catalyst.zoho.com/en/cli/v1/project-directory-structure/functions-directory/#catalyst-config-json-file) file will be created and auto-configured. -------------------------------------------------------------------------------- title: "Java SDK Dependency" description: "The Catalyst Java SDK is automatically handled as a Maven dependency when you create a Basic I/O and Advanced I/O with the Catalyst Maven archetype in your IDE." last_updated: "2026-08-17T12:16:04.000Z" source: "https://docs.catalyst.zoho.com/en/tools/maven-tools/java-sdk-dependency/" service: "Serverless" -------------------------------------------------------------------------------- # Catalyst Java SDK Dependency The [`catalyst-java-sdk`](https://docs.catalyst.zoho.com/en/sdk/java/v1/overview/) package is usually downloaded upon the [initialization of a Java function](https://docs.catalyst.zoho.com/en/cli/v1/initialize-resources/initialize-functions/#initialize-a-java-function-of-any-type) from the CLI and saved in the function's directory. You can also access the SDK package from the [Developer Tools](https://docs.catalyst.zoho.com/en/getting-started/set-up-a-catalyst-project/developer-tools/) section of settings in the Catalyst console any time, and include it inside your Java function's folder. With the option to add the Catalyst Java SDK as a Maven dependency, Catalyst ensures the following: * The Java SDK package is automatically incorporated for every Java function you create through the Catalyst archetypes. * The SDK is added as a Maven dependency in the pom.xml configuration file inside the function bundle. * The versioning of the Java SDK package is automatically handled. Catalyst makes sure the latest version of the SDK package is applied when a Java function is served or deployed. * The function is automatically bundled with the SDK package when you package, serve, or deploy it. The Java SDK Maven dependency therefore prevents you from being responsible for managing the SDK toolkit, and ensures that you need not download the SDK for each function you create. You will find the Java SDK package listed under Maven dependencies in your IDE. ![maven-dependencies](https://catalyst-docs-development.zohostratus.in/images/catalyst-extension/maven/maven-dependencies.webp) -------------------------------------------------------------------------------- title: "pom.xml" description: "The Catalyst Java SDK dependencies and the Catalyst Maven plugin are defined in pom.xml, which is a Maven configuration file in a Maven project." last_updated: "2026-11-04T10:10:44.000Z" source: "https://docs.catalyst.zoho.com/en/tools/maven-tools/pom-xml/" service: "Serverless" -------------------------------------------------------------------------------- # The pom.xml Configuration File `[pom.xml](https://maven.apache.org/guides/introduction/introduction-to-the-pom.html)` is a Maven configuration file in your Maven project's directory that contains information about the project and configuration details used by Maven to build the project. For example, it specifies the group ID and artifact ID of the Maven project, the project's properties, dependencies and plugins used, their execution information, etc. > **Note:** `pom.xml` gets created automatically when you create the Maven project or convert an existing project to Maven. Depending on your IDE, you might need to generate this file if it is not added in the project. You can find the Catalyst Java SDK automatically added as a dependency in `pom.xml` after a Java function is created. ```json <dependencies> <dependency> <groupId>com.zoho.catalyst</groupId> <artifactId>java-sdk</artifactId> <version>1.15.0</version> </dependency> </dependencies> ``` You can find the Java dependencies fetched from the Zoho repository published in the Maven Central Repository. ```json <repositories> <repository> <id>java-sdk</id> <url>https://maven.zohodl.com</url> </repository> </repositories> ``` The build definitions in `pom.xml` include information about the [Catalyst Maven plugin](https://docs.catalyst.zoho.com/en/tools/maven-tools/maven-plugin/) artifact and the individual commands available in the plugin. ```json <build> <plugins> <plugin> <groupId>com.zoho.catalyst</groupId> <artifactId>catalyst-maven-plugin</artifactId> <version>0.0.2</version> <executions> <execution> <id>catalyst-package</id> <phase>package</phase> <goals> <goal>package</goal> </goals> </execution> <execution> <id>catalyst-deploy</id> <phase>deploy</phase> <goals> <goal>deploy</goal> </goals> </execution> </executions> <configuration> <org>901738101</org> <project>3376000001796044</project> </configuration> </plugin> </plugins> </build> ``` As mentioned earlier, you can configure the [project ID](https://docs.catalyst.zoho.com/en/getting-started/set-up-a-catalyst-project/general-settings/) of your Catalyst project and the [org ID](https://docs.catalyst.zoho.com/en/getting-started/catalyst-organizations/) of the organization the project belongs to in the _<configuration></configuration>_ section under the build definitions, if you had not configured it during function creation. -------------------------------------------------------------------------------- title: "Catalyst Maven Plugin" description: "Catalyst provides a Maven plugin that allows you to easily package, serve, and deploy the functions you create with the Catalyst Maven archetypes." last_updated: "2026-08-17T12:16:04.000Z" source: "https://docs.catalyst.zoho.com/en/tools/maven-tools/maven-plugin/" service: "Serverless" -------------------------------------------------------------------------------- # The Catalyst Maven Plugin ### Introduction The `catalyst` plugin will be available under Maven plugins after you initialize a Basic I/O or an Advanced I/O function from the archetype. You can find the individual commands shown below under this plugin that will enable you to perform various operations on your Catalyst functions and Maven artifacts. ![maven-plugins](https://catalyst-docs-development.zohostratus.in/images/catalyst-extension/maven/maven-plugins.webp) The `serve` and `deploy` command executions are performed after your request is authenticated. Catalyst currently provides proprietary authentication for the Maven plugin that is independent of the [Catalyst CLI authentication](https://docs.catalyst.zoho.com/en/cli/v1/login/login-from-cli/). Your IDE will prompt you for the authentication token generation when you execute these commands, and the tokens that are created will be saved in your local system. The package and help commands do not require to be authenticated. ### Package The Catalyst `package` command is exclusive to the Maven plugin and is not available in the CLI. This allows you to pack your Java function directory as an executable bundle. > **Note:** You can pack a function manually before you serve or deploy it. However, if you directly serve or deploy a function without executing the `package` command first, Catalyst will automatically pack the function before serving or deploying it. #### Pack a Function with the Catalyst Maven Plugin You can pack a Java Basic I/O or Advanced I/O function as described below. We have executed this command through the VS Code IDE in this example. Click the **`package`** command under **Plugins > catalyst** in the Maven tools. ![maven-package-1](https://catalyst-docs-development.zohostratus.in/images/catalyst-extension/maven/maven-package-1.webp) You can track the progress of the execution in your IDE's terminal. The function will be compiled to the JAR file format as a Maven [`SNAPSHOT`](https://maven.apache.org/guides/getting-started/index.html#what-is-a-snapshot-version). You can find the entire deployable bundle `catalyst-archive.zip` added in the `target` folder of your Maven's project directory. ![maven-package-2](https://catalyst-docs-development.zohostratus.in/images/catalyst-extension/maven/maven-package-2.webp) The `target` directory will contain all the compiled files, libraries, and other Maven dependencies, along with the build archive and the `SNAPSHOT` JAR of the main function. ![maven-catalyst-archive](https://catalyst-docs-development.zohostratus.in/images/catalyst-extension/maven/maven-catalyst-archive.webp) `catalyst-archive` contains the deployable library files including the Java SDK, the compiled source files, `[catalyst-config.json](https://docs.catalyst.zoho.com/en/cli/v1/project-directory-structure/functions-directory/#catalyst-config-json-file)`, and `[pom.xml](https://docs.catalyst.zoho.com/en/tools/maven-tools/pom-xml/)`. ![maven-catalyst-archive-structure](https://catalyst-docs-development.zohostratus.in/images/catalyst-extension/maven/maven-catalyst-archive-structure.webp) The function can now be served locally, or deployed to the remote project. ### Serve The `serve` command under the Catalyst Maven plugin is similar to the CLI command, `[catalyst serve](https://docs.catalyst.zoho.com/en/cli/v1/serve-resources/introduction/)`. It enables you to serve and test your function through a localhost in your system, before you deploy it to the remote project. You can serve both Basic I/O and Advanced I/O functions and obtain their local endpoints to test. Additionally, you can leverage your IDE's debugger and attach it to the live serve session for an enhanced testing experience. Catalyst also enables you to perform a hot reload of the function you serve. This enables you to make changes in your function's code and see the updates reflected live, without having to re-compile or re-serve the code. > **Note:** * The project ID and org ID associated with the function needs to be configured in `[pom.xml](https://docs.catalyst.zoho.com/en/tools/maven-tools/pom-xml/)` before you serve the function. * Your function will need to be bundled before it is served. You can [package](https://docs.catalyst.zoho.com/en/tools/maven-tools/maven-plugin/#package) it from the plugin, or serve it directly, which will automatically execute the `package` command. * The Maven project's directory must be in the standard structure with all required Maven and Catalyst dependency files for a successful serve. #### Serve a Function with the Catalyst Maven Plugin You can serve a Java Basic I/O or Advanced I/O function as described below. We have executed this command through the VS Code IDE in this example. 1. Click the `serve` command under **Plugins > `catalyst`** in the Maven tools. ![maven-serve-1](https://catalyst-docs-development.zohostratus.in/images/catalyst-extension/maven/maven-serve-1.webp) The terminal of your IDE will display the progress of the serve session. ![maven-serve-2](https://catalyst-docs-development.zohostratus.in/images/catalyst-extension/maven/maven-serve-2.webp) 2. Catalyst will prompt you to authenticate your serve request if no valid authentication token is detected. Open the URL displayed in the terminal in a browser window. ![maven-serve-3](https://catalyst-docs-development.zohostratus.in/images/catalyst-extension/maven/maven-serve-3.webp) 3. Click **Accept** in your browser window. This will authenticate your Catalyst account and provide the requested permissions to Catalyst CLI. ![maven-serve-4](https://catalyst-docs-development.zohostratus.in/images/catalyst-extension/maven/maven-serve-4.webp) You can now close the window and navigate to your IDE. 4. Catalyst will start a local server in the default port 3010. Access the local URL of the served function from the terminal. ![maven-serve-5](https://catalyst-docs-development.zohostratus.in/images/catalyst-extension/maven/maven-serve-5.webp) > **Note:** Depending on your IDE, a debug console might automatically spawn for you to test your hosted resources. You can also attach a debugger by yourself with the serve session, if this does not happen automatically. The terminal will display a live log of the actions performed. Depending on your IDE, you can quit the serve session by killing the command execution. ### Deploy The `deploy` command under the Catalyst Maven plugin is similar to the CLI command, `[catalyst deploy](https://docs.catalyst.zoho.com/en/cli/v1/deploy-resources/introduction/)`. It enables you to deploy your function to the remote project after you finish testing it. You can deploy both Basic I/O and Advanced I/O functions and obtain their deployed URL endpoint. > **Note:** * The project ID and org ID associated with the function needs to be configured in `[pom.xml](https://docs.catalyst.zoho.com/en/tools/maven-tools/pom-xml/)` before you deploy the function. * Your function will need to be bundled before it is deployed. You can [package](https://docs.catalyst.zoho.com/en/tools/maven-tools/maven-plugin/#package) it from the plugin, or deploy it directly, which will automatically execute the `package` command. * The Maven project's directory must be in the standard structure with all required Maven and Catalyst dependency files for a successful deployment. #### Deploy a Function with the Catalyst Maven Plugin You can deploy a Java Basic I/O or Advanced I/O function as described below. We have executed this command through the VS Code IDE in this example. 1. Click the **`deploy`** command under **Plugins > `catalyst`** in the Maven tools. ![maven-deploy-1](https://catalyst-docs-development.zohostratus.in/images/catalyst-extension/maven/maven-deploy-1.webp) The terminal of your IDE will display the progress command execution. ![maven-deploy-2](https://catalyst-docs-development.zohostratus.in/images/catalyst-extension/maven/maven-deploy-2.webp) 2. Catalyst will prompt you to authenticate your deploy request if no valid authentication token is detected. Open the URL displayed in the terminal in a browser window. ![maven-deploy-3](https://catalyst-docs-development.zohostratus.in/images/catalyst-extension/maven/maven-deploy-3.webp) 3. Click **Accept** in your browser window. This will authenticate your Catalyst account and provide the requested permissions to Catalyst CLI. ![maven-serve-4](https://catalyst-docs-development.zohostratus.in/images/catalyst-extension/maven/maven-serve-4.webp) You can now close the window and navigate to your IDE. 4. The terminal will display the deployed URL of your function that you can access. ![maven-deploy-4](https://catalyst-docs-development.zohostratus.in/images/catalyst-extension/maven/maven-deploy-4.webp) > **Note:** The `/server/` part in the URL of a Catalyst application indicates a function. A Basic I/O function's URL contains an `/execute` after the function's name, whereas an Advanced I/O function's URL does not contain that keyword. You will now be able to access the function in your project in the remote console. ### Help The Maven plugin provides a help command that displays help information of all the commands in the plugin when you execute it. ![maven-help-1](https://catalyst-docs-development.zohostratus.in/images/catalyst-extension/maven/maven-help-1.webp) You can see the details in your IDE's terminal. ![maven-help-2](https://catalyst-docs-development.zohostratus.in/images/catalyst-extension/maven/maven-help-2.webp) ### Catalyst Tunneling -------------------------------------------------------------------------------- title: "Introduction" description: "Catalyst Tunneling allows you to debug Non-HTTPS and Integration functions by routing function calls to your local system using a tunneling URL." last_updated: "2026-11-04T10:10:44.000Z" source: "https://docs.catalyst.zoho.com/en/tools/tunneling/introduction/" service: "All Services" -------------------------------------------------------------------------------- # Catalyst Tunneling ## Introduction Catalyst Tunneling enables you to locally debug non-HTTPS [**Catalyst Serverless functions**](https://docs.catalyst.zoho.com/en/serverless/help/functions/introduction/) ([Event functions](https://docs.catalyst.zoho.com/en/serverless/help/functions/event-functions/) and [Cron functions](https://docs.catalyst.zoho.com/en/serverless/help/functions/cron-functions/)), as well as the [Integration functions](https://docs.catalyst.zoho.com/en/serverless/help/functions/integration-functions/). Local debugging is a crucial part of application engineering. While there are clear means and no restrictions on debugging [Basic I/O](https://docs.catalyst.zoho.com/en/serverless/help/functions/basic-io/) and [Advanced I/O](https://docs.catalyst.zoho.com/en/serverless/help/functions/advanced-io/) functions in Catalyst, debugging non-HTTPS backendfunctions like Event functions Cron functions, or the HTTPS backend functions like the Integration functions, can prove to be difficult or restrictive. Cron, Event, and Integration functions are only executed upon automatic, backend invocation. They are not directly triggered by an endpoint URL like Advanced and Basic I/O functions. Instead, these functions are executed due to a run-time event, or at a particular schedhule or a time interval as a backend process. Debugging these functions in the development environment without an exact trigger is inconclusive. Tunneling is a Catalyst feature that solves this issue. Without Catalyst Tunneling to debug Integration and non-HTTPS functions in the development environment, you would [launch a functions shell](https://docs.catalyst.zoho.com/en/cli/v1/working-with-functions/functions-shell/) in the Catalyst CLI and test the functions by providing sample inputs. For Event functions alone, you could additionally [generate a sample payload](https://docs.catalyst.zoho.com/en/cli/v1/event-generate/introduction/) as input and check the output. However, these methods do not allow you to examine the code logic or provide you with enough debugging assistance to test the function. Tunneling works on the principle of reverse-proxying Catalyst functions from getting executed in the cloud to executing on a local web server. This enables you to debug the functions in your local IDE. You can use a [reverse proxy-provider](https://docs.catalyst.zoho.com/en/tools/tunneling/key-concepts/) of your choice, and provide a [Tunneling URL](https://docs.catalyst.zoho.com/en/tools/tunneling/key-concepts/) for these functions to be debugged. You then trigger the URL and, using Catalyst Tunneling, you can route calls made to these functions to your local system, thereby debugging them easily. > **Note:** Tunneling is available for debugging Catalyst functions of all supported runtimes- Java, Node.js, and Python. ![catalyst_tunneling_first_look](https://catalyst-docs-development.zohostratus.in/images/catalyst-extension/tunneling/catalyst_tunneling_first_look.webp) With Catalyst Tunneling in combination with a third-party reverse proxy service of your choice, you can effectively debug functions by using the [Catalyst console](https://console.catalyst.zoho.com/baas/index), [Catalyst CLI](https://docs.catalyst.zoho.com/en/cli/v1/cli-command-reference/) and any IDE of your choice. > **Note:** Tunneling is only available in the [Development Environment](https://docs.catalyst.zoho.com/en/deployment-and-billing/environments/development-environment/) of Catalyst. -------------------------------------------------------------------------------- title: "Benefits" description: "Catalyst Tunneling allows you to debug Non-HTTPS and Integration functions by routing function calls to your local system using a tunneling URL." last_updated: "2026-11-04T10:10:44.000Z" source: "https://docs.catalyst.zoho.com/en/tools/tunneling/benefits/" service: "All Services" -------------------------------------------------------------------------------- # Benefits * **Efficient debugging experience**: Without Catalyst Tunneling, debugging non-HTTPS functions like [Cron](https://docs.catalyst.zoho.com/en/serverless/help/functions/cron-functions/) and [Event](https://docs.catalyst.zoho.com/en/serverless/help/functions/event-functions/) or [Integration](https://docs.catalyst.zoho.com/en/serverless/help/functions/integration-functions/) functions in the development environment was an inconclusive task. You didn't have the freedom to set your preferred break points in your code file and debug them as you would [Basic I/O](https://docs.catalyst.zoho.com/en/serverless/help/functions/basic-io/) and [Advanced I/O](https://docs.catalyst.zoho.com/en/serverless/help/functions/advanced-io/) functions. Now, using Tunneling, you can trigger Cron, Event, and Integrations functions at will and examine every code line with absolute ease. * **No limitation on reverse-proxy providers**: Catalyst Tunneling can be used with any reverse-proxy providers of your choice. While there is no limitation to which reverse-proxy provider you can use, we recommend that you use the services of trusted reverse-proxy providers. You can find detailed steps on how to configure [Tunneling URL](https://docs.catalyst.zoho.com/en/tools/tunneling/key-concepts/) using some of the more popular reverse-proxy providers in this [section](https://docs.catalyst.zoho.com/en/tools/tunneling/implementation/generate-tunneling-url/). * **No IDE restrictions**: If your IDE allows you to configure a debugger, with Catalyst Tunneling, you can directly use it to debug your non-HTTPS and Integration functions. This help documentation also contains specific steps on [configuring the debuggers](https://docs.catalyst.zoho.com/en/tools/tunneling/implementation/ide-config/java/) of some of the commonly used IDEs. * **Manage Tunneling from the console**: You can enable, disable, and select multiple functions for tunneling directly in the console. The Catalyst console will also automatically disable tunneling after 24 hrs if you do not disable the tunneling process. You also have the option of updating your selection of non-HTTPS and Integration functions that you need to tunnel. -------------------------------------------------------------------------------- title: "Key Concepts" description: "Catalyst Tunneling allows you to debug Non-HTTPS and Integration functions by routing function calls to your local system using a tunneling URL." last_updated: "2026-11-04T10:10:44.000Z" source: "https://docs.catalyst.zoho.com/en/tools/tunneling/key-concepts/" service: "All Services" -------------------------------------------------------------------------------- # Key Concepts Before you implement Tunneling to your functions, there are a few key concepts you need to familiarize yourself with: * **Third-party Reverse Proxy Service**: Reverse-proxy providers will generate publicly accessible URLs upon your request that will proxy all requests to your local webserver, and will allow you to connect your localhost with the internet. You can choose any reverse-proxy provider of your choice. In this [section](https://docs.catalyst.zoho.com/en/tools/tunneling/implementation/generate-tunneling-url/) of the help documentation, we will be going over detailed steps on generating Tunneling URL for your functions with the following reverse-proxy providers: - [Ngrok](https://docs.catalyst.zoho.com/en/tools/tunneling/implementation/generate-tunneling-url/#ngrok) - [Localtunnel](https://docs.catalyst.zoho.com/en/tools/tunneling/implementation/generate-tunneling-url/#localtunnel) - [Serveo](https://docs.catalyst.zoho.com/en/tools/tunneling/implementation/generate-tunneling-url/#serveo) - [Localhost.run](https://docs.catalyst.zoho.com/en/tools/tunneling/implementation/generate-tunneling-url/#localhostrun) - [Pagekite](https://docs.catalyst.zoho.com/en/tools/tunneling/implementation/generate-tunneling-url/#pagekite) > **Note:** In this help documentation, we will only be going over steps on using the reverse-proxy providers to generate a **Tunneling URL**. You can find out more about these reverse-proxy providers and the services they provide by visiting their respective help documentations. * **Tunneling URL**: This is a URL generated by a reverse-proxy provider. This URL routes all the calls made to your non-HTTPS functions and Integration function to your local system. The local websever handles the application's hosting which can be accessed with this URL. Essentially, this URL allows your local system to act as the server on which your [Cron](https://docs.catalyst.zoho.com/en/serverless/help/functions/cron-functions/), [Event](https://docs.catalyst.zoho.com/en/serverless/help/functions/event-functions/) and [Integration](https://docs.catalyst.zoho.com/en/serverless/help/functions/integration-functions/) functions can be executed. If your reverse-proxy provider does not generate the Tunneling URL properly, the *Execution History* of the function will be listed in the "**URL Not Found**" status when it is tunneled, and you will encounter an error. * **Tunneled Functions**: These are non-HTTPS and Integration functions that you have selected to tunnel. Cron, Event and Integration functions are triggered only during runtime as a backend process and they typically are executed in the Catalyst cloud. However, when these functions are tunneled, their executions are routed to your local system. As a result, the live logs of these function executions will only be available in the [CLI](https://docs.catalyst.zoho.com/en/cli/v1/cli-command-reference/) and not in the [Catalyst Logs](https://docs.catalyst.zoho.com/en/devops/help/logs/introduction/) component, or anywhere in the console. The only other set of logs that will contain any information about Tunneling is the [Audit Logs](https://docs.catalyst.zoho.com/en/getting-started/set-up-a-catalyst-project/audit-logs/), where information such as when and by whom the tunneling was enabled will be displayed. * **Catalyst Function Shell**: Catalyst allows you to [launch a function shell](https://docs.catalyst.zoho.com/en/cli/v1/working-with-functions/functions-shell/) in the Catalyst CLI, where you can debug functions. It functions much like a Node shell, but it is powered by the functionalities of Catalyst CLI. We will be using this shell to execute the Tunneling commands. You can find a list of the Catalyst shell commands for Tunneling in this [section](https://docs.catalyst.zoho.com/en/tools/tunneling/implementation/launch-tunneling/). * **Conditions to enable Tunneling:** Tunneling is only possible in the [development environment](https://docs.catalyst.zoho.com/en/deployment-and-billing/environments/development-environment/) of Catalyst. To tunnel your functions, you must first make them available in the Catalyst console by either creating and coding them in the console from the [Catalyst Serverless](https://docs.catalyst.zoho.com/en/serverless/) section, or by [deploying](https://docs.catalyst.zoho.com/en/cli/v1/deploy-resources/introduction/) them to the console after coding them in your local environment. * **Application Performance Monitoring will not be available for functions while they are being tunneled**: When a function is being tunneled, calls made to the function are routed to your local system. This prevents the [Application Performance Monitoring (APM)](https://docs.catalyst.zoho.com/en/devops/help/apm/introduction/) component from monitoring the performance of your function. However, if you terminate tunneling, then you can use APM to monitor the performance of the function. -------------------------------------------------------------------------------- title: "Architecture" description: "Catalyst Tunneling allows you to debug Non-HTTPS and Integration functions by routing function calls to your local system using a tunneling URL." last_updated: "2026-11-04T10:10:44.000Z" source: "https://docs.catalyst.zoho.com/en/tools/tunneling/architecture/" service: "All Services" -------------------------------------------------------------------------------- # Architecture The following diagram illustrates the backend operations involved in debugging the Catalyst non-HTTPS and Integration functions using **Catalyst Tunneling**: ![catalyst_tunneling_architecture](https://catalyst-docs-development.zohostratus.in/images/catalyst-extension/tunneling/catalyst_tunneling_architecture.webp) > **Note:** Catalyst Tunneling is only available in the [Development environment](https://docs.catalyst.zoho.com/en/deployment-and-billing/environments/development-environment/). The steps below describe the workflow involved in debugging your non-HTTPS and Integration functions using Catalyst Tunneling: 1. In the Catalyst console, we will select the non-HTTPS or Integration functions for tunneling, and provide the Tunneling URL we generated using a third-party reverse proxy service and enable Tunneling. 2. We will then proceed to launch a function shell and start performing debugging operations using Catalyst Tunneling. 3. Now, every time you trigger the function using the Tunneling URL, the calls made will be routed to your local system and the logs will be present in the Catalyst CLI. Essentially, your local system acts as the server in which the tunneling-enabled functions are being executed. This allows you to set break points in your code file, and debug your function with ease. > **Note:** * After a function is tunneled, the logs of their execution will only be available in the Catalyst CLI, and fundamental information such as when and by whom the tunneling was enabled will be available in the [Audit Logs](https://docs.catalyst.zoho.com/en/getting-started/set-up-a-catalyst-project/audit-logs/) section present in the console. * While you can select multiple functions to tunnel, only when the debugging of the first function is completed will you be able to start debugging the next function. As of the current update, only this type of synchronous debugging of functions is possible. * Steps to configure the debugger of some of the more popular IDEs, such as Visual Studio Code, IntelliJ, and so on, to debug functions can be found in this [section](https://docs.catalyst.zoho.com/en/tools/tunneling/implementation/ide-config/java/). -------------------------------------------------------------------------------- title: "Manage Tunneling in the Console" description: "Catalyst Tunneling allows you to debug Non-HTTPS and Integration functions by routing function calls to your local system using a tunneling URL." last_updated: "2026-11-04T10:10:44.000Z" source: "https://docs.catalyst.zoho.com/en/tools/tunneling/manage-tunneling/" service: "All Services" -------------------------------------------------------------------------------- # Manage Tunneling in the Console In this help section, we are going to learn about how to manage Tunneling operations in the console. ### Edit Tunneling You can update the functions to be tunneled by adding or removing them, or the Tunneling URL that you configured. To edit the tunnel: 1. Click the **Edit Tunnel** option ![catalyst_tunneling_edit_tunnel_highlight](https://catalyst-docs-development.zohostratus.in/images/catalyst-extension/tunneling/catalyst_tunneling_edit_tunnel_highlight.webp) 2. Make the required changes and click **Update**. ![catalyst_tunneling_editing_inprogress](https://catalyst-docs-development.zohostratus.in/images/catalyst-extension/tunneling/catalyst_tunneling_editing_inprogress.webp) The tunnel has been edited. ![catalyst_tunneling_tunnel_edited](https://catalyst-docs-development.zohostratus.in/images/catalyst-extension/tunneling/catalyst_tunneling_tunnel_edited.webp) ### Disable Tunneling To disable tunneling for your functions: 1. Click the **Disable** button. ![catalyst_tunneling_disable_tunnel_highlit](https://catalyst-docs-development.zohostratus.in/images/catalyst-extension/tunneling/catalyst_tunneling_disable_tunnel_highlit.webp) 2. Click **Yes, Proceed** to disable tunneling. ![catalyst_tunneling_disable_tunnel_prompt](https://catalyst-docs-development.zohostratus.in/images/catalyst-extension/tunneling/catalyst_tunneling_disable_tunnel_prompt.webp) Tunneling will be disabled. ![catalyst_tunneling_disabled_state_hihglight](https://catalyst-docs-development.zohostratus.in/images/catalyst-extension/tunneling/catalyst_tunneling_disabled_state_hihglight.webp) If you do not manually disable tunneling your functions, it will be automatically disabled by Catalyst in **24 hrs** and you will receive an email notification informing you of the same. ![catalyst_tunneling_email_notification](https://catalyst-docs-development.zohostratus.in/images/catalyst-extension/tunneling/catalyst_tunneling_email_notification.webp) You can enable tunneling again by clicking **Enable**. > **Note:** You can also use the following Catalyst CLI command to enable Tunneling: ```sh catalyst functions: shell --tunnel tunnel-port-number --enable-tunnel tunneling-URL ``` You can learn more about the CLI commands invovled in Tunneling from this [help section](). This optional command will only allow you to enable tunneling. You will not be able to edit or perform any other operation that is otherwise available in the console. To disable tunneling, simply exit the terminal. If you wish to tunnel your functions with a new Tunneling URL, replace <tunneling-URL> with your newly generated URL. #### Implementation > Catalyst Tunneling allows you to debug Non-HTTPS and Integration functions by routing function calls to your local system using a tunneling URL. -------------------------------------------------------------------------------- title: "Prerequisites" description: "Catalyst Tunneling allows you to debug Non-HTTPS and Integration functions by routing function calls to your local system using a tunneling URL." last_updated: "2026-11-04T10:10:44.000Z" source: "https://docs.catalyst.zoho.com/en/tools/tunneling/implementation/prerequisites/" service: "All Services" -------------------------------------------------------------------------------- # Prerequisites The following conditions need to be satisfied, for you to debug your non-HTTPS and Integration functions: 1. If your reverse-proxy provider requires certain specific steps like the installation of their CLI, complete them before starting with the implementation. For example, if your reverse-proxy provider is [Ngrok](https://ngrok.com/), then you need to install their CLI. ![catalyst_tunneling_ngrok_install_success](https://catalyst-docs-development.zohostratus.in/images/catalyst-extension/tunneling/catalyst_tunneling_ngrok_install_success.webp) > **Note:** You can find detailed steps to generate Tunneling URL for the some of the more common reverse-proxy providers like: * [Ngrok](https://docs.catalyst.zoho.com/en/tools/tunneling/implementation/generate-tunneling-url/#ngrok) * [Localtunnel](https://docs.catalyst.zoho.com/en/tools/tunneling/implementation/generate-tunneling-url/#localtunnel) * [Serveo](https://docs.catalyst.zoho.com/en/tools/tunneling/implementation/generate-tunneling-url/#serveo) * [Localhost.run](https://docs.catalyst.zoho.com/en/tools/tunneling/implementation/generate-tunneling-url/#localhostrun) * [Pagekite](https://docs.catalyst.zoho.com/en/tools/tunneling/implementation/generate-tunneling-url/#pagekite) 2. [Deploy the functions](https://docs.catalyst.zoho.com/en/cli/v1/deploy-resources/deploy-functions/) you wish to tunnel to the [Catalyst console](https://console.catalyst.zoho.com/baas) in the [development environment](https://docs.catalyst.zoho.com/en/deployment-and-billing/environments/development-environment/) from your local project environment with the CLI. ![catalyst_tunneling_serverless_functions_list](https://catalyst-docs-development.zohostratus.in/images/catalyst-extension/tunneling/catalyst_tunneling_serverless_functions_list.webp) To debug your non-HTTPS and Integration functions using Catalyst Tunneling you need to implement the following steps: 1. [Generate Tunneling URL](https://docs.catalyst.zoho.com/en/tools/tunneling/implementation/generate-tunneling-url/) 2. [Configure Tunneling in the Console](https://docs.catalyst.zoho.com/en/tools/tunneling/implementation/config-tunneling-console/) 3. [Launch Catalyst functions shell and begin Tunneling](https://docs.catalyst.zoho.com/en/tools/tunneling/implementation/launch-tunneling/) 4. [Configure IDE's debugger to start debugging your functions](https://docs.catalyst.zoho.com/en/tools/tunneling/implementation/ide-config/java/) 5. [Debug the Tunneled functions](https://docs.catalyst.zoho.com/en/tools/tunneling/implementation/debug-tunneled-func/java/) The upcoming help sections contain detailed instructions on completing the above-mentioned steps. -------------------------------------------------------------------------------- title: "Generating Tunneling URL" description: "Catalyst Tunneling allows you to debug Non-HTTPS and Integration functions by routing function calls to your local system using a tunneling URL." last_updated: "2026-11-04T10:10:44.000Z" source: "https://docs.catalyst.zoho.com/en/tools/tunneling/implementation/generate-tunneling-url/" service: "All Services" -------------------------------------------------------------------------------- # Generating Tunneling URL [Tunneling URL](https://docs.catalyst.zoho.com/en/tools/tunneling/key-concepts/) is required, because you need it to associate with your tunneling-enabled functions when you enable Tunneling. When your tunneled functions are triggered, the calls made to this URL will be routed to your local system. Depending on the reverse proxy provider you have chosen, the steps to generate the Tunneling URL varies. For the purposes of this help documentation we will be covering the steps to generate Tunneling URL with some of the most popular and commonly used reverse proxy providers. ### Ngrok * Log in to **Ngrok** through their CLI and configure two-factor authentication (2FA) for Ngrok in your system. > **Note:** Steps on establishing 2FA for Ngrok is provided in their [official help documentation](https://ngrok.com/docs/getting-started/). * To generate a *Tunneling URL*, use the following CLI command: ```sh ngrok http tunnel-port-number ``` ![catalyst_tunneling_ngrok_tunneling_URL](https://catalyst-docs-development.zohostratus.in/images/catalyst-extension/tunneling/catalyst_tunneling_ngrok_tunneling_URL.webp) * Copy the Tunneling URL generated by Ngrok, and proceed to the Catalyst console to tunnel the functions using Catalyst. > **Note:** * The `tunnel-port-number` you use here will need to be the same you use to launch your function shell. * You can find more information on Ngrok in their [official help documentation](https://ngrok.com/docs/getting-started/). ### Localtunnel * Install **Localtunnel** in your local system by executing the following terminal command: ```sh npm install -g localtunnel ``` ![catalyst_tunneling_localtunnel_install](https://catalyst-docs-development.zohostratus.in/images/catalyst-extension/tunneling/catalyst_tunneling_localtunnel_install.webp) * Execute the command below in the Localtunnel CLI to generate a tunneling URL ```sh lt --port tunnel-port-number ``` ![catalyst_tunneling_localtunnel_tunneling_URL](https://catalyst-docs-development.zohostratus.in/images/catalyst-extension/tunneling/catalyst_tunneling_localtunnel_tunneling_URL.webp) * Copy the Tunneling URL generated by Localtunnel, and proceed to the Catalyst console to tunnel the functions using Catalyst. > **Note:** * The `tunnel-port-number` you use here will need to be the same you use to launch your function shell. * You can find more information on Localtunnel in their [official help documentation](https://localtunnel.github.io/www/). ### Serveo * Execute the following command in a new terminal window to generate a tunneling URL using **Serveo**. ```sh ssh -R 80:localhost:tunnel-port_number serveo.net ``` ![catalyst_tunneling_serveo_tunneling_URL](https://catalyst-docs-development.zohostratus.in/images/catalyst-extension/tunneling/catalyst_tunneling_serveo_tunneling_URL.webp) * Copy the Tunneling URL generated by Serveo, and proceed to the Catalyst console to tunnel the functions using Catalyst. > **Note:** * The `tunnel-port-number` you use here will need to be the same you use to launch your function shell. * You do not require any additional CLI commands to generate Tunneling URL using Serveo. You can find more information on Serveo in their [official help documentation](https://serveo.net/). ### Localhost.run * Execute the following command in a new terminal window to generate a tunneling URL using **Localhost.run** ```sh ssh -R 80:localhost:tunnel-port-number nokey@localhost.run ``` ![catalyst_tunneling_localhostrun_tunneling_URL](https://catalyst-docs-development.zohostratus.in/images/catalyst-extension/tunneling/catalyst_tunneling_localhostrun_tunneling_URL.webp) * Copy the Tunneling URL generated by Localhost.run and proceed to tunnel the functions using Catalyst. > **Note:** * The `tunnel-port-number` you use here will need to be the same you use to launch your function shell. * You do not require any additional CLI commands to generate Tunneling URL using Localhost.run. You can find more information on Localhost.run in their [official help documentation](https://localhost.run/). ### Pagekite * Execute the following commands in a new terminal window to generate a tunneling URL using **Pagekite**. ```sh ssh -R 80:localhost:tunnel-port-number nokey@localhost.run ``` ![catalyst_tunneling_pagekite_install](https://catalyst-docs-development.zohostratus.in/images/catalyst-extension/tunneling/catalyst_tunneling_pagekite_install.webp) This command will send a curl request to the Pagekite website and will ask you to download the `pagekite.py` file in your local system. > **Note:** You can use Pagekite to reverse proxy functions of any programming stack. However, to use Pagekite services, you need to ensure you have **Python 3** installed in your system. * Now execute the following command in your Pagekite terminal to generate the Tunneling URL ```sh python3 pagekite.py tunnel-port-number yourname.pagekite.me ``` ![catalyst_tunneling_pagekite_tunneling_URL](https://catalyst-docs-development.zohostratus.in/images/catalyst-extension/tunneling/catalyst_tunneling_pagekite_tunneling_URL.webp) Ensure that you provide a unique name for your Tunneling URL when you are prompted to do so. > **Note:** * The `tunnel-port-number` you use here will need to be the same you use to launch your function shell. * You can find more information on Pagekite in there [official help documentation](https://pagekite.net/). -------------------------------------------------------------------------------- title: "Configure Tunneling in the Catalyst Console" description: "Catalyst Tunneling allows you to debug Non-HTTPS and Integration functions by routing function calls to your local system using a tunneling URL." last_updated: "2026-11-04T10:10:44.000Z" source: "https://docs.catalyst.zoho.com/en/tools/tunneling/implementation/config-tunneling-console/" service: "All Services" -------------------------------------------------------------------------------- # Configure Tunneling in the Catalyst Console To access Tunneling in the Catalyst console: 1. Open your Catalyst project in the console and click the **settings** icon. ![catalyst_tunneling_serverless_settings_highlight](https://catalyst-docs-development.zohostratus.in/images/catalyst-extension/tunneling/catalyst_tunneling_serverless_settings_highlight.webp) 2. Navigate to *Project Settings* and click **Tunneling**. ![catalyst_tunneling_setting_nav_tunnel_highlight](https://catalyst-docs-development.zohostratus.in/images/catalyst-extension/tunneling/catalyst_tunneling_setting_nav_tunnel_highlight.webp) 3. Click **Create Tunnel Route**. ![catalyst_tunneling_home_page](https://catalyst-docs-development.zohostratus.in/images/catalyst-extension/tunneling/catalyst_tunneling_home_page.webp) 4. Select the non-HTTPS and Integration functions you wish to tunnel from the drop-down. ![catalyst_tunneling_func_drop_down](https://catalyst-docs-development.zohostratus.in/images/catalyst-extension/tunneling/catalyst_tunneling_func_drop_down.webp) 5. Paste the *Tunneling URL* generated in the previous step in the **Tunneling URL** input field. ![catalyst_tunneling_enter_tunneling_URL](https://catalyst-docs-development.zohostratus.in/images/catalyst-extension/tunneling/catalyst_tunneling_enter_tunneling_URL.webp) > **Note:** * The functions you select and the Tunneling URL you use will be displayed in the tunneling flow diagram. * To make the functions available in the console, you need to have deployed the functions to the Catalyst console in your project's [development environment](https://docs.catalyst.zoho.com/en/deployment-and-billing/environments/development-environment/) from your local system. * You can only perform synchronous debugging of functions as of now. The next function will only be tunneled when one function's tunneling is complete. 6. Click **Enable**. ![catalyst_tunneling_first_enable](https://catalyst-docs-development.zohostratus.in/images/catalyst-extension/tunneling/catalyst_tunneling_first_enable.webp) You will now be able to view the list of functions you have enabled tunneling for, as well as other general details, such as when and by whom the tunneling was enabled. > **Note:** * The execution timeout for **Integration** function is **30 seconds** and for **Cron** and **Event** function is **15 minutes**. * Some of the reverse-proxy providers you choose to tunnel your functions with could issue a timeout message at a shorter duration than the one set by Catalyst. In these cases as well, the timeout message will appear in the Catalyst functions' execution history. * Some of the reverse-proxy providers you choose to tunnel your functions with could issue a timeout message at a shorter duration than the one set by Catalyst. In these cases as well, the timeout message will appear in the Catalyst functions' execution history. If you wish to debug your tunneled functions, you will need to set up additional configurations and use a different CLI command. Detailed steps on how to debug your tunneled functions from your IDE can be found in this [section](https://docs.catalyst.zoho.com/en/tools/tunneling/implementation/ide-config/java/). -------------------------------------------------------------------------------- title: "Launch Catalyst Functions Shell and Start Tunneling" description: "Catalyst Tunneling allows you to debug Non-HTTPS and Integration functions by routing function calls to your local system using a tunneling URL." last_updated: "2026-11-04T10:10:44.000Z" source: "https://docs.catalyst.zoho.com/en/tools/tunneling/implementation/launch-tunneling/" service: "All Services" -------------------------------------------------------------------------------- # Launch Catalyst Functions Shell and Start Tunneling Launch Catalyst function shell using the following CLI command with the `--tunnel` option and specify the port number in which you generated the Tunneling URL. ```sh catalyst functions:shell --tunnel tunnel-port-number ``` This command will start tunneling your functions. ![catalyst_tunneling_enter_cli_command](https://catalyst-docs-development.zohostratus.in/images/catalyst-extension/tunneling/catalyst_tunneling_enter_cli_command.webp) If you trigger the function, all the calls made will be routed locally, and you will be able to view their execution logs in the Catalyst CLI. ![catalyst_tunneling_viewing_exec_logs_cli](https://catalyst-docs-development.zohostratus.in/images/catalyst-extension/tunneling/catalyst_tunneling_viewing_exec_logs_cli.webp) If you attempt to view the *Execution History* of the tunneled function present in the component's section, it will be clearly indicated that the function has been tunneled. ![catalyst_tunneling_view_logs_hihglight](https://catalyst-docs-development.zohostratus.in/images/catalyst-extension/tunneling/catalyst_tunneling_view_logs_hihglight.webp) If you further click the **view-logs** icon, you will be able to view details such as when and by whom the tunneling was enabled, and disabled. ![catalyst_tunneling_view_logs_log_section](https://catalyst-docs-development.zohostratus.in/images/catalyst-extension/tunneling/catalyst_tunneling_view_logs_log_section.webp) > **Note:** The logs will only be visible in the Catalyst CLI because the non-HTTPS or Integration function is being executed in the local machine, and not on the Catalyst cloud. The same information can be found in the [Audit Logs](https://docs.catalyst.zoho.com/en/getting-started/set-up-a-catalyst-project/audit-logs/). ![catalyst_tunneling_audit_logs](https://catalyst-docs-development.zohostratus.in/images/catalyst-extension/tunneling/catalyst_tunneling_audit_logs.webp) Now, execute the following CLI command to tunnel and debug your functions: ```sh catalyst functions:shell --tunnel tunnel-port-number --debug port-number ``` ![catalyst_tunneling_cli_command_debug](https://catalyst-docs-development.zohostratus.in/images/catalyst-extension/tunneling/catalyst_tunneling_cli_command_debug.webp) > **Note:** Ensure you provide different port numbers for tunneling and debugging. If you tunnel your function and choose to debug, you have to implement additional IDE configurations. You can find the steps to configure your IDE's debugger for debugging tunneled functions from this [section](https://docs.catalyst.zoho.com/en/tools/tunneling/implementation/ide-config/java/). ##### Function Stack > Catalyst Tunneling allows you to debug Non-HTTPS and Integration functions by routing function calls to your local system using a tunneling URL. -------------------------------------------------------------------------------- title: "Java" description: "Catalyst Tunneling allows you to debug Non-HTTPS and Integration functions by routing function calls to your local system using a tunneling URL." last_updated: "2026-11-04T10:10:44.000Z" source: "https://docs.catalyst.zoho.com/en/tools/tunneling/implementation/ide-config/java/" service: "All Services" -------------------------------------------------------------------------------- # Configure IDE to Debug Java Functions For the purposes of this help documentation we are going to illustrate how to configure debugging preferences of Java non-HTTPS and Integration functions in Visual Studio Code, IntelliJ IDEA, and Eclipse IDEs. > **Note:** This step is only applicable if you wish to **debug your tunneled functions** and if you have used the following CLI command: ```sh catalyst functions:shell --tunnel tunnel-port-number --debug port-number ``` If you wish only to tunnel your functions and you have used the following CLI command then no IDE configurations is required. ```sh catalyst functions:shell --tunnel tunnel-port-number ``` This command will **only tunnel your functions** and publish the logs of the functions in the Catalyst CLI. **Visual Studio Code** ### Configure Visual Studio Code IDE's Debugger 1. Ensure you have all the functions you need to debug in the local machine, and open the concerned project in VS Code. ![catalyst_tunneling_debug_vscode_java_openprojec](https://catalyst-docs-development.zohostratus.in/images/catalyst-extension/tunneling/catalyst_tunneling_debug_vscode_java_openprojec.webp) 2. Click the **Run/Debug** button present in the menu-bar and create a `launch.json` file, by clicking the "**create a launch.json file**" option. ![catalyst_tunneling_vscode_debug_create_json_high](https://catalyst-docs-development.zohostratus.in/images/catalyst-extension/tunneling/catalyst_tunneling_vscode_debug_create_json_high.webp) This is how the launch.json file appears before you begin configurations. ![catalyst_tunneling_vscode_debug_create_json_high](https://catalyst-docs-development.zohostratus.in/images/catalyst-extension/tunneling/catalyst_tunneling_vscode_debug_create_json_high.webp) 3. Copy the JSON snippet below and paste it as value in the "**configurations**" JSON key. **launch.json** ```json "configurations": [{ "type": "java", "name": "java_cron", // name can be any name but having the same function name will be helpful while debugging "request": "attach", "hostName": "localhost", "port": 9001,// The debug port number which you specified in the catalyst functions:shell --tunnel 8001 --debug 9001. The port number can be any number which is not being used by any other processes "projectName": "java_cron"// The function name }], ``` 4. Save this file and apply the breakpoints in your required lines of code and proceed to the [next step](https://docs.catalyst.zoho.com/en/tools/tunneling/implementation/debug-tunneled-func/java/). ![catalyst_tunneling_debug_vscode_java_brkpts_set](https://catalyst-docs-development.zohostratus.in/images/catalyst-extension/tunneling/catalyst_tunneling_debug_vscode_java_brkpts_set.webp) **IntelliJ IDEA** ### Configure IntelliJ IDEA IDE's Debugger 1. Import your project directory in IntelliJ IDE, and configure the run time JDK to match your Java version. ![catalyst_tunneling_intellij_debugger_java_start](https://catalyst-docs-development.zohostratus.in/images/catalyst-extension/tunneling/catalyst_tunneling_intellij_debugger_java_start.webp) > **Note:** You can find out how to configure your JDK in IntelliJ IDEA by visiting their [official help documentation](https://www.jetbrains.com/help/idea/sdk.html). 2. Click **Run>Edit Configurations**. ![catalyst_tunneling_intellij_debugger_java_run_selection](https://catalyst-docs-development.zohostratus.in/images/catalyst-extension/tunneling/catalyst_tunneling_intellij_debugger_java_run_selection.webp) 3. Click the **+ icon**, select **Remote JVM Debug** option from the pop-up, and click **OK**. ![catalyst_tunneling_intellij_debugger_java_remote_javm_debugger](https://catalyst-docs-development.zohostratus.in/images/catalyst-extension/tunneling/catalyst_tunneling_intellij_debugger_java_remote_javm_debugger.webp) 4. Ensure you set the following values in the pop-up: - Name: Set it as your project name or any other name of your preference. - In the *Configurations* tab: - Debugger mode: **Attach to remote JVM** - Host: **localhost** - Port: Set the same port value you set for debugging in the Catalyst CLI. - Use module classpath: Select the path of your project directory. - Click **OK**. ![catalyst_tunneling_intellij_debugger_java_configurations](https://catalyst-docs-development.zohostratus.in/images/catalyst-extension/tunneling/catalyst_tunneling_intellij_debugger_java_configurations.webp) 5. Set the required debugging points in your code, and proceed to the [next step](https://docs.catalyst.zoho.com/en/tools/tunneling/implementation/debug-tunneled-func/java/). ![catalyst_tunneling_intellij_debugger_java_finally_debug](https://catalyst-docs-development.zohostratus.in/images/catalyst-extension/tunneling/catalyst_tunneling_intellij_debugger_java_finally_debug.webp) **Eclipse** ### Configure Eclipse IDE's Debugger 1. Import your project directory in *Eclipse IDE*. ![catalyst_tunneling_debugging_java_eclipse_import_proj](https://catalyst-docs-development.zohostratus.in/images/catalyst-extension/tunneling/catalyst_tunneling_debugging_java_eclipse_import_proj.webp) 2. Ensure your Java stack and JDK are in the same version by right-clicking your project list and selecting **Build Path > Configure Build Path**. ![catalyst_tunneling_java_debug_eclipse_configure_build_path](https://catalyst-docs-development.zohostratus.in/images/catalyst-extension/tunneling/catalyst_tunneling_java_debug_eclipse_configure_build_path.webp) 3. Select **Project Natures**. Search for "**Java**", select "**java**" from the list and click **OK**. ![catalyst_tunneling_debugging_java_eclipse_project_nature](https://catalyst-docs-development.zohostratus.in/images/catalyst-extension/tunneling/catalyst_tunneling_debugging_java_eclipse_project_nature.webp) 4. Ensure **Java Compiler** is selected, and click **Apply and Close** to add the Java compiler for your project. ![catalyst_tunneling_debugging_java_eclipse_select_java_compiler](https://catalyst-docs-development.zohostratus.in/images/catalyst-extension/tunneling/catalyst_tunneling_debugging_java_eclipse_select_java_compiler.webp) 5. Next, right-click your project directory and click **Debug As > Debug Configuration**. ![catalyst_tunneling_debugging_java_eclipse_debug_configurations](https://catalyst-docs-development.zohostratus.in/images/catalyst-extension/tunneling/catalyst_tunneling_debugging_java_eclipse_debug_configurations.webp) 6. Search for *Remote Java Applications*, right-click on the search result and select **New Configurations**. ![catalyst_tunneling_debugging_java_eclipse_select_java_new_configuratons](https://catalyst-docs-development.zohostratus.in/images/catalyst-extension/tunneling/catalyst_tunneling_debugging_java_eclipse_select_java_new_configuratons.webp) You will be directed to a **Debug Configurations** pop-up. 7. Ensure you have configured the debugger with the following values: - *Connect* tab: - Select your project directory - Set Connection Type as "**Standard (Socket Attach)**" - Set *Connection Properties* as: - Host: **localhost** - Port: Enter the port number you set for debugging in the Catalyst CLI ![catalyst_tunneling_debugging_java_eclipse_connect_tab](https://catalyst-docs-development.zohostratus.in/images/catalyst-extension/tunneling/catalyst_tunneling_debugging_java_eclipse_connect_tab.webp) - *Source* tab: - Click the **Add** button and select the function directory ![catalyst_tunneling_debugging_java_eclipse_source_tab](https://catalyst-docs-development.zohostratus.in/images/catalyst-extension/tunneling/catalyst_tunneling_debugging_java_eclipse_source_tab.webp) Once you have applied the required configurations, click **Debug**. 8. Open your function file and set your required debug points in your code, and proceed to the [next step](https://docs.catalyst.zoho.com/en/tools/tunneling/implementation/debug-tunneled-func/java/). ![catalyst_tunneling_debugging_java_eclipse_final_debug](https://catalyst-docs-development.zohostratus.in/images/catalyst-extension/tunneling/catalyst_tunneling_debugging_java_eclipse_final_debug.webp) -------------------------------------------------------------------------------- title: "Node.js" description: "Catalyst Tunneling allows you to debug Non-HTTPS and Integration functions by routing function calls to your local system using a tunneling URL." last_updated: "2026-11-04T10:10:44.000Z" source: "https://docs.catalyst.zoho.com/en/tools/tunneling/implementation/ide-config/nodejs/" service: "All Services" -------------------------------------------------------------------------------- # Configure IDE to Debug Node.js Functions For the purposes of this help documentation we are going to illustrate how to configure debugging preferences of Node.js non-HTTPS and Integration functions in Visual Studio Code. > **Note:** This step is only applicable if you wish to **debug your tunneled functions** and if you have used the following CLI command: ```sh catalyst functions:shell --tunnel tunnel-port-number --debug port-number ``` If you wish only to tunnel your functions and you have used the following CLI command then no IDE configurations is required. ```sh catalyst functions:shell --tunnel tunnel-port-number ``` This command will **only tunnel your functions** and publish the logs of the functions in the Catalyst CLI. Configure your VS Code IDE's debugger in the following manner: 1. Ensure you have all the functions you need to debug in the local machine, and open the concerned project in VS Code. ![catalyst_tunneling_debug_vscode_node_openproject](https://catalyst-docs-development.zohostratus.in/images/catalyst-extension/tunneling/catalyst_tunneling_debug_vscode_node_openproject.webp) 2. Click the **Run/Debug** button present in the menu-bar and create a `launch.json` file, by clicking the "**create a launch.json file**" option. ![catalyst_tunneling_vscode_debug_create_json_high](https://catalyst-docs-development.zohostratus.in/images/catalyst-extension/tunneling/catalyst_tunneling_vscode_debug_create_json_high.webp) This is how the launch.json file appears before you begin configurations. ![catalyst_tunneling_vscode_debug_create_json_high](https://catalyst-docs-development.zohostratus.in/images/catalyst-extension/tunneling/catalyst_tunneling_vscode_debug_create_json_high.webp) 3. Copy the JSON snippet below and paste it as value in the "**configurations**" JSON key. **launch.json** ```json "configurations": [{ "name": "cron_fun", // name can be any name but having the same function name will be helpful while debugging "type": "node", "request": "attach", "address": "localhost", "port": 9001, // The debug port number you specified in the catalyst functions:shell --tunnel 8001 --debug 9001. The port number can be any number which is not being used by any other processes "localRoot": "/Users/jack/tun_cli/functions/cron_fun" //Exact path where the function folder is present }], ``` 4. Save this file and apply the breakpoints in your required lines of code and proceed to the [next step](https://docs.catalyst.zoho.com/en/tools/tunneling/implementation/debug-tunneled-func/nodejs/). ![catalyst_tunneling_debug_vscode_node_brkpts_set](https://catalyst-docs-development.zohostratus.in/images/catalyst-extension/tunneling/catalyst_tunneling_debug_vscode_node_brkpts_set.webp) -------------------------------------------------------------------------------- title: "Python" description: "Catalyst Tunneling allows you to debug Non-HTTPS and Integration functions by routing function calls to your local system using a tunneling URL." last_updated: "2026-11-04T10:10:44.000Z" source: "https://docs.catalyst.zoho.com/en/tools/tunneling/implementation/ide-config/python/" service: "All Services" -------------------------------------------------------------------------------- # Configure IDE to Debug Python Functions For the purposes of this help documentation we are going to illustrate how to configure debugging preferences of Python non-HTTPS and Integration functions in Visual Studio Code. > **Note:** This step is only applicable if you wish to **debug your tunneled functions** and if you have used the following CLI command: ```sh catalyst functions:shell --tunnel tunnel-port-number --debug port-number ``` If you wish only to tunnel your functions and you have used the following CLI command then no IDE configurations is required. ```sh catalyst functions:shell --tunnel tunnel-port-number ``` This command will **only tunnel your functions** and publish the logs of the functions in the Catalyst CLI. Configure your VS Code IDE's debugger in the following manner: 1. Ensure you have all the functions you need to debug in the local machine, and open the concerned project in VS Code. ![catalyst_tunneling_debug_vscode_python_openprojec](https://catalyst-docs-development.zohostratus.in/images/catalyst-extension/tunneling/catalyst_tunneling_debug_vscode_python_openprojec.webp) 2. Click the **Run/Debug** button present in the menu-bar and create a `launch.json` file, by clicking the "**create a launch.json file**" option. ![catalyst_tunneling_vscode_debug_create_json_high](https://catalyst-docs-development.zohostratus.in/images/catalyst-extension/tunneling/catalyst_tunneling_vscode_debug_create_json_high.webp) This is how the launch.json file appears before you begin configurations. ![catalyst_tunneling_vscode_debug_create_json_high](https://catalyst-docs-development.zohostratus.in/images/catalyst-extension/tunneling/catalyst_tunneling_vscode_debug_create_json_high.webp) 3. Copy the JSON snippet below and paste it as value in the "**configurations**" JSON key. **launch.json** ```json "configurations":[{ "name": "Python: Current File", "type": "debugpy", "request": "attach", "connect": { "host": "127.0.0.1", "port": 9001 //the debug port number which you have specified in the catalyst functions:shell --tunnel 8001 --debug 9001. }, "justMyCode": true }], ``` 4. Install the **Python Debugger** VS Code extension to be able to debug python fuctions in Visual Studio Code IDE. ![catalyst_tunneling_config_ide_python_debugger_extension install](https://catalyst-docs-development.zohostratus.in/images/catalyst-extension/tunneling/catalyst_tunneling_config_ide_python_debugger_extension install.webp) 5. Install [debugpy](https://pypi.org/project/debugpy/) in the Python function's source directory using the following command: ```sh python3.10 -m pip install debugpy -t ./ ``` ![catalyst_tunneling_vscode_debug_install_python_debuggy](https://catalyst-docs-development.zohostratus.in/images/catalyst-extension/tunneling/catalyst_tunneling_vscode_debug_install_python_debuggy.webp) 6. Copy the following code lines and paste them in the very beginning of your function code: **code_file.py** ```python import debugpy debugpy.listen(9001) #specify the port for debugging print("Waiting for debugger to attach") debugpy.wait_for_client() print("debugger attached") ``` 7. Use the `debugpy.breakpoint()` function anywhere in the main python code file to introduce a breakpoint. ![catalyst_tunneling_vscode_debugging_with_debugger](https://catalyst-docs-development.zohostratus.in/images/catalyst-extension/tunneling/catalyst_tunneling_vscode_debugging_with_debugger.webp) ##### Function Stack > Catalyst Tunneling allows you to debug Non-HTTPS and Integration functions by routing function calls to your local system using a tunneling URL. -------------------------------------------------------------------------------- title: "Java" description: "Catalyst Tunneling allows you to debug Non-HTTPS and Integration functions by routing function calls to your local system using a tunneling URL." last_updated: "2026-11-04T10:10:44.000Z" source: "https://docs.catalyst.zoho.com/en/tools/tunneling/implementation/debug-tunneled-func/java/" service: "All Services" -------------------------------------------------------------------------------- # Debug Tunneled Java Functions Trigger the tunneled functions in Catalyst web, and confirm that the debugger has been attached by viewing the Catalyst CLI, for a message resembling the one shown in the image below: ![catalyst_tunneling_start_debugging_in_cli](https://catalyst-docs-development.zohostratus.in/images/catalyst-extension/tunneling/catalyst_tunneling_start_debugging_in_cli.webp) Depending on the IDE you are using the following steps might vary. **Visual Studio Code** ### Debug Tunneled Java Functions in Visual Studio Code IDE 1. Click the **Run/Debug** icon and select the functions you wish to debug. ![catalyst_tunneling_debug_vscode_java_start_debugging_1](https://catalyst-docs-development.zohostratus.in/images/catalyst-extension/tunneling/catalyst_tunneling_debug_vscode_java_start_debugging_1.webp) 2. Click the **Play** button. ![catalyst_tunneling_debug_vscode_java_start_debugging_2](https://catalyst-docs-development.zohostratus.in/images/catalyst-extension/tunneling/catalyst_tunneling_debug_vscode_java_start_debugging_2.webp) You can now easily debug your non-HTTPS and Integration functions. ![catalyst_tunneling_debug_vscode_java_start_debugging_3](https://catalyst-docs-development.zohostratus.in/images/catalyst-extension/tunneling/catalyst_tunneling_debug_vscode_java_start_debugging_3.webp) **IntelliJ IDEA** ### Debug Tunneled Java Functions in IntelliJ IDEA IDE 1. Ensure you have set the required break points in your code and click the **Run/Debug configurations** button. ![catalyst_tunneling_debug_inteliij_start_debugging_1](https://catalyst-docs-development.zohostratus.in/images/catalyst-extension/tunneling/catalyst_tunneling_debug_inteliij_start_debugging_1.webp) 2. Select the *debugger file* you configured in the [previous step](https://docs.catalyst.zoho.com/en/tools/tunneling/implementation/ide-config/java/) from the drop-down. ![catalyst_tunneling_debug_inteliij_start_debugging_2](https://catalyst-docs-development.zohostratus.in/images/catalyst-extension/tunneling/catalyst_tunneling_debug_inteliij_start_debugging_2.webp) 3. Once function is triggered in the Catalyst web and the tunneling request is initiated in the Catalyst CLI, click the **Debug** button and start debugging. ![catalyst_tunneling_debug_inteliij_start_debugging_3](https://catalyst-docs-development.zohostratus.in/images/catalyst-extension/tunneling/catalyst_tunneling_debug_inteliij_start_debugging_3.webp) Once you have completed debugging your code, ensure you *stop/terminate* the debugging session in your IDE, by clicking the **stop-icon**. This is to ensure that the port is not engaged when you proceed to your next debugging session. ![catalyst_tunneling_debug_inteliij_start_debugging_4](https://catalyst-docs-development.zohostratus.in/images/catalyst-extension/tunneling/catalyst_tunneling_debug_inteliij_start_debugging_4.webp) **Eclipse** ### Debug Tunneled Java Functions in Eclipse IDE 1. Ensure you have set the required break points in your code and click the **debugger-icon**. ![catalyst_tunneling_debug_eclipse_start_debugging_1](https://catalyst-docs-development.zohostratus.in/images/catalyst-extension/tunneling/catalyst_tunneling_debug_eclipse_start_debugging_1.webp) 2. Select the *debugger file* you configured in the [previous step](https://docs.catalyst.zoho.com/en/tools/tunneling/implementation/ide-config/java/). ![catalyst_tunneling_debug_eclipse_start_debugging_2](https://catalyst-docs-development.zohostratus.in/images/catalyst-extension/tunneling/catalyst_tunneling_debug_eclipse_start_debugging_2.webp) 3. Once you trigger the tunneling-enabled function in Catalyst web, click the Debug button in your IDE and debug you function as required. ![catalyst_tunneling_debug_eclipse_start_debugging_3](https://catalyst-docs-development.zohostratus.in/images/catalyst-extension/tunneling/catalyst_tunneling_debug_eclipse_start_debugging_3.webp) Once you have completed debugging your code, ensure you terminate the debugging session in your IDE, by clicking the **terminate-icon**. This is to ensure that the port is not engaged when you proceed to your next debugging session. ![catalyst_tunneling_debug_eclipse_start_debugging_4](https://catalyst-docs-development.zohostratus.in/images/catalyst-extension/tunneling/catalyst_tunneling_debug_eclipse_start_debugging_4.webp) -------------------------------------------------------------------------------- title: "Node.js" description: "Catalyst Tunneling allows you to debug Non-HTTPS and Integration functions by routing function calls to your local system using a tunneling URL." last_updated: "2026-11-04T10:10:44.000Z" source: "https://docs.catalyst.zoho.com/en/tools/tunneling/implementation/debug-tunneled-func/nodejs/" service: "All Services" -------------------------------------------------------------------------------- # Debug Tunneled Node.js Functions Trigger the tunneled functions in Catalyst web, and confirm that the debugger has been attached by viewing the Catalyst CLI, for a message resembling the one shown in the image below: ![catalyst_tunneling_start_debugging_in_cli](https://catalyst-docs-development.zohostratus.in/images/catalyst-extension/tunneling/catalyst_tunneling_start_debugging_in_cli.webp) For the purpose of this help documentation, we aren going to ilustrate debugging of tunneled Node.js functions using Visual Studio Code IDE. Depending on the IDE you are using the following steps might vary. 1. Click the **Run/Debug** icon and select the functions you wish to debug. ![catalyst_tunneling_debug_vscode_start_debugging_1](https://catalyst-docs-development.zohostratus.in/images/catalyst-extension/tunneling/catalyst_tunneling_debug_vscode_start_debugging_1.webp) 2. Click the **Play** button. ![catalyst_tunneling_debug_vscode_start_debugging_2](https://catalyst-docs-development.zohostratus.in/images/catalyst-extension/tunneling/catalyst_tunneling_debug_vscode_start_debugging_2.webp) You can now easily debug your non-HTTPS and Integration functions. ![catalyst_tunneling_debug_vscode_start_debugging_3](https://catalyst-docs-development.zohostratus.in/images/catalyst-extension/tunneling/catalyst_tunneling_debug_vscode_start_debugging_3.webp) -------------------------------------------------------------------------------- title: "Python" description: "Catalyst Tunneling allows you to debug Non-HTTPS and Integration functions by routing function calls to your local system using a tunneling URL." last_updated: "2026-11-04T10:10:44.000Z" source: "https://docs.catalyst.zoho.com/en/tools/tunneling/implementation/debug-tunneled-func/python/" service: "All Services" -------------------------------------------------------------------------------- # Debug Tunneled Python Functions For the purpose of this help documentation, we aren going to ilustrate debugging of tunneled Python functions using Visual Studio Code IDE. Depending on the IDE you are using the following steps might vary. 1. Click the **Run/Debug** icon and select the functions you wish to debug. ![catalyst_tunneling_debug_vscode_python_start_debugging_1](https://catalyst-docs-development.zohostratus.in/images/catalyst-extension/tunneling/catalyst_tunneling_debug_vscode_python_start_debugging_1.webp) 2. Click the **Play** button. ![catalyst_tunneling_debug_vscode_python_start_debugging_2](https://catalyst-docs-development.zohostratus.in/images/catalyst-extension/tunneling/catalyst_tunneling_debug_vscode_python_start_debugging_2.webp) You can now easily debug your non-HTTPS and Integration functions. ![catalyst_tunneling_debug_vscode_python_start_debugging_3](https://catalyst-docs-development.zohostratus.in/images/catalyst-extension/tunneling/catalyst_tunneling_debug_vscode_python_start_debugging_3.webp) For Python functions alone, ensure you disconnect the debugger by clicking the button shown in the image below. ![catalyst_tunneling_debug_vscode_start_debugging_py_alone](https://catalyst-docs-development.zohostratus.in/images/catalyst-extension/tunneling/catalyst_tunneling_debug_vscode_start_debugging_py_alone.webp) If you don't disconnect your debugger, then no other tunneling requests will be made possible. ## Zia AI Assistant ### Zia AI Assistant -------------------------------------------------------------------------------- title: "Introduction" description: "Catalyst Zia AI Assistant is an OpenAI-powered feature that provides code generation, debugging, conversion, docs generation, and test case tools." last_updated: "2026-11-04T10:10:44.000Z" source: "https://docs.catalyst.zoho.com/en/integrations/openai-integration/introduction/" service: "All Services" -------------------------------------------------------------------------------- # Zia AI Assistant ## Introduction The Catalyst Zia AI Assistant is a powerful AI component that provides a host of automation features that aid in your software development journey. Zia AI Assistant integrates with [**OpenAI**](https://openai.com/) and facilitates the use of its disruptive model for the AI operations in Catalyst. With the power of artificial intelligence assisting you in various stages throughout your Catalyst experience, you can leverage precision, efficiency, speed, and accuracy by implementing automation in your operations. Zia AI Assistant offers the following features that you can avail with the click of a button: * **Code Converter**: Converts code from one programming environment to another * **Code Generator**: Generates ready-to-use code through input prompts * **Code Debugger**: Identifies errors and issues in your code by debugging it * **Code Docs Generator**: Generates descriptive documentation for your code * **Test Case Generator**: Generates test cases for your code for unit testing Using these tools, you can easily input prompts to the AI from the Catalyst console and obtain output for all your requirements that you can readily implement in your Catalyst application or solution. > **Note:** The Catalyst Zia AI Assistant is not a part of any specific Catalyst service, such as CloudScale or Serverless. It is available independently outside of all services, and you will not be required to use any specific service to use Zia AI Assistant. You can access the AI Assistant in your console in all your projects at all times. Catalyst's integration with the pioneering generative AI is done through OpenAI's API endpoint. The API is backed by a diverse range of powerful transformer neural network models, built and trained in the most advanced environments of AI. Catalyst's implementation of the OpenAI integration within its development environment in the most effective manner facilitates convenience and ease in your user experience. Catalyst adheres to a Bring Your Own Key (BYOK) configuration that requires you to perform a one-time generation and configuration of an API secret key with OpenAI. This authenticates all your operations in Zia AI Assistant and allows you to prompt the AI. You can create and manage integration with OpenAI for your Catalyst organization from the settings in the console. > **Points to remember:** * Catalyst currently does not train OpenAI's models with custom datasets, or customize GPT models in any way. Therefore, Zia AI Assistant will not be able to generate any Catalyst-specific results for your input prompts. The Code Generator or Code Converter, for instance, will generate or convert generic code in the programming language that you specify which will not include any Catalyst SDK classes or methods. You can build upon the results produced by the AI and customize it to suit your business requirements. * Any potential inaccuracies or errors resulting from the generative AI's responses for your input prompts are out of Zoho's scope and liability. The Zia AI Assistant fetches the response from OpenAI and renders it within the Catalyst console as such, without any manipulation. * Any input prompts provided in Zia AI Assistant will be sent to OpenAI's servers for processing. You must ensure that you don't provide any sensitive or protected information to the generative AI and adhere to all applicable privacy and security guidelines as required. -------------------------------------------------------------------------------- title: "Use Cases" description: "Catalyst Zia AI Assistant is an OpenAI-powered feature that provides code generation, debugging, conversion, docs generation, and test case tools." last_updated: "2026-11-04T10:10:44.000Z" source: "https://docs.catalyst.zoho.com/en/integrations/openai-integration/use-cases/" service: "All Services" -------------------------------------------------------------------------------- ## Use Cases The ongoing AI boom has had profound impacts on programming and software development, with generative AI being widely used end-to-end throughout the development, testing, deployment, and maintenance phases. The following are a few use cases of Zia AI Assistant's tools within the Catalyst environment: * Developing a cross-platform application in Catalyst has now become substantially easier with the **Code Converter** tool of Zia AI Assistant. You can build an application primarily in one of the supported programming environments for backend development: Java, Node.js, or Python, and use Code Converter to convert the business logic into the other stacks. * The **Code Debugger** and **Test Case Generator** can together or independently help you in your software testing process by enabling you to automate redundancies and providing instant expertise in identifying the problem areas of your codebase. You can also utilize these tools during the training periods of the developers or software testers in your organization by helping them practice writing robust and efficient code, or test cases that span across niche areas. * You can avail **Code Generator** for any of these purposes and benefit from quickening the development journey: * Generate accurate unit code for your Catalyst project for the required modules * Generate code to use as a reference while you build your business logic * Create boilerplate code or the wiring for your application's architecture * Generate front-end code for the client design or architecture * Minimize the resources spent on the documentation process during your development journey by automating the documentation generation with **Code Docs Generator**. You can generate docs with the click of a button and utilize them to enhance the understandability of the code built by the developers in your organization and increase collaboration among them. -------------------------------------------------------------------------------- title: "Configure and Manage OpenAI Integration" description: "Catalyst Zia AI Assistant is an OpenAI-powered feature that provides code generation, debugging, conversion, docs generation, and test case tools." last_updated: "2026-11-04T10:10:44.000Z" source: "https://docs.catalyst.zoho.com/en/integrations/openai-integration/configure-integration/" service: "All Services" -------------------------------------------------------------------------------- # Configure and Manage OpenAI Integration Catalyst integrates with OpenAI to provide various features and allow users to perform the supported operations through OpenAI's API endpoint. To use the API through Catalyst, you will be required to generate an API secret key with OpenAI and configure it in Catalyst. This key allows Catalyst users to prompt the AI and obtain results, and authenticates these operations. Catalyst's integration with OpenAI servers is built upon a **Bring Your Own Key (BYOK)** configuration that requires the Catalyst user to register for an API key with OpenAI through their OpenAI account, and configure it in Catalyst to authenticate their actions. There are no API keys provided by Zoho for the integration. > **Note:** You can configure a single API key for an entire [Catalyst organization](https://docs.catalyst.zoho.com/en/getting-started/catalyst-organizations/). Each [Catalyst collaborator](https://docs.catalyst.zoho.com/en/getting-started/set-up-a-catalyst-project/collaborators/) need not register for or configure their own individual key. For example, if the Super Admin of a Catalyst org registers for an API key with OpenAI and configures it in Catalyst for that org, all other admins and project members of that org can avail OpenAI services with that key. After you configure the key in Catalyst in [Integration settings](https://docs.catalyst.zoho.com/en/getting-started/set-up-a-catalyst-project/integrations-settings/), all the input prompts you enter in Catalyst Zia AI, such as in the Code Converter or Code Generator, will be shared with OpenAI, and the result will be fetched and rendered in Catalyst, as received from OpenAI without any manipulation or customization. ### Configure API Key for OpenAI Integration The steps to generate an API secret key for your OpenAI account and configure the key for your Catalyst account are described below. 1. Navigate to **Settings** in your Catalyst console. ![settings](https://catalyst-docs-development.zohostratus.in/images/integrations/openai/openai-integ-settings.webp) 2. Click **Integrations** from the *General* settings section. ![Integration settings](https://catalyst-docs-development.zohostratus.in/images/integrations/openai/openai-integ-1.webp) 3. Click **OpenAI Integration**. 4. You will be asked to configure the OpenAI API Key. If you had previously configured an OpenAI key with another Zoho product with your Zoho account, or in Catalyst, select the **Existing API Key** option. Otherwise, select the **New API Key** option to configure a new key. ![OpenAI Integration](https://catalyst-docs-development.zohostratus.in/images/integrations/openai/openai-integ-2.webp) 5. If you select the *New API Key option*, follow the steps displayed in the console to generate a new secret key from the OpenAI platform. After the key is generated, paste it in the text box to configure it in Catalyst, then click **Configure Key**. If you had selected the *Existing API Key* option, directly click **Configure Key**. 6. Read the *Data Privacy Notice* and additionally go through *OpenAI's Terms and Conditions* from the link provided, then click **Proceed**. ![OpenAI Integration](https://catalyst-docs-development.zohostratus.in/images/integrations/openai/openai-integ-3.webp) The API key will be configured with Catalyst. You can now refer to the details of the API key, as well as its status and usage from this section. ![OpenAI Integration](https://catalyst-docs-development.zohostratus.in/images/integrations/openai/openai-integ-4.webp) ### Edit API Key Catalyst enables you to easily edit the OpenAI API key that you have configured and update it as required. This is beneficial if you re-generate your API secret key or create a new one for your OpenAI account at any point of time. To edit the configured API key in Catalyst: 1. In the **OpenAI Integration** section of the Integrations settings in your console, click the ellipsis icon, then click **Edit**. ![Edit OpenAI Integration](https://catalyst-docs-development.zohostratus.in/images/integrations/openai/openai-integ-edit-1.webp) 2. Modify your API key, then click **Update** to confirm. ![Edit OpenAI Integration](https://catalyst-docs-development.zohostratus.in/images/integrations/openai/openai-integ-edit-2.webp) ### Disable API Key If you don't require an active configuration of an OpenAI API key in Catalyst, you can disable the key for as long as you need. If the API key is disabled, you will not be able to access any of OpenAI's features, such as Code Generator or Test Case Generator, or provide any prompts. You will be able to access the Zia AI features in Catalyst only after you enable the API key again. > **Note:** * Catalyst currently does not provide the functionality to permanently delete an OpenAI integration by deleting the API key. You can disable the configured key and re-enable it, as required. You can also update the key to configure a newly generated key. * Catalyst does not support the configuration of multiple API keys simultaneously. Therefore, you will not be able to disable a key and configure another one. To disable the configured API key in Catalyst: 1. In the **OpenAI Integration** section of the *Integrations* settings in your console, click the ellipsis icon, then click **Disable**. ![Disable OpenAI Integration](https://catalyst-docs-development.zohostratus.in/images/integrations/openai/openai-integ-disable-1.webp) 2. Click **Yes, Proceed** in the confirmation pop-up. ![Disable OpenAI Integration](https://catalyst-docs-development.zohostratus.in/images/integrations/openai/openai-integ-disable-2.webp) The key will be shown as disabled. ![Disable OpenAI Integration](https://catalyst-docs-development.zohostratus.in/images/integrations/openai/openai-integ-disable-3.webp) You can re-enable a disabled key in a similar manner: 1. In the **OpenAI Integration** section, click the ellipsis icon, then click **Enable**. ![Disable OpenAI Integration](https://catalyst-docs-development.zohostratus.in/images/integrations/openai/openai-integ-disable-4.webp) 2. Click **Yes, Proceed** in the confirmation pop-up. ![Disable OpenAI Integration](https://catalyst-docs-development.zohostratus.in/images/integrations/openai/openai-integ-disable-5.webp) -------------------------------------------------------------------------------- title: "Access Zia AI Assistant" description: "Catalyst Zia AI Assistant is an OpenAI-powered feature that provides code generation, debugging, conversion, docs generation, and test case tools." last_updated: "2026-11-04T10:10:44.000Z" source: "https://docs.catalyst.zoho.com/en/integrations/openai-integration/access-zia-ai-assistant/" service: "All Services" -------------------------------------------------------------------------------- # Access Zia AI Assistant Catalyst Zia AI Assistant is available across all Catalyst services and is not a part of any specific Catalyst service. You can find the Zia AI Assistant at the bottom-left corner of the console in all your Catalyst projects. Click the AI or **Ask Zia** icon as shown below. ![Access Zia AI Assistant](https://catalyst-docs-development.zohostratus.in/images/integrations/openai/openai-access-1.webp) This opens the Zia AI Assistant screen that will contain all the AI features. ![Access Zia AI Assistant](https://catalyst-docs-development.zohostratus.in/images/integrations/openai/openai-access-2.webp) If an OpenAI API key is not configured in Catalyst, or if you have disabled a configured API key, you will not be able to access the AI Assistant features. Catalyst will display this pop-up and require you to have an active API key configured for your account. ![Access Zia AI Assistant](https://catalyst-docs-development.zohostratus.in/images/integrations/openai/openai-access-3.webp) -------------------------------------------------------------------------------- title: "Code Converter" description: "Catalyst Zia AI Assistant is an OpenAI-powered feature that provides code generation, debugging, conversion, docs generation, and test case tools." last_updated: "2026-11-04T10:10:44.000Z" source: "https://docs.catalyst.zoho.com/en/integrations/openai-integration/code-converter/" service: "All Services" -------------------------------------------------------------------------------- # Code Converter Catalyst Zia AI Assistant's Code Converter converts code from one programming environment to the other. The AI models that are trained to process this feature facilitate quick and efficient code conversion between various stacks, thereby helping programmers unfamiliar with a specific programming language to code in it, by translating their code from another language. Catalyst supports three programming languages to build backend logic in, through Serverless Functions and AppSail. Zia AI Assistant provides code conversion between these three programming environments: * Java * Node.js * Python To work with Zia AI Assistant's Code Converter: 1. Access the feature by clicking **Code Converter** after opening **Zia AI Assistant**. ![settings](https://catalyst-docs-development.zohostratus.in/images/integrations/openai/openai-code-converter-1.webp) 2. Select the programming environment that you require your code to be converted into from the drop-down in the bottom. ![settings](https://catalyst-docs-development.zohostratus.in/images/integrations/openai/openai-code-converter-2.webp) 3. Enter the code to be converted without needing to provide any additional input through the prompt, such as directions on what needs to be done like "Convert this code into...". You can also try the feature with a sample code provided by Catalyst by clicking the **Try Sample Code** button. This will add a sample code to the input window. You can click it multiple times to check different sample codes in various programming environments available in Catalyst to try. ![settings](https://catalyst-docs-development.zohostratus.in/images/integrations/openai/openai-code-converter-3.webp) 4. Click **Convert** after you enter the input code. Zia AI Assistant will send the input prompt to OpenAI's servers for processing. The result generated by OpenAI is fetched and displayed in the output window. ![settings](https://catalyst-docs-development.zohostratus.in/images/integrations/openai/openai-code-converter-4.webp) -------------------------------------------------------------------------------- title: "Code Generator" description: "Catalyst Zia AI Assistant is an OpenAI-powered feature that provides code generation, debugging, conversion, docs generation, and test case tools." last_updated: "2026-11-04T10:10:44.000Z" source: "https://docs.catalyst.zoho.com/en/integrations/openai-integration/code-generator/" service: "All Services" -------------------------------------------------------------------------------- # Code Generator Catalyst Zia AI Assistant's Code Generator generates code based on input prompts that describe the functioning of the code. By providing prompts that specify your exact requirements, you can generate code suited to your needs that you can integrate into your Catalyst project easily or use for other purposes. Code Generator automates a major part of your Catalyst application development by assisting you with the code building as per your needs. You can quickly generate ready-to-use code in the three programming languages supported by Catalyst to build backend logic in: Java, Node.js, and Python. You can also generate front-end or client code that defines the design or functionality of your Catalyst web or mobile applications, or any other required code snippets. To work with Zia AI Assistant's Code Generator: 1. Access the feature by clicking **Code Generator** after opening **Zia AI Assistant**. ![settings](https://catalyst-docs-development.zohostratus.in/images/integrations/openai/openai-code-generator-1.webp) 2. Enter a prompt that describes the functioning of the code, as well as the programming environment you require the code in. The more specific and descriptive your prompts are, the more precise the results generated by AI will be. You can also try the feature with a sample prompt provided by Catalyst by selecting one of the sample prompts from below the input window. This will add the prompt to the window. ![settings](https://catalyst-docs-development.zohostratus.in/images/integrations/openai/openai-code-generator-2.webp) 3. Click **Generate** after adding the input prompt. Zia AI Assistant will send the input prompt to OpenAI's servers for processing. The result generated by OpenAI is fetched and displayed in the output window. ![settings](https://catalyst-docs-development.zohostratus.in/images/integrations/openai/openai-code-generator-3.webp) -------------------------------------------------------------------------------- title: "Code Debugger" description: "Catalyst Zia AI Assistant is an OpenAI-powered feature that provides code generation, debugging, conversion, docs generation, and test case tools." last_updated: "2026-11-04T10:10:44.000Z" source: "https://docs.catalyst.zoho.com/en/integrations/openai-integration/code-debugger/" service: "All Services" -------------------------------------------------------------------------------- # Code Debugger Catalyst Zia AI Assistant's Code Debugger debugs your code to identify errors, bugs, and problem areas effectively, and helps you address issues promptly. Debugging code is a fundamental part of the software development journey, which can be easily automated with the AI Assistant, ensuring speed and efficiency in your process. The Code Debugger feature enables you to provide code blocks with potential bugs as the input prompt, and even supply error messages to refer to the error block. Zia AI Assistant then returns the errors identified in your code across two categories: * Logical errors * Syntax errors The AI Assistant additionally returns the corrected code after resolving the identified errors in the original code. This helps you simply copy the corrected code and implement it in your codebase, after analyzing the corrections made by the AI. To work with Zia AI Assistant's Code Debugger: 1. Access the feature by clicking **Code Debugger** after opening **Zia AI Assistant**. ![settings](https://catalyst-docs-development.zohostratus.in/images/integrations/openai/openai-code-debugger-1.webp) 2. Enter the code to be debugged without needing to provide any additional input through the prompt, such as directions on what needs to be done like "Debug this code...". You can also try the feature with a sample code provided by Catalyst by clicking the **Try Sample Code** button. This will add a sample code with errors to the input window. You can click it multiple times to check different sample codes available in various programming environments in Catalyst to try. ![settings](https://catalyst-docs-development.zohostratus.in/images/integrations/openai/openai-code-debugger-2.webp) 3. You can additionally enter an error message to refer to the error block as per your needs. 4. Click **Debug** after you enter the input code. Zia AI Assistant will send the input prompt to OpenAI's servers for processing. The result generated by OpenAI is fetched and displayed in the output window. ![settings](https://catalyst-docs-development.zohostratus.in/images/integrations/openai/openai-code-debugger-3.webp) You can now analyze the logical and syntax errors in your code, if any, and use the corrected code provided. -------------------------------------------------------------------------------- title: "Code Docs Generator" description: "Catalyst Zia AI Assistant is an OpenAI-powered feature that provides code generation, debugging, conversion, docs generation, and test case tools." last_updated: "2026-11-04T10:10:44.000Z" source: "https://docs.catalyst.zoho.com/en/integrations/openai-integration/code-docs-generator/" service: "All Services" -------------------------------------------------------------------------------- # Code Docs Generator Catalyst Zia AI Assistant's Code Docs Generator generates instant and thorough documentation for your code. Code documentation facilitates code readability and easy collaboration among developers, and is essential in software maintenance. The generative AI analyzes the code block you input and understands its working, before providing you with the documentation for it. Code Docs Generator identifies various elements in the code, such as the classes and methods in a Java code, and labels the parameters and return type for objects or the constructors in classes, for instance. The tool also provides descriptions for each identified element that explains its purpose and functionality within the code. To work with Zia AI Assistant's Code Docs Generator: 1. Access the feature by clicking **Code Docs Generator** after opening **Zia AI Assistant**. ![settings](https://catalyst-docs-development.zohostratus.in/images/integrations/openai/openai-docs-generator-1.webp) 2. Enter the code the documentation needs to be generated for, without needing to provide any additional input through the prompt, such as directions on what needs to be done like "Write documentation for...". You can also try the feature with a sample code provided by Catalyst by clicking the **Try Sample Code** button. This will add a sample code block to the input window. You can click it multiple times to check different sample codes available in various programming environments in Catalyst to try. ![settings](https://catalyst-docs-development.zohostratus.in/images/integrations/openai/openai-docs-generator-2.webp) 3. Click **Generate** after you enter the input code. Zia AI Assistant will send the input prompt to OpenAI's servers for processing. The result generated by OpenAI will be fetched and displayed in the output window. ![settings](https://catalyst-docs-development.zohostratus.in/images/integrations/openai/openai-docs-generator-3.webp) -------------------------------------------------------------------------------- title: "Test Case Generator" description: "Catalyst Zia AI Assistant is an OpenAI-powered feature that provides code generation, debugging, conversion, docs generation, and test case tools." last_updated: "2026-11-04T10:10:44.000Z" source: "https://docs.catalyst.zoho.com/en/integrations/openai-integration/test-case-generator/" service: "All Services" -------------------------------------------------------------------------------- # Test Case Generator Catalyst Zia AI Assistant's Test Case Generator generates unit test cases for your code blocks that enables you to automate the fundamental phase of software testing. Test Case Generator speeds up the process of testing individual code units and identifying potential bugs or issues in them. The AI generates a wide variety of test cases that cover the testing of your code's functionality, usability, performance, security, and more. You can provide the code block or module that you require the test cases to be generated for, and easily copy the generated test cases and implement them for processing. > **Note:** Catalyst provides a DevOps component, [Automation Testing](https://docs.catalyst.zoho.com/en/devops/help/automation-testing/introduction/), that serves as an API testing tool and enables you to configure test cases and automate their execution. To work with Zia AI Assistant's Test Case Generator: 1. Access the feature by clicking **Test Case Generator** after opening **Zia AI Assistant**. ![settings](https://catalyst-docs-development.zohostratus.in/images/integrations/openai/openai-testcase-generator-1.webp) 2. Enter the code for which test cases need to be generated without needing to provide any additional input through the prompt, such as directions on what needs to be done like "Provide test cases for...". You can also try the feature with a sample code provided by Catalyst by clicking the **Try Sample Code** button. This will add a sample code block to the input window. You can click it multiple times to check different sample codes available in various programming environments in Catalyst to try. ![settings](https://catalyst-docs-development.zohostratus.in/images/integrations/openai/openai-testcase-generator-2.webp) 3. Click **Generate** after you enter the input code. Zia AI Assistant will send the input prompt to OpenAI's servers for processing. The result generated by OpenAI is fetched and displayed in the output window. ![settings](https://catalyst-docs-development.zohostratus.in/images/integrations/openai/openai-testcase-generator-3.webp) ## Catalyst Extensions ### VS Code Extension -------------------------------------------------------------------------------- title: "Introduction" description: "Catalyst Tools is a Catalyst extension for your Visual Studio Code IDE that allows you to execute CLI commands without using the Catalyst CLI terminal." last_updated: "2026-11-04T10:10:44.000Z" source: "https://docs.catalyst.zoho.com/en/catalyst-extensions/vs-code-extension/introduction/" service: "All Services" -------------------------------------------------------------------------------- # Catalyst Extension For Visual Studio Code IDE ### Introduction Catalyst is a powerful development platform that is the easiest to use to engineer and deploy serverless solutions of any scale and verticality. With a host of services like [CloudScale](https://docs.catalyst.zoho.com/en/cloud-scale/getting-started/introduction/), [Serverless](https://docs.catalyst.zoho.com/en/serverless/getting-started/introduction/), [DevOps](https://docs.catalyst.zoho.com/en/devops/getting-started/introduction/), [SmartBrowz](https://docs.catalyst.zoho.com/en/smartbrowz/getting-started/introduction/), [QuickML](https://docs.catalyst.zoho.com/en/quickml/getting-started/introduction/), etc., Catalyst powers you to build and host anything from a simple microservice to a robust enterprise application in the quickest and simplest manner. As a pro-code platform, Catalyst offers an extension in the [Visual Studio Code IDE](https://code.visualstudio.com/) to ensure that, as a developer, you have a more enhanced business logic engineering experience with Catalyst. The **Catalyst Tools** extension for Visual Studio Code enables you to execute certain [CLI commands](https://docs.catalyst.zoho.com/en/cli/v1/cli-command-reference/#commands), directly in the coding environment instead of using the CLI terminal. This functionality ensures that you do not have to leave your preferred coding environment to execute Catalyst operations in your local environment [through the CLI](https://docs.catalyst.zoho.com/en/cli/v1/cli-command-reference/) that you would typically use for this purpose. > **Note:** Not all [operations that you can execute](https://docs.catalyst.zoho.com/en/cli/v1/cli-command-reference/) within the Catalyst CLI can be executed using this extension. The list of operations that can be performed using this extension can be found in this [section](https://docs.catalyst.zoho.com/en/catalyst-extensions/vs-code-extension/catalyst-tools-operations/#operations). The extension aims to further enhance your coding experience while you benefit from a powerful unified platform to create, engineer, code, test, host, deploy, and manage applications within the VS Code environment in your local system. You can use your VS Code IDE in tune with the [Catalyst CLI](https://docs.catalyst.zoho.com/en/cli/v1/cli-command-reference/) and [Catalyst console](https://console.catalyst.zoho.com) to handle your software development process. ![catalyst_extension_home](https://catalyst-docs-development.zohostratus.in/images/catalyst-extension/catalyst_extension_home.webp) ### Overview of Operations You Can Perform With Catalyst Tools You can perform the following operations directly in the VS Code IDE after you install the Catalyst Tools extension: * Generate, revoke, and delete authentication tokens that allow you to access Catalyst resources locally. * Execute basic CLI commands like [`whoami`](https://docs.catalyst.zoho.com/en/cli/v1/identify-loggedin-user/) and [`login`](https://docs.catalyst.zoho.com/en/cli/v1/login/login-from-cli/), and CLI options such as [`verbose`](https://docs.catalyst.zoho.com/en/cli/v1/cli-options/#--verbose). * Initialize and deploy projects. * Independently initialize, locally serve, and deploy HTTP and non-HTTP functions and Client components. * Select and initialize your default project, switch between active projects, and access all available projects from your Catalyst console. * Pull function files, modify, and deploy them. * Download, alter, and deploy [API Gateway](https://docs.catalyst.zoho.com/en/cloud-scale/help/api-gateway/introduction/) rules. * Provide test-case inputs by creating a JSON file called `catalyst-inputs.json`, and test non-HTTP functions. > **Note:** You can find out more in detail about all the CLI commands and operations that are possible with the **Catalyst Tools** extension from this [help section](https://docs.catalyst.zoho.com/en/catalyst-extensions/vs-code-extension/catalyst-tools-operations/). -------------------------------------------------------------------------------- title: "Benefits" description: "Catalyst Tools is a Catalyst extension for your Visual Studio Code IDE that allows you to execute CLI commands without using the Catalyst CLI terminal." last_updated: "2026-11-04T10:10:44.000Z" source: "https://docs.catalyst.zoho.com/en/catalyst-extensions/vs-code-extension/benefits/" service: "All Services" -------------------------------------------------------------------------------- # Benefits * This extension allows you to use your VS Code IDE as a single development environment. You do not have to constantly switch between your IDE and the [Catalyst CLI](https://docs.catalyst.zoho.com/en/cli/v1/cli-command-reference/). * It provides you with a user-friendly UI you can use to perform operations in your local environment with just a few clicks. You do not have to type out commands and execute them as with the CLI. * You can easily [log in](https://docs.catalyst.zoho.com/en/catalyst-extensions/vs-code-extension/implementation/#log-in-to-catalyst) or [log out](https://docs.catalyst.zoho.com/en/catalyst-extensions/vs-code-extension/catalyst-tools-explorer/#log-out-from-your-catalyst-account) and generate, revoke, and delete [authentication tokens](https://docs.catalyst.zoho.com/en/catalyst-extensions/vs-code-extension/catalyst-tools-explorer/#manage-authentication-tokens) all from the IDE. You can therefore maintain login sessions in your IDE independent of the CLI. * You can code and [client](https://docs.catalyst.zoho.com/en/catalyst-extensions/vs-code-extension/implementation/#client) and [functions](https://docs.catalyst.zoho.com/en/catalyst-extensions/vs-code-extension/implementation/#functions) components within VS Code, and also securely deploy them to the console from the same space. * You can also run the terminal present in your VS Code IDE and use Catalyst CLI there, if you require it. * You can test non-HTTP functions easily in the IDE by providing test-inputs as .JSON inputs using the `catalyst-inputs.json` file. -------------------------------------------------------------------------------- title: "Catalyst Tools Commands and Operations" description: "Catalyst Tools is a Catalyst extension for your Visual Studio Code IDE that allows you to execute CLI commands without using the Catalyst CLI terminal." last_updated: "2026-11-04T10:10:44.000Z" source: "https://docs.catalyst.zoho.com/en/catalyst-extensions/vs-code-extension/catalyst-tools-operations/" service: "All Services" -------------------------------------------------------------------------------- # Catalyst Tools Commands and Operations A list of commands that can be accessed from the command palette in the VS Code IDE and the operations that can be performed using the Catalyst Tools extension is given below: ### Commands You can execute these commands by selecting them from the command palette drop-down while using the extension. You can access the drop-down list by searching for "**>Catalyst:**" in the command palette. ![catalyst_extension_command_pallette](https://catalyst-docs-development.zohostratus.in/images/catalyst-extension/catalyst_extension_command_pallette.webp)
CLI Commands Description
[`Catalyst: Whoami`](https://docs.catalyst.zoho.com/en/cli/v1/identify-loggedin-user/) Display the username and email address of the account you have used to log in to Catalyst.
[`Catalyst: Login to Catalyst`](https://docs.catalyst.zoho.com/en/cli/v1/login/login-from-cli/) Log in to your Catalyst account directly from the IDE. You must log in before you can perform any of the other operations.
[`Catalyst: Logout from Catalyst`](https://docs.catalyst.zoho.com/en/cli/v1/logout/) Sign out of your Catalyst account.
[`Catalyst: Enable verbose`](https://docs.catalyst.zoho.com/en/cli/v1/cli-options/#--verbose) Enable verbose in logs. You can view the logs directly in your IDE by accessing **Help>toggle developer tools**.
[`Catalyst: Disable verbose`](https://docs.catalyst.zoho.com/en/cli/v1/cli-options/#--verbose) Disable verbose in logs.
`Catalyst: Focus on Catalyst Configs View` Directs you to the *CATALYST CONFIGS* section of the extension.
`Catalyst: Focus on Client View` Directs you to the *CLIENT* section of the extension.
`Catalyst: Focus on HTTP Functions View` Directs you to the *HTTP FUNCTIONS* section of the extension.
`Catalyst: Focus on HTTP Functions View` Directs you to the *NON HTTP FUNCTIONS* section of the extension.
### Operations List of all CLI operations that can be performed in the Visual Studio Code IDE using the Catalyst Tools extension is given below:
CLI Operations Description
[`login`](https://docs.catalyst.zoho.com/en/cli/v1/login/login-from-cli/) Log in to your Catalyst account.
[`whoami`](https://docs.catalyst.zoho.com/en/cli/v1/identify-loggedin-user/) View the username and email address of the account you have used to sign in with Catalyst.
[`token:generate`](https://docs.catalyst.zoho.com/en/cli/v1/working-with-tokens/generate-token/) Generate tokens to authenticate access to your Catalyst account without logging in.
[`token:revoke`](https://docs.catalyst.zoho.com/en/cli/v1/working-with-tokens/revoke-token/) Disable an authentication token that you had previously generated.
[`token:list`](https://docs.catalyst.zoho.com/en/cli/v1/working-with-tokens/list-tokens/) View a list of all the tokens that are associated with your account.
[`project:list`](https://docs.catalyst.zoho.com/en/cli/v1/working-with-projects/list-catalyst-projects/) List all the projects associated created in your account.
[`project:use`](https://docs.catalyst.zoho.com/en/cli/v1/working-with-projects/use-catalyst-project/) Use a particular project associated with your Catalyst account.
[`project:reset`](https://docs.catalyst.zoho.com/en/cli/v1/working-with-projects/reset-active-project/) Undo the `project:use` operation.
[`init`](https://docs.catalyst.zoho.com/en/cli/v1/initialize-resources/introduction/) Initialize the Catalyst Project, HTTP and non-HTTP functions, and the client components.
[`apig:status`](https://docs.catalyst.zoho.com/en/cli/v1/working-with-api-gateway/obtain-api-gateway-status/) Check if API Gateway (a [Catalyst CloudScale](https://docs.catalyst.zoho.com/en/cloud-scale/getting-started/introduction/) *Security & Identity* component) is enabled or disabled.
[`apig:enable`](https://docs.catalyst.zoho.com/en/cli/v1/working-with-api-gateway/enable-api-gateway/) Enable API Gateway for your project.
[`apig:disable`](https://docs.catalyst.zoho.com/en/cli/v1/working-with-api-gateway/disable-api-gateway/) Disable API Gateway for your project.
[`pull`](https://docs.catalyst.zoho.com/en/cli/v1/pull-resources/introduction/) Pull a function, client, or an API Gateway file.
[`client:setup`](https://docs.catalyst.zoho.com/en/cli/v1/working-with-the-client/set-up-client/) Set up the client component in an existing project.
[`client:delete`](https://docs.catalyst.zoho.com/en/cli/v1/working-with-the-client/delete-client/) Delete an older version of the client component.
[`functions:setup`](https://docs.catalyst.zoho.com/en/cli/v1/working-with-functions/set-up-functions/) Set up a function in an existing project.
[`functions:add`](https://docs.catalyst.zoho.com/en/cli/v1/working-with-functions/add-functions/) Add a new function in your functions directory.
[`functions:delete`](https://docs.catalyst.zoho.com/en/cli/v1/working-with-functions/delete-functions/) Delete a function in your project.
[`serve`](https://docs.catalyst.zoho.com/en/cli/v1/serve-resources/introduction/) Serve project resources in your local environment.
[`deploy`](https://docs.catalyst.zoho.com/en/cli/v1/deploy-resources/introduction/) Deploy project resources to the remote console.
[`logout`](https://docs.catalyst.zoho.com/en/cli/v1/logout/) Sign out of Catalyst.
-------------------------------------------------------------------------------- title: "Using Catalyst Tools" description: "Catalyst Tools is a Catalyst extension for your Visual Studio Code IDE that allows you to execute CLI commands without using the Catalyst CLI terminal." last_updated: "2026-11-04T10:10:44.000Z" source: "https://docs.catalyst.zoho.com/en/catalyst-extensions/vs-code-extension/implementation/" service: "All Services" -------------------------------------------------------------------------------- # Using Catalyst Tools This help section will cover utilizing the **Catalyst Tools** extension to its fullest potential and performing various operations on your project within the VS Code environment. ### Install Catalyst Tools To install the extension: 1. Click the VS Code extension icon and search for "**Catalyst Tools**". ![catalyst_extensions_vscode_extension_search](https://catalyst-docs-development.zohostratus.in/images/catalyst-extension/catalyst_extensions_vscode_extension_search.webp) 2. Click **Install**. ![catalyst_extension_install section](https://catalyst-docs-development.zohostratus.in/images/catalyst-extension/catalyst_extension_install_section.webp) > **Note:** * Ensure you are currently using VS Code version `v 1.74.0` or above. * Go through the description and features listed, to get a better understanding of the extension. The Catalyst Tools extension can now be accessed by clicking the Catalyst icon in the sidebar, or at the footer of the IDE. ![catalyst_extensions_vscode_extension_catalyst_highlit](https://catalyst-docs-development.zohostratus.in/images/catalyst-extension/catalyst_extensions_vscode_extension_catalyst_highlit.webp) ### Log In to Catalyst To begin using the **Catalyst Tools** extension, you will first need to log in to your Catalyst account. You can refer to the [CLI Login help](https://docs.catalyst.zoho.com/en/cli/v1/login/login-from-cli/) page for details about various steps. Log in to your Catalyst account from the VS Code IDE in the following way: 1. Click the **Login** button shown in the *CATALYST CONFIGS* section in the left-panel. ![catalyst_extensions_vscode_extension_catalyst_login_button](https://catalyst-docs-development.zohostratus.in/images/catalyst-extension/catalyst_extensions_vscode_extension_catalyst_login_button.webp) 2. Choose the [DC to log in](https://docs.catalyst.zoho.com/en/api/introduction/multi-dc-support/#Multi-DCSupport) to. ![catalyst_extension_dc_select](https://catalyst-docs-development.zohostratus.in/images/catalyst-extension/catalyst_extension_dc_select.webp) 3. You will be redirected to a permission page in your default browser. ![catalyst_extension_perm_page](https://catalyst-docs-development.zohostratus.in/images/catalyst-extension/catalyst_extension_perm_page.webp) 4. Click **Accept**, to complete logging in to your Catalyst account and connecting the IDE to the Catalyst console. ![catalyst_extension_perm_accept](https://catalyst-docs-development.zohostratus.in/images/catalyst-extension/catalyst_extension_perm_accept.webp) 5. You will be logged in. ![catalyst_extension_perm_logged_in](https://catalyst-docs-development.zohostratus.in/images/catalyst-extension/catalyst_extension_perm_logged_in.webp) Close the window and continue using the **Catalyst Tools** extension in VS Code. ### Initialize Your Catalyst Project Before you initialize a project in this extension: * Ensure you have created a project in the Catalyst Console. You can find out how to from this [help section](https://docs.catalyst.zoho.com/en/getting-started/catalyst-projects/). * Create a local directory to initialize your Catalyst project in using **Catalyst Tools** from VS Code. You can refer to the [CLI Initialize Resources help](https://docs.catalyst.zoho.com/en/cli/v1/initialize-resources/introduction/) document for a more detailed explanation on initializing Catalyst project resources, including functions of different stacks and types, in your local environment. To initialize a project in the **Catalyst Tools** extension: 1. Click **Initialize**. ![catalyst_extensions_vscode_extension_preinit](https://catalyst-docs-development.zohostratus.in/images/catalyst-extension/catalyst_extensions_vscode_extension_preinit.webp) 2. All Catalyst projects from your remote account will be listed here. Choose your required project to initialize within VS Code. ![catalyst_extension_select_project](https://catalyst-docs-development.zohostratus.in/images/catalyst-extension/catalyst_extension_select_project.webp) 3. Select the components you would like to initialize, then click the **check icon**. You can initialize *Functions* and *Client*. ![catalyst_extension_client_func_init](https://catalyst-docs-development.zohostratus.in/images/catalyst-extension/catalyst_extension_client_func_init.webp) 4. **Function Setup** - Select the required function type. You can refer to the [Functions help page](https://docs.catalyst.zoho.com/en/serverless/help/functions/introduction/) for details about each type. ![catalyst_extension_add_func](https://catalyst-docs-development.zohostratus.in/images/catalyst-extension/catalyst_extension_add_func.webp) - Select your preferred [programming language](https://docs.catalyst.zoho.com/en/serverless/help/functions/stack/) as [Java](https://docs.catalyst.zoho.com/en/sdk/java/v1/overview/), or [Node.js](https://docs.catalyst.zoho.com/en/sdk/nodejs/v2/overview/). ![catalyst_extension_func_type](https://catalyst-docs-development.zohostratus.in/images/catalyst-extension/catalyst_extension_func_type.webp) - Enter the required details and submit them by clicking **Enter**. ![catalyst_extension_func_name](https://catalyst-docs-development.zohostratus.in/images/catalyst-extension/catalyst_extension_func_name.webp) - Enter an email address for the author or click **Enter** to use the same email address you used to create your Catalyst account. ![catalyst_extension_email](https://catalyst-docs-development.zohostratus.in/images/catalyst-extension/catalyst_extension_email.webp) - Click **Yes**, if you wish to install the required dependencies. ![catalyst_extension_func_dependencies](https://catalyst-docs-development.zohostratus.in/images/catalyst-extension/catalyst_extension_func_dependencies.webp) The function setup is complete. > **Note:** You can also simply press **Enter** and the default values will be provided. The initialized Advanced I/O function will now be available in the *HTTP FUNCTIONS* section. ![catalyst_extension_func_init_complete](https://catalyst-docs-development.zohostratus.in/images/catalyst-extension/catalyst_extension_func_init_complete.webp) You can find more information on each function stack's initialization steps in this [help page](https://docs.catalyst.zoho.com/en/cli/v1/initialize-resources/initialize-functions/). 5. **Client Setup** - Select the client to be initialized as [Basic](https://docs.catalyst.zoho.com/en/cli/v1/initialize-resources/initialize-client/#basic-client-applications), [Angular](https://docs.catalyst.zoho.com/en/cli/v1/initialize-resources/initialize-client/#angular-applications), or [React](https://docs.catalyst.zoho.com/en/cli/v1/initialize-resources/initialize-client/#react-applications) web client. ![catalyst_extension_client_type](https://catalyst-docs-development.zohostratus.in/images/catalyst-extension/catalyst_extension_client_type.webp) - Enter the client name, then click the **submission icon**. ![catalyst_extension_client_name](https://catalyst-docs-development.zohostratus.in/images/catalyst-extension/catalyst_extension_client_name.webp) The project directory will contain the client and function directory in the standard structure. You can refer to the [project directory structure help page](https://docs.catalyst.zoho.com/en/cli/v1/project-directory-structure/introduction/) for details on the configuration files and dependencies that are installed. The project and its resources are now successfully initialized in the VS Code IDE using the **Catalyst Tools** extension. ![catalyst_extension_init_complete](https://catalyst-docs-development.zohostratus.in/images/catalyst-extension/catalyst_extension_init_complete.webp) ### Manage Your Project The *CATALYST CONFIGS* section can be used to perform various operations in your project and manage it. You can perform the following operations: * **Add Functions**: Add a new HTTP or non-HTTP function to your project directory. * **Client Setup**: Set up the client component in your project directory. * **Serve**: Serve both the function and client resources of the project through a localhost using your default 3000 port. * **Deploy**: Deploy the entire local project to the console. * **Project**: View project information and alter configurations using the extension's built-in management console. > **Note:** You can find out more about the extension's management console from this help section. #### Add Functions You can add additional functions of any type or stack to your project directory through this option, or add your first function to the project if you did not initialize functions during project initialization. Refer to [Working with Functions](https://docs.catalyst.zoho.com/en/cli/v1/working-with-functions/introduction/) help page for details. To add HTTP or non-HTTP function to your project, click the **Add Functions** option to begin function setup. ![catalyst_extension_add_new_func](https://catalyst-docs-development.zohostratus.in/images/catalyst-extension/catalyst_extension_add_new_func.webp) Follow the same steps mentioned in the *Function Setup* section of this [help page](https://docs.catalyst.zoho.com/en/catalyst-extensions/vs-code-extension/implementation/#initialize-your-catalyst-project). ![catalyst_extension_add_non_http_func](https://catalyst-docs-development.zohostratus.in/images/catalyst-extension/catalyst_extension_add_non_http_func.webp) For the purpose of this help document, we have created an [Event function](https://docs.catalyst.zoho.com/en/serverless/help/functions/event-functions/), and it will be listed in the *NON HTTP Functions* section of the IDE. The function will be created in the standard [function directory structure](https://docs.catalyst.zoho.com/en/cli/v1/project-directory-structure/functions-directory/). #### Client Setup You can set up the client component in your project directory through this option if you did not initialize client during project initialization. Refer to [Working with the Client](https://docs.catalyst.zoho.com/en/cli/v1/working-with-the-client/introduction/) help page for details. To initialize a client component, click the **Client Setup** option to begin client setup. ![catalyst_extension_add_client_new](https://catalyst-docs-development.zohostratus.in/images/catalyst-extension/catalyst_extension_add_client_new.webp) > **Note:** If you already have a client component, then you will be prompted to confirm if you wish to create a new client component by overwriting the existing one. Follow the steps listed in the *Client Setup* section present in this [help page](https://docs.catalyst.zoho.com/en/catalyst-extensions/vs-code-extension/implementation/#initialize-your-catalyst-project). ![catalyst_extension_client_react_done](https://catalyst-docs-development.zohostratus.in/images/catalyst-extension/catalyst_extension_client_react_done.webp) For this help document, we have created a new client component as a **React web app** and it will be created in its [standard structure](https://docs.catalyst.zoho.com/en/cli/v1/initialize-resources/initialize-client/#react-applications). #### Serve You can serve [Basic I/O](https://docs.catalyst.zoho.com/en/serverless/help/functions/basic-io/) and [Advanced I/O](https://docs.catalyst.zoho.com/en/serverless/help/functions/advanced-io/) functions, and the client component of all types through a localhost using the default port: `3000`, to test them before deploying them to the remote project. Refer to the [Serve Resources](https://docs.catalyst.zoho.com/en/cli/v1/serve-resources/serve-all-resources/) help page for details. To [serve all the project's resources](https://docs.catalyst.zoho.com/en/cli/v1/serve-resources/serve-all-resources/) locally: 1. Click the **Serve** button. ![catalyst_extension_serve_button_highlit](https://catalyst-docs-development.zohostratus.in/images/catalyst-extension/catalyst_extension_serve_button_highlit.webp) 2. Choose your preferred option: ![catalyst_extension_serve_resources_choice](https://catalyst-docs-development.zohostratus.in/images/catalyst-extension/catalyst_extension_serve_resources_choice.webp) - Click **Yes** to serve all the function and client components. ![catalyst_extension_serve_resources_yes](https://catalyst-docs-development.zohostratus.in/images/catalyst-extension/catalyst_extension_serve_resources_yes.webp) - Click **No** to choose the specific components you wish to serve locally. ![catalyst_extension_serve_choices](https://catalyst-docs-development.zohostratus.in/images/catalyst-extension/catalyst_extension_serve_choices.webp) The selected components will be served locally. You can use the URL generated in your preferred browser to test the components' functionality. ![catalyst_extension_serving](https://catalyst-docs-development.zohostratus.in/images/catalyst-extension/catalyst_extension_serving.webp) - You can kill the serve process, by clicking the **stop icon**. ![catalyst_extension_kill_process](https://catalyst-docs-development.zohostratus.in/images/catalyst-extension/catalyst_extension_kill_process.webp) #### Deploy You can deploy all the functions and the client that you initialized in the extension to the remote console. This will make them available in the development environment of your project. Refer to the [Deploy Resources](https://docs.catalyst.zoho.com/en/cli/v1/deploy-resources/introduction/) help page for details about the deployment process of each project resource. To deploy the project to the Catalyst console: 1. Click the **Deploy** button. ![catalyst_extension_deploy](https://catalyst-docs-development.zohostratus.in/images/catalyst-extension/catalyst_extension_deploy.webp) 2. Choose your preferred option: ![catalyst_extension_deploy_choices](https://catalyst-docs-development.zohostratus.in/images/catalyst-extension/catalyst_extension_deploy_choices.webp) - Click **Yes** to deploy all the components. ![catalyst_extension_deploy_done](https://catalyst-docs-development.zohostratus.in/images/catalyst-extension/catalyst_extension_deploy_done.webp) - Click **No** to choose the specific components you wish to deploy. Click the components you wish to deploy, then click the **submission icon**. ![catalyst_extension_deploy_slect_components](https://catalyst-docs-development.zohostratus.in/images/catalyst-extension/catalyst_extension_deploy_slect_components.webp) The selected resources will be deployed and the extension will display the endpoint URLs of the functions and the client that you can access. ![catalyst_extension_deploy_slected_deployed](https://catalyst-docs-development.zohostratus.in/images/catalyst-extension/catalyst_extension_deploy_slected_deployed.webp) ### Serve & Deploy From Within catalyst.json The [`catalyst.json`](https://docs.catalyst.zoho.com/en/cli/v1/project-directory-structure/catalyst-json/) file contains the component list and configuration of the entire project. Using **Catalyst Tools** you have the option to serve and deploy your entire project or selective resources from within the `catalyst.json` file. ![catalyst_extension_catalyst_json_file_serve_deploy](https://catalyst-docs-development.zohostratus.in/images/catalyst-extension/catalyst_extension_catalyst_json_file_serve_deploy.webp) To serve or deploy your project resources, you can click the **Serve** and **Deploy** button present next to each project resource, and then follow the same [serve](https://docs.catalyst.zoho.com/en/catalyst-extensions/vs-code-extension/implementation/#serve) and [deploy](https://docs.catalyst.zoho.com/en/catalyst-extensions/vs-code-extension/implementation/#deploy) steps instructed above. ### Functions In this section we will go over all the operations that can be performed in the *HTTP FUNCTIONS* and *NON HTTP FUNCTIONS* section of the **Catalyst Tools** extension. * **Run/Debug**: Serve the function locally and test its functionality. It also syncs with the IDE's debugger, and allows you to debug your code in an easy manner. * **Deploy**: Deploy function components alone to the Catalyst console. * **Delete**: Delete a function from your local project permanently. #### Run or Debug a Function This section will cover the steps to use the run/debug feature of the extension effectively. **HTTP FUNCTIONS** HTTP functions include [Basic I/O](https://docs.catalyst.zoho.com/en/serverless/help/functions/basic-io/) and [Advanced I/O](https://docs.catalyst.zoho.com/en/serverless/help/functions/advanced-io/) functions as they can contain HTTP requests and response functionalities. All Basic I/O and Advanced I/O functions present in your project can be accessed here. Follow the steps below to test HTTP functions locally and debug them: 1. Click the function you would like to work with from the functions list present in the *HTTP FUNCTIONS* section. ![catalyst_extension_func_select_choice](https://catalyst-docs-development.zohostratus.in/images/catalyst-extension/catalyst_extension_func_select_choice.webp) 2. Click the **Run/Debug** option to serve the function locally. ![catalyst_extension_debug_select](https://catalyst-docs-development.zohostratus.in/images/catalyst-extension/catalyst_extension_debug_select.webp) The [Function URL](https://docs.catalyst.zoho.com/en/serverless/help/functions/implementation/#create-a-function) through a localhost will be generated in the *Catalyst Serve Terminal* in VS Code. You can click to begin testing its functionality. 3. You can click the function local URL and it will be opened in your default browser. The IDE will also redirect you to the Debugging section. > **Note:** Refer to the [Extension Settings](https://docs.catalyst.zoho.com/en/catalyst-extensions/vs-code-extension/extension-settings/#enable-or-disable-ides-debugging-section) help section, to find out how to run the function without opening the IDE's debugging section. 4. If required, you can simultaneously change or edit the code and view the changes live. ![catalyst_extension_debug_console](https://catalyst-docs-development.zohostratus.in/images/catalyst-extension/catalyst_extension_debug_console.webp) **NON HTTP FUNCTIONS** [Cron functions](https://docs.catalyst.zoho.com/en/serverless/help/functions/cron-functions/), [Event functions](https://docs.catalyst.zoho.com/en/serverless/help/functions/event-functions/), and [Integration functions](https://docs.catalyst.zoho.com/en/serverless/help/functions/integration-functions/) present in your project can be accessed here. To Run/Debug these function types, you will need to create a JSON file named `catalyst-inputs.json`. This file will contain your test inputs as a JSON value, and you will need to store this file in the respective function's directory. > **Note:** * The `catalyst-inputs.json` is exclusive to the **Catalyst Tools** VS Code extension for the purpose of testing non-HTTP functions. * Cliq Integration Functions is currently not available to Catalyst users accessing from the EU, AU, IN, or CA data centers. ConvoKraft Integration Functions are available to users accessing from all DCs. For this help document, we are going to Run/Debug an event function named `shipment-submit`. To **Run/Debug** this non HTTP function, we will first create a `catalyst-inputs.json` in the `shipment-submit` function directory. > **Note:** Non-HTTP functions cannot be served through this extension if a `catalyst-inputs.json` file is not present in its directory. A sample JSON code to be added in the `catalyst-inputs.json` file for the `shipment-submit` event function is given below: ```json { "cache_put": { "project_details": { "id": "1434000000473001", "project_name": "ShipmentTracking" }, "event_bus_details": { "name": "Default", "id": "1434000000473009" }, "data": { "cache_name": "3b793", "cache_value": "0b3c97a93a", "project_details": { "id": "1434000000473001", "project_name": "Tunneling" }, "segment_details": { "segment_name": "Default", "project_details": { "project_name": "Tunneling", "id": "1434000000473001", "project_type": "Live" }, "id": "1434000000473037" }, "expiry_in_hours": 48, "expires_in": "Apr 28, 2023 03:13 PM" }, "current_project": { "id": "1434000000473001", "project_name": "Tunneling" }, "action": "Put", "source_entity_id": "1434000000473037", "source": "Cache", "event_time": 1682502183500 }, "datastore_insert": { "project_details": { "id": "1434000000473001", "project_name": "Tunneling" }, "event_bus_details": { "name": "Default", "id": "1434000000473009" }, "data": [ { "ROWID": "345460658792283", "CREATORID": "979726486268217", "CREATEDTIME": "2023-04-26 15:14:06", "MODIFIEDTIME": "2023-04-26 15:14:06" } ], "current_project": { "id": "1434000000473001", "project_name": "Tunneling" }, "action": "Insert", "source_entity_id": "817140351651431", "source": "Datastore", "event_time": 1682502245961 } } ``` This input file passes sample event data from a Cache PUT and a Data Store INSERT operations occurring in the Default Signals event bus. The event data is passed to the `shipment-submit` function. > **Note:** * This sample JSON file contains two key values: `cache_put` and `datastore_insert`. You can customize the event source and modify the name of these keys accordingly. However, Catalyst follows a specific format for the event data that is passed for each entity or operation. The keys and values must stick to the standard event data format for the operation that you provide. * You can access sample event data to include in the `catalyst-inputs.json` file for any supported operation by [generating sample event payload](https://docs.catalyst.zoho.com/en/cli/v1/event-generate/introduction/) from the Catalyst CLI. The `shipment-submit` function directory will include the following files: ![catalyst_extension_sample_payload_dir](https://catalyst-docs-development.zohostratus.in/images/catalyst-extension/catalyst_extension_sample_payload_dir.webp) Now, follow the steps below to [test your function locally](https://docs.catalyst.zoho.com/en/cli/v1/working-with-functions/functions-shell/) and debug it, if necessary: 1. Click the function you would like to work with from the function list present in the *NON HTTP FUNCTIONS* section. ![catalyst_extension_non_http_select](https://catalyst-docs-development.zohostratus.in/images/catalyst-extension/catalyst_extension_non_http_select.webp) 2. Click the **Run/Debug** option to serve the function locally. ![catalyst_extension_run_debug_non_select](https://catalyst-docs-development.zohostratus.in/images/catalyst-extension/catalyst_extension_run_debug_non_select.webp) 3. Click the input key you would like to serve your function with. ![catalyst_extension_run_debug_non_input_key](https://catalyst-docs-development.zohostratus.in/images/catalyst-extension/catalyst_extension_run_debug_non_input_key.webp) 4. A Catalyst Serve Terminal will be opened in VS Code. You will be able to view that the function is served in a web socket. You can test the function. You will also be able to access the IDE's debugger. ![catalyst_extension_run_debug_non_running](https://catalyst-docs-development.zohostratus.in/images/catalyst-extension/catalyst_extension_run_debug_non_running.webp) 5. You can make changes in your function's code, if required, and they will be reflected during the serve process. ![catalyst_extension_run_debug_non_debugging](https://catalyst-docs-development.zohostratus.in/images/catalyst-extension/catalyst_extension_run_debug_non_debugging.webp) You can also kill the Catalyst Serve Terminal by clicking the **delete icon** in the IDE console below. ![catalyst_extension_run_debug_non_kill](https://catalyst-docs-development.zohostratus.in/images/catalyst-extension/catalyst_extension_run_debug_non_kill.webp) > **Note:** The Catalyst Serve Terminal will continue to be available and present in the background till you close it. For the above example, we had used an [Event Function](https://docs.catalyst.zoho.com/en/serverless/help/functions/event-functions/) as an example, the `catalyst-inputs.json` file containing an example payload for testing [Cron](https://docs.catalyst.zoho.com/en/serverless/help/functions/cron-functions/) and [Integration functions](https://docs.catalyst.zoho.com/en/serverless/help/functions/integration-functions/) is given below: **`catalyst-inputs.json` example file for a Cron function**: ```json { "cron_input": { "param": "value" } } ``` **`catalyst-inputs.json` example file for an Integration function**: ```json { "bot_welcome": { "name": "Sample", "unique_name": "sample_uniq", "handler": { "type": "welcome_handler" }, "response_url": "https://cliq.zoho.com/v2/extensions/2980/responses/17202823900615741410013820", "type": "bot", "timestamp": 1569520690703, "params": { "environment": { "data_center": "us" }, "access": { "user_id": "651652091", "user_agent": "Mozilla/5.0 (Macintosh; Intel Mac OS X 10.14; rv:69.0) Gecko/20100101 Firefox/69.0", "chat_id": "CT_2243226337559778047_661211447-B2" }, "user": { "country": "us", "timezone": "Asia/calcutta", "last_name": "Fisher", "first_name": "Scott", "language": "en", "id": "123456", "email": "scott.fisher@zylcal.com", "admin": true, "organization_id": "123456456" }, "newuser": true, "mentions": [], "options": {}, "selections": [], "arguments": "" } } } ``` #### Deploy a Function To [deploy a function](https://docs.catalyst.zoho.com/en/cli/v1/deploy-resources/deploy-functions/) to the Catalyst console, follow the steps below: 1. Click the function you would like to deploy from the function list present in the *HTTP FUNCTIONS* or *NON HTTP FUNCTIONS* section, then click **Deploy**. ![catalyst_extension_deploy_func_alone](https://catalyst-docs-development.zohostratus.in/images/catalyst-extension/catalyst_extension_deploy_func_alone.webp) 2. Click **Yes**, to confirm. ![catalyst_extension_deploy_func_alone_confirm](https://catalyst-docs-development.zohostratus.in/images/catalyst-extension/catalyst_extension_deploy_func_alone_confirm.webp) The function will be deployed to the console, and a deployment URL will be generated in the Catalyst Deploy Terminal in VS Code IDE for the function. ![catalyst_extension_deploy_func_alone_deployed](https://catalyst-docs-development.zohostratus.in/images/catalyst-extension/catalyst_extension_deploy_func_alone_deployed.webp) The function can now be accessed from the console from the [Functions](https://docs.catalyst.zoho.com/en/serverless/help/functions/implementation/#create-a-function) component present under [Catalyst Serverless](https://docs.catalyst.zoho.com/en/serverless/getting-started/introduction/). ![catalyst_extension_deploy_func_alone_in_console](https://catalyst-docs-development.zohostratus.in/images/catalyst-extension/catalyst_extension_deploy_func_alone_in_console.webp) #### Delete a Function To [delete a function](https://docs.catalyst.zoho.com/en/serverless/help/functions/implementation/#delete-a-function) from your local project using **Catalyst Tools**, follow the steps below: 1. Click the function you would like to delete from the function list present in the *HTTP FUNCTIONS* or *NON HTTP FUNCTIONS* section, then click **Delete**. ![catalyst_extension_delete_func](https://catalyst-docs-development.zohostratus.in/images/catalyst-extension/catalyst_extension_delete_func.webp) 2. Click **Yes** to proceed. ![catalyst_extension_delete_fuc_confirm](https://catalyst-docs-development.zohostratus.in/images/catalyst-extension/catalyst_extension_delete_fuc_confirm.webp) The function and all the files present in the function directory will be deleted from your local project. ![catalyst_extension_func_deleted](https://catalyst-docs-development.zohostratus.in/images/catalyst-extension/catalyst_extension_func_deleted.webp) > **Note:** For non-HTTP functions, the `catalyst-inputs.json` file will also be deleted as it is present in function directory. ### Client In the *Client* section of the **Catalyst Tools** extension, you can perform the following operations on the client components: * **Serve** your client resources alone and test their functionality. * **Deploy** your client resources alone to the Catalyst console. * **Delete** the client component from your local project. #### Serve Operation To [serve the client](https://docs.catalyst.zoho.com/en/cli/v1/serve-resources/serve-all-resources/) components alone using the **Catalyst Tools** extension through a localhost:3000, perform the following steps: 1. Navigate to the *CLIENT* section of the extension, then click **Serve**. ![catalyst_extension_client_alone_serve](https://catalyst-docs-development.zohostratus.in/images/catalyst-extension/catalyst_extension_client_alone_serve.webp) The client component will be served locally, and a local endpoint URL for your client component will be generated in the Catalyst Serve terminal. Clicking the URL will let you access the web client in your default web browser. ![catalyst_extension_client_alone_serve_terminal](https://catalyst-docs-development.zohostratus.in/images/catalyst-extension/catalyst_extension_client_alone_serve_terminal.webp) 2. You can kill the serve process by clicking the stop icon button. ![catalyst_extension_client_alone_kill_serve](https://catalyst-docs-development.zohostratus.in/images/catalyst-extension/catalyst_extension_client_alone_kill_serve.webp) You can also kill the Catalyst Serve Terminal by clicking the delete icon in the IDE console below. > **Note:** The Catalyst Serve Terminal will continue to be available and present in the background till you delete it. #### Deploy Operation To [deploy the client](https://docs.catalyst.zoho.com/en/cli/v1/deploy-resources/deploy-client/) component alone to the Catalyst console using the **Catalyst Tools** extension, perform the following steps: 1. Navigate to the *CLIENT* section of the extension, then click **Deploy**. ![catalyst_extension_client_alone_deploy](https://catalyst-docs-development.zohostratus.in/images/catalyst-extension/catalyst_extension_client_alone_deploy.webp) 2. Click **Yes** to proceed with the deploy operation. ![catalyst_extension_client_alone_deploy_confirm](https://catalyst-docs-development.zohostratus.in/images/catalyst-extension/catalyst_extension_client_alone_deploy_confirm.webp) The client component will be deployed, and a deployment URL for your client component will be generated in the Catalyst Deploy terminal within VS Code. Clicking the URL will let you access the client in your default web browser. ![catalyst_extension_client_alone_deployed](https://catalyst-docs-development.zohostratus.in/images/catalyst-extension/catalyst_extension_client_alone_deployed.webp) You can also kill the Catalyst Deploy Terminal by clicking the **delete icon** in the IDE console below. > **Note:** The Catalyst Deploy Terminal will continue to be available and present in the background until you delete it. #### Delete Operation To [delete the client](https://docs.catalyst.zoho.com/en/cli/v1/working-with-the-client/delete-client/) component from your local project using **Catalyst Tools**, follow the steps below: 1. Navigate to the *CLIENT* section, then click **Delete**. ![catalyst_extension_client_alone_delete](https://catalyst-docs-development.zohostratus.in/images/catalyst-extension/catalyst_extension_client_alone_delete.webp) 2. Click **Yes** to proceed. ![catalyst_extension_client_alone_delete_confirm](https://catalyst-docs-development.zohostratus.in/images/catalyst-extension/catalyst_extension_client_alone_delete_confirm.webp) The client component will be deleted from your local project. ![catalyst_extension_client_alone_deleted](https://catalyst-docs-development.zohostratus.in/images/catalyst-extension/catalyst_extension_client_alone_deleted.webp) -------------------------------------------------------------------------------- title: "Catalyst Tools Project Explorer" description: "Catalyst Tools is a Catalyst extension for your Visual Studio Code IDE that allows you to execute CLI commands without using the Catalyst CLI terminal." last_updated: "2026-11-04T10:10:44.000Z" source: "https://docs.catalyst.zoho.com/en/catalyst-extensions/vs-code-extension/catalyst-tools-explorer/" service: "All Services" -------------------------------------------------------------------------------- # Catalyst Tools Project Explorer The *Project Explorer* feature of **Catalyst Tools** extension allows you to perform the following operations: * Switch between your [active projects](https://docs.catalyst.zoho.com/en/cli/v1/working-with-projects/reset-active-project/) and re-initialize your default project. * [Generate authentication tokens](https://docs.catalyst.zoho.com/en/cli/v1/working-with-tokens/generate-token/). * Search for the client, functions and [API Gateway](https://docs.catalyst.zoho.com/en/cloud-scale/help/api-gateway/introduction/) rules available in the project. * Pull and overwrite function, client, and API Gateway components from the remote project. * [Log out](https://docs.catalyst.zoho.com/en/cli/v1/logout/) of your Catalyst account in the extension. > **Note:** To access Catalyst Tools Project Explorer in the extension, you must have deployed the project to the Catalyst console. There are two ways to navigate to the Project Explorer: 1. Click the **Project** option present in the *CATALYST CONFIGS* section. ![catalyst_extension_project](https://catalyst-docs-development.zohostratus.in/images/catalyst-extension/catalyst_extension_project.webp) 2. Click the **Catalyst** button present in the status bar of the IDE. ![catalyst_extension_client_button](https://catalyst-docs-development.zohostratus.in/images/catalyst-extension/catalyst_extension_client_button.webp) In the *Project Explorer*, you will be able to view the following: ![catalyst_extension_project_explorer](https://catalyst-docs-development.zohostratus.in/images/catalyst-extension/catalyst_extension_project_explorer.webp) * The account details of the account you used to log in to Catalyst * A list of all projects in your account * The [web application URL](https://docs.catalyst.zoho.com/en/deployment-and-billing/environments/development-environment/#function-url-and-web-app-url-in-the-development-environment) of the project * The name and Project ID of the project * Meaningful details about the Client, Function and API Gateway components ### Switch Between Projects In the Project Explorer, you can pull any of your active projects that are present in the Catalyst console, and you can reinitialize your default project. **To switch between the active projects**: 1. Click the **arrow icon** in the *Active* section of the Project Explorer. ![catalyst-extension_active_projects](https://catalyst-docs-development.zohostratus.in/images/catalyst-extension/catalyst-extension_active_projects.webp) 2. Choose the project you wish to switch to from the drop-down selection. ![catalyst-extension_active_projects_list](https://catalyst-docs-development.zohostratus.in/images/catalyst-extension/catalyst-extension_active_projects_list.webp) You can also click the **reset icon** to ensure all the updates made in the Catalyst console is reflected in the local environment in the Project Explorer. ![catalyst-extension_active_projects_reset](https://catalyst-docs-development.zohostratus.in/images/catalyst-extension/catalyst-extension_active_projects_reset.webp) **To re-initialize default project**: 1. Click the **re-init** button in the *Default* section of the Project Explorer. ![catalyst-extension_default_projects_re_init](https://catalyst-docs-development.zohostratus.in/images/catalyst-extension/catalyst-extension_default_projects_re_init.webp) 2. Choose the project you wish to re-initialize and click the **Re-init** button that appears next to it. ![catalyst-extension_default_projects_re_init_drop](https://catalyst-docs-development.zohostratus.in/images/catalyst-extension/catalyst-extension_default_projects_re_init_drop.webp) The project in your directory will be re-initialized. ### Pull Project Resources The Project Explorer feature of **Catalyst Tools** allows you and your collaborators to easily pull project resources like Client, Function, and API Gateway from the remote project. If a specific resource does not exist in your local project's directory, it will be automatically created during the pull. However, if a resource is already present in your project folder, the extension will ask you for confirmation to overwrite the existing file. You can work on the resources and push the changes made, by [deploying the entire project](https://docs.catalyst.zoho.com/en/cli/v1/deploy-resources/introduction/) again, or just the components that you modified. You can learn more about pulling resources to your local environment from the [Pull Resources](https://docs.catalyst.zoho.com/en/cli/v1/pull-resources/introduction/) help page. **Pull a client resource**: 1. Navigate to the *Client* section in the Project Explorer. ![catalyst_extension_project_explorer_client_section](https://catalyst-docs-development.zohostratus.in/images/catalyst-extension/catalyst_extension_project_explorer_client_section.webp) 2. Click the **pull icon** button that appears next to the client details. ![catalyst_extension_project_explorer_client_pull](https://catalyst-docs-development.zohostratus.in/images/catalyst-extension/catalyst_extension_project_explorer_client_pull.webp) The client component will be pulled. If a client component already exists in your local project, it will be overwritten. ![catalyst_extension_project_explorer_client_pulled](https://catalyst-docs-development.zohostratus.in/images/catalyst-extension/catalyst_extension_project_explorer_client_pulled.webp) **Pull a function**: 1. Navigate to the *Function* section in the Project Explorer. ![catalyst_extension_project_explorer_func_section](https://catalyst-docs-development.zohostratus.in/images/catalyst-extension/catalyst_extension_project_explorer_func_section.webp) 2. Select the required function, and click the **pull-icon** that appears next to it. ![catalyst_extension_project_explorer_func_pull](https://catalyst-docs-development.zohostratus.in/images/catalyst-extension/catalyst_extension_project_explorer_func_pull.webp) 3. Select the required function from the prompt, to confirm overwrite and confirm your preference by clicking the **submission-icon**. ![catalyst_extension_project_explorer_func_pull_confirm](https://catalyst-docs-development.zohostratus.in/images/catalyst-extension/catalyst_extension_project_explorer_func_pull_confirm.webp) > **Note:** If you choose not to overwrite a function, it will not be pulled. The selected function will be pulled and be available in your project directory. ![catalyst_extension_project_explorer_func_pulled](https://catalyst-docs-development.zohostratus.in/images/catalyst-extension/catalyst_extension_project_explorer_func_pulled.webp) **Perform a Bulk Pull**: You can also perform a bulk pull operation of functions in the following manner: 1. Select the check-box present in the table-heading, then click the **Pull Selected** button. ![catalyst_extension_project_explorer_func_bulk_pull_select](https://catalyst-docs-development.zohostratus.in/images/catalyst-extension/catalyst_extension_project_explorer_func_bulk_pull_select.webp) 2. Confirm the functions you wish to pull, then click the **submission icon**. ![catalyst_extension_project_explorer_func_bulk_pull_confirm](https://catalyst-docs-development.zohostratus.in/images/catalyst-extension/catalyst_extension_project_explorer_func_bulk_pull_confirm.webp) The selected functions will be pulled and be available in your directory. ![catalyst_extension_project_explorer_func_bulk_pulled](https://catalyst-docs-development.zohostratus.in/images/catalyst-extension/catalyst_extension_project_explorer_func_bulk_pulled.webp) **Pull an API Gateway Rule**: The API Gateway Rules file is a JSON file that contains the definitions of each API created in the [API Gateway](https://docs.catalyst.zoho.com/en/cloud-scale/help/api-gateway/introduction/) component for your application. If you have not created any APIs in your project, you can still fetch the file with sample API definitions through the pull. You can refer to [Working with API Gateway](https://docs.catalyst.zoho.com/en/cli/v1/working-with-api-gateway/introduction/) help page for details about using this feature in a local environment. In the API Gateway section of the console, you will be able to view whether the component has been enabled in the Catalyst console or not. ![catalyst_extension_project_explorer_func_api_disabled](https://catalyst-docs-development.zohostratus.in/images/catalyst-extension/catalyst_extension_project_explorer_func_api_disabled.webp) If the API Gateway component has not been enabled, then you will not be able to pull the rules file locally through the extension. If the component has been enabled in the Catalyst console, you can pull the API Gateway rules in the following manner: 1. Navigate to the API Gateway section of the Project Explorer. ![catalyst_extension_project_explorer_func_api_enabled](https://catalyst-docs-development.zohostratus.in/images/catalyst-extension/catalyst_extension_project_explorer_func_api_enabled.webp) 2. Click the **Pull All Rules** button. ![catalyst_extension_project_explorer_func_api_pull_highlight](https://catalyst-docs-development.zohostratus.in/images/catalyst-extension/catalyst_extension_project_explorer_func_api_pull_highlight.webp) All the [rules](https://docs.catalyst.zoho.com/en/cloud-scale/help/api-gateway/implementation/#create-an-api) associated with the API Gateway will be pulled. ![catalyst_extension_project_explorer_func_api_pulled](https://catalyst-docs-development.zohostratus.in/images/catalyst-extension/catalyst_extension_project_explorer_func_api_pulled.webp) The rules associated with the API Gateway will be made available to you in your project directory as a JSON file named `catalyst-user-rules`. A sample of `catalyst-user-rules.json` file is given below: ```json [ { "name": "shipment-tracker - Web Client Hosting", "source_endpoint": "/app/{path1:(.*)}", "target_endpoint": "/app/{path1}", "target": "client", "method": "GET", "throttling": { "overall": {}, "ip": {} } }, { "name": "shipment-info", "source_endpoint": "/server/shipment-info/execute", "target_endpoint": "/server/shipment-info/execute", "target": "basicio", "method": "ANY", "throttling": { "overall": {}, "ip": {} }, "target_id": "12096000000568097" }, { "name": "logistic_struct", "source_endpoint": "/server/logistic_struct/execute", "target_endpoint": "/server/logistic_struct/execute", "target": "basicio", "method": "ANY", "throttling": { "overall": {}, "ip": {} }, "target_id": "12096000000573043" }, { "name": "Login Redirect", "source_endpoint": "/app/index.html", "target_endpoint": "/app/index.html", "target": "client", "method": "GET", "throttling": { "overall": {}, "ip": {} }, "system": true } ] ``` ### Manage Authentication Tokens Catalyst allows you to generate authentication tokens to directly and securely access your Catalyst account without logging in. These tokens validate your operations with your Catalyst accounts and its projects. You can learn more from [Working with Tokens](https://docs.catalyst.zoho.com/en/cli/v1/working-with-tokens/introduction/) help page. You can generate authentication tokens easily from your VS Code IDE using the Project Explorer feature of the **Catalyst Tools** extension. To generate tokens, perform the following steps: 1. Click the **Manage Token** button. ![catalyst_extensions_manage_tokens_highlight](https://catalyst-docs-development.zohostratus.in/images/catalyst-extension/catalyst_extensions_manage_tokens_highlight.webp) If there are any tokens that have been previously created, they will be displayed here. 2. To generate new token, click the **Create Token** button. ![catalyst_extensions_manage_tokens_create_token_highlight](https://catalyst-docs-development.zohostratus.in/images/catalyst-extension/catalyst_extensions_manage_tokens_create_token_highlight.webp) 3. The token terminal will open in VS Code and a verification URL and verification code will be generated. ![catalyst_extensions_manage_tokens_url_verification_code](https://catalyst-docs-development.zohostratus.in/images/catalyst-extension/catalyst_extensions_manage_tokens_url_verification_code.webp) 4. Click the URL, paste the verification code in the space provided, and click **Verify**. ![catalyst_extensions_manage_tokens_enter_code](https://catalyst-docs-development.zohostratus.in/images/catalyst-extension/catalyst_extensions_manage_tokens_enter_code.webp) 5. Click **Accept** after going through the list of scopes and permissions. ![catalyst_extensions_manage_tokens_scopes_perm_accept](https://catalyst-docs-development.zohostratus.in/images/catalyst-extension/catalyst_extensions_manage_tokens_scopes_perm_accept.webp) Your access has been authenticated. ![catalyst_extensions_manage_tokens_code_confirm](https://catalyst-docs-development.zohostratus.in/images/catalyst-extension/catalyst_extensions_manage_tokens_code_confirm.webp) When you return to VS Code IDE, your token will be generated and present in the *Manage Token* window, and in the token terminal. ![catalyst_extensions_manage_tokens_token_display](https://catalyst-docs-development.zohostratus.in/images/catalyst-extension/catalyst_extensions_manage_tokens_token_display.webp) Click the **copy icon** to copy the token and click the **Revoke** button to revoke tokens. ![catalyst_extensions_manage_tokens_code_view](https://catalyst-docs-development.zohostratus.in/images/catalyst-extension/catalyst_extensions_manage_tokens_code_view.webp) You can use this token to authenticate your access to your Catalyst account. > **Note:** Access tokens can only be generated once every sixty minutes. ### Log Out from your Catalyst Account You can log out from your Catalyst account in VS Code extension's environment in the Project Explorer feature. To log out of your Catalyst account, perform the following steps: 1. Click the **ellipsis-icon** present in the Project Explorer. ![catalyst_extension_project_explorer_logout_hihlit](https://catalyst-docs-development.zohostratus.in/images/catalyst-extension/catalyst_extension_project_explorer_logout_hihlit.webp) 2. Click **Log Out**. ![catalyst_extension_project_explorer_logout](https://catalyst-docs-development.zohostratus.in/images/catalyst-extension/catalyst_extension_project_explorer_logout.webp) You will be successfully logged out. You can log back in to your Catalyst account from the IDE, by following the steps listed in this [help page](https://docs.catalyst.zoho.com/en/catalyst-extensions/vs-code-extension/implementation/#log-in-to-catalyst). -------------------------------------------------------------------------------- title: "Extension Settings" description: "Catalyst Tools is a Catalyst extension for your Visual Studio Code IDE that allows you to execute CLI commands without using the Catalyst CLI terminal." last_updated: "2026-11-04T10:10:44.000Z" source: "https://docs.catalyst.zoho.com/en/catalyst-extensions/vs-code-extension/extension-settings/" service: "All Services" -------------------------------------------------------------------------------- # Extension Settings You have the option to change the following settings of the **Catalyst Tools** extension in the IDE per your preference: * Provide a custom credential path. A custom credential path is the location you set in your local system, where your account credentials will be stored as a JSON file. * Select if you wish the IDE's debugger to be active while performing the [*Run/Debug*](https://docs.catalyst.zoho.com/en/catalyst-extensions/vs-code-extension/implementation/#functions) operation. You can access the *Settings* section by following the steps below: 1. Click the **settings icon** present in the IDE's sidebar. ![catalyst_extension_settings_select](https://catalyst-docs-development.zohostratus.in/images/catalyst-extension/catalyst_extension_settings_select.webp) 2. Click **Settings**. ![catalyst_extension_settings_section](https://catalyst-docs-development.zohostratus.in/images/catalyst-extension/catalyst_extension_settings_section.webp) 3. Search for *Catalyst* in the search bar. ![catalyst_extension_catalyst_search](https://catalyst-docs-development.zohostratus.in/images/catalyst-extension/catalyst_extension_catalyst_search.webp) Your default credential path will be listed, and the debugging configuration of your IDE will also be enabled by default. ### Change The Default Credential Path In the *Users* section of the extension settings, you will be able to change the credential path. To change the credential path follow the steps below: 1. Click **Add Item**. ![catalyst_extension_settings_add_item_highlight](https://catalyst-docs-development.zohostratus.in/images/catalyst-extension/catalyst_extension_settings_add_item_highlight.webp) 2. Enter your preferred path and click **OK**. ![catalyst_extension_settings_add_item_ok](https://catalyst-docs-development.zohostratus.in/images/catalyst-extension/catalyst_extension_settings_add_item_ok.webp) The default path will be changed to your preferred path. 3. In your selected path a directory named `zcatalyst-vscode` will be created. When you log in from the extension, your credentials will be stored in this directory in a JSON file. The following changes occur when you change the credential path: * The authentication codes you had previously generated will no longer be accessible. You will have to [generate new codes](https://docs.catalyst.zoho.com/en/catalyst-extensions/vs-code-extension/catalyst-tools-explorer/#manage-authentication-tokens) once again. * You will have to log in to your Catalyst account again. > **Note:** The old codes you generated will still be present in an encrypted manner in the original default path. To view it again, you will just need to revert to the default path, and no regeneration of codes is required. ### Edit or Revert Your Credential Path to Default To edit the credential path: 1. Click the **edit icon**. ![catalyst_extension_settings_edit_item](https://catalyst-docs-development.zohostratus.in/images/catalyst-extension/catalyst_extension_settings_edit_item.webp) 2. Provide an updated path and click **OK**. ![catalyst_extension_settings_editing](https://catalyst-docs-development.zohostratus.in/images/catalyst-extension/catalyst_extension_settings_editing.webp) To revert to the default credential path: 1. Click the **remove icon**. ![catalyst_extension_settings_remove_item](https://catalyst-docs-development.zohostratus.in/images/catalyst-extension/catalyst_extension_settings_remove_item.webp) 2. The credential path will be reverted to default. ![catalyst_extension_settings_default_path](https://catalyst-docs-development.zohostratus.in/images/catalyst-extension/catalyst_extension_settings_default_path.webp) ### Enable or Disable IDE's Debugging Section By default, when you use the **Run/Debug** feature in the *HTTP FUNCTIONS* or *NON HTTP FUNCTIONS* section, you will automatically be able to use the IDE debugger. If you disable the debugging option in the IDE, you will simply be able to serve the function without a debugger attached, when you click **Run/Debug**. If you no longer wish to be directed to the debugger and wish only to serve the function, follow the steps below: 1. Navigate to the settings section and select the **Zcatalyst: Debug** option. ![catalyst_extension_debug_select_check](https://catalyst-docs-development.zohostratus.in/images/catalyst-extension/catalyst_extension_debug_select_check.webp) 2. Uncheck the option to ensure that the IDE debugger is not attached to your function when you execute the [`catalyst serve`](https://docs.catalyst.zoho.com/en/cli/v1/serve-resources/introduction/) command. ![catalyst_extension_debug_uncheck](https://catalyst-docs-development.zohostratus.in/images/catalyst-extension/catalyst_extension_debug_uncheck.webp) You can re-enable the IDE debugger at any time by following the same steps. > **Note:** You can navigate to either the *User* section or the *Workspace* section to modify this setting. However, if you modify it in the *Workspace* section, then the change will only apply to the current project. If you change this in the *User* section, the changes will be applied globally. ## CodeLib -------------------------------------------------------------------------------- title: "Introduction" description: "Learn about getting started with Catalyst CodeLib that provides independent, on-demand, pre-packaged solutions that can be added to your Catalyst project." last_updated: "2026-08-28T06:26:16.000Z" source: "https://docs.catalyst.zoho.com/en/codelib/introduction/" service: "All Services" -------------------------------------------------------------------------------- # CodeLib ### Introduction Catalyst CodeLib comprises of independent, on-demand, pre-packaged solutions that can be added to your Catalyst project and quickly leveraged to solve varied use cases. You can choose the required solution for your needs and quickly install them in your Catalyst application by simply executing a command in the [Catalyst CLI](https://docs.catalyst.zoho.com/en/getting-started/installing-catalyst-cli/) and performing minimal configurations to instantly leverage the bundled Catalyst resources that are a part of the CodeLib solution. Each CodeLib solution involves the utilization of various Catalyst components belonging to various [Catalyst services](https://docs.catalyst.zoho.com/en/), depending on their purpose and functionality. All CodeLib solutions include [Catalyst Serverless Functions](https://docs.catalyst.zoho.com/en/serverless/help/functions/introduction/) that are added in your Catalyst project with pre-configured backend logic for the solution's functioning. You can even modify the existing configurations in the functions code of the CodeLib solutions based on your specific needs. The functions and other Catalyst components are auto-configured and auto-coded in the CodeLib solution. When you install the CodeLib solution, these are automatically added to your project and deployed to the Catalyst console from the CLI. Catalyst CodeLib solutions help application developers to a great extent by minimizing their time and effort spent in building commonly-used features and functionalities from scratch, as these can be readily incorporated in their applications with minimal configurations. The varied set of CodeLib solutions provided by Catalyst cater to a vast variety of requirements that can arise in simple microservices and web apps, to large enterprise-level business applications. CodeLib solutions are extremely handy and beneficial for a variety of usecases. Using CodeLib, you can enhance and quicken the pace of your application development. > **Note:** You can access all CodeLib solutions from the [**Catalyst CodeLib repositories**](https://github.com/catalystbyzoho/) on GitHub ### Access CodeLib in the Catalyst Console Catalyst CodeLib solutions are common to all Catalyst services and are platform-independent. You can access and use the CodeLib solutions irrespective of the Catalyst services and components that you use in your project. 1. Navigate to CodeLib in your Catalyst project from the console by clicking on the **CodeLib icon** on the bottom right corner in your project. ![select_codelib_solution](https://catalyst-docs-development.zohostratus.in/images/catalyst-extension/codelib/catalyst-codelib-access-1.webp) This will open the CodeLib repository. ![select_codelib_solution](https://catalyst-docs-development.zohostratus.in/images/catalyst-extension/codelib/catalyst-codelib-access-2.webp) 2. You can now click on the required CodeLib solution to open it. ![select_codelib_solution](https://catalyst-docs-development.zohostratus.in/images/catalyst-extension/codelib/catalyst-codelib-access-3.webp) > **Note:** You can get detailed information on the prerequisites, and the steps to install and configure each CodeLib solution after you open it and click on the **How to Use** tab. -------------------------------------------------------------------------------- title: "Benefits" description: "Learn about getting started with Catalyst CodeLib that provides independent, on-demand, pre-packaged solutions that can be added to your Catalyst project." last_updated: "2026-08-28T06:26:16.000Z" source: "https://docs.catalyst.zoho.com/en/codelib/benefits/" service: "All Services" -------------------------------------------------------------------------------- # Benefits Listed below are some of the key benefits that can be leveraged by using Catalyst CodeLib solutions : * **Ready-to-Implement Micro services** : Since CodeLibs are pre-packaged solutions that contain all the necessary components preconfigured and all the code included in it, all you will need to do is to simply install them in your Catalyst project, perform some minimal configurations, and leverage their functionality on the go. CodeLibs ease your application development journey, by preventing the need to perform any additional coding or set up, besides the installation and basic configurations. * **Readymade Solutions for Highly-Demanded Functionalities** : Using Catalyst CodeLibs, there's no need to spend time in research, planning, implementation, testing, and debugging the necessary features for your services from scratch. Catalyst provides a wide range of readily-available solutions for a lot of commonly-required functionalities. This also reduces the overhead costs and the development efforts on a large scale. * **No Code Maintenance Required** : Catalyst CodeLibs are straightforward and uncomplicated, such that they require no additional efforts of maintenance from your side. Catalyst handles all the infrastructure setup and management, and code maintenance through its serverless cloud platform. * **Easy Customization and Code Monitoring** : When you install a Catalyst CodeLib in your project, you can simply follow the instructions provided under the How to use section in the console to perform the necessary manual configurations in the backend logic. You can customize certain elements of the code based on your needs. You can also make use of [Catalyst Logs](https://docs.catalyst.zoho.com/en/devops/help/logs/application-logs/), [APM](https://docs.catalyst.zoho.com/en/devops/help/apm/introduction/), and other DevOps tools to monitor and log the performance of the functions in the CodeLib. * **Blending in with your Business Logic** : Catalyst CodeLibs can be incorporated into your existing micro services and applications seamlessly, without affecting any of the existing functionalities. You can even implement CodeLibs as an enhancement to your application that is already in production, and provide your end-users with a functionally-rich service in a few simple steps. * **Quick Integrations with other Zoho and third-party services** : Catalyst CodeLib allows you to incorporate an extensive set of on-demand functionalities from other Zoho and third-party services easily. Catalyst ensures the security and integrity of the connections with all paired external services, and saves you from the hassles of managing the APIs. * **Enhances overall development experience** : Catalyst CodeLibs aid in increasing the developer productivity and help you build highly efficient and scalable solutions with minimal effort. By implementing these readily-available microservices into your application, you will be able to concentrate more on your core business logic and end-user experience, thereby fostering the overall growth and time-to-market of your solutions. -------------------------------------------------------------------------------- title: "Install a CodeLib Solution" description: "Learn about getting started with Catalyst CodeLib that provides independent, on-demand, pre-packaged solutions that can be added to your Catalyst project." last_updated: "2026-08-17T12:16:04.000Z" source: "https://docs.catalyst.zoho.com/en/codelib/install-a-codelib-solution/" service: "All Services" -------------------------------------------------------------------------------- # CodeLib Installation ### Install a CodeLib Solution from Catalyst CLI Before you install a CodeLib solution, you will need to [install](https://docs.catalyst.zoho.com/en/getting-started/installing-catalyst-cli/) the Catalyst CLI and [login](https://docs.catalyst.zoho.com/en/cli/v1/login/login-from-cli/) to it. You will then be able to install a CodeLib solution from the CLI. All resources that are included in a specific CodeLib solution are auto-created and auto-configured, and the required code is added to your current project. If you are installing a CodeLib for an already existing Catalyst project, navigate to its root directory from your terminal and directly proceed with the installation. You can also initialize a new project by following the steps mentioned in [this](https://docs.catalyst.zoho.com/en/cli/v1/initialize-resources/initialize-new-project/) page. After you initialize the project, proceed to navigate to its root directory and continue with the installation. > **Note:** * Certain CodeLib solutions might include prerequisites to be installed or configured for their functioning. You can open a specific CodeLib solution from your Catalyst console to check the details on its specific prerequisites and installation instructions. Click the **CodeLib icon** on the bottom right corner in your project and click on the required solution to open it. * Installing a CodeLib solution will automatically [deploy](https://docs.catalyst.zoho.com/en/cli/v1/deploy-resources/introduction/) all the pre-configured Catalyst resources from the CLI to the remote console for your current Catalyst project. The general steps to install a CodeLib solution from the CLI are given below. 1. Execute the command below to install a Catalyst CodeLib solution: ```sh catalyst codelib:install ``` 2. You will be prompted to choose the category of the CodeLib solution. Select **Integration**. 3. You will be able to see the list of available Catalyst CodeLib solutions here. Select the required solution and press **Enter**. ![select_codelib_solution](https://catalyst-docs-development.zohostratus.in/images/catalyst-extension/codelib/select_codelib_solution.webp) 4. Upon selecting a solution to install, the CLI will display the list of Catalyst resources that are pre-configured as a part of that solution. Press **Y** and press **Enter** to confirm. ![install_codelib_solution](https://catalyst-docs-development.zohostratus.in/images/catalyst-extension/codelib/install_codelib_solution.webp) The CodeLib solution will be installed in the directory, and the required resources will be configured and deployed to the remote console, along with the business logic. ### Install a CodeLib solution from the Git Repo You can also install a Catalyst CodeLib solution by directly accessing the [**Catalyst CodeLib repositories**](https://github.com/catalystbyzoho/) on GitHub. The README files in each of the CodeLib solution directories contain detailed information about the architecture and the flow of execution involved in that solution, along with the resources utilized. You can execute the CLI command given below in your terminal to install a specific CodeLib solution from this repository. You will need to mention the specific CodeLib package name in the command. ```sh catalyst codelib:install https://github.com/catalystbyzoho/<<Enter codelib package name>> ``` This will directly install the selected CodeLib solution. ## Deployment and Billing ### Billing -------------------------------------------------------------------------------- title: "Introduction" description: "Learn about the payment models and plans available in Catalyst, setting up your payment method, billing and transaction reports, budgets, and more." last_updated: "2026-11-04T10:10:44.000Z" source: "https://docs.catalyst.zoho.com/en/deployment-and-billing/billing/introduction/" service: "All Services" -------------------------------------------------------------------------------- # Billing ## Introduction Catalyst handles billing for all its [services](https://docs.catalyst.zoho.com/en/) overall, and for all the features in the services that are billable through a monthly billing cycle. There are two different pricing models that you can select from in Catalyst, depending on your requirements and usage. * **Pay-as-you-go Model:** Users will be billed for their exact resource usage in all services, post the consumption * **Subscription Model:** Users pay a fixed subscription fee in advance and purchase resources worth that amount You can avail of a **free tier allowance** in the pay-as-you-go pricing model that is refreshed monthly. The free tier provides you with Catalyst resources for free of cost until you exceed the specified hard limits on the utilization of these resources. [Learn more about the pay-as-you-go model](https://docs.catalyst.zoho.com/en/deployment-and-billing/billing/pay-as-you-go-model). If you choose the subscription model, Catalyst will provide an additional USD 5 per billing cycle on top of your selected plan at no extra cost. For example, if you select the Basic plan at USD 25/month, you will receive a total of USD 30/month, with Catalyst provisioning the extra USD 5. [Learn more about our available subscription plans](https://docs.catalyst.zoho.com/en/deployment-and-billing/billing/subscription-model/). > **Note:** You can refer to the [**Pricing page**](https://catalyst.zoho.com/pricing1.html) to check the latest pricing calculations, and the details of each billable component operation. You can check the hard limits of the resources provided in the free tier from the [**Free Tier page**](https://catalyst.zoho.com/free-tier.html). Catalyst does not impose any other additional or hidden charges besides the pricing stated in that page. Catalyst monitors your usage and provides you with a consolidated bill for all your [projects](https://docs.catalyst.zoho.com/en/getting-started/catalyst-projects/), that contains a breakdown of the resources you utilized in each feature of each service, along with the charges for the units consumed in both pricing models. The usage here can be regarded as the API calls made or the memory utilized in a specific component, for instance. Some examples include data insertions in the CloudScale Data Store, Serverless Function executions. > **Note:** Catalyst currently provides the [ConvoKraft](https://docs.catalyst.zoho.com/en/convokraft/) service for completely free of cost, with no charges on usage. Catalyst supports payments made through various payment methods, depending on your Zoho account's data center and region. For example, for the accounts registered in the US data center, the supported payment methods include credit cards and PayPal accounts. If the account is registered in the IN data center, payment options also include UPI, Netbanking, and debit cards. You can configure your payment method for your Catalyst account for both payment models, and manage your payments and subscriptions from the [**Zoho Store**](https://store.zoho.com/html/store/home.html). You can keep a track of your resource usage of all projects in an [organization](https://docs.catalyst.zoho.com/en/getting-started/catalyst-organizations/), view reports and cost breakdowns, check forecasts, create budgets, and more from the [Billing settings](https://docs.catalyst.zoho.com/en/deployment-and-billing/billing/billing-settings/) in your Catalyst remote console. > **Important Points to Remember:** Catalyst had followed only a pay-as-you-go pricing model previously, that included Amount and Credits as the payment units along with the pricing plans of Light User and Heavy User. This old pricing system was applicable until 1 April 2024, for all Catalyst users who had signed up before 31 Dec 2023. The new dual pricing model system mentioned above became applicable from 1 Jan 2024 for the users who signed up in 2024, and from **1 April 2024**, to all Catalyst users. The old pricing system is now deprecated. Users can now select their preferred payment model upon their account signup or during their Catalyst usage. First-time users also get a one-time, USD 250 worth of free resources after they sign up to Catalyst, or subscribe to a plan in the subscription model. This will be utilized upon exhausting the free tier allowance or plan benefit in either payment models. -------------------------------------------------------------------------------- title: "Free Tier Usage" description: "Learn about the payment models and plans available in Catalyst, setting up your payment method, billing and transaction reports, budgets, and more." last_updated: "2026-11-04T10:10:44.000Z" source: "https://docs.catalyst.zoho.com/en/deployment-and-billing/billing/free-tier/" service: "All Services" -------------------------------------------------------------------------------- # Free Tier Usage Catalyst enables a free tier usage for all existing users, and for all new users when they sign up, if they have opted for the [pay-as-you go pricing model](https://docs.catalyst.zoho.com/en/deployment-and-billing/billing/pay-as-you-go-model). The free tier usage allowance offers resources in various Catalyst services for free of cost per month, based on a set of hard limits defined for each. For example, Catalyst offers 25k GB-seconds of Serverless Function requests, 2 GB storage in the Data Store, 1000 GET requests in Cache, and more for free per month. You can refer to the [**Free Tier page**](https://www.zoho.com/catalyst/free-tier.html) page for a list of the full set of resources and operations available in the free tier. > **Note:** Refer to the [Pricing Calculation](https://docs.catalyst.zoho.com/en/deployment-and-billing/billing/pricing-calculations/) section to understand the units of GB-Seconds and GB-Minutes assigned to Serverless Function and AppSail service executions, mentioned in the Free Tier page. ### Important Points to Remember * The free tier allowance is only available with the pay-as-you-go pricing model. For the subscription model, an additional USD 5 per month will be added to your selected plan. For example, if you choose the Basic plan at USD 25/month, you’ll receive a total of USD 30/month, with Catalyst providing the extra USD 5. * The free tier usage allowance is refreshed monthly, and is not just a one-time benefit. The counter is refreshed after every bill payment in the monthly cycle in the case of the pay-as-you-go model, or the subscription fee payment in the case of the subscription model. You will be prompted to set up your Catalyst payment method as soon as any resource's free tier allowance is about to expire in the case of pay-as-you-go model. * The resources provided in the free tier allowance span across all [organizations](https://docs.catalyst.zoho.com/en/getting-started/catalyst-organizations/) and projects you create in Catalyst and is not specific to one project. That is, Catalyst offers 25k GB-seconds of Serverless Function requests in the free tier for your Catalyst account overall, irrespective of any number of organizations or projects you might create. * If you opt for the [pay-as-you-go pricing model](https://docs.catalyst.zoho.com/en/deployment-and-billing/billing/pay-as-you-go-model/), you can continue to stay within the hard limits of the resource utilization each month and potentially avail resources for free of cost in an unlimited manner. The final net amount will be calculated by subtracting the free tier allowance from the overall usage. ### Exceeding Free Tier Allowance The hard limits of the [free tier allowance](https://www.zoho.com/catalyst/free-tier.html) for resource utilization are defined for the entire Catalyst account overall, and not for individual projects or organizations. For example, the hard limit of 5k insertions in the Data Store in the free tier is applicable across all projects in all orgs in your account overall, and not for a single project. The limits can be split across multiple projects in any manner, as the usage is measured in a consolidated way. If you cross the hard limit defined for a specific resource in the free tier for your Catalyst account overall, you are out of the free tier for that resource alone, and you will be obligated to pay for its usage beyond that limit. Catalyst will consider the free tier allowance of only that resource as expired in this case, and not the other resources. **Example:** Assume the hard limit for data insertion is 5k and function execution is 25k. If you cross the limit for data insertions, your billing of data insertions will start from the 5001st insertion. However, if you have only used 10k function executions, you can continue to use Functions in the free tier until you cross the limit. > **Note:** These hard limits are applicable only for the pay-as-you-go model, you will need to settle the final bill that is calculated and generated on or before your payment due date. -------------------------------------------------------------------------------- title: "Avail 250$ Credits" description: "Learn about the payment models and plans available in Catalyst, setting up your payment method, billing and transaction reports, budgets, and more." last_updated: "2026-11-04T10:10:44.000Z" source: "https://docs.catalyst.zoho.com/en/deployment-and-billing/billing/avail-250-credit/" service: "All Services" -------------------------------------------------------------------------------- # Avail 250$ Credits To help you get started and explore Catalyst’s services, we now offer credits worth USD 250 to all users. You can claim your credits at any time by clicking the **"Get $250 Credits"** button, as shown in the screenshot below. ![250-credits-popup](https://catalyst-docs-development.zohostratus.in/images/deployments_and_billings/billings/250-credits-popup.webp) You can click on **Select Payment Plan** and choose your preferred payment option to avail the 250$ worth of credits instantly. ![select-plan](https://catalyst-docs-development.zohostratus.in/images/deployments_and_billings/billings/select-plan.webp) > **Note:** 1. This 250$ worth of credits is a one-time benefit and won't be refreshed monthly along with the free tier allowance in the pay-as-you-go pricing model. Also, this credit is exclusive of the free tier allowance for [pay-as-you-go model](https://docs.catalyst.zoho.com/en/deployment-and-billing/billing/pay-as-you-go-model/) and the USD 5 credit for the [subscription model](https://docs.catalyst.zoho.com/en/deployment-and-billing/billing/subscription-model/). 2. The $250 credit you receive after setting up your payment method is valid for **6 months** from the date it is claimed. After this period, you will be billed according to the pricing model you have selected. -------------------------------------------------------------------------------- title: "Pay-As-You-Go Pricing Model" description: "Learn about the payment models and plans available in Catalyst, setting up your payment method, billing and transaction reports, budgets, and more." last_updated: "2026-11-04T10:10:44.000Z" source: "https://docs.catalyst.zoho.com/en/deployment-and-billing/billing/pay-as-you-go-model/" service: "All Services" -------------------------------------------------------------------------------- # The Pay-As-You-Go Pricing Model The pay-as-you-go pricing model requires users to pay only for the resources they consume, post the consumption. This is a postpaid model in which the price is calculated for each billable resource usage, and the bill is generated on a monthly basis. ### Benefits * The pay-as-you-go model is highly cost effective and efficient, enabling you to only pay for the resources you consume. There are no overhead or subscription charges levied for any resource. * This model saves you from implementing a trial and error method of subscribing to plans or purchasing features beforehand, when you cannot foresee your requirements in advance. * You can avail this option if your usage is on a small scale, such as building independent projects or freelancing, or if you prefer only to pay for what you use without prior commitments. * You can highly benefit from the [free tier usage allowance](https://docs.catalyst.zoho.com/en/deployment-and-billing/billing/free-tier/) if you opt for the pay-as-you-go model. If you don't exceed the hard limits imposed for the free usage allowance of resources each month, you can utilize Catalyst for free of cost in an unlimited manner. ### Billing Calculations in Pay-As-You-Go Upon exceeding the free tier allowance for a specific component, your further usage of Catalyst will be liable for payment. If you opt for the pay-as-you-go model, the [Billing settings](https://docs.catalyst.zoho.com/en/deployment-and-billing/billing/billing-settings/) will display a breakdown of your resource utilization across all projects in an [organization](https://docs.catalyst.zoho.com/en/getting-started/catalyst-organizations/) and their billing calculations for the final amount due. This is refreshed in each billing cycle. Catalyst levies a **minimum billing amount of USD 5**. If you exceed the free tier allowance of any one resource, your due payment in the pay-as-you-go model will begin from the USD 5 mark. > **Note:** For users paying in other currencies, the minimum billing amount is USD 5 converted in the local currency. Additionally, if you exceed the free tier allowance, you will still be required to pay the minimum billing amount for all the projects that you have created in an organization. In the projects where the free tier has been exceeded, an amount worth the value of the free tier allowance of each billable operation left is subtracted from the overall usage of that resource to obtain the billed value during the final billing. Let's understand this with an example. #### Example: Assume you create three projects in a Catalyst org: Project 1, Project 2, Project 3. Until you exceed the free tier allowance of the Catalyst organization and you continue to operate within the hard limits of each resource, you can work with these projects for free of cost. Now assume that you exceed the free tier allowance for a resource in any of the projects. Let the overall consumption charges of resources in these three projects be as follows:
Overall Consumption Charges Billed Charges
**Project 1** $6 $6
**Project 2** $3 $5 (Min. billing amount)
**Project 3** $2 $5 (Min. billing amount)
**Total Billed Charges** **$16**
Because the free tier allowance was exceeded, you are billed the minimum billing amount of $5 in Project 2 and Project 3 as well. This calculation is before the free tier allowance value is subtracted from the overall usage consumption. Now, assume the free tier allowances in the organization are worth USD 5. Your total amount due will then be: *$16 - $5 = $11* i.e., **Total Billed Charges - Free Tier Allowance Left = Total Amount Due** Suppose you exceed the free tier usage for multiple resources, and your overall consumption charges come to $7 and the free tier allowance left is $2 in that project, then your total amount due will be: *[$6 + $7 + $5 ] - $2 = $16* i.e., [Billed Charges in Project 1 + Project 2 + Project 3] - [Free Tier Allowance Left] > **Note:** Catalyst will not charge the minimum billing amount for a project that is completely empty, if you exceed the free tier allowance. The projects in which no resources have been created or utilized will be exempt from billing entirely. However, if even a single billable action has occurred in the project, it will be billed. Therefore, we recommend you to delete all unused projects to optimize your usage. -------------------------------------------------------------------------------- title: "Subscription Pricing Model" description: "Learn about the payment models and plans available in Catalyst, setting up your payment method, billing and transaction reports, budgets, and more." last_updated: "2026-11-04T10:10:44.000Z" source: "https://docs.catalyst.zoho.com/en/deployment-and-billing/billing/subscription-model/" service: "All Services" -------------------------------------------------------------------------------- # The Subscription Pricing Model The subscription pricing model requires the users to pay a fixed subscription fee in advance on a monthly basis, and purchase Catalyst resources worth that amount as determined by the pricing. This is a prepaid model in which a fixed set of resources are allocated for each subscription amount tier. Catalyst currently provides the following price tiers for the subscription model: * **Basic:** USD 25/month * **Standard:** USD 50/month * **Premium:** USD 75/month * **Elite:** USD 100/month * **Enterprise 500:** USD 500/month * **Enterprise 1200:** USD 1200/month If you choose to opt for the subscription model, you can select your preferred subscription price tier and set up your payment method for your account in the [Zoho Store](https://store.zoho.com/html/store/home.html). Catalyst will deduct the payment, and the amount will be consumed for your resource usage in that month. > **Note:** If your Catalyst account is registered in a region or data center other than the US, the pricing of these tiers are calculated in your local currency correspondingly. The payments are processed in your local currency. ### Benefits * The subscription pricing model is aimed at users who require a specific amount to be budgeted at their organization or businesses every month for Catalyst usage. * The subscription model is beneficial for SMBs or enterprises of various scales, as it enables a way for you to meticulously plan and allocate allowances for your operations, and manage your expenditures effectively. * A USD 5 will be added to the subscription amount you choose by default as a free allowance. This is refreshed for each billing cycle, and is not just a one-time benefit. It means, if you subscribe to a Basic plan ($25 plan), you will in fact be provided with $30 worth of resources. Similarly, in a Standard plan ($50 plan), you will get $55 worth of resources, and so on. * While the cost you incur with the pay-as-you-go model can vary depending on your usage, you can pay a fixed price each month with the subscription model. If you are fully aware of your requirements and utilization, you can calculate and determine the exact price tier you will need, and optimize your expenses. ### Subscription Inclusions Catalyst provides a quota of resources for each subscription plan tier, worth that amount's usage. You can write to support@zohocatalyst.com to find out about the exact inclusions in each subscription price tier. The monthly subscription fee you pay applies to your Catalyst account overall, for as many projects you create in any number of [organizations](https://docs.catalyst.zoho.com/en/getting-started/catalyst-organizations/), and not for individual projects. You will be required to renew your subscription monthly by paying the fee for any specific plan tier. The payment can be made automatically each month after you [set up your payment method](https://docs.catalyst.zoho.com/en/deployment-and-billing/billing/setting-up-payment/) in Catalyst. > **Note:** With the subscription model, you have the flexibility to allocate your usage across various components and operations as needed. For example, you can use your entire subscription value for up to 1 million function calls, or you can split it between different operations such as 10,000 function calls, 200,000 row insertions, or 100,000 file uploads, depending on your requirements. There are no fixed limits for individual components, so you can tailor your usage based on your specific needs. ### Exceeding the Subscription Amount Catalyst will consider your subscription amount as consumed if you exceed the quota of the resource inclusions of that tier, overall within the month. If your subscription tier is $25 and Catalyst provides an additional $5 of free usage, you must upgrade to the next pricing tier once your usage exceeds the combined total to continue using Catalyst without interruption. For example, if you exceed the $25 Basic subscription plan before its validity period, you will need to upgrade to any of the next tiers, such as the Standard $50 or Premium $75 plan, to continue your usage without interruption. If you fail to upgrade your subscription plan, Catalyst will temporarily suspend your account activities. You will not be able to work with any of your Catalyst projects in any organization or use any Catalyst resources until you configure your plan upgrade. > **Note:** Catalyst also helps you keep track of your usage and manage it effectively by auto-creating [budgets](https://docs.catalyst.zoho.com/en/deployment-and-billing/billing/billing-settings/#budgets), based on your subscription plan as soon as you subscribe. These budgets will be automatically configured and alerts will be set for your usage of 50%, 75%, 90%, and 100% of that subscription amount. You will be alerted each time you approach these budget limits through email. You can also keep track of the amount you have consumed from your subscription plan at any time from the [Billing settings](https://docs.catalyst.zoho.com/en/deployment-and-billing/billing/billing-settings/) in your Catalyst console. ### Billing Calculations in the Subscription Model Billing in the subscription pricing model is calculated based on the resources you have consumed in all projects across orgs in a straightforward manner. Each subscription plan comes with a set of resources that are worth that plan's amount overall. You can view a breakdown of all the resources you have consumed from the [Breakdown](https://docs.catalyst.zoho.com/en/deployment-and-billing/billing/billing-settings/#breakdown) section in the Billing settings, and the pricing of each resource from the [Pricing](https://catalyst.zoho.com/pricing1.html) page. -------------------------------------------------------------------------------- title: "Pricing Calculations" description: "Learn about the payment models and plans available in Catalyst, setting up your payment method, billing and transaction reports, budgets, and more." last_updated: "2026-11-04T10:10:44.000Z" source: "https://docs.catalyst.zoho.com/en/deployment-and-billing/billing/pricing-calculations/" service: "All Services" -------------------------------------------------------------------------------- # Pricing Calculations The [**Catalyst Pricing page**](https://catalyst.zoho.com/pricing1.html) contains the latest pricing calculations of each action in a feature or component in every Catalyst service. Depending on the operation in a specific component, the unit of pricing will vary. For most components, the pricing calculations mentioned in the Pricing Page are self-explanatory. For example, the unit of pricing for Circuits in Serverless is *amount/state* transition, which indicates that each transition occurring in every circuit is billed at the specified price. Similarly, the unit of pricing for operations such as a Data Store Insertion, or Cache Get is *amount/request*, which indicates that each request or API call made will be billed at the specified price. Components such as Mail, Push Notifications, or Search are priced in the units of *amount/email* sent, *amount/notifications* sent, *amount/query* executed respectively. The units of pricing for Serverless [Functions](https://docs.catalyst.zoho.com/en/serverless/help/functions/introduction/) and [AppSail](https://docs.catalyst.zoho.com/en/serverless/help/appsail/introduction/) are **GB-Second** and **GB-Minute** respectively, which are not as straightforward as the other units. Let's discuss these units with an example. Consider the pricing for these units as given below. #### Functions **Unit: Executions Per Second**
Memory USD Per Second
128 MB 0.000002
256 MB 0.000004
512 MB 0.000008
#### AppSail **Unit: Instances Per Minute**
Memory USD Per Minute
256 MB 0.000325
512 MB 0.00065
1GB 0.0013
2GB 0.0026
The table indicates that the cost of a function's execution varies based on the function's configured memory size. For example, a 128 MB function's execution will incur a cost of $0.000002 per second. A single unit of this is considered as 1 GB-Second. That is, USD 0.000002 worth of usage per second for a function execution is 1 GB-Second, for a function of memory size 128 MB. > **Note:** The hard limits in the free tier allowance specified in terms of GB-Seconds and GB-Minutes units of pricing for functions and AppSail are not cumulative. That is, if 25,000 GB-Seconds are provided for free, it is split overall across all function executions of all memory sizes. It does not indicate that Catalyst provides 25,000 GB-Seconds for 128 MB functions, another 25,000 GB-Seconds for 256 MB functions, and so on. -------------------------------------------------------------------------------- title: "Billing Process" description: "Learn about the payment models and plans available in Catalyst, setting up your payment method, billing and transaction reports, budgets, and more." last_updated: "2026-11-04T10:10:44.000Z" source: "https://docs.catalyst.zoho.com/en/deployment-and-billing/billing/billing-process/" service: "All Services" -------------------------------------------------------------------------------- # Billing Process for both Pricing Models Given below are some important points to remember regarding the billing process for both the [pay-as-you-go](https://docs.catalyst.zoho.com/en/deployment-and-billing/billing/pay-as-you-go-model/) and [subscription](https://docs.catalyst.zoho.com/en/deployment-and-billing/billing/subscription-model/) pricing models: * You will receive one common invoice for your Catalyst account every month, that includes a detailed breakdown of all resource consumptions in all services, across all your organizations and projects. * The invoice will be generated on the second day of every month at GMT 0 time for the pay-as-you-go pricing model. Your billing cycle will follow this pattern every month. For the subscription model, your billing cycle commences from the date you subscribe. The subscription amount you pay will be valid exactly for 1 month from the date of payment. * Your invoice will be sent to the email address you used to sign up for Catalyst. You can also add additional email recipients to send the invoice to. * Catalyst enables you to configure your payment method and handle payments through the [**Zoho Store**](https://store.zoho.com/html/store/home.html). By default, the payment option you set up, such as your credit card or PayPal, will be debited for your due bill amount or subscription amount every month on the due date automatically. * The payment guidelines and local laws in certain regions allow for a non-recurring payment option to be set up as well. If you set up a non-recurring payment mode, you will need to provide your payment details and manually pay your bill each time the bill is due. If the payment of your due bill amount is not processed for any reason in either case, you will need to verify or modify your payment setup and pay the bill before the due date. * If your payment is due in either pricing model, your Catalyst account will be temporarily suspended until the payment is cleared, following a grace period. You will not be able to work with any of your Catalyst projects in any orgs during the account suspension. * Catalyst will send email alerts for monthly invoice generation, subscription plan usage and upgrades, payment reminders, budget utilizations, and failed transactions to help you keep track. -------------------------------------------------------------------------------- title: "Setting up Payment" description: "Learn about the payment models and plans available in Catalyst, setting up your payment method, billing and transaction reports, budgets, and more." last_updated: "2026-11-04T10:10:44.000Z" source: "https://docs.catalyst.zoho.com/en/deployment-and-billing/billing/setting-up-payment/" service: "All Services" -------------------------------------------------------------------------------- # Setting up Your Payment Method in Catalyst Catalyst subscriptions and payments are managed in [**Zoho Store**](https://store.zoho.com/html/store/home.html), where you can also view and manage all your other Zoho subscriptions and payments. You can access the Store anytime and set up your payment method. It is advisable to set it up before you expire your free tier usage allowance if you had opted for the pay-as-you-go pricing model, or the subscription plan benefits, to continue using your Catalyst account. To set up your payment method for your Catalyst account: 1. Navigate to the Settings from the Catalyst console. ![catalyst_billing_settings_icon](https://catalyst-docs-development.zohostratus.in/images/deployments_and_billings/billings/catalyst_billing_settings_icon.webp) 2. Click **Manage Billing** under the *Billing* section. ![catalyst_billing_manage_billing](https://catalyst-docs-development.zohostratus.in/images/deployments_and_billings/billings/catalyst_billing_manage_billing.webp) This will open the Zoho Store portal in a new tab. > **Note:** When you are in your free tier usage, and you click on the [Free Tier Upgrade prompt](https://docs.catalyst.zoho.com/en/deployment-and-billing/billing/free-tier/), Catalyst opens a pop-up window displaying the details of all your resource usage. Clicking on Continue to select plan will redirect you to the Zoho Store as well. ### Payment Model Selection If you are setting up your payments for the first time, the Store will display the [pay-as-you-go pricing option](https://docs.catalyst.zoho.com/en/deployment-and-billing/billing/pay-as-you-go-model/) and the four [subscription tiers](https://docs.catalyst.zoho.com/en/deployment-and-billing/billing/subscription-model/) for you to choose from. Subsequently, the Store will display your chosen payment model, available wallet credits that were provided to you when you were a first-time Catalyst user, and other details of your Catalyst plan. Select the required payment model or pricing plan to proceed. ![zoho-store](https://catalyst-docs-development.zohostratus.in/images/deployments_and_billings/billings/zoho-store.webp) > **Note:** The pricing details will be displayed in the currency of your account's data center or region, as well as their value in USD. The payments are made in your local currency. * If you selected *Pay-As-You-Go*, you will be redirected to your billing address details section directly. * If you selected one of the subscription plans, such as the Basic or Standard plan, you will be redirected to an *Add-Ons* section to confirm your subscription. Select any add-ons, if available. Click **Proceed** from this section. ![catalyst_billing_payments_setup_addon](https://catalyst-docs-development.zohostratus.in/images/deployments_and_billings/billings/catalyst_billing_payments_setup_addon.webp) ### Billing Details Configuration Enter the billing details of your organization. These include your organization's name, contact details, and address. ![catalyst_billing_payments_setup_2](https://catalyst-docs-development.zohostratus.in/images/deployments_and_billings/billings/catalyst_billing_payments_setup_2.webp) If your account's region is India and your currency is INR, you will have the option to provide the information about your [GSTIN registration](https://www.gst.gov.in/). You can select **Yes** and configure your GSTIN details, if you are registered. Otherwise, select **No** and declare yourself as an *Individual* or a *Non-Registered Business*. ![catalyst_billing_payments_gst](https://catalyst-docs-development.zohostratus.in/images/deployments_and_billings/billings/catalyst_billing_payments_setup_gst.webp) ### Payment Method Configuration Choose a payment method by clicking the available options for your account's region, such as the Credit Card or PayPal. * If you choose *Credit Card*, enter your credit card details and the address, then click **Add Payment Method**. ![catalyst_billing_payments_setup_3](https://catalyst-docs-development.zohostratus.in/images/deployments_and_billings/billings/catalyst_billing_payments_setup_3.webp) * If you selected *PayPal*, simply click **Continue**. ![catalyst_billing_payments_setup_4](https://catalyst-docs-development.zohostratus.in/images/deployments_and_billings/billings/catalyst_billing_payments_setup_4.webp) #### Non-recurring Payments For user accounts registered in the US region and for certain other regions, by default, the payment method you set up is recurring in nature. However, the payment guidelines and local laws in certain regions, such as the IN region, allow for a non-recurring payment option to be set up as well. If a non-recurring payment option is available for you, you can avail it if required. > **Note:** If you set up a non-recurring payment mode, you will need to provide your payment details and manually pay your bill each time the bill is due. ![catalyst_billing_payments_nonrecurring](https://catalyst-docs-development.zohostratus.in/images/deployments_and_billings/billings/catalyst_billing_payments_setup_nonrecurring.webp) > **Note:** In certain regions or DCs, such as the IN DC, there are other payment modes that you can configure, such as your UPI account, debit card, or your bank's Net banking. #### Zoho Subscription Balance Catalyst also allows you to make payments via the Zoho subscription balance that you can manage at the Store. This essentially enables you to add money to a digital wallet in the Store that will be debited for your Zoho subscriptions when you configure that option for payments. You will need to have sufficient subscription balance to process a specific payment. ![catalyst_billing_payments_subscription](https://catalyst-docs-development.zohostratus.in/images/deployments_and_billings/billings/catalyst_billing_payments_setup_subbalance.webp) #### Recurring Payments The recurring option in specific regions or DCs can also include other payment modes such as the UPI. ![catalyst_billing_payments_recurring](https://catalyst-docs-development.zohostratus.in/images/deployments_and_billings/billings/catalyst_billing_payments_setup_recurring.webp) Configure your preferred payment method and proceed to the next step. ### Payment Verification * If you added your credit card details, your credit card provider will authenticate your identity as per their norms, based on your region. * If you selected *PayPal*, login to your PayPal account to configure it for Catalyst, and follow further instructions. ![catalyst_billing_payments_paypal](https://catalyst-docs-development.zohostratus.in/images/deployments_and_billings/billings/catalyst_billing_payments_setup_5.webp) After your payment setup process is completed, your payment details will be saved in Catalyst. Your bill payment will be initiated using your credit card or PayPal automatically every month on the due bill date. After you authorize the payment, the amount will be debited. You can always access the Store to manage your Catalyst payments and billing, modify your payment details, access your transaction history, and more. -------------------------------------------------------------------------------- title: "Billing Settings" description: "Learn about the payment models and plans available in Catalyst, setting up your payment method, billing and transaction reports, budgets, and more." last_updated: "2026-11-04T10:10:44.000Z" source: "https://docs.catalyst.zoho.com/en/deployment-and-billing/billing/billing-settings/" service: "All Services" -------------------------------------------------------------------------------- # Billing Settings in the Catalyst Console The Catalyst console enables you to keep track of your Catalyst usage, view billing information and reports, and manage your budgets. These features are available in different sections under *Billing* in the settings. ### Overview The *Overview* section provides a brief summary of your Catalyst usage and your payment history. ![catalyst_billing](https://catalyst-docs-development.zohostratus.in/images/deployments_and_billings/billings/catalyst_billing.webp) You can check your ongoing bill amount for the current month, in case you had opted for the [pay-as-you-go model](https://docs.catalyst.zoho.com/en/deployment-and-billing/billing/pay-as-you-go-model/), under the _**Current Usage**_ tile. This value is automatically updated instantly, and the latest value based on your usage is displayed. In case of a [subscription plan](https://docs.catalyst.zoho.com/en/deployment-and-billing/billing/subscription-model/), this tile displays the available amount from your plan, as well as if any plan benefit amount is remaining. ![catalyst_billing_overview_stats](https://catalyst-docs-development.zohostratus.in/images/deployments_and_billings/billings/catalyst_billing_overview_stats.webp) You can view a detailed report of your usage in the graphical format by clicking **View Report**. This will open the **Report** section of _Billing_. _**Forecast**_ analyzes the cost that could be incurred for the current month based on your usage information. A forecast can be fairly accurate with as little as two days of data. This usage prediction enables you to get an estimation of your expenditure in Catalyst, and allows you to plan your activities. If the data of the previous month is not available in Catalyst, Forecast will not be able to predict the current month's usage. _**Last Billing's Usage**_ displays the usage information of the previous billing cycle. In case you are a new user, this will be unavailable. The _**Cost Trends**_ graph displays the cost information incurred during various time periods in the form of a bar graph. The graph shows the usage for each month of the time period. The usage data shown here also includes the [free tier](https://docs.catalyst.zoho.com/en/deployment-and-billing/billing/pay-as-you-go-model/) allowance in the pay-as-you-go model, or the [plan benefits](https://docs.catalyst.zoho.com/en/deployment-and-billing/billing/subscription-model/) of the subscription model. This graph is auto-updated every 30 minutes. ![catalyst_billing_cost_trends_1](https://catalyst-docs-development.zohostratus.in/images/deployments_and_billings/billings/catalyst_billing_cost_trends_1.webp) ### Breakdown The billing calculations for a project will commence after you explore at least one resource in a project and from the beginning of every bill cycle. The breakdown will include the calculations of each resource usage, both at the project level and the component level. You can select the Project Usage Stats from the dropdown and select the time for which you need to access the information as well. This displays the usage and cost breakdown for each of your Catalyst projects individually ![project-level](https://catalyst-docs-development.zohostratus.in/images/deployments_and_billings/billings/project-level.webp) You can click on a project name to open its detailed breakdown. ![catalyst_billing_breakdown_2](https://catalyst-docs-development.zohostratus.in/images/deployments_and_billings/billings/catalyst_billing_breakdown_2.webp) Depending on the component or feature, you will be priced in terms of various units such as *amount/request*, *amount/execution*, or *amount/search*. You can check the [Pricing Calculations](https://docs.catalyst.zoho.com/en/deployment-and-billing/billing/pricing-calculations/) section to learn more about this, and the [Pricing page](https://catalyst.zoho.com/pricing1.html) for the pricing details of Catalyst resources. The Breakdown will display the Gross Amount for all usage, including the usage from the free tier allowance or plan benefits, in case of pay-as-you-go or subscription models respectively. In the pay-as-you-go model, the final Net Amount due is calculated after subtracting the free tier allowance from the total usage of resources for all projects overall during billing. ![catalyst_billing_breakdown_3](https://catalyst-docs-development.zohostratus.in/images/deployments_and_billings/billings/catalyst_billing_breakdown_3.webp) Similarly, if you want to view the cumulative component level breakdown of all the projects, you can switch to Component Usage Stats from the drop-down menu. ![component-level](https://catalyst-docs-development.zohostratus.in/images/deployments_and_billings/billings/component-level.webp) It provides detailed information on the usage of each Catalyst service, the usage of each component or feature in a service, the calls made in each of them, the price of single instance, the total count of usage, and the Gross Amount incurred for each component usage, service, in every project. ### Report The _Report_ section provides detailed insight into your Catalyst usage in a graphical format based on various criteria that you select. You can access information about your usage and expenditure based on the services, individual projects, and time periods that you select, and group them by different categories. ![catalyst_billing_report](https://catalyst-docs-development.zohostratus.in/images/deployments_and_billings/billings/catalyst_billing_report.webp) You can select the individual projects for which you need to access the report, using the _Projects_ filter. ![catalyst_billing_report_1](https://catalyst-docs-development.zohostratus.in/images/deployments_and_billings/billings/catalyst_billing_report_1.webp) You can also filter the services to generate the report for. ![catalyst_billing_report_2](https://catalyst-docs-development.zohostratus.in/images/deployments_and_billings/billings/catalyst_billing_report_2.webp) The Group By filter enables you to view the graph grouped by the projects you selected, or the services, or none. ![catalyst_billing_report_3](https://catalyst-docs-development.zohostratus.in/images/deployments_and_billings/billings/catalyst_billing_report_3.webp) To view the graph for a time period between specific dates, select **Daywise** from the _Time Period_ filter. ![catalyst_billing_report_4](https://catalyst-docs-development.zohostratus.in/images/deployments_and_billings/billings/catalyst_billing_report_4.webp) Now, select the dates for which you need to access information from the calendar and click **Apply**. ![catalyst_billing_report_5](https://catalyst-docs-development.zohostratus.in/images/deployments_and_billings/billings/catalyst_billing_report_5.webp) To view the graph for a time period between specific months, select **Monthwise** from the dropdown list and select the months. Click **Apply**. ![catalyst_billing_report_6](https://catalyst-docs-development.zohostratus.in/images/deployments_and_billings/billings/catalyst_billing_report_6.webp) After you apply all the filters, click **Apply Filter**. The graph displays the report based on these filters. ![catalyst_billing_report_7](https://catalyst-docs-development.zohostratus.in/images/deployments_and_billings/billings/catalyst_billing_report_7.webp) You can view the report in the form of an area graph or a bar graph. ![catalyst_billing_report_8](https://catalyst-docs-development.zohostratus.in/images/deployments_and_billings/billings/catalyst_billing_report_8.webp) ### Budgets You can create budgets in Catalyst to set usage limits of the amount you spend and configure email alerts when your usage crosses a particular threshold value. Budgets help you monitor your activities in Catalyst and allow you to plan your expenses. Catalyst also enables you to automate the disabling of the [production environment](https://docs.catalyst.zoho.com/en/deployment-and-billing/environments/production-environment) of an application when its usage hits a particular threshold value. > **Note:** The maximum number of budgets that can be created for an individual project is 50. #### Points to remember: * When you enable the _Disable Production_ option while setting a threshold value for a budget, Catalyst will automatically disable the production environment of the selected project when the threshold is reached, and will alert you of it through an email. * You can re-enable the production environment of a project that was disabled upon reaching a specified threshold. It will not get re-enabled automatically. * Catalyst runs a scheduler once every 30 minutes to obtain the current charges of a project. Therefore, the checks for crossing a specified threshold are made only once every 30 minutes. If your project reaches a configured threshold in between these checks, Catalyst will not detect it until the scheduler's next run. * If you re-enable the production environment after it has automatically been disabled because of threshold limits, it will not get disabled again in the next 30 minutes during the next scheduler check. It will only get disabled again after the end of the current month, provided you have not modified the threshold limits. * In case you modify the threshold value after the production gets disabled, the next scheduler check will check for threshold limits and will disable the production again in case it is reached. * If you have multiple budgets configured for a single project, Catalyst will disable the production environment for all the budgets the _Disable Production_ has been enabled for, after reaching each specified threshold limit. #### Create a Budget To create a budget: 1. Click **Create Budget** from the **Budget** section under _Billing_ in settings. ![catalyst_billing_budget](https://catalyst-docs-development.zohostratus.in/images/deployments_and_billings/billings/catalyst_billing_budget.webp) This will open the budget creation page. 2. Enter a name and a description for the budget. Select a project that the budget should apply to. You can apply this budget for all projects as well. ![catalyst_billing_budget_create_1](https://catalyst-docs-development.zohostratus.in/images/deployments_and_billings/billings/catalyst_billing_budget_create_1.webp) 3. Enter a threshold value for it. This is the maximum value set for your budget. ![catalyst_billing_budget_threshold_1](https://catalyst-docs-development.zohostratus.in/images/deployments_and_billings/billings/catalyst_billing_budget_threshold_1.webp) You can enable the _Disable Production_ option to have the production environment automatically disabled upon reaching this threshold. This will open a pop-up. Enter "**DISABLE**" and click **Confirm** to confirm the action. ![catalyst_billing_budget_threshold_2](https://catalyst-docs-development.zohostratus.in/images/deployments_and_billings/billings/catalyst_billing_budget_threshold_2.webp) > **Note:** The *Disable Production* option will be available only if you select a single project from the Projects drop-down, and not if you choose all projects. You can enable this option for multiple projects by creating individual budgets for each. ![catalyst_billing_budget_threshold_3](https://catalyst-docs-development.zohostratus.in/images/deployments_and_billings/billings/catalyst_billing_budget_threshold_3.webp) 4. You can now create rules that enable you to configure email alerts to be sent when your usage reaches a certain percentage of the threshold value. Enter a percentage for the threshold amount in the text box. The amount value of that percentage is calculated automatically and displayed. ![catalyst_billing_budget_create_3](https://catalyst-docs-development.zohostratus.in/images/deployments_and_billings/billings/catalyst_billing_budget_create_3.webp) For example, if you require an email alert to be sent when your usage reaches 50% of the threshold limit value of $50, enter "50" under percentage. You will then receive an email alert when you use up $25. You can create a maximum of five rules. To create another rule, click the (**+**) icon. To delete a rule, click the (**-**) icon. Now, enter the recipient email address that the email alerts should be sent to. You can configure a maximum of three recipients. 5. Click **Create**. The budget will be created and listed in the _Budgets_ page along with its details. A unique ID is also created for the budget. ![catalyst_billing_budget_list](https://catalyst-docs-development.zohostratus.in/images/deployments_and_billings/billings/catalyst_billing_budget_list.webp) You will now receive email alerts based on the rules that you set in the budget. You can view a budget's configuration by clicking the budget's name. To edit the budget, click **Edit** from the budget view's page. Modify the details and save the changes. ![catalyst_billing_budget_view](https://catalyst-docs-development.zohostratus.in/images/deployments_and_billings/billings/catalyst_billing_budget_view.webp) #### Delete a Budget 1. You can delete a budget by clicking the ellipsis icon and clicking **Delete** from the _Budget_ page. ![catalyst_billing_budget_delete](https://catalyst-docs-development.zohostratus.in/images/deployments_and_billings/billings/catalyst_billing_budget_delete.webp) 2. Click **Yes, Proceed** in the confirmation window. ![catalyst_billing_budget_delete_confirmation](https://catalyst-docs-development.zohostratus.in/images/deployments_and_billings/billings/catalyst_billing_budget_delete_confirmation.webp) -------------------------------------------------------------------------------- title: "Manage Billing" description: "Learn about the payment models and plans available in Catalyst, setting up your payment method, billing and transaction reports, budgets, and more." last_updated: "2026-11-04T10:10:44.000Z" source: "https://docs.catalyst.zoho.com/en/deployment-and-billing/billing/manage-billing/" service: "All Services" -------------------------------------------------------------------------------- # Manage Billing When you click **Manage Billing** under _Billing_ in the settings, it redirects to the Zoho Catalyst Payments portal in a new tab. As mentioned earlier, you can manage your payment settings and view your payment history from the Payments portal. ![catalyst_billing_payments_page](https://catalyst-docs-development.zohostratus.in/images/deployments_and_billings/billings/catalyst_billing_payments_page.webp) ### Transaction History You can view your payment history by clicking the **Payment History** link in the _Last Transaction Date_ column. This will redirect you to the _Transaction History_ page. ![catalyst_billing_payments_transaction_history](https://catalyst-docs-development.zohostratus.in/images/deployments_and_billings/billings/catalyst_billing_payments_transaction_history.webp) You can view the various transactions that were processed using your credit card or your PayPal account from this page, along with their details. You can also download invoices for each transaction by clicking the **PDF file icon** for it and search for a transaction by its ID using the search box. You can view transactions of specific types alone by clicking on the dropdown box and selecting the transaction type. ![catalyst_billing_payments_transaction_history_dropdown](https://catalyst-docs-development.zohostratus.in/images/deployments_and_billings/billings/catalyst_billing_payments_transaction_history_dropdown.webp) You can also filter the transactions based on their time period by clicking **Filter by Period...** and setting the start and end dates. Click **Apply Filter** to apply them. ![catalyst_billing_payments_transaction_history_filters](https://catalyst-docs-development.zohostratus.in/images/deployments_and_billings/billings/catalyst_billing_payments_transaction_history_filters.webp) ### Modifying and Deleting the Payment Method To change your payment method or your credit card, click **Credit Card** from the _Payments_ page. ![catalyst_billing_payments_page_credit_card](https://catalyst-docs-development.zohostratus.in/images/deployments_and_billings/billings/catalyst_billing_payments_page_credit_card.webp) Alternatively, you can also click the dropdown list in the top-right corner of the _Payments_ page and click **Payment Method**. ![catalyst_billing_payments_dropdown](https://catalyst-docs-development.zohostratus.in/images/deployments_and_billings/billings/catalyst_billing_payments_dropdown.webp) This will open the _Payment Method_ section. Click **Change** to change your credit card. ![catalyst_billing_payments_method](https://catalyst-docs-development.zohostratus.in/images/deployments_and_billings/billings/catalyst_billing_payments_method.webp) Follow the same steps as described in the [Payment Setup](https://docs.catalyst.zoho.com/en/deployment-and-billing/billing/setting-up-payment) section of this help documentation. You can view the list of your Zoho subscriptions by clicking on **View Subscriptions**. To delete your payment method, click **Delete**. ![catalyst_billing_payments_method_delete](https://catalyst-docs-development.zohostratus.in/images/deployments_and_billings/billings/catalyst_billing_payments_method_delete.webp) You can also delete the payment method by clicking **Deactivate Payment Method** in the _Payments_ page. ![catalyst_billing_payments_deactivate_error](https://catalyst-docs-development.zohostratus.in/images/deployments_and_billings/billings/catalyst_billing_payments_deactivate_error.webp) However, as mentioned in the [Introduction,](https://docs.catalyst.zoho.com/en/deployment-and-billing/billing/introduction) you must disable the production environment of all your applications before deleting the payment method. You can share the reason for your deactivation in the pop-up window and click **Deactivate Payment Method** to confirm. ![catalyst_billing_payments_deactivate](https://catalyst-docs-development.zohostratus.in/images/deployments_and_billings/billings/catalyst_billing_payments_deactivate.webp) ### Modifying and Deleting the Billing Details To modify or delete your billing details, click the dropdown list from the _Payments_ page and click **Billing Address & Other Info** tab. Alternatively, you can click **Billing Address** in the _Payment Method_ column from that page. ![atalyst_billing_payments_address](https://catalyst-docs-development.zohostratus.in/images/deployments_and_billings/billings/catalyst_billing_payments_address.webp) To modify the address, click **Change** and enter the new billing address in the pop-up window and click **Update** to confirm. To delete the billing address, click **Delete**. Similarly to the payment method, you must disable the production environment of all your applications before deleting the billing address. This section also displays the billing addresses that are currently inactive. Click **Inactive Billing Address** to view them. ### Email Recipients You can add email recipients to send the invoices, subscriptions, and other payment related emails to by clicking on the **Email Recipients** tab. The Catalyst account's user is listed as an email recipient by default. You cannot delete the Catalyst account user from the recipients. However, you can modify their details after you add an additional recipient. ![catalyst_billing_payments_recipients](https://catalyst-docs-development.zohostratus.in/images/deployments_and_billings/billings/catalyst_billing_payments_recipients.webp) To add a new recipient, click **Add Recipient**. Enter the recipient's name and email address. You can select the types of email alerts that can be sent to them for Zoho Catalyst alone or for all Zoho products. ![catalyst_billing_payments_add_recipient](https://catalyst-docs-development.zohostratus.in/images/deployments_and_billings/billings/catalyst_billing_payments_add_recipient.webp) You can also add multiple recipients by clicking the (**+**) icon and remove recipients that were added by clicking the (**-**) icon. Check the confirmation box and click **Confirm**. ![catalyst_billing_payments_confirm_recipient](https://catalyst-docs-development.zohostratus.in/images/deployments_and_billings/billings/catalyst_billing_payments_confirm_recipient.webp) The recipient will be added and listed in the section. ![catalyst_billing_payments_recipient_list](https://catalyst-docs-development.zohostratus.in/images/deployments_and_billings/billings/catalyst_billing_payments_recipient_list.webp) You can edit the details of a recipient by clicking the **edit icon**. Modify the details and click **Update**. ![catalyst_billing_payments_edit_recipient](https://catalyst-docs-development.zohostratus.in/images/deployments_and_billings/billings/catalyst_billing_payments_edit_recipient.webp) Likewise, you can delete an additional recipient by clicking the delete icon and clicking **Delete** in the confirmation window. ![catalyst_billing_payments_delete_recipient](https://catalyst-docs-development.zohostratus.in/images/deployments_and_billings/billings/catalyst_billing_payments_delete_recipient.webp) ### Credits Information The **Credits Info** section displays information about the credits available in your Catalyst account for use. ![catalyst_billing_payments_credit_info](https://catalyst-docs-development.zohostratus.in/images/deployments_and_billings/billings/catalyst_billing_payments_credit_info.webp) The dropdown list in the _Payments_ page also contains links to _Tag Your Partner_ and _Refer and Earn_. You can refer to the [Partner Store](https://www.zoho.com/partnerstore/help/) and [Refer a Friend](https://www.zoho.com/affiliate/refer-a-friend.html) help links for more information. -------------------------------------------------------------------------------- title: "Deprecated Pricing System" description: "Learn about the payment models and plans available in Catalyst, setting up your payment method, billing and transaction reports, budgets, and more." last_updated: "2026-11-04T10:10:44.000Z" source: "https://docs.catalyst.zoho.com/en/deployment-and-billing/billing/old-pricing-model/" service: "All Services" -------------------------------------------------------------------------------- # Deprecated Pricing System From **1 April 2024**, the new pricing system with the pay-as-you-go and subscription pricing models has become applicable for all Catalyst users. This section contains details of the now deprecated pricing system. > **Note:** The pricing system discussed in this section is no longer applicable. This is only a reference to the deprecated pricing system. ### Key Features of the Deprecated Pricing Model #### Free and Paid Tiers * Catalyst offered the [development environment](https://docs.catalyst.zoho.com/en/deployment-and-billing/environments/development-environment/) as a free tier and the [production environment](https://docs.catalyst.zoho.com/en/deployment-and-billing/environments/production-environment/) as a paid tier. This allowed you to work in the development environment in all Catalyst applications, make API calls, and use most Catalyst features and components without setting up your payment method. > **Note:** The development environment continues to have usage and feature limitations, and must therefore be used only for development and testing purposes. * The deprecated pricing system only billed you if you used the production environment. After deploying your Catalyst application to production, you would be priced for the API calls that were made to the components of your live Catalyst application. #### Payment Units * The two units of payment followed in the deprecated pricing method were **Amount** and **Credits**. *Amount* referred to the money in USD that you paid after a bill was generated. *Credits* referred to the value points that each Catalyst operation was charged with. * Each time you used a Catalyst resource, the operation consumed a certain number of credits. Based on the total number of credits used, your bill amount was calculated. #### Pricing Plans * Catalyst offered two pricing plans in the deprecated model: * Light User * Heavy User * These pricing plans were project-specific. That is, the pricing plan of one project could be 'Heavy User' and another project could be 'Light User' for the same user account. * Based on your usage of Catalyst components and services in a particular project, Catalyst's cost optimization software automatically analyzed and assigned the project to a pricing plan. The software always ensured that you were assigned to the most cost-optimized solution. * The differences in both the pricing plans lay in the fixed fee and usage fee. #### Pricing Calculations * The operations you performed in your Catalyst application for a component were called component calls. For example, [inserting](https://docs.catalyst.zoho.com/en/api/code-reference/cloud-scale/data-store/insert-new-row/#InsertNewRow), [updating](https://docs.catalyst.zoho.com/en/api/code-reference/cloud-scale/data-store/update-row/#UpdateRow), [deleting](https://docs.catalyst.zoho.com/en/api/code-reference/cloud-scale/data-store/delete-row/#DeleteRow) rows in a table in the Data Store using the APIs, or [putting](https://docs.catalyst.zoho.com/en/api/code-reference/cloud-scale/cache/insert-key-value-in-segment/#InsertKeyValueinCacheSegment) and [getting](https://docs.catalyst.zoho.com/en/api/code-reference/cloud-scale/cache/get-cache-value/#GetCacheValue) key values in a cache. These operations were priced in terms of credits, and the final amount was calculated based on the credits consumed. For example, 1 Data Store Insert operation used to cost 2 credits. Therefore, if you performed 1000 Data Store insert operations, you would use 2000 credits. * Each operation type in a Catalyst component used to cost a different amount of credits. Additionally, some components charged for storage that exceeded the free limits. They were priced in terms of credits as well. * The overall bill amount was calculated based on the total number of credits consumed in your Catalyst account in all your projects, the operational or storage cost of each operation in a component, and the pricing plan of each project. The pricing system discussed in this page is now deprecated, and the new pricing system enables you to choose between a [pay-as-you-go pricing model](https://docs.catalyst.zoho.com/en/deployment-and-billing/billing/pay-as-you-go-model/) or a [subscription model](https://docs.catalyst.zoho.com/en/deployment-and-billing/billing/subscription-model/). You can refer to their individual help pages to learn about the updated methods of calculating billing in both models, as well as the [Free Tier help page](https://docs.catalyst.zoho.com/en/deployment-and-billing/billing/free-tier/) for the free tier usage allowance available in both models. ### Environments -------------------------------------------------------------------------------- title: "Introduction" description: "Catalyst offers a fully-functional, free development sandbox and a live production environment that you can deploy your applications and microservices to." last_updated: "2023-05-18T13:01:19.000Z" source: "https://docs.catalyst.zoho.com/en/deployment-and-billing/environments/introduction/" service: "All Services" -------------------------------------------------------------------------------- # Environments ### Introduction Catalyst provides two work environments in the Catalyst web console for your applications: 1. **Development:** The development environment enables you to create, configure, test, and host Catalyst features and components in a local sandbox. When your Catalyst application is still in the development phase, you can use the development environment to build it and perform iterative testing on it. 2. **Production:** The production environment is the live mode that is accessible to the end users of your application. When you complete the development and testing of your Catalyst application and it is ready to be made live, you can easily deploy your application from the development to the production environment from the web console. The deployment process migrates the data and configurations of one environment to the other. After your application has been deployed, you will be able to switch between the development and production environments in the Catalyst console easily. Catalyst offers the development environment permanently, at no cost. You can work in the development environment of all your Catalyst applications and use most Catalyst features for free. However, the development environment comes with certain limitations in the features and components, that are specified in each component help page. Once you have deployed your Catalyst application to the production environment, you will be billed for the API calls that you make in your live Catalyst application. You can learn more about this from the [Billing help page](https://docs.catalyst.zoho.com/en/deployment-and-billing/billing/introduction). This document explains the deployment process, as well as how to use Catalyst in both environments. -------------------------------------------------------------------------------- title: "Development Environment" description: "Catalyst offers a fully-functional, free development sandbox and a live production environment that you can deploy your applications and microservices to." last_updated: "2026-10-29T09:21:03.000Z" source: "https://docs.catalyst.zoho.com/en/deployment-and-billing/environments/development-environment/" service: "All Services" -------------------------------------------------------------------------------- # The Development Environment ### Introduction When you create a project in Catalyst, it is created in the development environment by default. All actions that you perform in Catalyst, such as creating a table, configuring a Signals rule, integrating your GitHub account, and hosting a mobile app are only reflected in the application's development environment. The actions performed from the [Catalyst CLI](https://docs.catalyst.zoho.com/en/cli/v1/cli-command-reference/) such as creating a function or deploying a web client are also only reflected in the development environment. Similarly, when you perform actions using the [APIs](https://docs.catalyst.zoho.com/en/api/introduction/overview-and-prerequisites/#OverviewandPrerequisites), they will be reflected only in the development environment. After you deploy your application to production, you can switch to the development environment any time to work on your application without affecting the live production mode. All feature creations, changes, deployments, testing that you perform in the development environment, and data that you create will not be reflected in your live application until you deploy them. #### Limitations The development environment is provided as a sandbox where you can perform iterative testing and bug fixes on your application. You must therefore use this environment only during the development phase, and not use it permanently as an alternative to production. Catalyst will not be able to guarantee a permanent uptime for this environment. Certain components are unavailable in the development environment and can be accessed only from production. This is mentioned in each component's help page. > **Note:** When you deploy your first project to the production environment, Catalyst will offer **$250 as complimentary wallet credits**. You can use this credit amount for your Catalyst payments. This roughly equates to **125 million free invocations**, depending on your usage and considering single credit operations like Select Query in Data Store. These credits are free for the first year upon deploying your first project to production, or until you exhaust them, whichever occurs first. You can contact support if you have any queries regarding the free credits. ### Function URL and Web App URL in the Development Environment When you host a web app in the development environment, the web app URL that is generated for the web app will be of the format: **https://project_domain_name.development.zohocatalyst.com** The invocation URL of [Basic I/O functions](https://docs.catalyst.zoho.com/en/serverless/help/functions/basic-io) will be of the format: **https://project_domain_name.development.zohocatalyst.com/baas/v1/project/project_ID/function/function_name/execute** Similarly, the invocation URL of [Advanced I/O functions](https://docs.catalyst.zoho.com/en/serverless/help/functions/advanced-io) will be of the format:**https://project_domain_name.development.zohocatalyst.com/server/function_name/** You can obtain the development web app URL from the [Web Client Hosting](https://docs.catalyst.zoho.com/en/cloud-scale/help/web-client-hosting/introduction) component, and the function URLs from the respective function's page. After you deploy your application to the production environment, the production URL endpoints for all of your Basic I/O and Advanced I/O functions, and the web client, will be generated. -------------------------------------------------------------------------------- title: "Deployment Types" description: "Catalyst offers a fully-functional, free development sandbox and a live production environment that you can deploy your applications and microservices to." last_updated: "2023-05-18T13:01:19.000Z" source: "https://docs.catalyst.zoho.com/en/deployment-and-billing/environments/deployment-types/" service: "All Services" -------------------------------------------------------------------------------- # Deployment Types ### Overview There are two deployment types available in Catalyst: 1. Development to Production 2. Production to Development When you are deploying your application for the first time in Catalyst, you can only deploy it from the development to the production environment. In the subsequent deployments, you can deploy features from development to production, or from production to development. There are certain actions that you can perform in the production environment. These changes can be migrated to the development environment using the _Production to Development_ deployment. You will learn about the features available in the production environment later on in this document. -------------------------------------------------------------------------------- title: "Initial Deployment" description: "Catalyst offers a fully-functional, free development sandbox and a live production environment that you can deploy your applications and microservices to." last_updated: "2026-08-17T12:16:04.000Z" source: "https://docs.catalyst.zoho.com/en/deployment-and-billing/environments/initial-deployment/" service: "All Services" -------------------------------------------------------------------------------- # Deploying your Project to Production for the First Time ### Steps to Deploy As mentioned earlier, you can only deploy your application from the development to production environment during the first deployment. You will also not be able to select the features to deploy during the first deployment. All features, components, and data available in your Catalyst application will be deployed automatically. > Note: Before you deploy your application to the production environment, you must have your [Payment method set-up in Catalyst](https://docs.catalyst.zoho.com/en/deployment-and-billing/billing/setting-up-payment). To deploy your project for the first time in Catalyst: 1. Click the **Deploy to Production** button in the Catalyst web console. ![catalyst_environments_deploy_to_production_dashboard](https://catalyst-docs-development.zohostratus.in/images/deployments_and_billings/environments/catalyst_environments_deploy_to_production_dashboard.webp) This will redirect you to the _Environment_ settings. You can also directly open **Settings** and click **Environments** under _Project Settings_. ![catalyst_environments_settings](https://catalyst-docs-development.zohostratus.in/images/deployments_and_billings/environments/catalyst_environments_settings.webp) You can select a different project from the dropdown list, if required. ![catalyst_environments_change_project](https://catalyst-docs-development.zohostratus.in/images/deployments_and_billings/environments/catalyst_environments_change_project.webp) 2. Click the **Deployments** tab and click **Deploy**. ![catalyst_environments_deployments](https://catalyst-docs-development.zohostratus.in/images/deployments_and_billings/environments/catalyst_environments_deployments.webp) 3. Click **Yes, Proceed** in the confirmation window. ![catalyst_environments_deployment_confirmation](https://catalyst-docs-development.zohostratus.in/images/deployments_and_billings/environments/catalyst_environments_deployment_confirmation.webp) If you have not set up your Payment method in Catalyst yet, you will receive a prompt to add your card in Catalyst. ![catalyst_environments_deployment_add_payment](https://catalyst-docs-development.zohostratus.in/images/deployments_and_billings/environments/catalyst_environments_deployment_add_payment.webp) Upon clicking **Add Card**, you will be redirected to the Catalyst Payments portal. You can [configure your payment method](https://docs.catalyst.zoho.com/en/deployment-and-billing/billing/setting-up-payment) there and provide the required information. Once you set up your payment, you can retry the deployment process. The deployment process will now be initiated. ![catalyst_environments_deployment_progress](https://catalyst-docs-development.zohostratus.in/images/deployments_and_billings/environments/catalyst_environments_deployment_progress.webp) Once the deployment is completed, you will receive a notification alerting you of its success or failure. The deployment will also be listed in the _Deployments_ section, along with details. ![catalyst_environments_deployed_first_time](https://catalyst-docs-development.zohostratus.in/images/deployments_and_billings/environments/catalyst_environments_deployed_first_time.webp) The commit message is auto-generated by Catalyst for the first deployment. You can view the details of the deployment by opening it. ![catalyst_environments_deployment_details](https://catalyst-docs-development.zohostratus.in/images/deployments_and_billings/environments/catalyst_environments_deployment_details.webp) > **Note:** The first deployment does not create a diff generation, which is a report of differences between the source environment and the migrated environment. You will learn more about this [later on](https://docs.catalyst.zoho.com/en/deployment-and-billing/environments/subsequent-deployment). -------------------------------------------------------------------------------- title: "Production Environment" description: "Catalyst offers a fully-functional, free development sandbox and a live production environment that you can deploy your applications and microservices to." last_updated: "2026-08-28T06:26:16.000Z" source: "https://docs.catalyst.zoho.com/en/deployment-and-billing/environments/production-environment/" service: "All Services" -------------------------------------------------------------------------------- # The Production Environment ### Introduction The production environment will now be available for your Catalyst application, and in your project in the console. A banner alerting you that you are using the Production environment will constantly be displayed on top. ![catalyst_environments_production_banner](https://catalyst-docs-development.zohostratus.in/images/deployments_and_billings/environments/catalyst_environments_production_banner.webp) You can switch between the development and production environments in the console by clicking the environment in the dropdown box on top. Clicking **Manage Environments** will redirect you to the _Environment_ settings. ![catalyst_environments_drop_down_dashboard](https://catalyst-docs-development.zohostratus.in/images/deployments_and_billings/environments/catalyst_environments_drop_down_dashboard.webp) As mentioned earlier, the actions that you can perform in the production environment are restricted to avoid accidental modifications or deletions of data and features that could affect your live application. In general, you will not be able to create a new resource or add new data in the production environment. For example, you cannot create a function or configure a Signals rule. However, certain actions can be performed. The following features and actions are available in the production environment for each component: * **User Management:** Inviting a new user * **Cache:** Renaming, deleting, and creating a new Cache Item in the Default segment * **Push Notifications:** Configuring iOS push notifications, testing Web and iOS push notifications from the console * **Zia:** Testing Optical Character Recognition and Object Recognition in the console * **ZCQL:** Executing ZCQL test queries in the console * **Domain Mapping:** Adding a new domain * **Device Management:** Uploading an Android, iOS, or Flutter app * **Collaborators:** Creating a collaborator, editing collaborator details * **Billing:** Creating a budget, modifying payment details The features and actions that are not available in the production environment will be disabled in the Catalyst console. ![catalyst_environments_production_creation_disabled](https://catalyst-docs-development.zohostratus.in/images/deployments_and_billings/environments/catalyst_environments_production_creation_disabled.webp) However, you can still view the features and data that were made available in Production during the last migration. ![catalyst_environments_production_creation_disabled_2](https://catalyst-docs-development.zohostratus.in/images/deployments_and_billings/environments/catalyst_environments_production_creation_disabled_2.webp) You can also view statistics and reports from Logs, Metrics, Audit, and other components, and access code templates for Search integration, Zia, and Sign-In Method. > **Note:** Only the features and data that were migrated to production in the last deployment will be displayed. Any changes made in the development environment after the last deployment will not be available in production until they are deployed again. ### Function URL and Web App URL in the Production Environment After you deploy your application to the production environment, the web app URL for the production environment will be created in the format:**https://project_domain_name.catalystserverless.com**. The invocation URL of [Basic I/O functions](https://docs.catalyst.zoho.com/en/serverless/help/functions/basic-io) will be of the format:**https://project_domain_name.catalystserverless.com/baas/v1/project/project_ID/function/function_name/execute** Similarly, the invocation URL of [Advanced I/O functions](https://docs.catalyst.zoho.com/en/serverless/help/functions/advanced-io) will be of the format:**https://project_domain_name.catalystserverless.com/server/function_name/** You can view the web app URL in the [Environments settings page](https://docs.catalyst.zoho.com/en/getting-started/set-up-a-catalyst-project/environment-settings) or from [*Web Client Hosting*](https://docs.catalyst.zoho.com/en/cloud-scale/help/web-client-hosting/introduction), and the function URLs from the respective function's page. > **Note:** The value of [ZAID](https://docs.catalyst.zoho.com/en/getting-started/set-up-a-catalyst-project/environment-settings) is different in the development and production environments for a project. The value of [API Key](https://docs.catalyst.zoho.com/en/cloud-scale/help/api-gateway/key-concepts/#api-key) is common for the development environment of all your projects, but different for the production environments of each project. ### Disabling and Re-enabling the Production Environment You can disable the production environment any time, and instead only use the development environment of your Catalyst application. You can disable it if you no longer need to provide access to your live application. > **Note:** Disabling the production environment will remove the live application. The production URL endpoints generated for accessing the web client or any of the functions will not work. Therefore, ensure that your application users will not be accessing the live application any longer, before disabling the production. To disable the production environment for your Catalyst application: 1. Navigate to **Settings** and then **Environments**. 2. Click **Disable** in the _Production Environment_ box. ![catalyst_environments_general_production_url](https://catalyst-docs-development.zohostratus.in/images/deployments_and_billings/environments/catalyst_environments_general_production_url.webp) 3. Type "DISABLE" in the confirmation pop-up window and click **Confirm**. ![catalyst_environments_production_disable_confirmation](https://catalyst-docs-development.zohostratus.in/images/deployments_and_billings/environments/catalyst_environments_production_disable_confirmation.webp) The production environment will be disabled, and a confirmation will be displayed. ![catalyst_environments_production_disabled](https://catalyst-docs-development.zohostratus.in/images/deployments_and_billings/environments/catalyst_environments_production_disabled.webp) You can open the development environment to continue working on your project. You can click **Enable Again** in this confirmation or from the _Environments_ settings to enable production again. The last instance of the production environment will be available when you enable it again. -------------------------------------------------------------------------------- title: "Subsequent Deployment" description: "Catalyst offers a fully-functional, free development sandbox and a live production environment that you can deploy your applications and microservices to." last_updated: "2026-08-17T12:16:04.000Z" source: "https://docs.catalyst.zoho.com/en/deployment-and-billing/environments/subsequent-deployment/" service: "All Services" -------------------------------------------------------------------------------- # Deploying Features after the First Time ### Steps to Deploy As mentioned earlier, after the first deployment you will be able to customize the deployment type, select the features and data to be migrated, and provide a commit message. Once you select the features to be deployed, Catalyst will be able to process the diff generation. The **diff generation** analyzes and displays a report of differences in features between the source environment and the migrated environment. When the diff is generated, Catalyst will show the count of the following activities for the features that you deploy: * **Added:** Number of instances of the feature that were added since the last deployment * **Updated:** Number of instances of the feature that were updated since the last deployment * **Deleted:** Number of instances of the feature that were deleted since the last deployment * **Total Changes:** Total number of changes made in the feature To deploy features and data from one environment to the other in Catalyst: 1. Navigate to **Settings** and then **Environments**. 2. Click the **Deployments** tab and click **Create Deployment**. ![catalyst_environments_deployed_first_time](https://catalyst-docs-development.zohostratus.in/images/deployments_and_billings/environments/catalyst_environments_deployed_first_time.webp) 3. Enter a commit message and select the deployment type in the pop-up window, and click **Create**. ![catalyst_environments_create_deployment_1](https://catalyst-docs-development.zohostratus.in/images/deployments_and_billings/environments/catalyst_environments_create_deployment_1.webp) 4. Select the features to be deployed. All features are selected by default. Unselect any features that you don't wish to deploy. ![catalyst_environments_create_deployment_2](https://catalyst-docs-development.zohostratus.in/images/deployments_and_billings/environments/catalyst_environments_create_deployment_2.webp) 5. Click **Save and Next**. ![catalyst_environments_create_deployment_3](https://catalyst-docs-development.zohostratus.in/images/deployments_and_billings/environments/catalyst_environments_create_deployment_3.webp) Catalyst will begin the diff generation. ![catalyst_environments_create_deployment_4](https://catalyst-docs-development.zohostratus.in/images/deployments_and_billings/environments/catalyst_environments_create_deployment_4.webp) 6. Once the diff is generated, verify the number of changes in each feature that will be deployed. ![catalyst_environments_create_deployment_5](https://catalyst-docs-development.zohostratus.in/images/deployments_and_billings/environments/catalyst_environments_create_deployment_5.webp) After you verify, click **Begin Deployment** to proceed. To cancel the deployment process, click **Abort**. To edit the features selected, click **Back**. 7. A confirmation window will open to begin the deployment. **Click Yes, Proceed**. ![catalyst_environments_create_deployment_6](https://catalyst-docs-development.zohostratus.in/images/deployments_and_billings/environments/catalyst_environments_create_deployment_6.webp) The console will display the progress. ![catalyst_environments_create_deployment_7](https://catalyst-docs-development.zohostratus.in/images/deployments_and_billings/environments/catalyst_environments_create_deployment_7.webp) If the deployment is successful, the console will display a success message. ![catalyst_environments_create_deployment_8](https://catalyst-docs-development.zohostratus.in/images/deployments_and_billings/environments/catalyst_environments_create_deployment_8.webp) You will also receive a notification alert. You can click on **View Details** to view the summary of your deployment process. ![catalyst_environments_deployment_details_2](https://catalyst-docs-development.zohostratus.in/images/deployments_and_billings/environments/catalyst_environments_deployment_details_2.webp) You can access these details any time by opening the deployment from the _Deployment_ section. ![catalyst_environments_deployment_created](https://catalyst-docs-development.zohostratus.in/images/deployments_and_billings/environments/catalyst_environments_deployment_created.webp) If you abort the process, the status will say "Aborted". You can resume the deployment process any time after you abort it. ## Compliance -------------------------------------------------------------------------------- title: "Cookie Policy" last_updated: "2026-09-28T11:04:26.000Z" source: "https://docs.catalyst.zoho.com/en/compliance/cookie-policy/" service: "All Services" related: - Zoho Cookie Policy (https://www.zoho.com/privacy/cookie-policy.html) -------------------------------------------------------------------------------- # Catalyst Cookie Policy ### What is a Cookie? Cookies are small blocks of data stored in your local system or browser. These data blocks will instruct the website to understand that the user has already visited the website. Cookies allow the website to remember your language preferences and login information, and provide useful analytics. Cookies used by Catalyst and Zoho are perfectly safe and cannot be used to perform any malicious tasks. For more information on cookies, you can visit this [help source](https://www.cloudflare.com/en-in/learning/privacy/what-are-cookies/). ### What types of Cookies does Catalyst use? Catalyst primarily uses first-party cookies. These cookies are stored in your local storage and are employed directly by Catalyst. Catalyst requires these cookies to ensure functionality and enhance performance, security, and build management. Cookies can be categorized into three types: * **Strictly Necessary** These types of cookies are absolutely required for the functioning of the website. Without these cookies, the website or build cannot function. * **Functional/Preference** These are cookies typically employed to remember user preferences to enhance the user experience. * **Analytics** These cookies collect data that will help Catalyst understand your interaction with the service and allow us to improve your overall experience. The lifespan of a Cookie can be categorized in two broad categories—cookies that are alive solely for a single session are called **Session Cookies**, and ones that are alive across multiple sessions are called **Persistent Cookies**. The lifespan of a cookie used by Catalyst can range from a few minutes to multiple years, and they are set up either before or after you log in. You can find a list of the cookies employed by Catalyst with their details below. > **Info:** This is a list of cookies employed exclusively by Catalyst. You can find the list of cookies employed by Zoho in this [document](https://www.zoho.com/privacy/cookie-policy.html). #### Strictly Necessary Catalyst currently does not employ any Strictly Necessary cookies. #### Functional/Preference
Cookie Name Purpose Validity
`currentUserDetails` User preferences (for example, cookie banner, timezone, country, IP, locale, etc.) Session
`servList` User preferences (for example, cookie banner, timezone, country, IP, locale, etc.) Session
`featureEarlyAccess` To store users' early access enabled features Session
`EnvDetails` Build management Session
`isFromTargetFixing` Build management Session
`autoMLFileUploaded` Build management Session
`autoMLUpdateSchema` Build management Session
`autoMLUploadDatasetAgain` Build management Session
`isFromOverview` Build management Session
`migrationRunning` Build management Session
`migrationProject` Build management Session
`isDiffInProgress` Build management Session
`lastAccessedEnv` Stores user preferences Session
#### Analytics
Cookie Name Purpose Validity
`catalystZMR` Allows the user to access a Catalyst service in the console directly when they browse it on the website Session
### Cookie Management All relevant cookies required by Catalyst are employed when you use a Catalyst service. However, you do have the option to allow or deny cookies. However, denying some of the cookies may worsen your overall user experience as none of your preferences will be saved. ### Updates to Cookie Policy To ensure we are keeping up with changing guidelines and usage policies, we reserve the right to update the policy document at any time, and when we do so, we will post the revised version on this page. We strongly urge you to refer to this page periodically. ### Questions or Concerns If you have any questions or concerns regarding the cookie usage policy or our use of cookies, please email your concerns to support@zohocatalyst.com. -------------------------------------------------------------------------------- title: "HIPAA Compliance" last_updated: "2026-11-03T07:48:52.000Z" source: "https://docs.catalyst.zoho.com/en/compliance/hipaa/" service: "All Services" related: - Zoho HIPAA Compliance (https://www.zoho.com/privacy/cookie-policy.html) -------------------------------------------------------------------------------- # HIPAA Compliance in Catalyst ## Introduction [HIPAA](https://www.hhs.gov/hipaa/index.html) (Health Insurance Portability and Accountability Act) is an Act enacted by the government of the United States that governs the distribution of information in the healthcare sector. Individually Identifiable Health Information (IIHI) and Personally identifiable information (PII) that are protected by HIPAA regulations on the basis of certain pre-defined norms and conditions, including their transmission, usage or maintenance through electronic media, are categorized as **Protected Health Information (PHI)**. Examples of such PHI identifiers include, but are not limited to, personal and contact information such as name, address, and telephone numbers, medical history and information including Medical Record Number (MRN) and Medicare Beneficiary Identifier (MBI), identity information such as Social Security Number and vehicle identifiers. Catalyst adheres to the standards enforced on covered entities that will need to implement recognized security practices in safeguarding ePHI in the absence of an individual's authorization. The compliance with these regulations ensures that the provision to protect the integrity, confidentiality, and security of all end-user data that falls under PHI will be provided in the Catalyst development platform. This indicates that all applications, microservices, and solutions built on Catalyst can be fully compliant with the necessary standards and guidelines enforced by HIPAA. > **Note:** Catalyst application developers must leverage the provided HIPAA compliance features while developing, testing, and deploying solutions on Catalyst, and ensure that they adhere to all applicable privacy and data protection laws while working with ePHI and other sensitive user data. ## Implementation of HIPAA Compliance in Catalyst Catalyst has upgraded several features in the settings and the components that store, process, or handle end-user PHI to enable compliance with the latest HIPAA guidelines. The CloudScale components that fall under this category include: * Data Store > **Note:** By extension of the data and file storage components, DevOps Logs will also be included within the purview of HIPAA compliance. The [Profiles and Permissions](https://docs.catalyst.zoho.com/en/getting-started/set-up-a-catalyst-project/profiles-and-permissions/) settings, that enables a Catalyst account member to specify component access permissions that can be granted to various profiles, has also been upgraded following the changes in these components. Similarly, the [Audit Logs](https://docs.catalyst.zoho.com/en/getting-started/set-up-a-catalyst-project/audit-logs/) feature that displays the logs of activities performed in a project is now revamped to handle sensitive and protected user data. Let's look at these changes in detail. ### Storing ePHI in Data Store CloudScale's Data Store component can store user data in tables. To enable the storage of ePHI data in a HIPAA compliant manner, we have now included a **PII/ePHI Validator** for columns in this component. You can mark a column in a table as containing protected information by enabling this validator while creating the column or by editing a column at any time. ![HIPAA in Data Store](https://catalyst-docs-development.zohostratus.in/images/compliance/hipaa/catalyst_compliance_hipaa_datastore.webp) Additionally, you can store sensitive data in a table by selecting the data type for the required columns as **Encrypted text**. This enables you to encrypt long-form text that contains protected data. ![HIPAA in Data Store](https://catalyst-docs-development.zohostratus.in/images/compliance/hipaa/catalyst_compliance_datastore_clm2.webp) When this validator is enabled for a column or a folder, only [Catalyst account admins and project members](https://docs.catalyst.zoho.com/en/getting-started/set-up-a-catalyst-project/collaborators/) with the necessary permissions will be able to view or access the data in these columns or folders. ### Defining the Access to ePHI in Profiles and Permissions Catalyst admins will now be able to assign the access to Data Store, Signals, and Logs components, in a fine-grained manner. That is, they can grant individual access to each of these components for each access type and each custom profile they create, only to specific profiles that require them. They can then assign an appropriate profile to a project member accordingly. ![HIPAA in Profiles and Permissions](https://catalyst-docs-development.zohostratus.in/images/getting-started/hipaa/4.webp) You can refer the [Profiles and Permissions help page](https://docs.catalyst.zoho.com/en/getting-started/set-up-a-catalyst-project/profiles-and-permissions/) for details about the conditions on enabling these permissions, and the need for individual permissions to access Signals and Logs. ### Storing and Displaying ePHI in Audit Logs Audit Logs in settings now includes [Application Logs](https://docs.catalyst.zoho.com/en/getting-started/set-up-a-catalyst-project/audit-logs/#application-logs) that will display the logs of activities performed at the application level pertaining to ePHI in the Data Store component. These logs will therefore display: * Any creation, updation, or deletion of rows in a column with the ePHI validator enabled in the Data Store ![HIPAA in Profiles and Permissions](https://catalyst-docs-development.zohostratus.in/images/getting-started/hipaa/5.webp) > **Note:** The access to Audit Logs for a project member also now requires an exclusive permission that can be granted in Profiles and Permissions. This is also to ensure that only authorized individuals can view the application logs of the storage components that might include ePHI. Catalyst now also enables you to fetch logs from up to **six years** ago by exporting them from the console. To further ensure the compliance with HIPAA regulations, only Catalyst account admins will be able to export application logs and download them into their local systems. Project members will not be able to perform this action. With all these changes incorporated in the Catalyst development platform, you can now easily build applications and microservices that are fully compliant with HIPAA regulations.# FAQ — GENERAL > Answers to common questions about Catalyst by Zoho: billing and the free tier, project setup and deployment, each Catalyst service, the CLI, SDKs and APIs. -------------------------------------------------------------------------------- title: "FAQ — General" description: "This section covers common questions related to setting up your Catalyst project, using the console, and project deployments." last_updated: "2026-11-13T05:00:22.000Z" source: "https://docs.catalyst.zoho.com/en/faq/general/" --------------------------------------------------------------------------------
# Settings ### How do I delete an existing project in Catalyst? You can delete a Catalyst project in the following way: 1. Open the project from the Catalyst console. 2. Navigate to Settings and click General under Project Settings. ![catalyst_faq_settings](https://catalyst-docs-development.zohostratus.in/images/faq/general/catalyst_faq_settings.webp) 3. You can delete your project permanently from the General project settings page by clicking the ellipsis icon, then clicking Delete Project. ![choose_delete_project](https://catalyst-docs-development.zohostratus.in/images/faq/general/choose_delete_project.webp) 4. Type "DELETE" in the pop-up window for confirmation, then click Confirm. ![catalyst_faq_delete_project_confirmation_updated](https://catalyst-docs-development.zohostratus.in/images/faq/general/catalyst_faq_delete_project_confirmation_updated.webp) Your project and its resources will be permanently deleted from the console. You will not be able to initialize this project from the CLI once it has been deleted. ### How do I take ownership of the projects in a different Catalyst account, such as one an employee set up? Only the current Super Admin of that Catalyst account can hand it over: they invite you as an Admin, then change you to Super Admin. A Catalyst account isn't tied to your company's email domain or to your other Zoho subscriptions, such as Zoho CRM, so a company administrator can't take it over without the Super Admin. 1. The current Super Admin opens **Settings** → **Collaborators**, clicks **Add or Assign**, selects **Admin for the Whole Account**, enters your email address and clicks **Confirm**. 2. Accept the invitation with that exact email address. 3. The Super Admin opens your details in the **Admins** list and clicks **Change to Super Admin**. They become an Admin, and from then on only you can delete the account or change the Super Admin. 4. If the previous owner should leave, open their details, click the ellipsis icon, click **Delete**, type `DELETE` and click **Confirm**. If you need access rather than ownership, an Admin can add you as an Admin or a Project Member instead. To move a single project into your company's own account, export it and import it with Infrastructure as Code (IaC); its data isn't included. Refer to the [Collaborators help page](https://docs.catalyst.zoho.com/en/getting-started/set-up-a-catalyst-project/collaborators/) for details. ### Why do I get the error 'You cannot perform this operation. User exists in another data center' when I try to add collaborators to my Catalyst project? This issue occurs when the email address you are trying to add exists in an account from a different data center. You can try deleting the collaborator's original Catalyst account, and then add the account again in the DC that you require. You can also try adding a different email address of the collaborator. Note: You must take a backup of all the data in the collaborator’s Catalyst account. We will not be able to retrieve data of a Catalyst account, if it is deleted. ### My Catalyst session login expires within a day. How do I maintain the session time until I log out manually? Your active session is set to expire after a day by default, for security reasons. You can log in again if a session expires. ### How do I export a Catalyst project from a different Catalyst account and import it into another Catalyst account? You can export and import your Catalyst project under Settings-> Infrastructure as a Code(IaC) in Catalyst console. You can also perform these IaC operations from the CLI. The CLI enables you to export a project into your local directory, import a new project in the remote console and/or the local environment, or generate an import-ready ZIP file of any project. Note: Your Catalyst project will alone get exported, and not the data from within the project. You can export and import data present in your Data Store, using the bulk read/write APIs, or from the Catalyst CLI. ### Why was my Data Store data not imported into my Catalyst project when I exported it from a different account? Whenever you perform an export, only your Catalyst project will get exported and the data associated with your project will never be exported. To export and import the data in your Data Store, you can use our bulk read/write API or using our Catalyst CLI. # Deployment ### How do I deploy a project to the Catalyst remote console? Once you create and test your application in your local machine using the CLI or any other tool, you can deploy the project to the Catalyst remote console in three ways: 1. Using Catalyst CLI: You can deploy your project from the Catalyst CLI by executing the `catalyst deploy` command from the project's root directory. Refer to the [**Deploy Resources help page**](https://docs.catalyst.zoho.com/en/cli/v1/deploy-resources/introduction/) for more information. 2. Uploading the files manually: * Client component: You can upload your project's client package manually to the Catalyst console and host the client component. Refer to the [**Web Client Hosting help page**](https://docs.catalyst.zoho.com/en/cloud-scale/help/web-client-hosting/introduction) for a detailed explanation. * Functions: You can create functions in your project directly from the Catalyst remote console, instead of creating them in your local machine. You can learn more about this from the [**Functions help page**](https://docs.catalyst.zoho.com/en/serverless/help/functions/introduction). * Android, iOS, or Flutter applications: You can upload the source files of your Android, iOS, or Flutter applications in Device Management in the Catalyst console. Refer to the [**Device Management help page**](https://docs.catalyst.zoho.com/en/cloud-scale/help/mobile-device-management/introduction) for a detailed explanation. 3. Downloading your project files from a GitHub repository: You can deploy the client and functions together or individually from your GitHub repository. You can learn more about this from the [**GitHub Integration help page**](https://docs.catalyst.zoho.com/en/devops/help/github-integration/introduction). ### What does the 'Deploy to Production' button in the Catalyst console do? ![catalyst_faq_deploy_to_production](https://catalyst-docs-development.zohostratus.in/images/faq/general/catalyst_faq_deploy_to_production.webp) You can use the Development environment to work with and test your Catalyst application during the development phase, and deploy it to the Production environment once it is ready to be made live. When you create a project, it will be created in the Development environment by default. Once you deploy it to the Production environment, you will be able to switch between both environments in the Catalyst console and migrate your data between both environments. Refer to the [**Environments help page**](https://docs.catalyst.zoho.com/en/deployment-and-billing/environments/introduction) for detailed help. ### Why do I get a 'You cannot perform this action. Diff generation is already in progress' error when I try to deploy my app from development to production? In Catalyst, this issue will occur if you initiate the Development to Production deployment of a project while one of your other project's migration status is already in progress or hasn't been completed yet. You can try deploying your application again after all the other project migrations are completed. ### Why are the data from the Data Store tables not available in production after I migrate my app from development to production? Catalyst only deploys the metadata of the services and components, along with the project code from one environment to the other. The data from the Data Store, or Cache will not be migrated to the production environment. You can use the bulk read or bulk write APIs to export and import your table data from development to production. ### Why am I not able to create folders, tables, or cache segments in the production directly? You will not be able to create tables, cache segments, or functions directly in production environment as those operations are restricted. You will need to create these components in the development environment and then migrate them to production. ### My Development to Production deployment is stuck at 'Migration Running' or 'Cloning in Progress', or failed with no reason. What should I do? First reload the **Deployments** page, because the status in the Catalyst console may not update on its own. If the deployment is still stuck or has failed, or Production shows errors after a deployment marked Completed, only Catalyst support can clear or repair it. Until it is cleared, a stuck deployment can block new deployments and deleting the project. 1. Open **Settings** → **Environments** → **Deployments** and open the deployment to see its current status and details. 2. If it stopped after the diff was generated, click **Begin Deployment** to continue or **Abort** to cancel it. 3. Check the other projects in the same organization for an unfinished deployment. 4. If it is still stuck or failed, contact Catalyst support. Include your data center, the Org ID and Project ID, the deployment's commit message, status and start time, the features it included, any error text, a screenshot of the deployment's details, and whether your live app is affected. 5. After support confirms it is cleared, create a new deployment. Note: If a deployment keeps failing on one feature, unselect that feature, deploy the rest, and report the failing feature to support. Refer to the [Deploying Features after the First Time help page](https://docs.catalyst.zoho.com/en/deployment-and-billing/environments/subsequent-deployment/) for details. ### Can I deploy my project to the Production environment from the CLI, an API or a CI/CD pipeline? No, in Catalyst, actions you perform from the Catalyst CLI or the APIs, including `catalyst deploy` and Catalyst Pipelines jobs that run it, reach only the Development environment. Deployments from Development to Production are made in the Catalyst console, and Catalyst doesn't provide a CLI command, public API or status API to start or track them. You can automate everything up to that step: 1. Deploy to Development from your pipeline with `catalyst deploy`, using a Catalyst CLI token (`--token`) and the `--project` and `--org` options. 2. Run your checks against the Development URLs. 3. In the console, open **Settings** → **Environments** → **Deployments**, click **Create Deployment**, enter a commit message, choose Development to Production, select the features, review the diff and click **Begin Deployment**. For the first deployment, click **Deploy to Production** instead. Each deployment is listed in the **Deployments** tab with its details, which you can keep as the record of what was promoted and when. Note: Production needs a payment method on the account, and every service you use must have been opened once in the console with **Start Exploring**. Refer to the [Deploying Features after the First Time help page](https://docs.catalyst.zoho.com/en/deployment-and-billing/environments/subsequent-deployment/) for details. ### I build one Catalyst app for many clients. How do I deploy it into each client's own project and roll out updates to all of them? Deploy it to each client's project separately: Catalyst doesn't push one update to many projects at once, but you can script the deployments with the Catalyst CLI. When each client owns the project in their own Catalyst account, their data and usage bill stay with them. 1. Ask each client to invite you from **Settings** → **Collaborators** → **Add or Assign**, as an Admin for the whole account or as a Project Member of the project. 2. Create the client's project from your app: export your project with Infrastructure as Code (IaC) from the console or the CLI, and import the ZIP into the client's account. The ZIP carries the configuration and code, not the data, and the imported project is a new project with its own IDs, so update any IDs your code uses. 3. To ship an update, generate a Catalyst CLI token and run `catalyst deploy --project --org --token ` for each client project, from a script or a Catalyst Pipelines job. This updates each project's Development environment. 4. Deploy each project from Development to Production in its console, from **Settings** → **Environments** → **Deployments**. Refer to the [CLI Options help page](https://docs.catalyst.zoho.com/en/cli/v1/cli-options/) and the [IaC Settings help page](https://docs.catalyst.zoho.com/en/getting-started/set-up-a-catalyst-project/iac-settings/) for details. # Collaborators and Roles ### What happens to our Catalyst apps if we deactivate the Zoho account of the employee who owns them? Transfer that employee's Catalyst roles to an active colleague before you deactivate or delete their Zoho account. If they are the Super Admin of the Catalyst account, which by default is the person who signed up, only they can transfer the role, and deleting a Catalyst account permanently deletes every project in it, including live apps. 1. If the employee is the Super Admin, have them invite the new owner as an Admin for the whole account from **Settings** → **Collaborators**, then click **Change to Super Admin** on that Admin's details. 2. If the employee holds the **Project Owner** profile in a project, give that profile to another project member with **Change Profile**. 3. Once the roles are moved, an Admin can delete the employee from **Settings** → **Collaborators**. They lose access to the organization's projects from the console and the CLI, and their Zoho account itself isn't deleted. 4. Check that your apps still respond in the Production environment. Note: Make the transfer while the employee can still sign in, so the Catalyst account always has an active Super Admin. Refer to the [Collaborators help page](https://docs.catalyst.zoho.com/en/getting-started/set-up-a-catalyst-project/collaborators/) for details. # Data Centers ### Which data center is my Catalyst project's data in, and how do I get a written data residency statement? Your Catalyst account and its projects are in the data center of the Zoho account you use with Catalyst. Catalyst is hosted in eight data centers, US, EU, IN, AU, CA, JP, SA and UAE, and each has its own console, API domain and Zoho Accounts server. To see your data center, check the Zoho Accounts domain you sign in to: for example, `accounts.zoho.in` is the IN data center and `accounts.zoho.eu` is the EU data center. Your Catalyst API domain shows it too, for example `api.catalyst.zoho.in`. For a written statement of where each component you use processes, stores and backs up data, for example for a GDPR or DPDP Act review, ask Catalyst support. Name your data center, the components you use (such as Data Store, Stratus, Functions, Zia Services or QuickML), the regulation, and whether you need a signed document. Note: To move a project to another data center, export it with Infrastructure as Code (IaC) and import it into an account in that data center; the export doesn't include your data. Refer to the [Multi-DC Support help page](https://docs.catalyst.zoho.com/en/api/introduction/multi-dc-support/) for each data center's domains. # Getting Support ### How do I get a higher concurrency or rate limit for my Catalyst project before a launch or a large event? Contact Catalyst support as early as you can before the event, because limit increases are reviewed case by case. Some limits, such as the AppSail instance count and concurrent requests per instance, are documented as increasable on request. To avoid a back-and-forth, include in your first request: 1. Your project ID, the environment (Development or Production) and the data center. 2. The component and the exact error, for example 'Concurrency limit reached for the feature FUNCTIONS', 'Concurrency limit reached for the feature APP_COMPUTE' or 'Number of API requests exceeded the threshold limit'. 3. Your expected peak, as simultaneous requests or requests per minute, the expected requests per day, and the payload size. 4. The event date and how long the peak lasts. 5. A short description of your use case and architecture, and the results of any load test. Support reviews the request and tells you which limit it can set for your project. Note: Until an increase is confirmed, design for the current limit: shorten executions, batch requests and retry refused requests with a growing delay. Refer to the [AppSail Basics help page](https://docs.catalyst.zoho.com/en/serverless/help/appsail/appsail-basics/) for details. # Security and Compliance ### Which Catalyst components are covered for HIPAA when my app stores protected health information (PHI)? The Catalyst HIPAA Compliance help page names Catalyst CloudScale Data Store as the component upgraded to store ePHI, with Catalyst DevOps Logs included by extension, and CloudScale Stratus buckets have a **PII/ePHI** setting for storing sensitive data in compliance with HIPAA. The Profiles and Permissions and Audit Logs settings were upgraded to restrict and record access to that data. Other components aren't described there as HIPAA features. What your own code does with PHI, for example in Serverless Functions, AppSail or Job Scheduling, is your responsibility: Catalyst requires developers to use its HIPAA features and to follow all applicable privacy and data protection laws. Before you send PHI to any other component, such as Zia Services or QuickML, or to confirm what a Business Associate Agreement (BAA) covers, contact Catalyst support. Include the components you use, your data center, your pricing model and whether a BAA is already in place, so one answer covers all of them. Refer to the [HIPAA Compliance help page](https://docs.catalyst.zoho.com/en/compliance/hipaa/) for details. ### How do I store protected health information (PHI) in Catalyst Data Store and Stratus in a HIPAA-compliant way? Turn on the PII/ePHI controls in each component that holds the data, and limit who can see it. 1. In Catalyst CloudScale Data Store, enable the **PII/ePHI** validator on each column that holds PHI, when you create the column or by editing it later. For long-form protected text, use the **Encrypted text** data type. Only Admins and project members with the required permissions can view data in these columns. 2. In CloudScale Stratus, open the bucket's **Configurations** tab, expand **General Settings**, and enable **PII/ePHI**, and **Data Encryption** if you need it. Every access to the bucket's objects is then logged. 3. In **Settings** → **Profiles & Permissions**, grant access to Data Store, Logs and Audit Logs only to the profiles that need it. 4. Review **Settings** → **Audit Logs** → **Application Logs**, which records each creation, update and deletion of rows in PII/ePHI columns and the activity on PII/ePHI buckets. The console shows the last year, and Admins can click **Export Logs** to download up to six years. Note: Stratus bucket settings are off by default, so enable them before you upload PHI. Refer to the [HIPAA Compliance help page](https://docs.catalyst.zoho.com/en/compliance/hipaa/) for details. # Choosing Catalyst Services ### Which Catalyst services should I use to host a full-stack application? You can host each part of a typical full-stack application on a Catalyst service, in one project. Host the frontend on Catalyst Slate, which deploys front-end web apps from a Git repository or an uploaded build. Build the backend as Catalyst Serverless Functions, for HTTP APIs, event-driven flows and integrations, or as Catalyst AppSail services, for independent web services in Java, Node.js, Python or a container image. Store relational data in Catalyst CloudScale Data Store, which you query with ZCQL, and unstructured data in CloudScale NoSQL. Keep files in CloudScale Stratus and frequently read data in CloudScale Cache. Sign users in with CloudScale Authentication. Run scheduled and background work with Catalyst Job Scheduling, and pass events between services with Catalyst Signals. Automate builds and deployments with Catalyst Pipelines, and monitor executions with Catalyst DevOps. For AI features, use Catalyst QuickML or Zia Services. You build and test in the project's Development environment, then deploy to Production from the Catalyst console. Note: Each service has its own limits, such as the 30-second request limit in AppSail, and not every service is available in every data center, so check each service's help page before you commit to a design. Refer to the [AppSail Basics help page](https://docs.catalyst.zoho.com/en/serverless/help/appsail/appsail-basics/) to choose between Functions and AppSail, and the [Components of Catalyst CloudScale help page](https://docs.catalyst.zoho.com/en/cloud-scale/getting-started/components-of-cloud-scale/) for details. ### Can I run a virtual machine, VPS or GPU server on Catalyst, with root access and a static IP address? No. Catalyst is a serverless platform. It doesn't offer virtual machines, VPS or dedicated servers, root or SSH access, GPU instances or a static IP address for your project. The nearest fit for software you would run on your own server is Catalyst AppSail, a fully managed platform for web services. With AppSail you deploy your app as a Java, Node.js or Python build, or as a container image (an OCI image built for Linux AMD64) for any other runtime, such as PHP or Go. Catalyst spawns and scales the instances. You set the memory, disk size, port, startup command and environment variables, but you don't manage the infrastructure. Check AppSail's limits first: each request must complete within 30 seconds, and inactive instances are scaled down, so a process that must run around the clock, such as a blockchain node or a long-running worker, doesn't fit. For relational data, use Catalyst CloudScale Data Store instead of your own database server. For AI features, Catalyst QuickML LLM Serving gives you large language models served by Catalyst; Catalyst doesn't provide GPU capacity to train or host your own model. Refer to the [AppSail Basics help page](https://docs.catalyst.zoho.com/en/serverless/help/appsail/appsail-basics/) for details. -------------------------------------------------------------------------------- title: "FAQ — Billing" description: "This section covers common questions about Catalyst pricing and your bill, the free tier and credits, and payments and subscriptions." last_updated: "2026-11-13T05:00:22.000Z" source: "https://docs.catalyst.zoho.com/en/faq/billing/" -------------------------------------------------------------------------------- # Billing and Pricing ### How is the pricing calculated in Catalyst? Catalyst bills you in two different ways based on the pricing model you opt for. * **Pay-as-you-go:** This model requires you to pay only for the resources you consume, post the consumption. This is a postpaid model in which the price is calculated for each billable resource usage, and the bill is generated on a monthly basis. * **Subscription:** This requires you to pay a fixed subscription fee in advance on a monthly basis, and purchase Catalyst resources worth that amount as determined by the pricing. This is a prepaid model in which a fixed set of resources are allocated for each subscription amount tier. You can refer to the [Pricing Calculations help section](https://docs.catalyst.zoho.com/en/deployment-and-billing/billing/pricing-calculations/) for more details. ### How do I estimate what a small Catalyst app will cost each month? Estimate it from the usage you expect for each component, because Catalyst bills each operation, such as a Data Store insert, a function's execution time or an email sent, at its own unit price. 1. List the components your app will use and how much of each it needs in a month, for example Data Store reads and writes, function executions with their memory size, and storage. 2. Look up each operation's unit price on the Catalyst Pricing page, and its free allowance on the Free Tier page. 3. On the pay-as-you-go model, subtract the free tier allowance, which is shared across your projects. Once your usage exceeds the free tier for any resource, each project with billable activity is billed at least USD 5 for the month. 4. On a subscription plan, choose a plan whose amount, plus the extra USD 5 that Catalyst adds in each billing cycle, covers your estimate. 5. When your app has run for a month, compare your estimate with **Forecast** in **Settings** → **Billing** → **Overview**. Note: Catalyst Serverless Functions are priced per second of execution by memory size, and AppSail per minute of instance running time by memory size. Refer to the [Pricing Calculations help page](https://docs.catalyst.zoho.com/en/deployment-and-billing/billing/pricing-calculations/) and the [Pay-As-You-Go Pricing Model help page](https://docs.catalyst.zoho.com/en/deployment-and-billing/billing/pay-as-you-go-model/) for details. ### Why is each of my Catalyst projects billed the USD 5 minimum, even projects I don't use? On the Catalyst pay-as-you-go model, once your usage exceeds the free tier allowance for any resource, Catalyst bills a minimum of USD 5 for every project in which at least one billable action has occurred, even if that project's own usage was lower. Only completely empty projects, where no resources have been created or used, are exempt. The minimum is part of each monthly bill. For accounts billed in another currency, it is USD 5 converted into the local currency. The free tier is shared across your projects, but the minimum applies to each project. For example, three projects with usage worth USD 6, USD 3 and USD 2 are billed USD 6, USD 5 and USD 5, a total of USD 16, before the free tier allowance left is subtracted. 1. Go to **Settings** → **Billing** → **Breakdown** → **Project Usage Stats** to see which projects are billed. 2. Delete the projects you no longer need: open the project, go to **Settings** → **General** under Project Settings, click the ellipsis icon, click **Delete Project**, type DELETE and click **Confirm**. This permanently deletes the project and its resources. 3. Keep experiments in as few projects as possible. Refer to the [Pay-As-You-Go Pricing Model help page](https://docs.catalyst.zoho.com/en/deployment-and-billing/billing/pay-as-you-go-model/) for more information. ### Is my usage in the Catalyst Development environment billed, or only usage in Production? Under the current pay-as-you-go and subscription models, usage in both the Development and the Production environment counts toward your free tier allowance, your plan amount and your bill. The Development environment is free only within the shared free tier: once you go past it, Development usage is billed like Production usage, and a project that exists only in Development can carry the pay-as-you-go minimum. Catalyst's deprecated pricing system, which applied until 1 April 2024, billed only the Production environment. To keep Development costs down: 1. Go to **Settings** → **Billing** → **Breakdown** → **Project Usage Stats** to see which projects use the most. 2. Stop test workloads you no longer need, such as scripts or scheduled jobs that keep calling your functions or Data Store. 3. Delete projects you don't use: open the project, go to **Settings** → **General** under Project Settings, click the ellipsis icon, click **Delete Project**, type DELETE and click **Confirm**. Refer to the [Pay-As-You-Go Pricing Model help page](https://docs.catalyst.zoho.com/en/deployment-and-billing/billing/pay-as-you-go-model/) and the [Deprecated Pricing System help page](https://docs.catalyst.zoho.com/en/deployment-and-billing/billing/old-pricing-model/) for details. ### How do I find out which project or component is driving my Catalyst bill? You can see the usage and cost of each project and each component in the Billing settings of the Catalyst console. 1. Go to **Settings** → **Billing** → **Breakdown**. 2. Select **Project Usage Stats** and a time period to see the usage and cost of each project. Click a project name to open its detailed breakdown. 3. Switch to **Component Usage Stats** to see each service and component across all projects, with the calls made, the unit price, the total count and the gross amount. 4. Go to **Settings** → **Billing** → **Report** to chart usage by project and service. Choose a **Group By** option, select **Daywise** or **Monthwise** under **Time Period**, then click **Apply Filter**. 5. In **Settings** → **Billing** → **Overview**, compare **Current Usage**, **Last Billing's Usage**, **Forecast** and the **Cost Trends** graph. The Breakdown shows the gross amount, which includes usage covered by the free tier or your plan benefit, so it can be higher than the amount you owe. If your card shows a charge you can't match, open **Manage Billing** and click **View Subscriptions** to check your other Zoho subscriptions. Refer to the [Billing Settings help page](https://docs.catalyst.zoho.com/en/deployment-and-billing/billing/billing-settings/) for more information. ### Can I see Catalyst usage per function or per Data Store table, or get my billing and usage data through an API? No. The Billing settings of the Catalyst console report usage and cost per project and per component, not per individual function or Catalyst CloudScale Data Store table, and Catalyst has no API that returns billing or usage data. To get the most detail the console offers: 1. In **Settings** → **Billing** → **Breakdown**, select **Project Usage Stats** and click a project to see each component's usage in that project. 2. In **Settings** → **Billing** → **Report**, filter by **Projects** and services, and select **Daywise** or **Monthwise** to see usage over time. If you need counts per function or per table, record them in your own application, for example by logging each call with the function or table name, and add them up yourself. To be alerted before costs rise, create a budget with email alert rules in **Settings** → **Billing** → **Budgets**. Refer to the [Billing Settings help page](https://docs.catalyst.zoho.com/en/deployment-and-billing/billing/billing-settings/) for more information. # Credits and Free Tier ### Is there a free tier or free usage allowance in Catalyst? Yes. Catalyst enables you to select between two different pricing models: Pay-as-you-go or Subscription. You can avail a free tier allowance in the pay-as-you-go model, or a plan benefit in the subscription pricing model. Both these benefits provide you with resources for free of cost until you exceed the hard limits imposed for the specific resources, or for the overall amount consumption, depending on the model. Refer to the [Billing help documentation](https://docs.catalyst.zoho.com/en/deployment-and-billing/billing/introduction/) for details. ### Where can I see my Catalyst credits, and how are they used to pay my bill? You can see the credits available on your Catalyst account in the **Credits Info** section of Manage Billing. Catalyst uses credits, such as the one-time USD 250 credit, to pay for your usage once your pay-as-you-go free tier allowance or your subscription plan benefit is used up, so you don't need to change your payment method to use them. When credits cover a bill or a subscription renewal, no payment is due for it. 1. In the Catalyst console, go to **Settings** → **Billing** → **Manage Billing**. Zoho Store opens in a new tab. 2. Open the drop-down list at the top-right of the **Payments** page, then go to **Billing Details** → **Credits Info**. 3. To see your payments and download invoices, click the **Payment History** link in the **Last Transaction Date** column. These credits are not the Credits pricing unit of Catalyst's deprecated pricing system, which ended on 1 April 2024. Bills and budgets are now calculated in amounts. Note: Credits are valid for a limited period, and unused credit expires at the end of it. Refer to the [Manage Billing help page](https://docs.catalyst.zoho.com/en/deployment-and-billing/billing/manage-billing/) for more information. ### I have Catalyst credits, but I still got a bill or a payment-failed email. Why weren't my credits used? Catalyst pays a bill from credits only when the credits belong to the Catalyst account being billed and that account's payment setup lets them be applied. The usual causes are: 1. The credits are on a different Catalyst account. Credits stay with the account that claimed them and can't be shared with or merged into another Catalyst account, so keep your projects in the account that holds the credits. 2. They aren't Catalyst credits. Promotional credits from another Zoho product can't pay Catalyst bills. Money in your Zoho Subscription Balance pays Catalyst bills only if you set it as your payment method. 3. The subscription is on an offline, invoice-based payment mode, where credits aren't applied automatically. Catalyst support can switch it. 4. The credits have expired. Check **Credits Info** in **Settings** → **Billing** → **Manage Billing** while signed in with the account that received the bill. If credits show there and a bill was still raised, contact Catalyst support from the Super Admin's email address with the invoice number and your account's data center. Refer to the [Manage Billing help page](https://docs.catalyst.zoho.com/en/deployment-and-billing/billing/manage-billing/) for more information. ### Can my unused Catalyst credits be extended, or reinstated after they expire? No. One-time Catalyst credits, such as the USD 250 credit, are valid for a limited period, and unused credit expires at the end of it. Expired credits can't be extended or reinstated. After they expire, your usage is billed under the pricing model you selected, and on pay-as-you-go the monthly free tier still applies. To get the most from the credit: 1. Claim it when you are ready to build rather than while you are still evaluating. You can claim it at any time from **Get $250 Credits** in the console. 2. Check the balance in **Settings** → **Billing** → **Manage Billing** → **Credits Info**. 3. Watch your usage in **Settings** → **Billing** → **Overview**. Note: The credit is a one-time benefit and is not refreshed monthly like the free tier. Refer to the [Avail 250$ Credits help page](https://docs.catalyst.zoho.com/en/deployment-and-billing/billing/avail-250-credit/) for more information. # Payments and Subscriptions ### How do I switch my Catalyst account from a subscription plan to pay-as-you-go, and what changes when I switch? You change your Catalyst pricing model in Zoho Store. Go to **Settings** → **Billing** → **Manage Billing**, open your Catalyst subscription, click **Change Plan** and select **Pay-As-You-Go** or another plan. The pricing model applies to all your Catalyst projects, your projects keep running while you switch, and you can move back to a subscription plan later in the same way. On pay-as-you-go, you pay after each month for the resources you used, and the monthly free tier applies. Once you exceed the free tier for any resource, every project with billable activity is billed at least USD 5 for the month, so delete the projects you no longer need before you switch. On a subscription plan, you prepay a fixed monthly amount, Catalyst adds USD 5 of usage in each billing cycle, and the account is suspended if usage passes that total before you upgrade. Catalyst is priced by usage, not by the number of developers who work in the account. Note: Only the admins of a Catalyst account, including the Super Admin, can open Manage Billing. Refer to the [Pay-As-You-Go Pricing Model help page](https://docs.catalyst.zoho.com/en/deployment-and-billing/billing/pay-as-you-go-model/) and the [Subscription Pricing Model help page](https://docs.catalyst.zoho.com/en/deployment-and-billing/billing/subscription-model/) for details. ### Why was my Catalyst account suspended when my usage went past my subscription plan amount, and how do I resume? On the Catalyst subscription model, Catalyst temporarily suspends your account activities when your usage in a billing cycle exceeds your plan amount plus the extra USD 5 that Catalyst adds. While the account is suspended, you can't work with any project in any organization or use any Catalyst resource until you upgrade your plan. 1. Go to **Settings** → **Billing** → **Overview**. The **Current Usage** tile shows the amount left on your plan, and **Last Billing's Usage** and the **Cost Trends** graph show how much you use in a month. 2. Go to **Settings** → **Billing** → **Manage Billing** and upgrade in Zoho Store to a higher plan that covers your usage, for example from Basic to Standard. 3. Reload the console and check that your projects work again. Catalyst creates budgets for you when you subscribe and sends email alerts when your usage reaches 50%, 75%, 90% and 100% of your plan amount, so you can upgrade before the account is suspended. Refer to the [Subscription Pricing Model help page](https://docs.catalyst.zoho.com/en/deployment-and-billing/billing/subscription-model/) for more information. -------------------------------------------------------------------------------- title: "FAQ — Catalyst CLI" description: "This section addresses questions related to the Catalyst CLI, such as its installation, CLI commands, resolving errors in command executions, and more." last_updated: "2026-11-13T05:00:22.000Z" source: "https://docs.catalyst.zoho.com/en/faq/cli/" -------------------------------------------------------------------------------- # General ### How do I work with Catalyst CLI? You can refer to the [**Installing Catalyst CLI help page**](https://docs.catalyst.zoho.com/en/getting-started/installing-catalyst-cli) for help with installing the Catalyst CLI. Once you have installed Catalyst CLI using the npm command, you can work with the CLI from your terminal. Catalyst commands begin with the keyword catalyst. You can refer to the [**CLI documentation**](https://docs.catalyst.zoho.com/en/cli/v1/cli-command-reference/) for detailed help with all the CLI commands. ### How will I know when there is a Catalyst CLI update? When a newer version of the Catalyst CLI is available, your terminal will display a message alerting you of it after you execute a CLI command successfully. ![catalyst_faq_cli_update](https://catalyst-docs-development.zohostratus.in/images/faq/catalyst-cli/catalyst_faq_cli_update.webp) To update your CLI, execute the following command: ```sh $ npm install -g zcatalyst-cli ``` > **Note:** - In rare cases, your system's registry values might not reflect the latest version of Catalyst CLI. This might cause your system to retain the older version of the CLI. To avoid this, mention the version number while executing the command. For example, to update to the version 1.14.1, run $ npm install -g zcatalyst-cli @1.14.1 - If you are unable to update Catalyst CLI, execute the command using `sudo`. Alternatively, you can visit the [NPM website](https://www.npmjs.com/package/zcatalyst-cli) to check whether you are using the latest version. ### How do I report an issue in Catalyst CLI? If there are any issues or abnormal behaviors detected in the CLI, Catalyst will automatically create a `catalyst-debug.log` file in the directory the command was executed from. You can then contact the Catalyst team through our support email address: support@zohocatalyst.com. Please provide a brief description of the issue and attach the `catalyst-debug.log` file in the email. The Catalyst team will contact you in less than 24 hours with a solution for the issue. ### Why do I get a 'Catalyst command not found' error in the CLI? You might encounter this error if Catalyst CLI is not properly installed in your local system. You can try the following steps to rectify this error: 1. You will need to check if you installed the latest stable Node version, and if it is greater than v14, by executing the `node -v` command in your terminal. 2. You must also check if the NPM version is greater than v12 by executing the `npm -v` command in your terminal. 3. Uninstall and [reinstall Catalyst CLI](https://docs.catalyst.zoho.com/en/getting-started/installing-catalyst-cli) with the `sudo` command in MacOS or in the Windows command prompt in the administrator mode. ### How do I resolve the 'SyntaxError: Unexpected token' error while executing Catalyst CLI commands? Catalyst CLI only supports **Node.js v14 or later**. If you encounter this error, it could mean that you have a lower version of Node.js installed in your system. You can update the Node.js version to resolve this error by downloading Node.js v14 or higher for your platform from their [official website](https://nodejs.org/en/download), or use a Node version manager like NVM to install Node.js and NPM. NPM comes bundled with Node.js when you install it. For security, we recommend Node.js 22.23.4, 24.22.1 or later. To check if Node.js has been updated successfully, execute the following command in your terminal to verify the version: ```sh $ node -v ``` ### How do I resolve the 'Unable to get local issuer certificate' error when I execute a Catalyst command? You will encounter this error if strict TLS authorization has been enabled in your system. You can resolve this error by executing the following command in your terminal: ```sh $ set NODE_TLS_REJECT_UNAUTHORIZED=0 ``` You can now retry executing the Catalyst command. If the issue still isn't resolved, contact Catalyst support at support@zohocatalyst.com for further assistance. ### How do I resolve the 'JavaioInvoker has been compiled by a more recent version of the Java runtime' error? You encounter this error when the version of the Java environment and the `javac` you are using are different, because the Catalyst CLI only compiles the Java classes at runtime. You can check the Java version by executing the following command in your terminal: ```sh $ java -version ``` Similarly, you can check the `javac` version by executing the command in your terminal: ```sh $ javac -version ``` If you have any further queries, you can contact Catalyst support at support@zohocatalyst.com # Initialize Resources ### Why do I get the error 'HTTP Error: 401. You do not have privileges to access this project. Please contact a project owner or an administrator of this account' when I try to initialize my Catalyst project using catalyst init? This issue will occur when you try to [initialize your project](https://docs.catalyst.zoho.com/en/cli/v1/initialize-resources/introduction/) in a folder that already contains a Catalyst project from a different account. This issue will also occur when you try to initialize a project in a new folder in a location where another project was previously initialized from a different account. For example: Assume you initialize a project in this location: *C/windows/system32/catalyst/aliencity* If the roots of the folders named catalyst, system32, or windows already have a Catalyst project initialized in them, you will encounter this error. However, you can have projects in these directories within their own folders. To resolve this issue, delete all Catalyst related files including the hidden file named `.catalystrc` from the current folder as well as from the other folders in the path, and then execute the `catalyst init` command again. # Serve Resources ### Why do I get a 'Cannot understand what targets. Check if you specified valid targets' error when I run catalyst serve? If you encounter this error while executing `[catalyst serve](https://docs.catalyst.zoho.com/en/cli/v1/serve-resources/introduction/)`, you can resolve it in the following ways: * Ensure you are in the correct folder path when you serve targets. * Ensure your project directory is not empty and contains at least one resource that can be served. Catalyst can serve function endpoints of types Basic I/O and Advanced I/O, client, and AppSail resources. You can also pull the latest code of your resources from the Catalyst console to your local system through the `[catalyst pull](https://docs.catalyst.zoho.com/en/cli/v1/pull-resources/introduction/)` command, before you serve it. ### How do I test my functions in a no watch mode locally? Catalyst will serve your functions in the watch mode by default to ensure you can easily perform hot code replacement. You can execute the CLI command `[catalyst serve --no-watch](https://docs.catalyst.zoho.com/en/cli/v1/working-with-functions/functions-shell/#--no-watch)` to switch to a no watch mode. ### Why do I get 'Changes in file detected' and 'Error: unable to proxy request' error messages while performing file related operations in local debugging using catalyst serve? This error will occur when you perform file operations using the `catalyst serve` command. To resolve this problem, use the option `[--no-watch](https://docs.catalyst.zoho.com/en/cli/v1/working-with-functions/functions-shell/#--no-watch)` with catalyst serve for local debugging while performing any file related operations. The `--no-watch` command disables hot module replacement. ### Why do I encounter the error 'Javac version is above the compatible version' when I try to run my Catalyst application locally using catalyst serve. Catalyst only supports the versions Java 8, Java 11, Java 17, Java 21, and Java 25 currently. You must therefore ensure that the installed `java` and `javac` versions are 1.8.x, 11.0.x, 17.0.x, 21.0.x, or 25.0.x before you debug a Java function in the CLI. # CLI Functions Shell ### How do I test Cron functions locally using the CLI? You can execute your [cron function](https://docs.catalyst.zoho.com/en/serverless/help/functions/cron-functions/) locally by using the [`catalyst shell`](https://docs.catalyst.zoho.com/en/cli/v1/working-with-functions/functions-shell/) command in the CLI. You can pass a JSON variable as the input to the cron function. The cron function will contain the variable context with all function details, even during local debugging. ### How do I test my event function locally using the CLI? You can execute your [event function](https://docs.catalyst.zoho.com/en/serverless/help/functions/event-functions/) locally using the [`catalyst shell`](https://docs.catalyst.zoho.com/en/cli/v1/working-with-functions/functions-shell/) command in the Catalyst CLI. You can generate a sample payload for your event function to test it by executing the catalyst event:generate {component} {action} command. For example: `catalyst event:generate DataStore insert`. This will generate a sample payload for a Data Store insert operation. You can then pass the generated payload as the input to your event function in the CLI. # Deploy Resources ### Why do I get the error 'We are unable to process the request since there are more than 500 files in the zip provided.' when I try to deploy my client? You will encounter this error if there are more than 500 files present in your [client folder](https://docs.catalyst.zoho.com/en/cli/v1/project-directory-structure/client-directory/). The maximum number of files allowed in Catalyst web client is 500. -------------------------------------------------------------------------------- title: "FAQ — Catalyst SDK" description: "This section covers common queries related to the Catalyst SDK packages, such as their set up and usage, sample code snippets, resolving errors, and more." last_updated: "2026-11-13T05:00:22.000Z" source: "https://docs.catalyst.zoho.com/en/faq/sdk/" -------------------------------------------------------------------------------- # Catalyst SDK ### How do I access Catalyst SDKs? You can access Catalyst SDKs from two places in the Catalyst console: 1. **From the expanded menu in the project page**: Open your project in the Catalyst console and click your profile picture. The expanded menu contains the links to download various SDKs that you can use in your application. 2. **From the Developer Tools in Settings**: The *Developer Tools* in *Settings* also contains the links to access and download the SDKs that are available for your project. You can refer to the [**Catalyst console help page**](https://docs.catalyst.zoho.com/en/getting-started/navigating-in-the-console/) for detailed help with accessing the SDKs and using the console. ### How do I fix it if the 'getCurrentUser()' method in the User Management SDK returns null? If the client portal wasn't authenticated before triggering the Basic I/O or Advanced I/O function that contains the [`getCurrentUser()`](https://docs.catalyst.zoho.com/en/api/code-reference/cloud-scale/authentication/get-current-user/#GetCurrentUser) method, then the function will run using the admin authentication. This will cause the method to return a null response. Therefore, you should ensure that you have authenticated the client portal before executing the `getCurrentUser()` method. ### Why do I get an 'Invalid Client' error when I try to generate a refresh token and provide it as an input to the connectors? In Catalyst Connectors, this error will occur if you try to generate the token with the auth URL domain for a different data center (DC) other than your Catalyst account's DC. You must ensure that you have generated the grant token (code), refresh_token and access_token for the same DC as your account. ### Why am I getting an 'OAUTH_SCOPE_MISMATCH' error for the POST or for method calls other than GET for my third party application while generating a token through the Connectors? In Catalyst Connectors, this error will occur if you do not include proper scopes for the POST operation or for other operations while generating the grant token (code) that you use for the connector. Generate the grant token by adding the required scopes for all the operations you are going to perform, and then use the new token for the operations. ### How do I store and manage multiple access tokens in Catalyst connectors? You can store the access token for multiple users in a cache segment by specifying a unique key name for each user. If the value is present in the cache, it will return the same access token value for all subsequent calls, till it expires. After it expires, Connectors will automatically get a new access token and store it in the cache. The [Lead Manager App tutorial (Java)](https://docs.catalyst.zoho.com/en/tutorials/leadmanager/java/introduction/) implements the logic of handling the access tokens of multiple users via Catalyst Connectors. -------------------------------------------------------------------------------- title: "FAQ — Catalyst API" description: "This section covers common queries related to working with the Catalyst APIs, authenticating your API executions with OAuth, and more." last_updated: "2026-11-13T05:00:22.000Z" source: "https://docs.catalyst.zoho.com/en/faq/api/" -------------------------------------------------------------------------------- # OAuth Authentication ### How do I authenticate my Catalyst API requests? Catalyst adheres to OAuth 2.0 which is an industry-standard protocol for authentication and authorization. The framework enables a host of third-party client applications to gain secure and delegated access to protected resources in Catalyst through APIs. The first step towards obtaining an OAuth authentication token is to register your application with Zoho’s API console and obtain your client_id and client_secret. You must then use them to obtain the Grant token, Access token, and Refresh Token. You can then use the Access Token in the authorization header of your HTTP requests to access Catalyst APIs. Learn about this in detail from the [OAuth help documentation](https://docs.catalyst.zoho.com/en/api/oauth2/overview-and-terminology/#OverviewandTerminology). -------------------------------------------------------------------------------- title: "FAQ — Extensions and Libraries" description: "This section covers common queries related to the Catalyst IDE extensions and toolkits, such as the VS Code extension and Maven tools, and CodeLib." last_updated: "2026-11-13T05:00:22.000Z" source: "https://docs.catalyst.zoho.com/en/faq/extensions-and-libraries/" -------------------------------------------------------------------------------- # Catalyst CodeLib ### What is Catalyst CodeLib? [Catalyst CodeLib solutions](https://docs.catalyst.zoho.com/en/codelib/introduction/) are pre-packaged microservices that you can directly plug in to your application logic to solve certain use cases or to enhance the functionality of your applications with minimal efforts from your end. You can access all Catalyst CodeLib solutions available to be readily implemented from their [GitHub repositories](https://github.com/catalystbyzoho/). Each package in the repo contains a README file that provides details about the functionality and usage of that solution. You can also access CodeLib in the Catalyst console by navigating to the bottom left corner in your project. Open **CodeLib** and click on the tile of the solution you require to learn about the steps in implementing it. -------------------------------------------------------------------------------- title: "FAQ — MCP Server" description: "This section covers queries related to the Catalyst MCP Server, including Dynamic and Custom MCP Servers, supported clients, and best practices." last_updated: "2026-11-13T05:00:22.000Z" source: "https://docs.catalyst.zoho.com/en/faq/mcp-server/" -------------------------------------------------------------------------------- # MCP Server ### General ### What is the difference between a Catalyst Dynamic MCP Server and a Catalyst Custom MCP Server? A [Catalyst Dynamic MCP Server](https://docs.catalyst.zoho.com/en/ai-toolkit/catalyst-mcp-server/overview/#catalyst-dynamic-mcp-server) dynamically loads only the tools required to fulfill your prompt, querying its directory at the time of invocation. This means you do not need to manually configure tools beforehand, and all 100+ Catalyst MCP tools remain accessible without hitting LLM tool limits. A [Catalyst Custom MCP Server](https://docs.catalyst.zoho.com/en/ai-toolkit/catalyst-mcp-server/overview/#catalyst-custom-mcp-server), on the other hand, requires you to manually select and configure the exact tools you need via the [MCP console](https://mcp.zoho.in/). Use a Custom MCP server when you have a well-defined, predictable set of operations. ### Do I need to leave my coding environment to perform operations in the Catalyst console? No. The [Catalyst MCP Server](https://docs.catalyst.zoho.com/en/ai-toolkit/catalyst-mcp-server/overview/) is designed specifically to let your LLM interact with and perform operations in the Catalyst console directly from your coding environment. Once connected and authorized, your LLM receives the context it needs through the configured [MCP tools](https://zoho-mcp-manual-tool-guide.onslate.in/zoho-services/catalyst-by-zoho) and can carry out your prompted actions without switching interfaces. ### Which MCP clients are supported for connecting a Catalyst Custom MCP Server? You can connect a [Catalyst Custom MCP Server](https://docs.catalyst.zoho.com/en/ai-toolkit/catalyst-mcp-server/connect-catalyst-mcp/connect-custom-mcp/) to [Claude.ai](https://docs.catalyst.zoho.com/en/ai-toolkit/catalyst-mcp-server/connect-catalyst-mcp/dynamic-mcp/connect-dynamic-mcp-claude/), [ChatGPT](https://docs.catalyst.zoho.com/en/ai-toolkit/catalyst-mcp-server/connect-catalyst-mcp/dynamic-mcp/connect-dynamic-mcp-chatgpt/), [Cursor](https://docs.catalyst.zoho.com/en/ai-toolkit/catalyst-mcp-server/connect-catalyst-mcp/dynamic-mcp/connect-dynamic-mcp-cursor/), [GitHub Copilot](https://docs.catalyst.zoho.com/en/ai-toolkit/catalyst-mcp-server/connect-catalyst-mcp/dynamic-mcp/connect-dynamic-mcp-copilot/), and Windsurf. You can also connect it to any [custom MCP client](https://docs.catalyst.zoho.com/en/ai-toolkit/catalyst-mcp-server/connect-catalyst-mcp/dynamic-mcp/connect-dynamic-mcp-custom/), provided it supports remote MCP servers and connects through HTTP or Streamable Transport. ### Why should I use a Catalyst Dynamic MCP Server instead of configuring tools manually? The [Dynamic MCP Server](https://docs.catalyst.zoho.com/en/ai-toolkit/catalyst-mcp-server/overview/#catalyst-dynamic-mcp-server) removes three common friction points: tool overload that causes hallucinations, the manual effort of selecting tools in the [MCP console](https://mcp.zoho.in/), and tool count limitations imposed by LLMs. Since only the tools relevant to your prompt are loaded at any given time, your LLM operates with focused context, resulting in more accurate and reliable outputs. ### Which Catalyst MCP Server should I use, Dynamic or Custom? Neither server is inherently better than the other. Each is designed for a specific use case, and the right choice depends on the nature of your operation. The [Catalyst Dynamic MCP Server](https://docs.catalyst.zoho.com/en/ai-toolkit/catalyst-mcp-server/overview/#catalyst-dynamic-mcp-server) is best suited for exploratory or dynamic workflows where the full scope of required tools is not known in advance. It automatically identifies and loads only the tools needed for your prompt, giving your LLM access to all 100+ [Catalyst MCP tools](https://zoho-mcp-manual-tool-guide.onslate.in/zoho-services/catalyst-by-zoho) without manual configuration or the risk of tool overload causing hallucinations. The [Catalyst Custom MCP Server](https://docs.catalyst.zoho.com/en/ai-toolkit/catalyst-mcp-server/overview/#catalyst-custom-mcp-server) is best suited for targeted, well-defined operations where you know exactly which tools are required. By configuring only the necessary tools upfront via the [MCP console](https://mcp.zoho.in/), you keep the server lean, predictable, and optimized for that specific workflow. In short, use the [Dynamic MCP Server](https://docs.catalyst.zoho.com/en/ai-toolkit/catalyst-mcp-server/connect-catalyst-mcp/dynamic-mcp/) when you need flexibility and broad coverage. Use the [Custom MCP Server](https://docs.catalyst.zoho.com/en/ai-toolkit/catalyst-mcp-server/connect-catalyst-mcp/connect-custom-mcp/) when you need precision and control. Evaluate your use case first, and let that guide your choice.# ANNOUNCEMENTS ## 2024 -------------------------------------------------------------------------------- title: "LinkedIn Migrating to OpenID Connect" last_updated: "2026-04-07T14:25:28.000Z" source: "https://docs.catalyst.zoho.com/en/announcements/2024/linkedin-announcement/" service: "All Services" related: - Configuring LinkedIn Identity Provider (/en/cloud-scale/help/authentication/social-logins/configuring-social-logins/#enable-linkedin-social-login/) -------------------------------------------------------------------------------- # LinkedIn Migration to OpenID Connect from OAuth LinkedIn has [announced](https://www.linkedin.com/developers/news/featured-updates/openid-connect-authentication) their decision to migrate from `OAuth` protocols to `OpenID Connect` protocols on **January 10, 2023**. As per their announcement, they have implemented this change to provide an additional identity layer of security over the `OAuth` protocols. This change will affect our users who have implemented the LinkedIn Identity Provider's Authentication for their Catalyst application. The new scopes that you will be configuring in the [LinkedIn developer portal](https://www.linkedin.com/developers/) are listed below.
Scope Purpose
`openid` To indicate the application wants to use OIDC to authenticate the member.
`profile` To get the member's lite profile including their id, name, and profile picture.
`email` To get the member's email address
For more information on `OpenID Connect` protocols, visit their [official documentation](https://learn.microsoft.com/en-us/linkedin/consumer/integrations/self-serve/sign-in-with-linkedin-v2). In light of this new change, we urge you to regenerate your authentication tokens using `OpenID Connect` protocols. The steps to generate `ClientID` and `Client Secret` tokens can be found our [help documentation](https://docs.catalyst.zoho.com/en/cloud-scale/help/authentication/social-logins/configuring-social-logins/#enable-linkedin-social-login). LinkedIn has additionally stated that if their end-users have implemented LinkedIn identity providers for their applications before **August 2023**, they will continue to support `OAuth` and `OpenID Connect` protocols for them for an unspecified extended time period. However, given the ambiguity on it's deprecation date, we urge you to to migrate your projects that use LinkedIn signups from `OAuth` protocols to `OpenID Connect` protocols as soon as possible. LinkedIn has additionally stated that if their end-users have implemented LinkedIn identity providers for their applications before **August 2023**, they will continue to support `OAuth` and `OpenID Connect` protocols for them for an unspecified extended time period. However, given the ambiguity on it's deprecation date, we urge you to to migrate your projects that use LinkedIn signups from `OAuth` protocols to `OpenID Connect` protocols as soon as possible. -------------------------------------------------------------------------------- title: "Node.js Runtime Updates" last_updated: "2026-06-02T07:55:55.000Z" source: "https://docs.catalyst.zoho.com/en/announcements/2024/nodejs-announcement/" service: "All Services" related: - Catalyst Language Runtime Policy (/en/serverless/help/functions/runtime-support/) - Node.js Runtimes (/en/serverless/help/functions/stack/#nodejs-functions) - Upgrading Function Runtimes (/en/serverless/help/functions/implementation/#update-or-download-a-function) -------------------------------------------------------------------------------- # Node.js v10 and Node.js v12 Runtime Updates from Catalyst As per the [official announcements](https://nodejs.org/en/about/previous-releases) made by the Node.js community, they have completely stopped the support of Node.js `v10`, and `v12` runtimes. Following suit, Catalyst announced the EOL status and slated the retirement dates for these runtimes on the following dates: - [Node.js `v10`](https://docs.catalyst.zoho.com/en/release-notes/all/#2022---november) - Deprecation date - **November 2022** - Retirement date - **January 31, 2023** - [Node.js `v12`](https://docs.catalyst.zoho.com/en/release-notes/all/#2022---march) - Deprecation date - **March 2022** - Retirement date - **July 31, 2023** As per [Catalyst's language runtime policy](https://docs.catalyst.zoho.com/en/serverless/help/functions/runtime-support/), both Node.js `v10` and Node.js `v12` have reached the [End of Support](https://docs.catalyst.zoho.com/en/serverless/help/functions/runtime-support/#phase-4-end-of-support) stage. We urge our users with applications or microservices in these runtimes to migrate their codebases to the newer runtimes. Catalyst currently offers support in the following [Node.js runtimes](https://docs.catalyst.zoho.com/en/serverless/help/functions/stack/#nodejs-functions): * Node.js `v24` * Node.js `v22` * Node.js `v20` * Node.js `v18` * Node.js `v16` * Node.js `v14` If you do decide to continue coding your applications using the deprecated runtimes, you do so at your own risk and as of this announcement date, Catalyst has effectively terminated support for Node.js `v10` and Node.js `v10` runtimes. You can [upgrade your function's runtime](https://docs.catalyst.zoho.com/en/serverless/help/functions/implementation/#update-or-download-a-function) and [update your code](https://docs.catalyst.zoho.com/en/serverless/help/functions/implementation/#code-editor) directly in the console. -------------------------------------------------------------------------------- title: "Deprecation of ZCQL API Version v1 " last_updated: "2025-03-03T15:27:01.000Z" source: "https://docs.catalyst.zoho.com/en/announcements/2024/zcql-deprecation-announcement/" service: "All Services" related: - ZCQL v2 Syntax (/en/cloud-scale/help/zcql/syntax-exceptions/) - Testing ZCQL v2 Queries (/en/cloud-scale/help/zcql/zcql-console/#using-zcql-v2-in-function-code) -------------------------------------------------------------------------------- # Deprecation of ZCQL API Version v1 As of **August 2023**, Catalyst has [released](https://docs.catalyst.zoho.com/en/release-notes/all/#2023---august) the **ZCQL API Version** `v2` also known as **ZCQL parser** `v2` and announced the deprecation date of ZCQL API Version `v1` on **February 29, 2024**. ![Data Store- Schema View](https://docs.catalyst.zoho.com/images/announcements/zcql_announcement_console.webp) Considering that some of our users have not migrated their codebase from `v1` to `v2`, Catalyst had extended the deprecation date by a month to March 31, 2024. We have now further extended the deprecation. The support for ZCQL parser `v1` will be terminated on **April 30, 2024**. We urge our users to migrate your codebases that employ `v1` to `v2` before this date. To migrate your ZCQL queries to `v2` from `v1`, you need to apply the upgrades syntax to your queries and validate them. To learn about the syntax upgrades and improvements on **ZCQL API Version** `v2`, visit this [help documentation](https://docs.catalyst.zoho.com/en/cloud-scale/help/zcql/syntax-exceptions/). To learn more about testing `v2` queries in the console, visit this [help documentation](https://docs.catalyst.zoho.com/en/cloud-scale/help/zcql/zcql-console/#using-zcql-v2-in-function-code). -------------------------------------------------------------------------------- title: "Changes to Catalyst Authentication" last_updated: "2026-04-07T13:26:01.000Z" source: "https://docs.catalyst.zoho.com/en/announcements/2024/embedded-announcement/" service: "All Services" related: - Catalyst Authentication (/en/cloud-scale/help/authentication/introduction/) - Embedded Authentication (/en/cloud-scale/help/authentication/native-catalyst-authentication/embedded-authentication/introduction/) - Scripts for Embedded Authentication (/en/cloud-scale/help/authentication/native-catalyst-authentication/embedded-authentication/scripts-for-embedded/) - Authentication - Web SDK (/en/sdk/web/v4/cloud-scale/authentication/get-auth-instance/) -------------------------------------------------------------------------------- # Mandatory Notice! Changes to Catalyst Authentication After continuous and consistent assessments, the Catalyst team has tweaked a few aspects of [Authentication](https://docs.catalyst.zoho.com/en/cloud-scale/help/authentication/introduction/) to make it function better while ensuring easier implementation and enhancing overall application security. ### Changes to Roles Configuration Previously, if you had implemented end-user authentication for your applications with the [Catalyst Web SDK](https://docs.catalyst.zoho.com/en/sdk/web/v4/overview/), you had the option to configure the [roles](https://docs.catalyst.zoho.com/en/cloud-scale/help/authentication/user-management/roles/introduction/) for each user to be added to, by passing the specific *Role ID*. However, now, any role passed when a user signs up to the app through end-user Authentication implemented via **Web SDK**, will be ignored. When your users sign up to your application, they will be added to the default `App User` role, or to any other default [role that you configure](https://docs.catalyst.zoho.com/en/cloud-scale/help/authentication/user-management/roles/implementation/) in the [User Management](https://docs.catalyst.zoho.com/en/cloud-scale/help/authentication/user-management/introduction/) section. If you specifically require to add users to any other role besides the configured default role, then you can make use of the [Custom User Validation](https://docs.catalyst.zoho.com/en/cloud-scale/help/authentication/whitelisting/custom-user-validation/introduction/) feature. ### Embedded Authentication Enhancements To ensure you continue to utilize and implement the Catalyst [Embedded Authentication](https://docs.catalyst.zoho.com/en/cloud-scale/help/authentication/native-catalyst-authentication/embedded-authentication/introduction/) to its fullest potential, you will need to ensure that you follow and apply the instructions listed here to your Catalyst project. Please read the following pointers carefully and apply them where required: * If you are currently employing any other version of the Catalyst Web SDK to add users to your application using *Embedded Authentication*, you will need to upgrade to **Web SDK v4**, and reconfigure your [embedded authentication setup](https://docs.catalyst.zoho.com/en/cloud-scale/help/authentication/native-catalyst-authentication/embedded-authentication/setup-embedded-auth/) accordingly. * To access the required **Web SDK v4** scripts: - Navigate to the **Authentication** component, present in the *Cloud Scale* service. Click **Set Up** under *Native Catalyst Authentication*. ![catalyst_embedded_auth_announcement_forst_screen](https://docs.catalyst.zoho.com/images/announcements/catalyst_embedded_auth_announcement_forst_screen.webp) - Select **Embedded Authentication** and click **Next**. ![catalyst_embedded_auth_annonucement_sel_embedded](https://docs.catalyst.zoho.com/images/announcements/catalyst_embedded_auth_annonucement_sel_embedded.webp) - Ensure you select **v4** in the **Version** drop-down and copy the required code. ![catalyst_announcements_embedded_auth_v_drop](https://docs.catalyst.zoho.com/images/announcements/catalyst_announcements_embedded_auth_v_drop.webp) > **Note:** The code snippets are also available in this [help page](https://docs.catalyst.zoho.com/en/cloud-scale/help/authentication/native-catalyst-authentication/embedded-authentication/scripts-for-embedded/). - Upgrading to **Web SDK v4** also allows you to provide our end-users with the options to login to your application using their [Microsoft 365](https://docs.catalyst.zoho.com/en/cloud-scale/help/authentication/social-logins/configuring-social-logins/#enable-microsoft-365-social-login), [Facebook](https://docs.catalyst.zoho.com/en/cloud-scale/help/authentication/social-logins/configuring-social-logins/#enable-facebook-social-login), or [LinkedIn](https://docs.catalyst.zoho.com/en/cloud-scale/help/authentication/social-logins/configuring-social-logins/#enable-linkedin-social-login) accounts, including the already existing [Zoho](https://docs.catalyst.zoho.com/en/cloud-scale/help/authentication/social-logins/configuring-social-logins/#enable-zoho-social-login) and [Google](https://docs.catalyst.zoho.com/en/cloud-scale/help/authentication/social-logins/configuring-social-logins/#enable-google-social-login) social login options. Additionally, the newer version allows you to add users seamlessly with better styling and customization control over your login elements. ![catalyst_embedded_auth_social_logins_highlit](https://docs.catalyst.zoho.com/images/announcements/catalyst_embedded_auth_social_logins_highlit.webp) * On **March 31st 2025**, all previous versions of the Catalyst Web SDK will cease to function. We strongly urge you to complete the upgrade to **Web SDK v4** and the respective configurations before this deadline. The image below illustrates the new default UI look of the embedded login element. The CSS of this page can be customized using the CSS scripts that can be downloaded from this [help page](https://docs.catalyst.zoho.com/en/cloud-scale/help/authentication/native-catalyst-authentication/embedded-authentication/styling-embedded-auth/). ![catalyst_embedded_annoucement_new_ui](https://docs.catalyst.zoho.com/images/announcements/catalyst_embedded_annoucement_new_ui.webp) If you continue to use any of the older SDK versions beyond the mentioned deadline, then the CSS elements used in the designing of the embedded authentication element will not function as intended, resulting in unintended UI breakage. ![catalyst_embedded_announcement_auth_broken_view](https://docs.catalyst.zoho.com/images/announcements/catalyst_embedded_announcement_auth_broken_view.webp) * Support to implement *Google social login* has existed since **Web SDK v3**. However, when you upgrade to **Web SDK v4**, you will need to reconfigure the **redirect URLs** accordingly. Steps to configure the *Google social login* can be found [here](https://docs.catalyst.zoho.com/en/cloud-scale/help/authentication/social-logins/configuring-social-logins/#enable-google-social-login). ![catalyst_announcements_embedded_auth_google_redirect](https://docs.catalyst.zoho.com/images/announcements/catalyst_announcements_embedded_auth_google_redirect.webp) For more information and help, you can reach out to our support team at [support@zohocatalyst.com](mailto:support@zohocatalyst.com). Happy Coding! **Team Catalyst** ## 2025 -------------------------------------------------------------------------------- title: "Changes to Mail Component Workflow" last_updated: "2025-12-19T05:54:47.000Z" source: "https://docs.catalyst.zoho.com/en/announcements/2025/mail-changes/" service: "All Services" related: - Catalyst Mail Help Documentation (/en/cloud-scale/help/mail/introduction/) - Verify a Domain (/en/cloud-scale/help/mail/domains/#verify-a-domain) - Verify an Email Address (/en/cloud-scale/help/mail/email-configuration/#verify-an-email-address) -------------------------------------------------------------------------------- # Announcing New Rules of Practice to Implement Catalyst Mail This announcement is to bring to your attention that with effect from **Feb 1st, 2026**, to send emails using the [Catalyst Mail](https://docs.catalyst.zoho.com/en/cloud-scale/help/mail/introduction/) component the following prerequisites need to be satisfied. 1. You will need to [verify your sender email address](https://docs.catalyst.zoho.com/en/cloud-scale/help/mail/email-configuration/#verify-an-email-address). 2. You will need to [verify your domain](https://docs.catalyst.zoho.com/en/cloud-scale/help/mail/domains/#verify-a-domain). This change is being mandated to ensure that the emails sent using the *Mail* component are completely secure. If you attempt to send an email without verifying your domain, an exception will be thrown, and the email will not be sent. -------------------------------------------------------------------------------- title: "Deprecation of Catalyst File Store, Event Listeners, and Cron" last_updated: "2025-12-19T05:54:47.000Z" source: "https://docs.catalyst.zoho.com/en/announcements/2025/fs-el-cron-deprecation-announcement/" service: "All Services" related: - Catalyst Cron (/en/cloud-scale/help/cron/introduction/) - Catalyst Signals (/en/signals/) - Catalyst Stratus (/en/cloud-scale/help/stratus/introduction/) - Catalyst Job Scheduling (/en/job-scheduling/) -------------------------------------------------------------------------------- # Announcing Deprecation of Catalyst File Store, Event Listeners, and Cron We would like to announce that the following Catalyst features are now in their deprecation phase and will reach End Of Life (EOL) on **30 April, 2026**- * Catalyst File Store * Catalyst Event Listeners * Catalyst Cron New users who sign up for Catalyst starting today (August 27, 2025) will not be able to view or access these components in their Catalyst projects. For existing Catalyst users, these components will continue to remain operational in their existing projects during the deprecation period until the EOL date mentioned above. You can continue working with your existing resources in the File Store, the events configured in the Event Listeners, and the cron jobs scheduled in Cron in your current Catalyst projects during this period. After the EOL date, these services will not function, and any business logic configured with them will not work. These services will also not be available in any new projects you create. We strongly recommend that you immediately begin planning to migrate your resources, workflows, and business logic configured with these components to the newer, more advanced alternatives listed below. ## Upgrade to Catalyst Stratus from File Store [Catalyst Stratus](https://docs.catalyst.zoho.com/en/cloud-scale/help/stratus/introduction/) is a robust and advanced cloud storage platform that lets you store any type of data as objects in buckets, with unique URLs to reference each object through paths. Stratus provides a host of rich functionalities, including custom object-level permissions, data encryption, versioning, malware scanning, multipart uploads, and more. Stratus is a powerful solution that lets you store anything from basic application files to large videos for streaming platforms. Catalyst enables direct migration of files from the File Store to Stratus via the console. All folders and files from your File Store can be migrated into a single bucket in Stratus, with the original directory structure replicated within that bucket. You can migrate files from File Store to Stratus as follows: 1. Access **File Store** from the *CloudScale* service in the Catalyst console for your project. A banner will appear with the migration option. Click **Migrate Now**. ![catalyst_filestore_migrate_1](https://docs.catalyst.zoho.com/images/announcements/catalyst-fs-1.webp) 2. Select the destination bucket in Stratus. If you haven't created a bucket in Stratus yet, create one first and then select it here. Then, click **Next**. ![catalyst_filestore_migrate_2](https://docs.catalyst.zoho.com/images/announcements/catalyst-fs-2.webp) 3. Review the important information shown in the pop-up. Then, type "Filestore Migrate" in the text box and click **Confirm**. ![catalyst_filestore_migrate_3](https://docs.catalyst.zoho.com/images/announcements/catalyst-fs-3.webp) The migration will be scheduled, and you will be notified once it is completed. You can then open **Stratus** from *CloudScale*, and navigate to the selected bucket to access all of your migrated File Store data. Make sure you migrate your data before the EOL date! ## Upgrade to Catalyst Signals from Event Listeners [Catalyst Signals](https://docs.catalyst.zoho.com/en/signals/) is a cutting-edge event bus service that facilitates instant communication between decoupled applications and services. Signals is an advancement from Event Listeners, offering a rich set of predefined publishers from Zoho services, Catalyst’s own services, as well as third-party services. These publishers come with default events associated with their schemas that you can use instantly, eliminating the need for coding or extensive configurations. With Signals, you can adopt a robust, event-driven architecture to streamline workflows or transfer data with ease. Explore Signals and transfer your existing event-driven architecture from Event Listeners before the EOL date. > Please note that Catalyst does not support direct migration of event-driven logic configured in Event Listeners to Signals. ## Upgrade to Catalyst Job Scheduling from Cron [Catalyst Job Scheduling](https://docs.catalyst.zoho.com/en/job-scheduling/) is an advanced job management service that introduces a variety of new components compared to the basic [CloudScale Cron](https://docs.catalyst.zoho.com/en/cloud-scale/help/cron/introduction/). Job Scheduling provides job pools from where you can create and execute jobs to trigger webhooks, Job functions, Catalyst Circuits, or AppSail services. You can also schedule the submission of jobs with predefined or dynamic crons, and easily track every instance of the job cycle. Job Scheduling gives you greater control over job management, enabling you to handle automated and scheduled workflows seamlessly. Explore Job Scheduling and transfer your existing task schedulers from Cron before the EOL date. > Please note that Catalyst does not provide direct migration of the schedulers configured in Cron to Job Scheduling. ## 2026 -------------------------------------------------------------------------------- title: "Security Update: Node.js Vulnerability (CVE-2026-111497)" description: "Catalyst has updated its managed Node.js runtimes to fix CVE-2026-111497. Redeploy your Node.js Functions, AppSail services and Slate apps." last_updated: "2026-11-04T10:10:44.000Z" source: "https://docs.catalyst.zoho.com/en/announcements/2026/node-security-update/" service: "All Services" related: - Language Runtime Support Policy (/en/serverless/help/functions/runtime-support/) - Update a Function (/en/serverless/help/functions/implementation/#update-or-download-a-function) - AppSail Deployments (/en/serverless/help/appsail/console/deployments/) - Slate Deployments (/en/slate/help/monitor-deployment/) - Release Notes (/en/release-notes/all/) -------------------------------------------------------------------------------- # Security Update (CVE-2026-111497): Fixed Node.js Vulnerability We want to make you aware that on **October 21, 2026**, the Node.js project released security updates for a high-severity vulnerability, [CVE-2026-111497](https://nodejs.org/en/blog/vulnerability/october-2026-security-releases), in the Brotli decompression library that ships with Node.js. If an application decompresses Brotli data crafted by an attacker, the attacker may be able to corrupt the application's memory and run their own code inside it. This vulnerability affects every application running on an unpatched version of Node.js, including all end-of-life versions such as Node.js 20 and older. It is not specific to Catalyst by Zoho. ### How we've patched it We have updated Catalyst's managed Node.js runtimes to the patched versions:
Runtime Patched Version
Node.js 24 24.22.1
Node.js 22 22.23.4
This fix applies to Catalyst [Functions](https://docs.catalyst.zoho.com/en/serverless/help/functions/introduction/), AppSail ([Catalyst-managed runtimes](https://docs.catalyst.zoho.com/en/serverless/help/appsail/catalyst-managed-runtimes/key-concepts/)), [Slate](https://docs.catalyst.zoho.com/en/slate/help/introduction/) builds, and the default image used by Catalyst [Pipelines](https://docs.catalyst.zoho.com/en/pipelines/help/pipelines/introduction/), which now runs **Node.js 24**. Catalyst by Zoho has applied these security patches only to Catalyst-managed runtimes that have not reached end-of-life, as described in the [Language Runtime Support Policy](https://docs.catalyst.zoho.com/en/serverless/help/functions/runtime-support/). Runtimes that have reached end-of-life and [custom runtimes](https://docs.catalyst.zoho.com/en/serverless/help/appsail/custom-runtimes/deploy-from-console/) do not receive these patches. If you are on an end-of-life runtime, upgrade to a supported runtime and redeploy your application. The patches will be applied automatically. Since custom runtimes run your own container images, you need to apply the patches yourself. ### What you need to do #### Check the runtime of your application To confirm the Node.js version your Function or AppSail service is using, log `process.version` from within it. If the version is earlier than `v22.23.4` on Node.js 22, or earlier than `v24.22.1` on Node.js 24, perform the applicable actions below. #### 1. Redeploy Your Node.js Functions, AppSail Services and Slate Applications If your application is already running or was built before this security update, it continues to use the earlier version. Redeploy your application to pick up the patched version. **Using the Catalyst console:** * **Functions:** Go to **Serverless** → **Functions**, open your function, click the **⋯** icon at the top right, then **Update**, and click **Save**. Learn more about [updating a function](https://docs.catalyst.zoho.com/en/serverless/help/functions/implementation/#update-or-download-a-function). ![Functions - Update a Function](https://docs.catalyst.zoho.com/images/announcements/node-security-update/catalyst_node_security_functions_update.webp) * **AppSail:** Go to **Serverless** → **AppSail**, open your service, and click **Create Deployment**. Keep your current **Stack**, upload your app's build file (ZIP) under **Build File**, and click **Create**. Learn more about [creating a new deployment](https://docs.catalyst.zoho.com/en/serverless/help/appsail/console/deployments/#create-a-new-deployment). ![AppSail - Create Deployment](https://docs.catalyst.zoho.com/images/announcements/node-security-update/catalyst_node_security_appsail_create_deployment.webp) ![AppSail - Create Deployment pop-up](https://docs.catalyst.zoho.com/images/announcements/node-security-update/catalyst_node_security_appsail_create_deployment_2.webp) * **Slate:** Go to **Slate** and click your app to expand it, then click **App Settings**. Expand **Framework and command**, click **Edit**, select **Node 22** from the runtime drop-down, and click **Update**. Learn more about [updating the Node.js runtime of an app](https://docs.catalyst.zoho.com/en/slate/help/monitor-deployment/#update-the-nodejs-runtime-of-an-app). Changing the runtime doesn't rebuild your app, so redeploy it: ![Slate - App Settings](https://docs.catalyst.zoho.com/images/announcements/node-security-update/catalyst_node_security_slate_app_settings.webp) ![Slate - Select the Node.js runtime](https://docs.catalyst.zoho.com/images/announcements/node-security-update/catalyst_node_security_slate_runtime.webp) * **Git-connected apps:** Click **Create Deployment**, or push a new commit to your repository. With Auto Deploy on, it deploys automatically. * **Uploaded apps:** Click [Re-Upload](https://docs.catalyst.zoho.com/en/slate/help/direct-upload/#re-upload-application) on the app's **Overview** screen and upload your app. ![Slate - Re-Upload](https://docs.catalyst.zoho.com/images/announcements/node-security-update/catalyst_node_security_slate_reupload.webp) > **Note:** Prioritize **Next.js** apps on Slate, since they run Node.js while serving requests. Static apps (React, Vue, Angular and similar) use Node.js only during the build. **Using the CLI:** Run `catalyst deploy` from your project directory. This deploys Functions, AppSail and Slate together. To deploy only Slate, run `catalyst deploy slate`. Learn more about [deploy options](https://docs.catalyst.zoho.com/en/cli/v1/deploy-resources/deploy-options/) and [deploying to Slate](https://docs.catalyst.zoho.com/en/cli/v1/deploy-resources/deploy-to-slate/). #### 2. Move Off Node.js Versions Earlier Than 22 Node.js 20 reached [end-of-life](https://nodejs.org/en/about/previous-releases) on April 30, 2026, and the Node.js project isn't releasing a fix for it. Catalyst won't patch any Node.js runtime earlier than Node.js 22 (Node.js 20, 18, 16 and older). See the [Node.js runtime deprecations](https://docs.catalyst.zoho.com/en/serverless/help/functions/runtime-support/#nodejs-runtime-deprecations) for the timeline. If your Functions, AppSail services or Slate apps use any of these versions, update them to a supported version: Node.js 22 or 24 for Functions and AppSail, and Node.js 22 for Slate. **Using the Catalyst console:** * **Functions:** Use **⋯** → **Update**, select the new runtime version from the **Stack** drop-down, and click **Save**. ![Functions - Select the Node.js runtime](https://docs.catalyst.zoho.com/images/announcements/node-security-update/catalyst_node_security_functions_stack.webp) * **AppSail:** Open your service, click **Create Deployment**, select **Node 24** or **Node 22** from the **Stack** drop-down, upload your build file, and click **Create**. * **Slate:** Follow the Slate steps in step 1, select **Node 22**, and redeploy your app. **Using the CLI:** Change the `stack` value in your function's [catalyst-config.json](https://docs.catalyst.zoho.com/en/serverless/help/functions/stack/) or your service's [app-config.json](https://docs.catalyst.zoho.com/en/serverless/help/appsail/catalyst-managed-runtimes/deploy-from-cli/) (for example, `node24`), then test your app and run `catalyst deploy`. #### 3. Rebuild Custom Containers If you deploy your own Docker or OCI image to [AppSail](https://docs.catalyst.zoho.com/en/serverless/help/appsail/custom-runtimes/deploy-from-console/), rebuild it on a patched Node.js base image and redeploy. #### 4. Check Your Catalyst Pipelines If your pipelines use the default image, no action is needed. It now runs a patched version of Node.js 24 (previously Node.js 18). If you specify your own [image](https://docs.catalyst.zoho.com/en/pipelines/help/catalyst-pipelines.yaml/build-the-pipeline/images/) in `catalyst-pipelines.yaml` (for example, `image: node:20`), update it to a patched Node.js image such as `node:24` or `node:22`, and run your pipeline again. #### 5. Update Node.js on Your Machine The Catalyst CLI and your local builds use the Node.js installed on your computer and in your CI pipelines. Update it to Node.js 22.23.4, 24.22.1 or later. You can check your current version with: ```bash node -v ``` > **Note:** With regards to the **eMudhra (emSign) Certificate** issue You would have come across reports that browsers are withdrawing trust from certain certificates issued by eMudhra (emSign). Catalyst by Zoho is not affected by this compromise, and no action is needed for your Catalyst domains. This applies to apps in every language, not only Node.js. We've updated the trusted certificate lists in Catalyst's Node.js, Java, and Python runtimes, and **redeploying your apps** will pick up these updates. If you bundle your own certificate store or dependencies, for example, a custom AppSail container, a JDK, or the Python certificate package, ensure you've updated them to the latest versions. If you have any questions or need help upgrading, reach out to us at **support@zohocatalyst.com**. -------------------------------------------------------------------------------- title: "Introducing the JavaScript SDK: Server and Browser, Unified" description: "Catalyst's Modular JavaScript SDK has moved out of beta and is now available to all developers, unifying the Node.js and Web SDKs into a single modular library." last_updated: "2026-10-31T01:46:25.000Z" source: "https://docs.catalyst.zoho.com/en/announcements/2026/js-sdk-launch/" service: "All Services" related: - JavaScript SDK Help (https://docs.catalyst.zoho.com/en/sdk/javascript/v1/overview/) -------------------------------------------------------------------------------- # Introducing the JavaScript SDK: Server and Browser, Unified Catalyst's [Modular JavaScript SDK](https://docs.catalyst.zoho.com/en/sdk/javascript/v1/overview/) has moved out of beta and is now available to all developers. This offering is a fitting upgrade to conventional monolithic Node.js and Web SDK offerings. The JavaScript SDK will replace both the Node.js SDK and Web SDK with a single, modular library that works across server and browser environments. Instead of installing and maintaining two separate SDKs for your backend and frontend, you now import only the components you need, once. ### Key Offerings * One SDK for both server-side and browser-side Catalyst operations. * Complete TypeScript support. * Only import what you use, no dead code weighing down your build or slowing your app. * Access to all [Catalyst services and its components](https://docs.catalyst.zoho.com/en/sdk/javascript/v1/components-list/): [Serverless](https://docs.catalyst.zoho.com/en/sdk/javascript/v1/serverless/functions/overview/), CloudScale ([Authentication](https://docs.catalyst.zoho.com/en/sdk/javascript/v1/cloudscale/authentication/overview/), [DataStore](https://docs.catalyst.zoho.com/en/sdk/javascript/v1/cloudscale/datastore/overview/), [NoSQL](https://docs.catalyst.zoho.com/en/sdk/javascript/v1/cloudscale/nosql/overview/), [Stratus](https://docs.catalyst.zoho.com/en/sdk/javascript/v1/cloudscale/stratus/overview/), [Cache](https://docs.catalyst.zoho.com/en/sdk/javascript/v1/cloudscale/cache/overview/), [Connections](https://docs.catalyst.zoho.com/en/sdk/javascript/v1/cloudscale/connections/overview/), [Mail](https://docs.catalyst.zoho.com/en/sdk/javascript/v1/cloudscale/mail/overview/), [Push Notifications](https://docs.catalyst.zoho.com/en/sdk/javascript/v1/cloudscale/push-notifications/overview/)), [Zia Services](https://docs.catalyst.zoho.com/en/sdk/javascript/v1/zia-services/overview/), [SmartBrowz](https://docs.catalyst.zoho.com/en/sdk/javascript/v1/smartbrowz/overview/), [Job Scheduling](https://docs.catalyst.zoho.com/en/sdk/javascript/v1/job-scheduling/overview/), [Pipelines](https://docs.catalyst.zoho.com/en/sdk/javascript/v1/pipelines/overview/), [QuickML](https://docs.catalyst.zoho.com/en/sdk/javascript/v1/quickml/create-quickml-instance/), and [Connectors](https://docs.catalyst.zoho.com/en/sdk/javascript/v1/connectors/js-connector/). **What This Means for Current Node.js (v2) and Web SDK (v4) Users** * The current versions of Node.js SDK (v2) and Web SDK (v4) are now in maintenance mode. * With effect from **1st October 2026**, the Node.js and Web SDKs enter the deprecation stage. No support for new features. Only security fixes will be applied, should any arise. * With effect from **1st October 2027**, all functionalities and support for the Node.js and Web SDK will be terminated. We strongly recommend [migrating your codebase to the JavaScript SDK](https://docs.catalyst.zoho.com/en/sdk/javascript/v1/migration/), to avoid unnecessary disruptions. > **Info:** For queries or support, email us at support@zohocatalyst.com. -------------------------------------------------------------------------------- title: "FileStore is Being Sunset, Migrate to Stratus Now!" description: "Catalyst File Store is nearing its sunset on 1st October 2026. Migrate to Catalyst Stratus now to avoid disruption to your applications." last_updated: "2026-10-31T01:46:25.000Z" source: "https://docs.catalyst.zoho.com/en/announcements/2026/filestore-sunset/" service: "All Services" related: - Stratus Help (/en/cloud-scale/help/stratus/introduction/) - Stratus JS SDK (/en/sdk/javascript/v1/cloudscale/stratus/overview/) - Stratus Java SDK (/en/sdk/java/v1/cloud-scale/stratus/overview/) - Stratus Python SDK (/en/sdk/python/v1/cloud-scale/stratus/overview/) - Stratus Flutter SDK (/en/sdk/flutter/v2/cloud-scale/stratus/overview/) - Stratus Android SDK (/en/sdk/android/v2/cloud-scale/stratus/overview/) - Stratus iOS SDK (/en/sdk/ios/v2/cloud-scale/stratus/overview/) - Stratus REST APIs (/en/api/code-reference/cloud-scale/stratus/get-all-buckets/) -------------------------------------------------------------------------------- # File Store is Being Sunset, Migrate to Stratus Now! Catalyst File Store has been in its deprecation period since **August 27, 2025**, and is now nearing its sunset on **31st October 2026**. Post this date, File Store will no longer be available in the console, and any business logic built on it will break. We strongly suggest migrating to [Catalyst Stratus](https://docs.catalyst.zoho.com/en/cloud-scale/help/stratus/introduction/) to ensure your applications continue running without disruption. > **Note:** File Store will no longer be made available for any new projects or accounts that you create. ### Key Stratus Offerings * Object-level [custom permissions](https://docs.catalyst.zoho.com/en/cloud-scale/help/stratus/stratus-permissions/) for granular access control. * [Data encryption](https://docs.catalyst.zoho.com/en/cloud-scale/help/stratus/stratus-config/general-settings/#data-encryption) at rest and in flight. * [Versioning](https://docs.catalyst.zoho.com/en/cloud-scale/help/stratus/stratus-config/general-settings/#versioning), so you never lose an overwritten file. * Built-in malware scanning that flags and removes threats automatically. * [Multipart upload](https://docs.catalyst.zoho.com/en/sdk/javascript/v1/cloudscale/stratus/upload-object/#upload-object-using-multipart-utility) and [Transfer Manager](https://docs.catalyst.zoho.com/en/sdk/javascript/v1/cloudscale/stratus/download-object/#download-an-object-using-transfer-manager-utility) support for large files, so big uploads and downloads don't choke on network errors. * Unique, [secure URLs](https://docs.catalyst.zoho.com/en/cloud-scale/help/stratus/objects/introduction/#object-url) for every object and bucket. * HIPAA-compliant [PII/ePHI](https://docs.catalyst.zoho.com/en/cloud-scale/help/stratus/stratus-config/general-settings/#piiephi) handling with full audit logging. ### Migration Made as Hassle-Free as Possible 1. Access your current FileStore in the Catalyst console. 2. Click the **Migrate Now** button present on the banner. 3. Select your destination bucket in Stratus (or [create one](https://docs.catalyst.zoho.com/en/cloud-scale/help/stratus/buckets/create-bucket/) if you don't have one yet). 4. Click **Next**. 5. Type "Filestore Migrate" to confirm migration. ### Before You Initiate Migration, Keep in Mind * The migration is scheduled in the background. You'll receive a console notification once it's completed. * Only collaborators with Write permissions for Stratus, or Admin users, can initiate the migration. * Permissions configured for your folders in File Store will need to be reconfigured in Stratus. * Duplicate file names are automatically renamed during migration. For example, duplicates of pic.jpg become pic (1).jpg, pic (2).jpg, and so on. Your folder structure carries over as-is into the bucket. Migrate before the sunset date to avoid any disruption to your application. > **Info:** Questions on migration? Reach out to us at support@zohocatalyst.com. -------------------------------------------------------------------------------- title: "Migrate your Crons to Catalyst Job Scheduling Now" description: "CloudScale Cron is nearing its sunset on 1st October 2026. Migrate to Catalyst Job Scheduling now to avoid disruption to your applications." last_updated: "2026-10-31T01:46:25.000Z" source: "https://docs.catalyst.zoho.com/en/announcements/2026/cron-sunset/" service: "All Services" related: - Job Scheduling Help (/en/job-scheduling/getting-started/introduction/) - Job Scheduling Java SDK (/en/sdk/java/v1/job-scheduling/overview/) - Job Scheduling Node.js SDK (/en/sdk/nodejs/v2/job-scheduling/overview/) - Job Scheduling Python SDK (/en/sdk/python/v1/job-scheduling/overview/) - Job Scheduling REST APIs (/en/api/code-reference/job-scheduling/jobpool/get-all-jobpool/#GetAllJobPools) -------------------------------------------------------------------------------- # Migrate your Crons to Catalyst Job Scheduling Now. CloudScale Cron has been in its deprecation period since **August 27, 2025**, and is now nearing its sunset on **1st October 2026**. Post this date, CloudScale Cron will no longer be available in the console, and any business logic built on it will break. We strongly suggest migrating to [Catalyst Job Scheduling](https://docs.catalyst.zoho.com/en/job-scheduling/getting-started/introduction/) to ensure your applications continue running without disruption. ### What Job Scheduling Brings to the Table * Trigger versatile target types: [Job Functions](https://docs.catalyst.zoho.com/en/serverless/help/functions/job-functions/), Webhooks (any third-party URL), [Circuits](https://docs.catalyst.zoho.com/en/serverless/help/circuits/introduction/), and [AppSail](https://docs.catalyst.zoho.com/en/serverless/help/appsail/introduction/) services, not just one endpoint type. * Execute jobs at intervals as short as 1 minute, with [Pre-defined Crons](https://docs.catalyst.zoho.com/en/job-scheduling/help/implementation/submit-job-predefined-cron/) (console Builder) or [Dynamic Crons](https://docs.catalyst.zoho.com/en/job-scheduling/help/implementation/submit-job-dynamic-cron/) ([Java](https://docs.catalyst.zoho.com/en/sdk/java/v1/job-scheduling/overview/), [Node.js](https://docs.catalyst.zoho.com/en/sdk/nodejs/v2/job-scheduling/overview/), [Python](https://docs.catalyst.zoho.com/en/sdk/python/v1/job-scheduling/overview/) SDKs). * [Cron Expressions](https://docs.catalyst.zoho.com/en/job-scheduling/help/cron/key-concepts/#cron-expressions) for precise, flexible scheduling, including easy migration of cron logic from other services. * A dedicated [Dashboard](https://docs.catalyst.zoho.com/en/job-scheduling/help/dashboard/dashboard/) with real-time success/failure stats and top delayed jobs, so you can spot and fix issues fast. * Configurable [retries](https://docs.catalyst.zoho.com/en/job-scheduling/help/cron/benefits/) on failure: up to 10 attempts, with intervals from 1 minute to 24 hours. * [Execution History](https://docs.catalyst.zoho.com/en/job-scheduling/help/cron/benefits/) for every job: 15 days in Development, 30 days in Production. * [Application Alerts](https://docs.catalyst.zoho.com/en/job-scheduling/help/implementation/create-app-alert/) that email you immediately on failure, timeout, or exception. ### Migrating Means Recreating Your Schedule in Job Scheduling 1. [Create a Job Pool](https://docs.catalyst.zoho.com/en/job-scheduling/help/implementation/create-jobpool/) for the target type you need (Function, Webhook, Circuit, or AppSail). 2. Recreate your cron schedule as a Pre-defined Cron (console Builder) or Dynamic Cron (SDK), pointing it at your existing Job Function, webhook URL, Circuit, or AppSail service. 3. Test it by [submitting an instant job](https://docs.catalyst.zoho.com/en/job-scheduling/help/implementation/submit-instant-job/) before relying on the schedule. ### Before You Migrate, Keep in Mind * [Job Pool type](https://docs.catalyst.zoho.com/en/job-scheduling/help/implementation/create-jobpool/) cannot be changed once created, so choose carefully. * For a Function Job Pool, the pool's [memory allocation](https://docs.catalyst.zoho.com/en/job-scheduling/help/jobpool/key-concepts/#ideal-memory-allocation-to-avoid-dispatch-delay) must be higher than the memory allocated to the functions it triggers, to avoid dispatch delay. * [Dynamic Crons](https://docs.catalyst.zoho.com/en/job-scheduling/help/implementation/submit-job-dynamic-cron/) created in Development are not migrated to Production when you deploy your project. Only Pre-defined Crons carry over. * [Circuits](https://docs.catalyst.zoho.com/en/job-scheduling/help/jobpool/introduction/) are currently not available to Catalyst users on the EU, AU, IN, or CA data centers, so Circuit-based crons won't work there. > **Info:** Questions on migration? Reach out to us at support@zohocatalyst.com.